

I was bored so I decided to do some cutting and drilling into my Bell 429...
 CARLOS C.
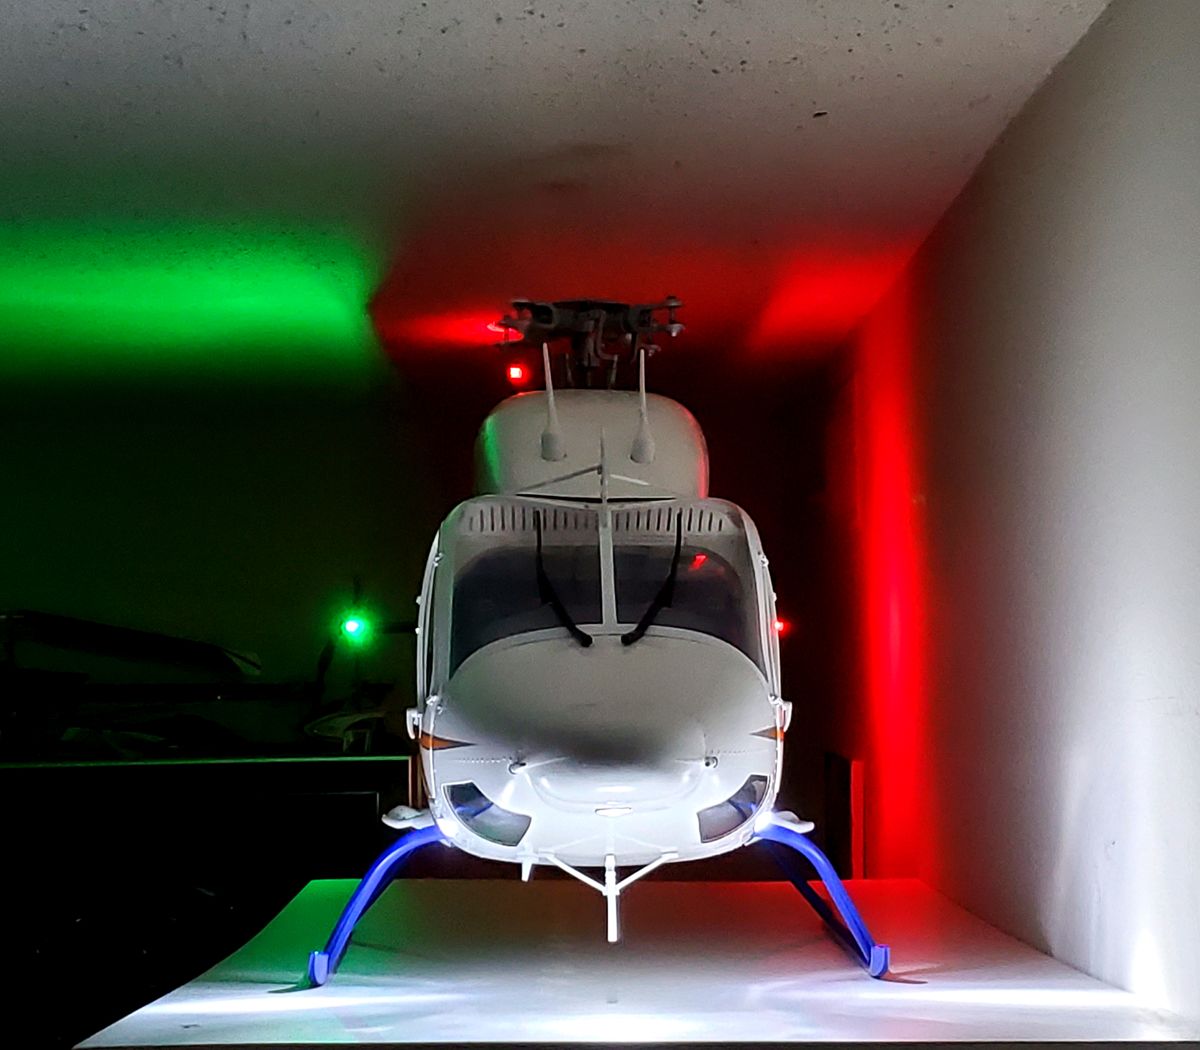
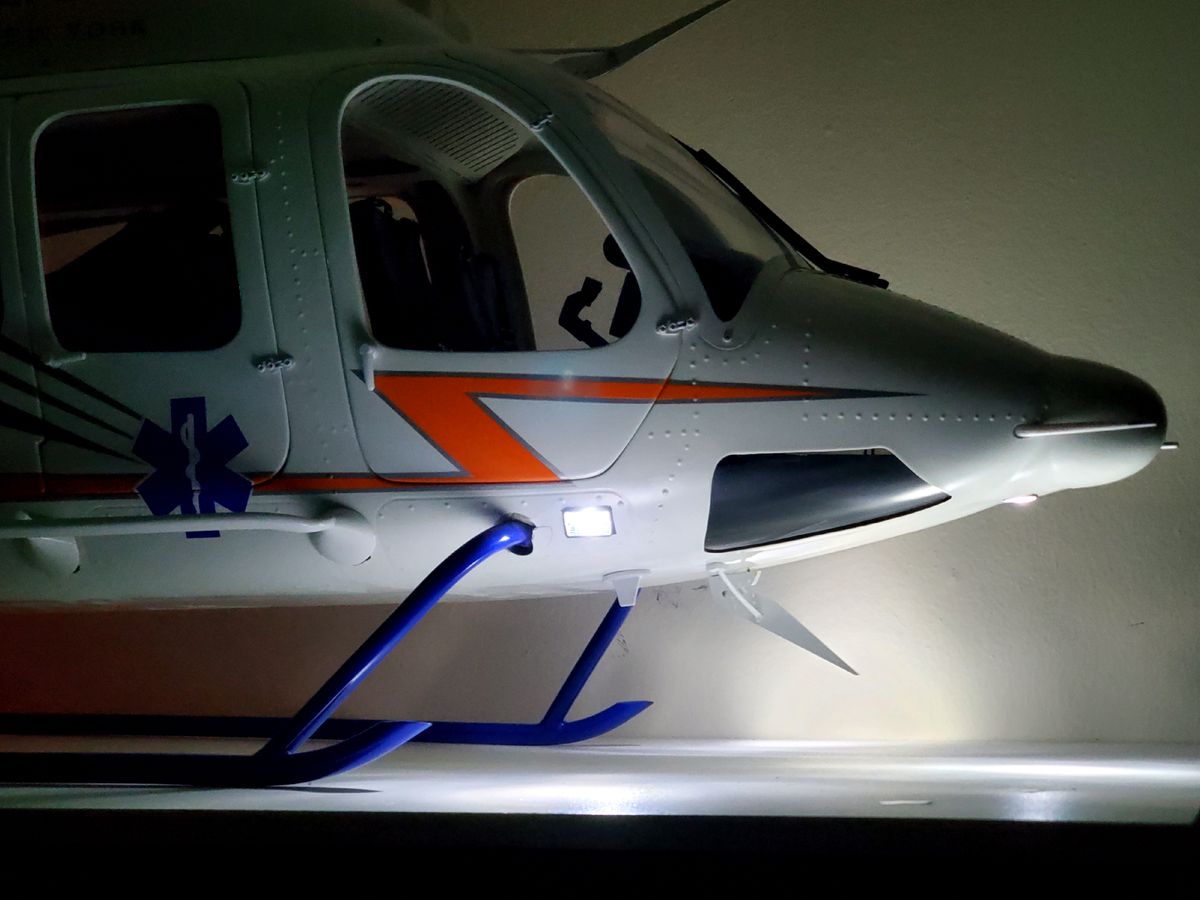
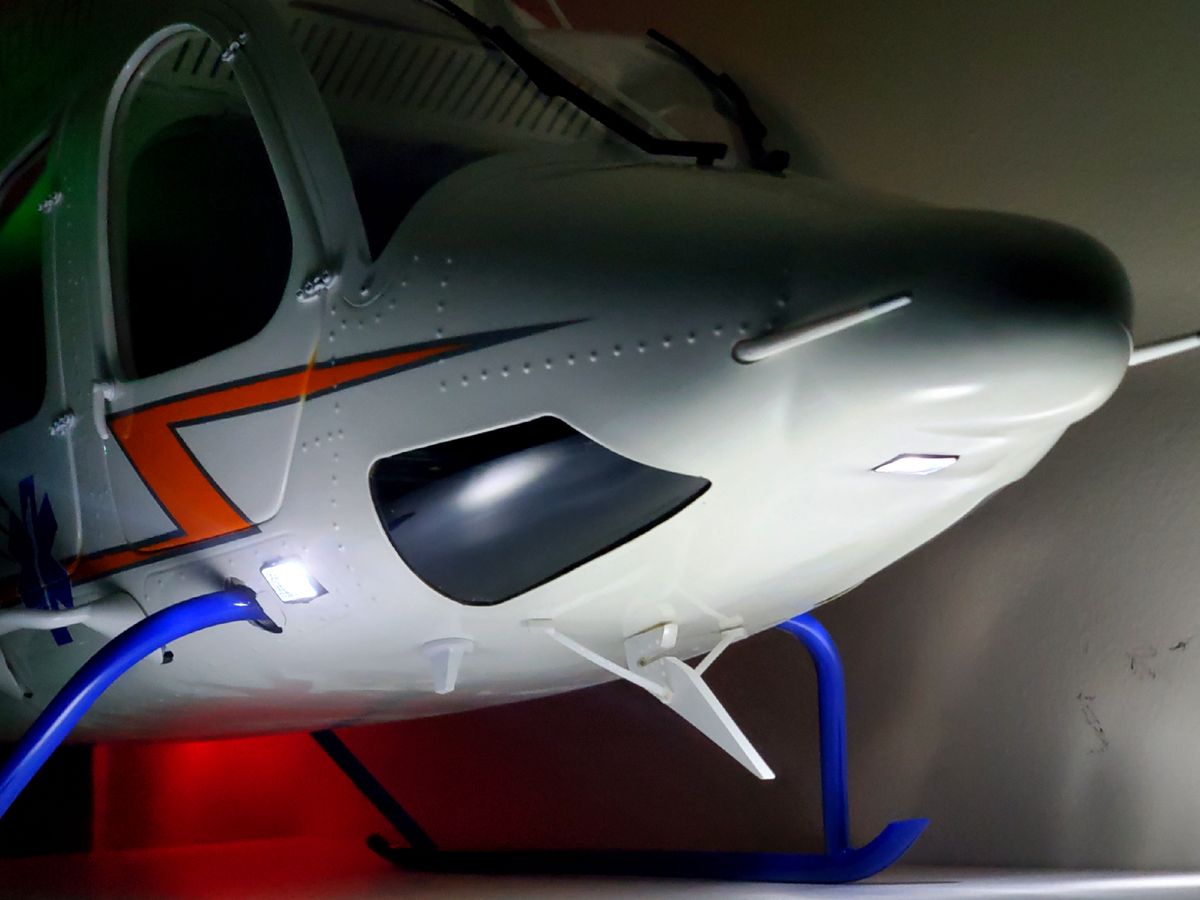
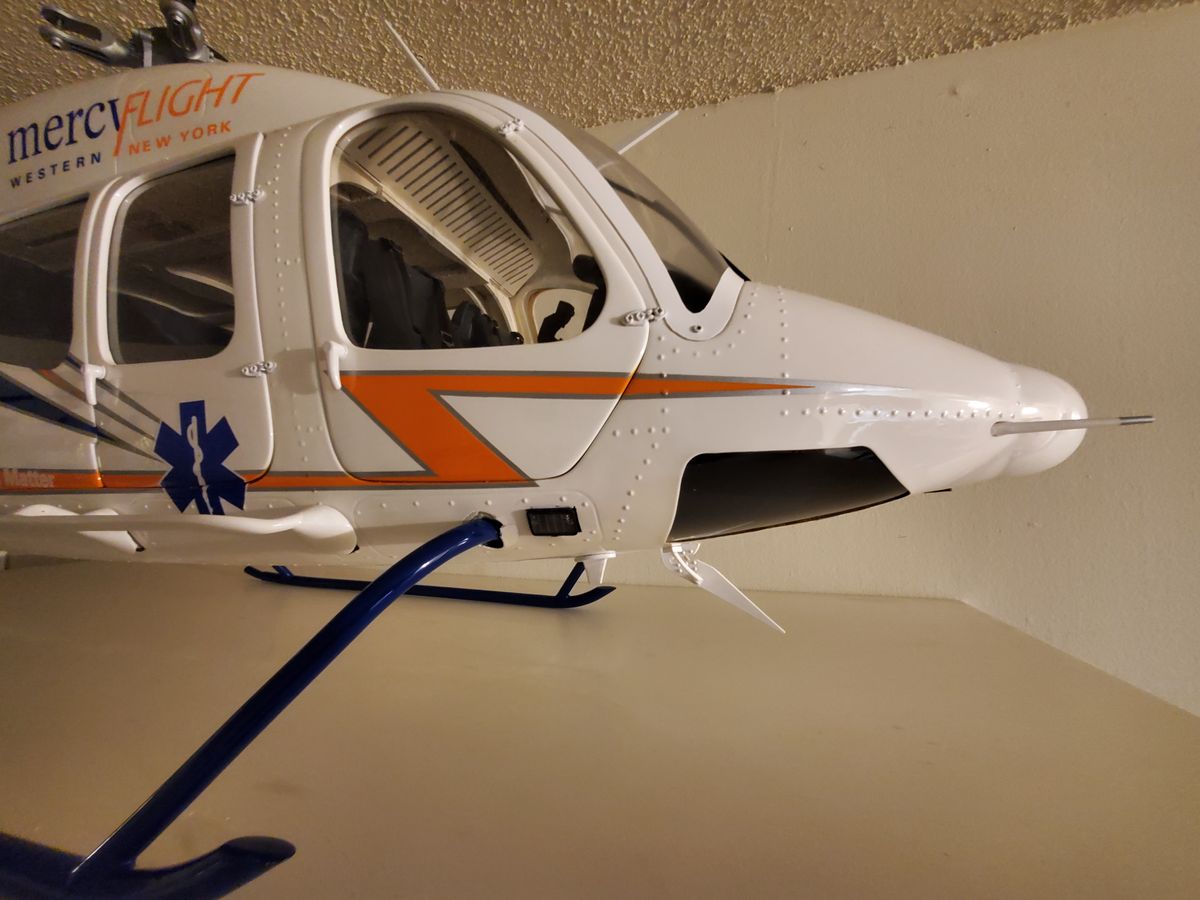
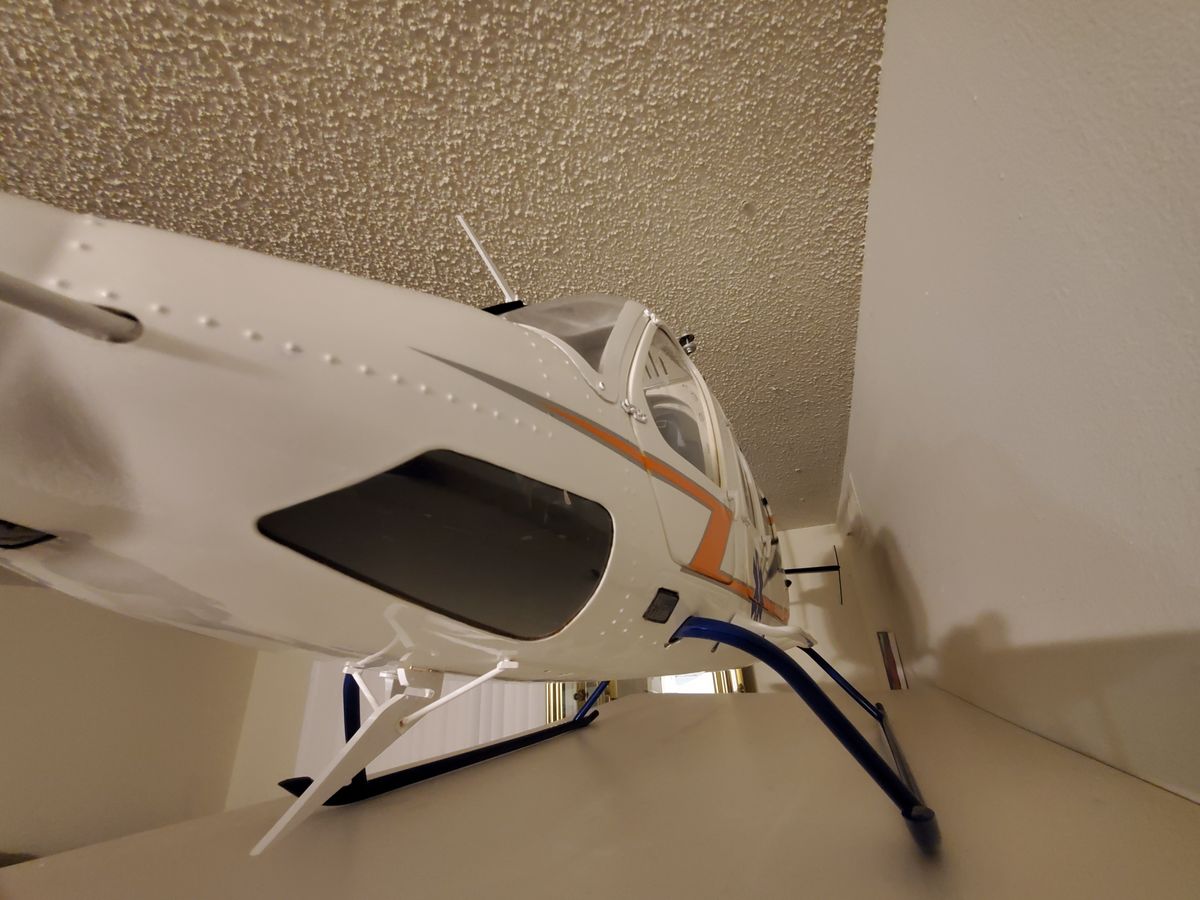
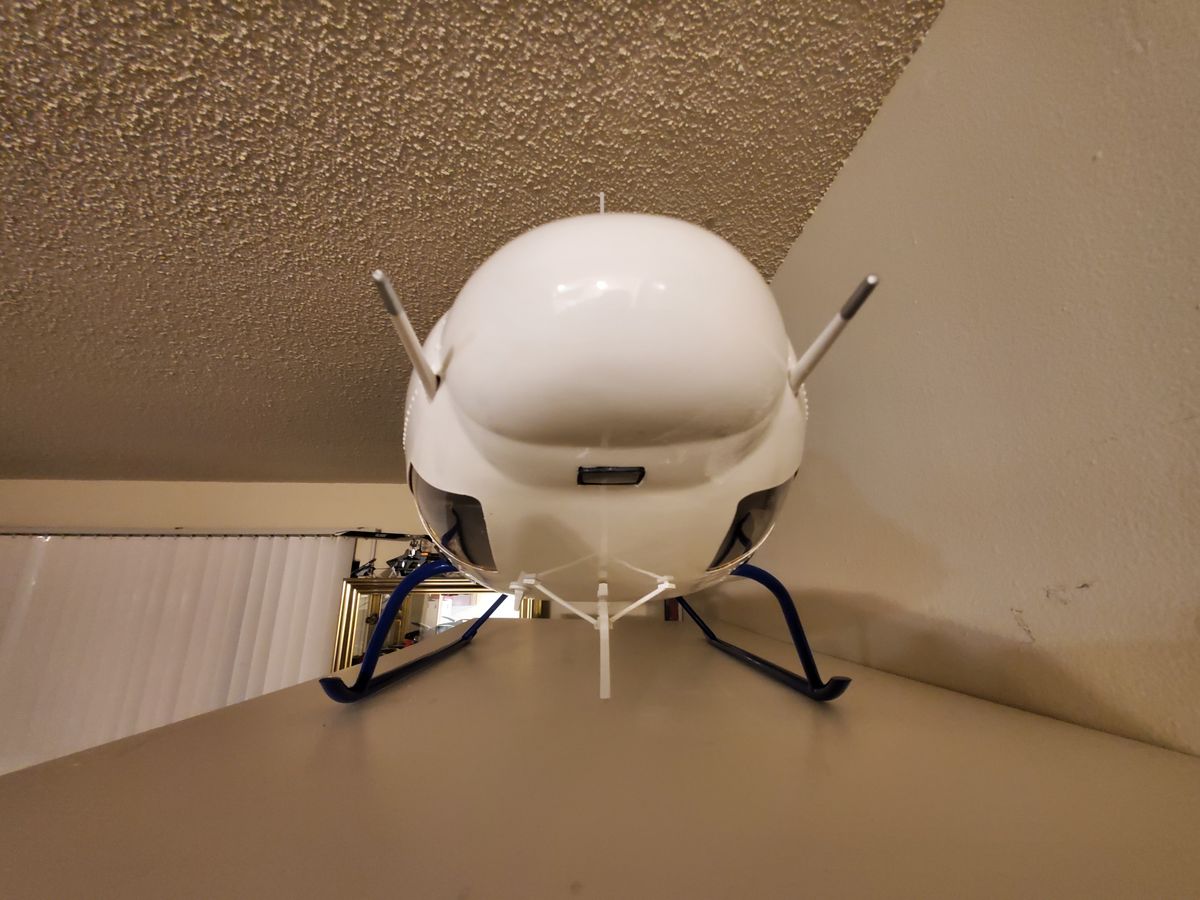
I was bored so I decided to do some cutting and drilling into my Bell 429 GlobalRanger. A few months ago, I noticed the full-size 429s have lights built into the front section of the fuselage on both sides and one on the bottom. I wanted to replicate that on my model but wasn't exactly sure if it would be possible to do since the fuselage is sealed pretty good in the front section.
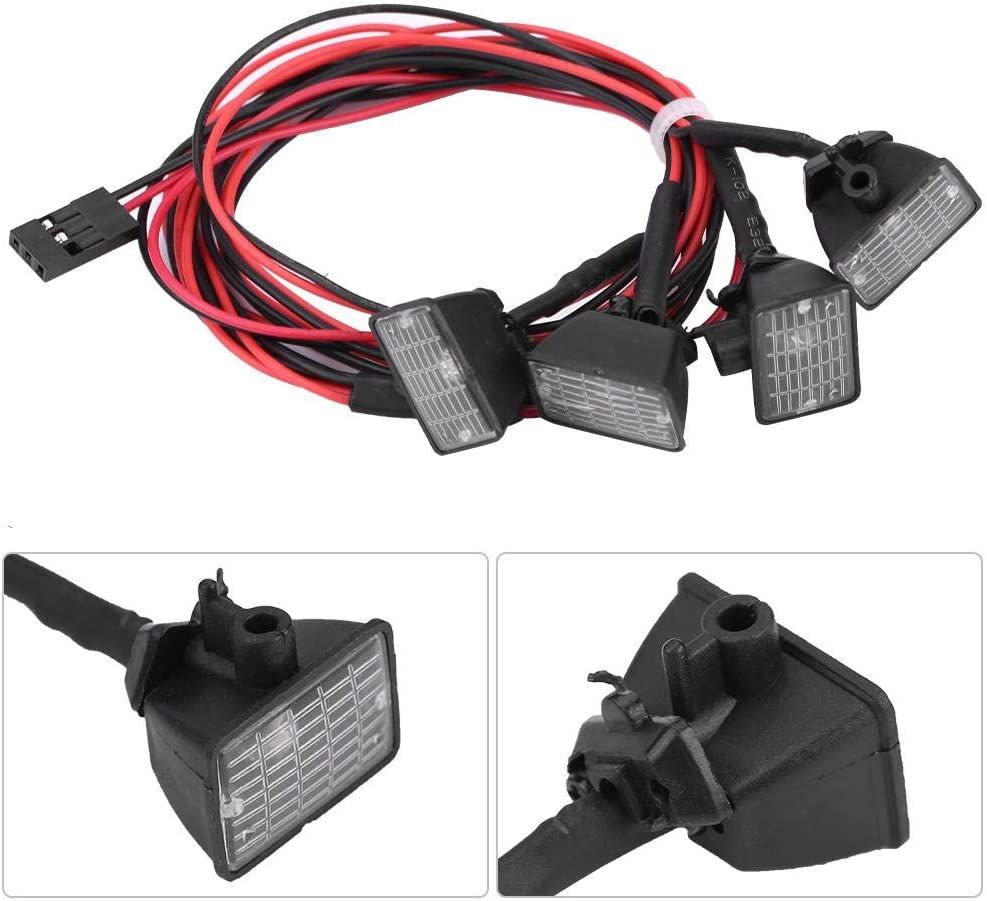
I first started off by searching for some small rectangular lights that would replicate the ones on the full-size 429. After I found some off-road lights that were designed for a 1/7 scale RC SUV 4 wheeler, I had to figure out how or if I could mount the lights in the body and run the wires to power them. That was a challenge because the front section of the fuselage is completely sealed off from the middle part of the body with a wall for the battery compartment under the floor.
I knew there was a small oval hole in the cockpit area under the center console and instrument cluster. Luckily I didn't use a lot of glue to install those pieces and was able to remove the center console and instrument cluster with a little persuasion and time without damaging anything. After I got those pieces out of the cockpit, I was able to get a better idea on if this project was doable.
I still had to come up with a way to run the power wires to the rear of the fuselage which was a problem, because again, the front section of the fuse under the floor is totally sealed off. I came up with an idea of possibly being able to drill a small hole through the wall that separates the battery compartment under the floor to the front section of the fuse. No way a power drill was gonna be able to do the drilling though because there isn't a lot of room to work with inside the fuse.
I then thought that perhaps my Dremel with a drill bit MIGHT fit inside the battery compartment. I tried it and it worked! Next, I had to build up the nerve to start cutting 3 rectangular holes into the fuselage. After I got the 3 holes in the fuse cut, I cut off the single servo connector for the lights so I could thread the power wires through the hole that I drilled in the battery compartment wall. After I was able to thread the power wires through the small hole, I then soldered the servo connector back onto the power wires from the cabin side of the battery compartment wall.
From that point, I taped a strong magnet onto the servo connector, used another magnet that's attached to a telescoping rod to connect to the servo connector and the other magnet and snaked the power wires under the floor of the fuselage and up to where I have the receiver mounted on the mechanics. Pretty much all of the hard stuff is done at that point which resulted in an extremely clean layout with the power wires being TOTALLY hidden under the floor of the fuse's body.
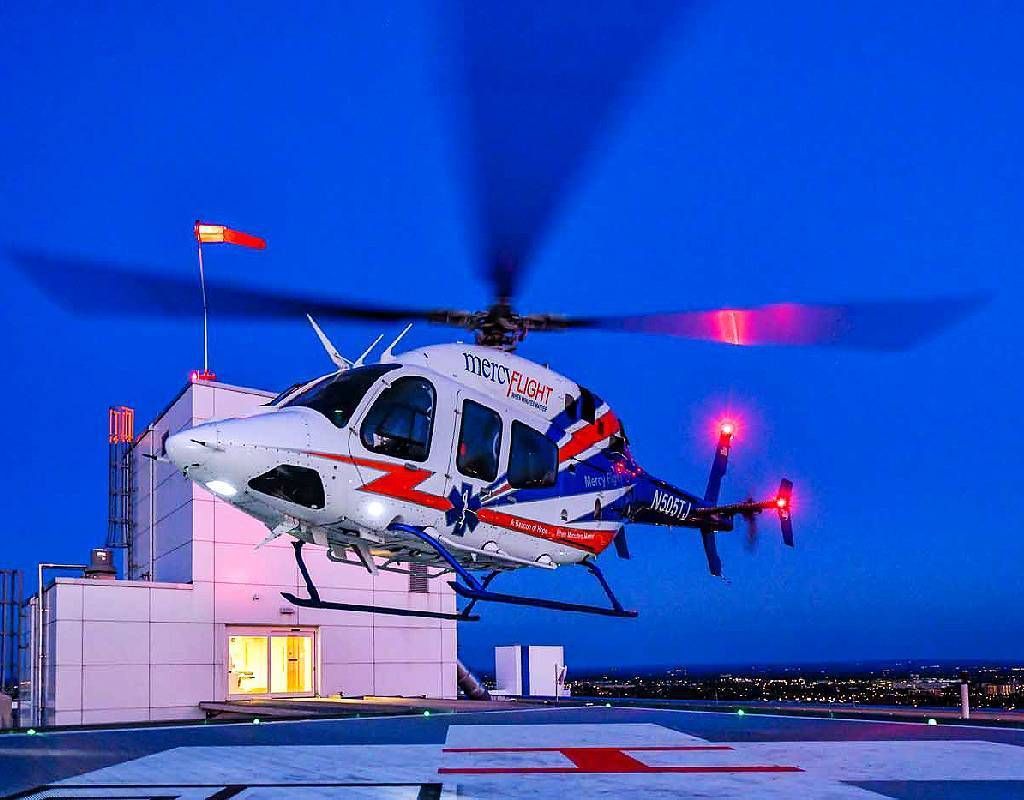
I think everything turned out pretty well and the lights are plenty bright. These photos were taken in a totally dark room. As you can see, the lights light up the room pretty well! The lights are running on 6 volts of power. For reference, the last photo is of one of the real Mercy Flight helis from which the livery on my heli is modeled after.
5 Comments
great idea and well executed
I love the MacGyver approach!!
Well done looks great!
Nice job!
Looks amazing! I recently bought a 429 in the heli alps livery. But I was wondering, did you just glue the lights into place or how did you secure them?
Thank you!