

Roban Bell 429 (700)
 Massimo C.
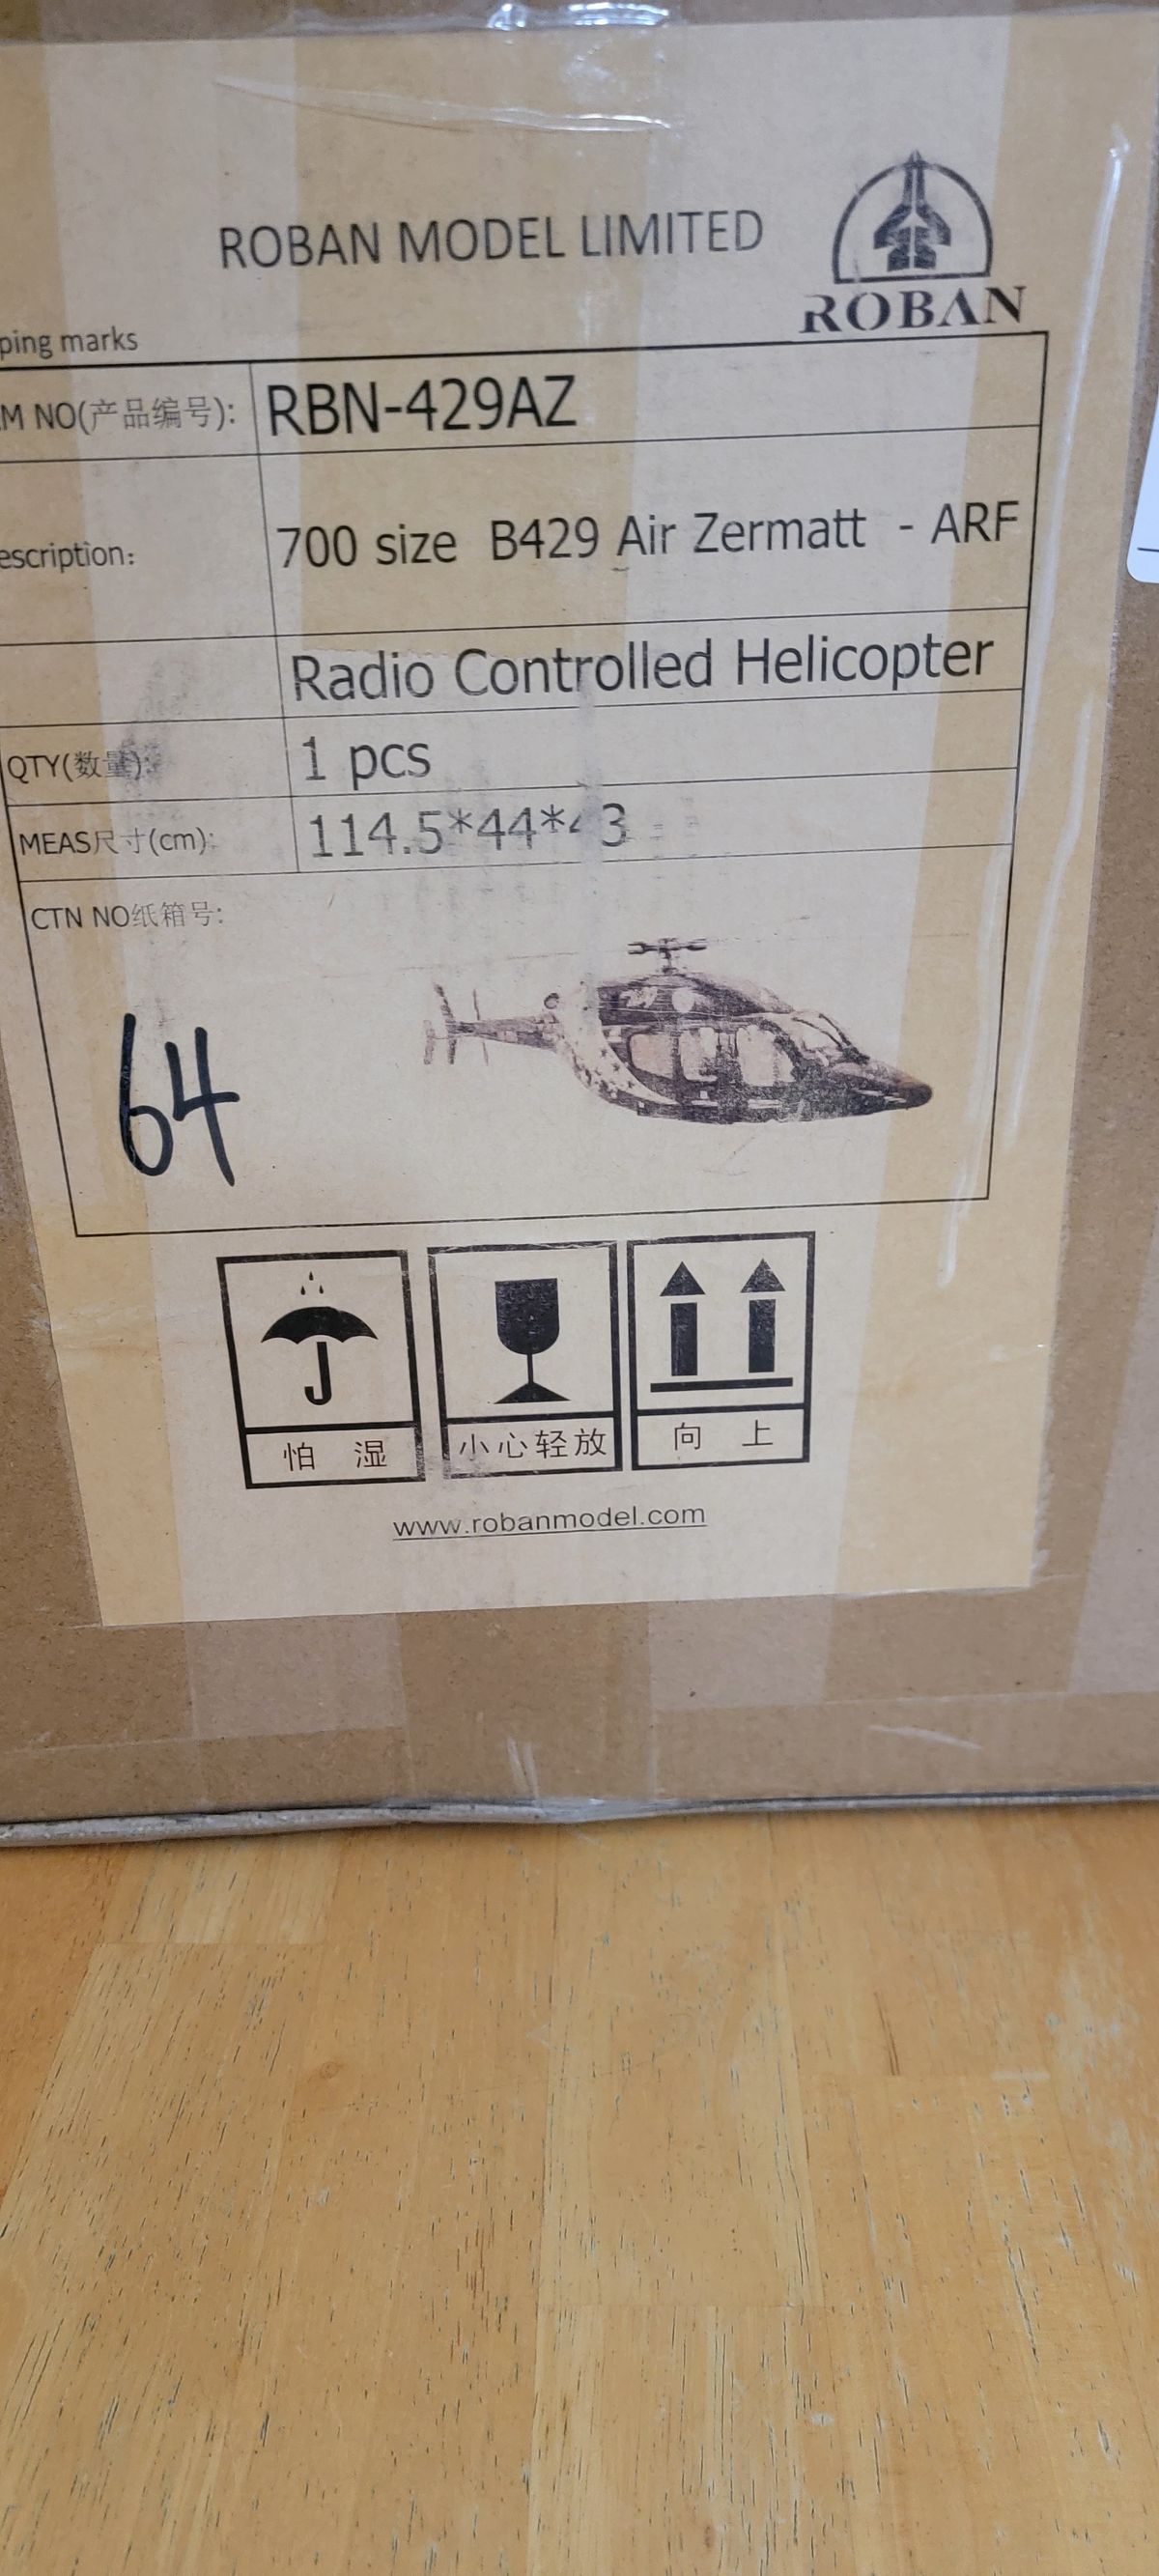
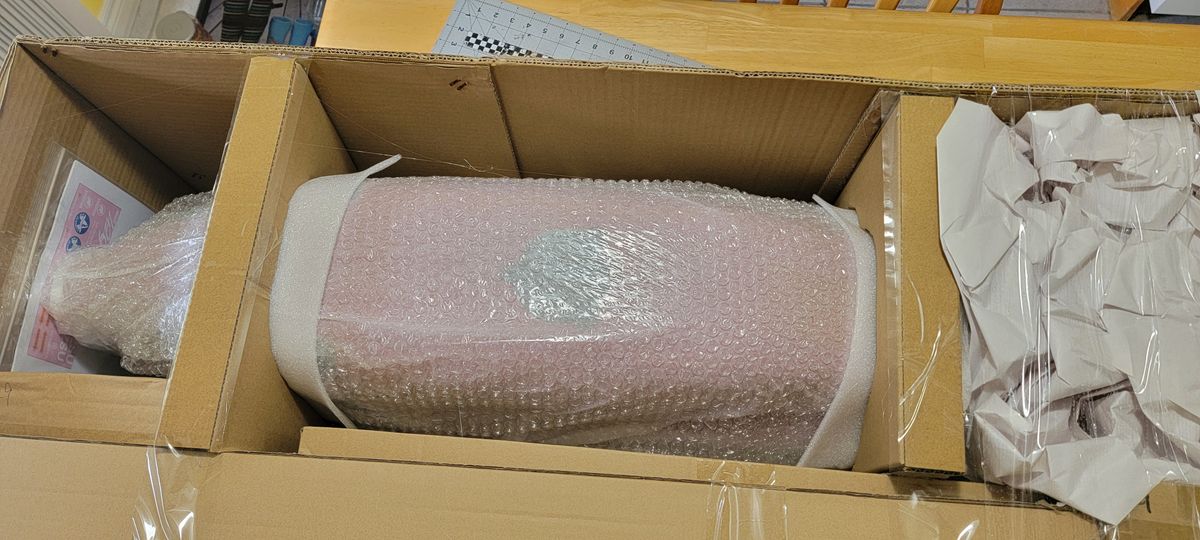
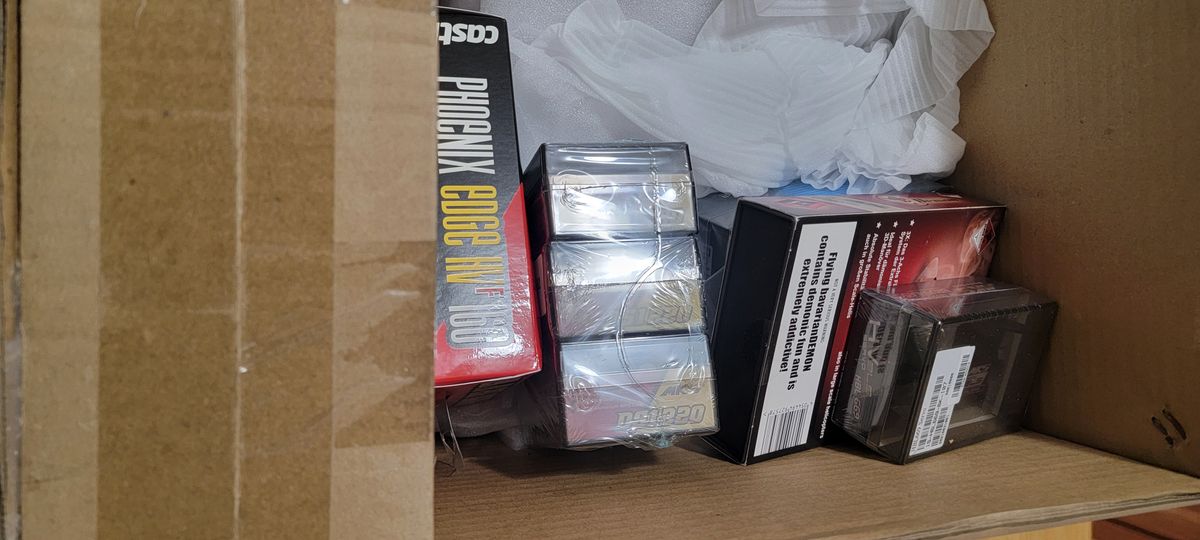
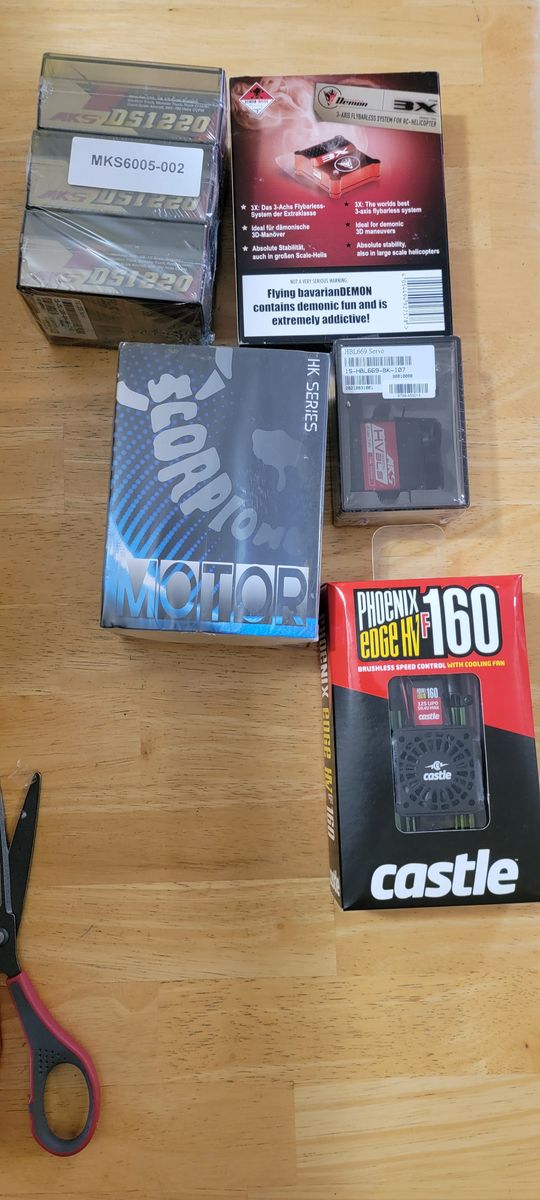
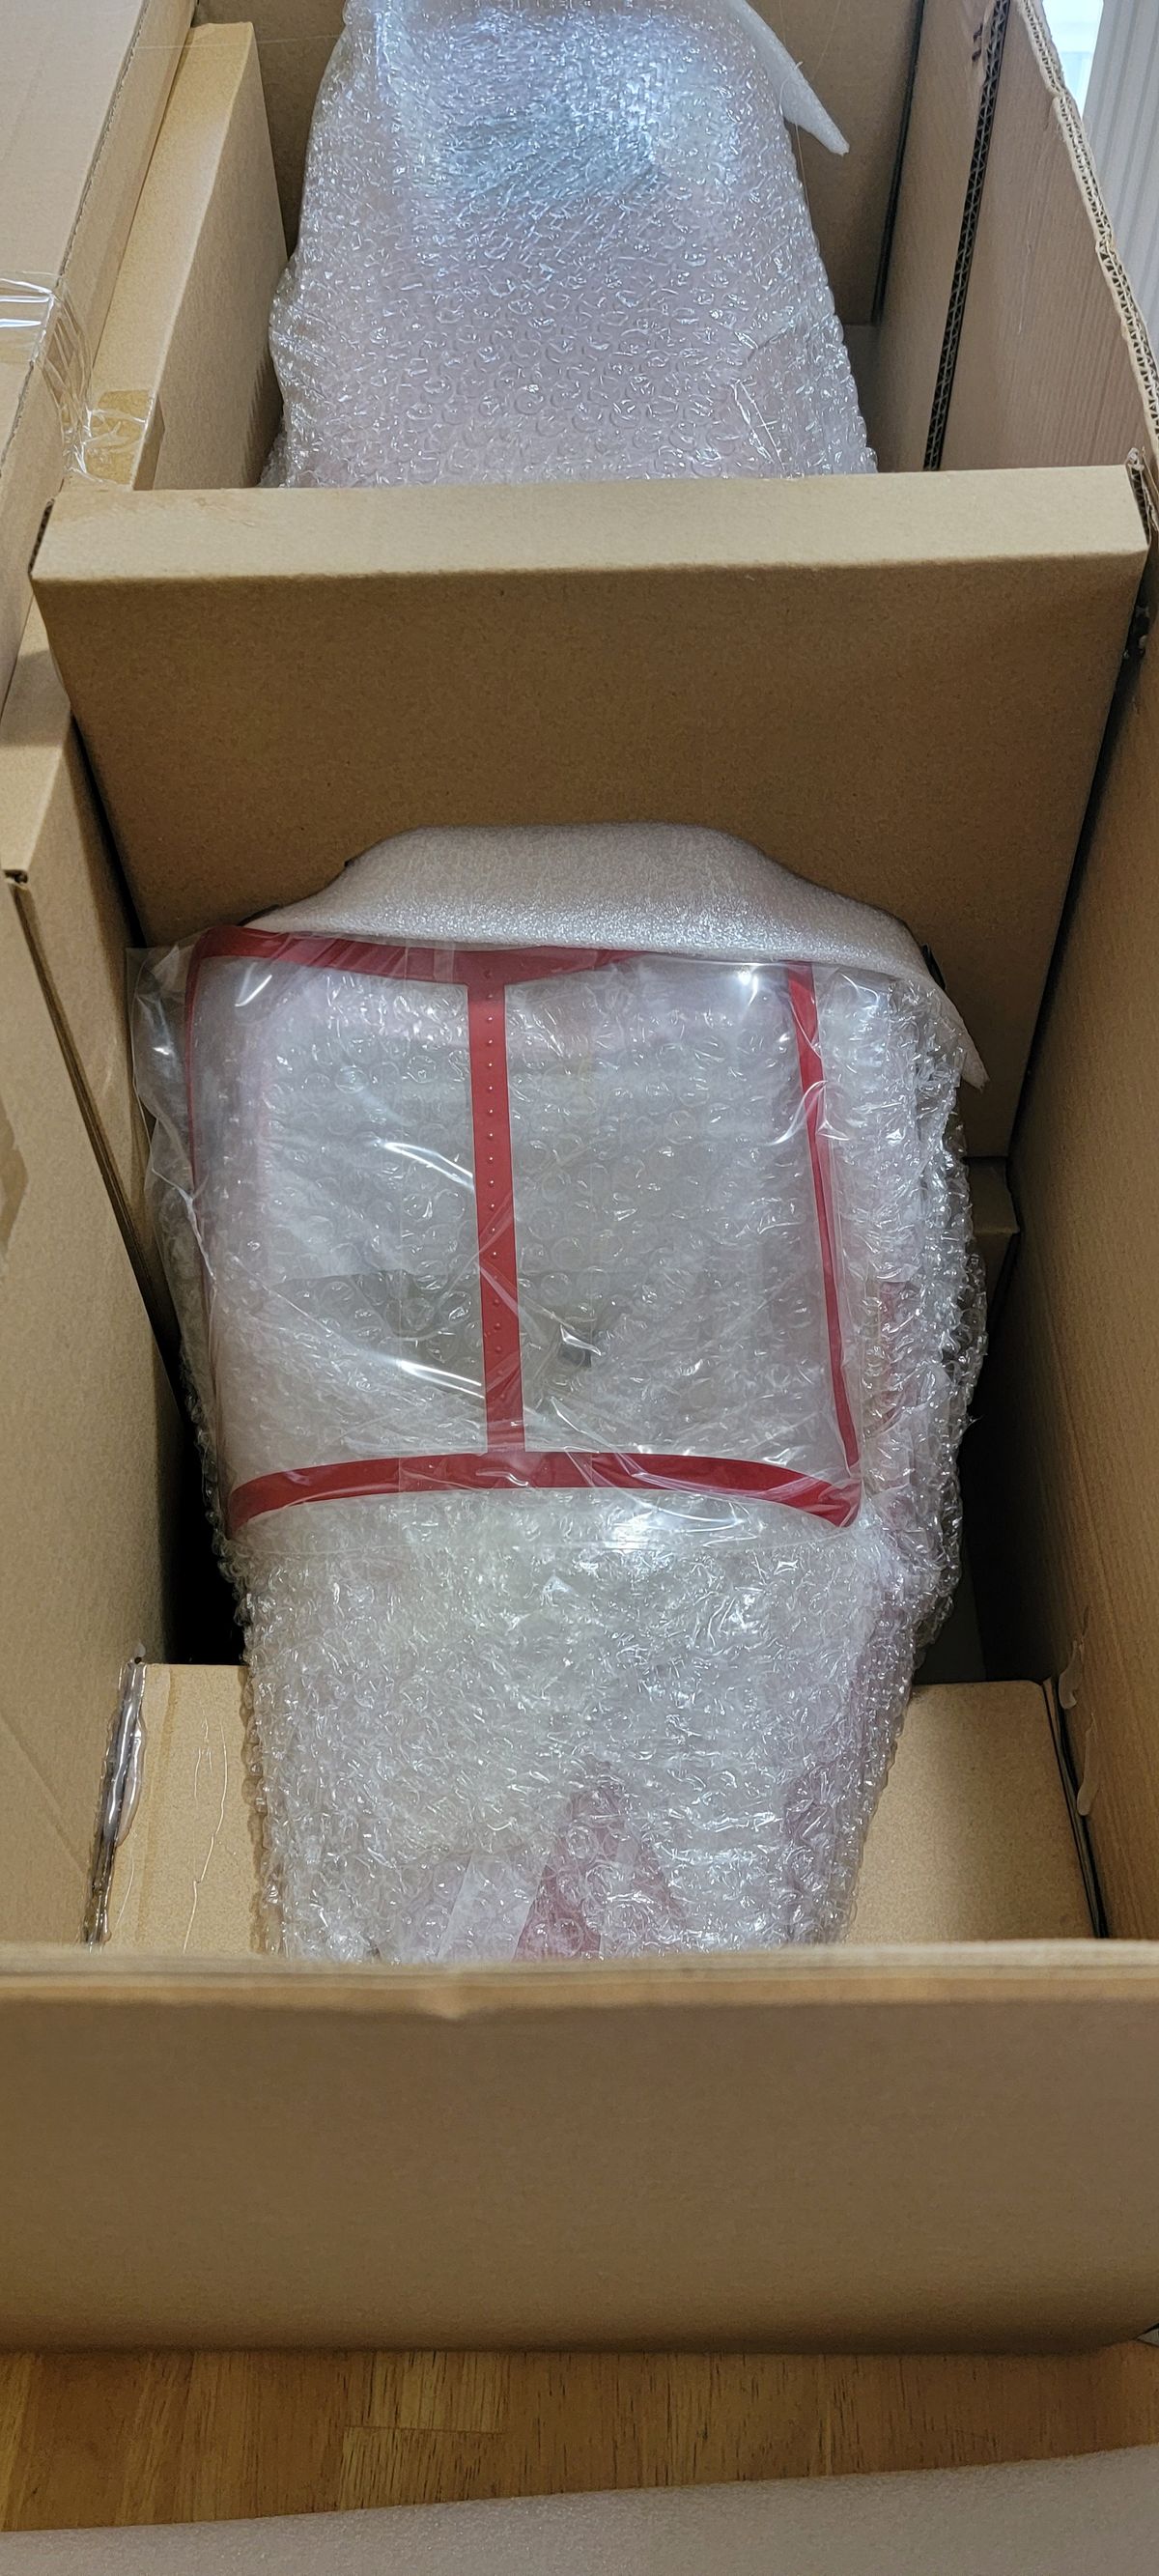
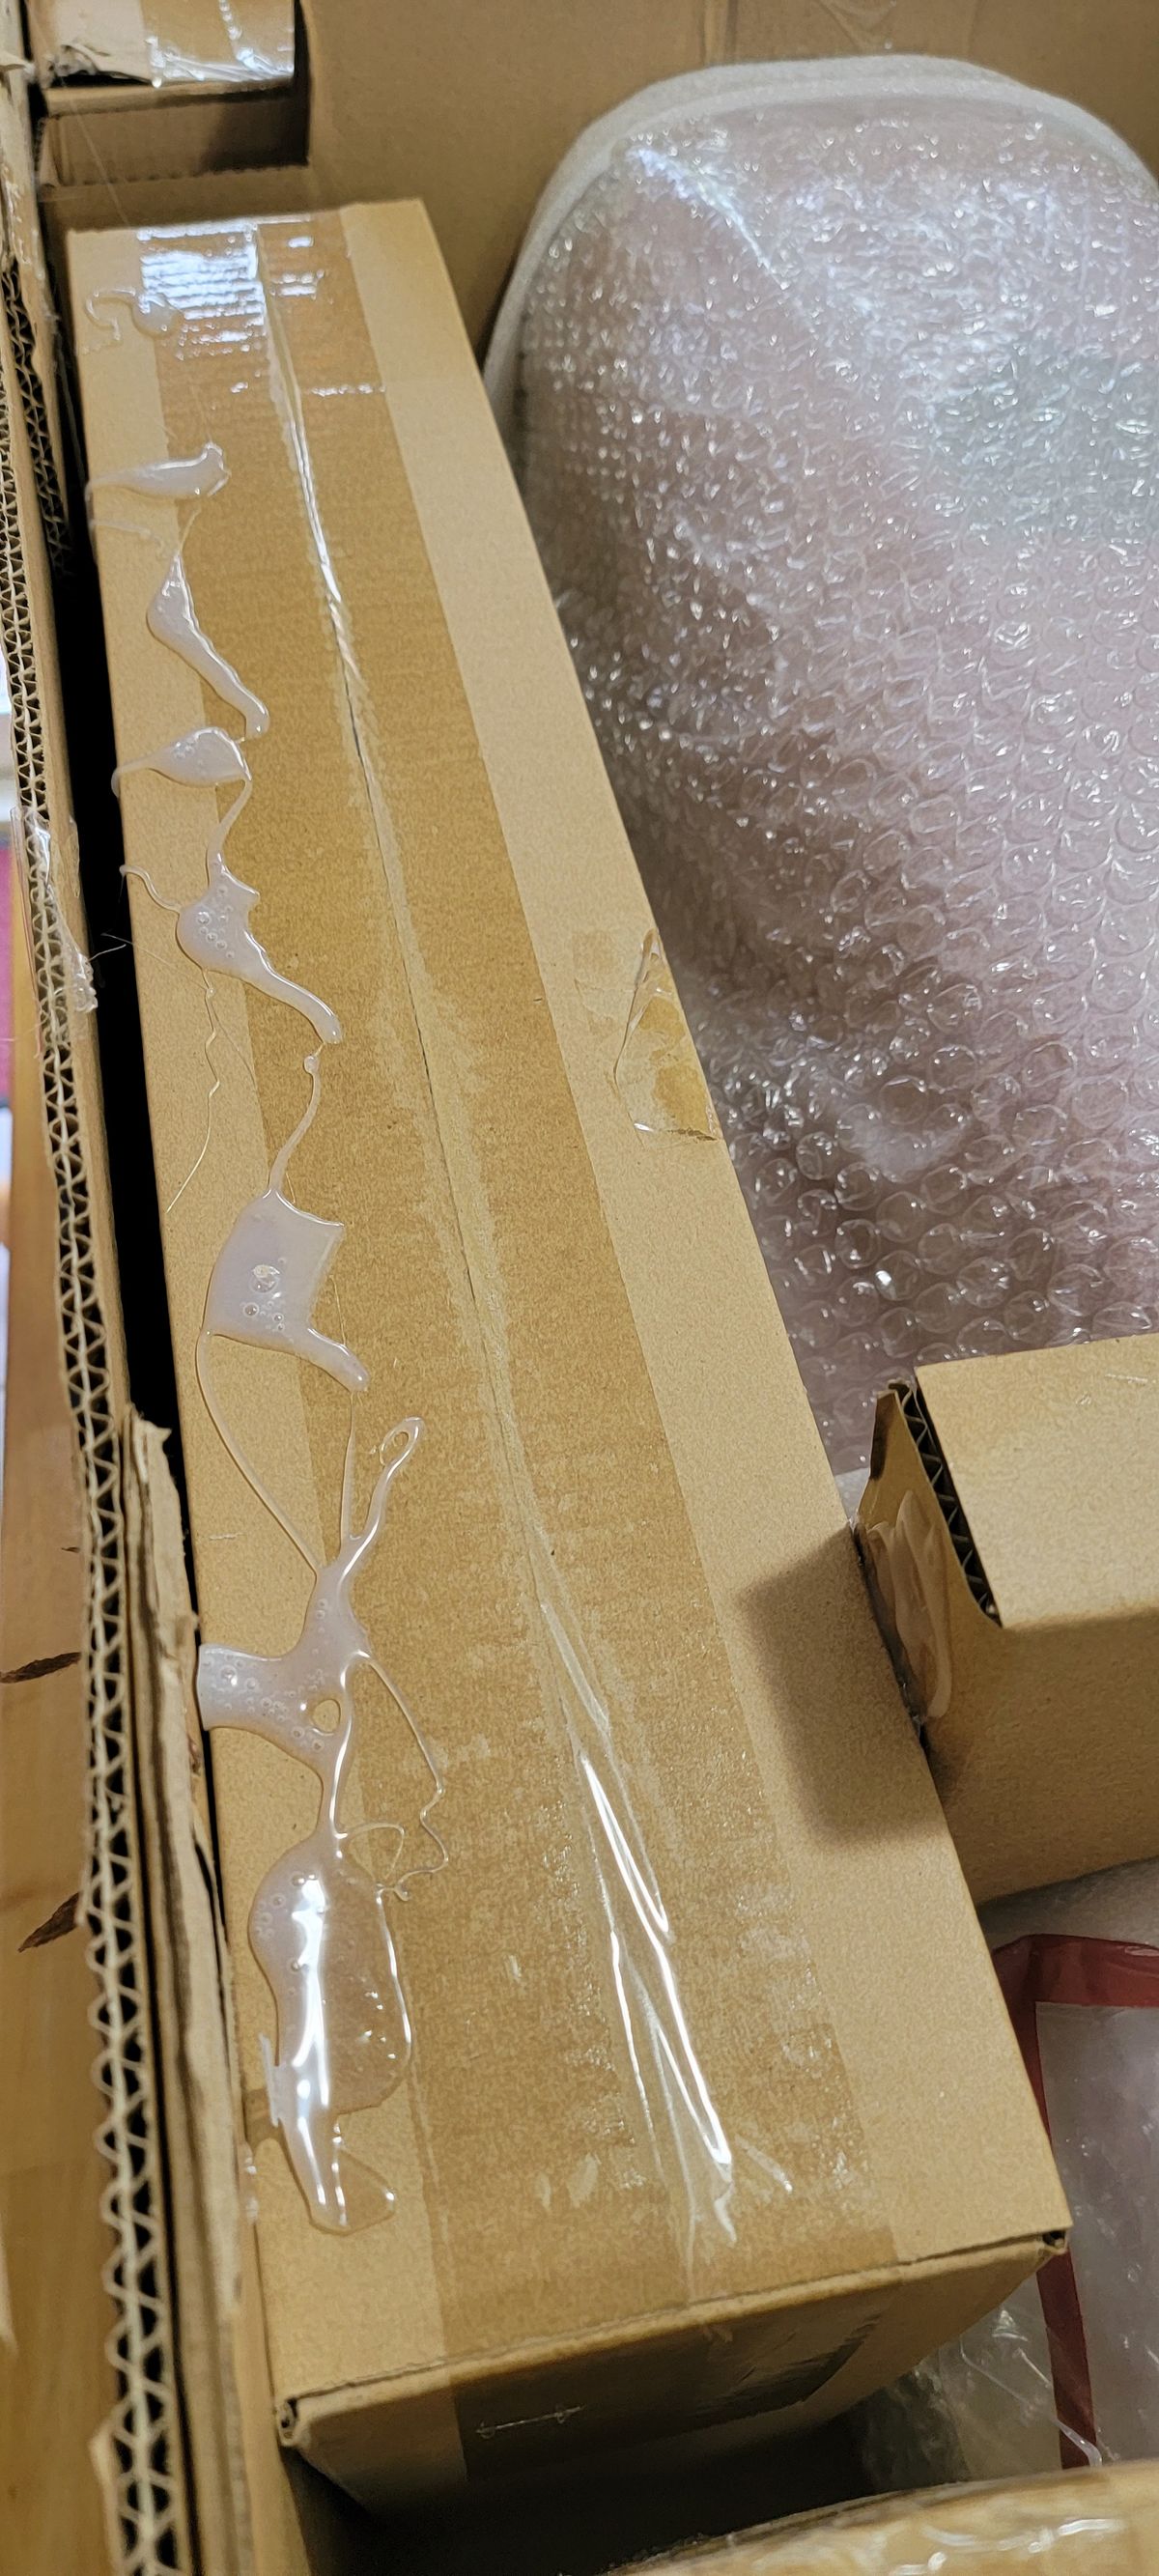
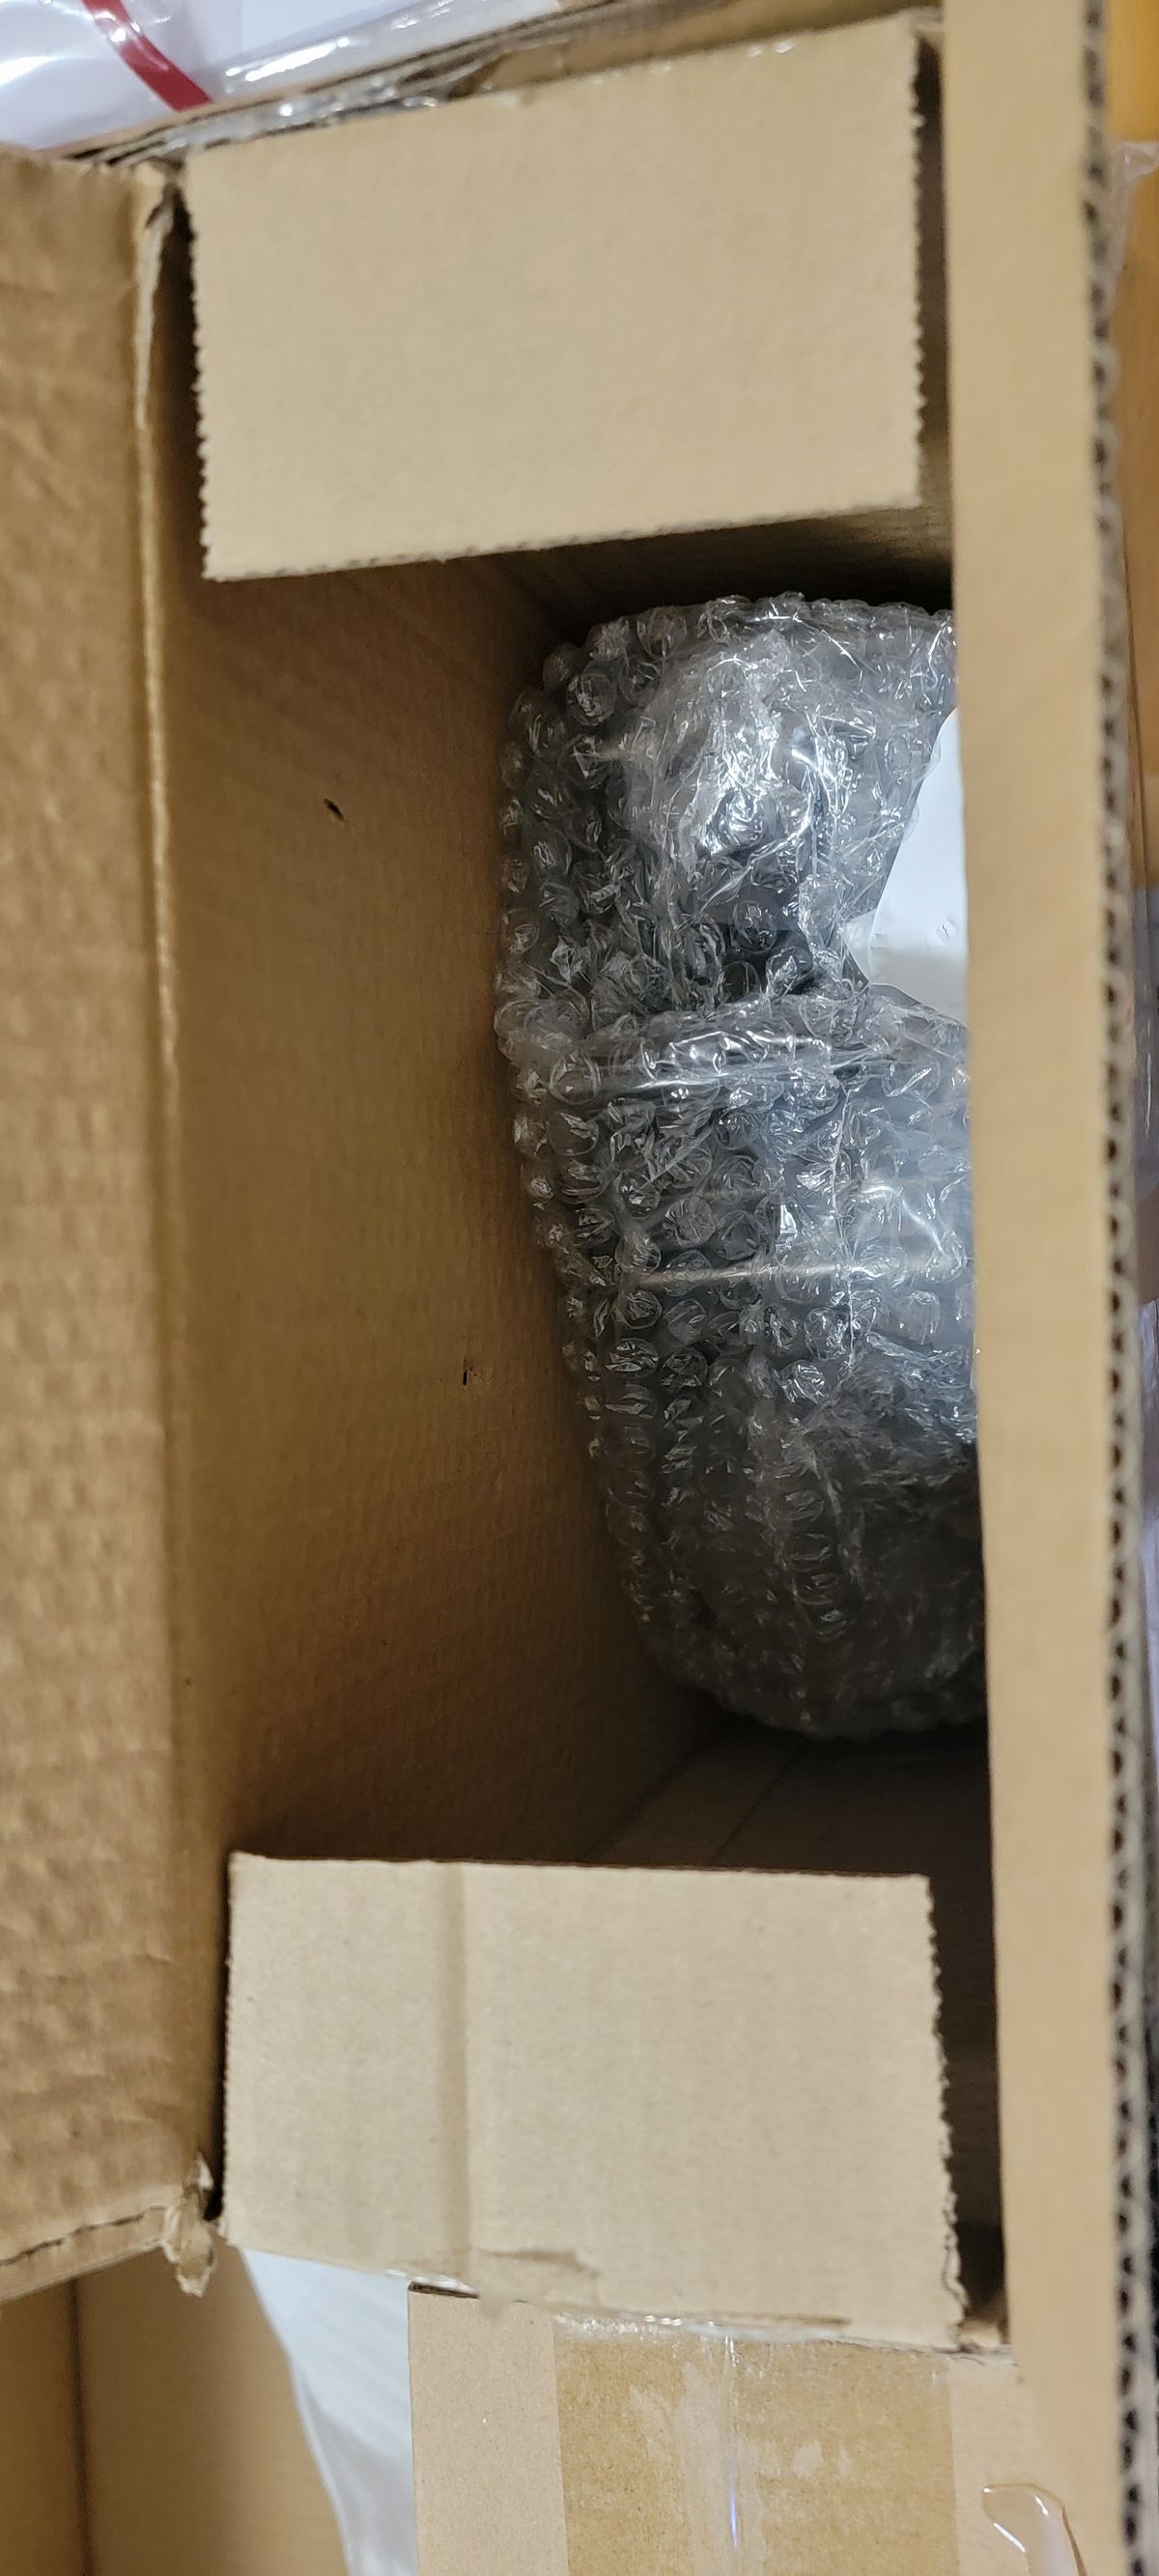
Unboxing
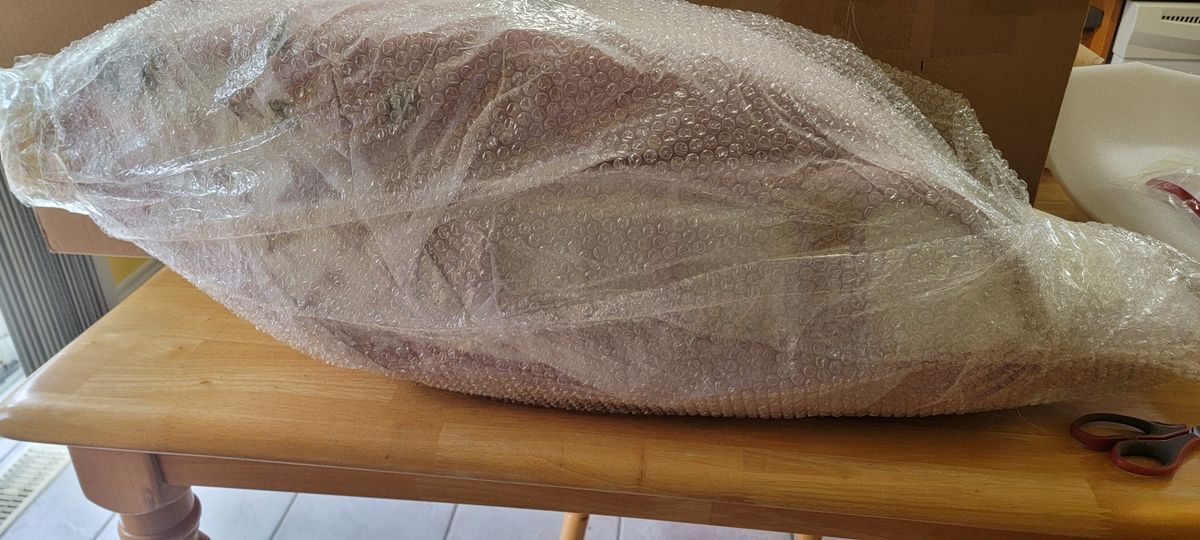
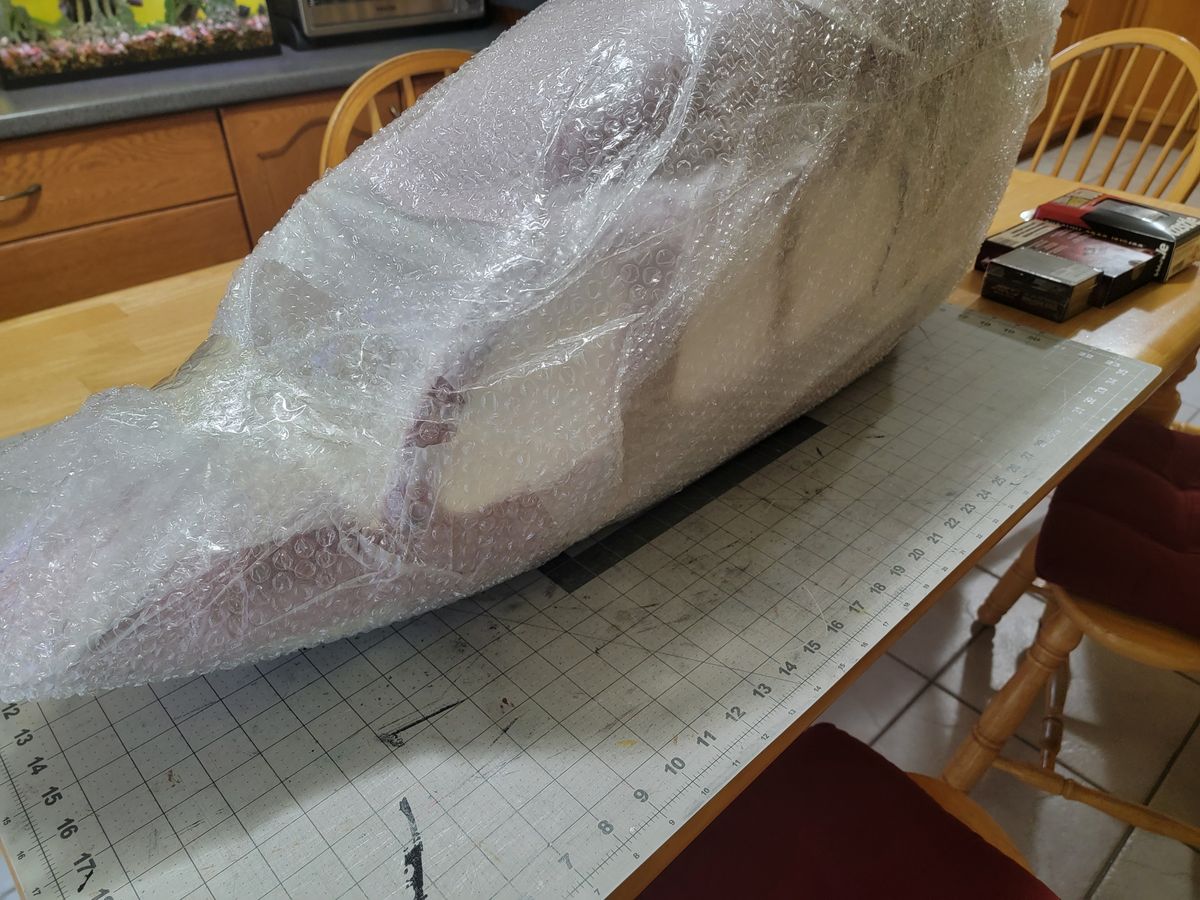
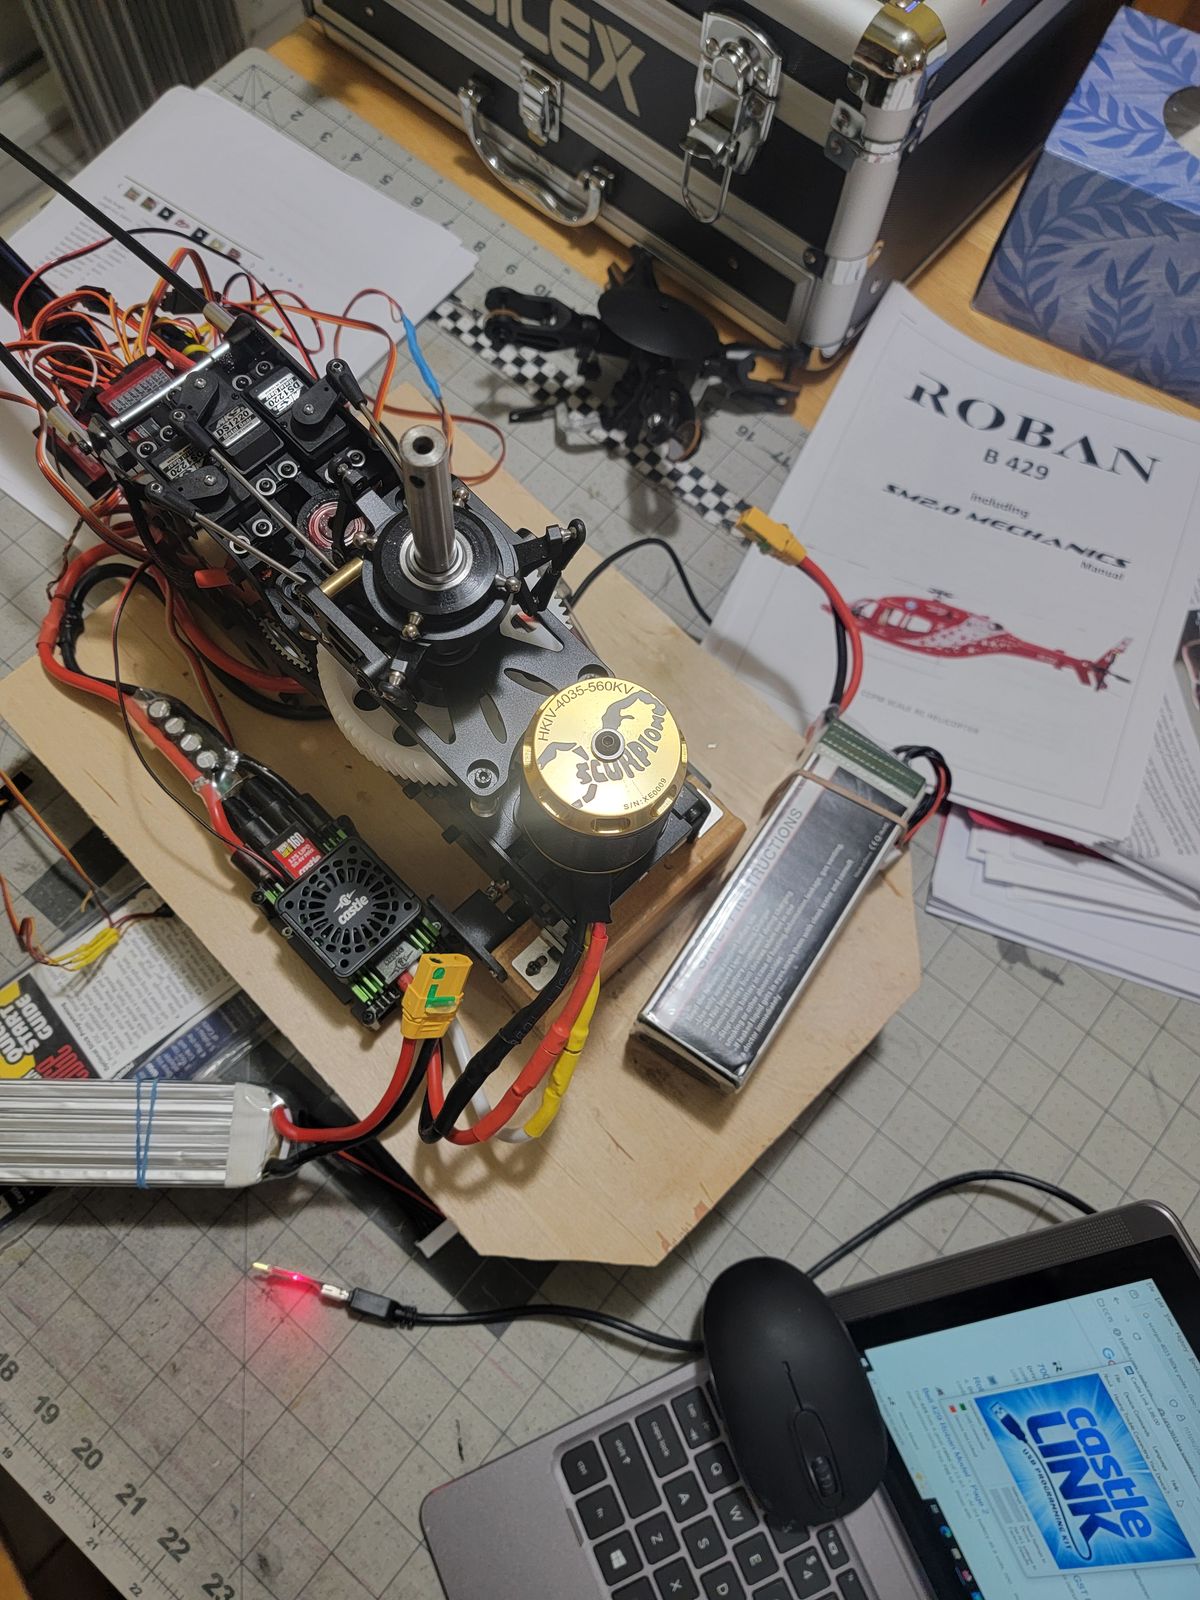
Purchased from Motion RC, The Roban packaging is awesome. All pieces well protected and boxes hot glued to avoid any movements.
The Mechanics
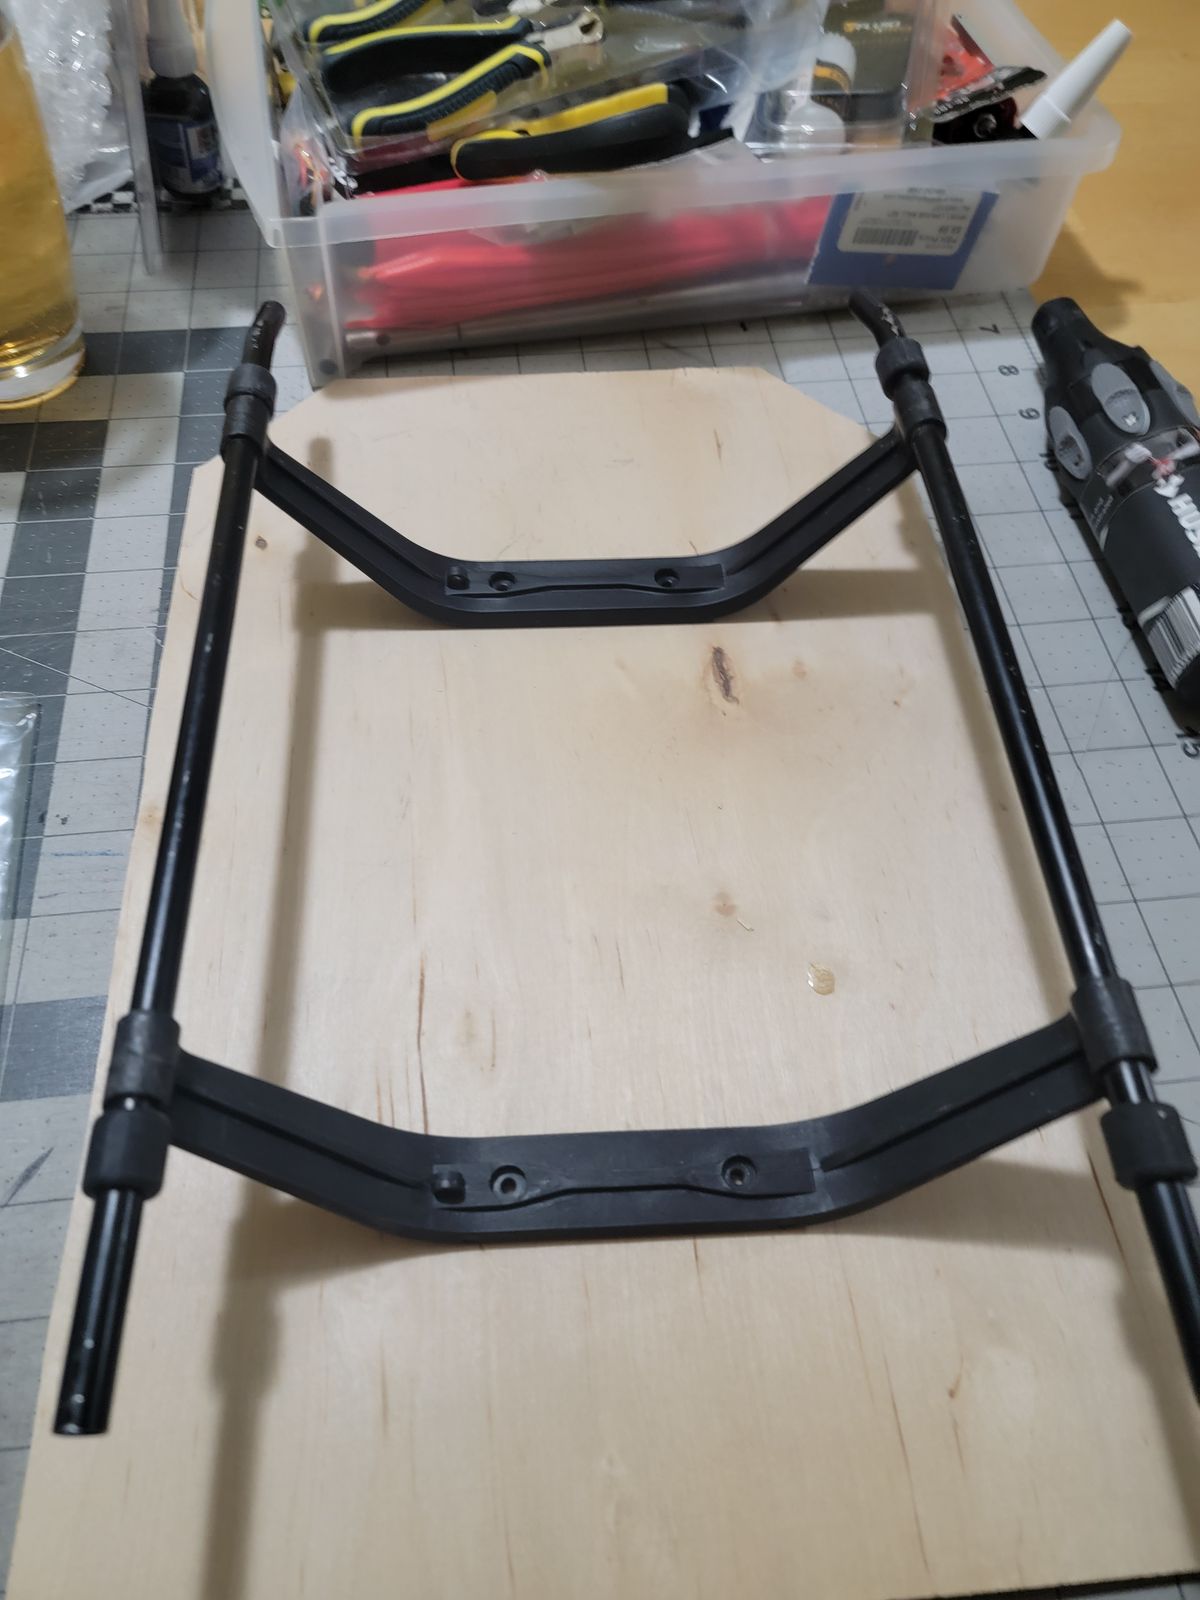
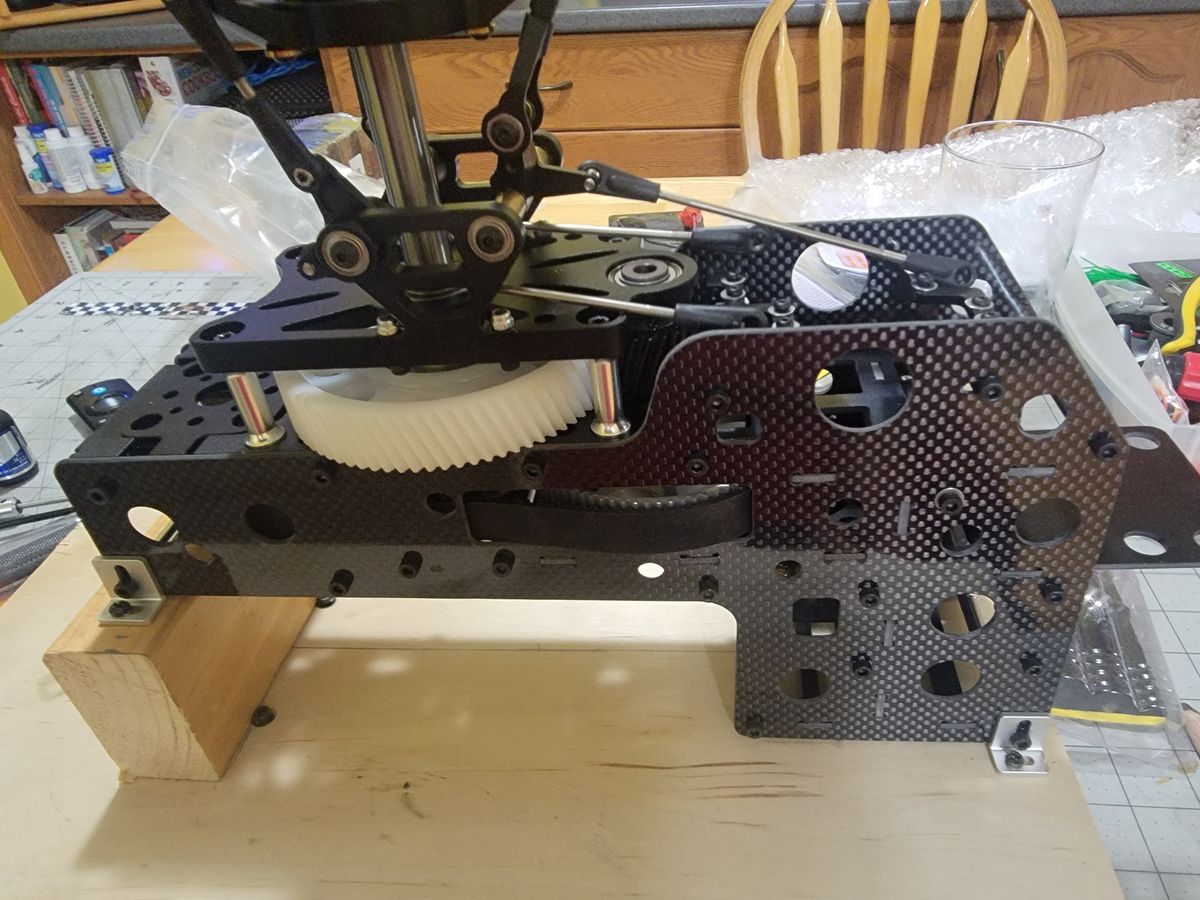
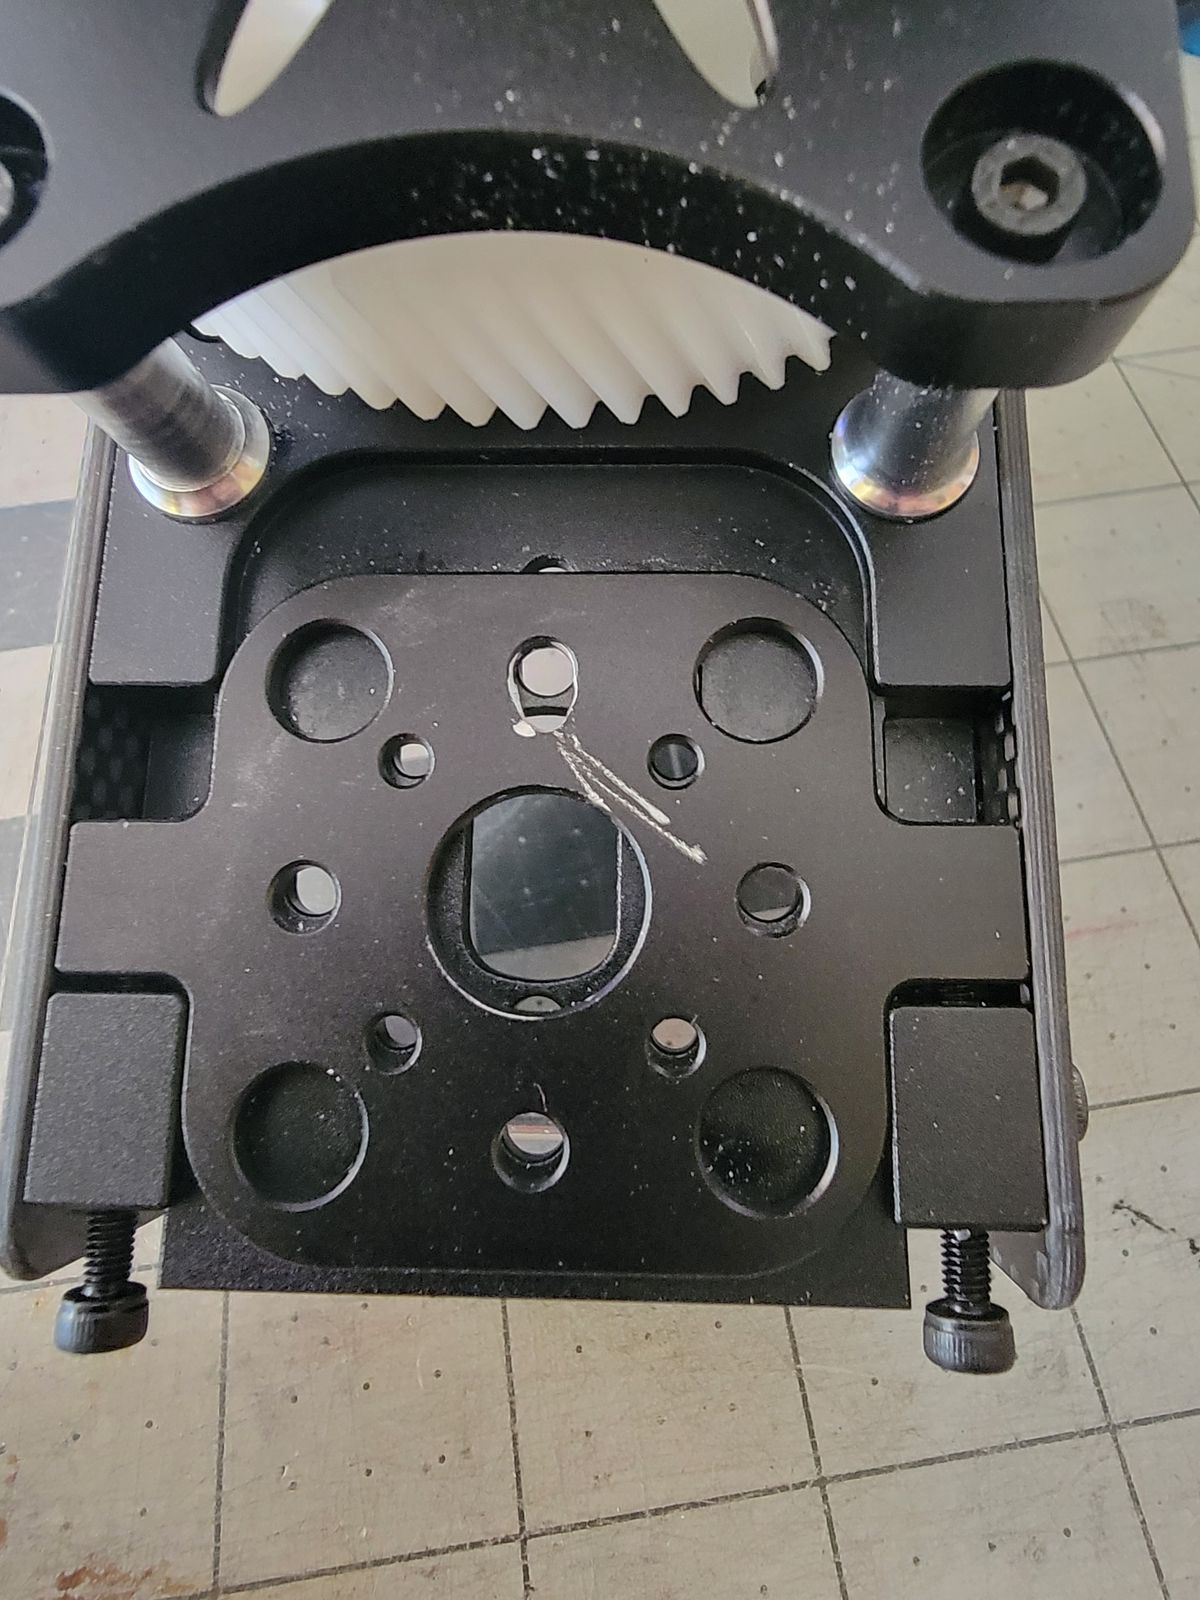
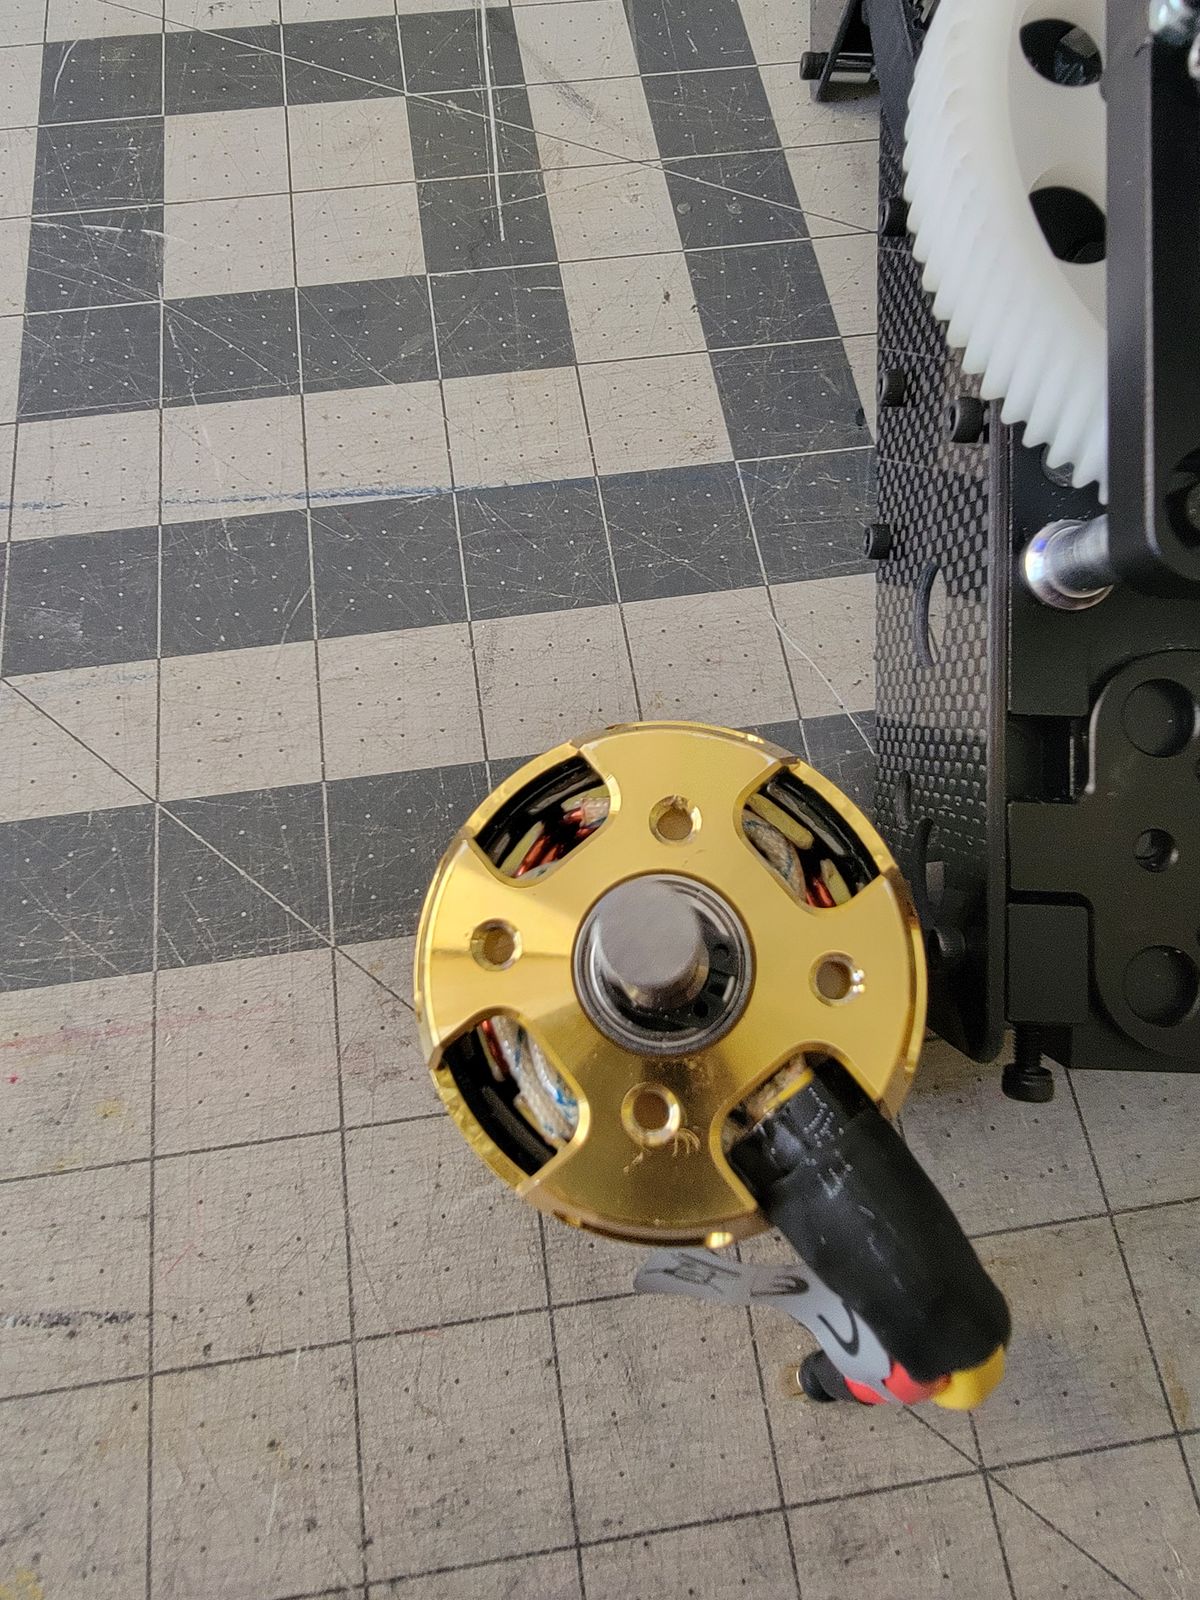
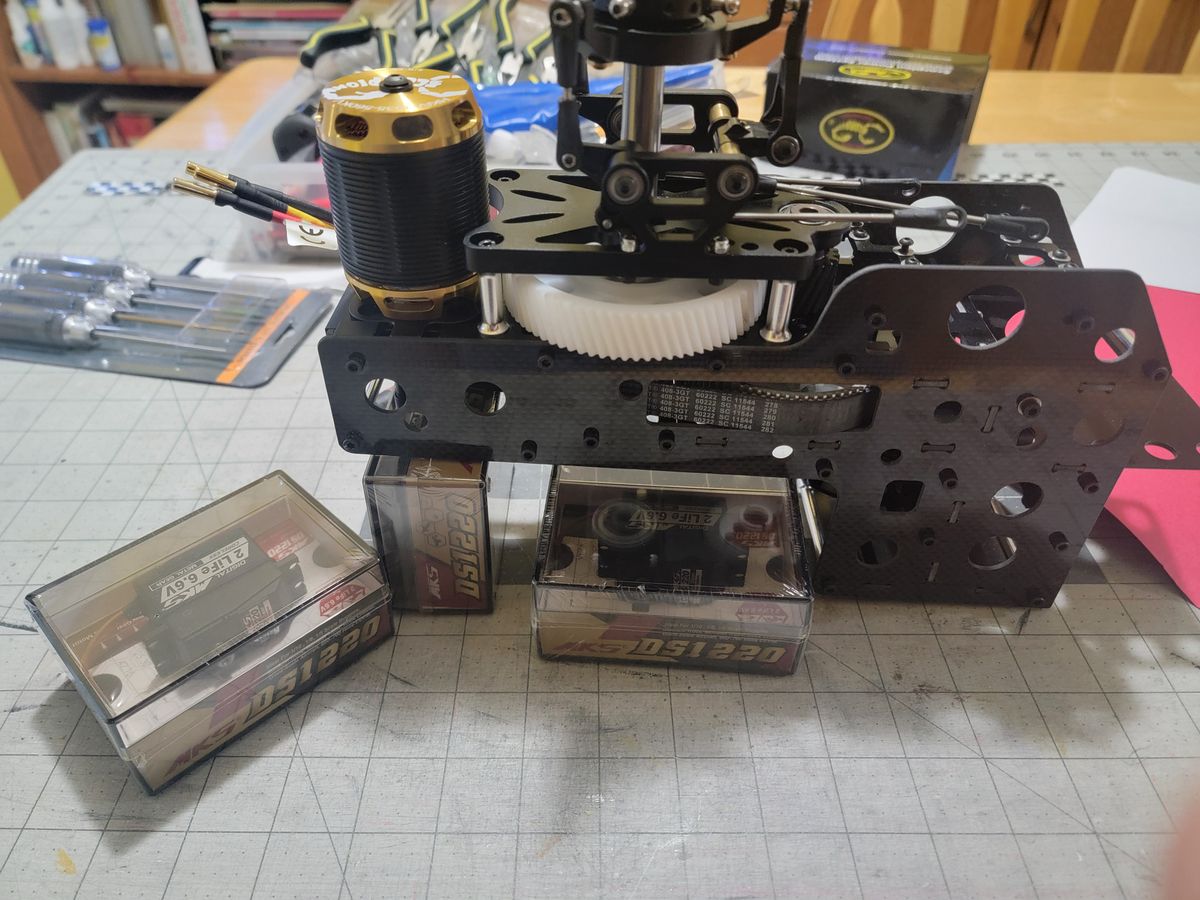
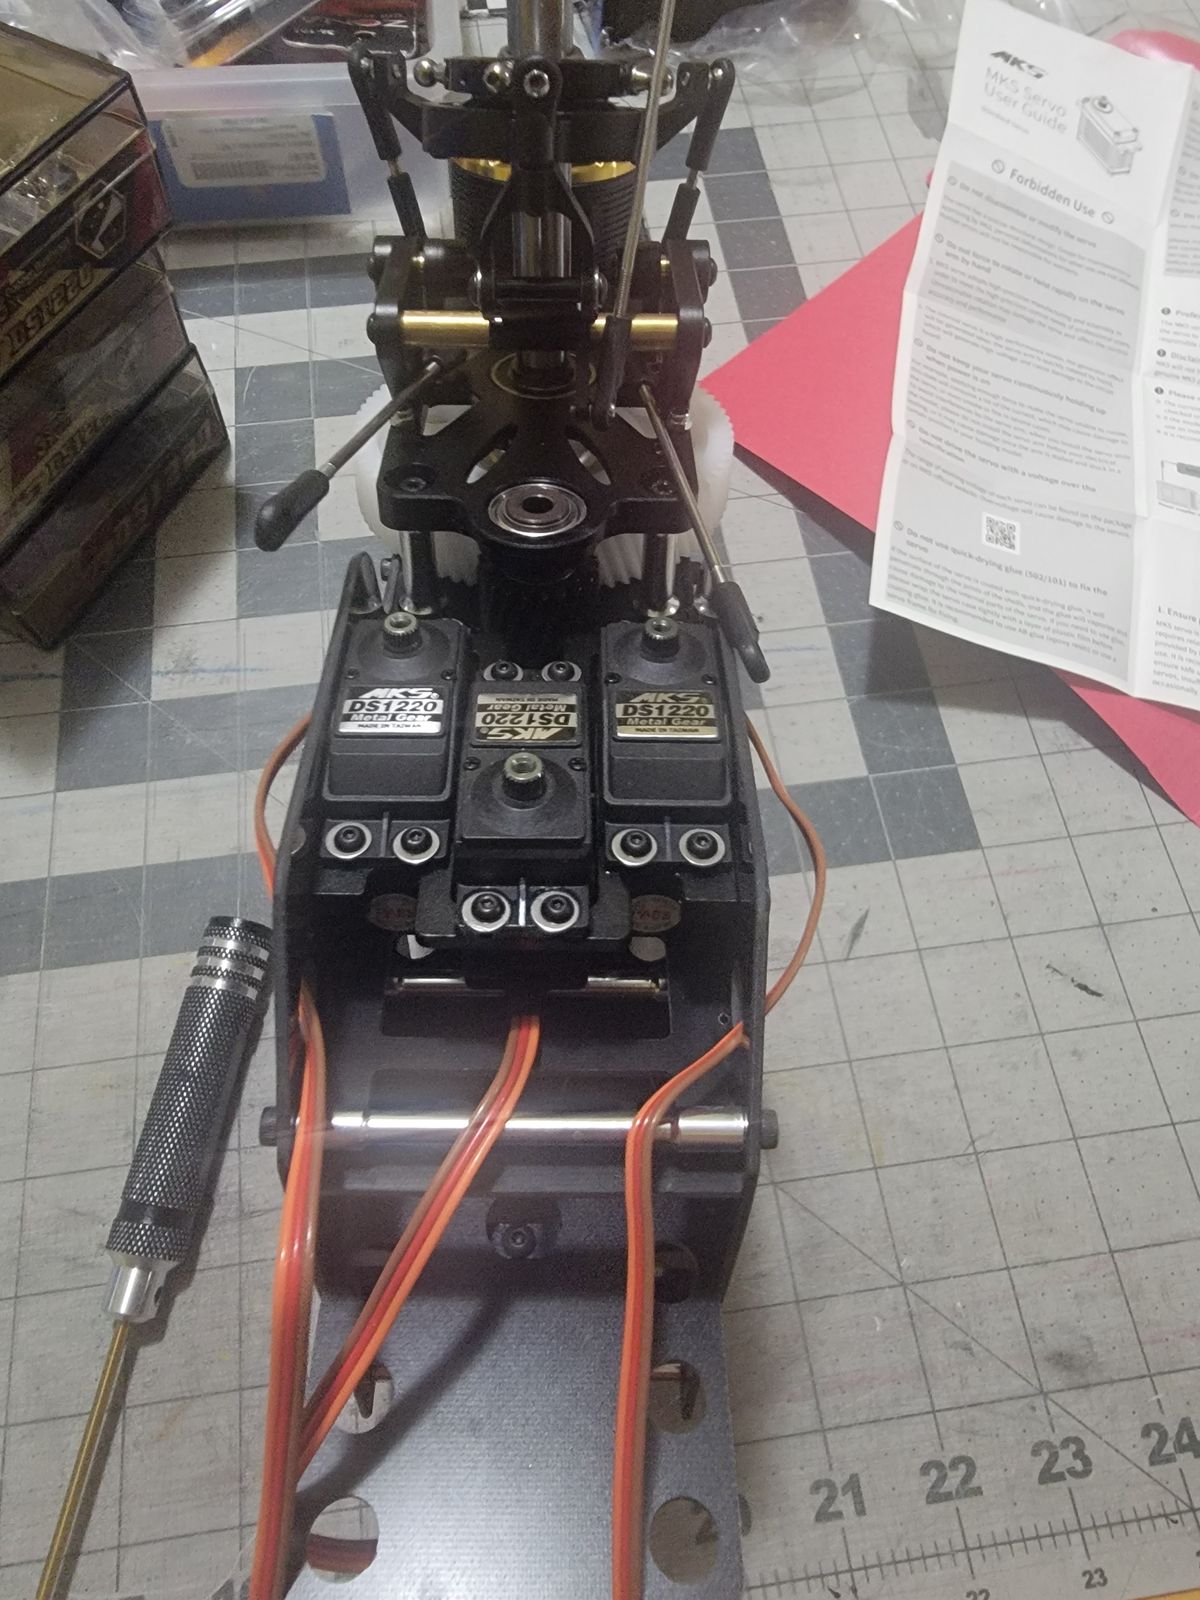
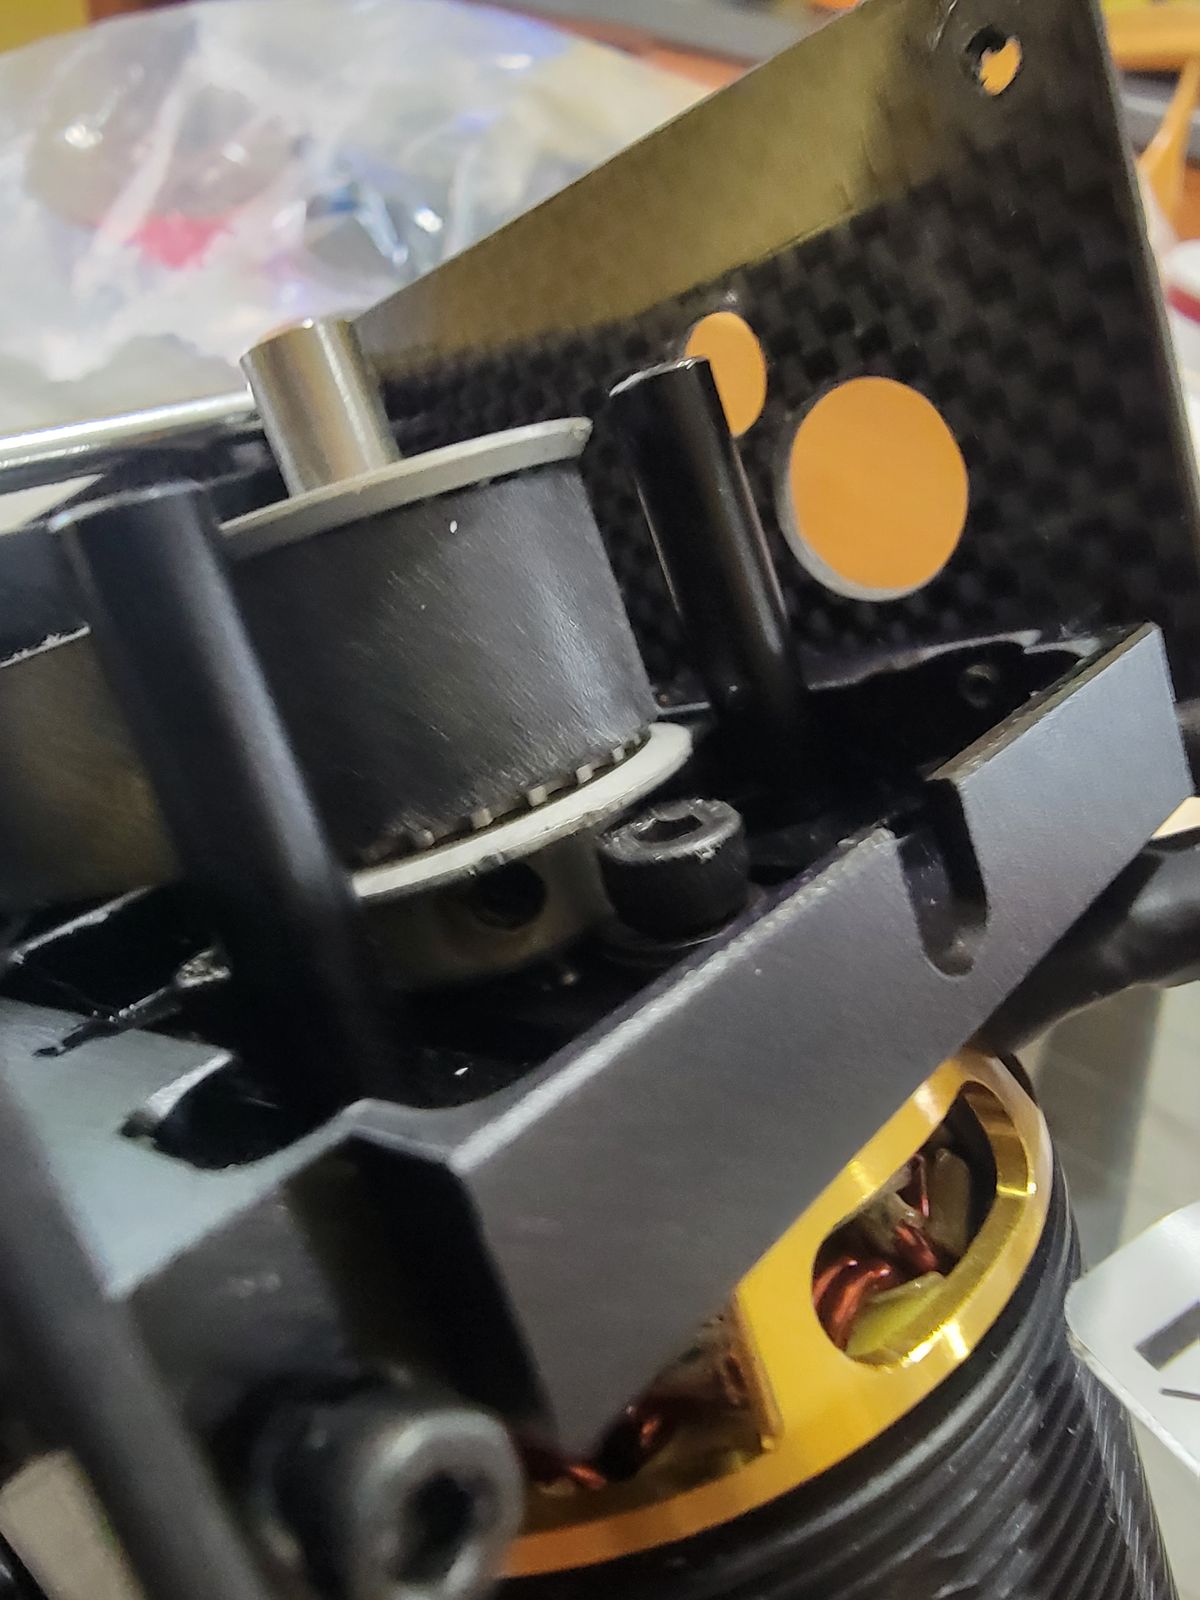
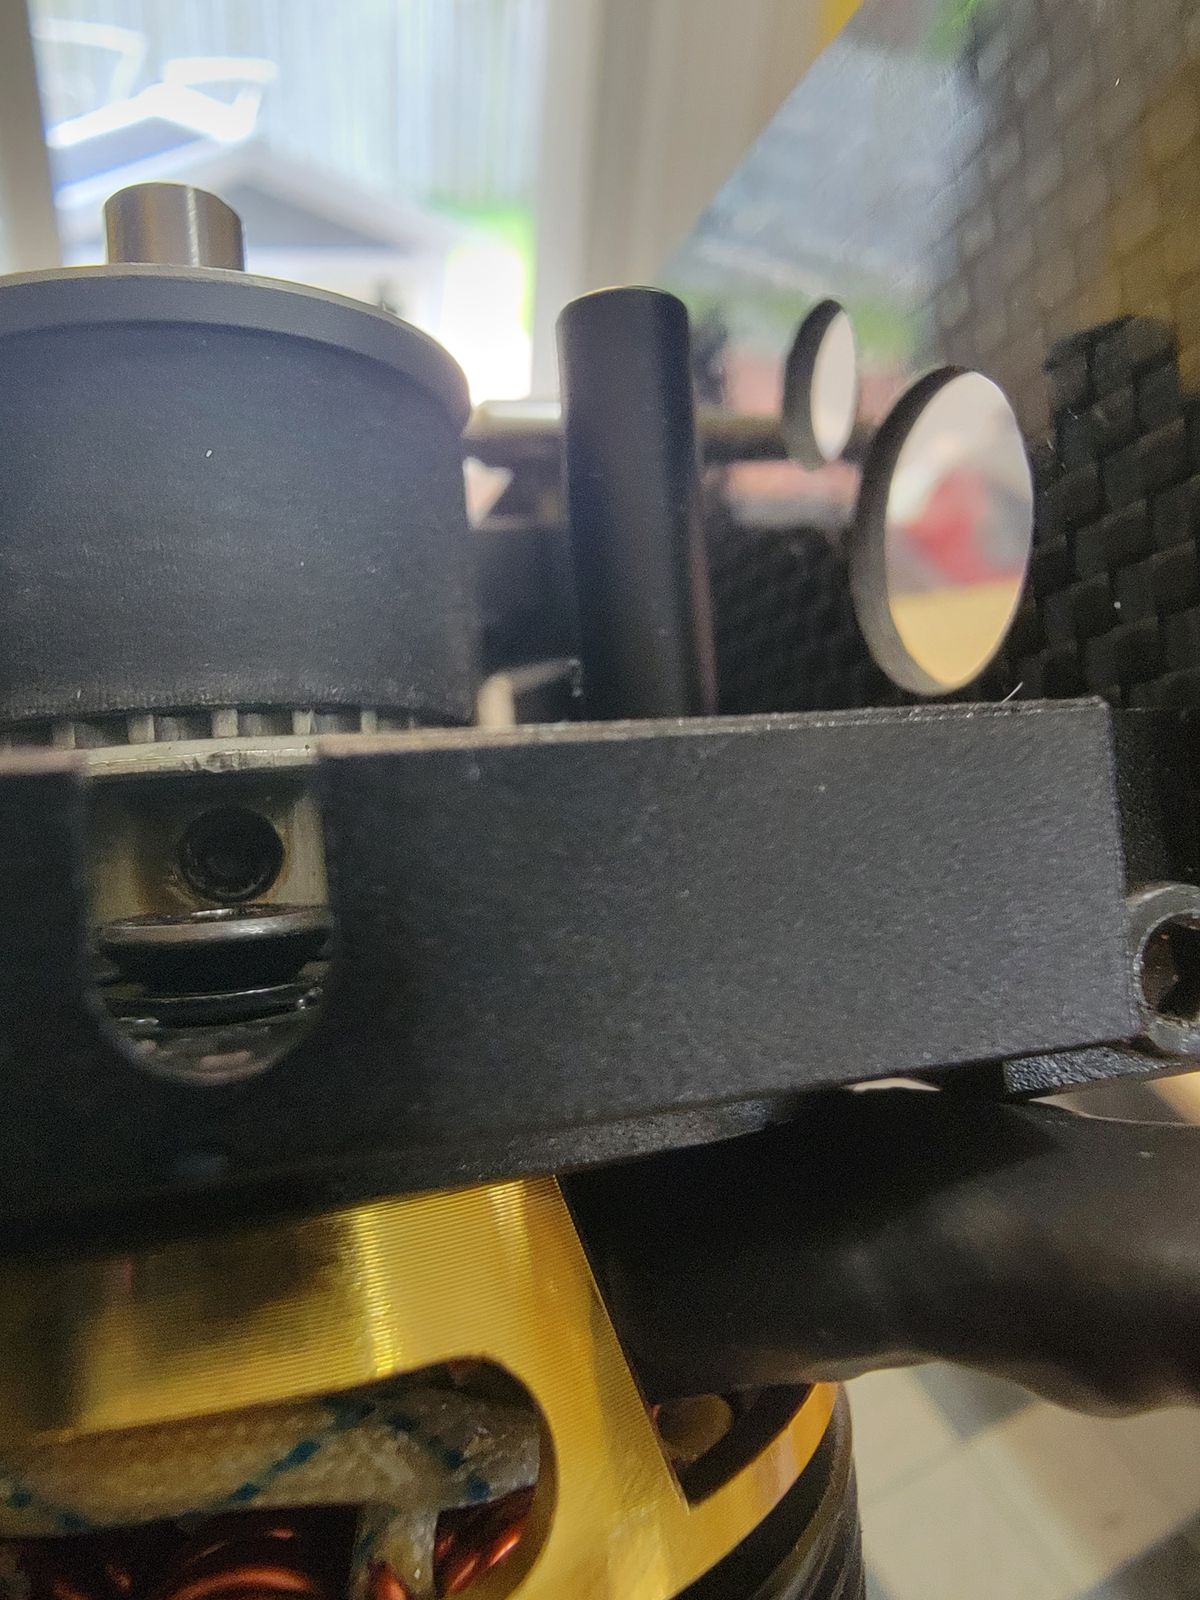
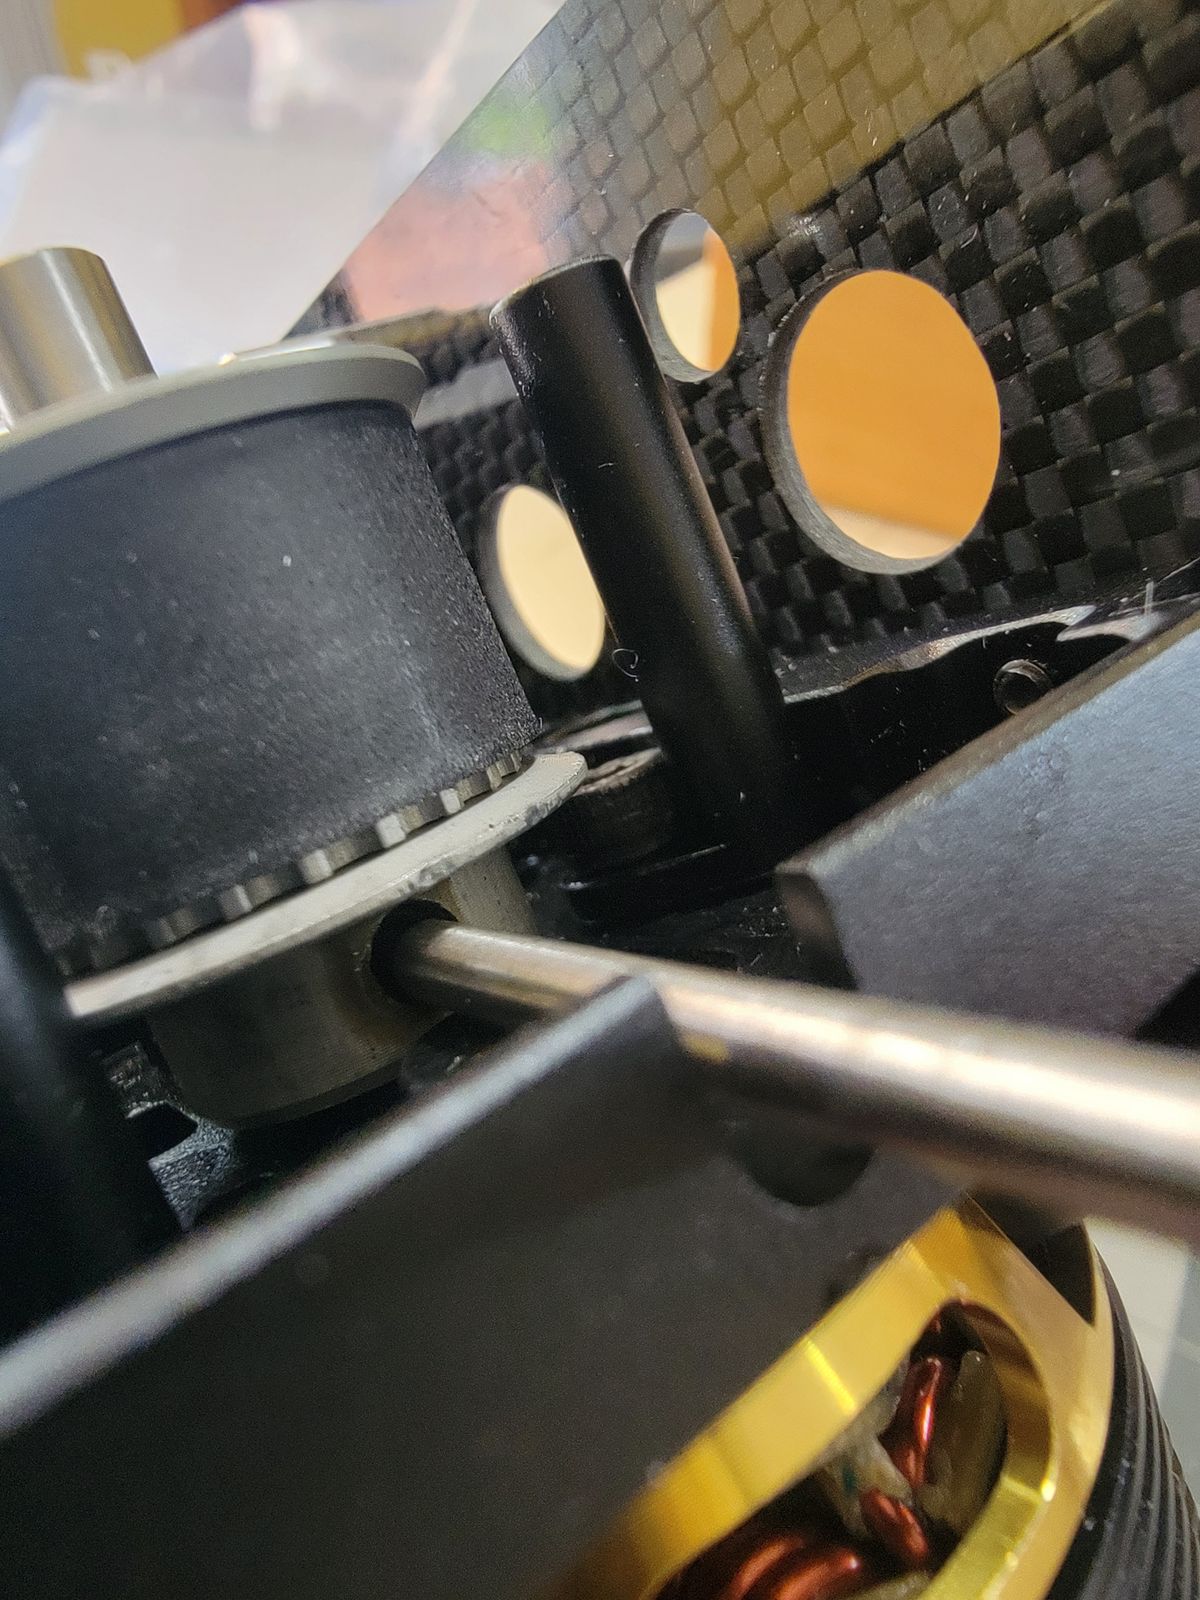
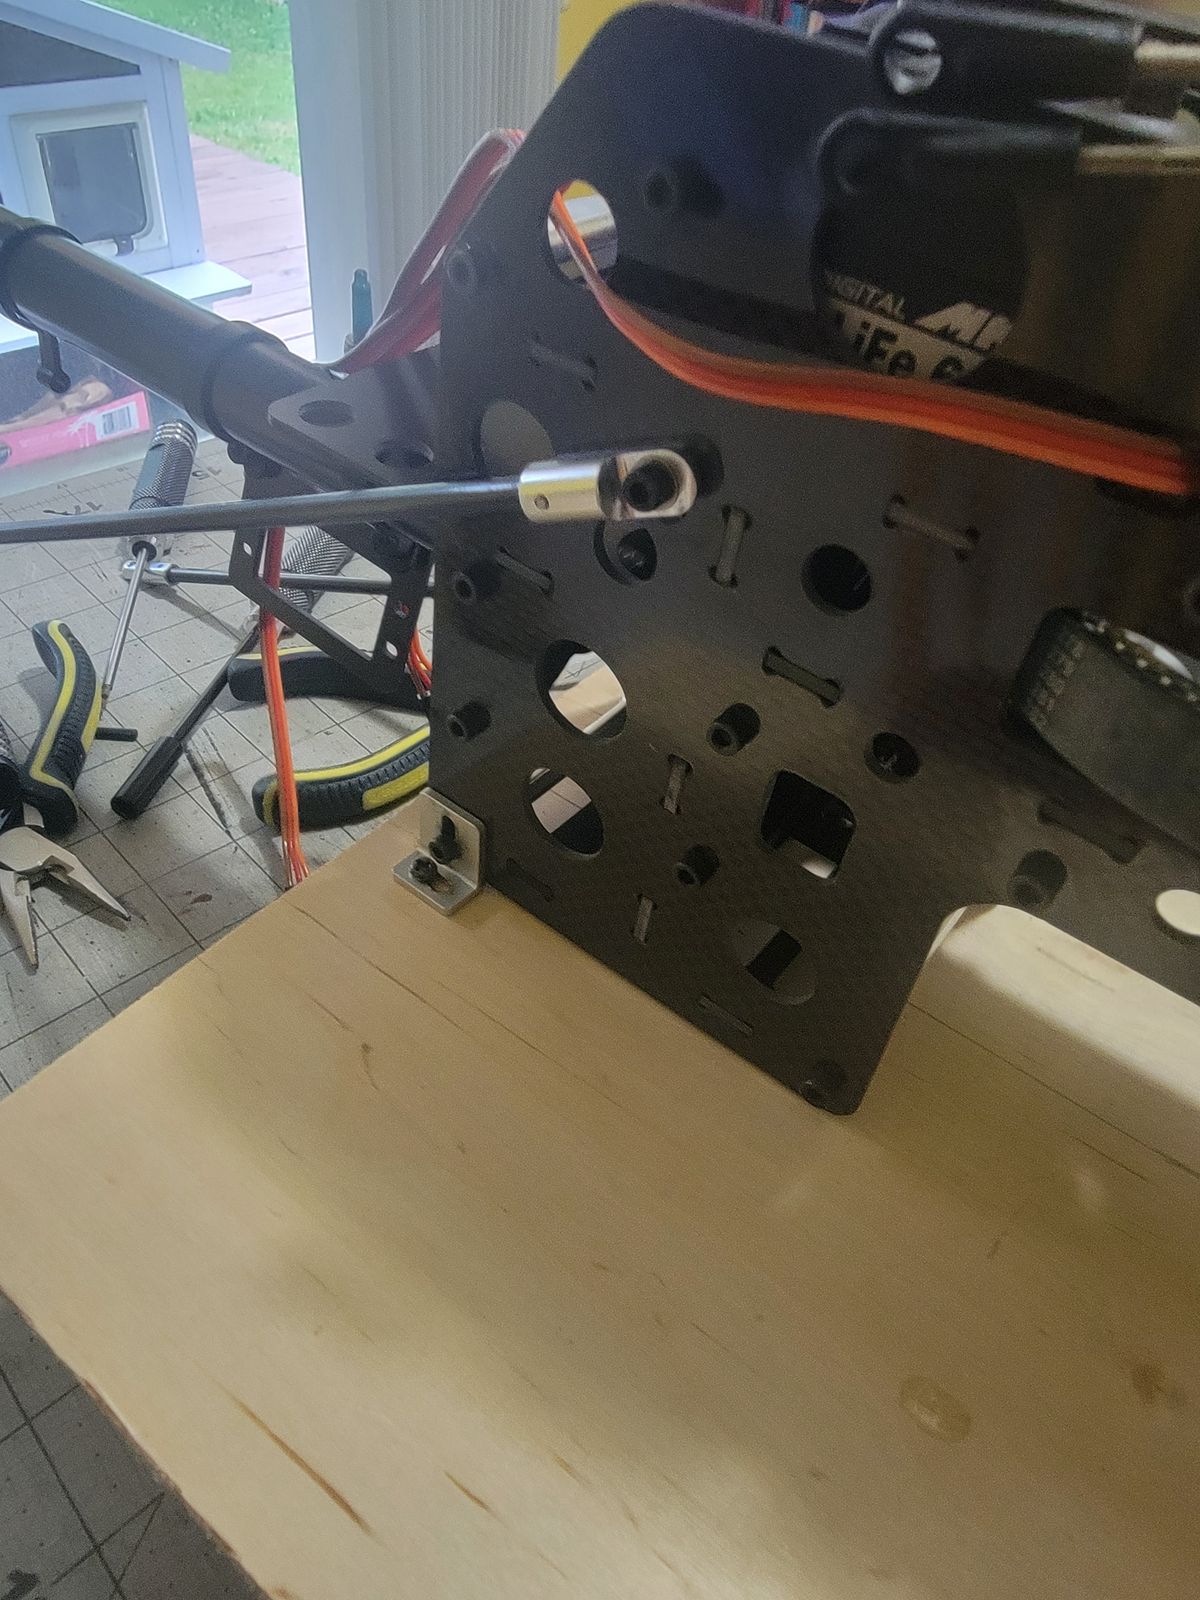
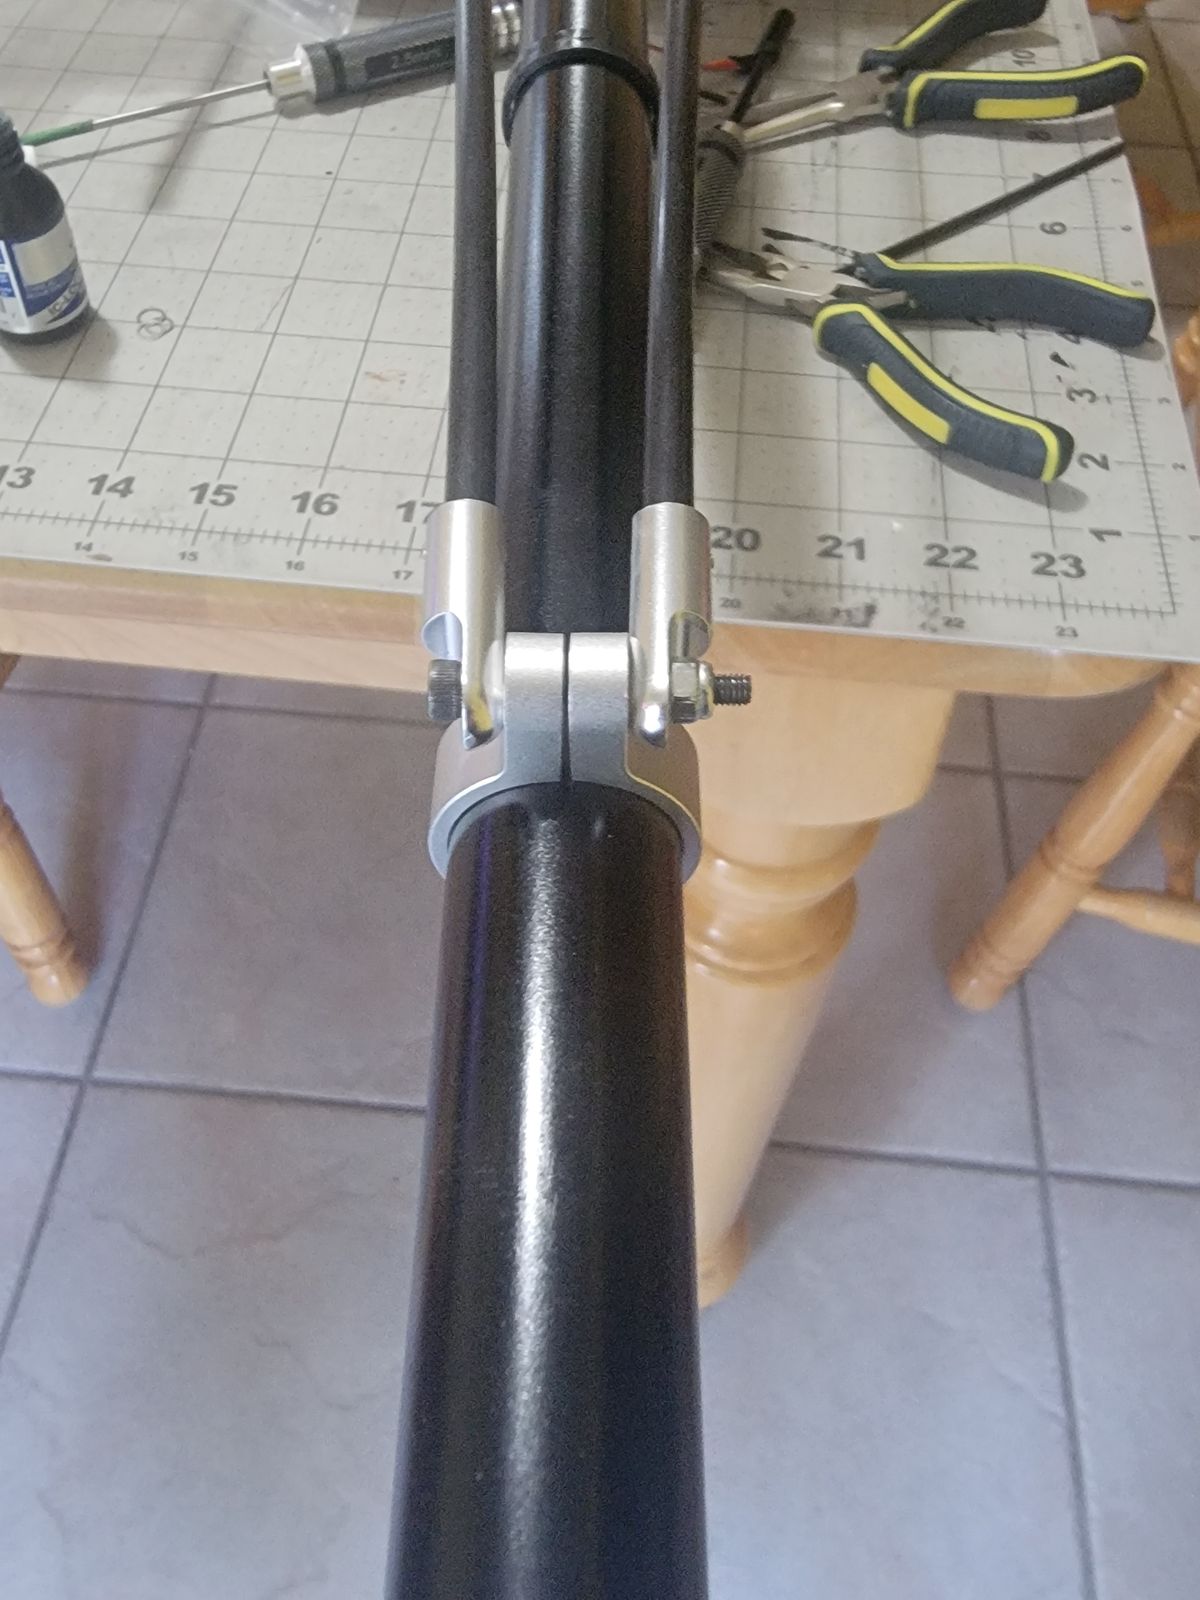
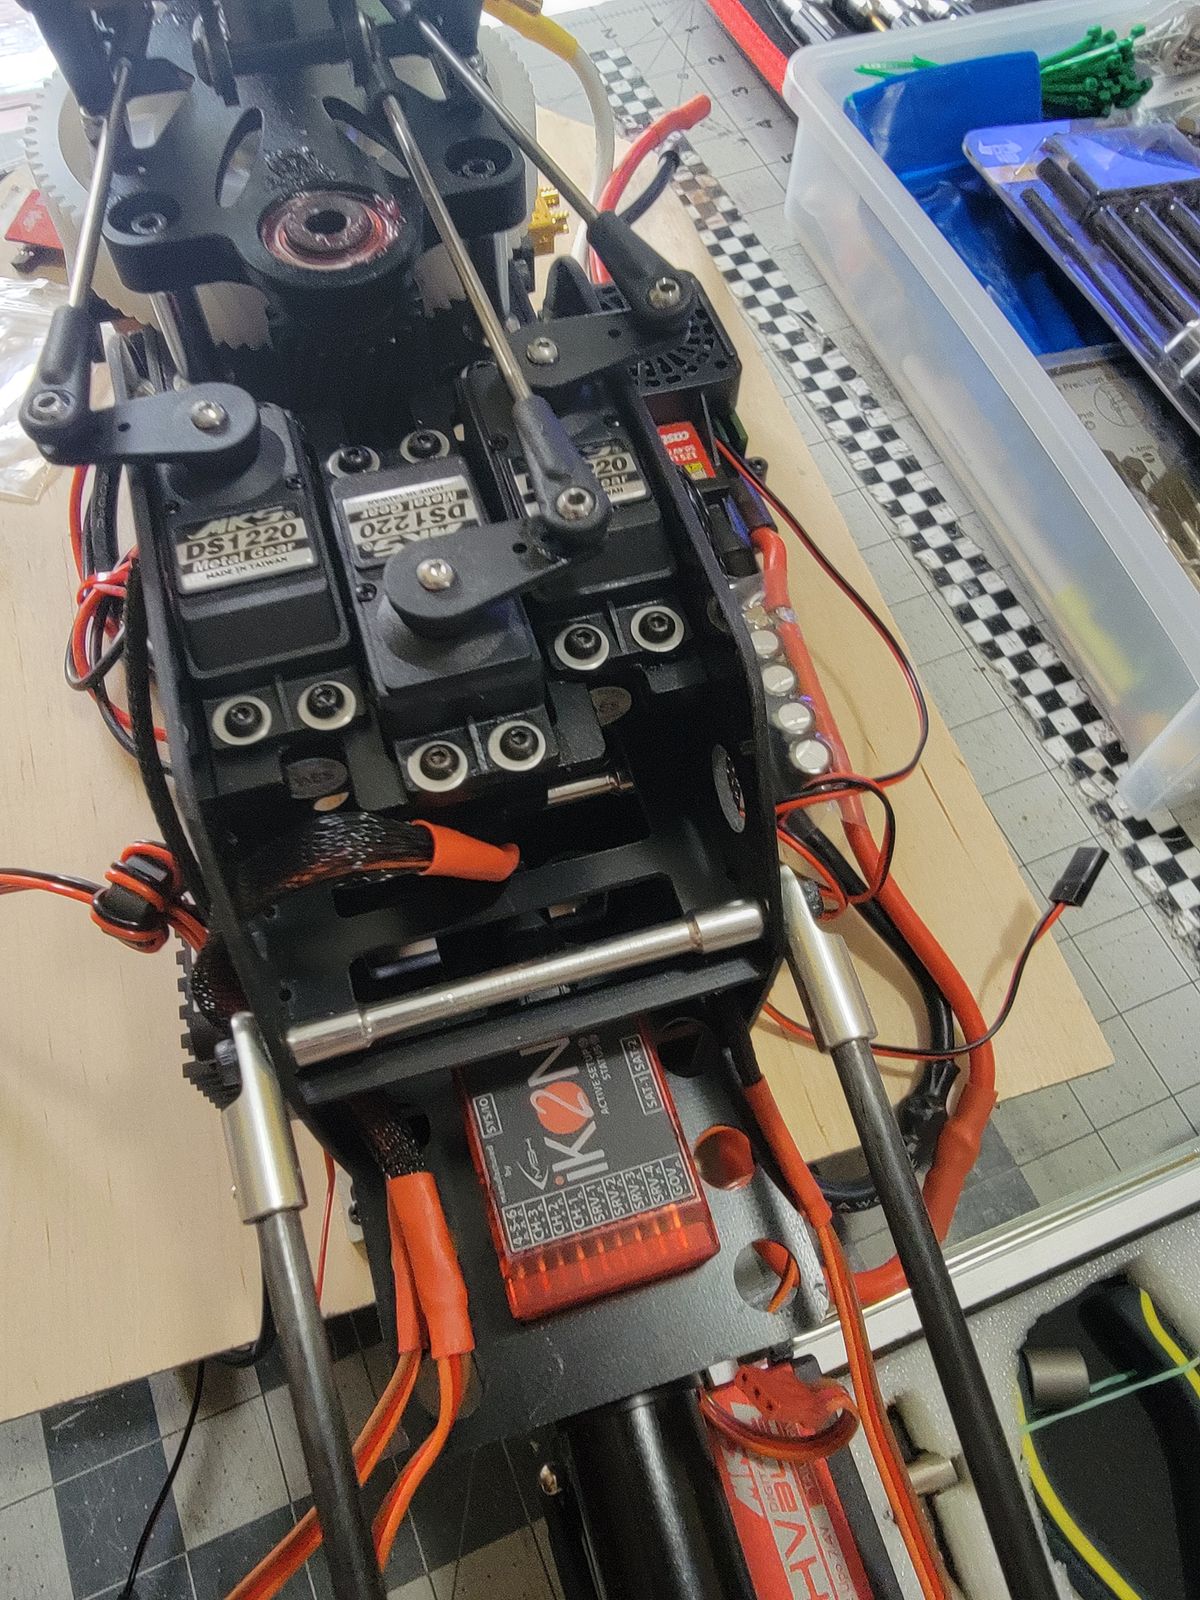
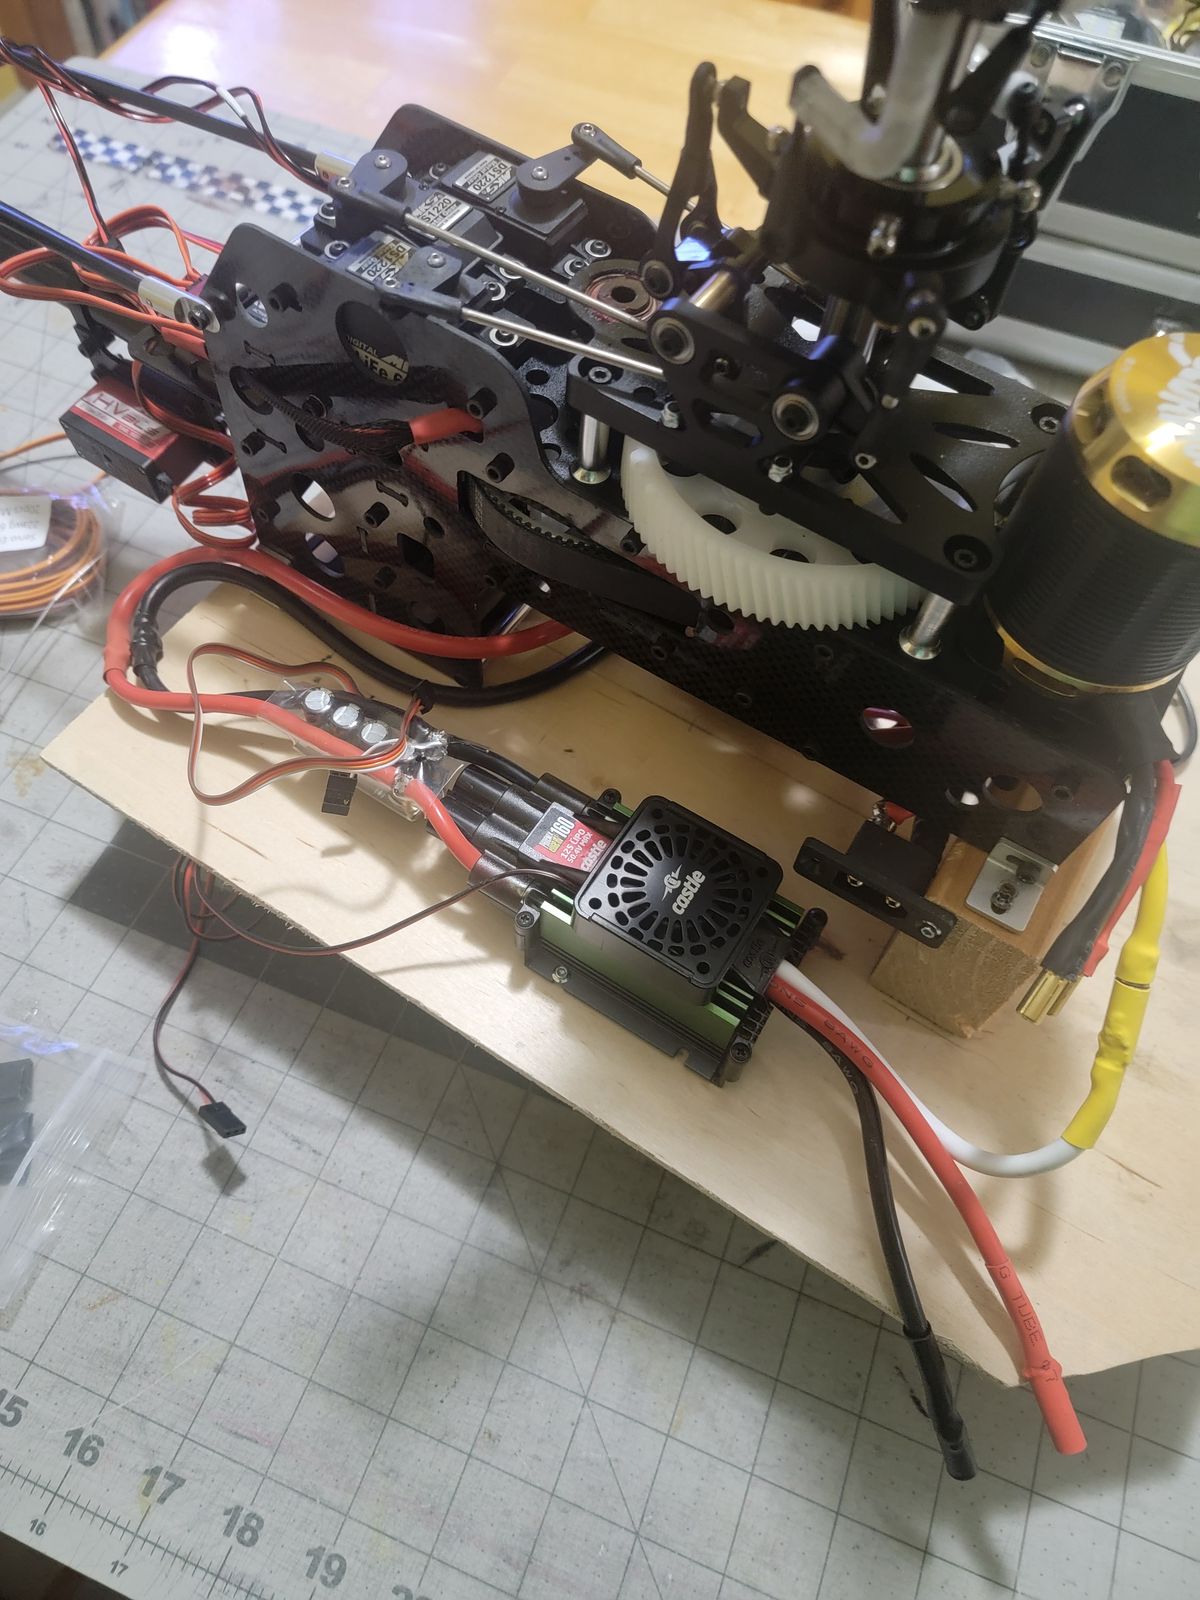
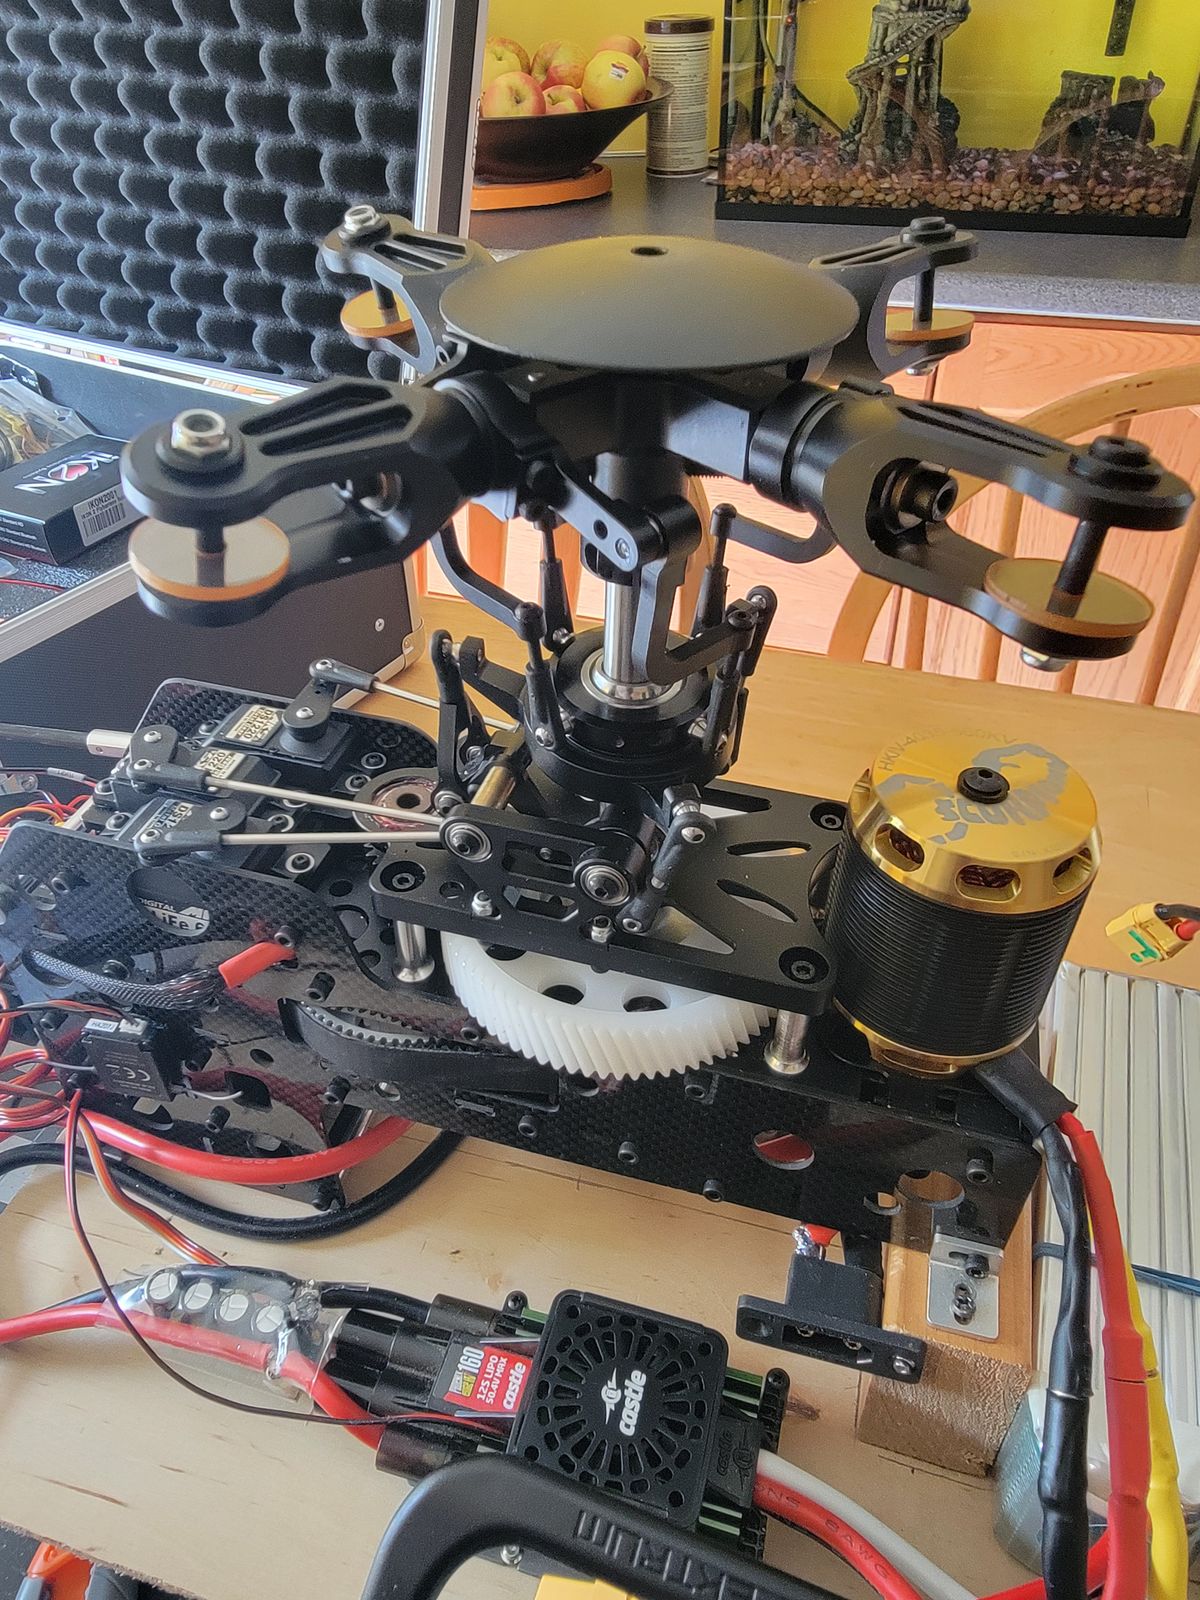
I started the assembly few months a go and unfortunately I have to say that the Roban manual needs a huge improvements to match the product that they sell. Most of the pictures are so small and don't have any details regarding the screws that needs to be used. I found it some how difficult, however thanks to the internet I was able to find many pictures from other builder that help me on this journey.
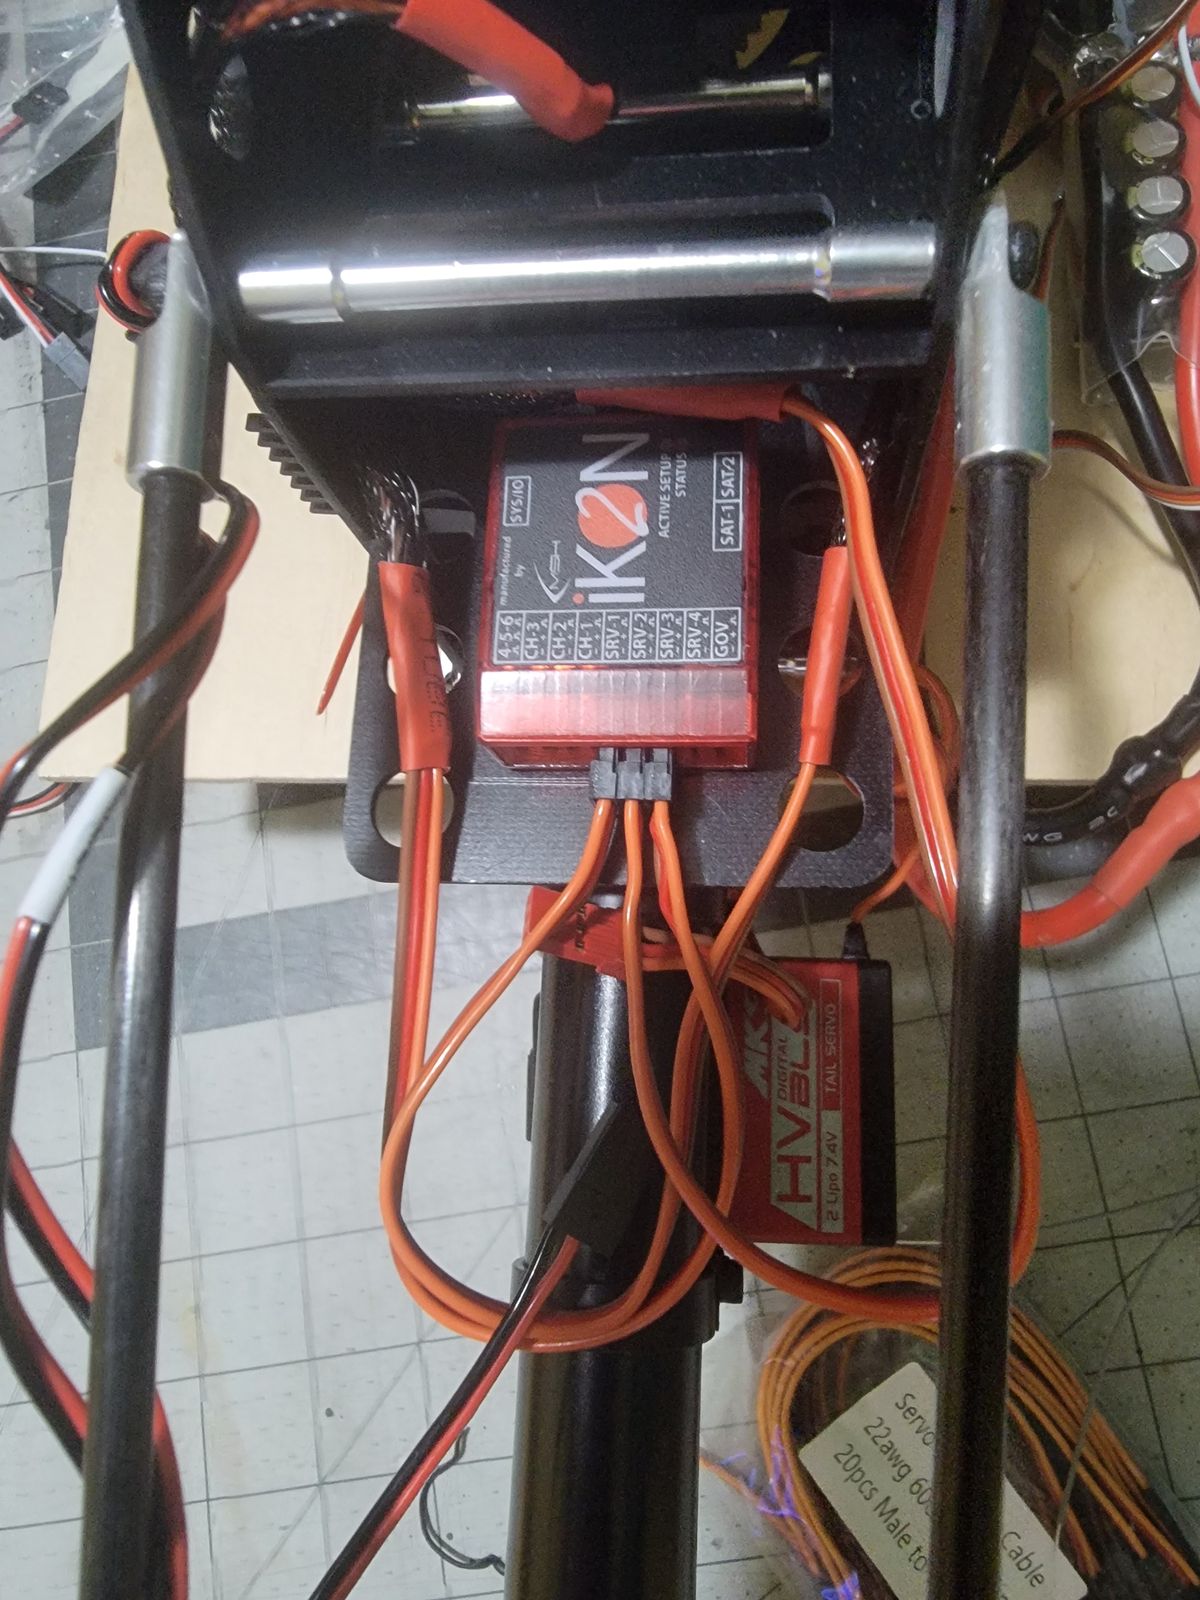
Even if I initially purchased a 3X Demon, I decided to switch to an Ikon2.
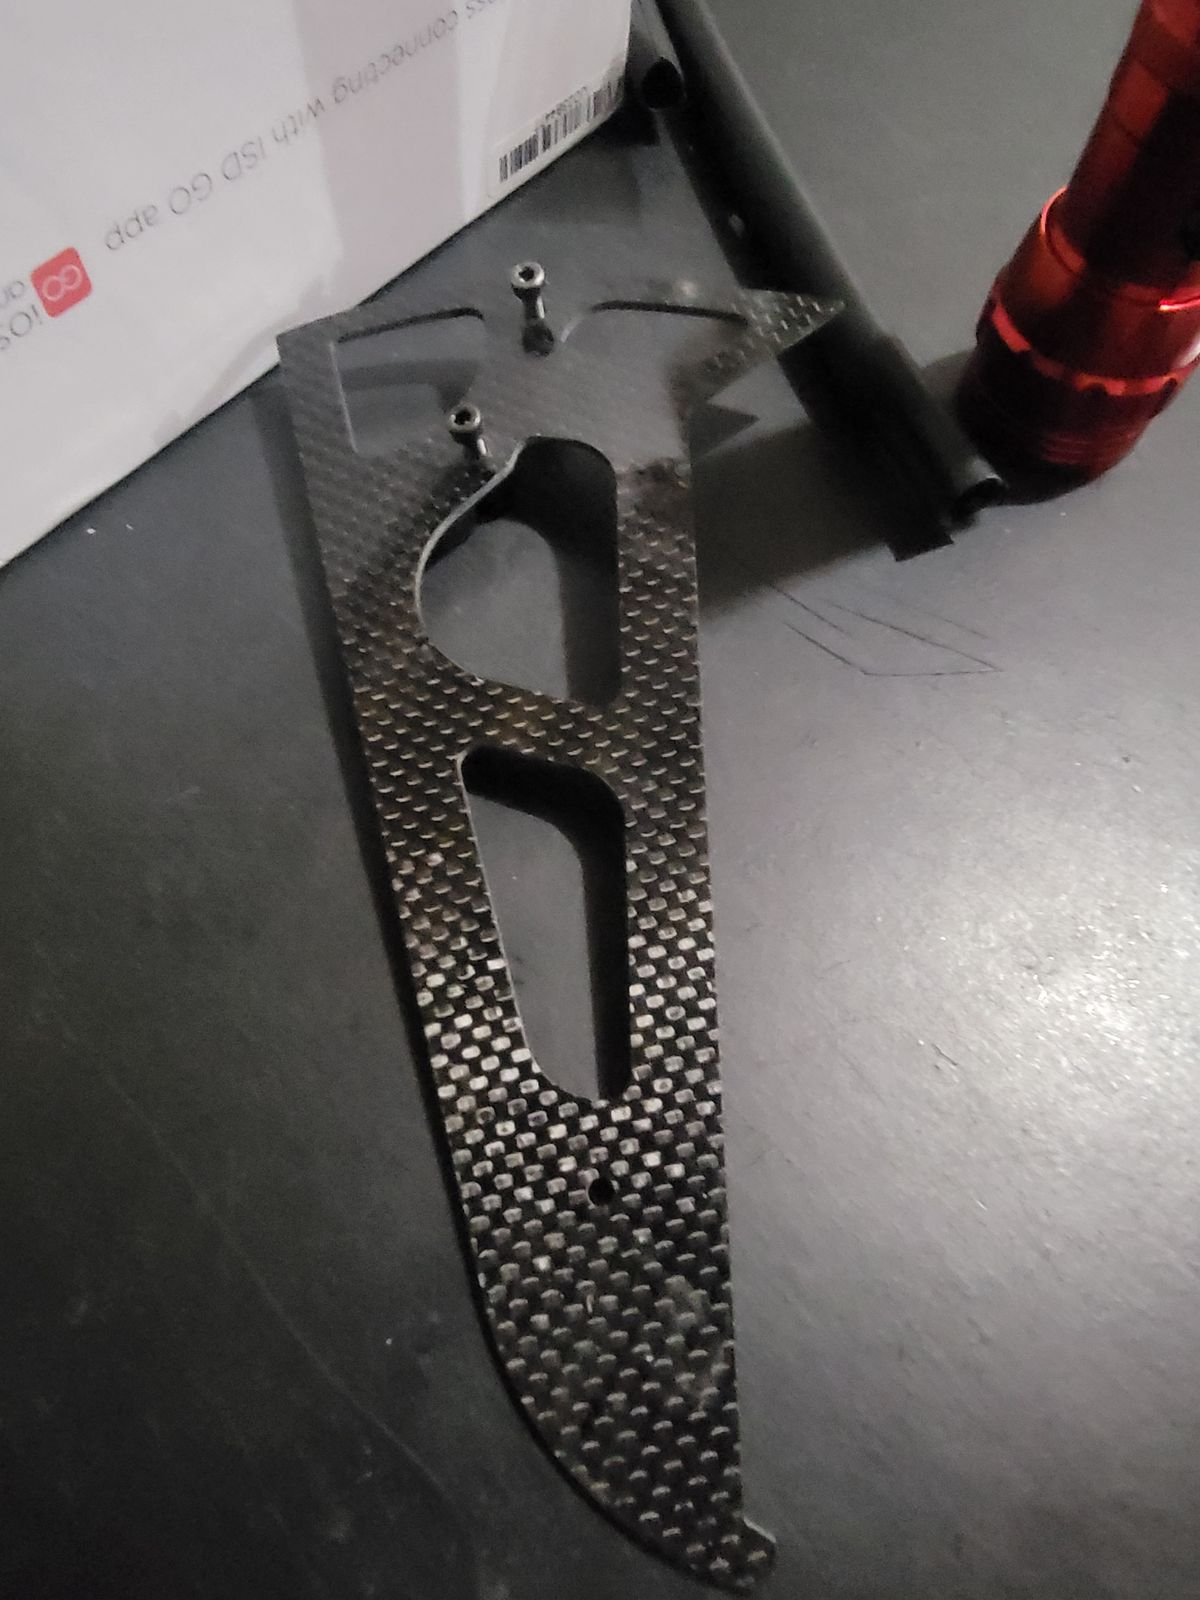
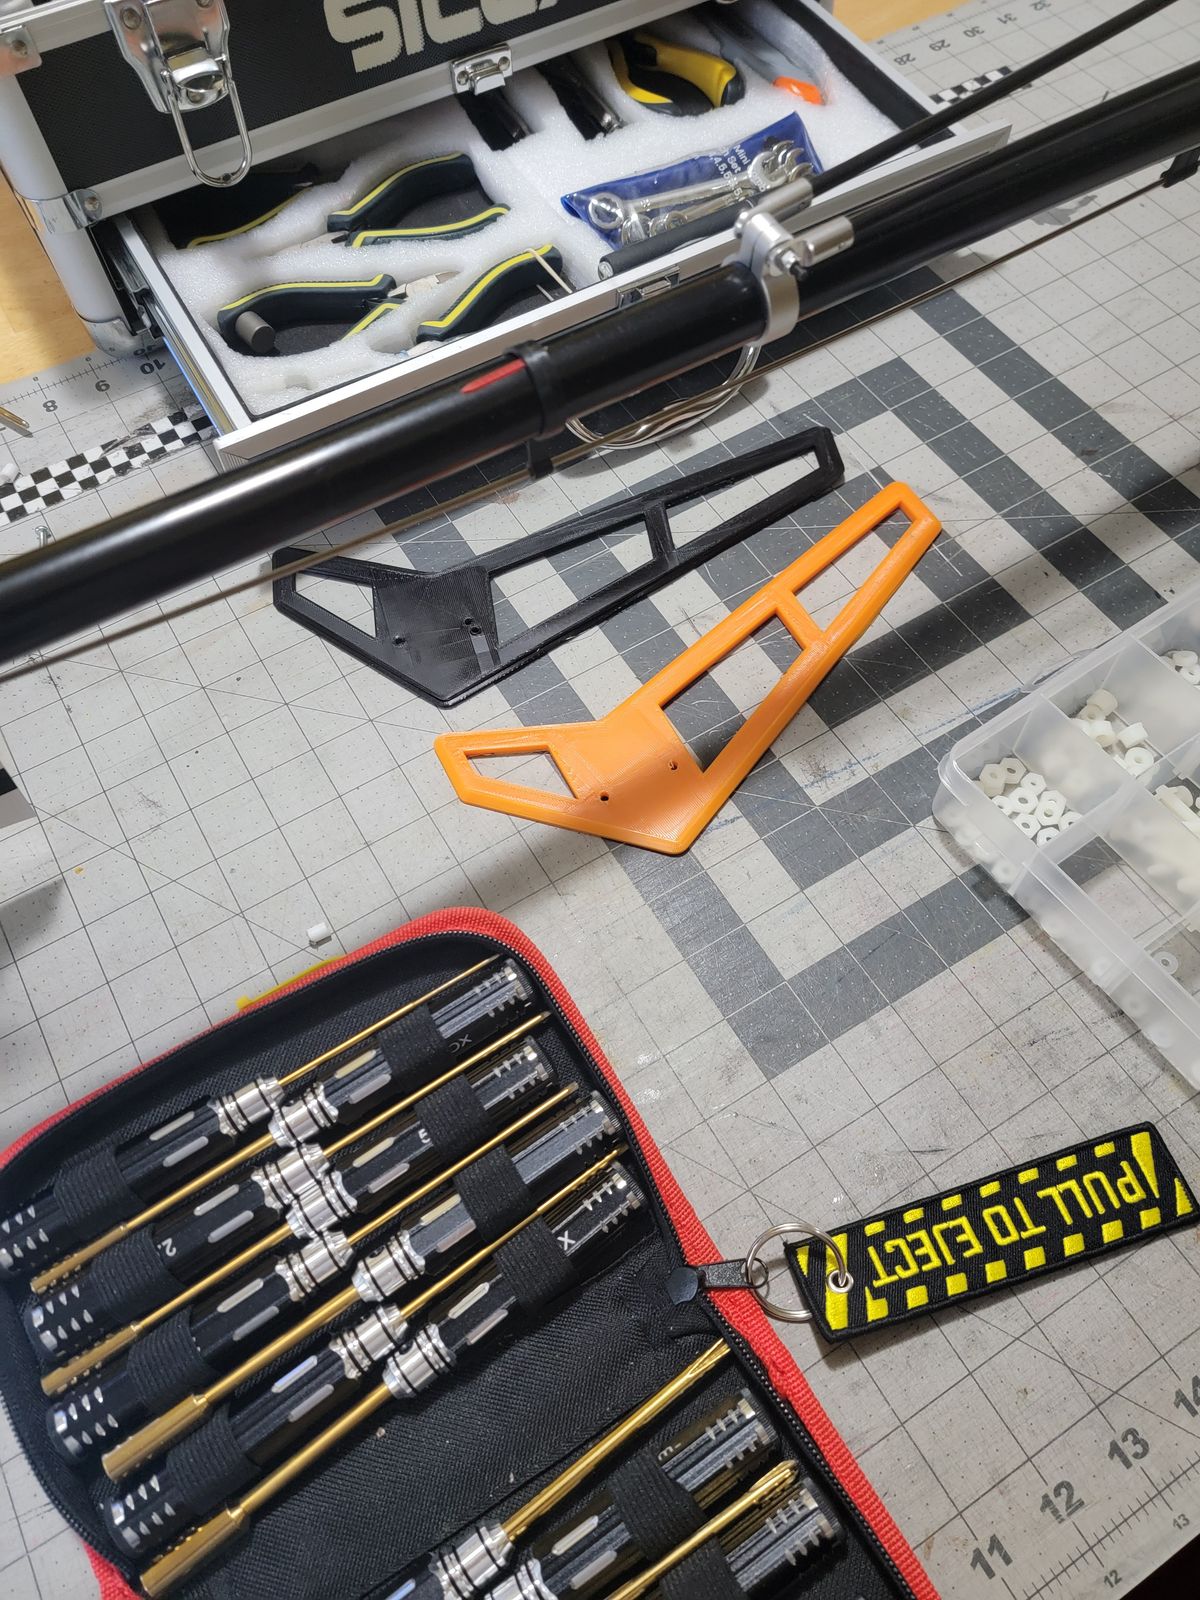
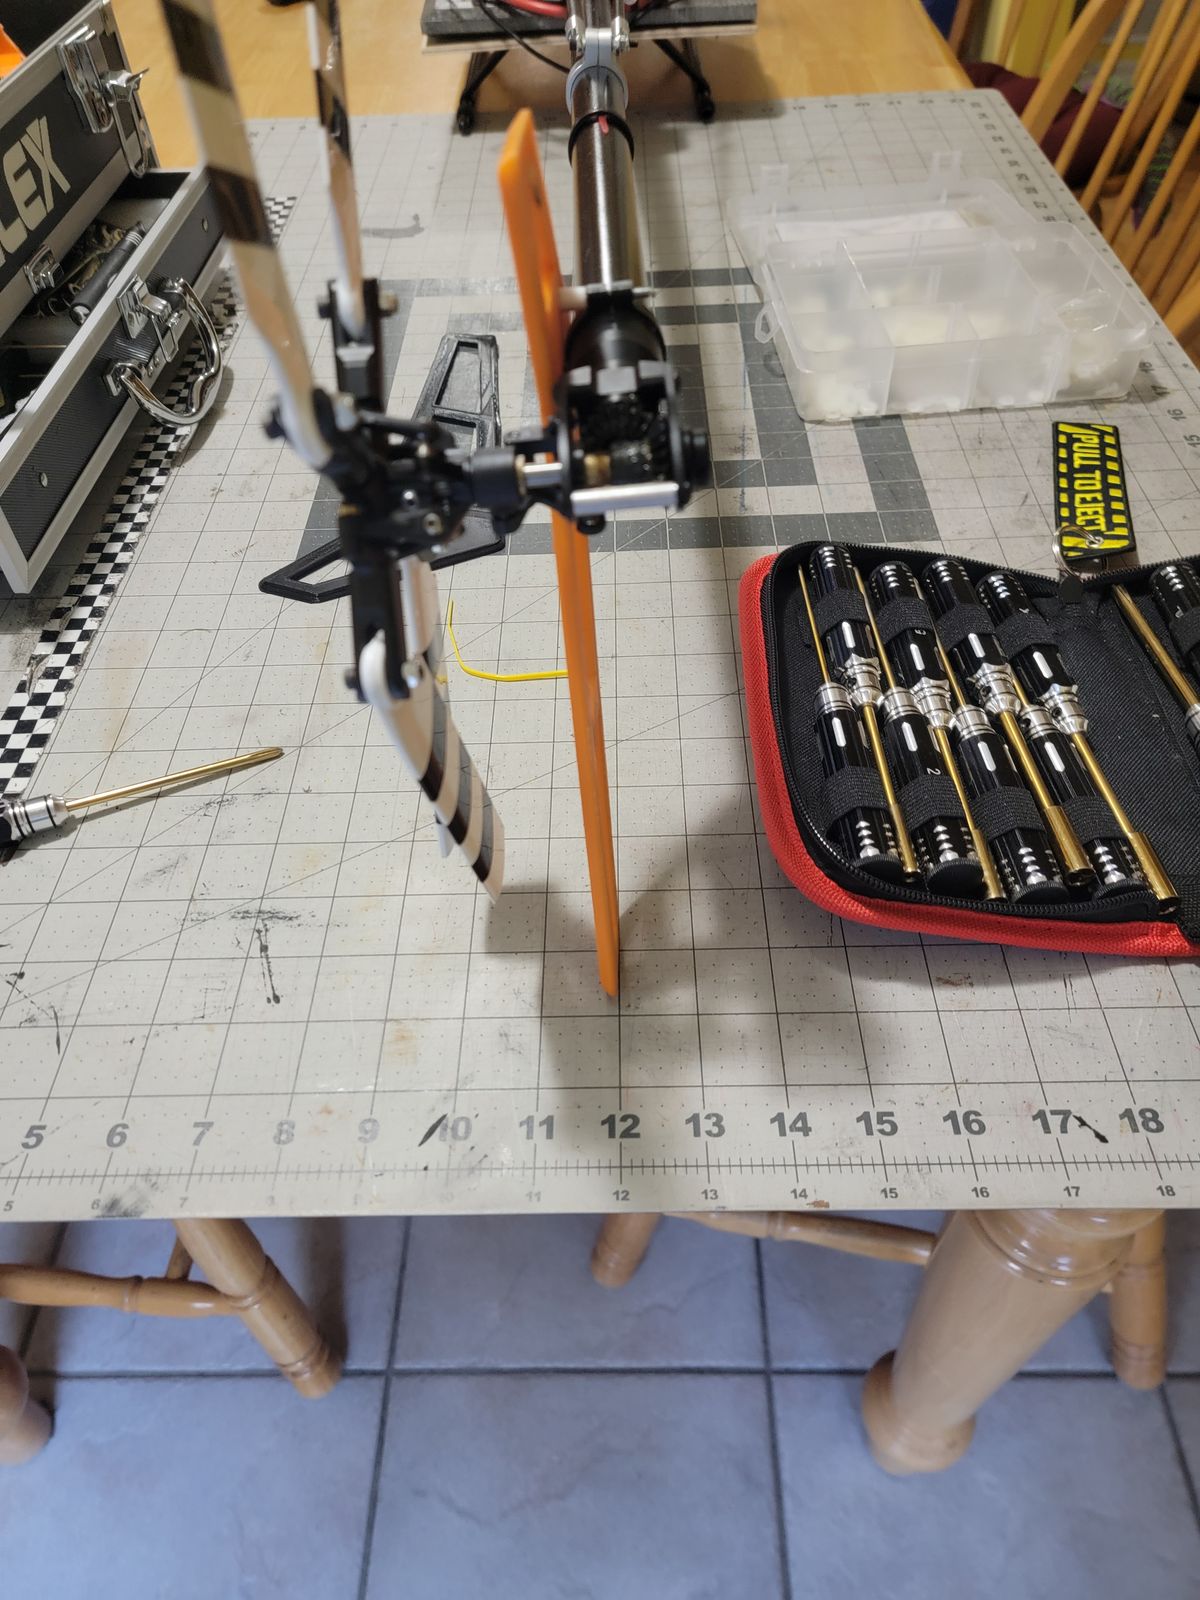
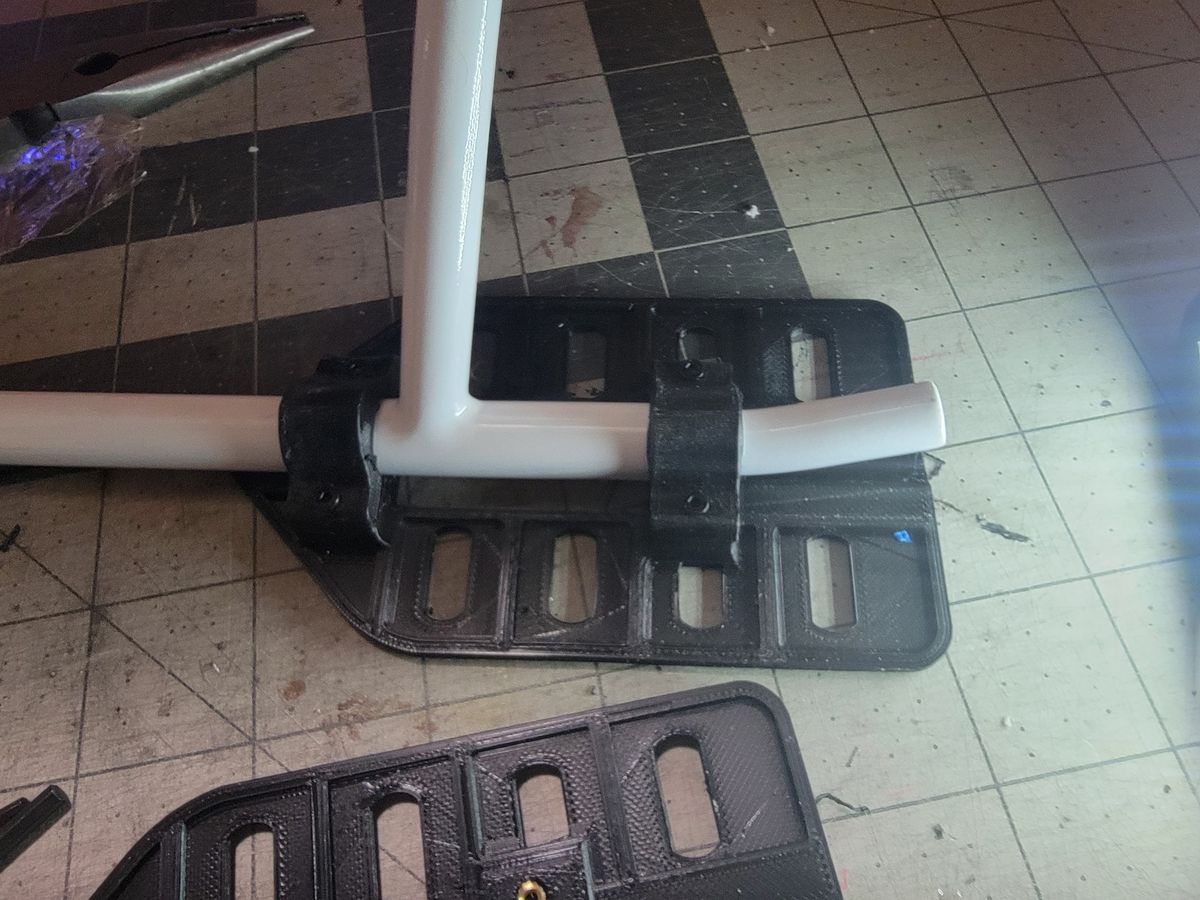
I 3D print a bigger tail fin, since with the 600 size I have, I was afraid that the tail blades were going to hit the ground.
First Flight
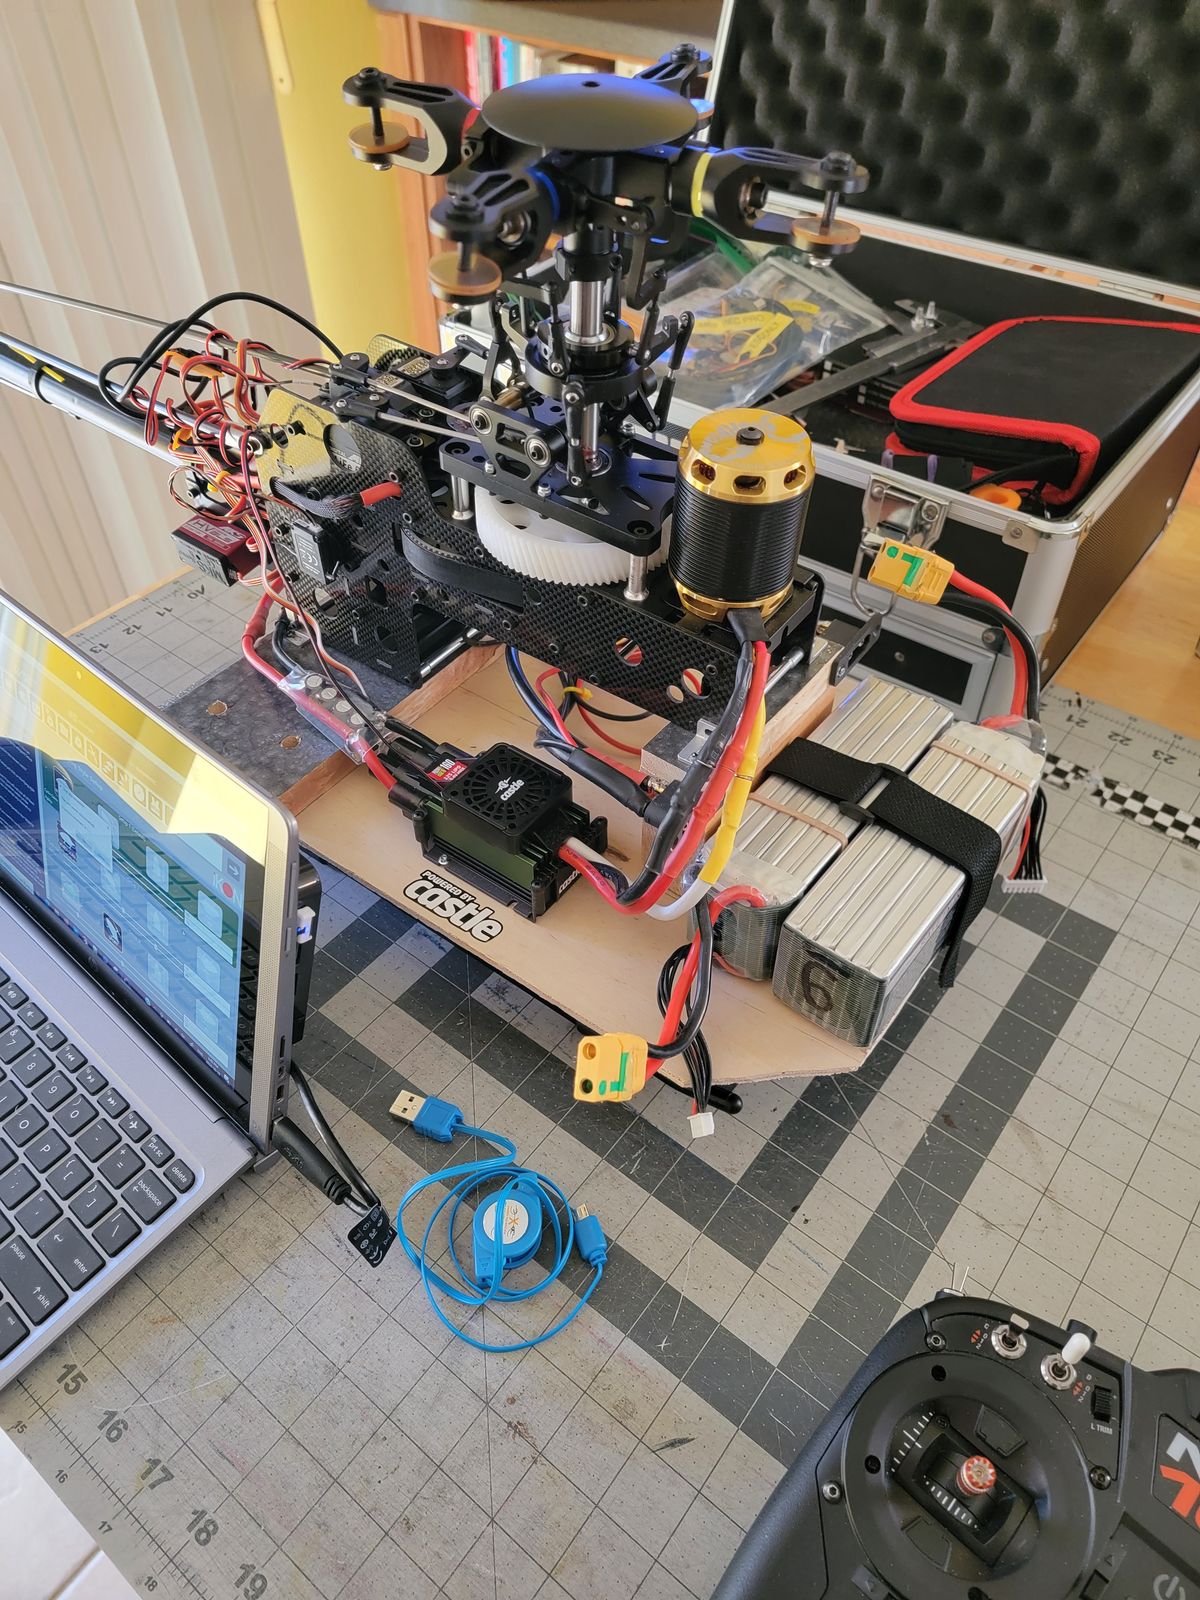
Just testing that everything moves in the right direction, before taking everything apart and start the fuselage assembly.
Fuselage
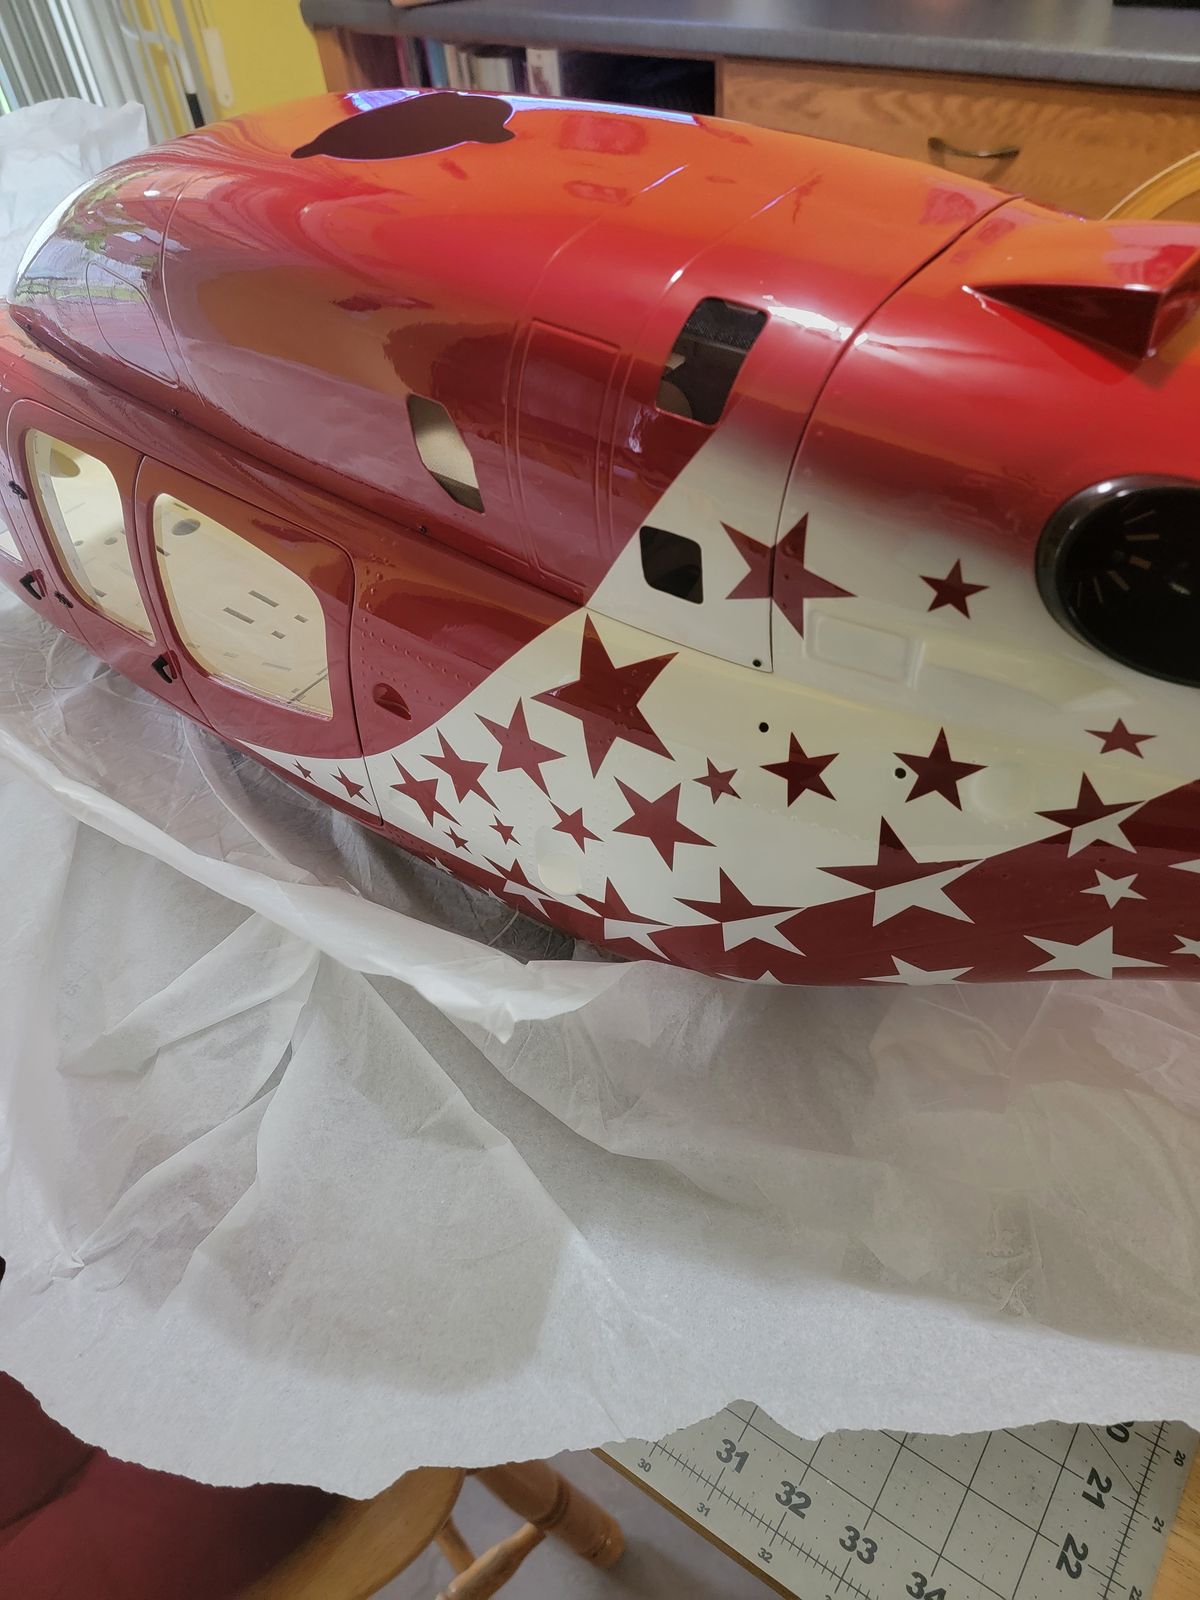
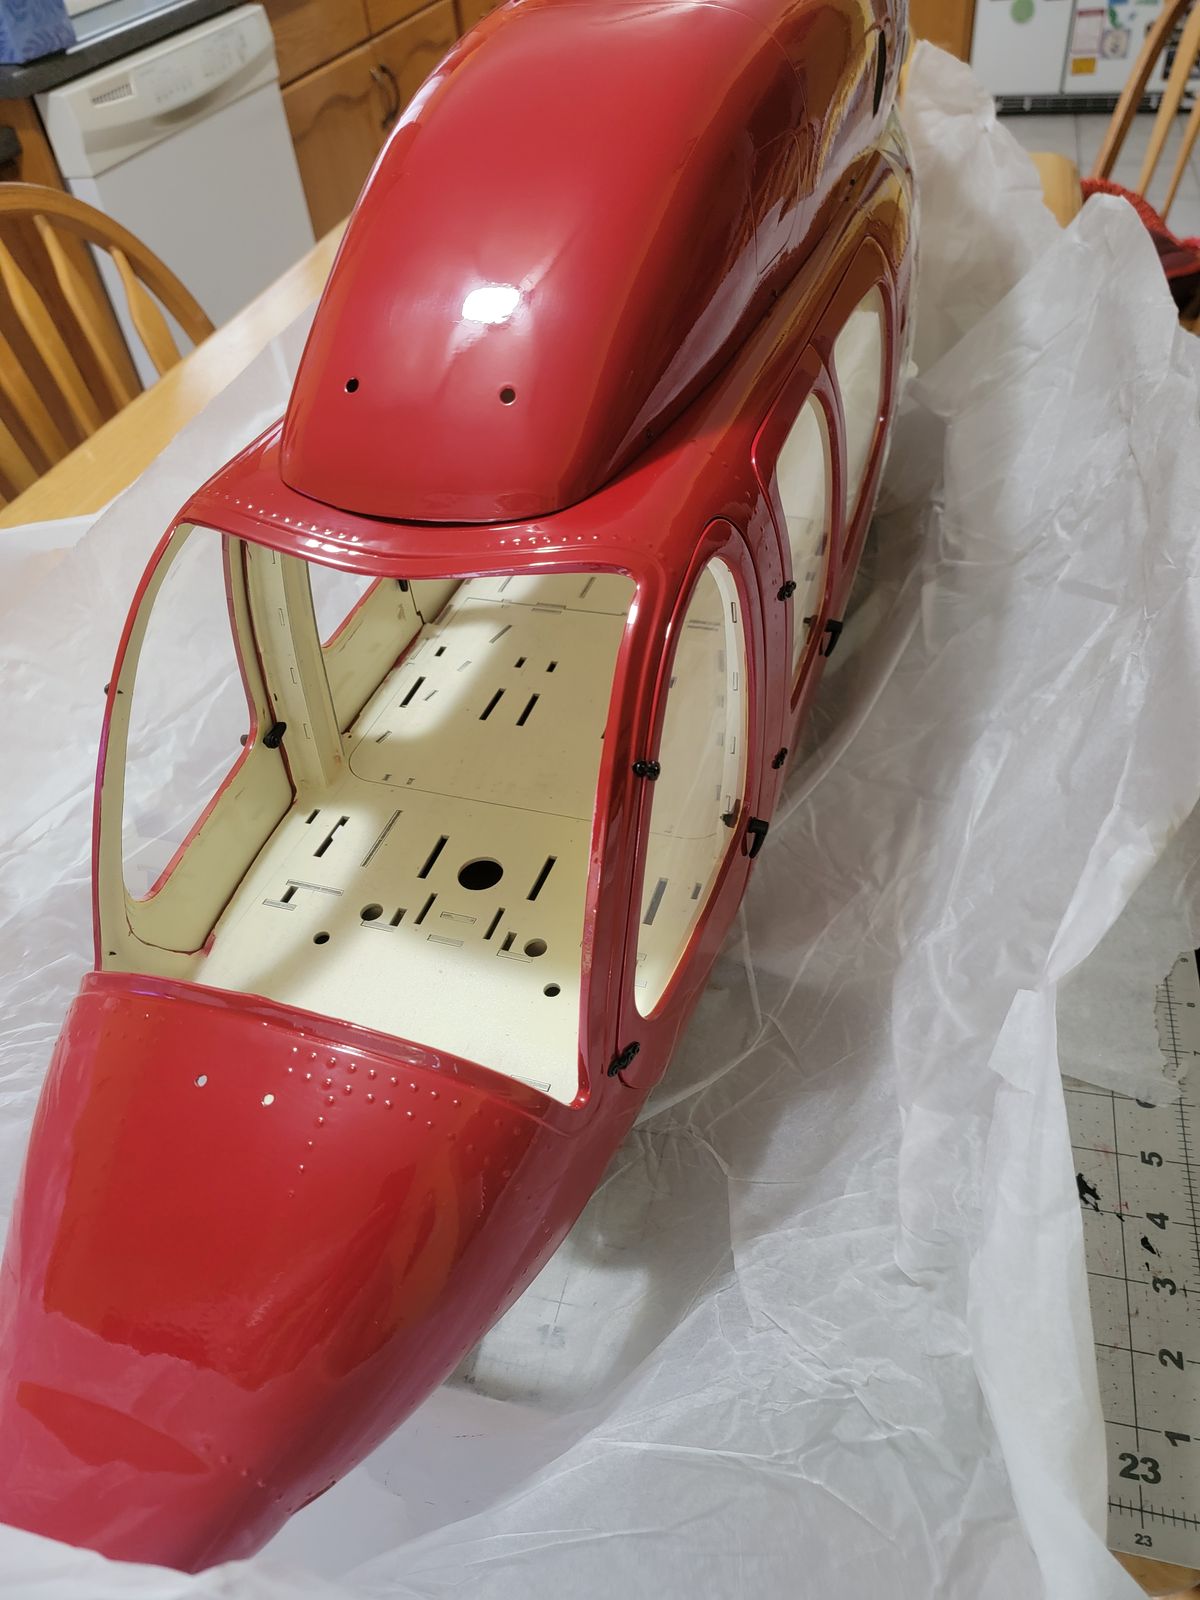
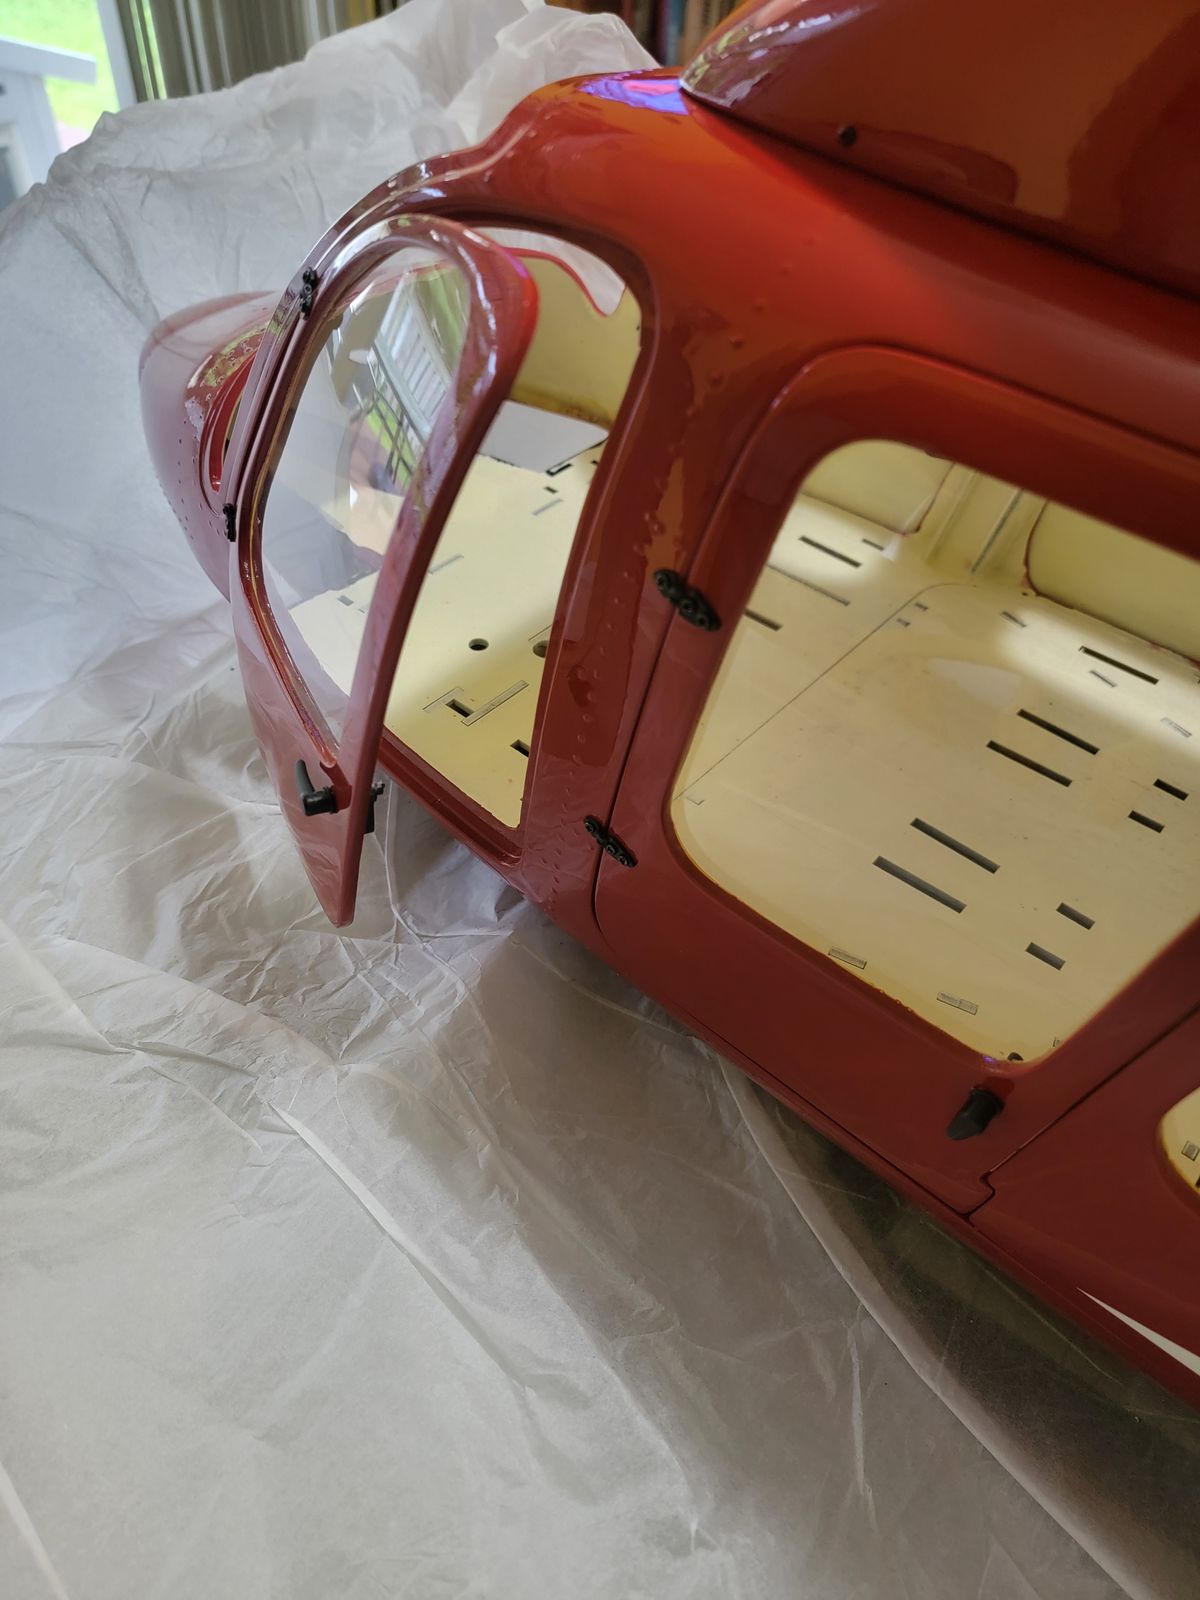
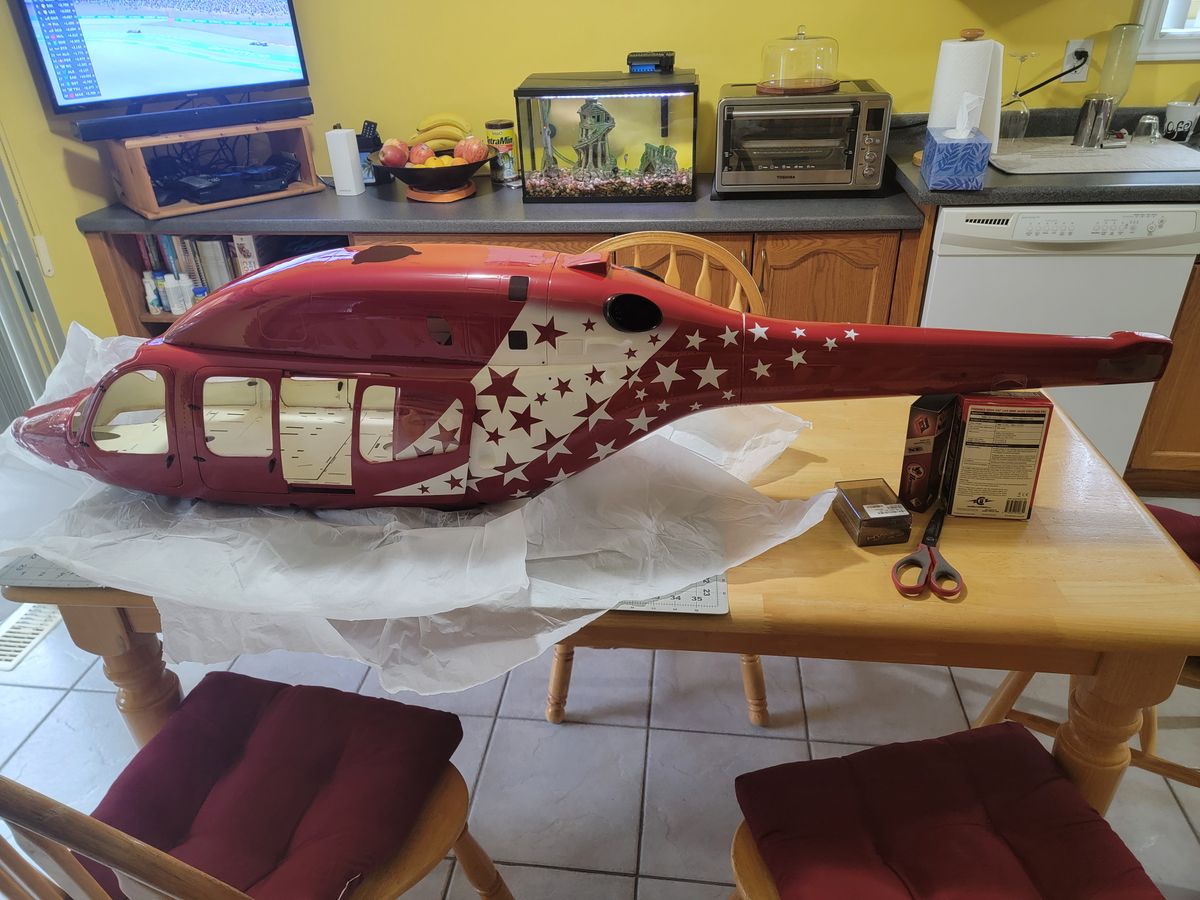
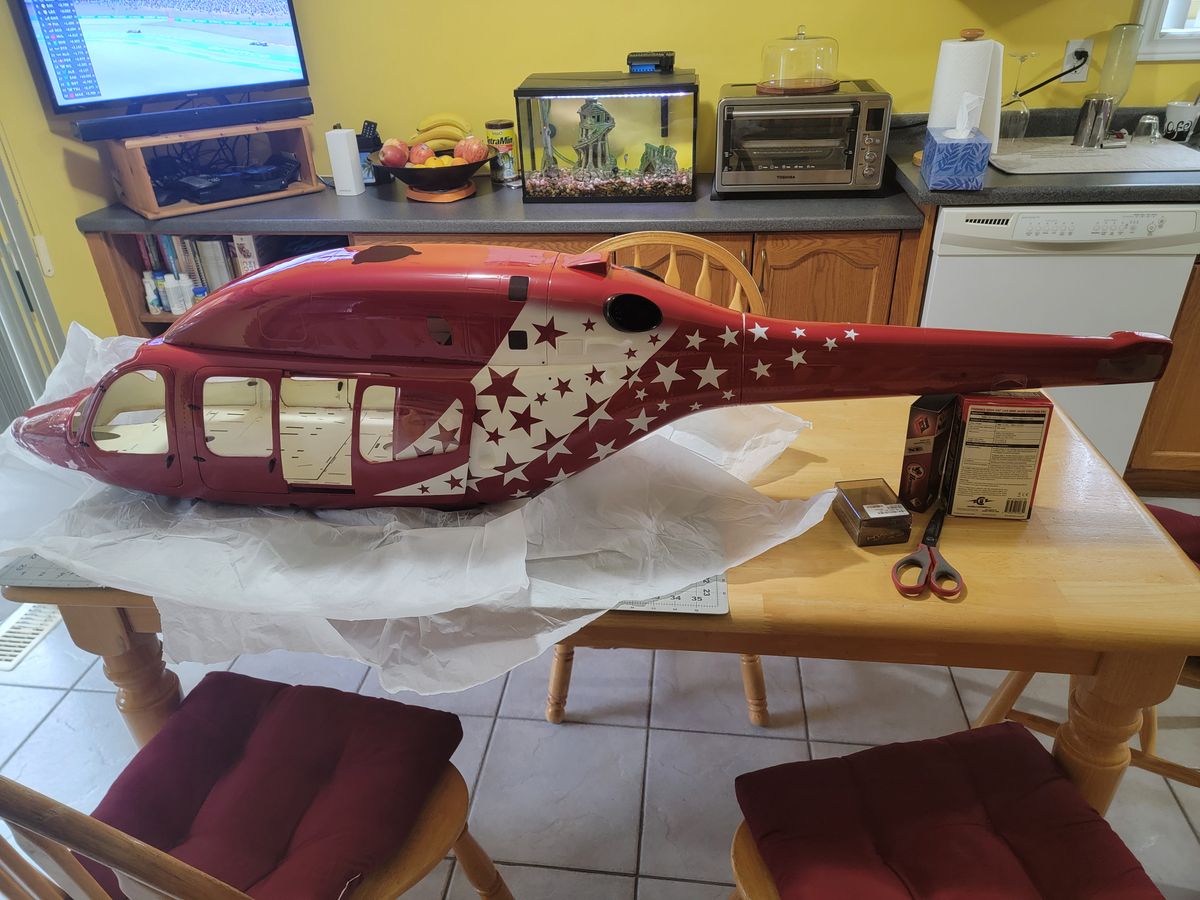
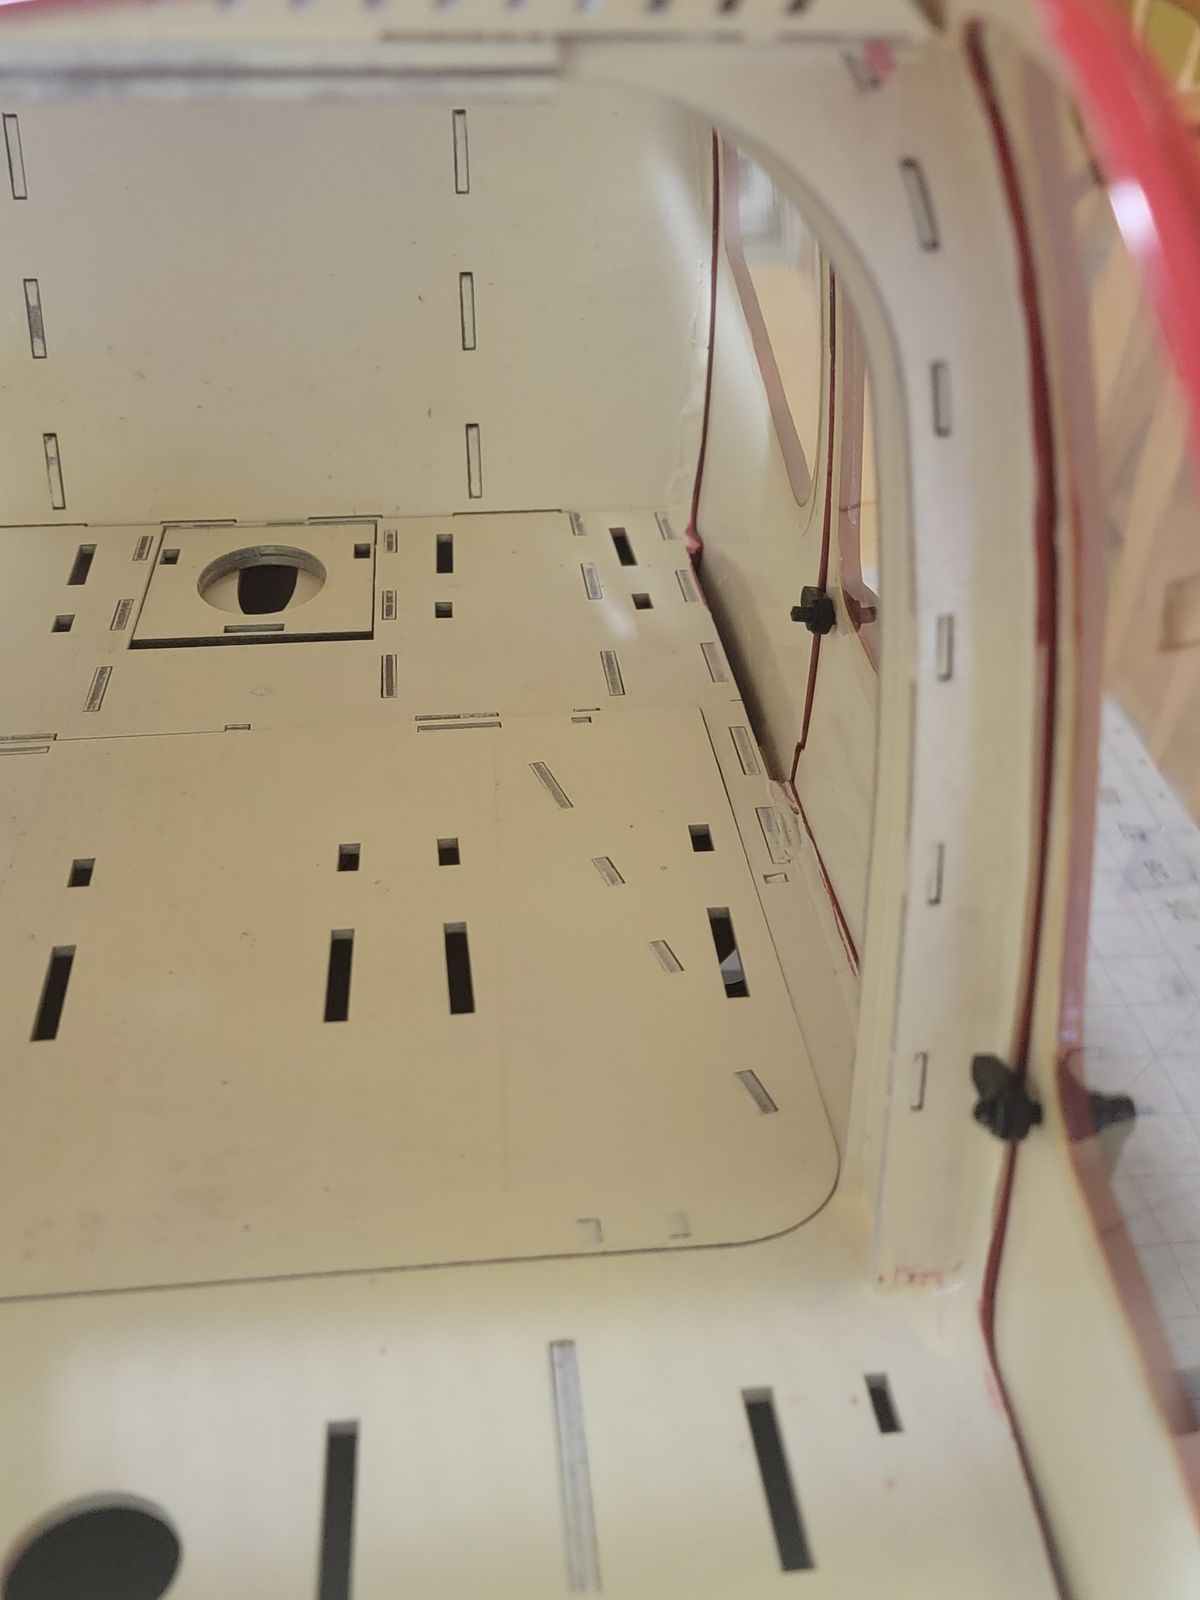
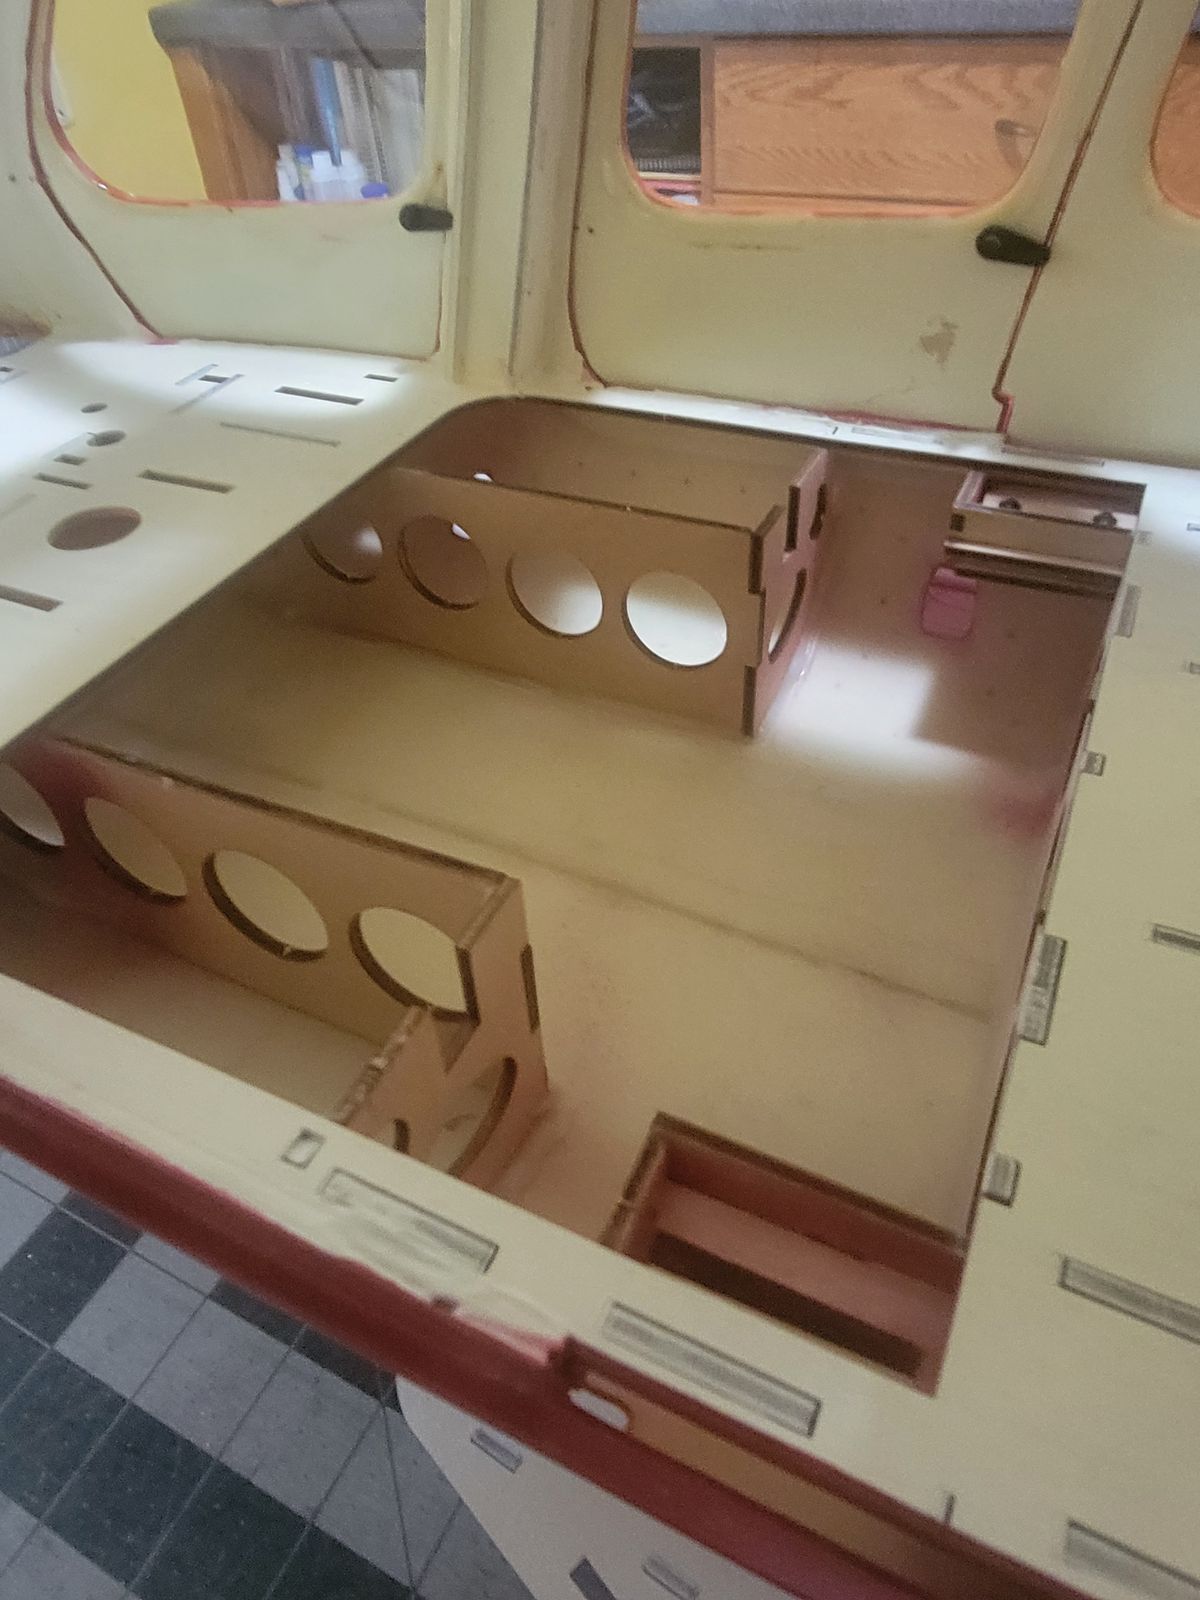
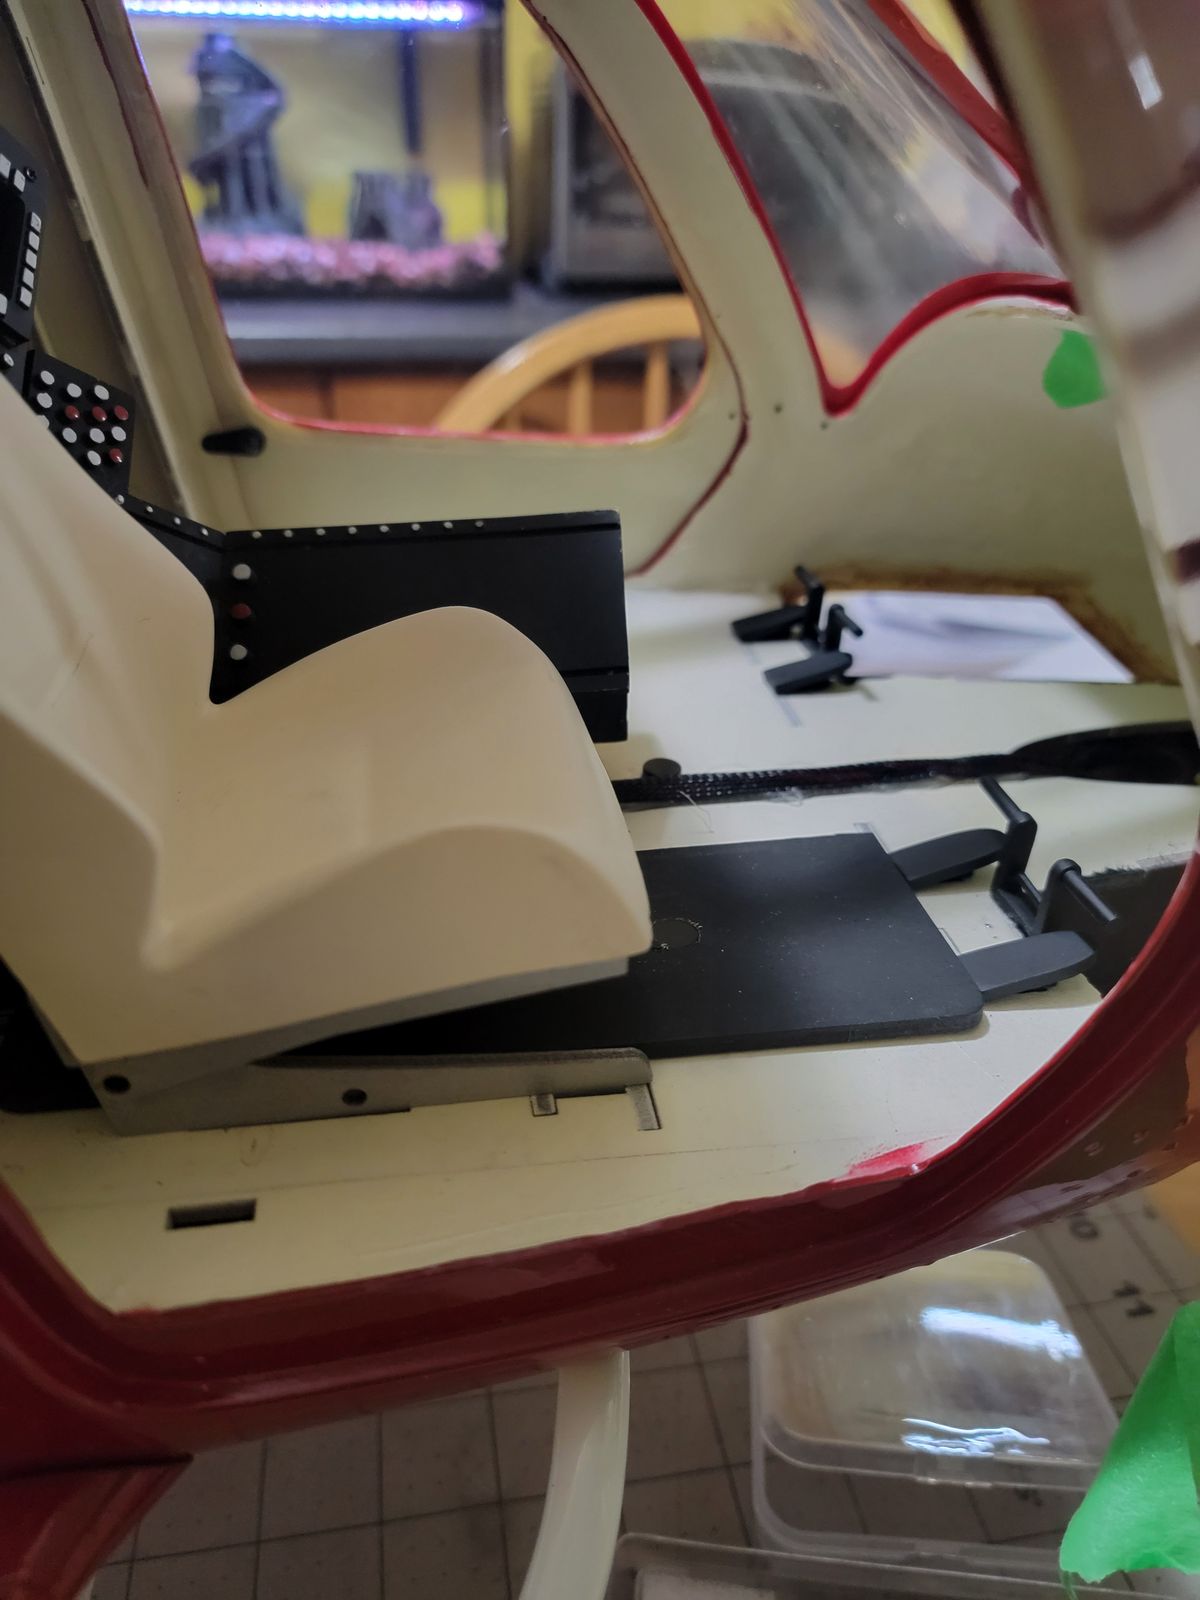
Overall the Roban Fuselage is very nice. Almost everything that came with the Kit fit without too many alterations.
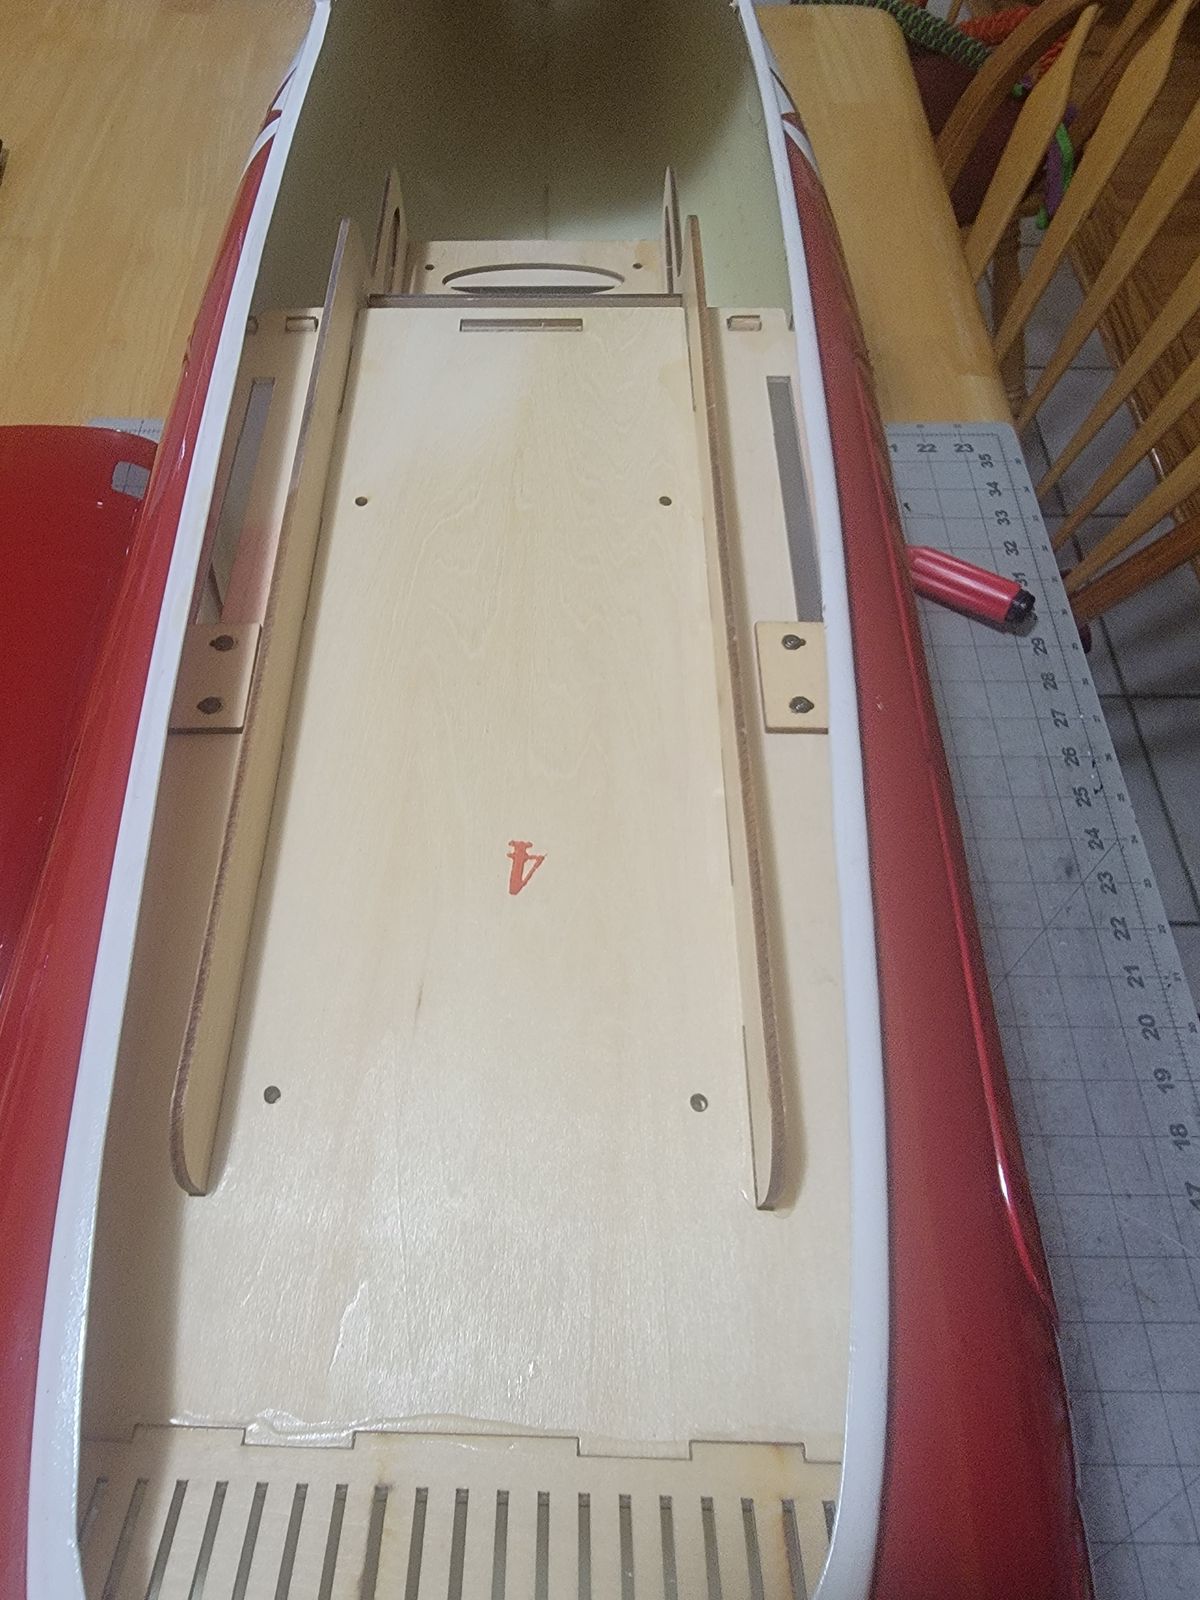
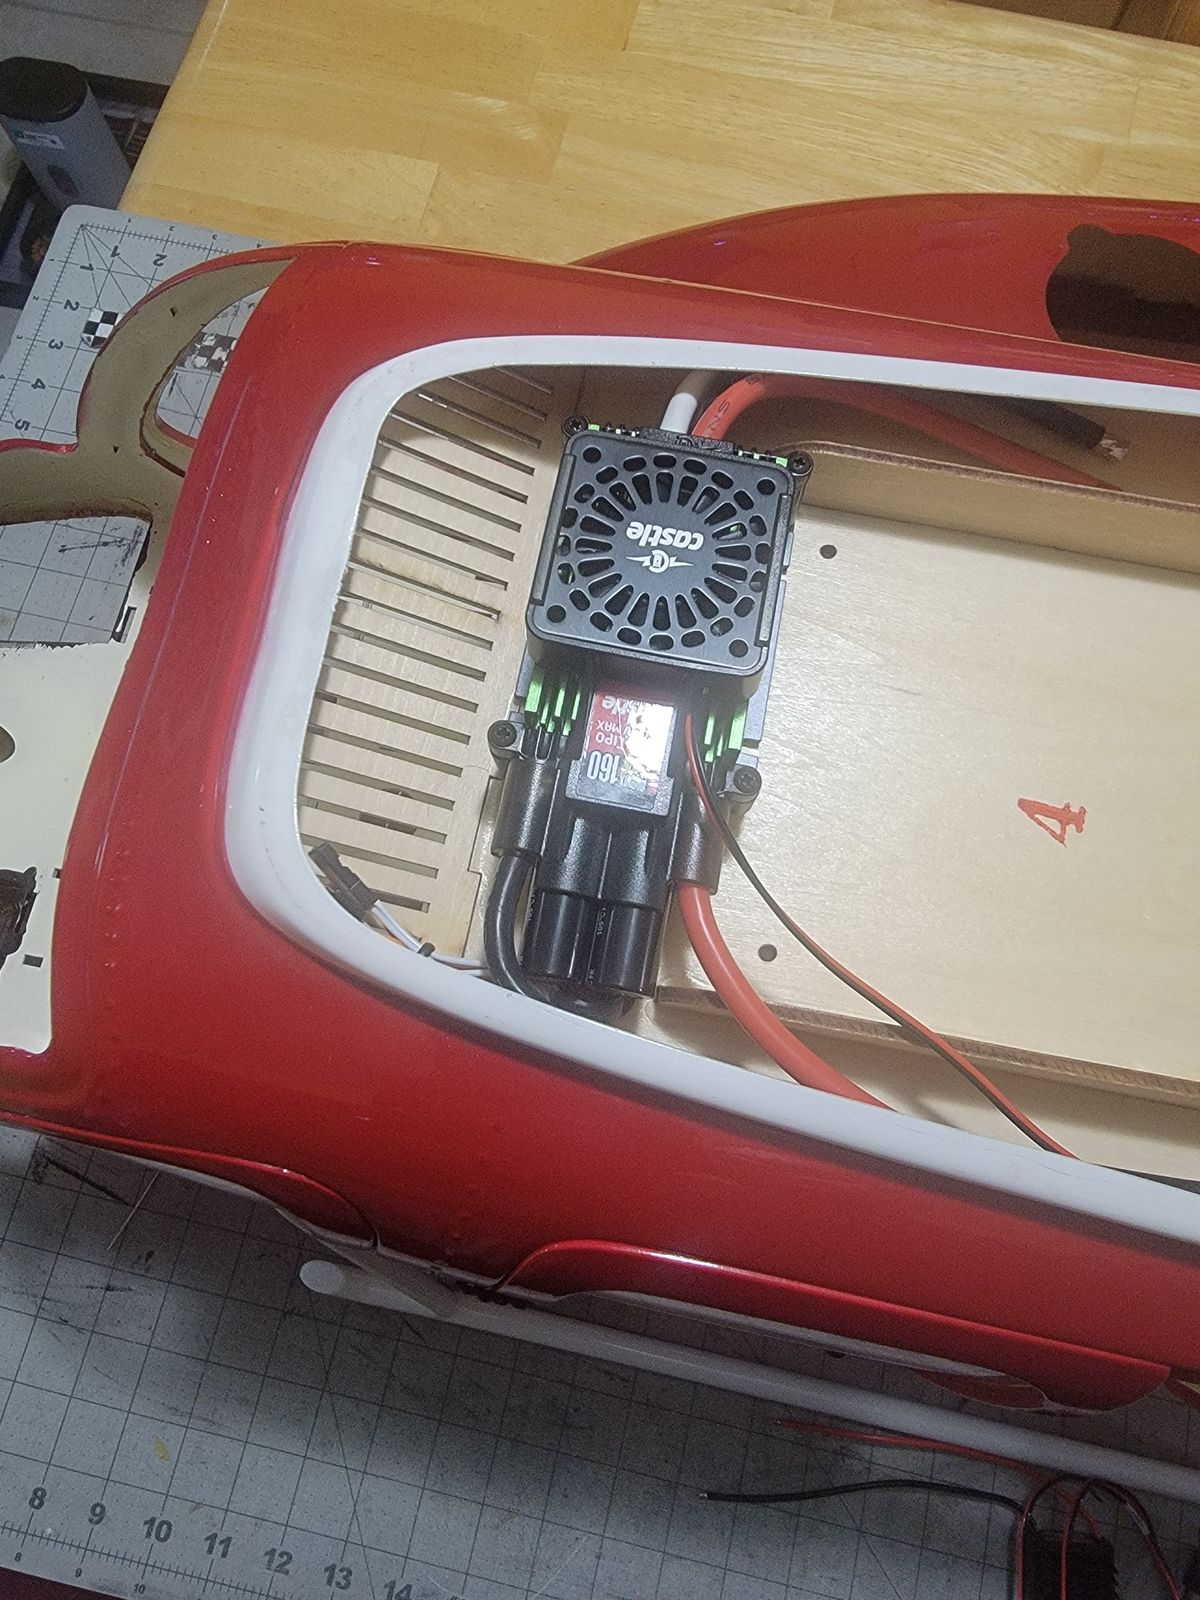
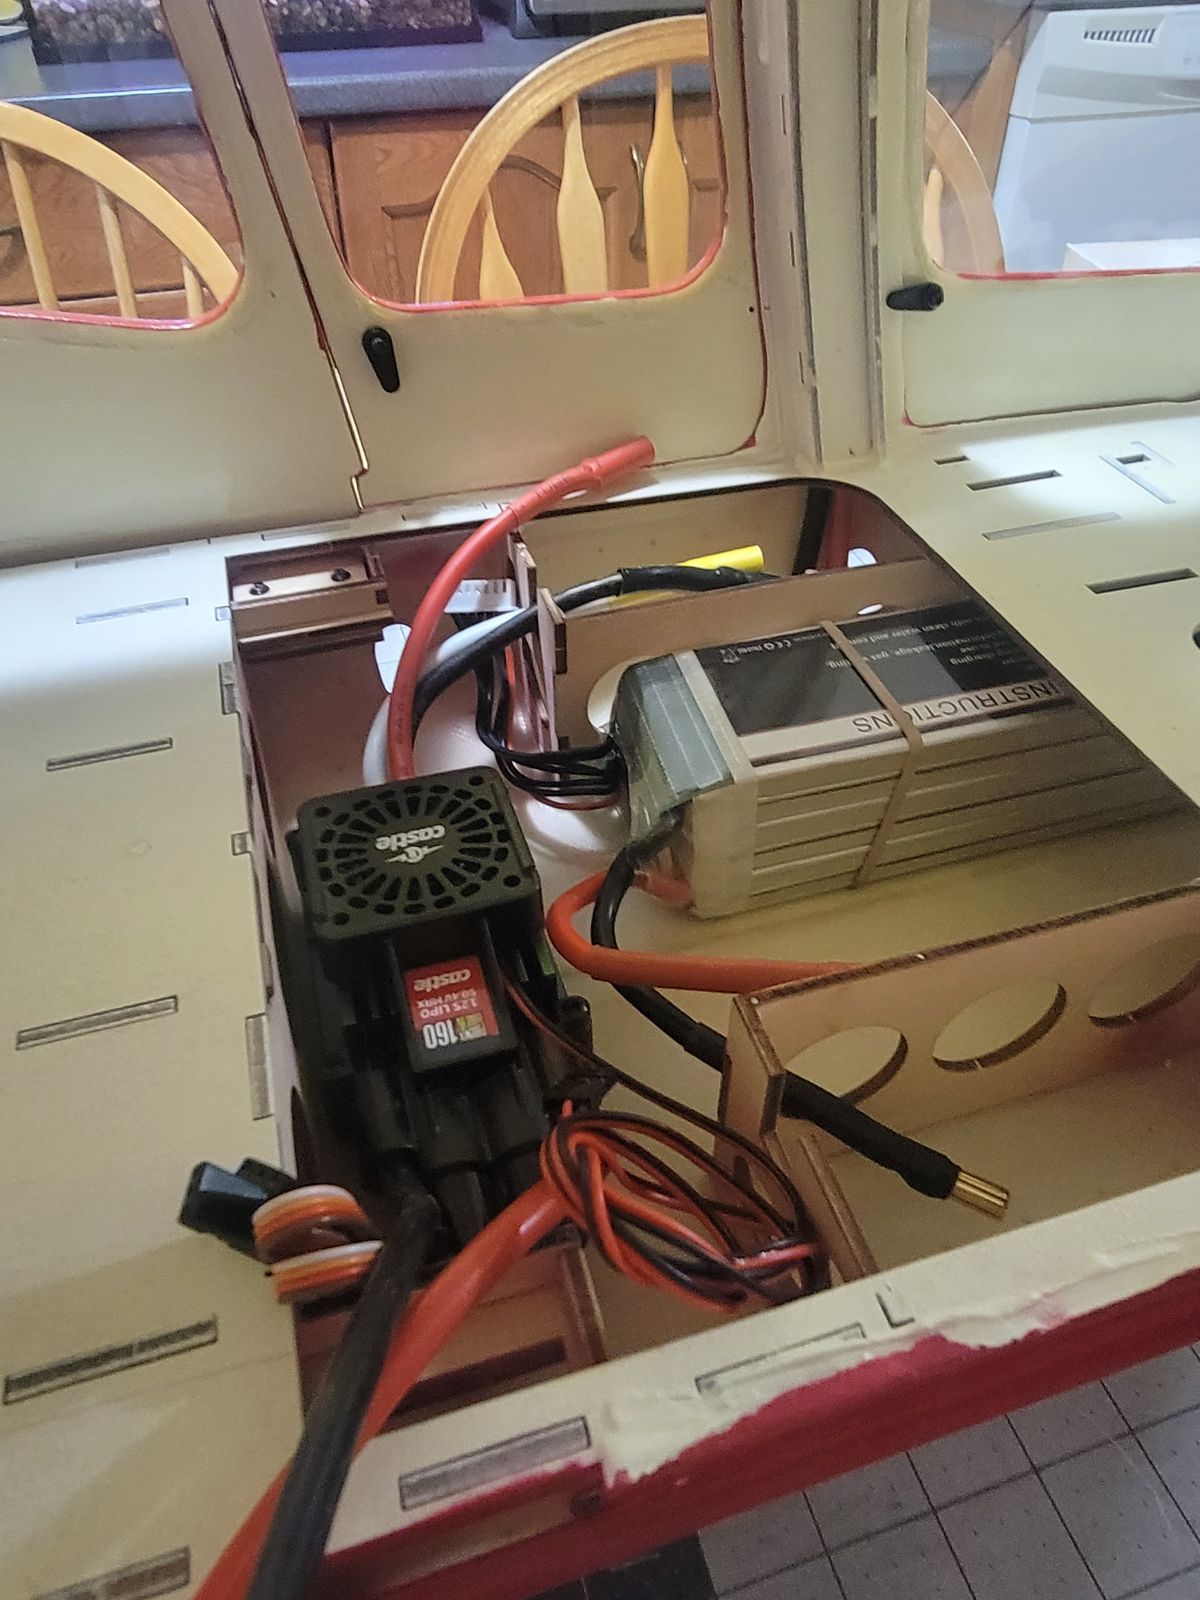
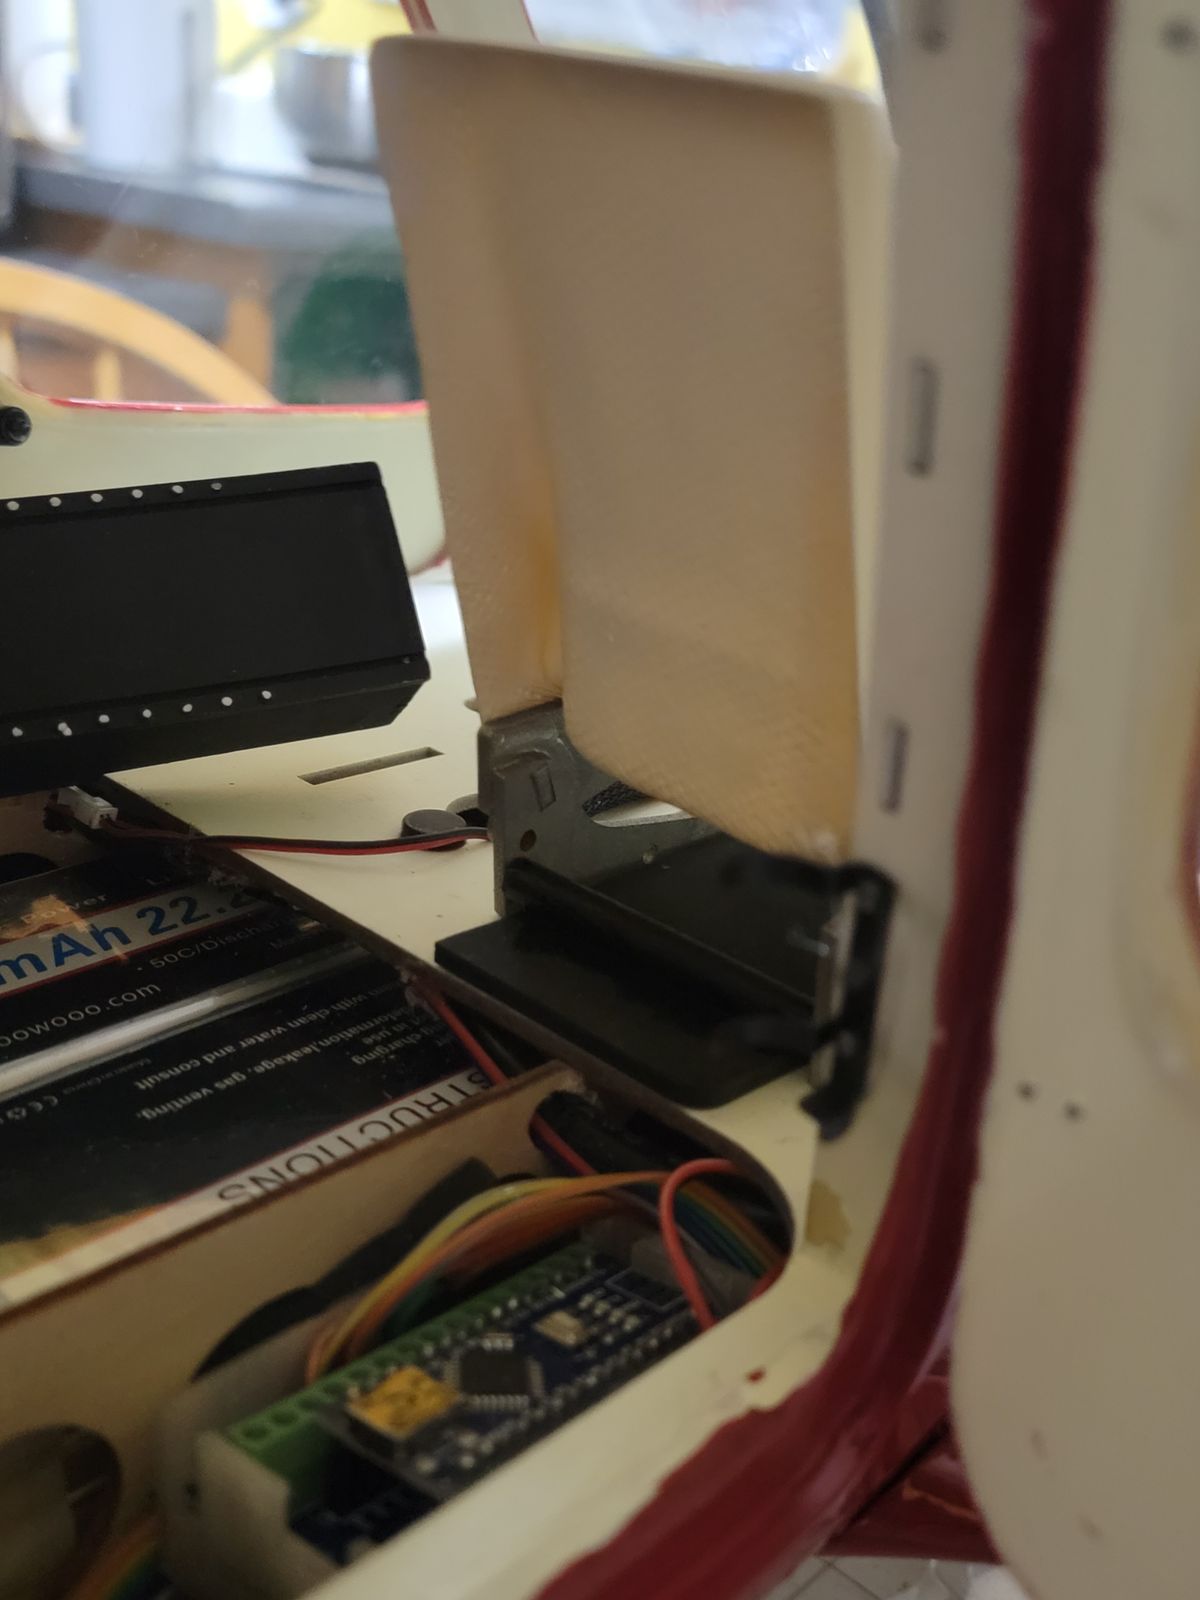
I spent sometimes trying to find the best fit for all the components, ESC, Battery, etc..
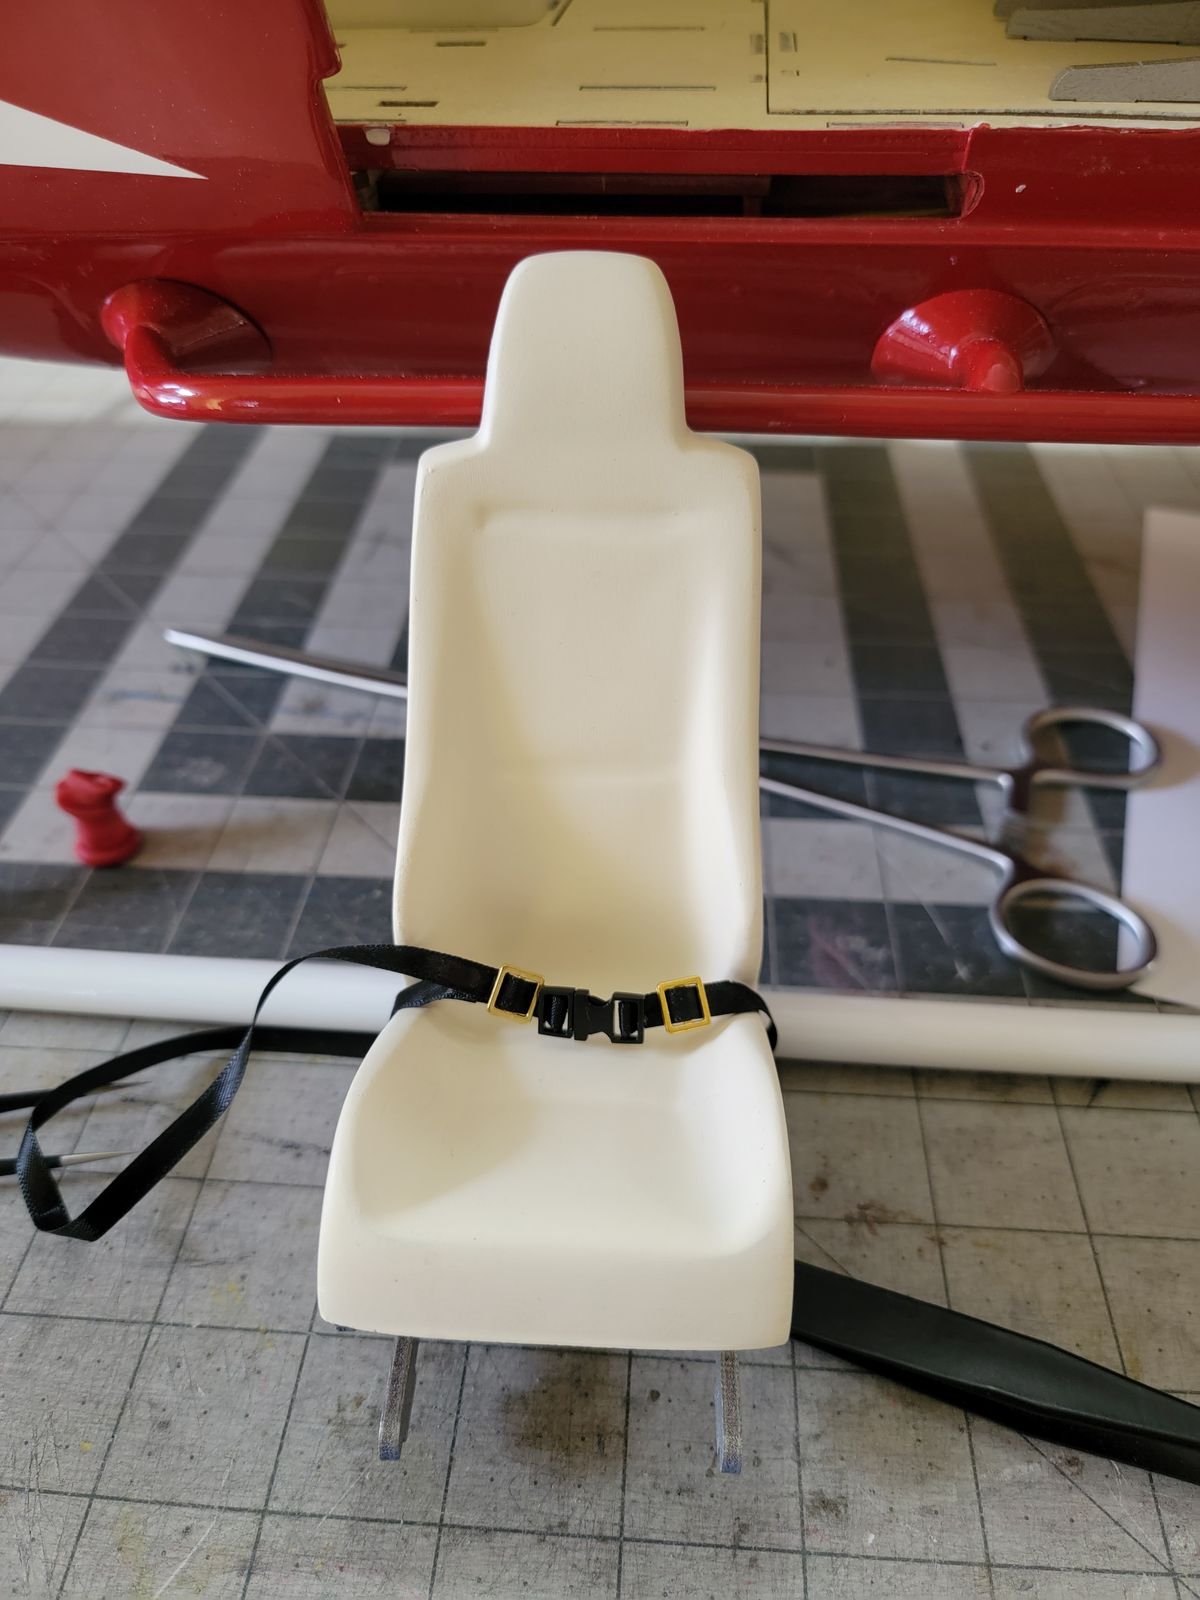
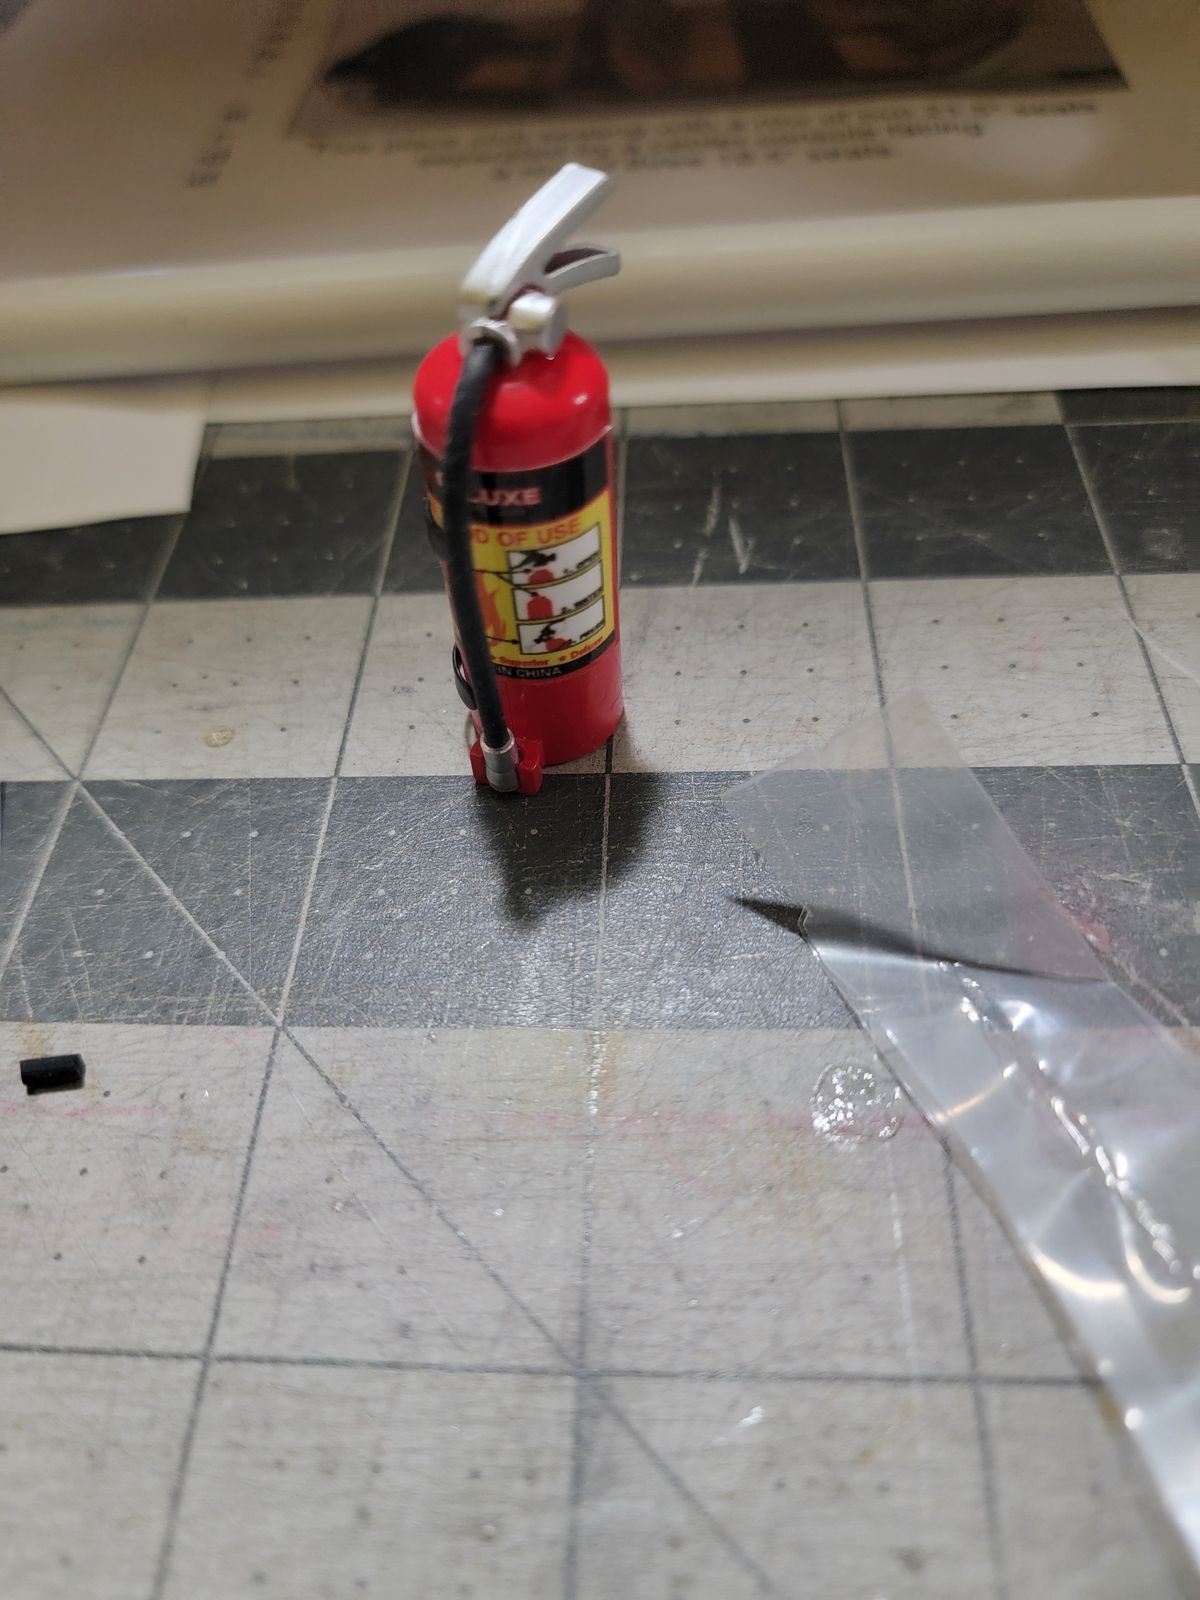
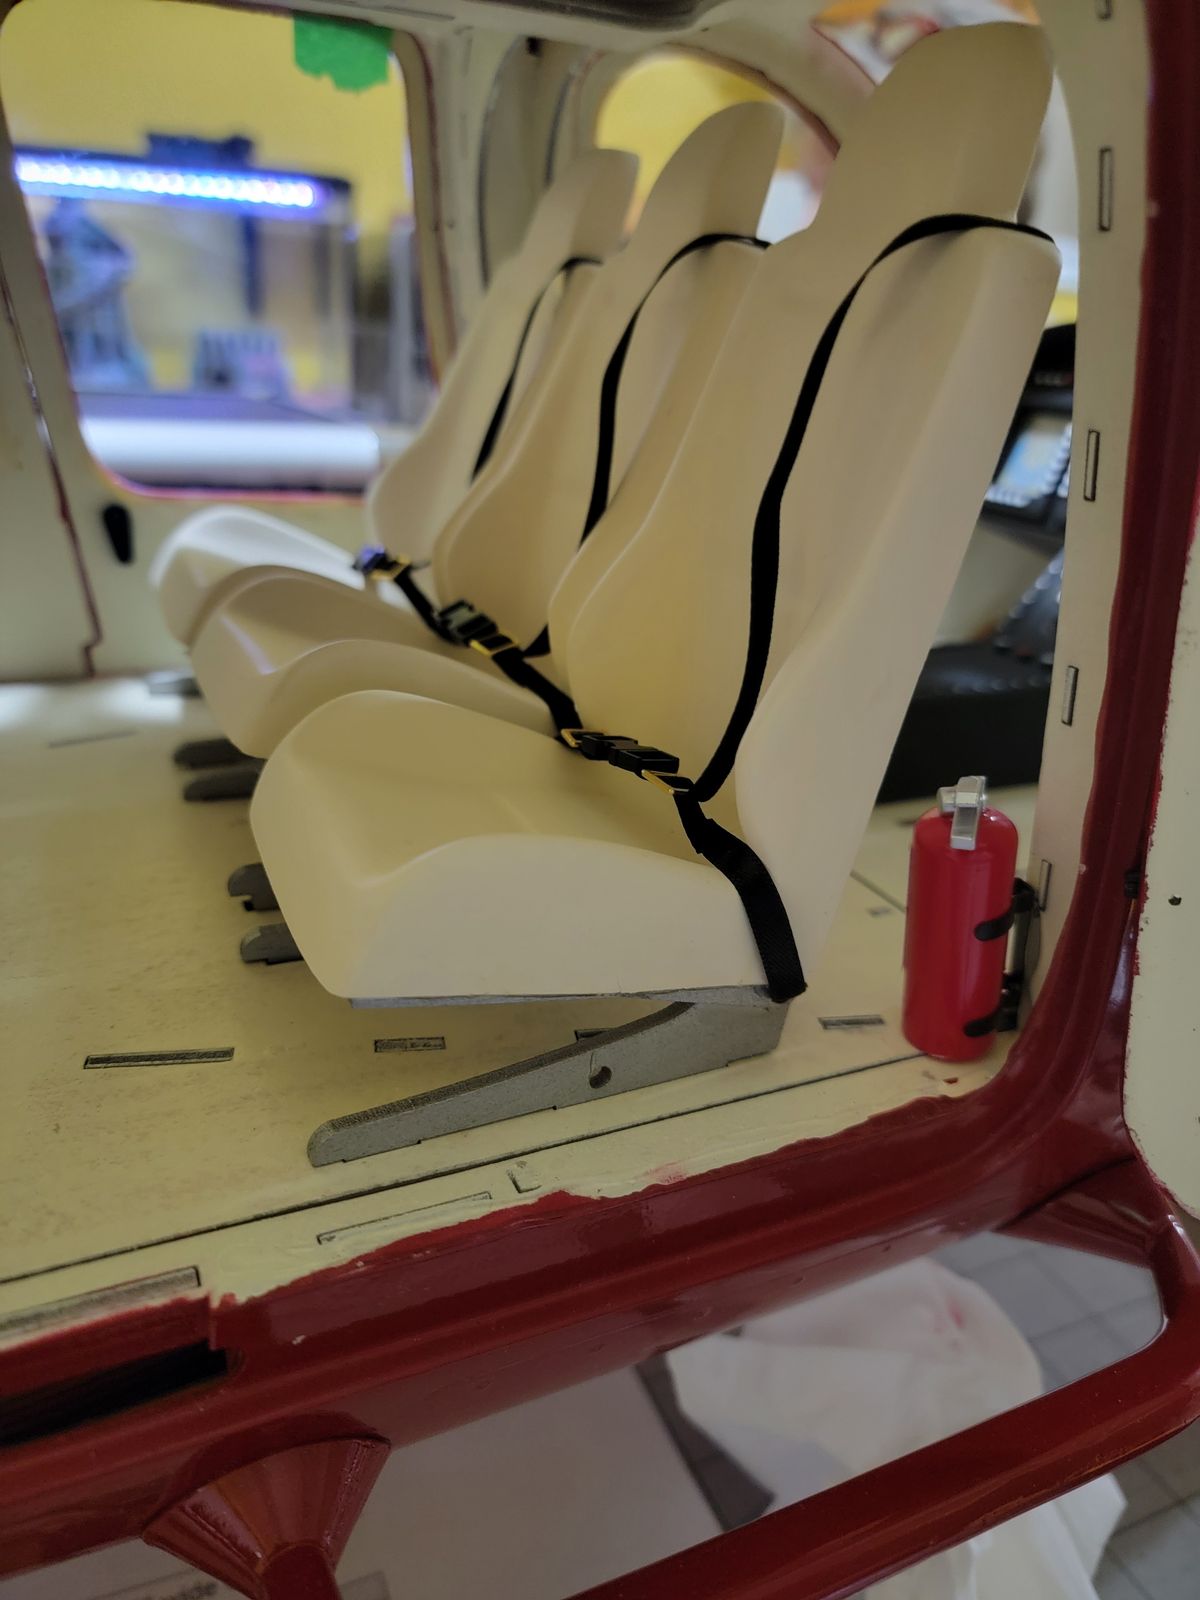
I decided also to keep some of the scale accessories removable in case I need to do some maintenance to lights, etc..
The manual is not helping too much... 😞
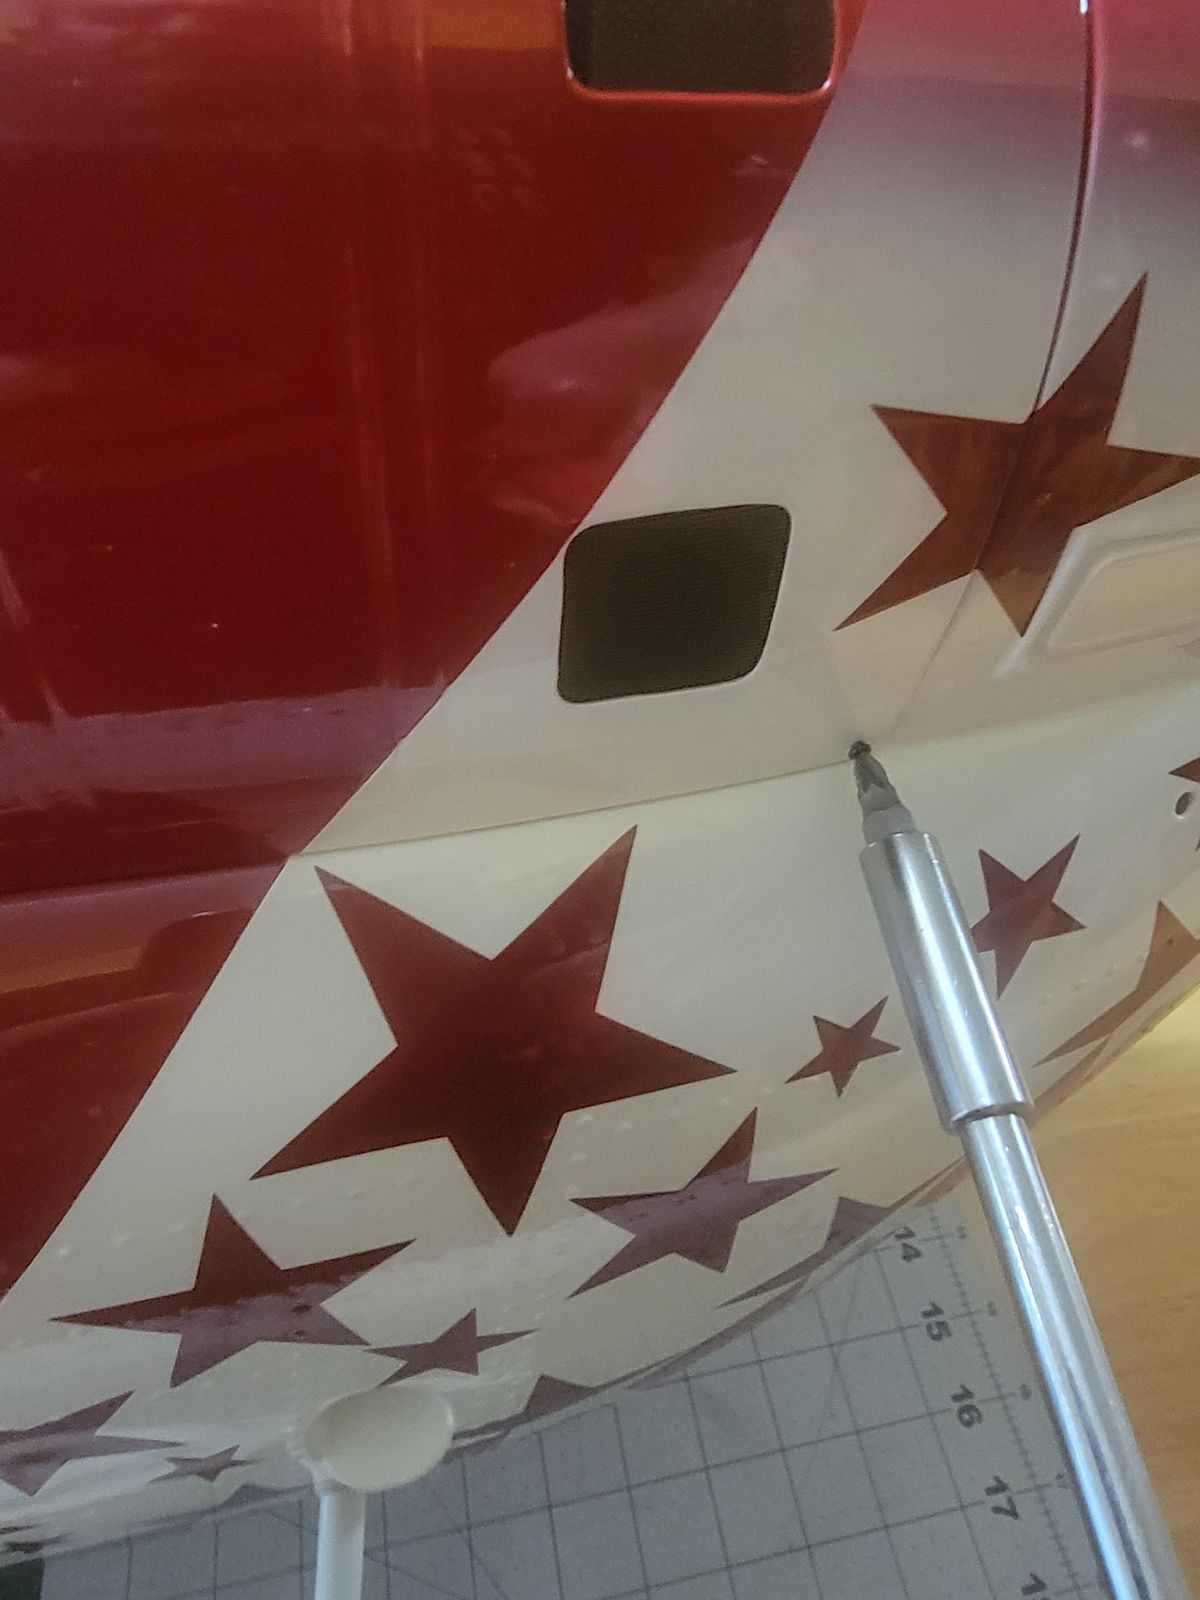
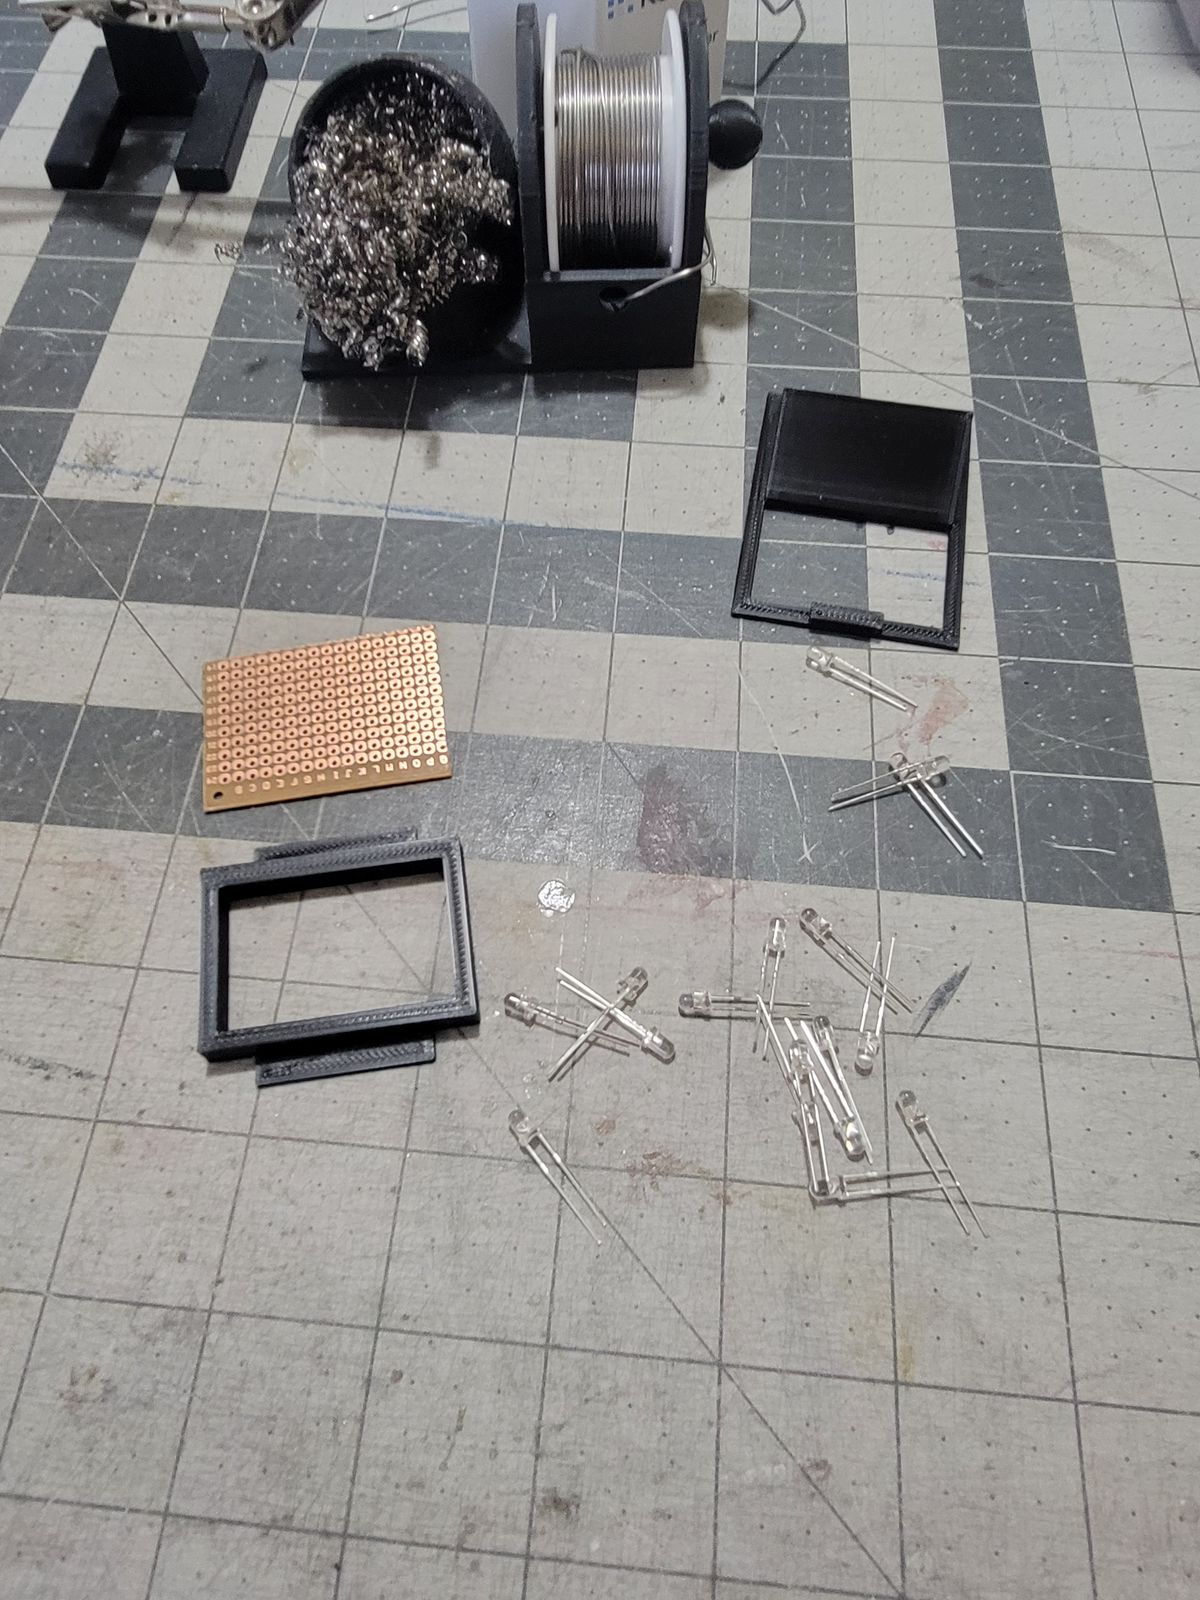
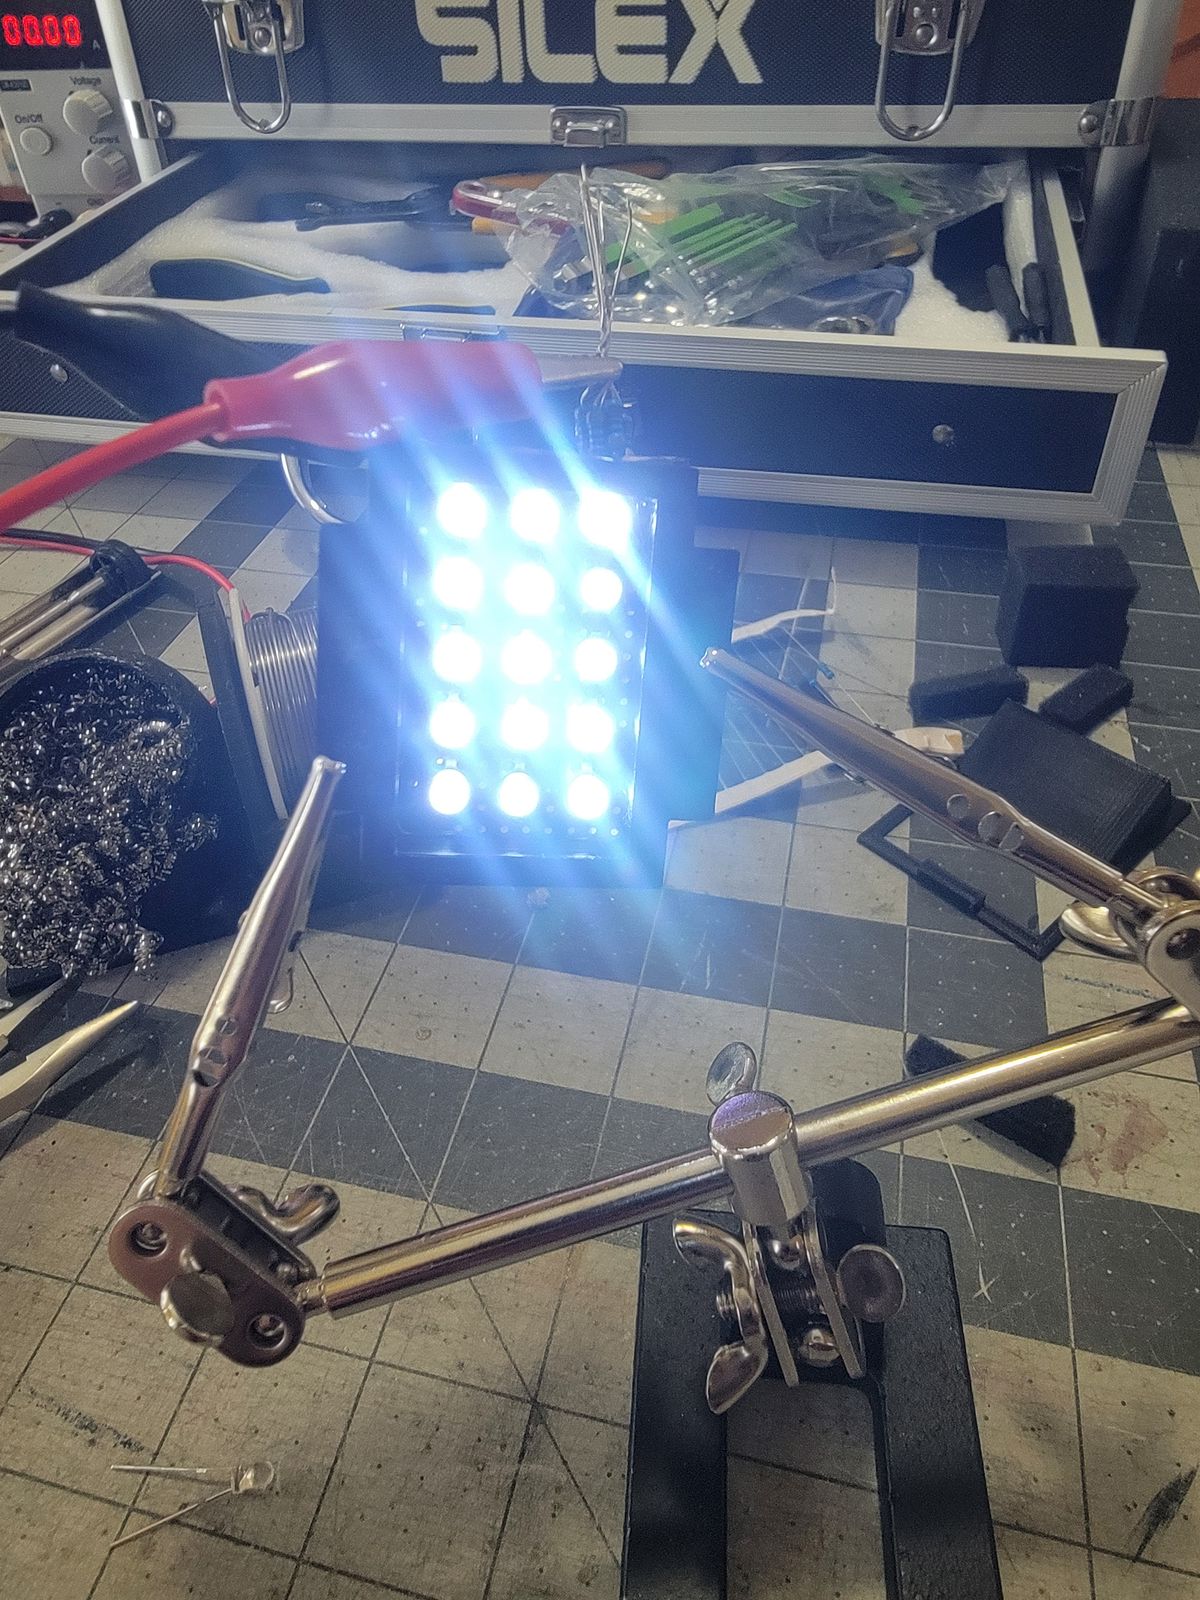
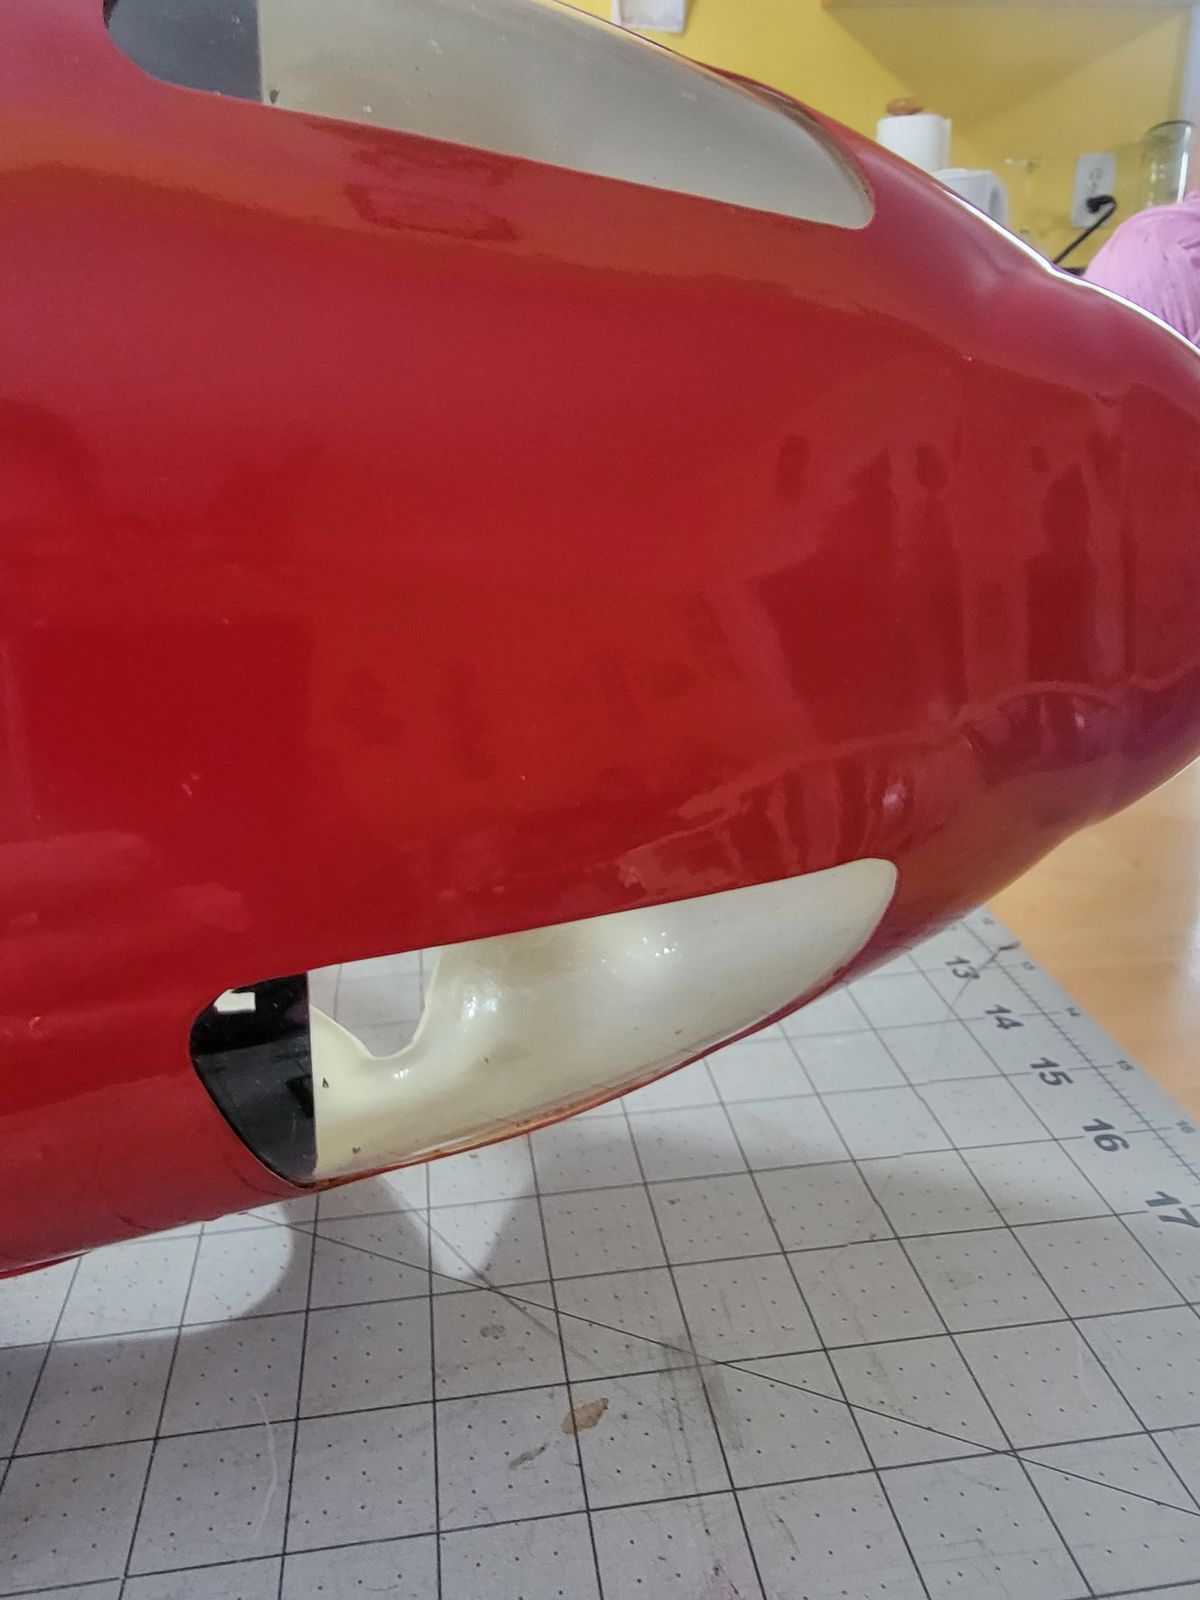
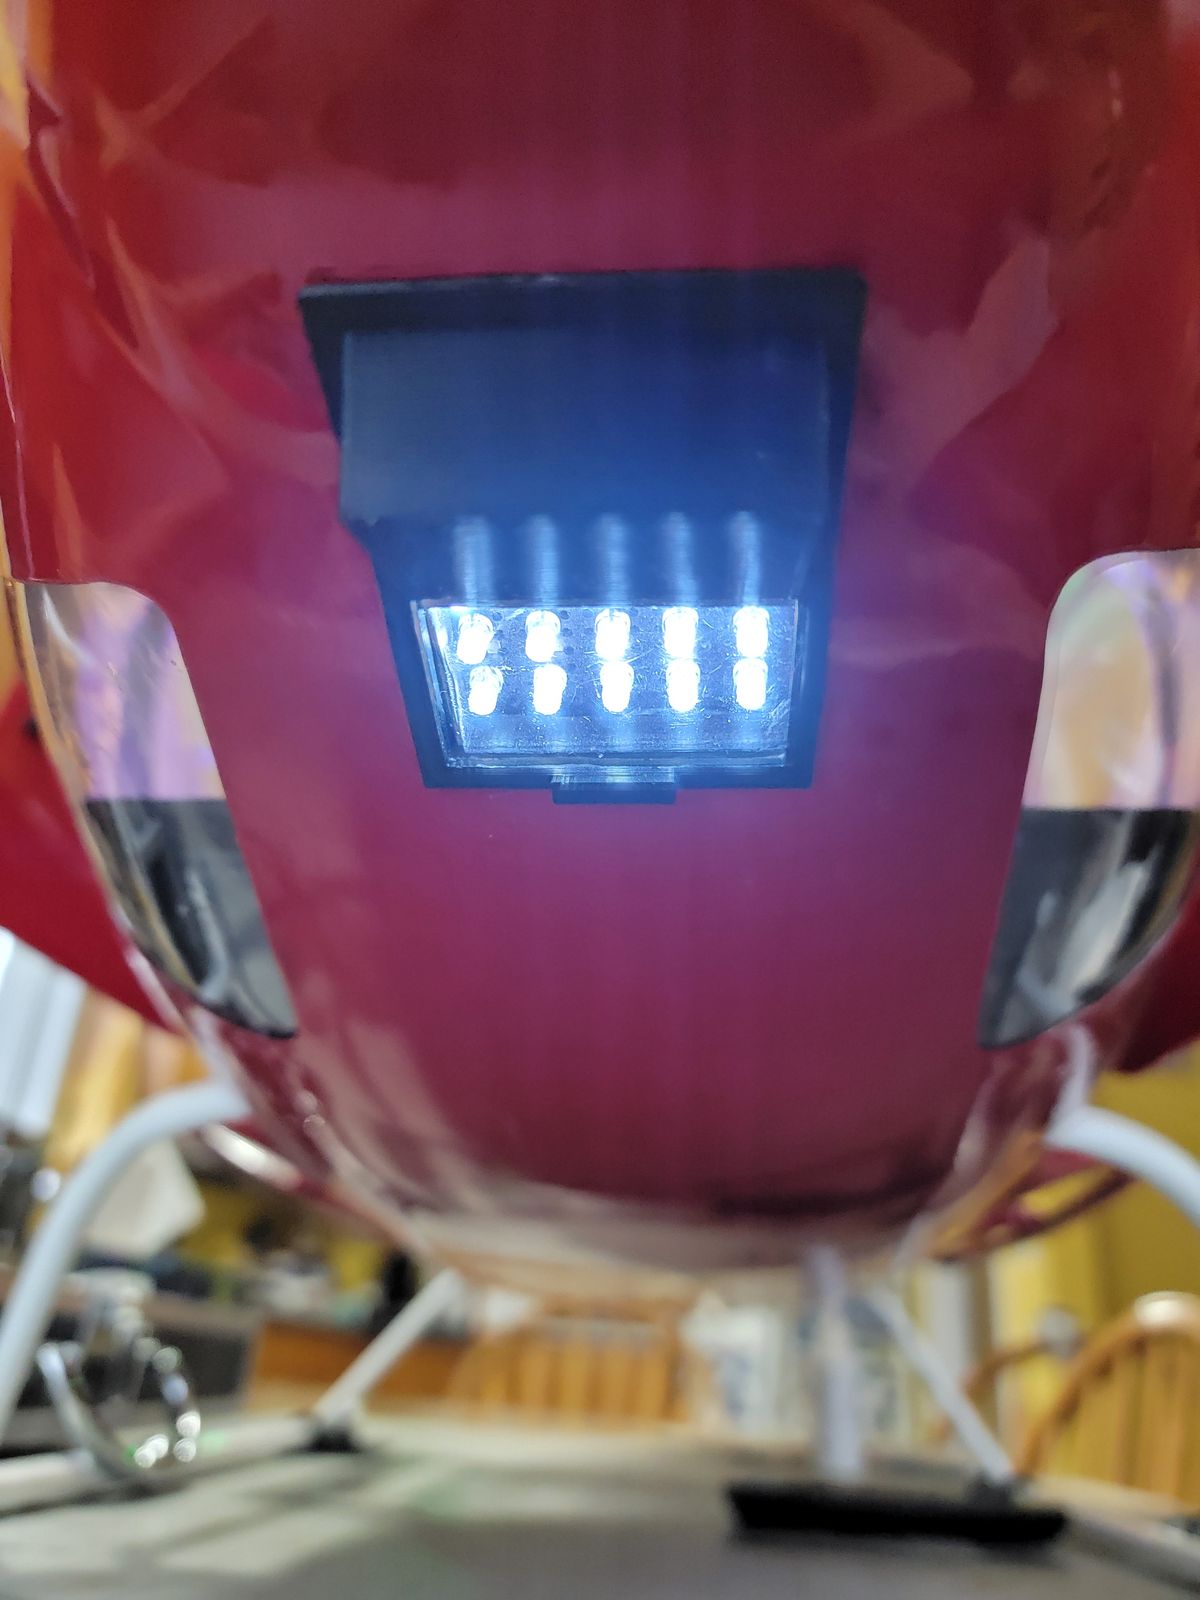
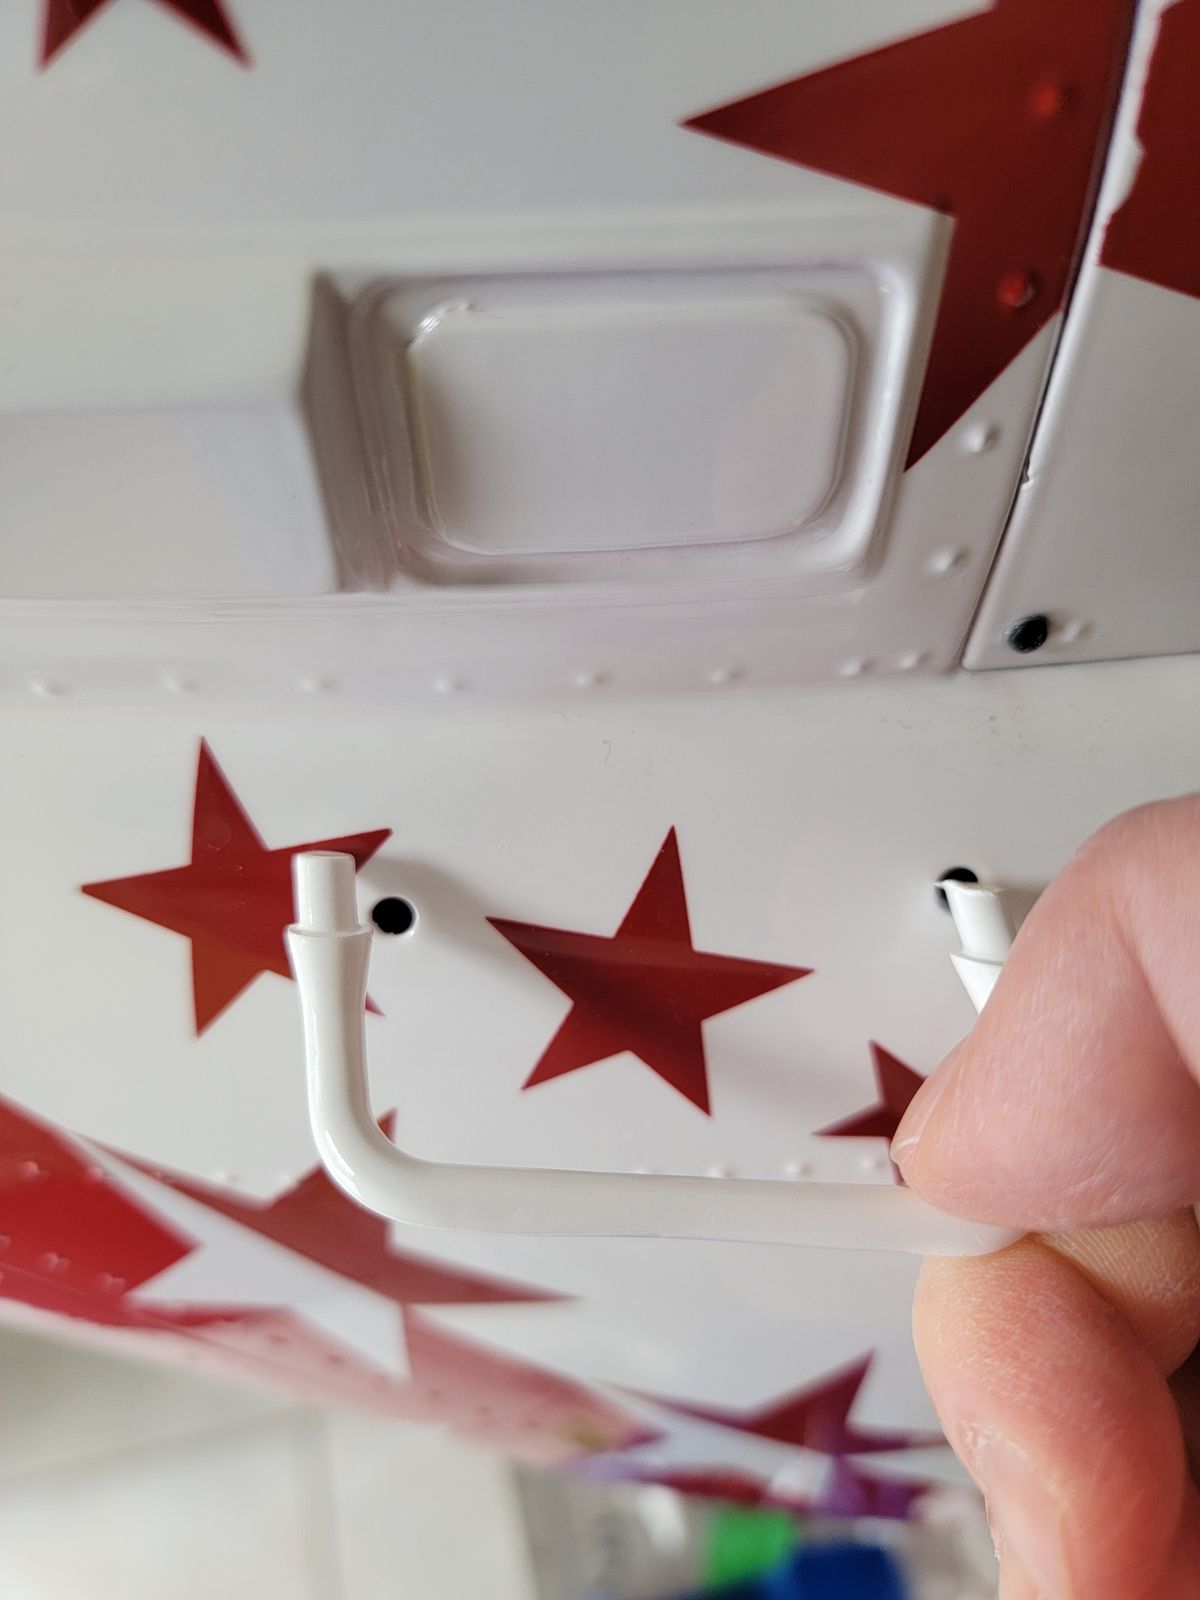
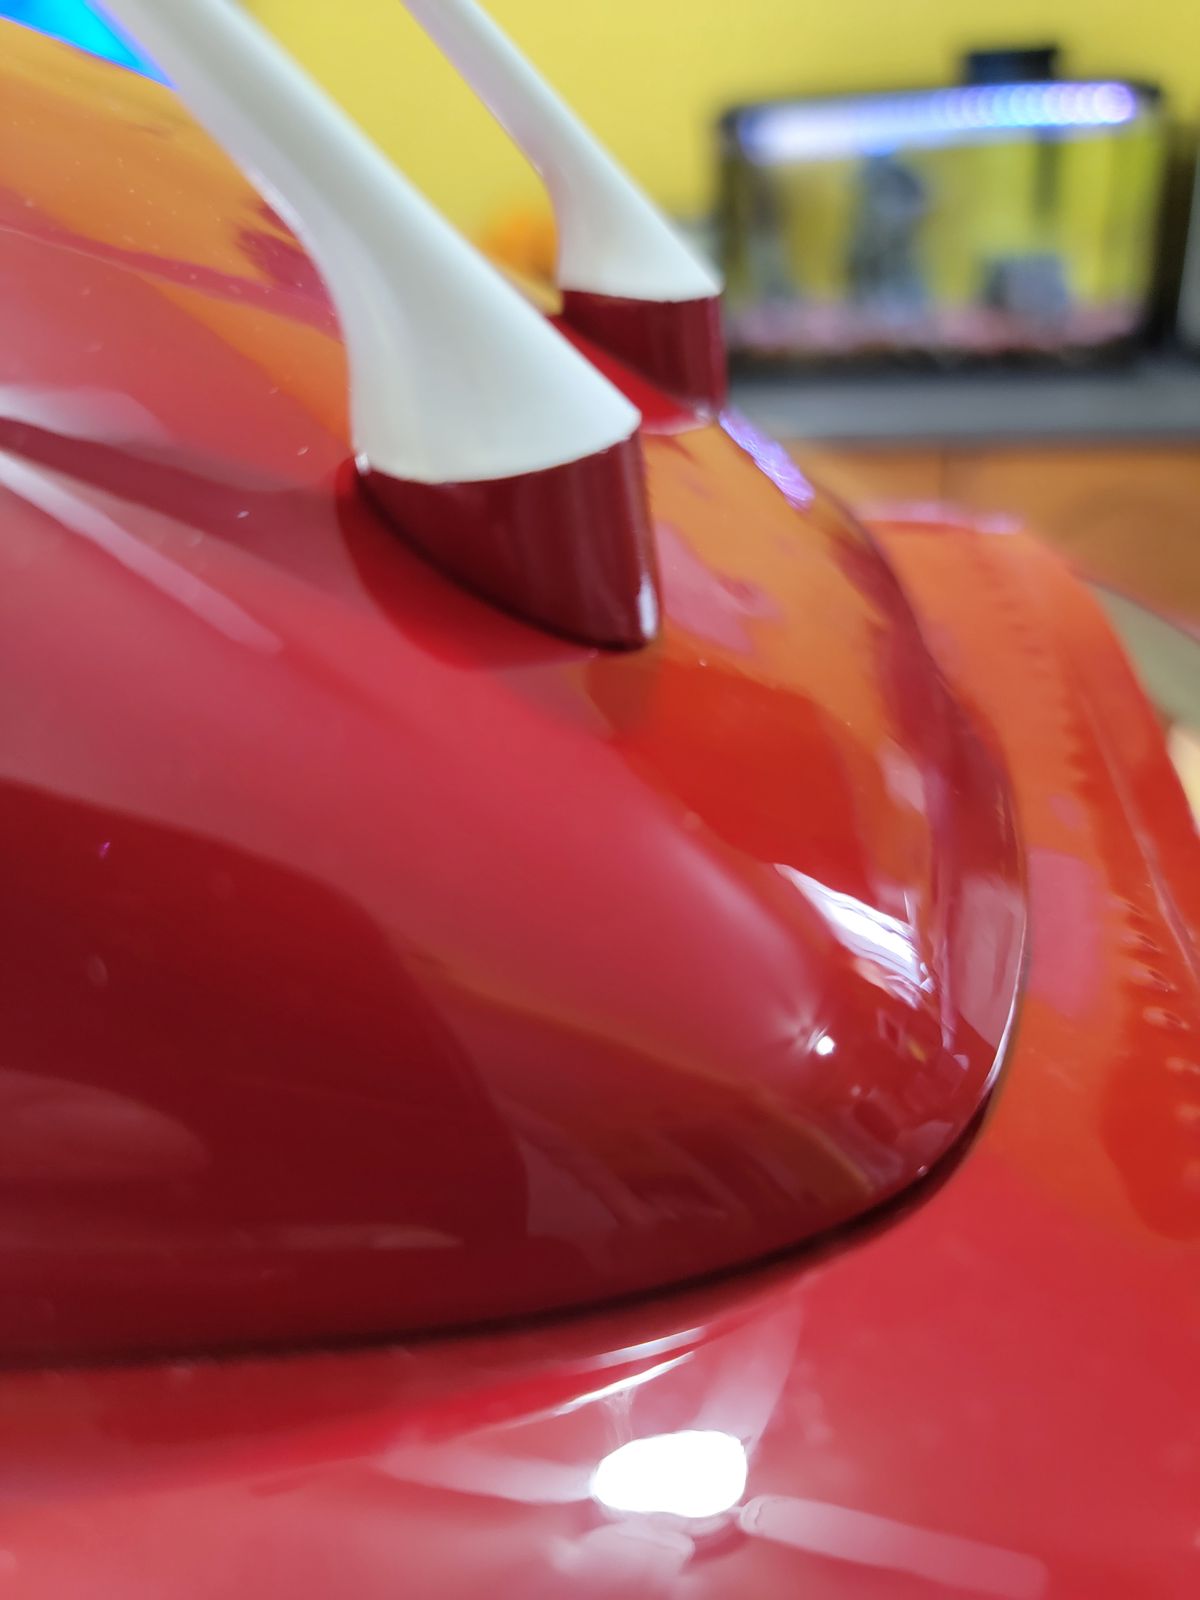
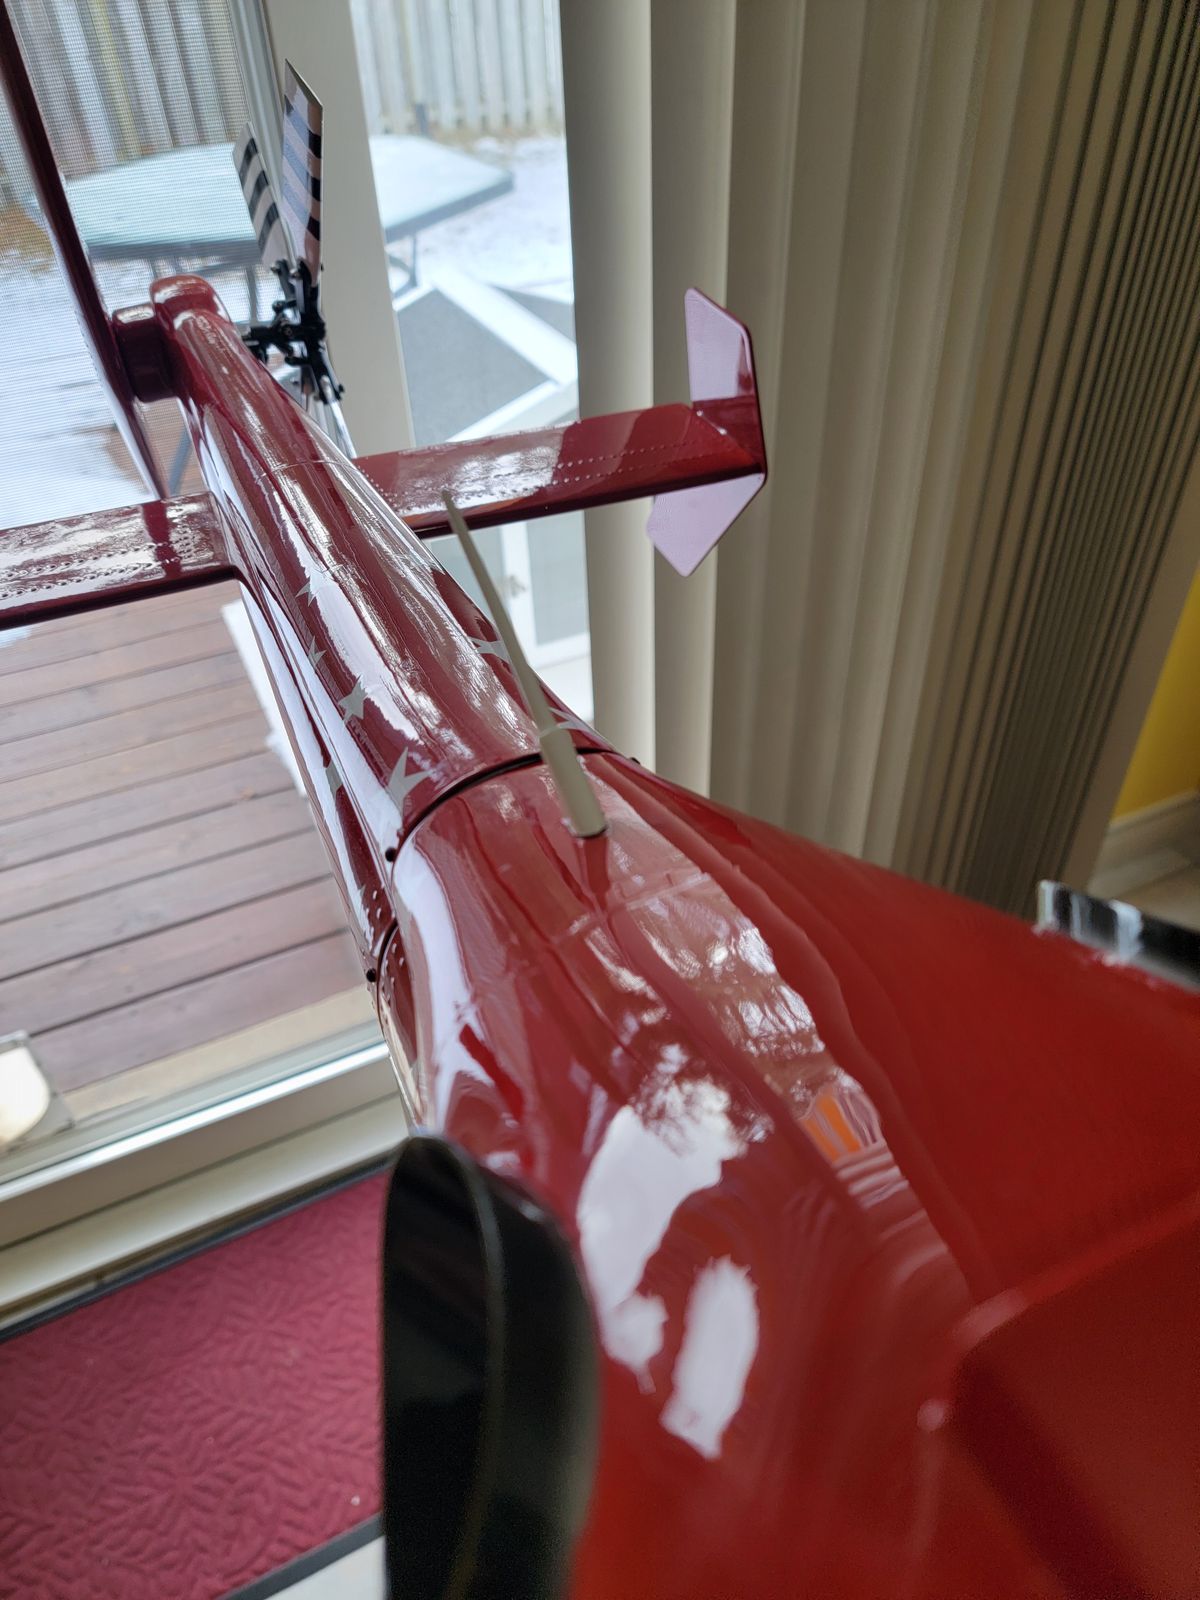
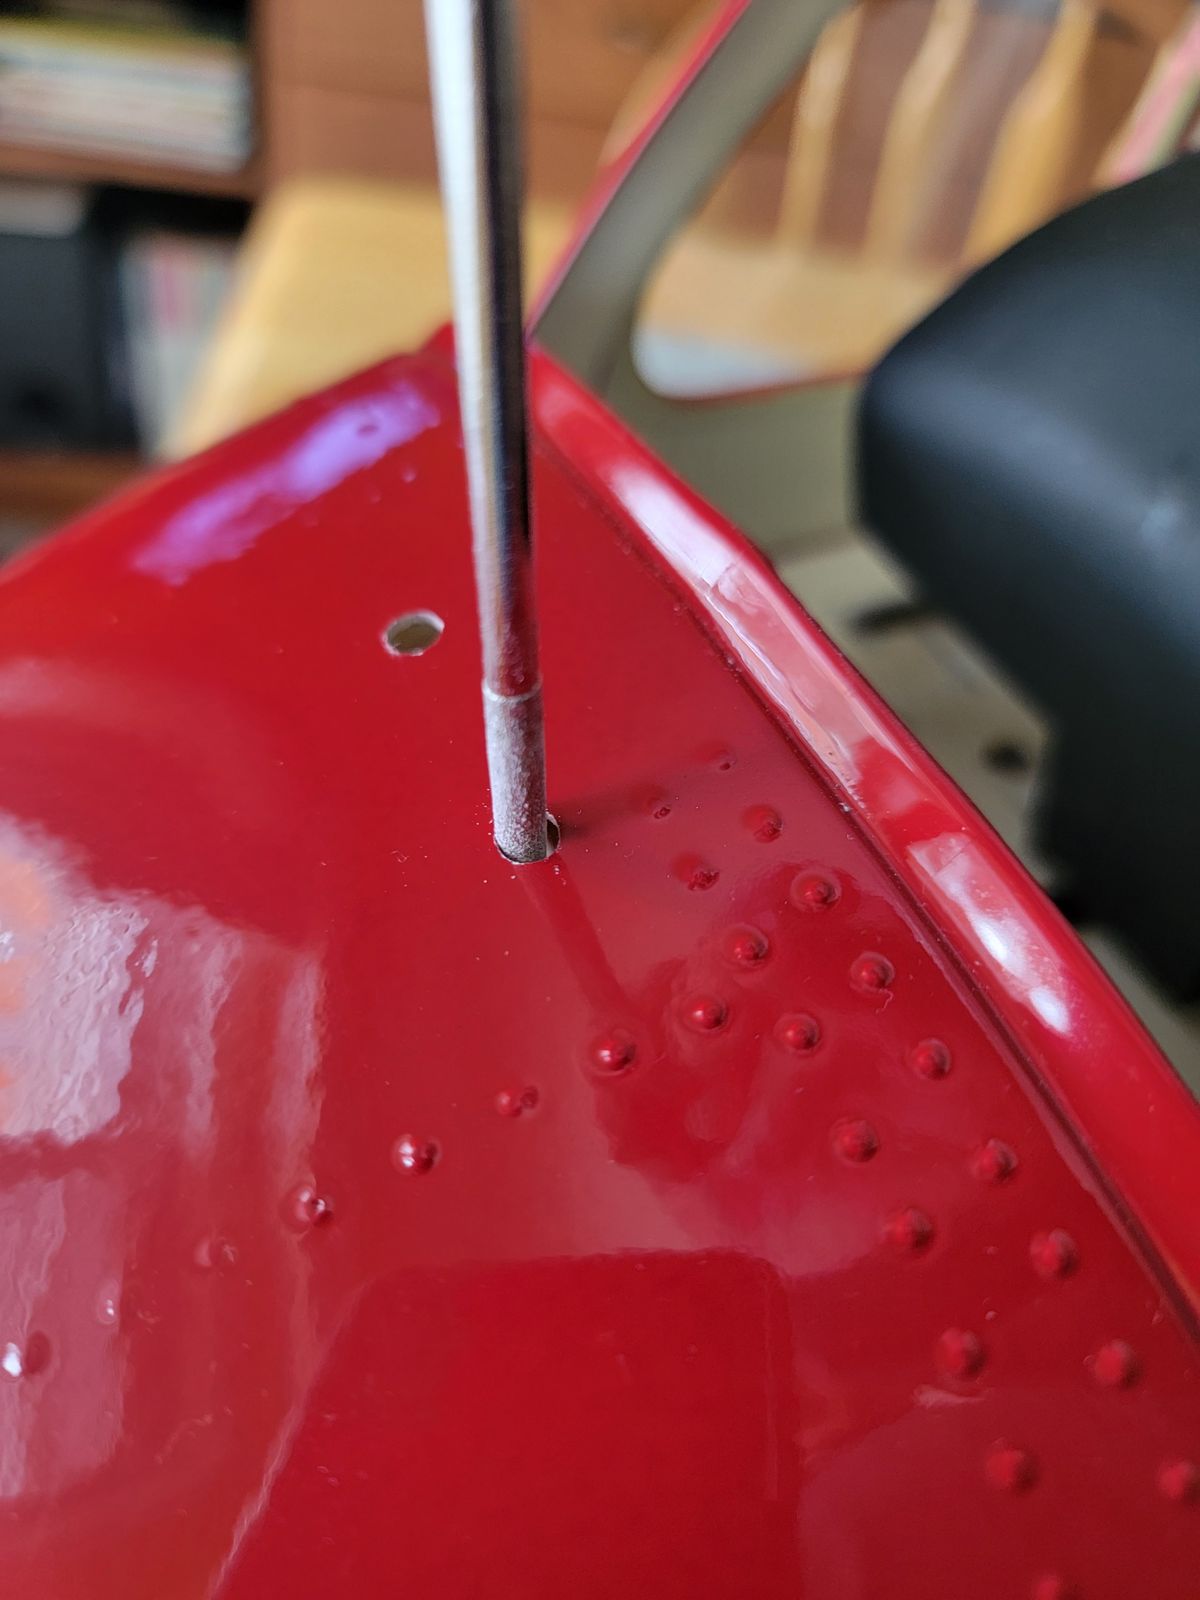
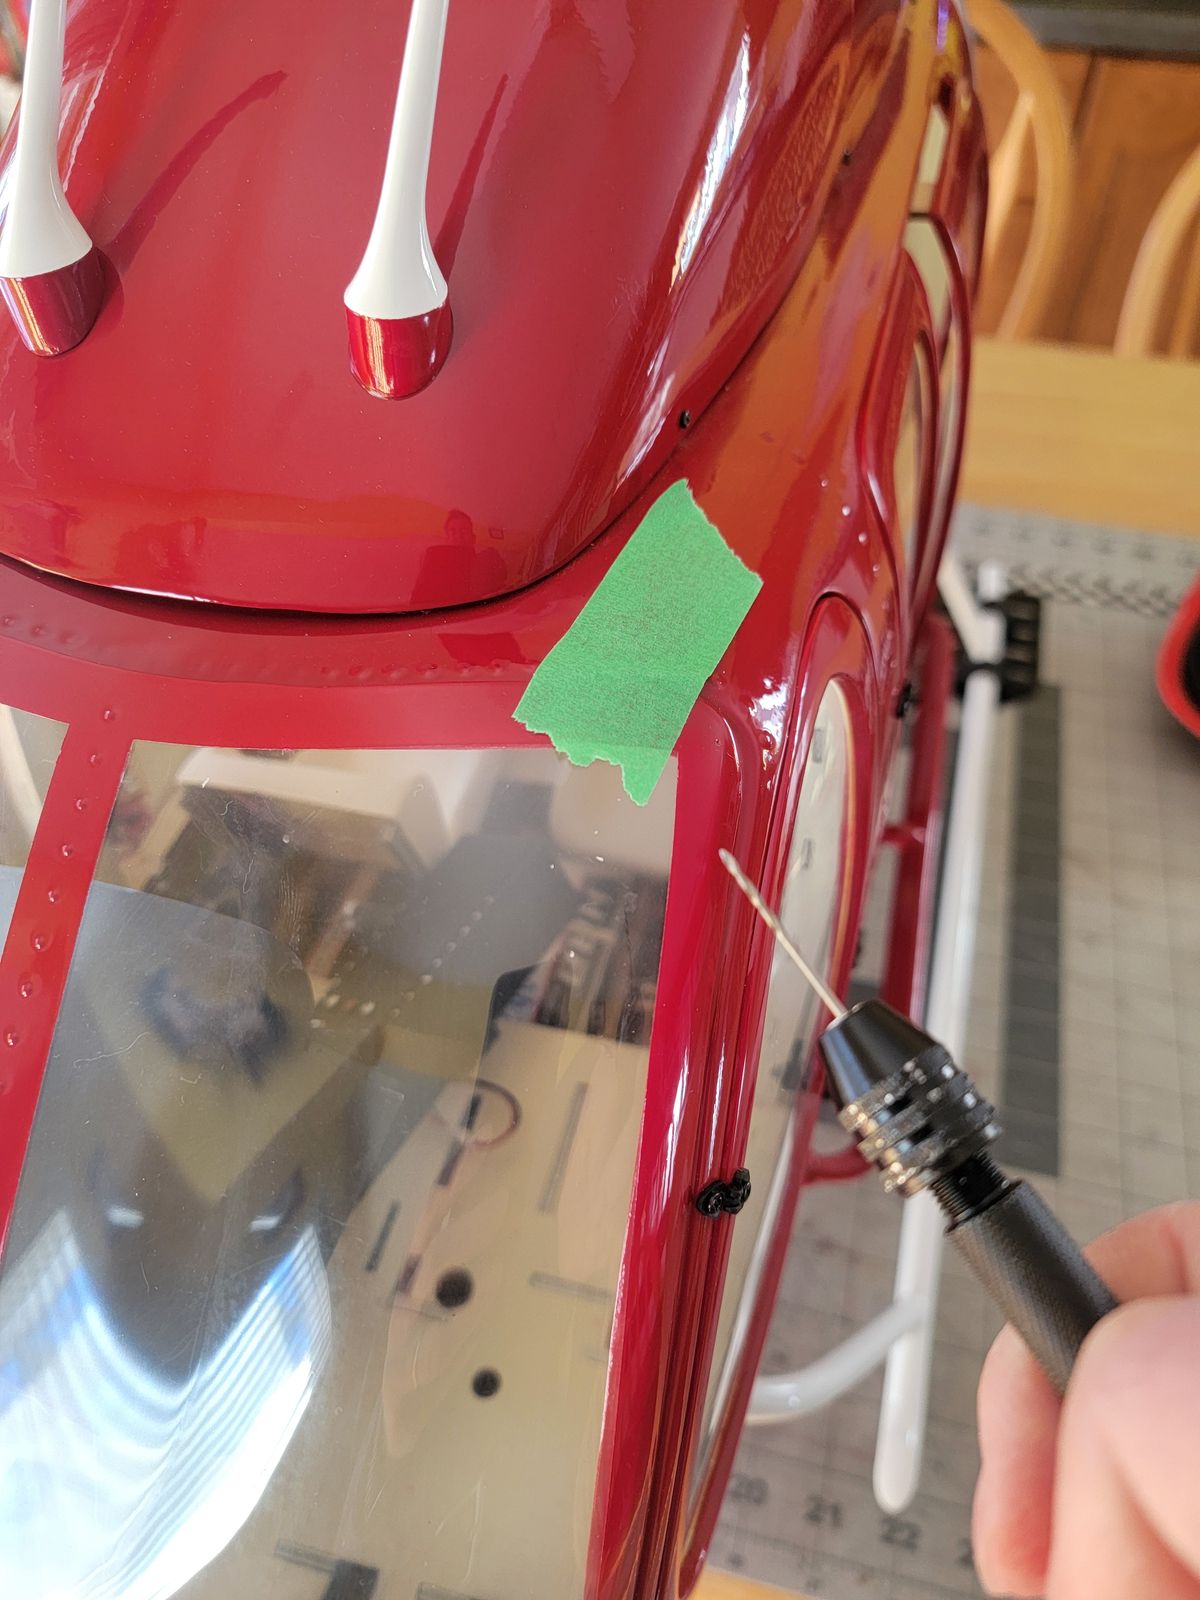
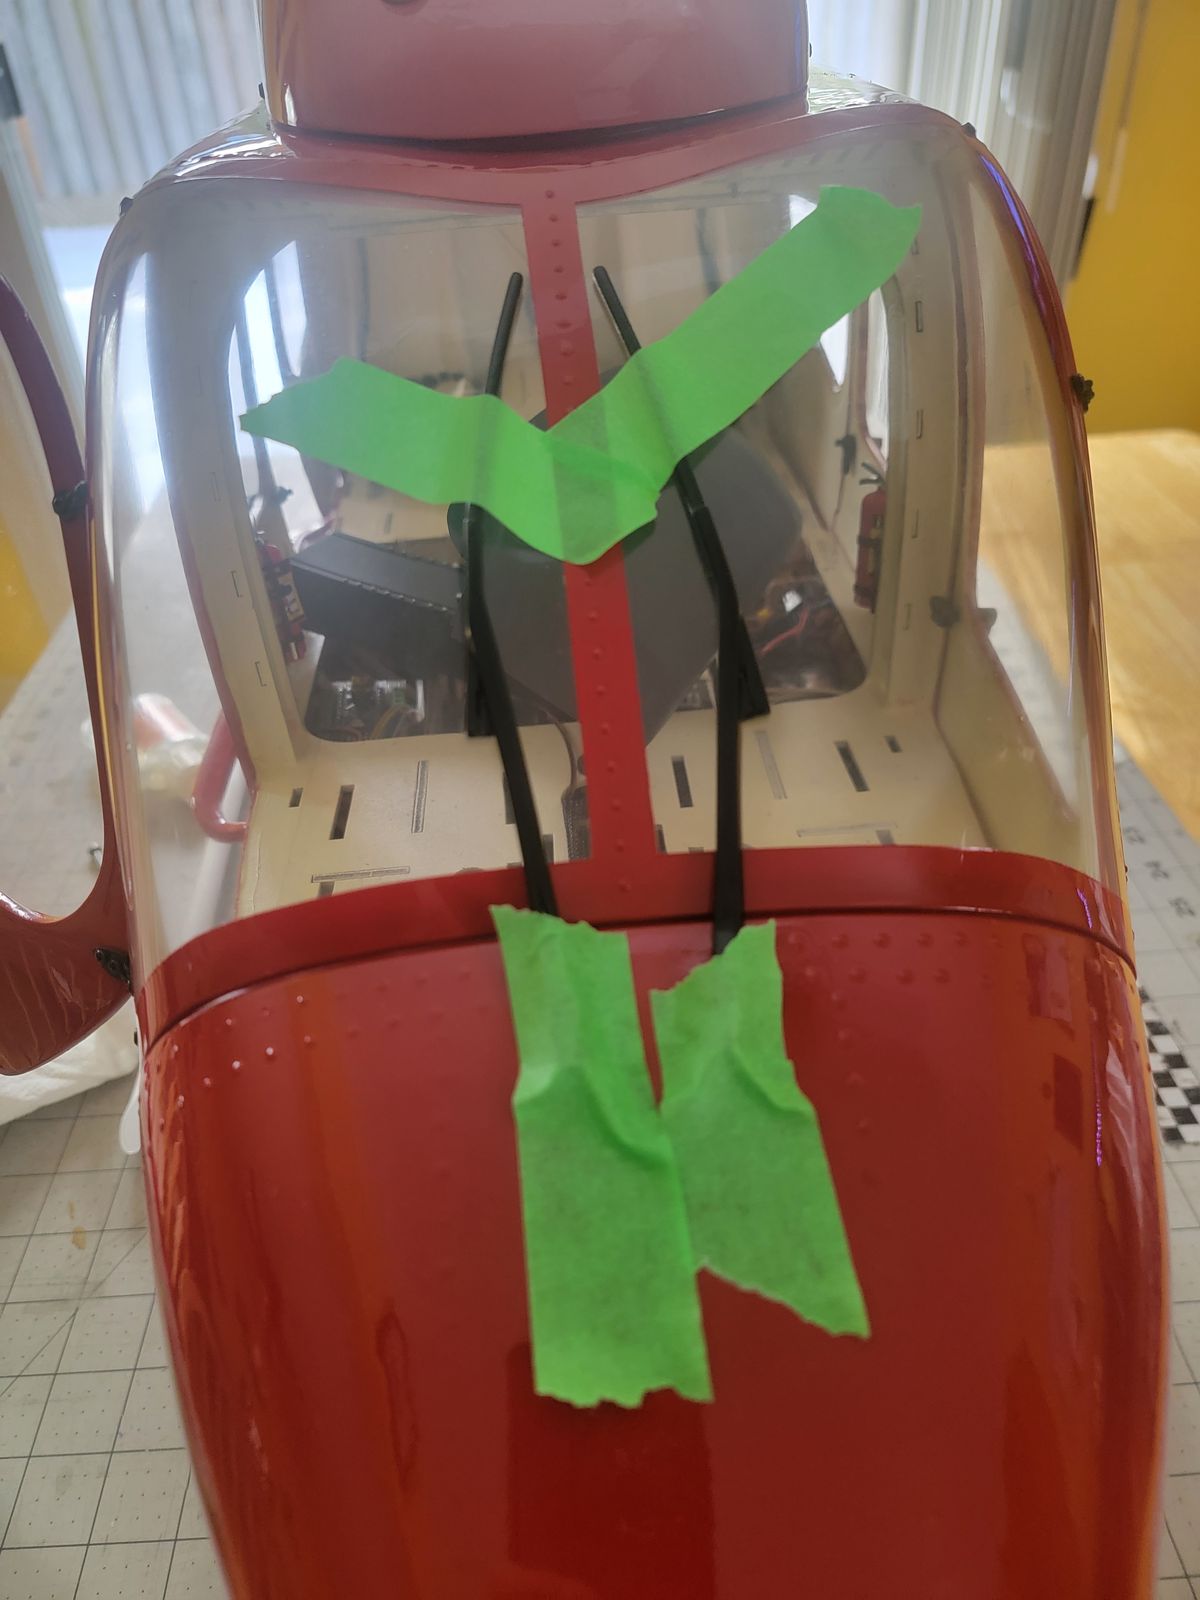
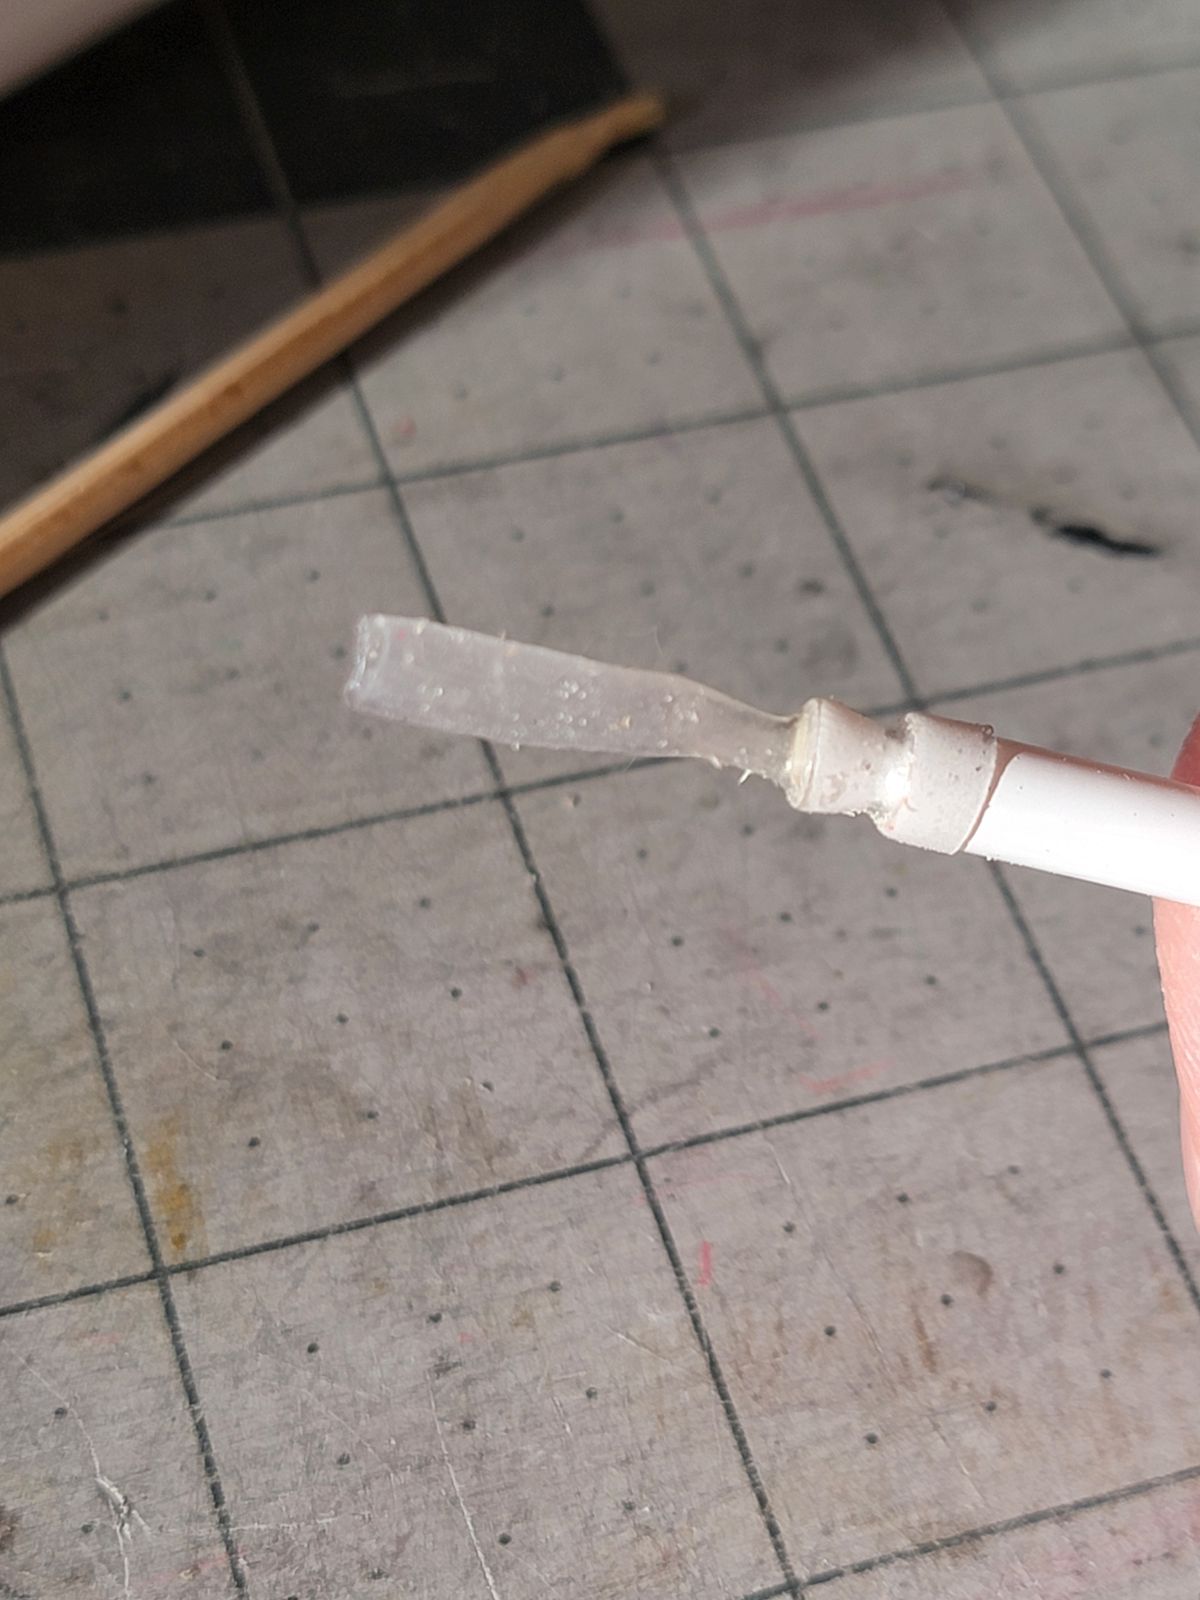
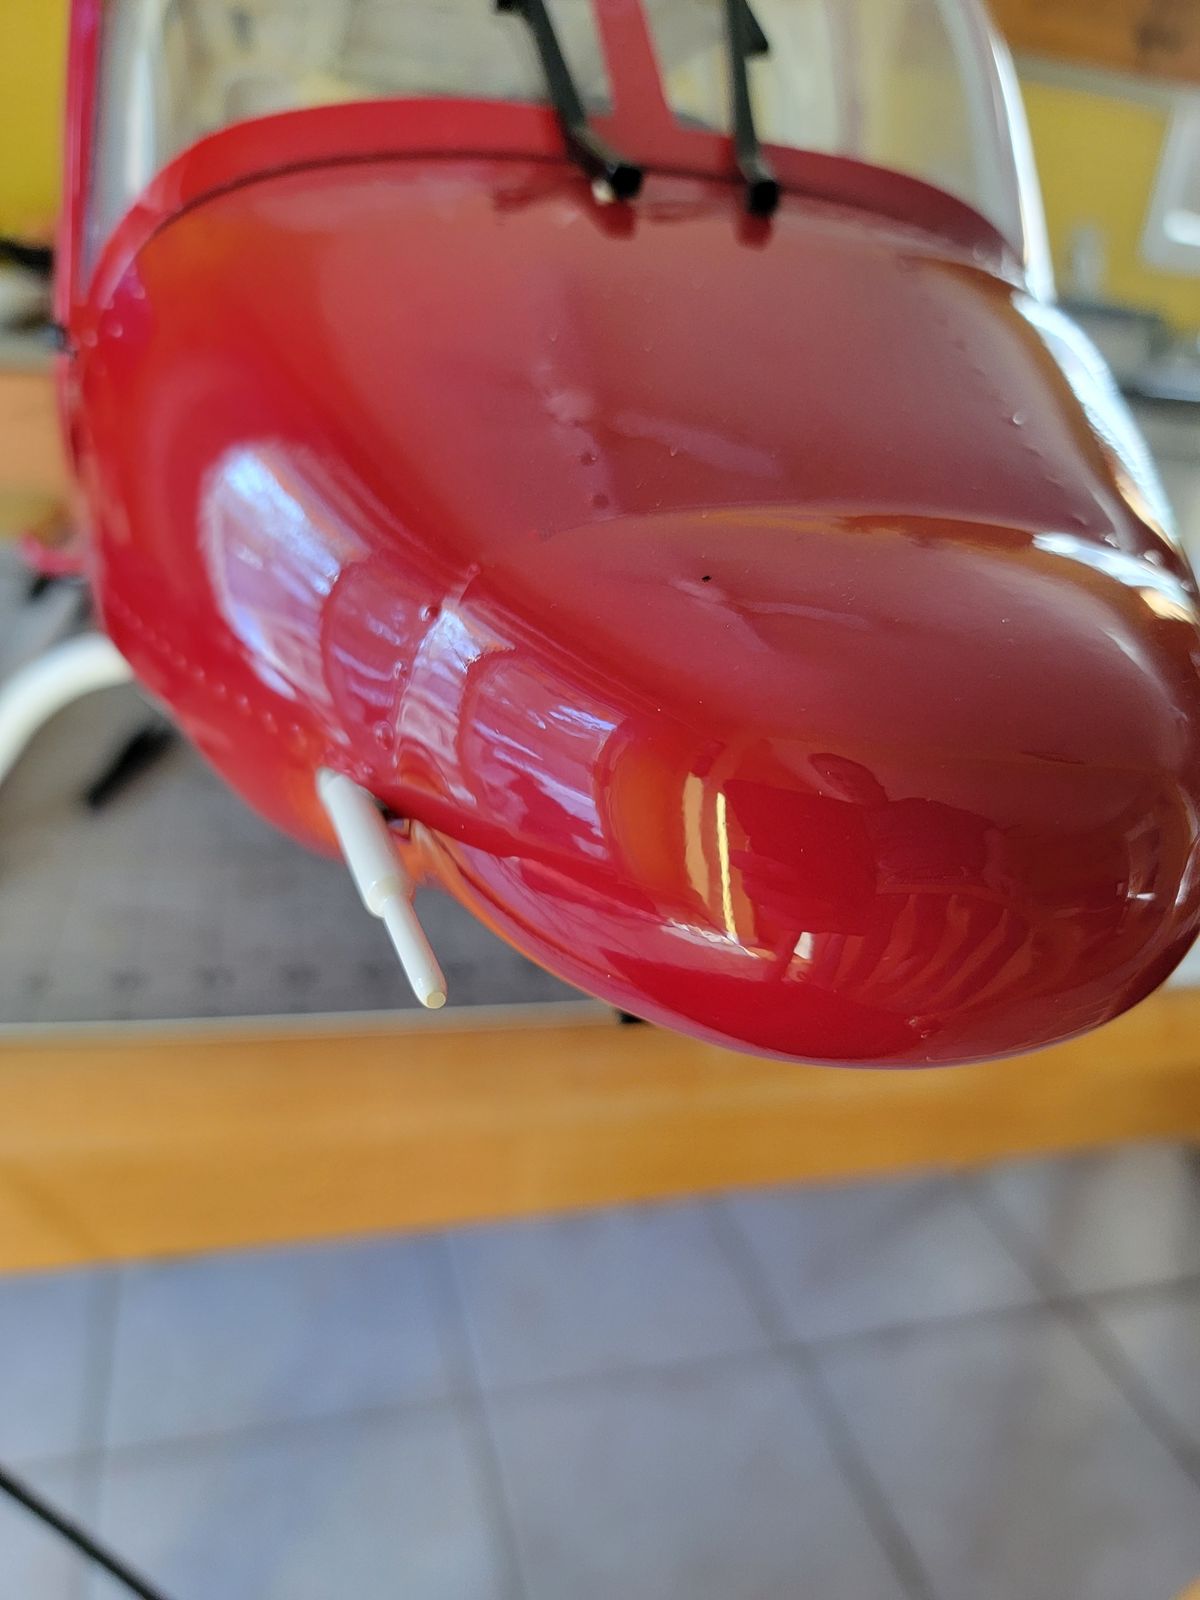
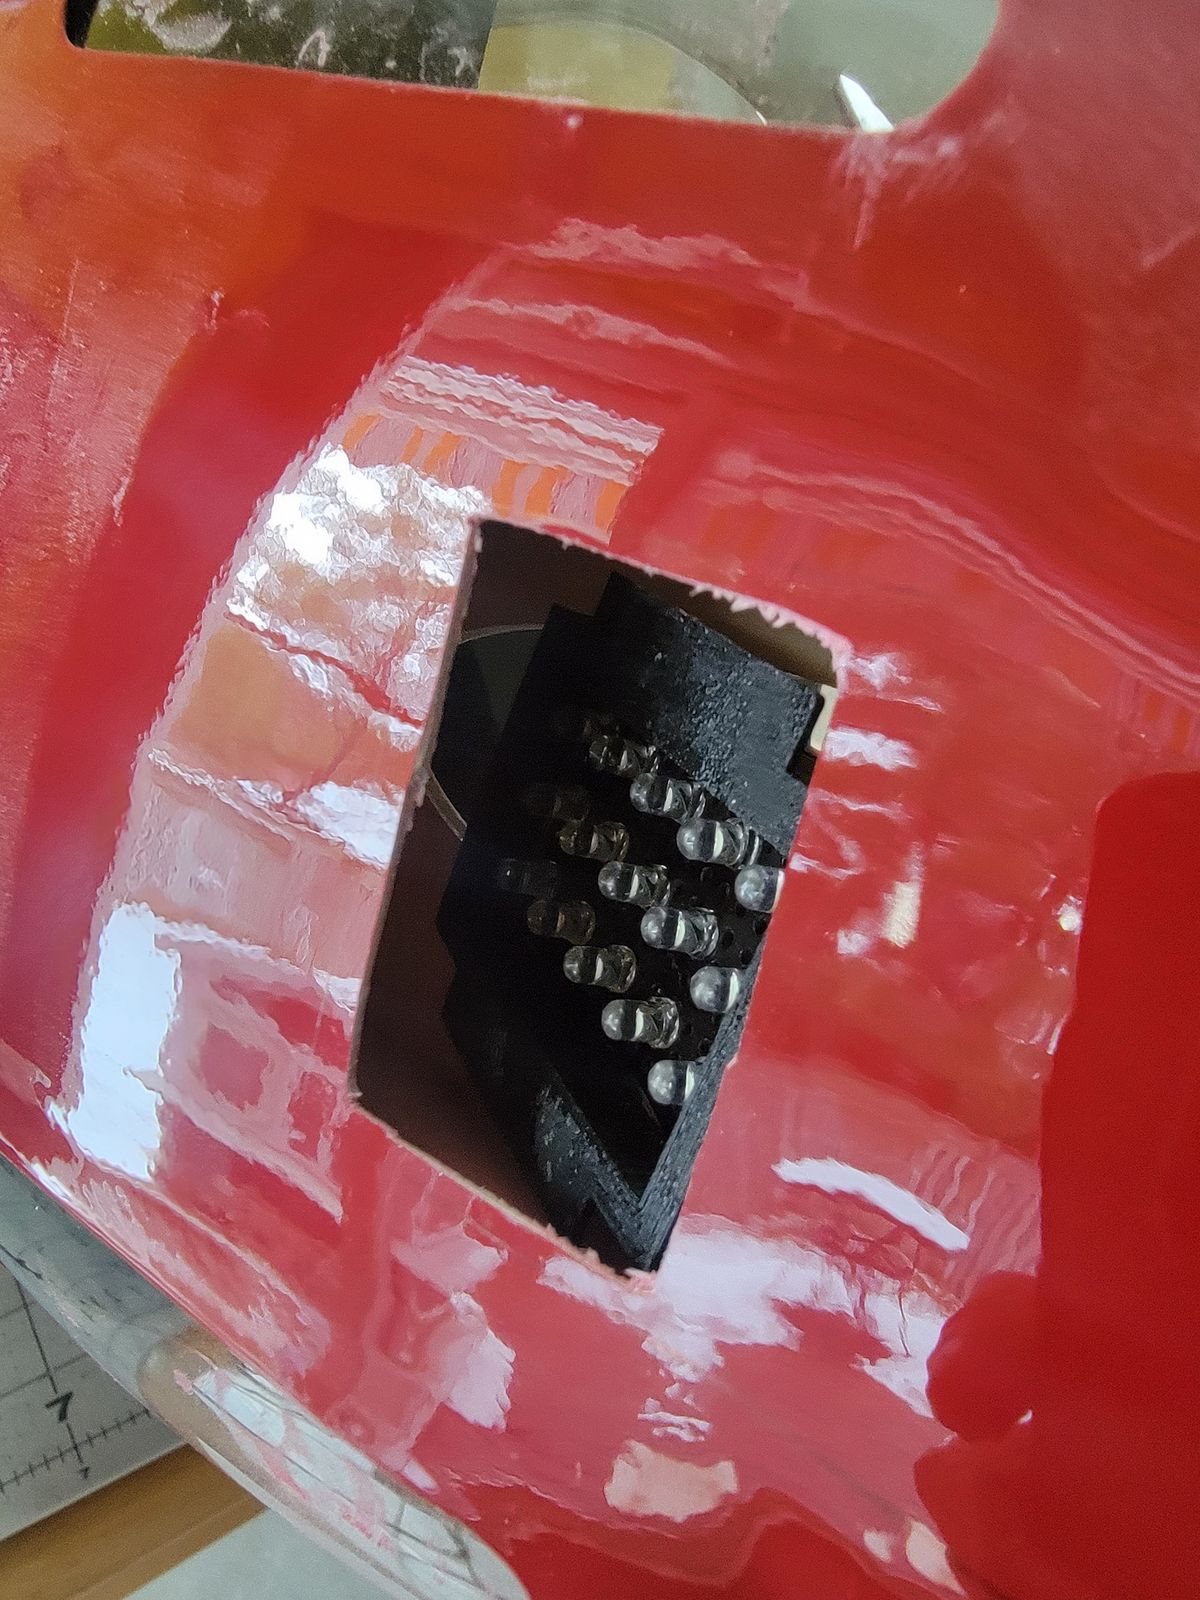
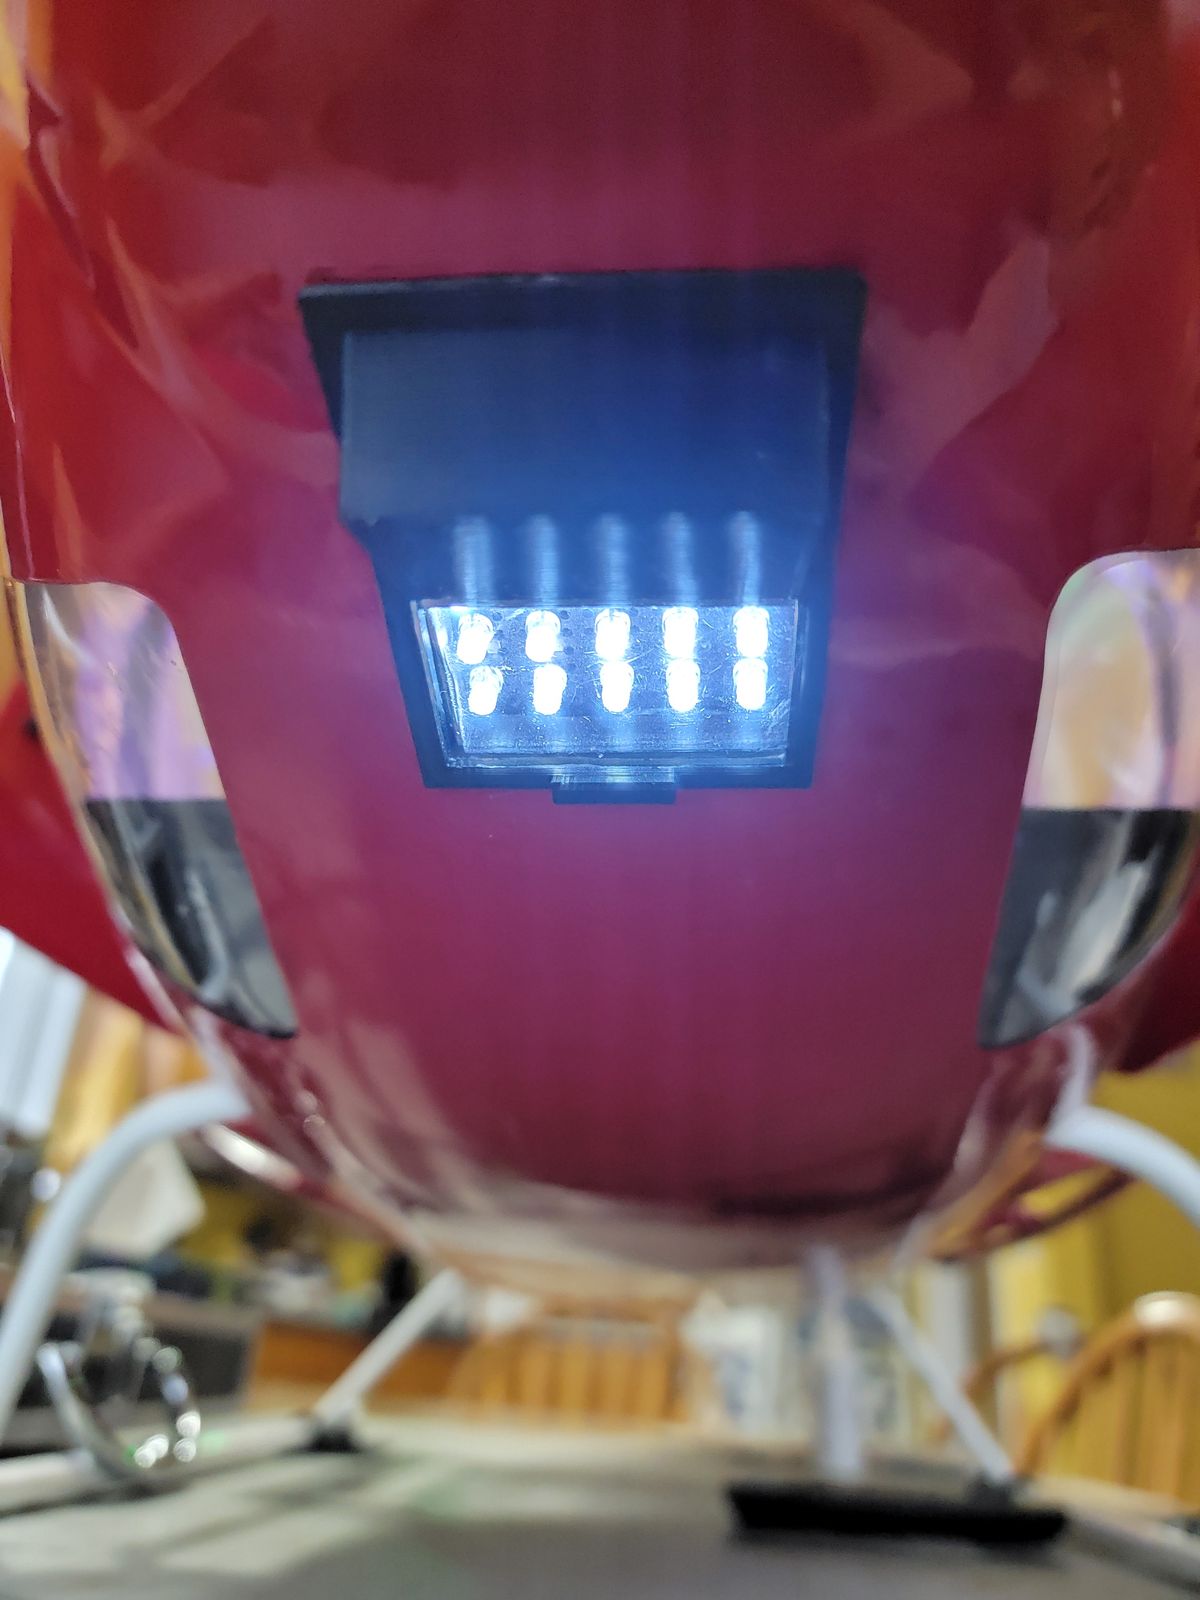
The nose light 3D printed
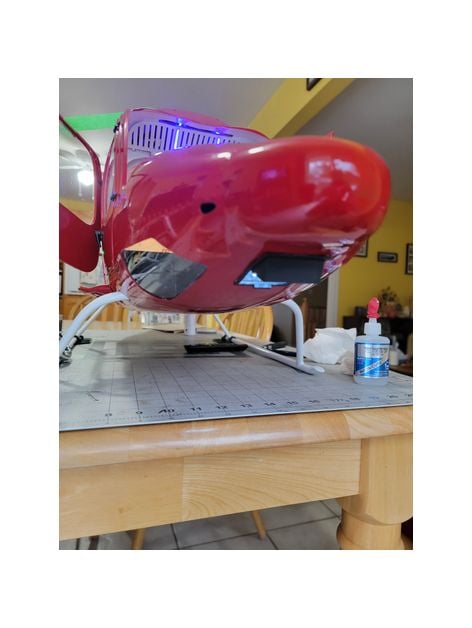 Thingiverse - The community for Open HardwareBell 429 Nose lights (700size) - Roban by RC-WDSRoban Bell 429 Air Zermatt (700)More info https://scalehelipilot.com/homehttps://www.youtube.com/watch?v=P9O8mKsWX7M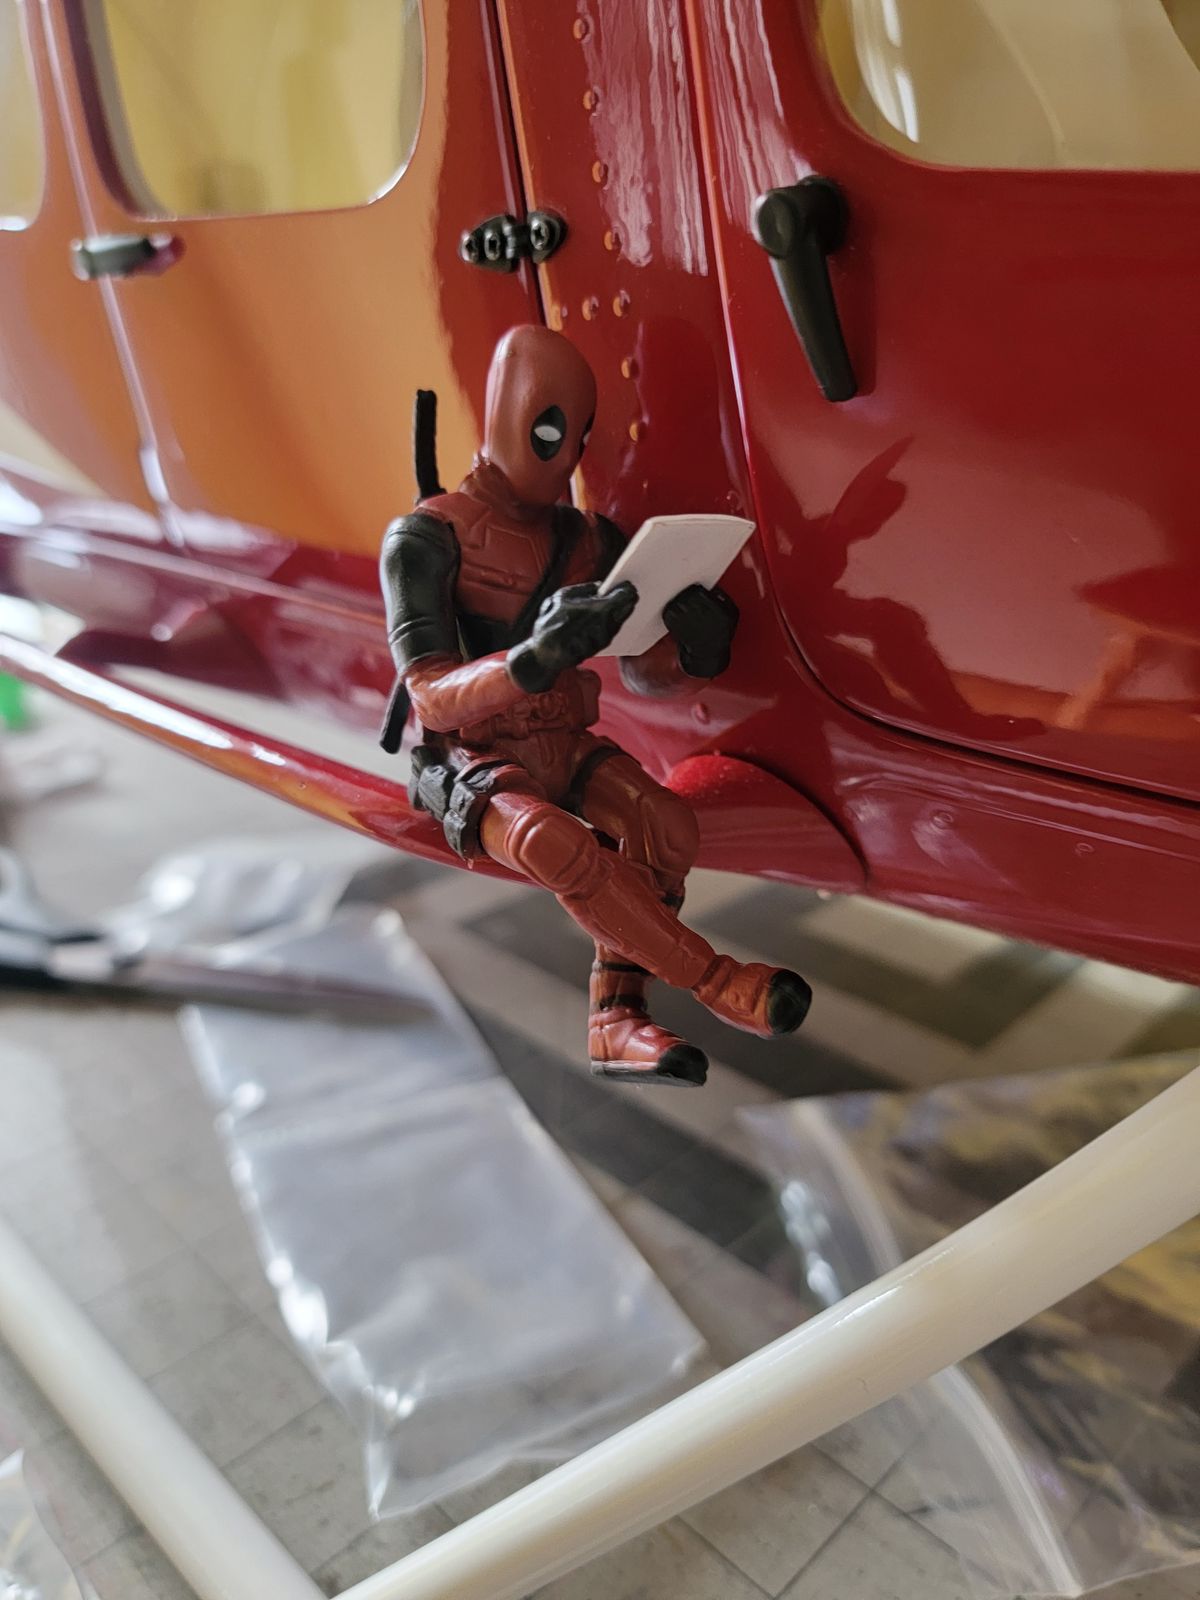
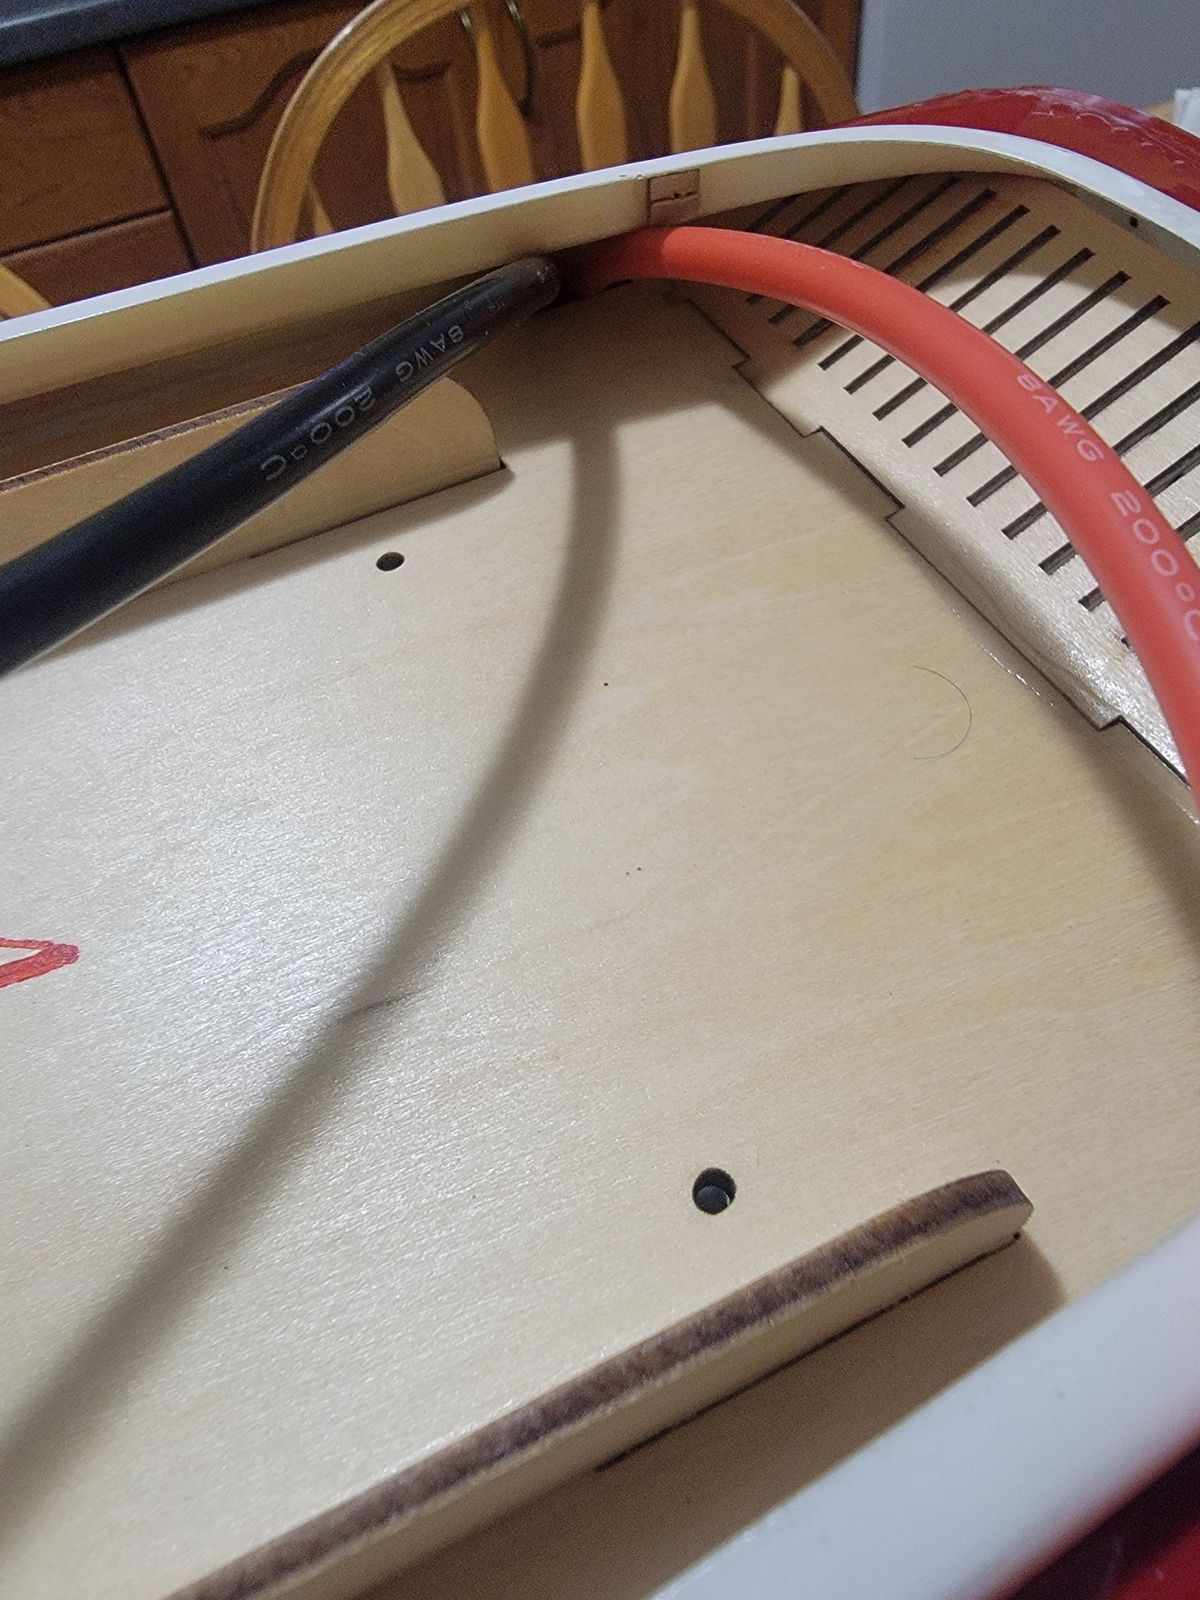
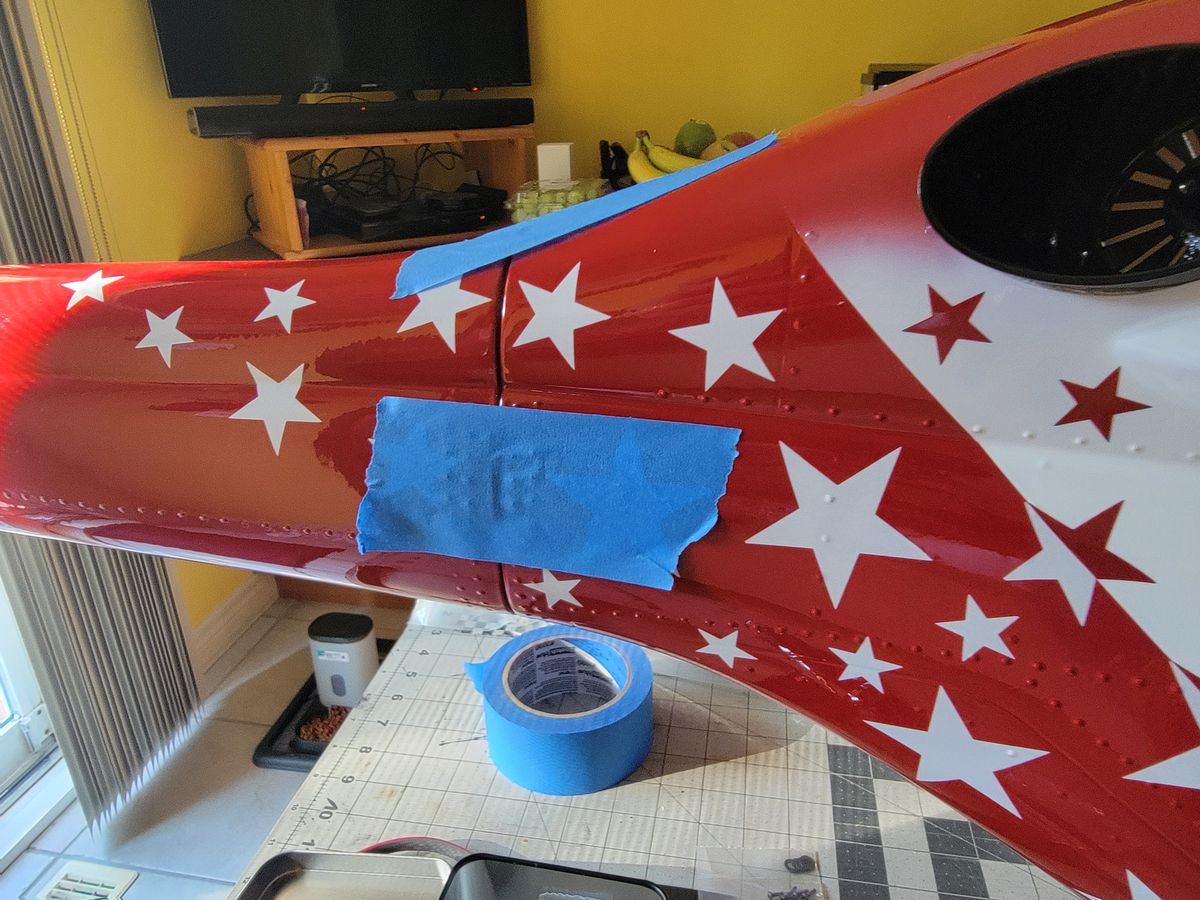
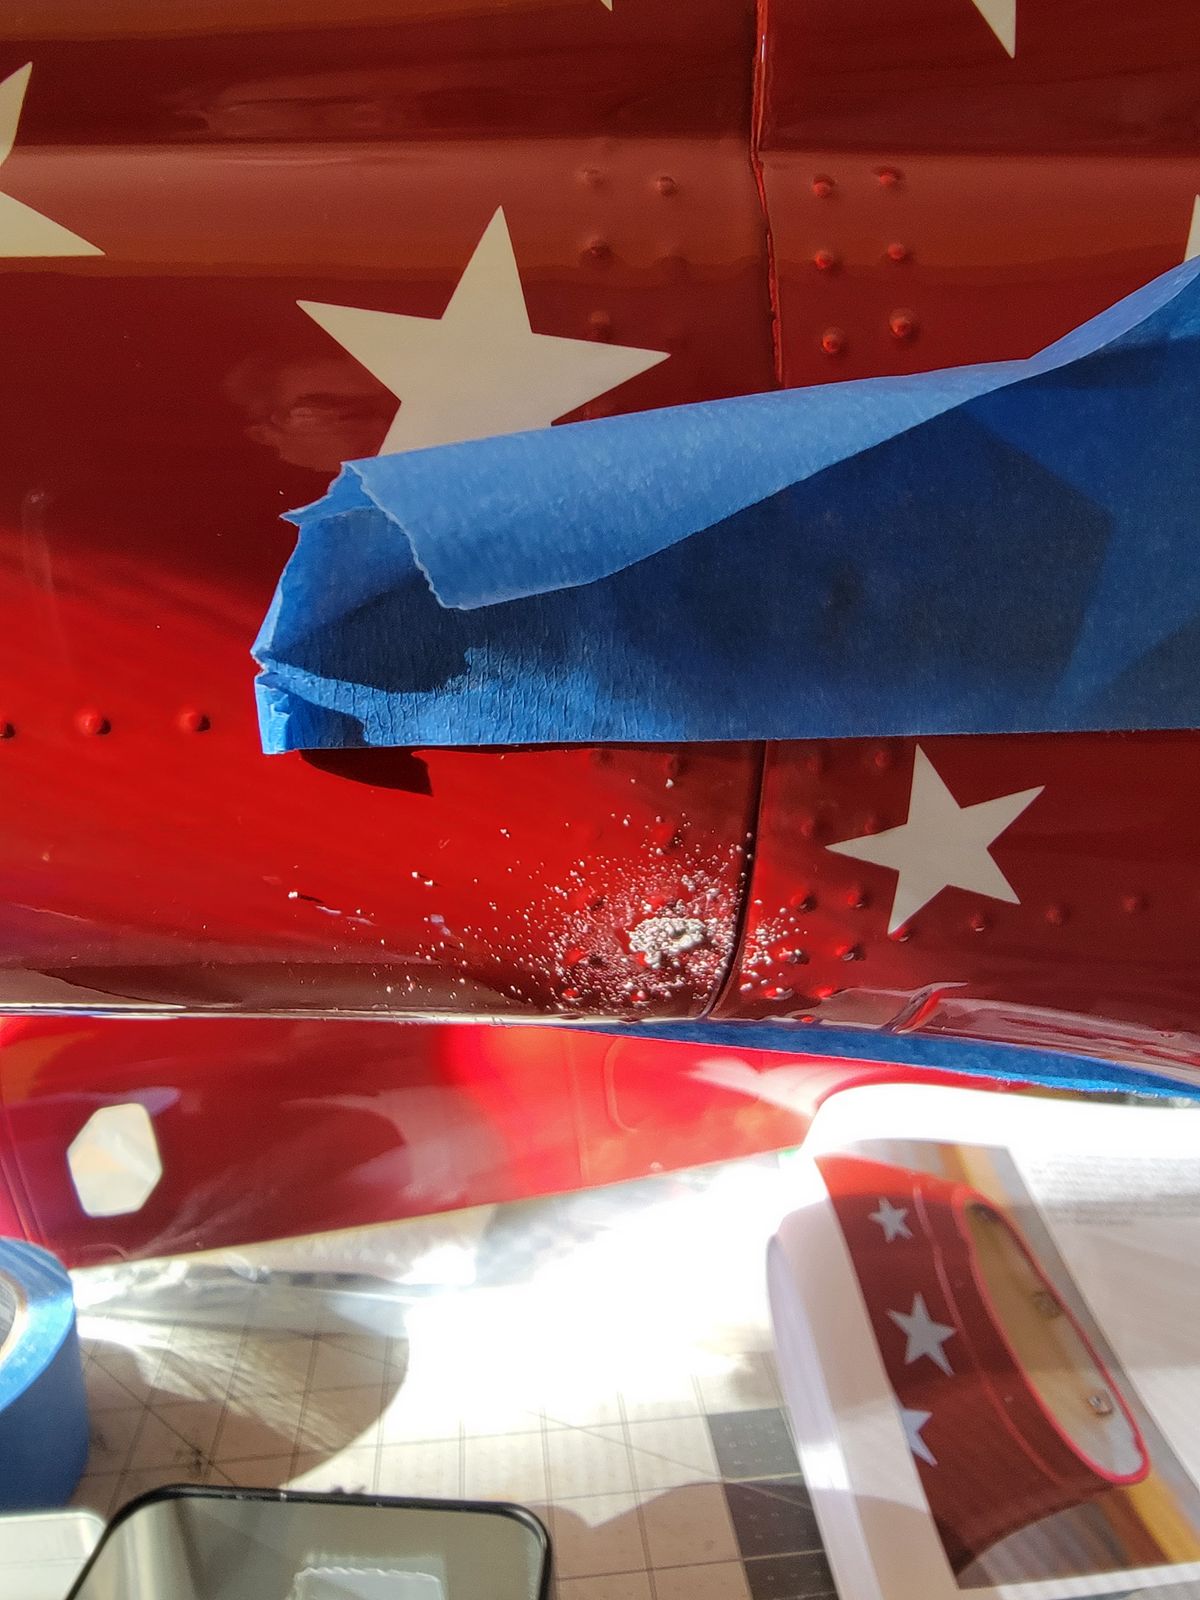
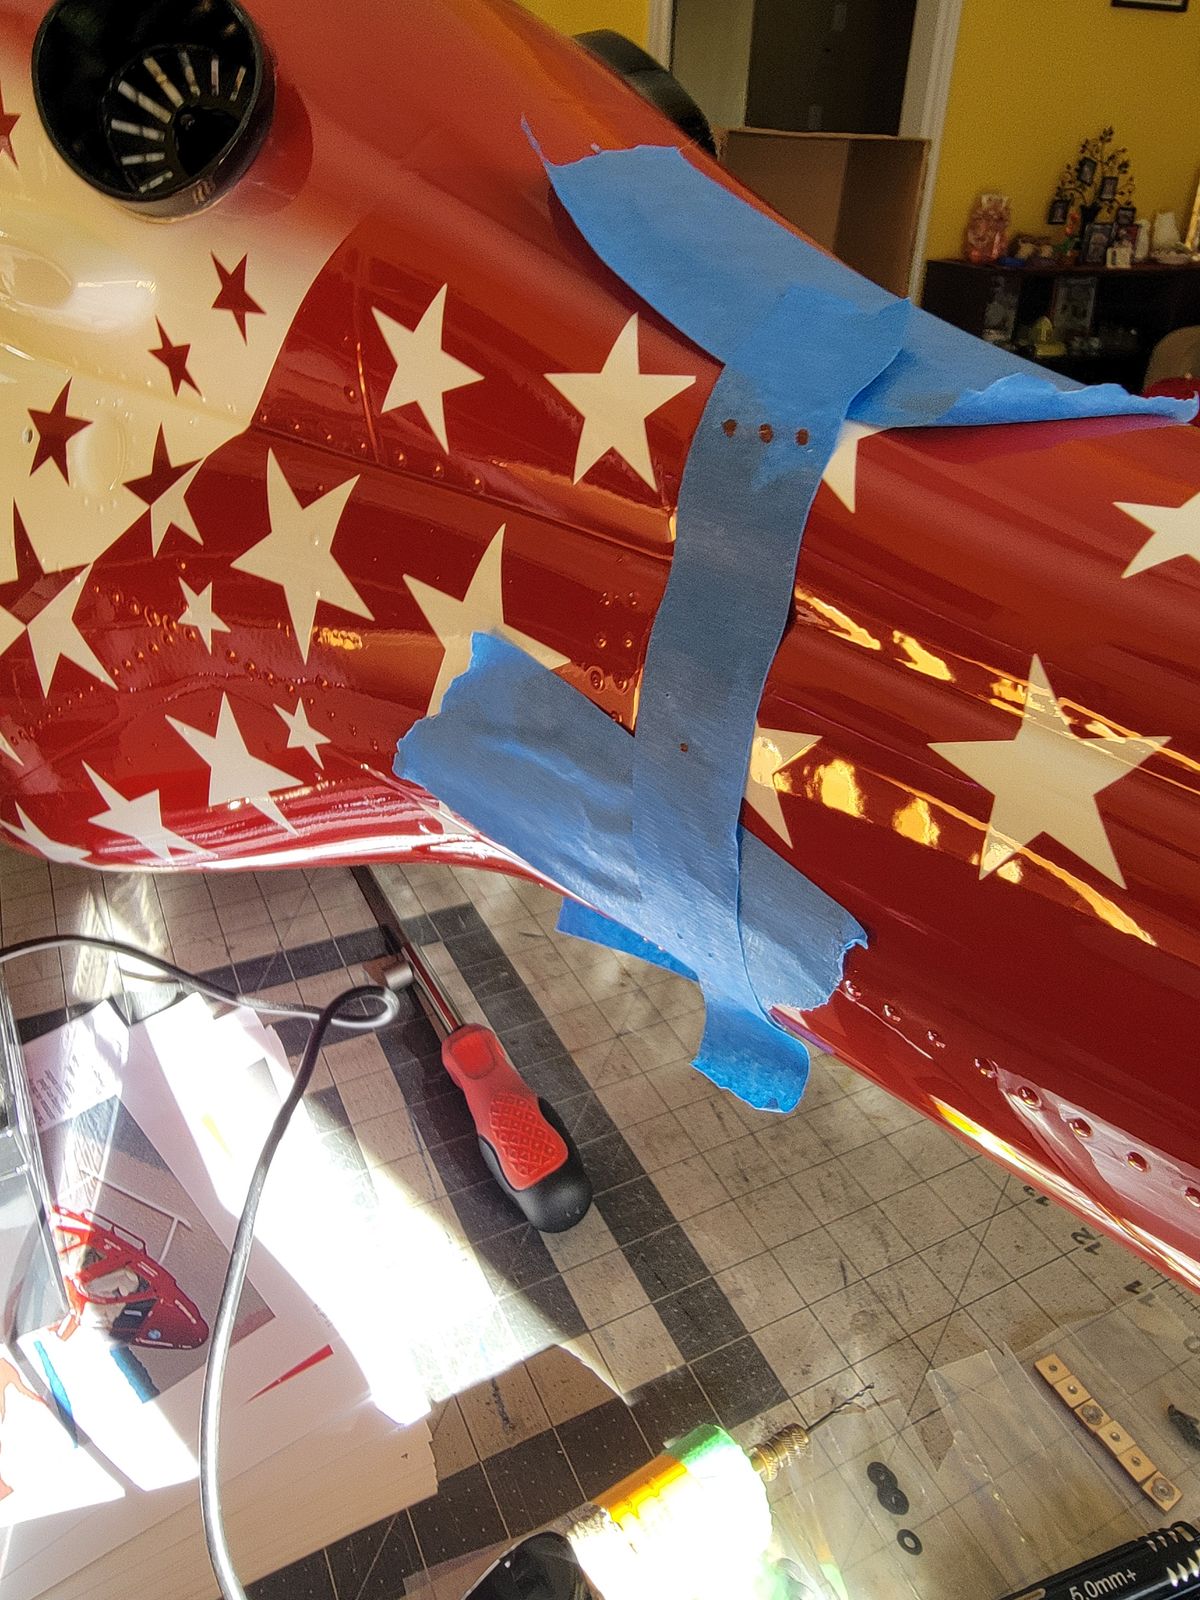
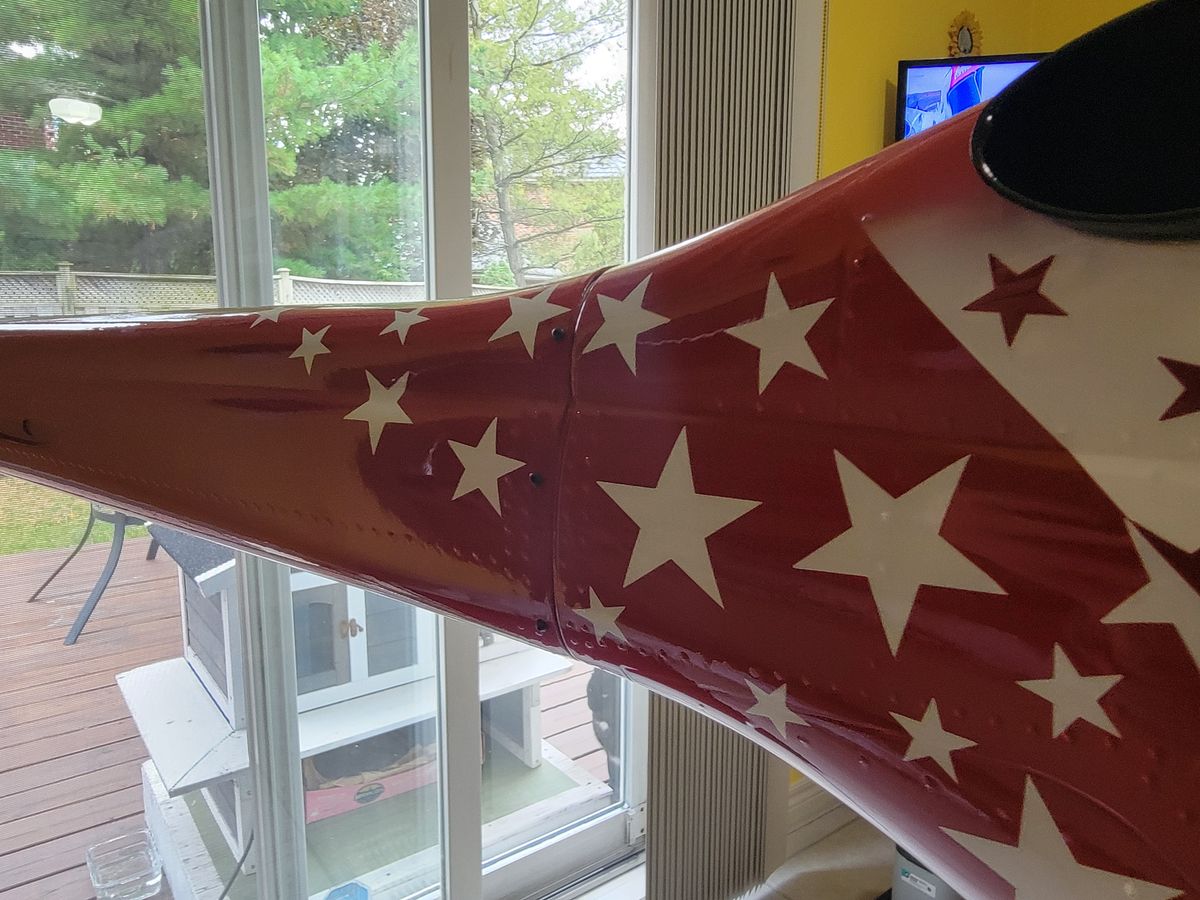
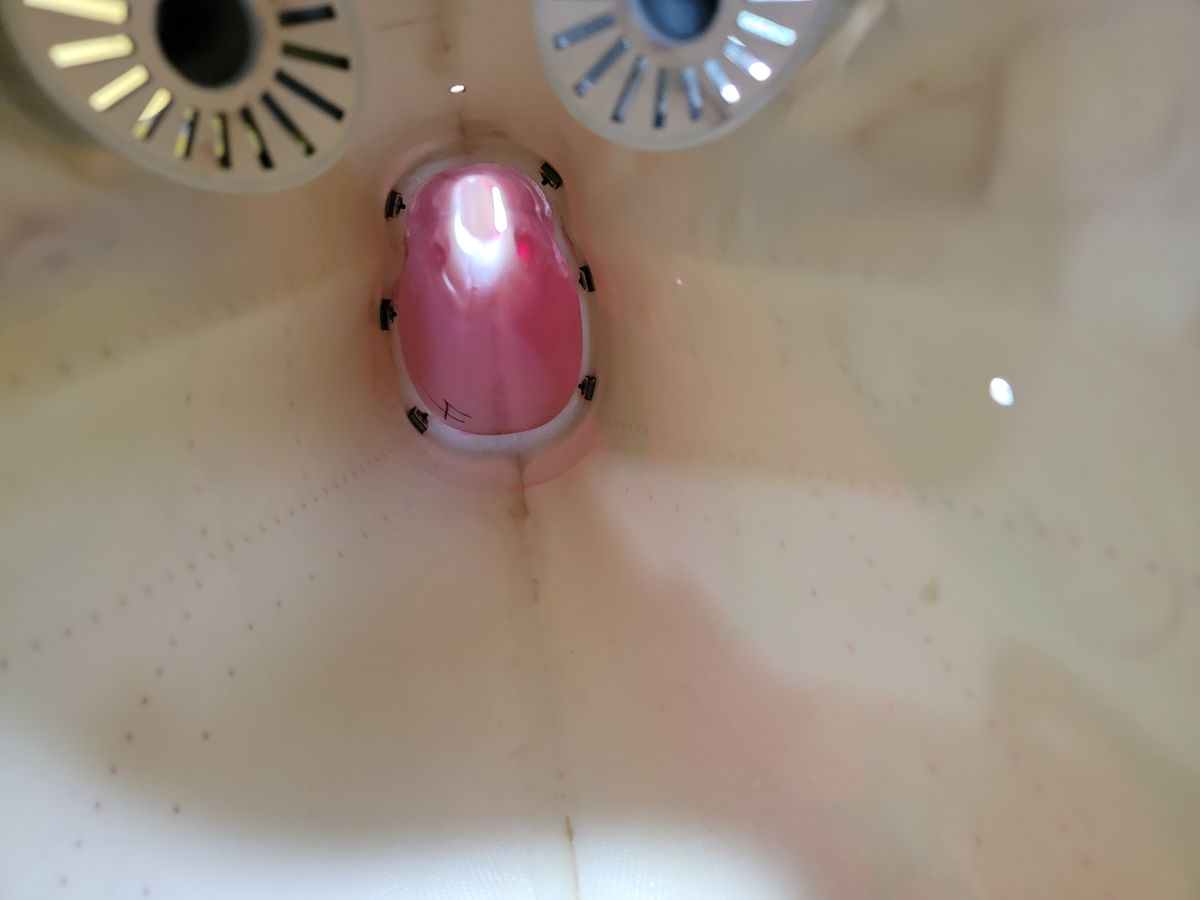
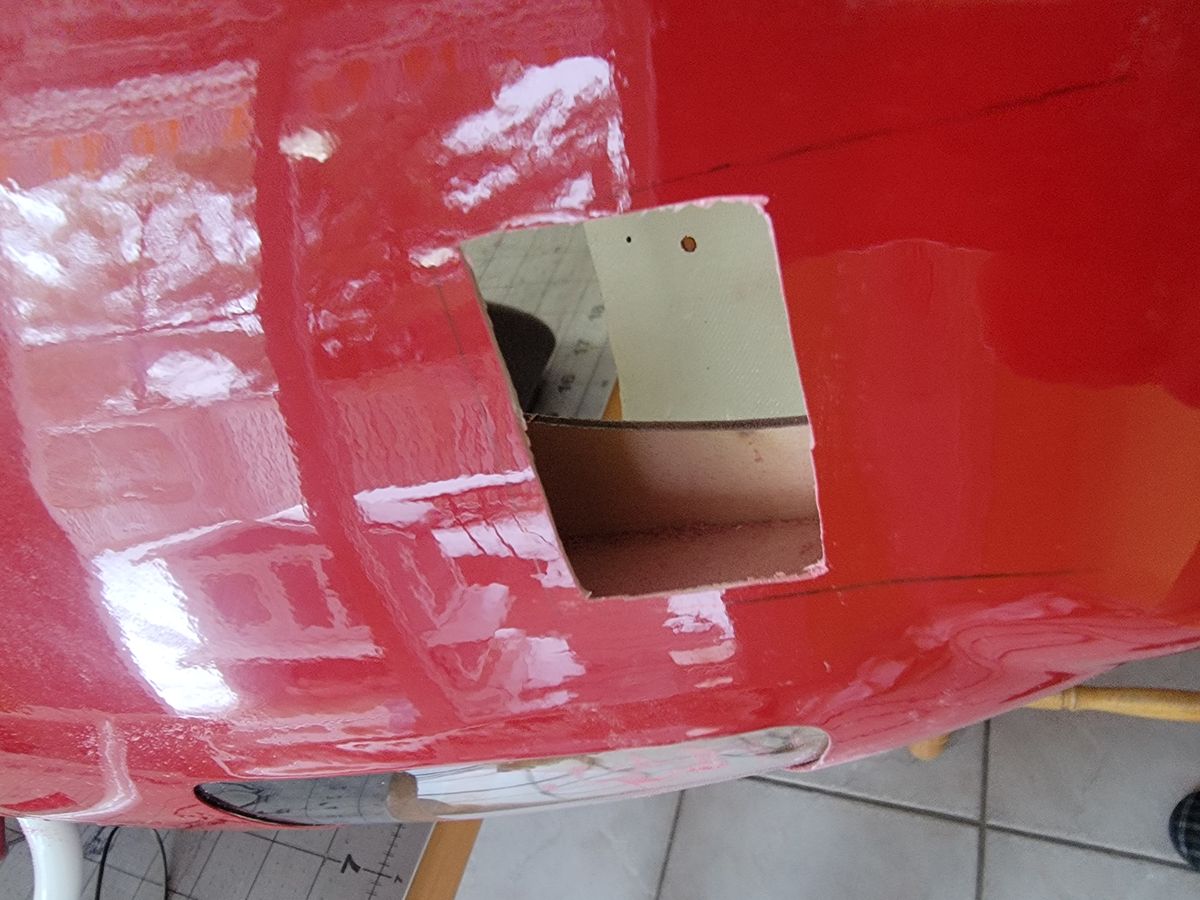
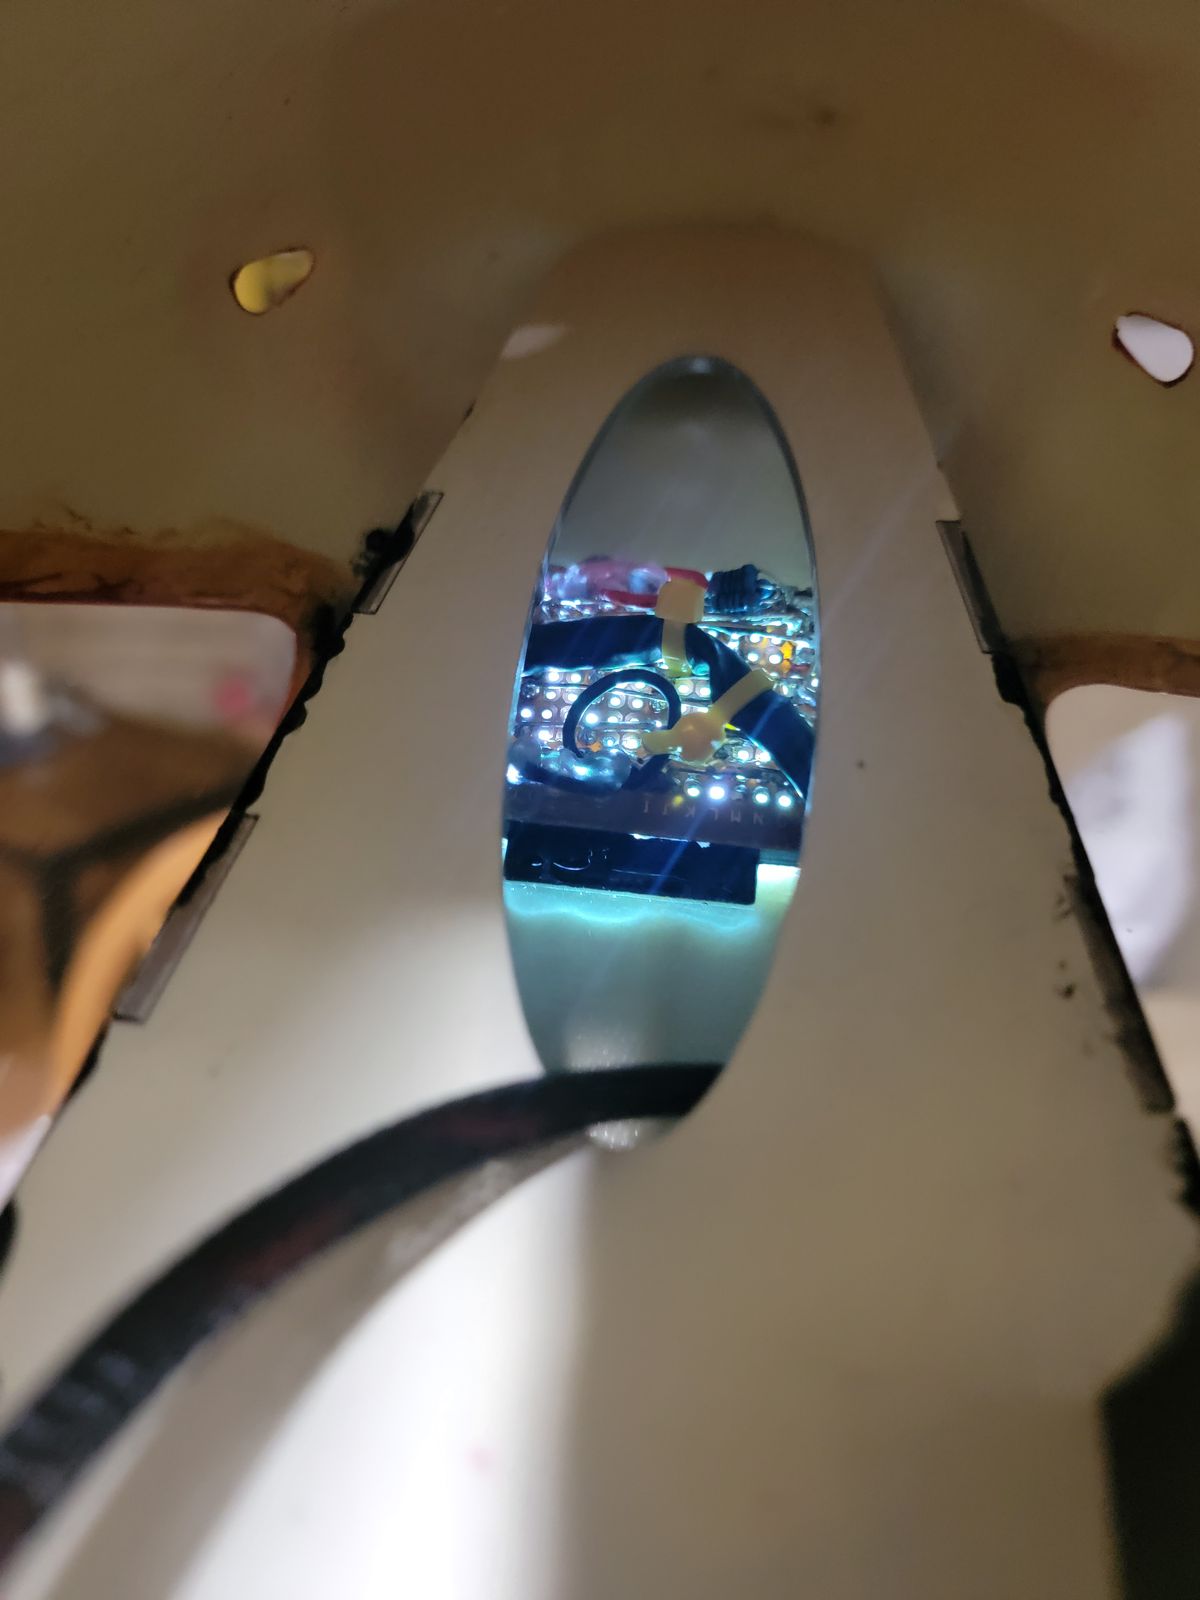
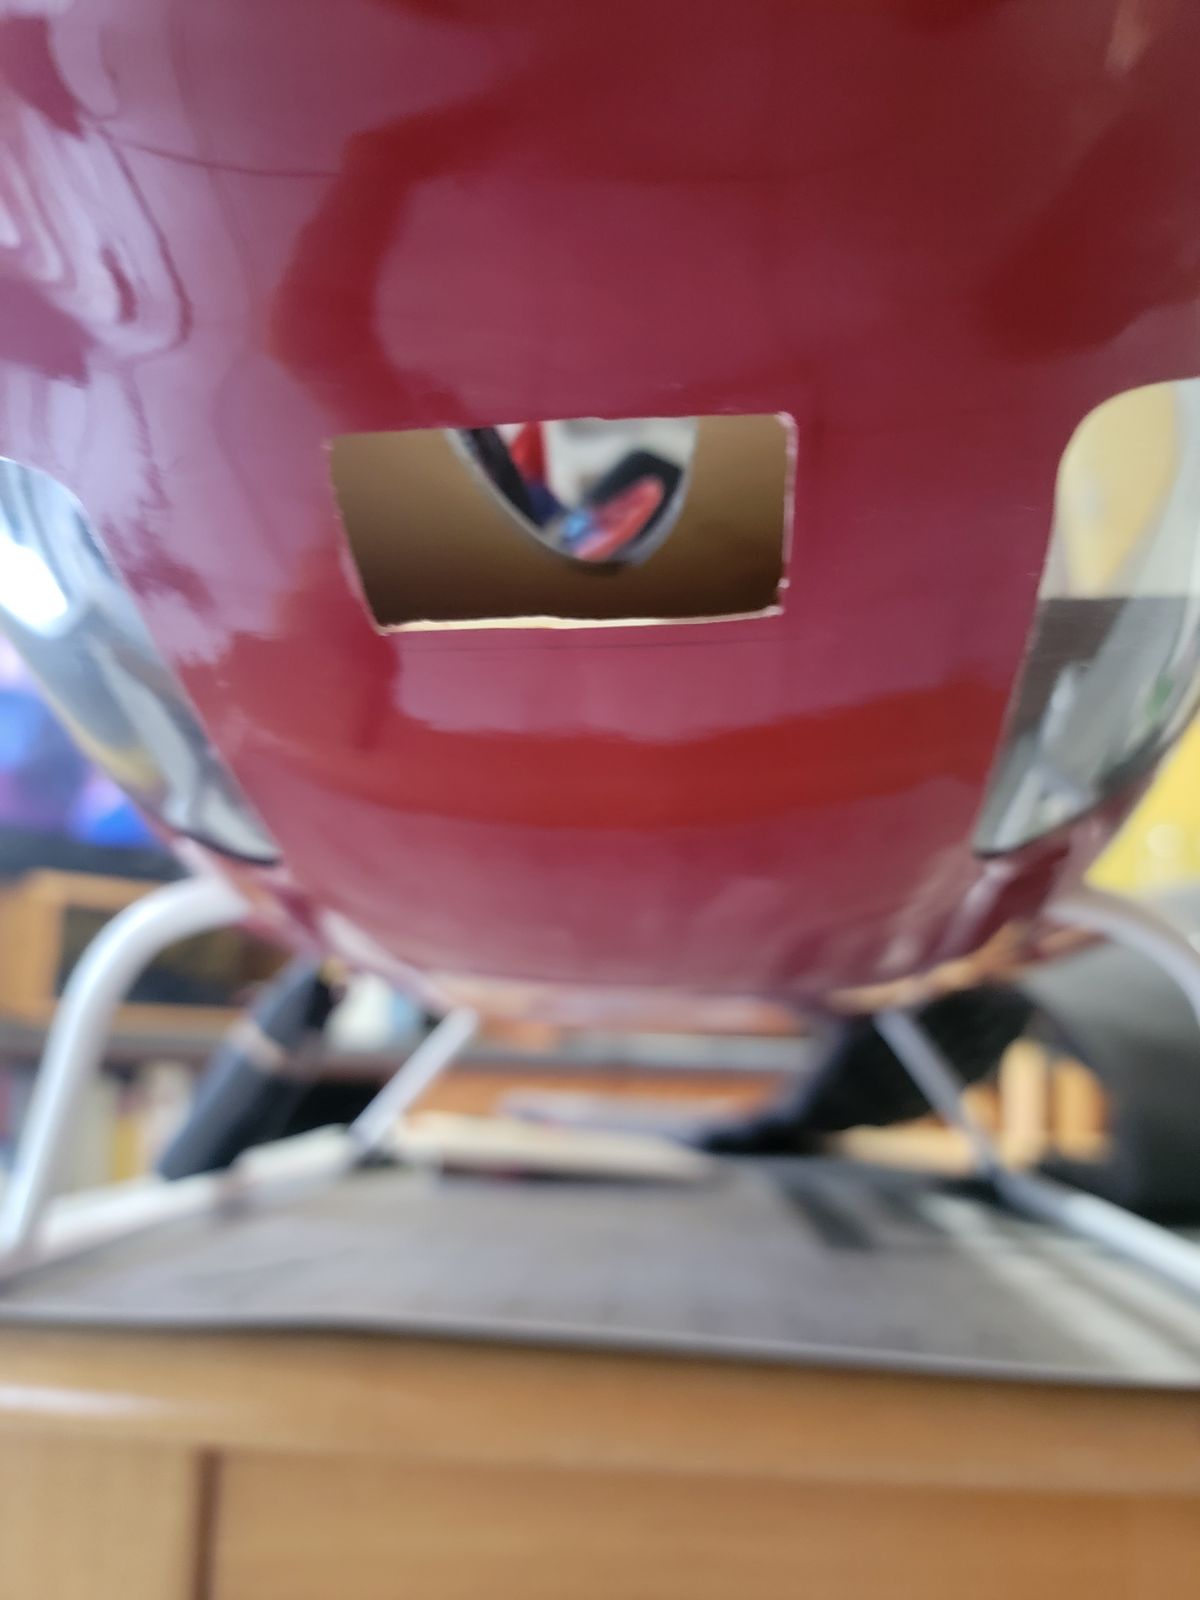
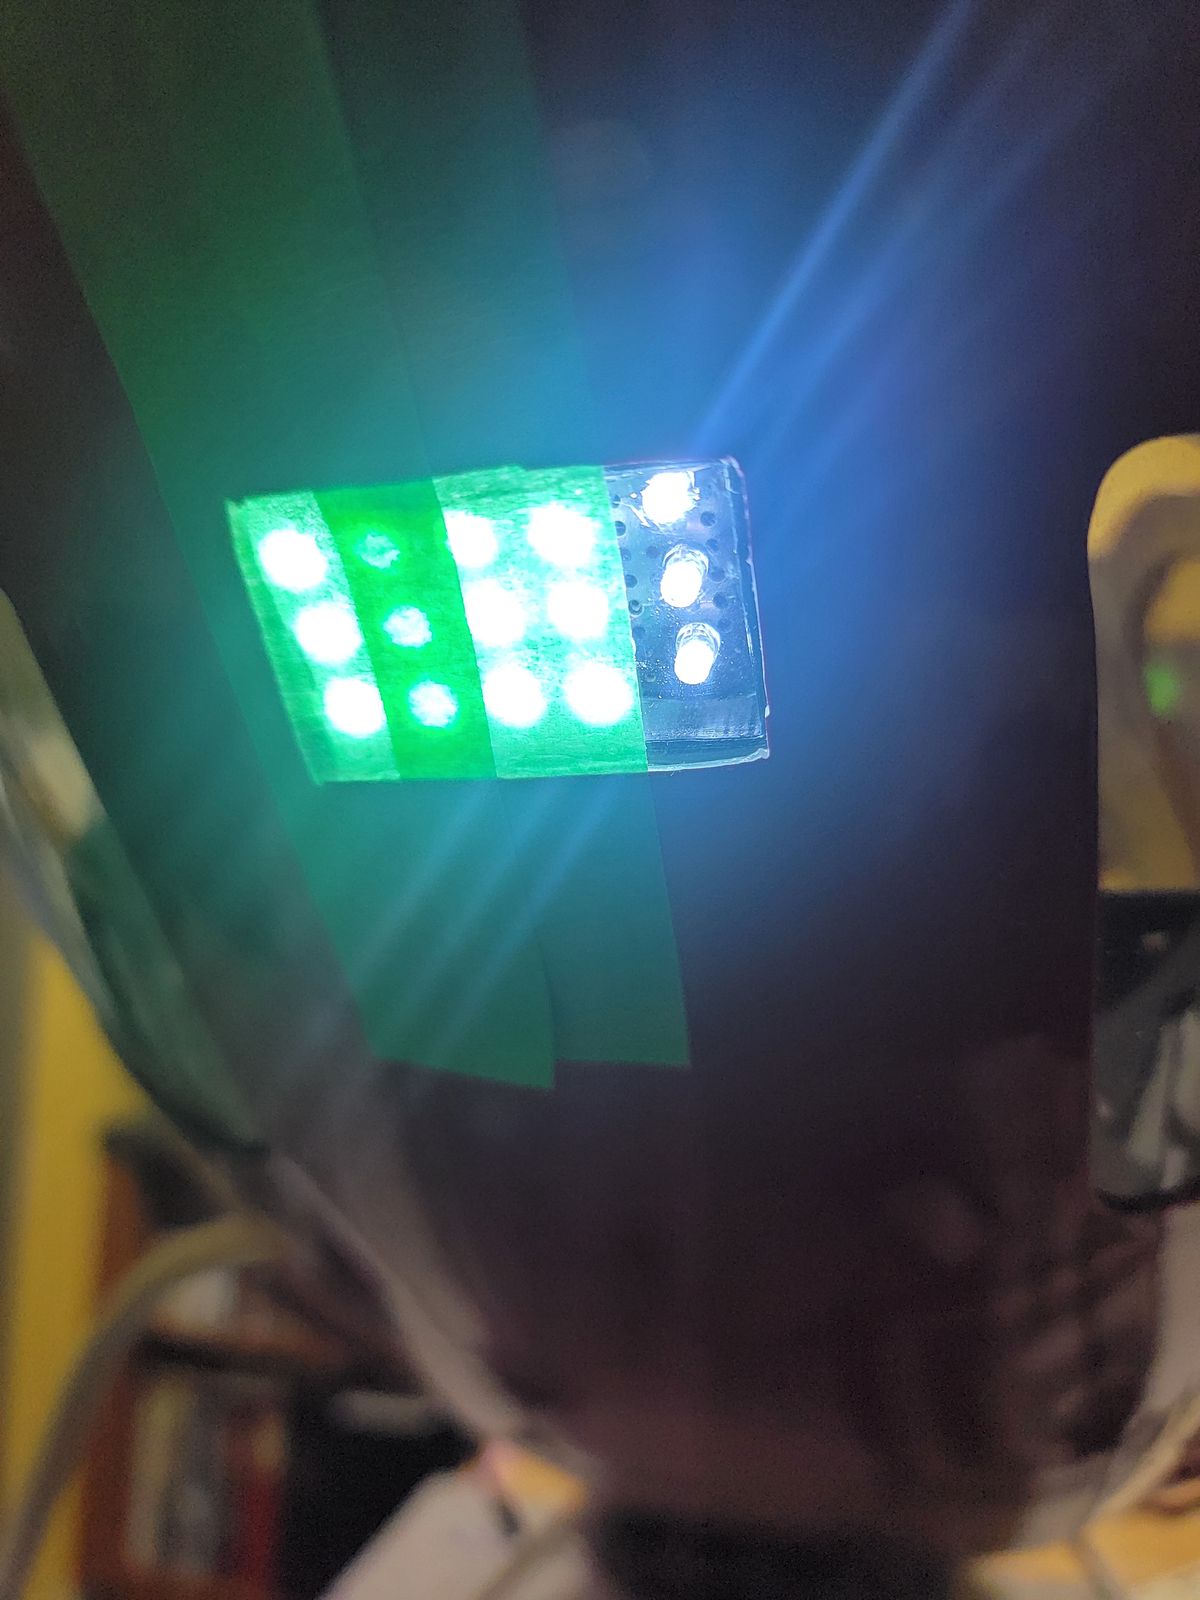
Lights
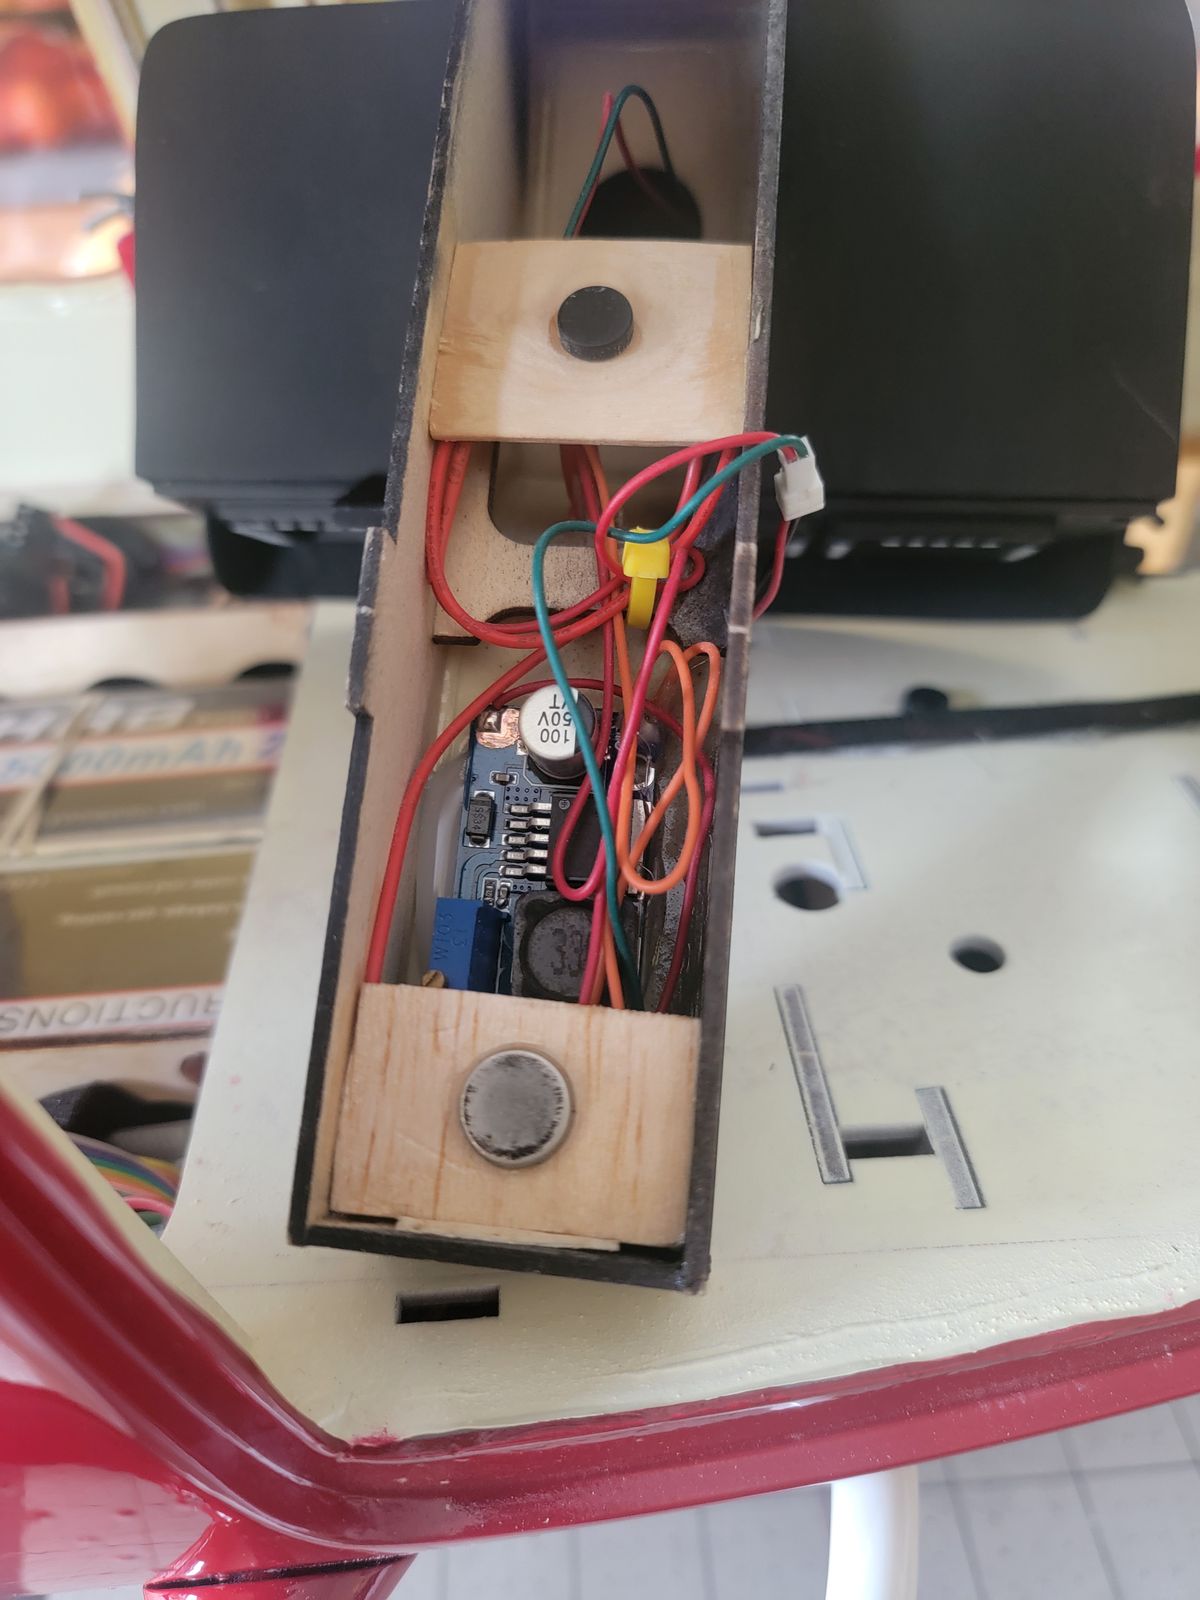
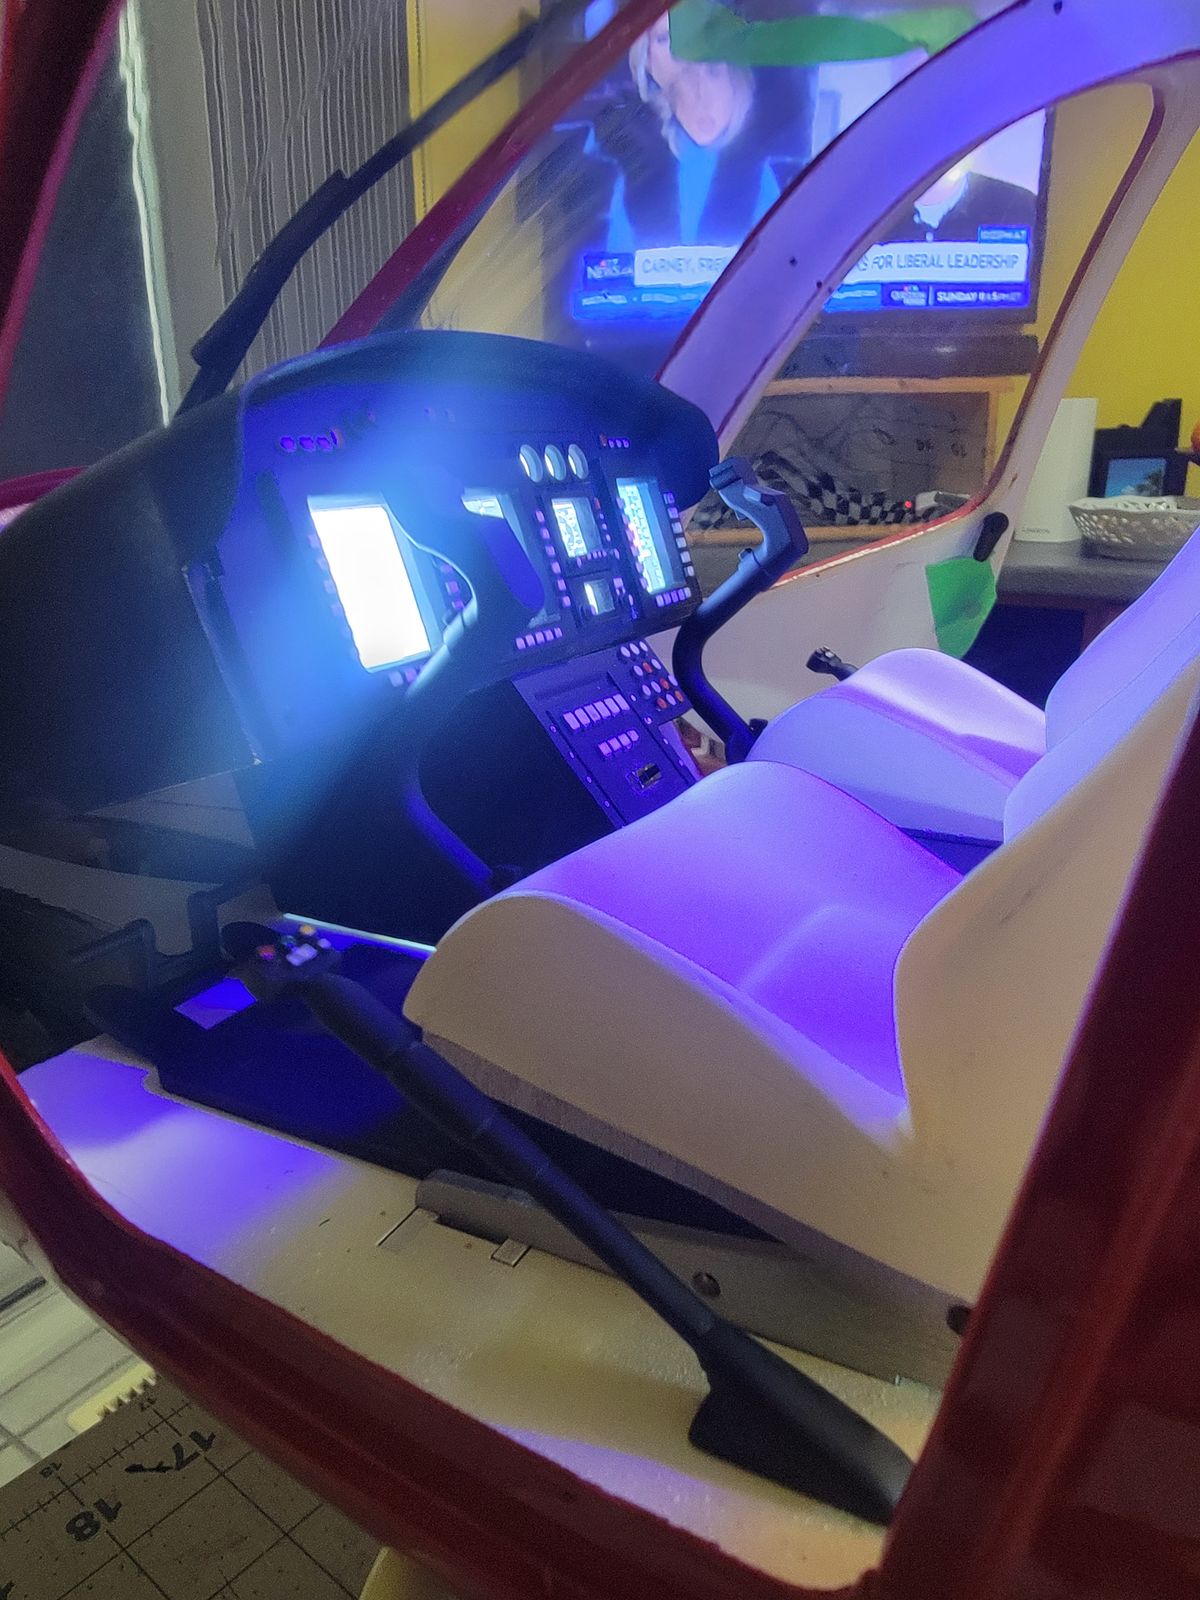
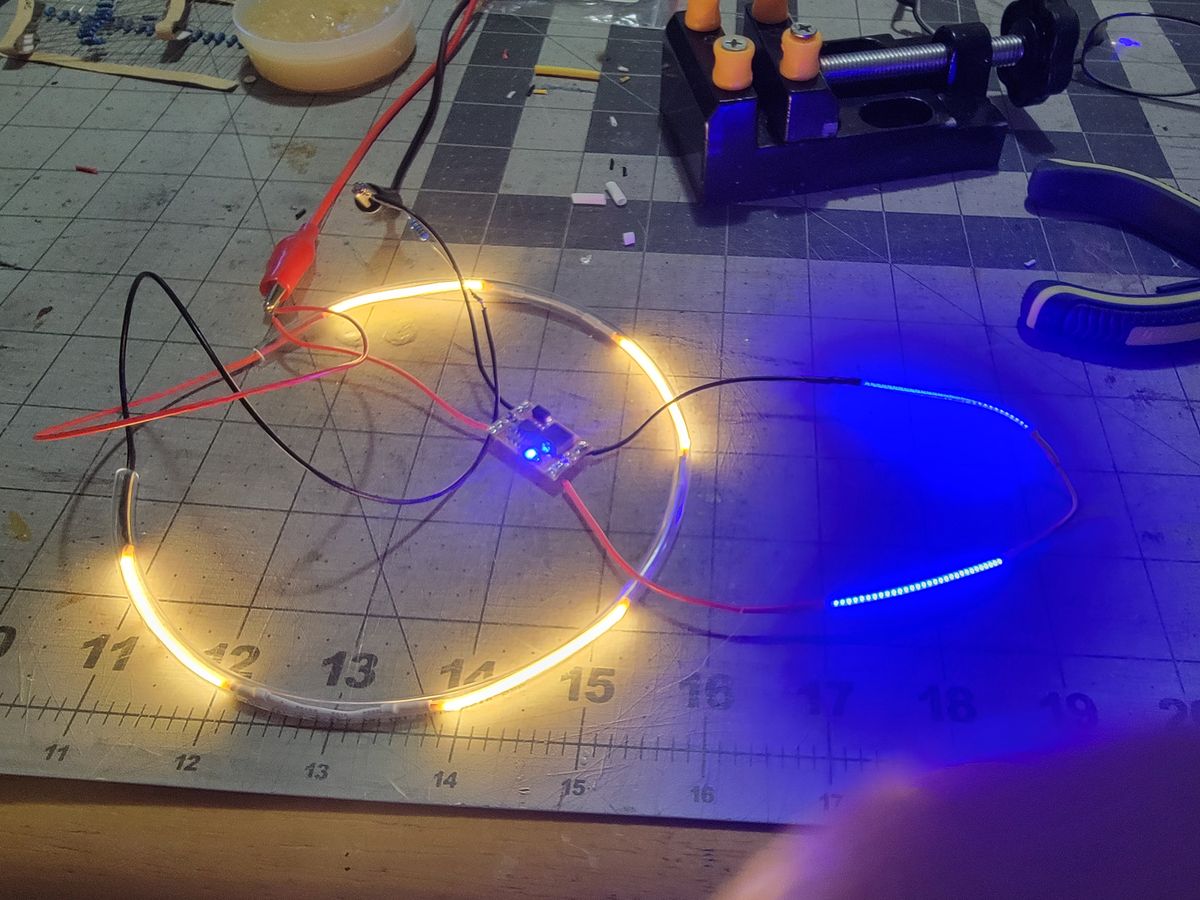
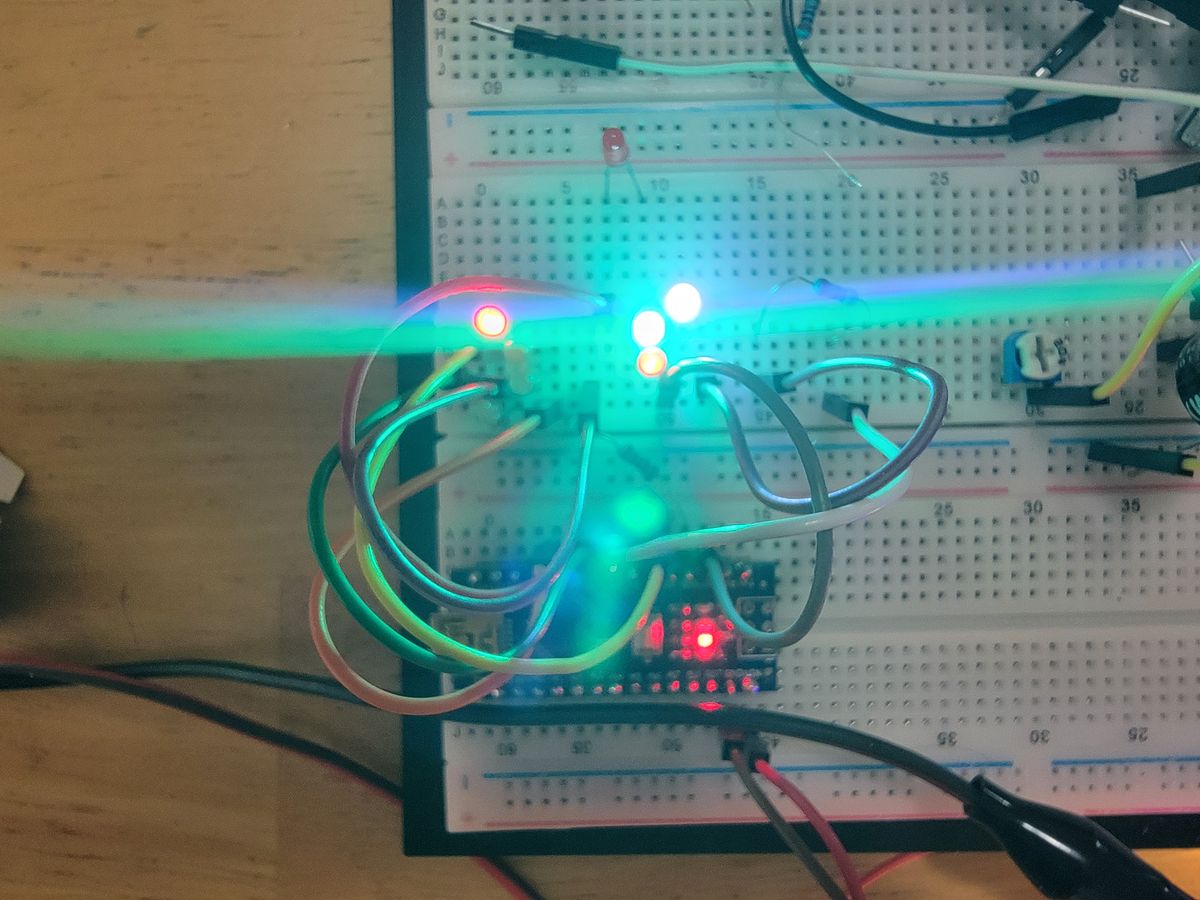
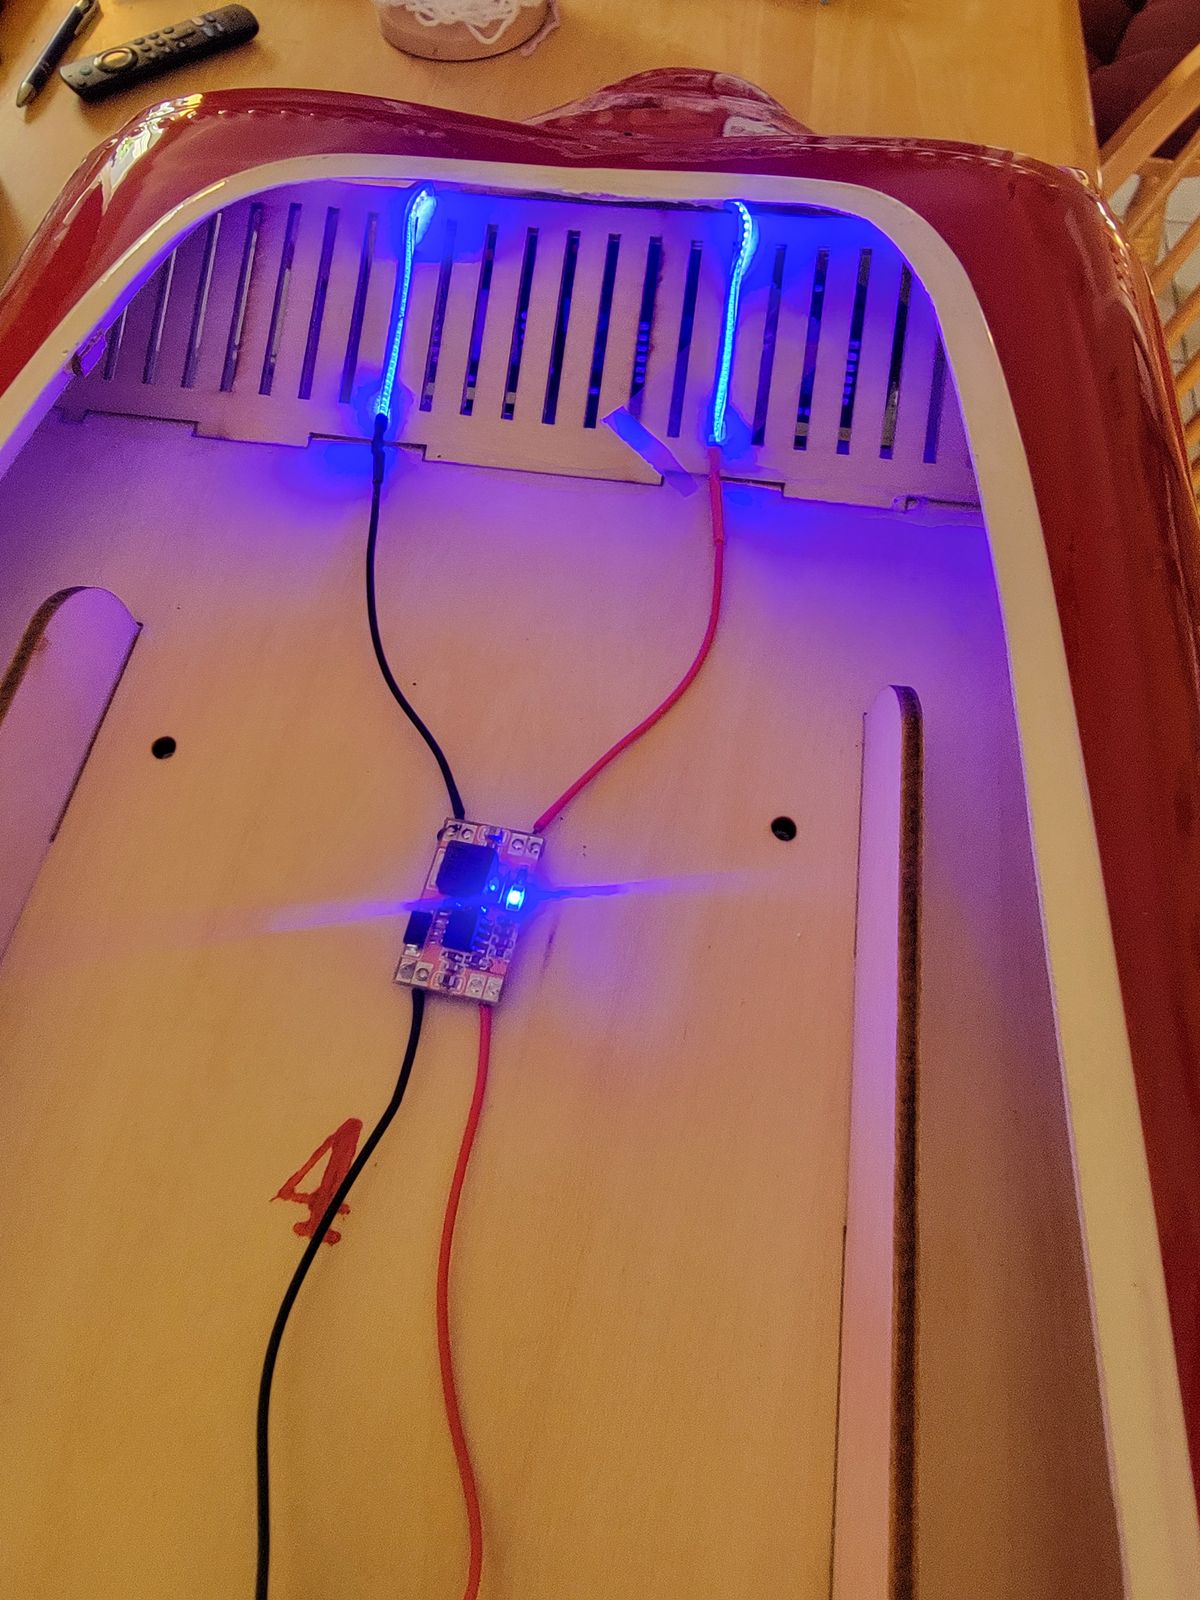
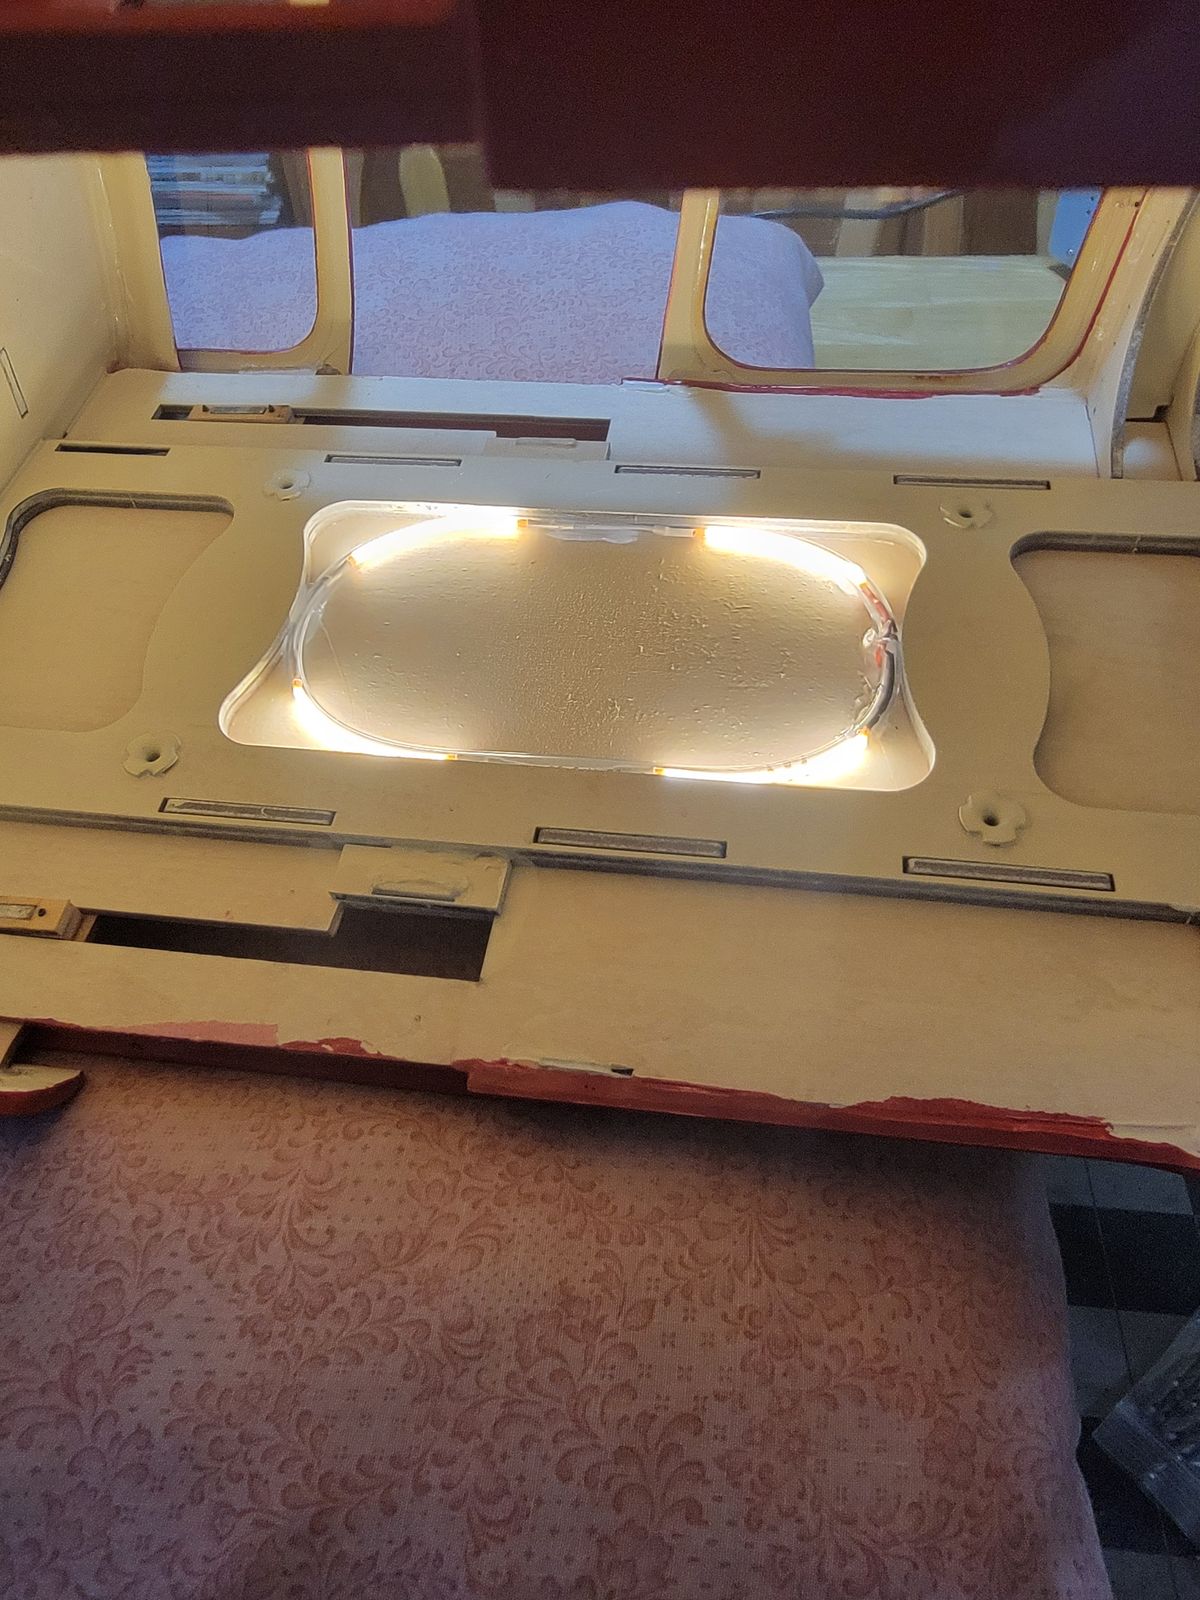
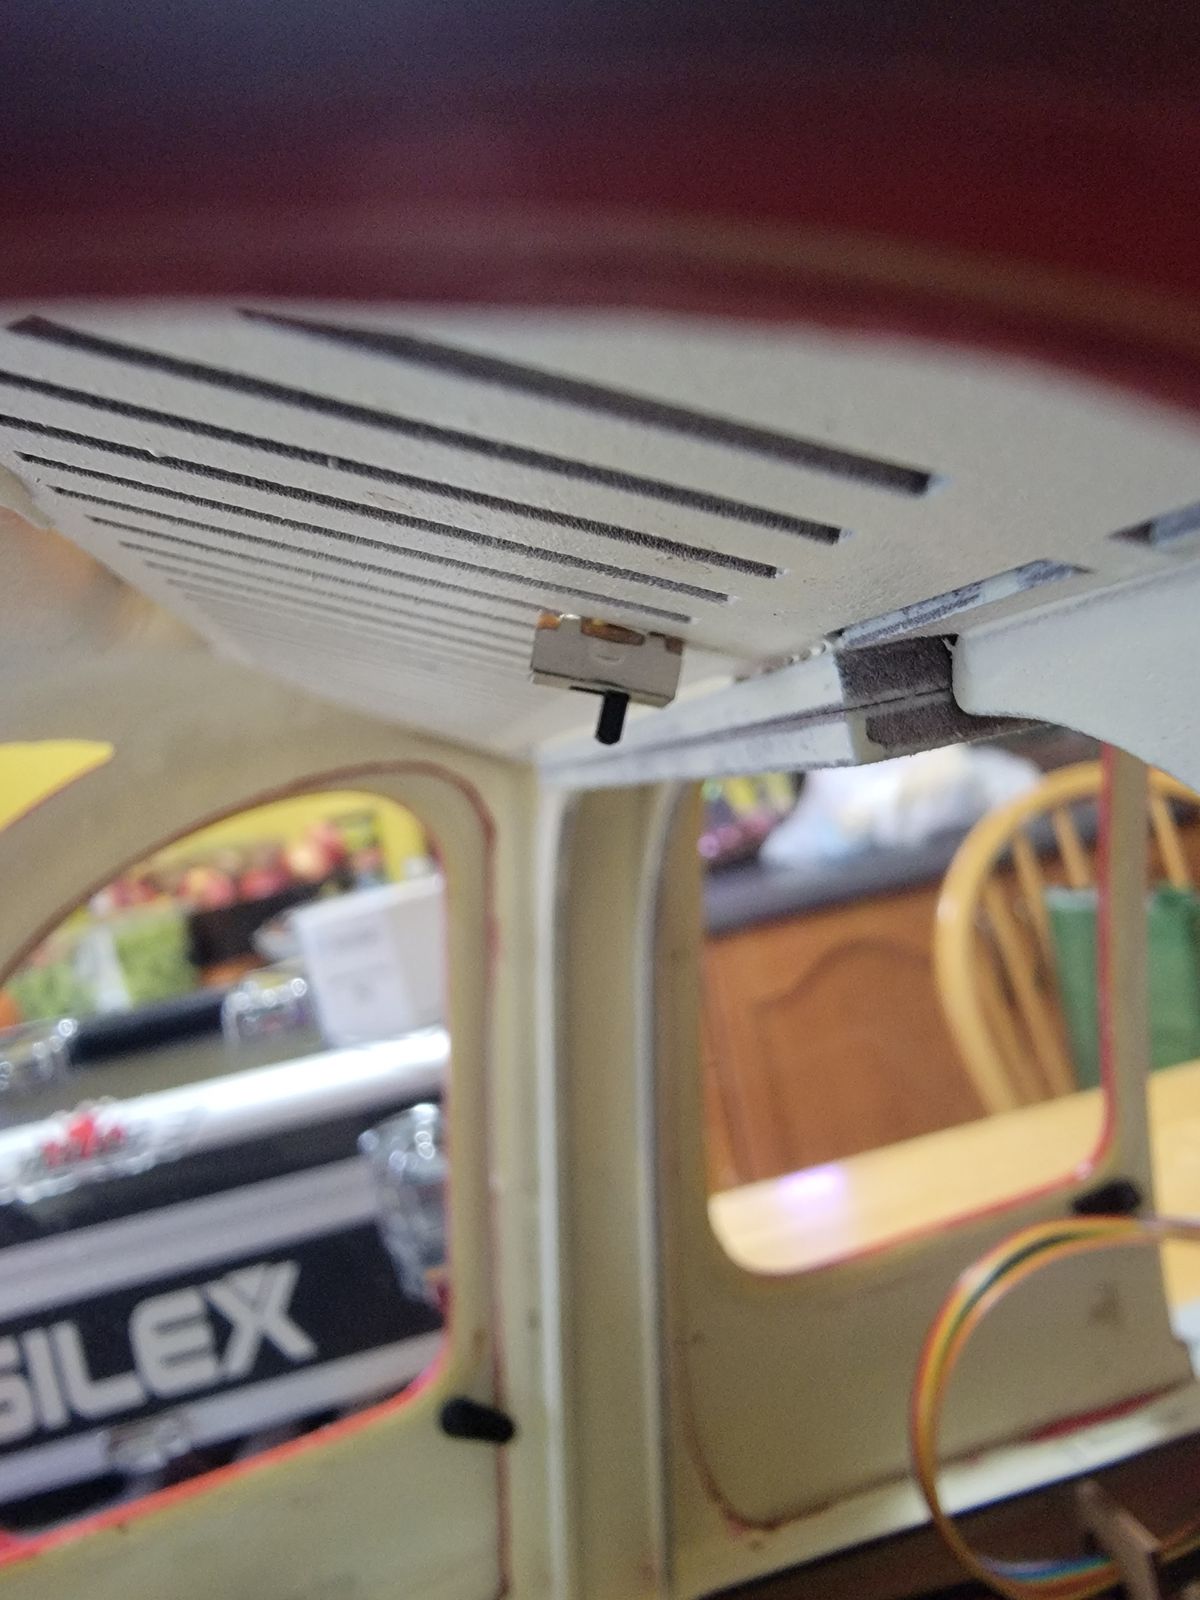
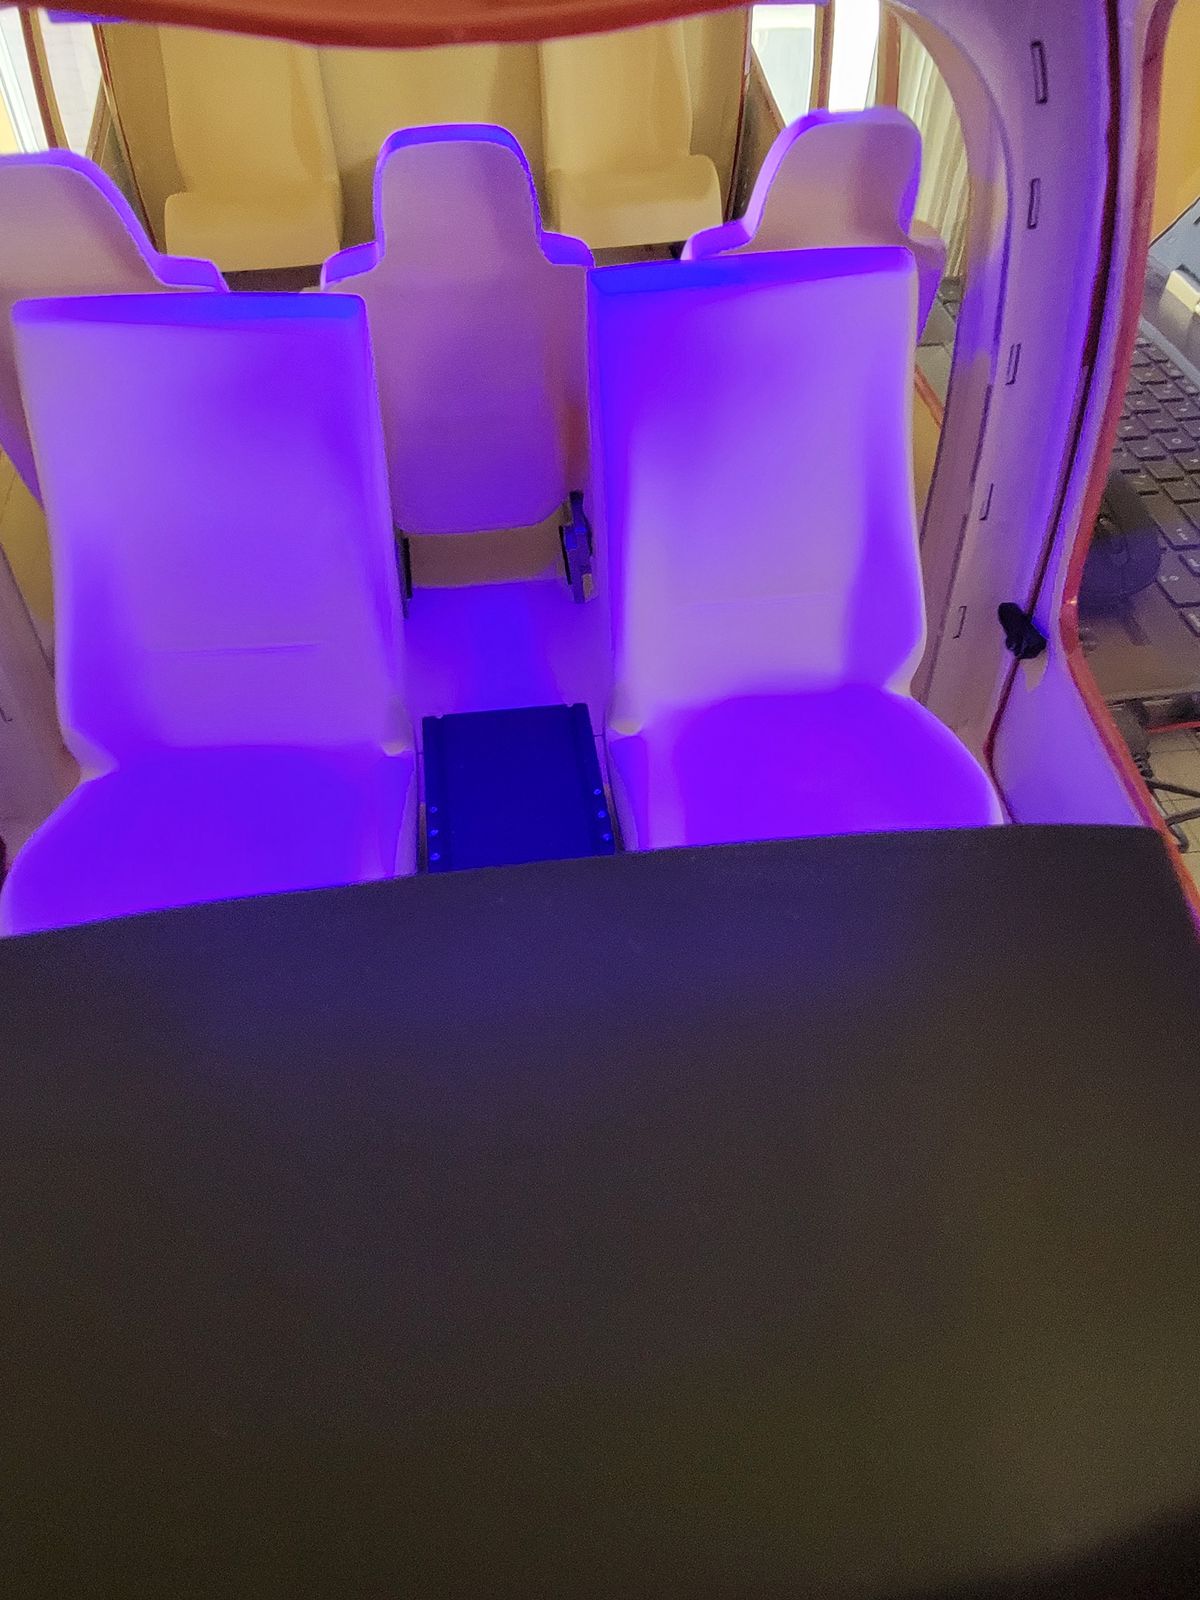
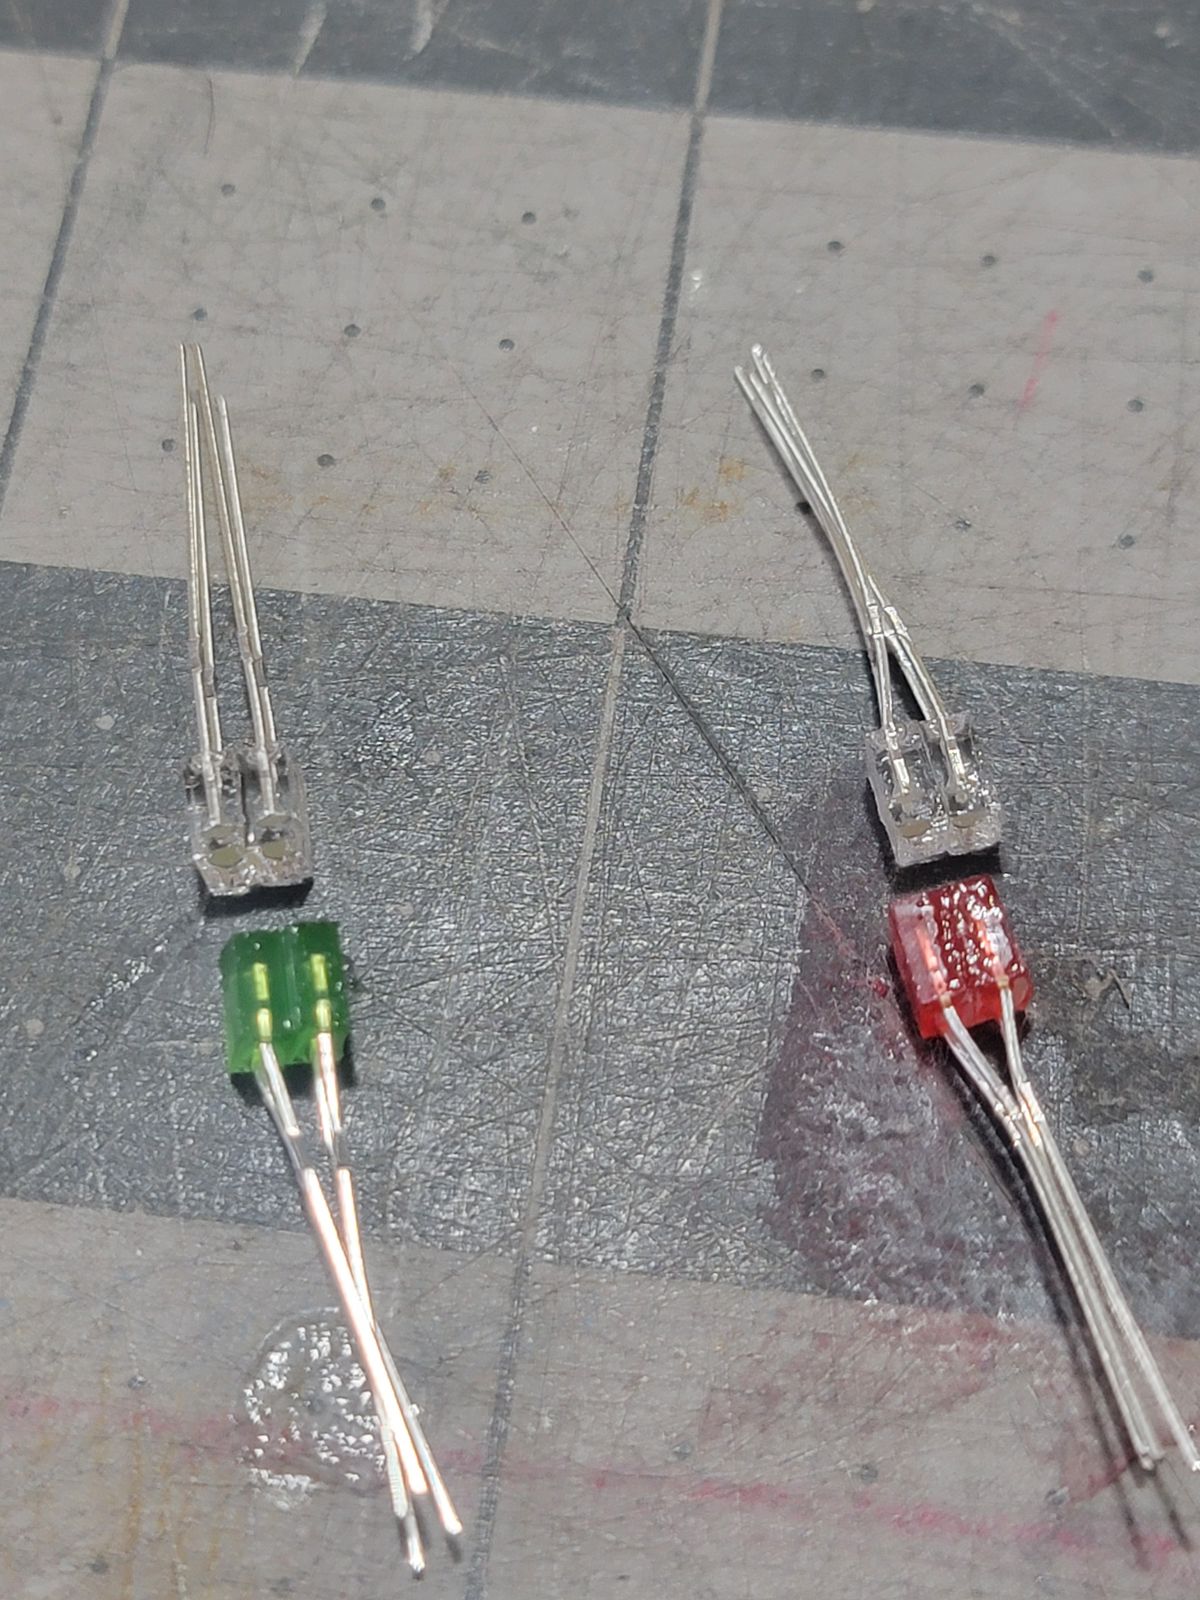
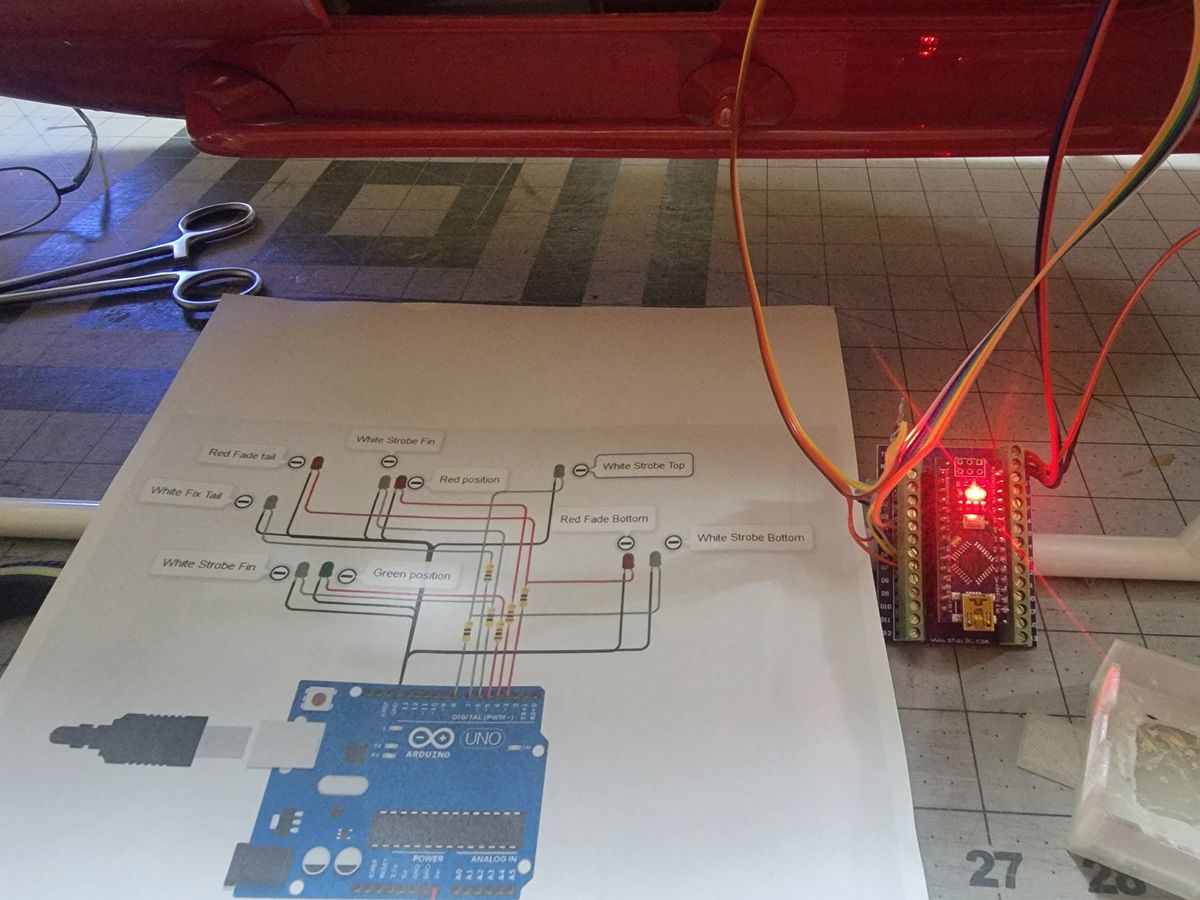
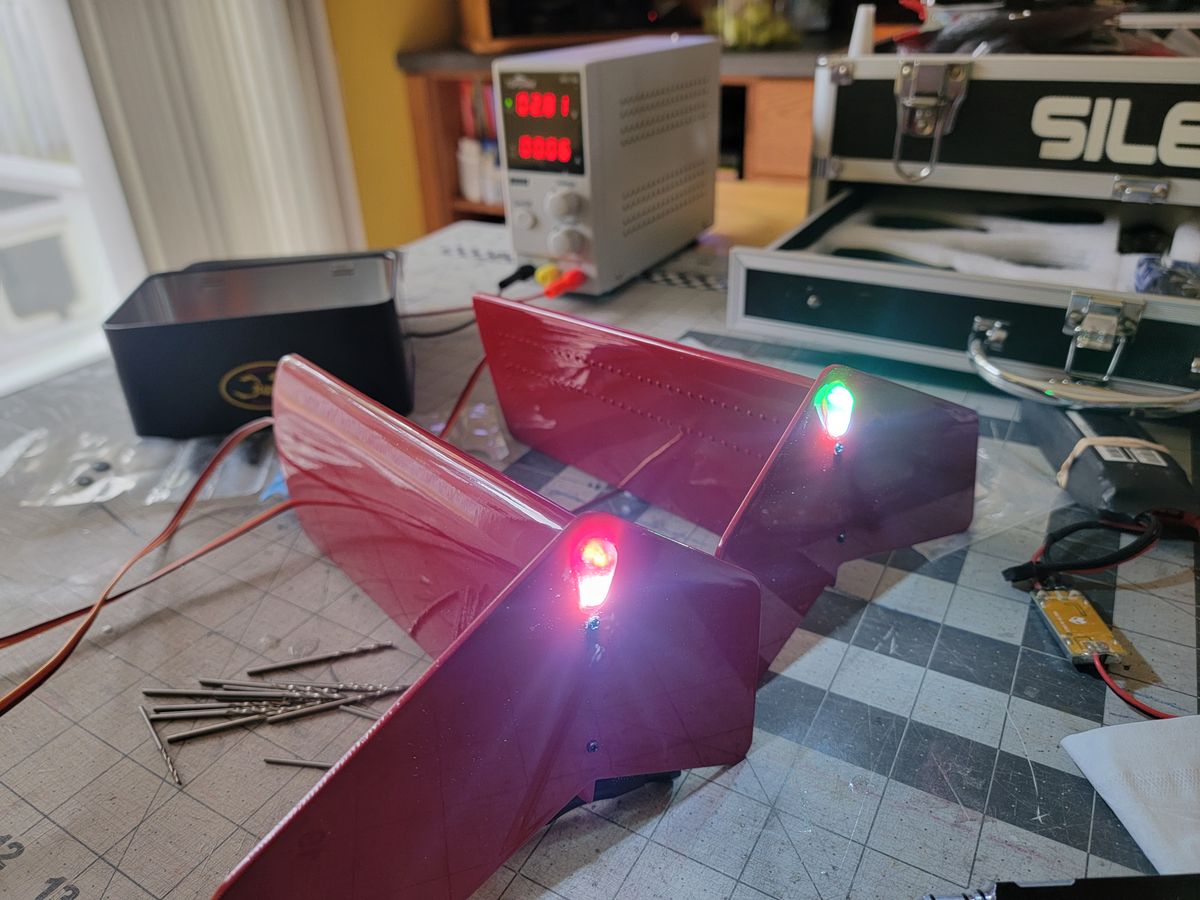
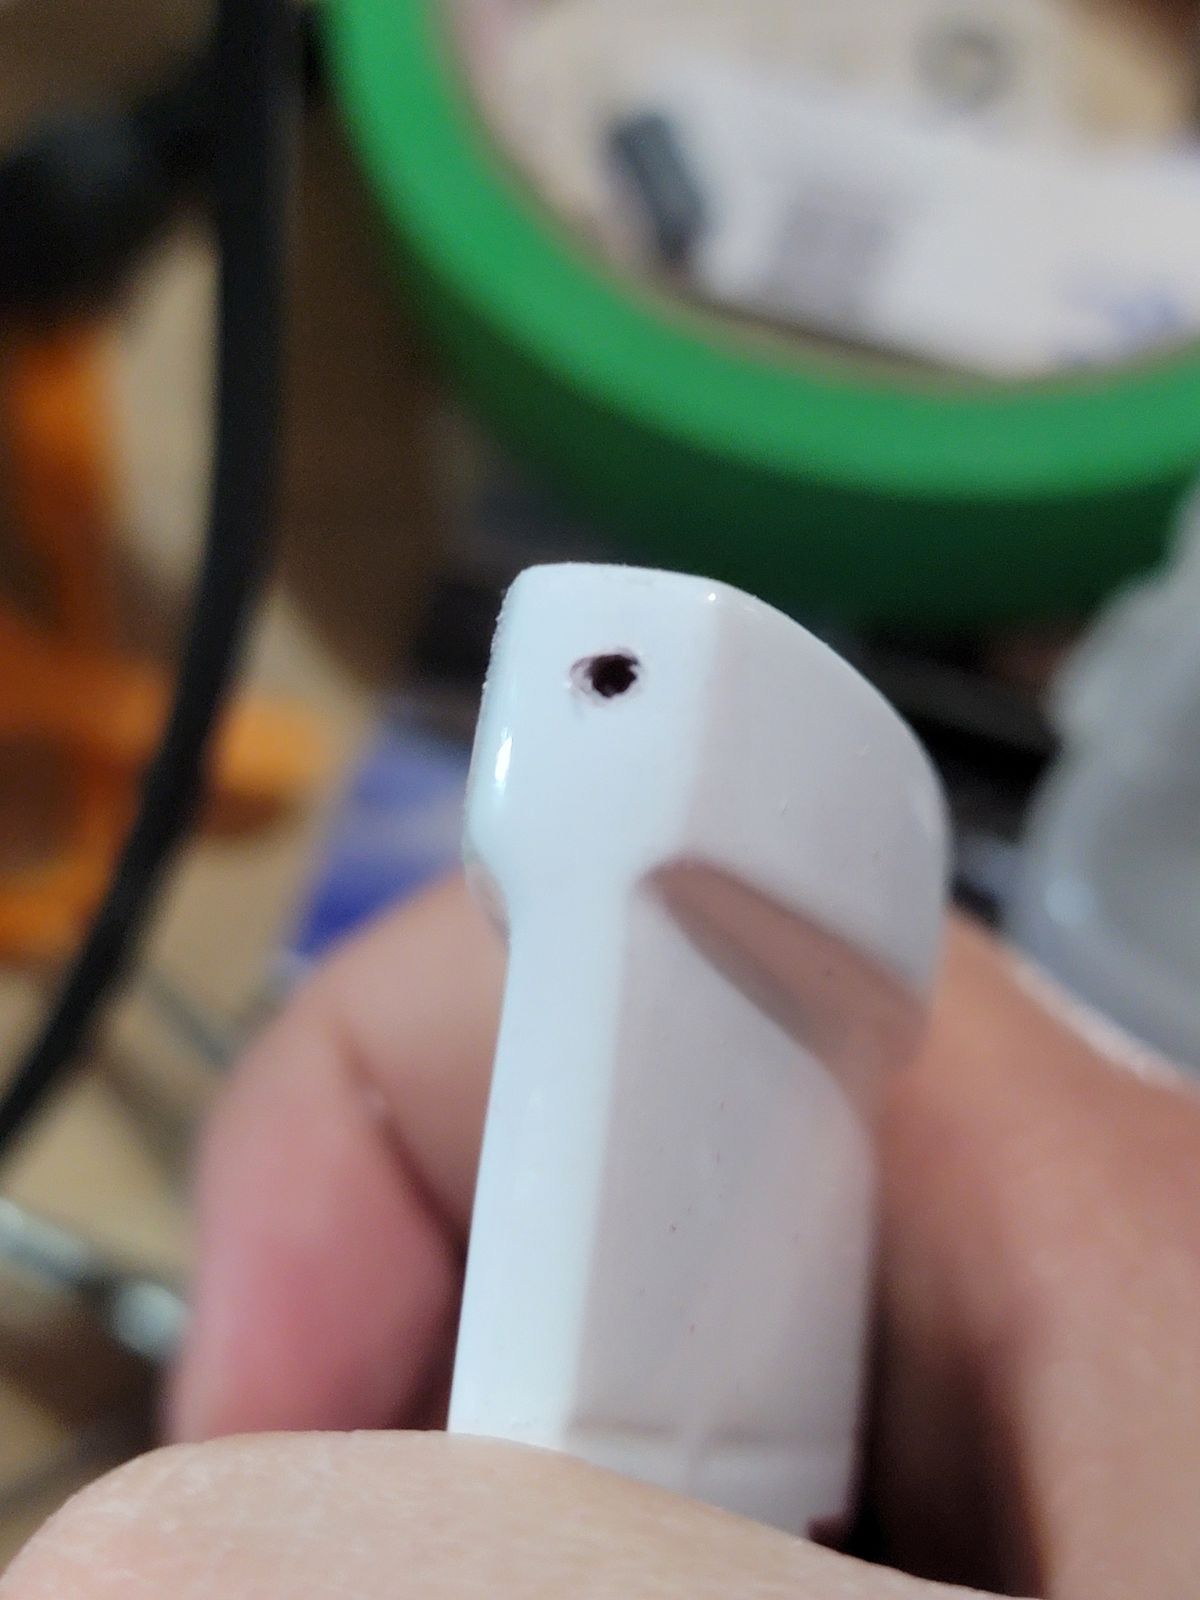
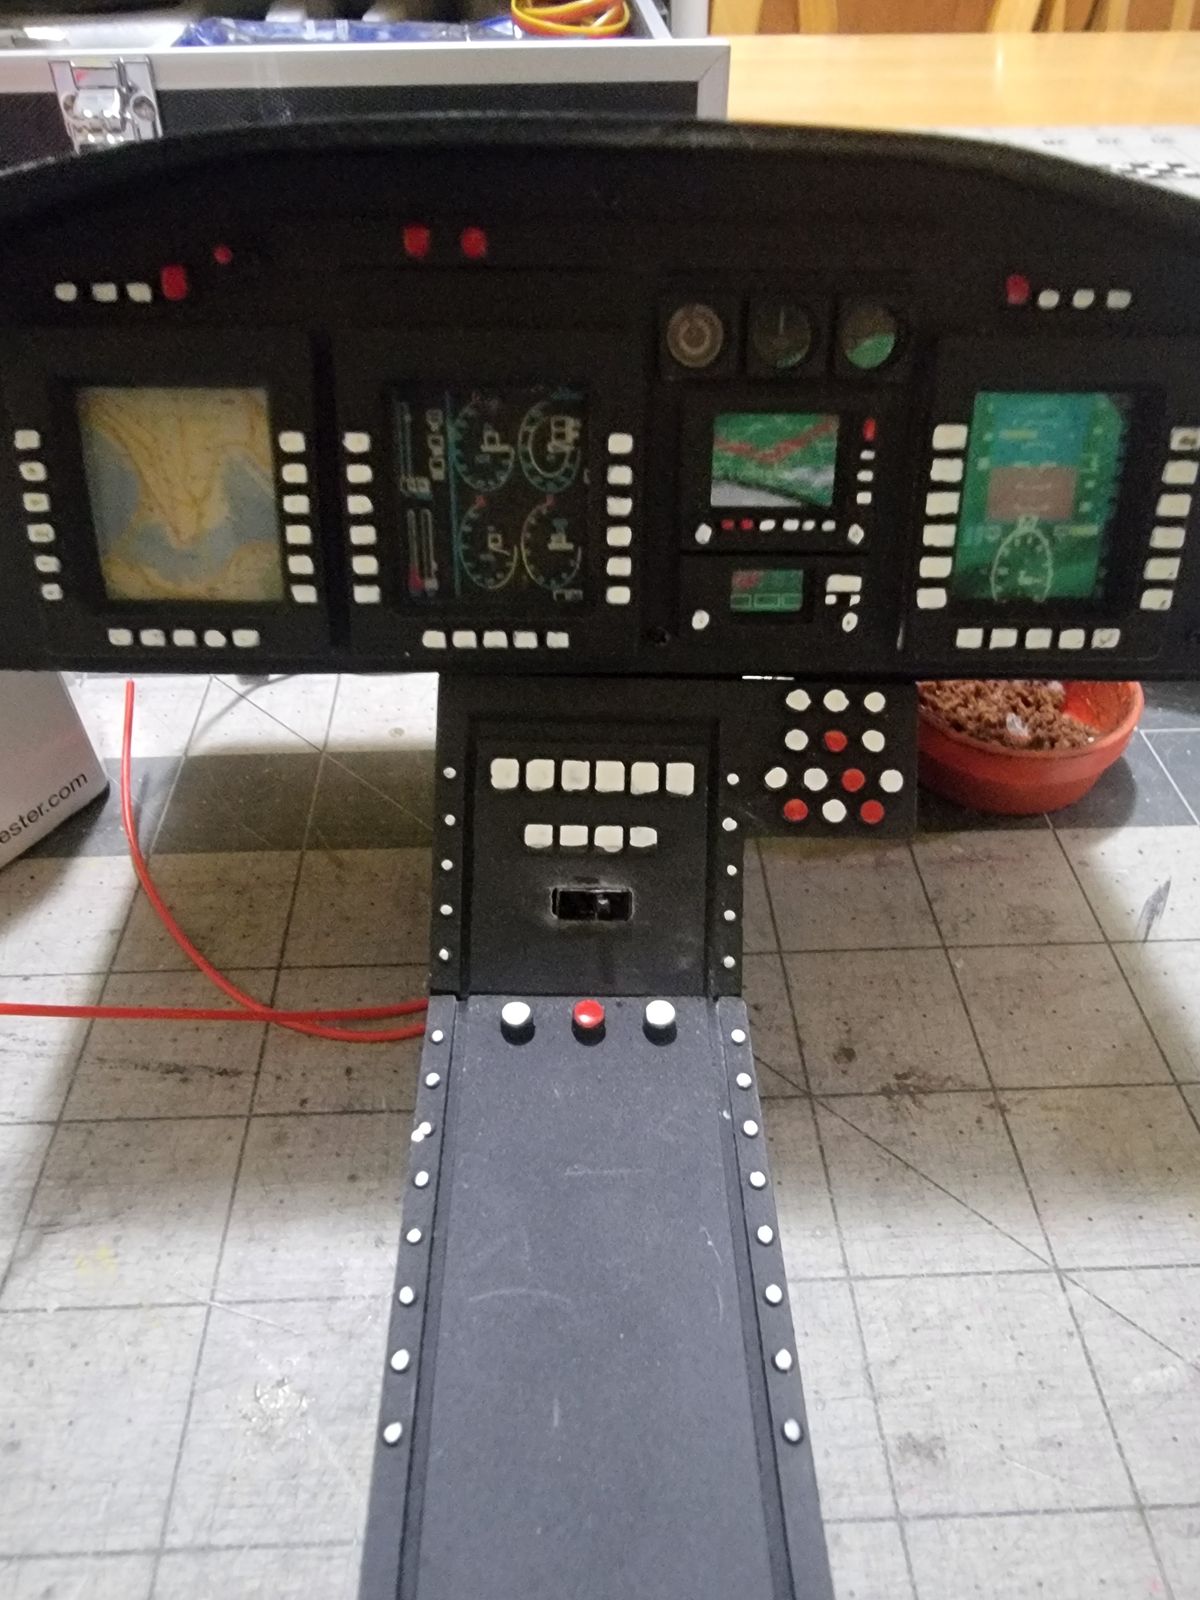
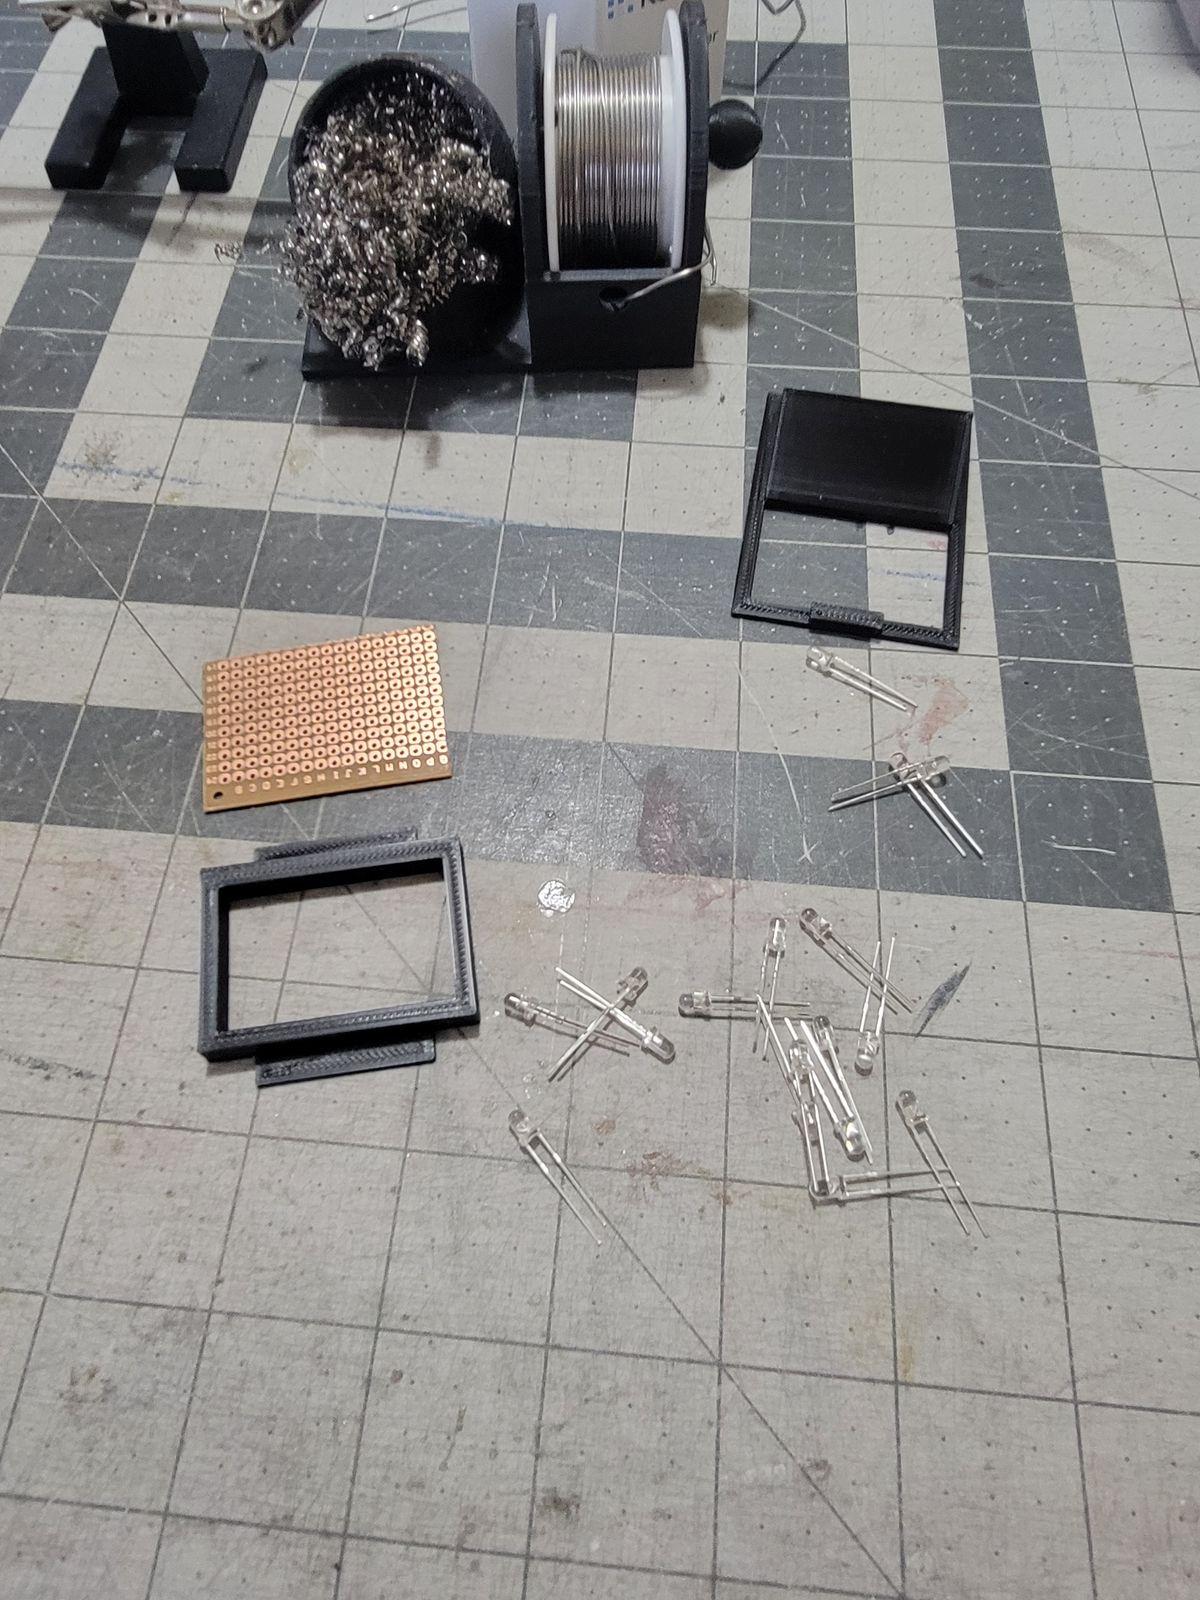
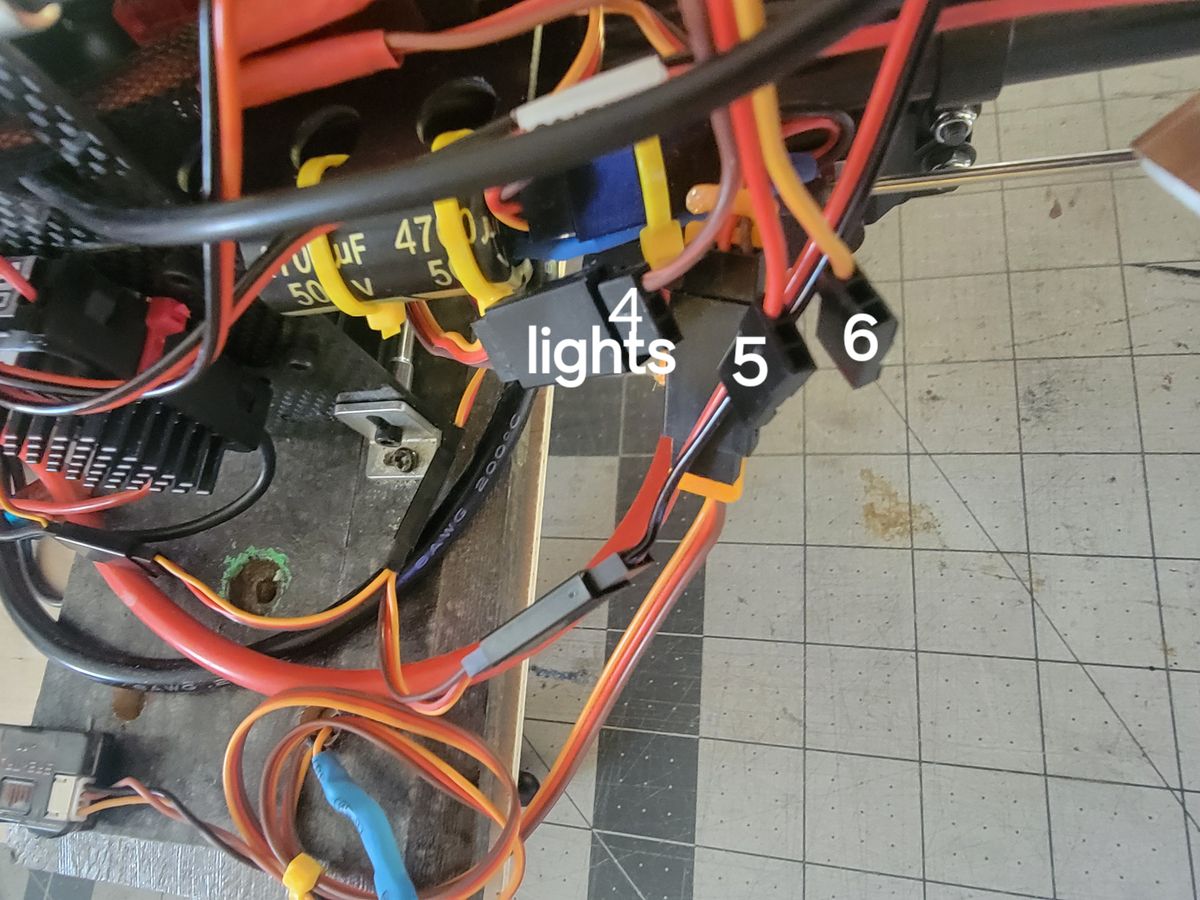
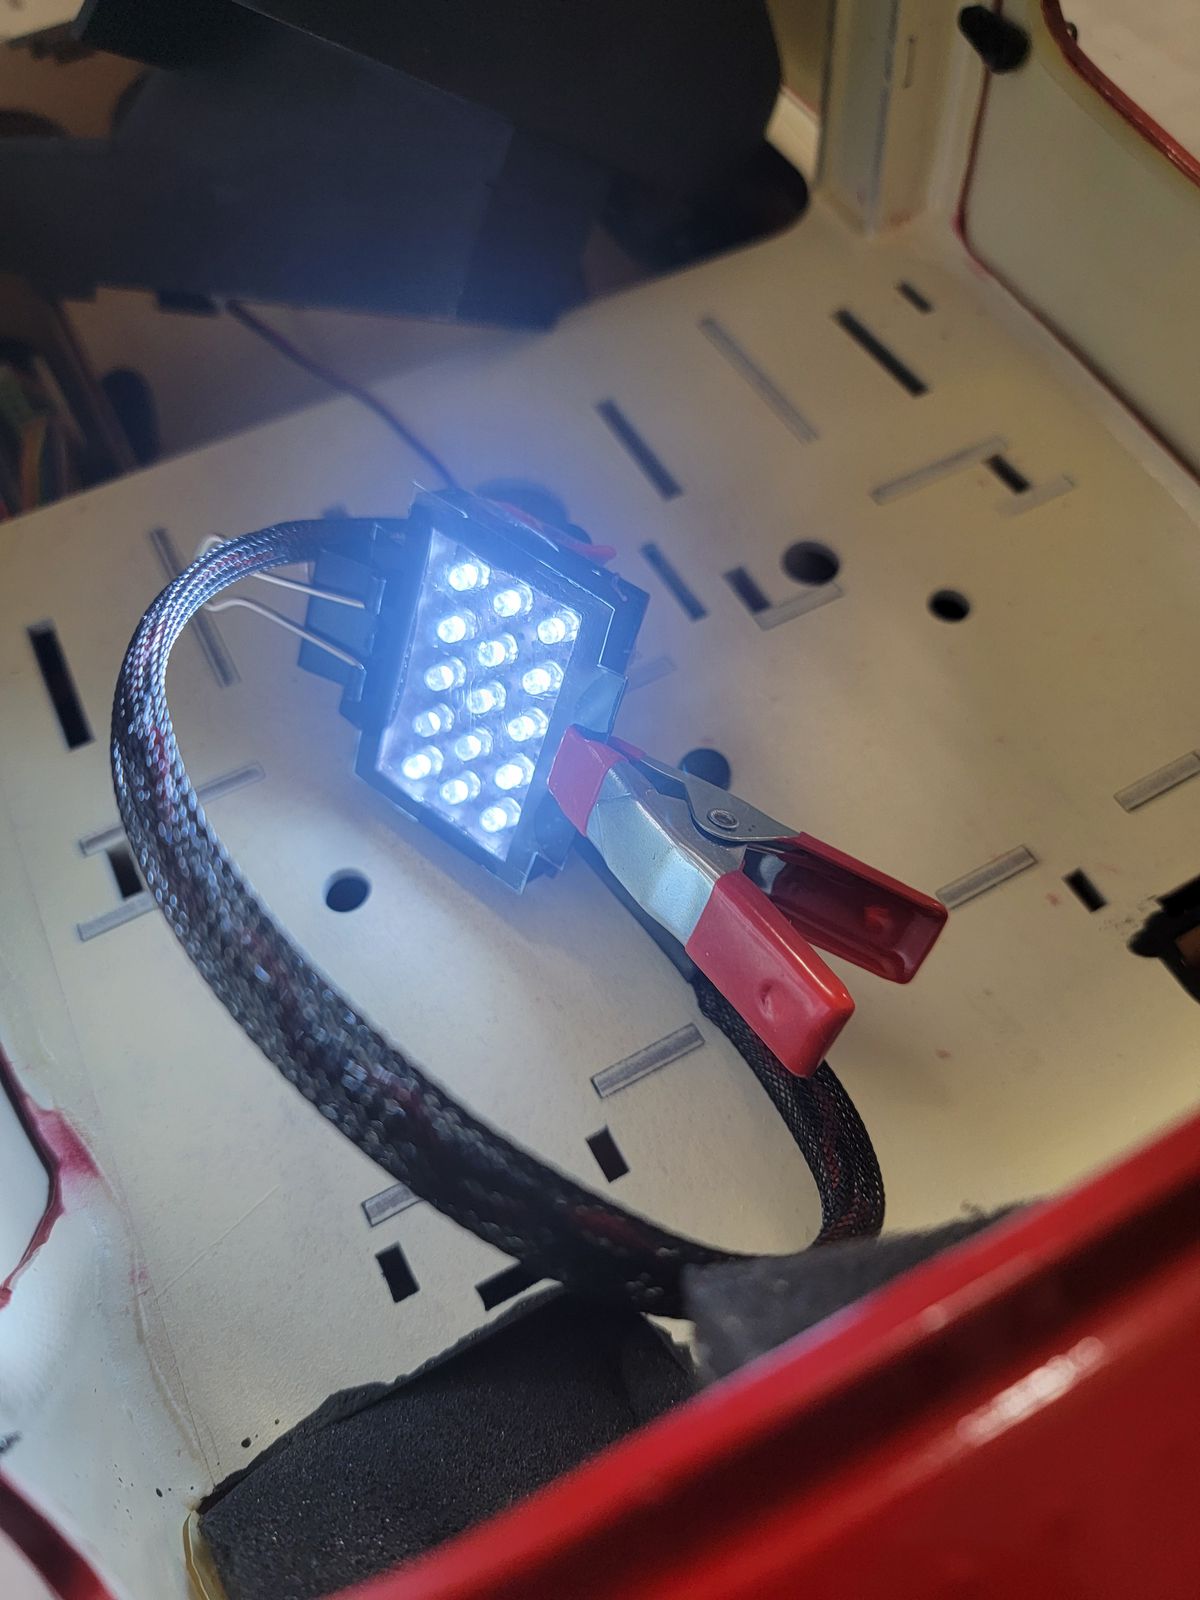
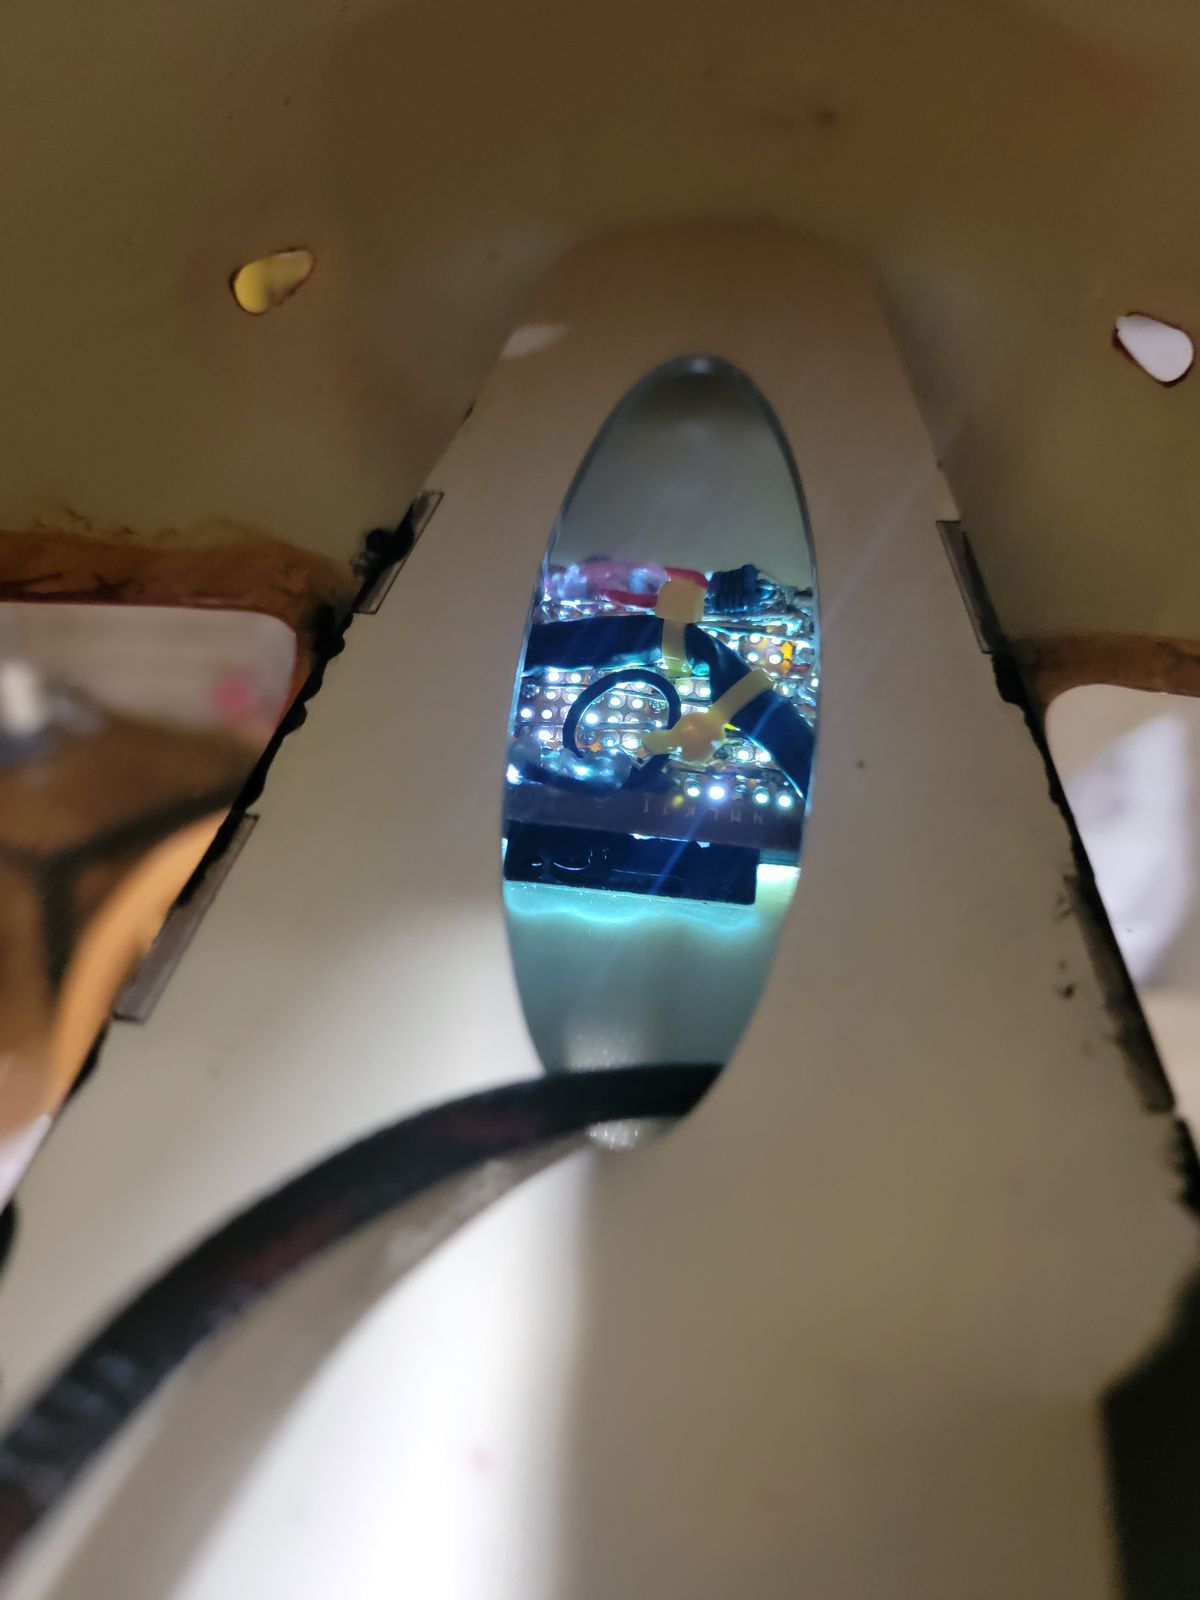
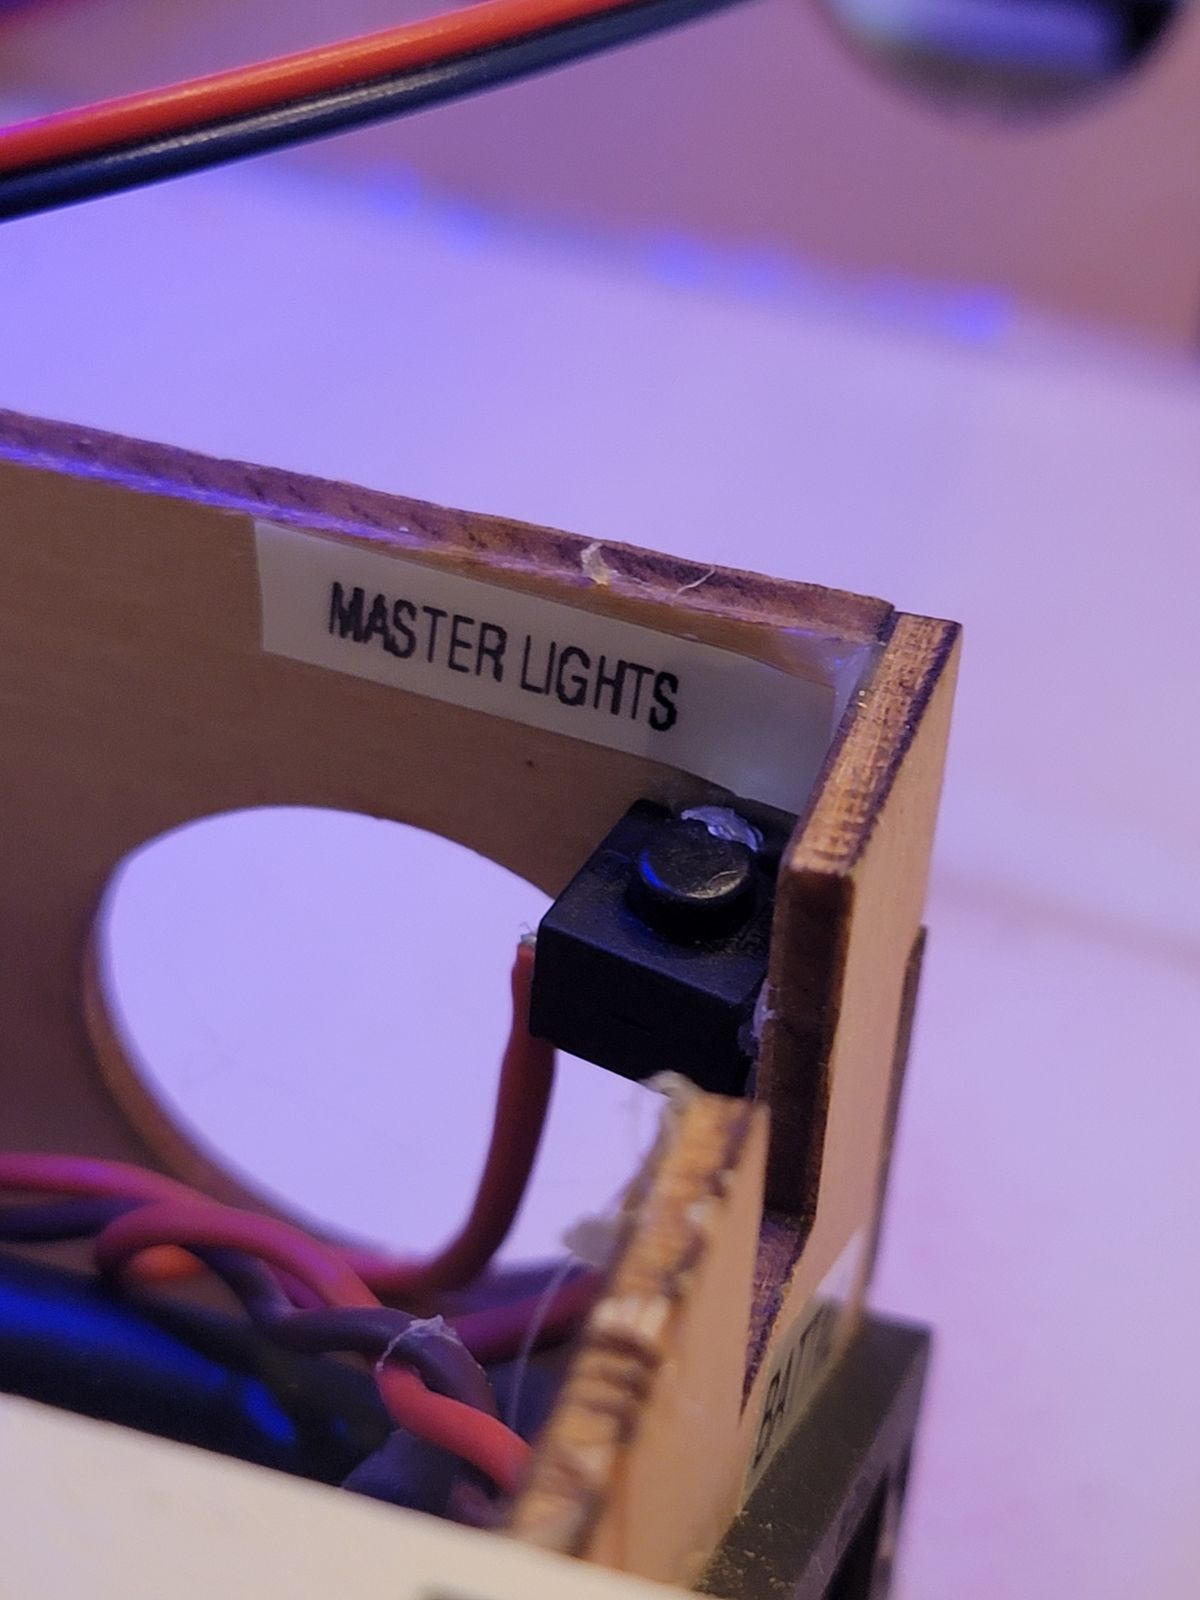
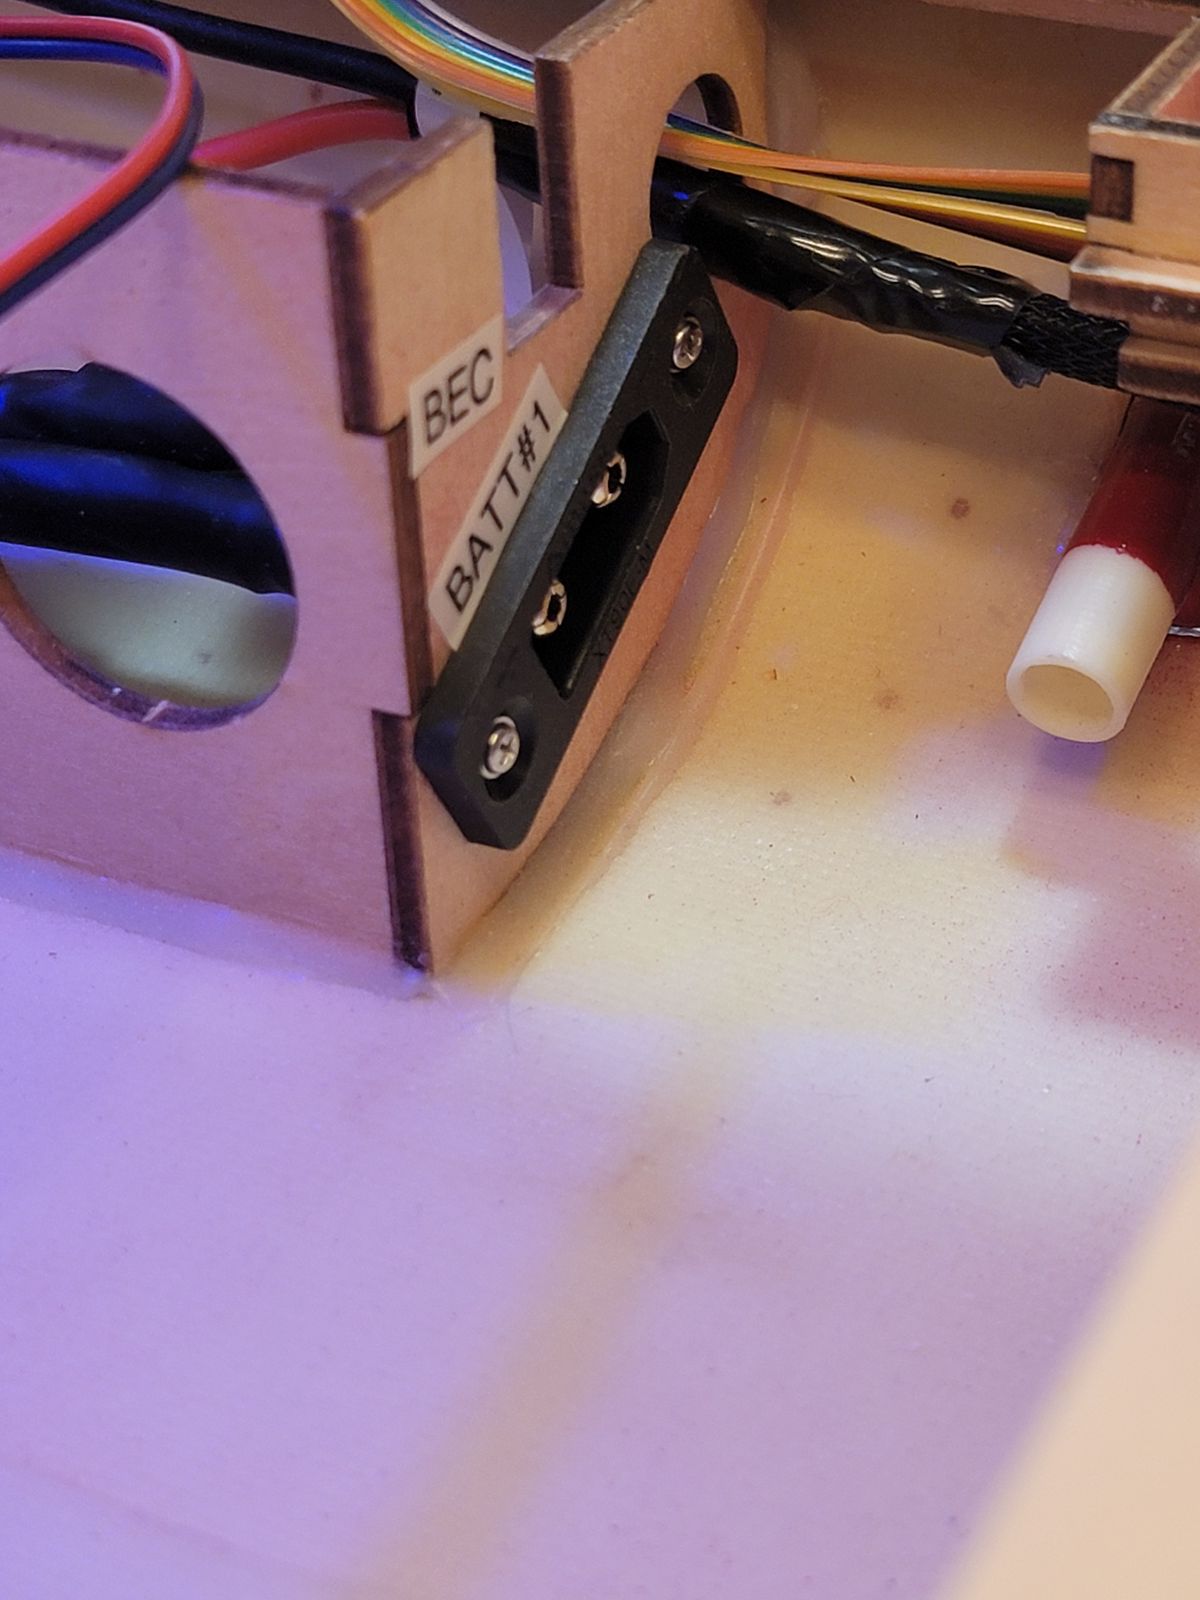
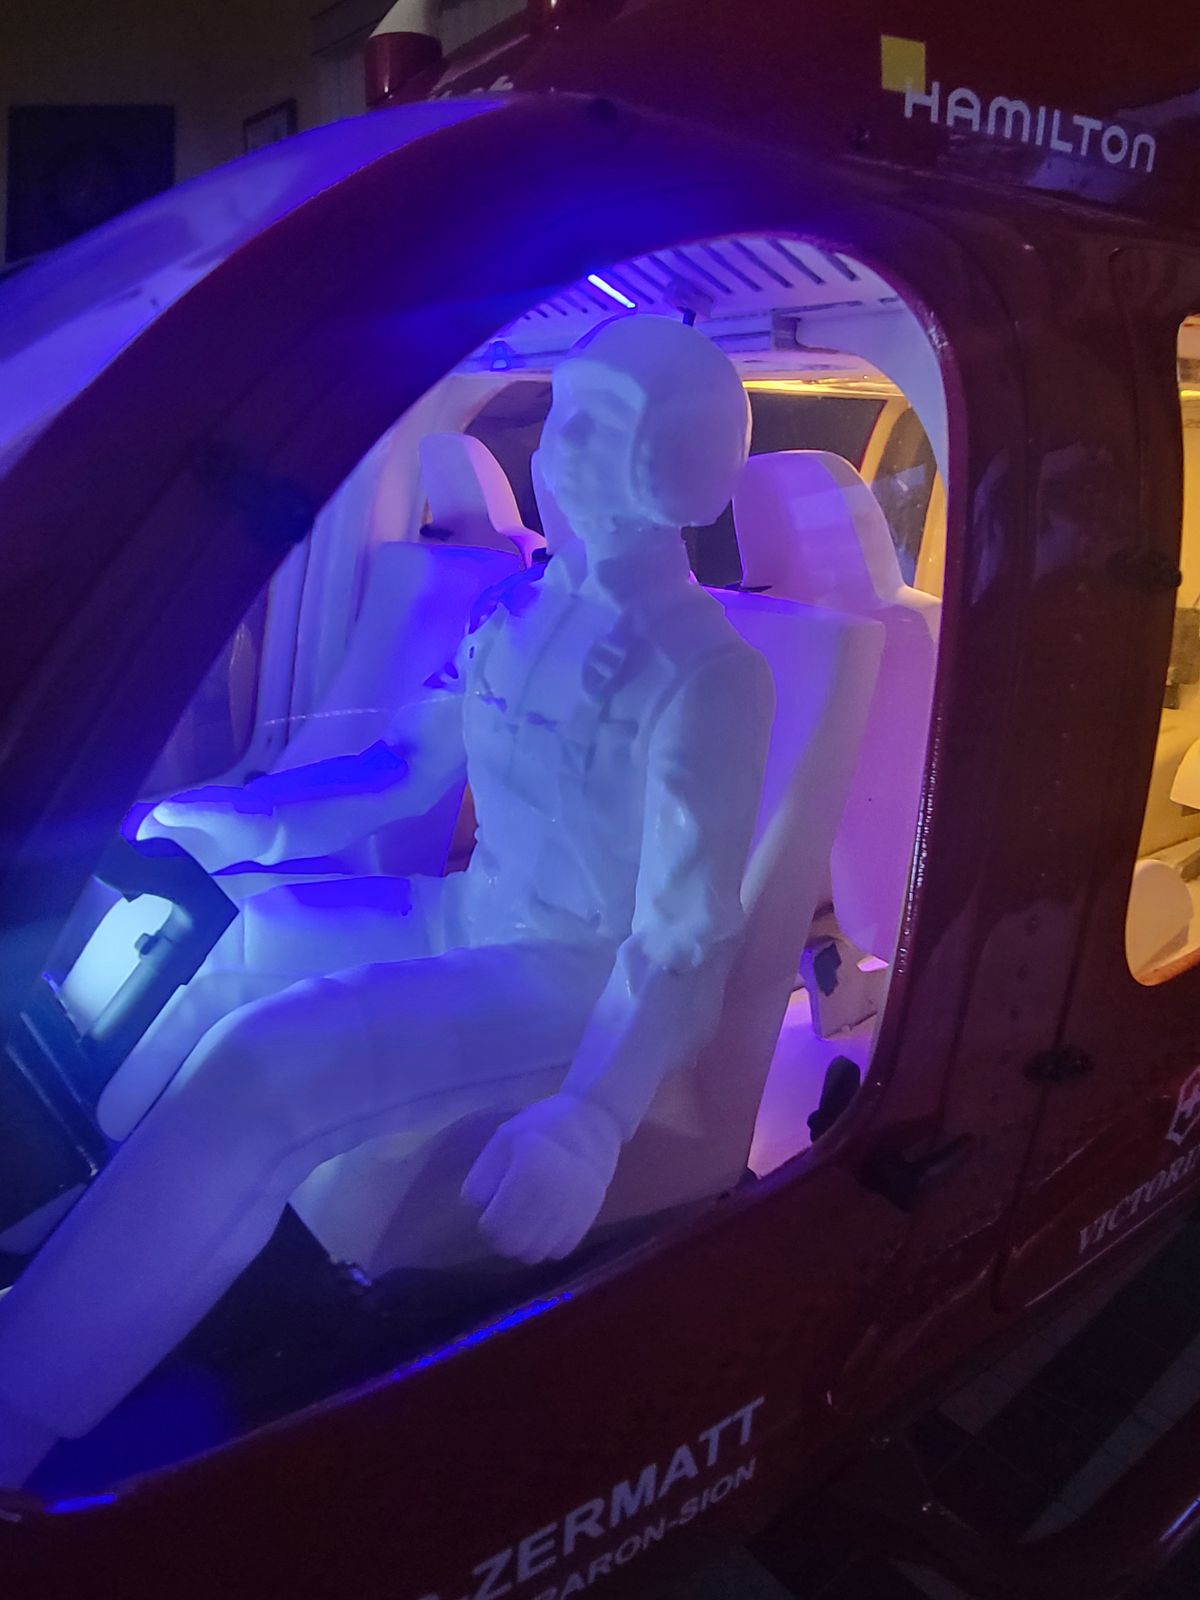
I’m not very happy with the light system that came with the kit. There are no instructions, and the lights pattern doesn’t look right to me for this helicopter. So, I build my own system, not just for the outside but also for the inside.
I also added a switch to the console, so i can decide when keep on or not.
First hover
I finished with few details, checking CG and testing that all works fine.
I think I'm "happy", so far, but I see a little tail wag and I hear little noise that I need to check out.
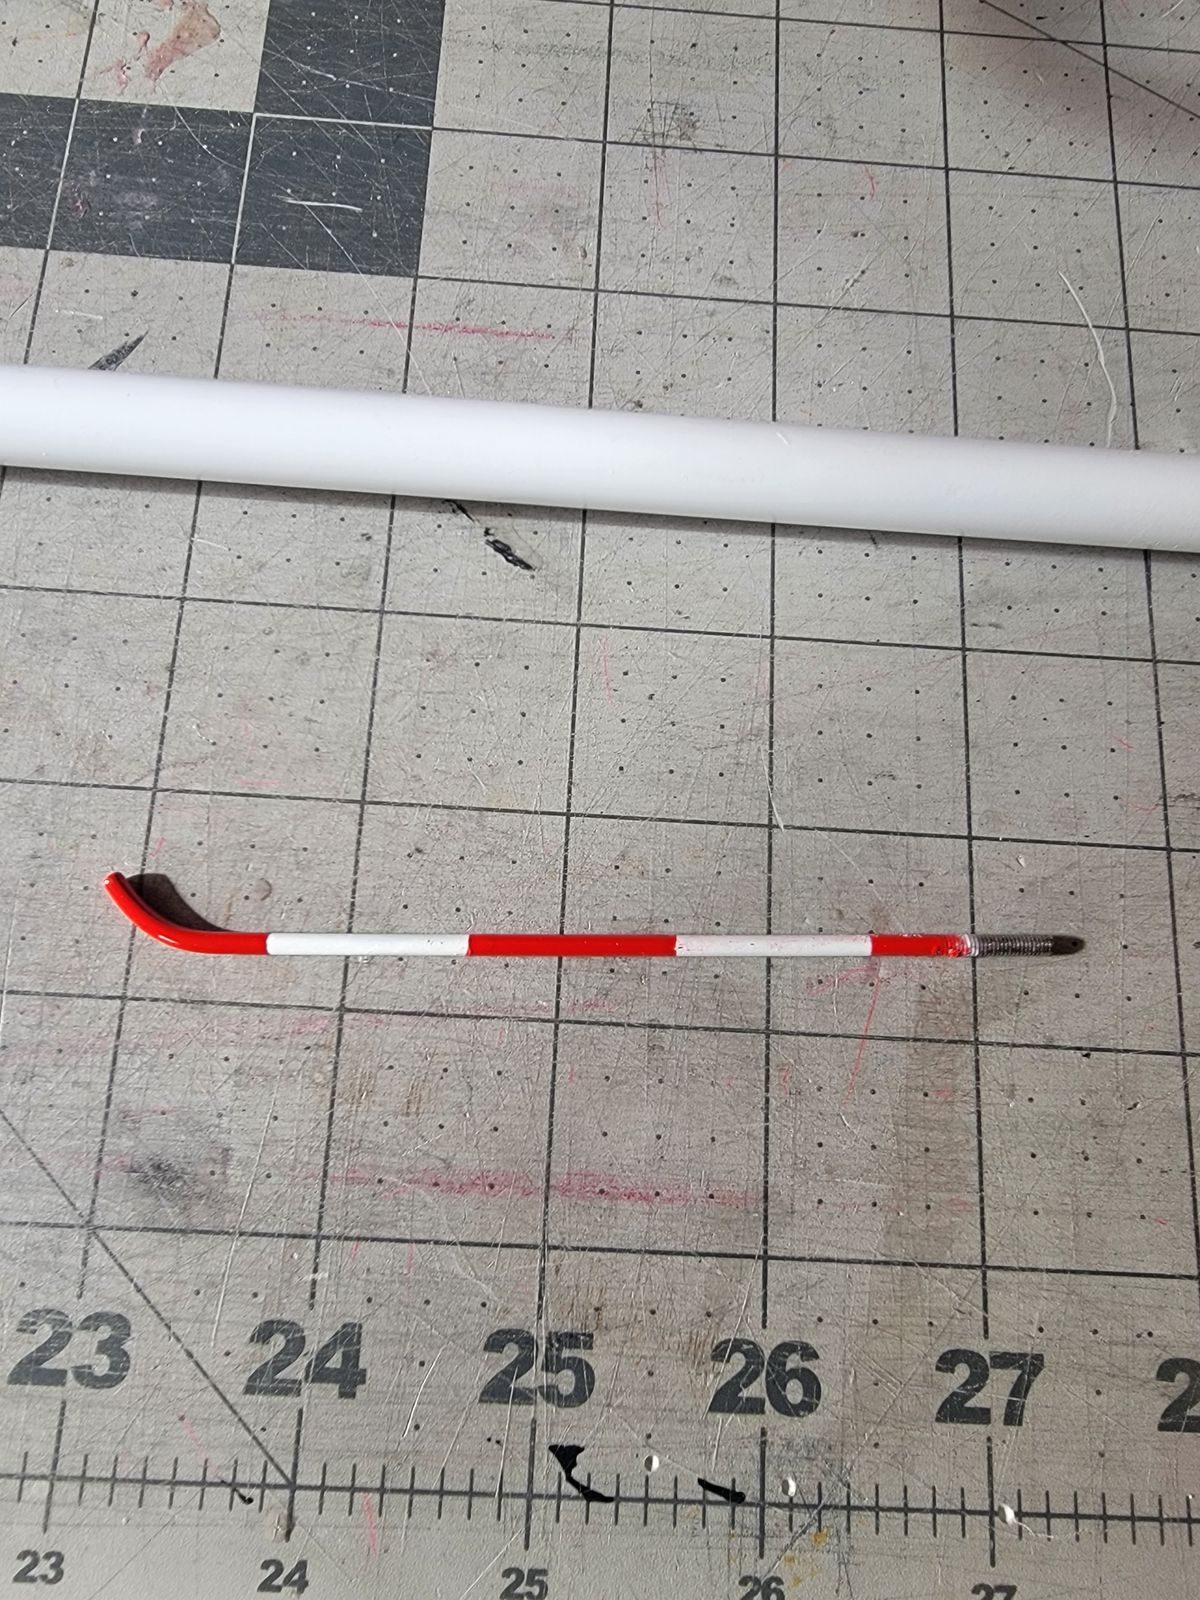
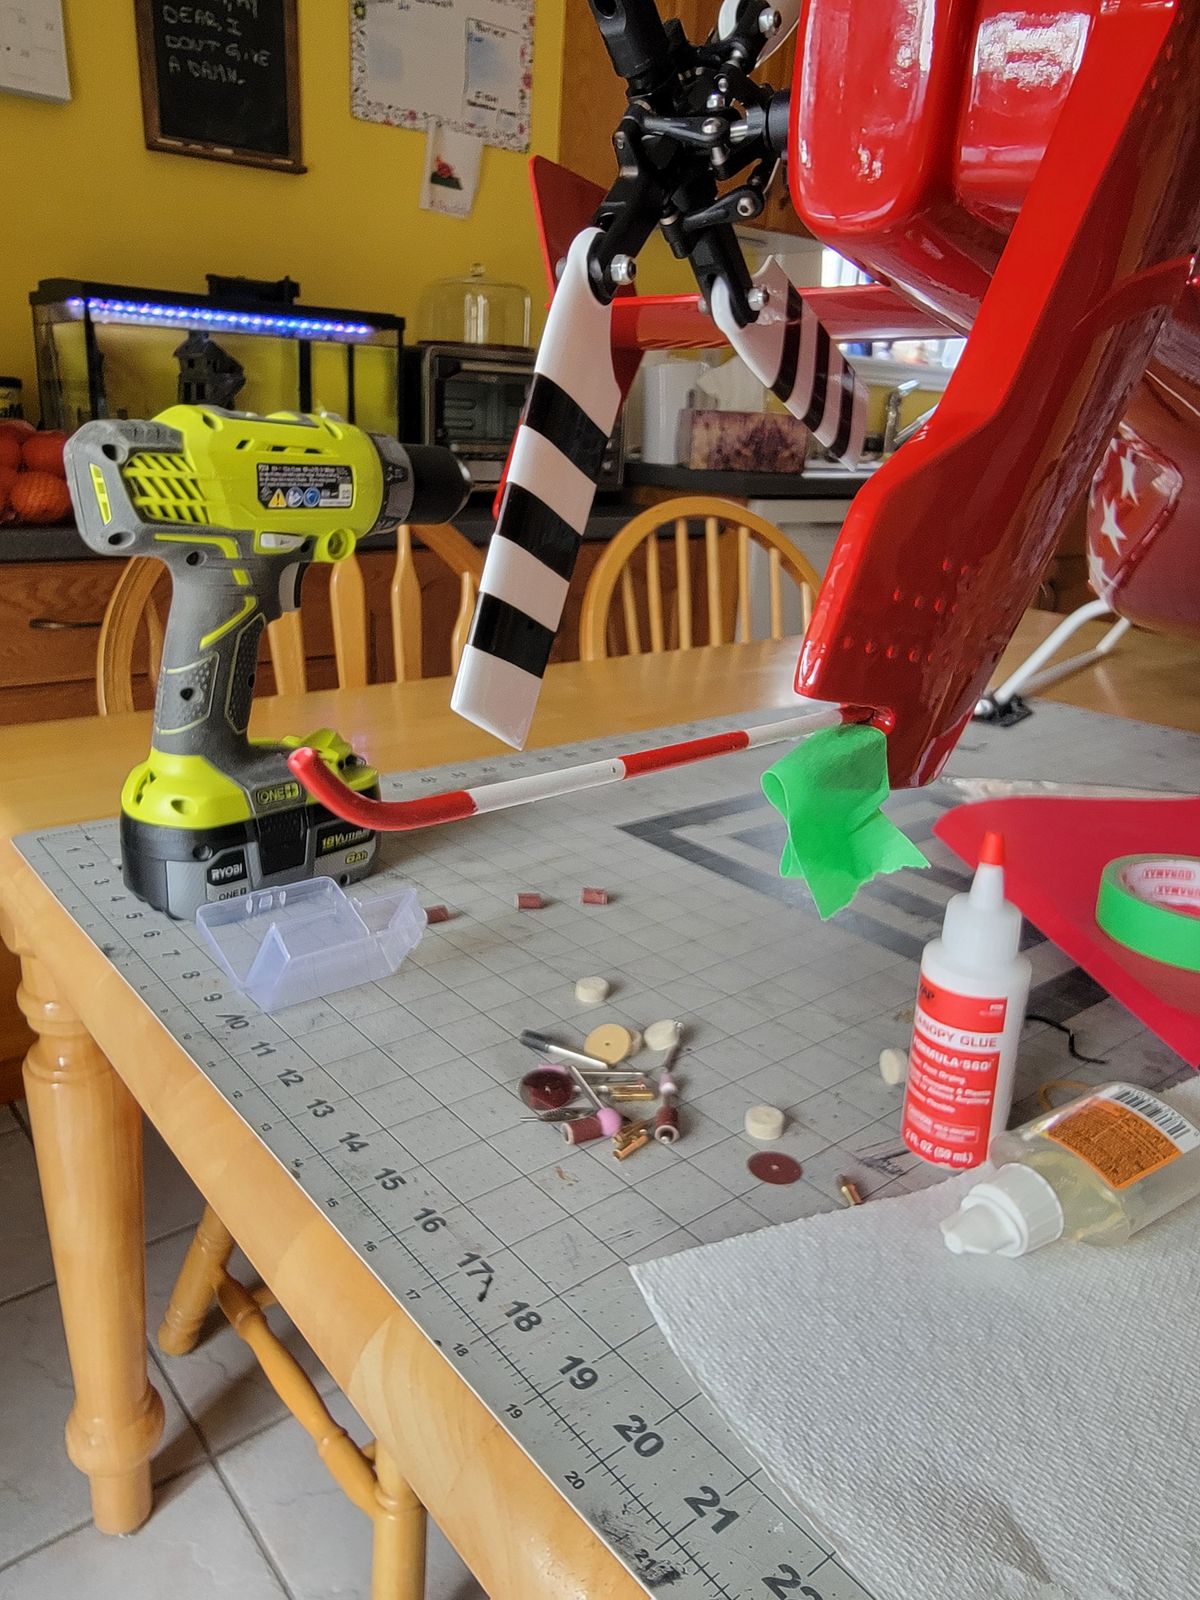
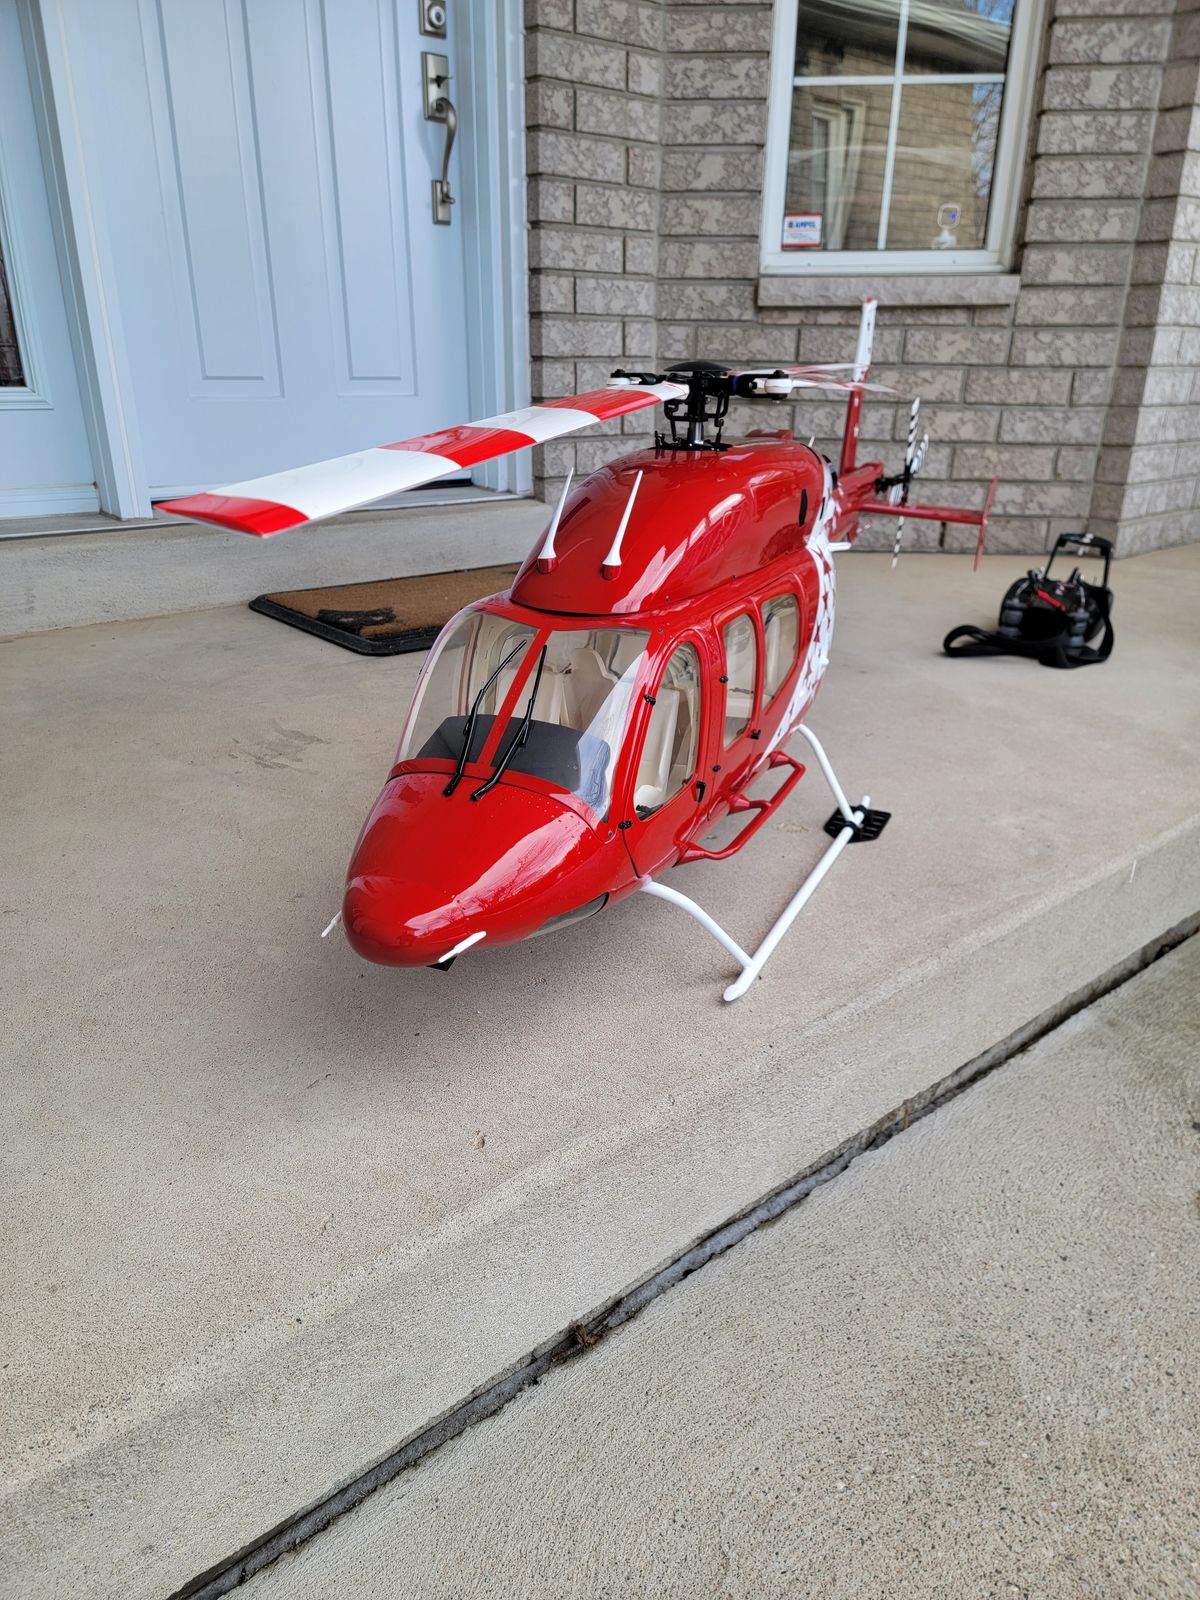
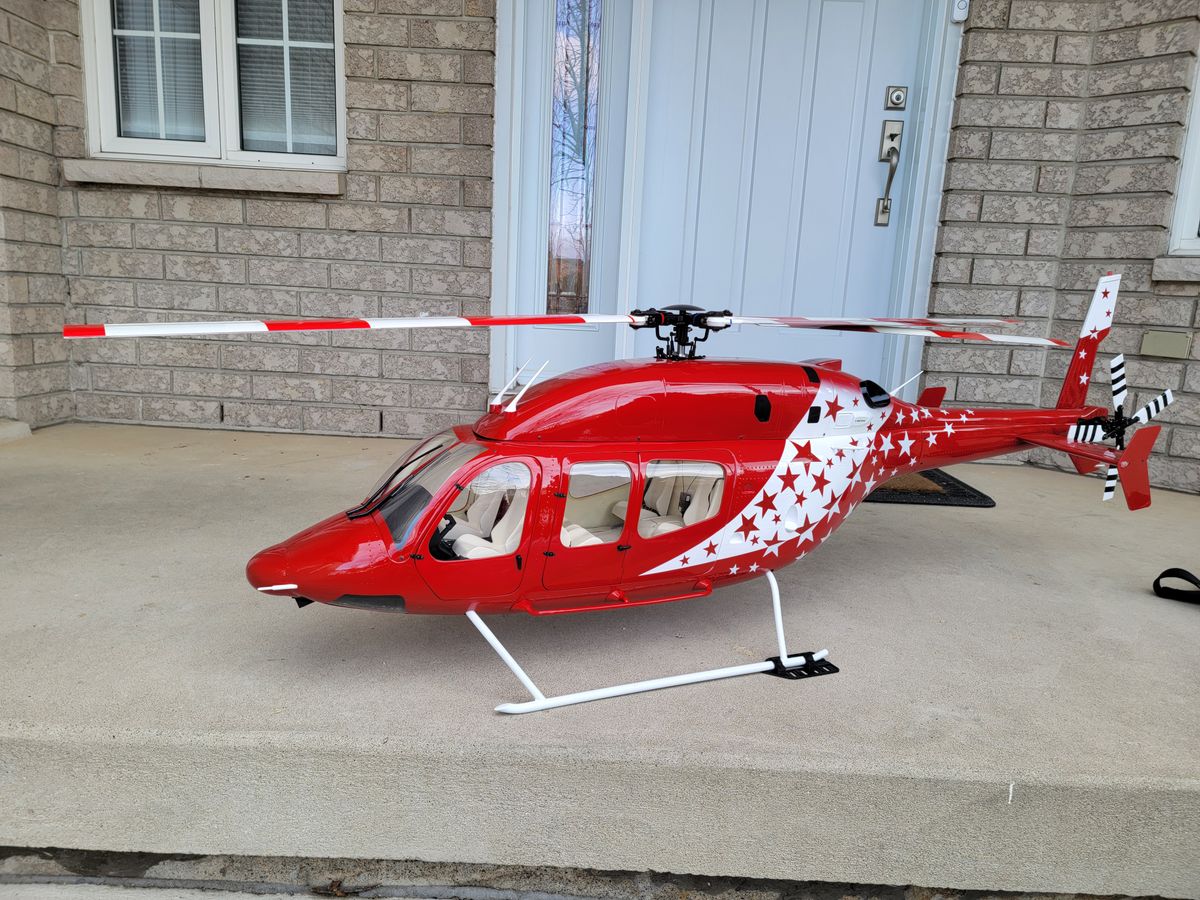
Pilots
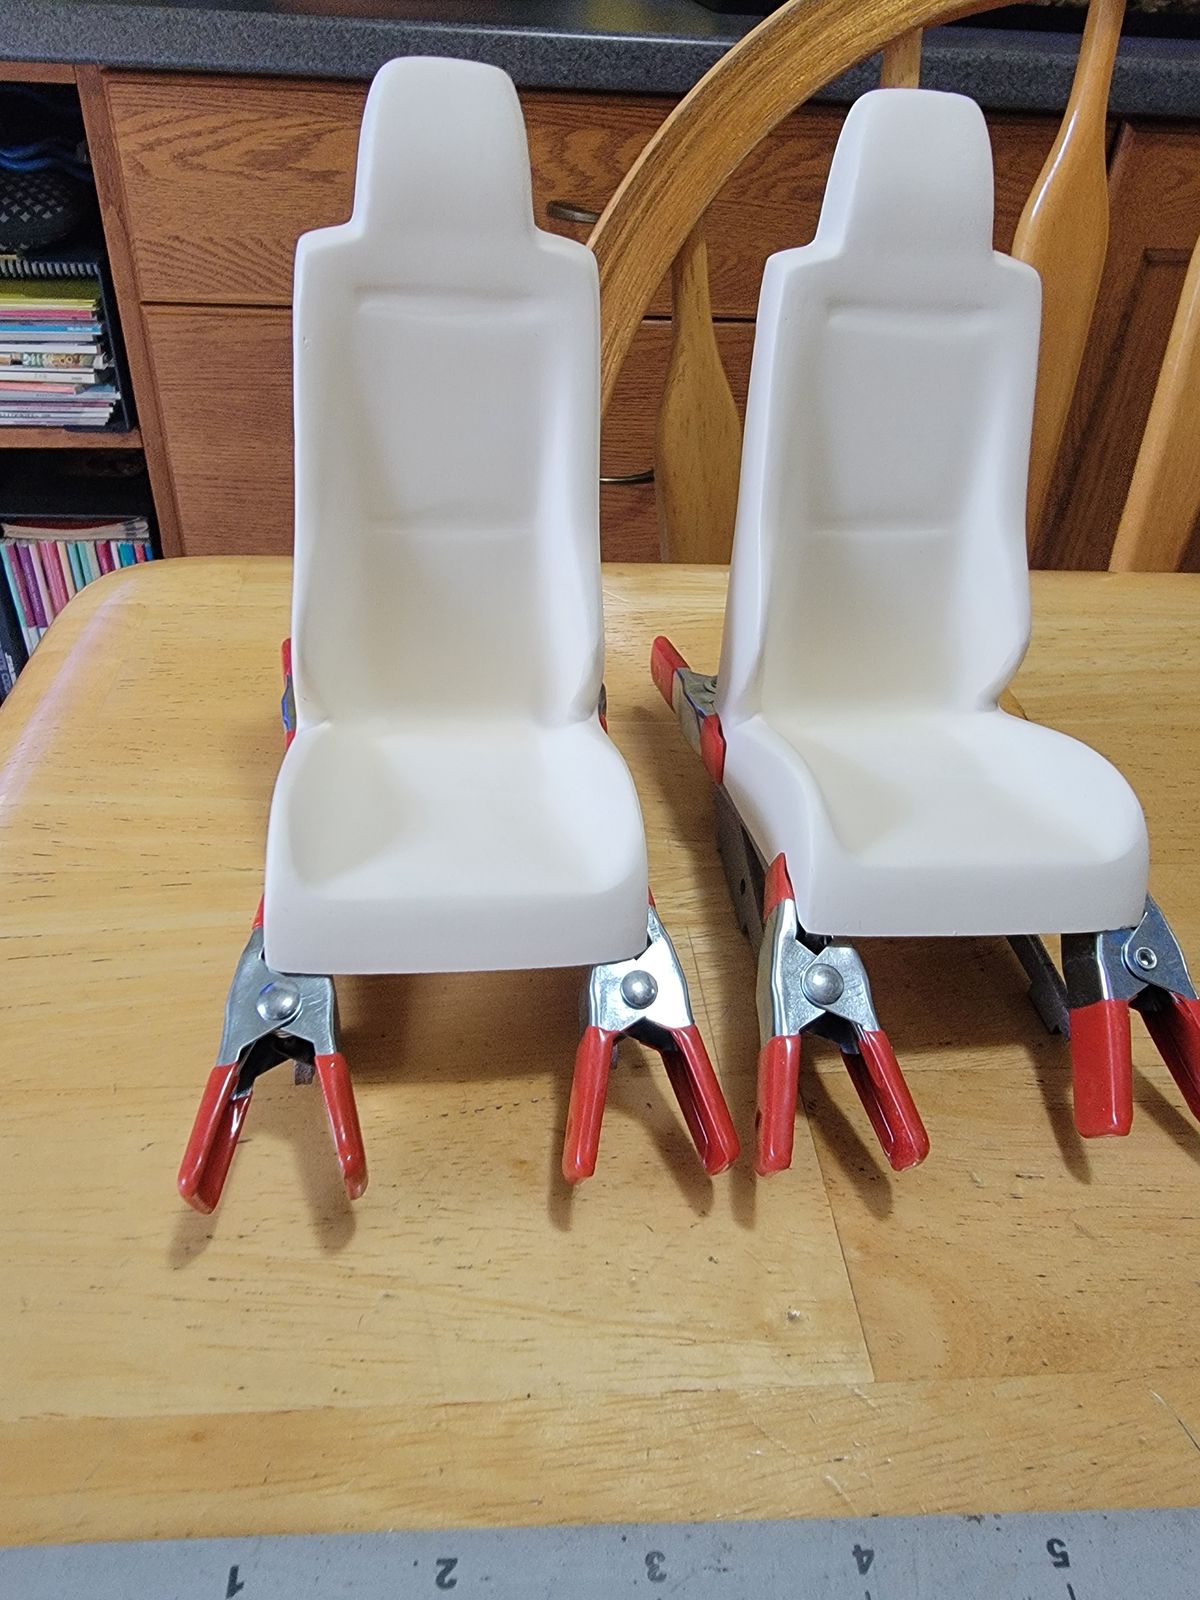
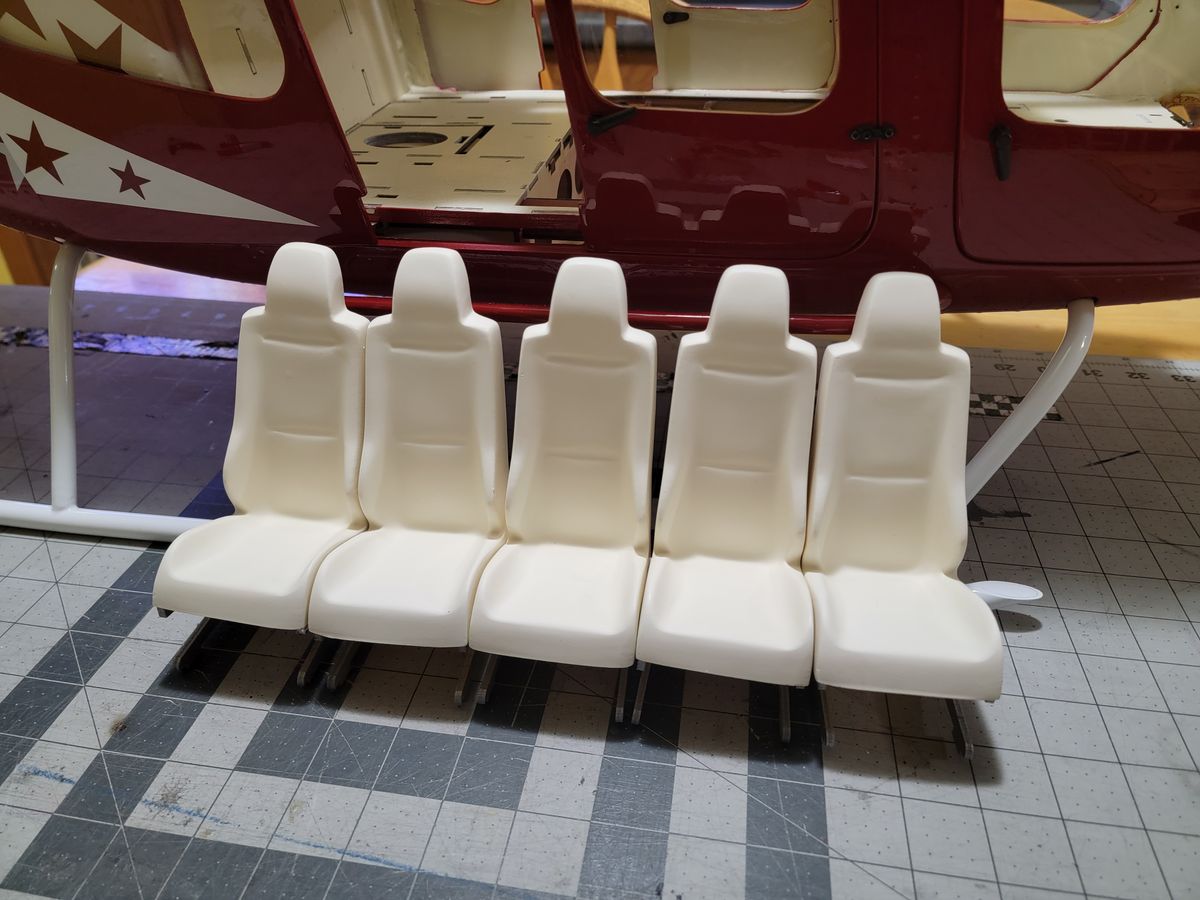
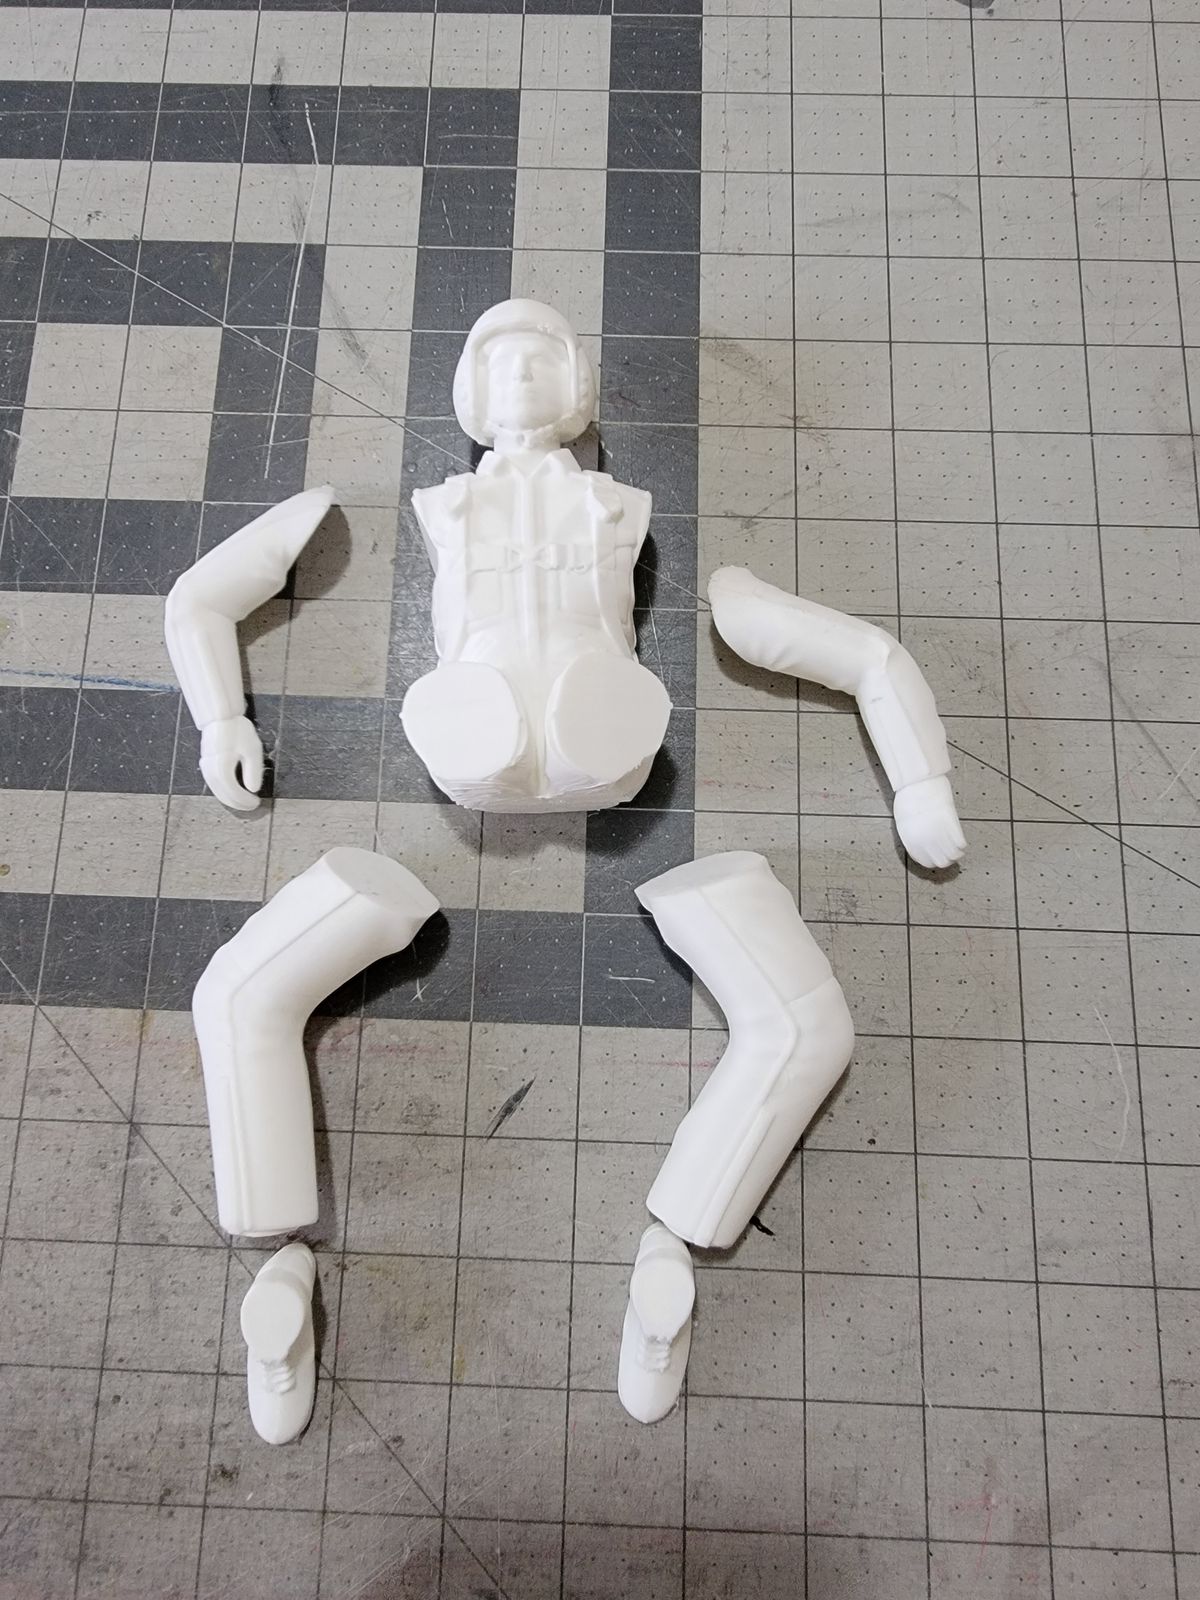
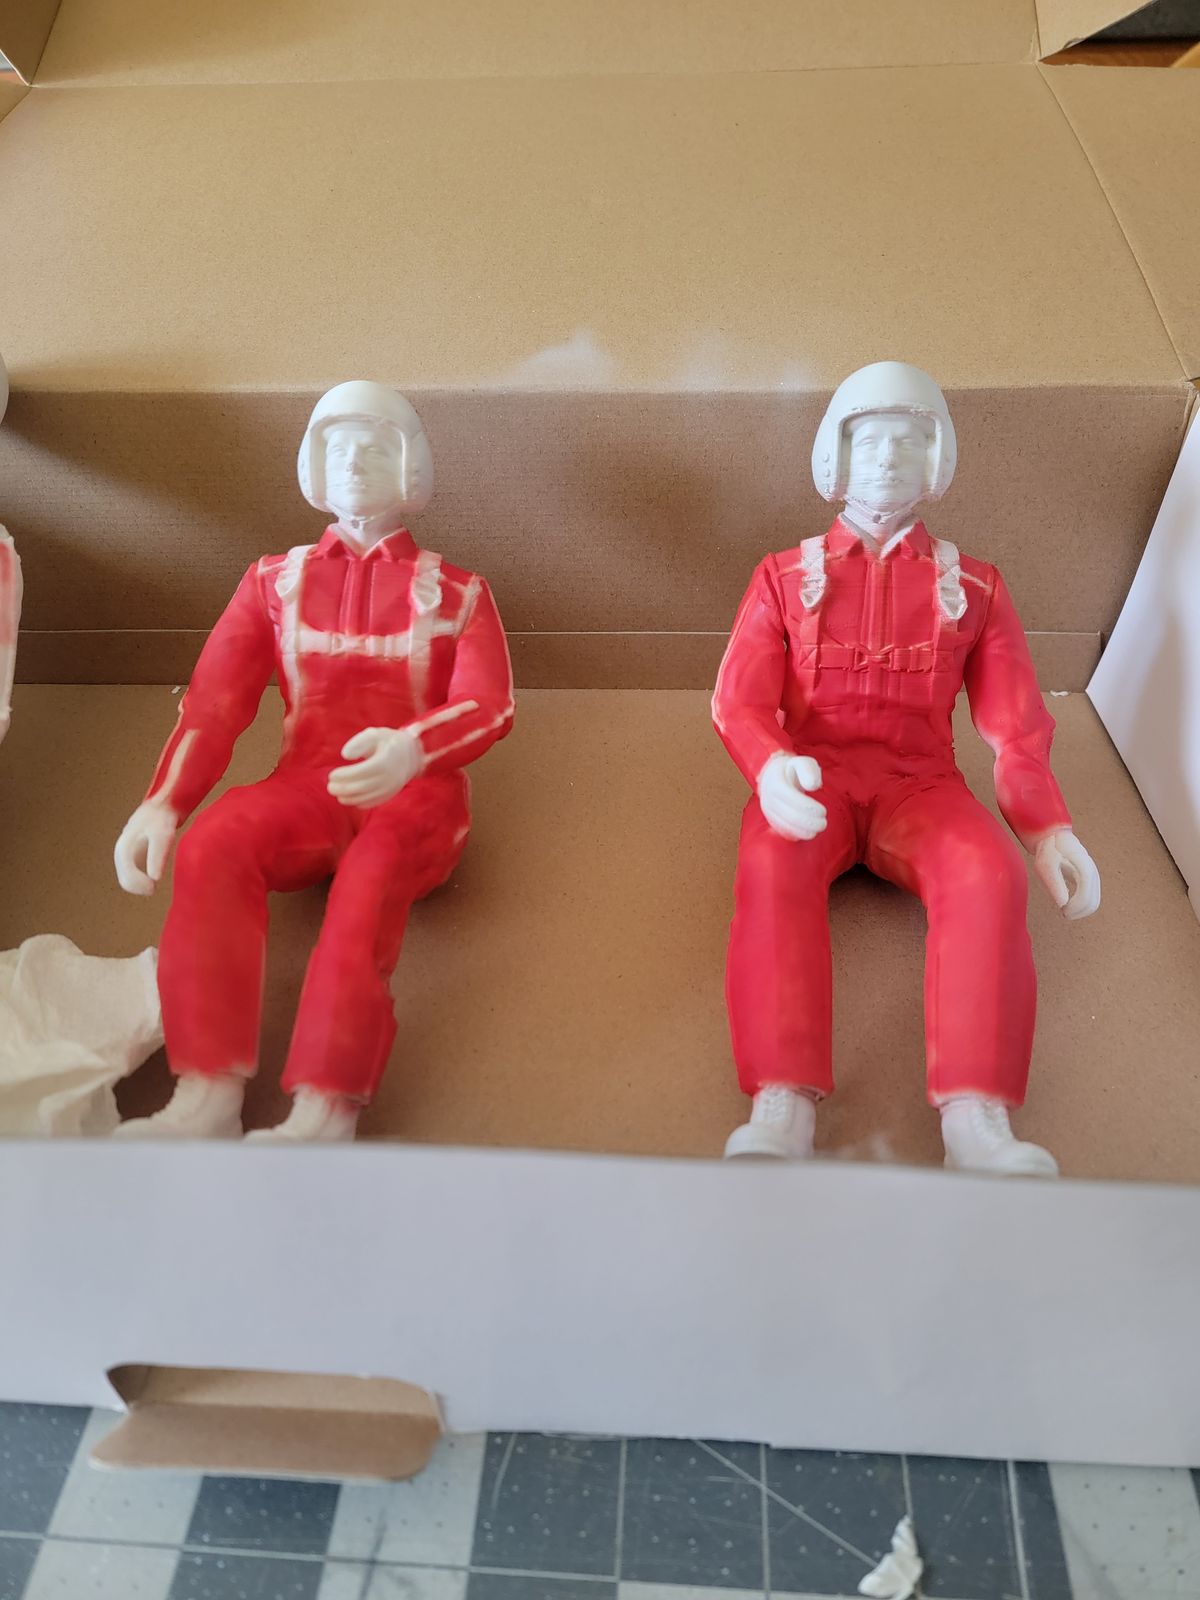
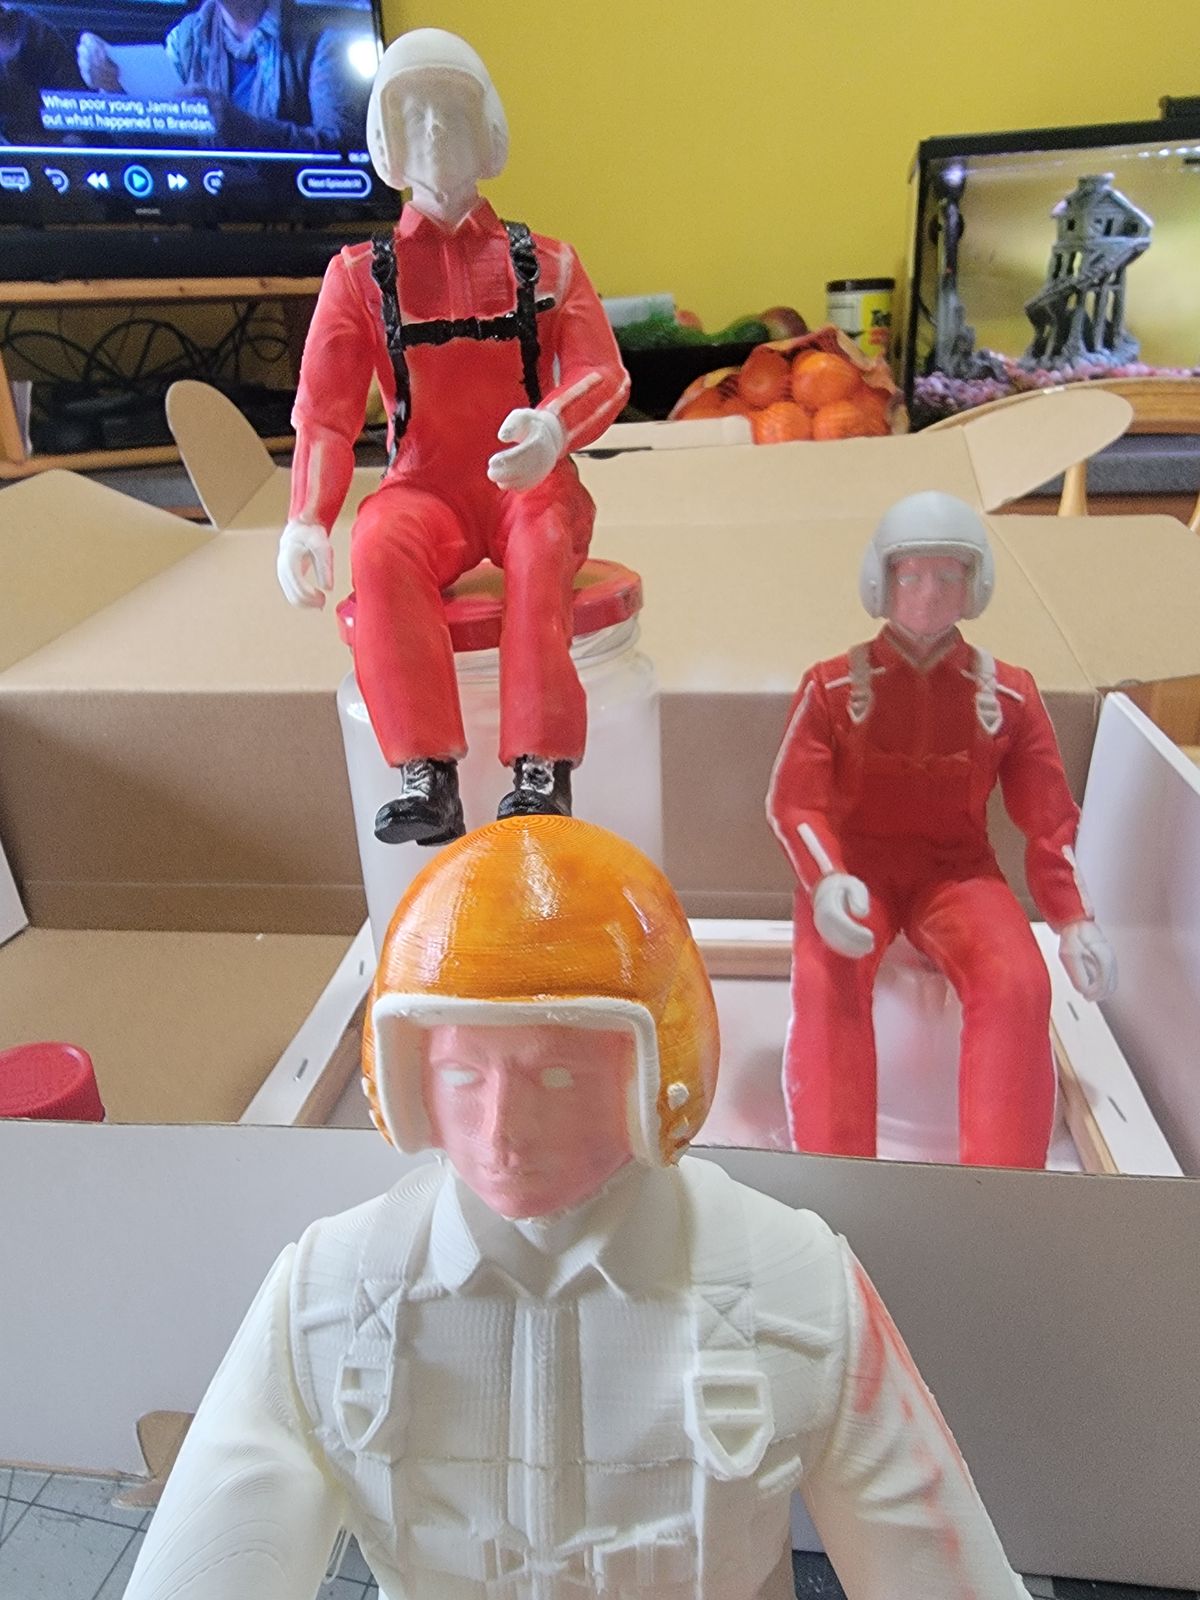
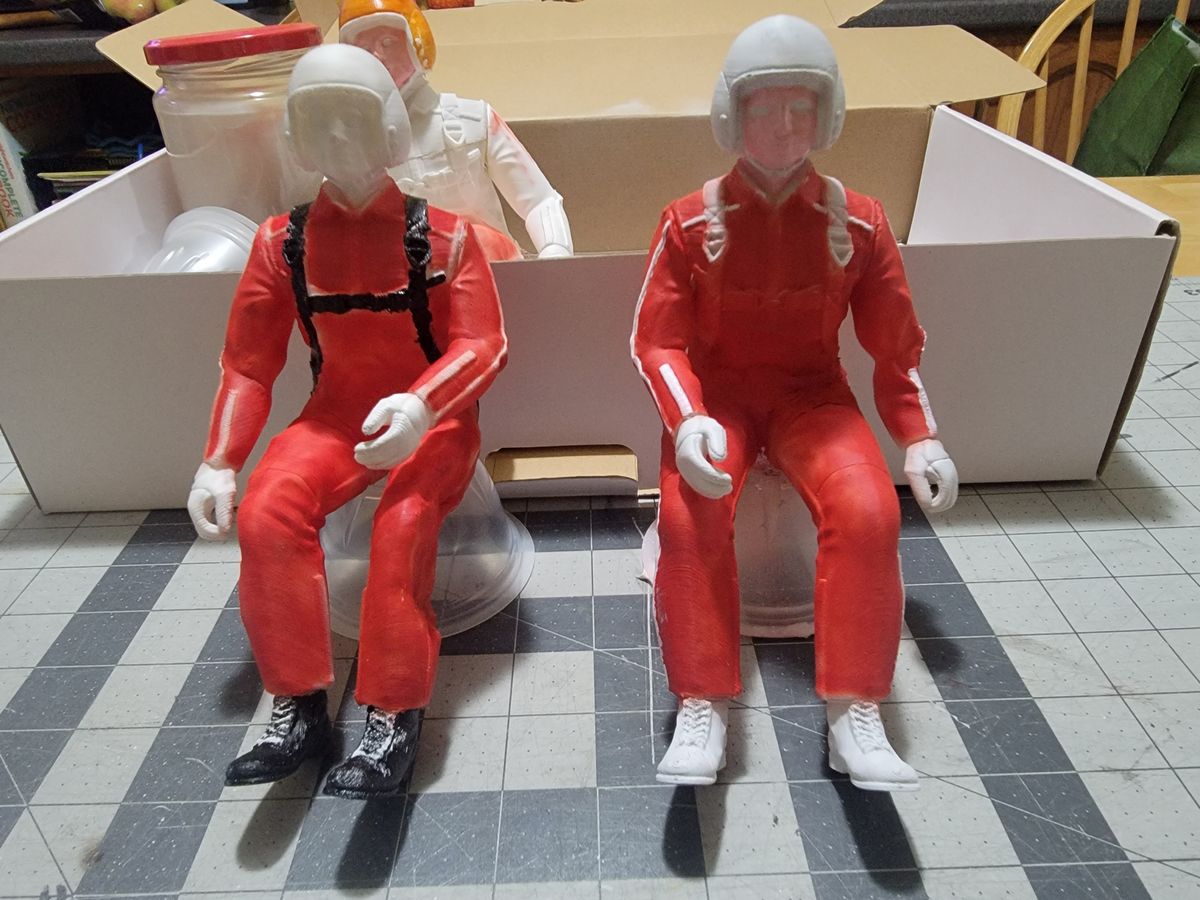
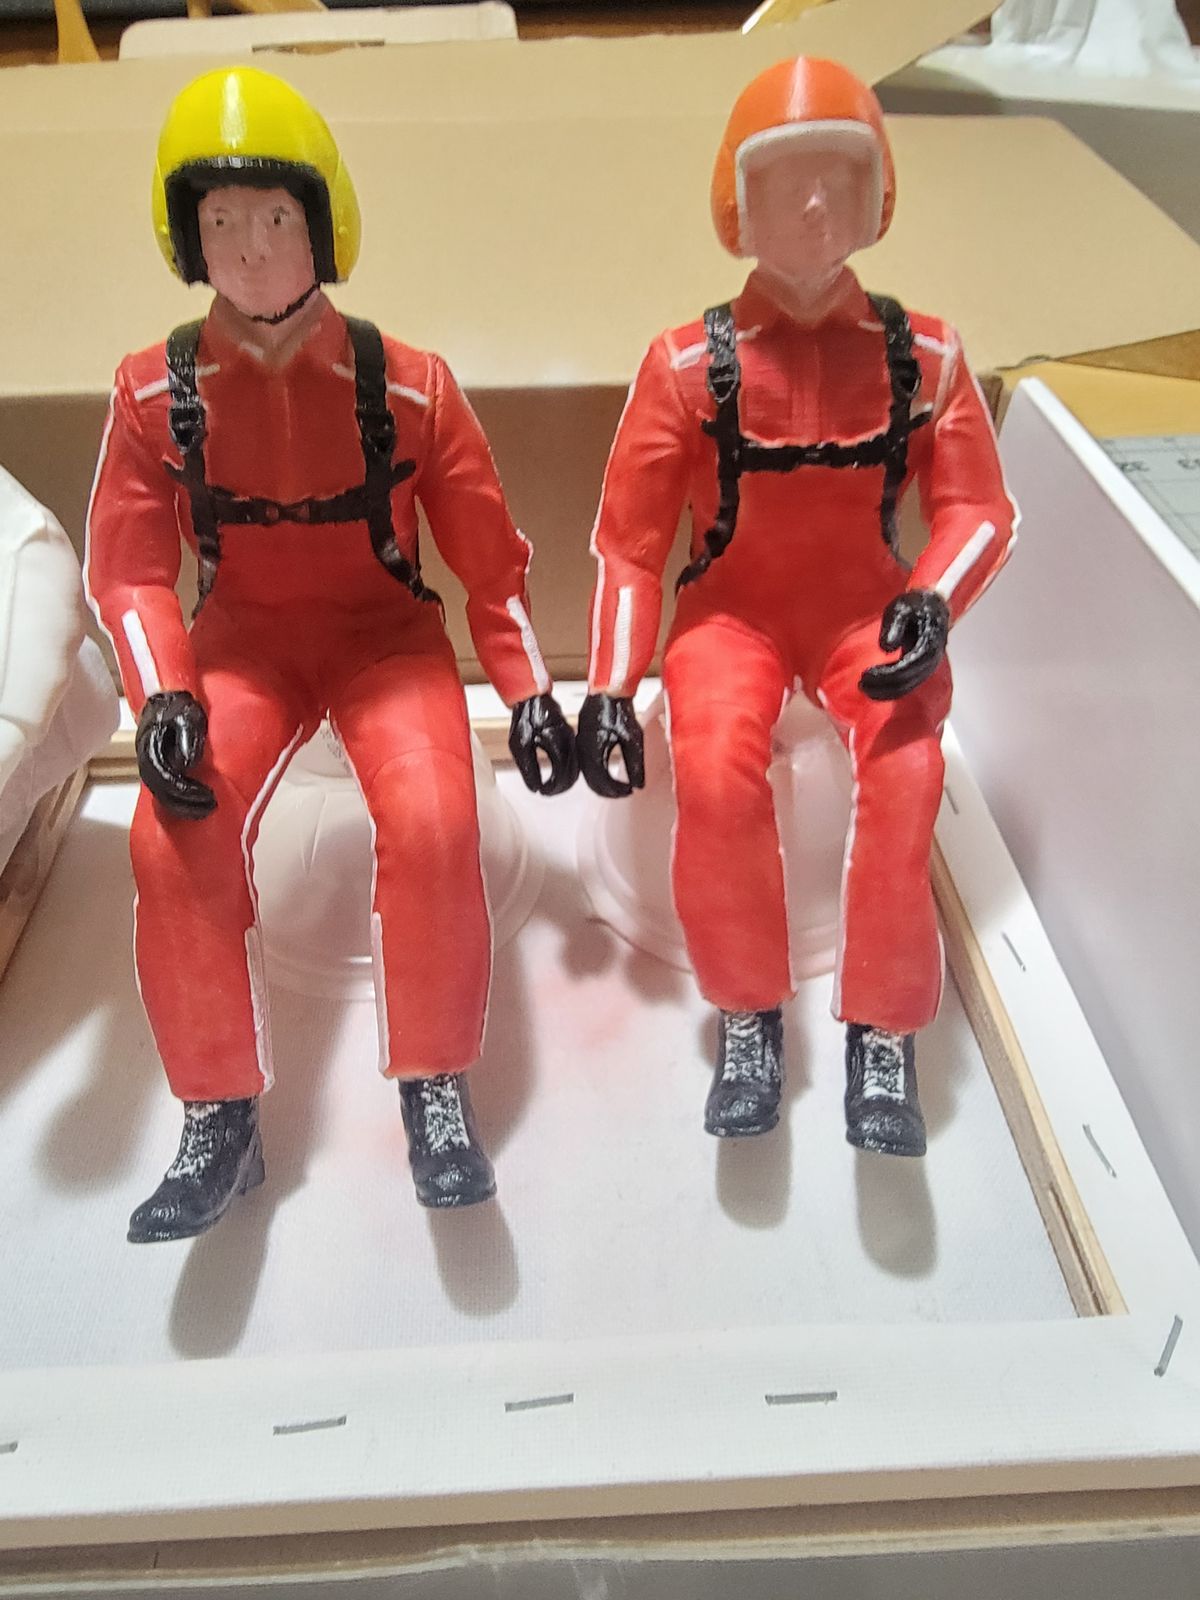
Just adding few details to the 429; to keep me busy.
The pilot is not my creation but Max Grueter,
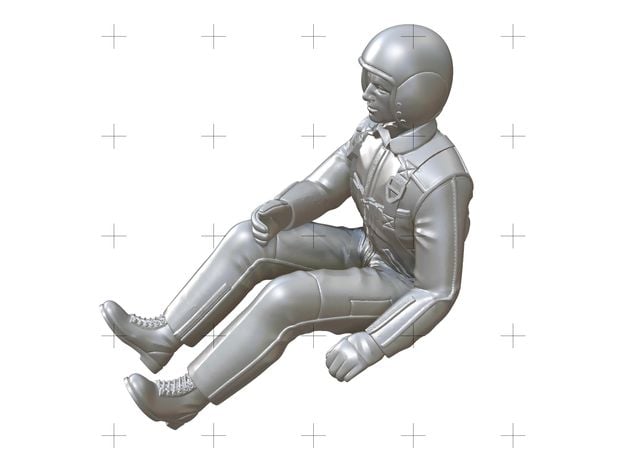 Thingiverse - The community for Open HardwarePILOT (1:6) by MaxGrueterTEST PILOT OF YOUR IDEAS, CREATIONS AND INVENTIONSHAVE A LOOK TO OTHER HIG DETAILED SOLID MODELS!https://www.cgtrader.com/maxgrueter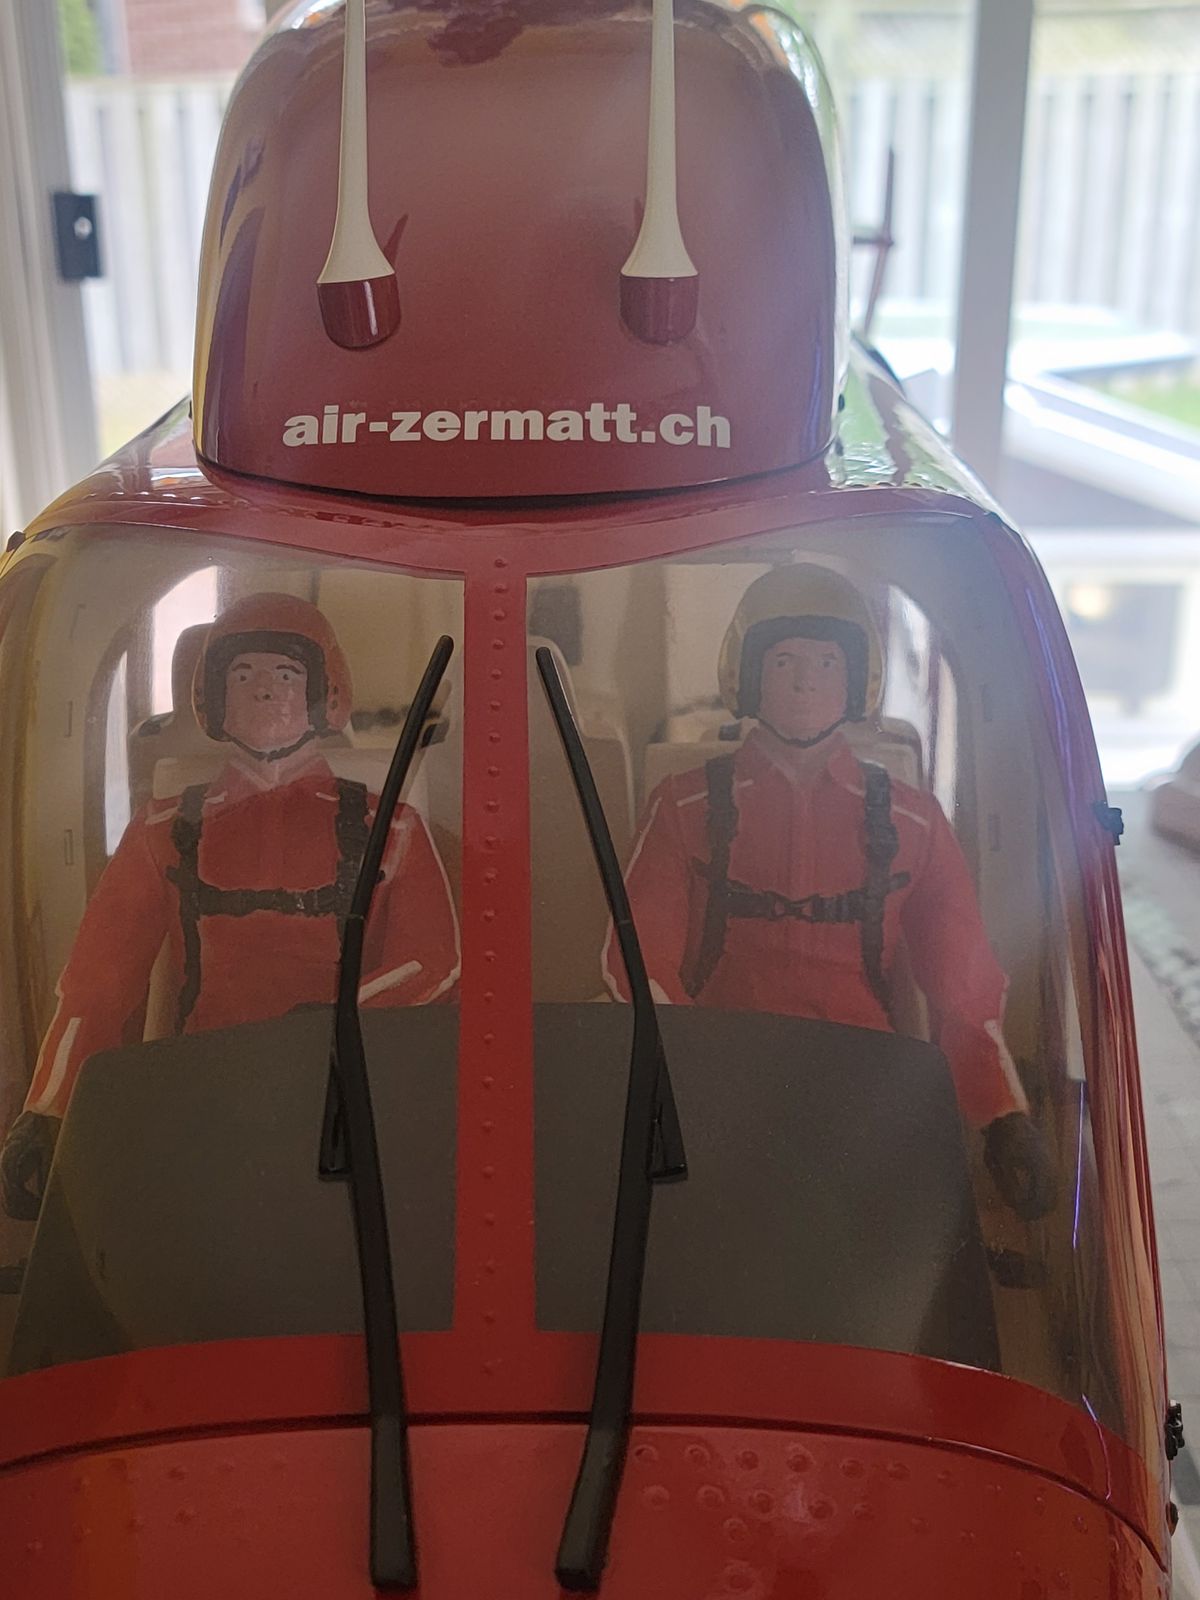
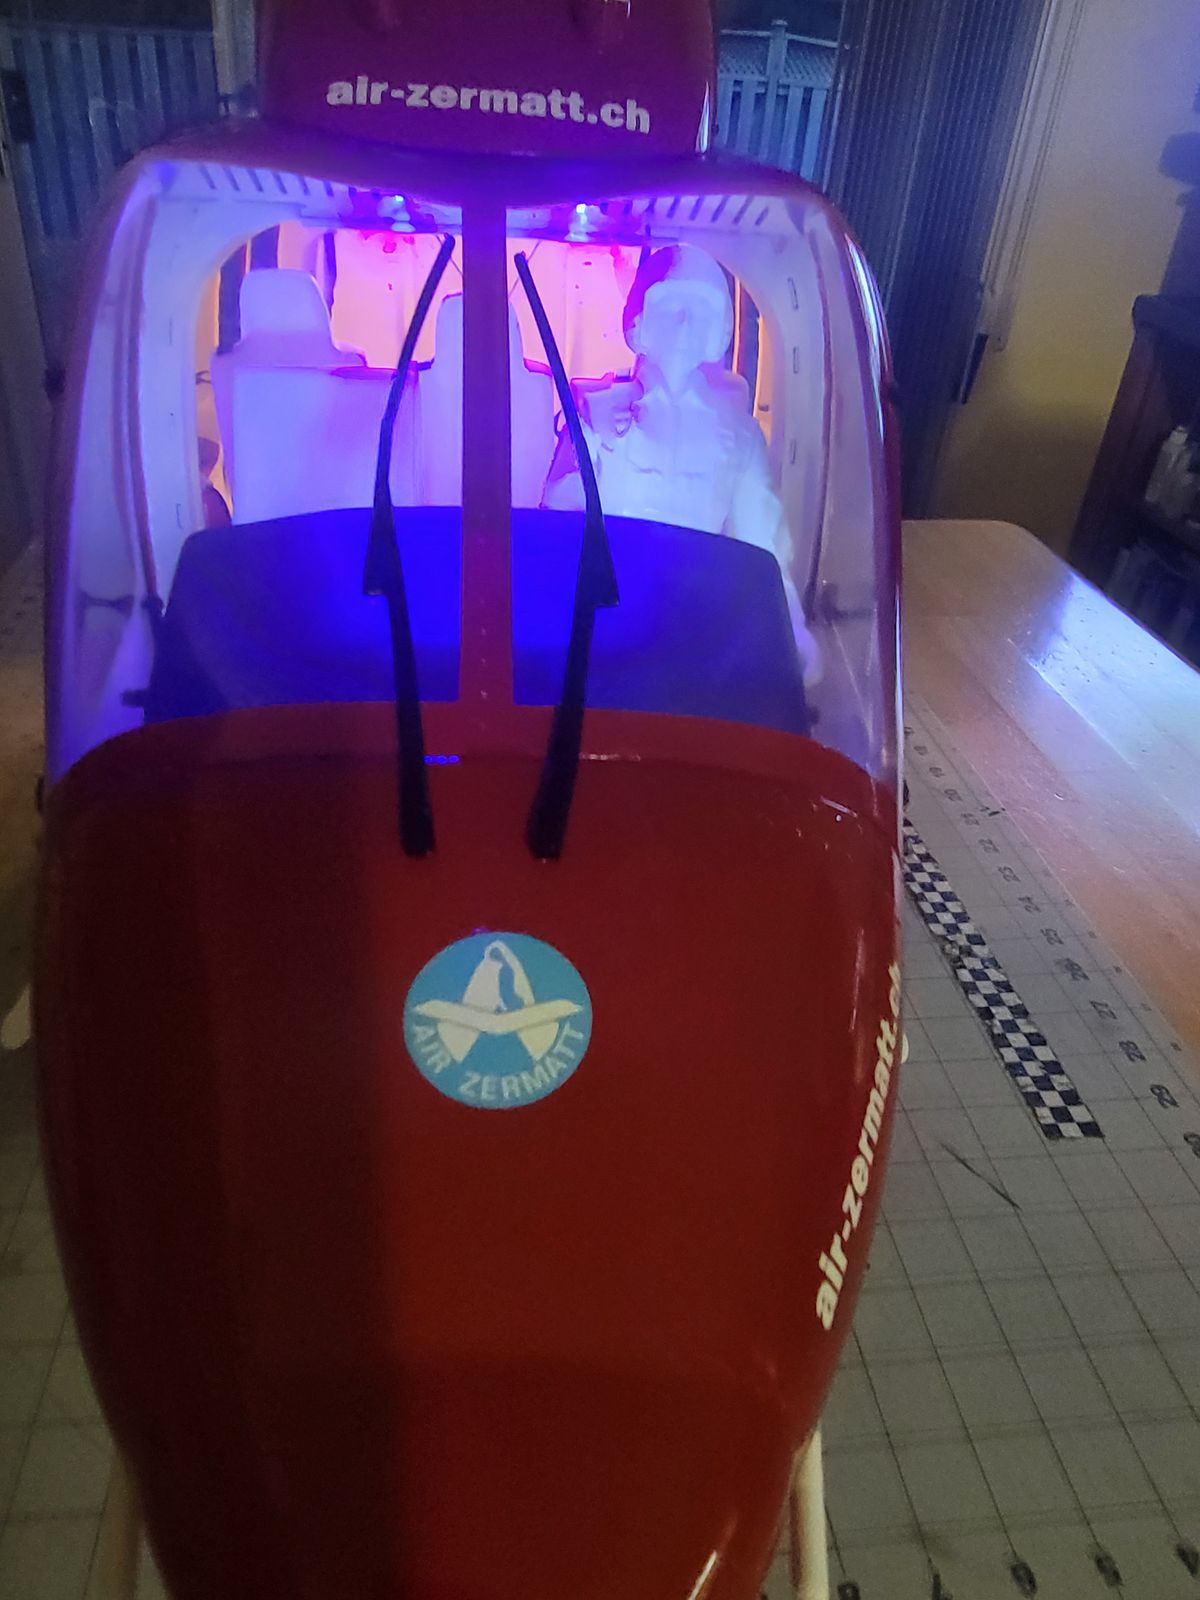
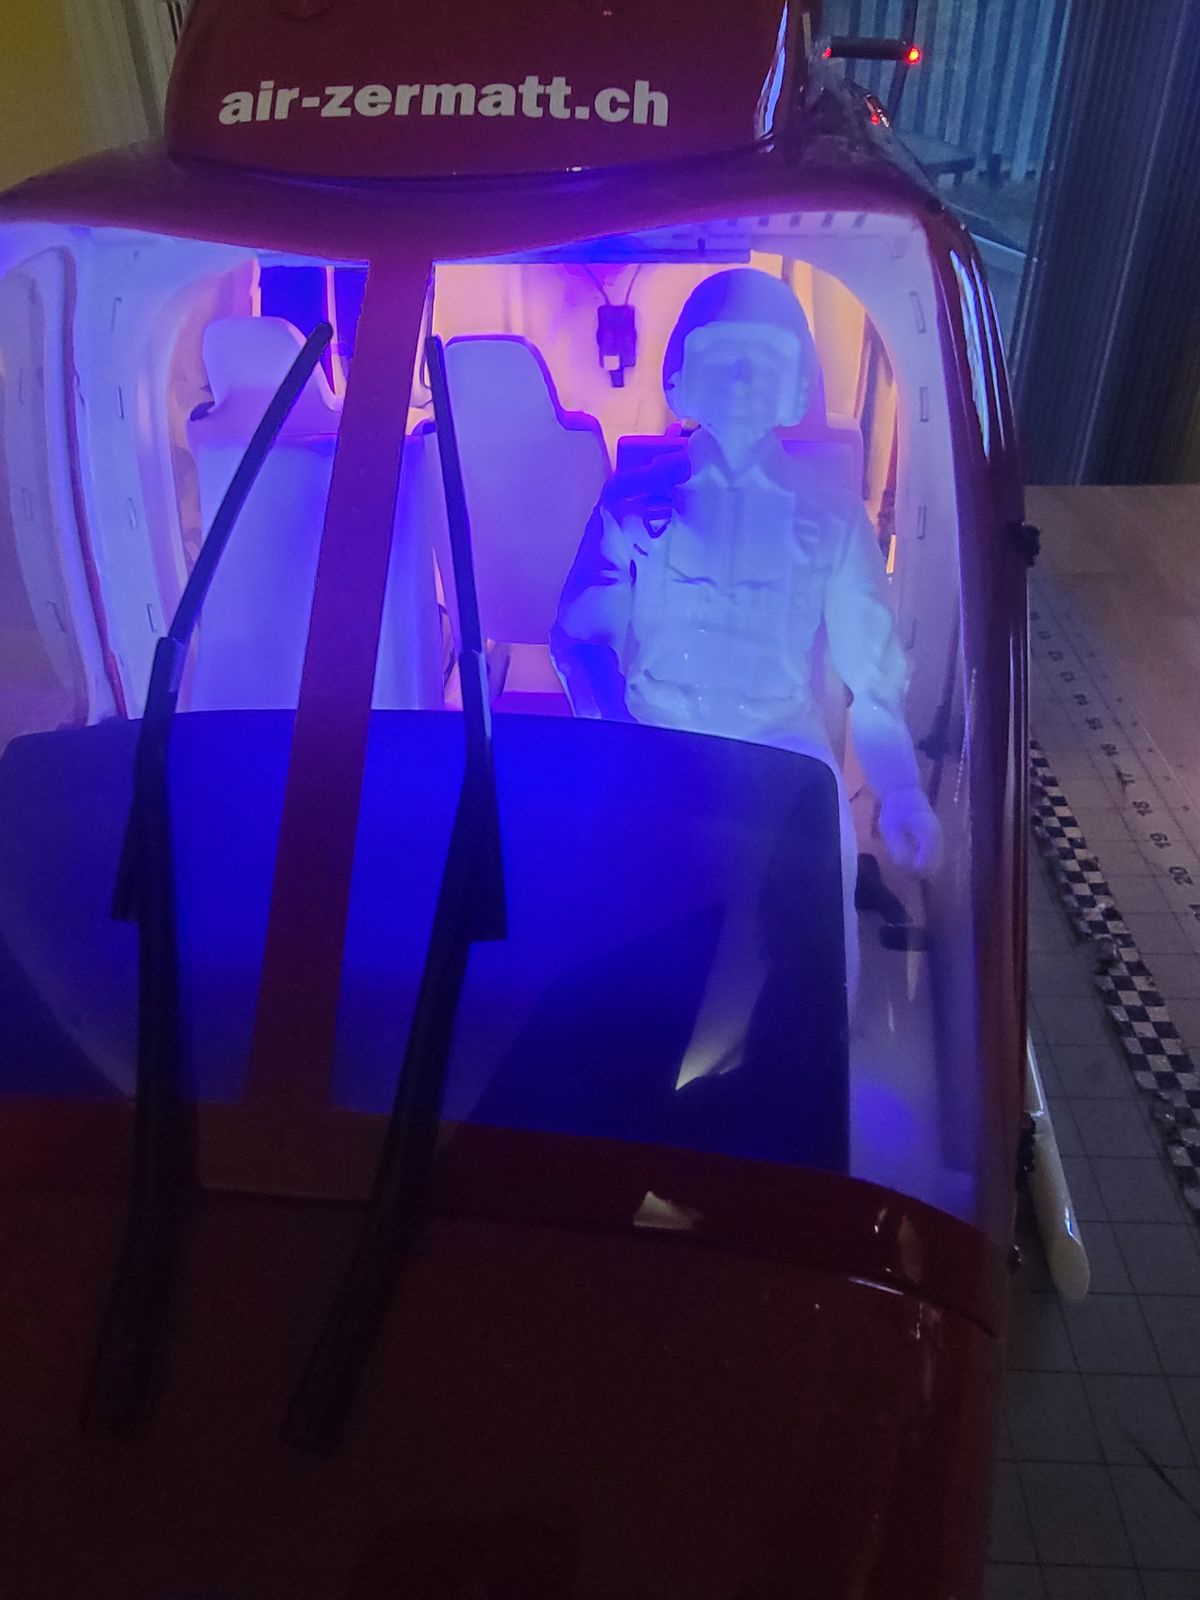
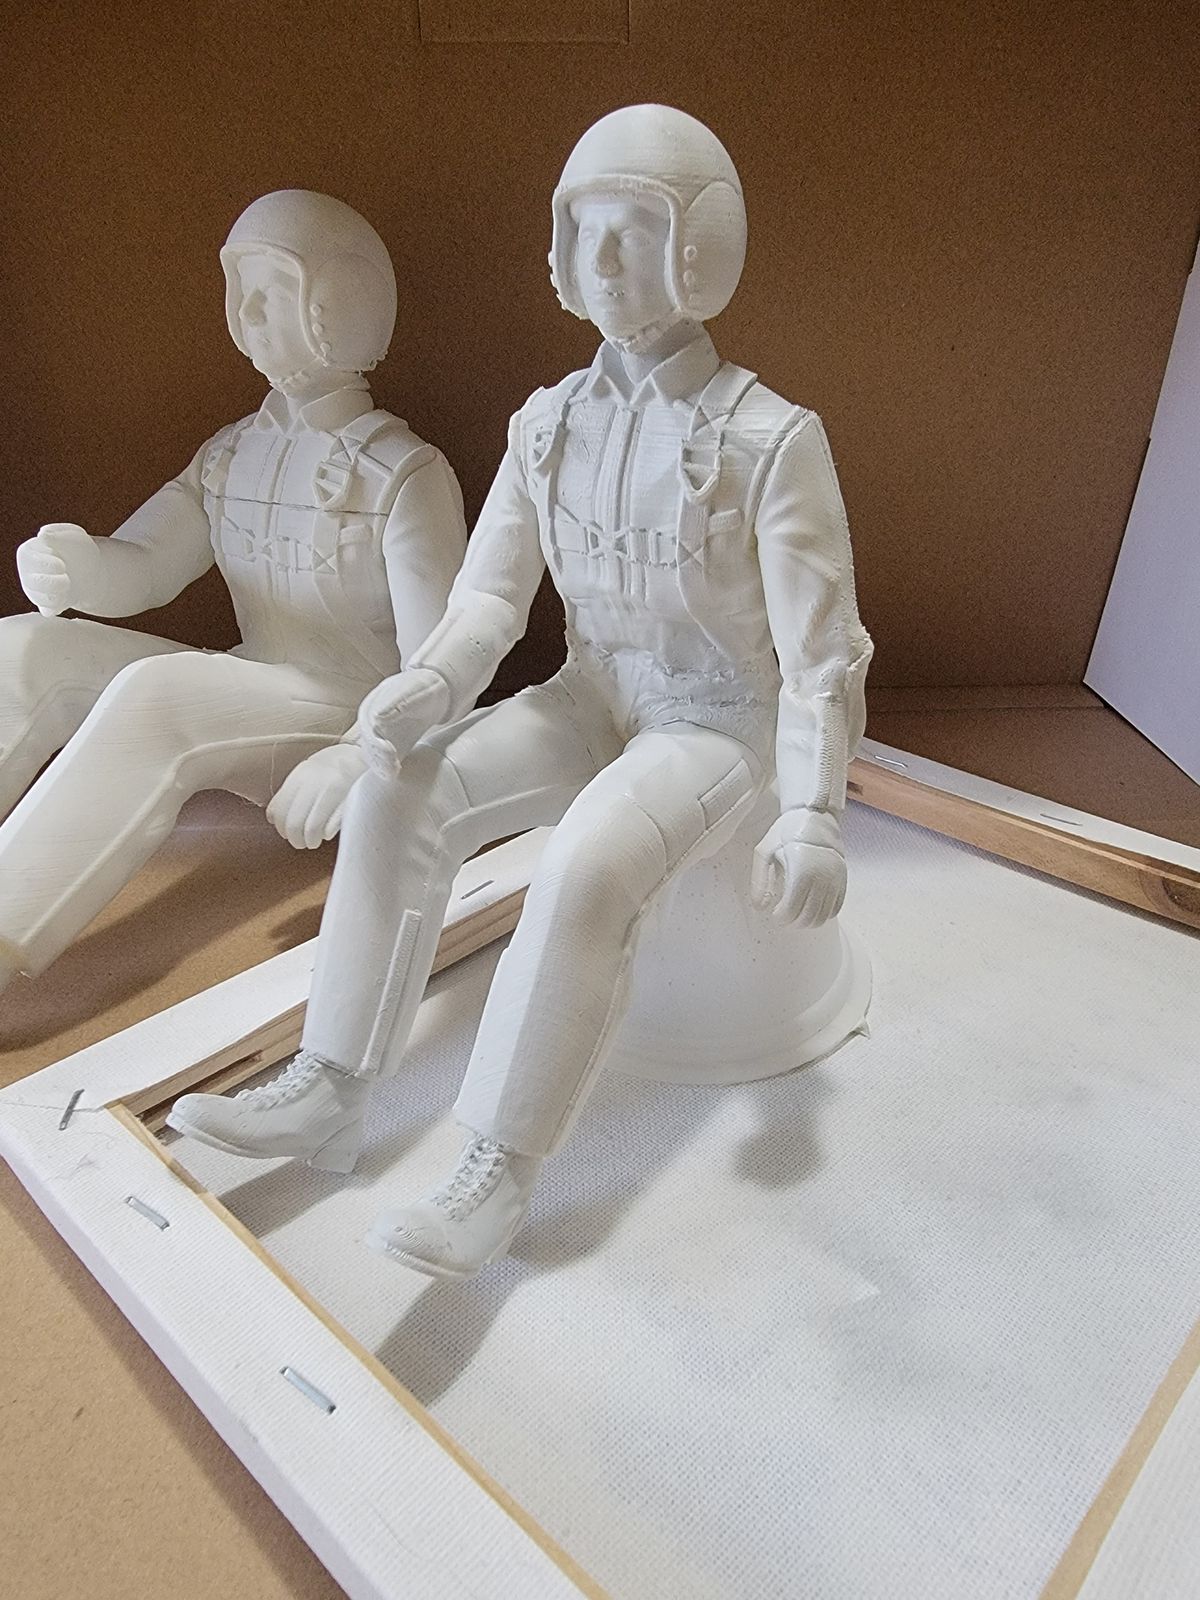
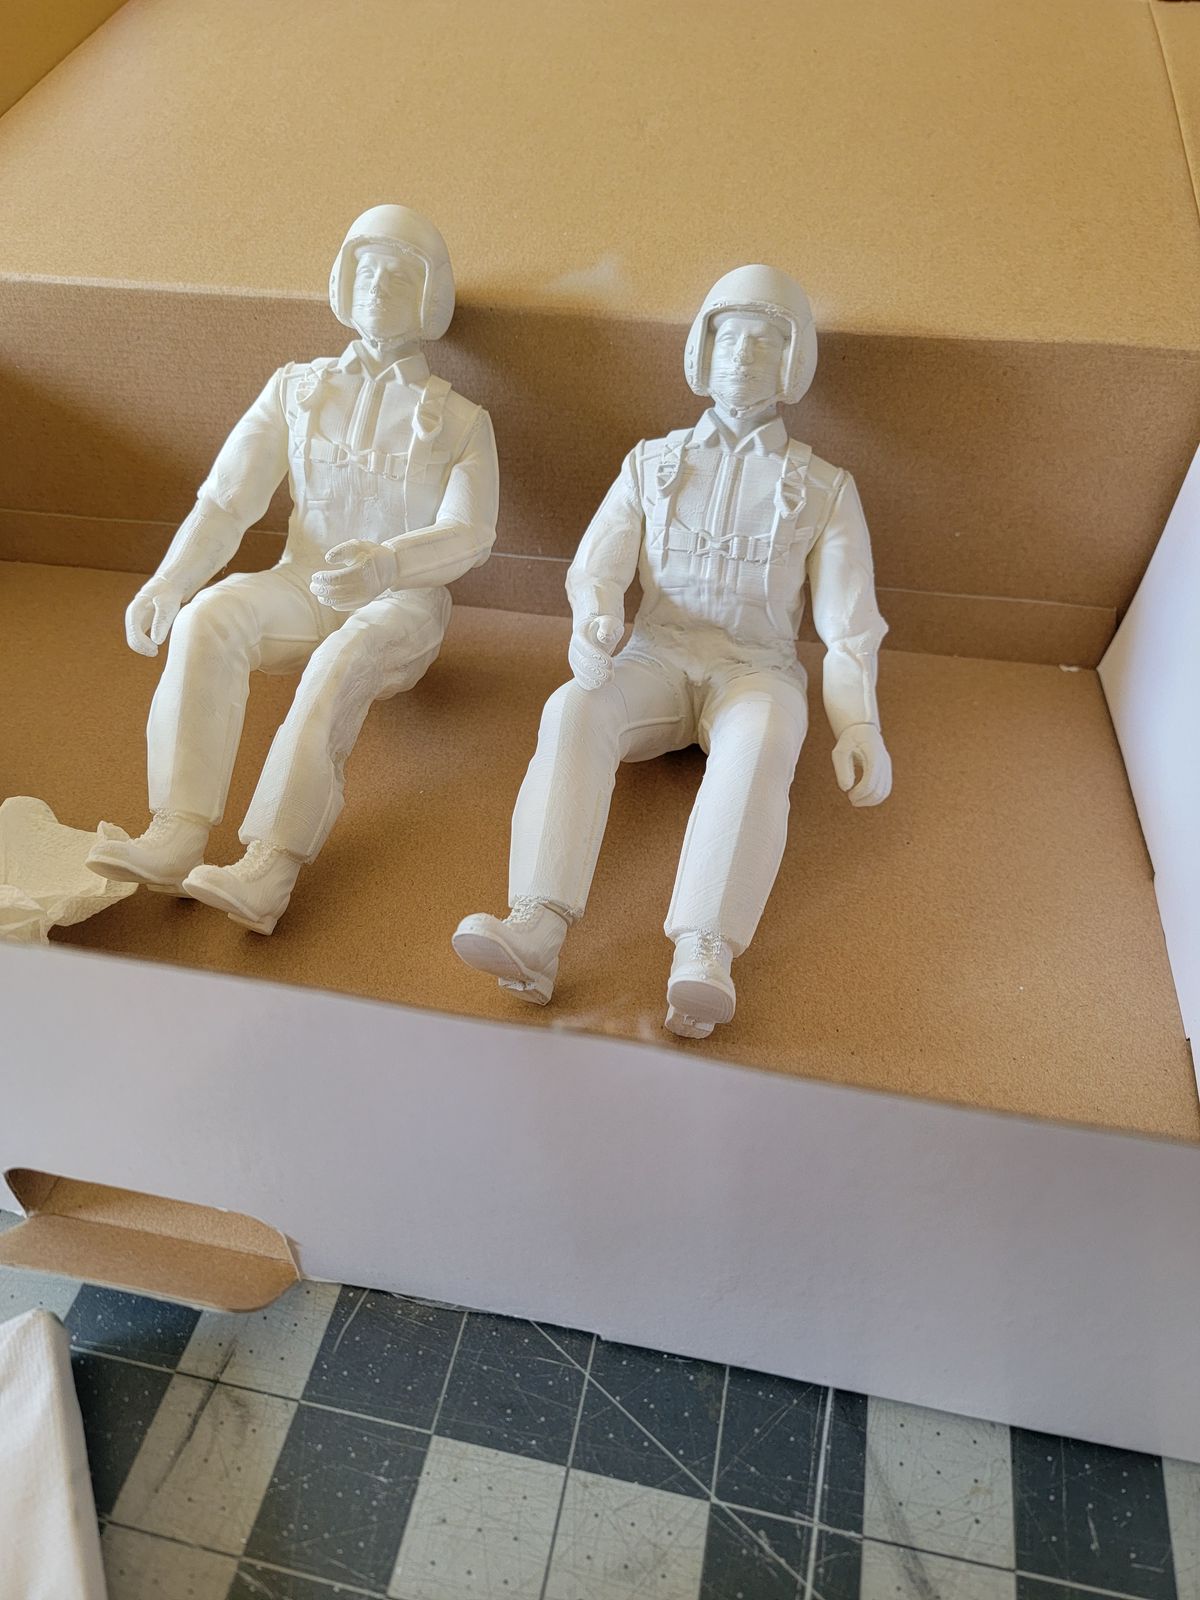
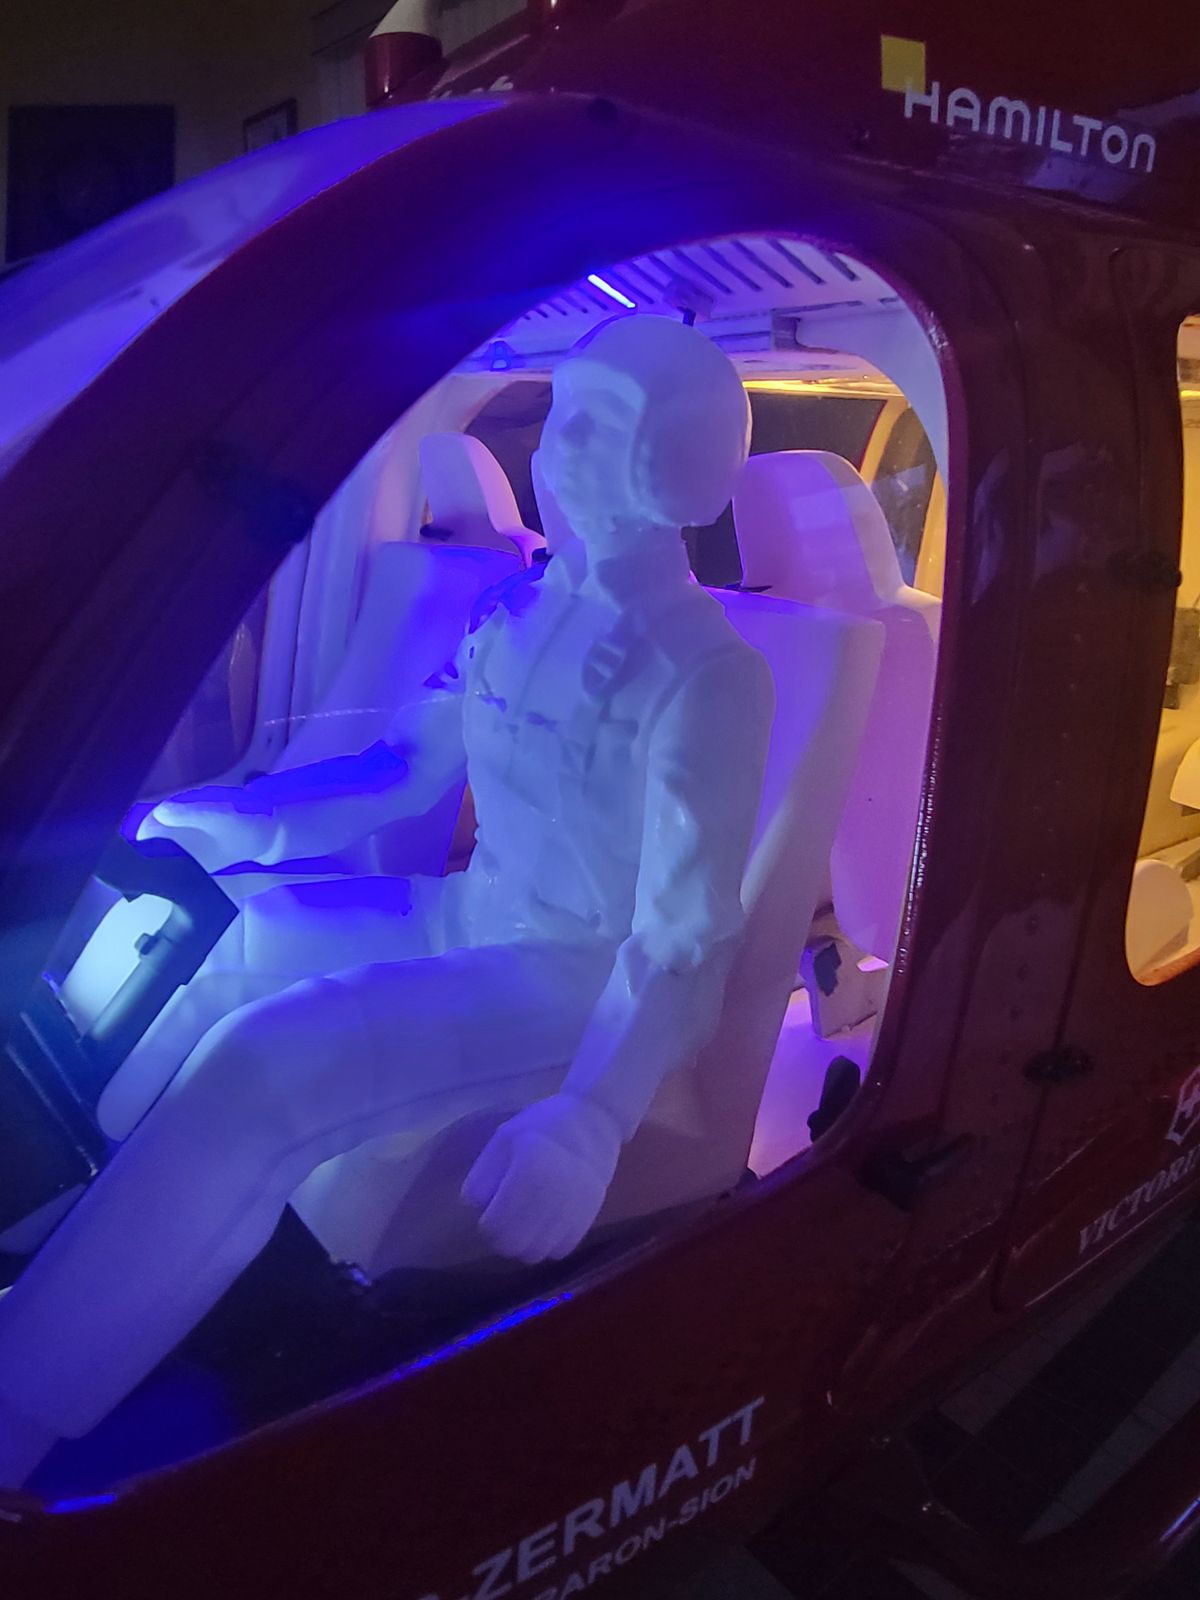
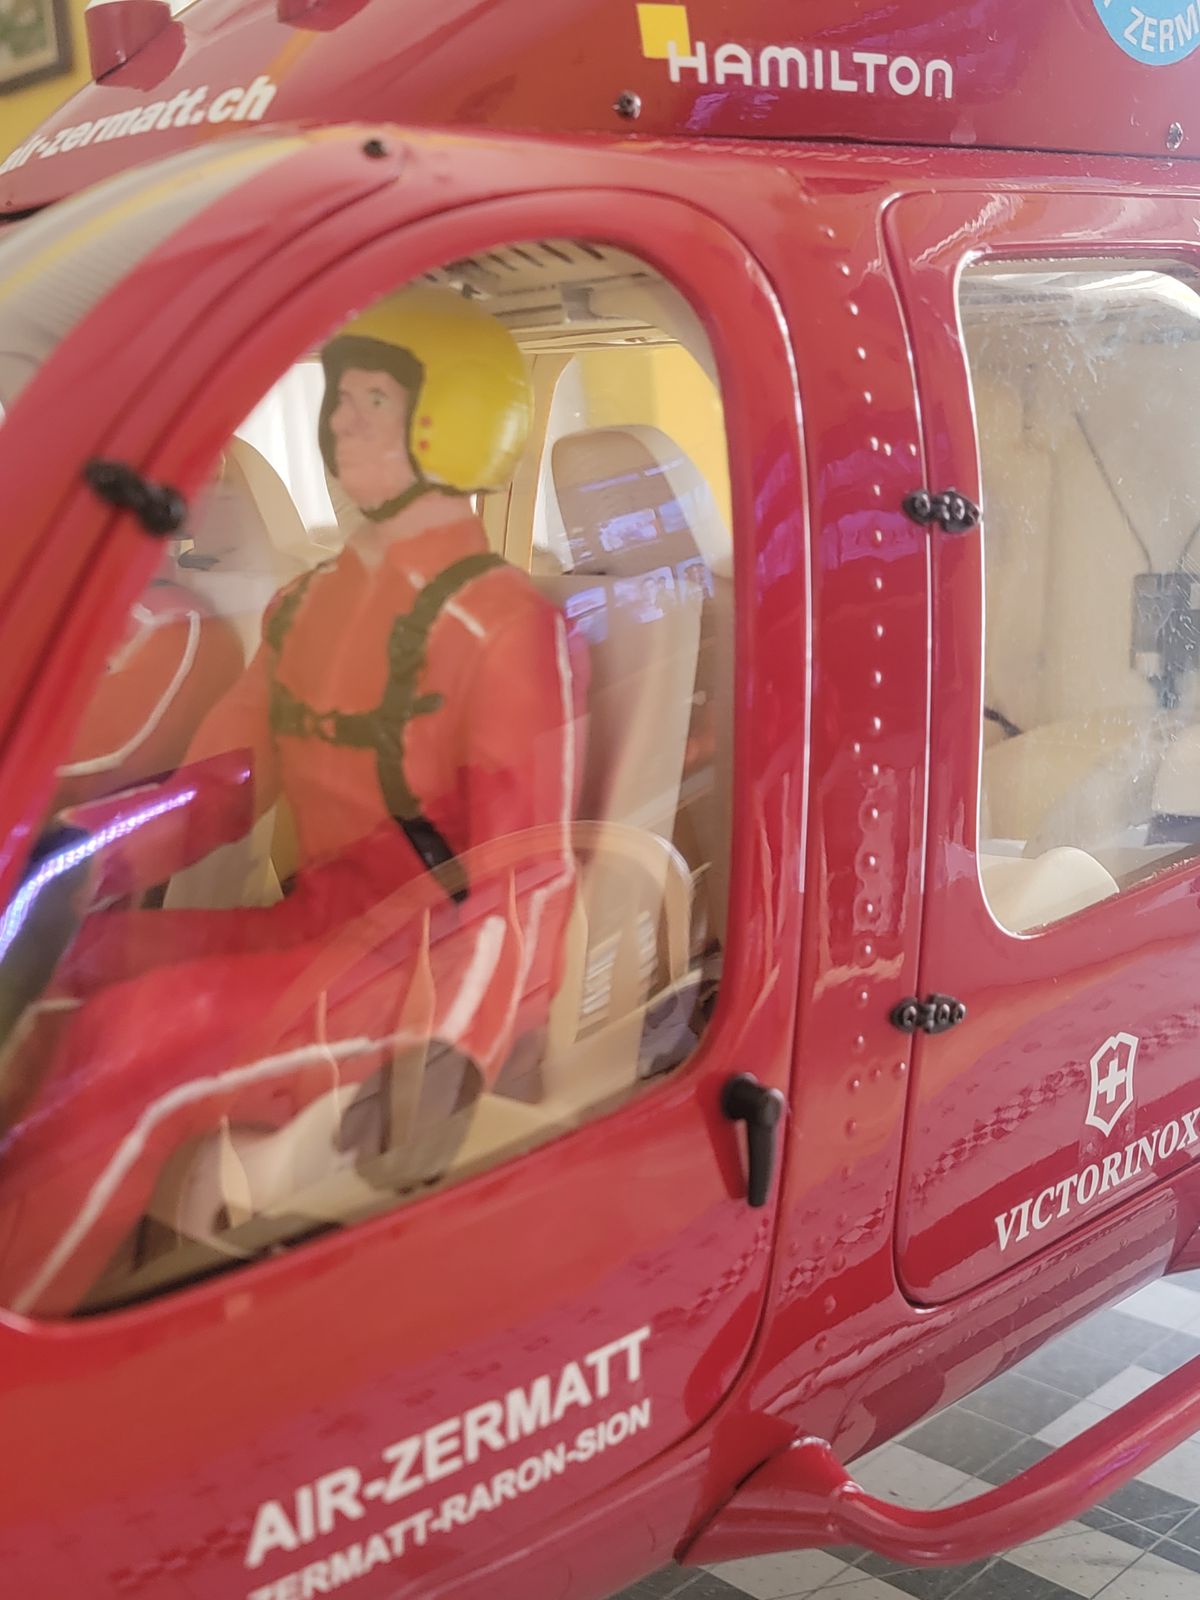
Tune up time
Ikon2 experts help required...... Yes, I'd like to ask the Ikon2 experts what method are they using, in scale models, to adjust their Ikon2 flight controller and how they adjust the mid stick to a 4-5 degrees angle. May be there is a video somewhere that explain that but everything I found so far are setup for 3D helicopters and so the mid stick pitch is at 0. The Bavarian 3X have a nice option but I can't find anything similar for the Ikon2. Any help is appreciated.
Thanks to all.
Tune up Completed
I think I'm done with the tuning and I"m happy with this setup. Thanks to all for the tips that you gave me.
22 Comments
I will be watching this.
B
Massimo,
Looking good man. Hopefully I can check this out at Helistorm.
B
I hope to make it at the Helistorm
Looks pretty smooth!!
Massimo,
Looks very solid for a test hop..
Nicely done Mang.
UIH,
B
Thanks, the tail wag a little but i think i'll need to do few adjustments once everything is together..... Soon 😊
You can't go wrong with a Brain2/iKon2 👍
I believe also the programming is easier than the Demon 3x
I love the Zermatt scheme!! I have an Alterbaum 429 that will be getting that scheme.
You need a chalk outline for the guy in pieces!
Nice touches for the drivers. Some good dissection can go a long way to add some great detail. I have dissected very pricy action figures to get the right look.
Nice job,
B
Thanks Butch
Adjusting your sticks should have nothing to do with the flight controller. It has everything to do with mechanical setup and travel distance at certain stick points (e.g. a pitch curve). In the Heli Courses area, there's a video course on head setup that walks through this.
Thanks Michael
Agree with Michael. I generally configure my collective setup so it is -3 deg on the low side and +11.5 deg on the high side. That’s pretty much all there is too it.
I use the pitch curve as last optimization step and tuning for 2 main things - max 3-4 points:
- flaten the curve on the hover zone to create some cushion
- temporary compensate hot weather/lack of density by increasing the pitch on the mid upper range (I do on 2nd flight, difference is impressive)
Note: for me, no assignment to rotating wheel or switch, I remember better the change as visual memory item
id simply do like everyone else said. +4 or +5 at mid stick and whatever you want at full pitch and whatever at low pitch. you can use a pitch curve with ikon. it won't hurt anything.
Thanks Timothy, I made few adjustments using a combination of mechanical and pitch curve. I think I know what I didn't consider when I setup the heli, and it's the weight of the fuselage and accessories. However, I think found the right balance, testing pending this weekend, weather allows. 😊😊
Massimo,
Looks nice and solid in the air. Nice pedal turns during slow flight.
Great job,
B
Thanks Butch
Hi there!
Congratulations on a beautiful model and flying.
I've got the "Mercy Flight" Bell 421
Can you please tell me your all up flying weight (Mine is 22 lbs) and your heads-speeds? Looking forward to hearing, Safe flights!
Hello Cletus, the flying weight is 18.7lbs (8.5kg) with the 3 batteries, 2x5000 6S, that i use for everything (motor, servos, received, etc), and 1x1,500 3S that is use for the lights system.
Head speed 1,250rpm, i tried to lower it to the 1,100 suggested but at 1,250 it feel more comfortable, for me, in the way the heli respond. Fly time 8min but the batteries still have 55-60% charge after landing. I hope this help you with your project.