

Funkey AS350 - Story
 Jan R.
Getting the mechanic airborne
First: Please excuse my english. I am from Europe and thus not a native speaker.
Second: This is my first "scale" heli project.
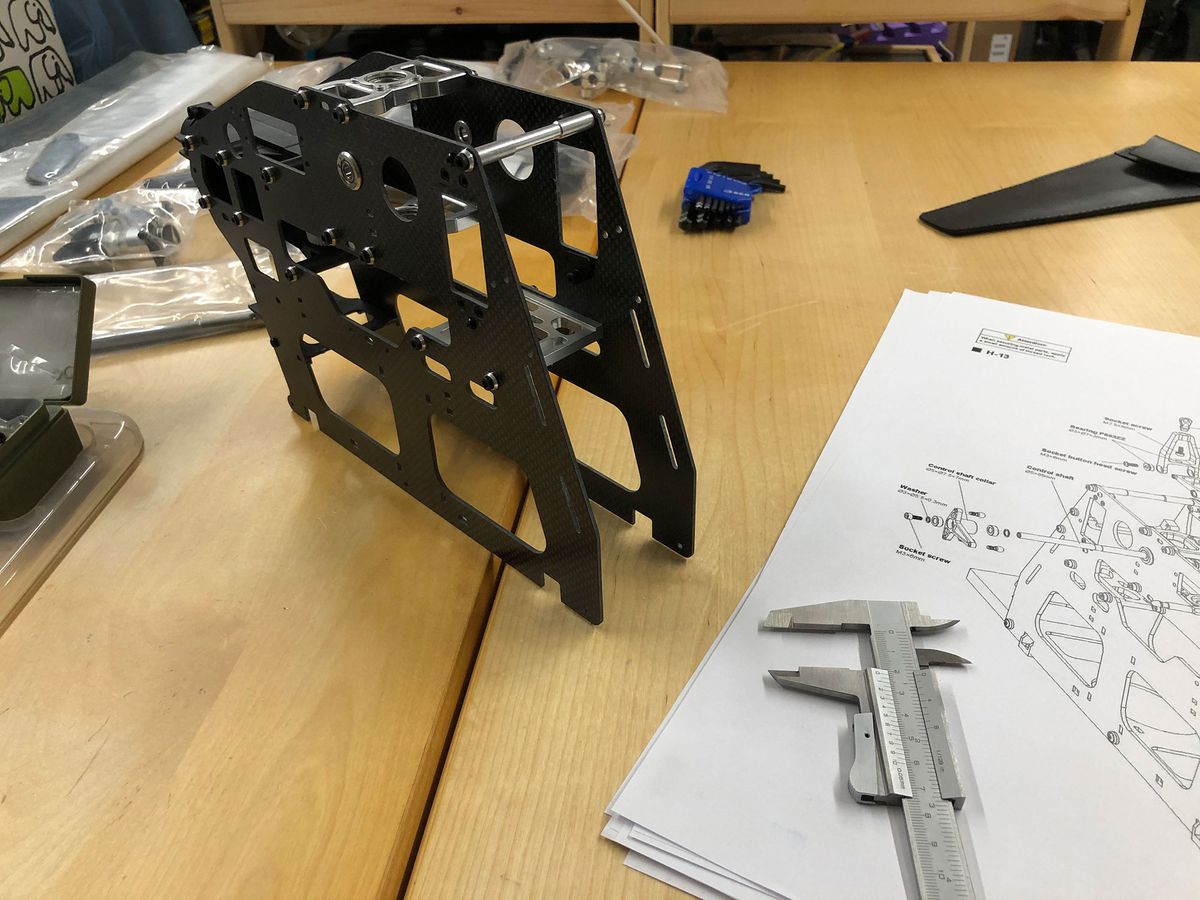
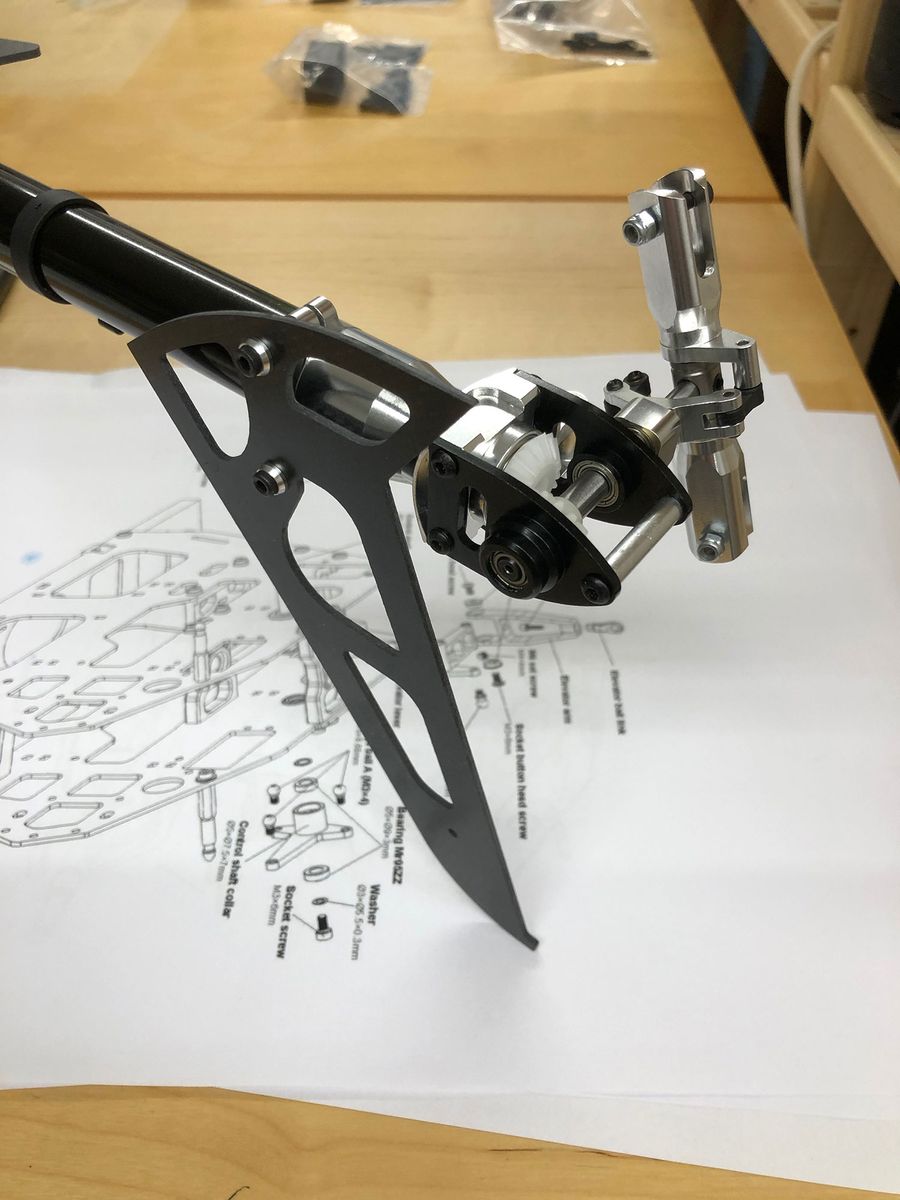
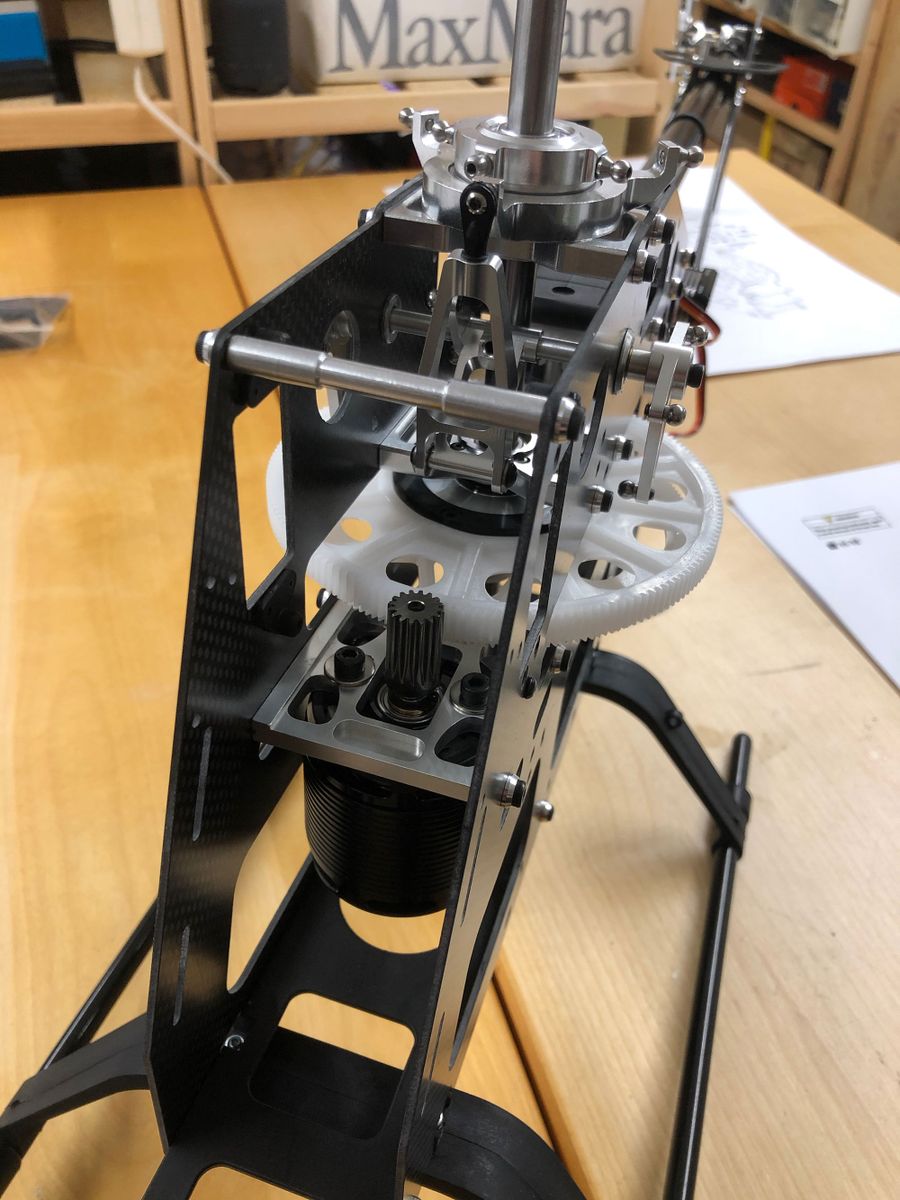
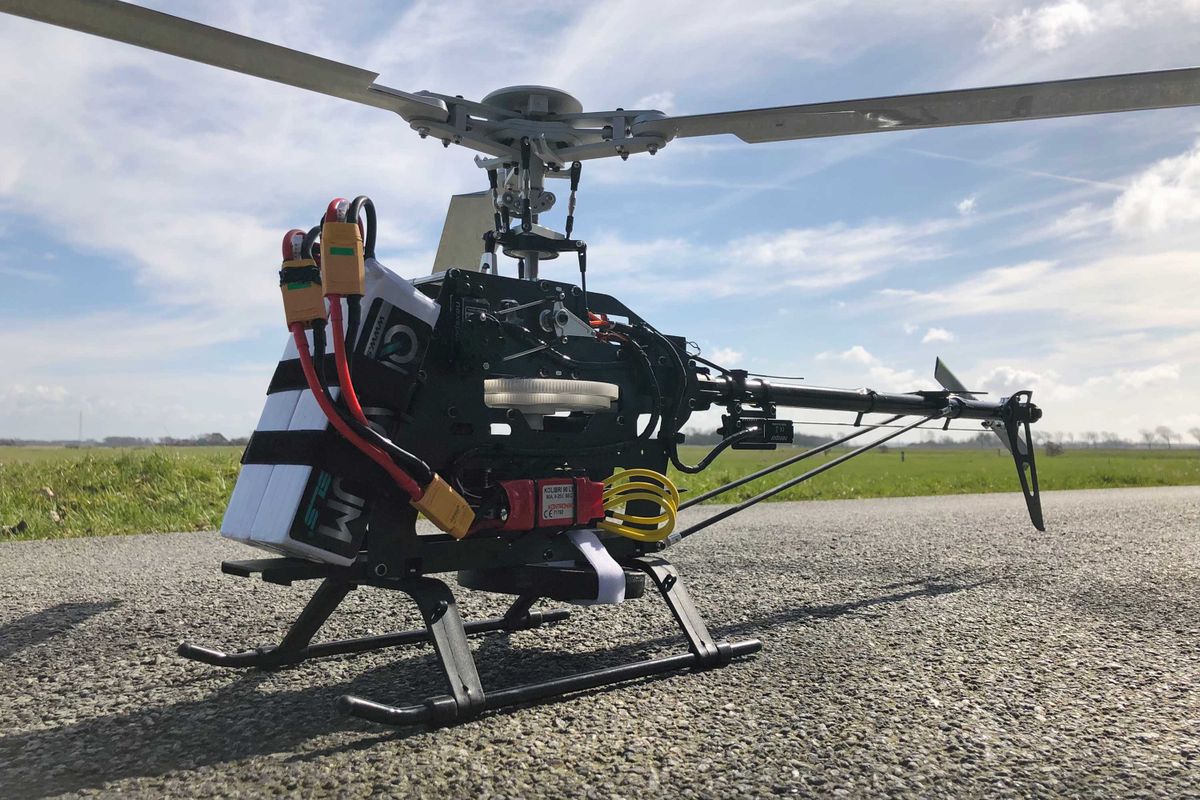
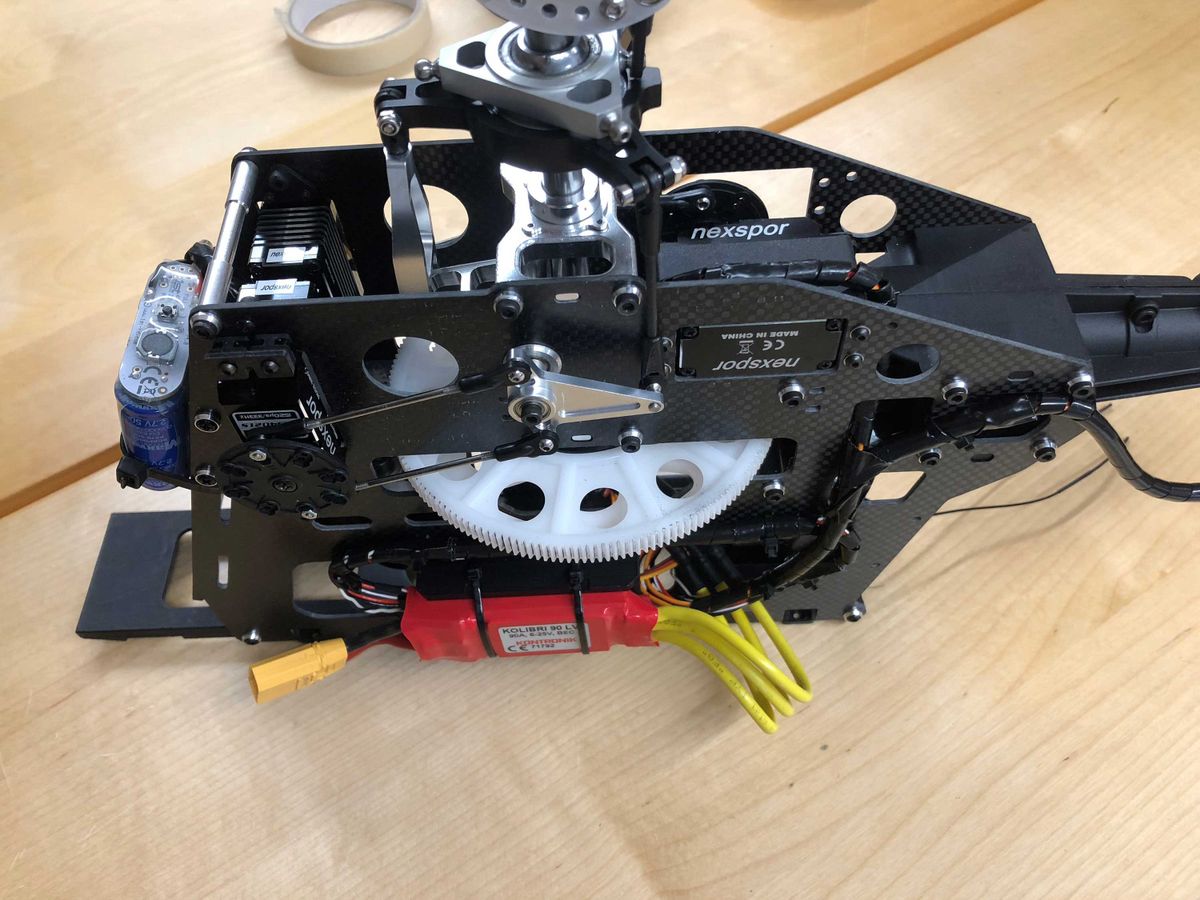
The mechanic is a T-REX 600 ESP clone (some call it Phoenixfly, I bought it as Flasher 600 via Scaleflying). It has a pretty good price. Just make sure to use better ball links than the ones that come with the kit.
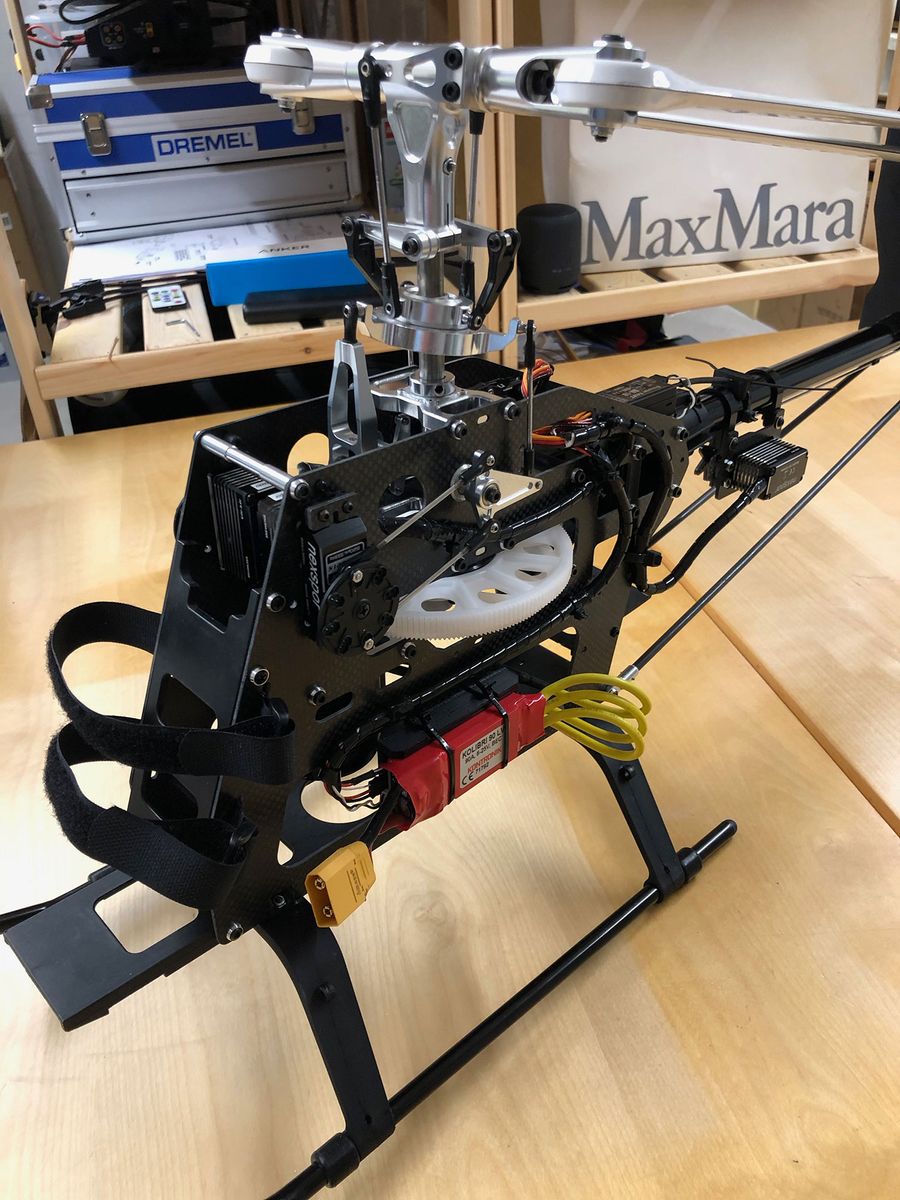
Components I used: Graupner GR-18, Nexspor BLS Servoset, Egodrift Scale 4025-840KV with optional 16 teeth gear, Kontronik Kolibri 90-LV, SLS 6S 5000mAh
The manual that comes with the mechanic is pretty outdated. But there are some good YouTube videos out there in case one might need a little bit guidance (search for "John Salt" and "nuttcaze" on YouTube). The maiden flight of the naked mechanic was super smooth. Nothing special. All default settings remained untouched. However, the first lift-off is always exciting. 😄
Switching to three-blades
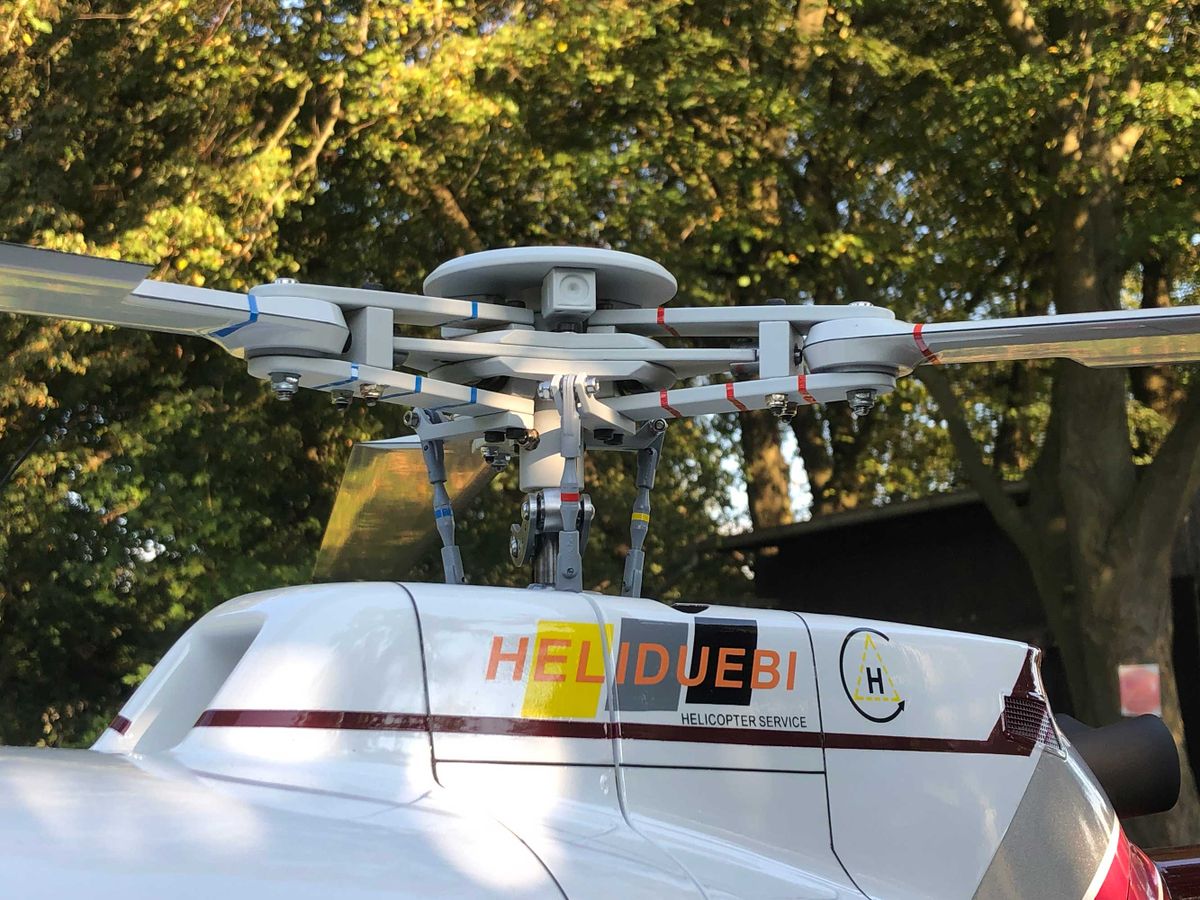
I bought a nice Starflex head and a scale swashplate from sk-rotorkopf in Germany. Expensive, but a perfect quality!
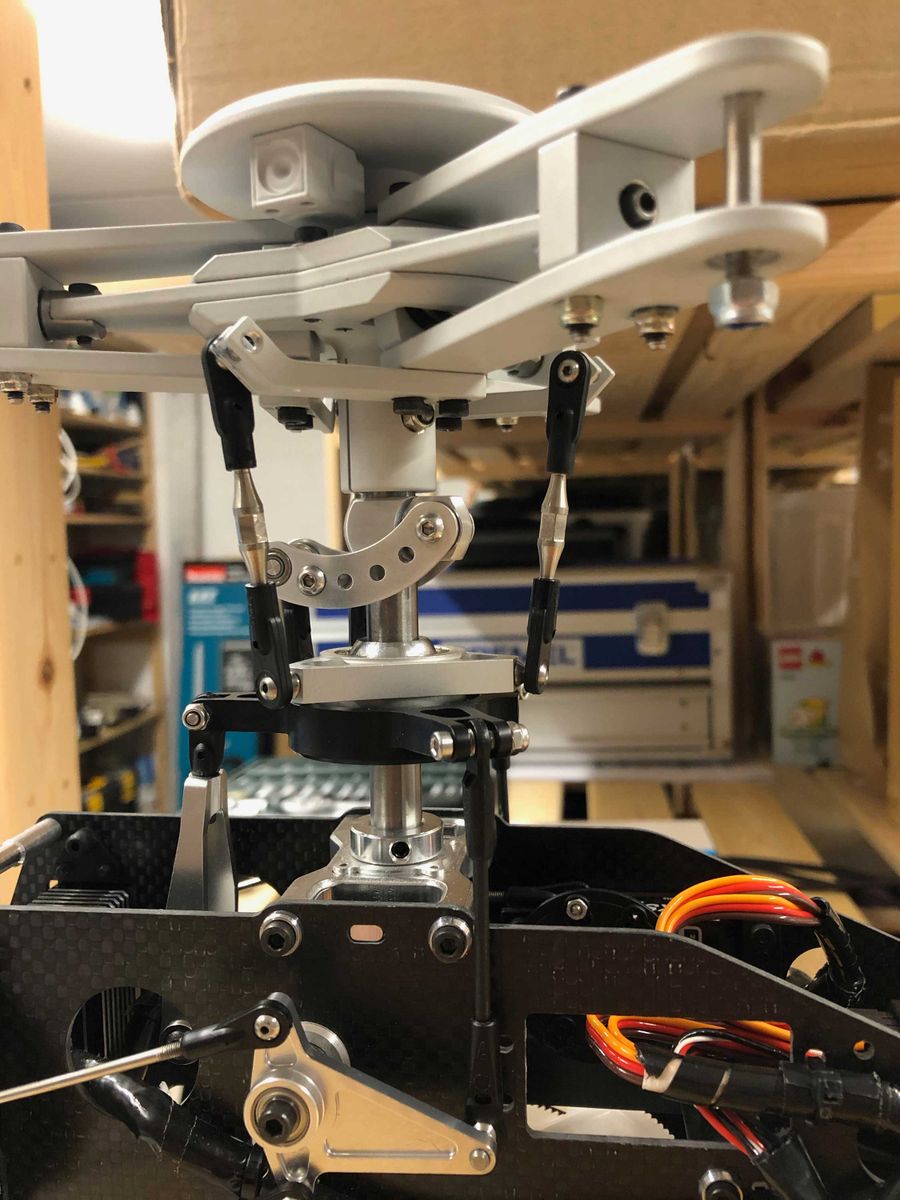
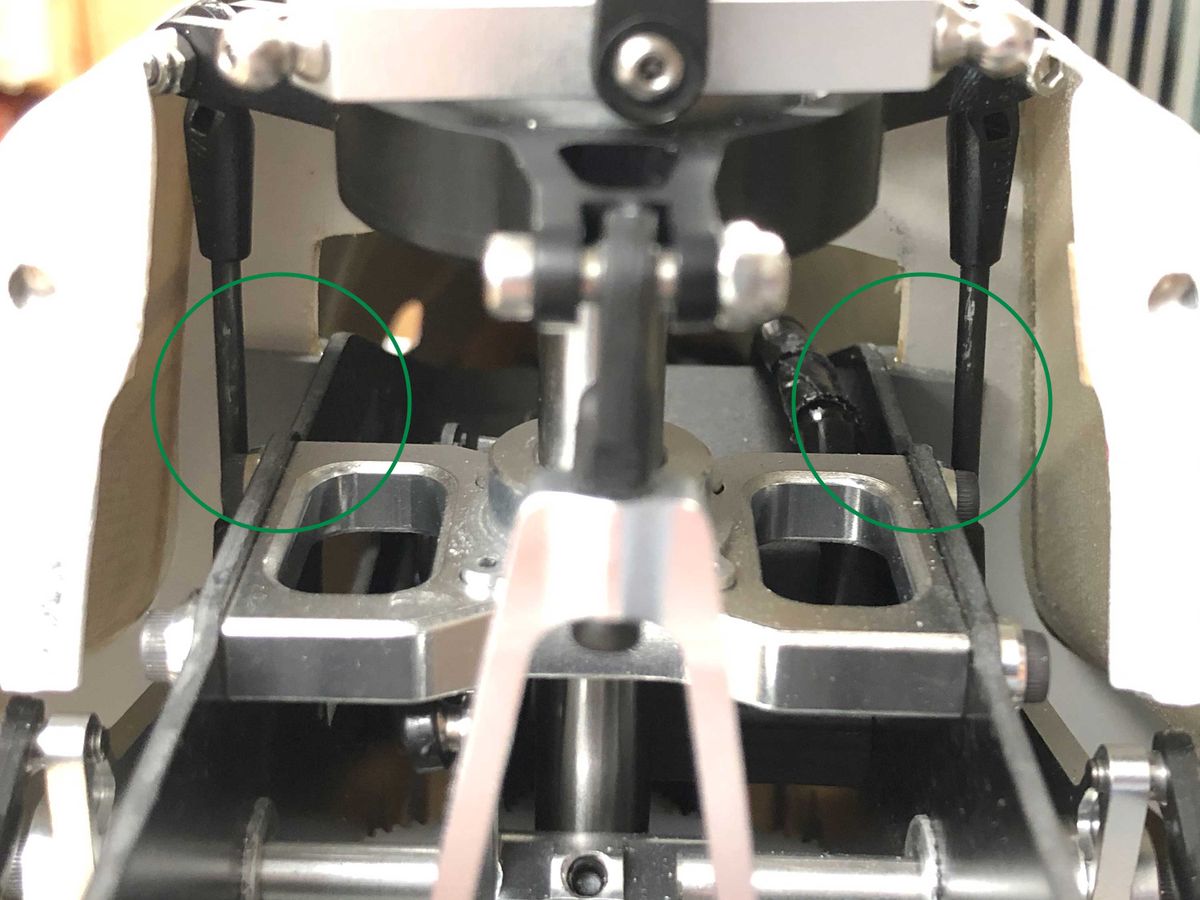
Adding this head to the mechanic was not exactly plug-n-play. Main reason was, that the new head needs vertically more space. So I had to shorten the linkages. Which was a bit tricky, because you cant shorten the linkage below the swashplate, because of the front arm. And there isnt a longer main rotor shaft available than the one that comes with the Flasher 600 kit. I ended up with +12/-6 degrees pitch. Which is okay for a scaler. And I had to virtually turn the swashplate by 10° degrees in the TX to get the links nice & straight.
I added a second 5Ah battery (6S2P) and some weight to simulate the fuselage. I had a perfect "second maiden" with the new head. It flies beautifully. My feelgood-RPM was around 1.360 and I got around 12-14 minutes flight time.
Blades are from Helitec/Blattschmied and size is 600/60 S-shape and 105mm for the tail.
Preparing the fuselage
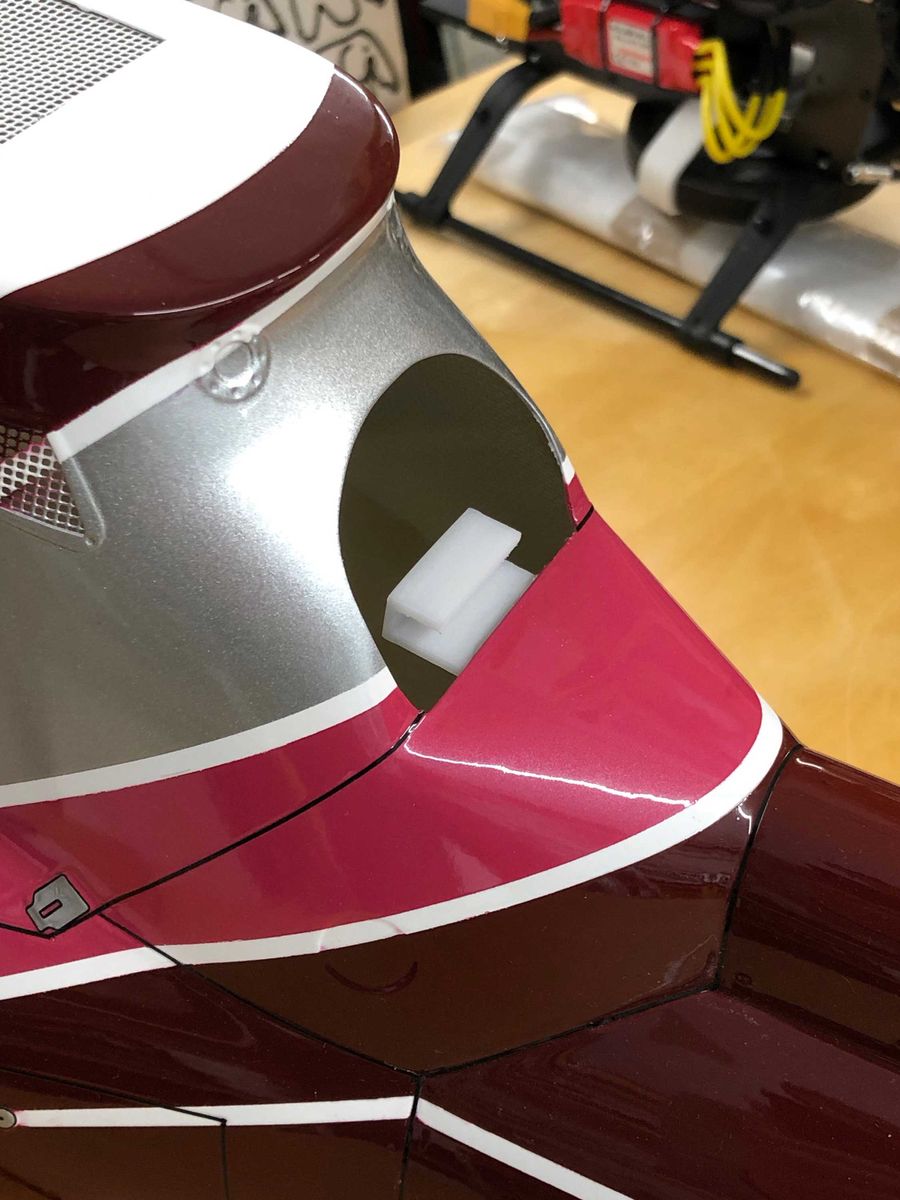
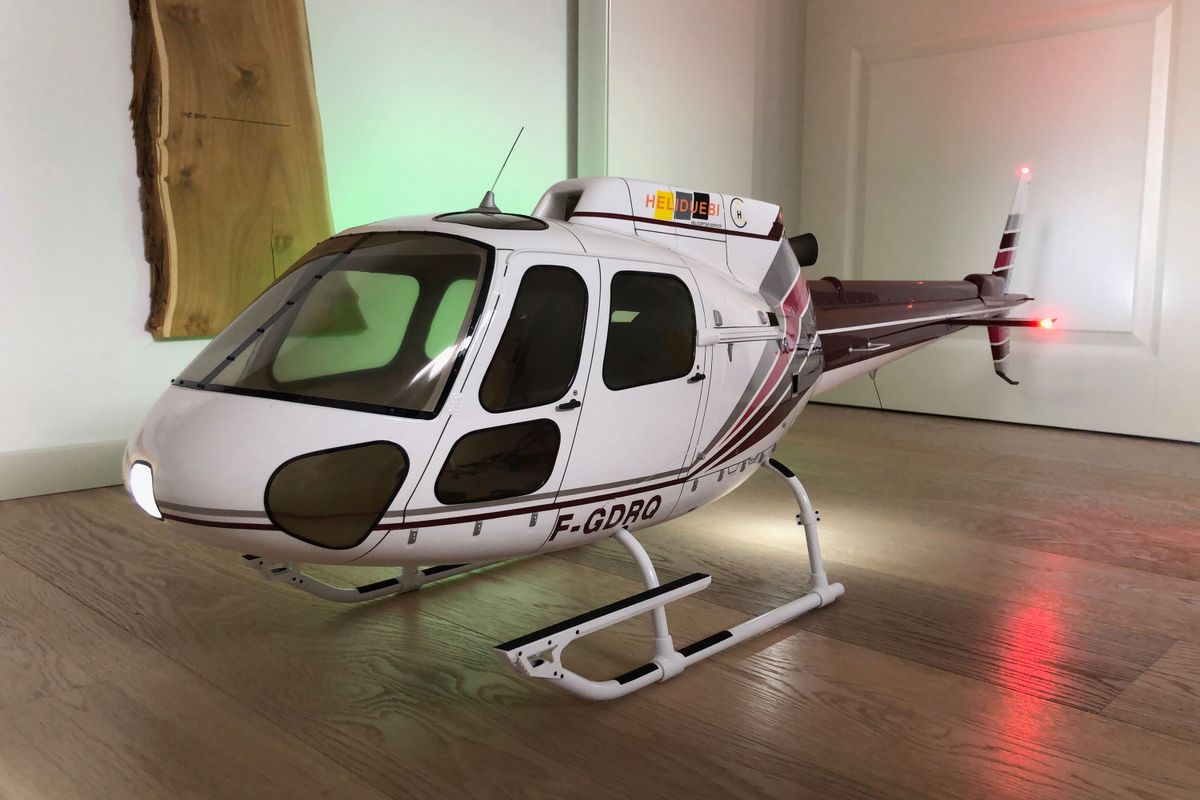
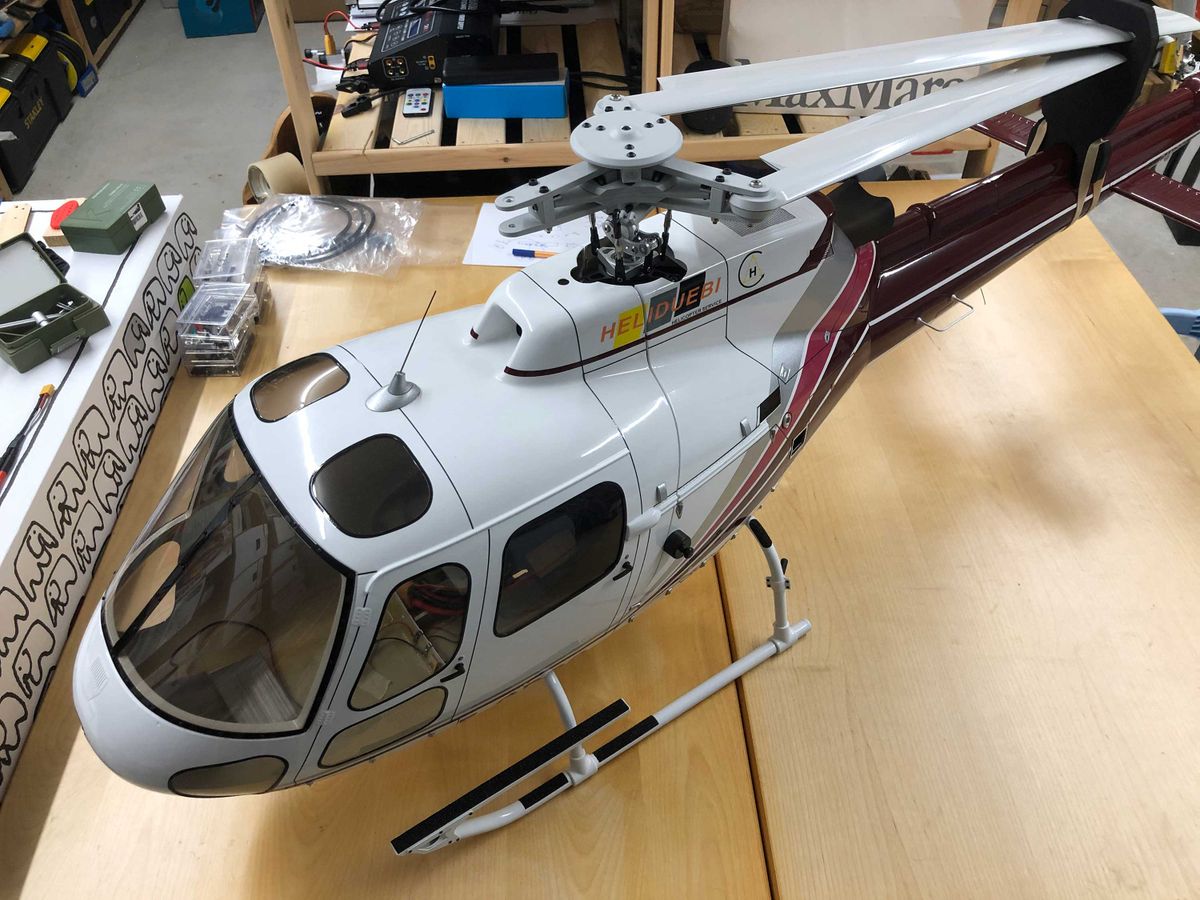
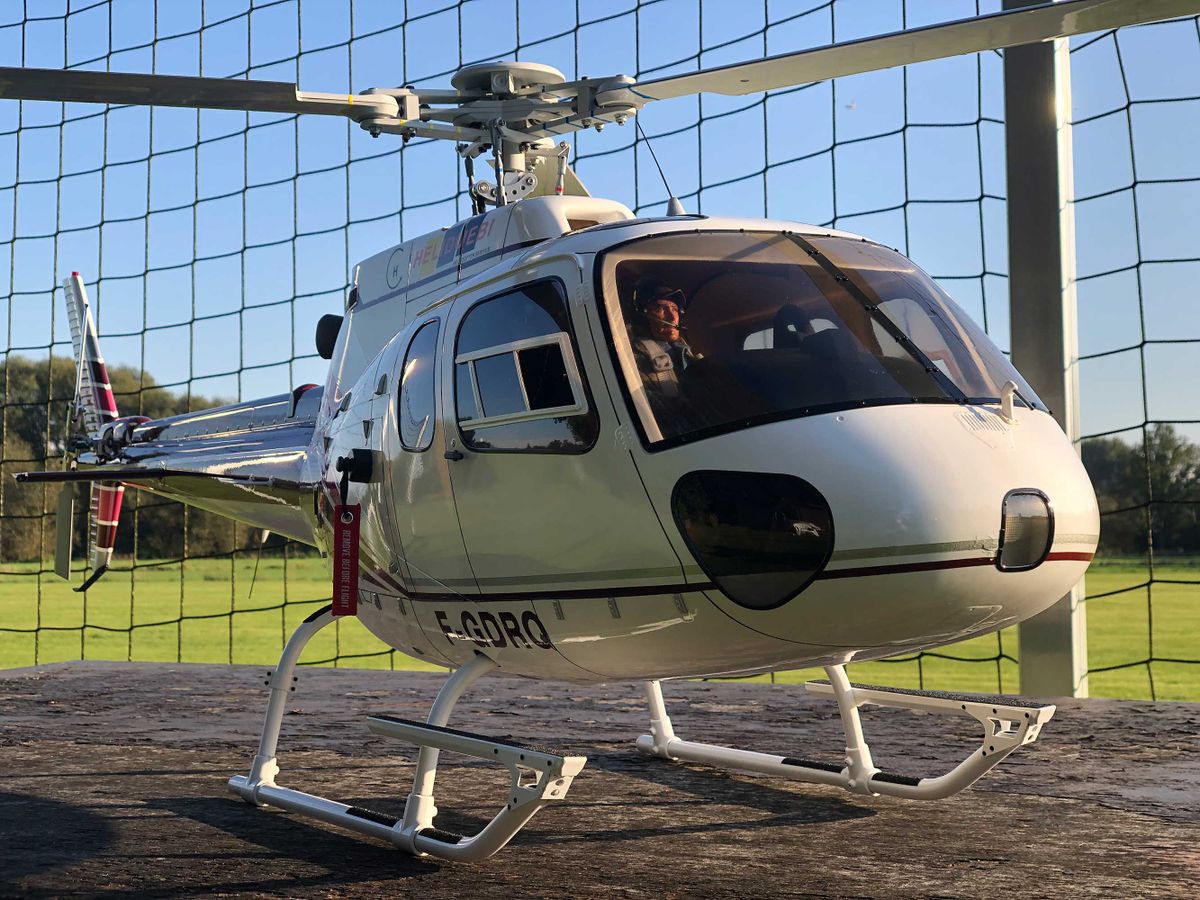
The Funkey fuselages are really nice for that "small" size. Paintjob was perfect, good details. It is not 100% scale (landing gear too much at the front), but definately semi-scale quality.
I painted the landing gear white (was black) to match the original. And added some 3D-printed steps at the rear. Lightset was bought at LED-Profishop (around 55€). I added a spacer for the exhaust, but besides that: all stock.
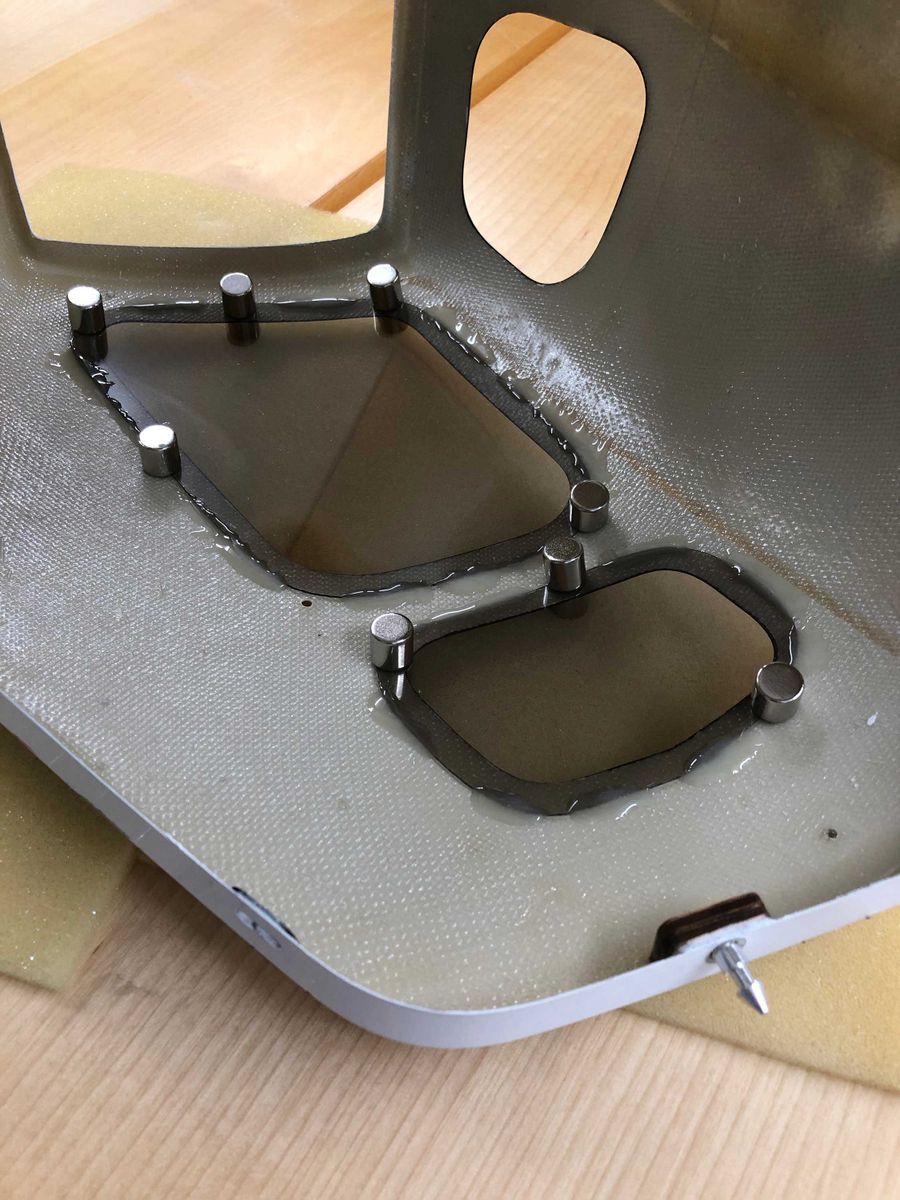
BTW: It came with a very clever magnetic locking mechanism for the front. Once you remove the magnets on the outside, the hood is locked! No matter how card the landing might be.
Fitting the mechanic inside the fuselage
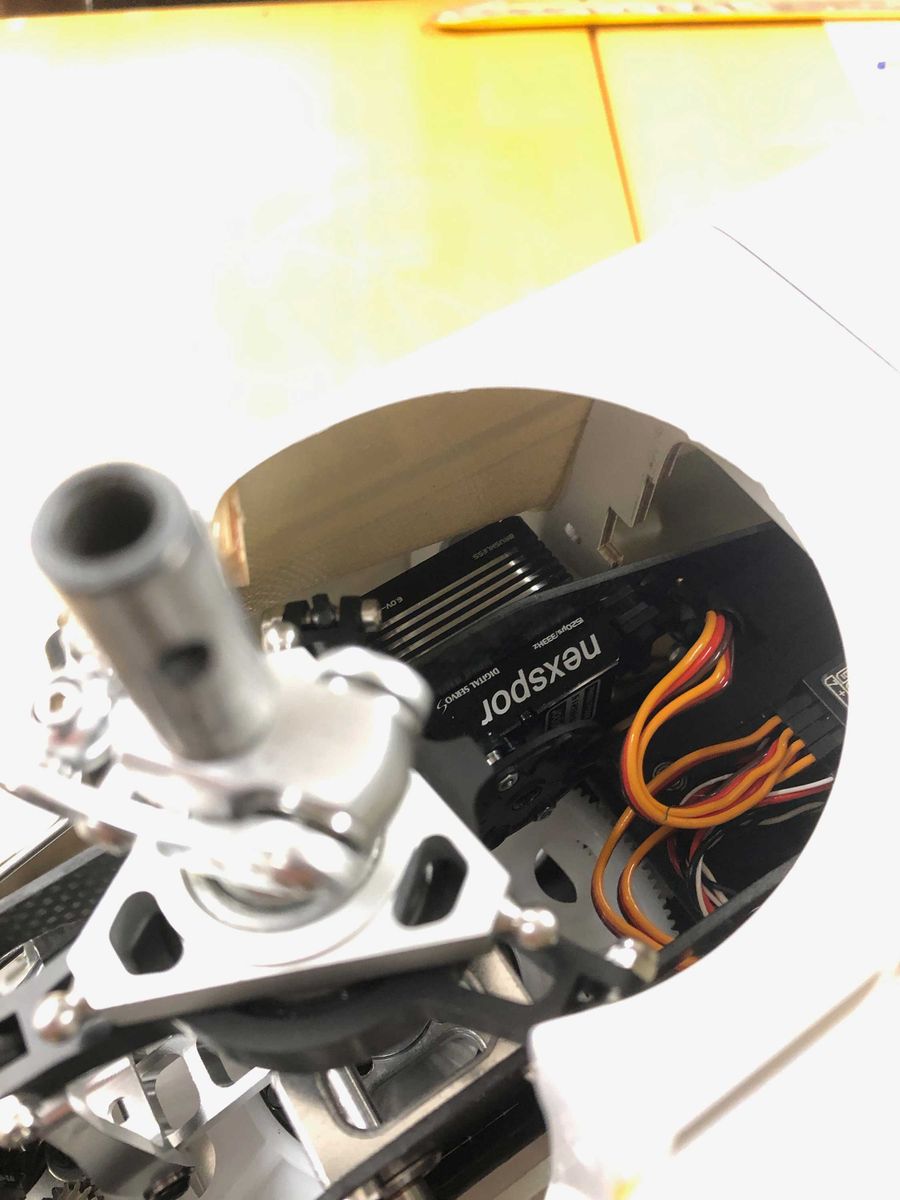
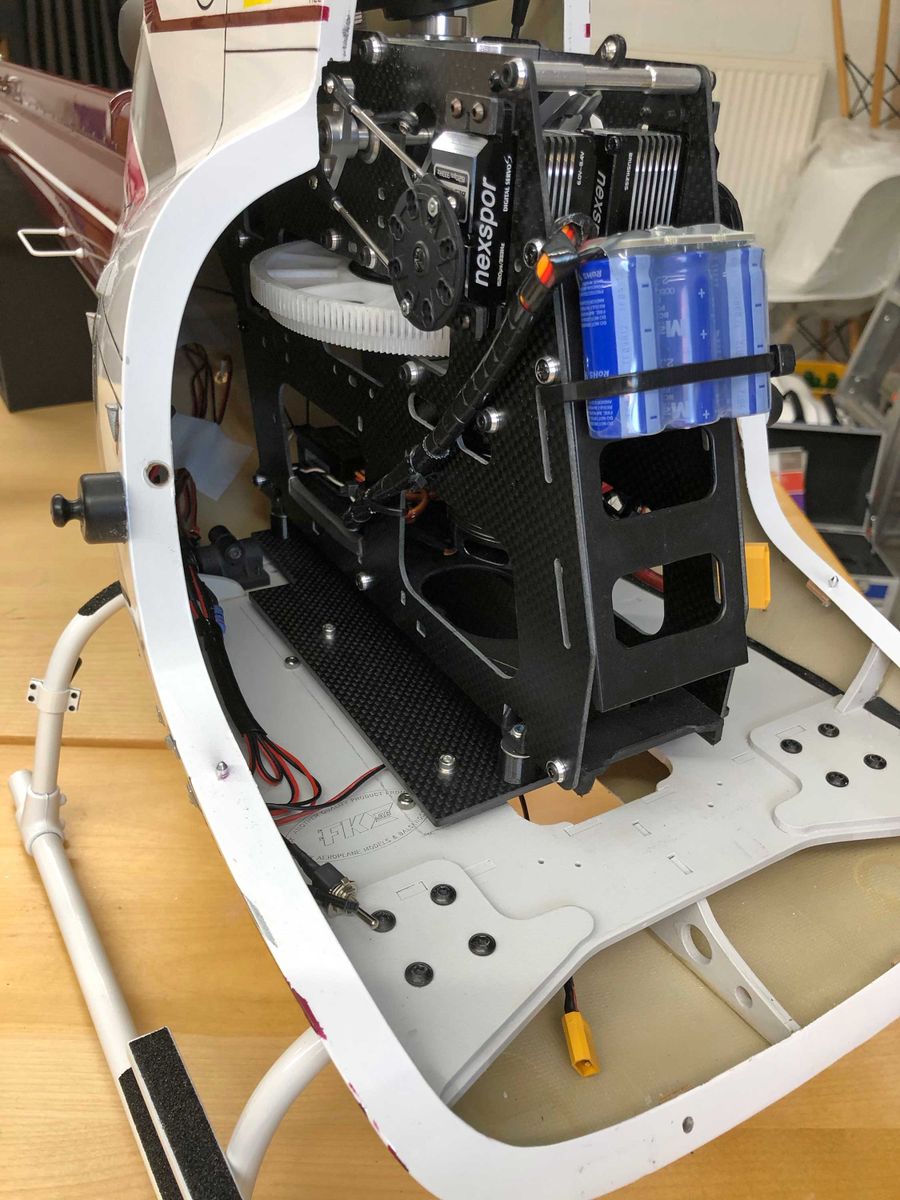
First thing I noticed: I had to move one servo to the inside of the mechanic.
Second thing I noticed: Mechanic is 15mm too short for the main rotor shaft to be perfectly centered.
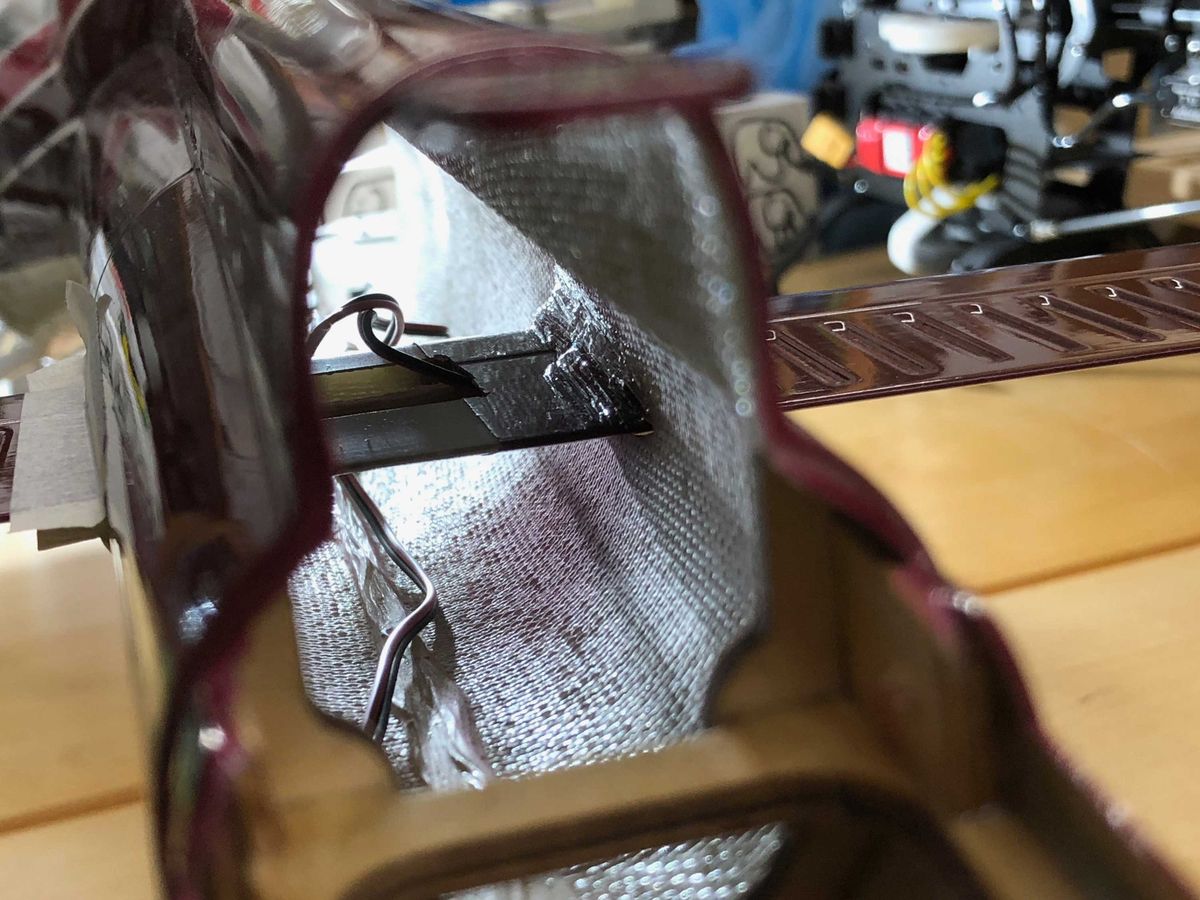
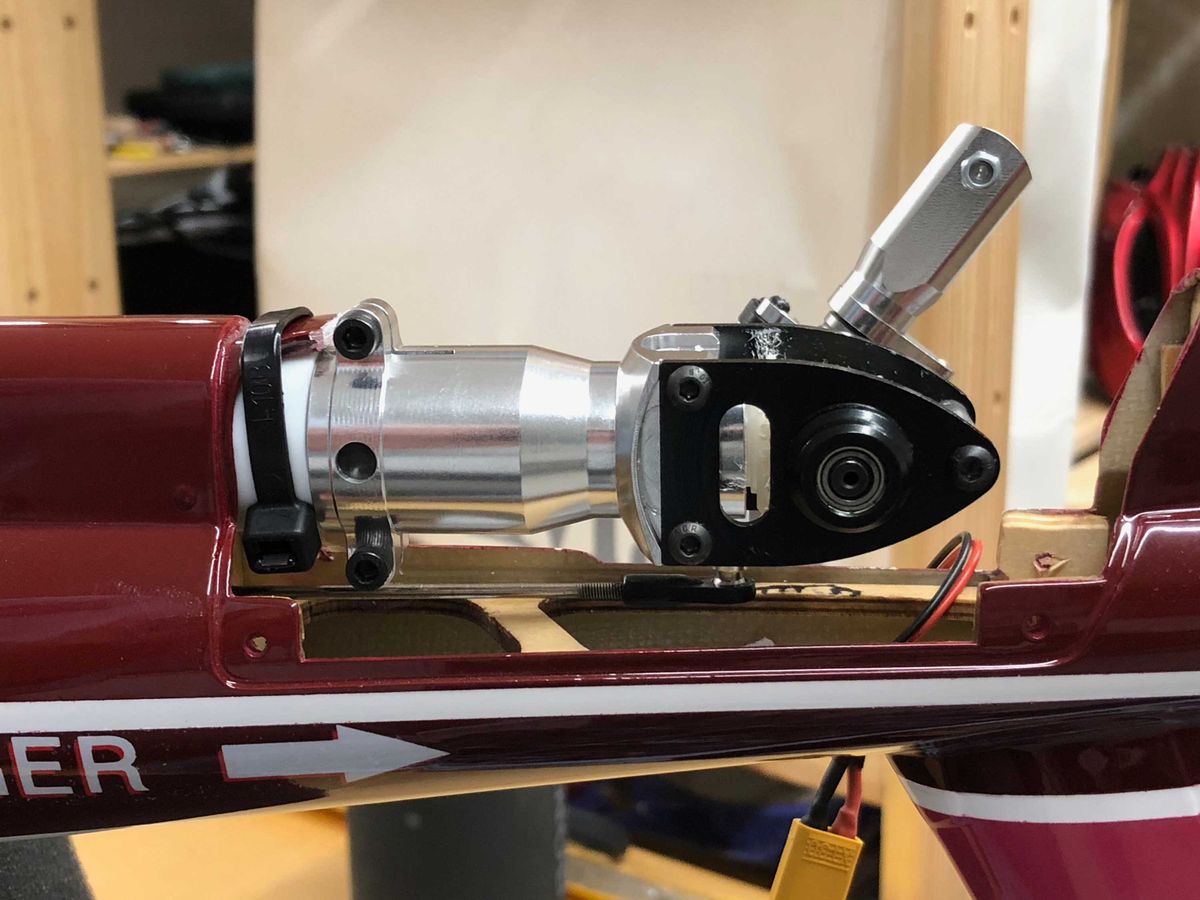
So I had to lengthen the tail boom. I bought a T-REX 700 tail boom and shortened it to the perfect size. Then it fitted quite nicely. I had to lift the mechanic by 18mm (small wood blocks in the last picture).
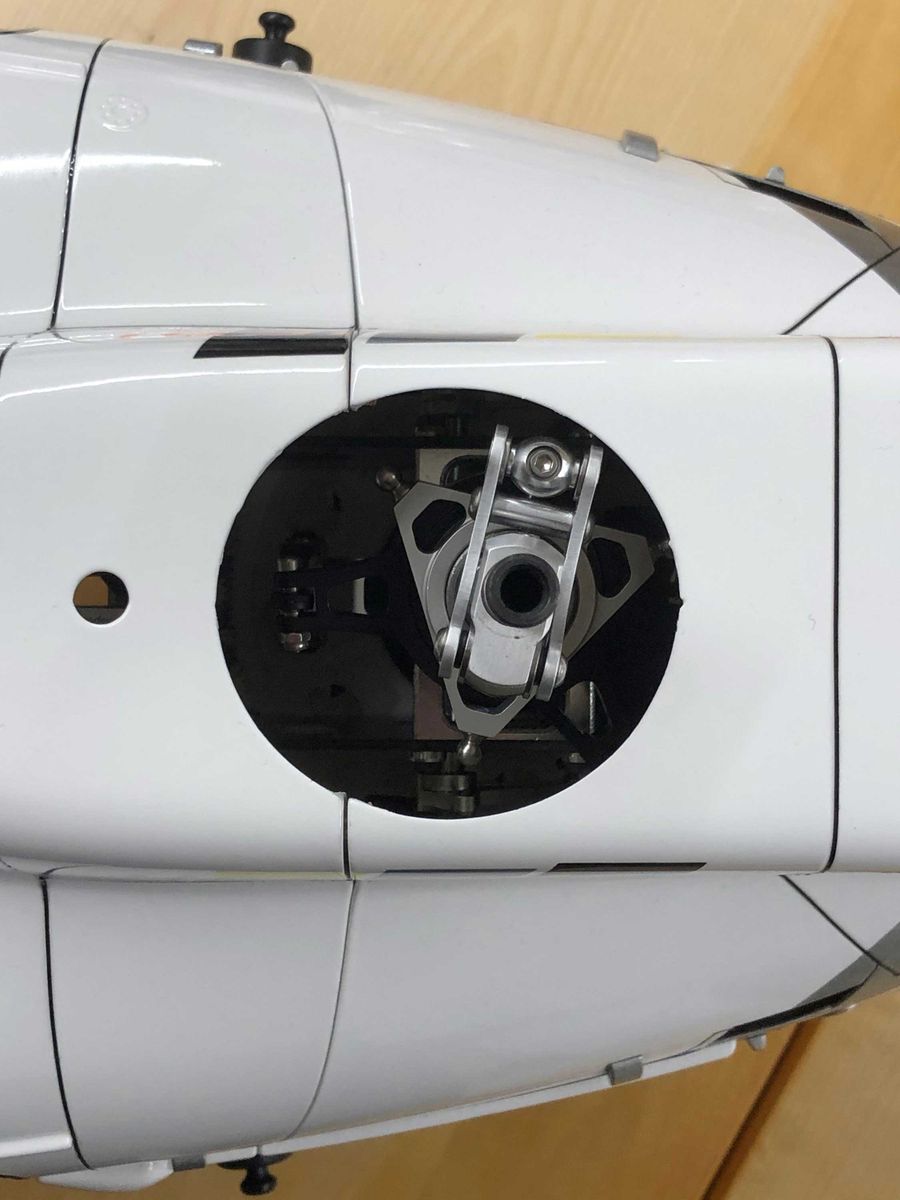
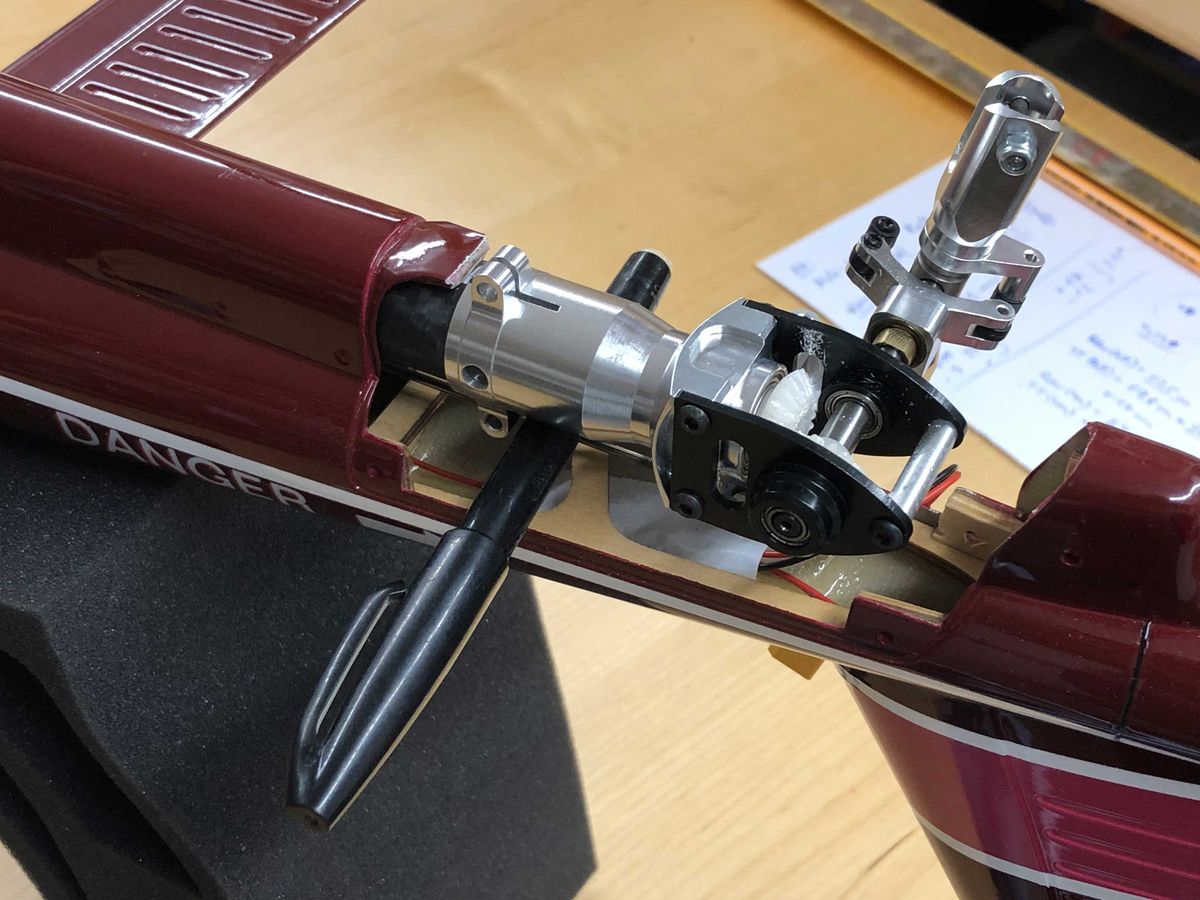
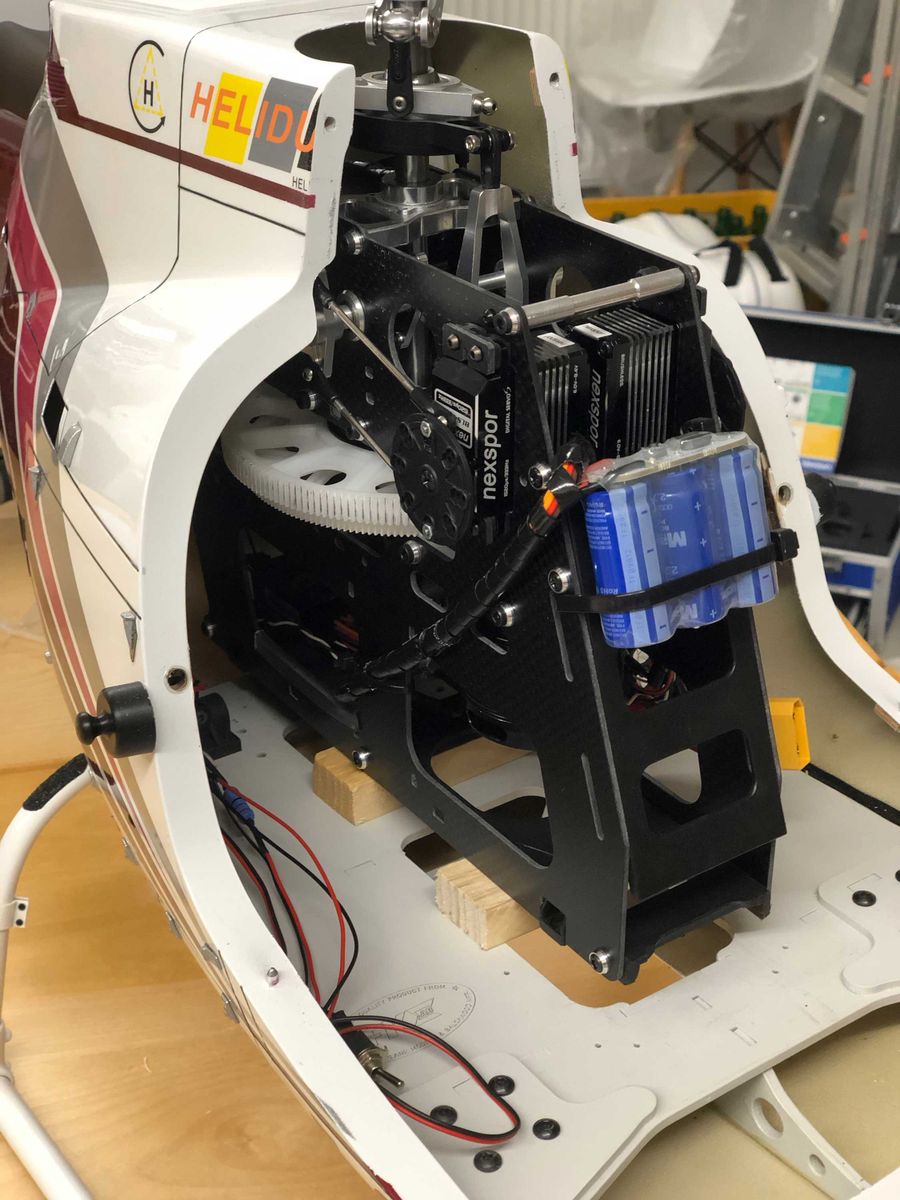
Mounting the mechanic inside the fuselage
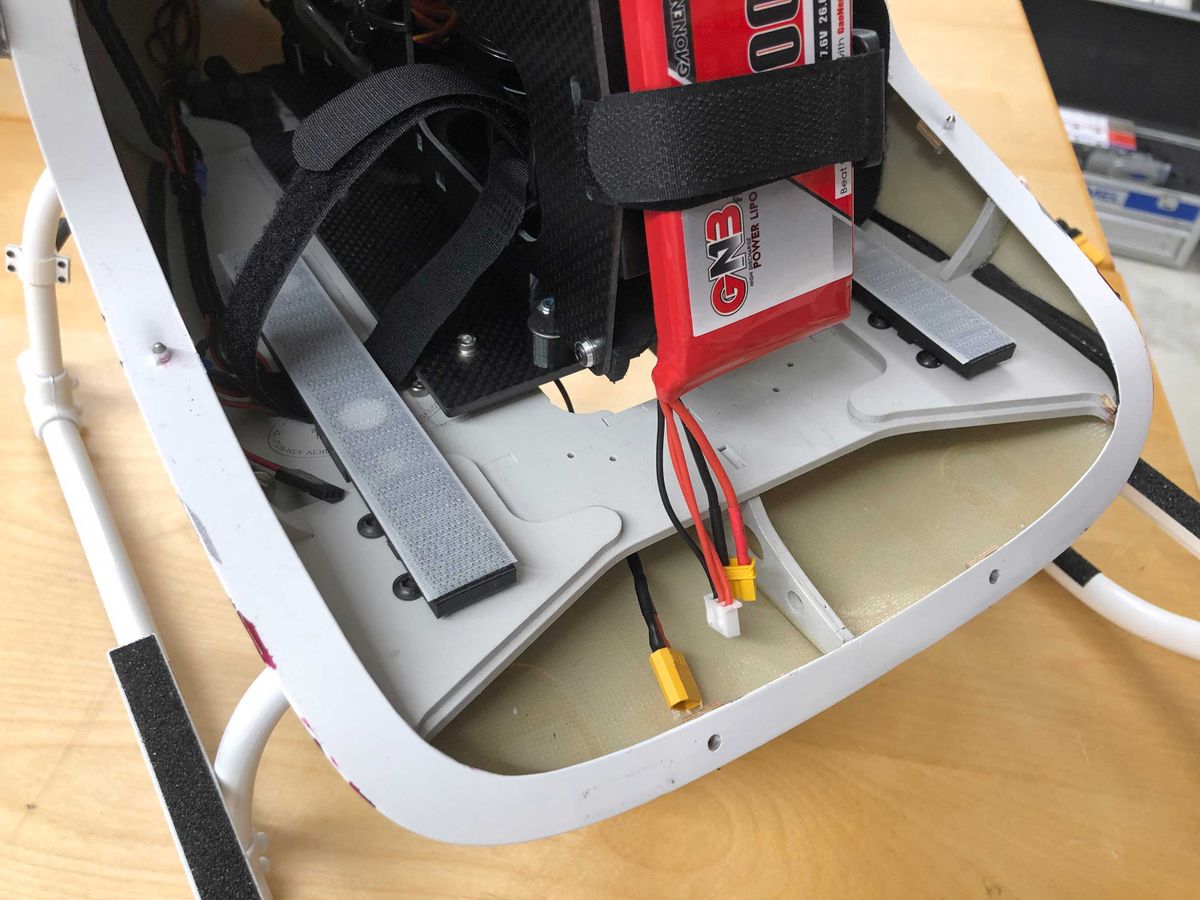
Now it was time to mount the mechanic. To be able to easily remove the mechanic later (for inspection and such) I mounted it on a carbon plate. The carbon plate itself is fixed with 4 easy accessible screws. The 4 screw nuts sit in a fixed position (3D-printed parts) below the wooden deck.
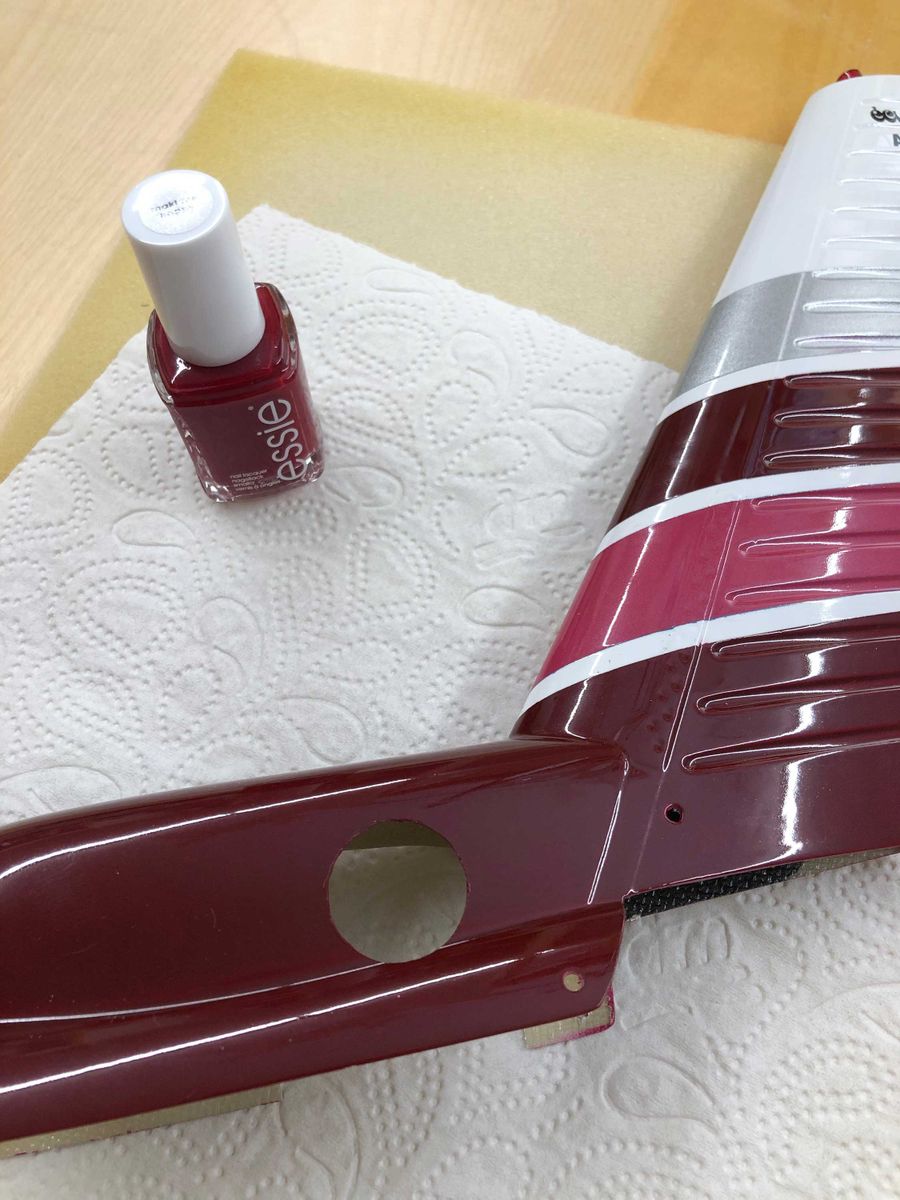
I used nail polish to re-paint the edges that I needed to cut for the tail rotor housing.
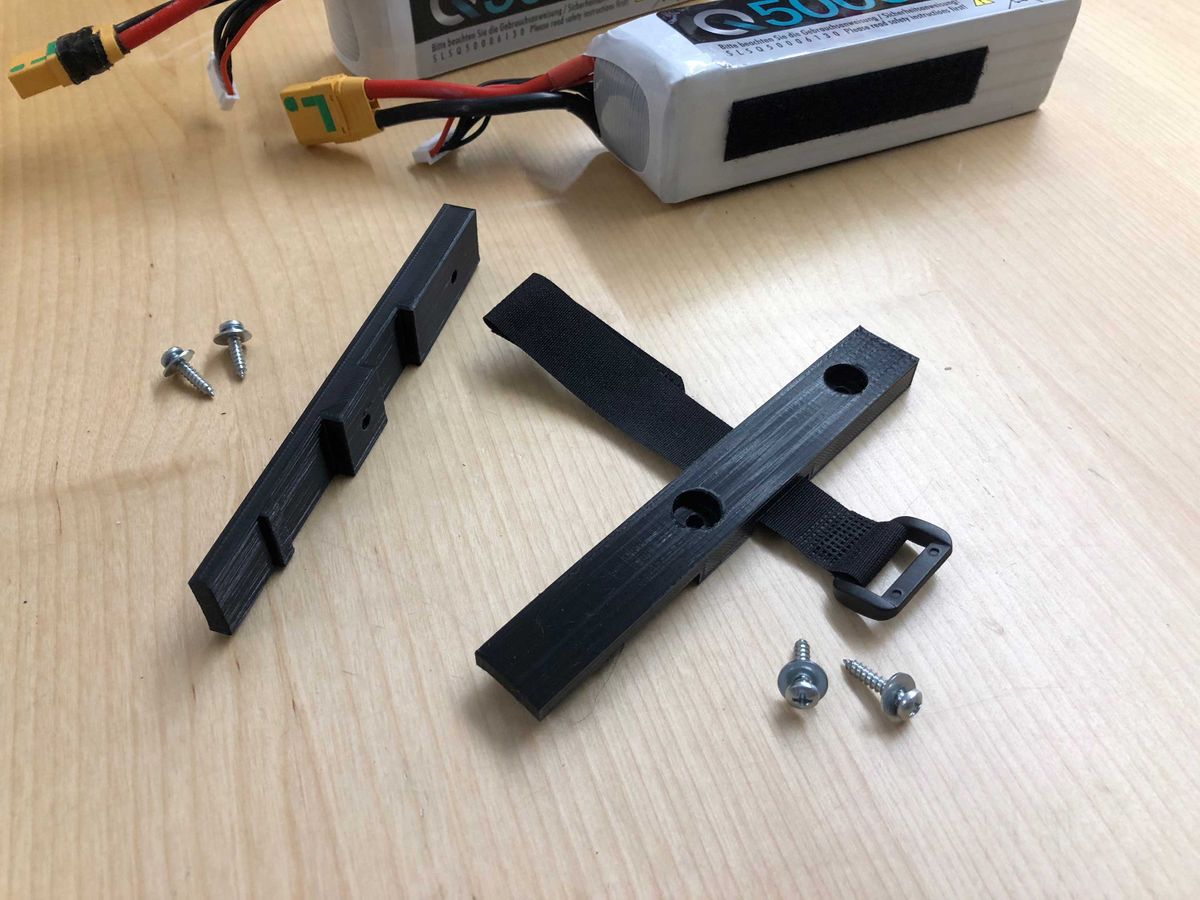
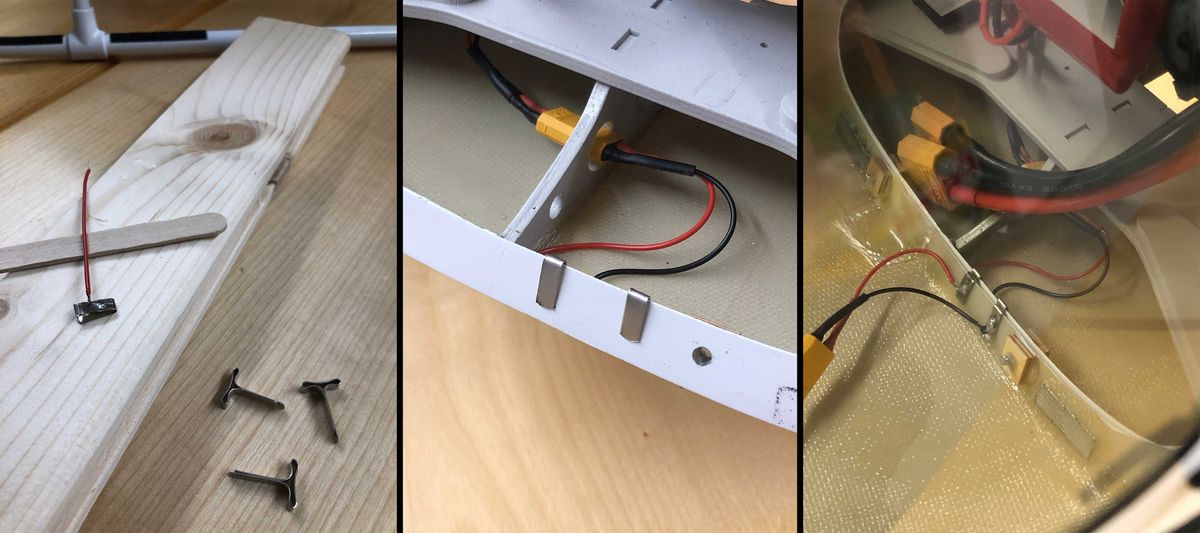
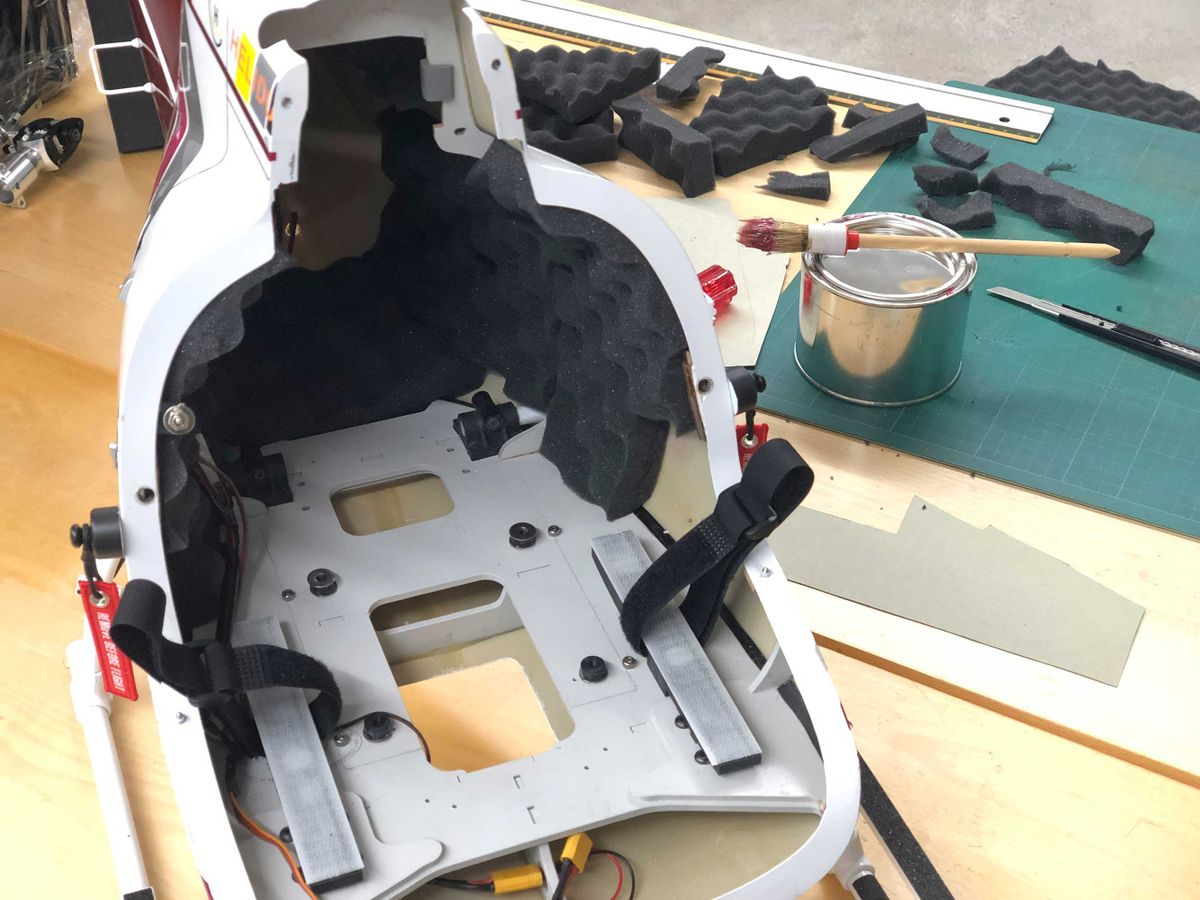
3D printed battery holders with velcros. A selfmade connection for the front light in the removable cockpit. And 180 gram lead in the nose for perfect center of gravity.
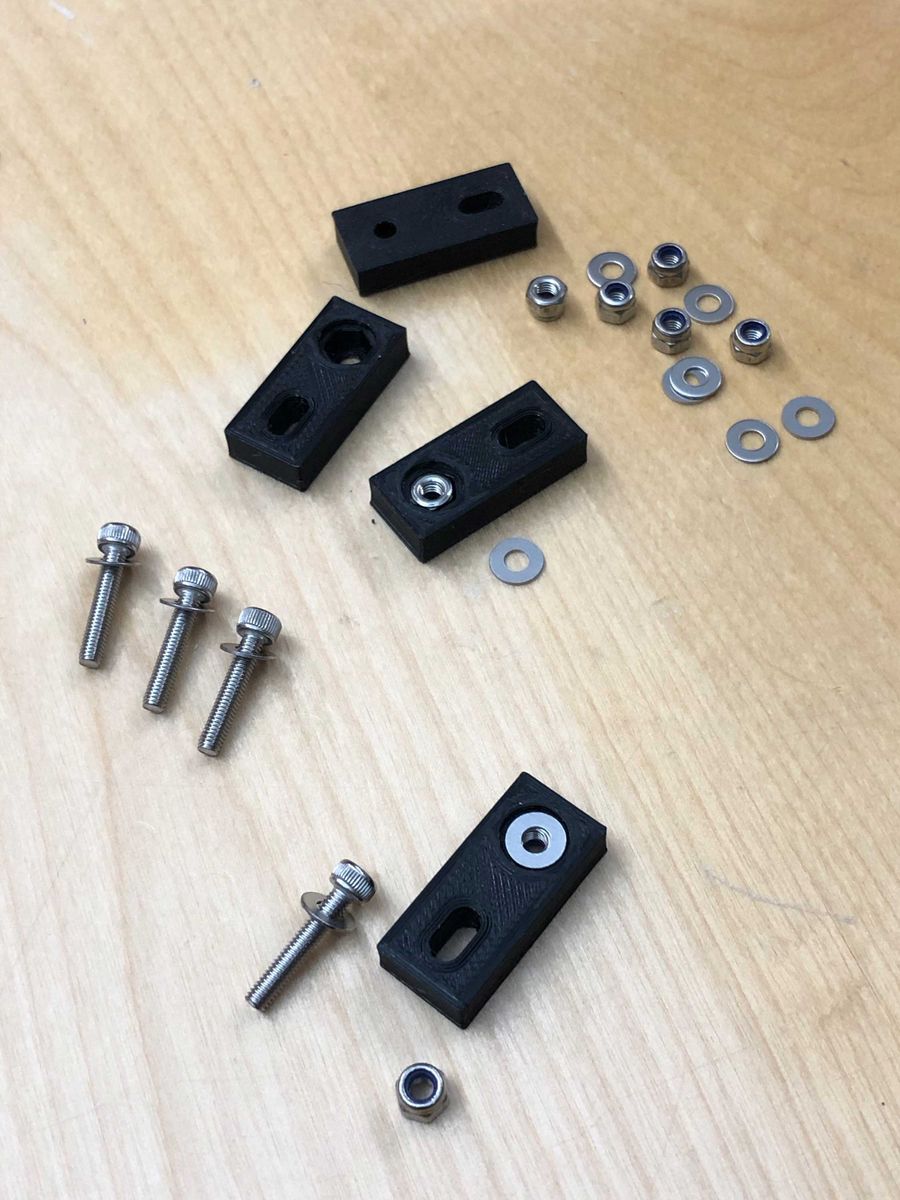
First "real" maiden flight!
Then it was time for the first flight. What should I say? Everything went smooth. It flew perfect!
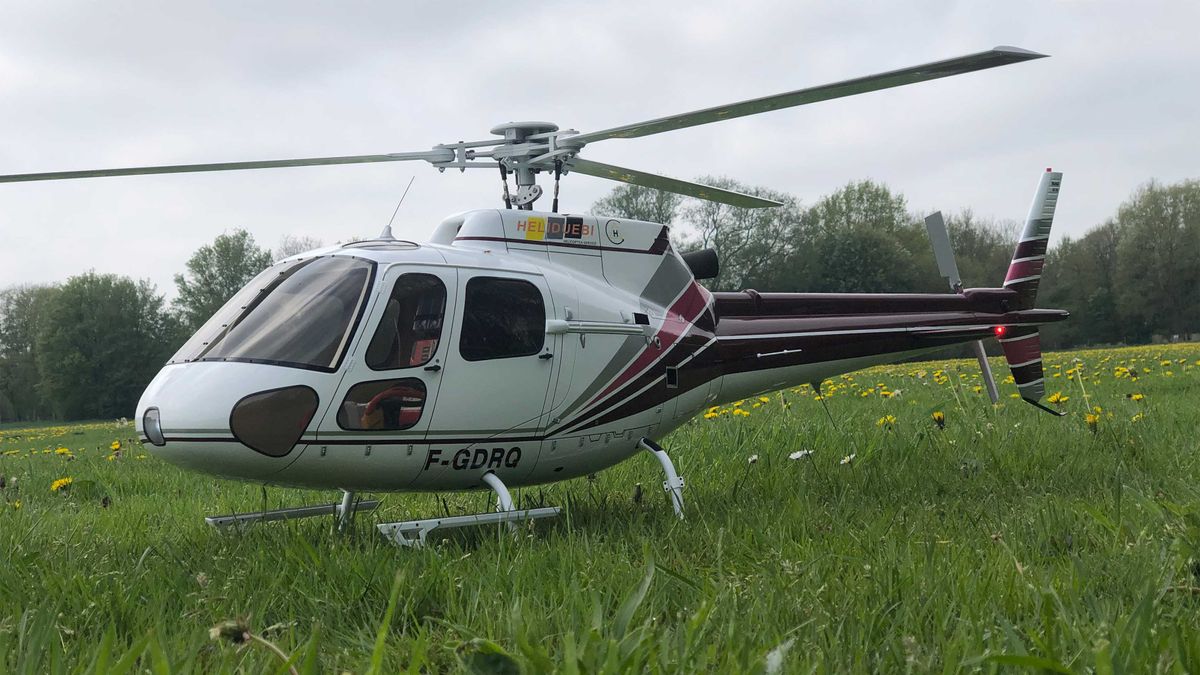
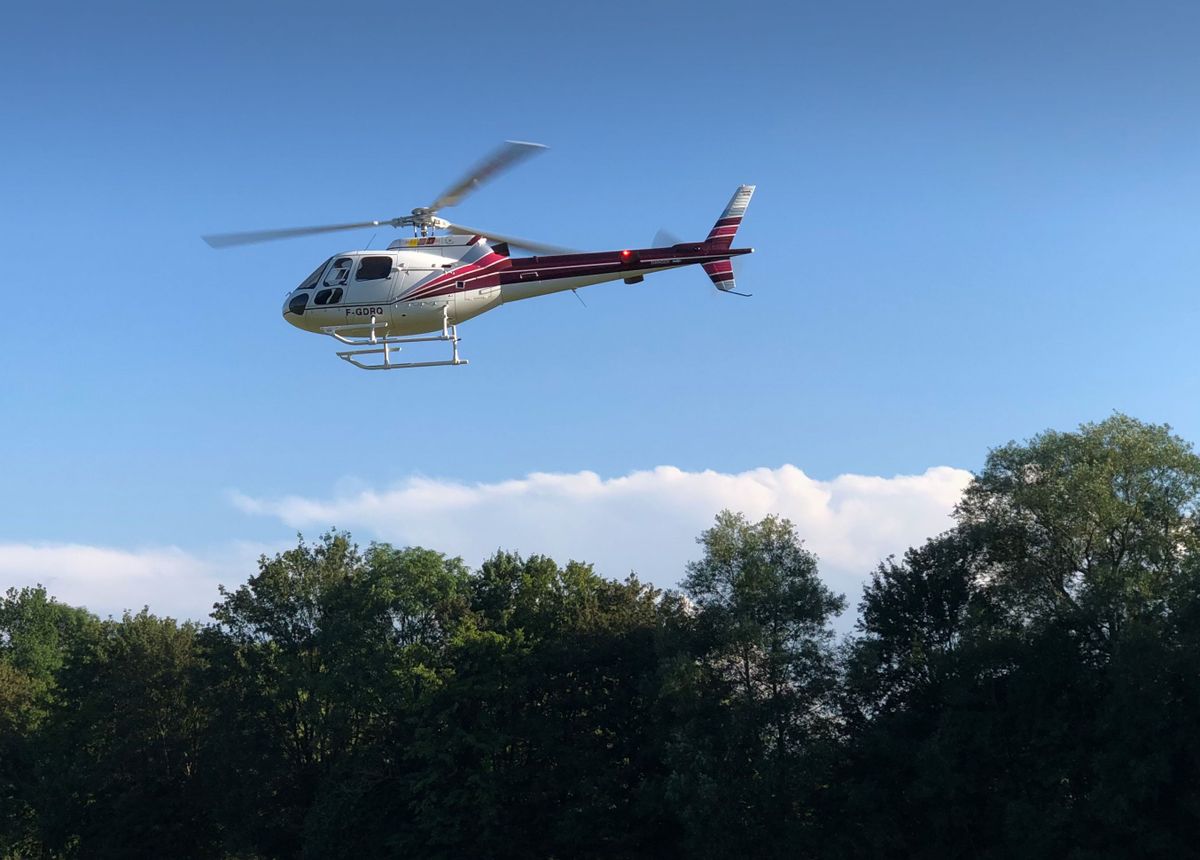
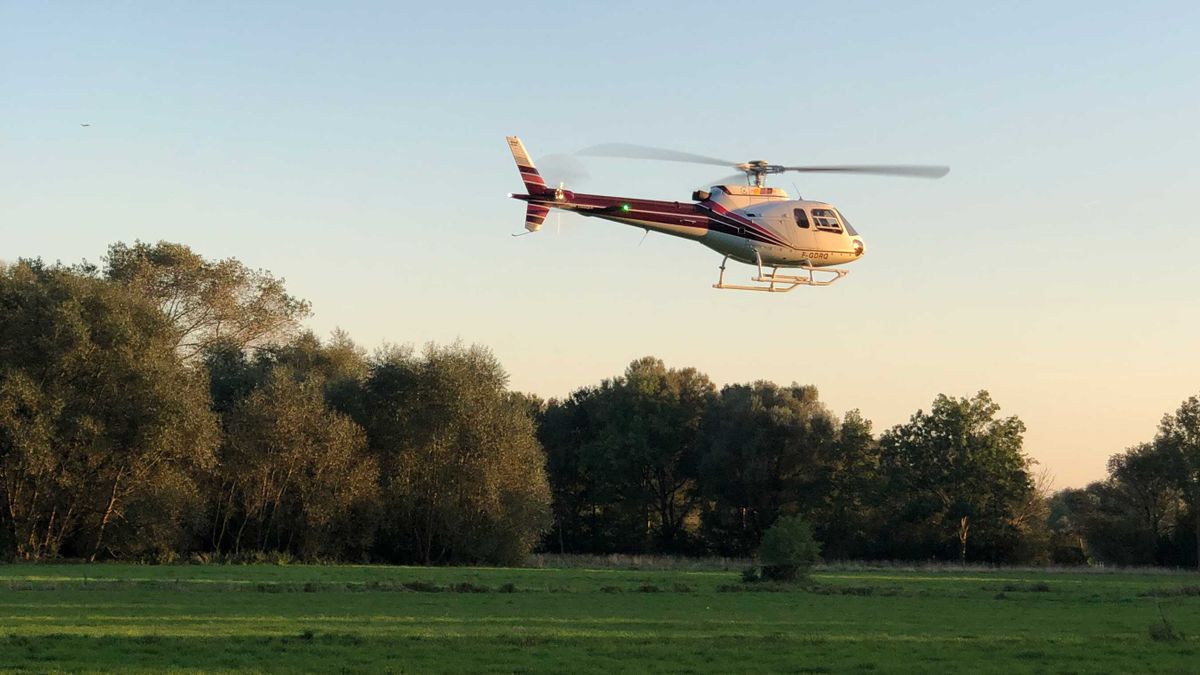
Unfortunately (due to Corona), nobody was there to take a picture, so I can only provide a snapshot after the flight.
What I noticed: The blades make a high noise. The ESC does get a bit warm (75°). These are points I am adressing in the next step.
Improvements #1
The blades got these small triangle stickers to the underside (dont know the english word for it) and the high noise went away. Amazing! The blades are super quiet now. I also added foam inside the fuselage to dampen the sound from the main gear.
The ESC was changed to a Kontronik 140 LV with a fan on top. Furthermore, I cut some window openings for fresh air.
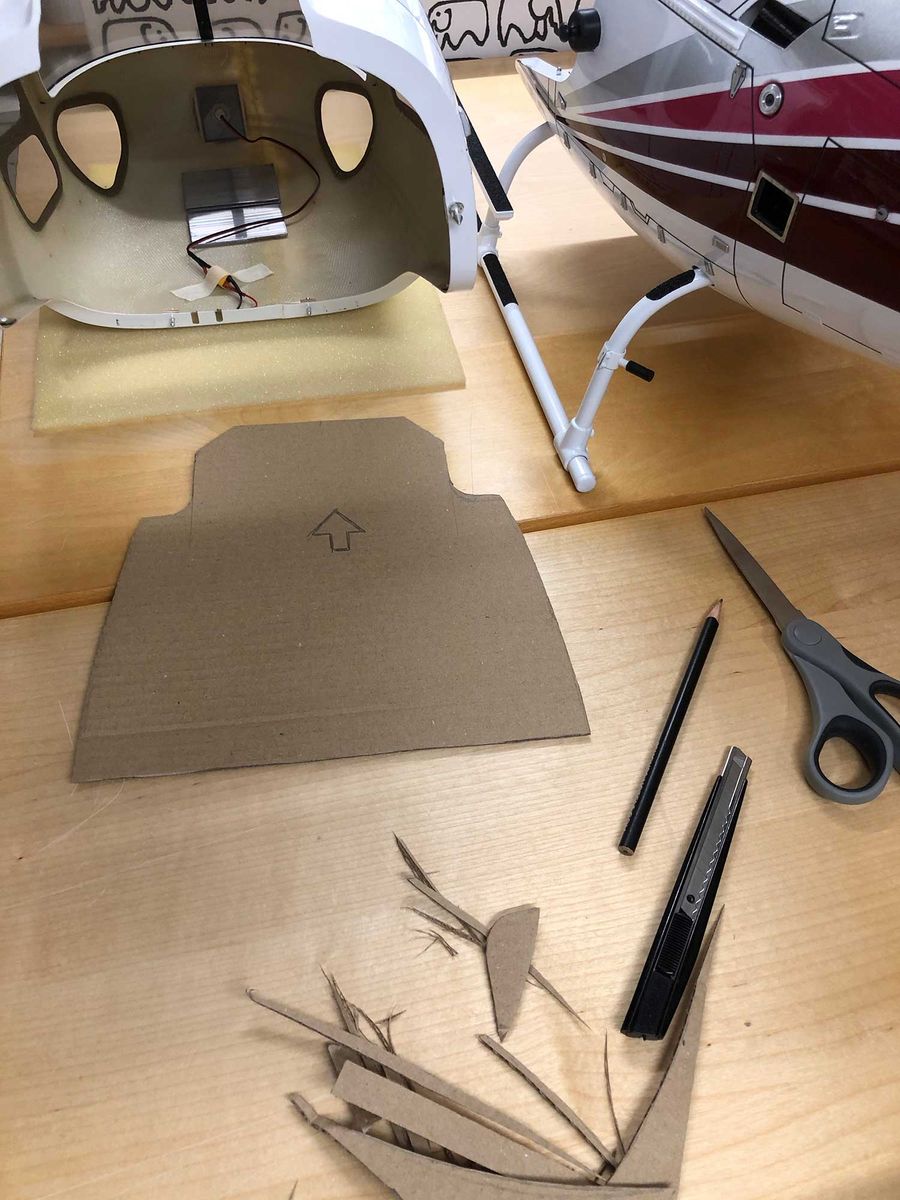
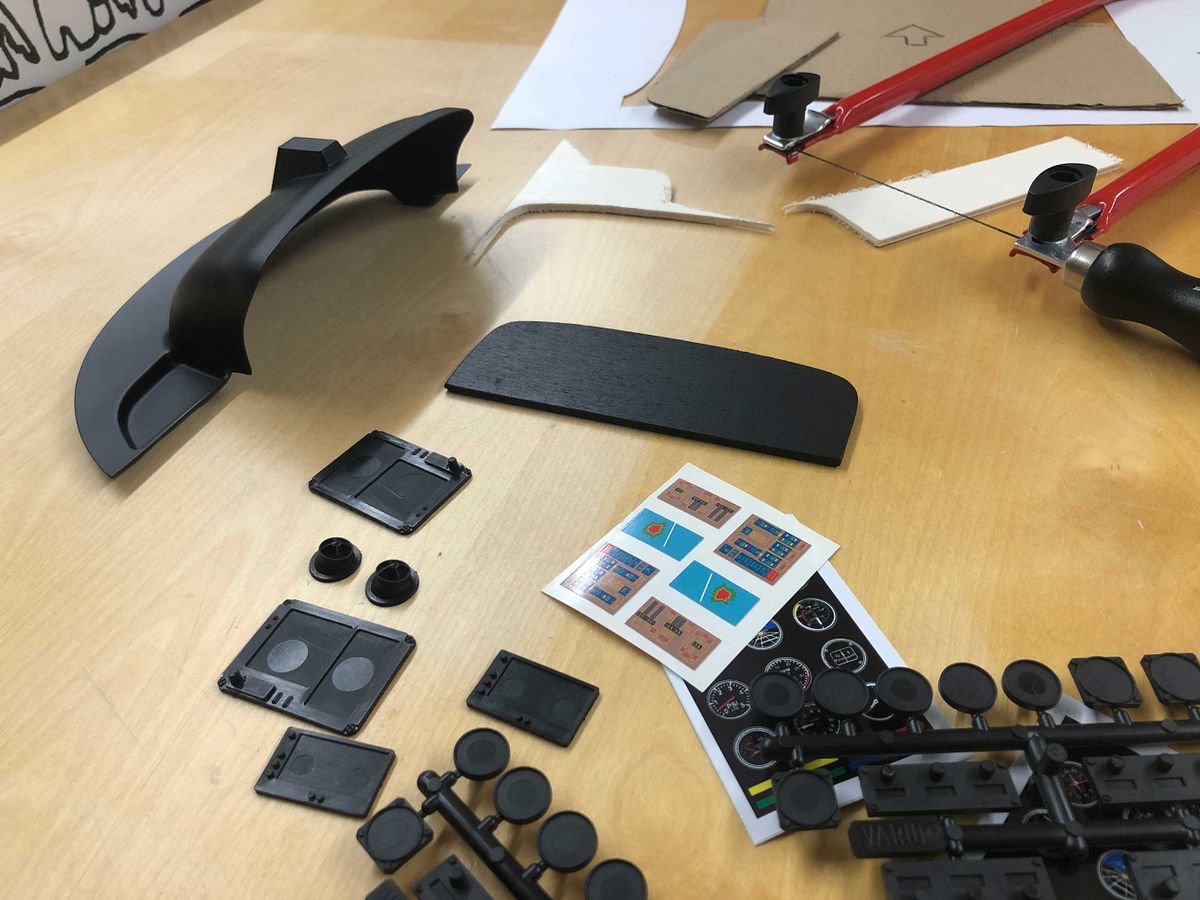
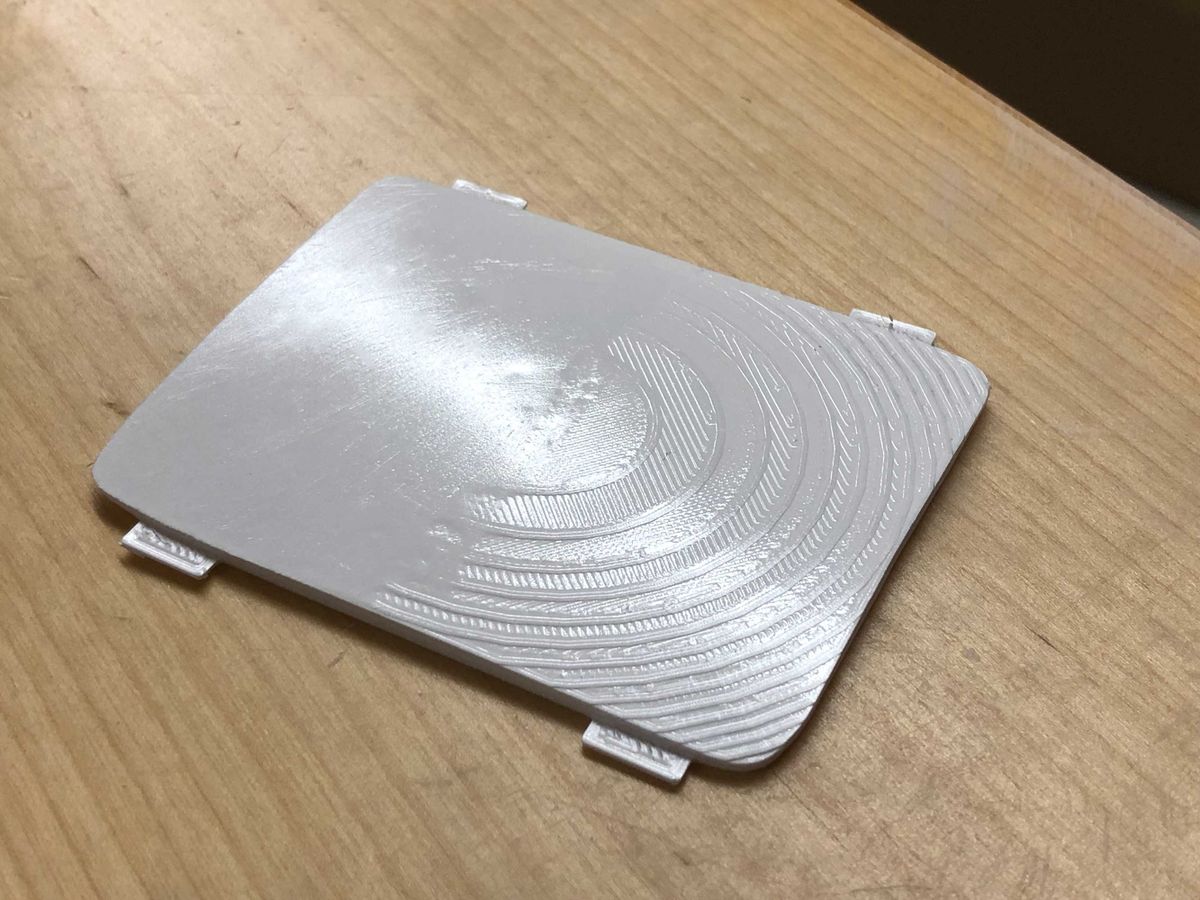
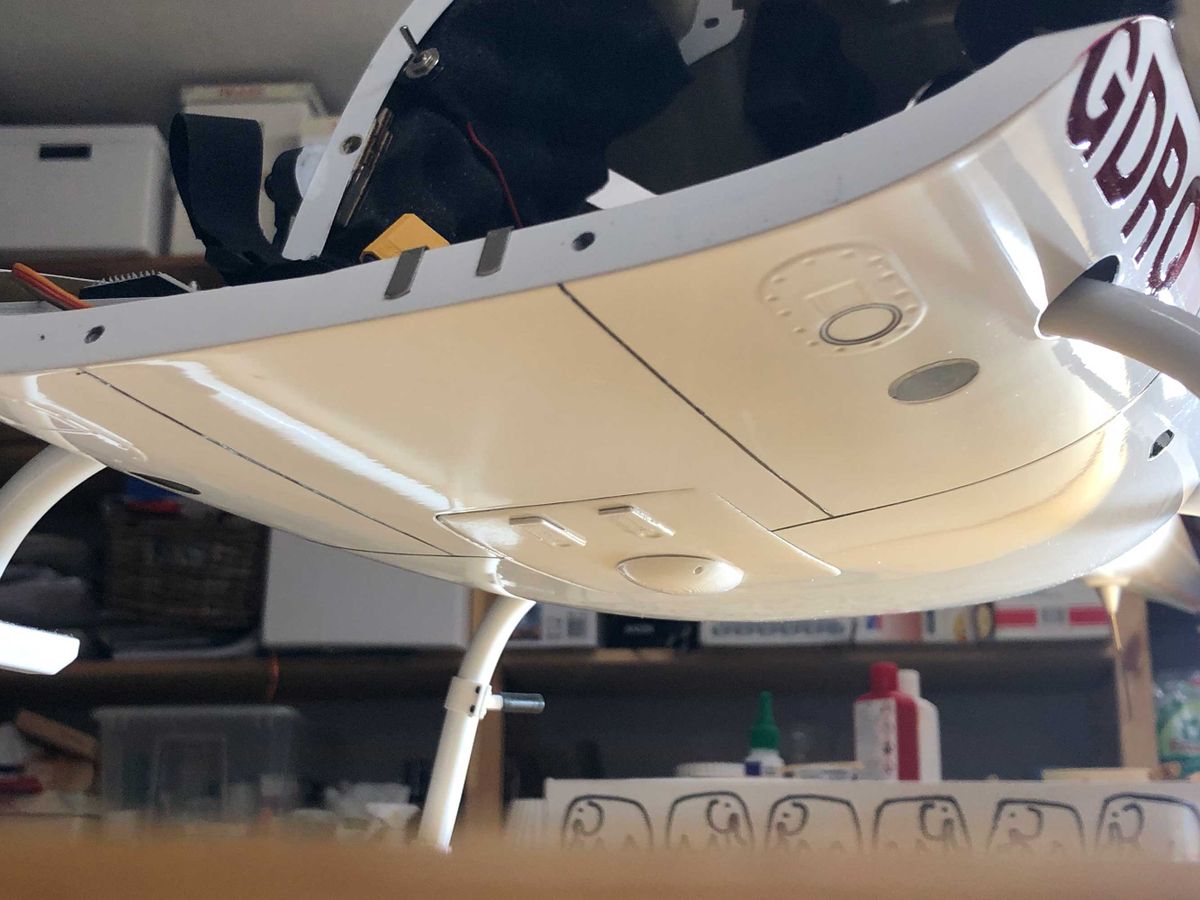
I closed the big hole in the bottom of the fuselage with a 3D printed part. I also started to test-print some parts for the cockpit.
Improvements #2
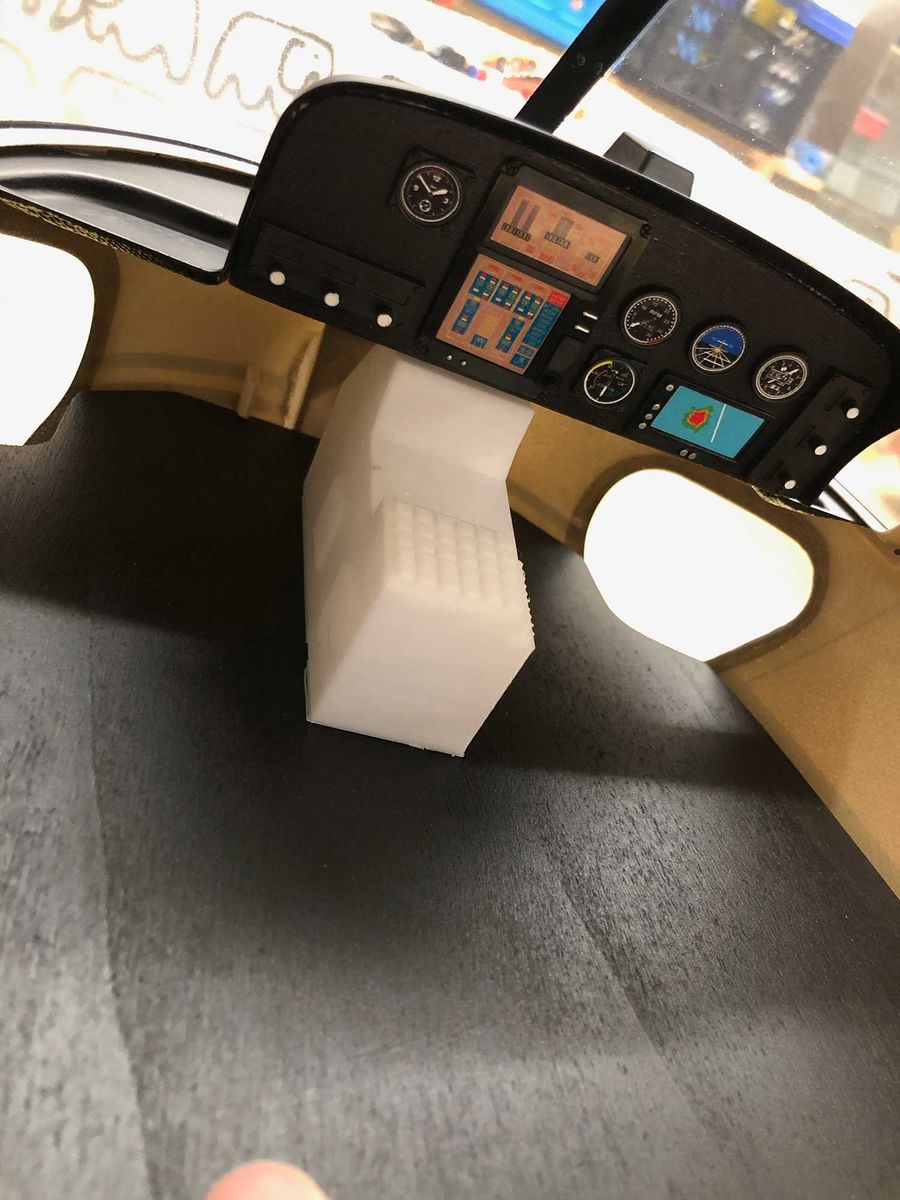
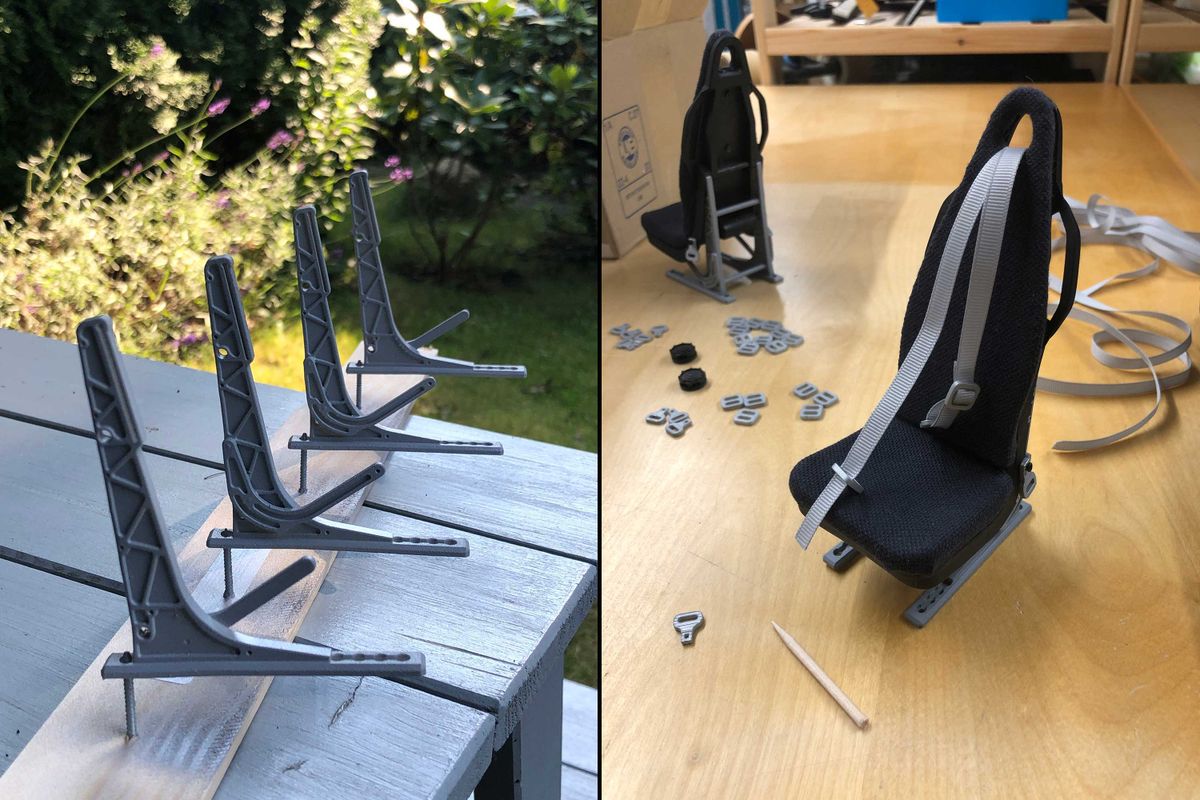
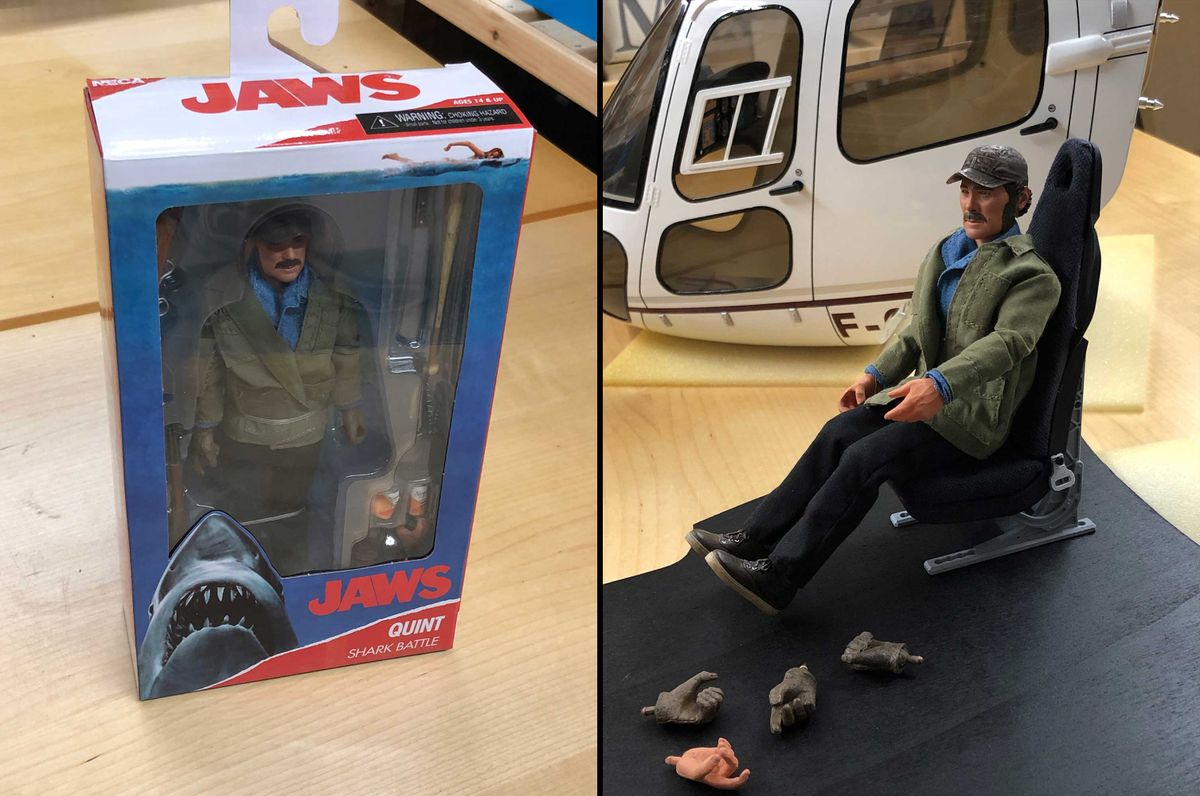
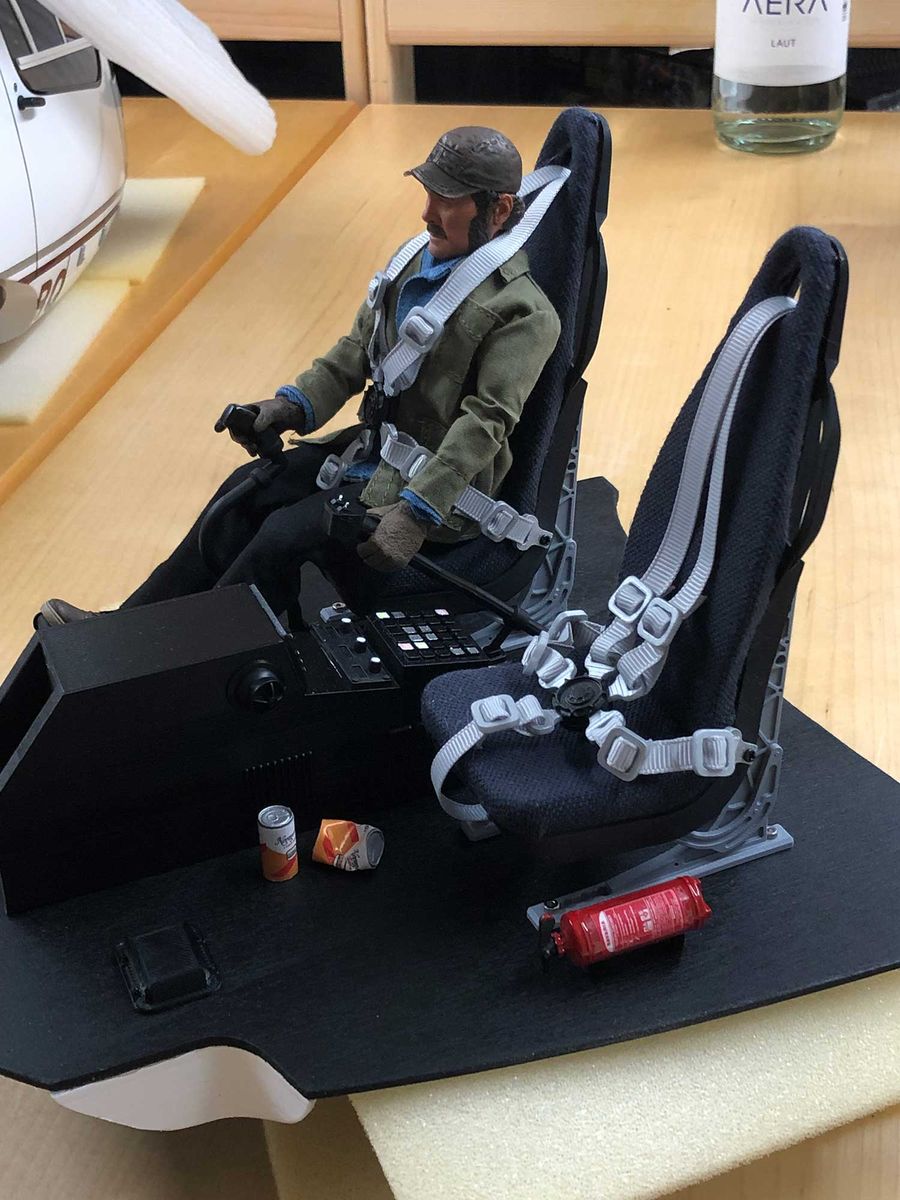
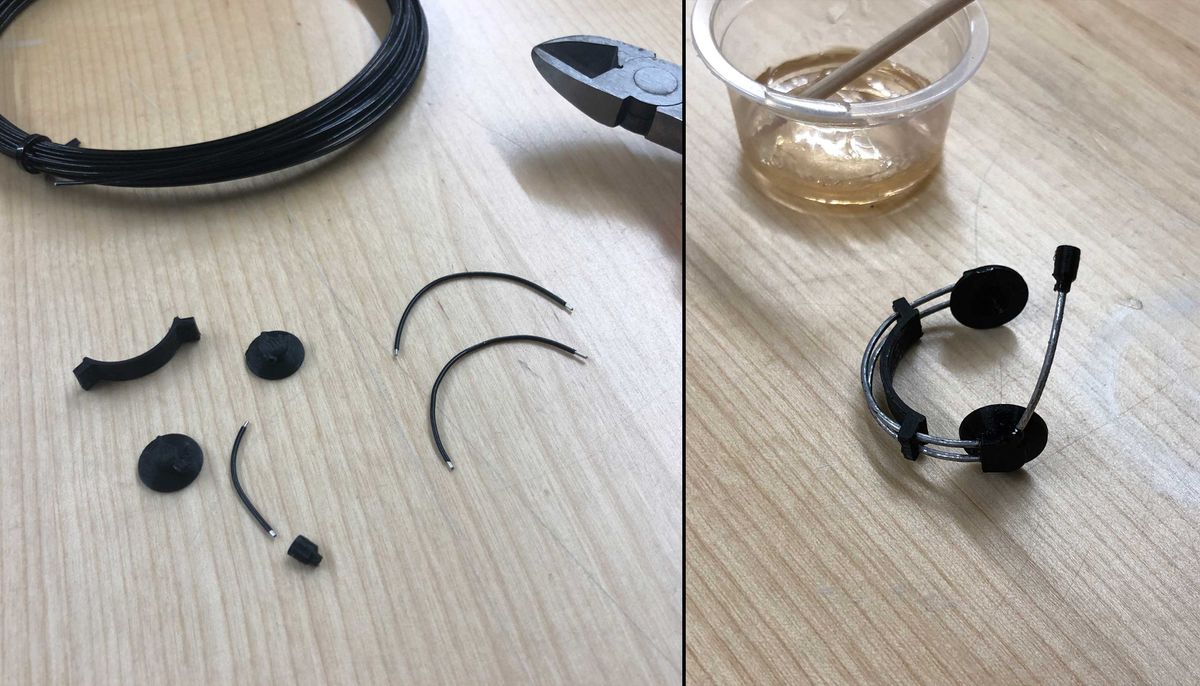
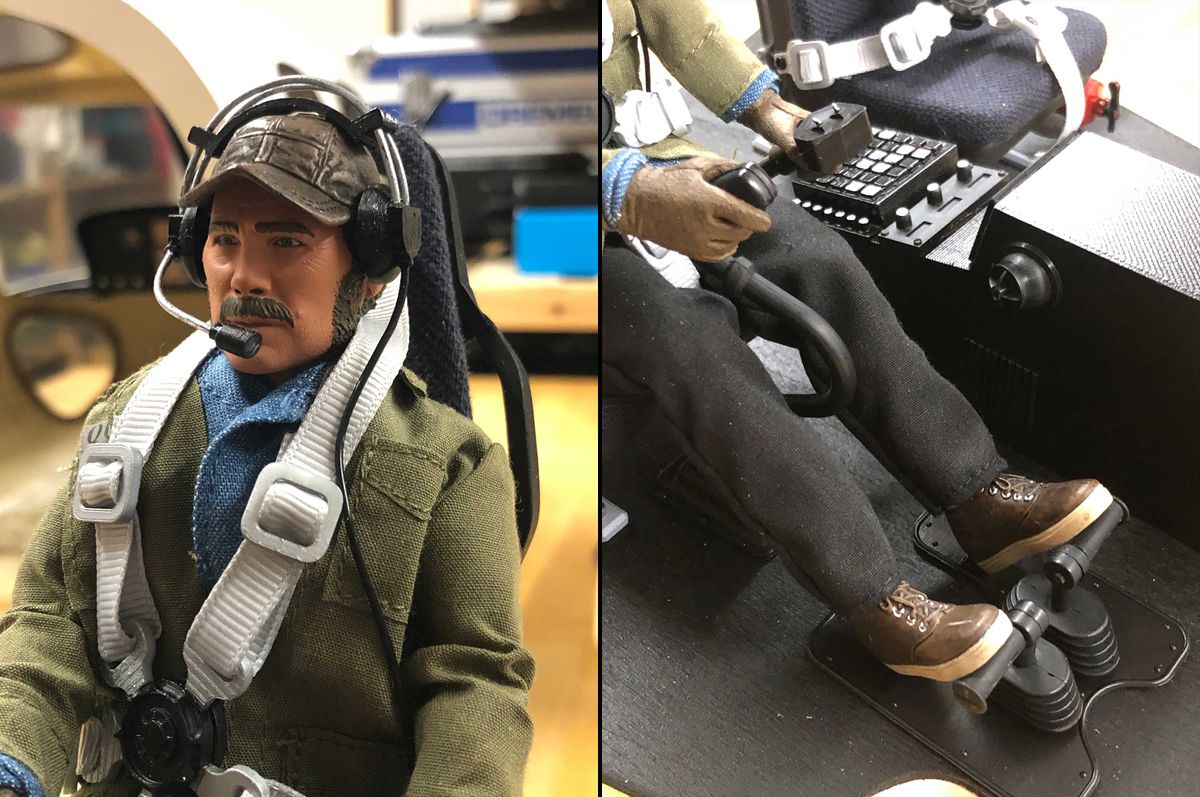
Time to finish the cockpit. Seats are from Justscale, pilot is from a kids toy store (NECA and MEGO make sizes that fit 600 sized helis). A lot of 3D printed stuff. Final weight is 6,5 kg with two 5Ah batteries.
Thats it. Thats how I am flying now. I hope you enjoyed this little build story. I think this combo is great for scale-beginners like me. If you have any detail questions, let me know in the comments.
0 Comments