

Vario MD500E 1/5 Build
 Rob M.
Overview
Vario calls it 1:5 scale but when we look at the numbers it’s actually closer to 1:4.23 so we’ll round it out to 1:4 and go with that.
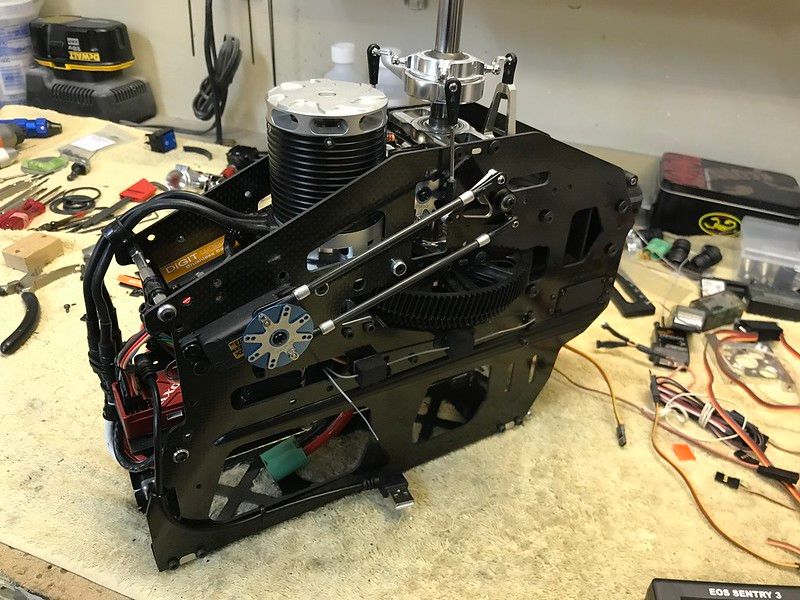
Mechanics will be electric. Specifically Trex 700E mechanics. There were items that needed refinement with those mechanics but once they were ironed out they have proven to be up to the task as shown in my BK-117 weighing in at 40lbs. It would be fair to expect the mechanics to have little issue with a 30lbs MD500E.
Rotor head will be from PSG using their 800 series head. Compact, rated well beyond the loading of this project it will be solid performance.
4 Blade tail is coming from Helikopter Baumann. Tail reliability is a big concern/fear for me and I have been very impressed with the craftsmanship and performance of this precision tail drive.
SPECS
Main blades: Vario 5 @ 875mm
Tail blades: Helitec 4 @ 140mm
ESC: 120amp CC Phoenix Edge HV
MOTOR: KDE 295kva
FBL : Axon (which I have come to love)
SERVOS: Savox SB2273 main SB2271 tail
10s system:
- 2 x 5 s 8000mAh LiPos in series
- 2 x 3s 3000mAH RX - in parallel isolation
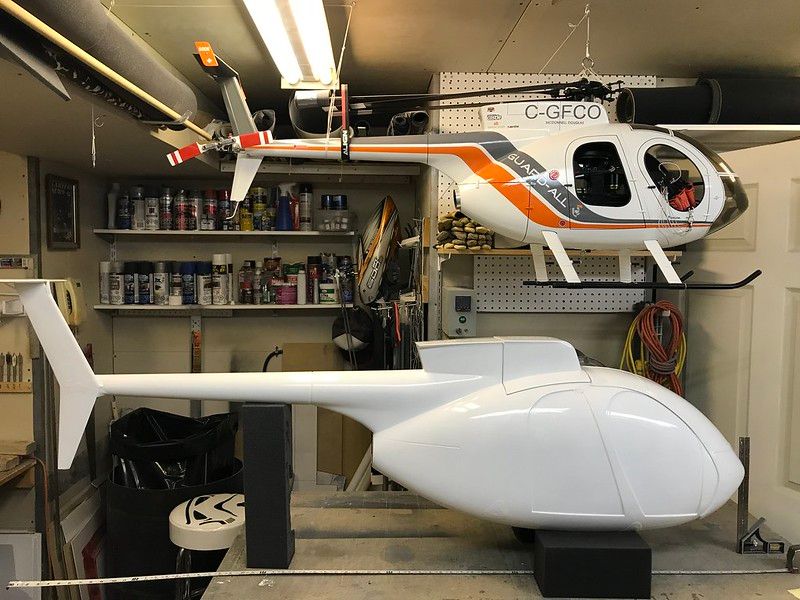
Pic shows The Vario 1/5 MD500E beneath a Funkey 700 size MD500E
Mecahnics: TREX 700E
From a cost and reliability perspective I found the TREX 700E mechanics to be a solid performer. In particular I used the F3C version as it does NOT use an AR bracket on the swash. The Elevator swash link is designed to replace the AR bracket and this makes for a much cleaner scale look at the rotor head (IMO).
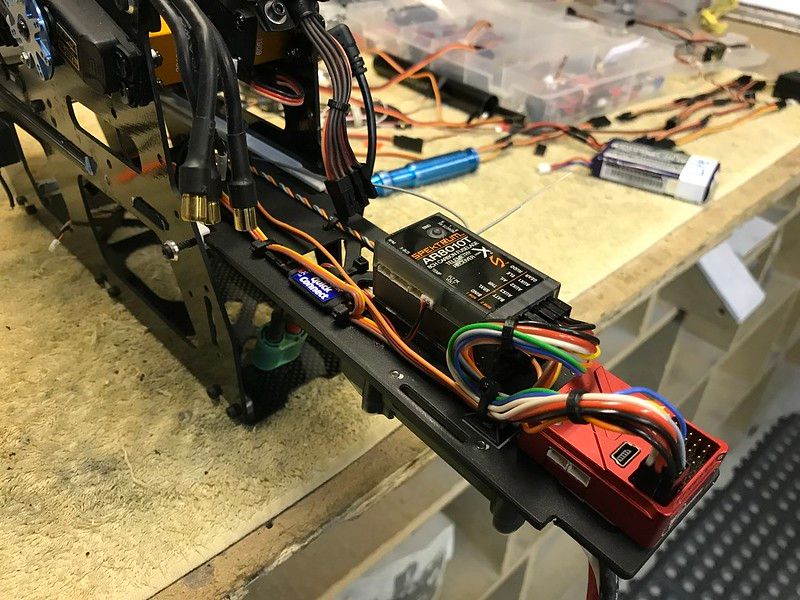
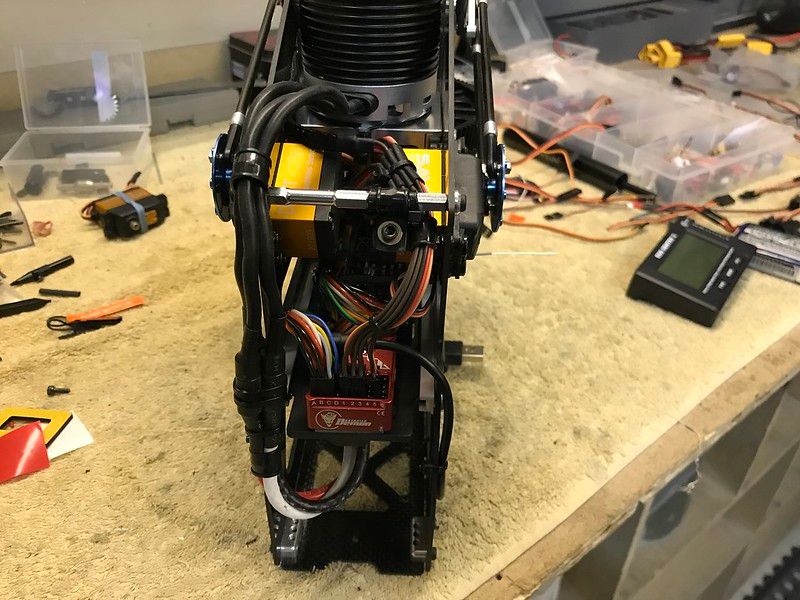
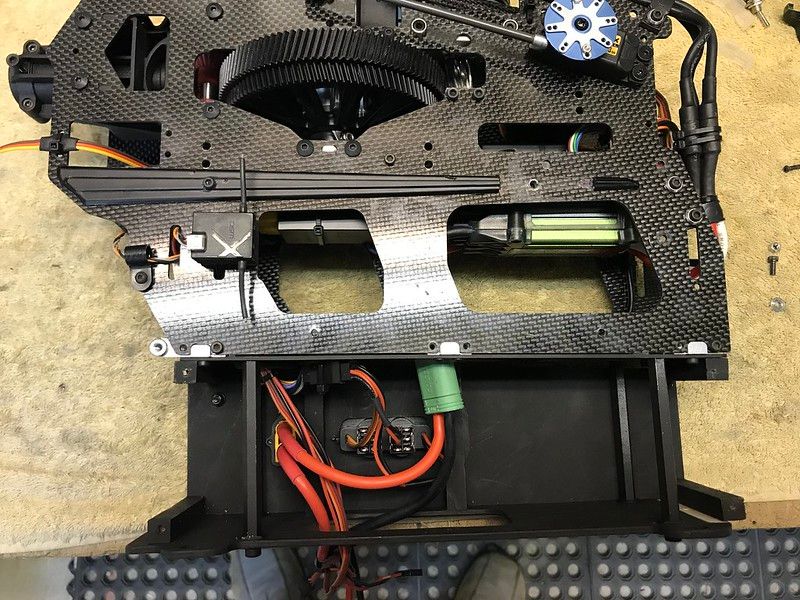
The slide out battery tray of the mechanics also presents a convenient tray upon which to mount the RX and AXON FBL thus allowing for quick and easy access as well as a compact and clean set up.
The ability to customize the length of the servo leads is valuable allowing for a tidy routing of servo wires. I recommend investing in a good set of servo lead crimpers and quality servo connectors.
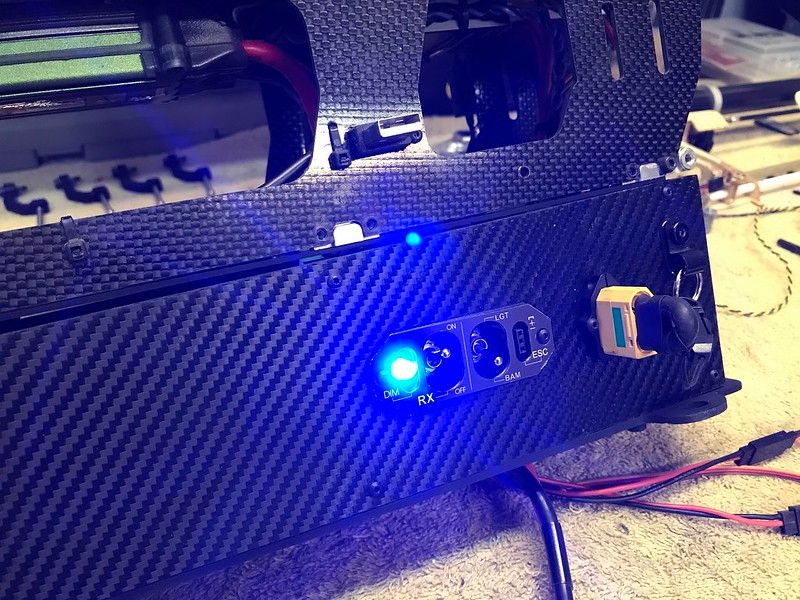
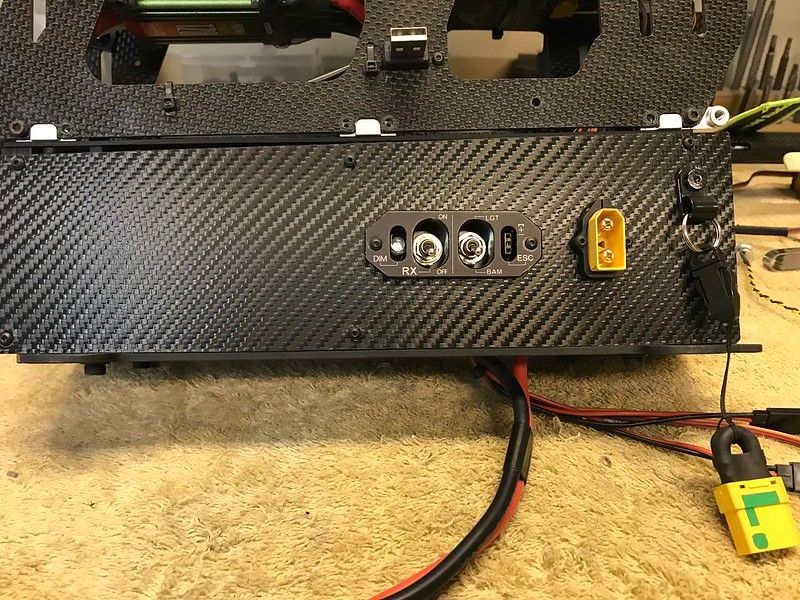
The mechanics require a platform to place them at the correct height for the tail boom and rotor head clearance. This presents a convenient location for the RX power switch and 'Arming' plug I use.
A had a local print shop do up the decals that label the switches.
The platform is a top plate and a bottom plate attached via Standoffs purchased from an electrical supply site (Mouser). The standoffs allow for a mechanical connection all the way to the floor joist mounts. The side walls of the platform are attached to wooden posts placed along side the Standoffs.
Fuselage Mods: Doors
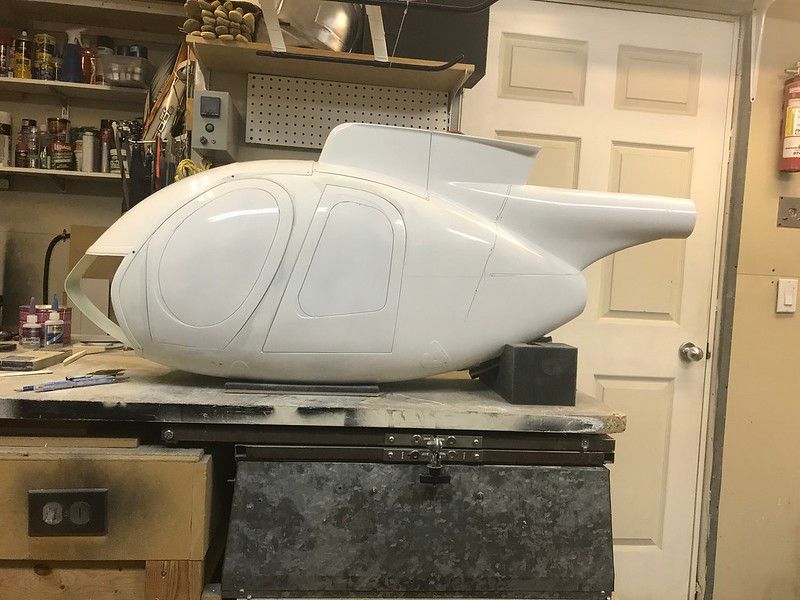
The first pic shows you the size comparison between a 700 size Funkey MD500E and the Vario 1/5 MD500E.
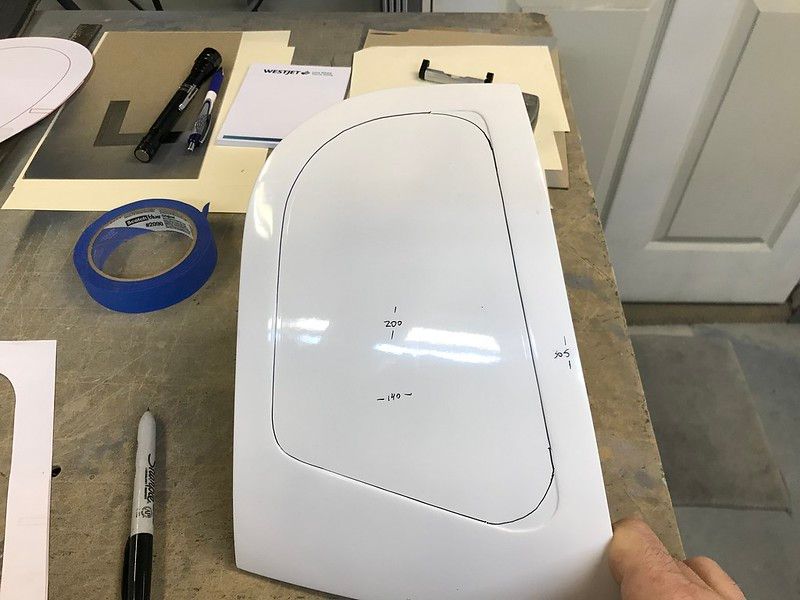
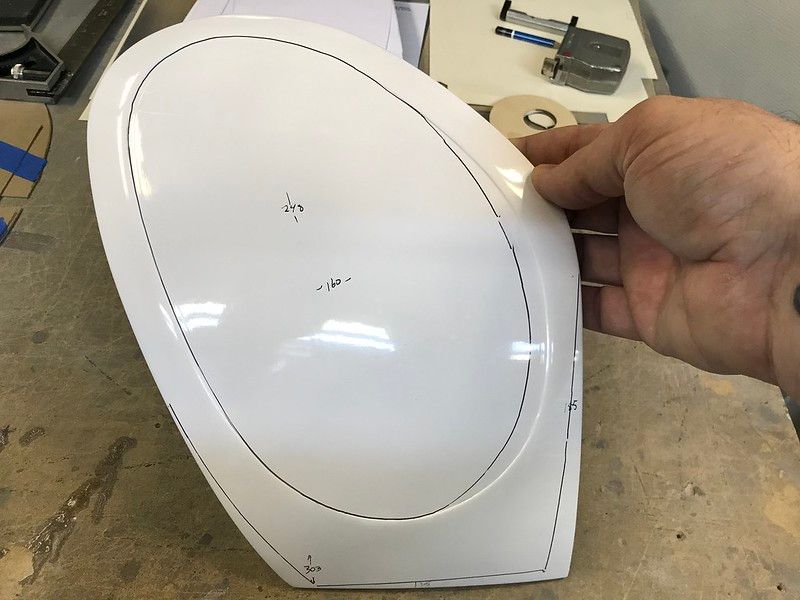
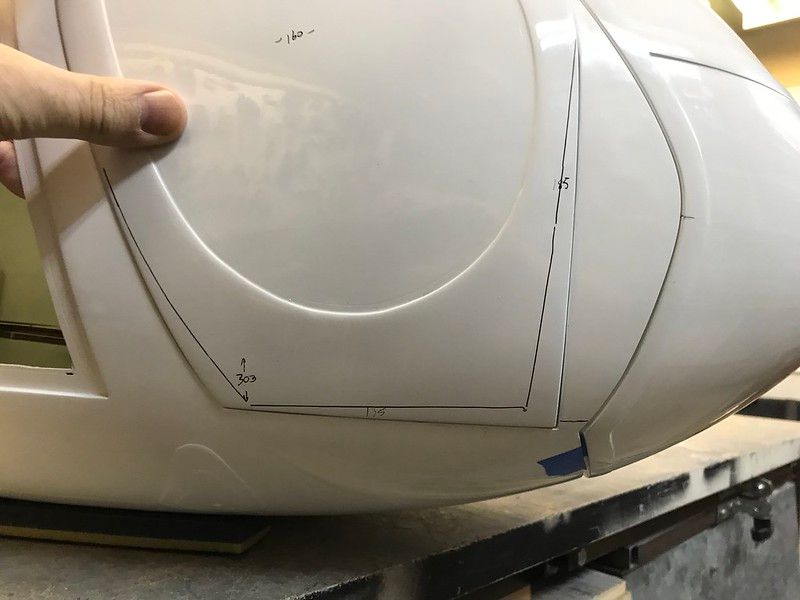
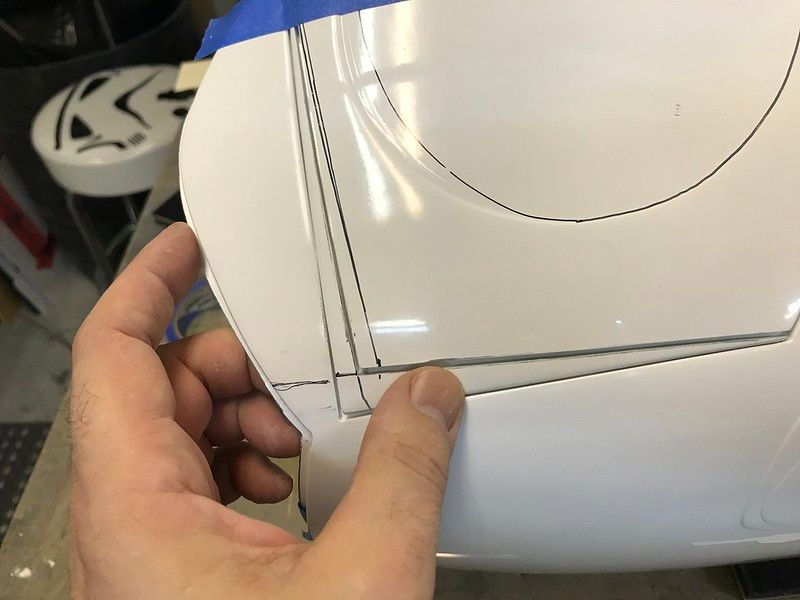
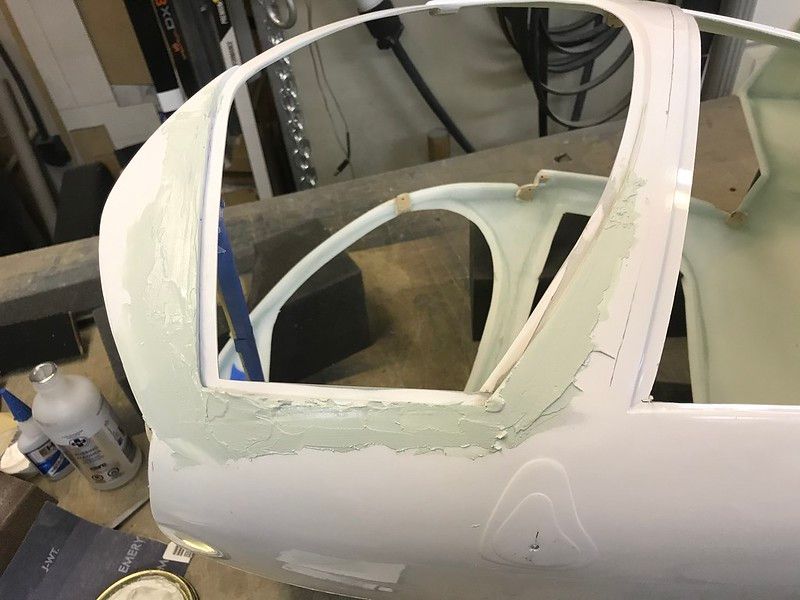
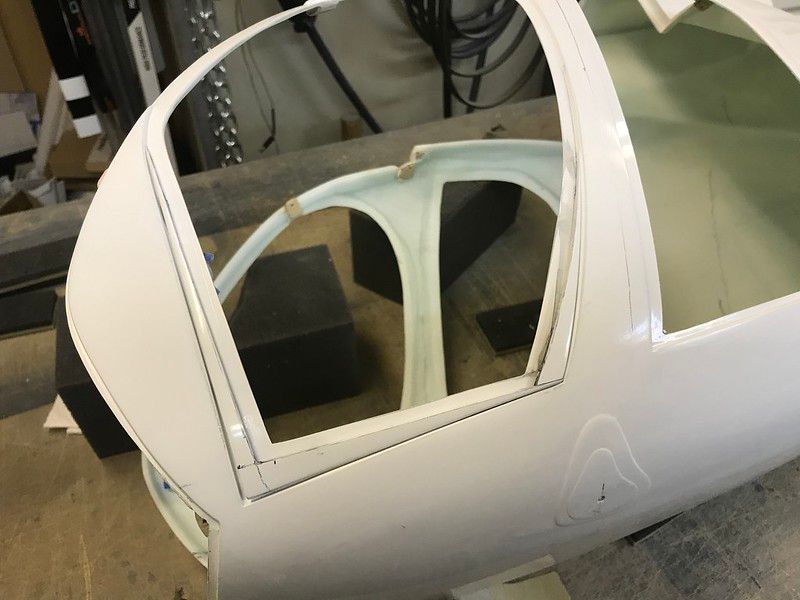
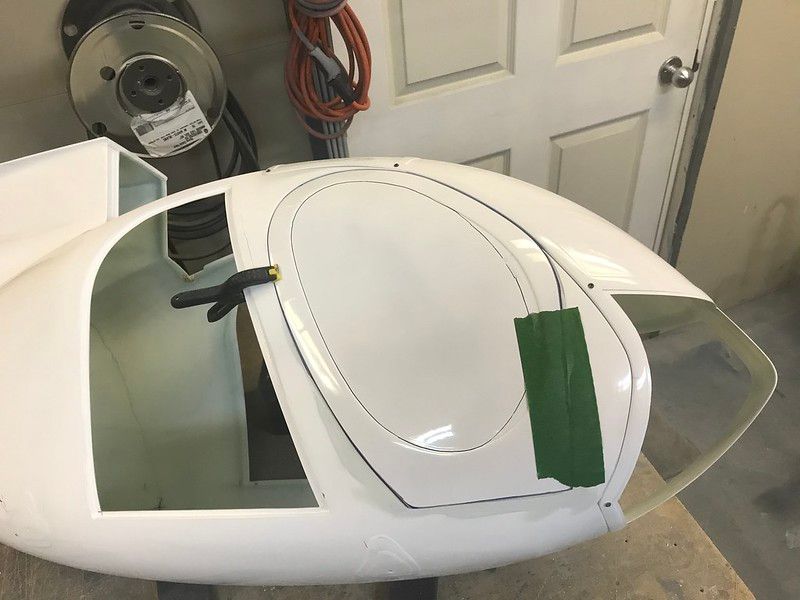
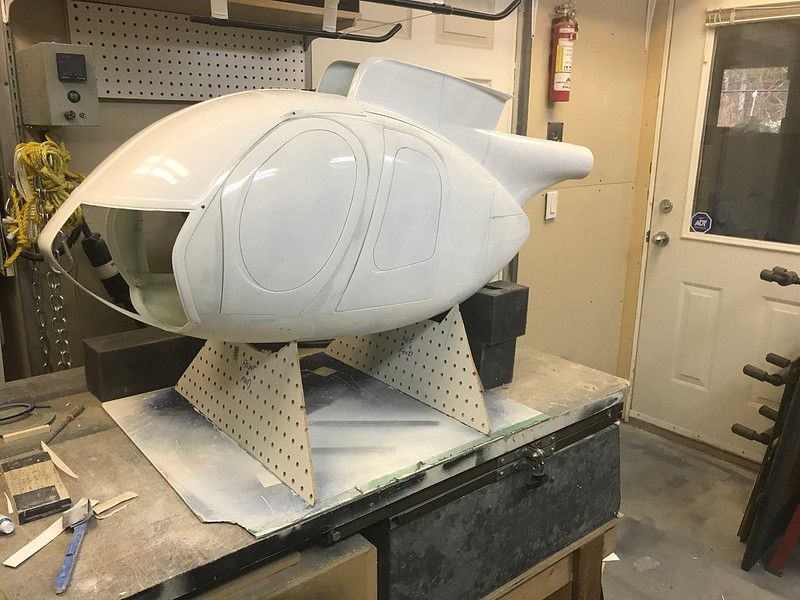
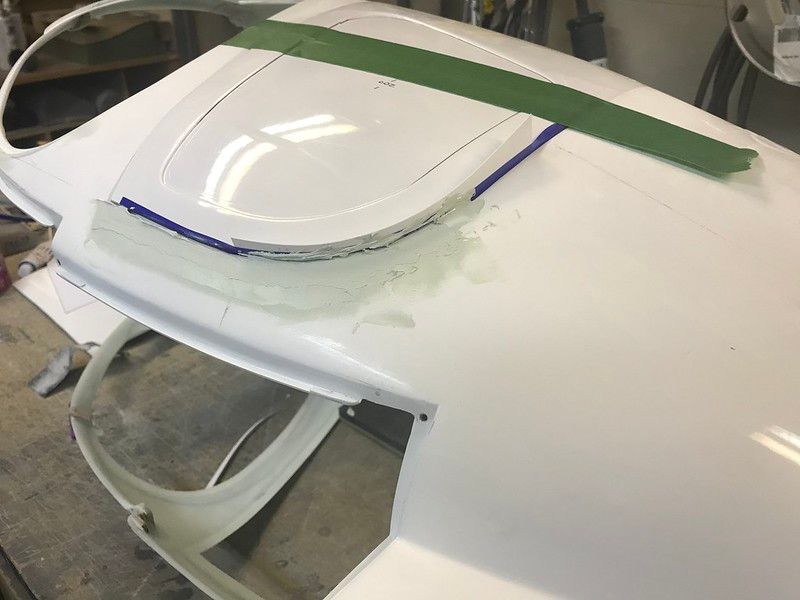
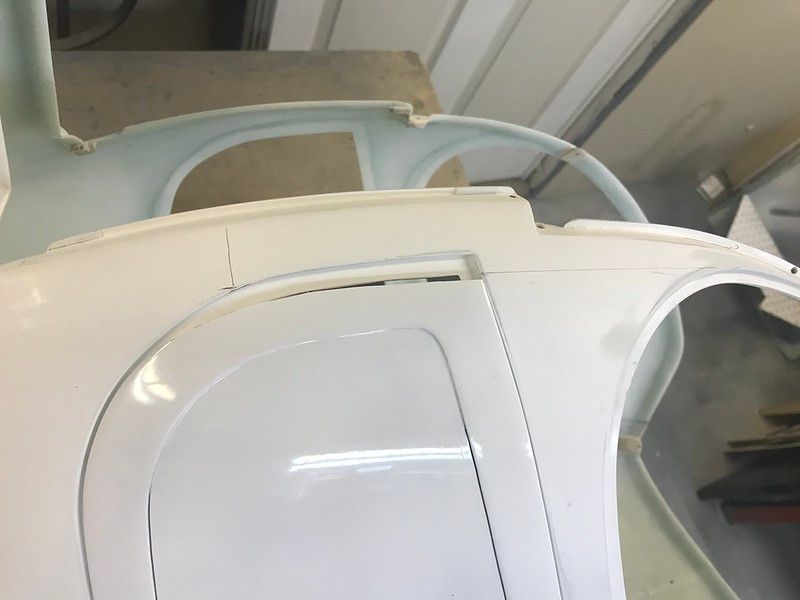
Like many other scale fuselages the Vario is close but not quite perfect in it's depiction of the real thing. One of the first items to address was the doors.
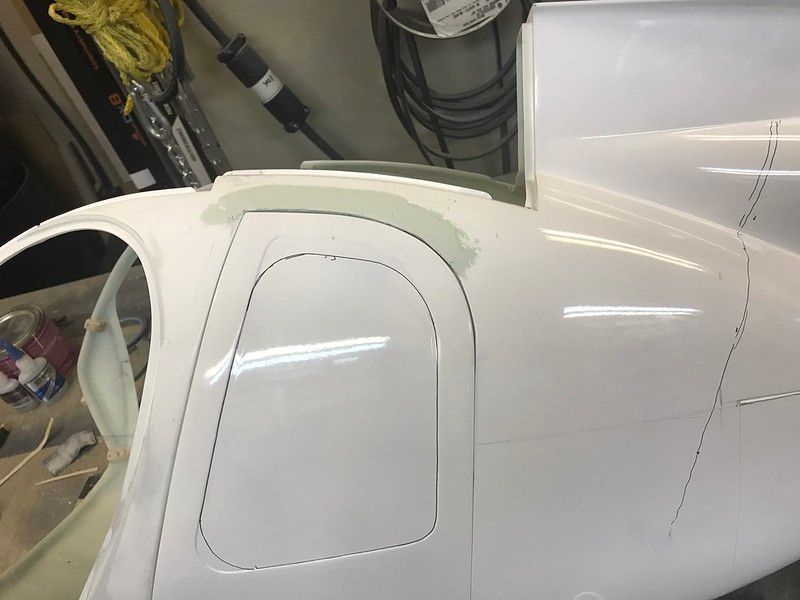
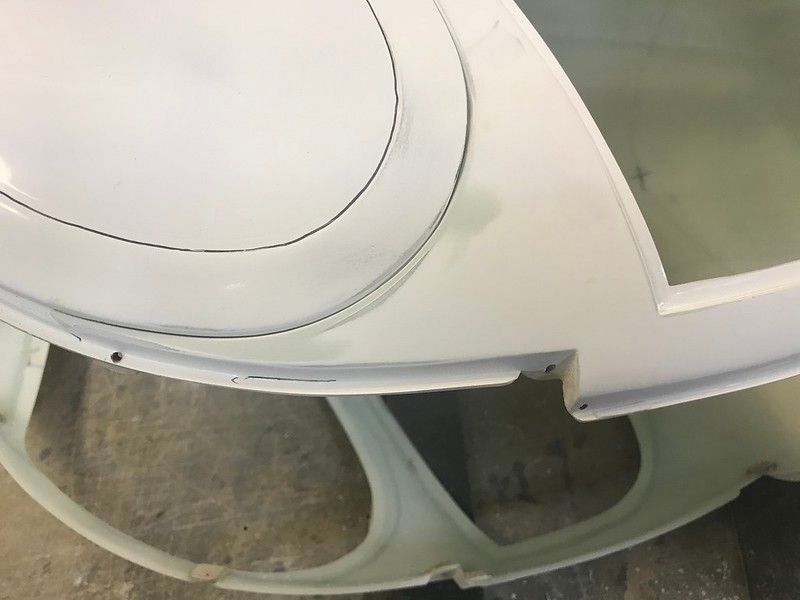
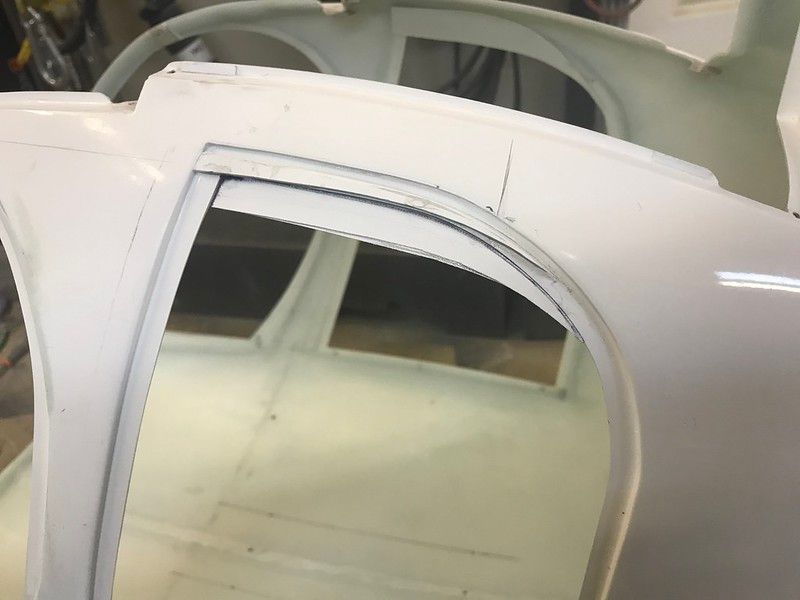
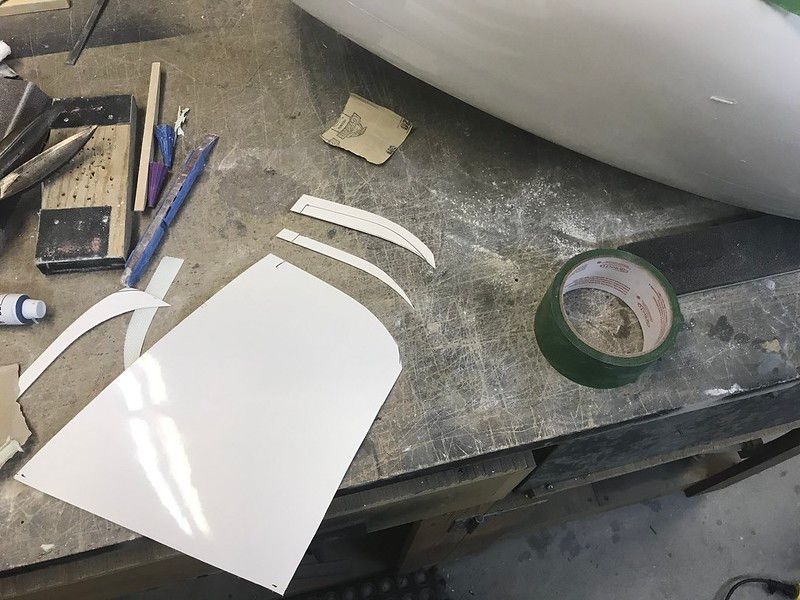
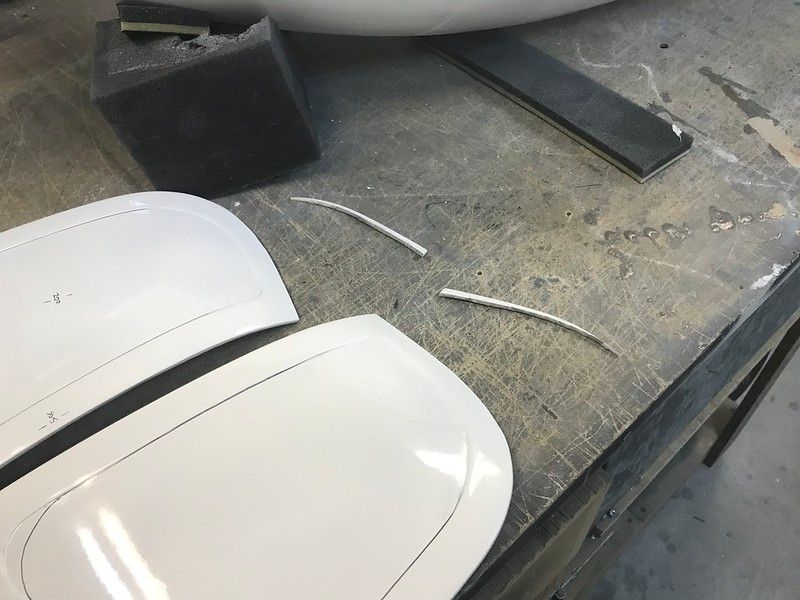
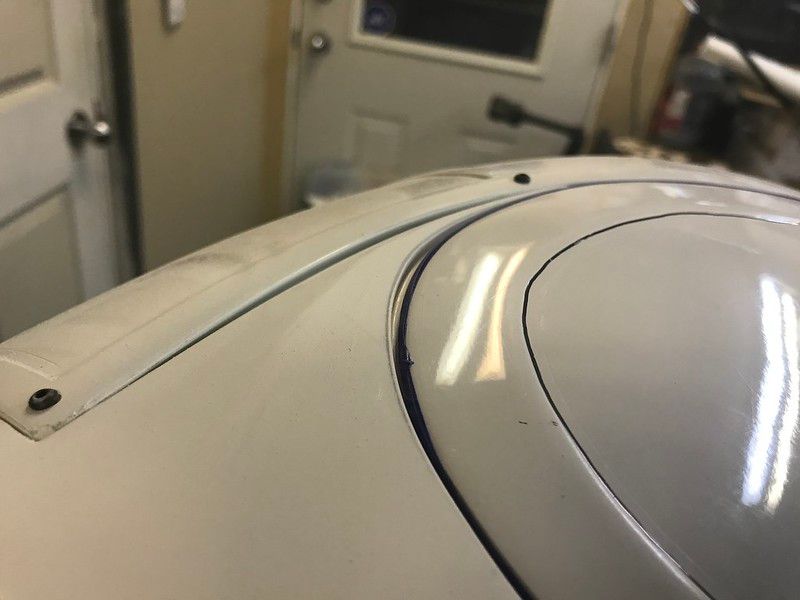
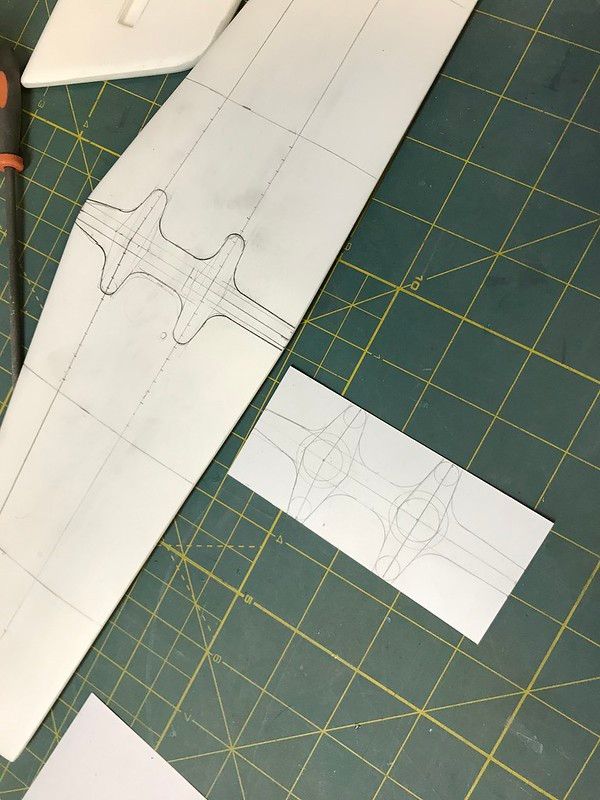
Using photos from online, as well as measurements of the real heli, I made up templates and marked up the doors.
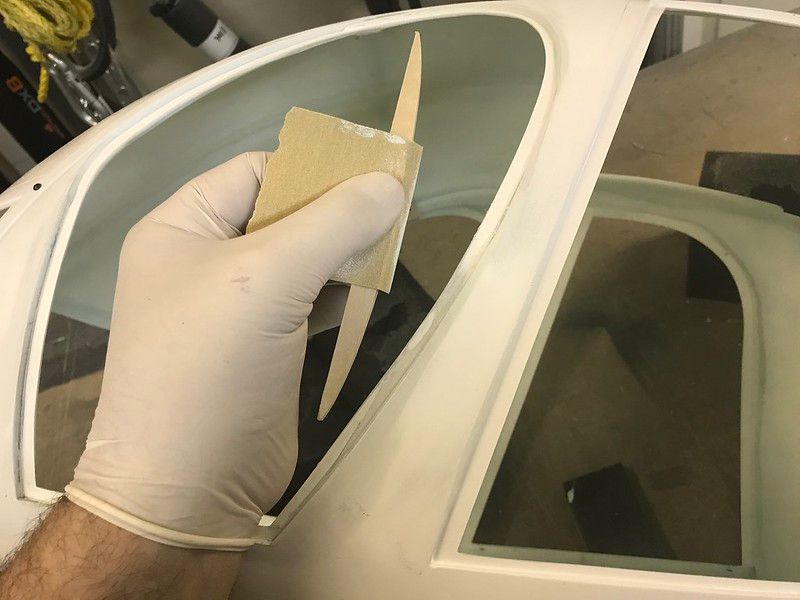
The pieces cut form the doors would be added to the door frames then filled and sanded.
Fuselgae Mods: Tail
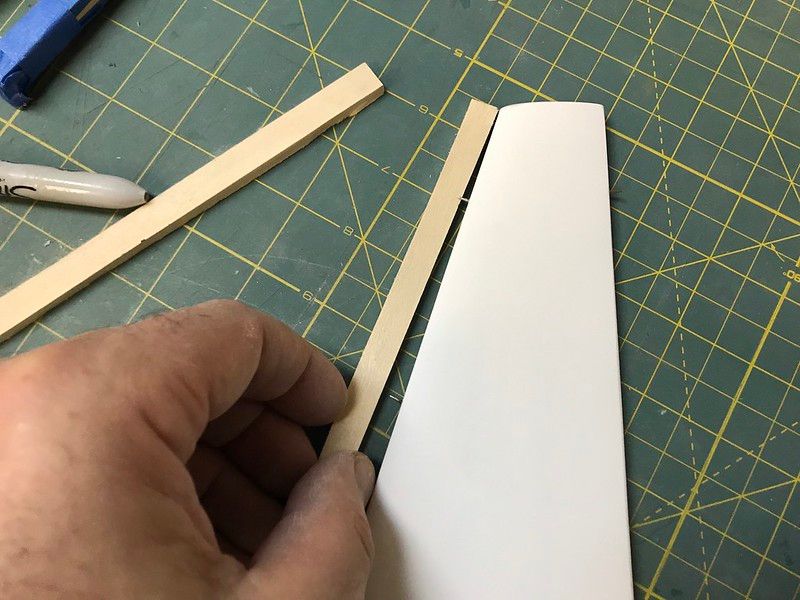
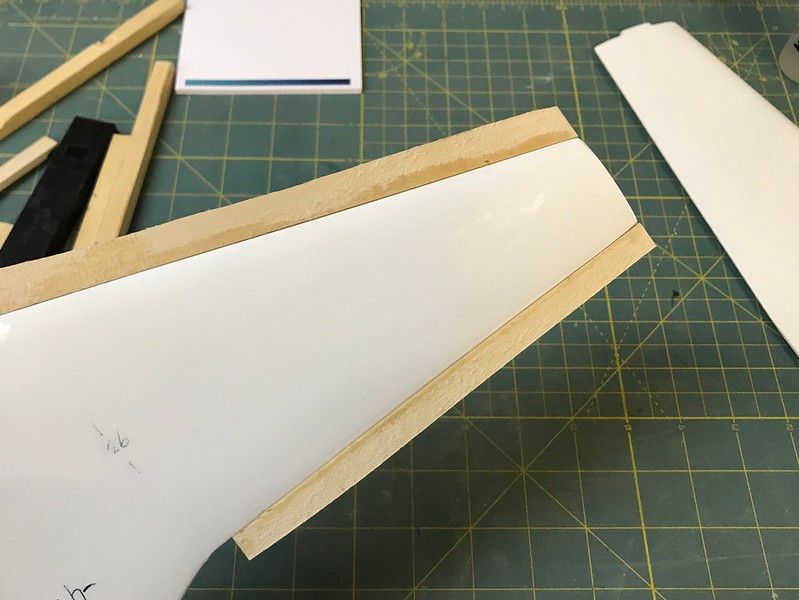
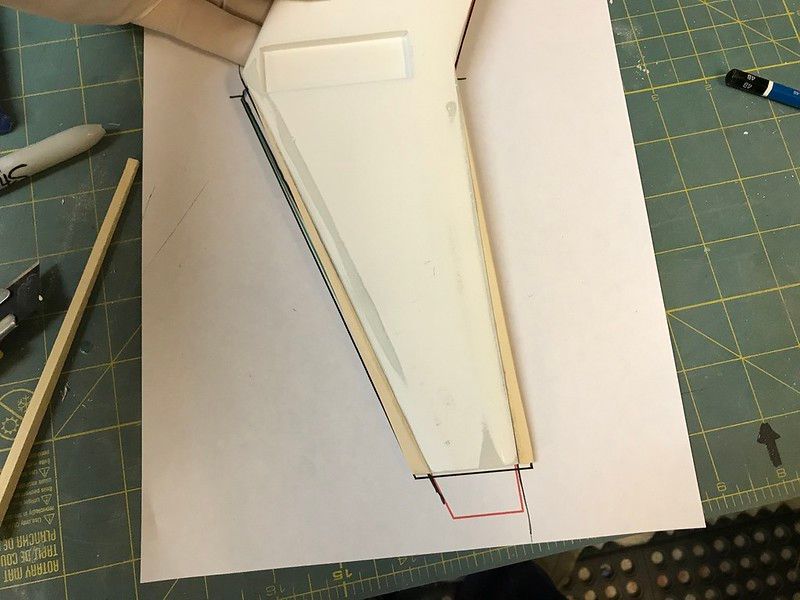
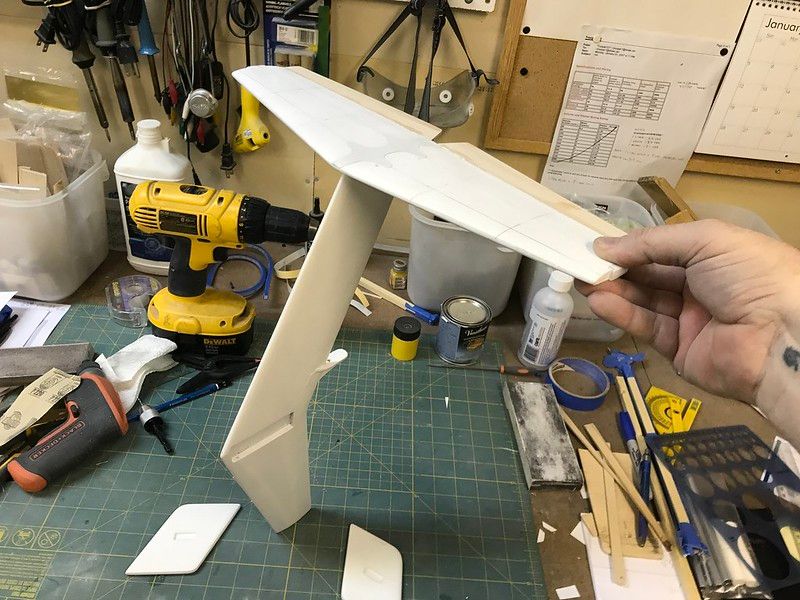
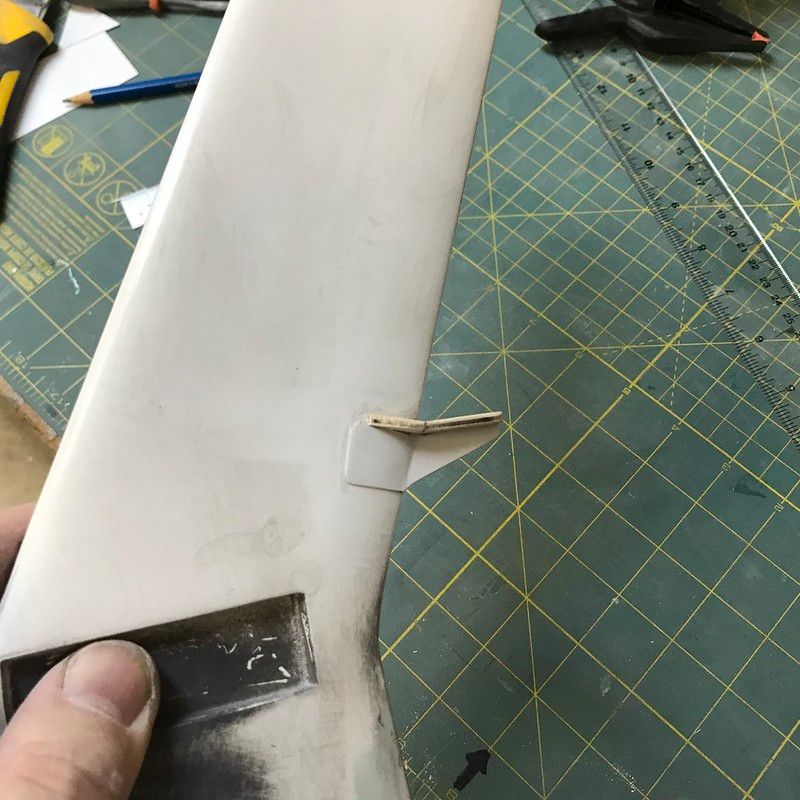
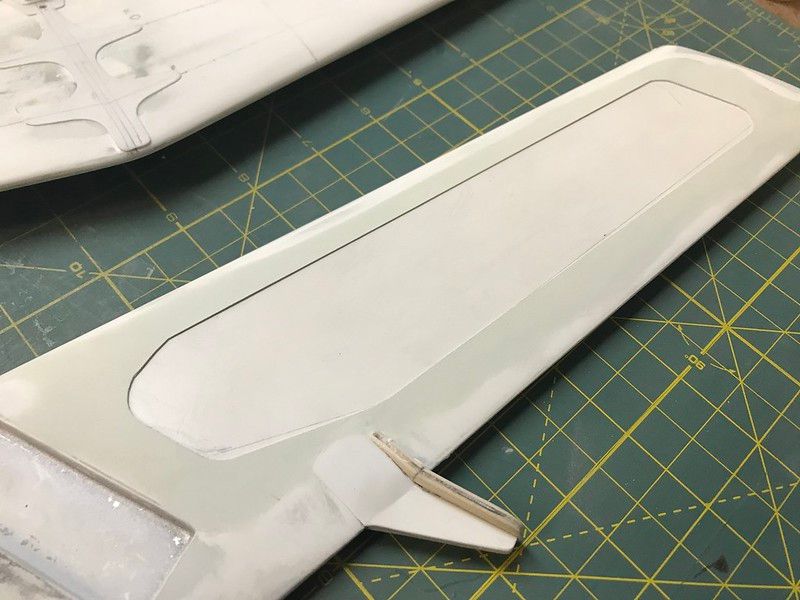
The vertical stabilizer is not very accurate at all in profile.
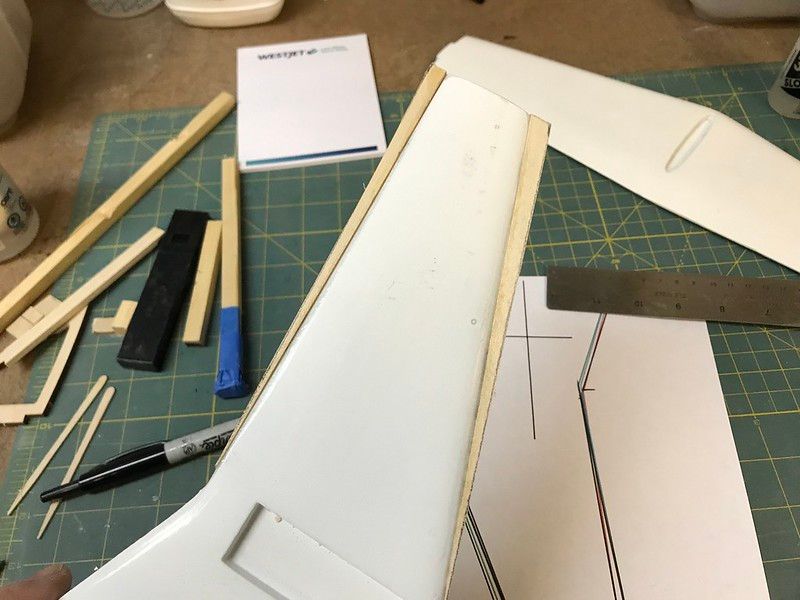
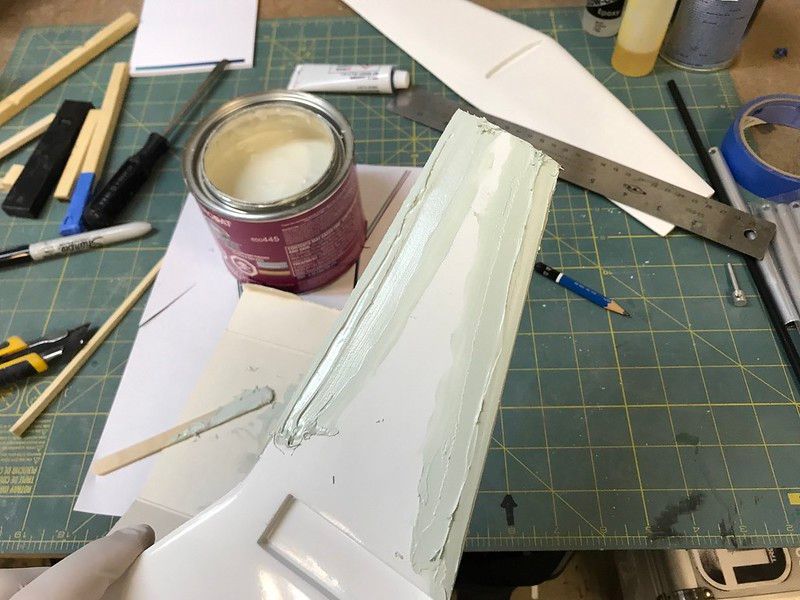
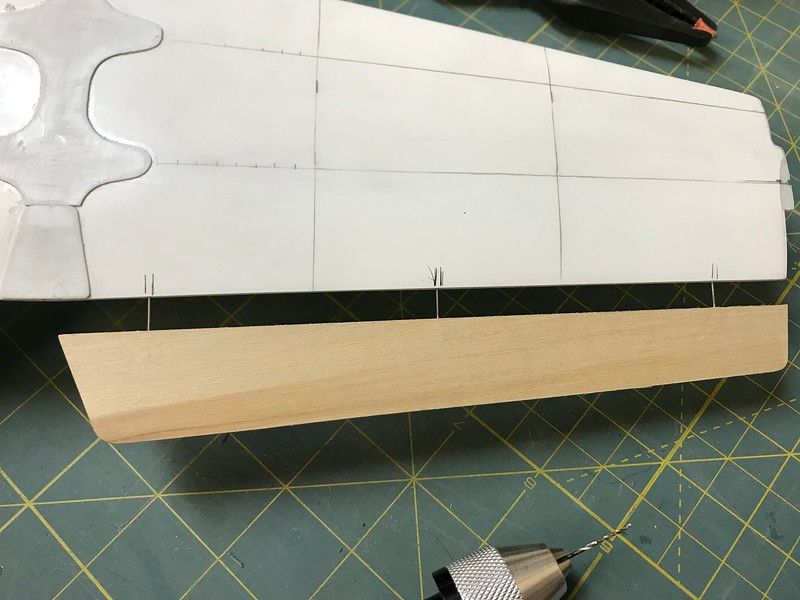
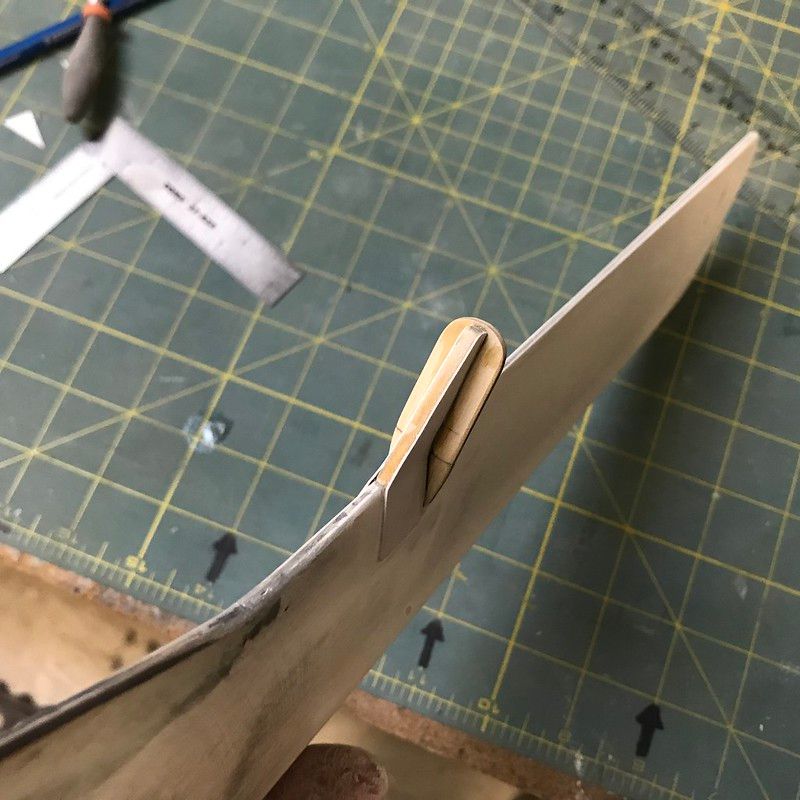
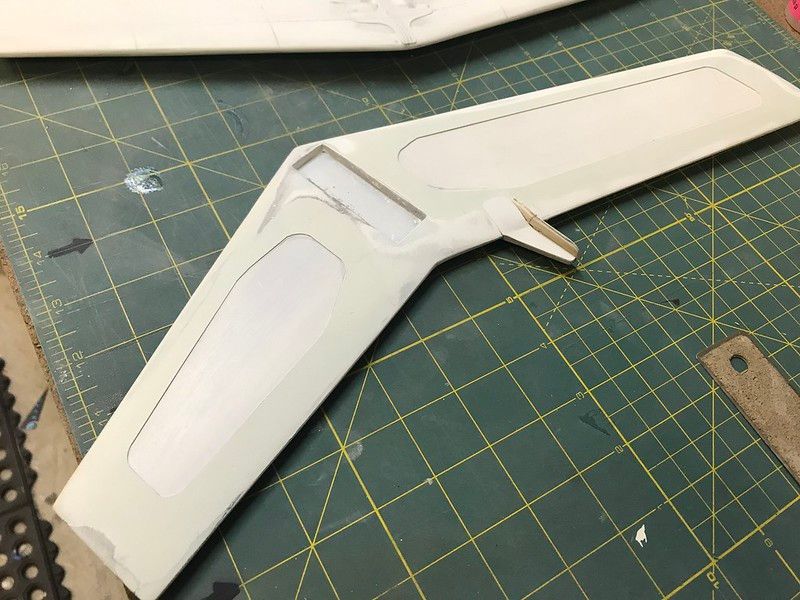
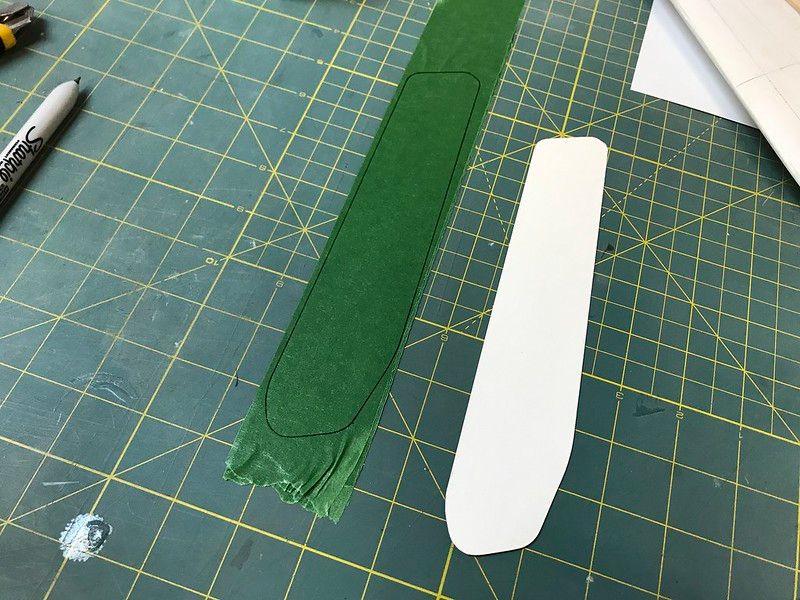
Like the doors, I drew up a template then cut Balsa wood parts to correct the profile. The wood bits were attached to the leading and trailing edges using small pins and medium CA glue. Using a polyester (lighter than Bondo) body filler, I filled and sanded accordingly.
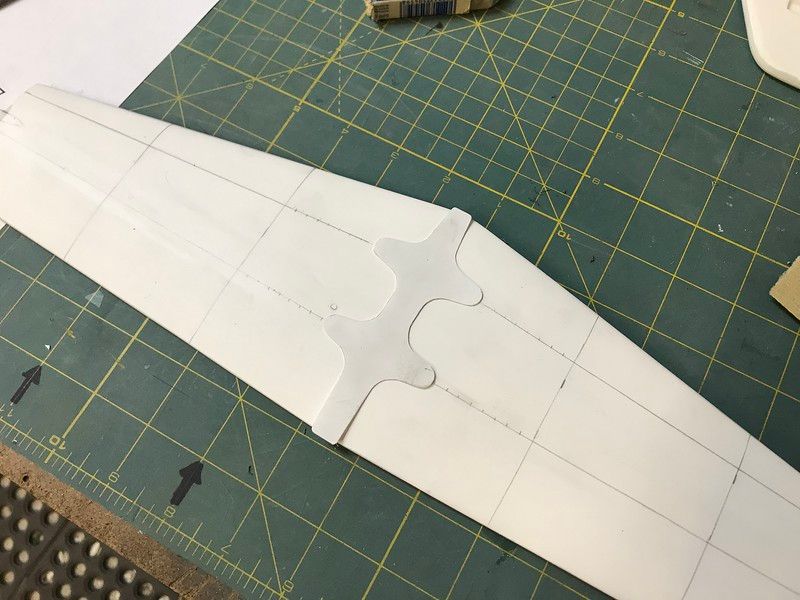
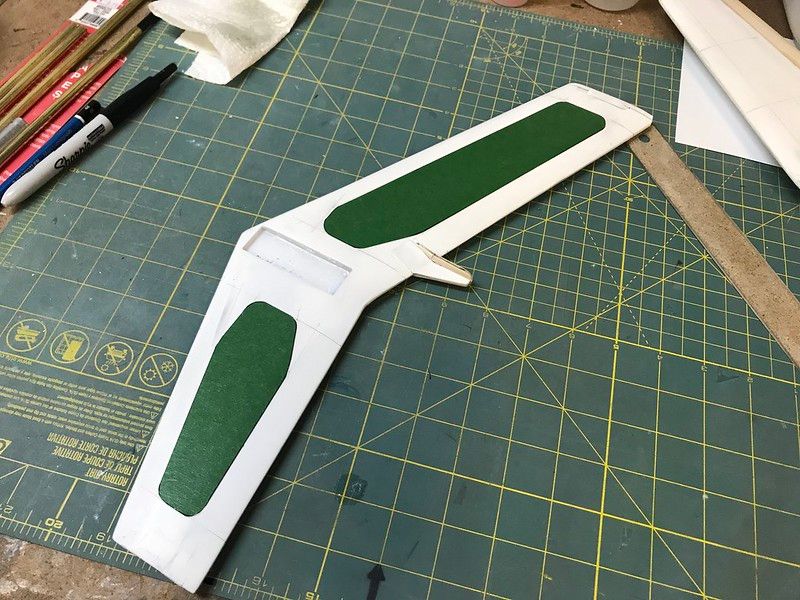
The create the 'indented' panel lines feature of the vertical stab I drew up a template then traced it onto three layers of masking tape. The tape was placed on the tail and the body filler spread across the the edges then sanded flush.
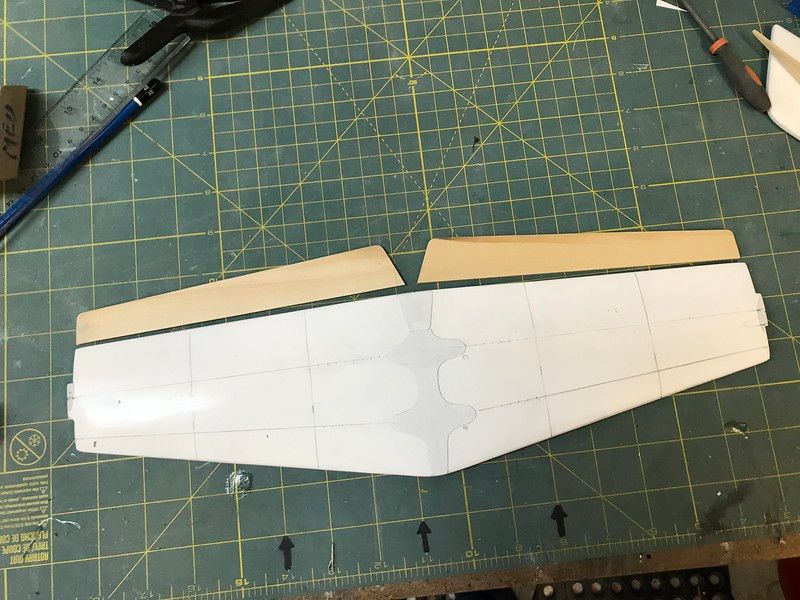
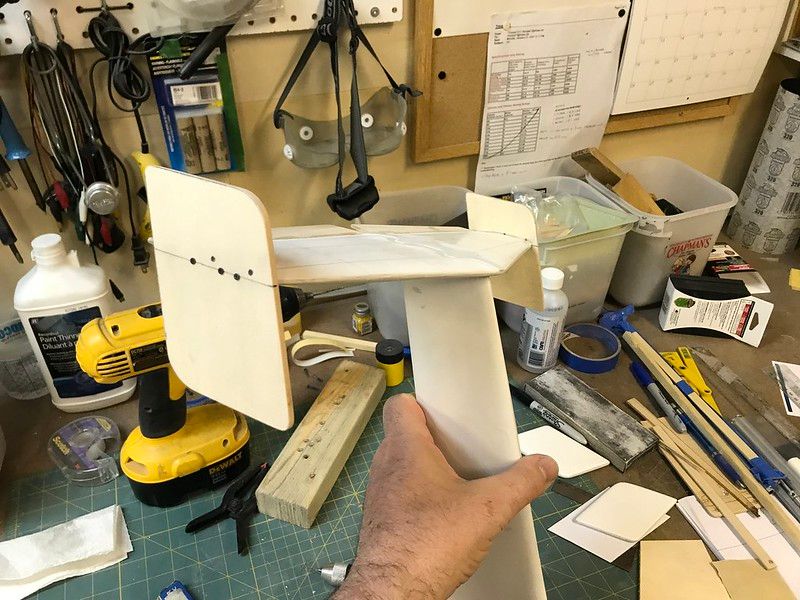
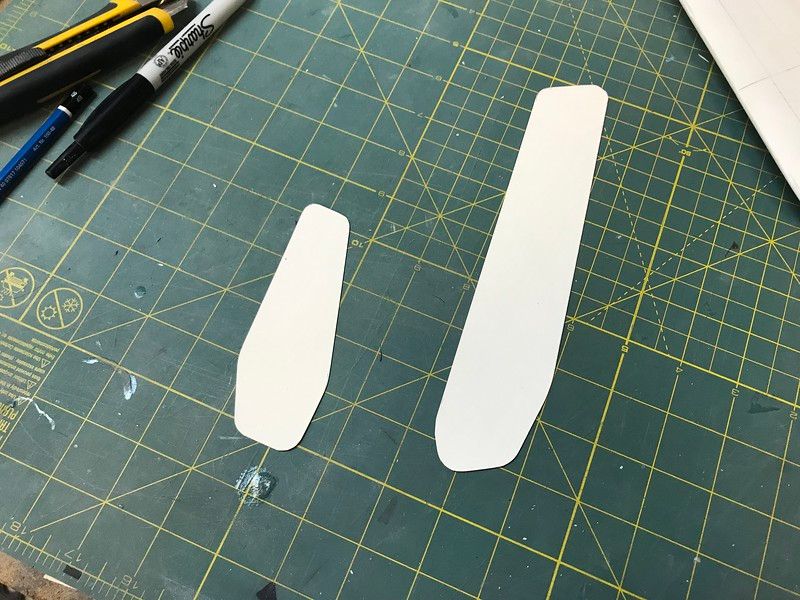
The Horizontal stab needed the trailing edge fins attached. These were attached the dame as the Vertical stab bits with pins and CA glue.
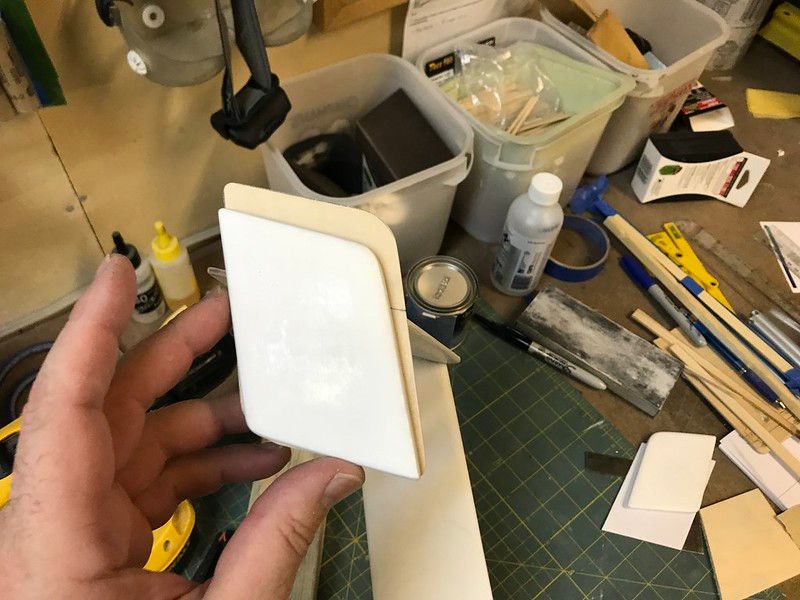
The 'Fins' on the tips of the Horizontal stab that came from Vario were also slightly incorrect in size and were replaced using 2mm hobby ply.
Struts
Jumping around on tasks a bit.
I decided to revisit the gear struts design.
On my first Vario 1/5 MD500E I spent a ton of time researching to try and get the correct placement and angles of the struts (as Vario is a little off in both respects). I believe I came pretty darn close.
The problem is the 8mm CF struts, even with an additional 4mm CF rod down their center, they flex quite a bit under the 30 lbs weight of the heli resulting in the rear skids spreading 1" to 1.25" wider than planned.
The front skids are fine as there is much less weight on their end and are a little shorter.
So I found some 8mm Stainless Steel tube on Amazon 300mm in length which about perfect for the rear struts. Cost $6.50USD each.
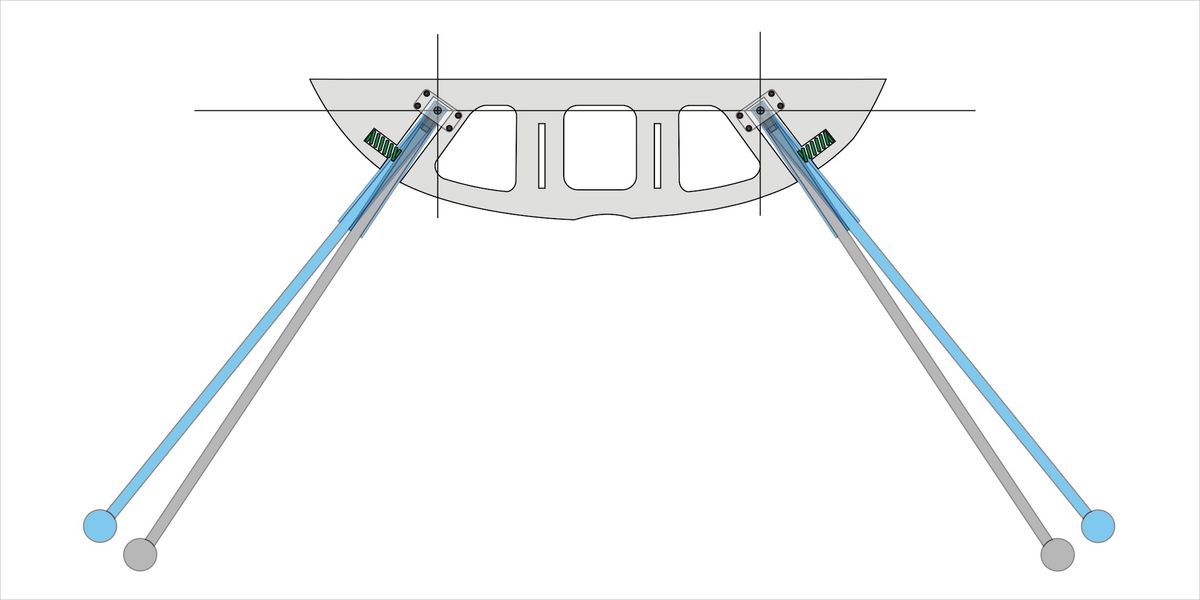
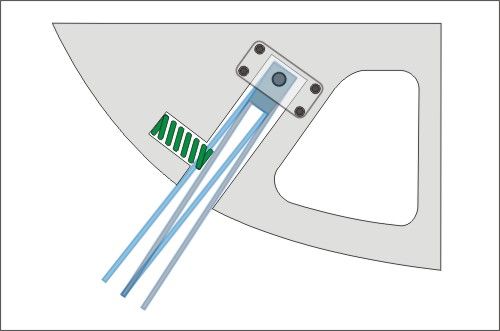
As well I'm monkeying around with having them move from the 'ground' position to a 'flight' position like the real ones.
They wont be true shock absorbers the springs will simply hold the struts in the 'flight' position.
Tricky part will be getting the precision in mounting everything.
1 Comment
Great idea, Rob! I have the same heli. and yes, they do flex. Mine is electric so I’m sure it’s close to 30 lbs. and you seem to be on the right track. Looking forward to your experience with it.