

My build story of a UH-1Y 1/6
 Uwe B.
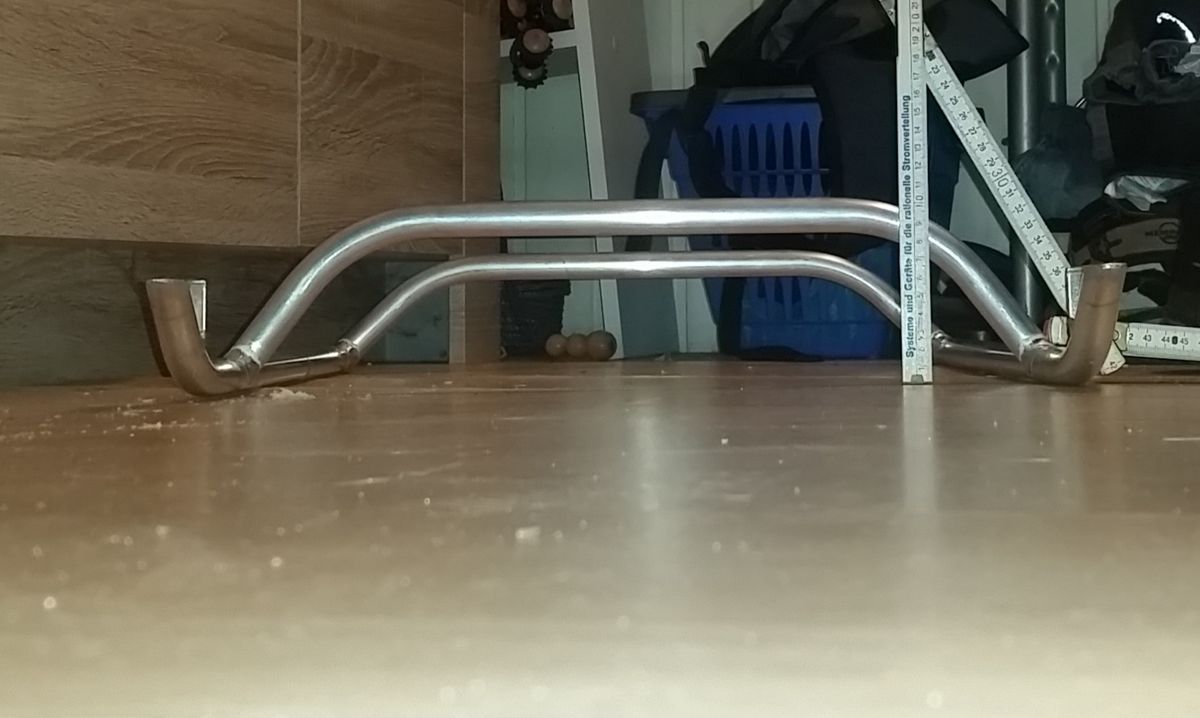
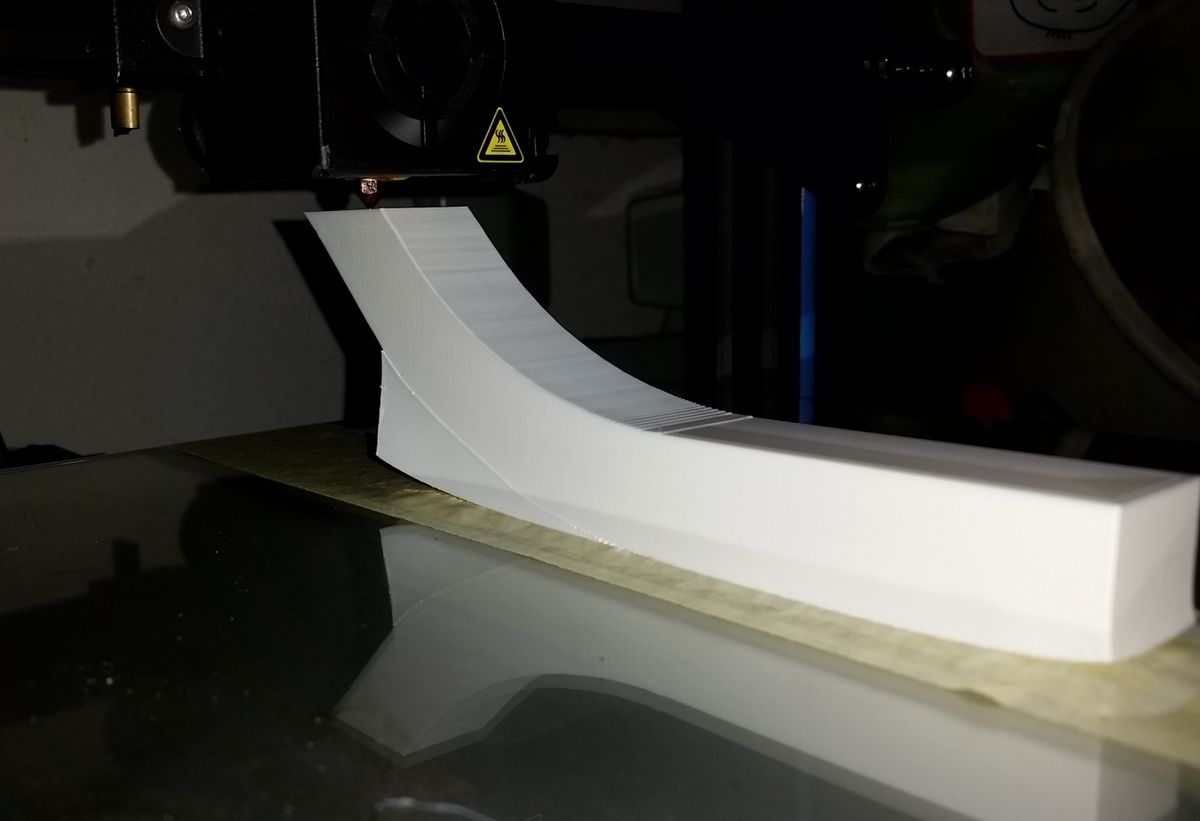
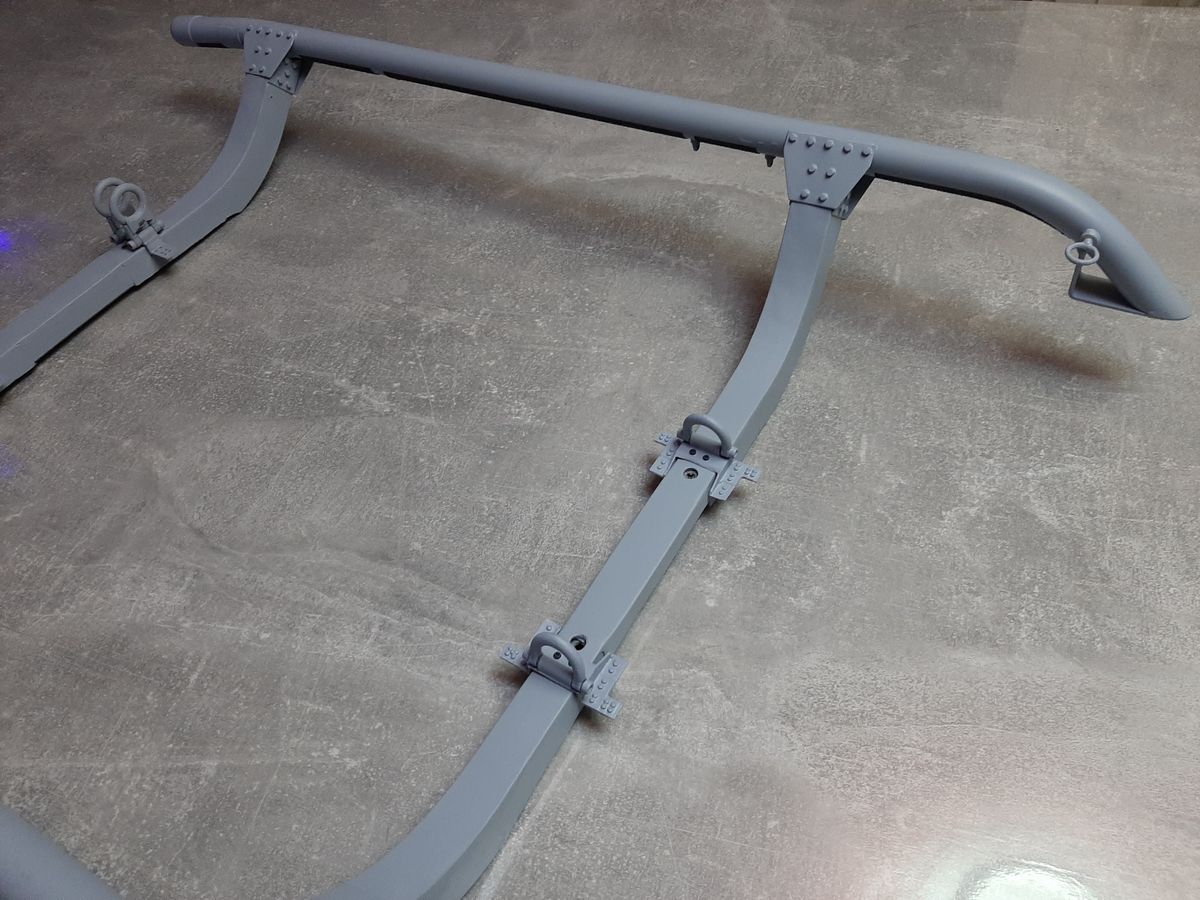
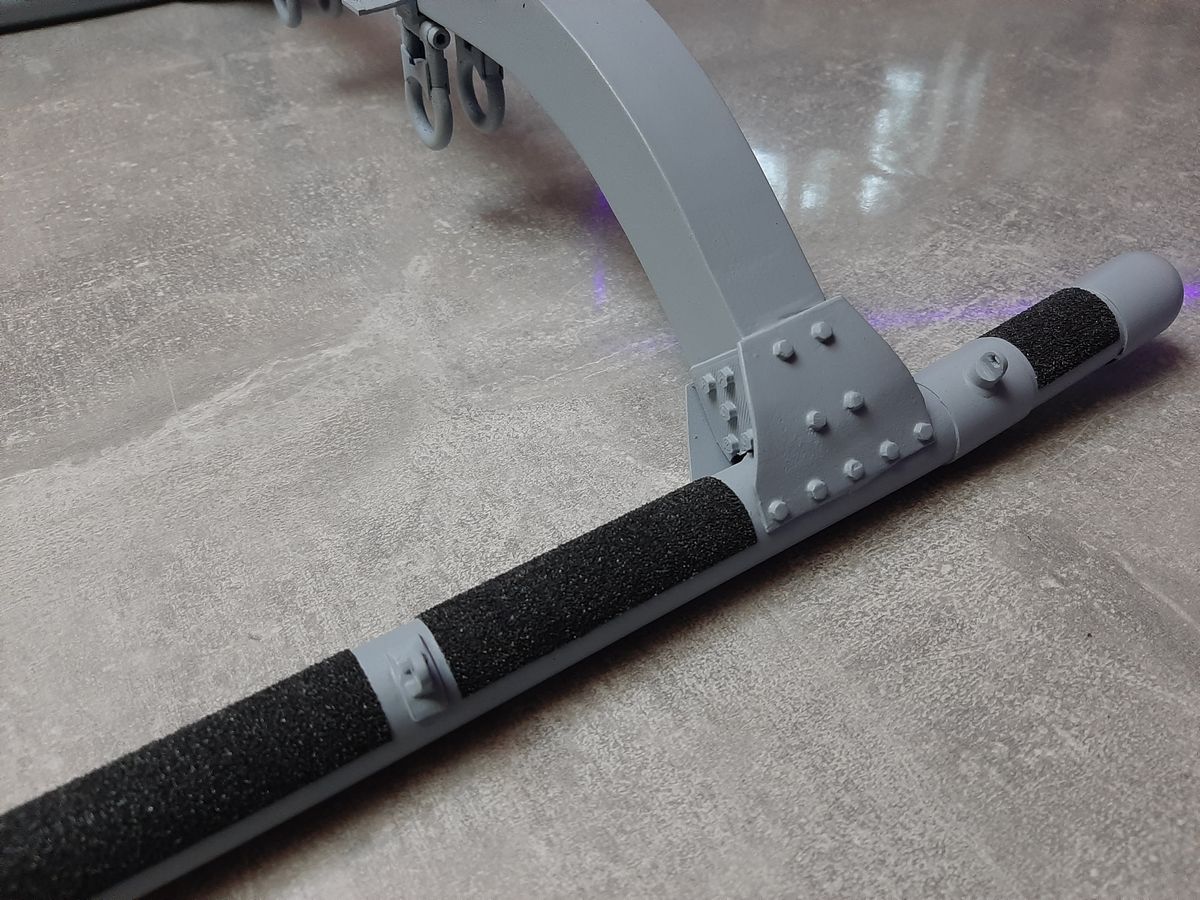
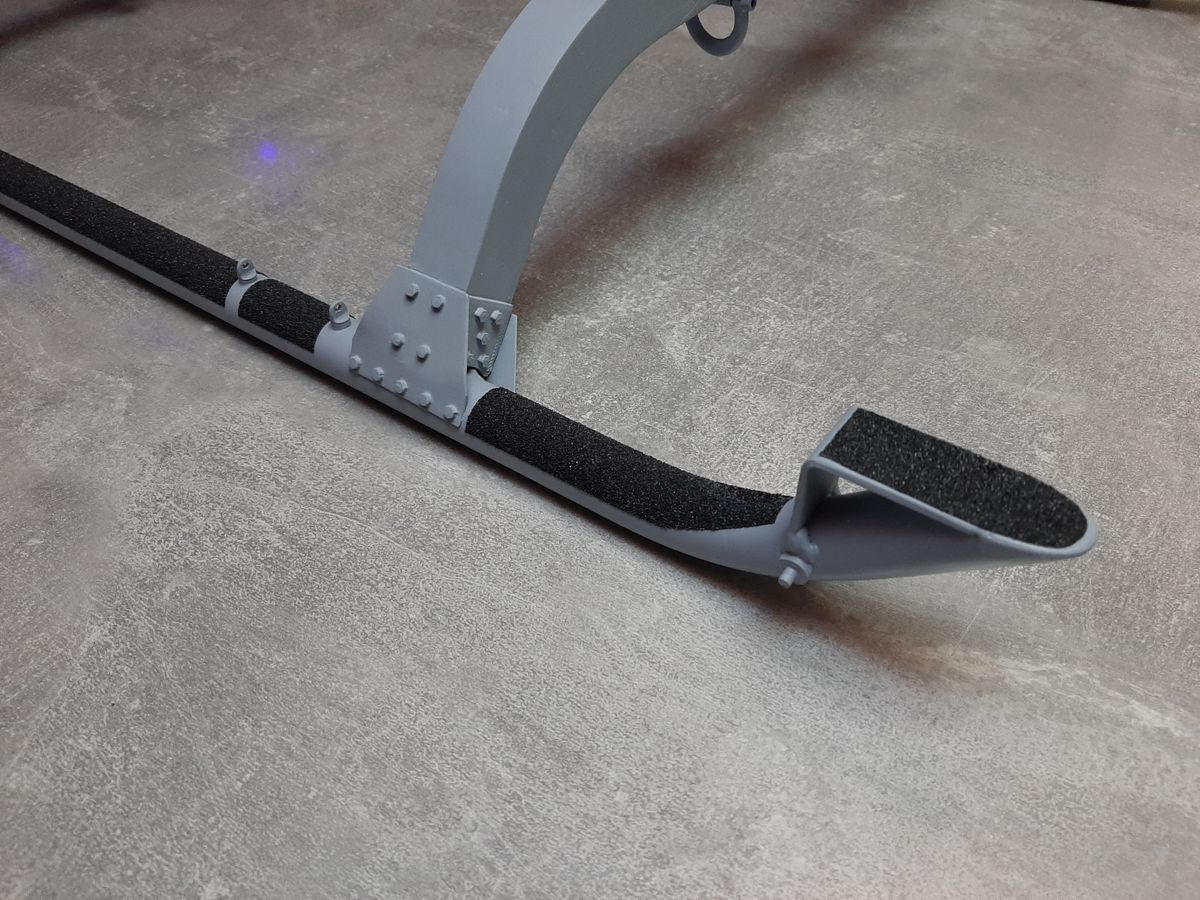
landing skids
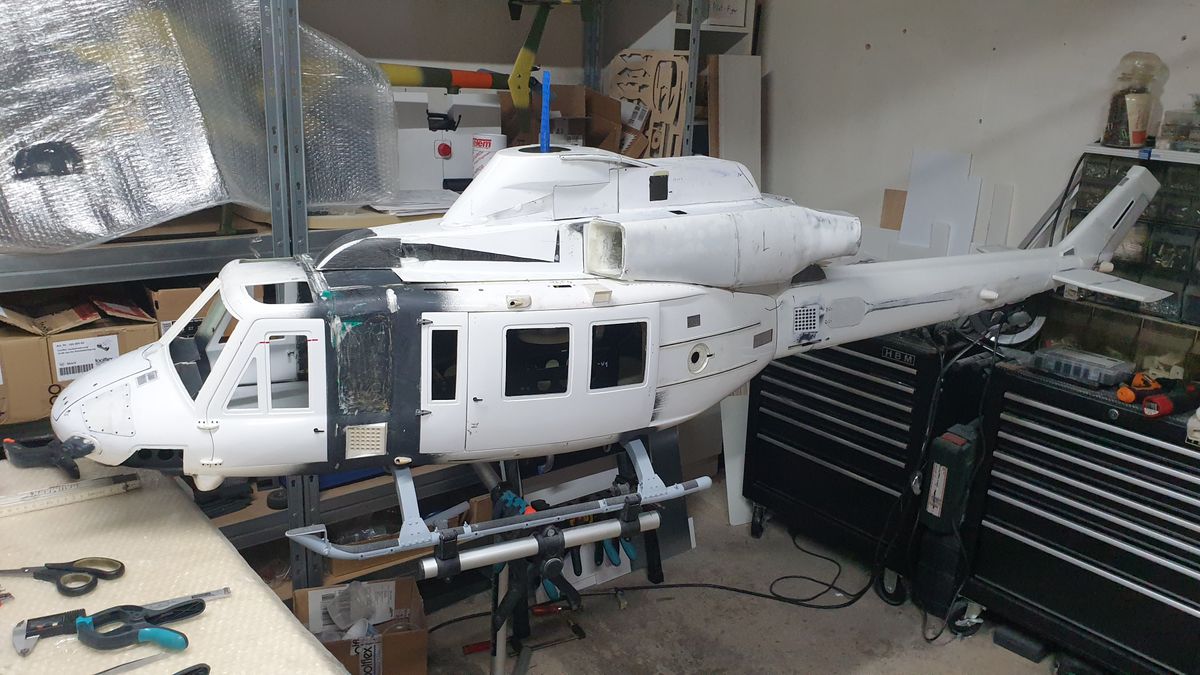
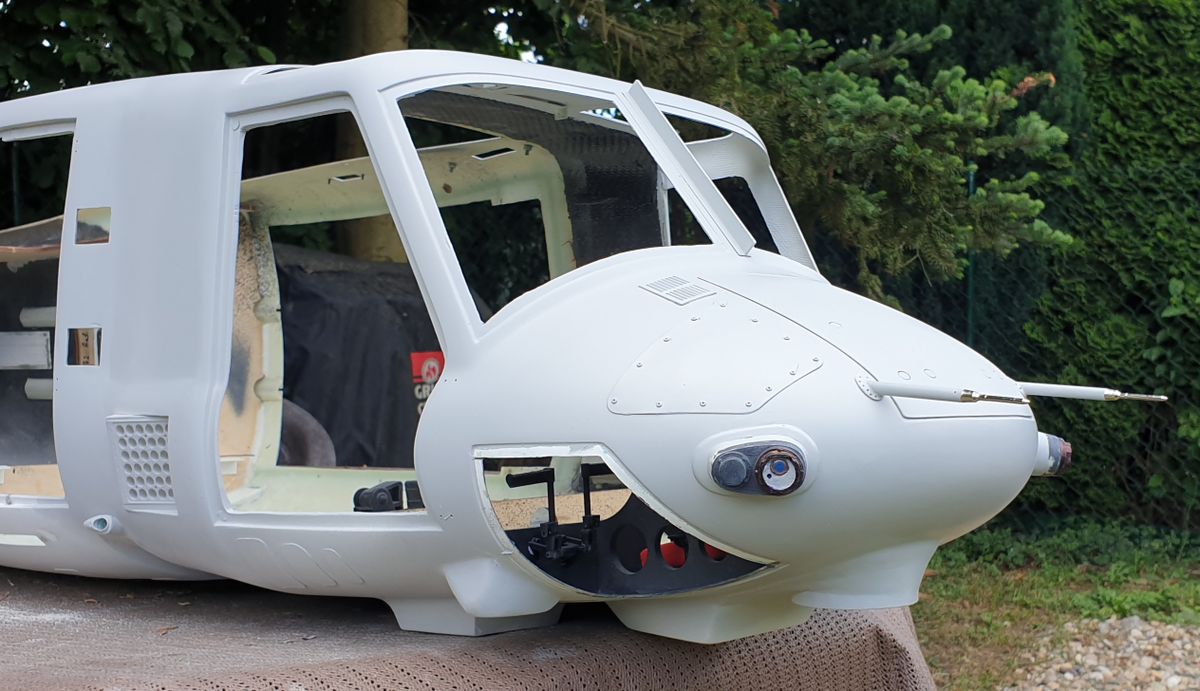
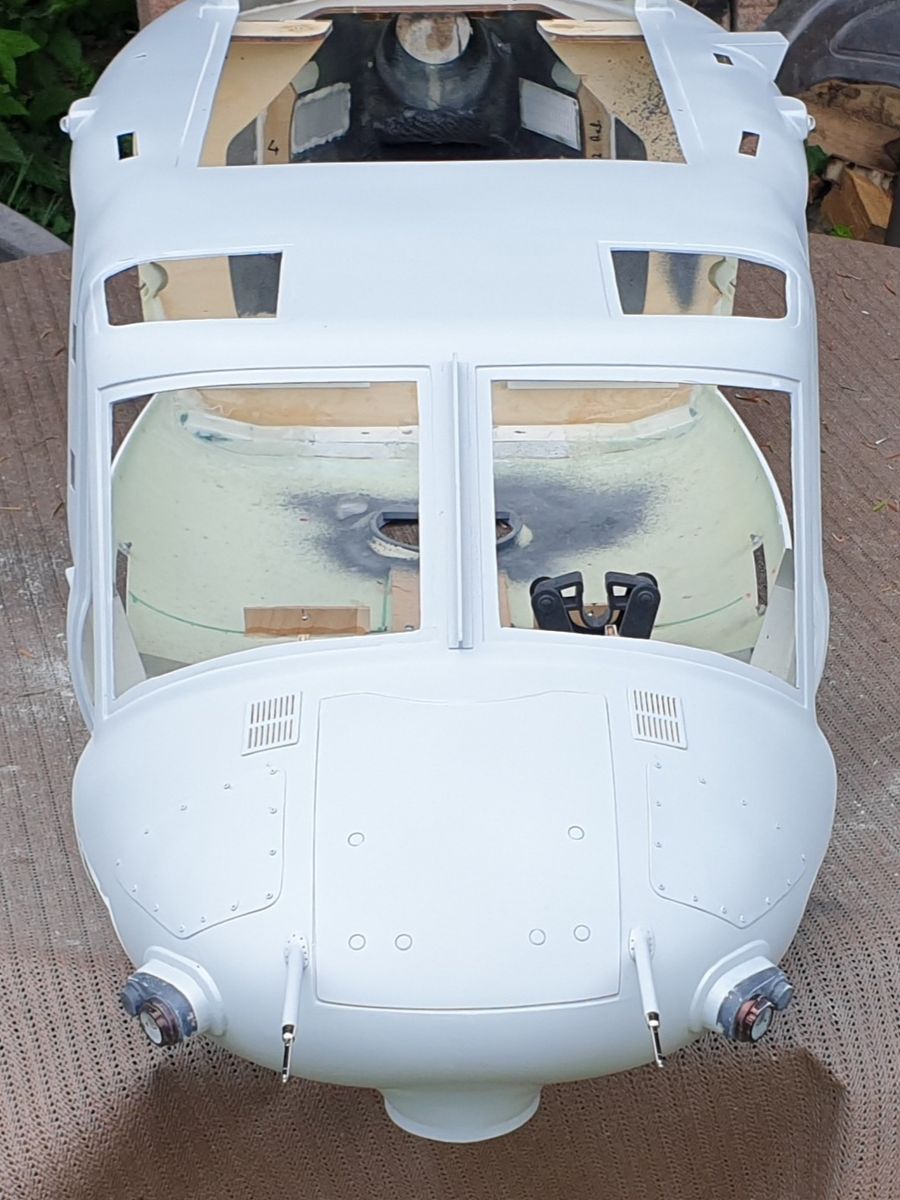
FIrst step measure, draw 3d, assemble and adjust. Then the fuselage needs to be prepared.
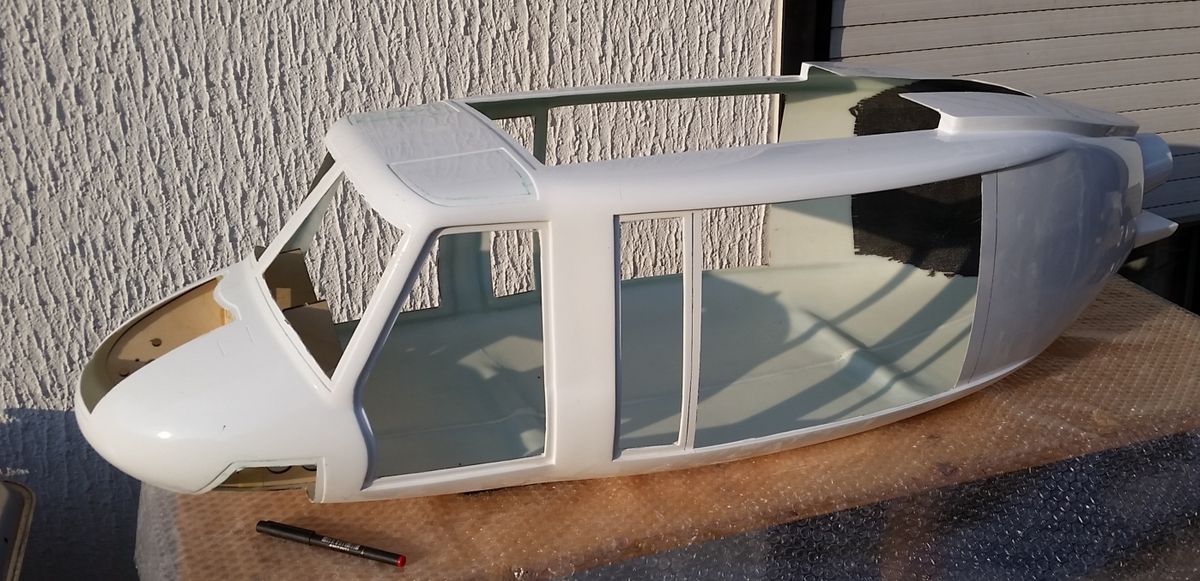
Fuselage stretching
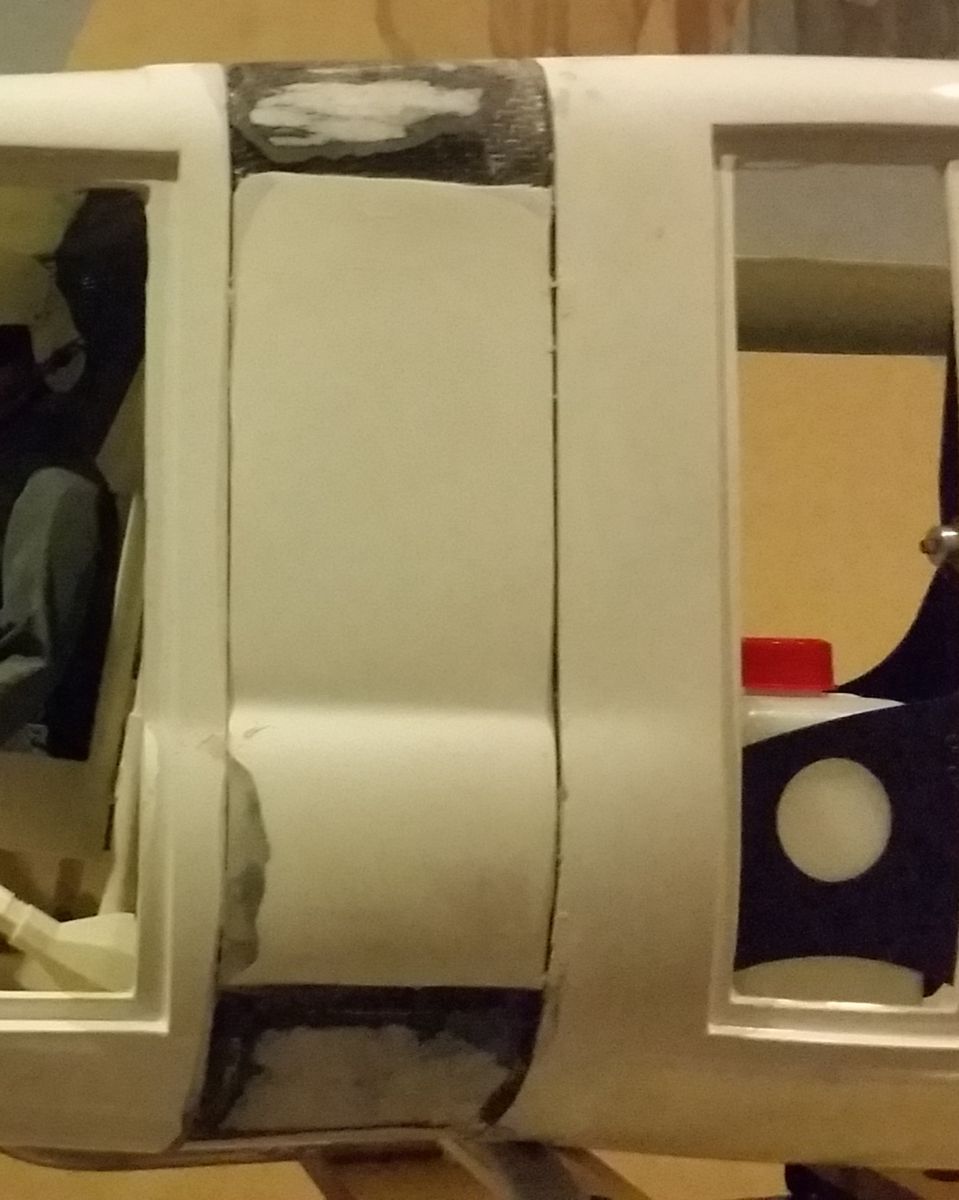
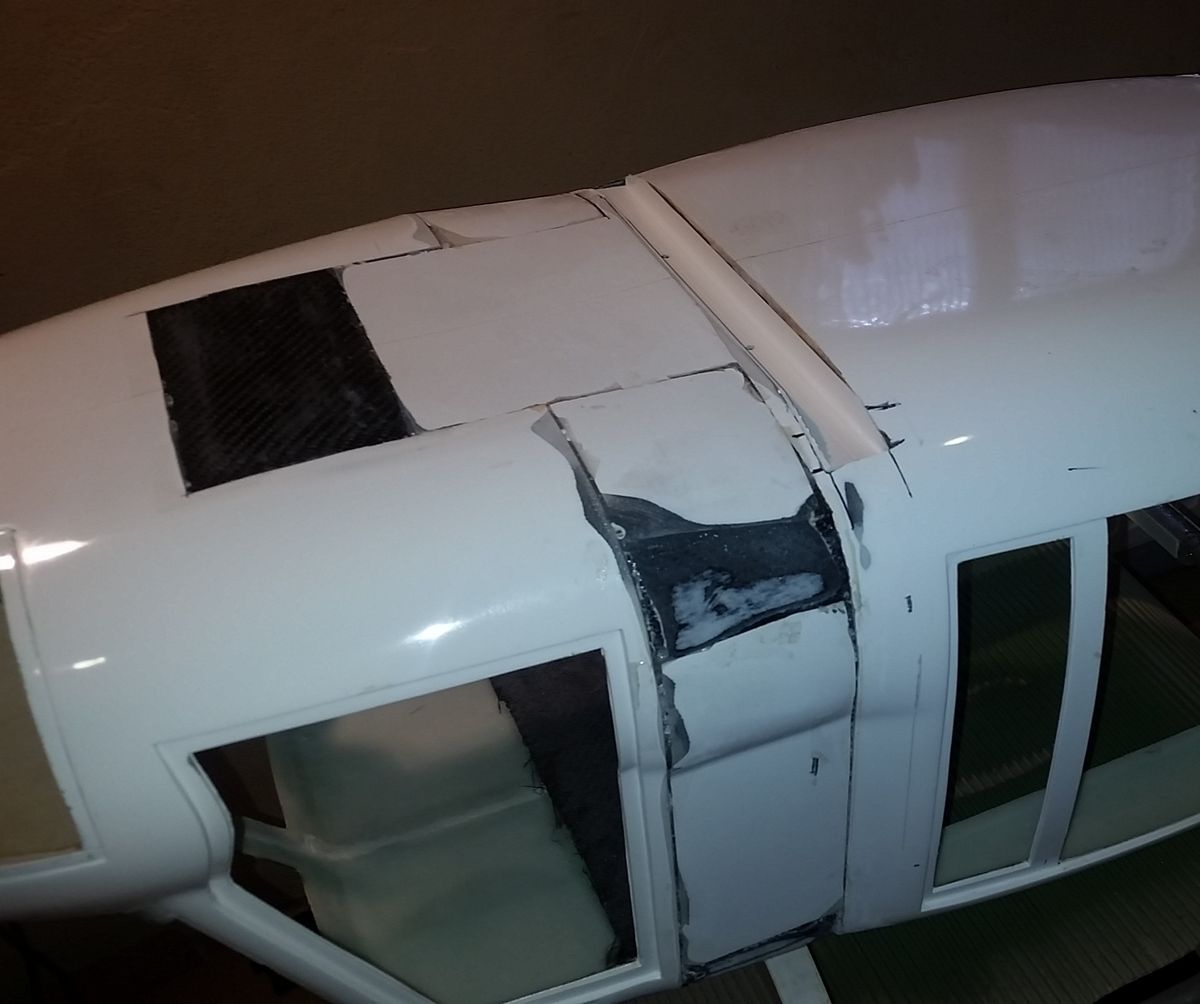
The UH-1Y replaced the UH-1N Twin Huey light utility helicopters and this variant modernizes the UH-1 design. A 21-inch (530 mm) fuselage extension just forward of the main door was added for more capacity.
It means I had to cut the fuselage "just forward of the main door" and lengthen it with carbon fiber about 80mm.
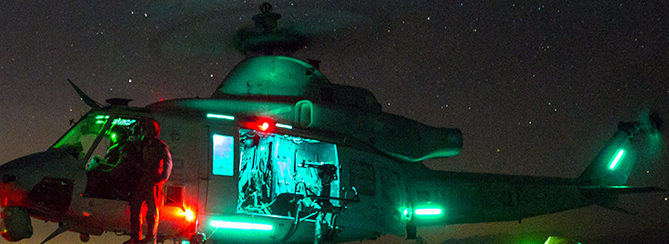
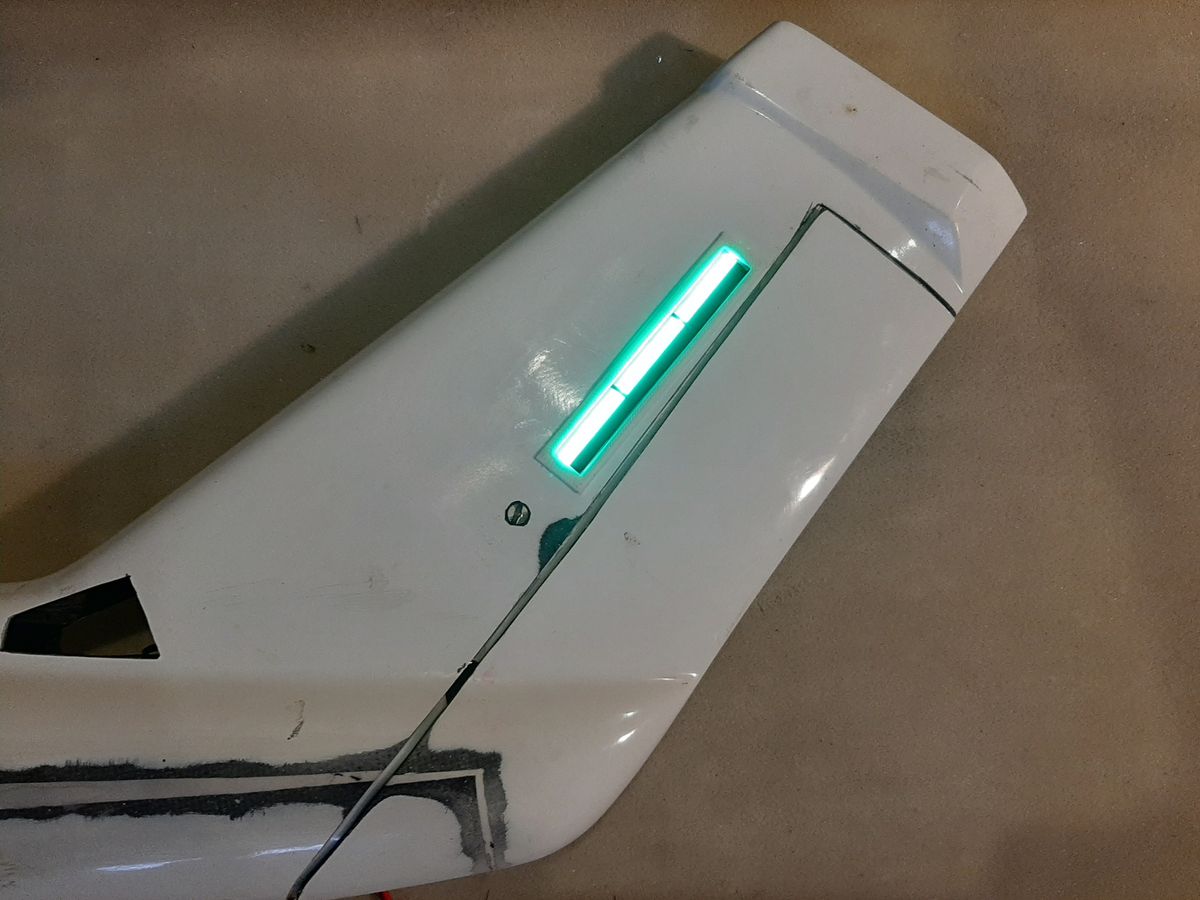
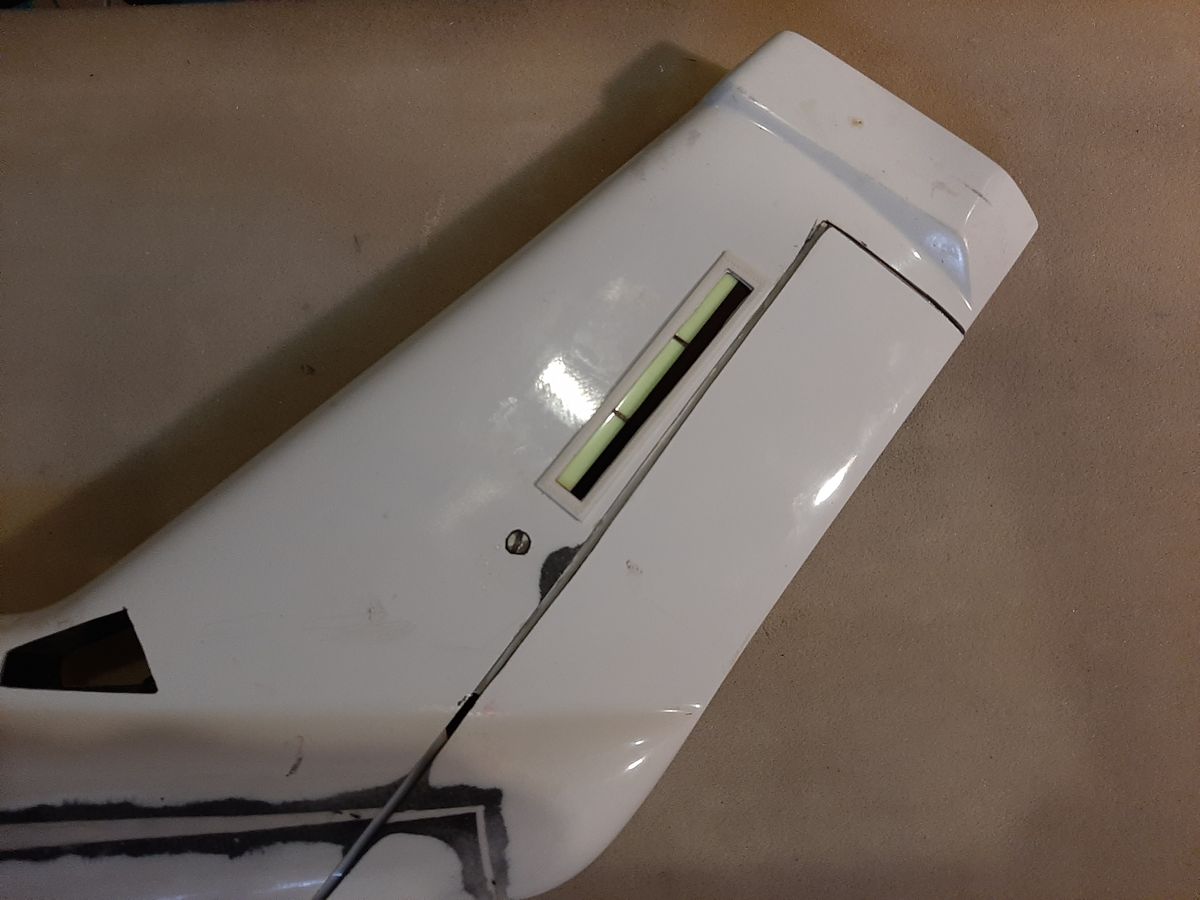
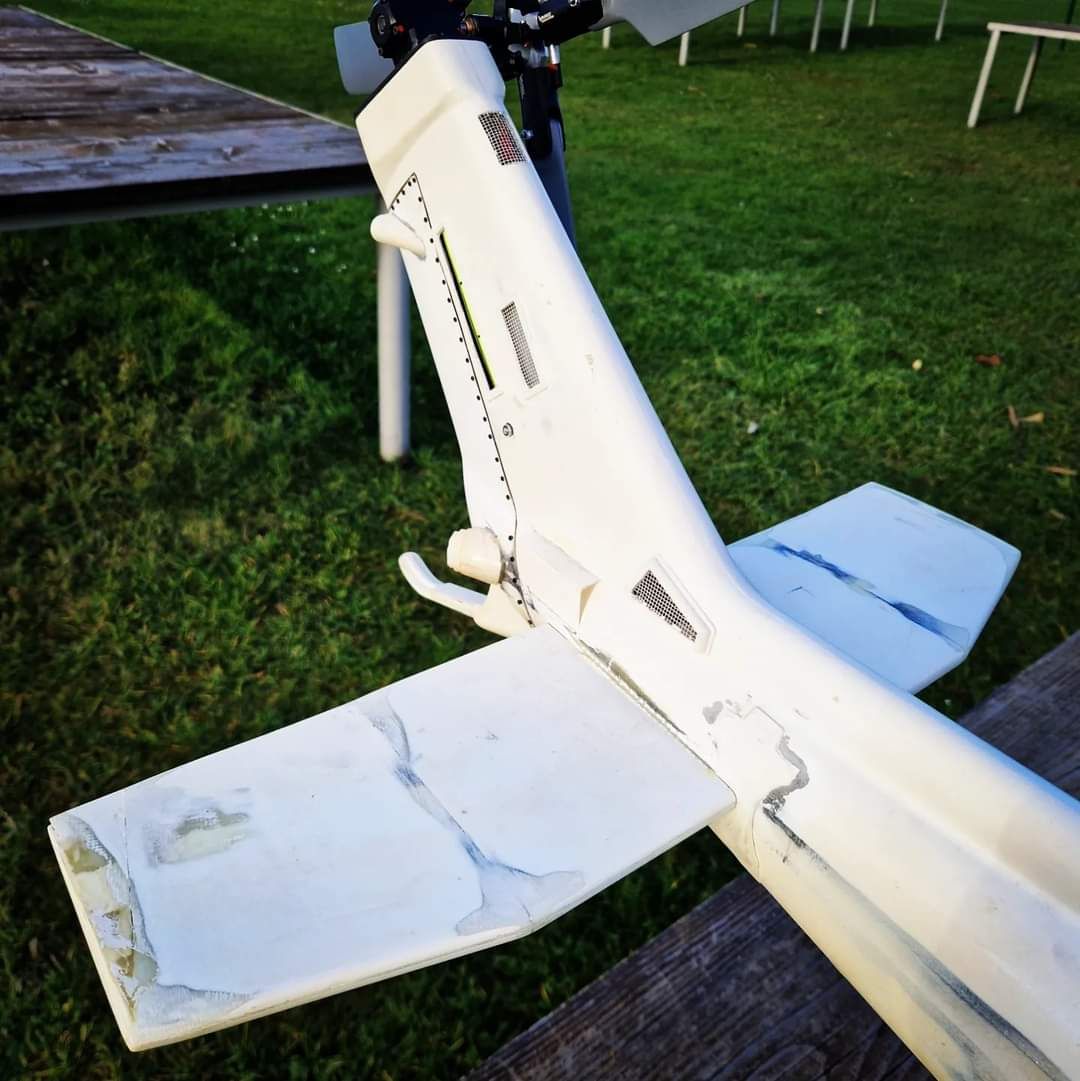
Formation Lighting and Tail Boom shape correction
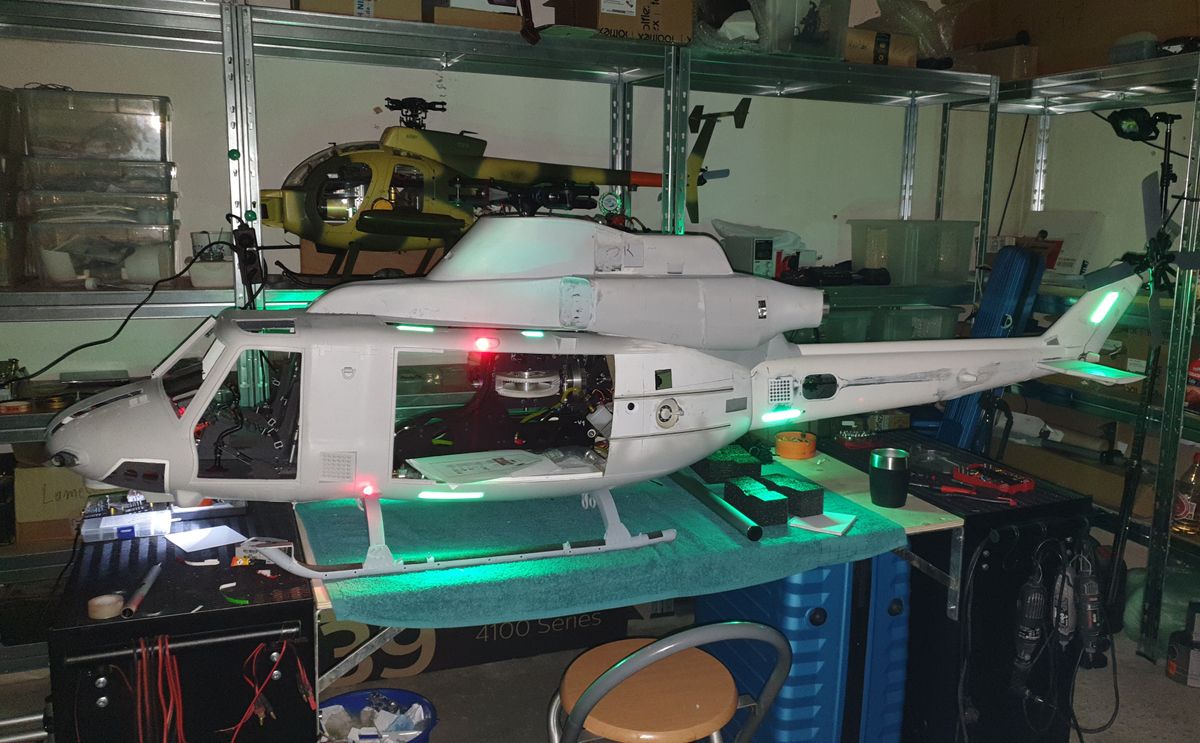
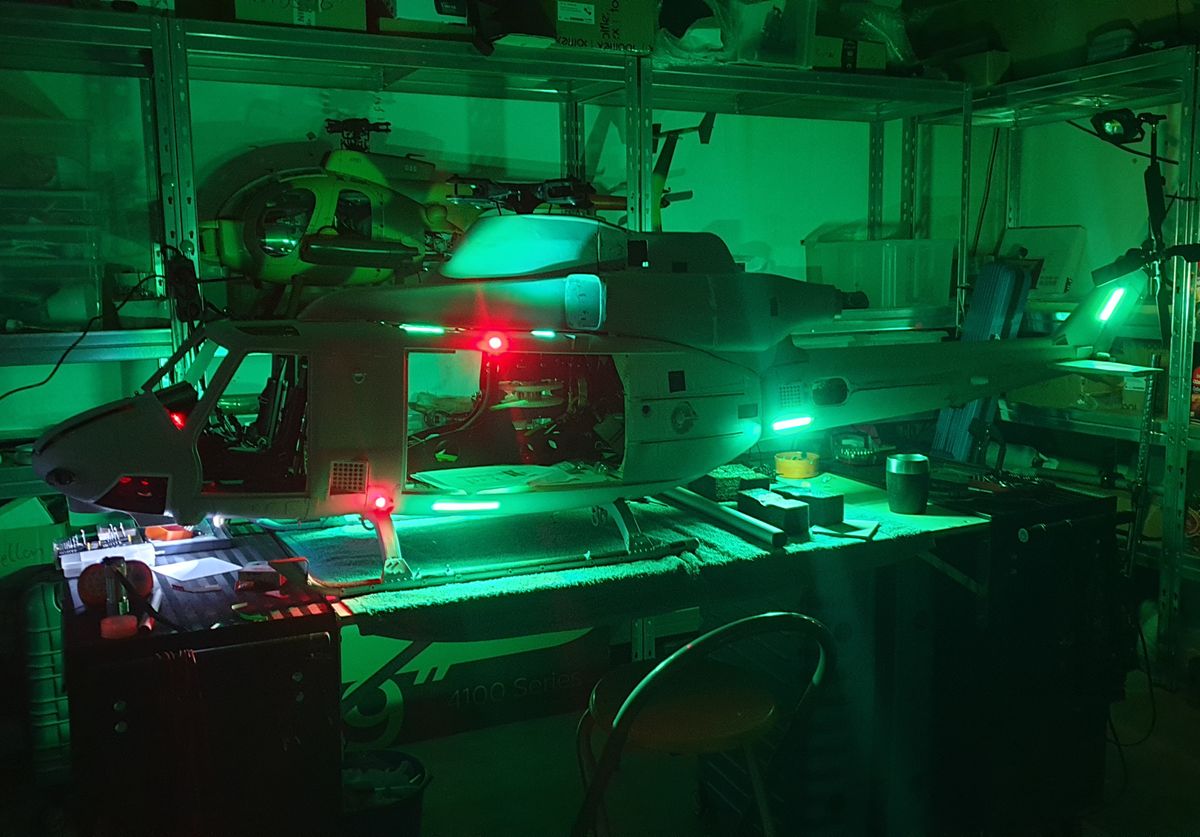
It was very interesting for me to install the formation lights in a functional way.
For this I use green chip-on-board (COB) LED strips. These can be removed for later maintenance. They are all connected in parallel with an adjustable power supply unit. In this case I can adjust the brightness later.
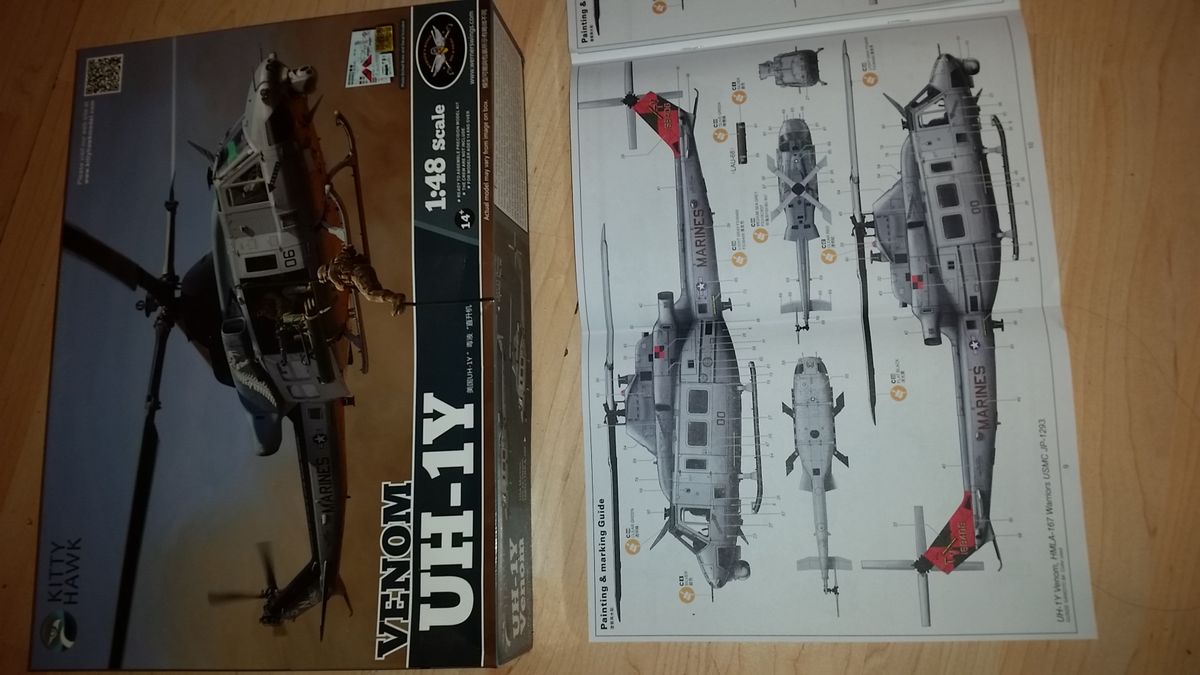
The shape of the Tail Boom also required a special adjustment. To be able to access the exact dimensions, I bought a detailed plastic model of the Venom from Kitty Hawk.
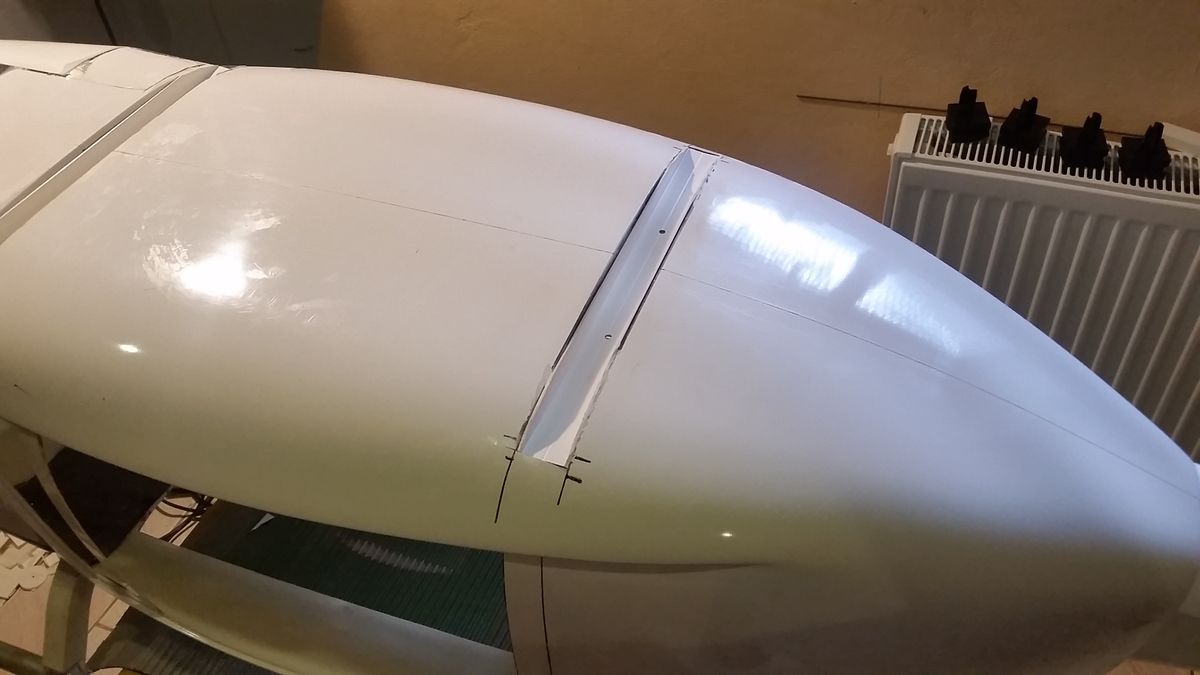
The fuselage also had to be cut open for this purpose. The tail fin a slightly different shape compared to the kit as well.
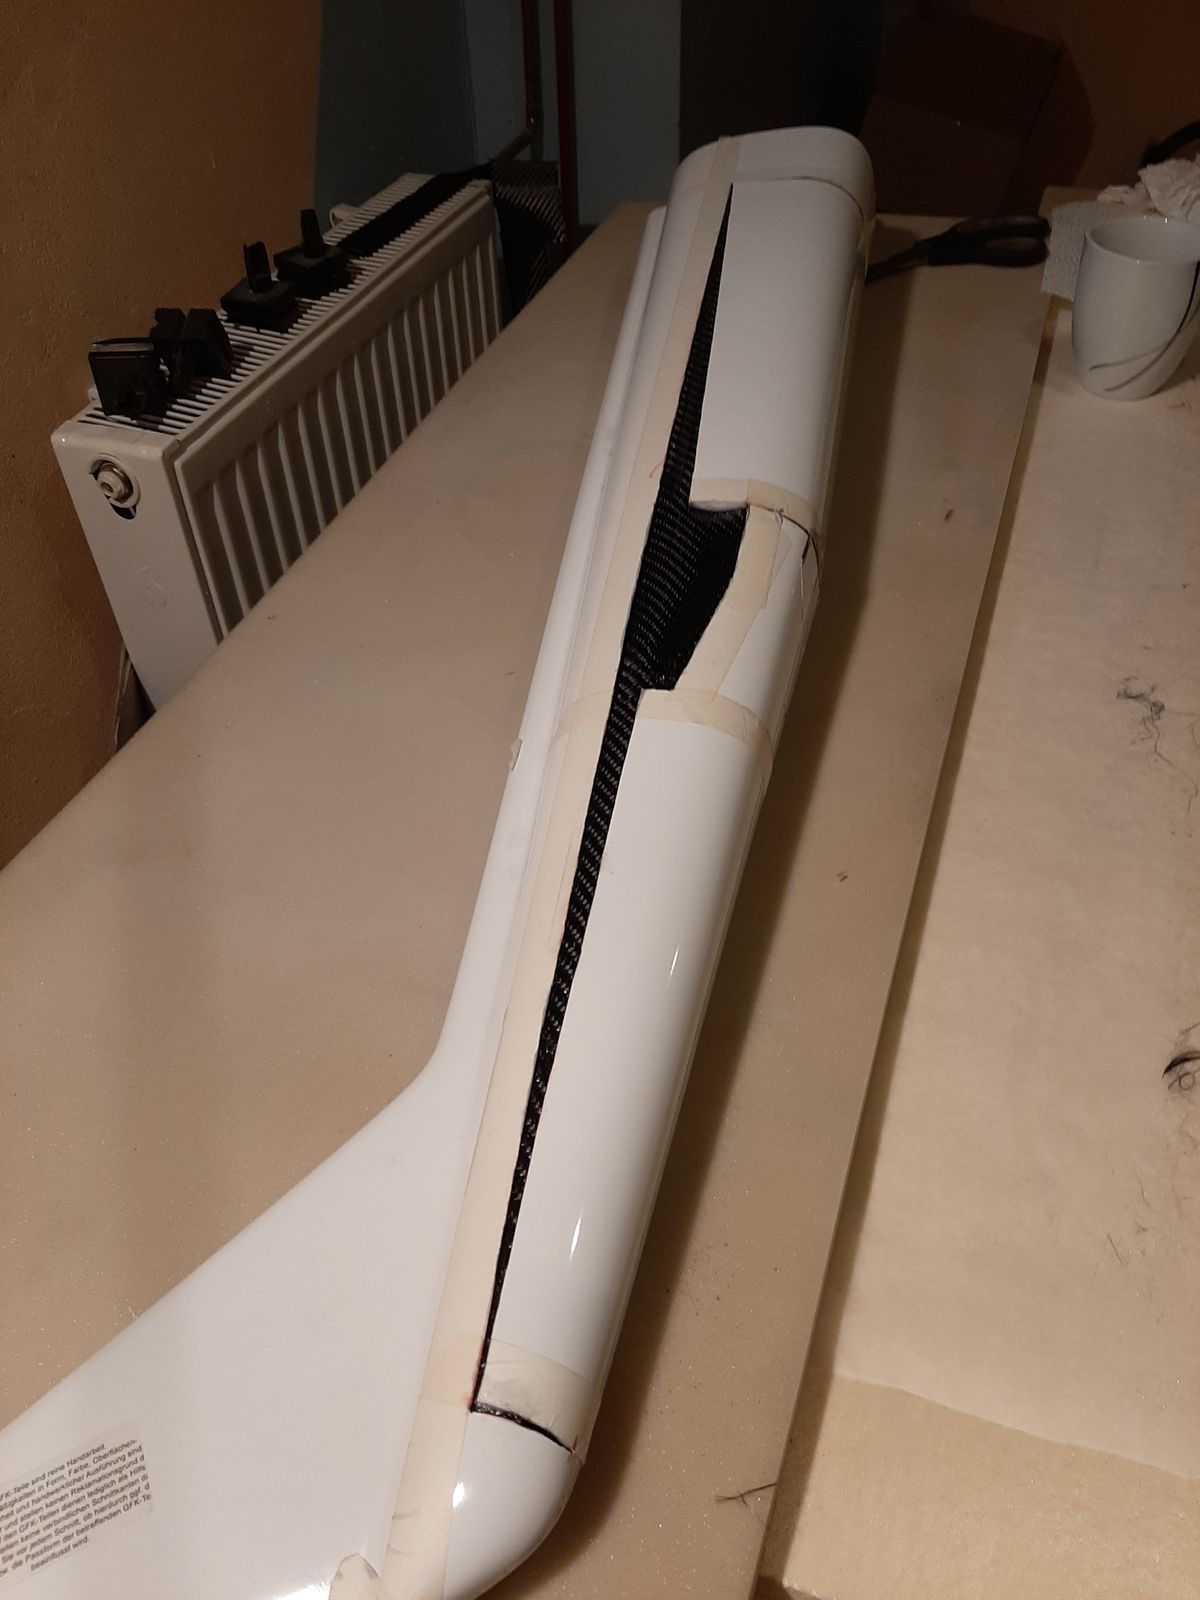
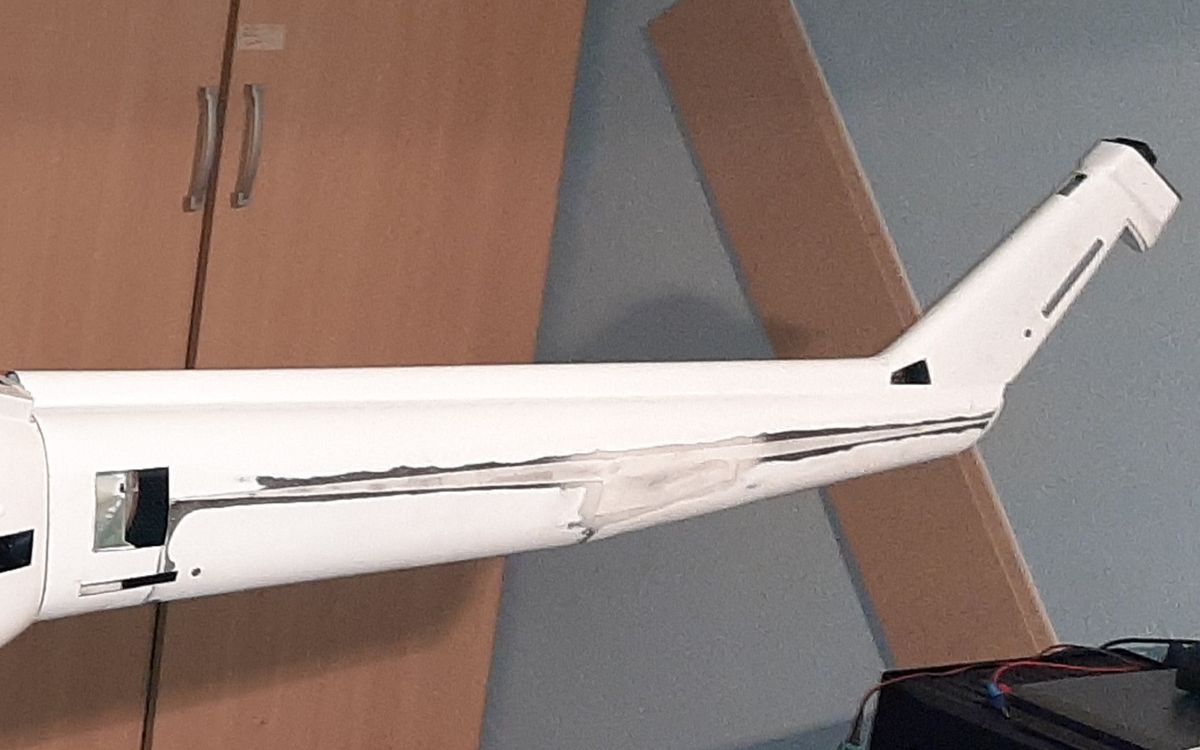
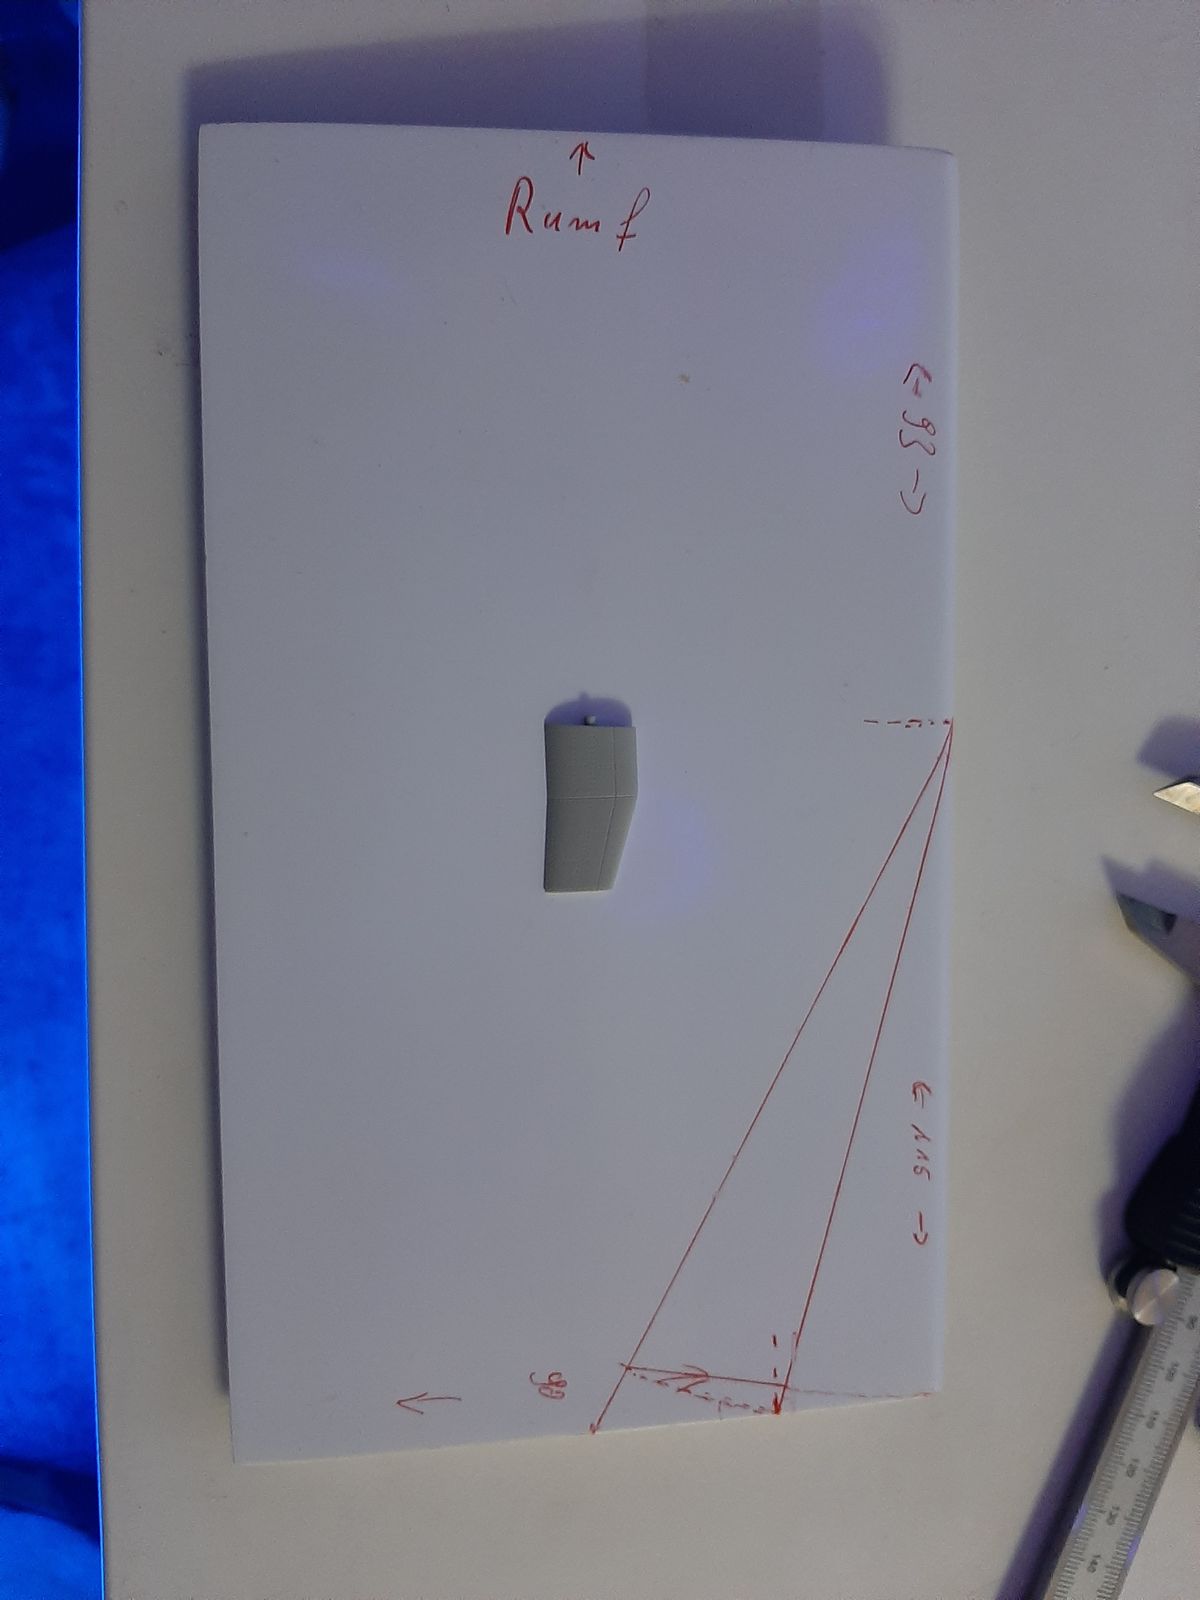
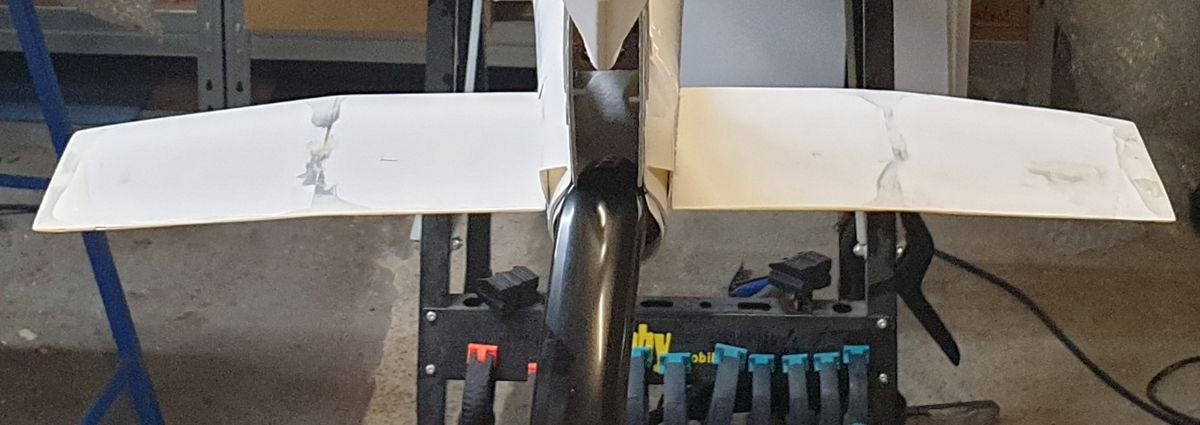
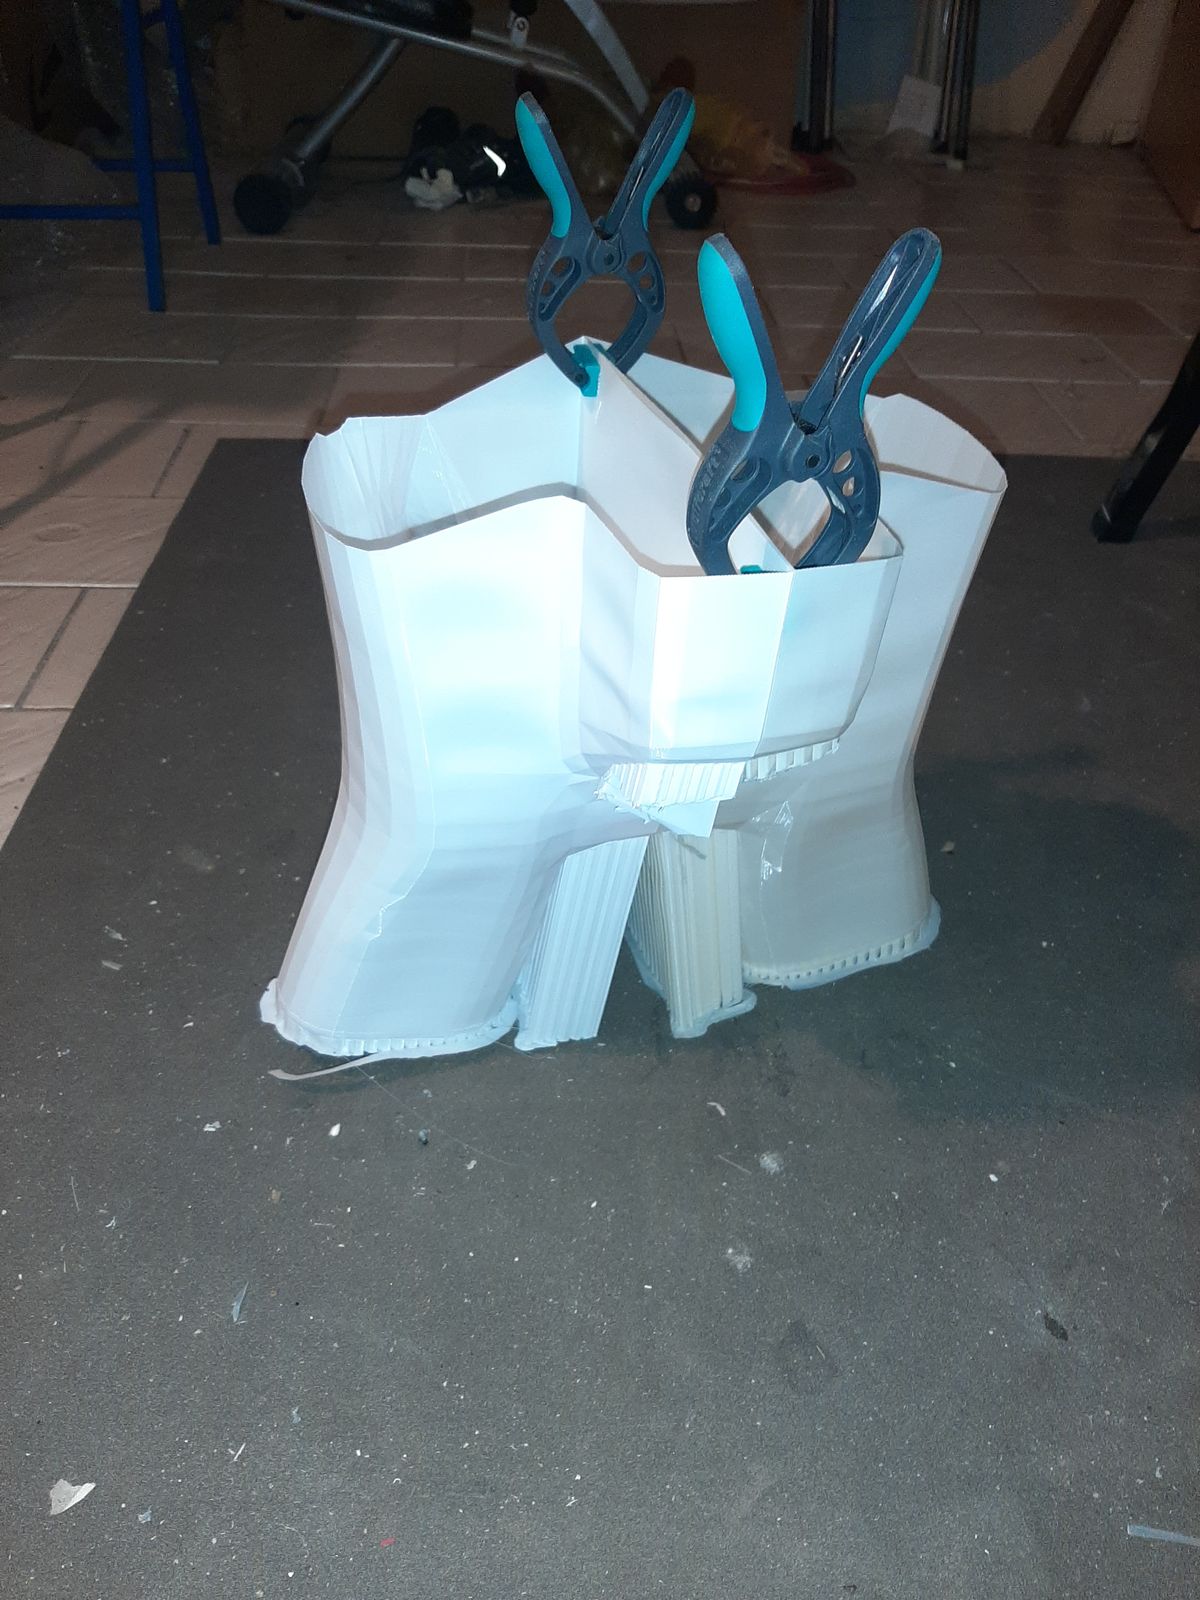
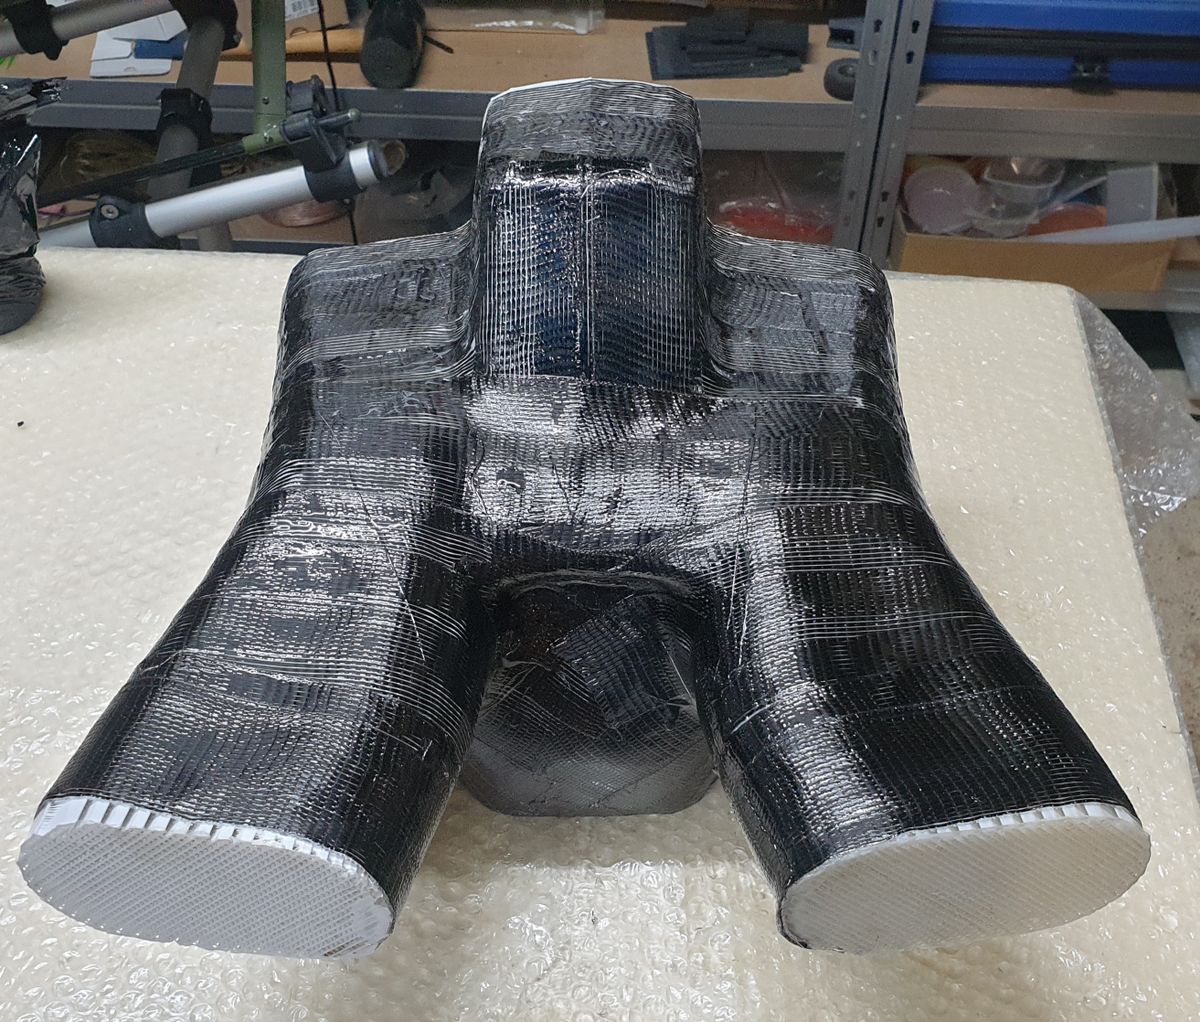
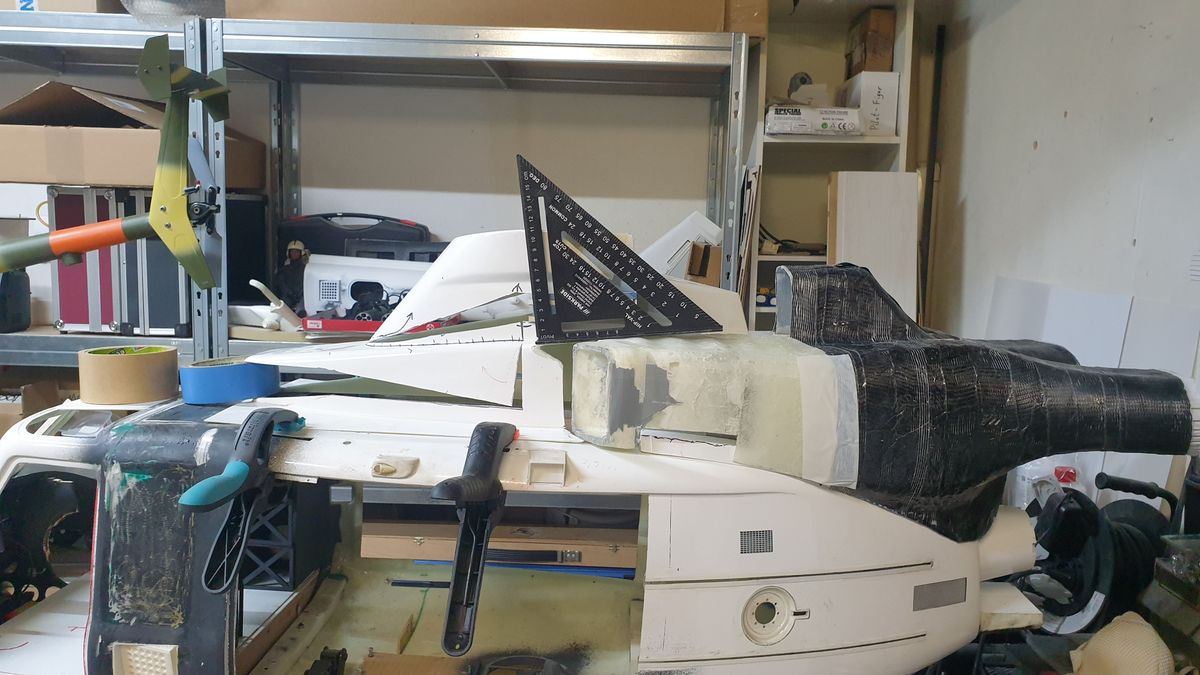
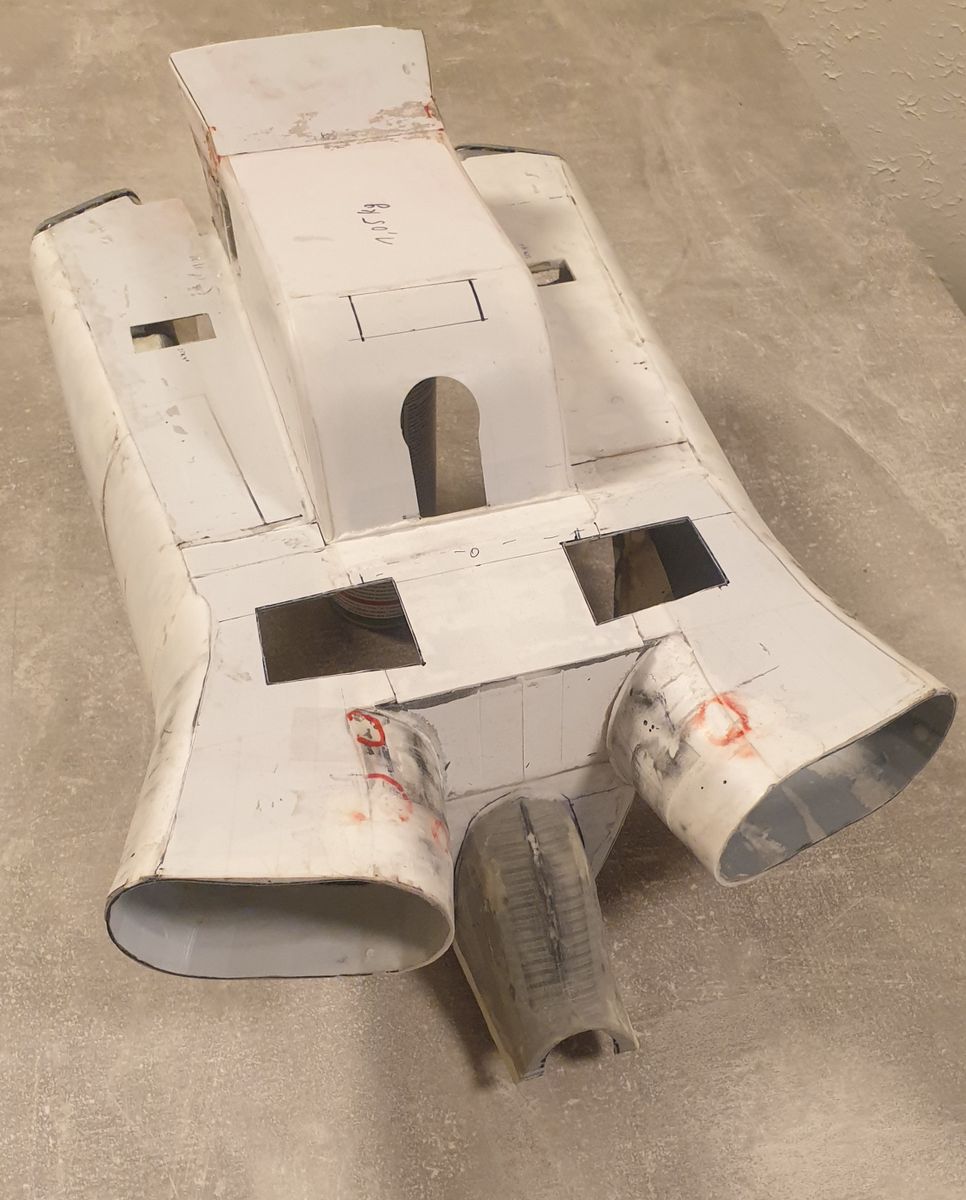
Structure of the turbine exhaust
Unfortunately I don't have the skill to build negative molds. But I bought a 3D printer specifically for this project. So I printed out the complete exhaust part with structure. It was then laminated with carbon tape and epoxy.
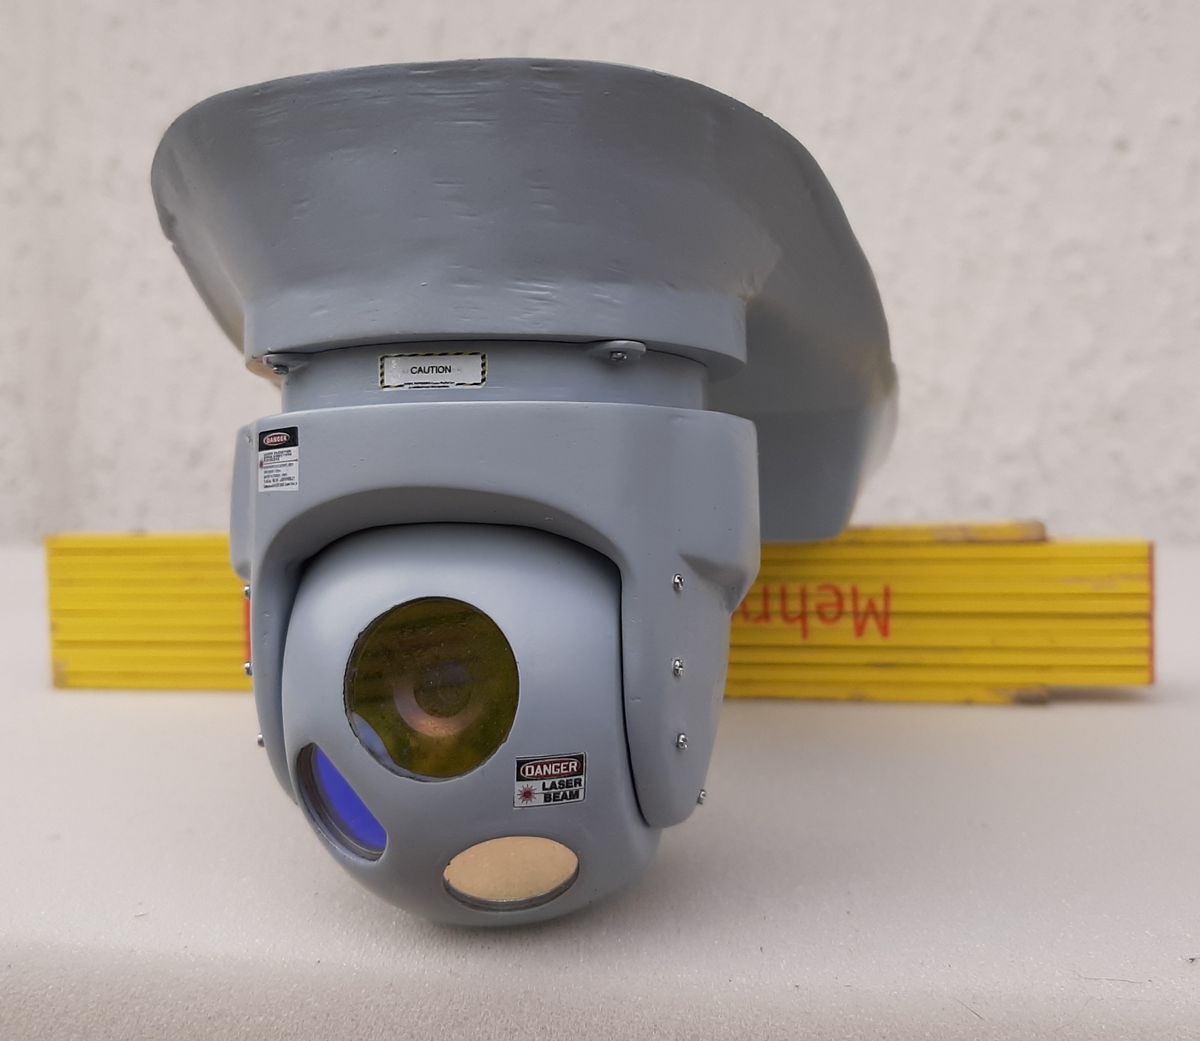
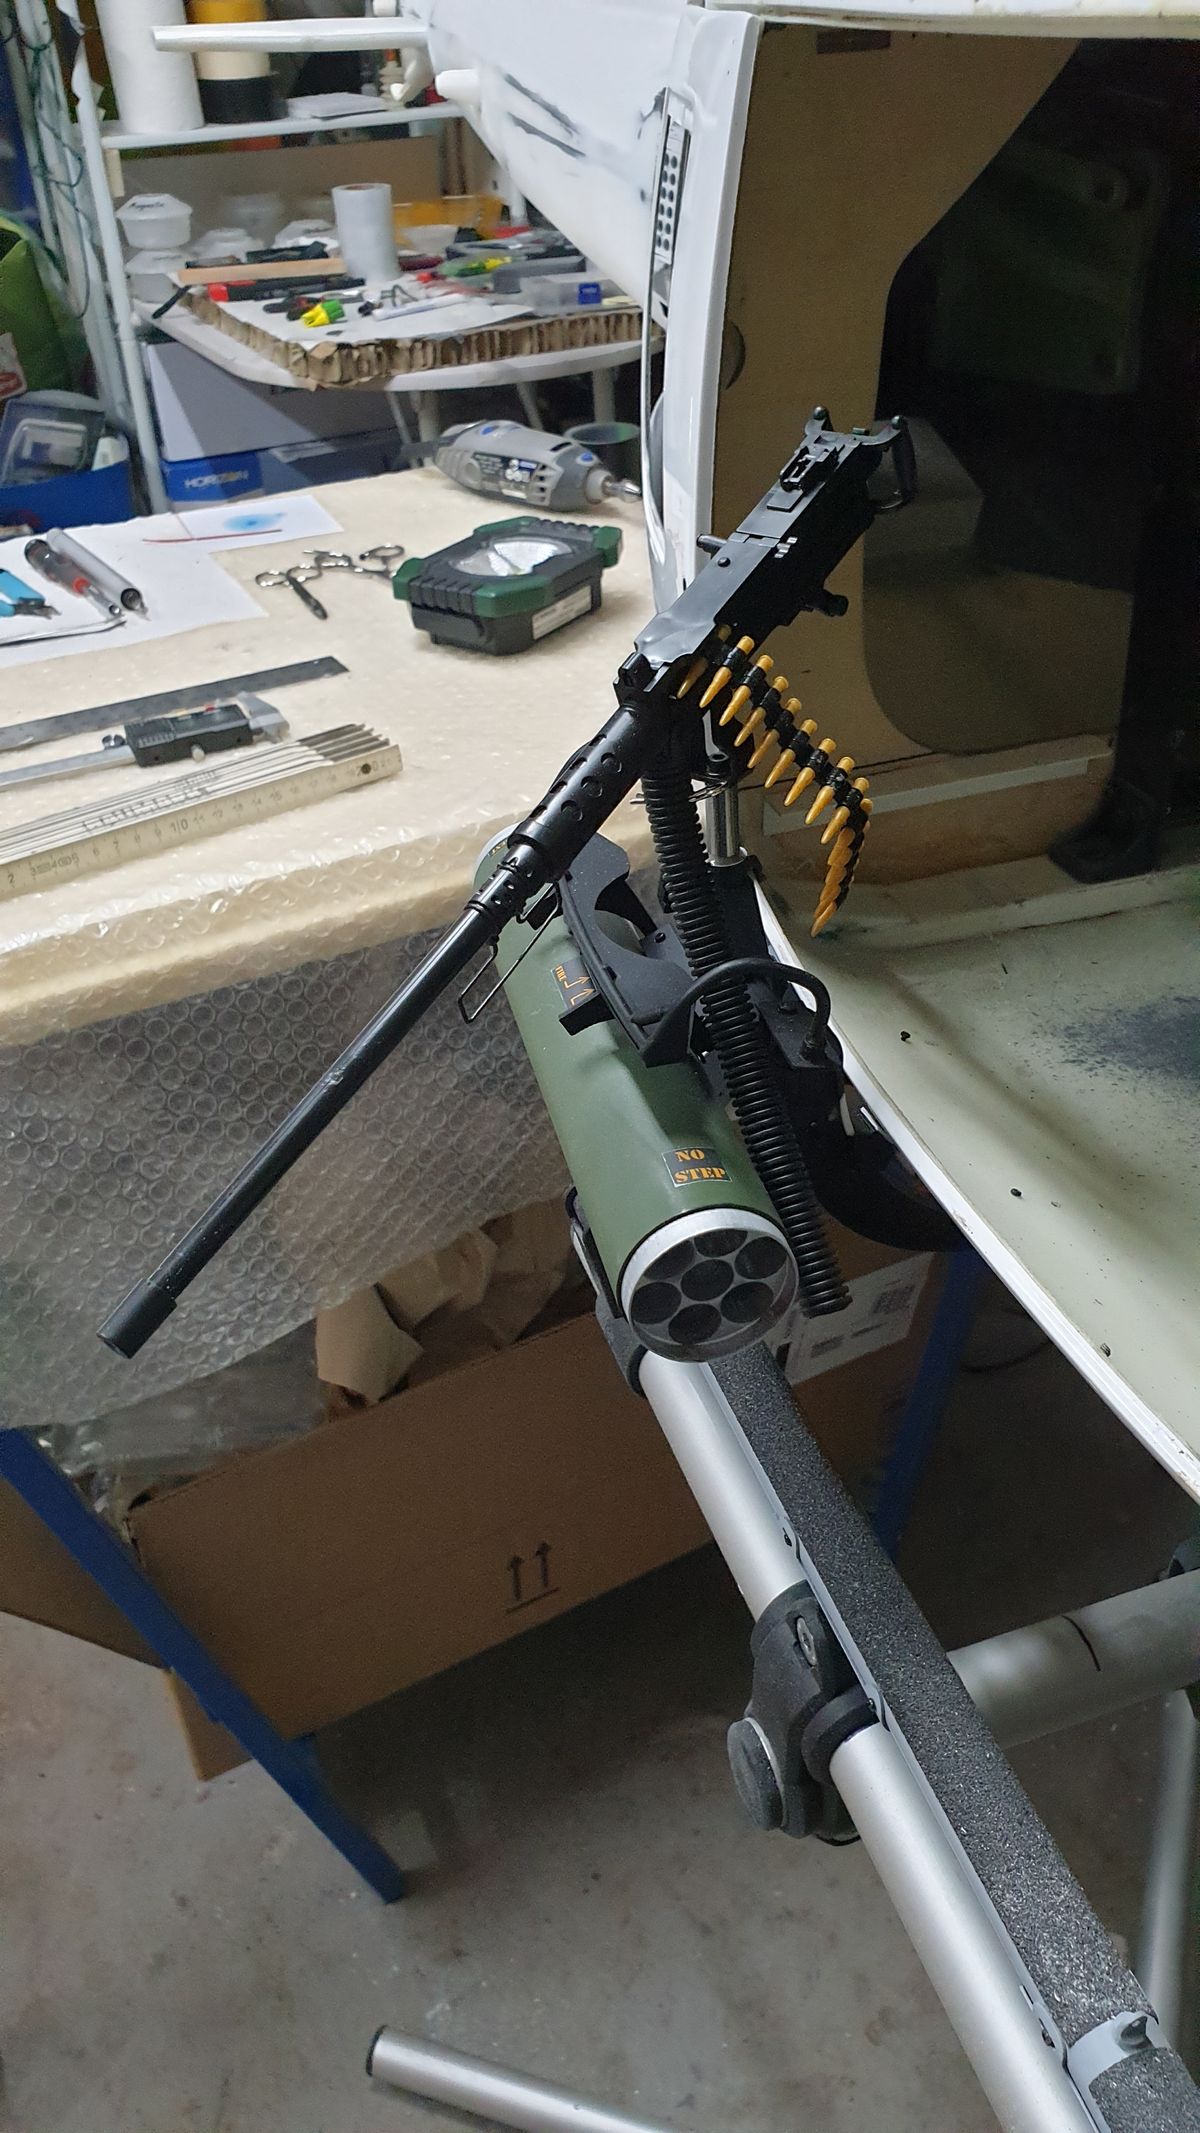
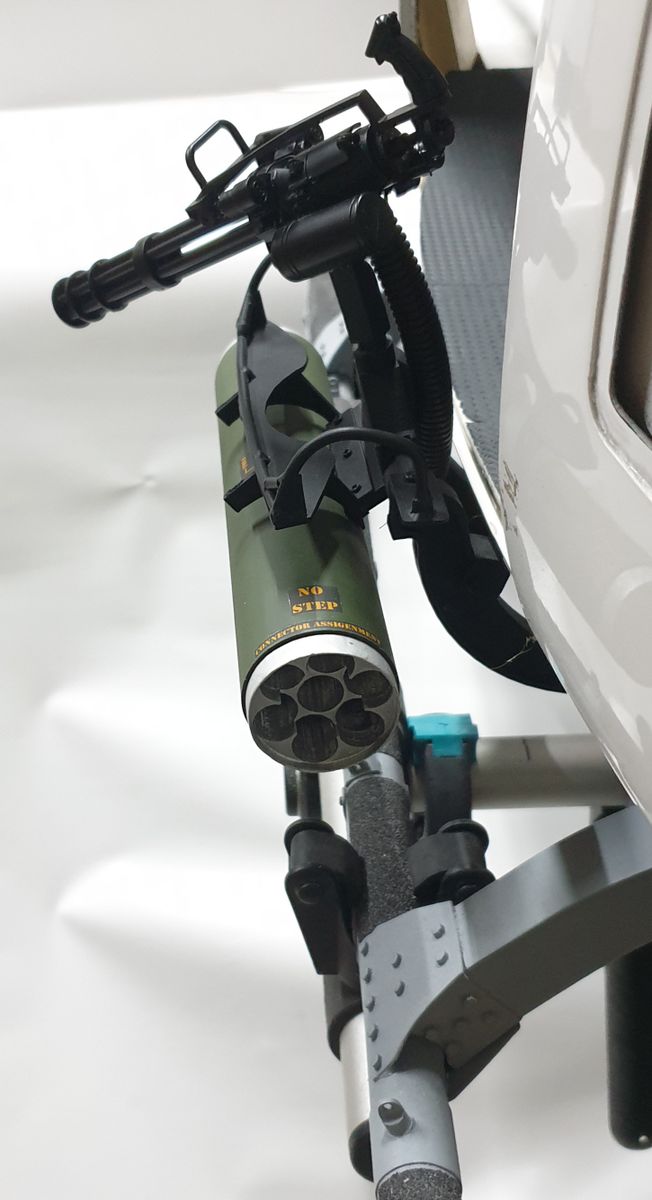
Interior and external attachments
During the long construction phase it is a great motivation to finish some small parts.
putty filler sanding
This is a very time consuming job
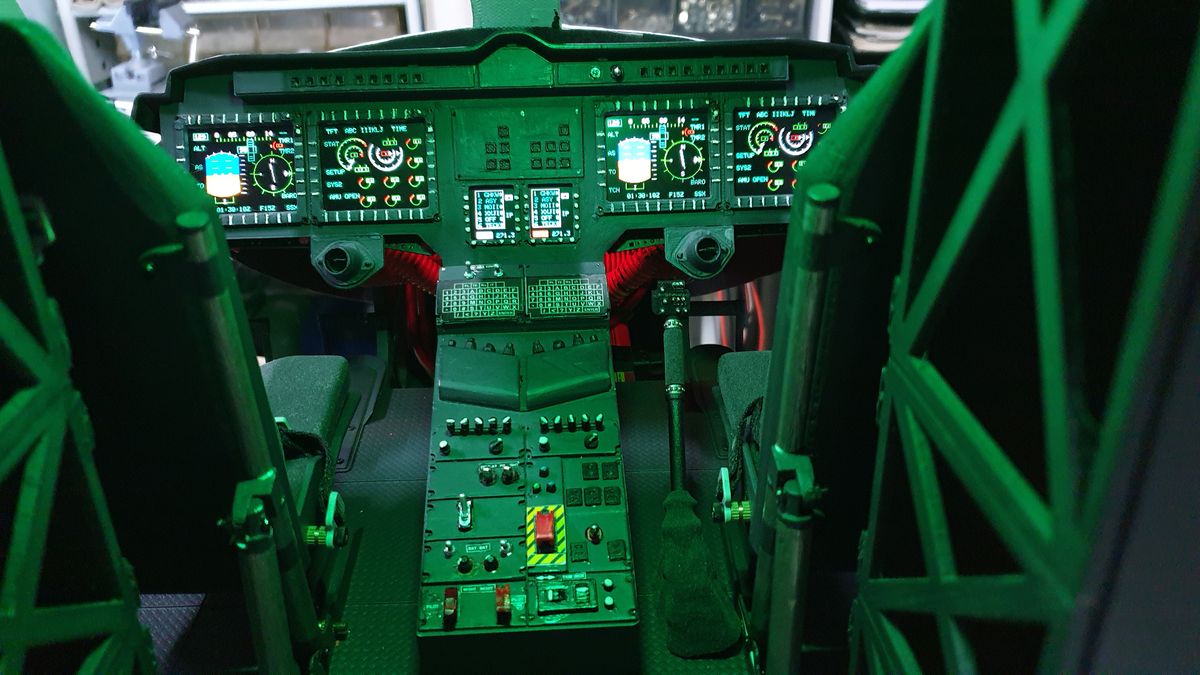
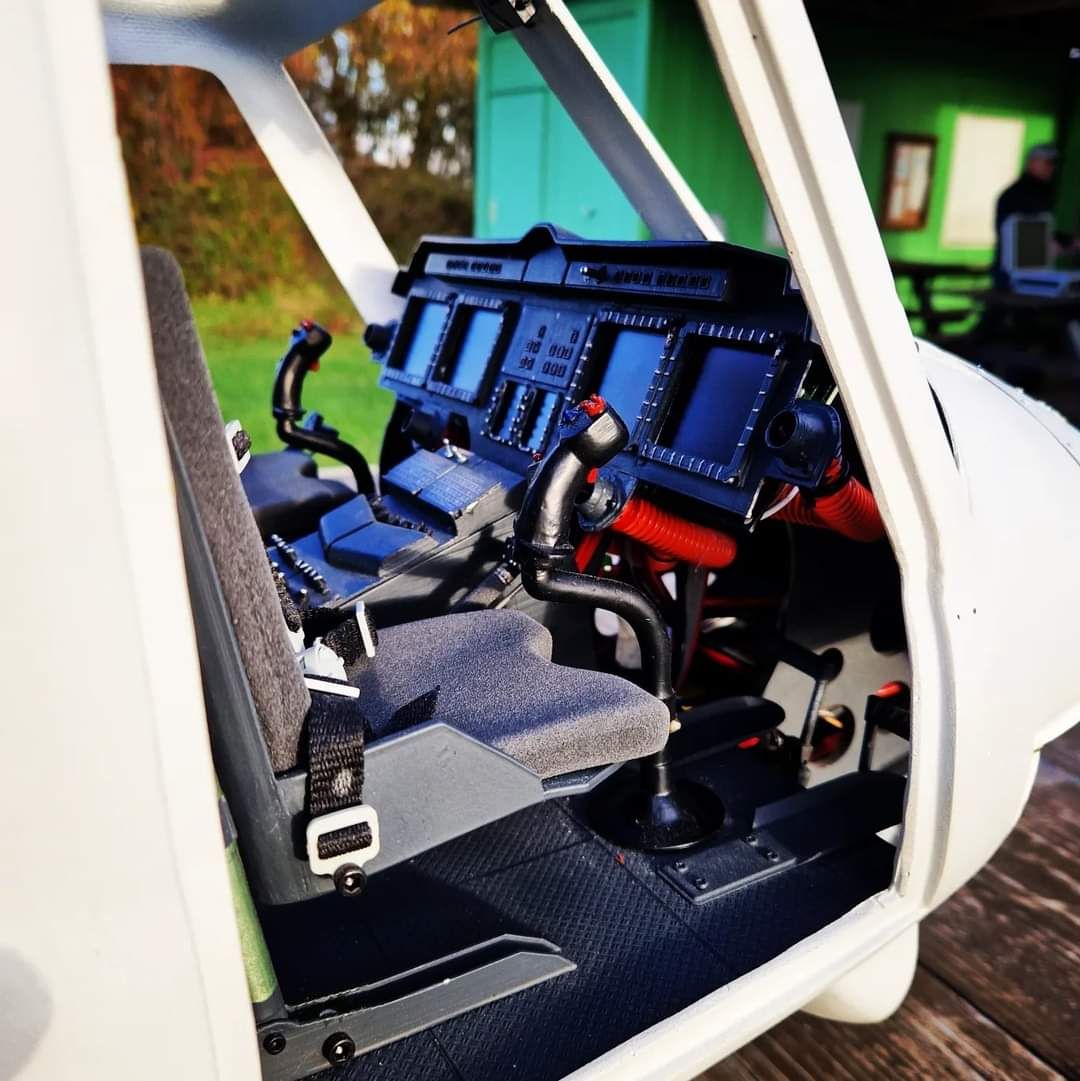
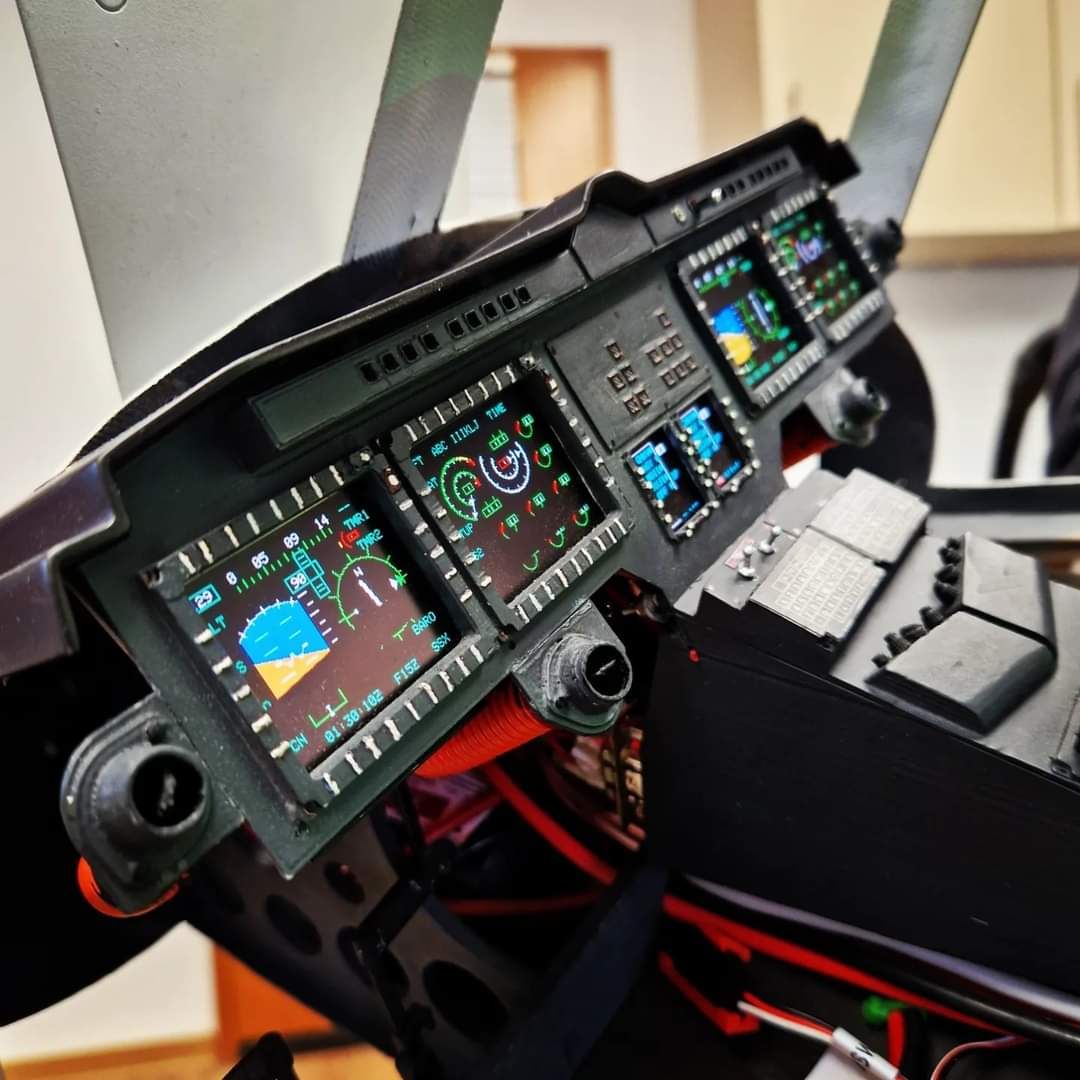
Glass cockpit of UH-1Y
The cockpit is now fully wired and working
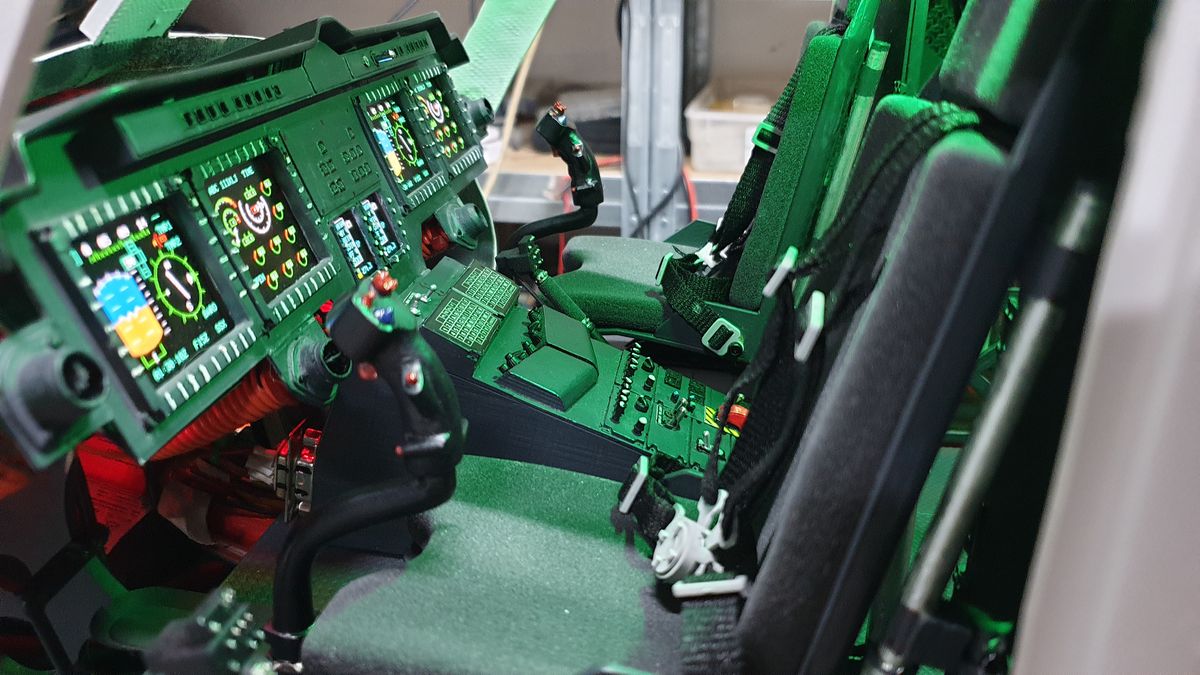
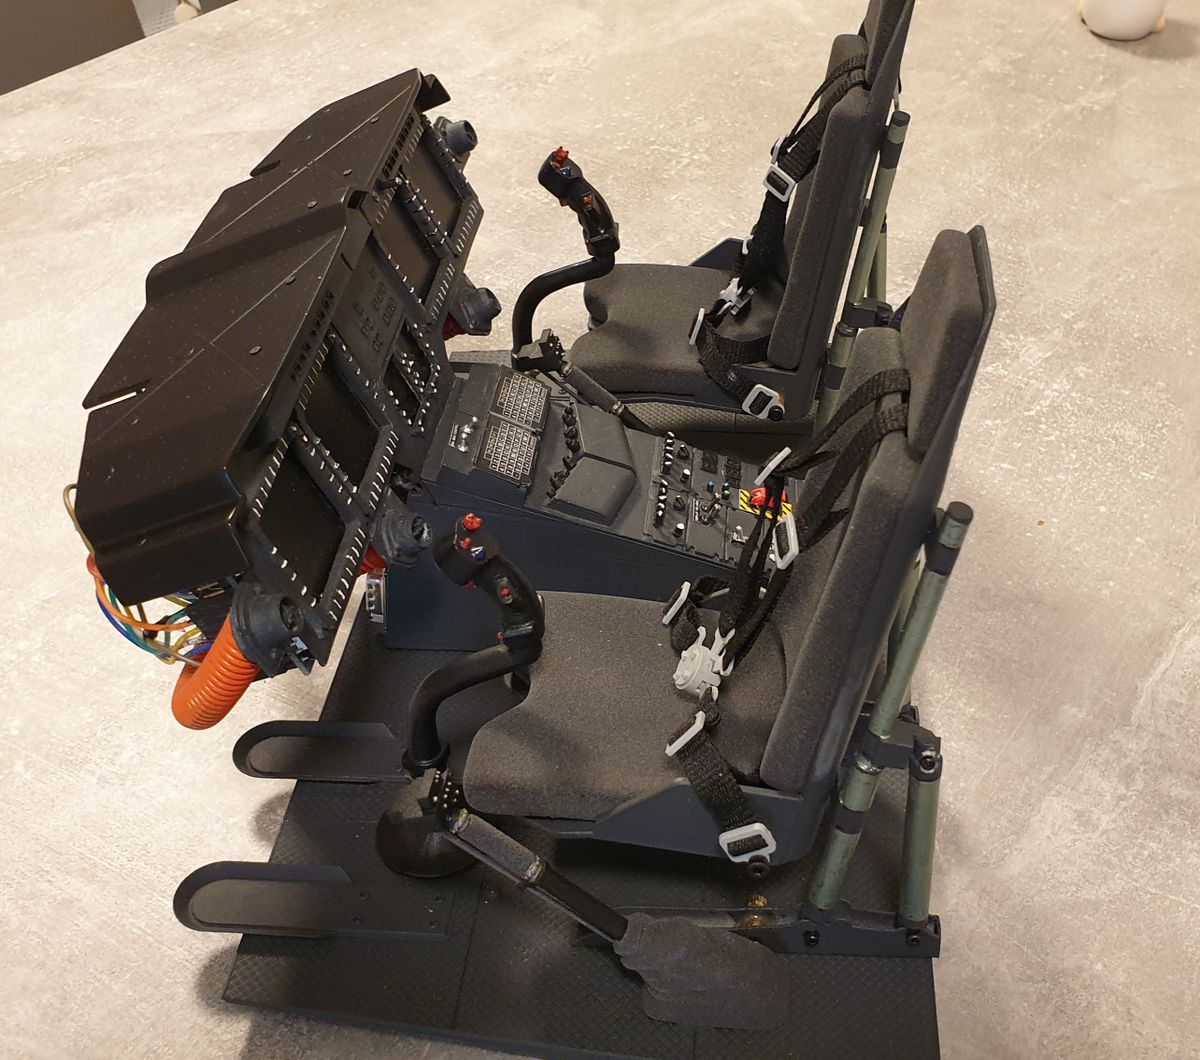
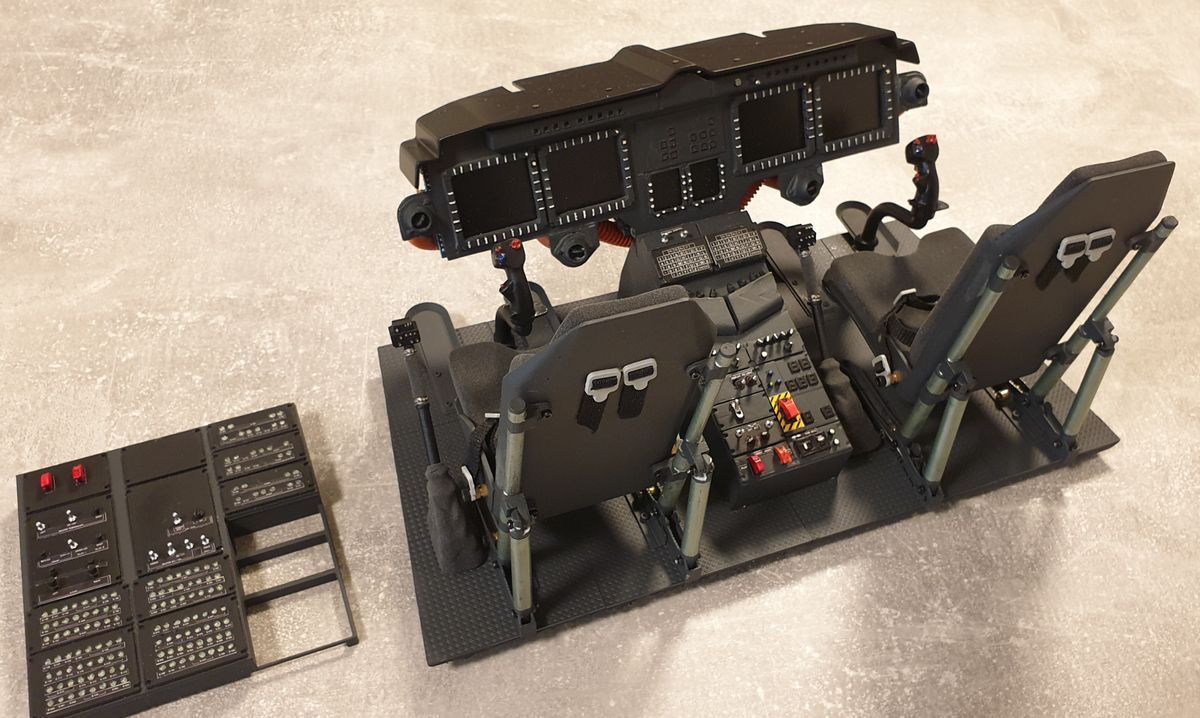
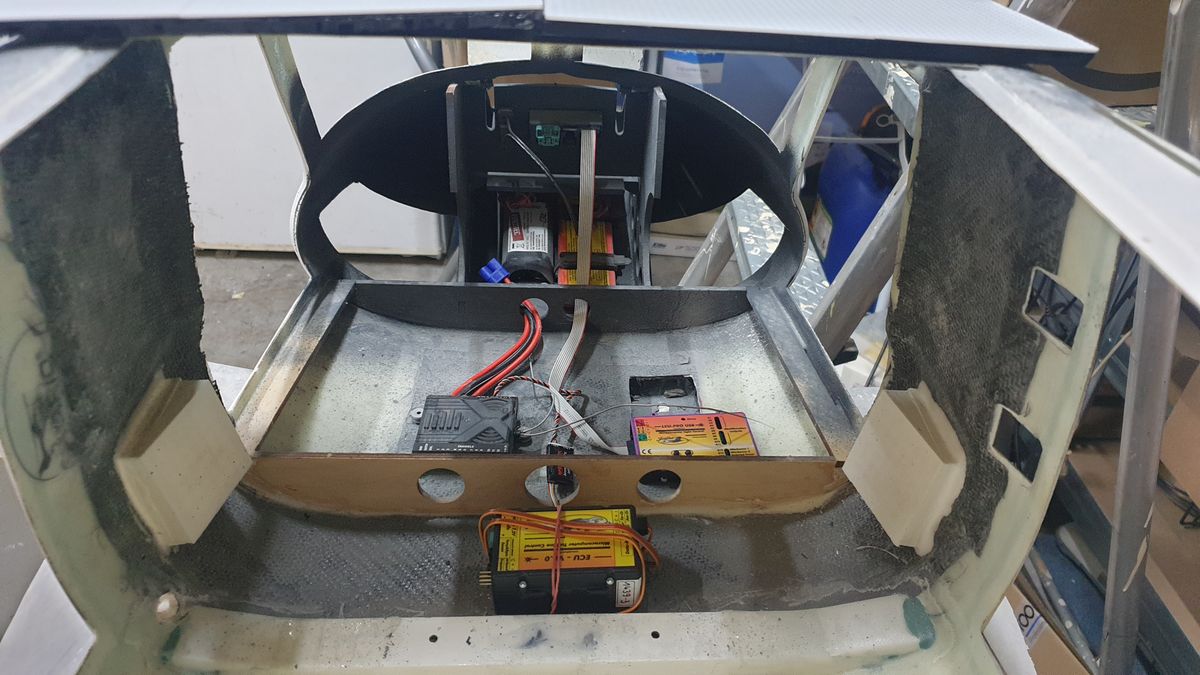
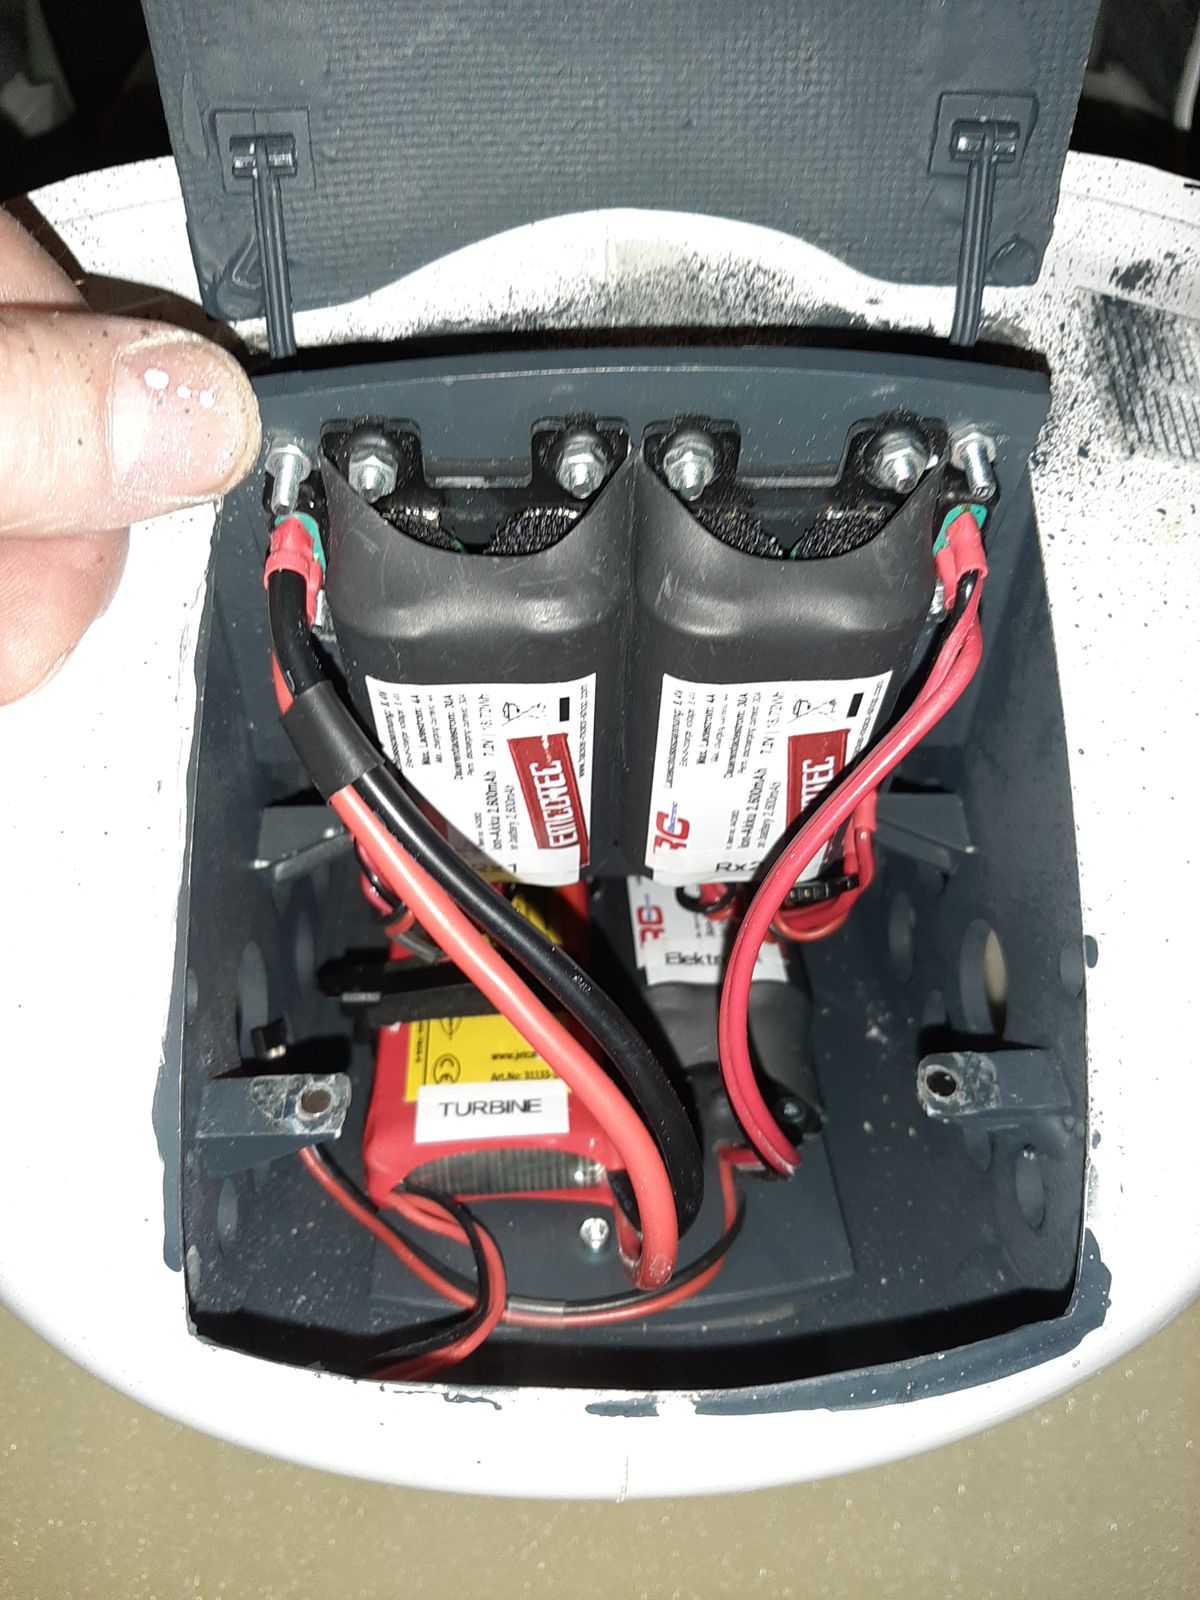
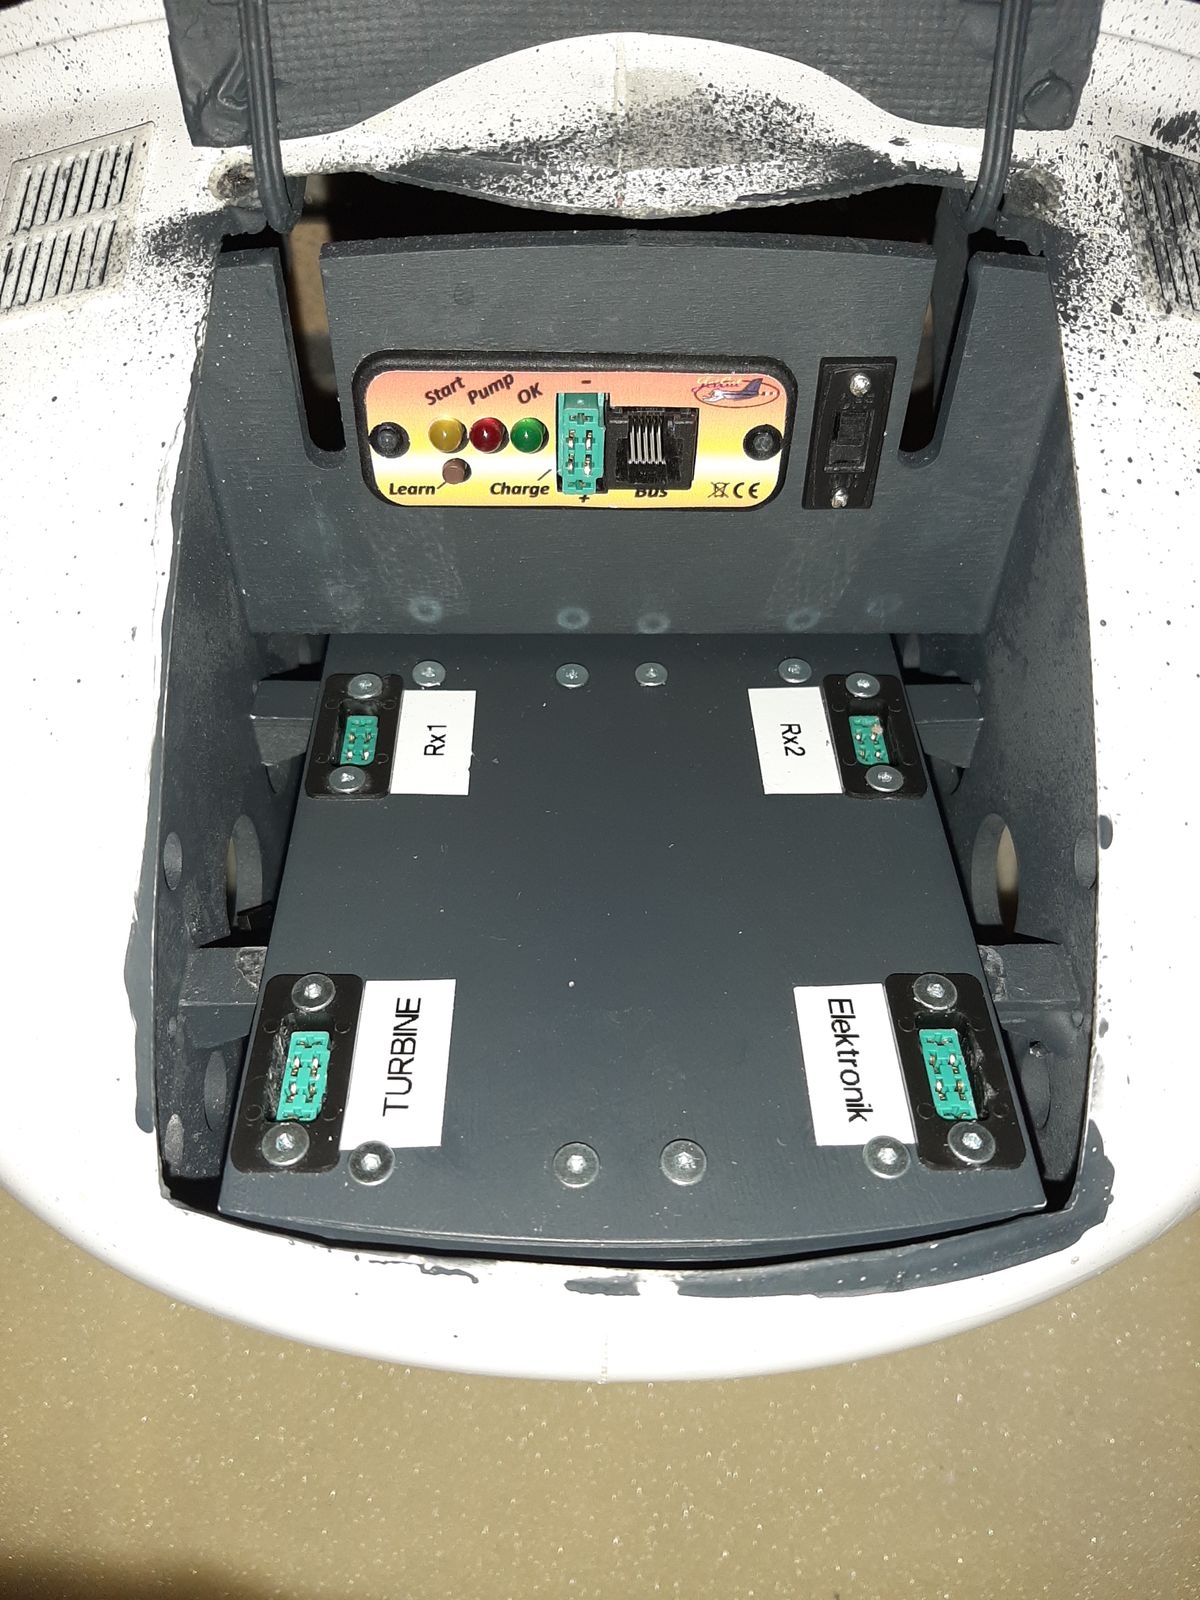
Wiring and connecting of the individual components
Walk around
Test of the Gyro Horizon
The idea was not just to install static or animated displays, but ones that also process current data in real time and display it accordingly.
The sensor is a cheap piezo sensor, as used in model helicopters.
Displays are OLEDs and each one is completely self-programmed with an Arduino nano.
Little walk around
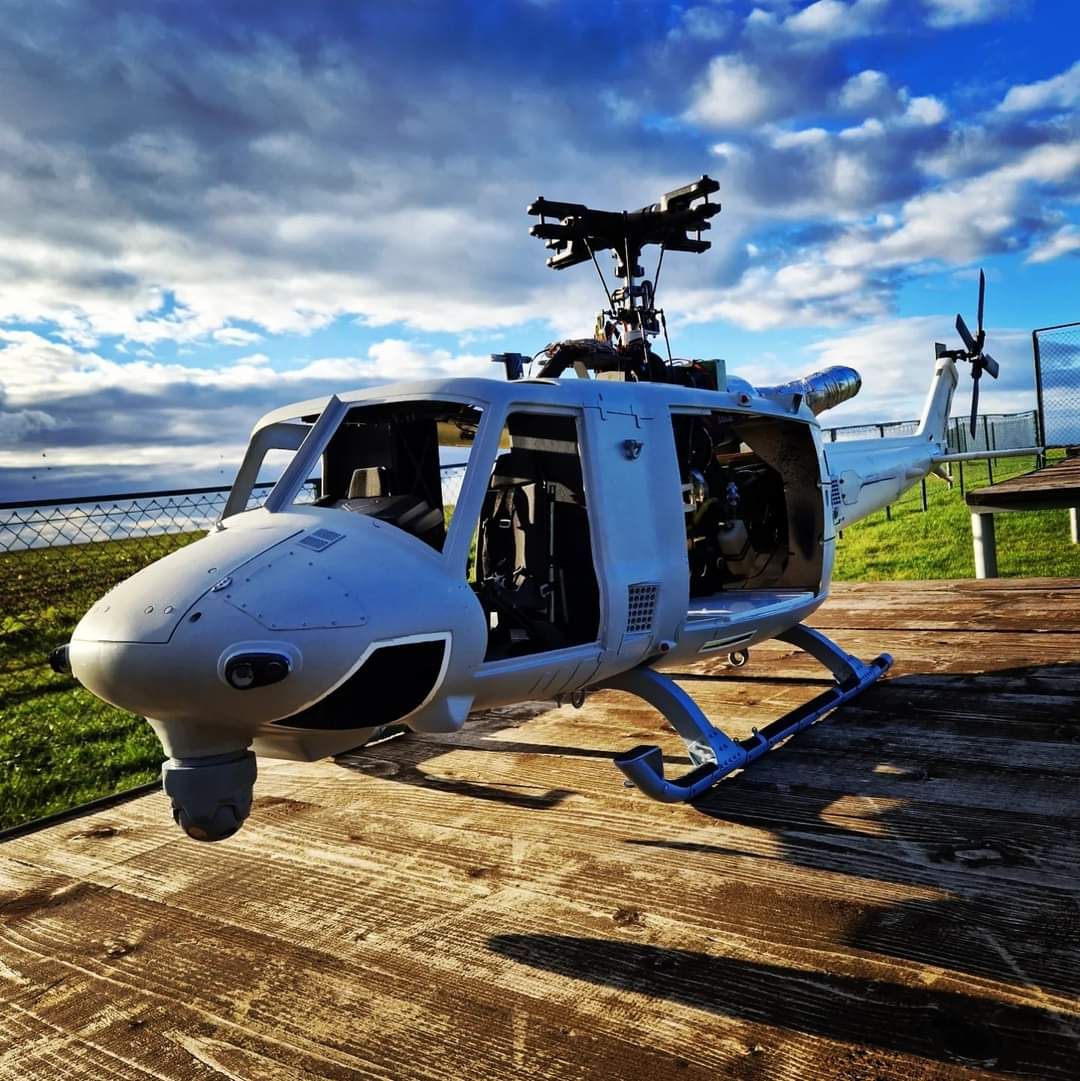
There's still more work to do, but today she was able to get some fresh air for the first time.
Formation light
Almost ready for maiden flight but first I had to finish the formation lights:
A formation light is a type of thin film electroluminescent light that assists aircraft flying in formation in low visibility environments.
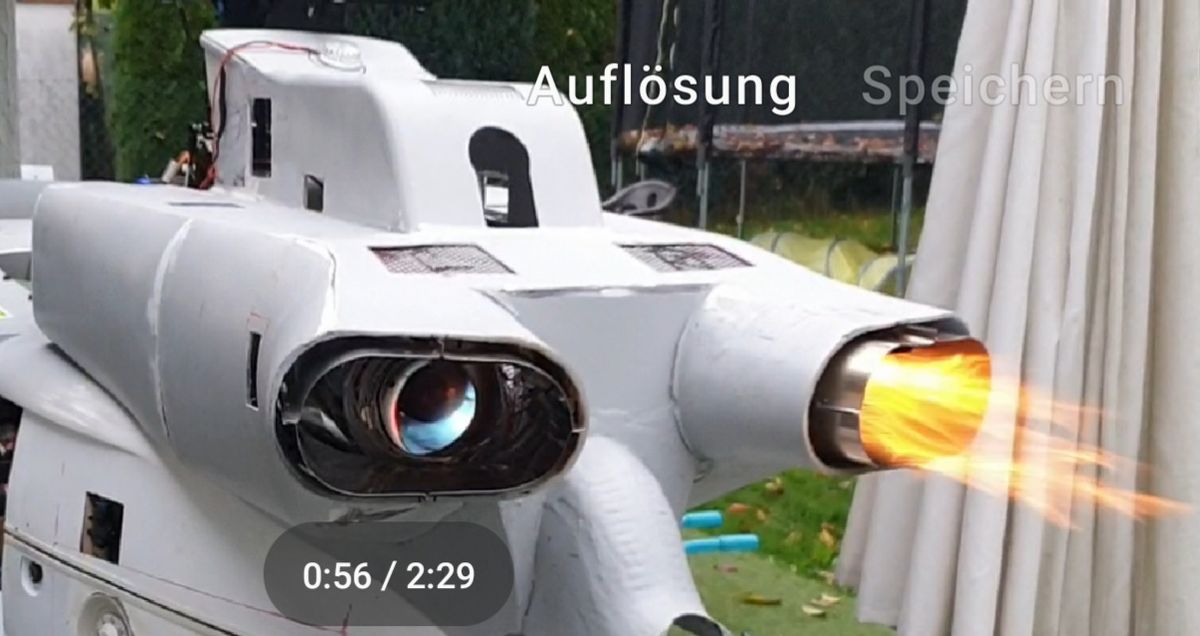
Heat test on turbine outlet
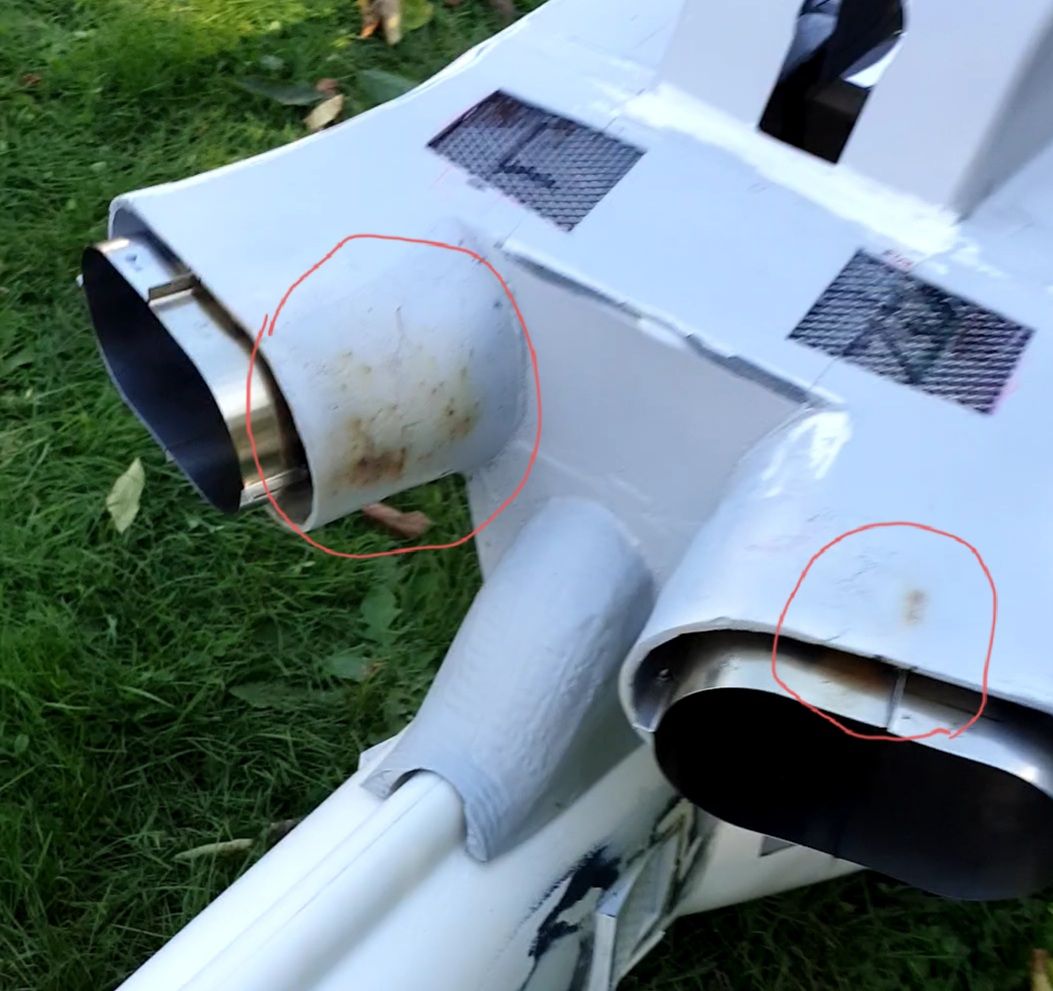
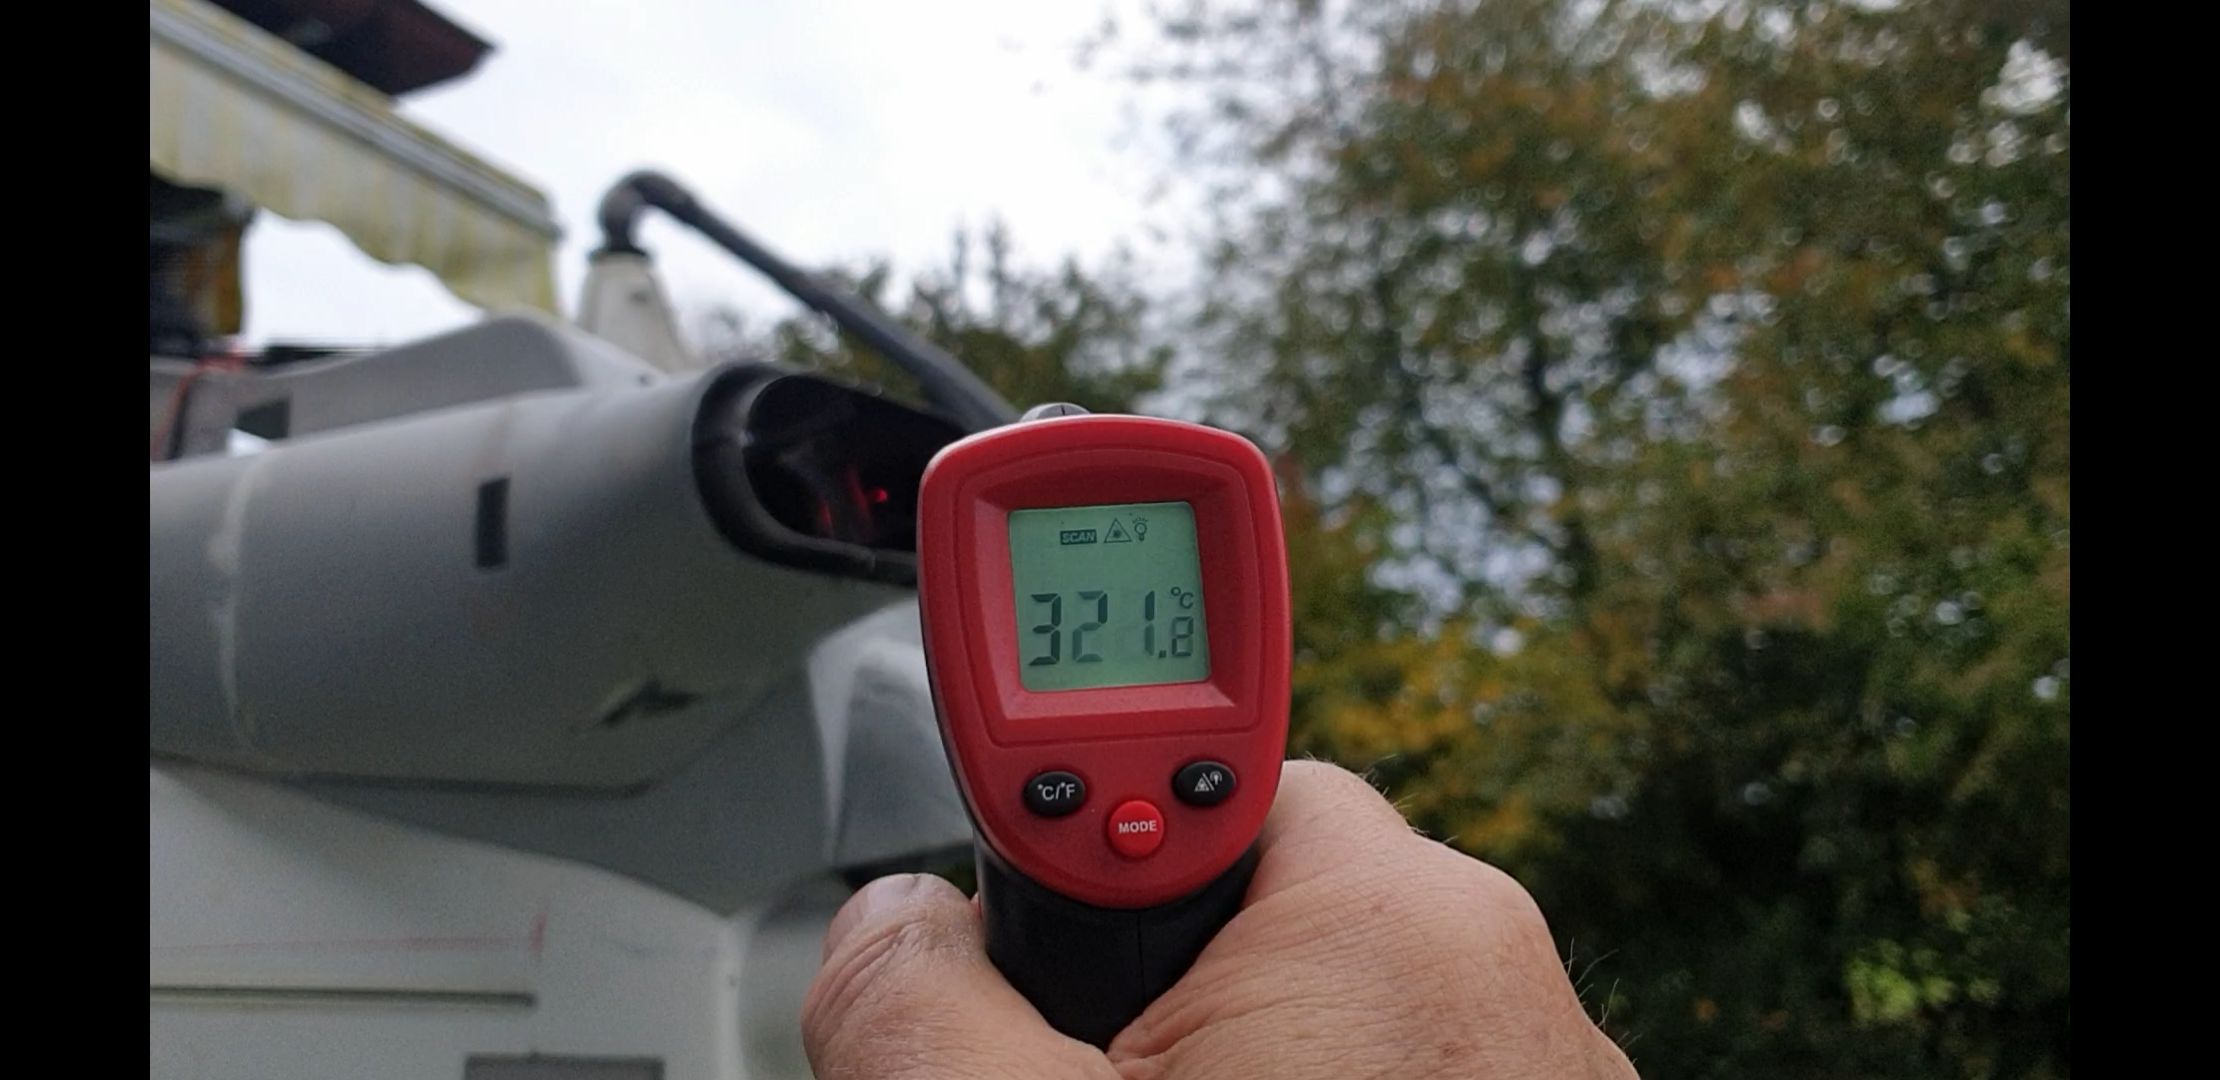
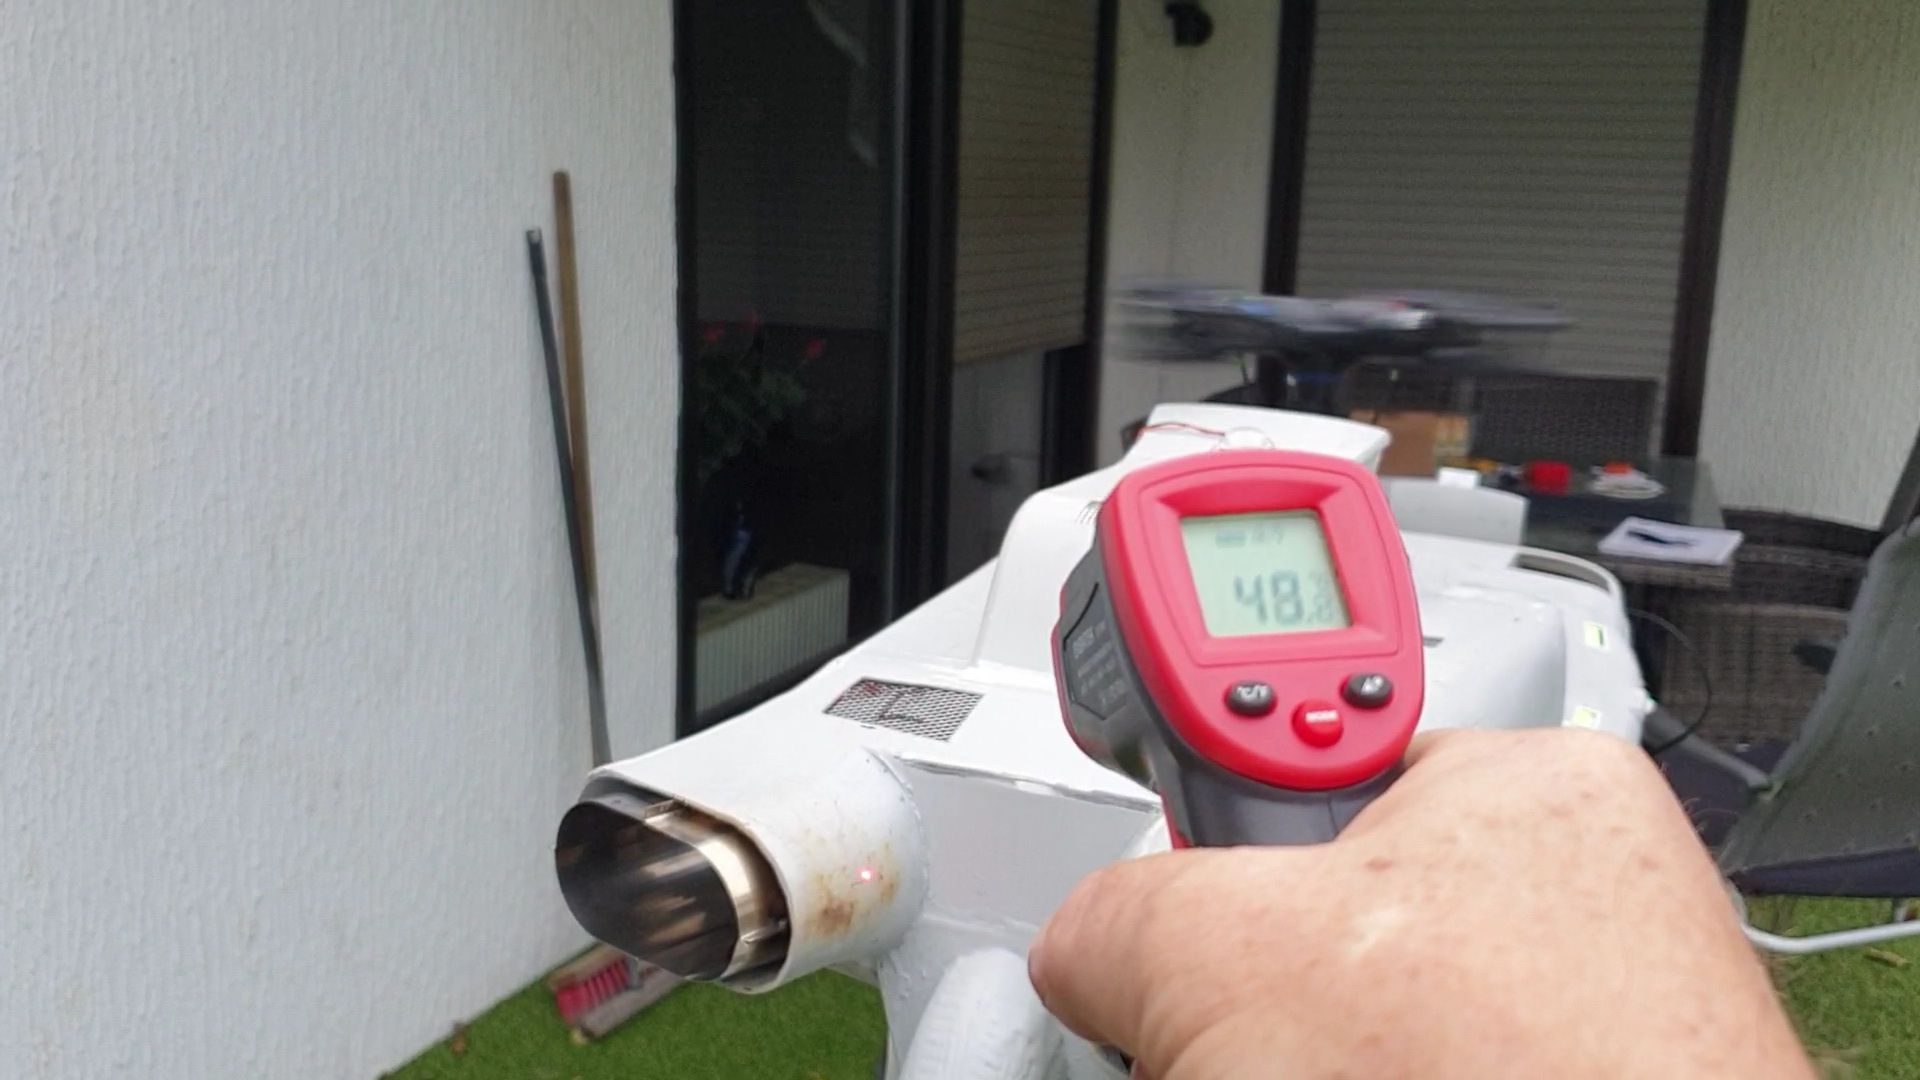
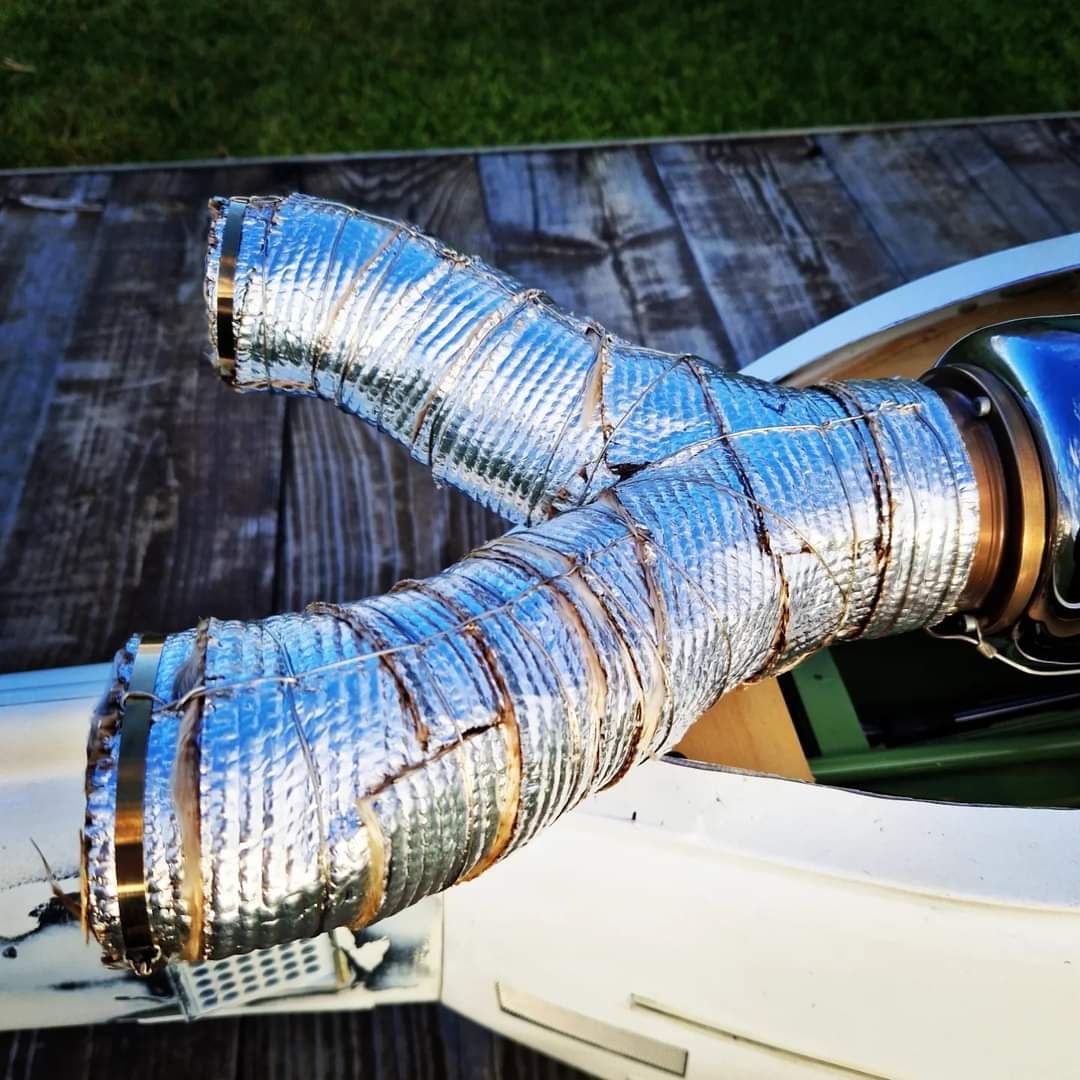
After a first test run, I discovered that the temperature at the turbine outlet was unfavorably distributed. Here I was able to measure temperatures of up to 145°C on the canopy. There were even burnt spots on the base coat.
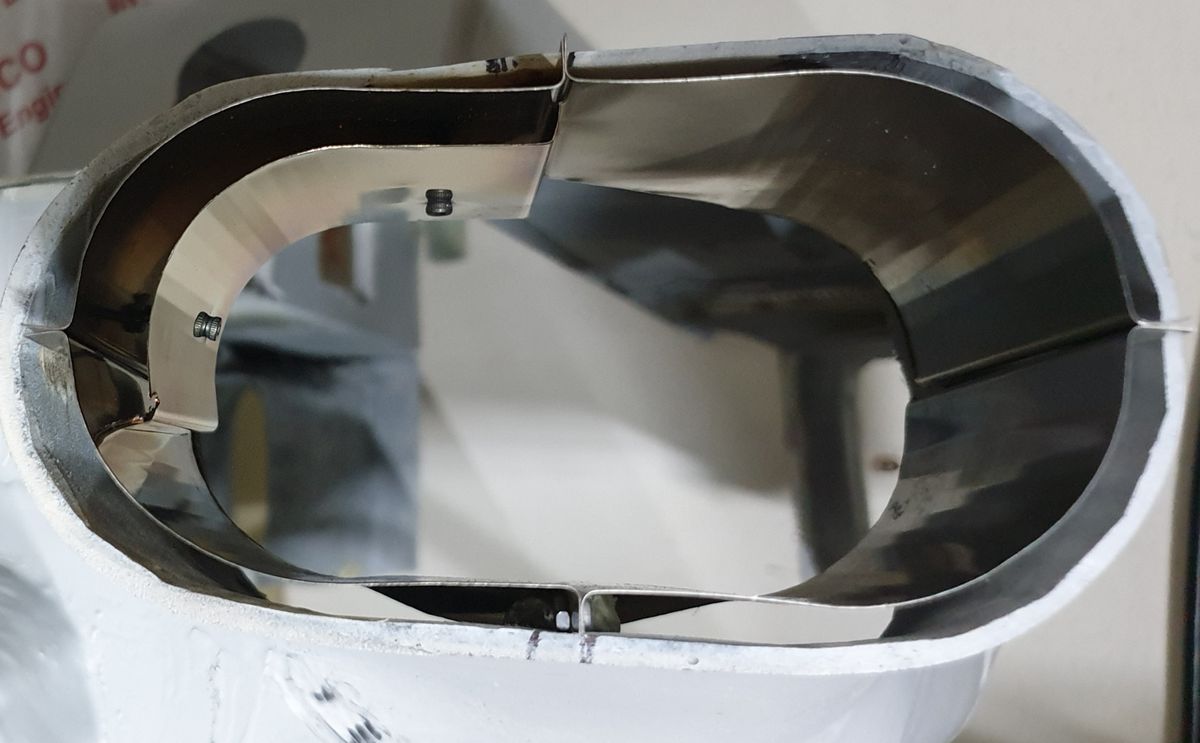
In my opinion a heat sheet (like a double pipe) should be good insulation.
Yesterday I was able to do another test after installation. The heat sheet works very well. The measured temperatures are now within an acceptable range.
Transport
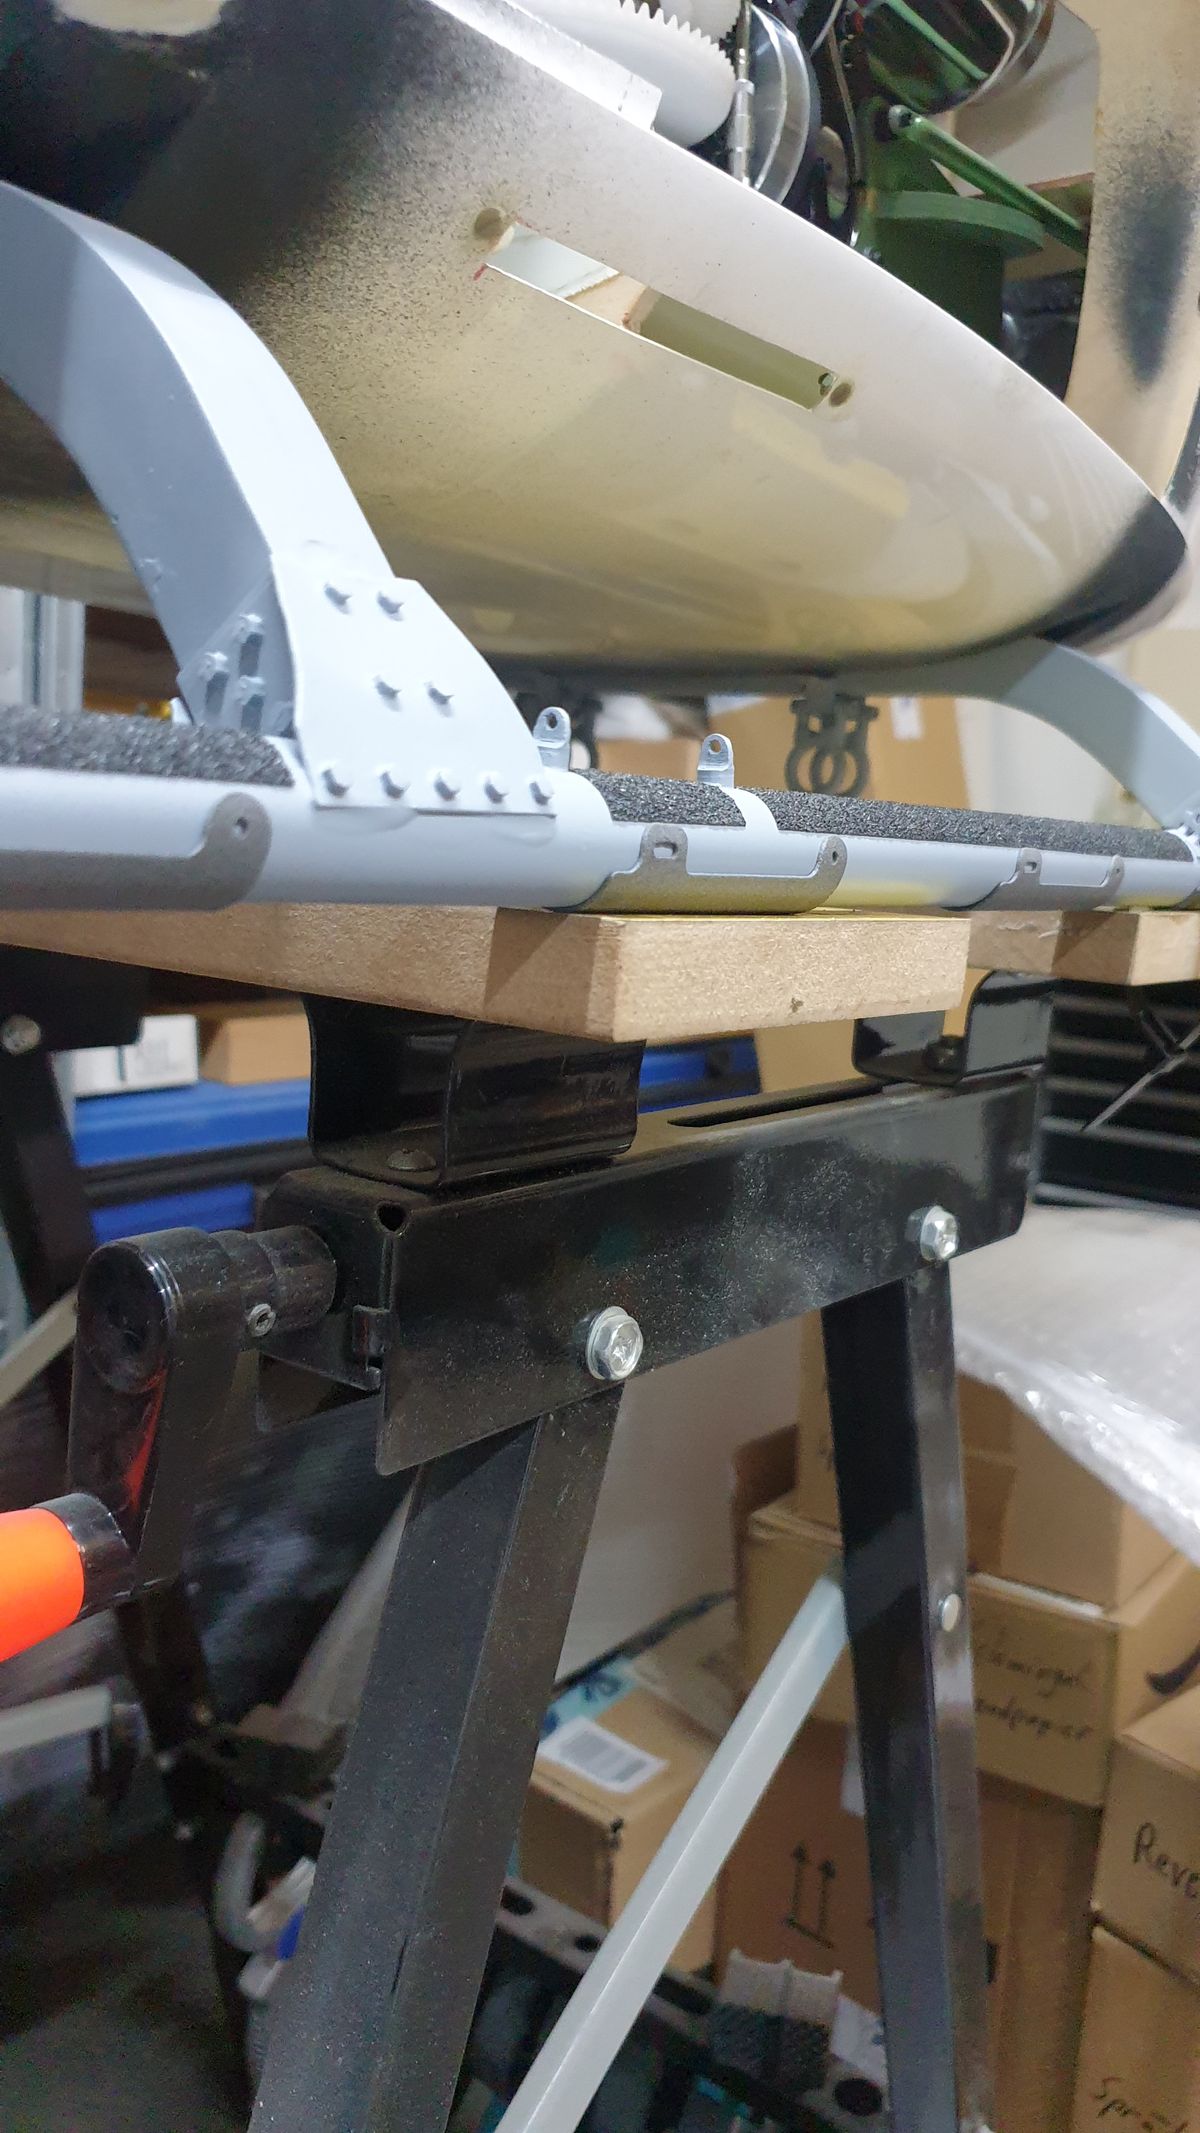
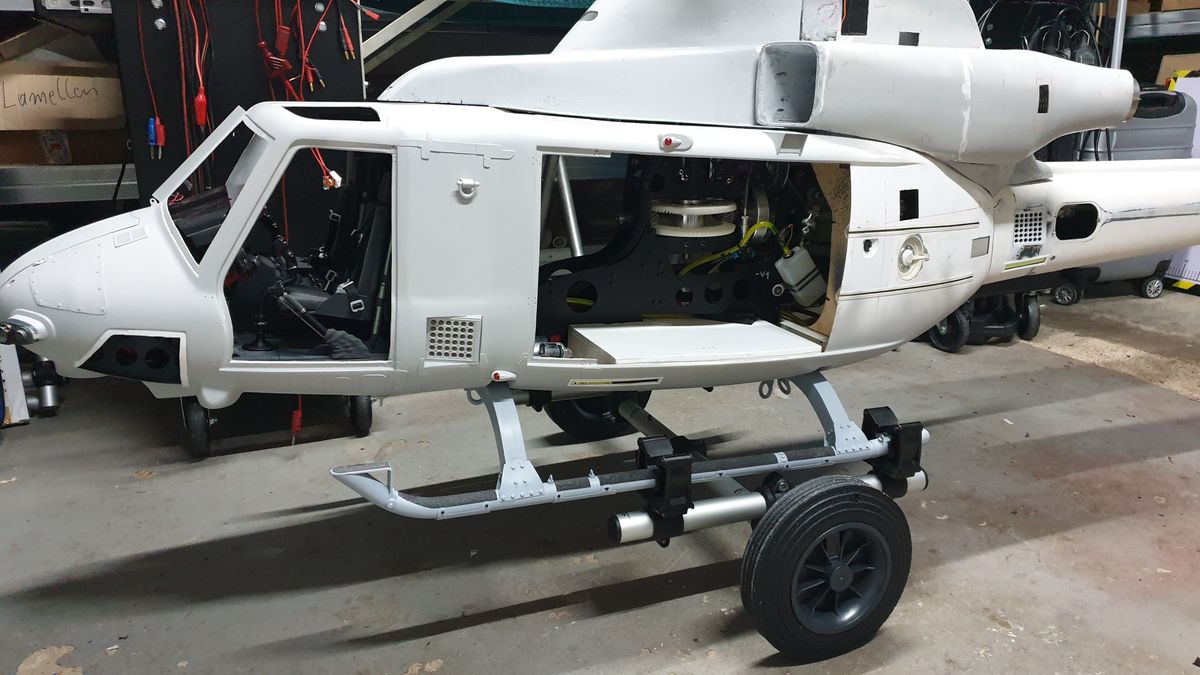
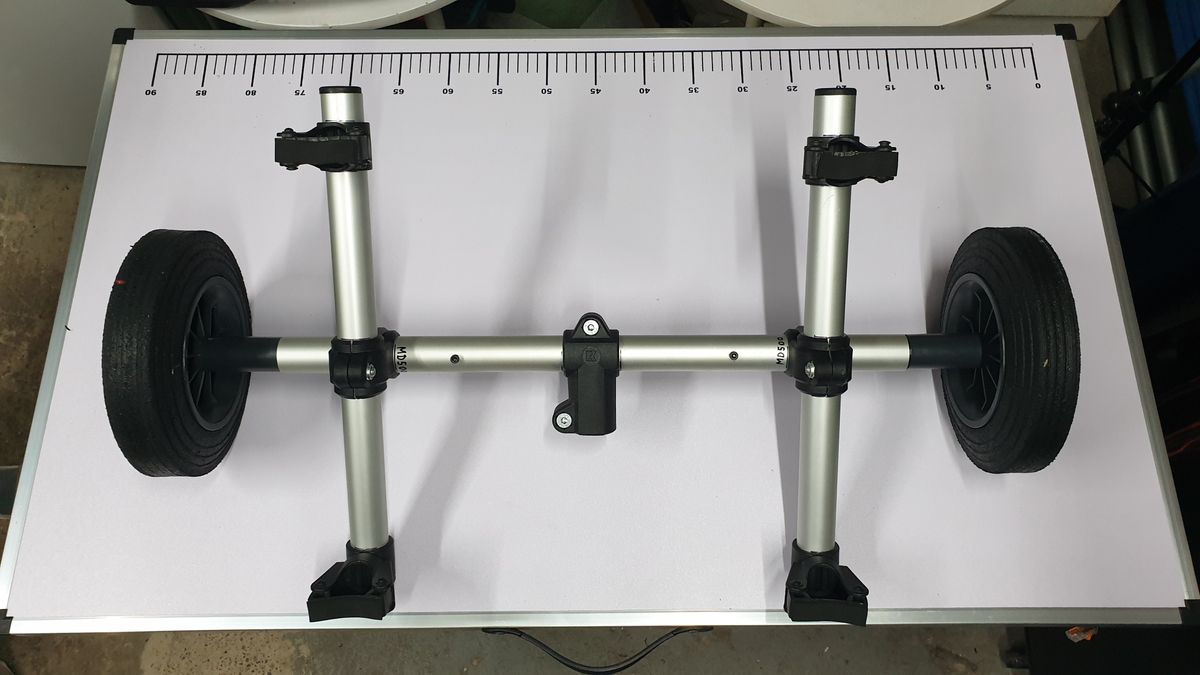
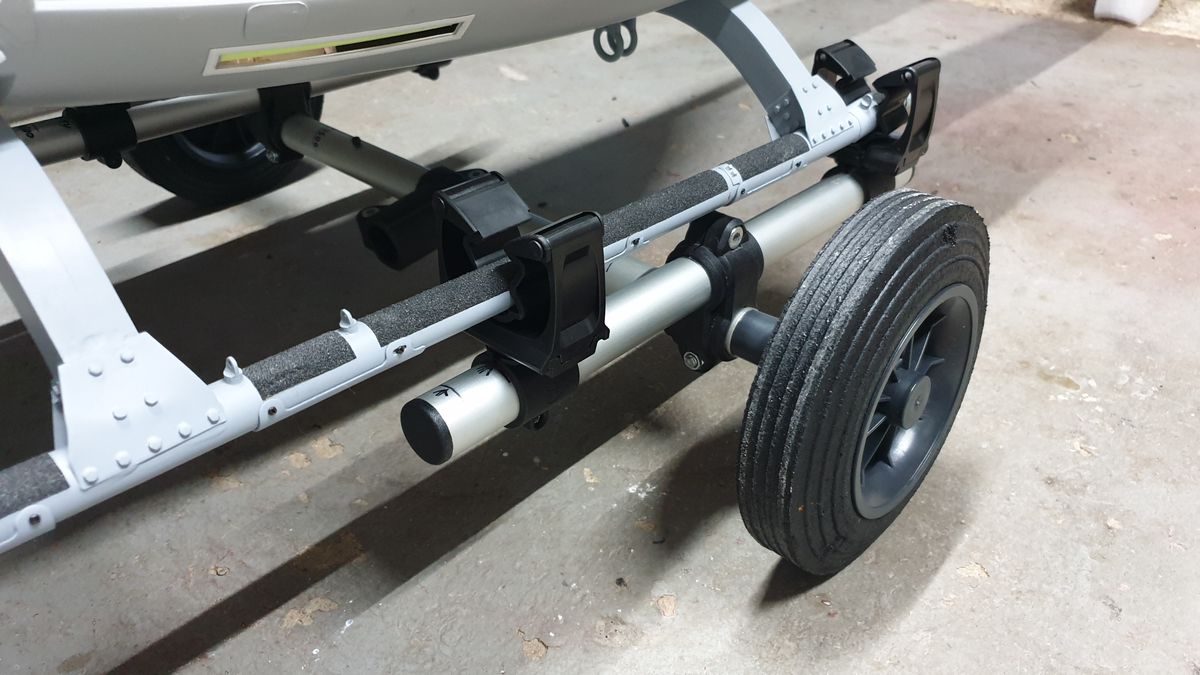
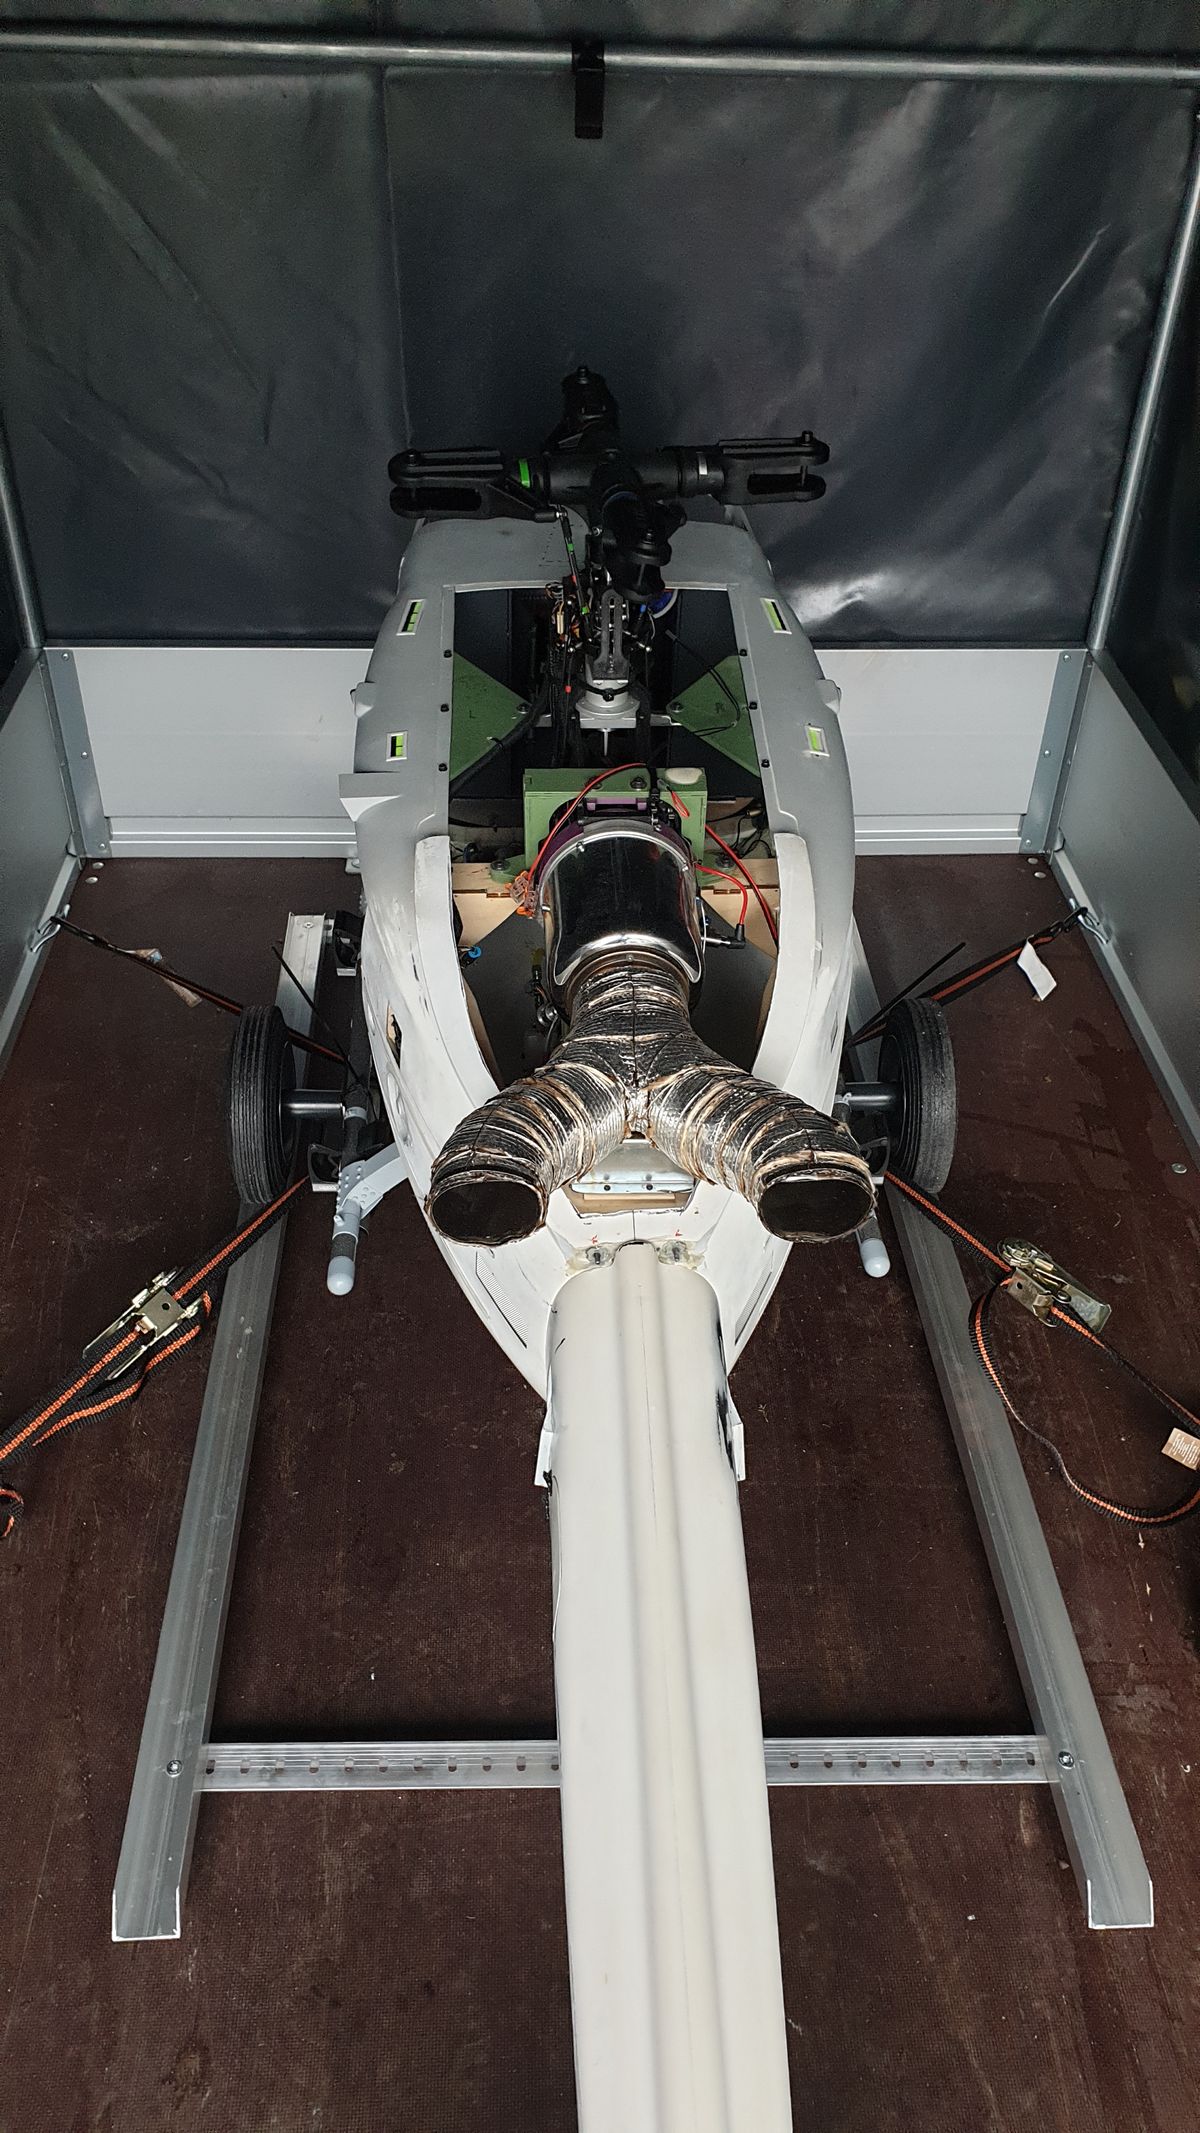
Because the maiden flight is approaching, I had to think about transport. Here I simply integrated wheels onto my assembly stand. It is very easy to maneuver and the helicopter can be loaded into the trailer via a ramp without any problems. I also use the ramp because it provides a little cushioning. After it was lashed down, I was able to do the first test drive over approx. 5km. --> Test passed.
Fine tuning with Heiko Fischer: RC HELICOPTER Service
Today we had Uwe Behr from Behr-Modelltechnik with us with his 🚁Bell UH-1Y🚁, which is currently under construction. We did some fine-tuning, settings and an inspection of the special UH before the first flight. A great built model and very unique!...even the artificial horizon on the displays moves when the helicopter moves... 😁👌🏻 We would be happy to help you on your way to your first flight! 📩
#rchelicopterservice
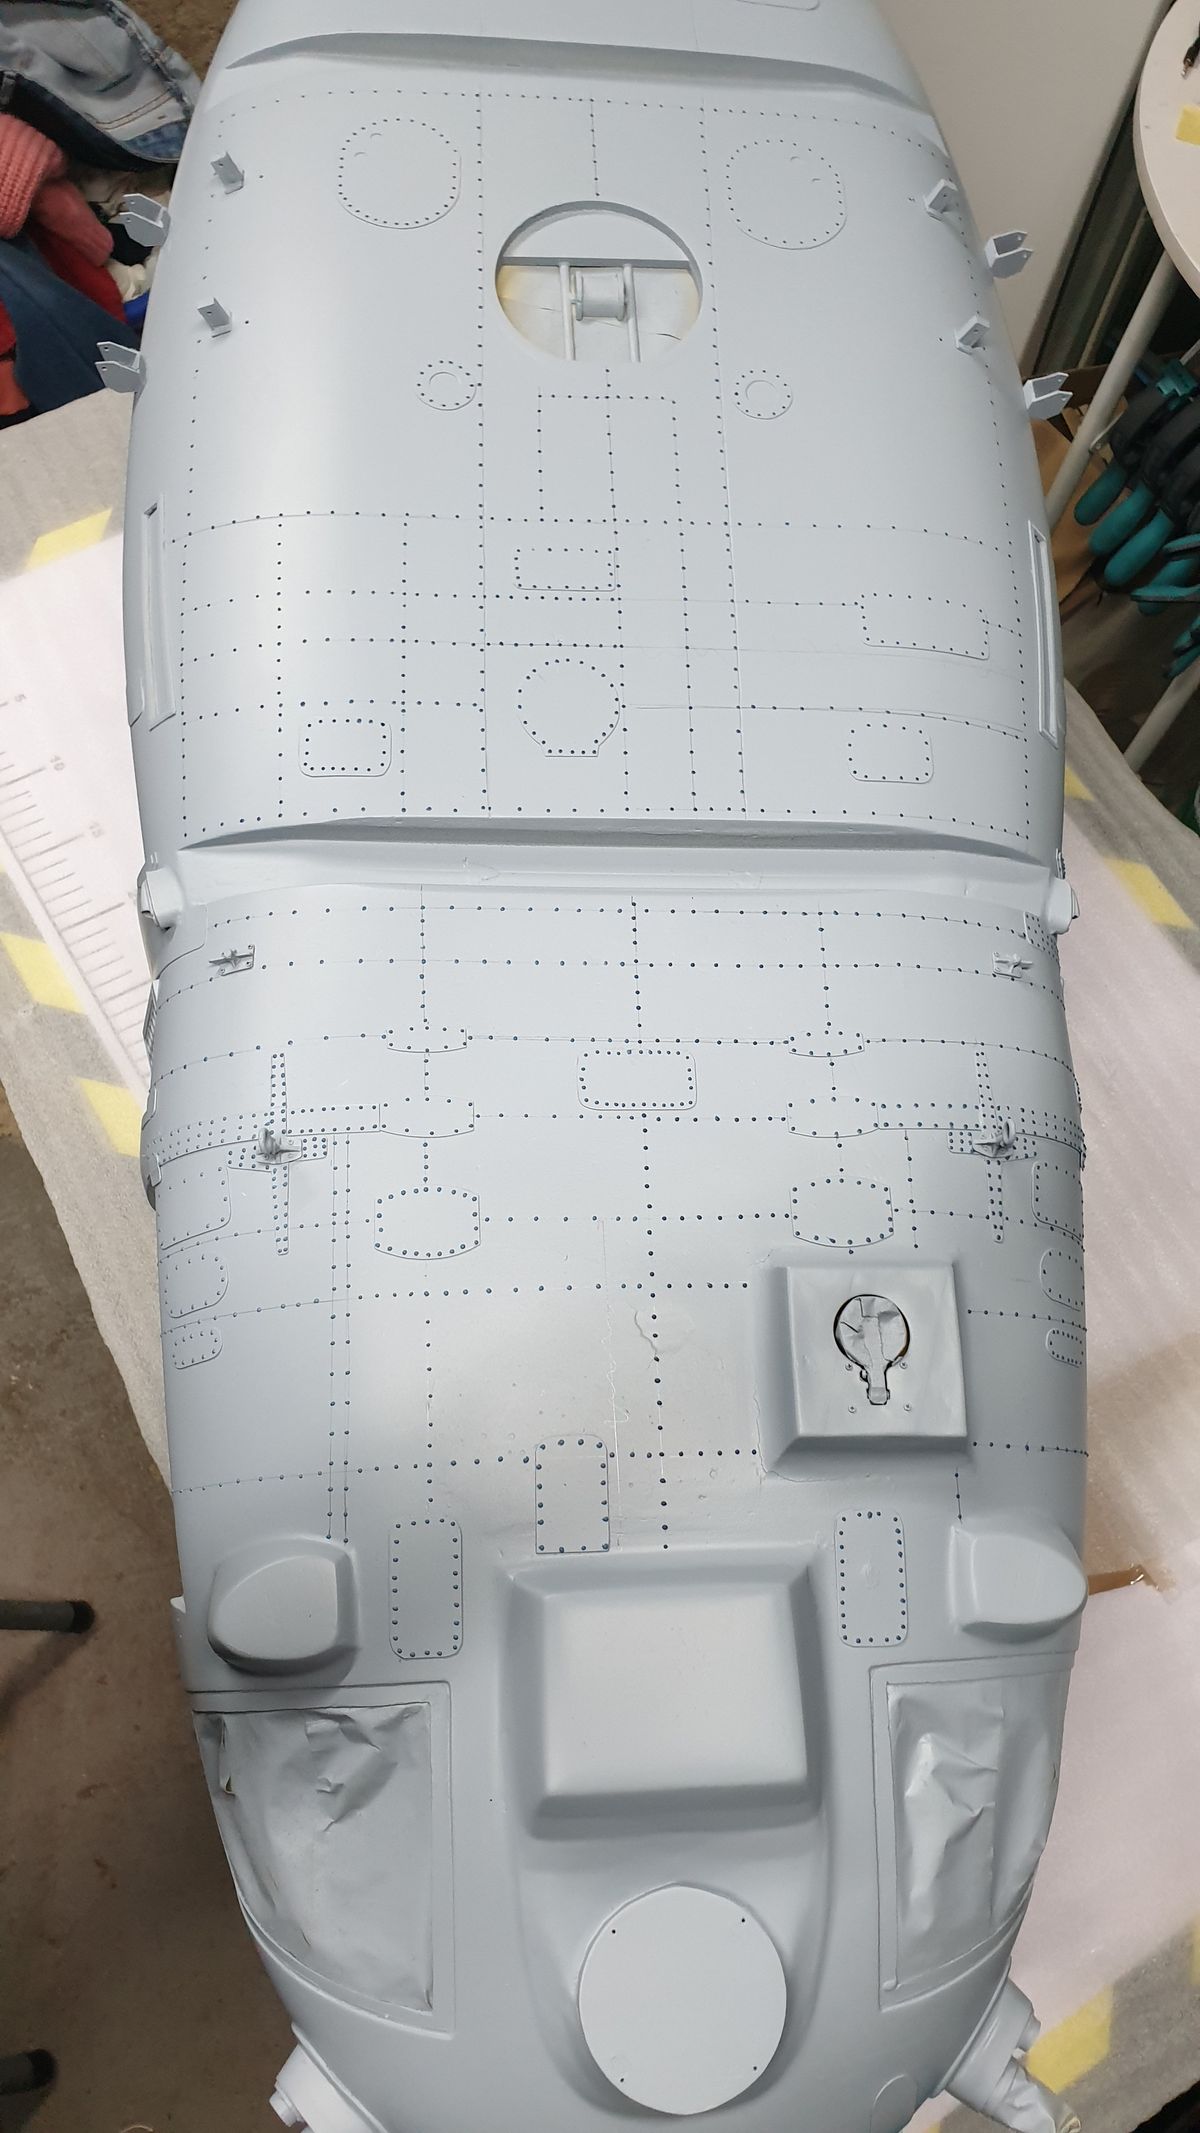
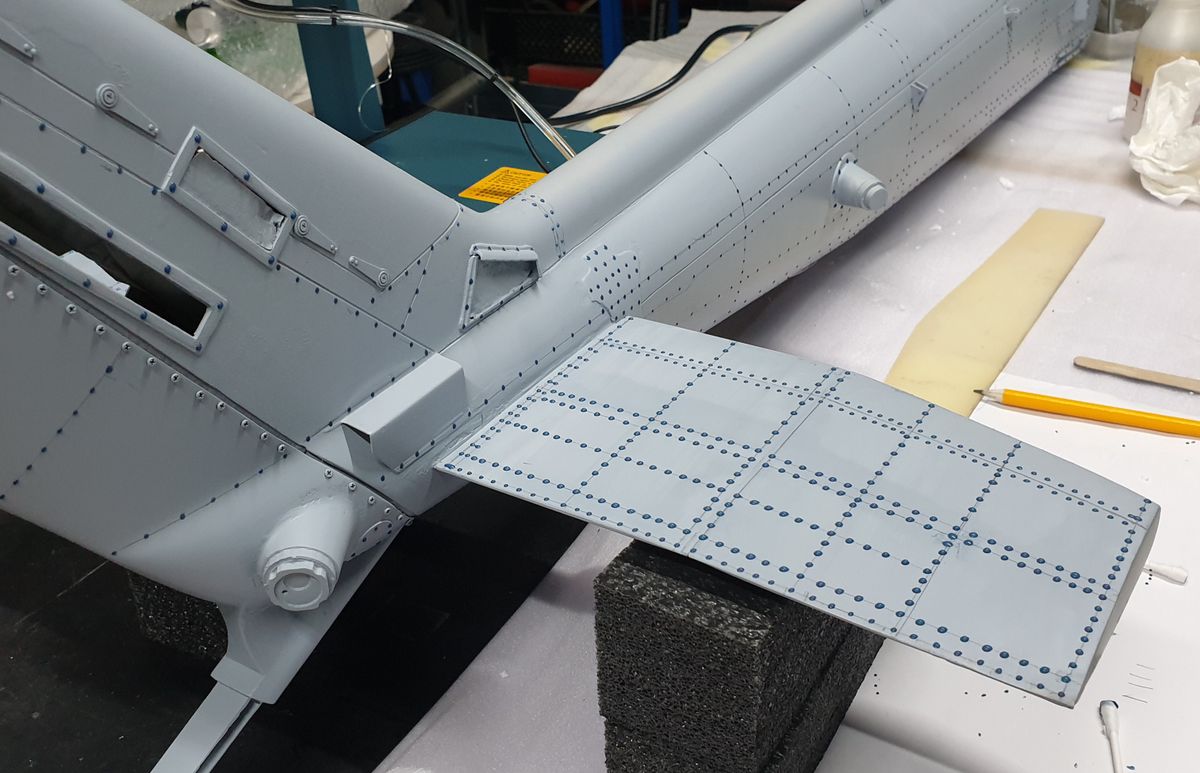
Rivets
The first layer of paint is on. Now we can start with the first many little rivets 🤦♂️
The underside is very suitable for practicing riveting
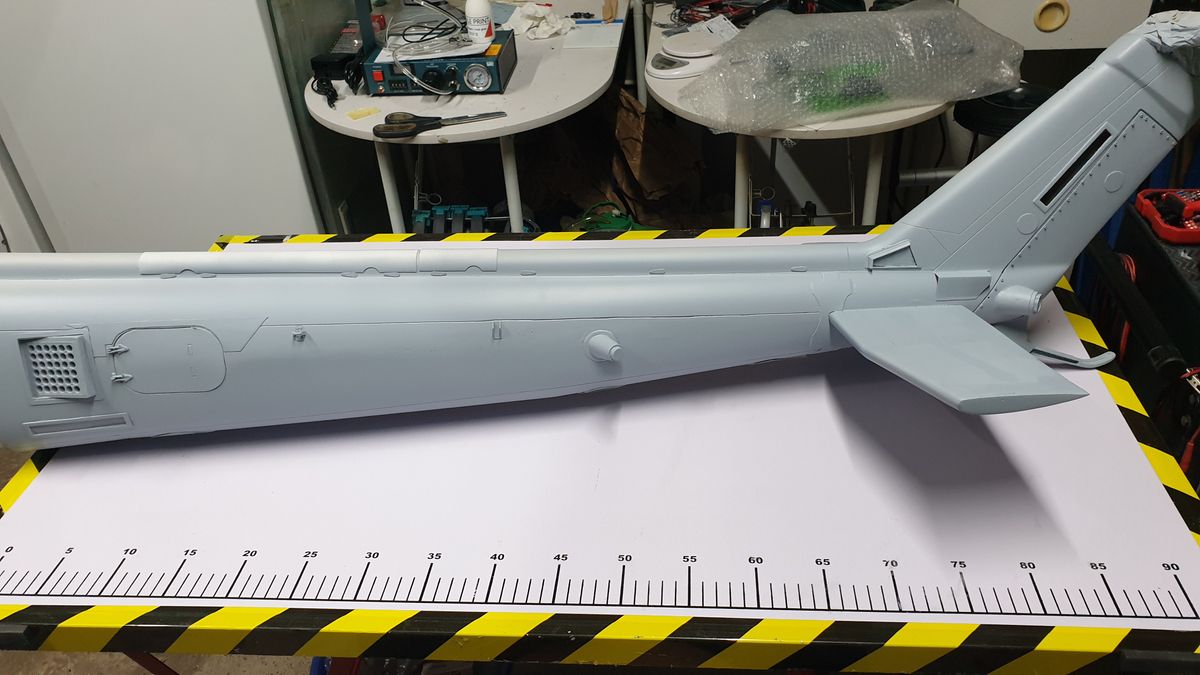
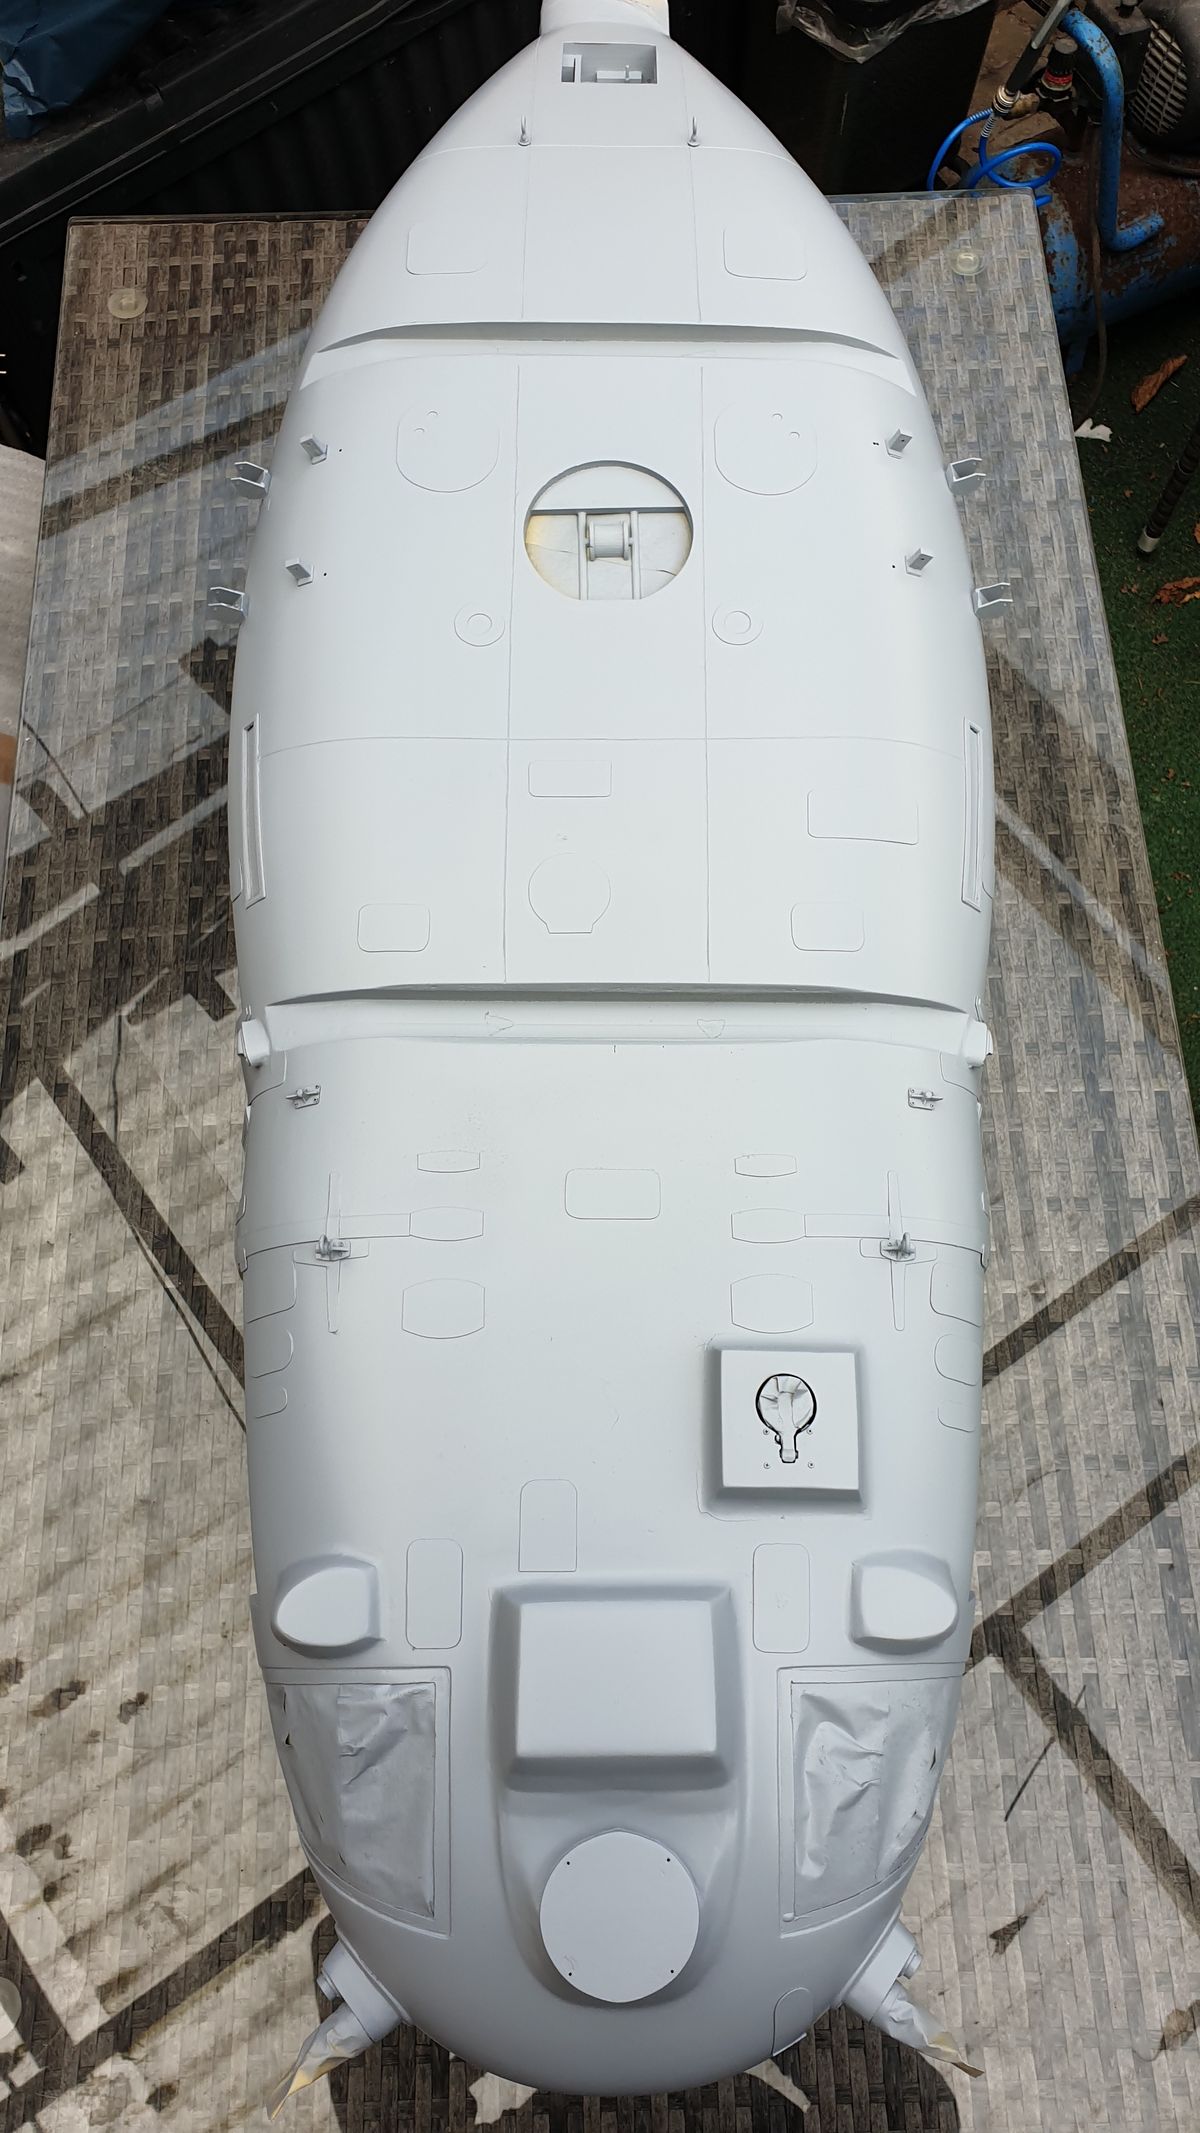
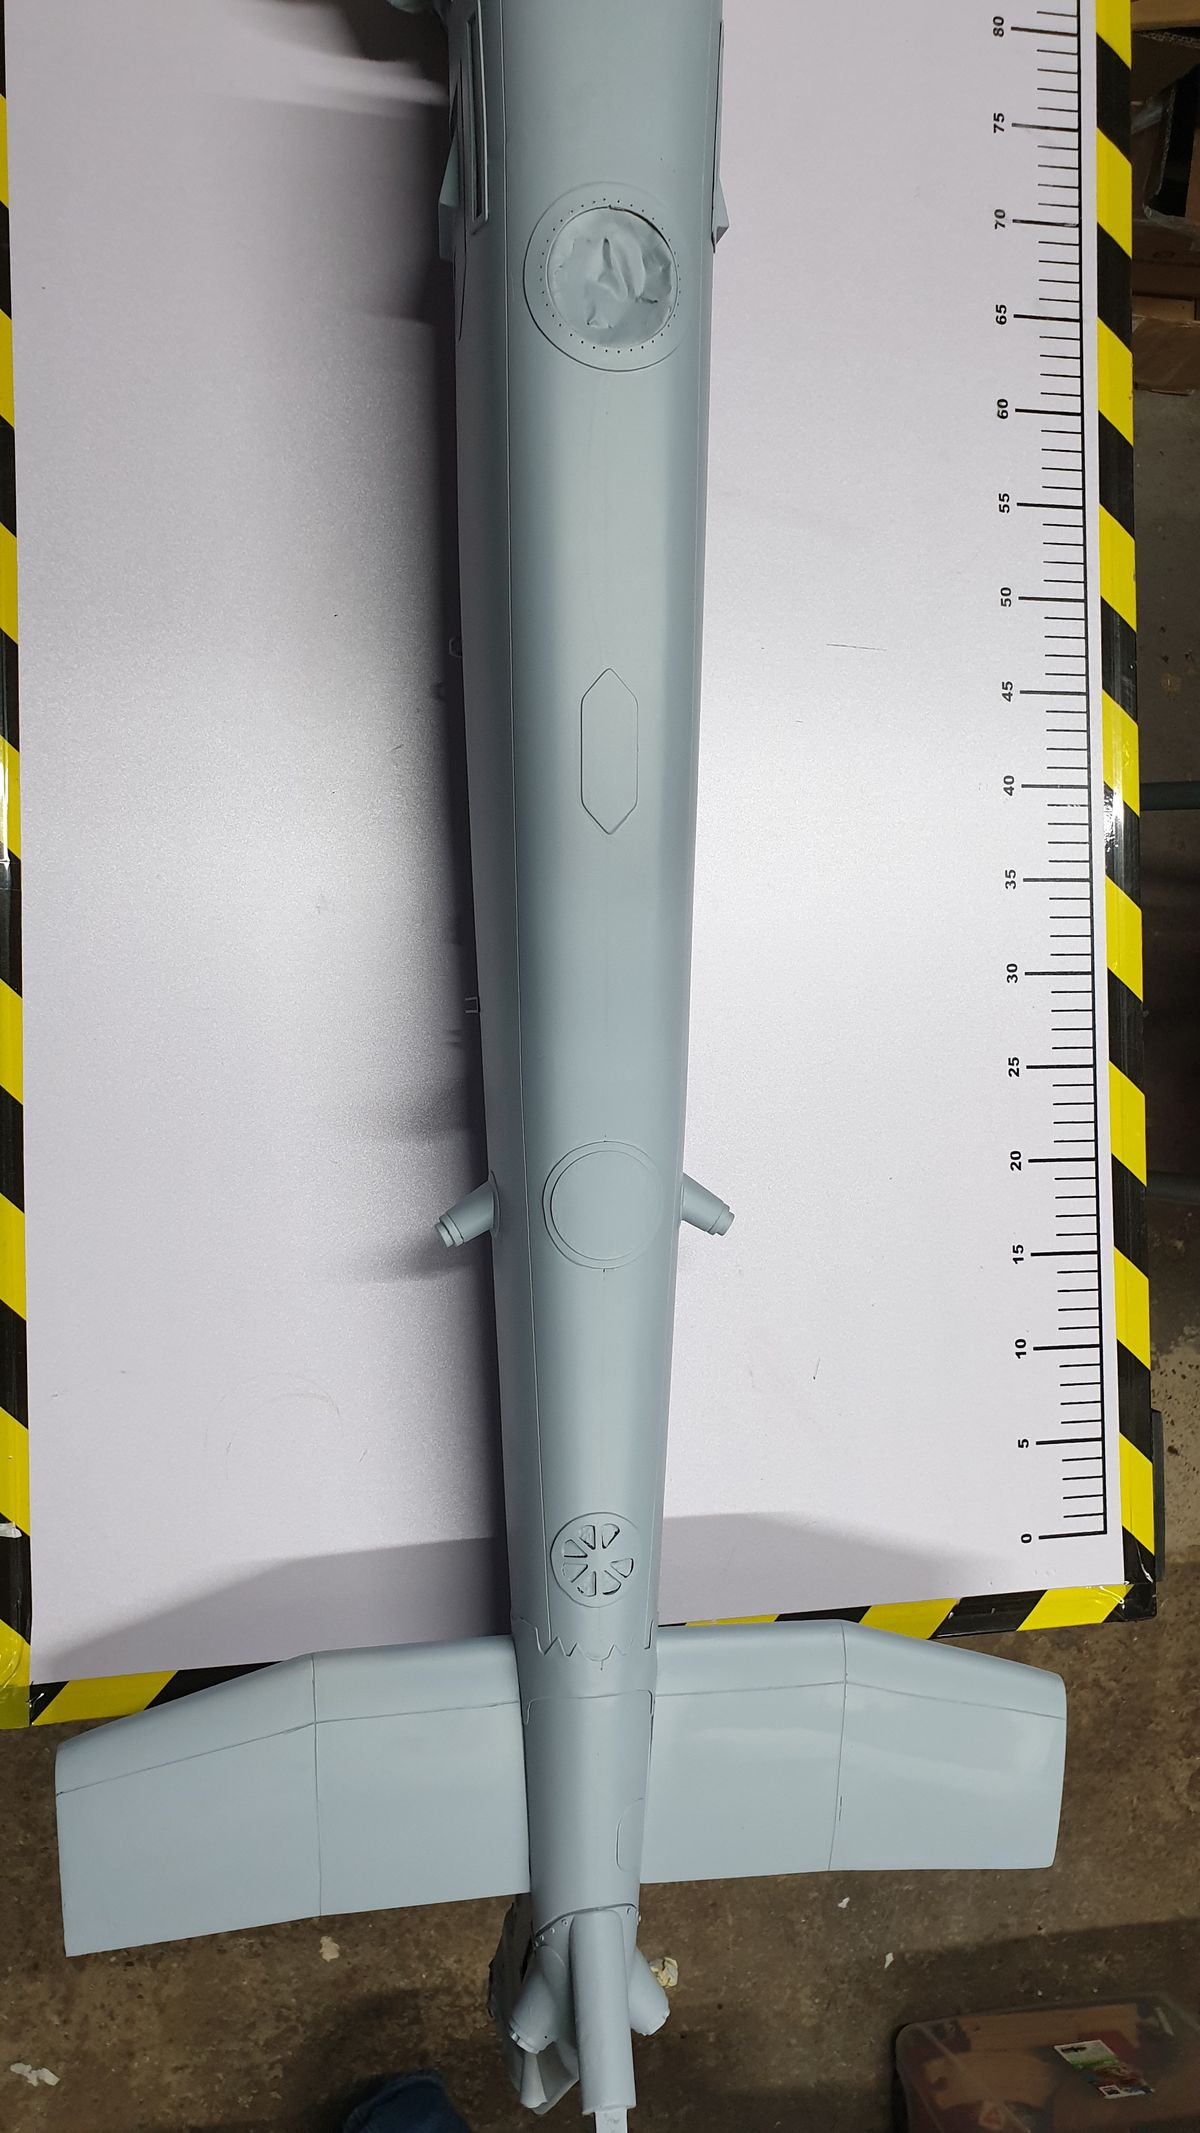
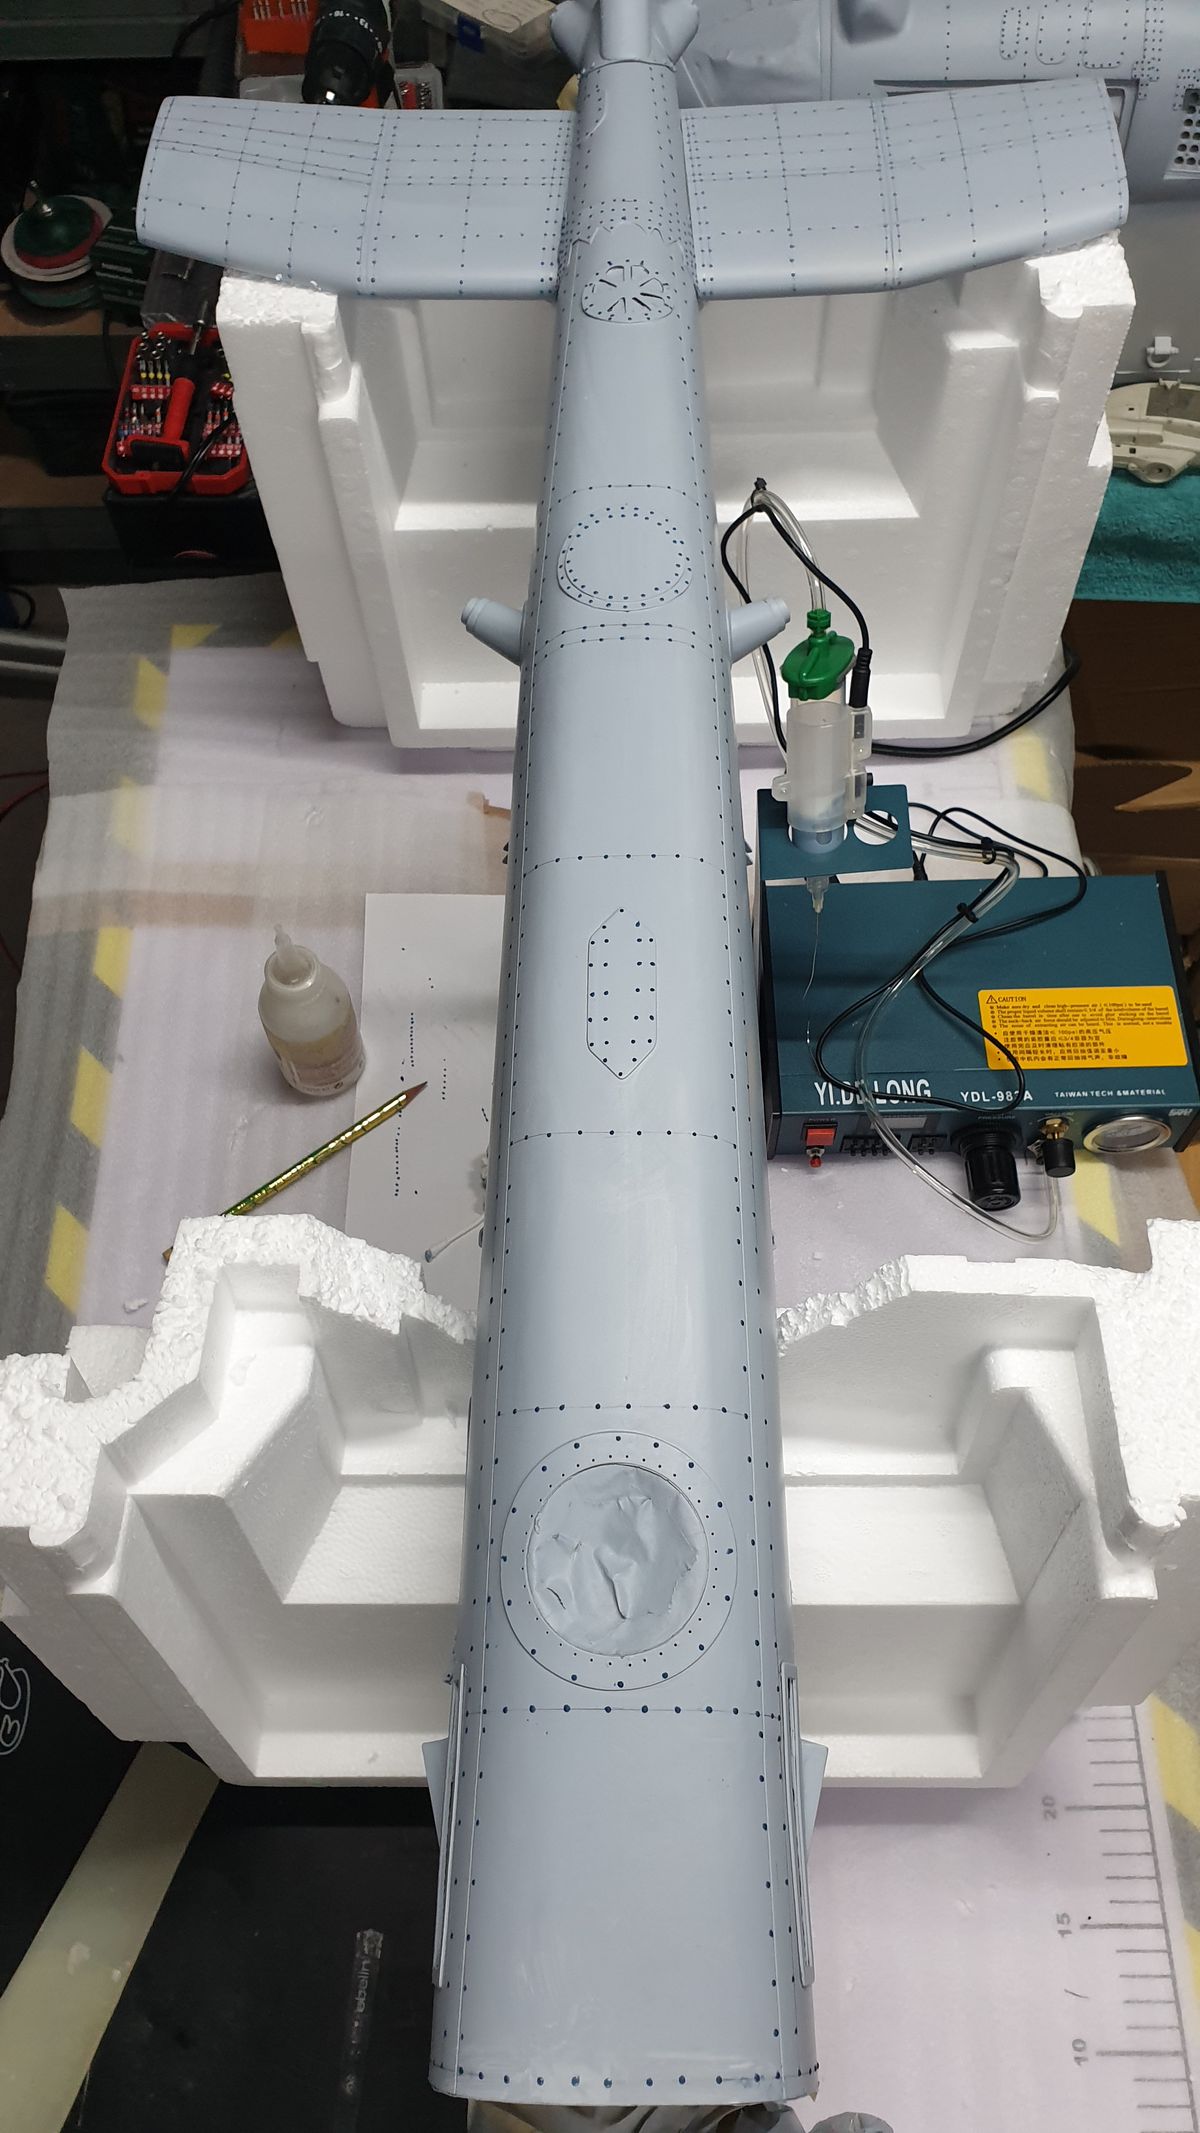
Decals
On the rear the decals are all finished. A matt varnish will be added later to seal it.
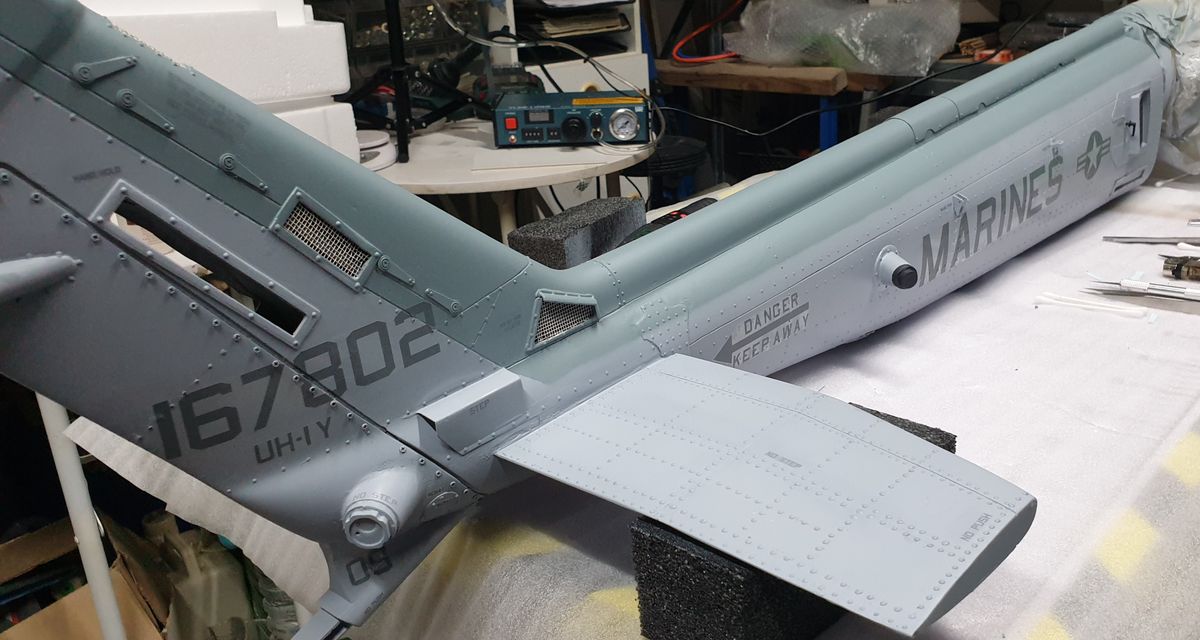
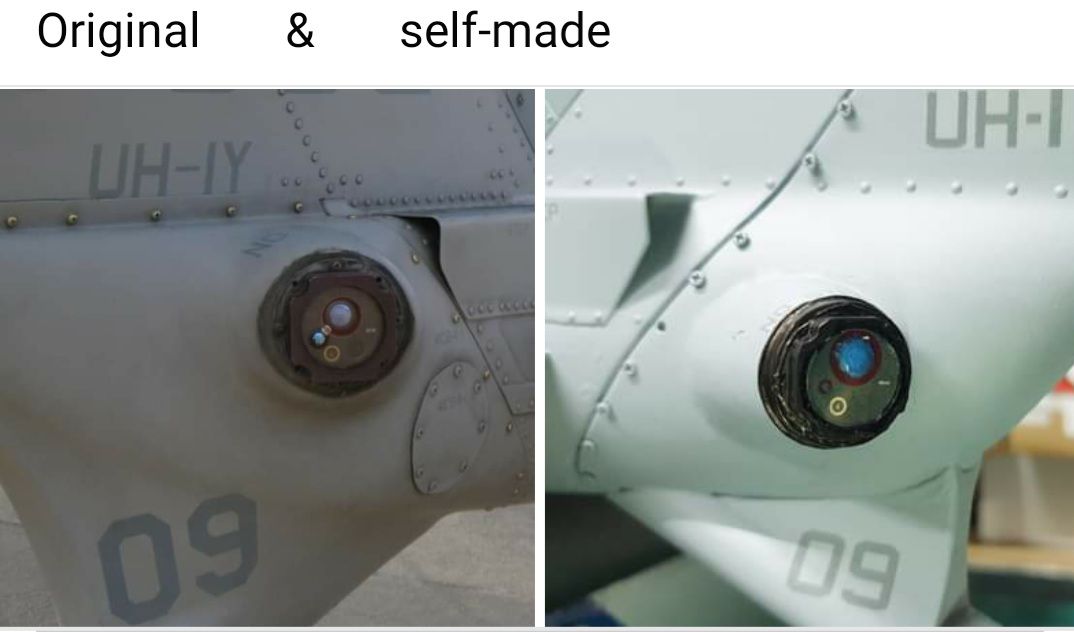
Details
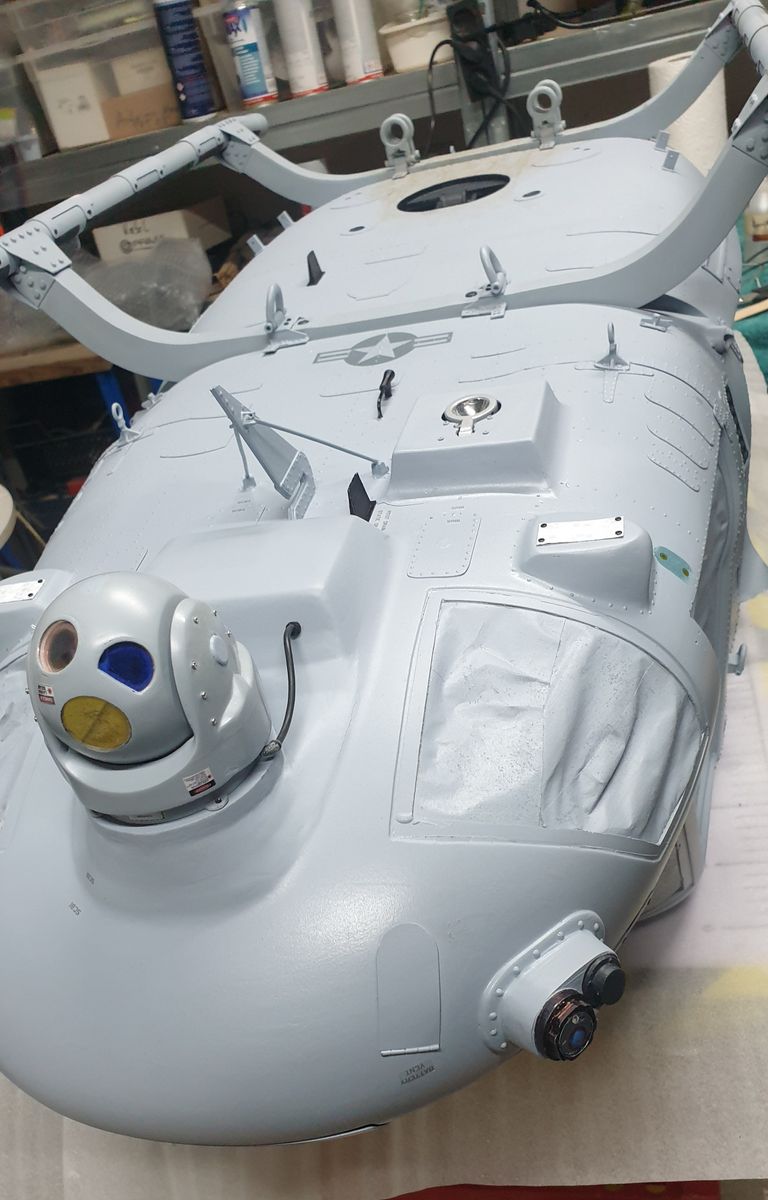
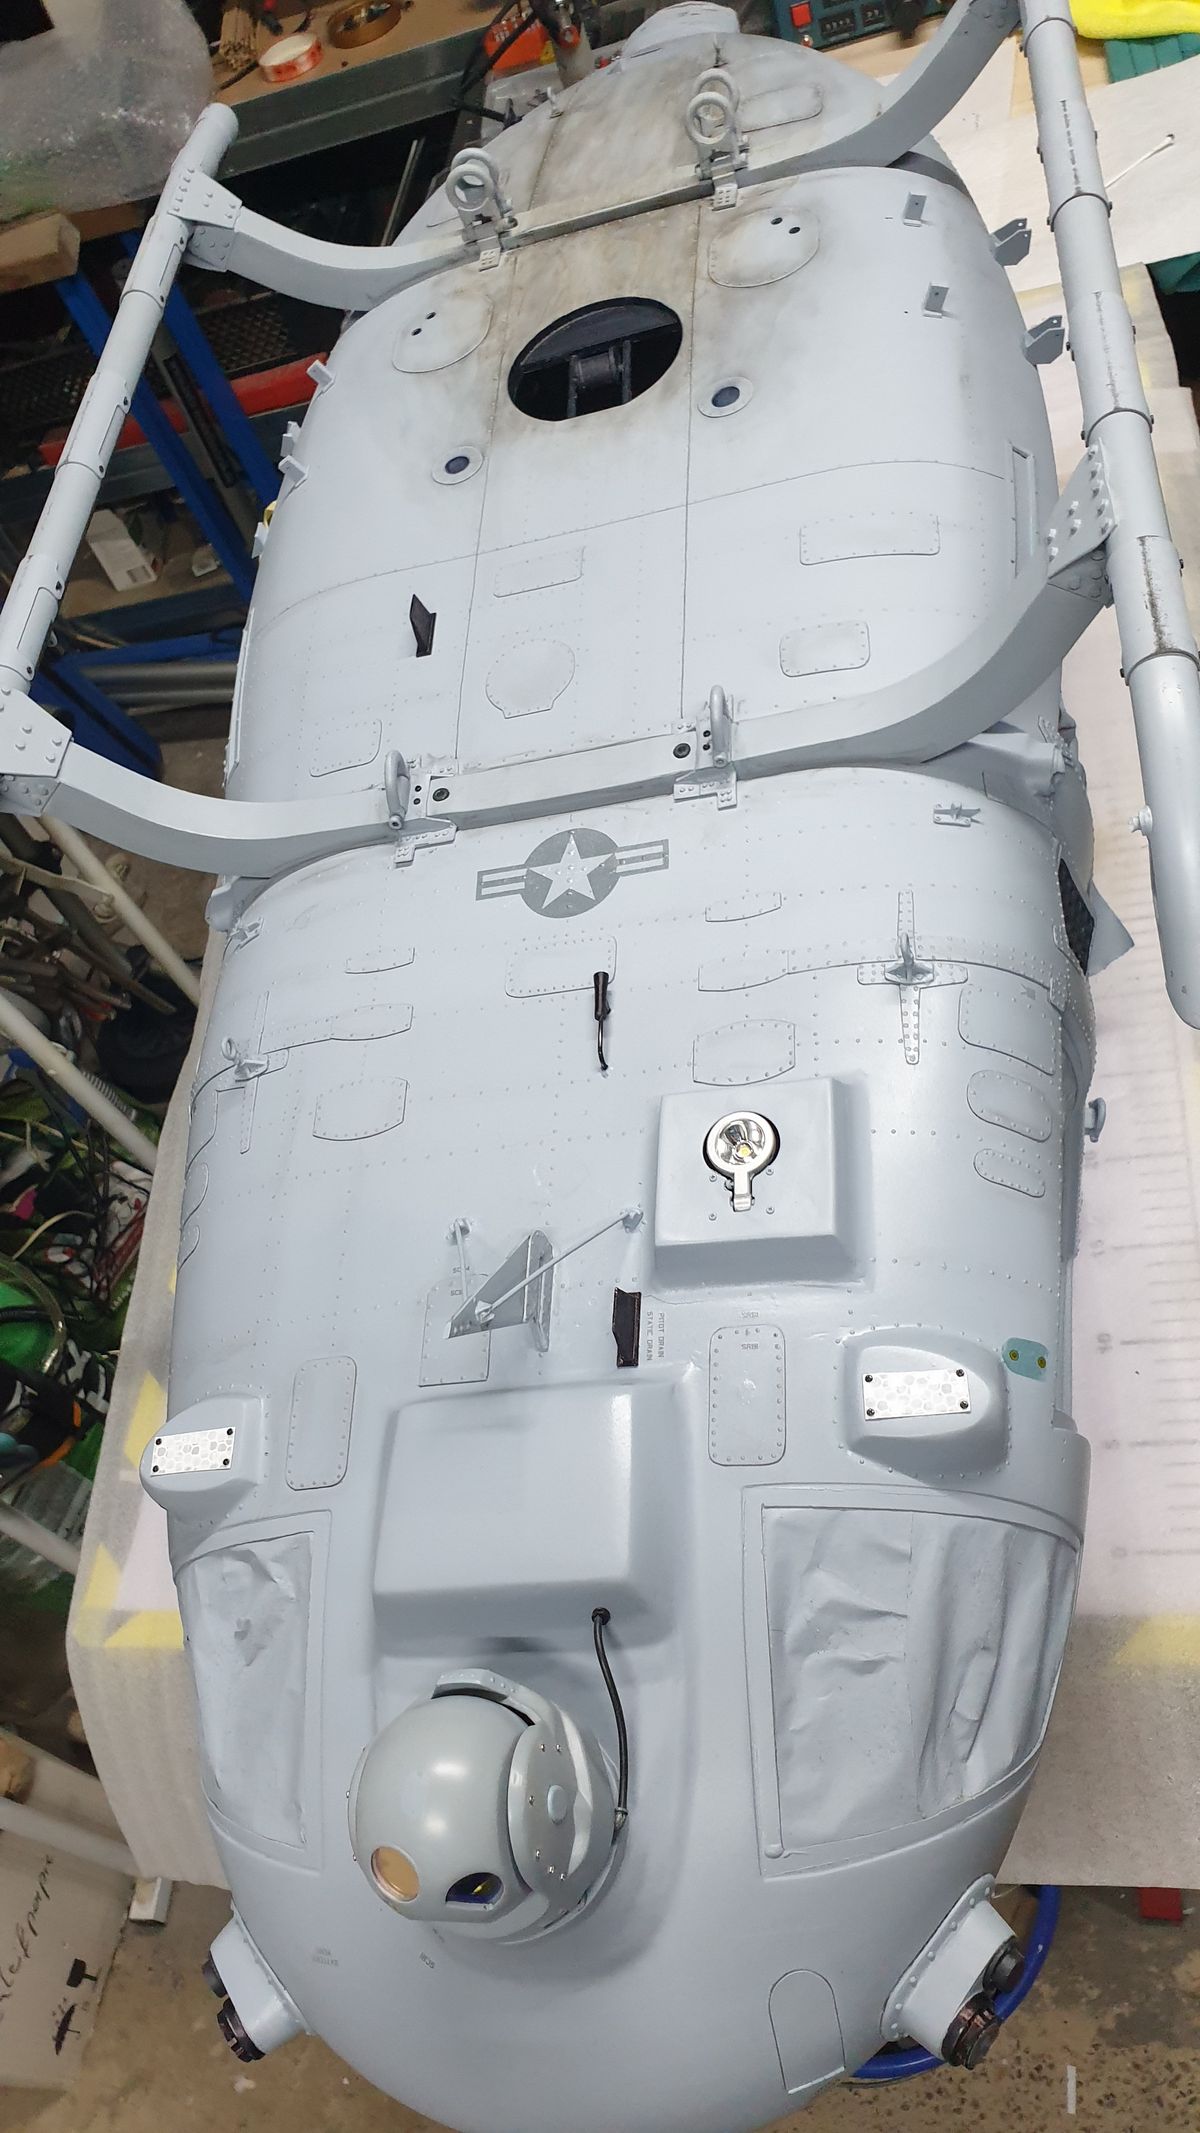
Most of the details are now installed on the underside. As long as he is lying on his back, the weathering can be done straight away.
Update: weathering is done
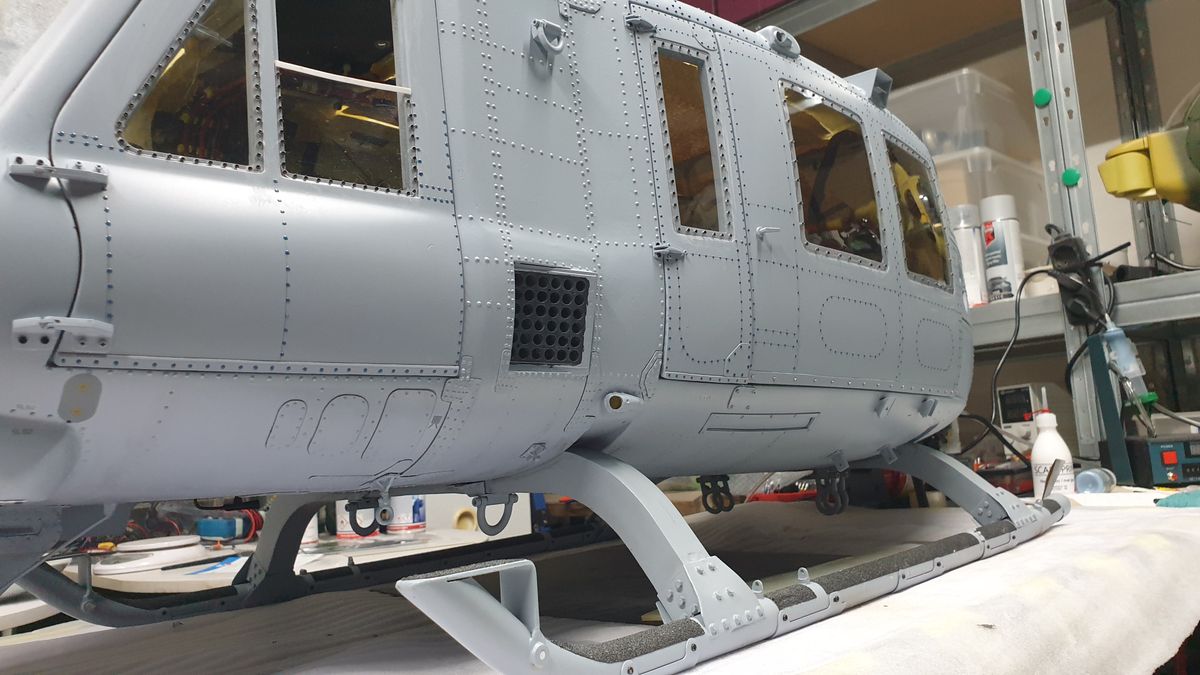
The doors are finally in place now 😰
Assembly
The assembly has begun. It should be finished this weekend.
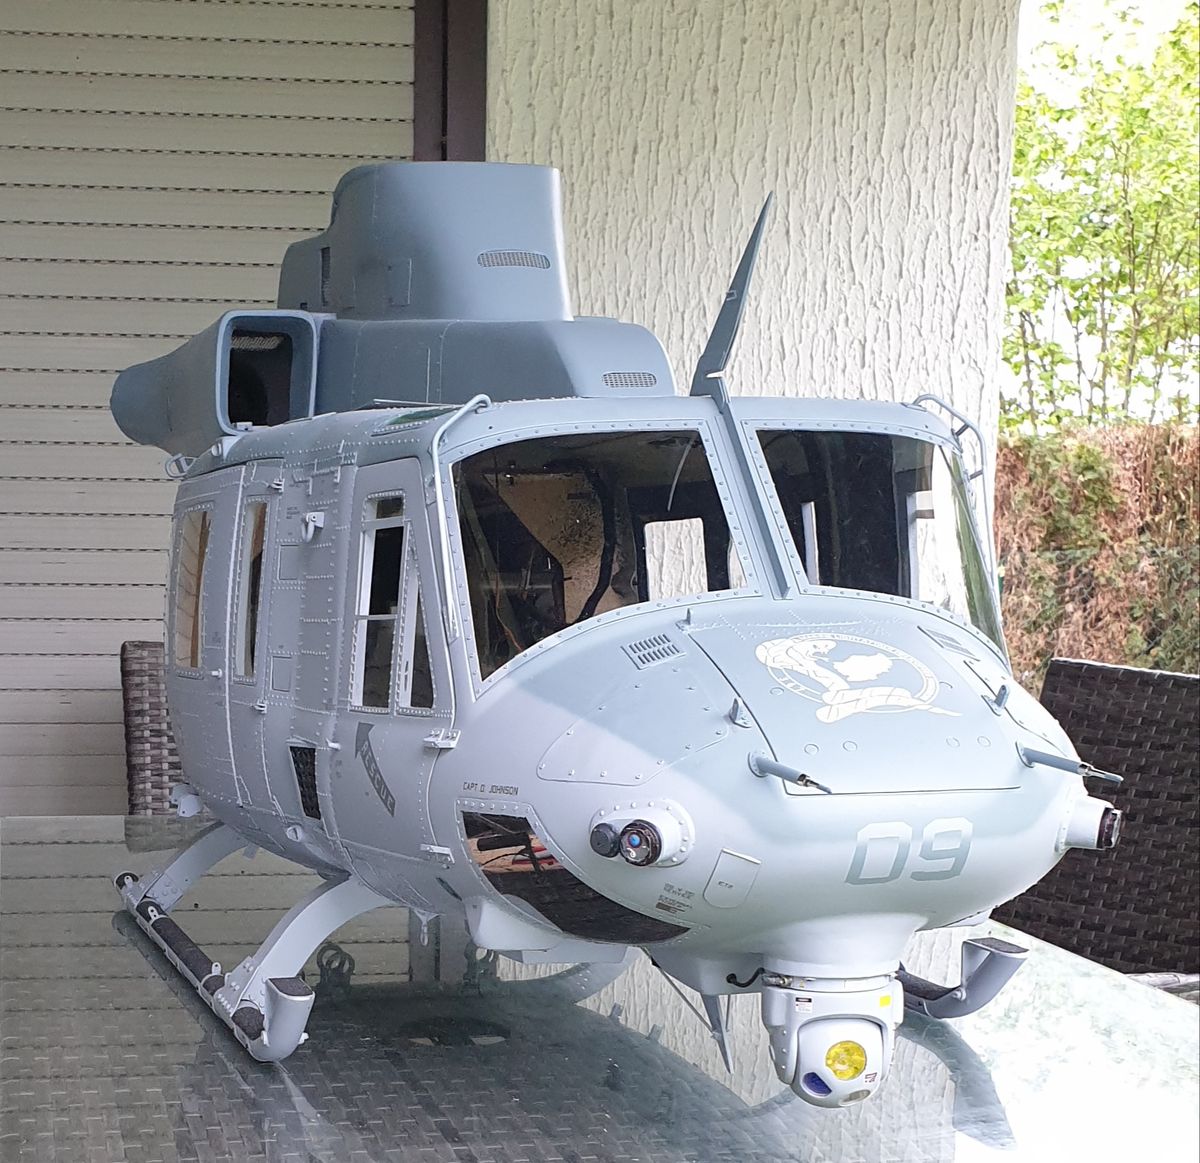
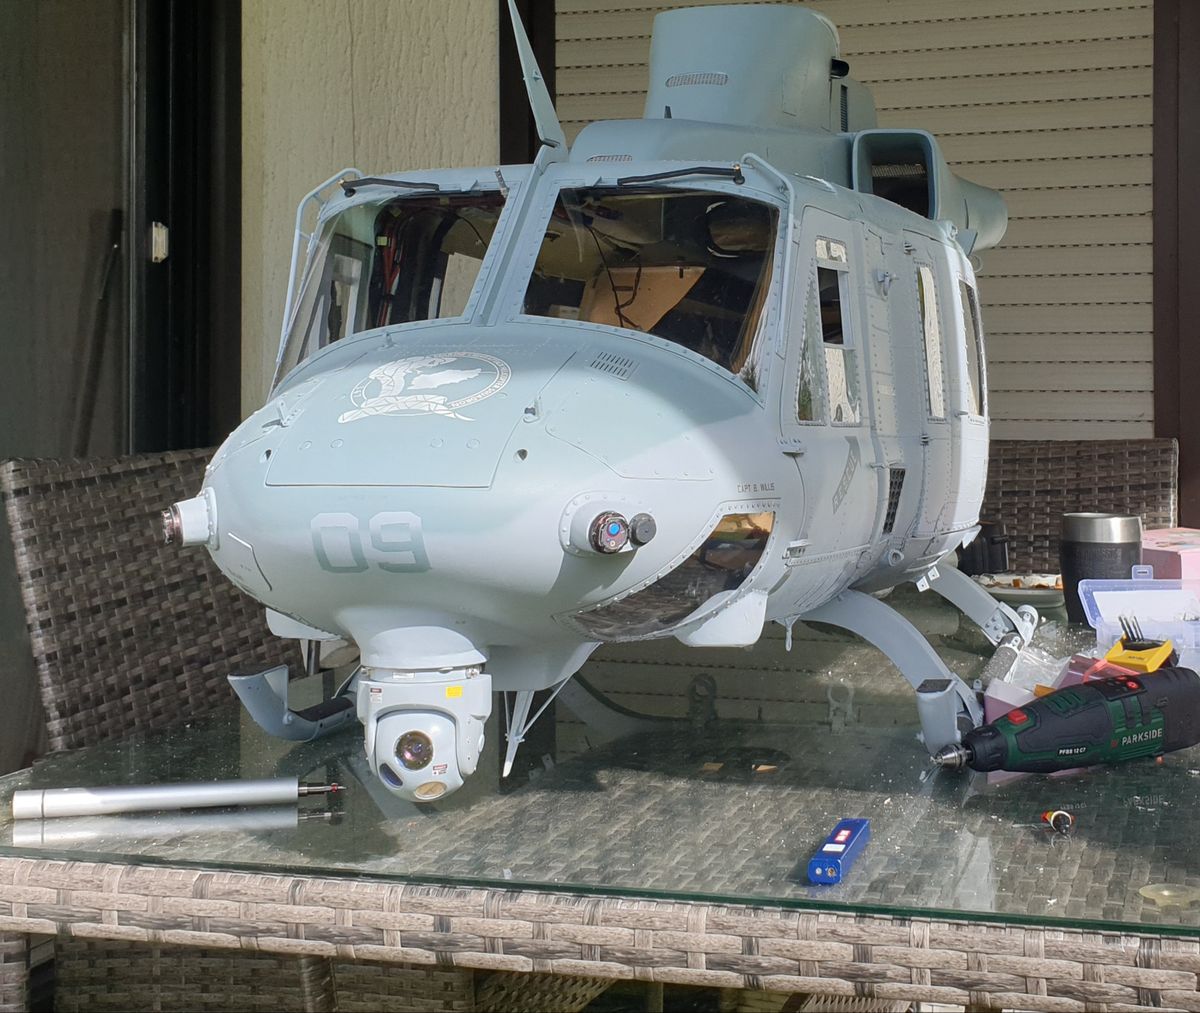
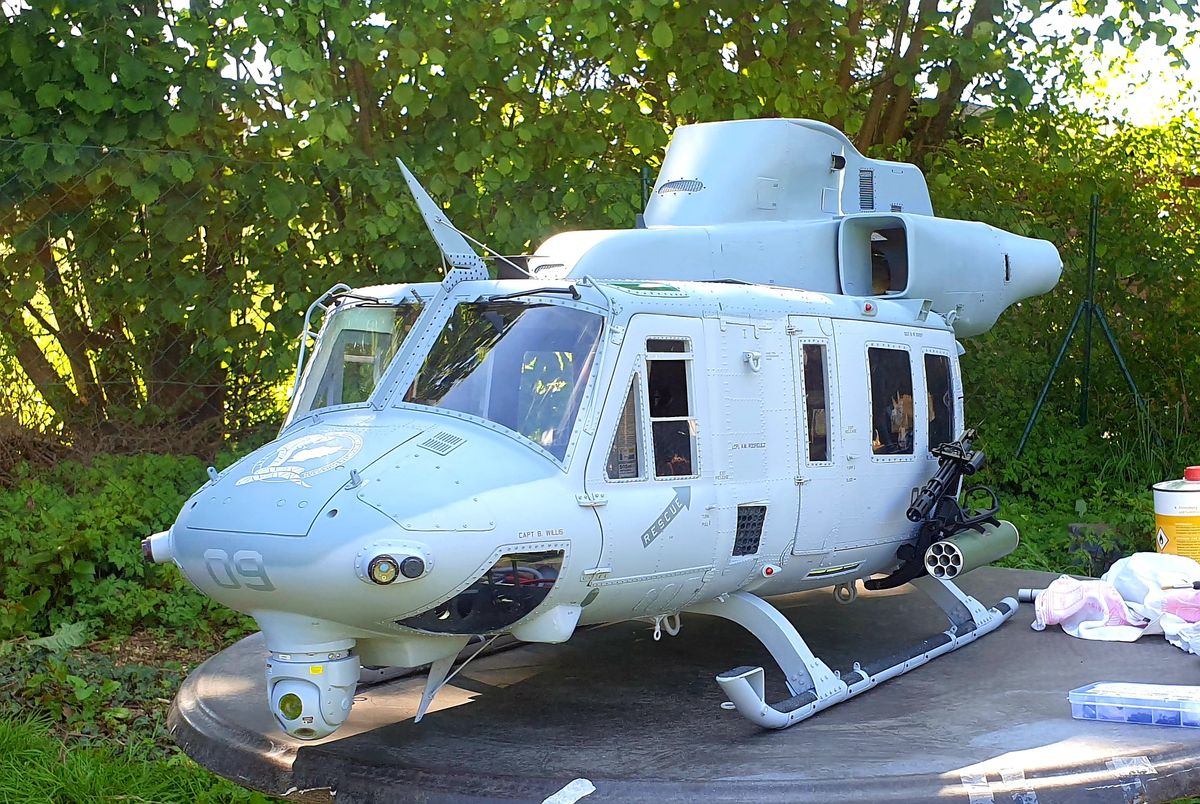
Assembly is complete
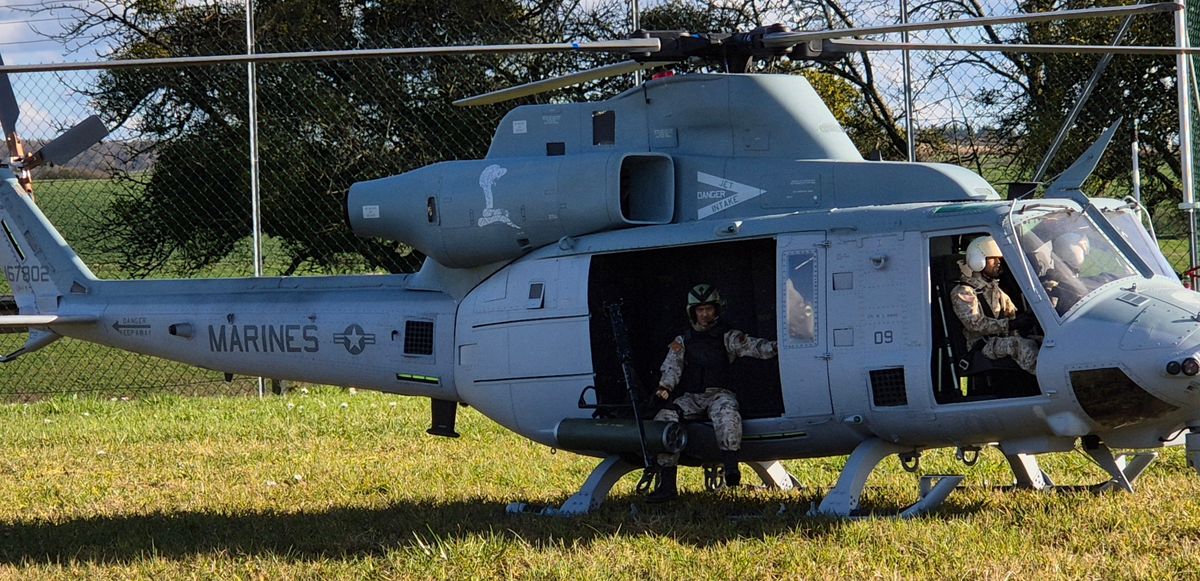
After years of development and construction, it's finally done
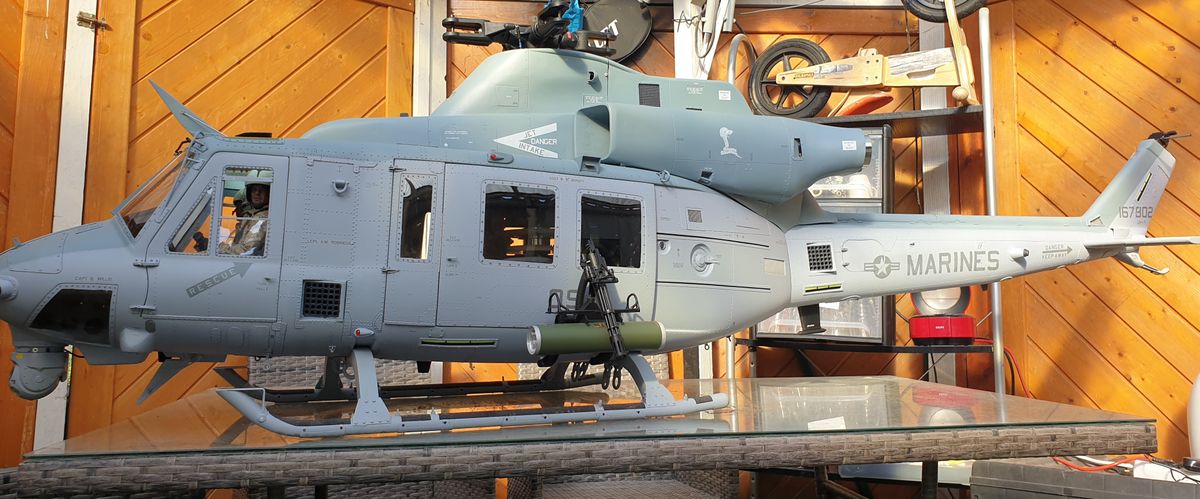
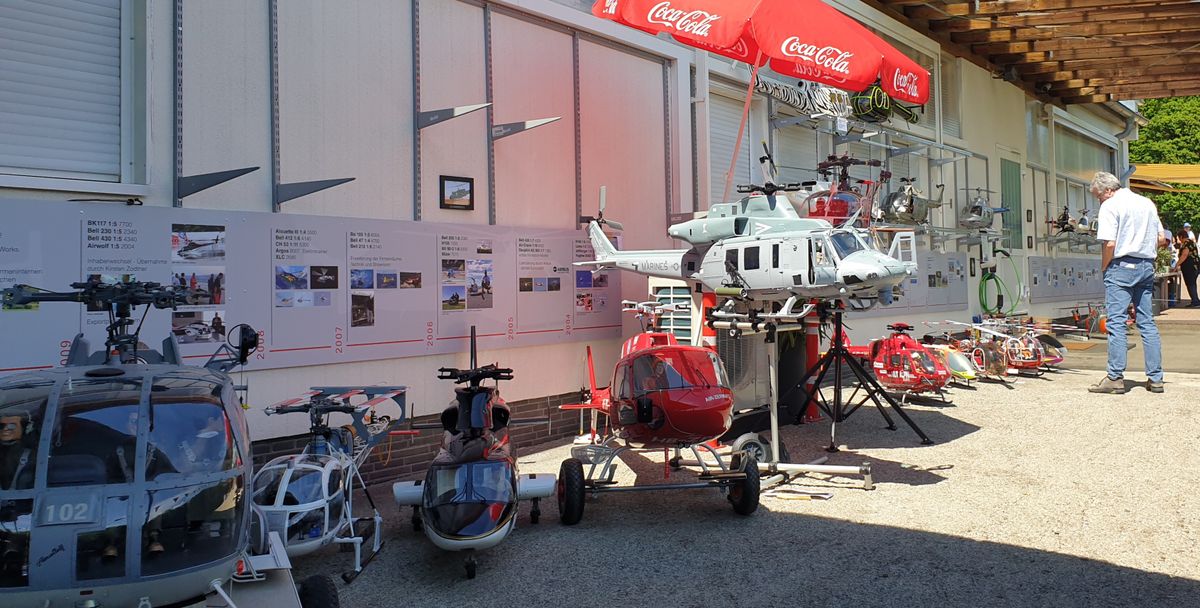
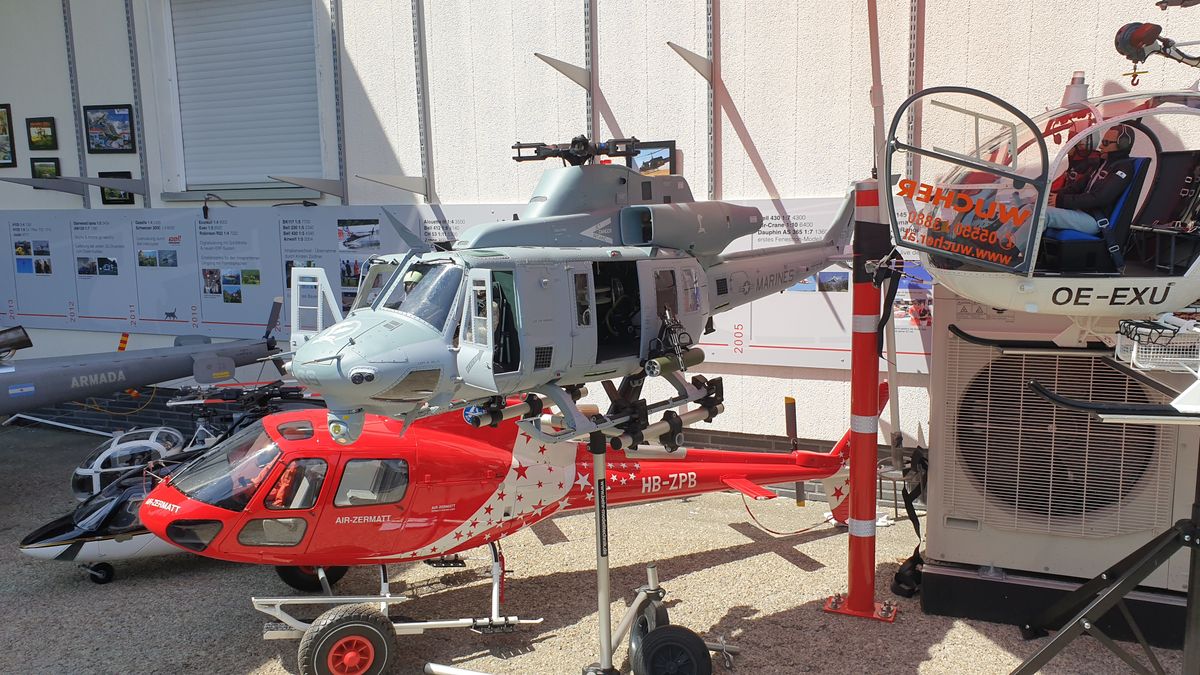
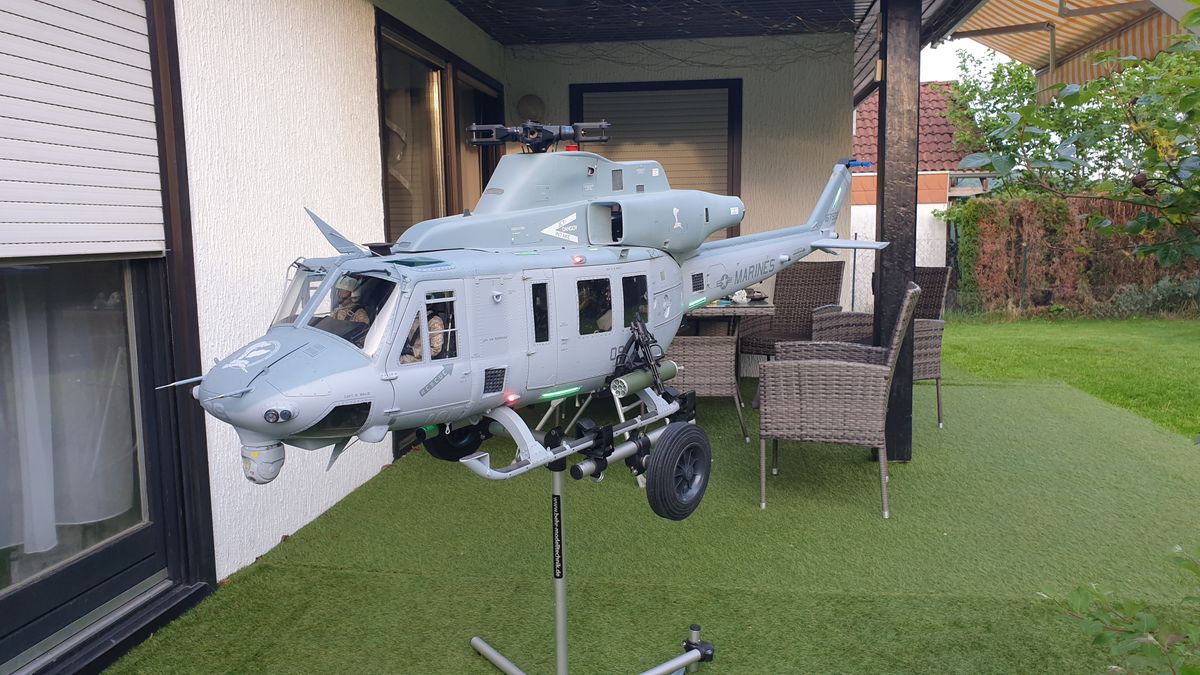
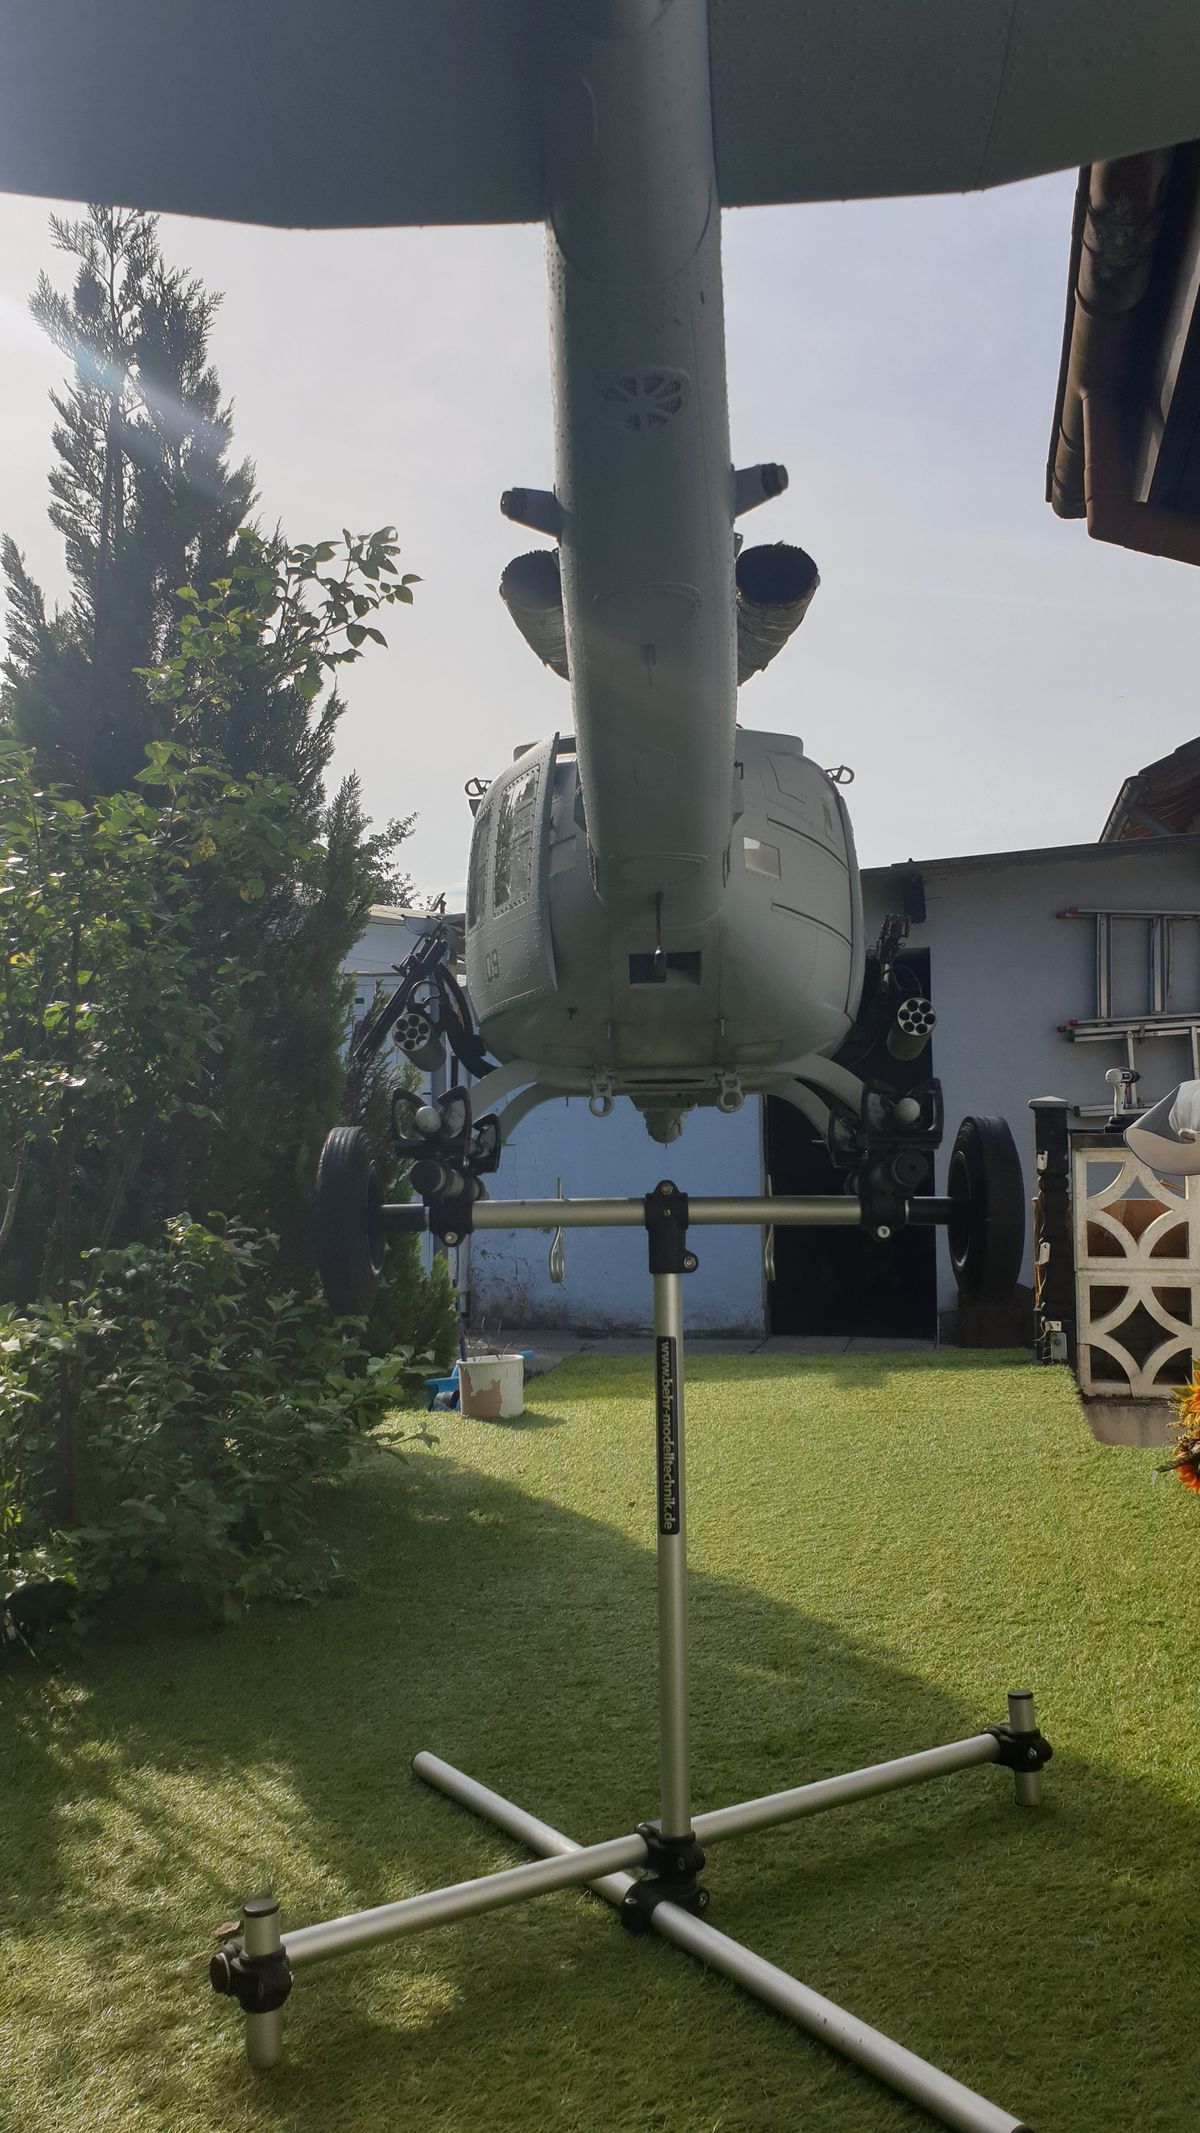
The maiden flight of a UH-1Y
Project UH-1Y is completed
. Here are the first pictures in its natural habitat.
Many thanks to everyone who supported me with this:
#Silke Behr
#Frank Wedekind
#Thomas Buchheidt
#Gerd von Runke
#Toms Lee
#Dirk Kabisch
#Stefan Radau
#Heiko Fischer
#Detlef Jacobi
#Hobby exclusive RC
#Jürgen Staudt
etc.
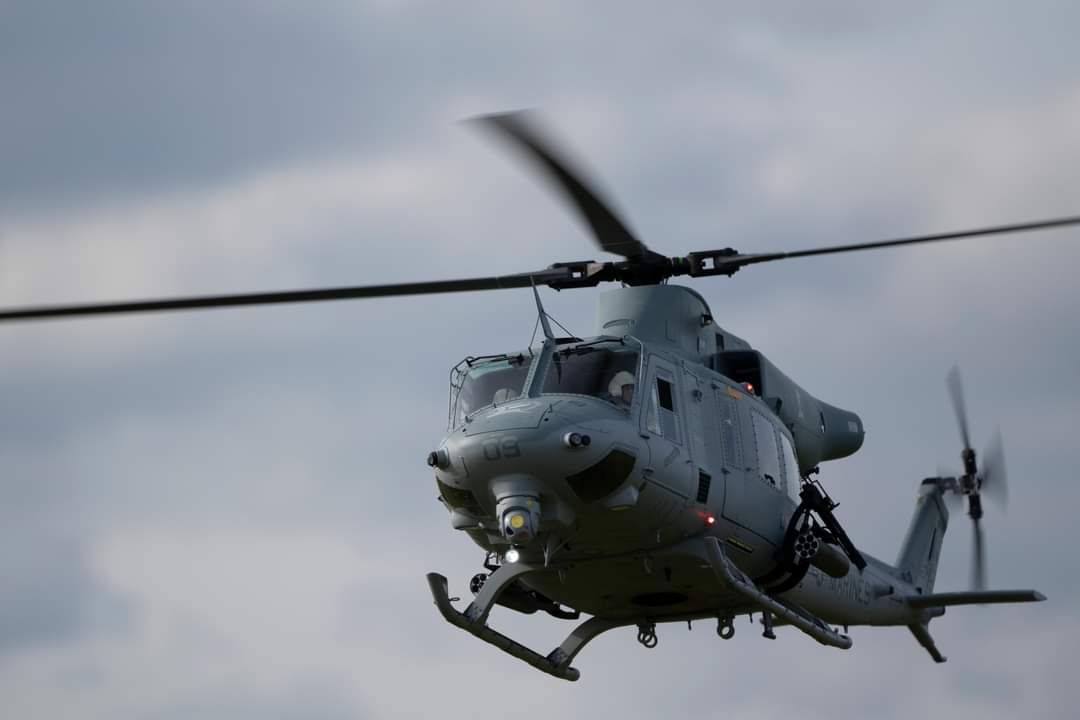
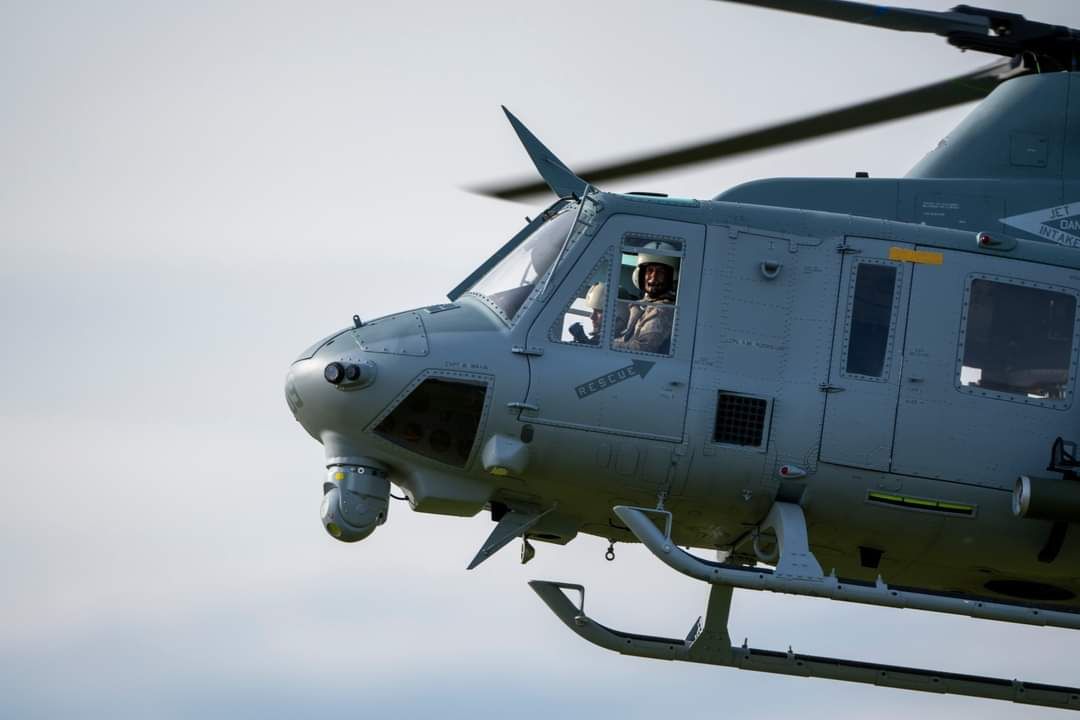
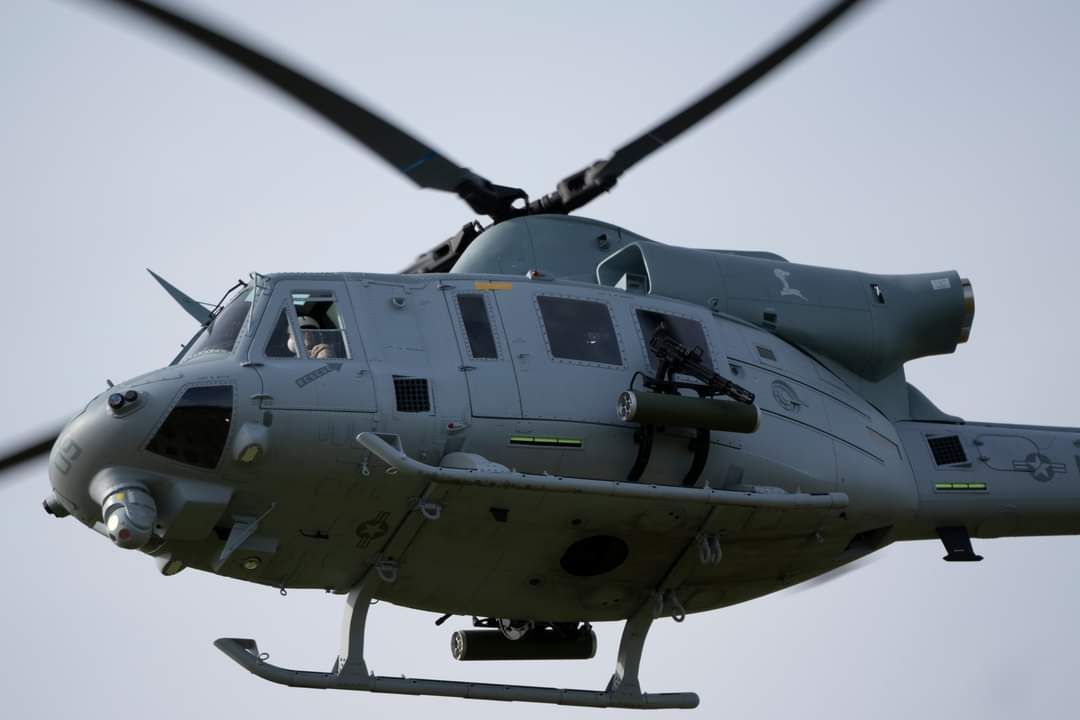
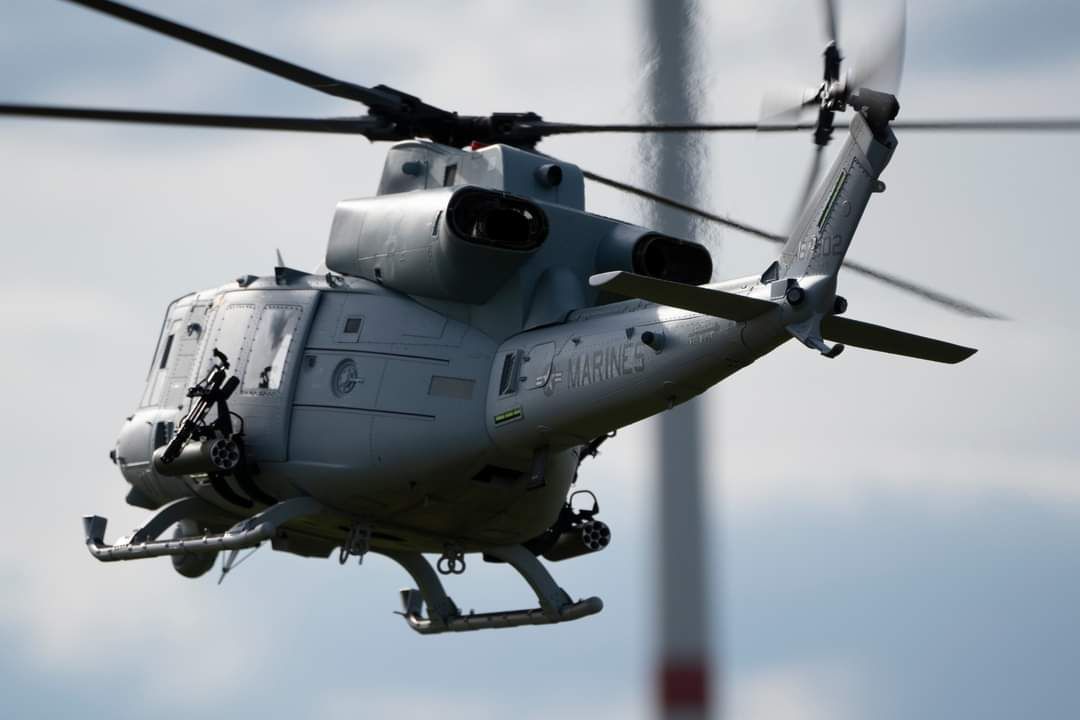
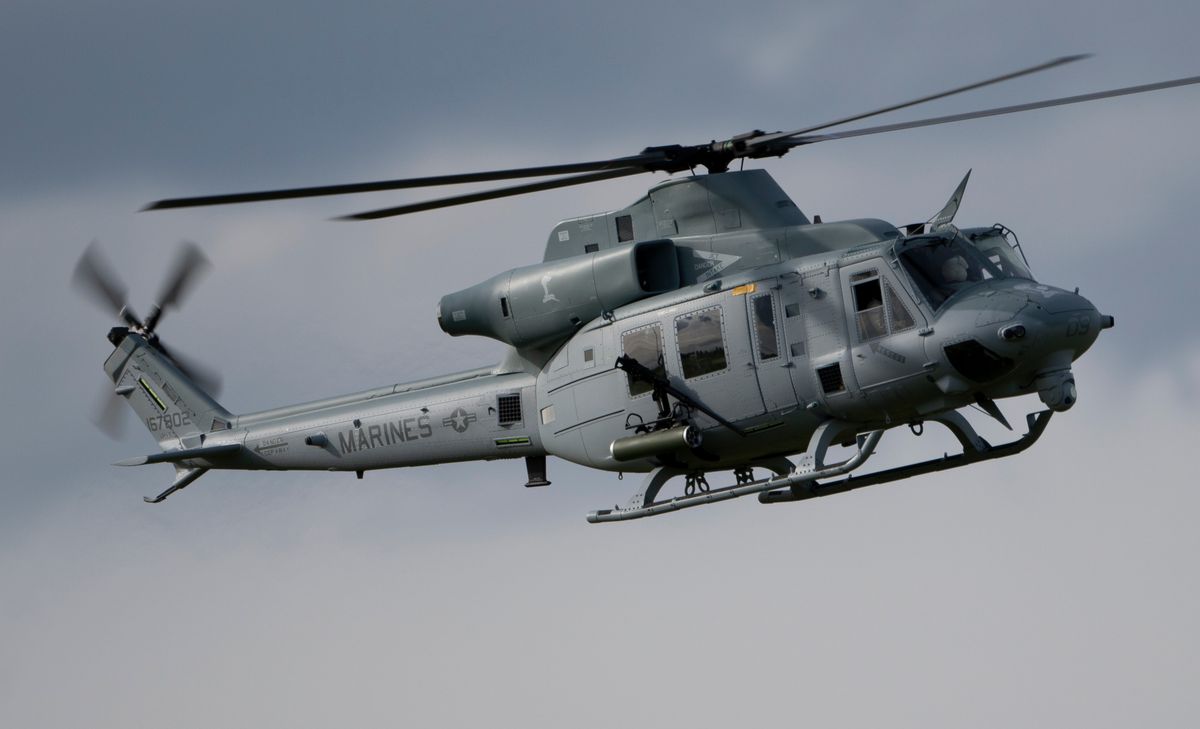
Close-up
Fascinating video with spectacular close-ups.
Interior
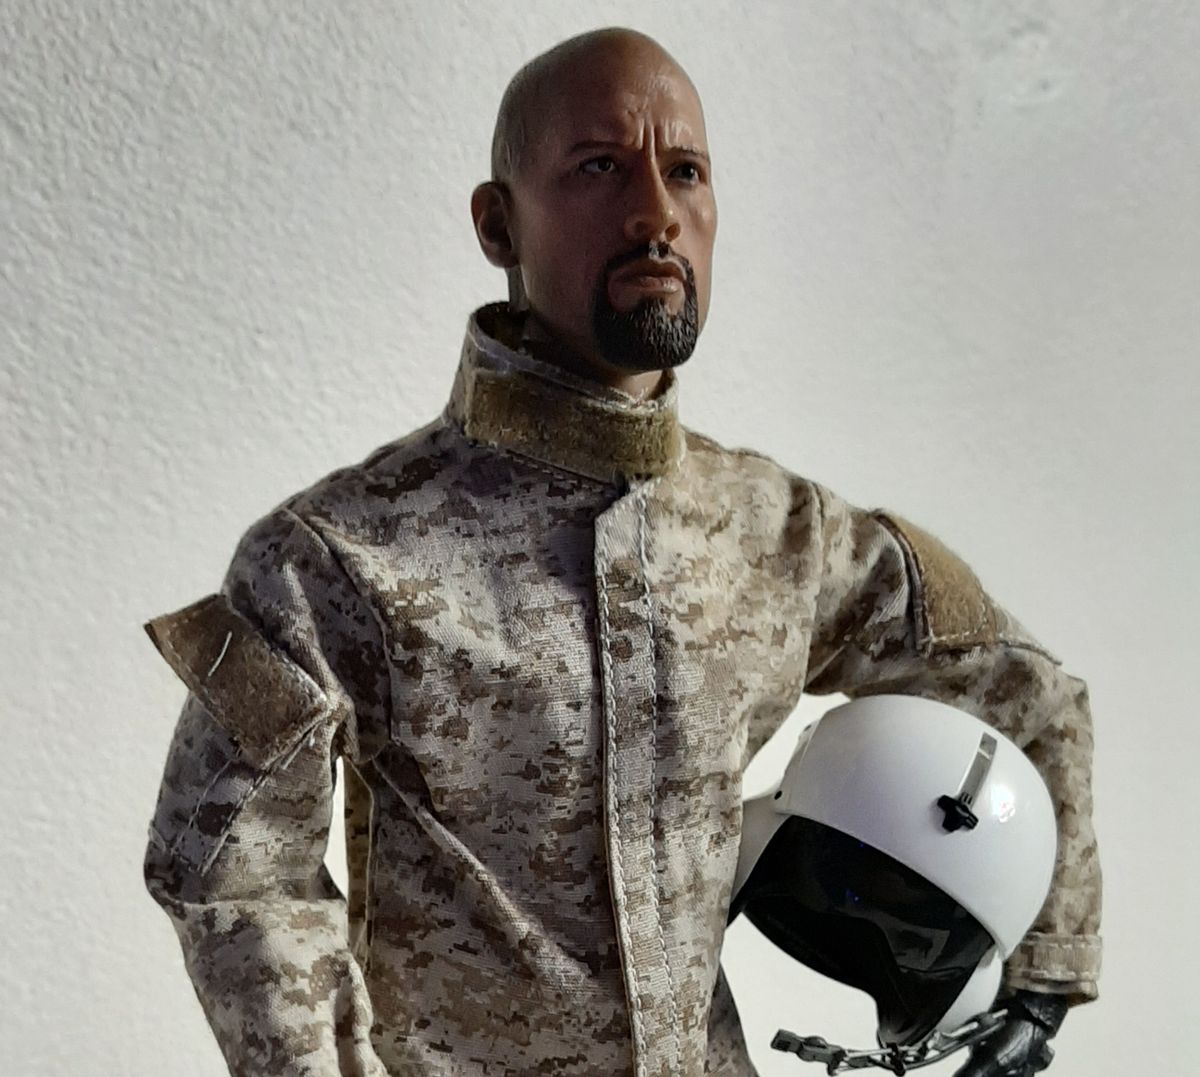
The helmet design is now complete and the new strap tensioners are also installed. I concealed the mechanism with lightweight walls. The remaining visible profiles were simply covered with ammunition boxes.
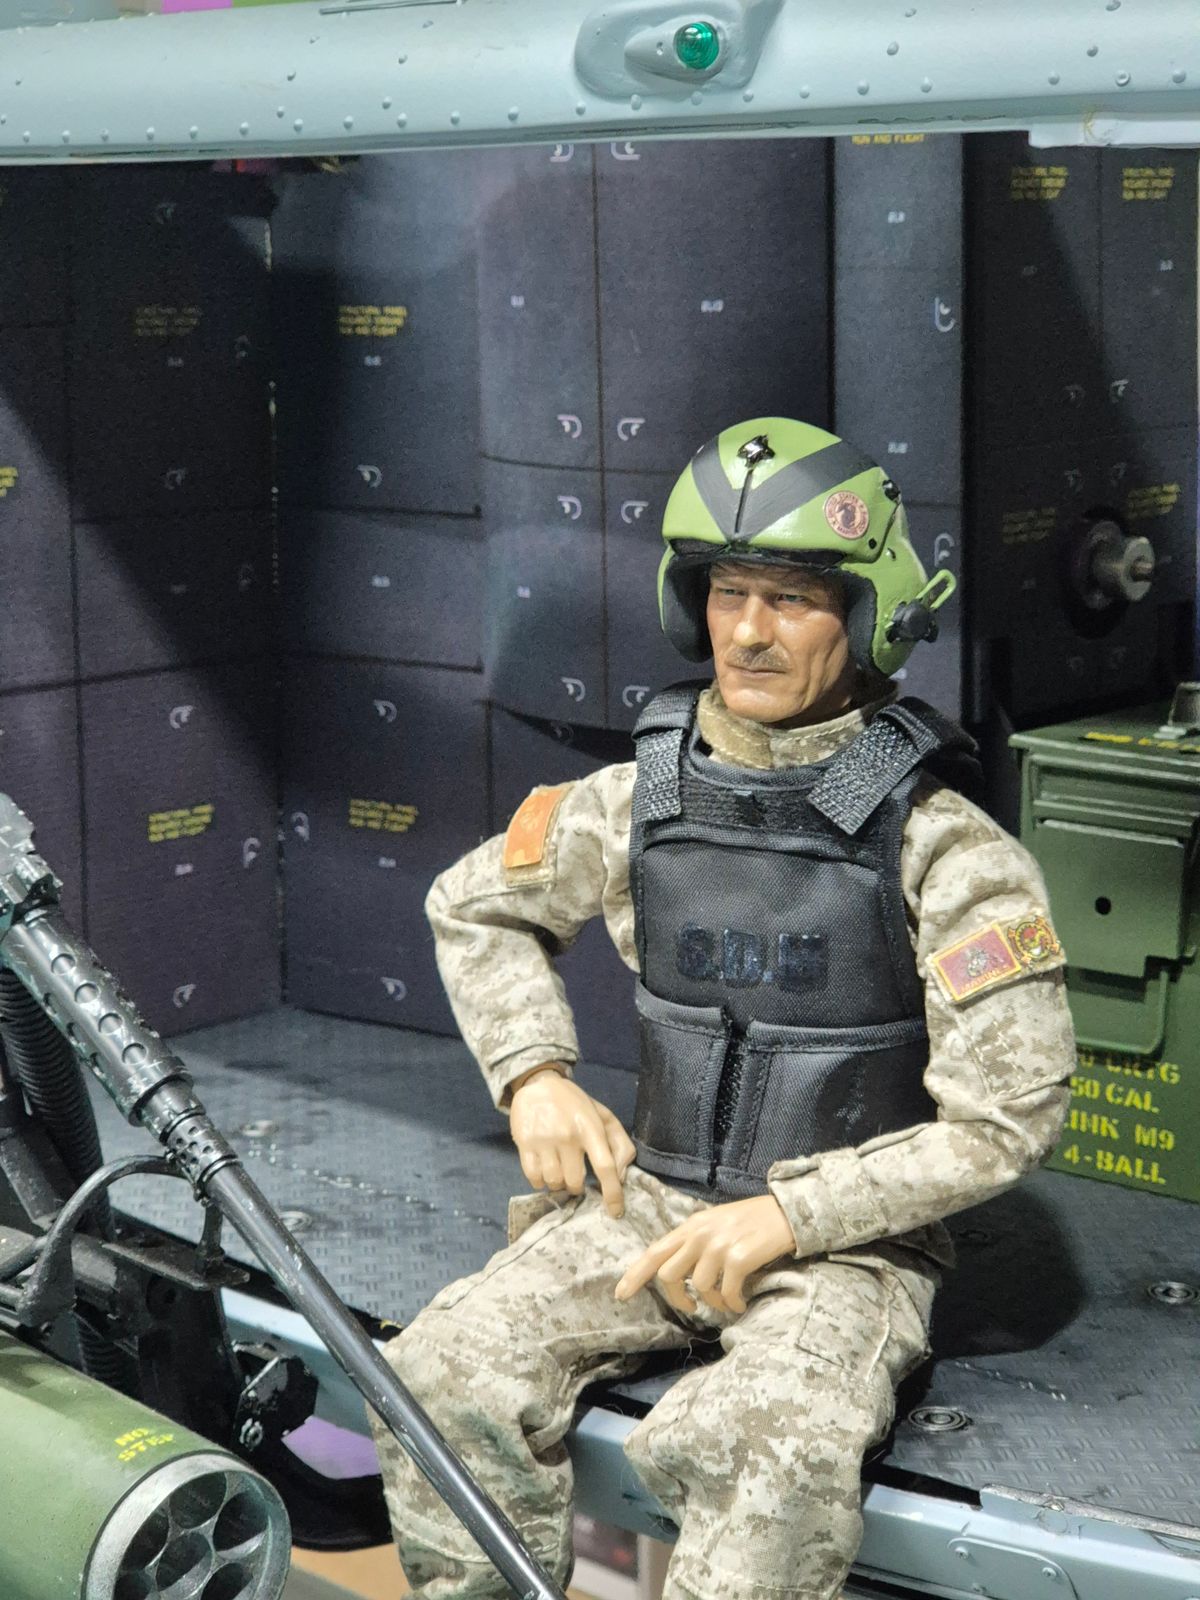
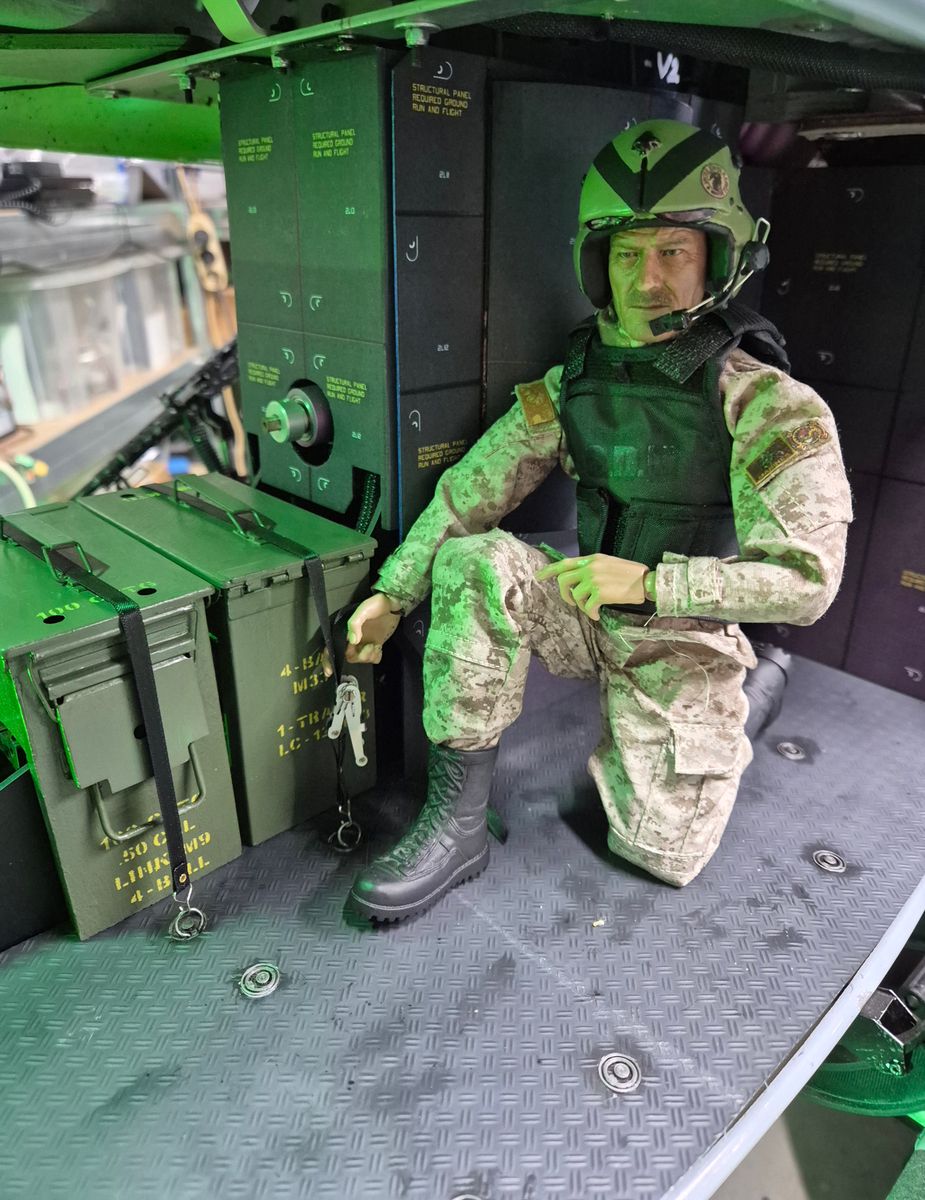
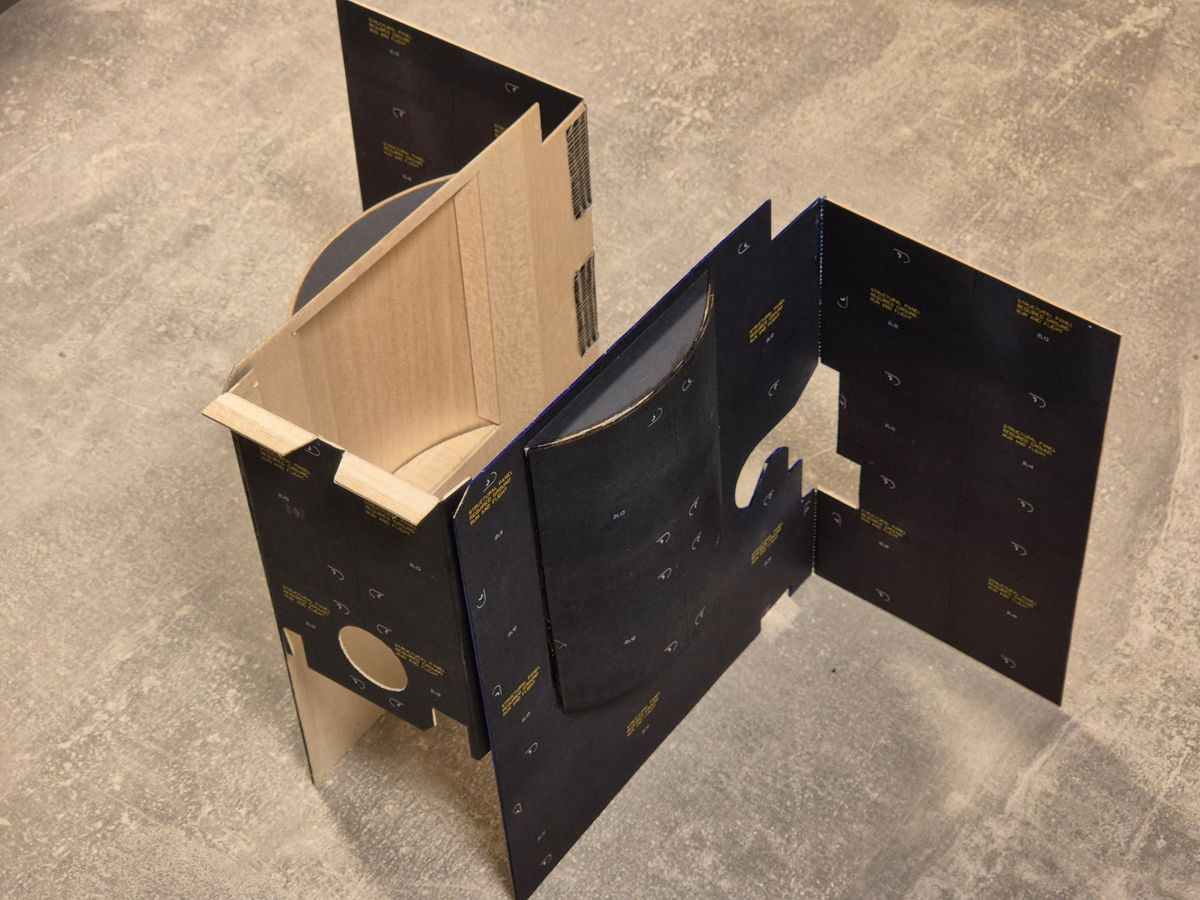
Last logbook entry
"The skies, the final frontier. The year is 2026. These are the construction logs of the UH-1Y, which took approximately five years to build and required a great deal of patience. Now it's time to conclude the construction phase and simply enjoy flying. This was the last logbook entry."
59 Comments
You are a build machine, Uwe!
No on the contrary. It was just my big dream to build my first full scale helicopter. It's been taking me a long time and I'm not finished yet because I'm so in love with details.
In either case, I look forward to following your progress!
Uwe Behr, Wow, you FDM printed a landing strut and skid! What size is the heli? How can it be strong enough to support the heli without flexing? The square tube strut is a signature feature of the UH1Y, not easy to make with metal. There's a guy in UK who managed to bend these tubing to perfection.
The heli is 2.38m in size and is expected to weigh more than 20kg.
It's not what it might look like. Only the "Top Surface Skin Pattern" was printed here. I covered the original aluminum tube with it.
Time well worth it imo. Looks great, Very clean
Teacher, you are the best
WOW!!!
Amazing work.
Nice
Haven't seen these chapters before. Very nice!
Fantastic job. You might want provision a small discrete hook btw the two seats, to optionally use the Insta360 GO 2 or similar tiny camera for in flight movie.
Dad's a good idea. Then you can also see the animated display
https://youtu.be/zKBE-4ngu_M
This is absolutely nuts!!! I love it!!
Fantastic work Uwe!
Very nice work Uwe!
Absolutely insane!!!! I assume you made room for a cockpit camera to show off the in-flight capabilities!
The Insta360 GO 2 is already on my wish list for in flight movie 😁
Now, we need the pilot to turn its head as per flight direction!
The whole is going so real that you will be able to rent your services to professional filmmakers.
Sehr Gut!
You're right. There are many more options here. But first I would like to finally see the bird in the air 😃
I use 2x second hand GO 2! (latest is GO 3). Best results in my case is PRO video mode setting to record as well the gyro data. Then I use their Studio software to export in MP4 80mbits with FPV gyro mode enabled. Amazing performance and mature firmware/software for such 28gr. camera!
Tip: with iPhone/Android app, configure the camera button to record with your preferred video mode and format (I have Max Res 50frames), whatever the camera button is pressed one or many times.
Impressive.
This is sick ..... love it !!!
Very nice 👌 👍
Going to be a beauty for sure.
Very nice Uwe!
Uwe,
Very cool my friend.
B
Good strategy especially with JetCat!
At the beginning I tried a lot of things on my MD500 to get proper thermal insulation. It turned out that a double pipe was the most effective solution. Experience is therefore very helpful in reaching your goal straight away.
Excellent layout!!
Incredible work
I use DuBro inflatable smooth wheels!
Great. I would like to have something like that too 😊
Very nice layout
Uwe, your cockpit is Absolutely flipping "SICK". Nicely done my friend.
Uwe,
I absolutely love the detail on your project .
Amazing work.
B🥨🍻
I agree with Butch! It's insane!
And looking forward to the end result gives so much motivation
wow Uwe, you must have nerves of steel, absolutley perfect
WOW .......... this is a mind blowing
Thank you
Fantastic!!!
Outstanding Uwe!
Love the tech ball! 😆
It's been a long time since I picked up the airbrush again 😅
can't wait for the pictrues...
Awesome build Uwe it was great to meet you and see the excellent work you have done with this project
Thank you very much Mark. Hearing such praise from an excellent helicopter builder is an honor
How can you put it in the air after all of that?! 😆
I just want to hope that the rotor blades have sufficient autorotation properties.
In reality I have no idea but I will report anyway
Was great to meet you Uwe -Fantastic work 👍
Awesome
congratulations!
The details are incredible!! Congratulations on such a cool build!
Our Christoph Wegerl also has a talent for excellent videos.
WOW
Uwe,
An Amazing piece of work. Very Well Done my friend.
Butch
Thank you so much, Butch!
Uwe, what in incredible journey. I reviewed all the chapters and enjoyed (again) your build. Congratulations and thank you for your documentation.
I'm very glad you liked my documentation and the result.