

Bell 206L Long Ranger
 Massimo C.
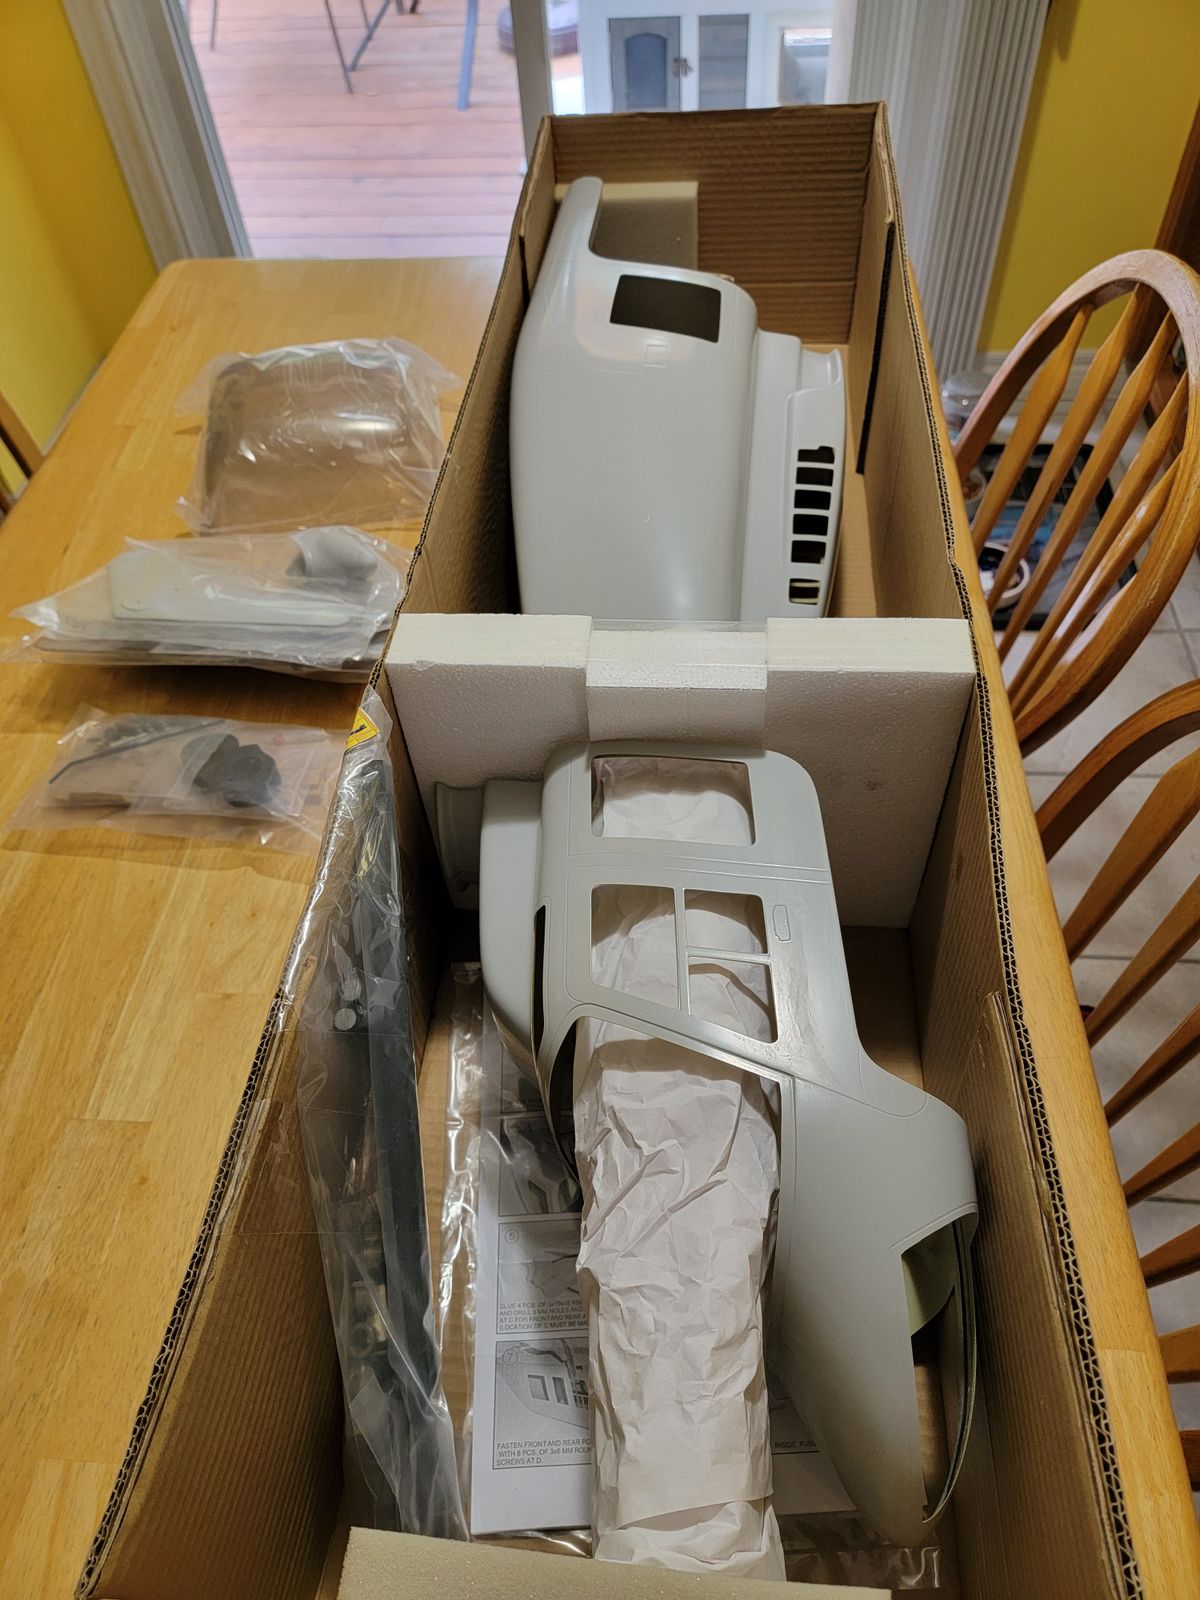
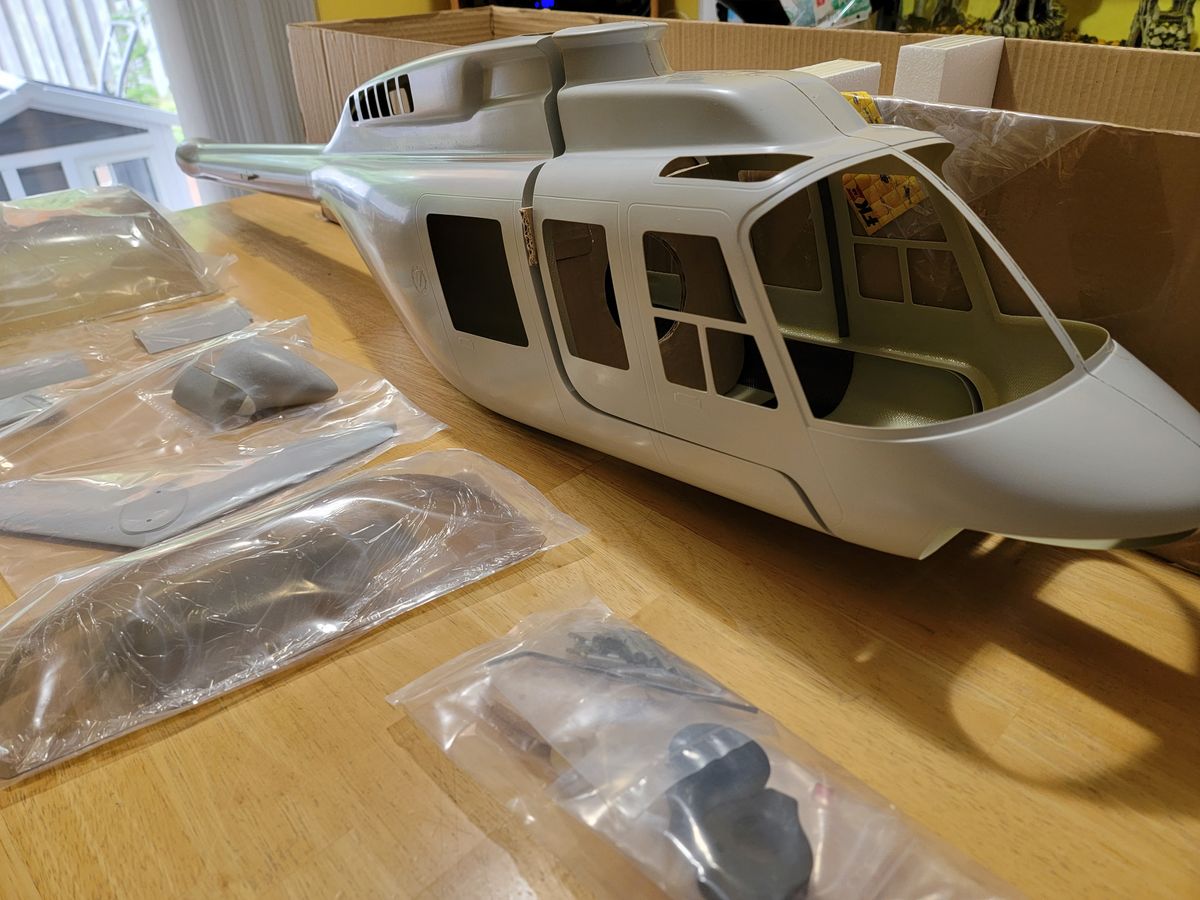
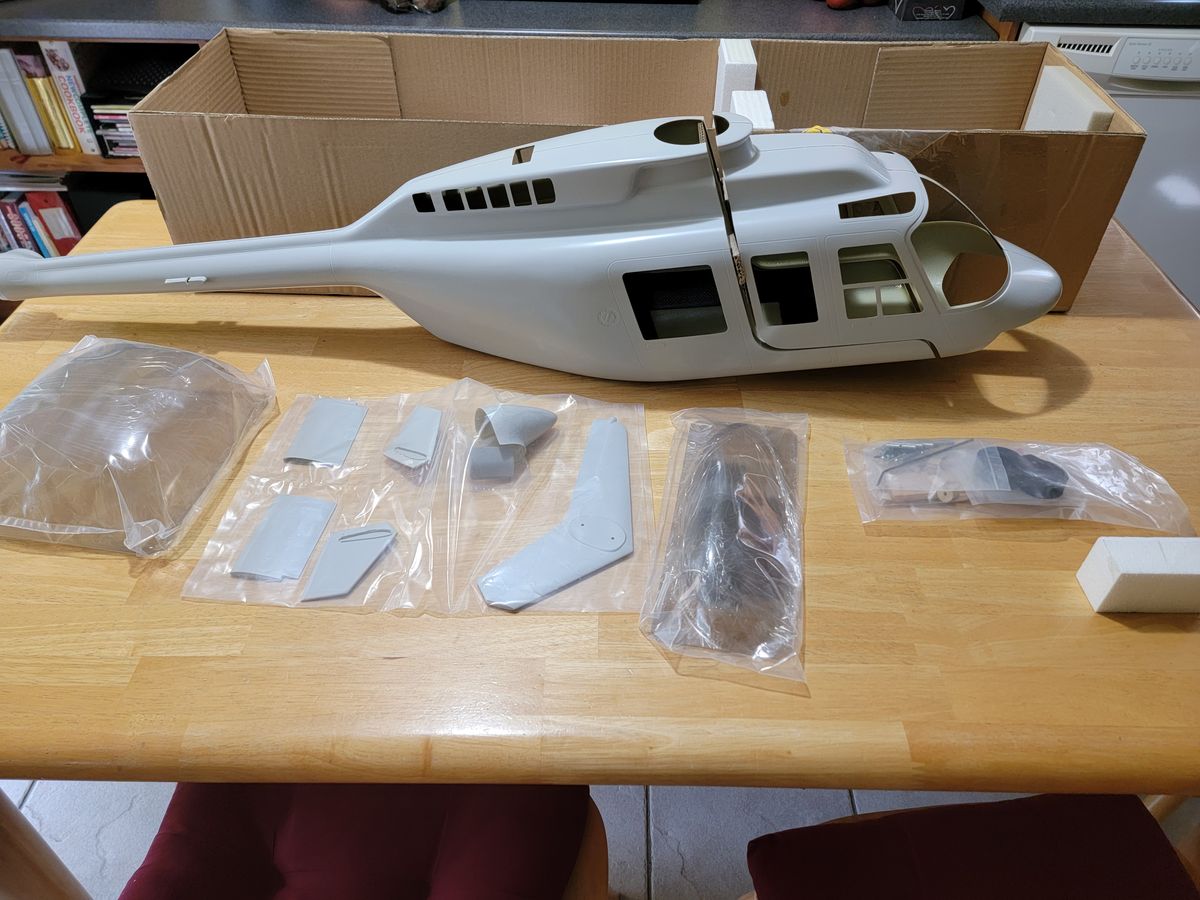
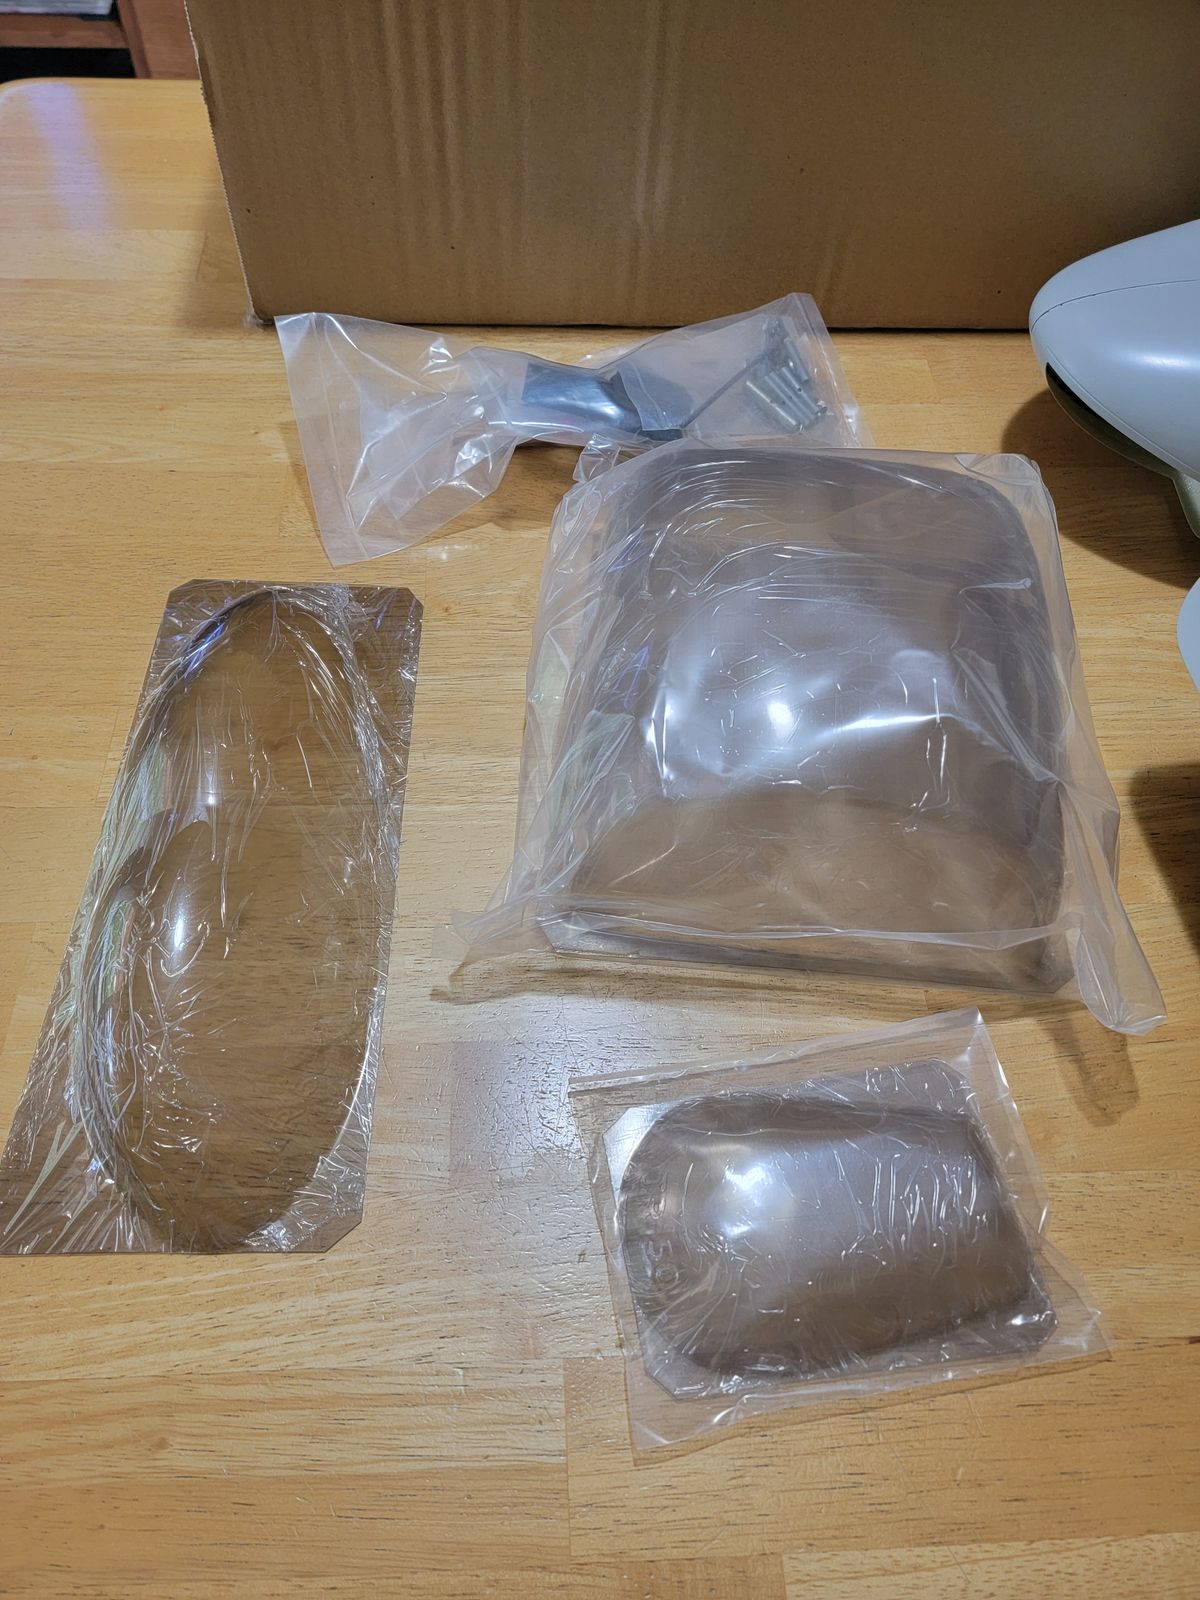
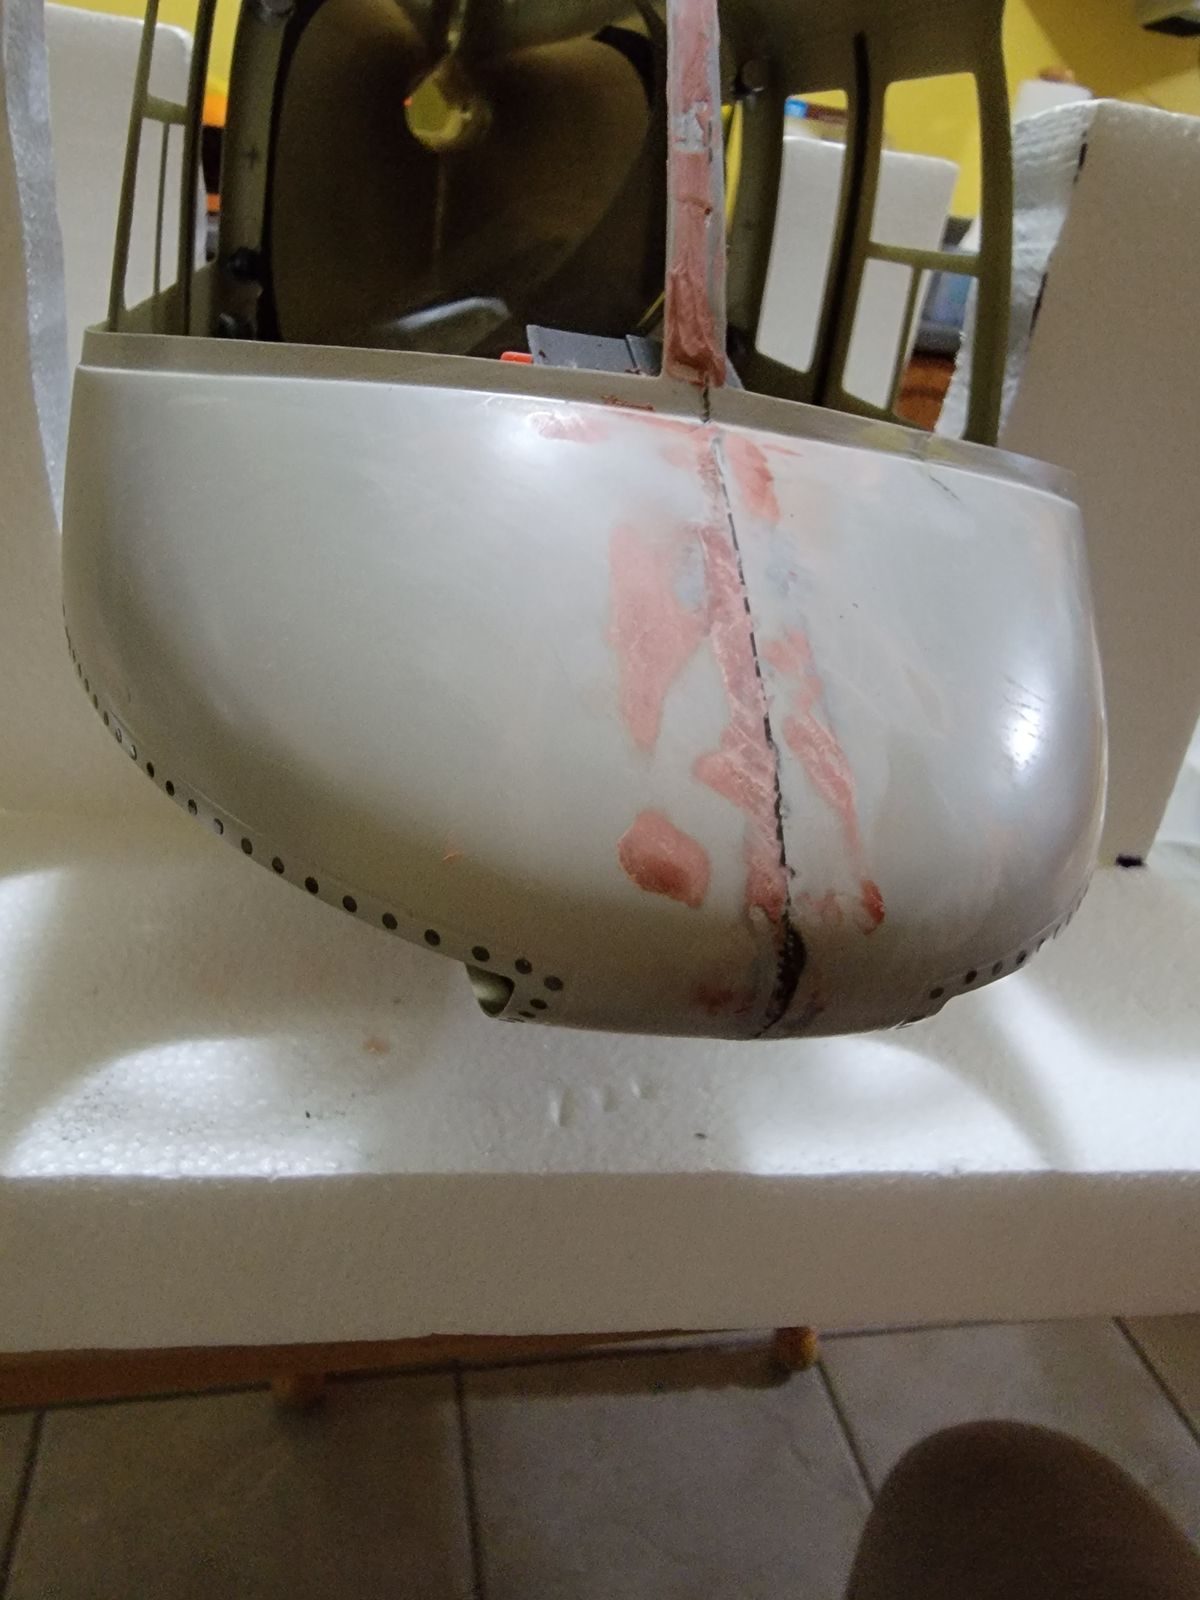
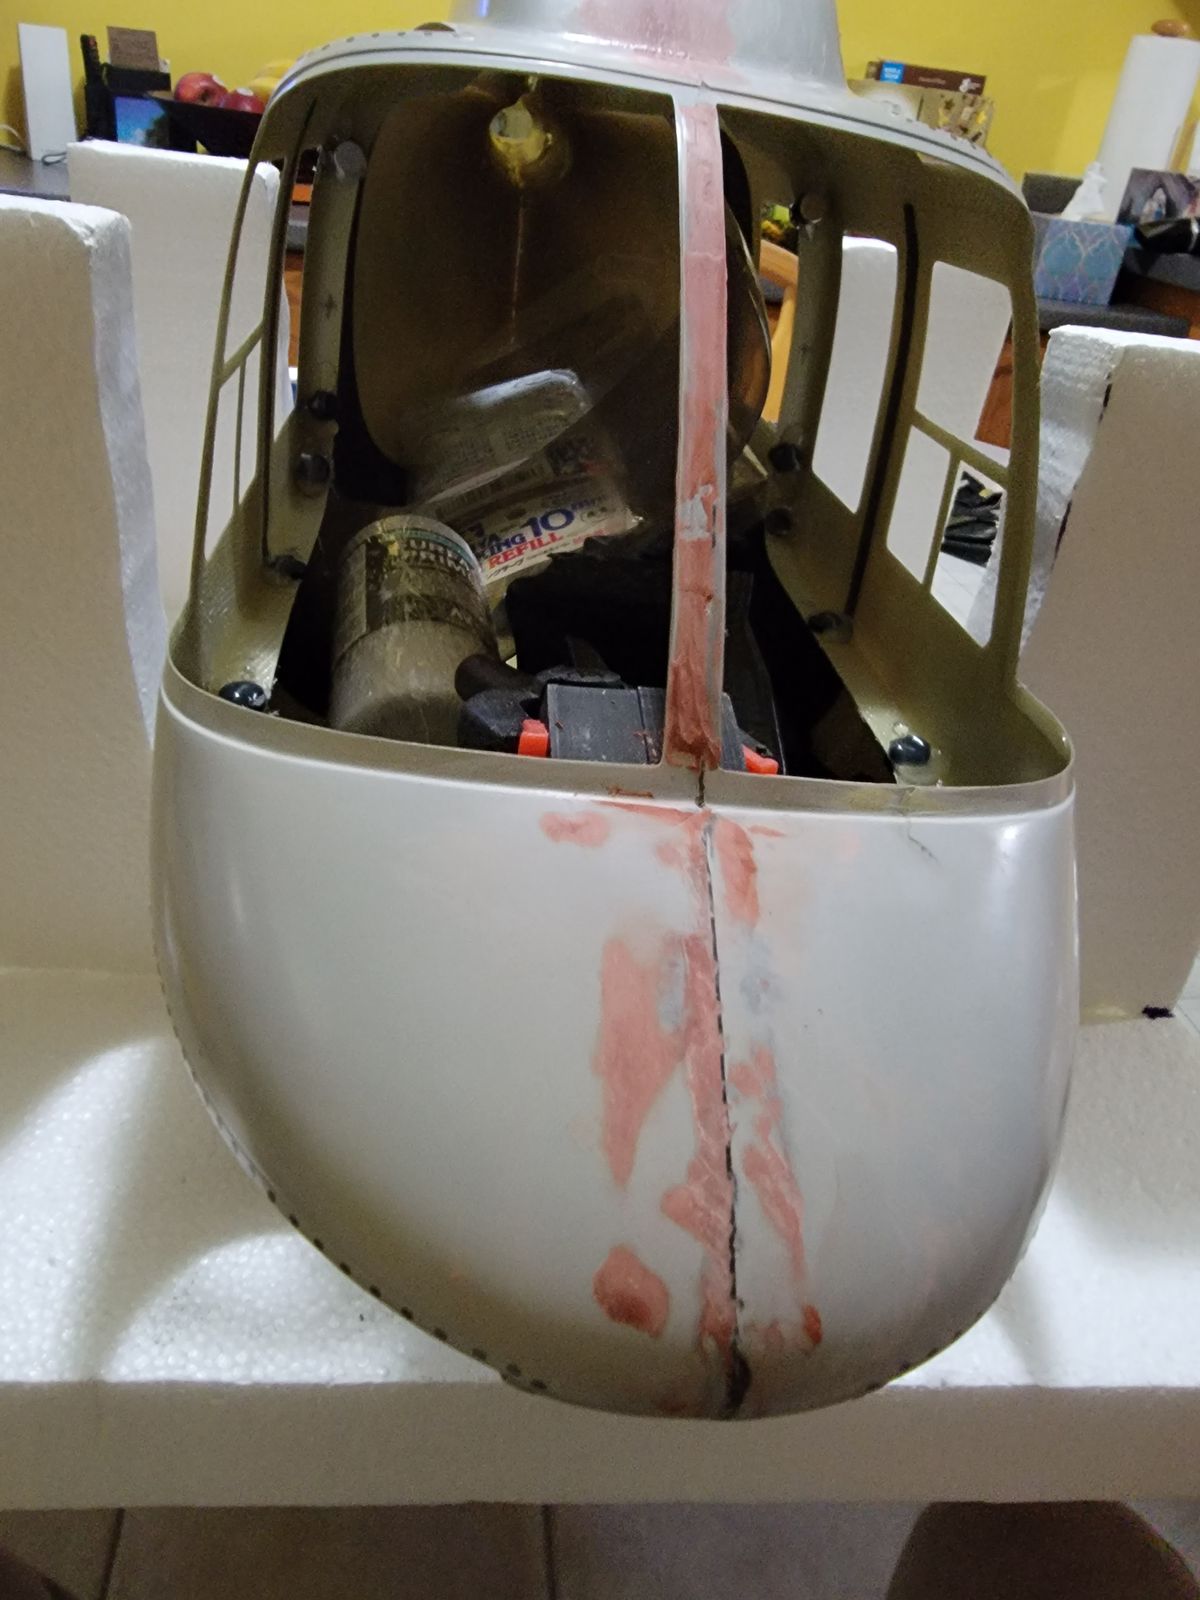
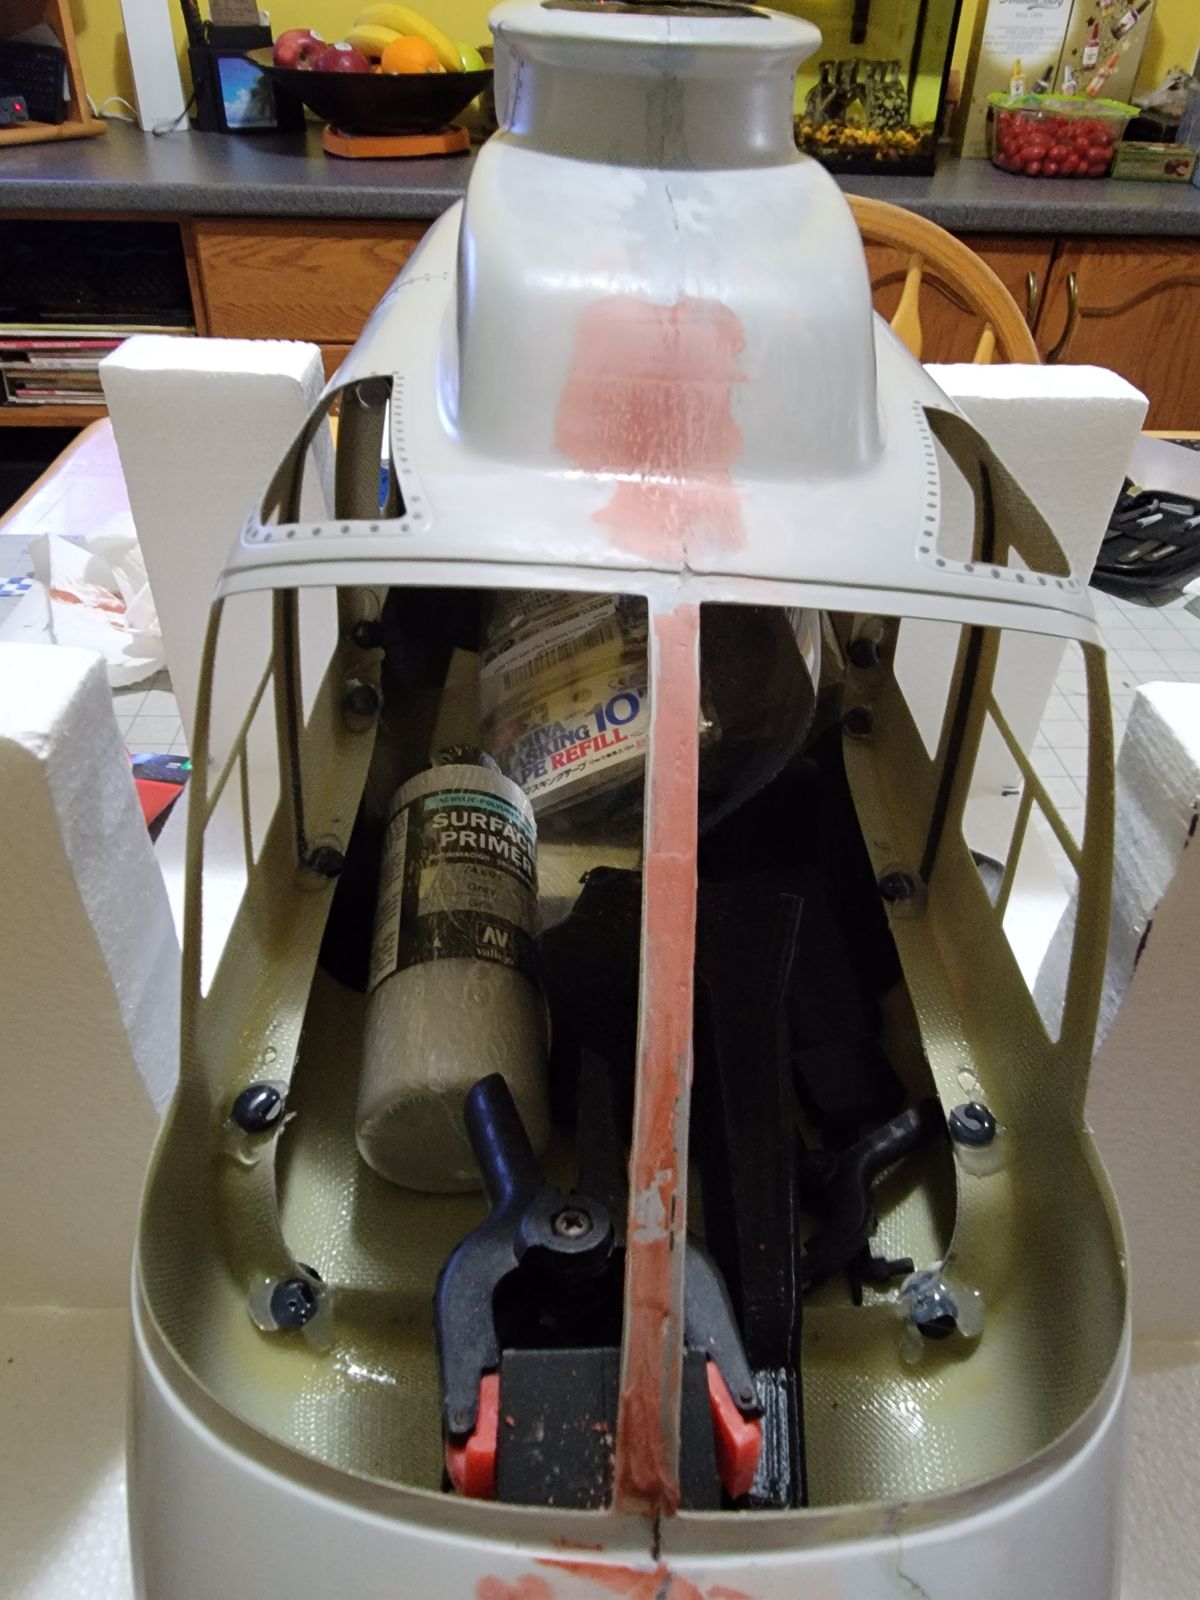
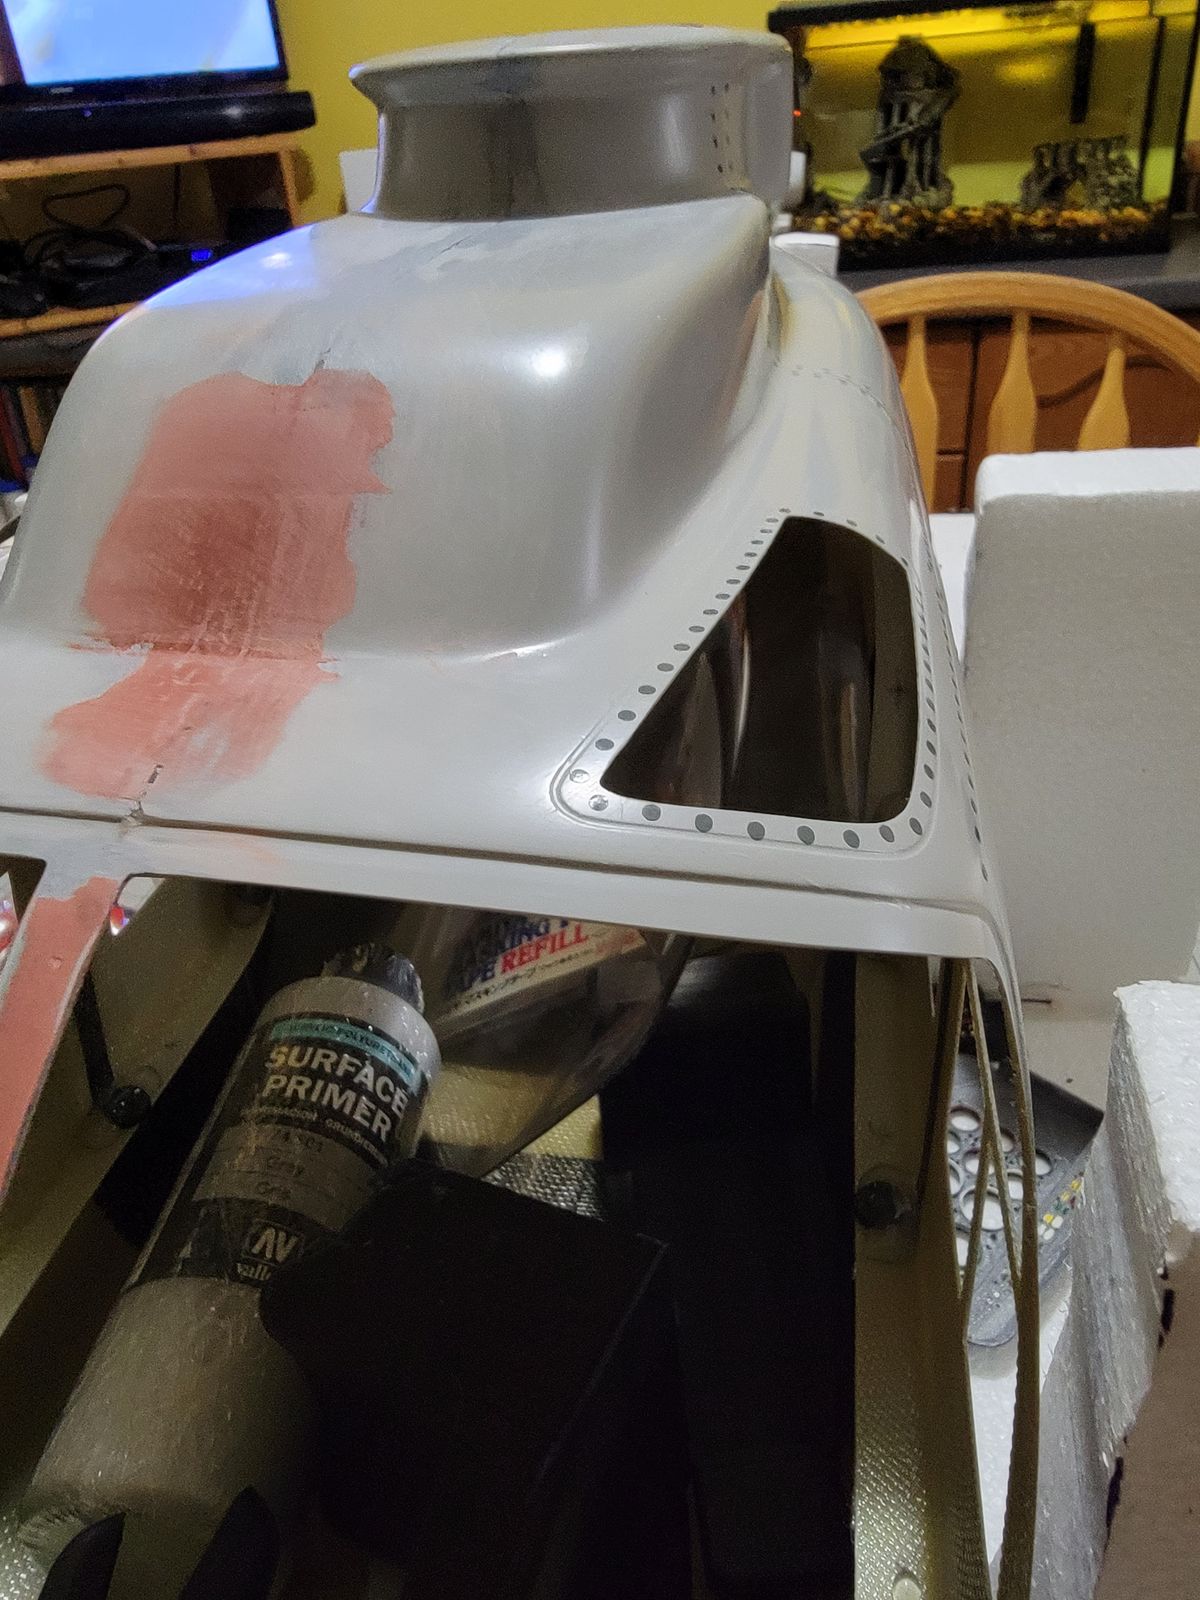
Fuselage
Started new project, but I'm not sure I know what I'm doing.
I got this fuselage long time ago and finally I got some time and start to work on it.
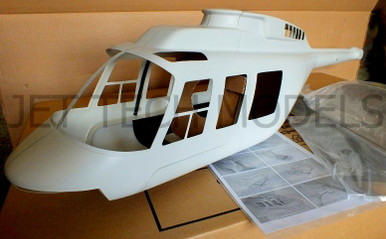 JET TECH MODELSFUNKEY Scale Fuselage Long Ranger .50 (600) size kit - (Unpainted Version)FUNKEY SCALE FUSELAGE LONG RANGER .50 (600) size KIT (Unpainted Version) Color Available: Kit,Red, Blue Distributor Suitable for Hirobo / Raptor / Kyosho / T-Rex 600 BRAND NEW IN BOX &n
Fuselage patching
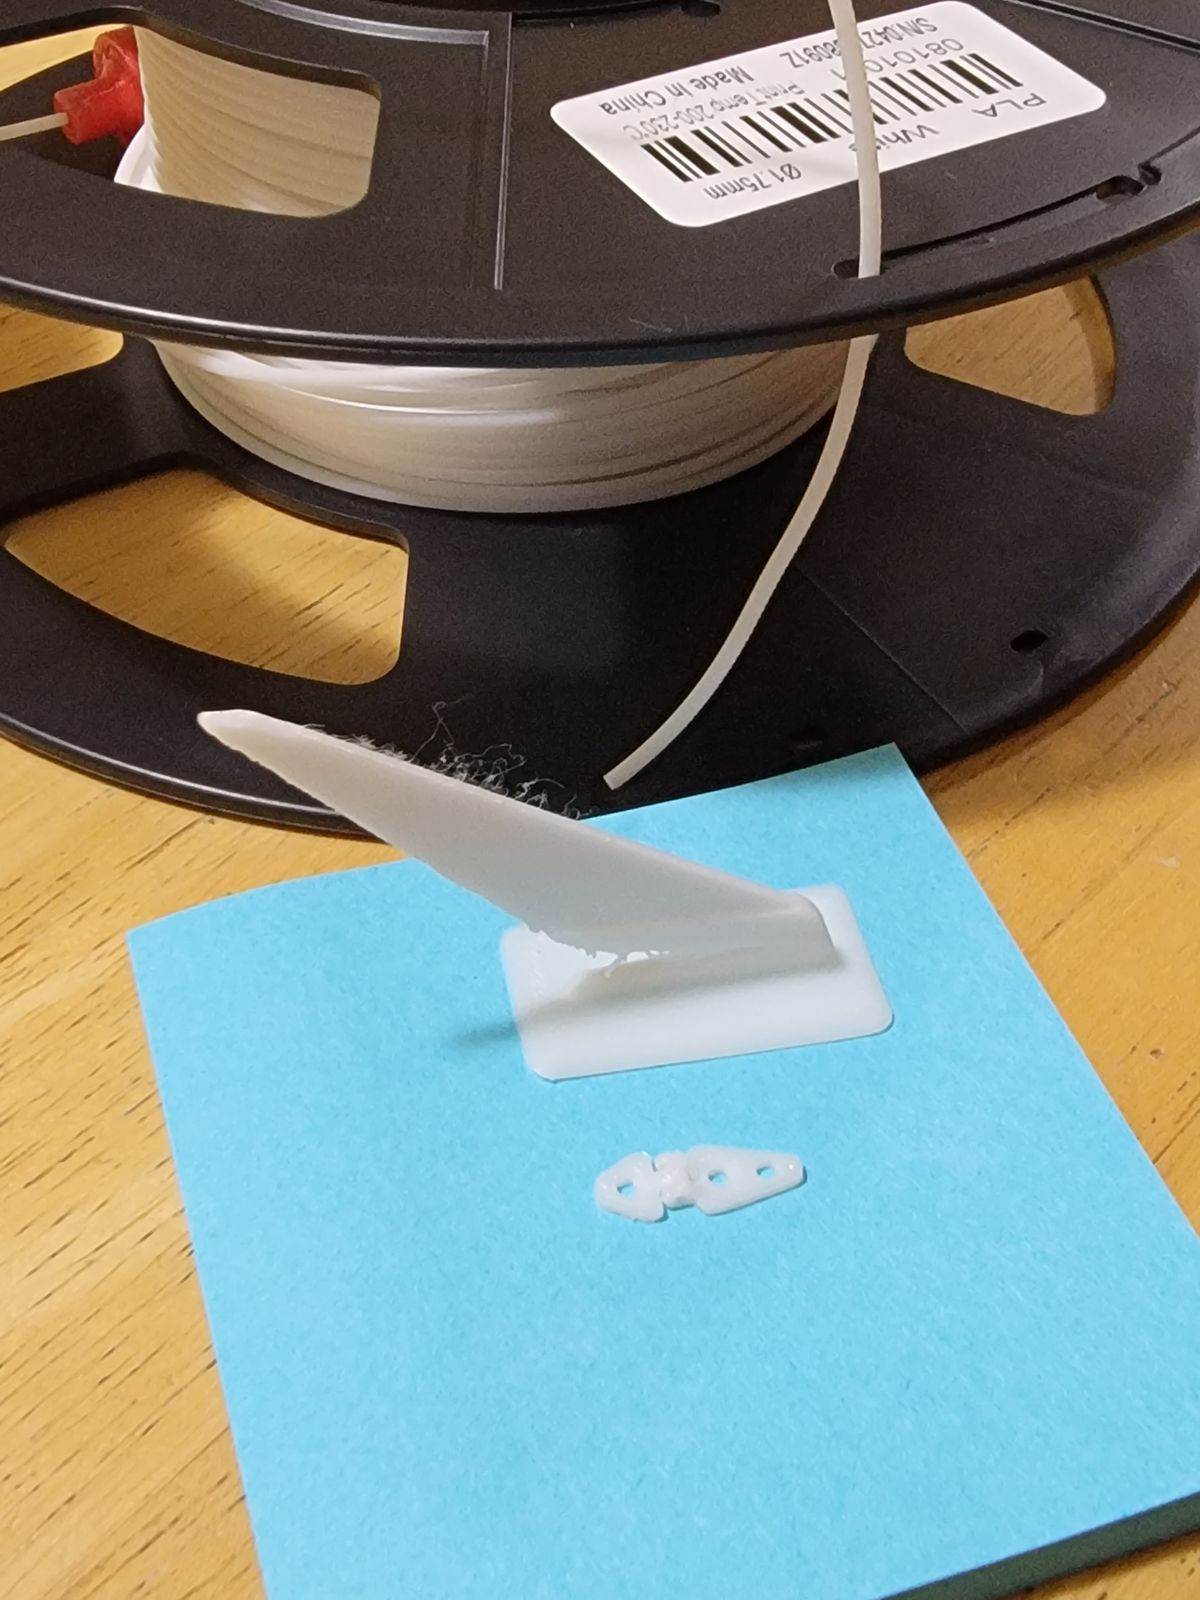
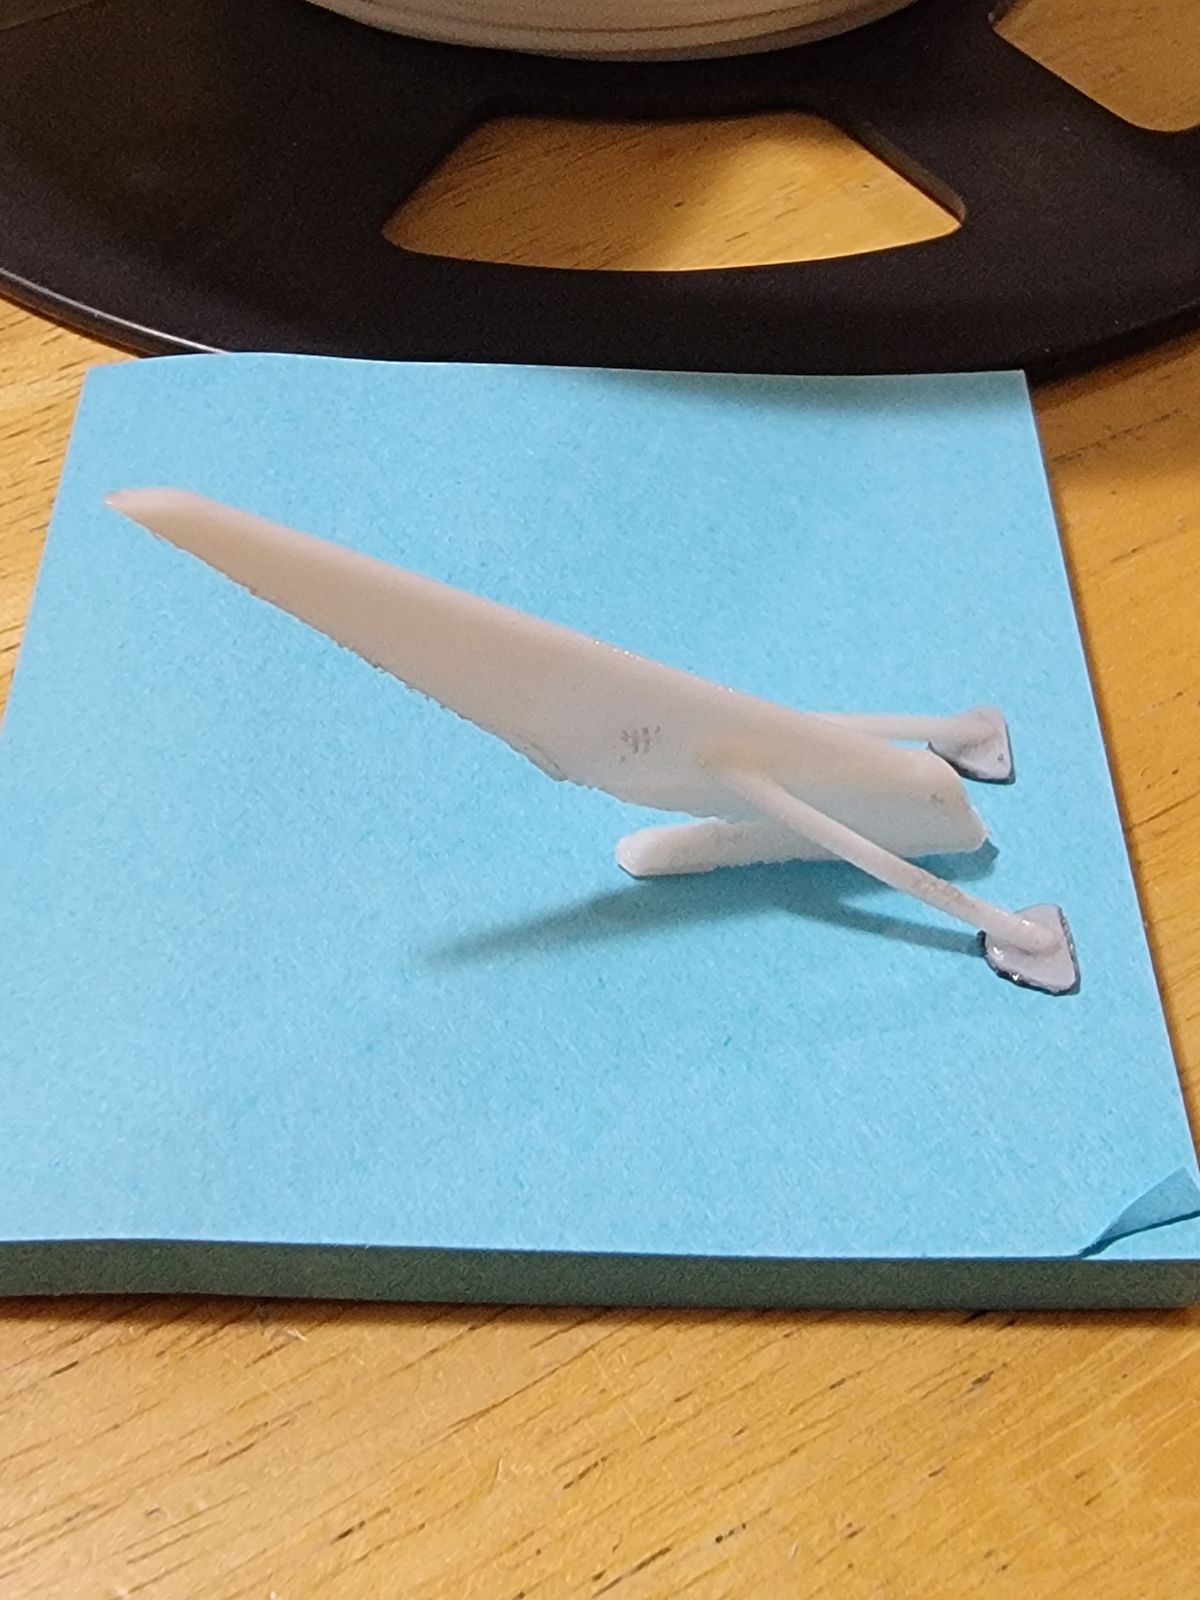
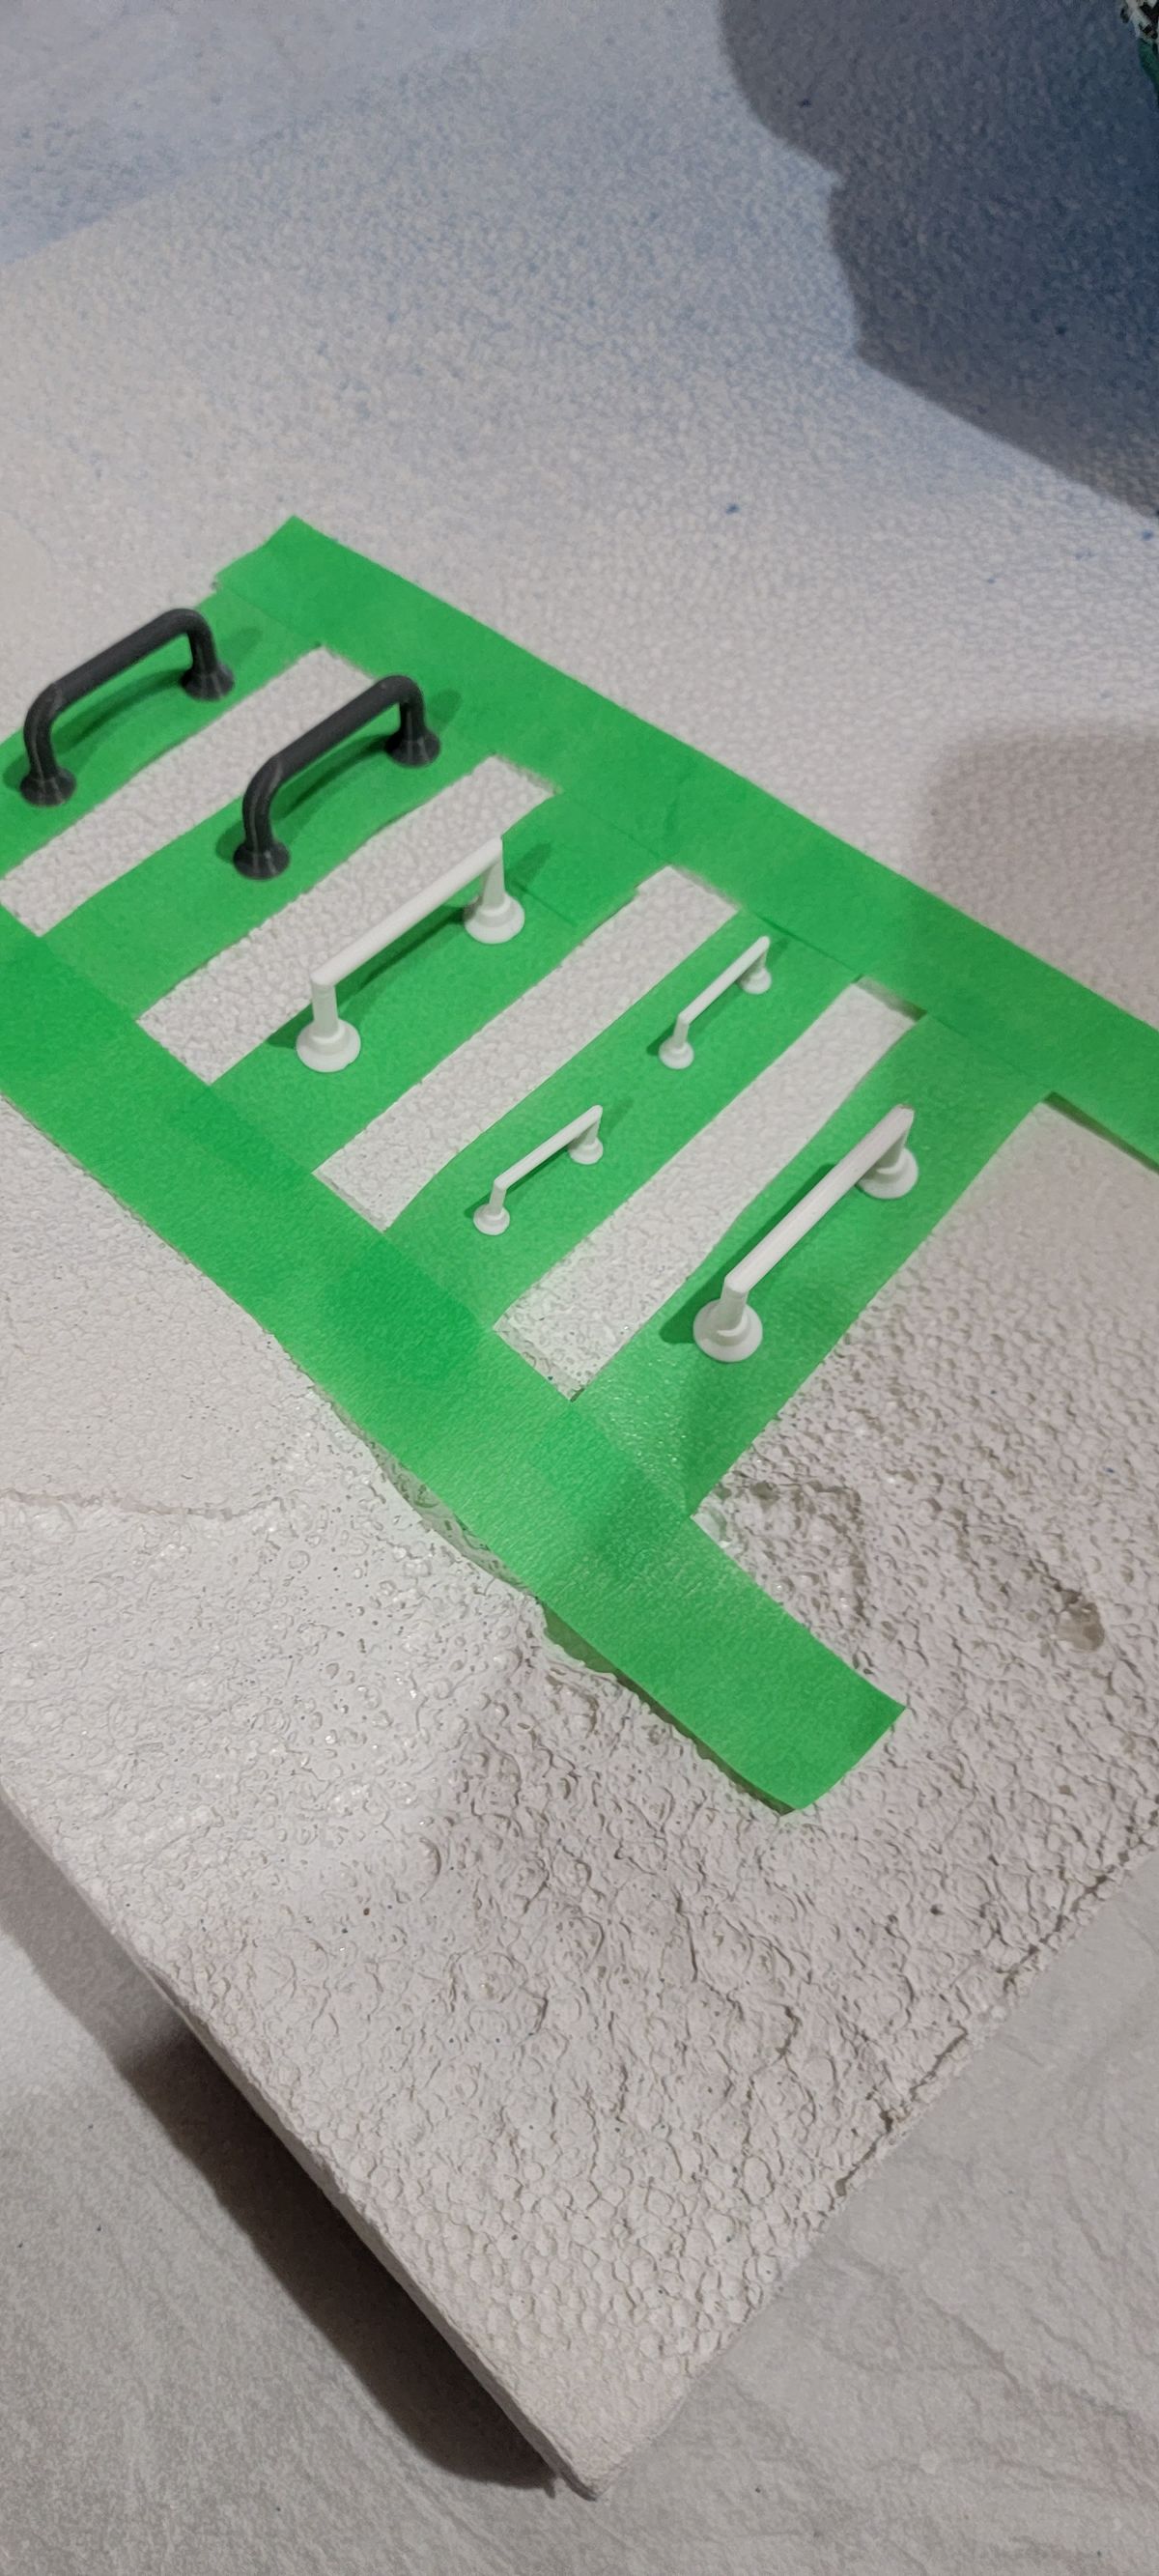
I found few scale accessories on Thingiverse.
 Thingiverse - The community for Open HardwareThingiverse - The community for Open HardwareThingiverse - The community for Open Hardware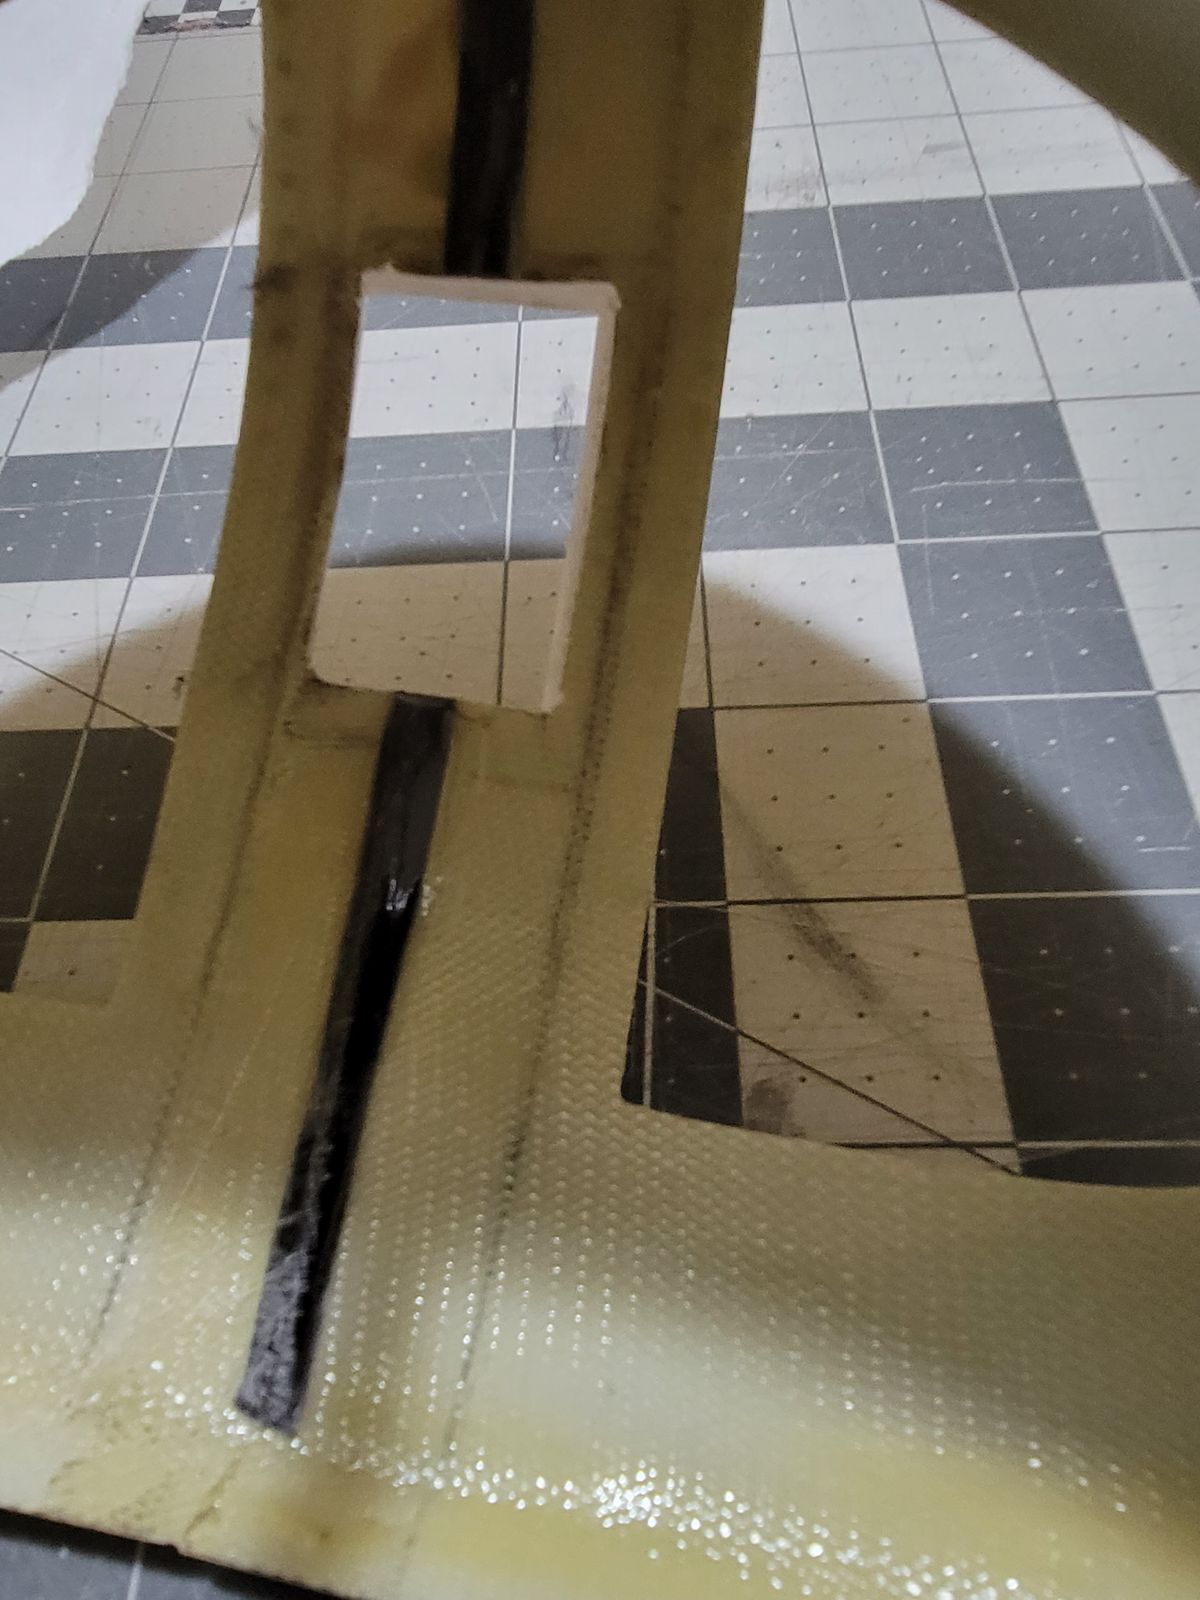
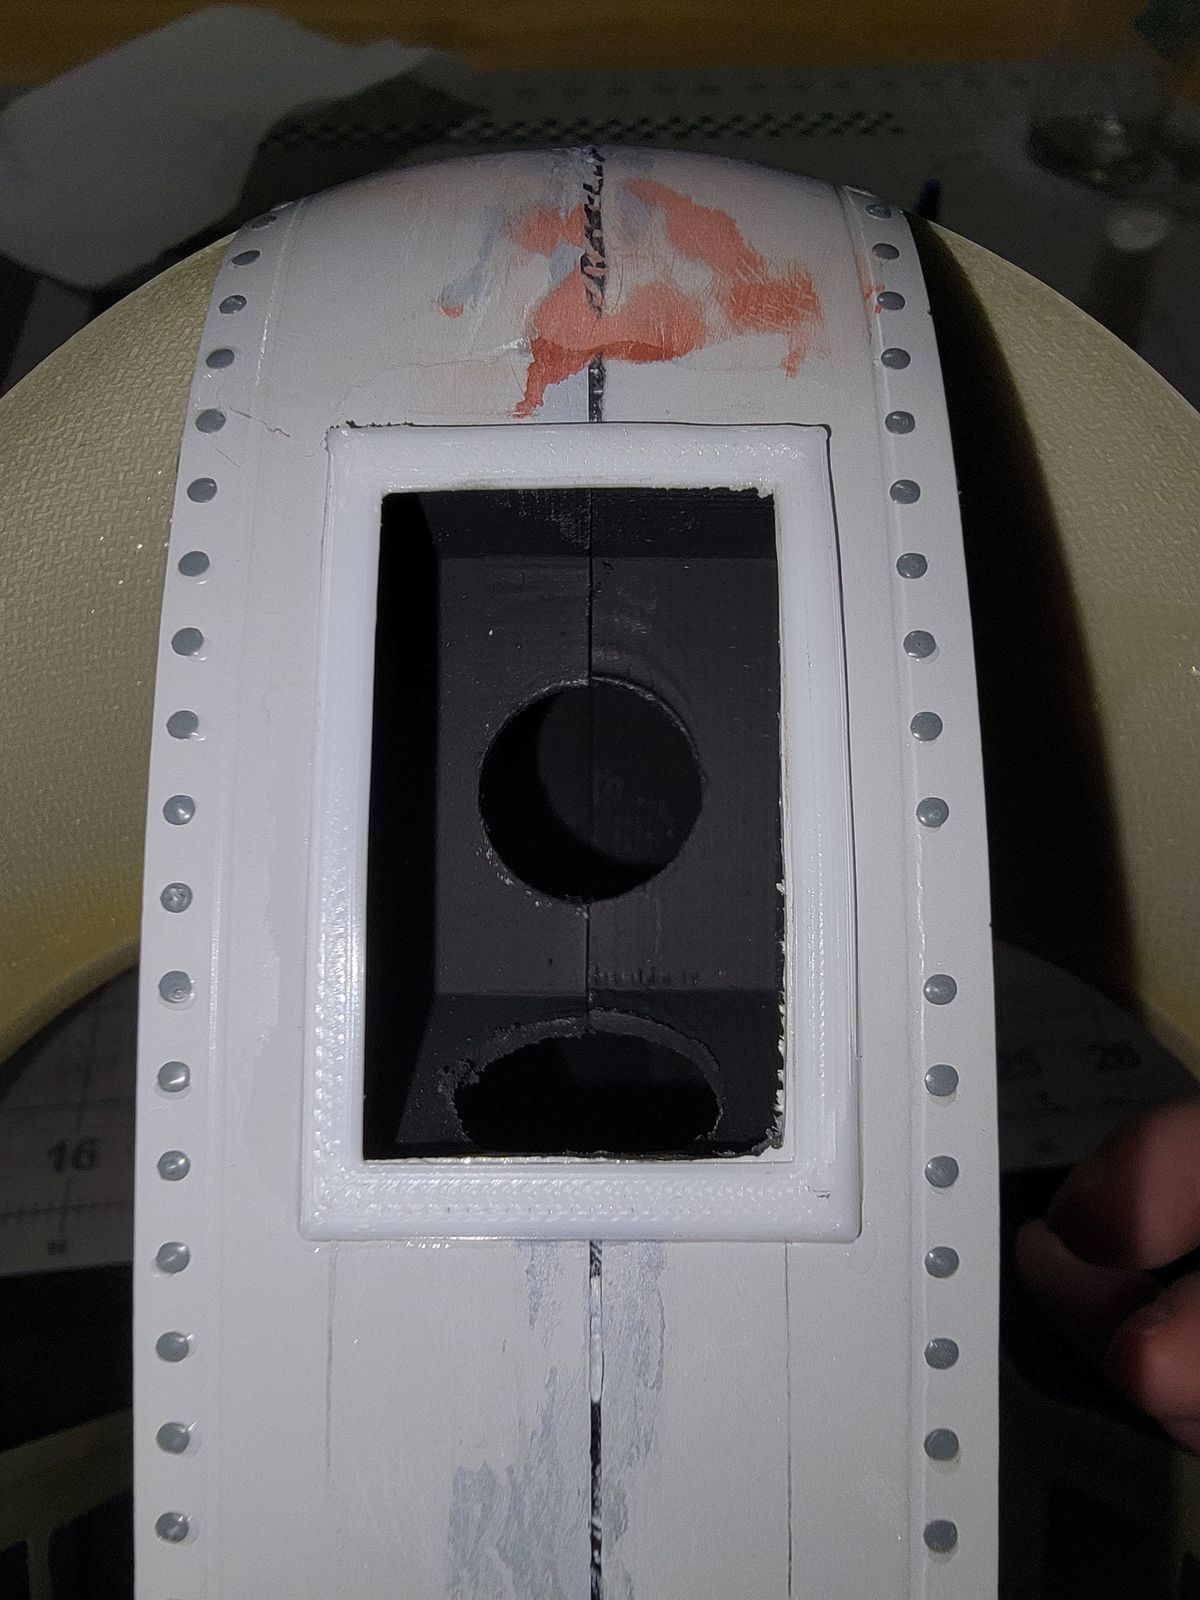
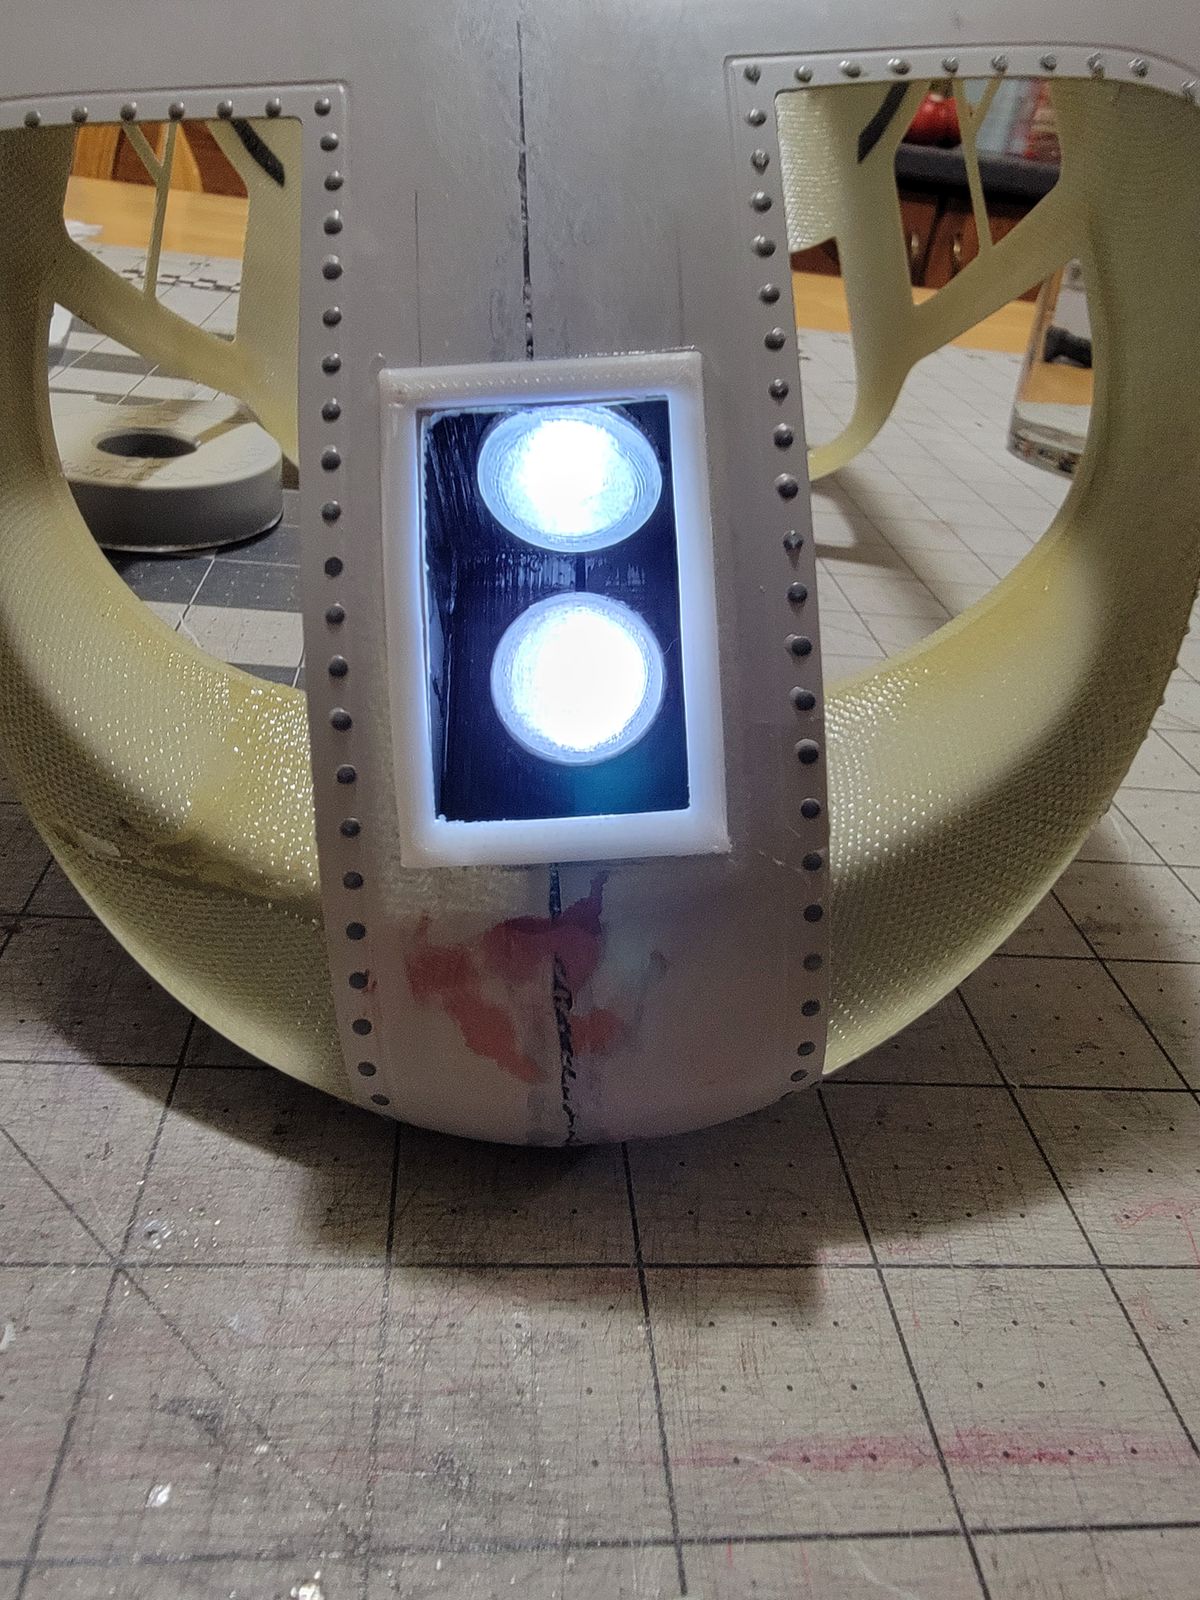
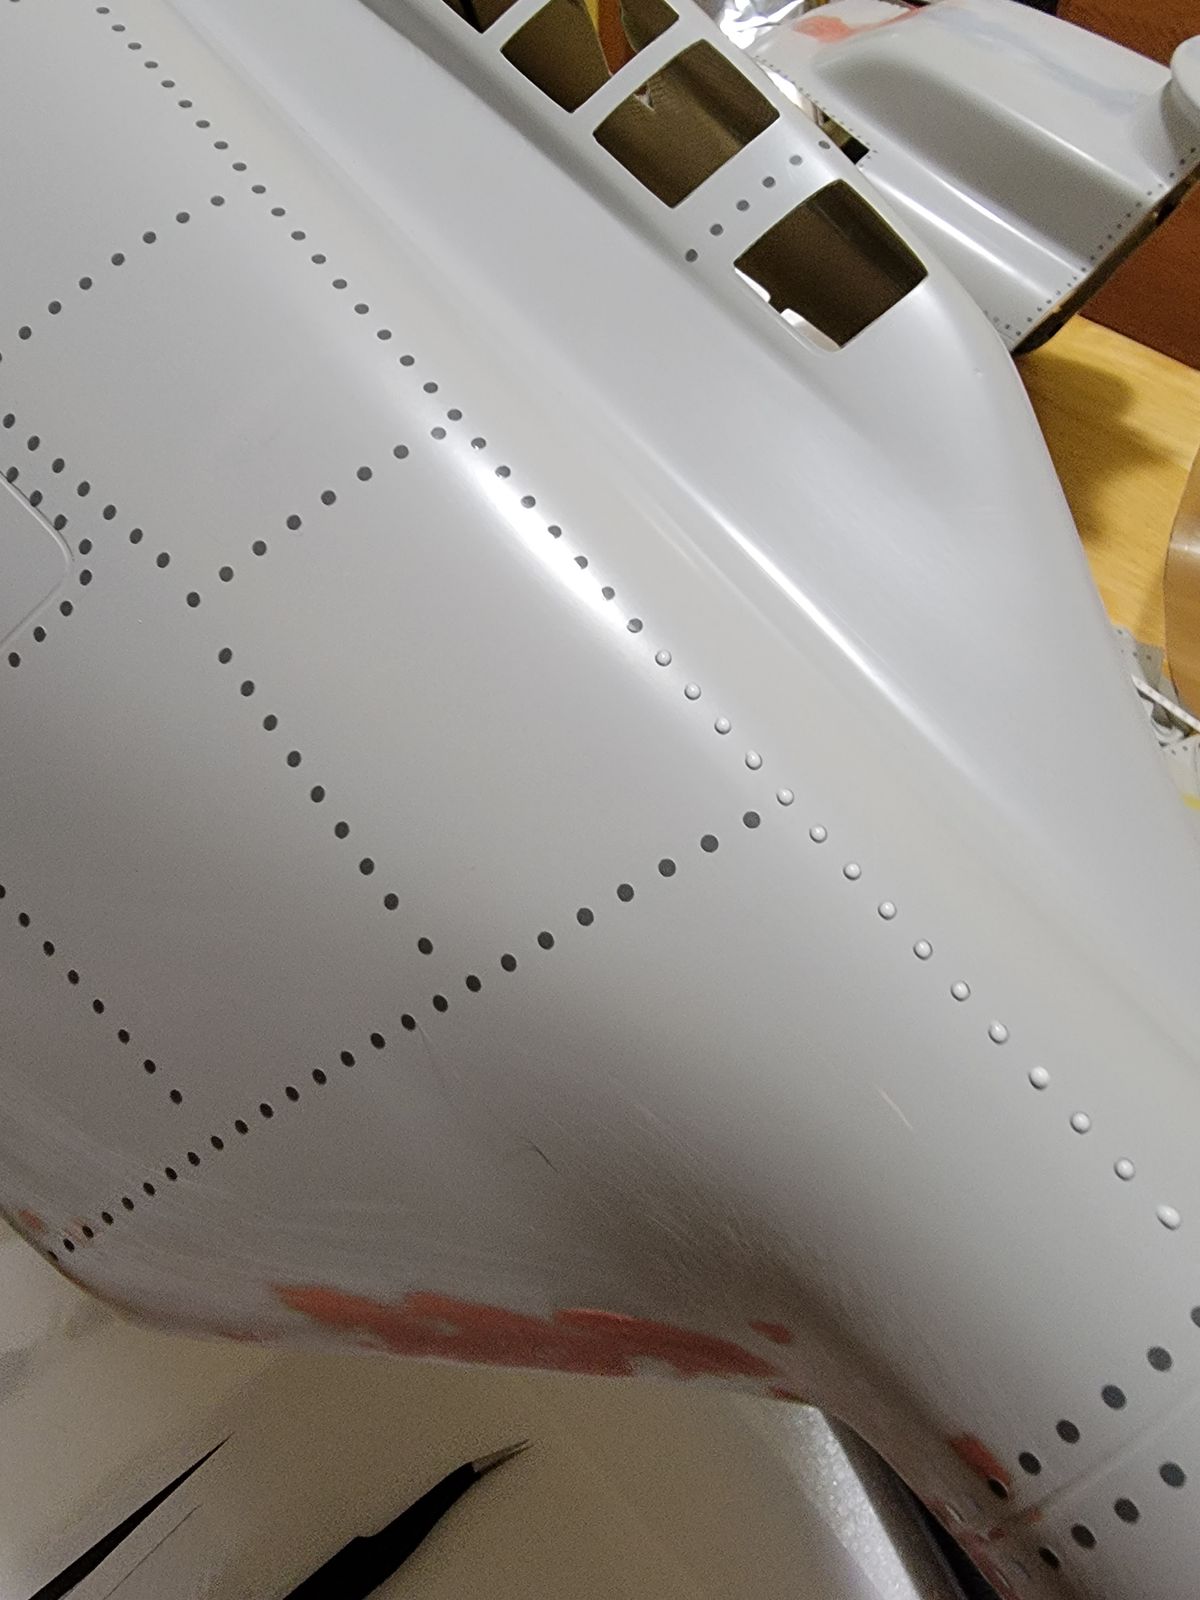
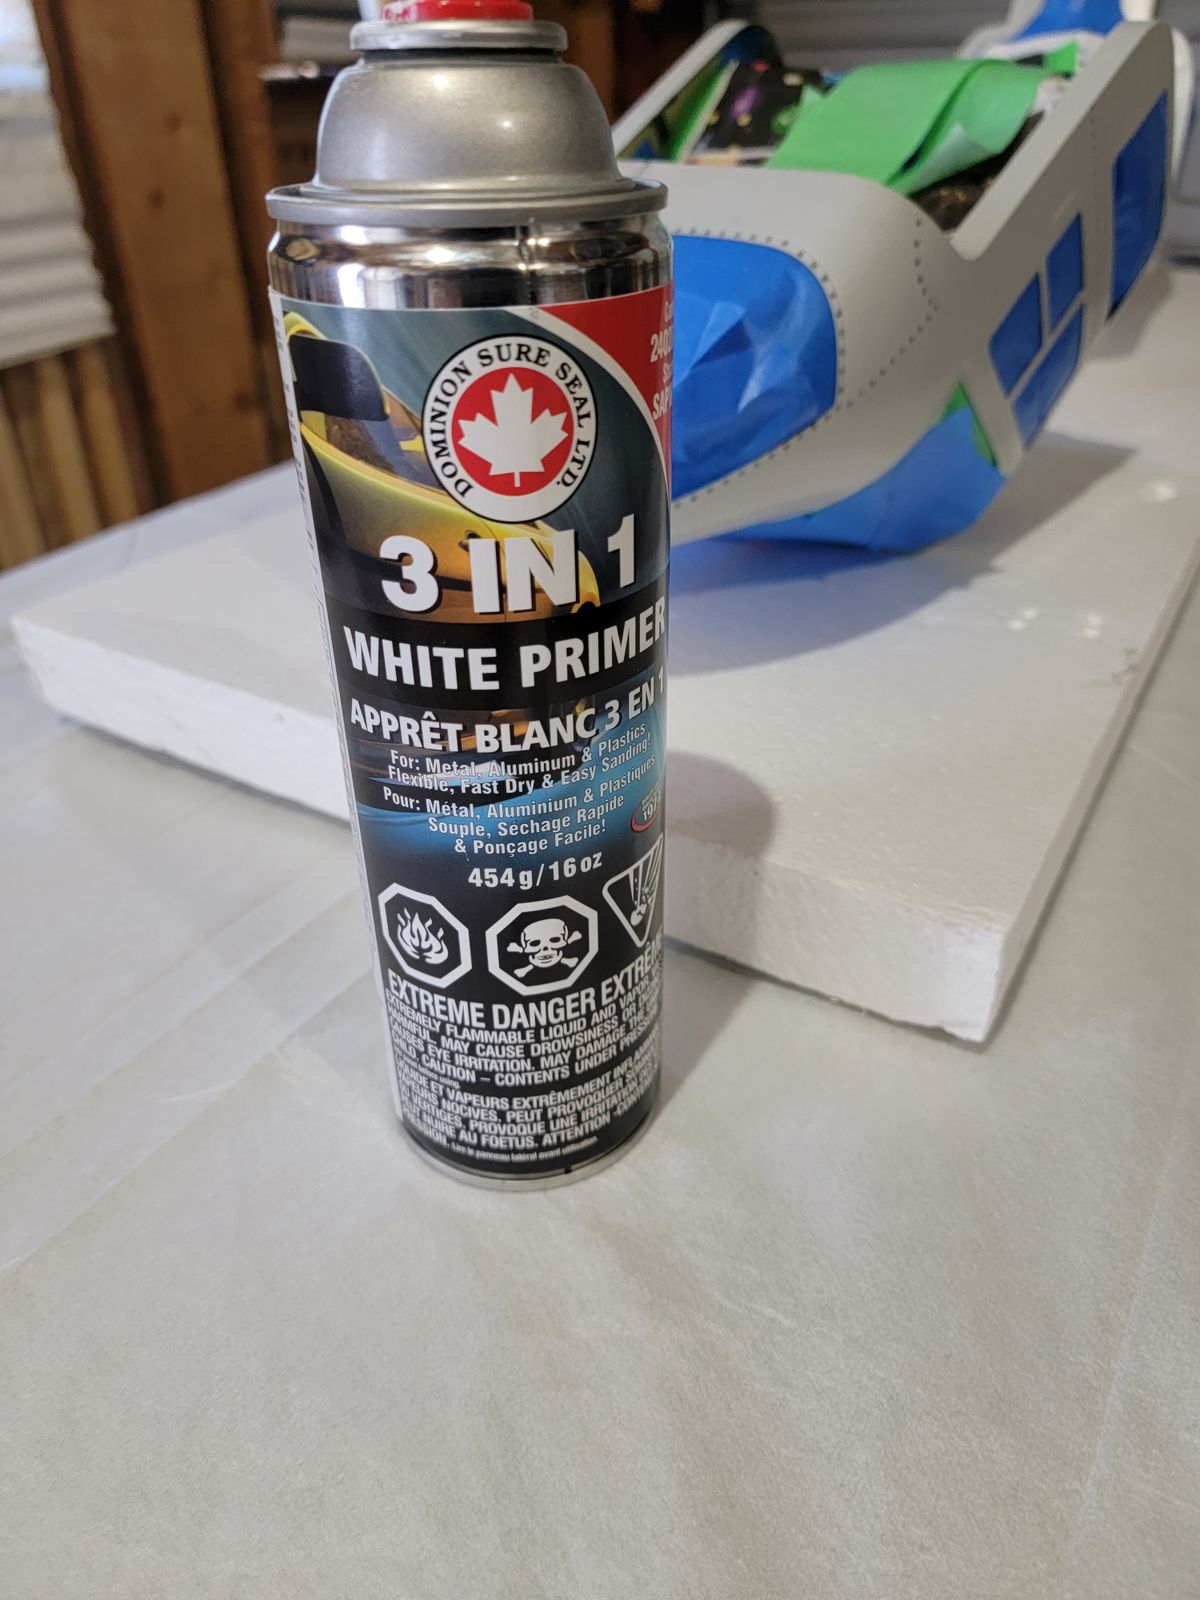
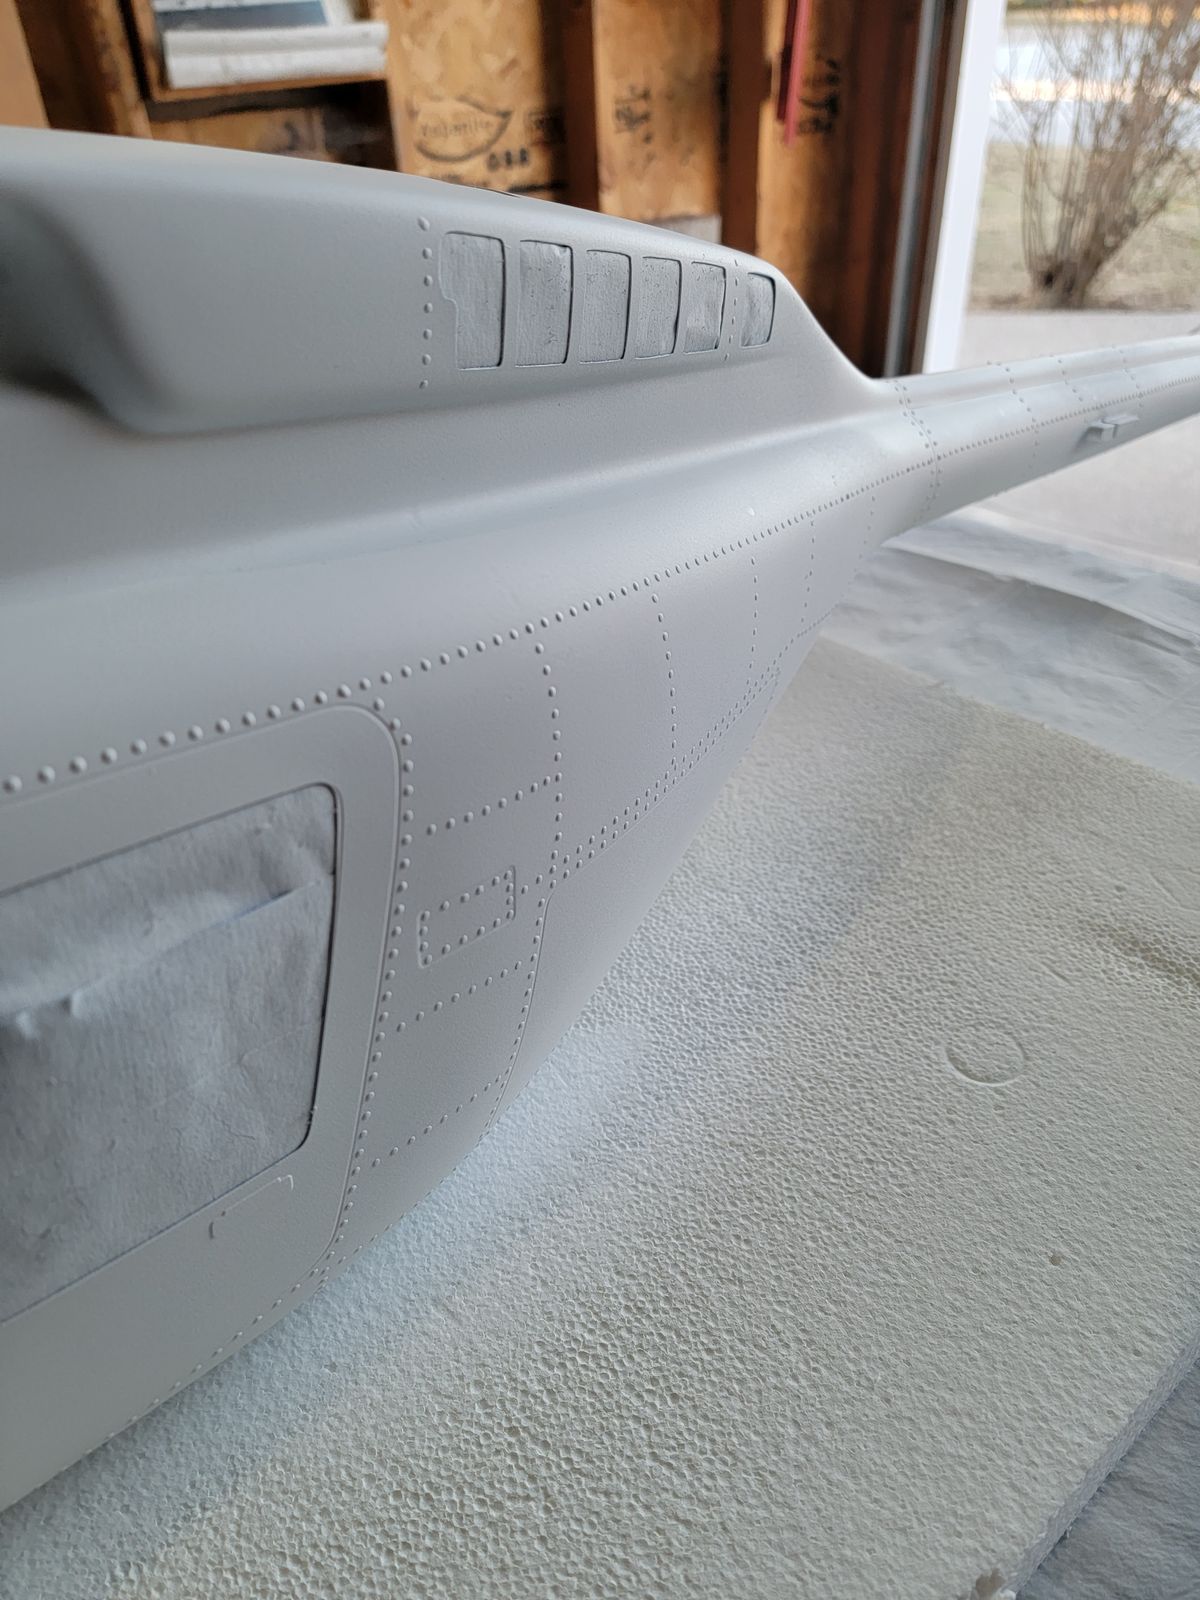
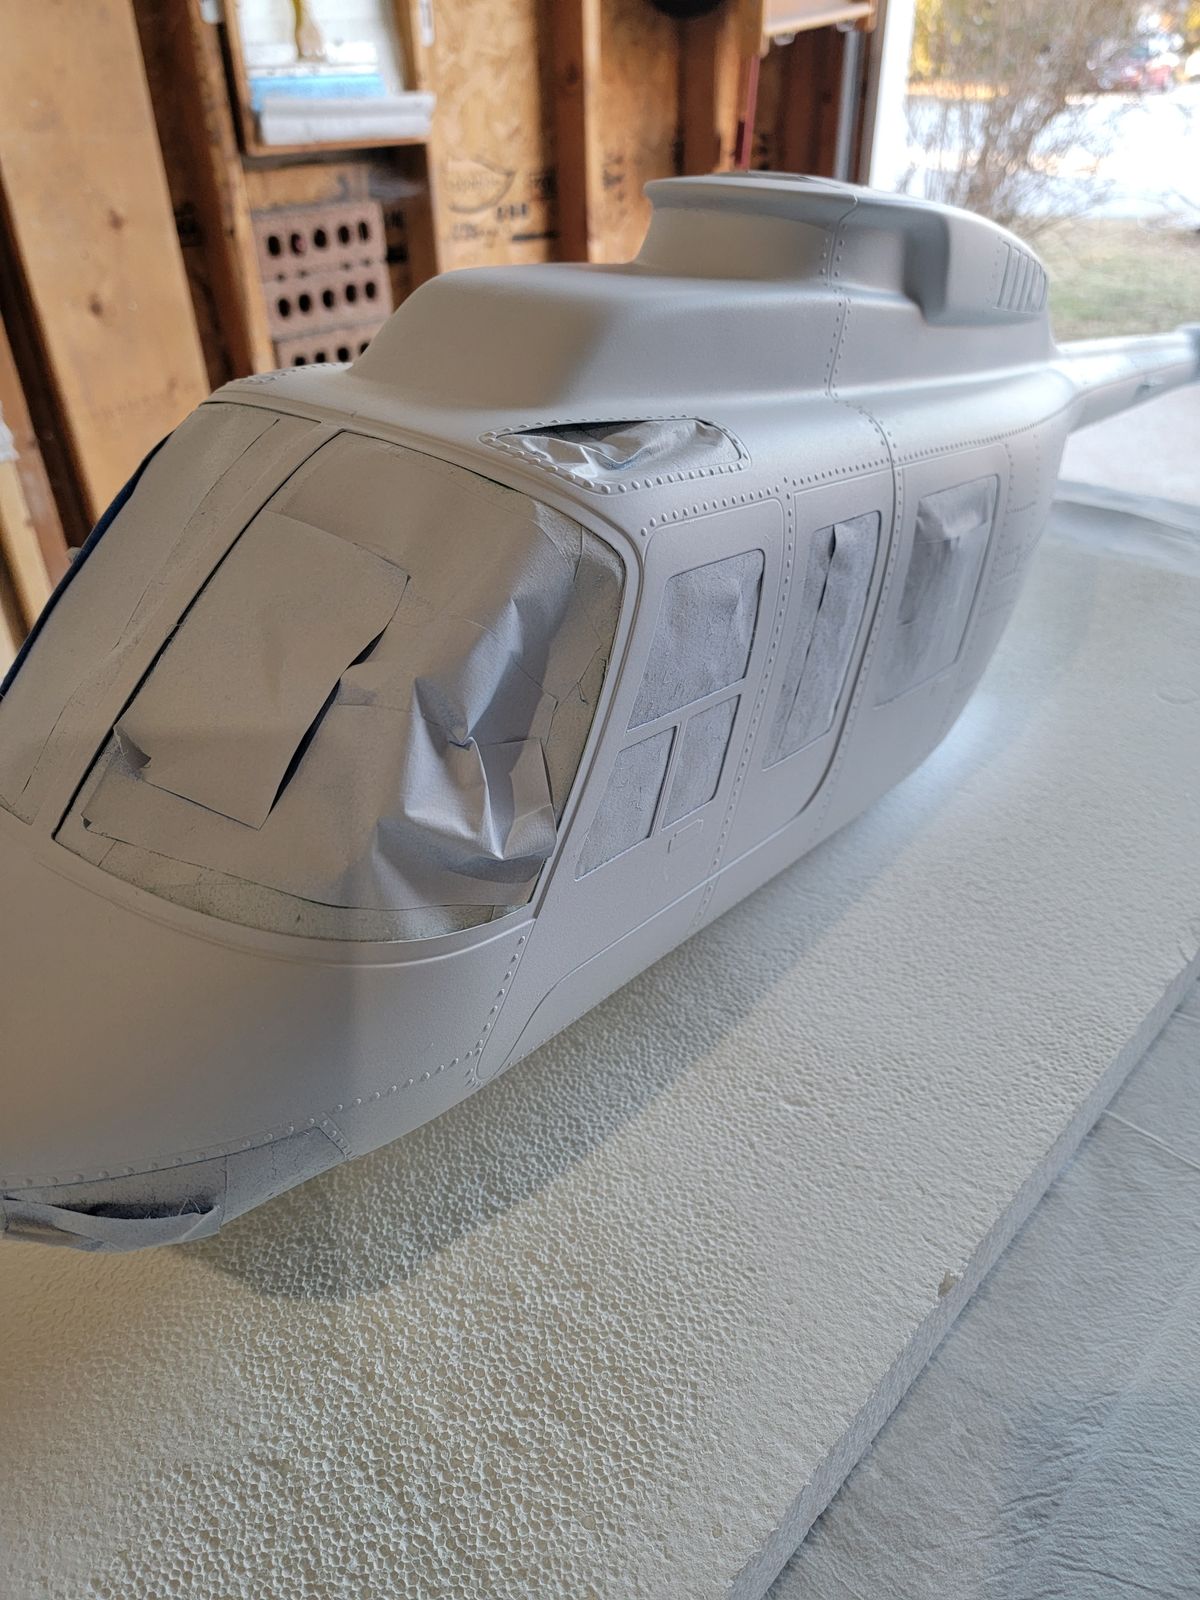
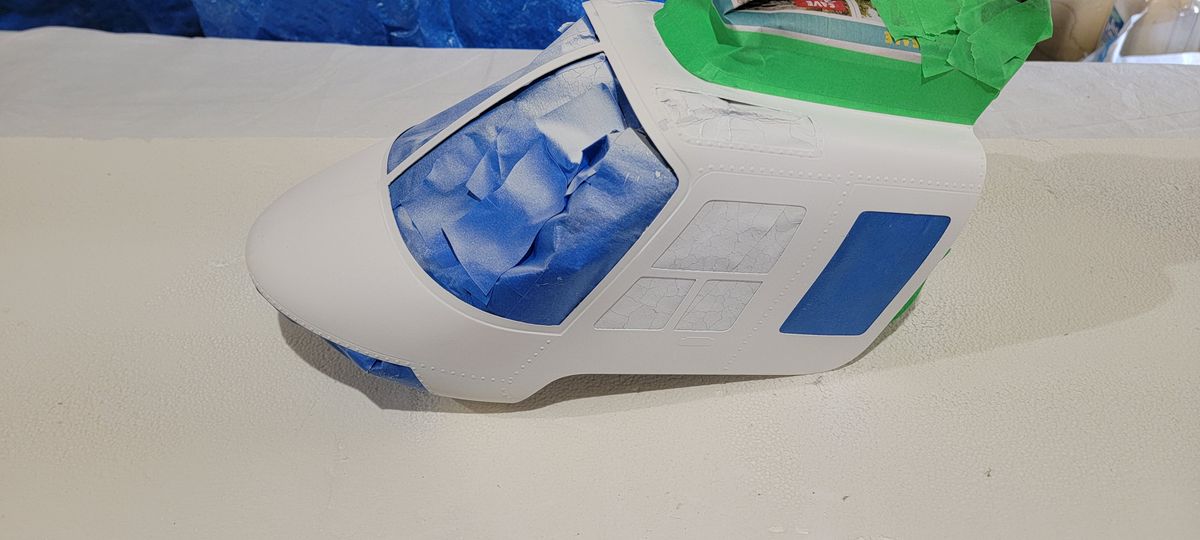
Fuselage details and prime
Added few details to the fuselage and some painting preparation.
The mechanics
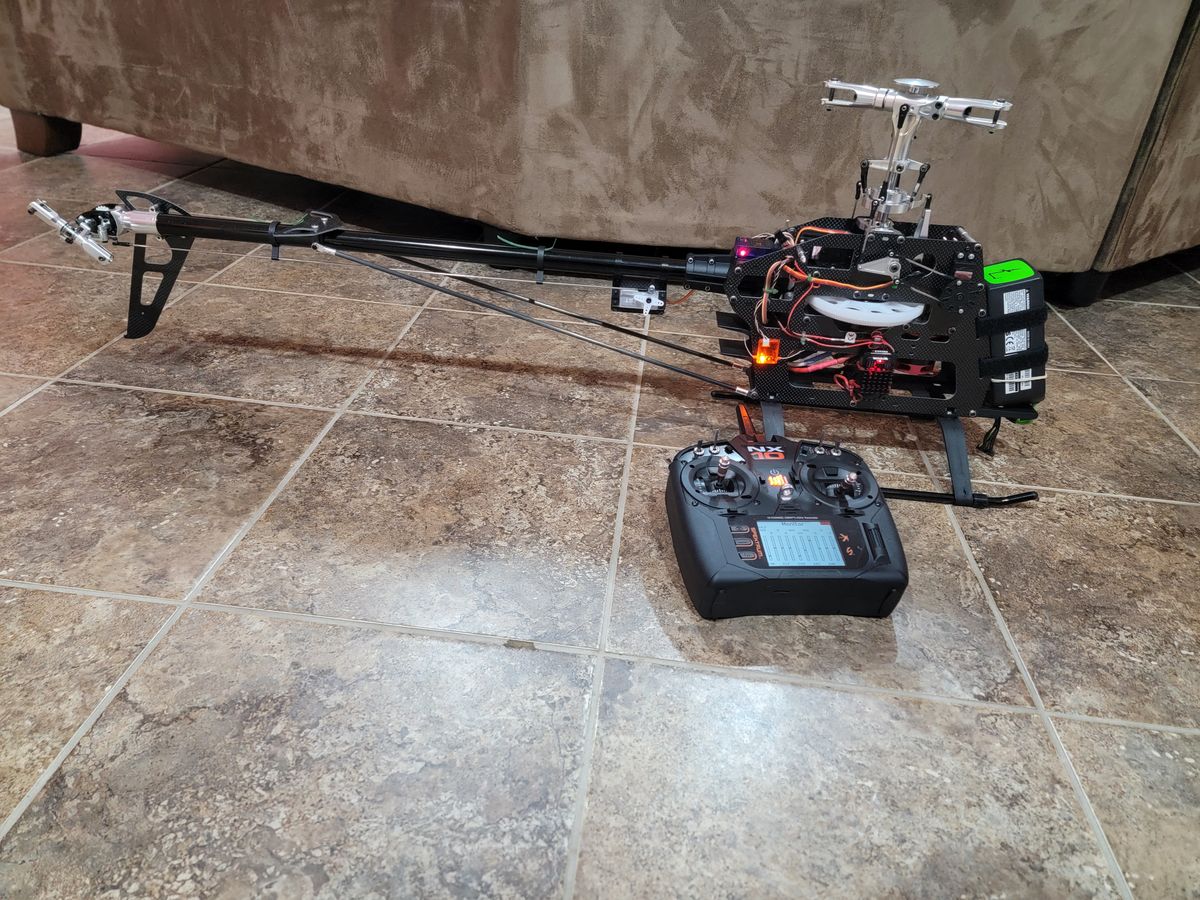
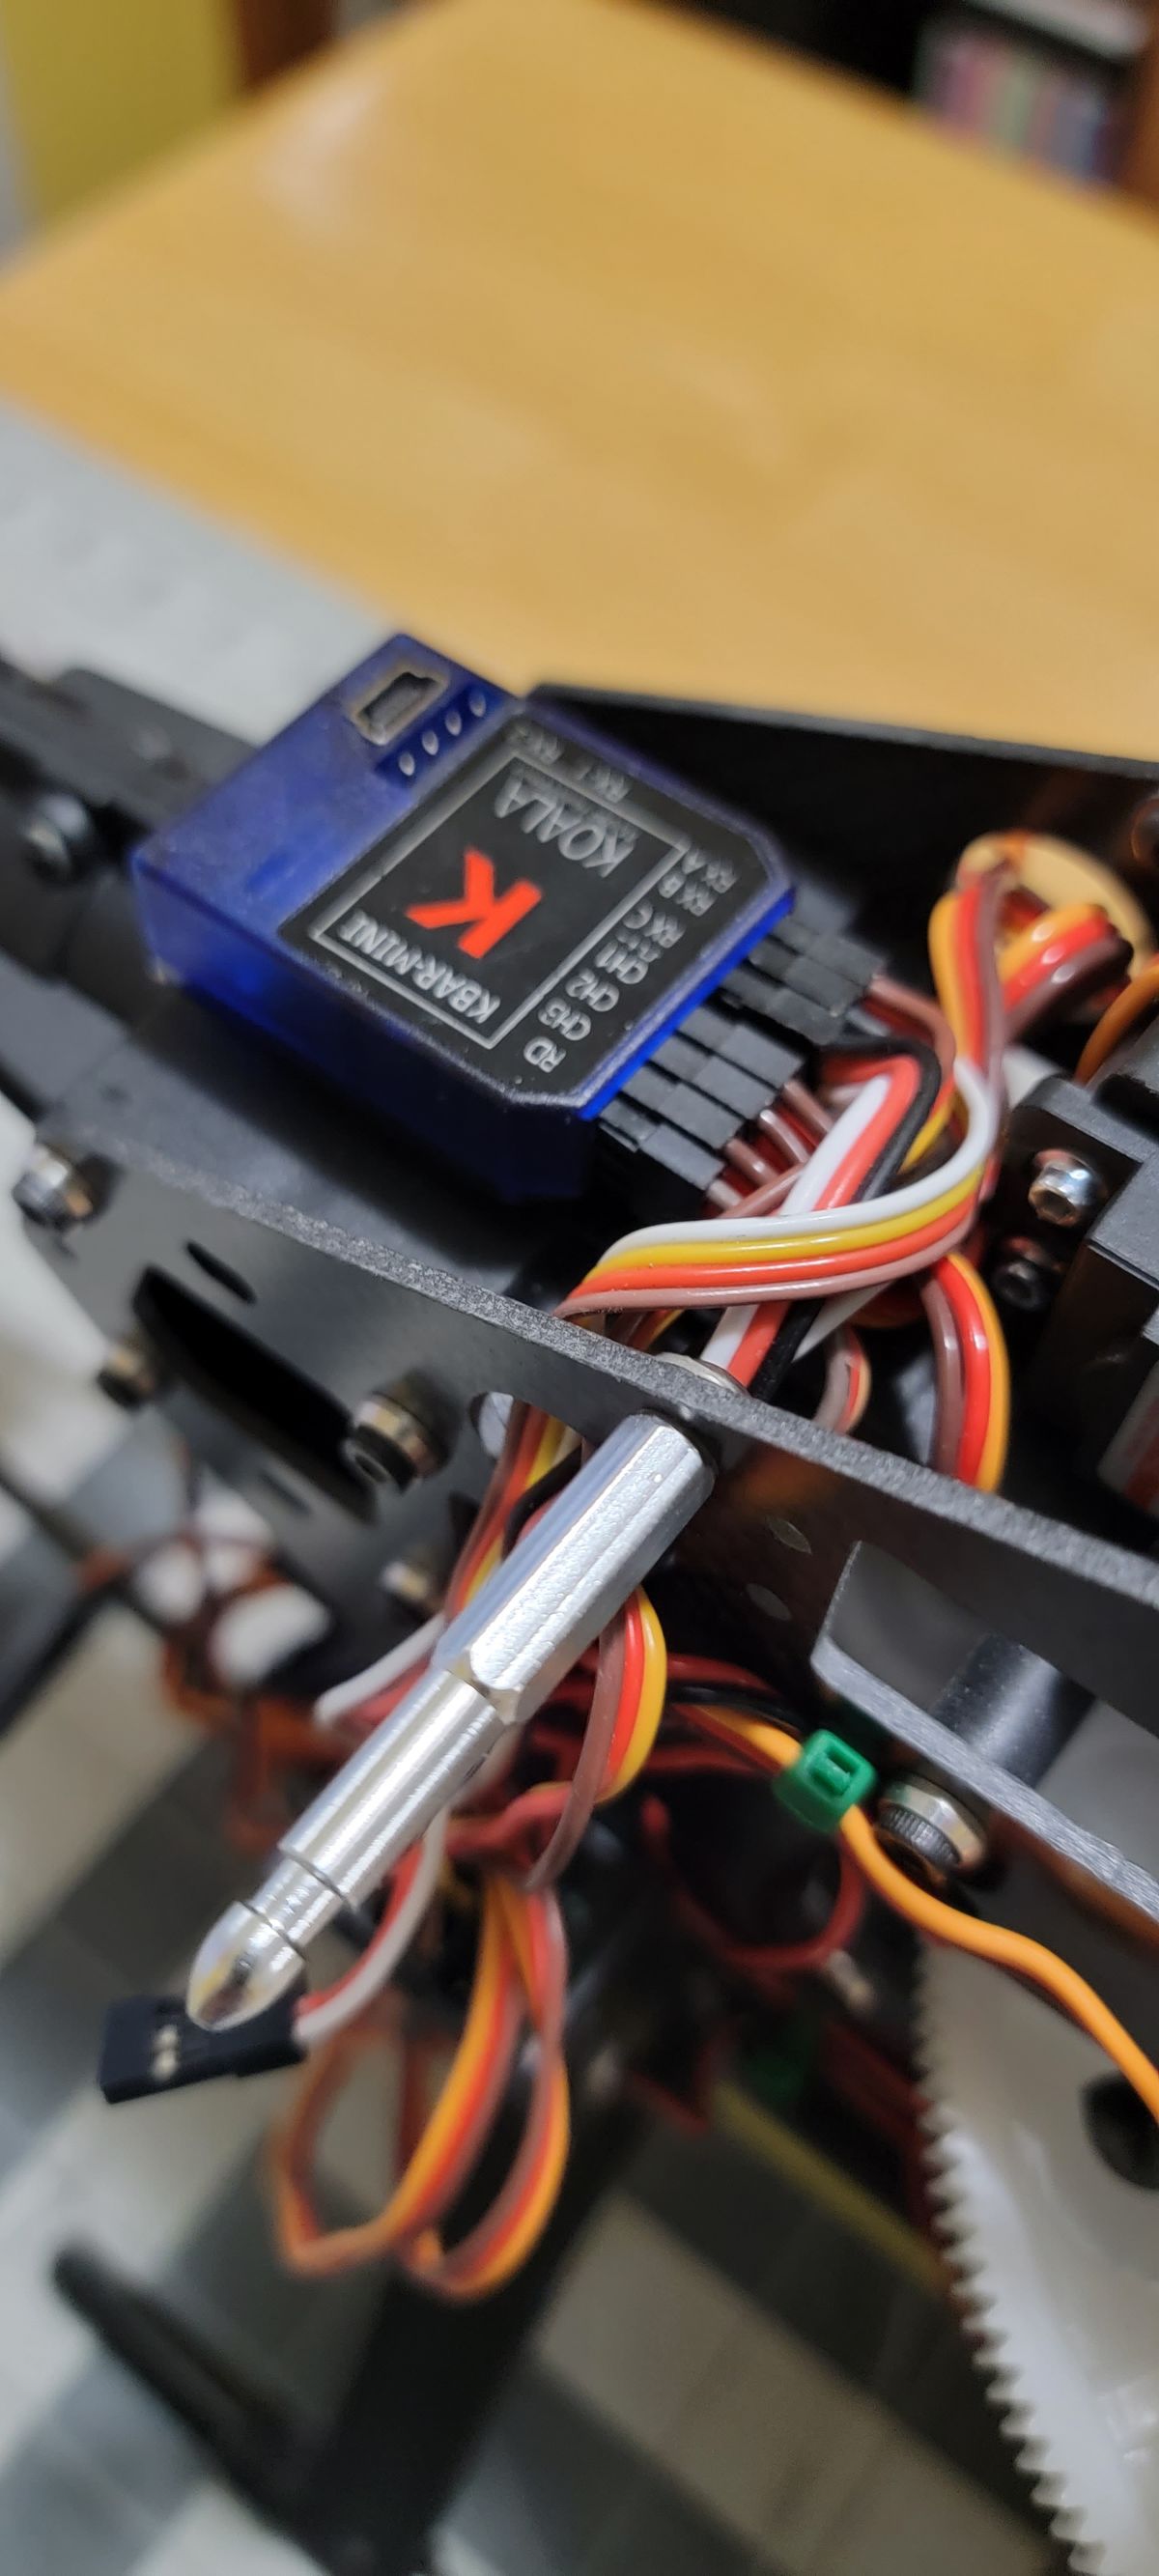
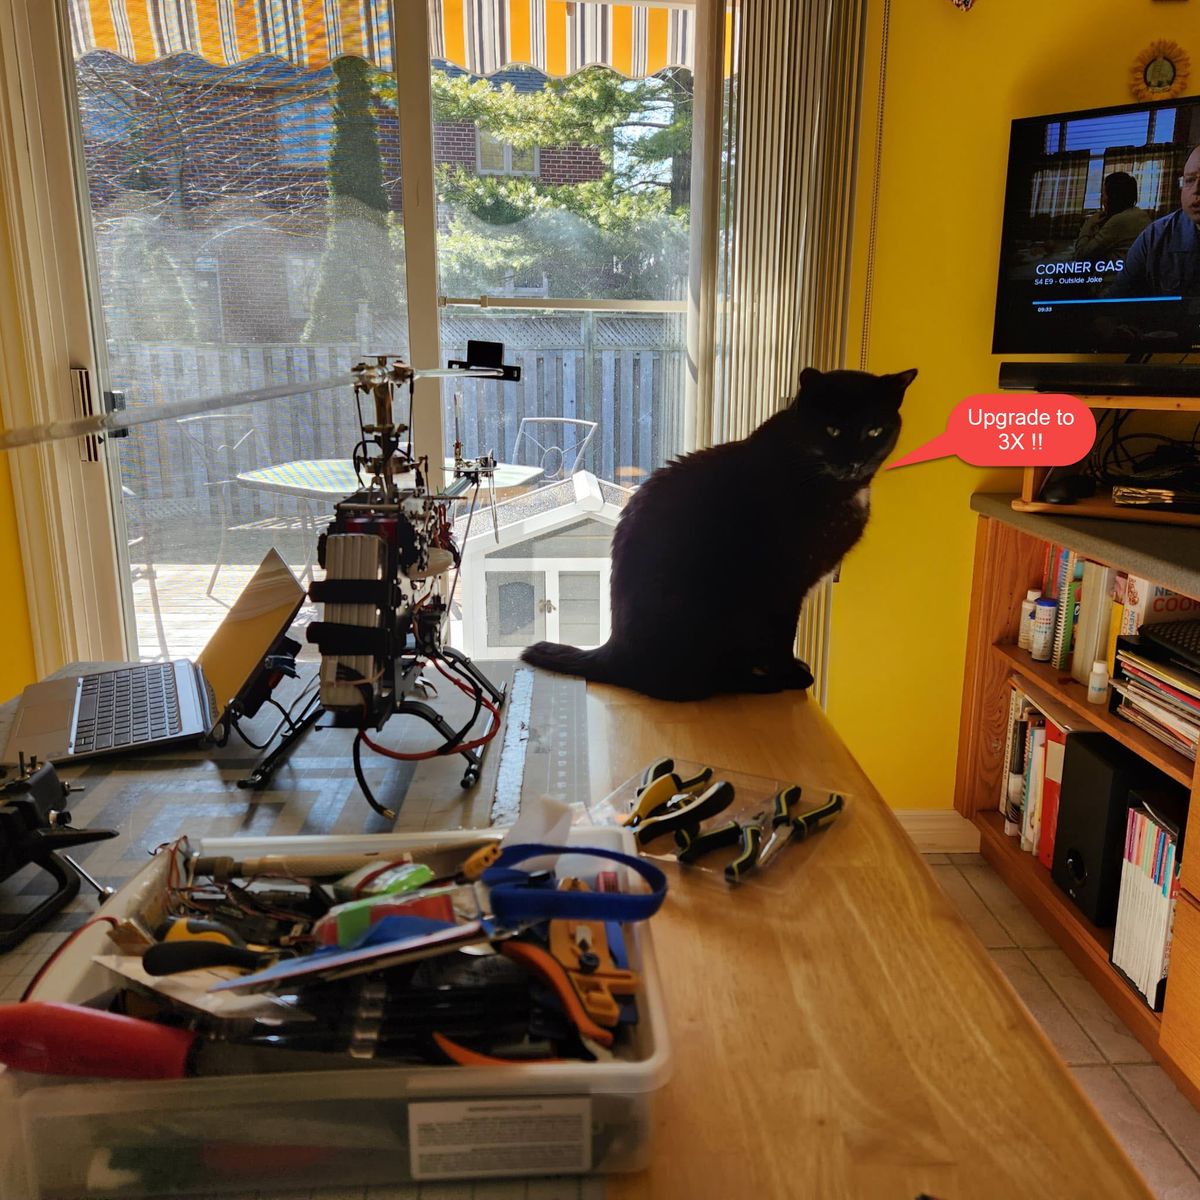
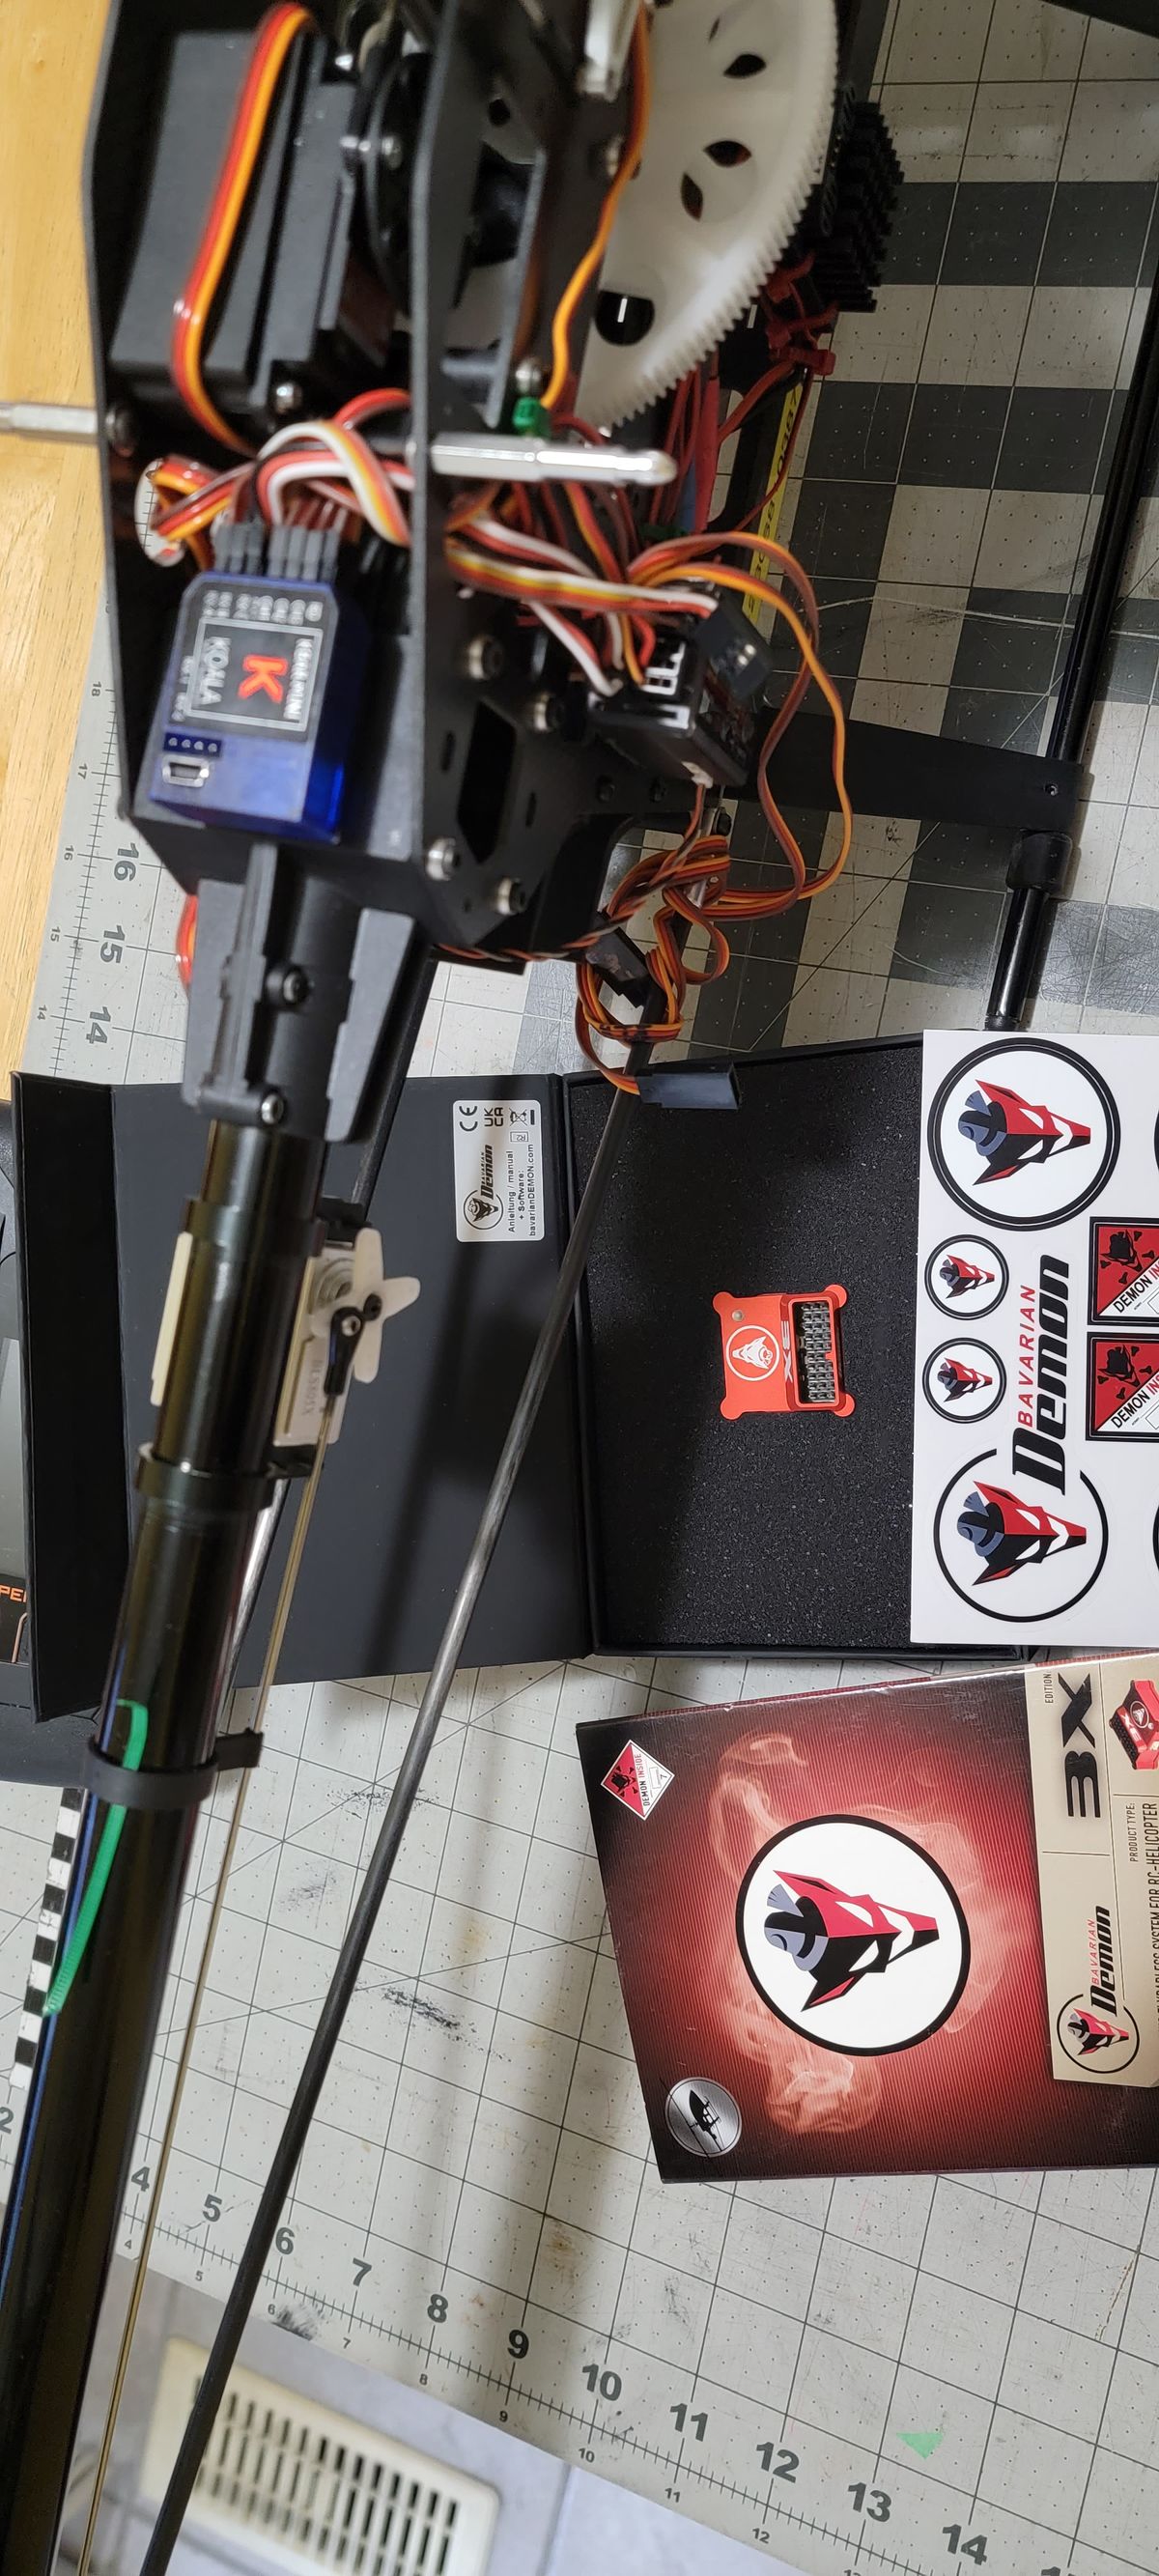
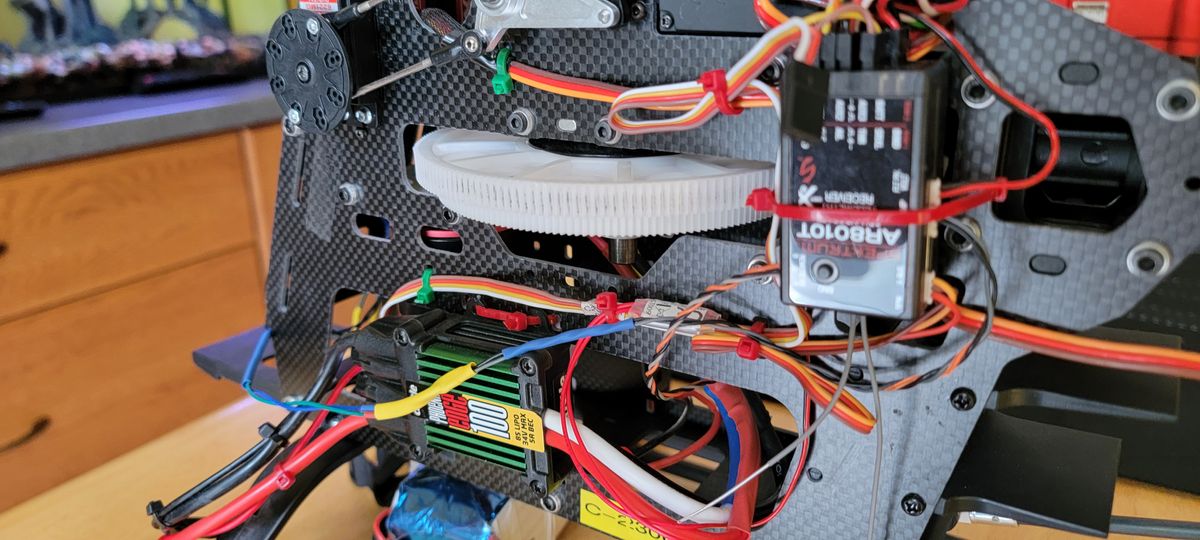
I used in the past Phoenixtech 600ESP and this time I'm going Flybarless.
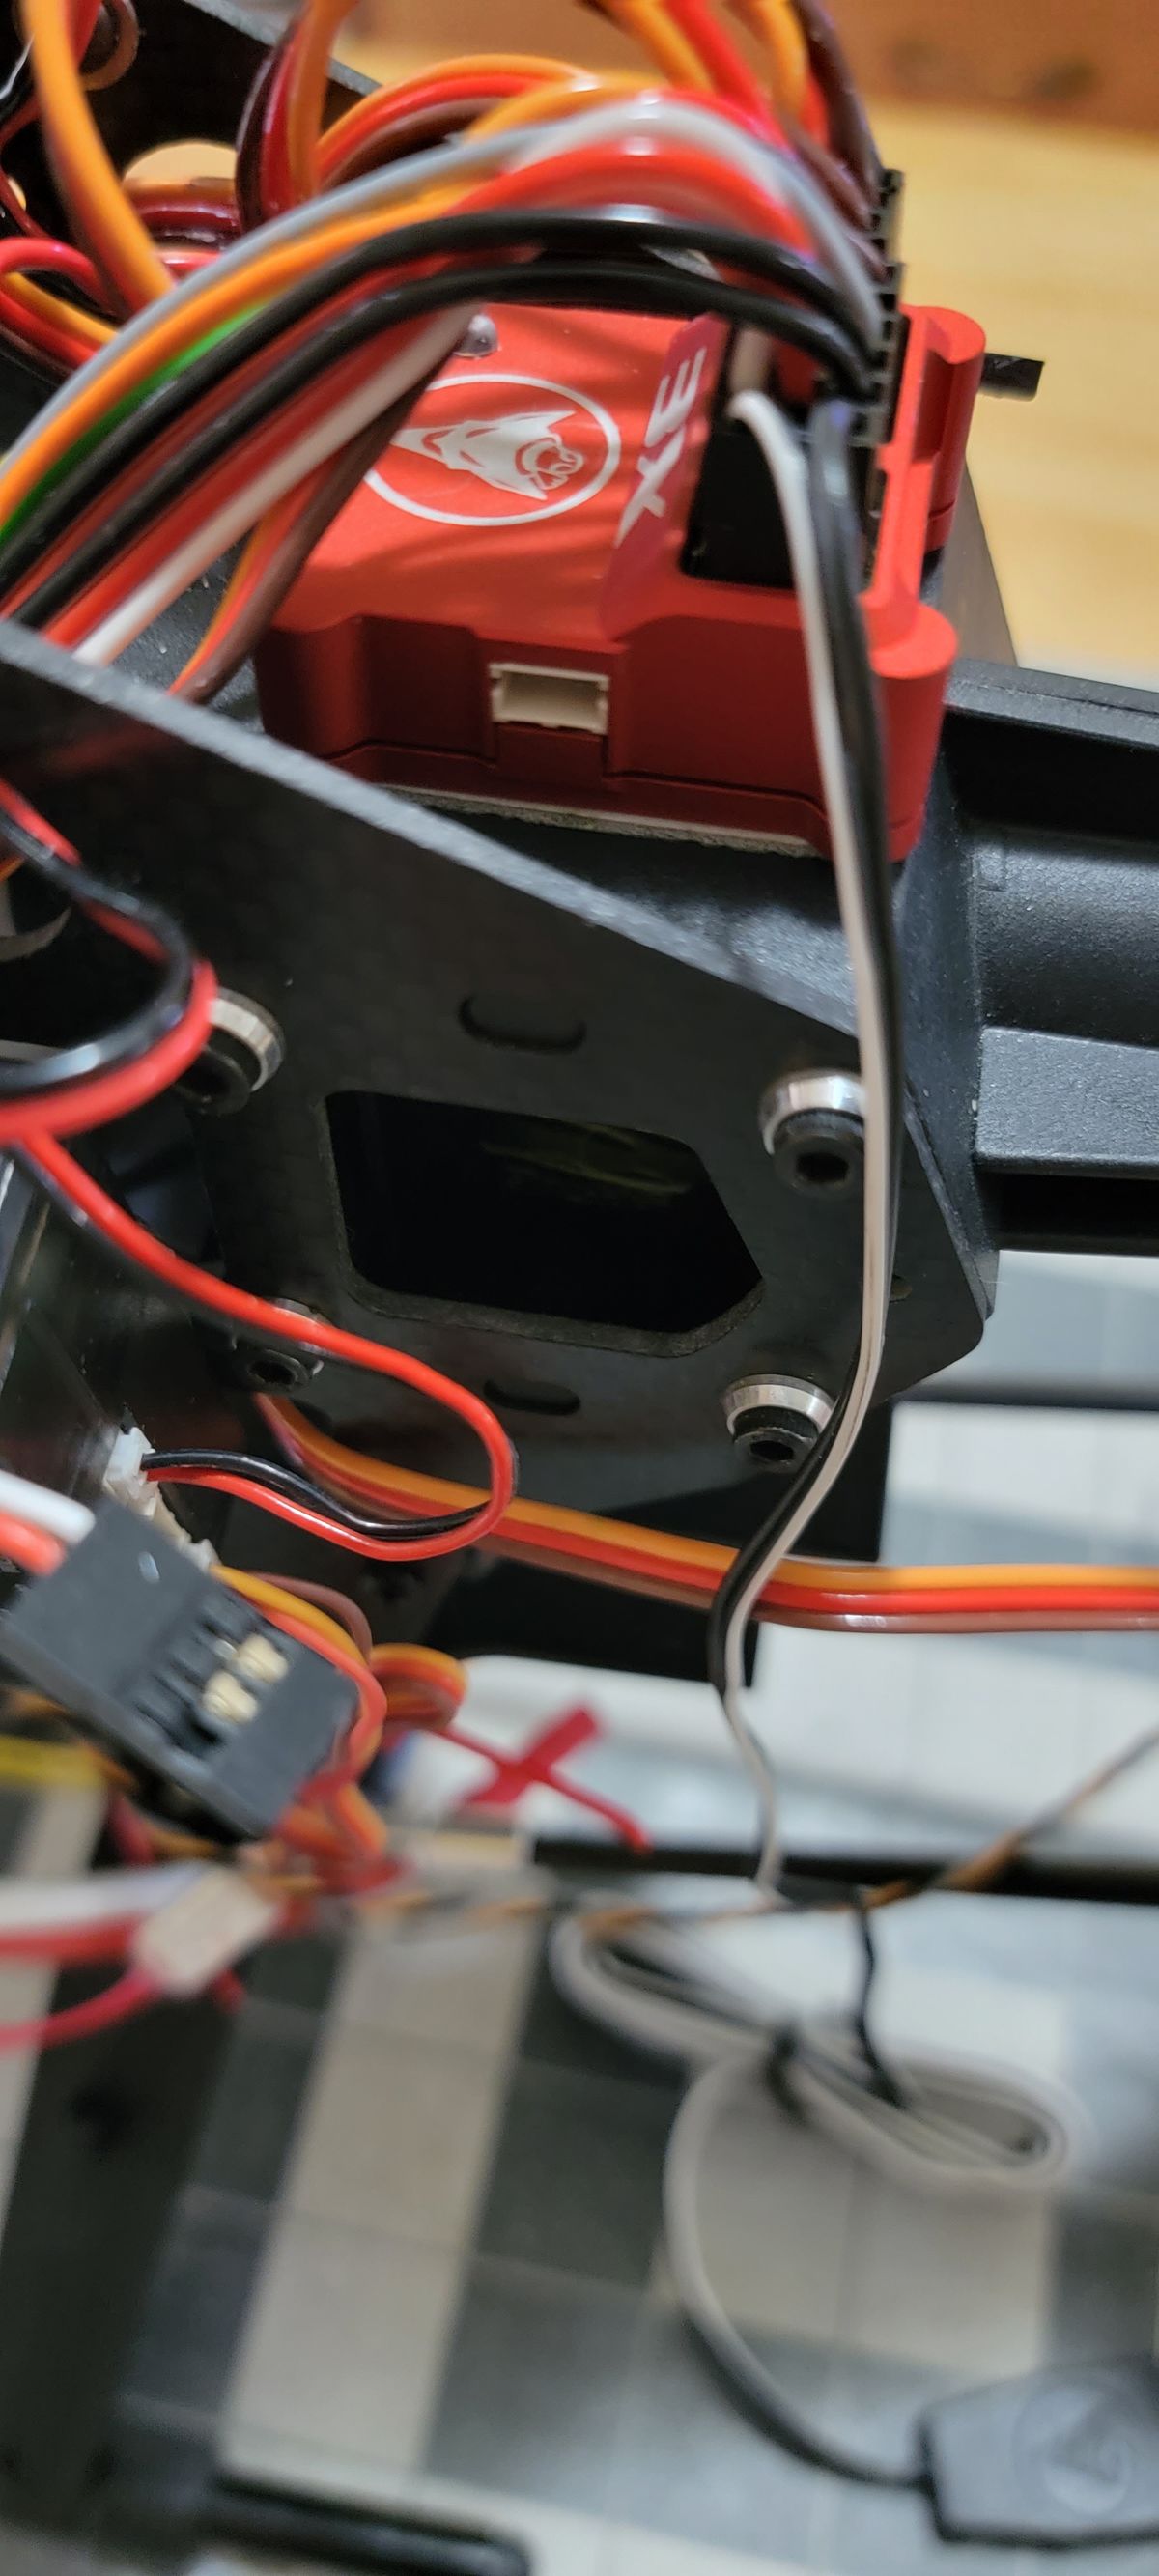
I started with a K-Bar flight controller but my furry consultant engineer, suggested to upgrade to a 3X.
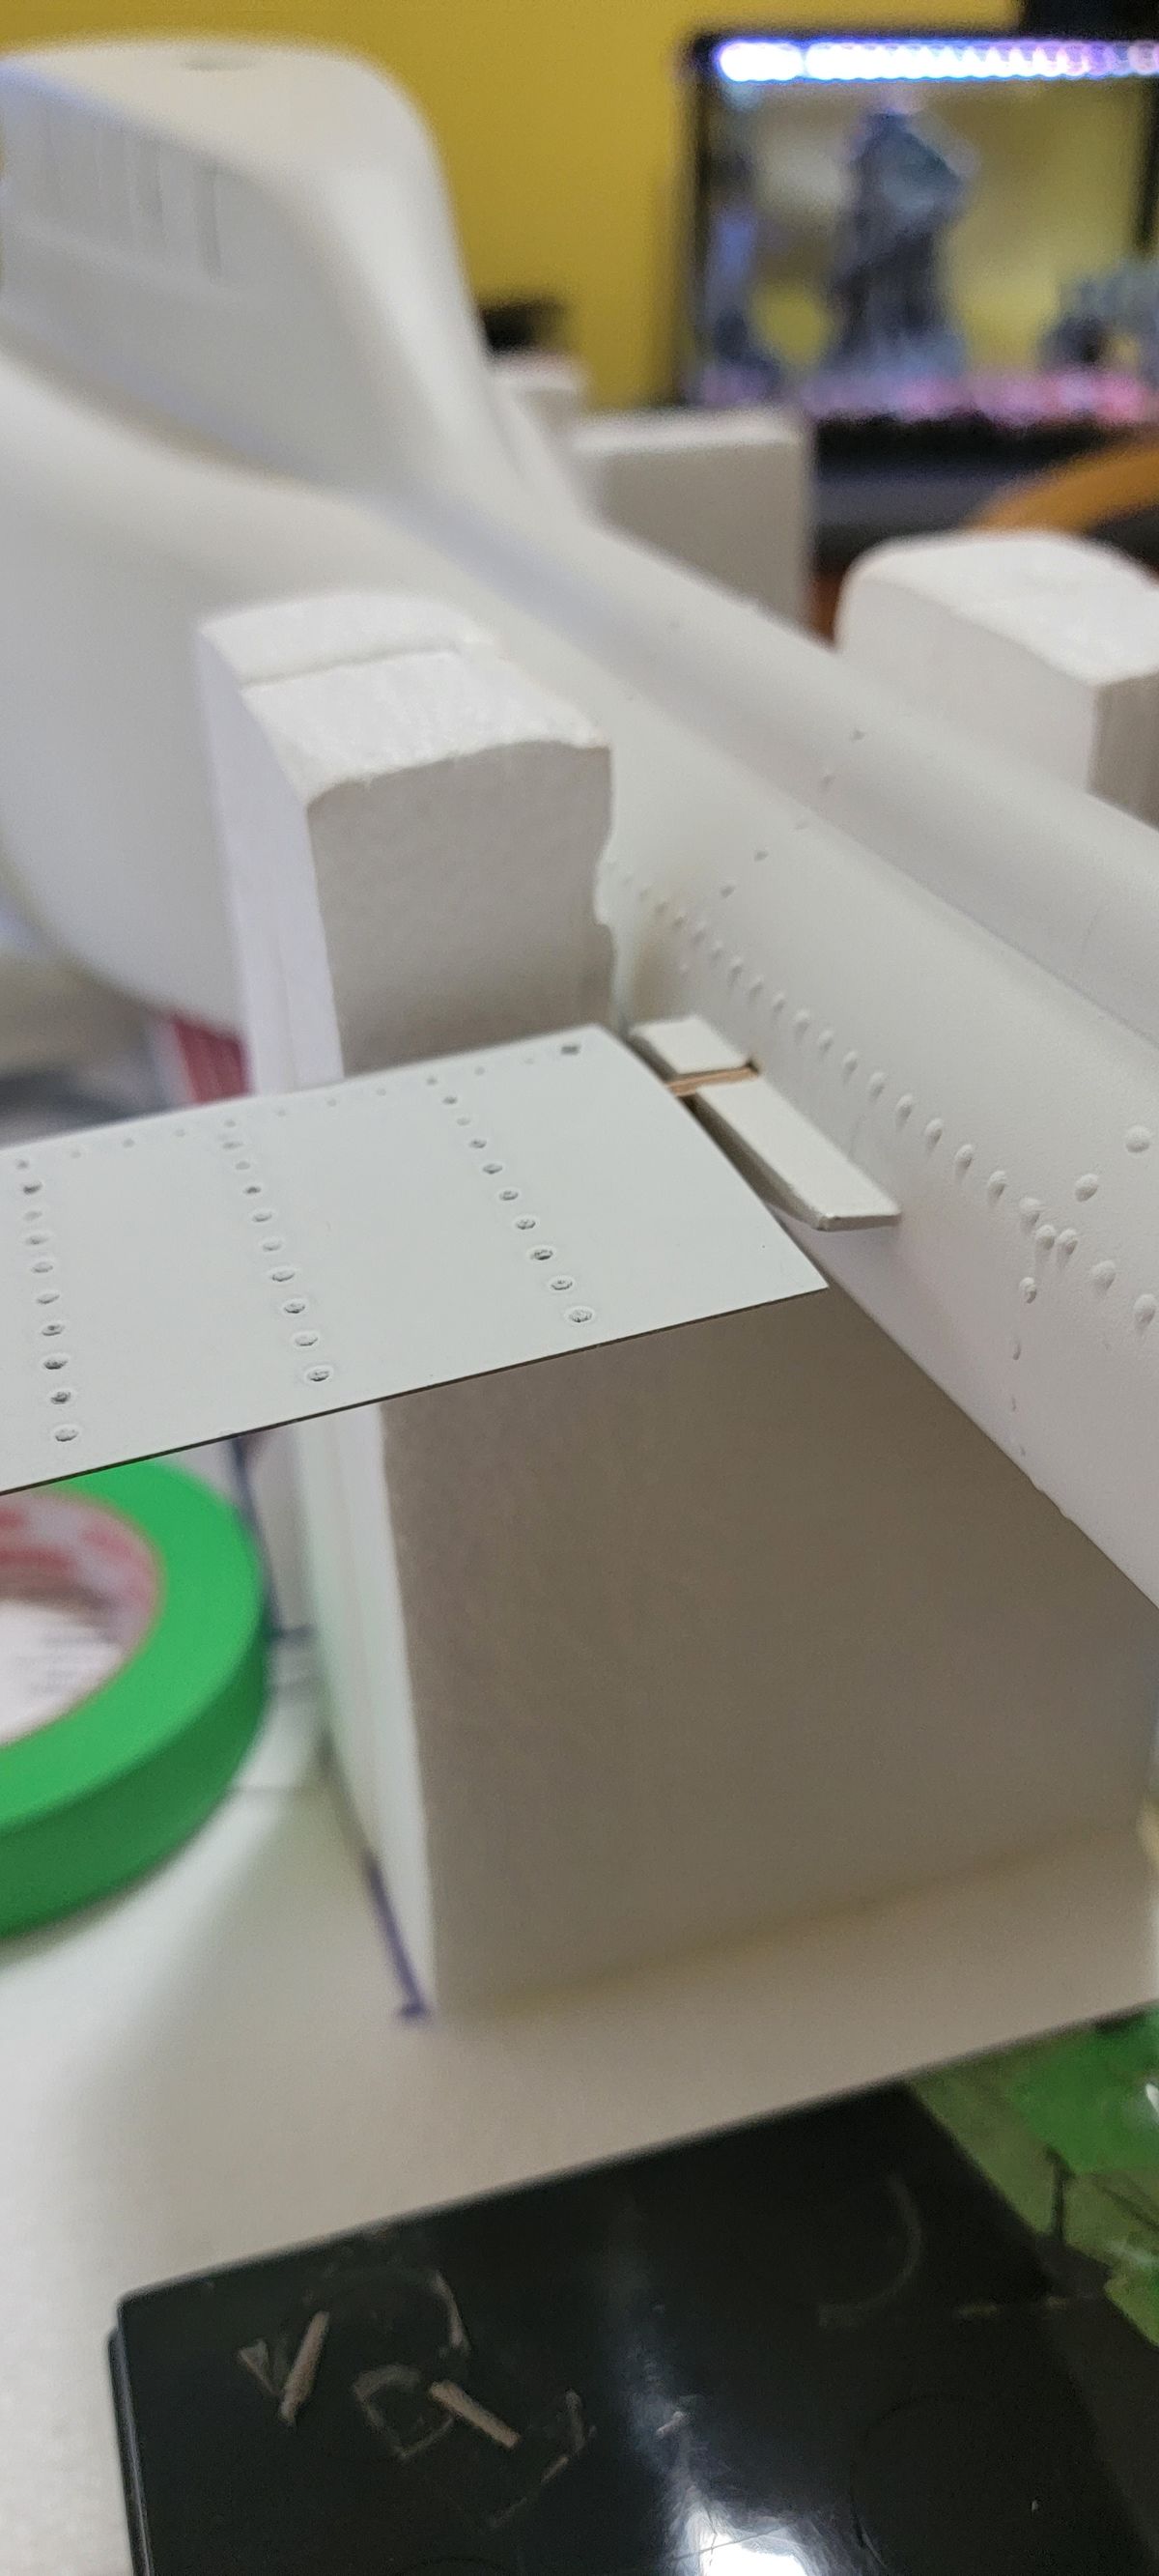
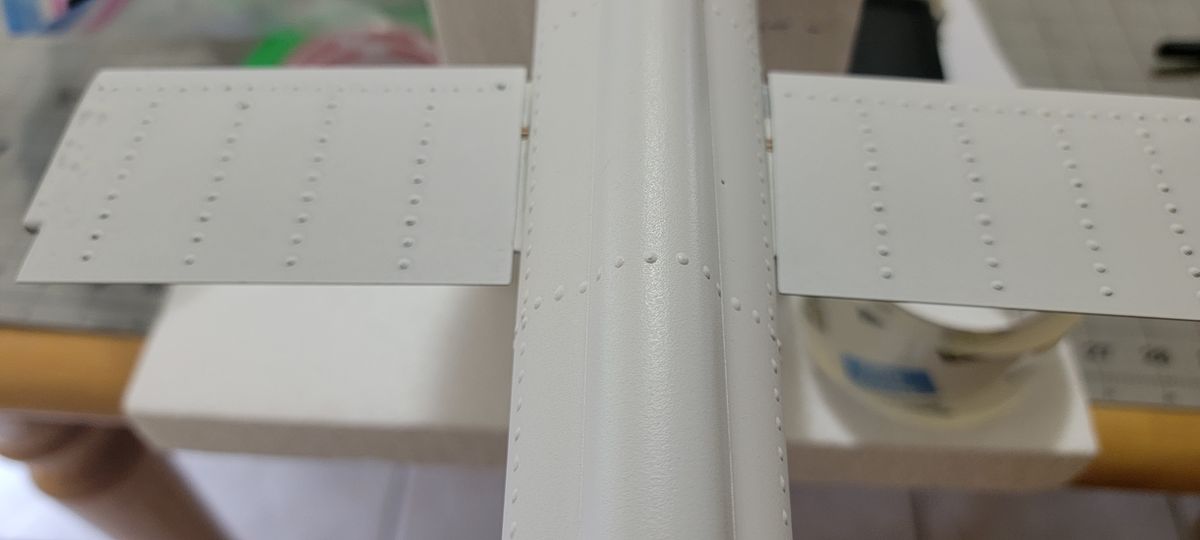
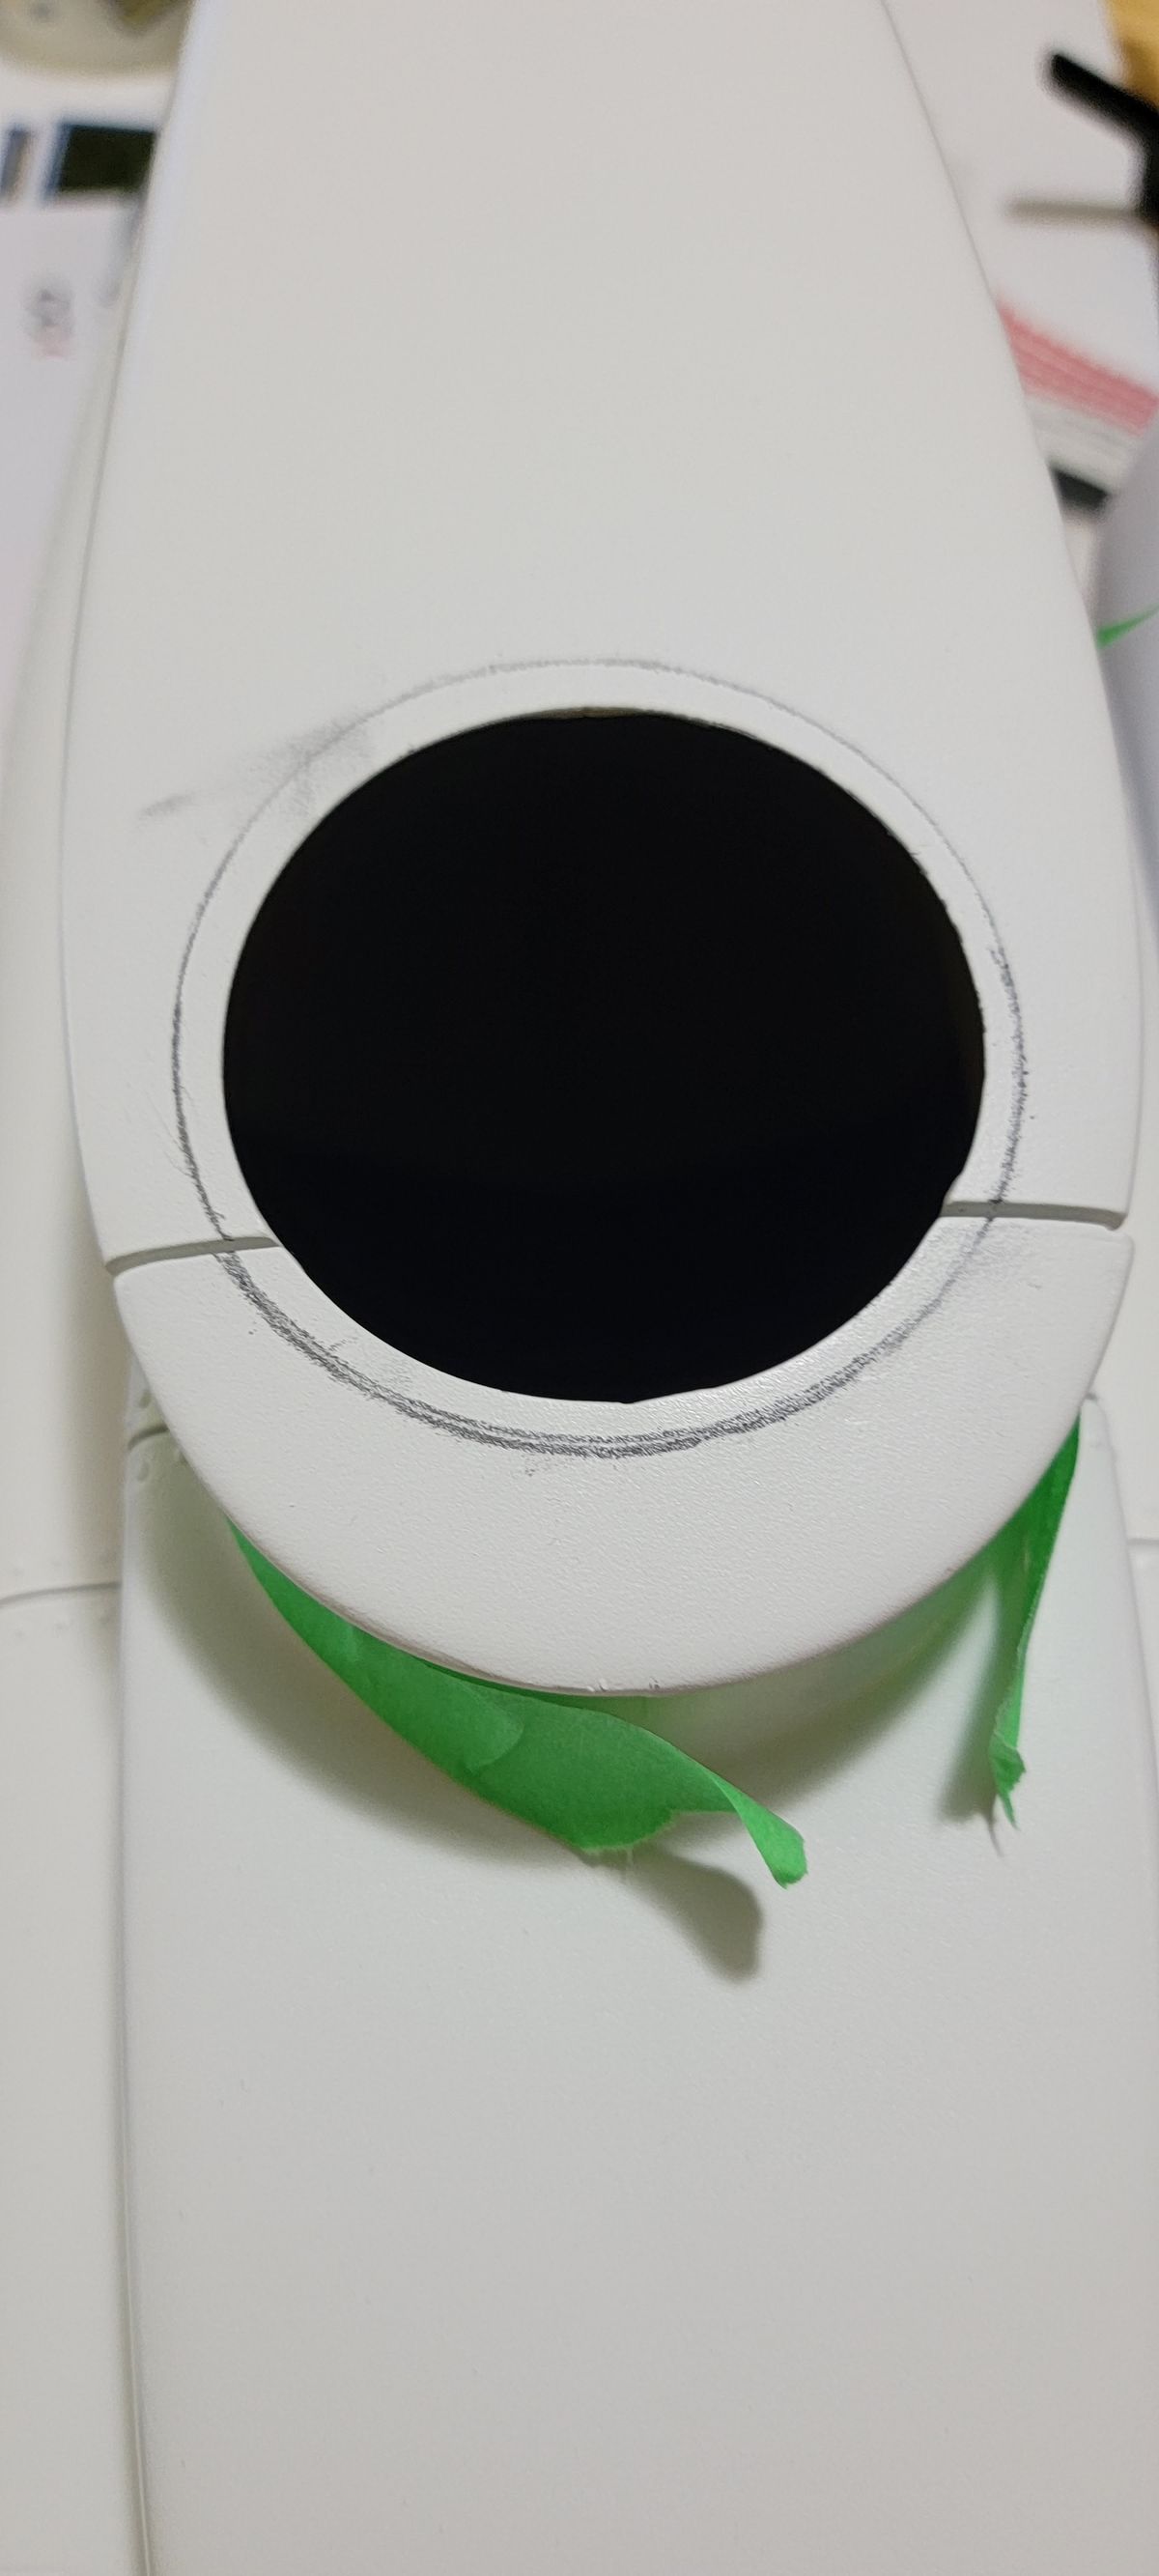
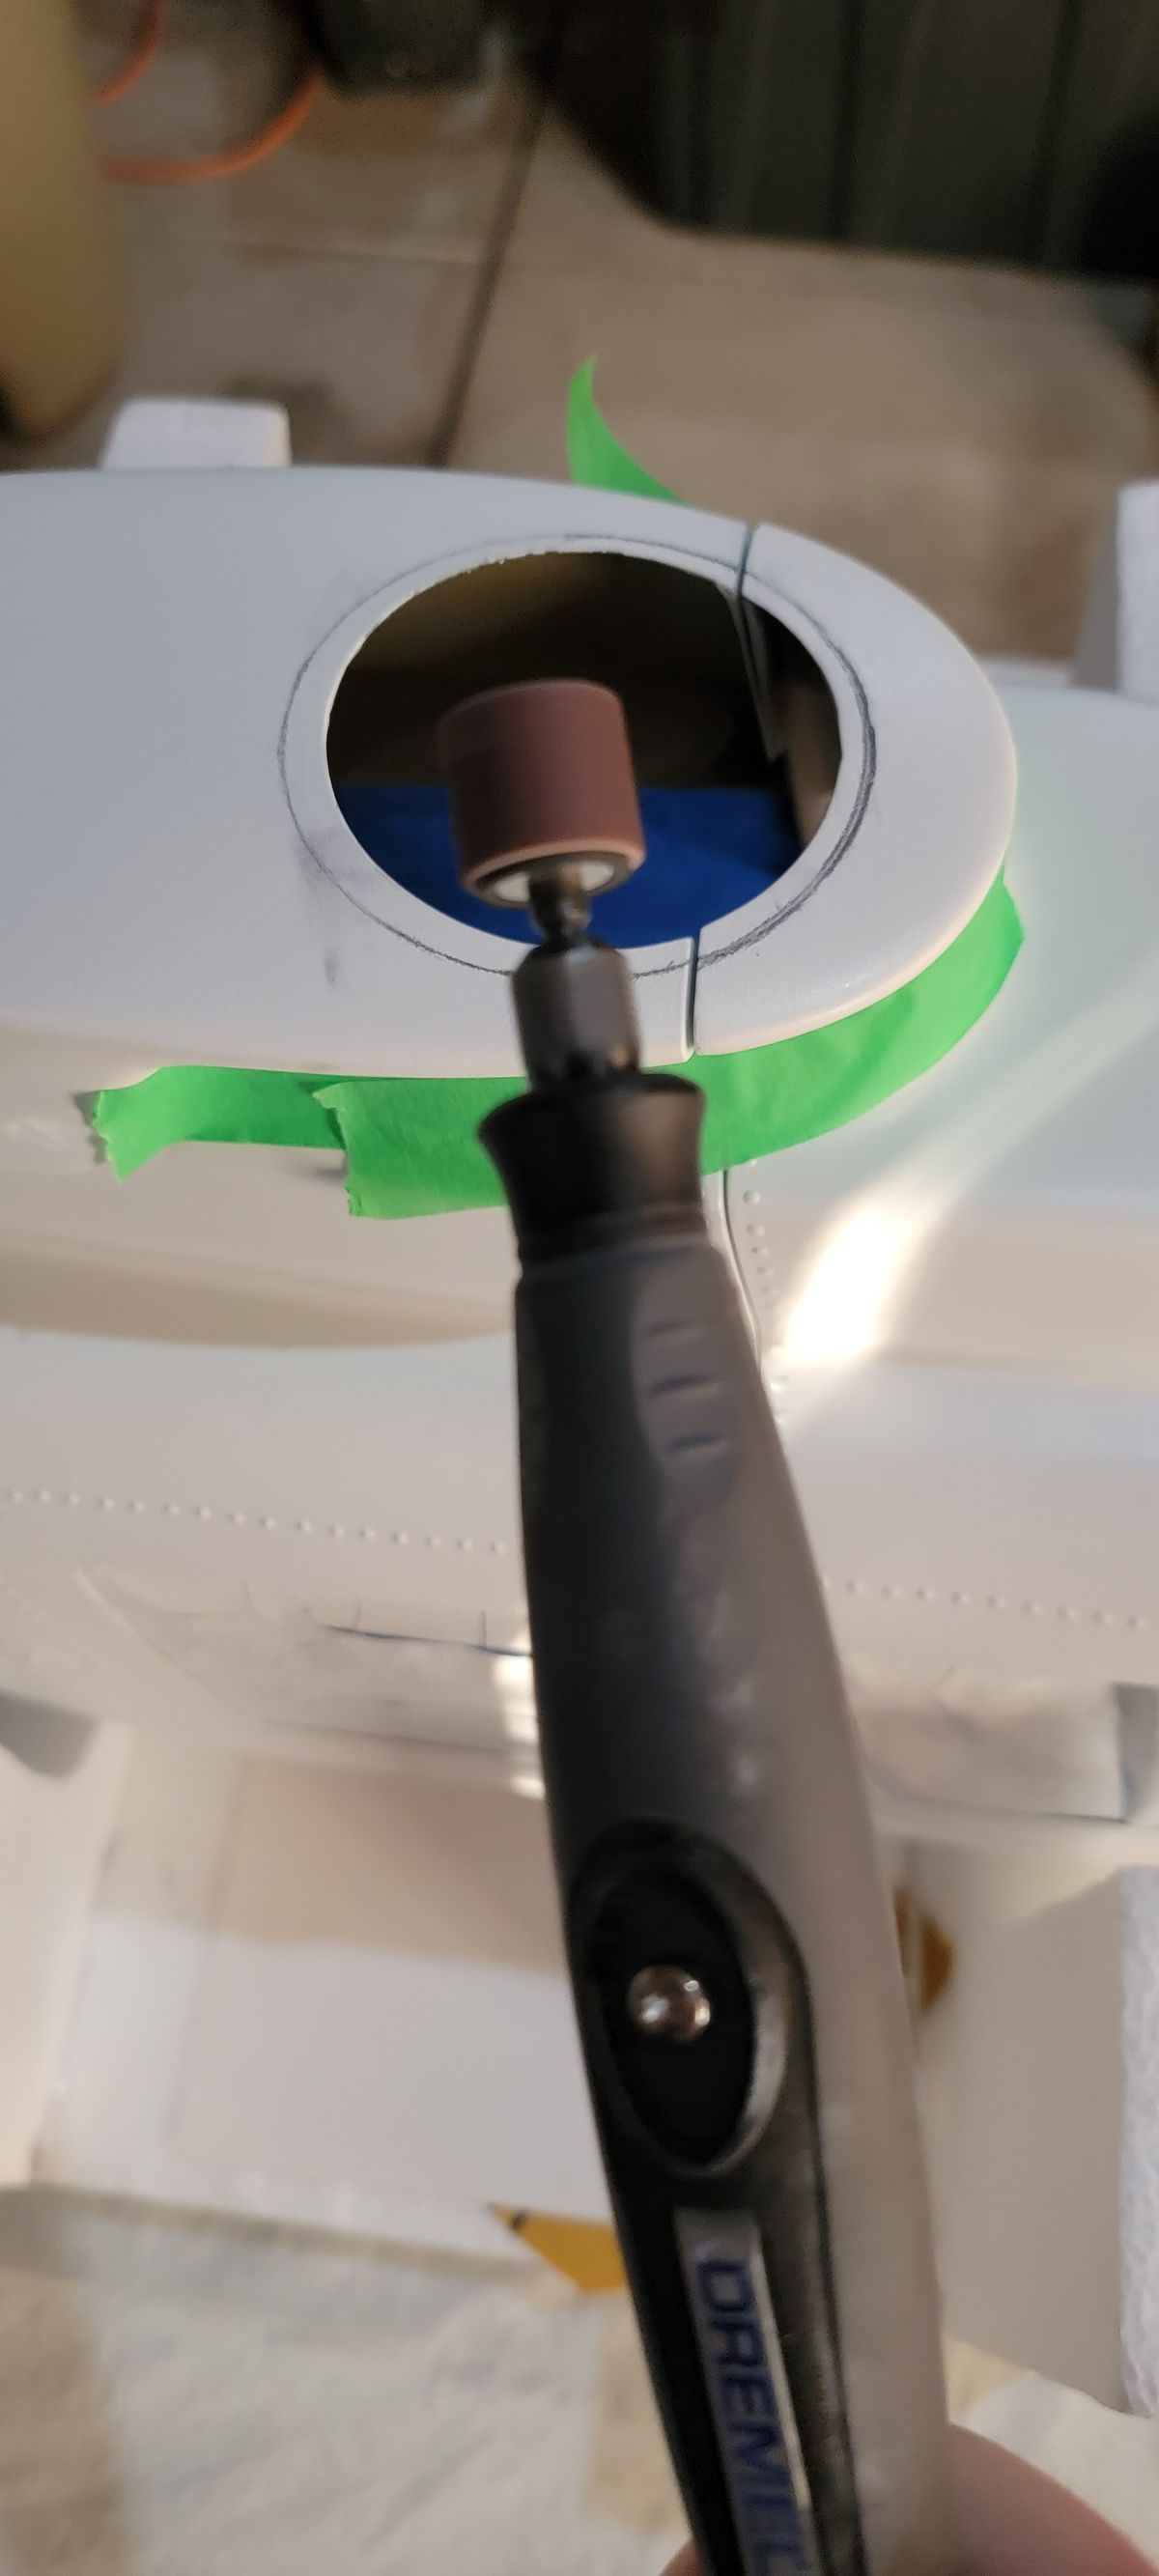
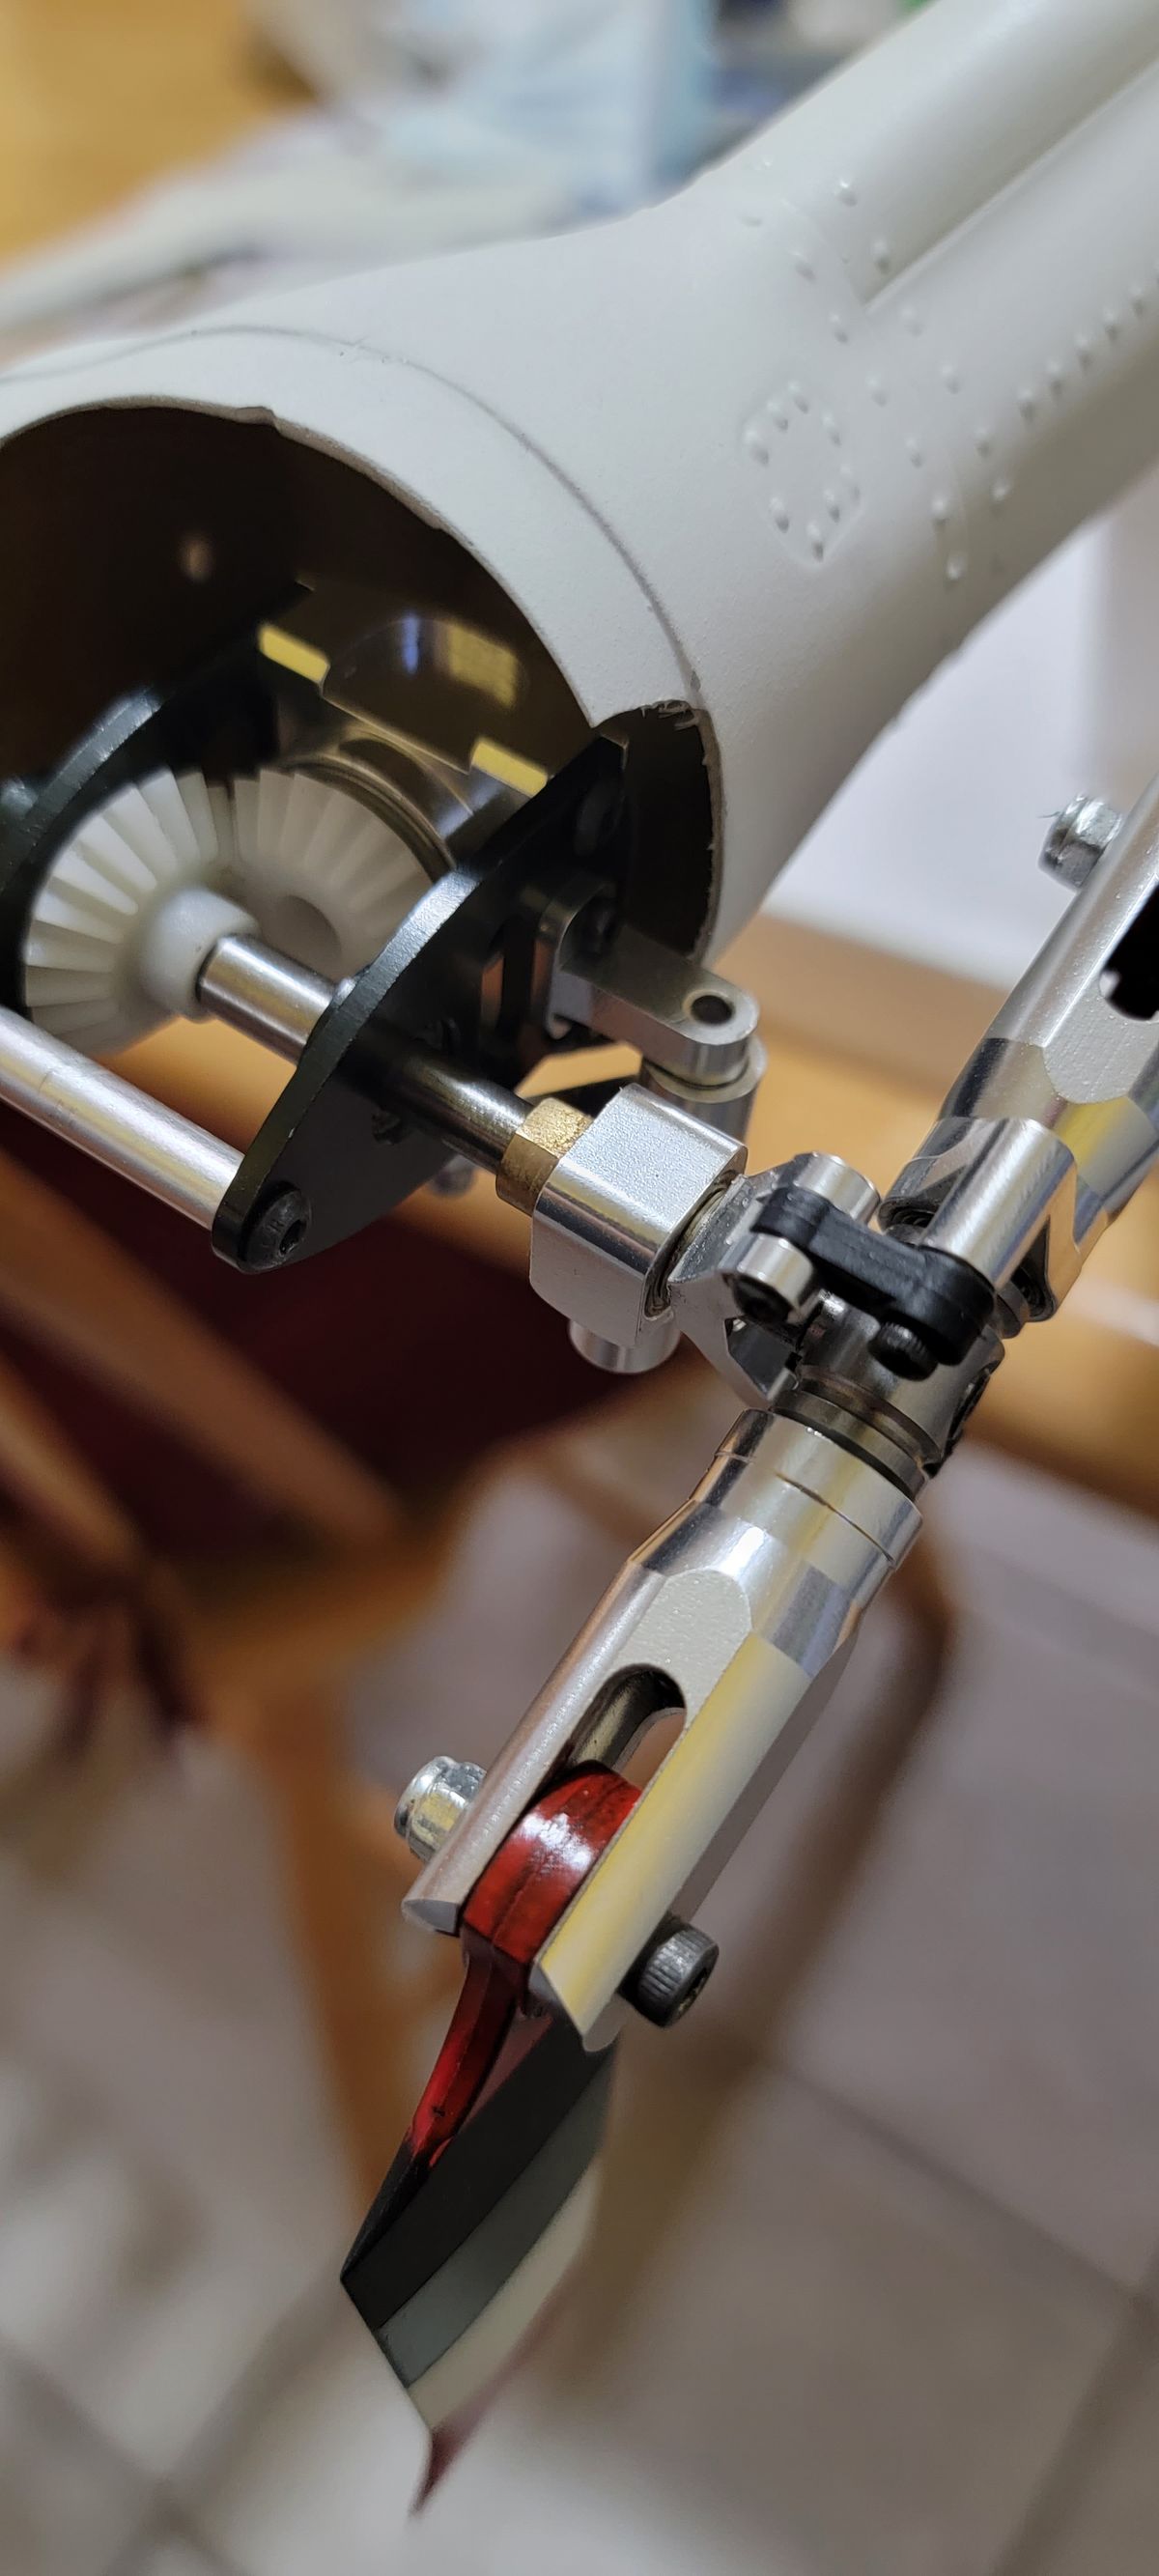
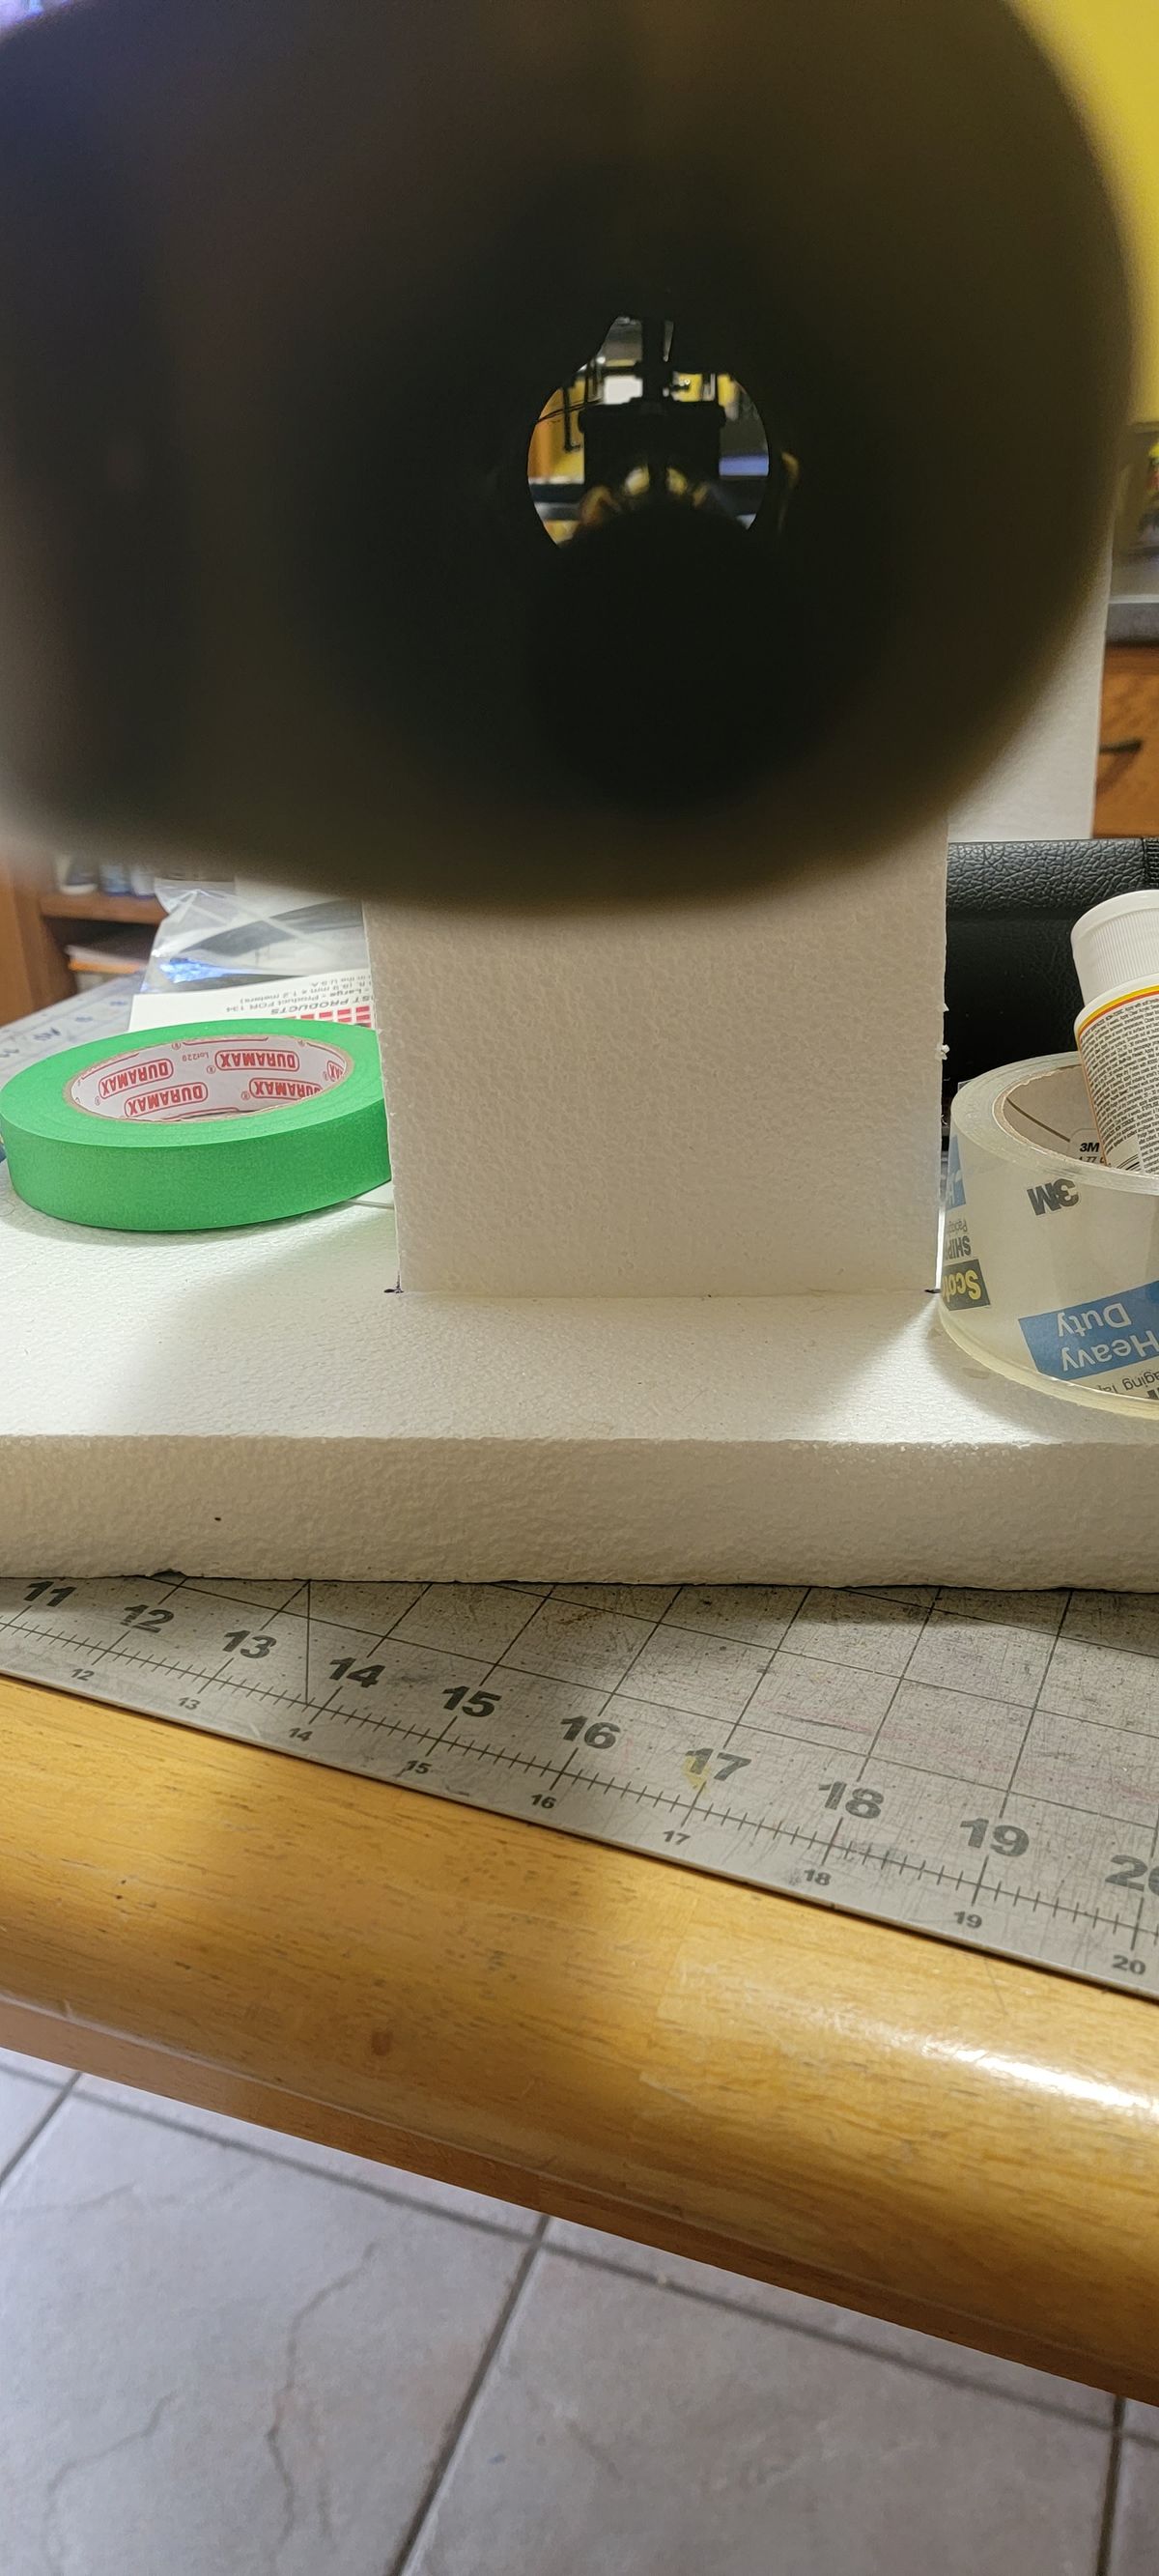
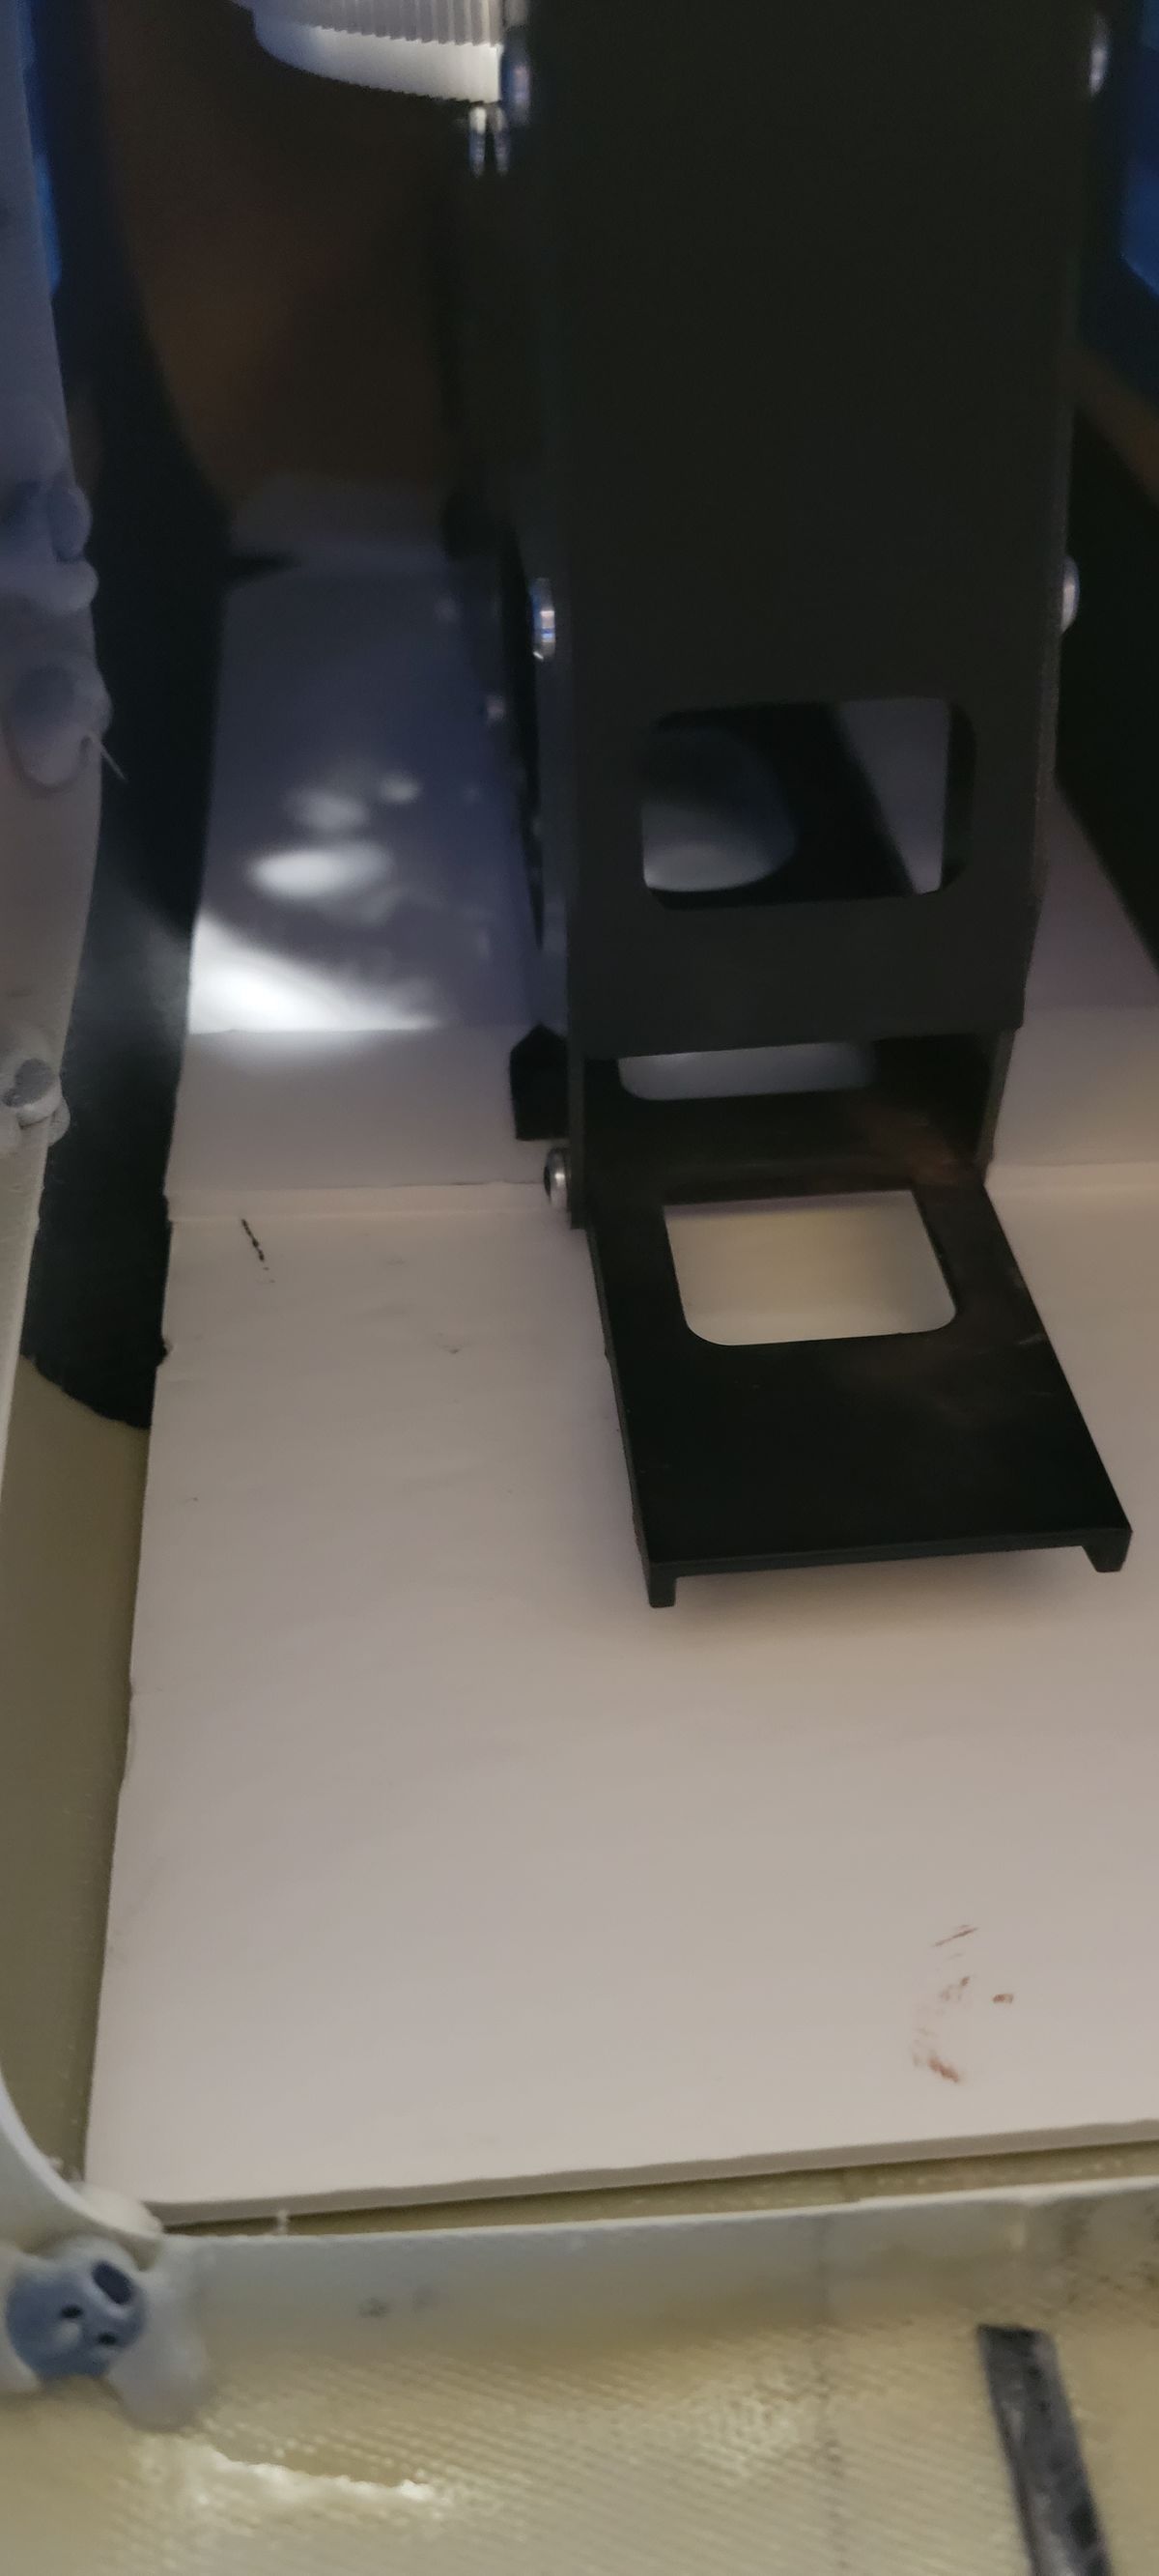
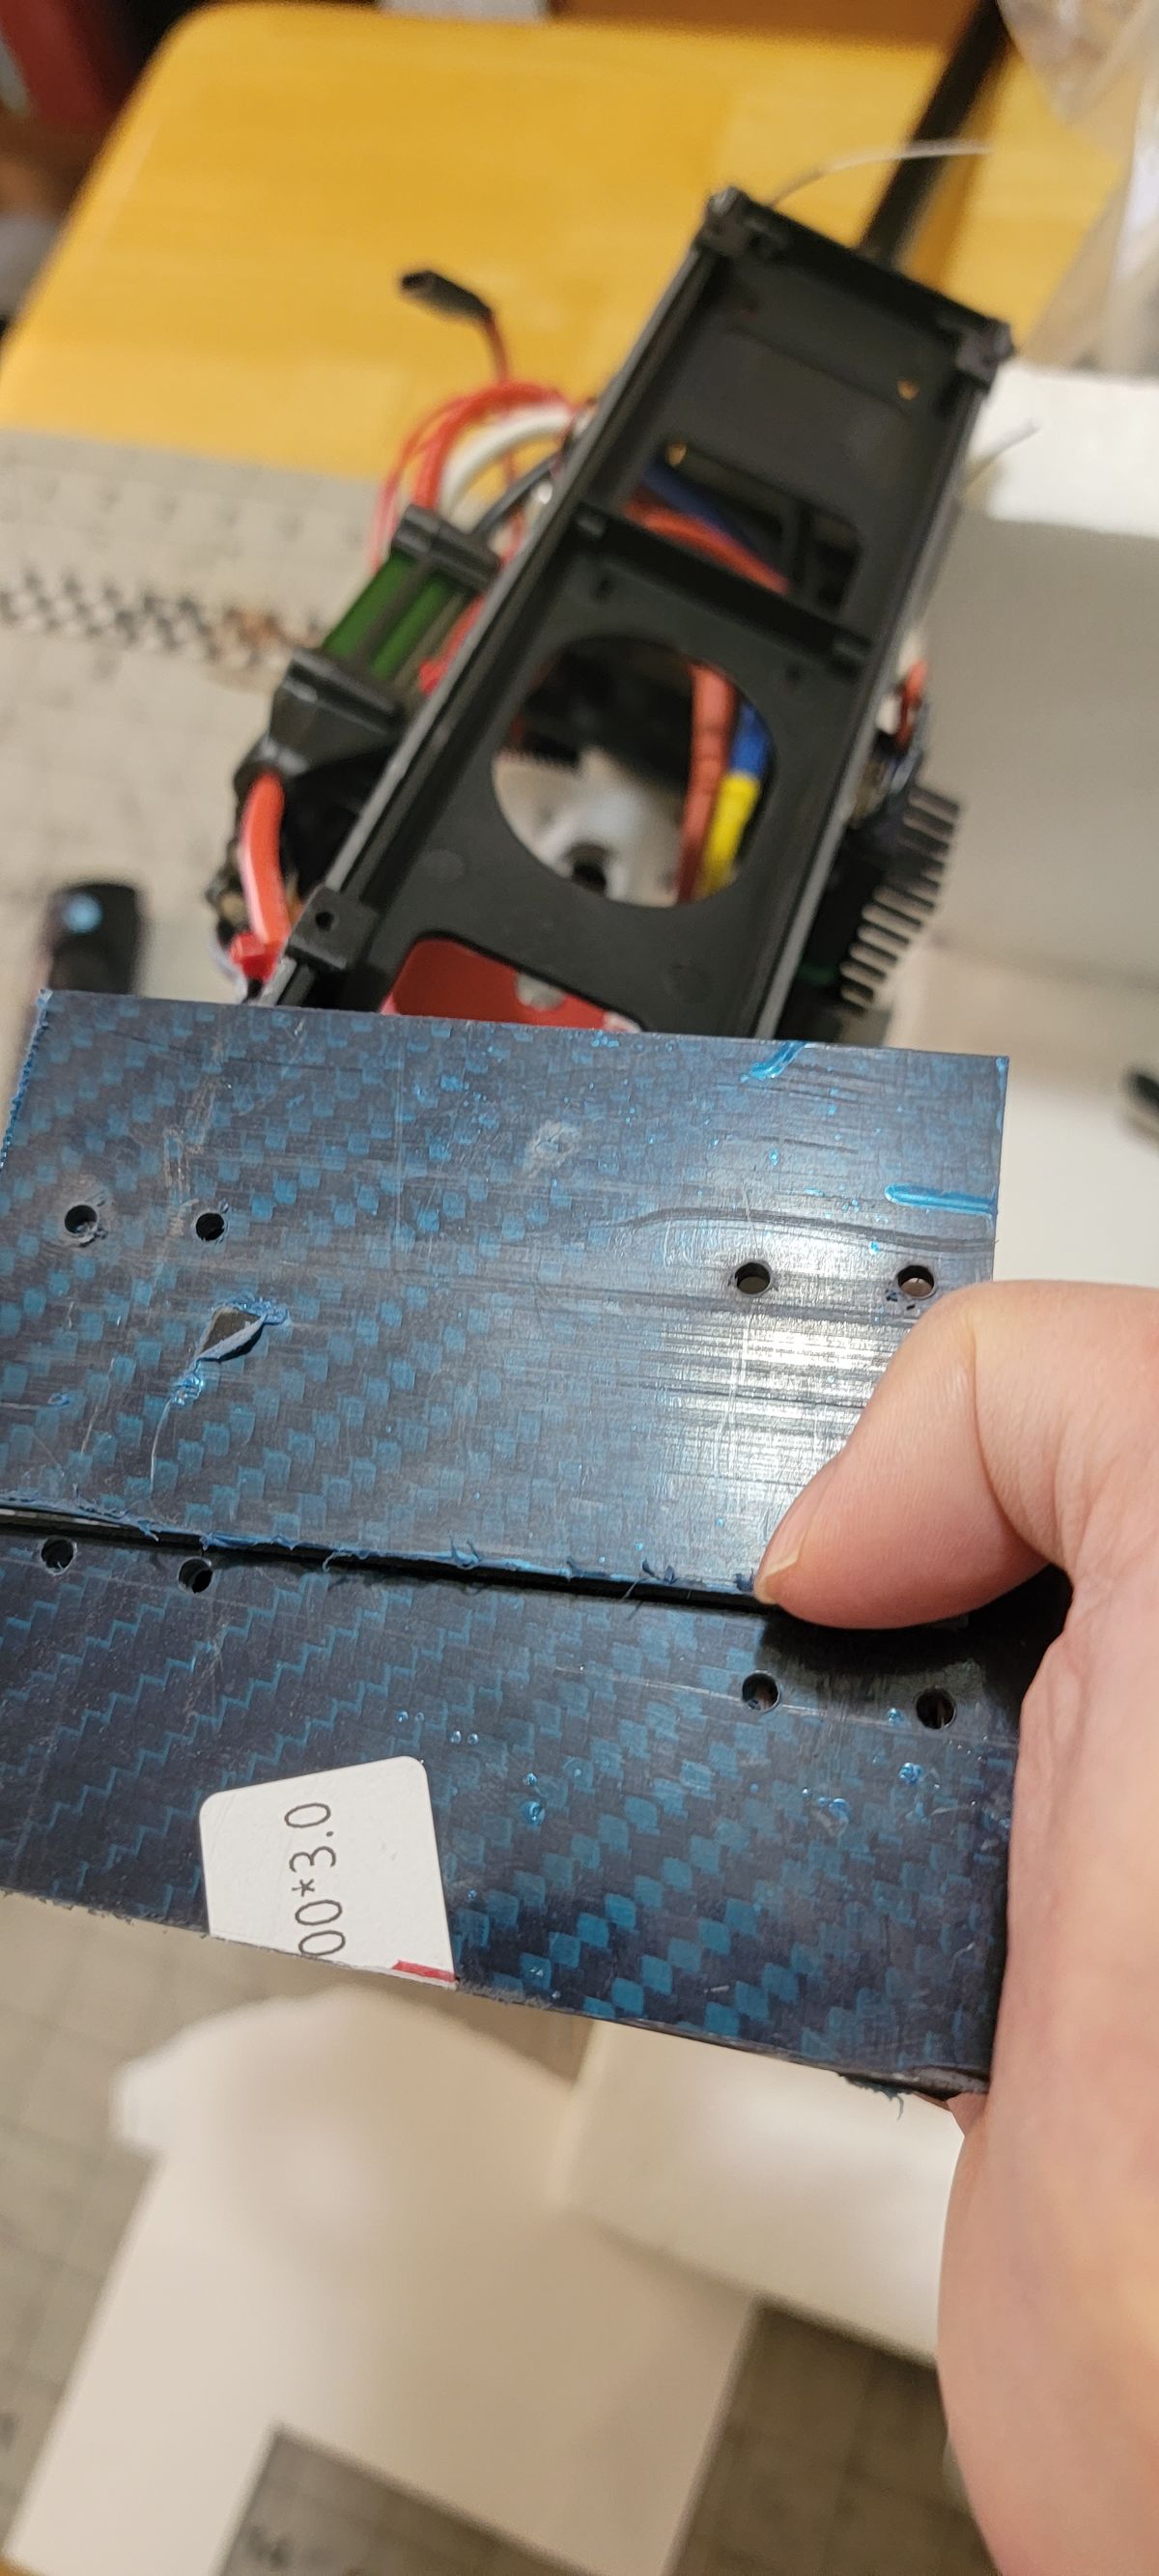
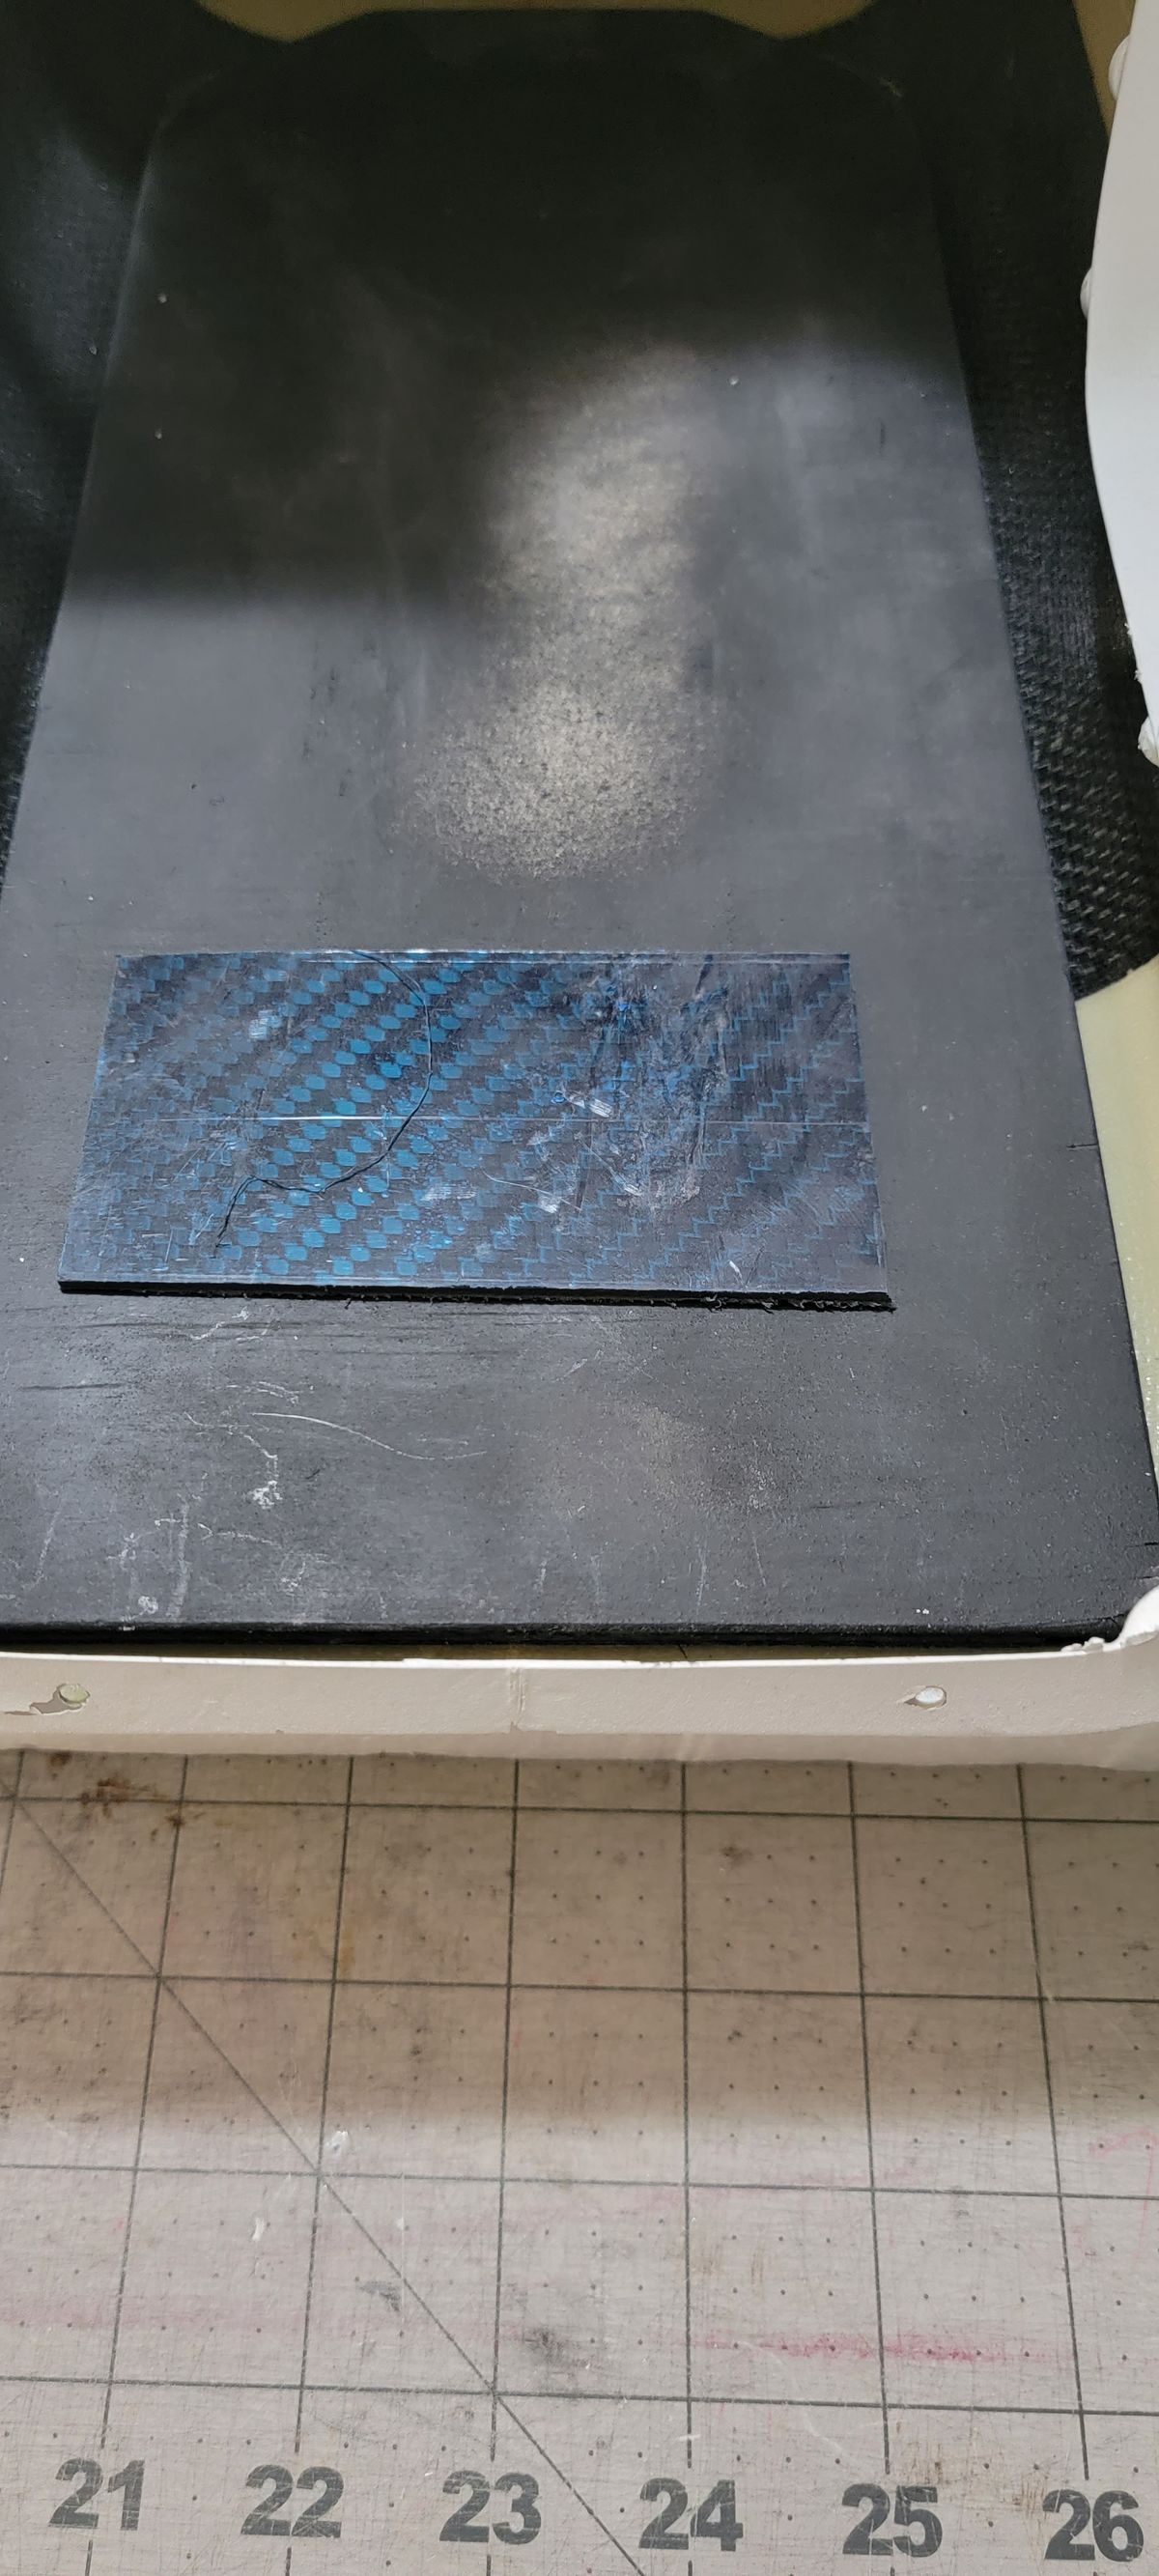
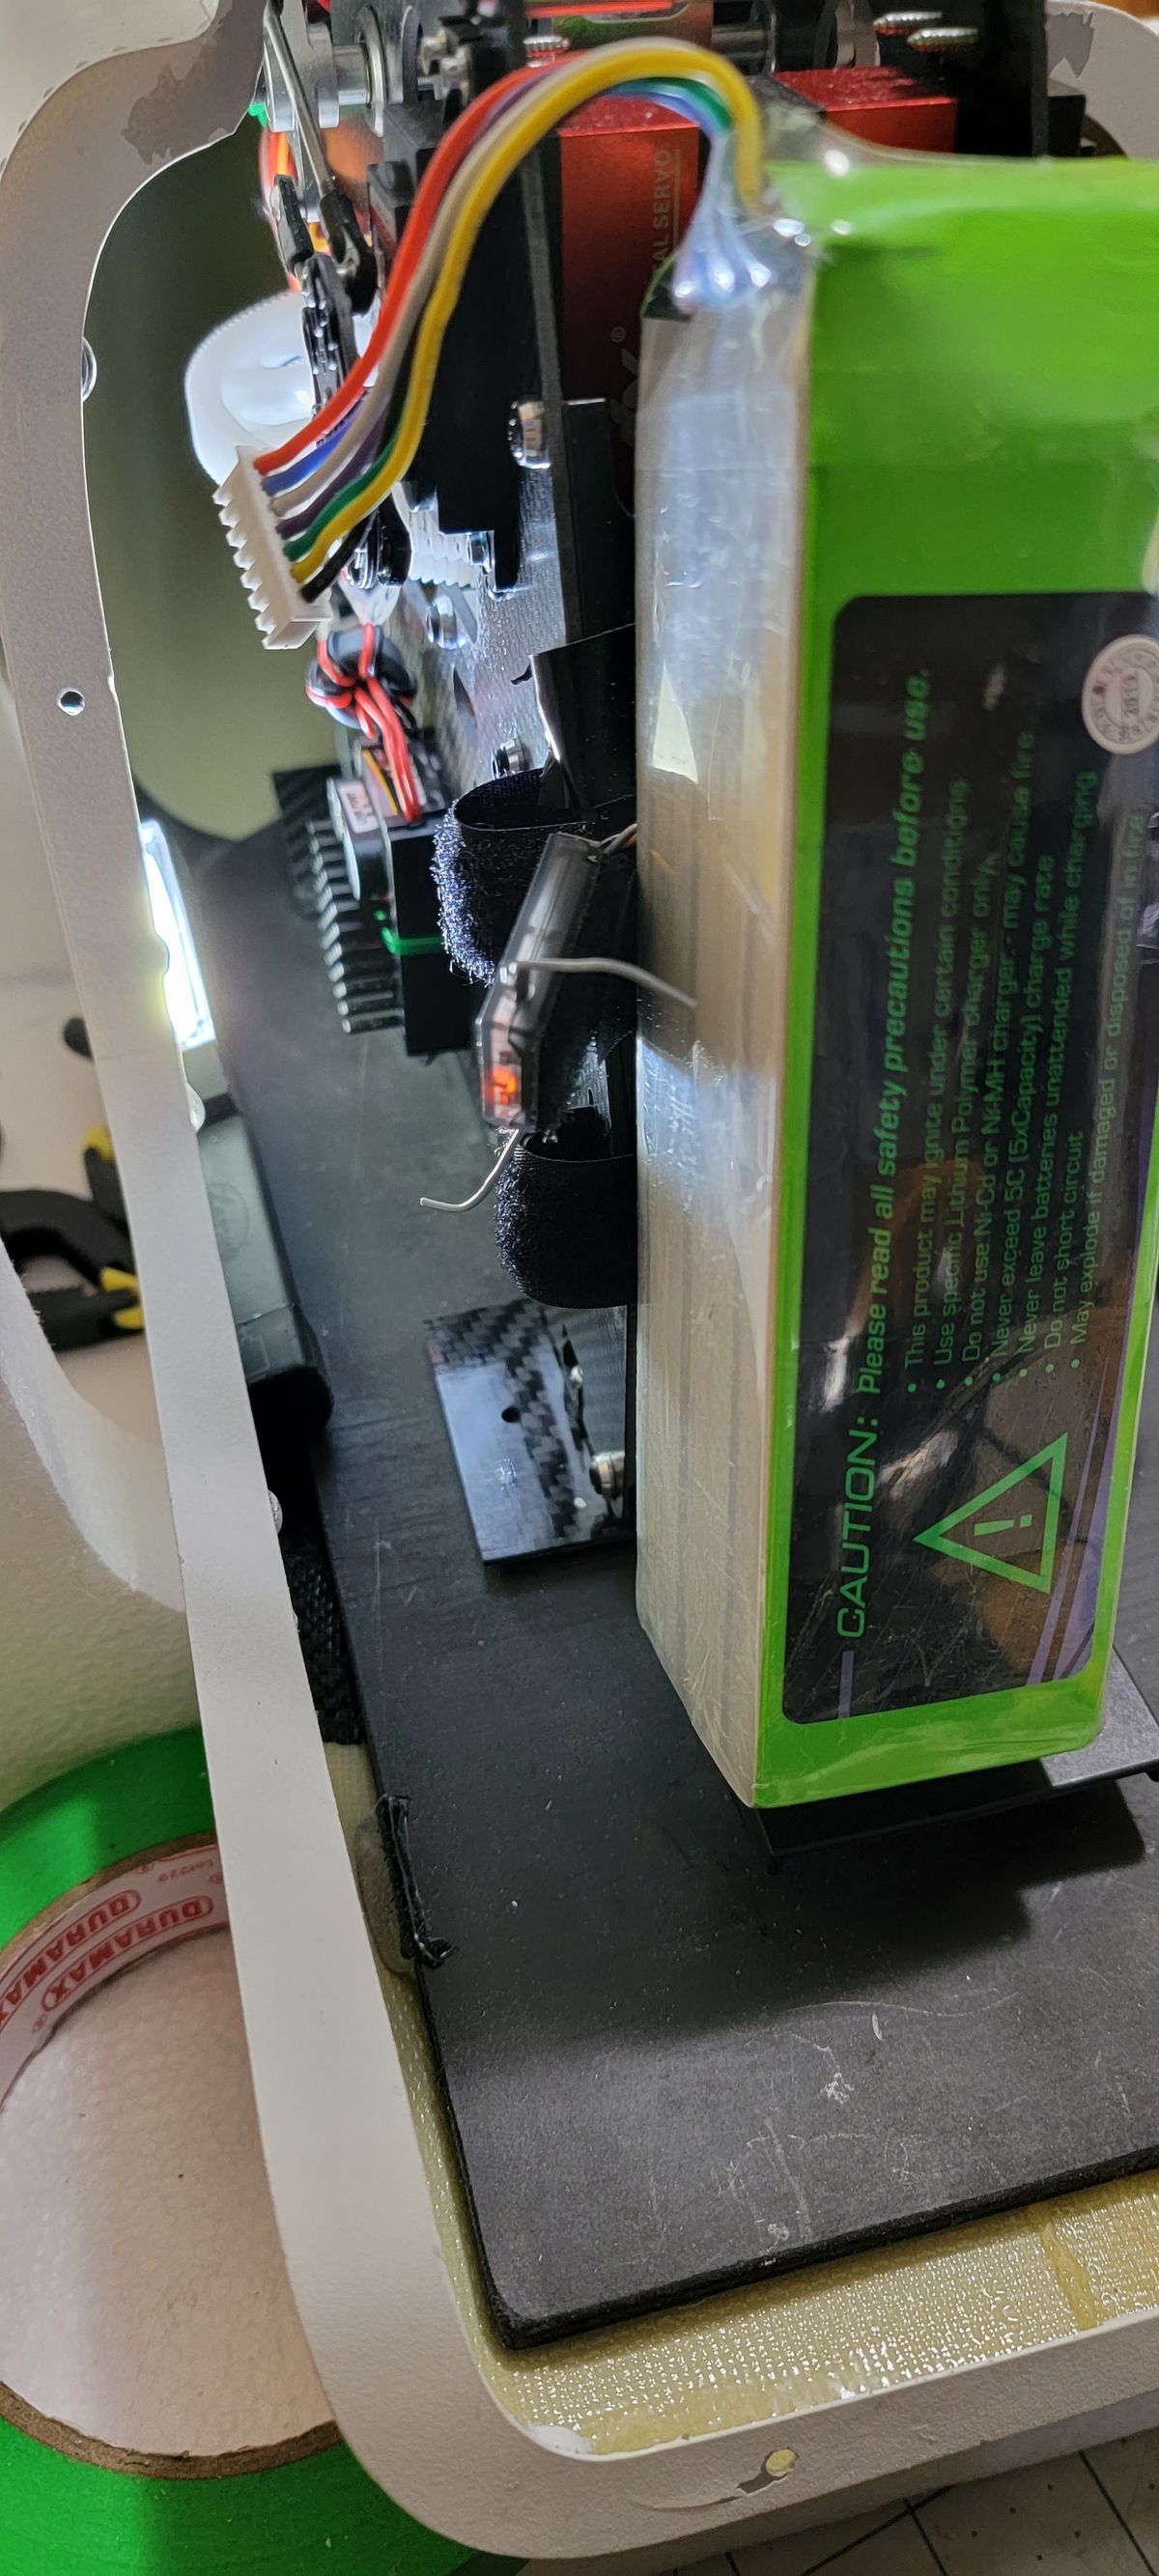
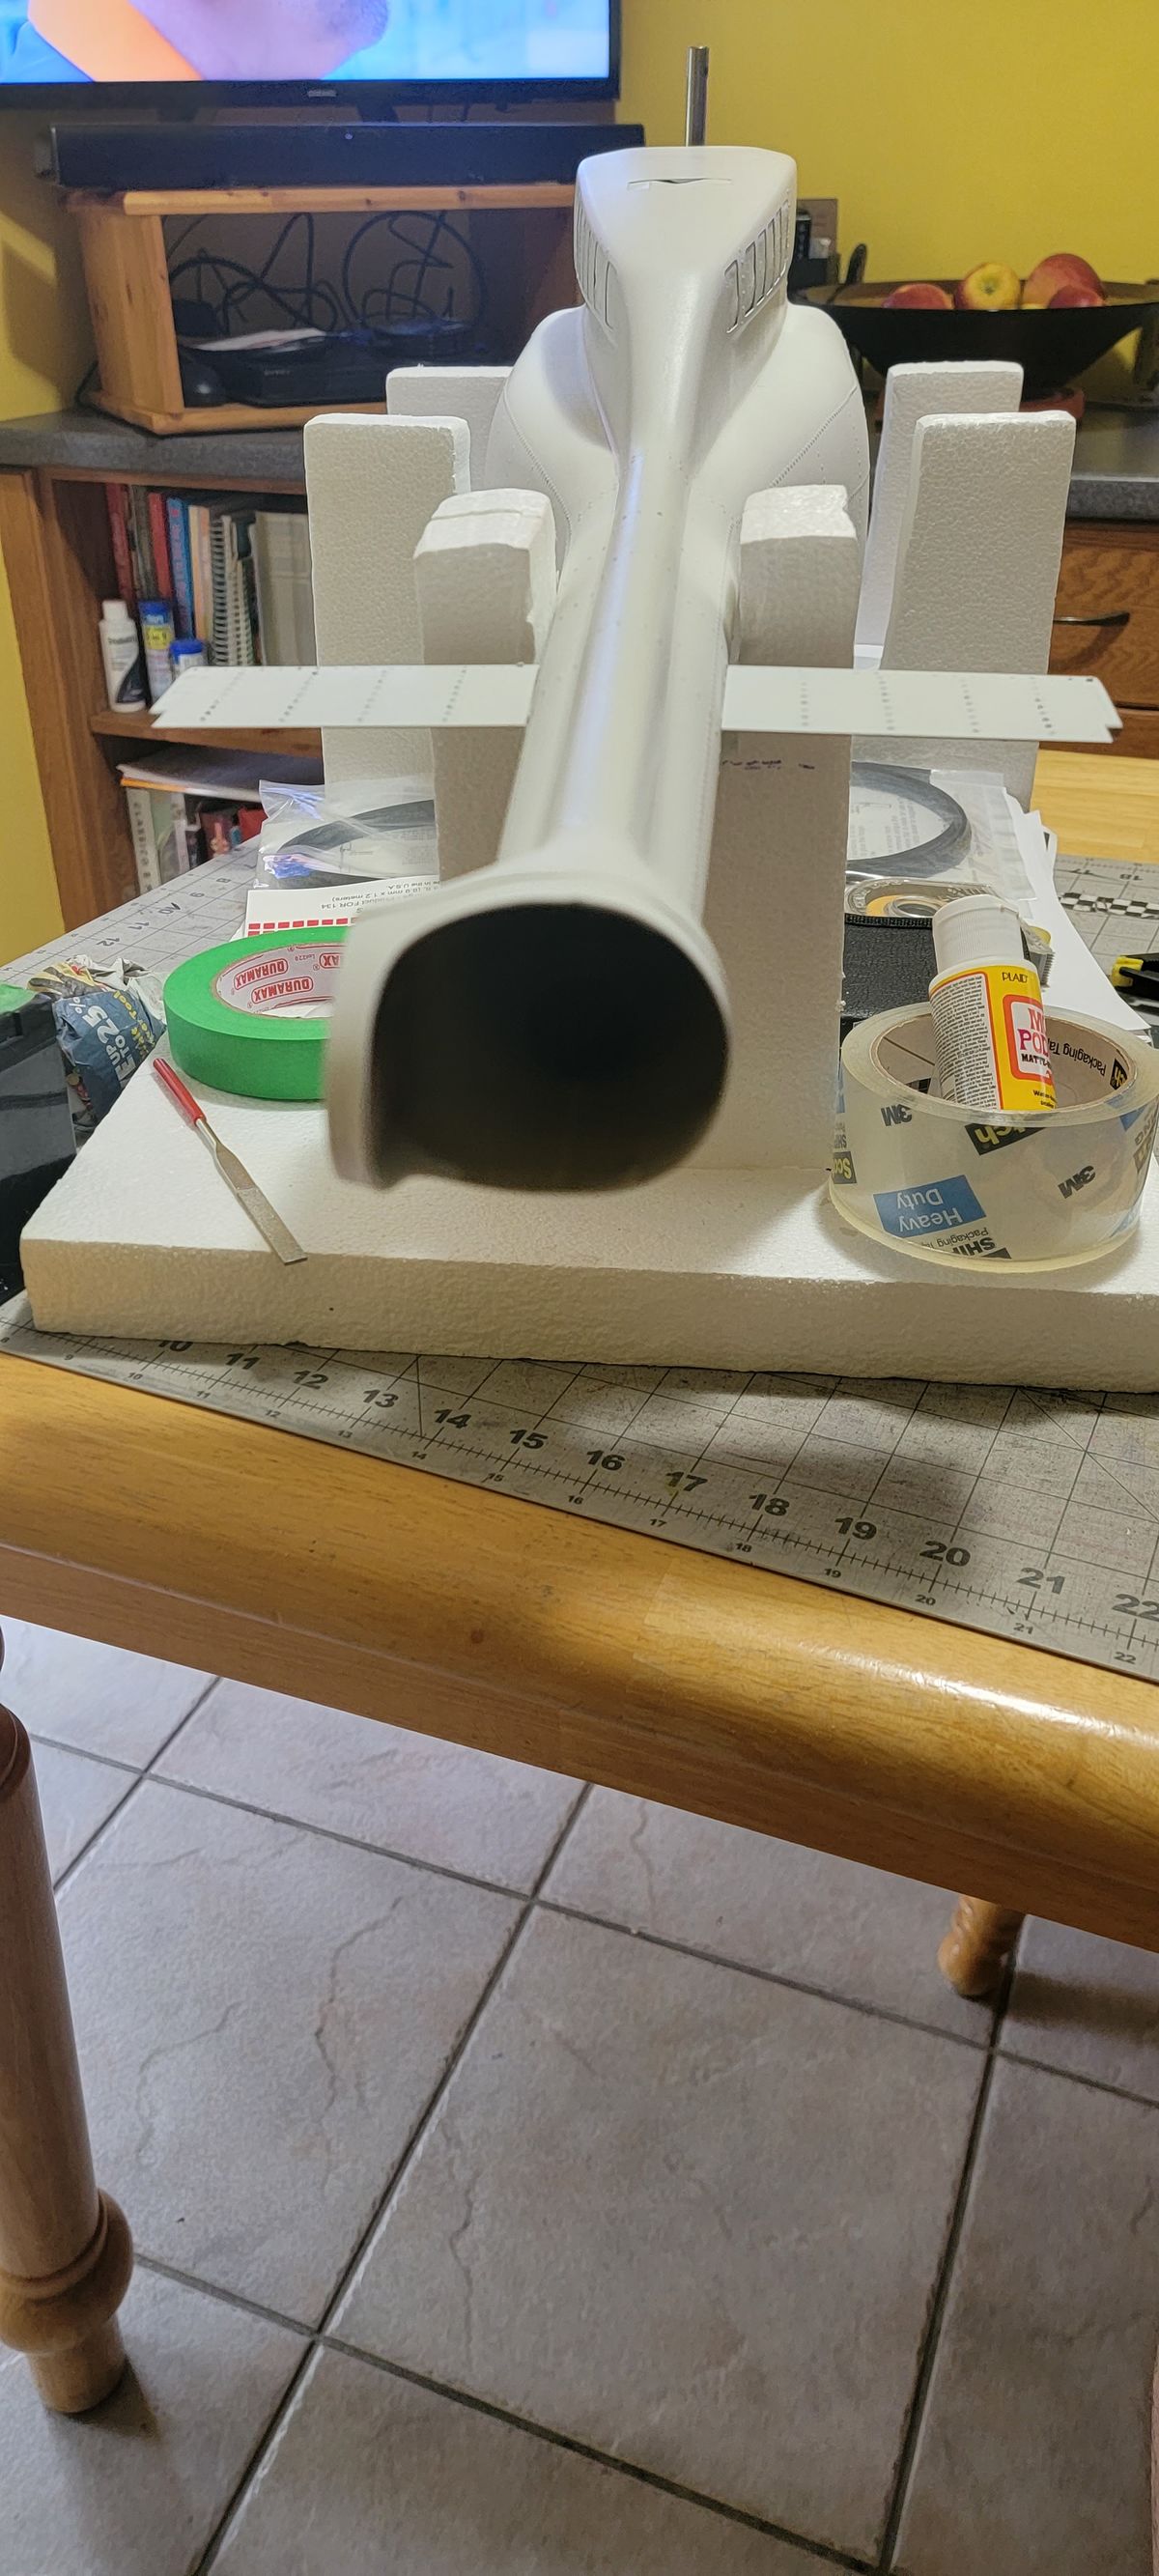
Fuselage trimming and fitting
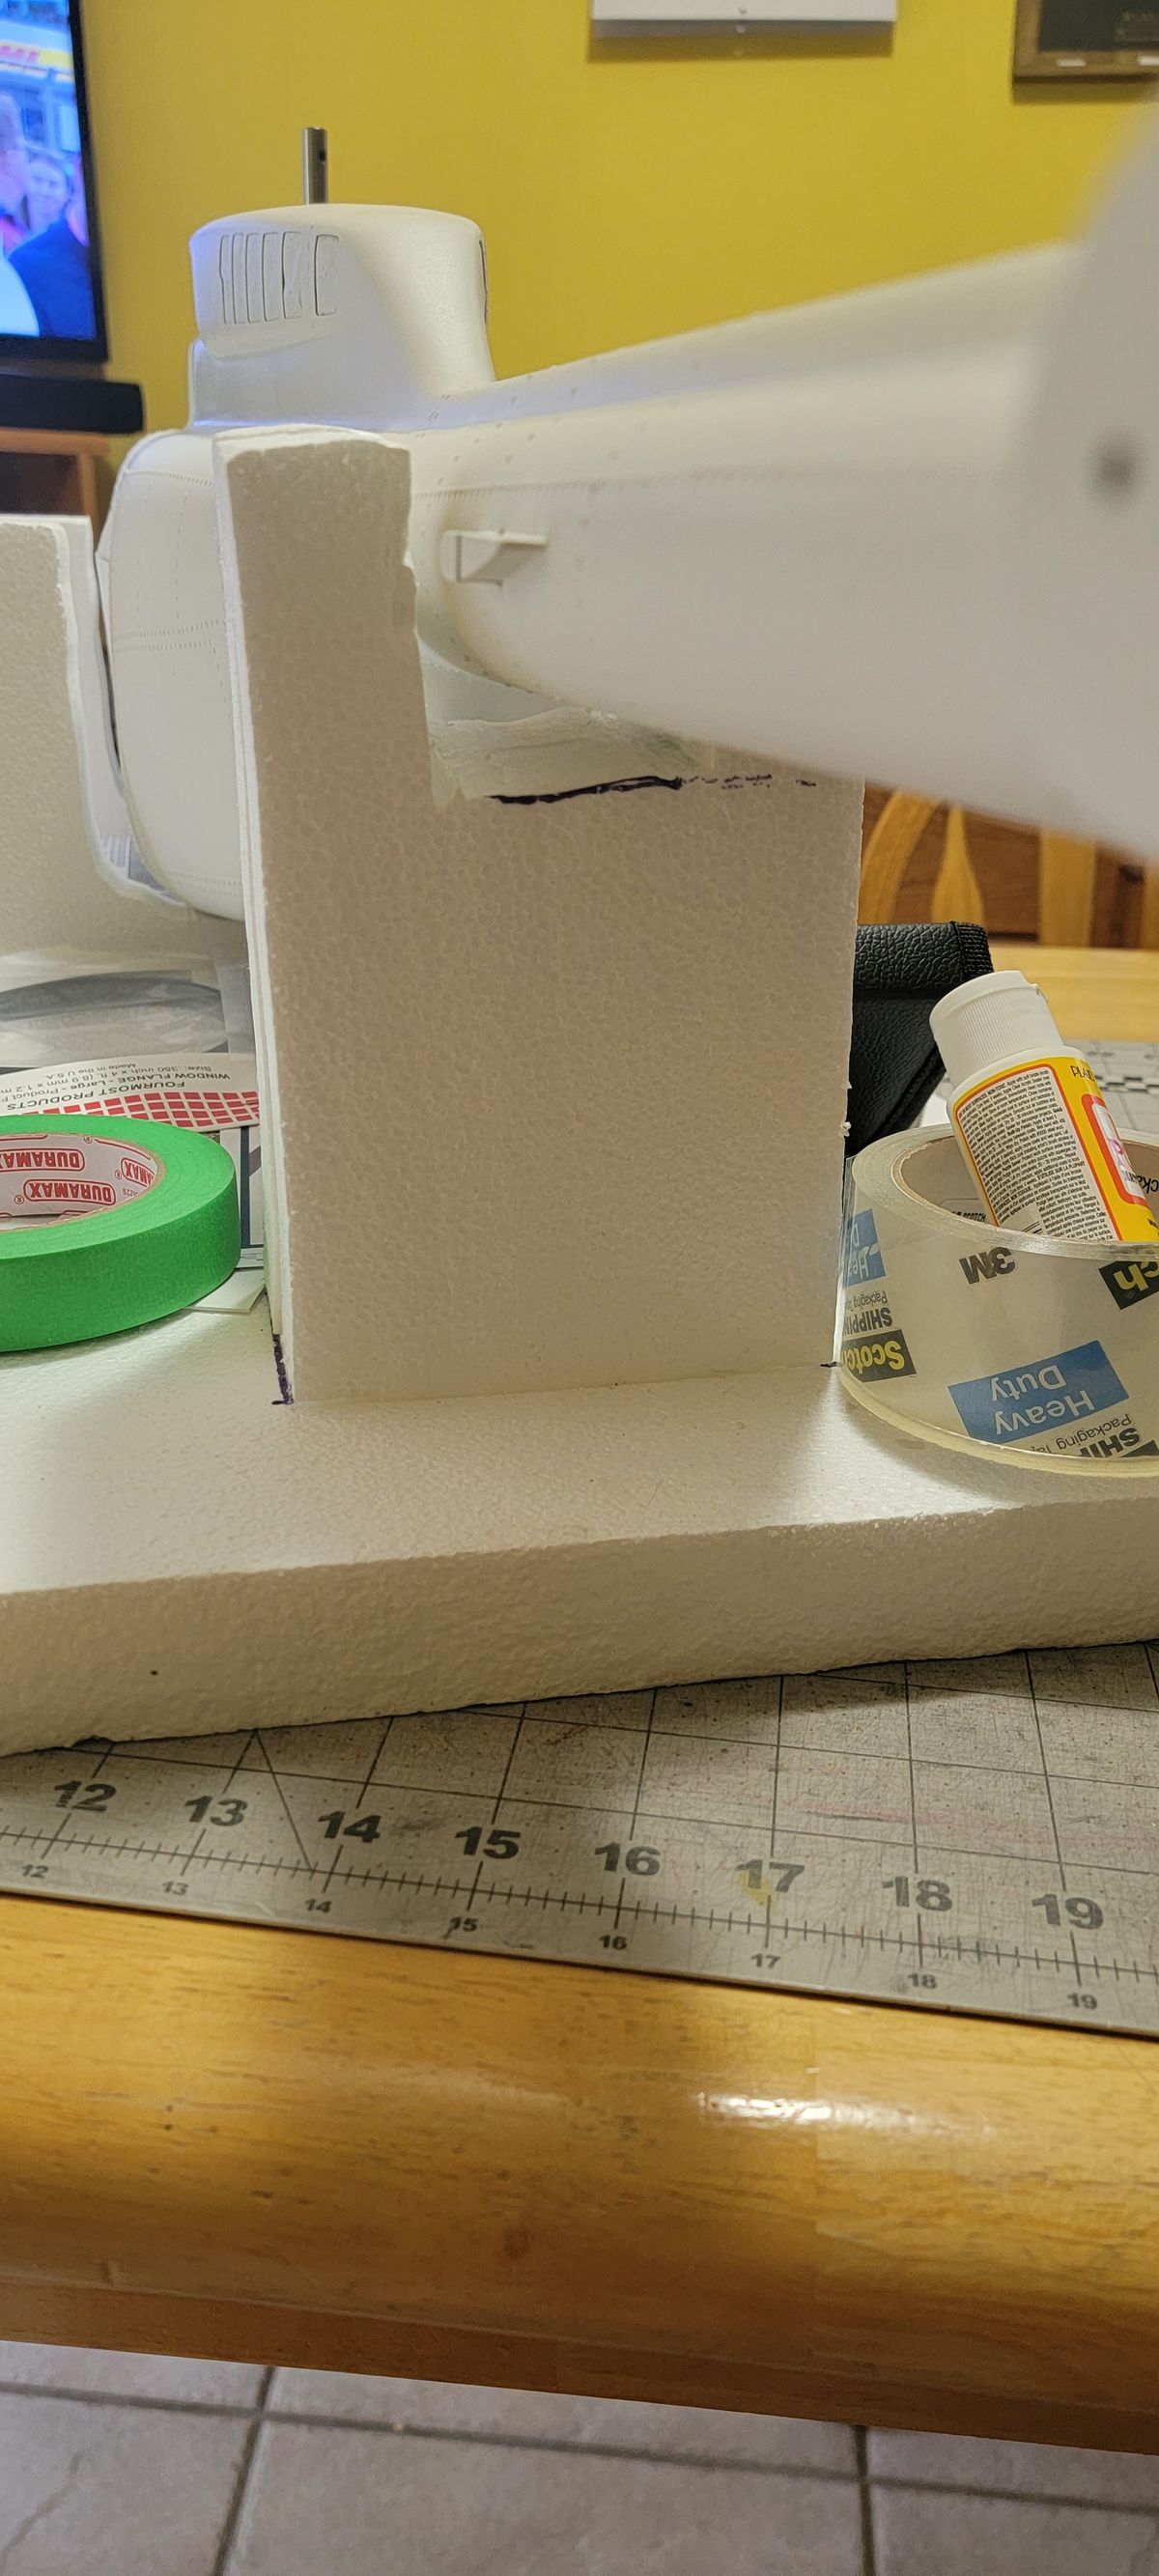
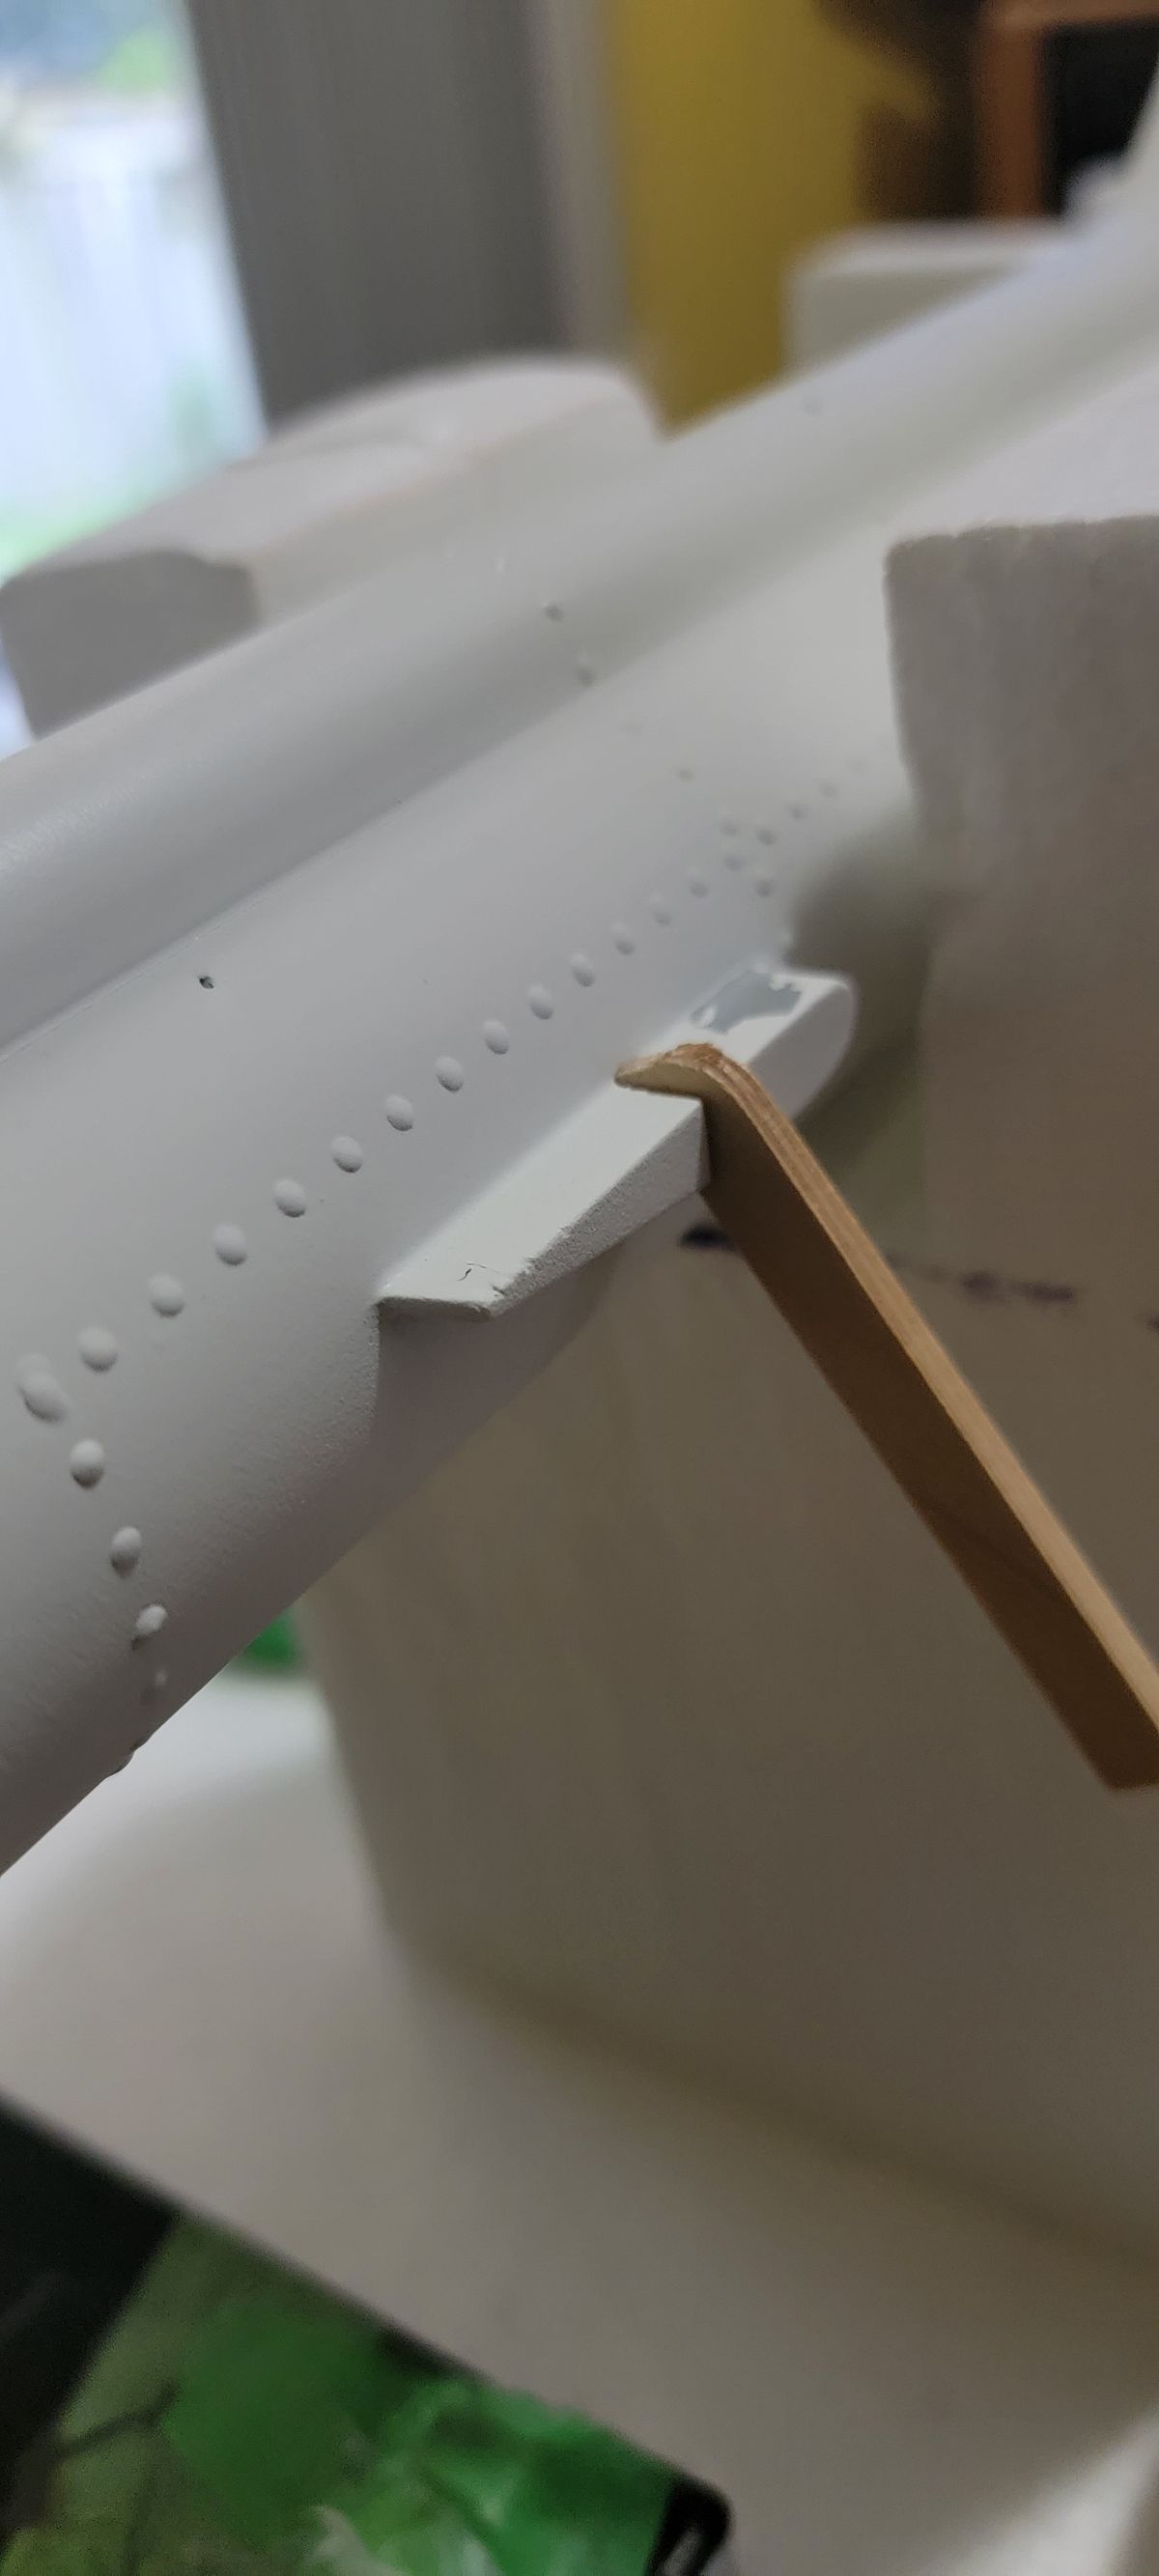
I started to put everything together but there are many adjustment to do. I'm not sure I'm doing it right but I'll learn from my mistakes, as usual.
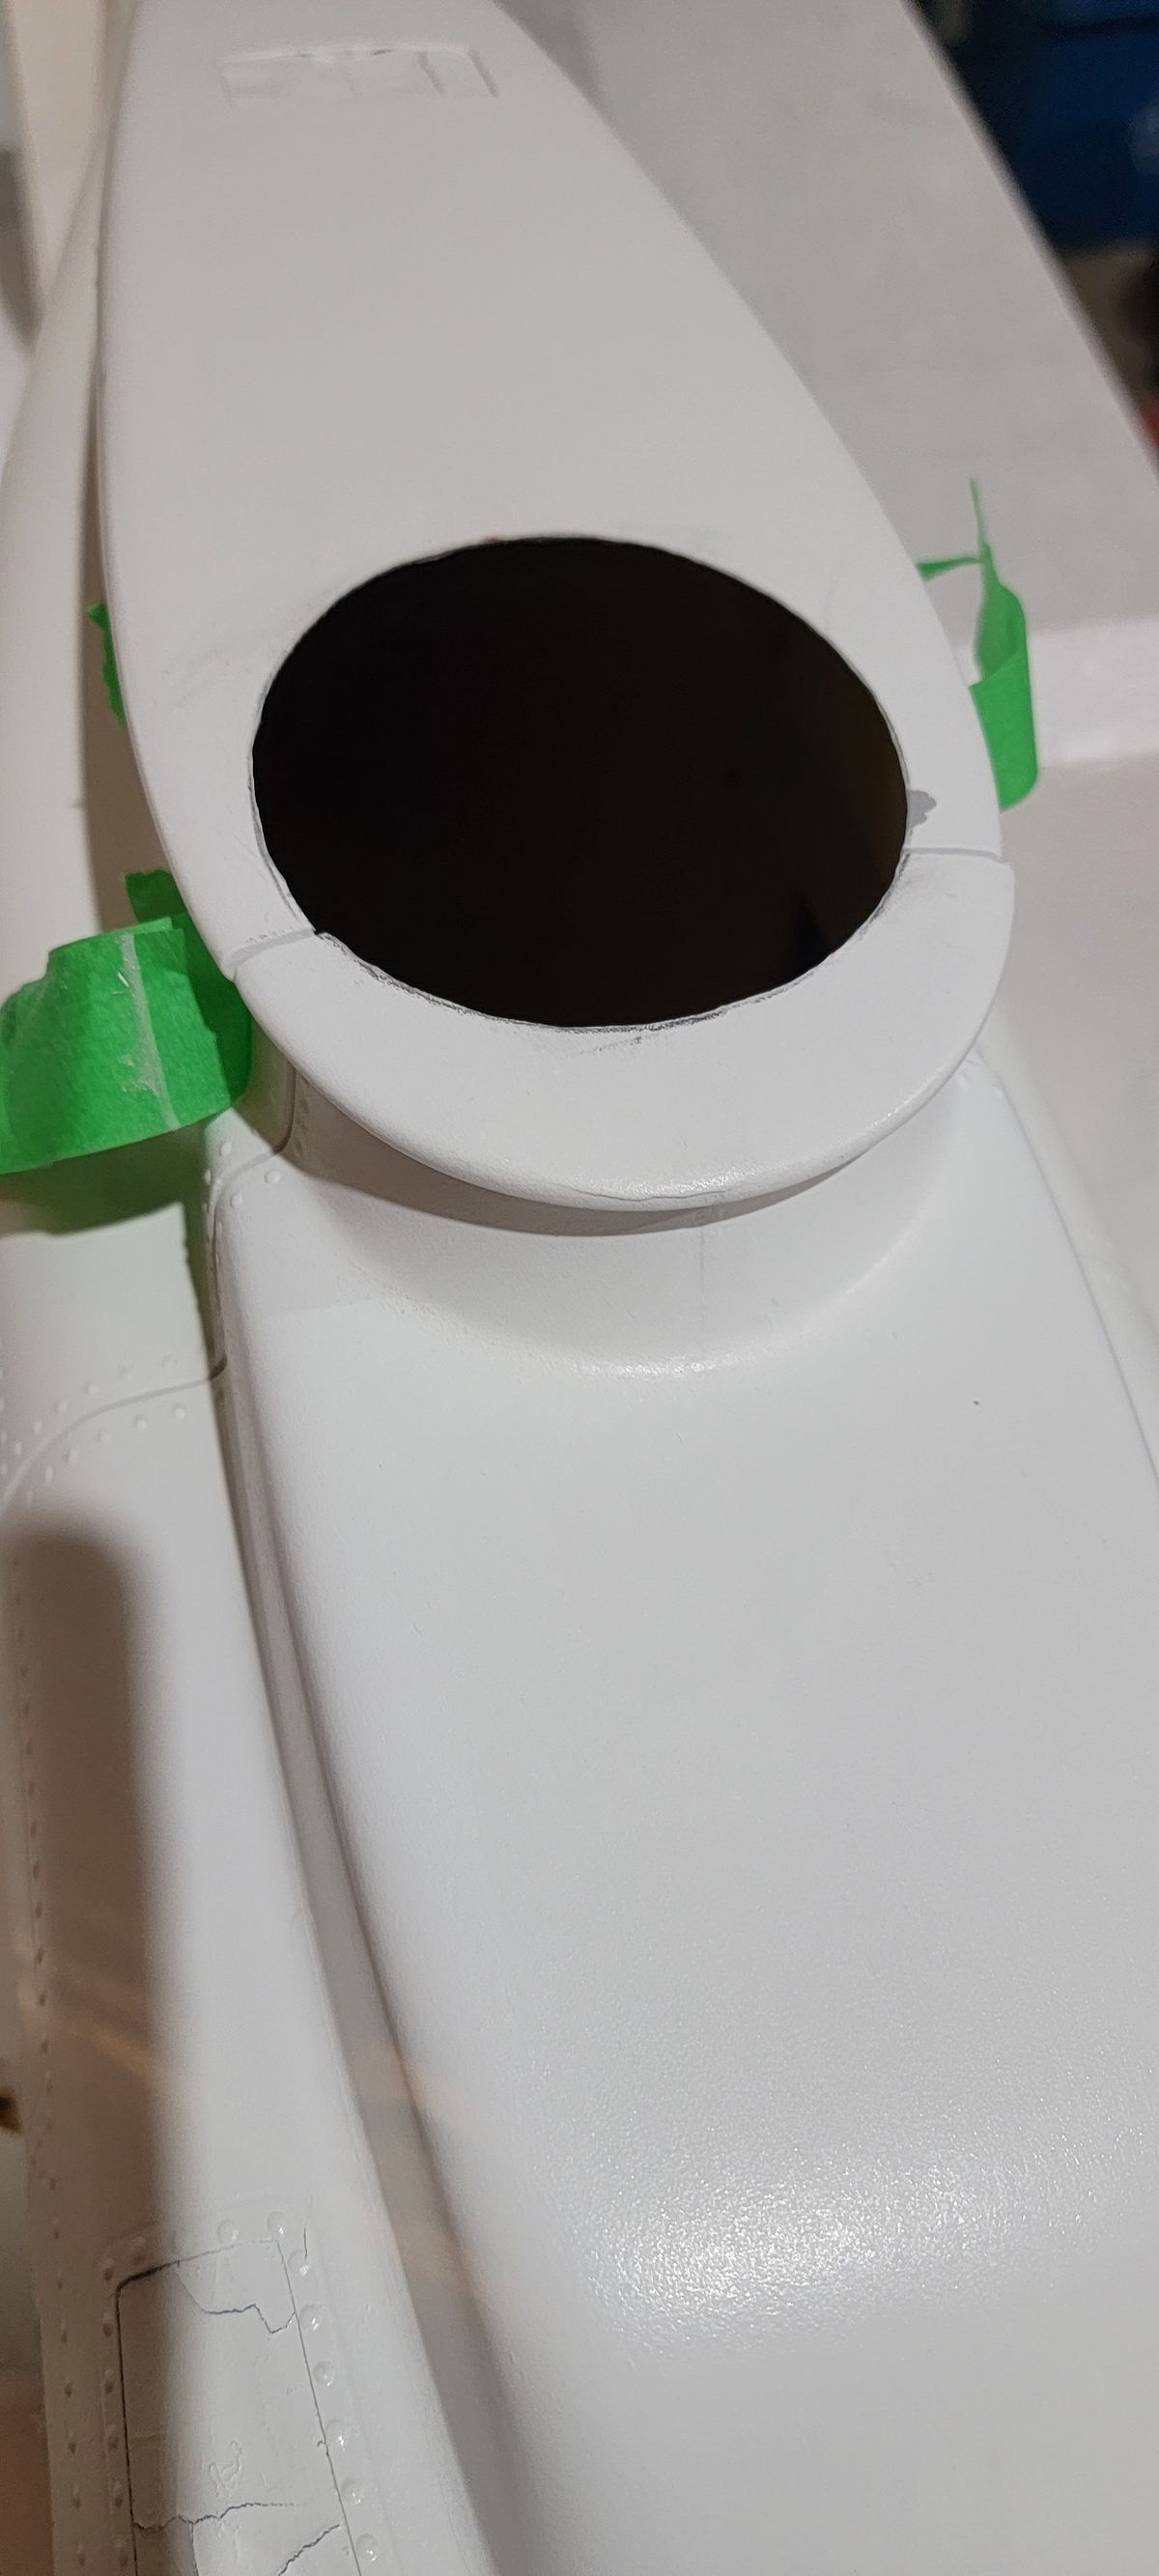
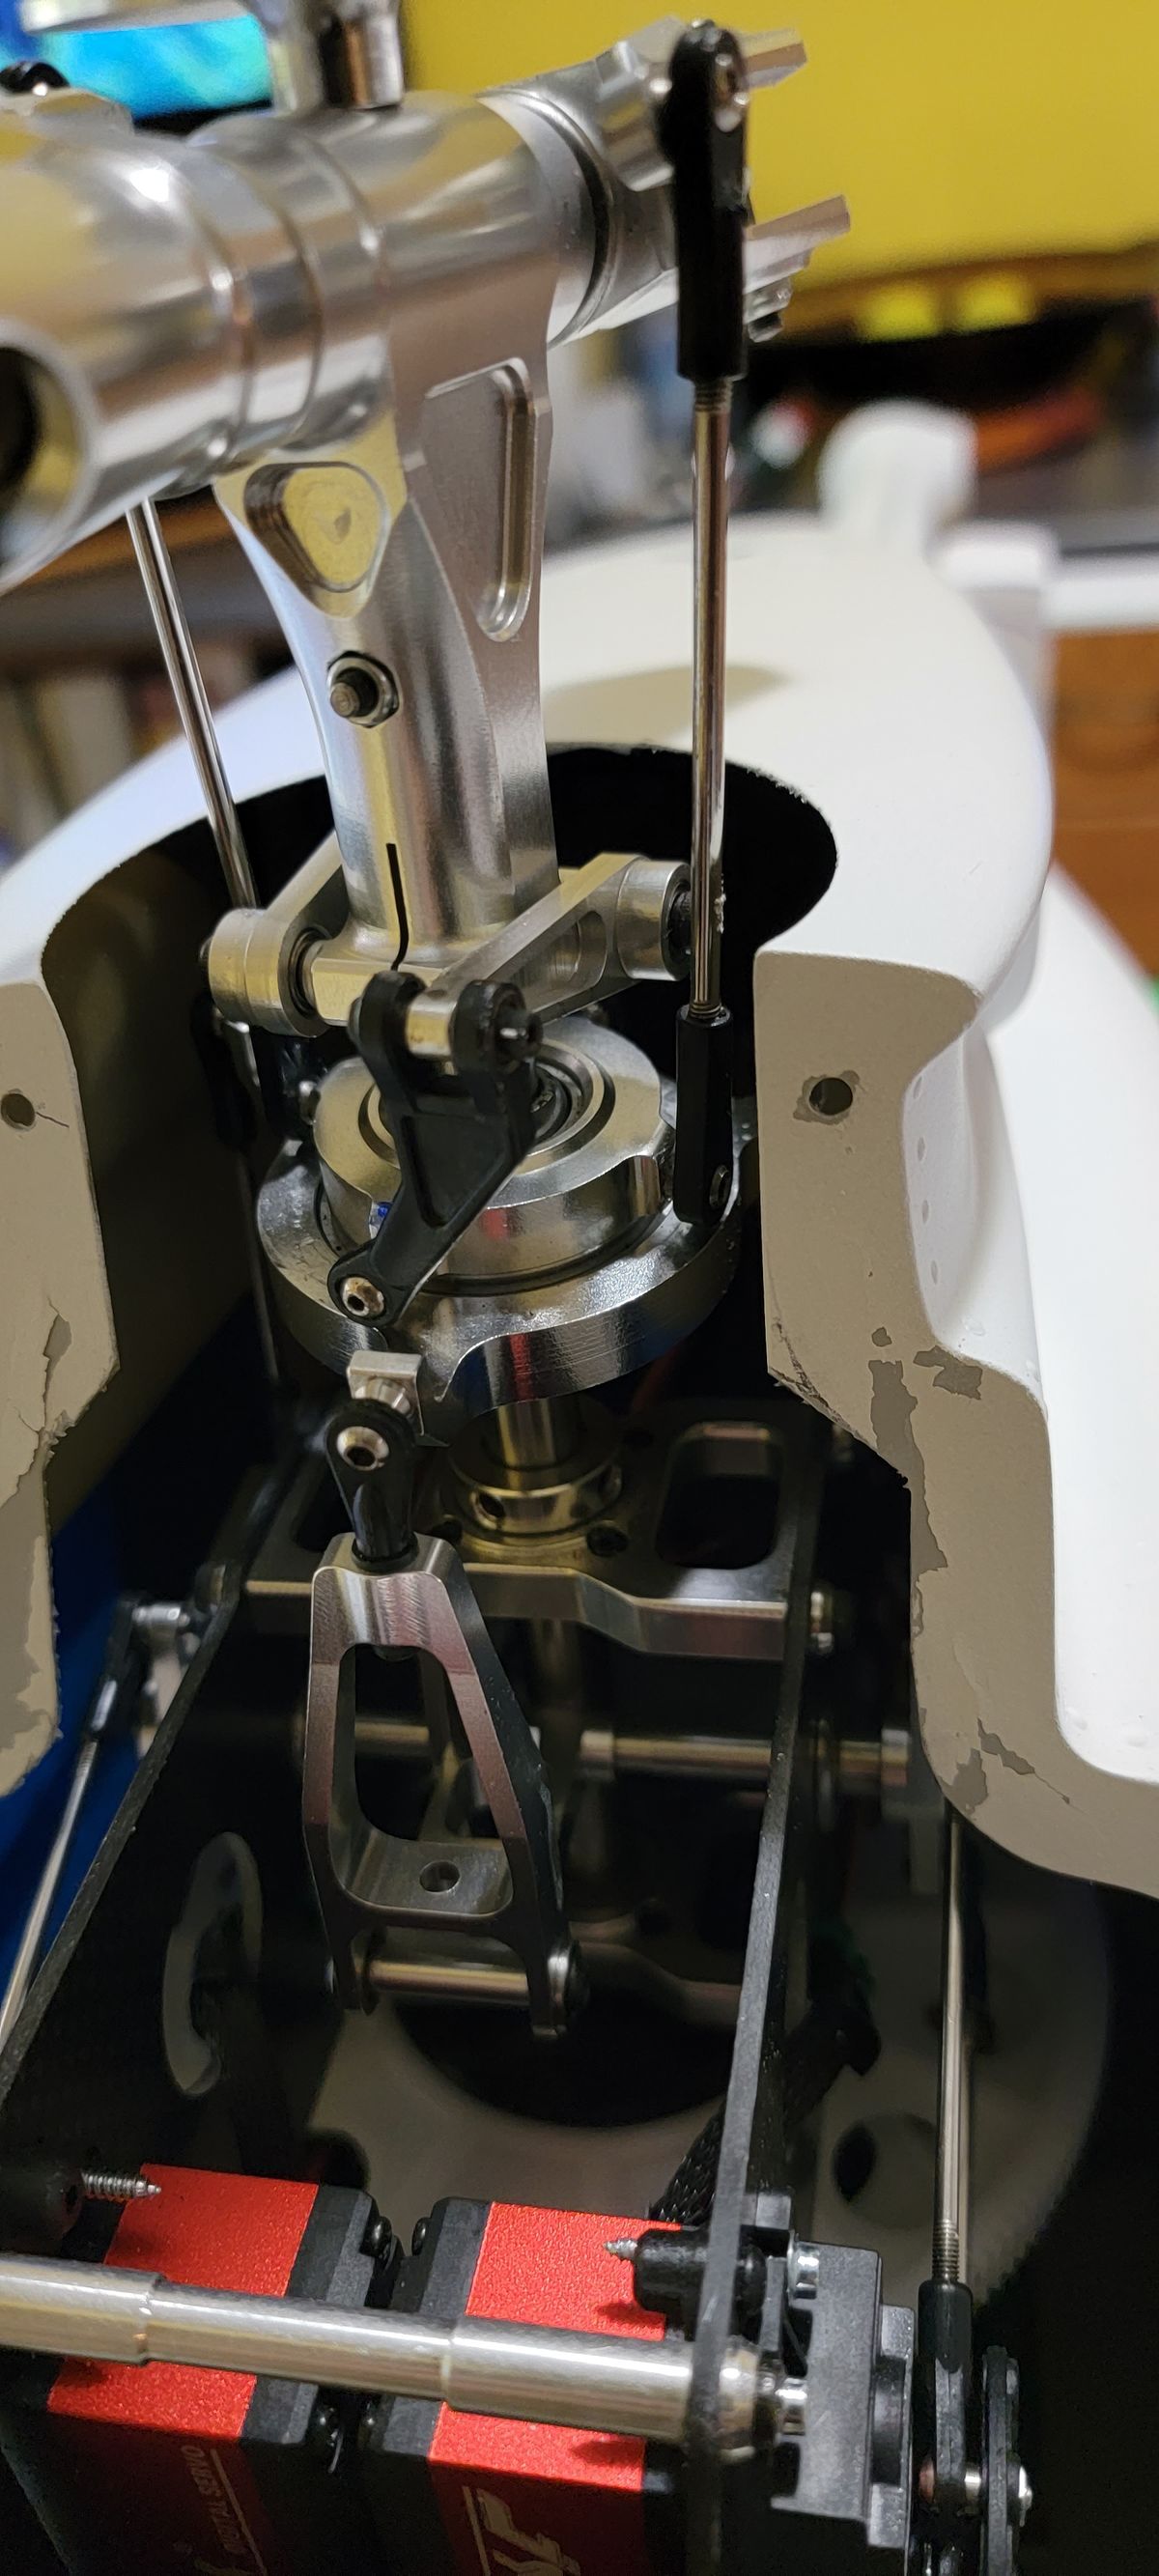
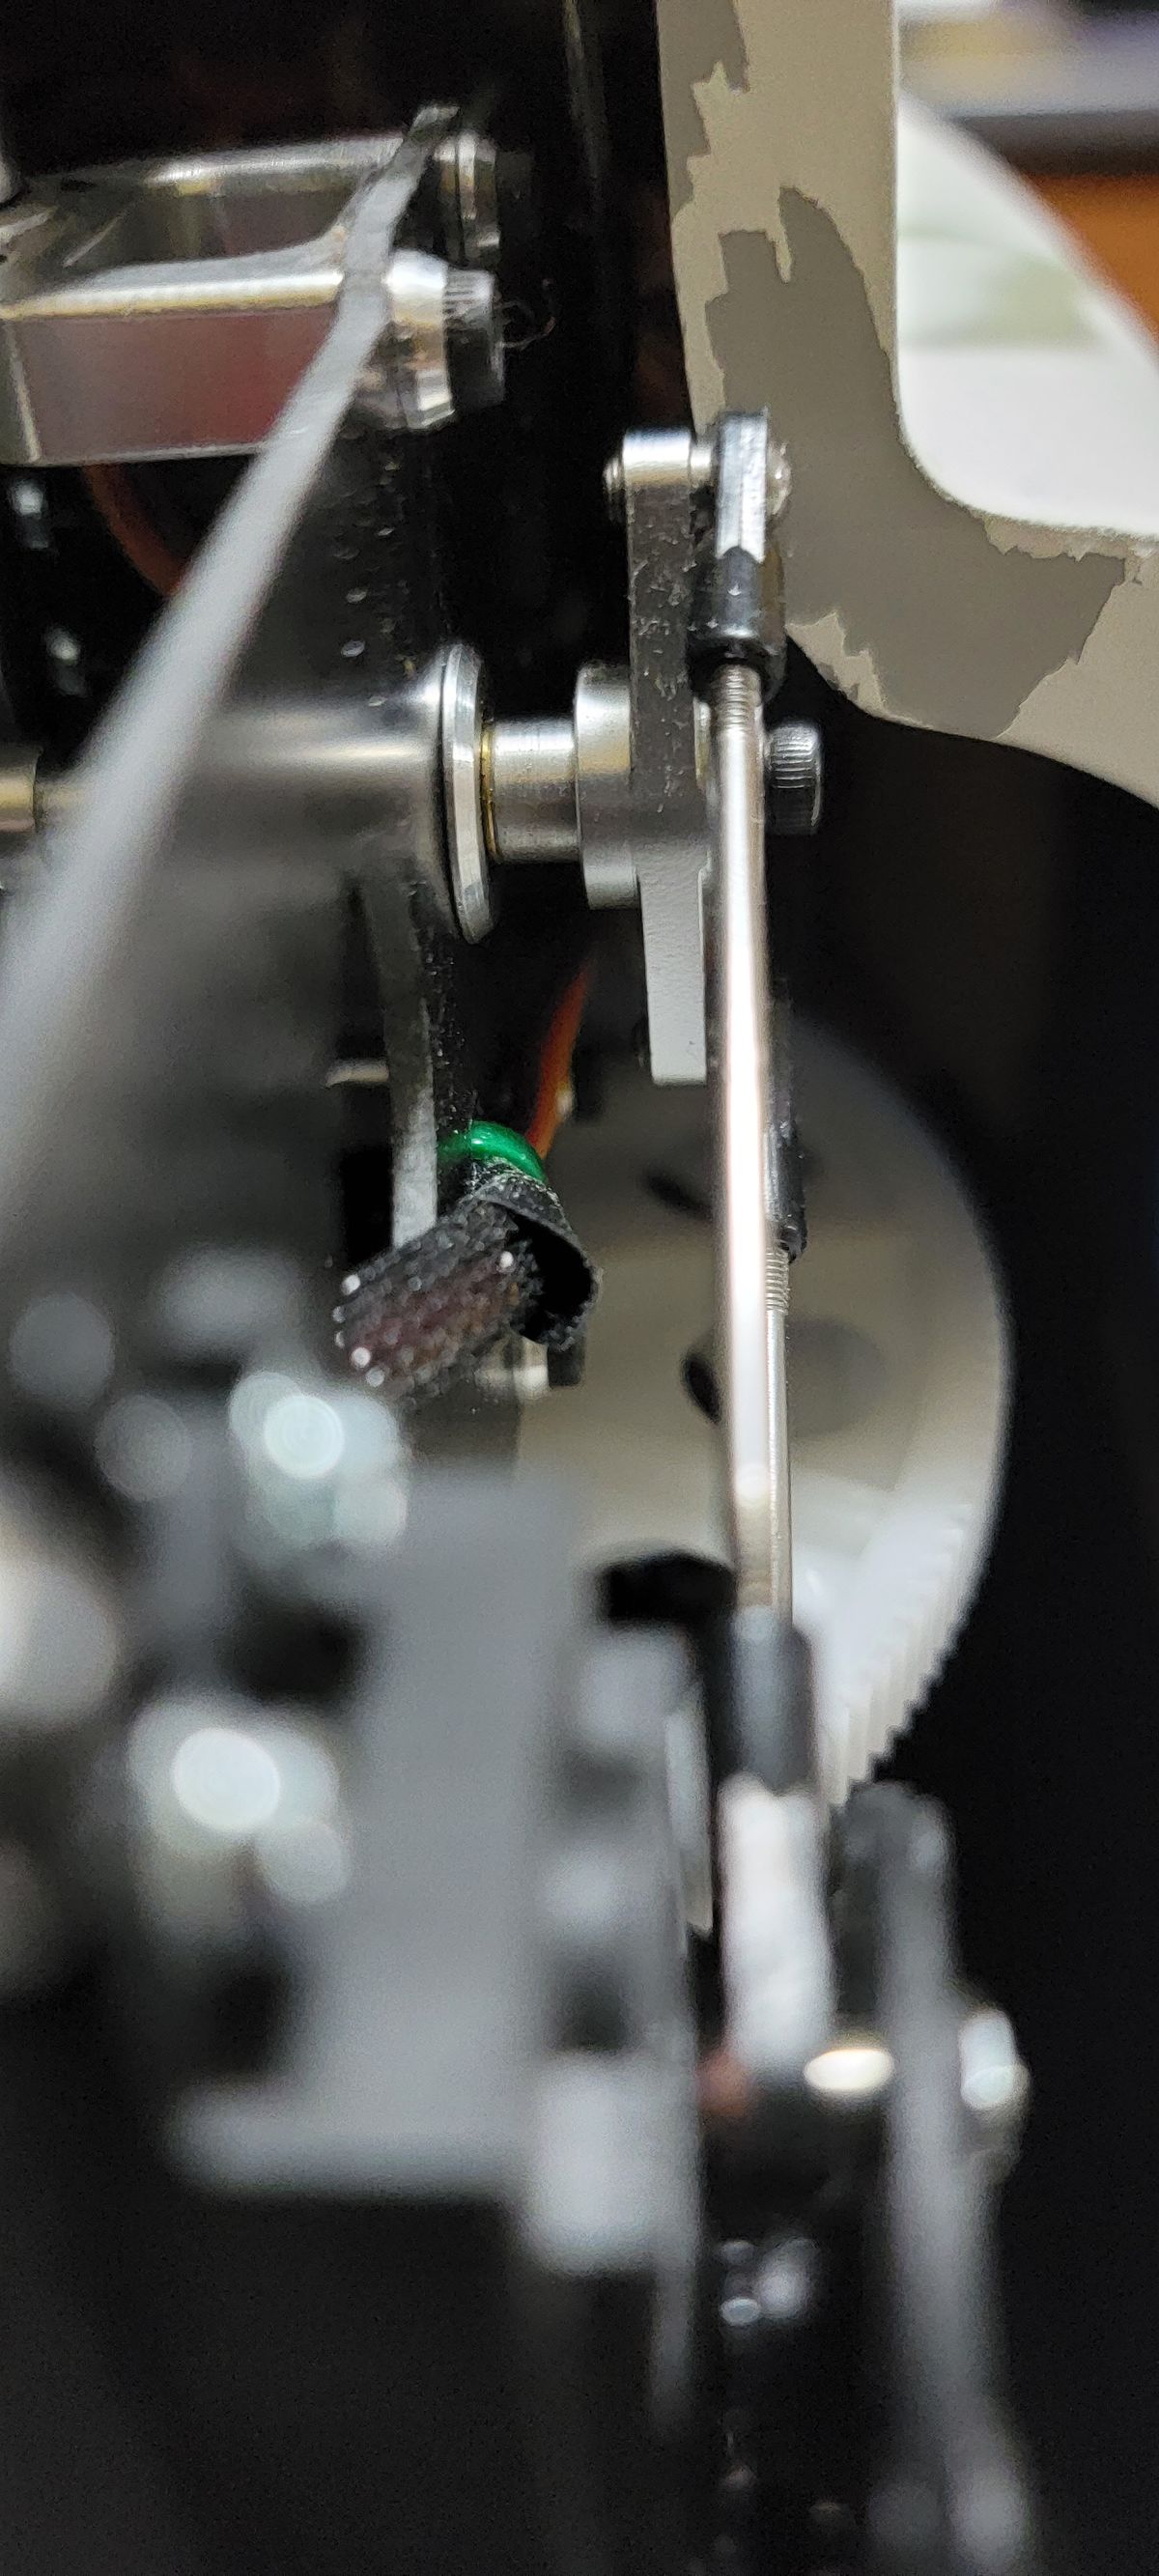
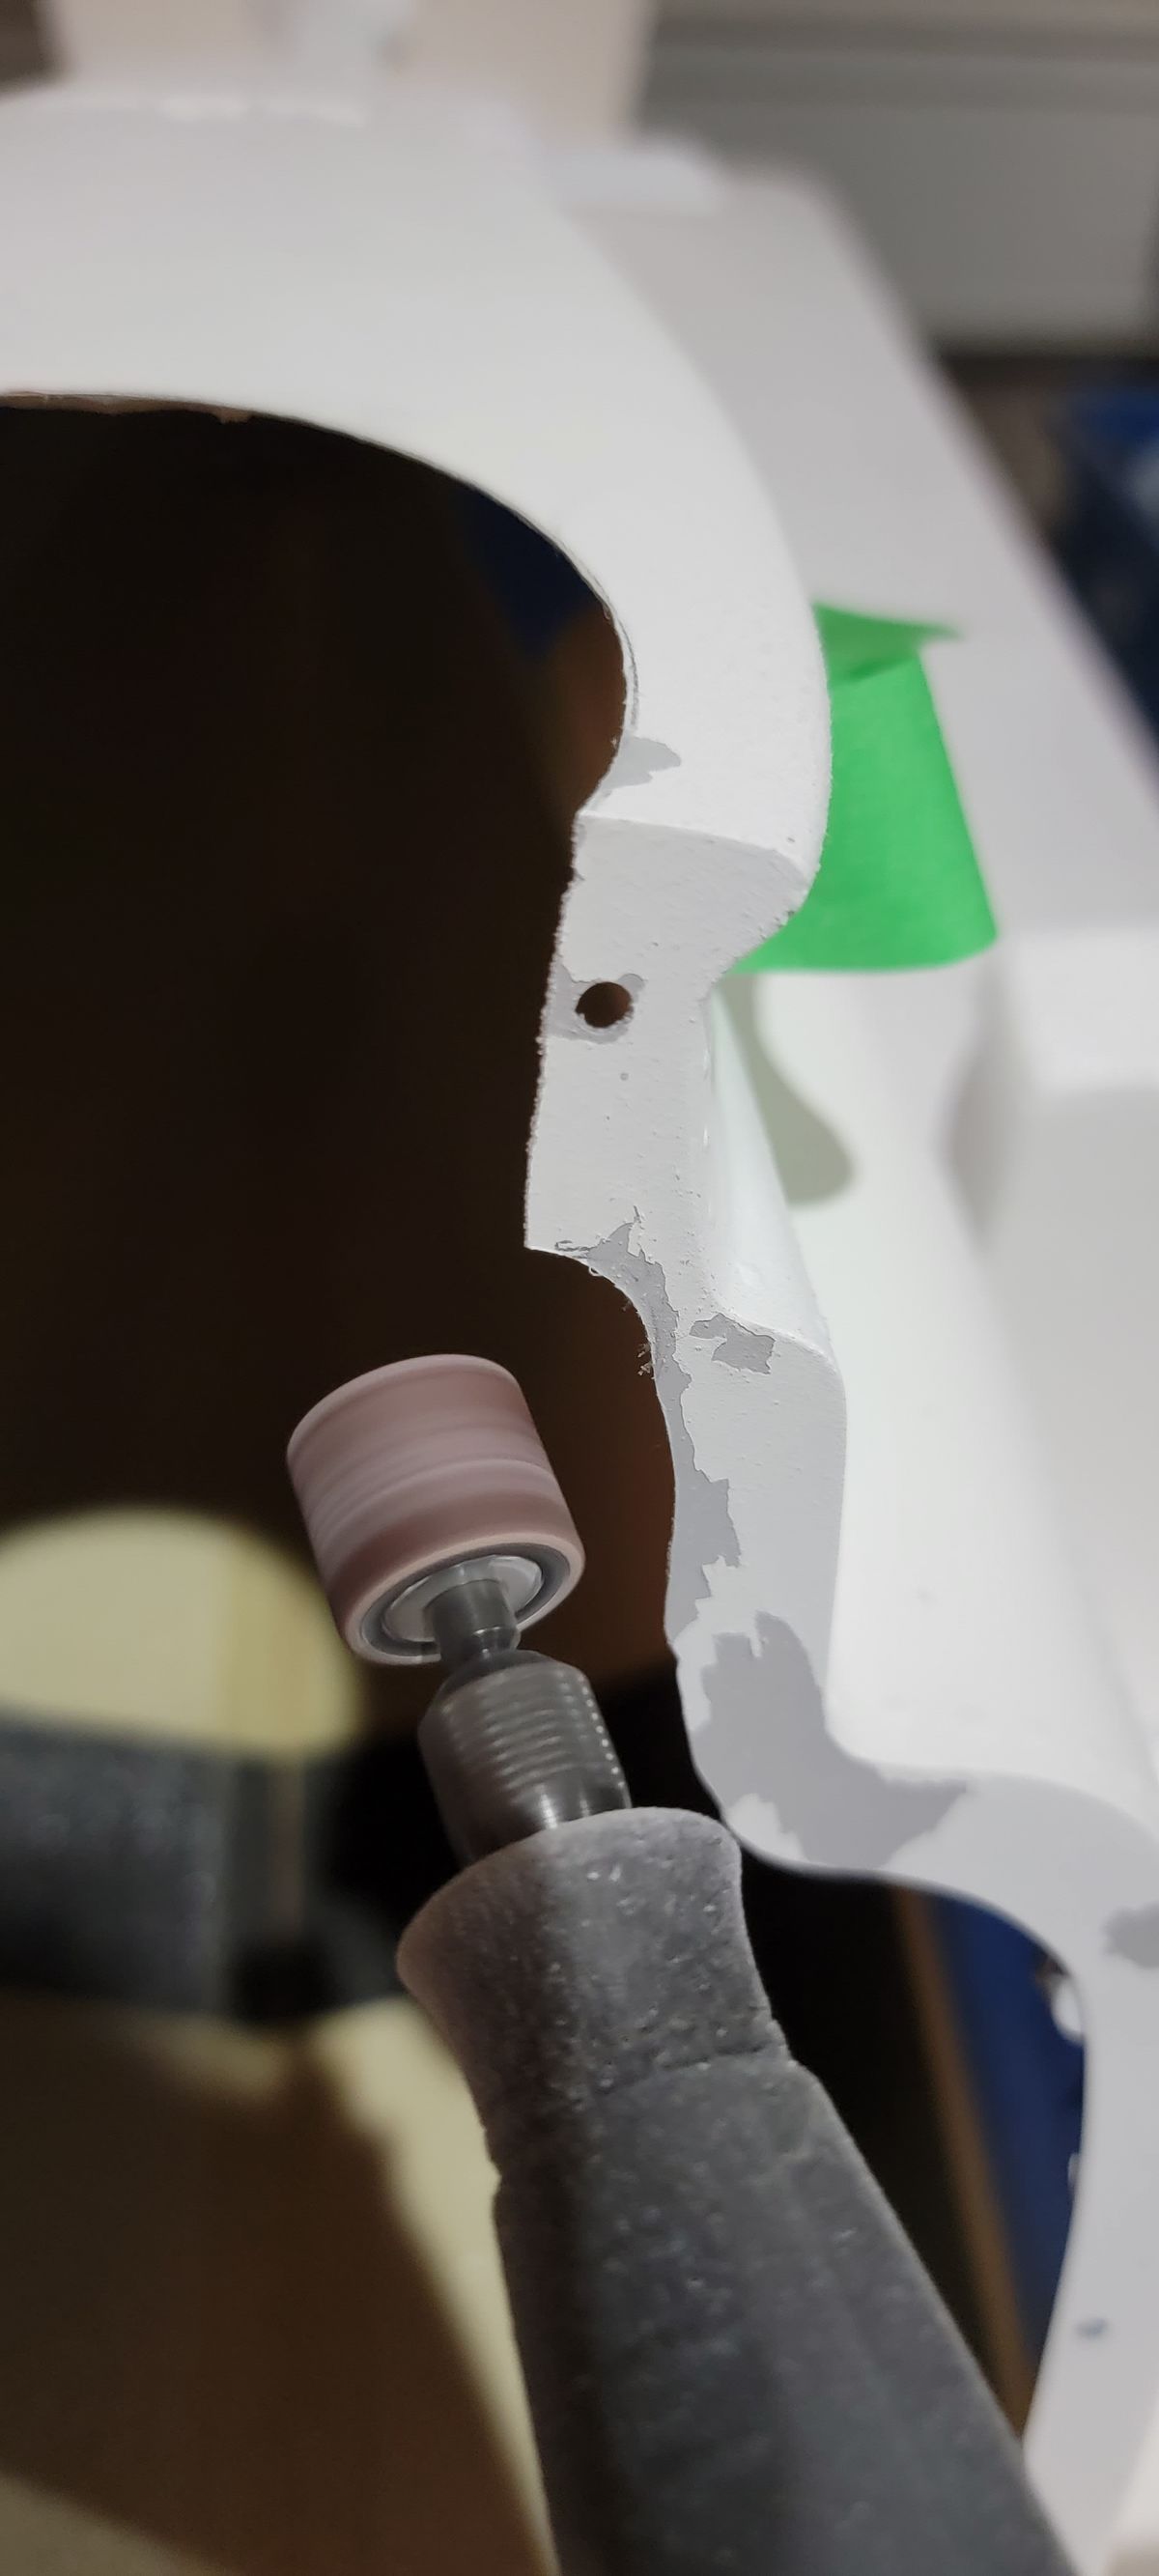
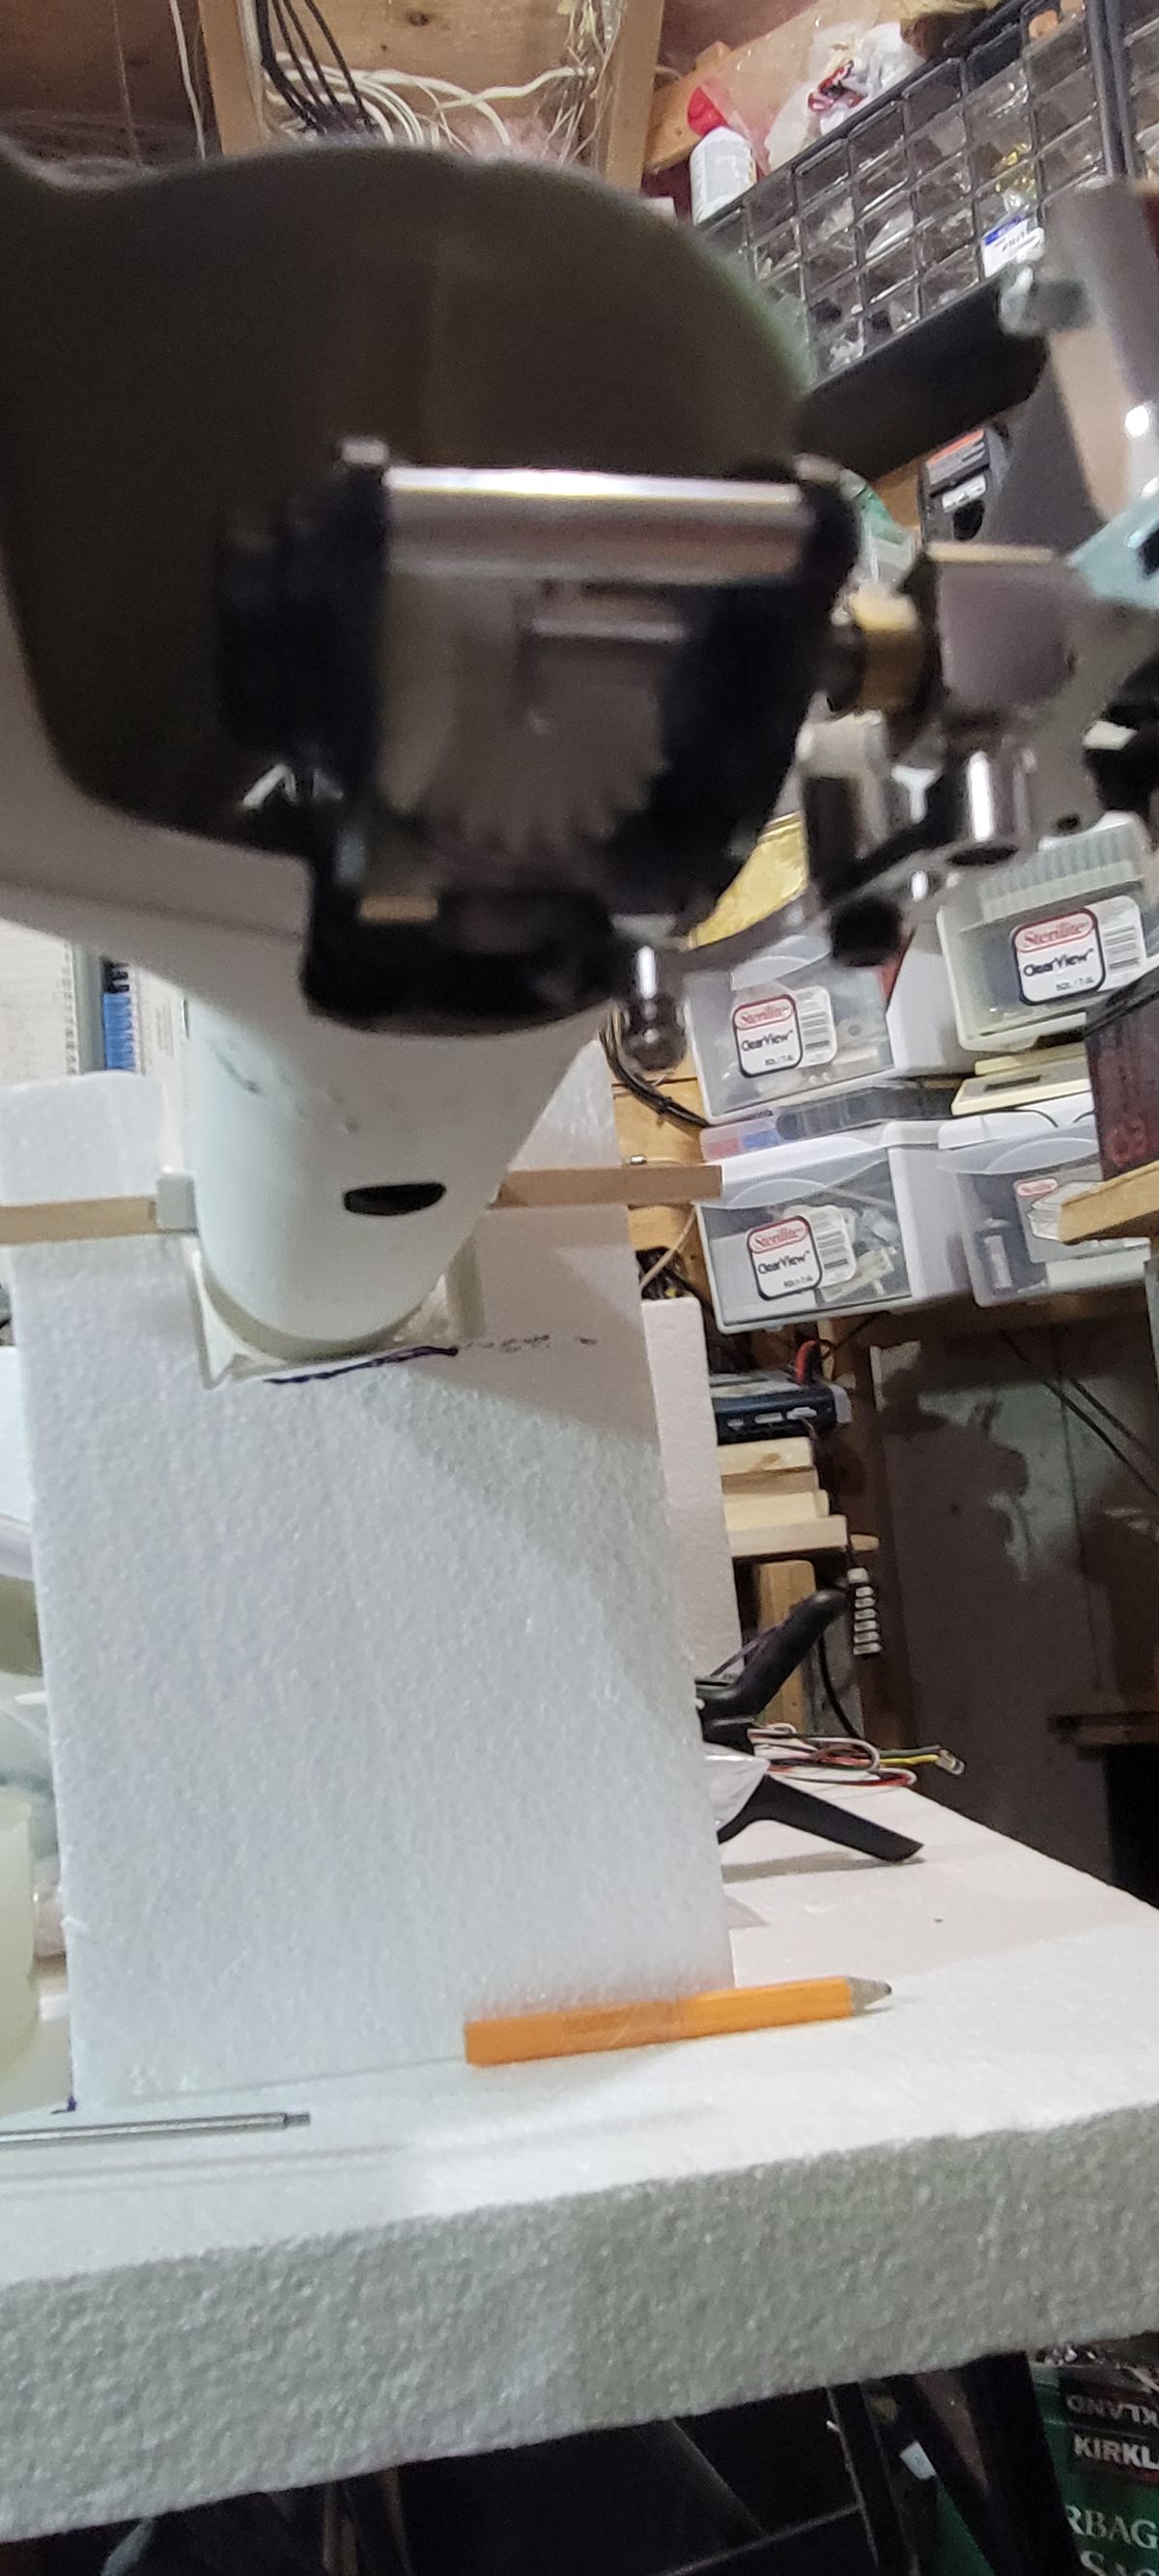
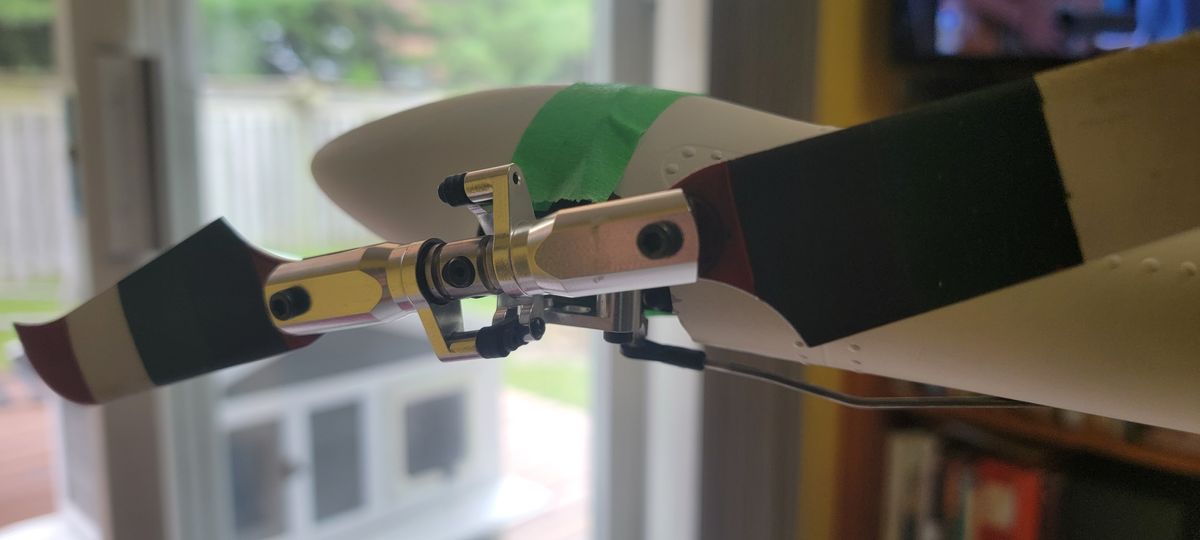
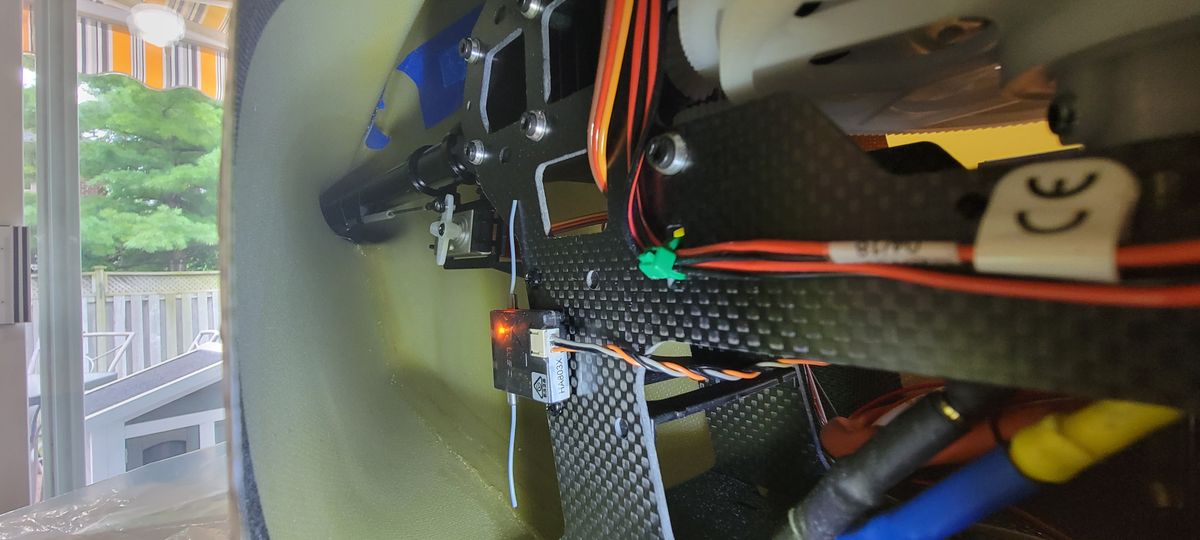
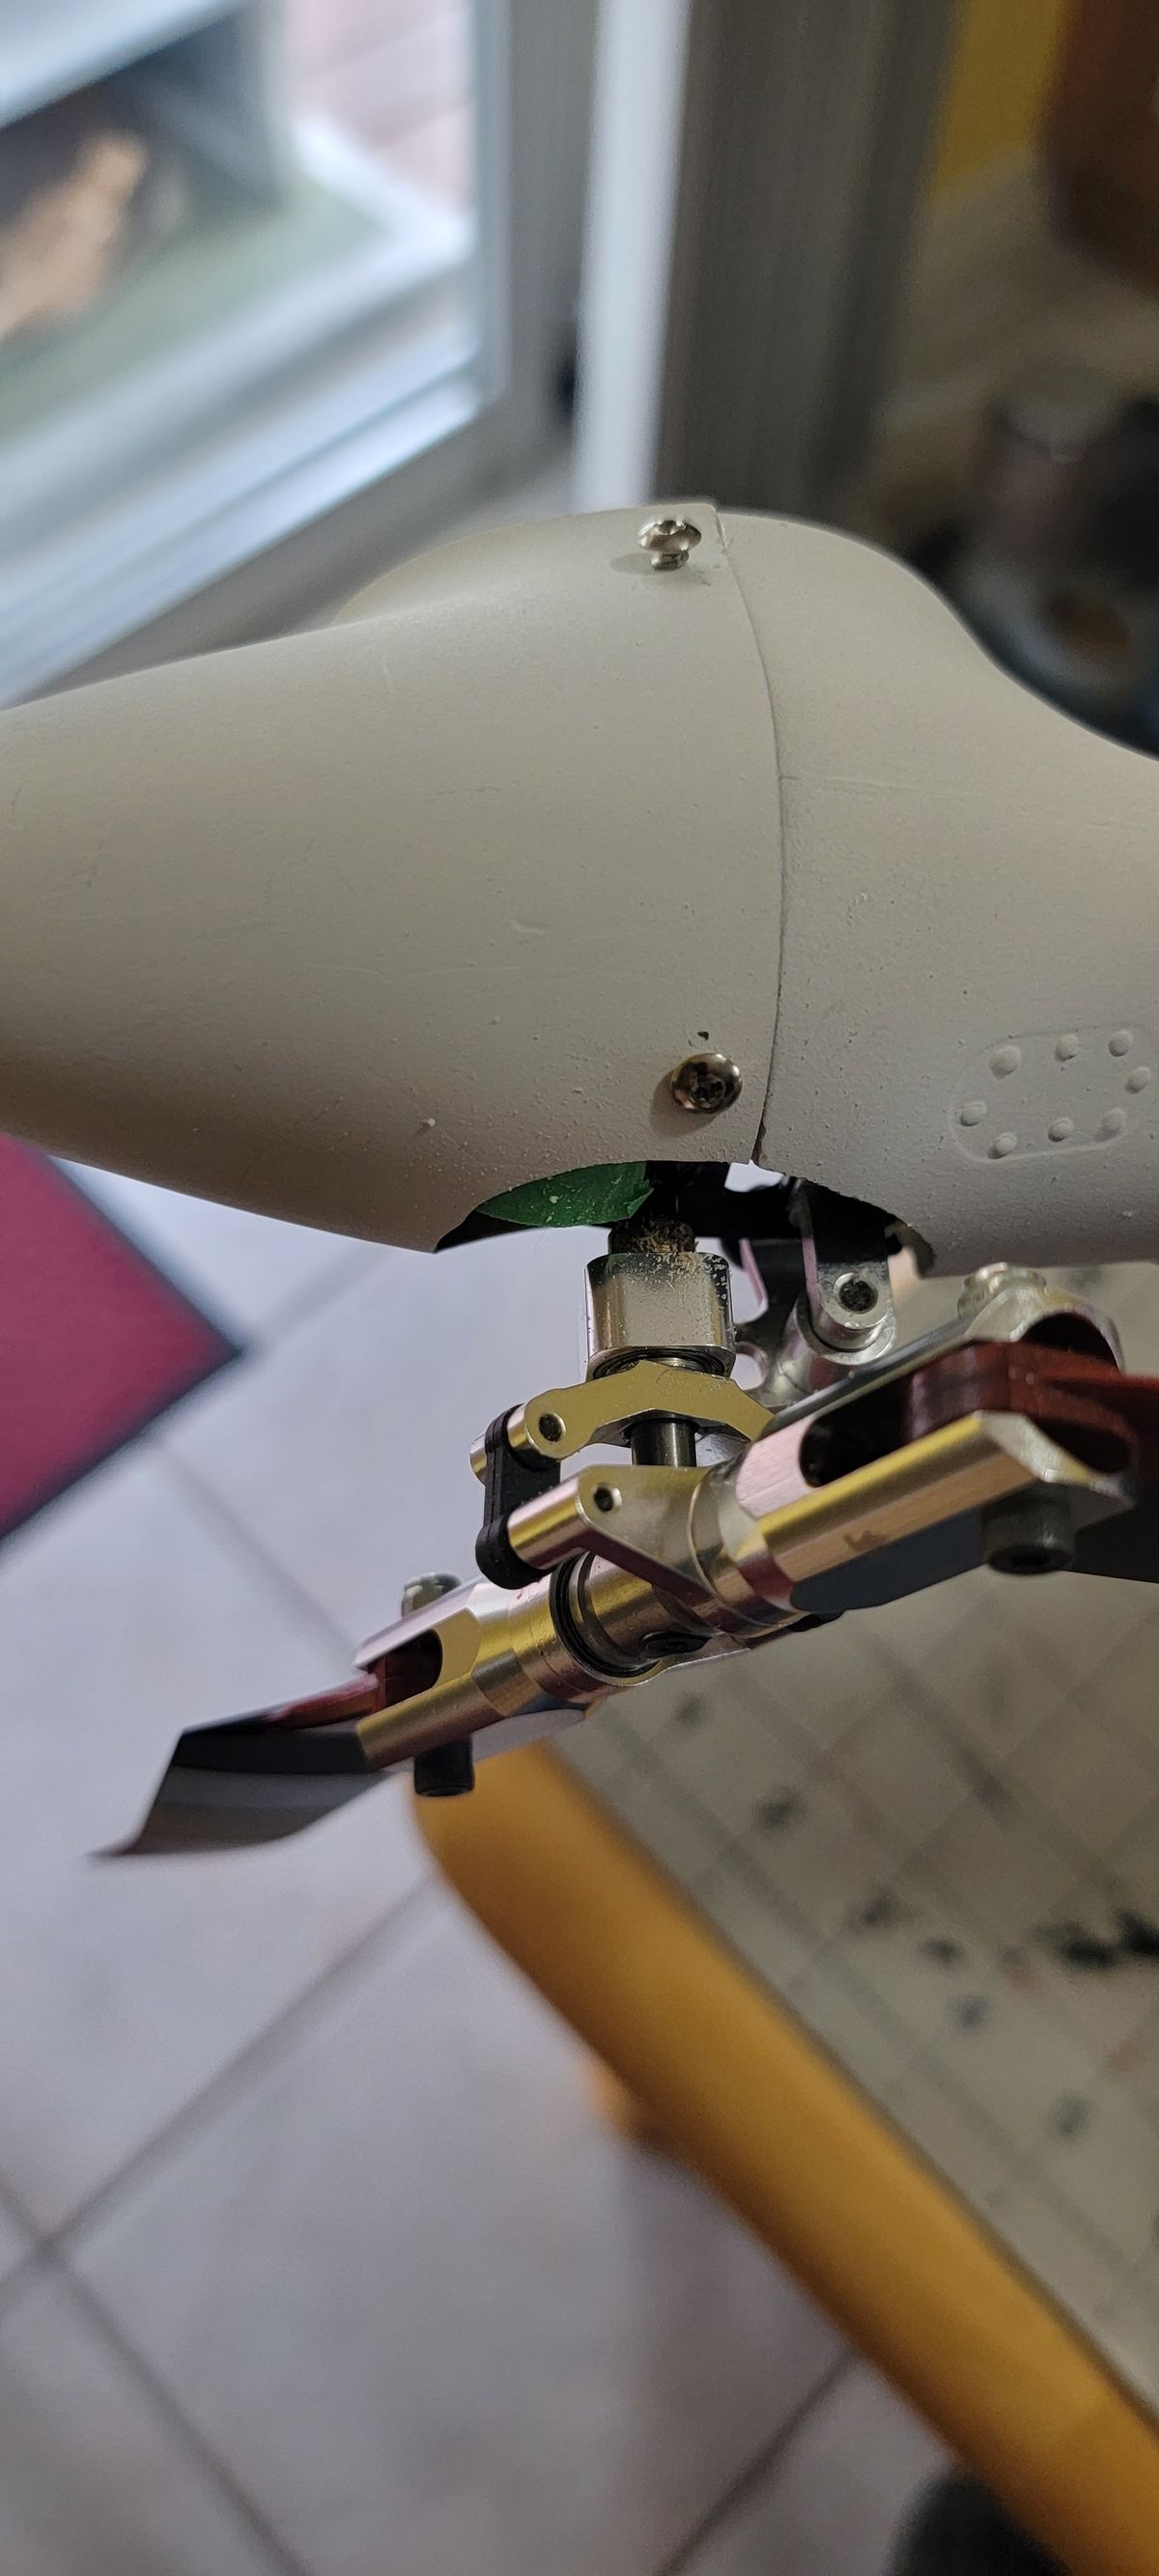
Fuselage Tail fitting
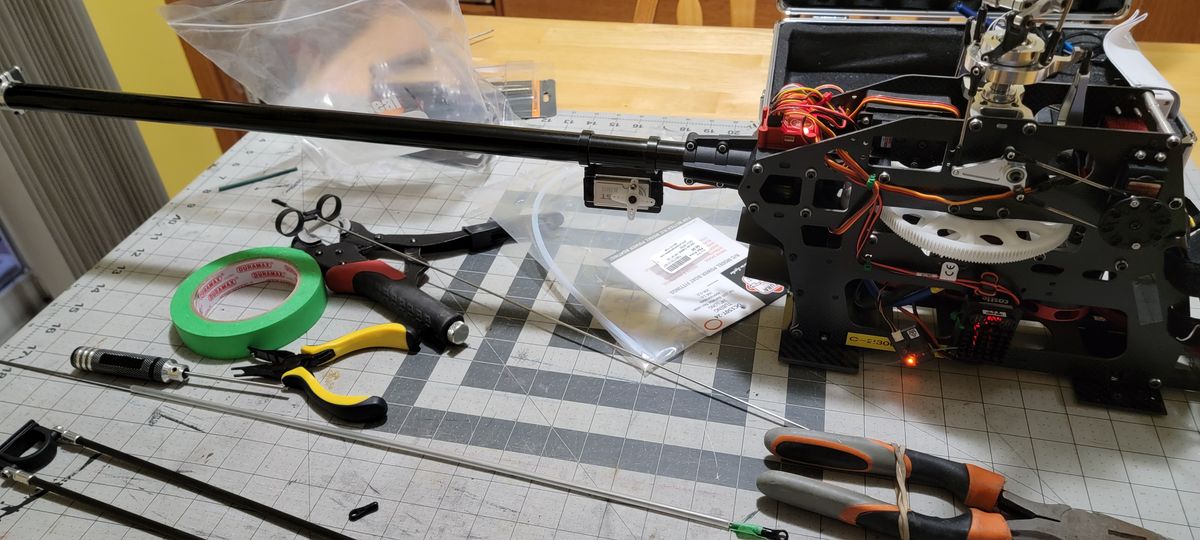
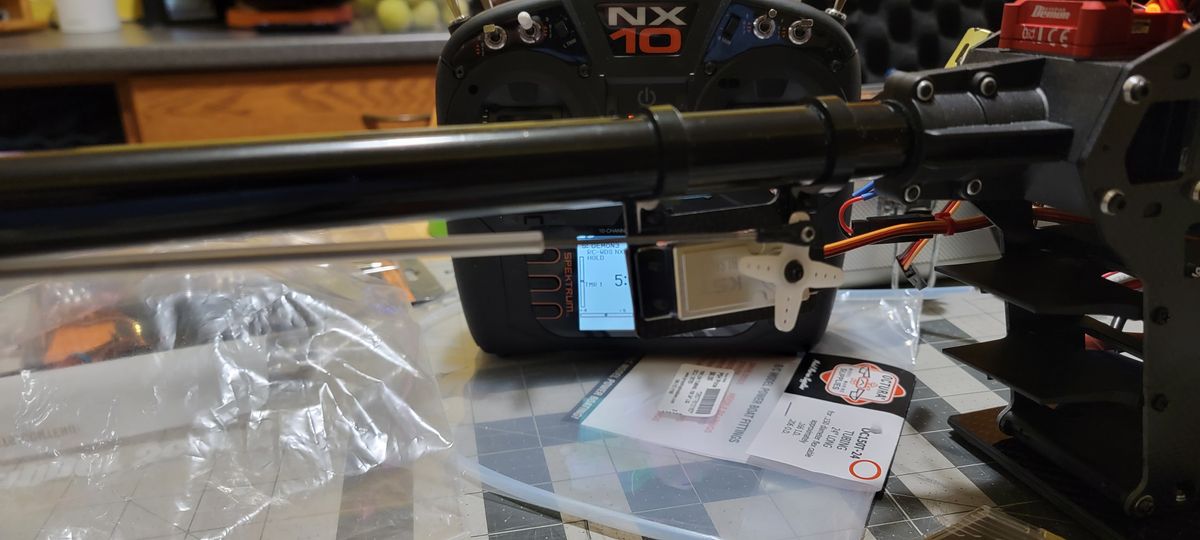
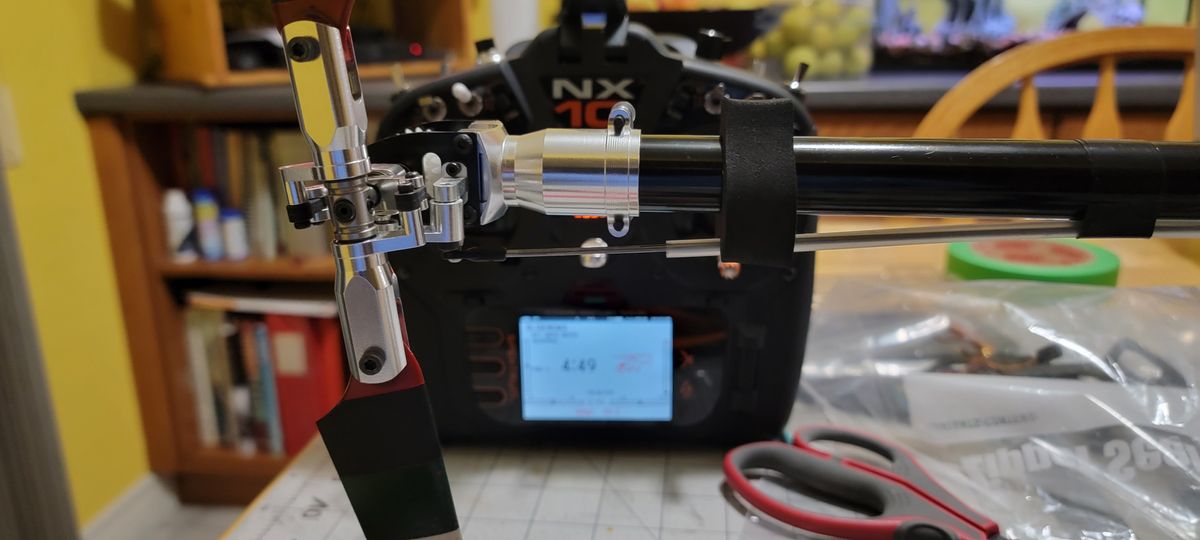
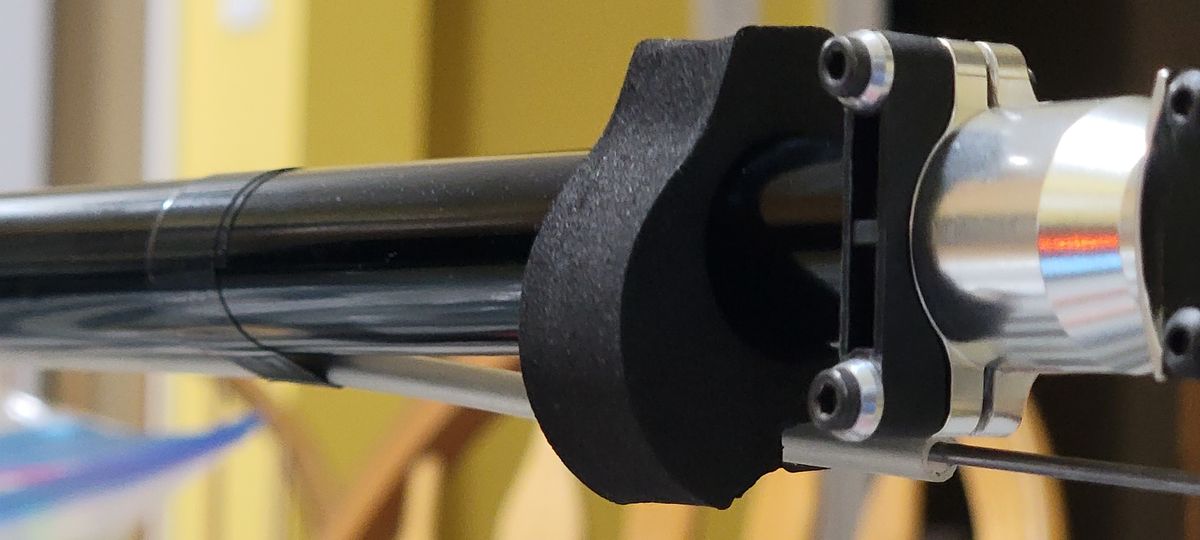
This part was challenging for me.
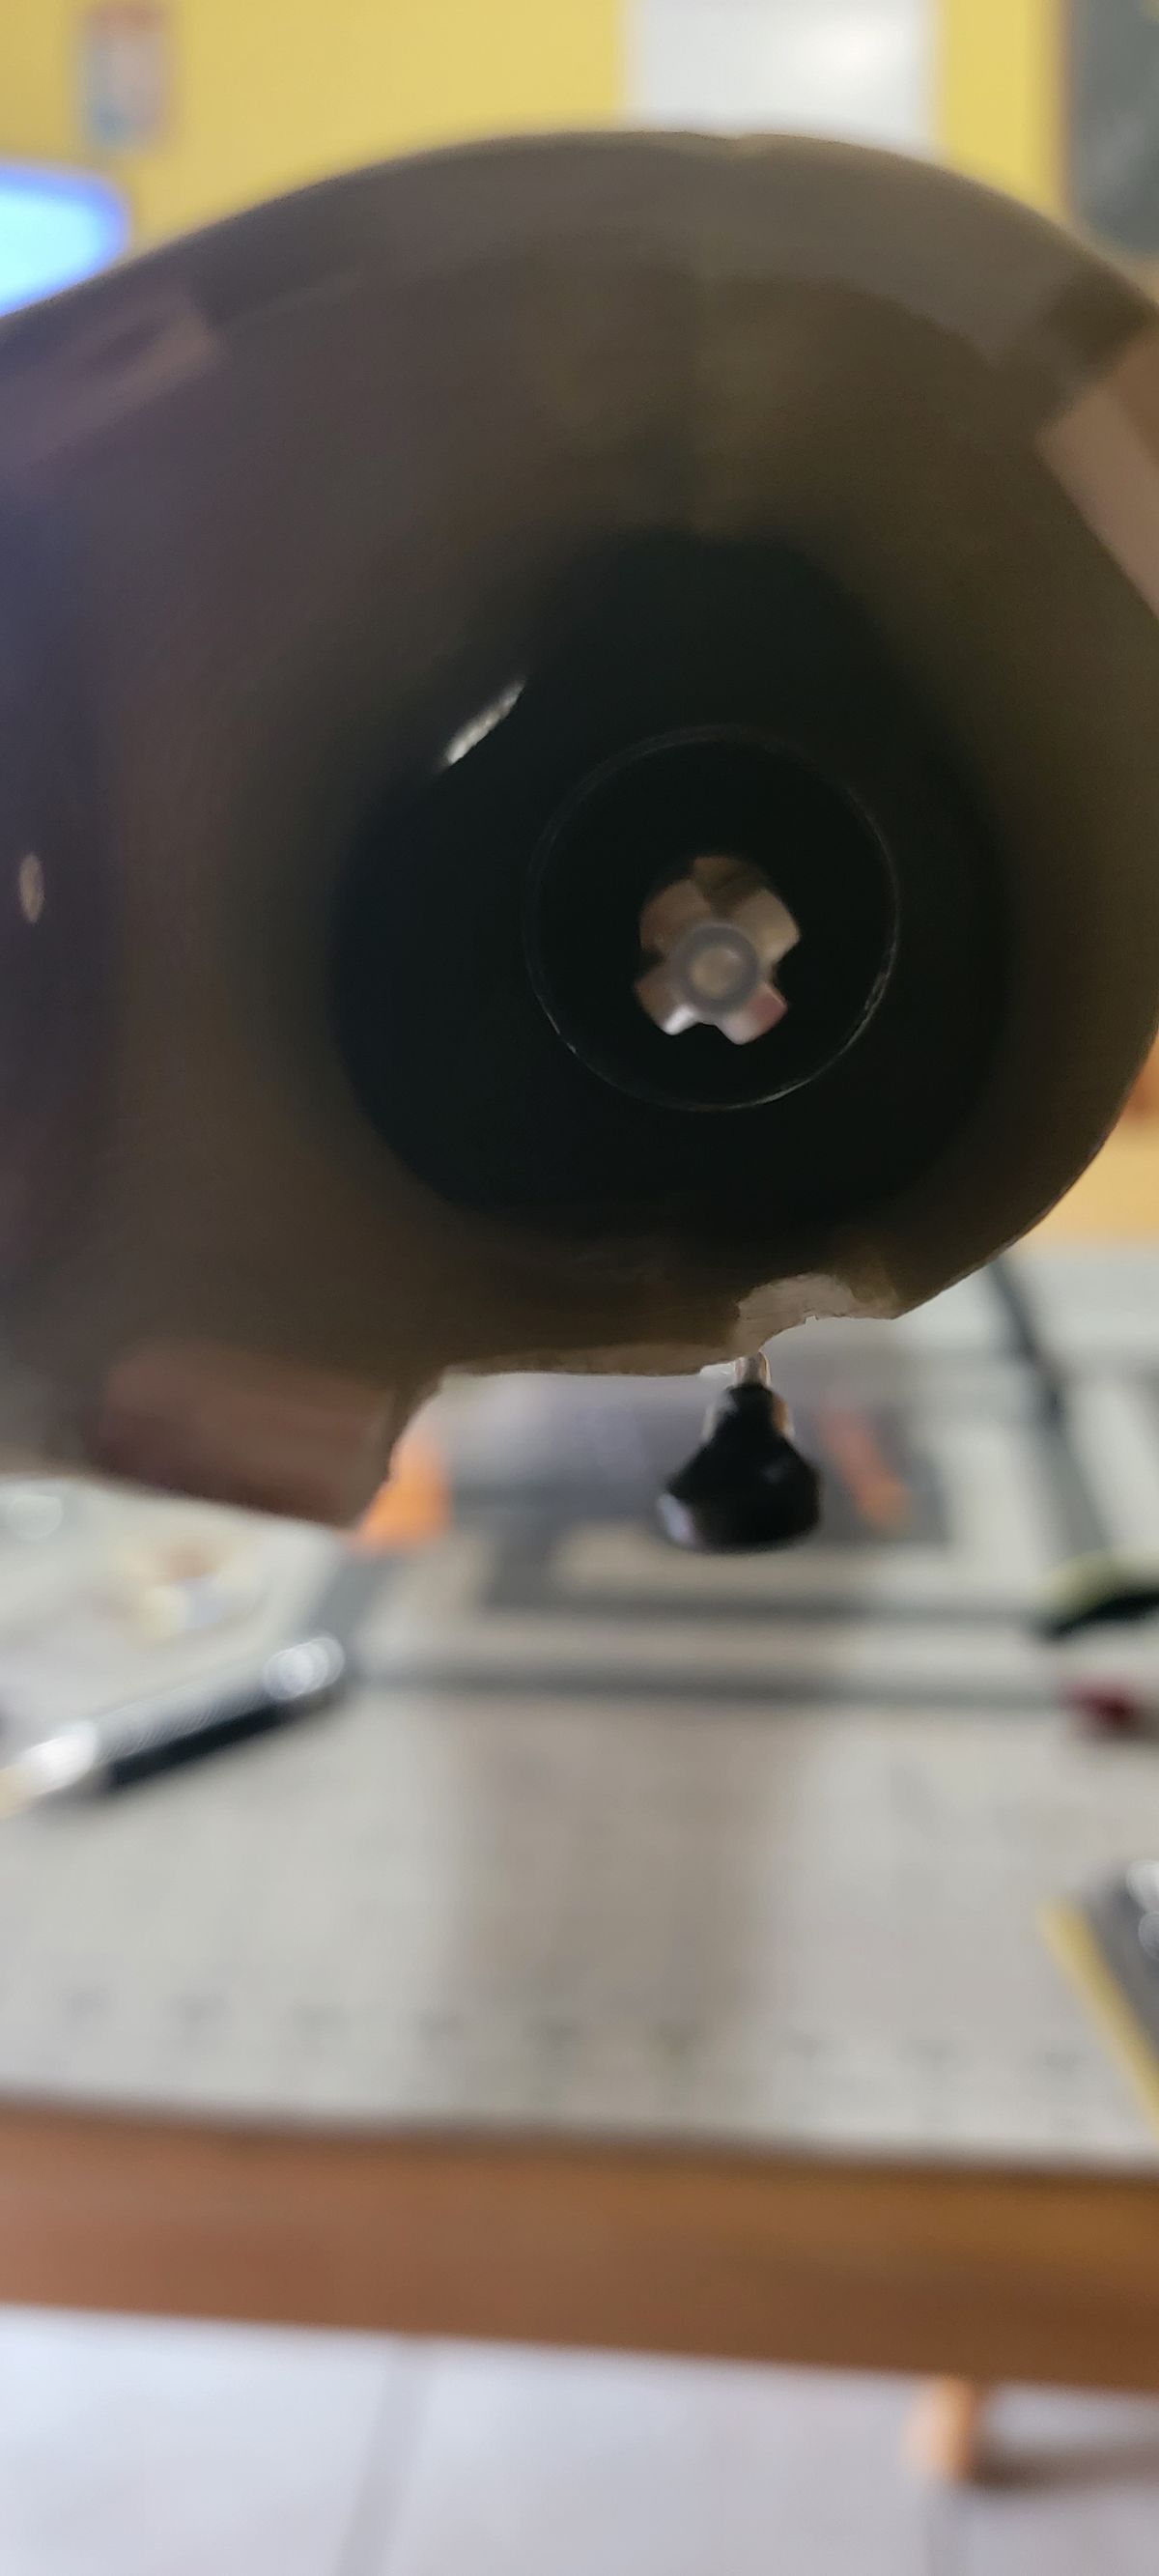
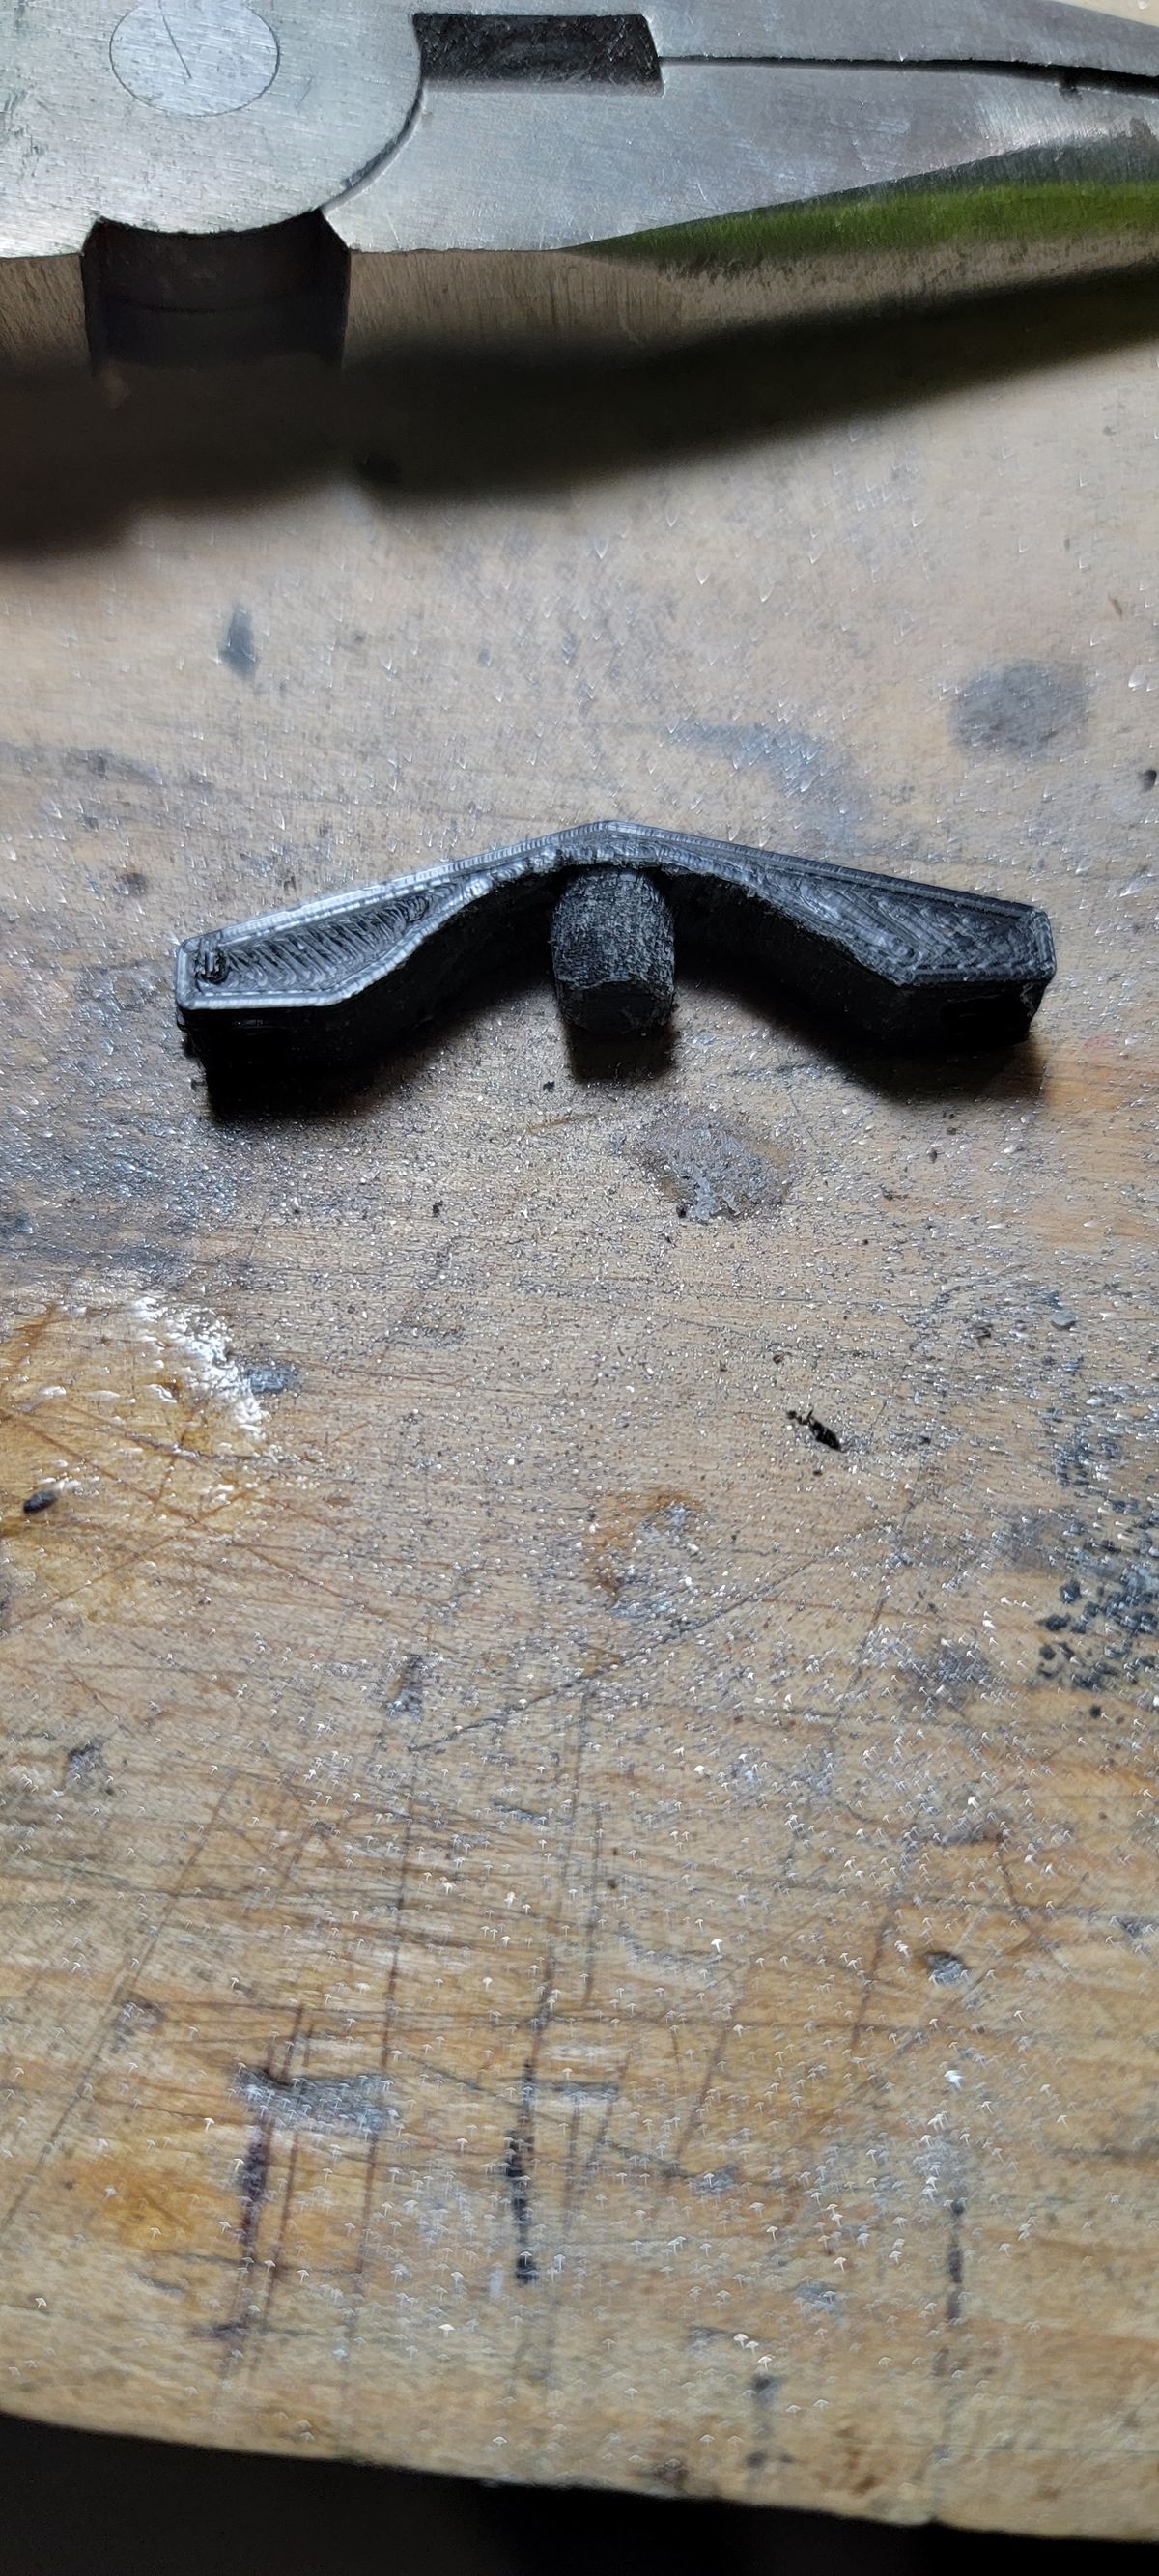
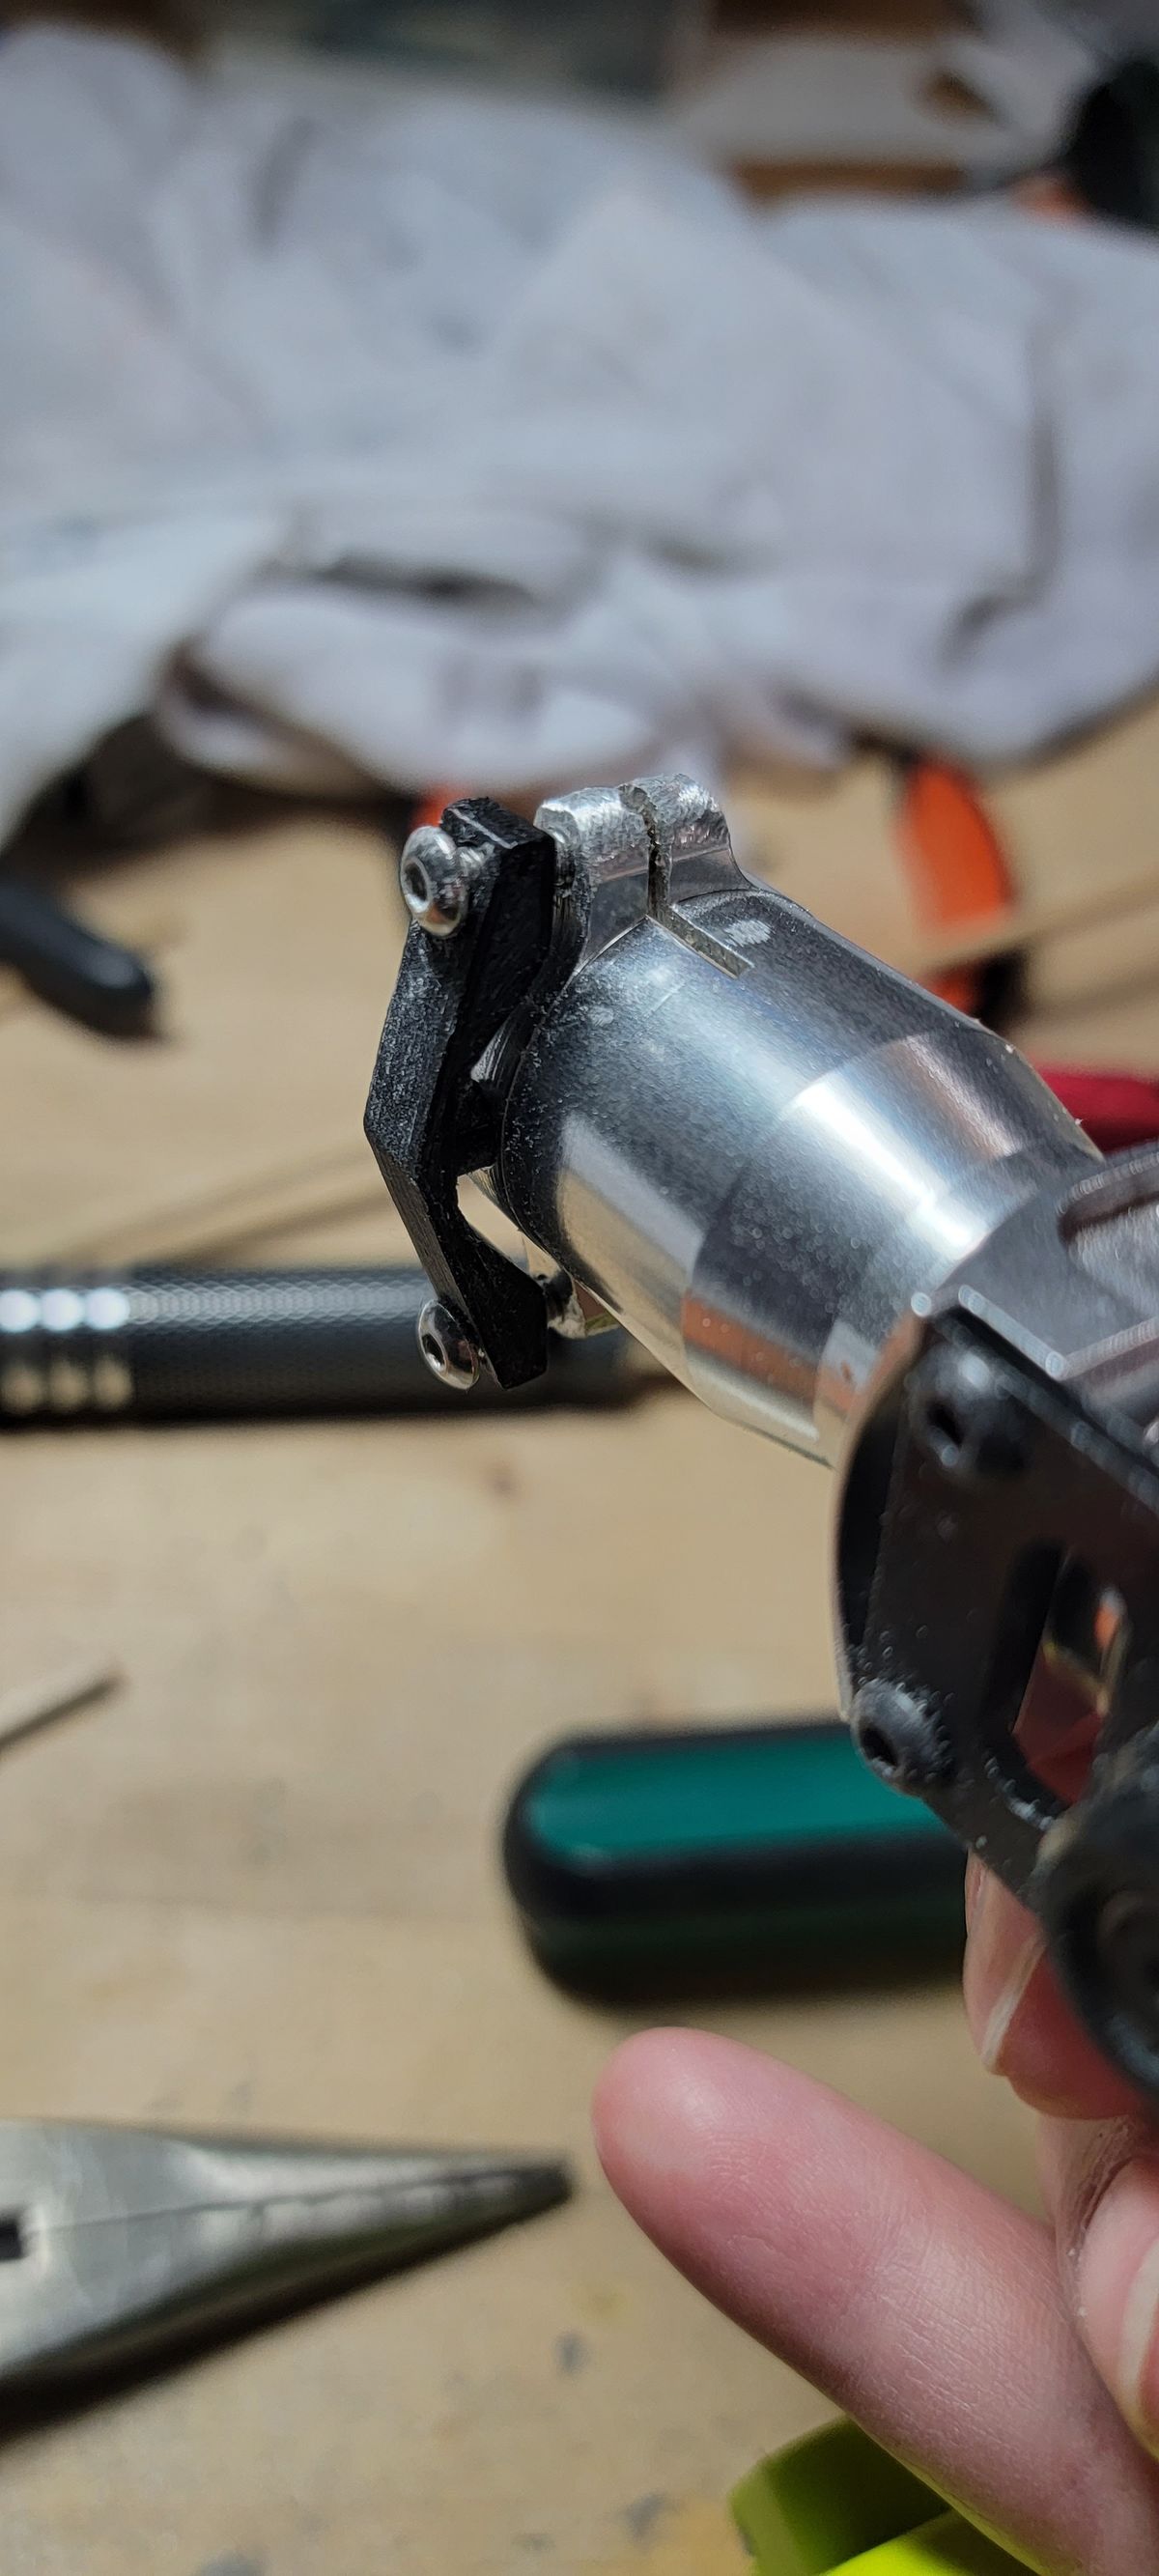
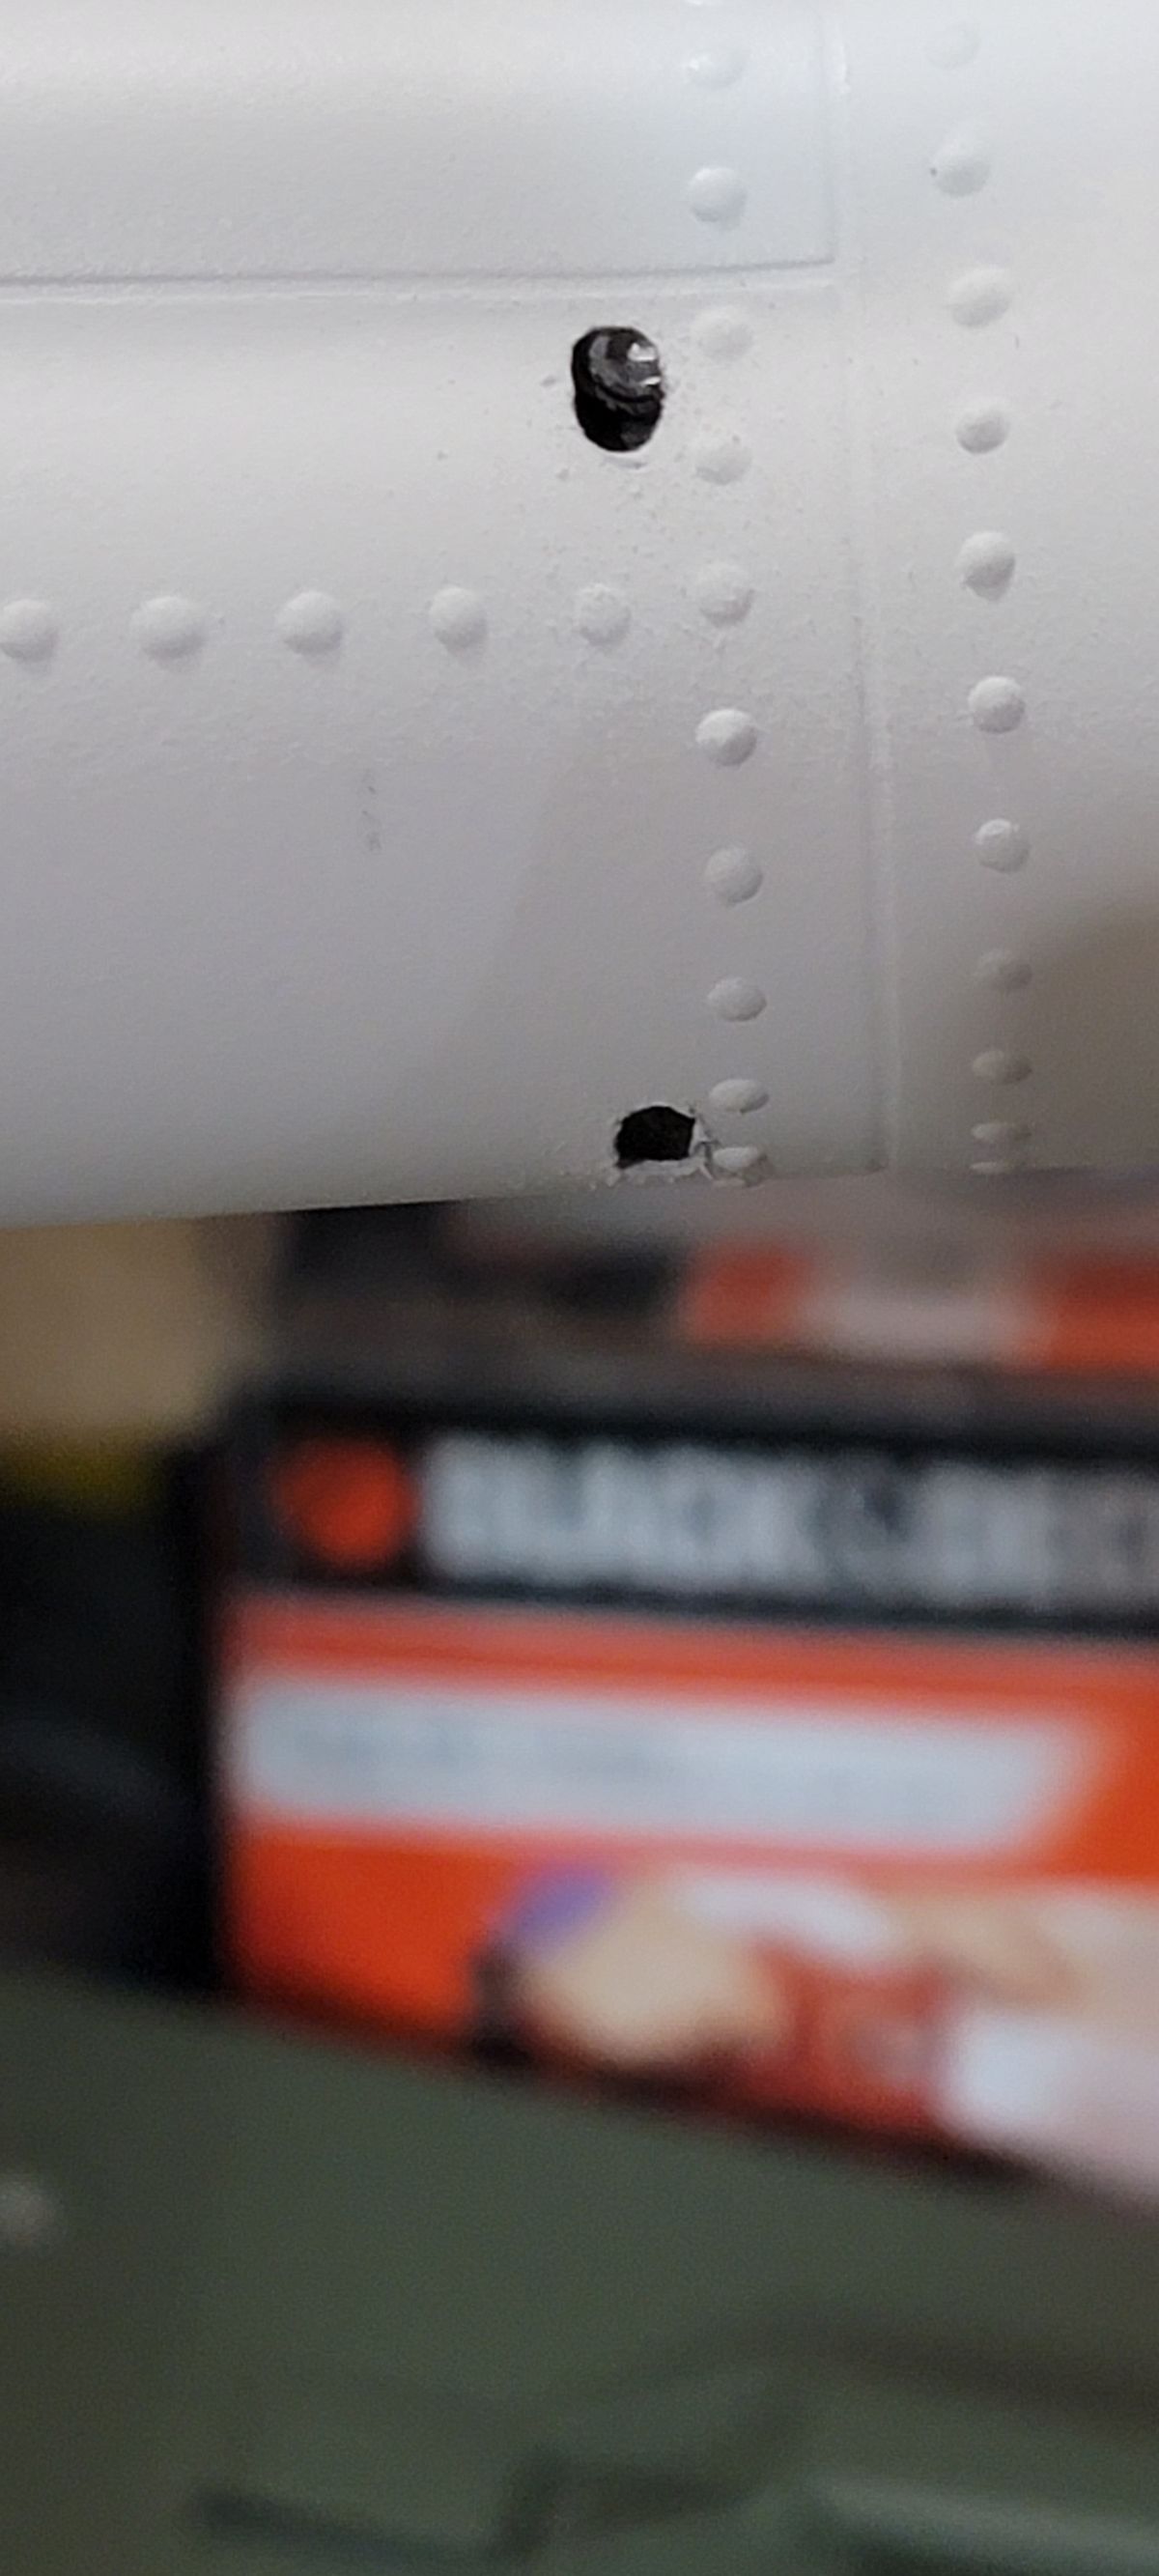
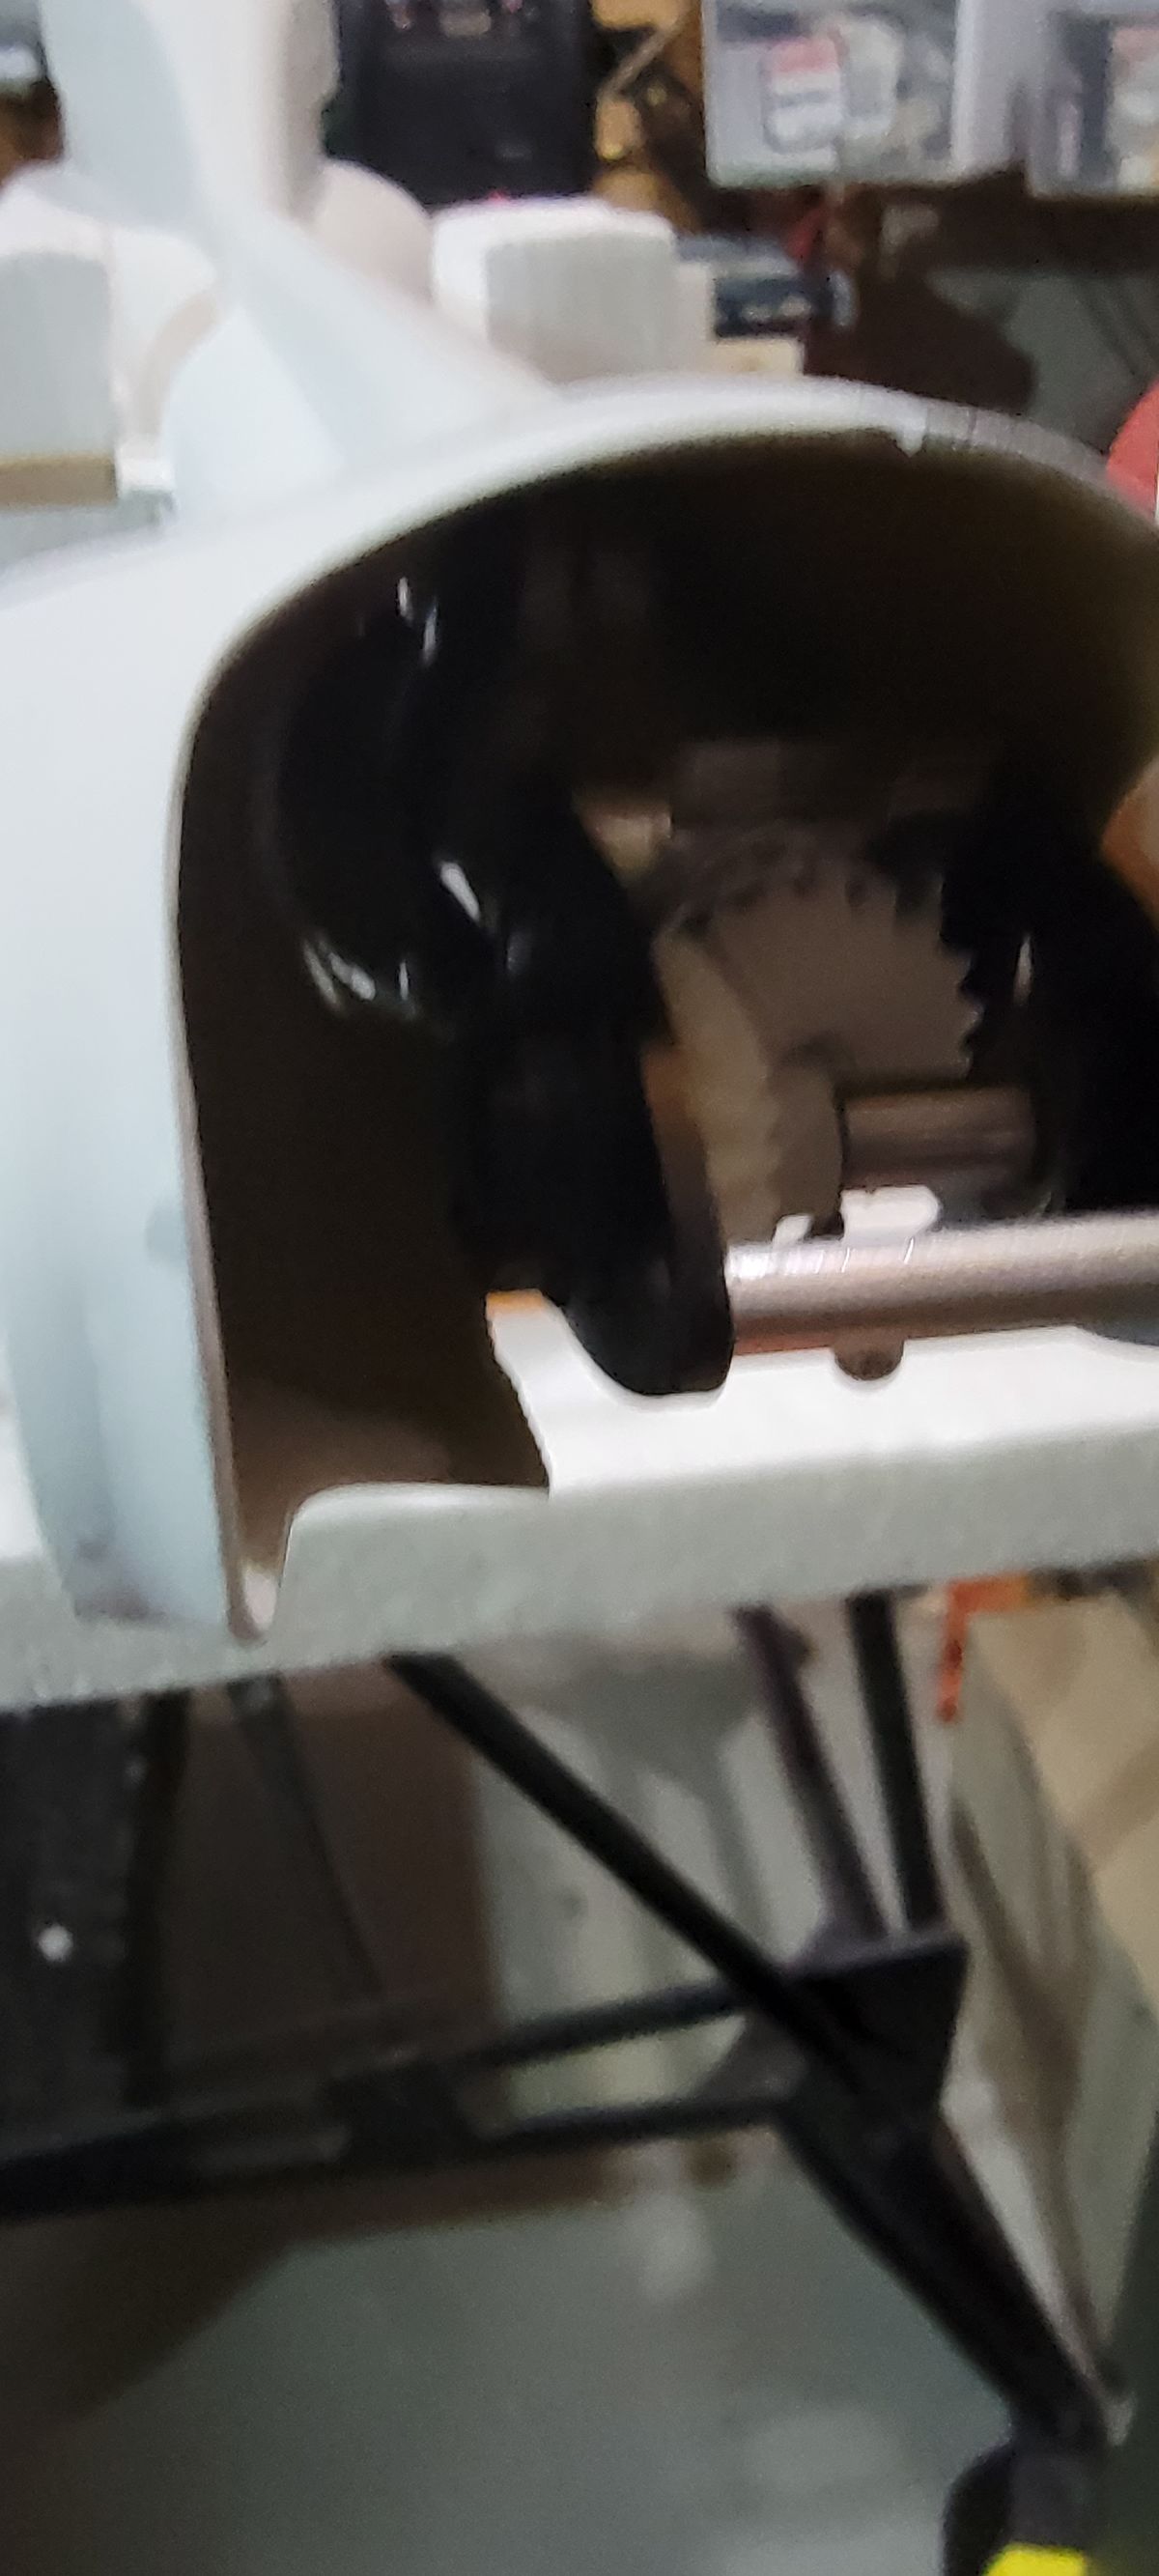
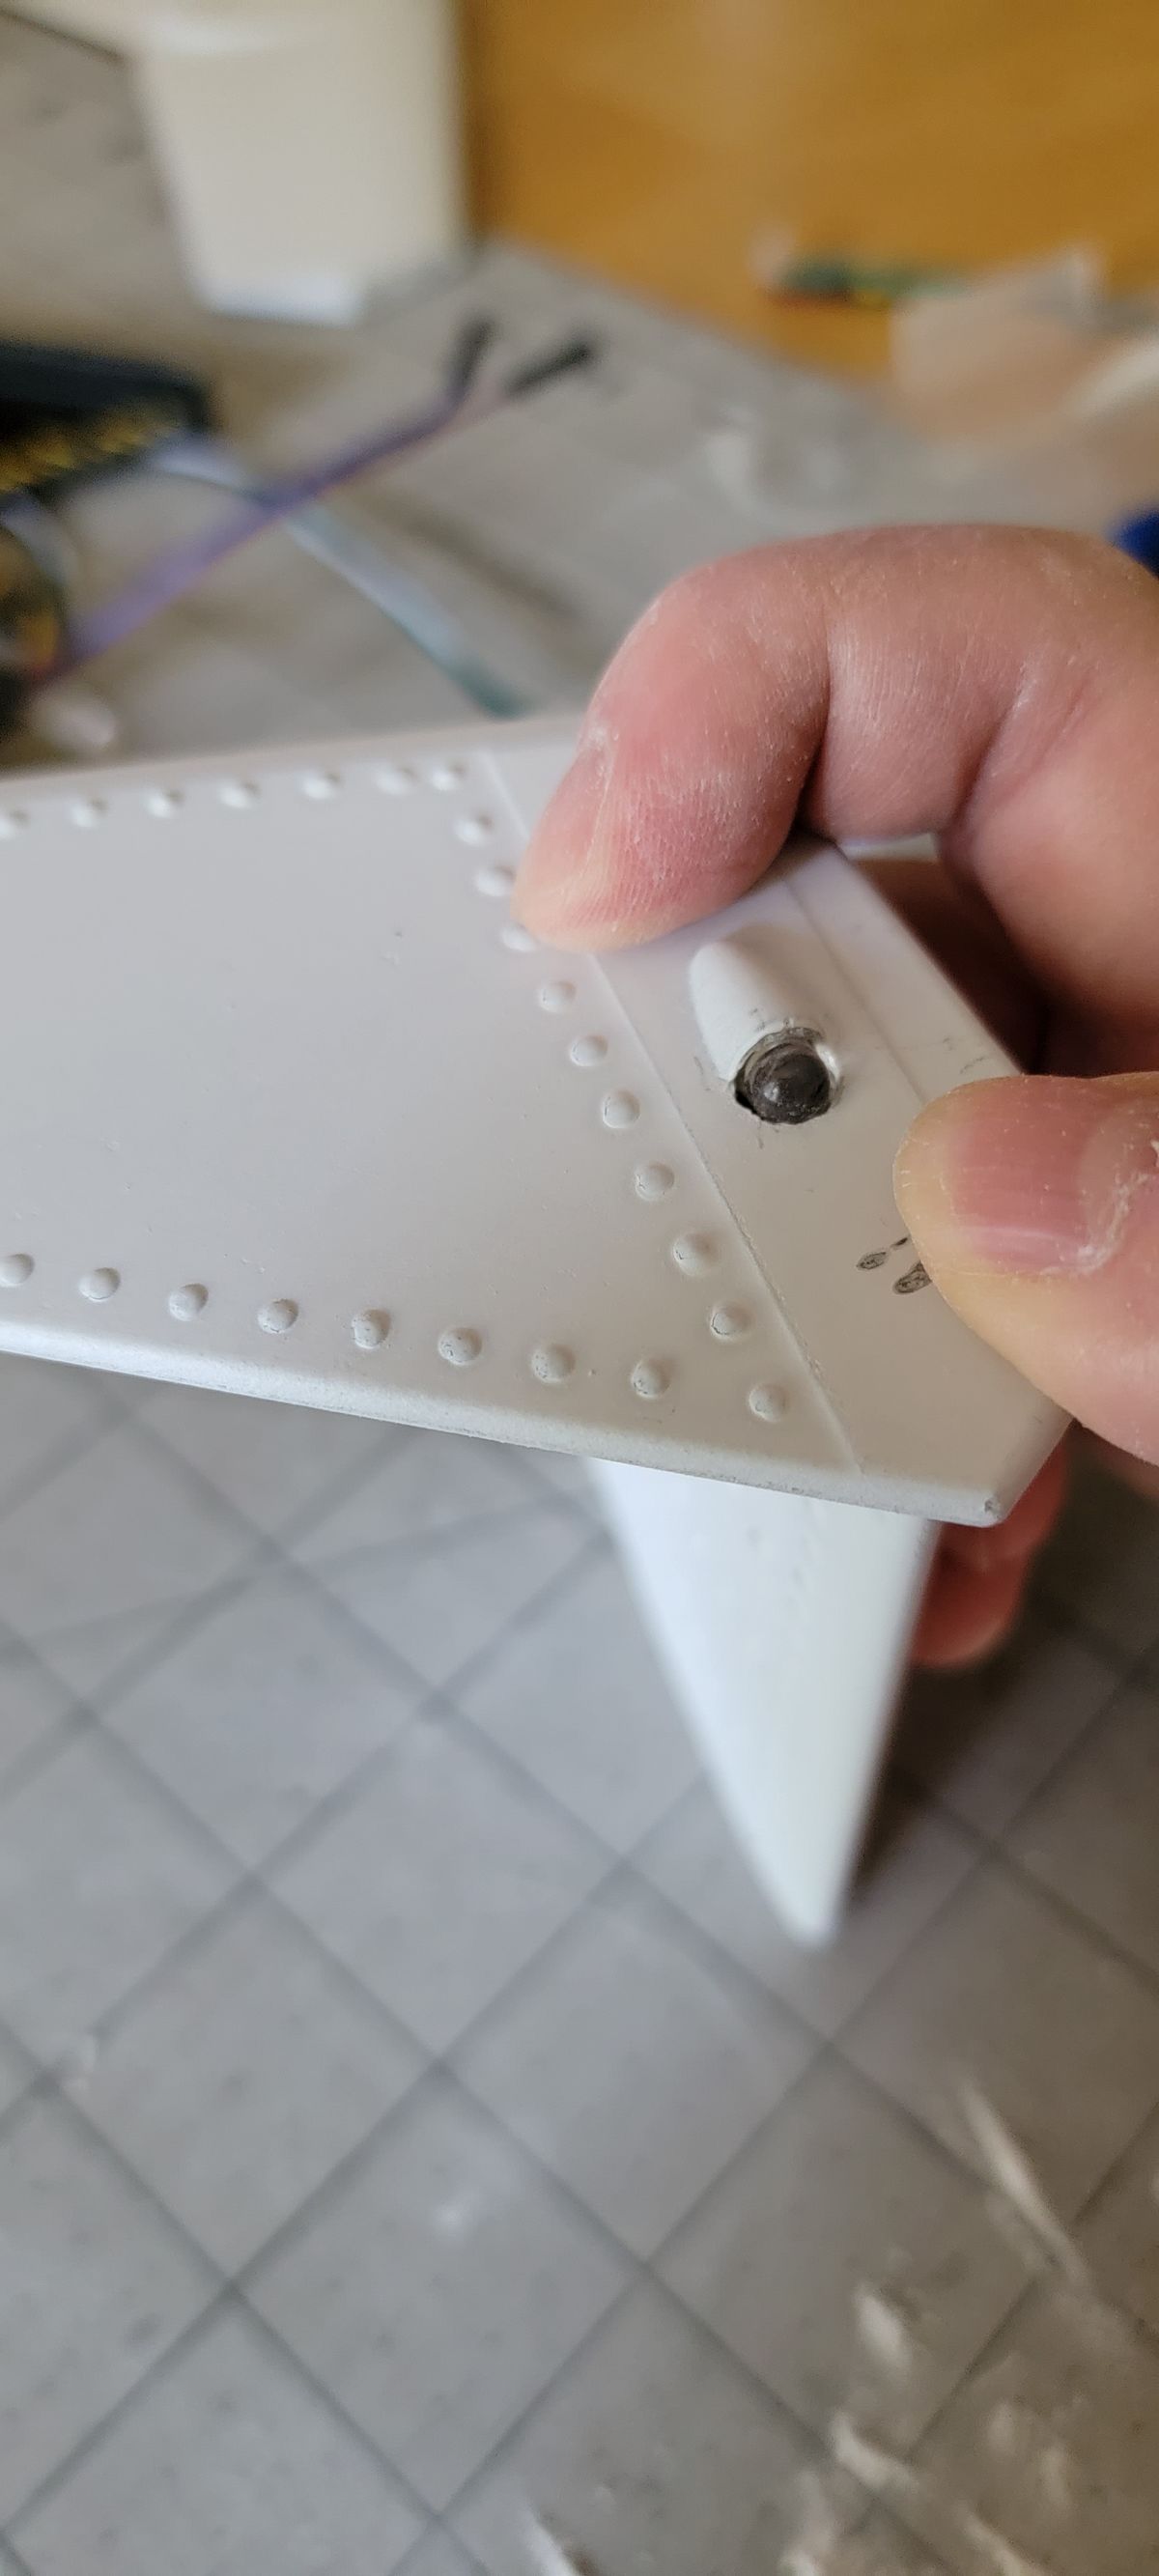
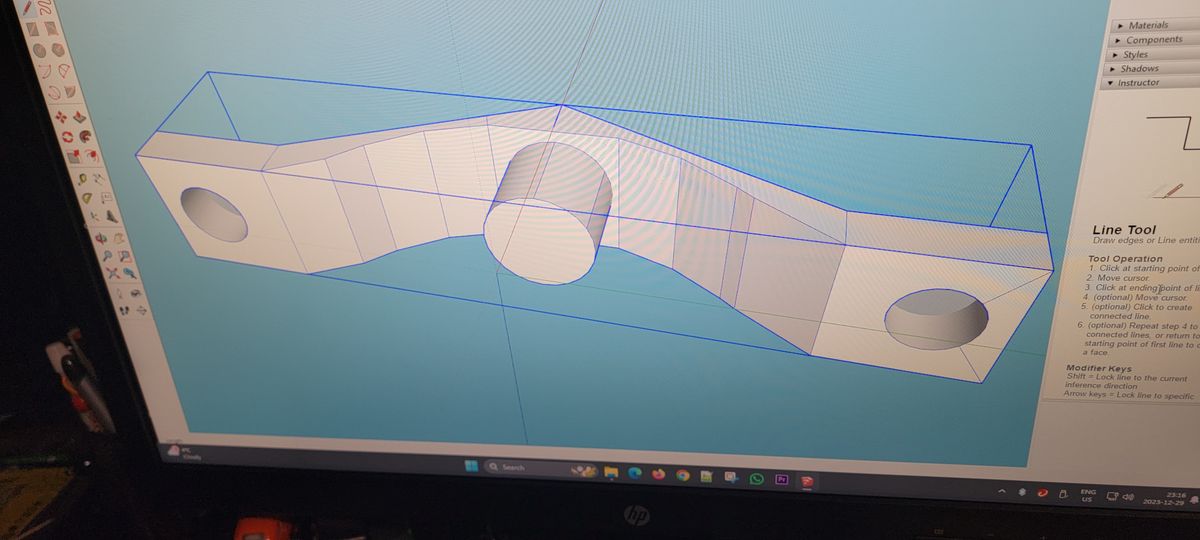
I had to 3D print a smaller Vertical Stabilizer Mount and find smaller screws to be able to squeeze everything into the fuselage. New servo pushrod and new opening in the tail to be able to lock everything in.
Lights System
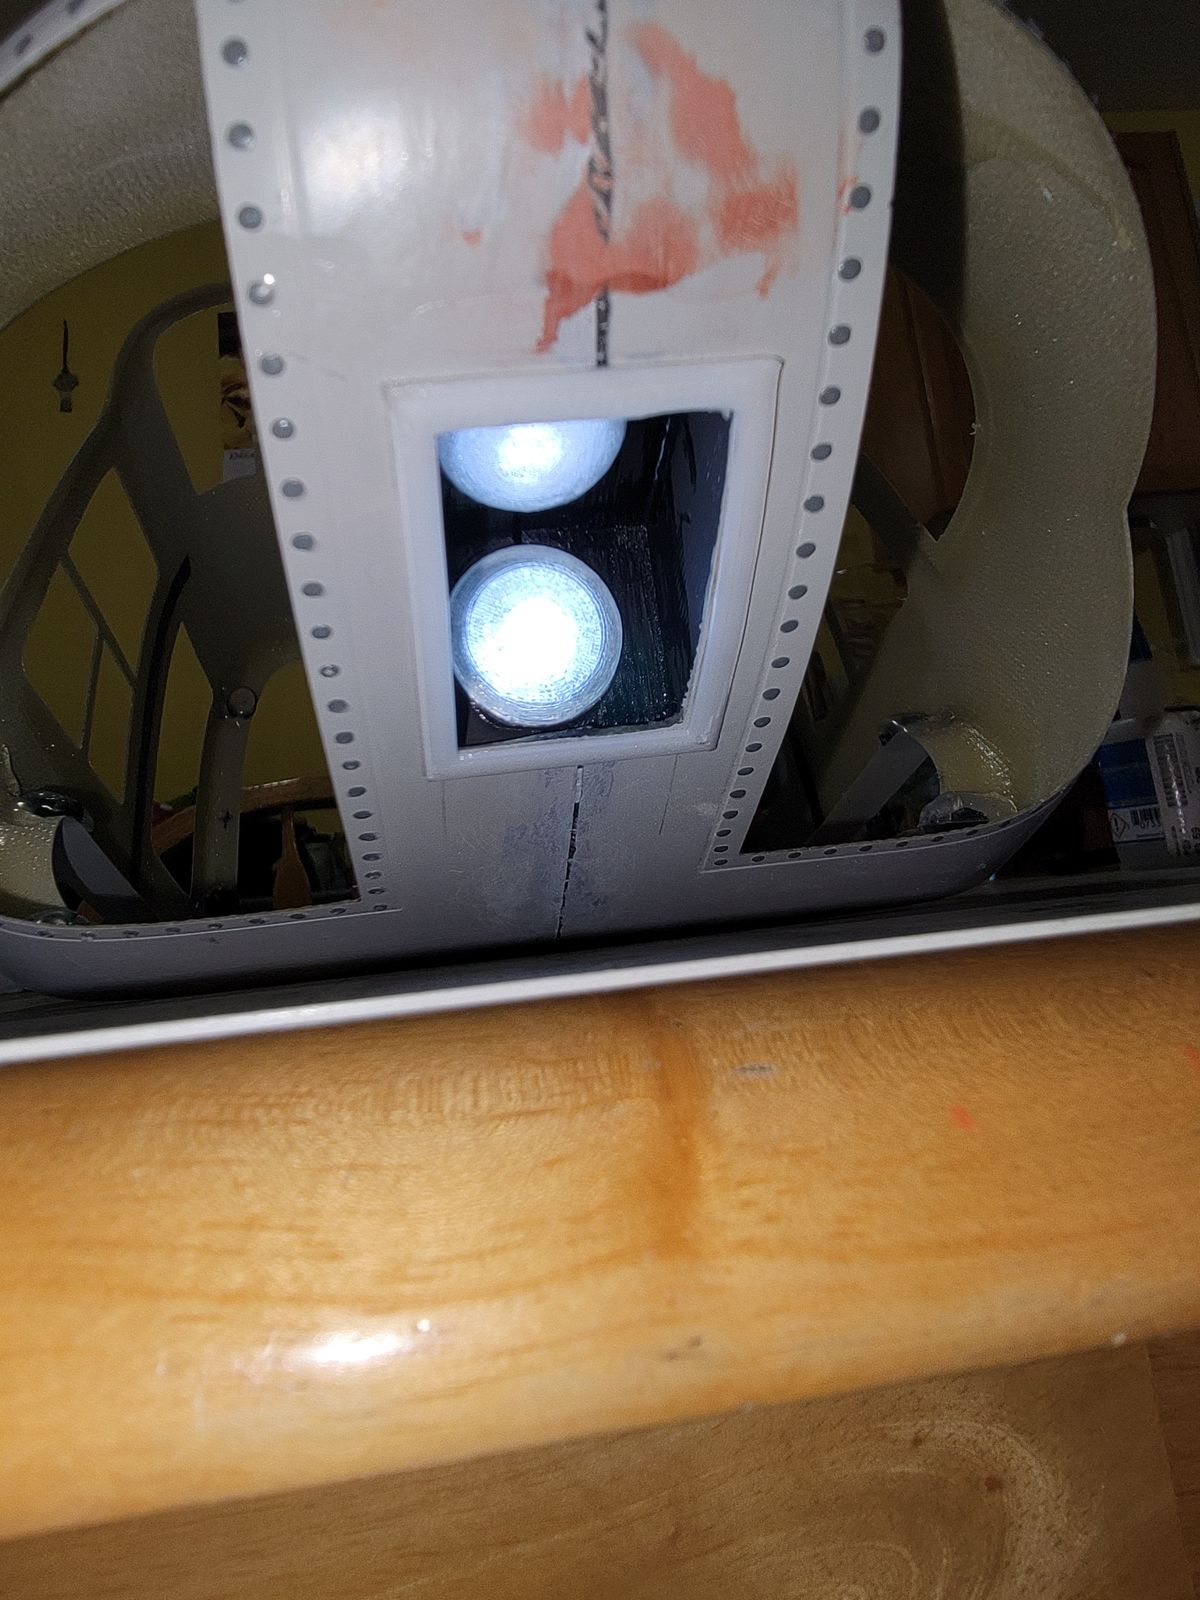
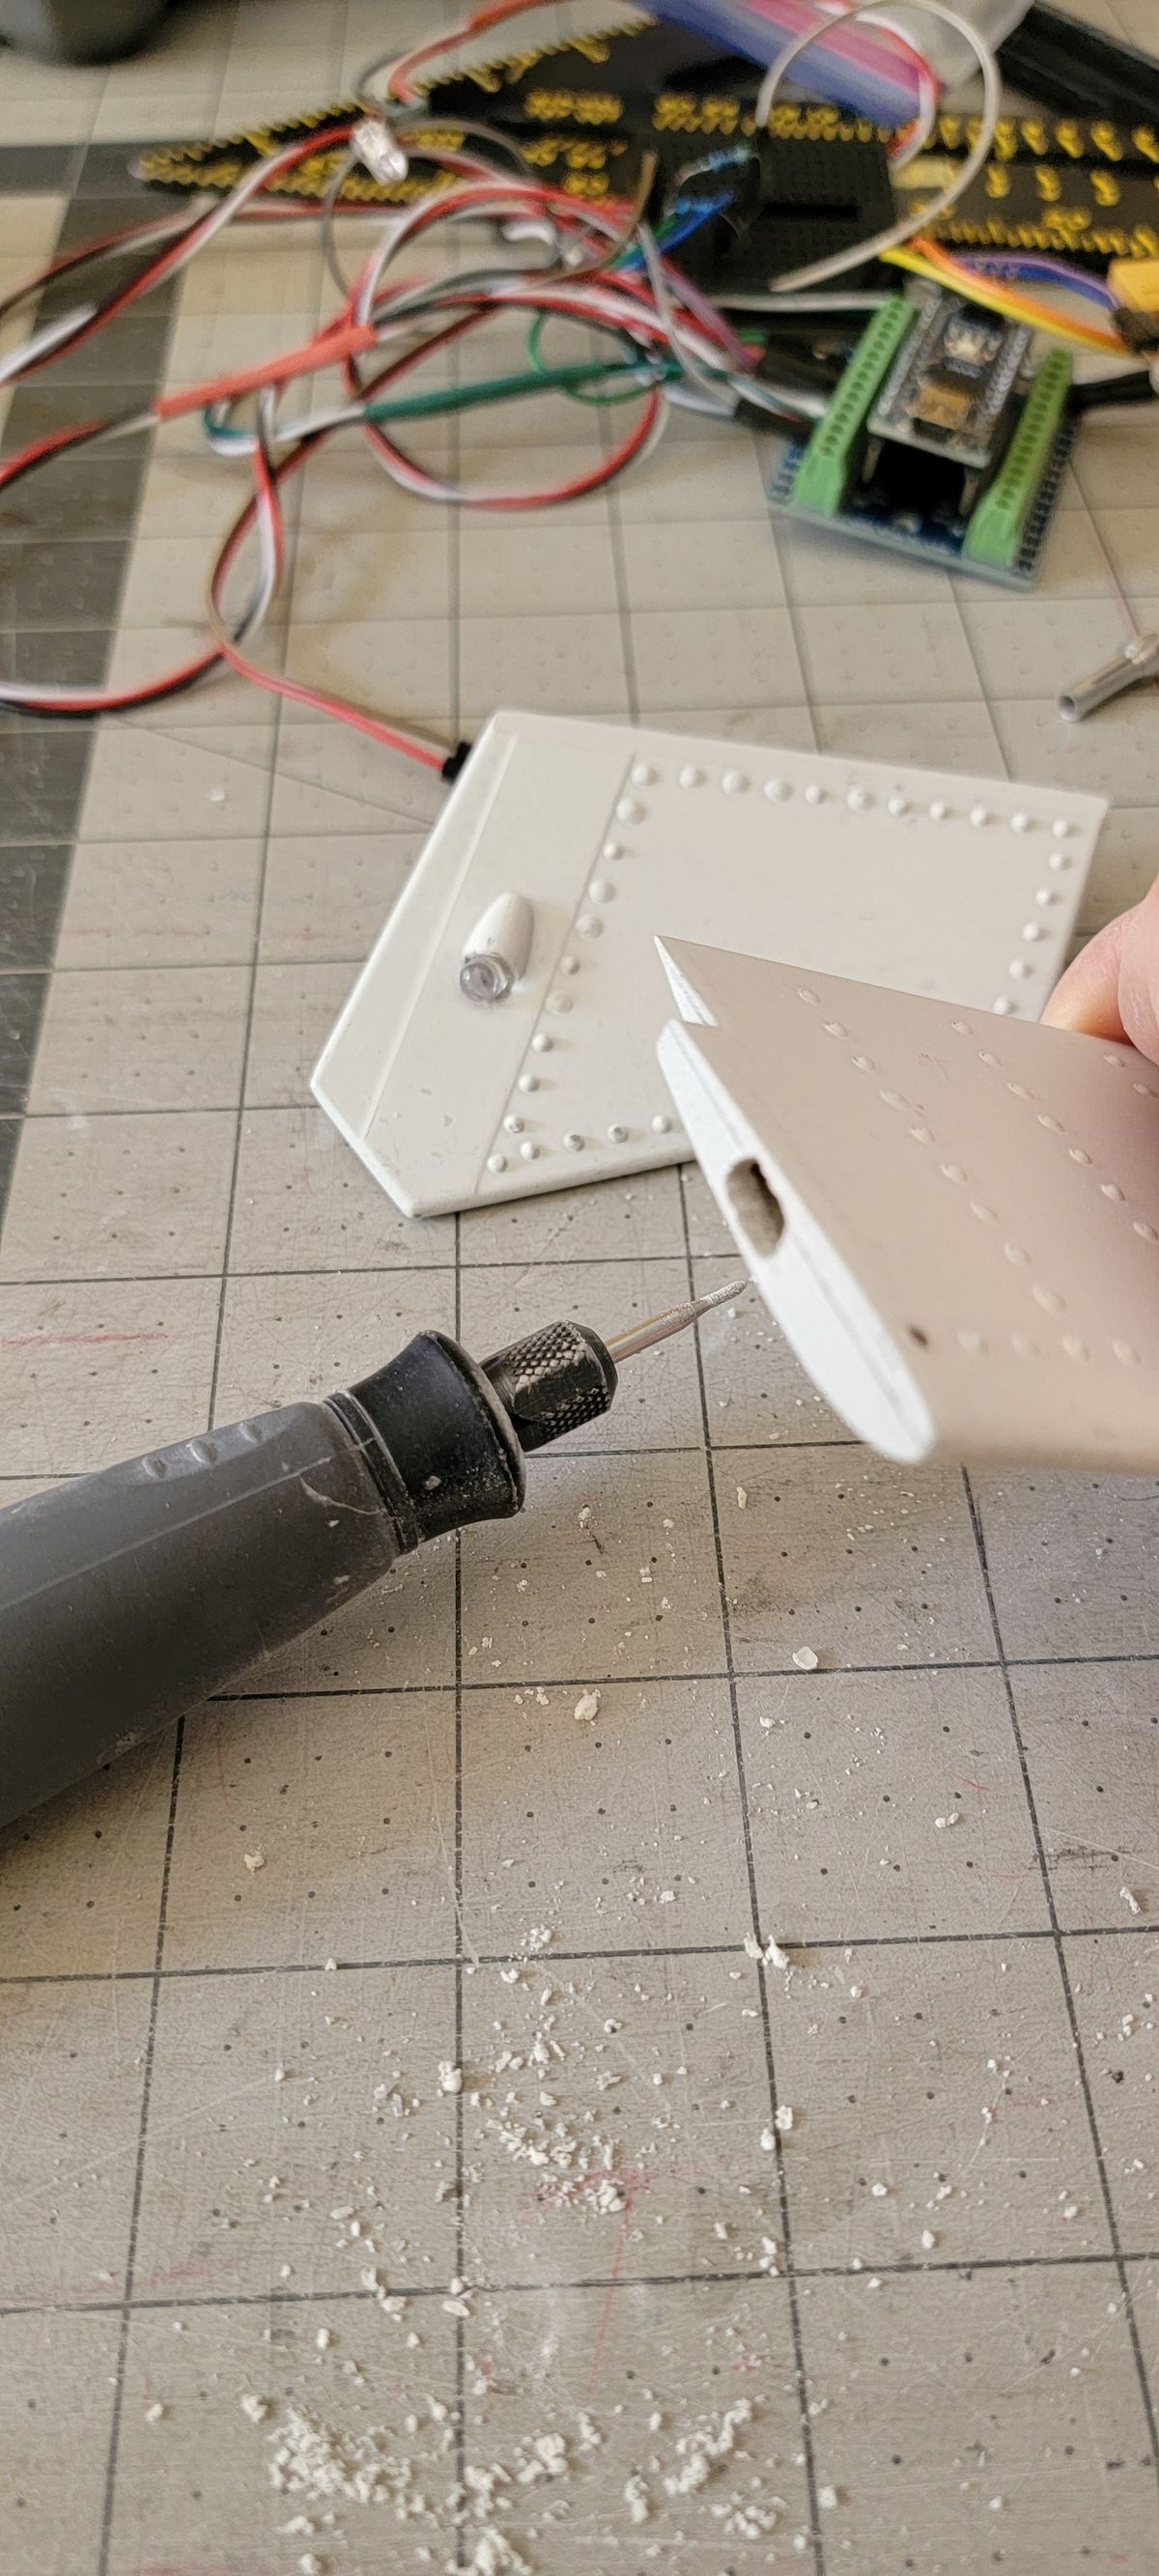
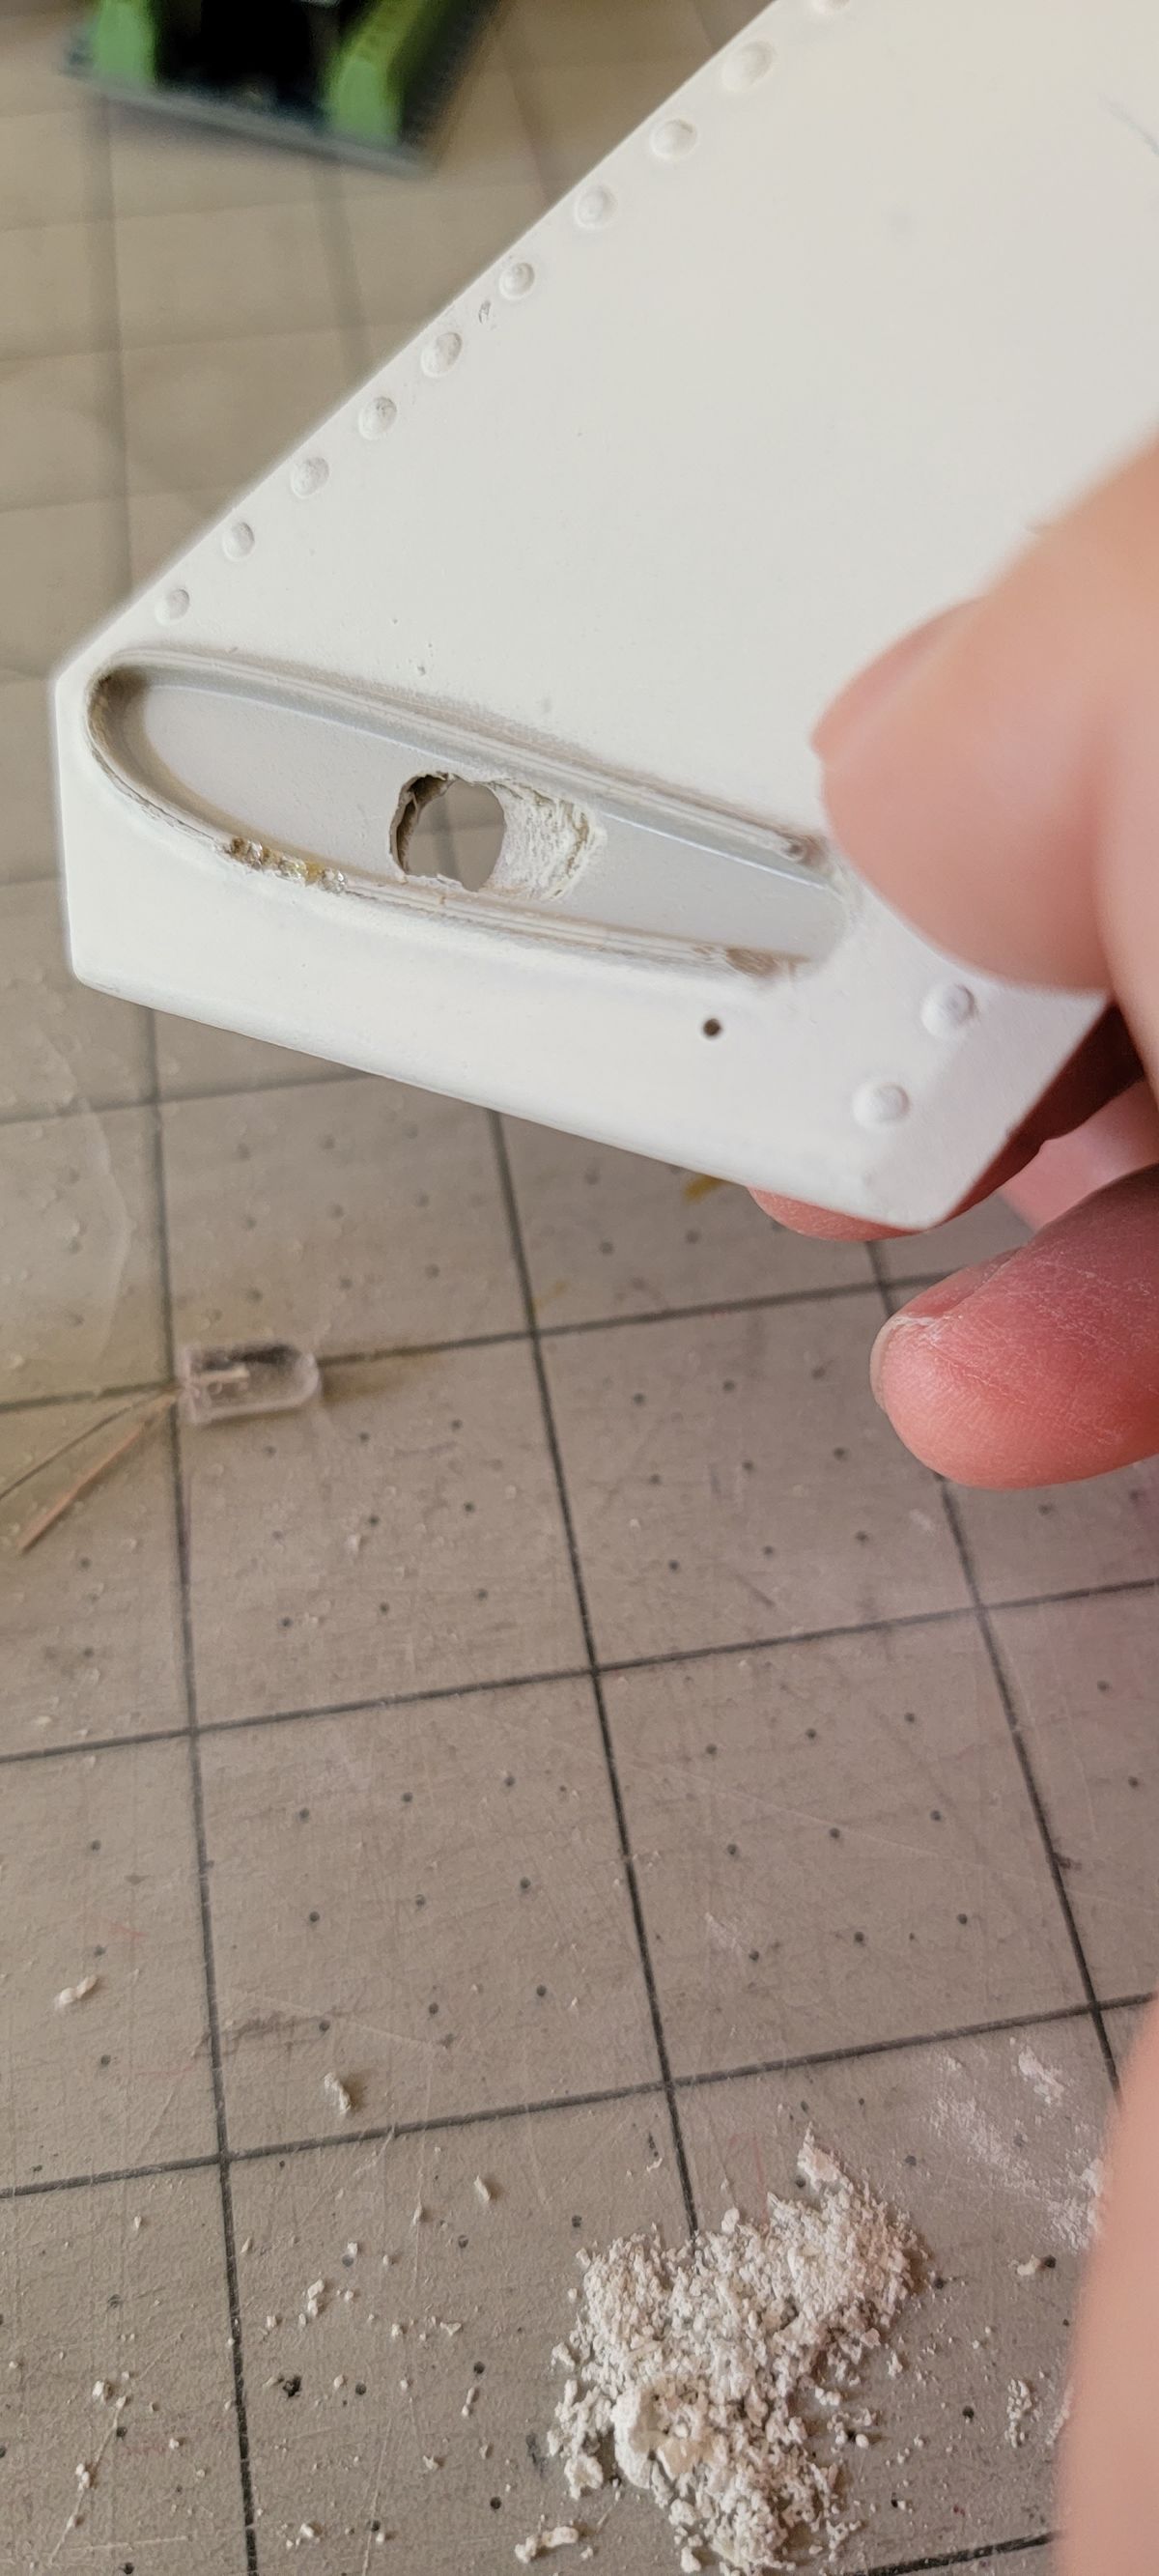
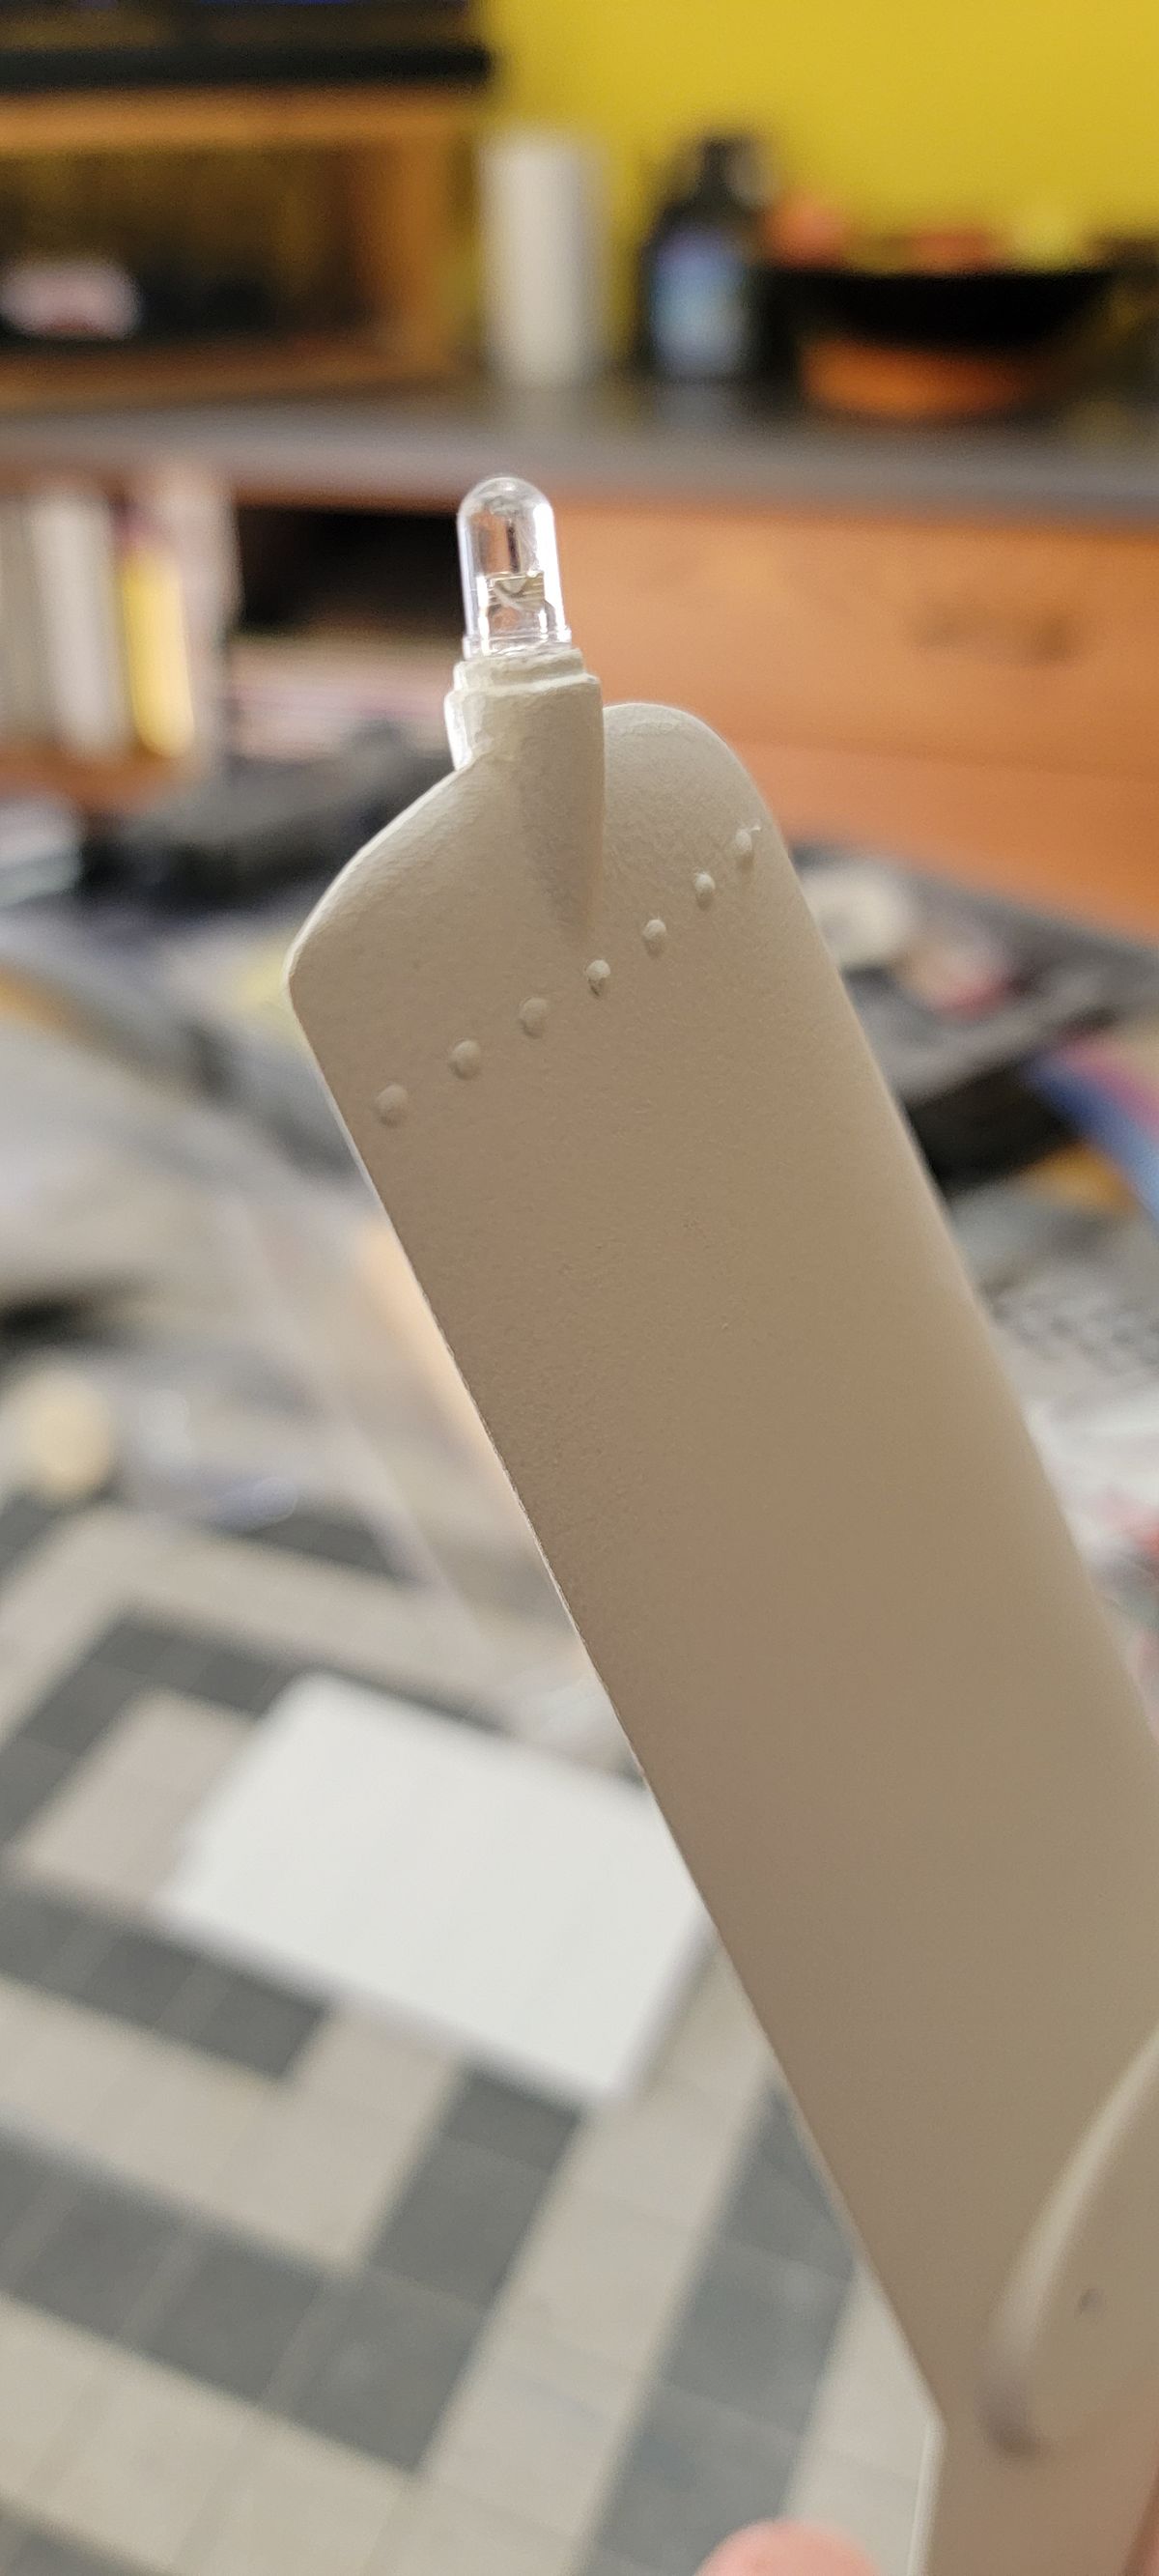
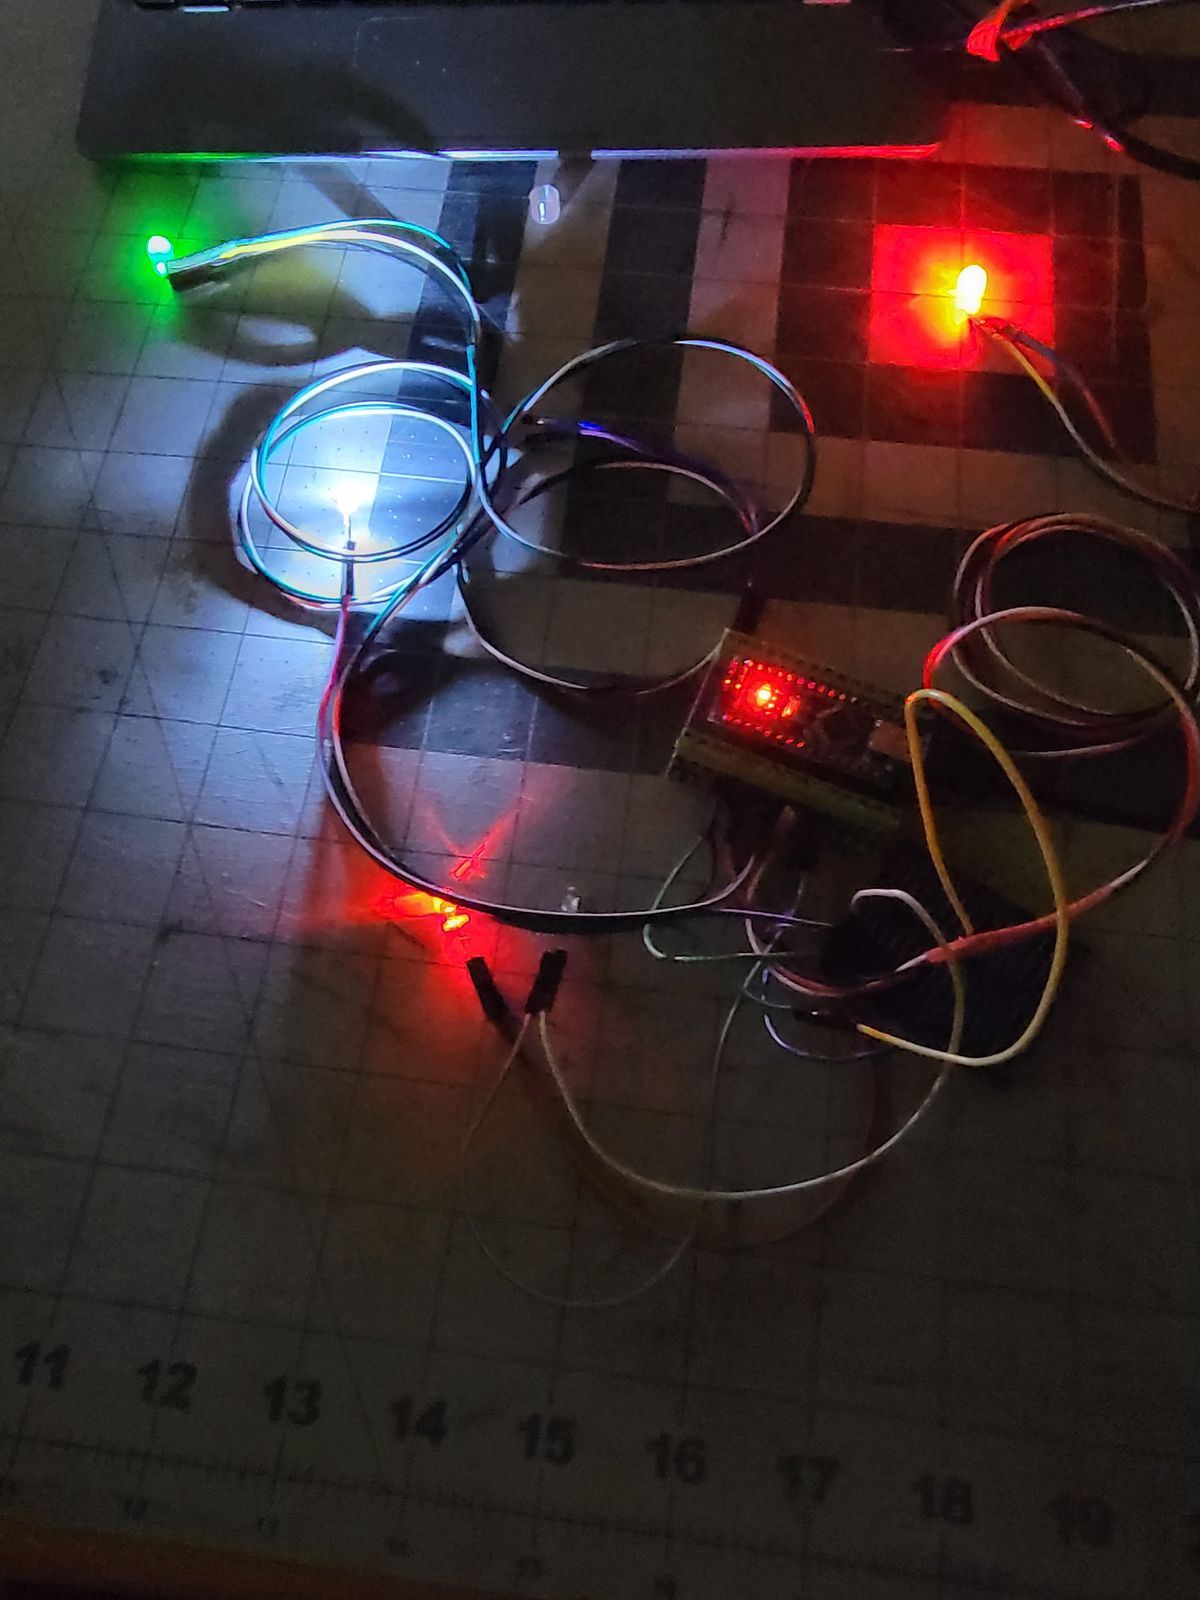
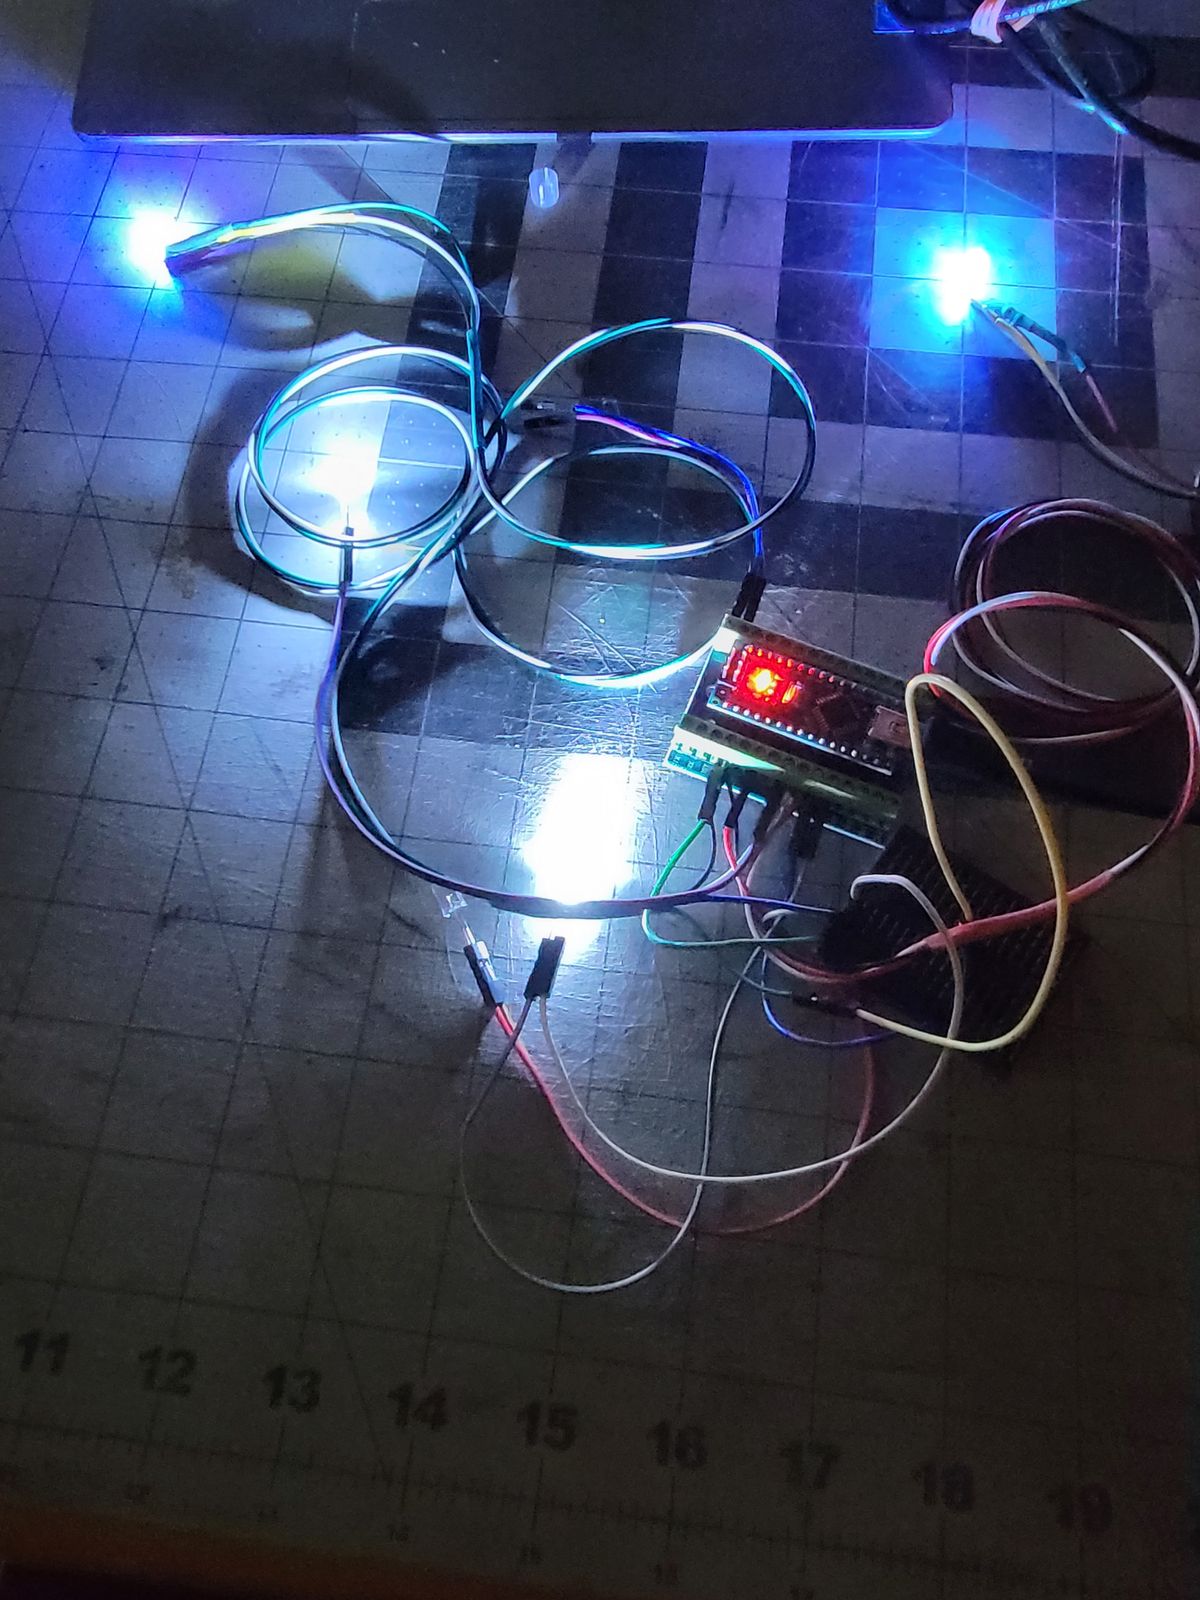
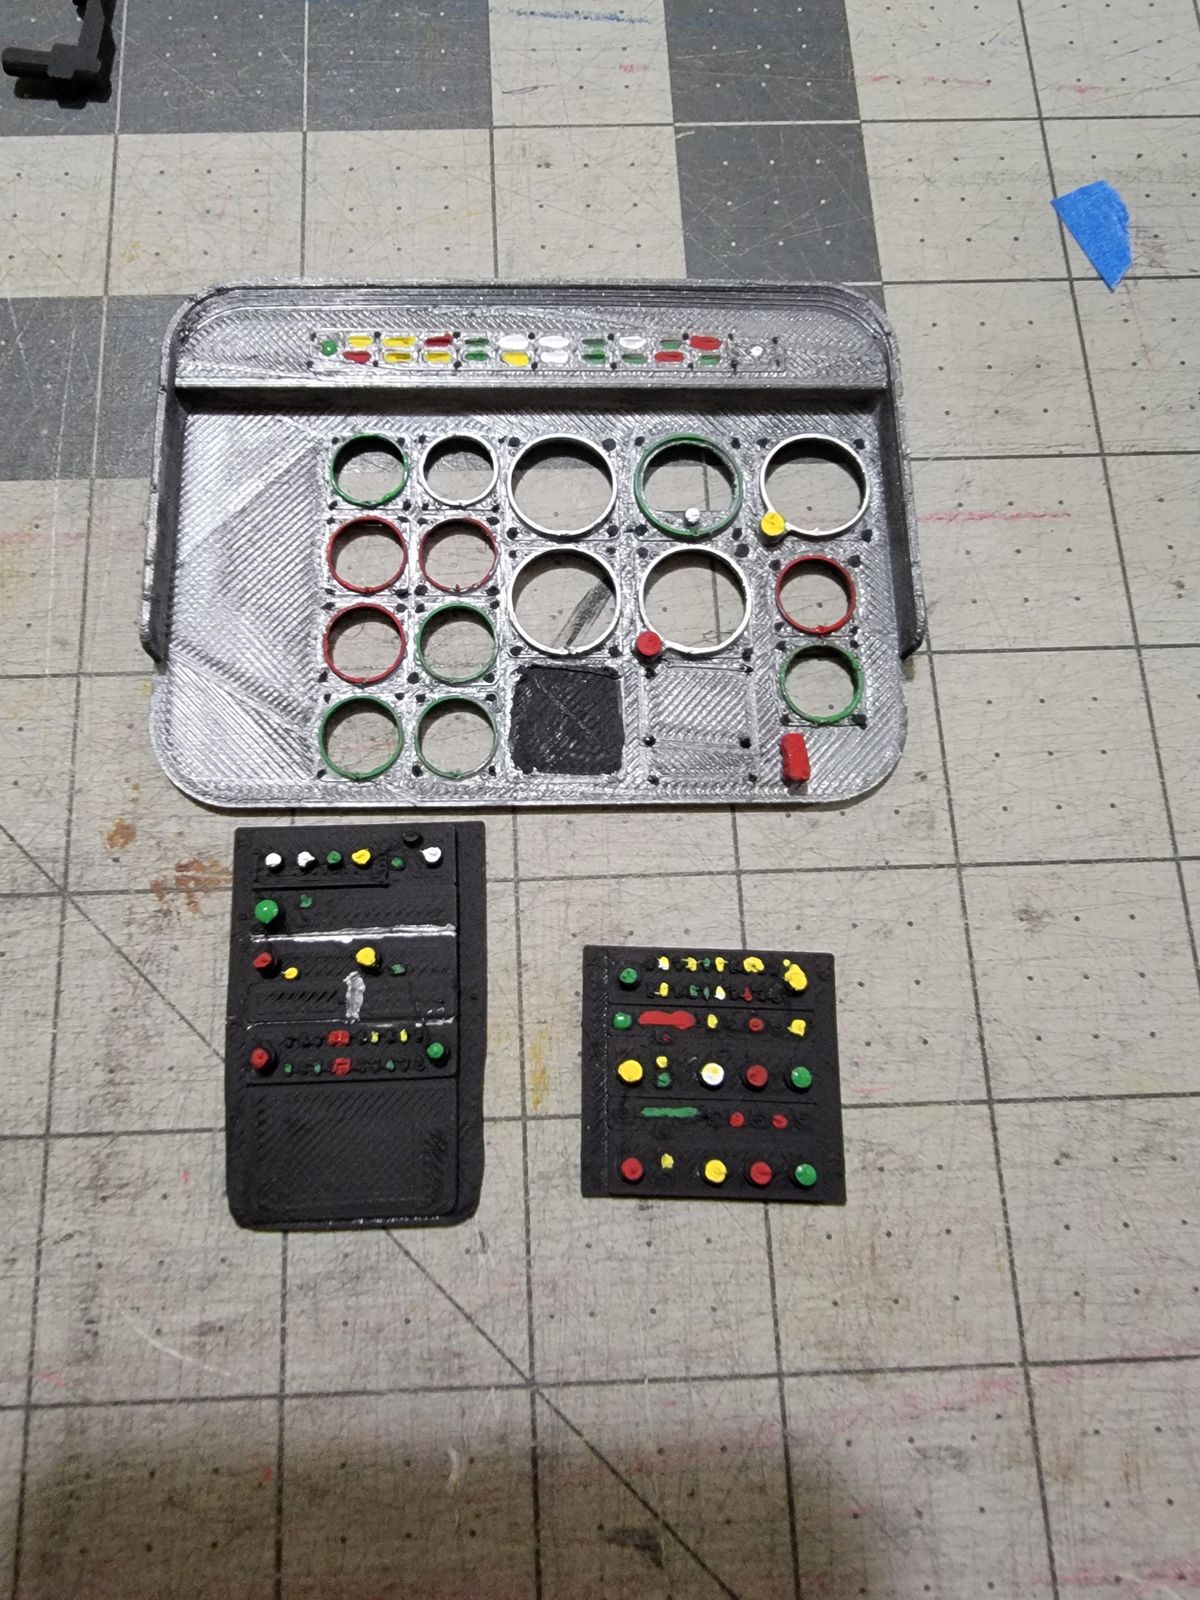
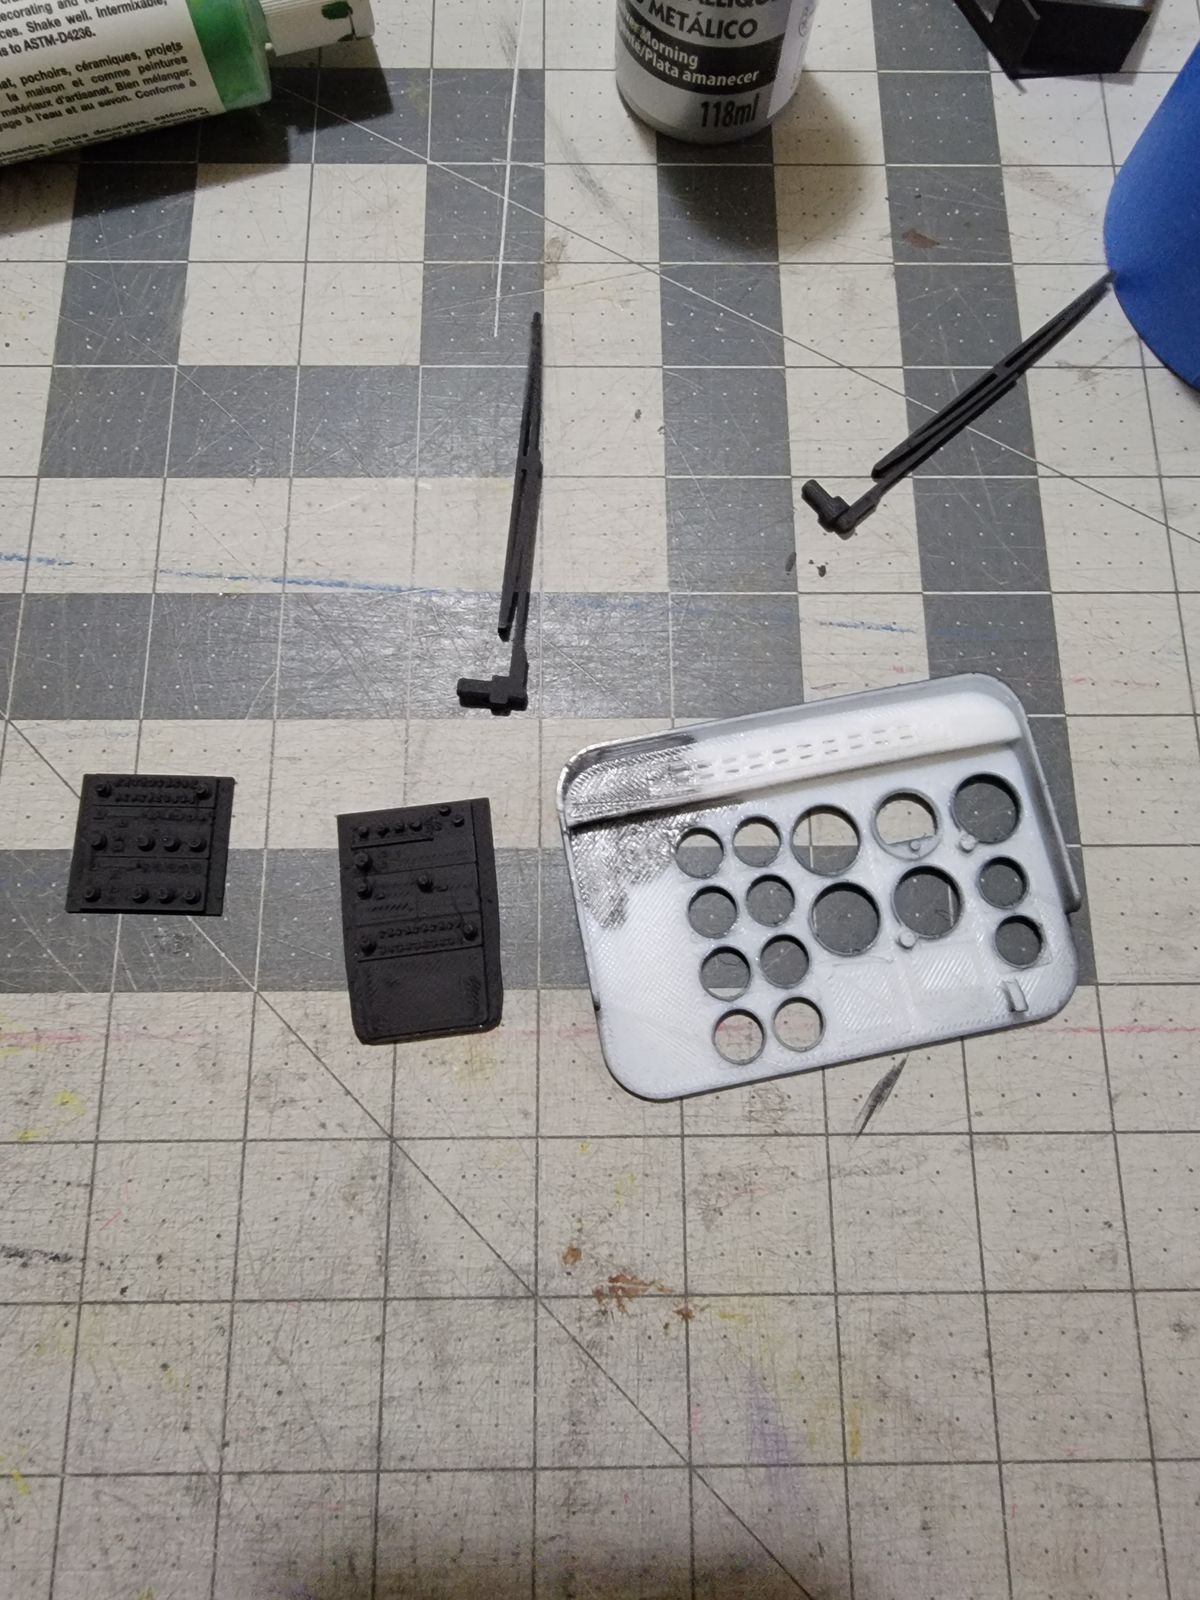
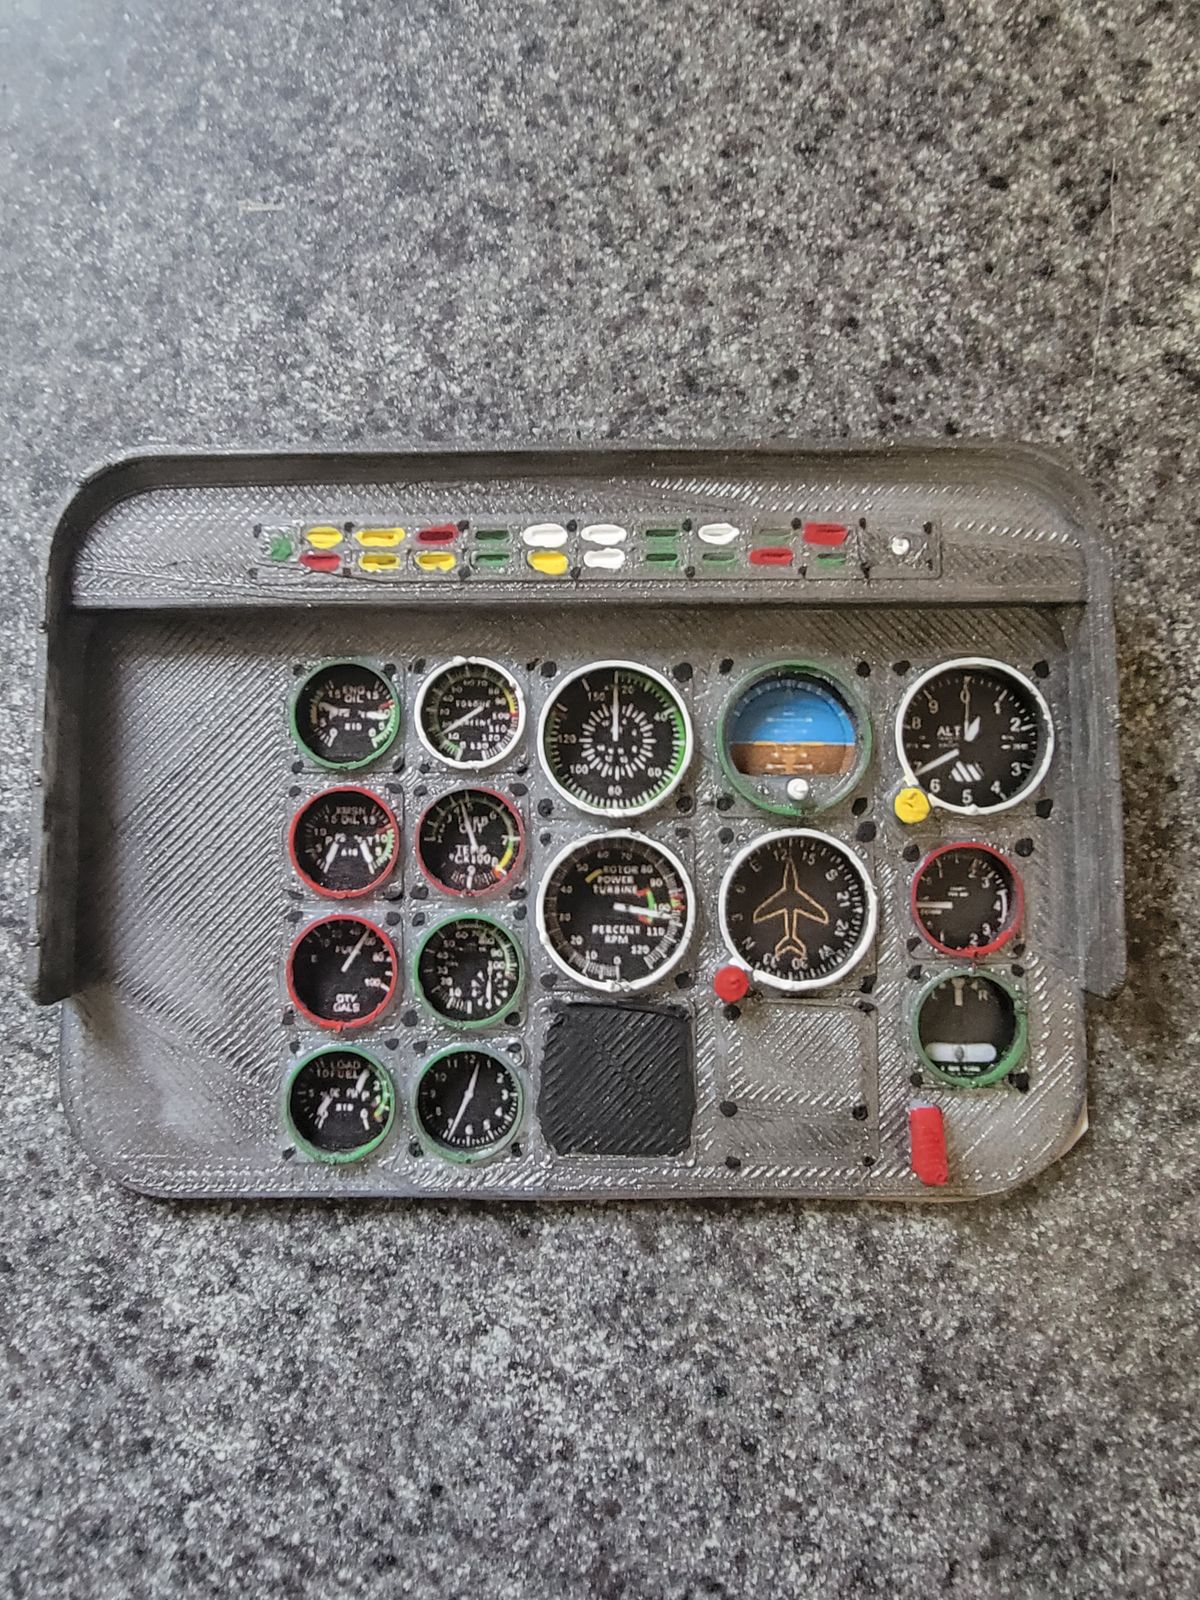
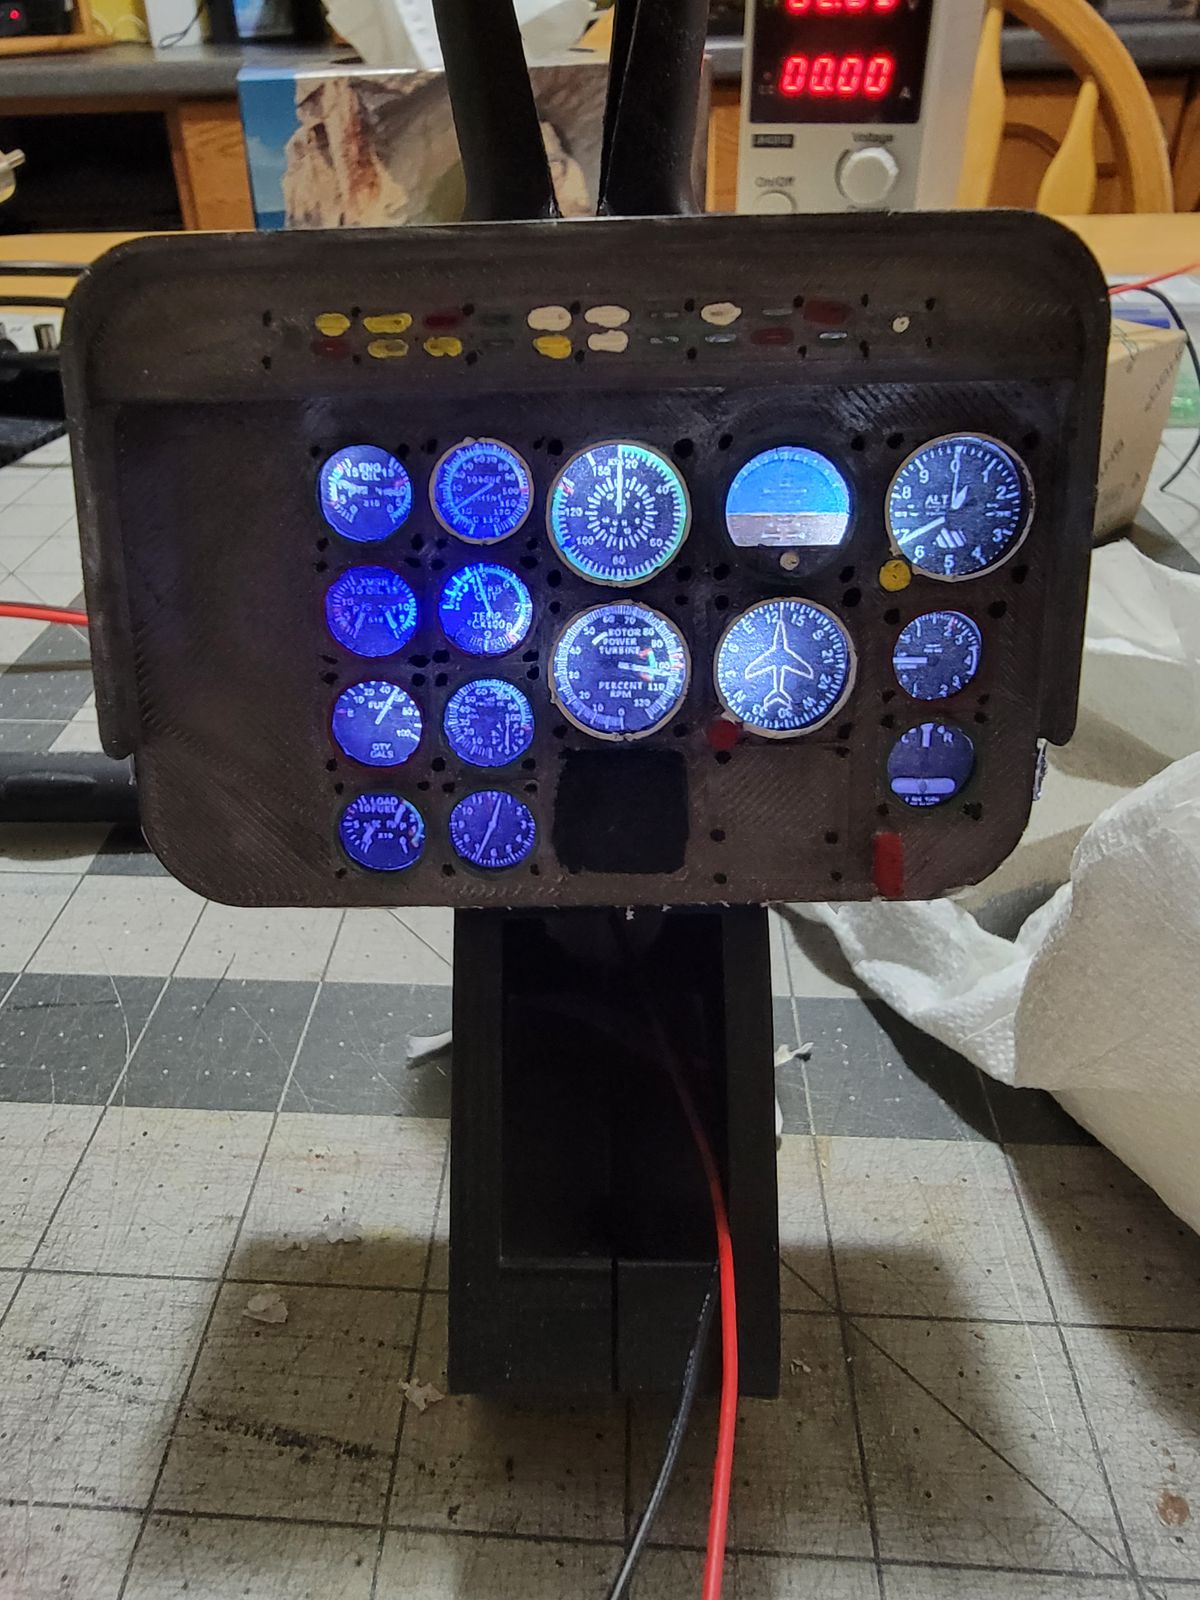
I'm working on the lights system. I decided to build my own with an Arduino and few LED's that I have left from other projects. I'll need to paint everything before the final installation but it's a starting point.
Servo Upgrade
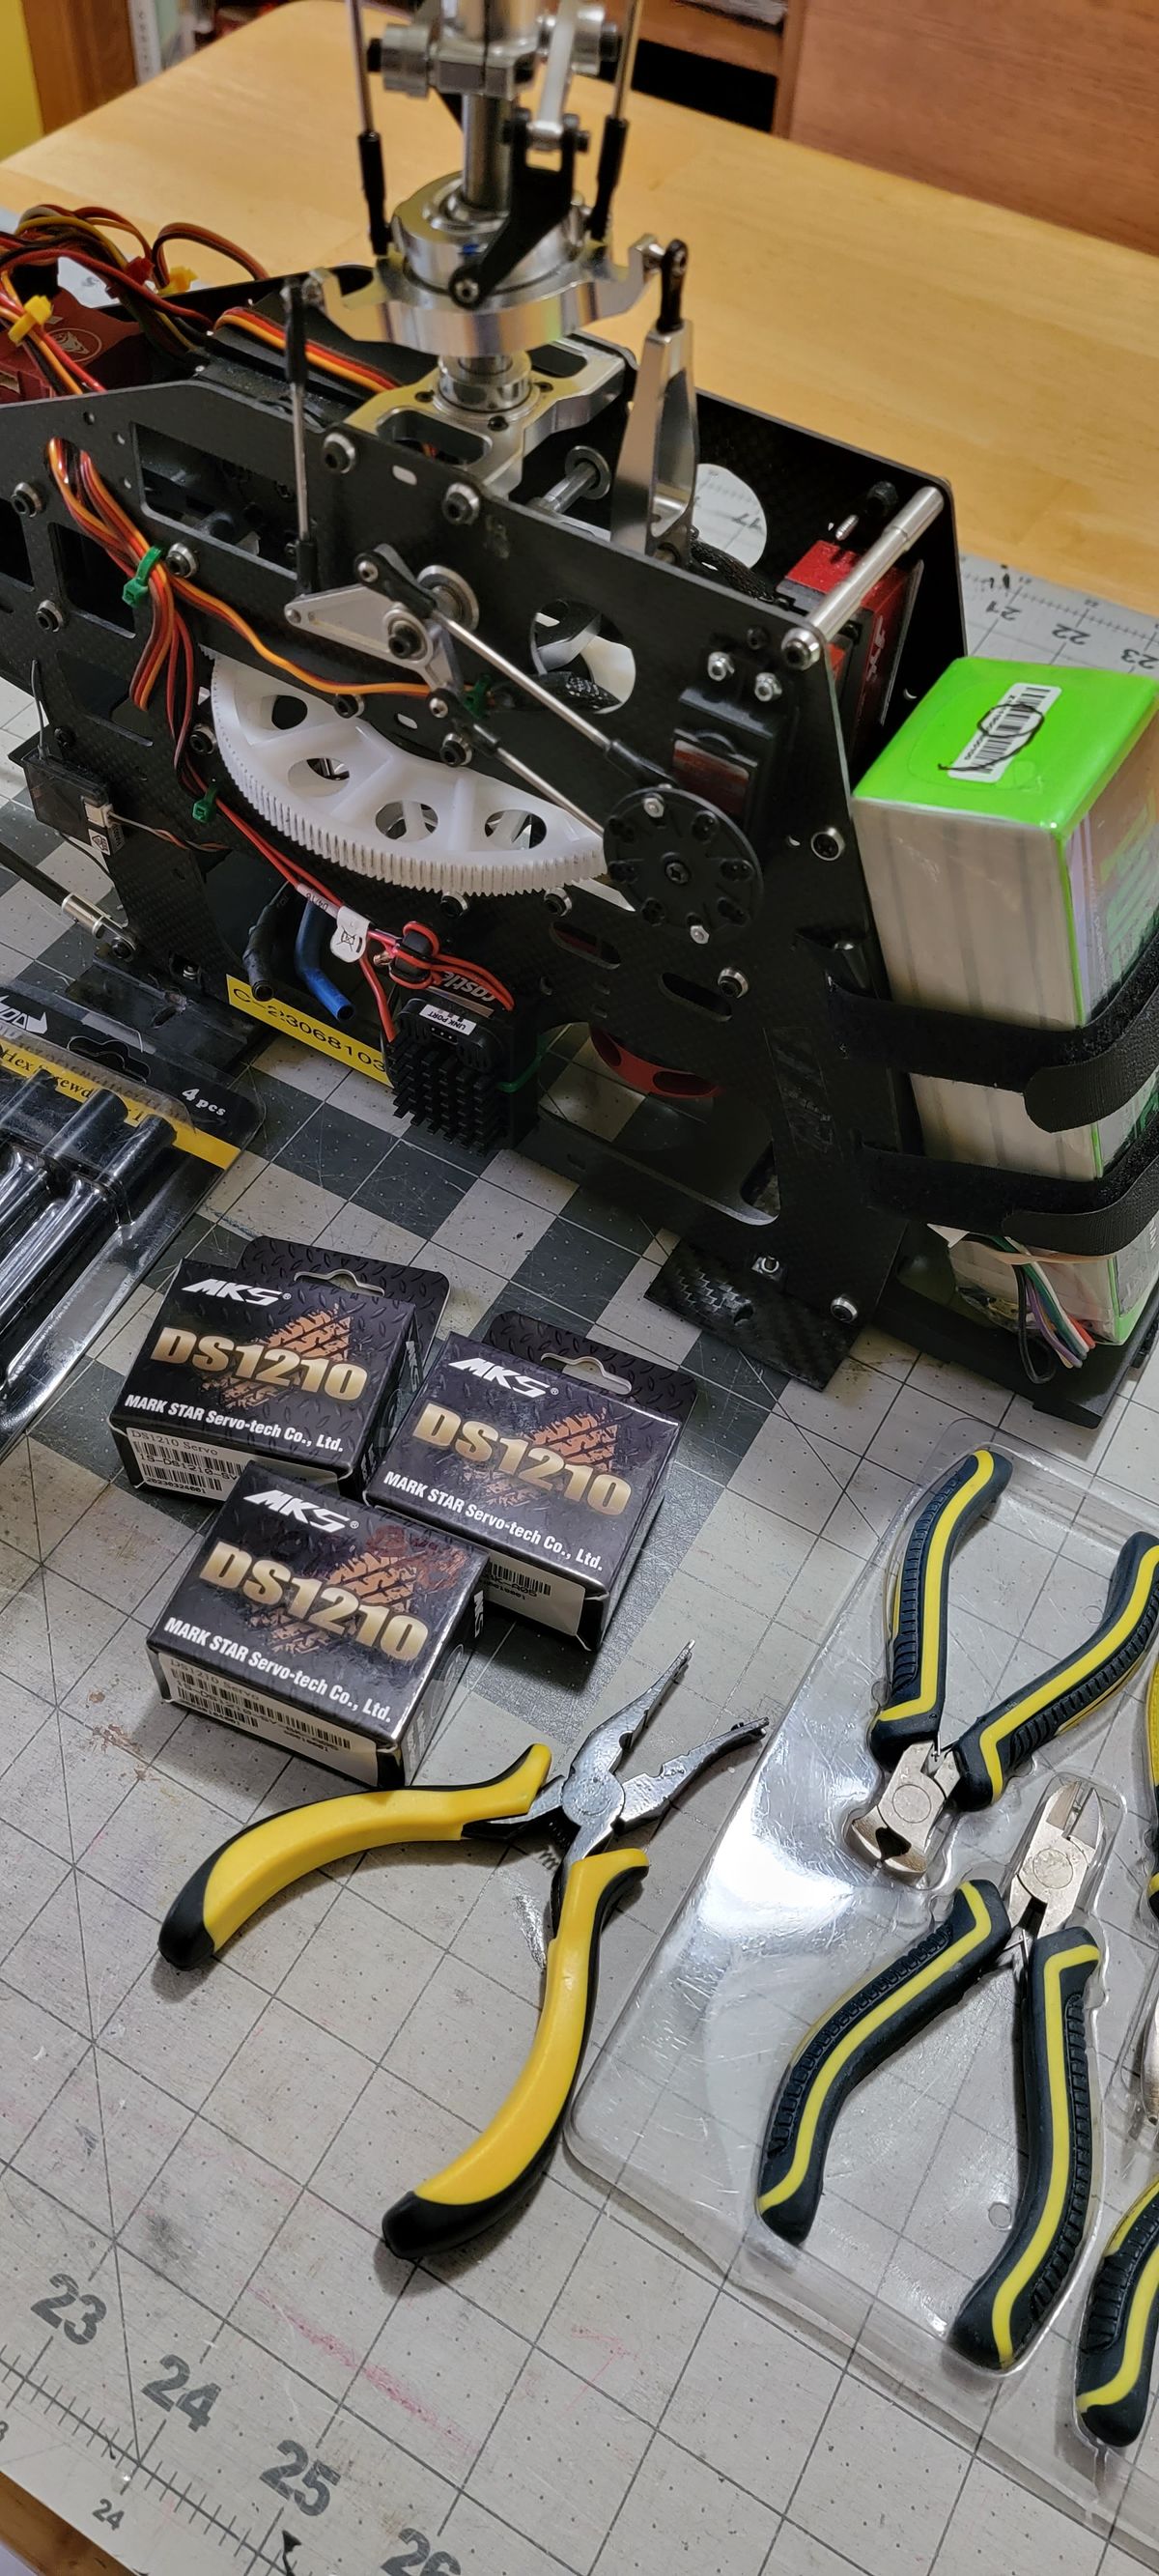
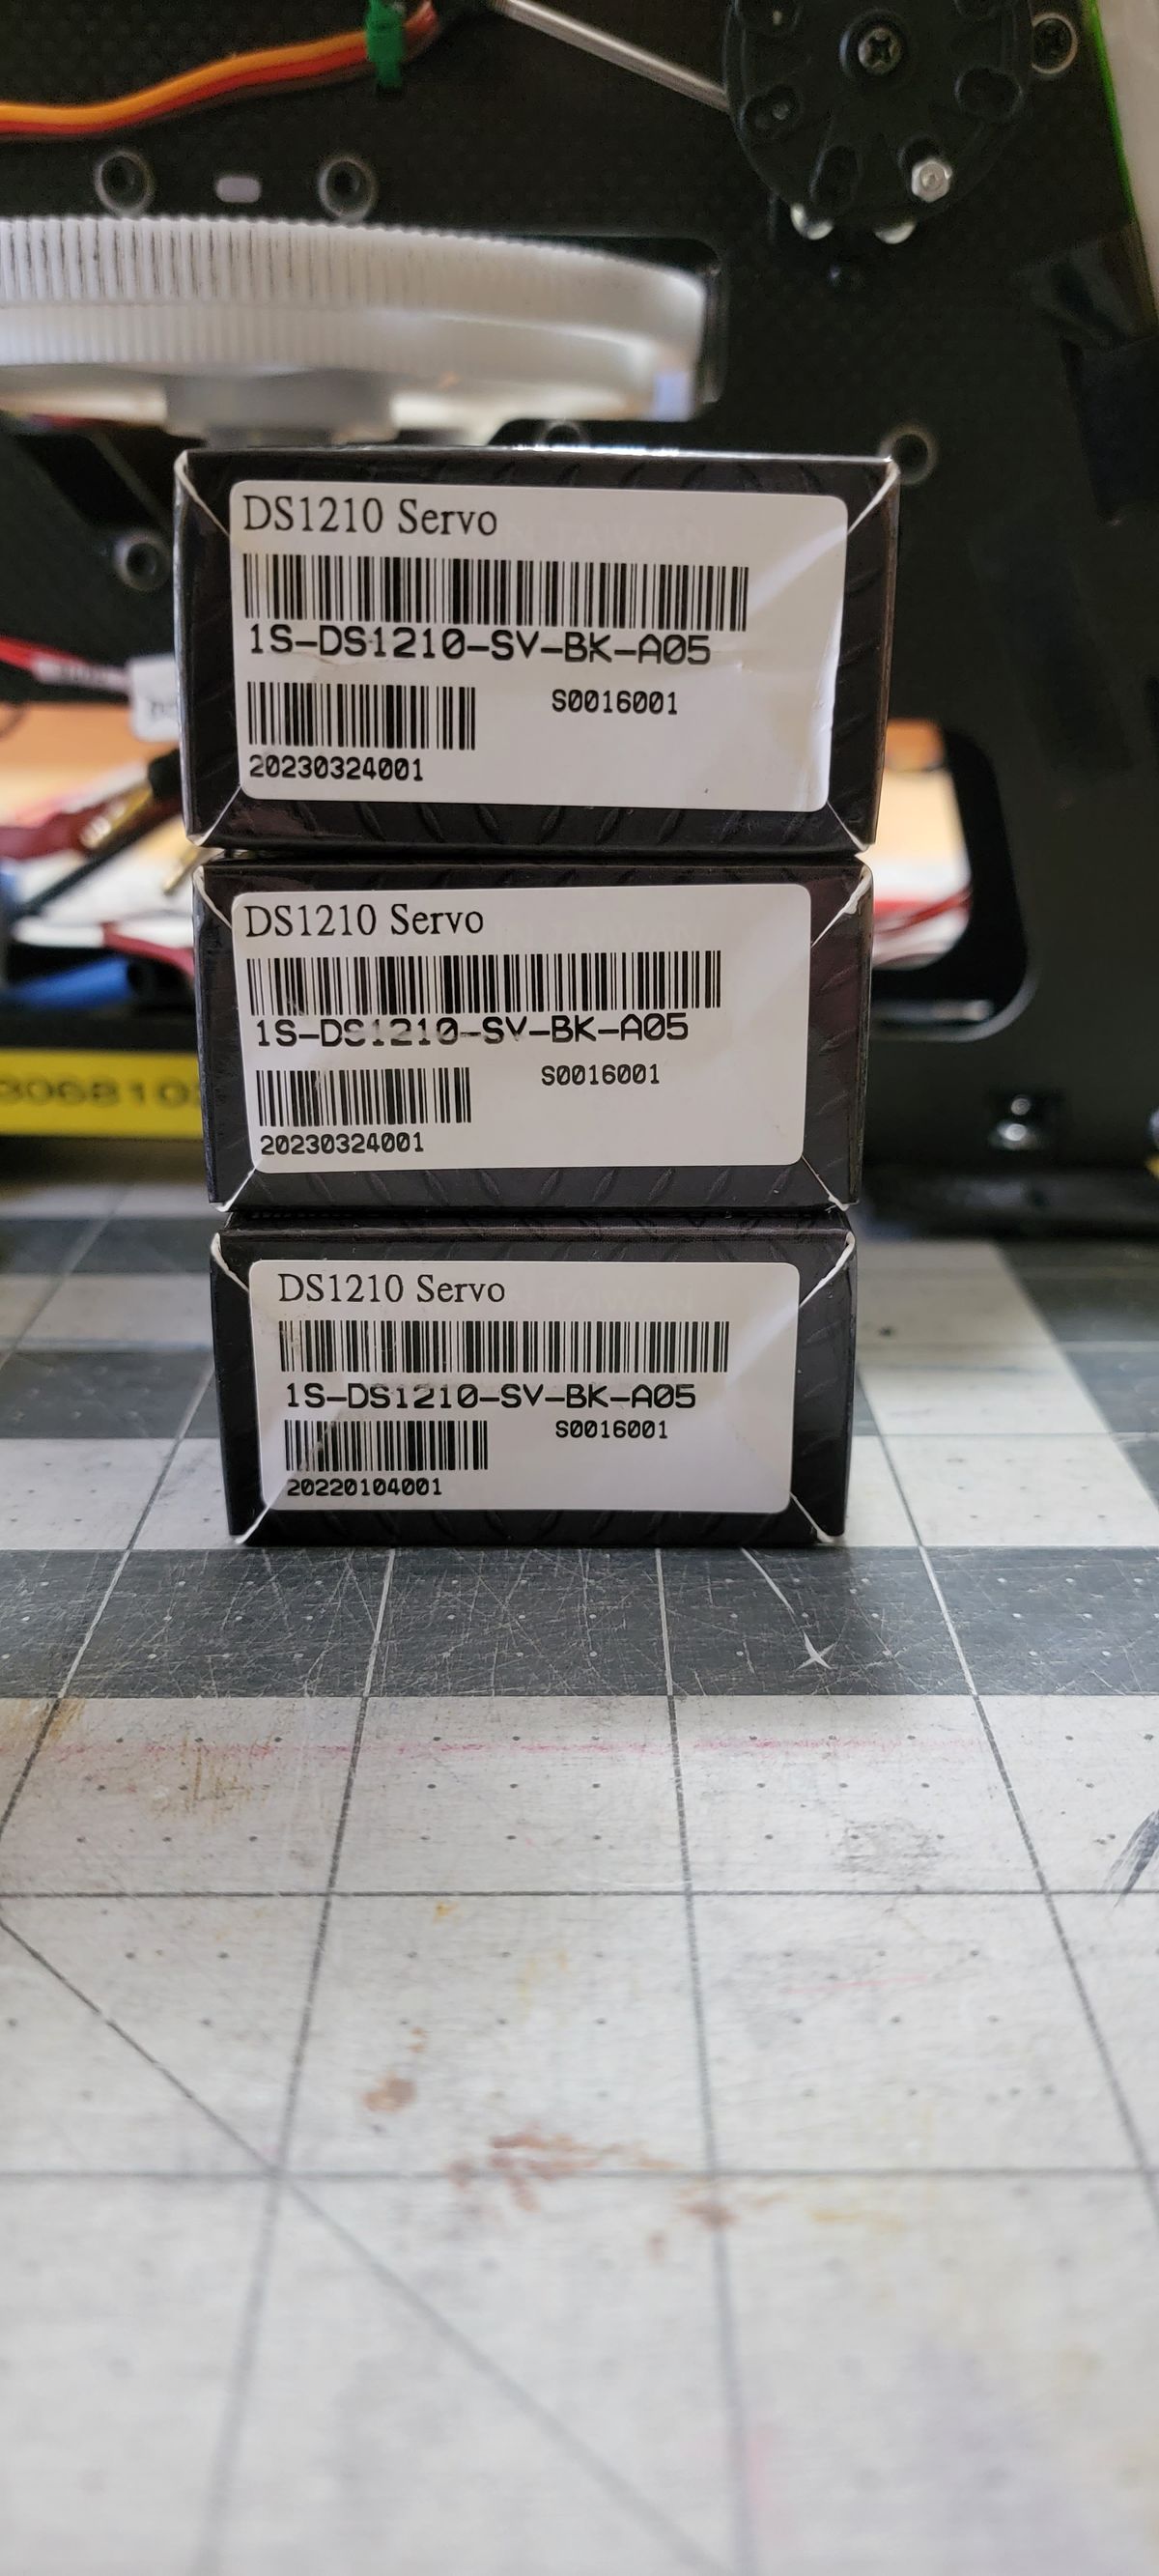
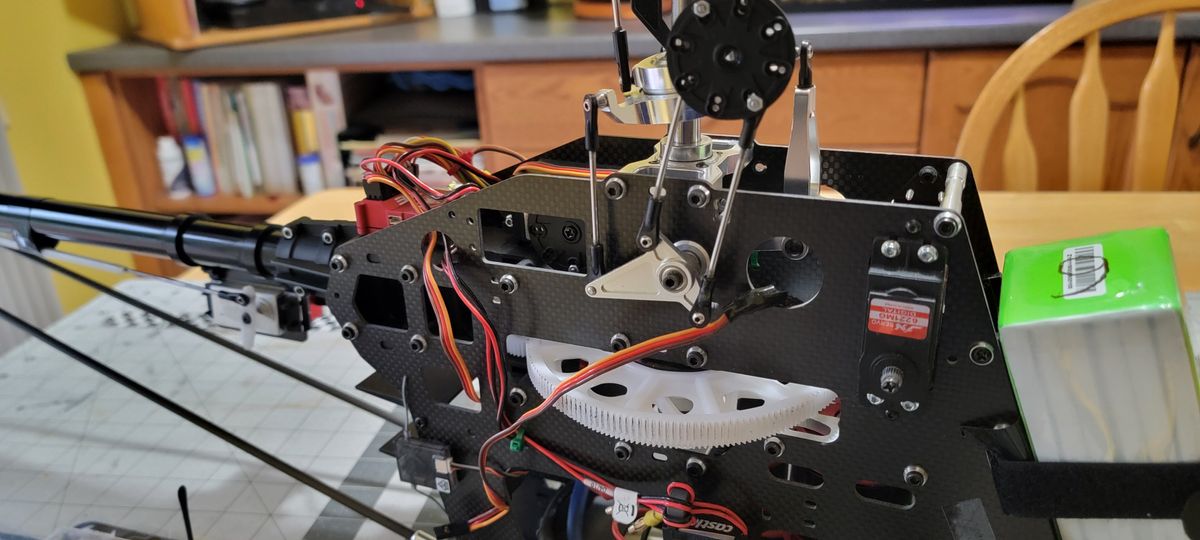
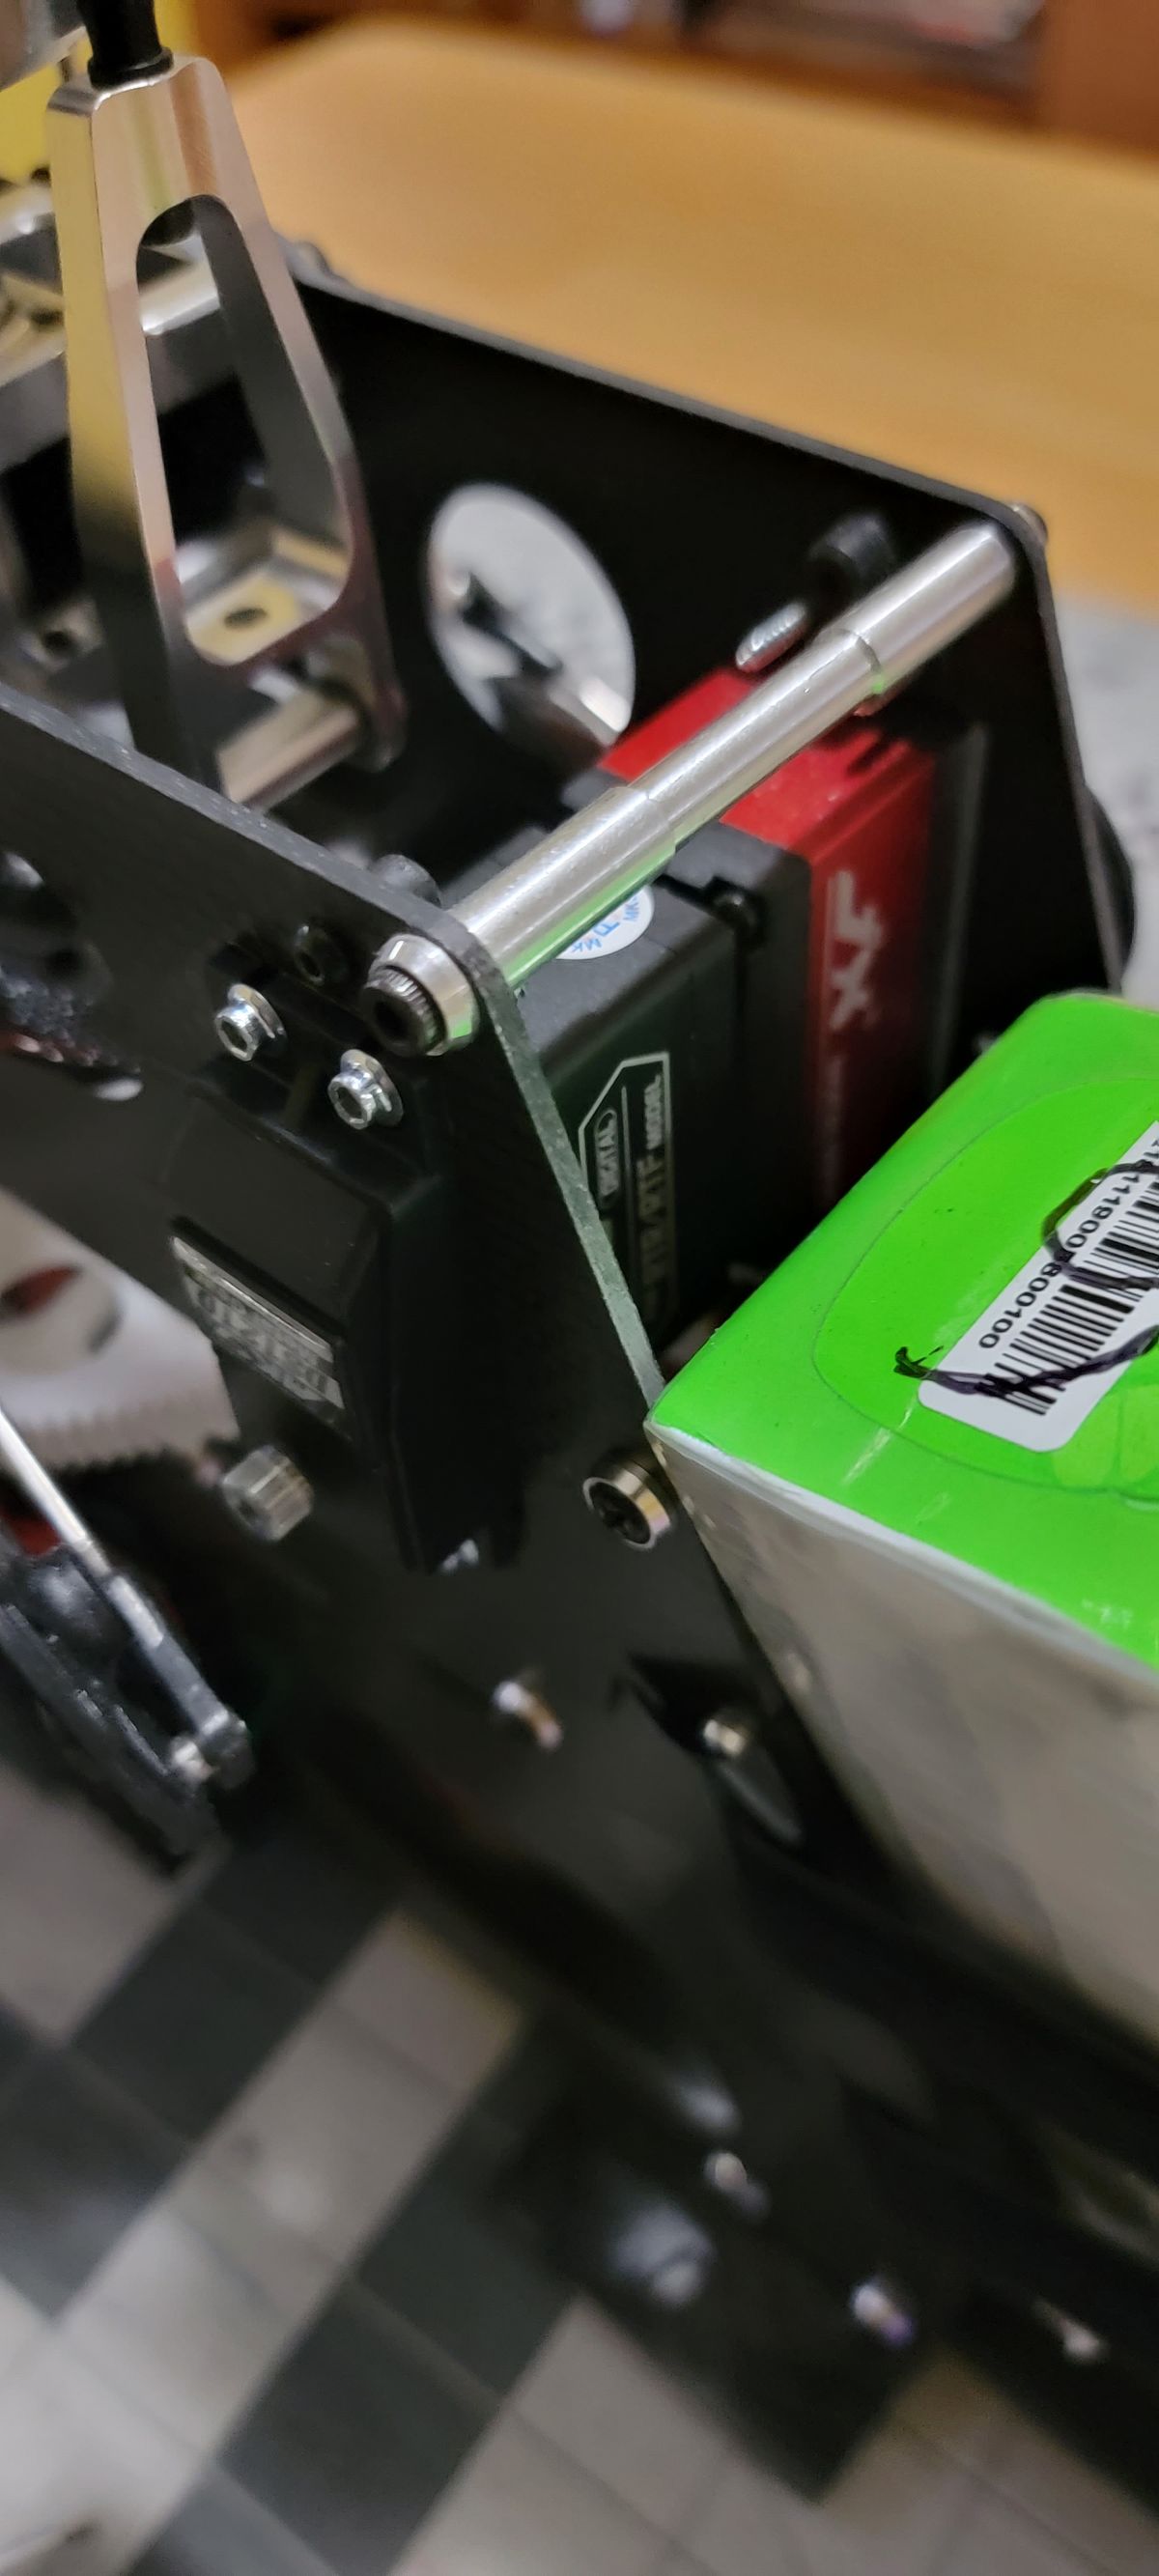
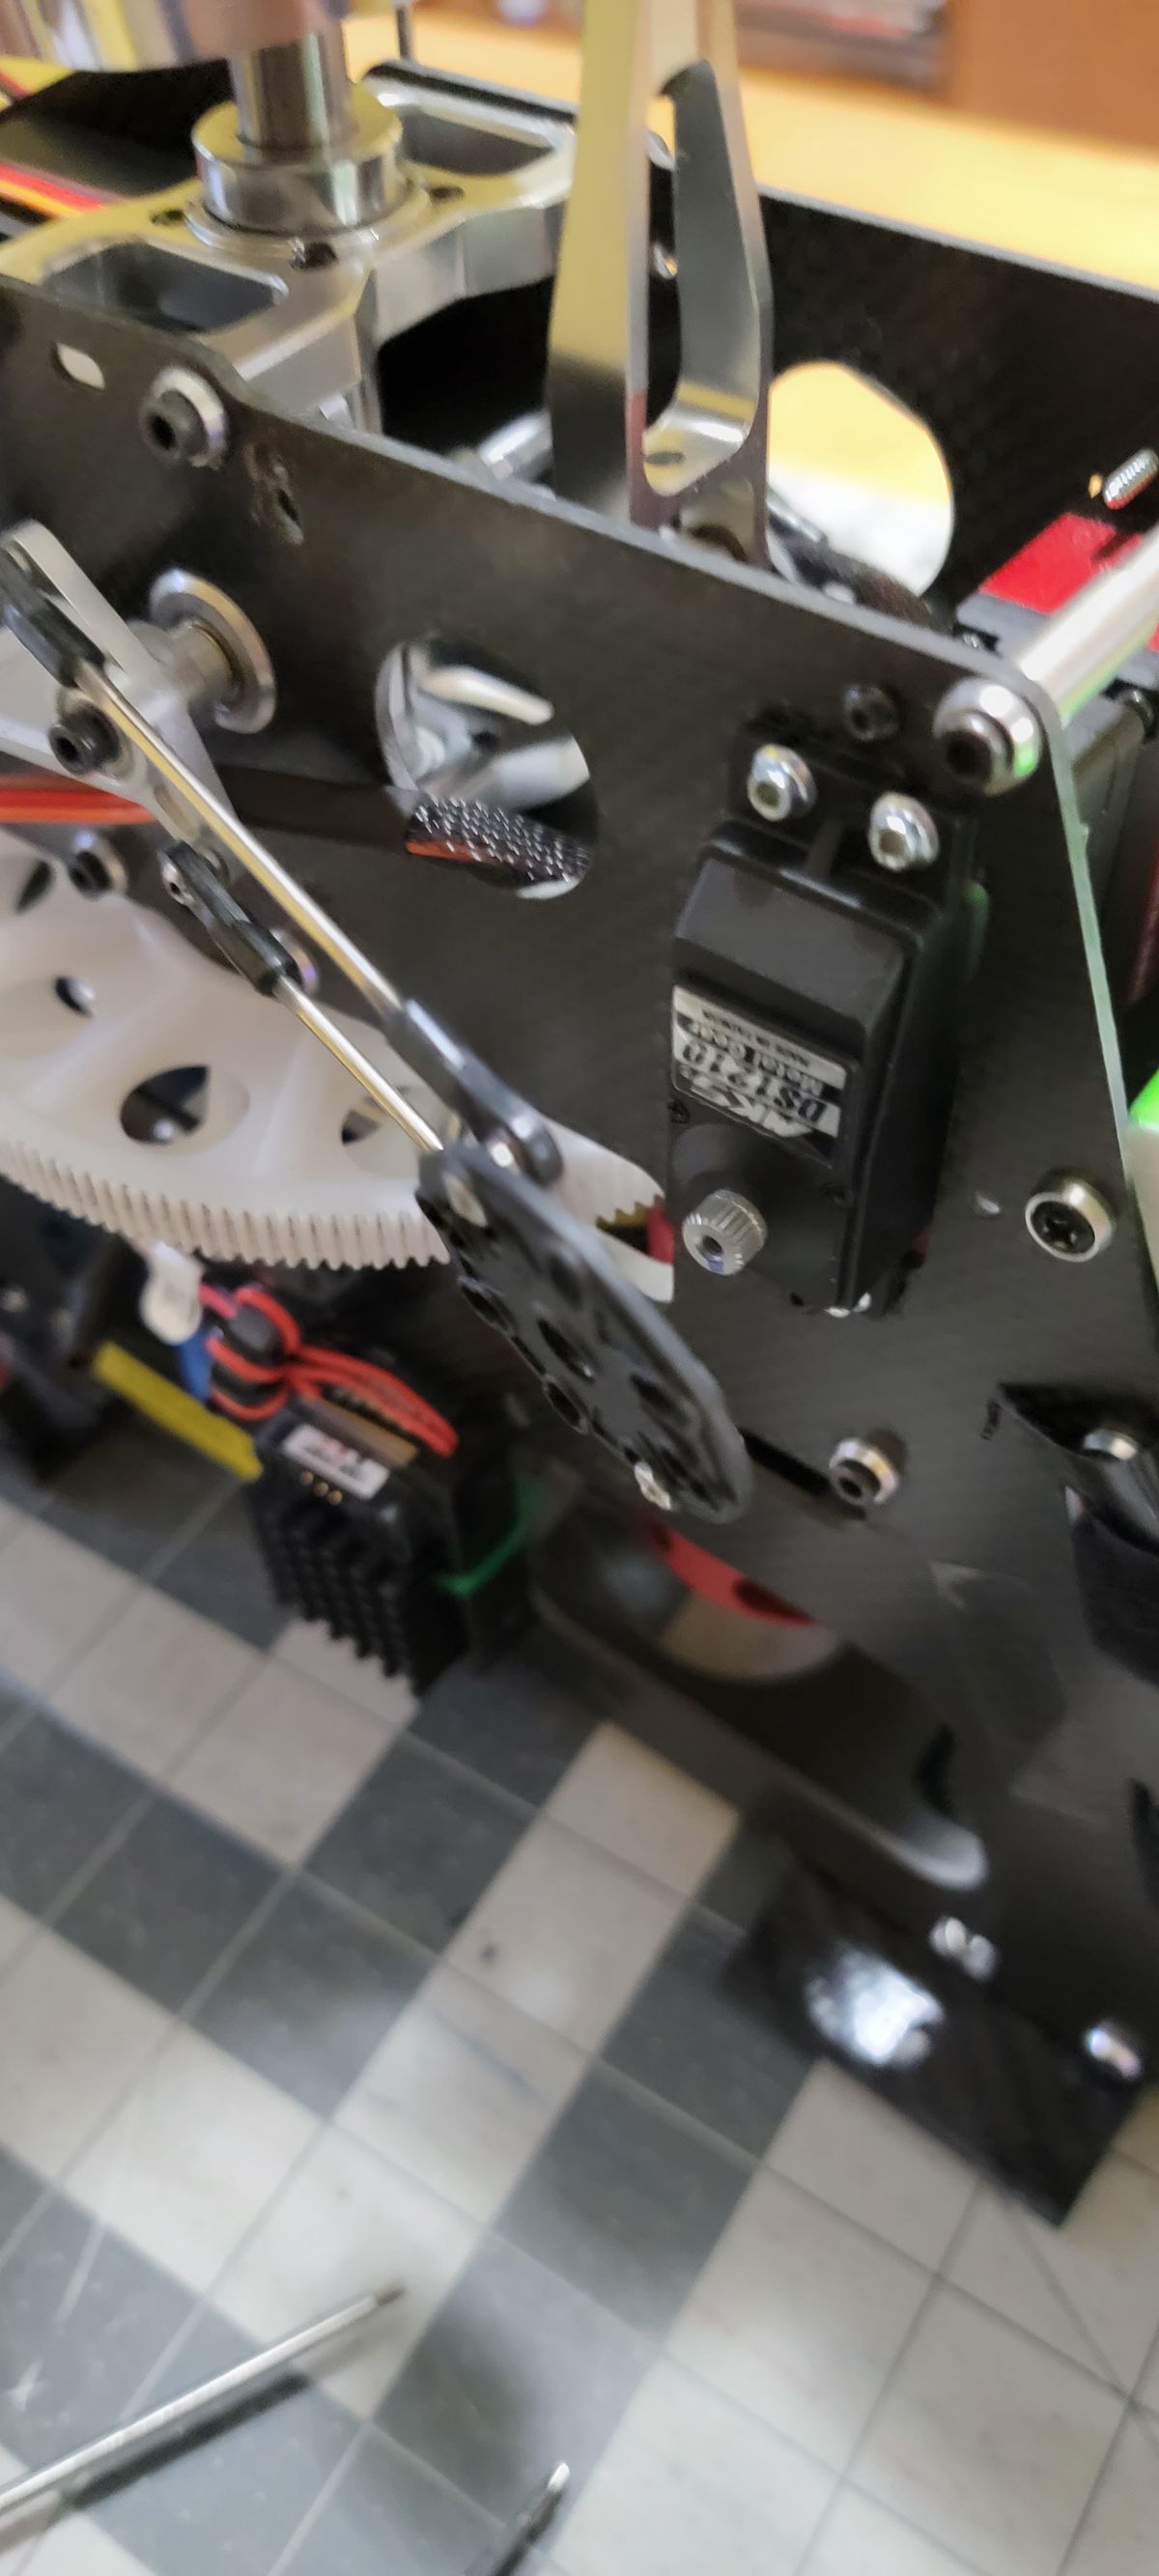
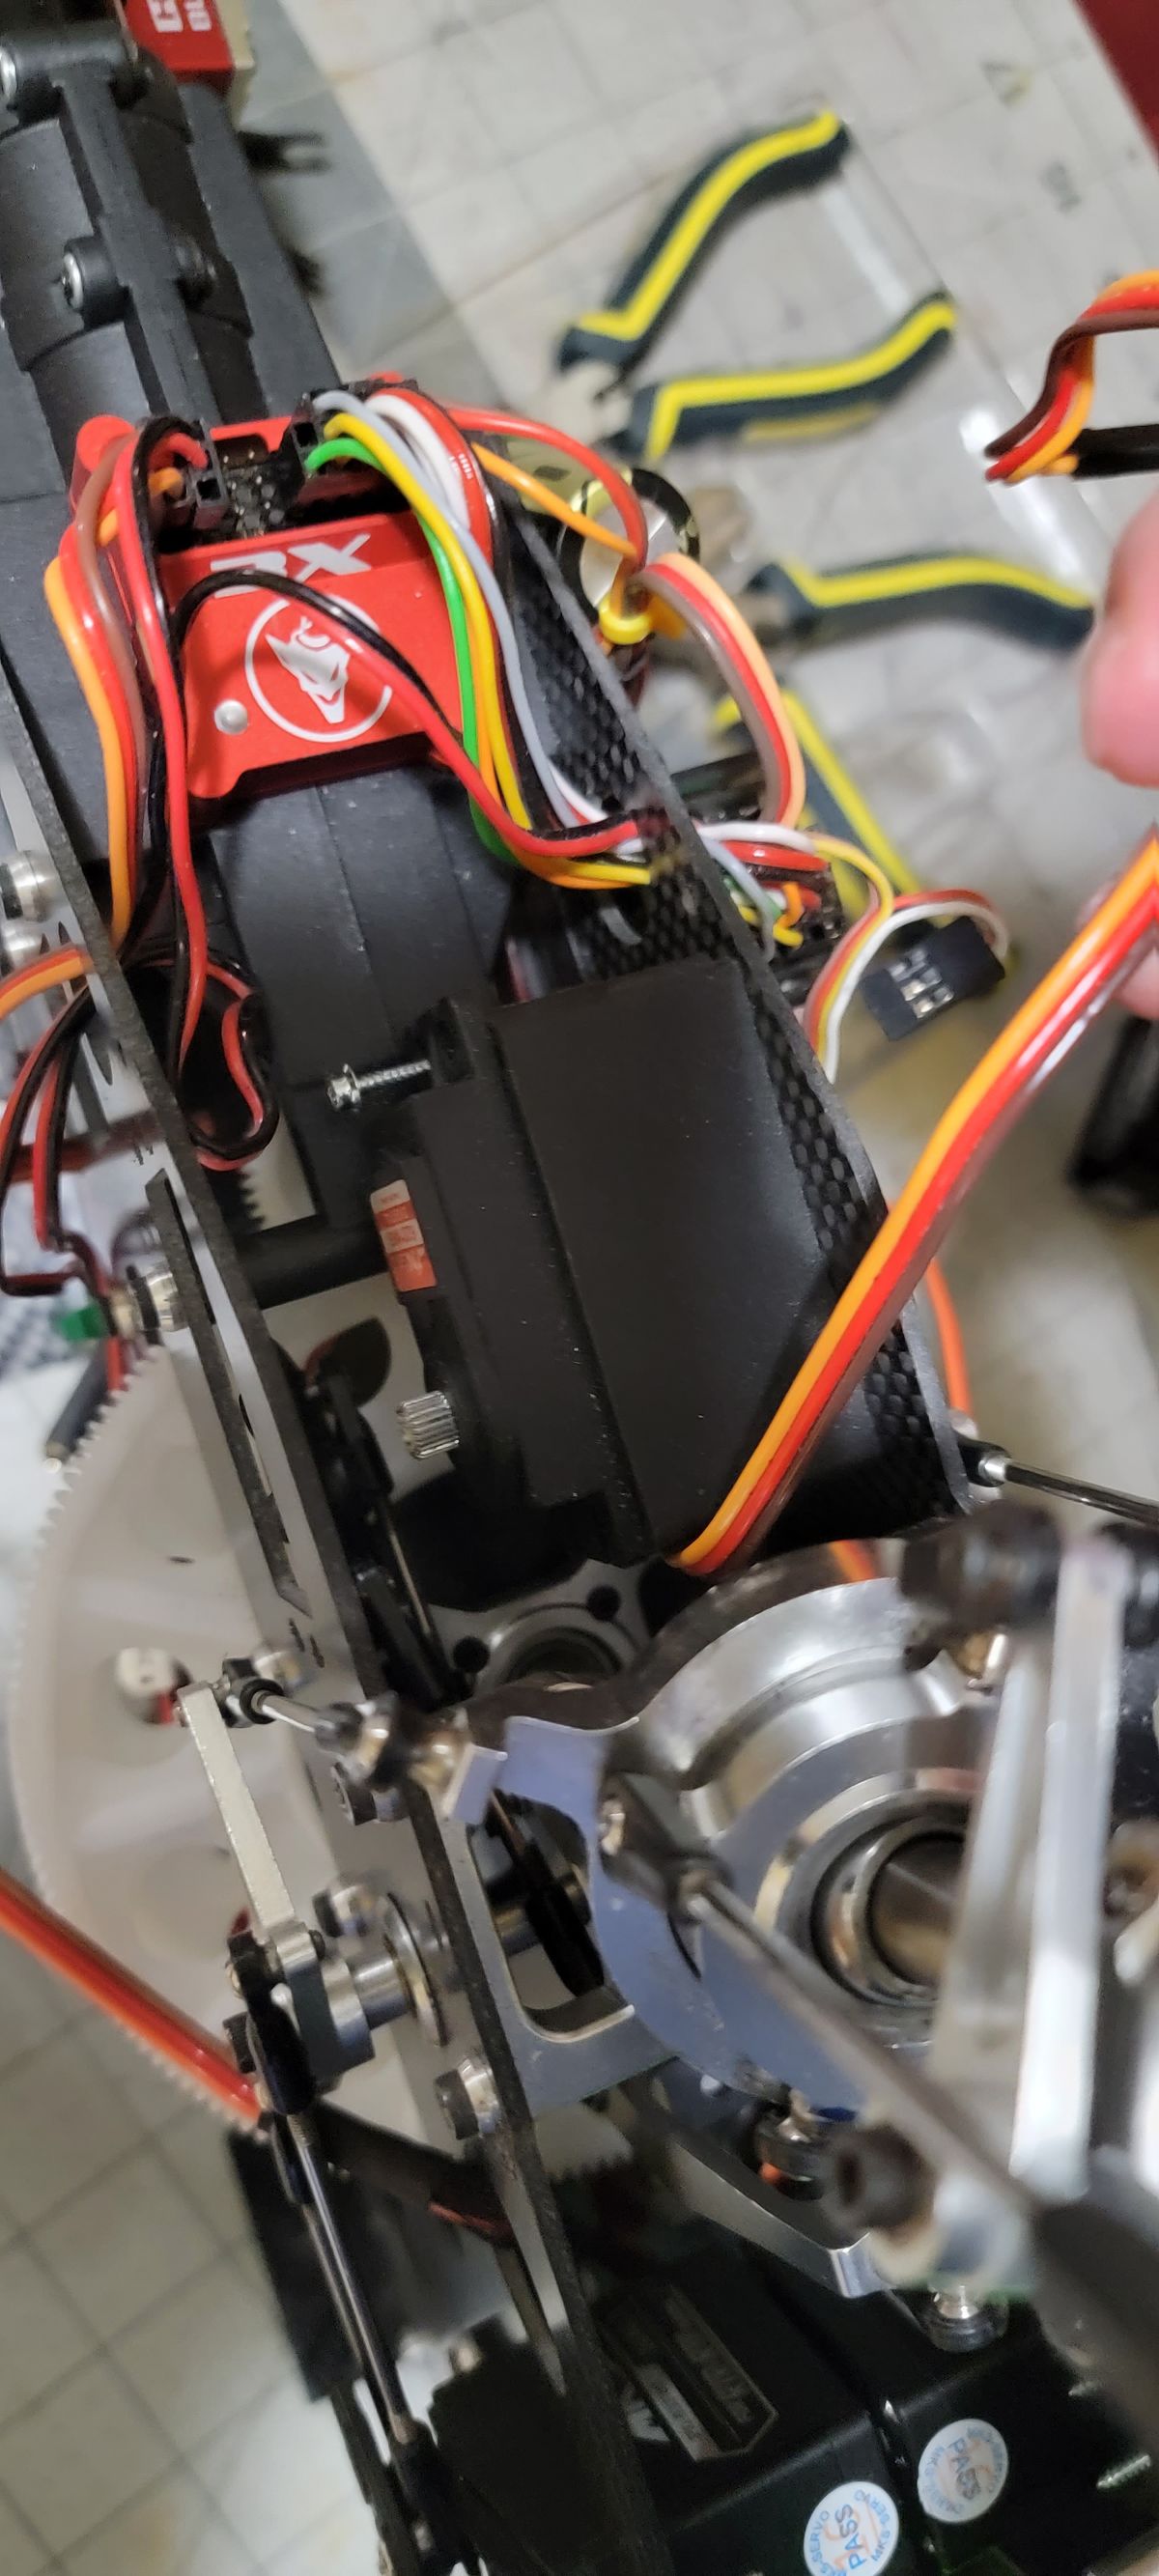
Some of you will say “Elementary, my dear Watson”, however, I was struggling to get a good hovering and I tried different gyros, V-bar, Ikon2 and then the Demon 3X, but I couldn’t get it right. I changed the receiver and radio but no changes, hovering was an issue, the heli couldn’t hold the position, it was waving up and down feeling that I had no control. Then after checking and re-checking the pitch, I noticed that from 0 to 50% on the radio, the pitch was fine -2° to + 3.7°, BUT after reach 100% on the radio and 12° pitch, moving down to 50% again, I was no longer back at 3.7° but 5°. I looked everywhere to see what I was doing wrong, change controller setting, radio settings, I re-done the setup several times but nothing same result. Then, I thought that the only thing I didn’t replace was the servos. So, I got a new set of MKS 1210 and hovering at the first test was a piece of cake. “Elementary, my dear Watson”, get good servos next time... lol.
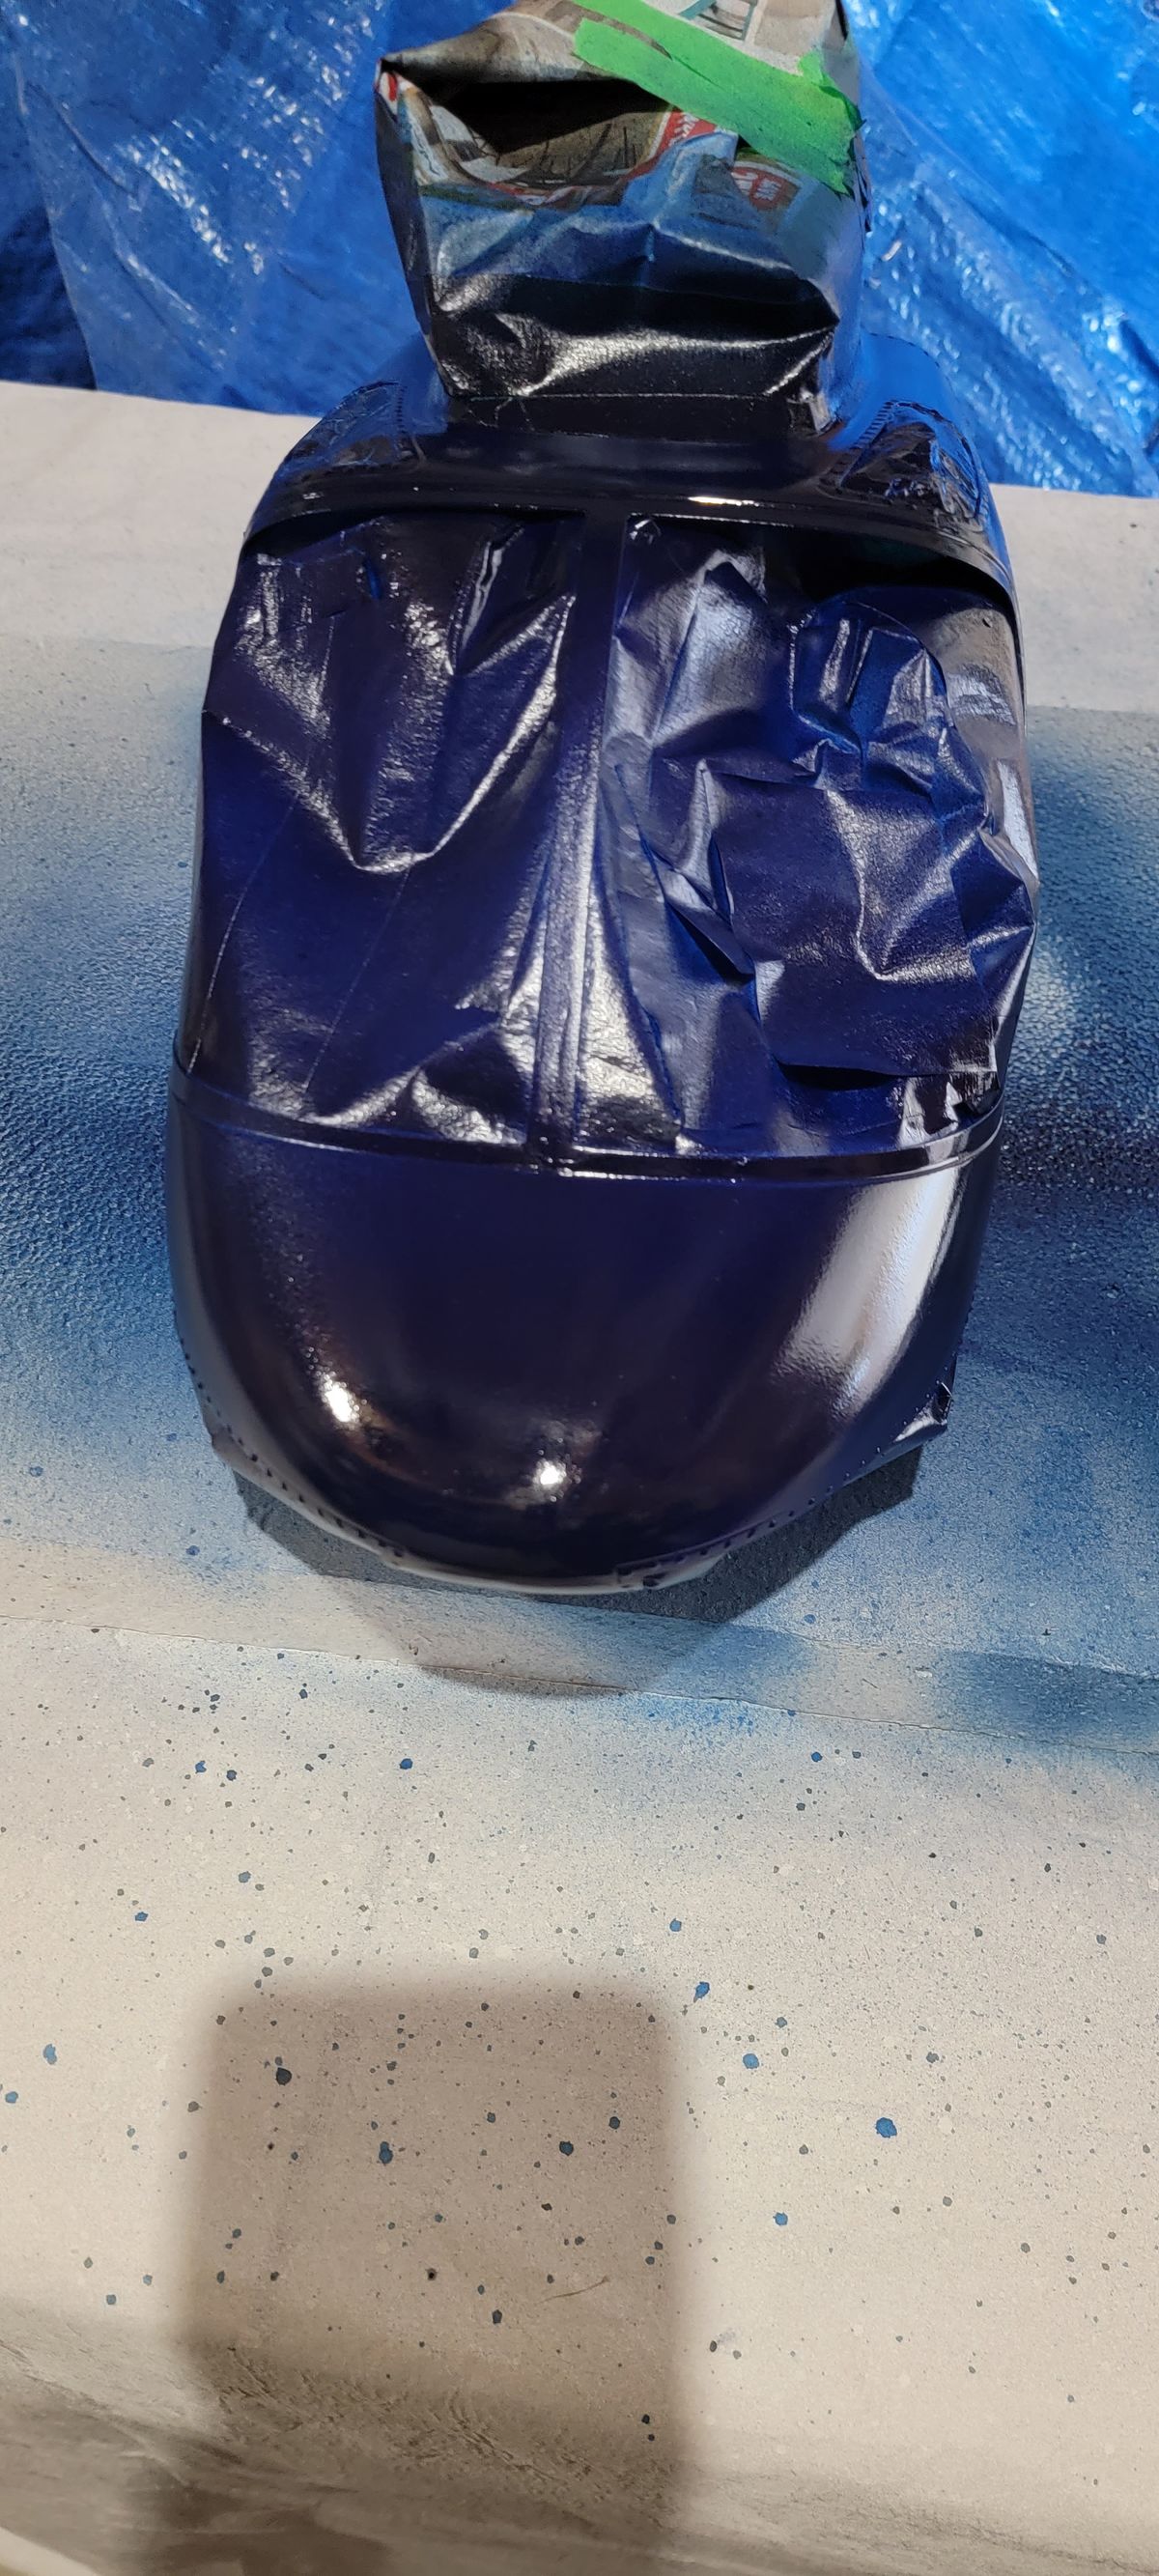
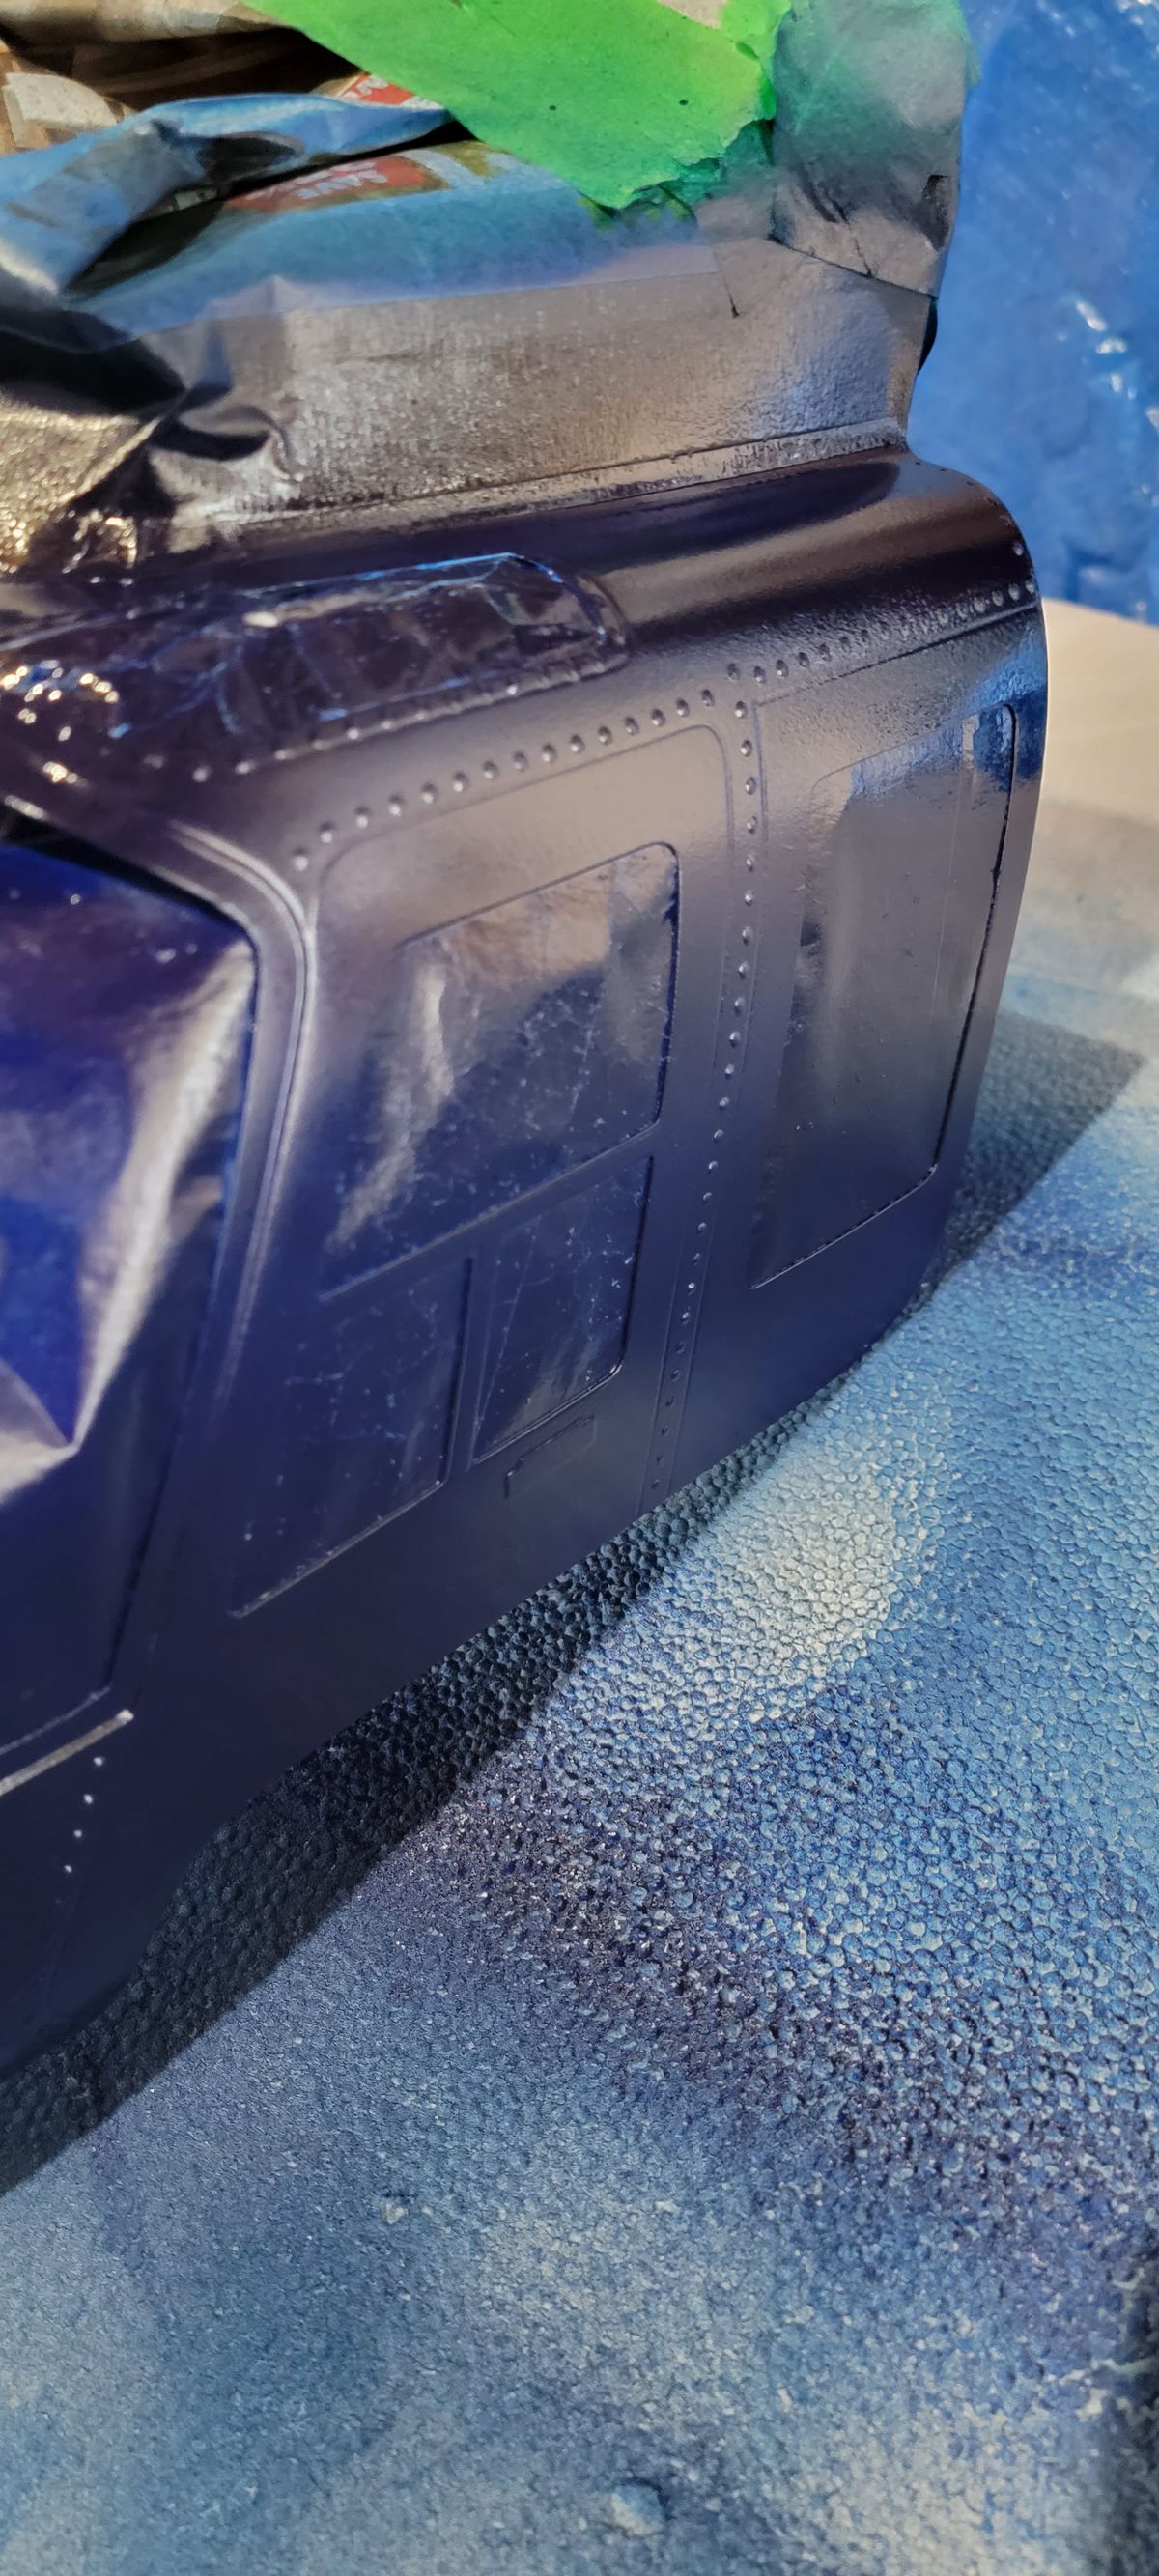
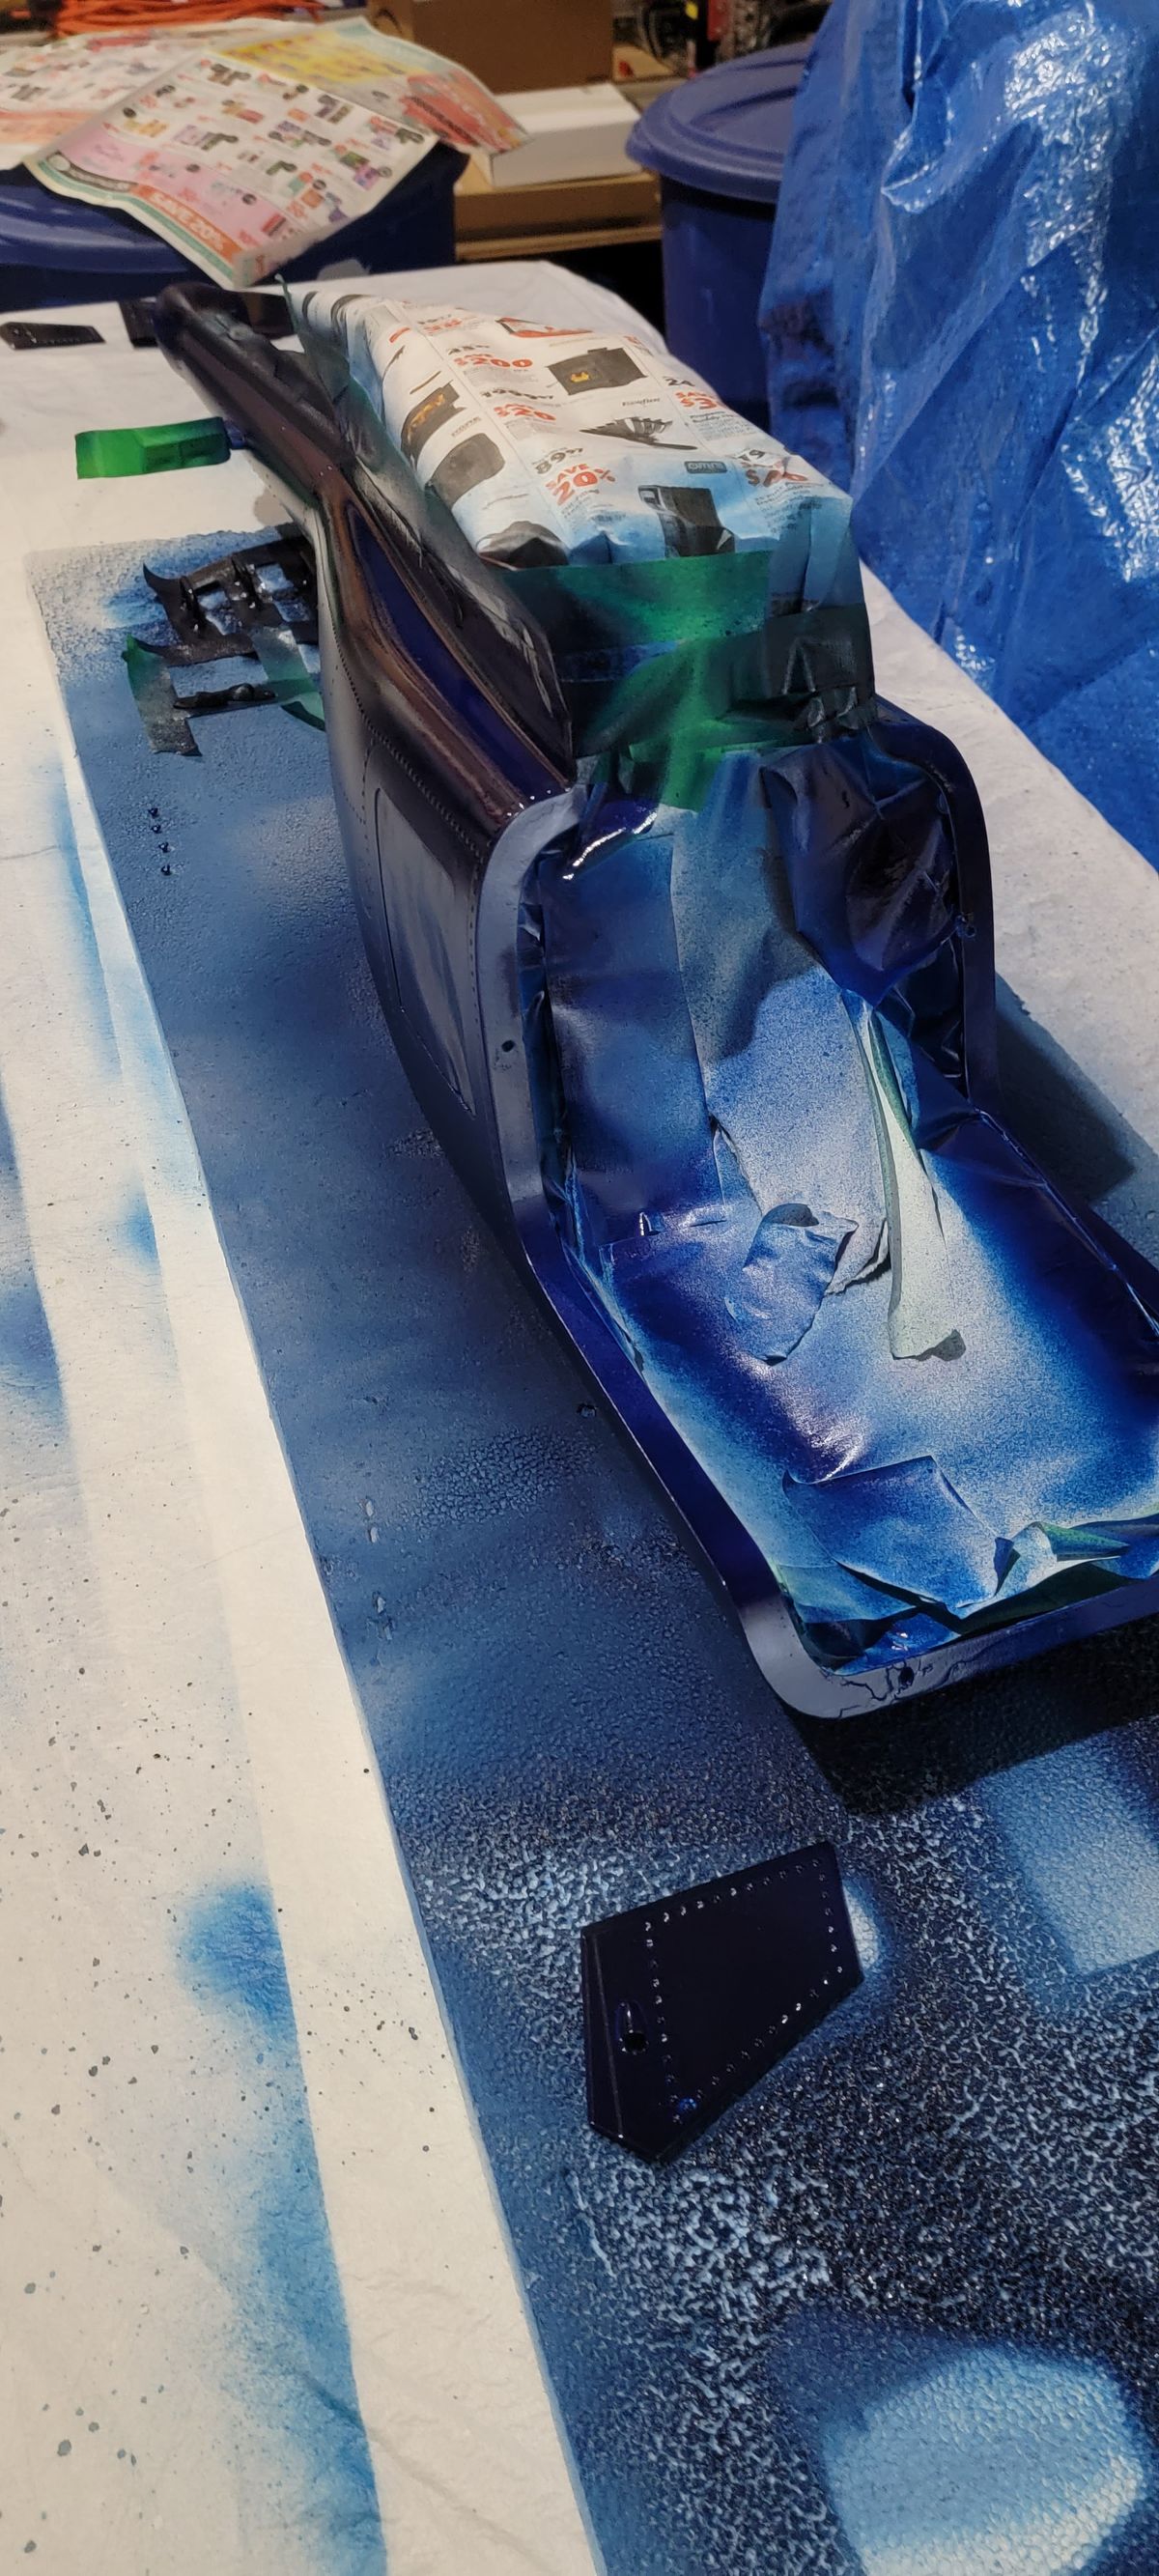
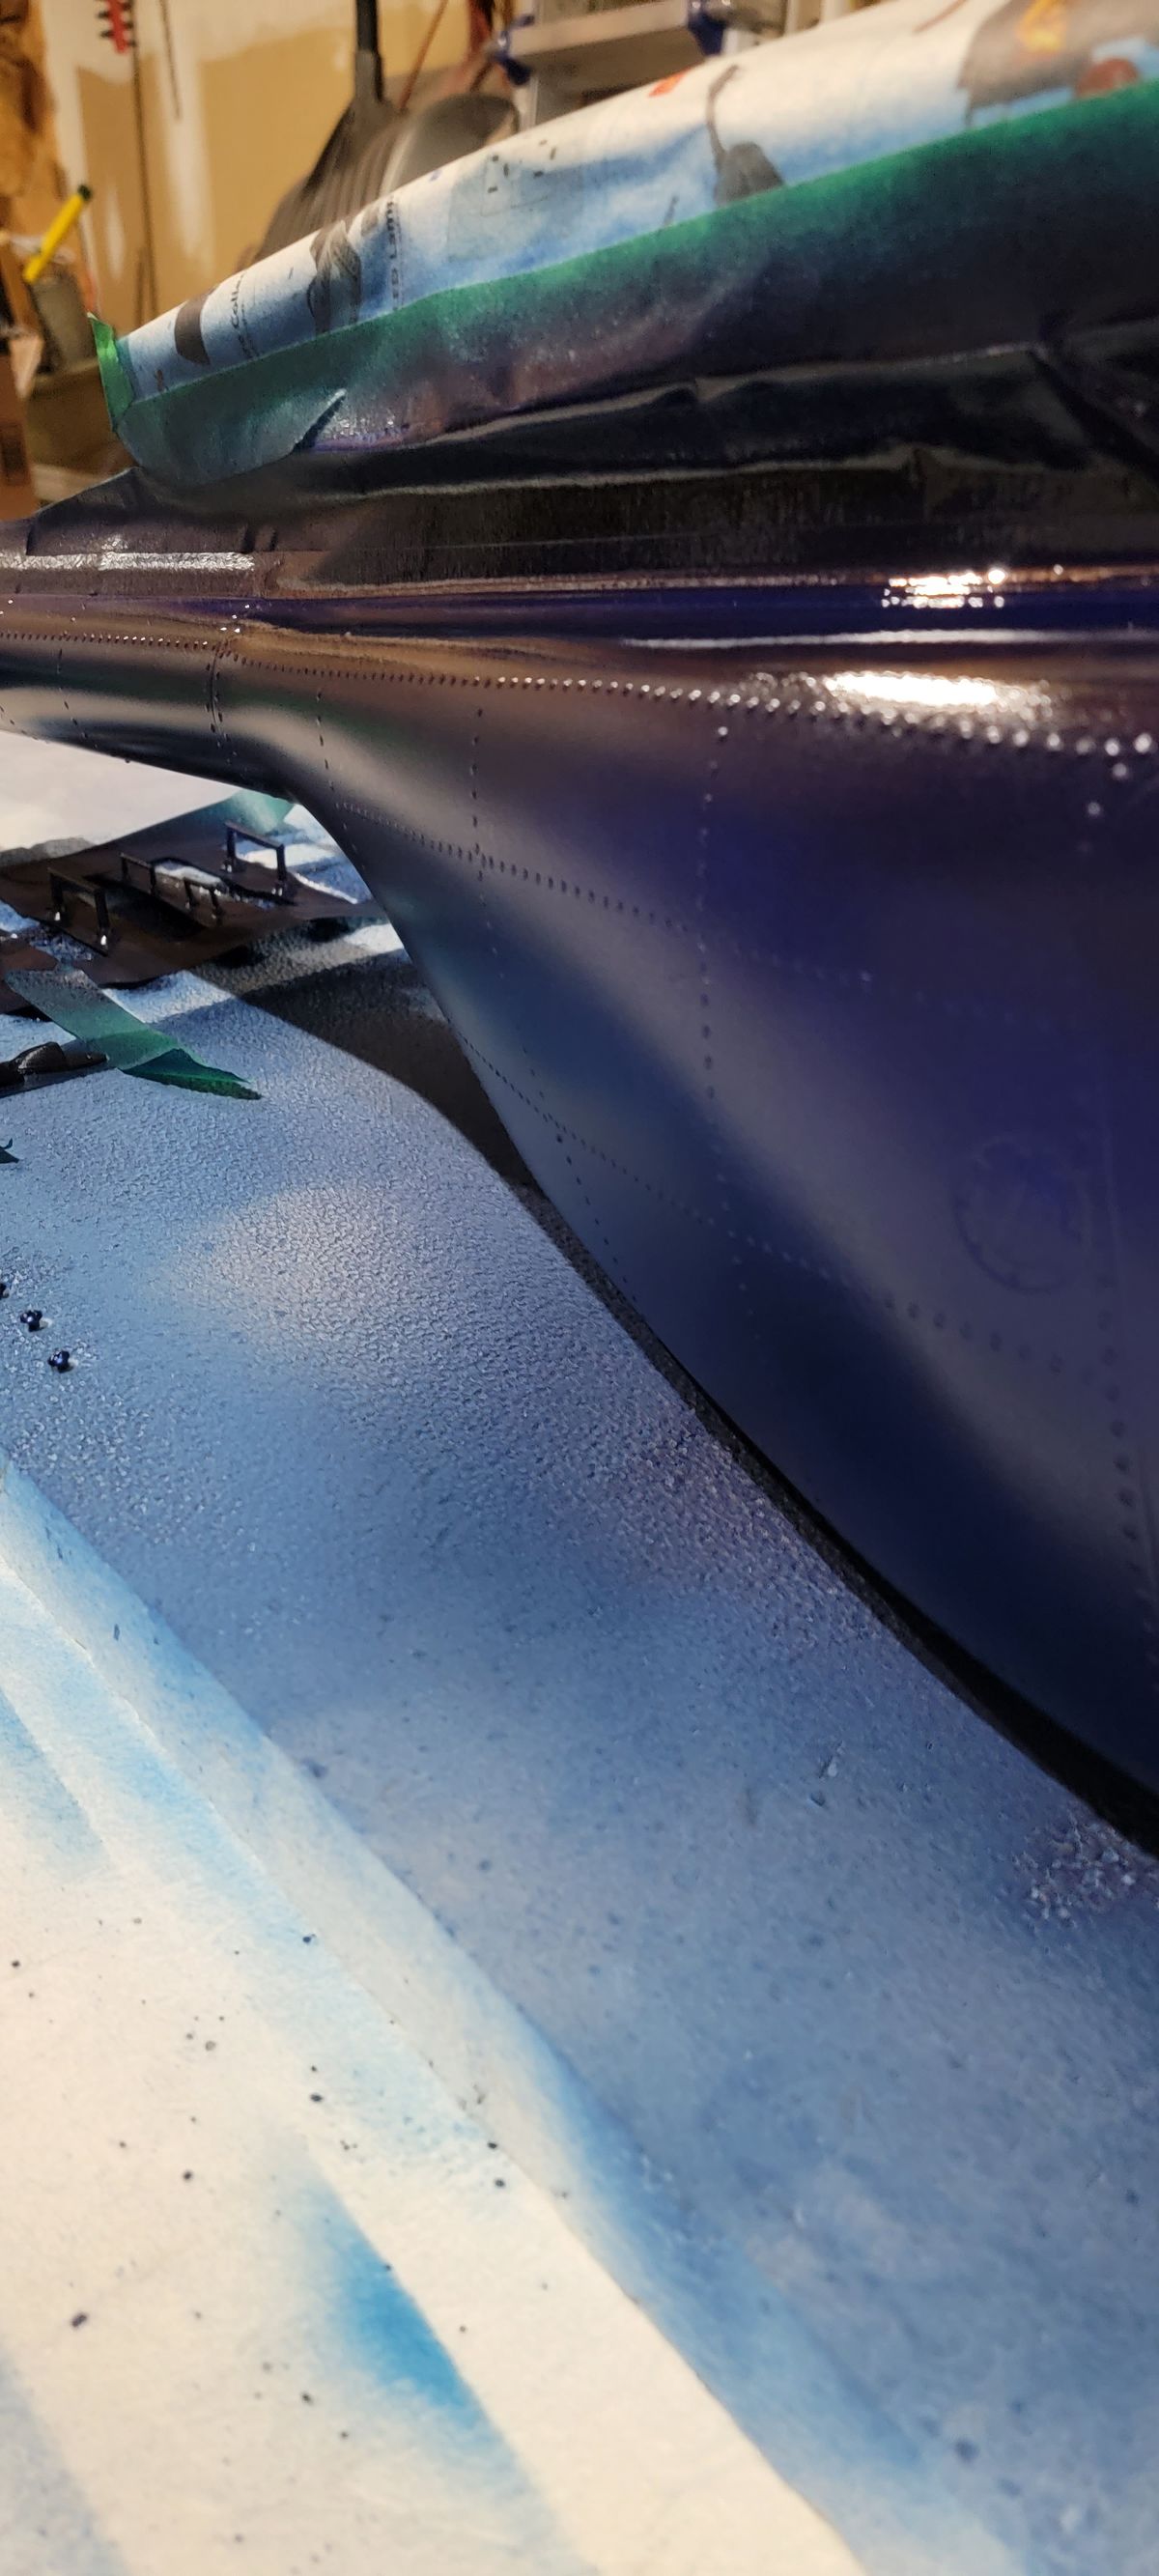
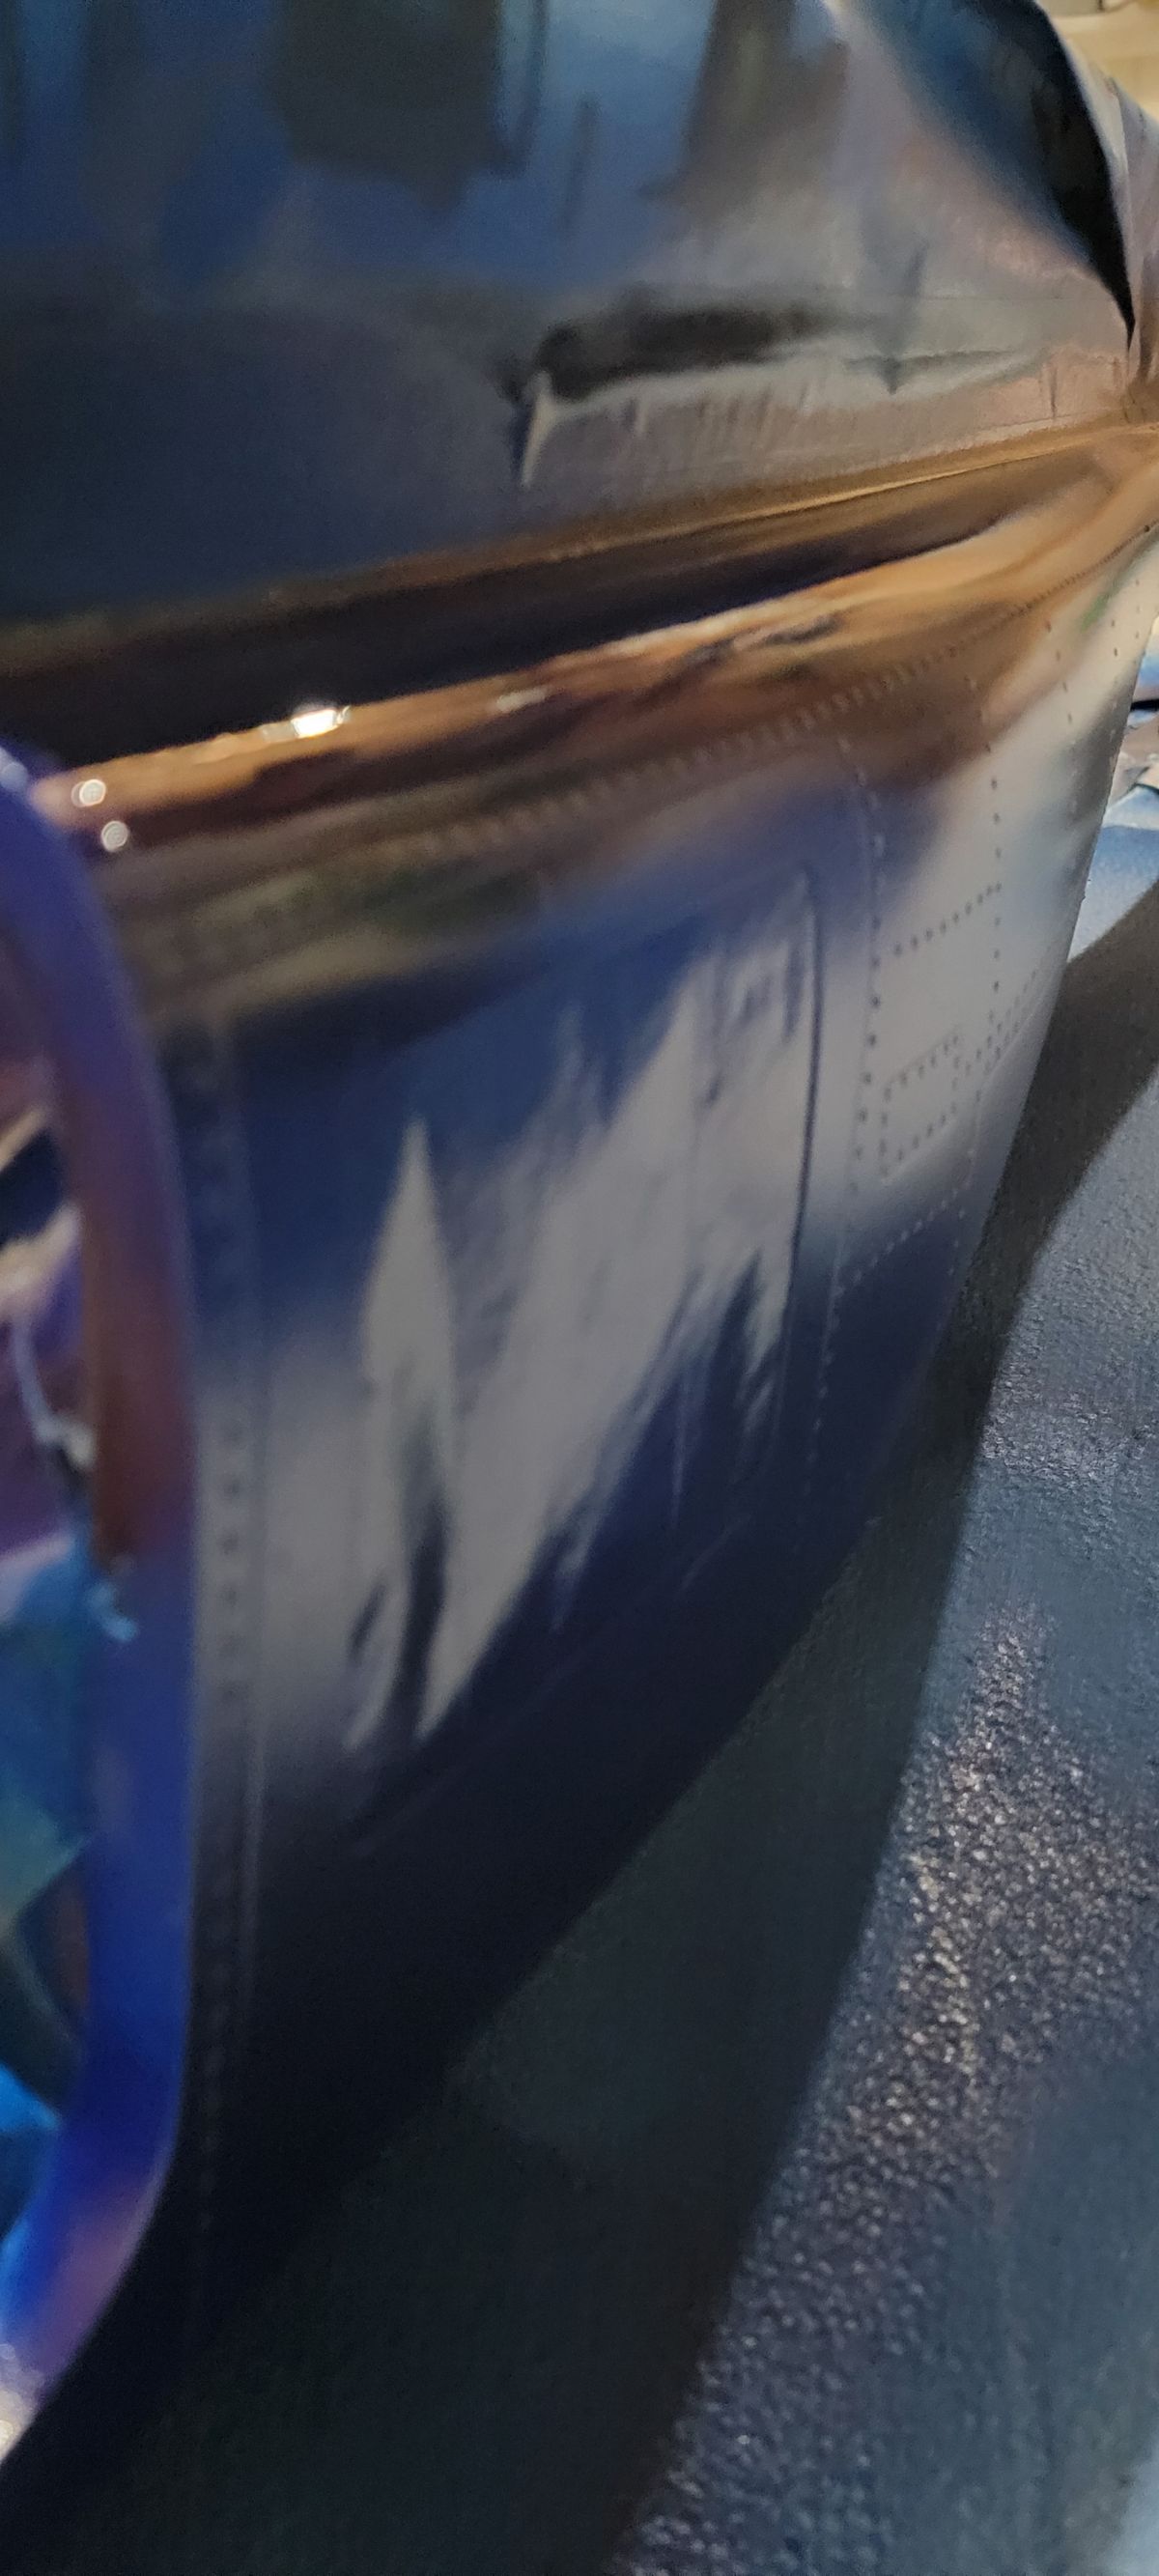
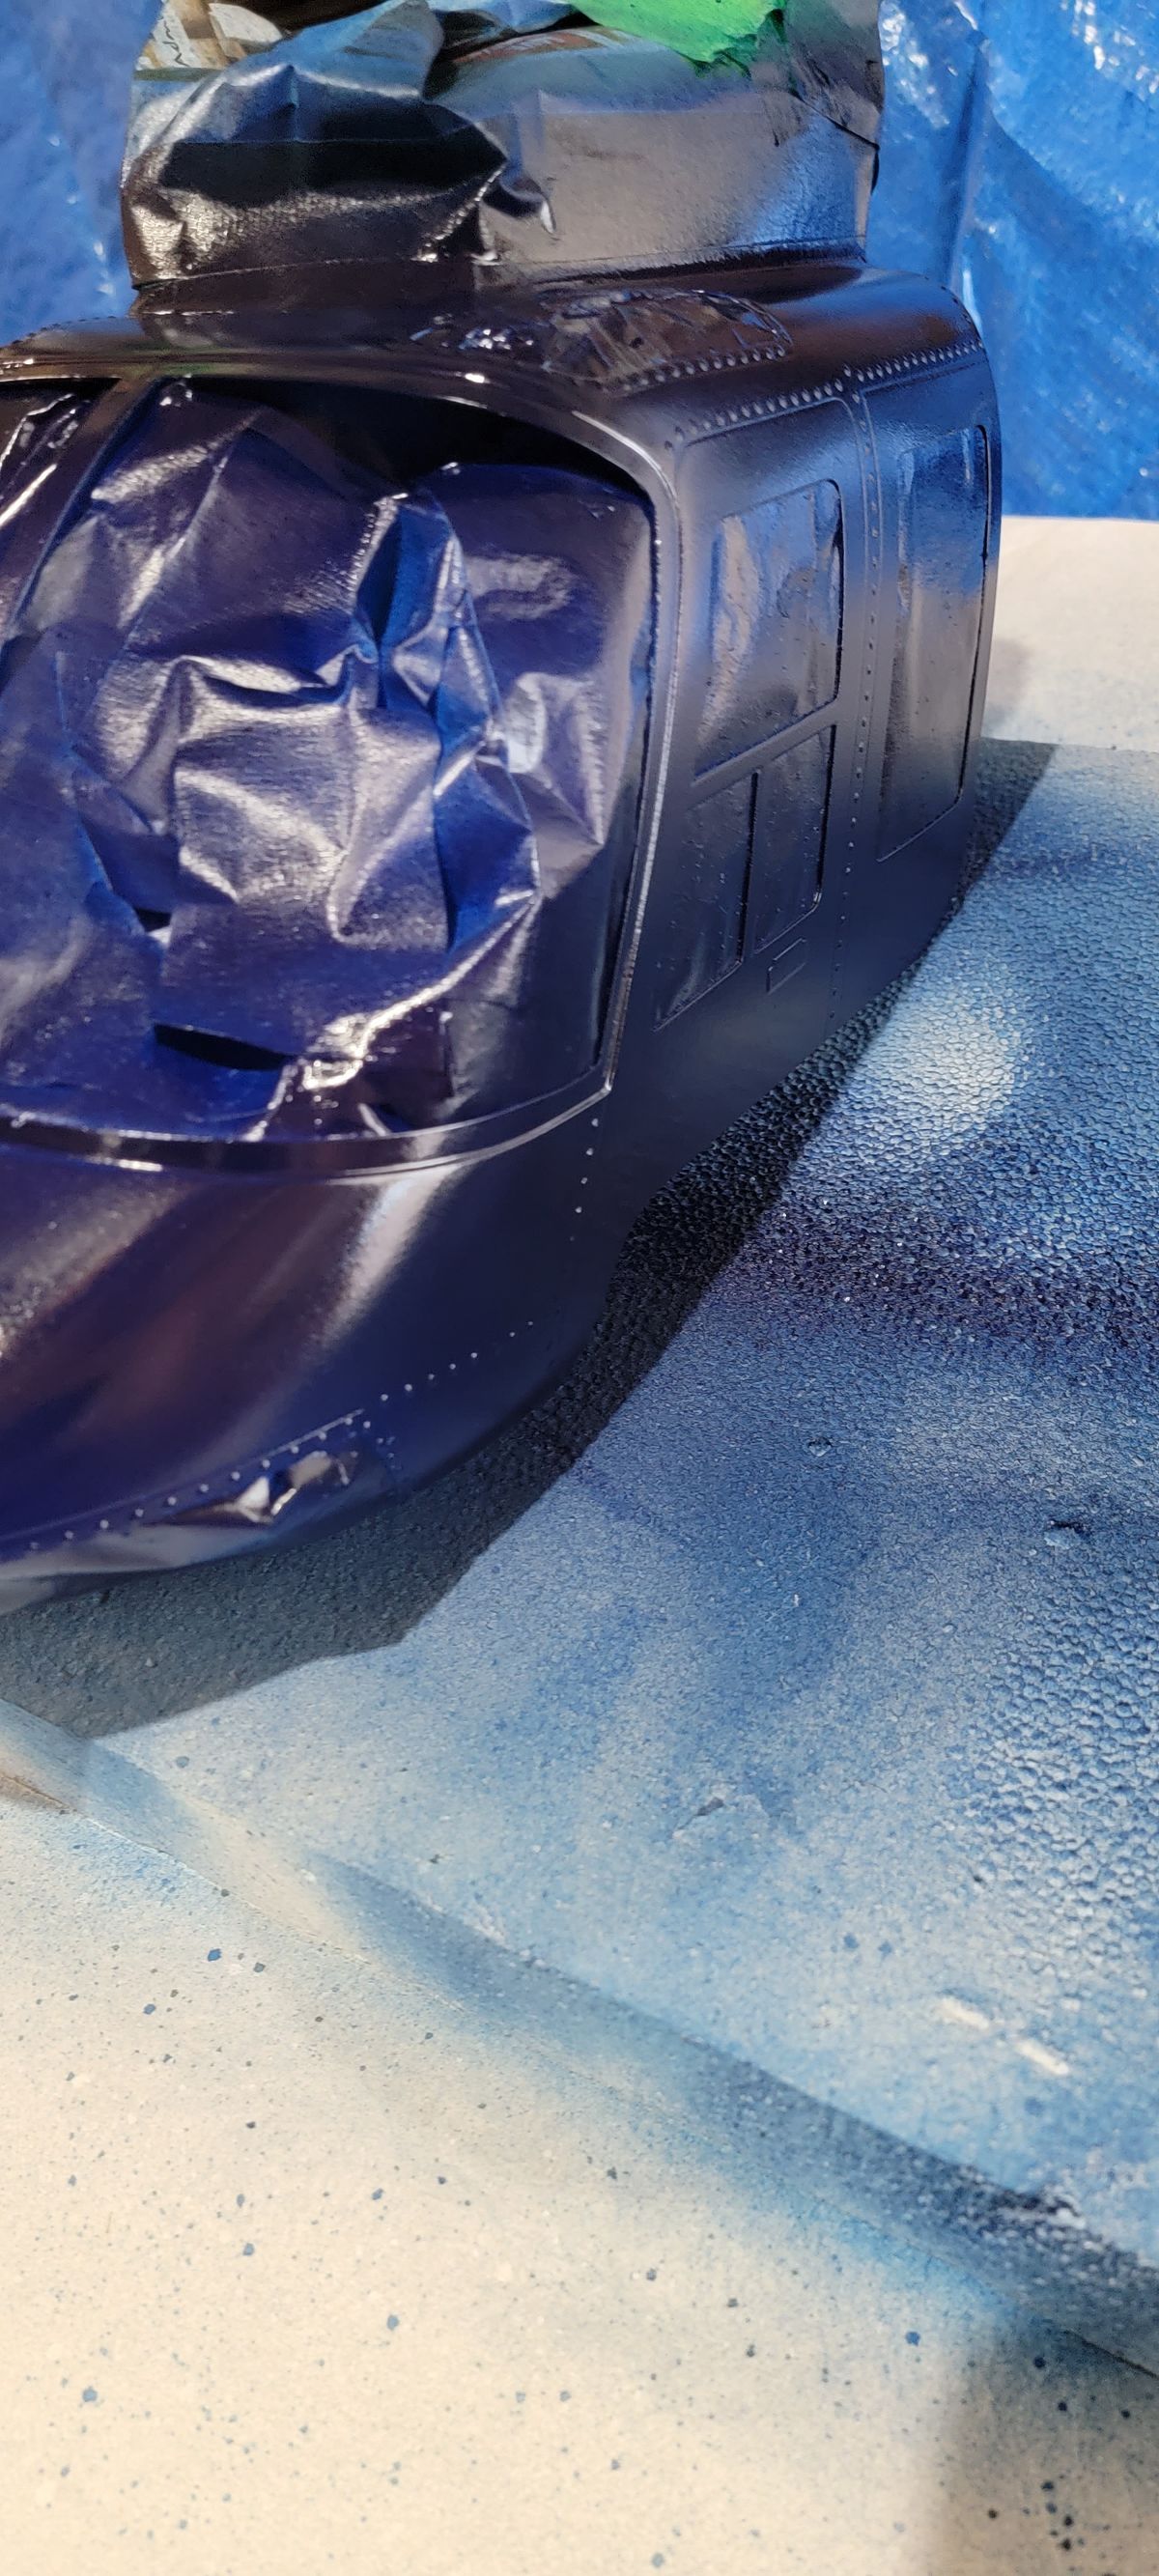
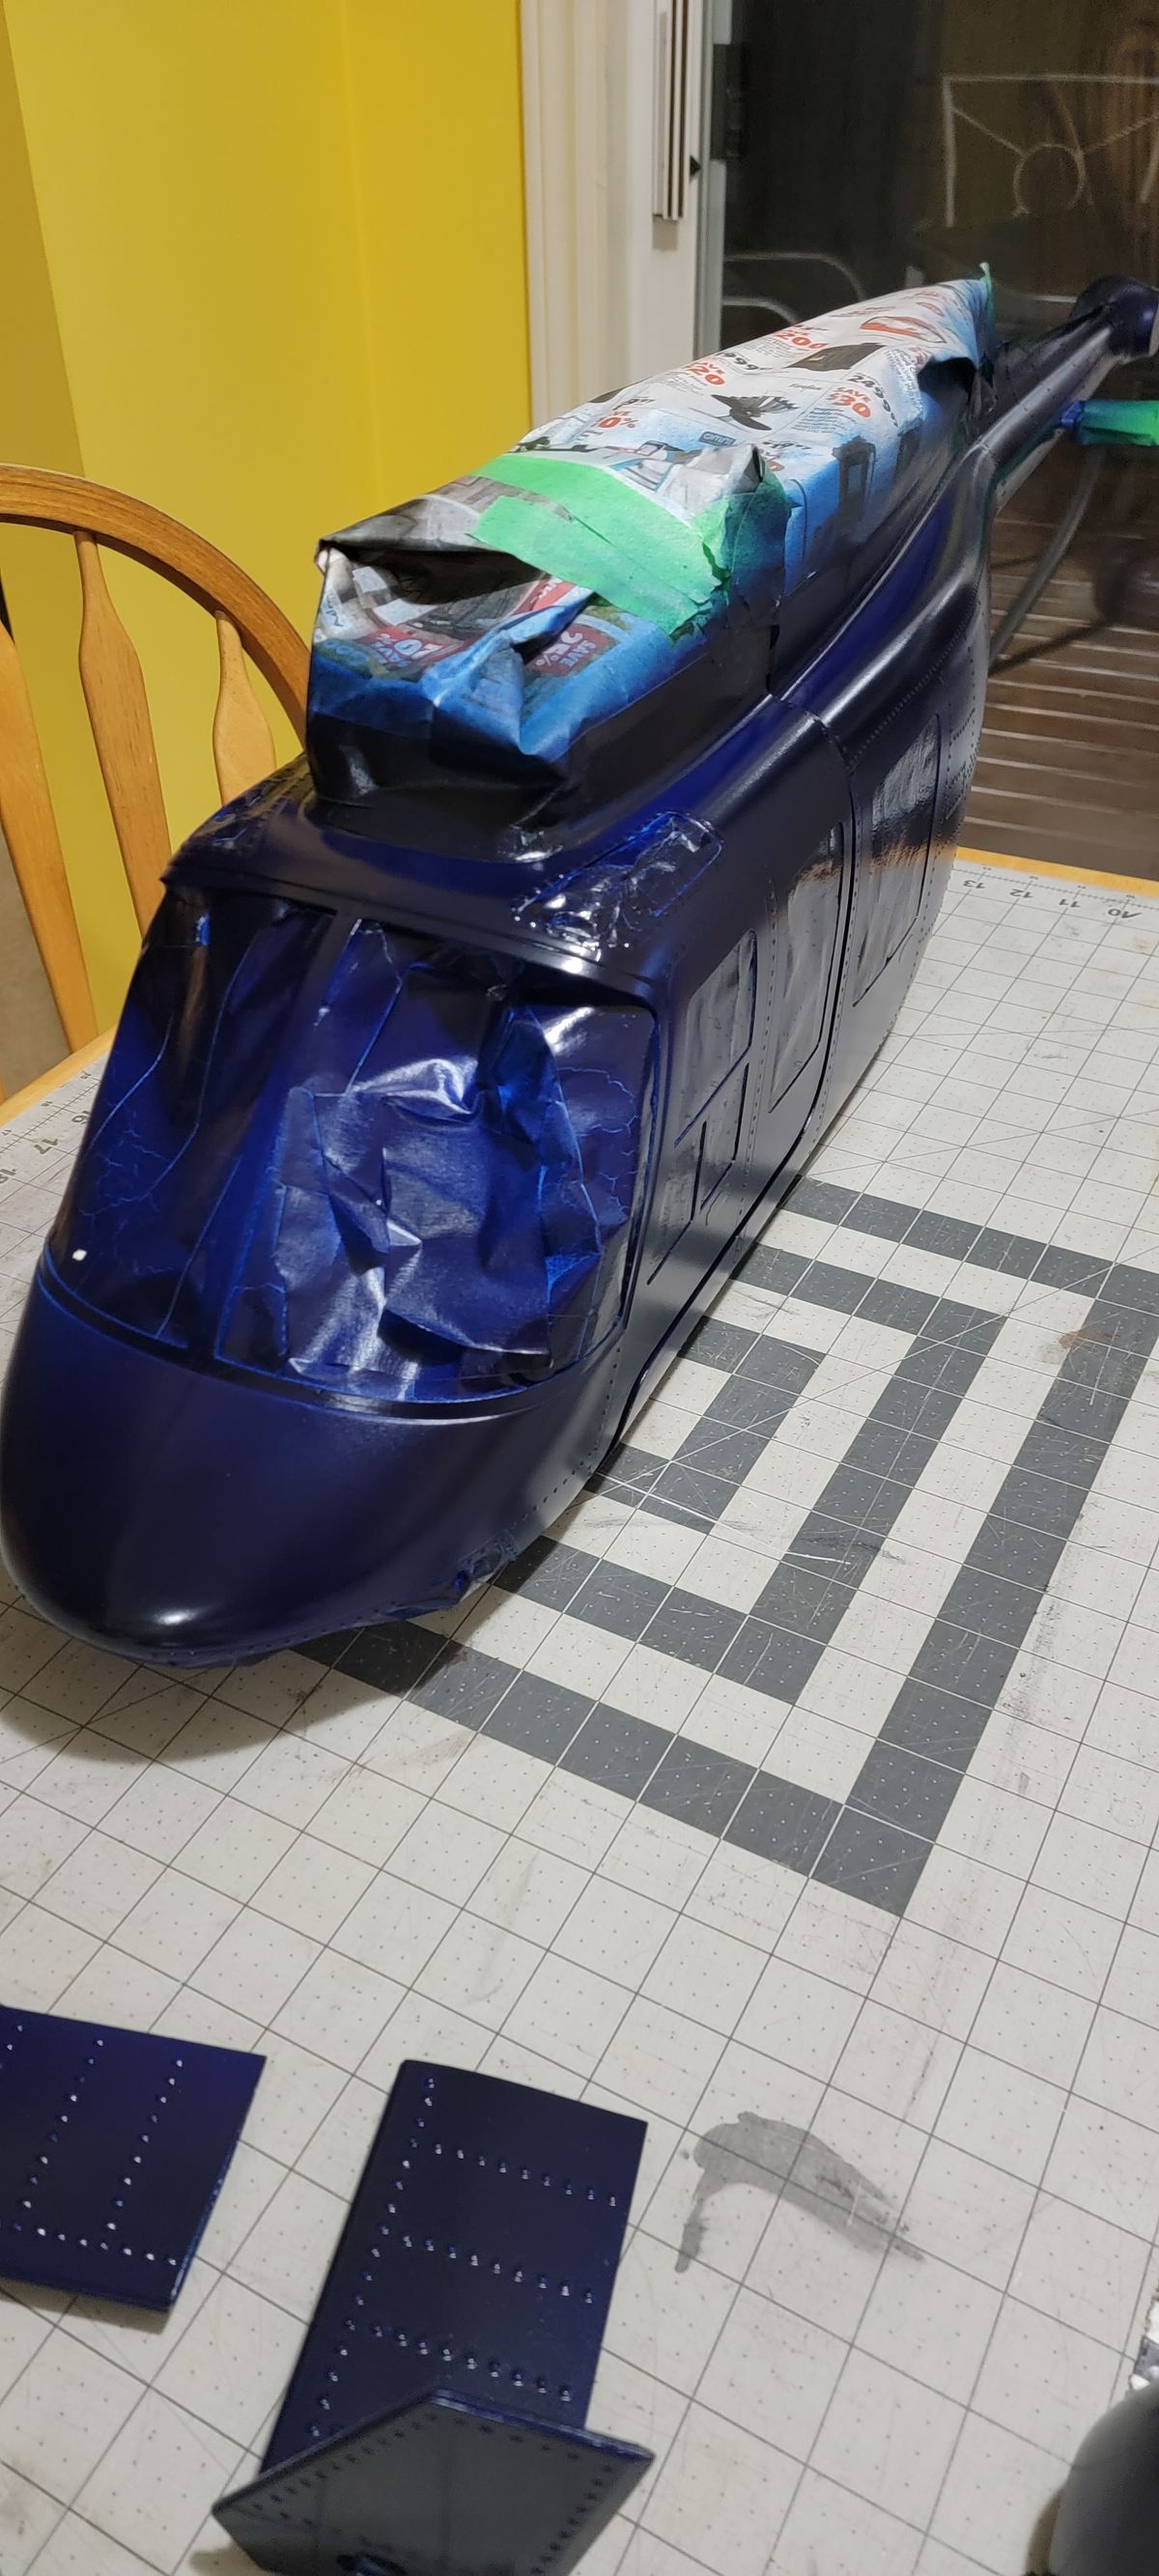
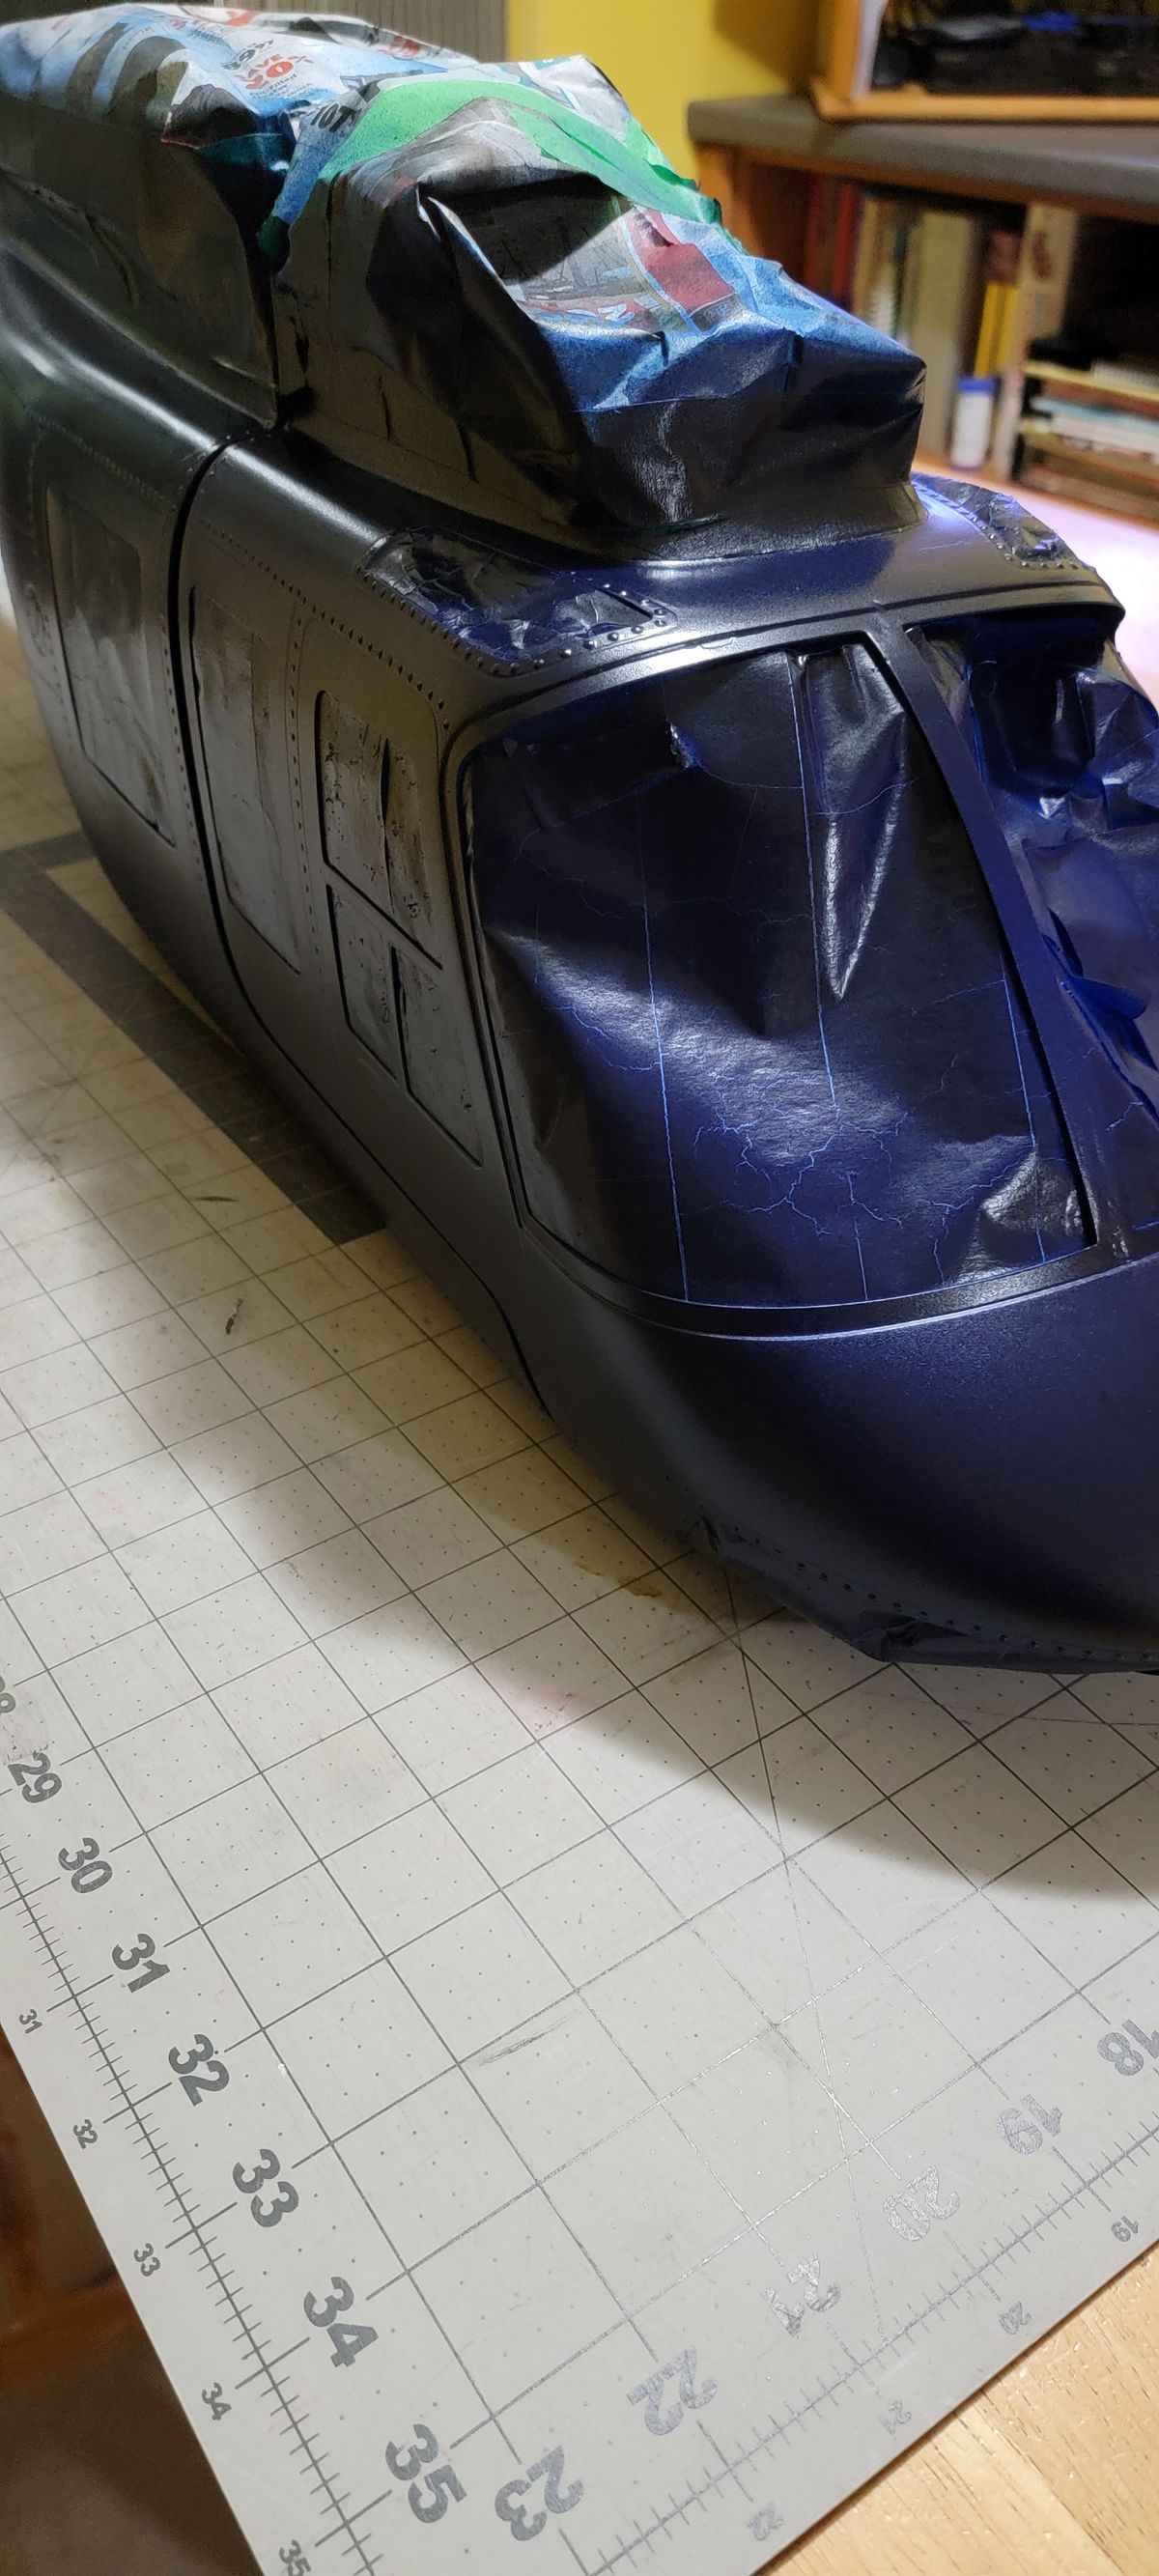
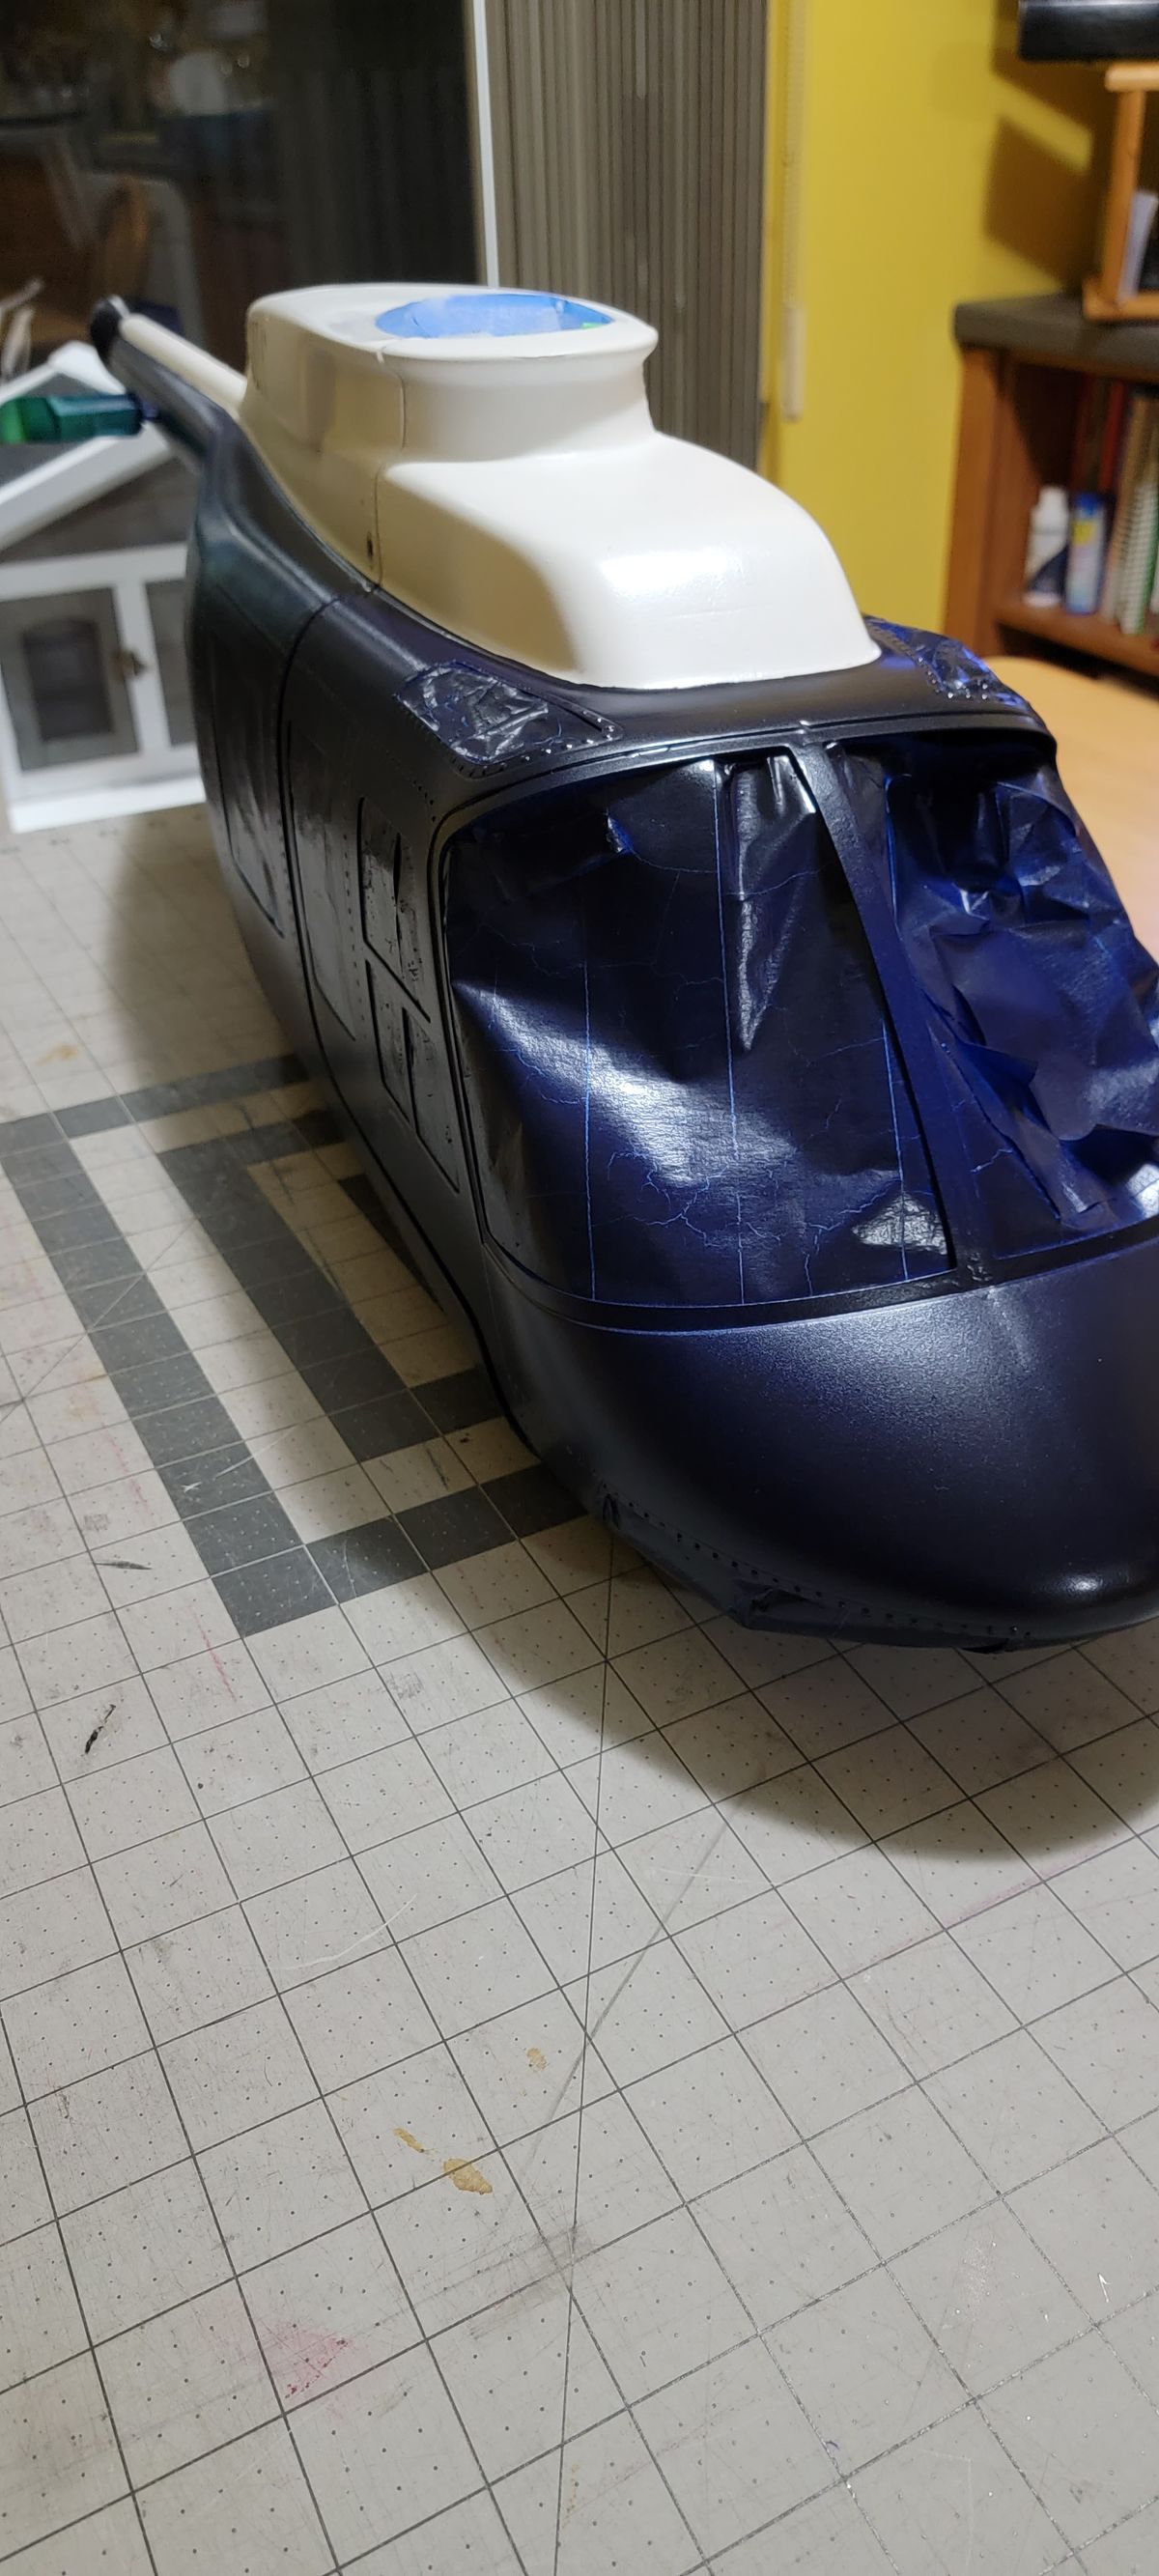
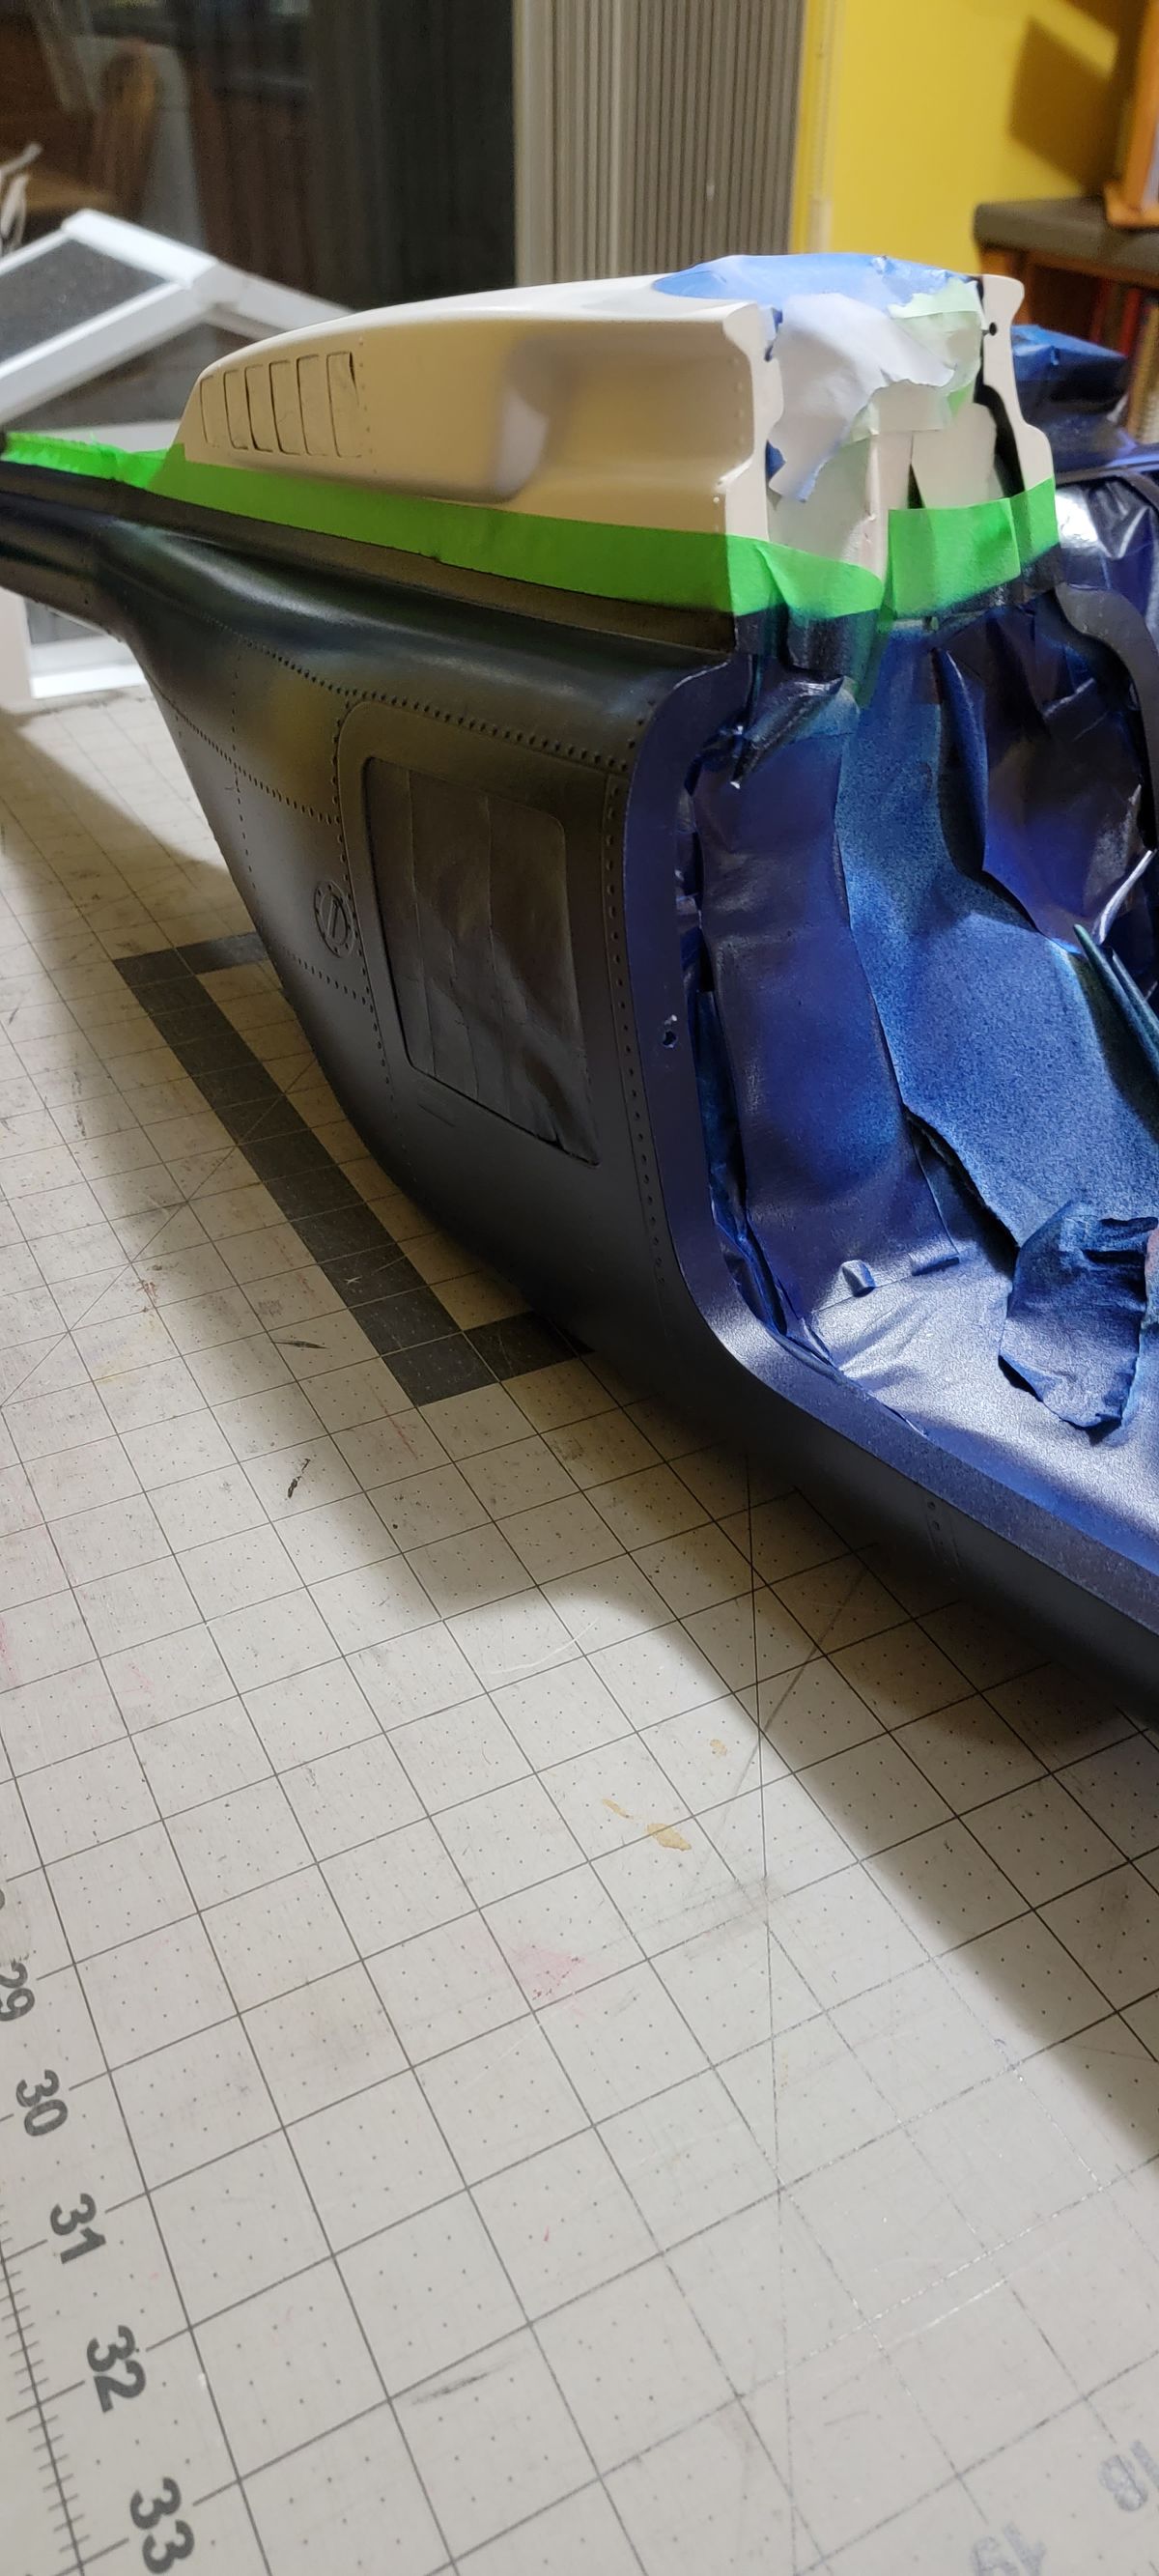
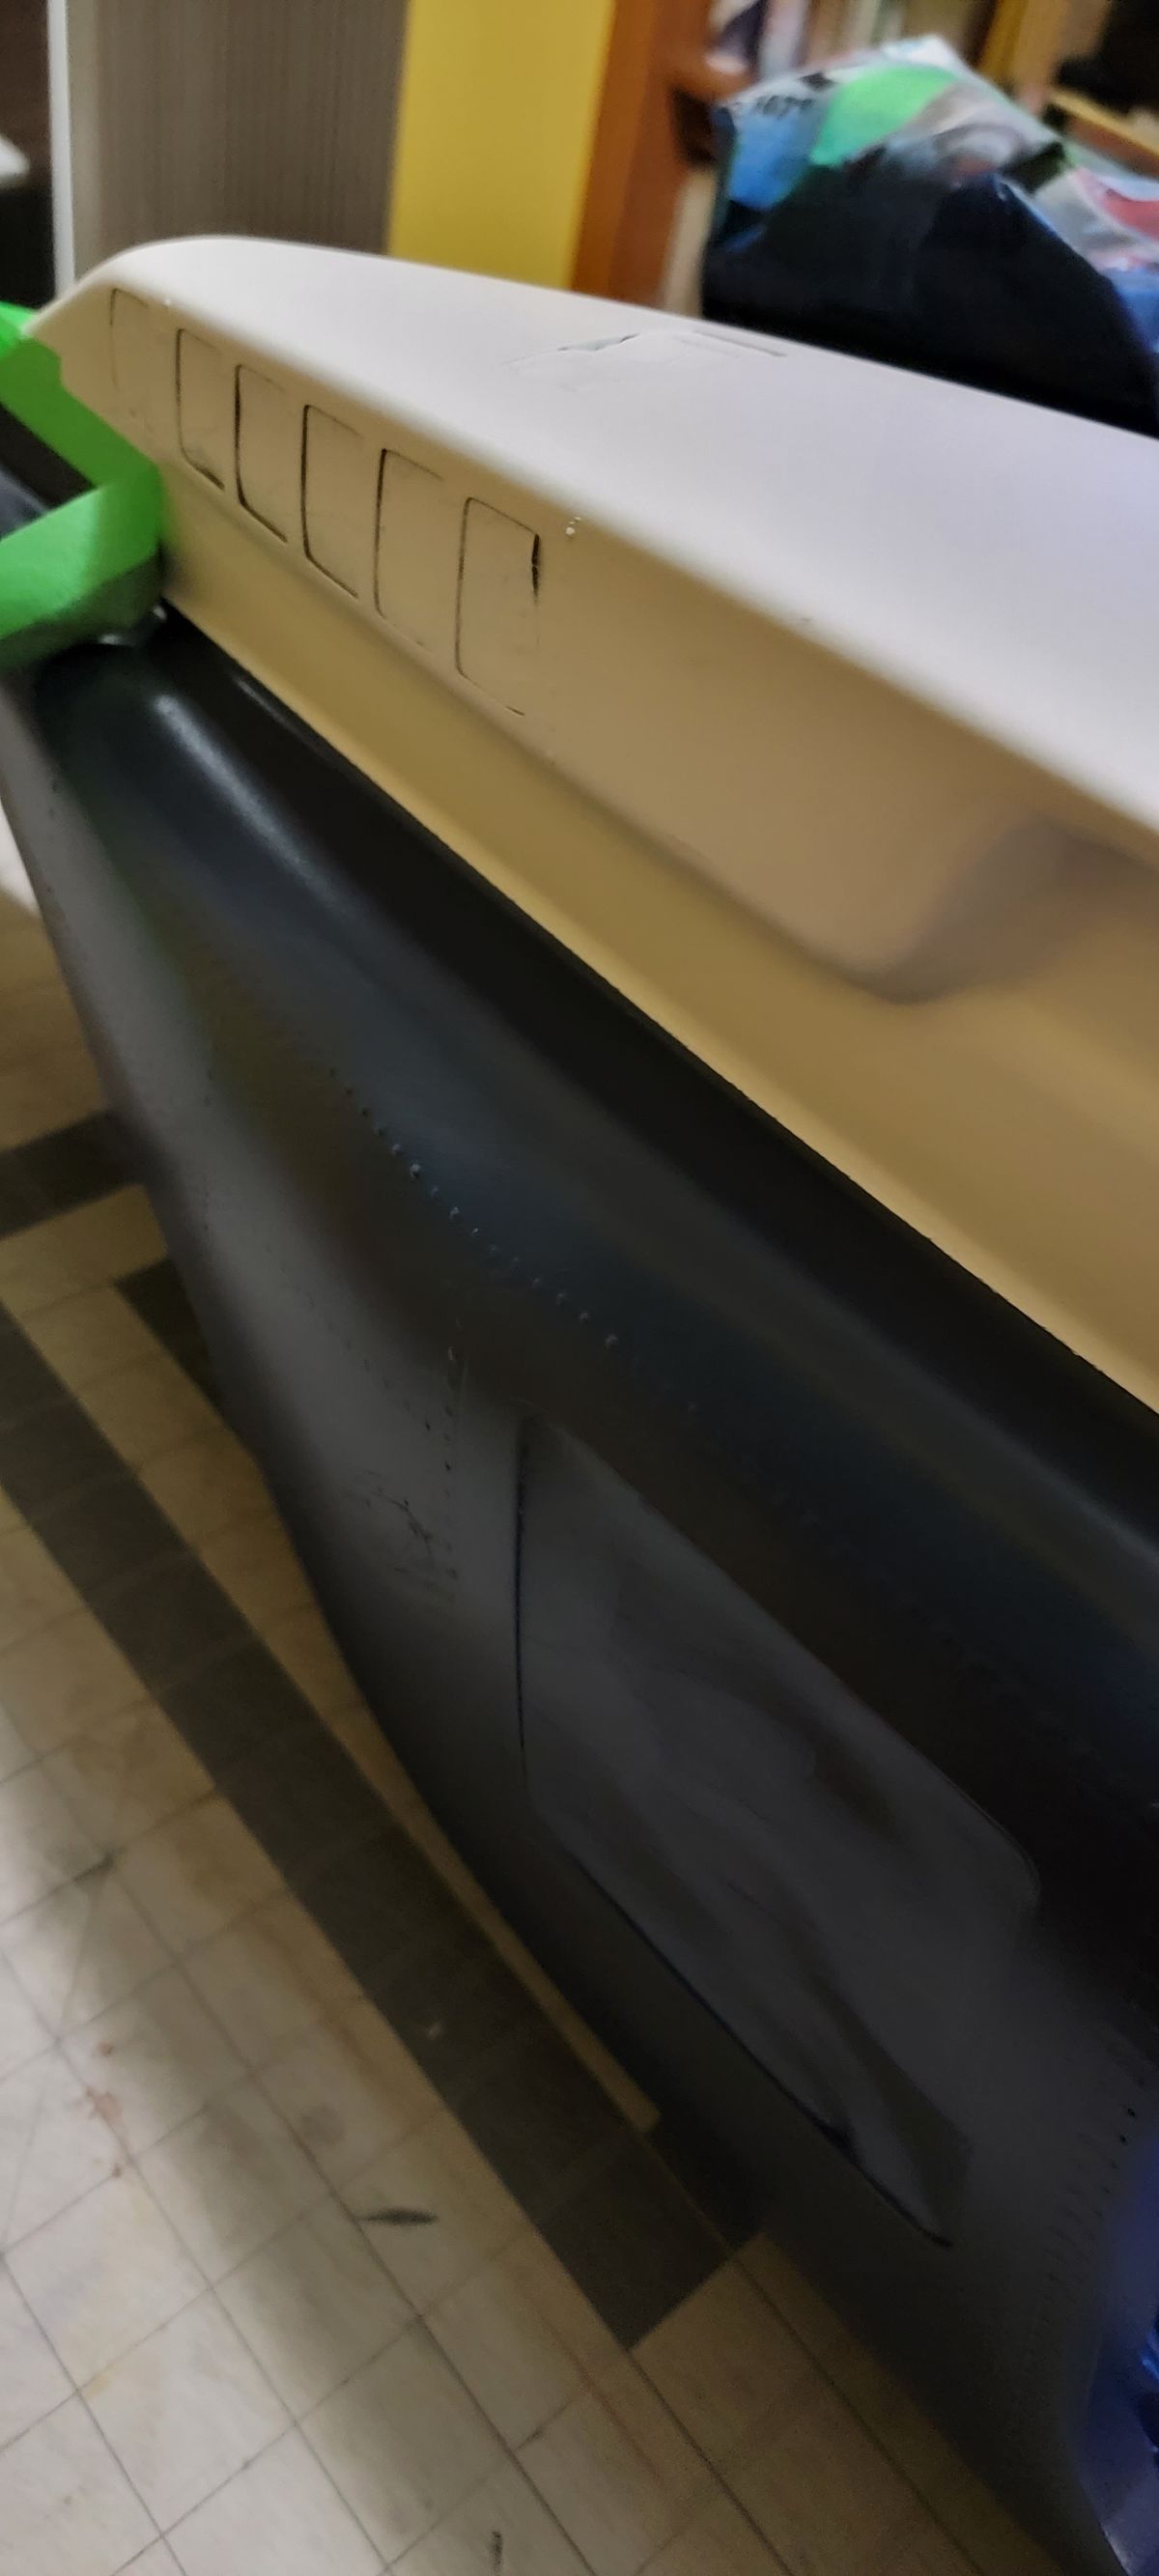
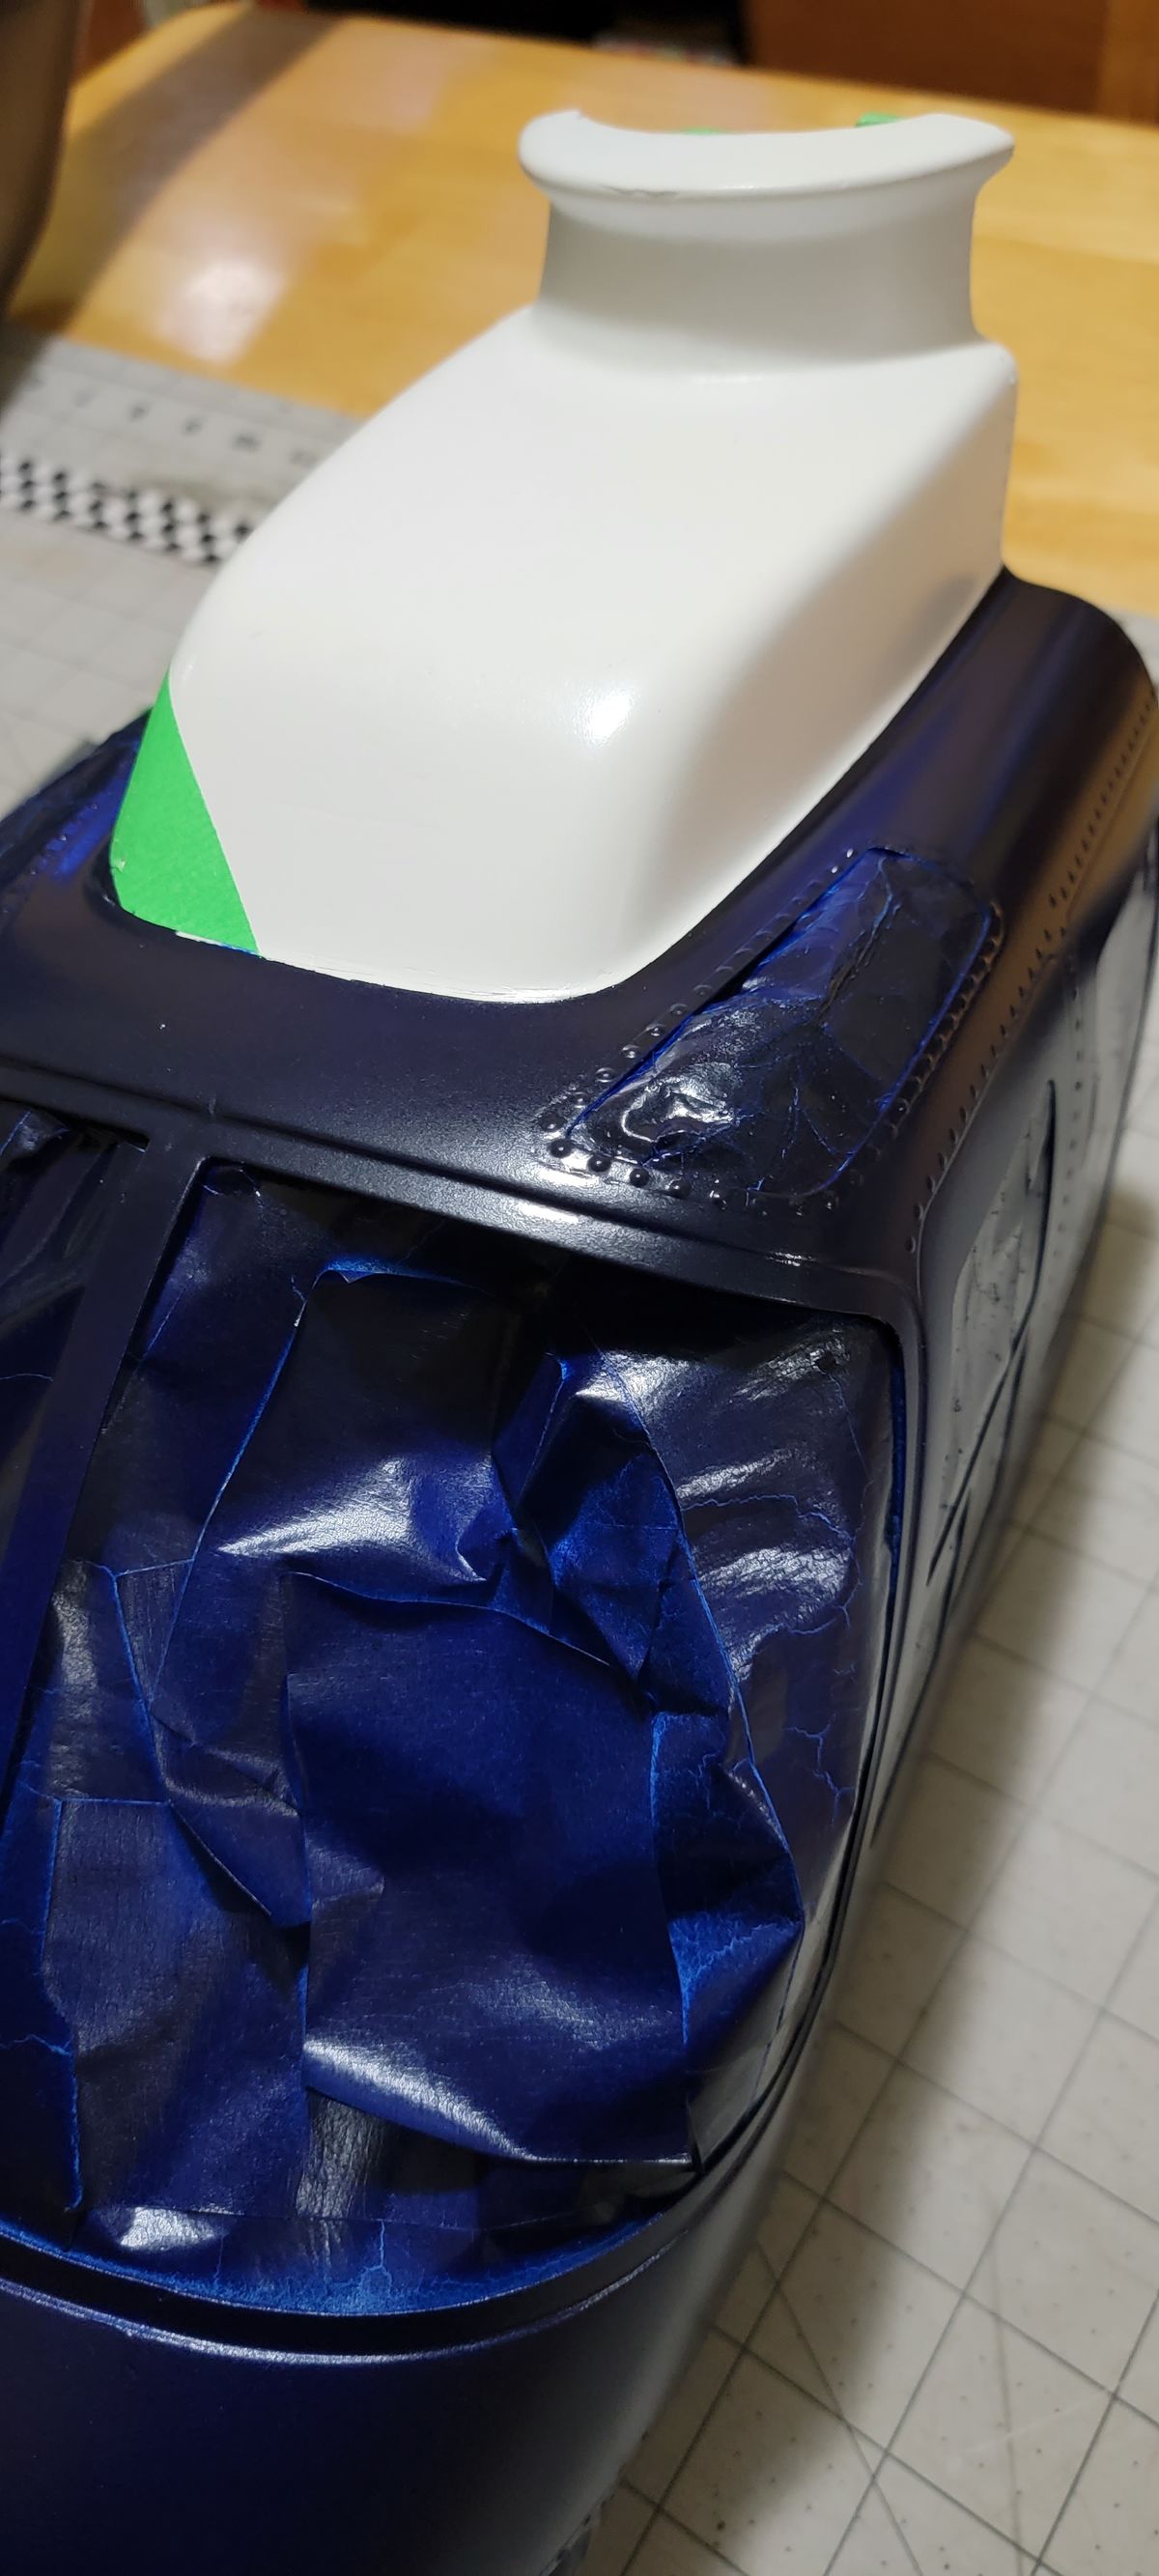
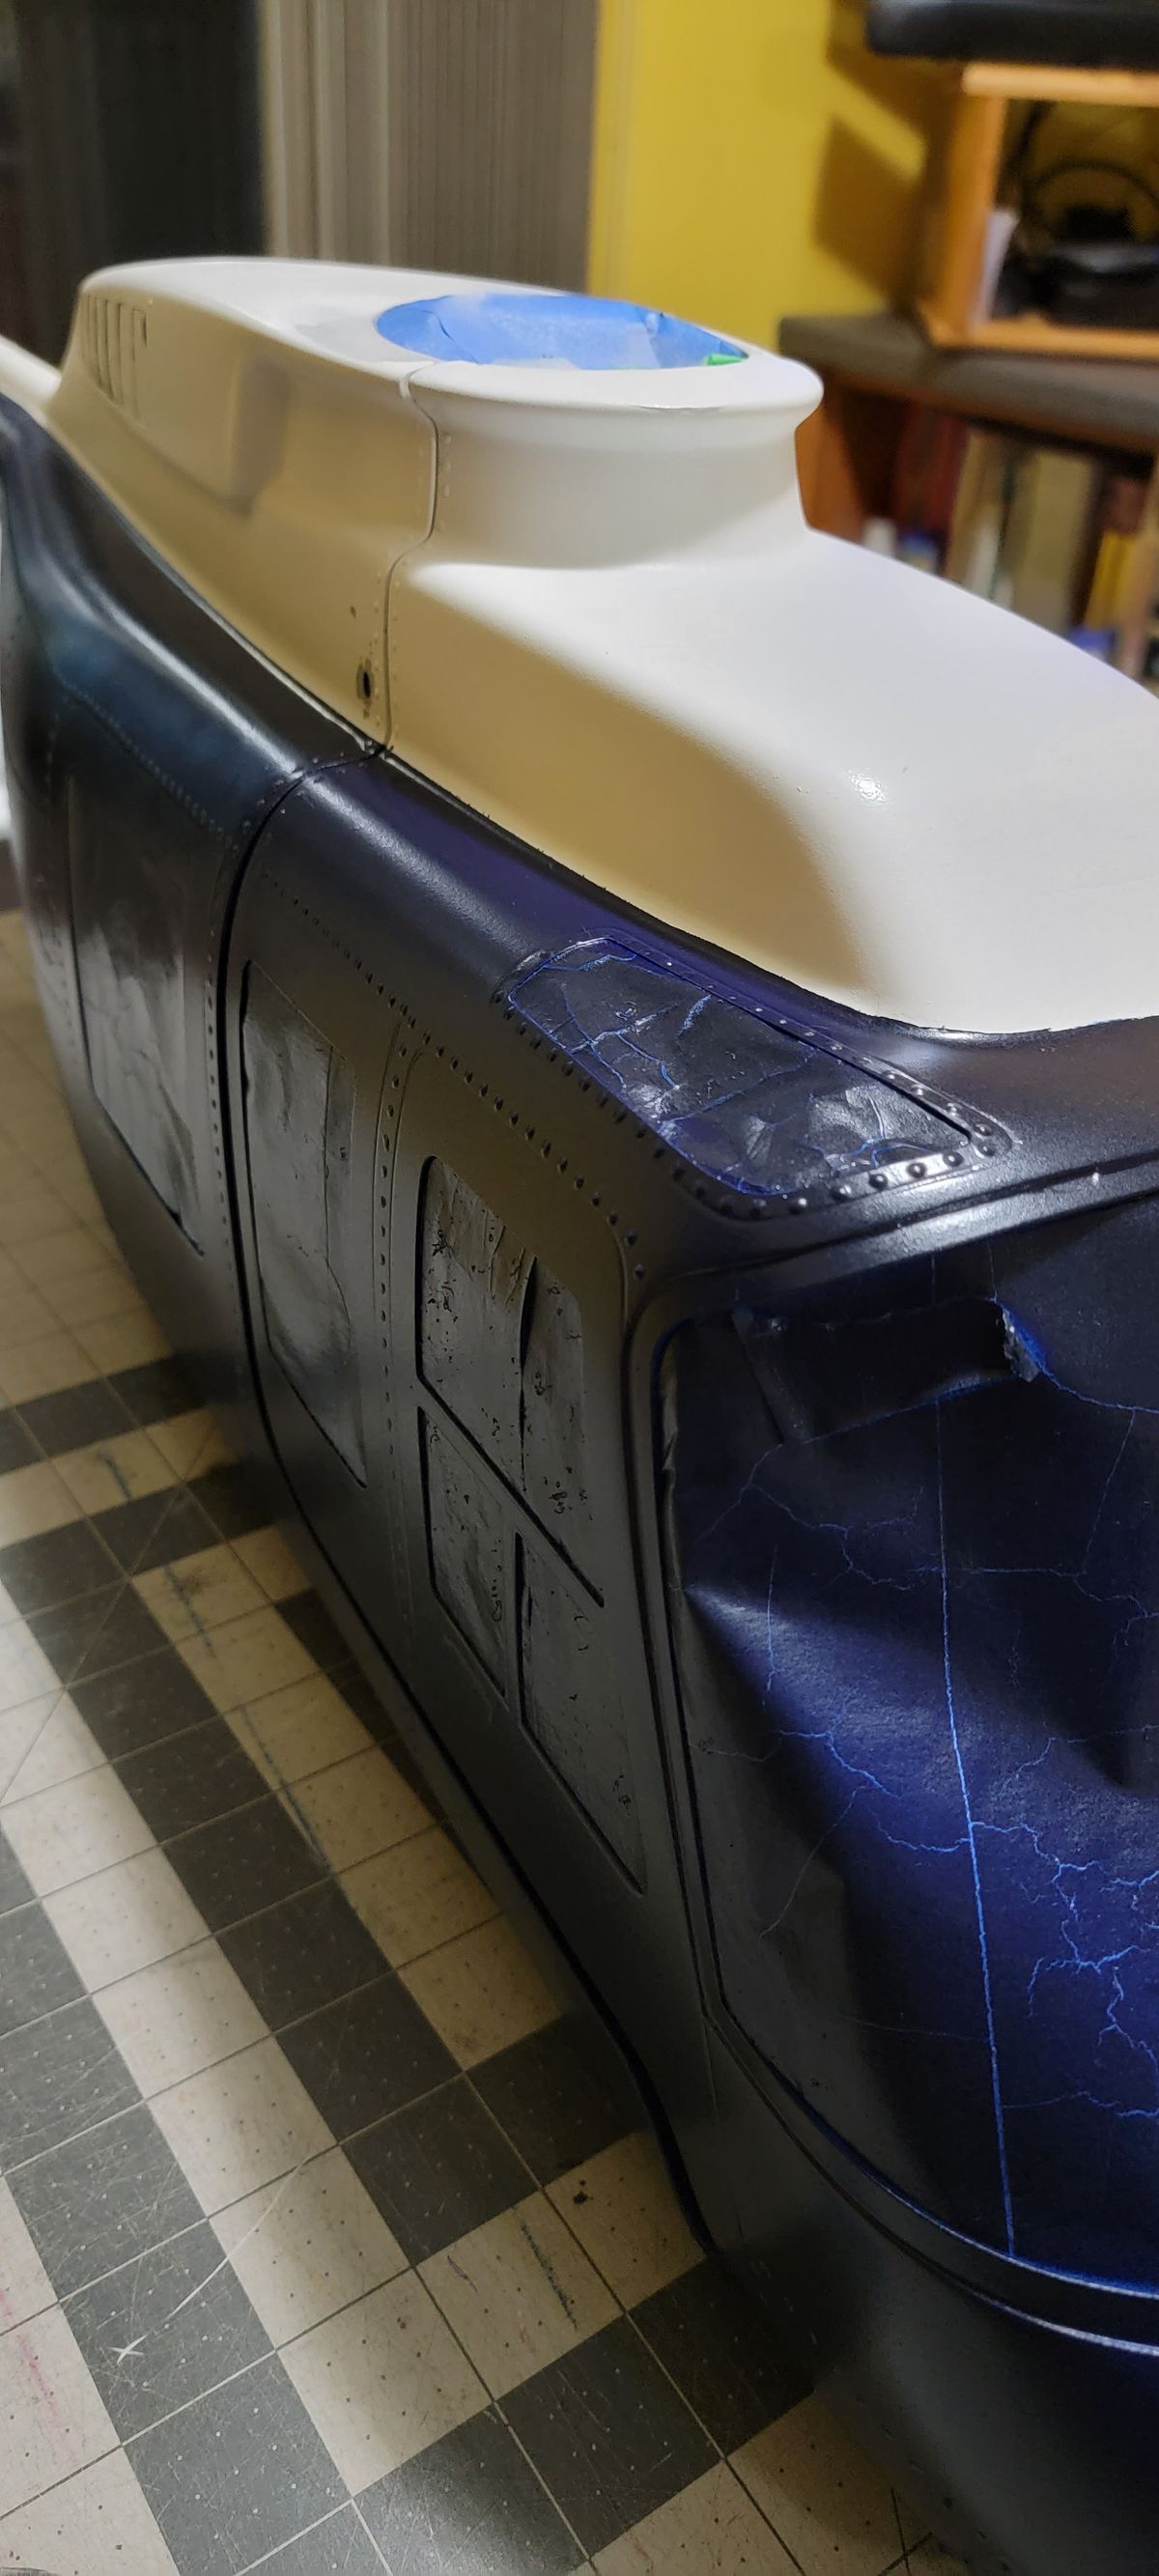
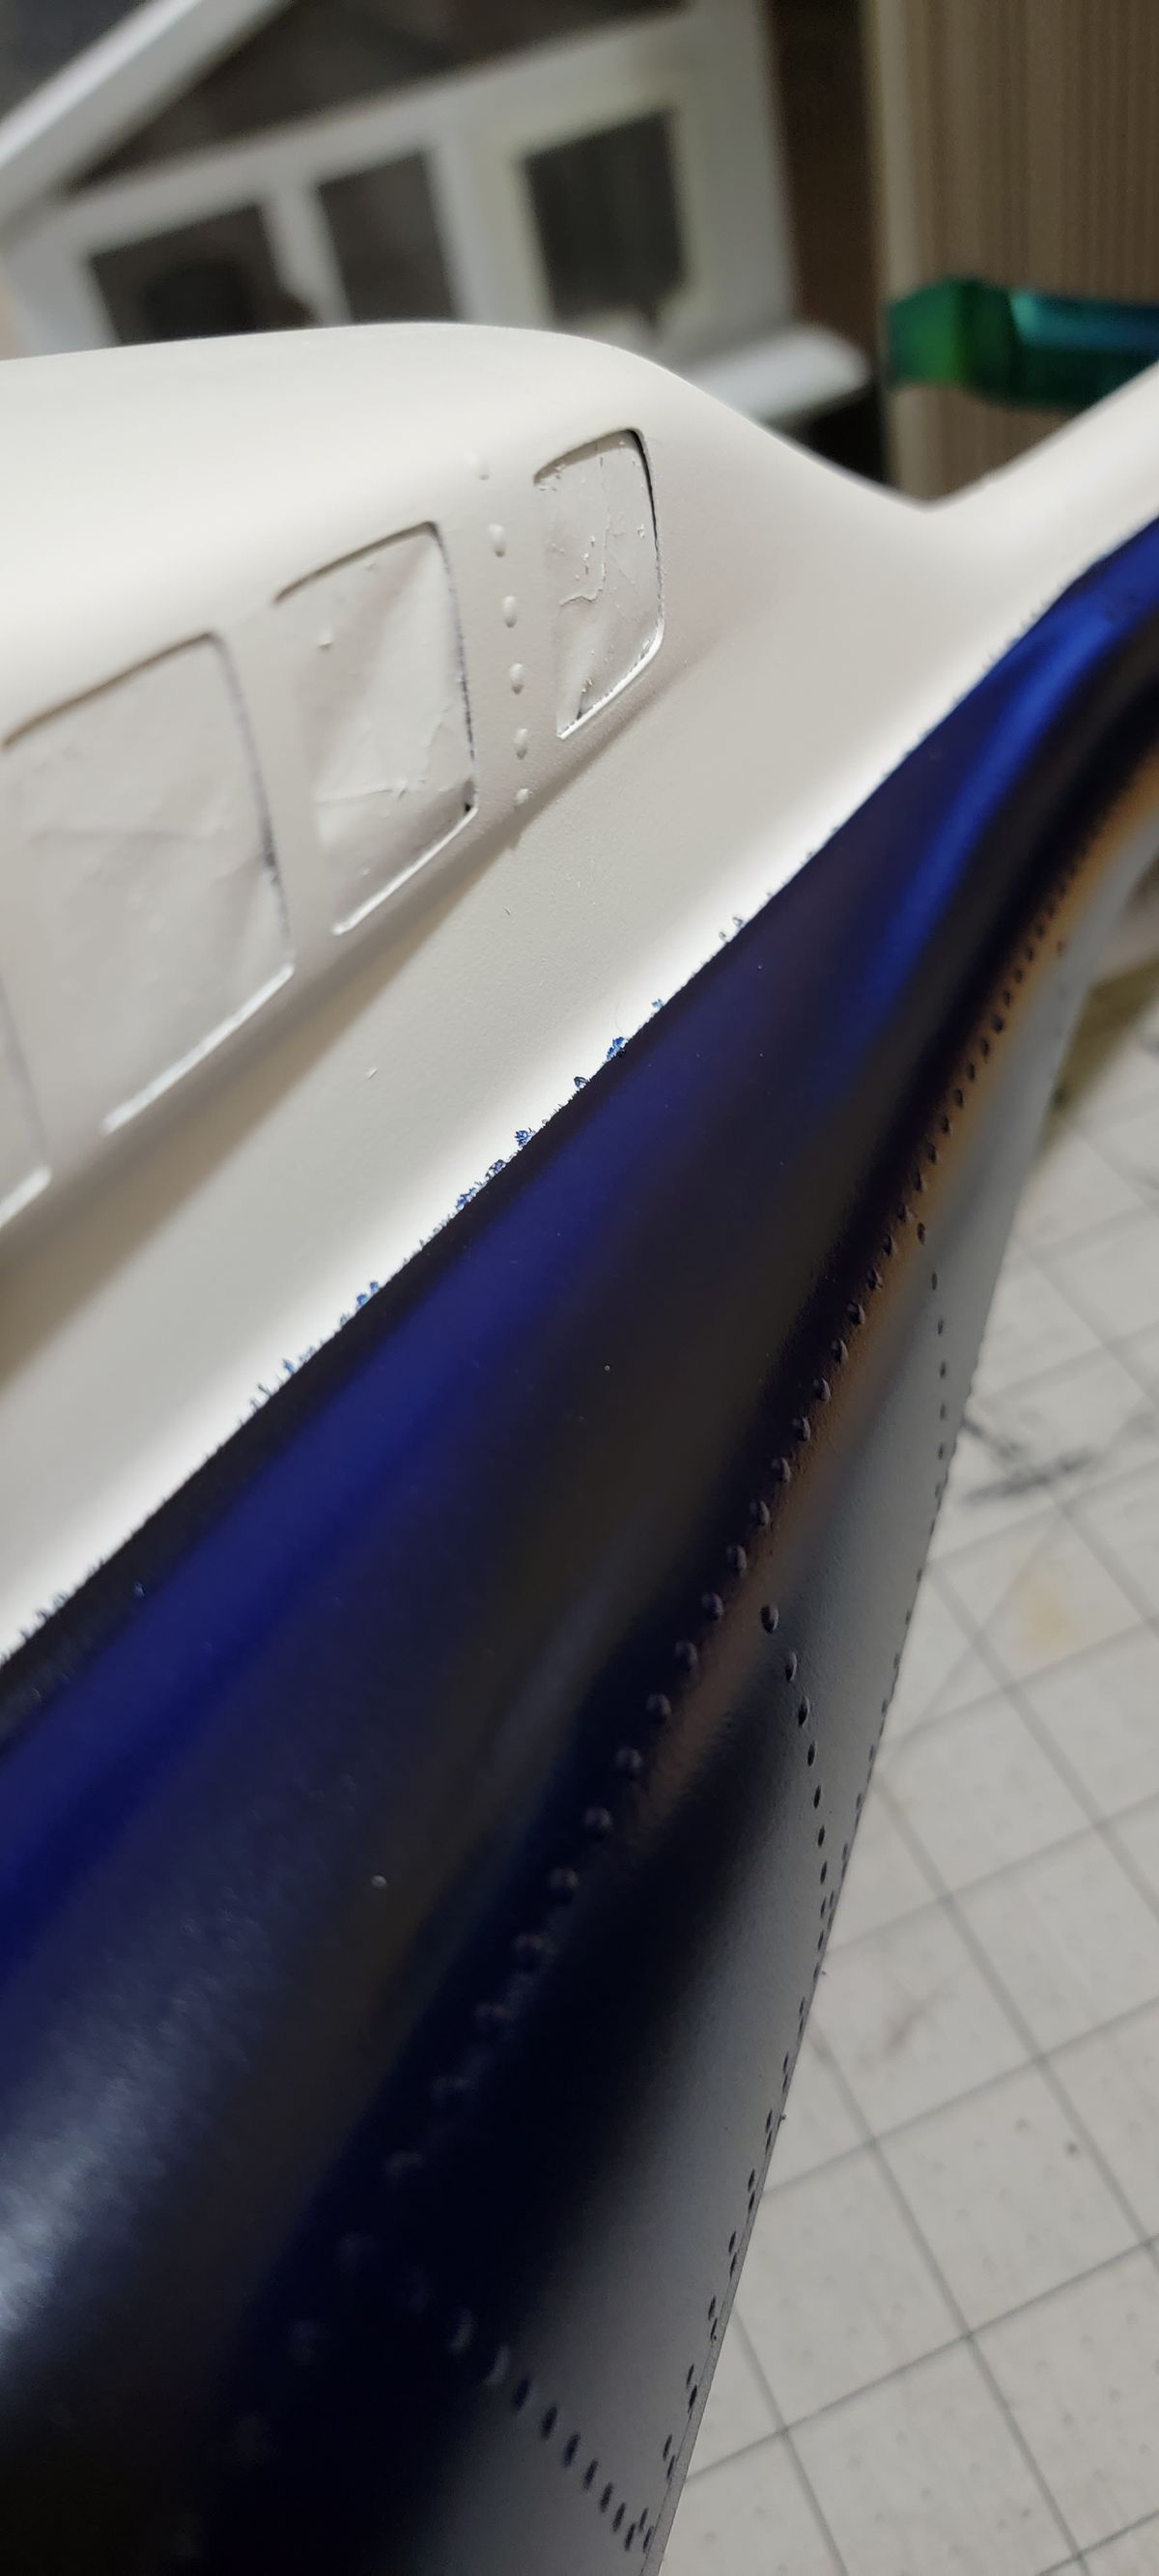
Painting time
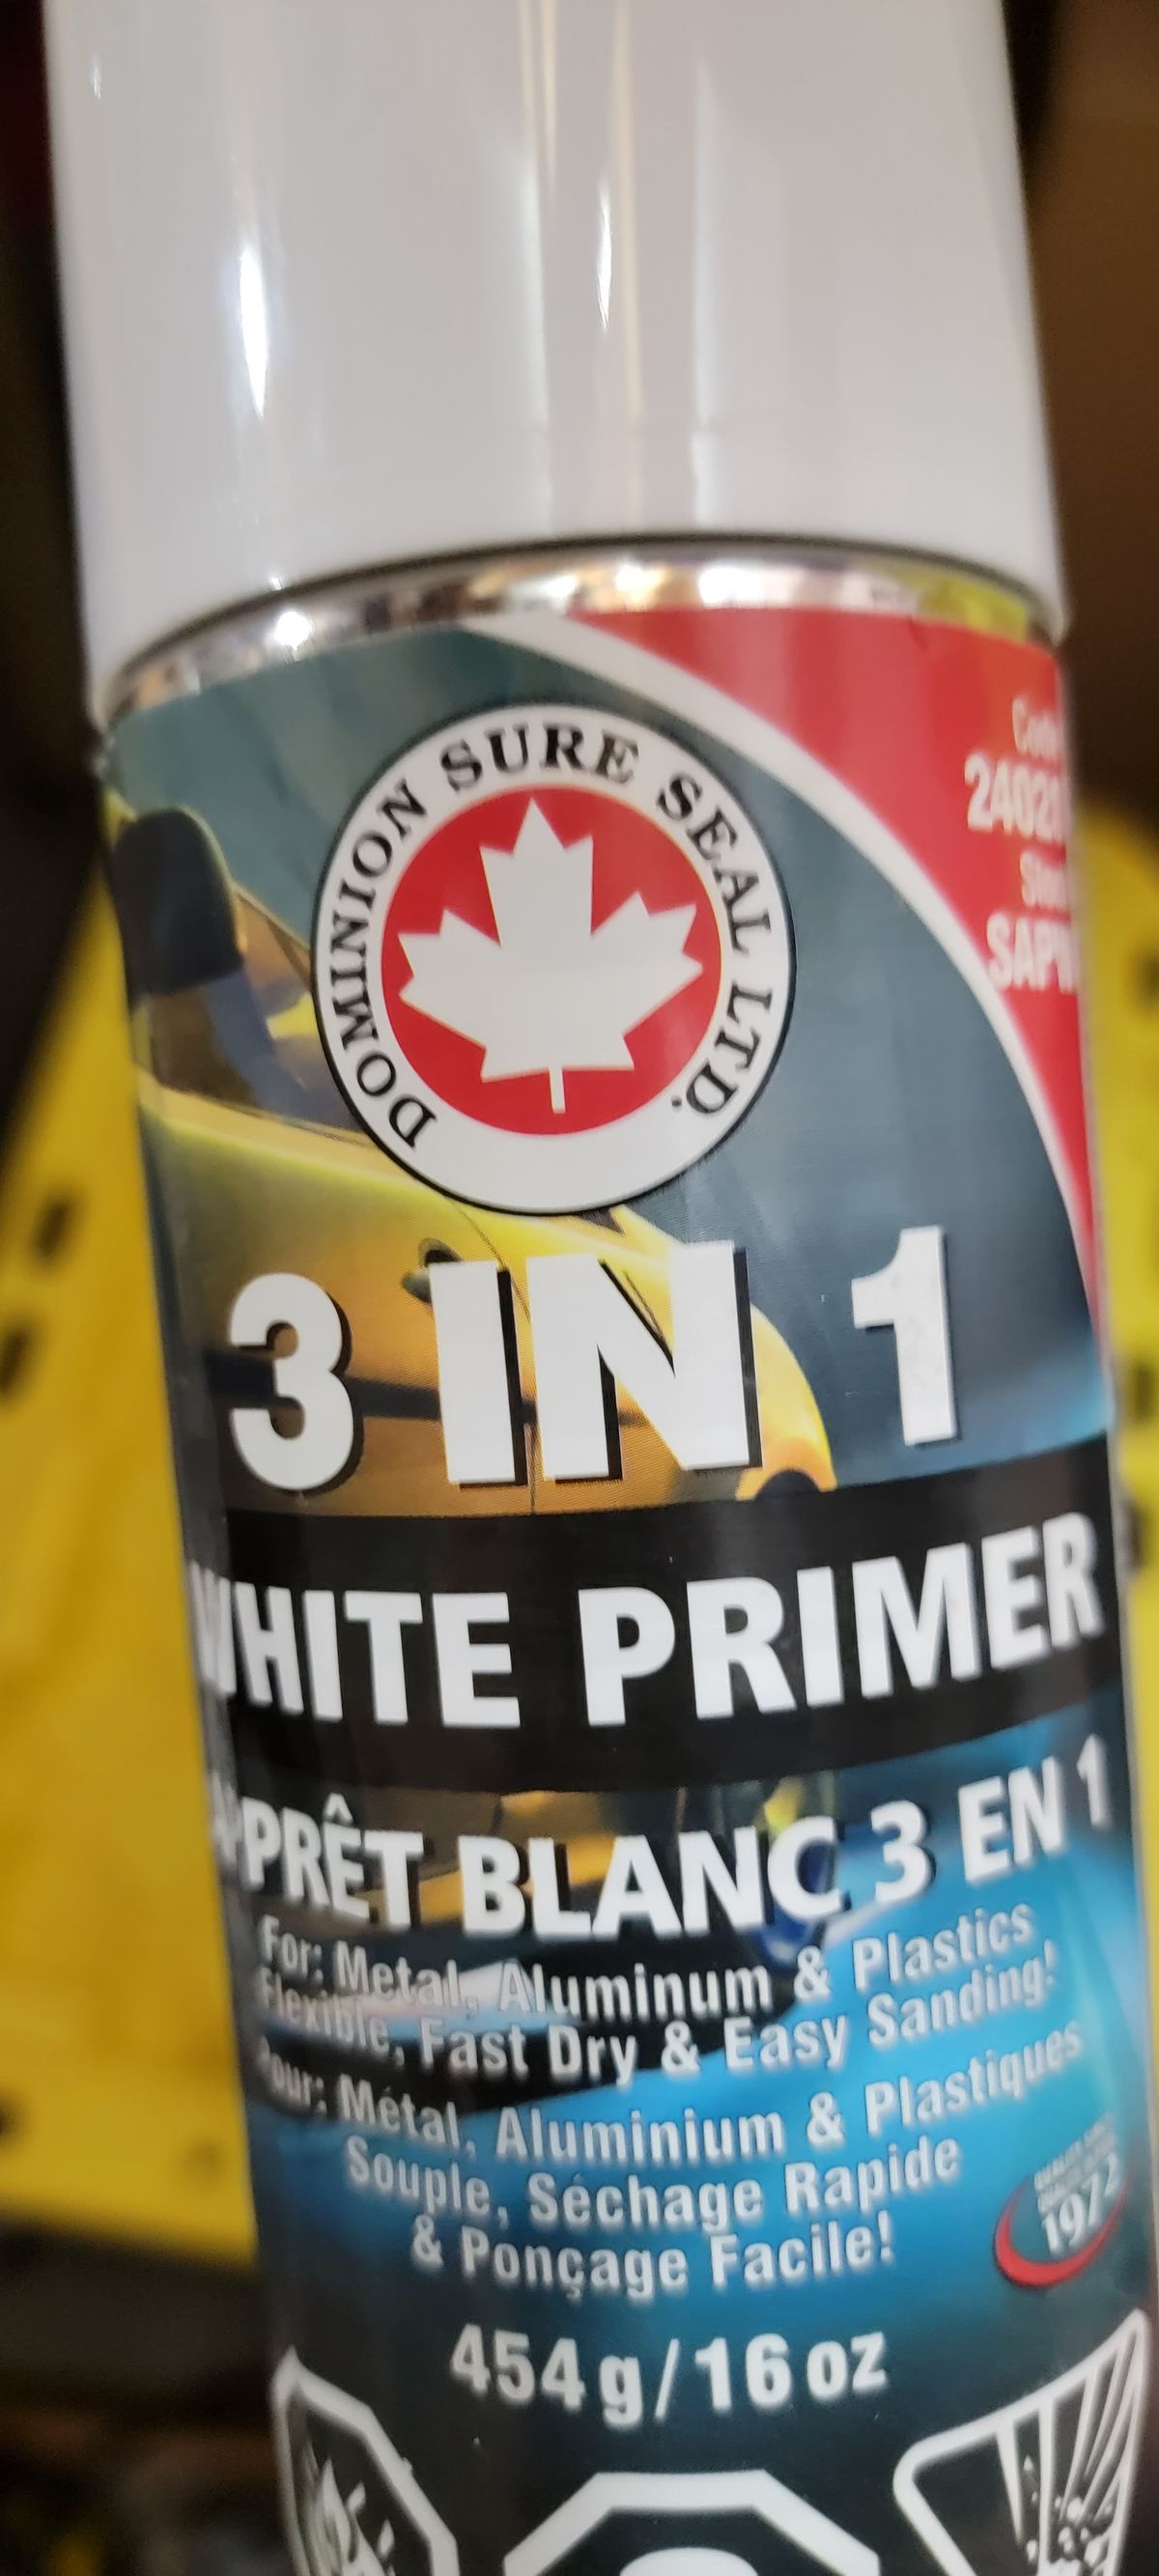
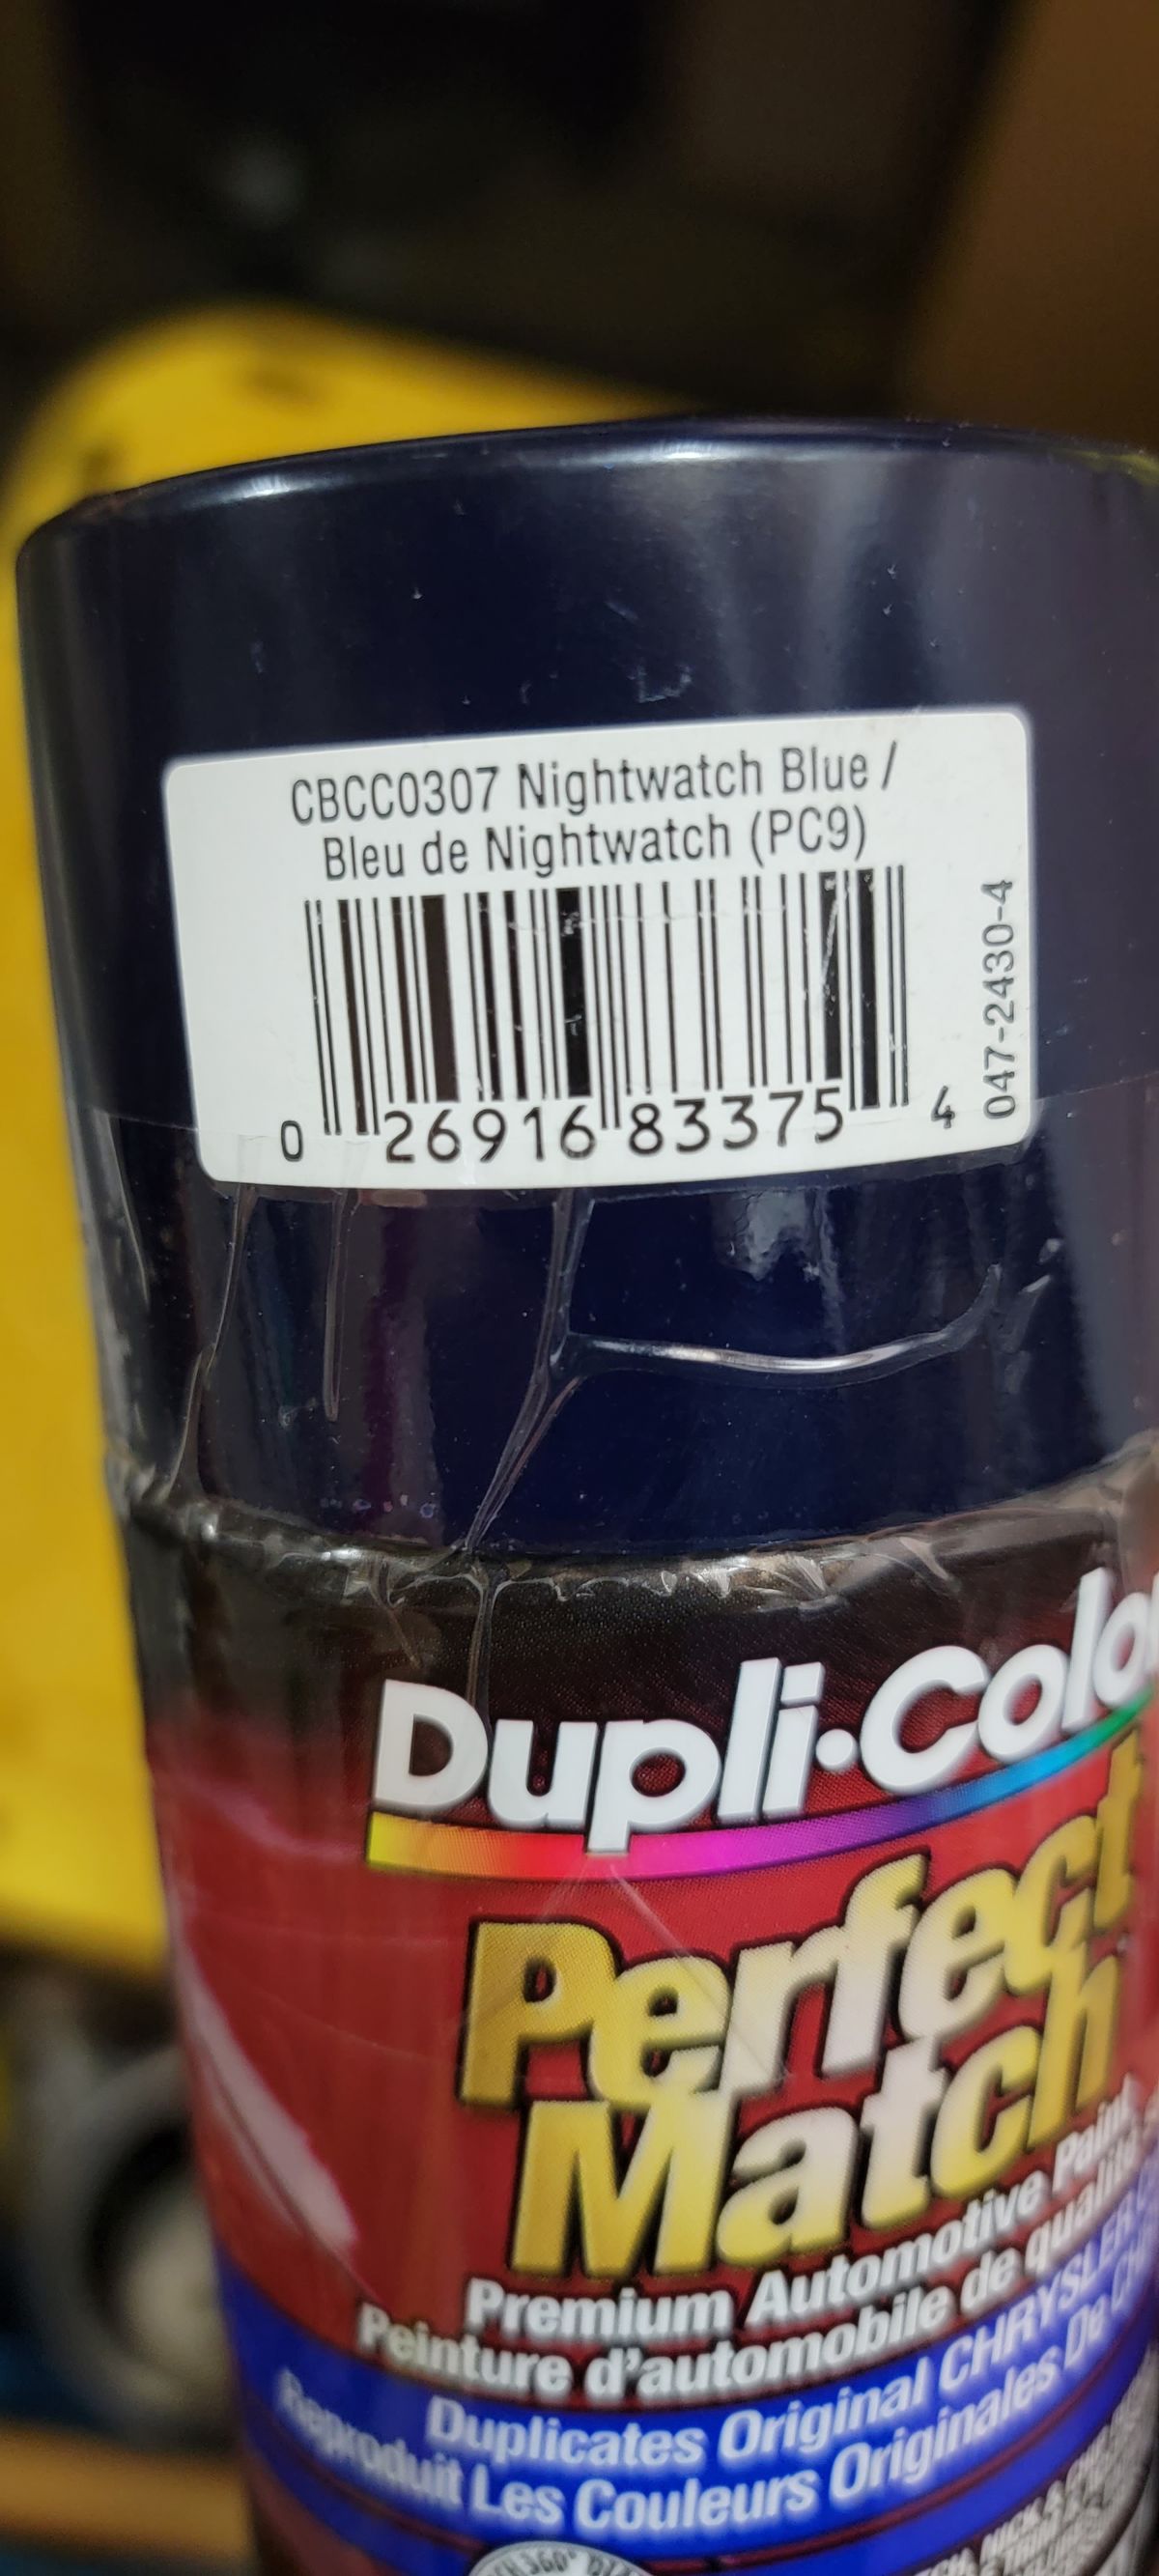
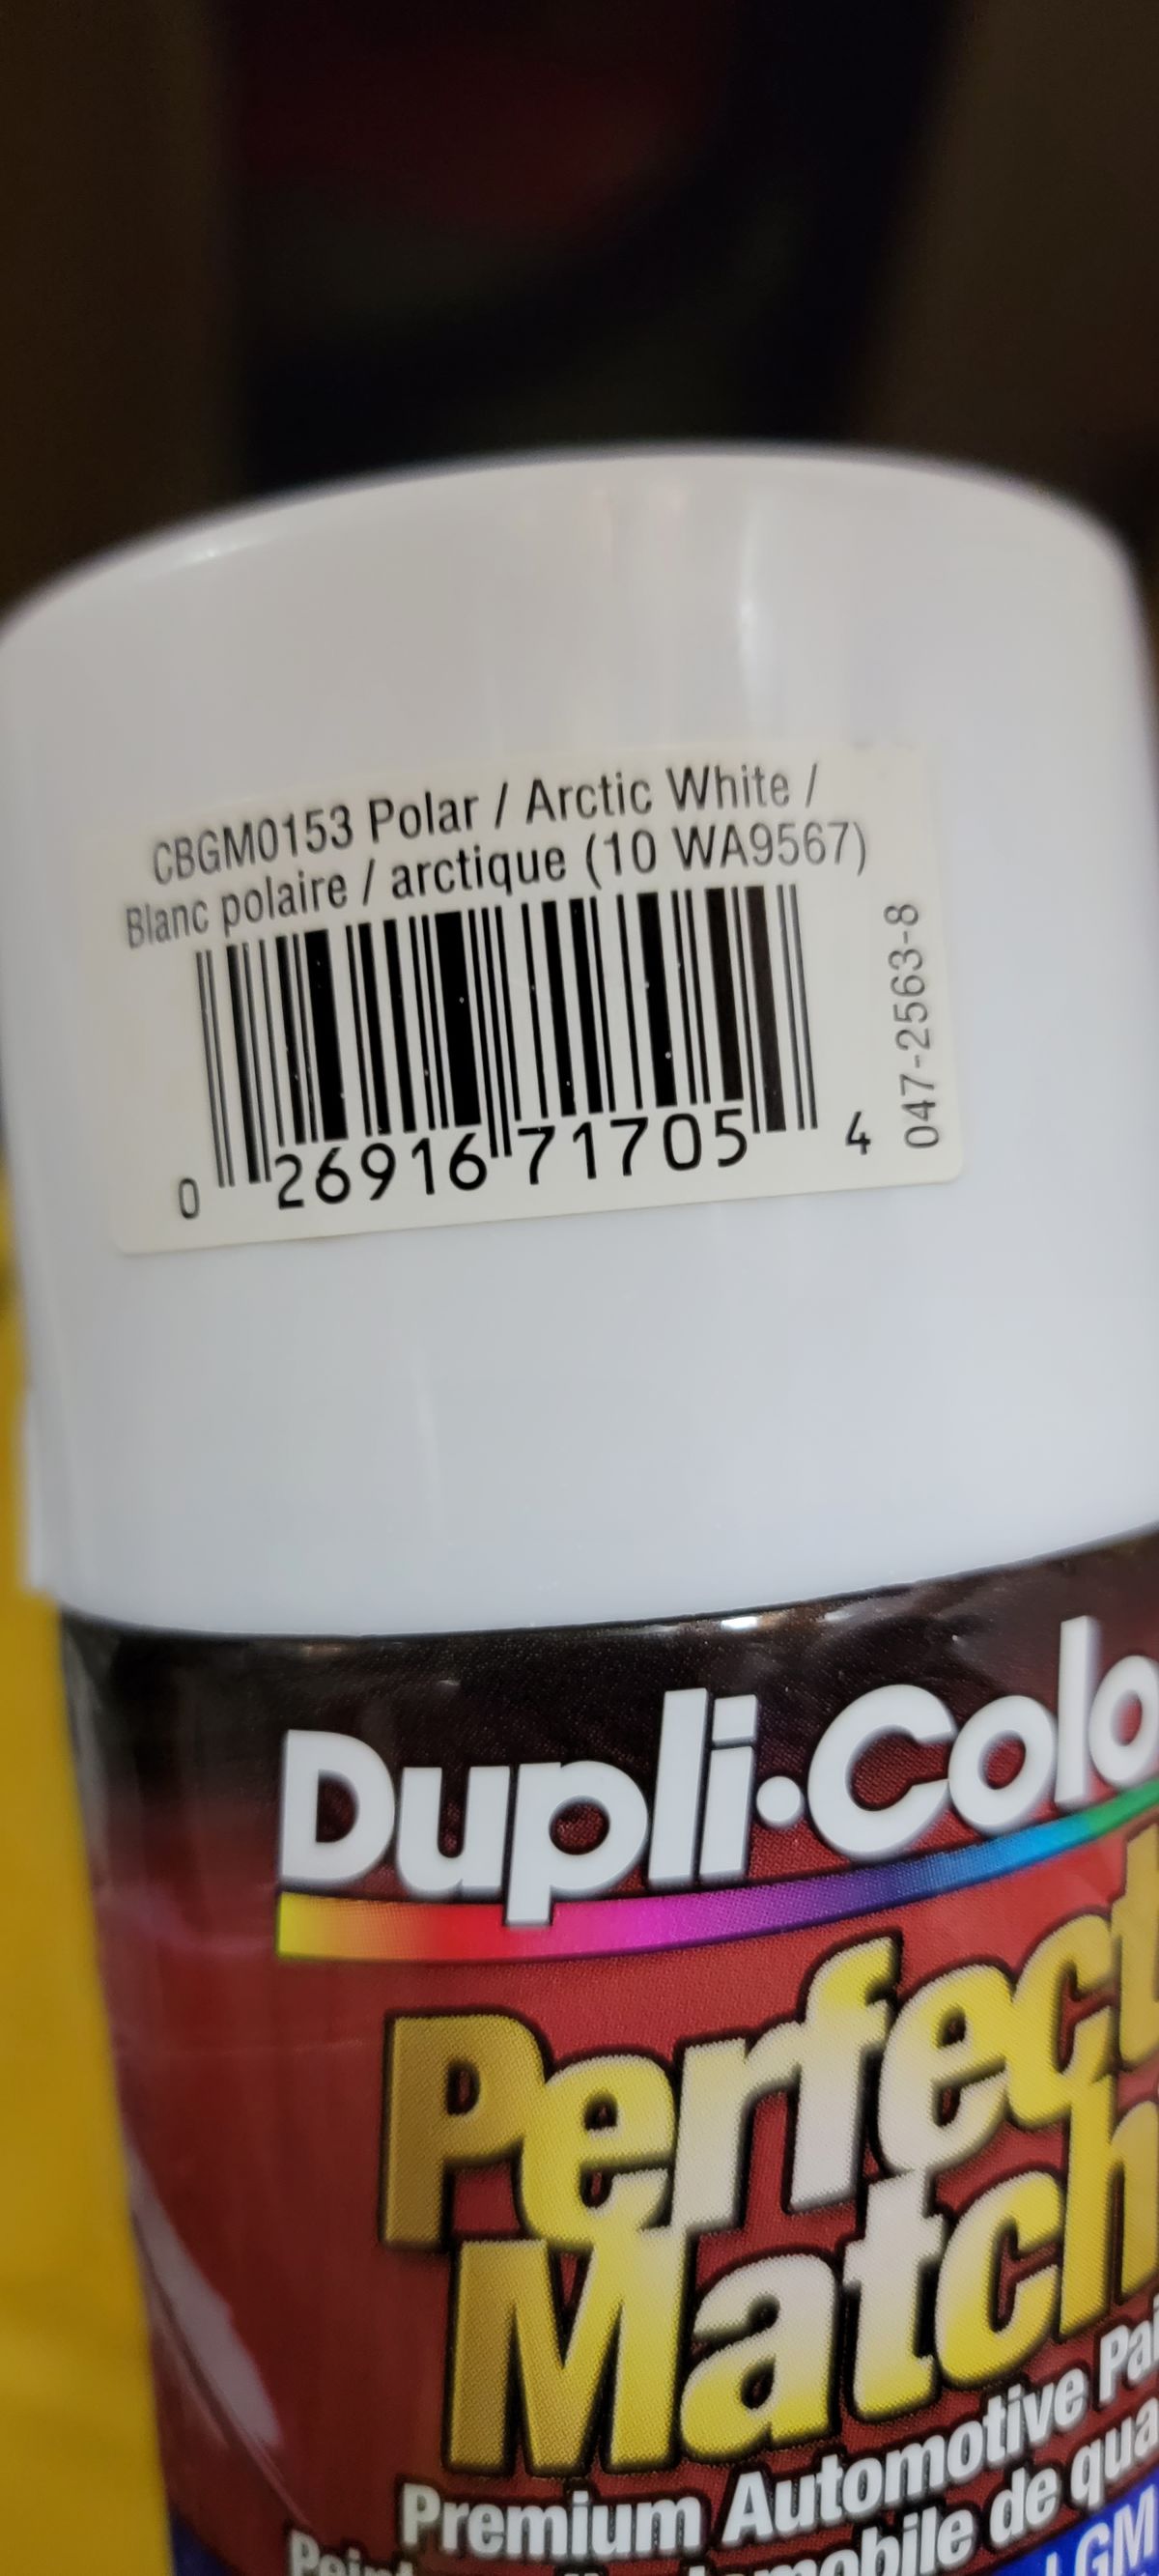
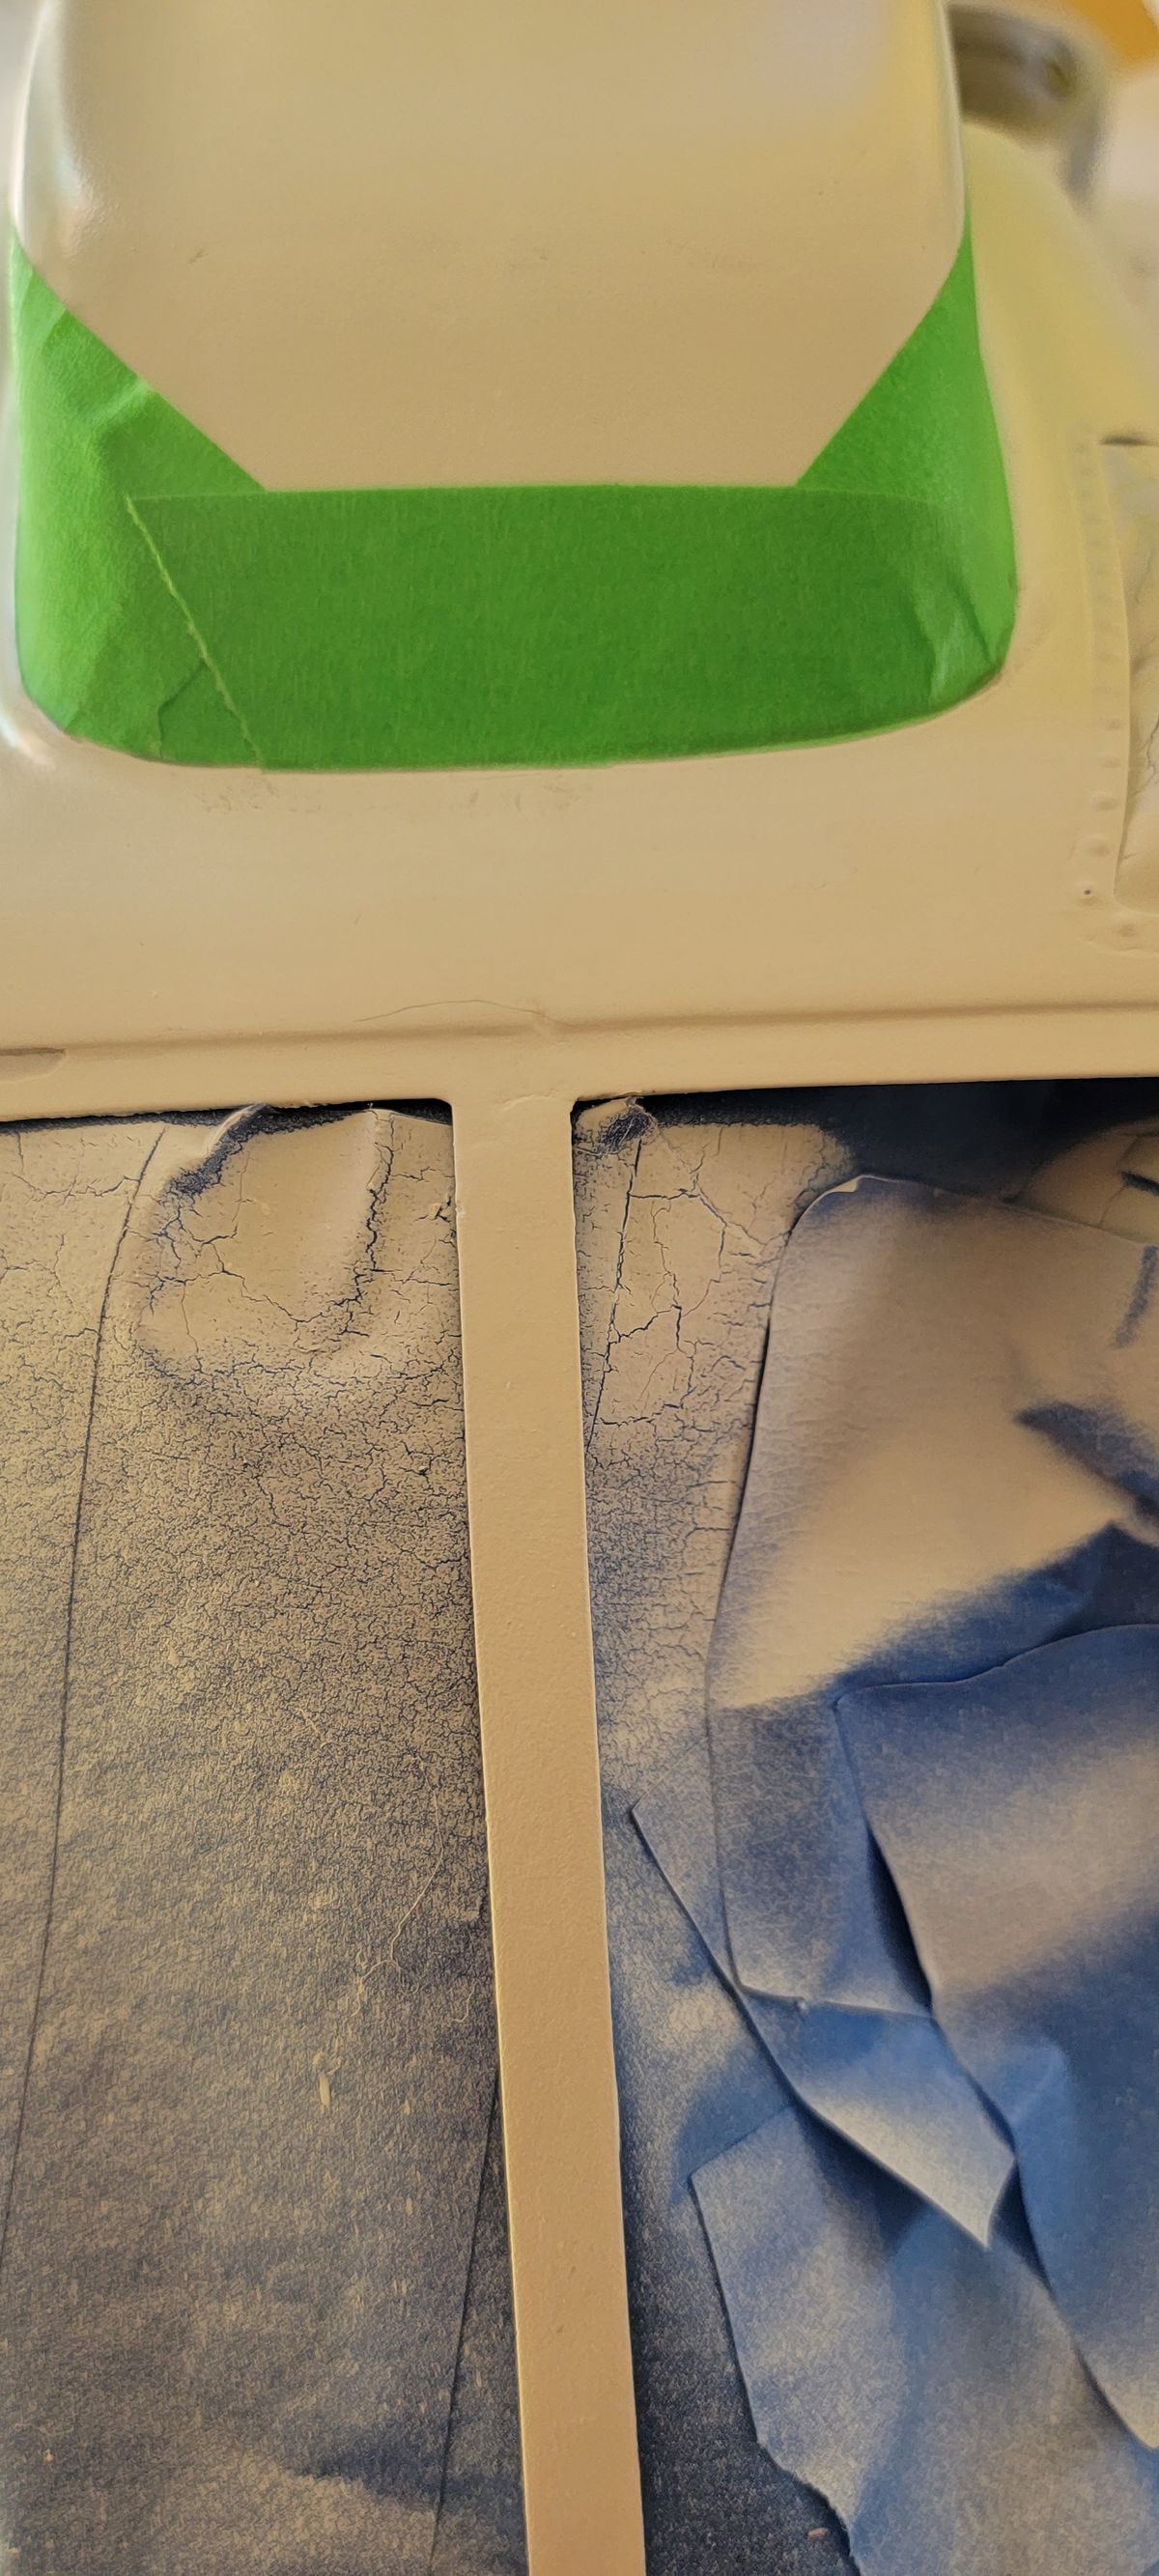
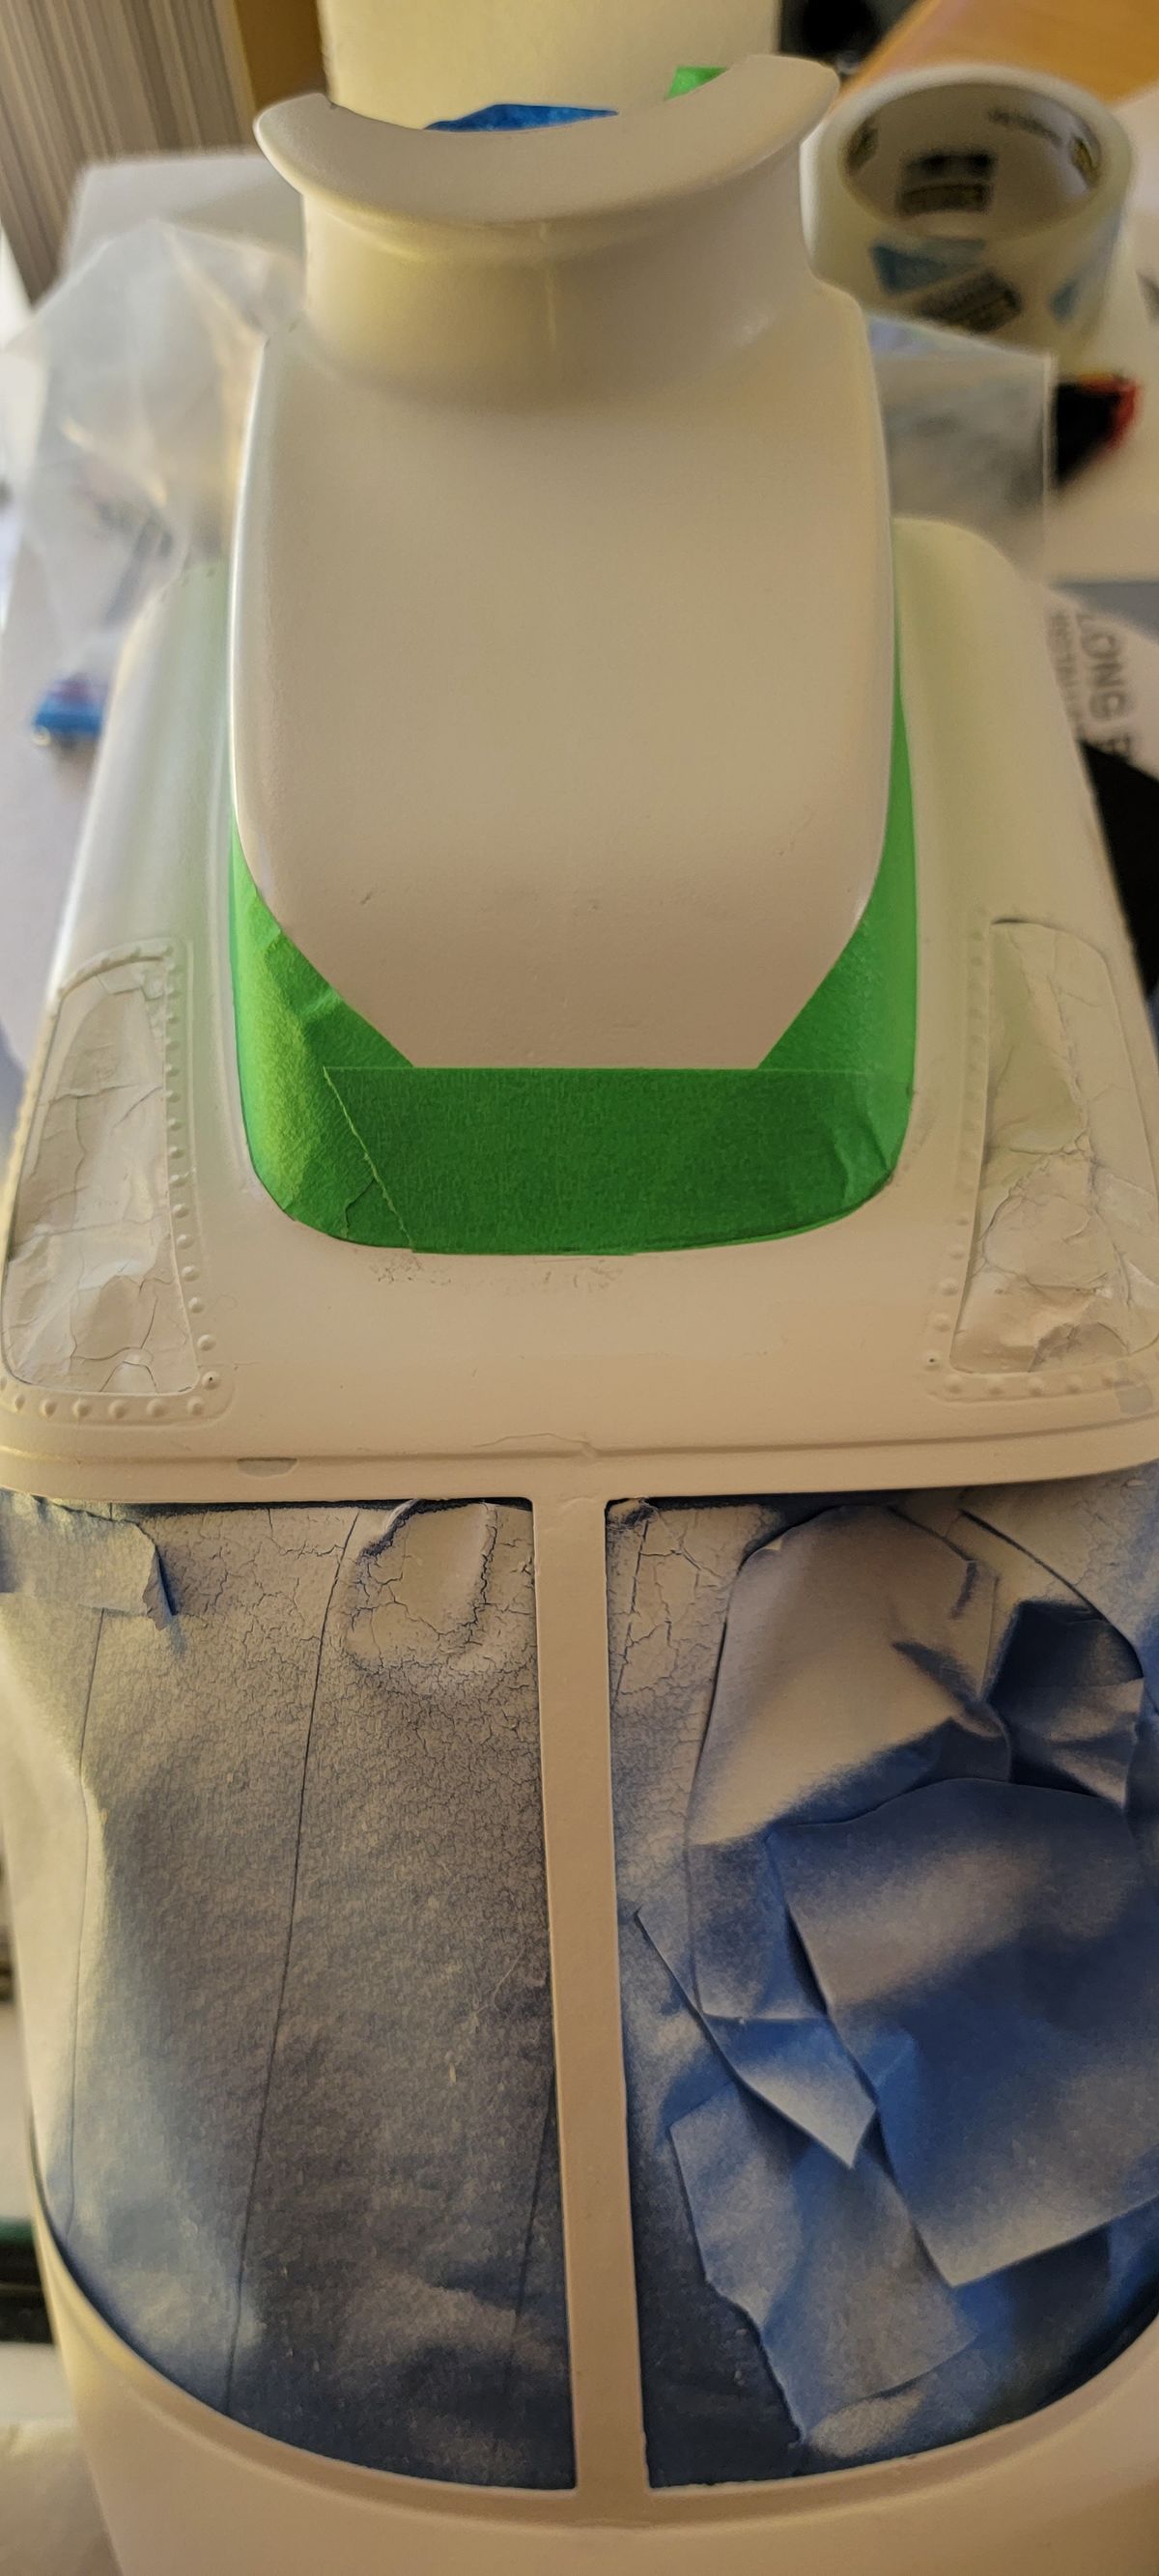
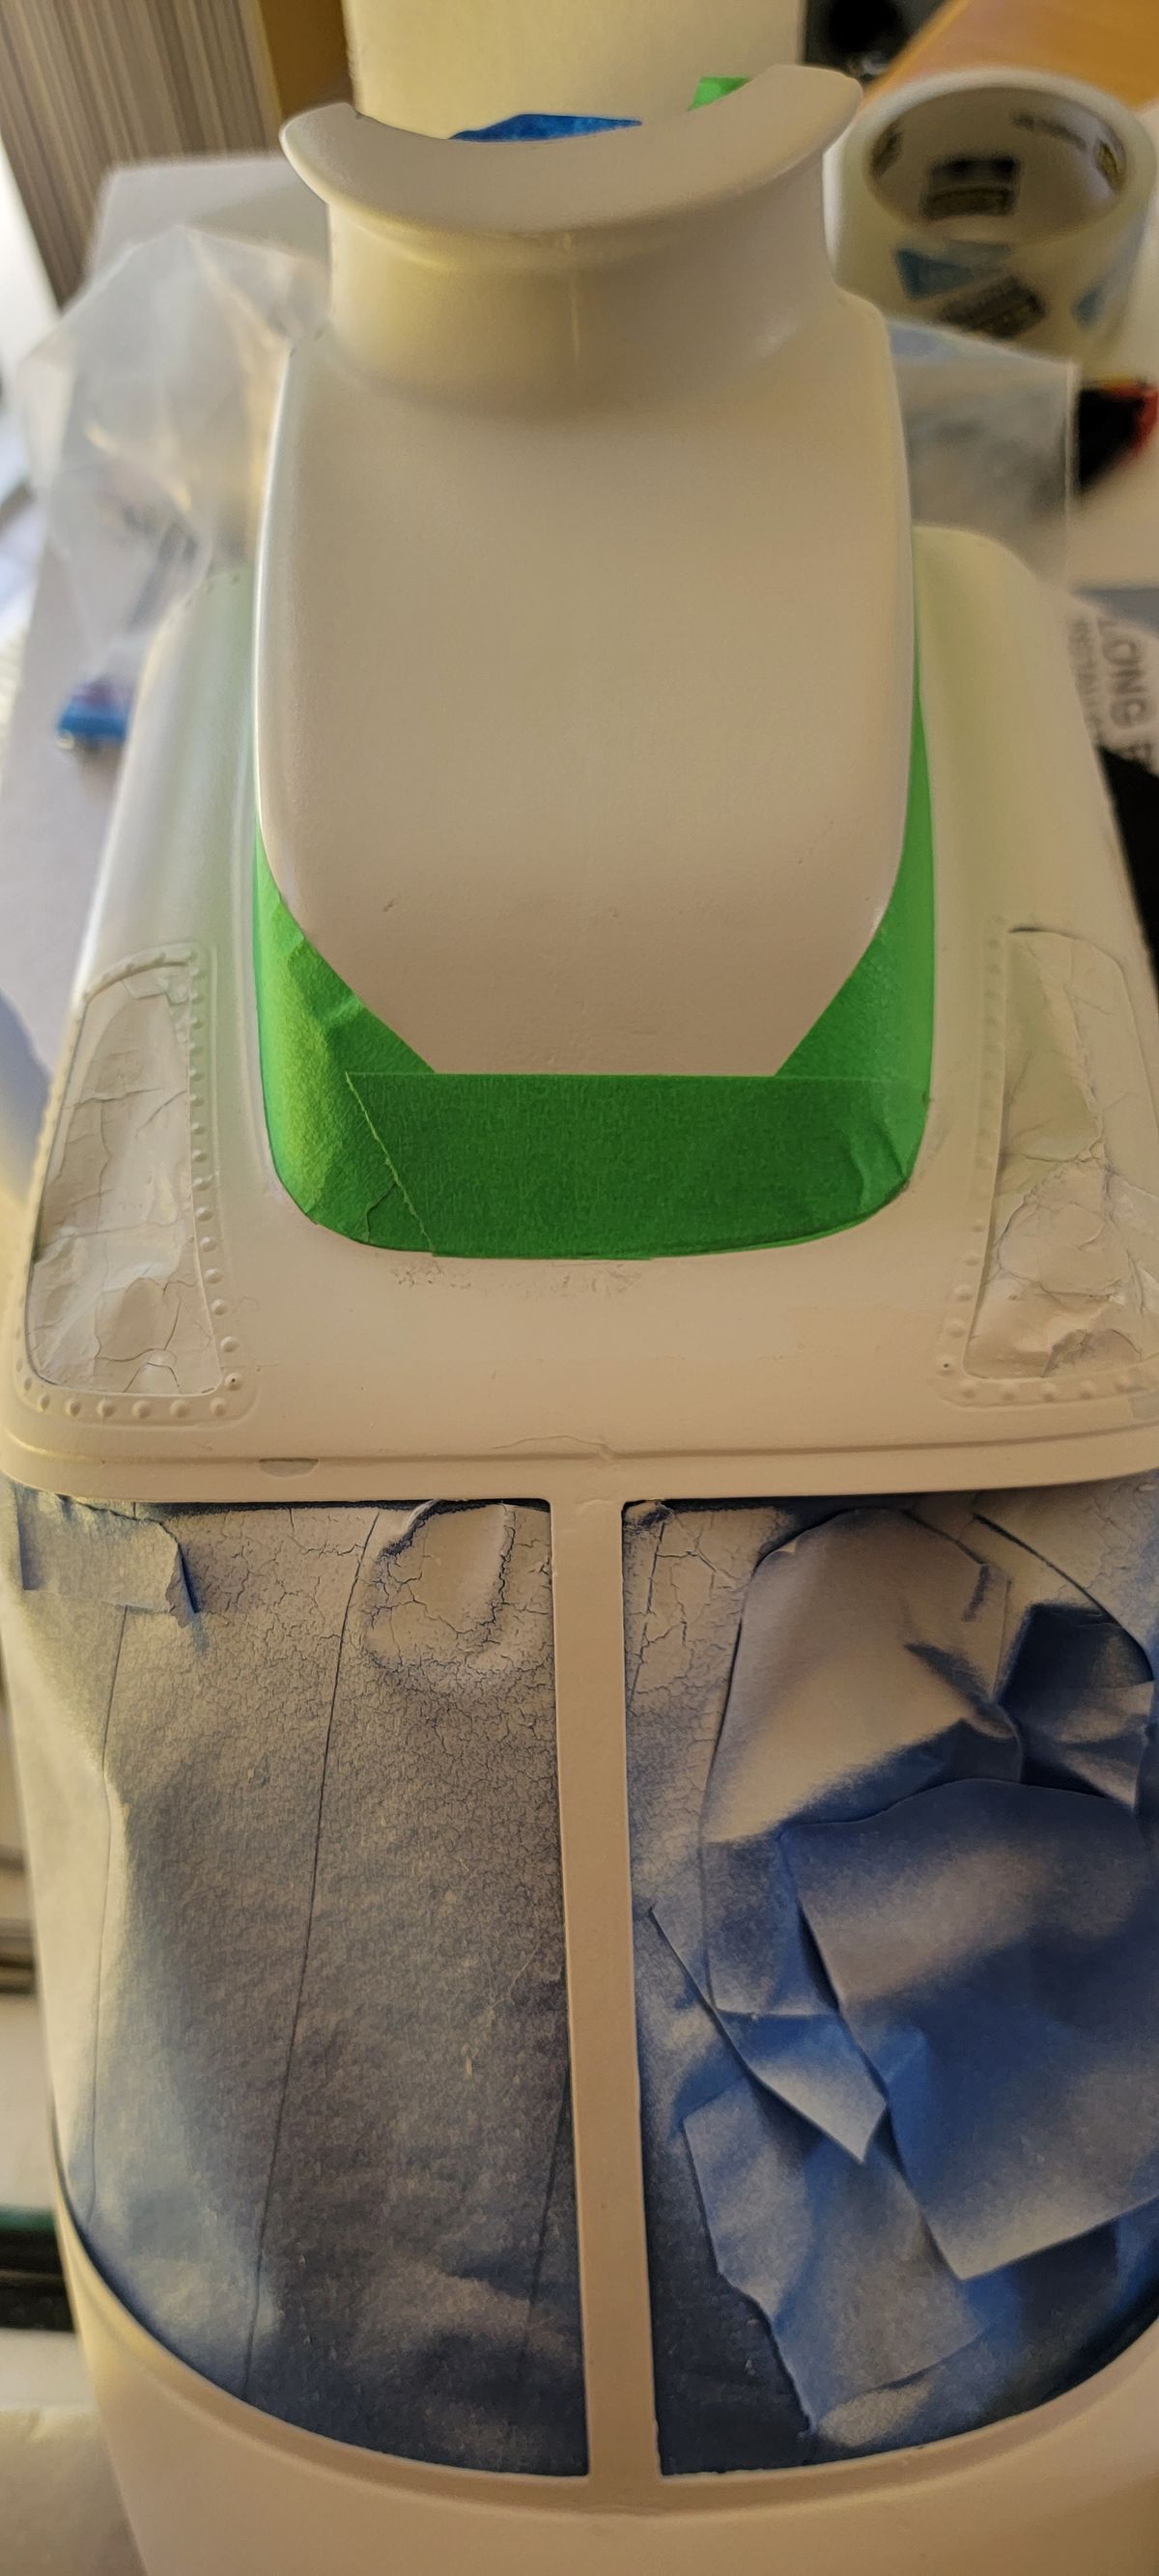
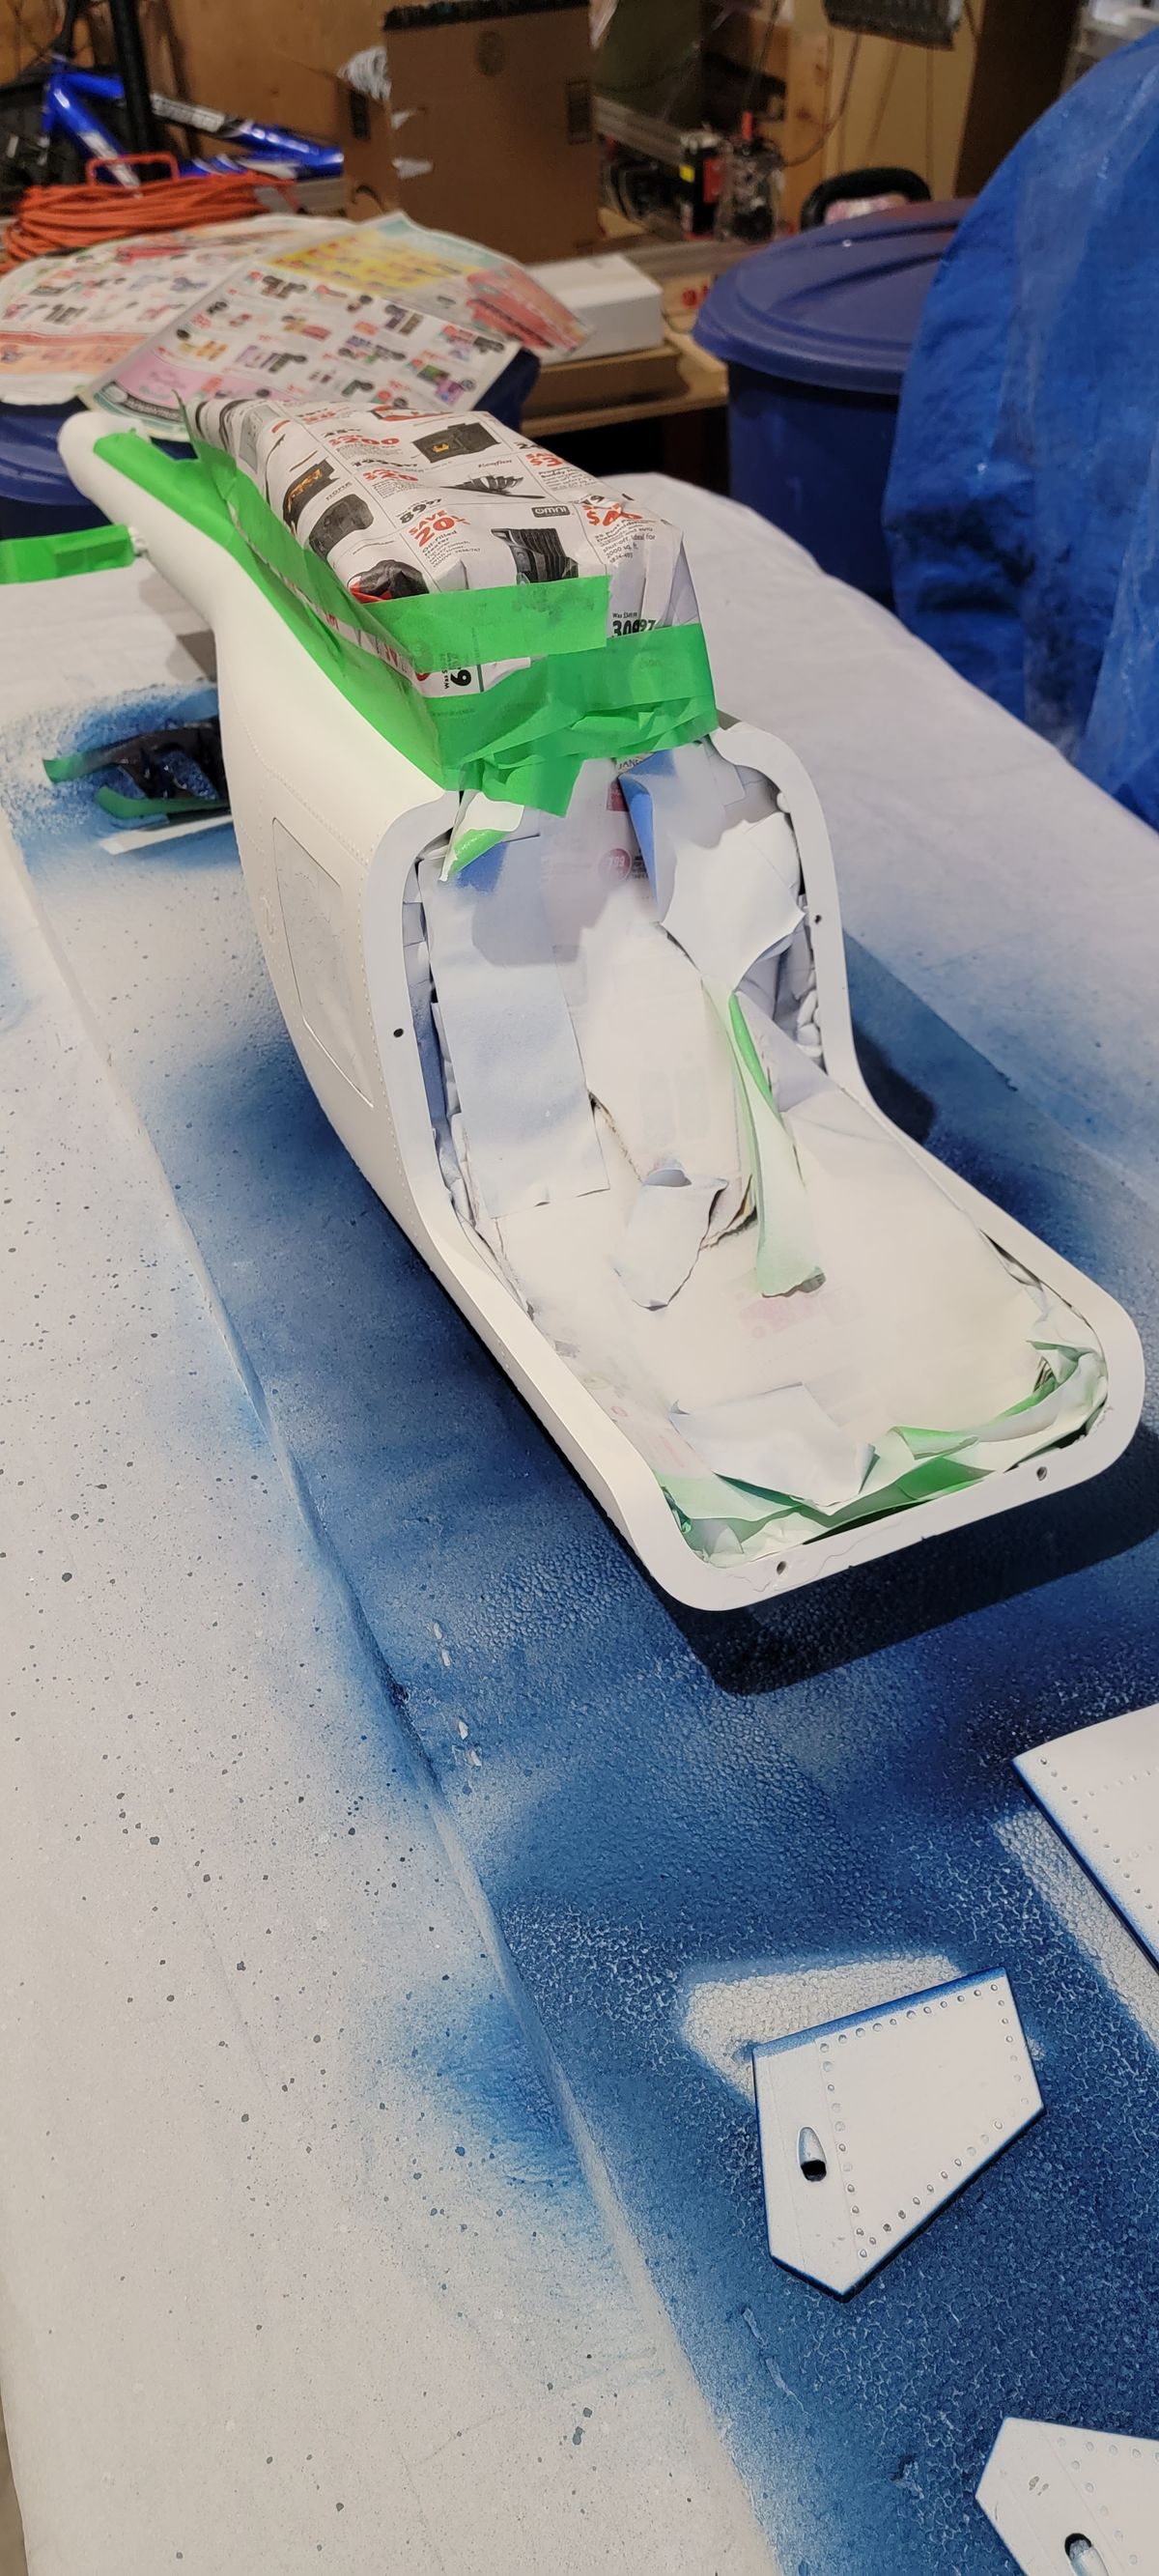
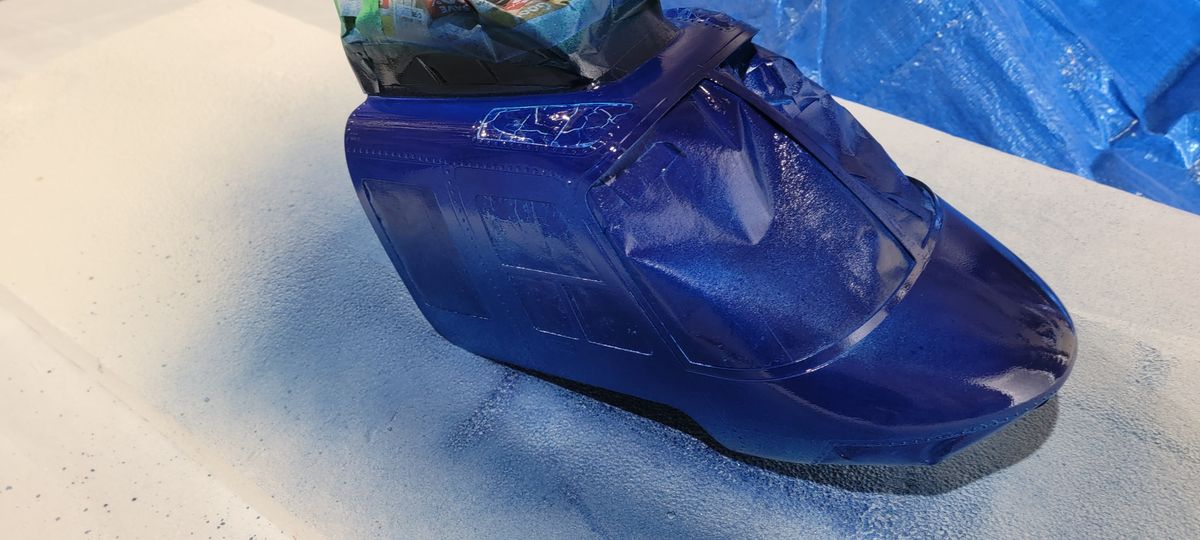
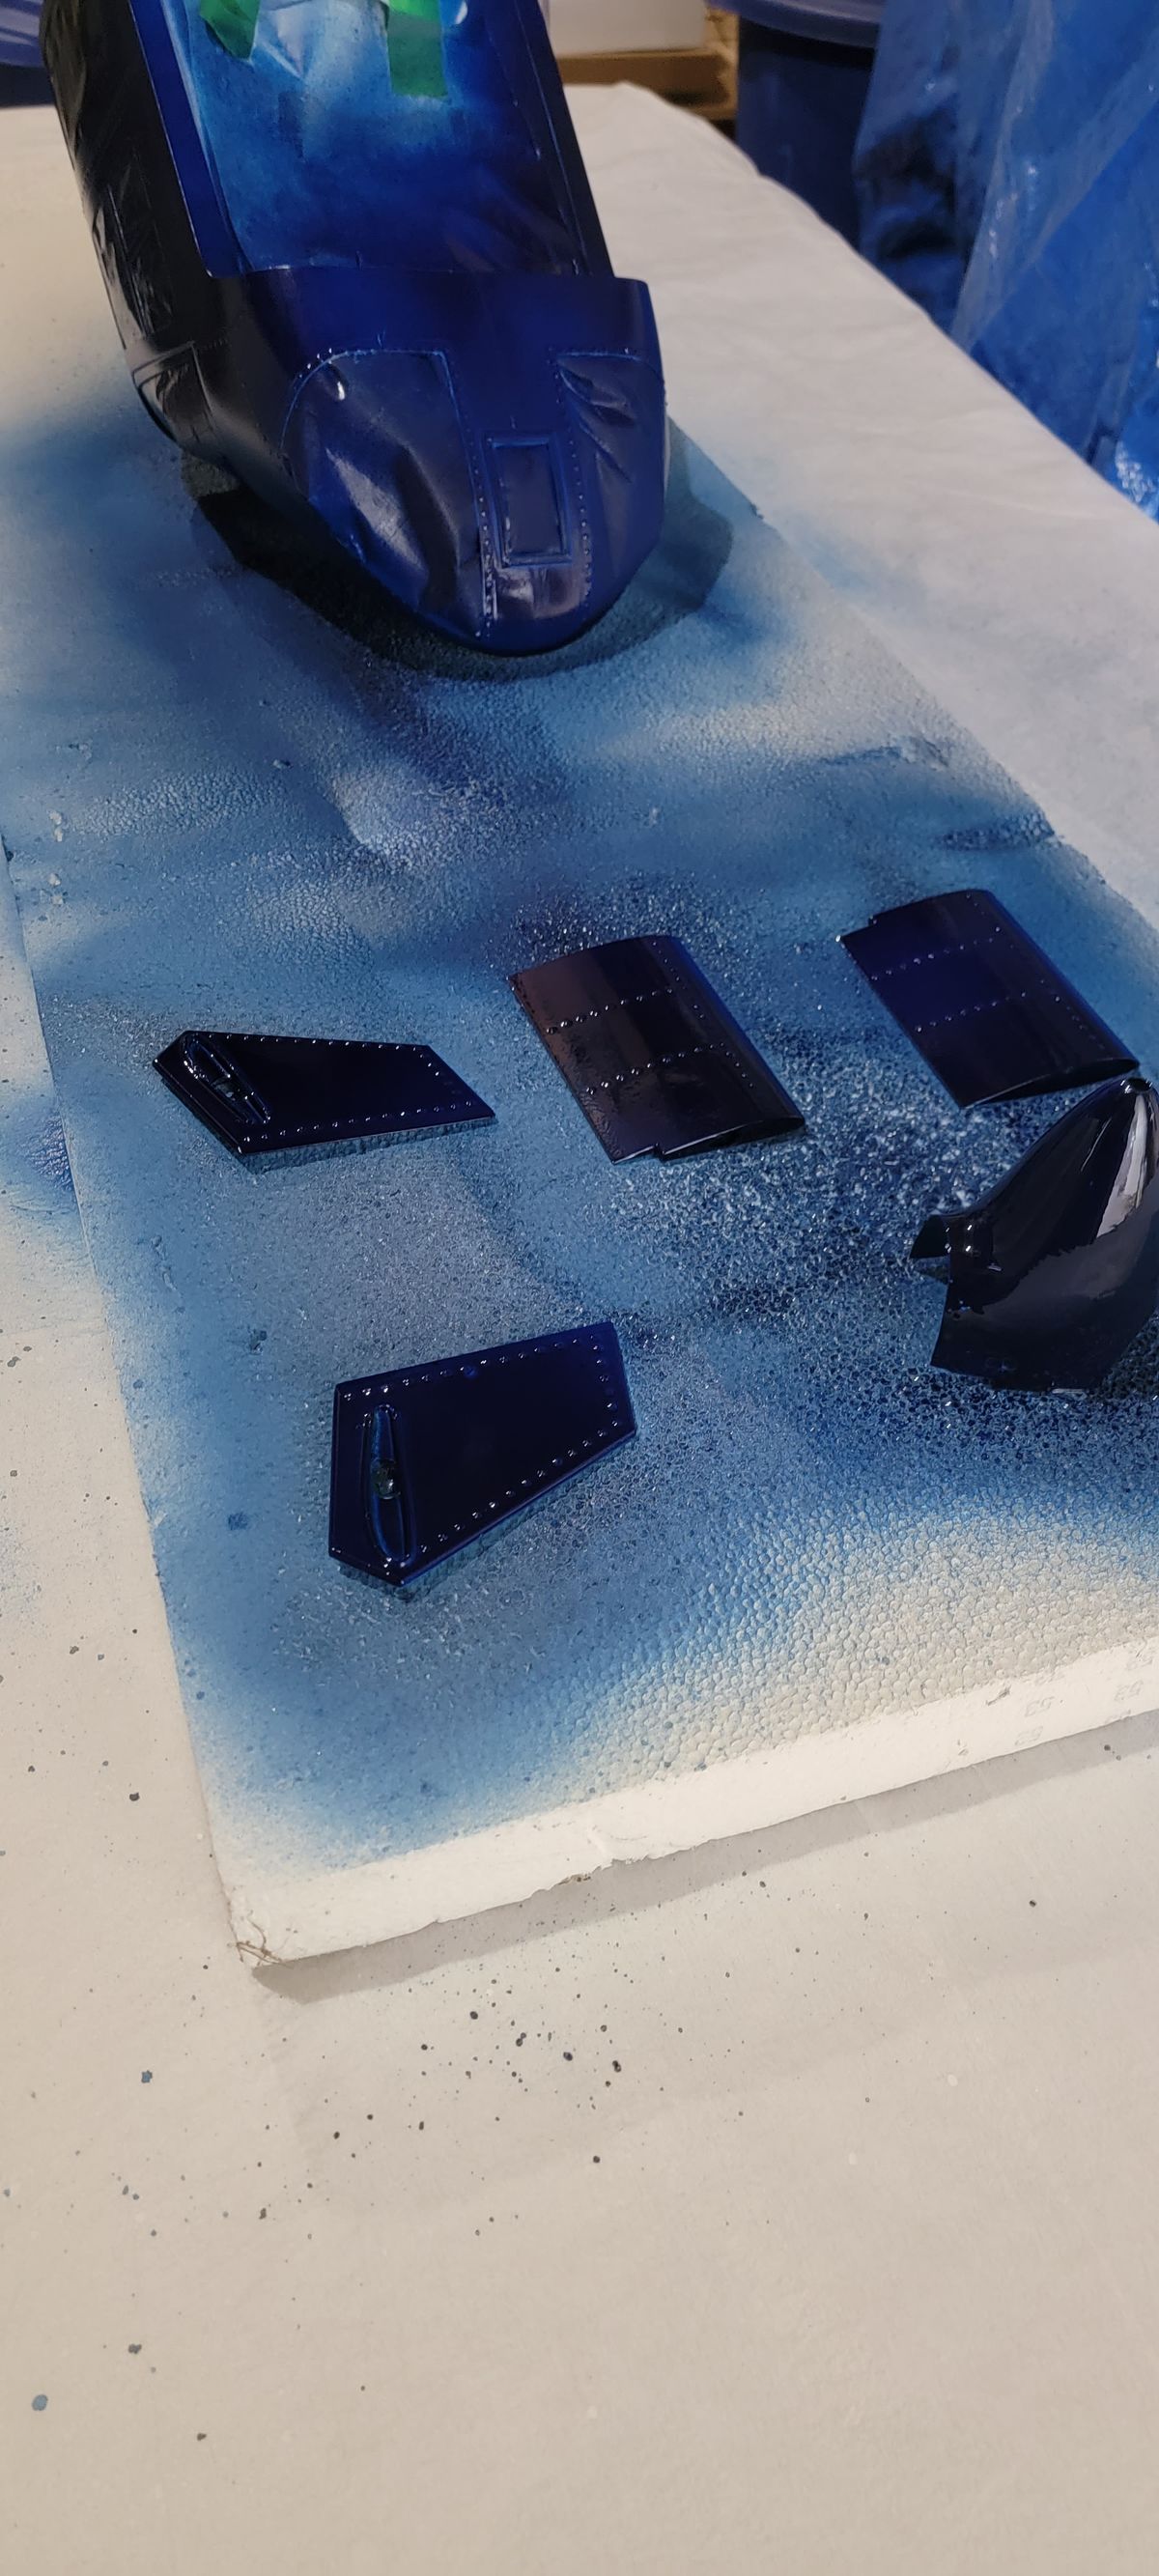
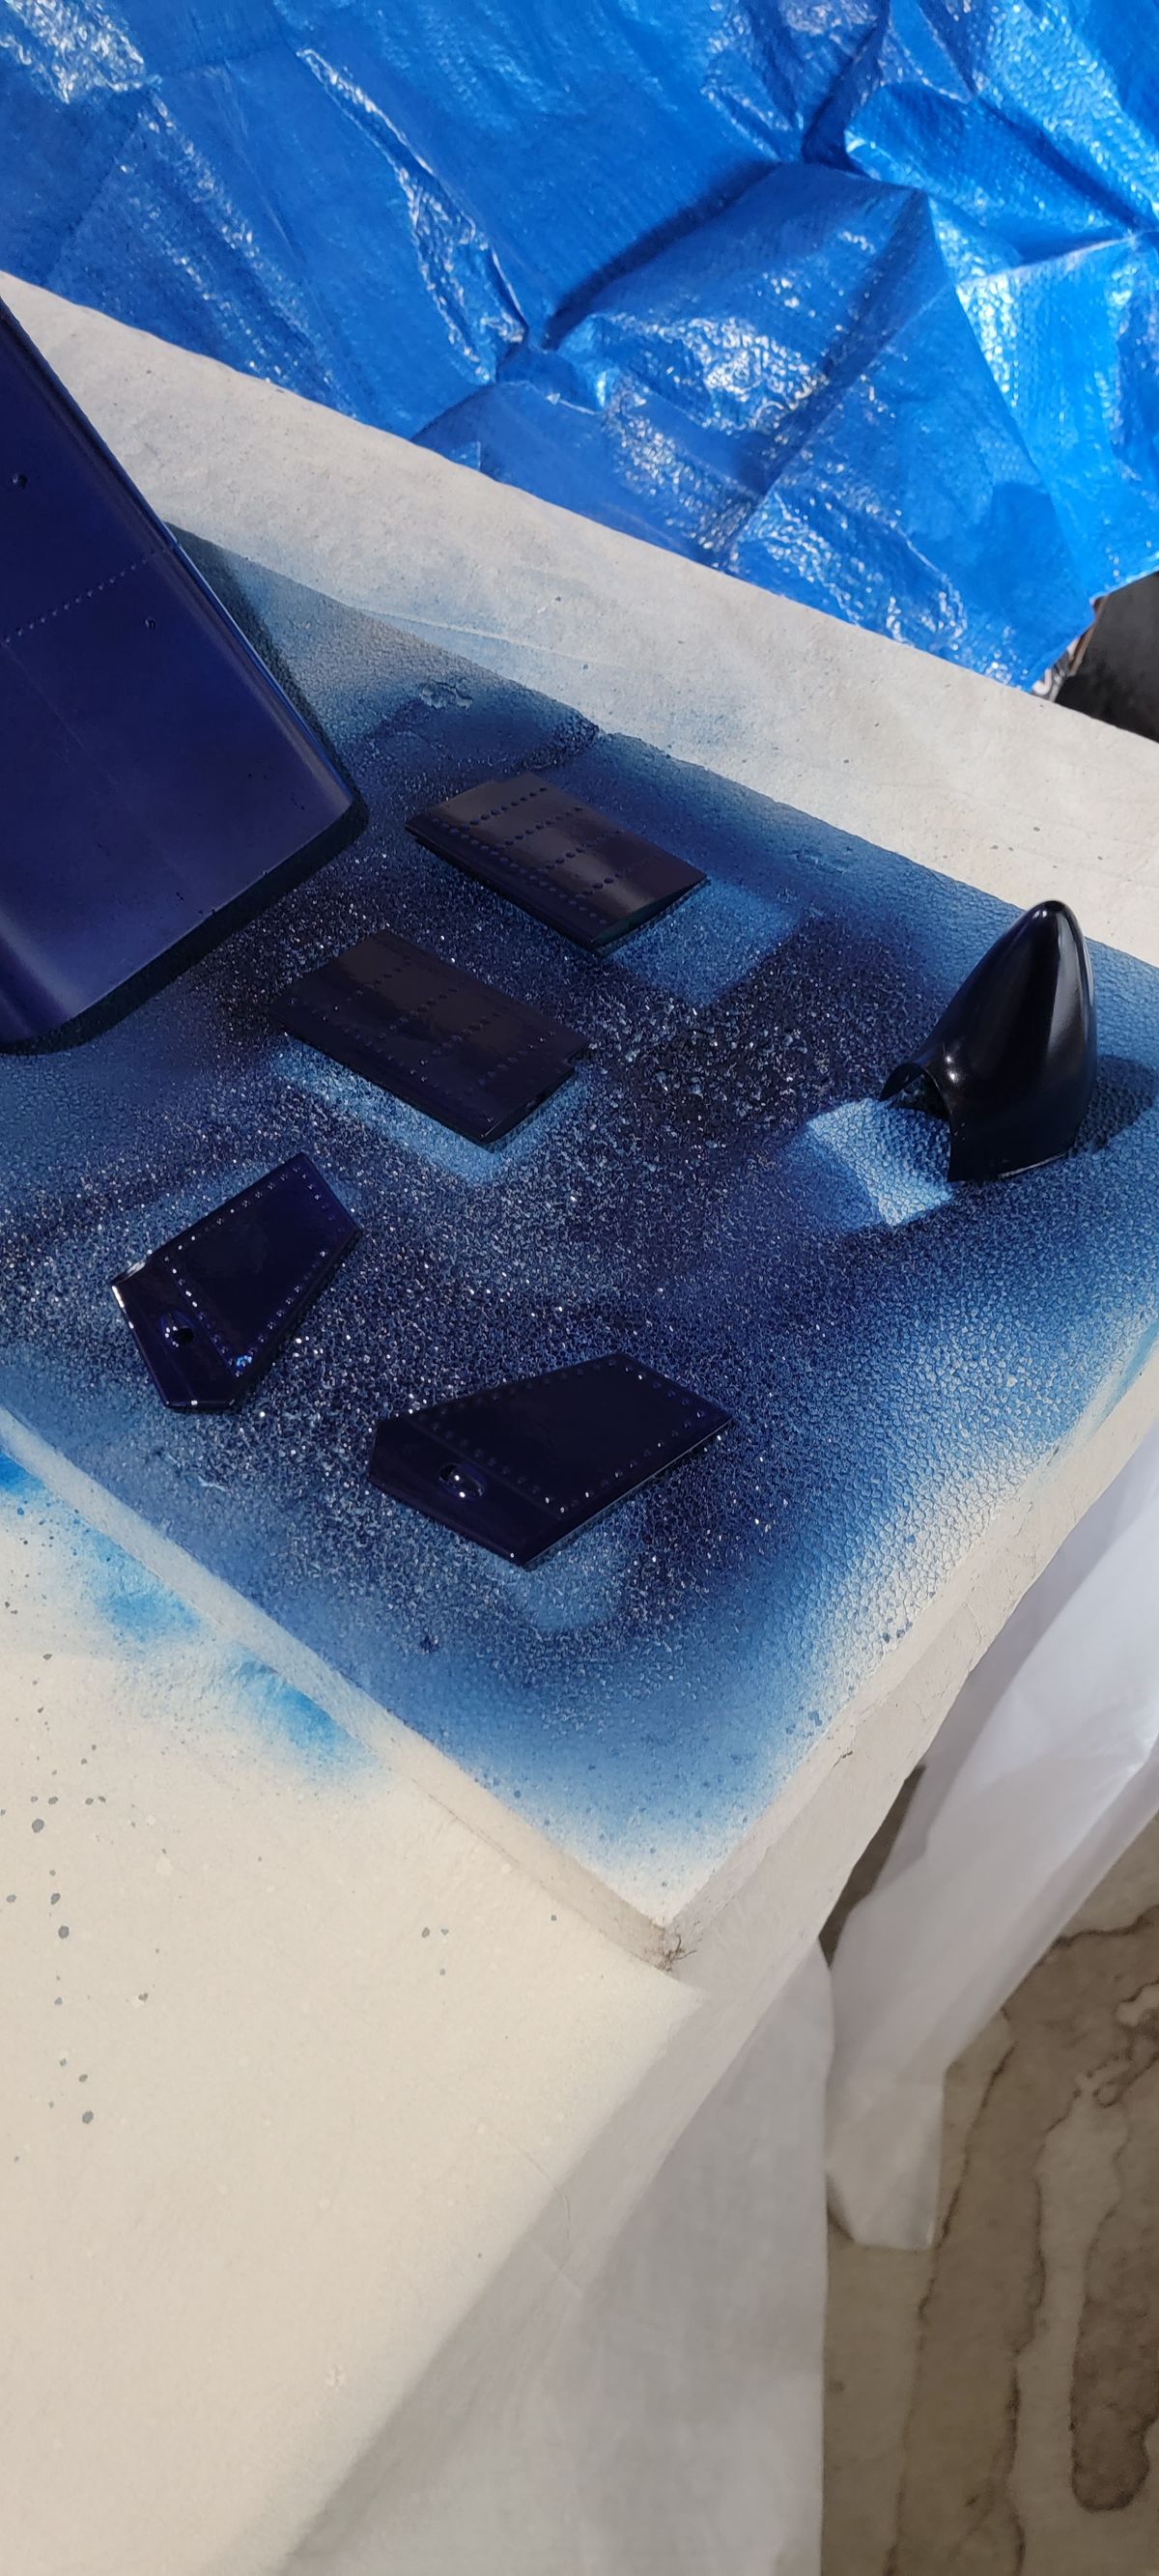
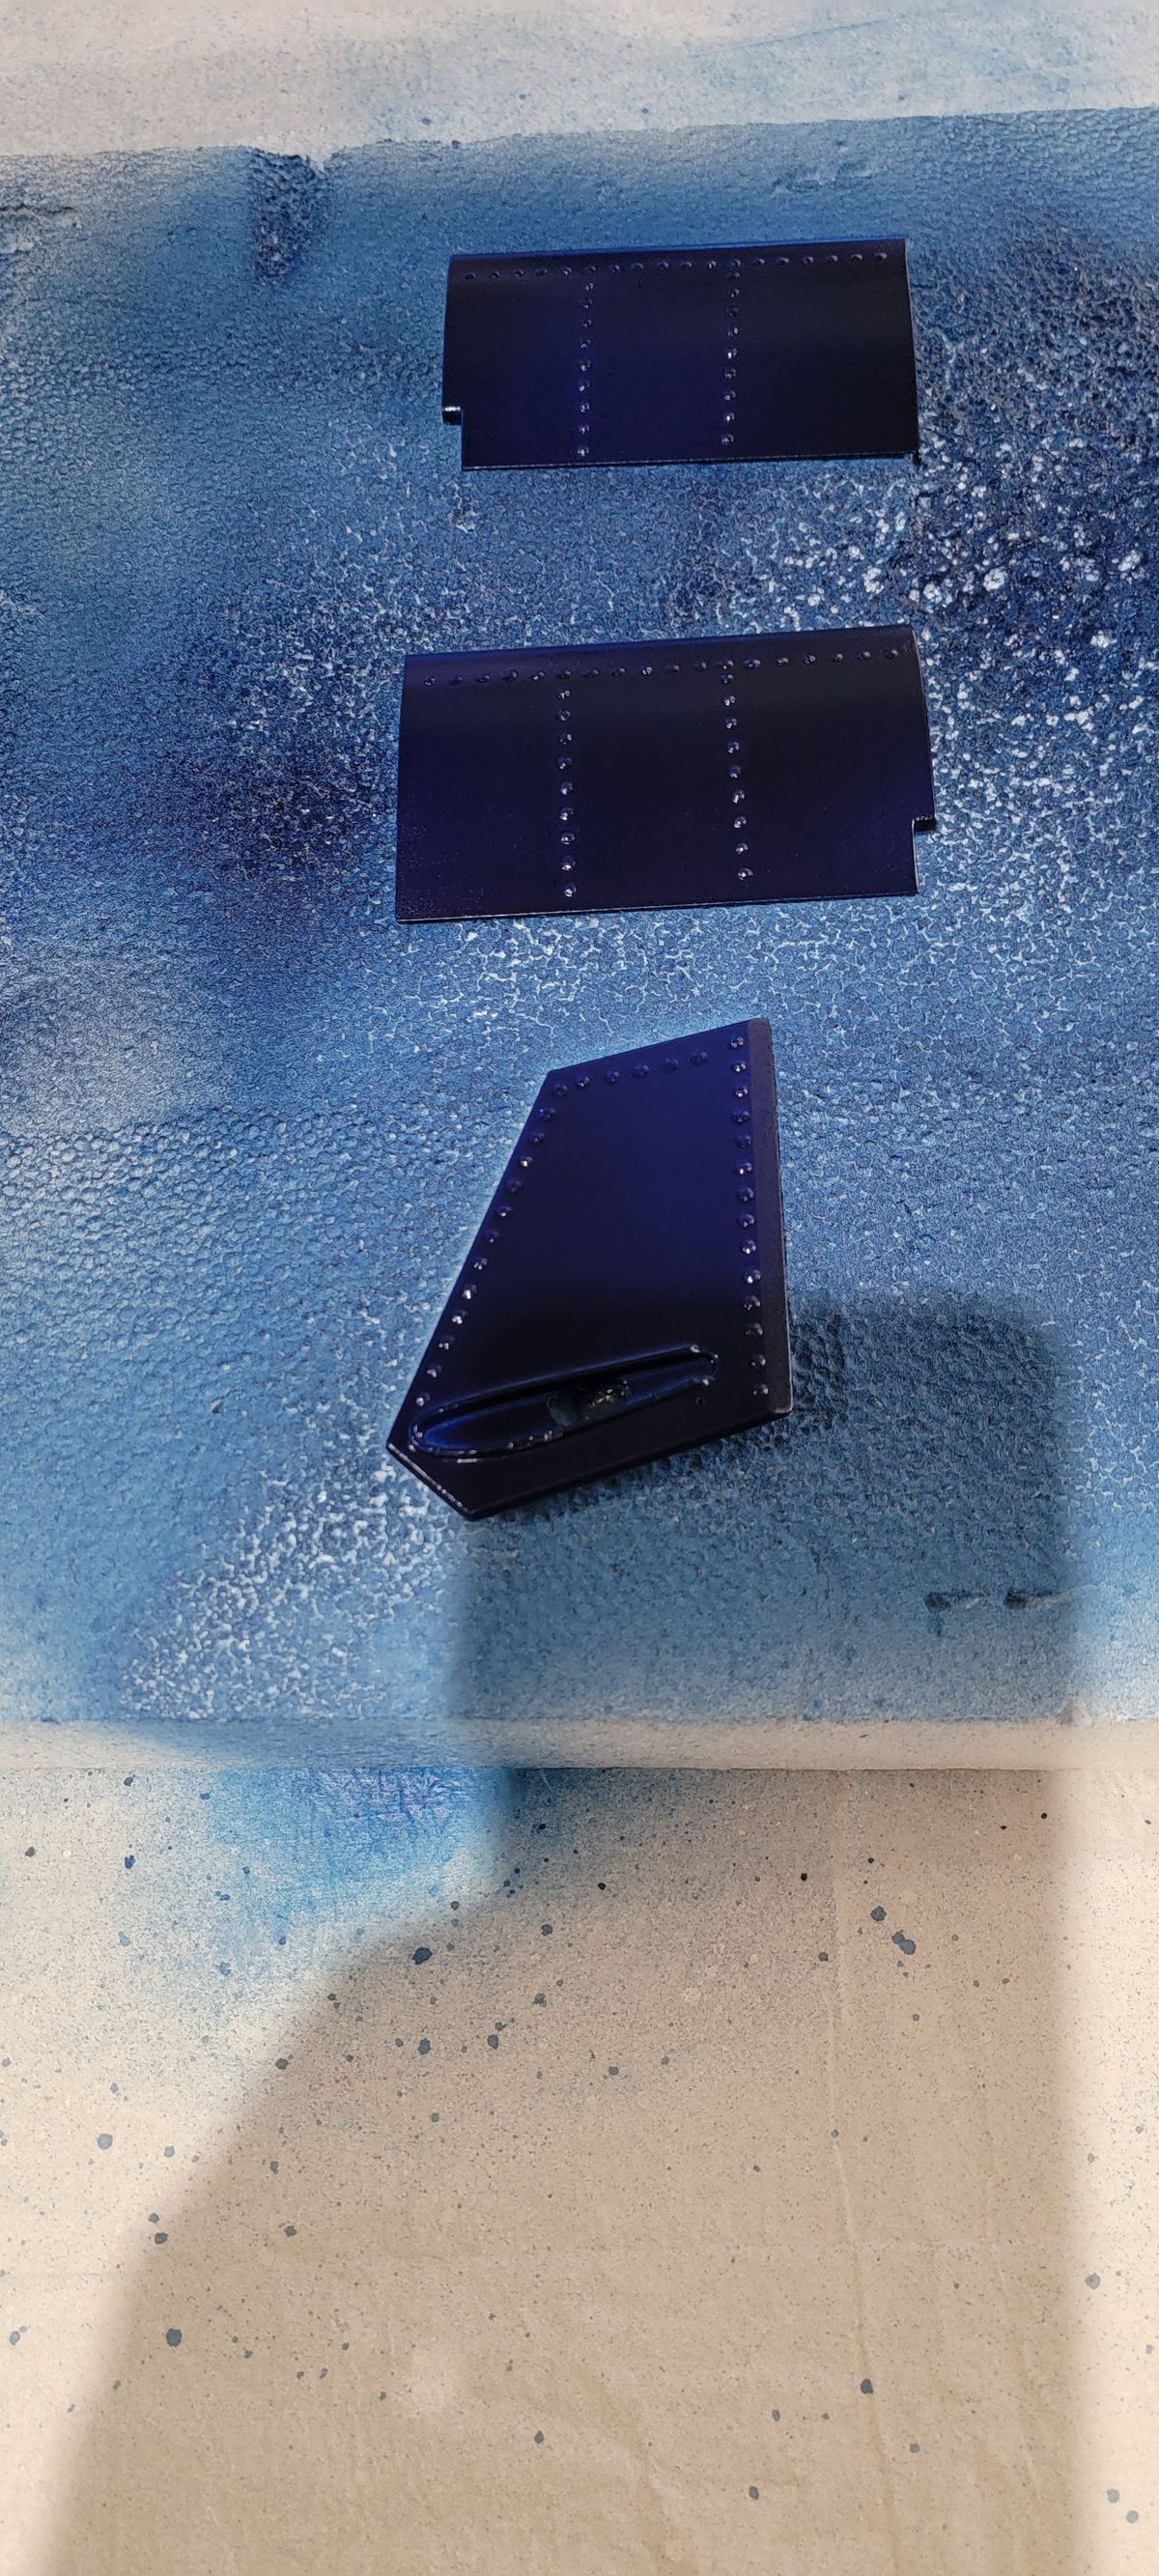
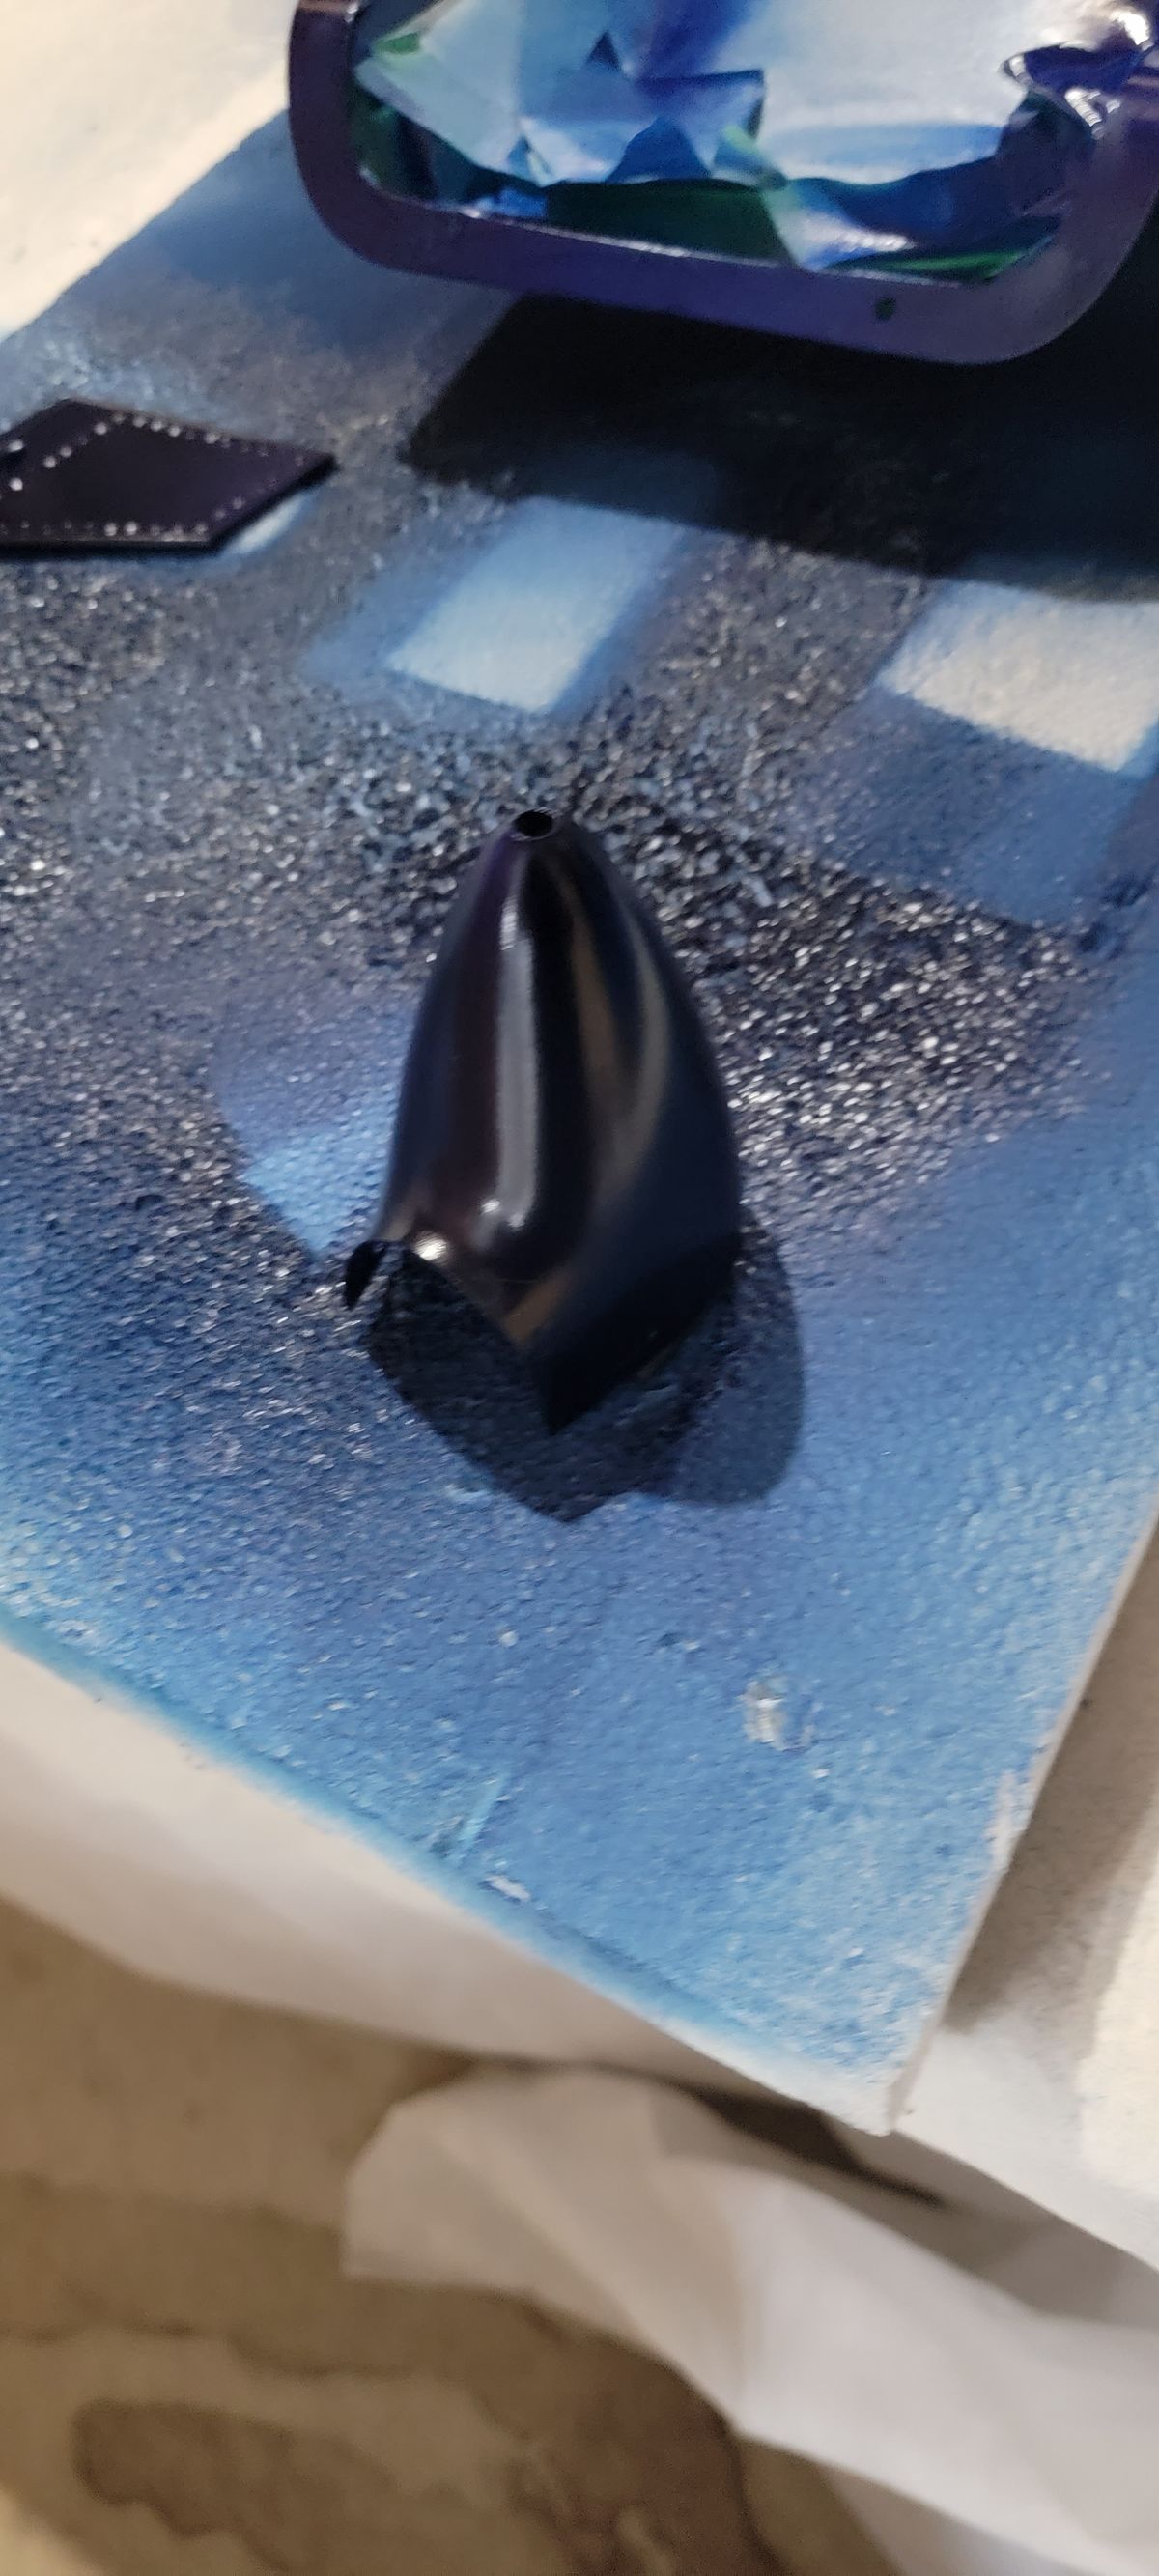
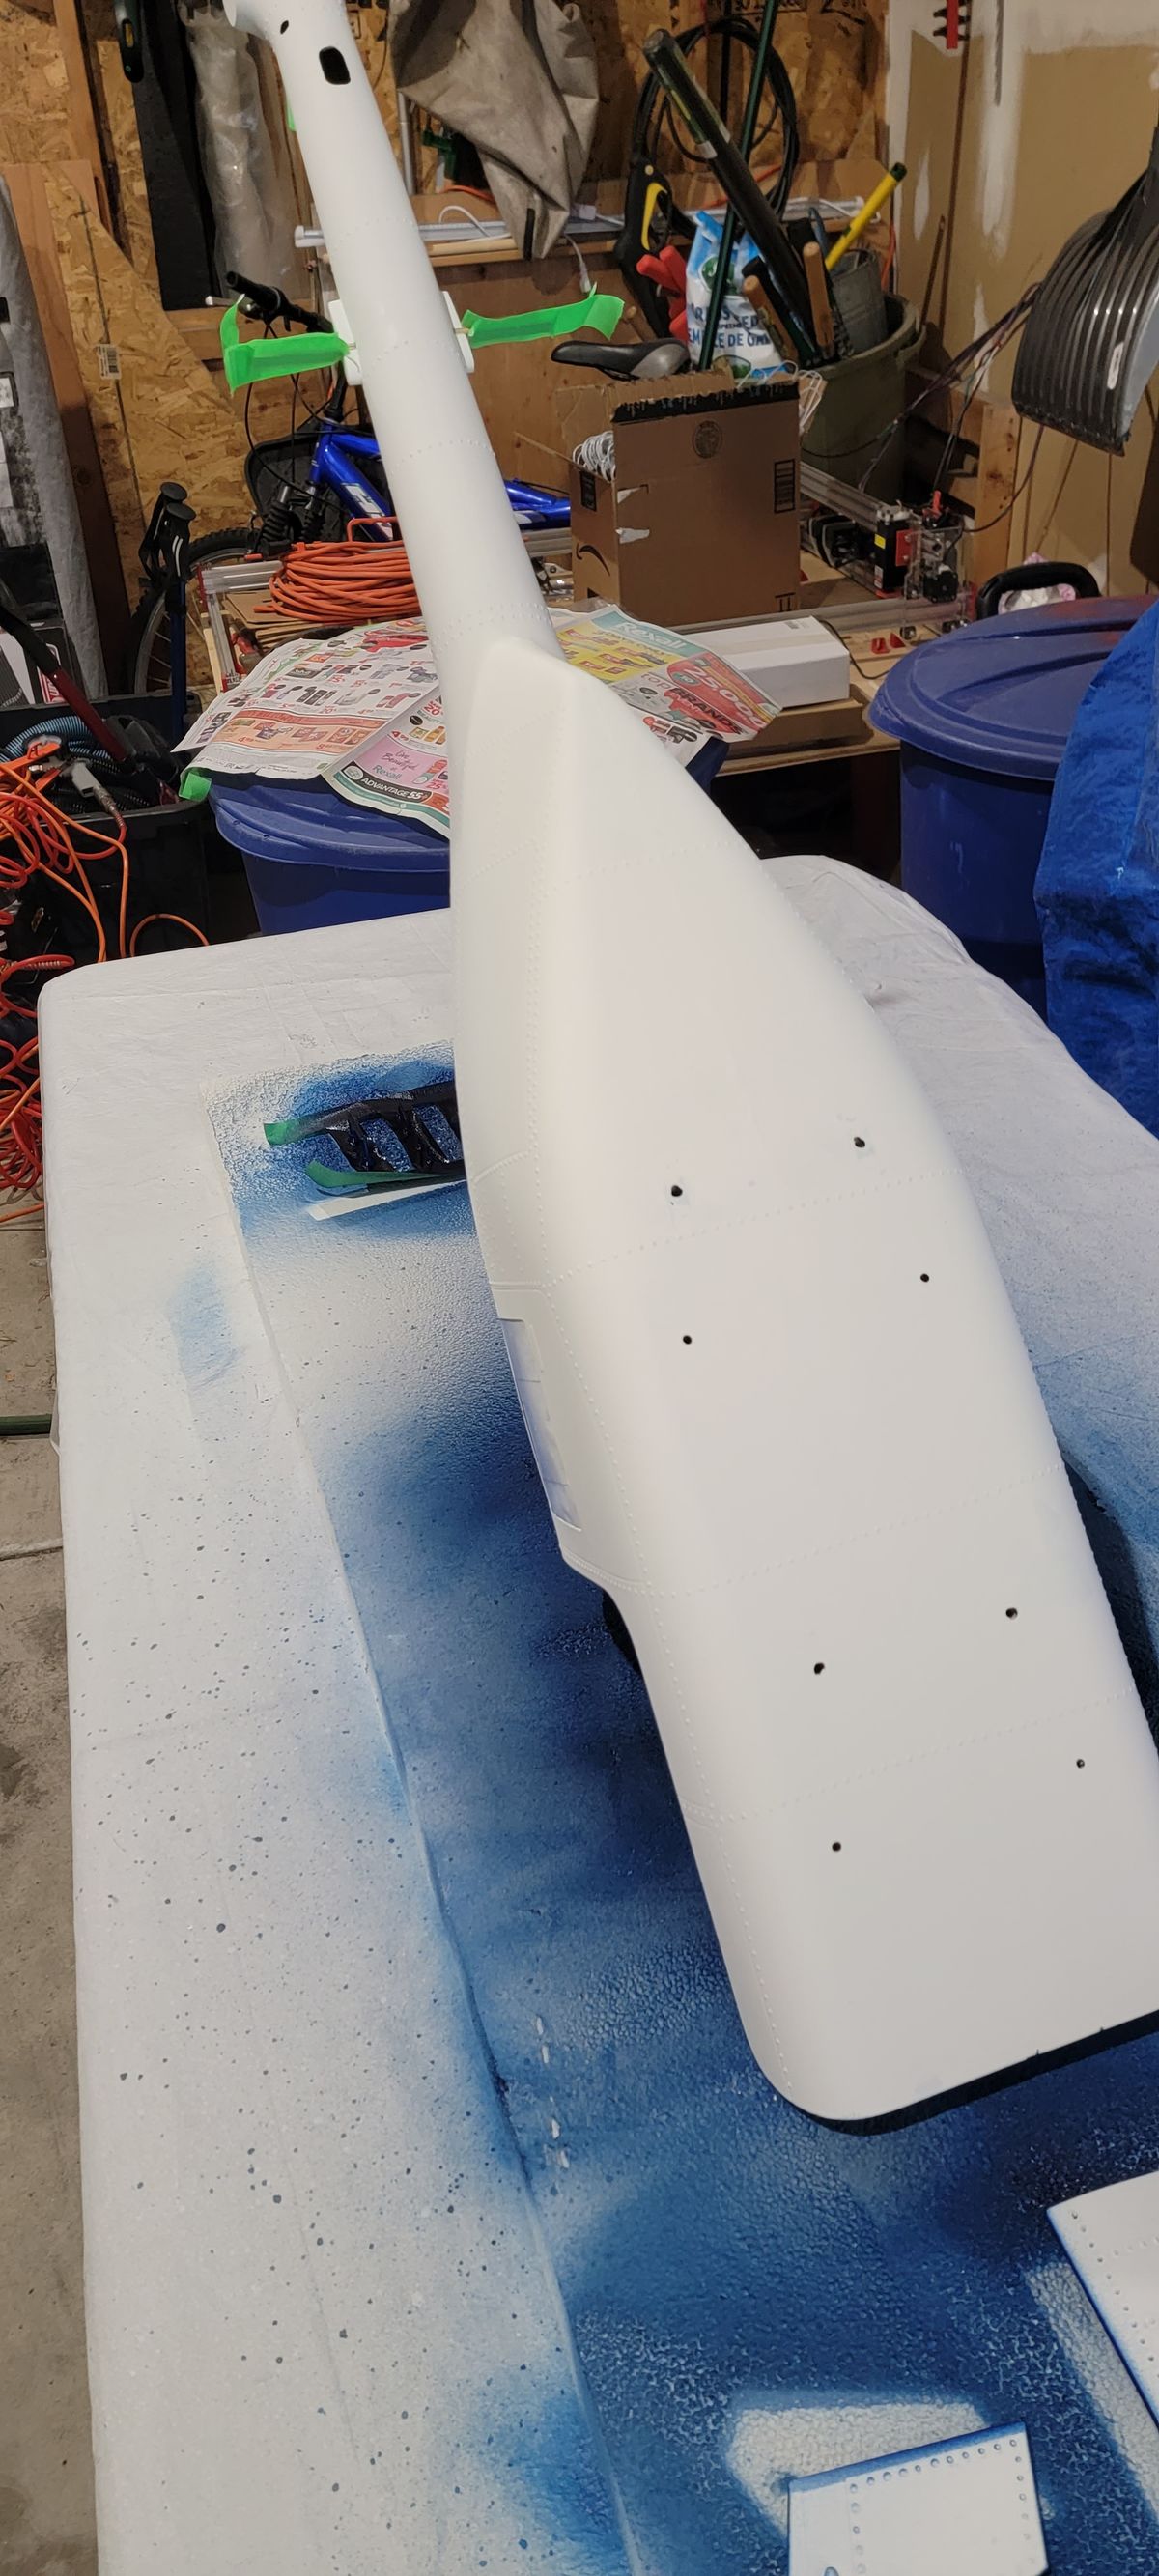
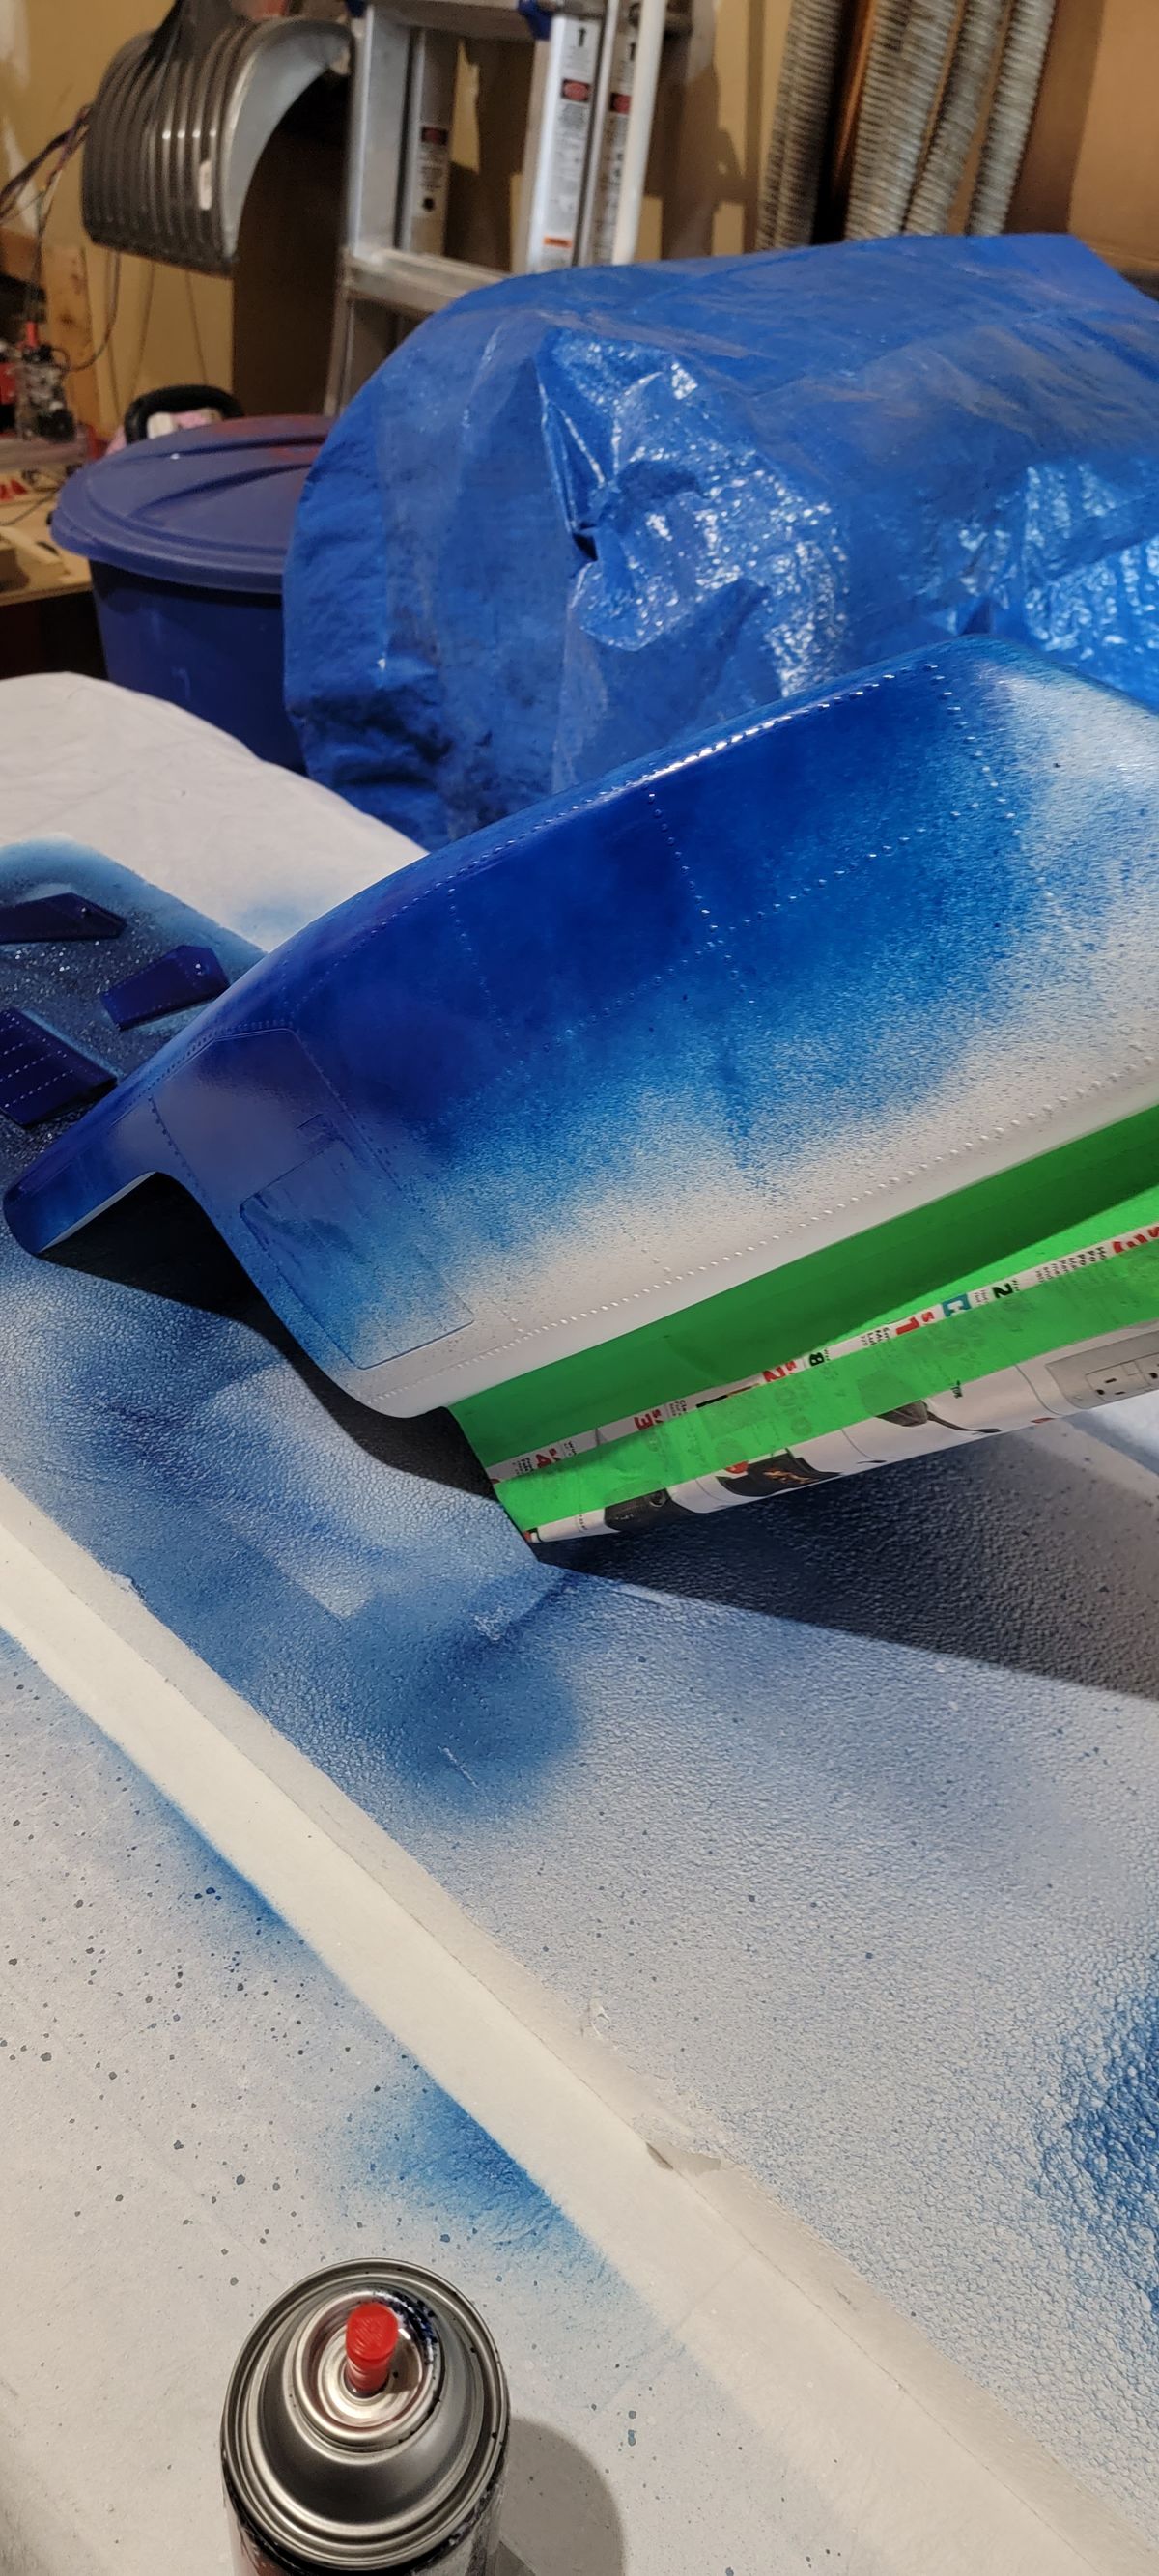
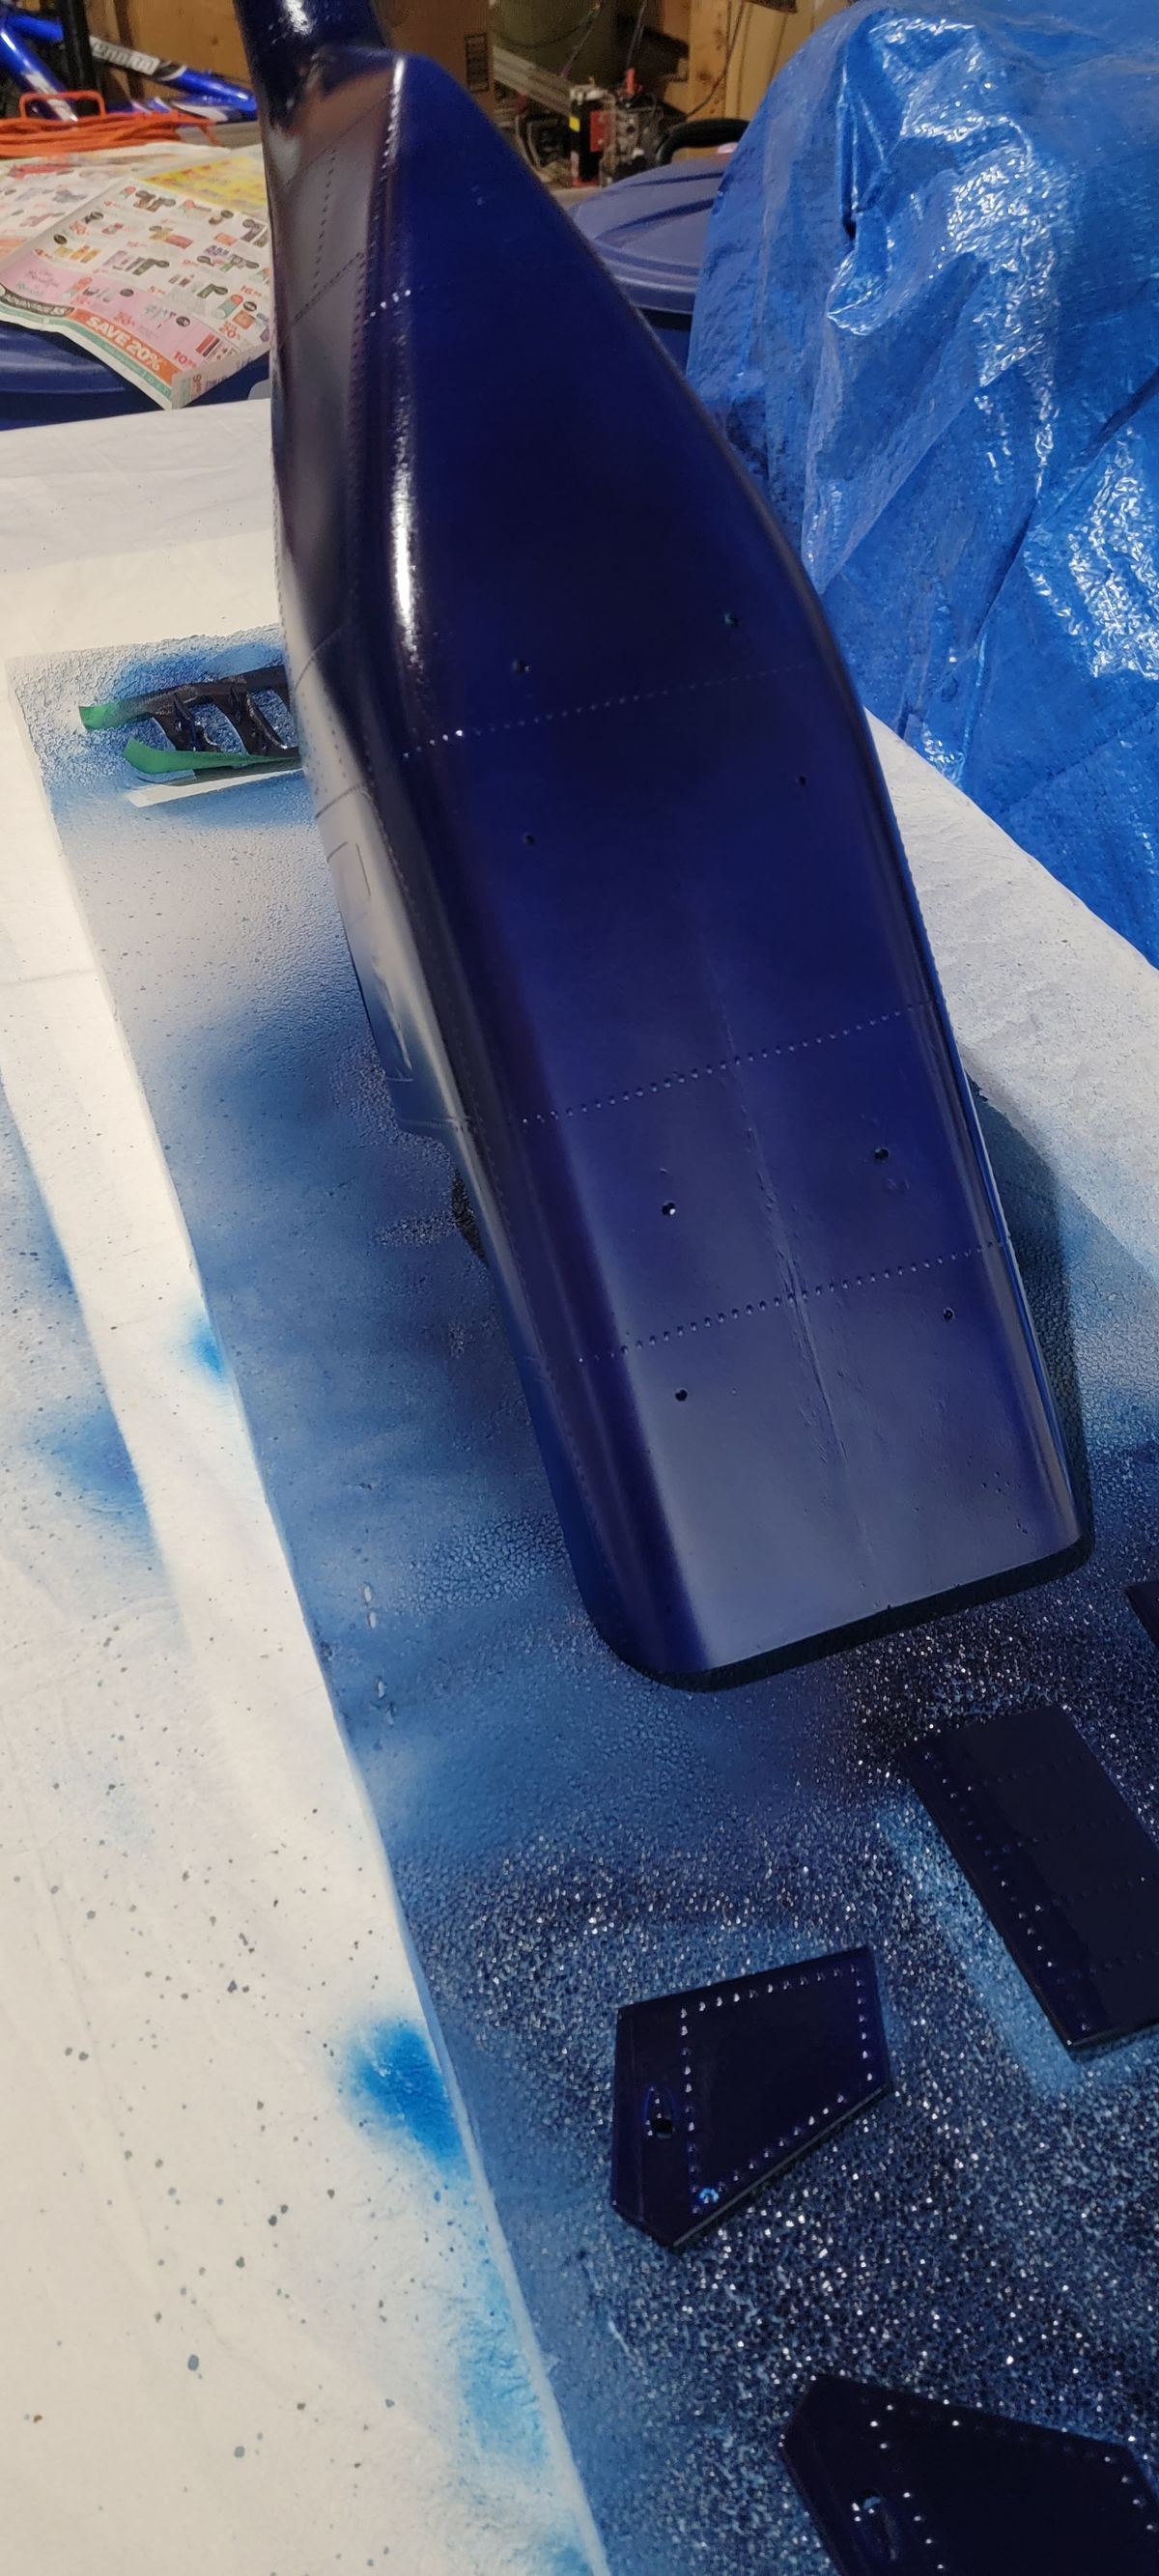
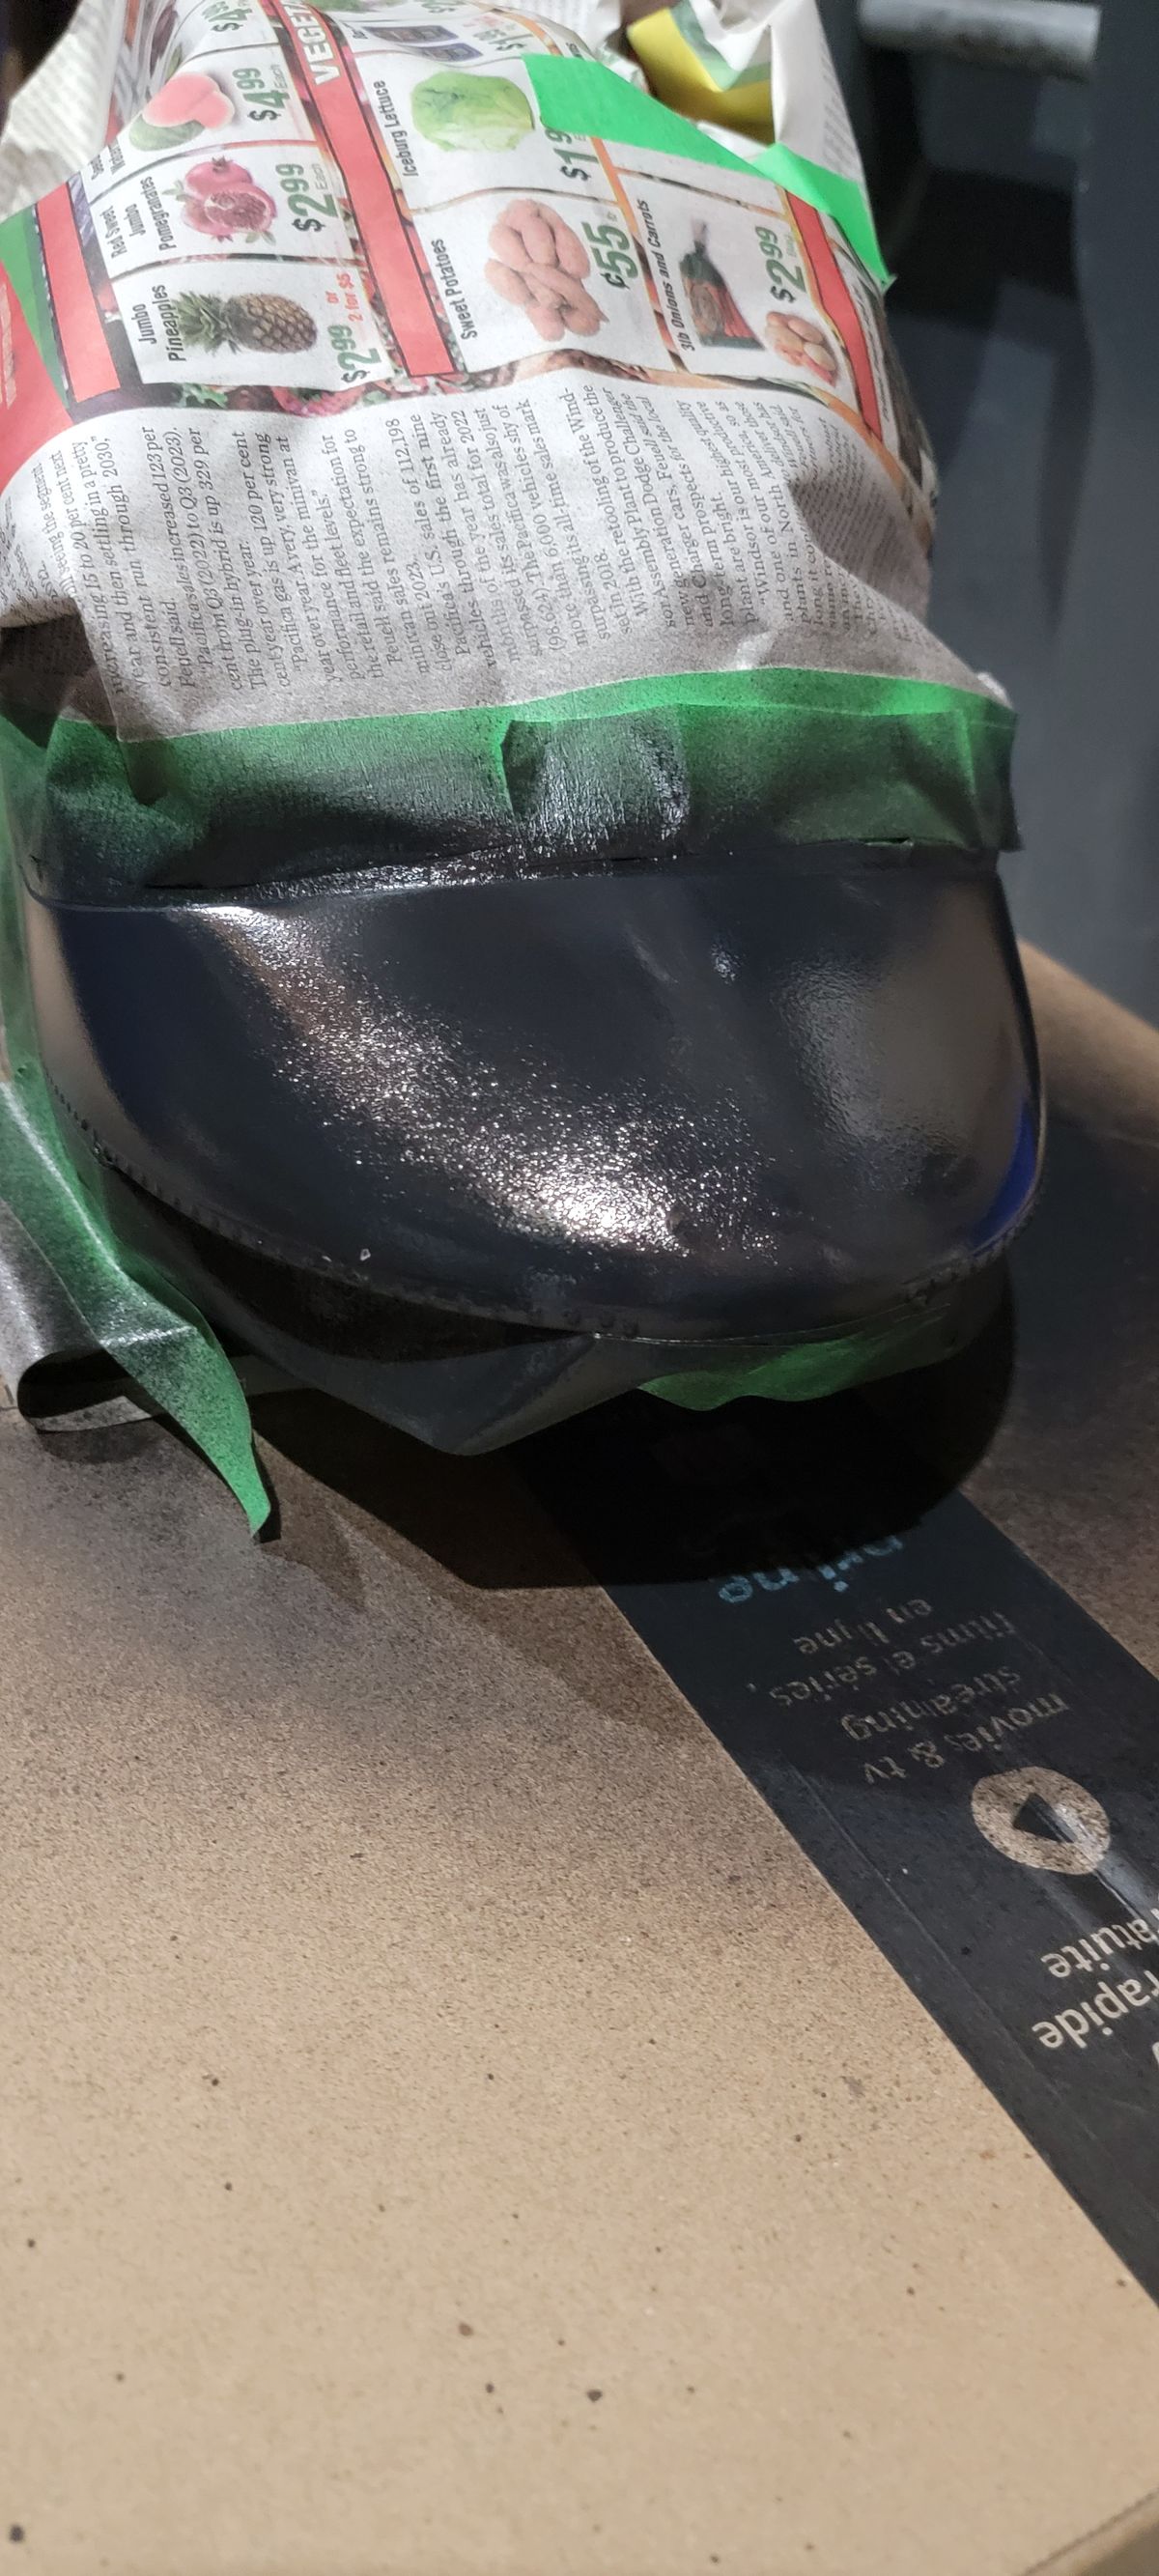
The past weekend was pretty good temperature for some fuselage painting. I will need to do some touch ups but overall I'm happy with the results.
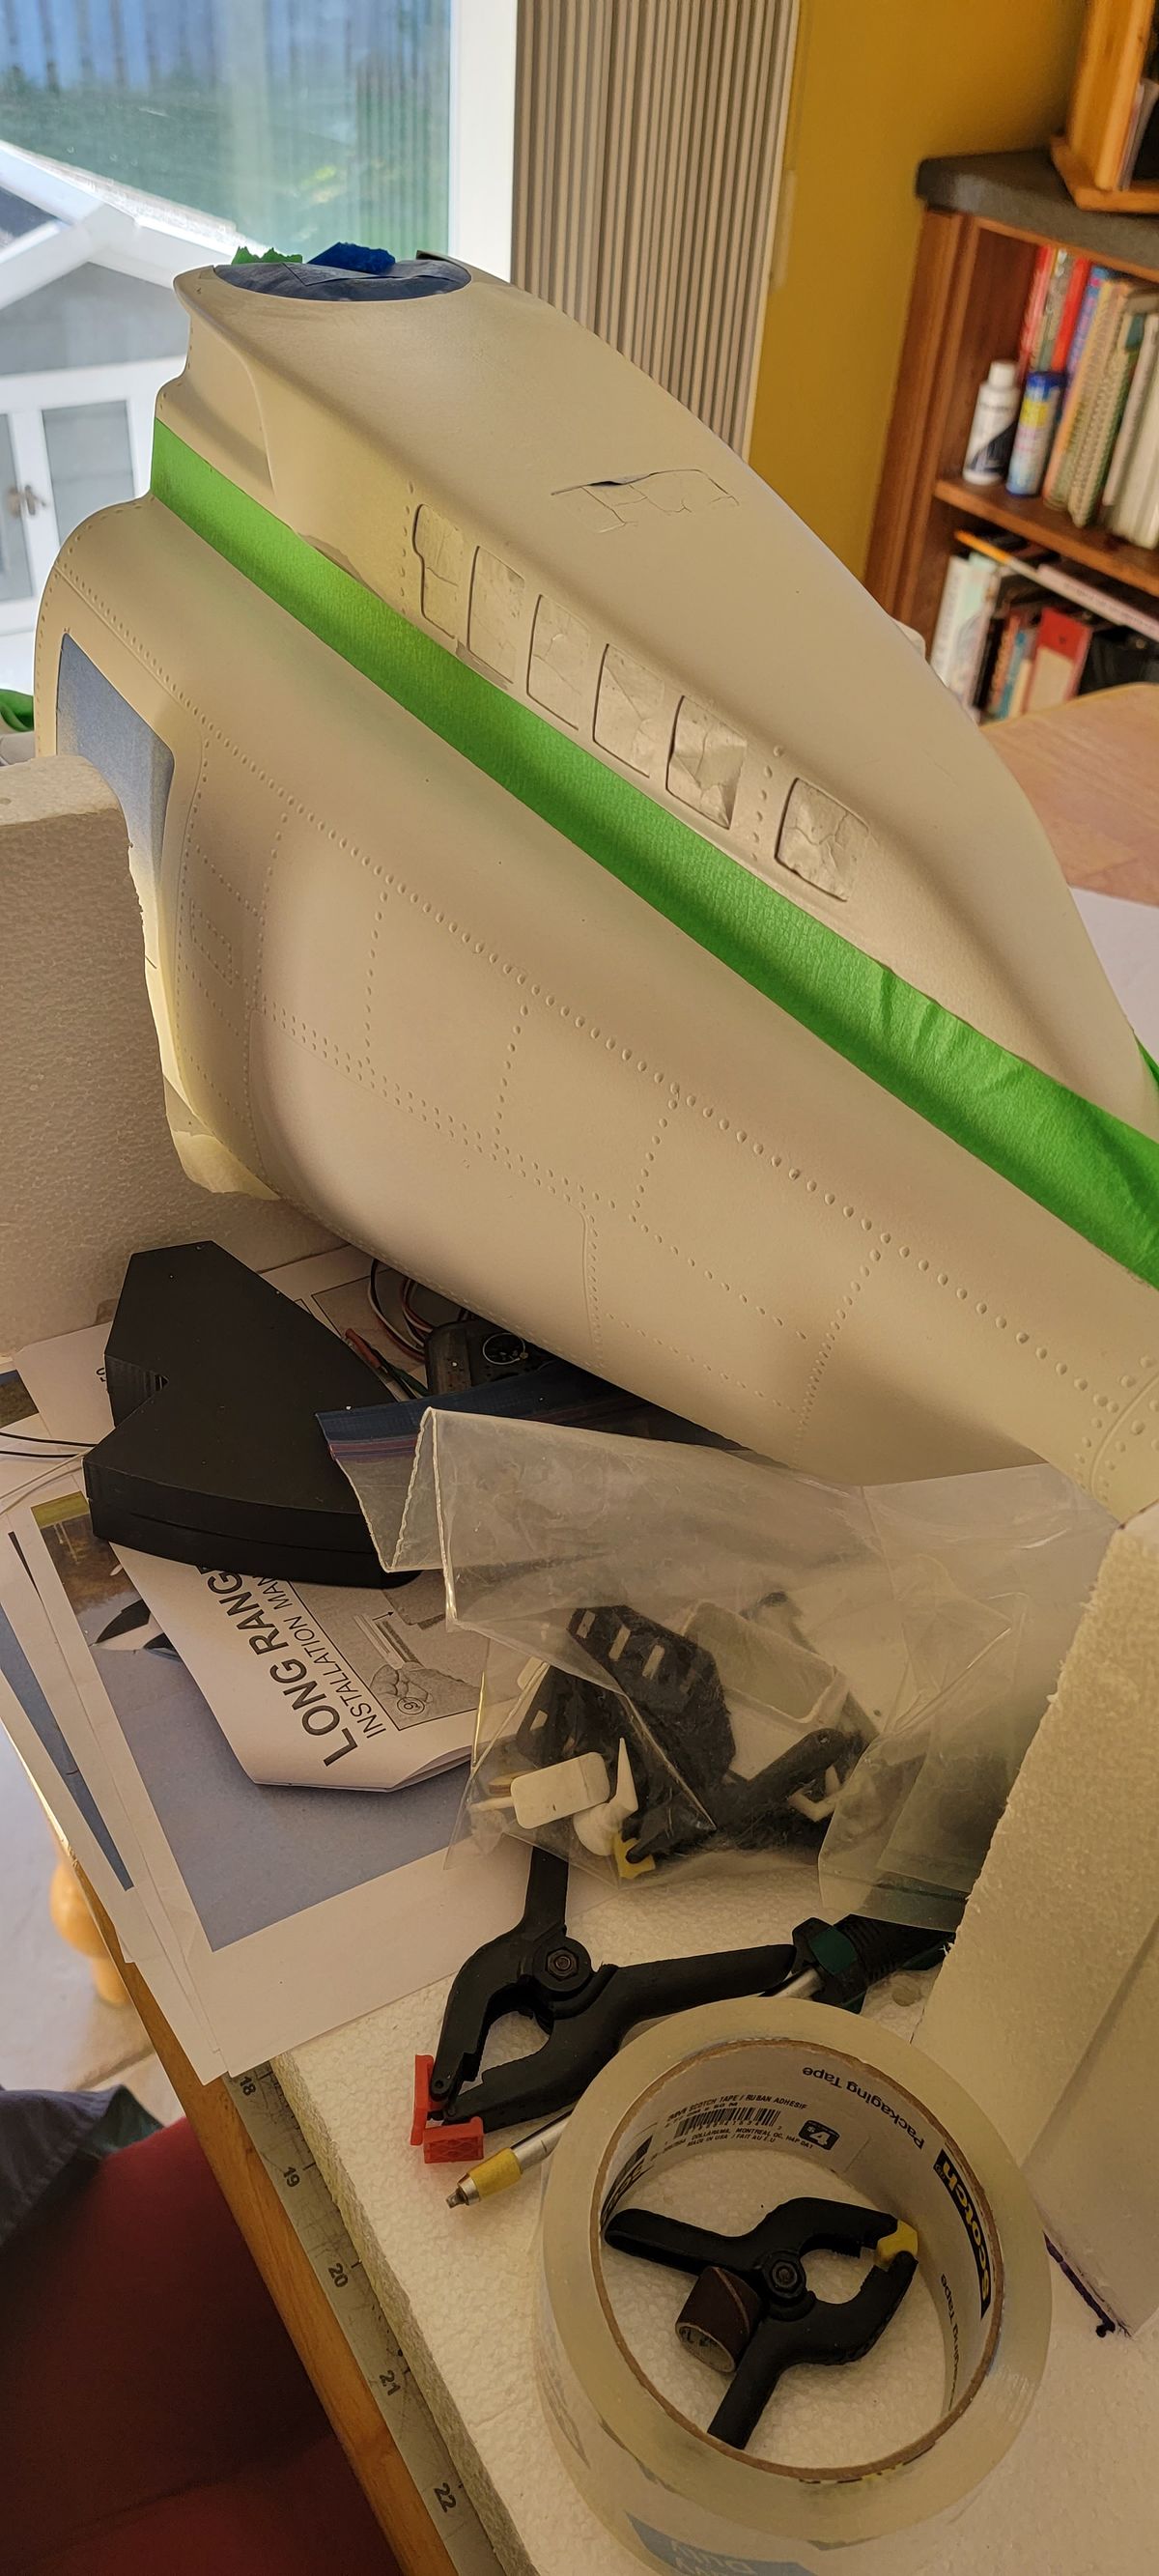
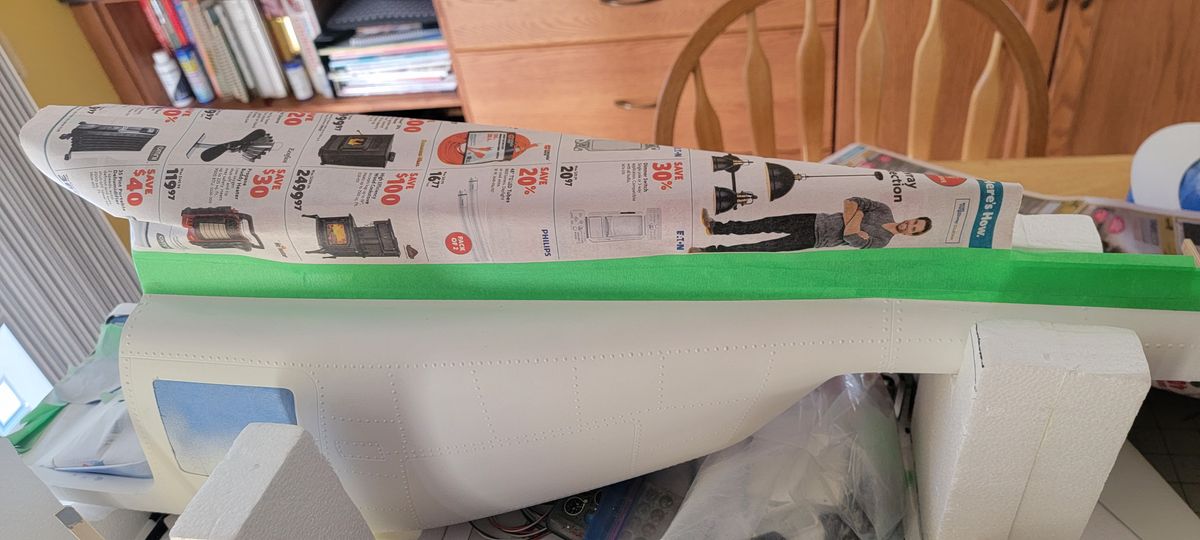
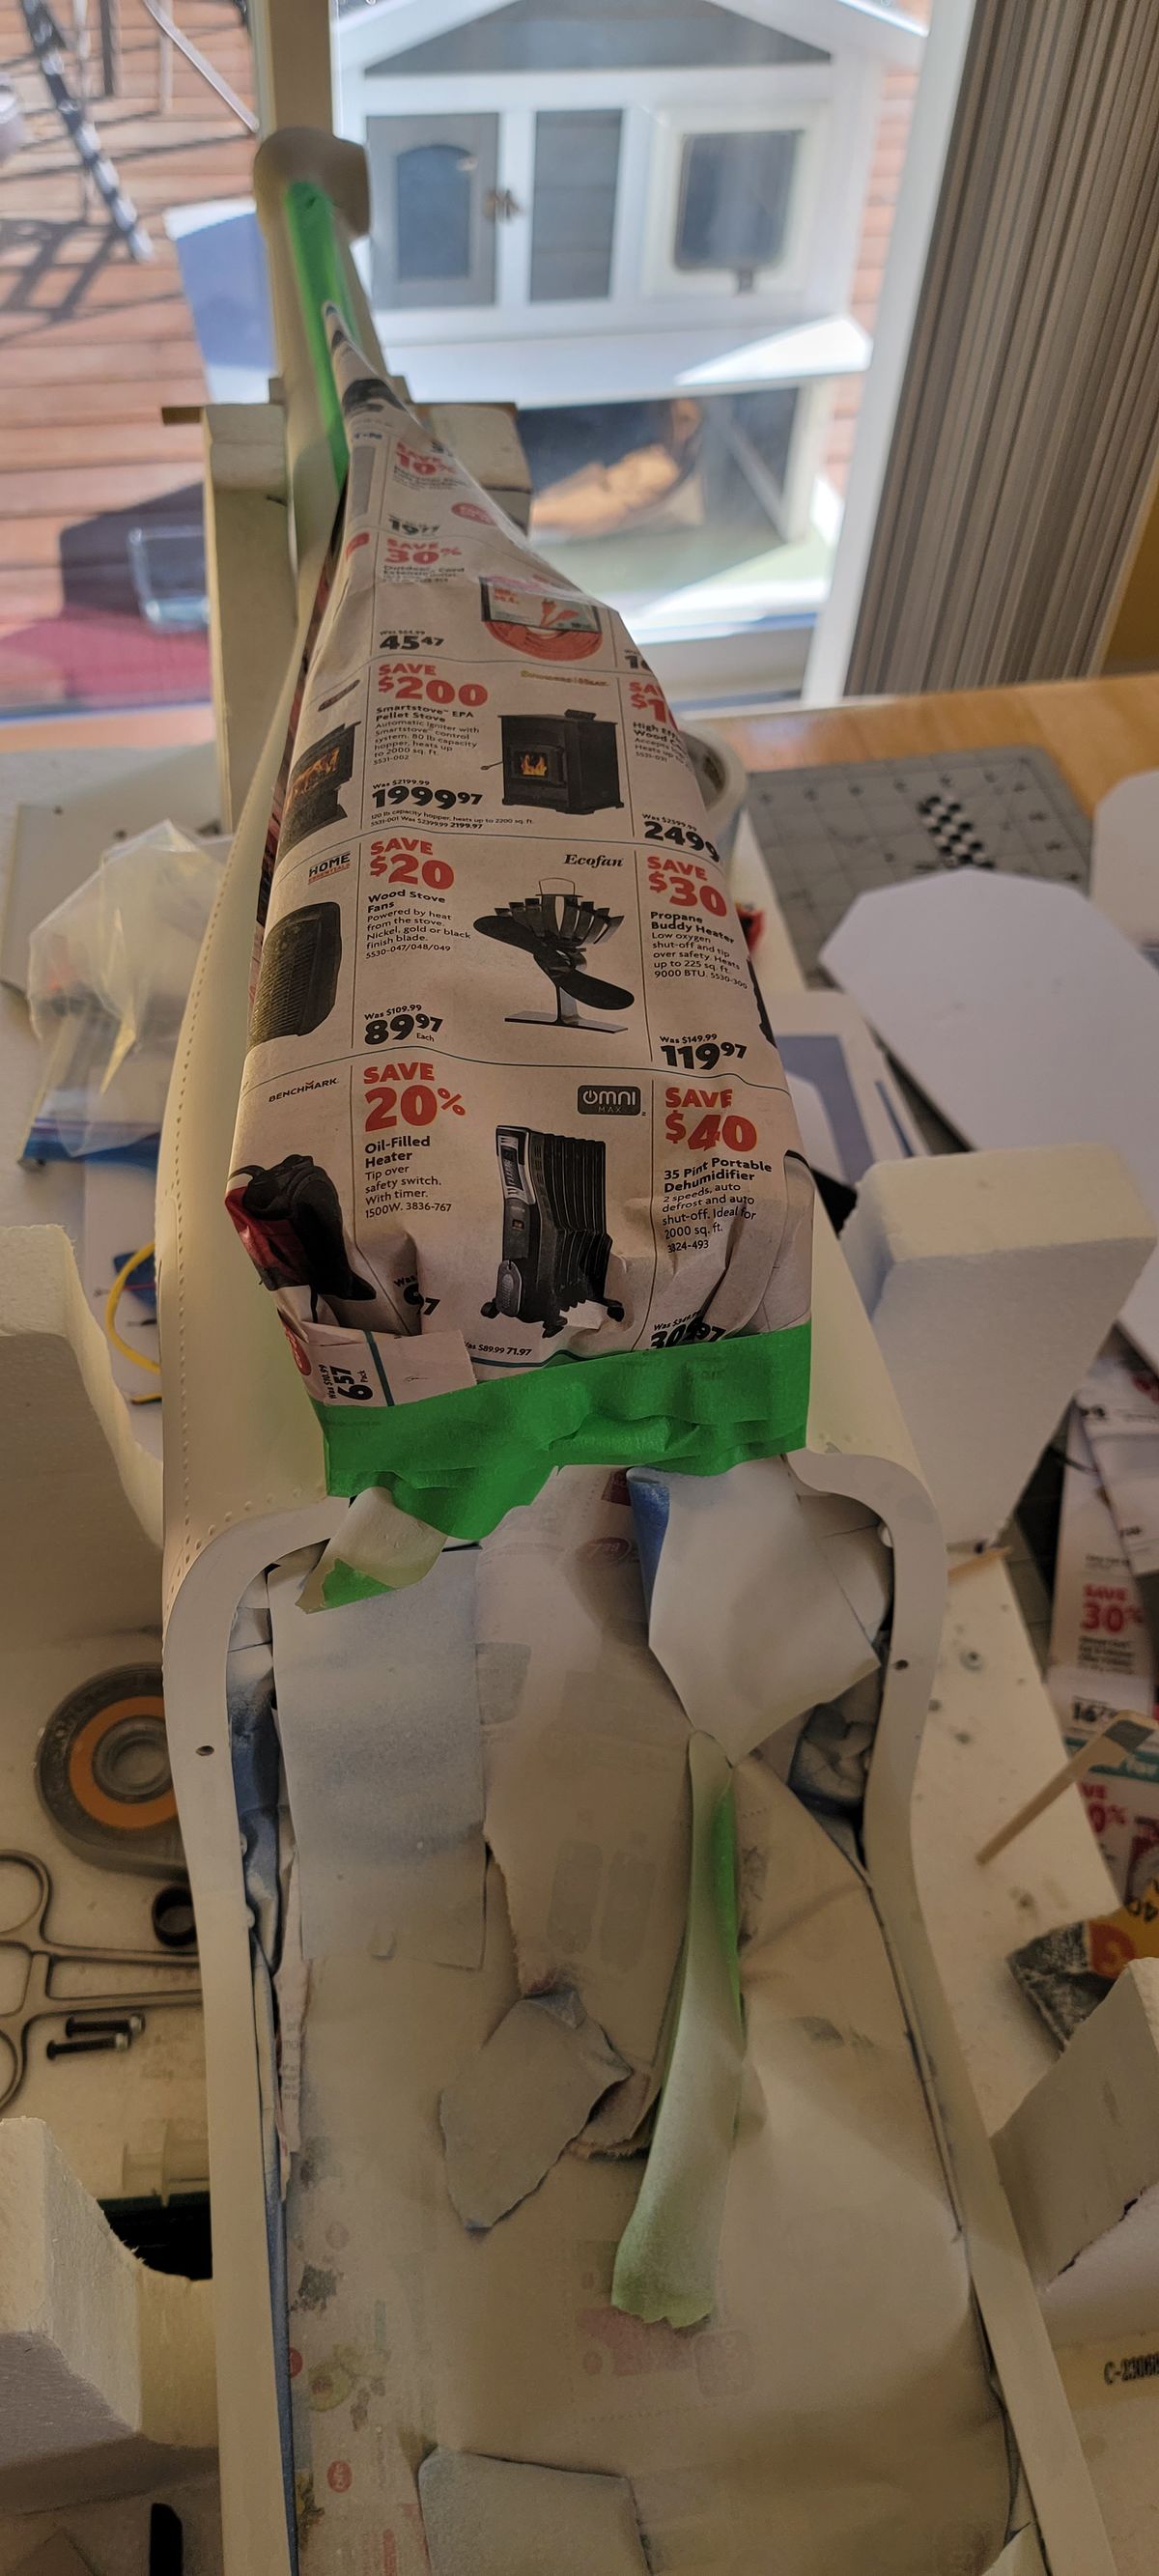
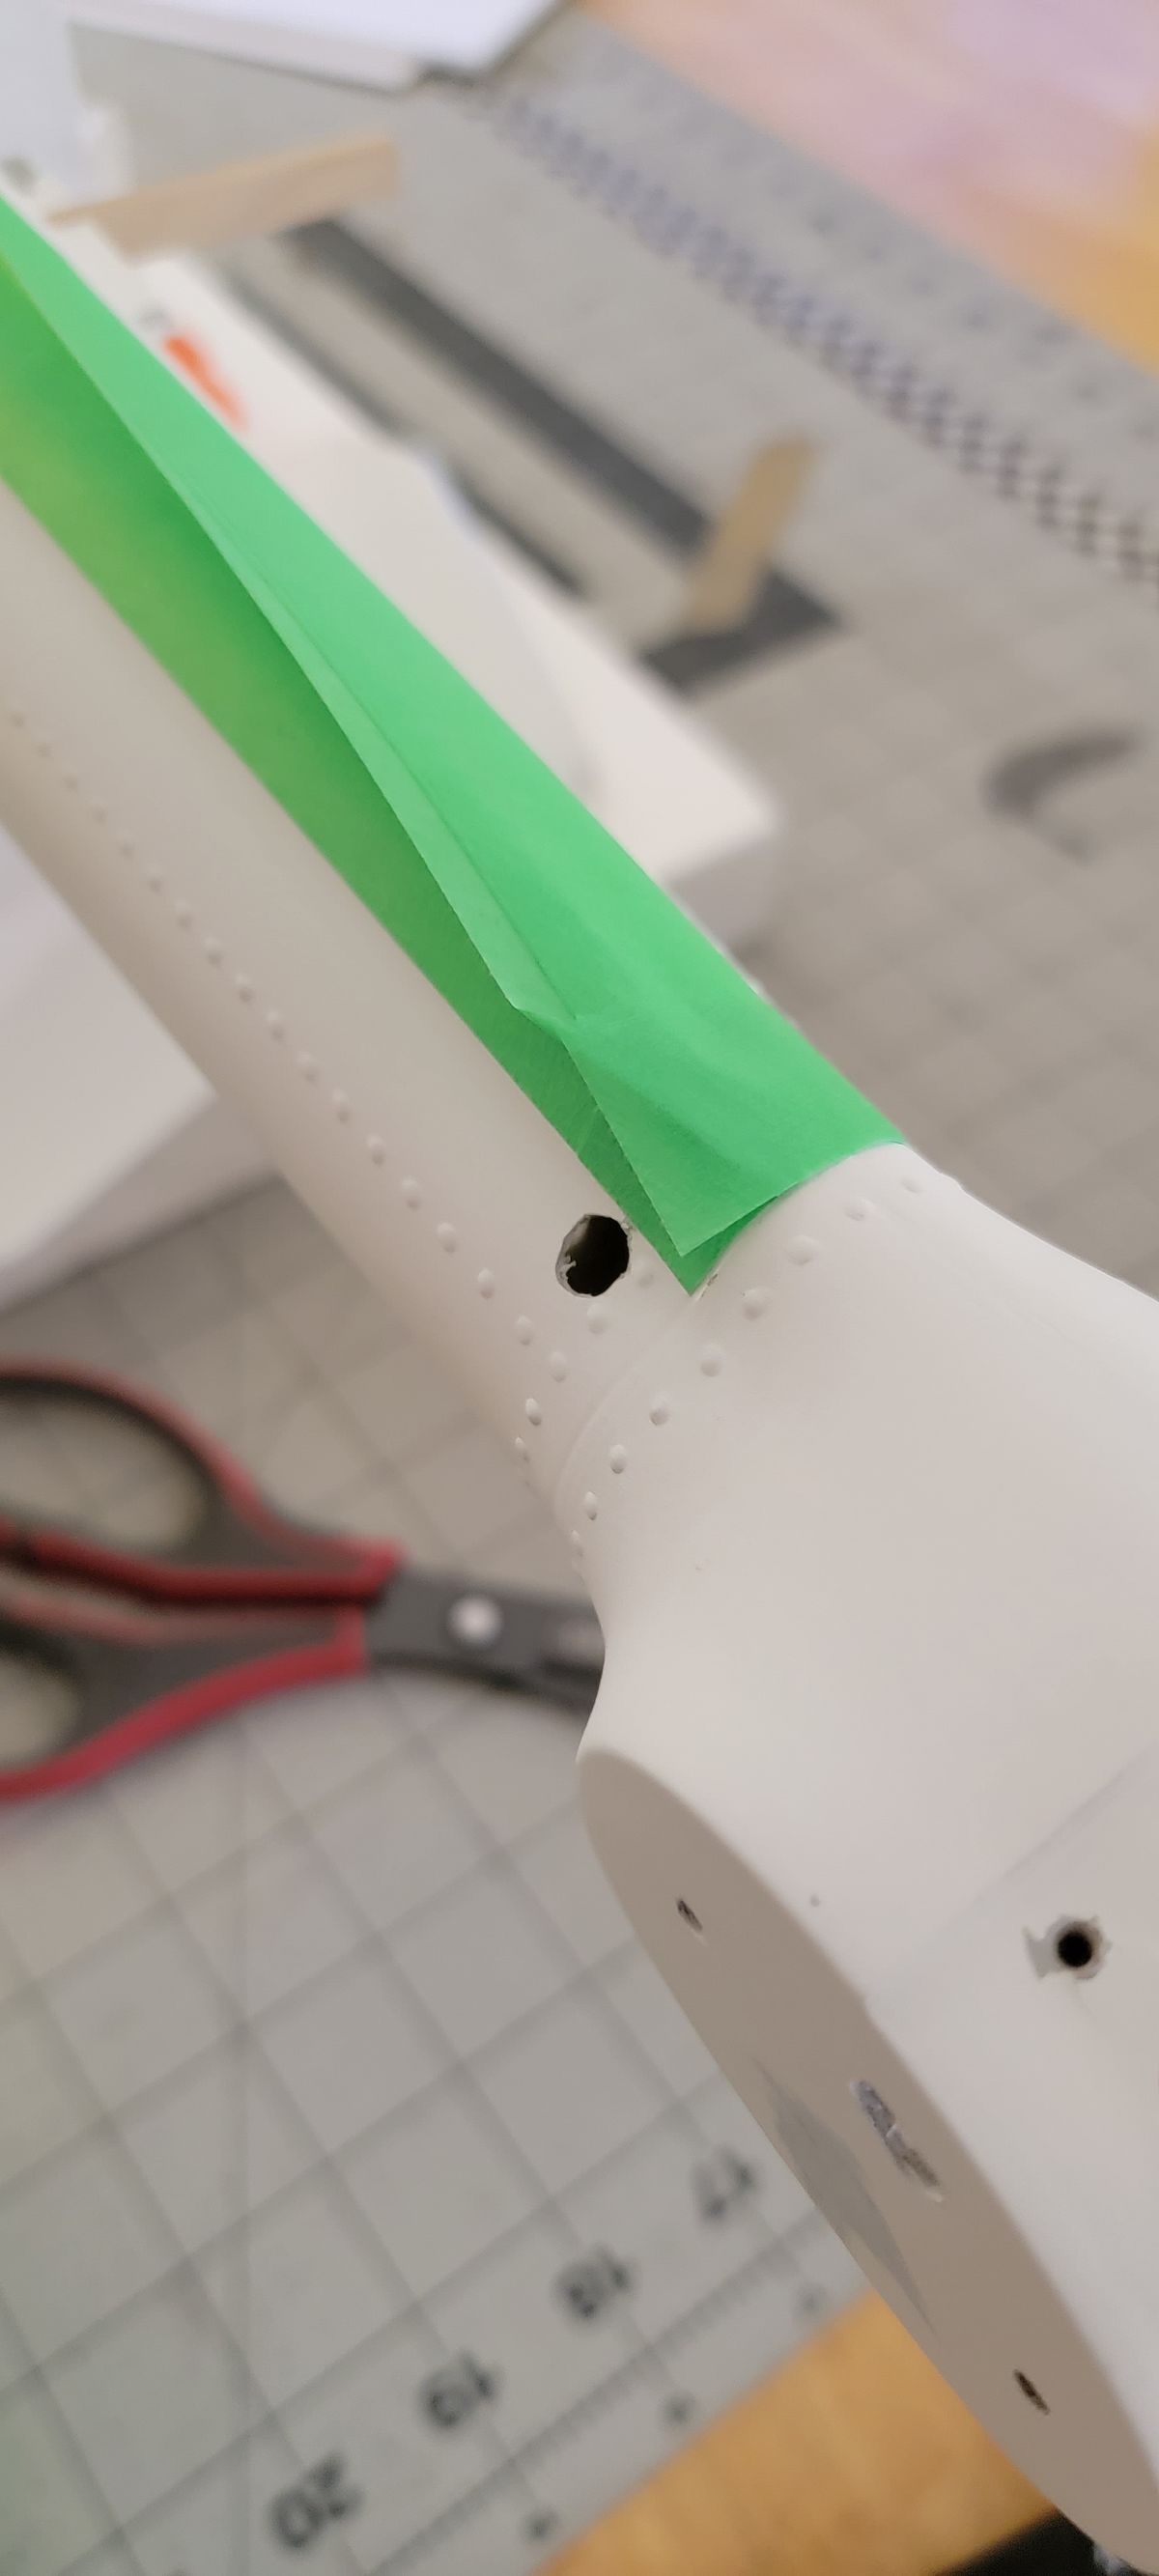
Wiring
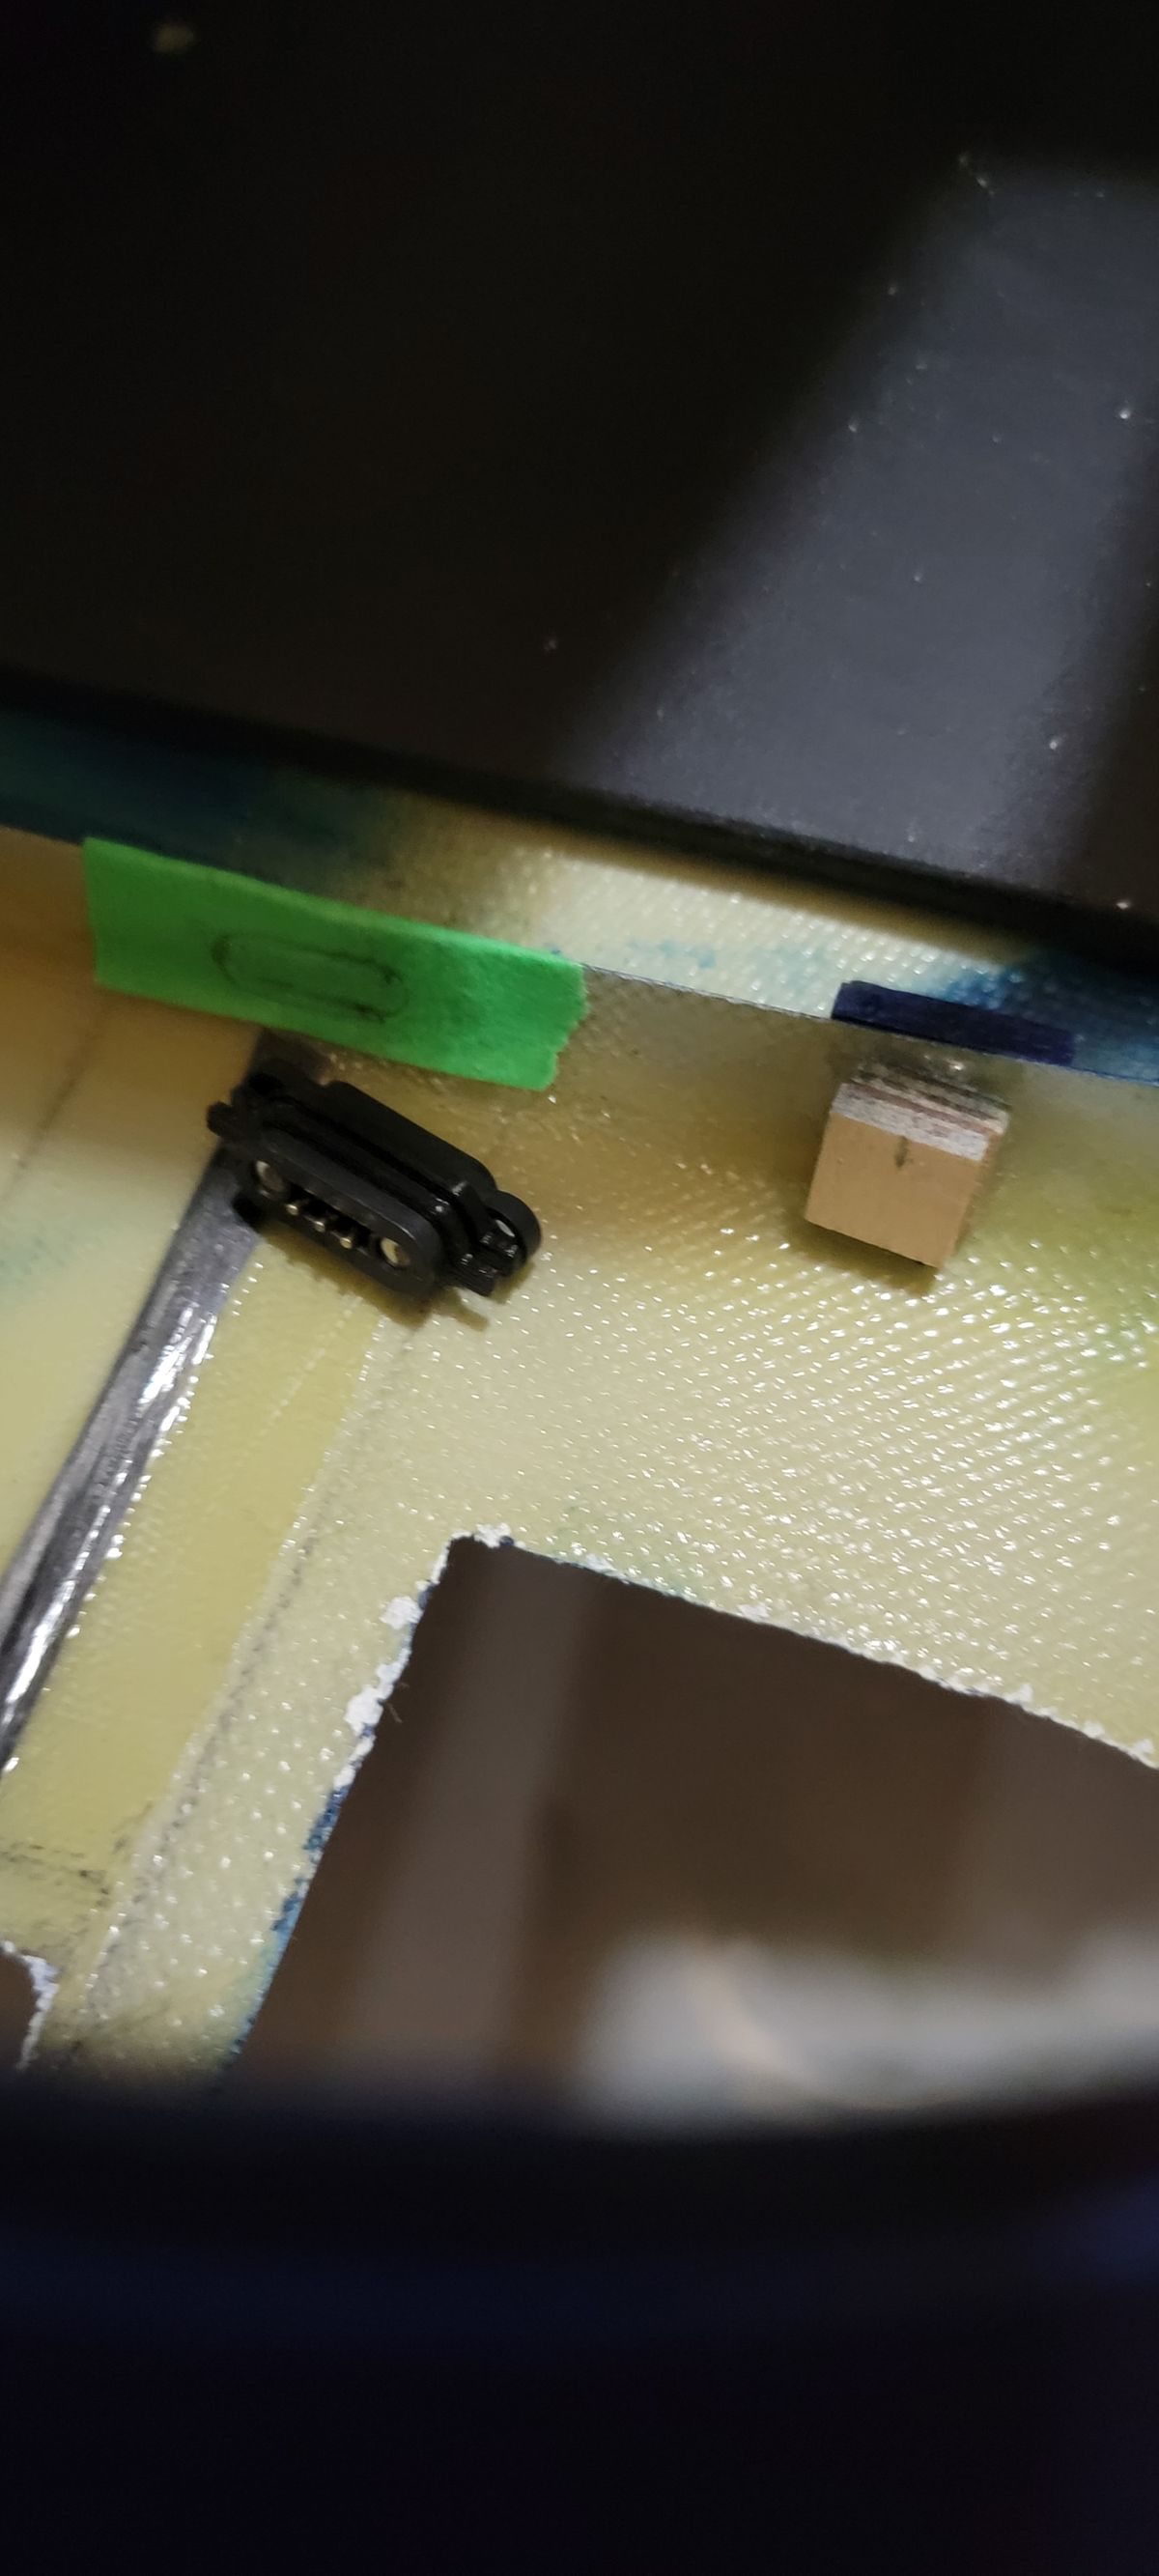
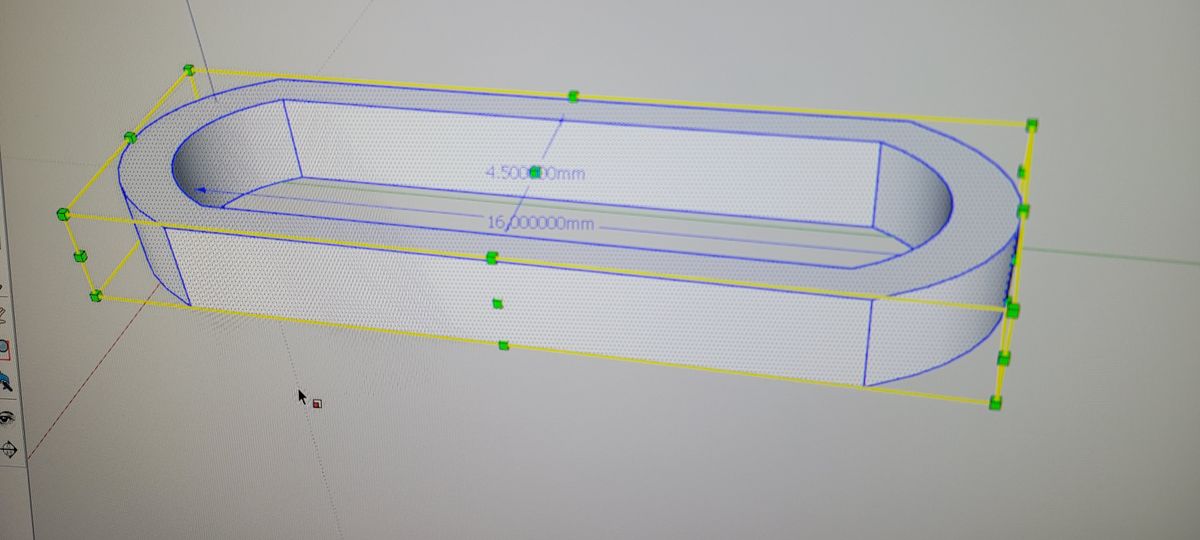
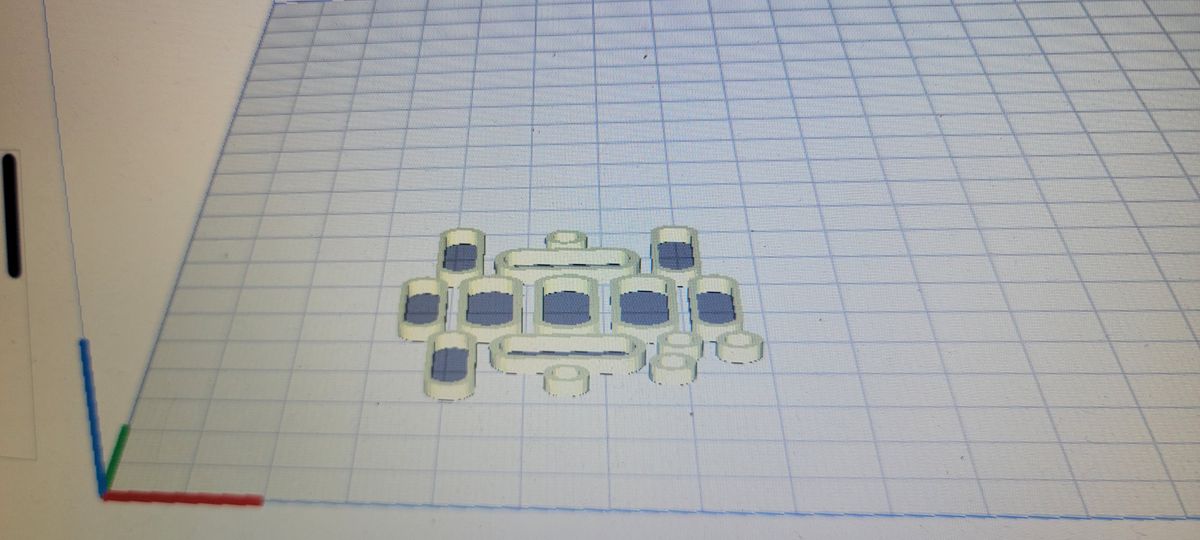
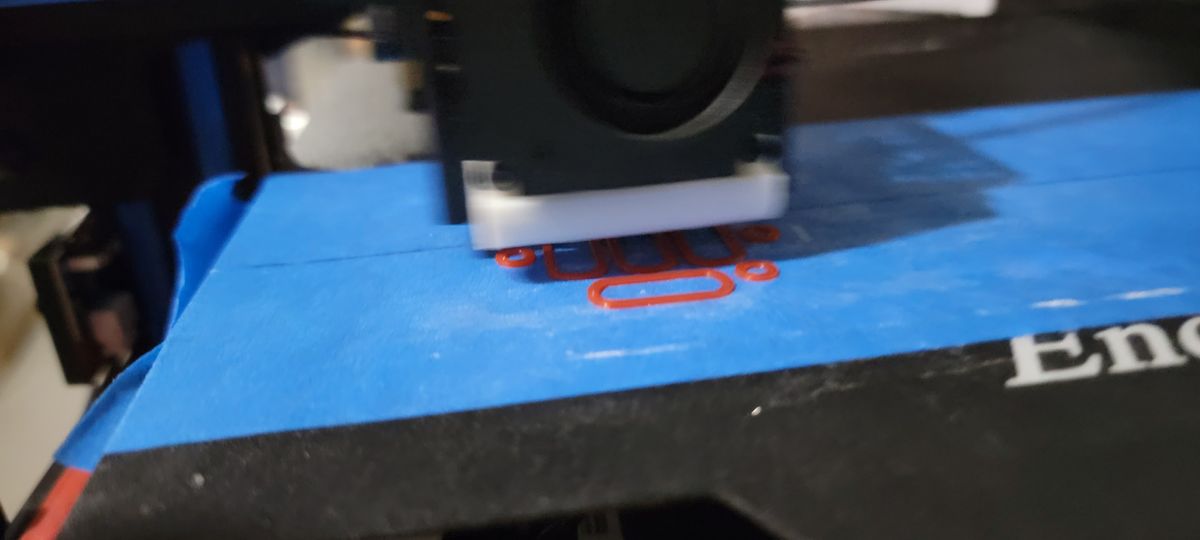
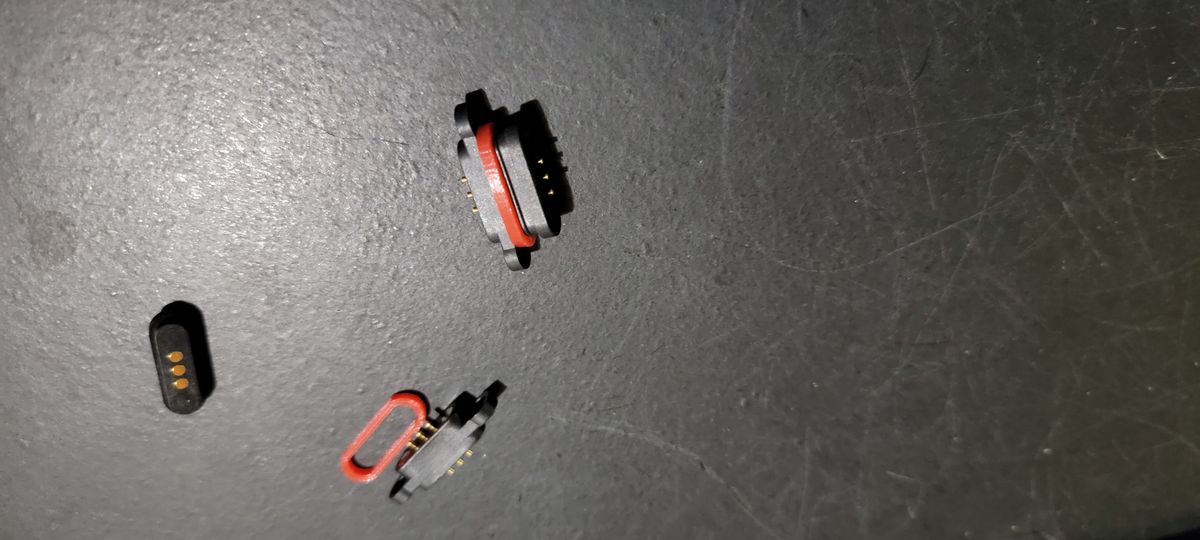
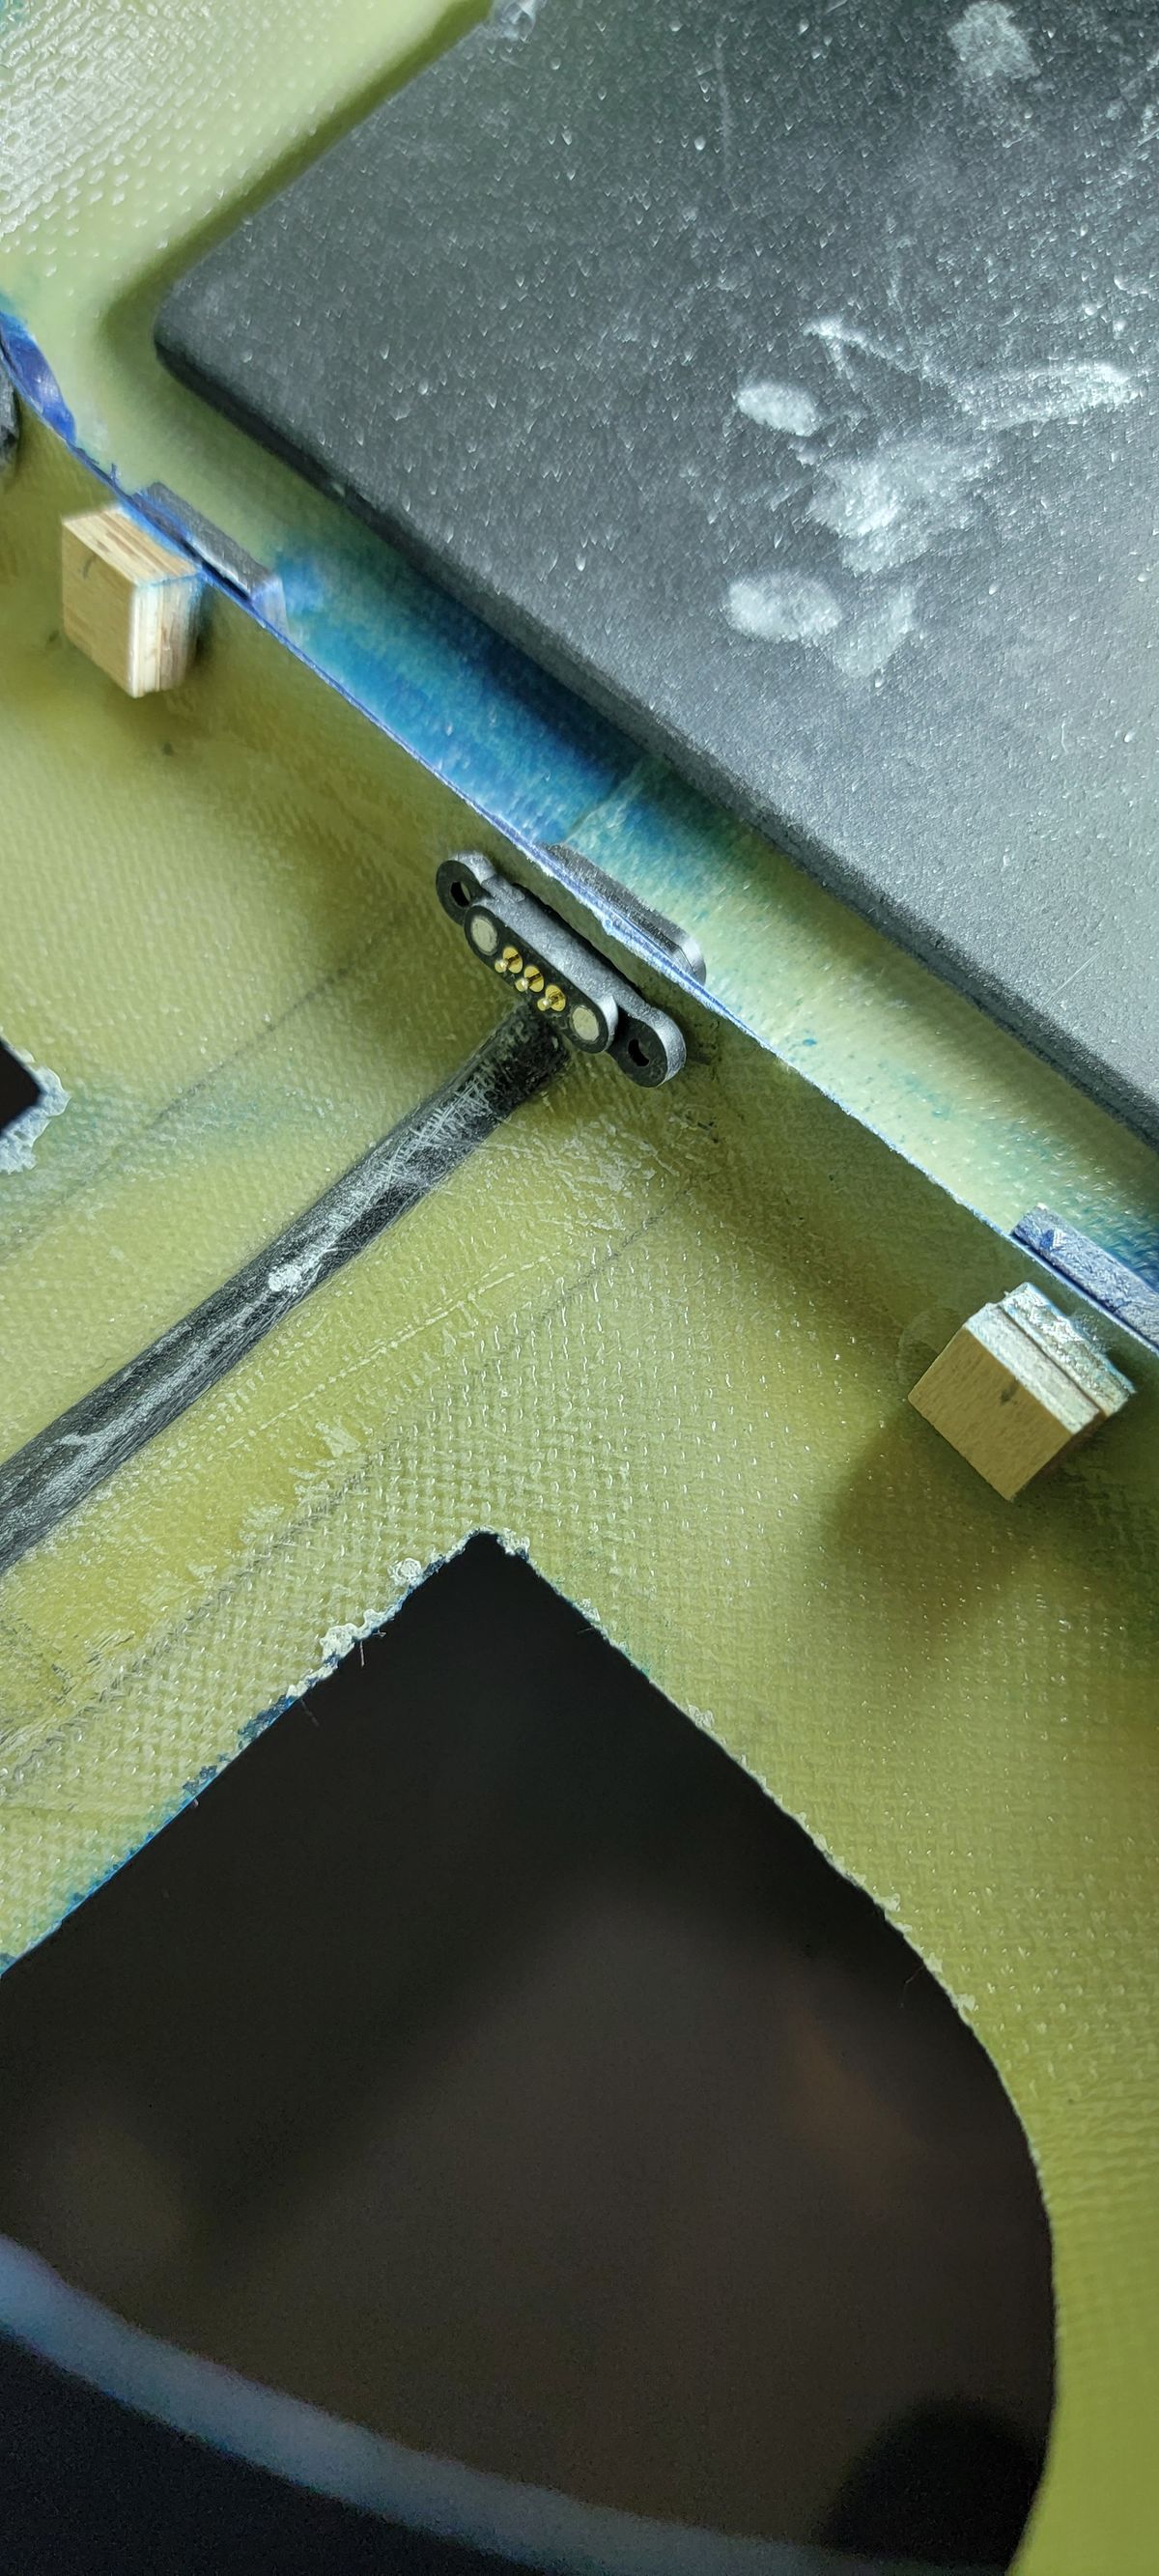
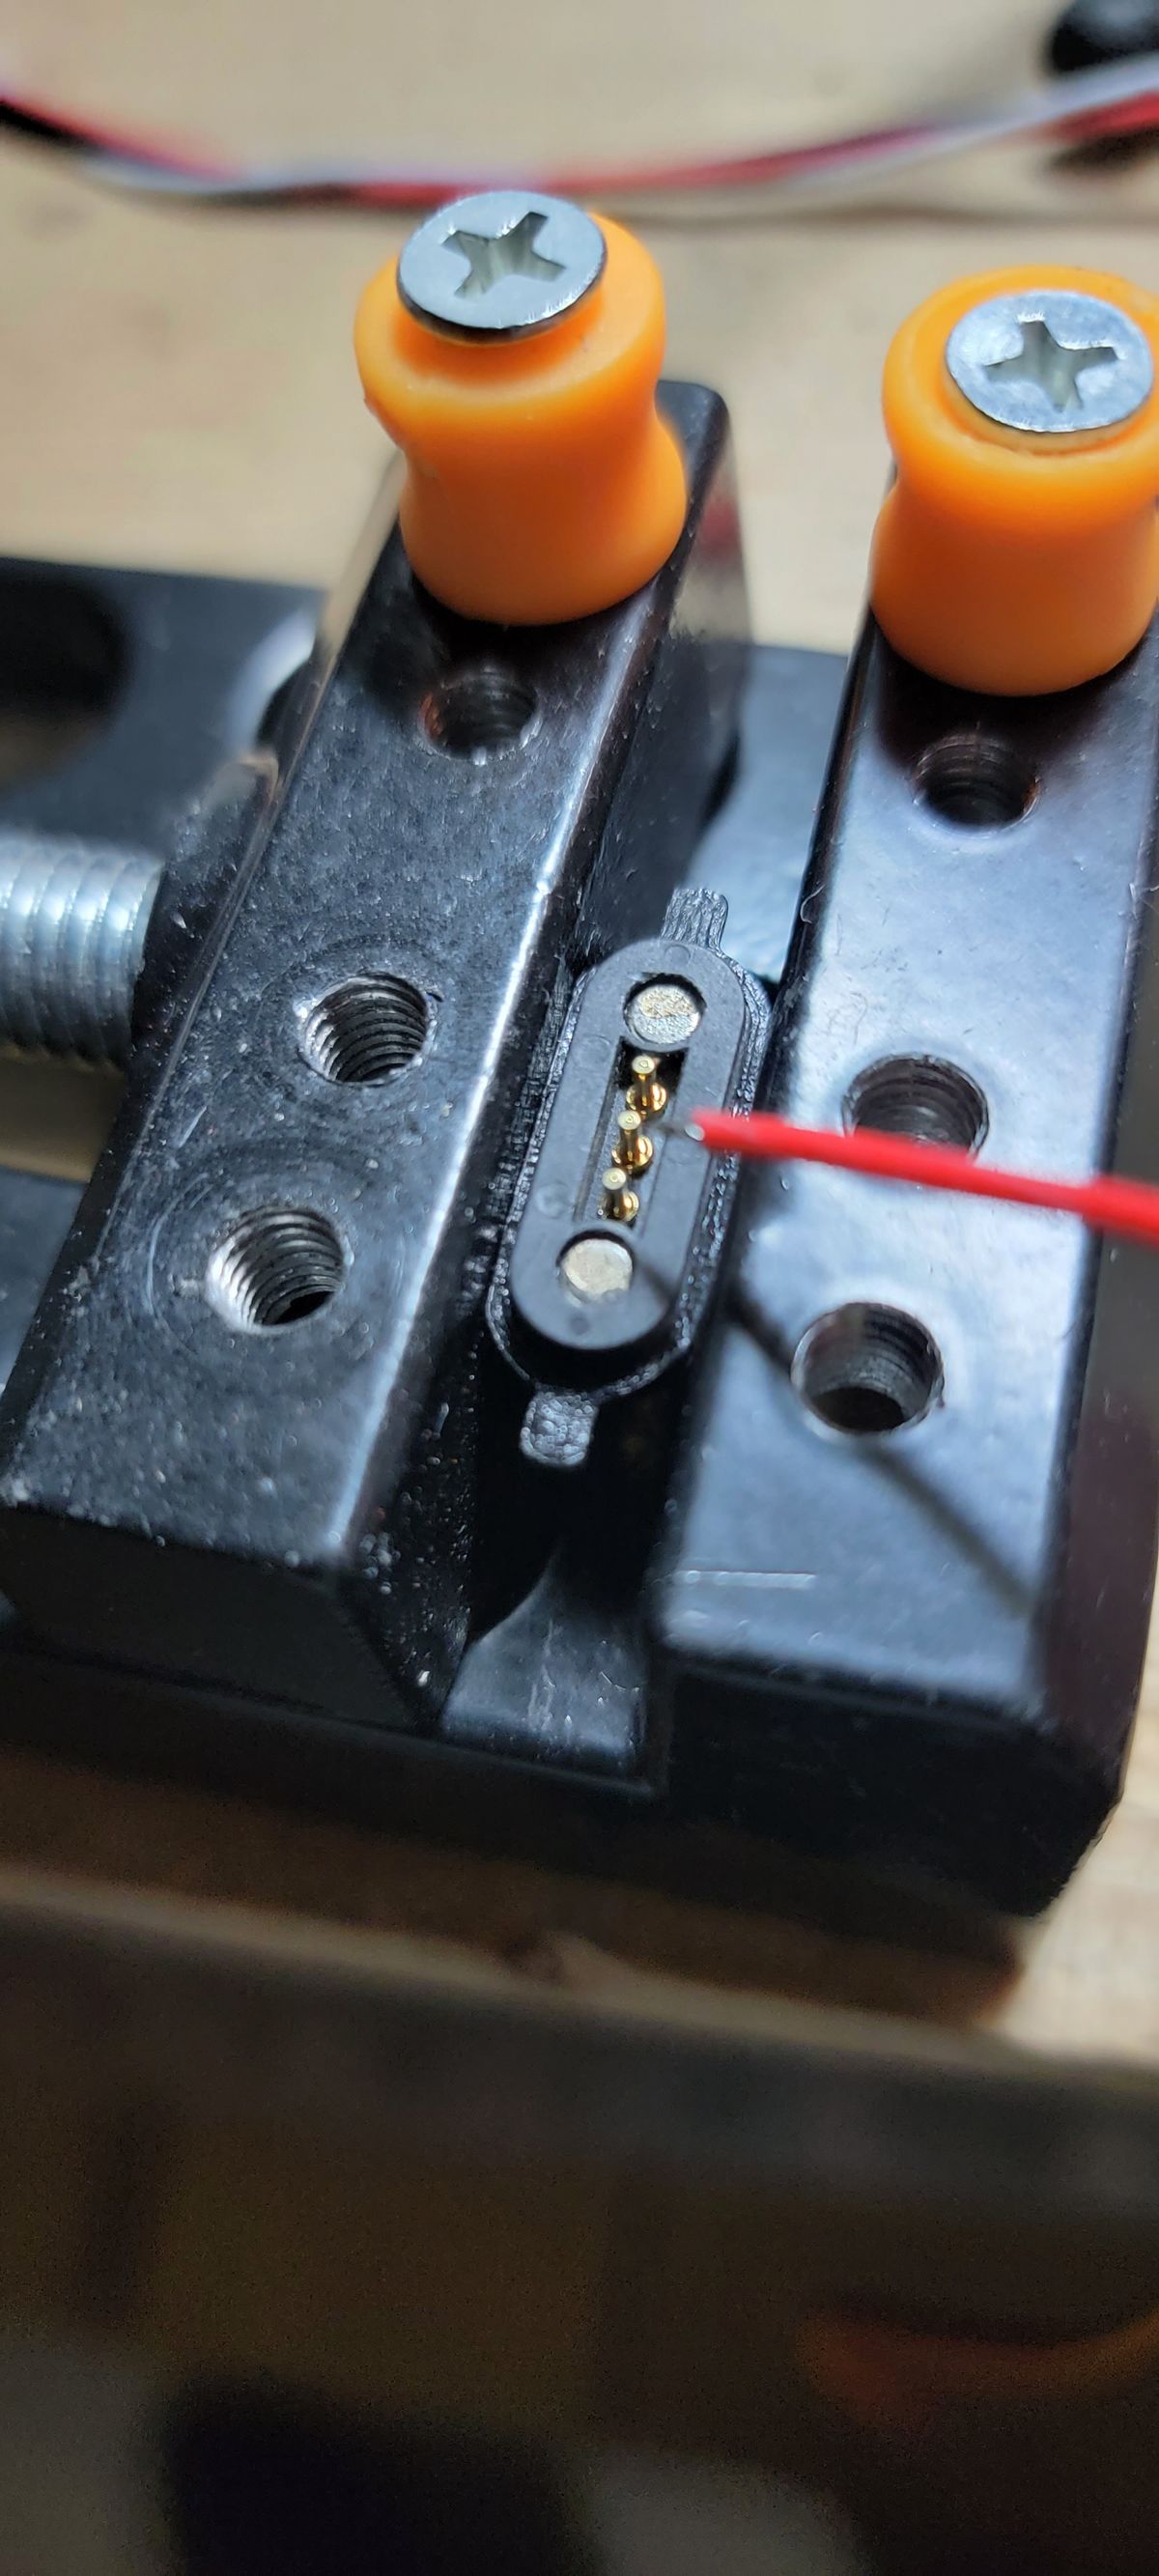
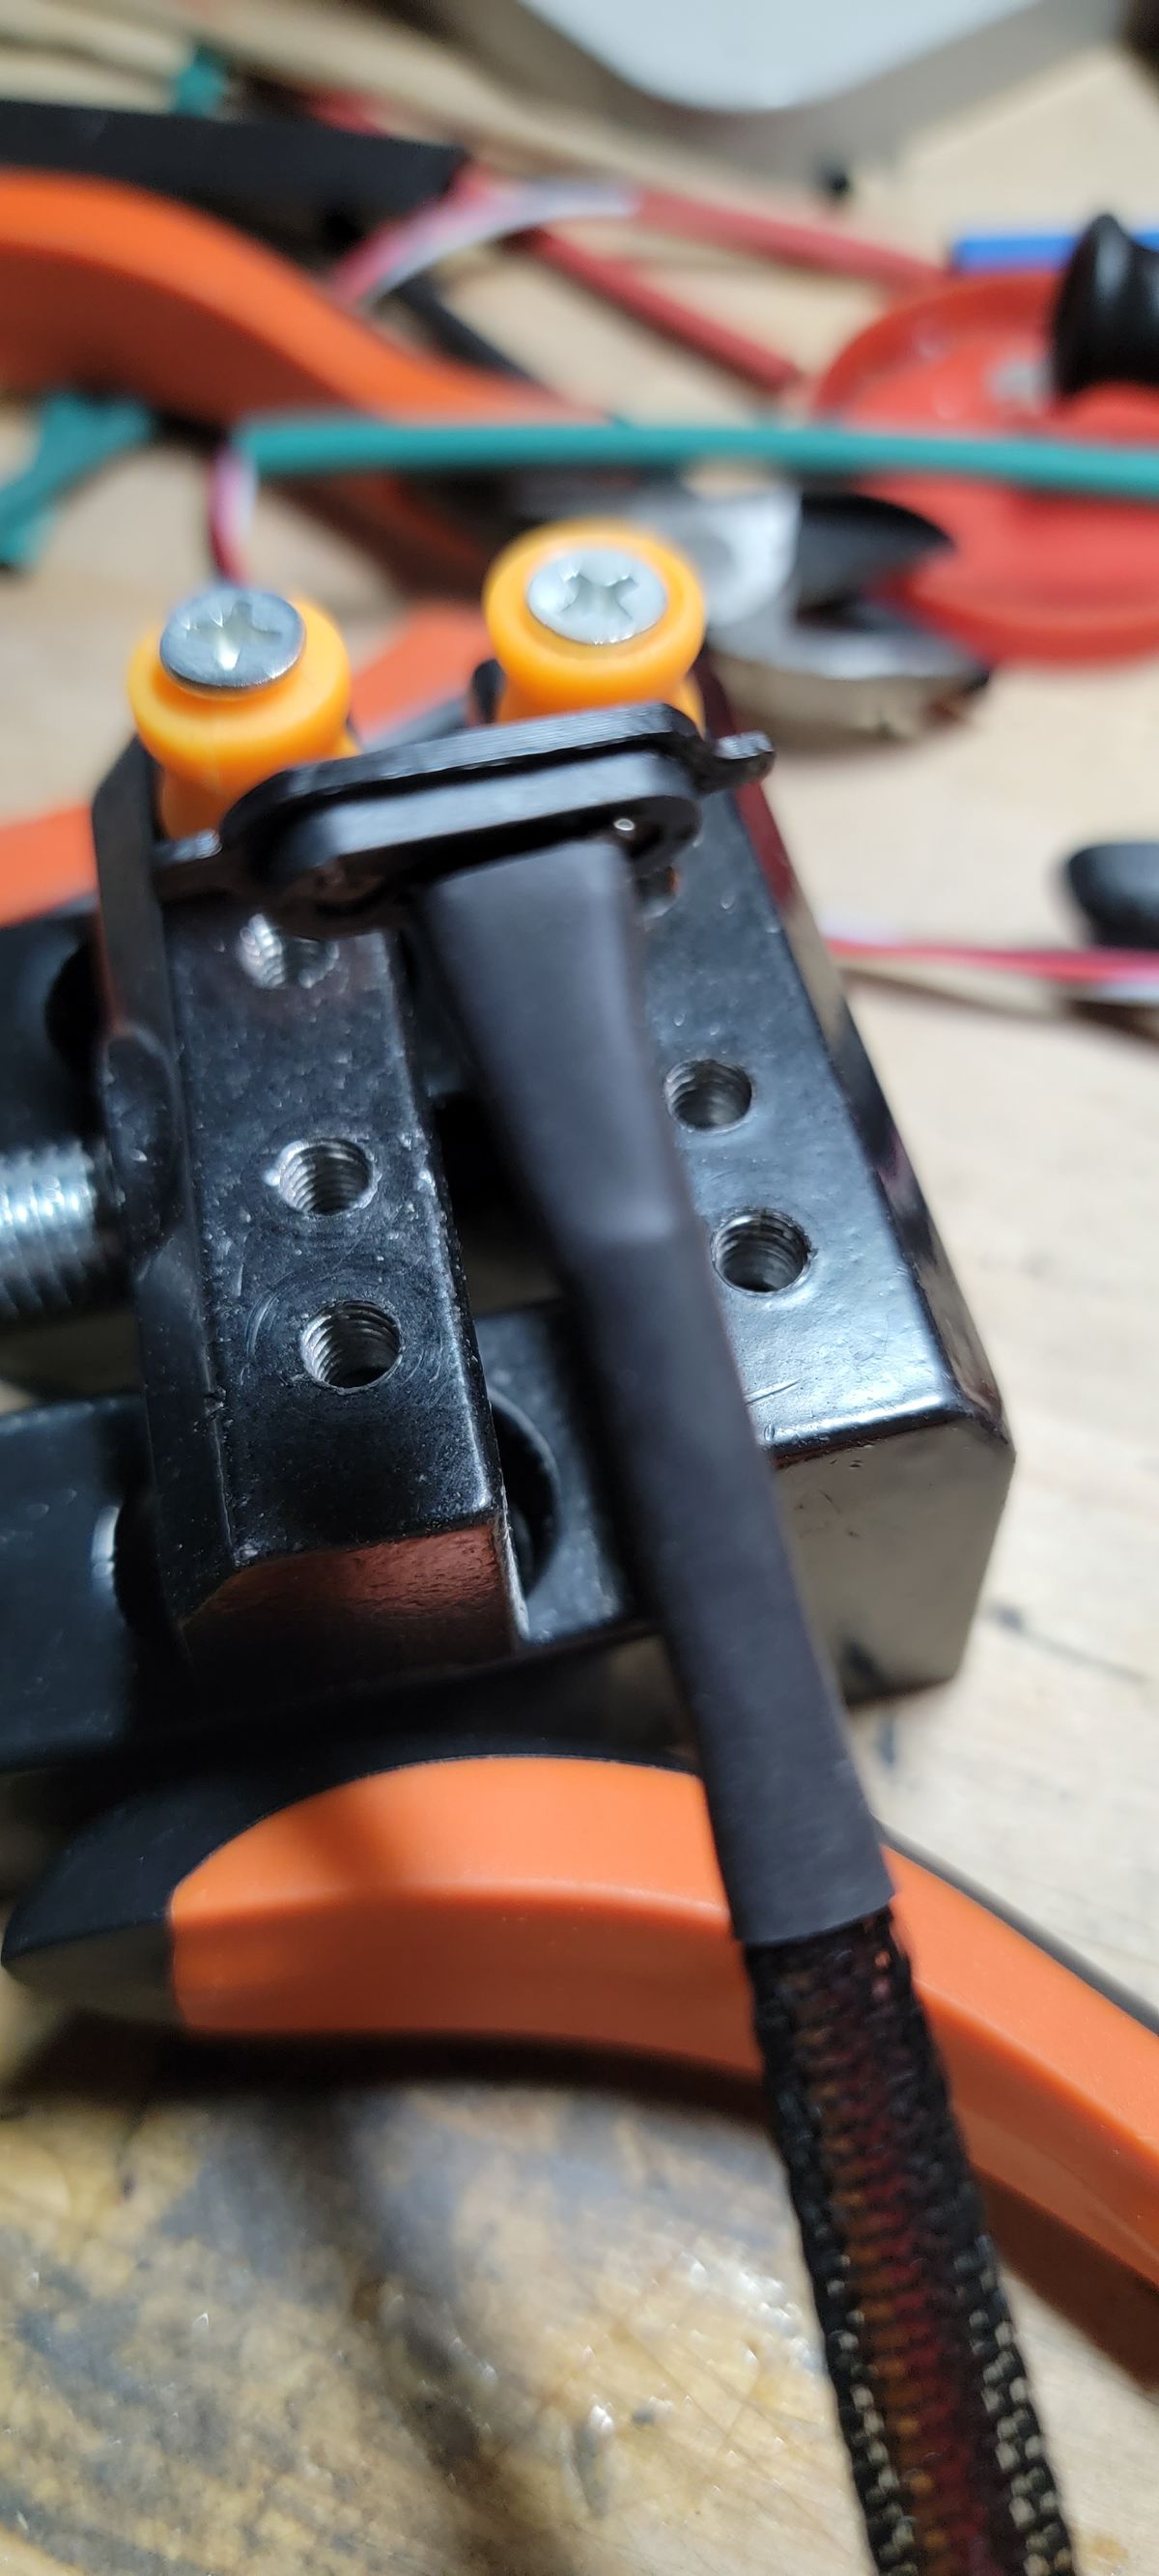
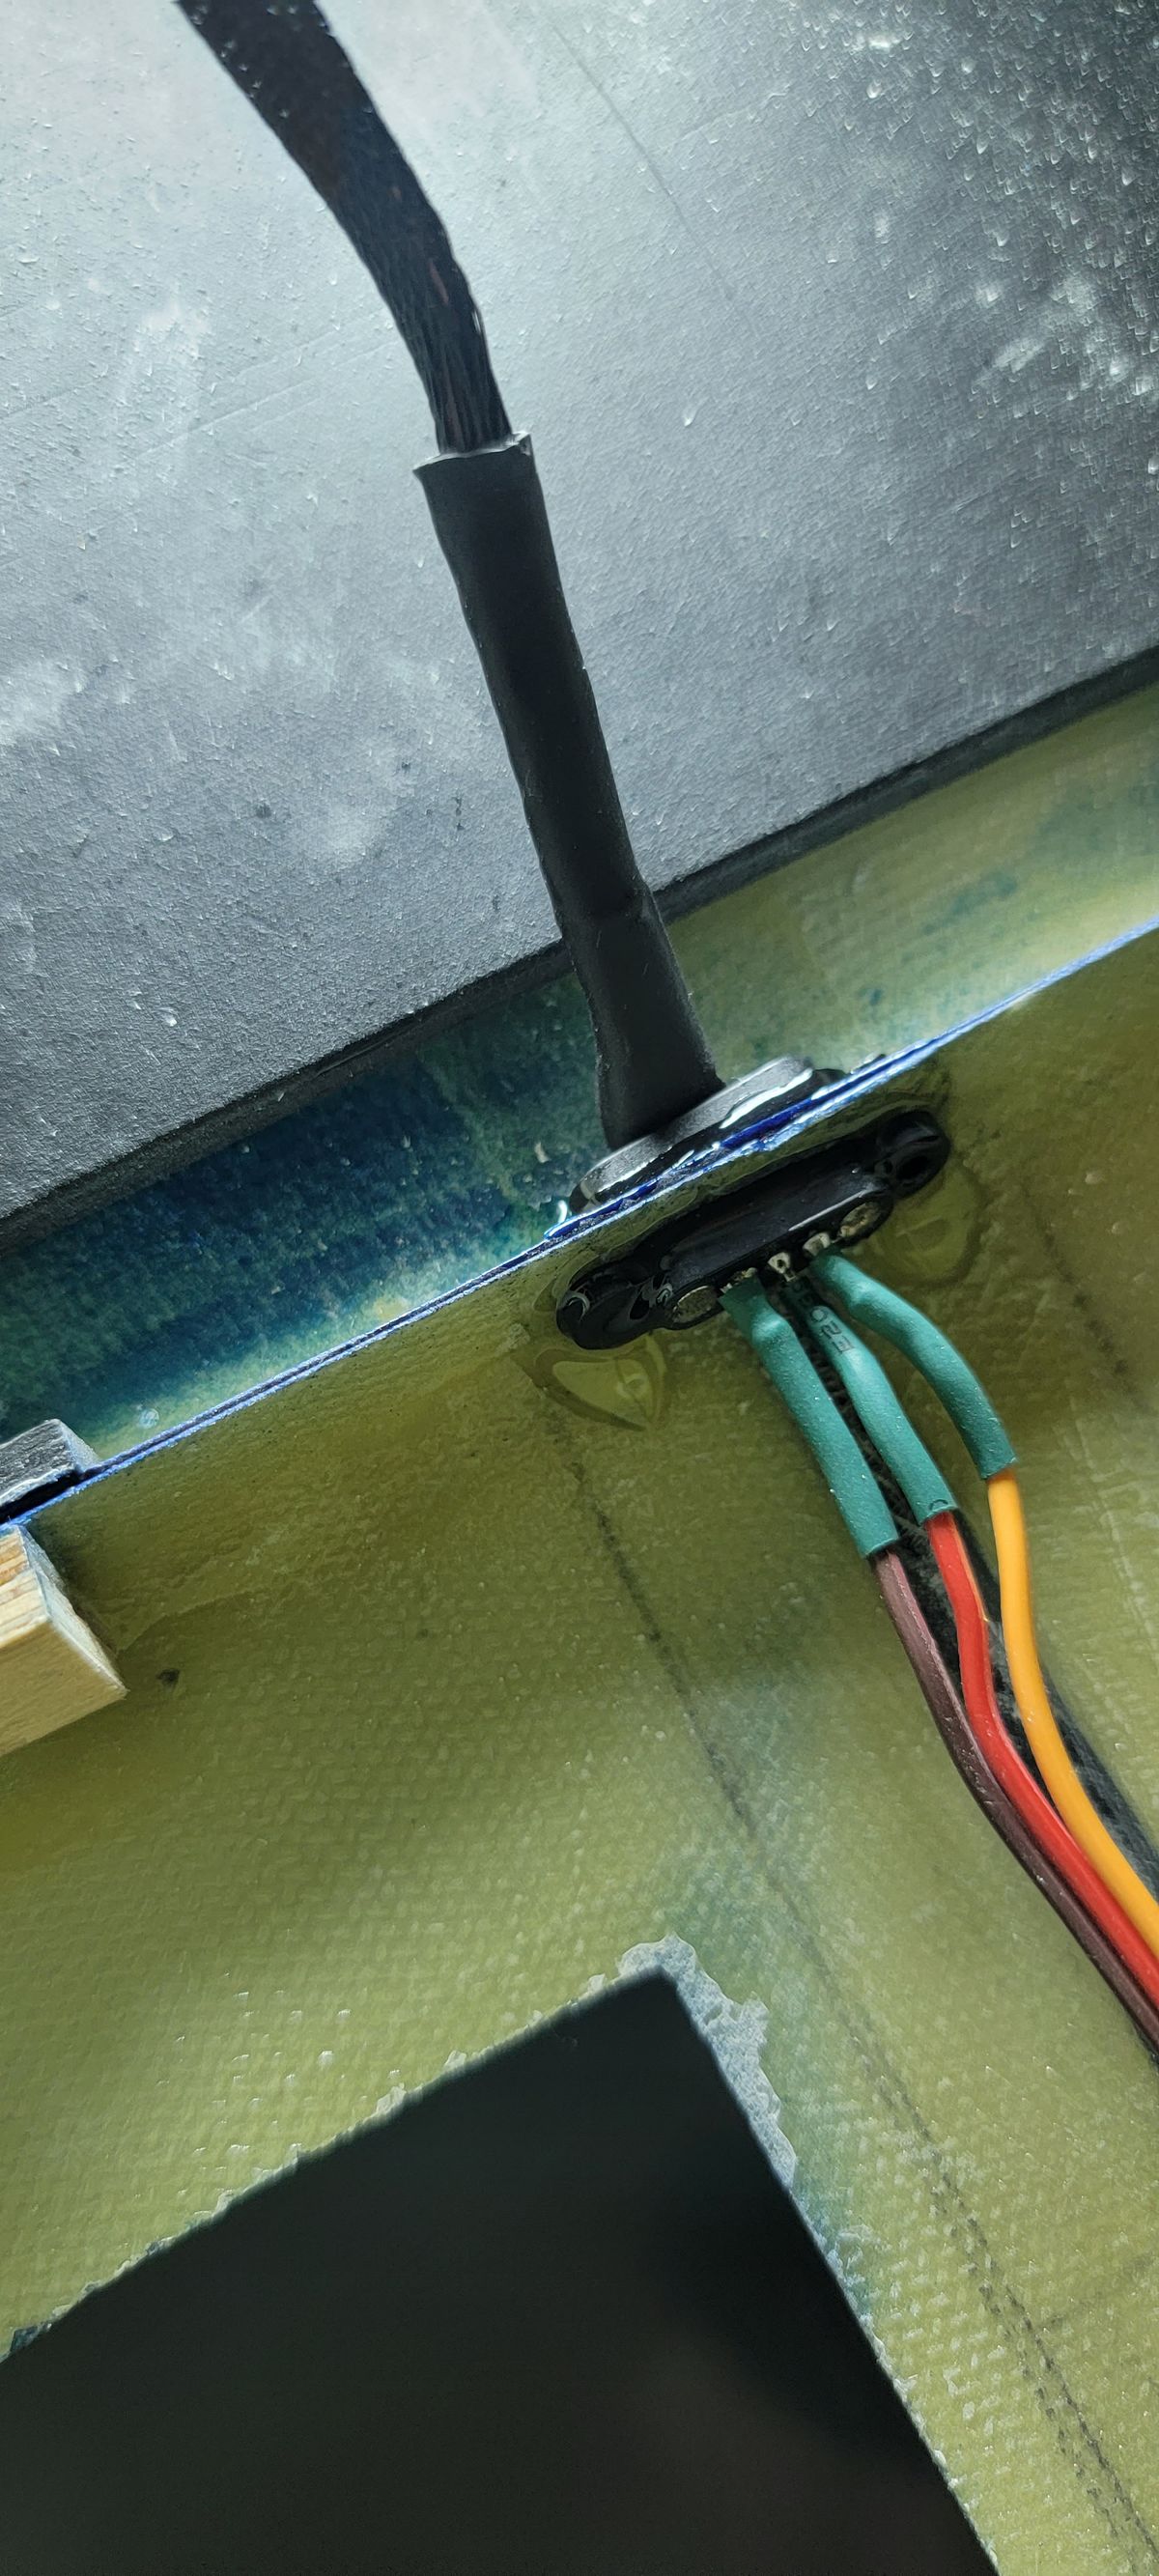
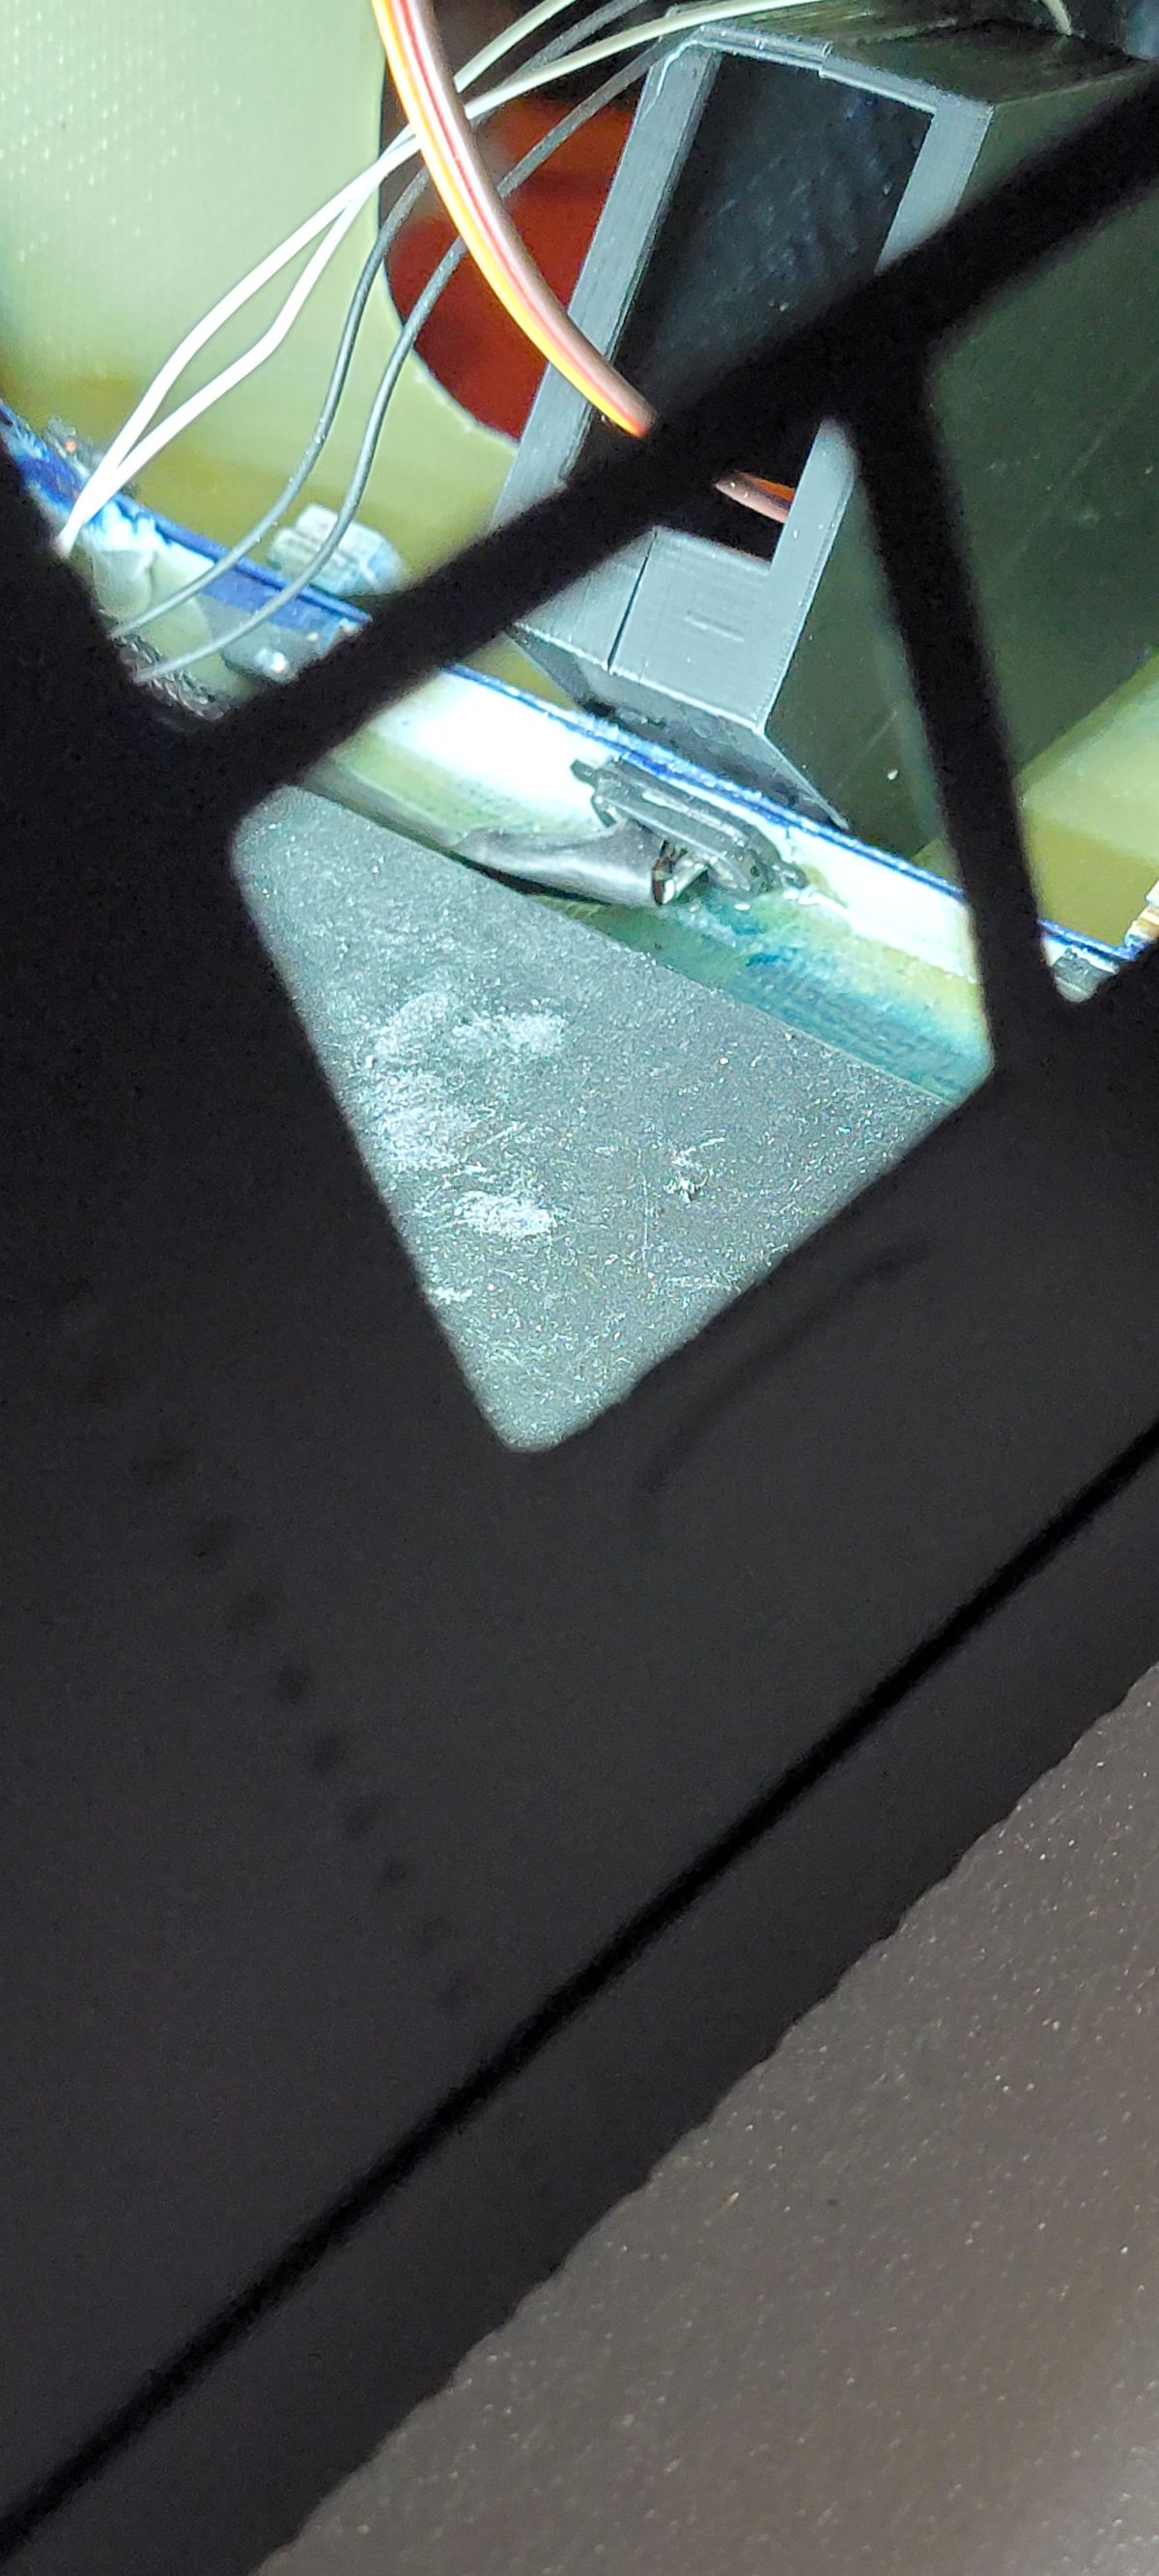
Finally I got some free time to work on the heli again. I got some Spring Loaded Magnetic Pogo Pin Connector on Amazon that should allow me to remove the front of the canopy to access the battery and keep clean the wires that power the landing lights. I made a little spacer to allow the connector to close properly once the canopy is back in place with the rest of the fuselage.
In case someone need the spacer for the connector
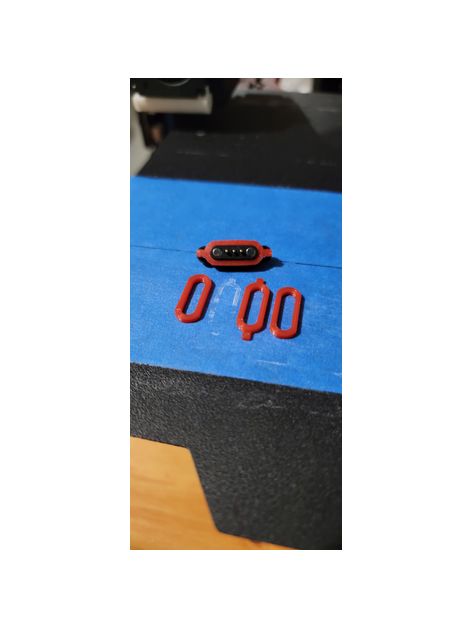 Thingiverse - The community for Open HardwareSpacer for Magnetic Connector by RC-WDSSpacer for Spring Loaded Magnetic Pogo Pin Connector 3https://www.amazon.ca/Plauauyt-Magnetic-Connector-Positions-Magnets/dp/B0BSGR5GHT/ref=rvi_d_sccl_1/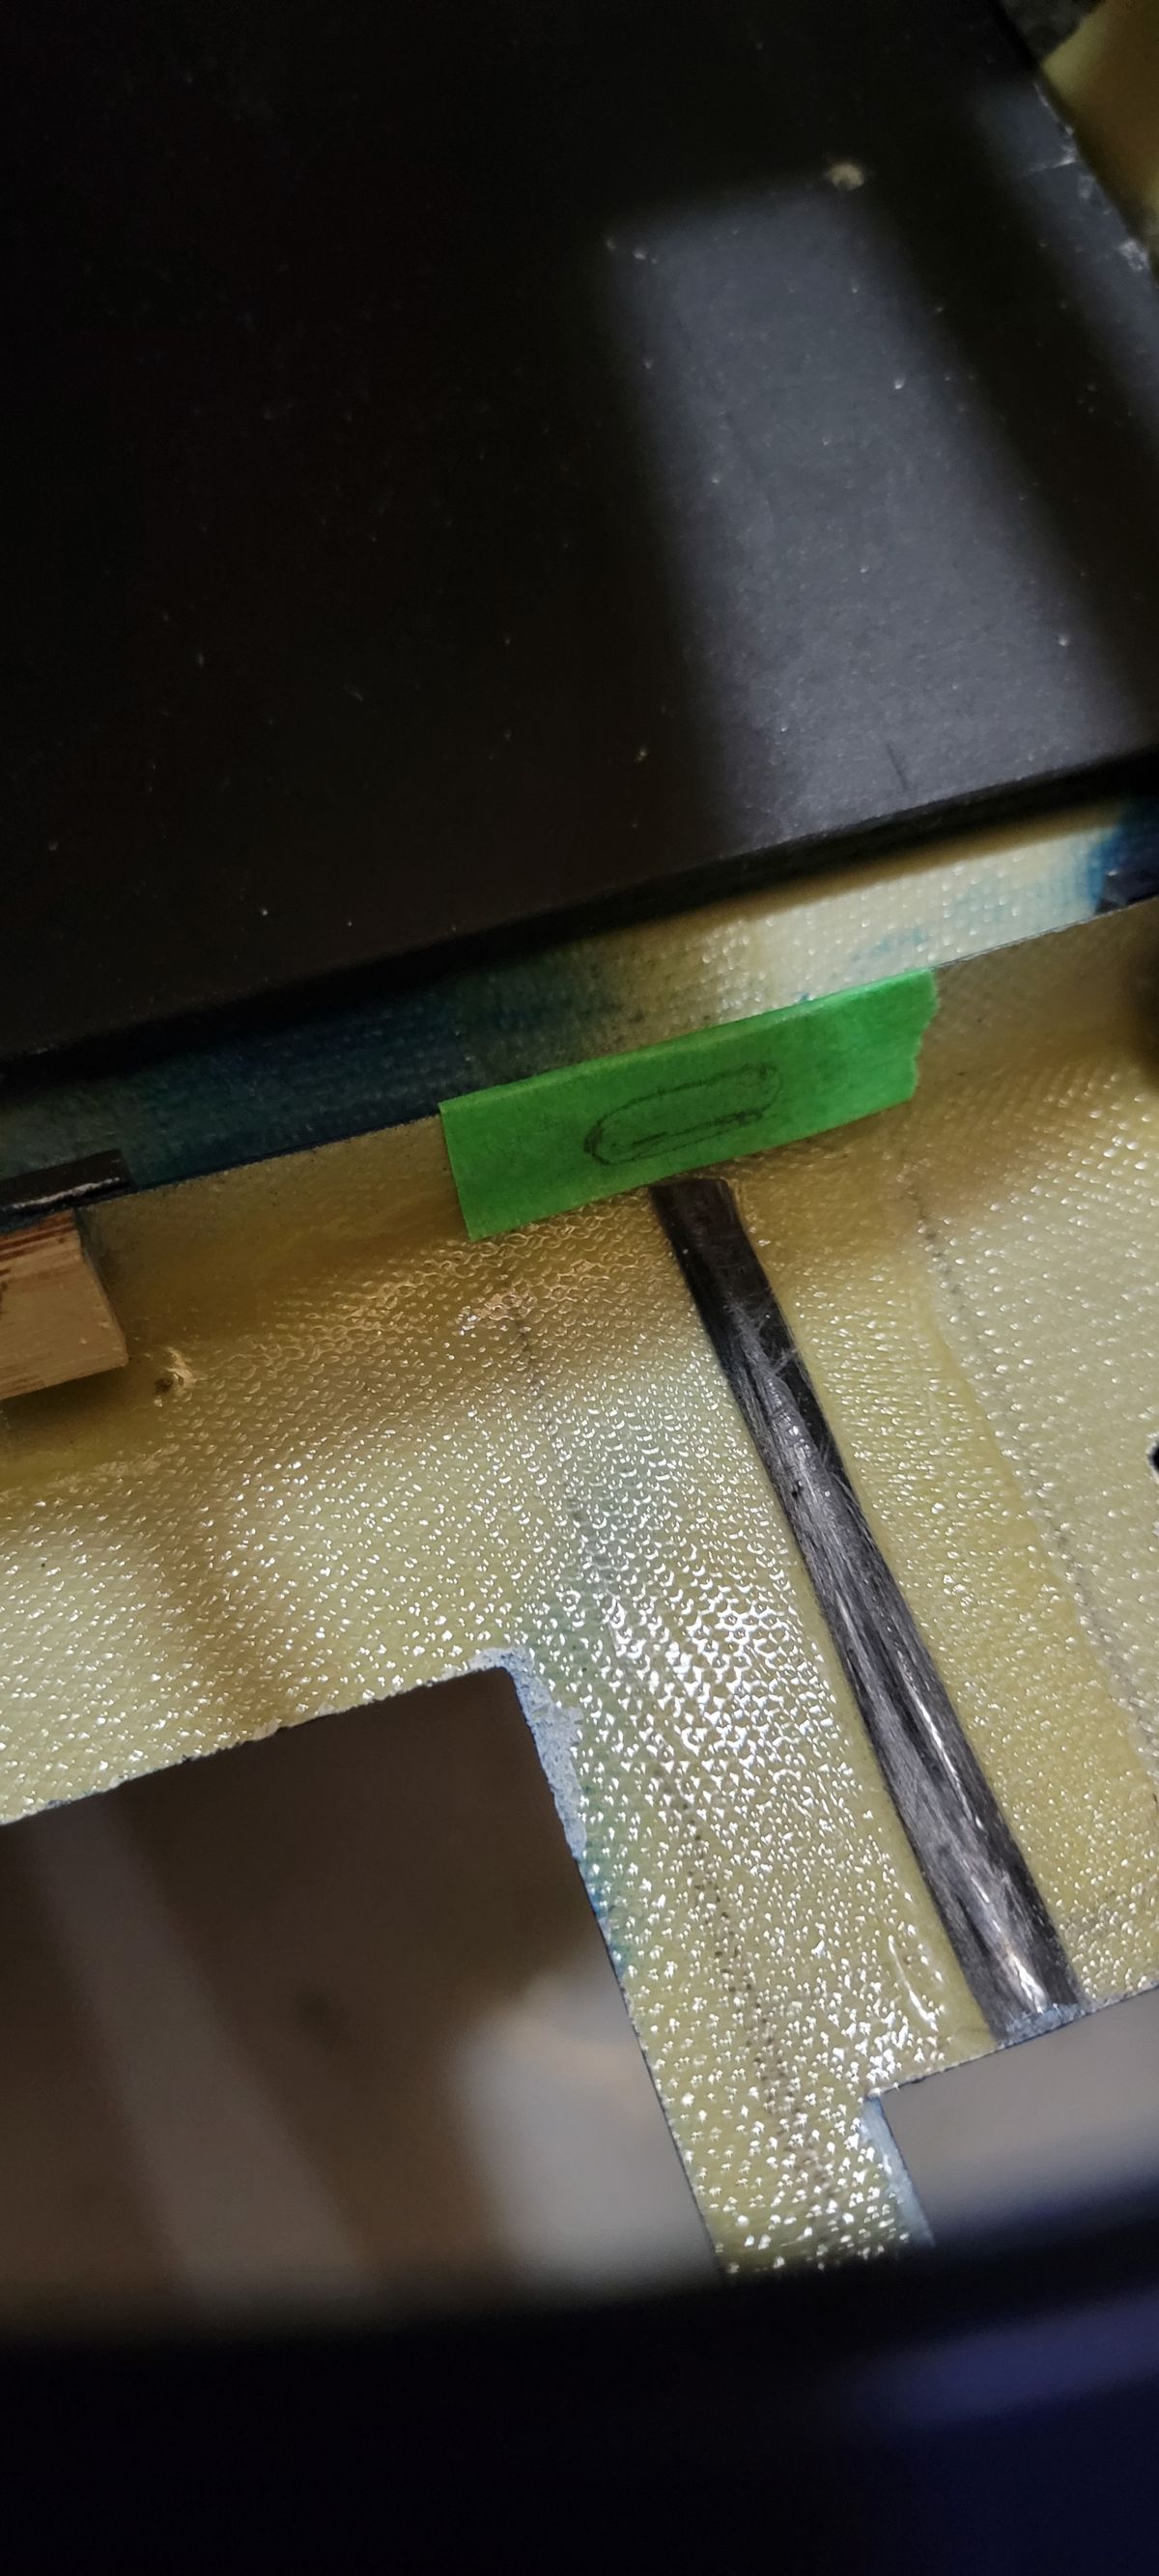
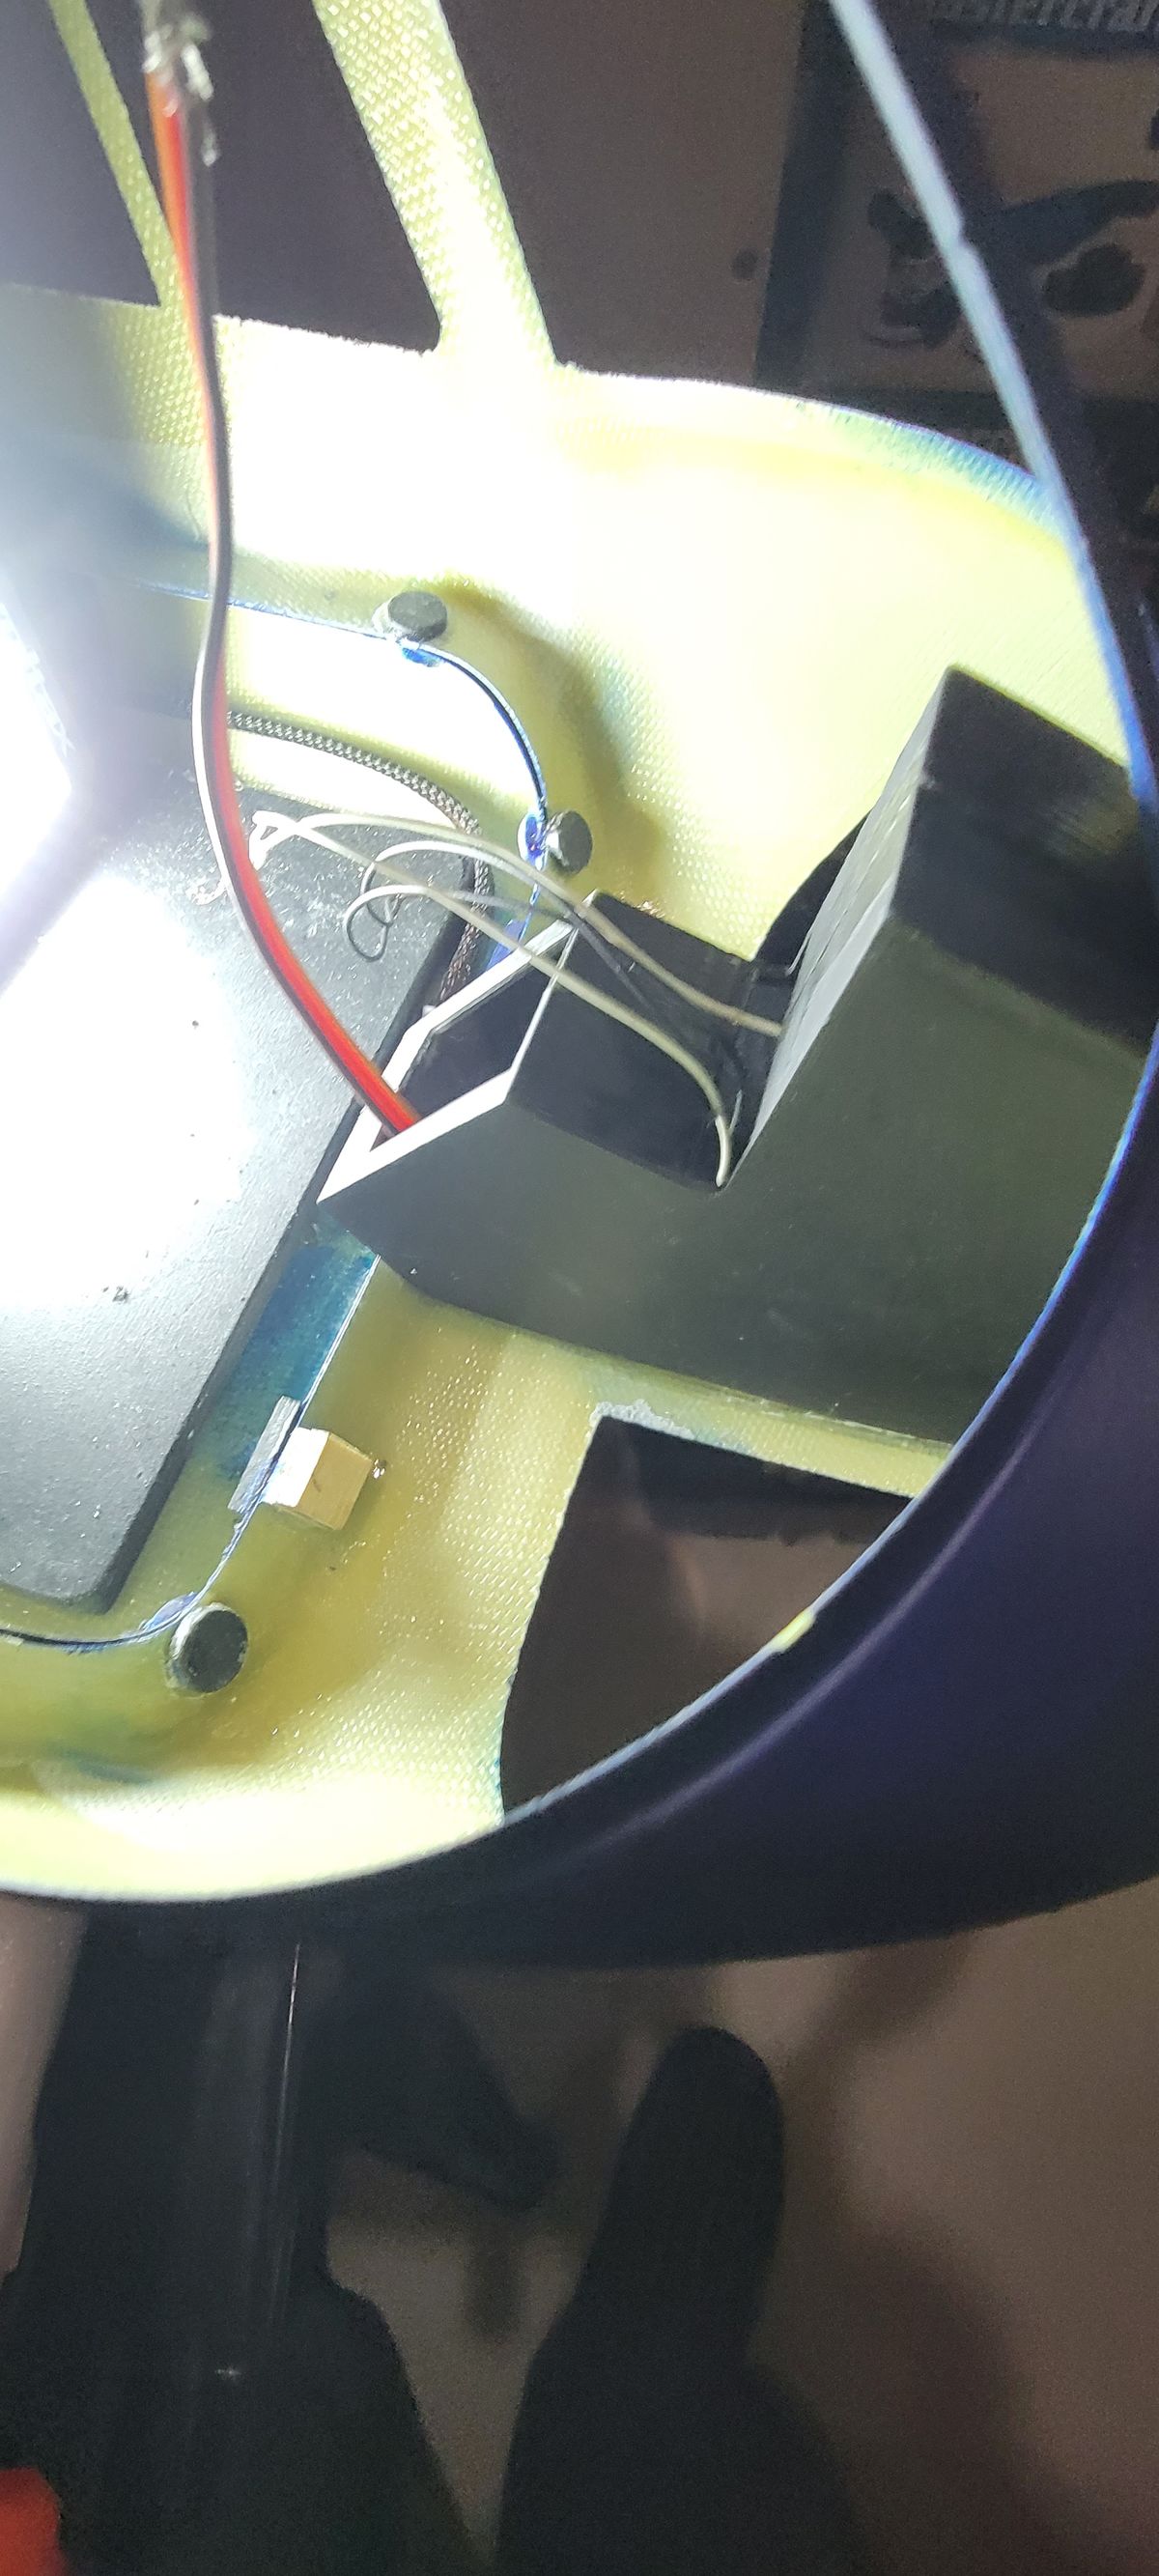
Lights and Wires
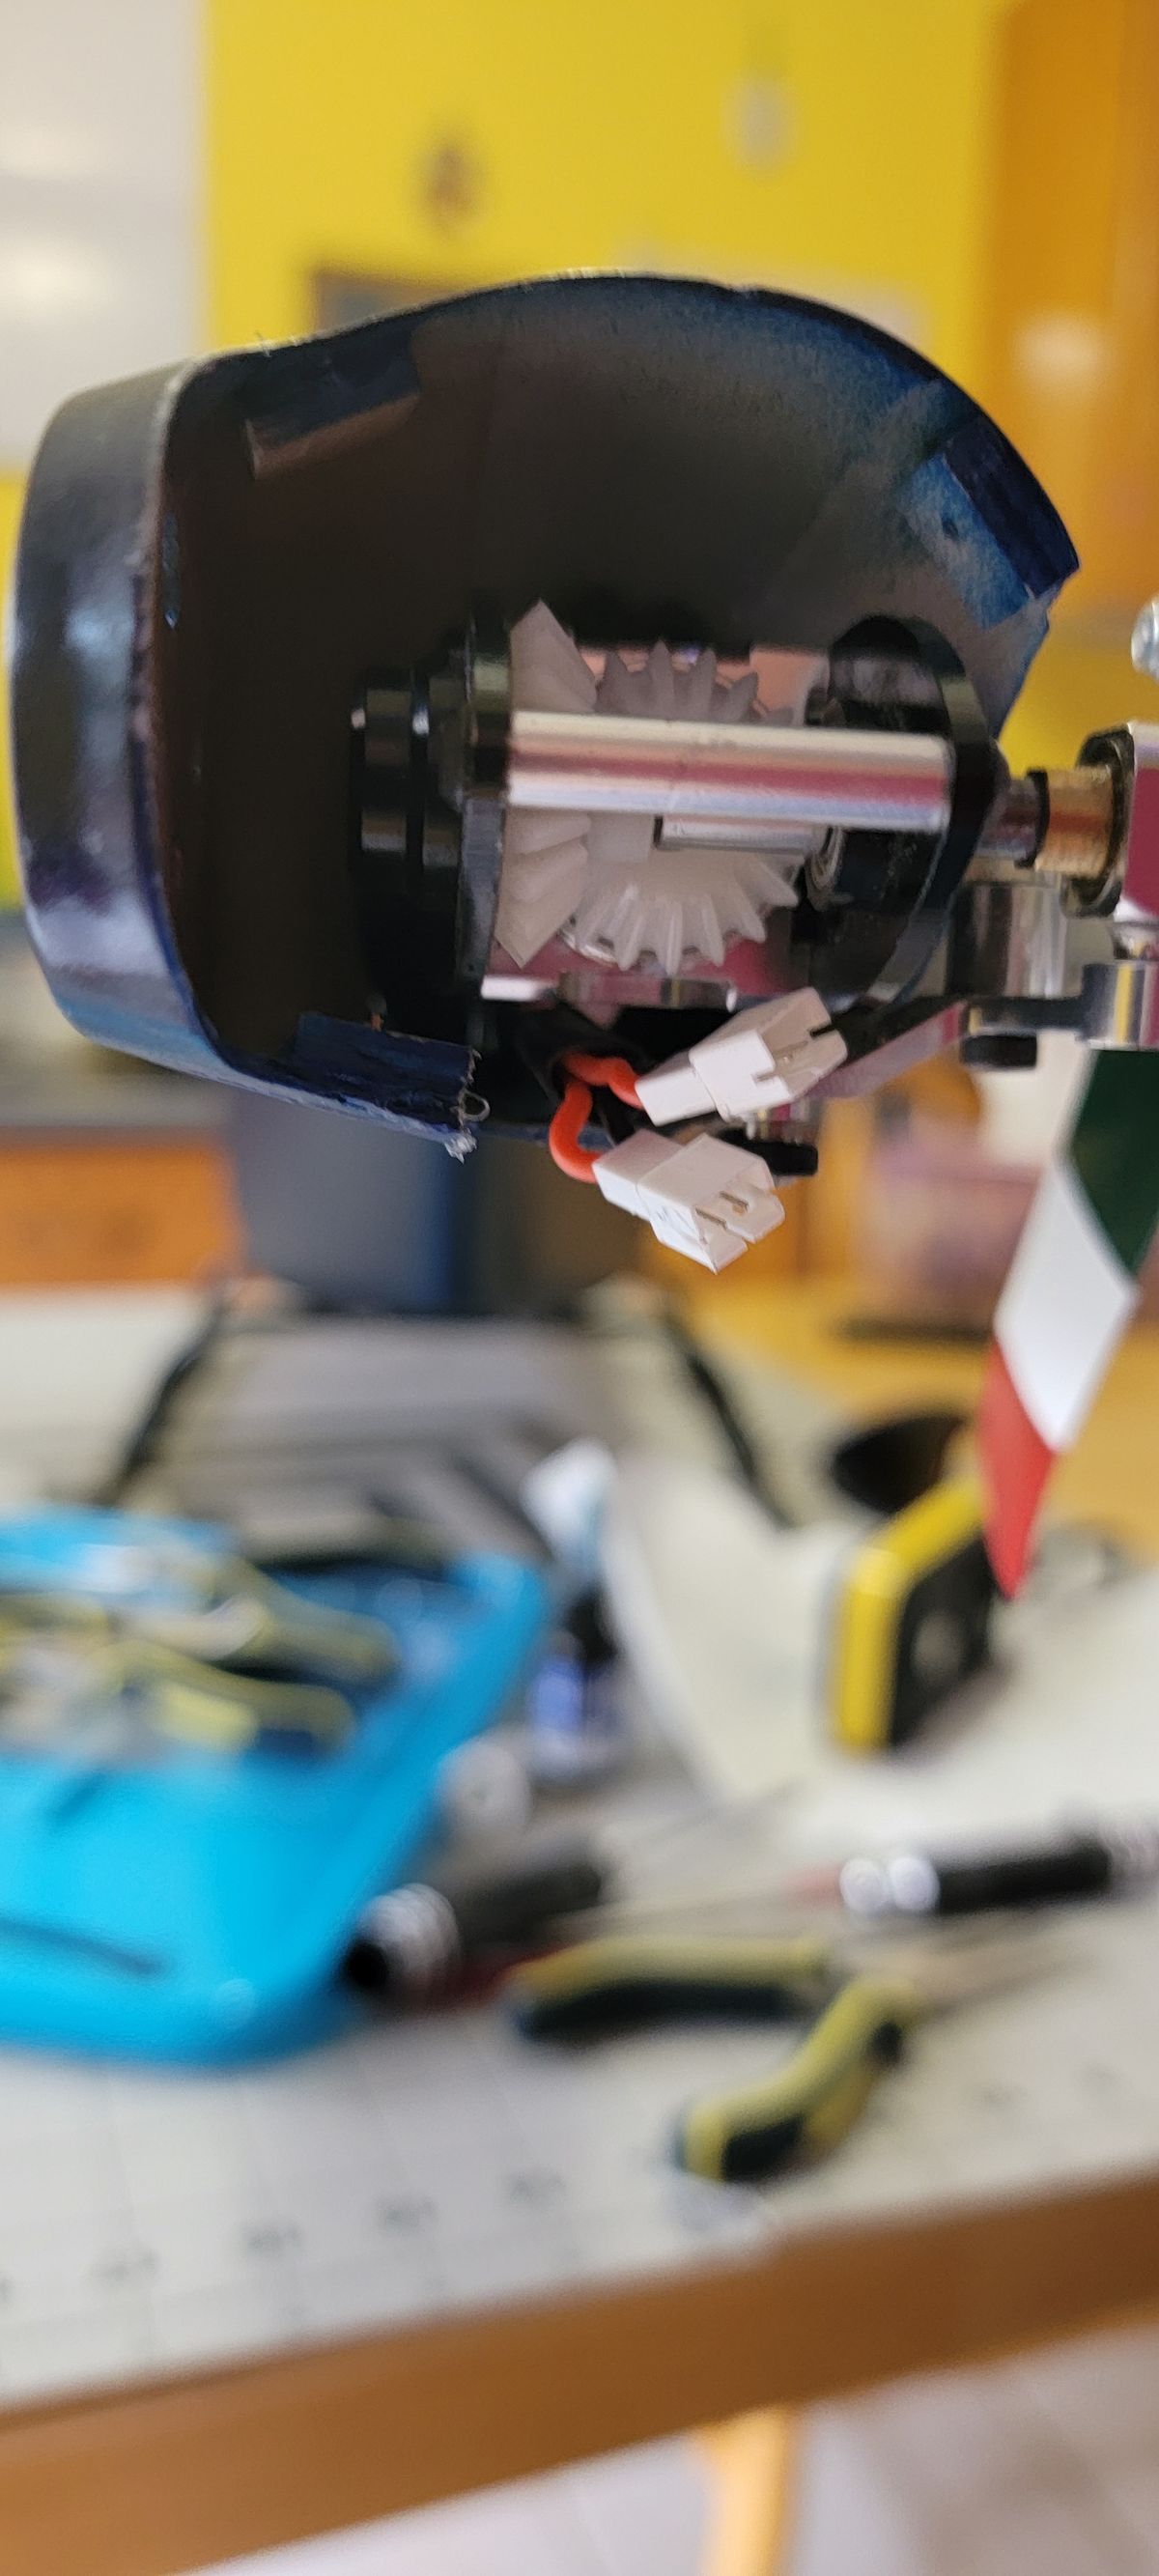
I'm starting to put together all the pieces of this puzzle and trying to find the better way to organize the wires.
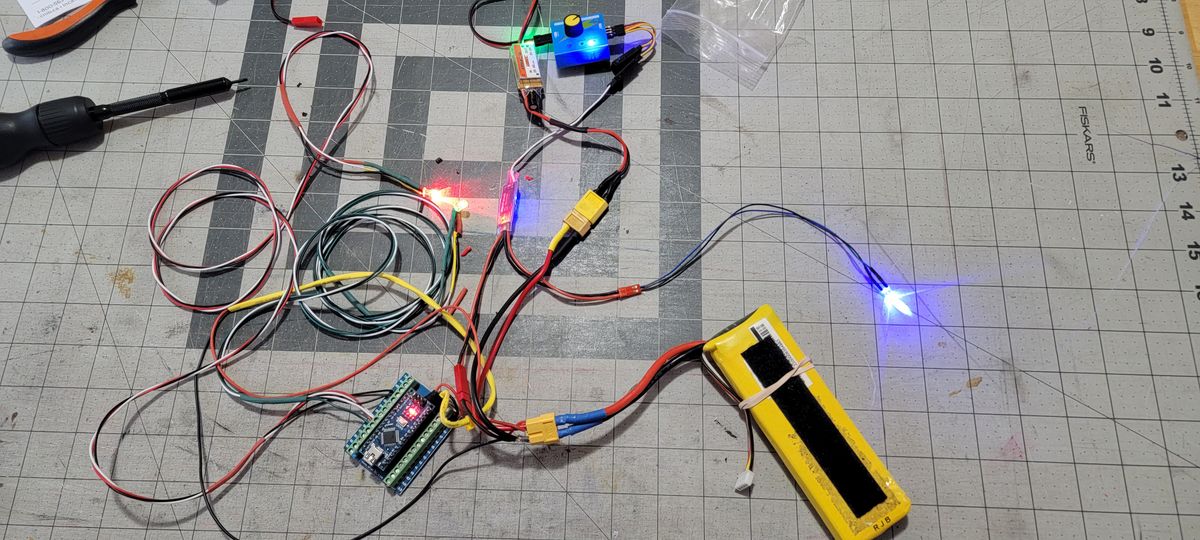
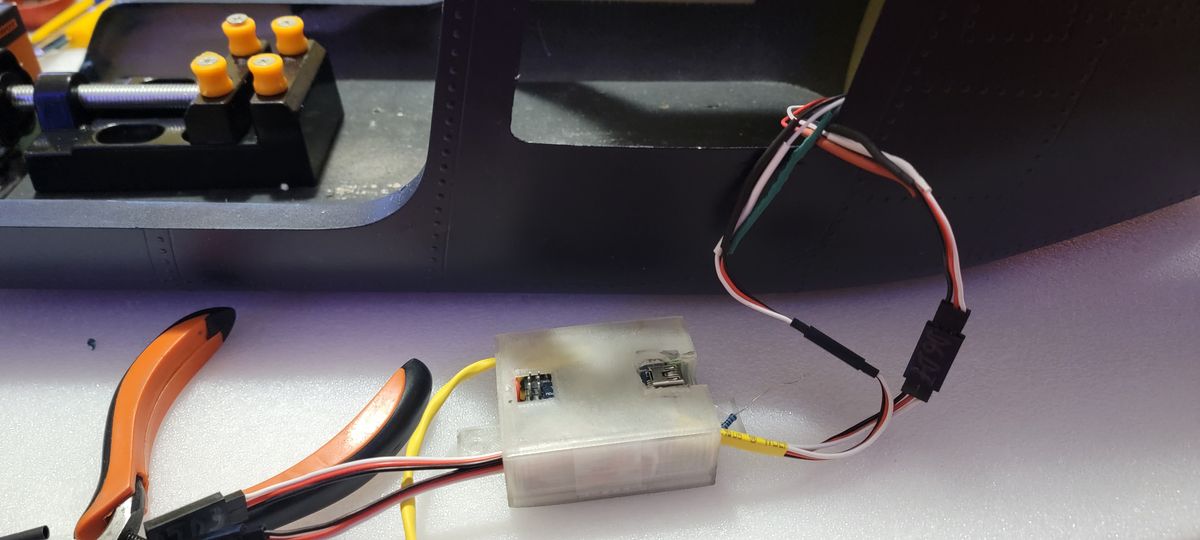
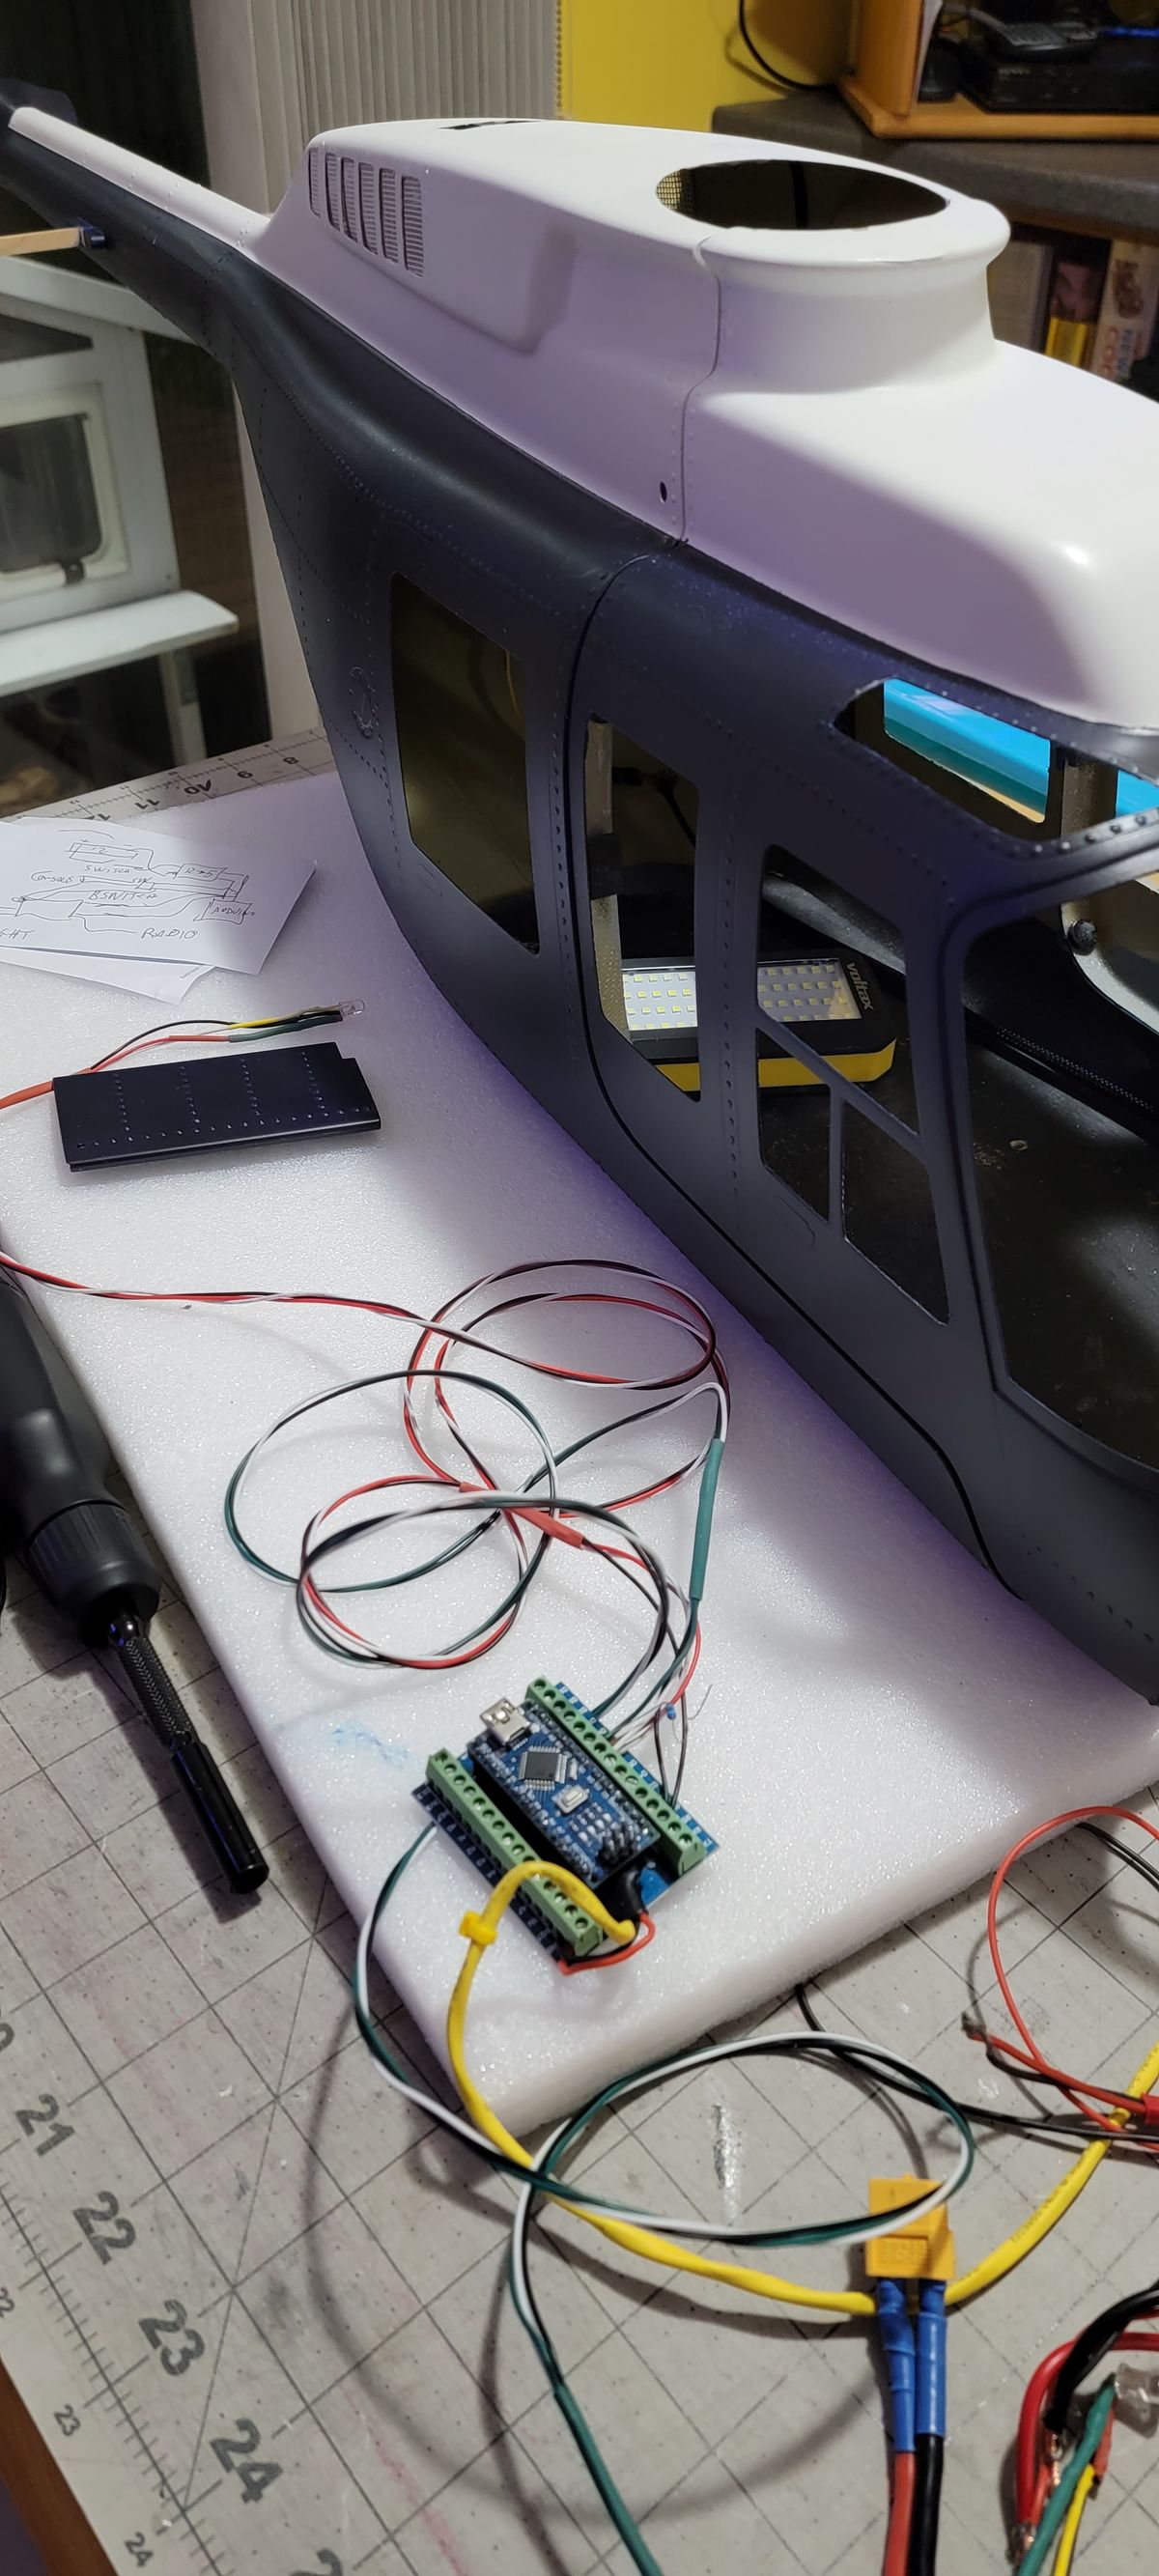
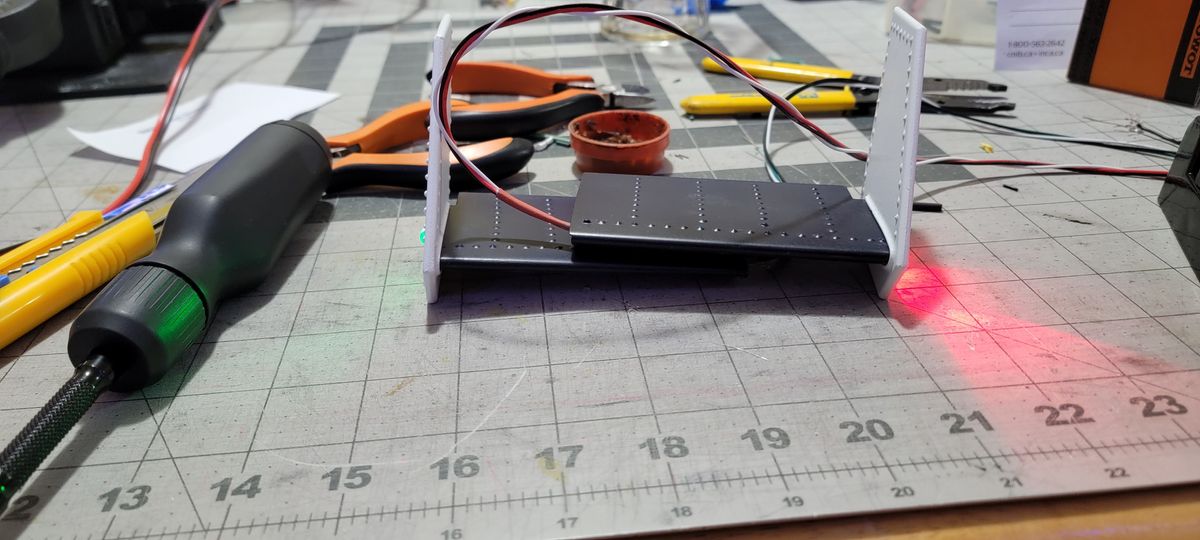
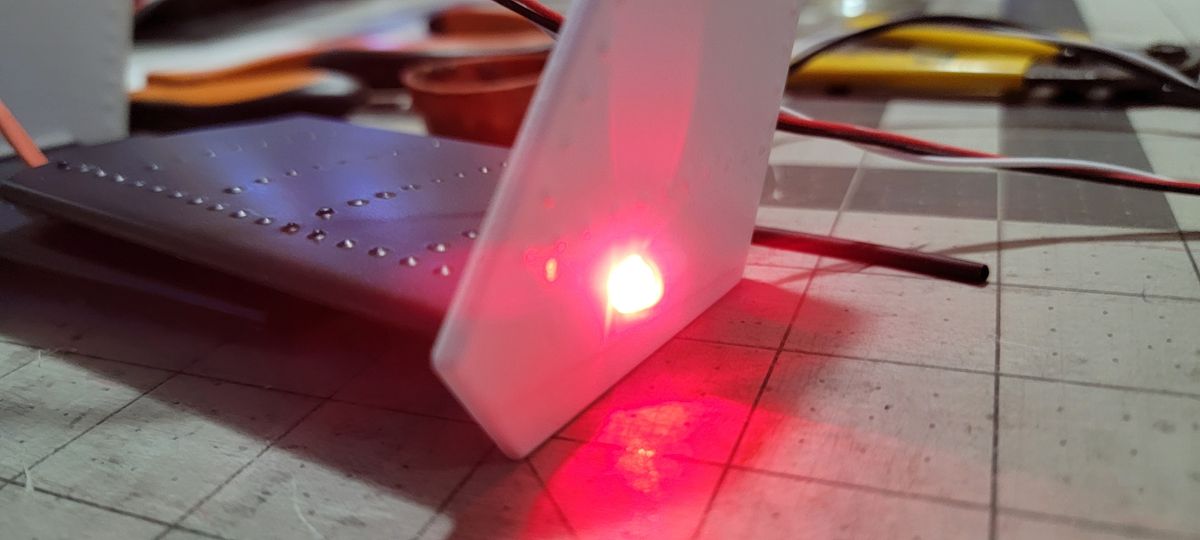
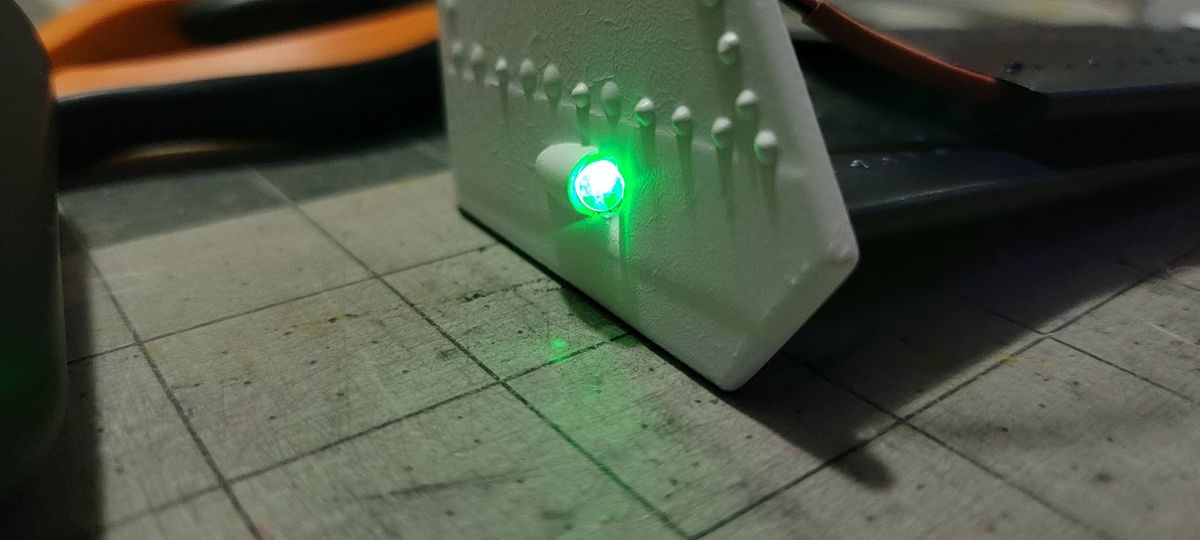
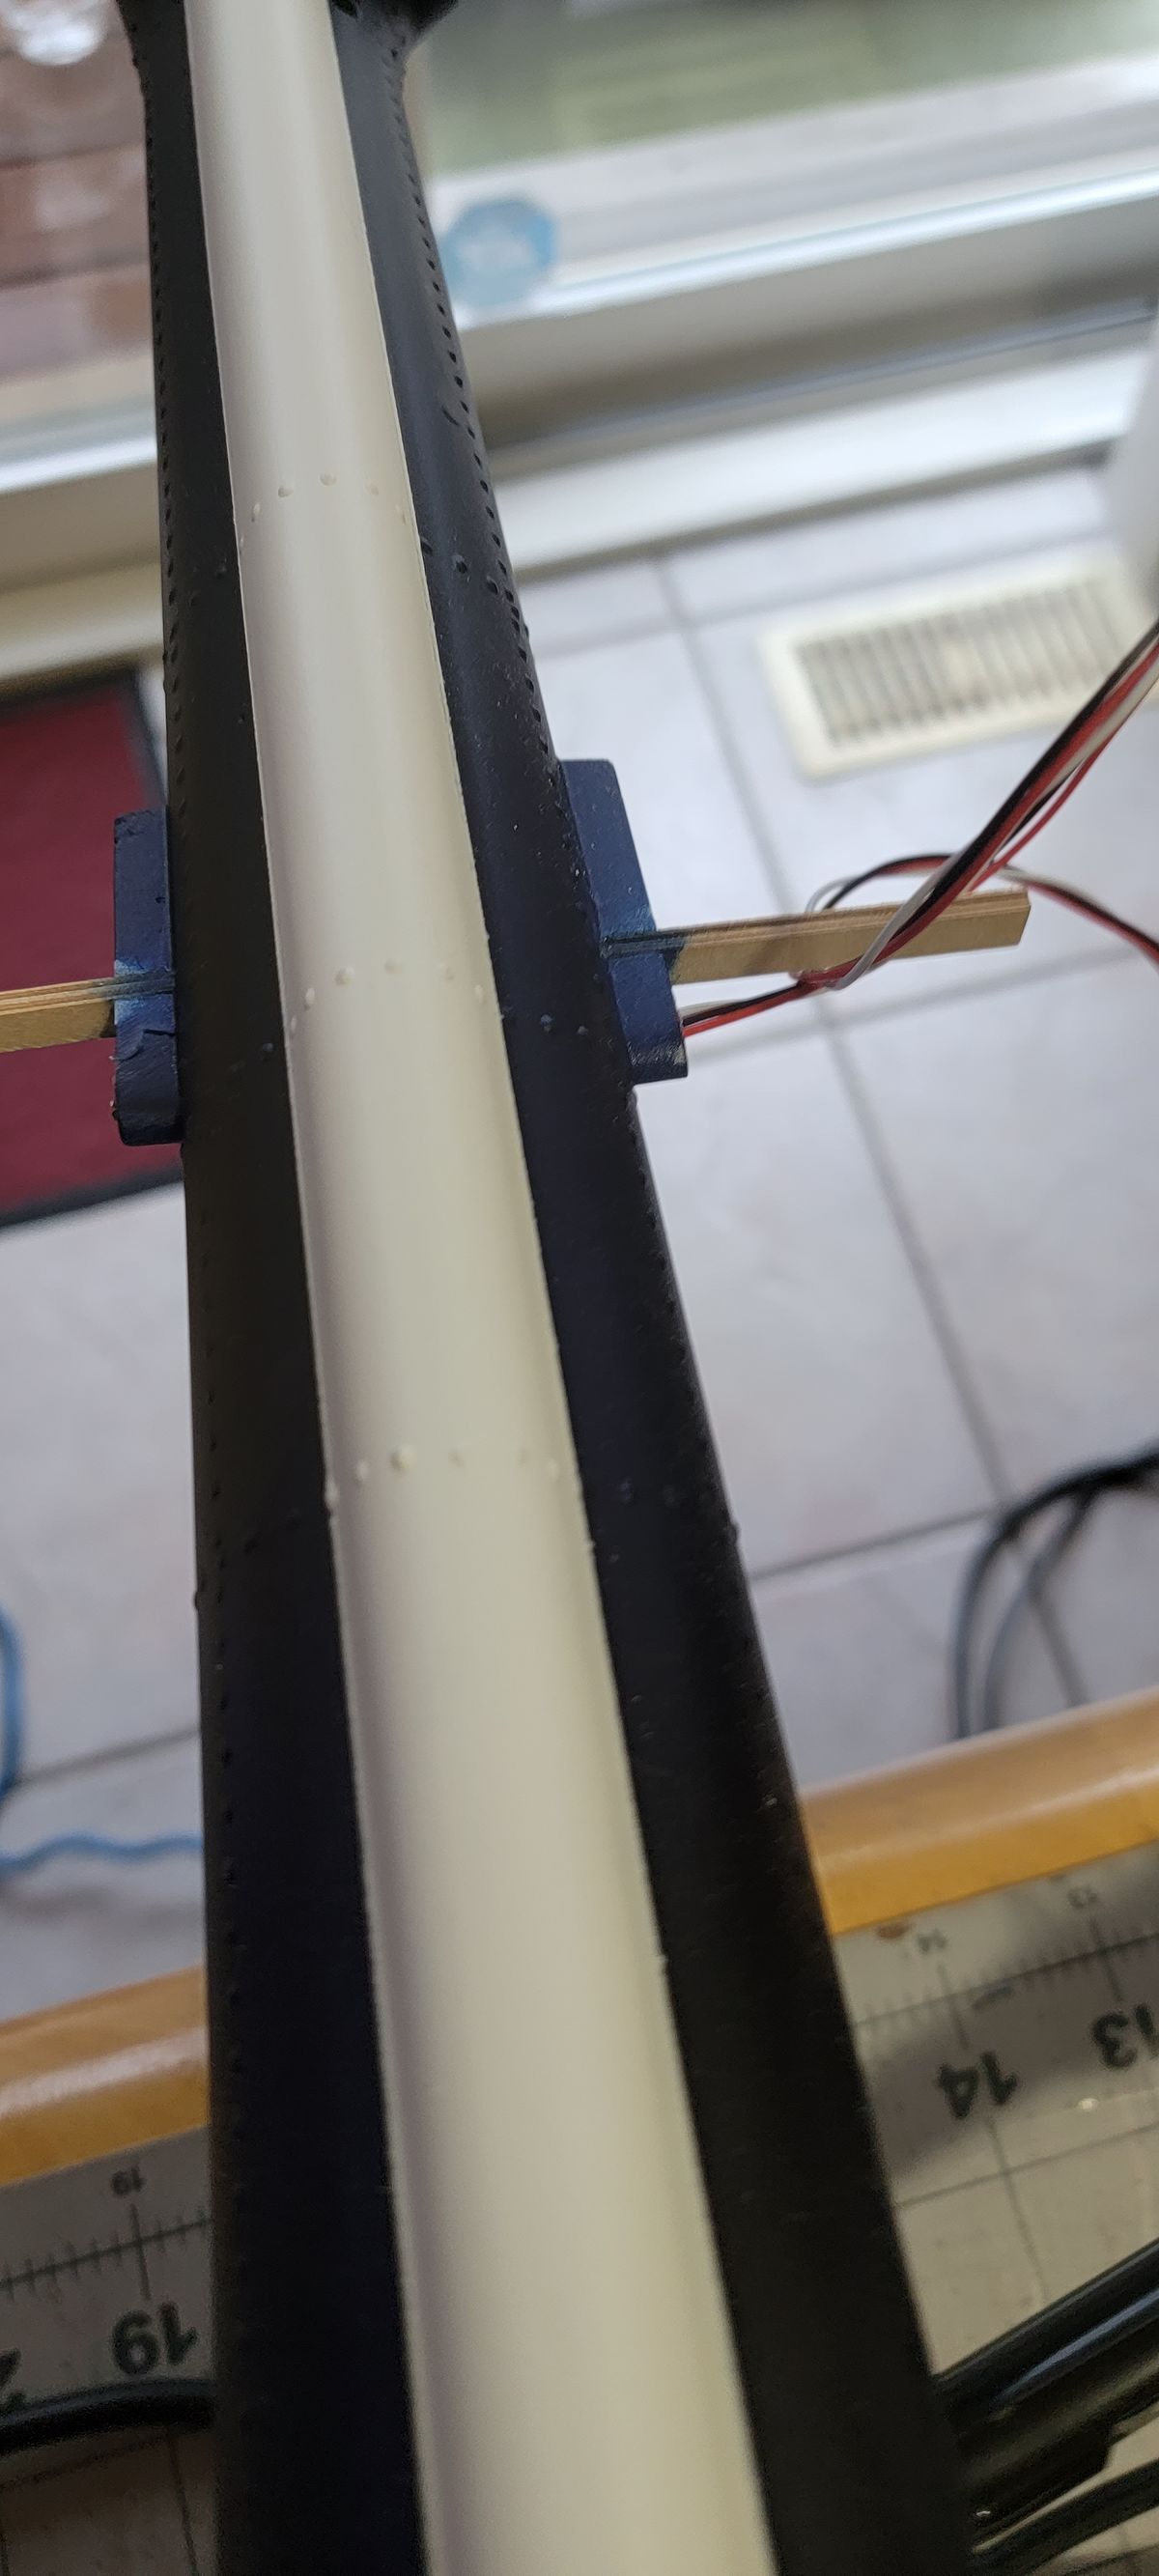
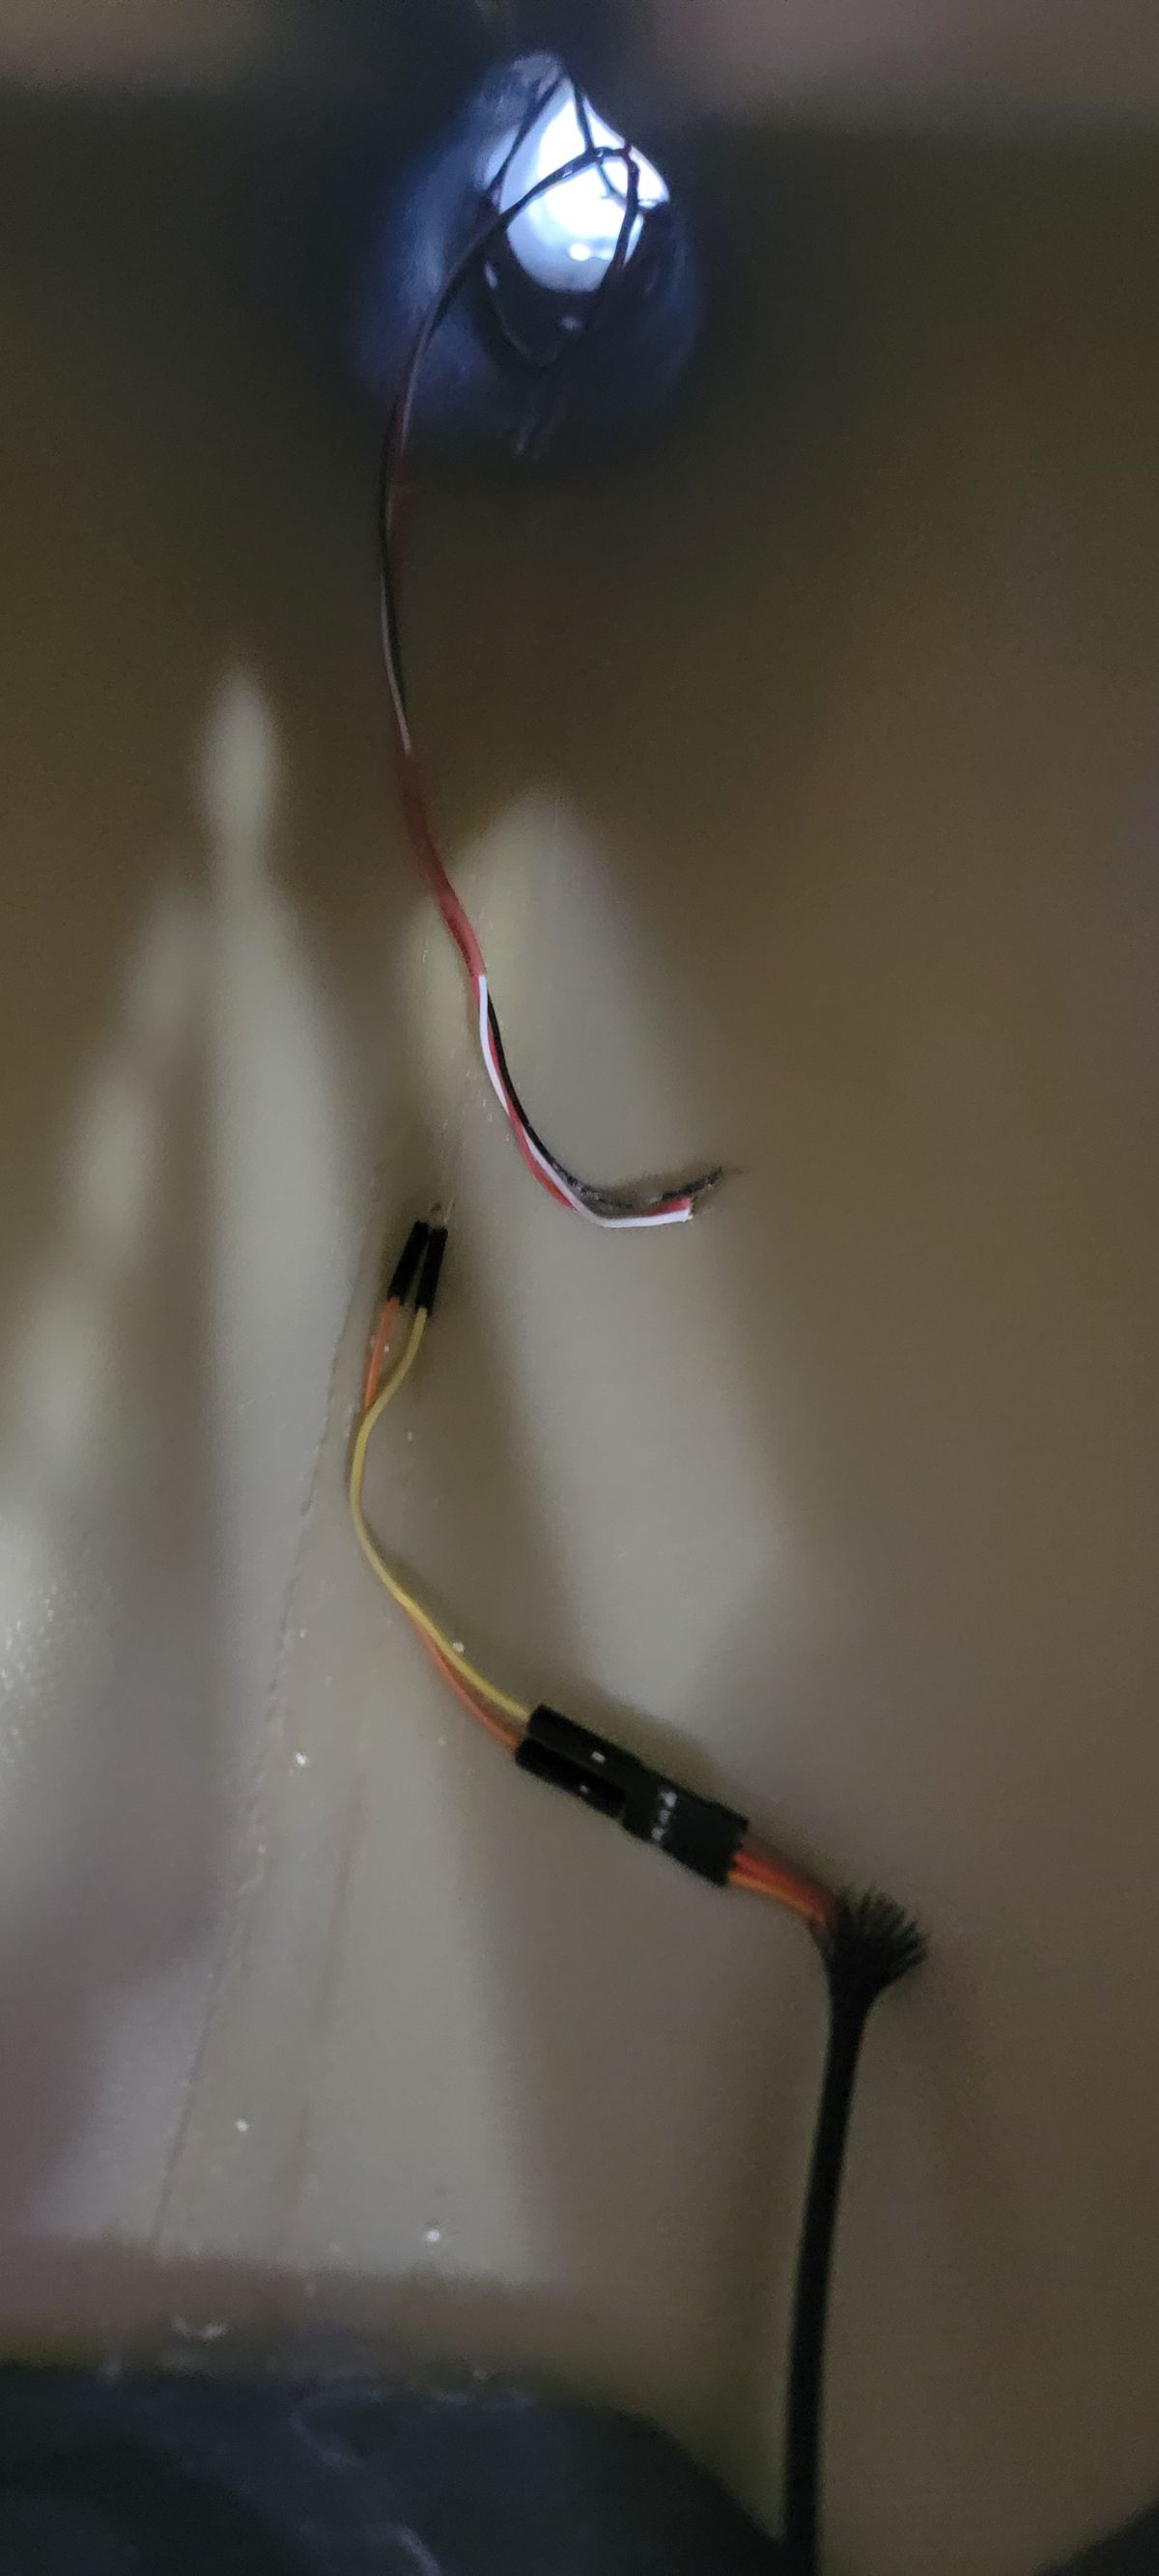
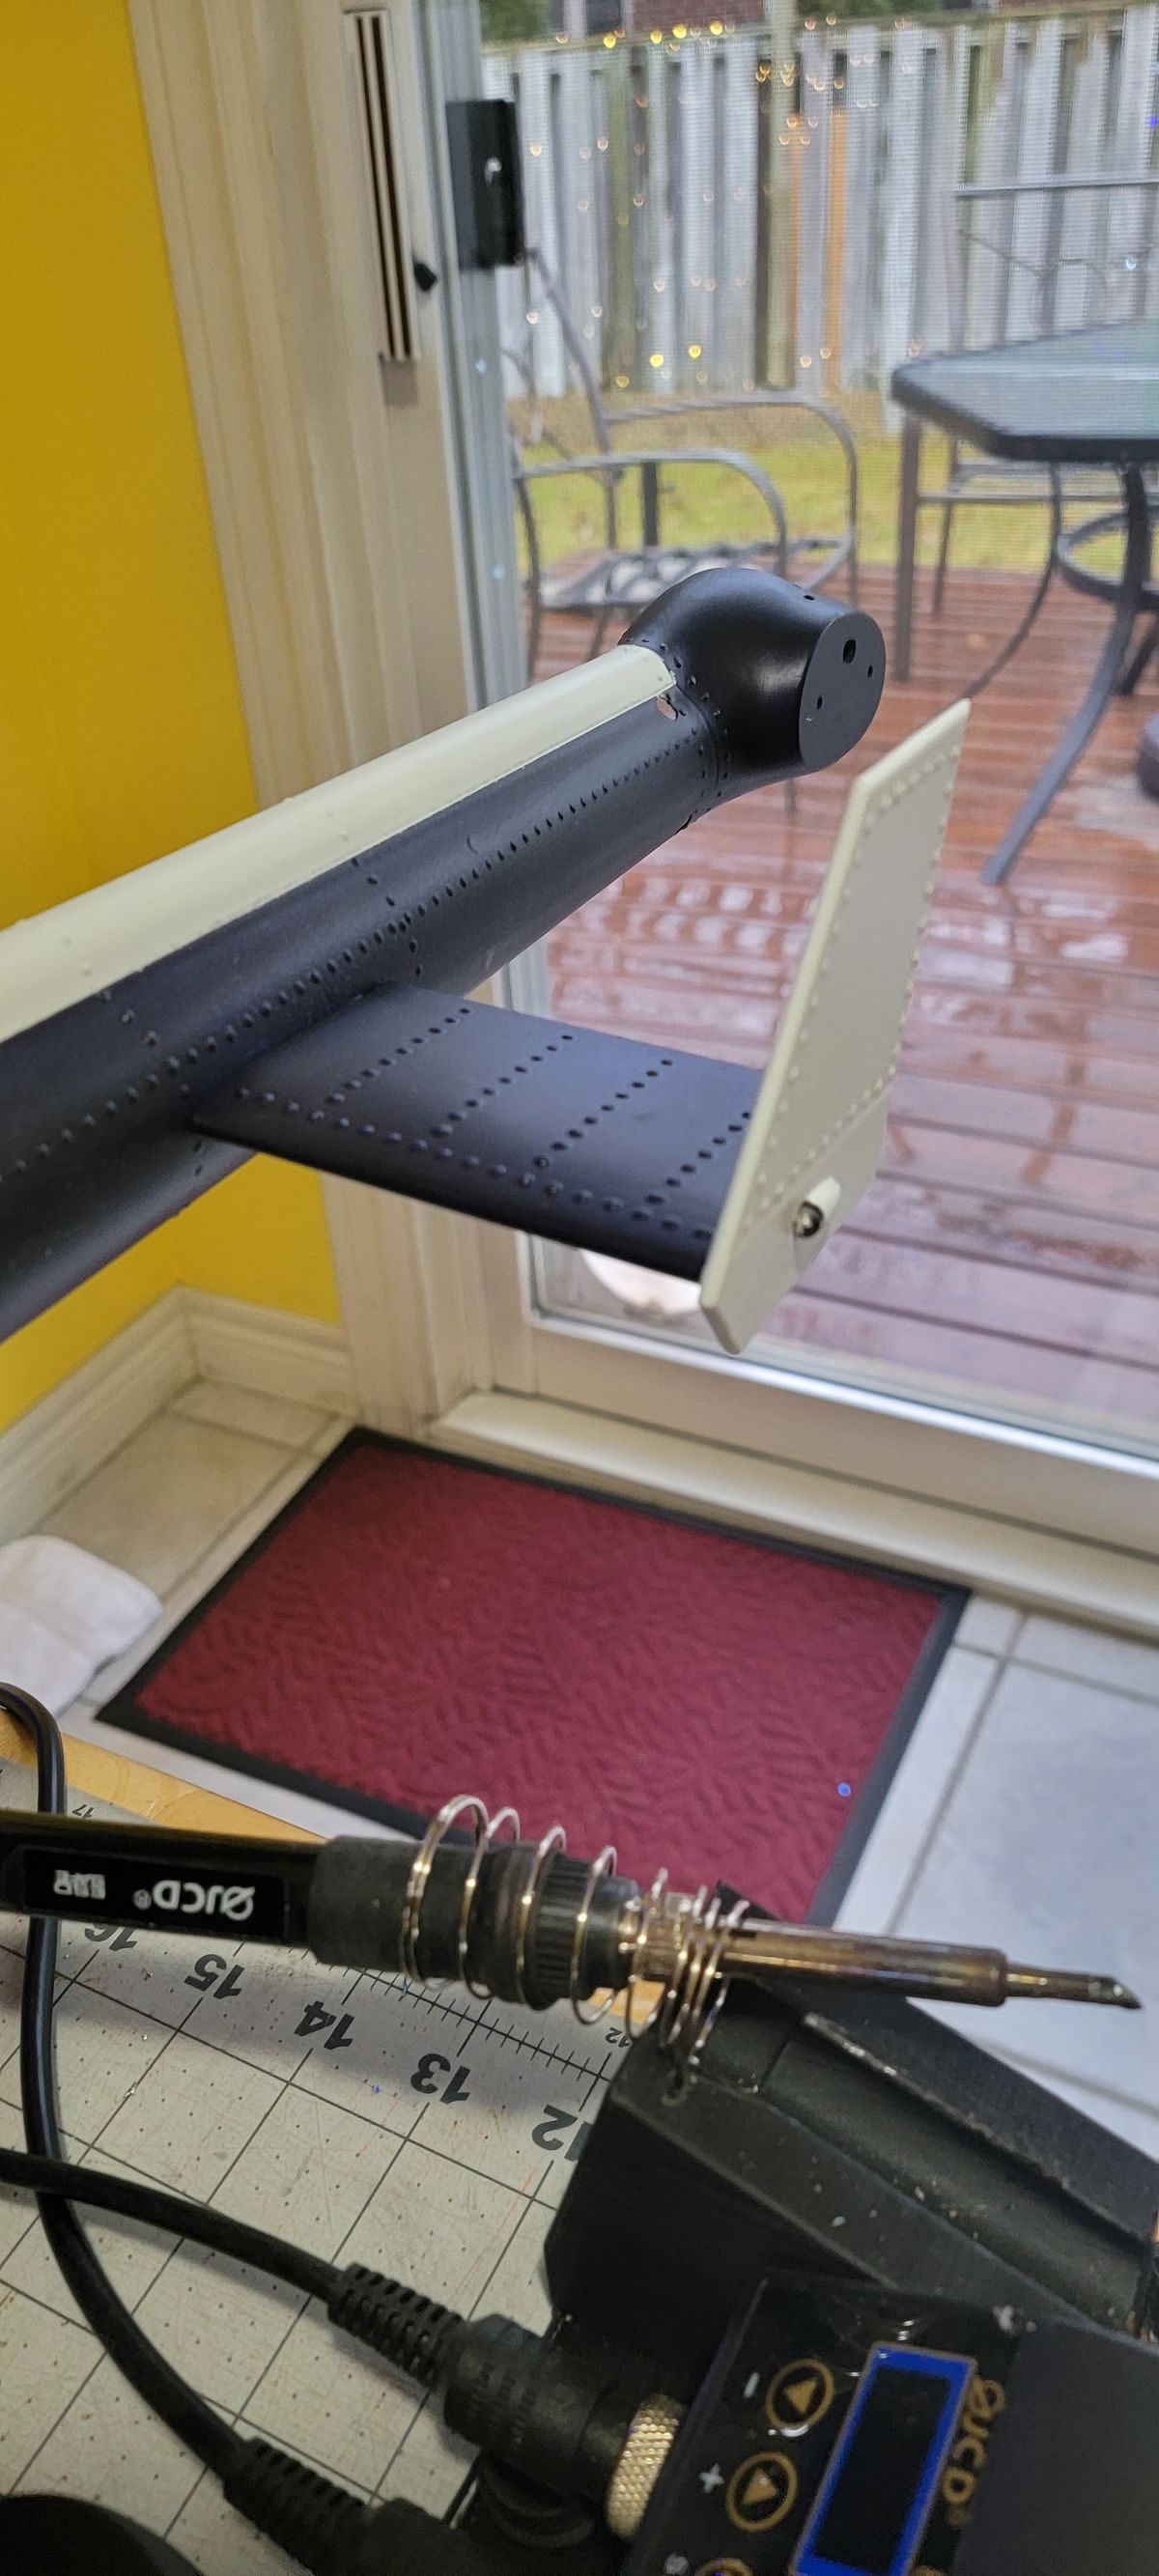
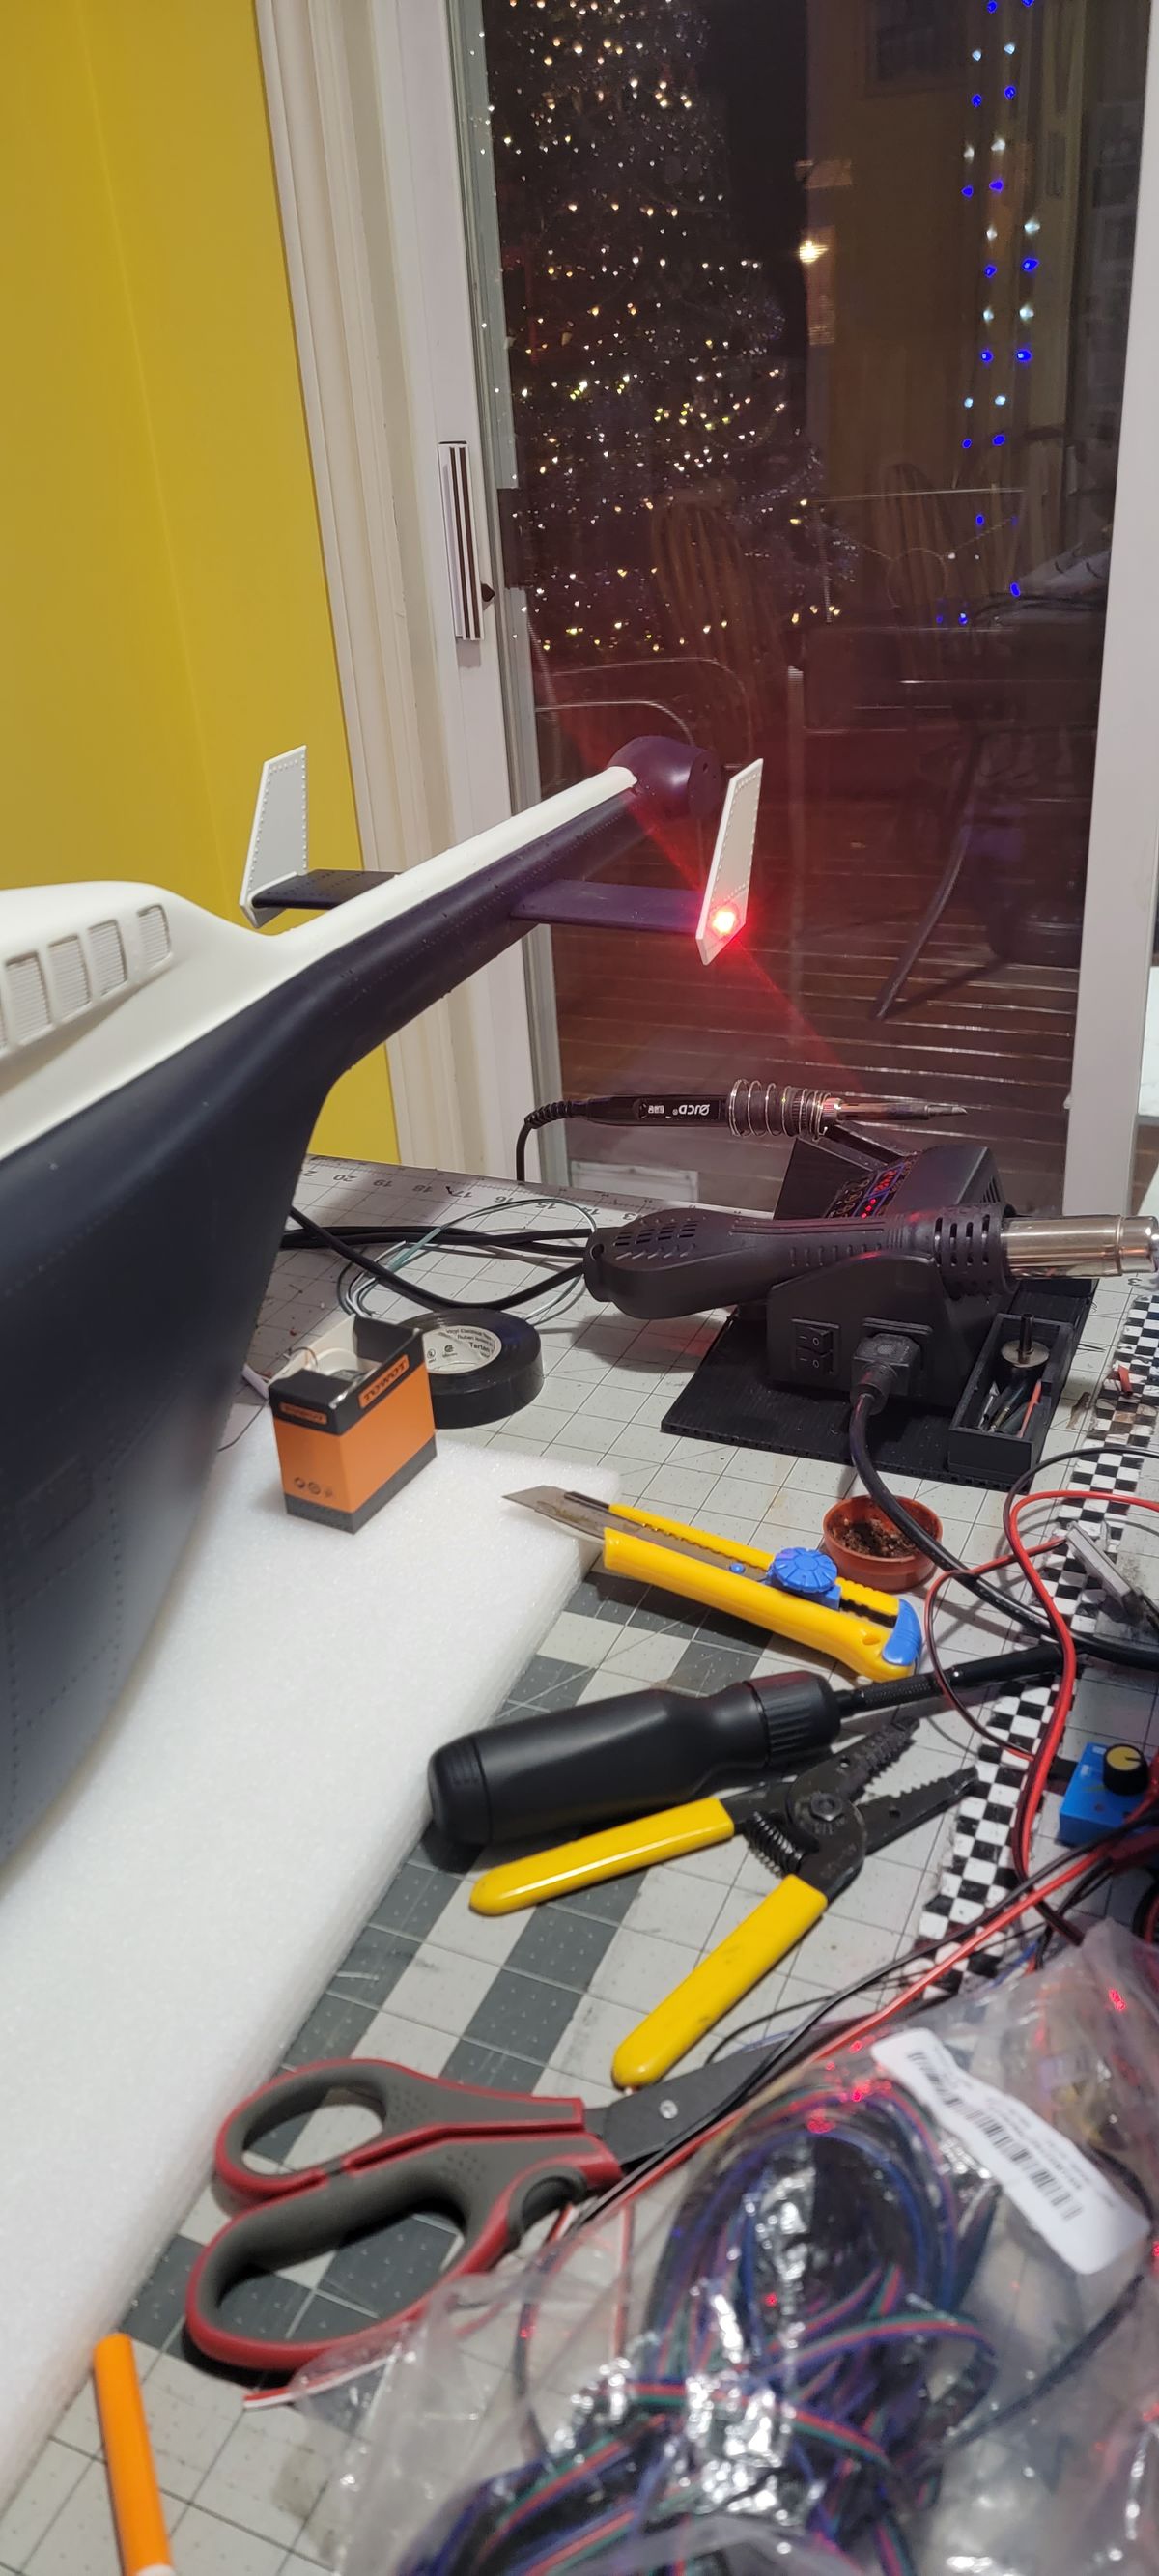
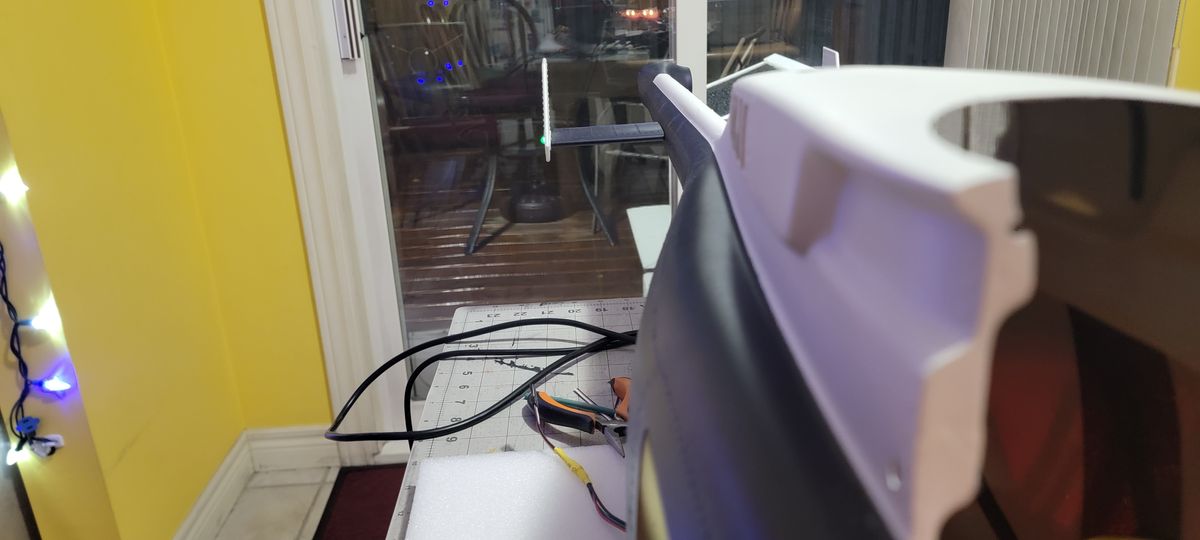
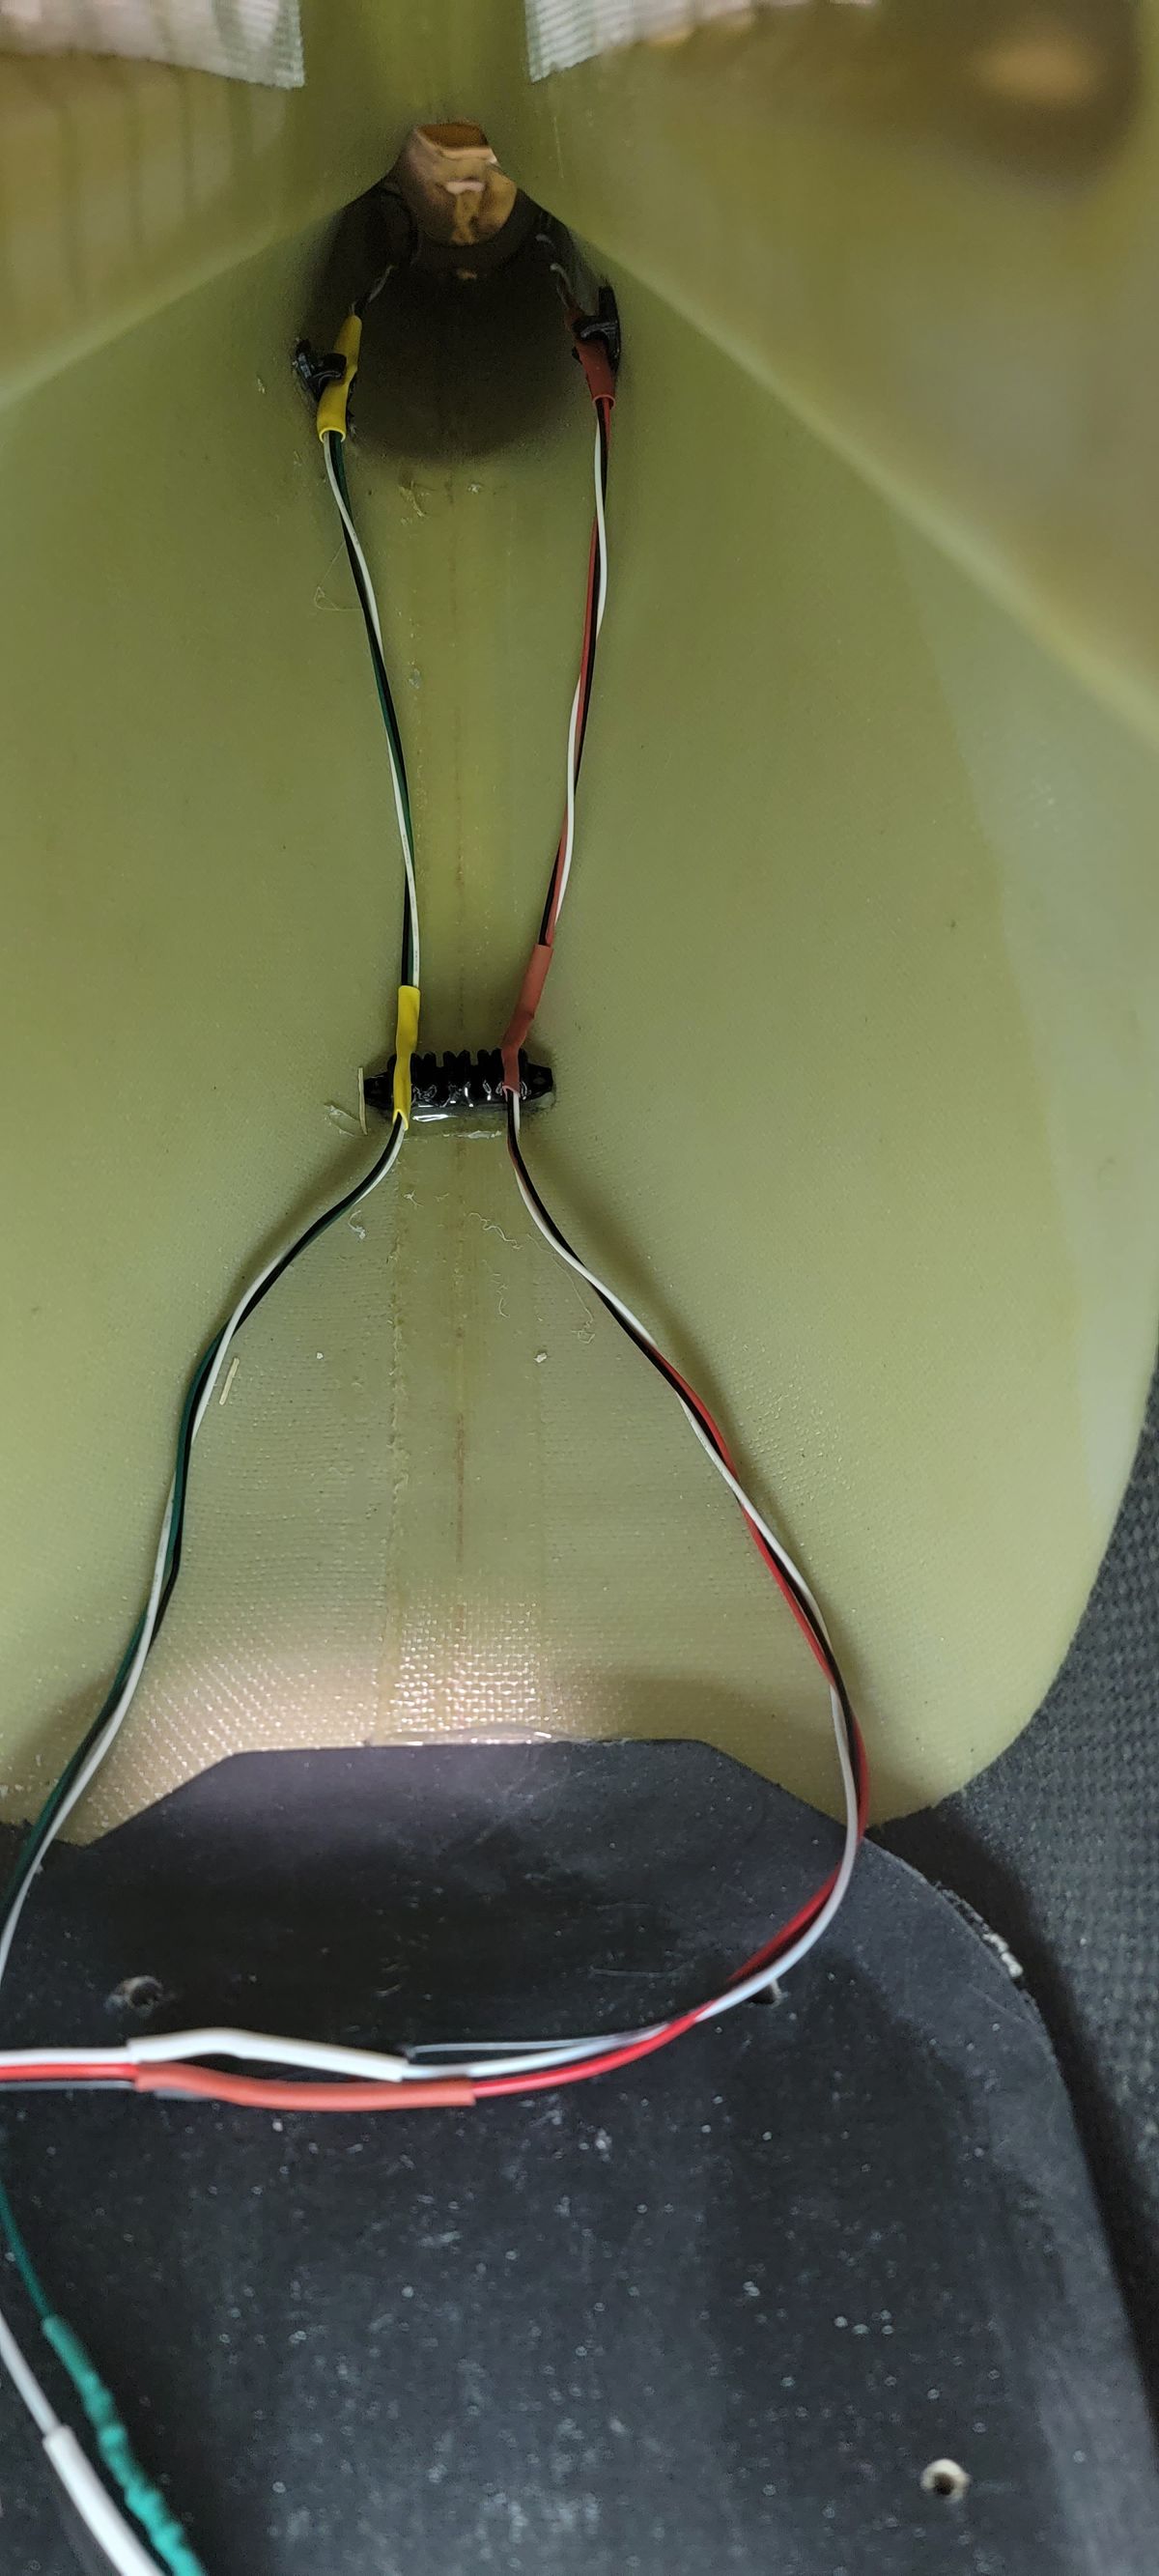
Lights, Wires and Final assembly
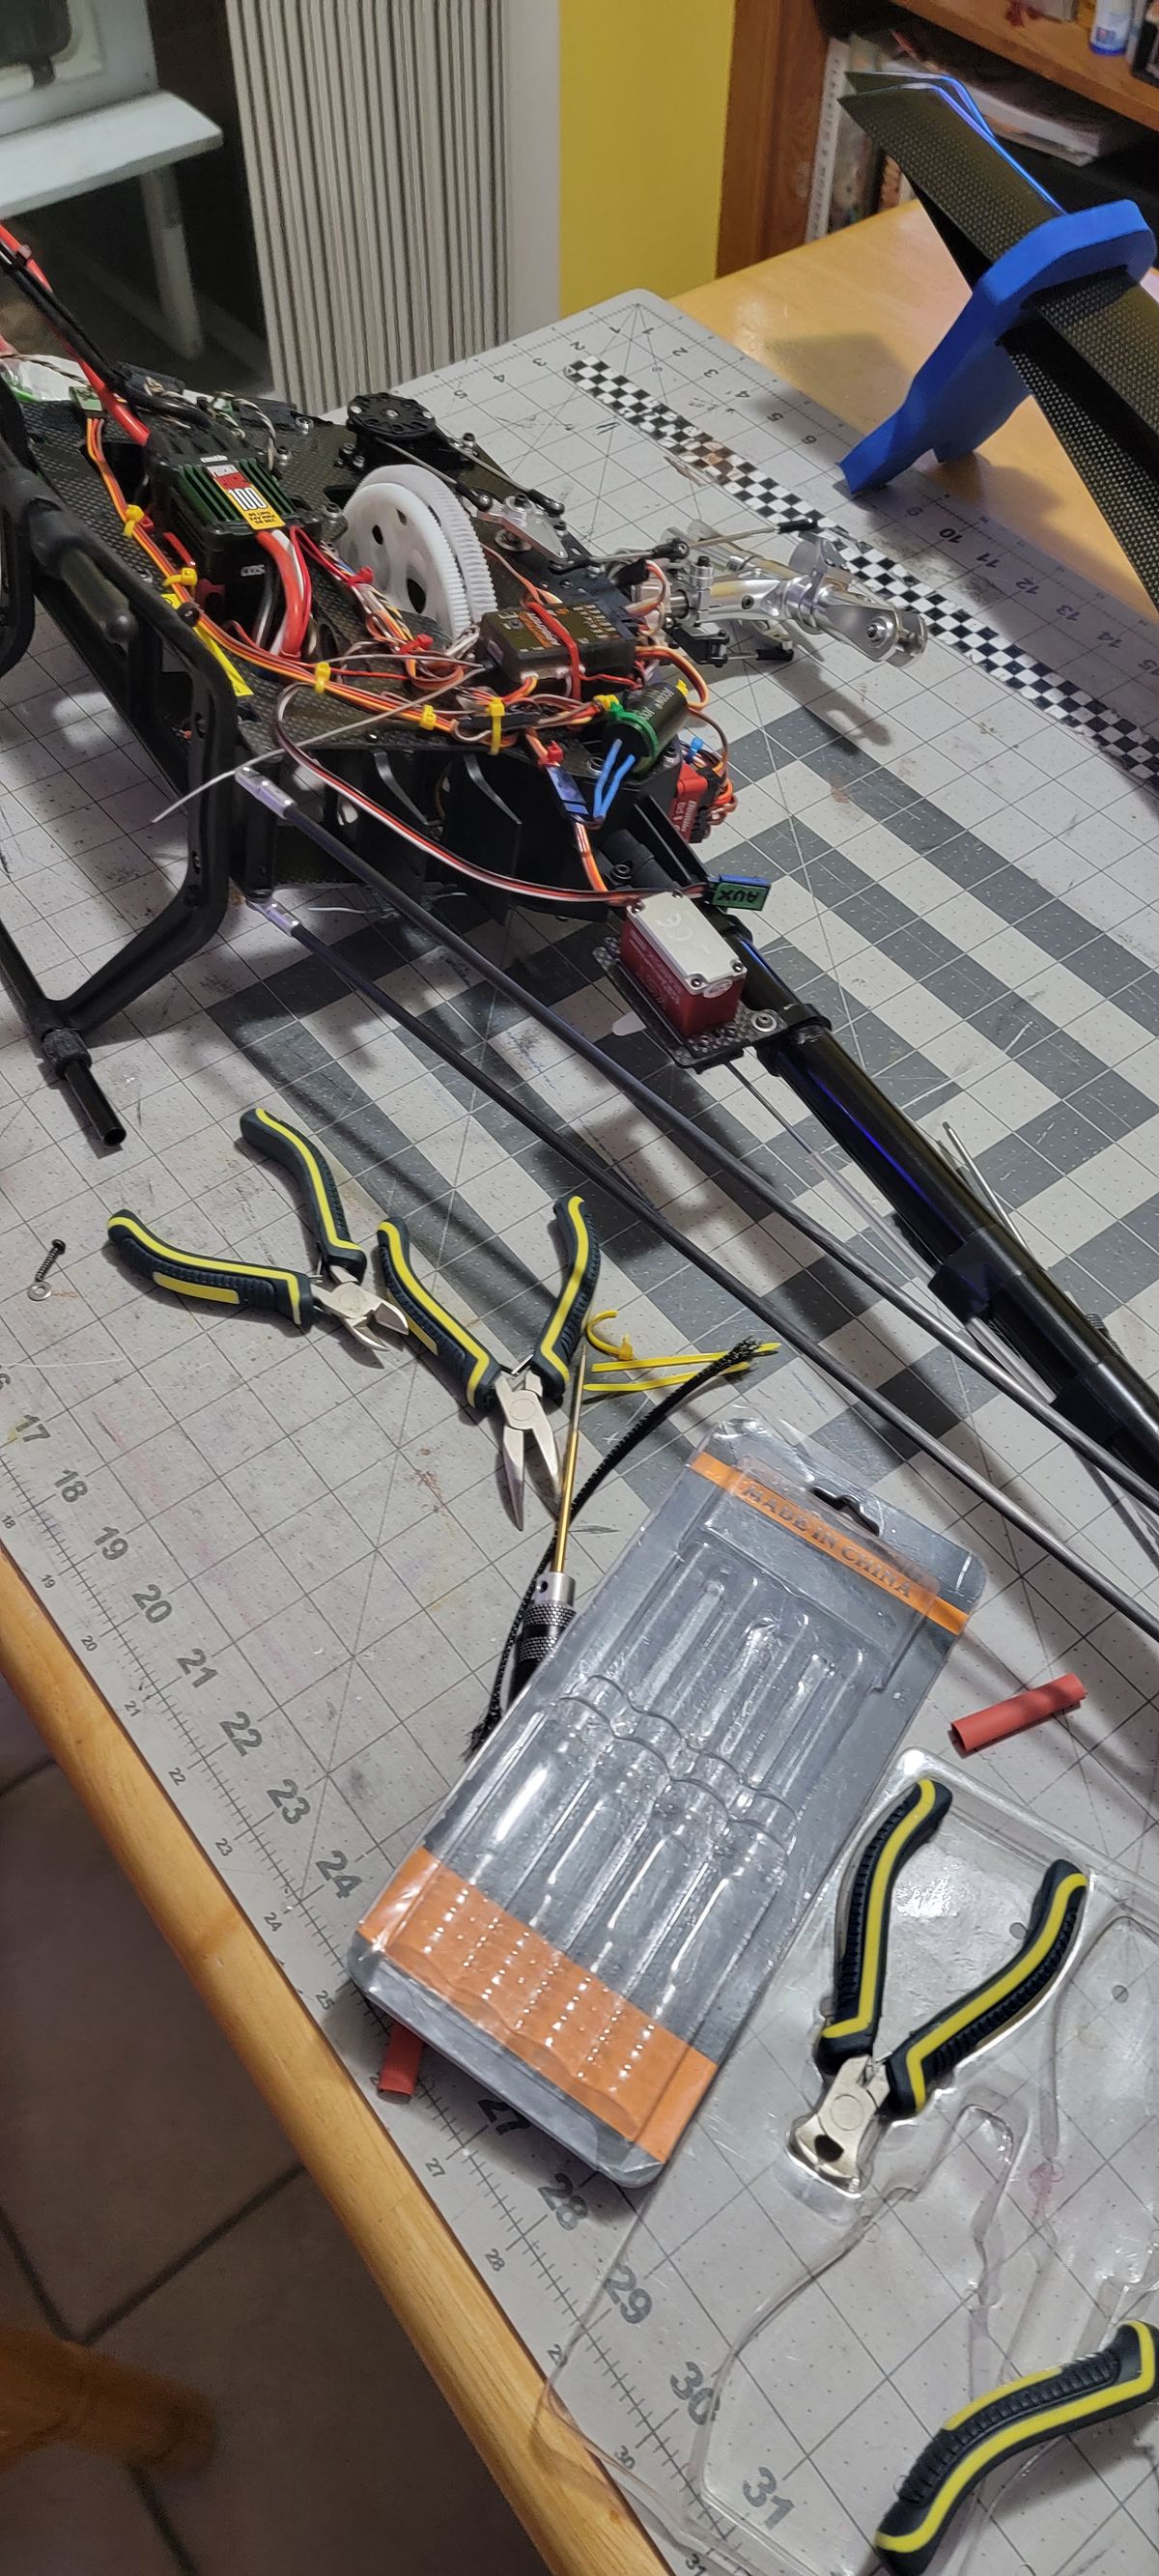
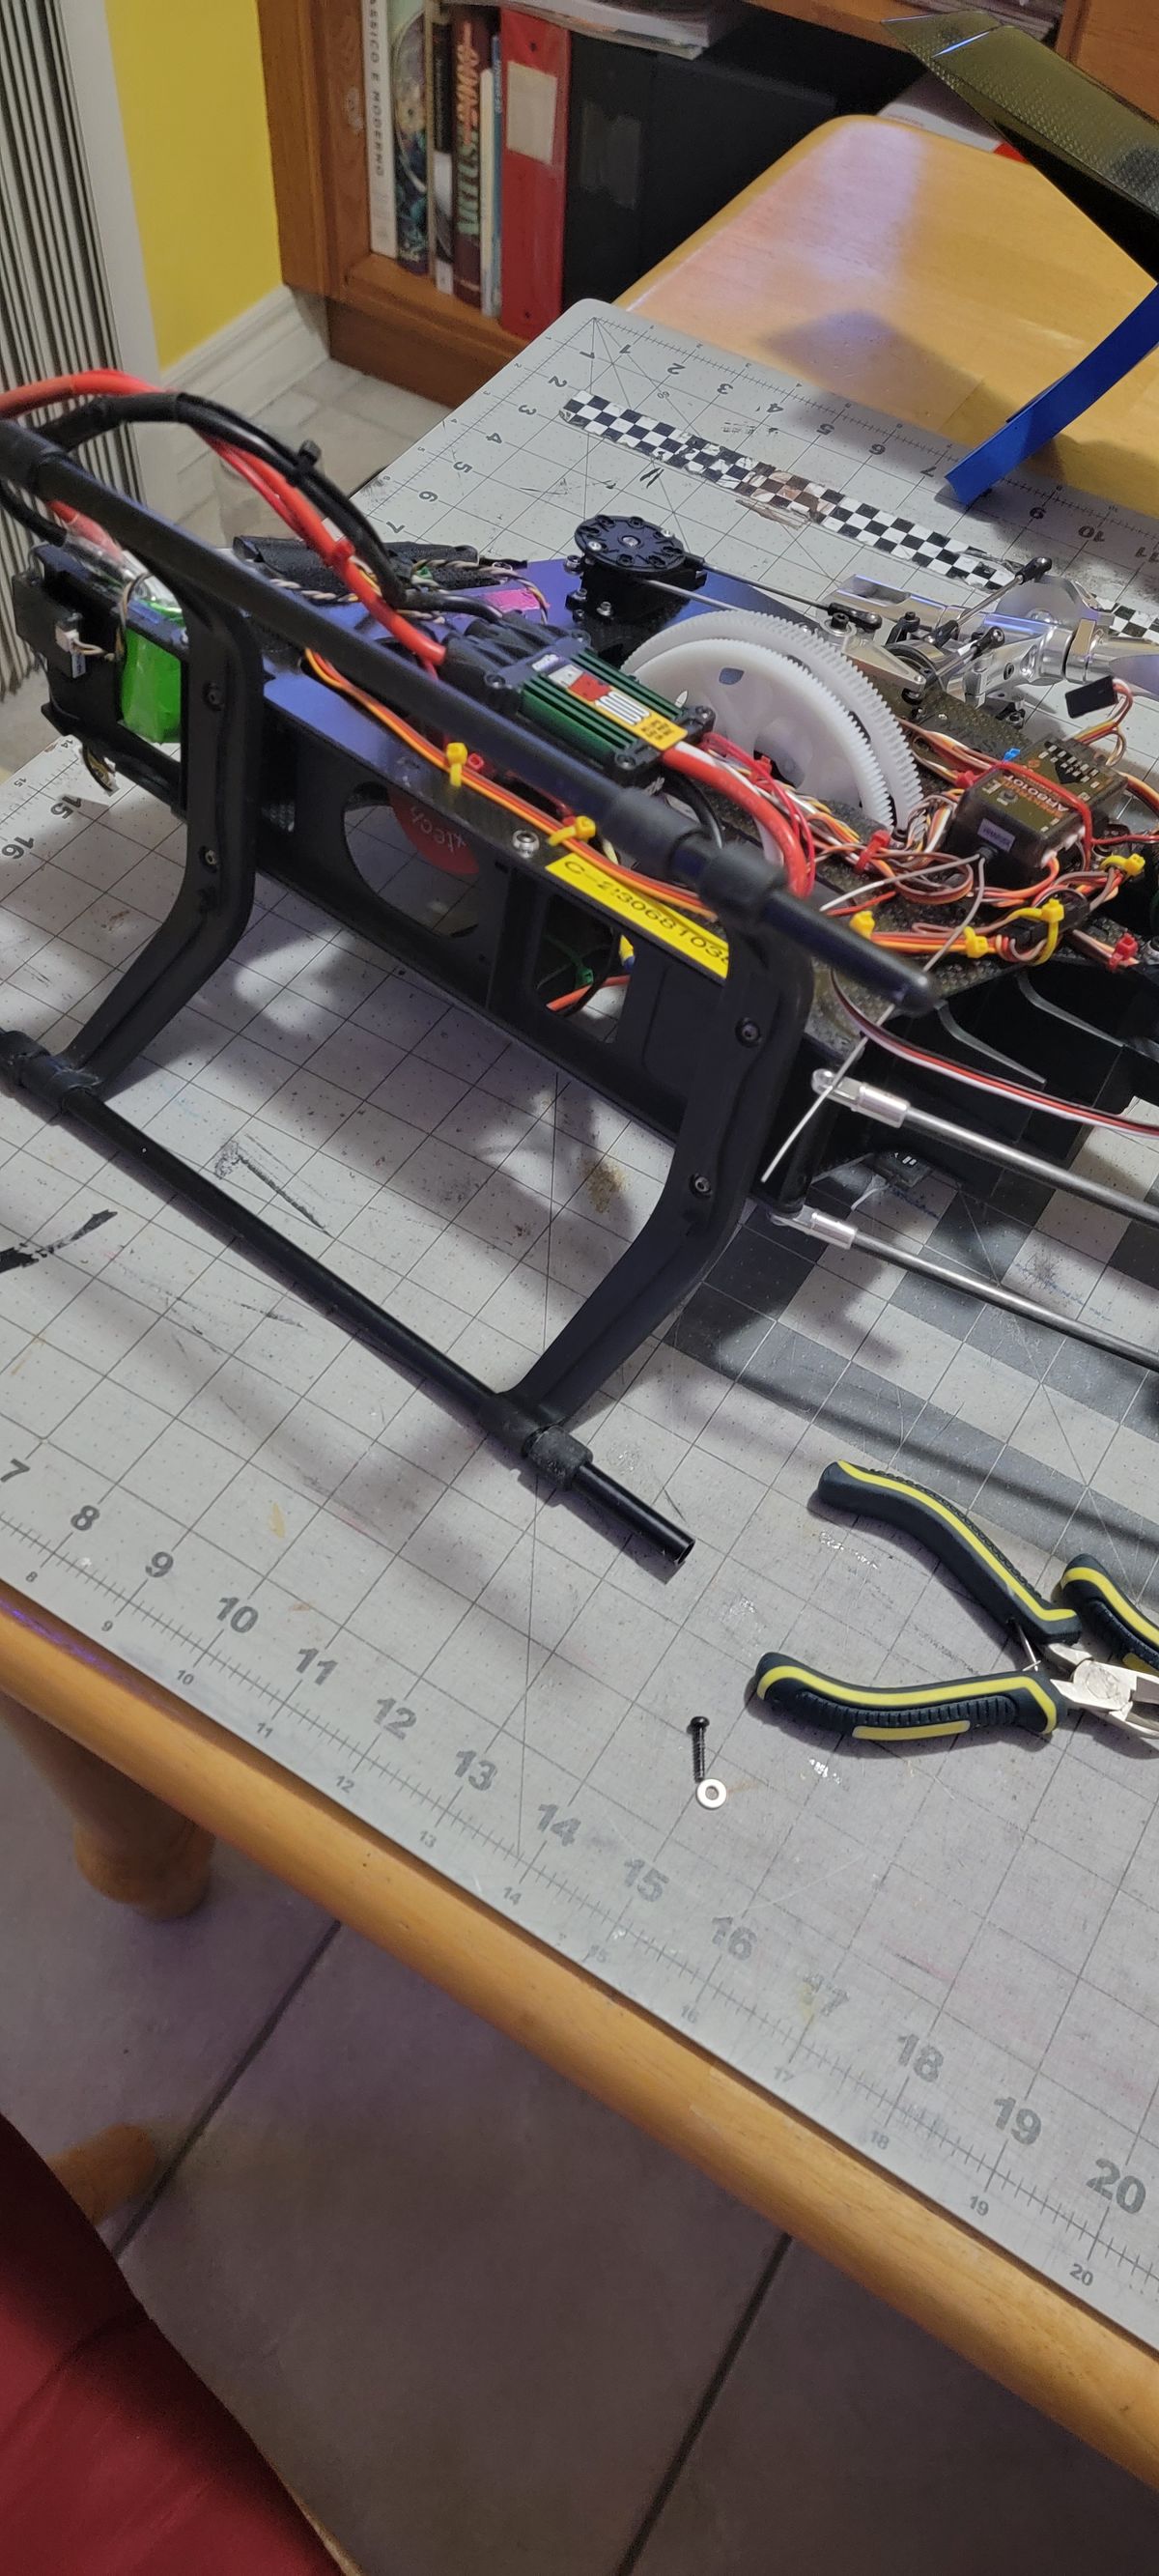
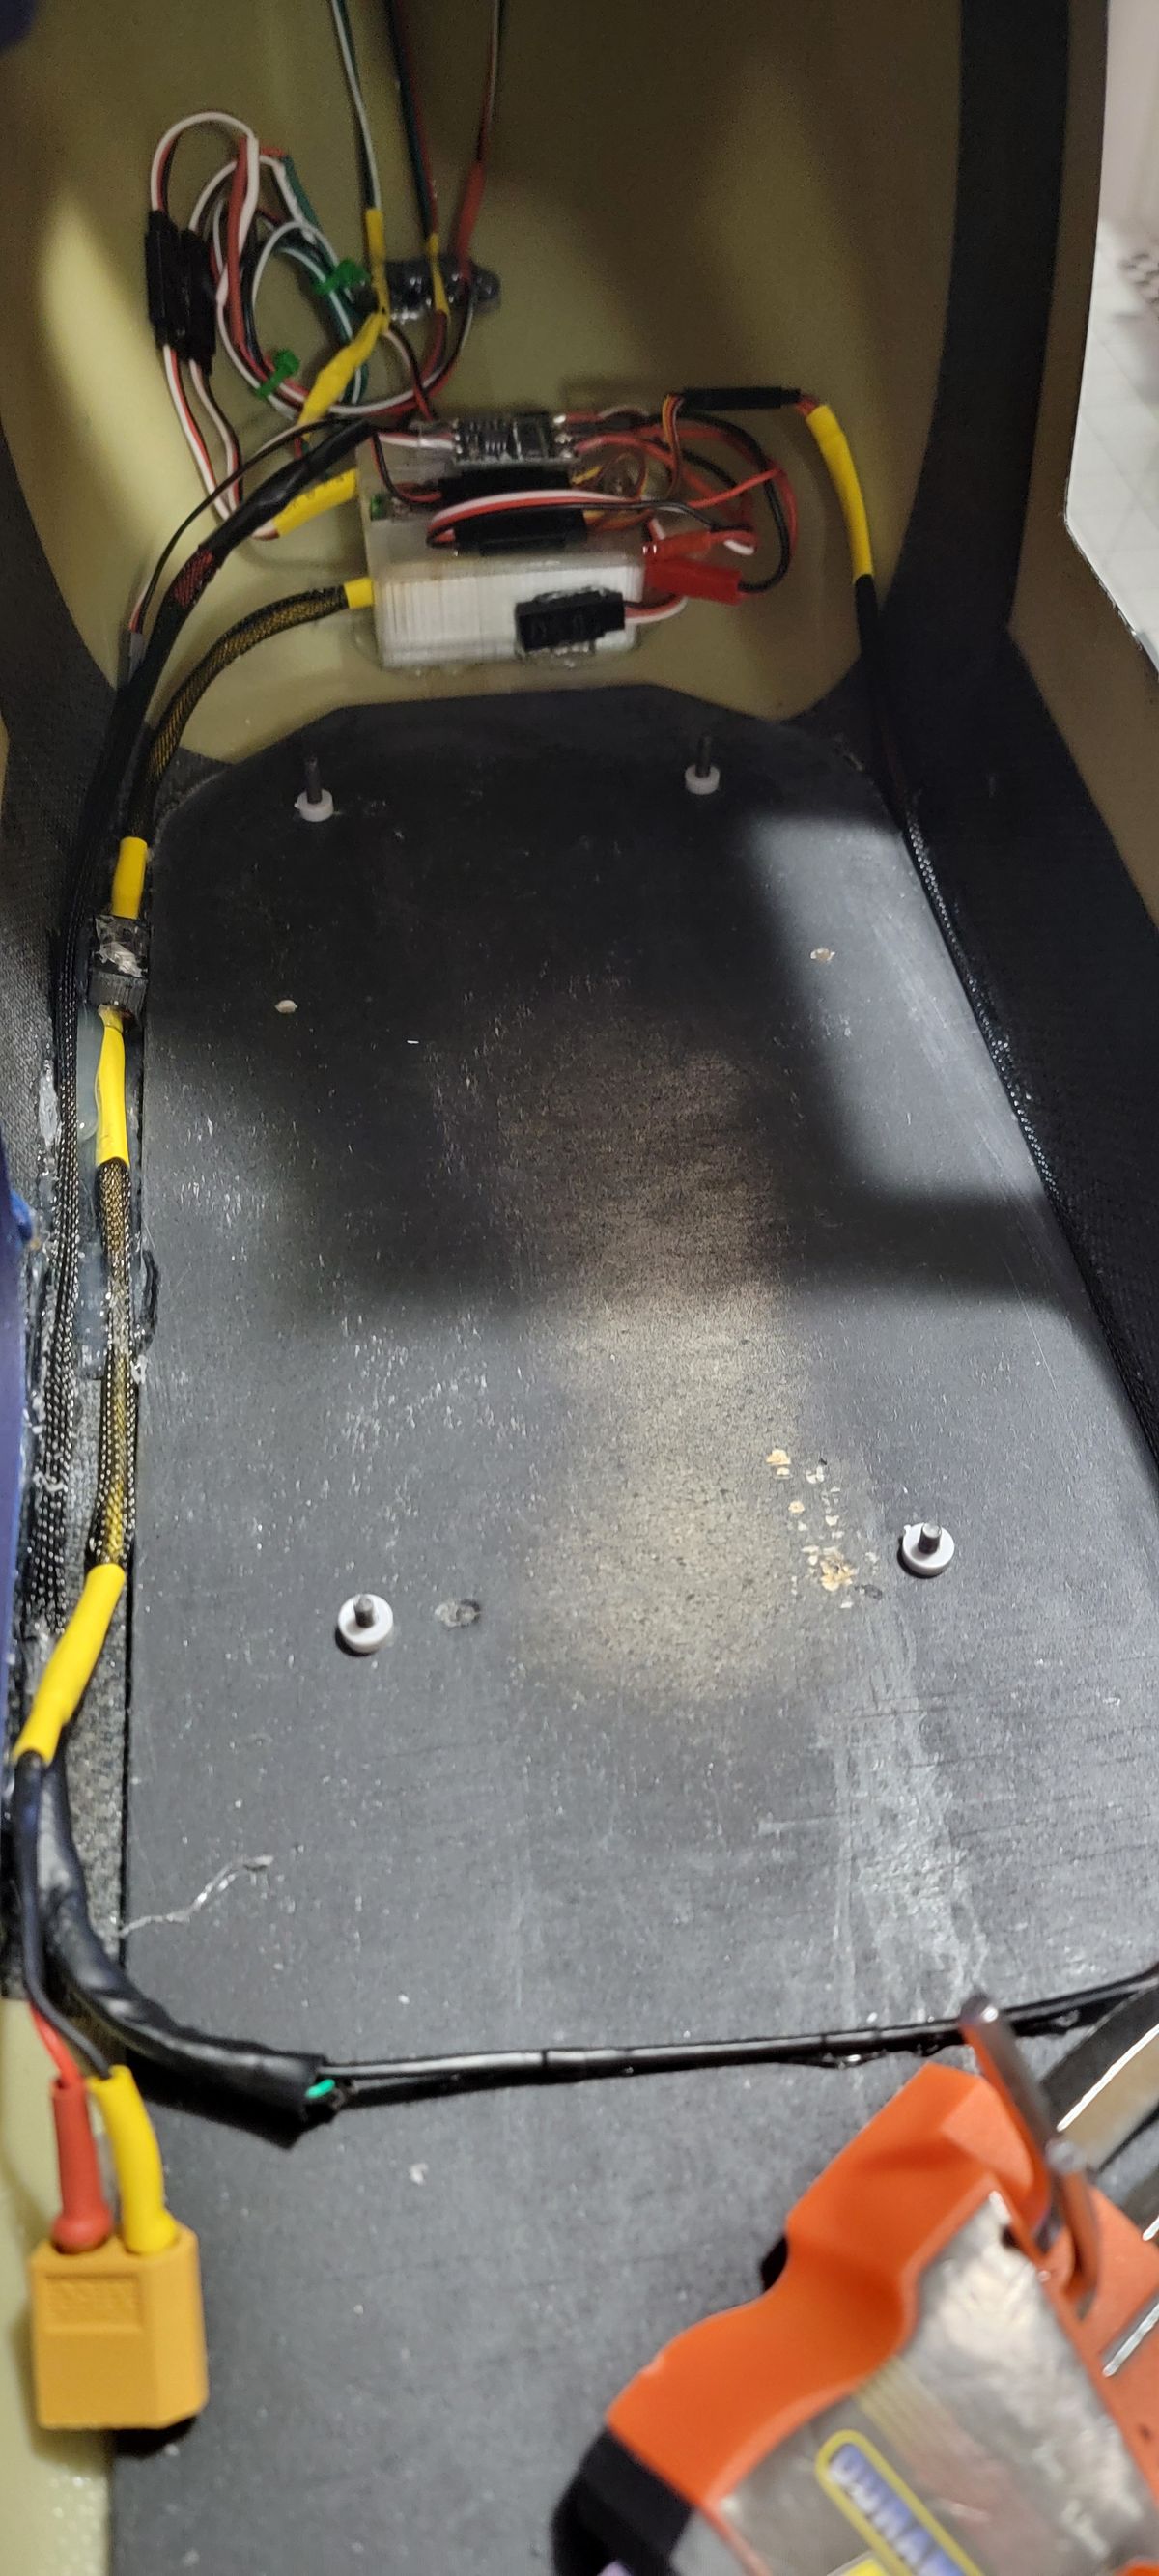
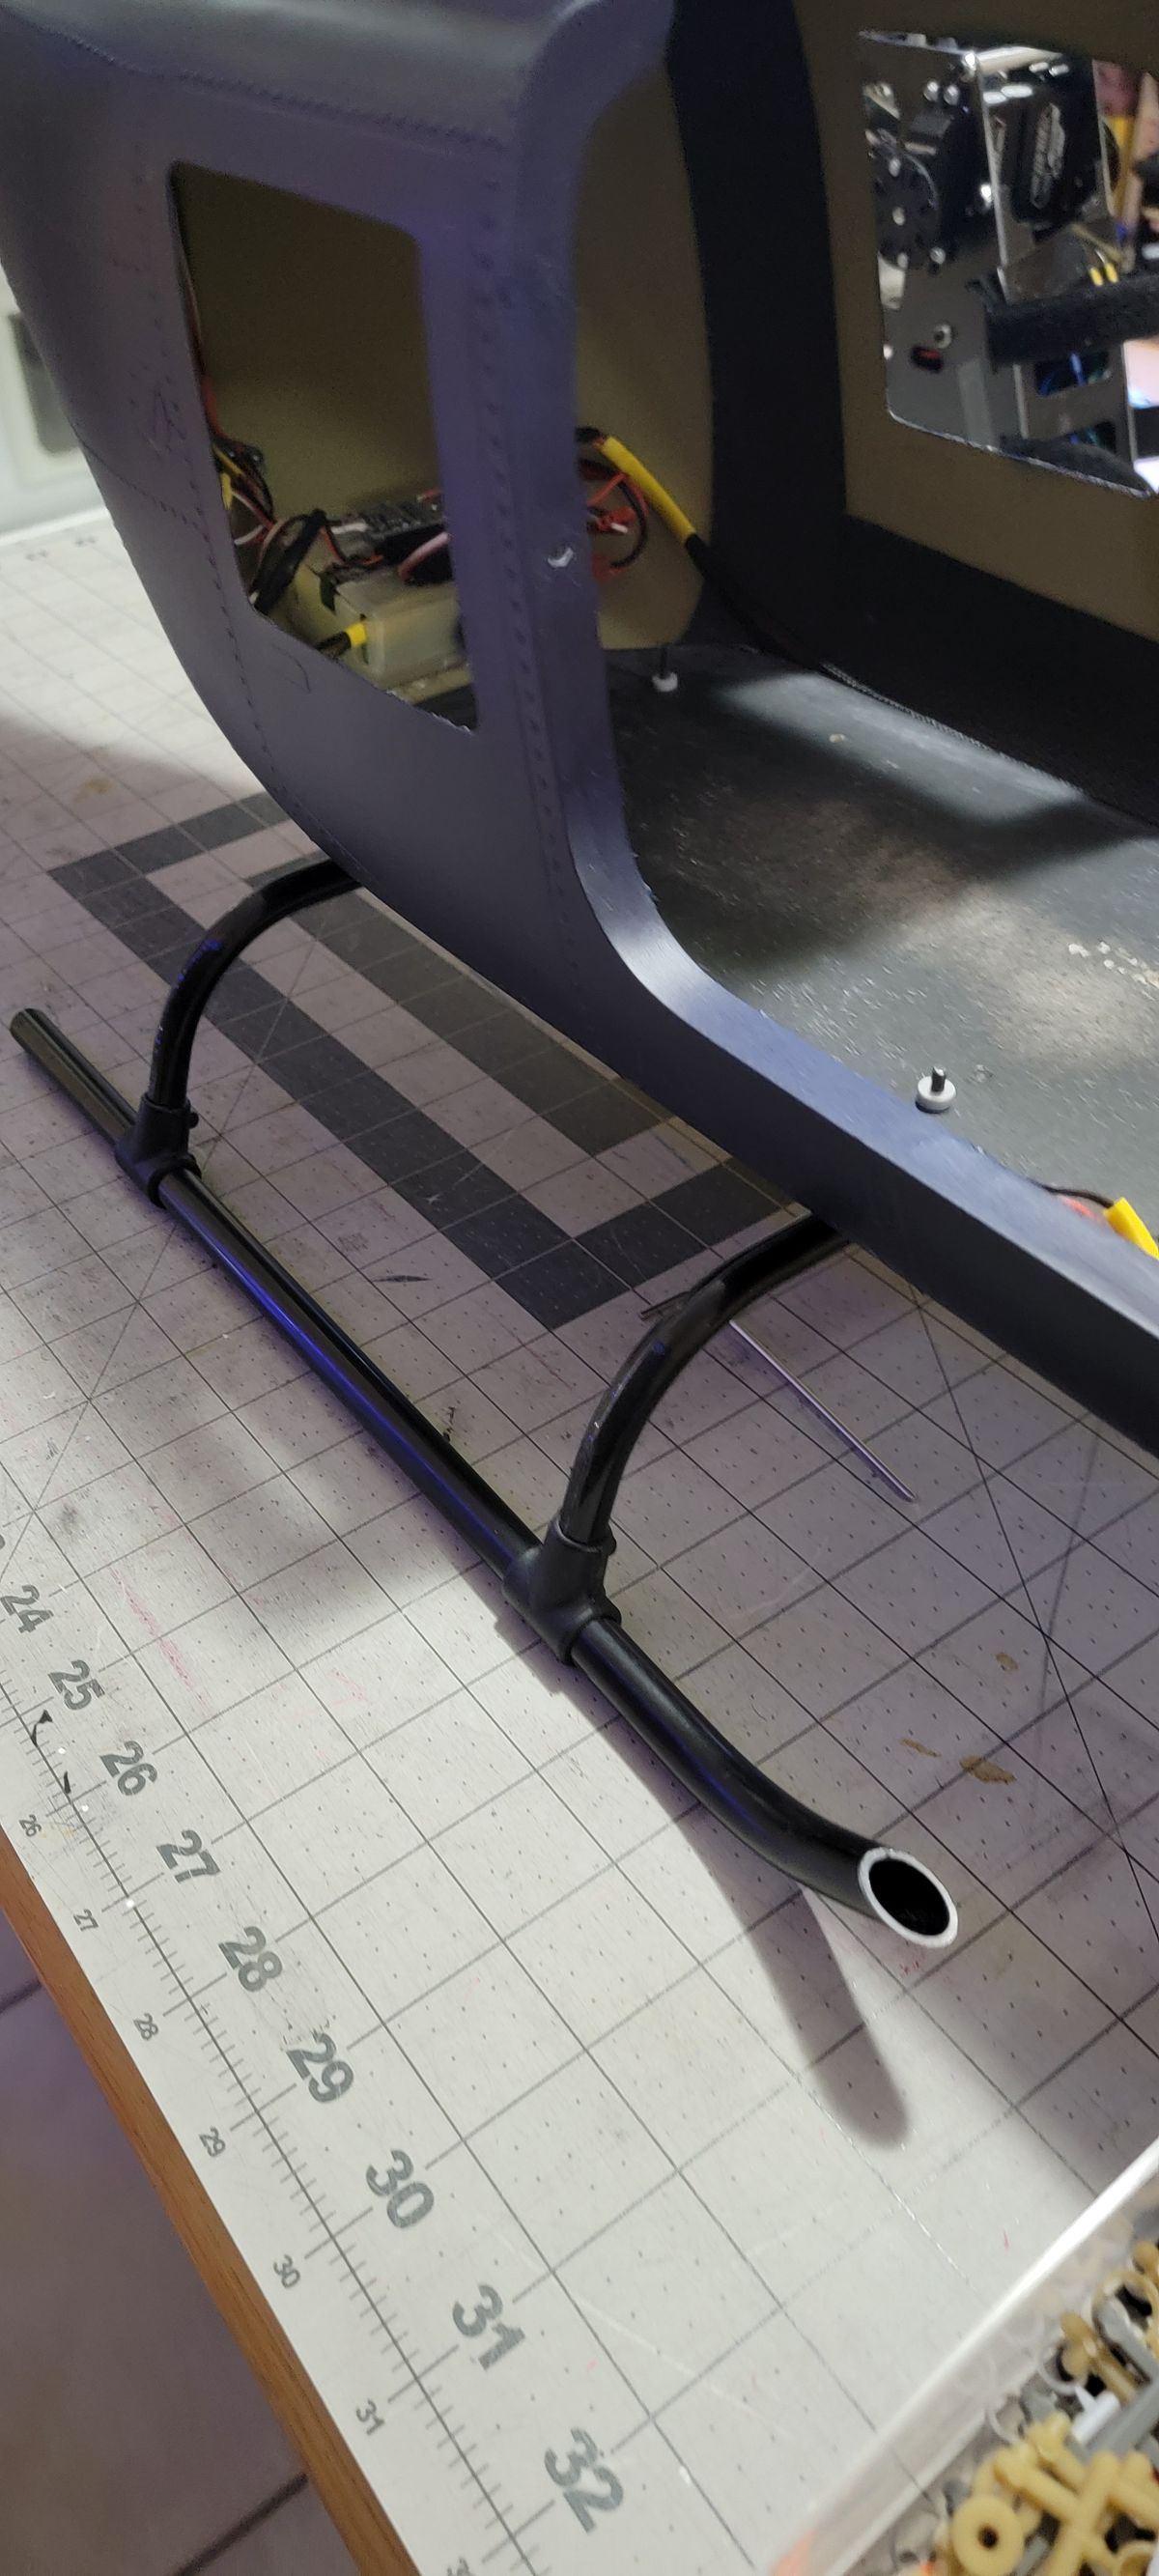
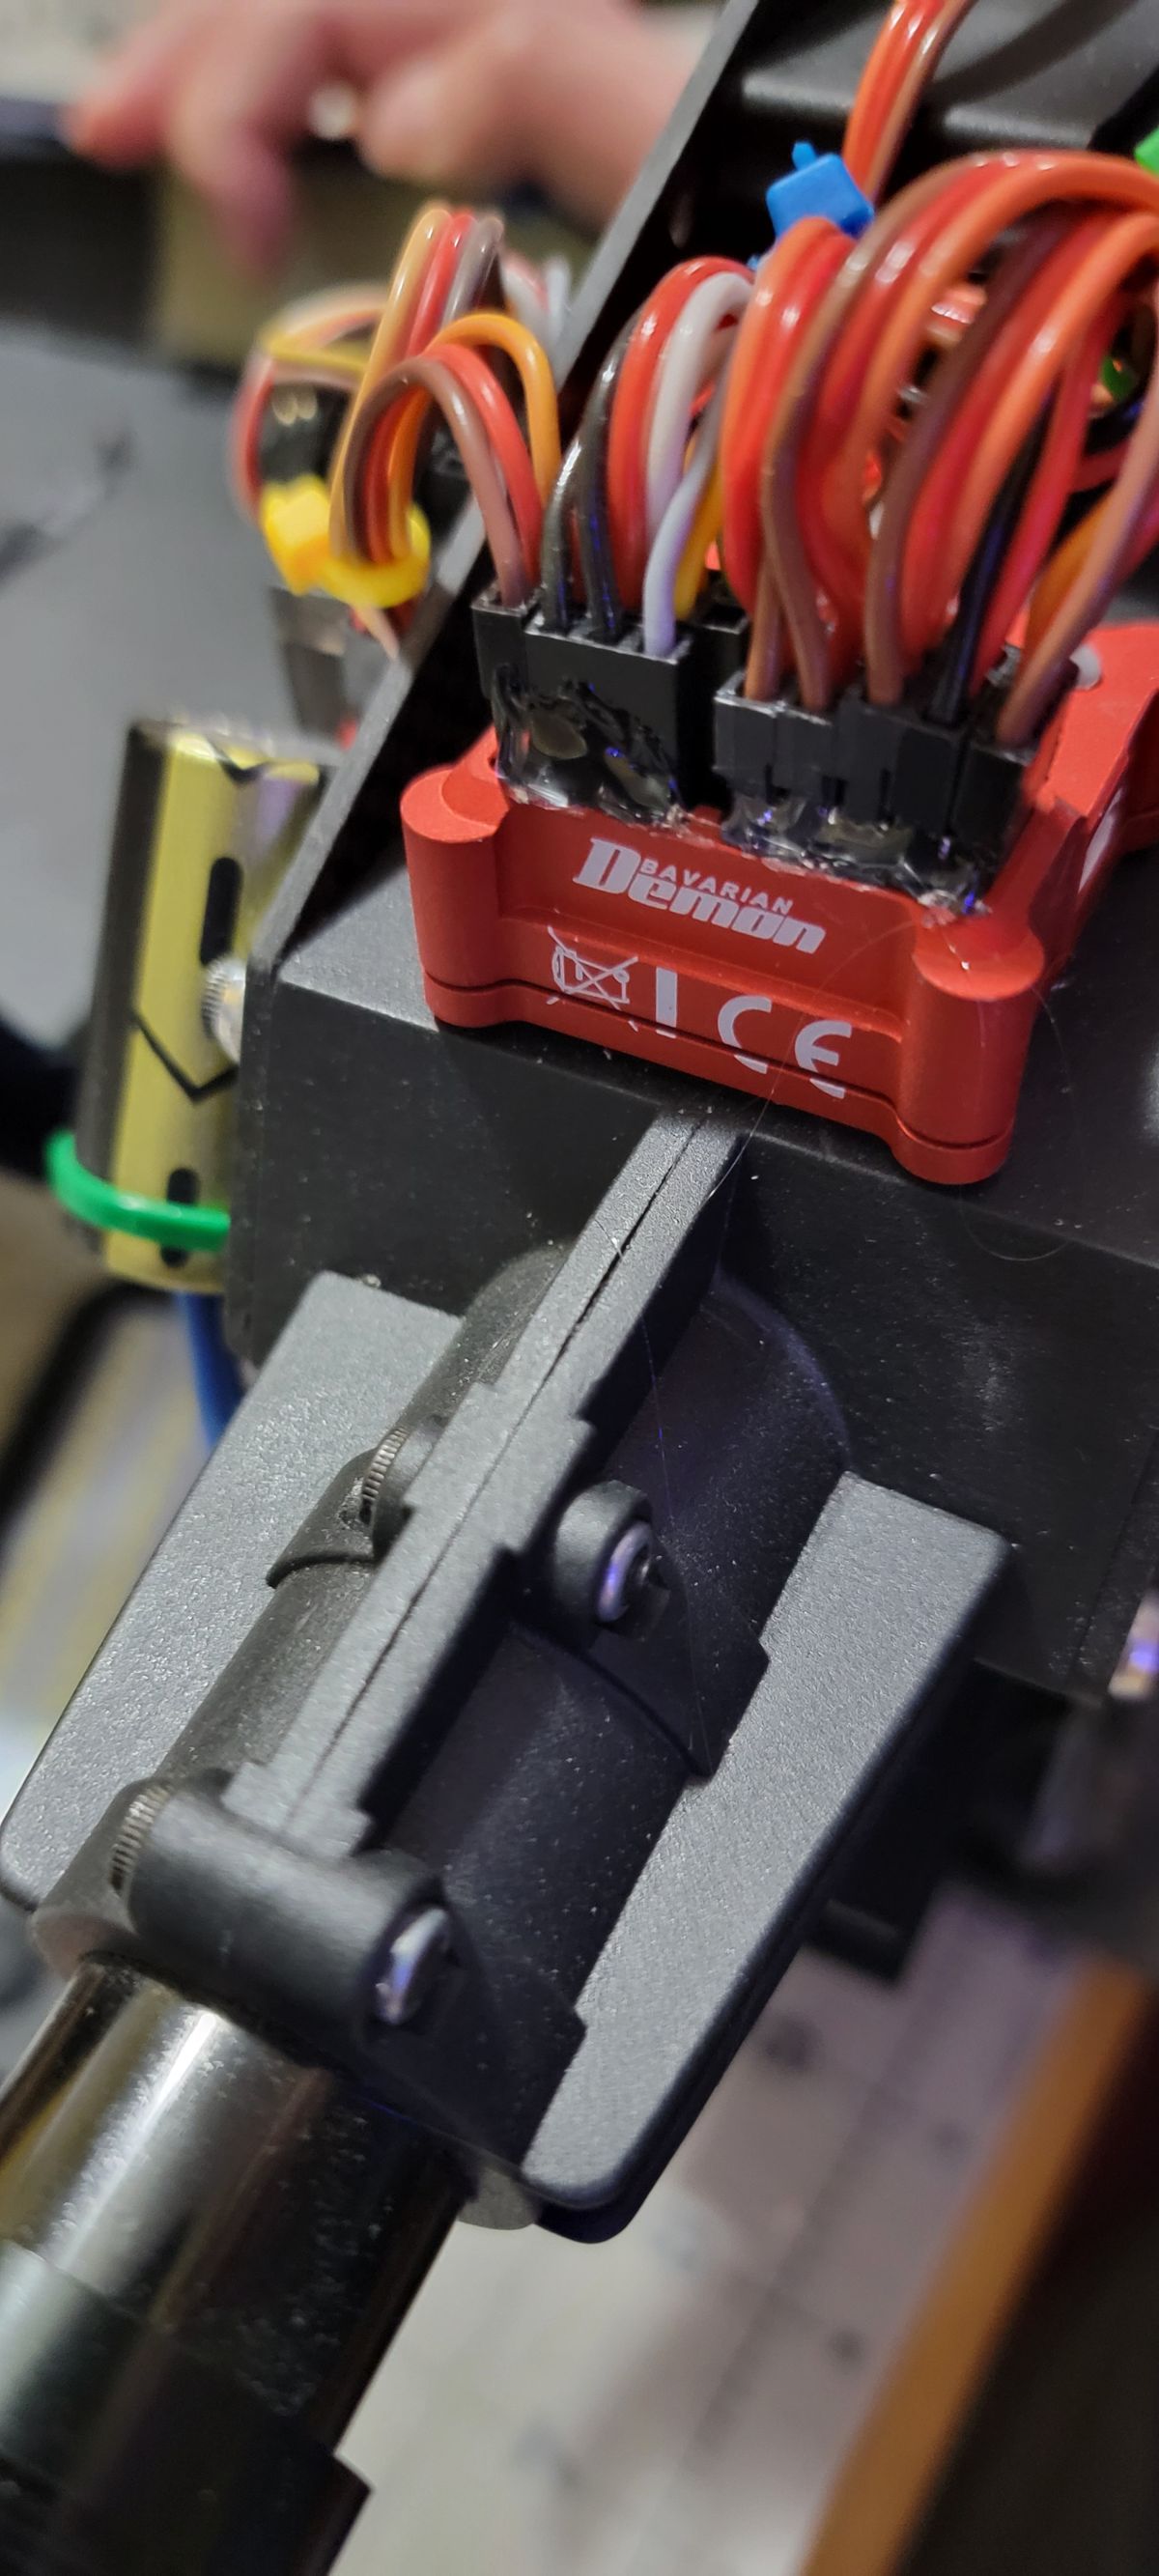
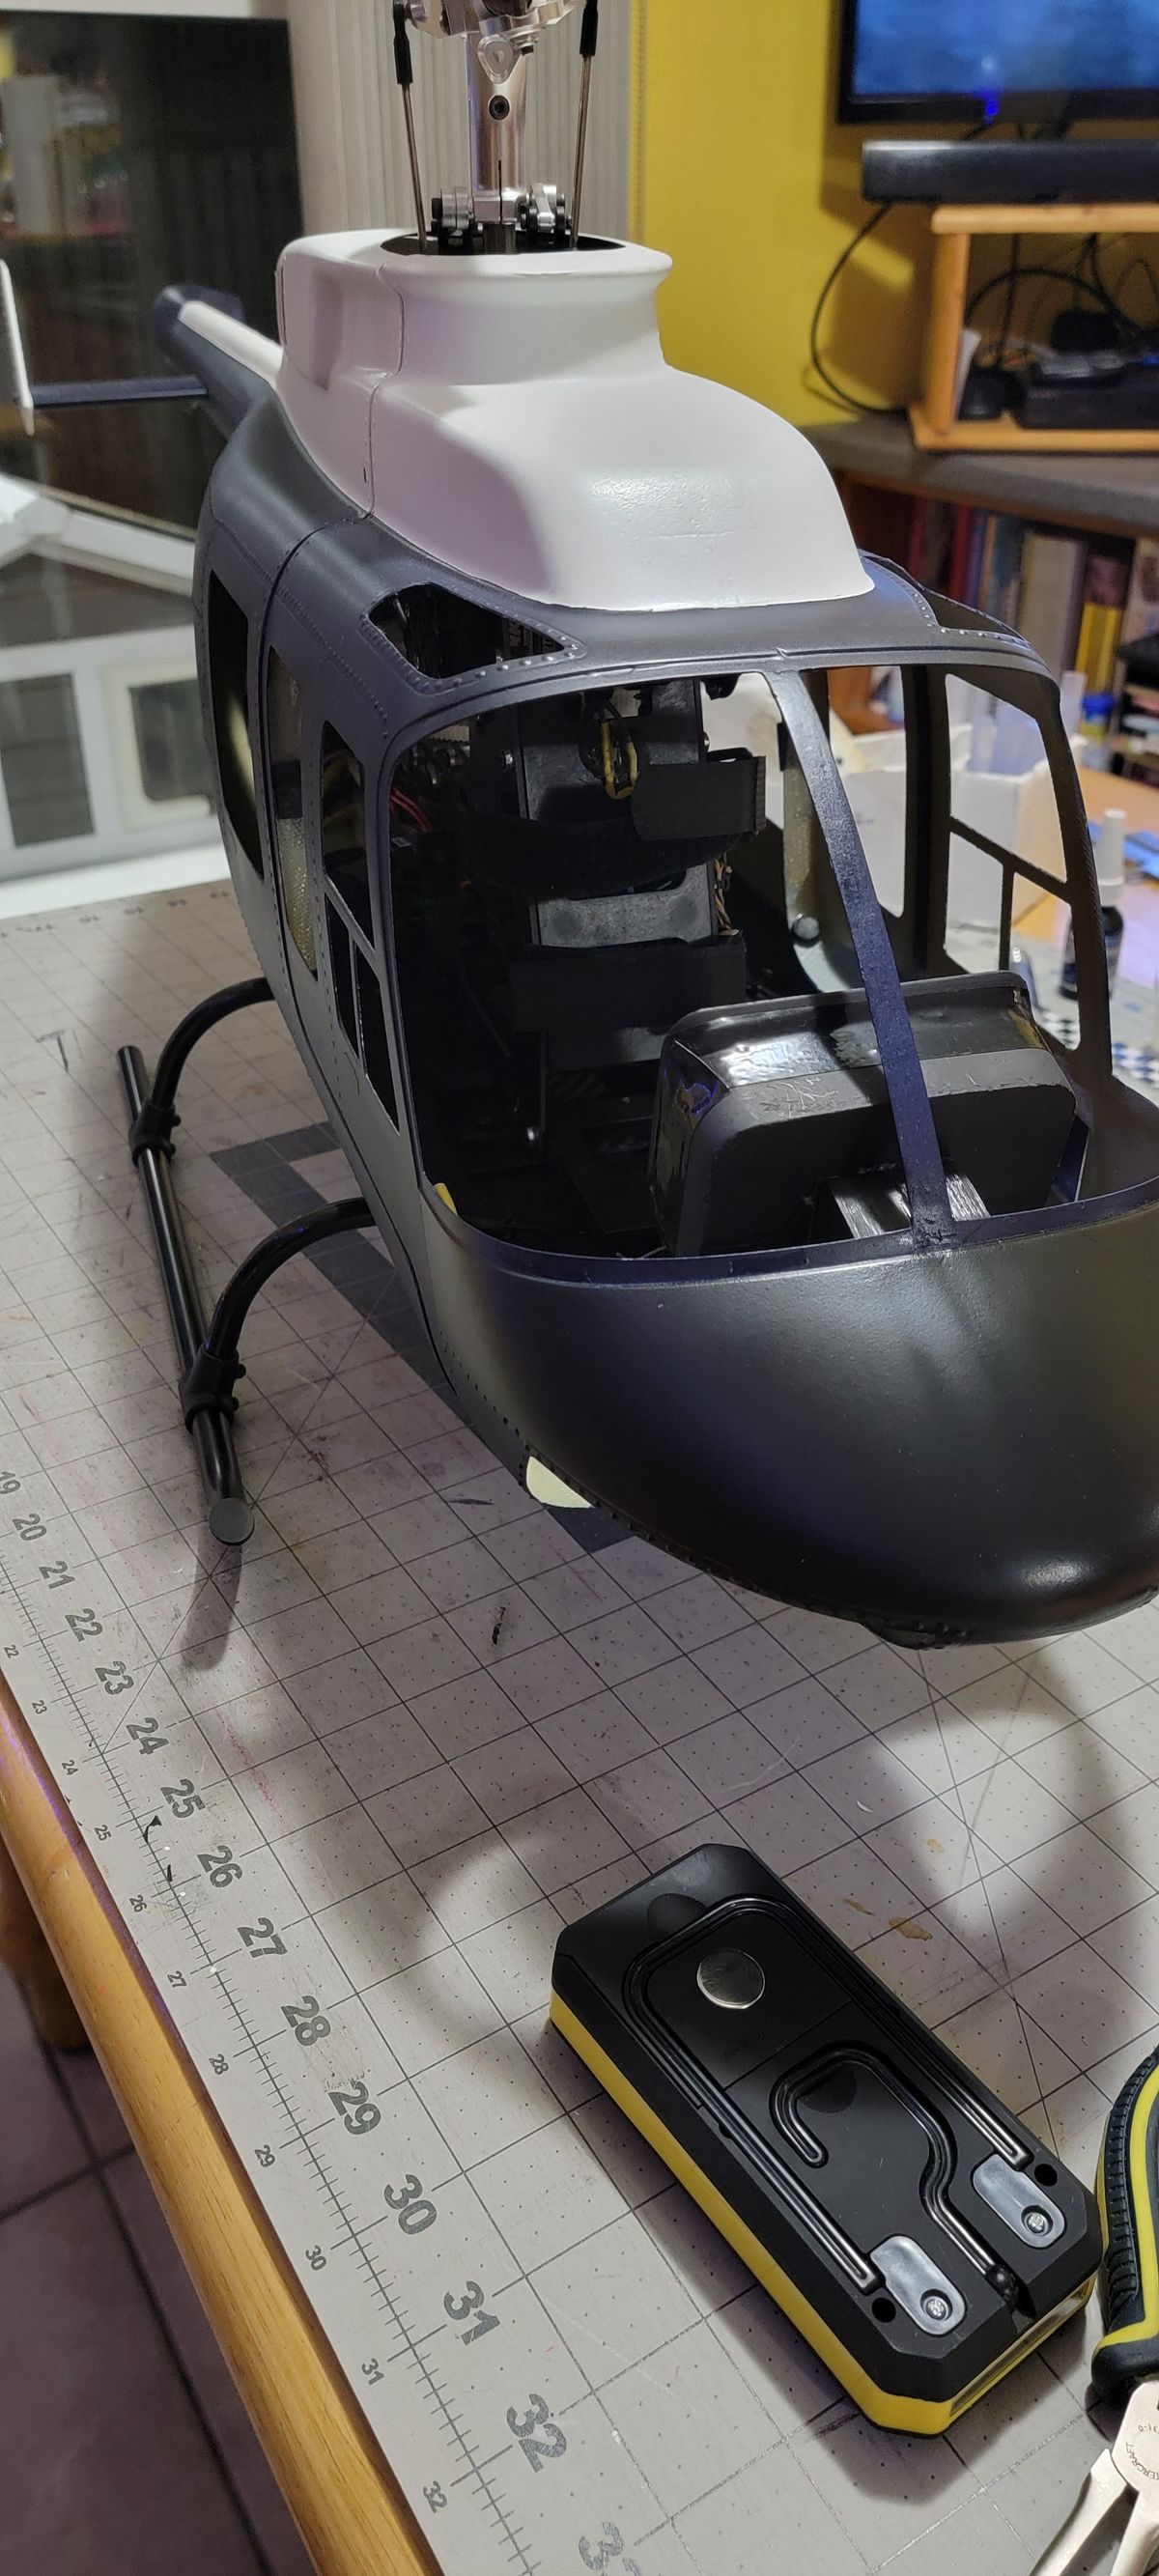
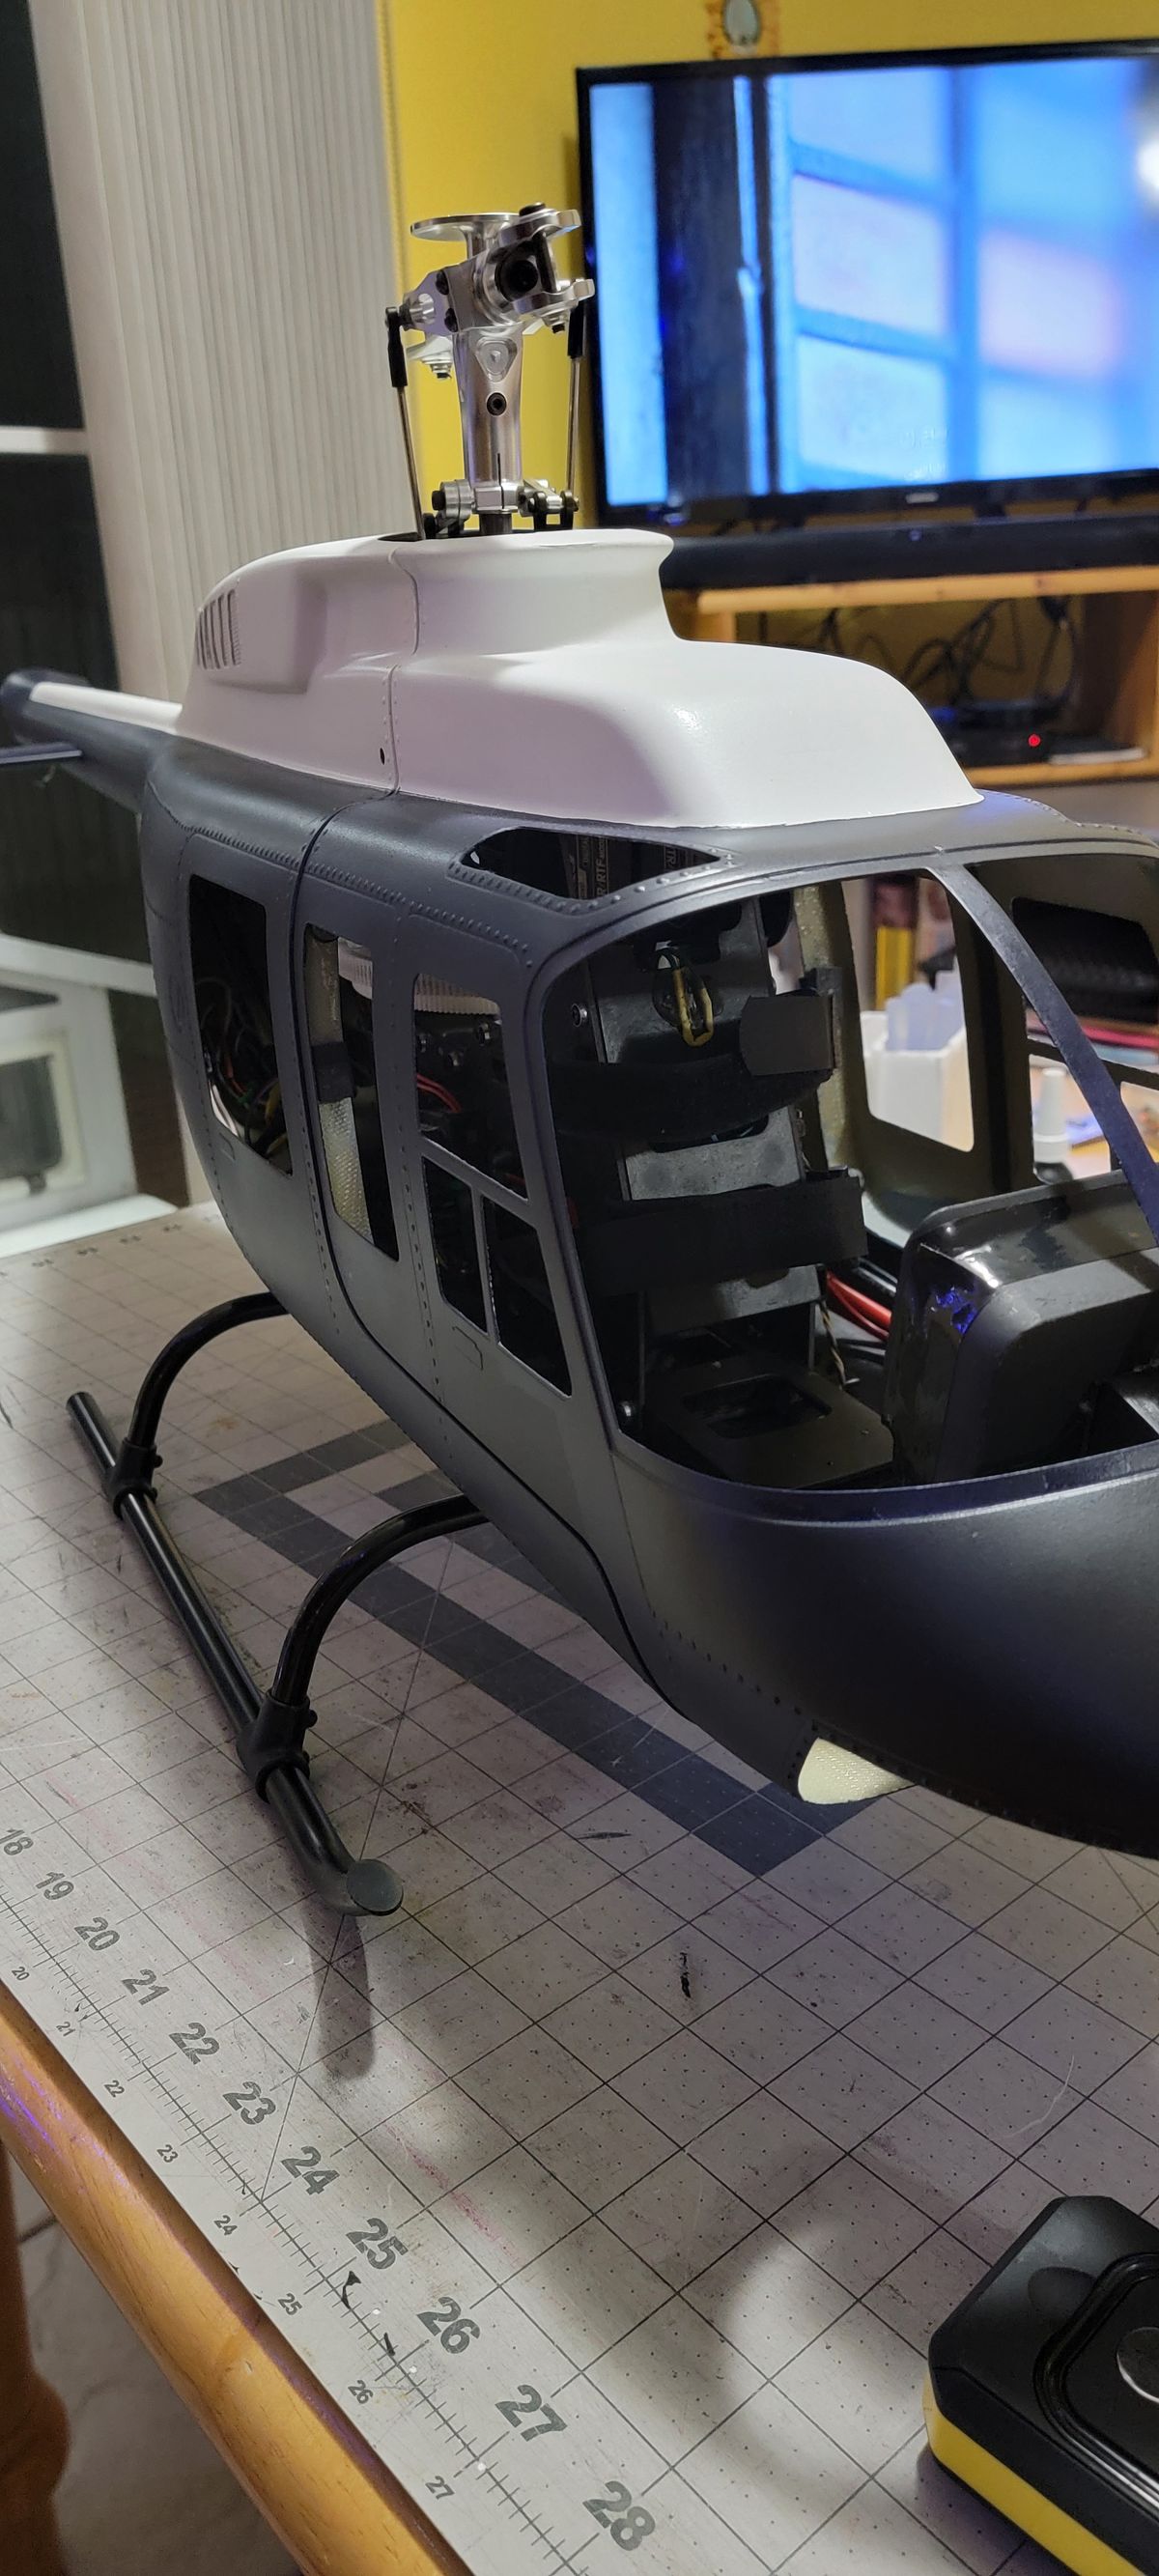
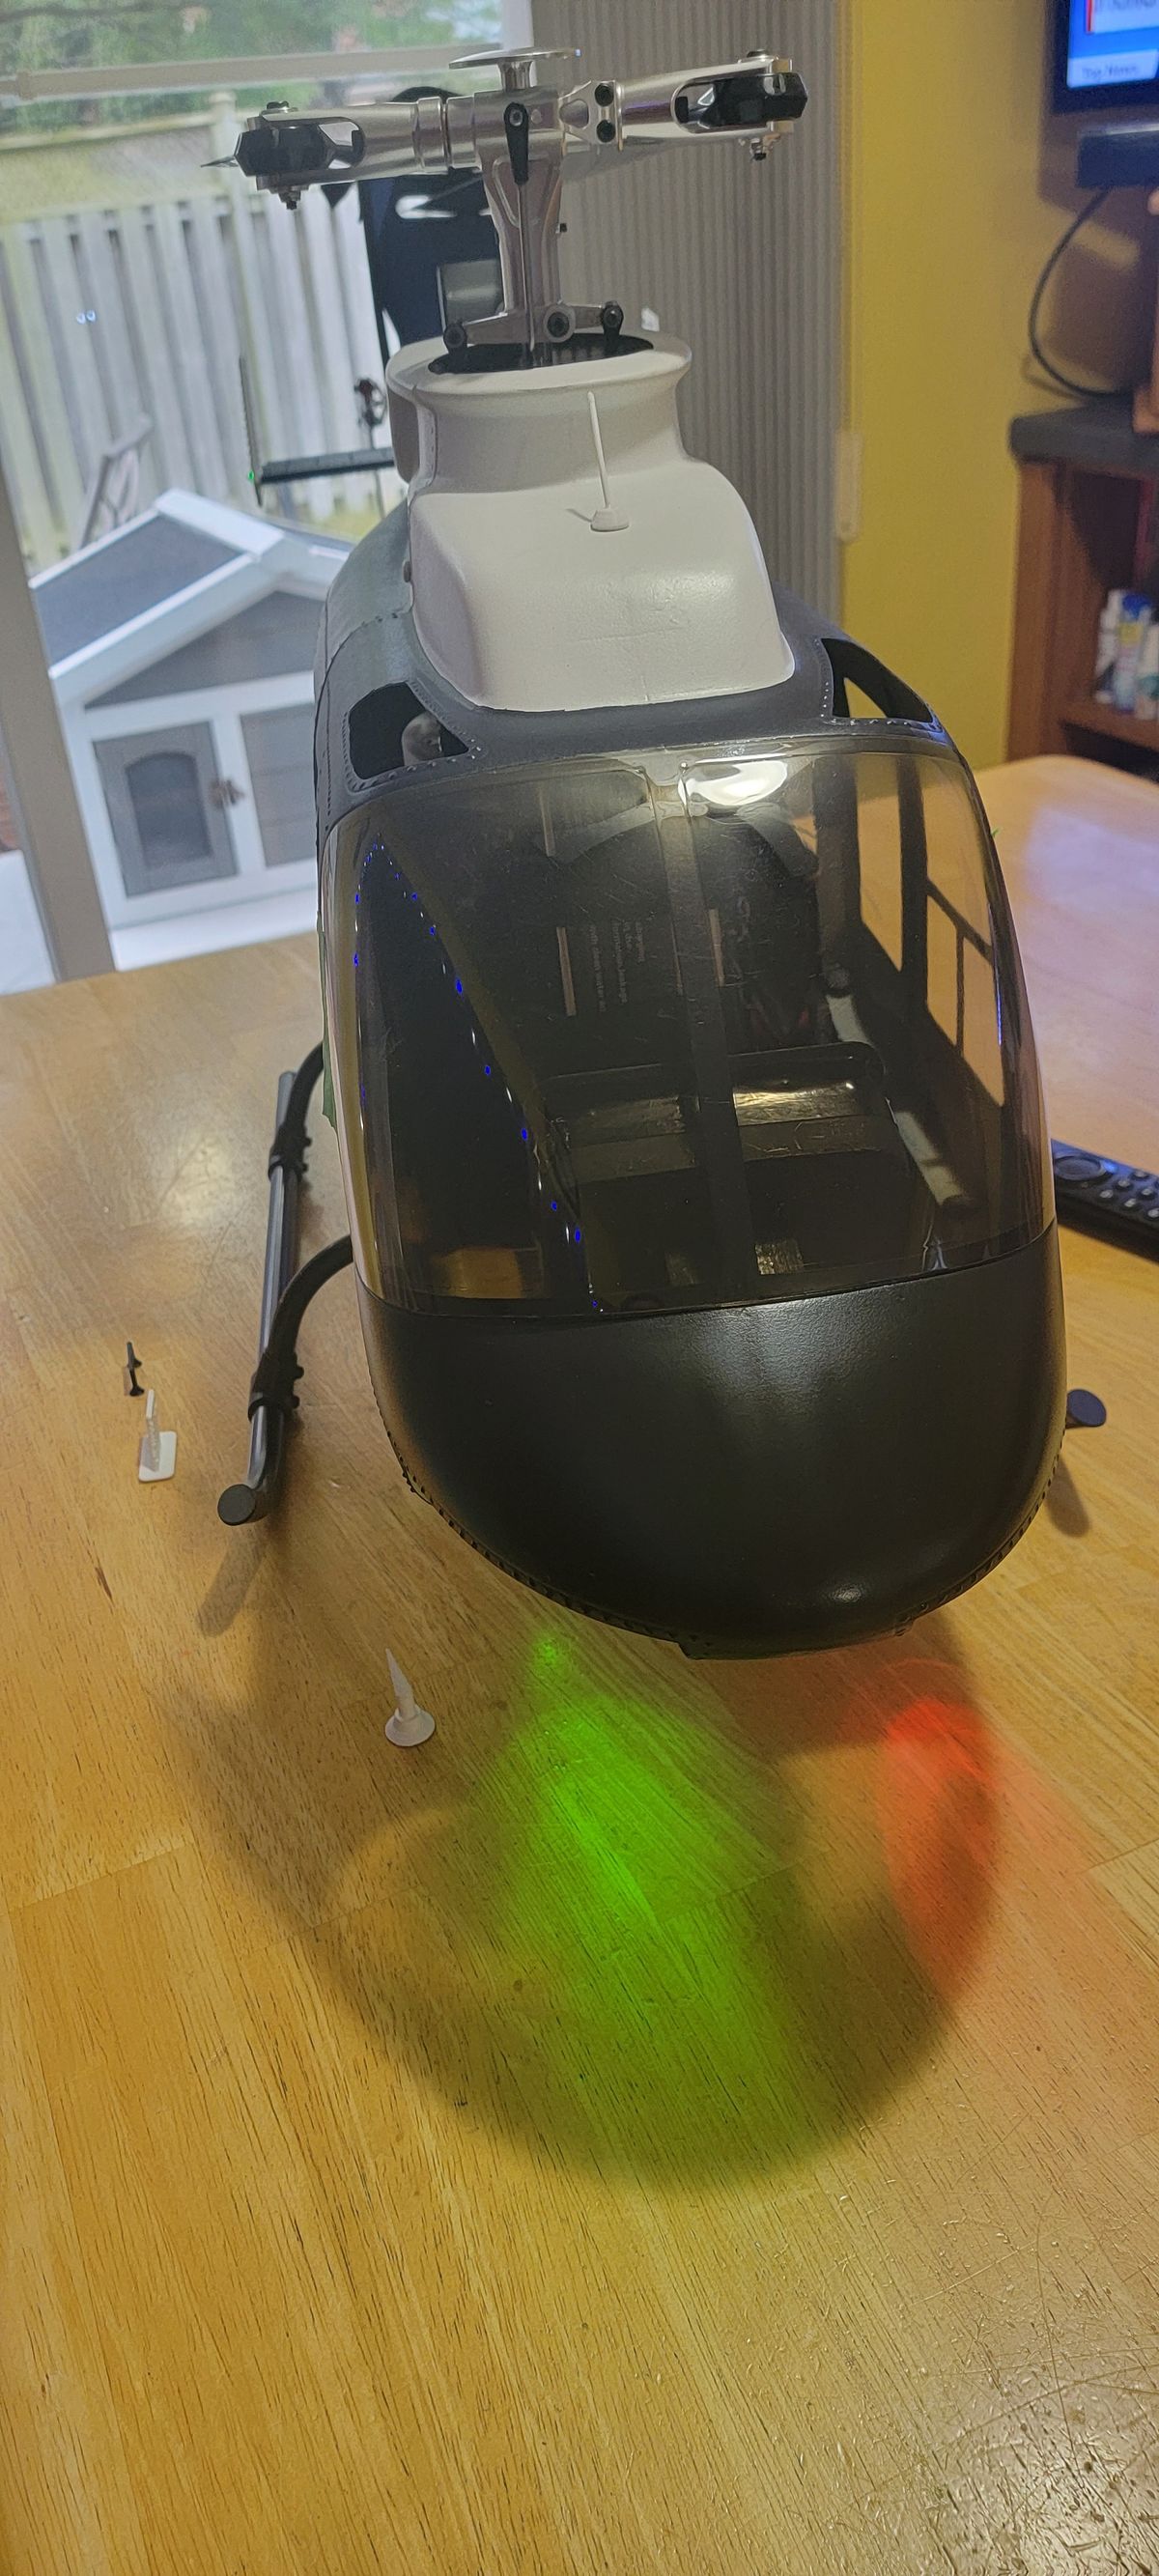
I'm trying to finish this project but still lots little things to put together. Lights and mechanics installed and paint touch ups.
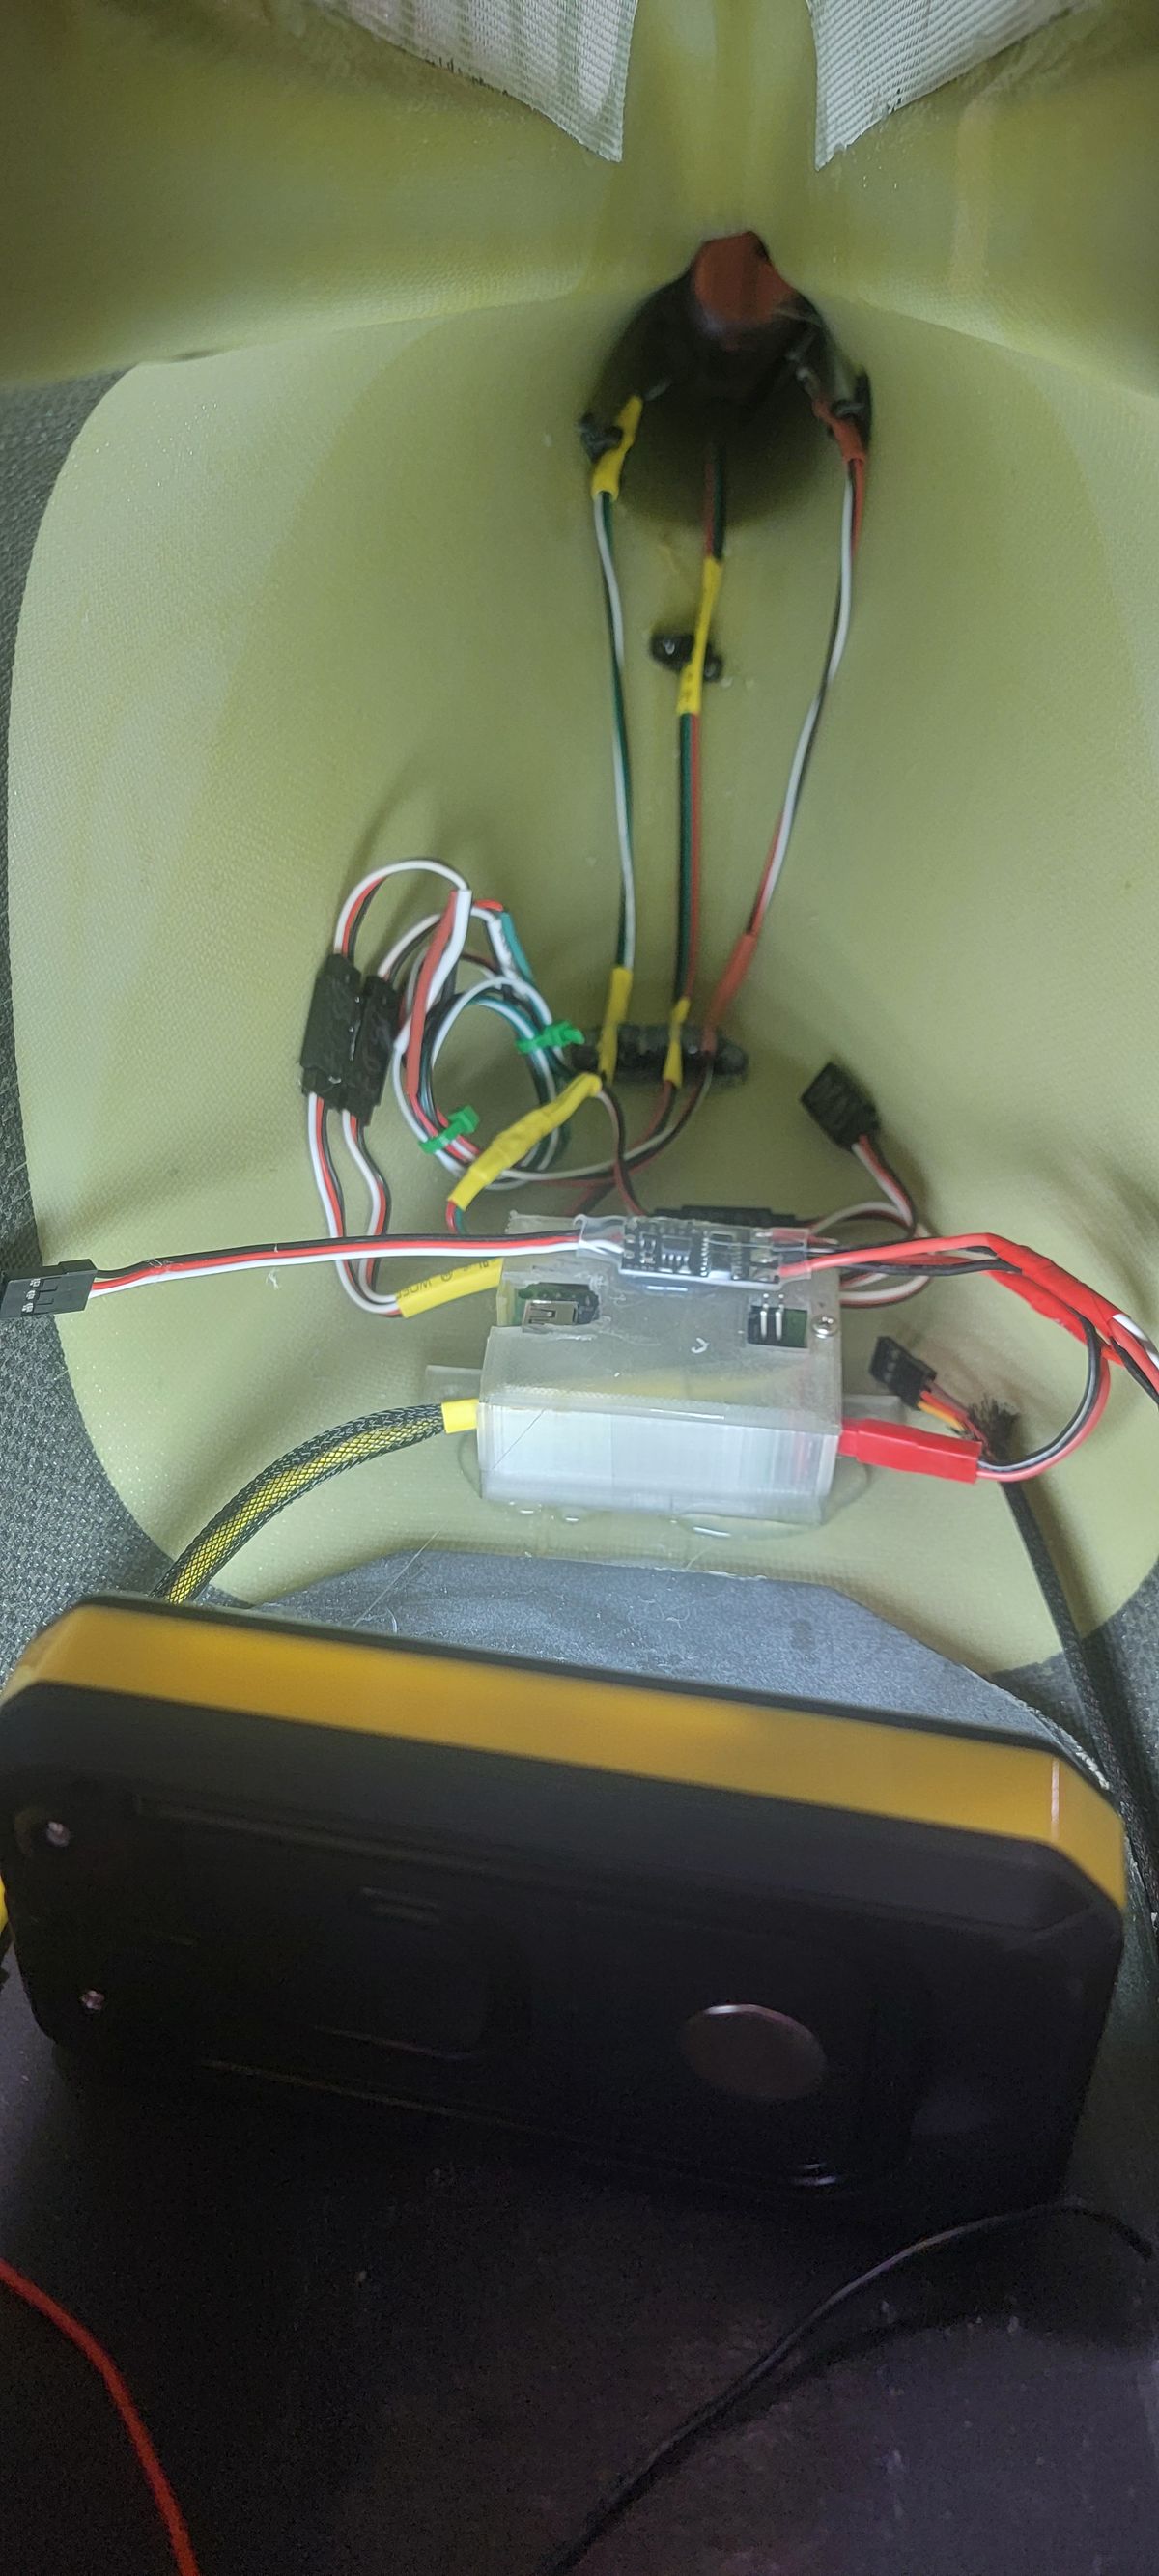
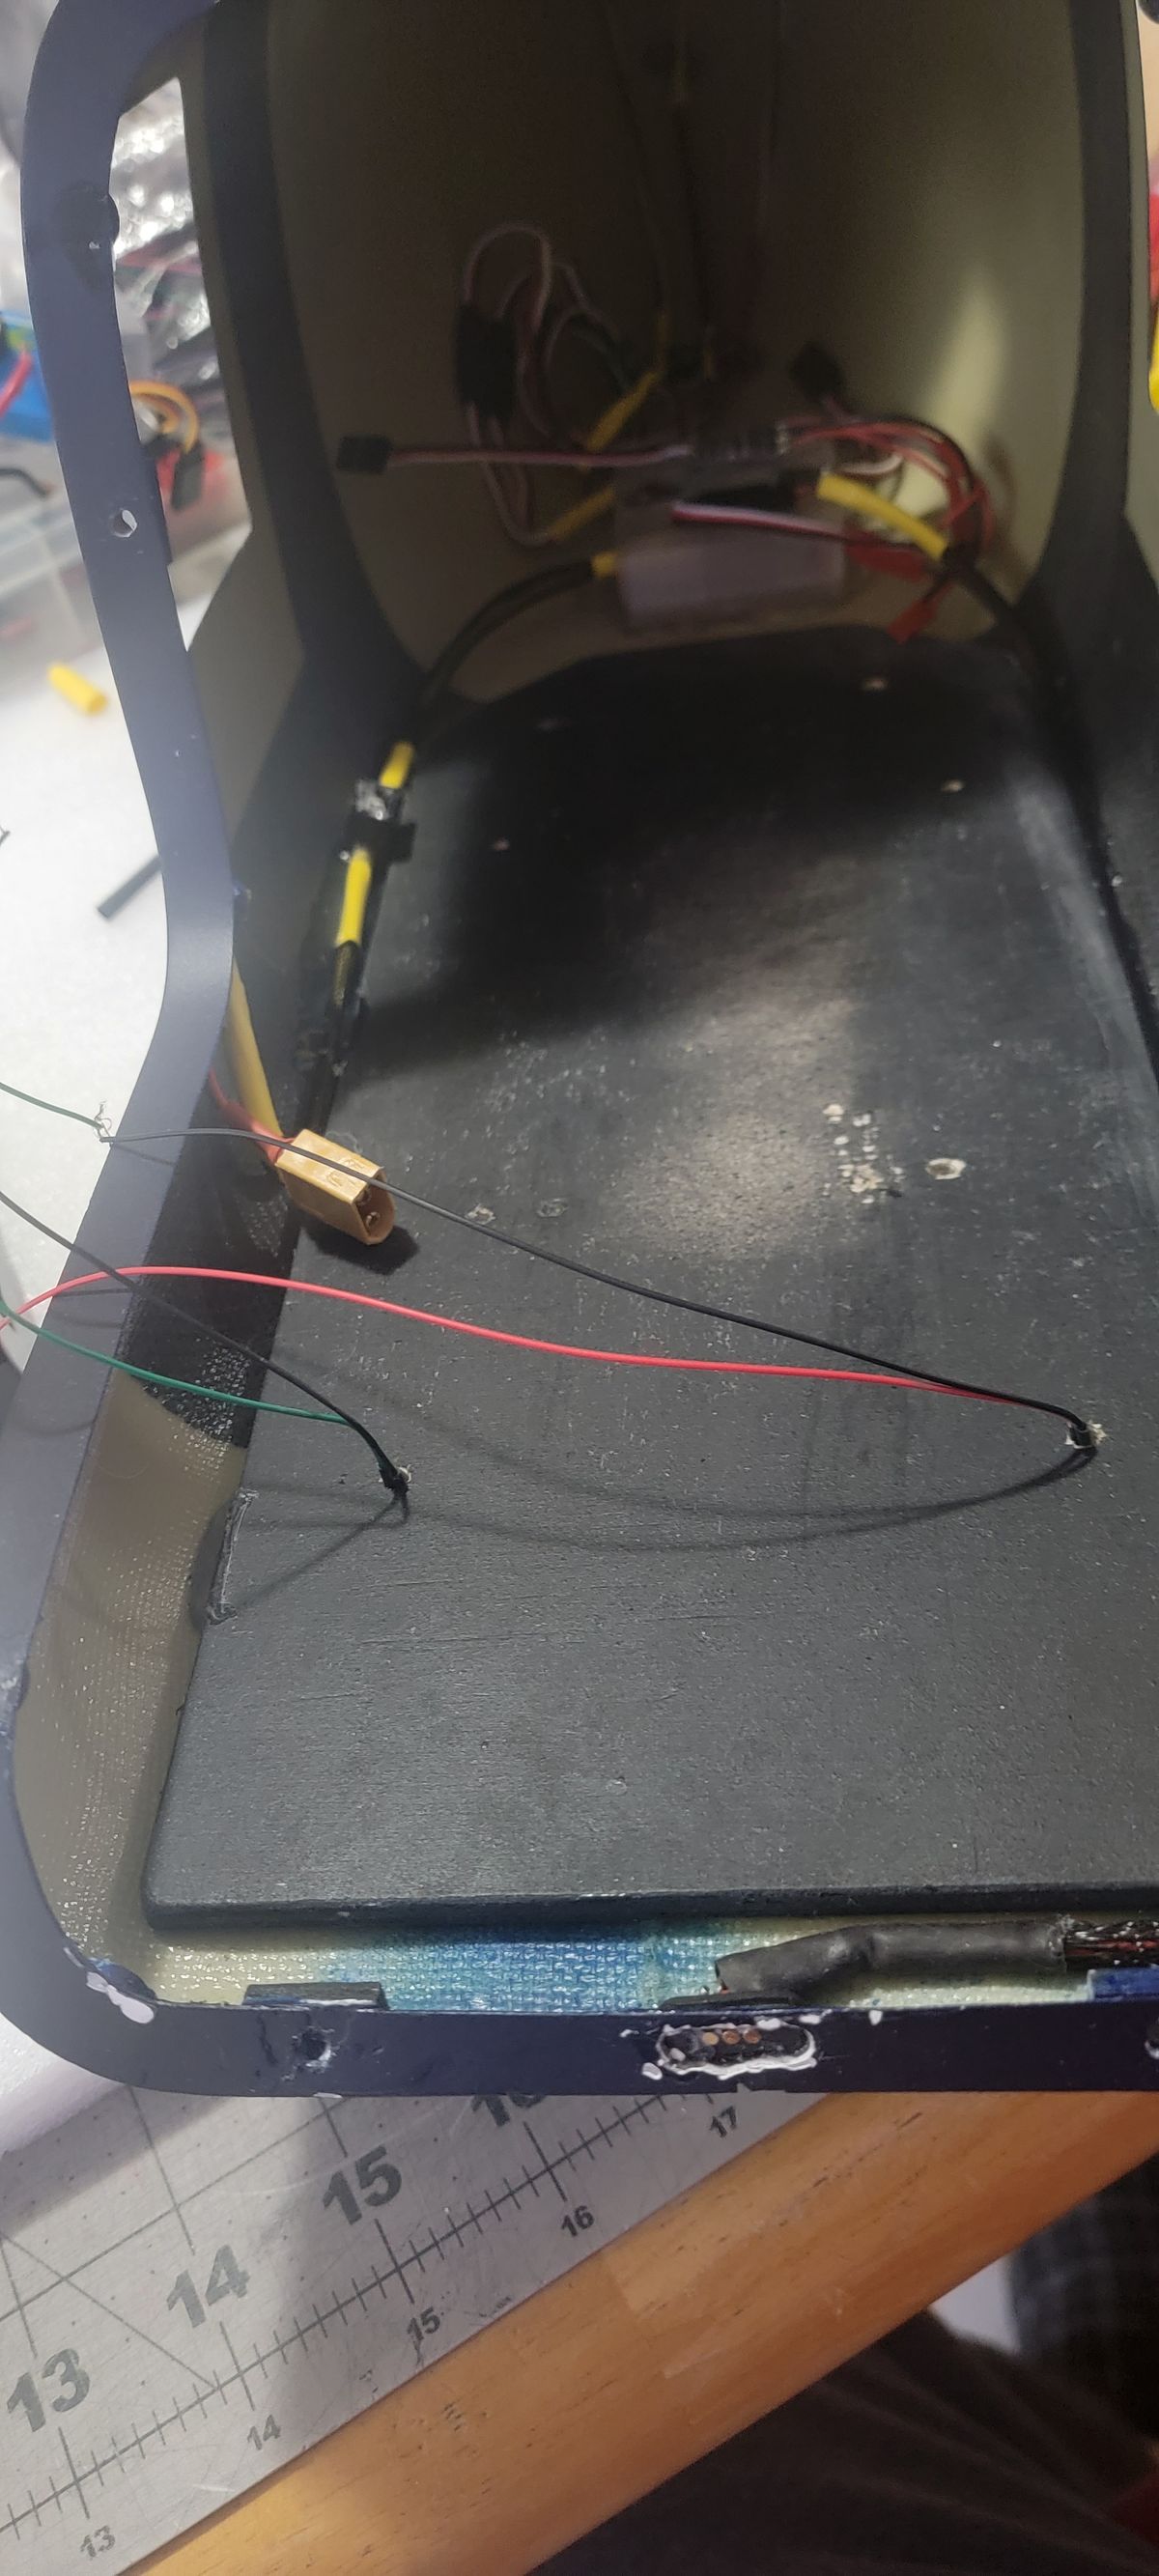
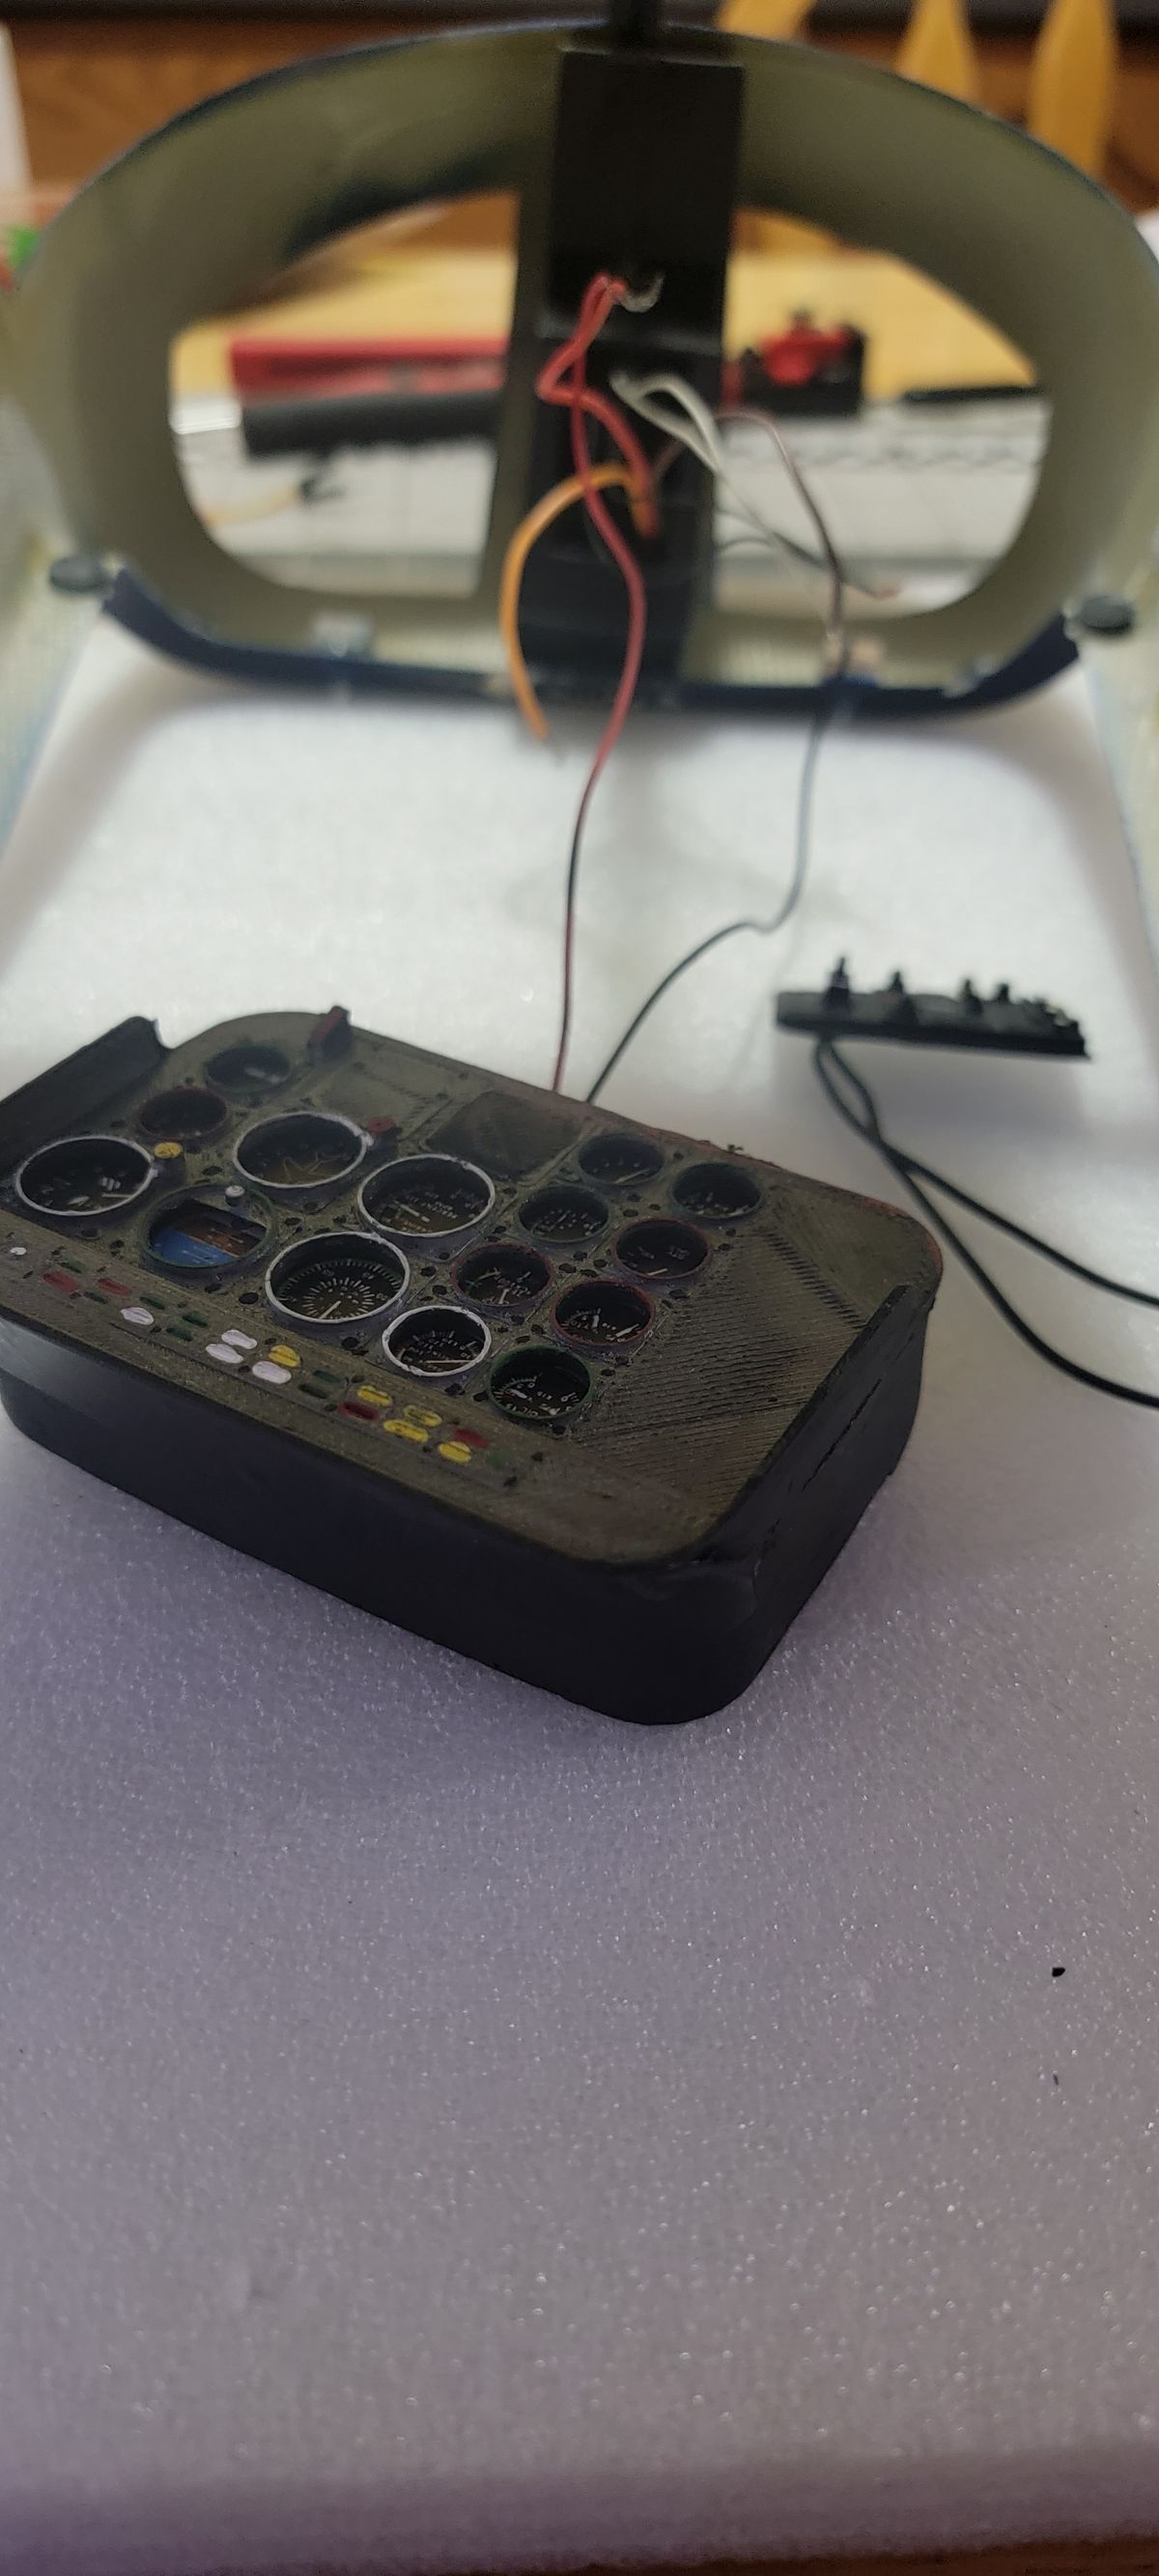
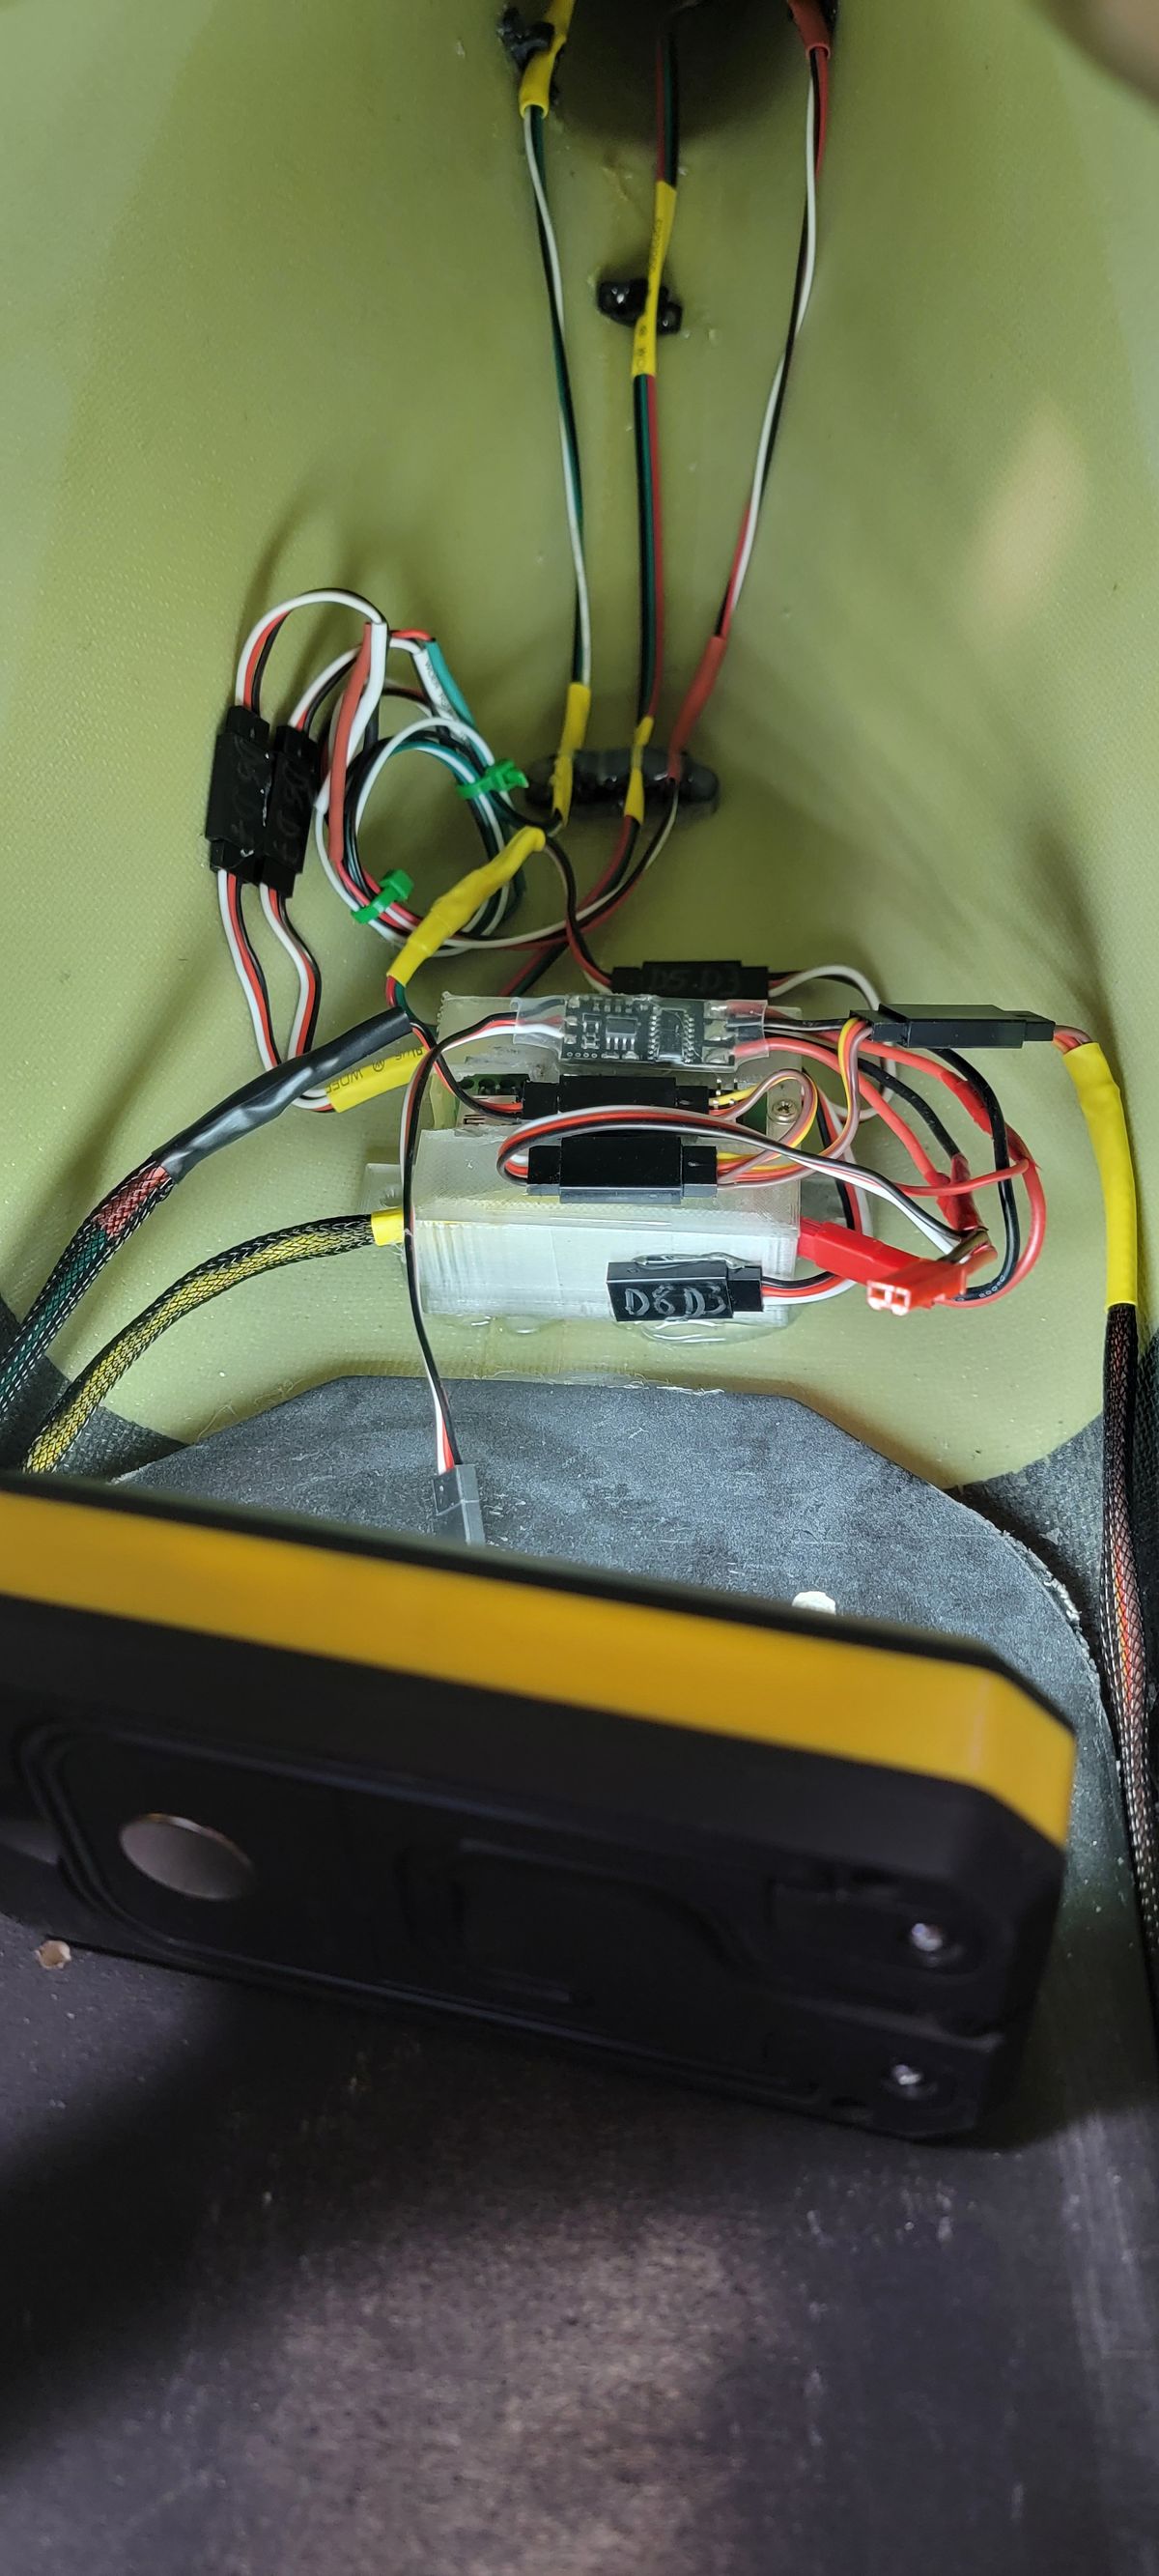
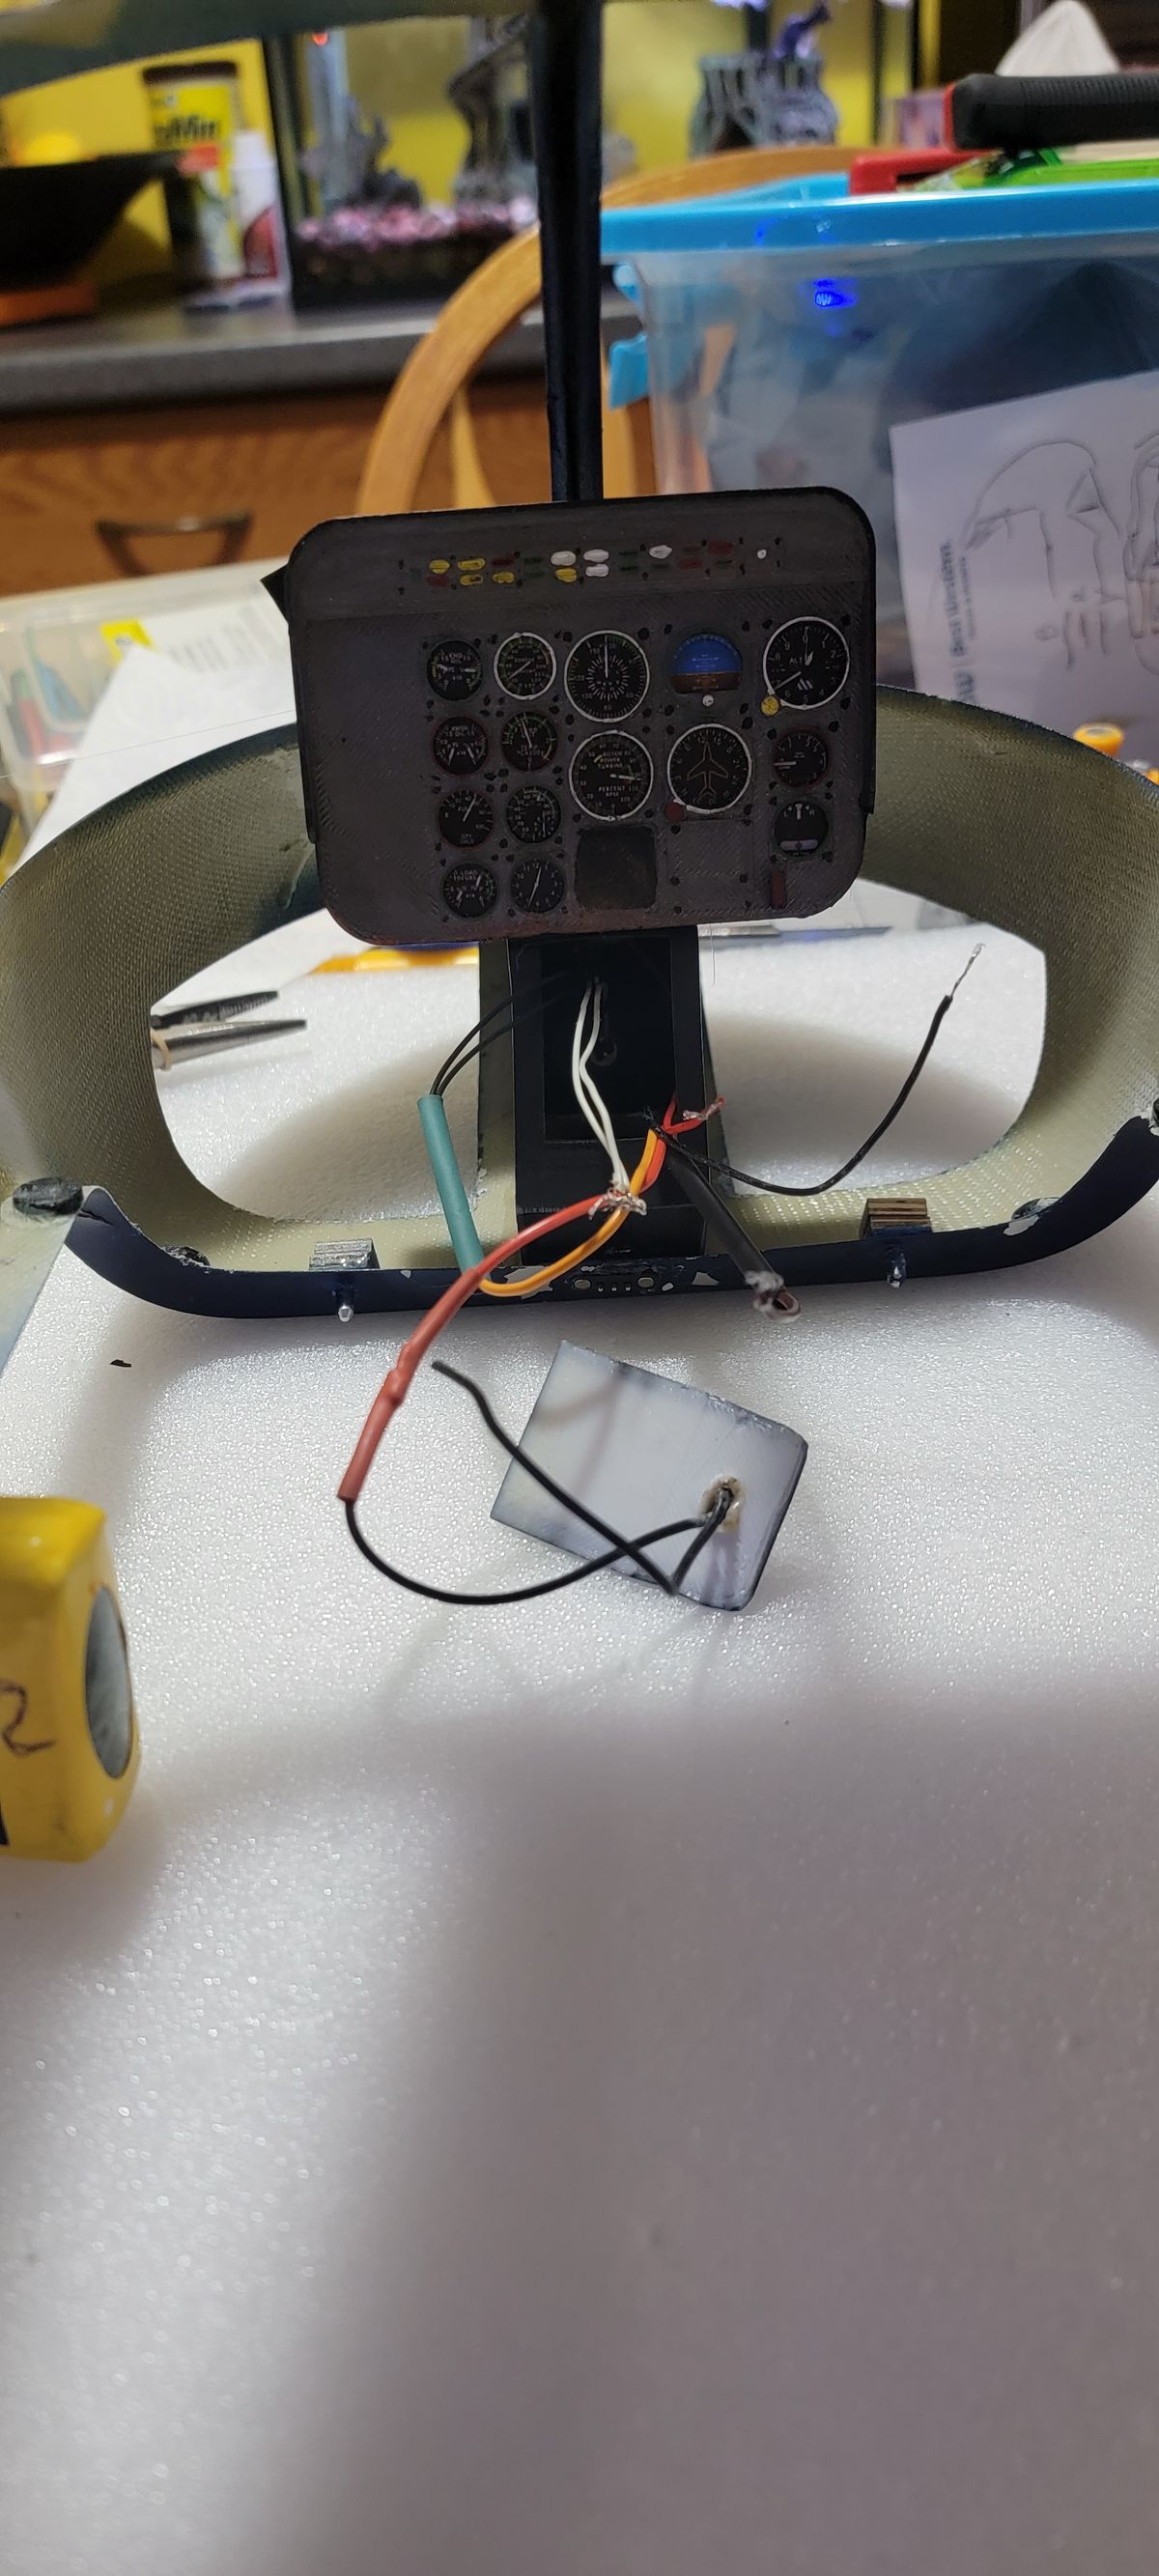
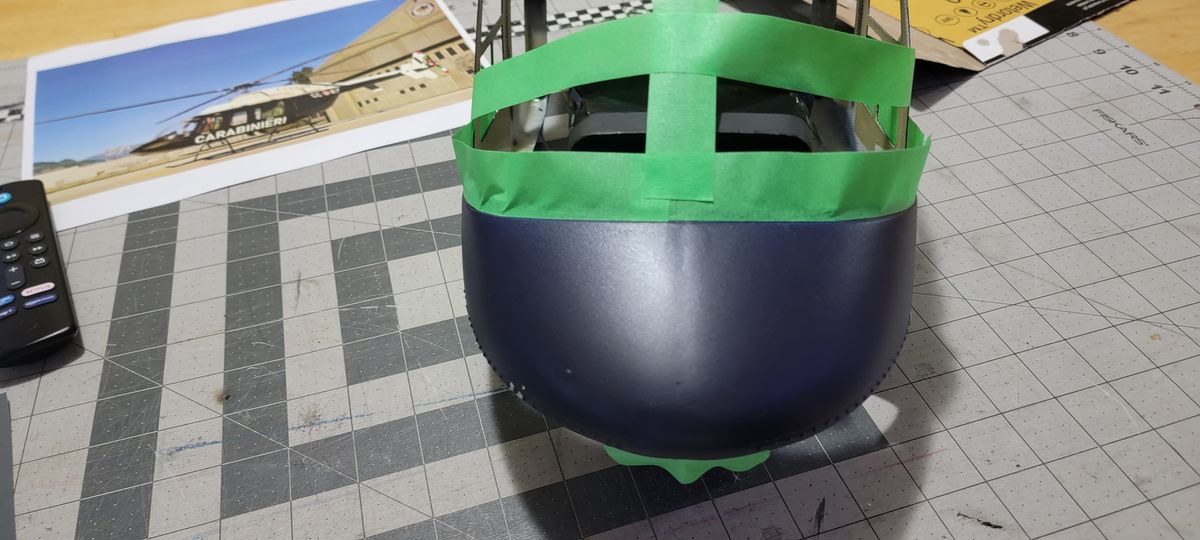
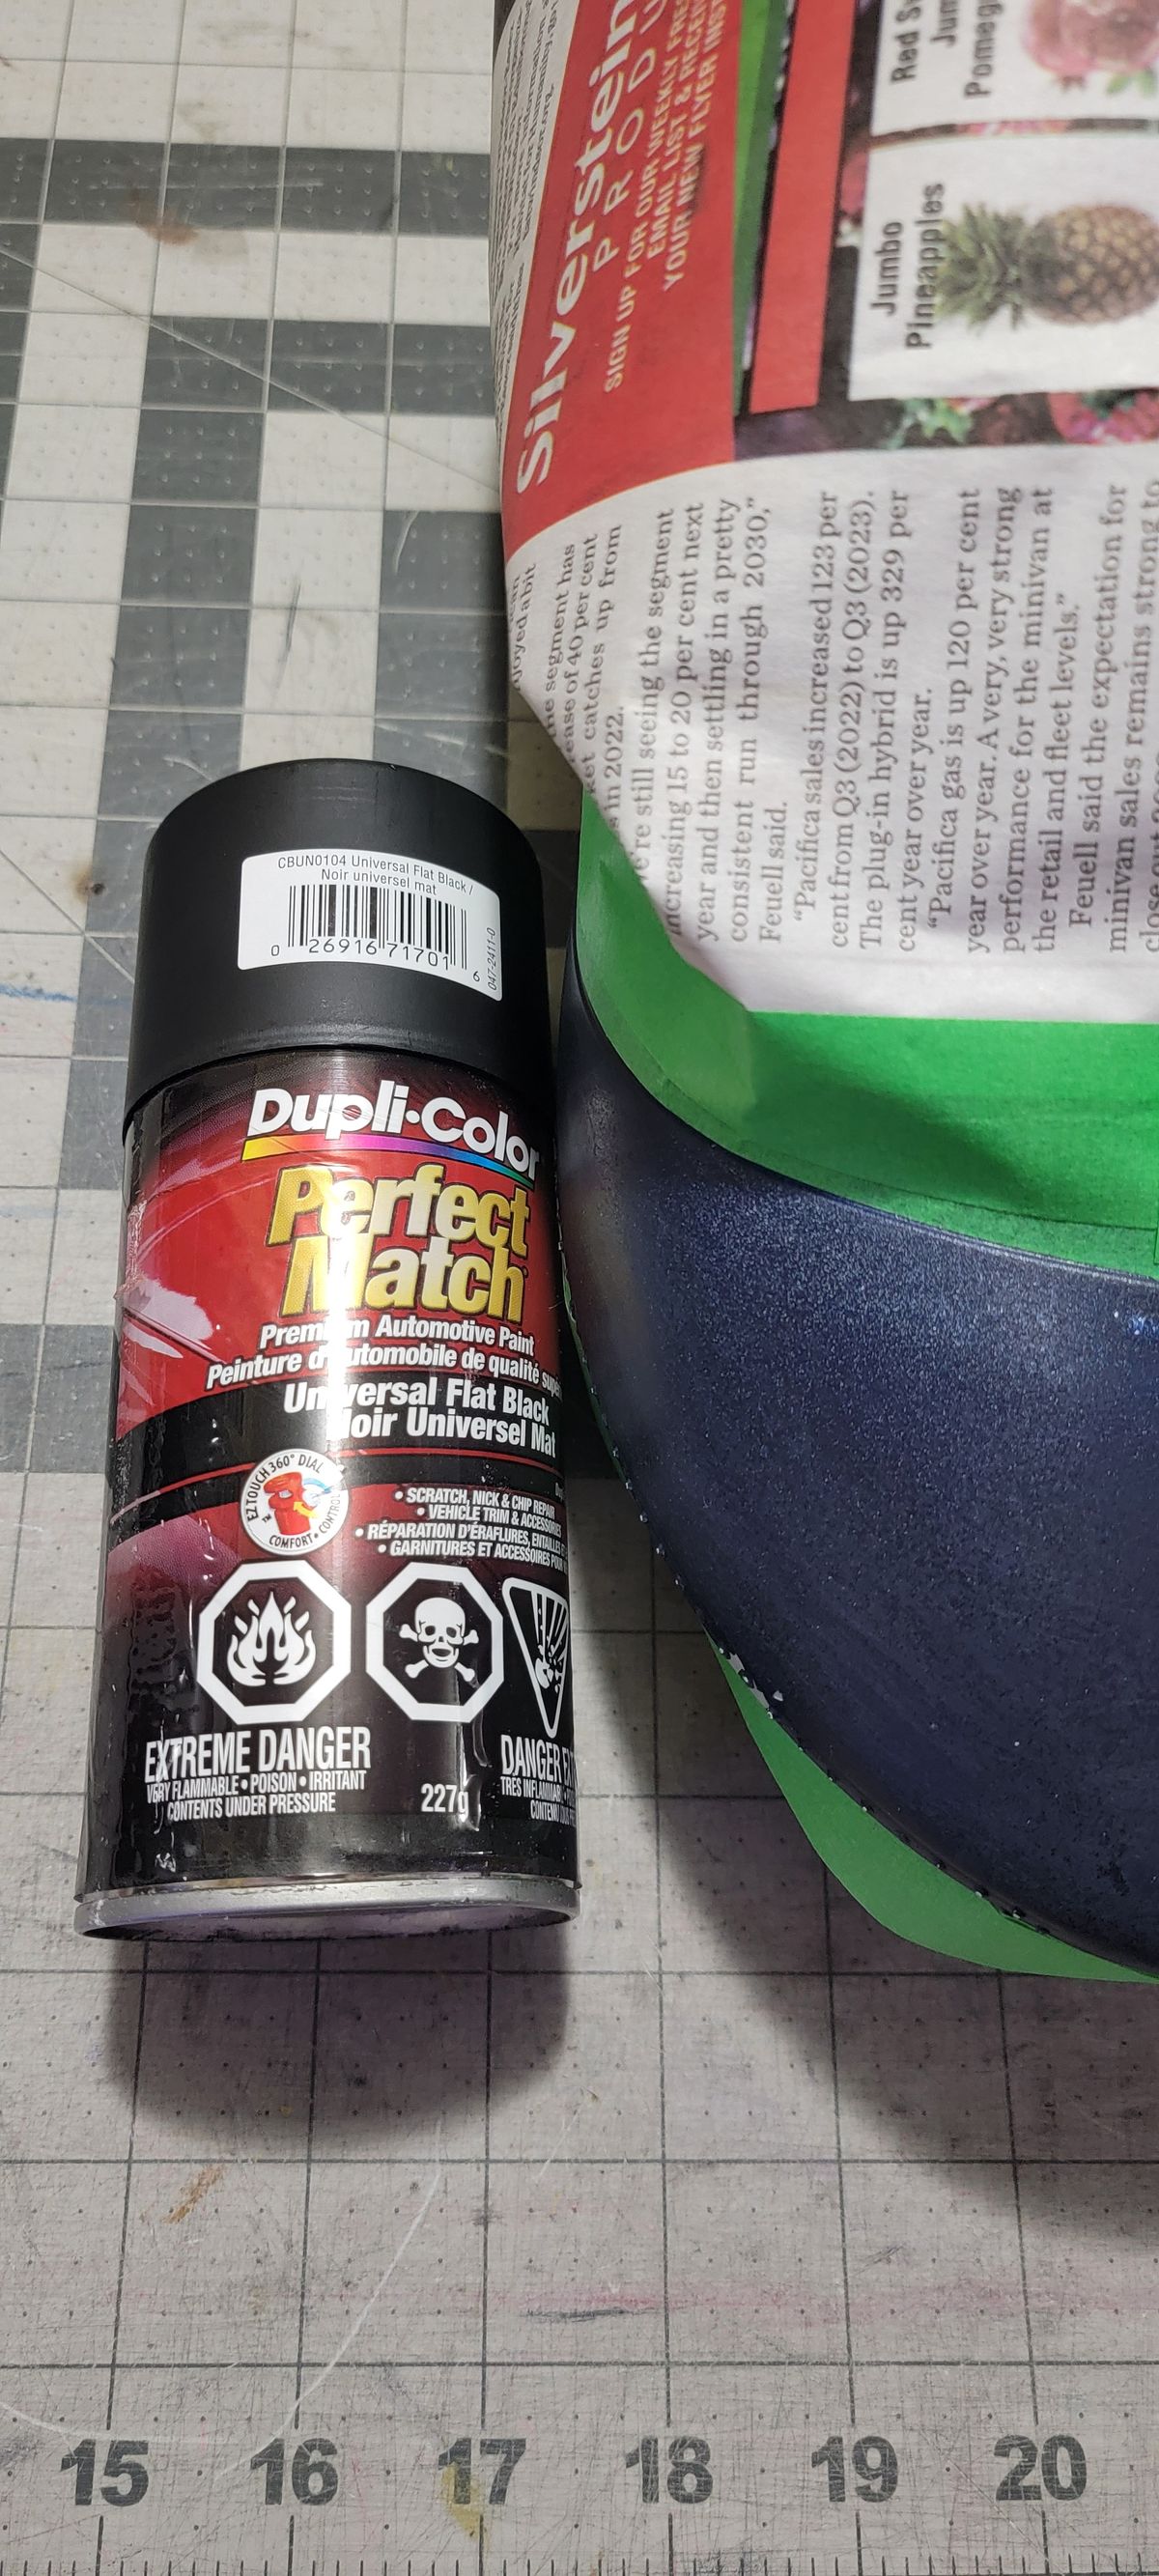
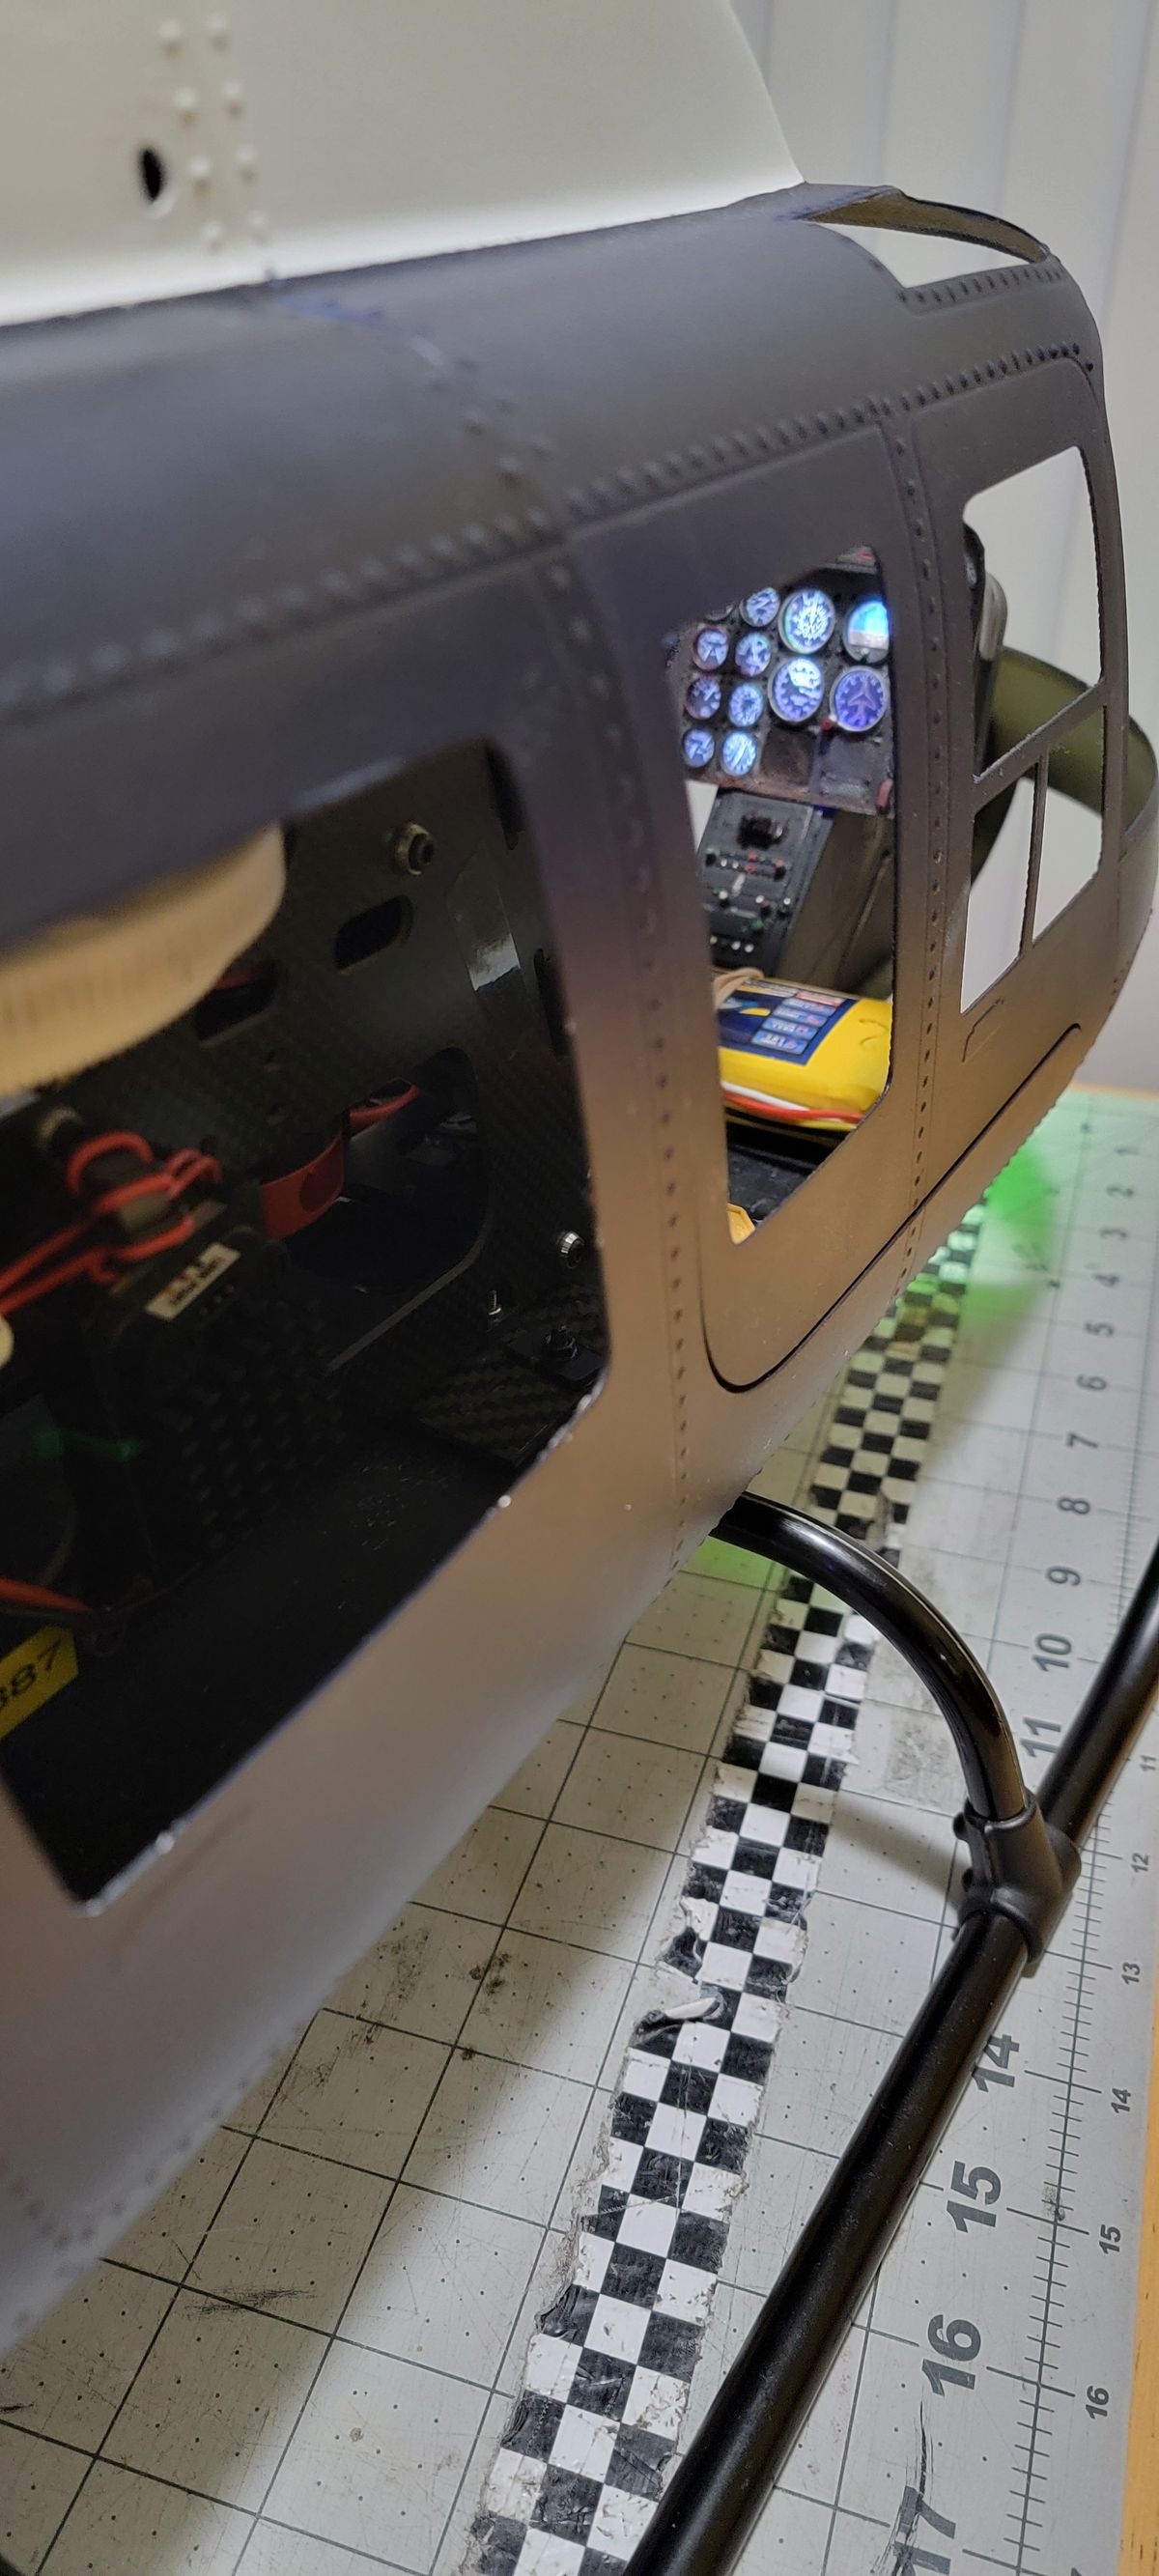
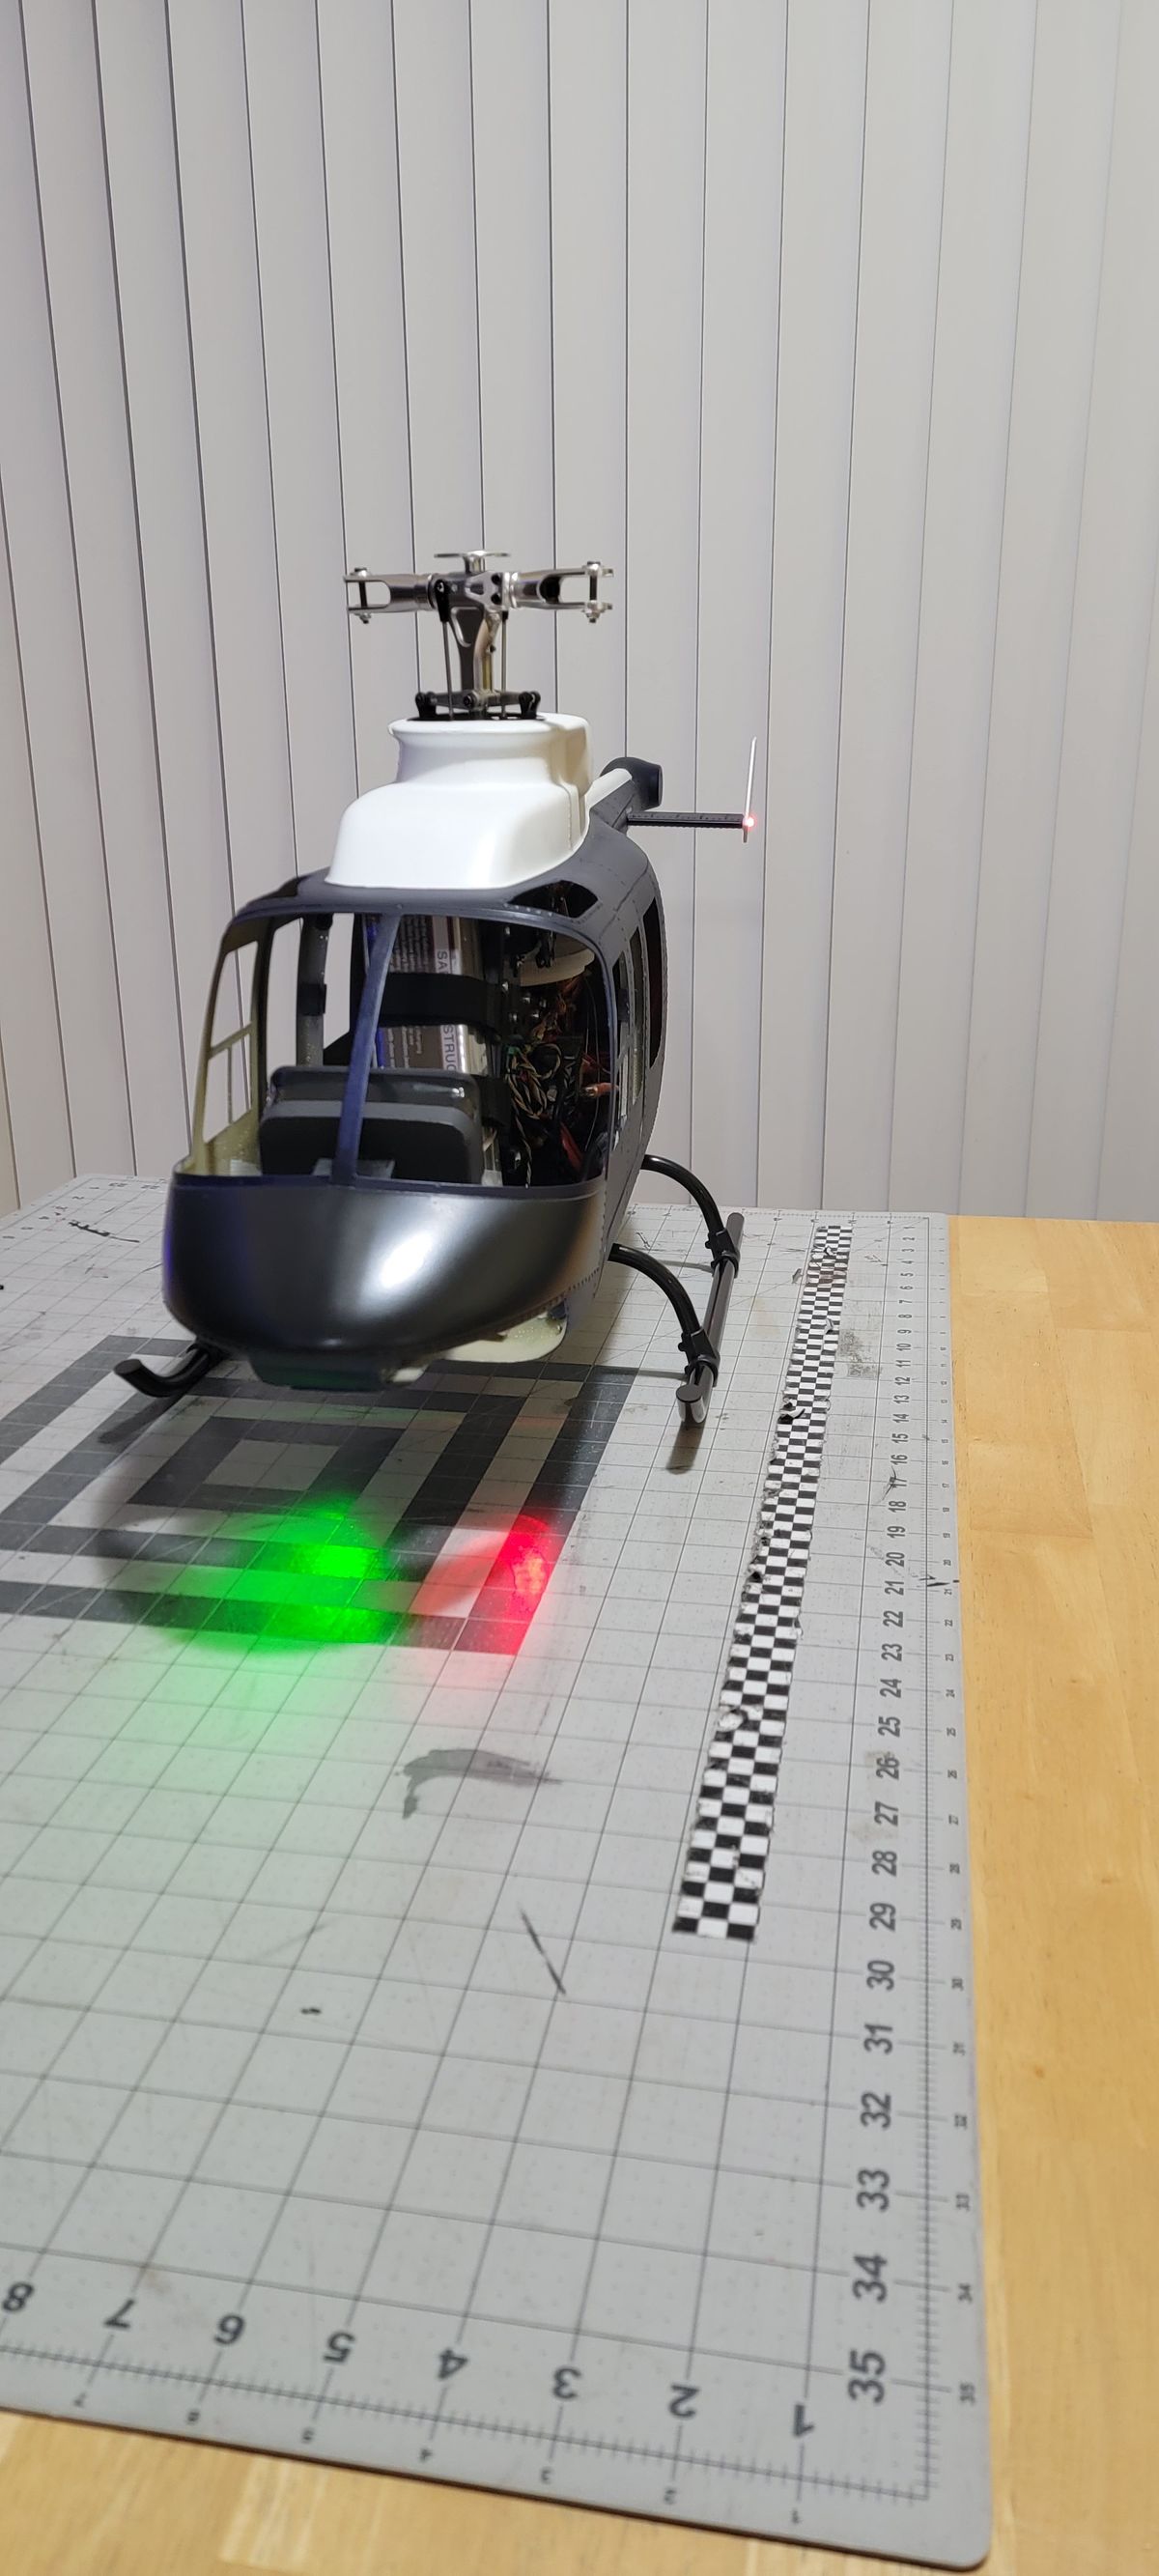
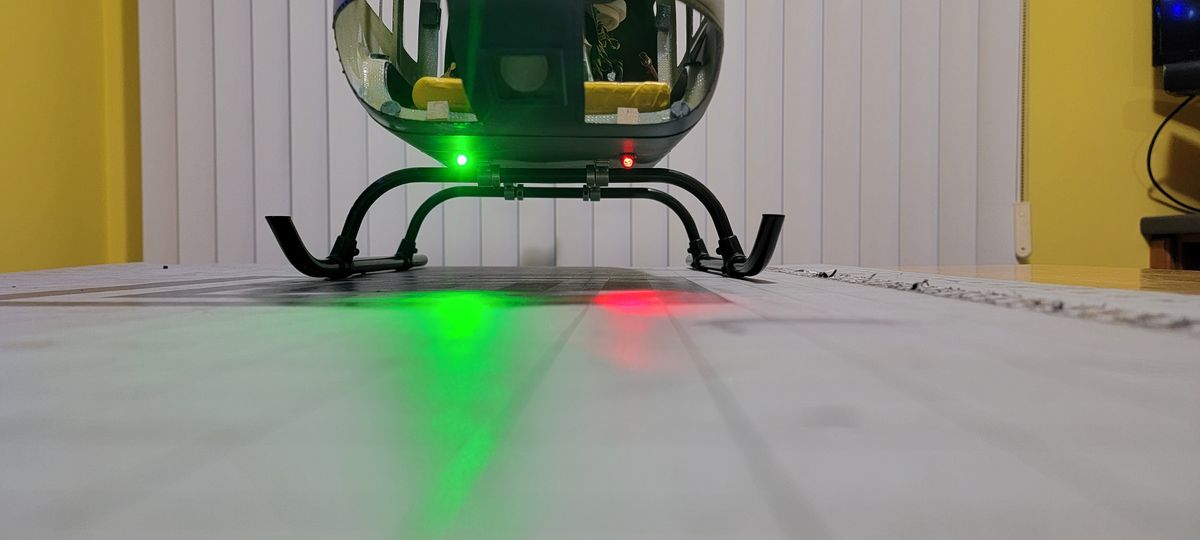
Final step
It's too cold to be outside, so, better "complete" this project and wait for some warm days.
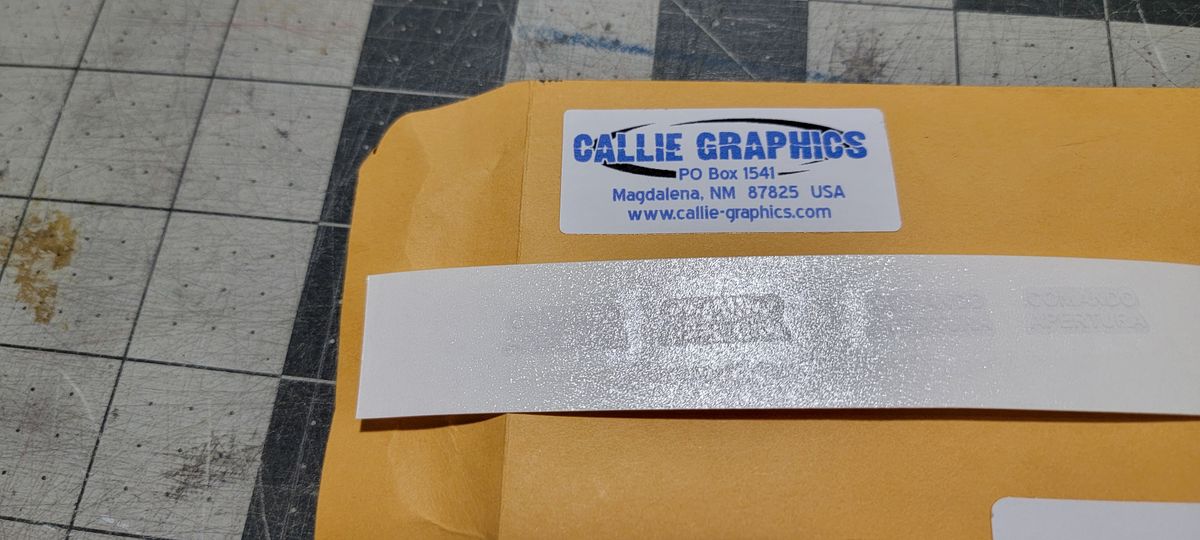
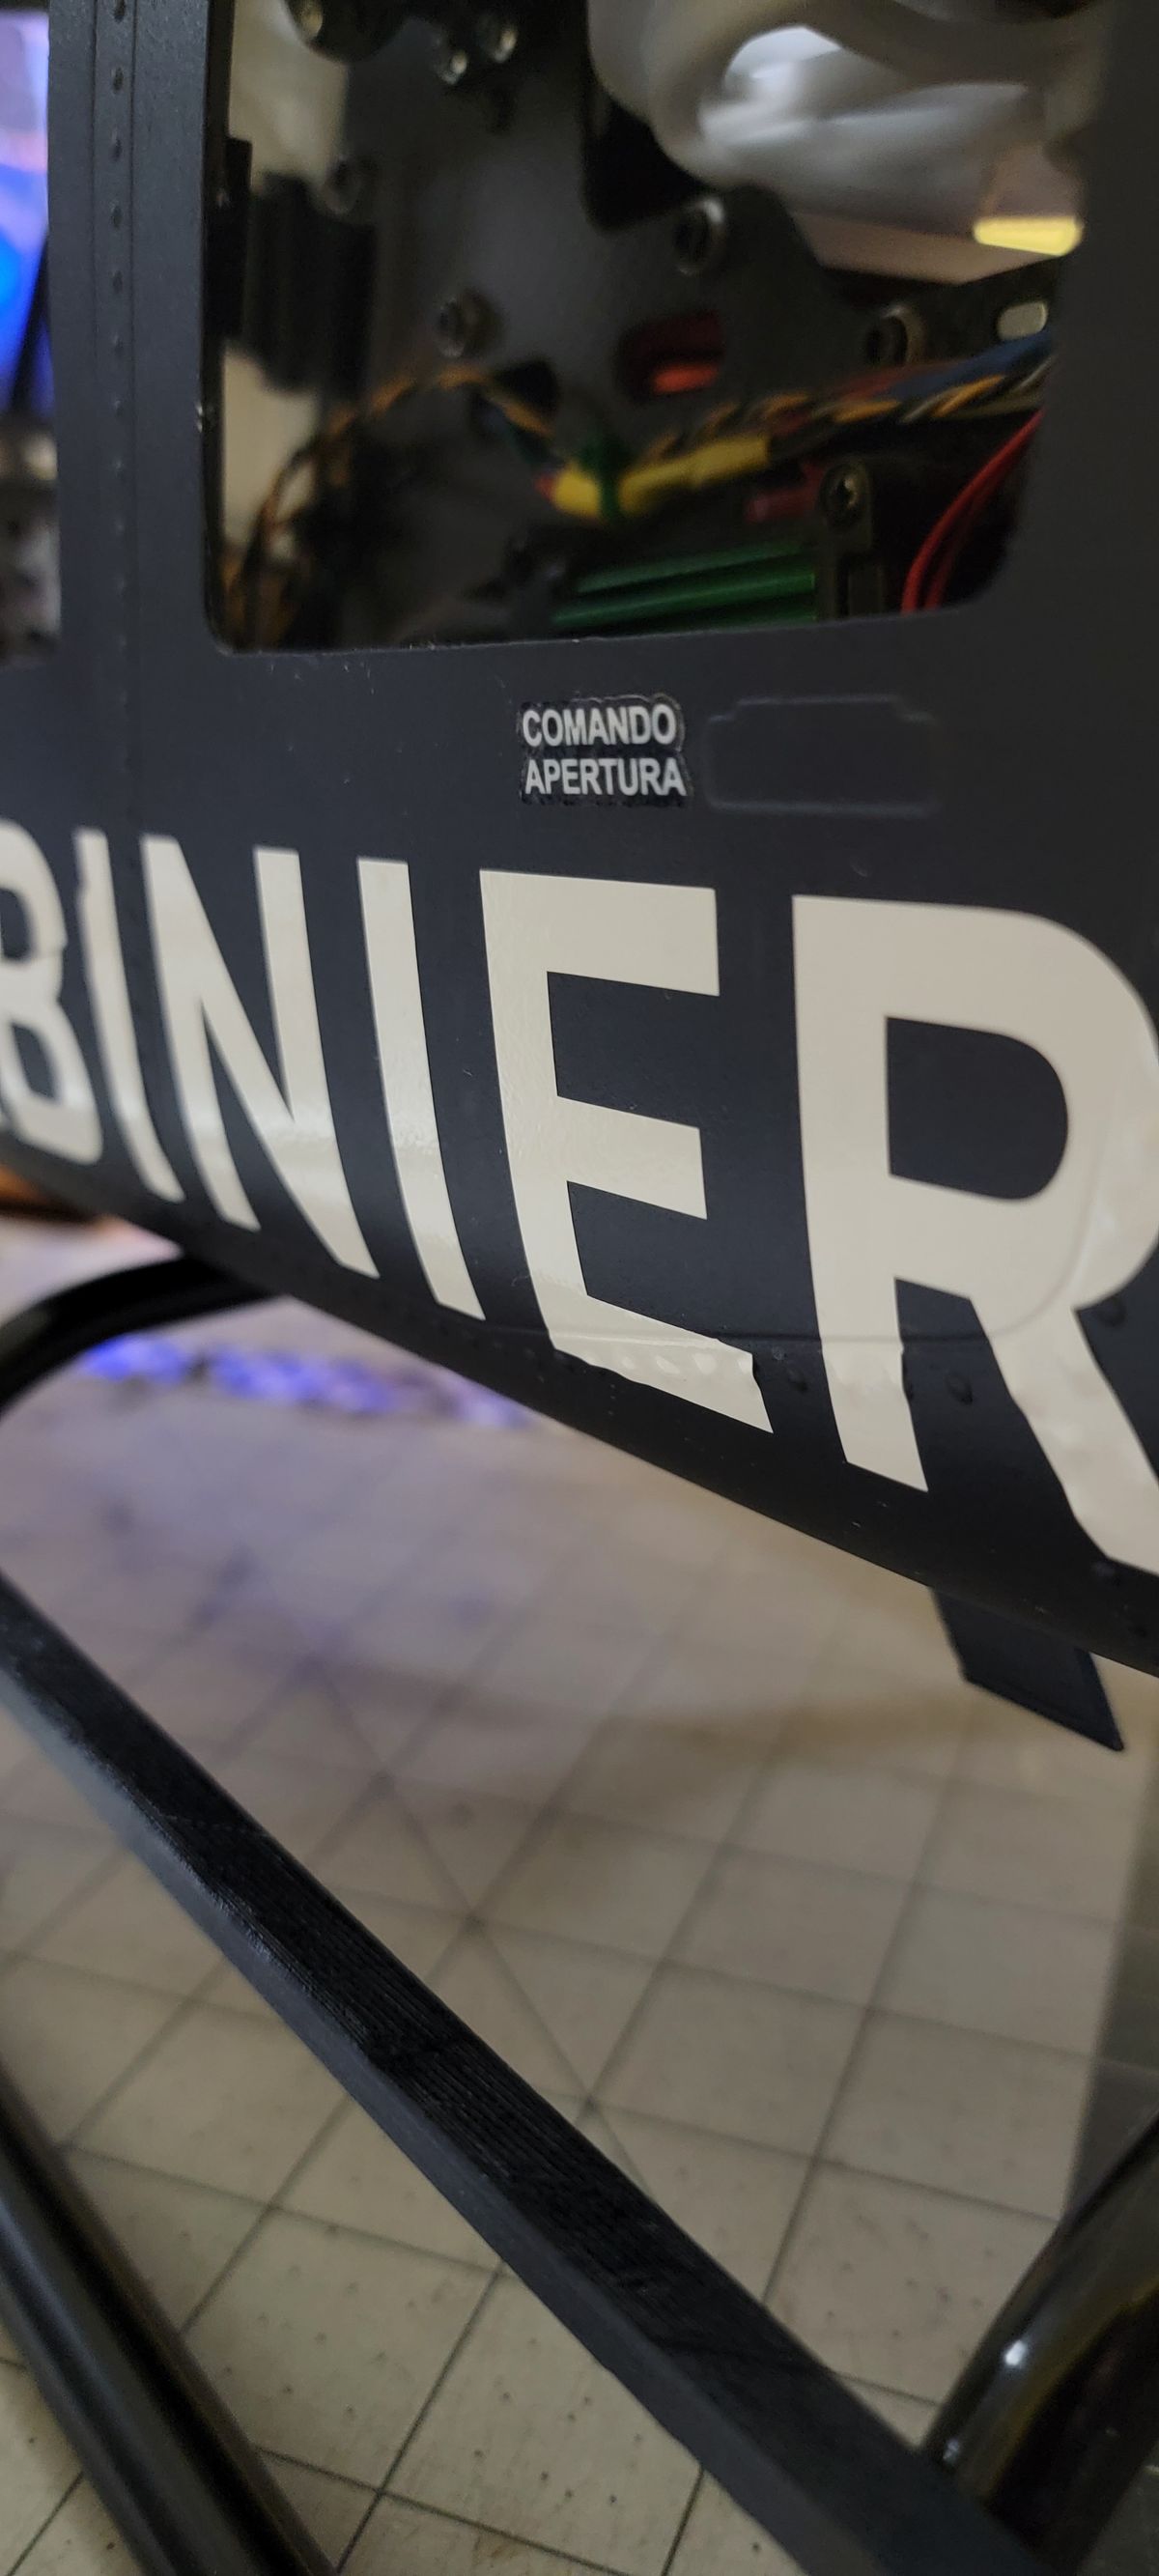
Thanks to Callie-Graphics for the Decals.
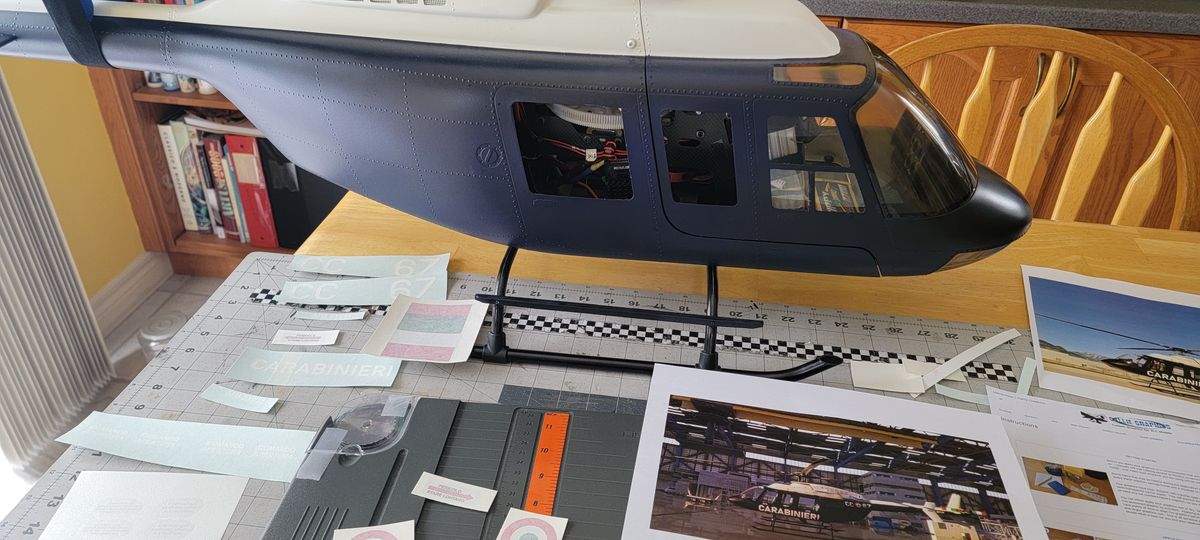
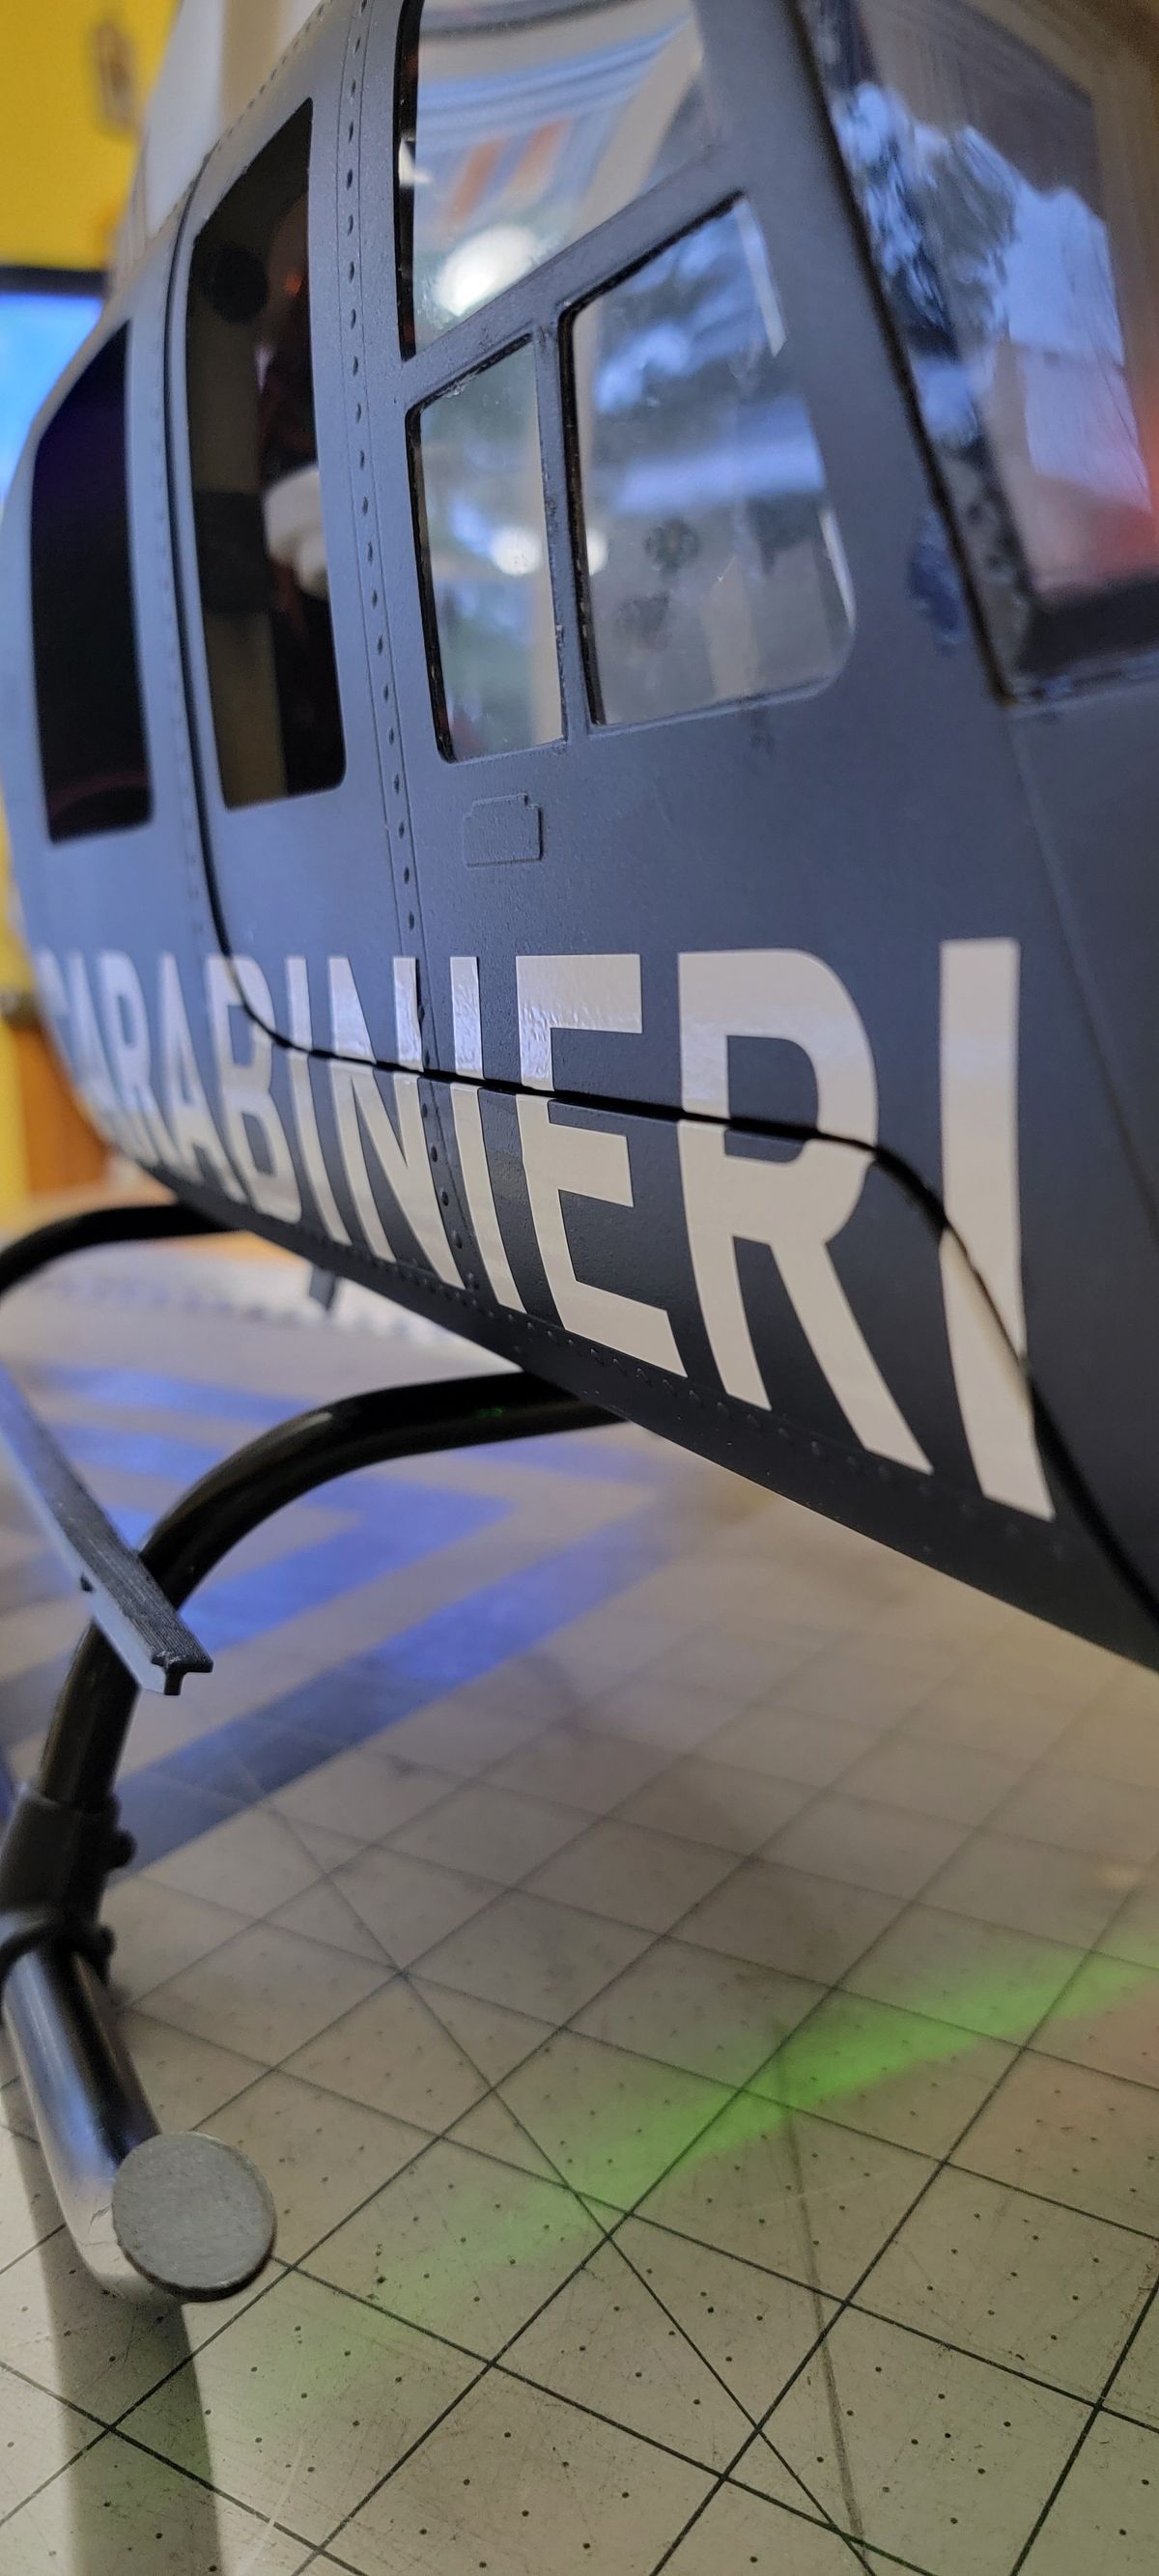
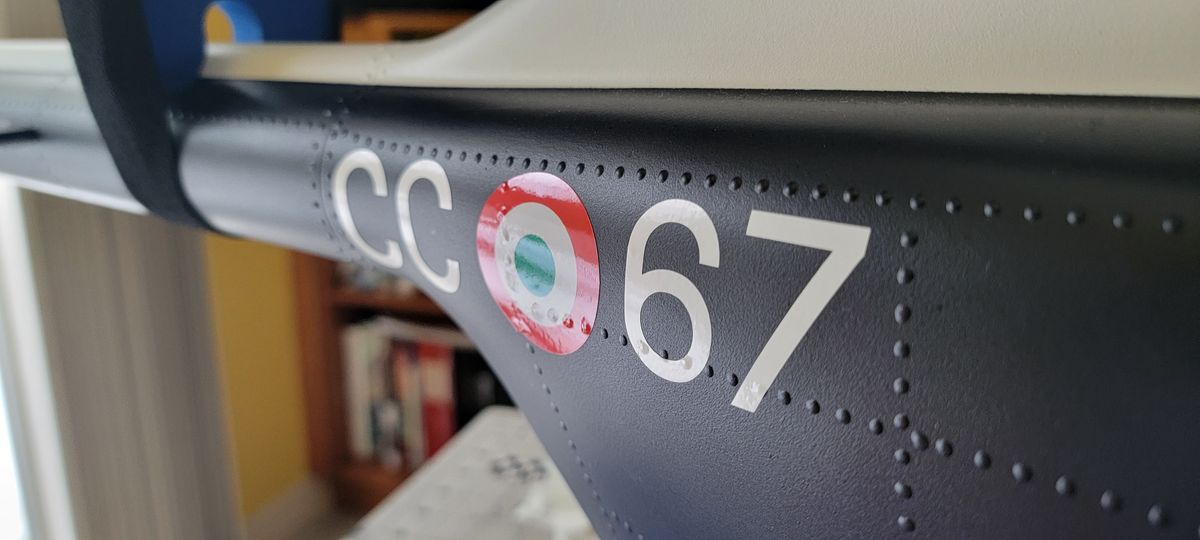
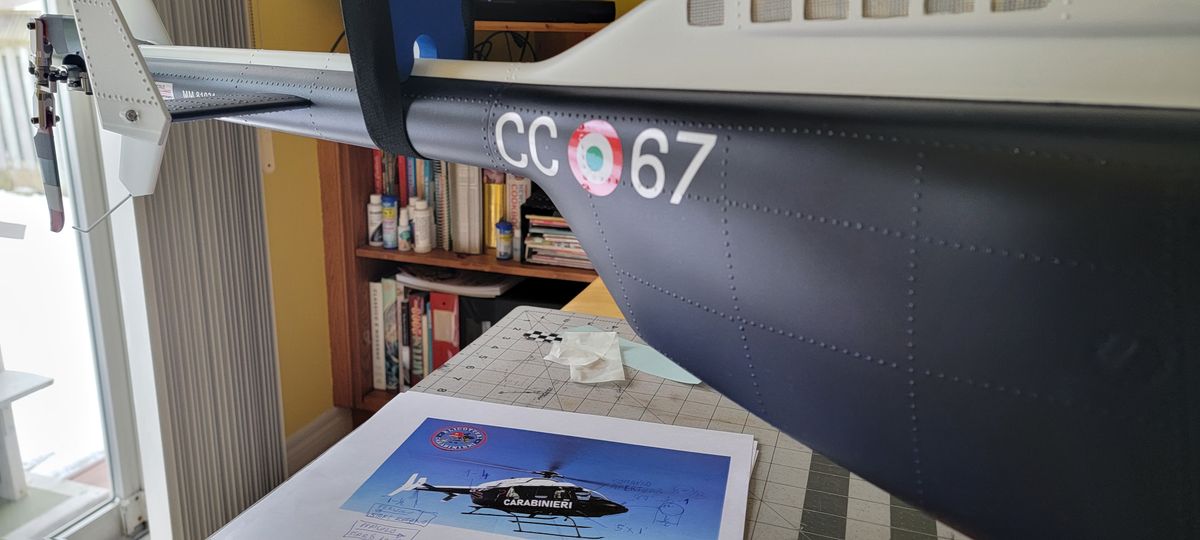
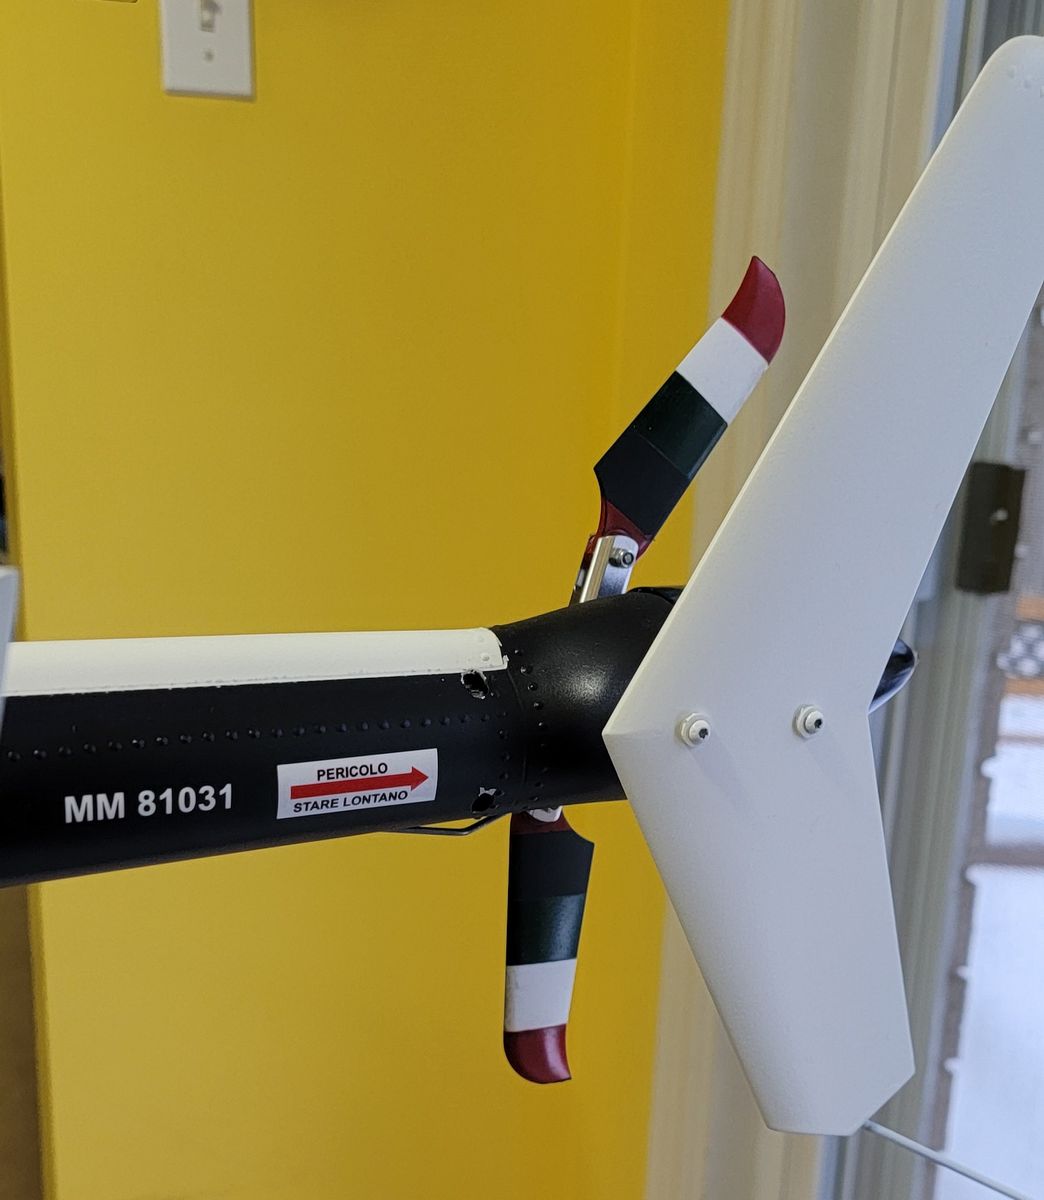
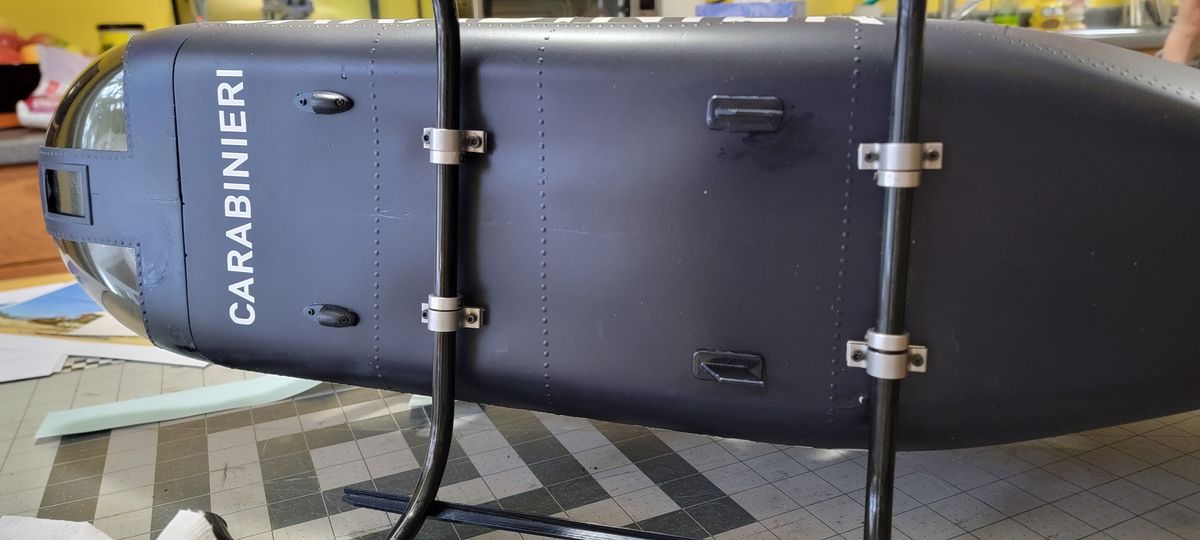
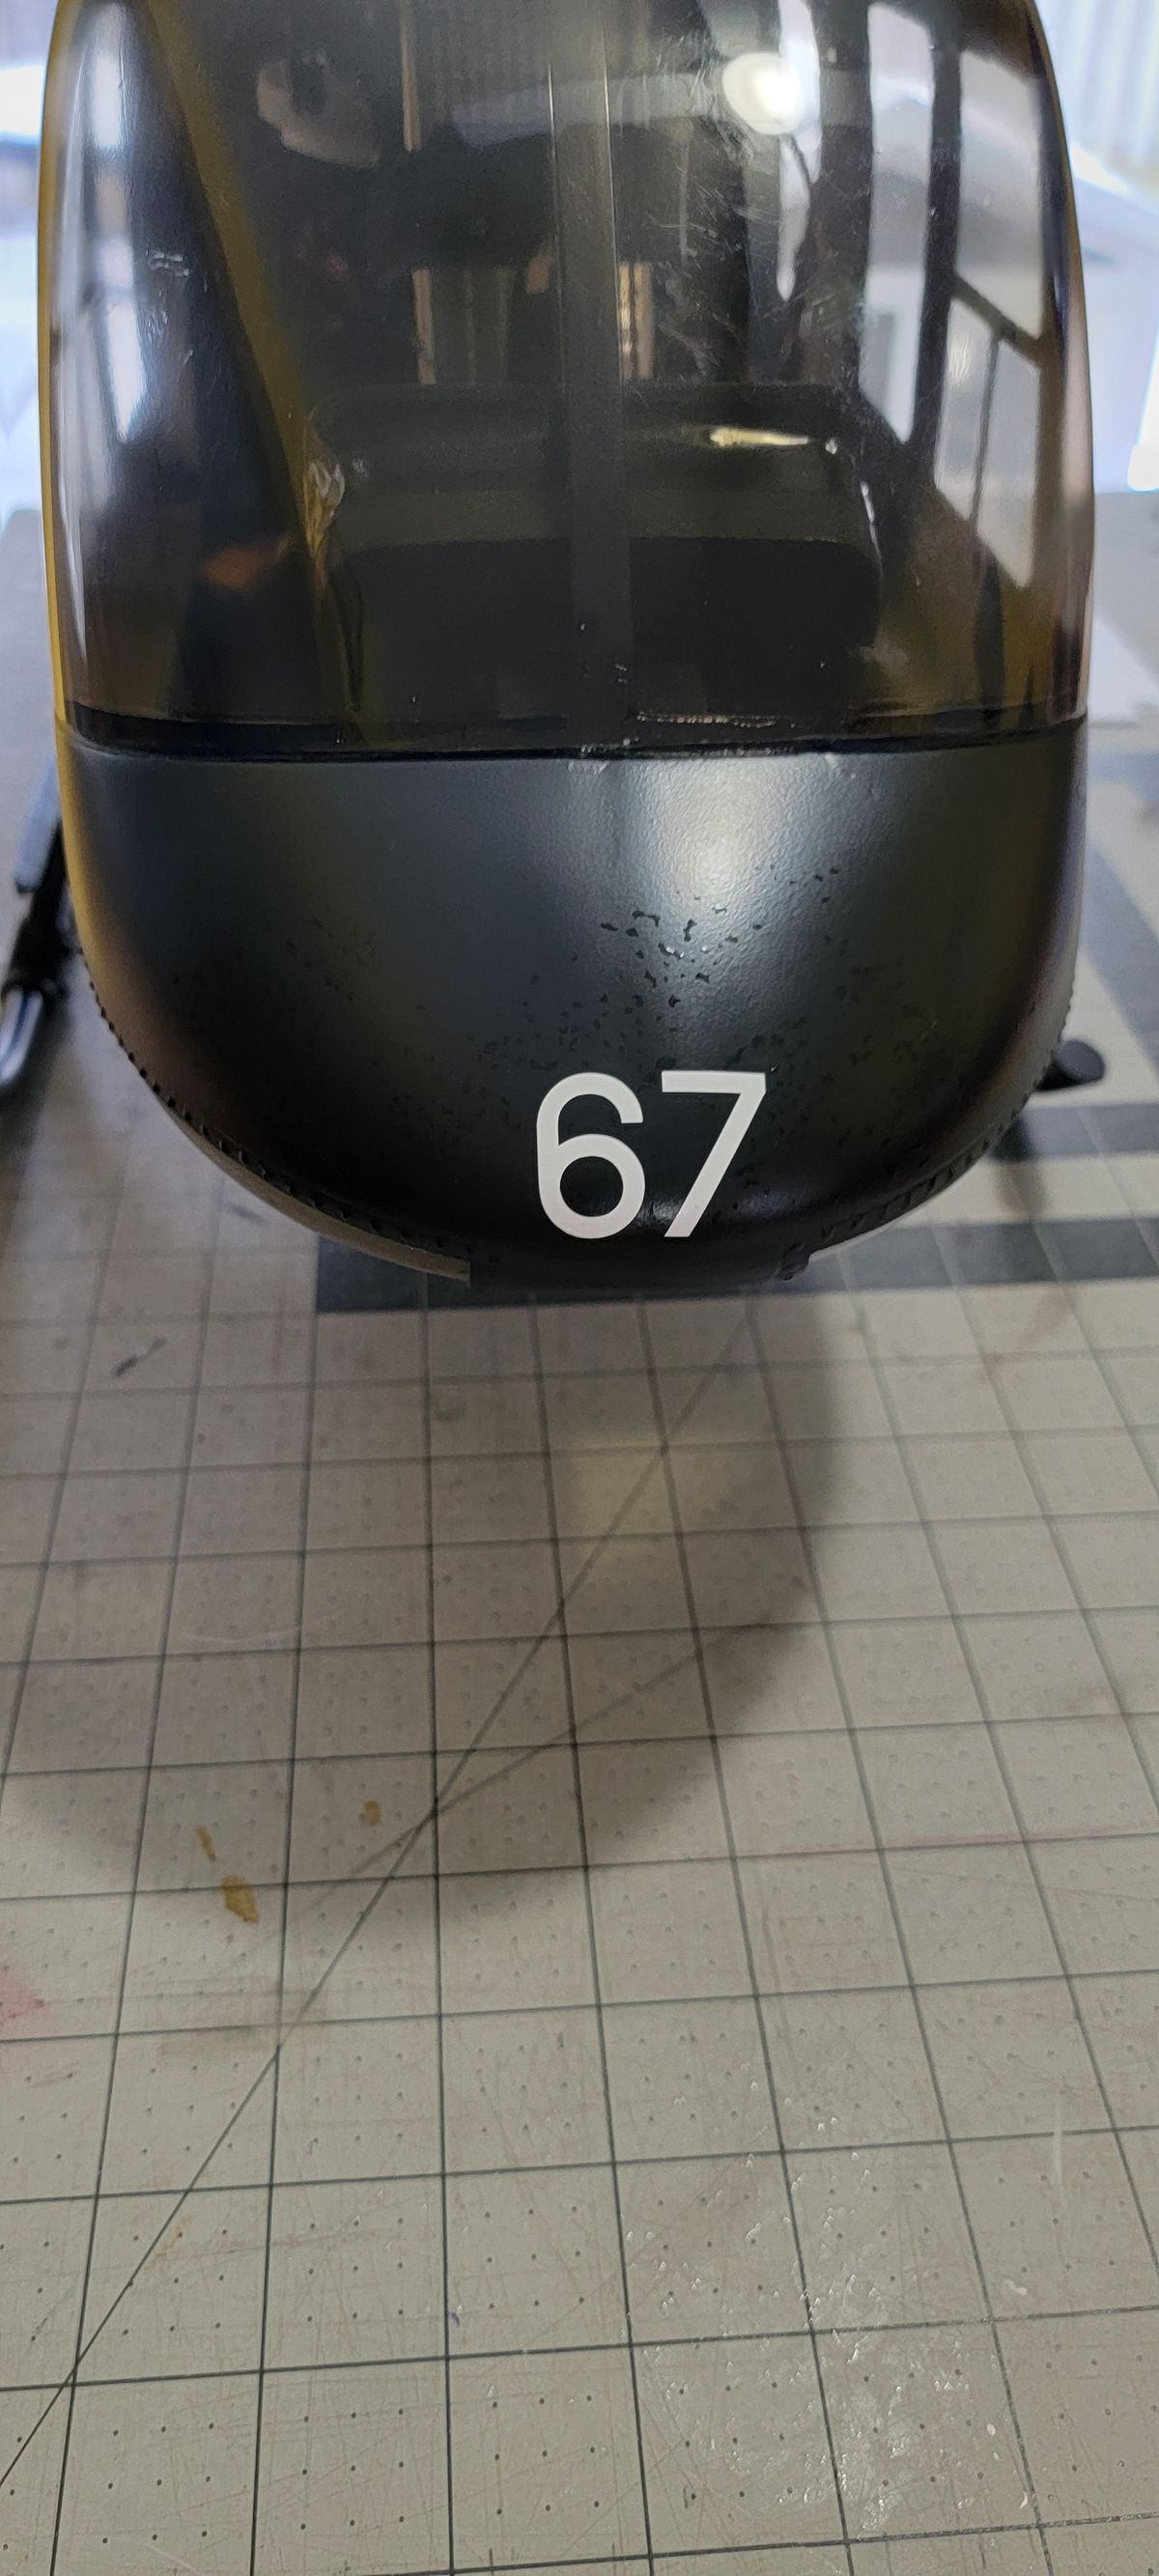
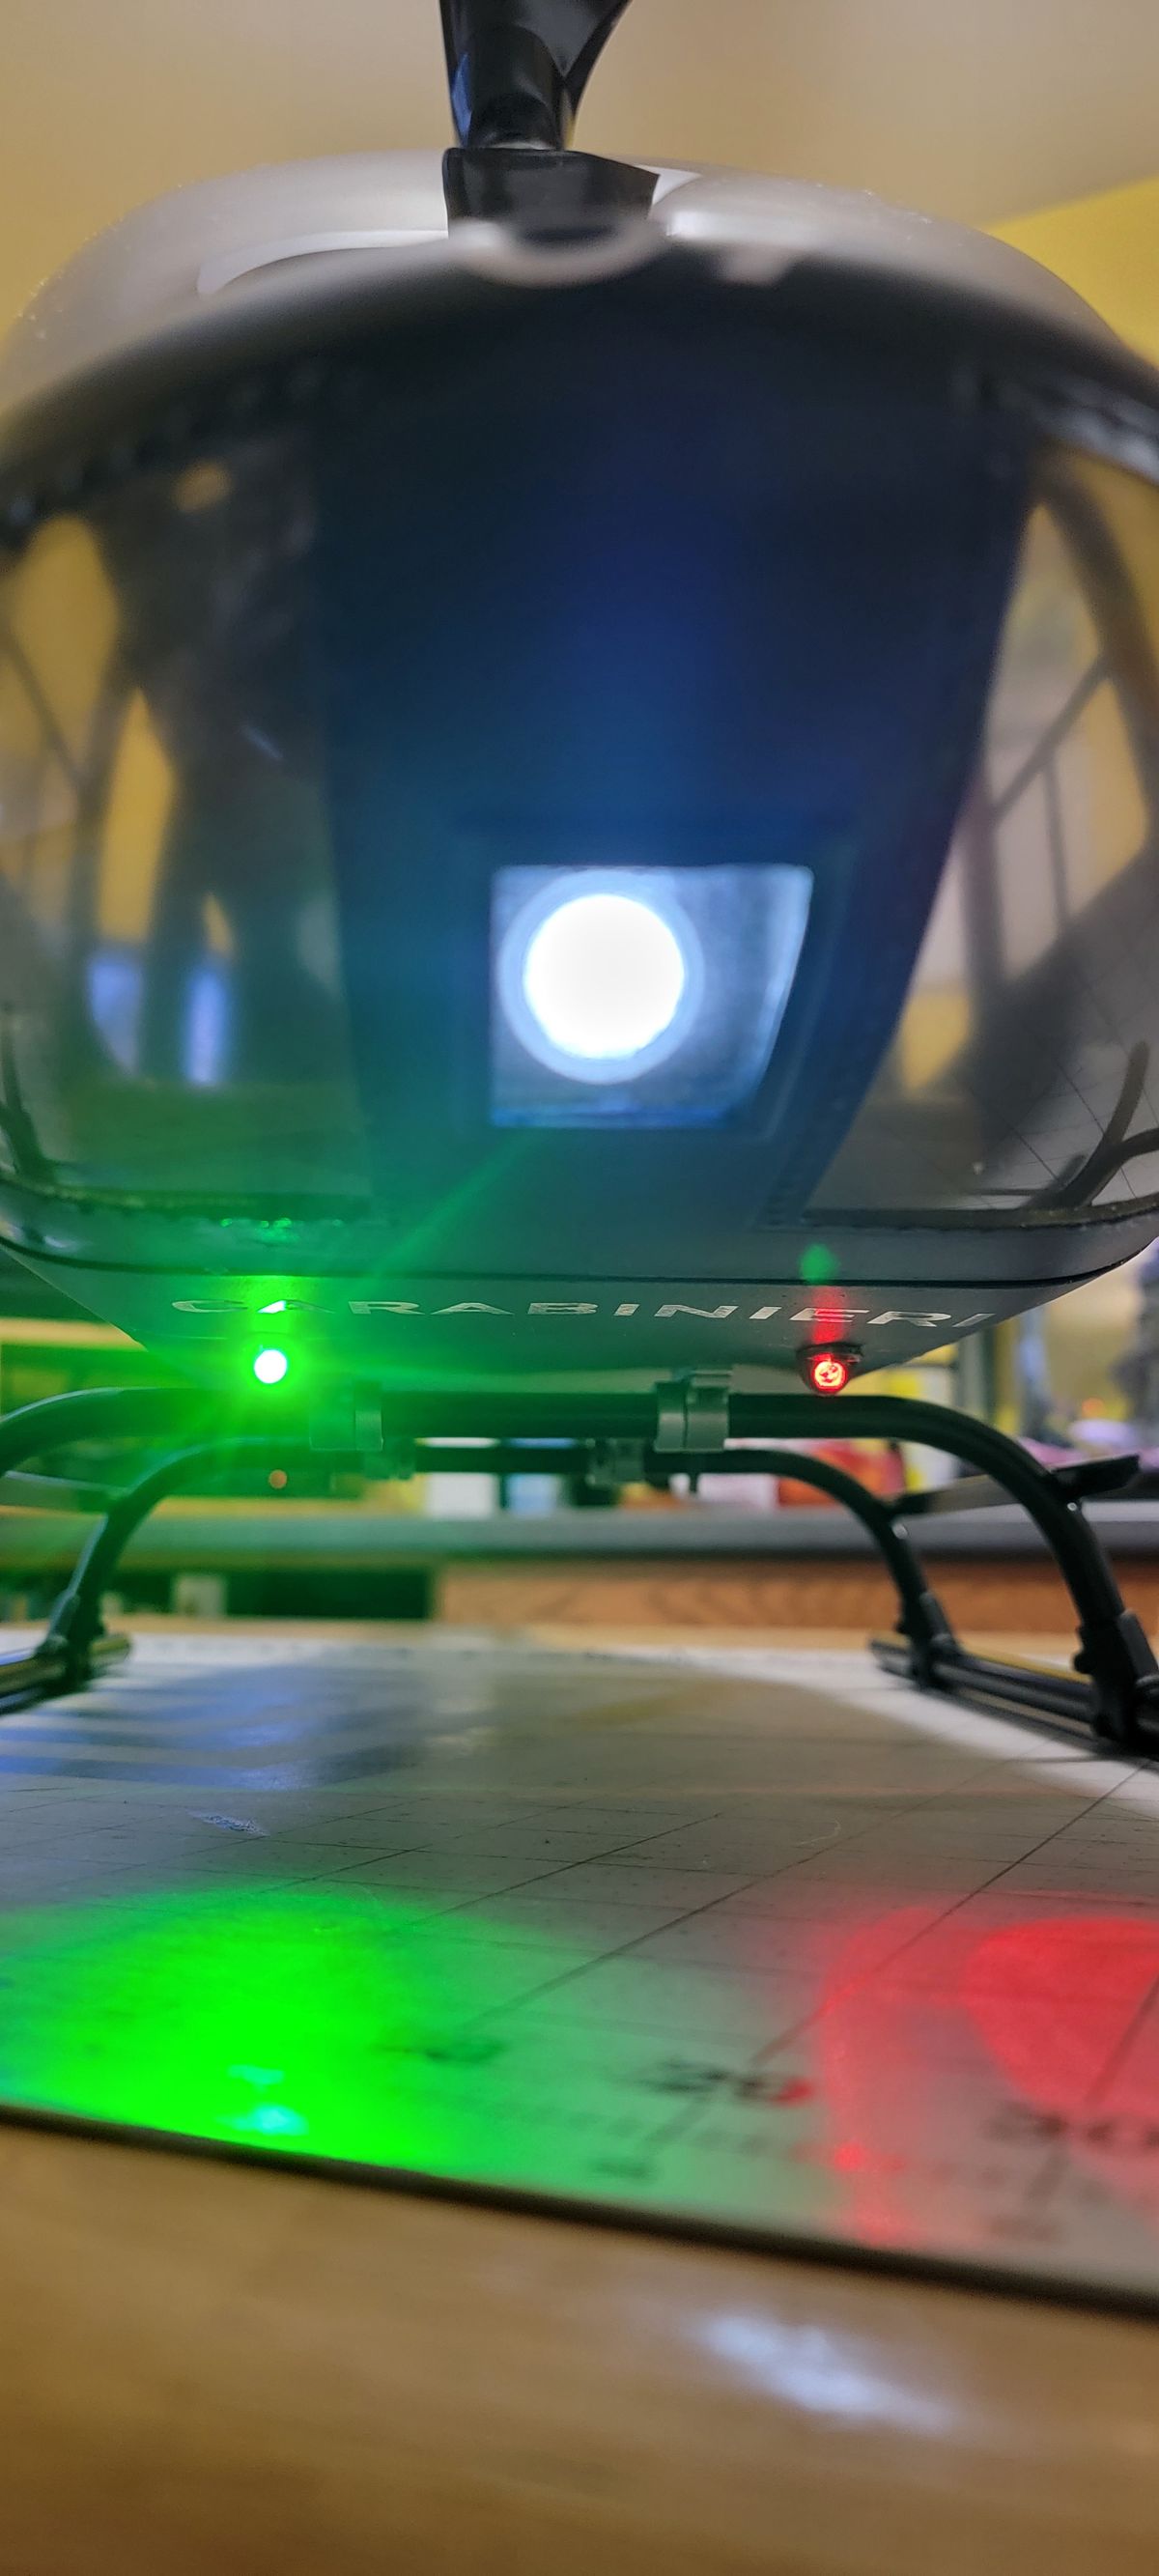
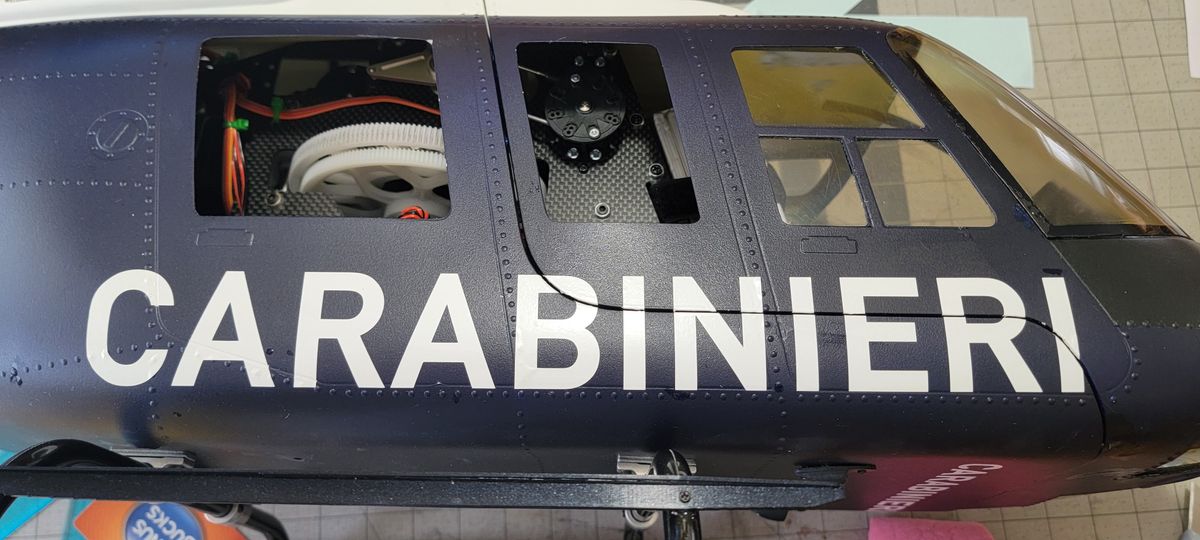
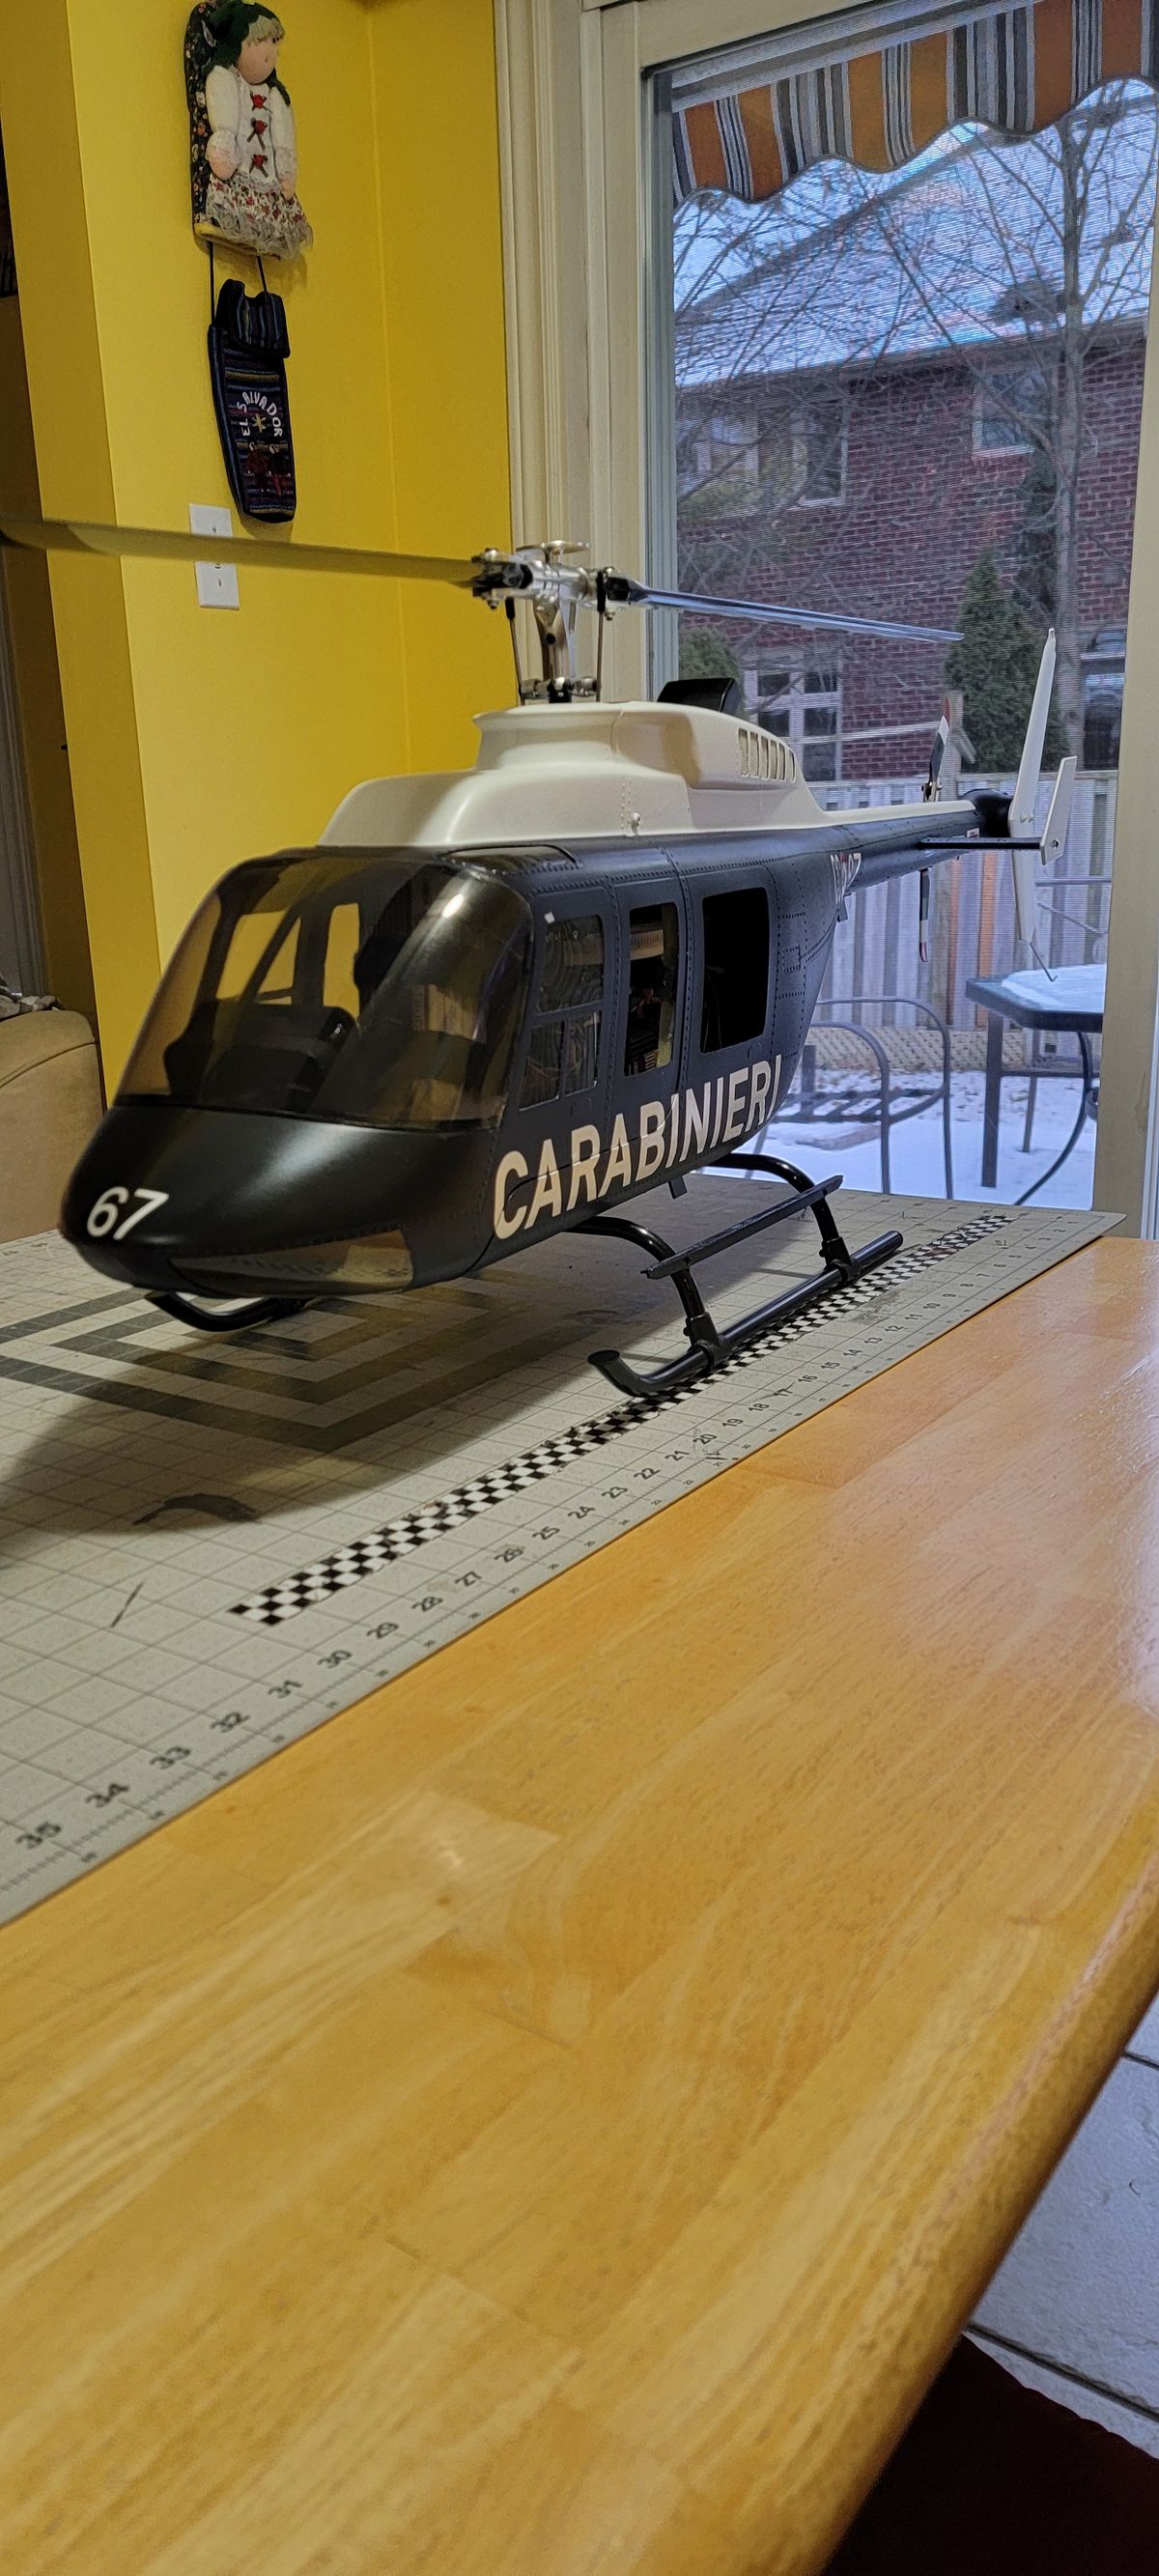
Last decals received, Thanks Callie Graphics.
Adding few accessories
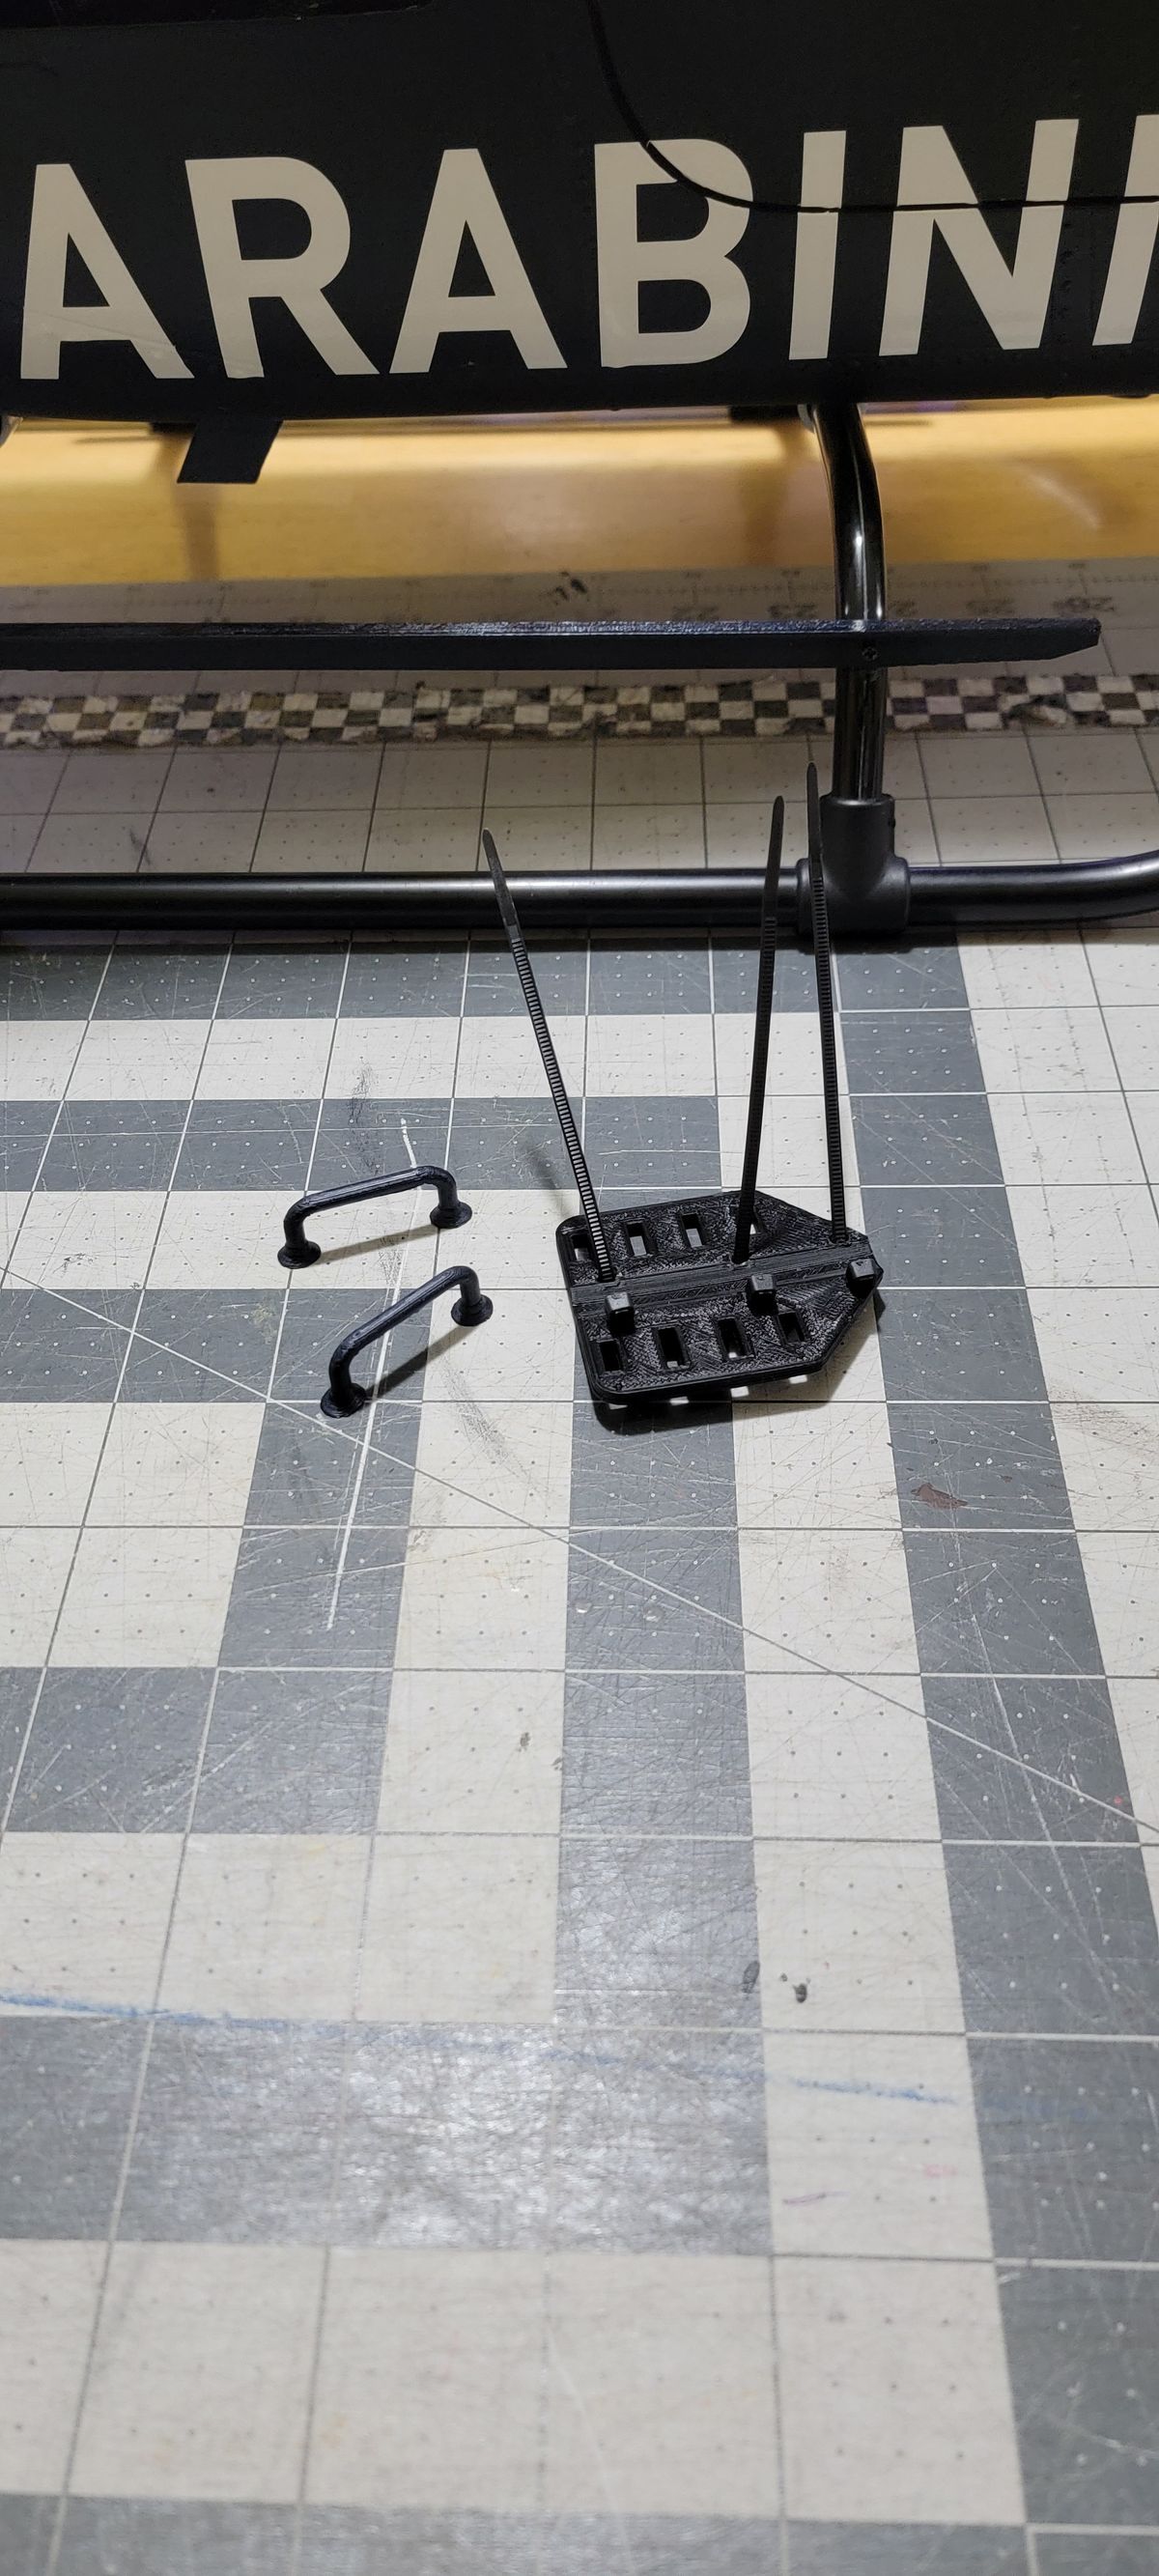
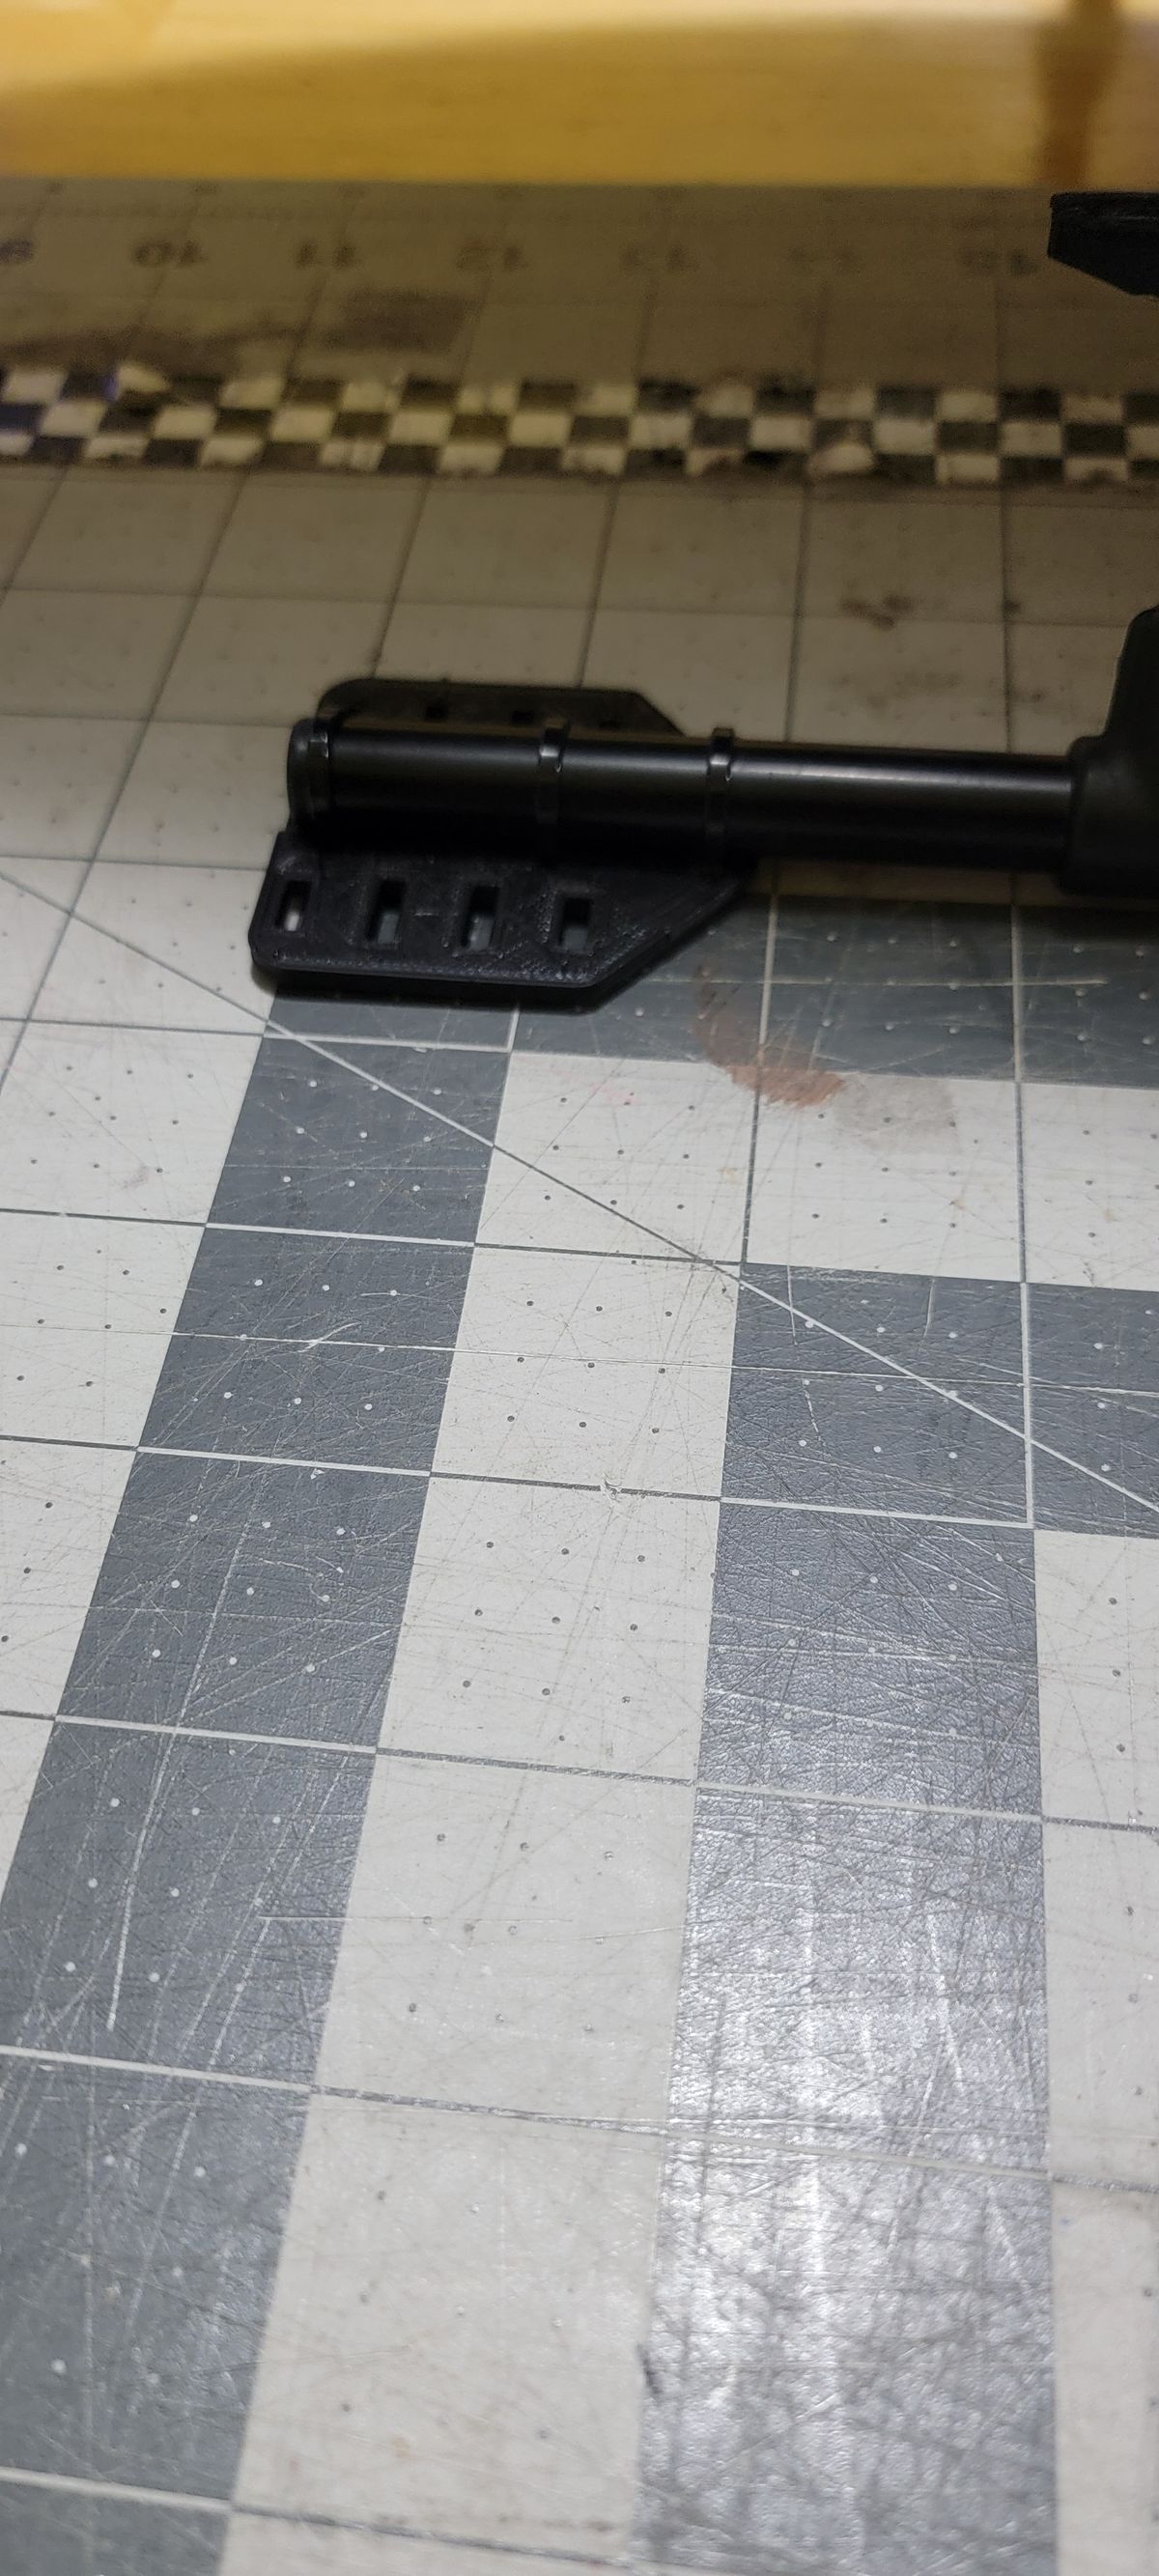
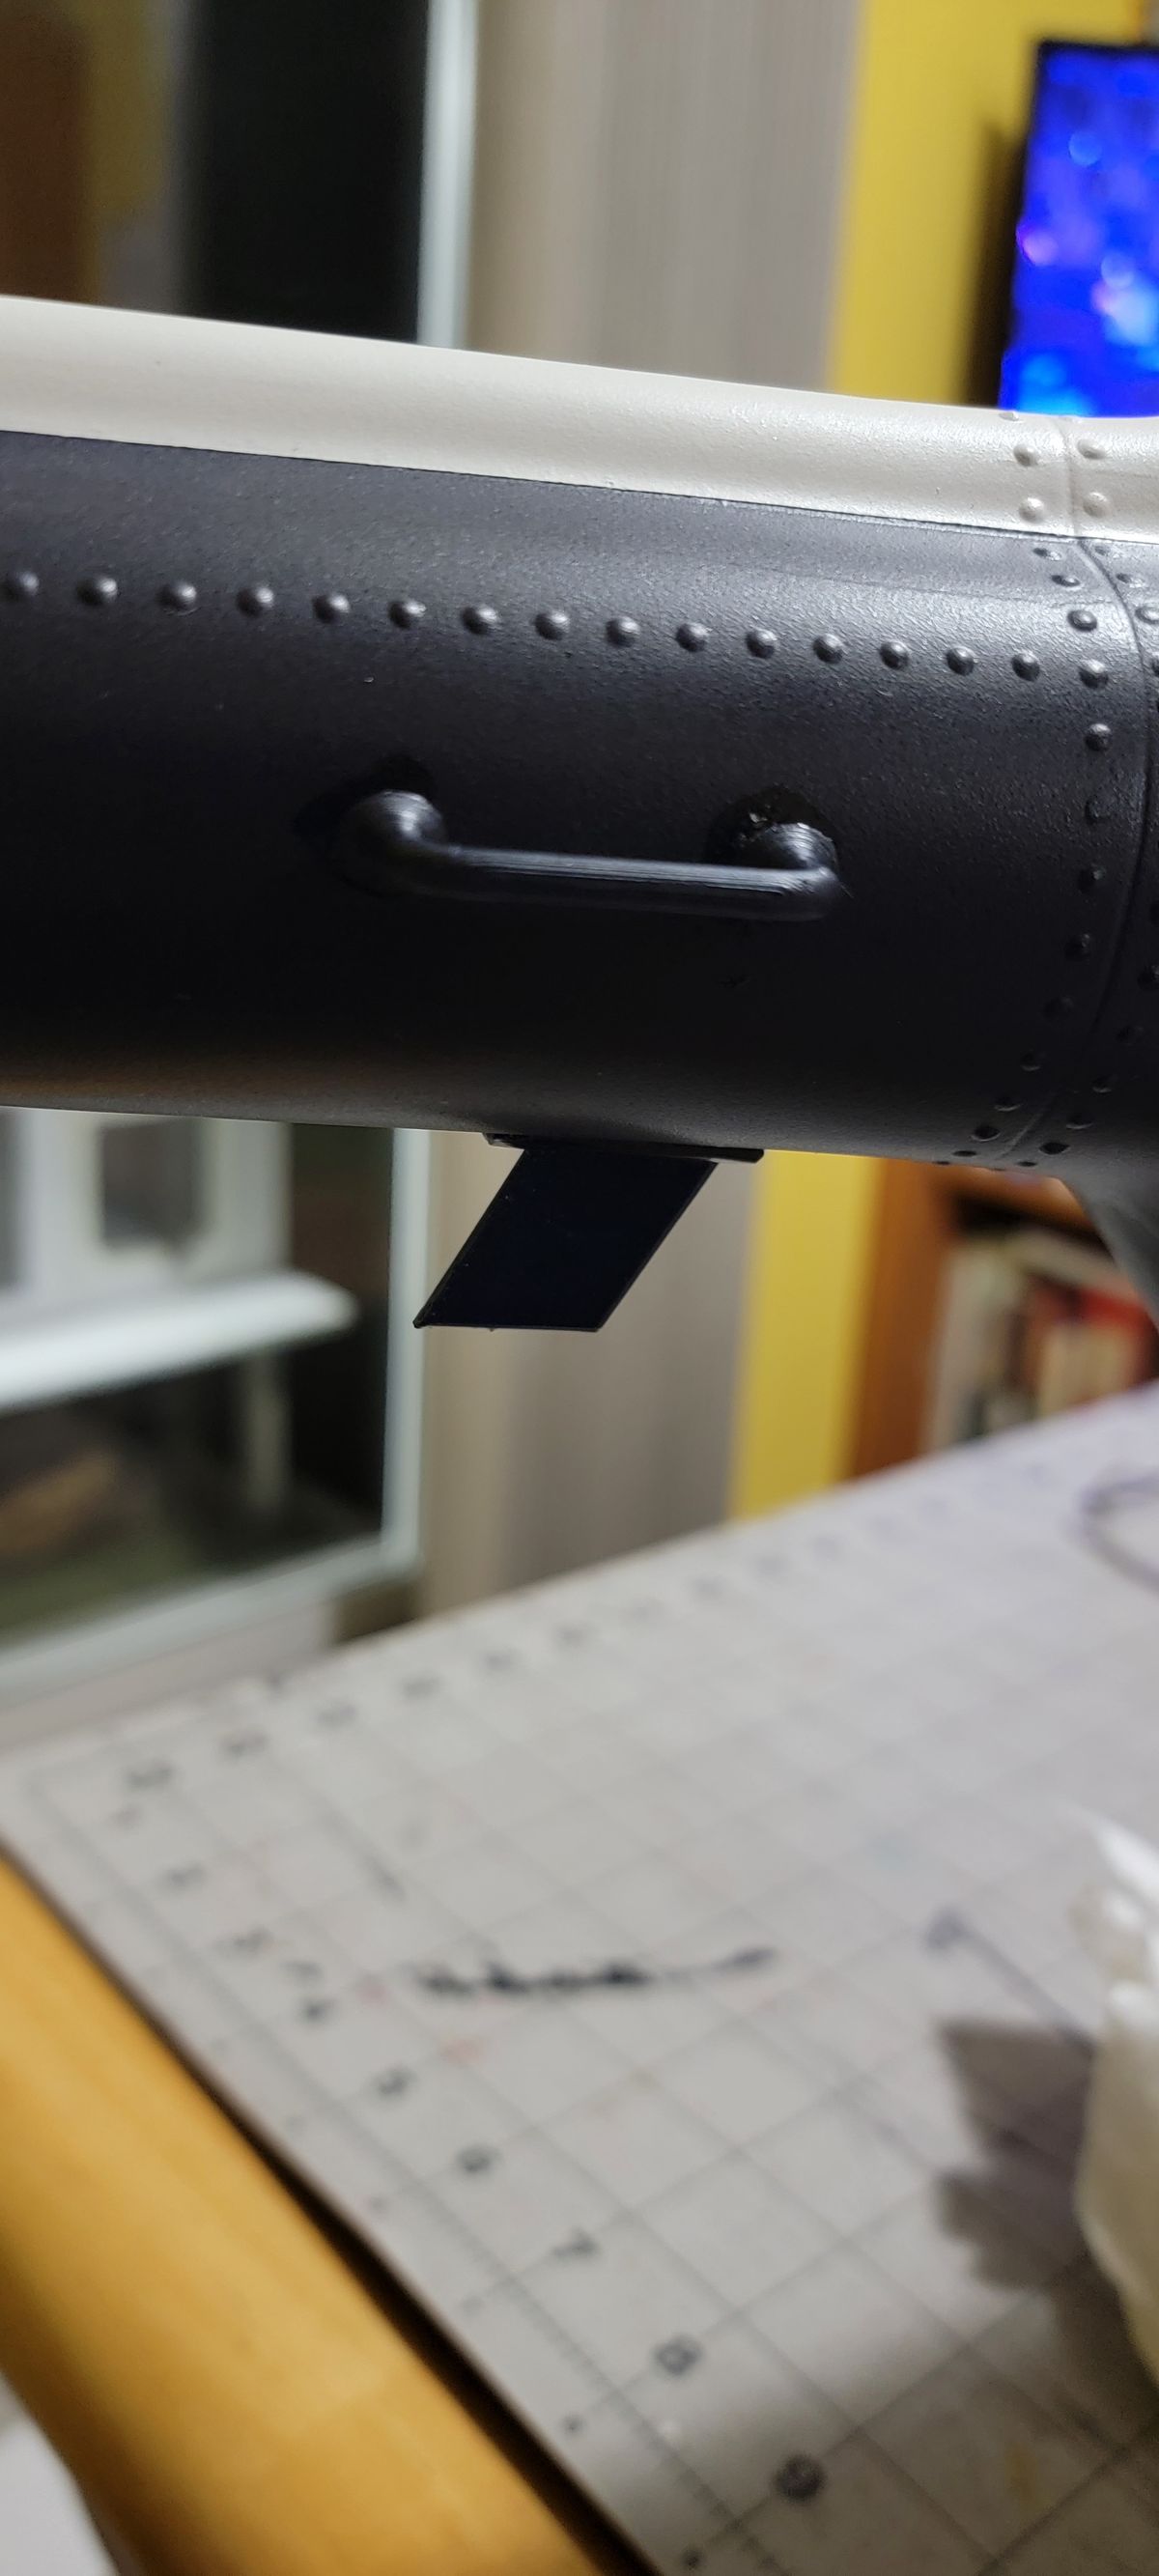
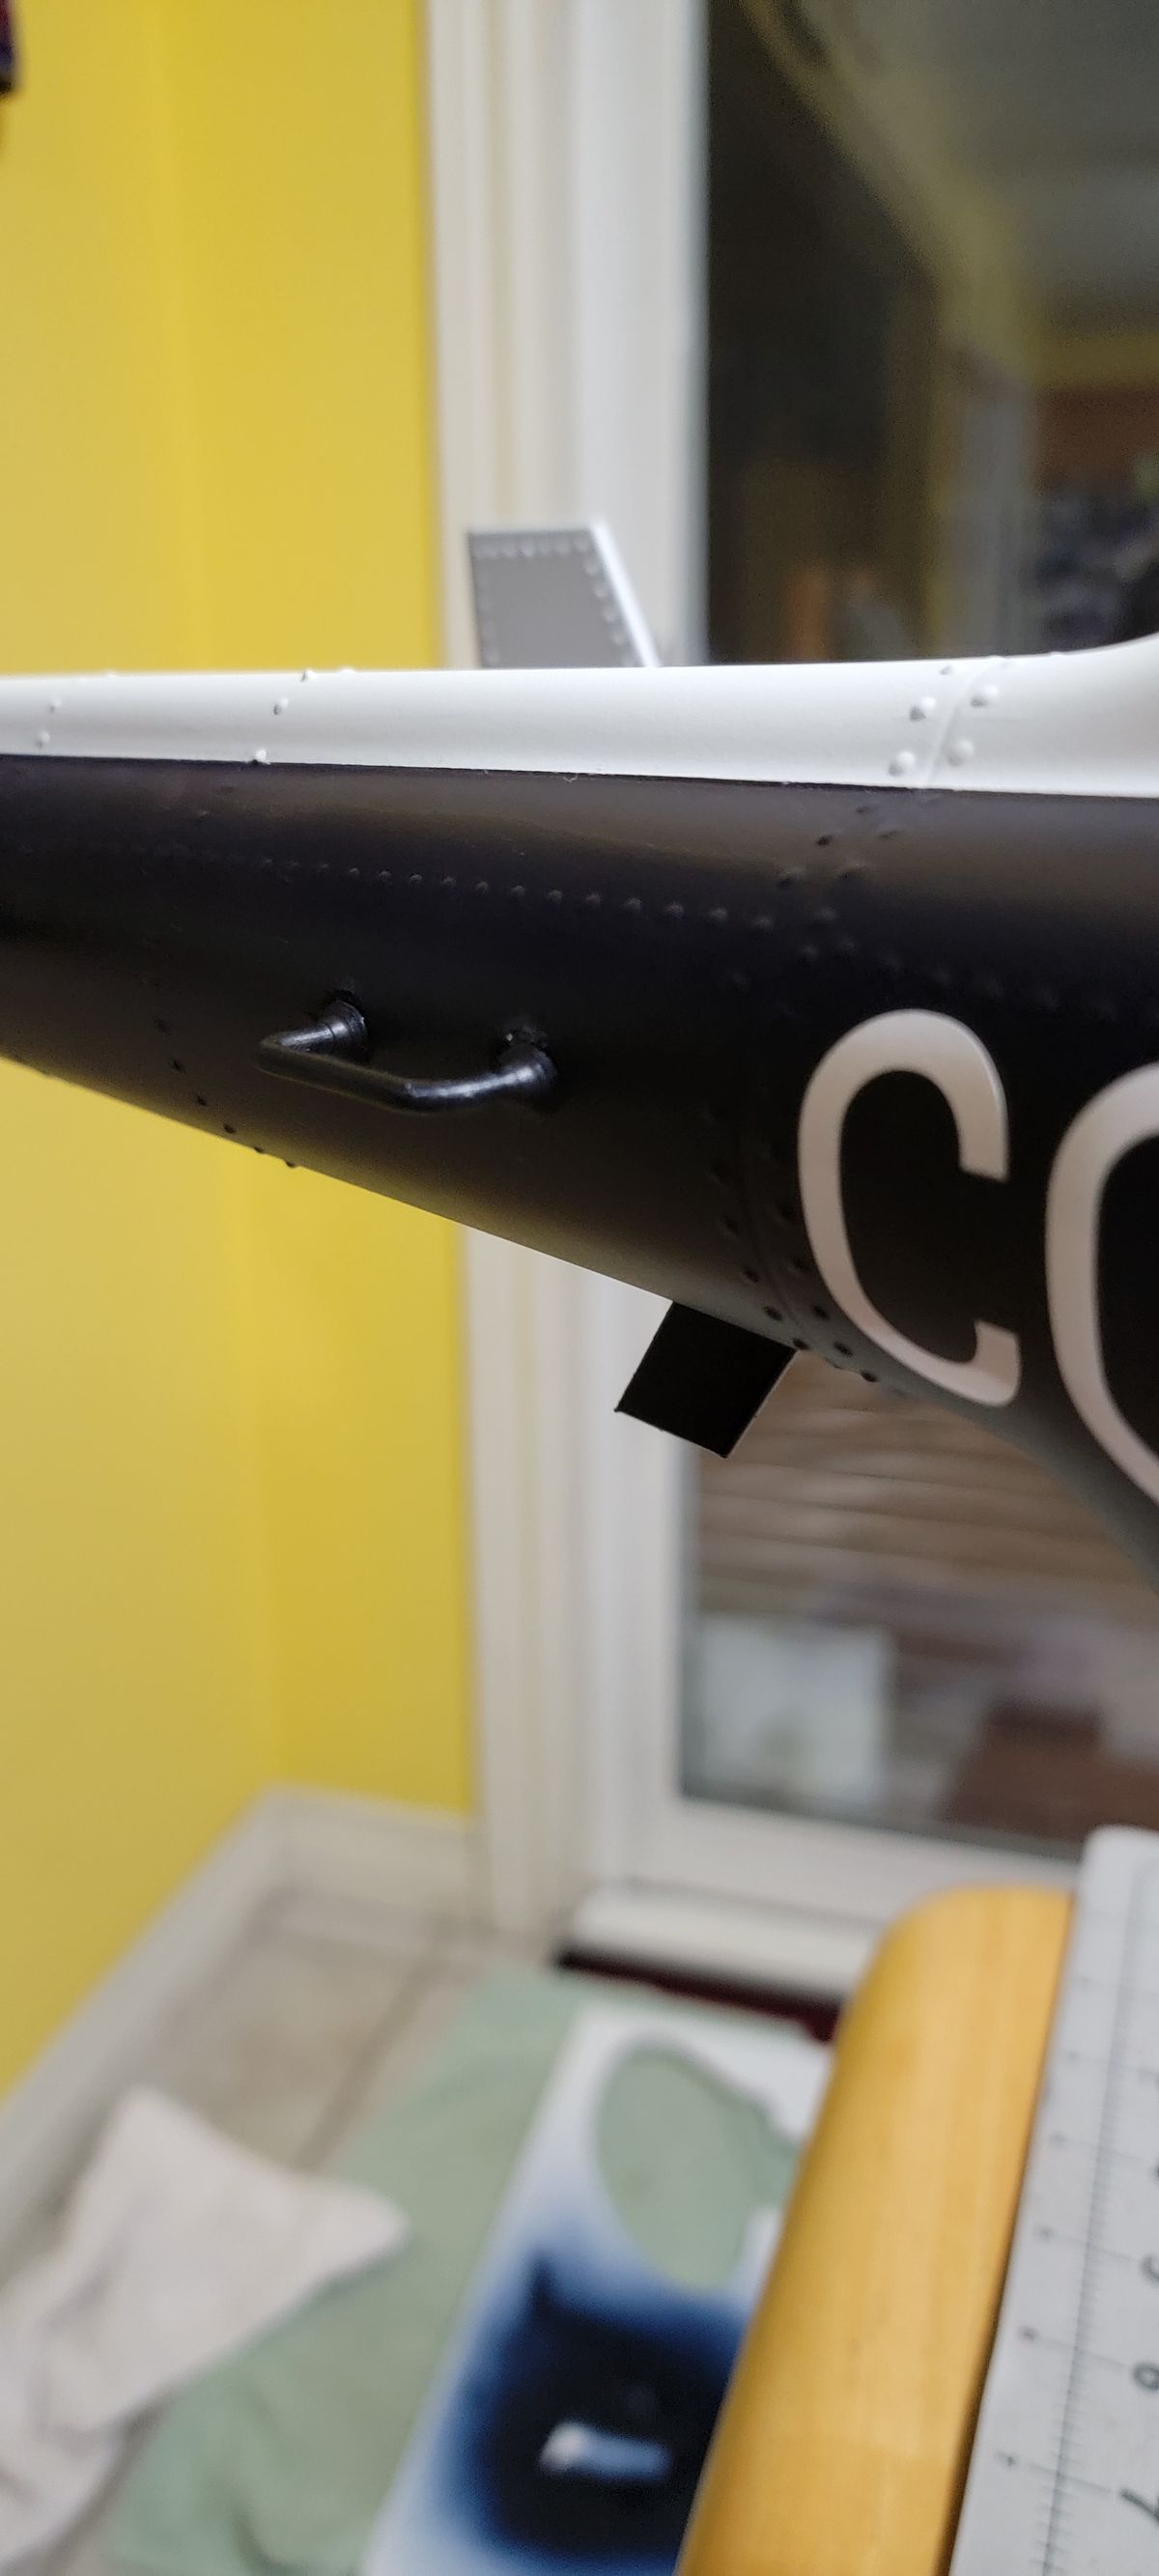
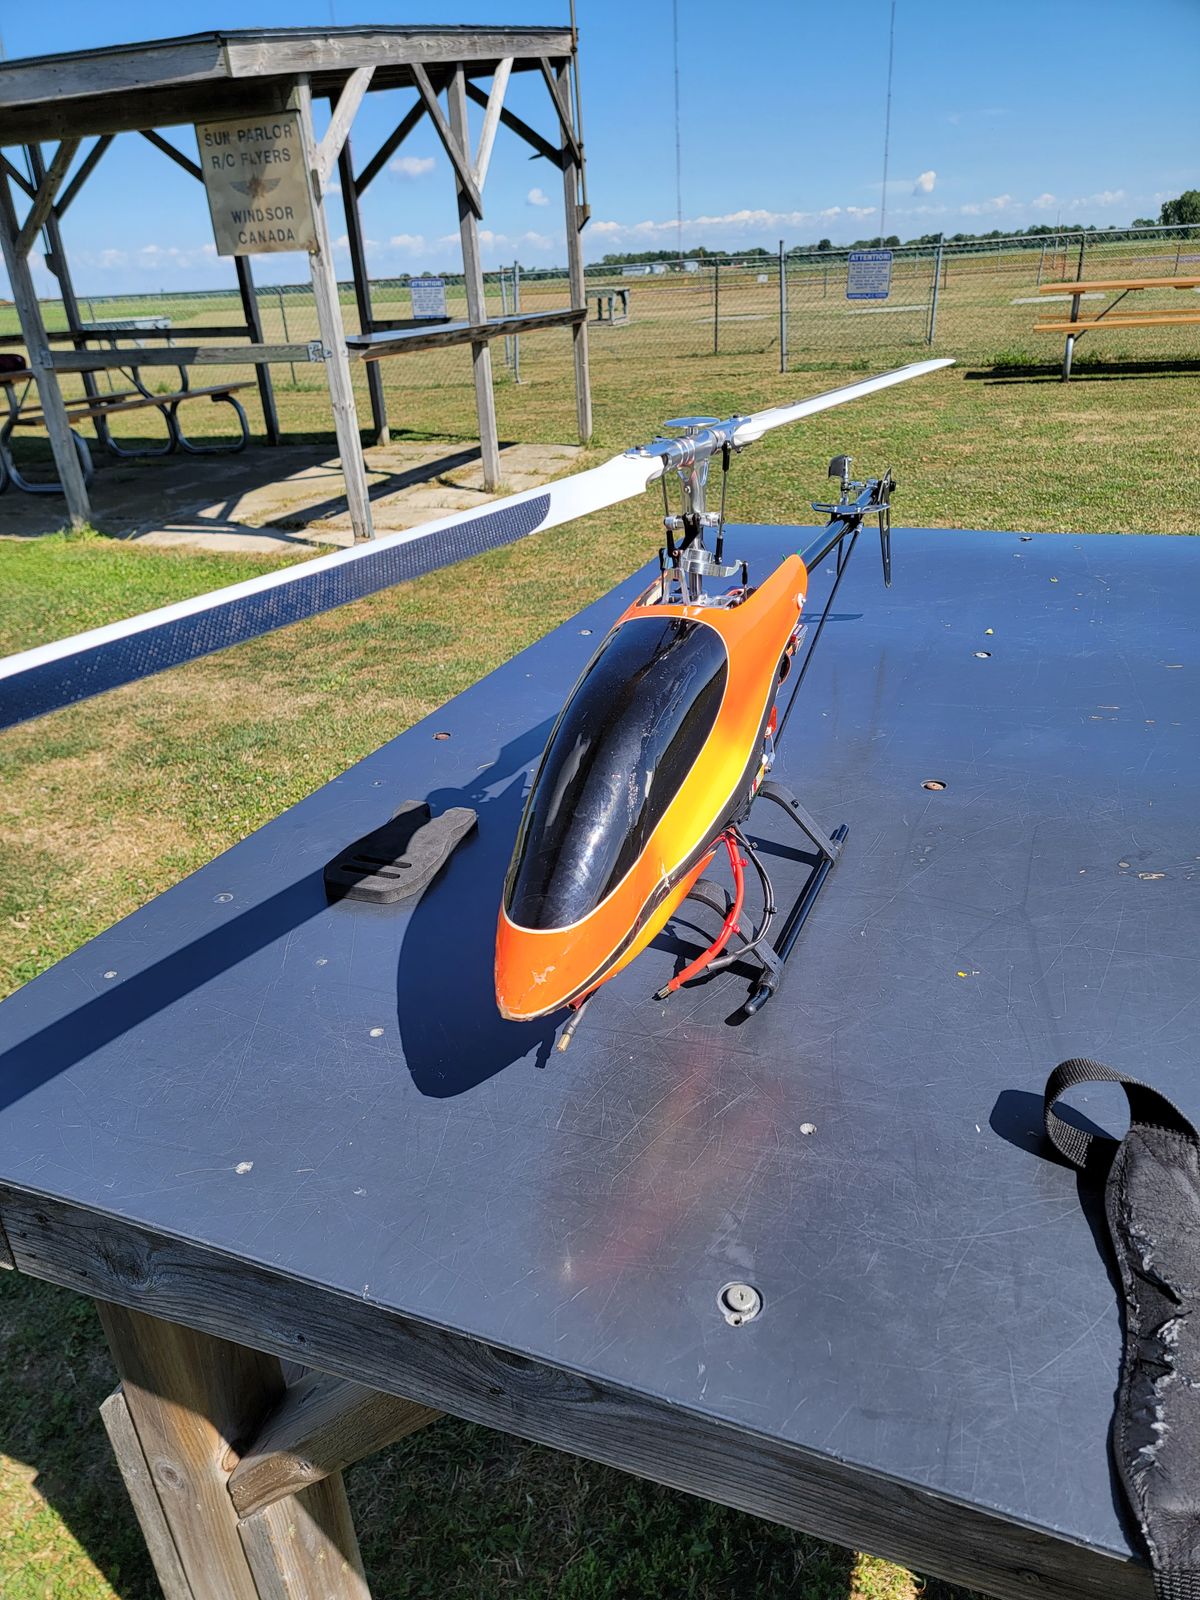
Quick trip to the Field for a test
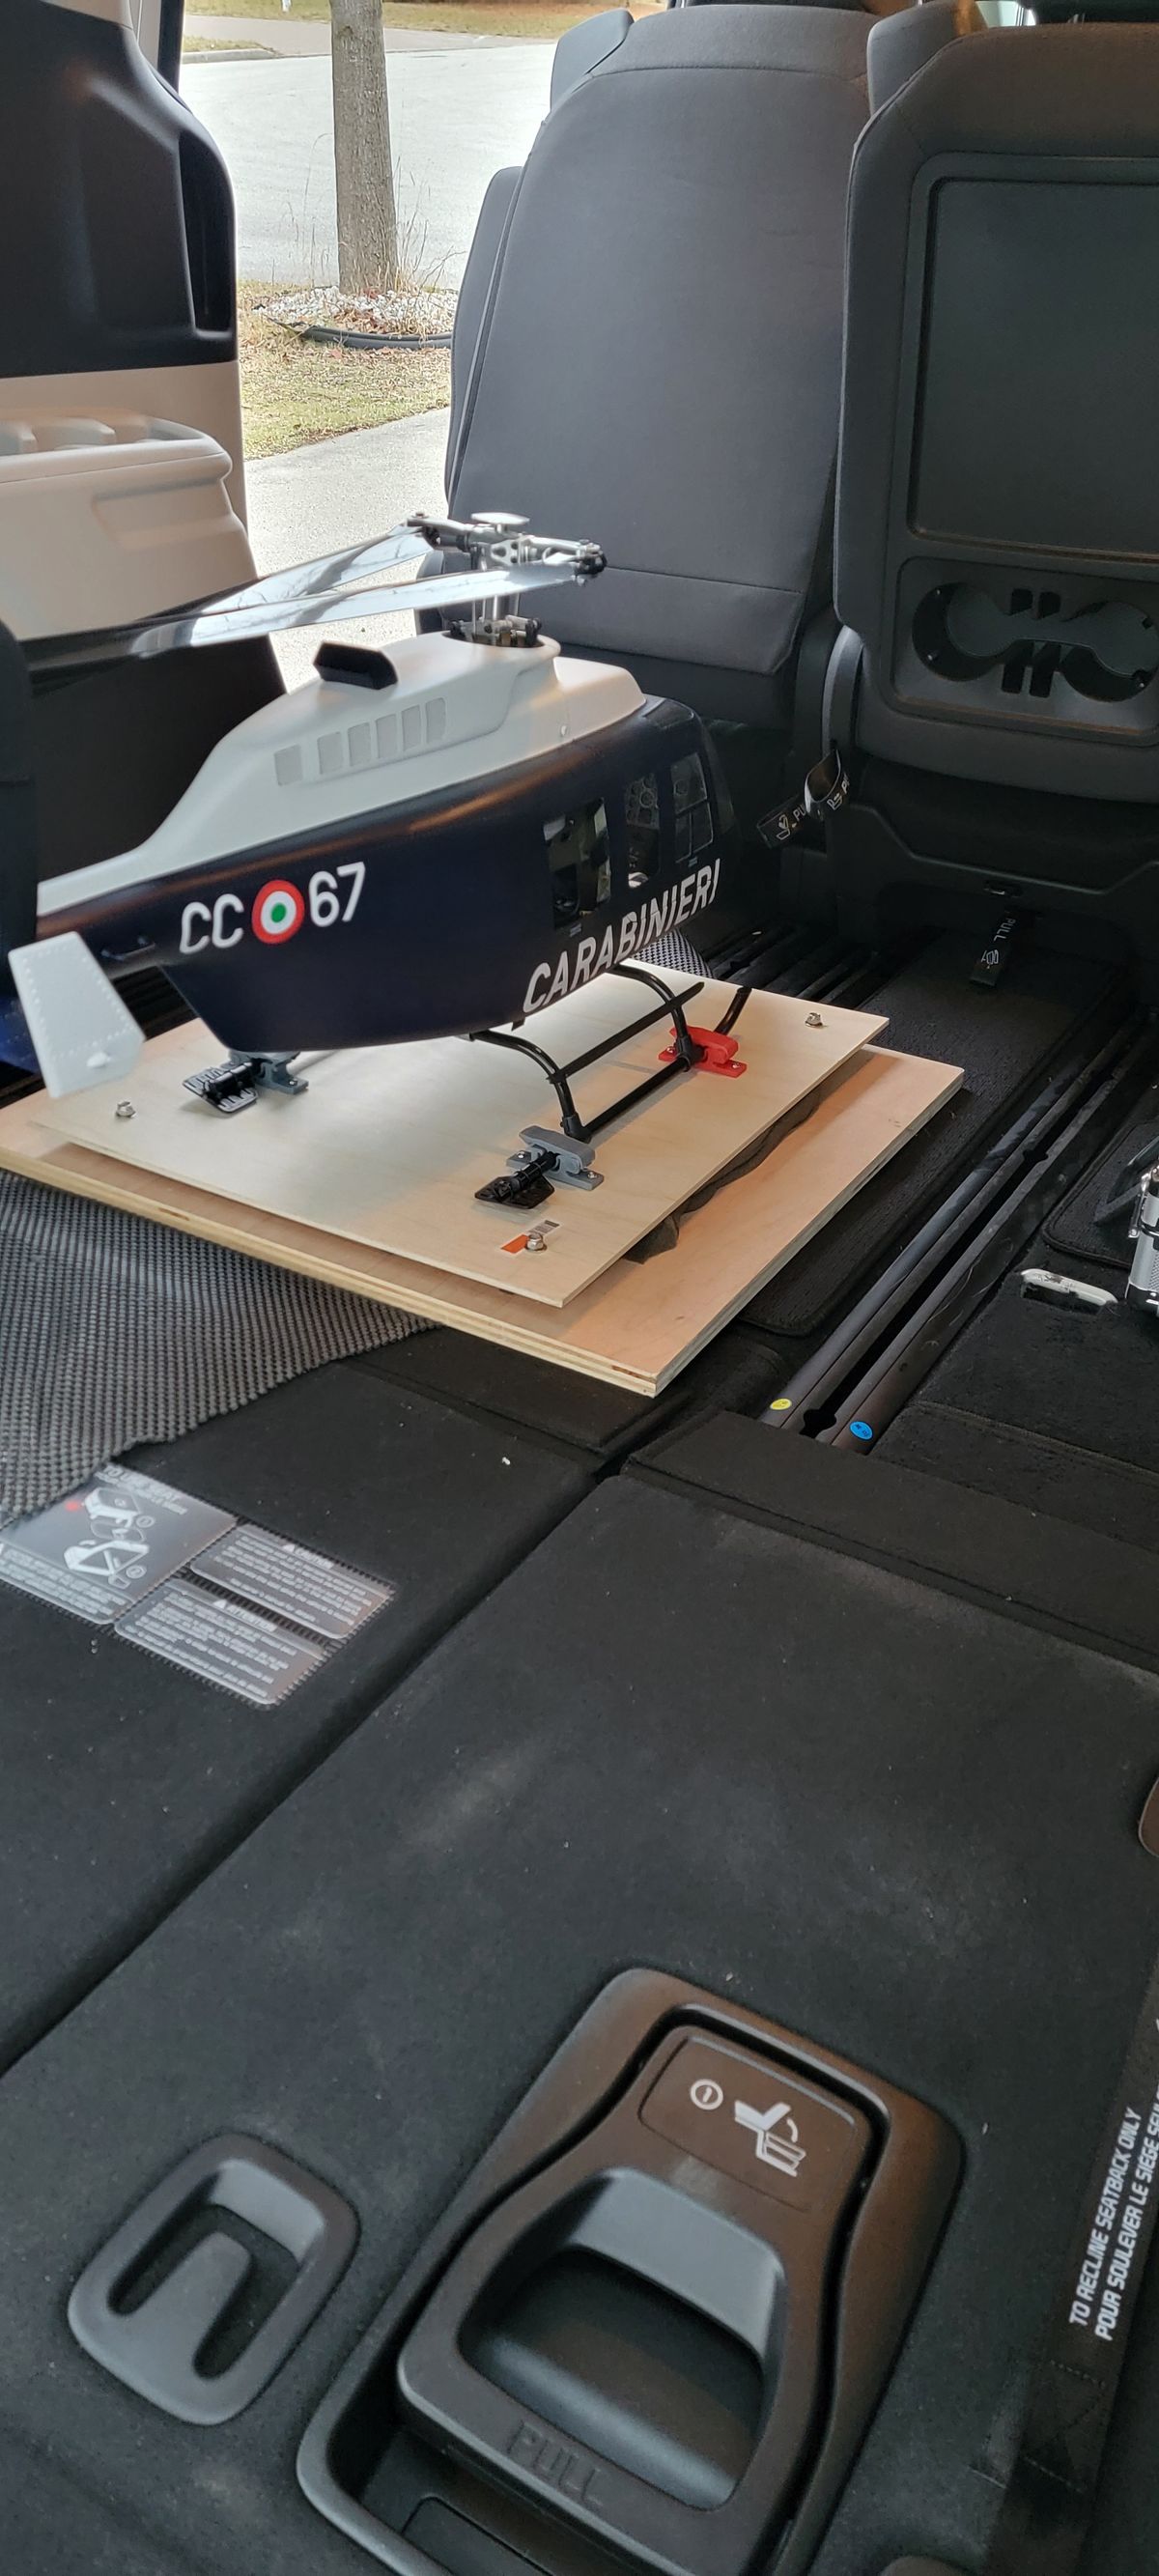
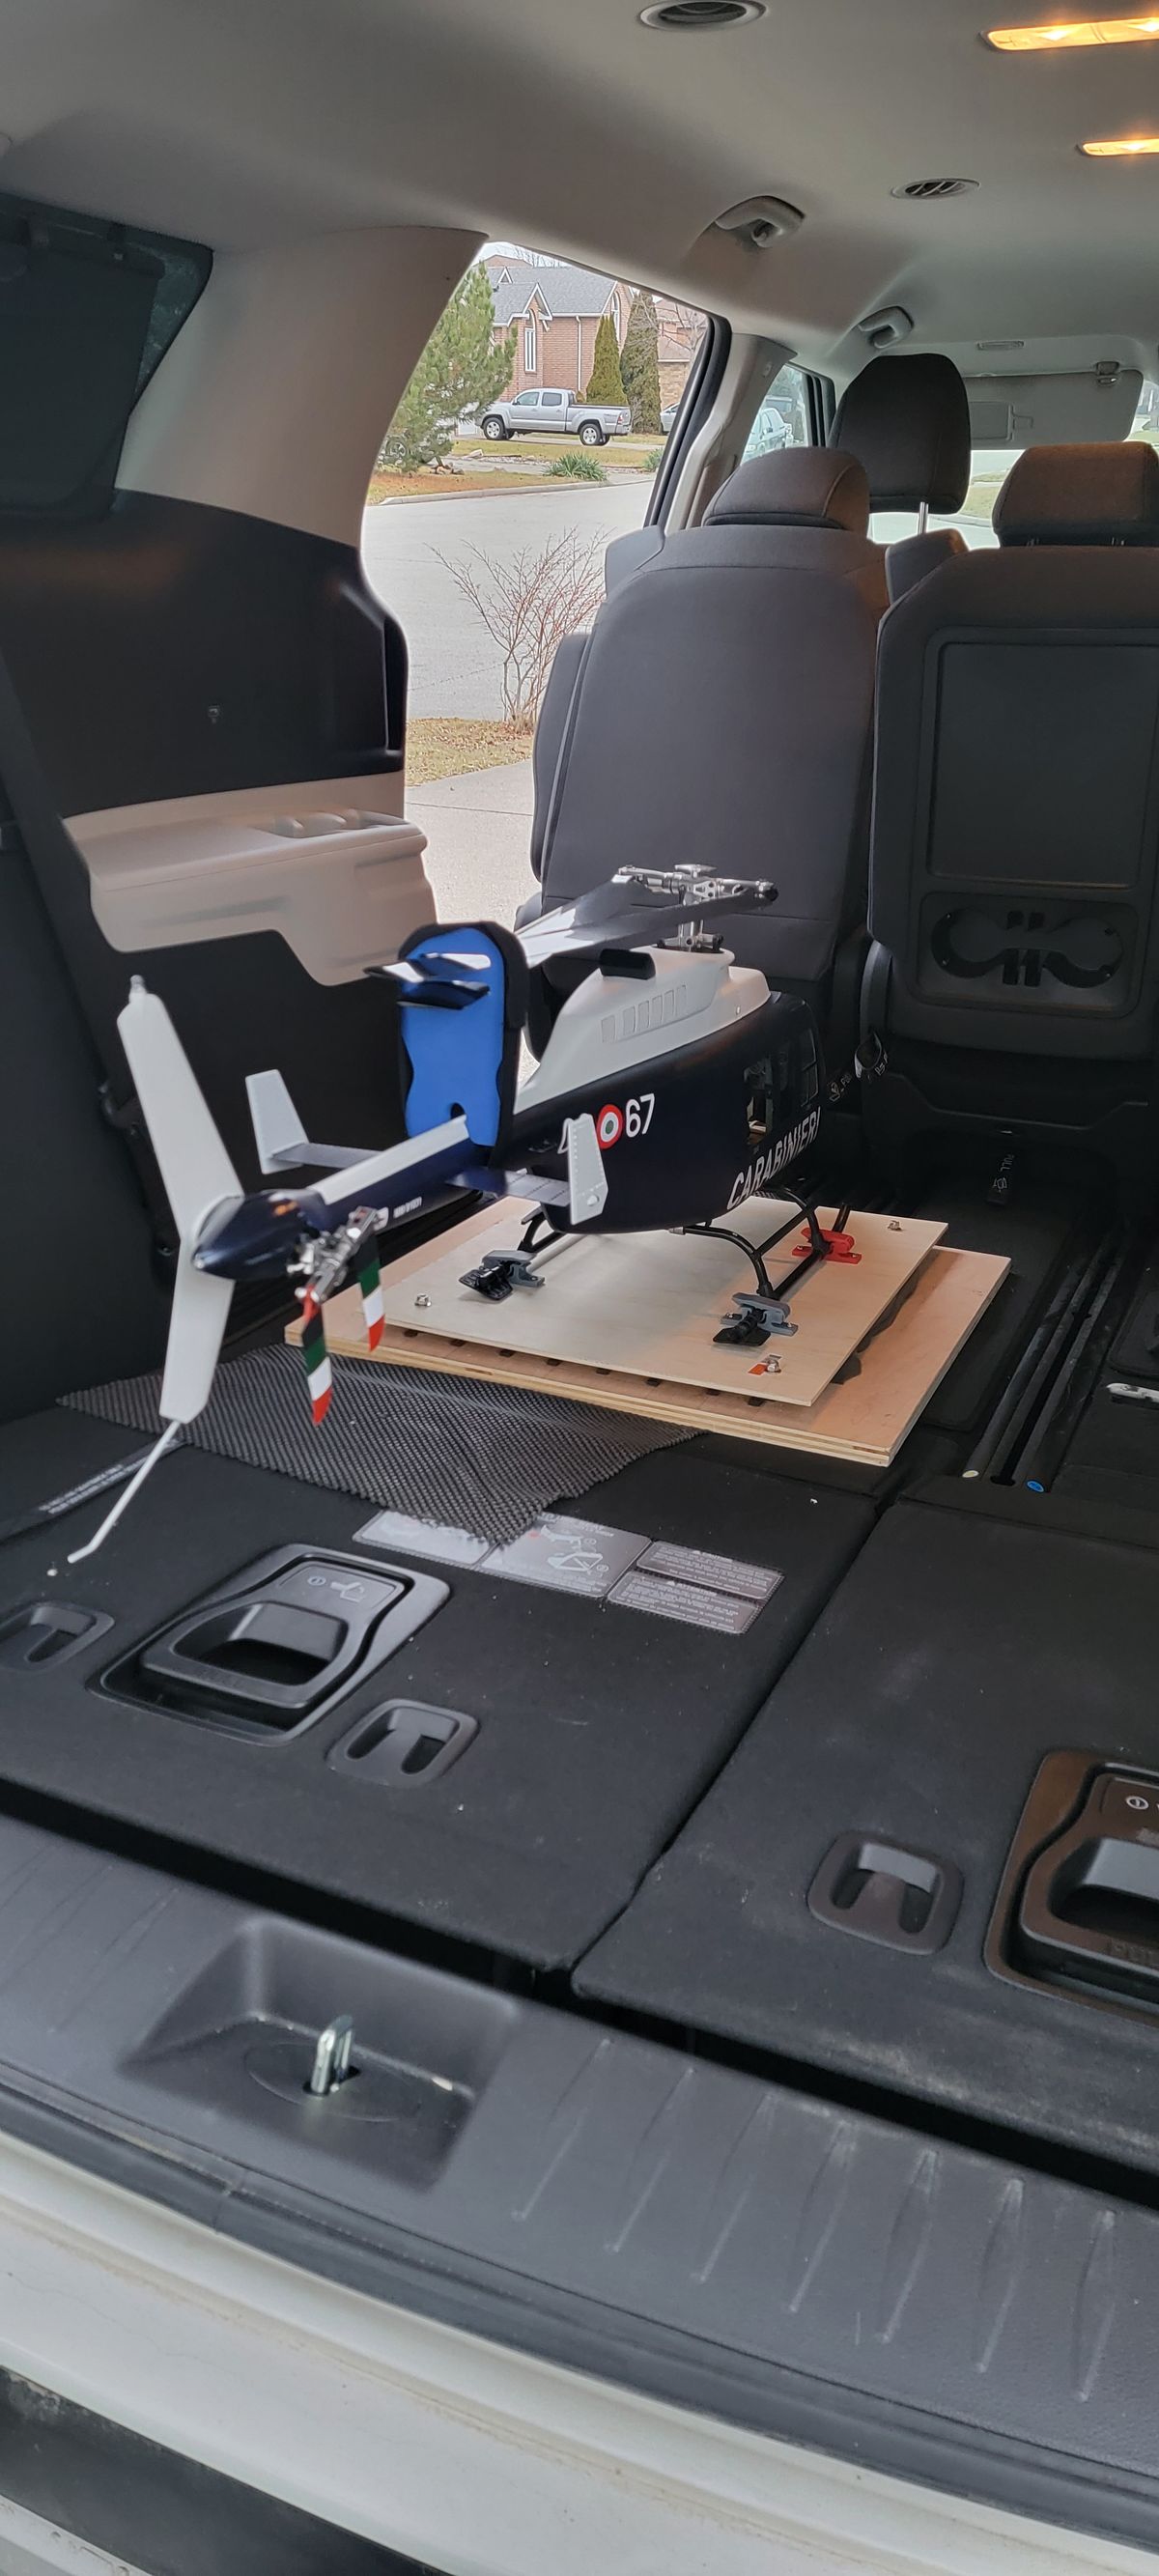
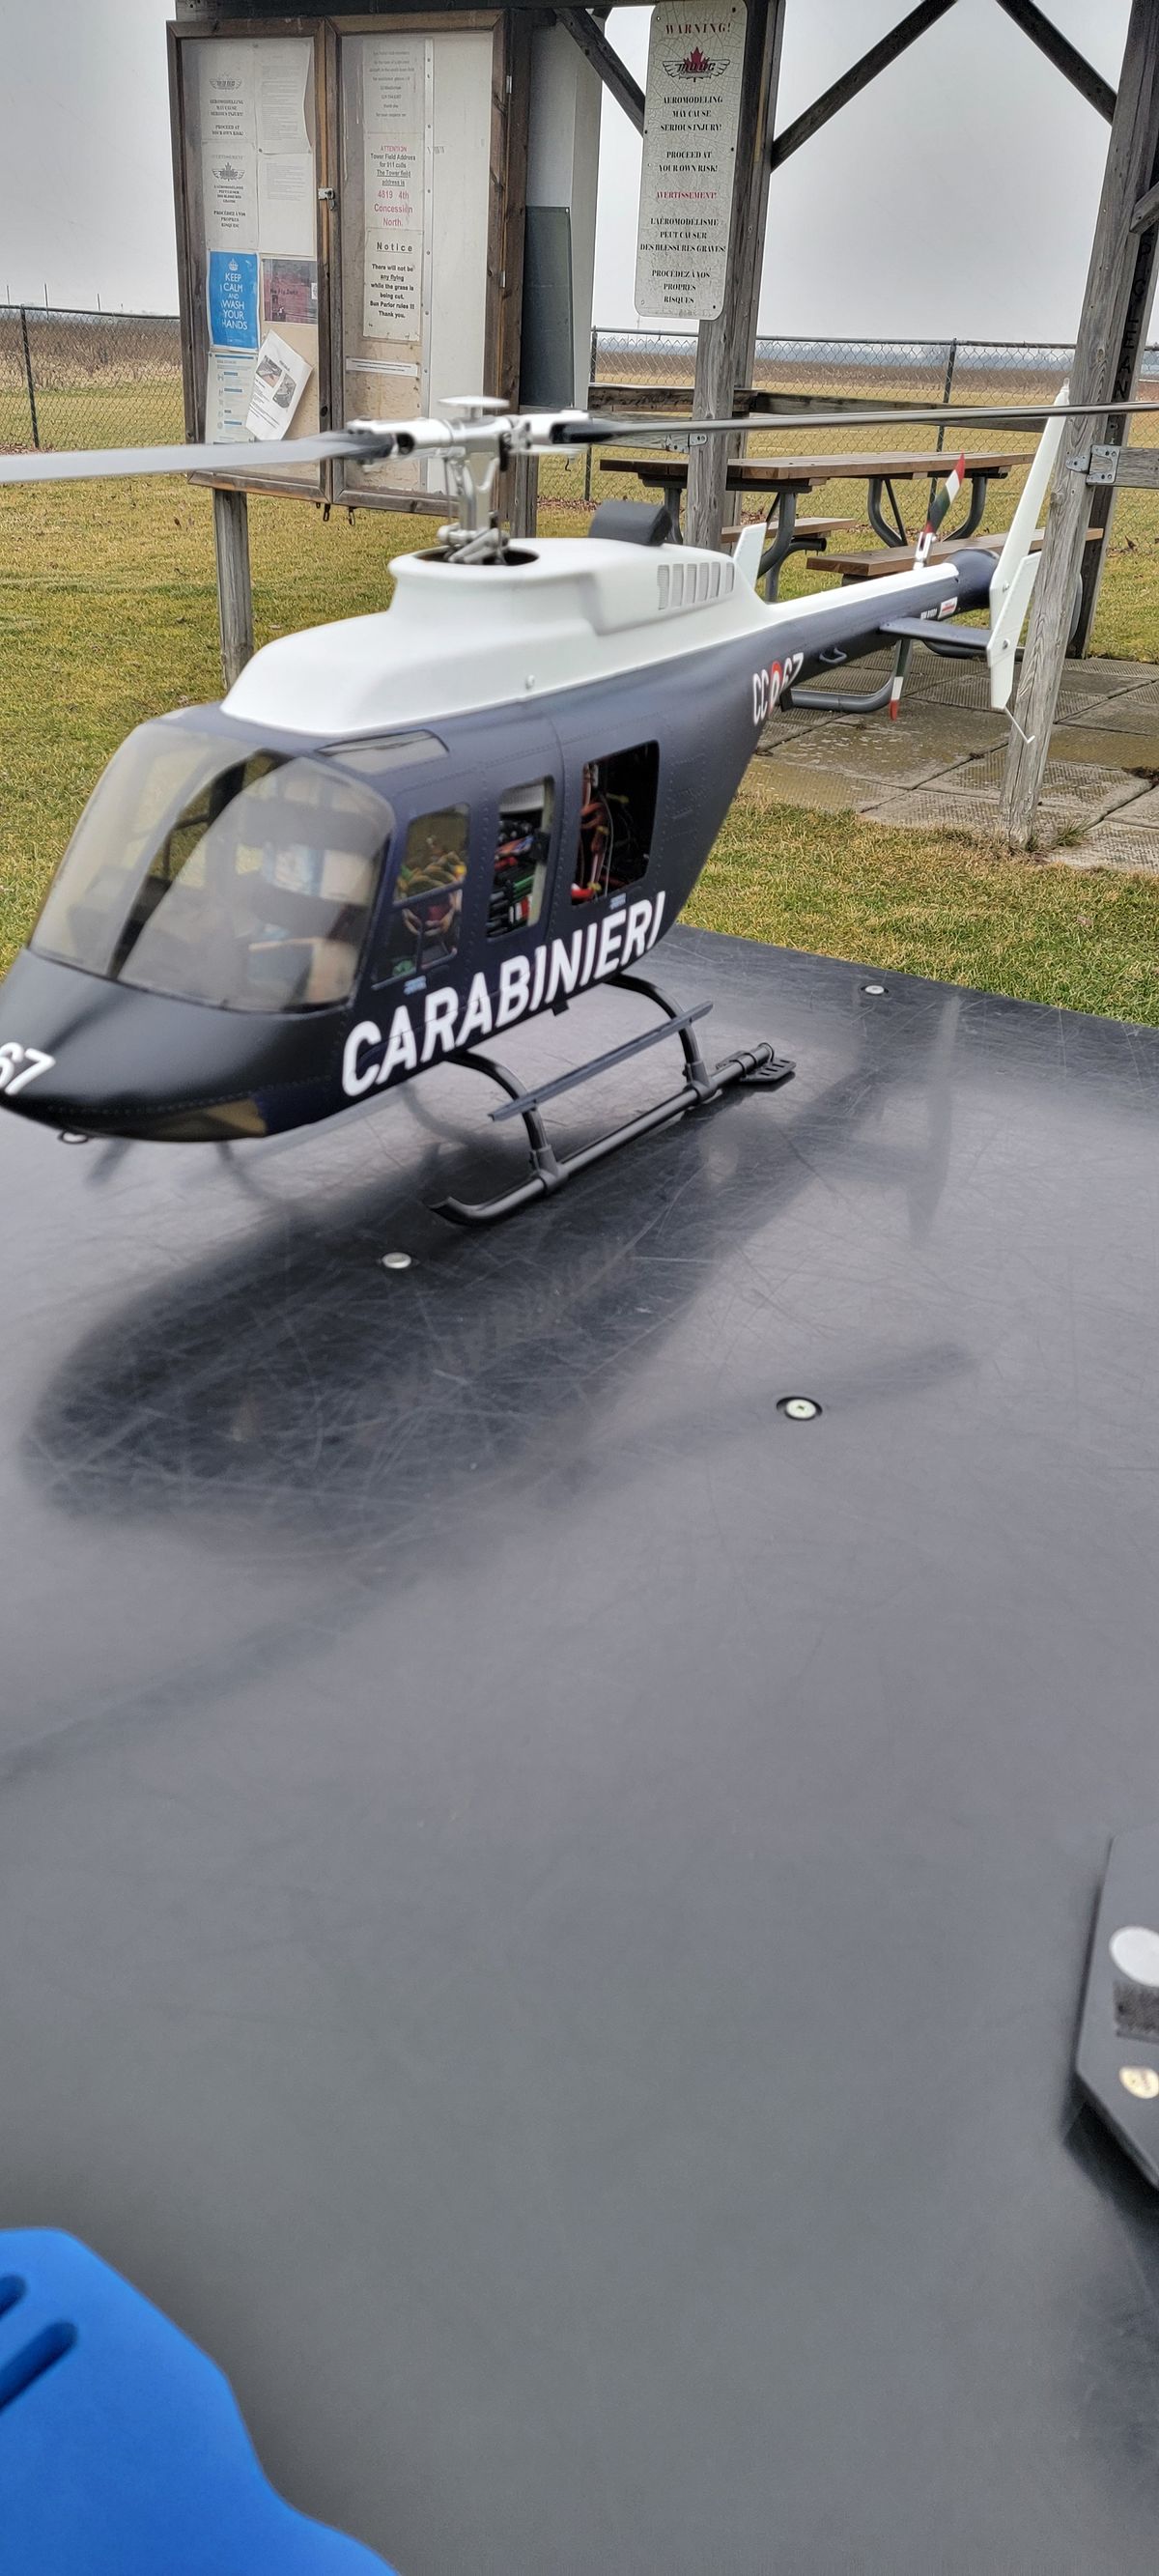
Quick test of the transport platform and see if i can do a test flight, but it's coold.
Maiden flight
I'm not sure i can call this a test flight or cold test for my fingers.
As soon I start the telemetry was giving me warnings on temperature, and voltage, even if the battery was 99% full. However, got to the field, in a quite chilly day (-6C-21F) but I couldn't wait anymore, I had to test the heli.
I was able to check few things until I could not feel my fingers anymore. So, I need to add some weight to the front, but for the rest it feels almost ok. The date on the video is not correct...
Another nice day for a tune up.
I think a few more tests and I'm done with this project. I think...
Transport
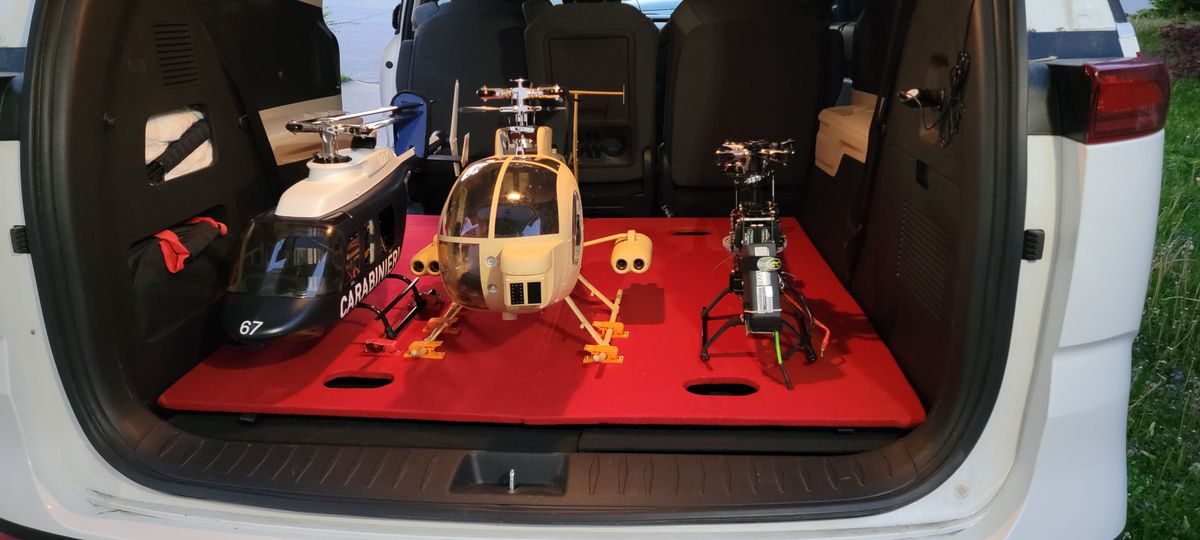
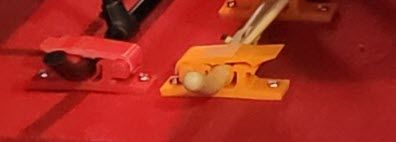
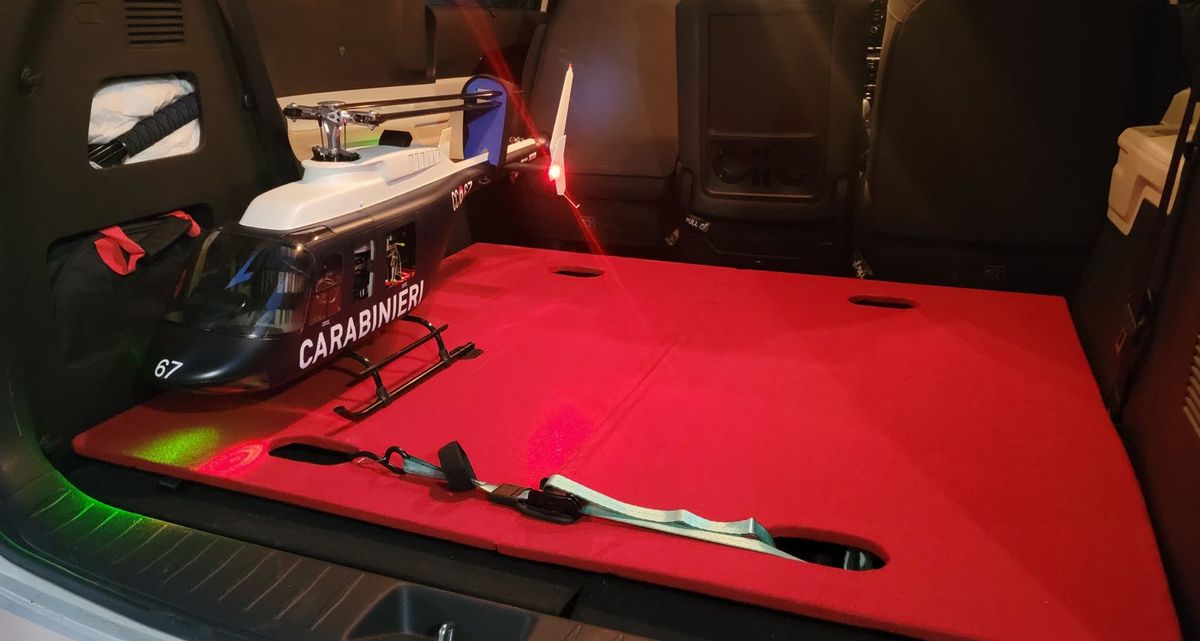
Inspired from Michael K. training video (workshop & transport) I started to setup my van to safely transport the helicopter. The wood base has foam padding underneath to absorb the road shocks. It is nothing fancy, but I think it will work fine for me.
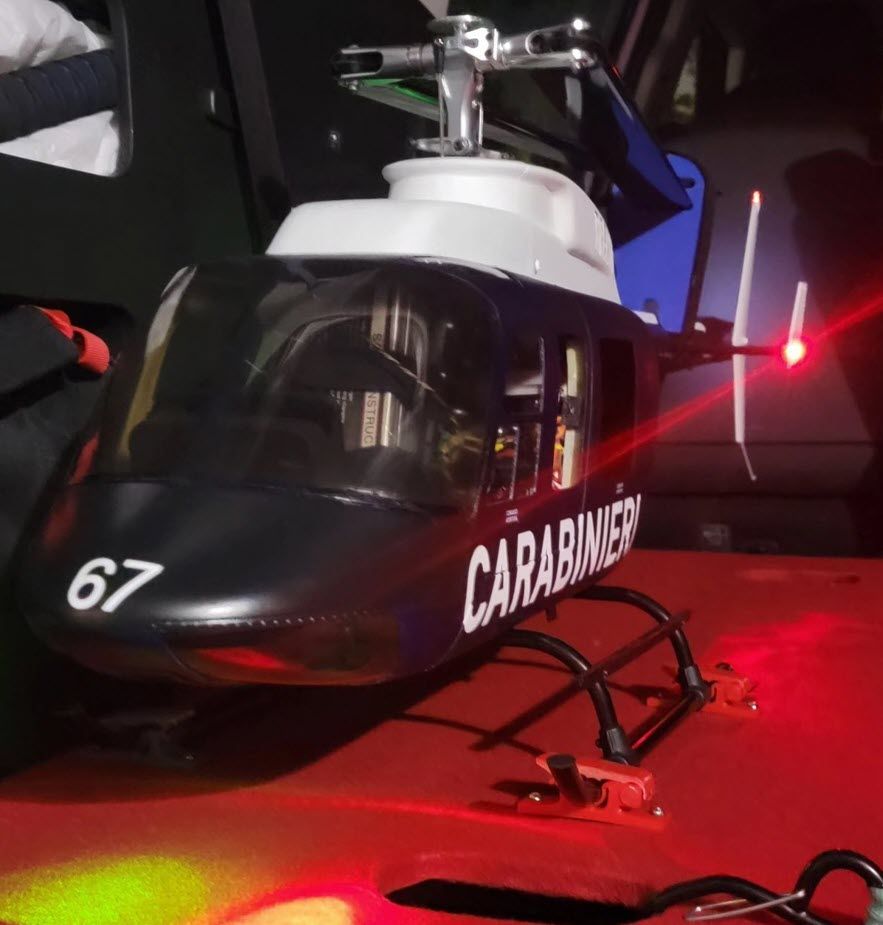
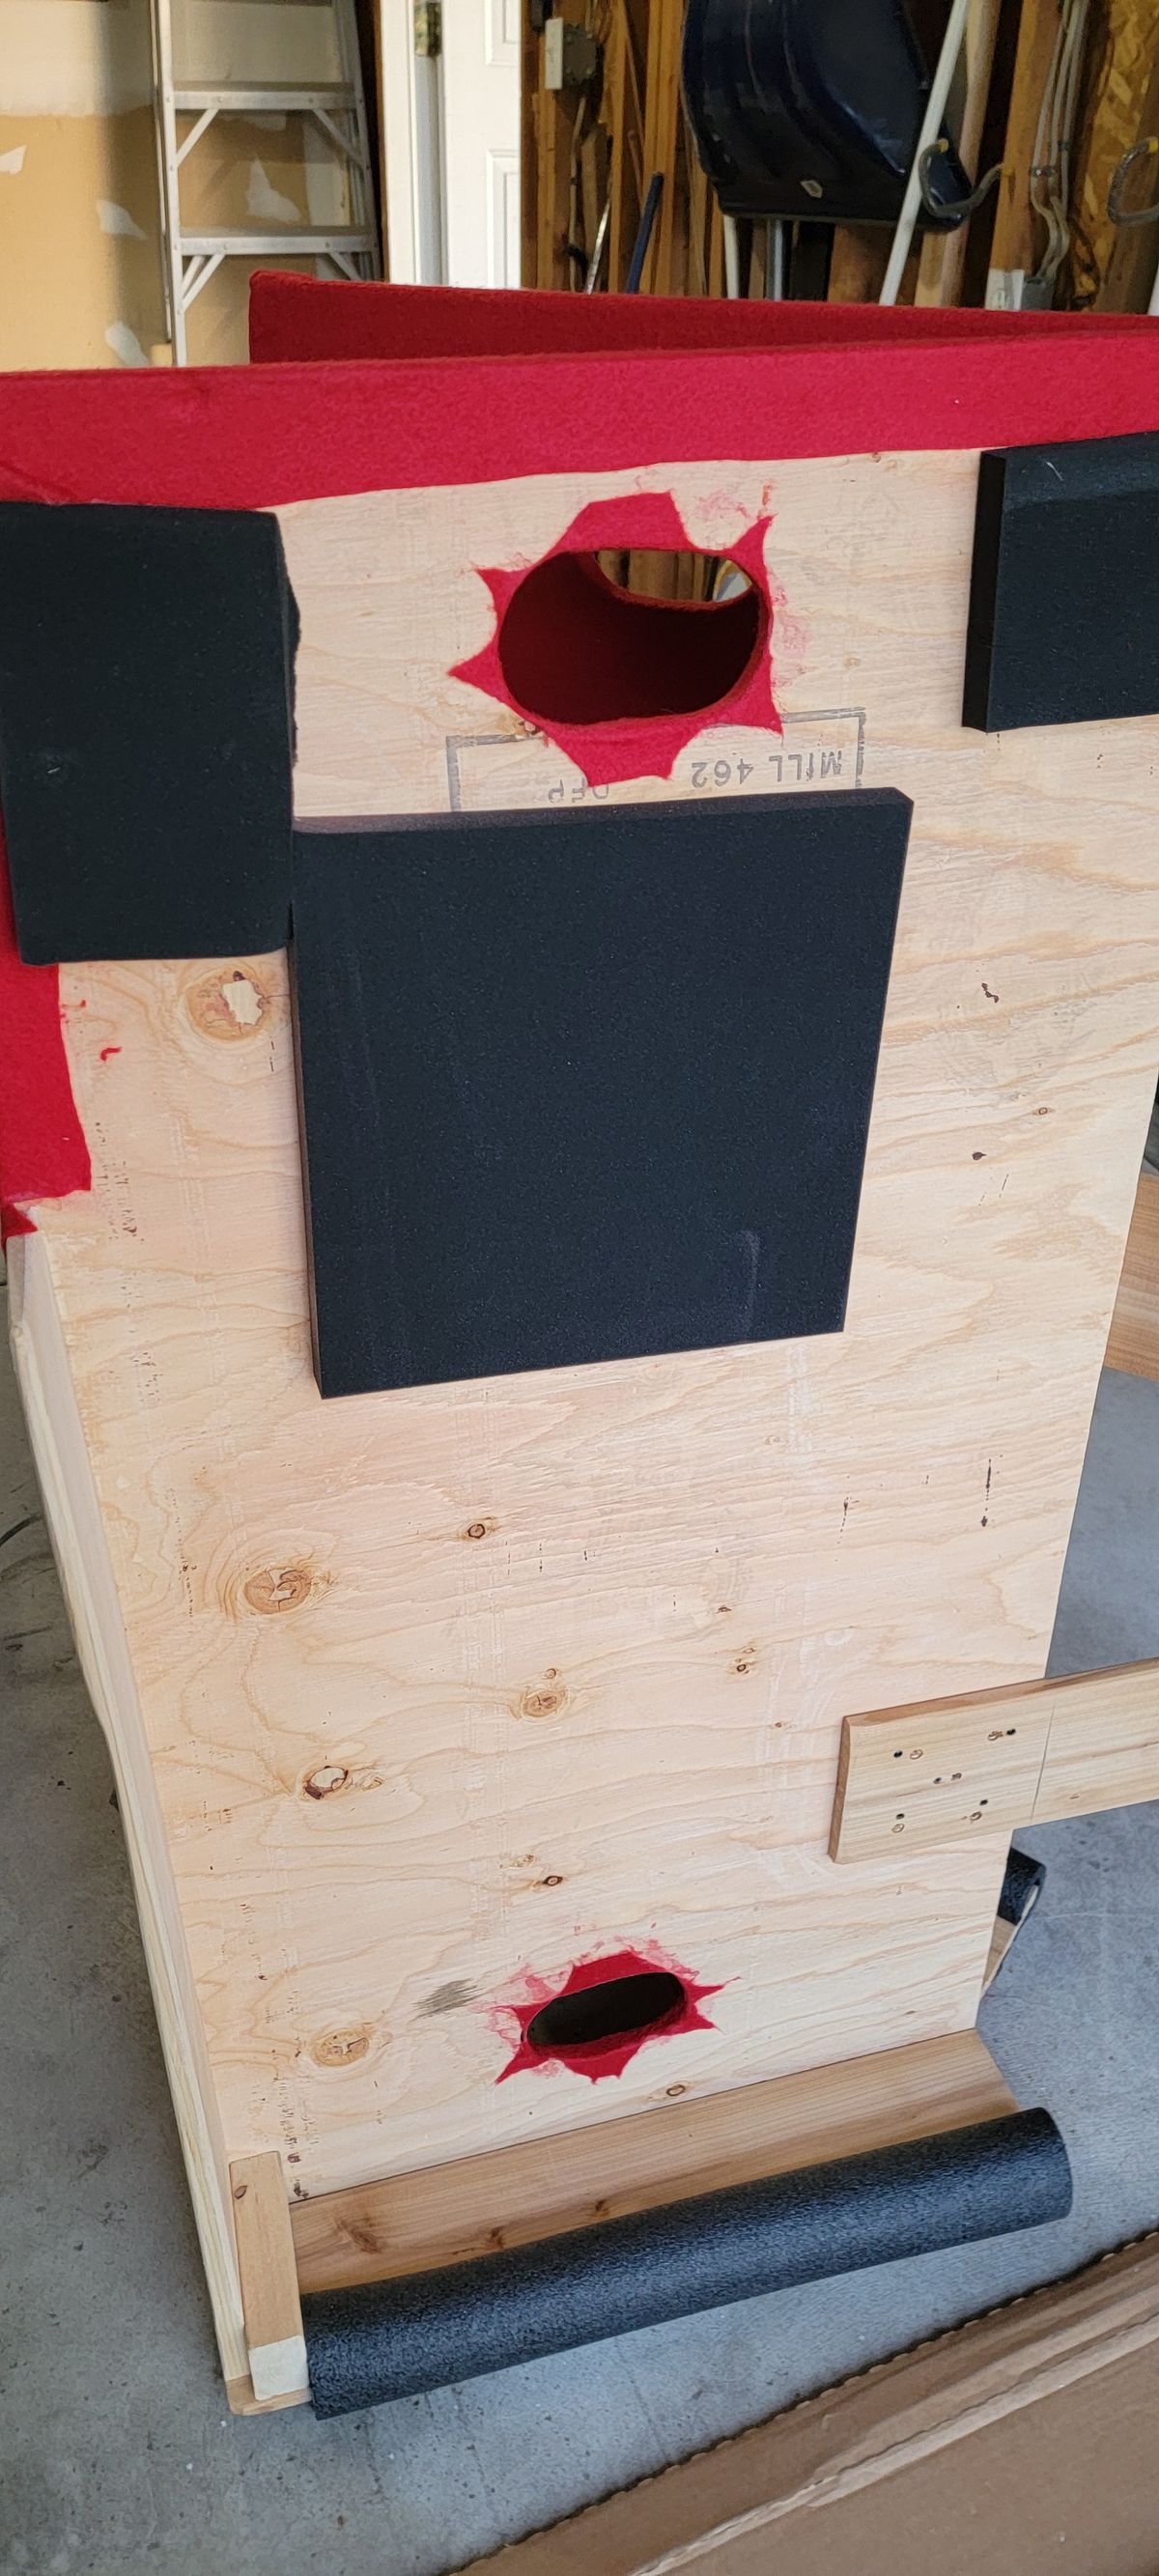
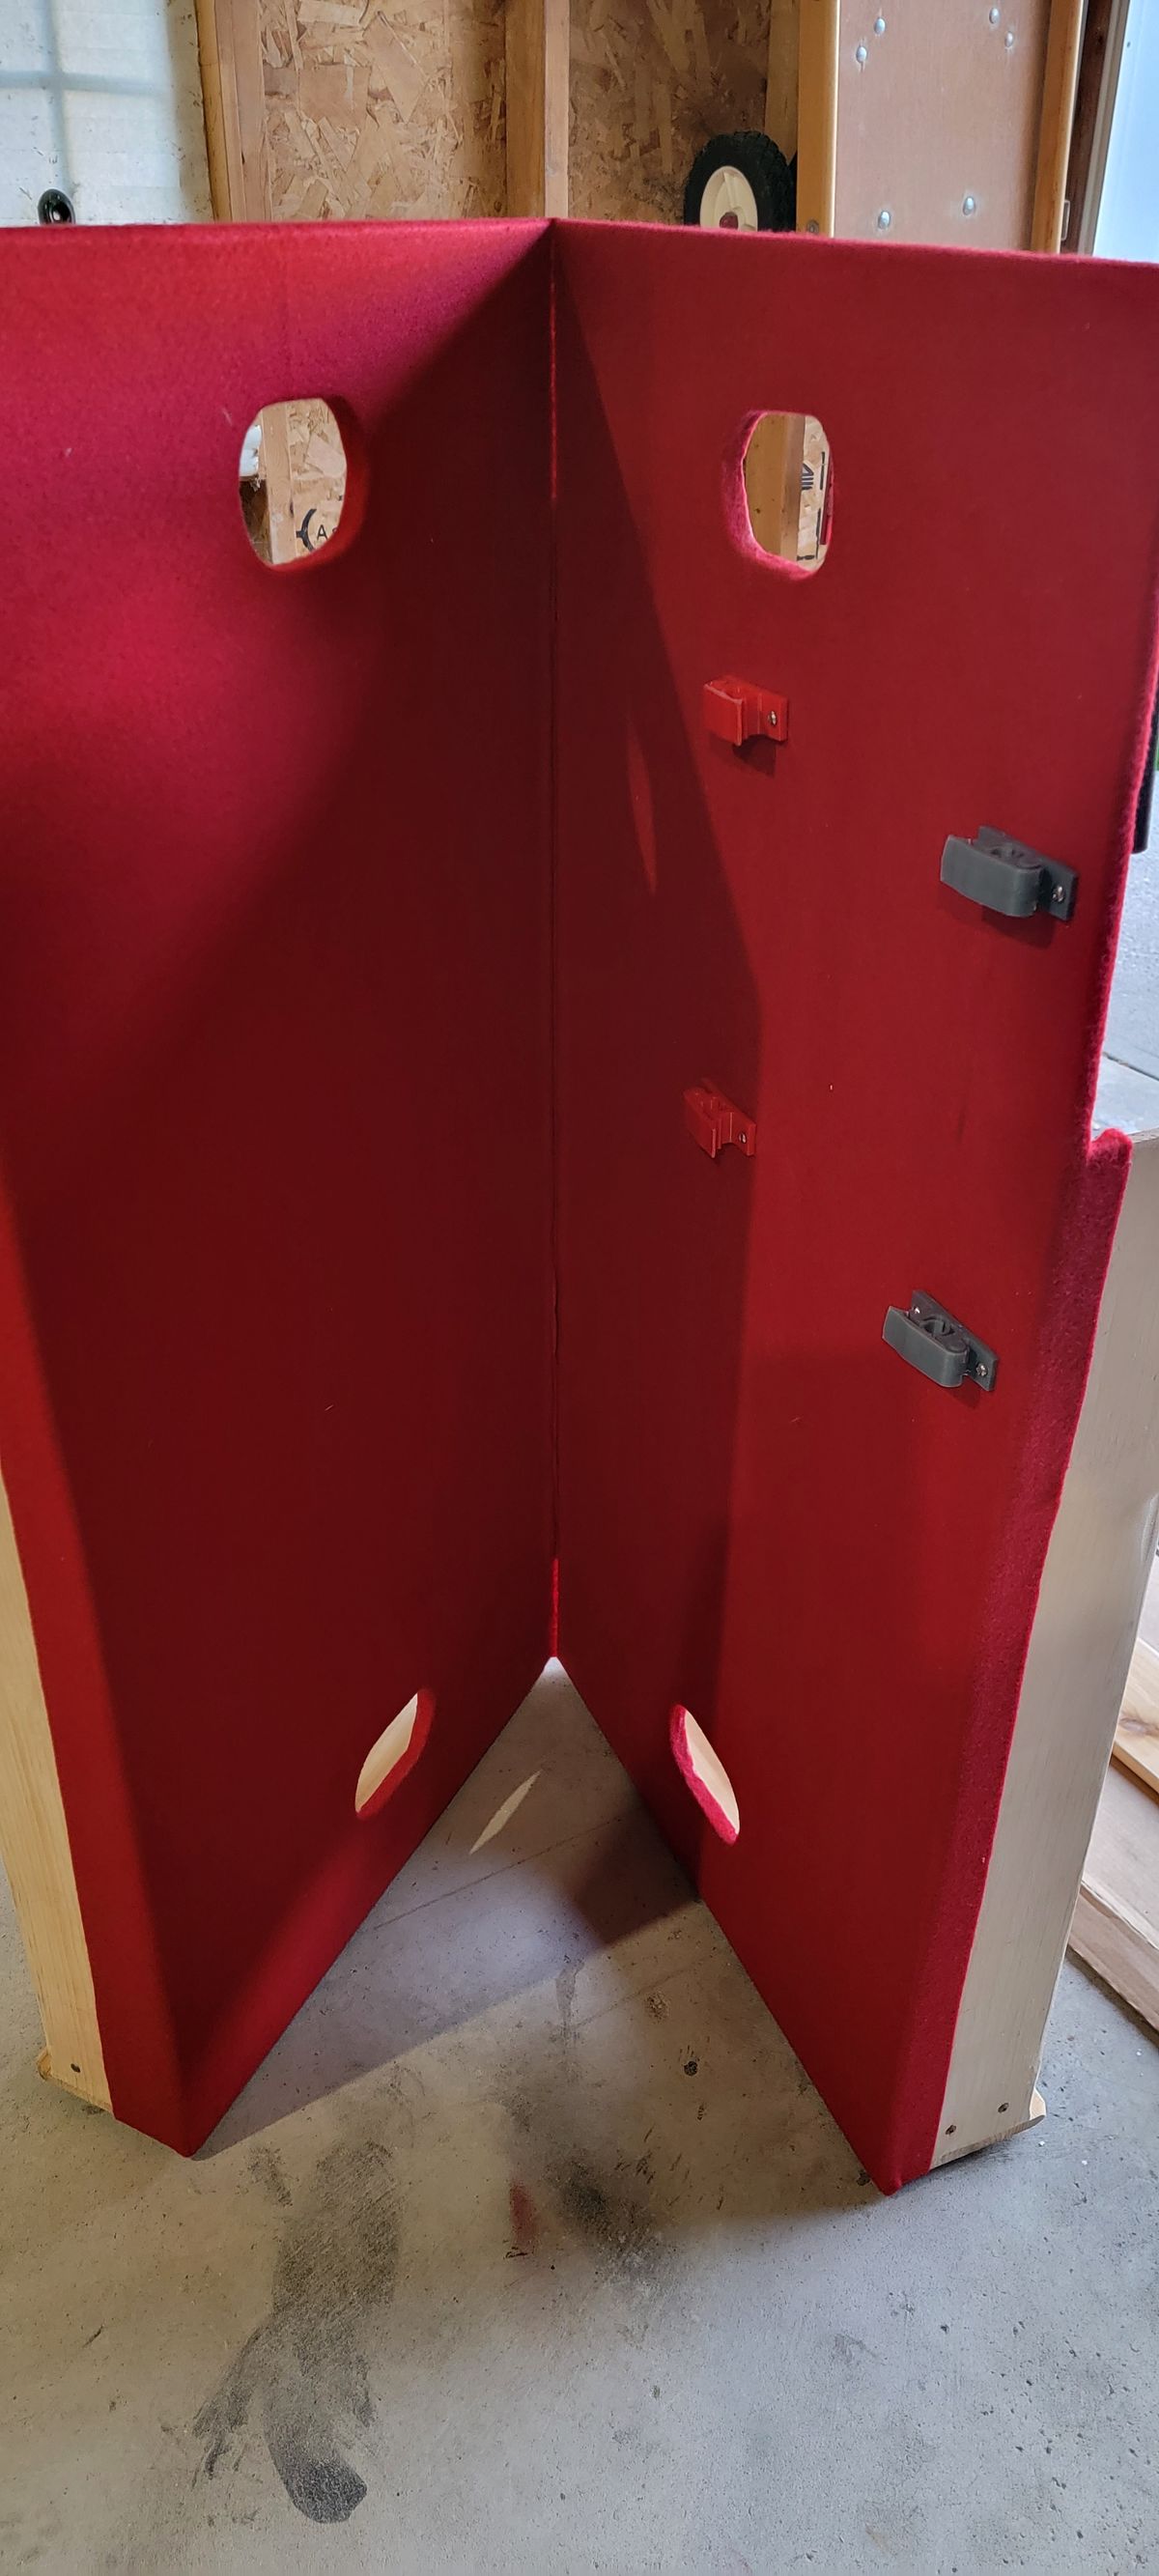
Tune up...
I'm still making adjustment to the 3X, but i think I'm getting close to have it setup in the way I like it.
Inside View
Just another nice day at the Tower Field.
Tune up Completed
I'm quite happy with the tune up and how feels to fly this 600. I need more practice but no more changes.
53 Comments
What are you thinking for mechanics? The options are pretty good. Many different paths you can go.
I have already a Phoenixtech 600ESP "ready" to go in it.
https://www.motionrc.com/products/phoenixtech-600esp-600-size-flyba...
BUT if you have some mechanics to suggest please do so, I'll may use that for my next project 😉
That will be a nice project.
Thanks for the confidence... but my skill level is not close to what I see on this site; and especially see what you are doing with the S-92 build is a jaw-dropping every step for me.
Nice fuse , I turn one into this back a few years ago
You got this
As Butch says you got this, some days you just stare it until you come up w a plan
And so it starts! You can use high buildup automotive spray primer to to some bodywork also.
Thanks for the tip
Dang. Moving right along.
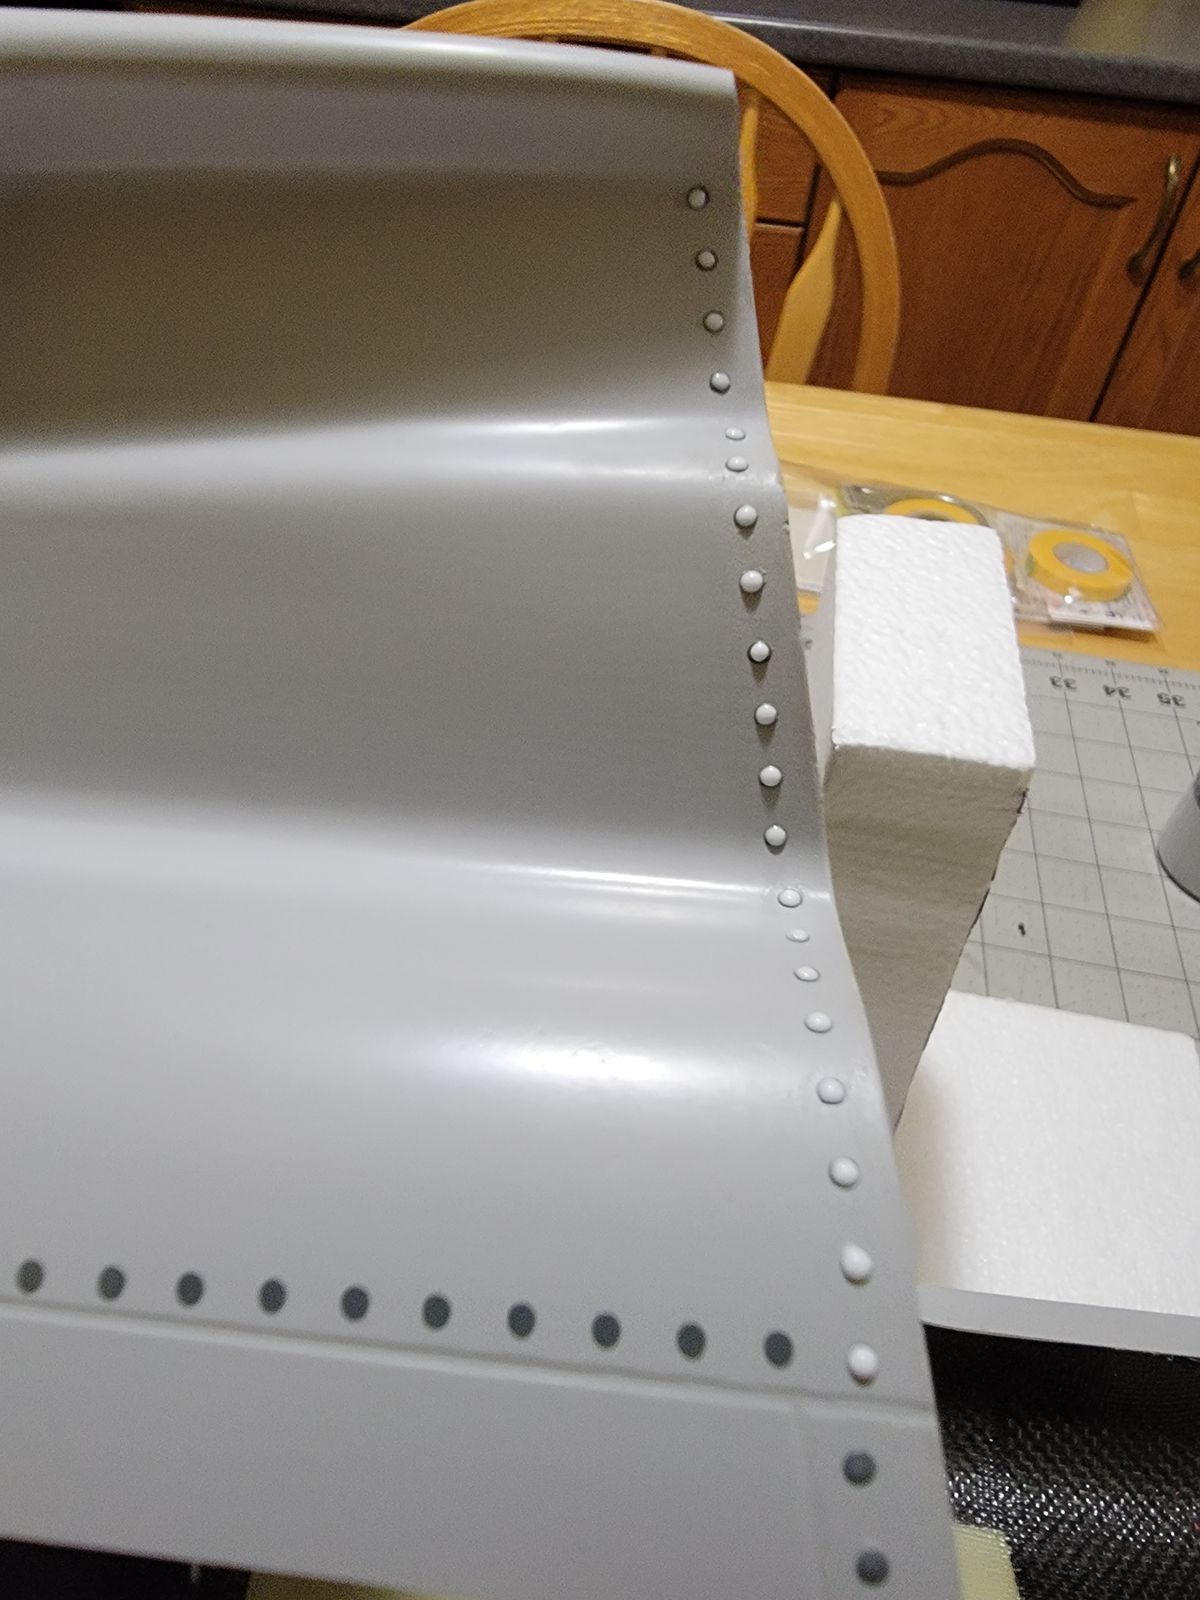
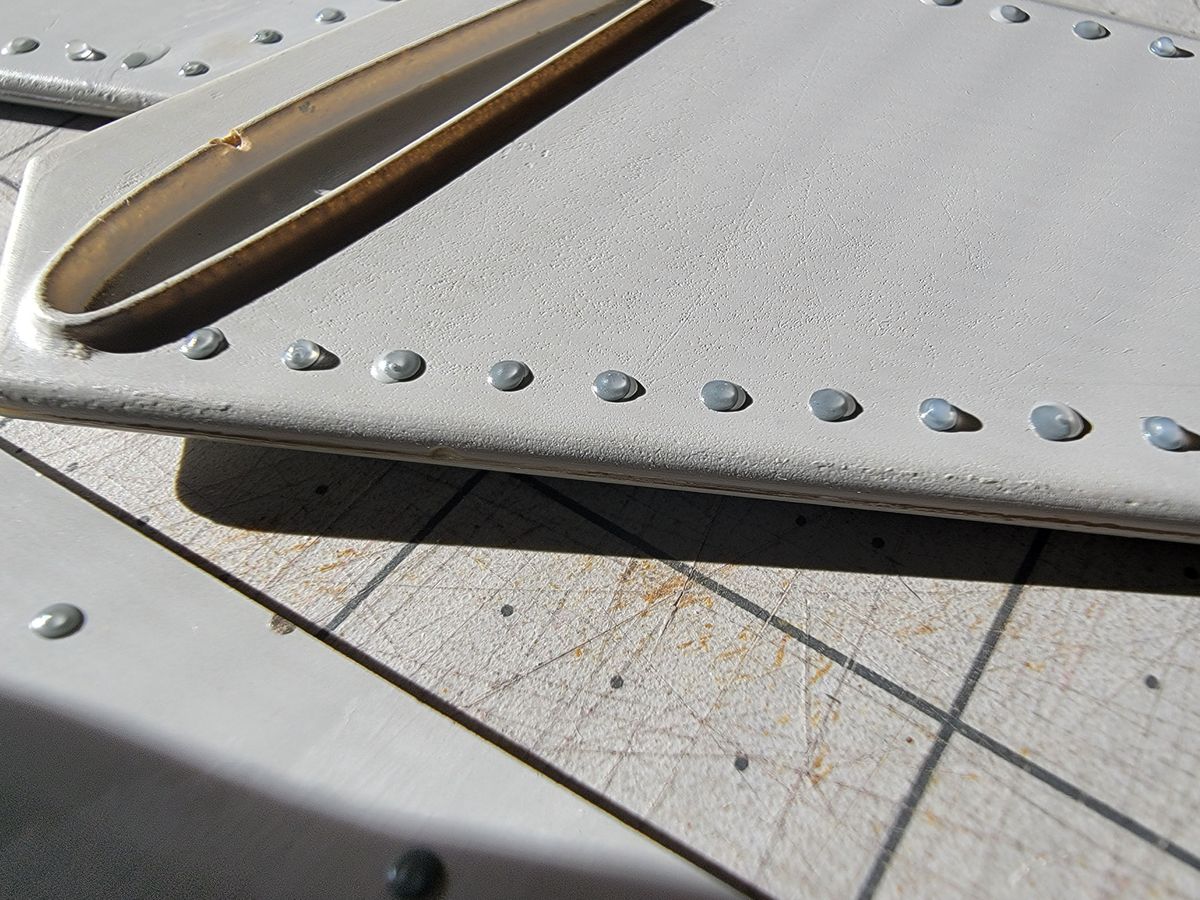
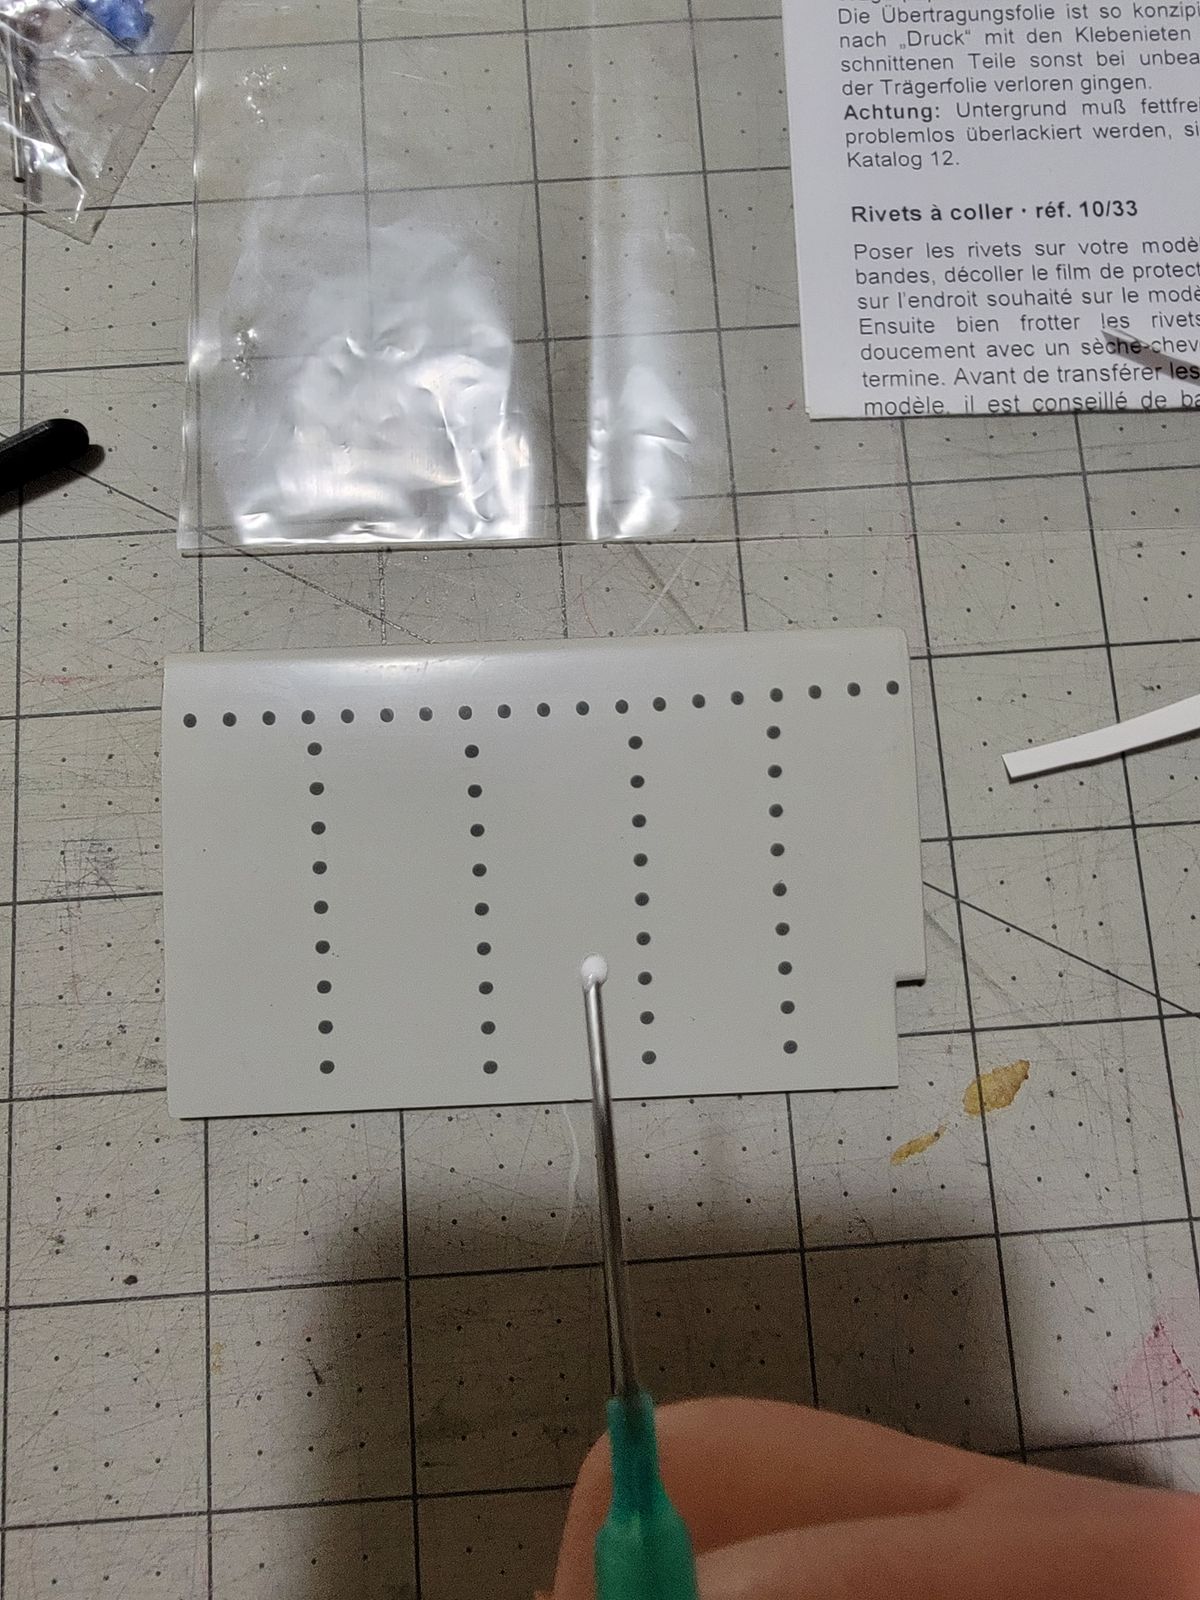
What method are you using for the rivets they look very uniform 👍
I purchase the Vario Self adhesive rivets
https://www.vario-helicopter.biz/ca/product_info.php?products_id=33787
then i used a Syringe with a large nozzle https://www.amazon.ca/gp/product/B08J7ZWKGD/ref=ppx_yo_dt_b_asin_ti...
to drop glue on top and the paint gave that looks that I believe is ok for this project.
I hope this help.
Fantastic thank you for the info
If not an Axon that a good alternative.
Looks like you're making some good progress and its looking good as well. Maybe I missed it but have you chosen a paint scheme yet?
B
The paint scheme will be very simple, nothing to do with the EC135 from Ian Bishop. The picture below is NOT the 206L but I'm trying to make my 206L "look a like" the 206B.
Sweeet!!!
I found you have to get creative when building scale helis.
You got that right .... lol
Loos good mang.
You guys are killing it with the details.
B
I'm not even close on what you're doing with your project.
Don't underestimate yourself.
Looking good mang.
B
Thanks
I am slowly learning 3d modeling on Fusion360. I have discovered that having things printed commercially isn't all that bad. Great idea by the way.
i'm a sketchup user, and i'm trying to learn blender. I'd like experiment with my 3D printers, but i should take a look to the commercially printing option that you suggest.
Dang,
That's pretty flippin sweet.
I've never done rivets on any model, what kind of glue do you use for the rivets? I'm getting back into heli again and the Scale bug has hit me hard. I'm trying to decide between Vario 1:4 R22 or 1:4 Bell 206.
Harold, I used a dollar store glue very inexpensive but it did the trick.
Wow that's it?! I was thinking some specialty glue. Thanks.
Looks great.
B
Thanks Butch
Very nice, Callie-Graphics always does a great job
I am starting to get interested in 3d printing for scale parts. I have been learning Fusion360, slowly! Lol. I want to print my own ext cargo baskets for the Lama.
i'm using sketchup for my designs or modifications of parts that I find on thingiverse. Fusion360 is very powerful, i started to learn Blender but for small parts it's so quick in sketchup. The antenna in the picture are my sketchup made but the Bearpaws is from Thingverse. I'm working on another Antenna design, in sketchup, to add to the heli.
I have also played with Sketchup and Tinkercad.
Massimo,
Looks great Mang, You mention it was cold but were you able to get in a test flight and if so how did it go?
UIH,
B
I was able to do a quick flight. It went well overall but at one point I wasn't sure she was doing something funny or my fingers, since I could not feel them anymore.. lol
Congrats on the maiden. off to a good start for sure. I would not even leave the house at 21*. That's a shop day day for me.
Nice Job Mang,
B
Congratulations looks great in the air
Thanks
Looks Great.
Thanks
Nicely done.
I believe I have the same van, Chrysler Pacifica. Its a great hauler. I built a shelf as well but raised to allow storage under the sliding rack that holds my helis. I can stuff in 3 75+ inch helis, 4 each 10X10 tents, 3 each folding tables and all the support equipment. I believe with the size of my 92 I may have issues though.
B
It's a very nice setup Butch, I'll need to build something like that has the fleet grow. I hope to have enough space in my KIA Carnival, to add my next heli, Roban 429 (700). How you secure your heli's? I 3D printed some skid lock but I'm sure there are many other ways. Thanks for sharing.
Thanks Mang,
The rack is secured to the seat brackets on the forward side with snap clips or carabiners and the luggage tie down in the rear with small chain and turn buckles to hold it in place. The sliding shelf has 4 heavy duty drawer slides and is secured with a 1/4-20 through bolt to the rack structure.
All my helis have wheels so they all sit in transport cradles. The cradles are made so the helicopter can not slide forward or aft and can not roll over. Each cradle is attached to the rack with eyebolts and hook clips. For long trips I use velcro straps for some added security between cradle and heli.
Some more pics,
B
Aft mounting.
Clips to hold cradles.
Front side.
Thanks for the pictures; I'll use the idea for my next "upgrade" .
Massimo,
That is looking great.
B
Thanks Butch
Massimo,
Love the cockpit view during flight. I may have to give that a try on some of my models.
Great Job,
B