

Building a Vario Bell 230 1:7 800 size
 Danny D.
Building a Vario Bell 230 1/7 800 Size Trex 700 Mechanics
Building a Vario Bell 230 1/7 800 Size model
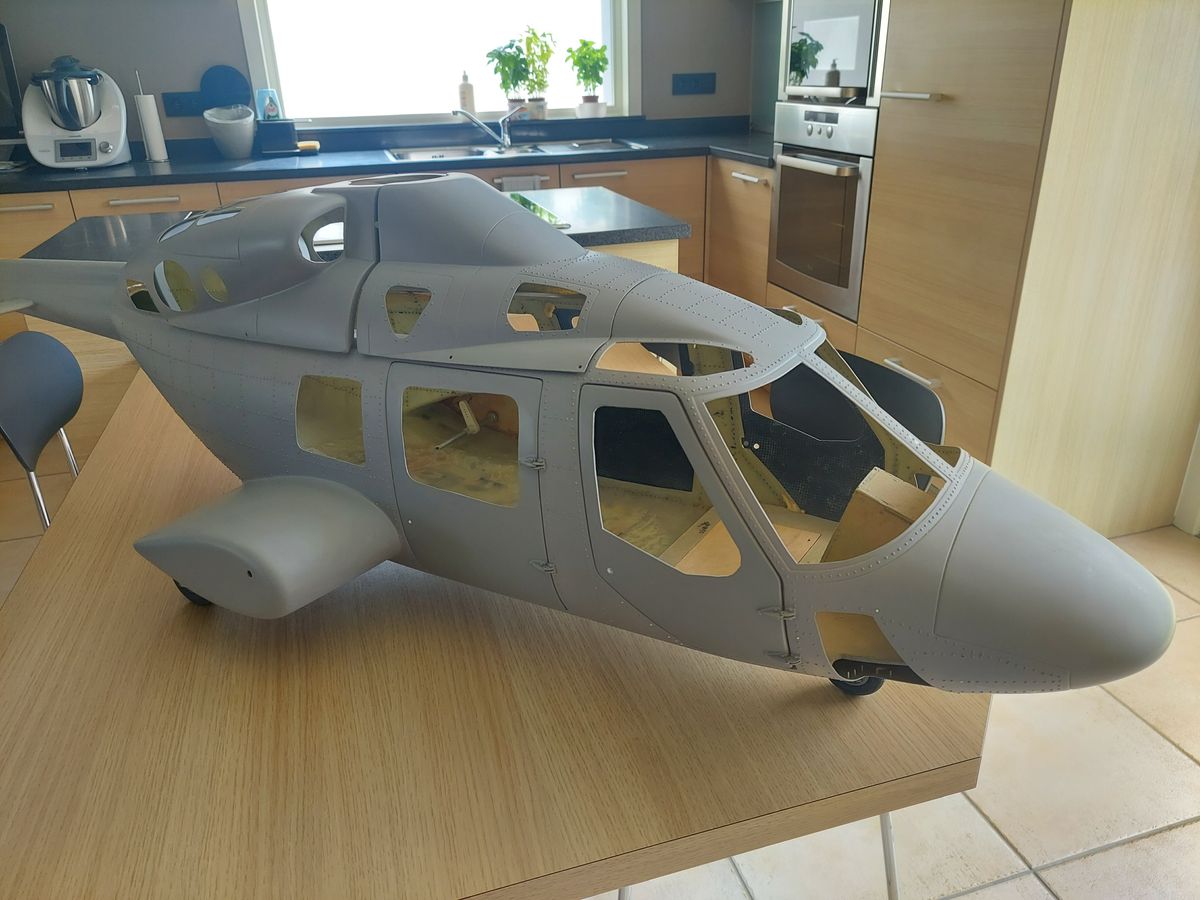
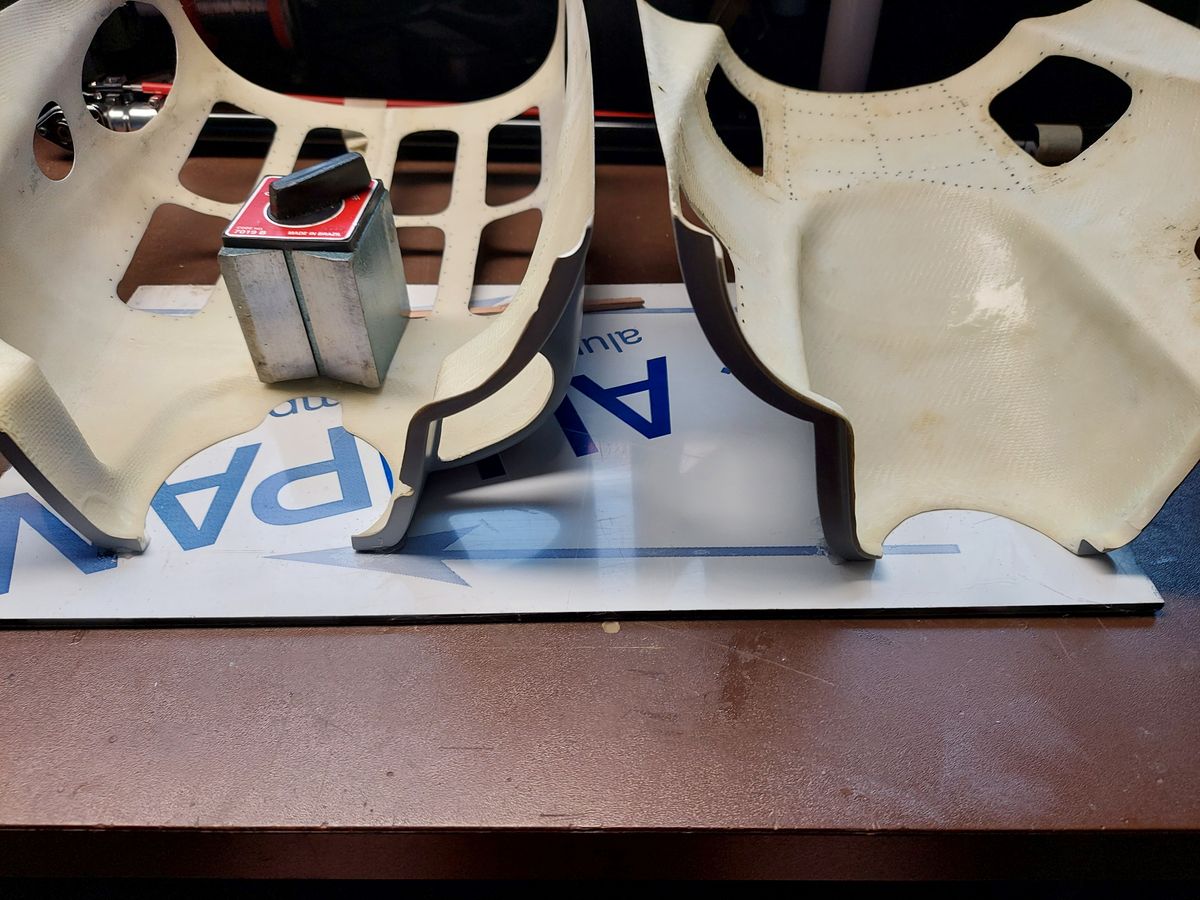
Starting from a second hand fuselage
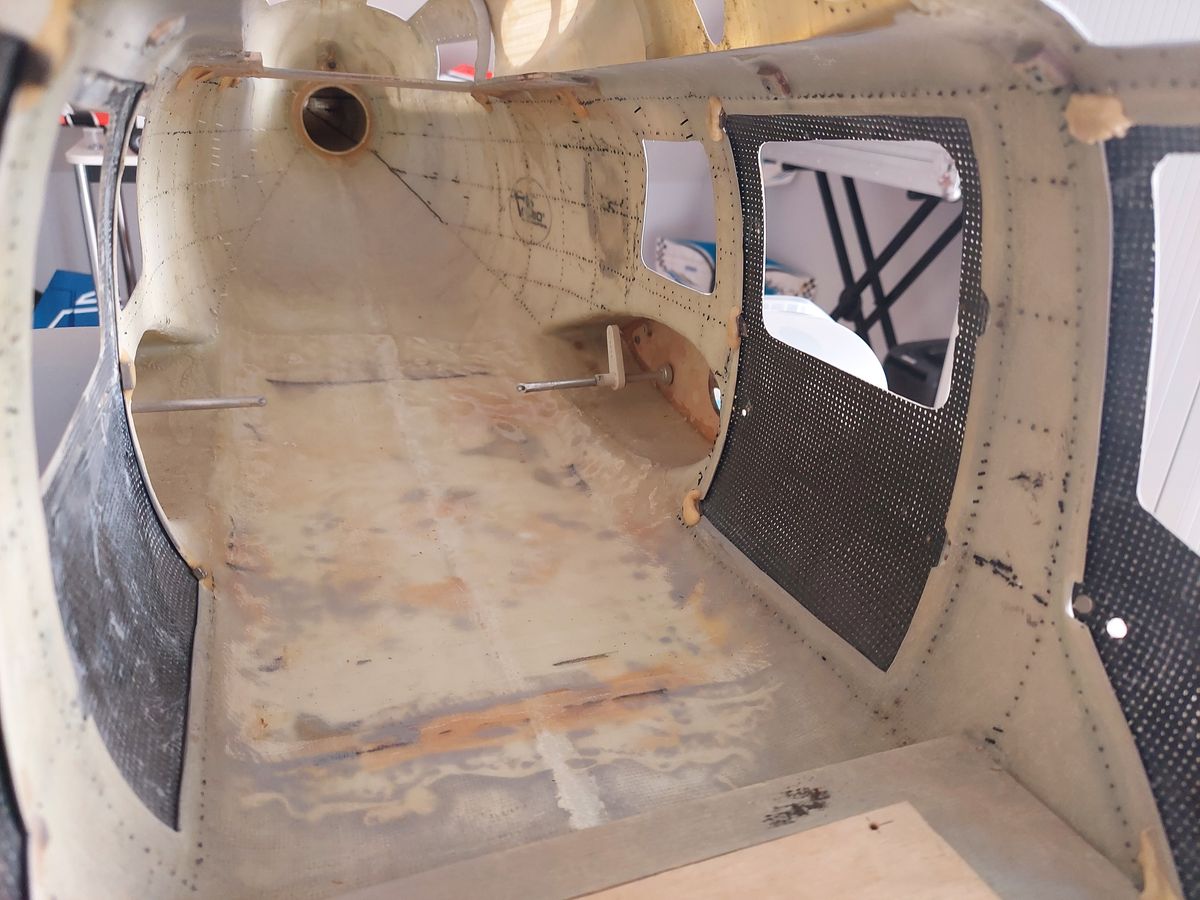
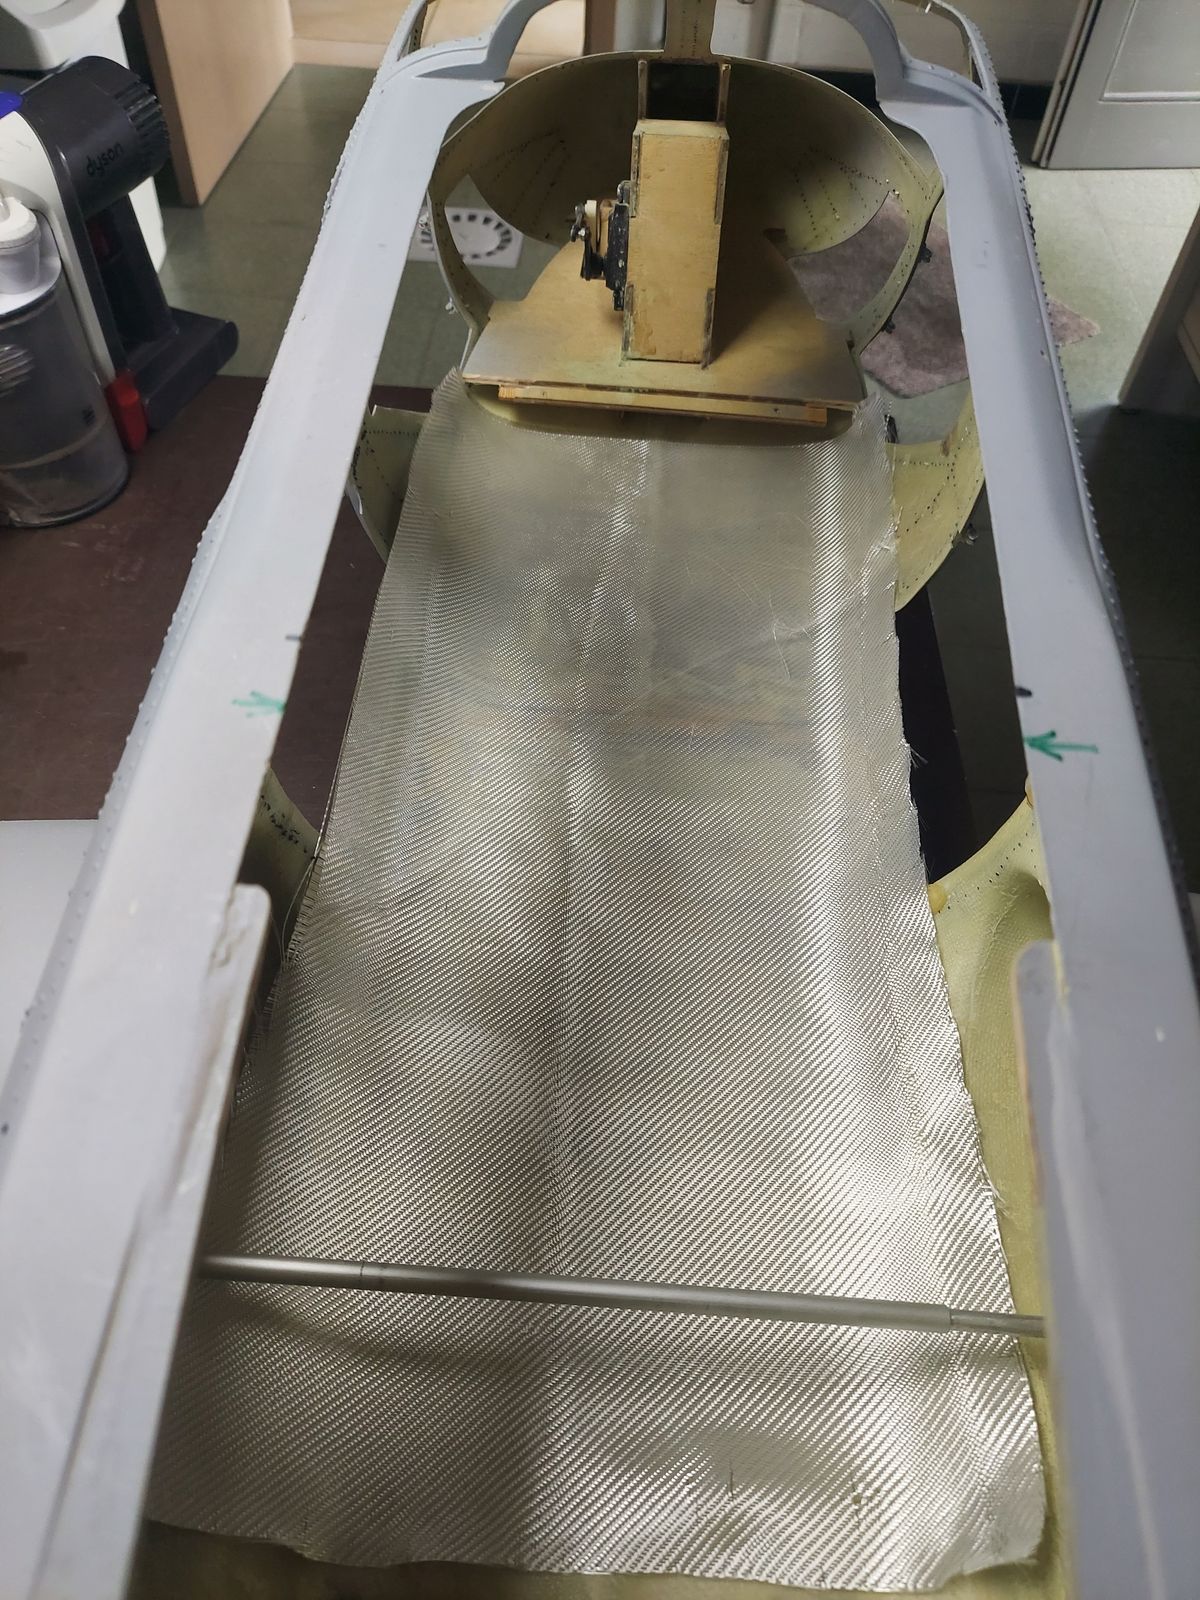
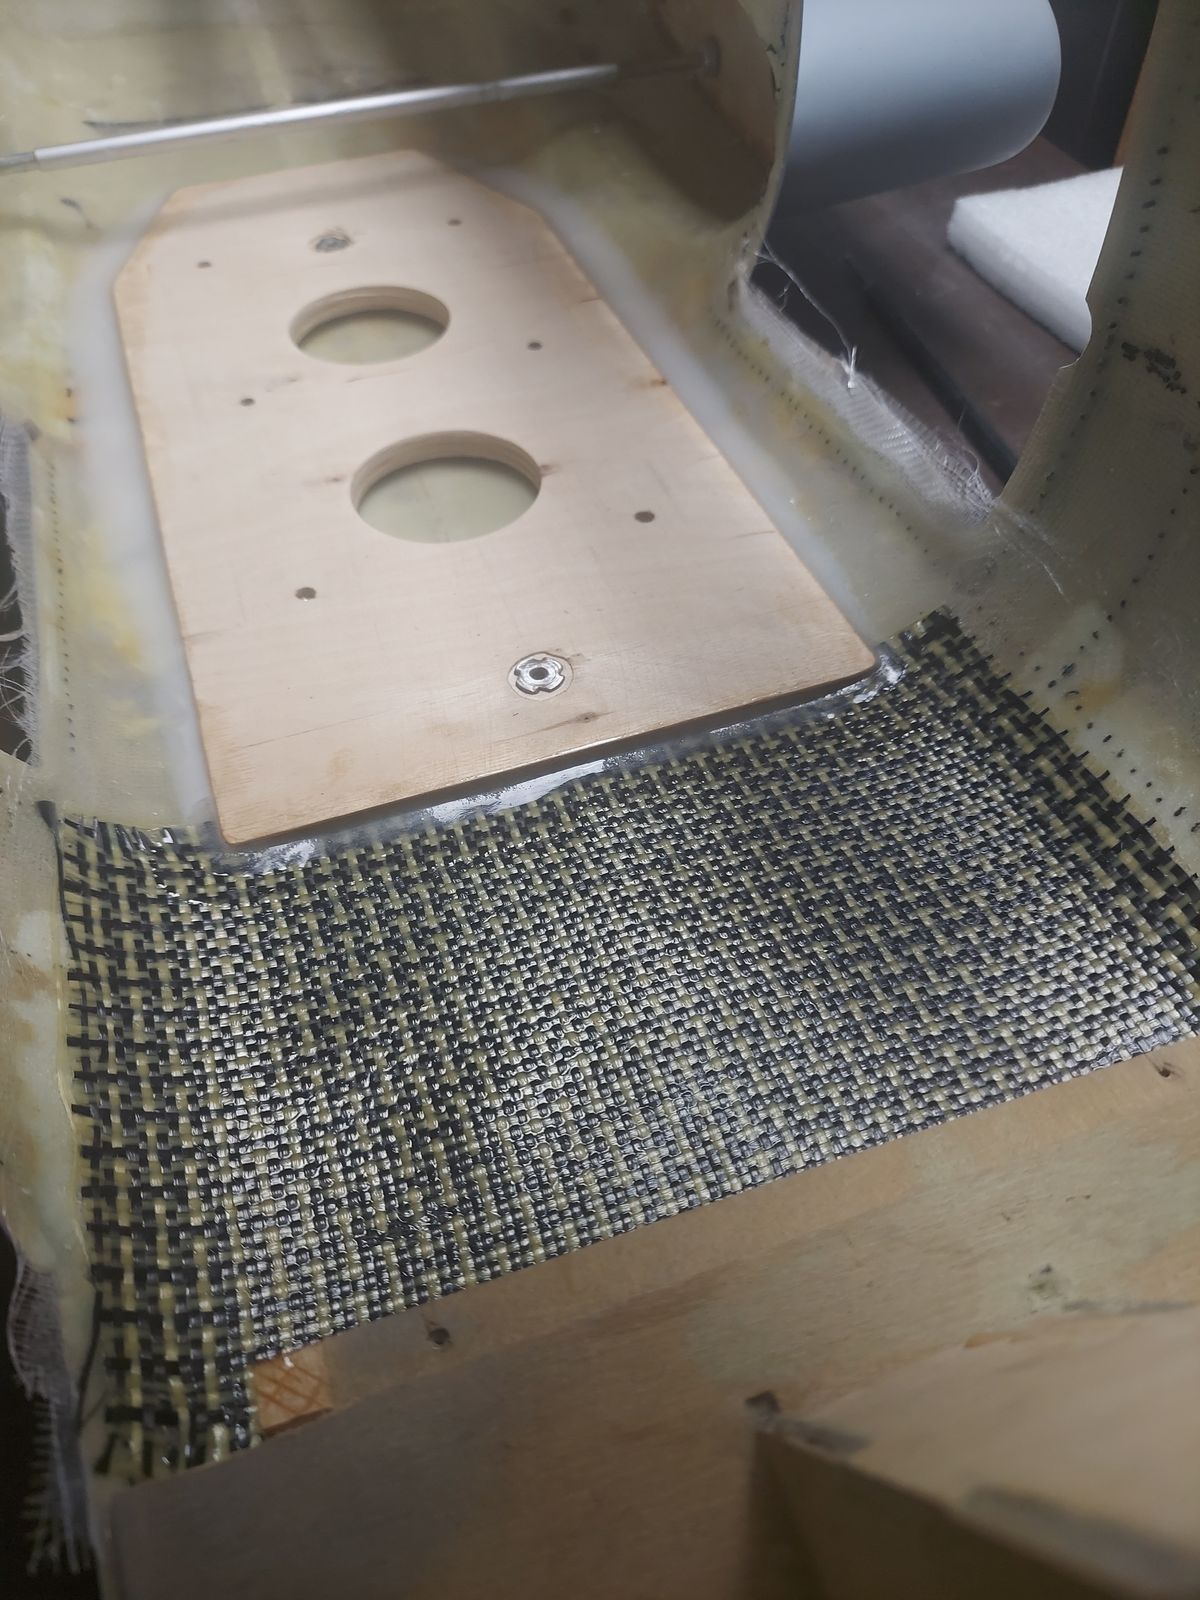
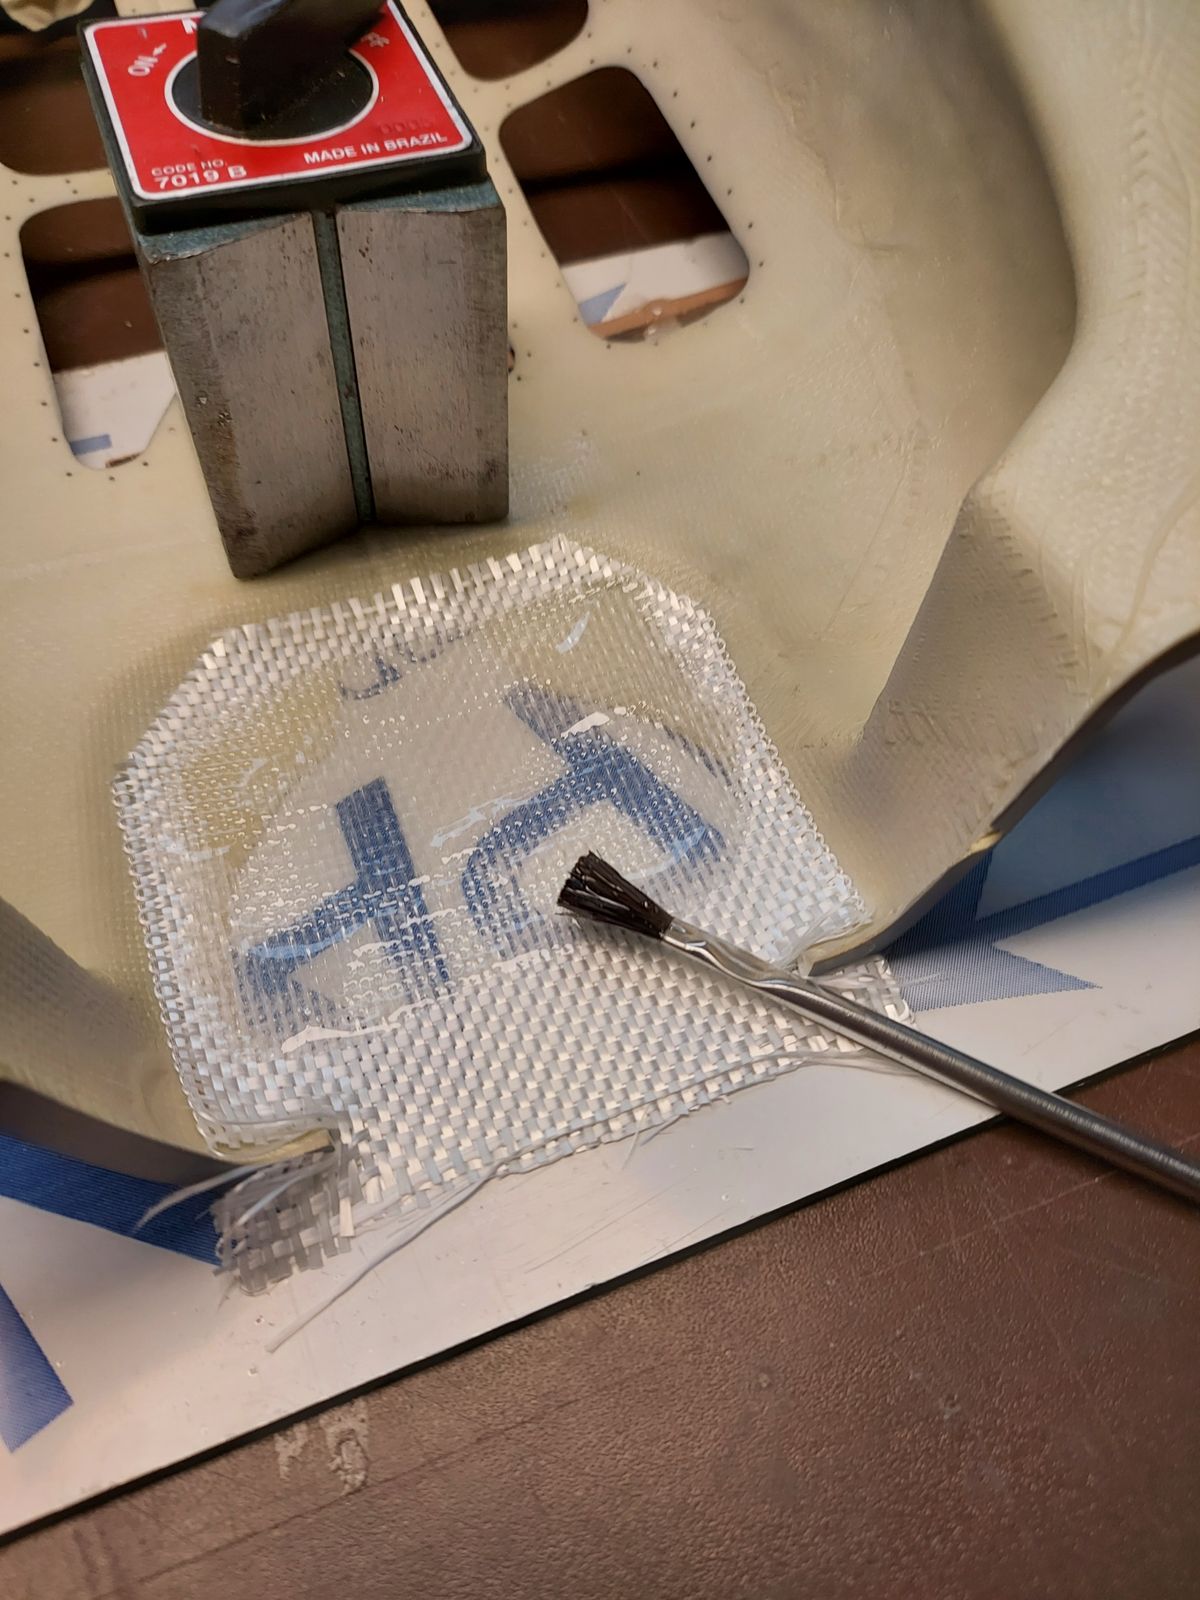
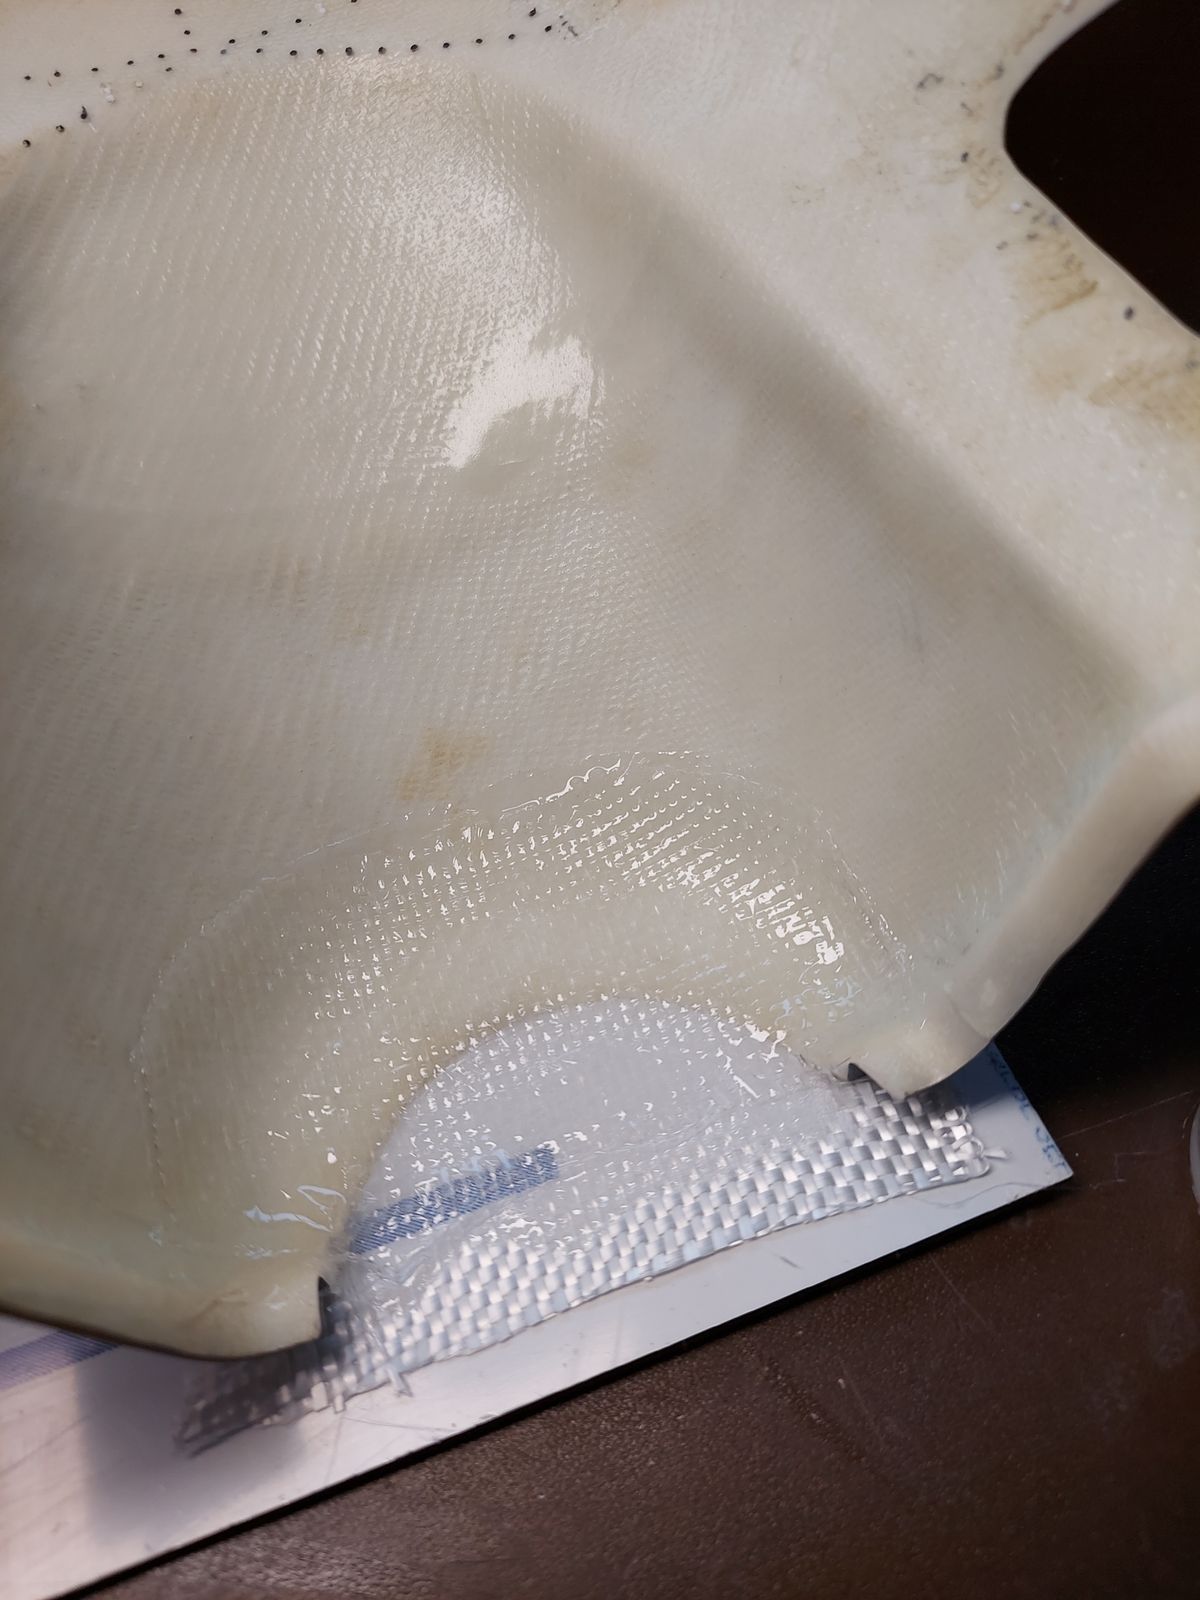
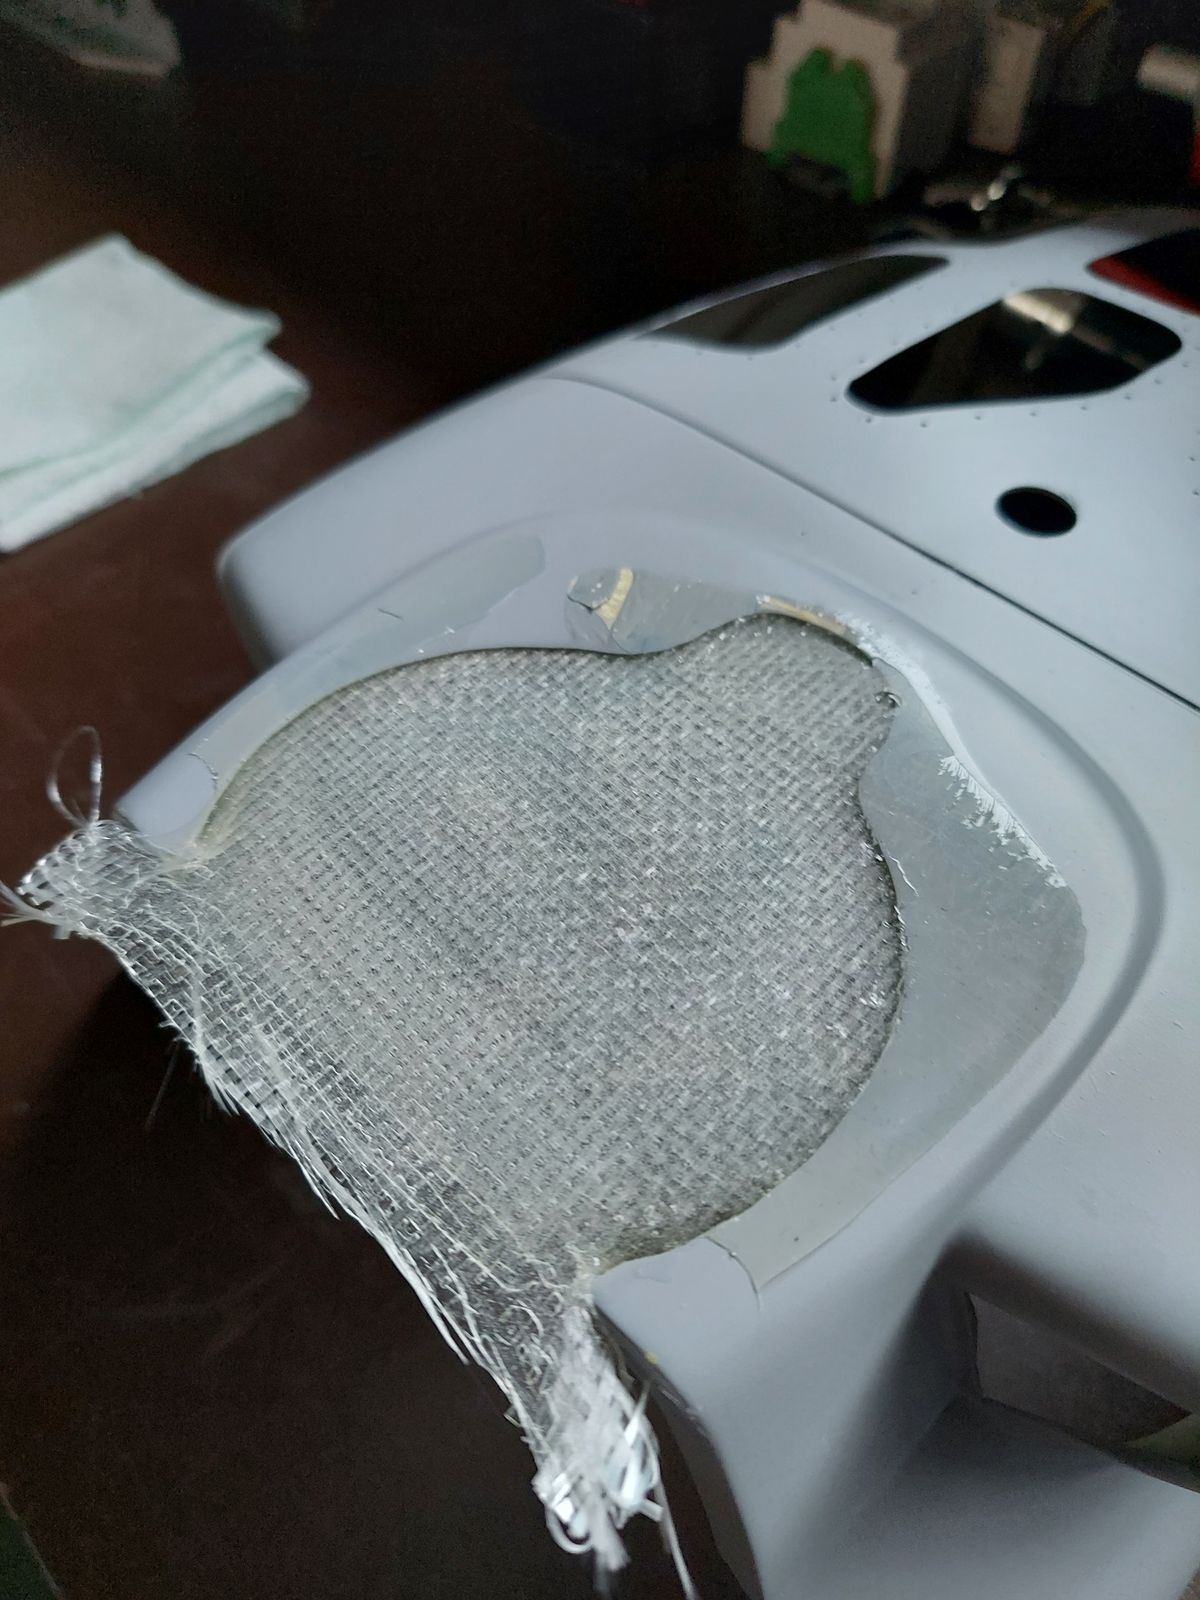
Installing additional glassfiber layer for sufficient groundplate stability.
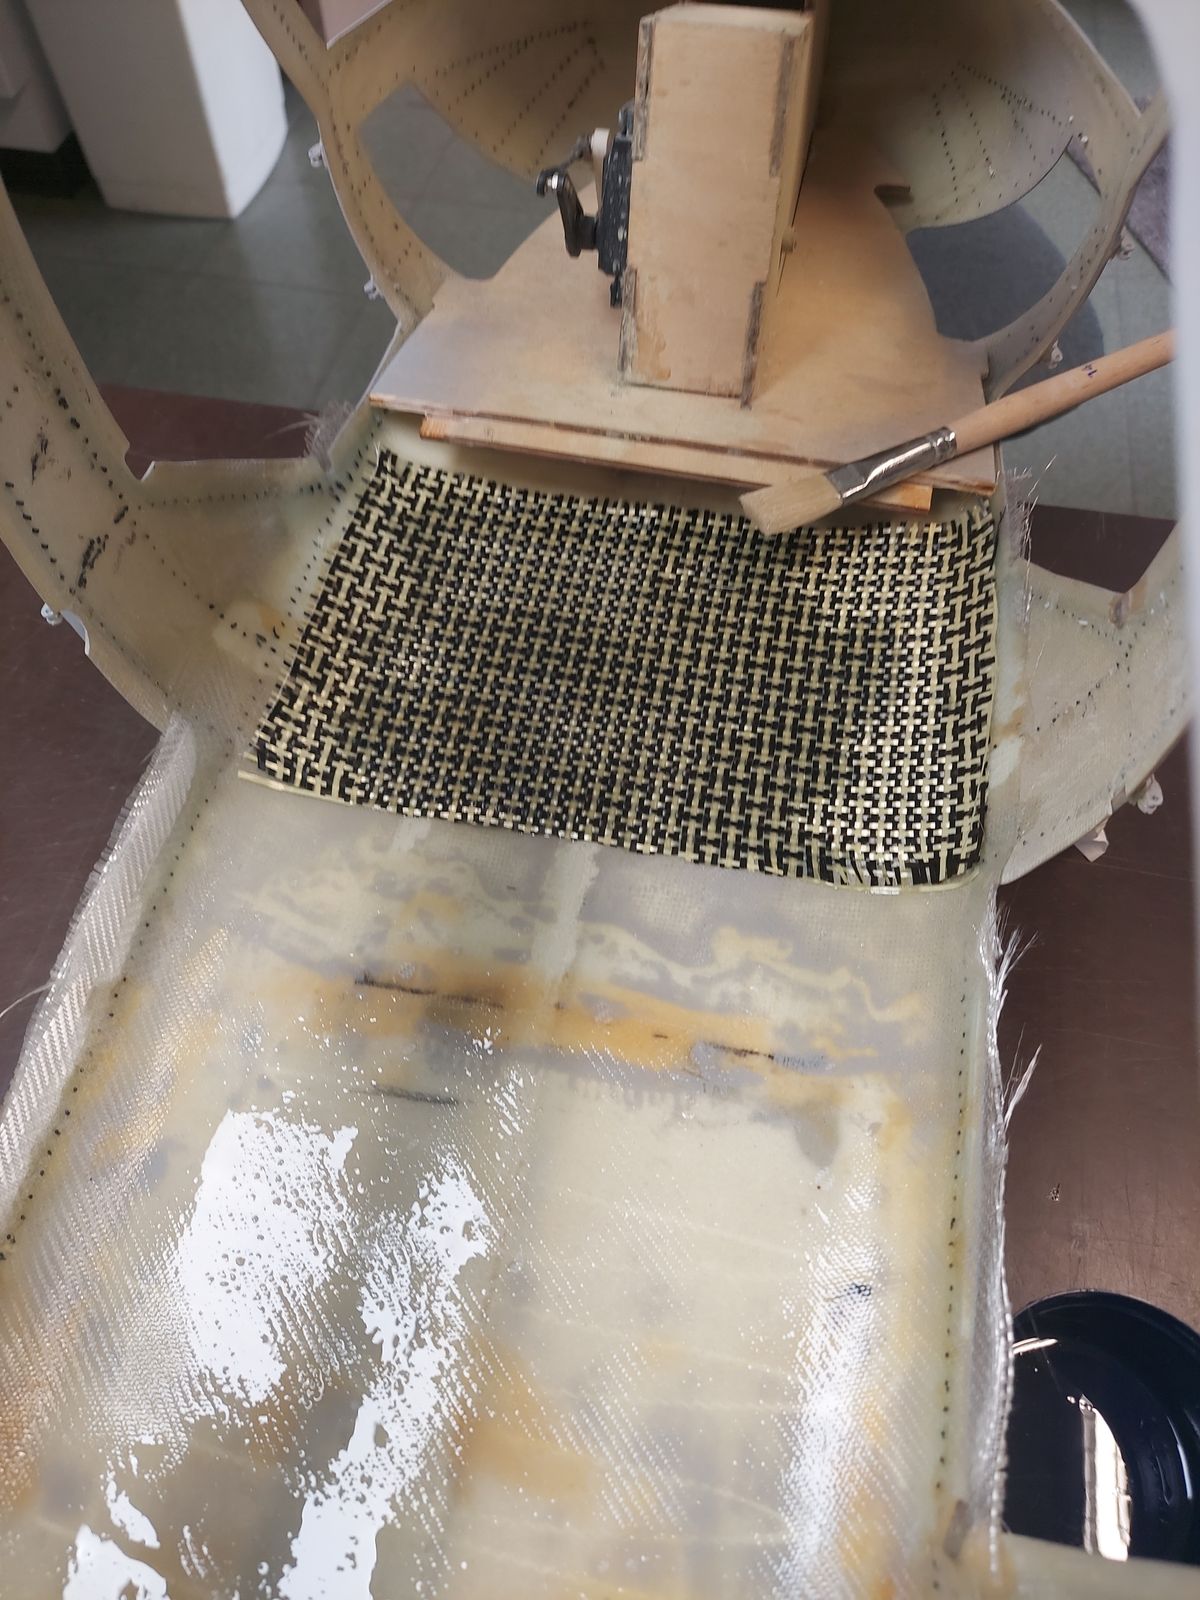
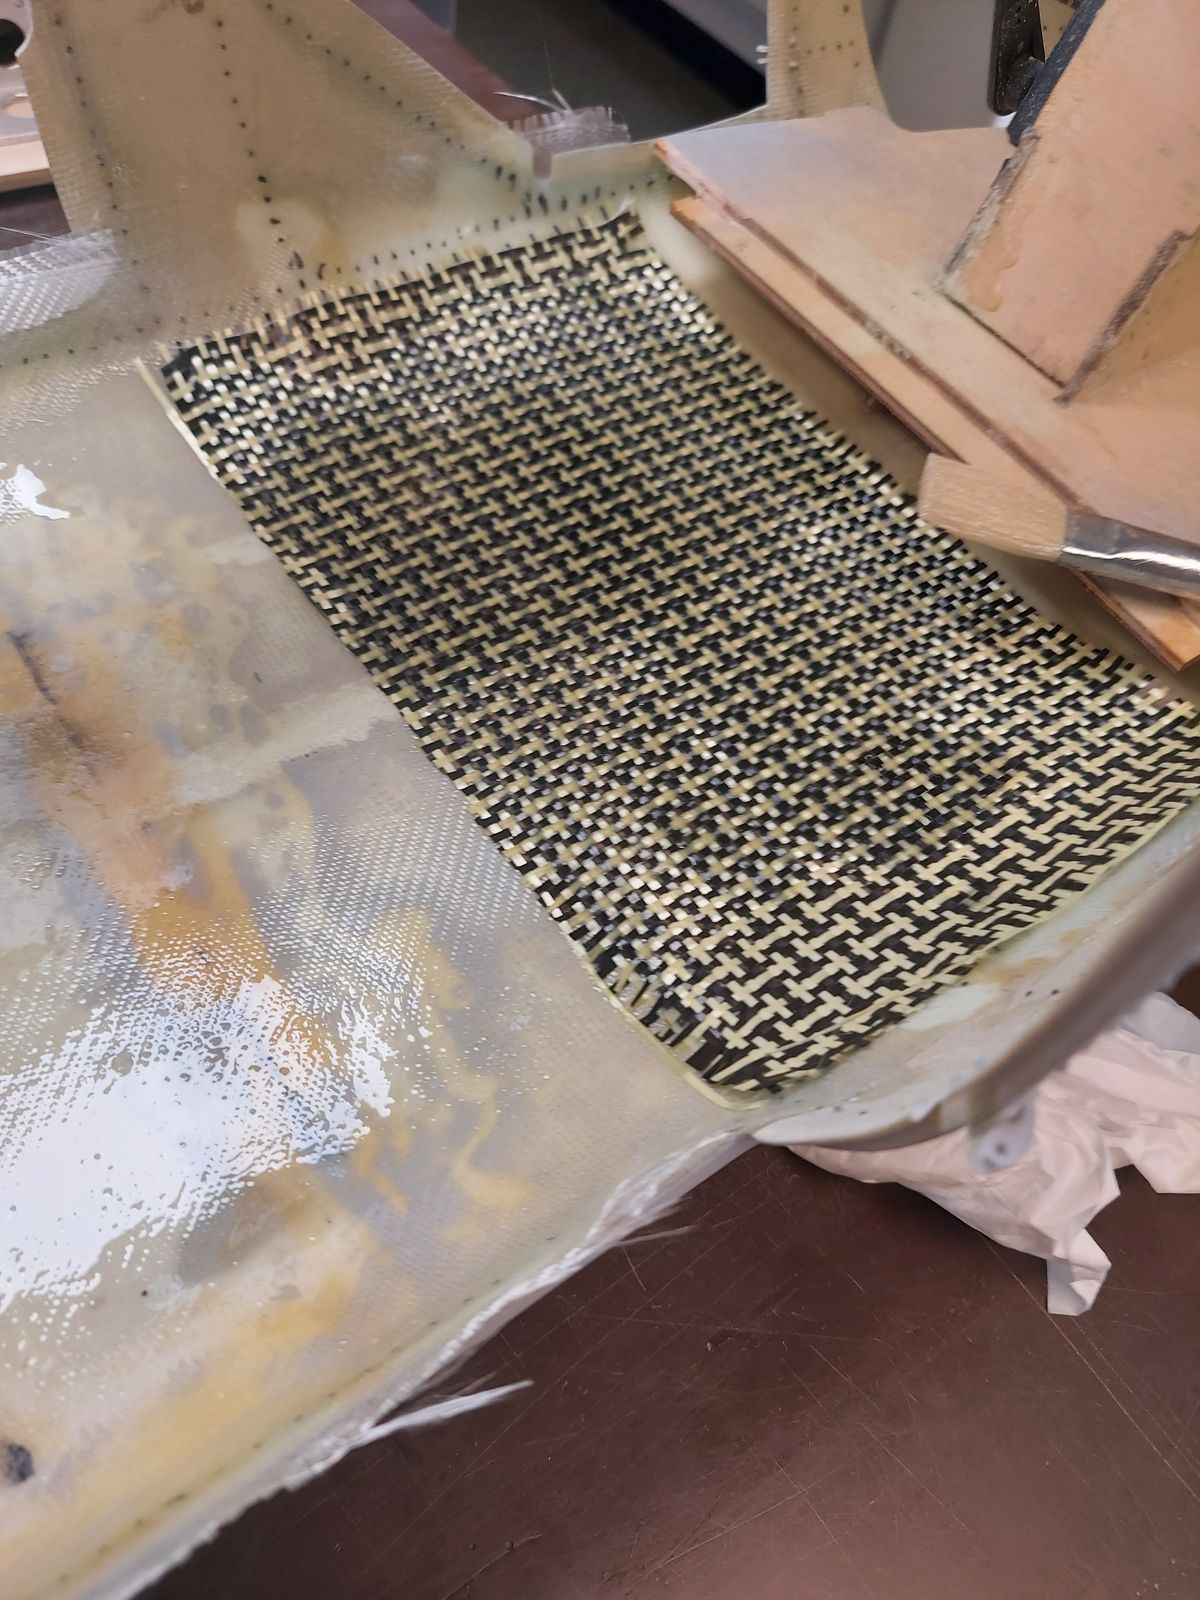
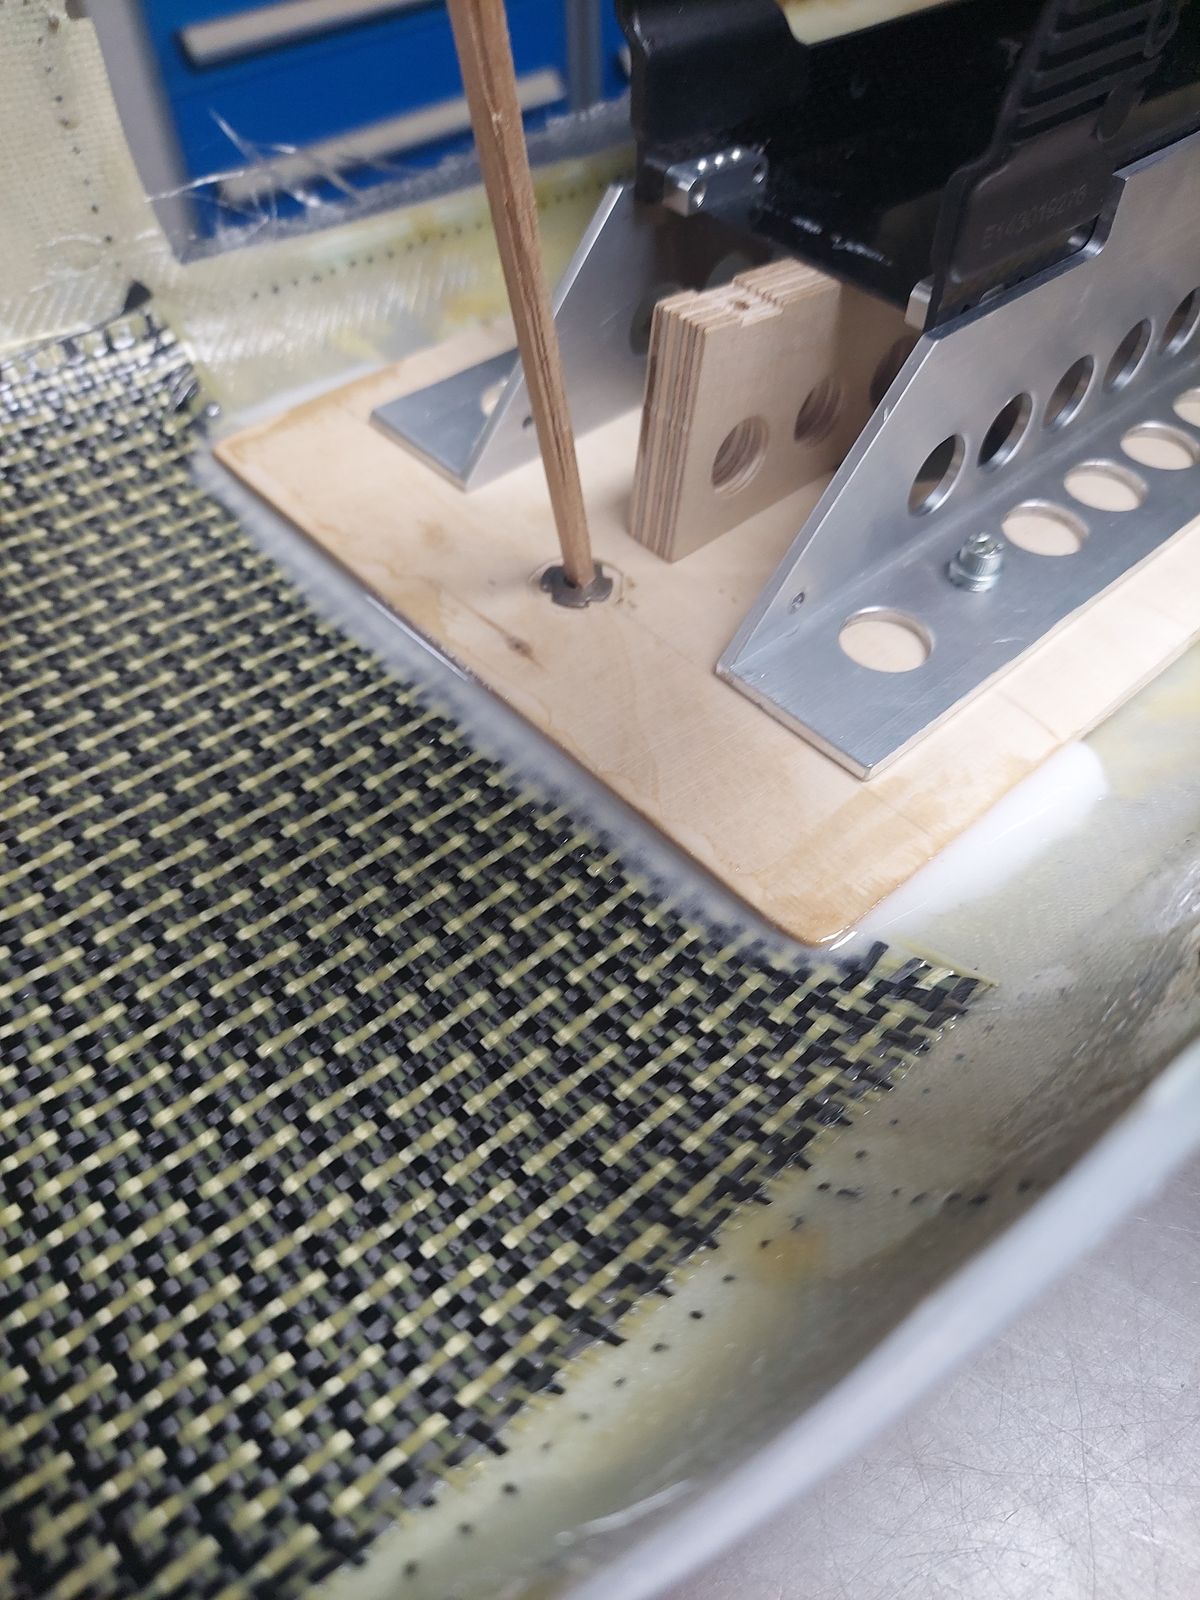
Adding a Carbon / Kevlar layer for the Lipo compartiment.
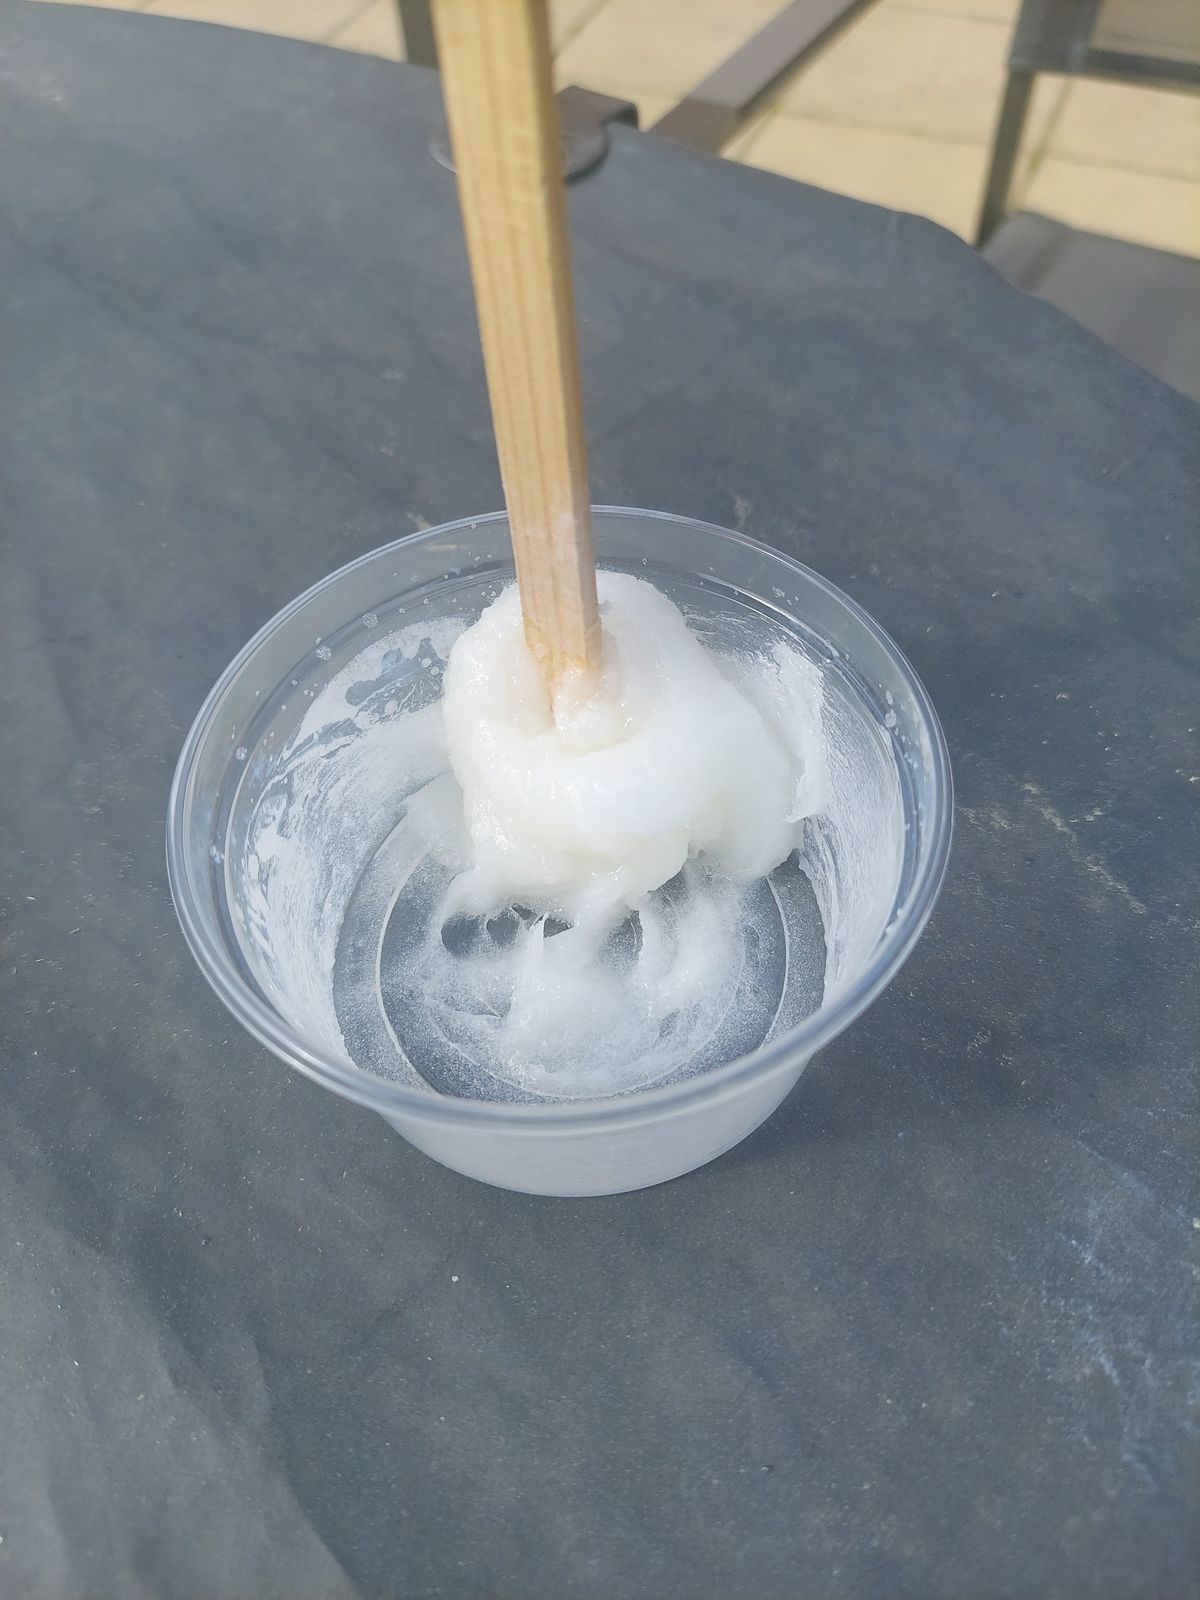
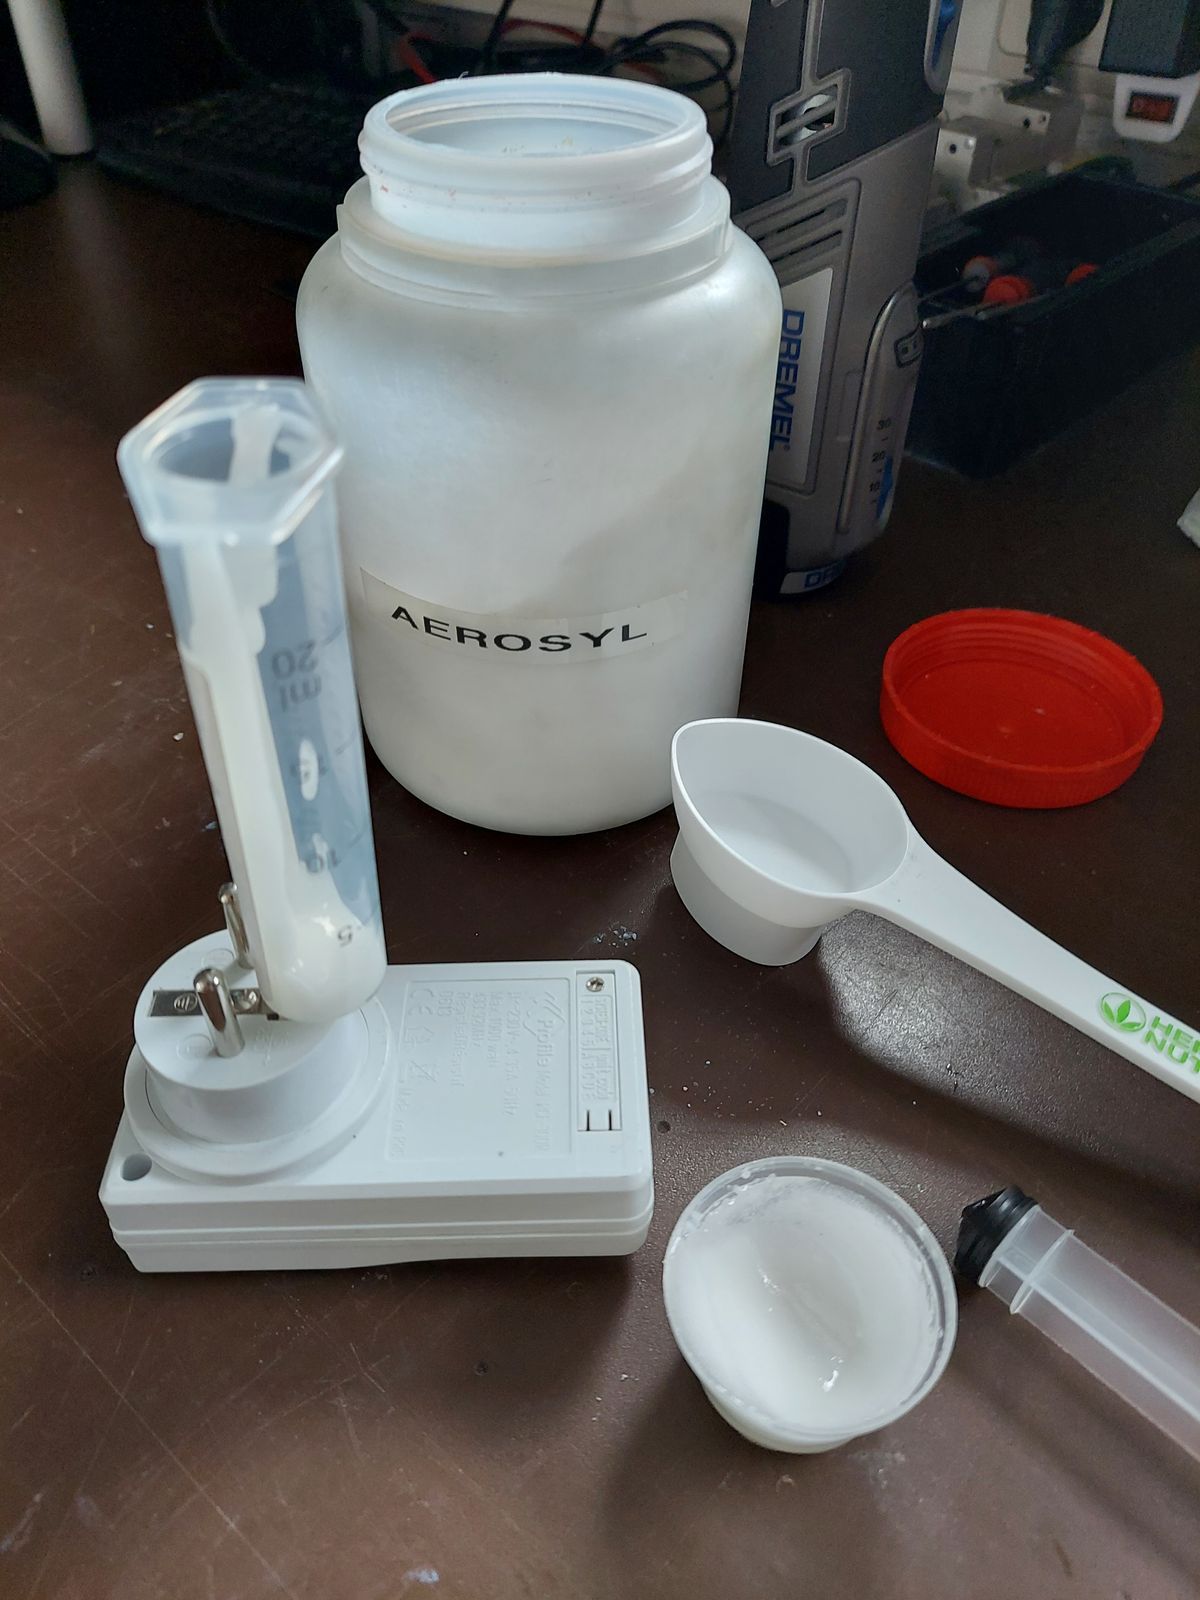
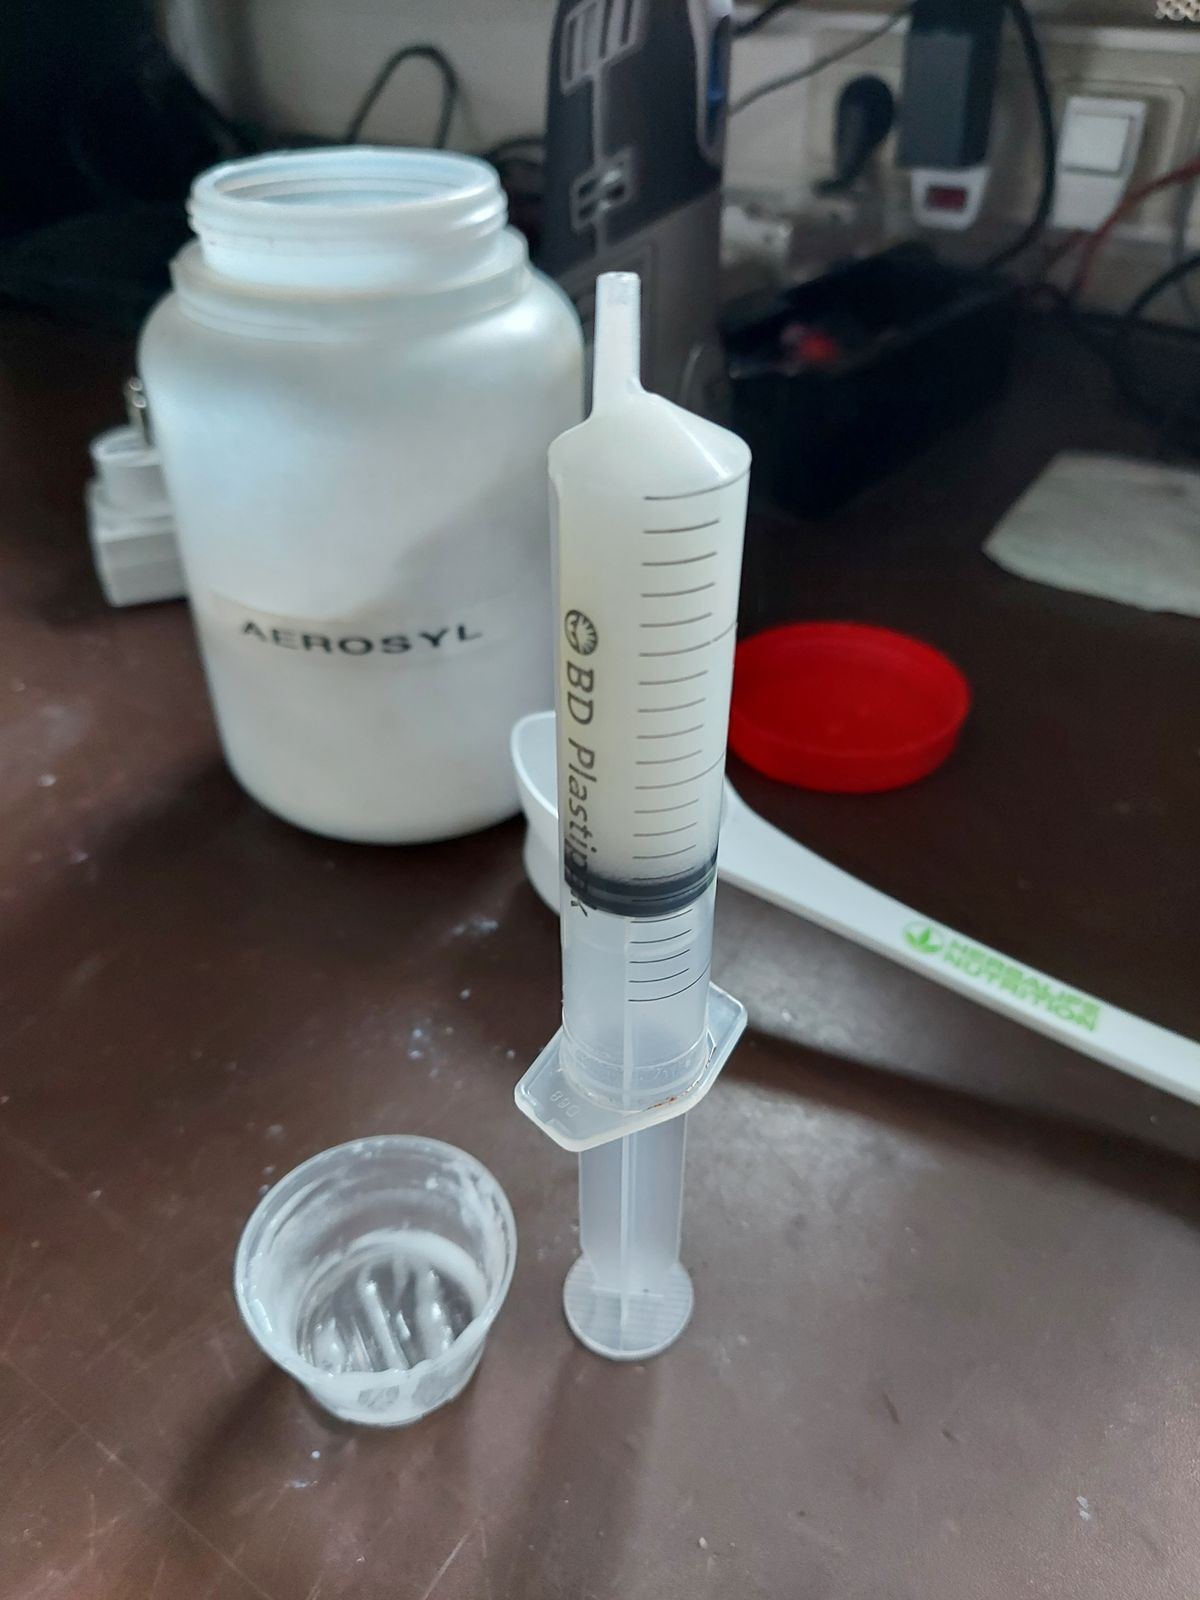
Using Aerosyl to make a very thick and light filling epoxy compound.
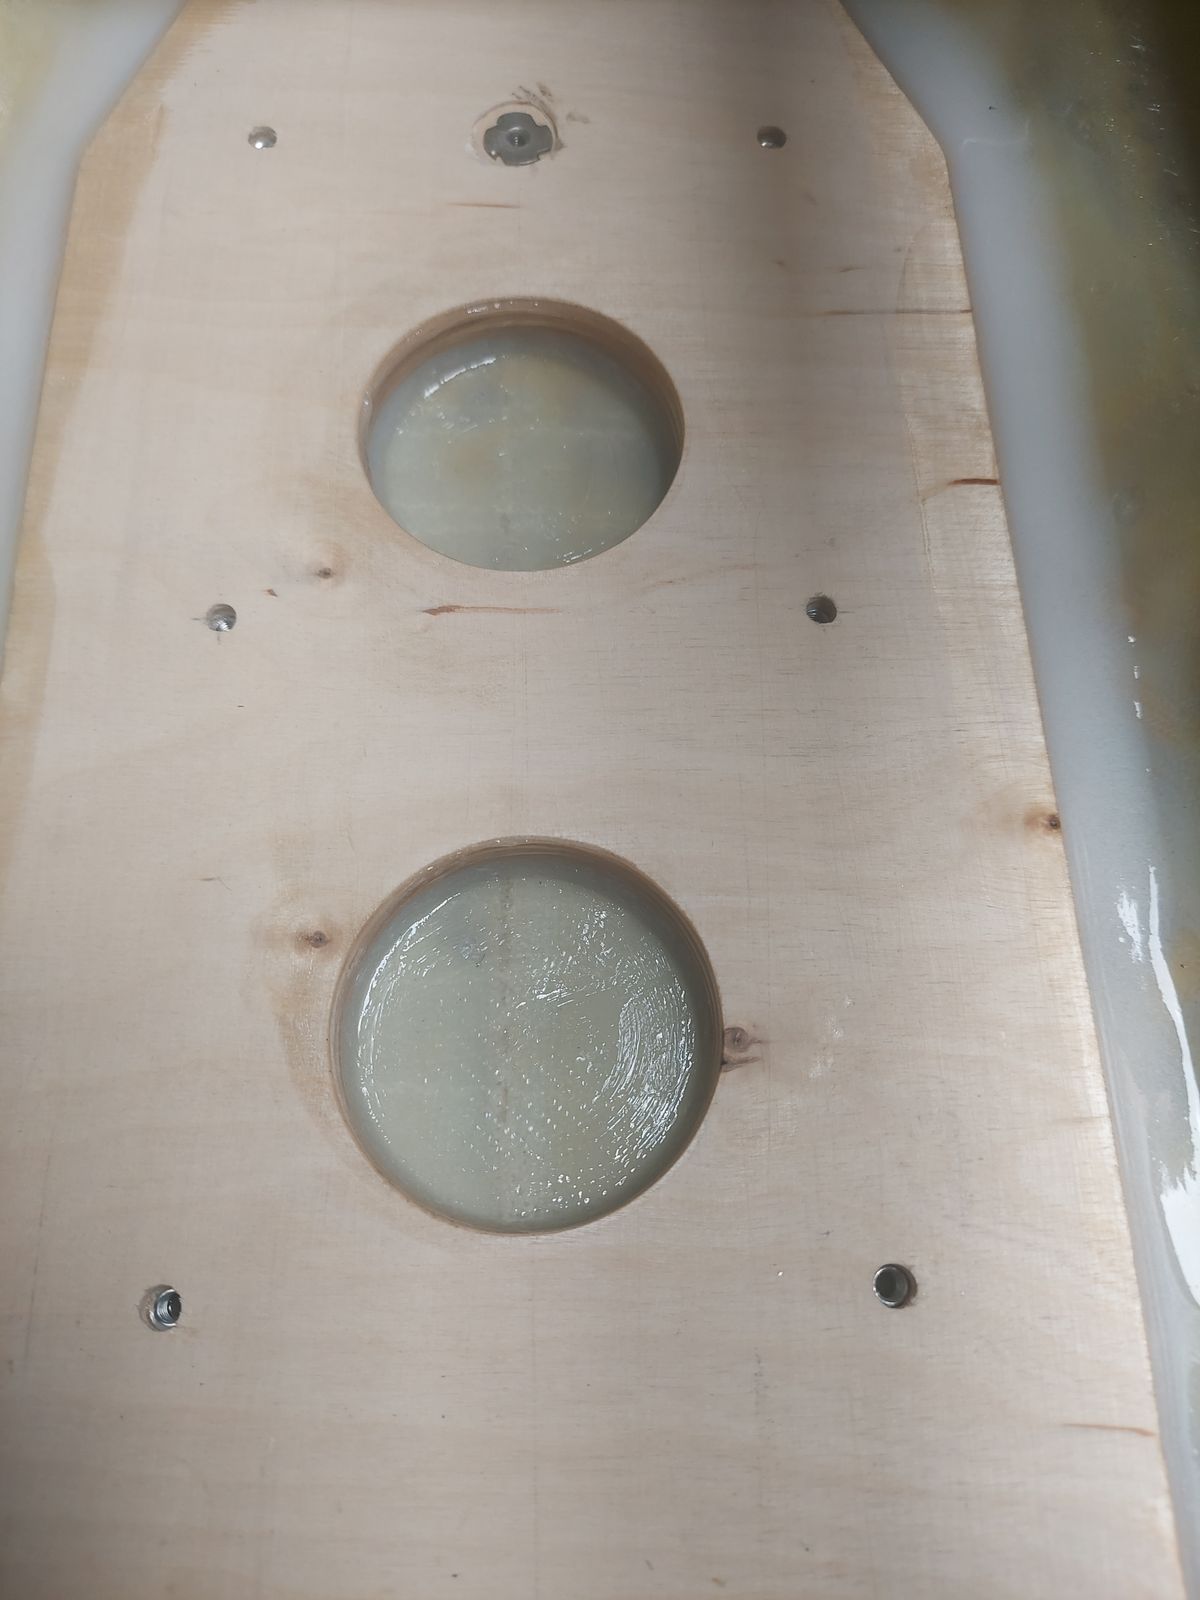
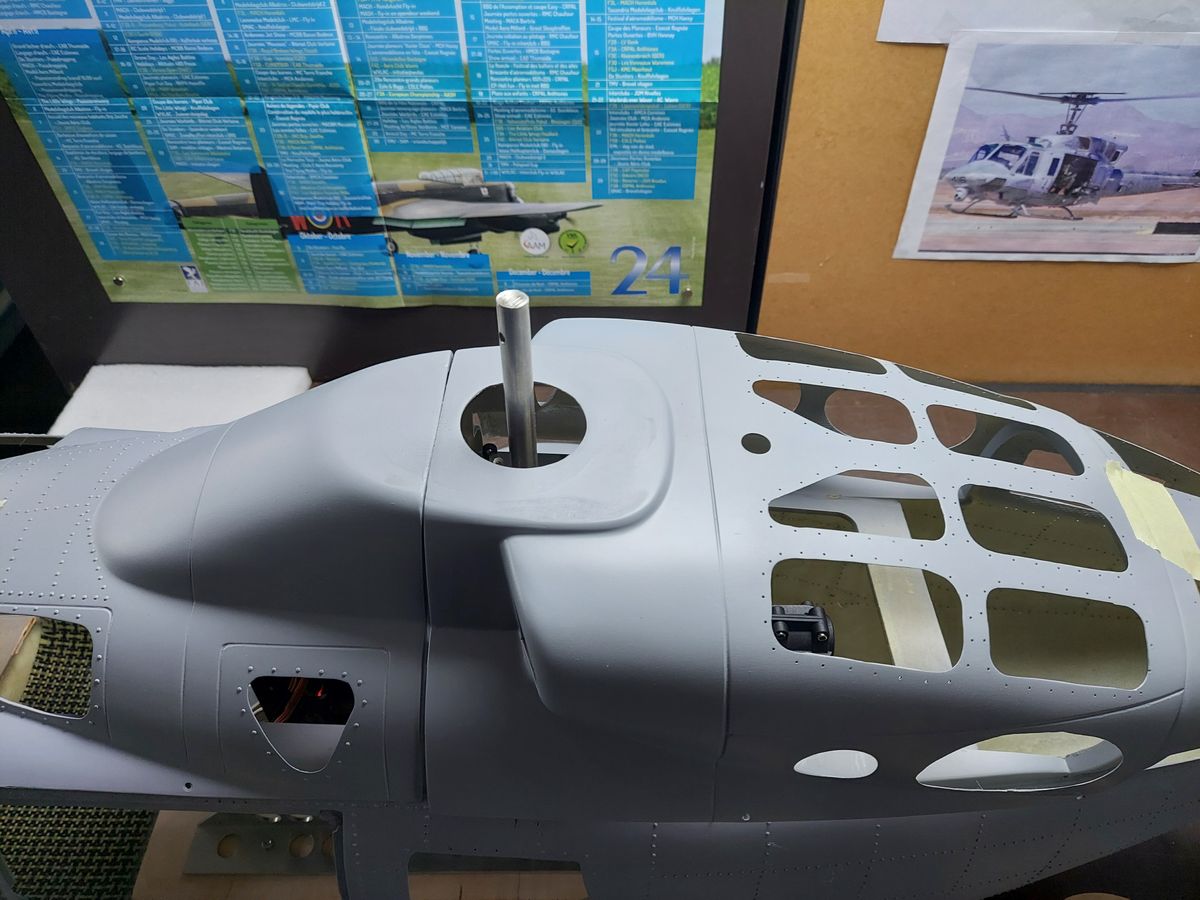
Closing the existing swashplate hole, new smaller opening that fits the new rotorshaft position.
Restoring the alu retract control rod that was cut apart.
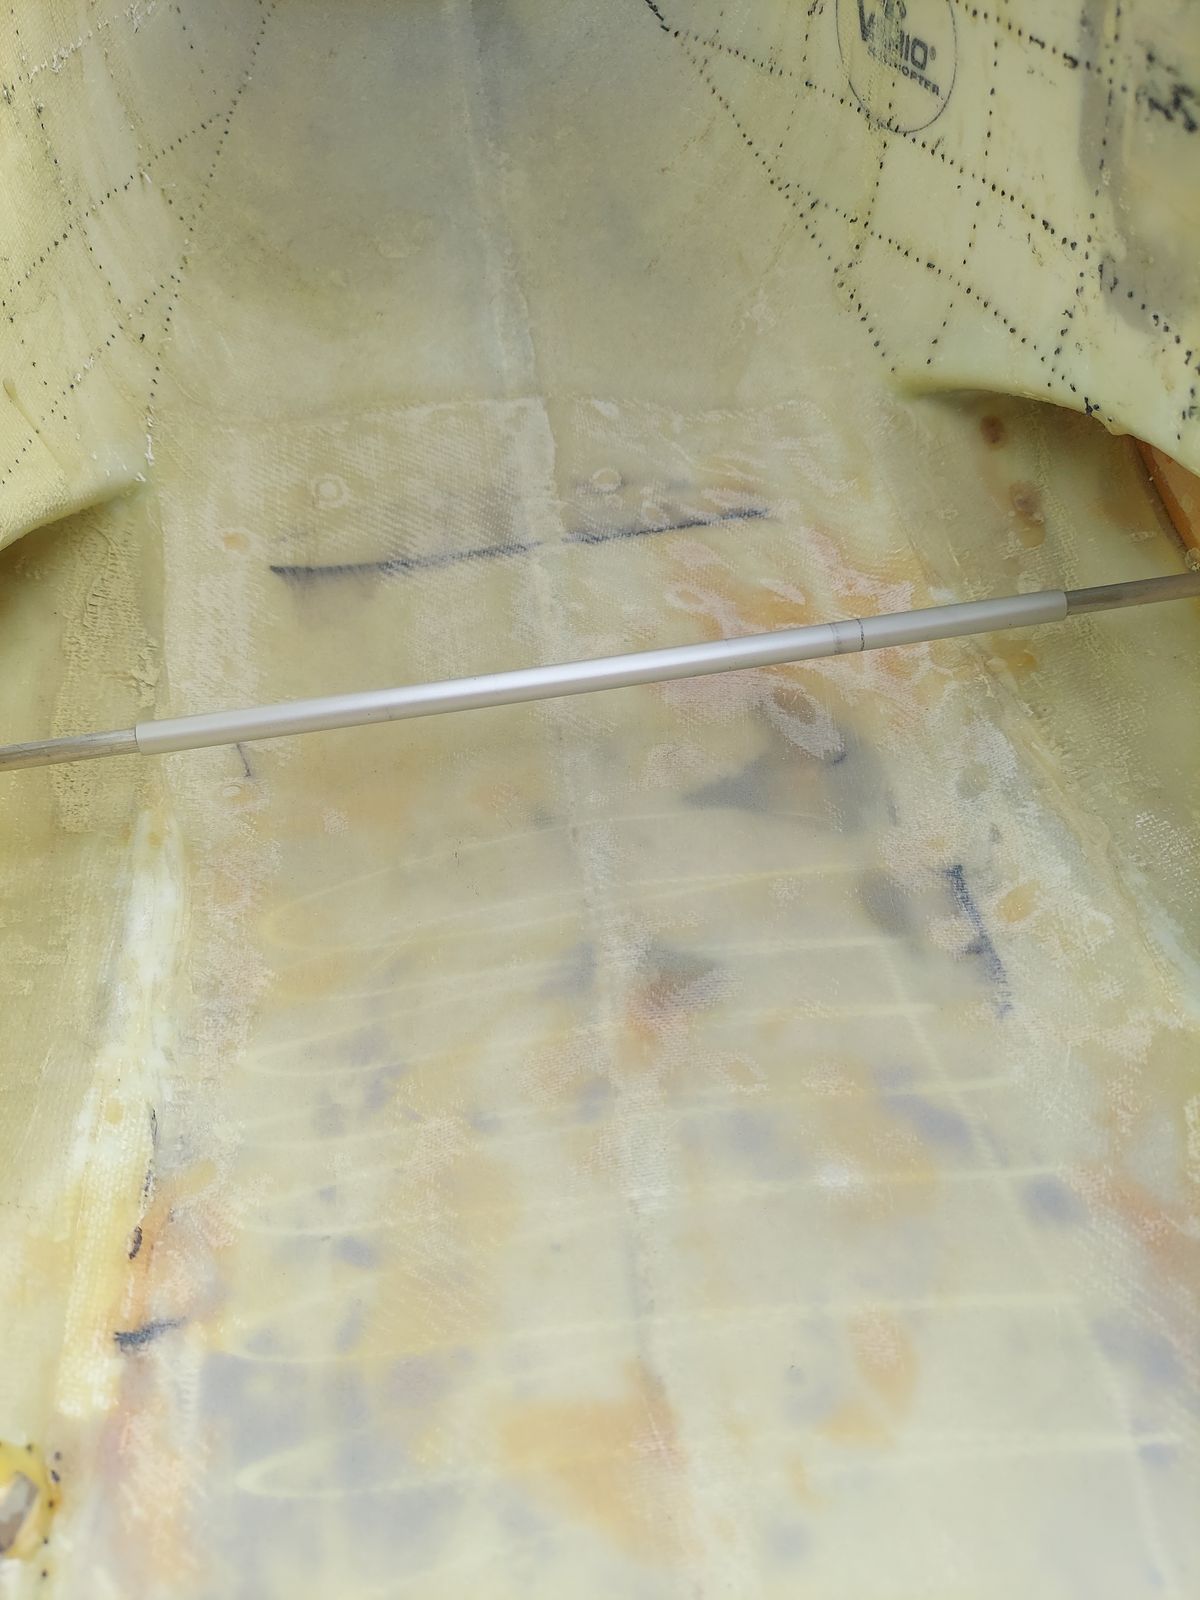
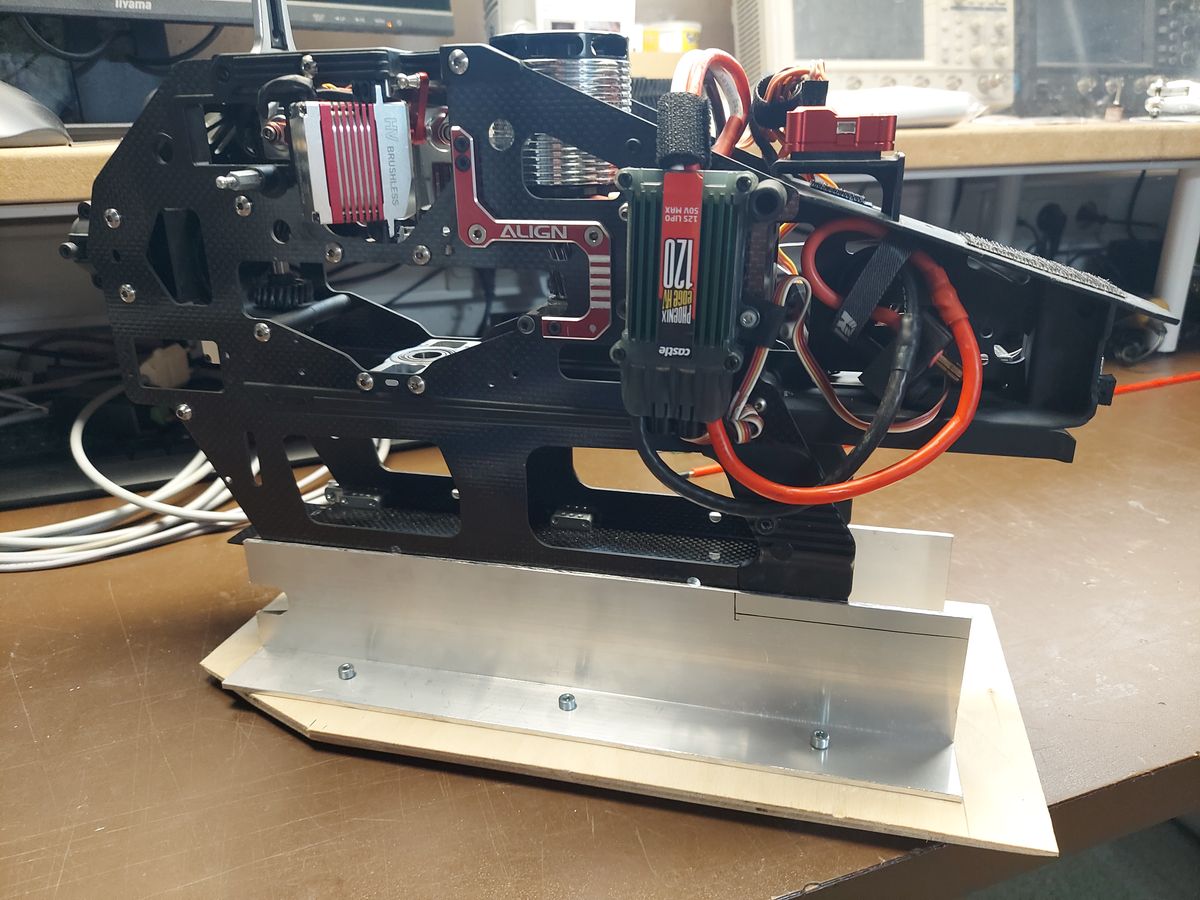
Installing the Trex 700 mechanics
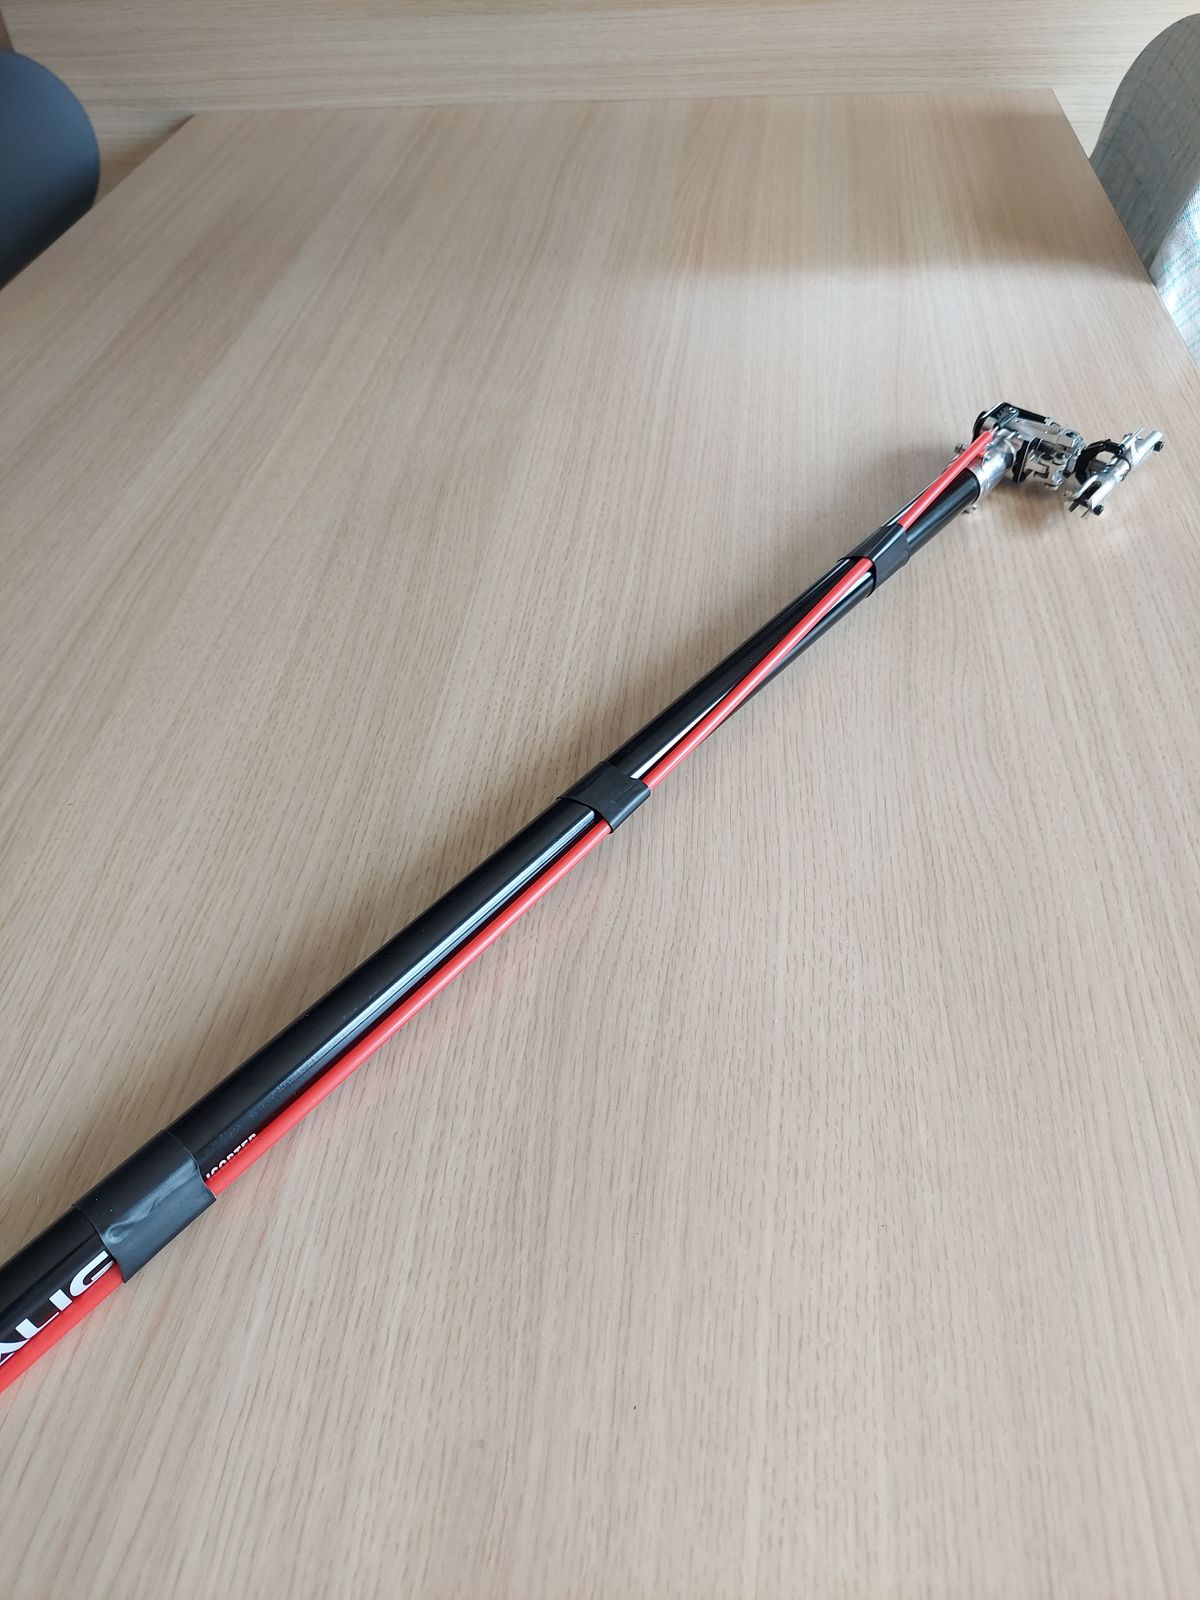
Installing the Trex 700 mechanics, using a 800 strech kit to get a longer tailboom.
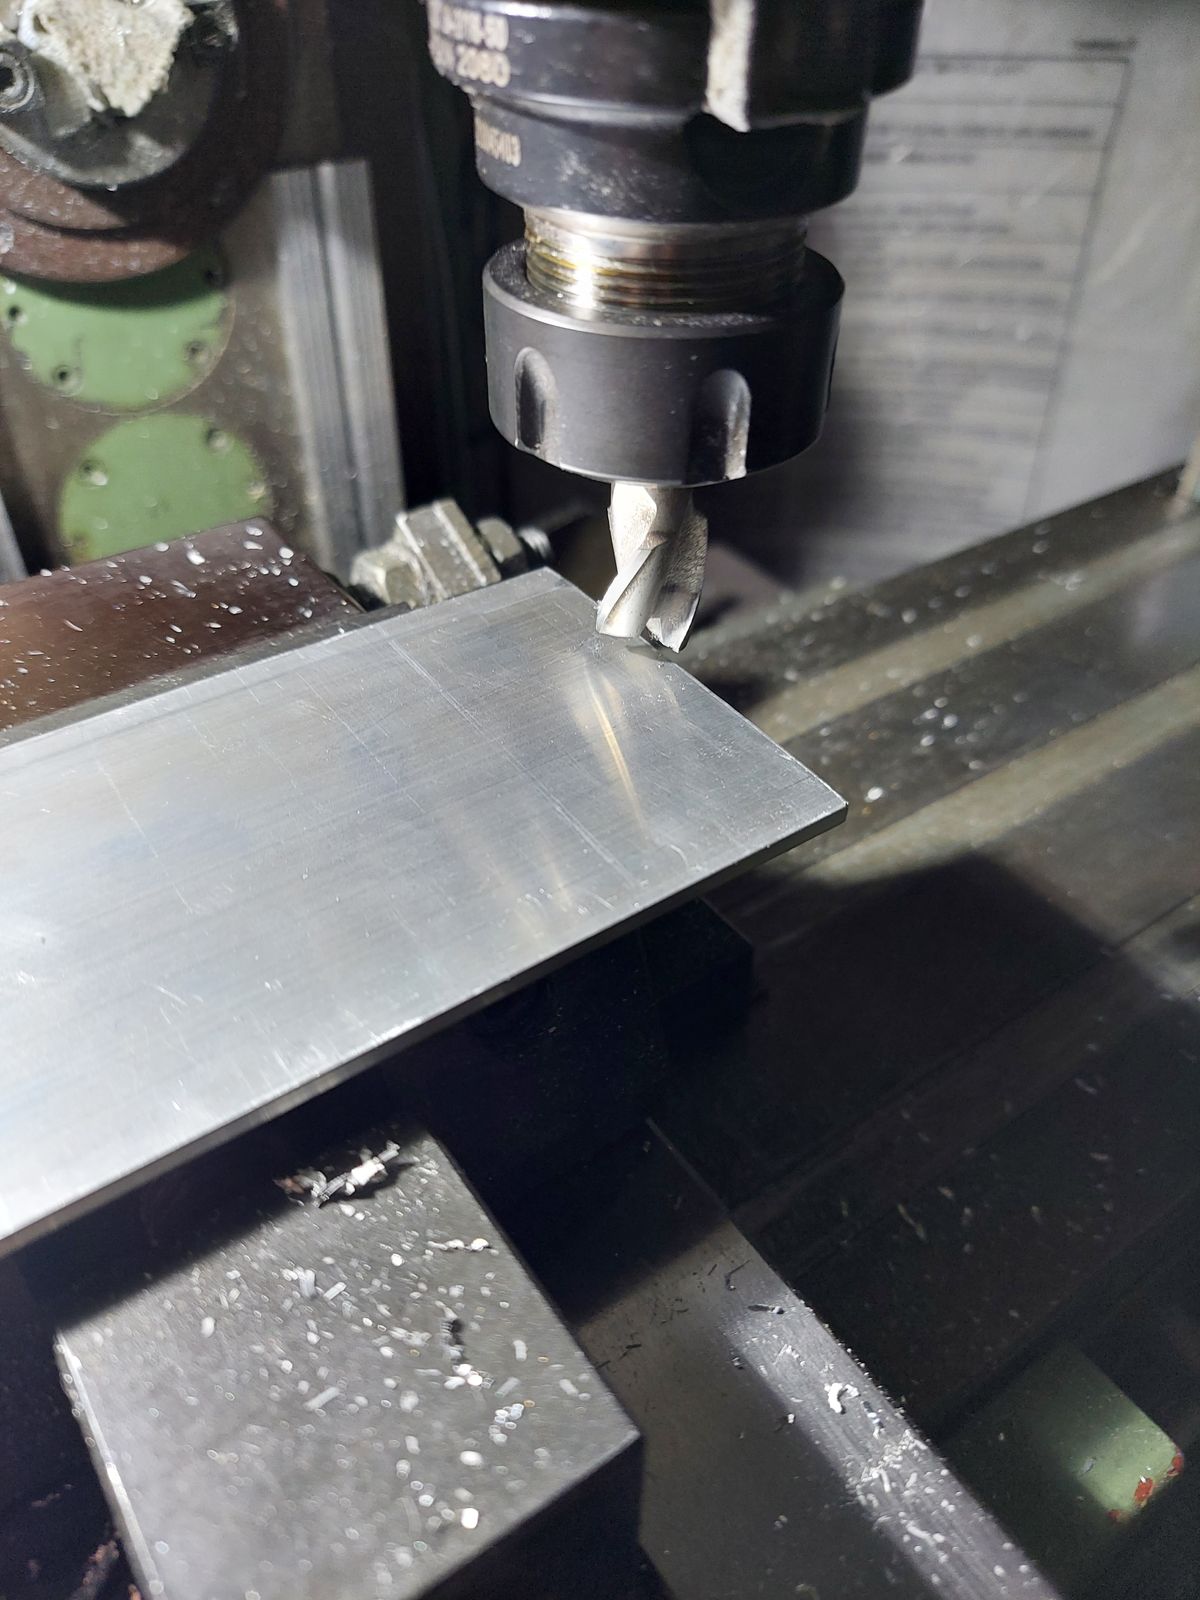
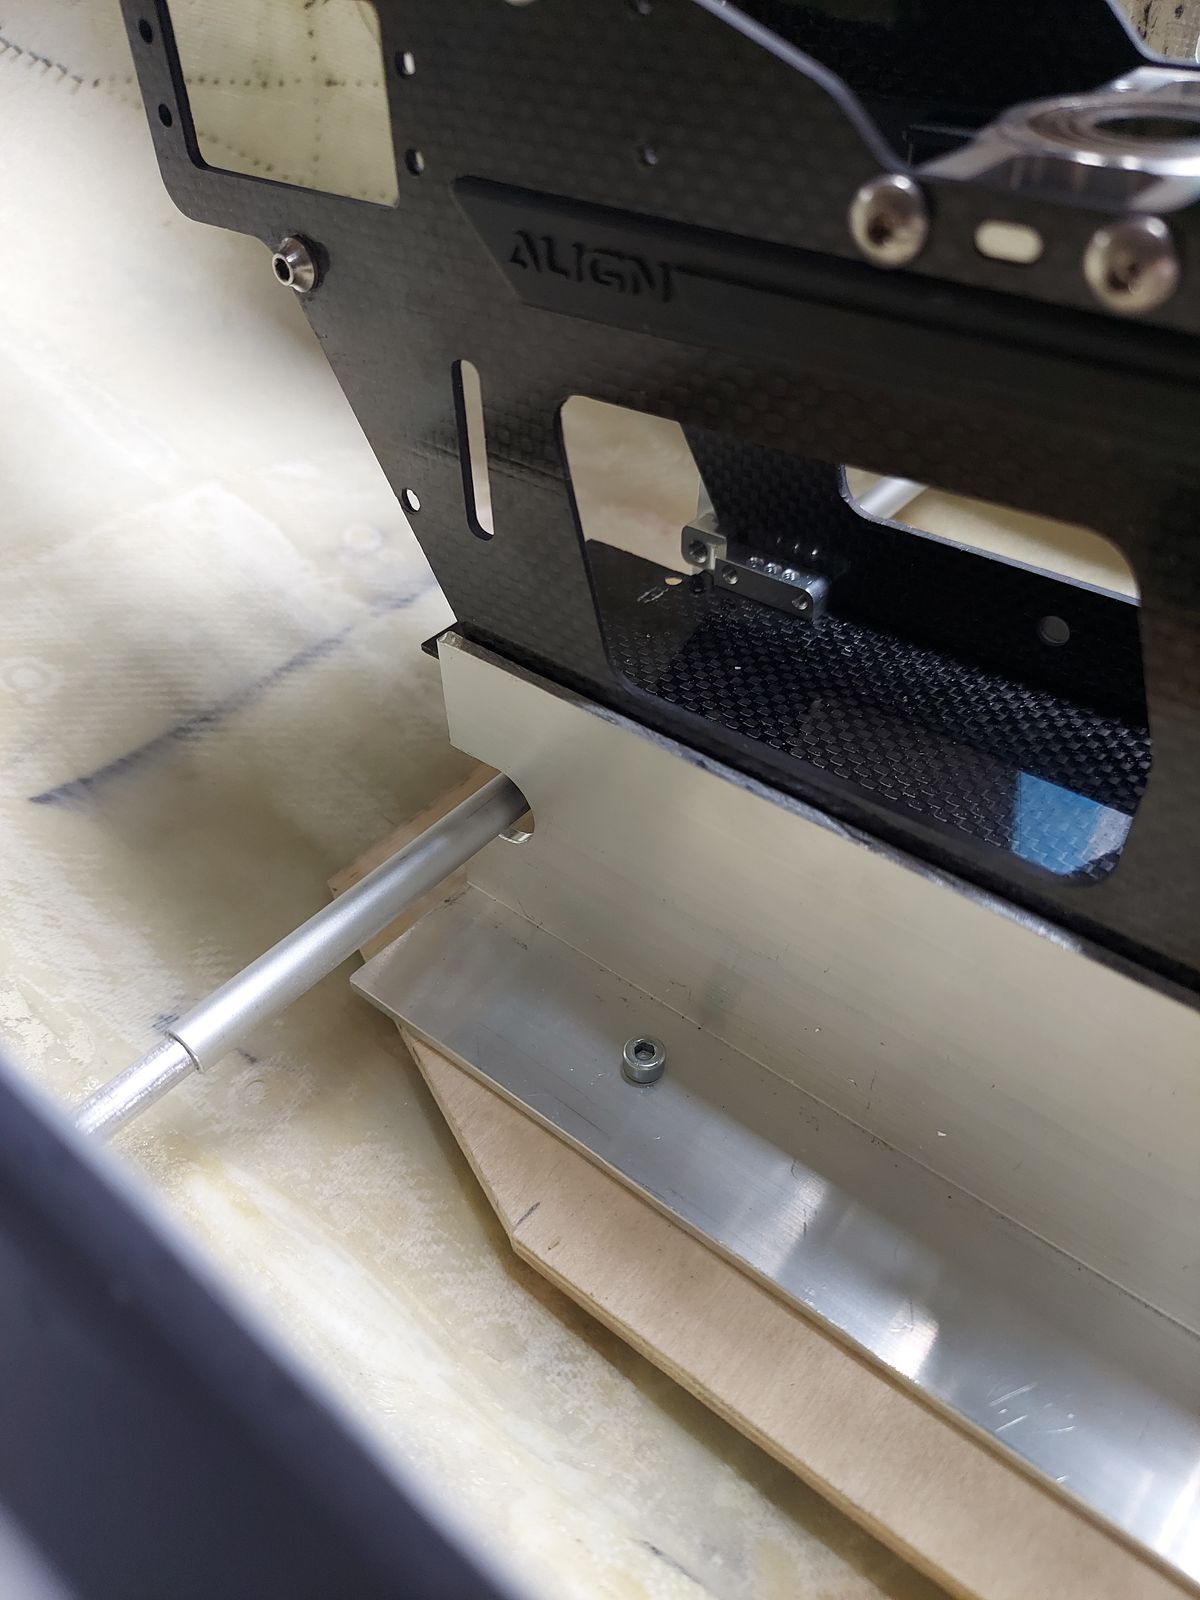
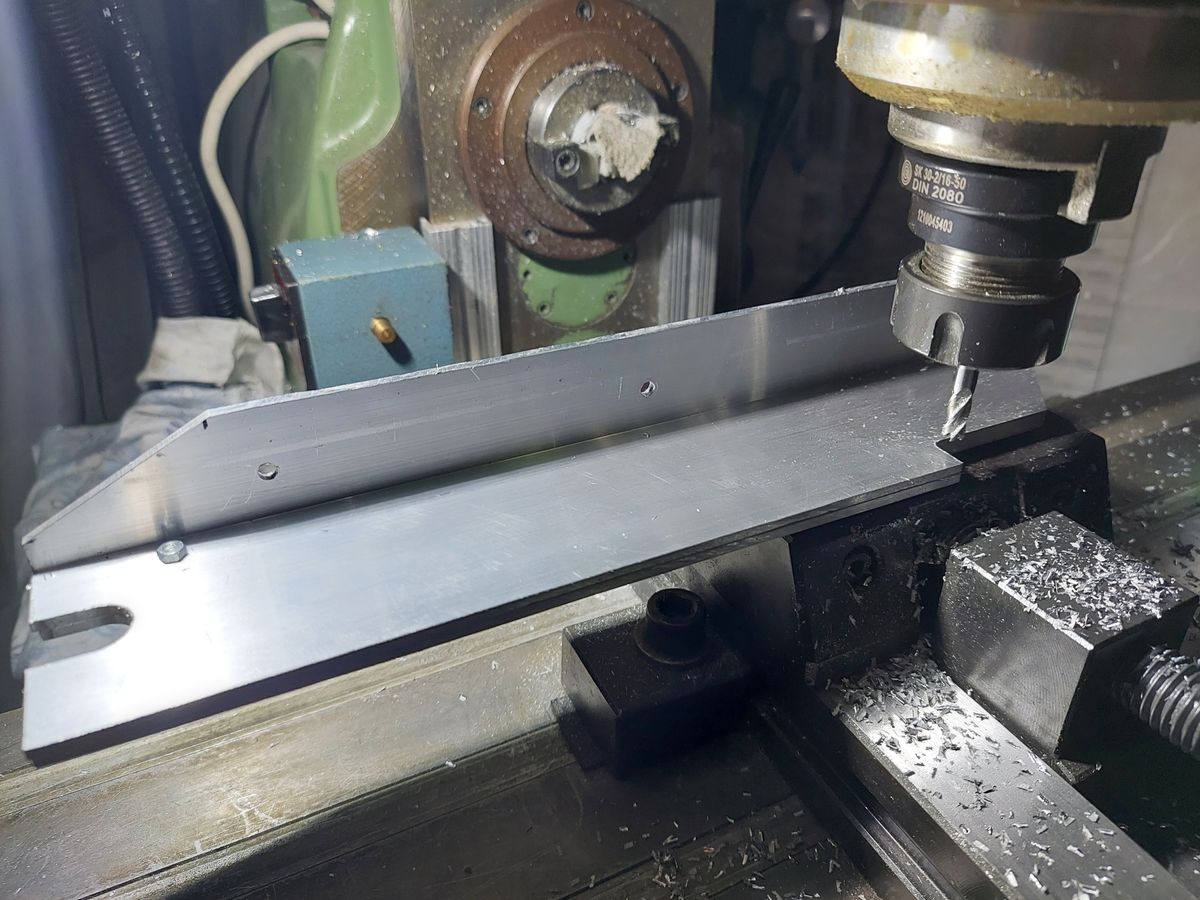
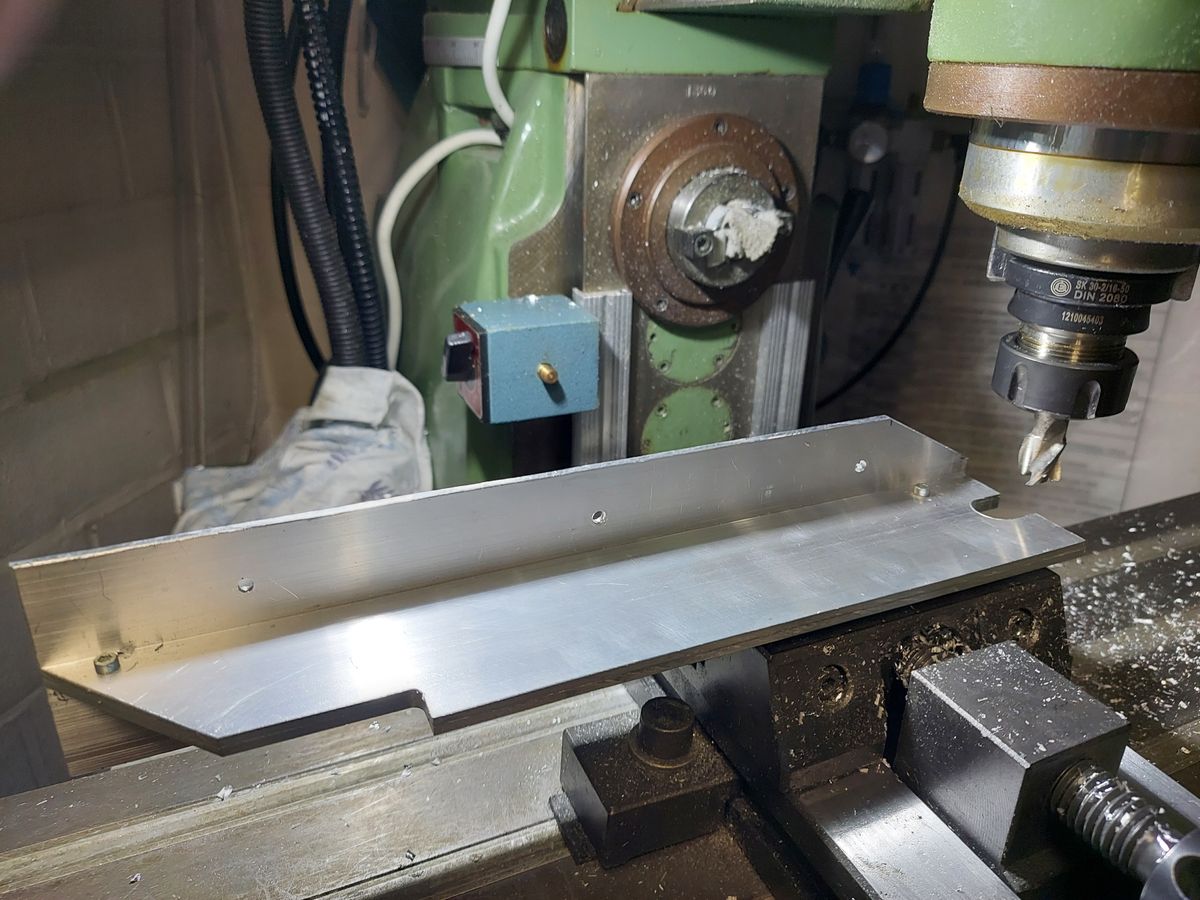
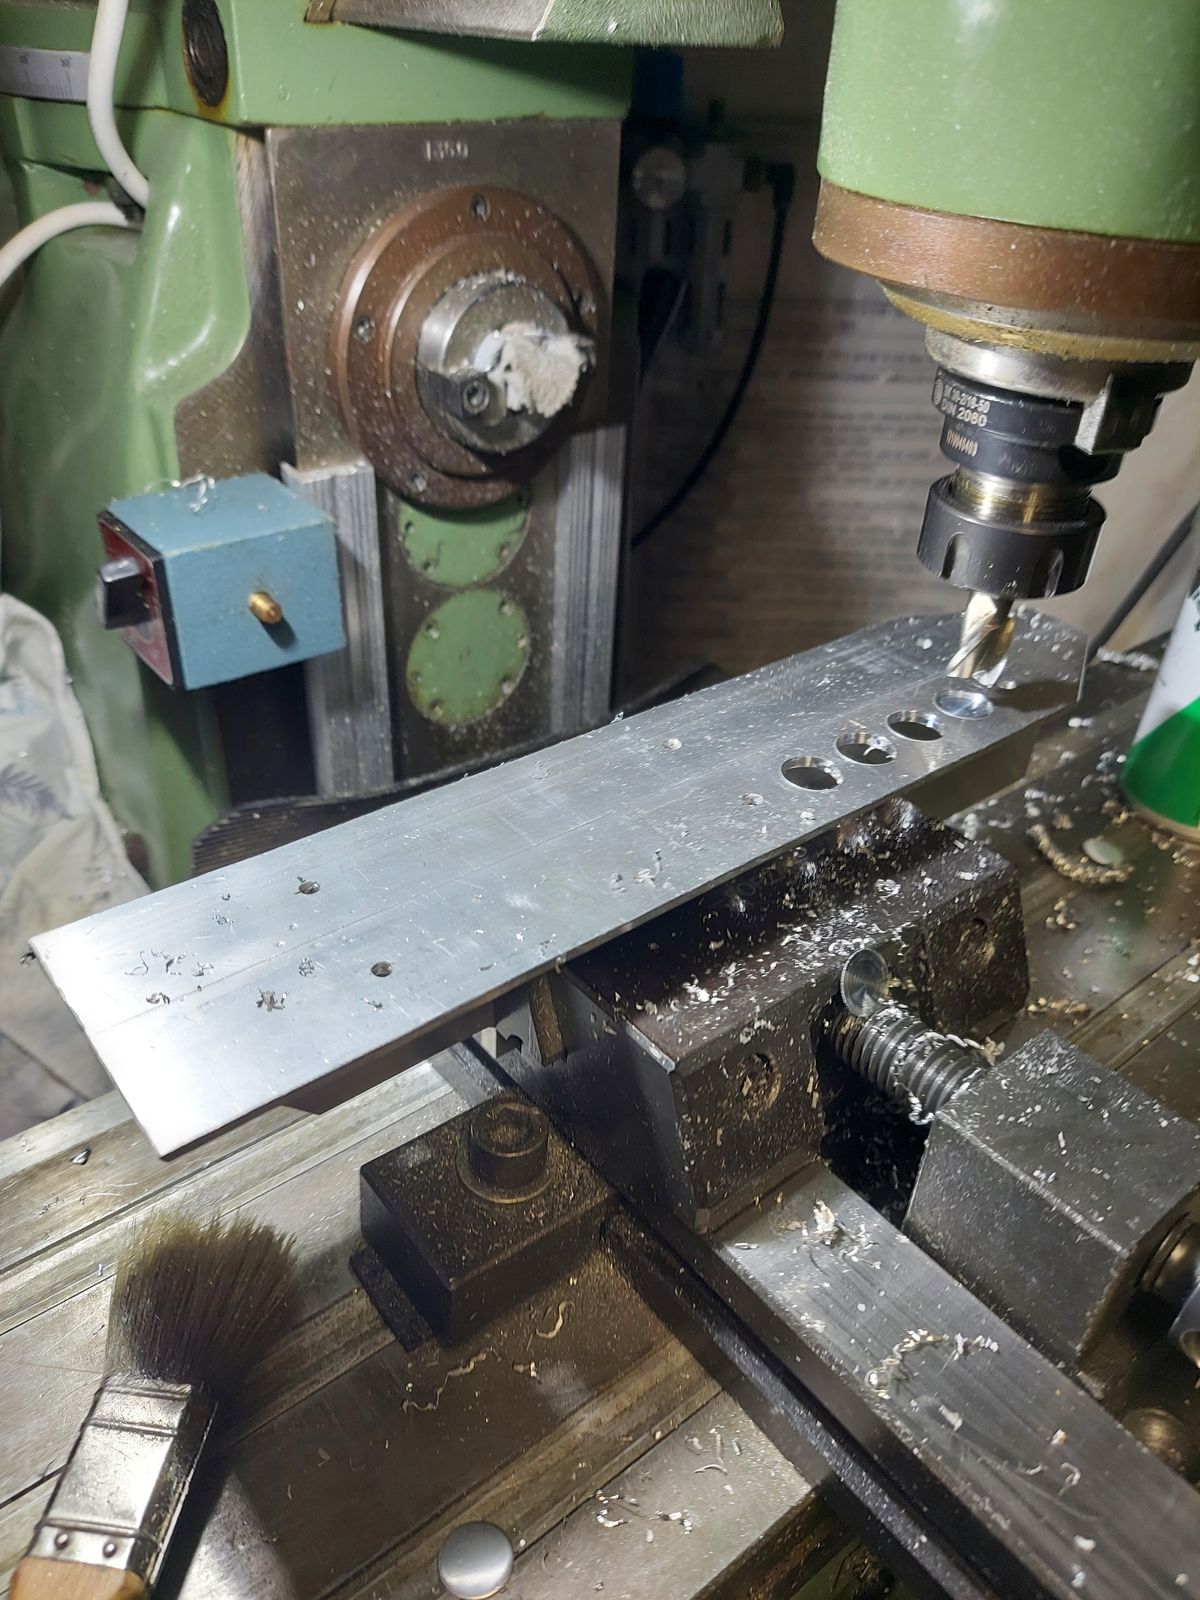
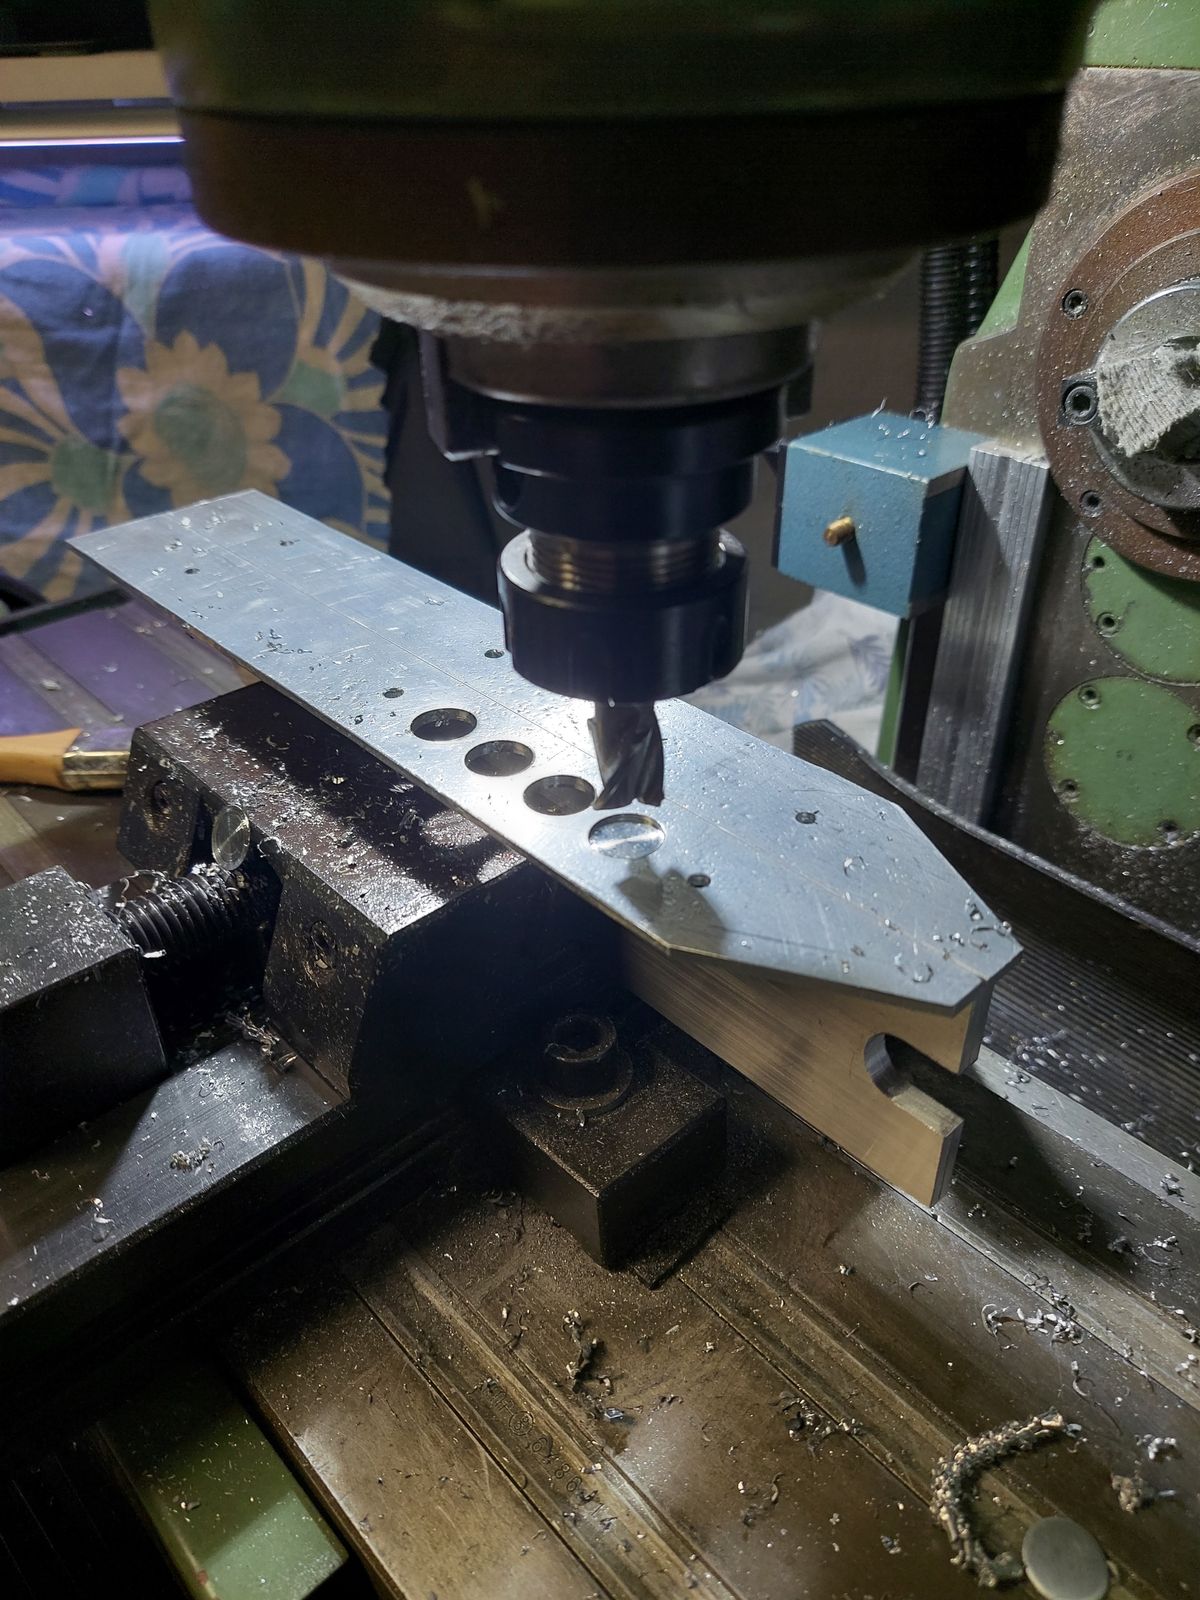
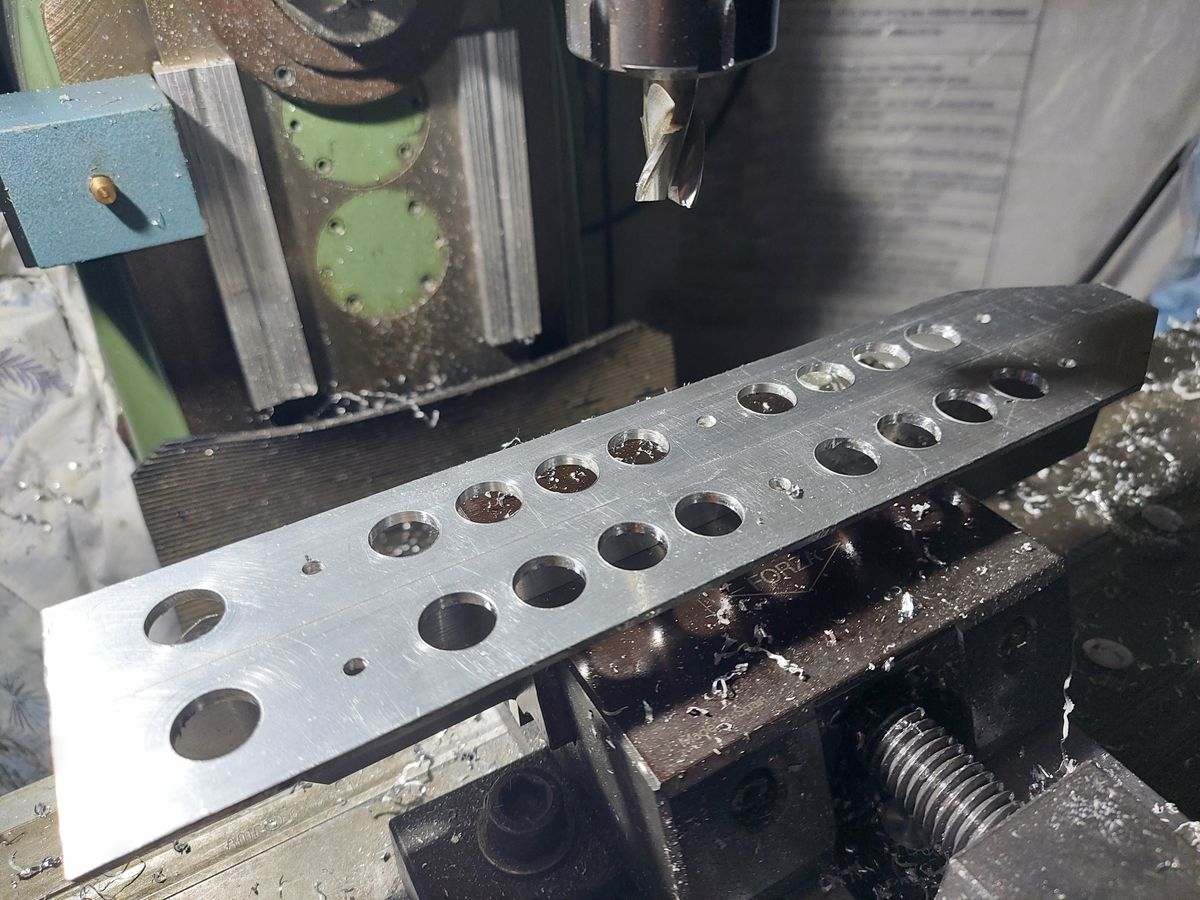
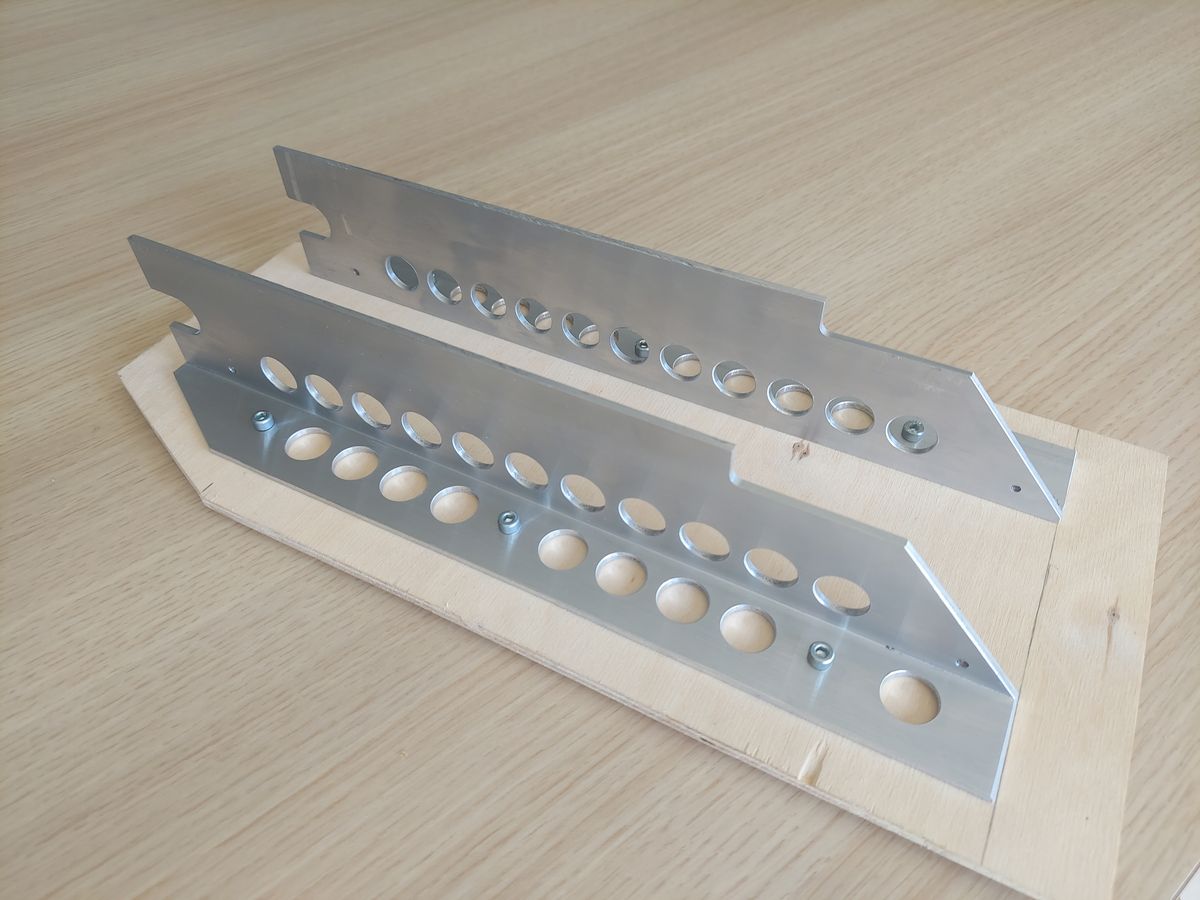
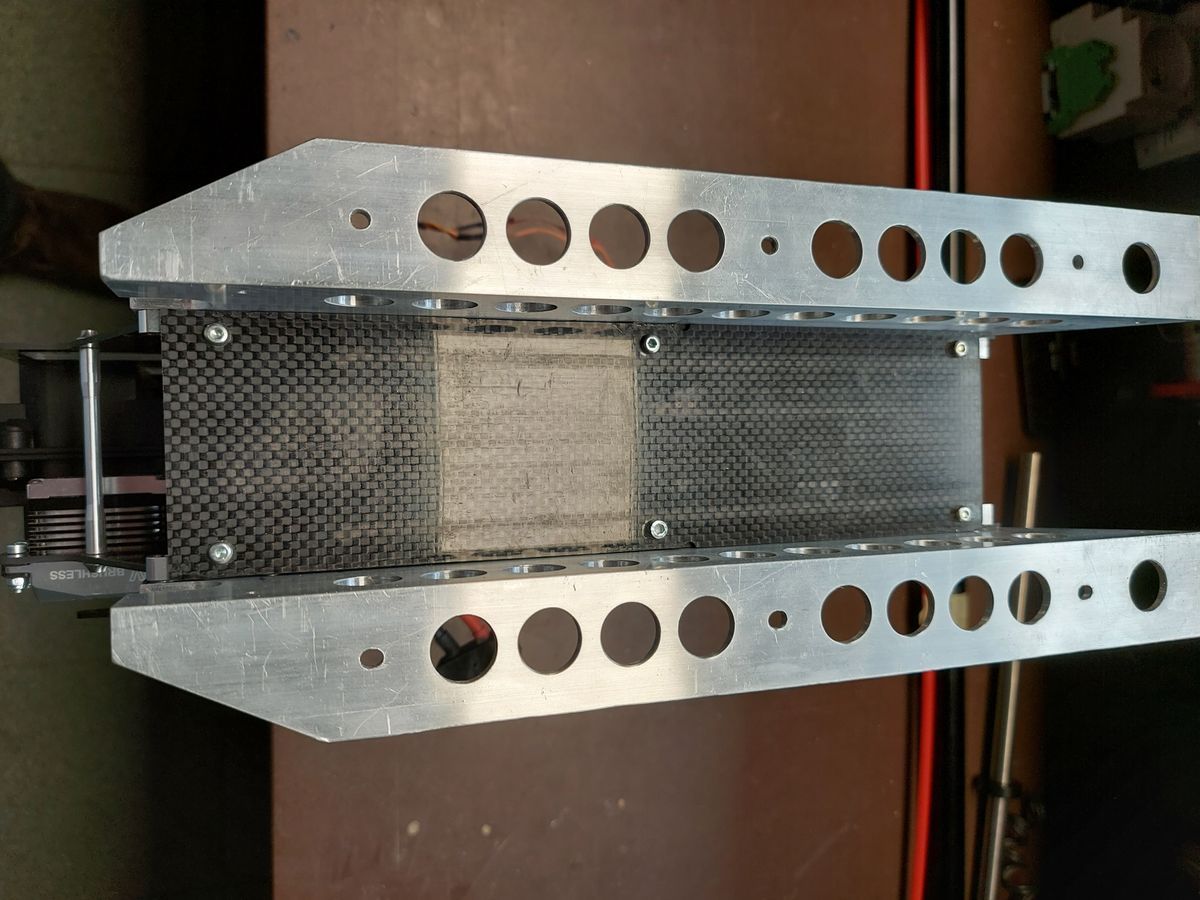
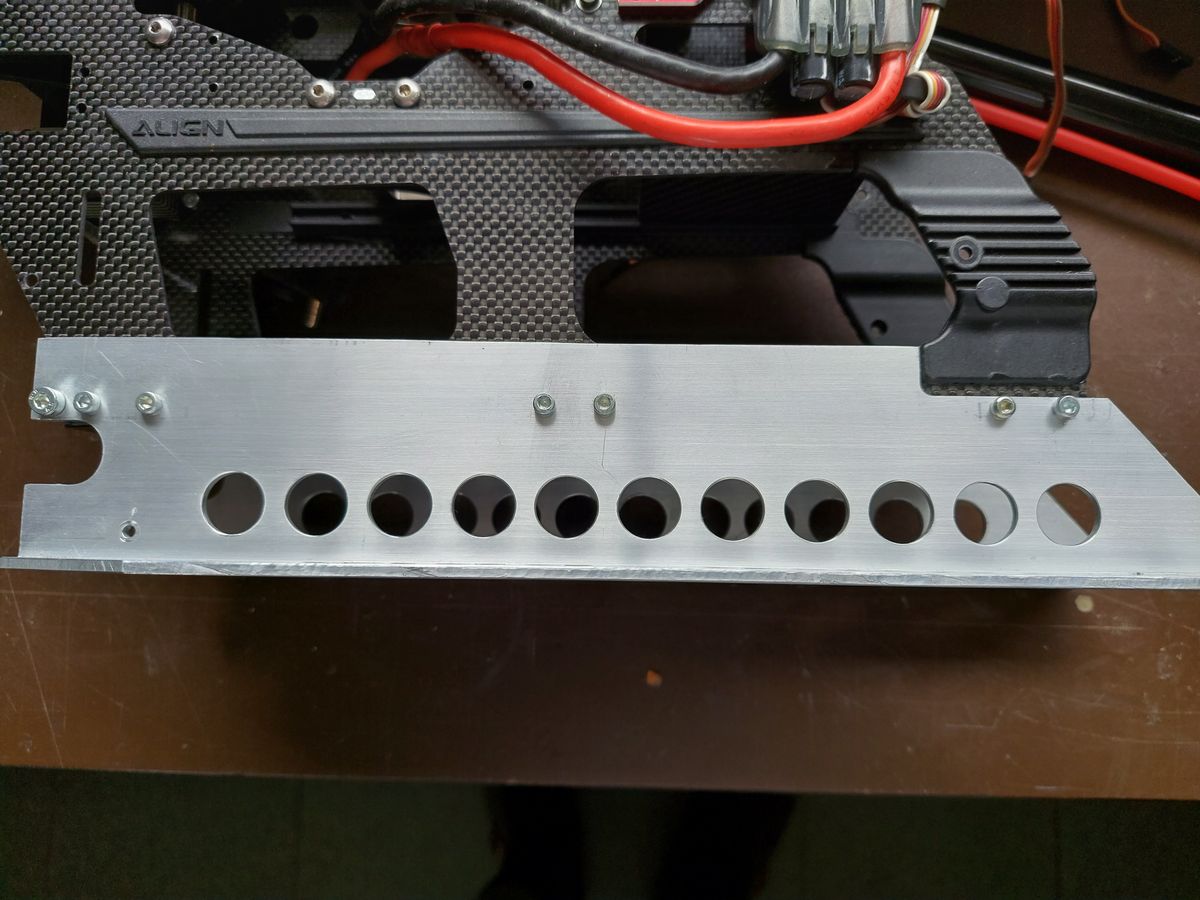
Milling the Alu subframe to support the mechanics starting from a 60 x 60 x 2 mm Alu profile.
Using the existing mounting holes of the original carboside plates.
Modifying the tailrotor
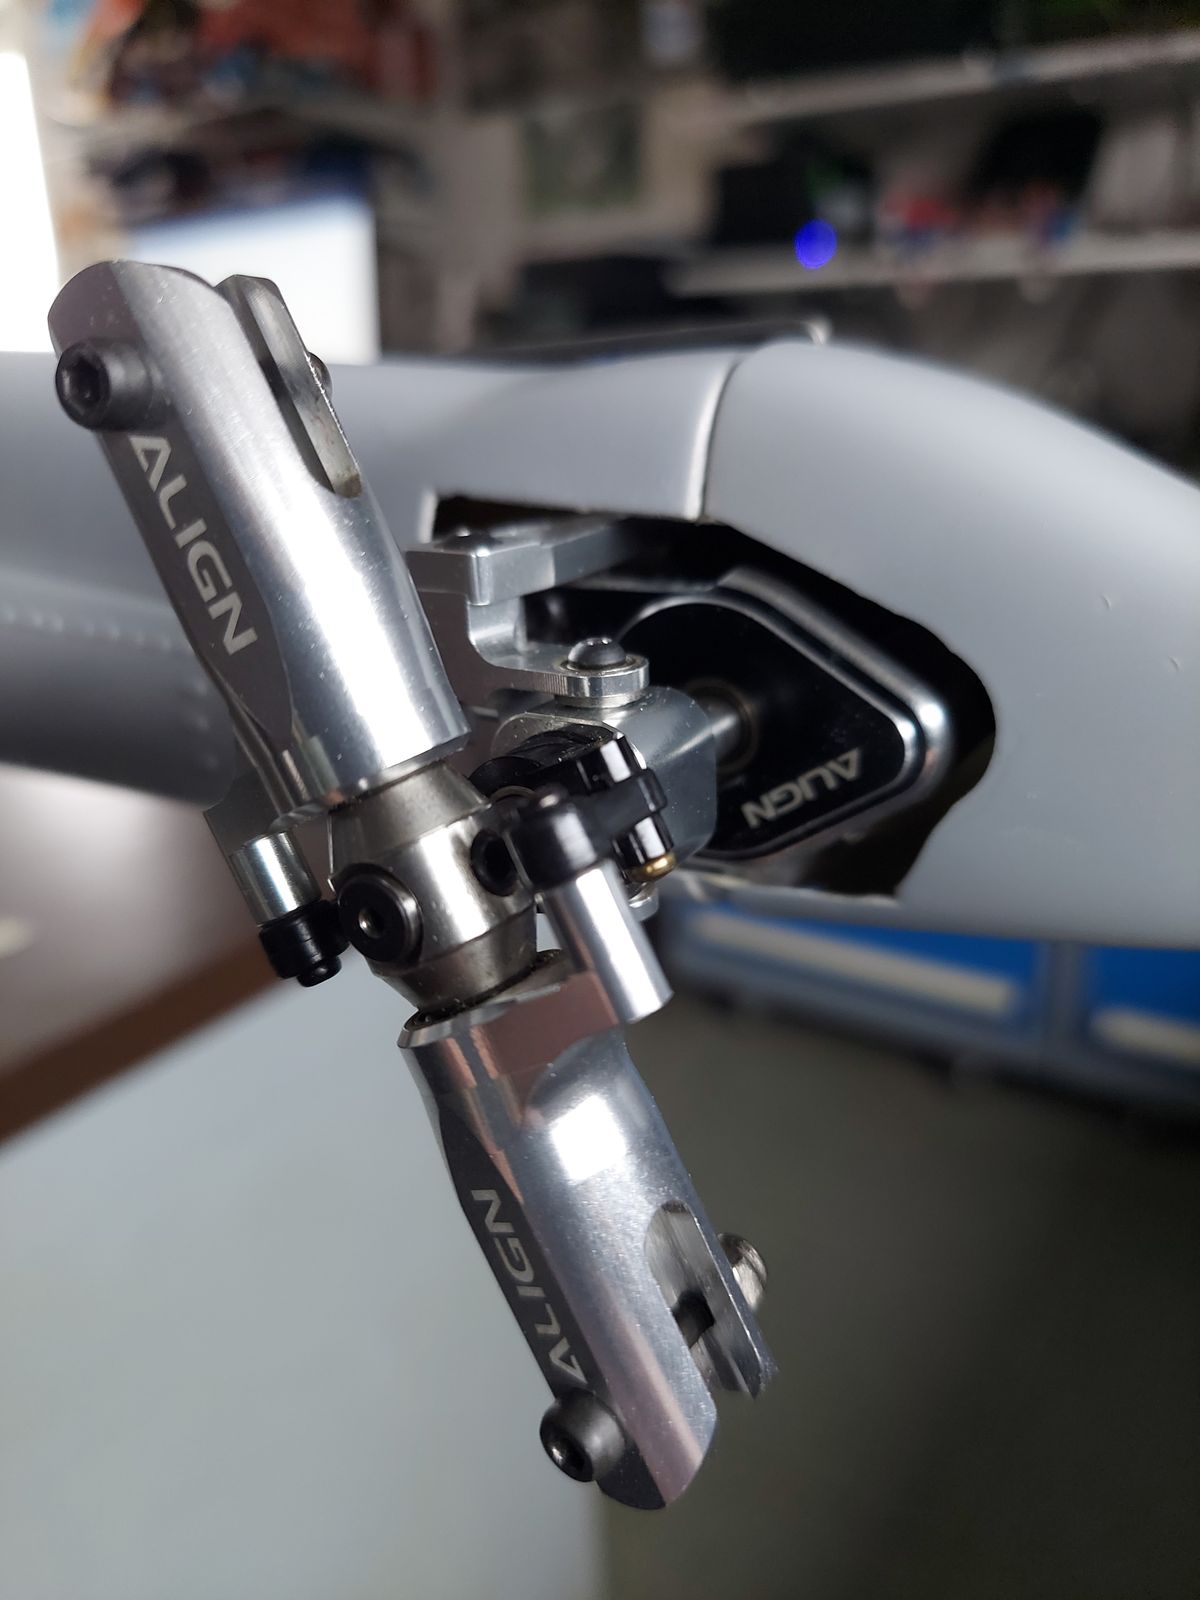
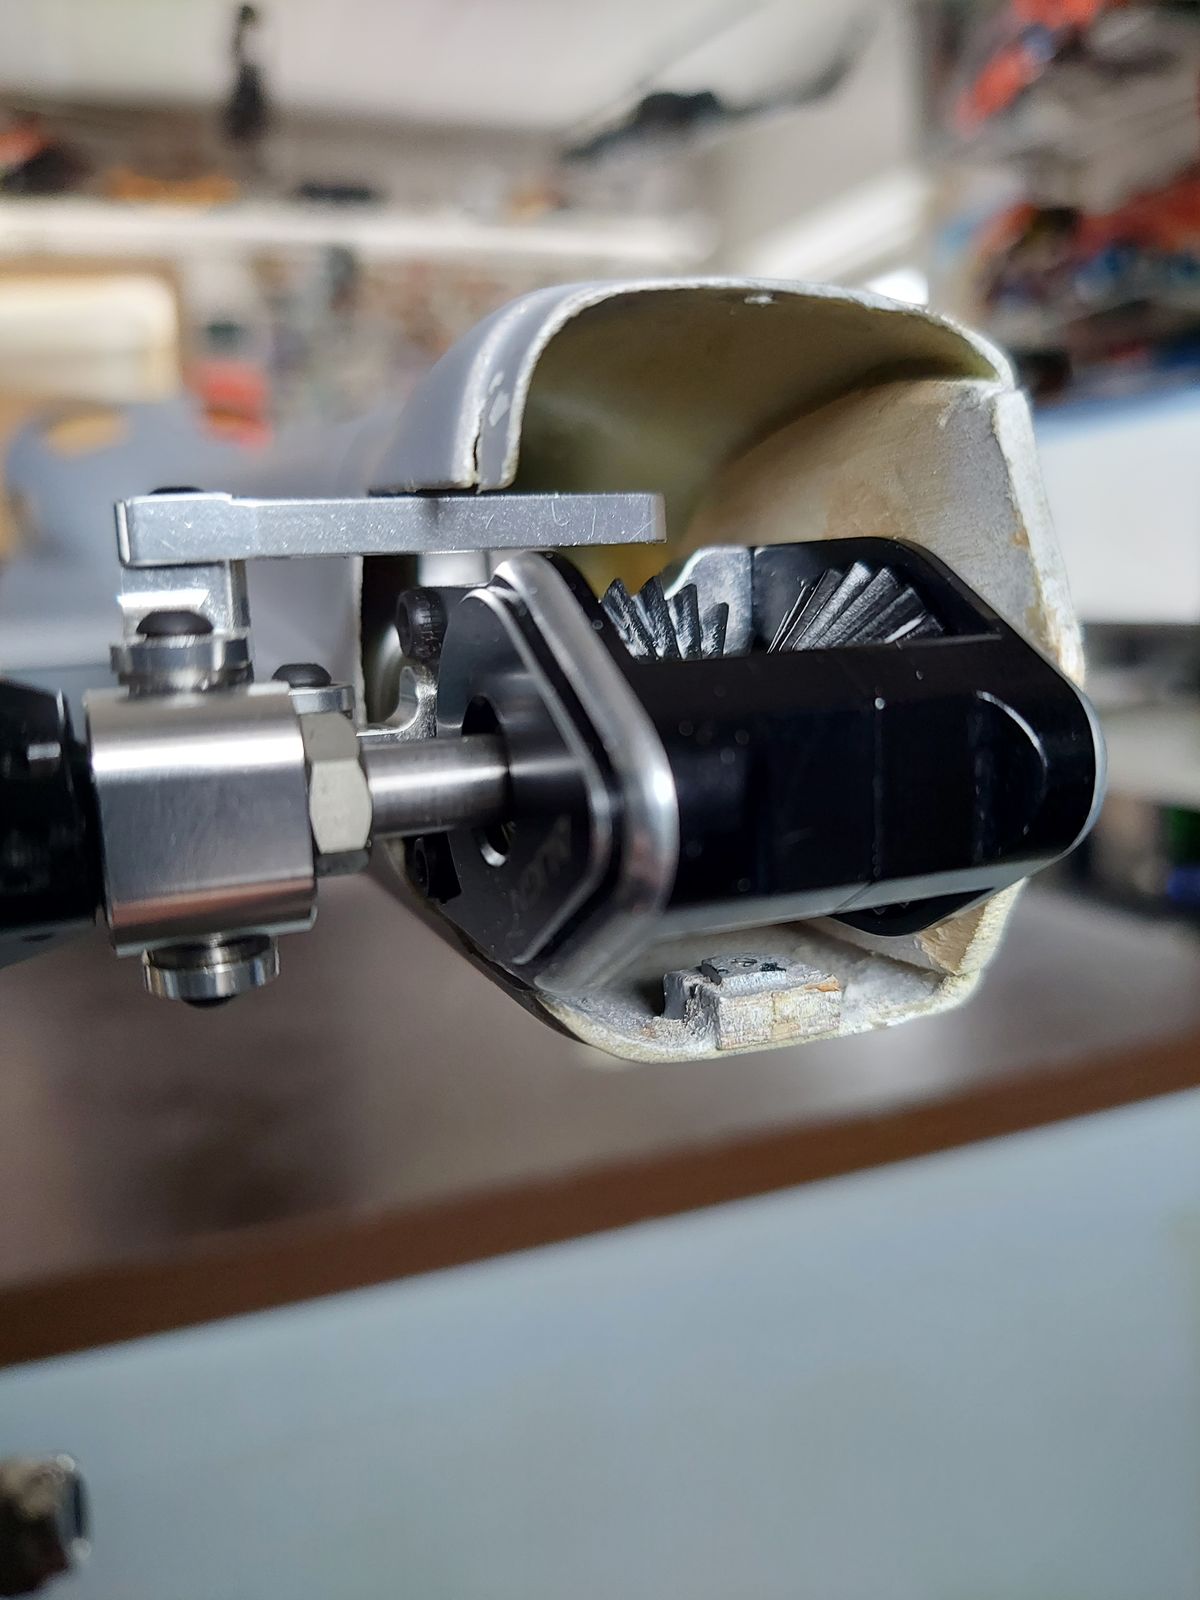
Modifying the tailrotor components in order to fit the tight space at the end of the fuselage.
Lowering the control arm by 8mm.
Tailrotor is installed on the left side of the fuselage.
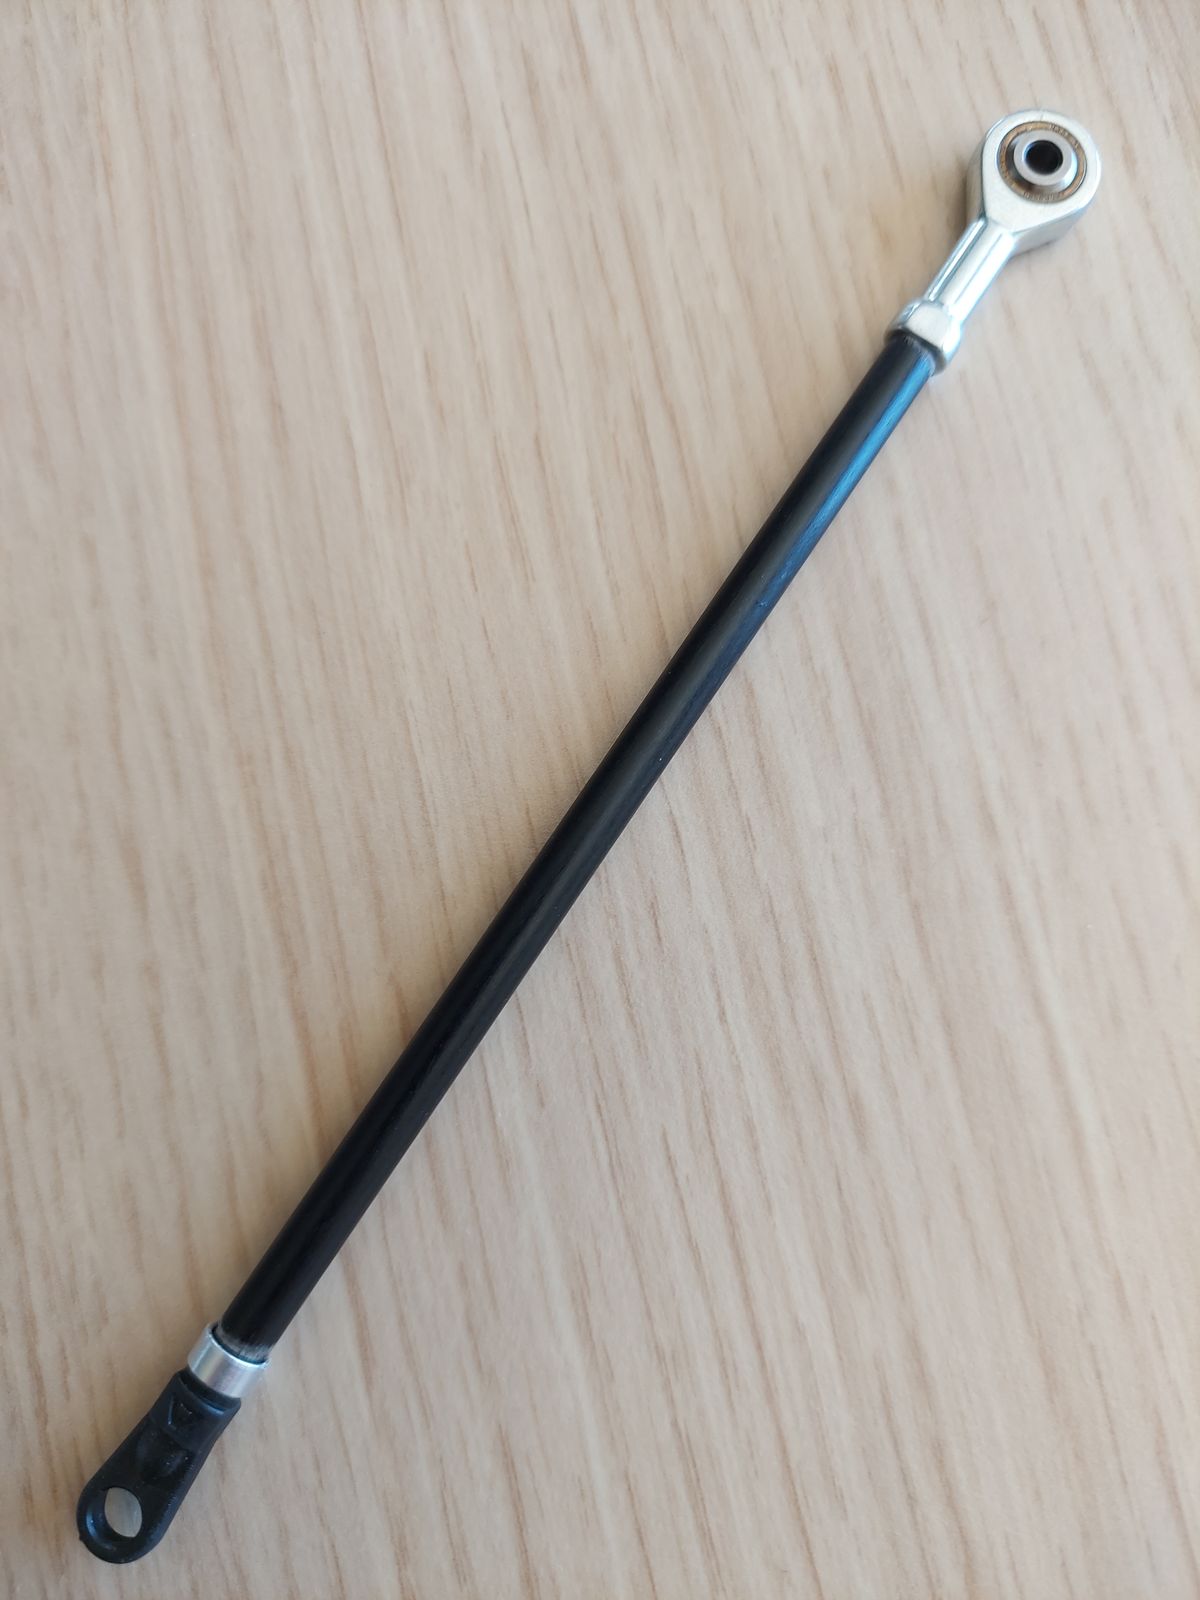
New Sullivan style control rod for tailrotor pitch control.
Main rotor direction has to be changed from CW to CCW.
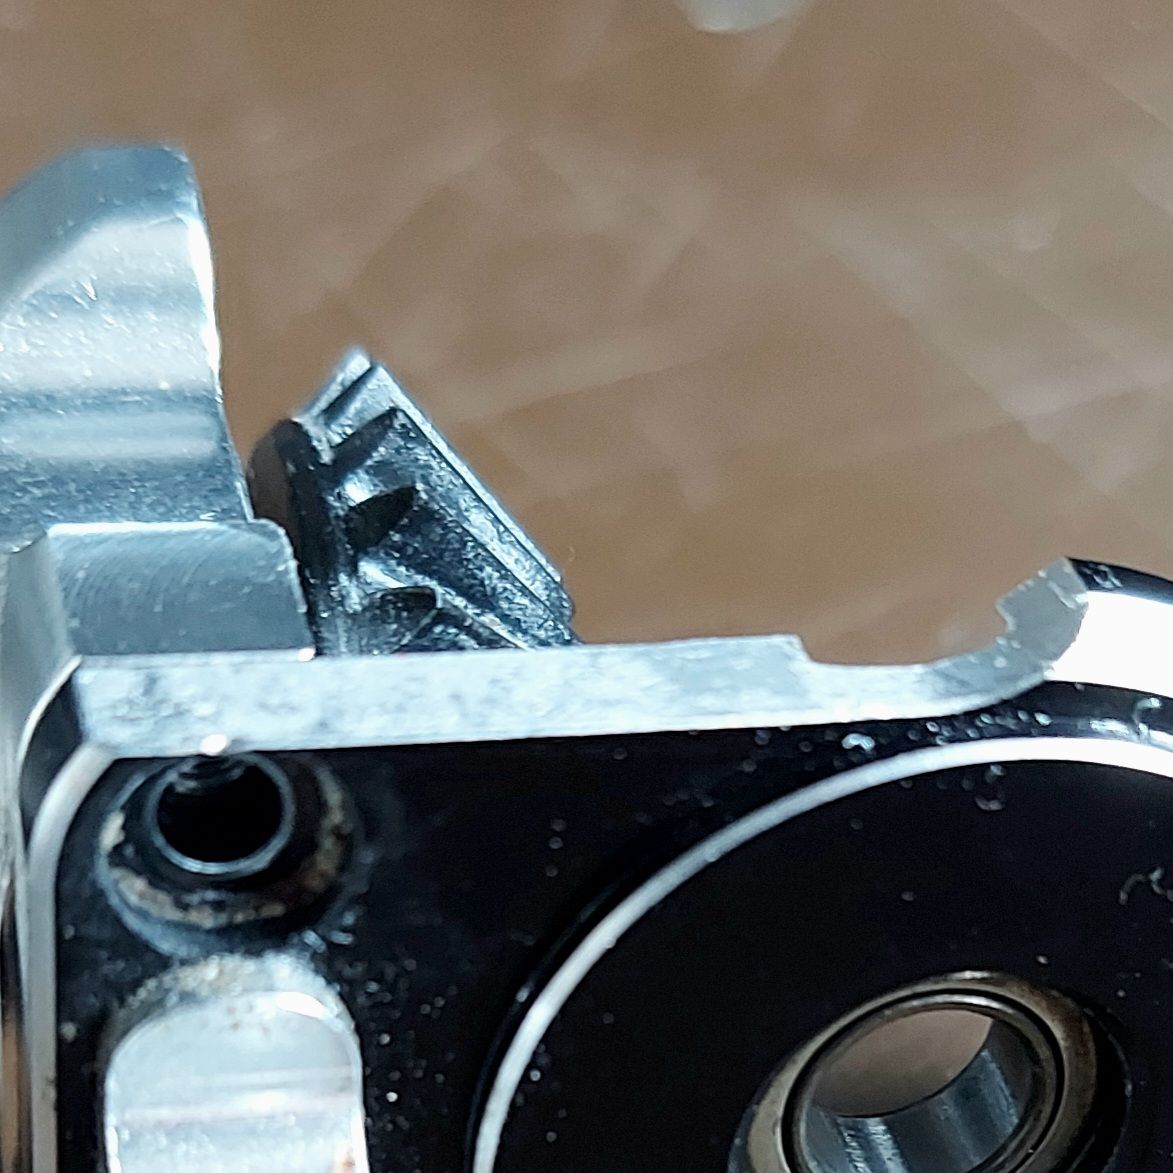
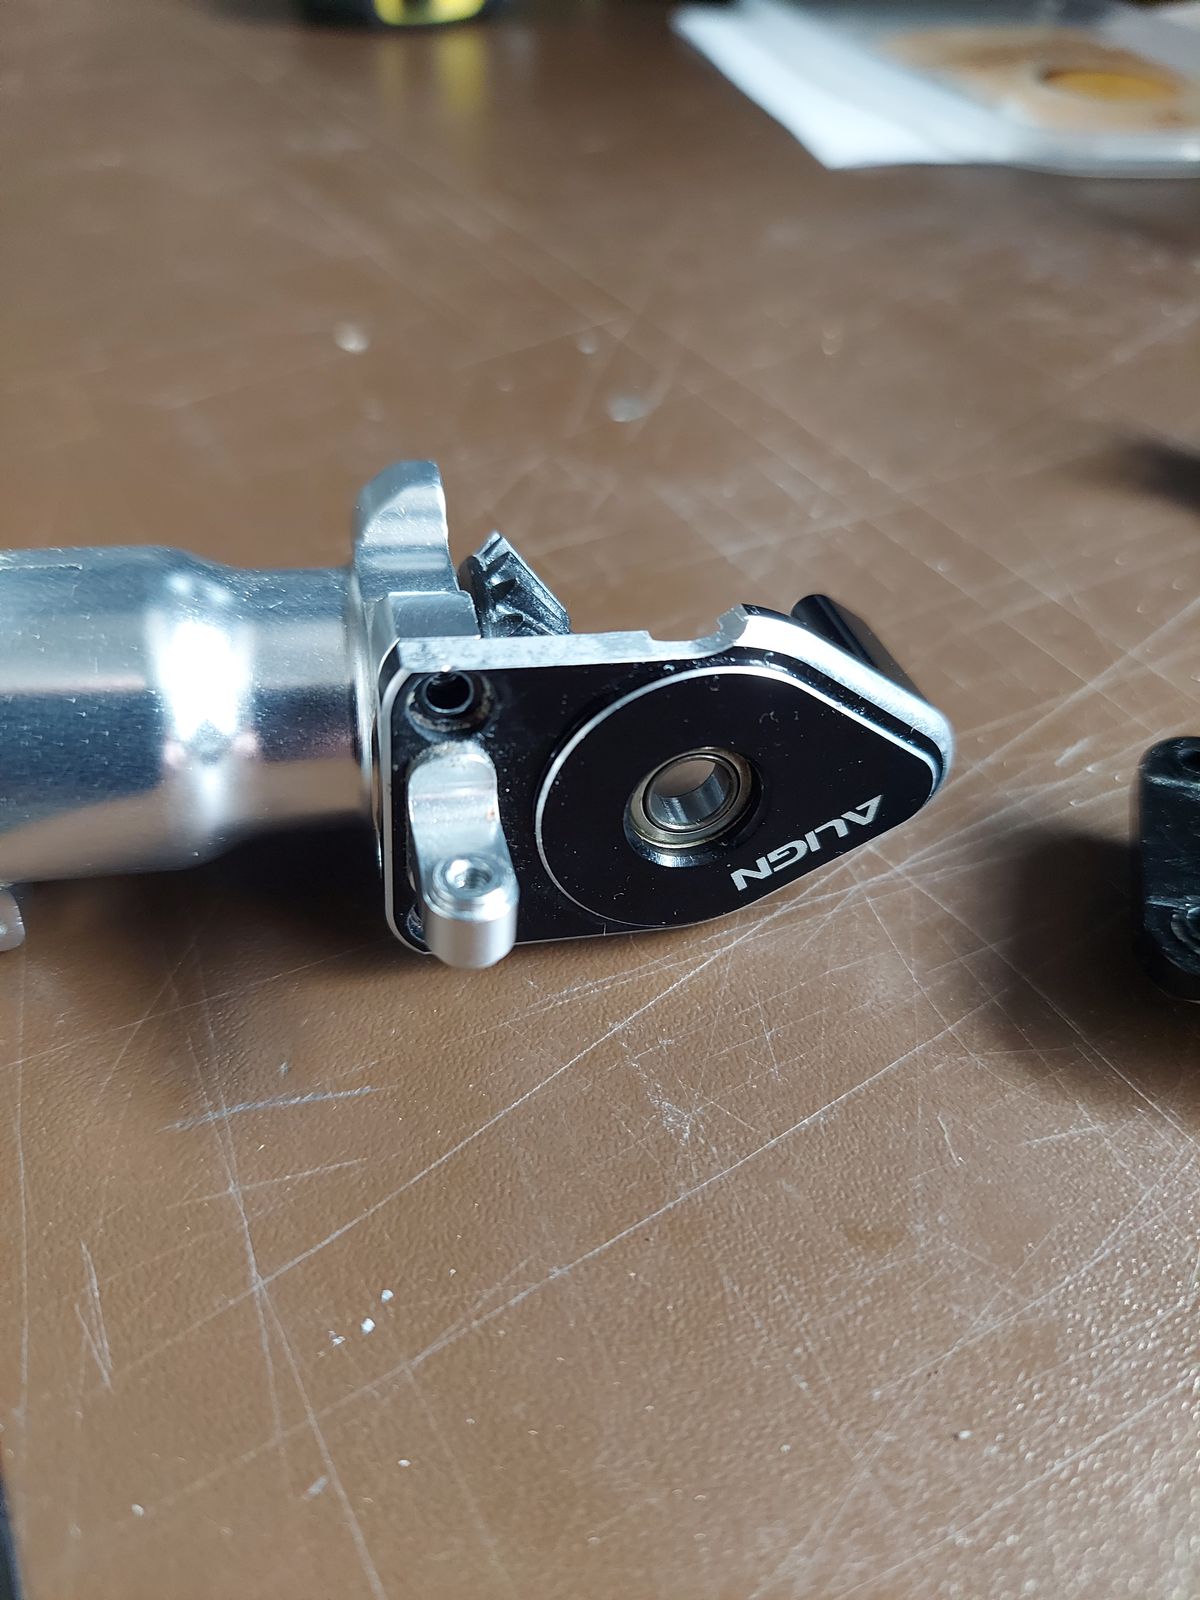
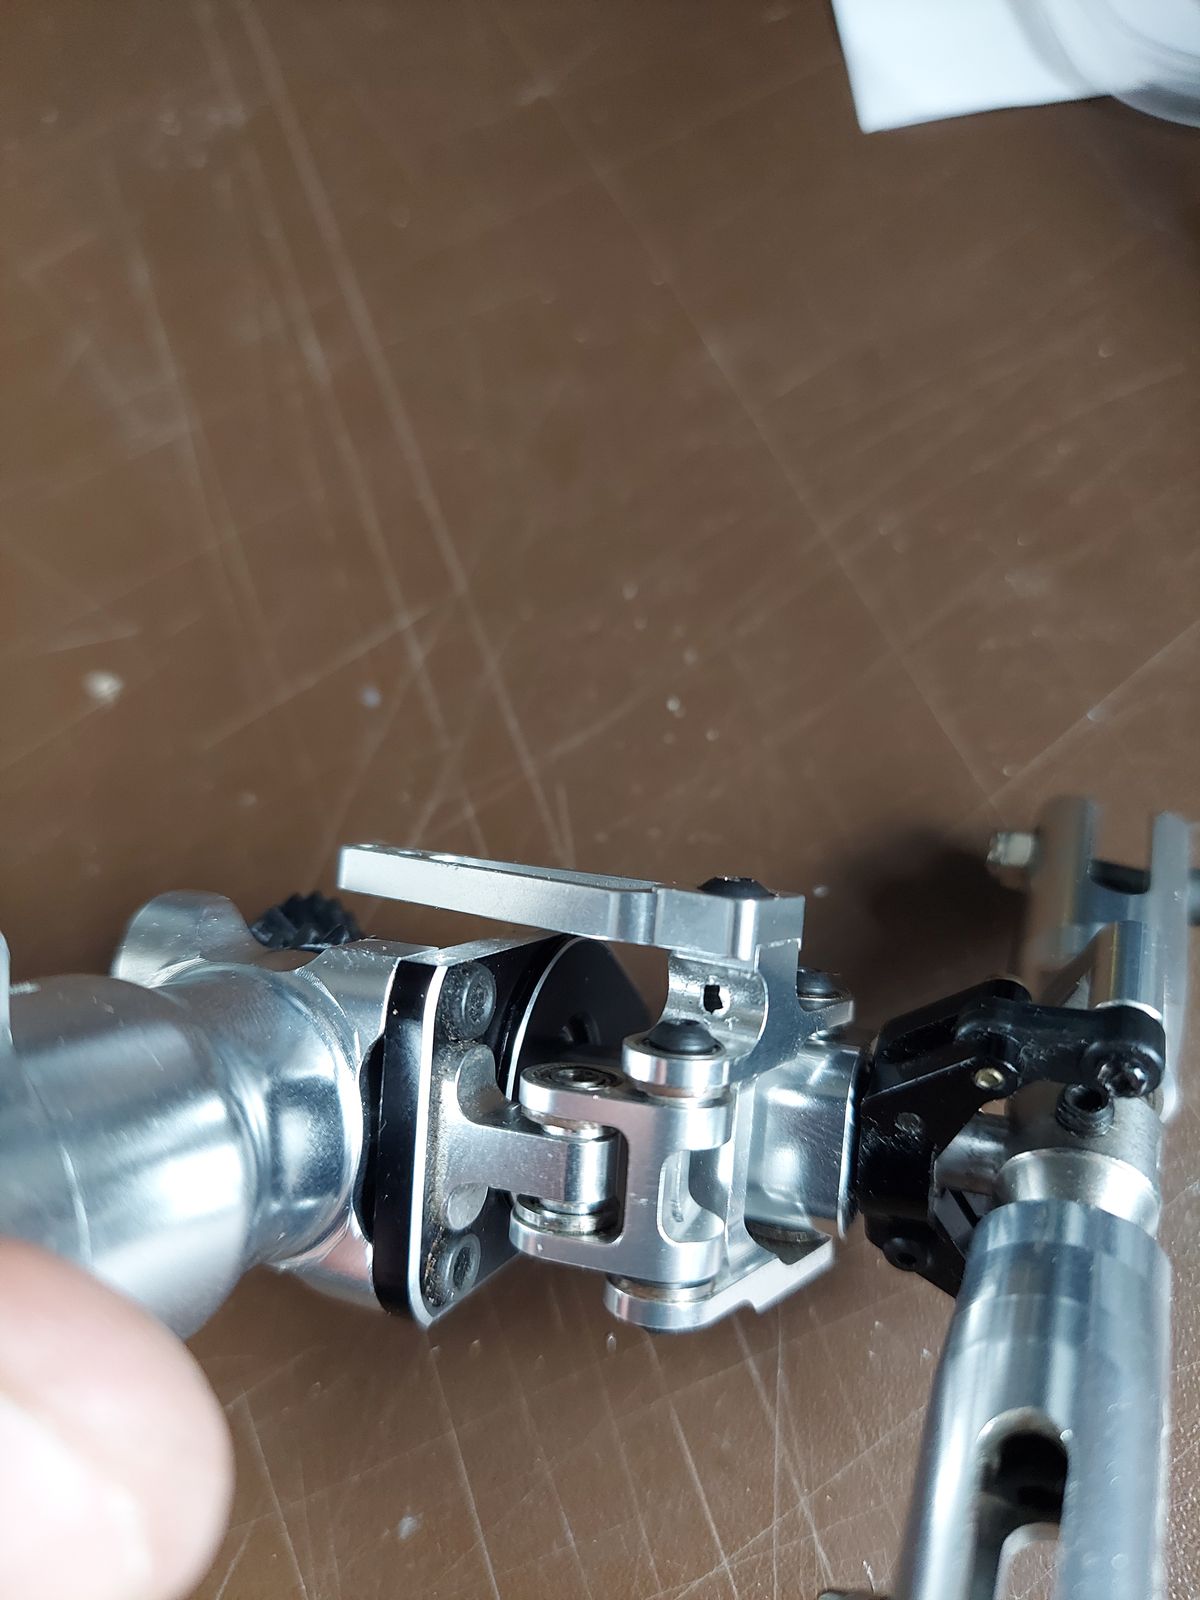
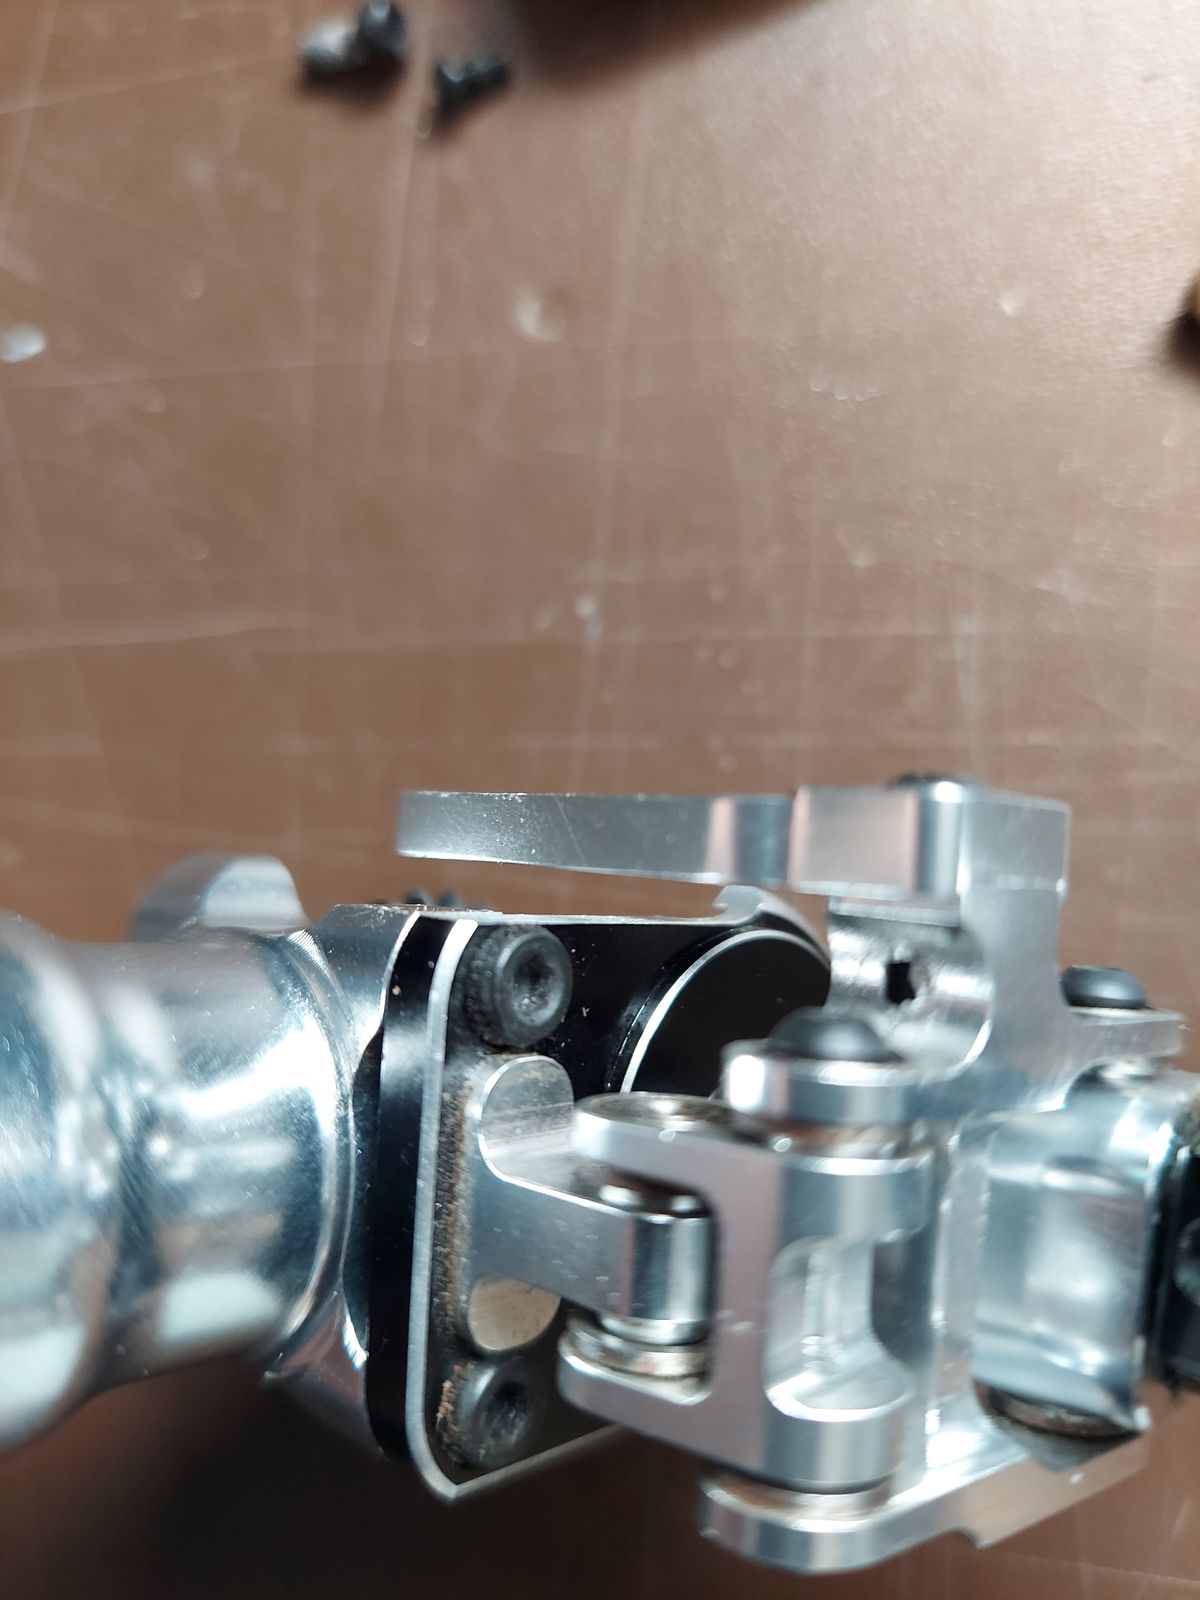
Rotorhead and main shaft
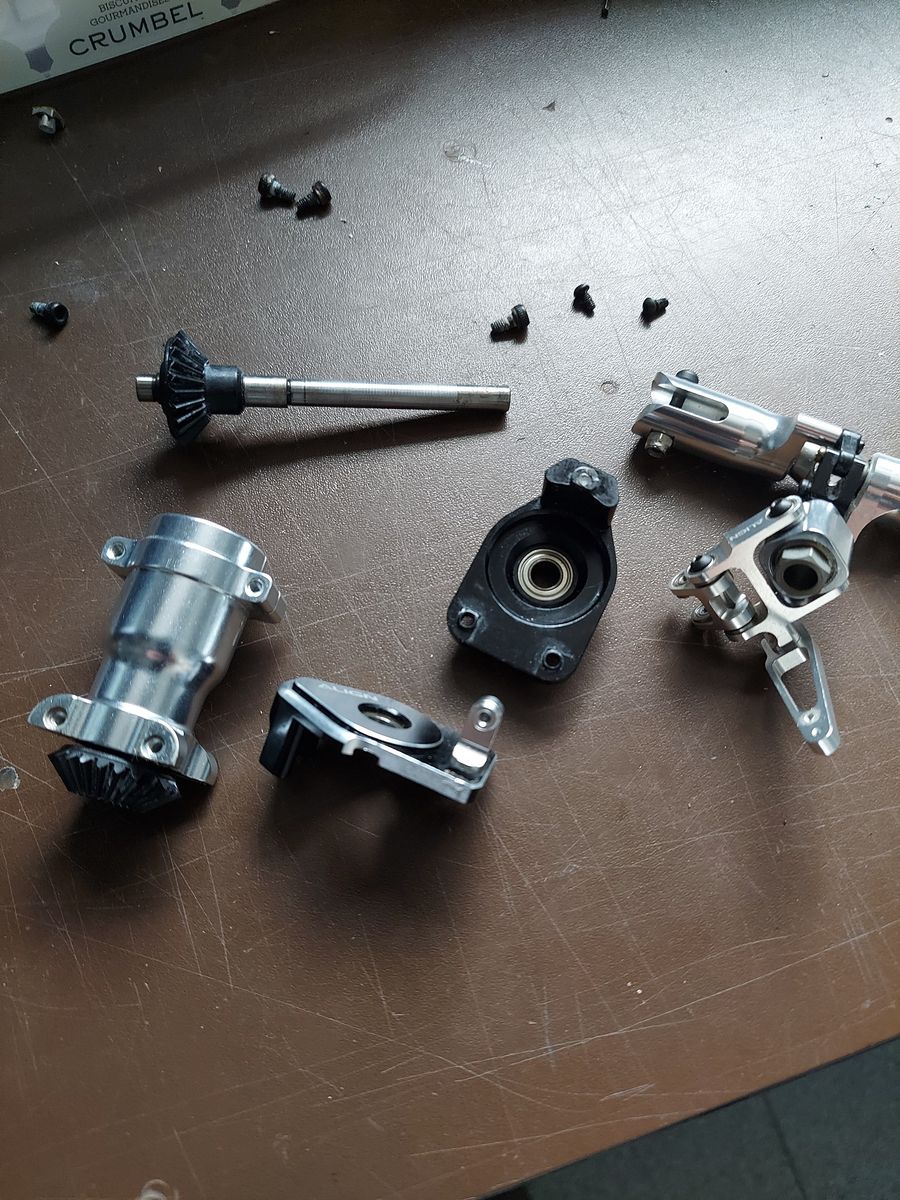
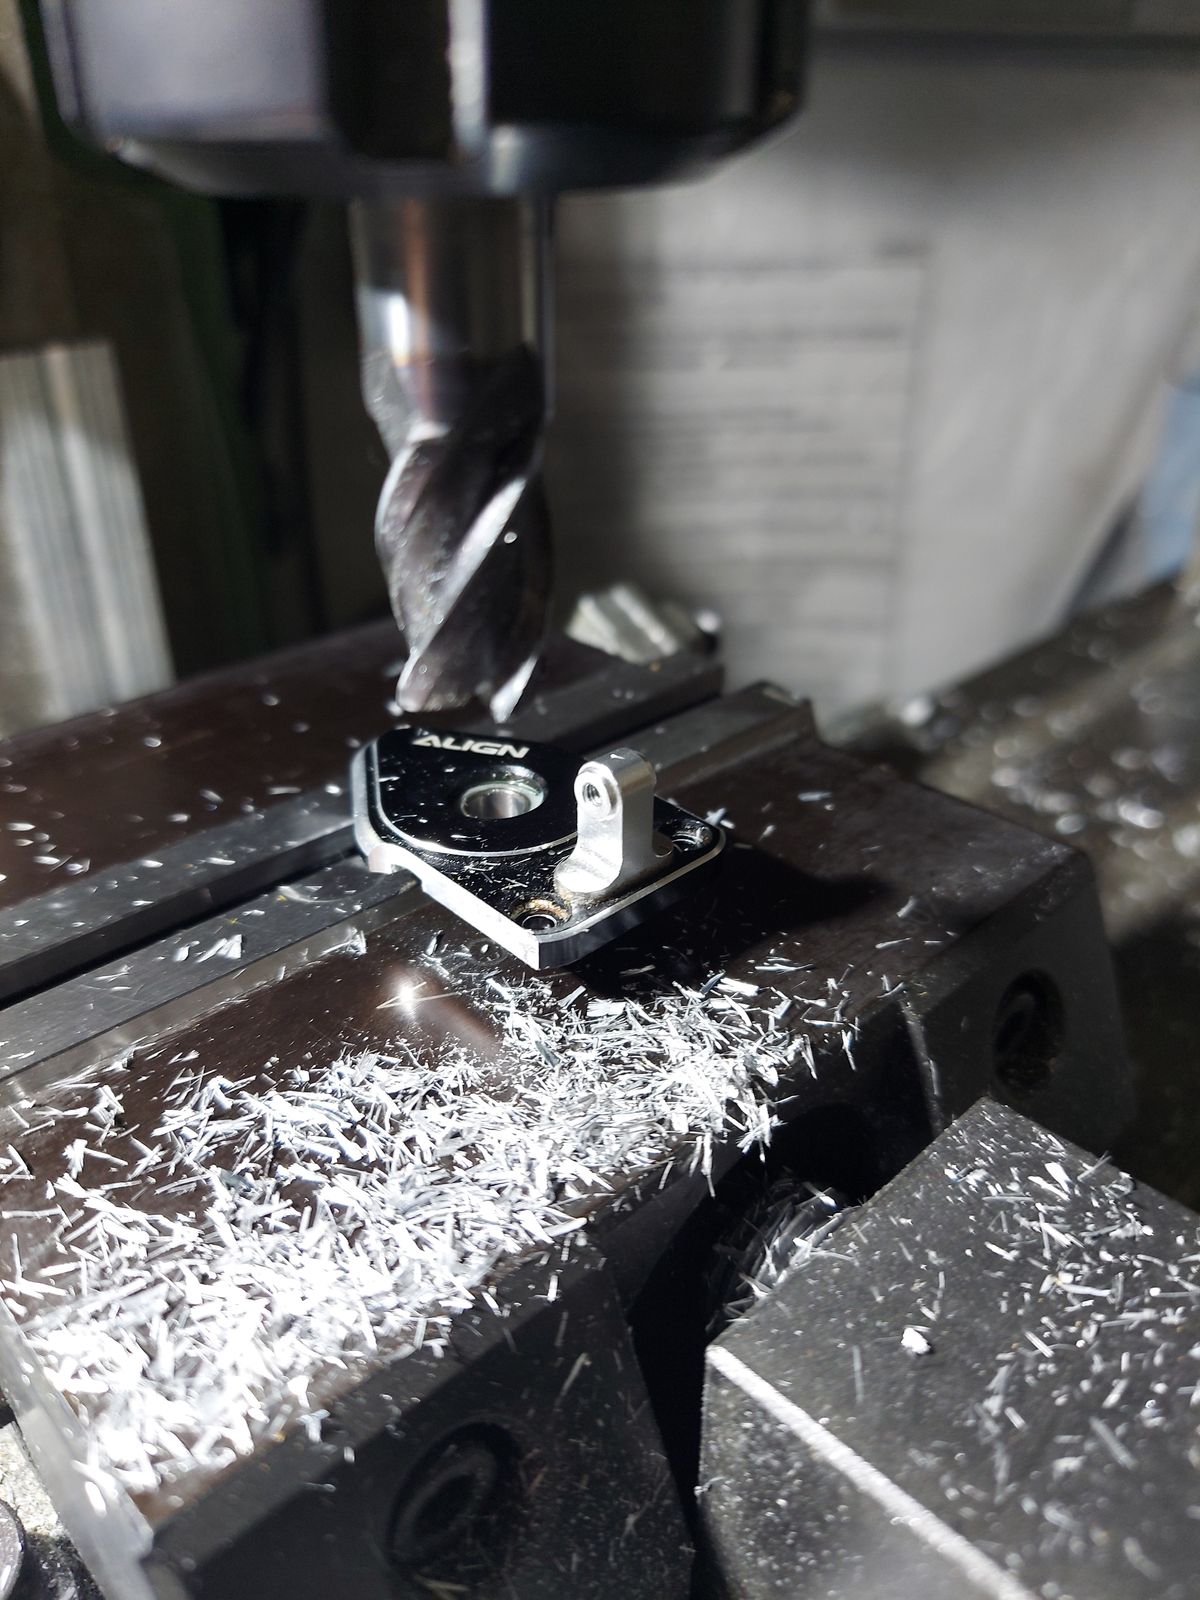
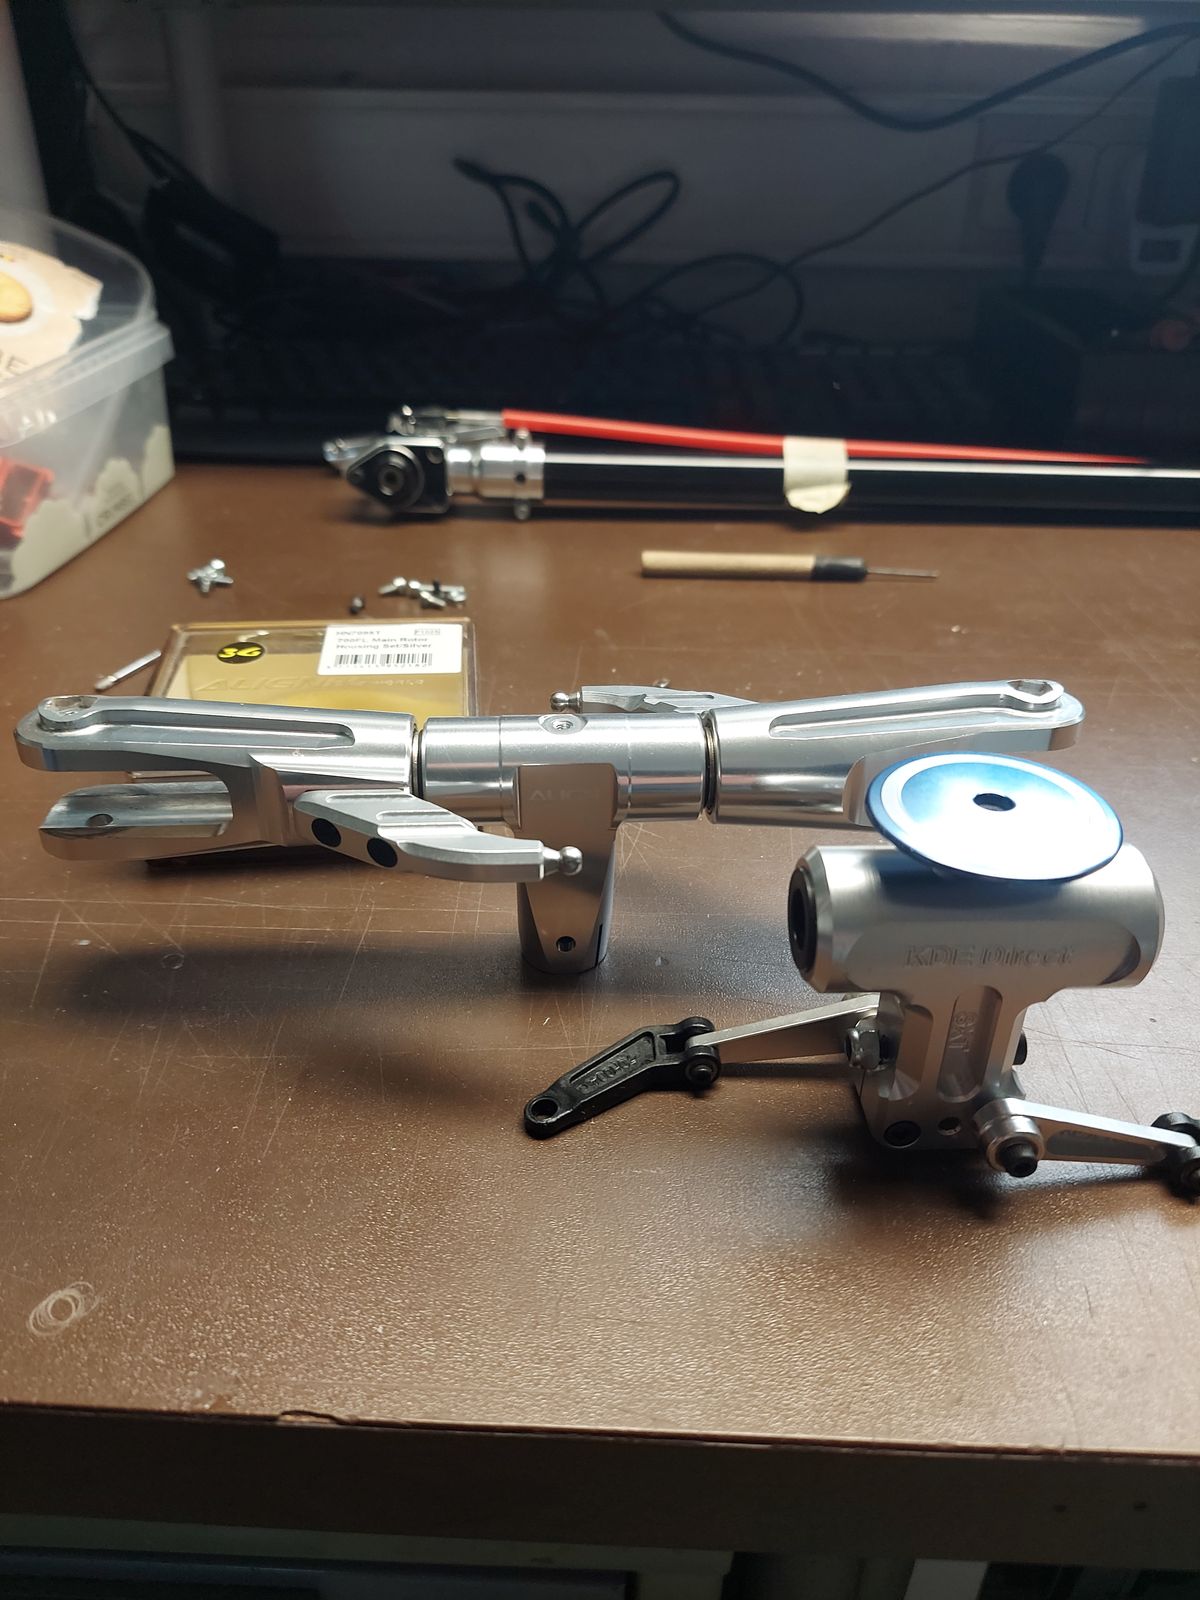
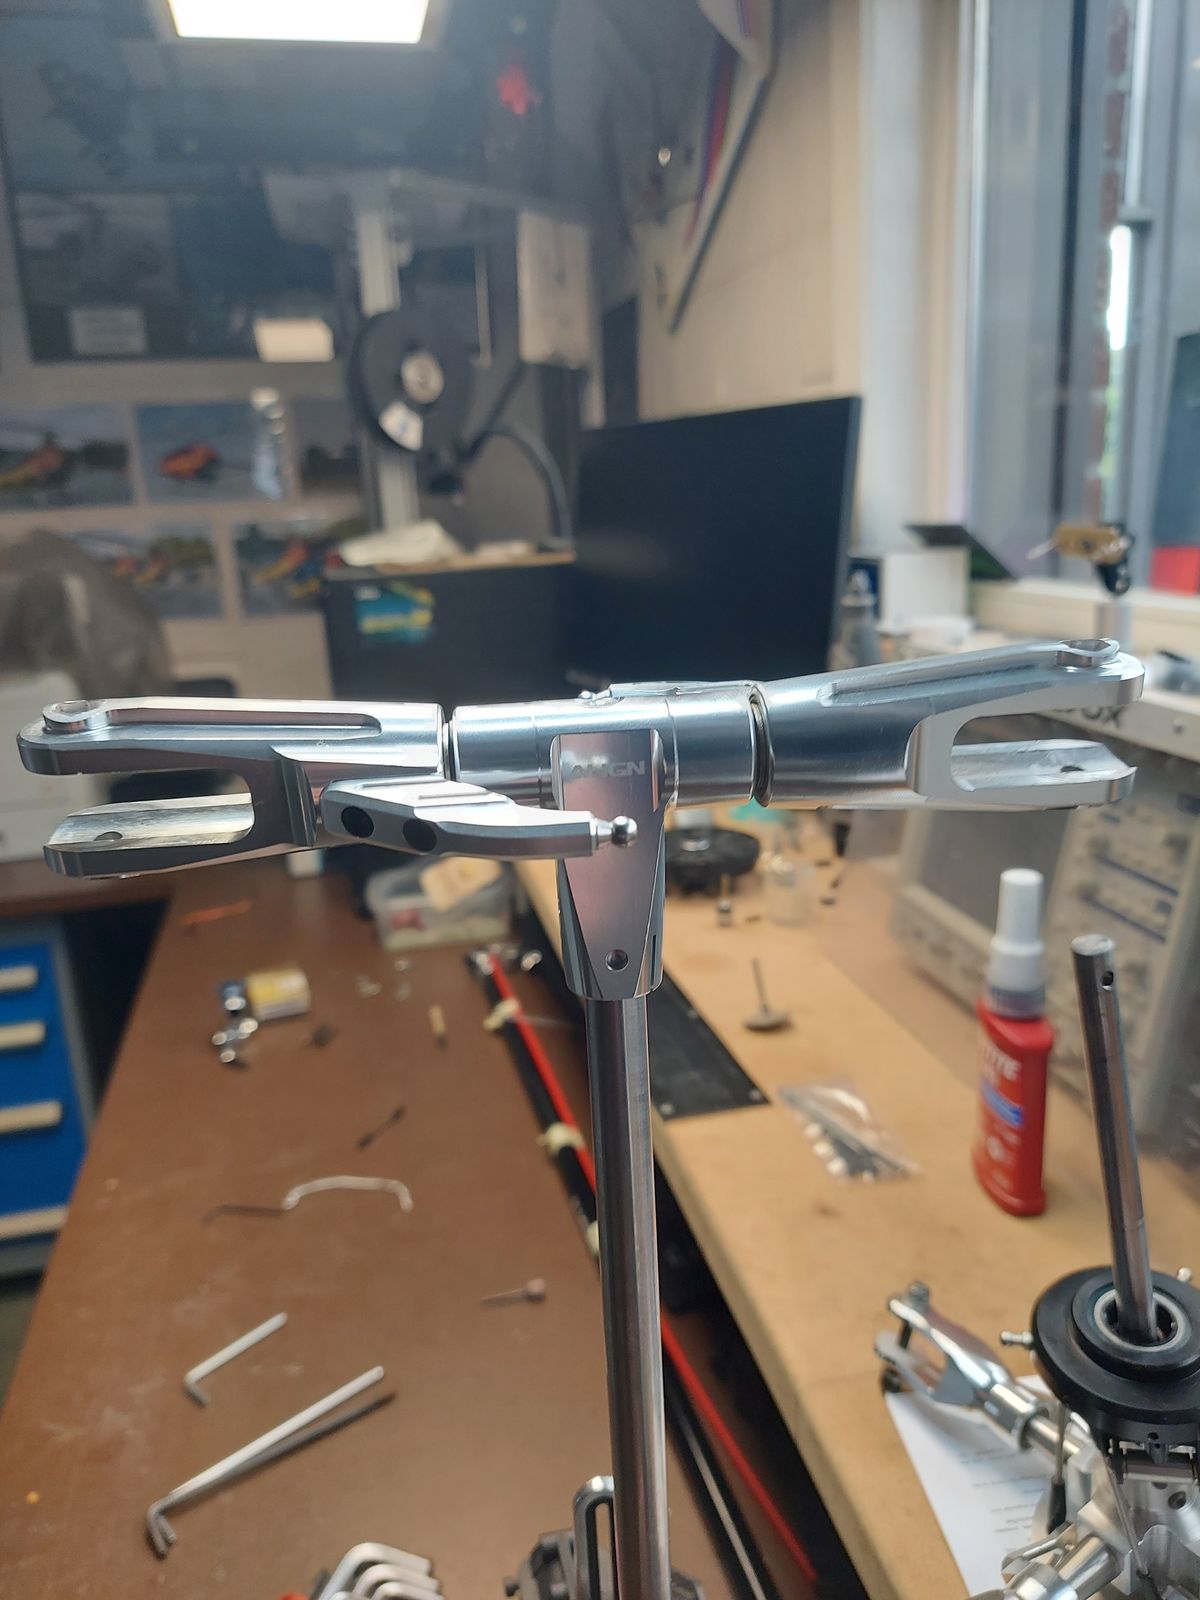
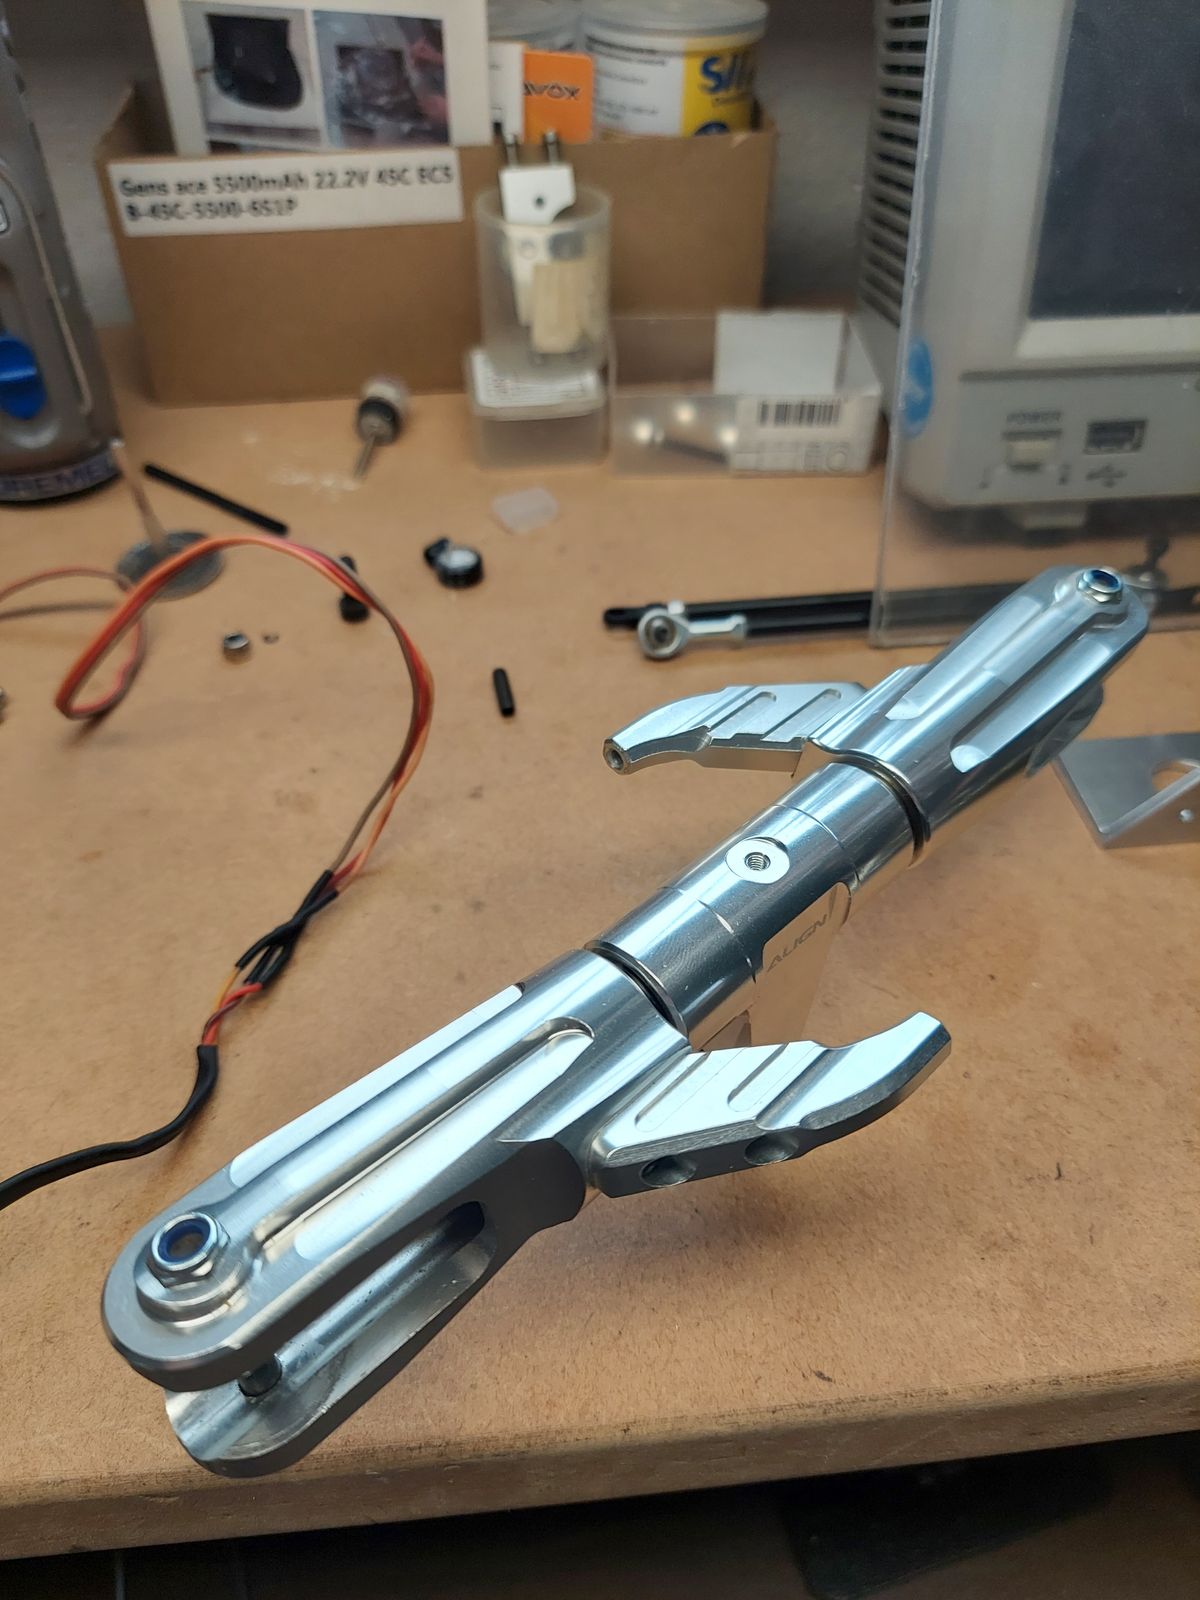
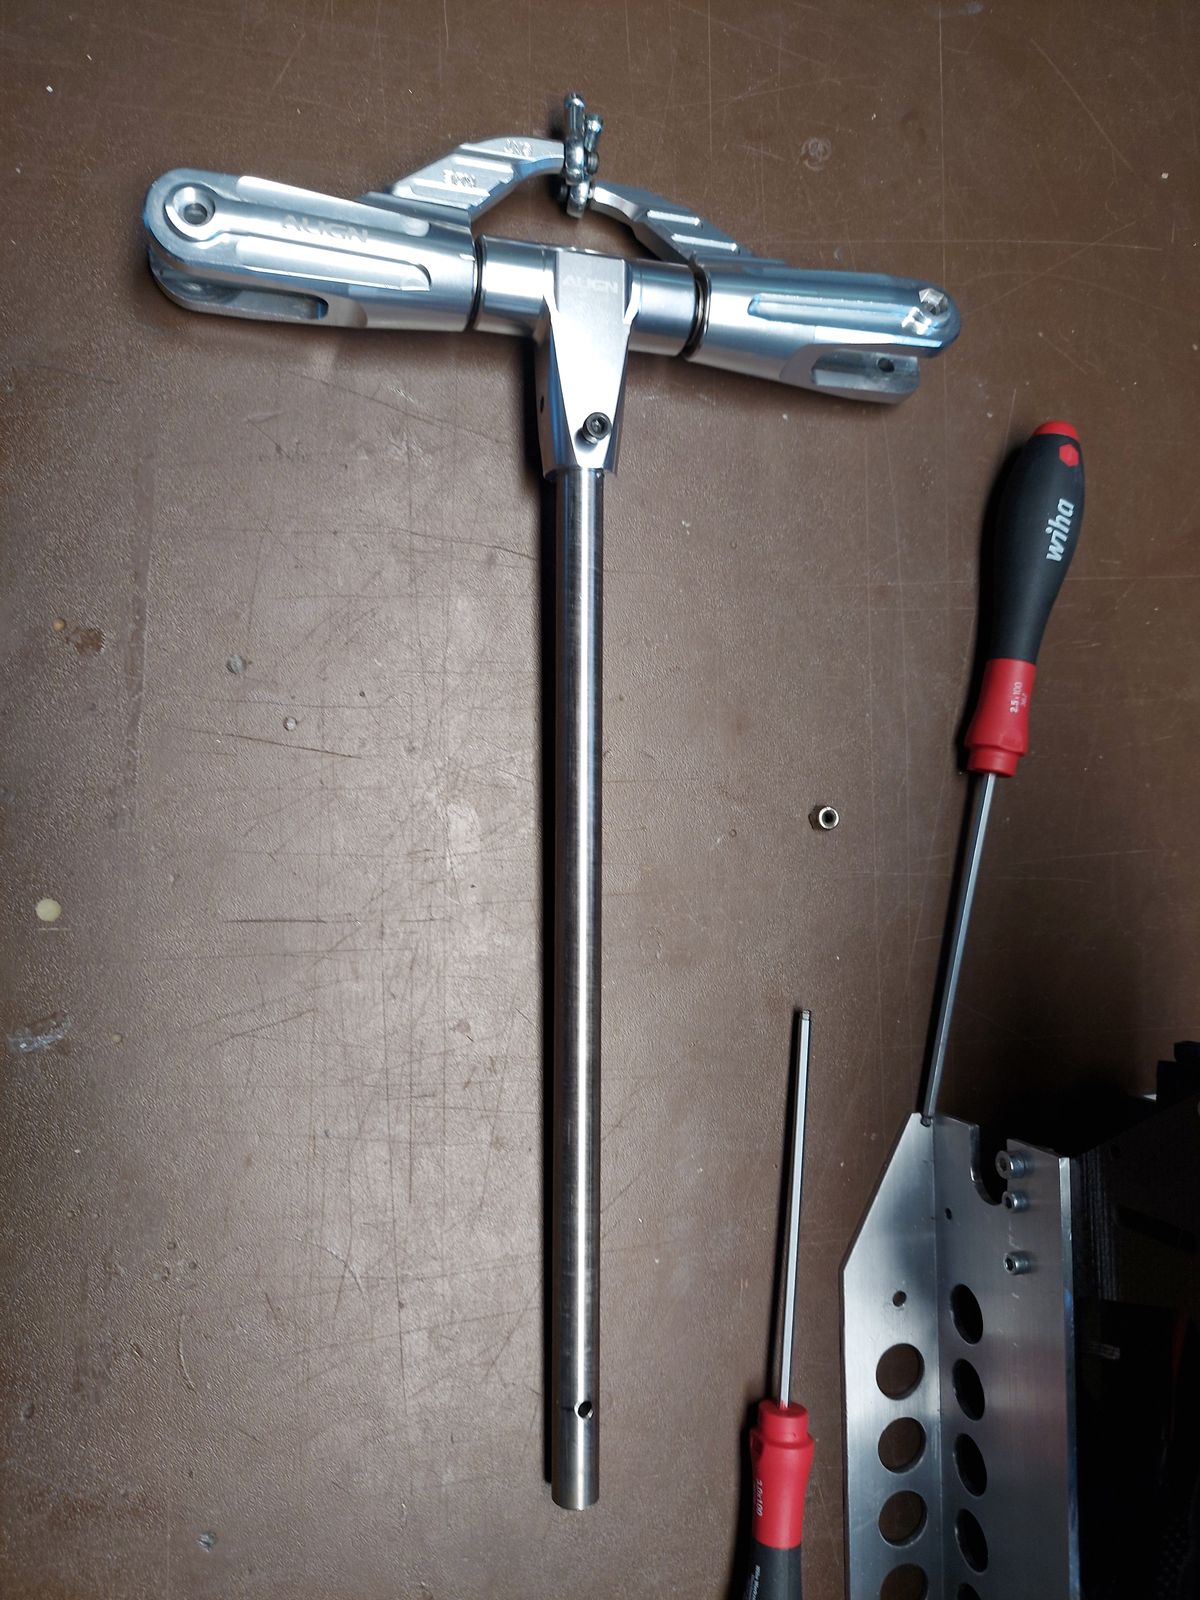
Modifying the rotorhead.
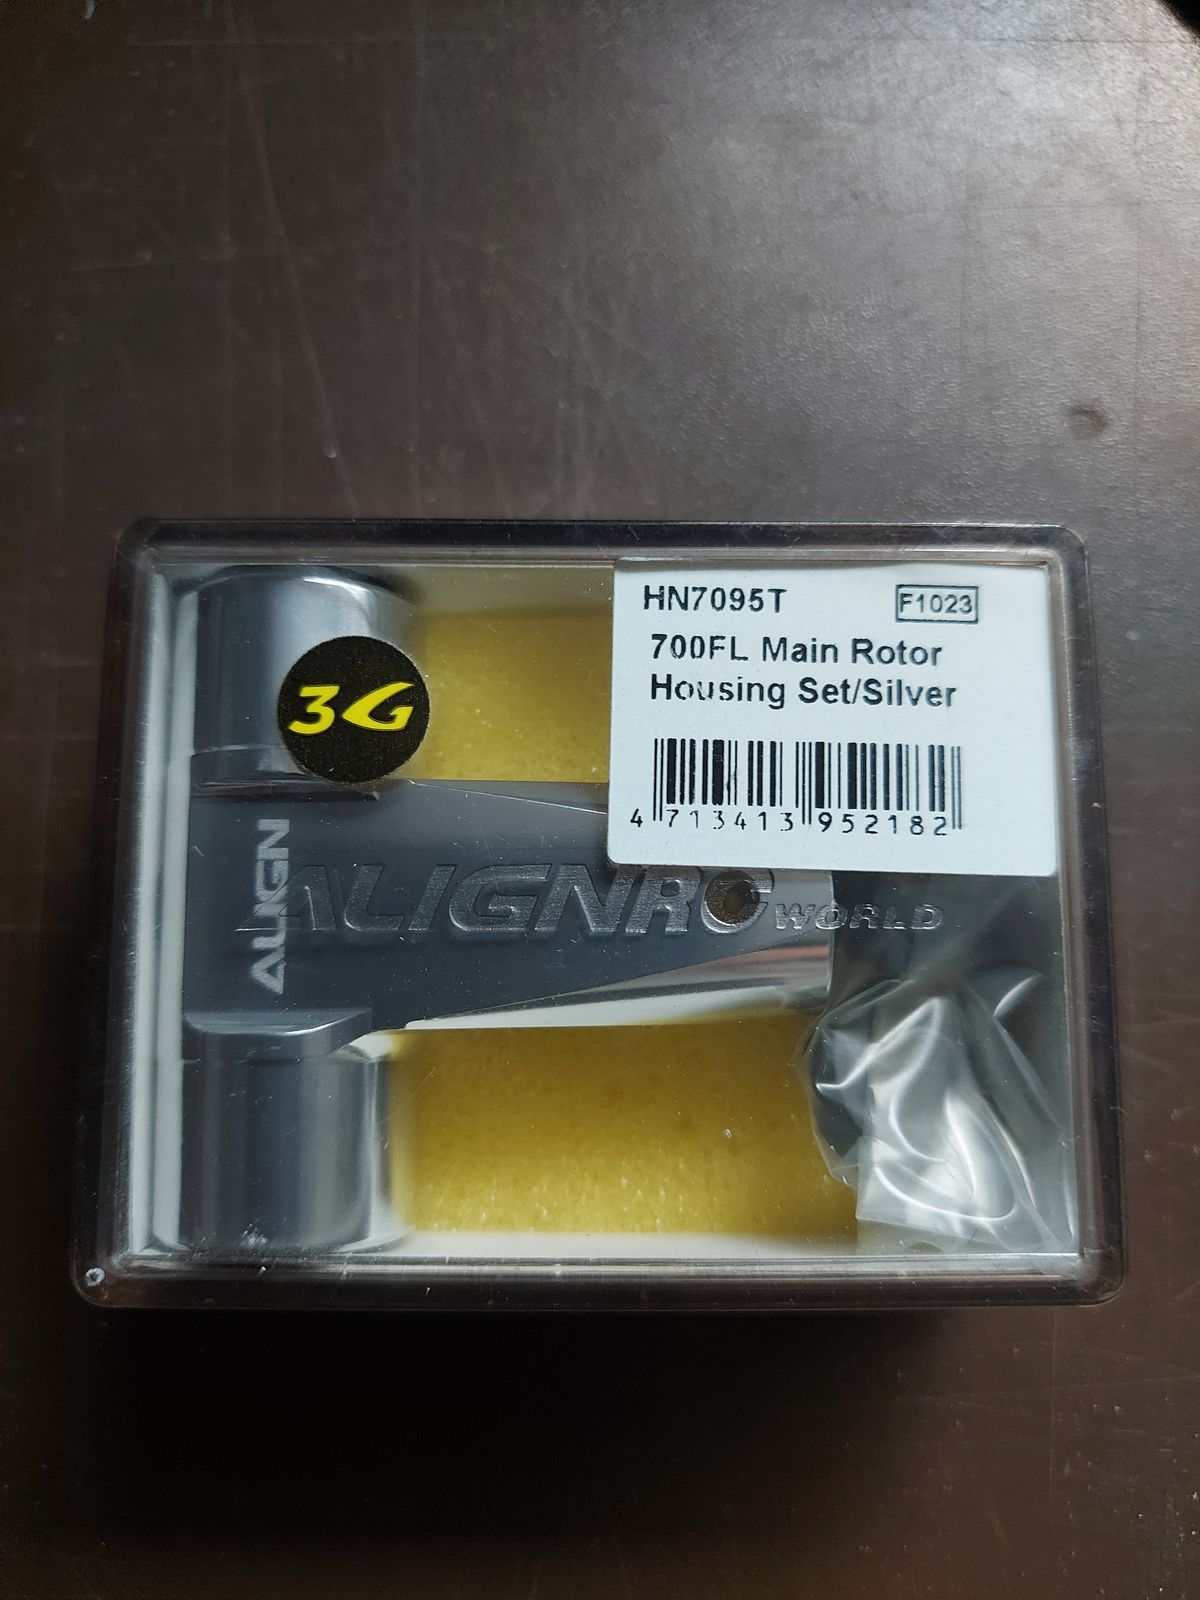
Changing the main hub, no arms needed in the new head setup.
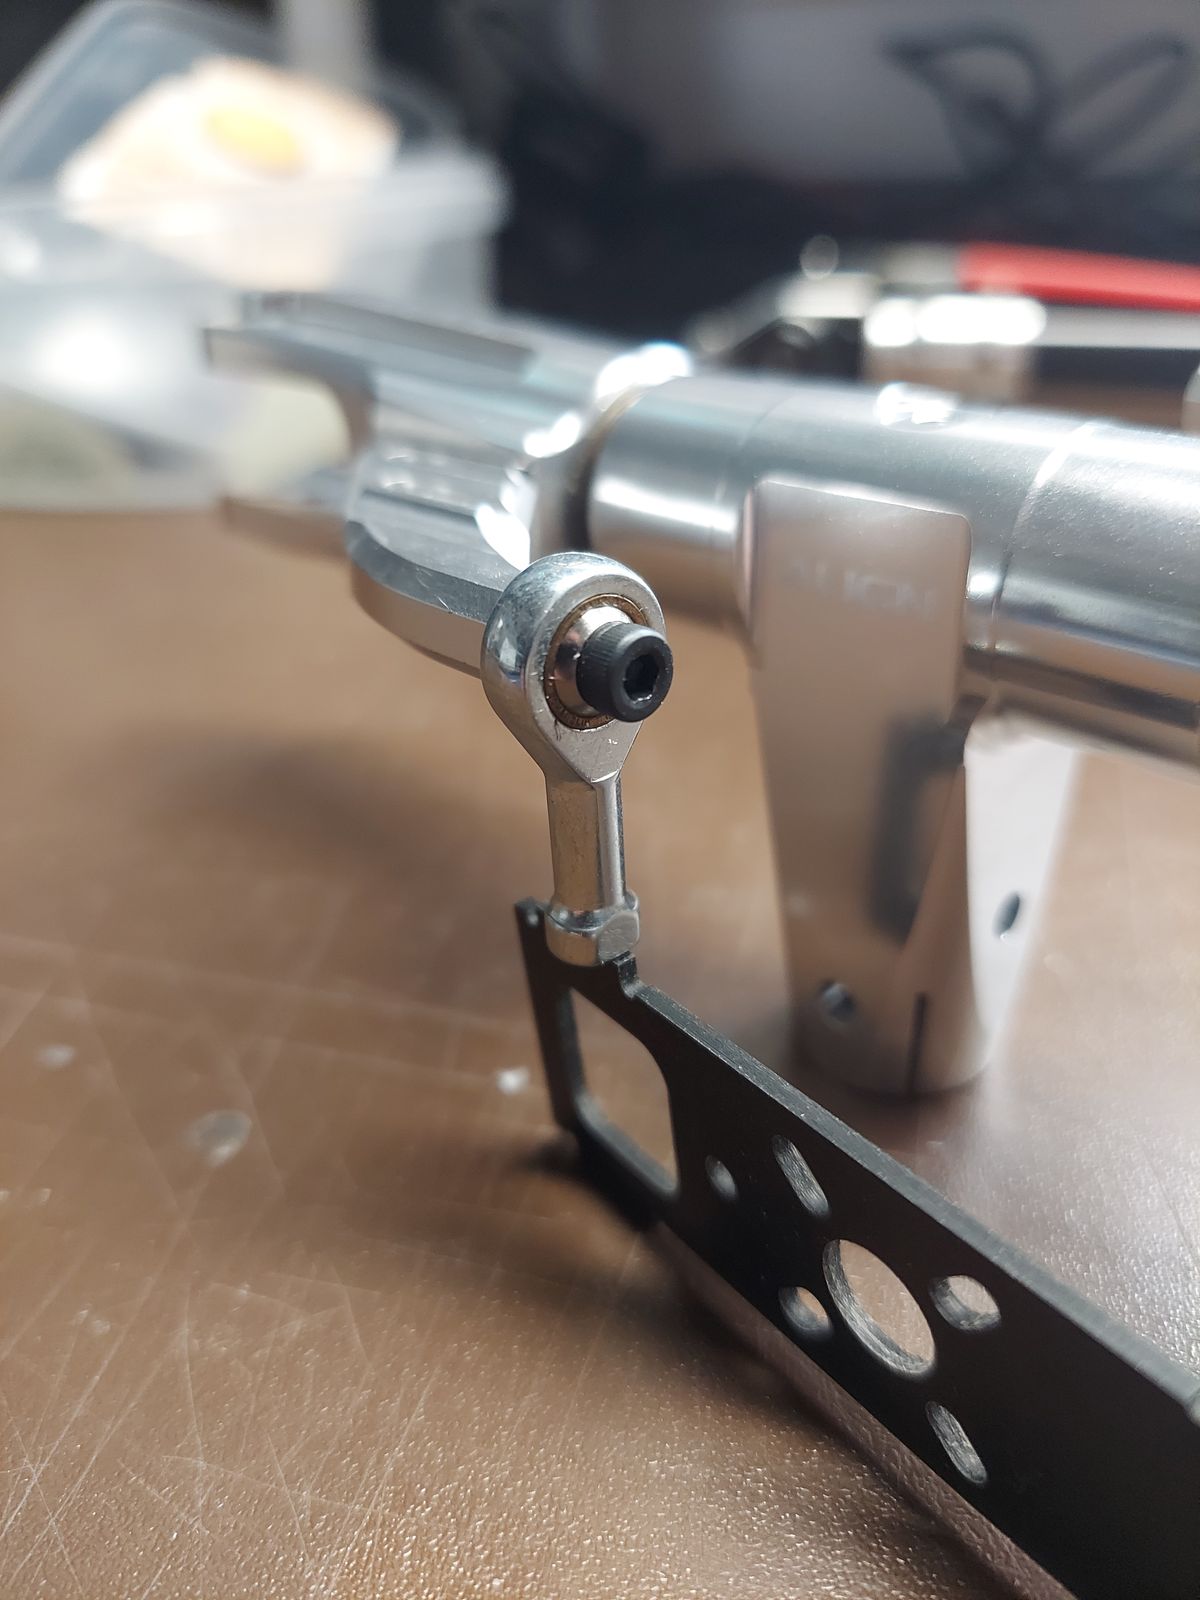
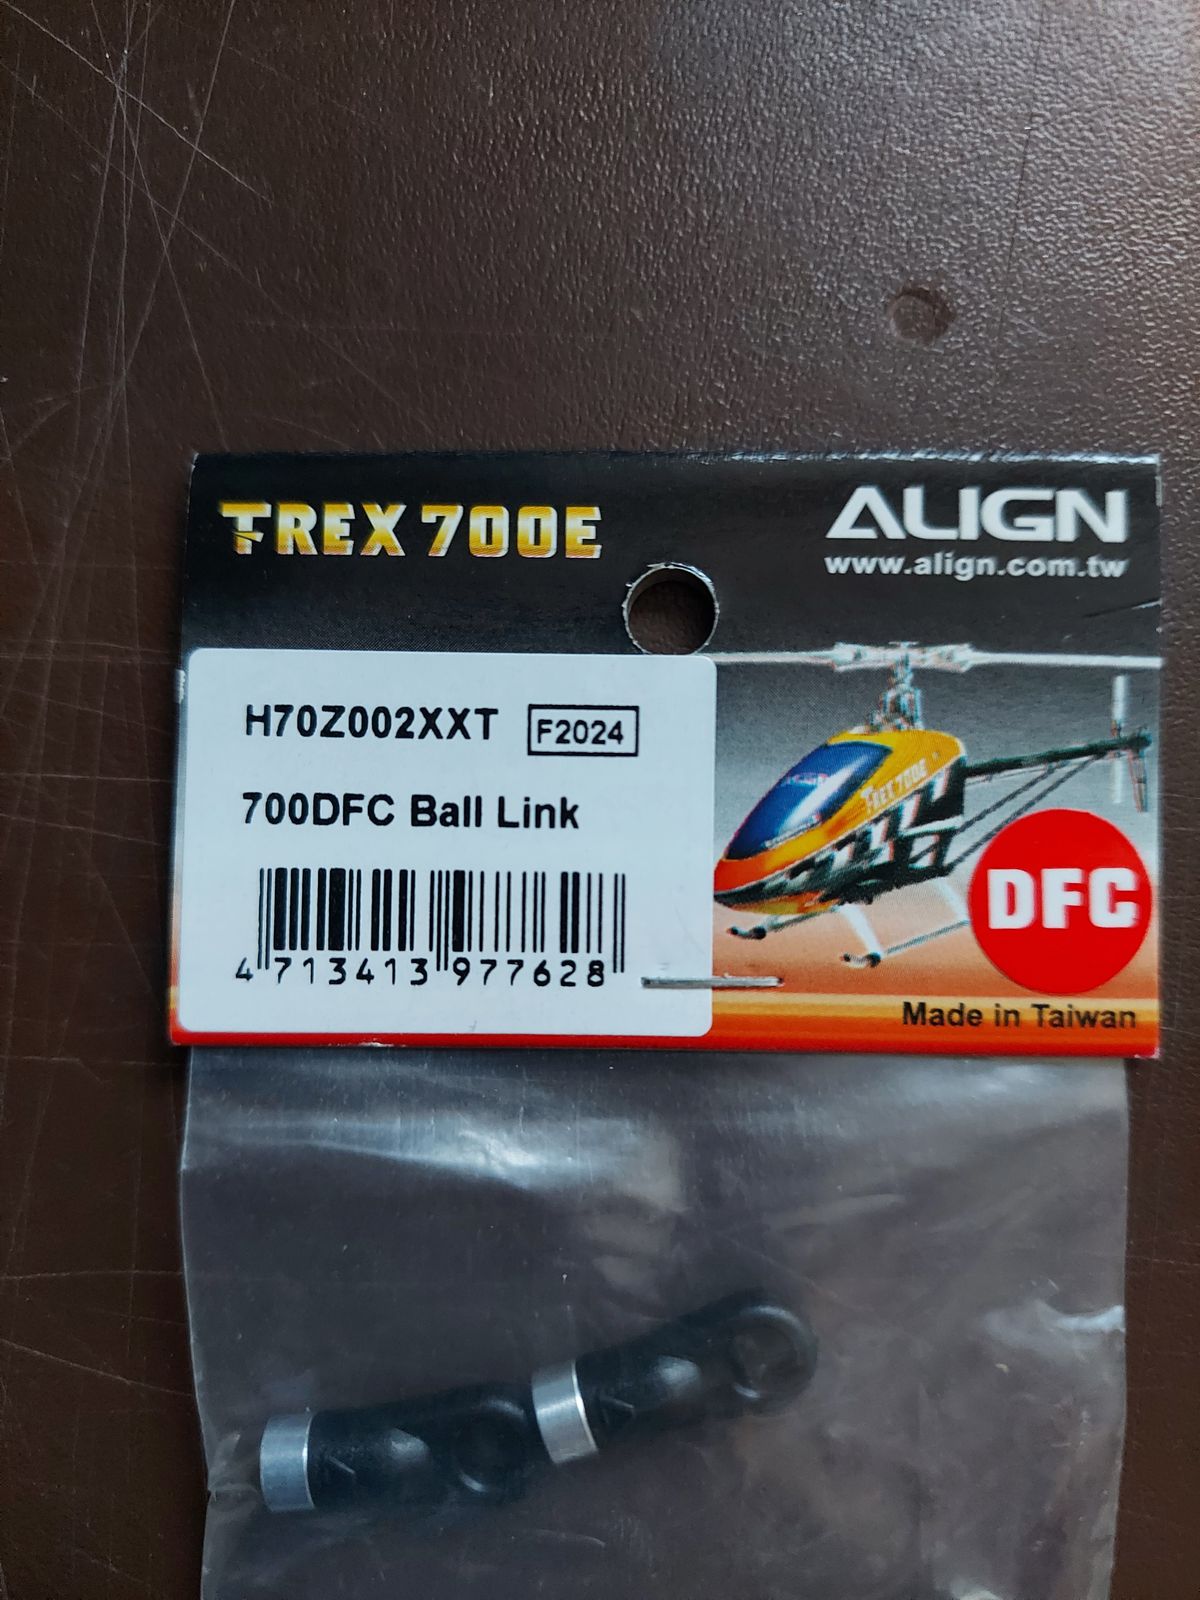
New 3mm ptich control rods.
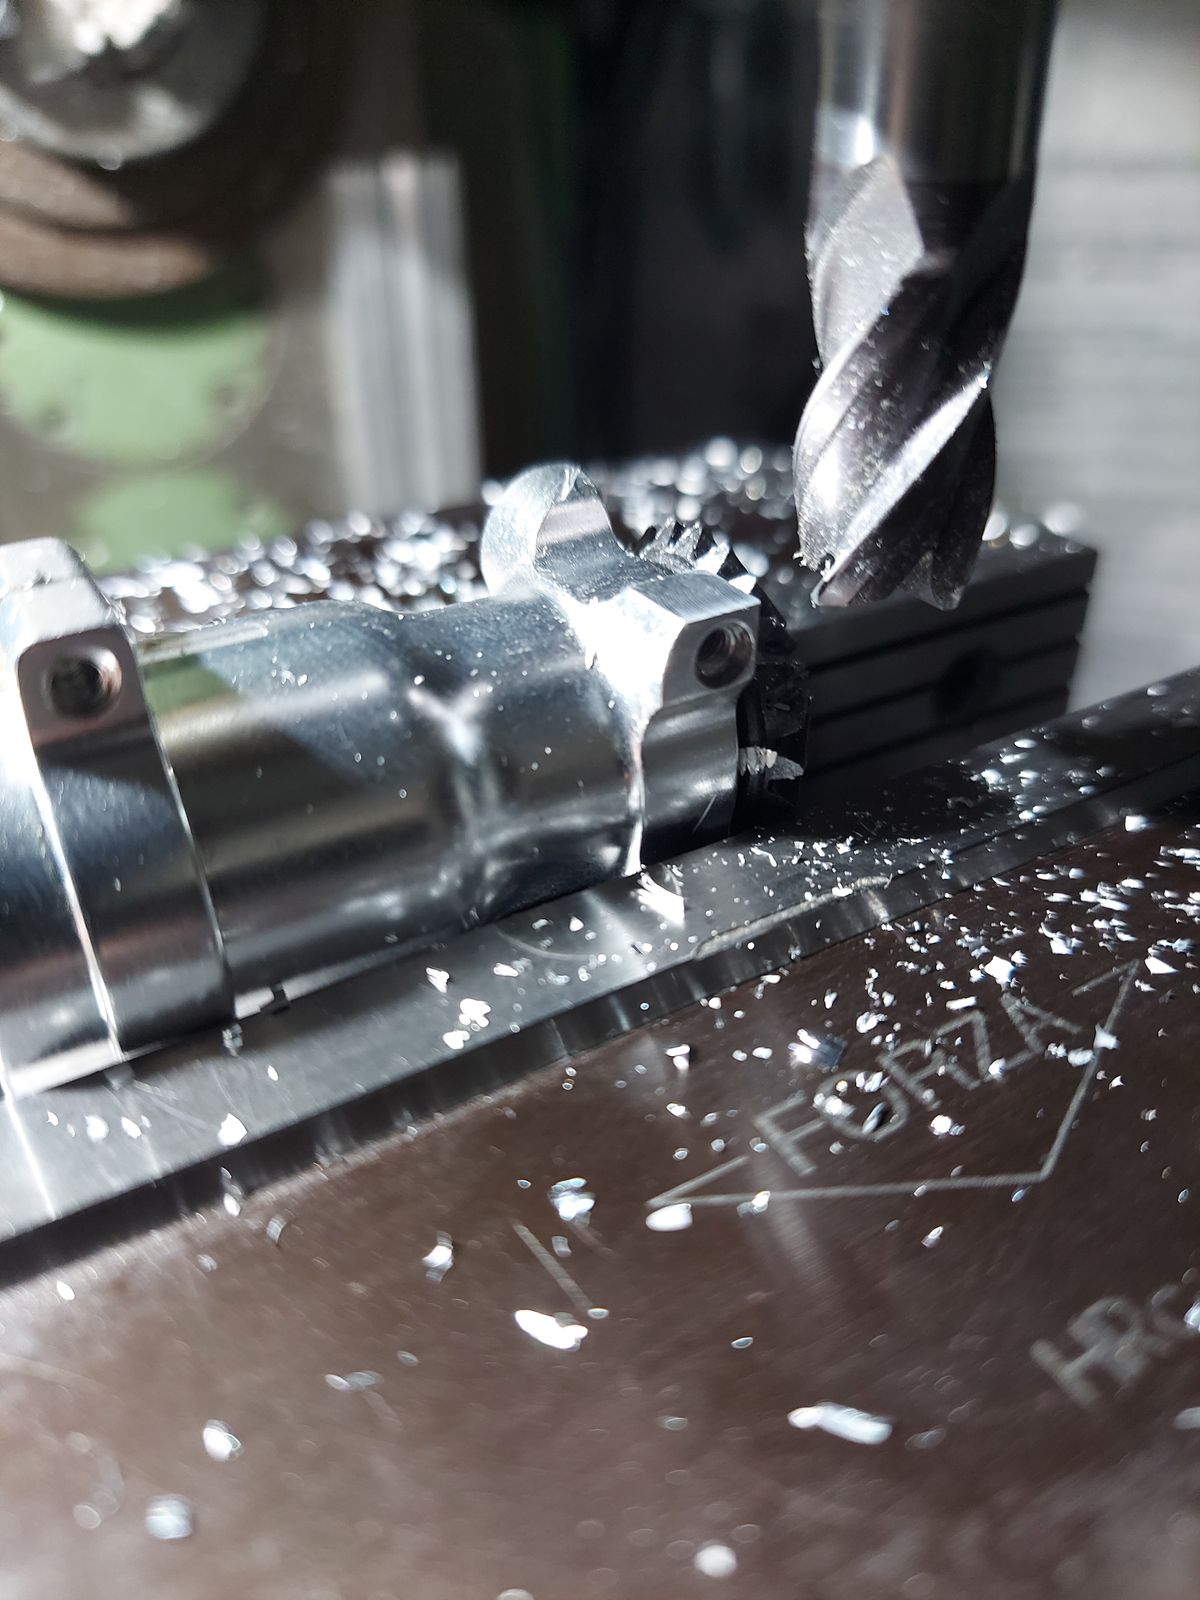
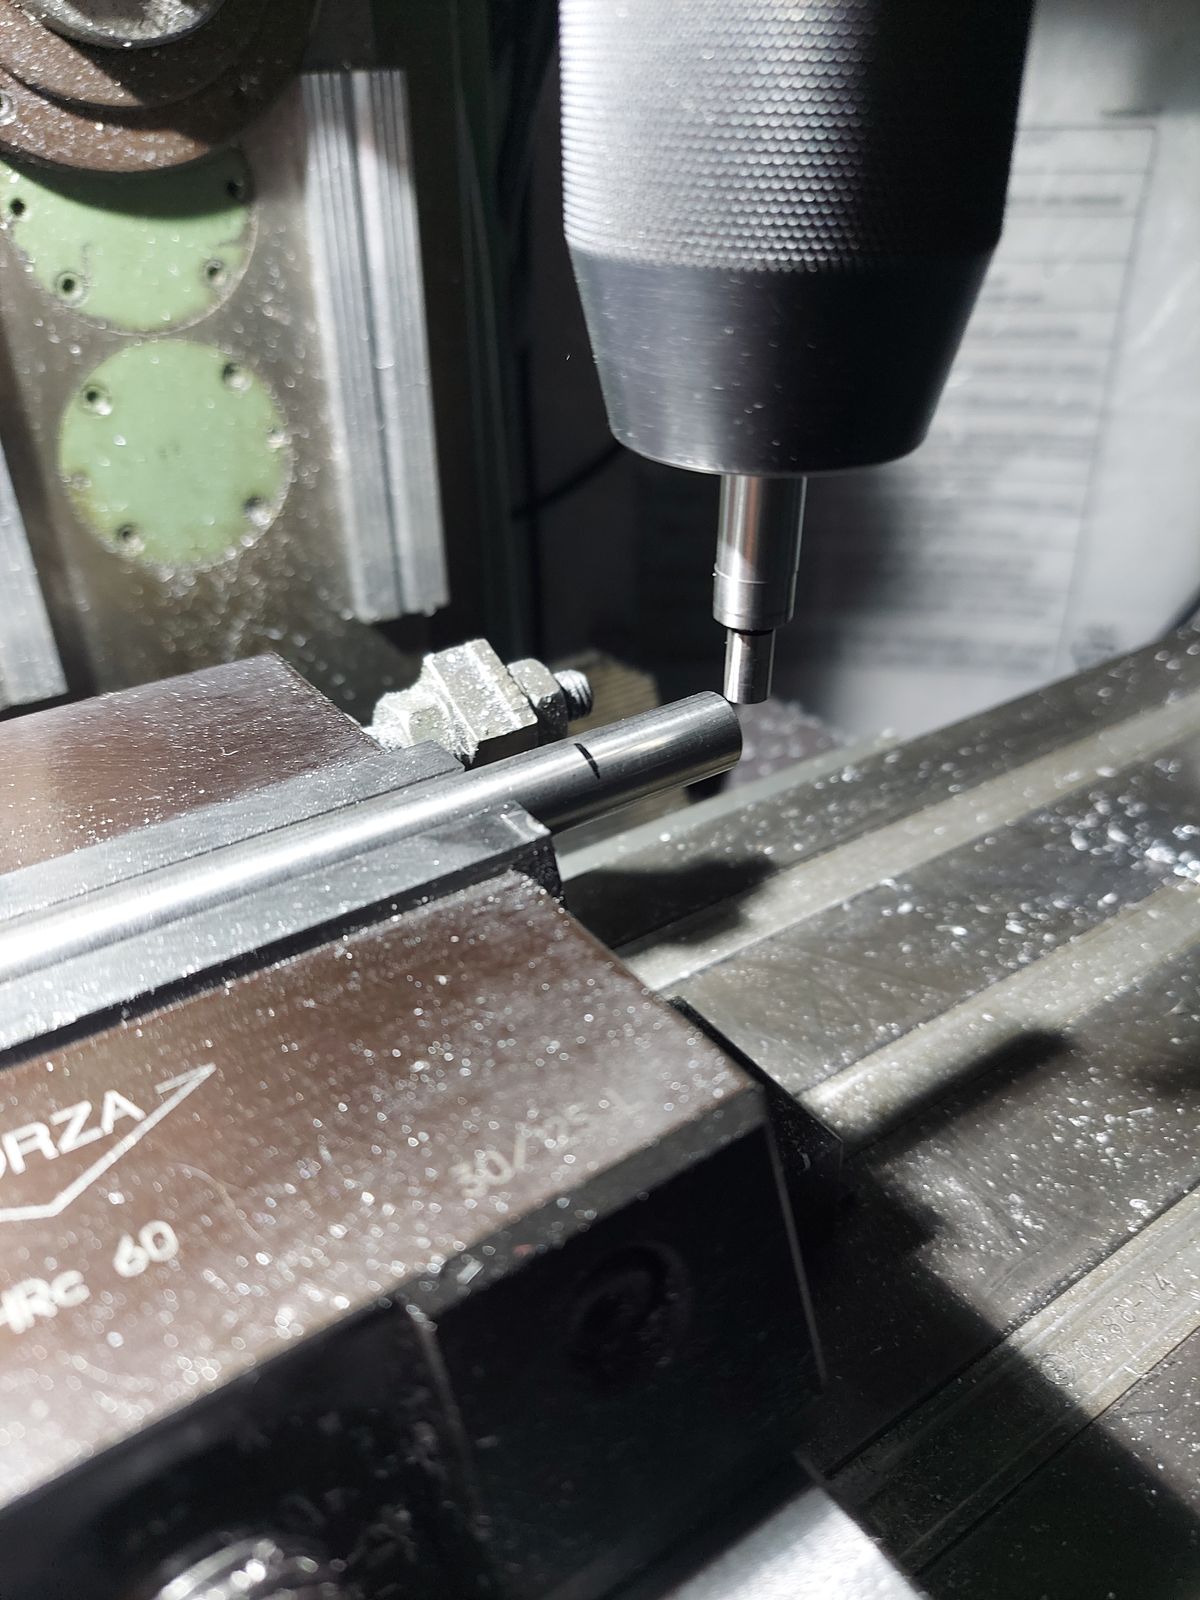
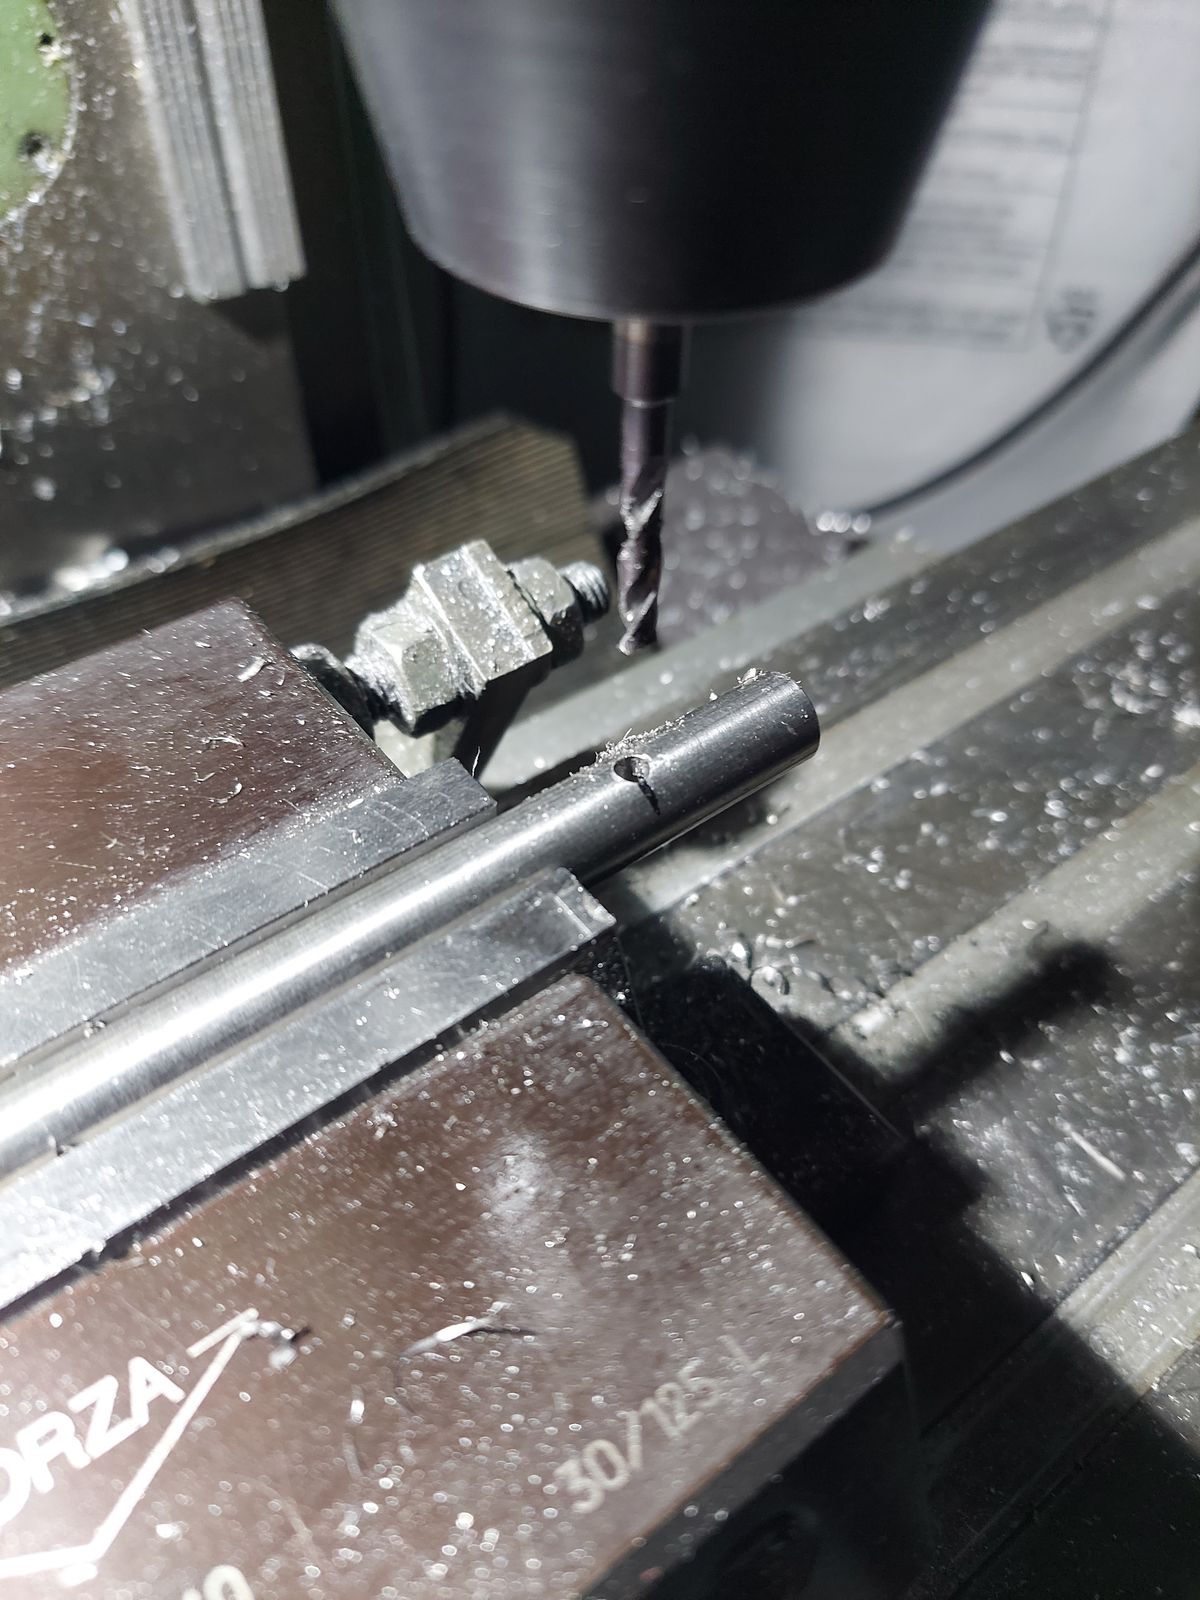
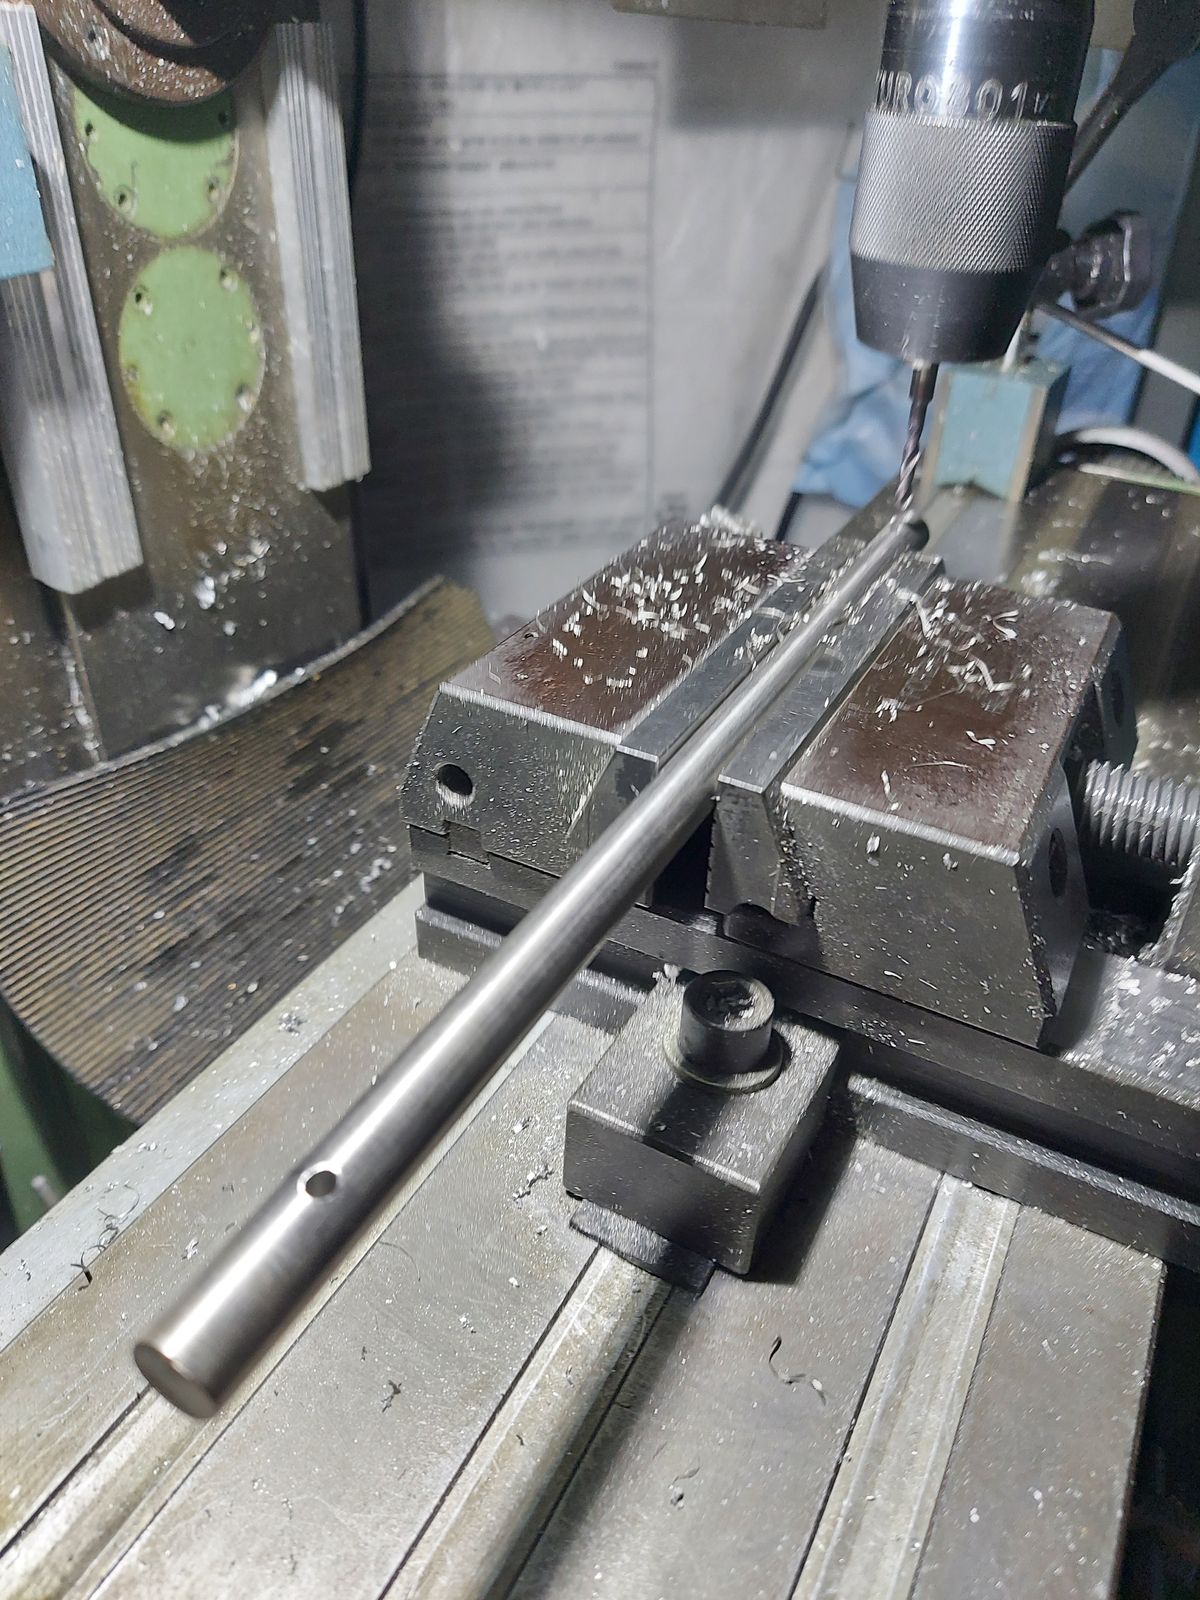
Machining the main shaft.
Installing tailrotor into the fuselage
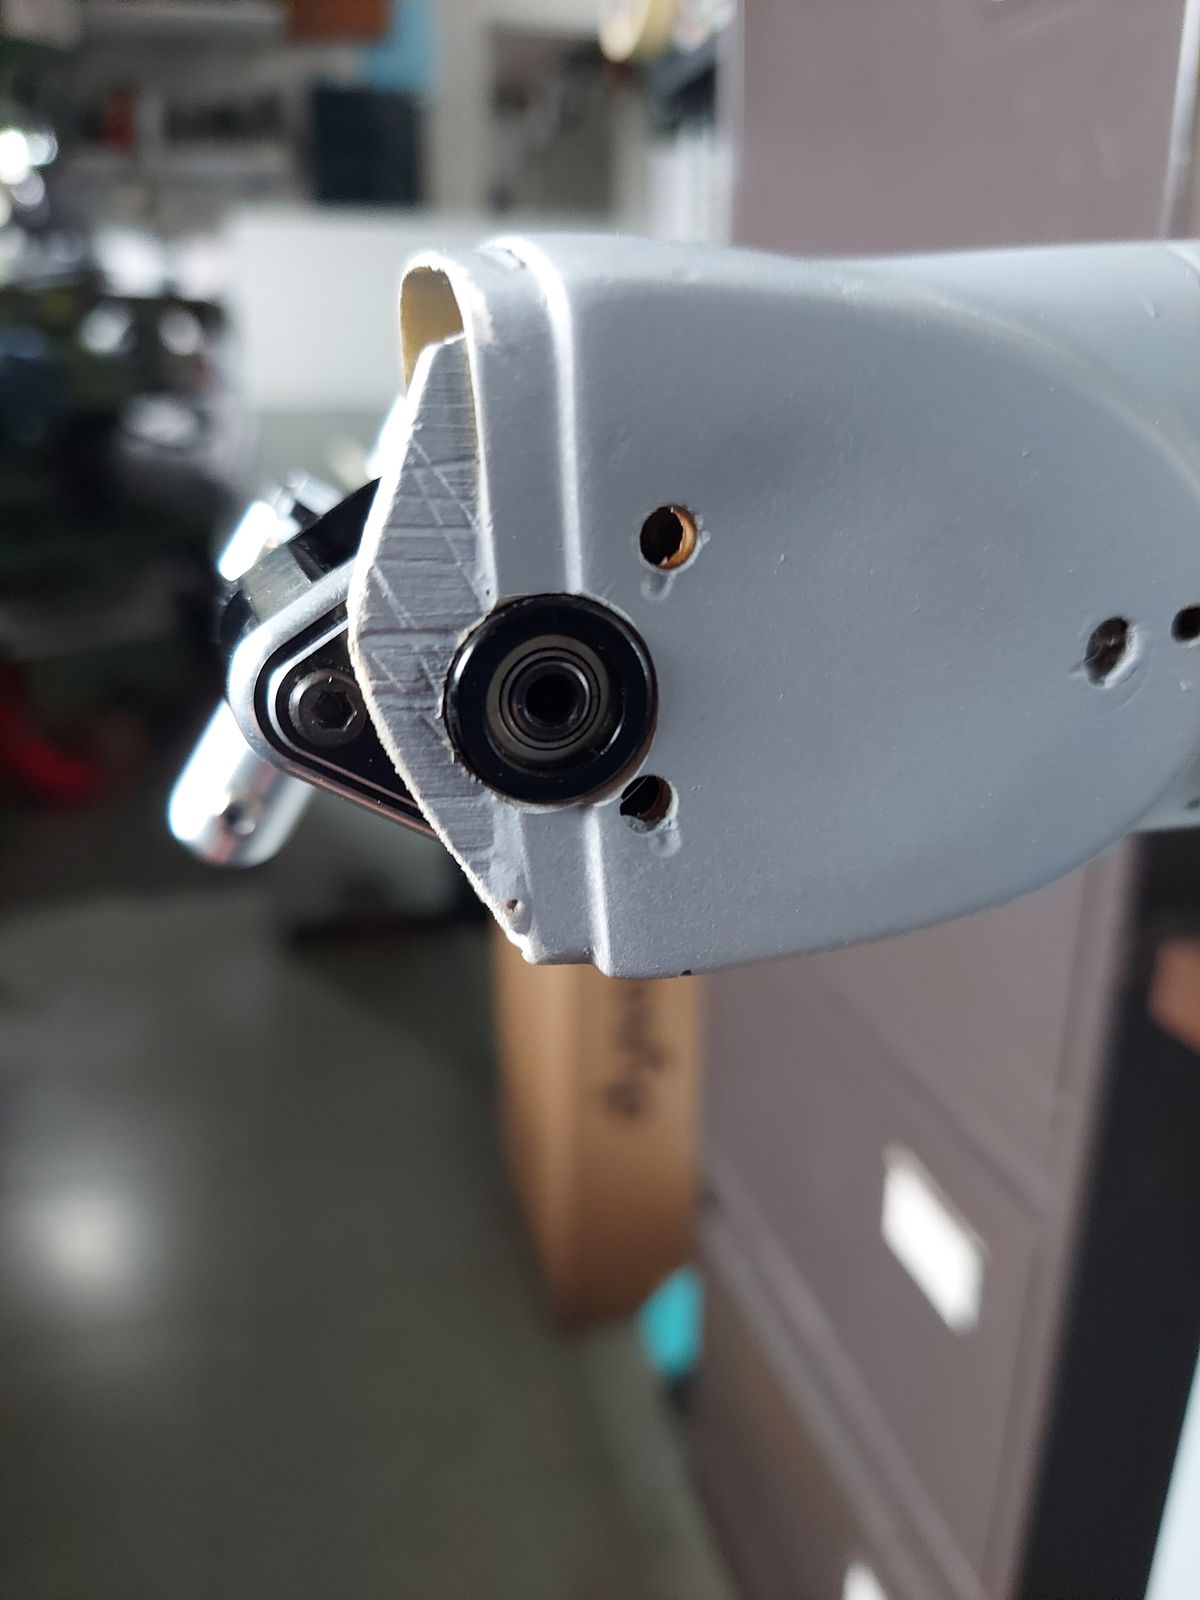
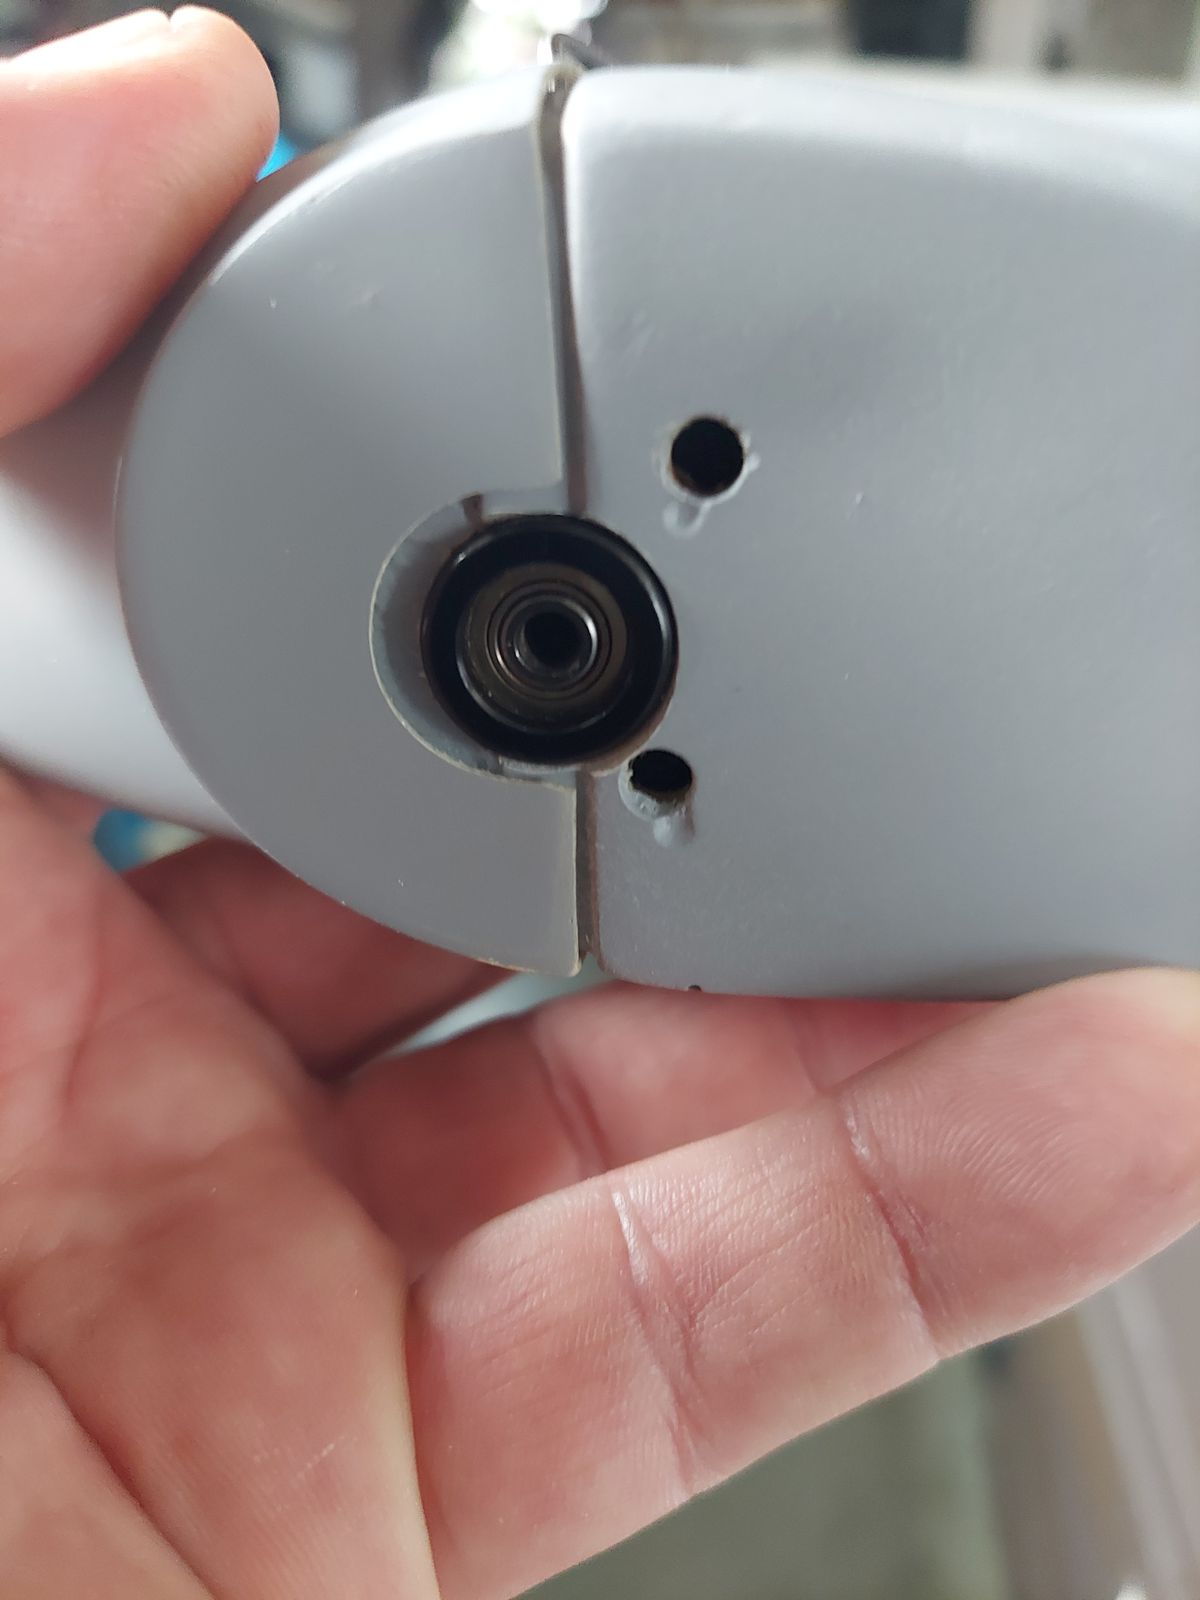
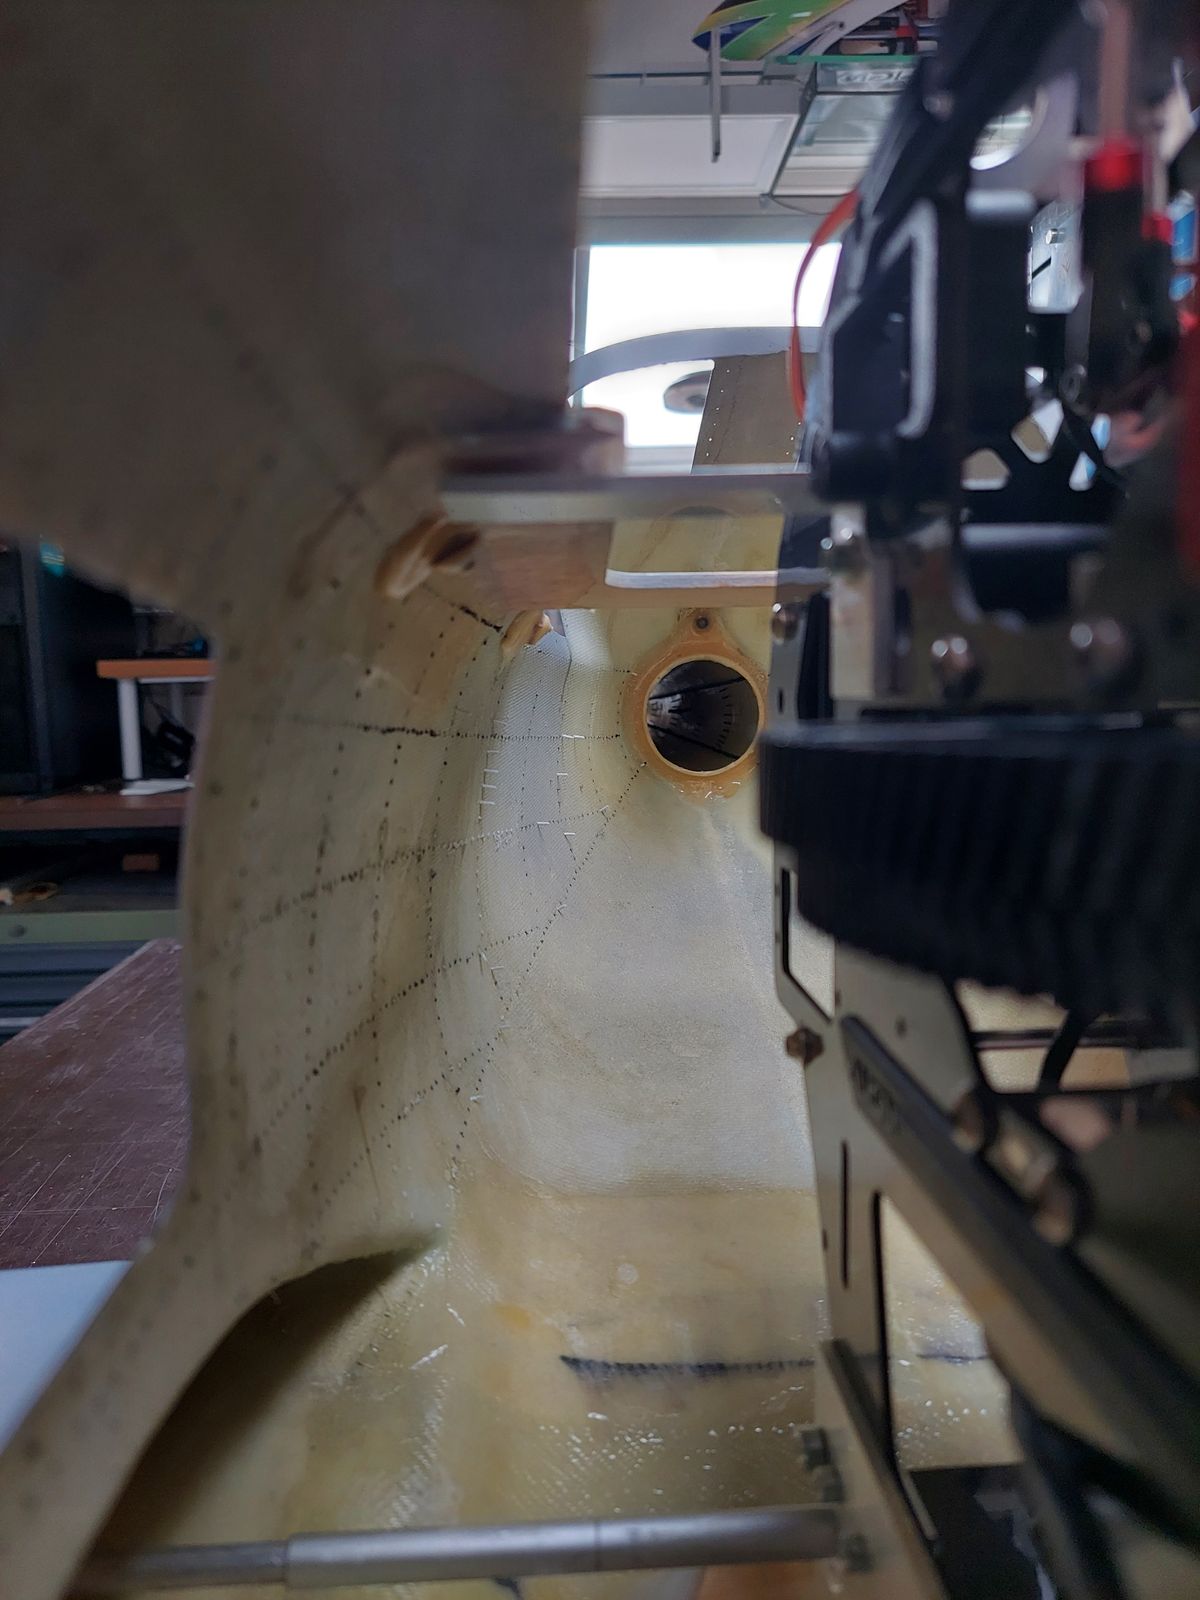
Fitting the tailrotor in the tight tailboom end space.
Merge the tailrotor bearing housing on to the fuselage.
Milling out the pocket for the tailrotor bearing housing in the tail fin.
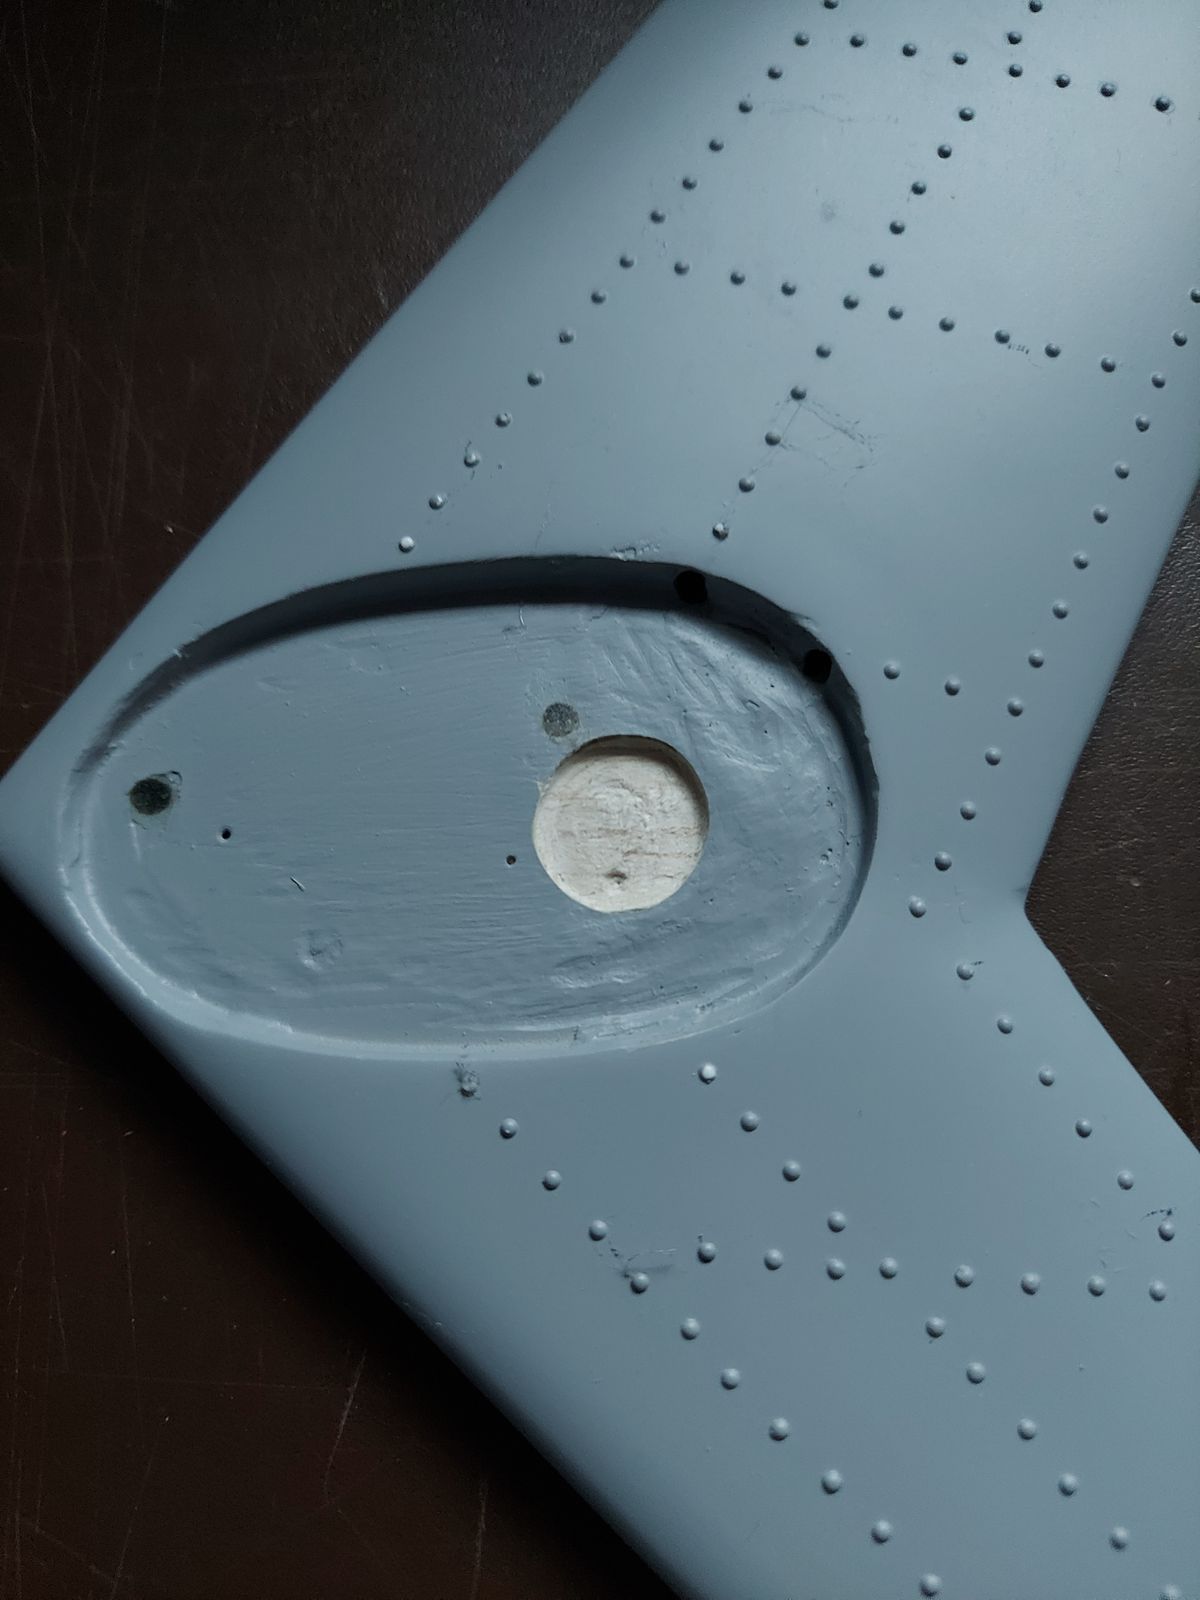
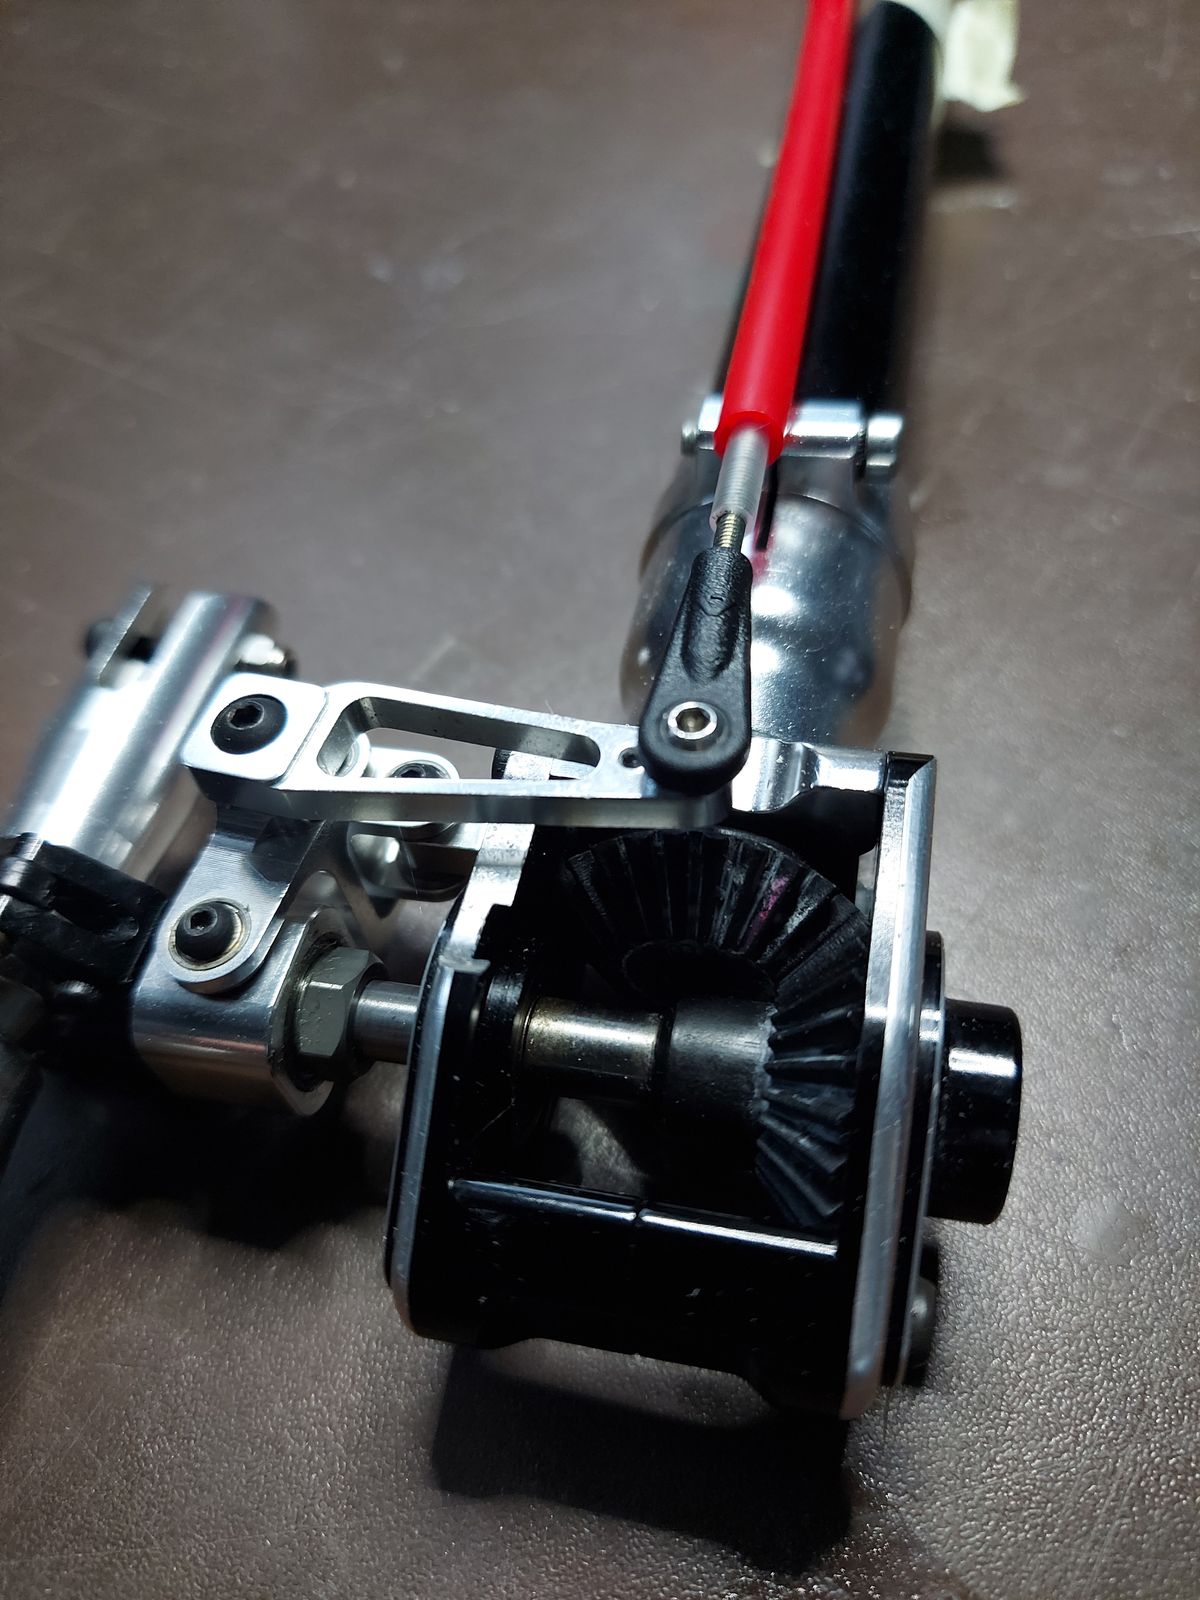
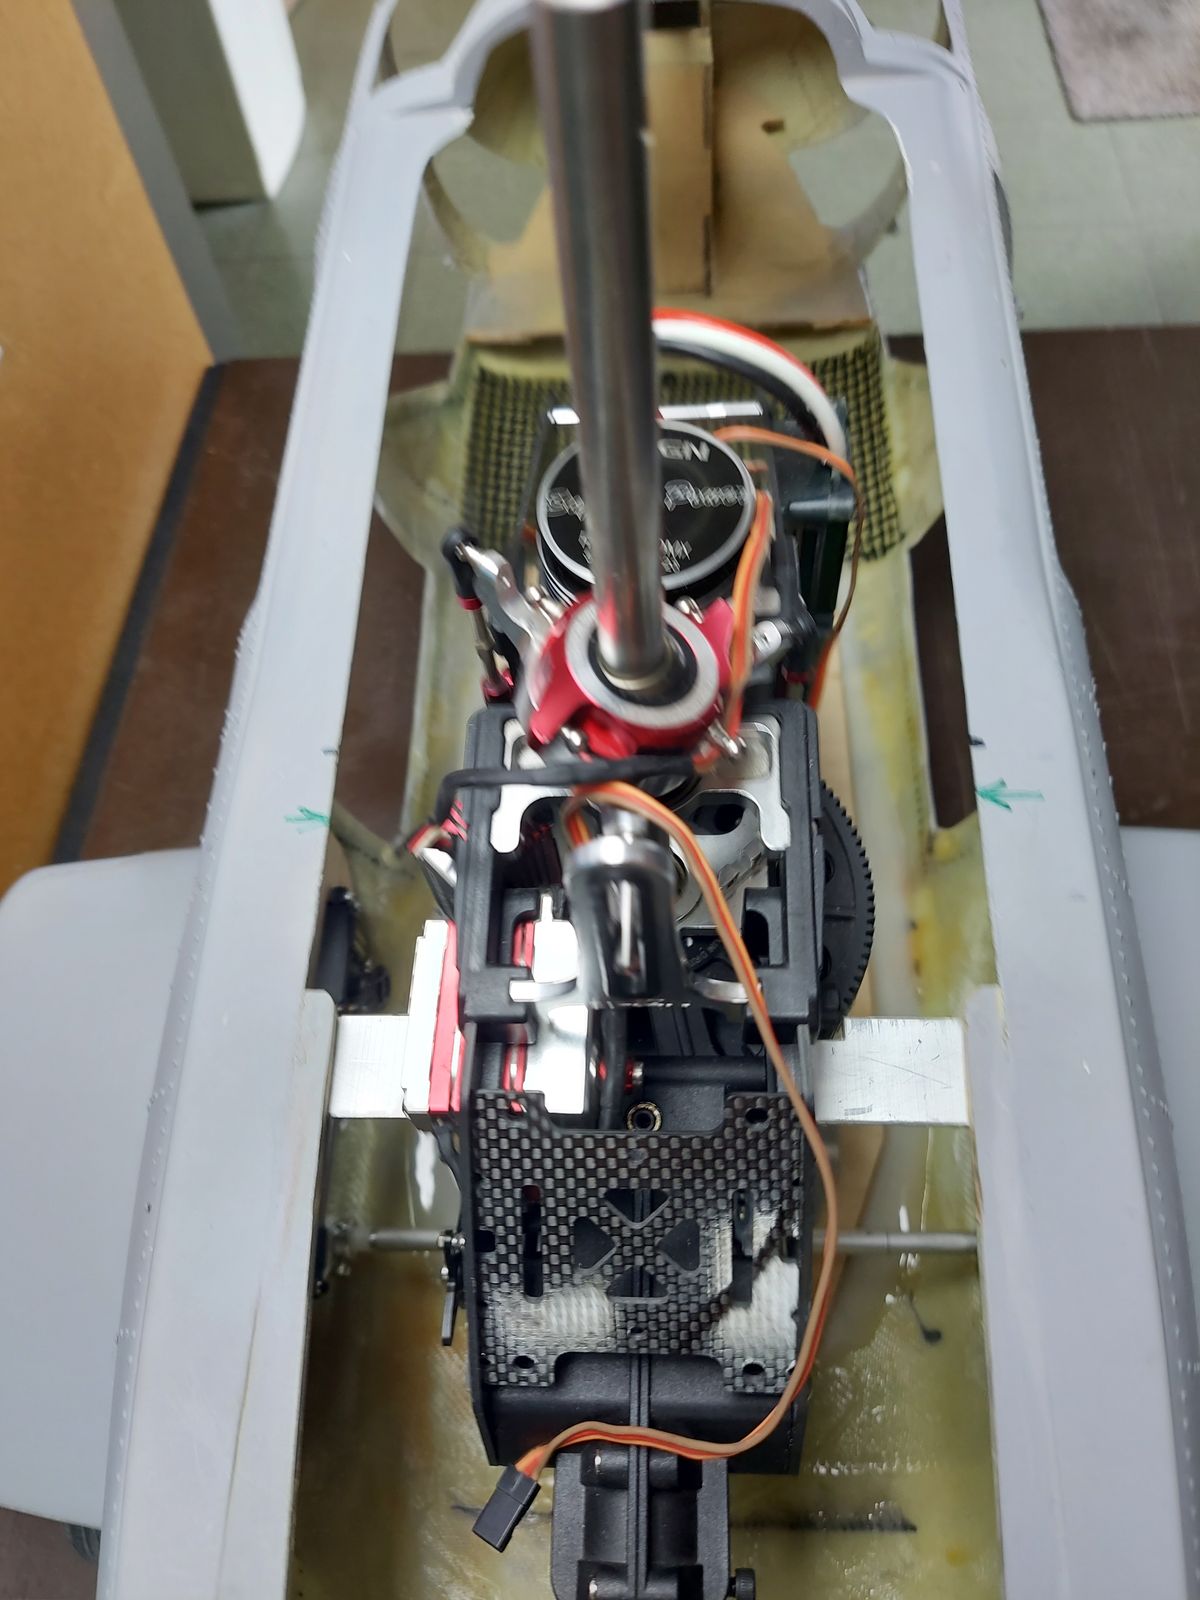
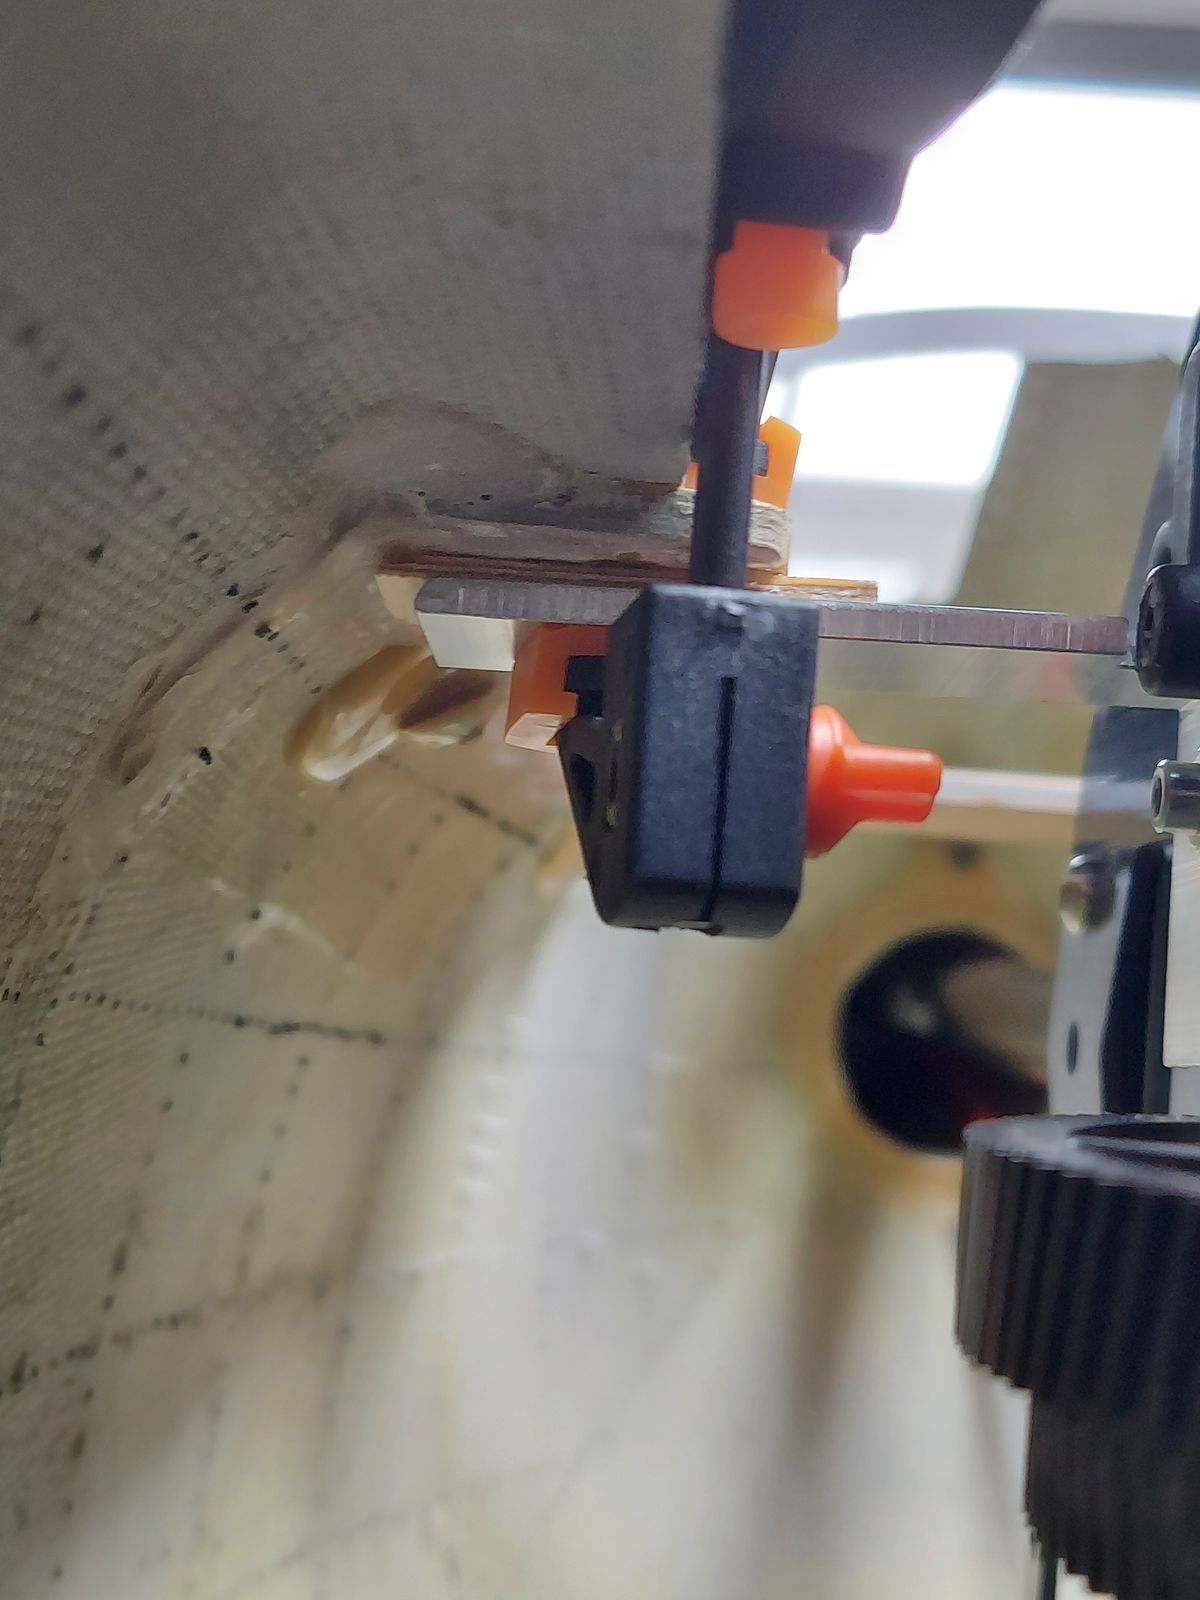
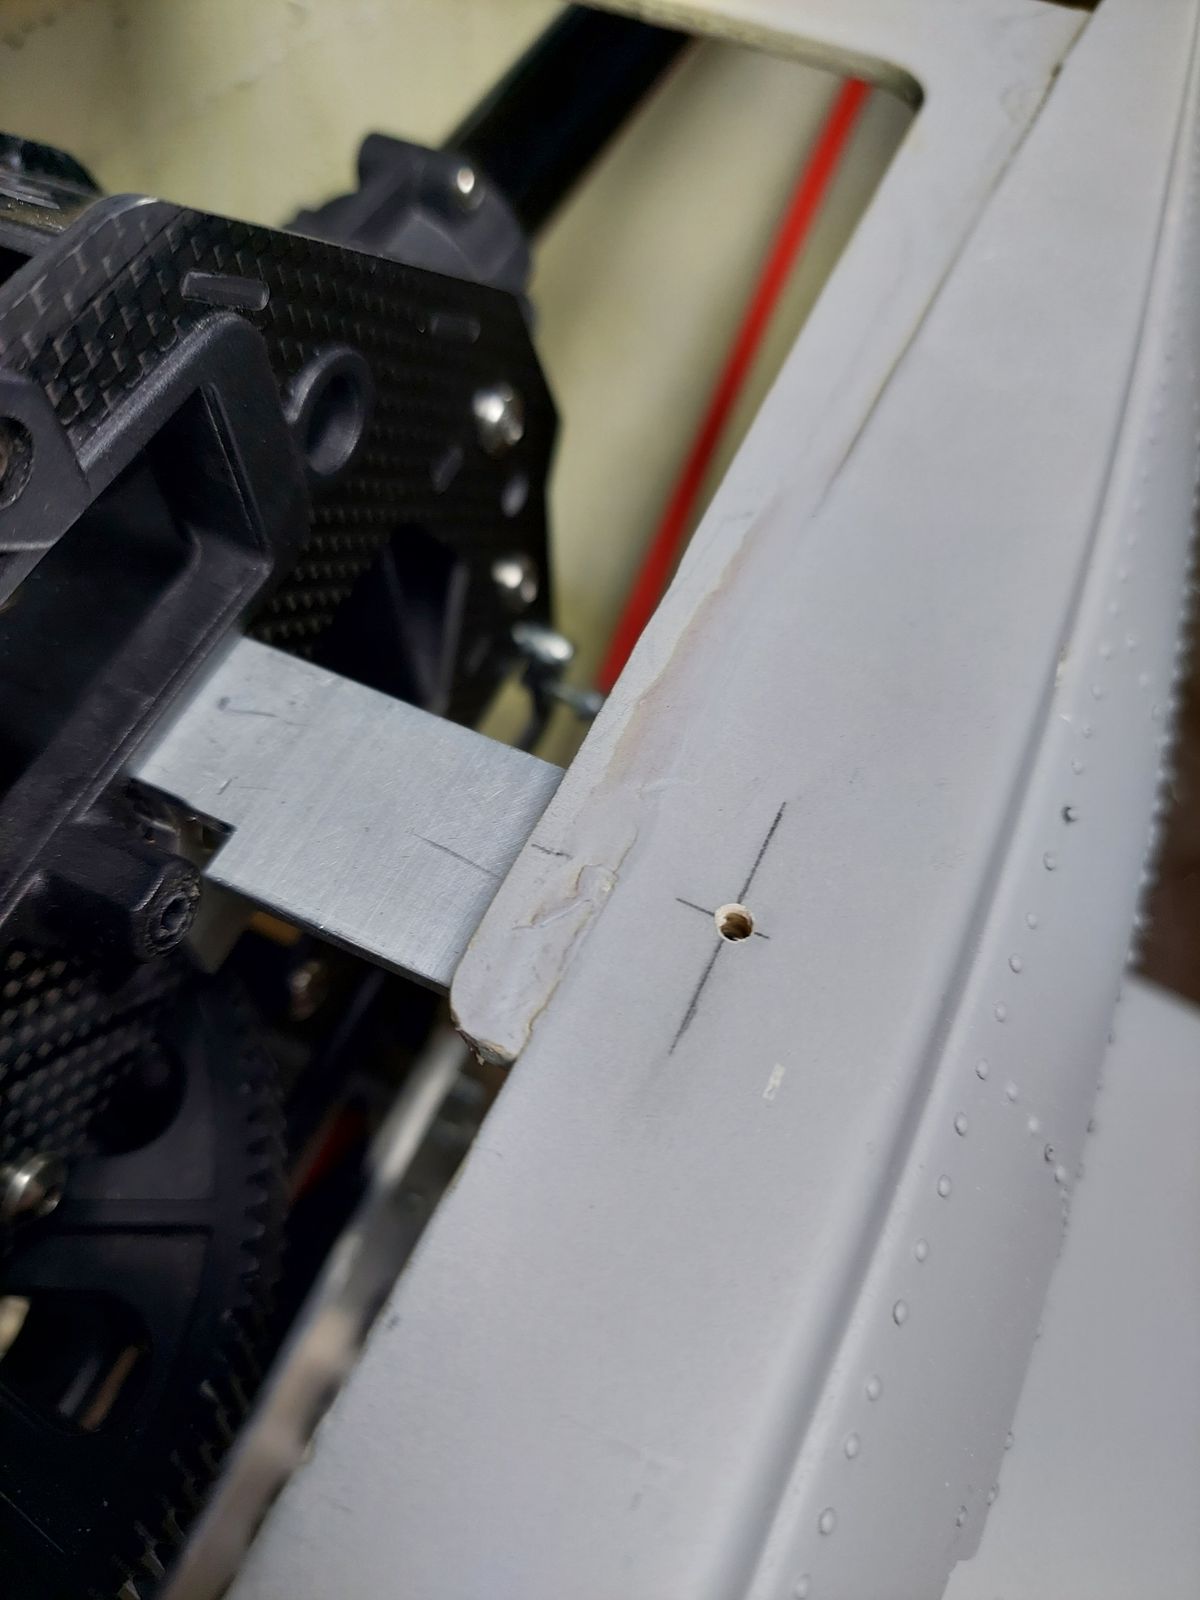
Mechanics upper support profile
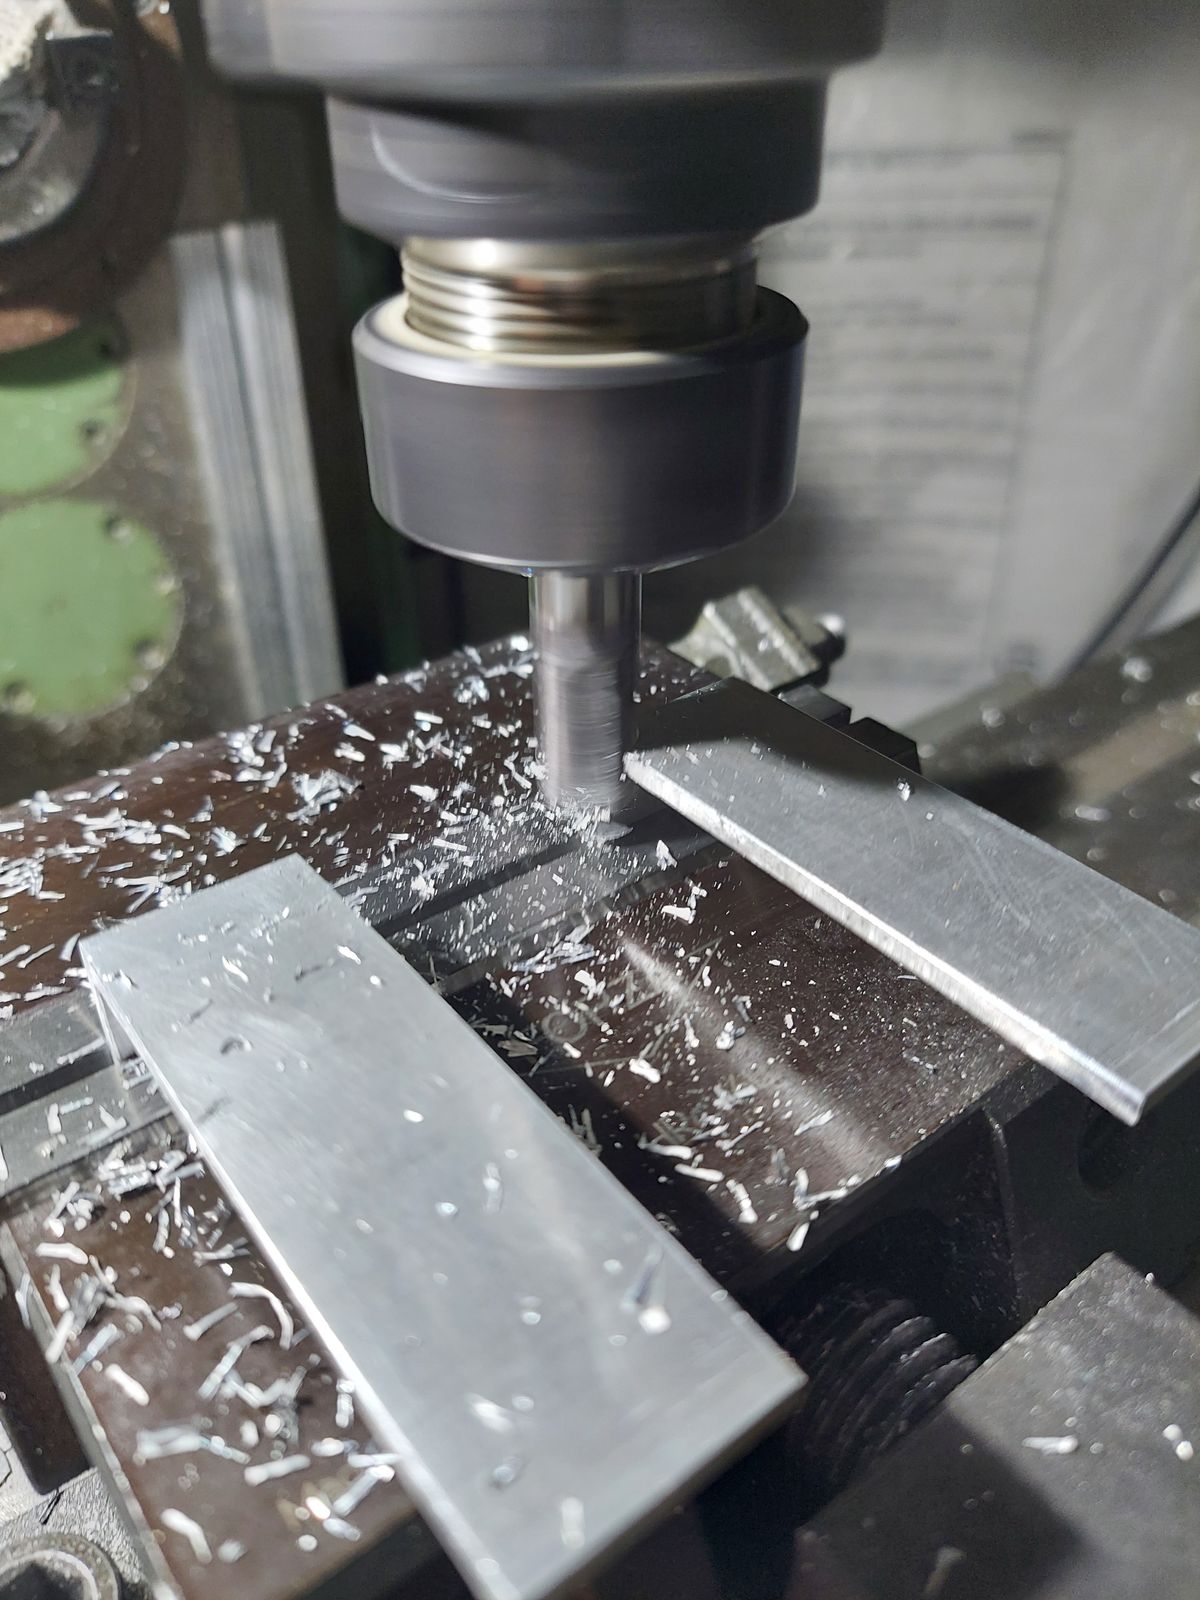
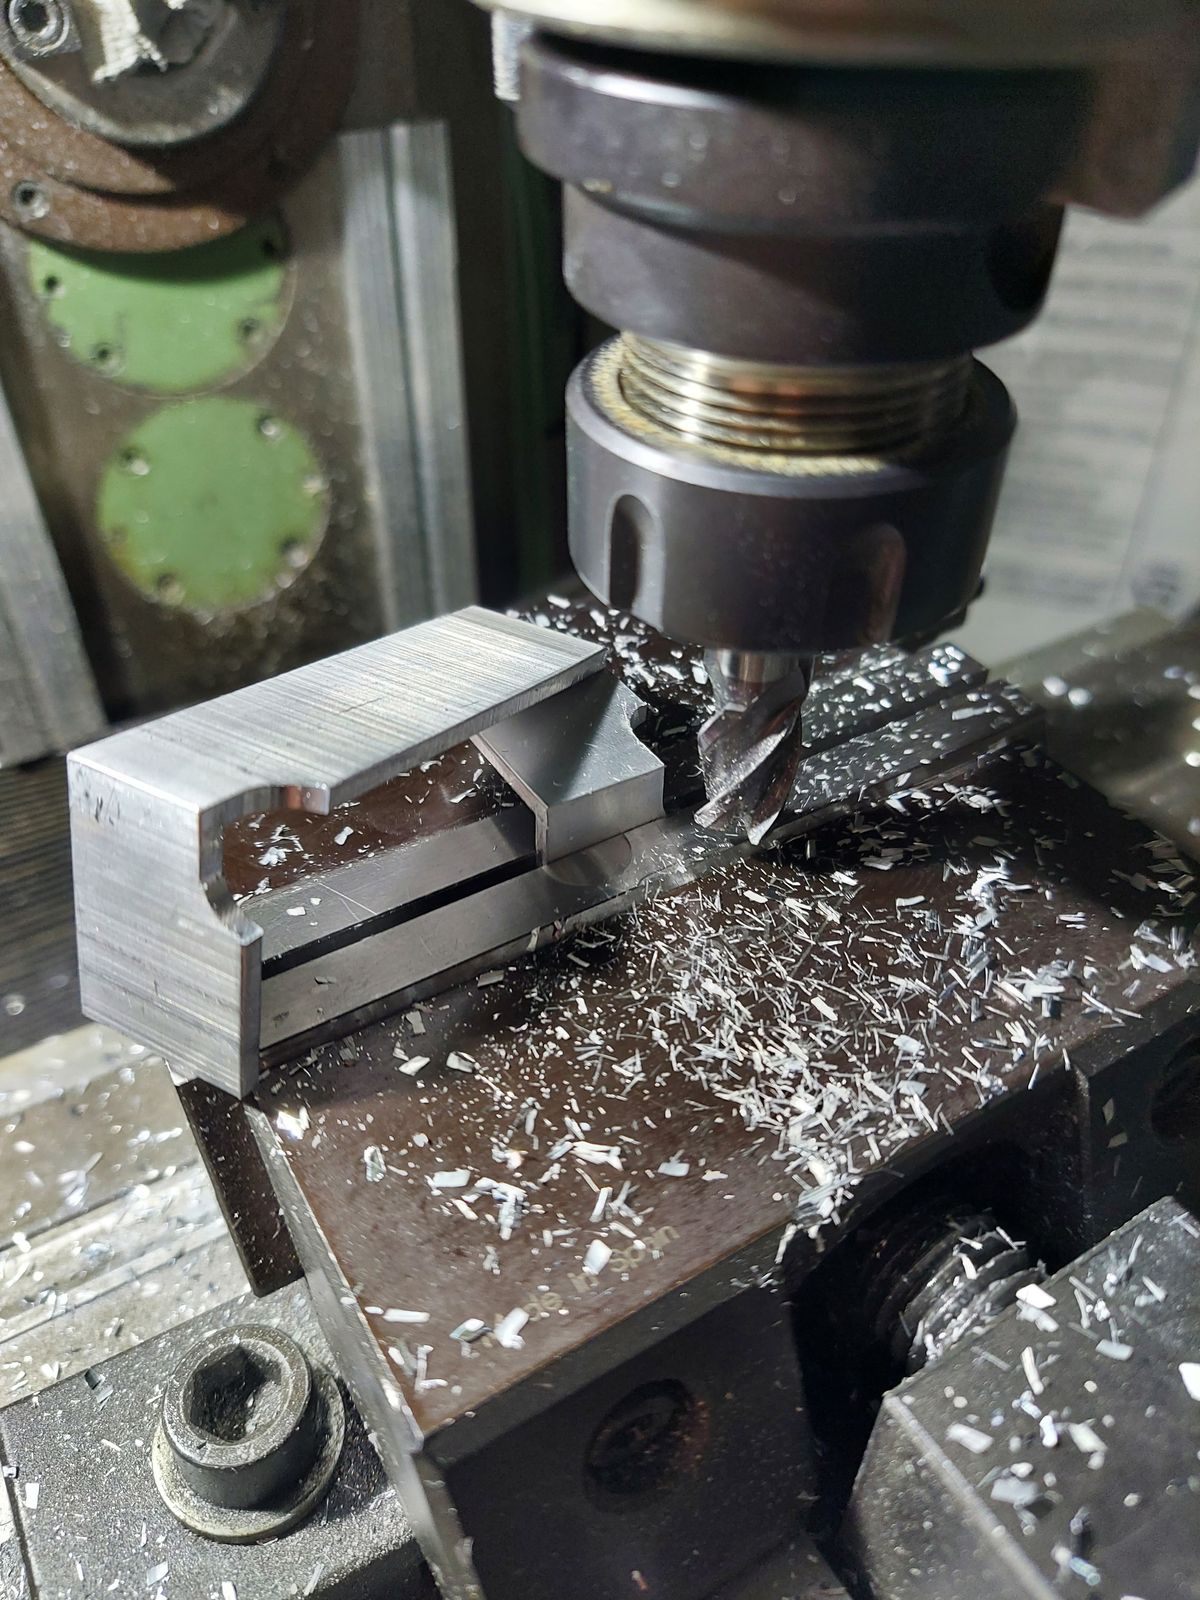
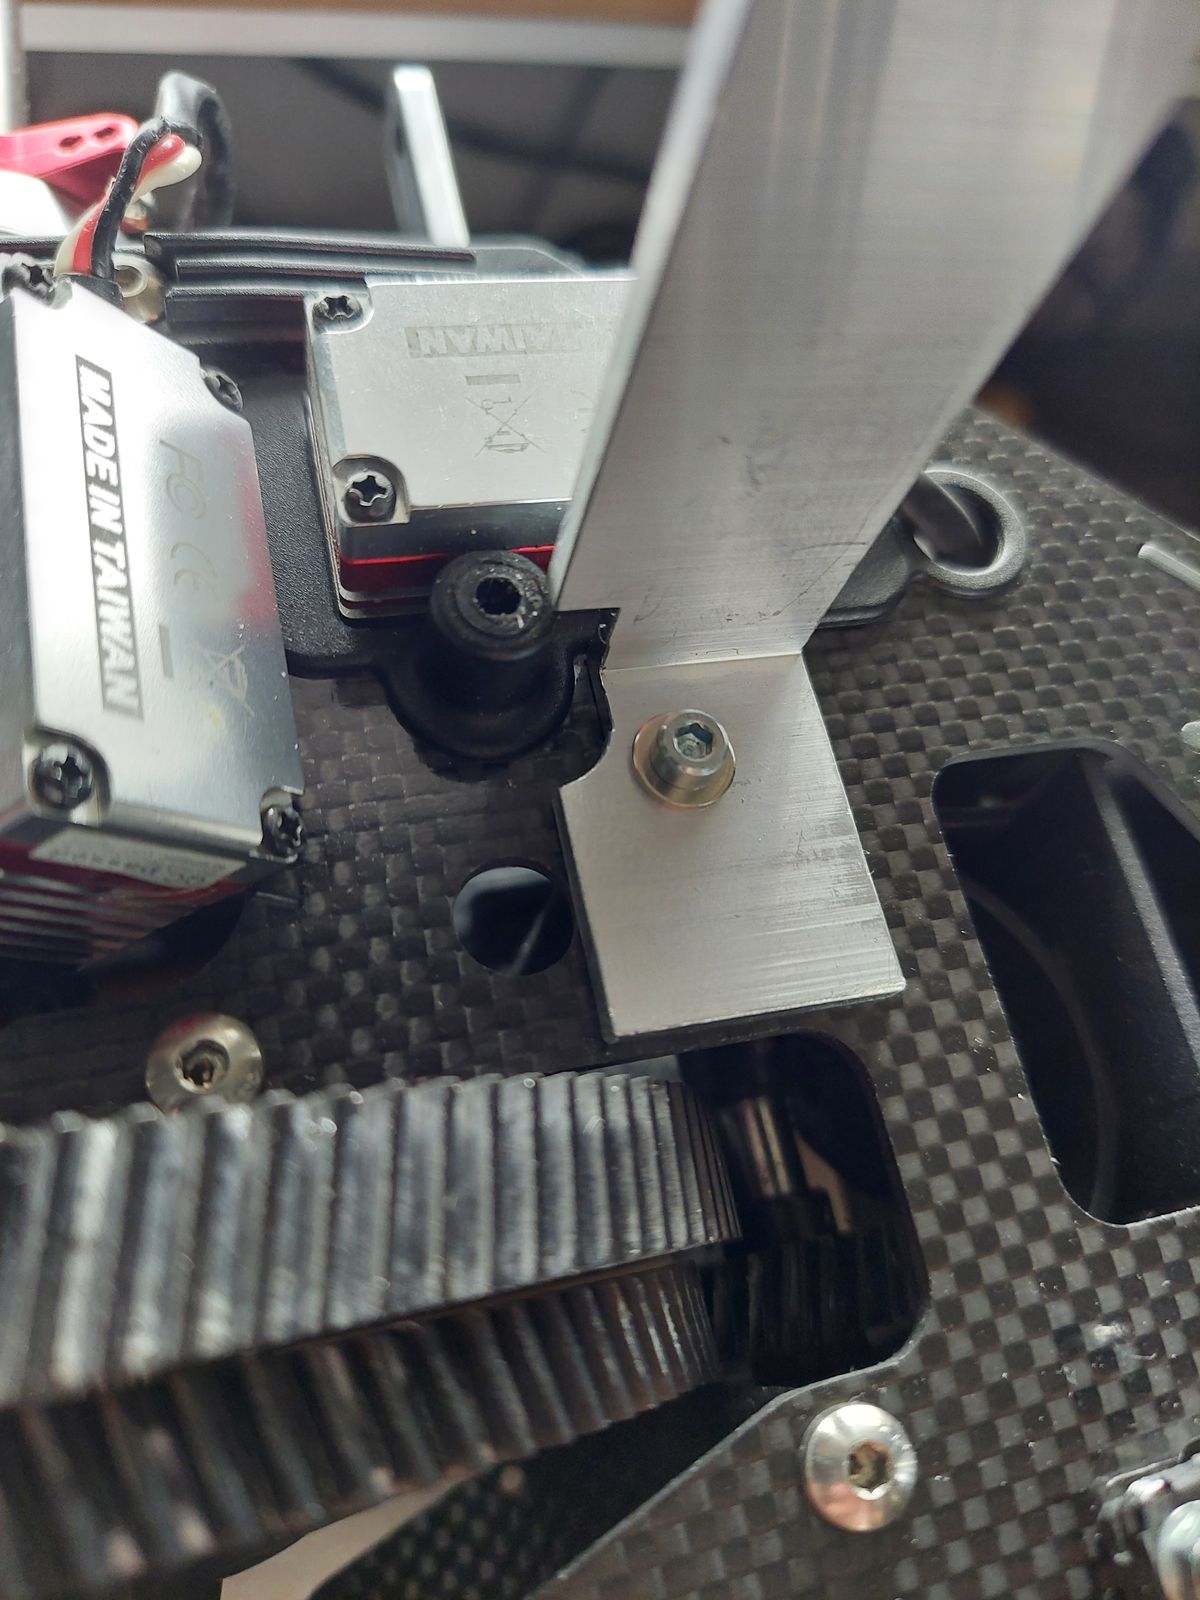
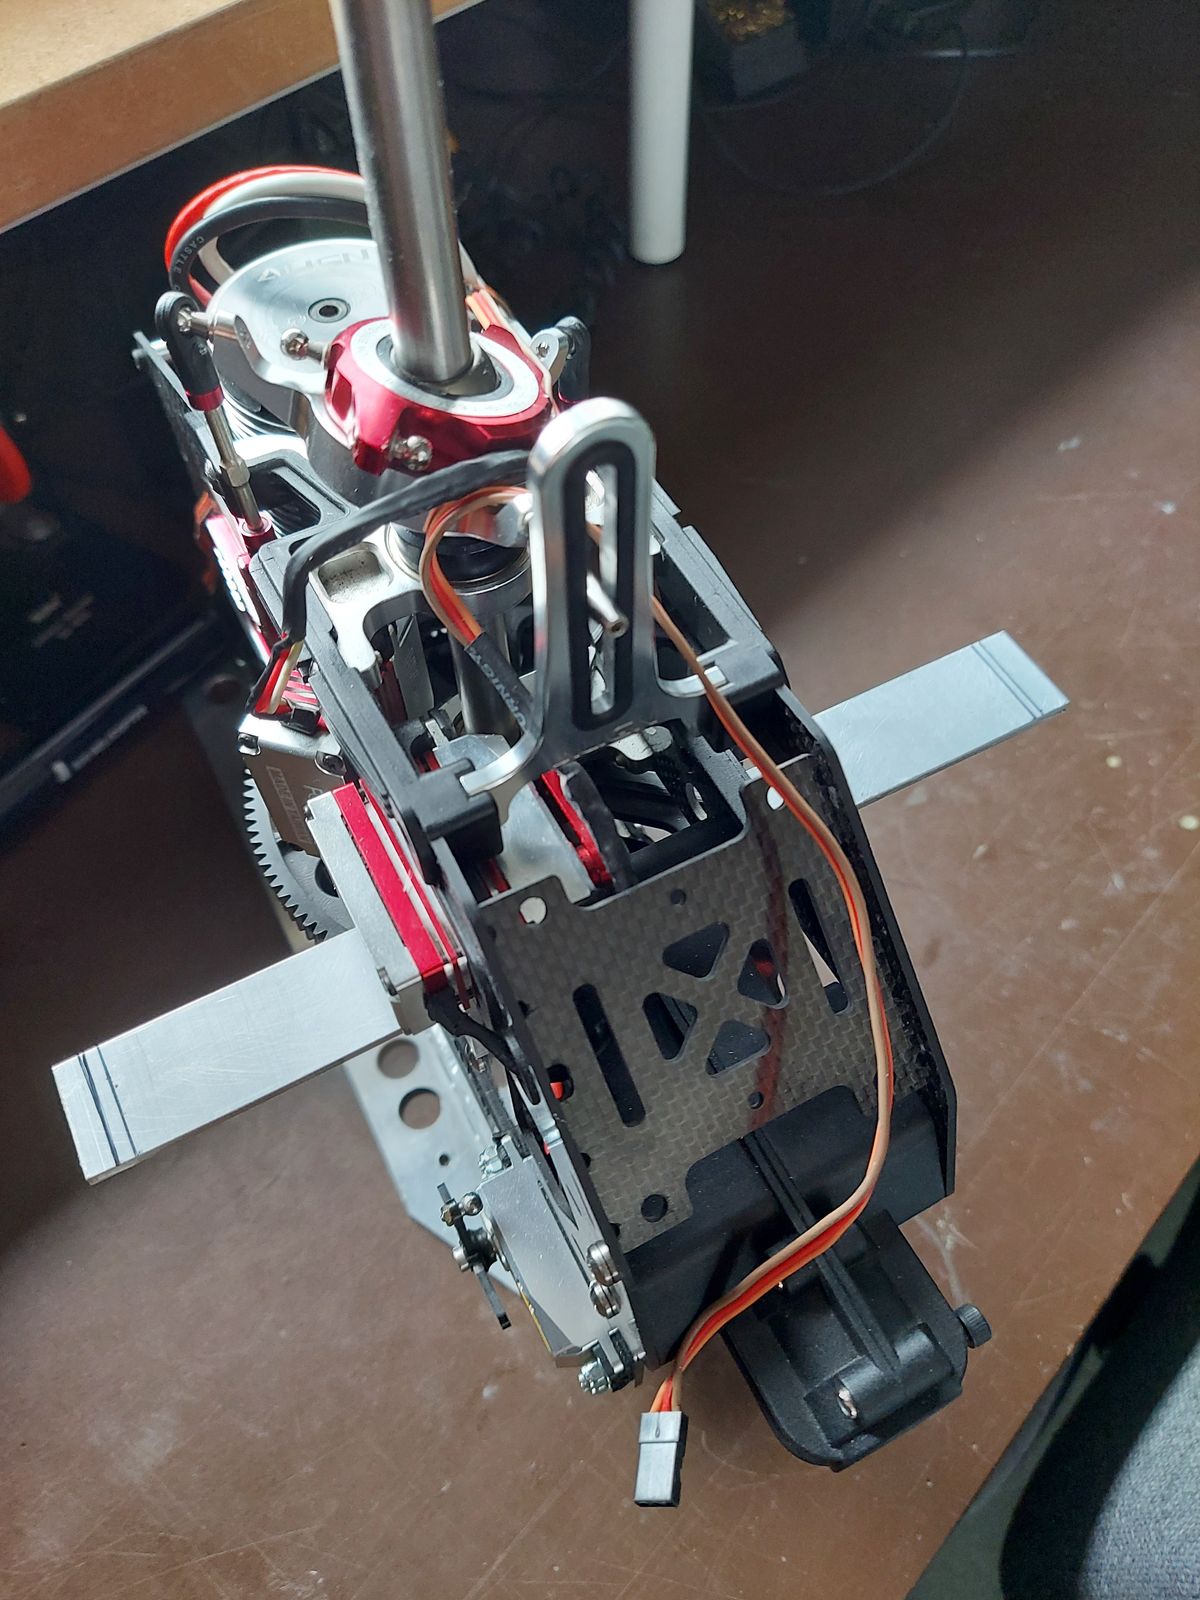
Milling the upper side support profile for additional stiffness between the mechanics and the fuselage.
Using the original mounting holes of the carbon side frame.
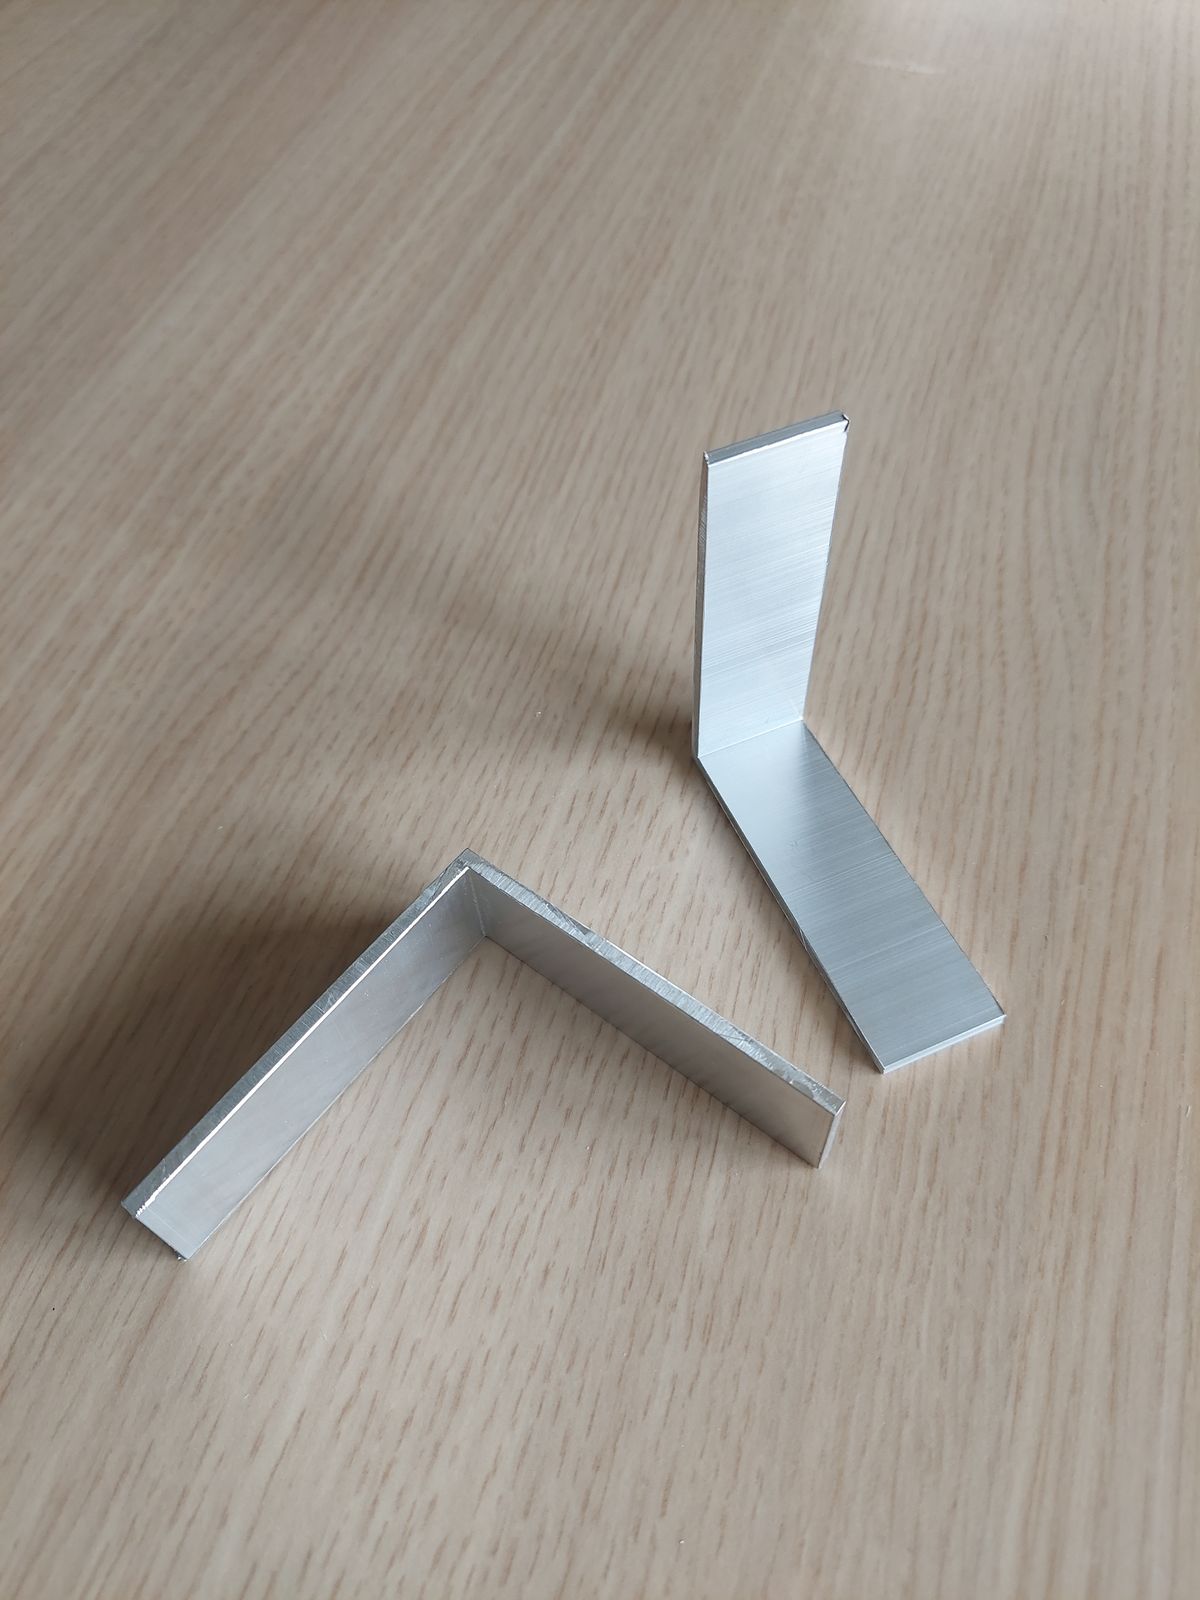
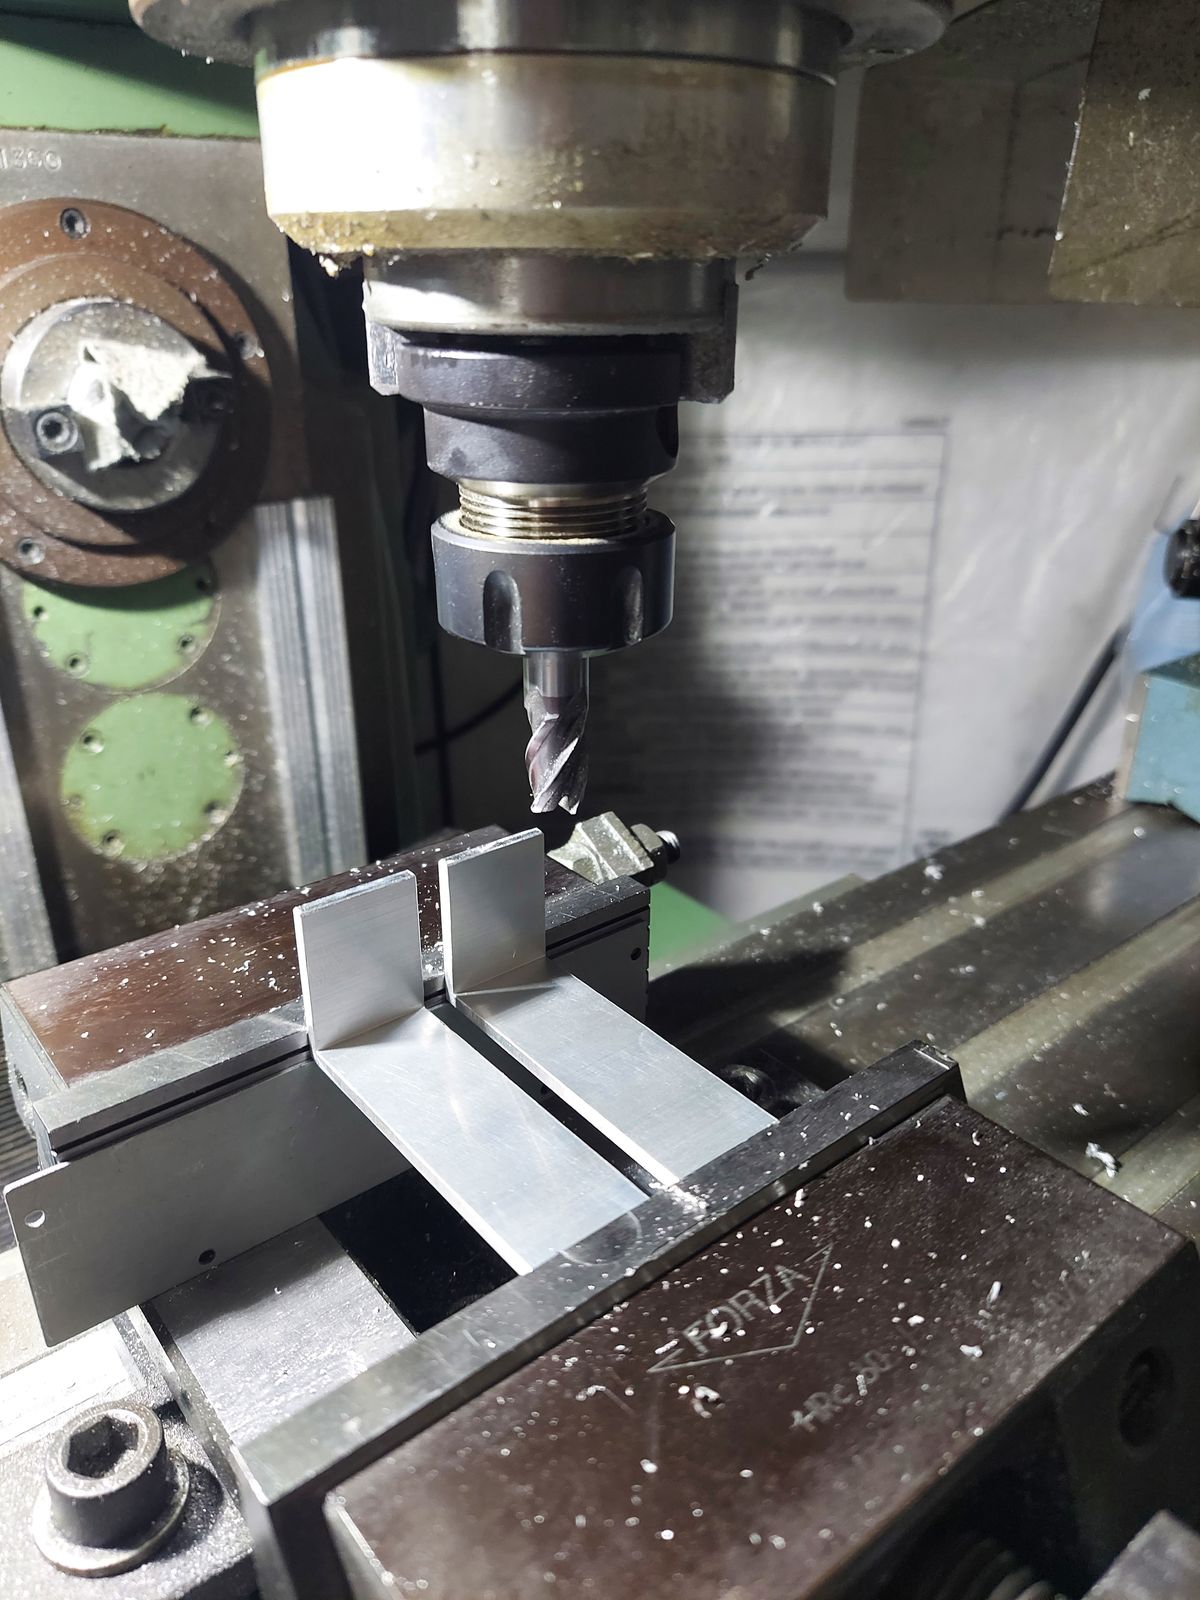
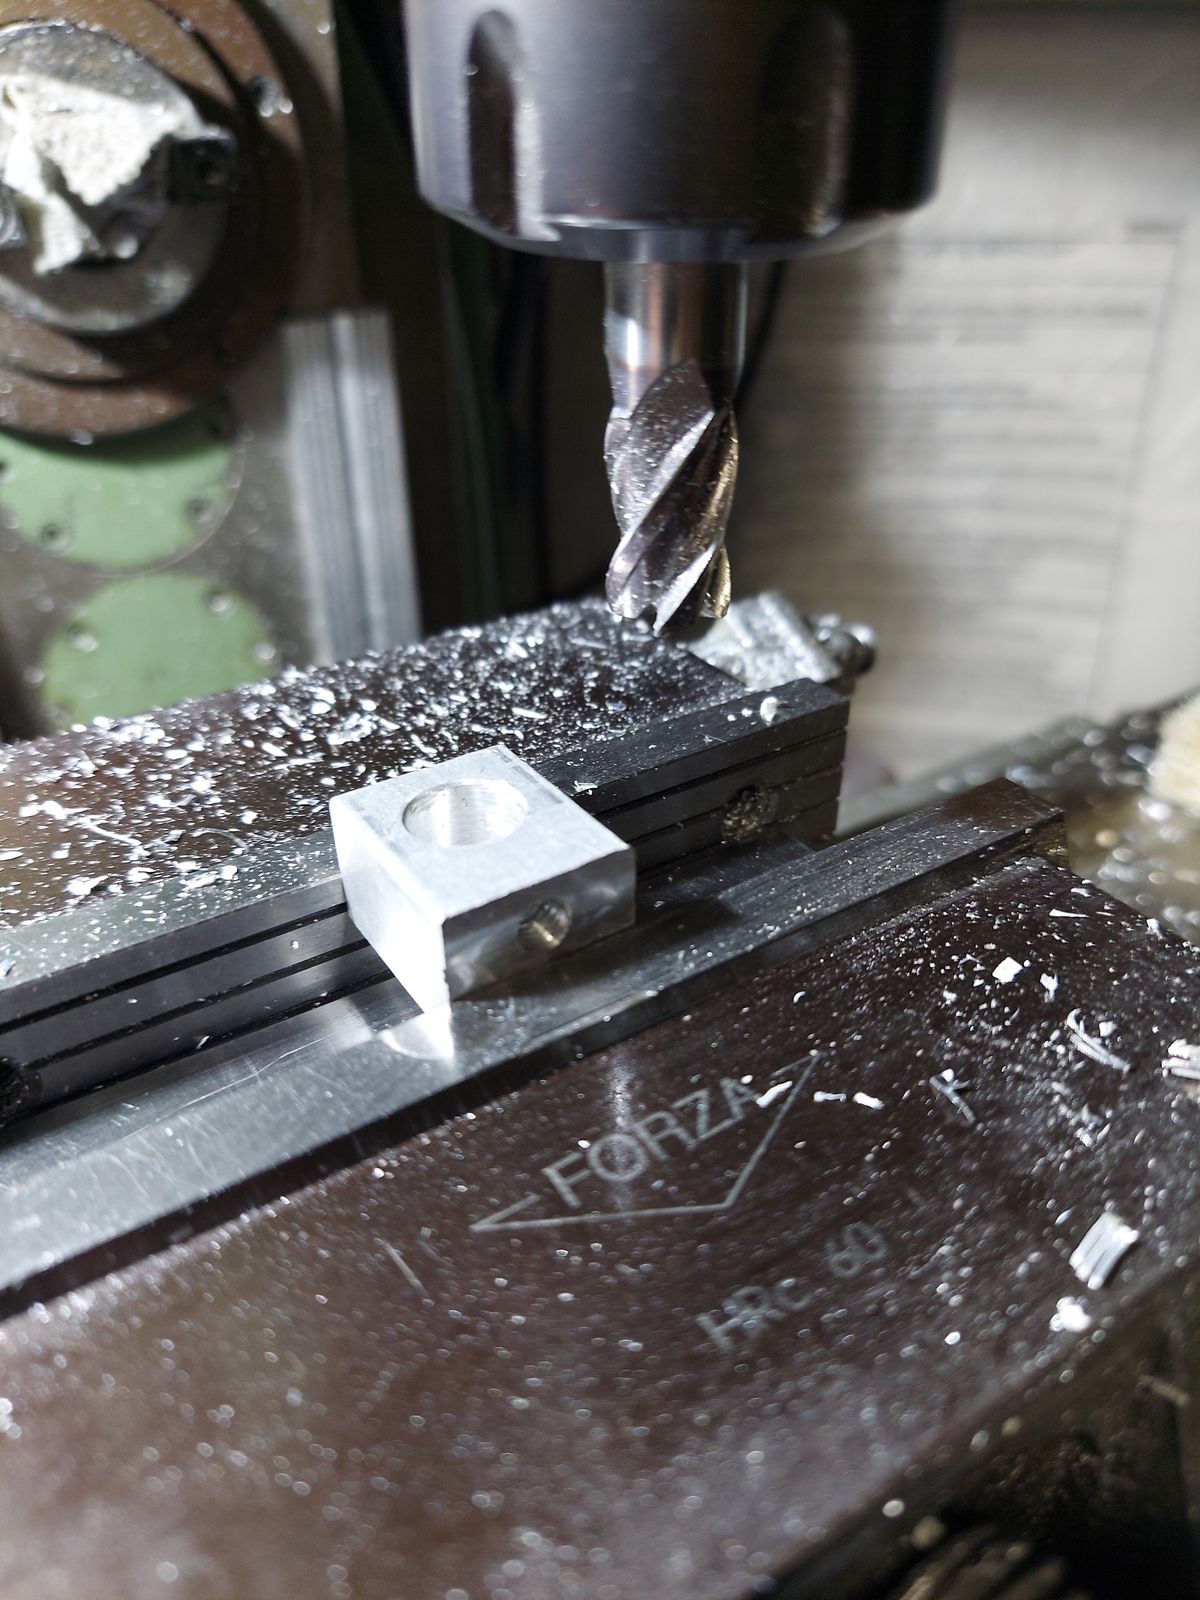
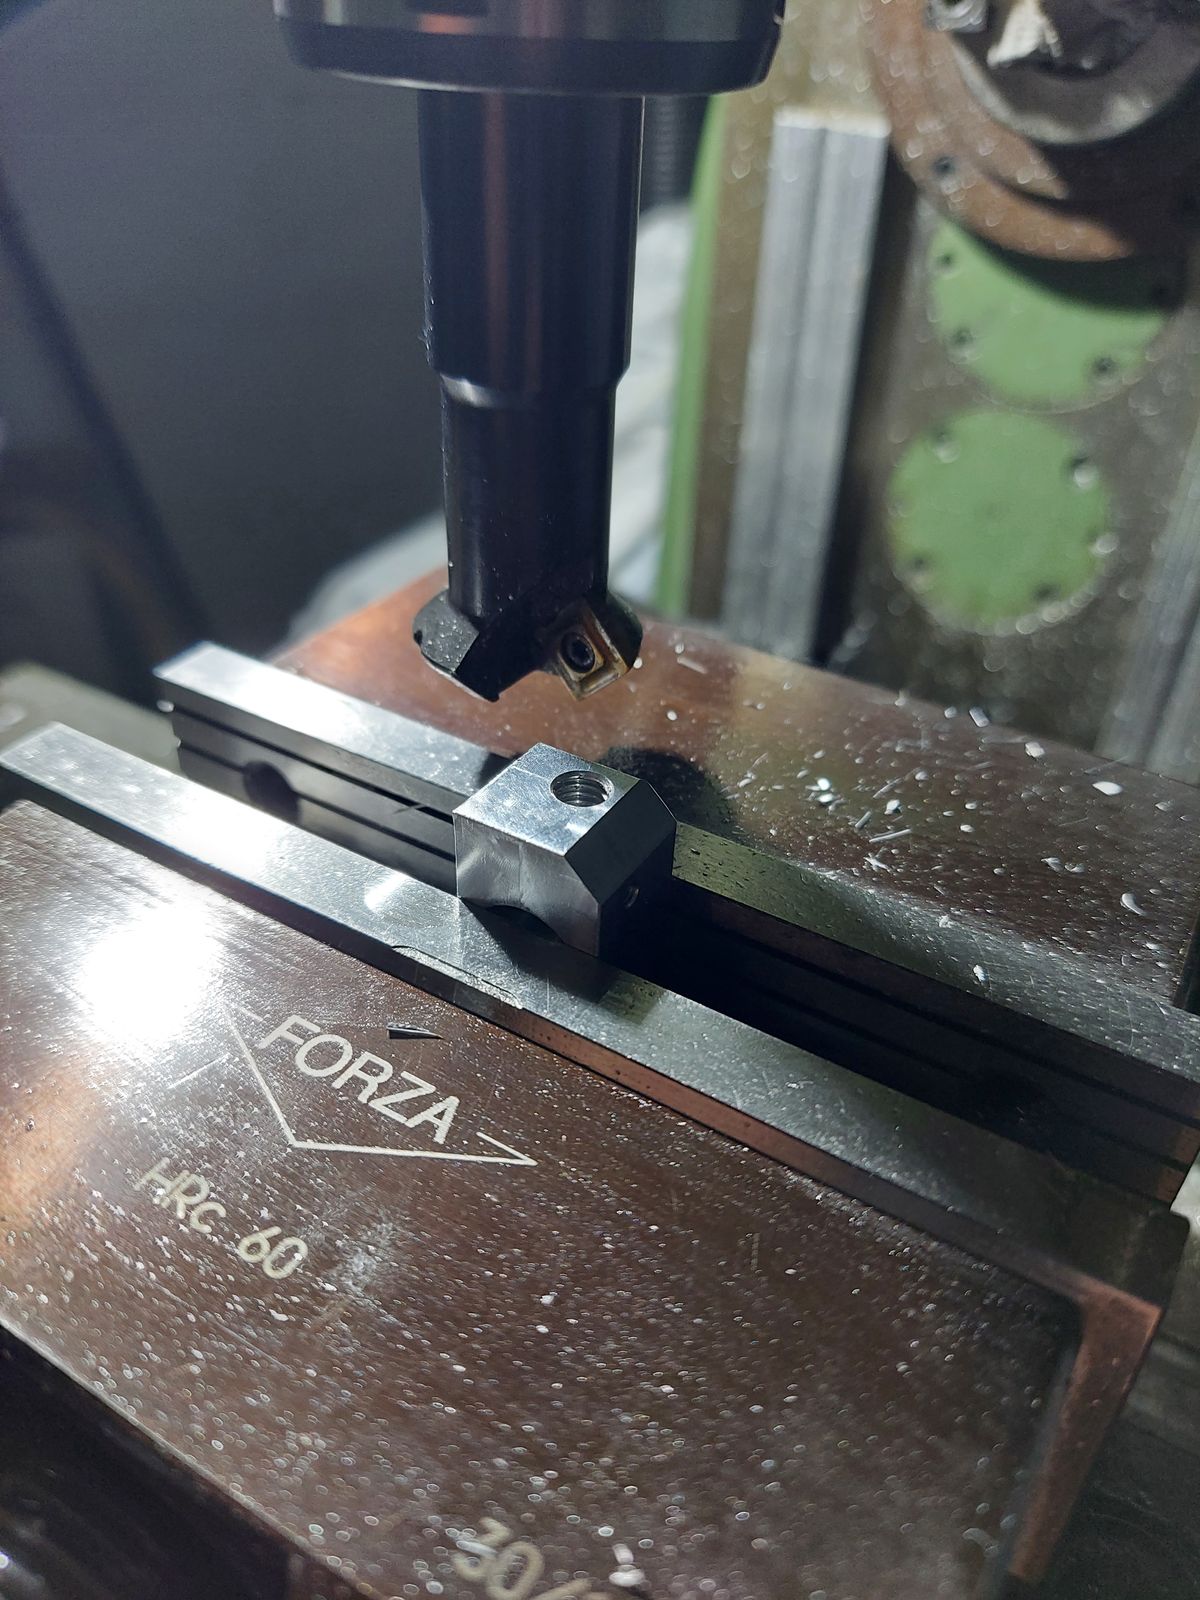
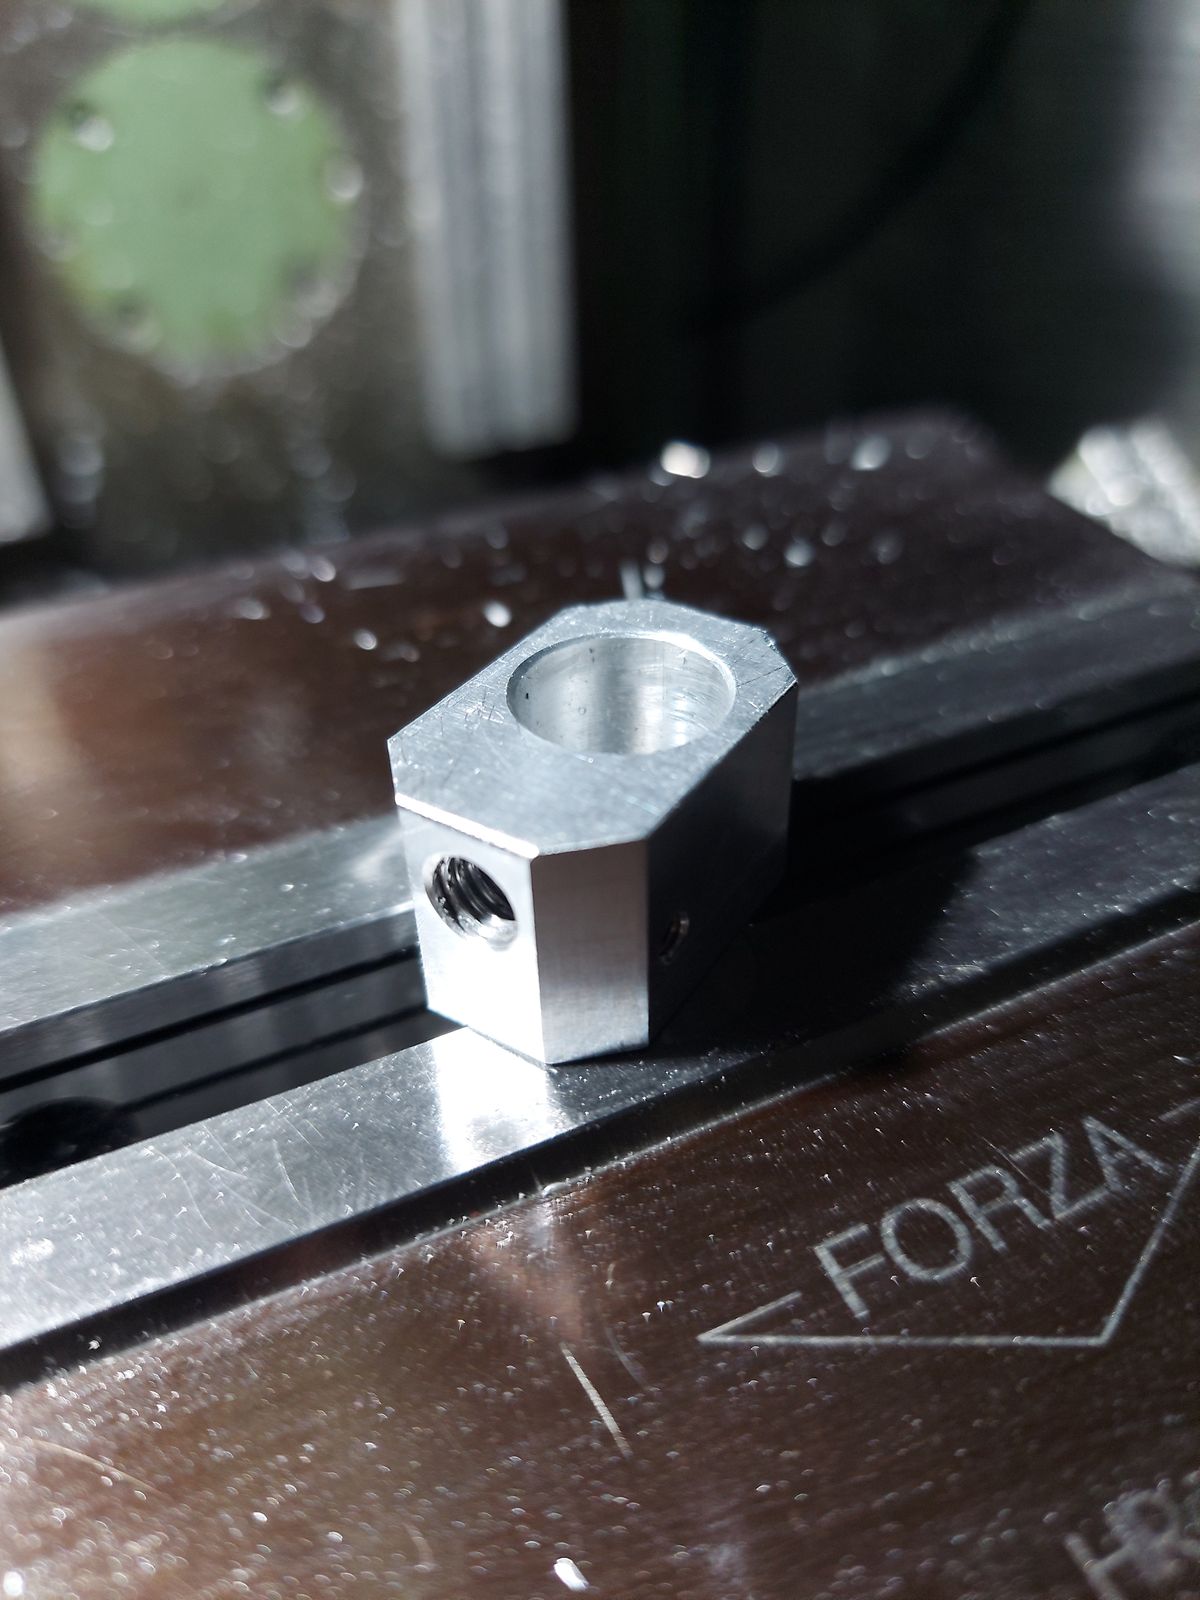
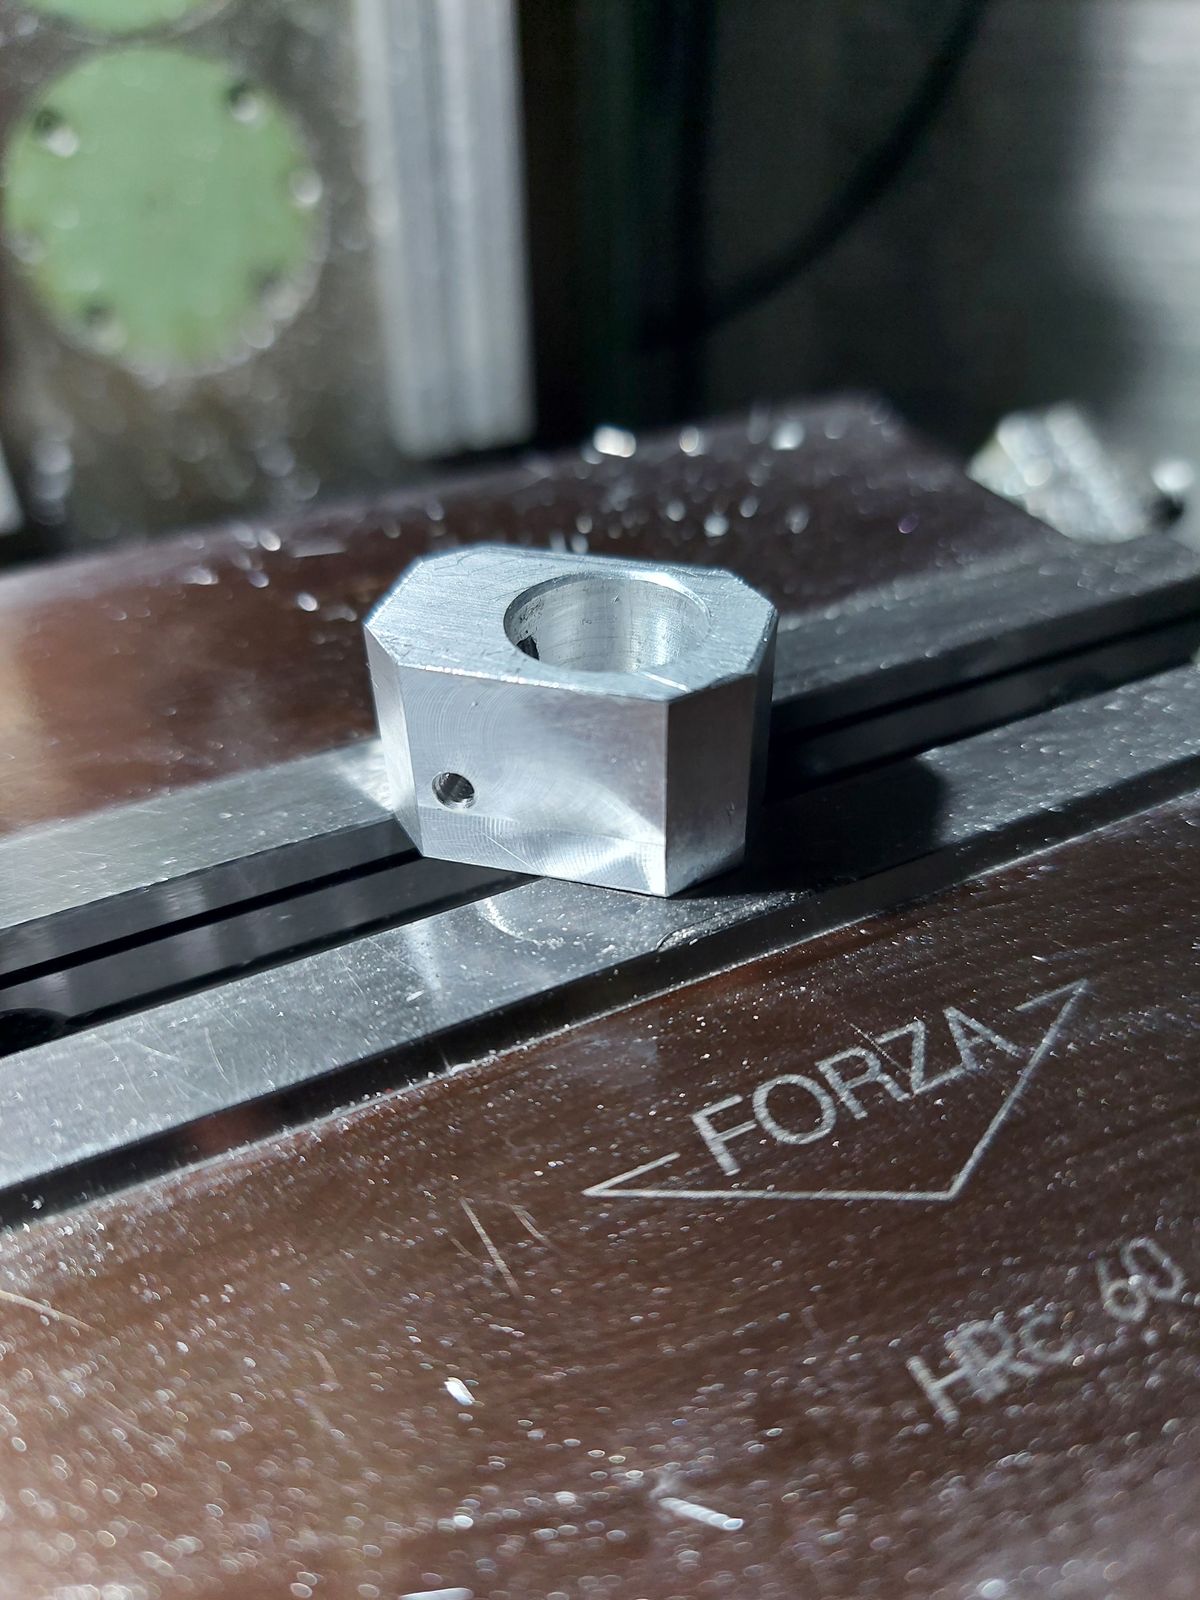
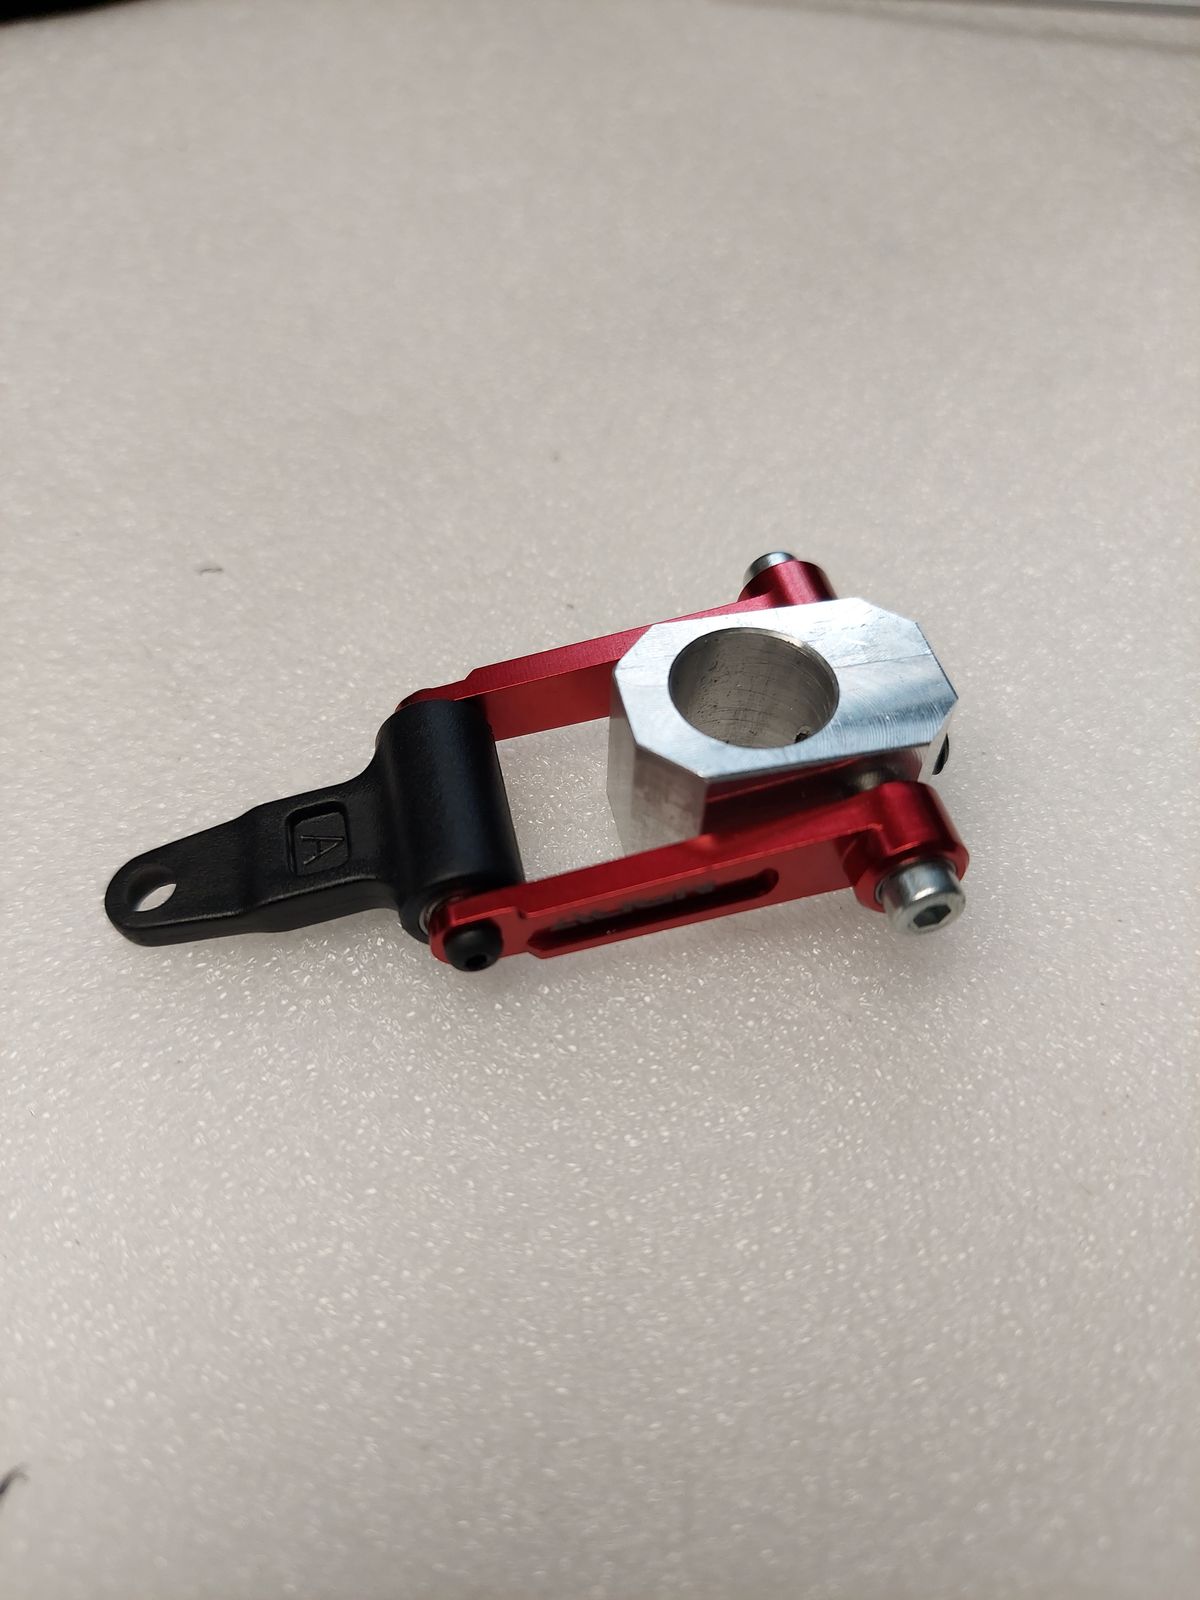
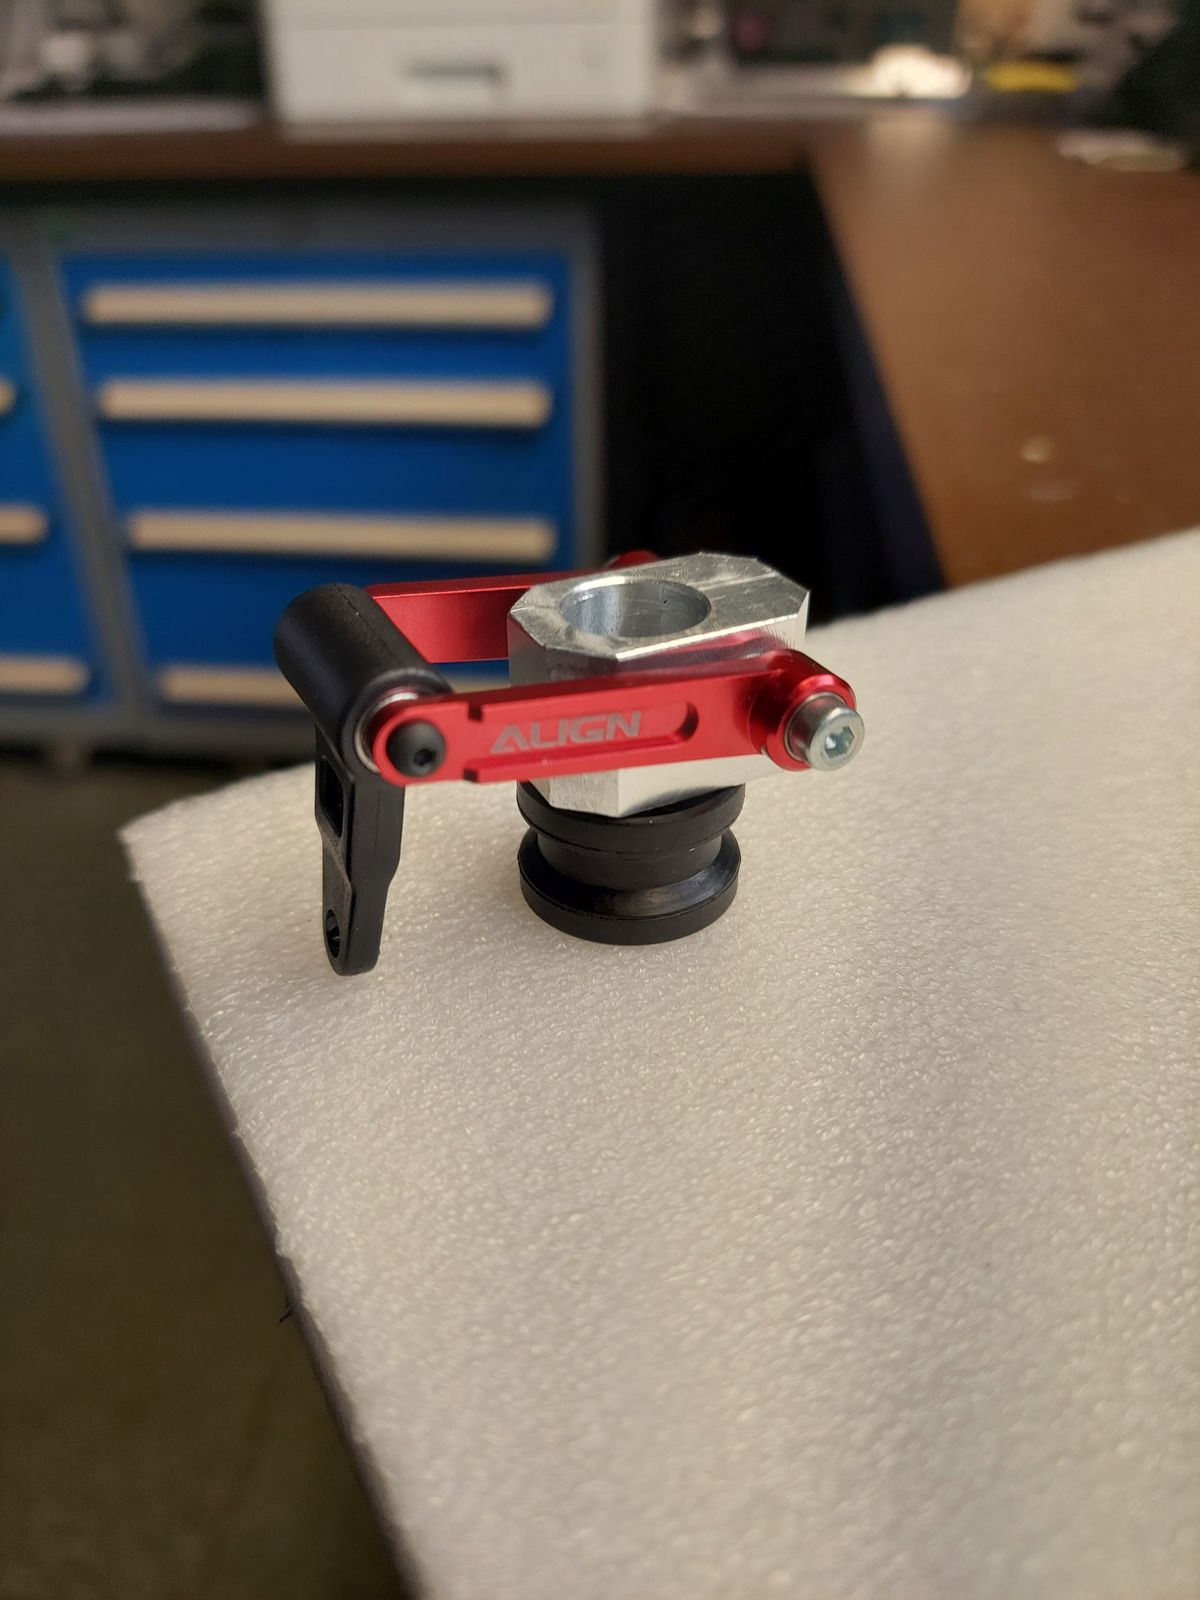
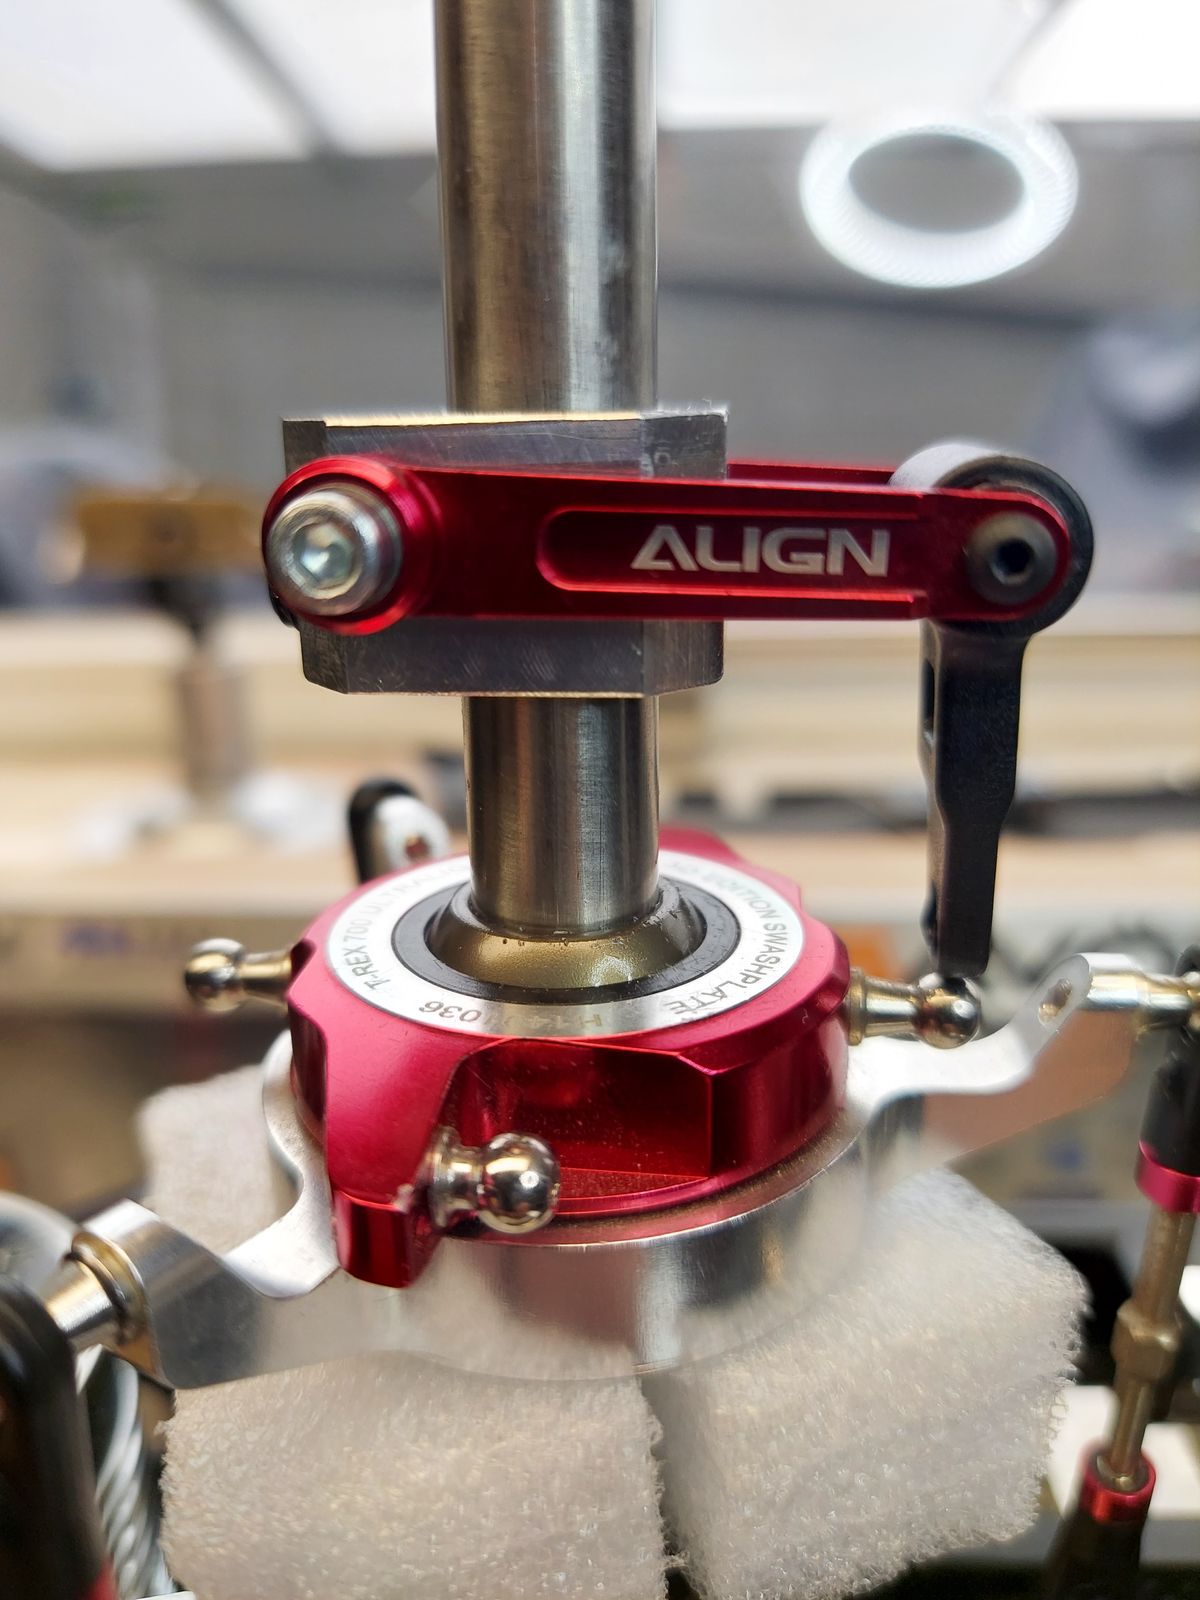
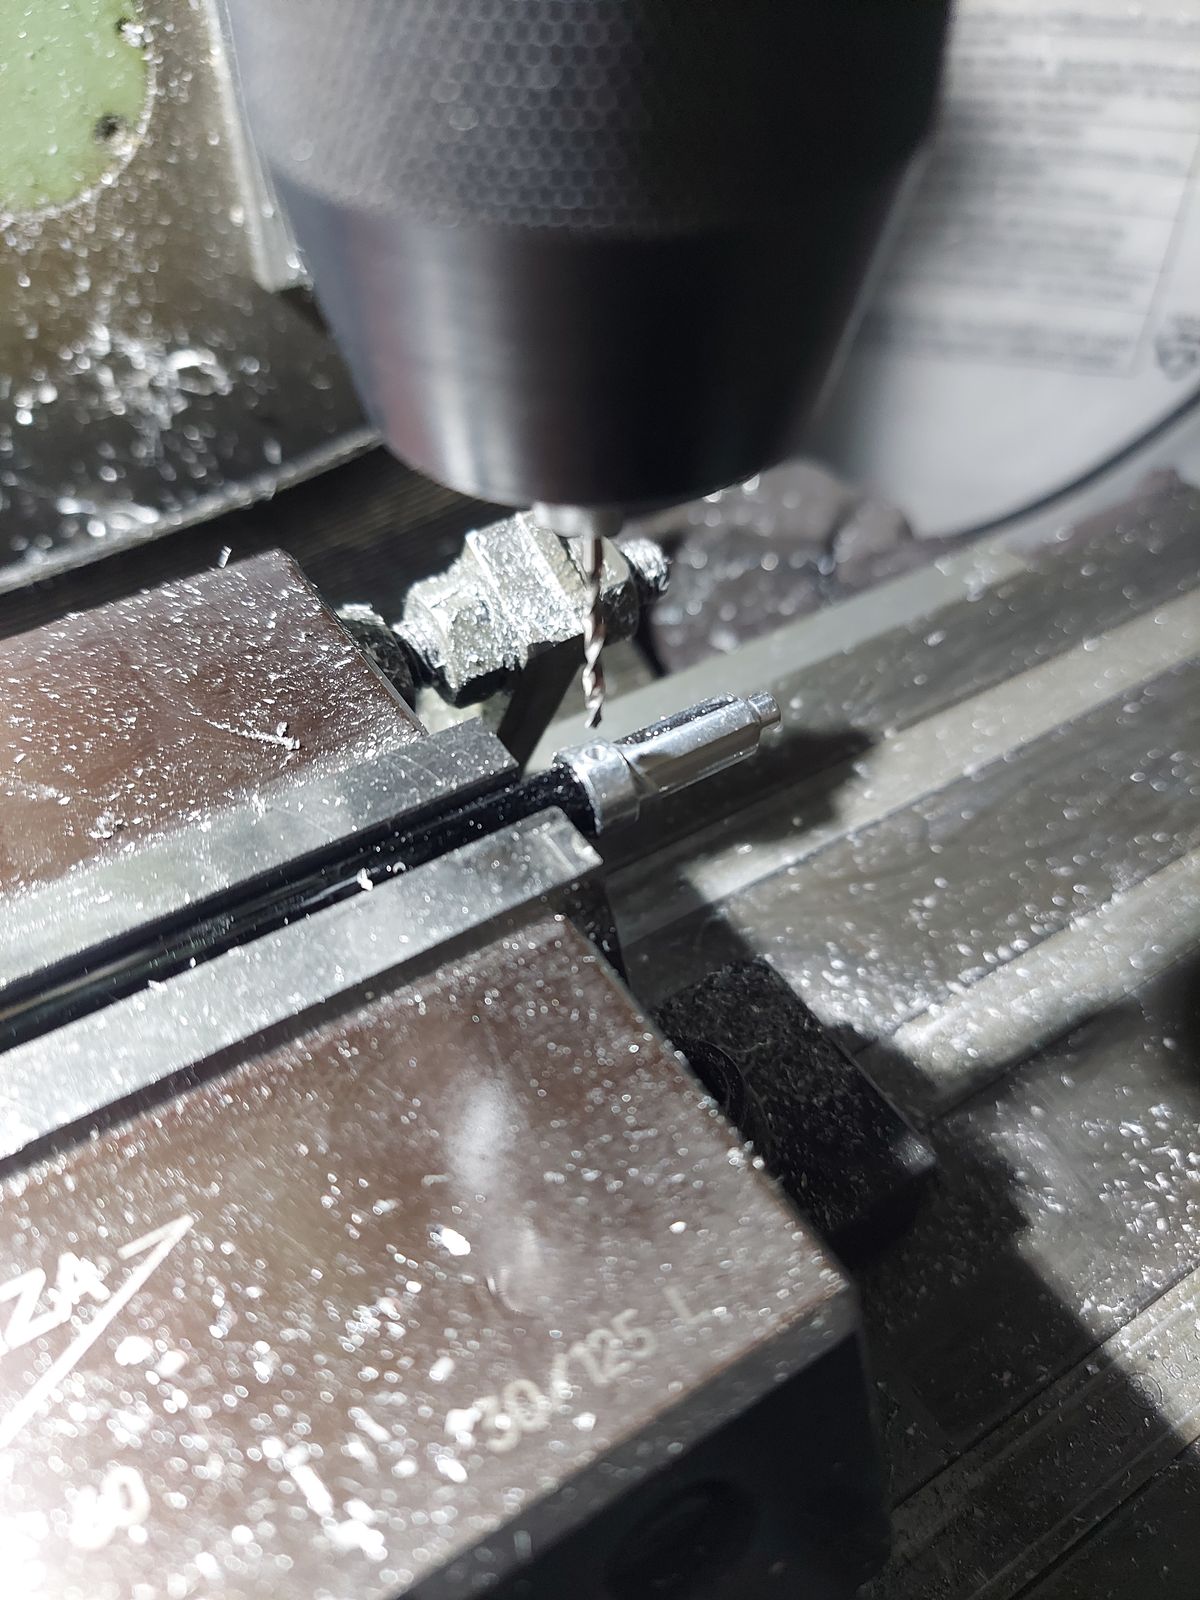
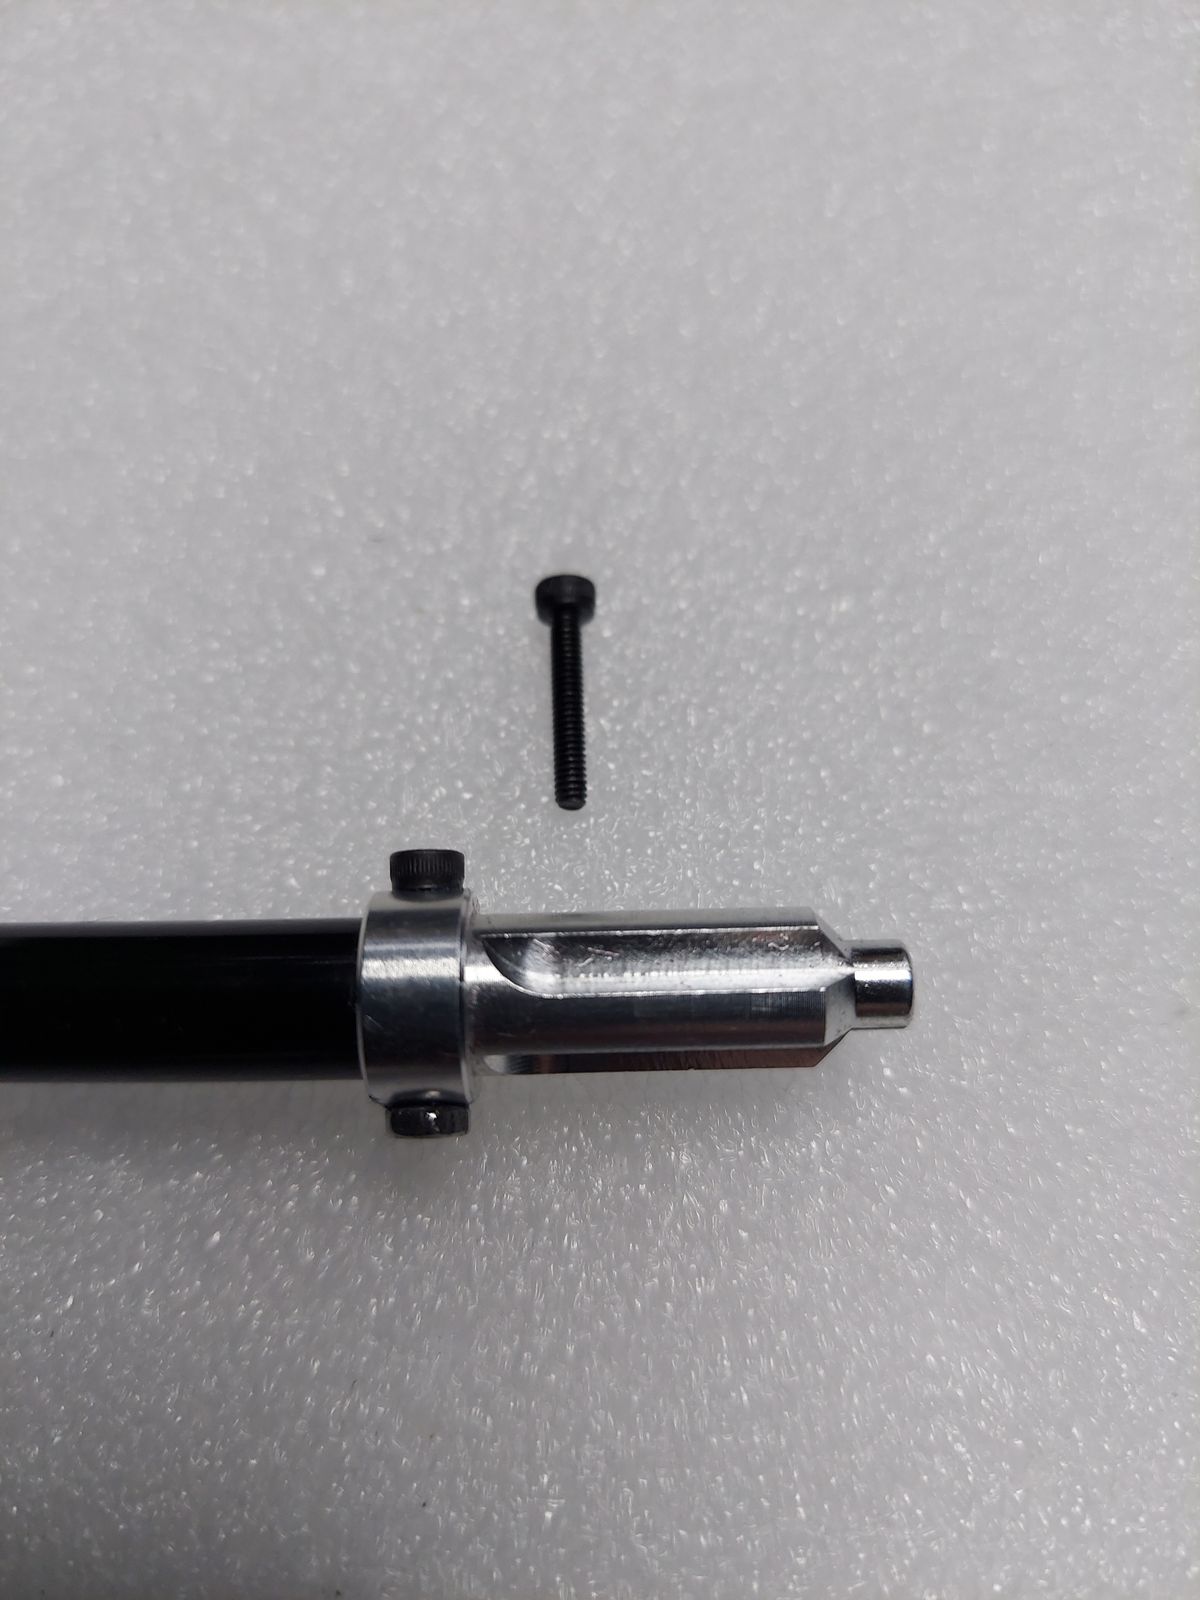
Machining central piece swashplate follower / securing torque tube
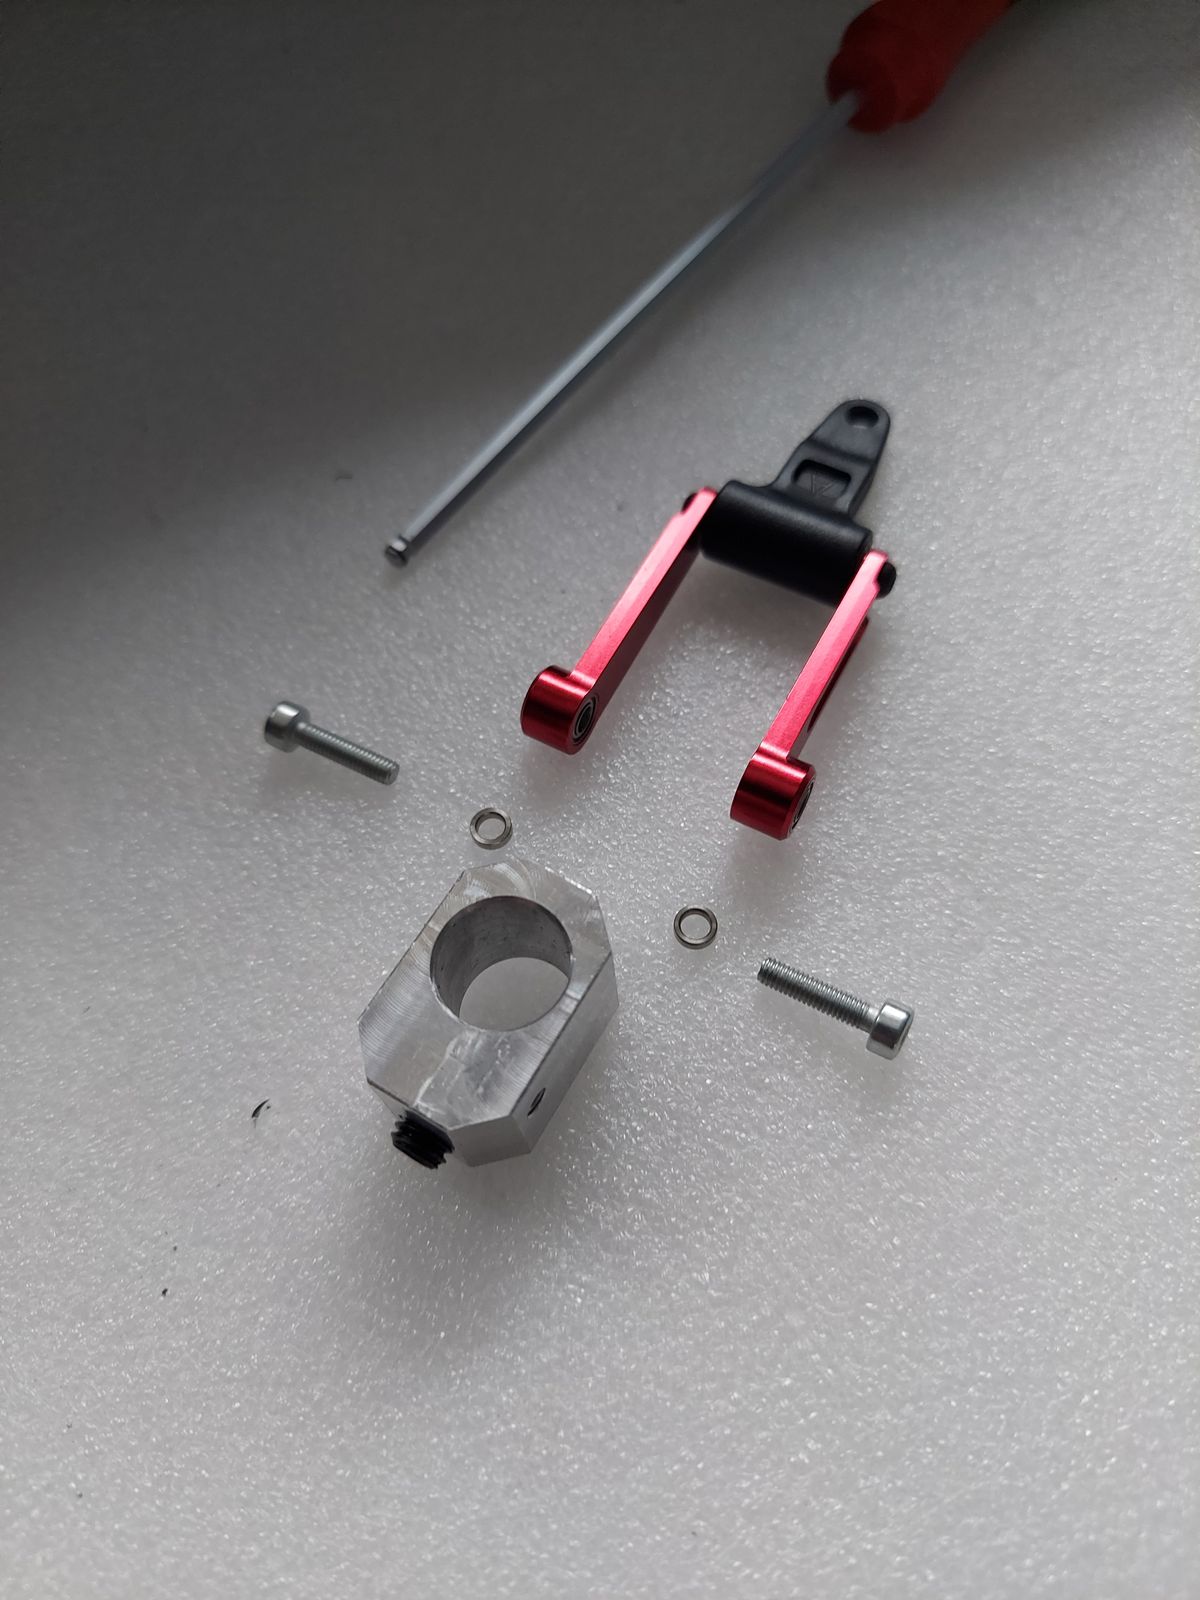
Machining central piece for swashplate follower.
Using Align H70H009XXT control arm. (Tri blade head)
Due to the reversed rotation direction, the alu cross pieces may detach from the tube.
Securing torque tube end pieces with extra M2 bolt/nut.
Completing mechanics / electrics / fuselage stabilisers
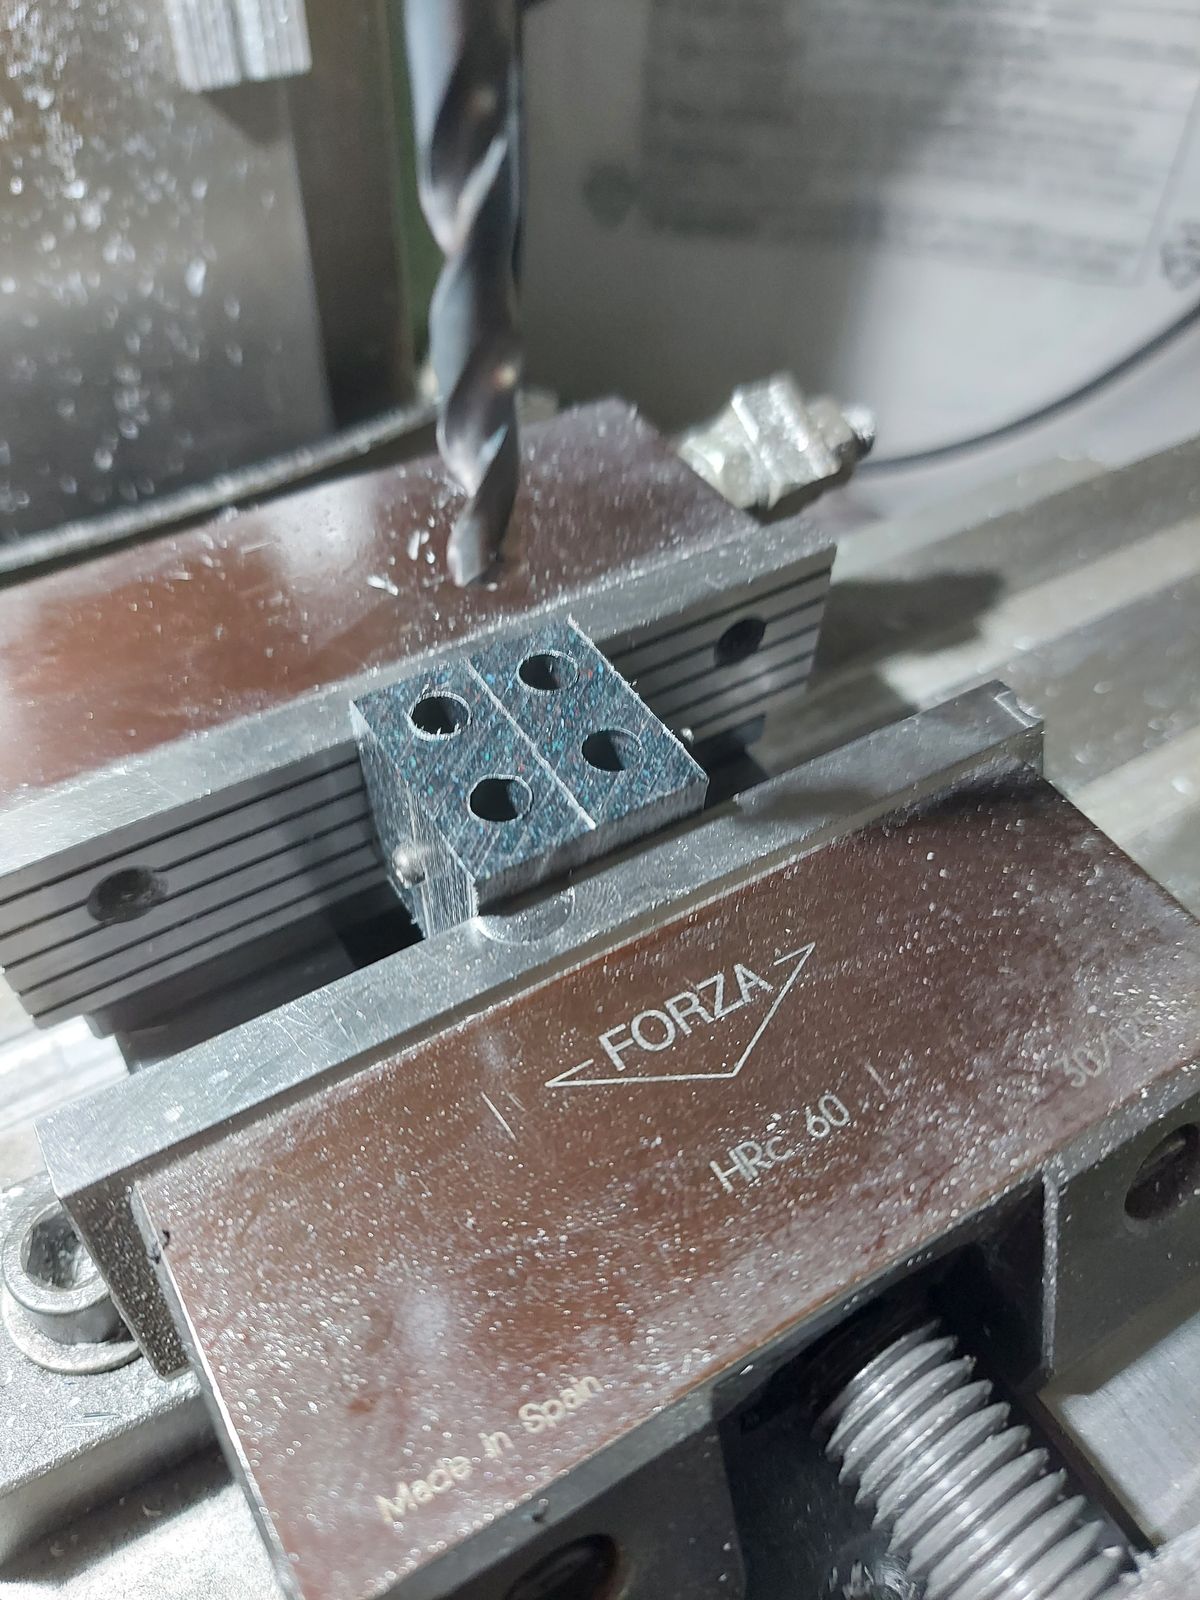
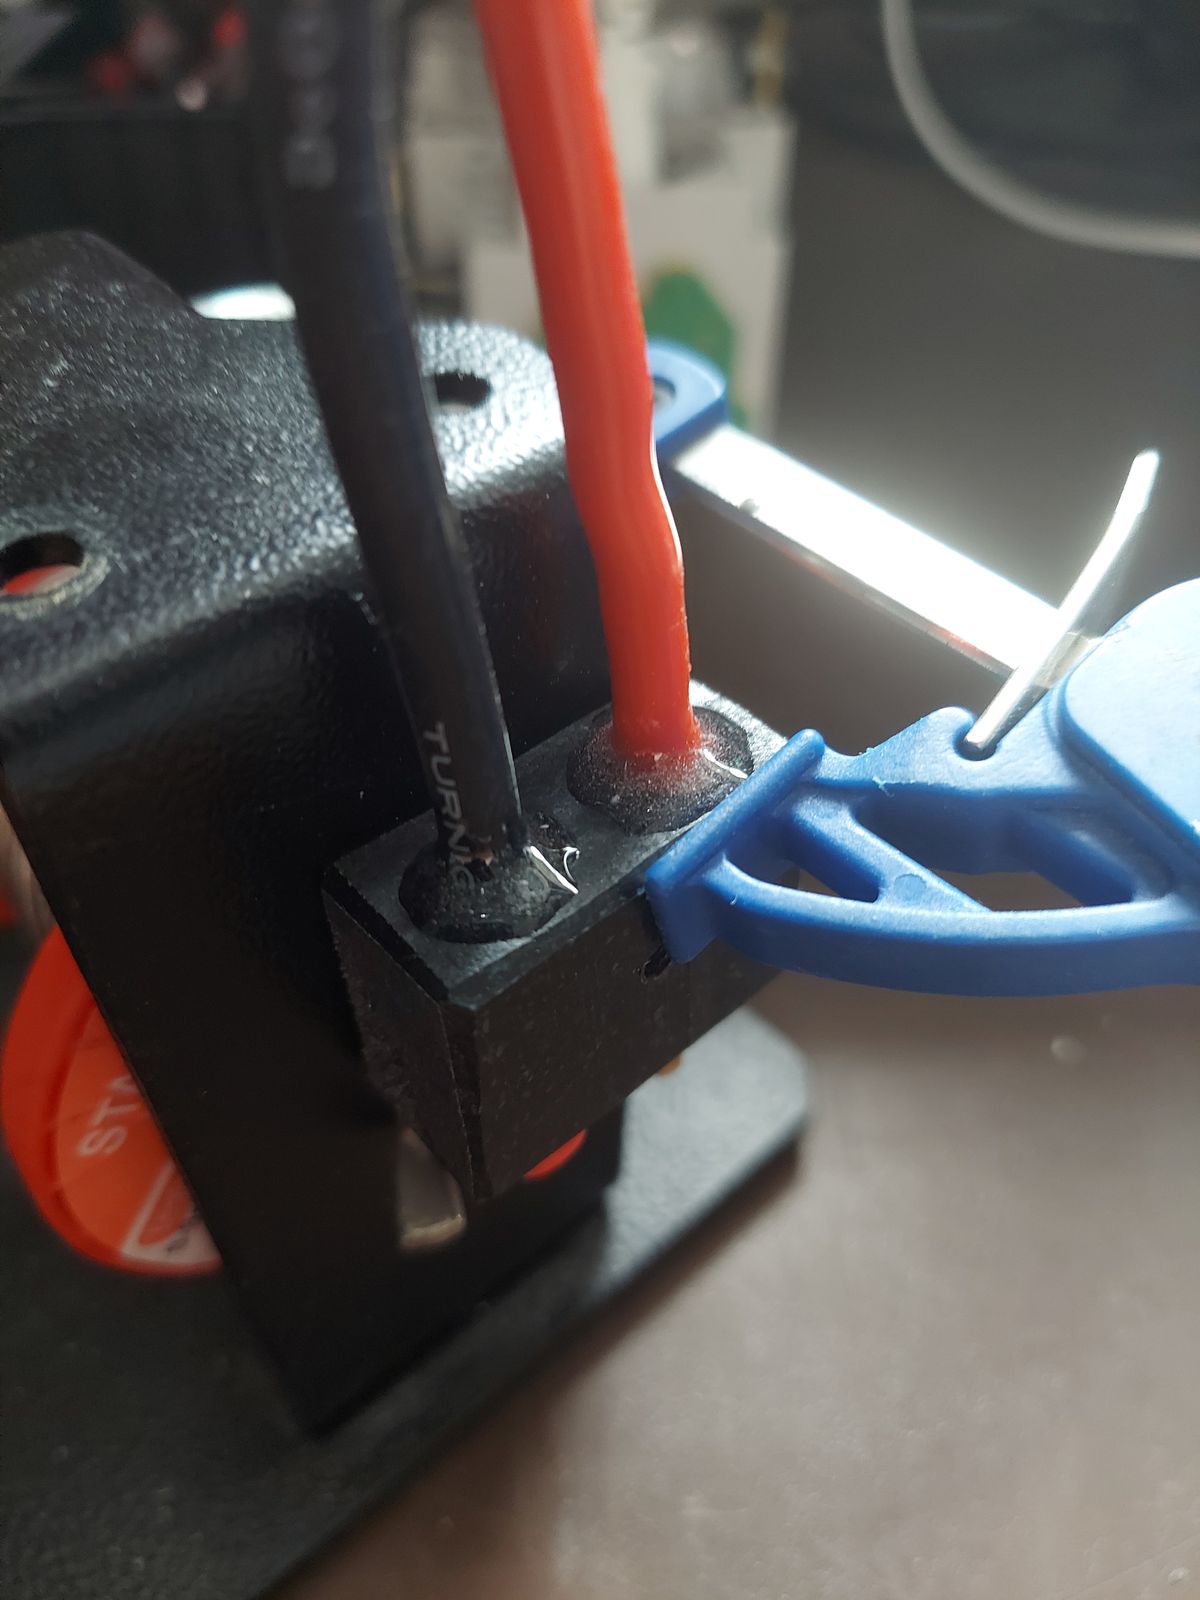
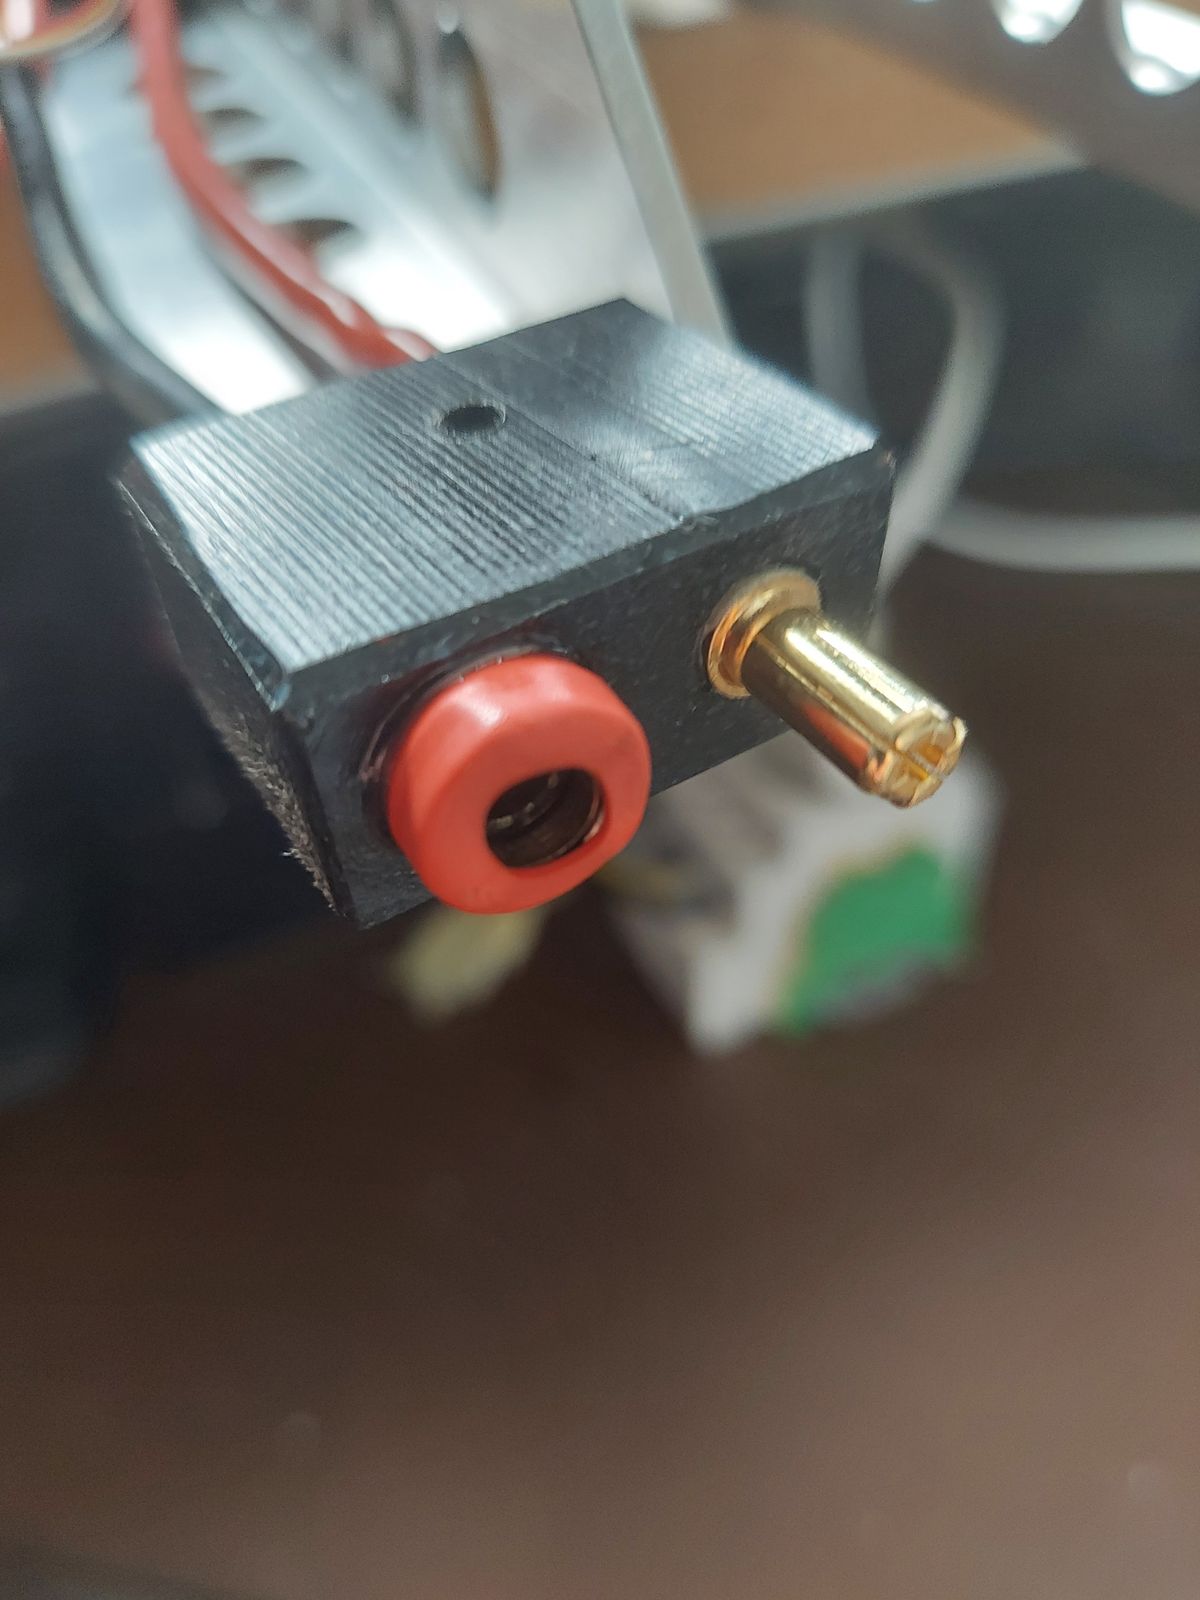
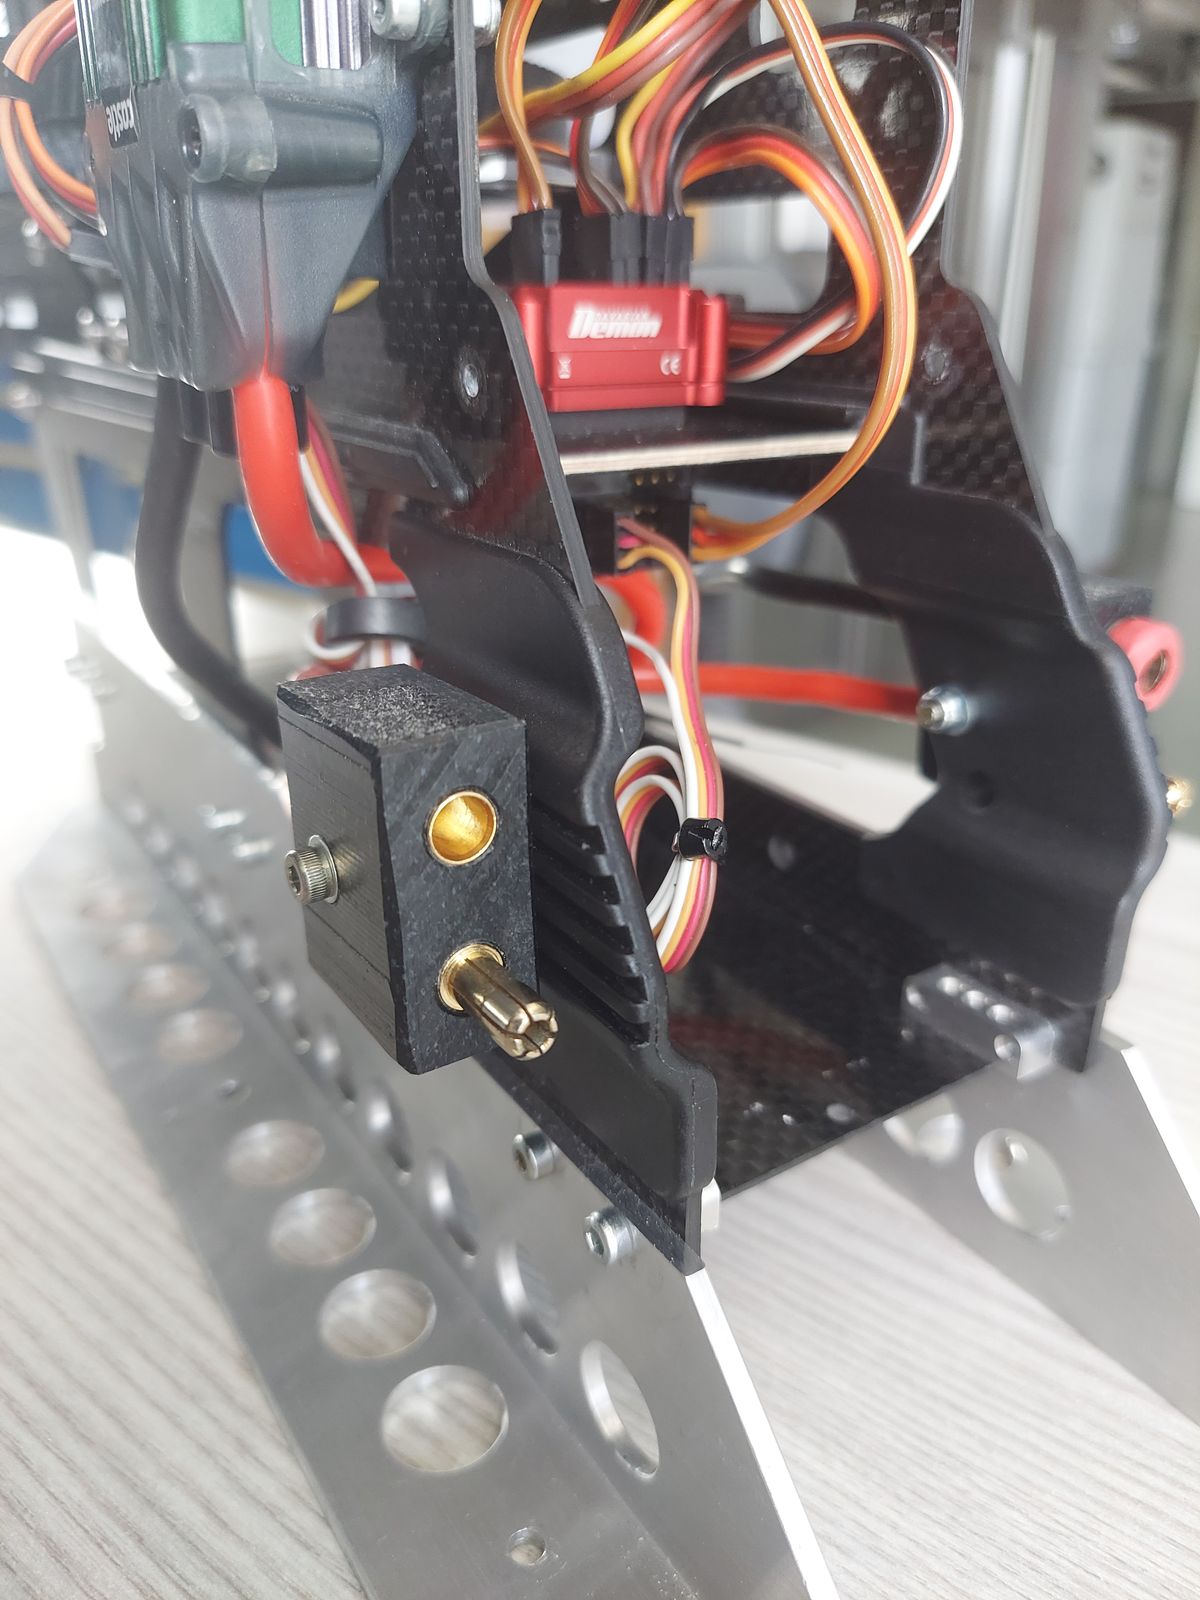
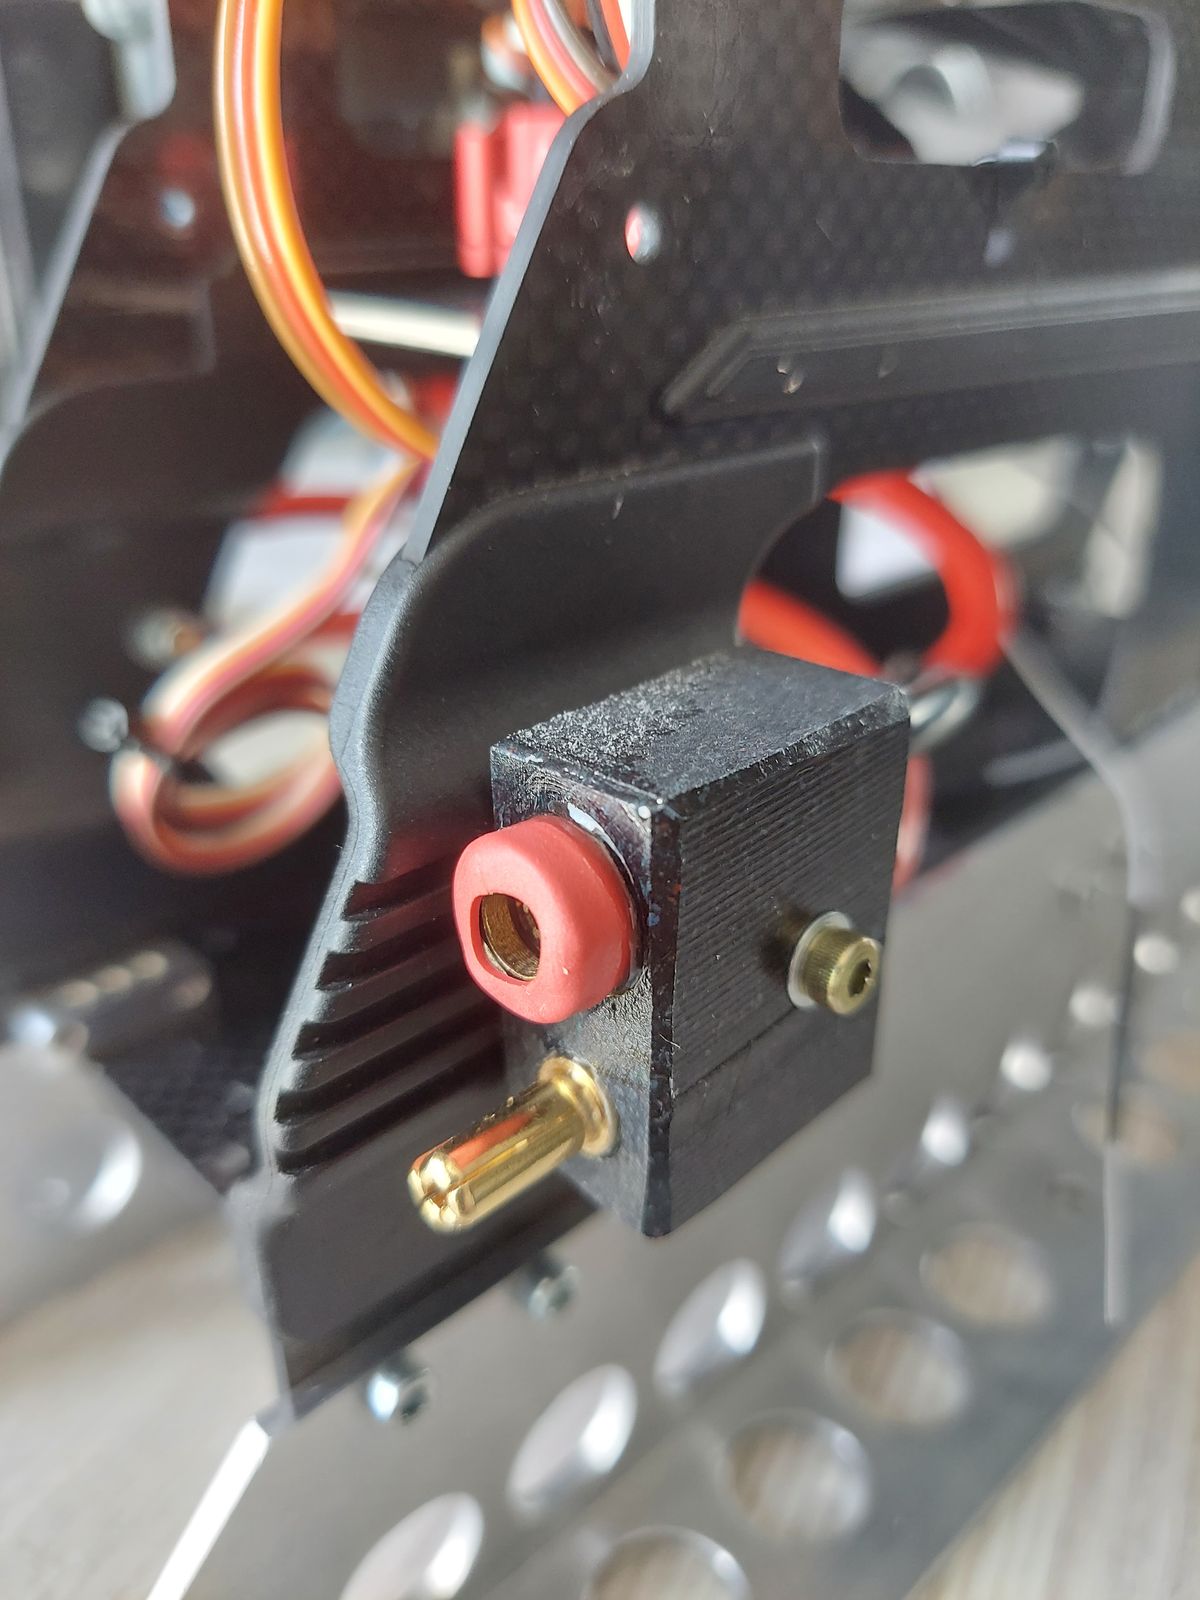
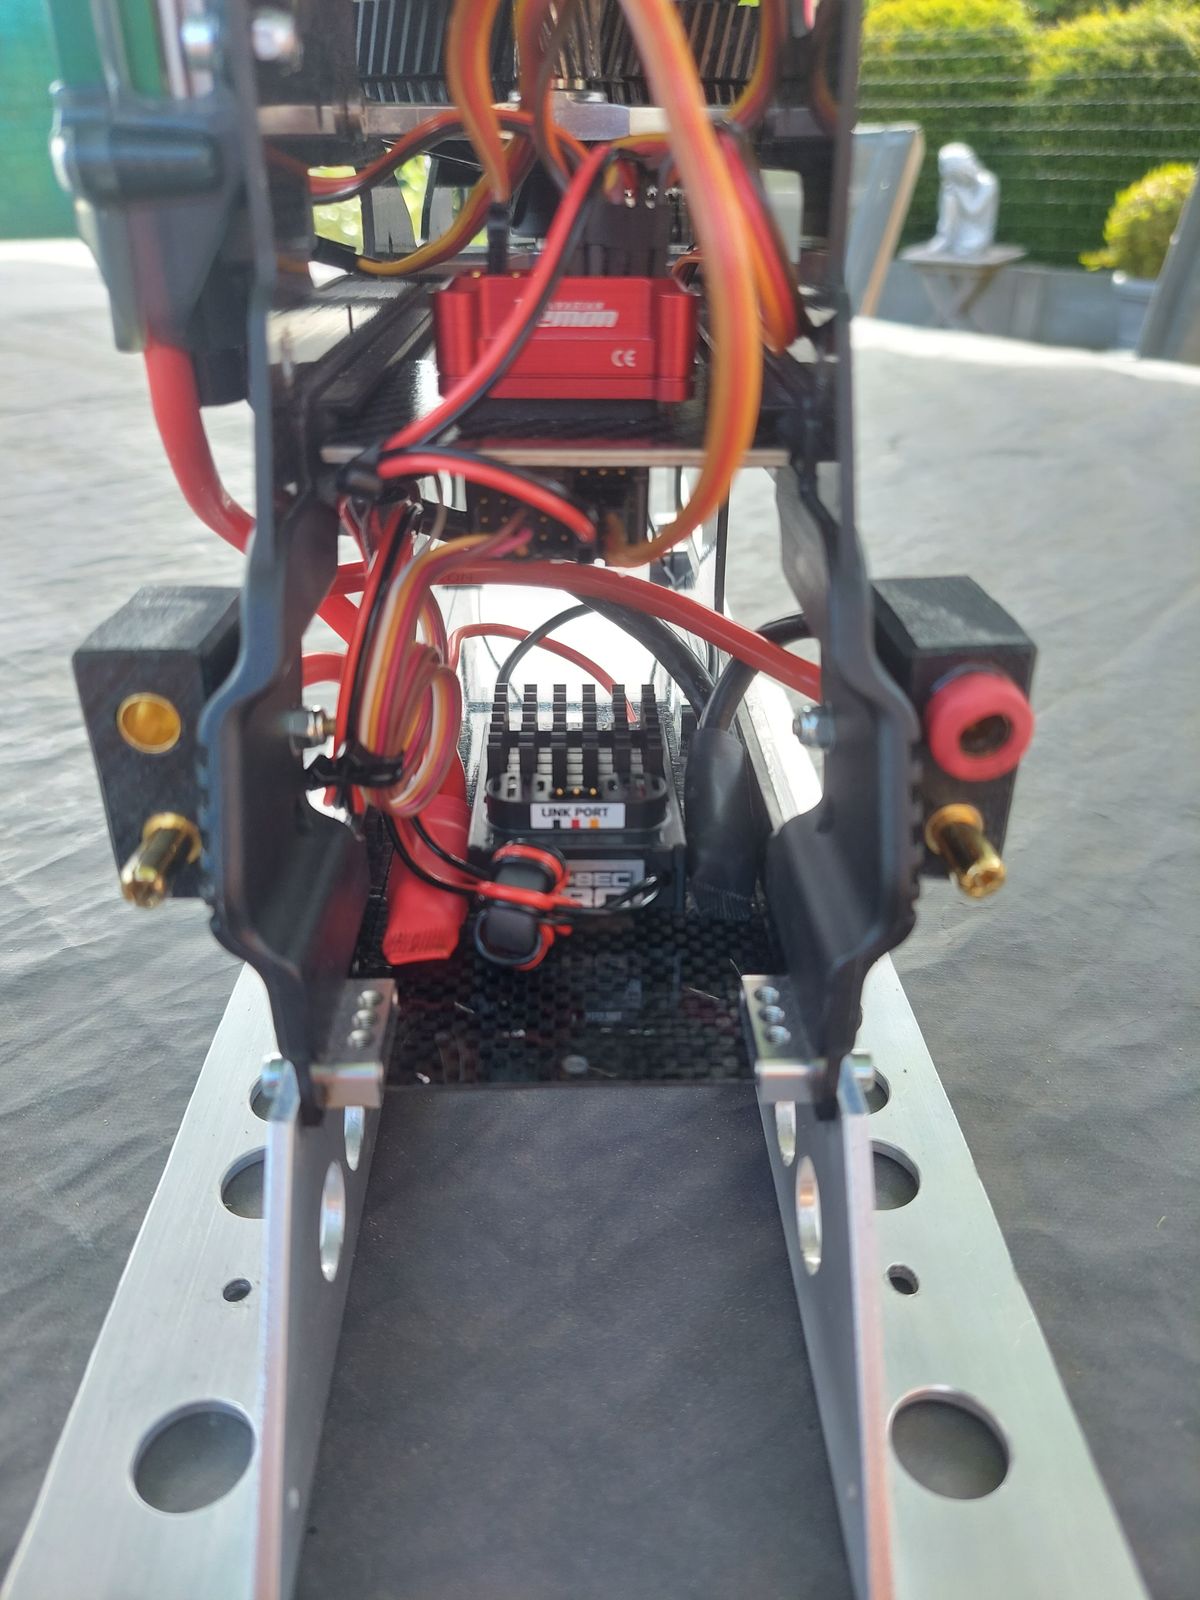
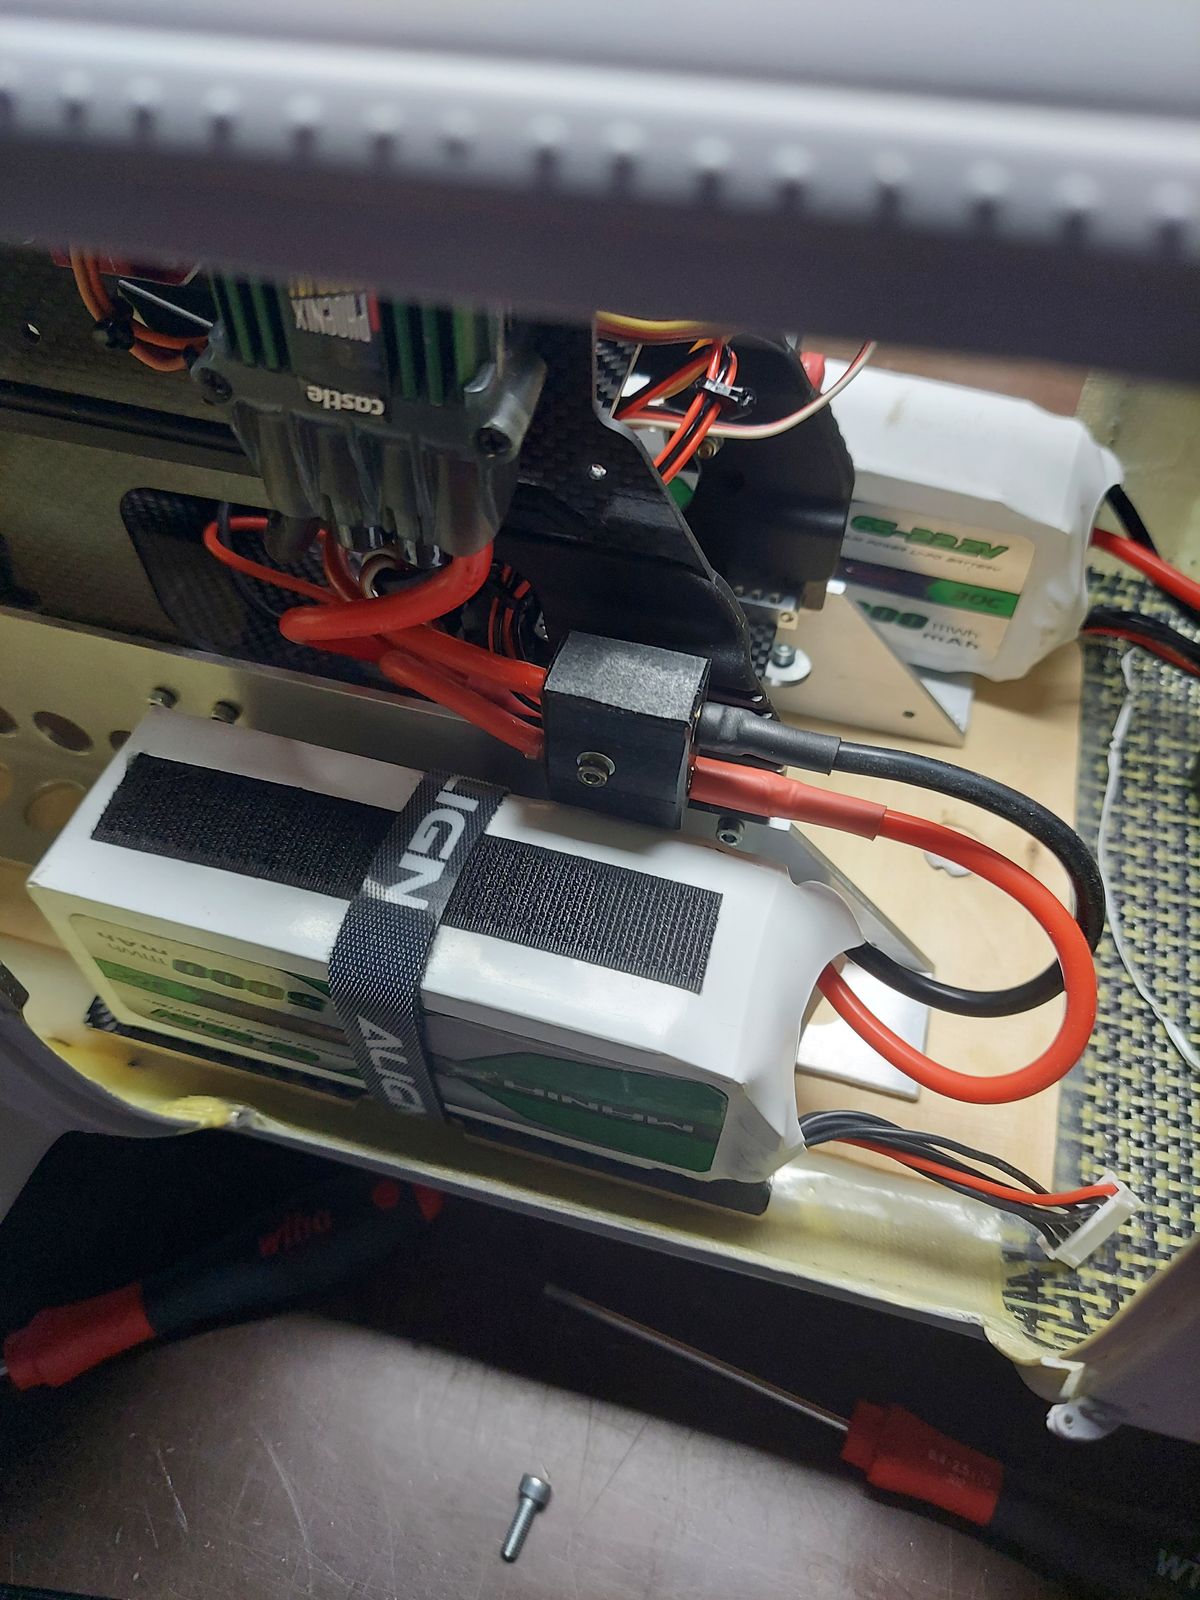
Machining Lipo battery connectors (2 x 6 S)
The Lipo's will be installed left and right of the mechanics.
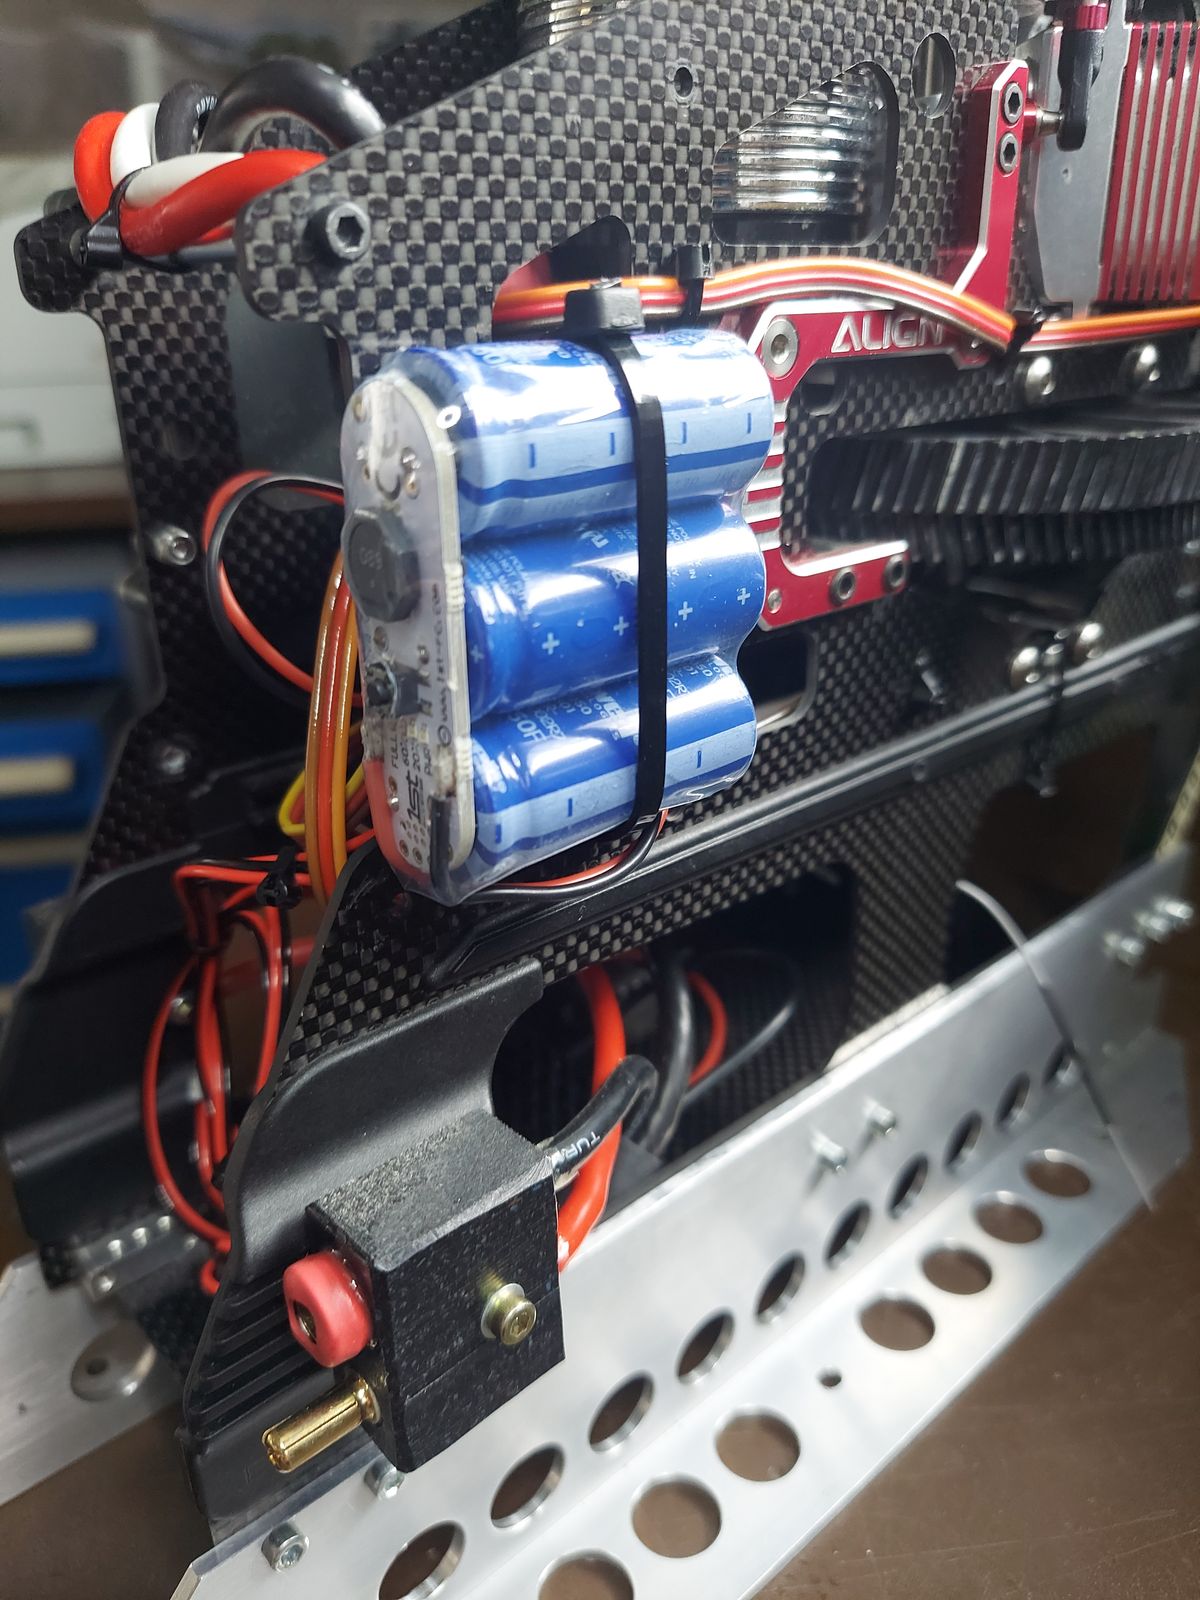
Installing BEC and capacitor backup unit.
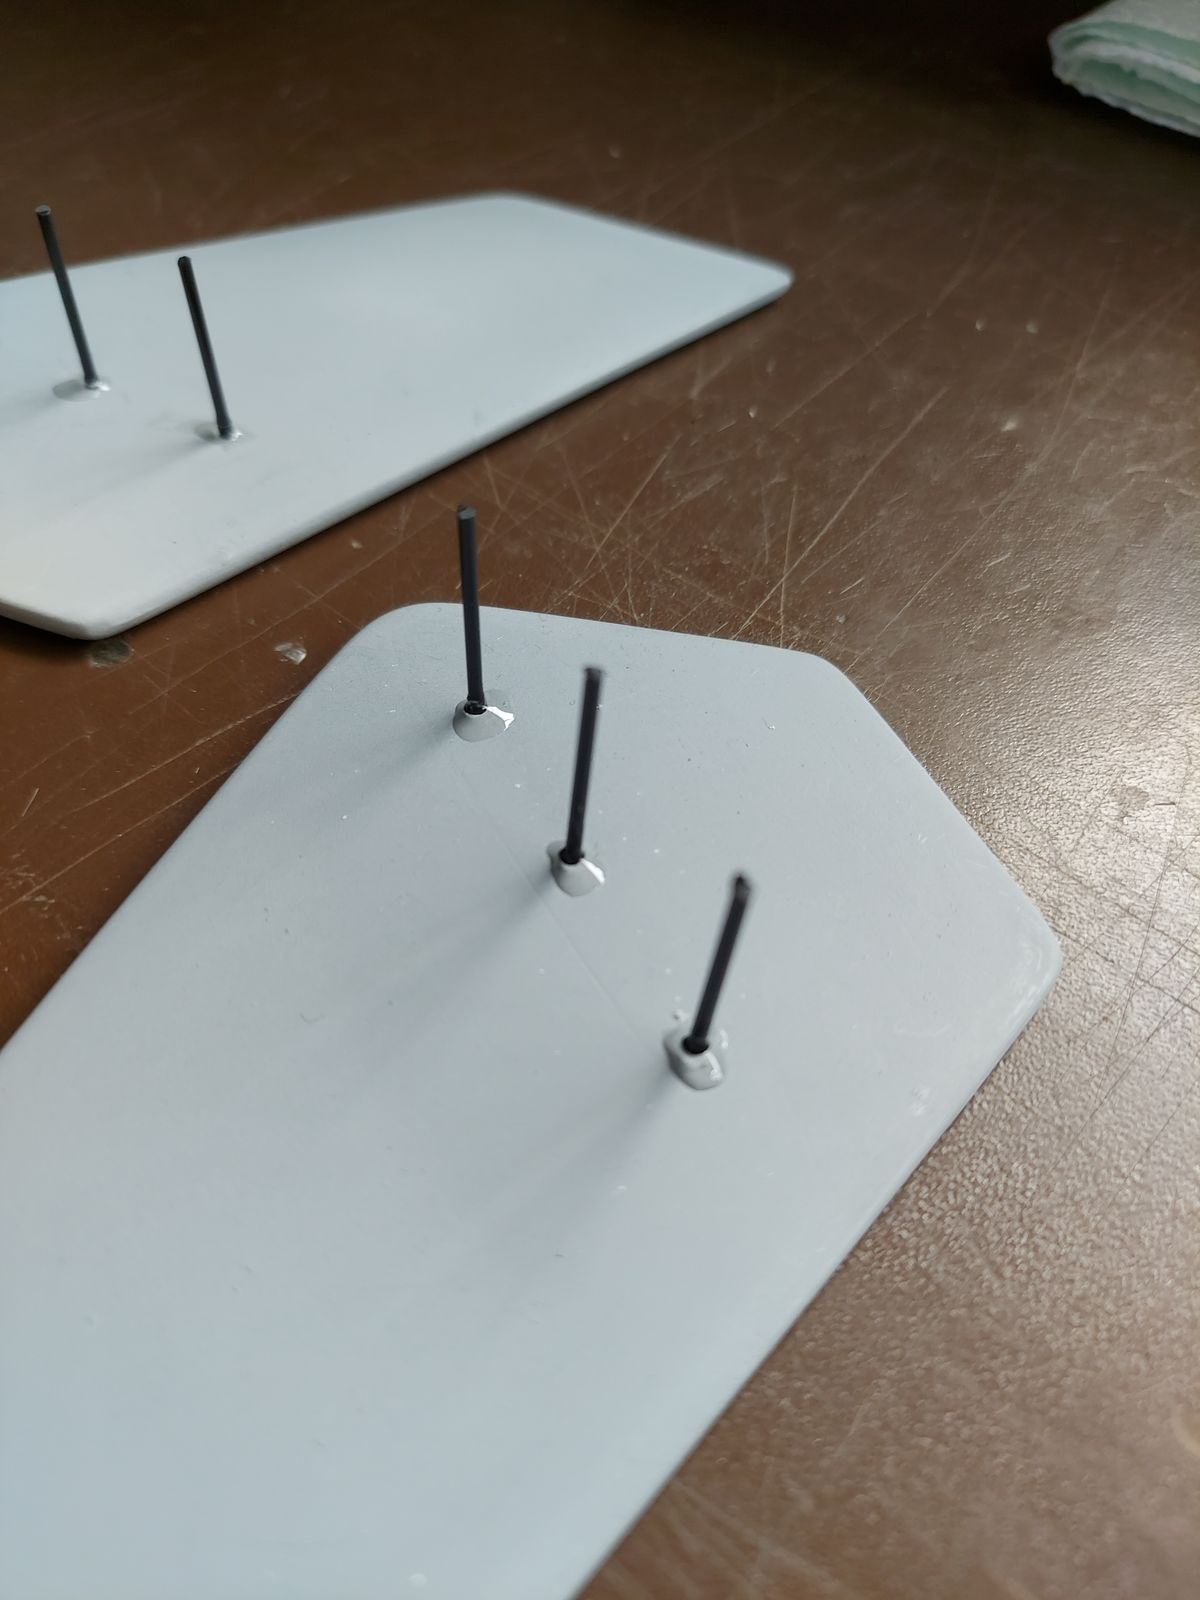
Installing vertical stabilisers adding Aerosyl to the epoxy resin (thixotrophy powder, making the epoxy resin light, while creating more volume)
Maiden flight
Maiden flight @ 1400 rpm, smooth and easy like a scale machine should fly.
Rock steady on the tail and head.
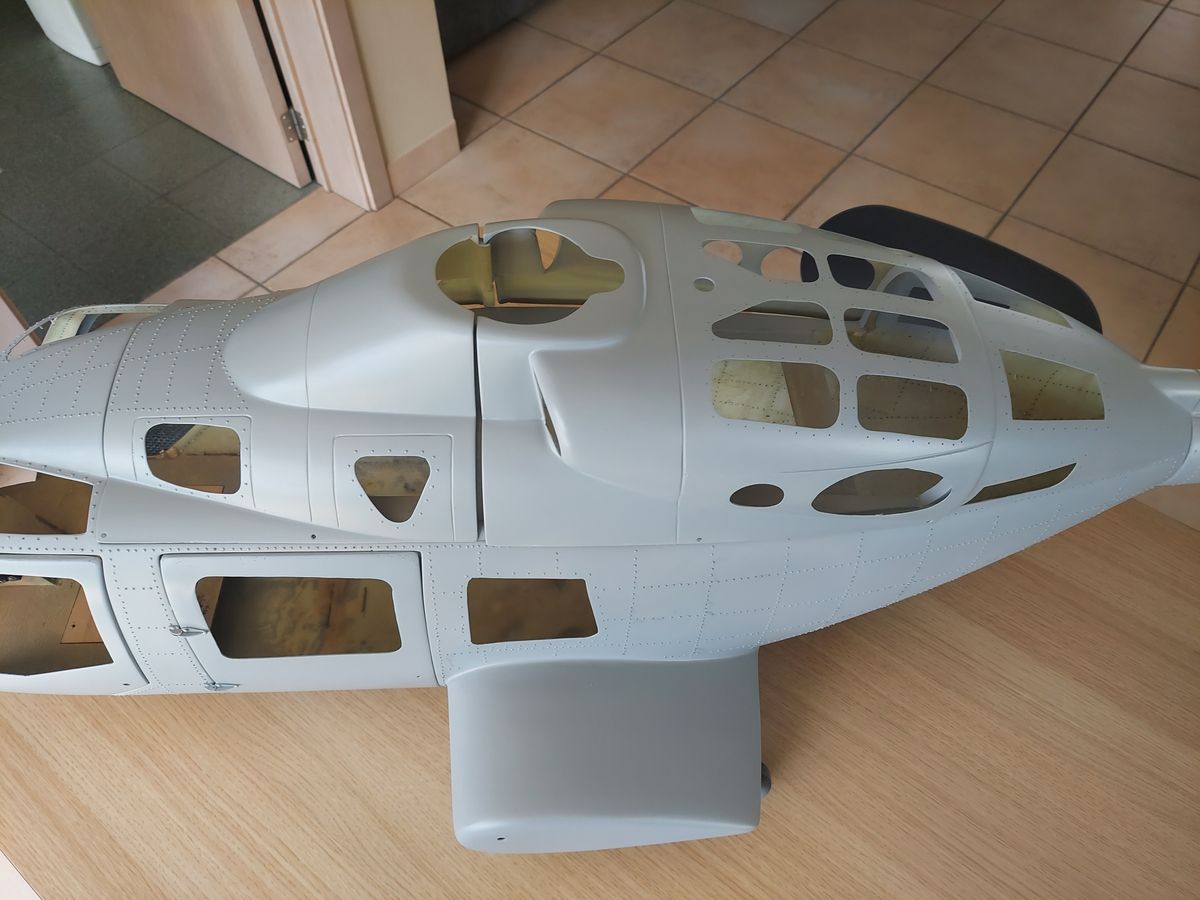
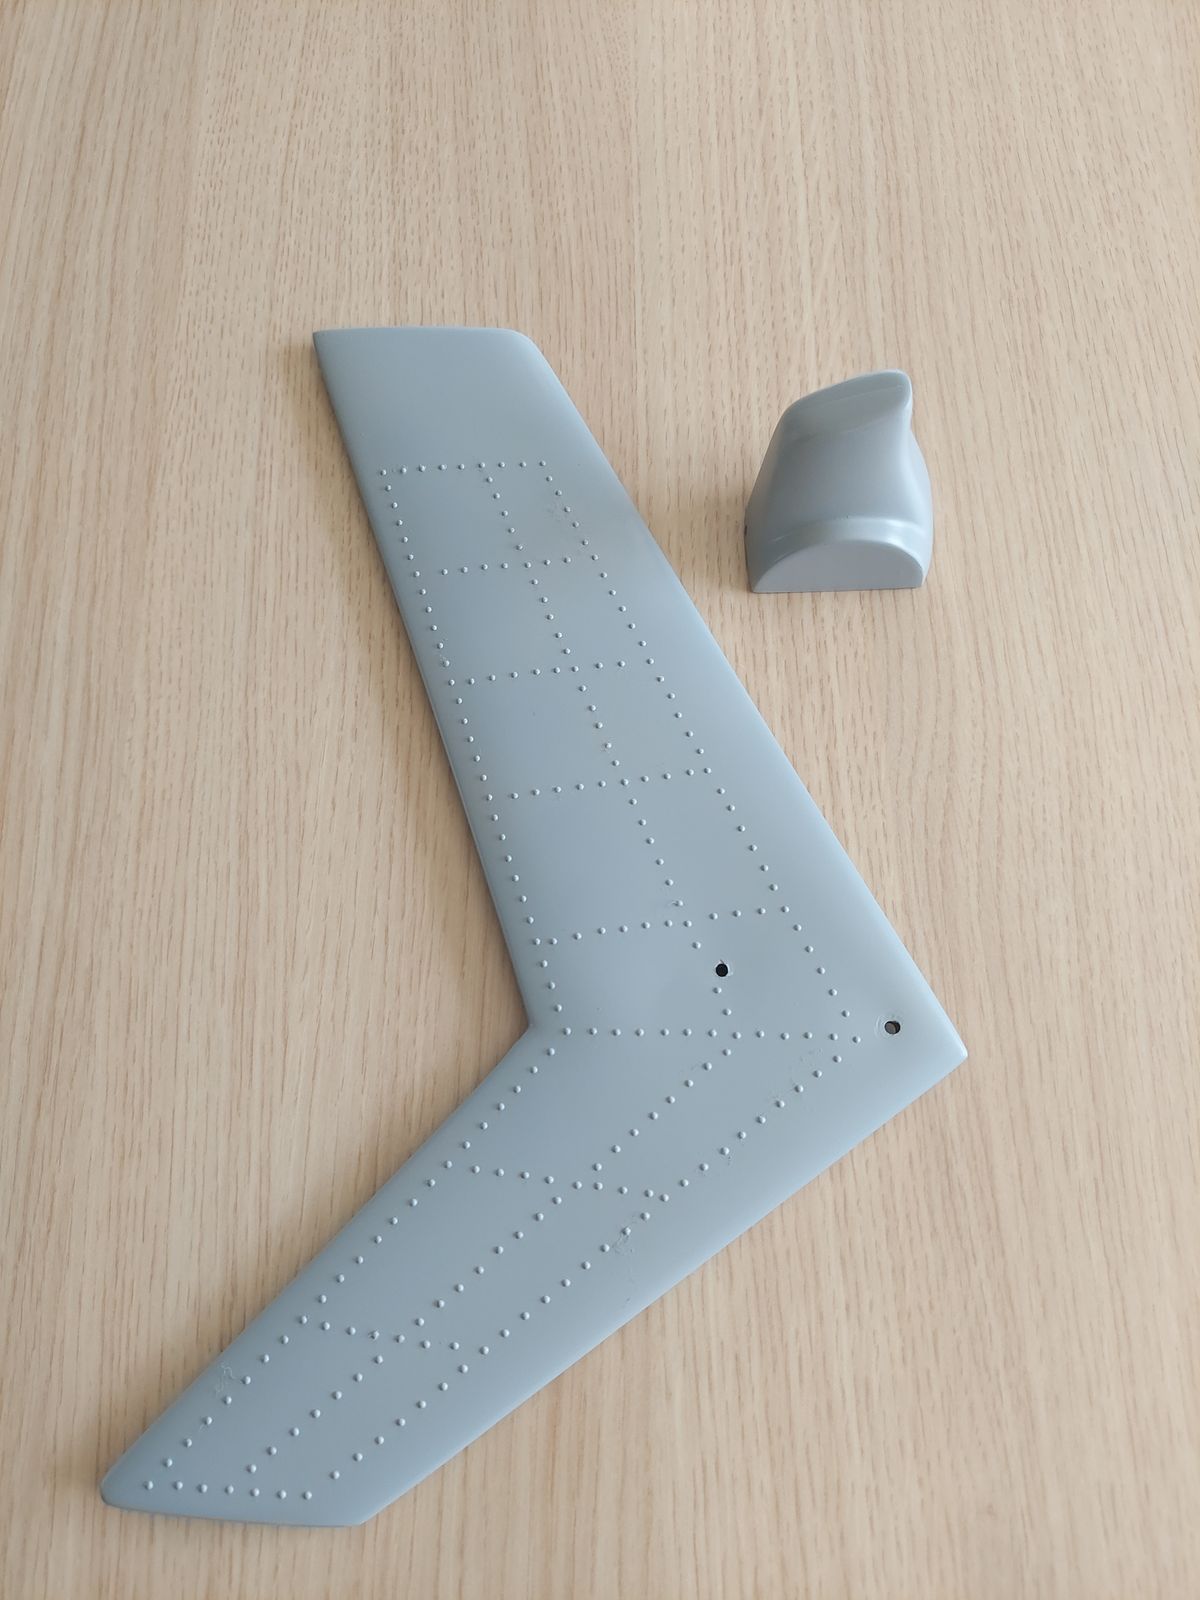
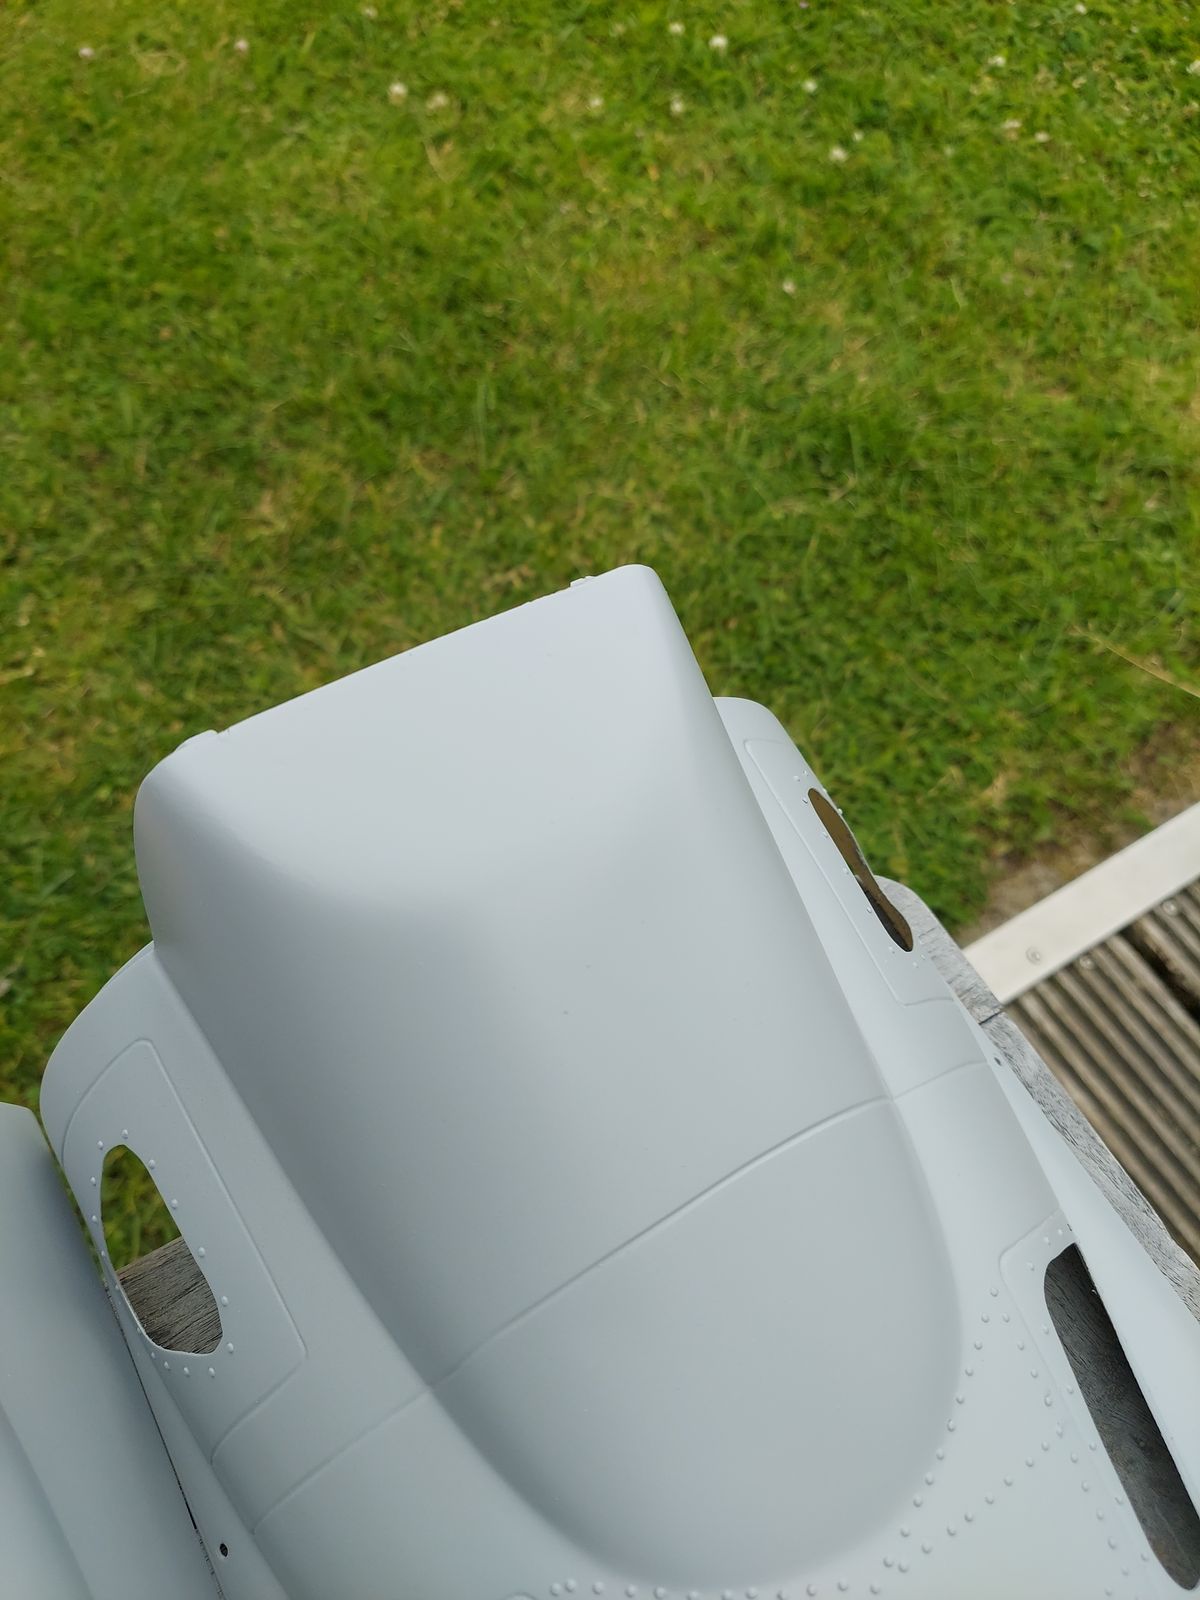
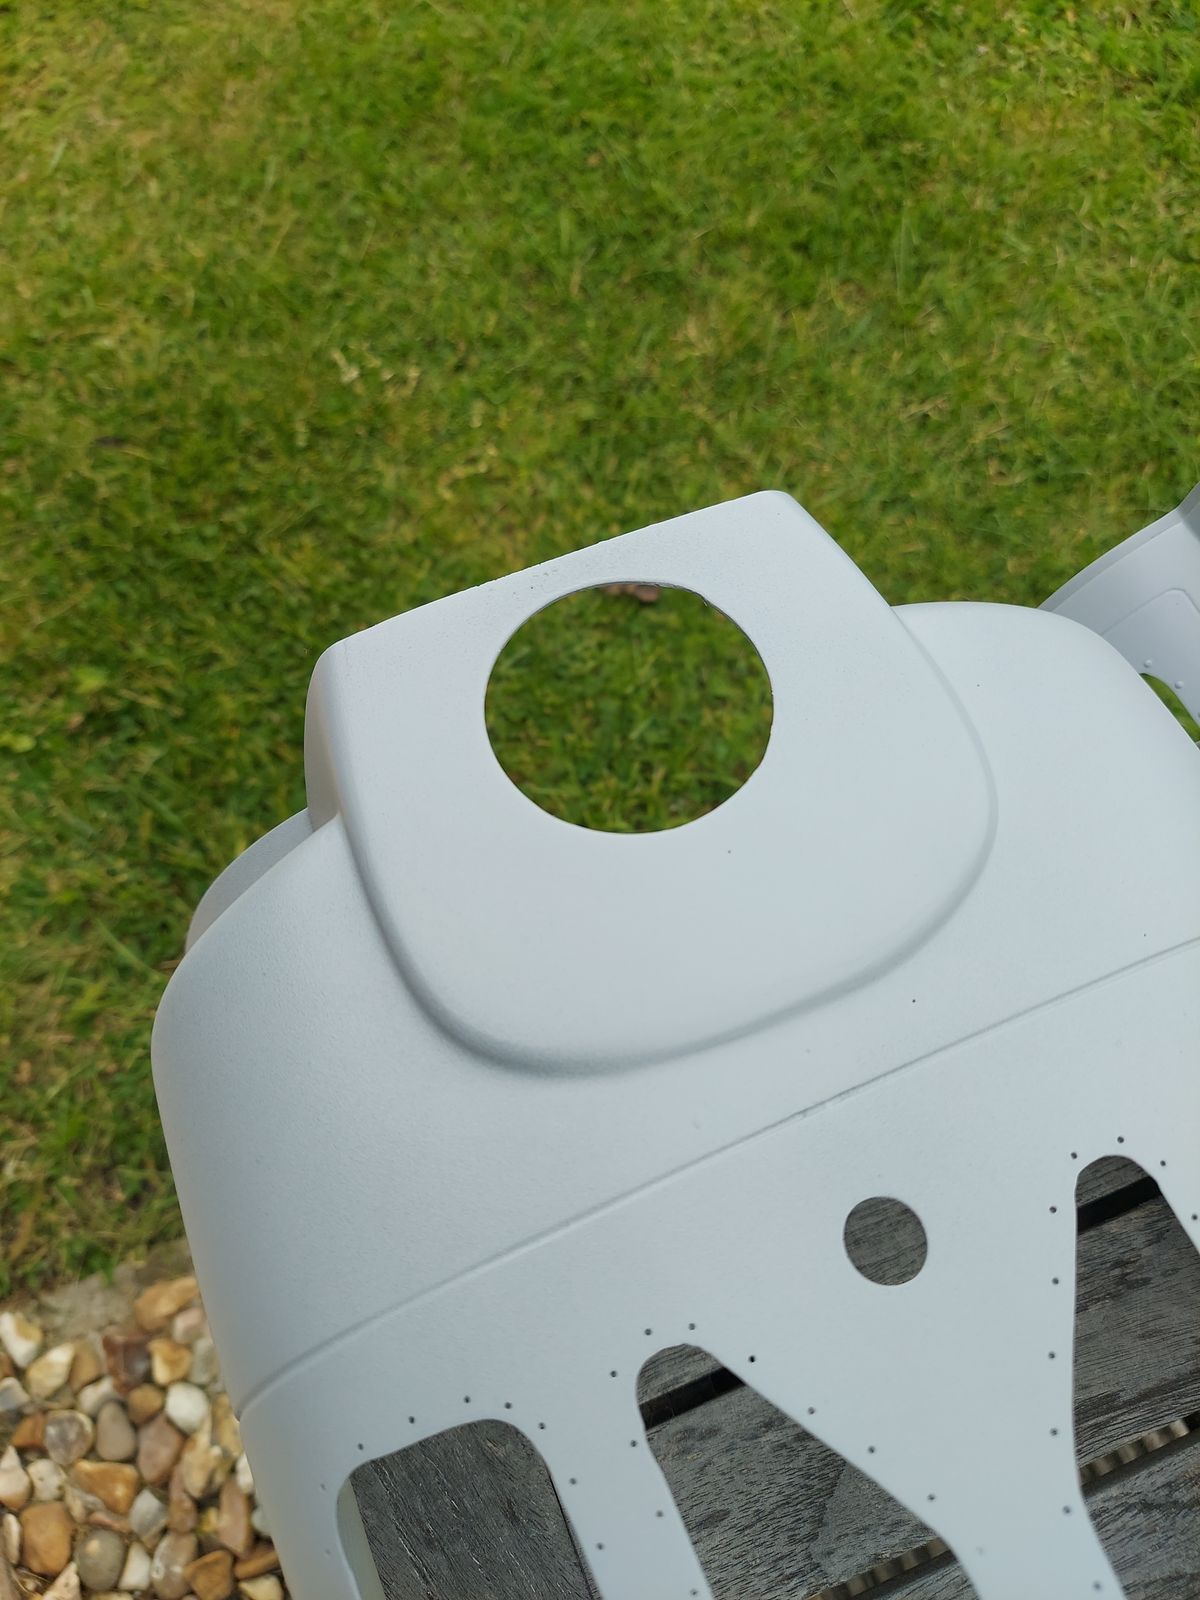
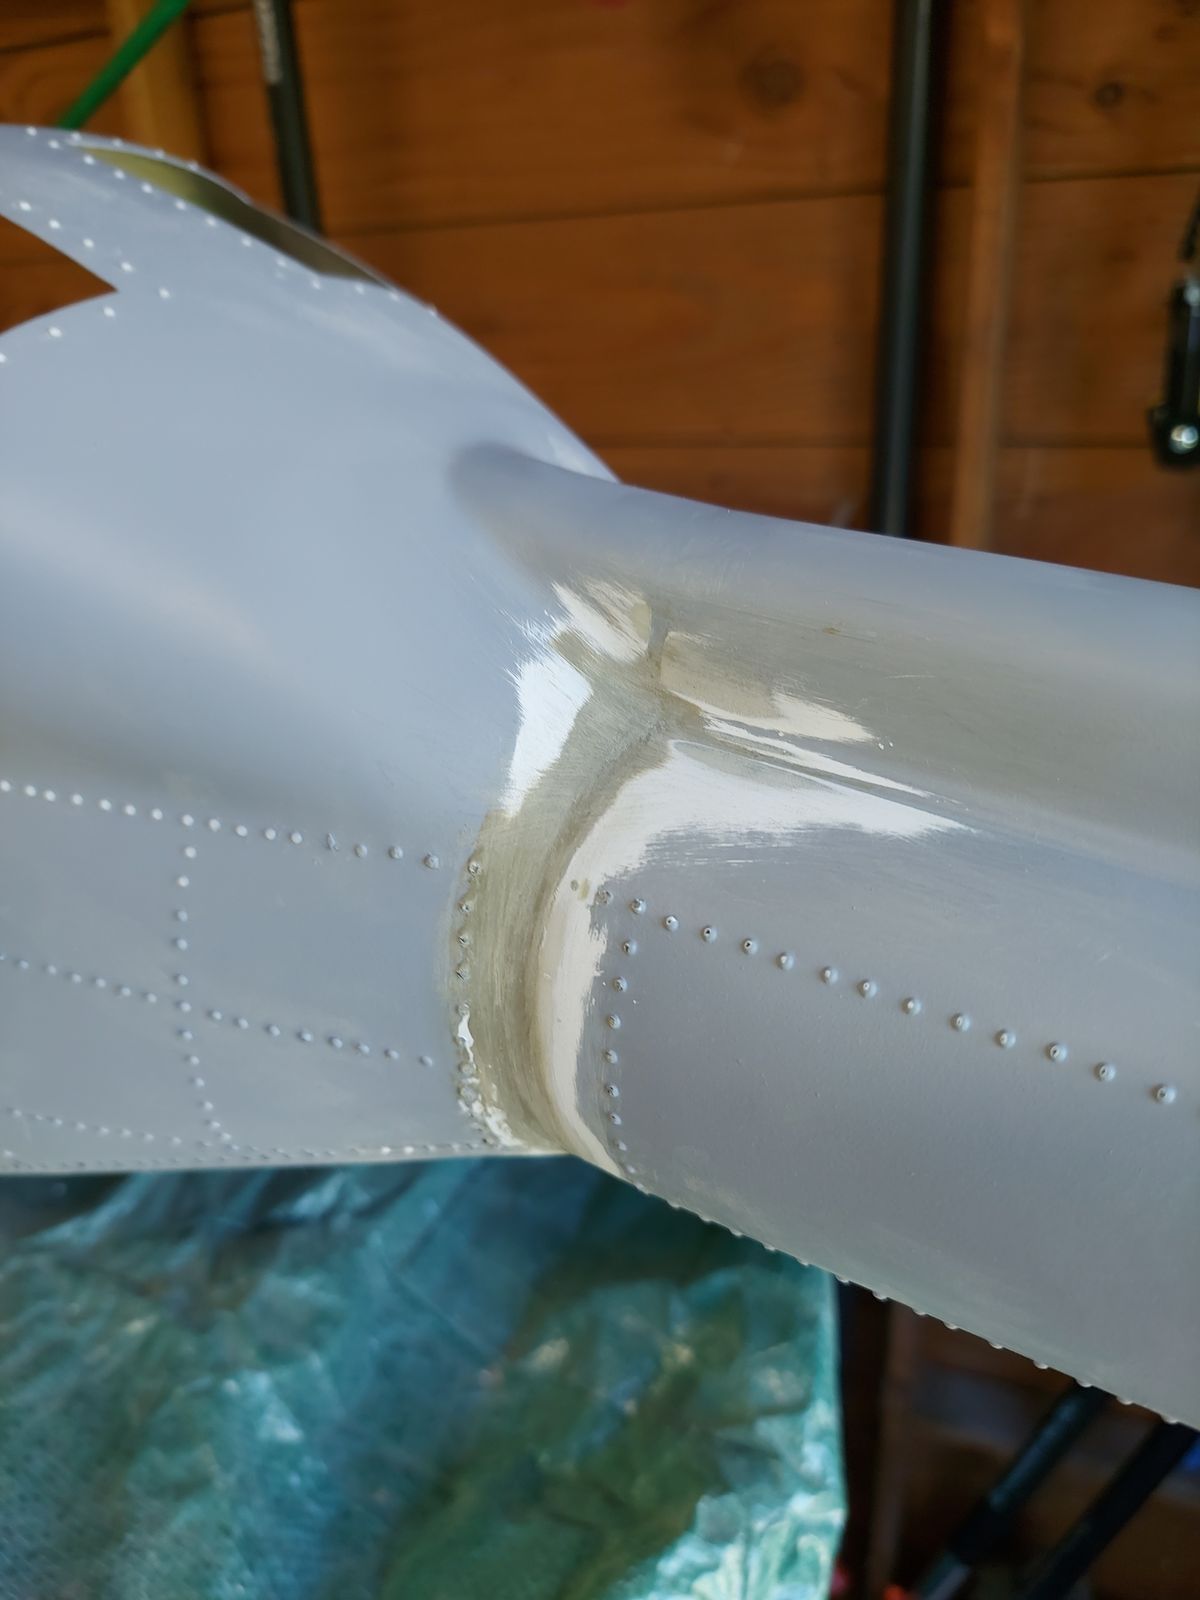
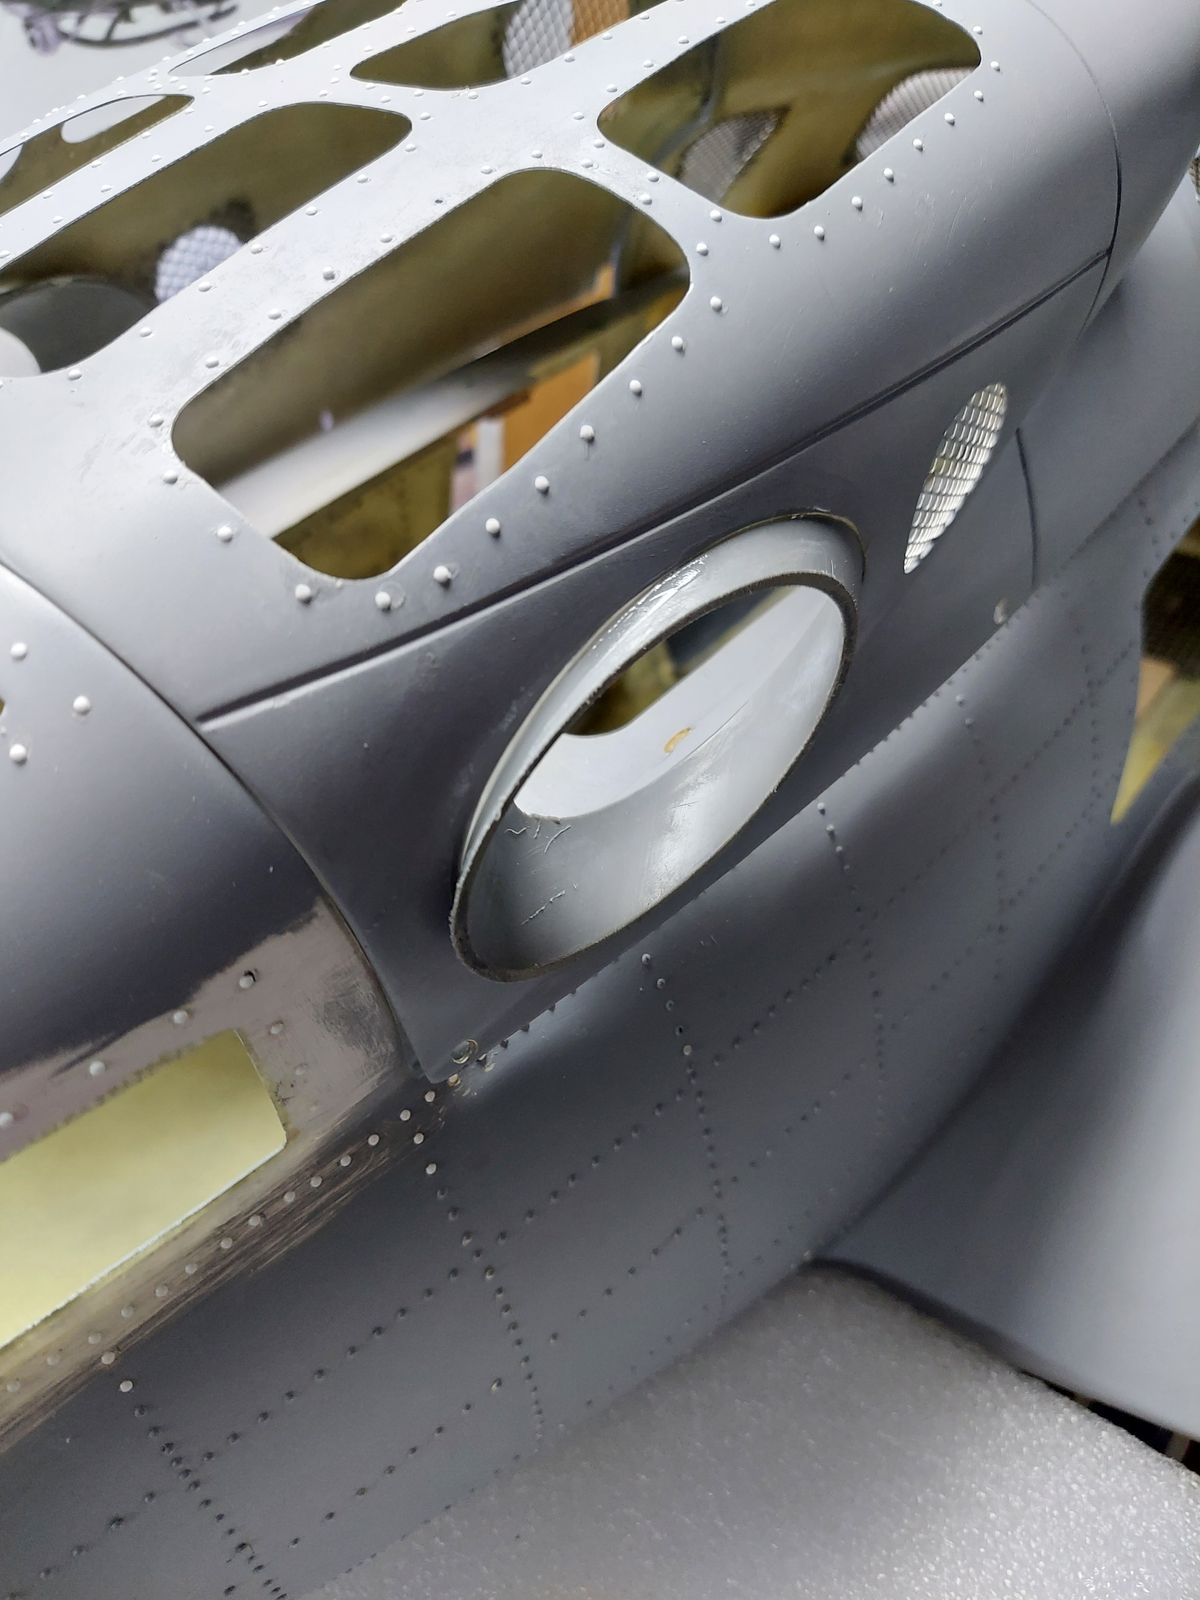
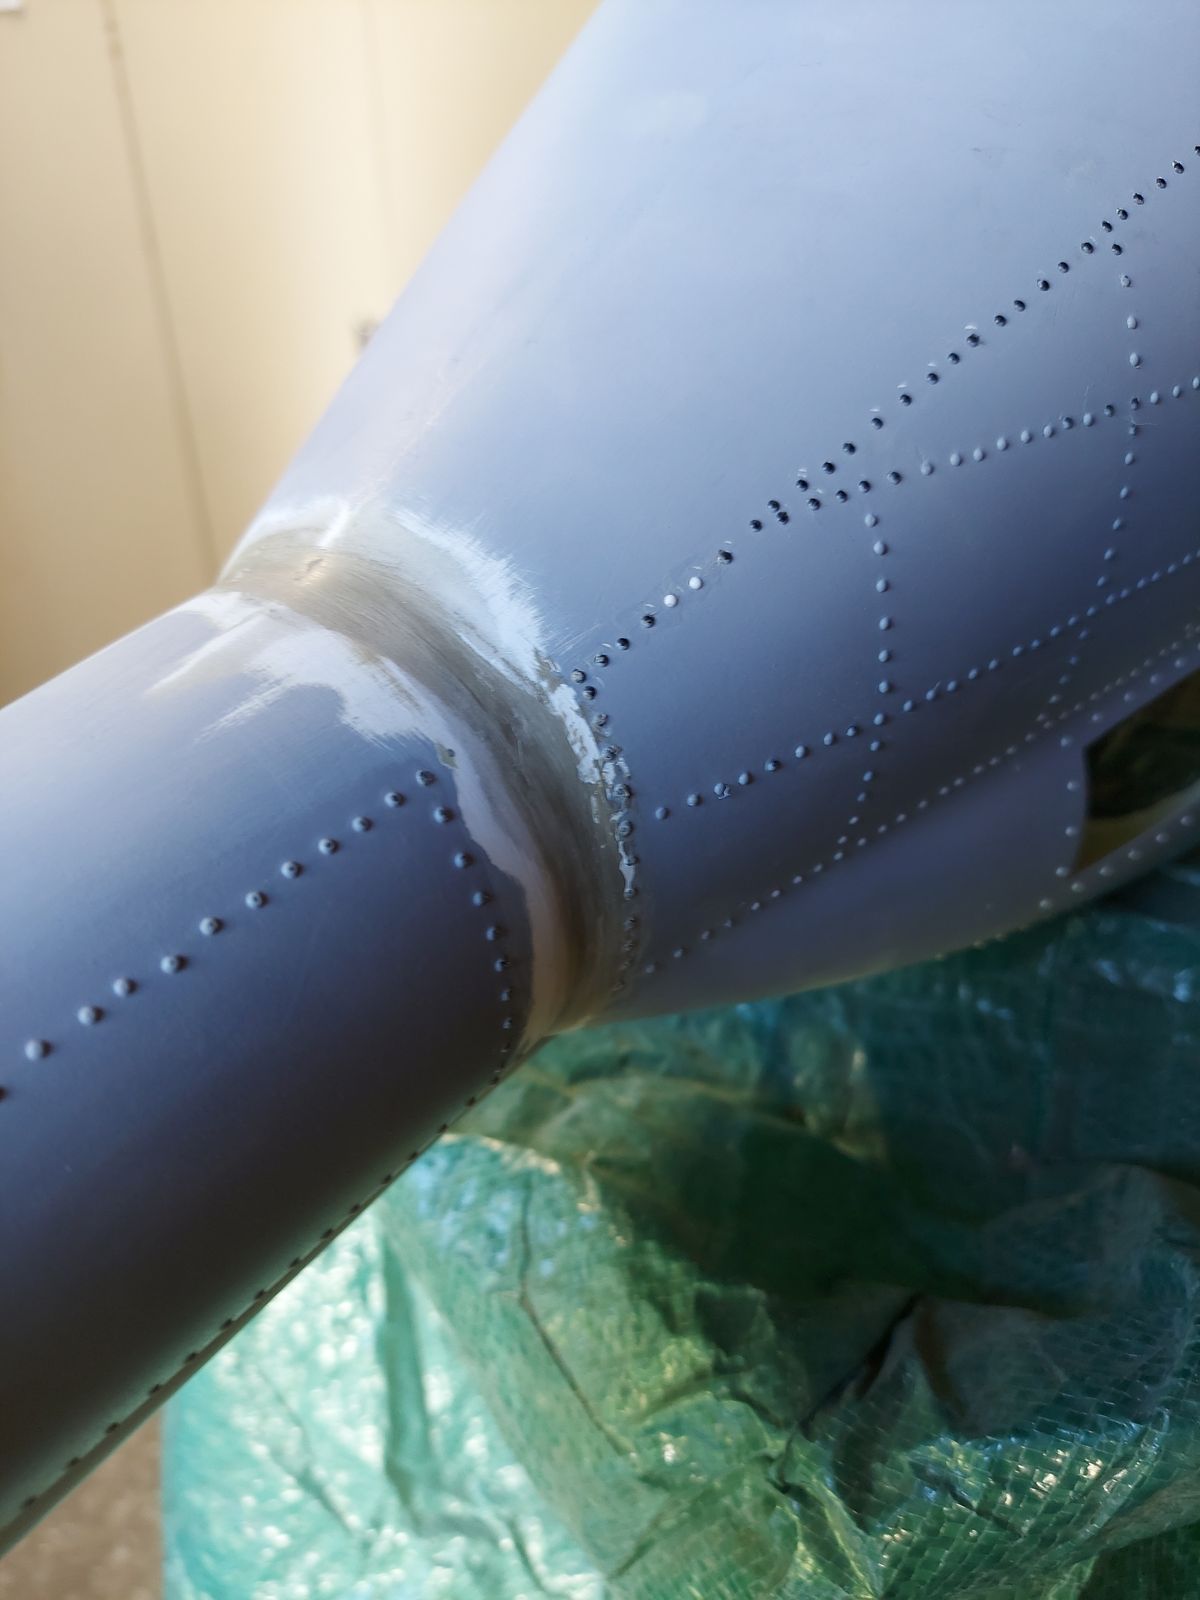
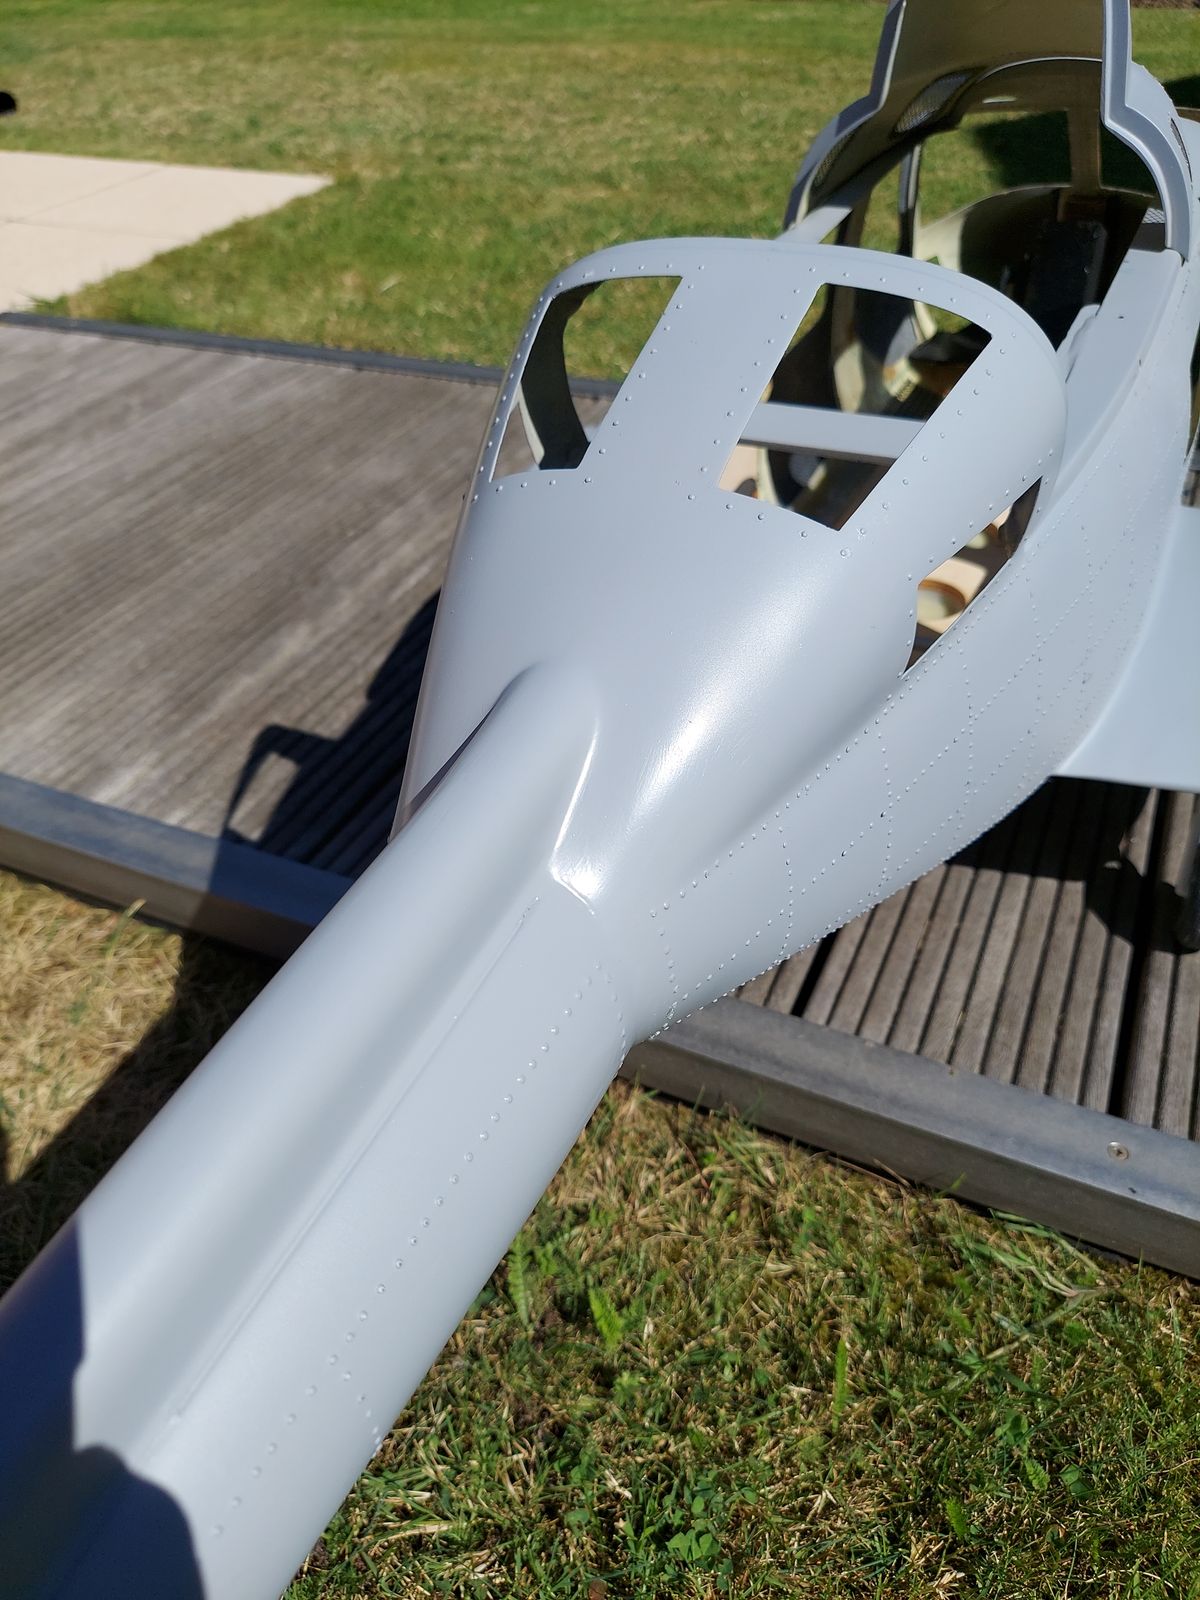
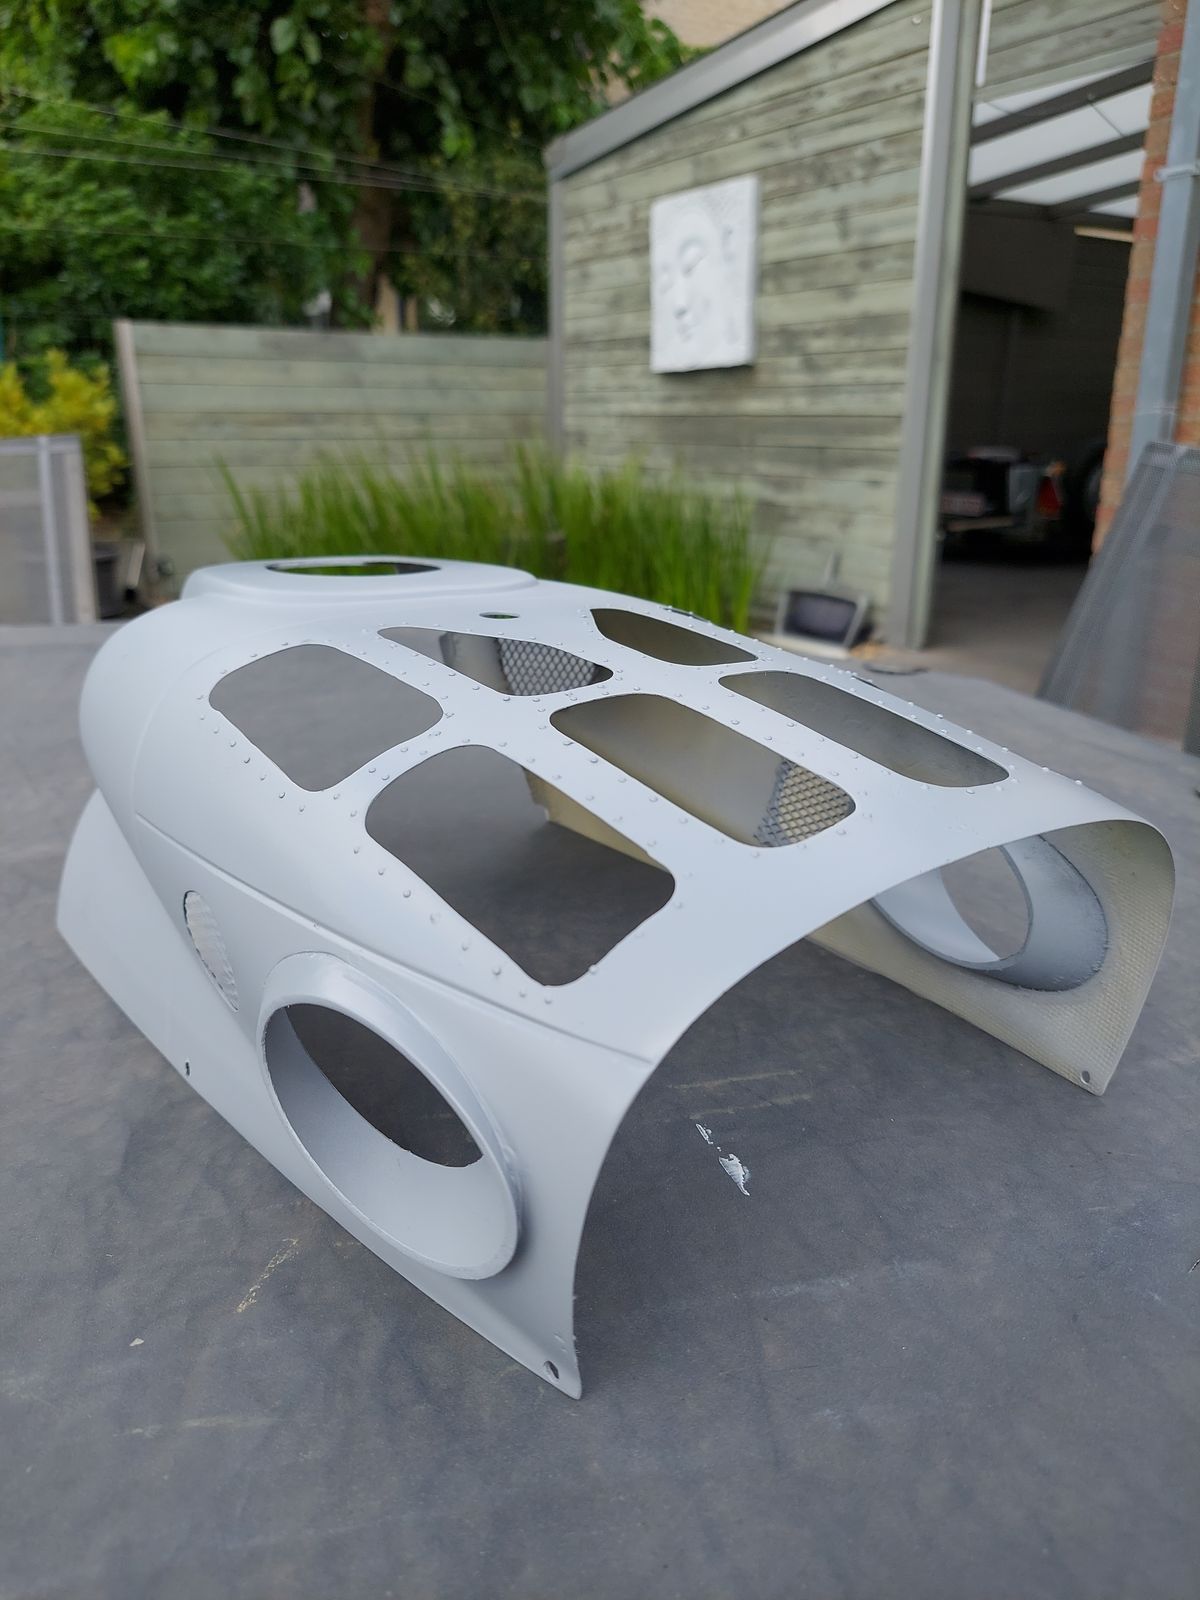
Finishing work on the doghouse and tailboom
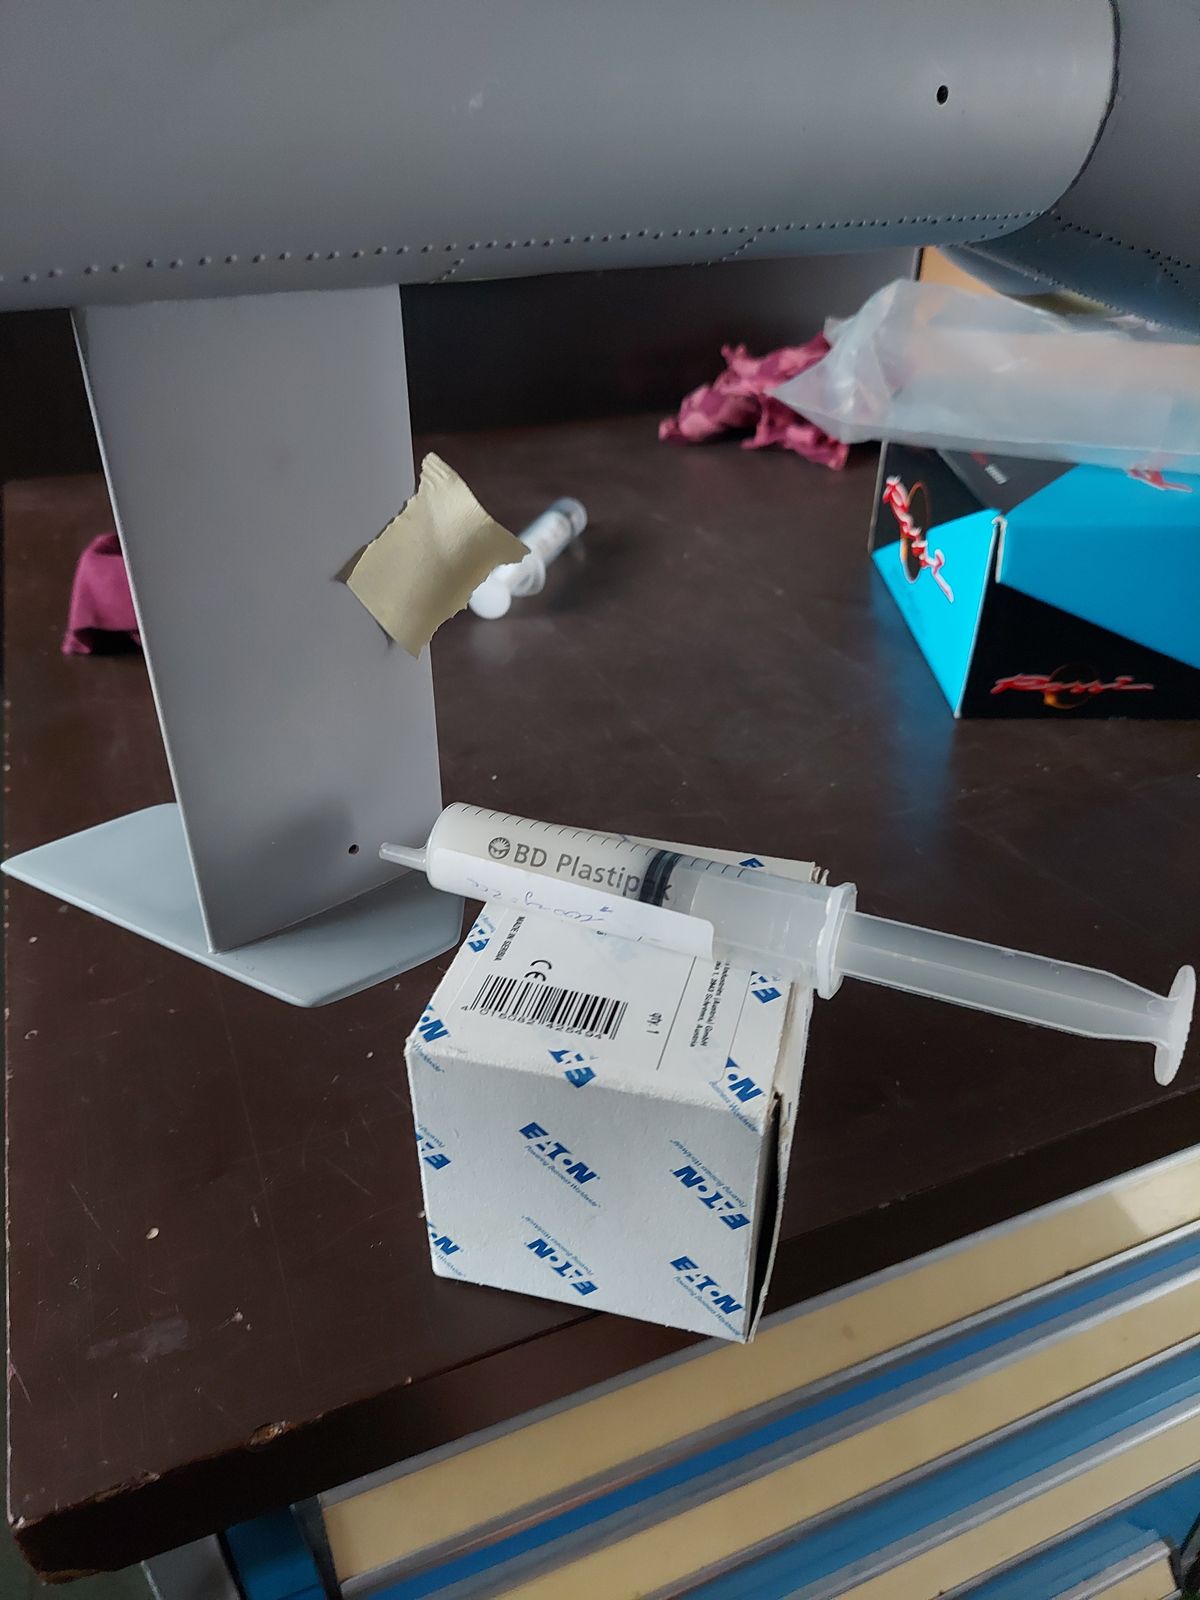
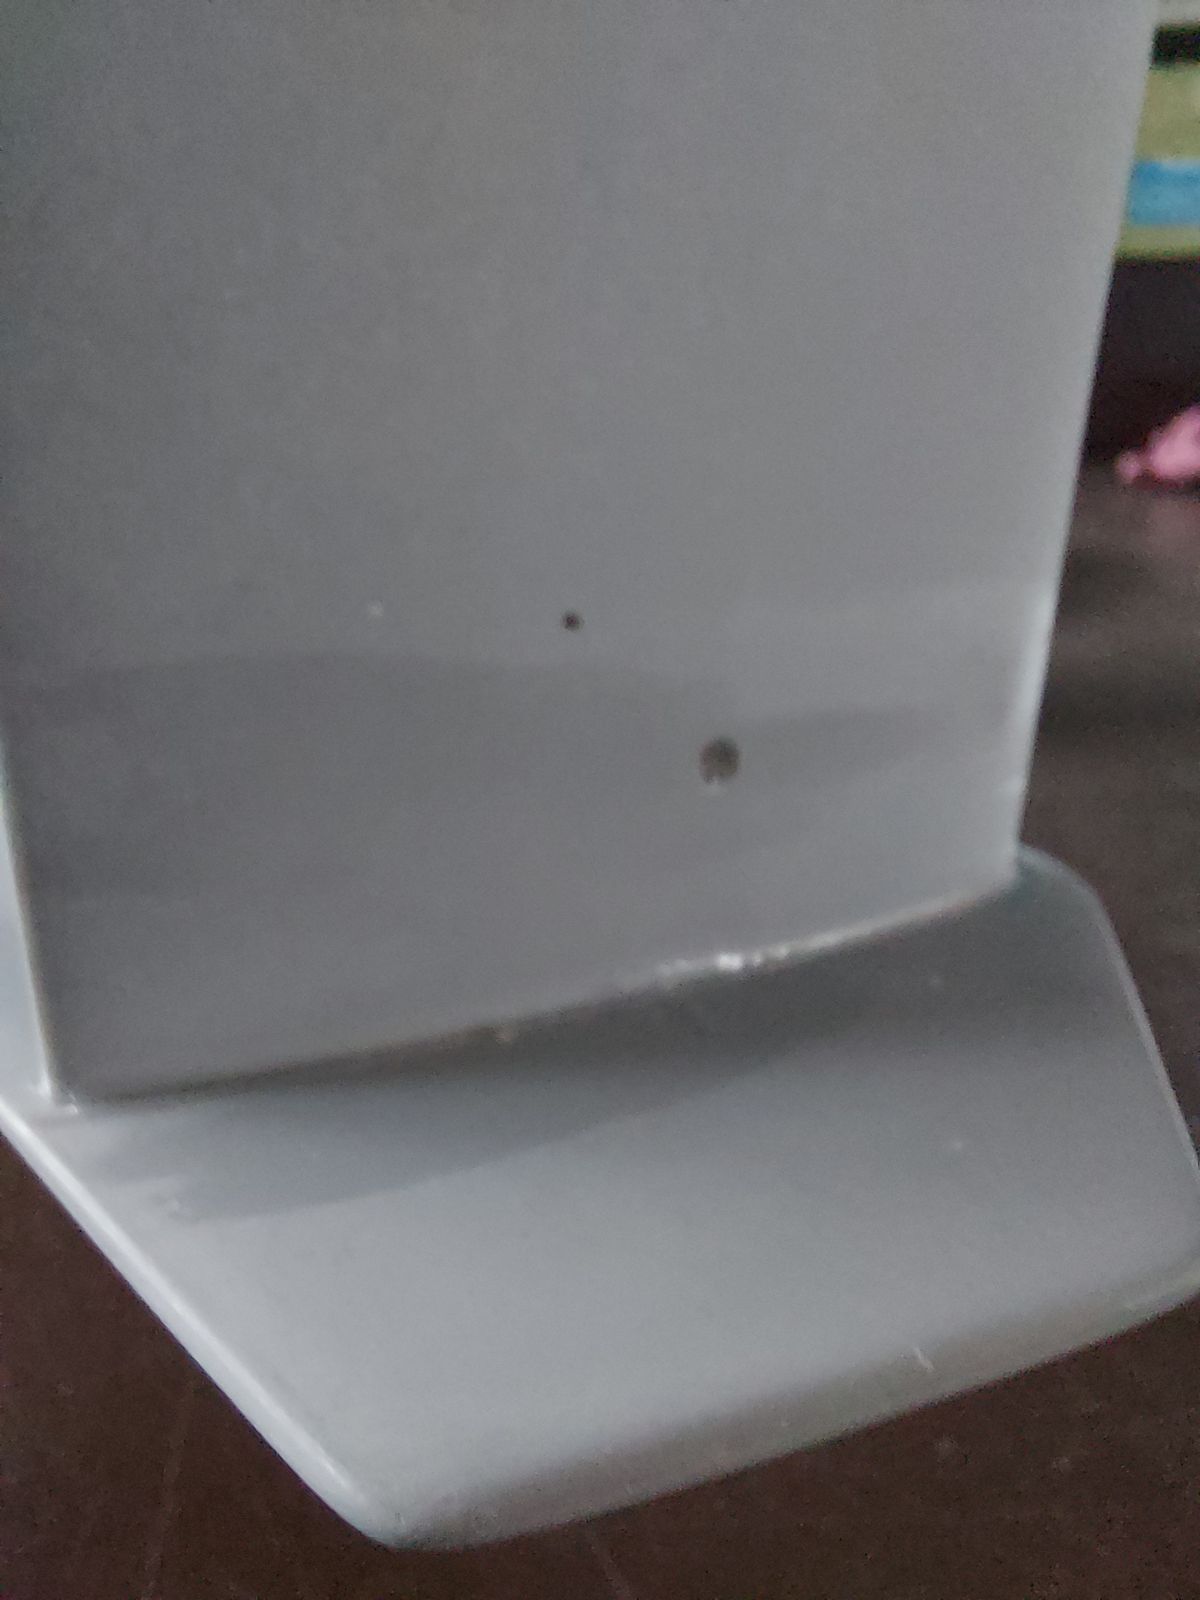
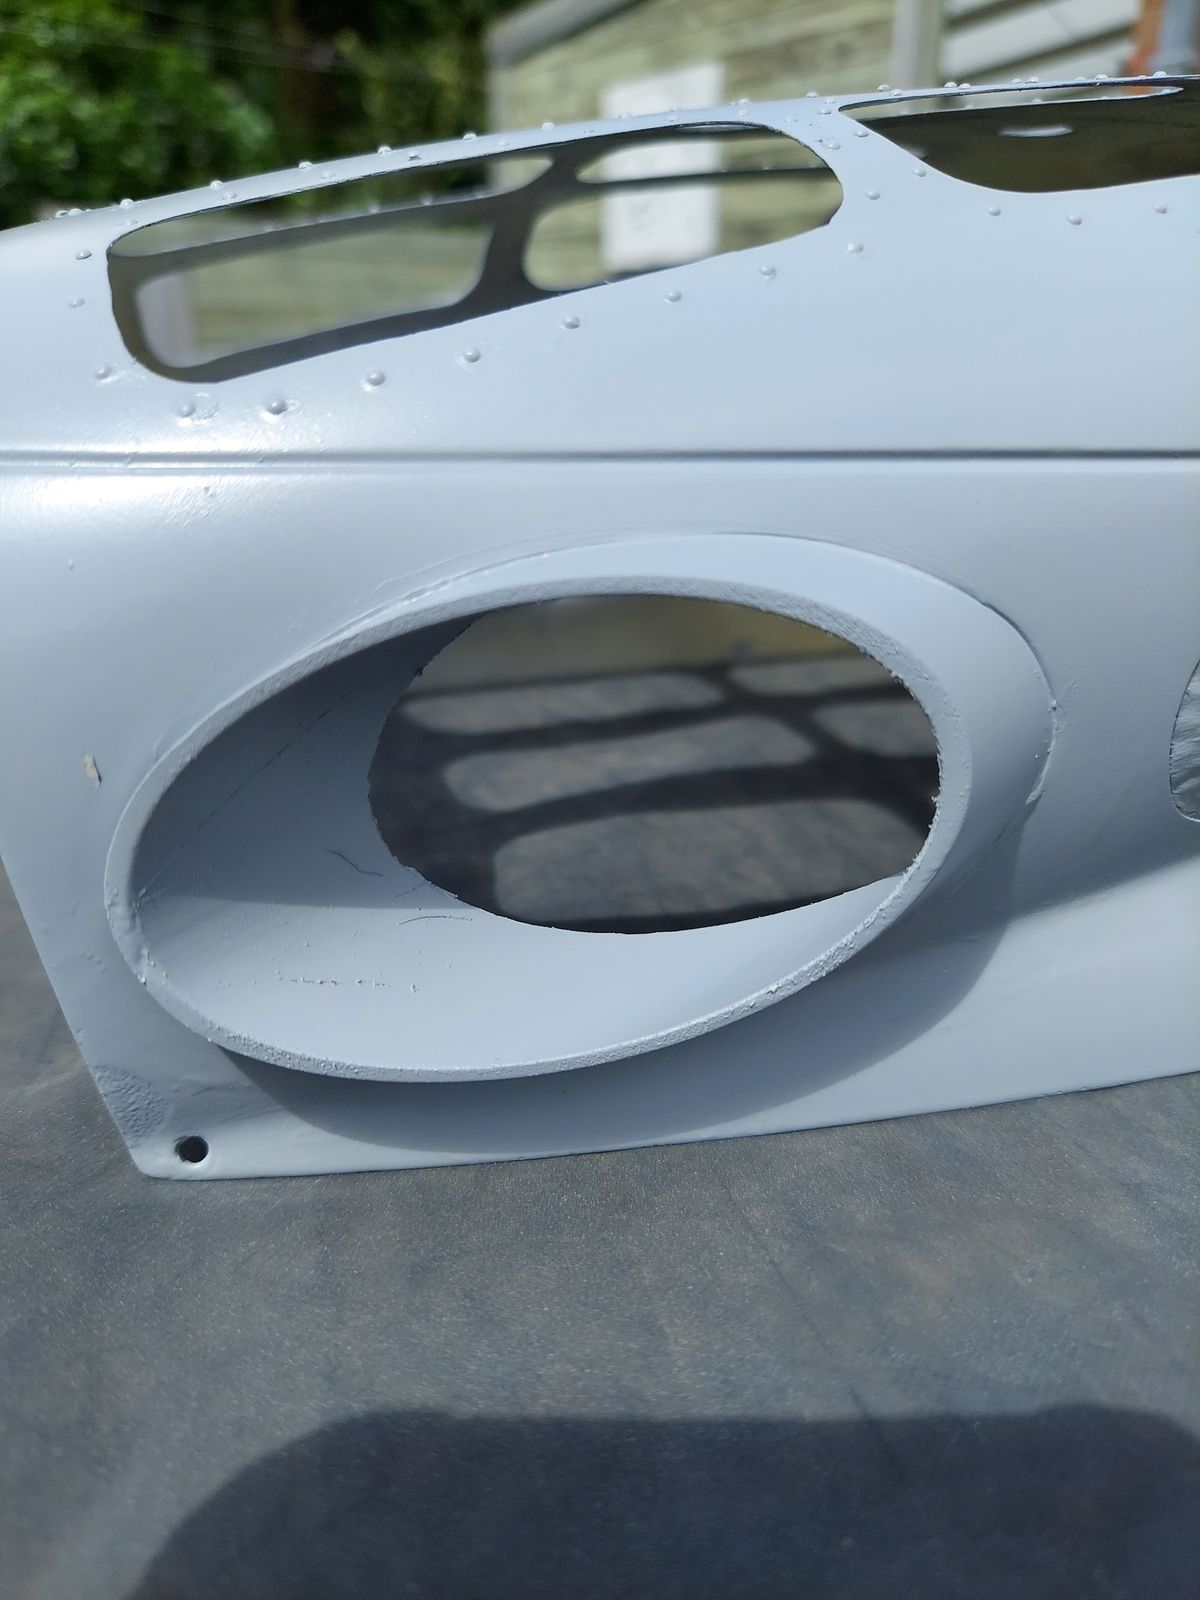
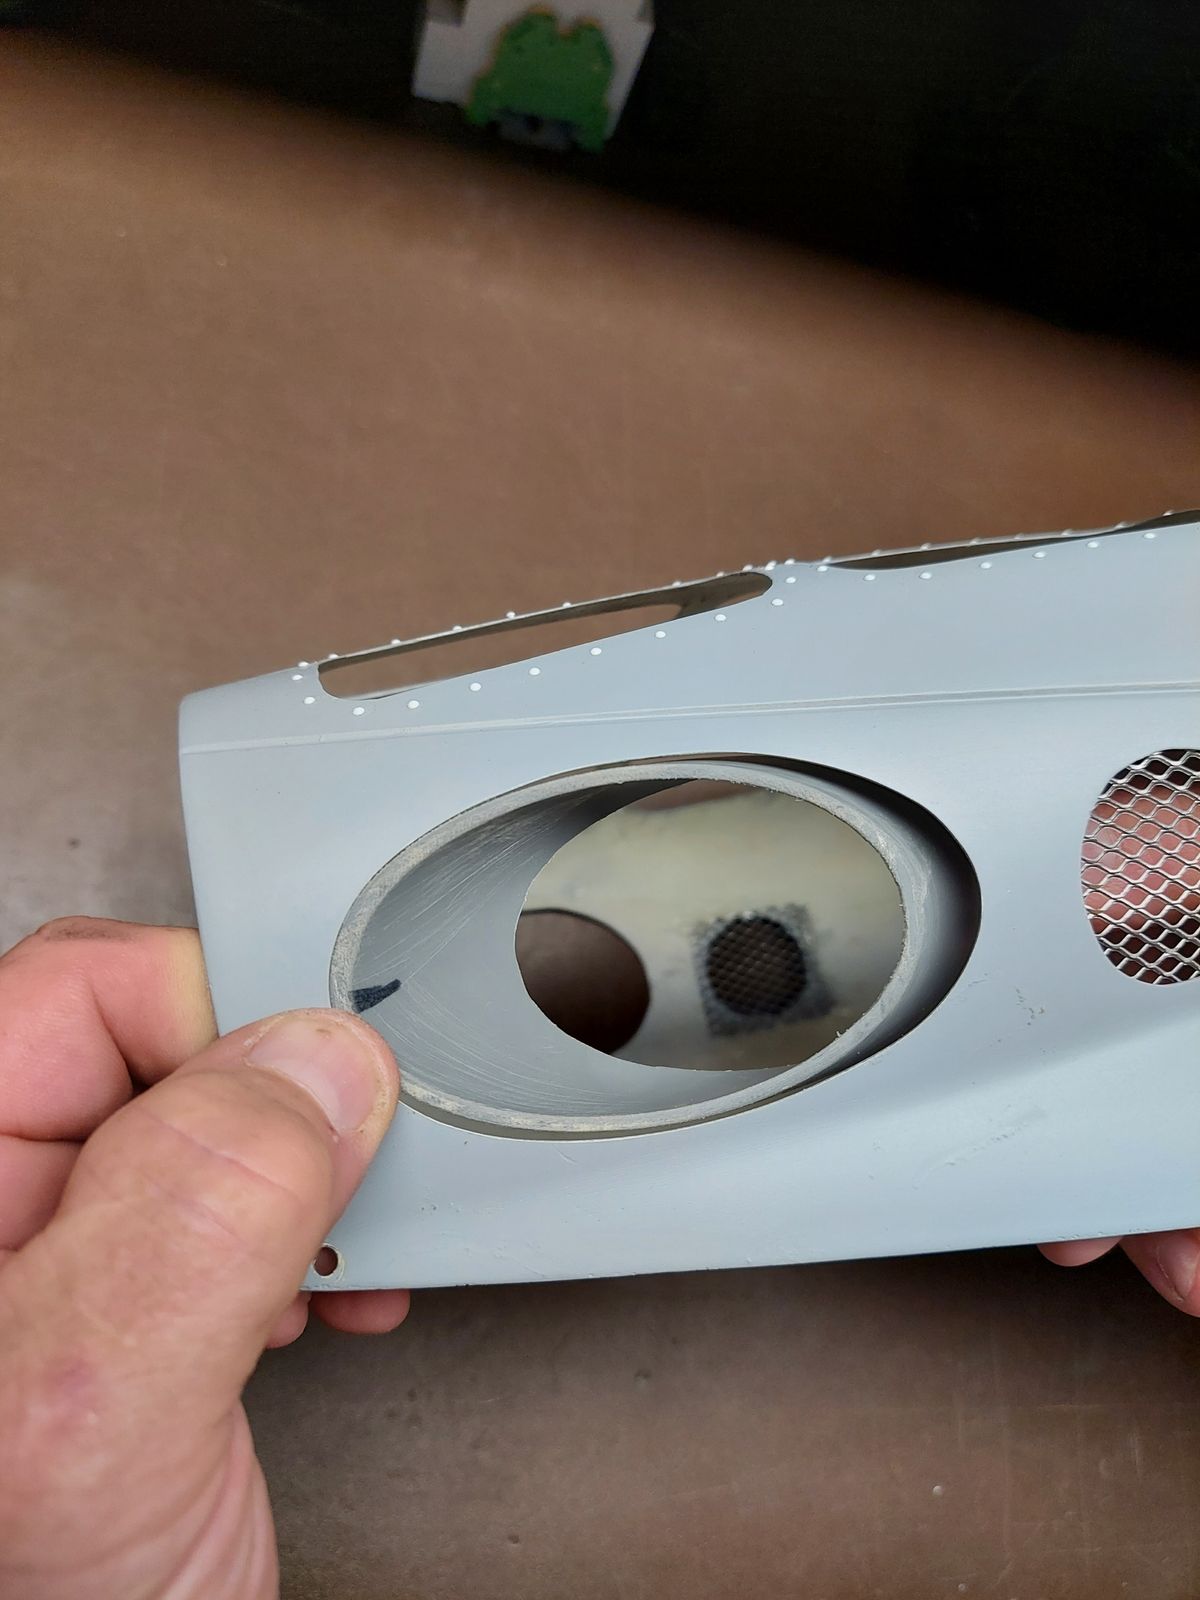
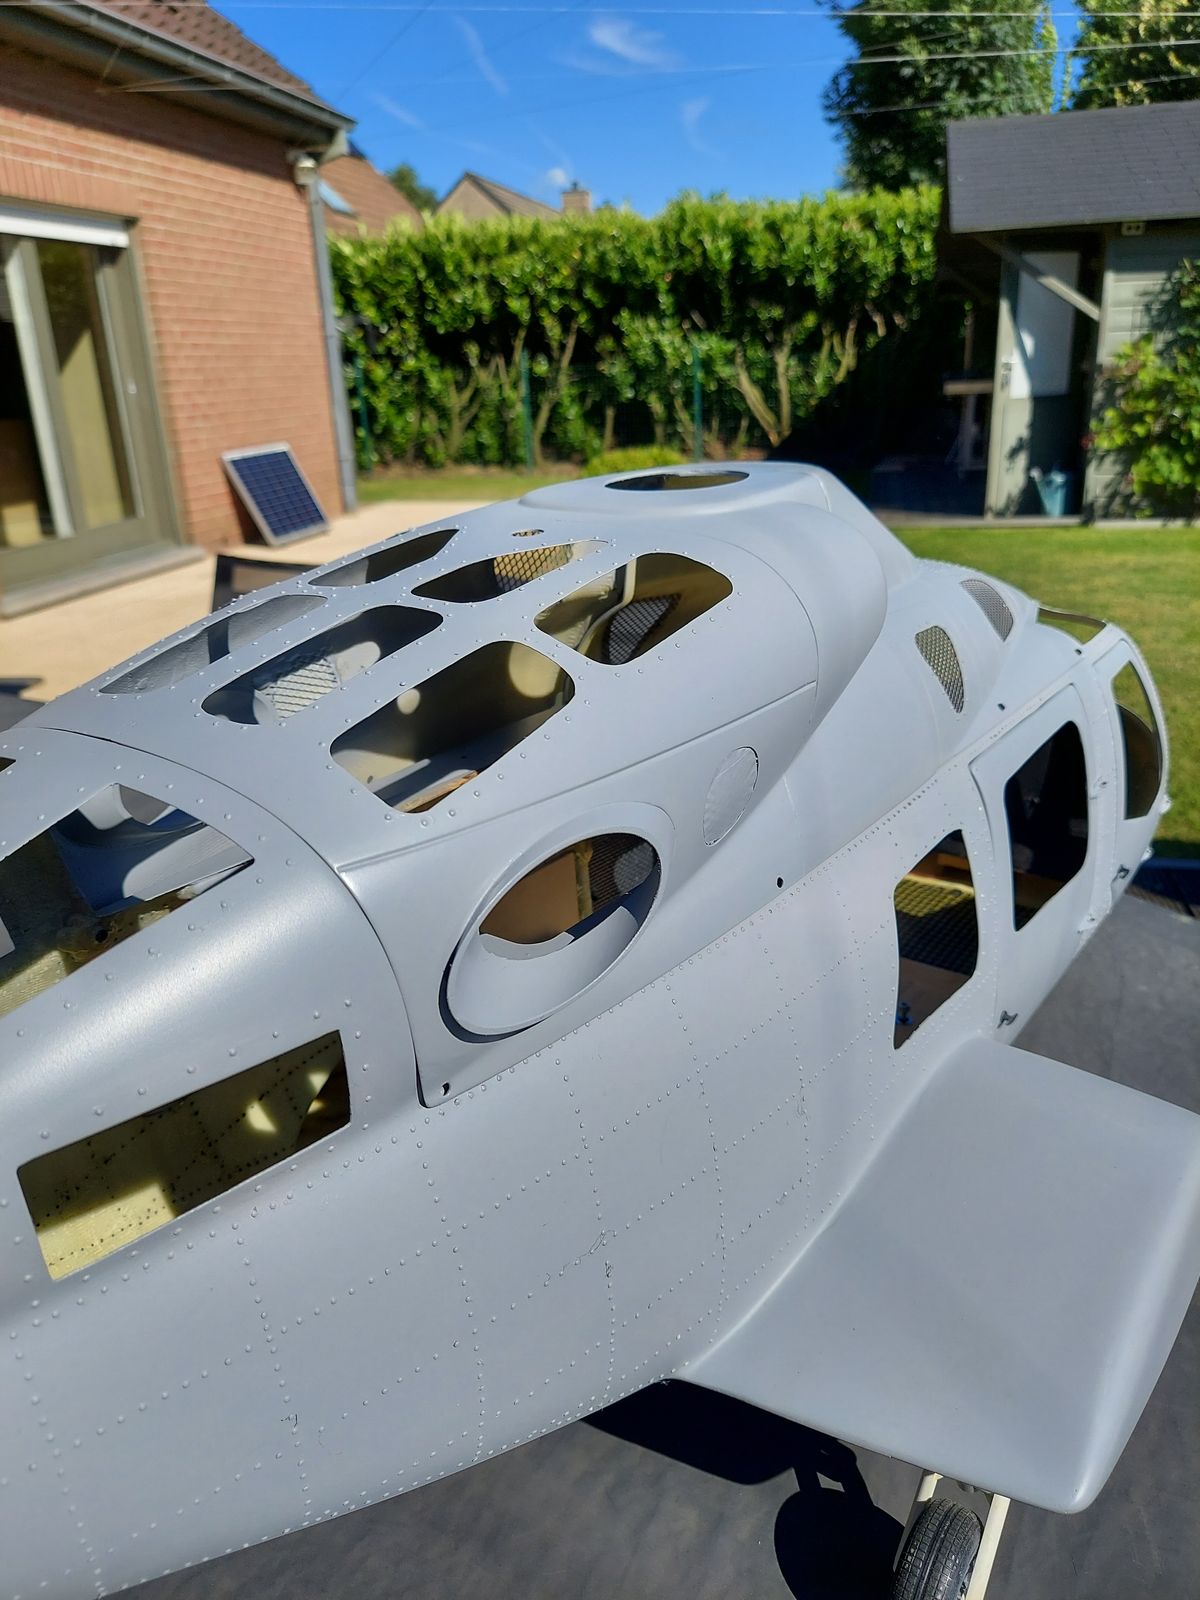
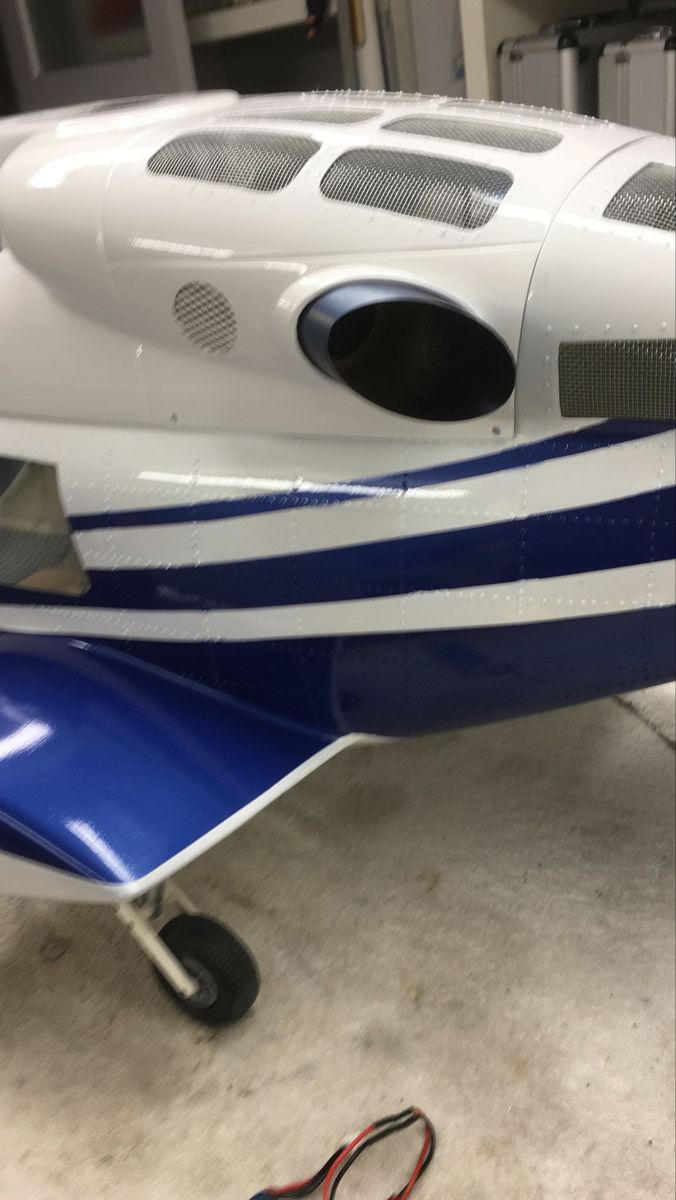
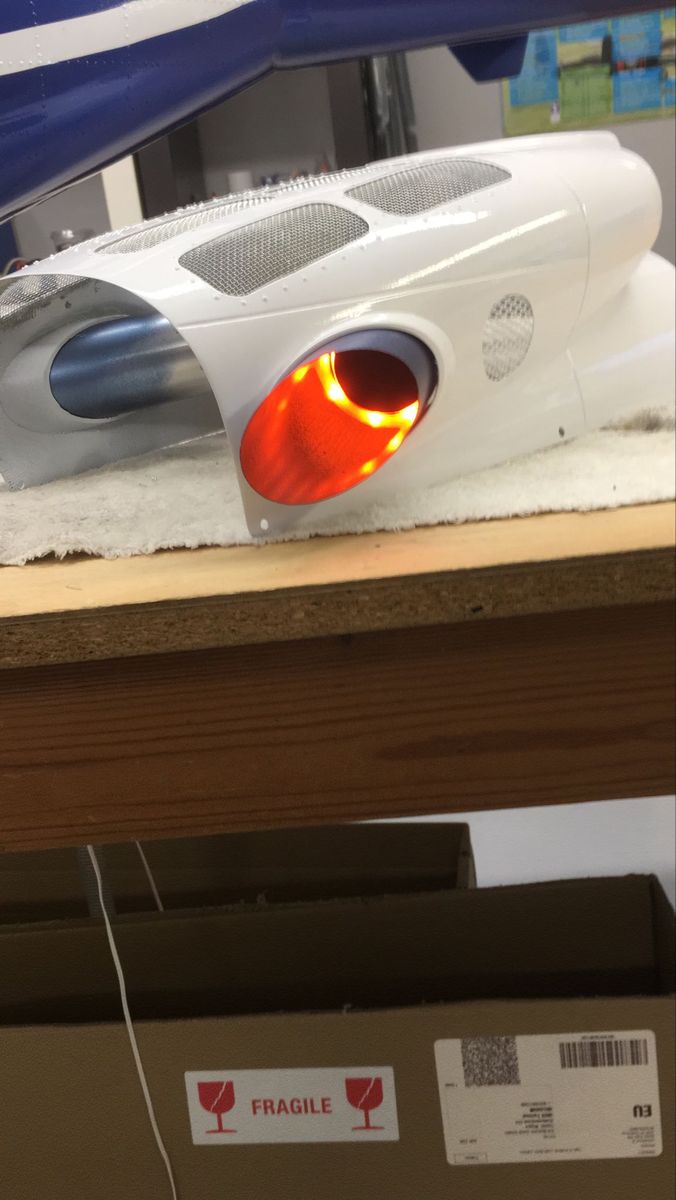
Installing turbine exhaust ports
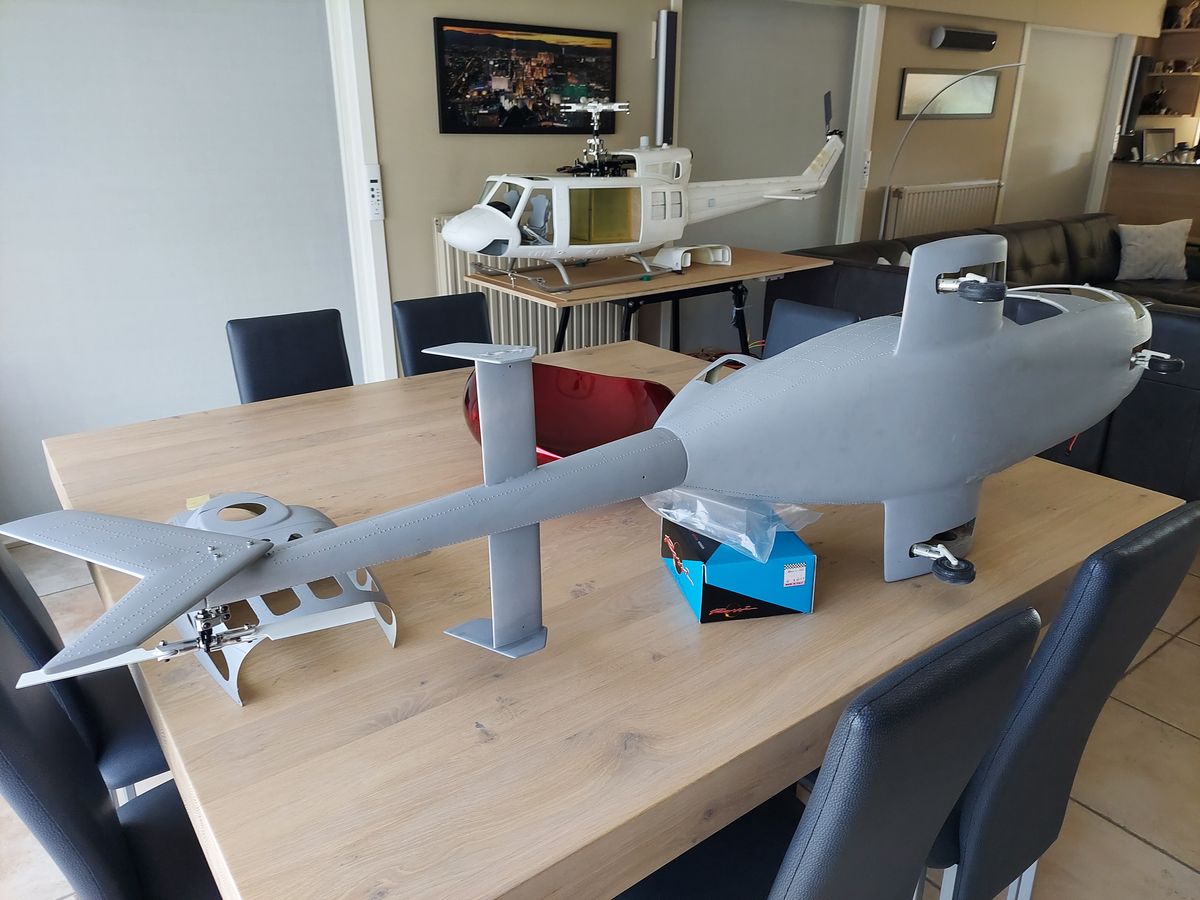
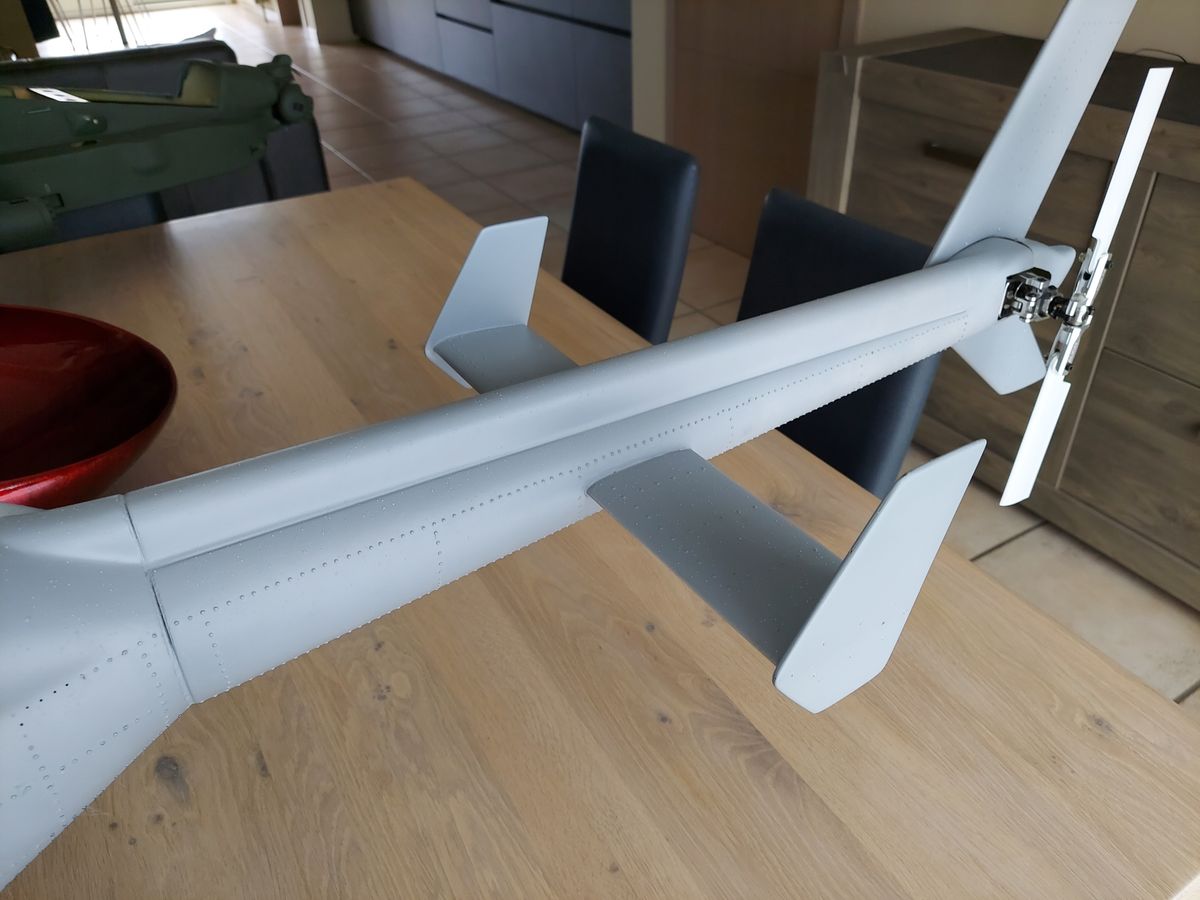
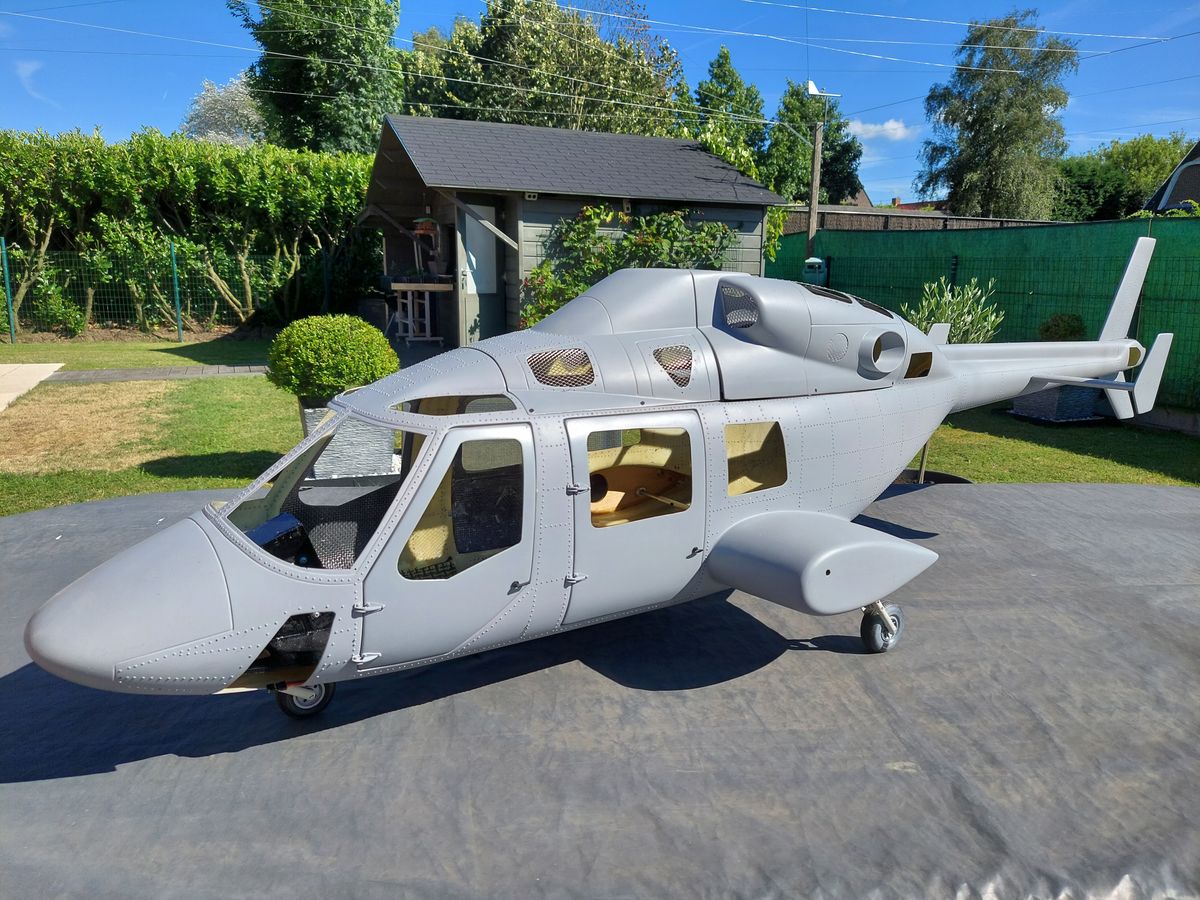
Finishing work on the tailboom and put on the primer
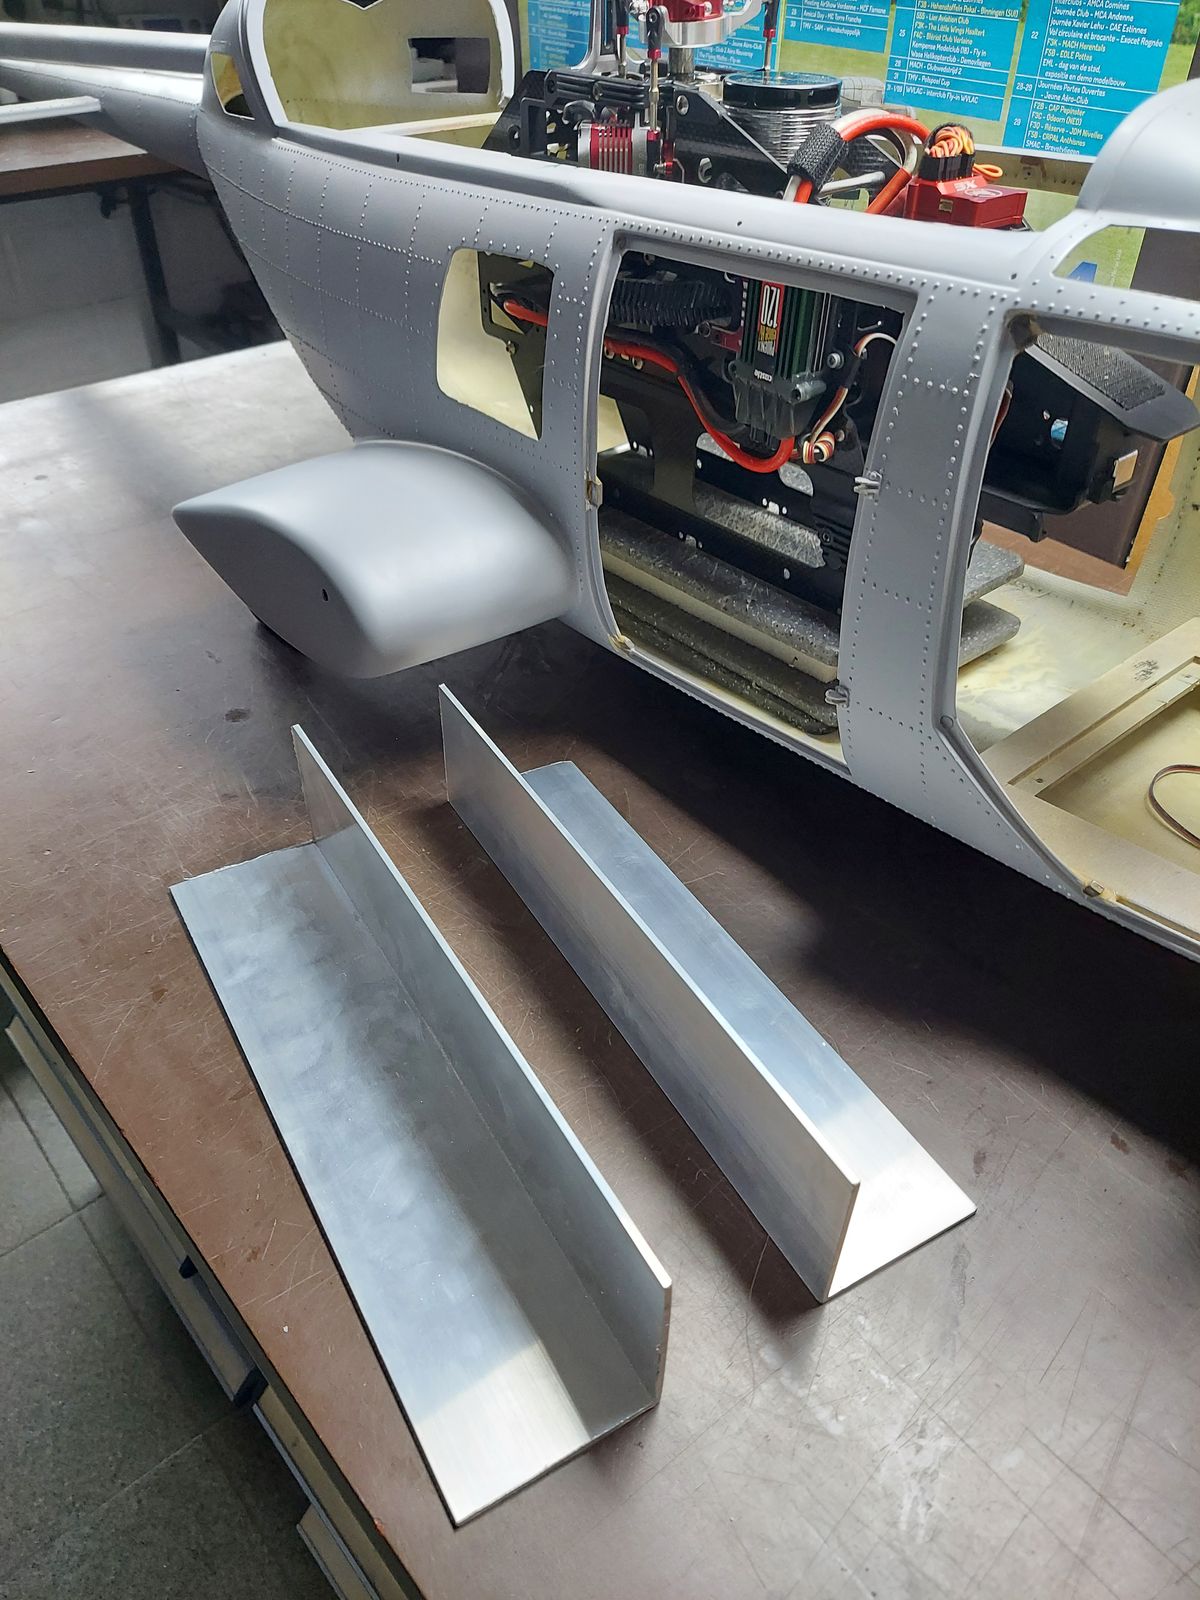
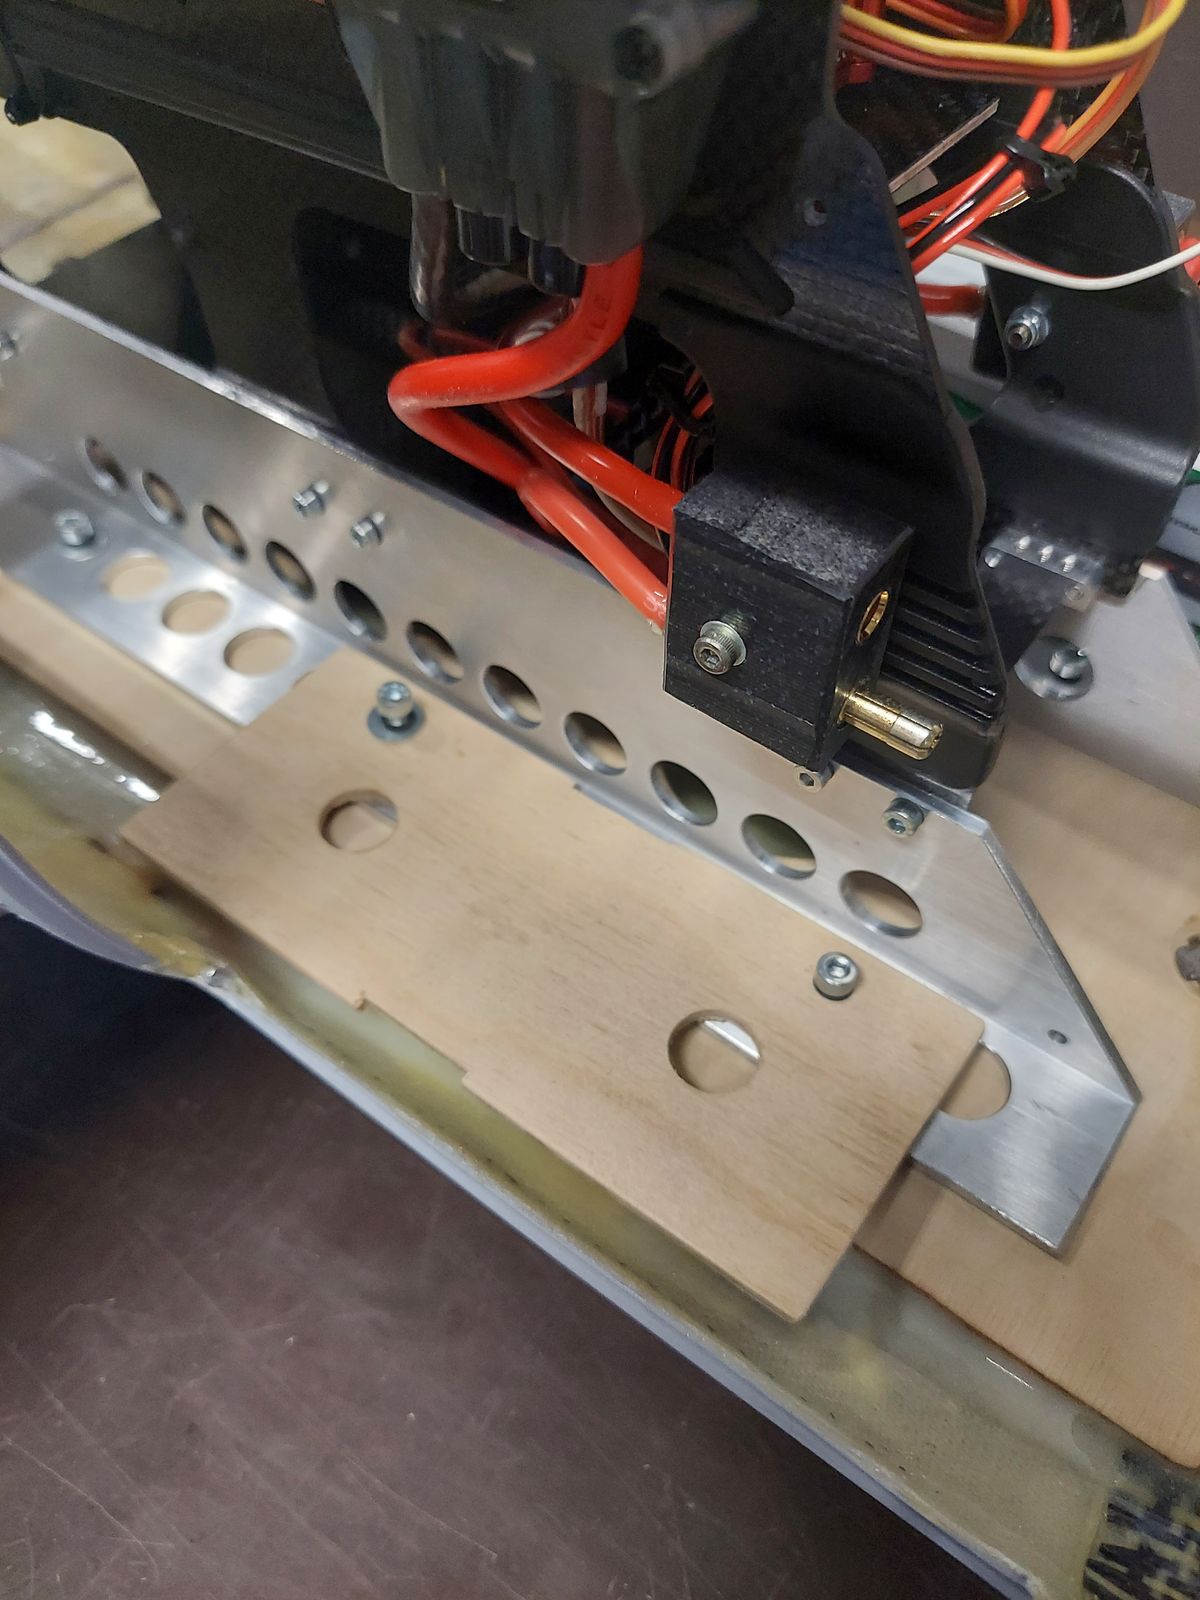
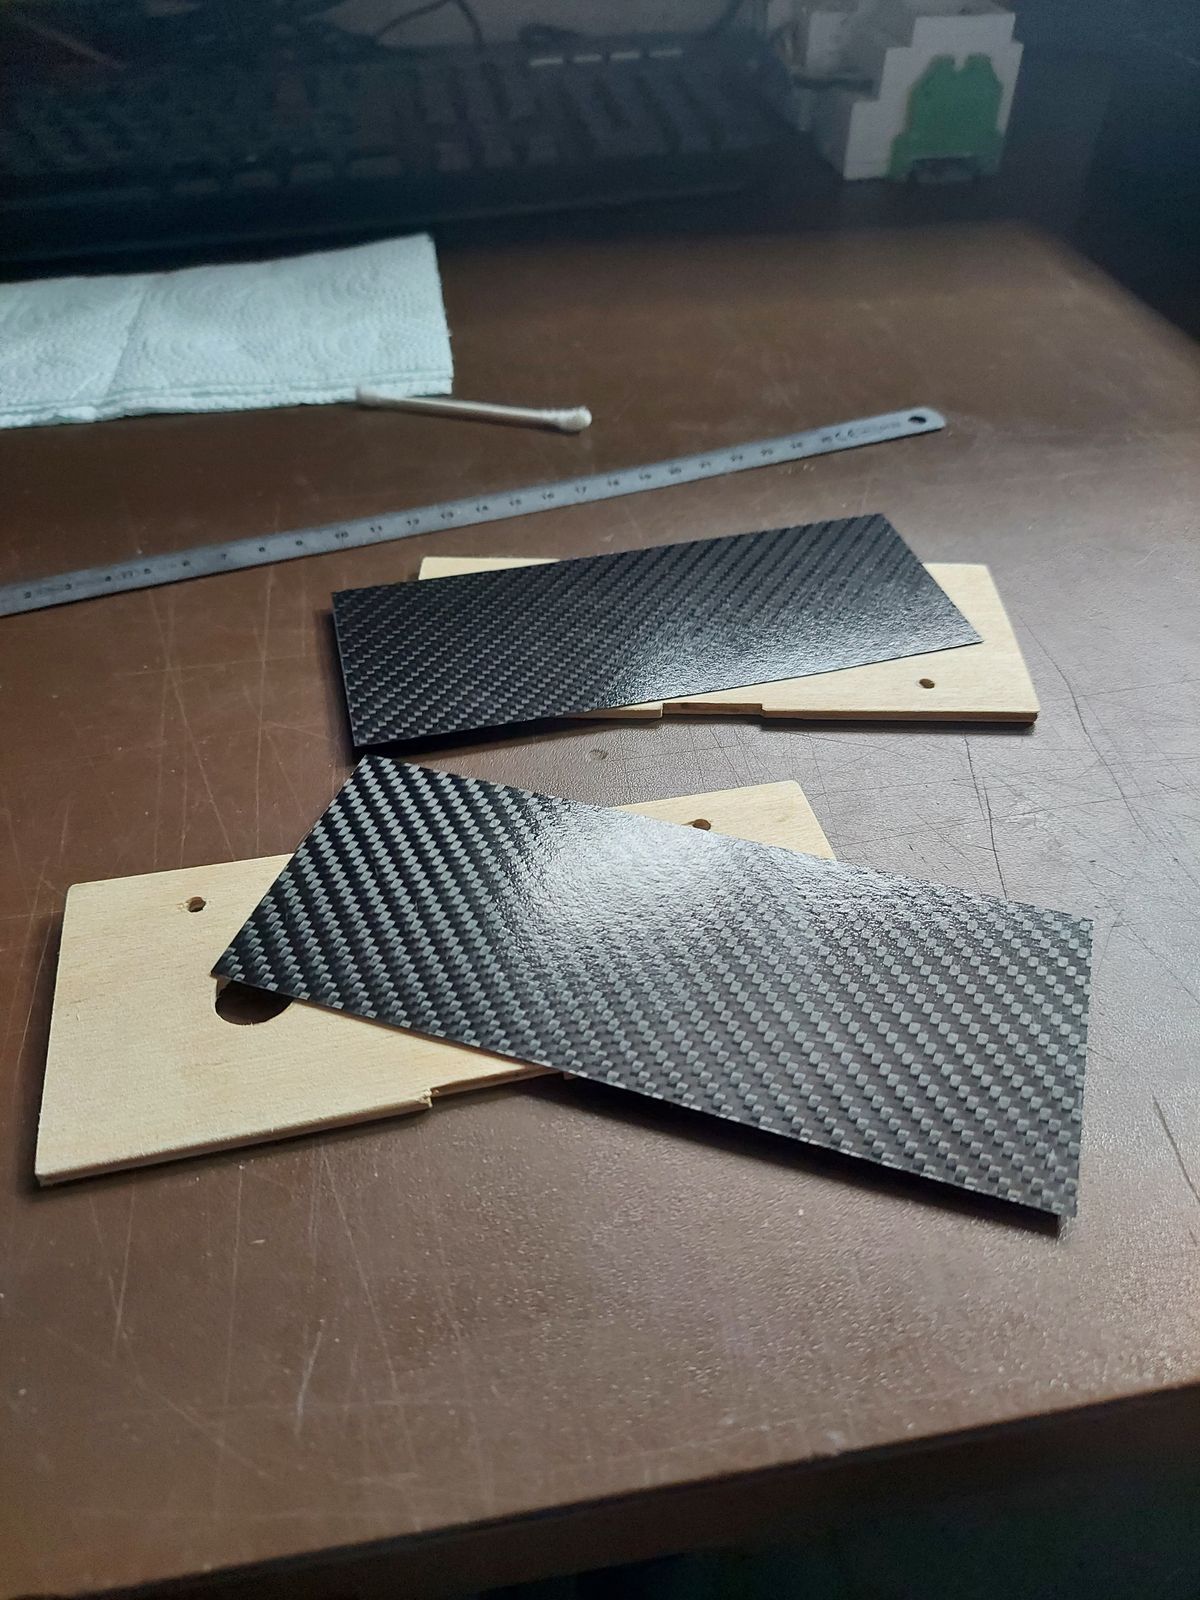
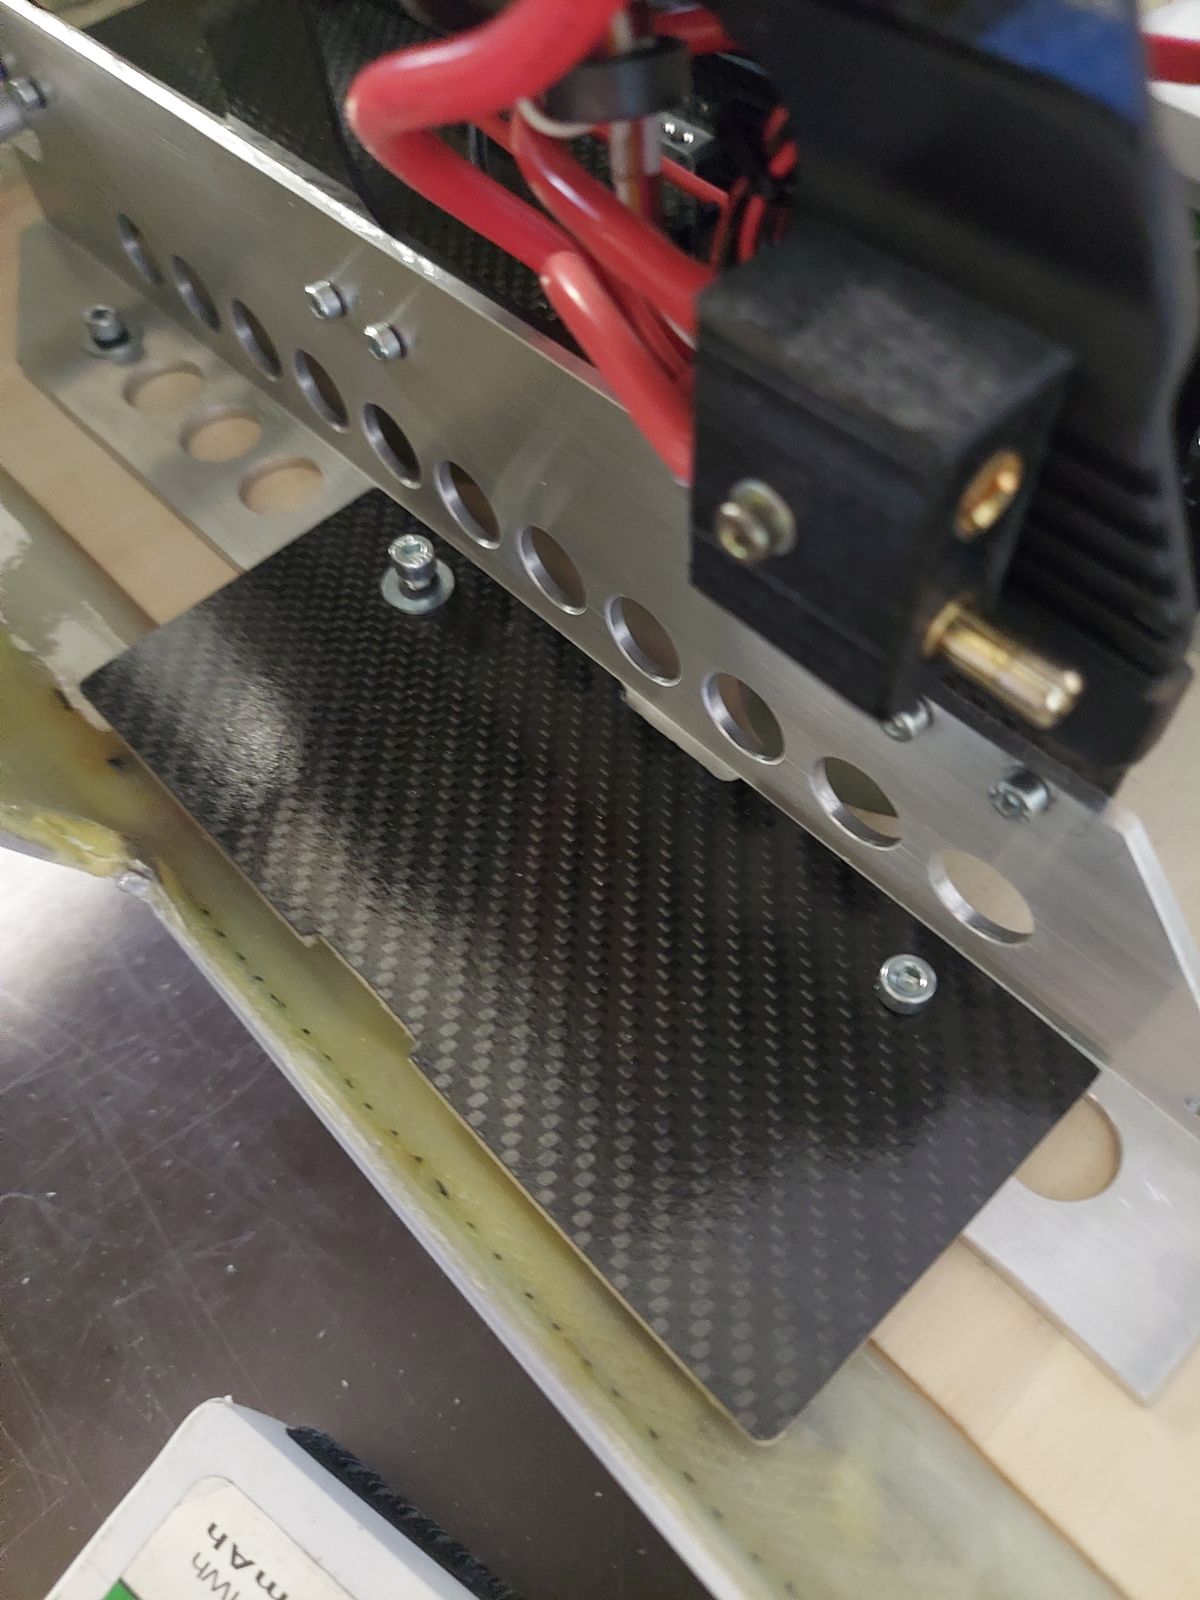
Installing Lipo battery support plates.
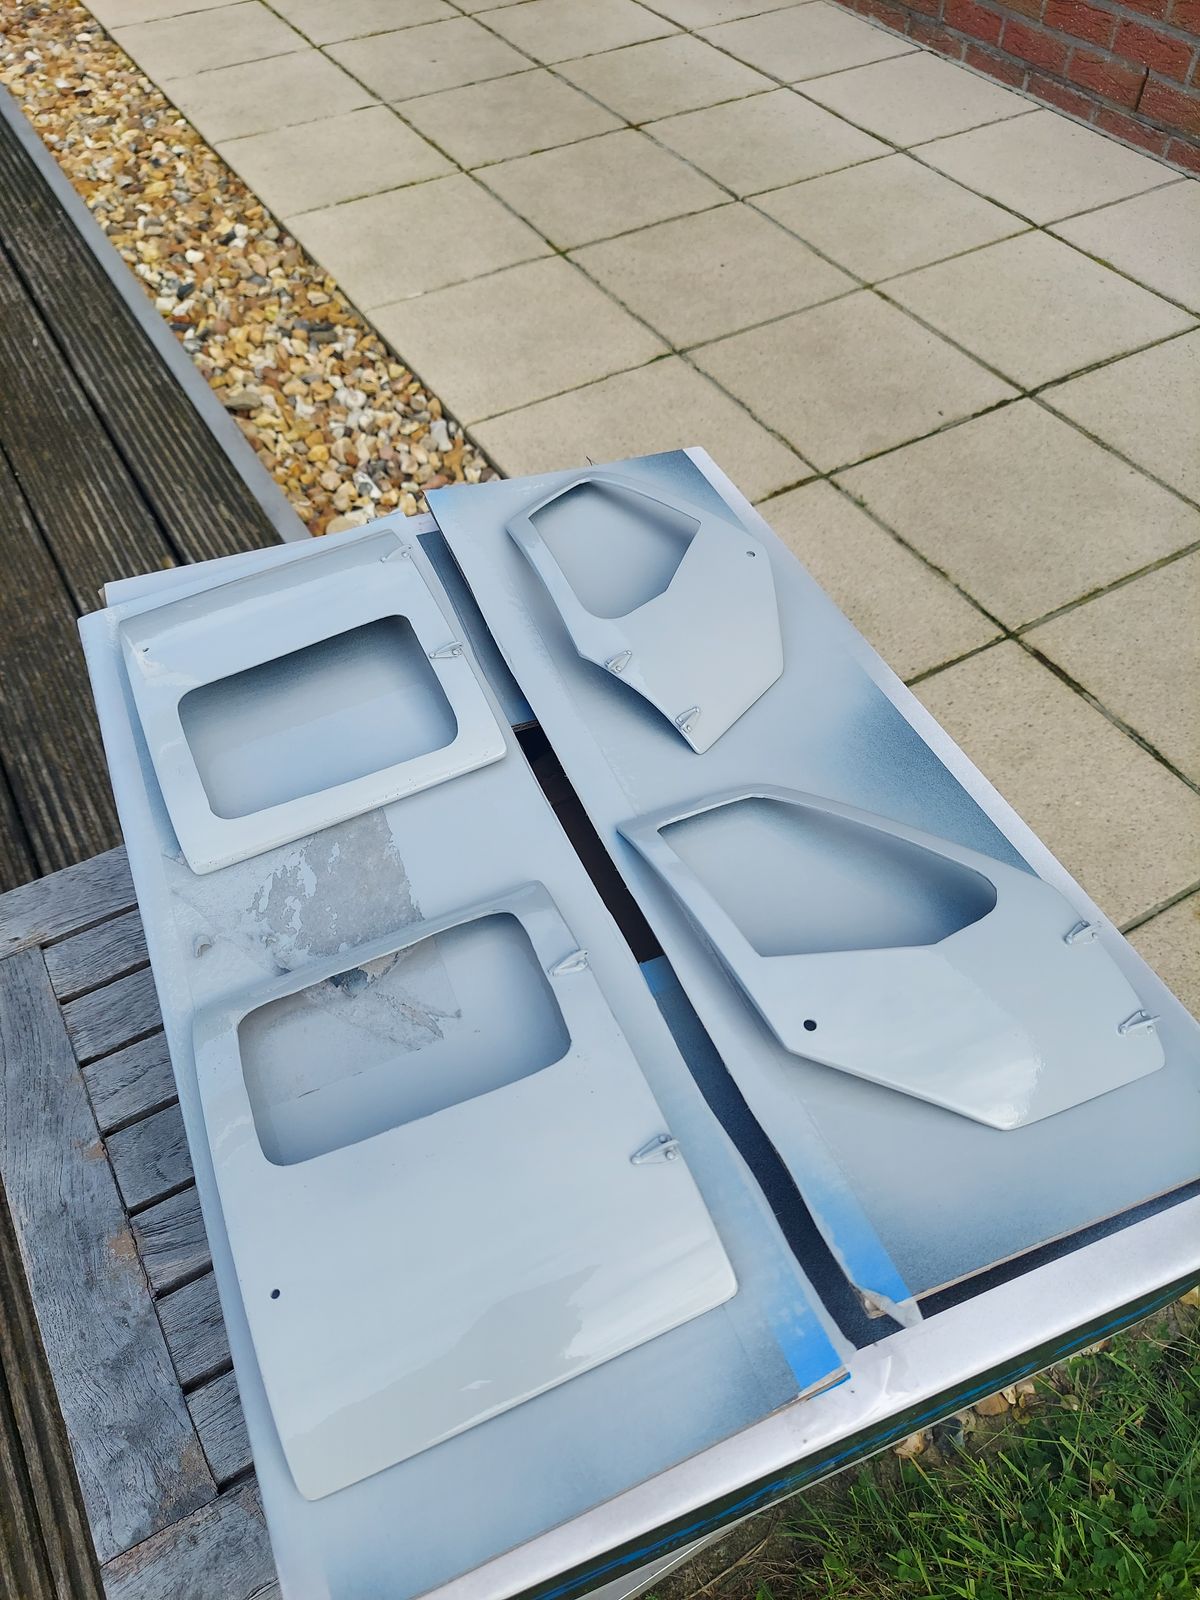
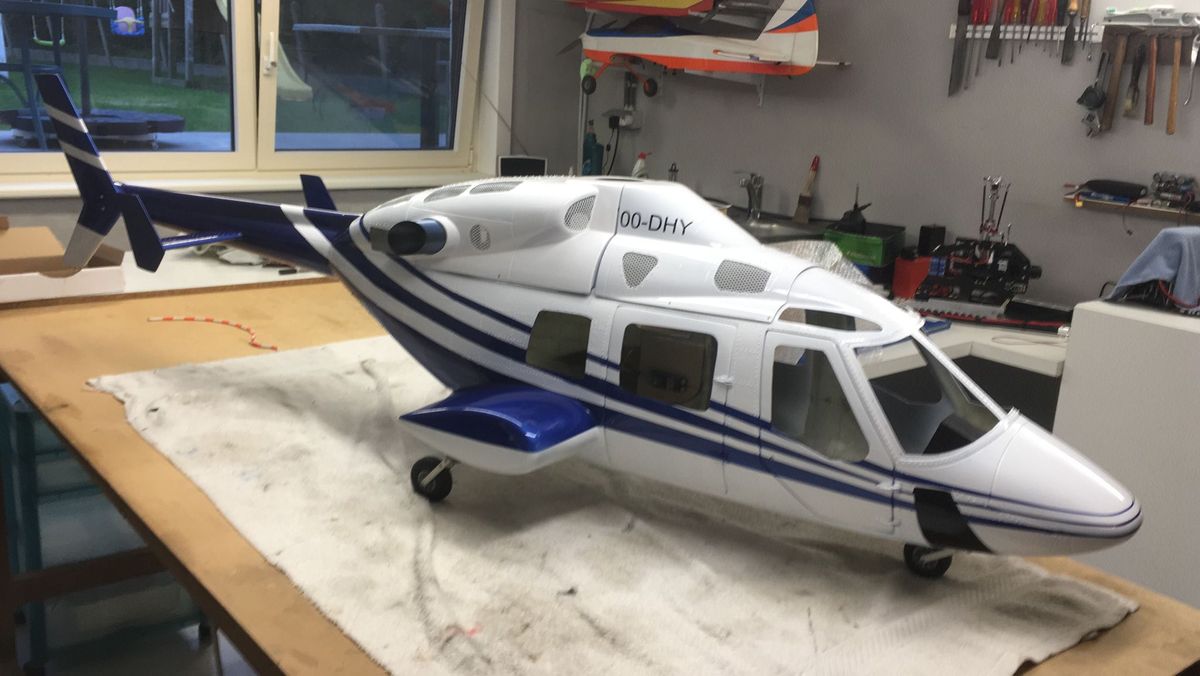
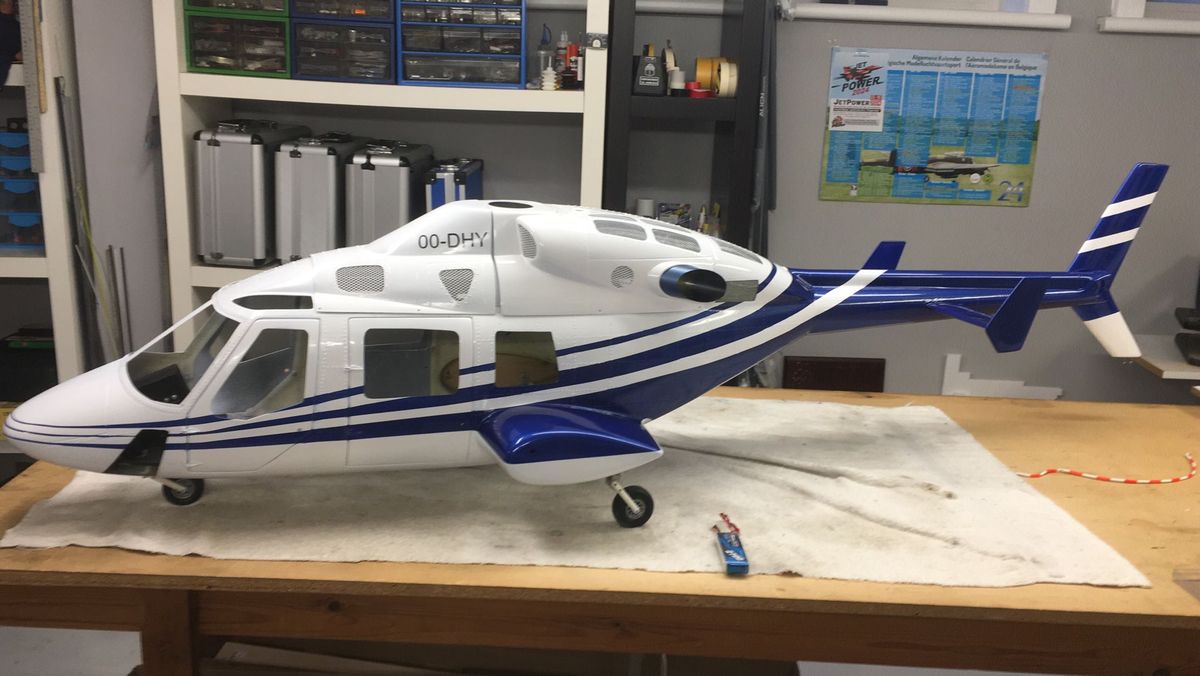
Paint job done
Fuselage painted, now the details and lightning had to be installed.
Helicopter owner : Hans Devos
Paint job: Hedwig Lootens
11 Comments
Very Nice
Super work so far!👍
Gotta love the 222, I flew this one back in the day.
Nice Job.. !!!!
Nice…
I am amazed at how aggressively you flew that on the first flight! Looks like it holds!
Hey Michael, of course its holds,
After all it is just a fuselage around a Trex mechanic, that was originally desiged for heavy 3D work. The mechanic inside is the original T Rex 700 , with attached tailboom like the original machine.
The Vario Jetranger 3 that i build some time ago was done the same way, having a lot of flights since.
It looked a lot bigger in the video!
Love the detail!
Nice idea for the battery tray, and I love the rivets details..
Luckily I was able to place the lipo's next to the mechanics instead of in the cockpit, CG point is just fine now. Lipo's tray's supported directly by the metal frame, so no load on the fuselage.