

Vario Bell 429 Build, a pictorial journey
 Thomas D.
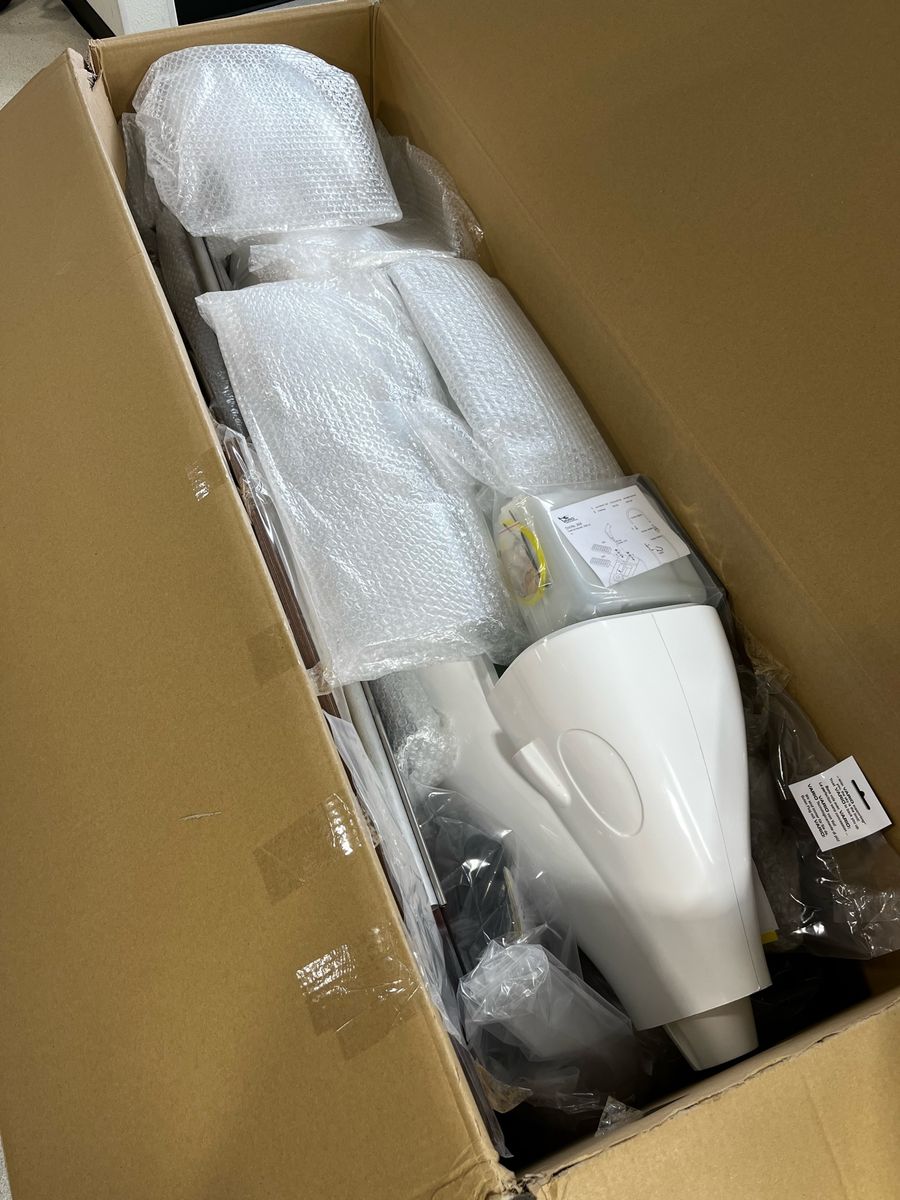
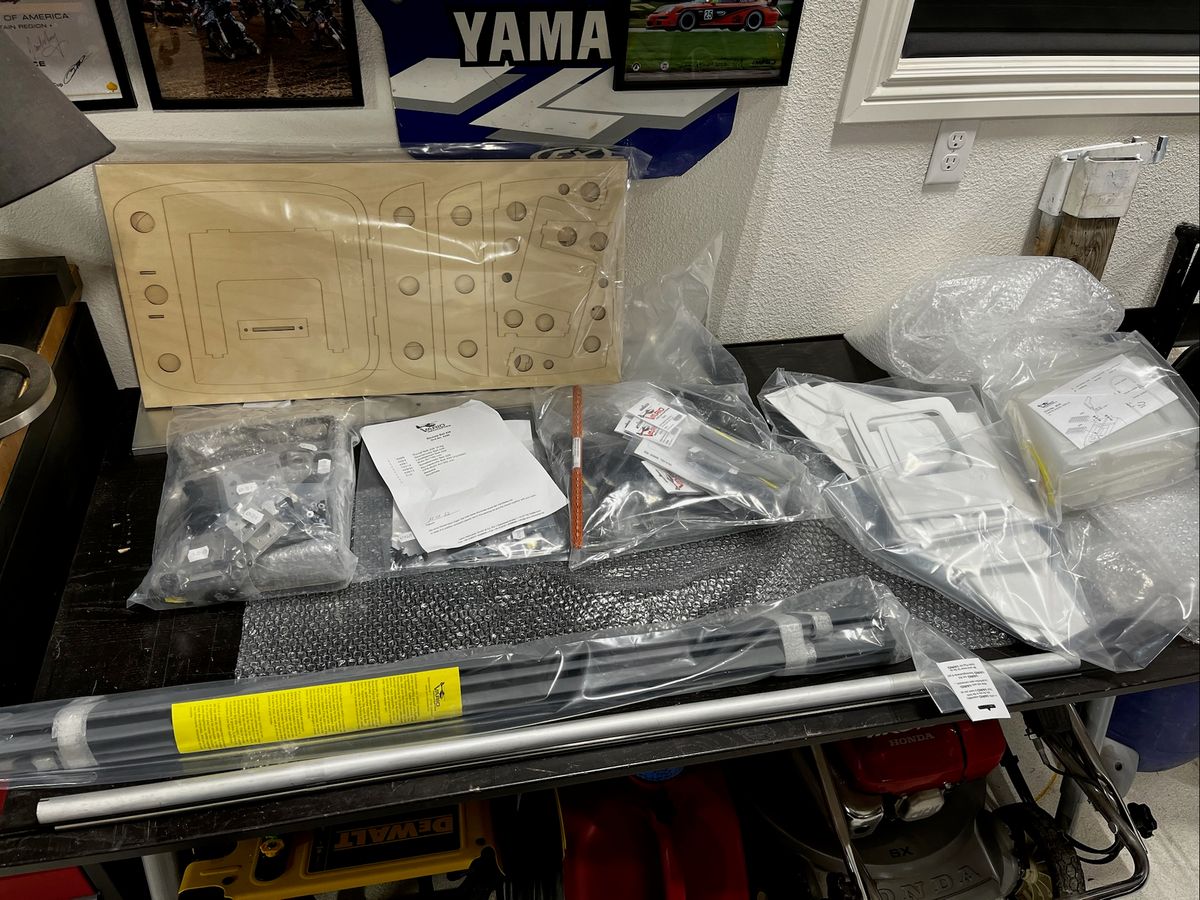
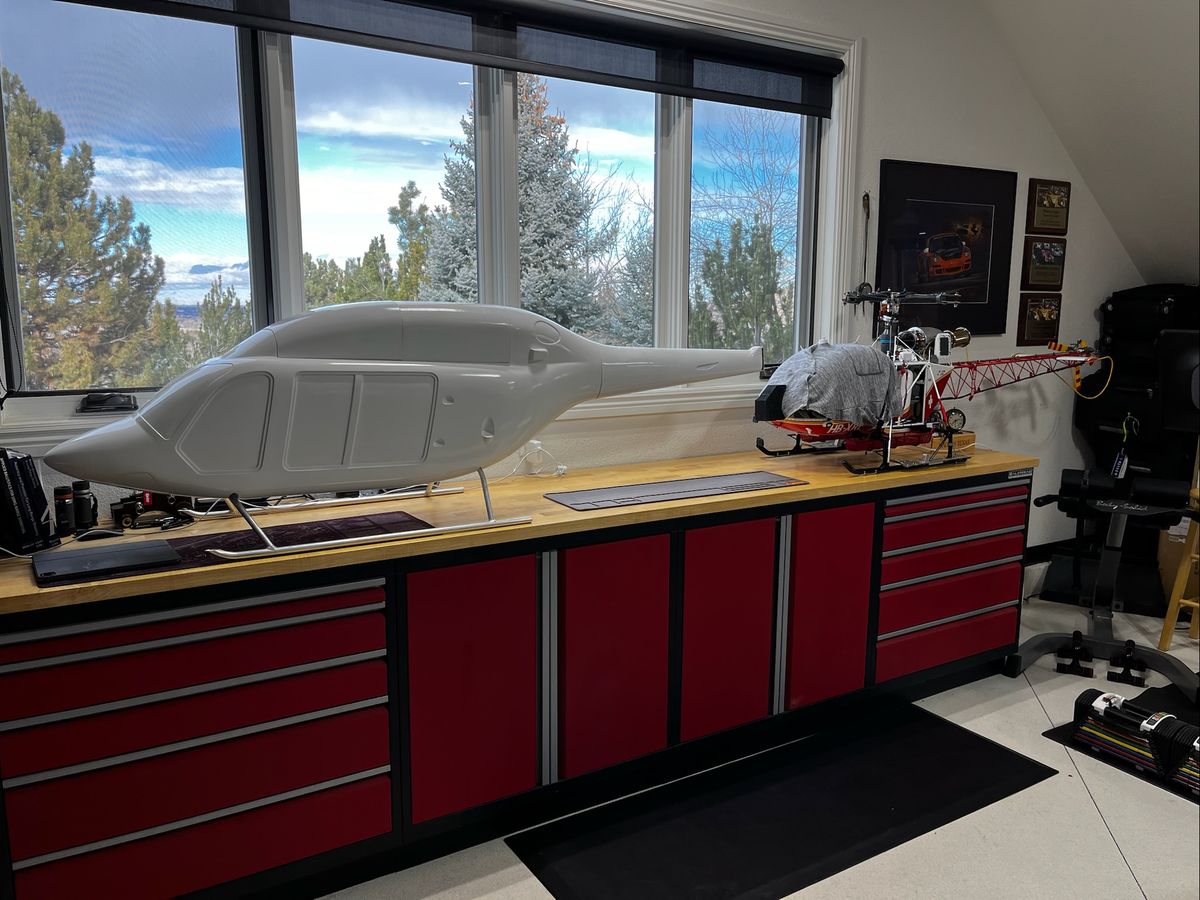
Unboxing, body and structural build
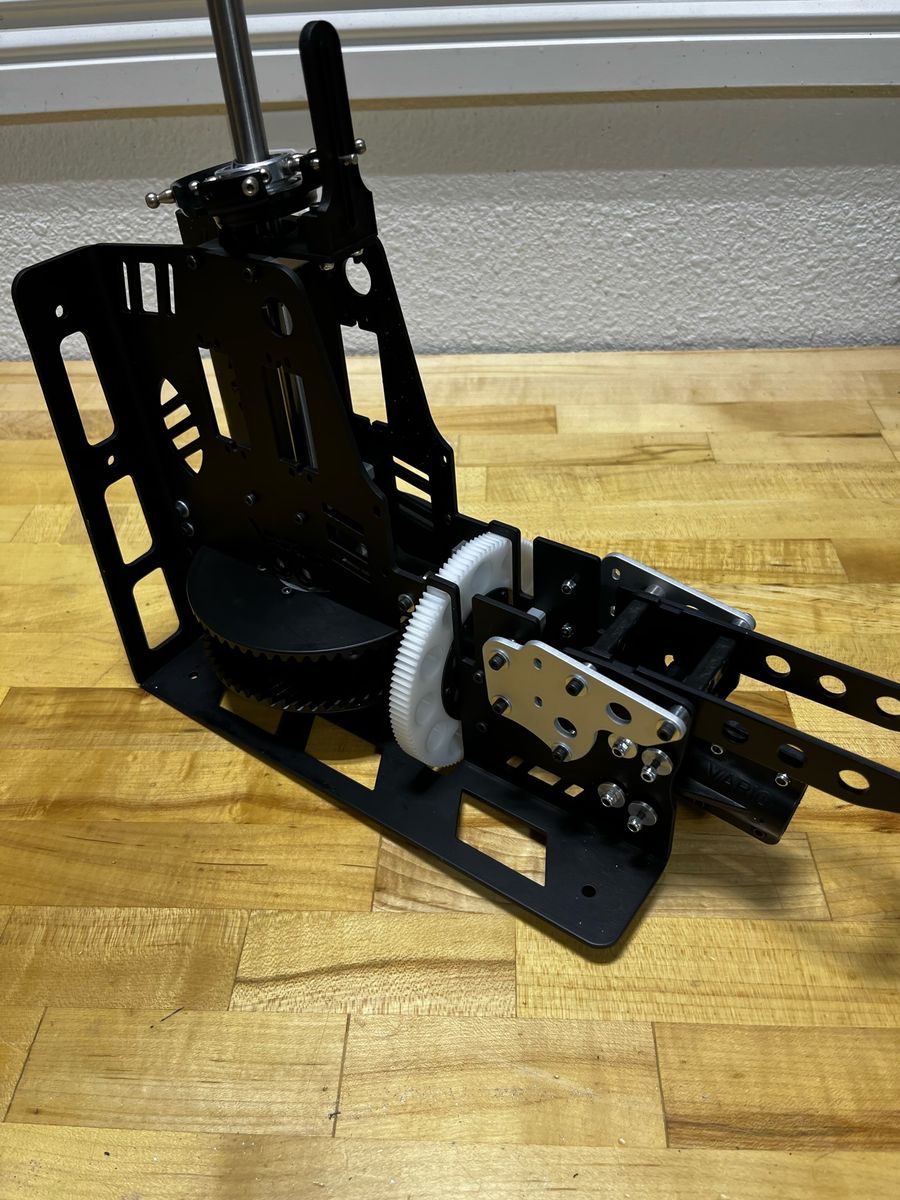
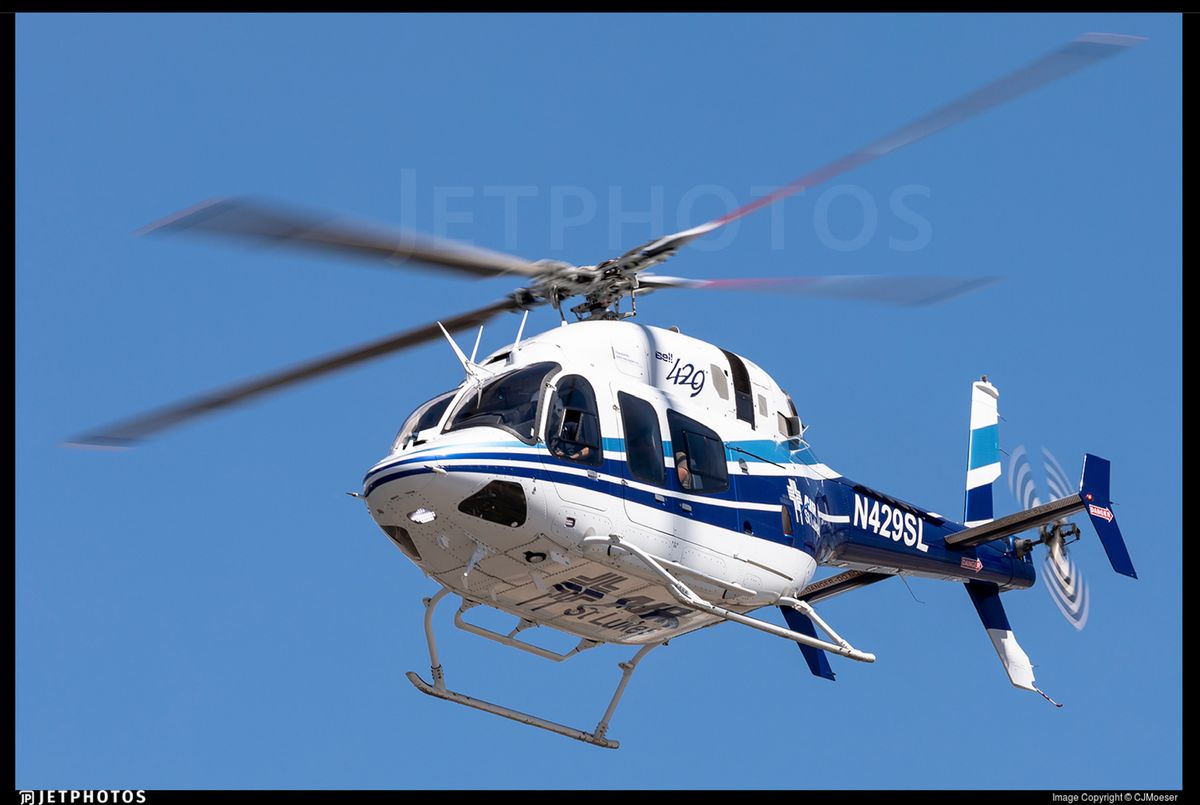
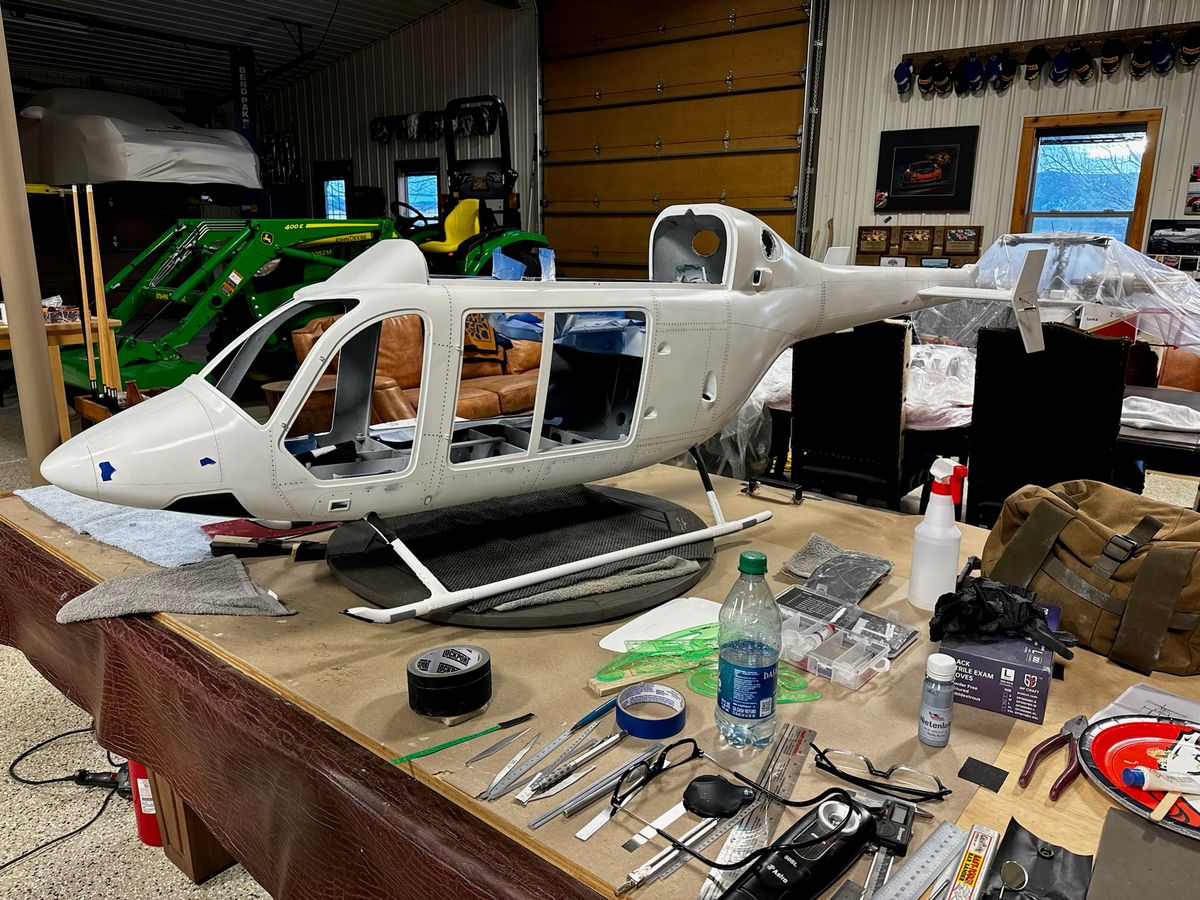
I thought I would share my Bell 429 build photo history. It is a 2 year journey, delayed by other activities and now complete. I have test flown it several times and had some tail rotor challenges (no reflection on Vario) due to some build changes. I’ll post up some videos later. I’ll add a few comments along the way, but this will be mostly pictures as they will speak for themselves.
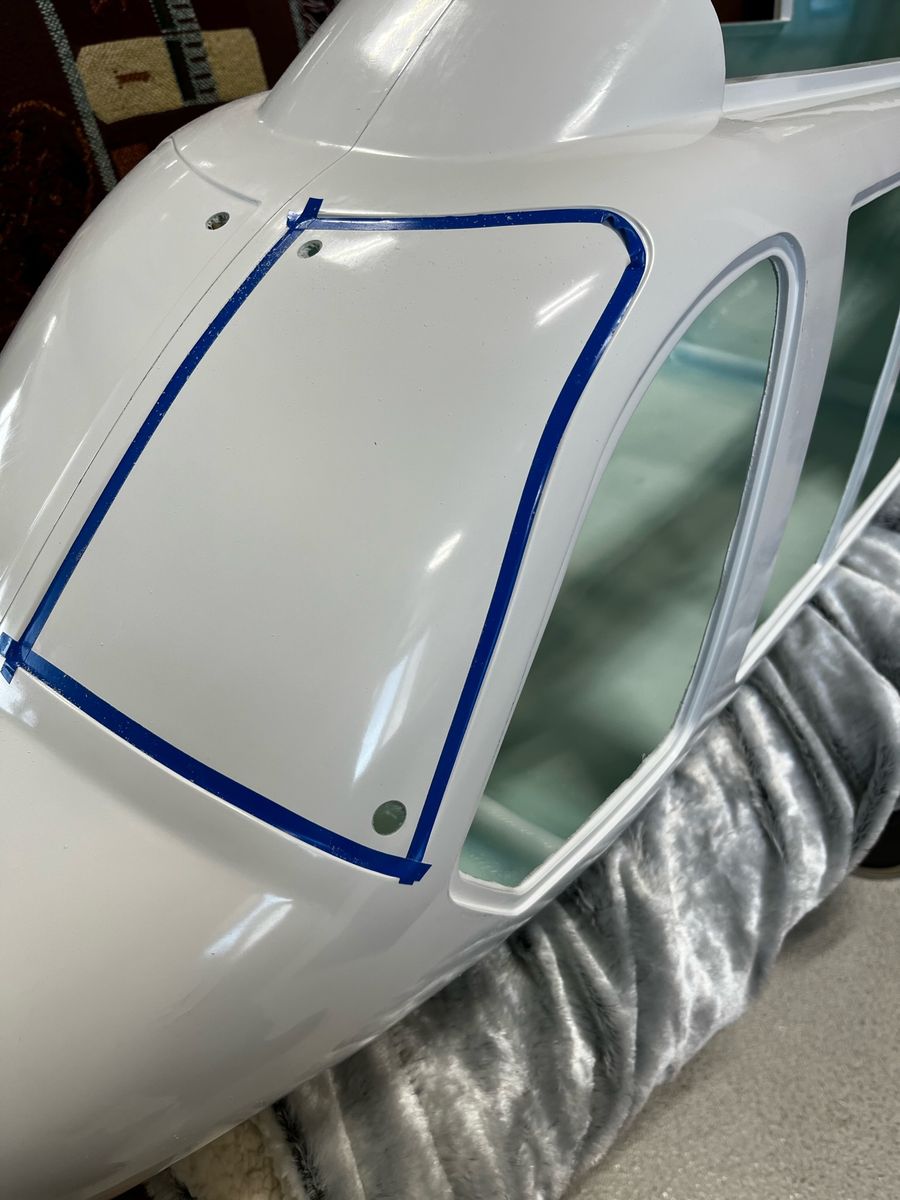
Structural
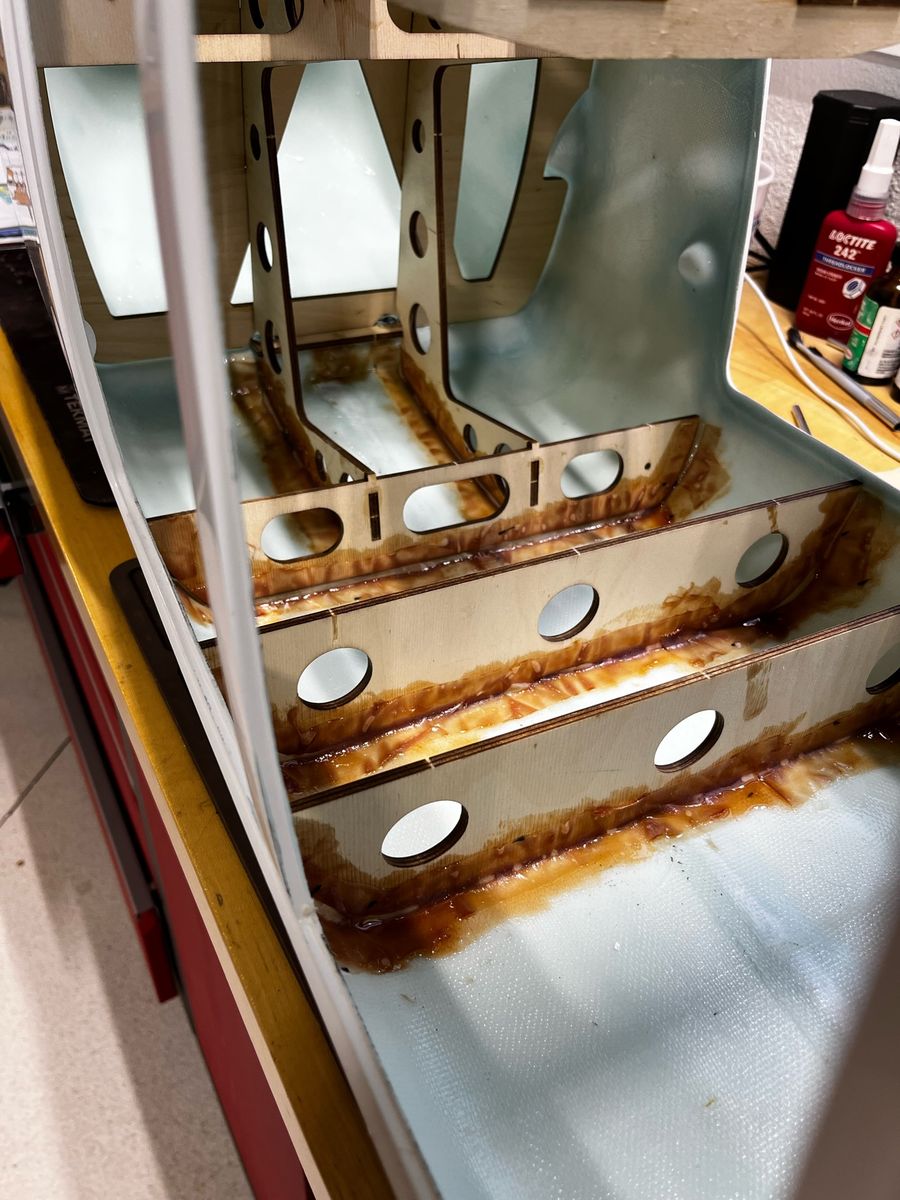
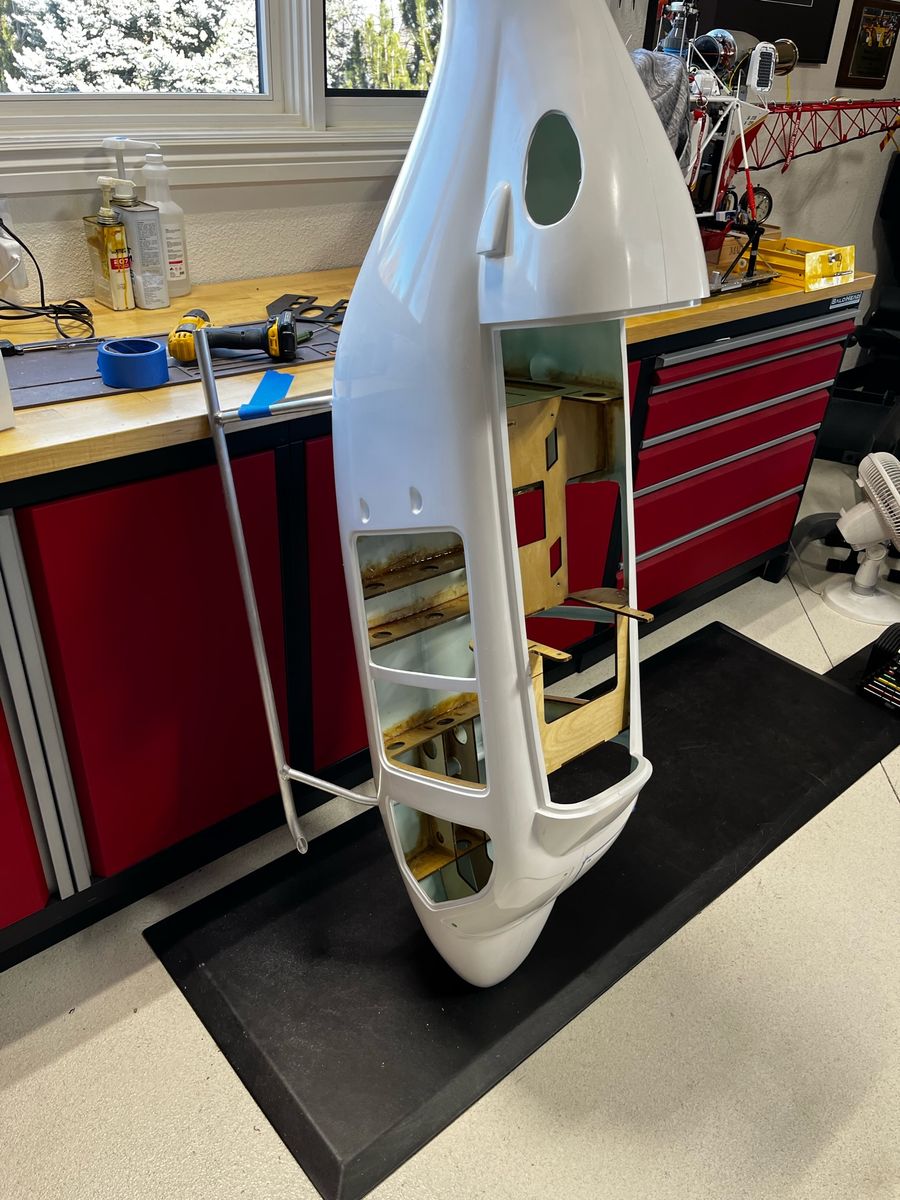
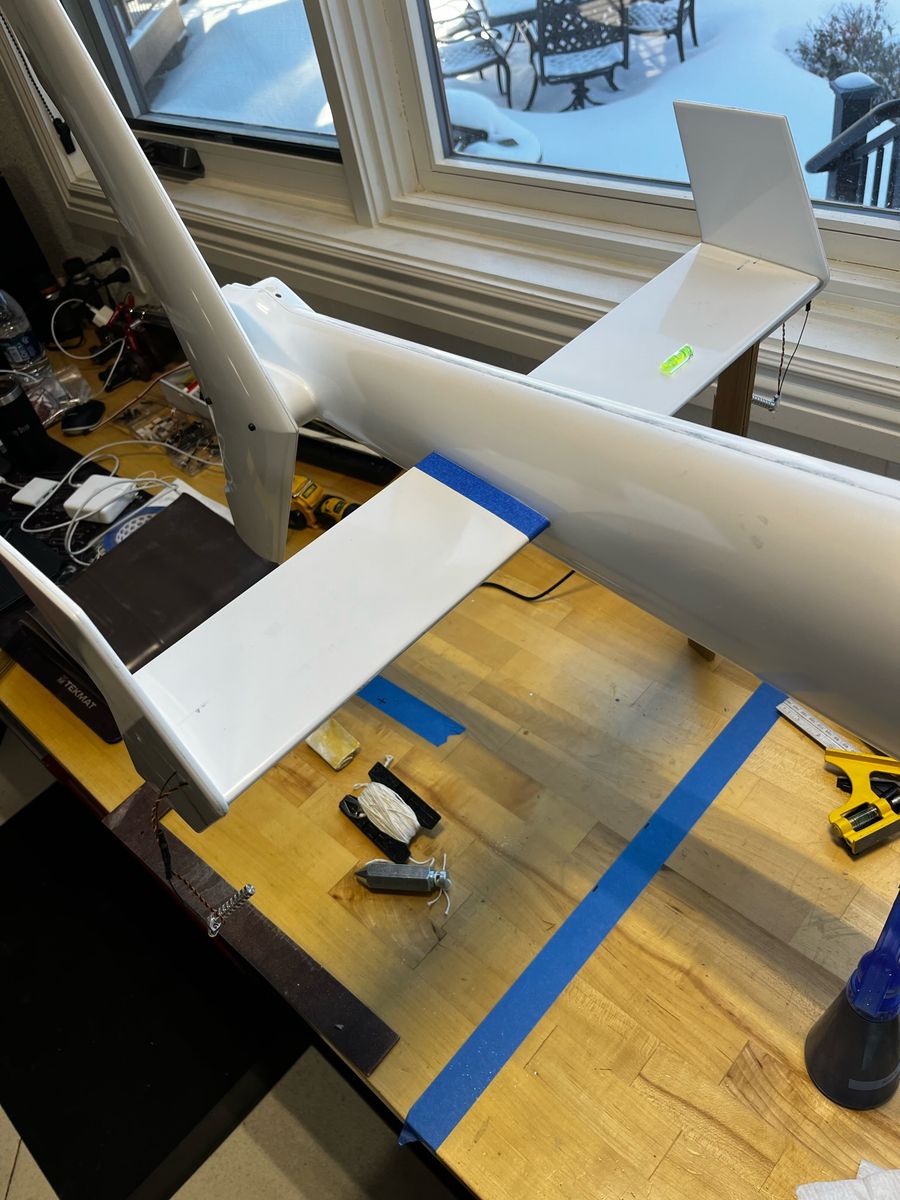
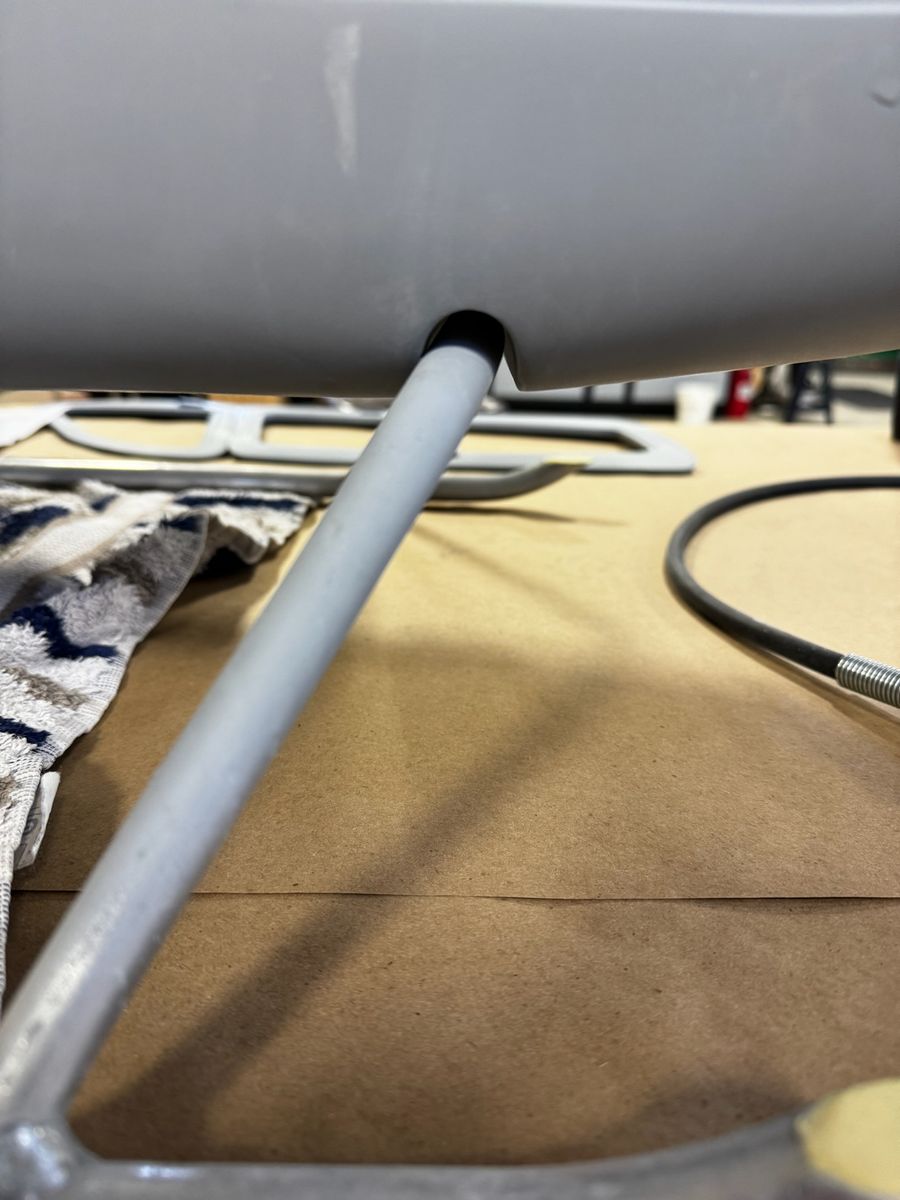
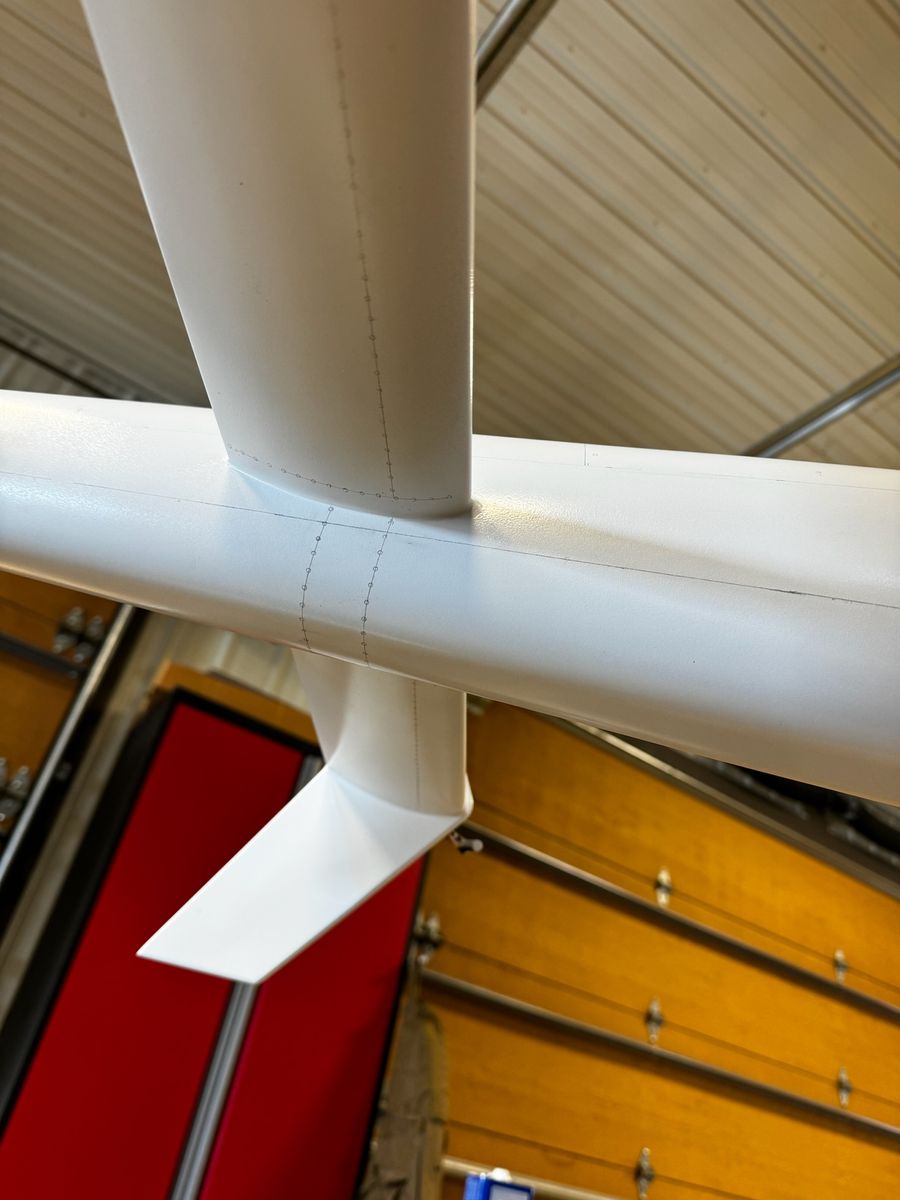
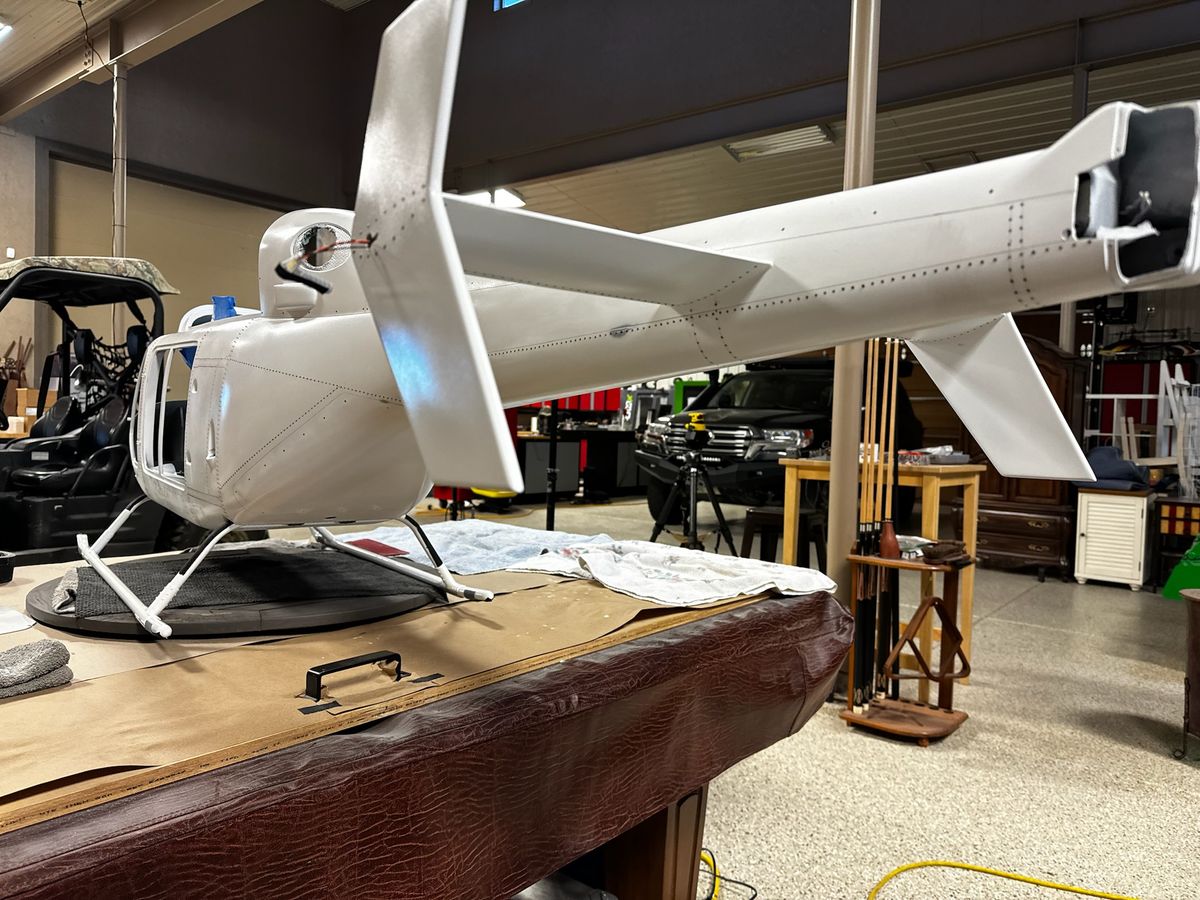
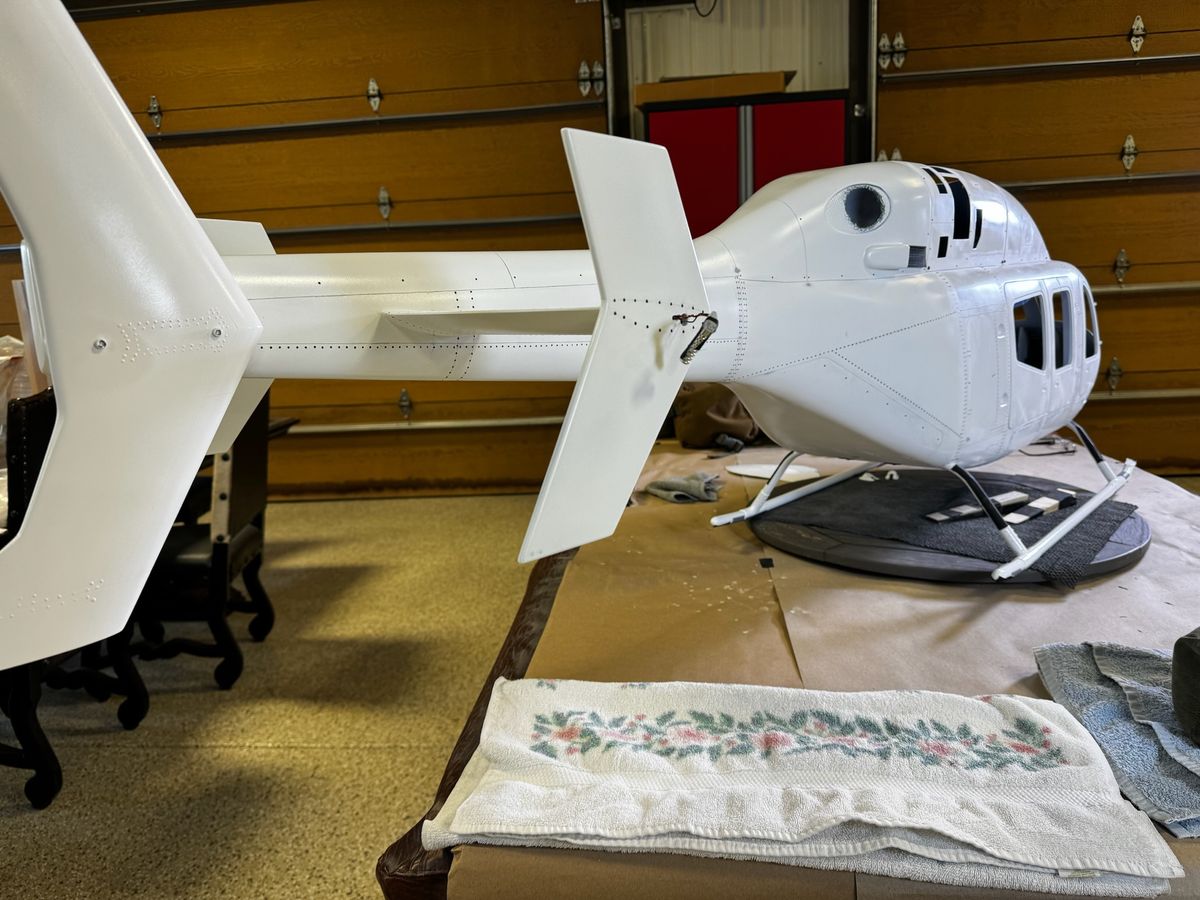
The tail drive tube positions close to the horizontal stabilizer, thus setting the approximent TR gear box location. It can be moved some.
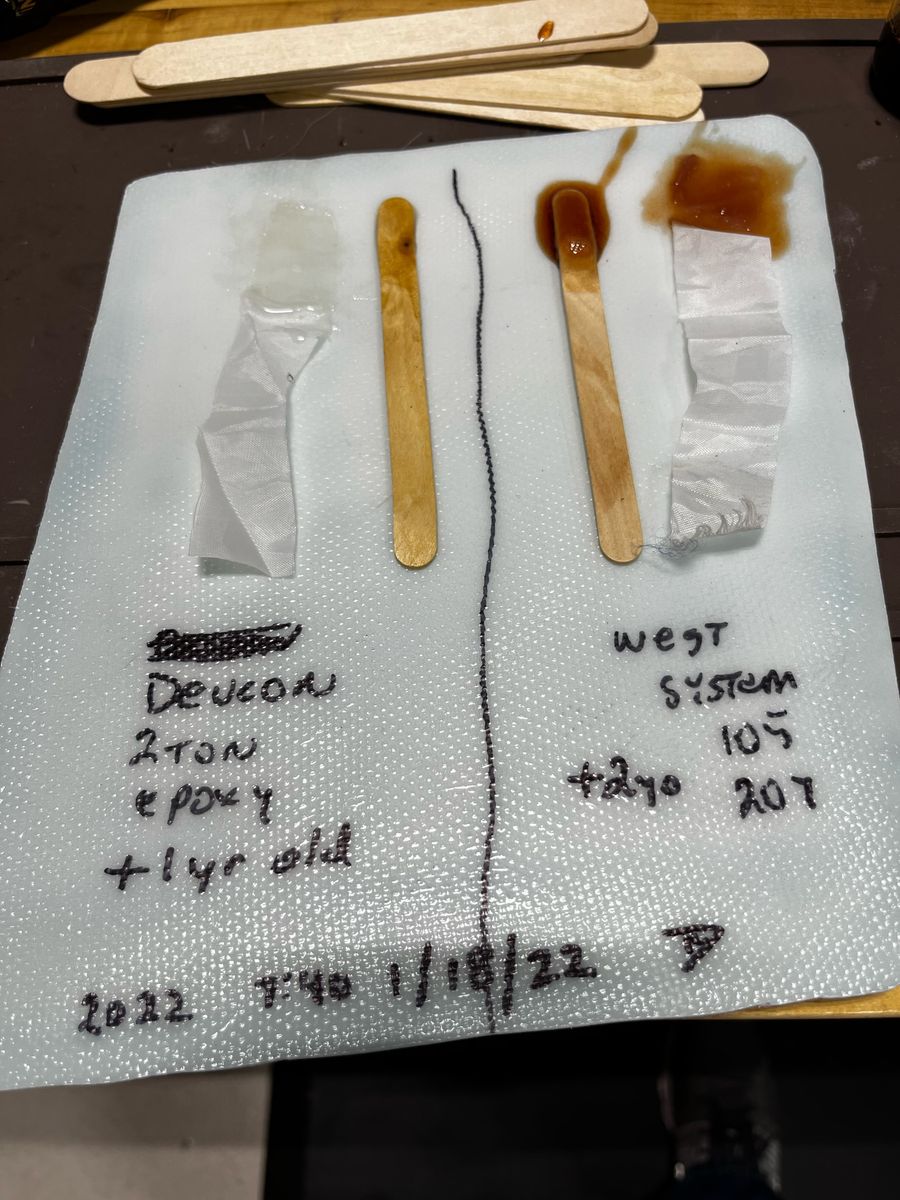
Before applying epoxy, I rough up the fiberglass. I always test my epoxy before committing to all the structural.
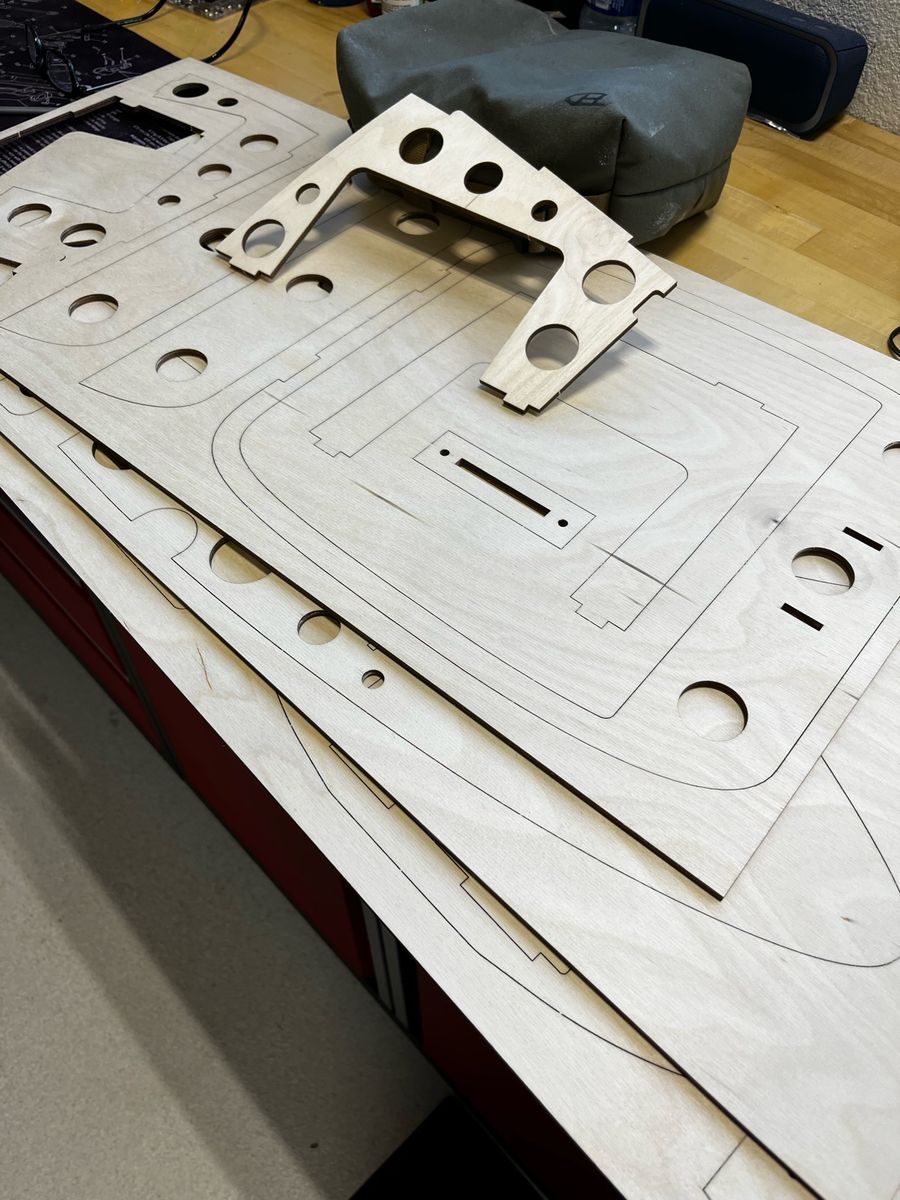
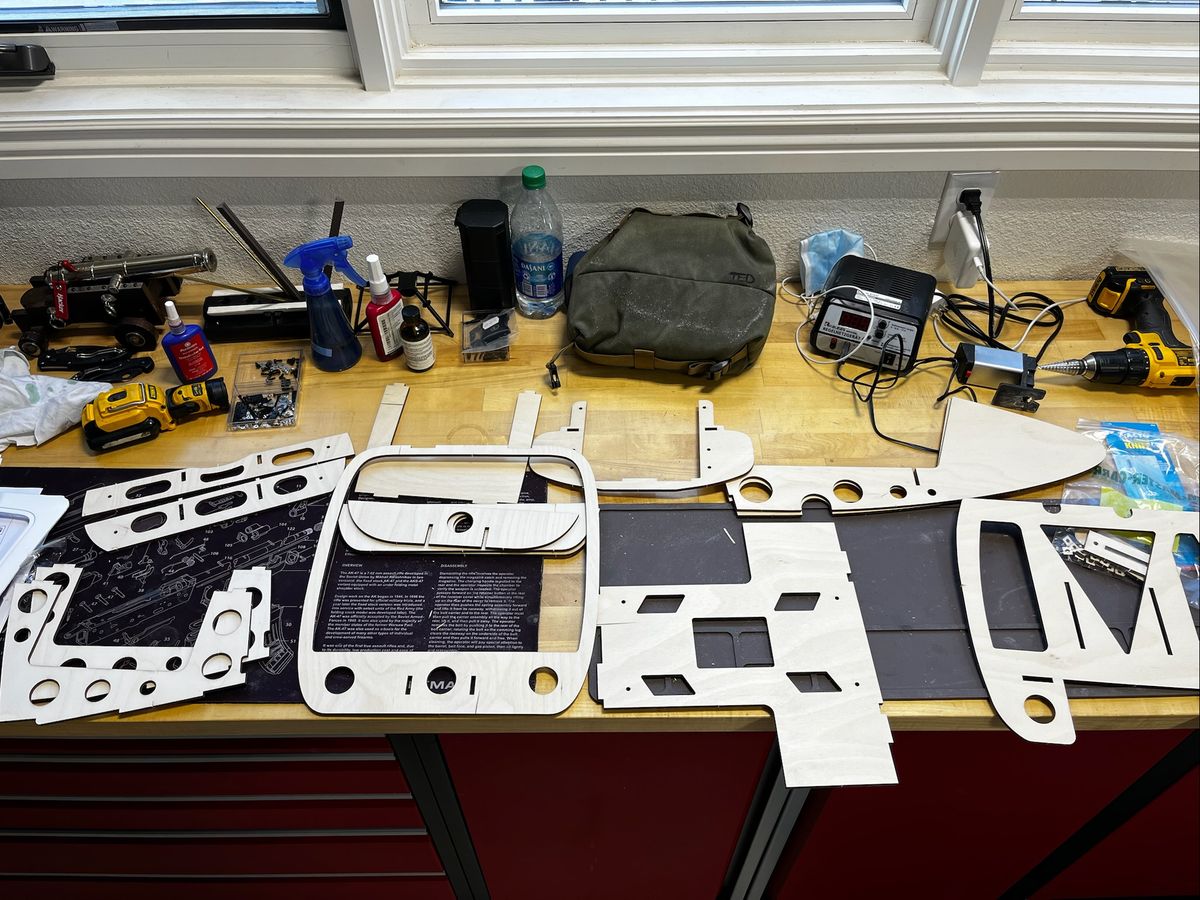
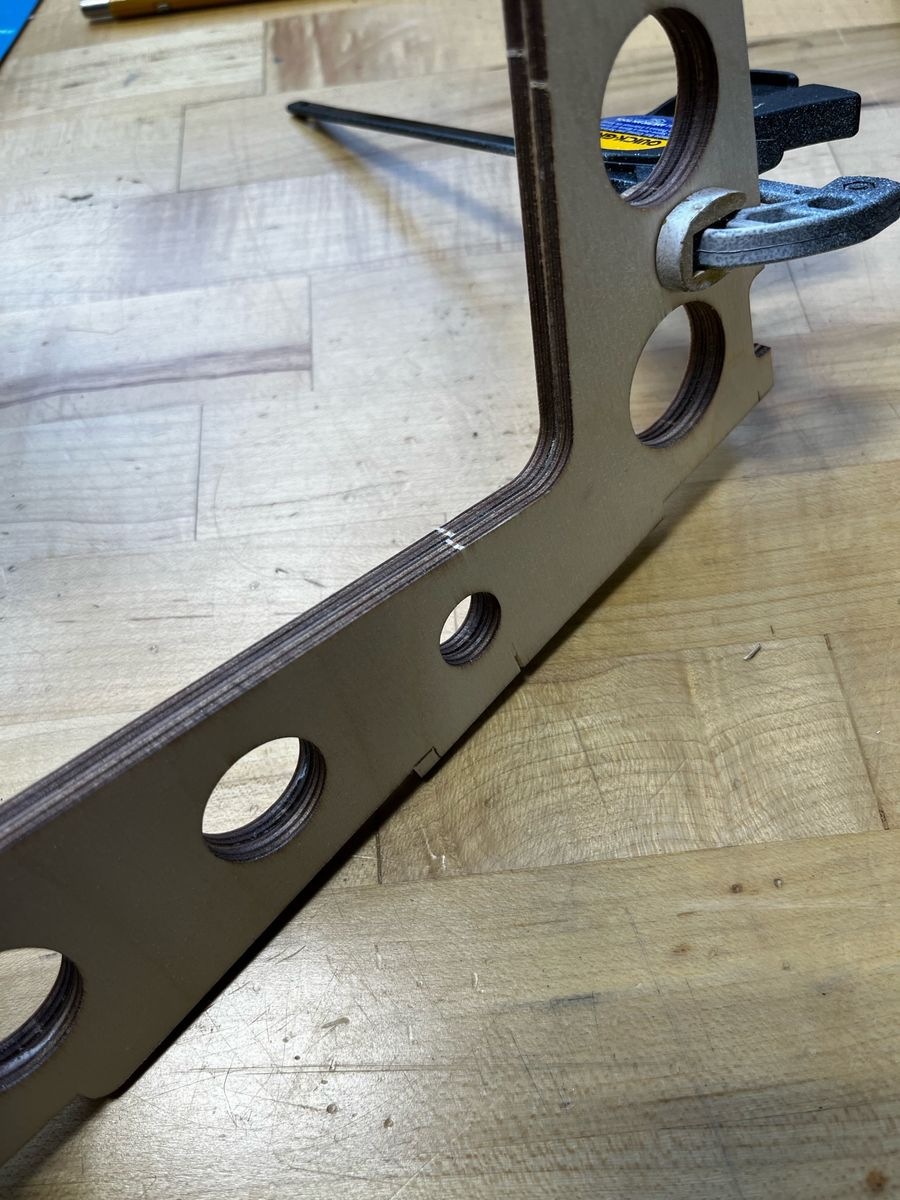
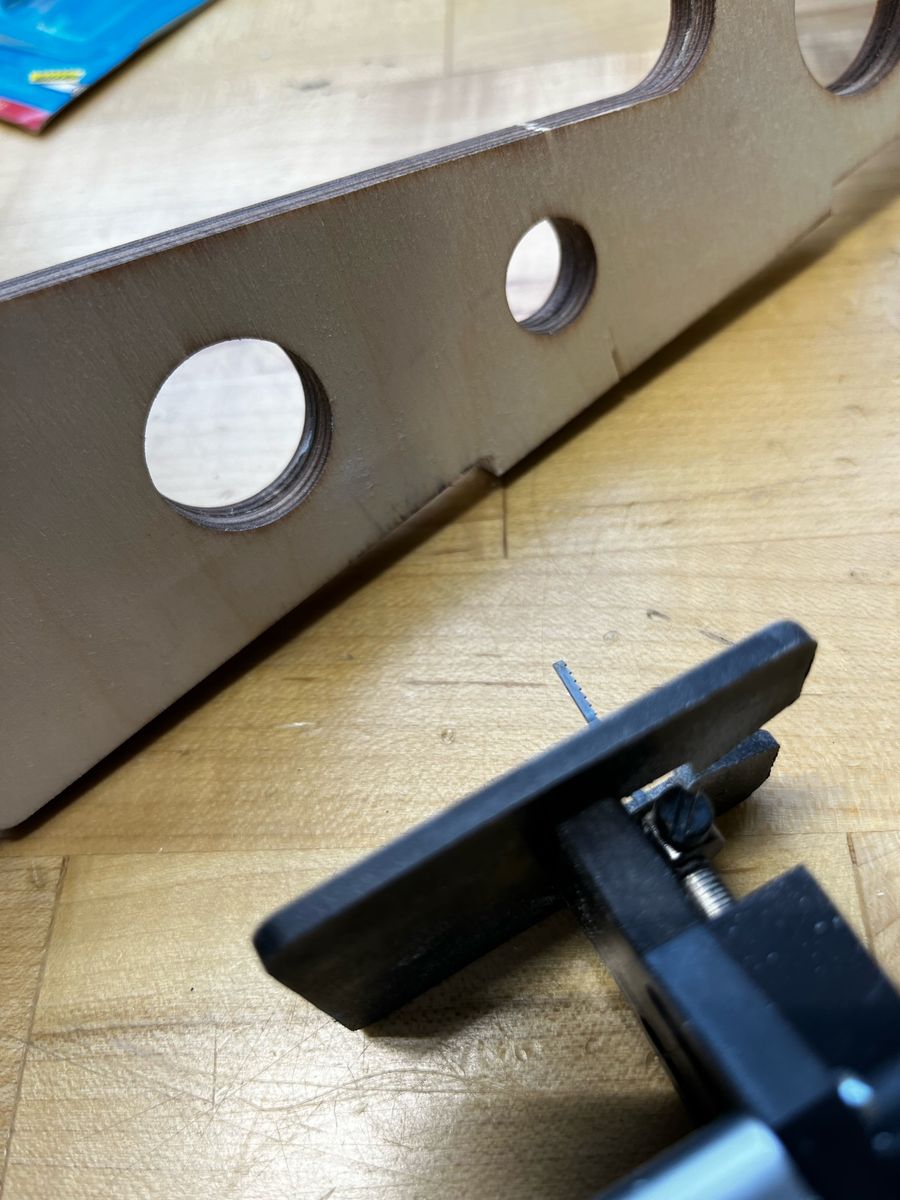
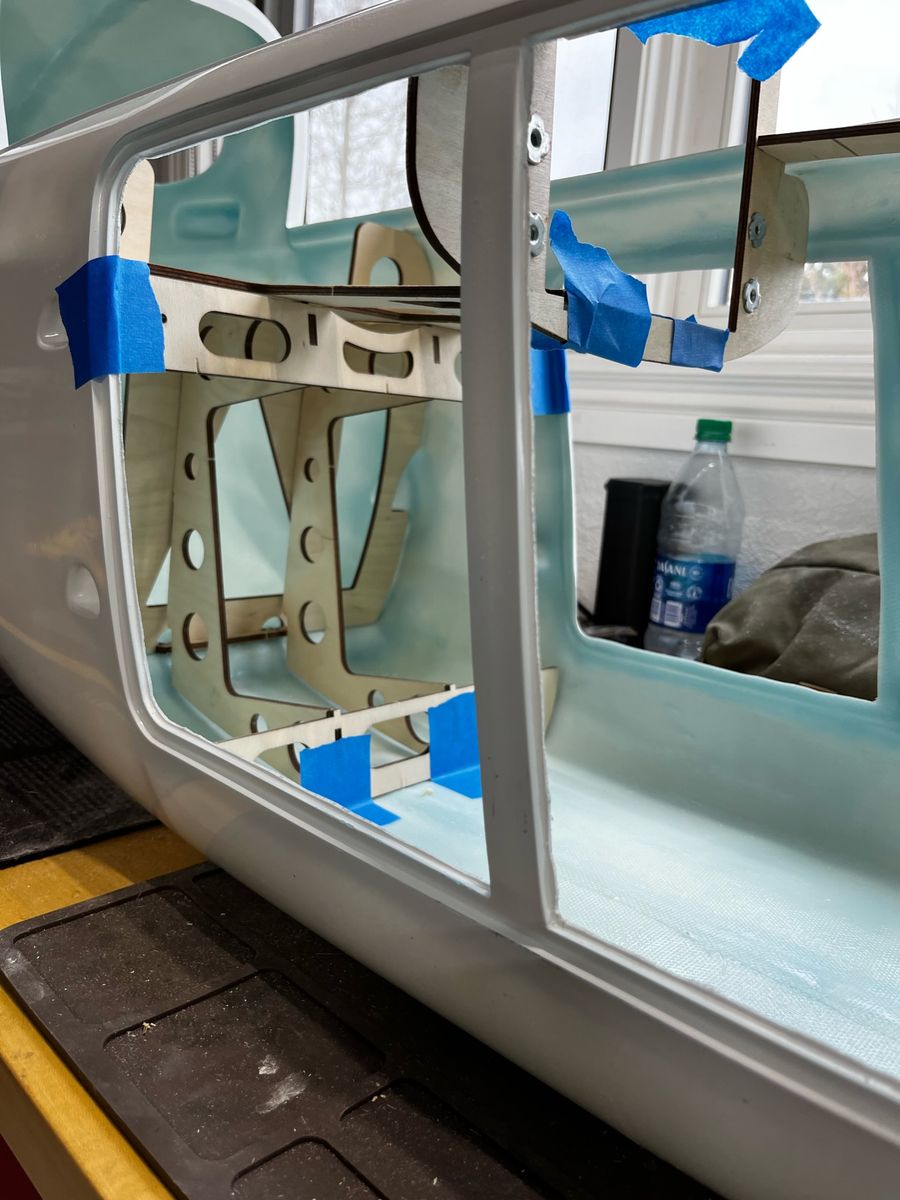
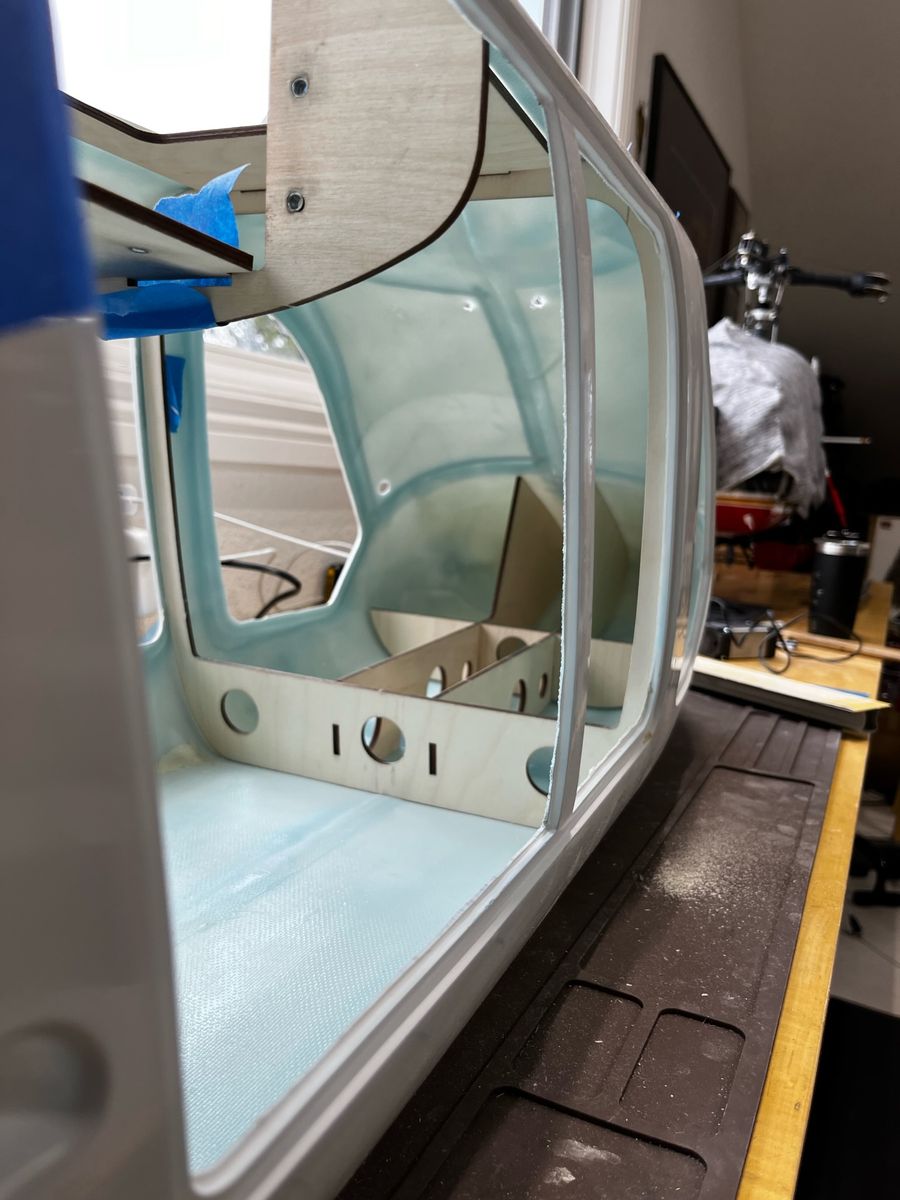
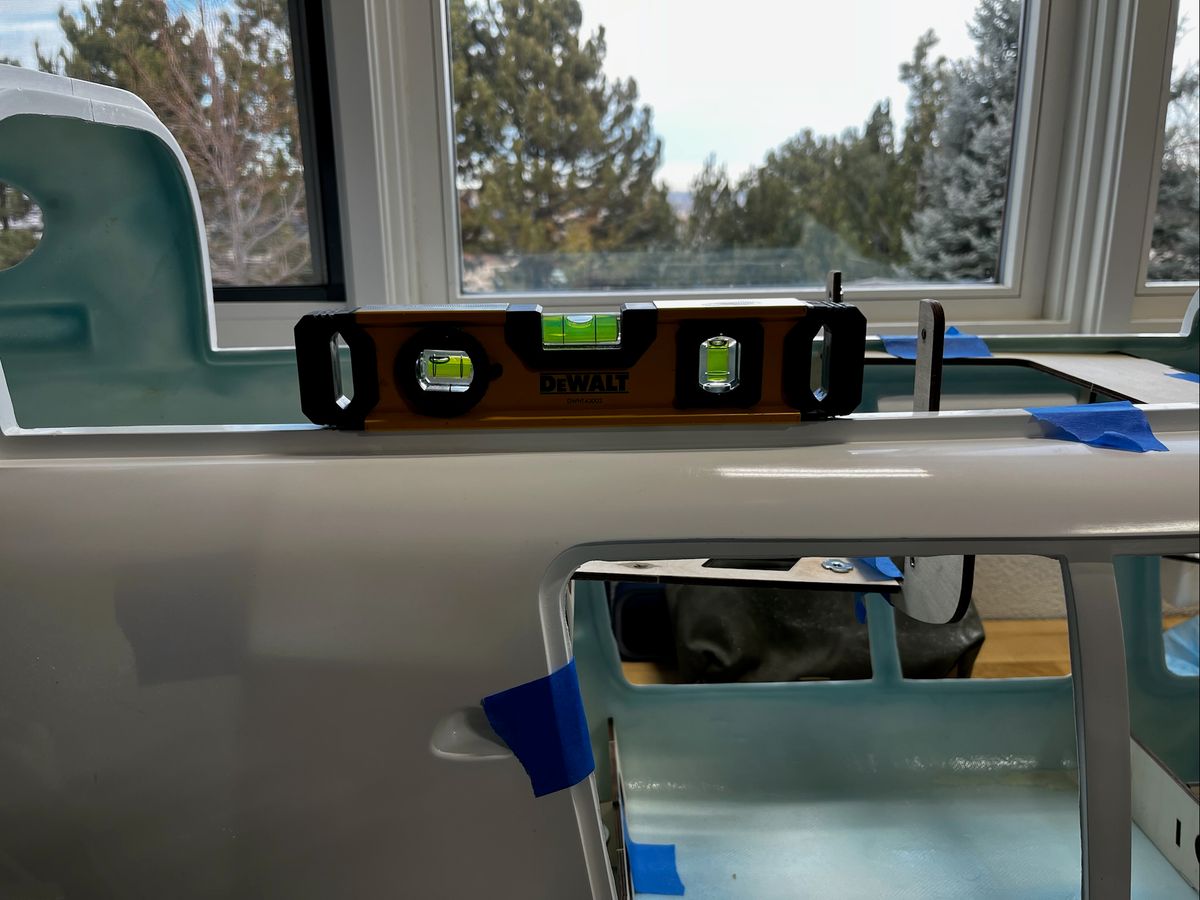
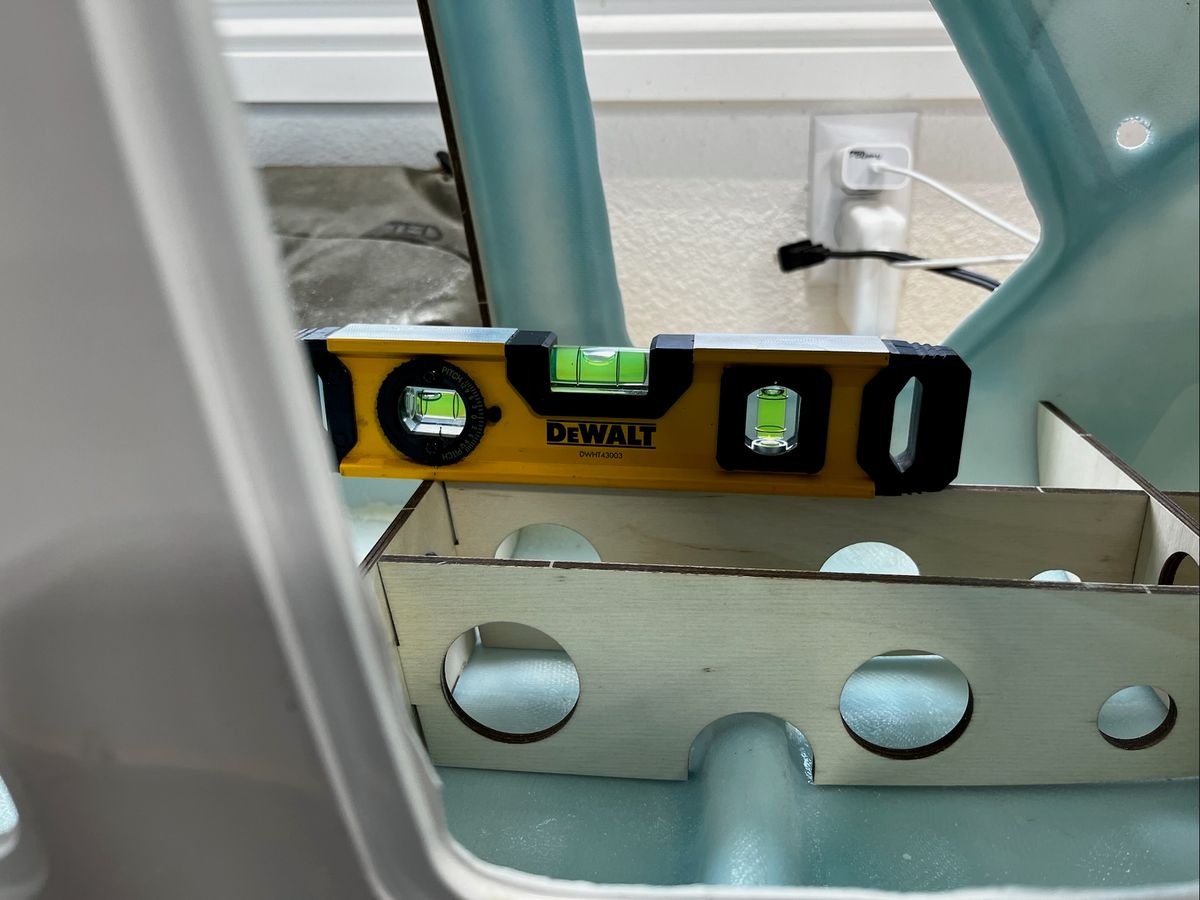
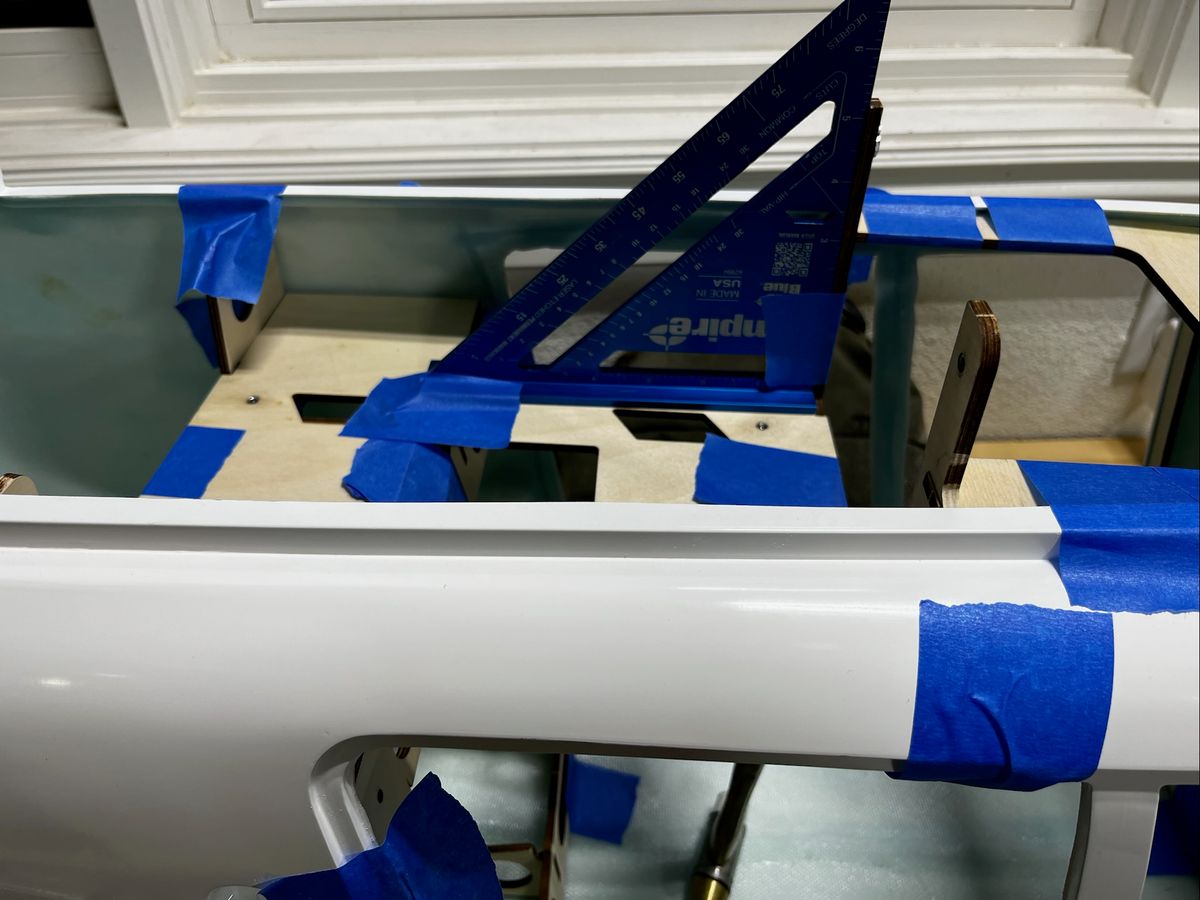
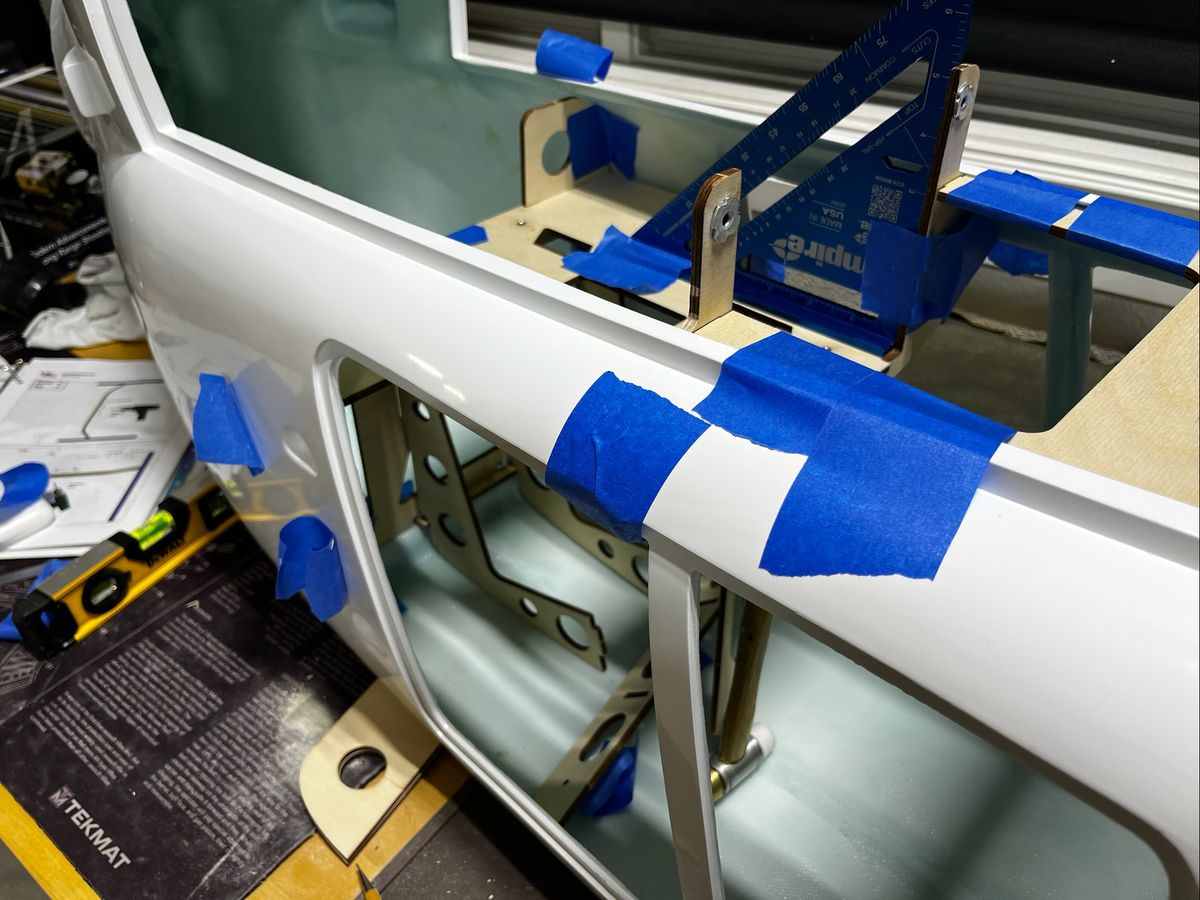
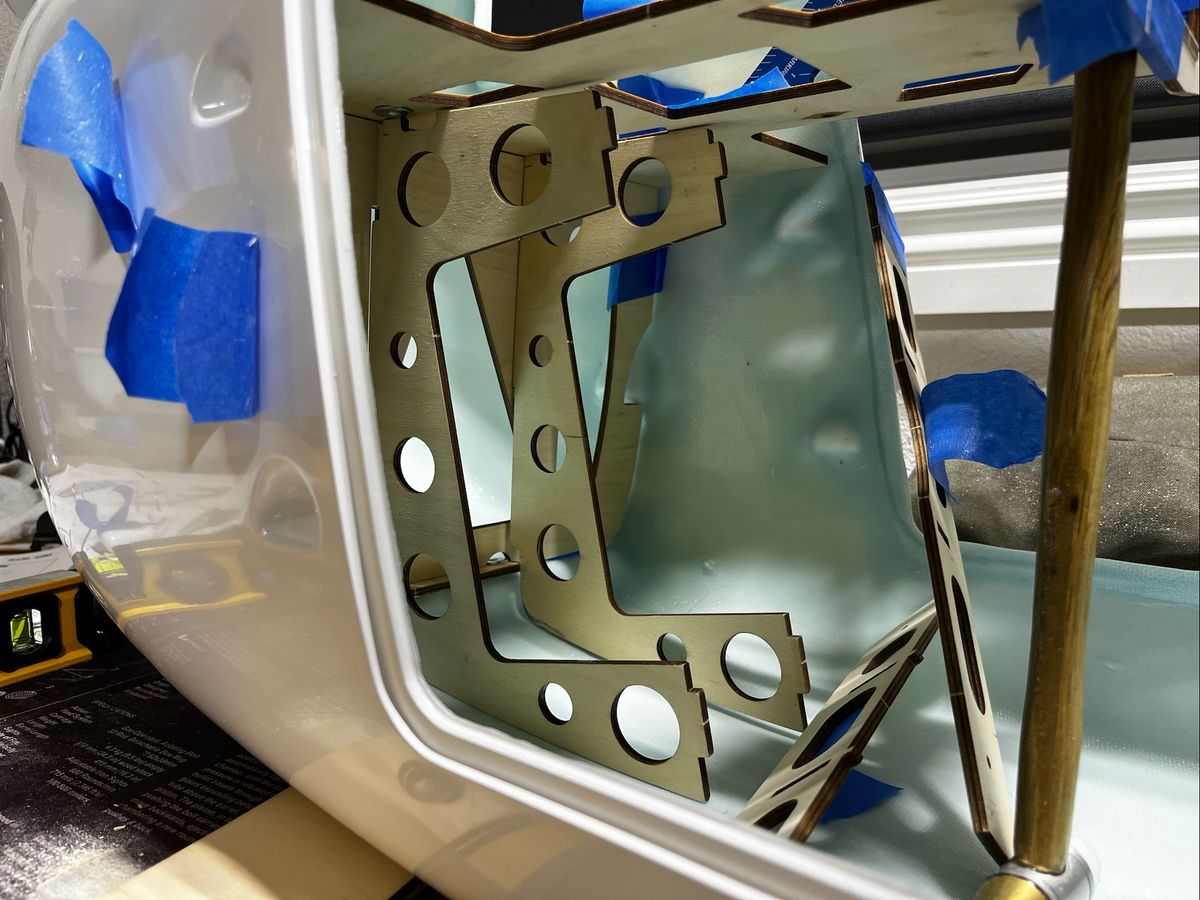
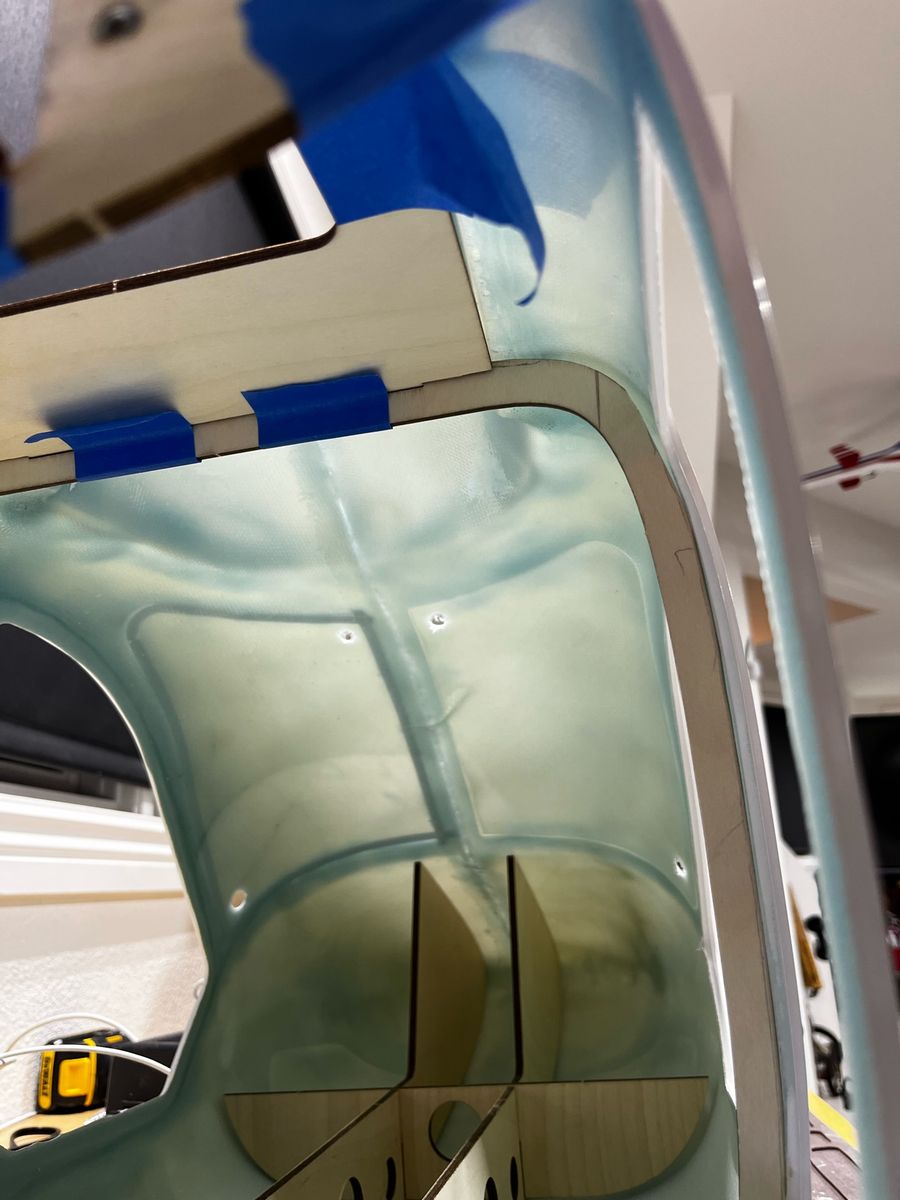
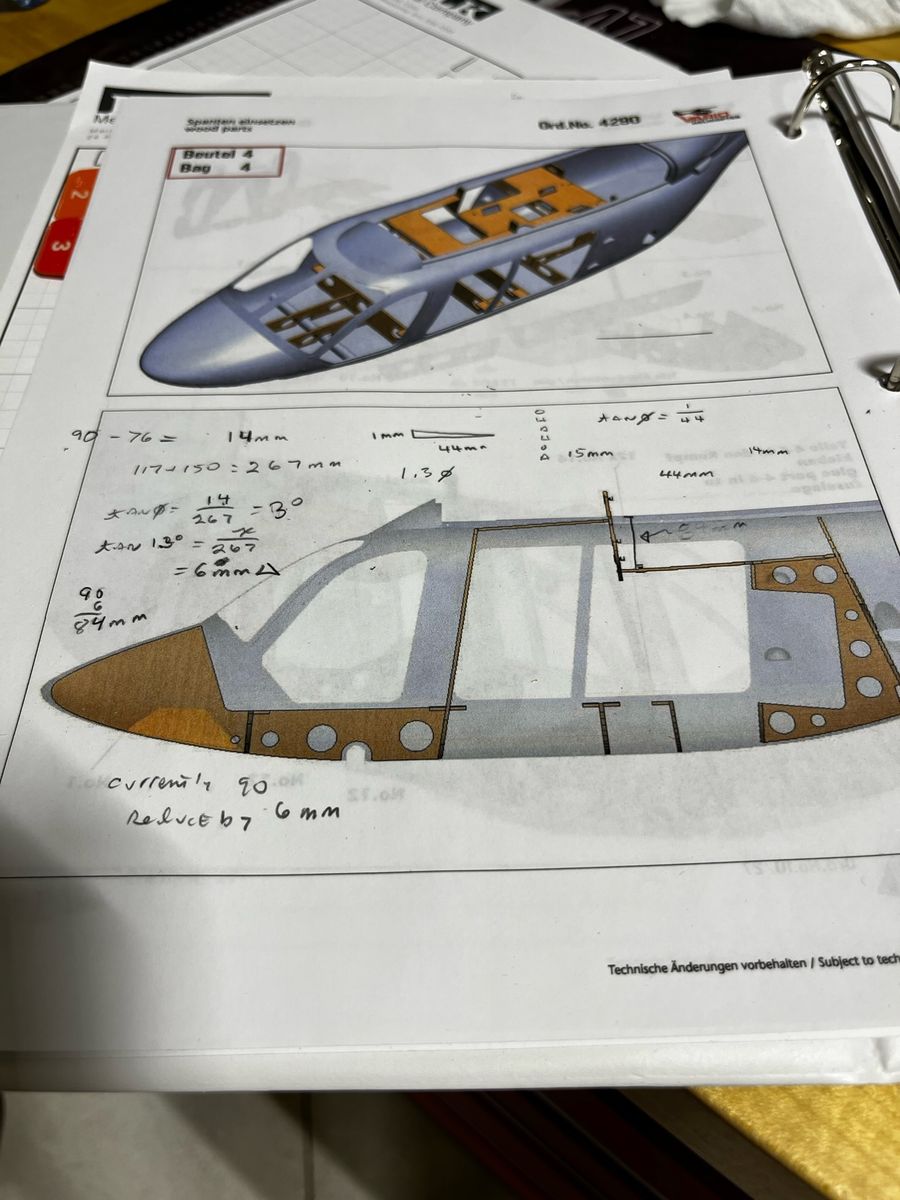
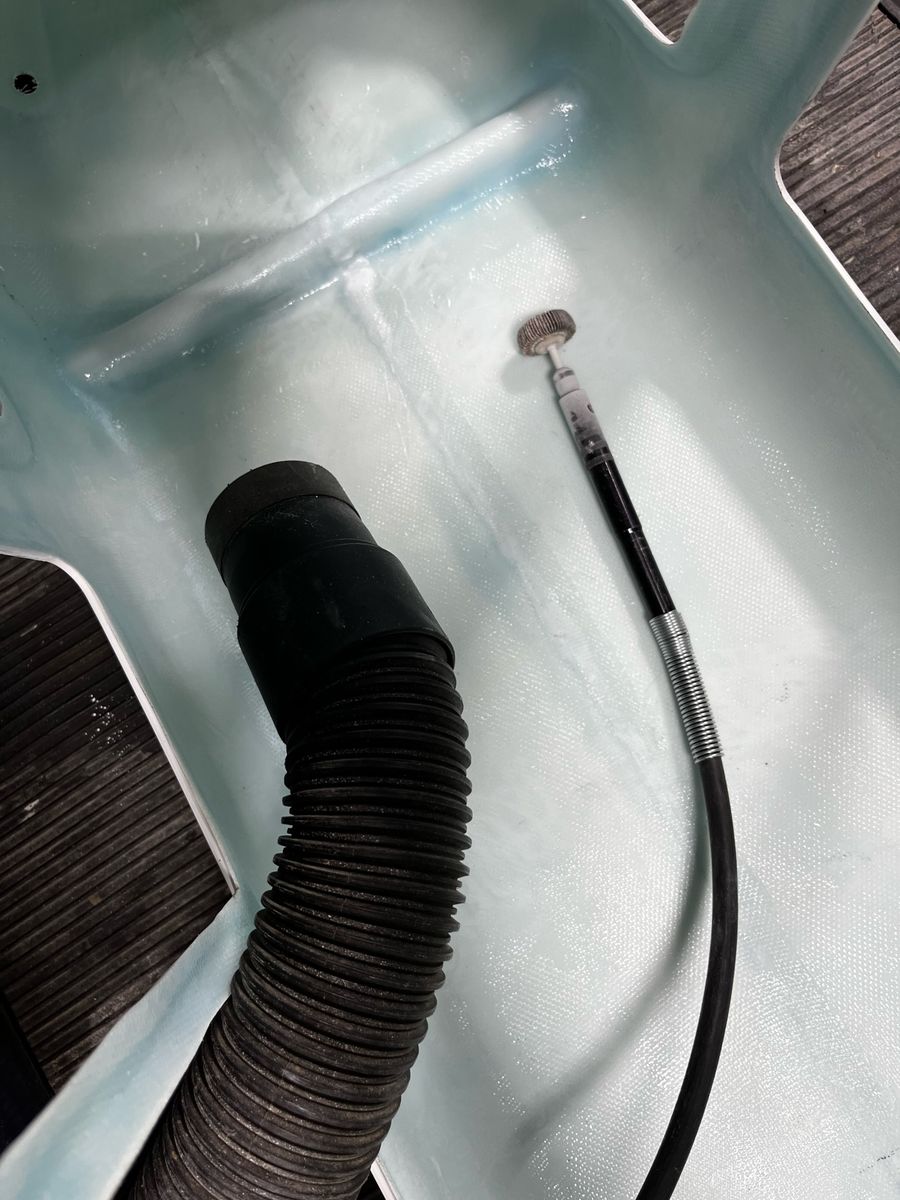
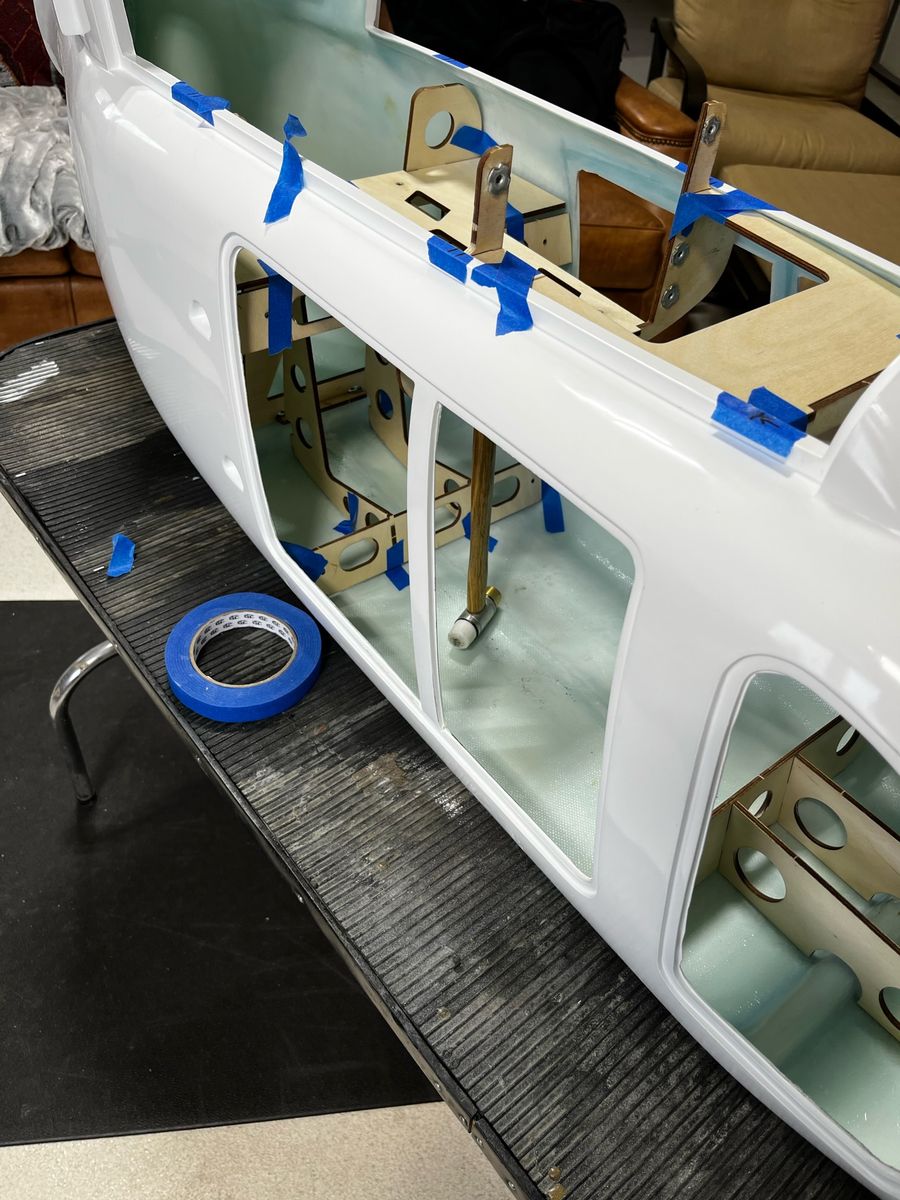
Horizontal stabilizer and mechanics
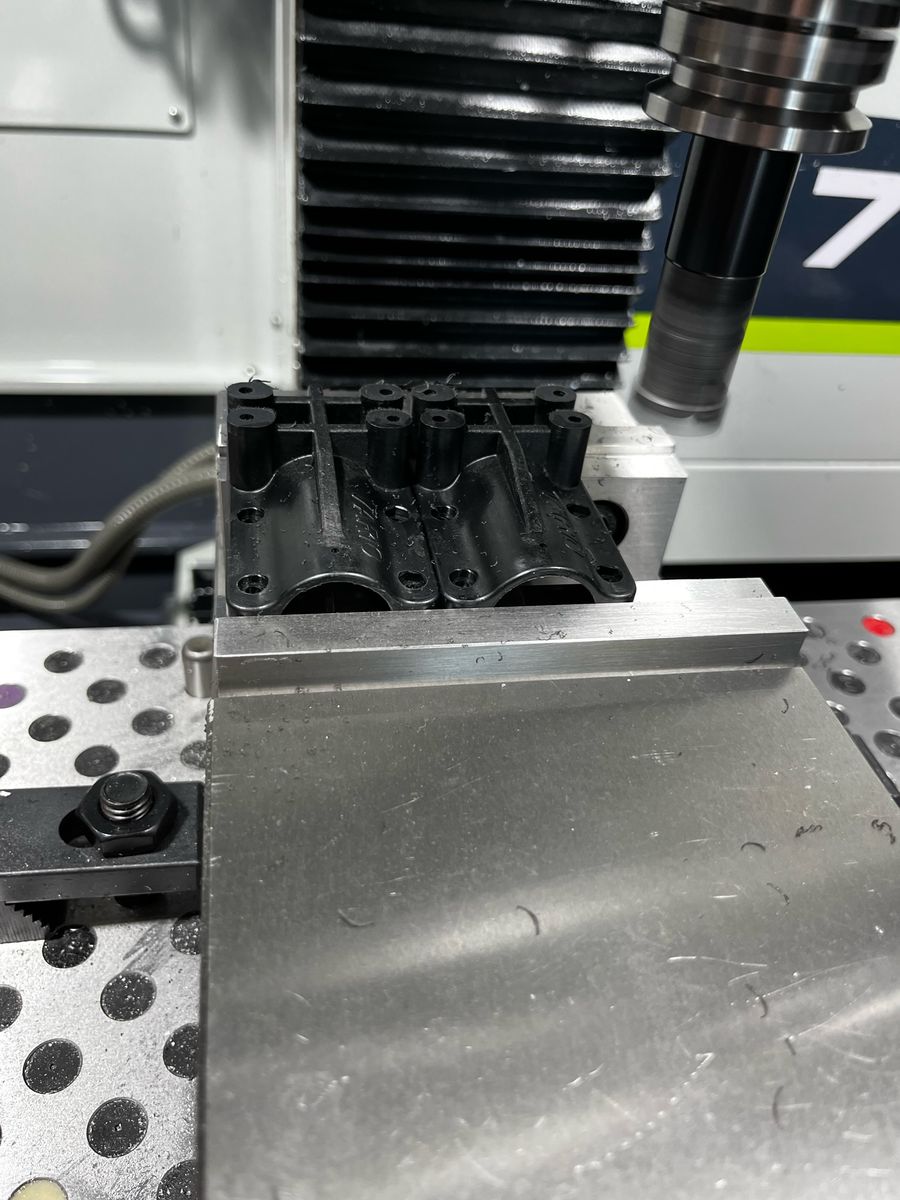
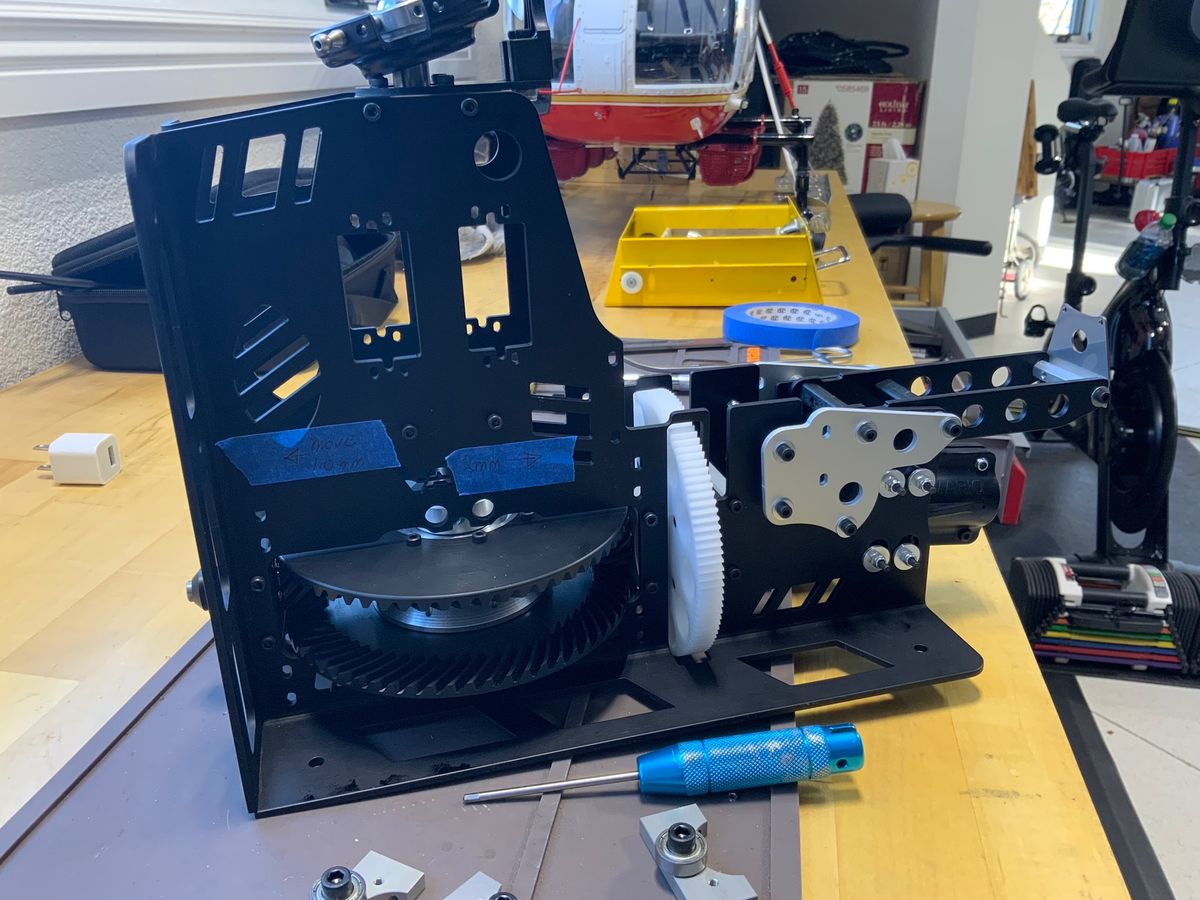
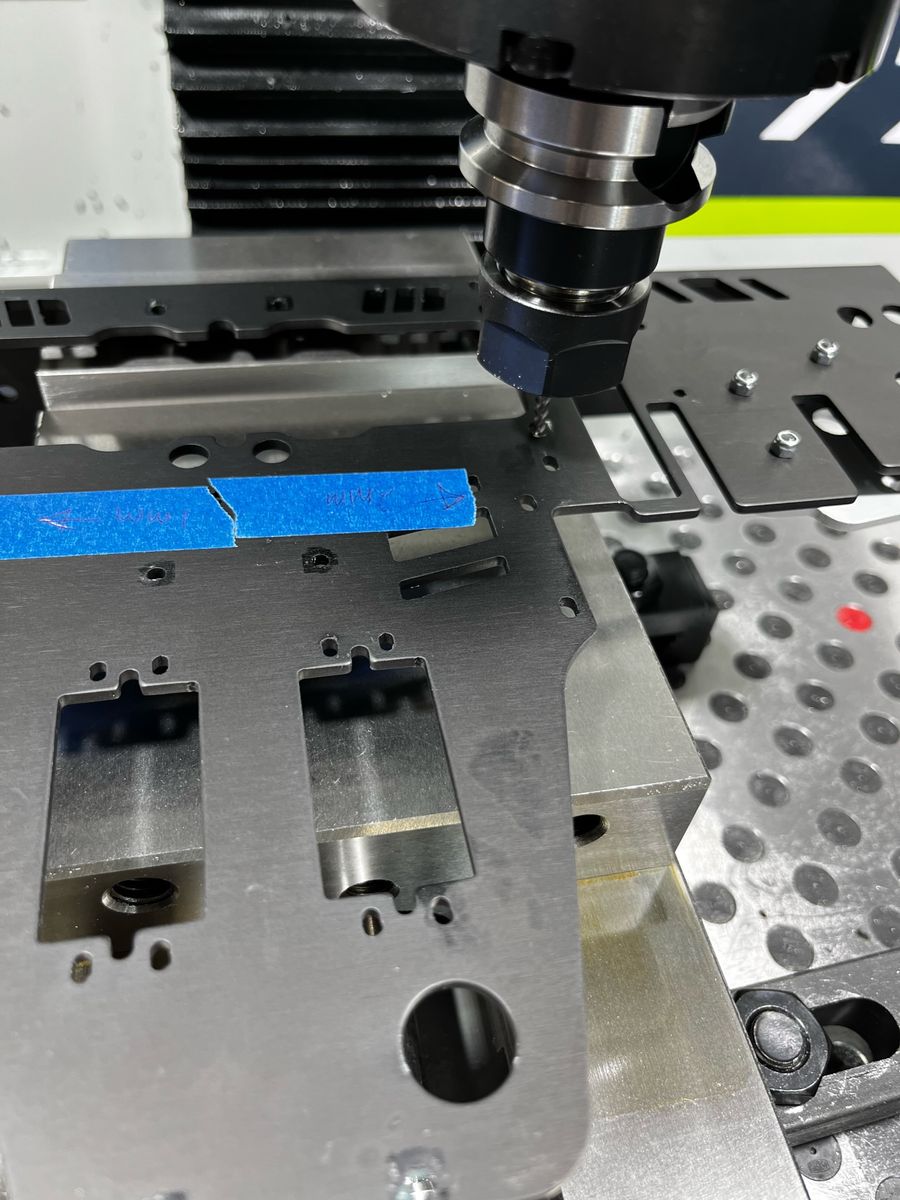
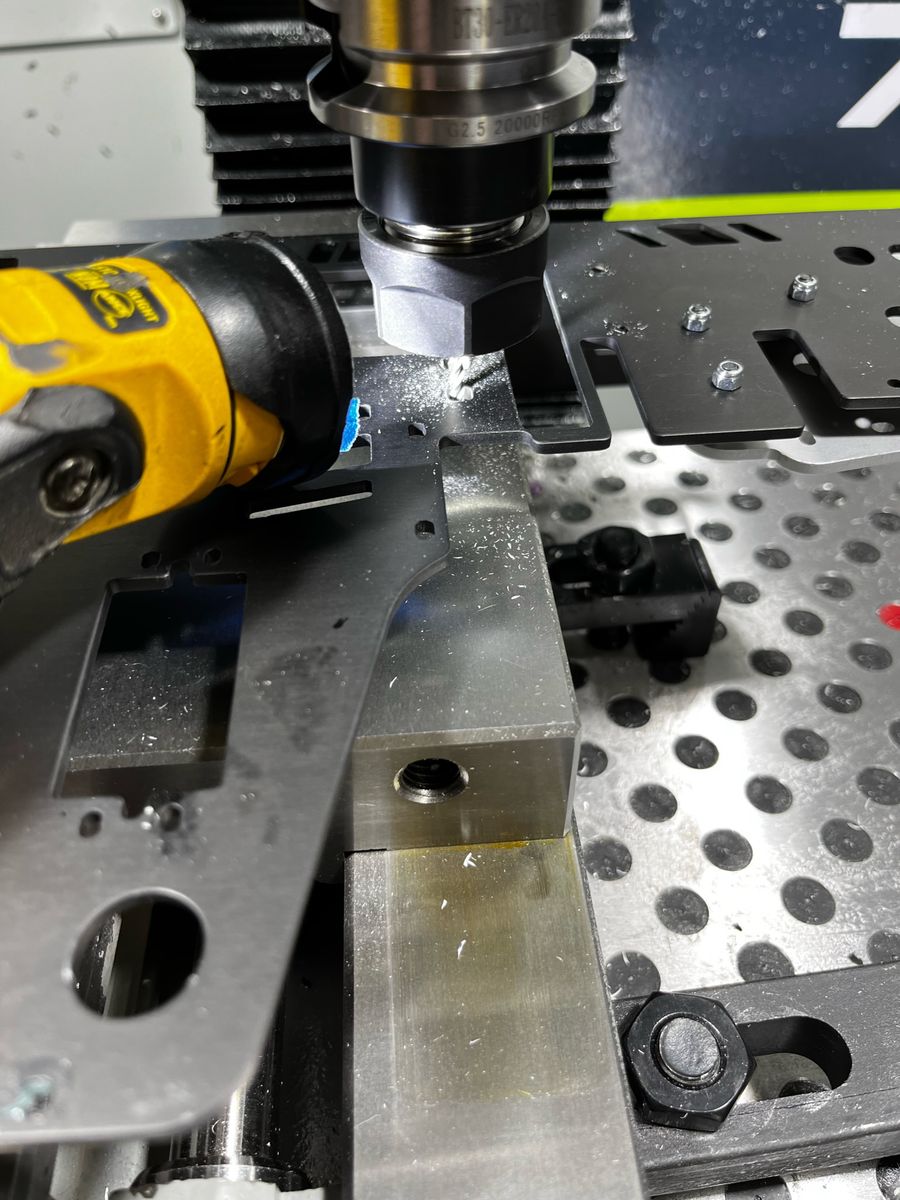
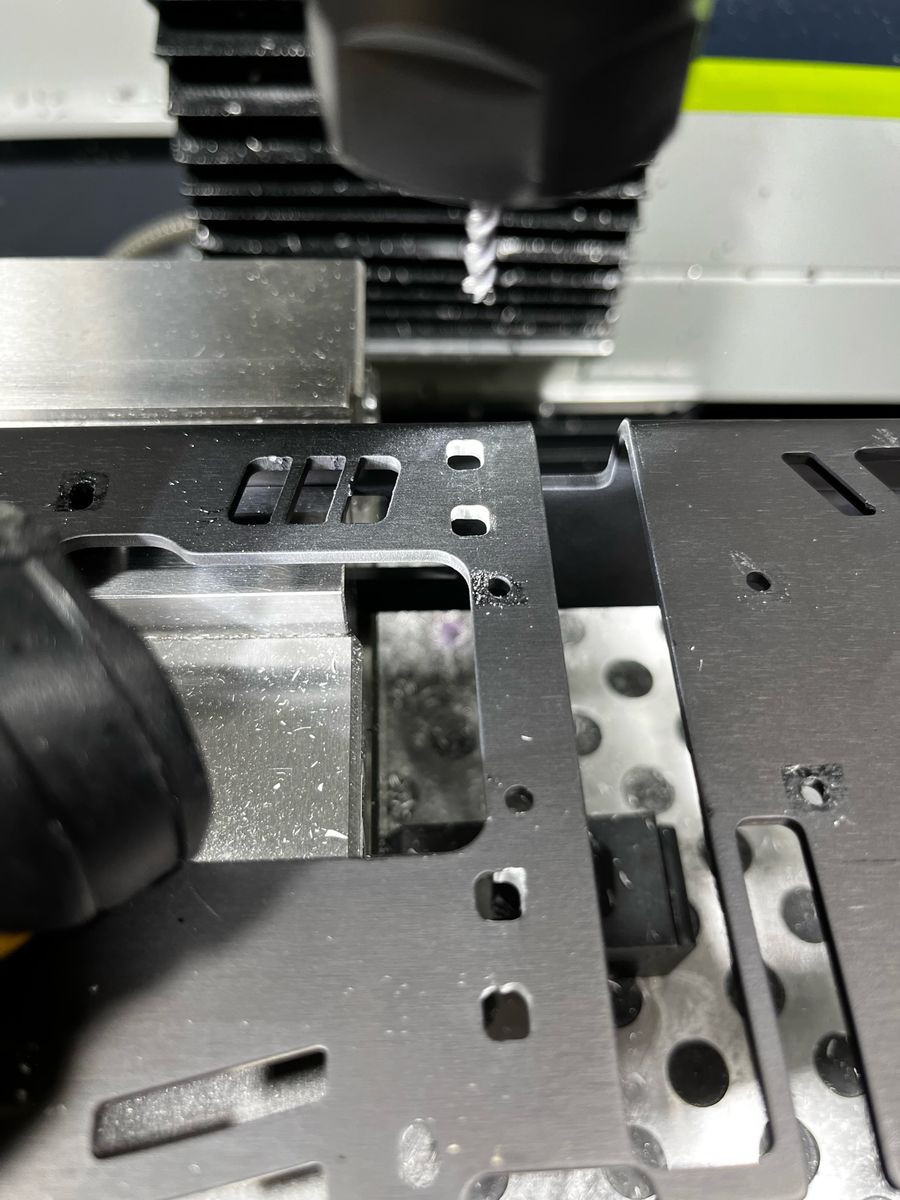
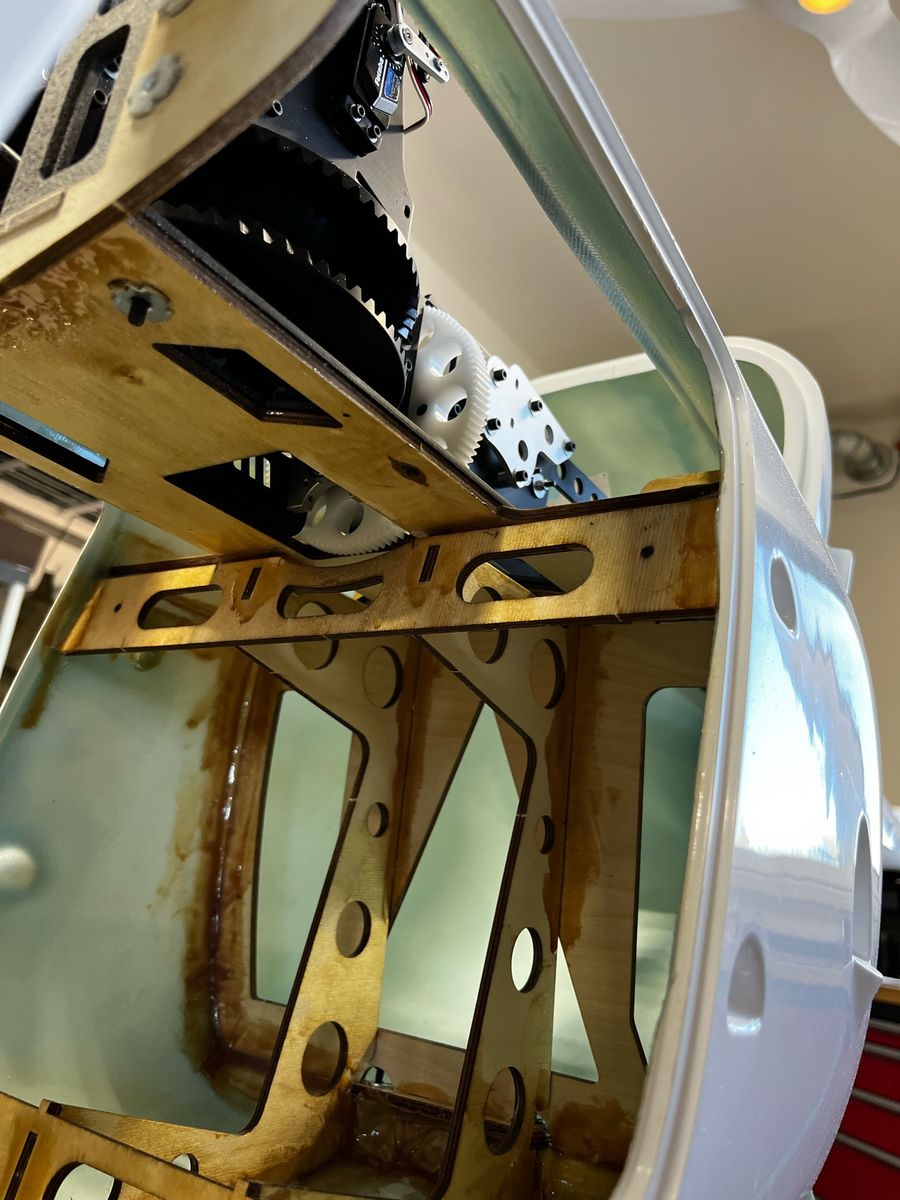
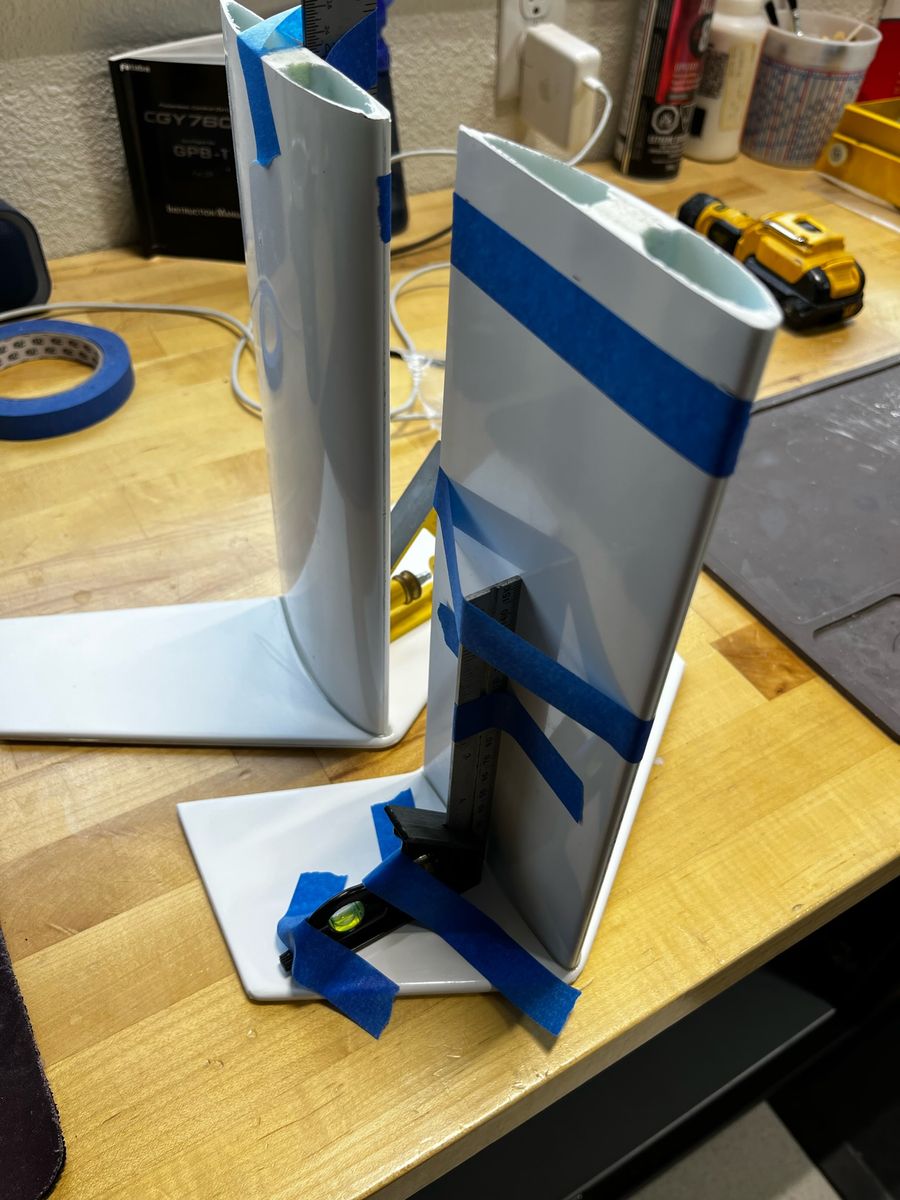
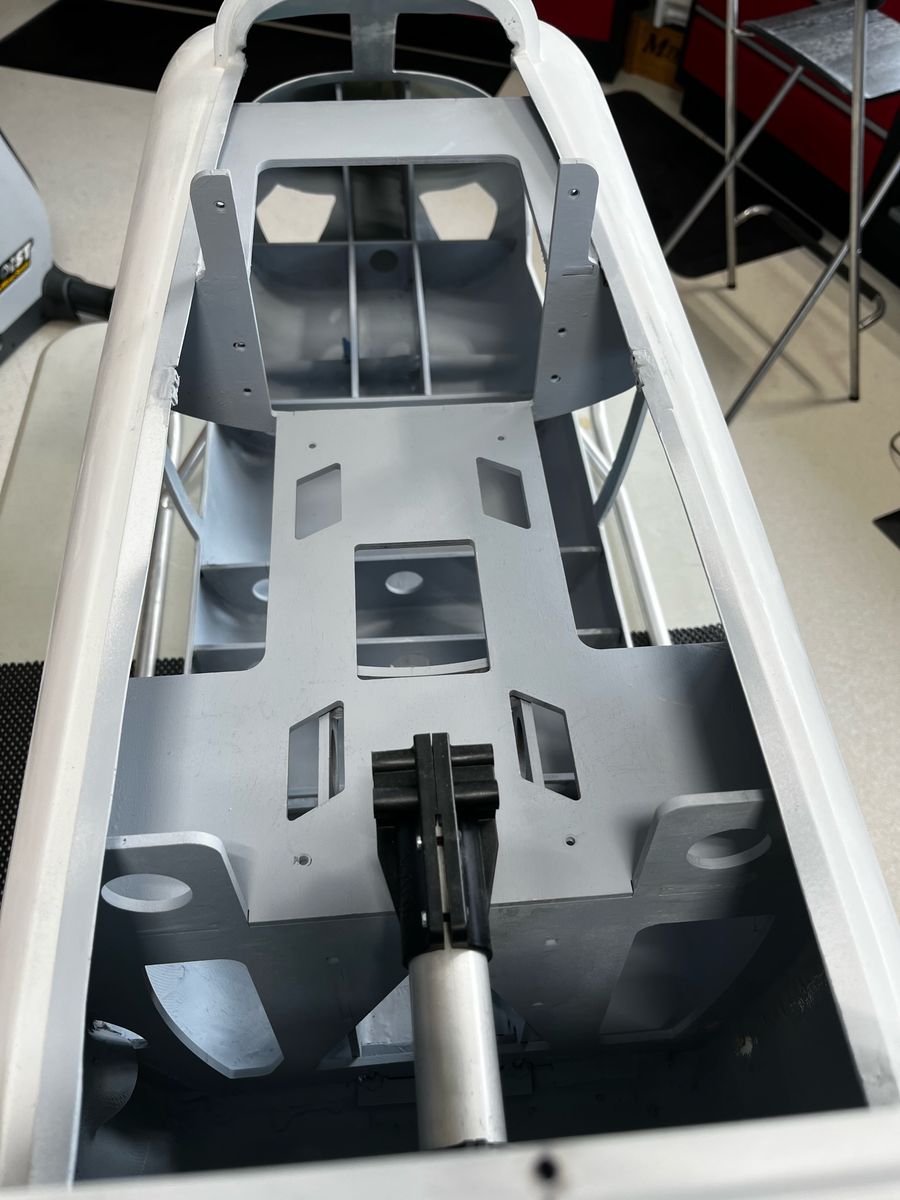
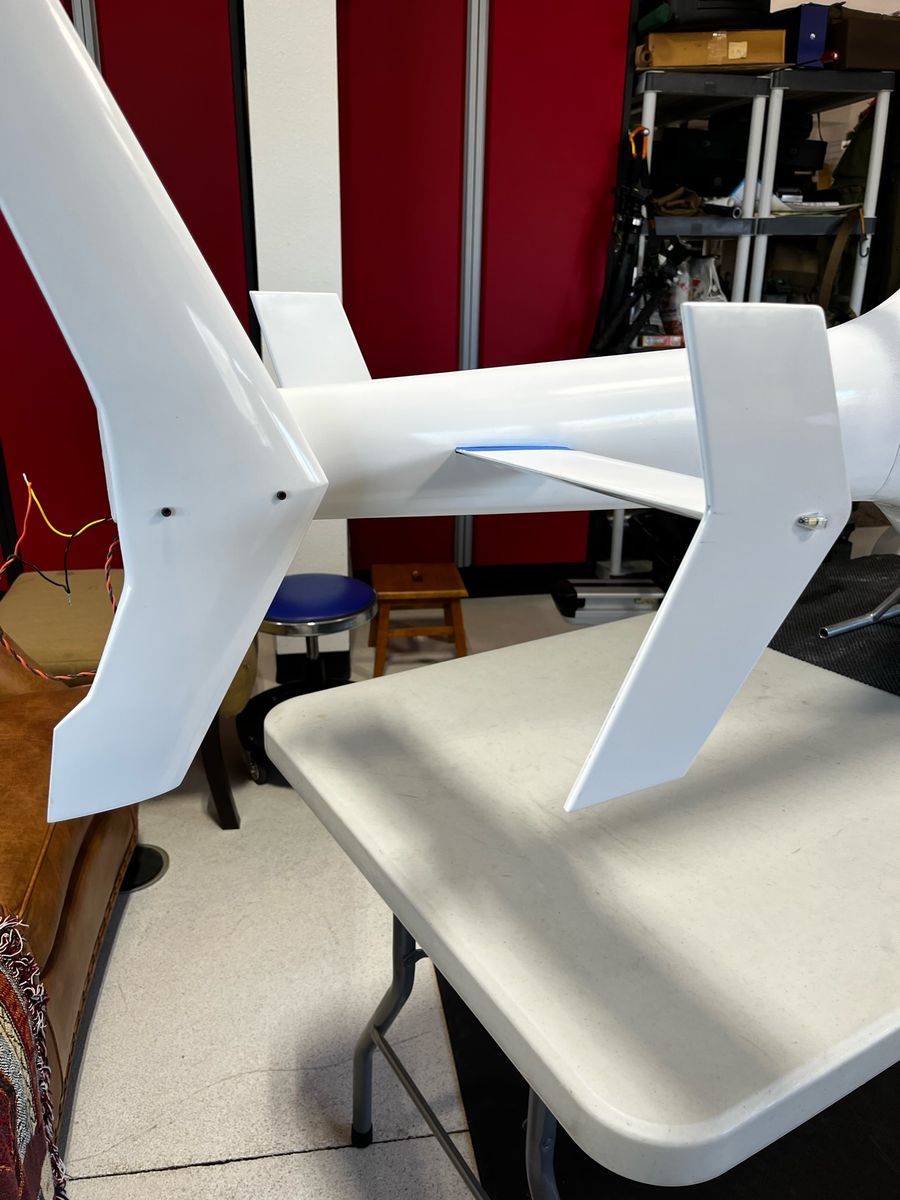
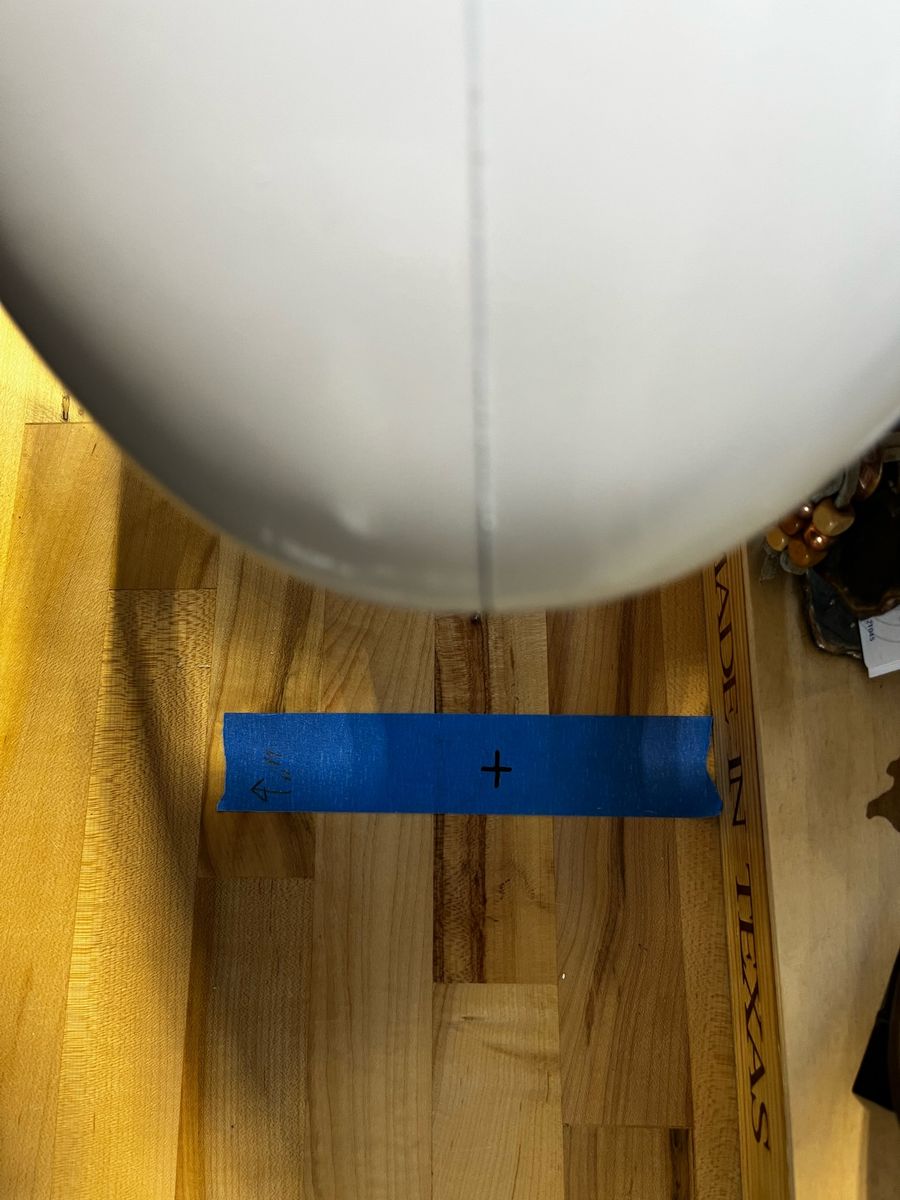
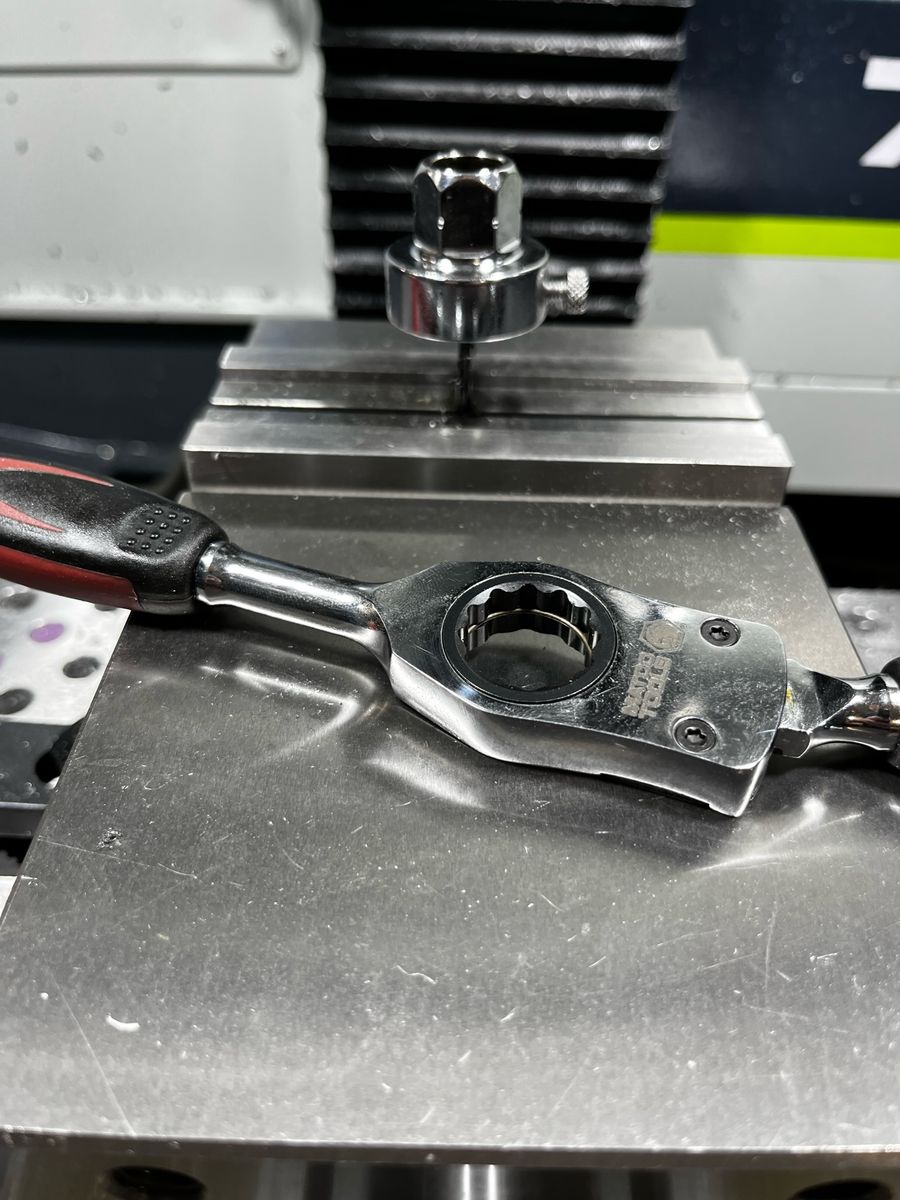
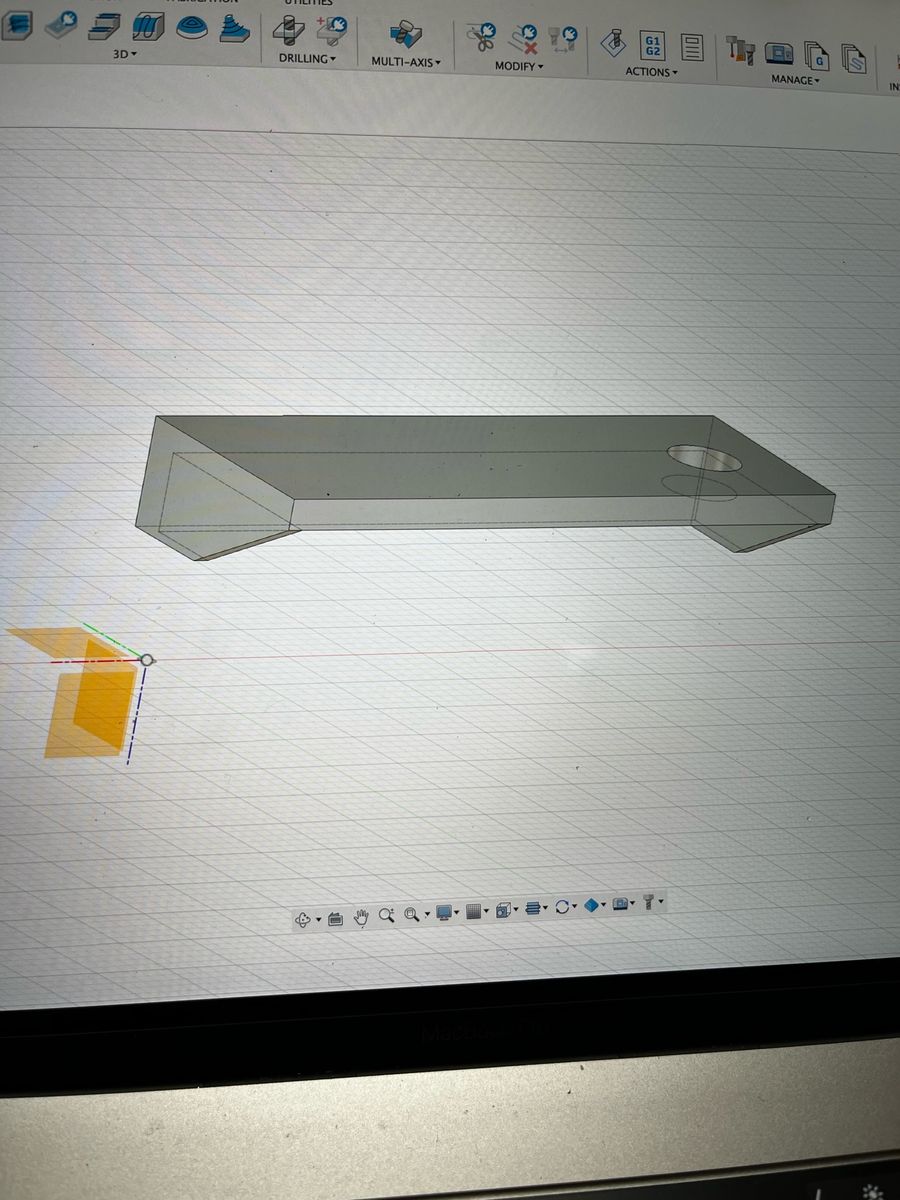
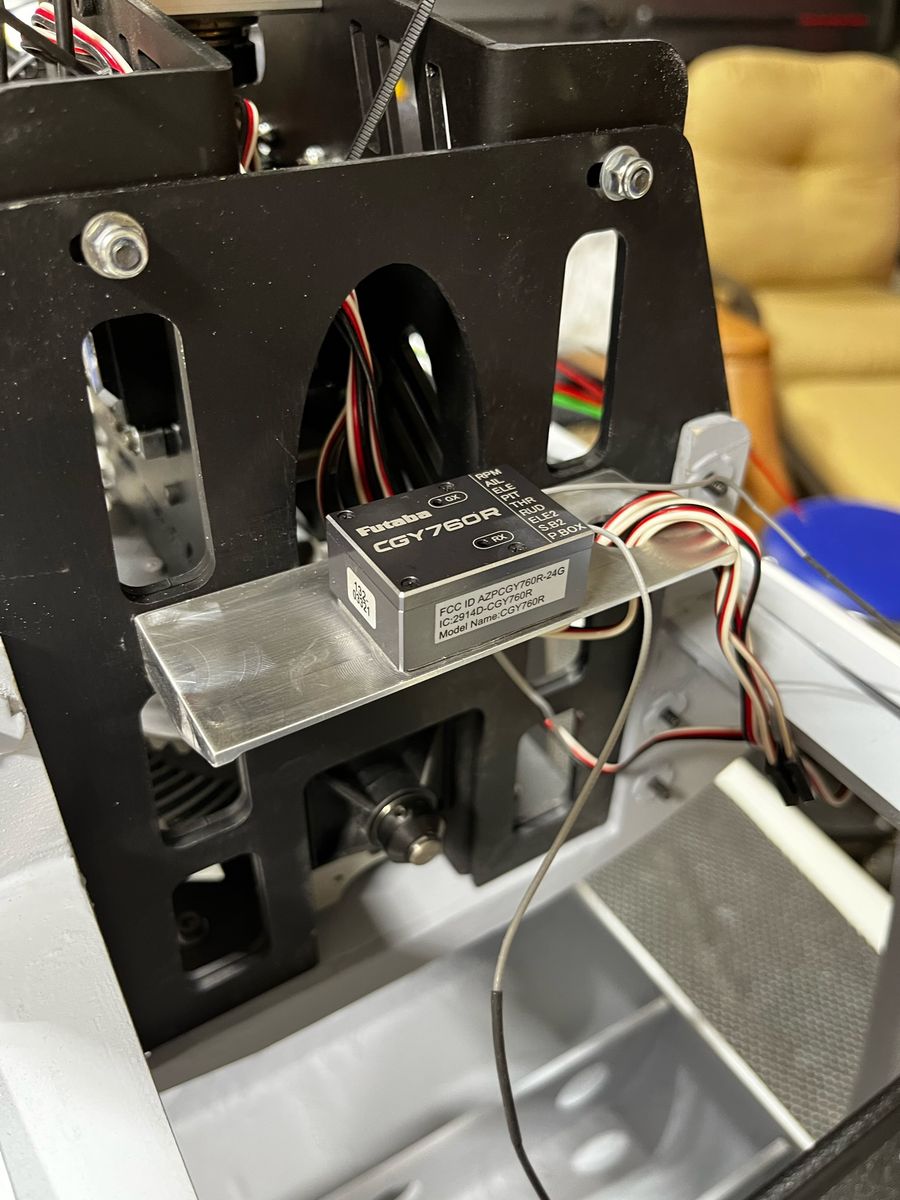
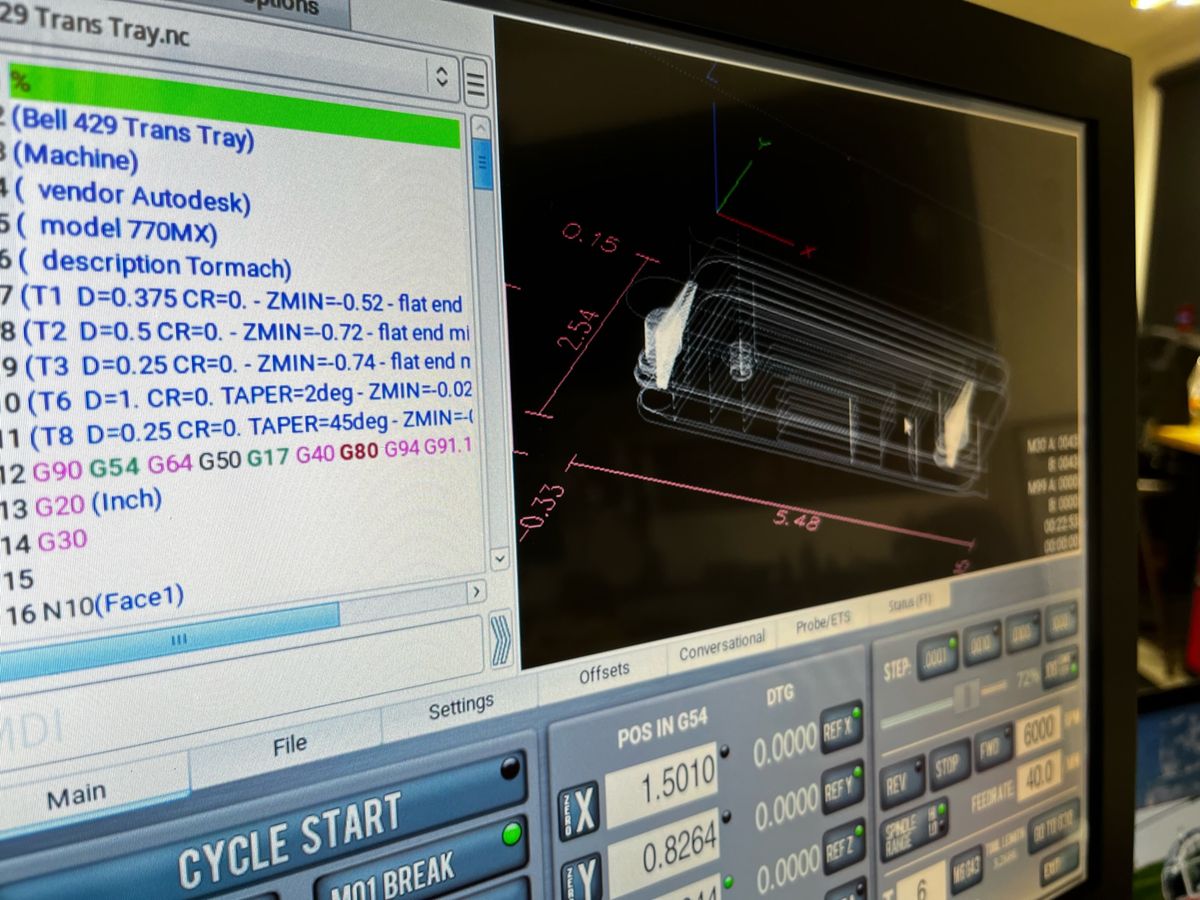
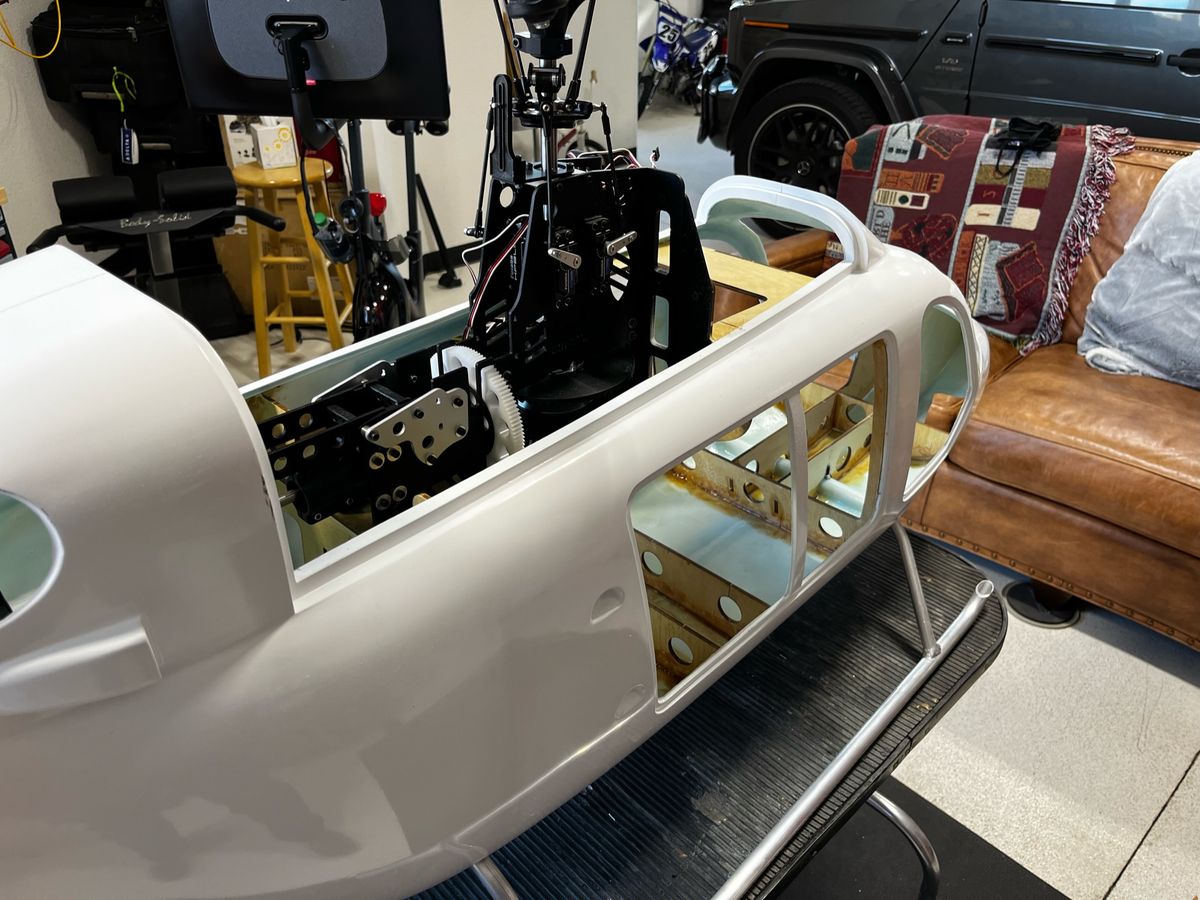
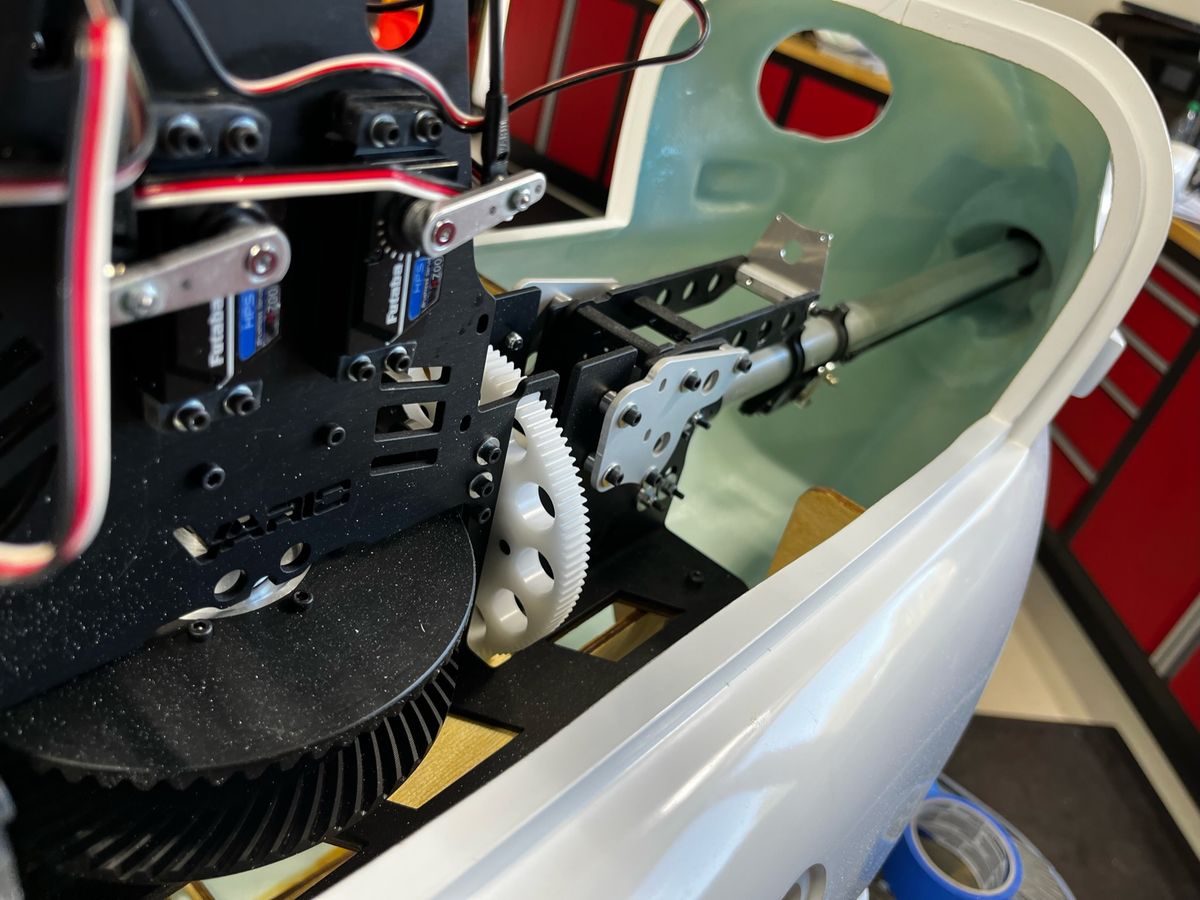
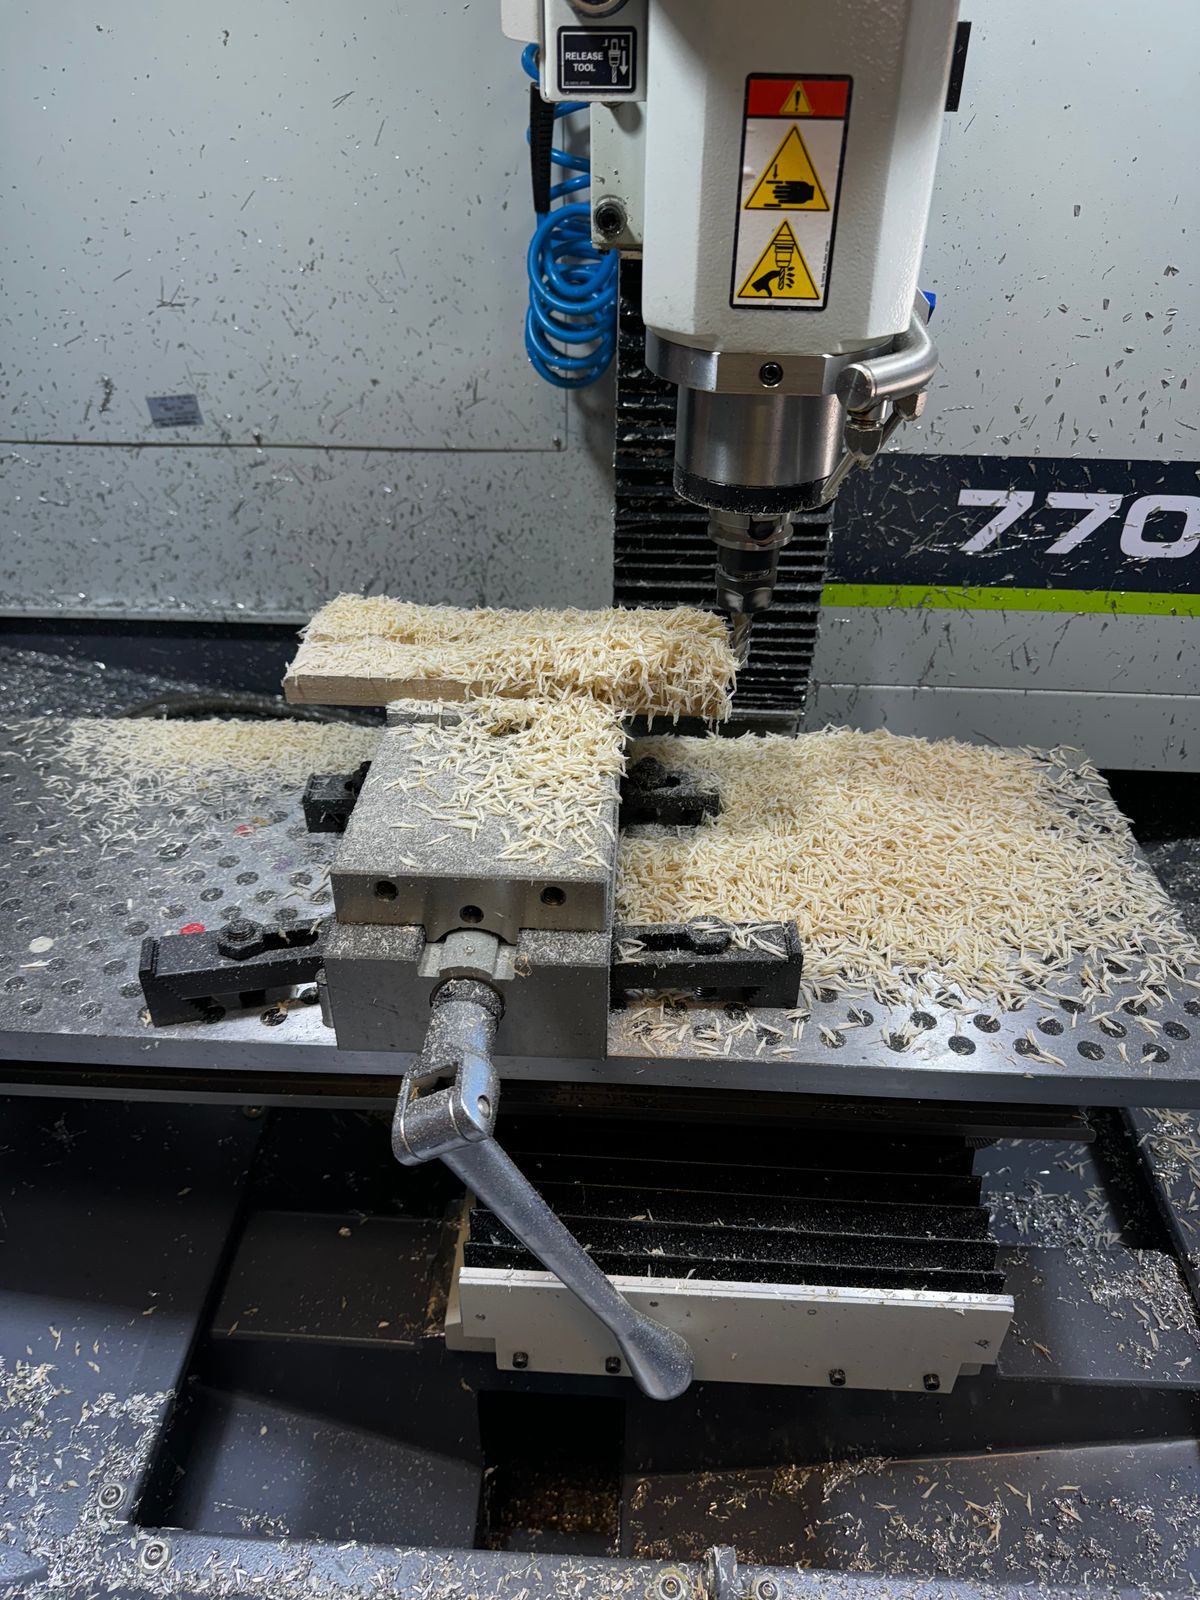
Test fitting the mechanics. Alignment of the horiz and vert stabilizers. Before I had a 3D printer, I machined the transmitter tray. Pics show rods were lengthened/threaded.
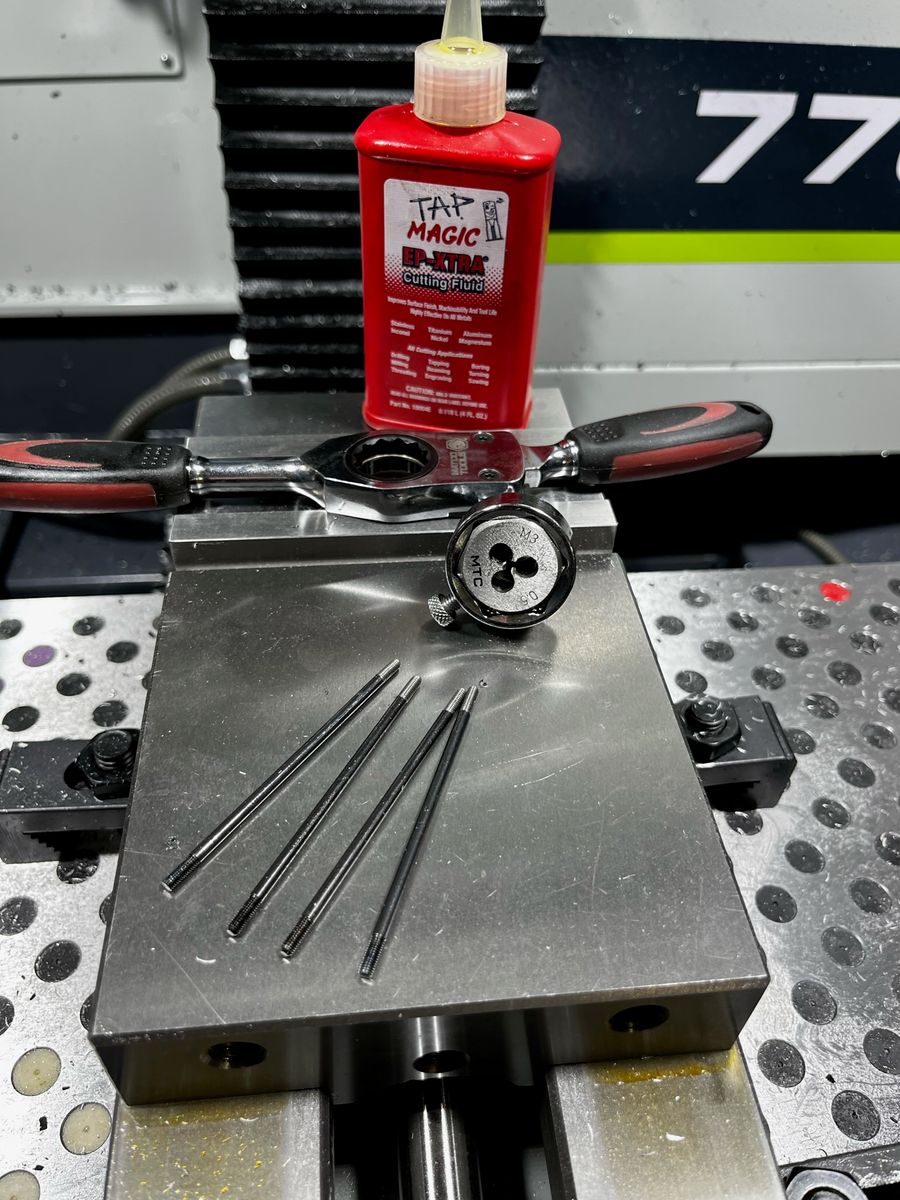
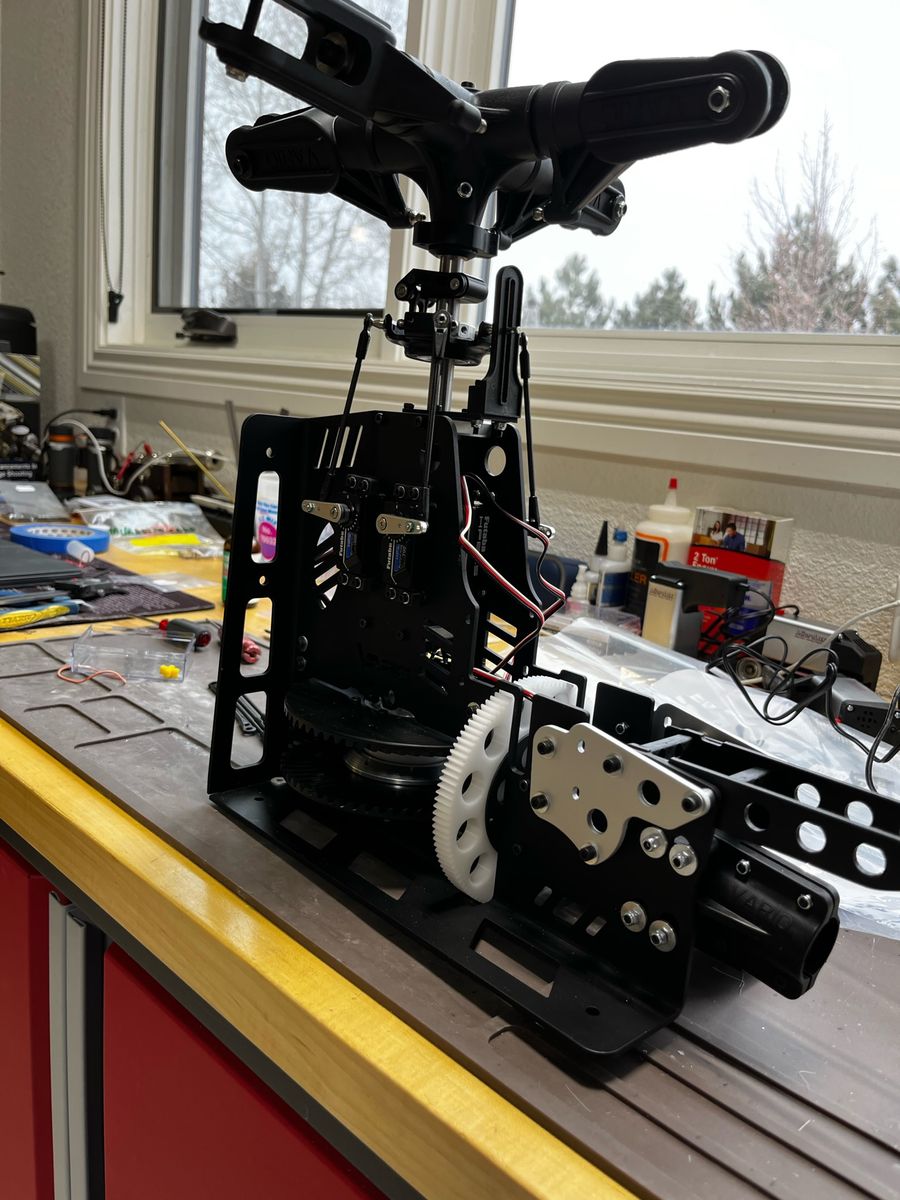
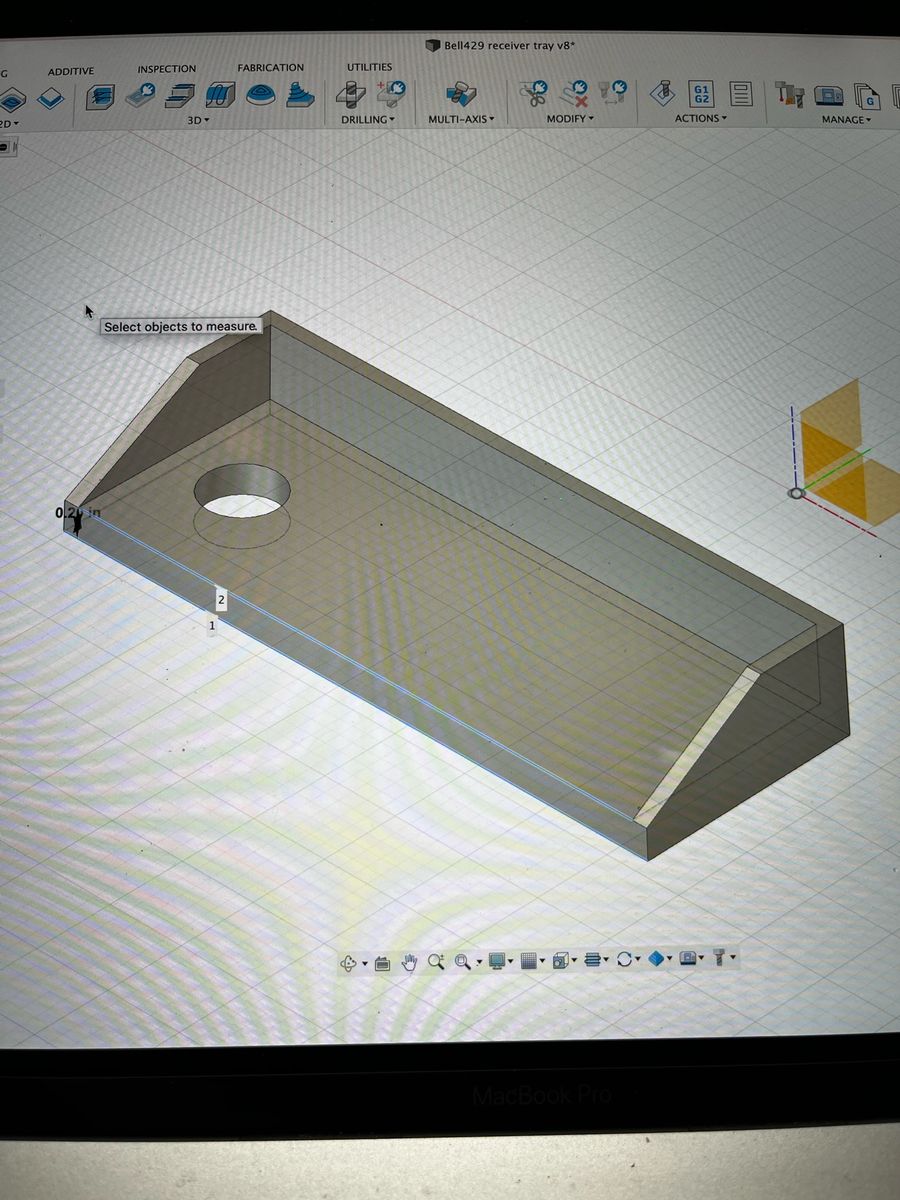
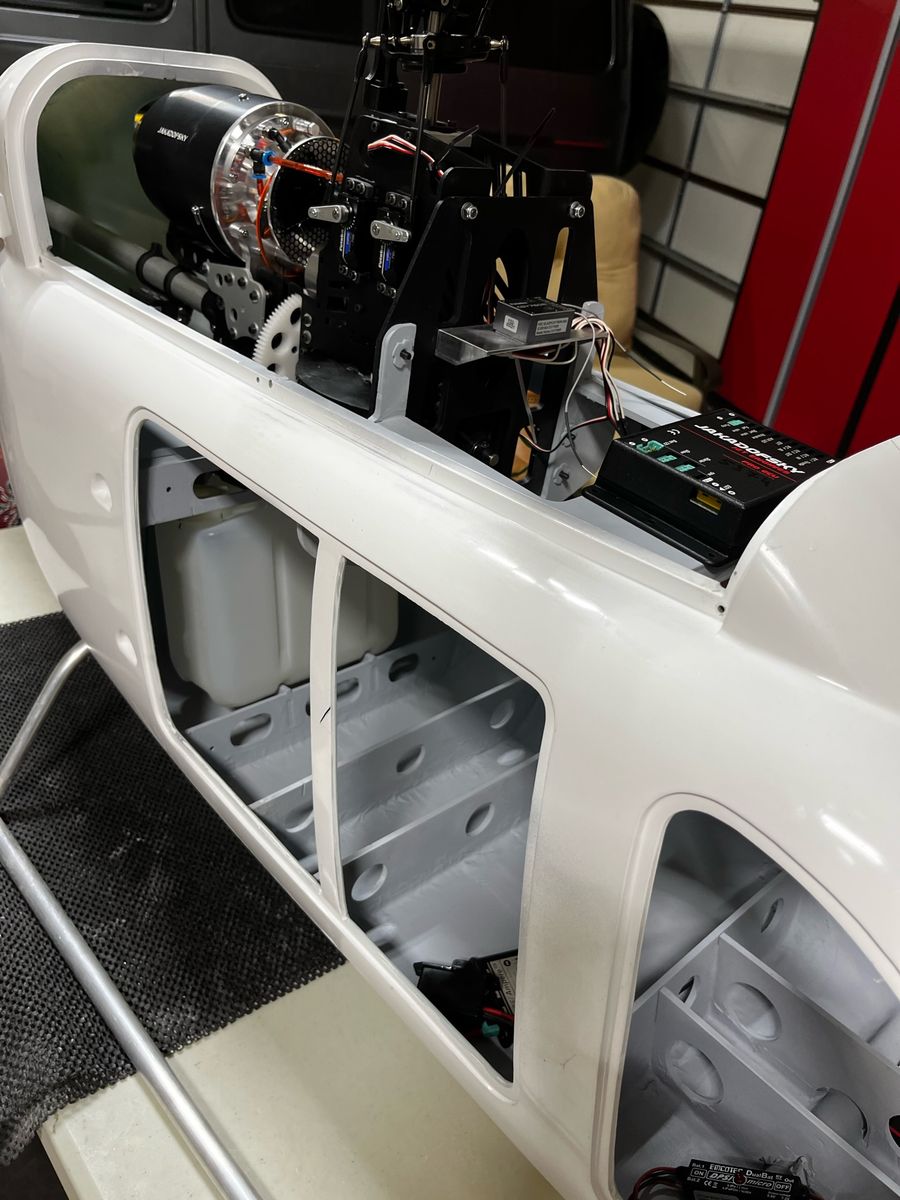
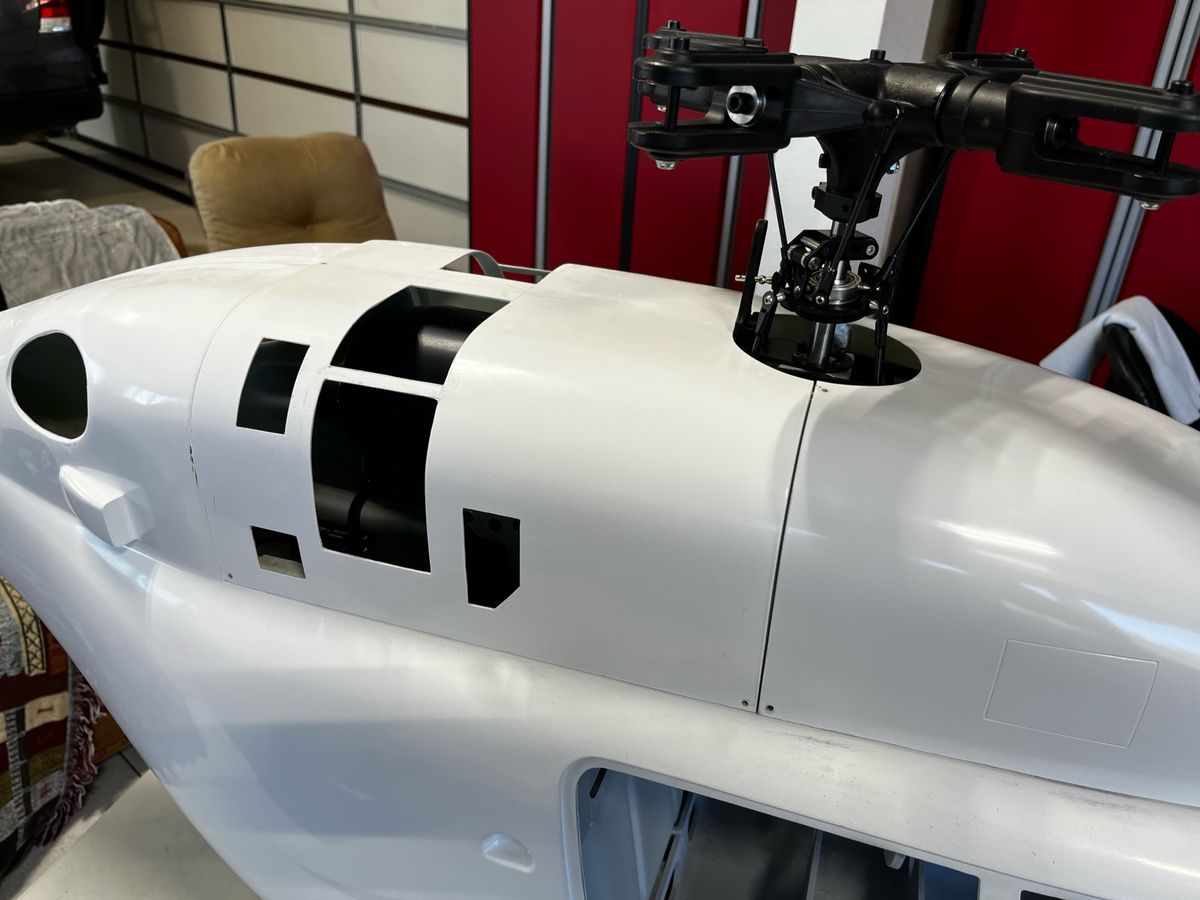
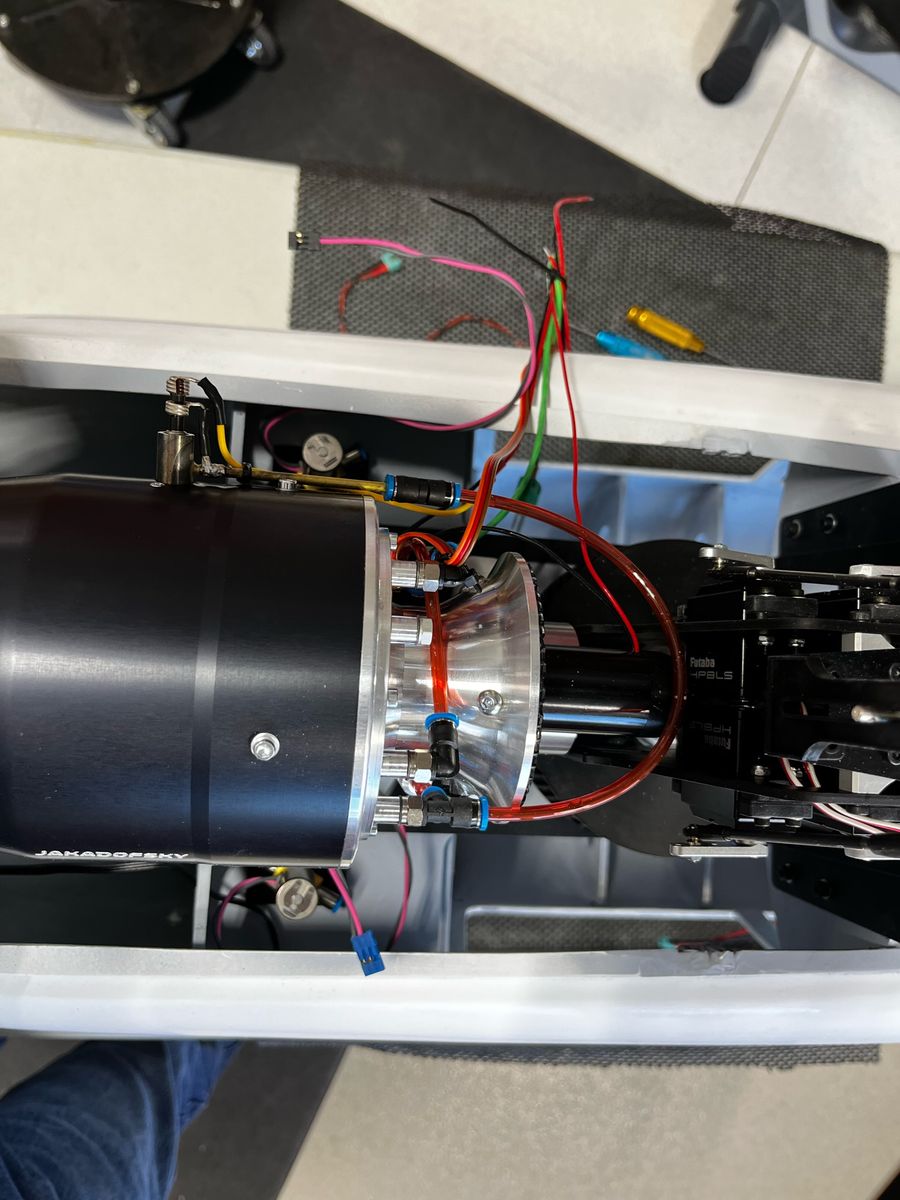
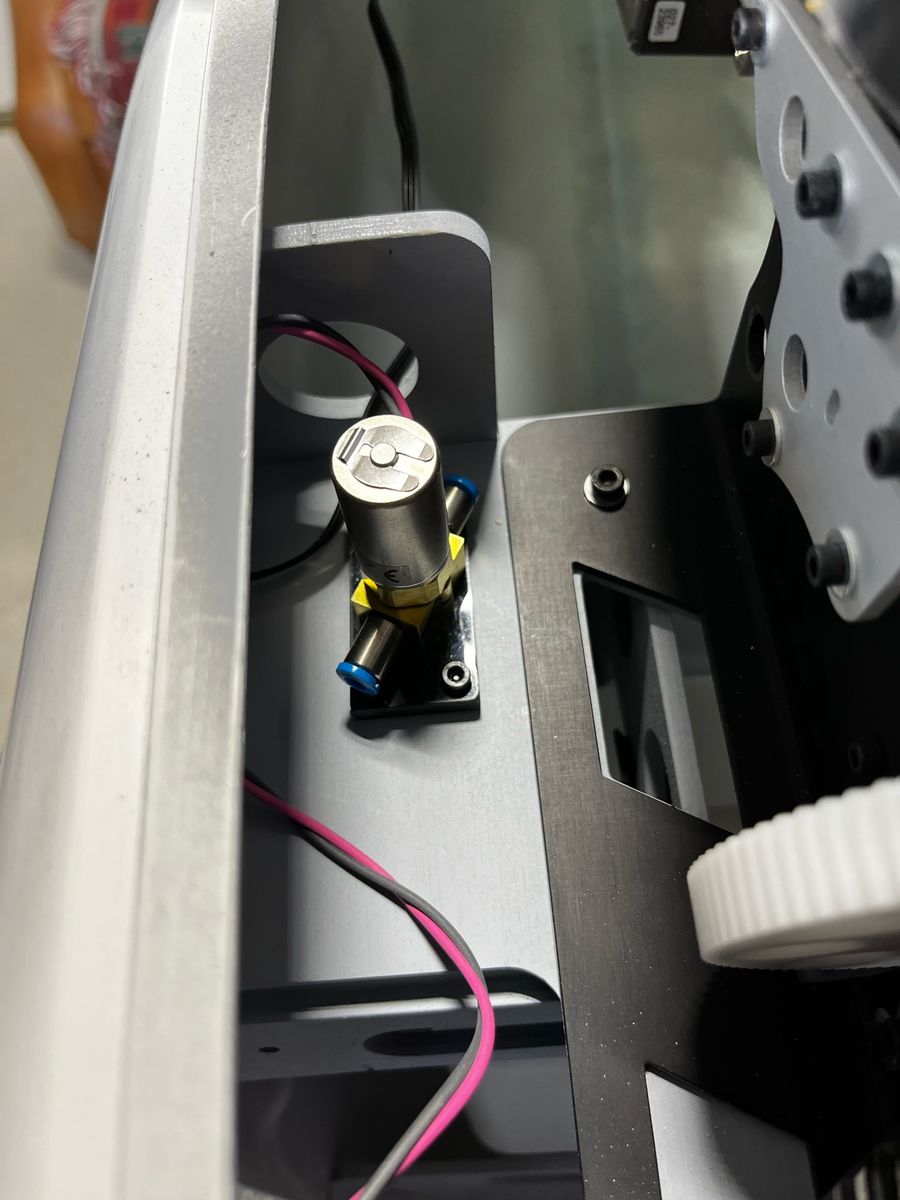
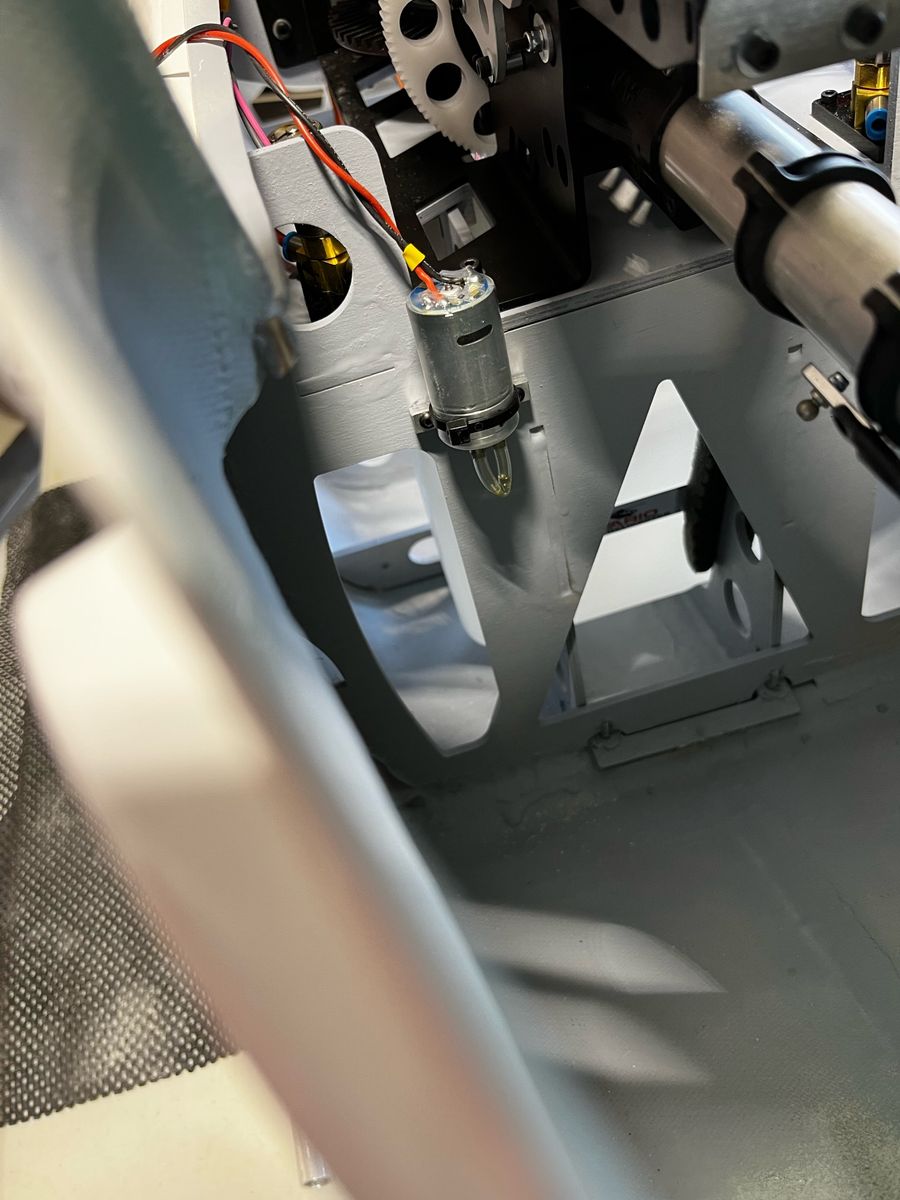
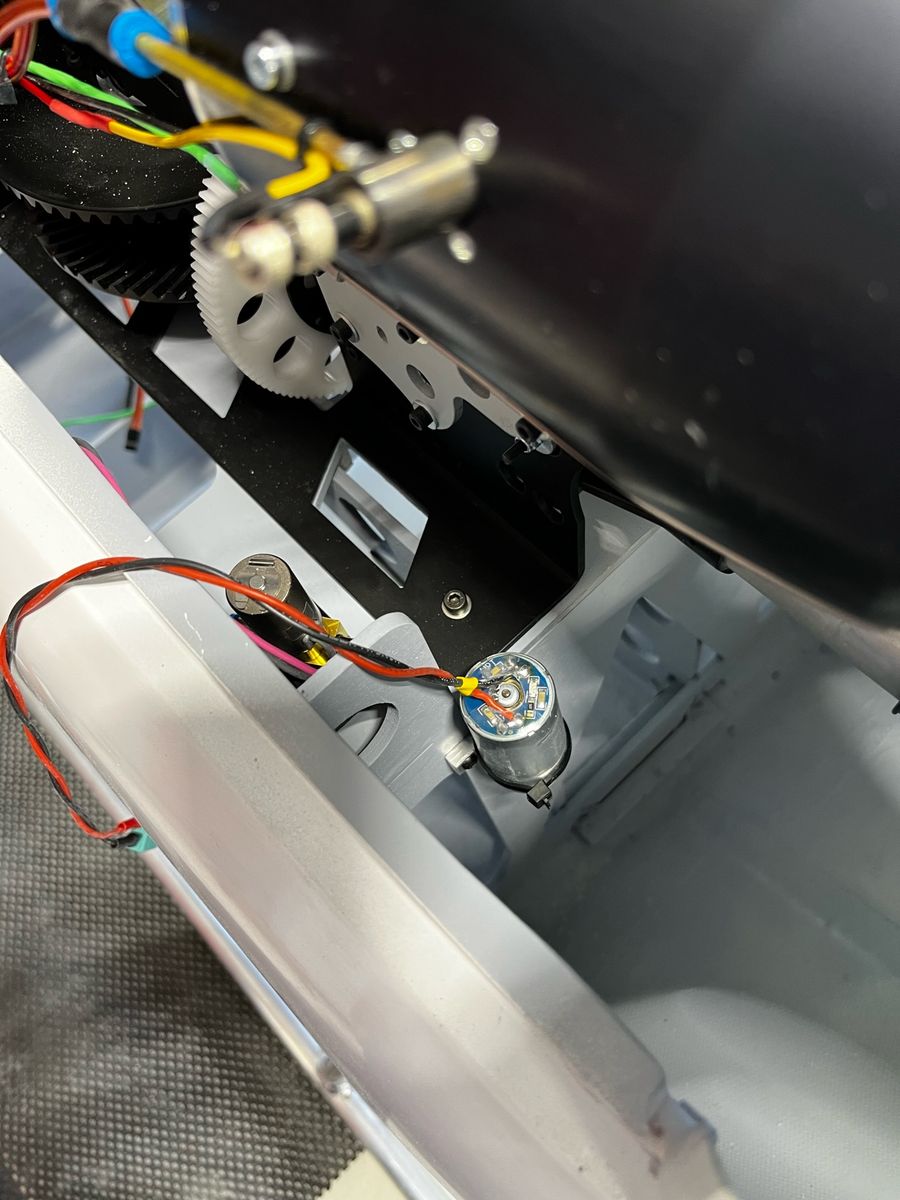
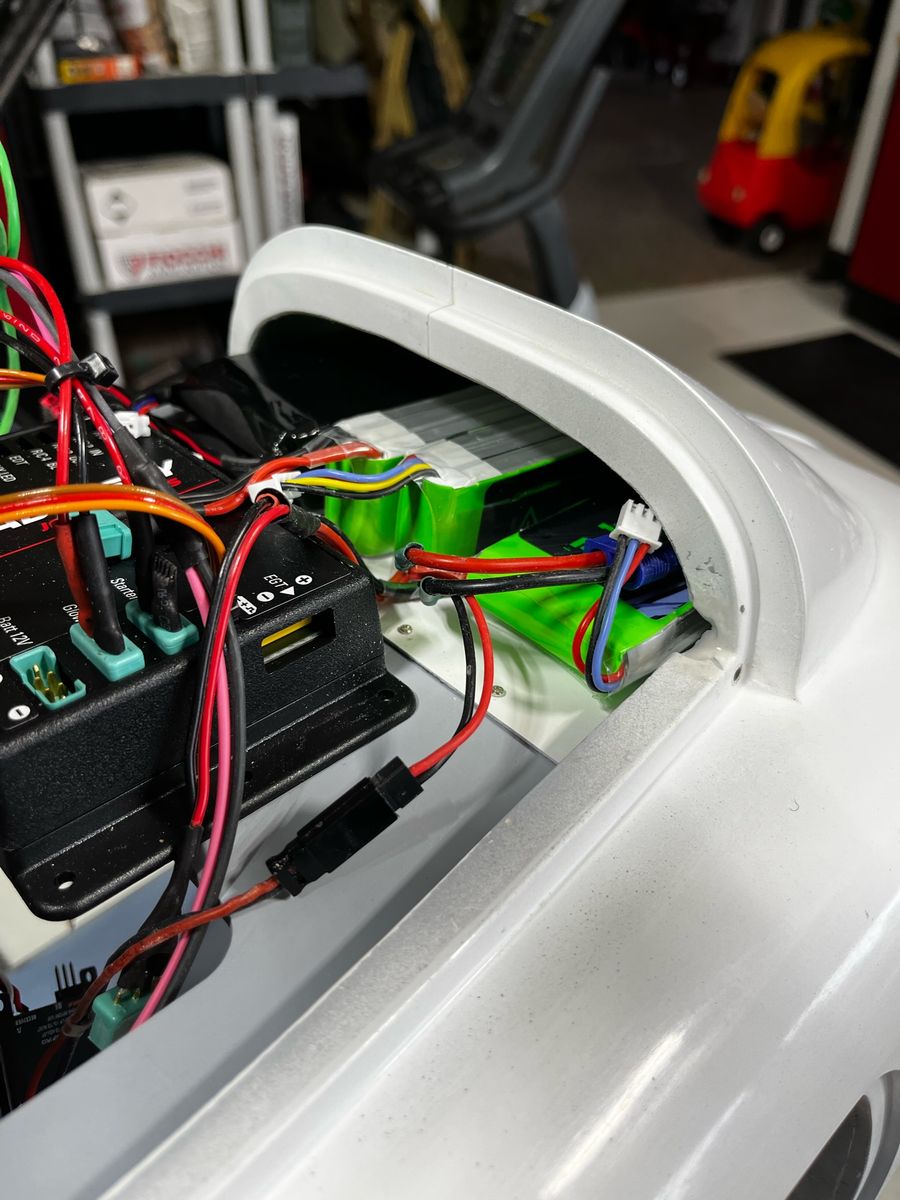
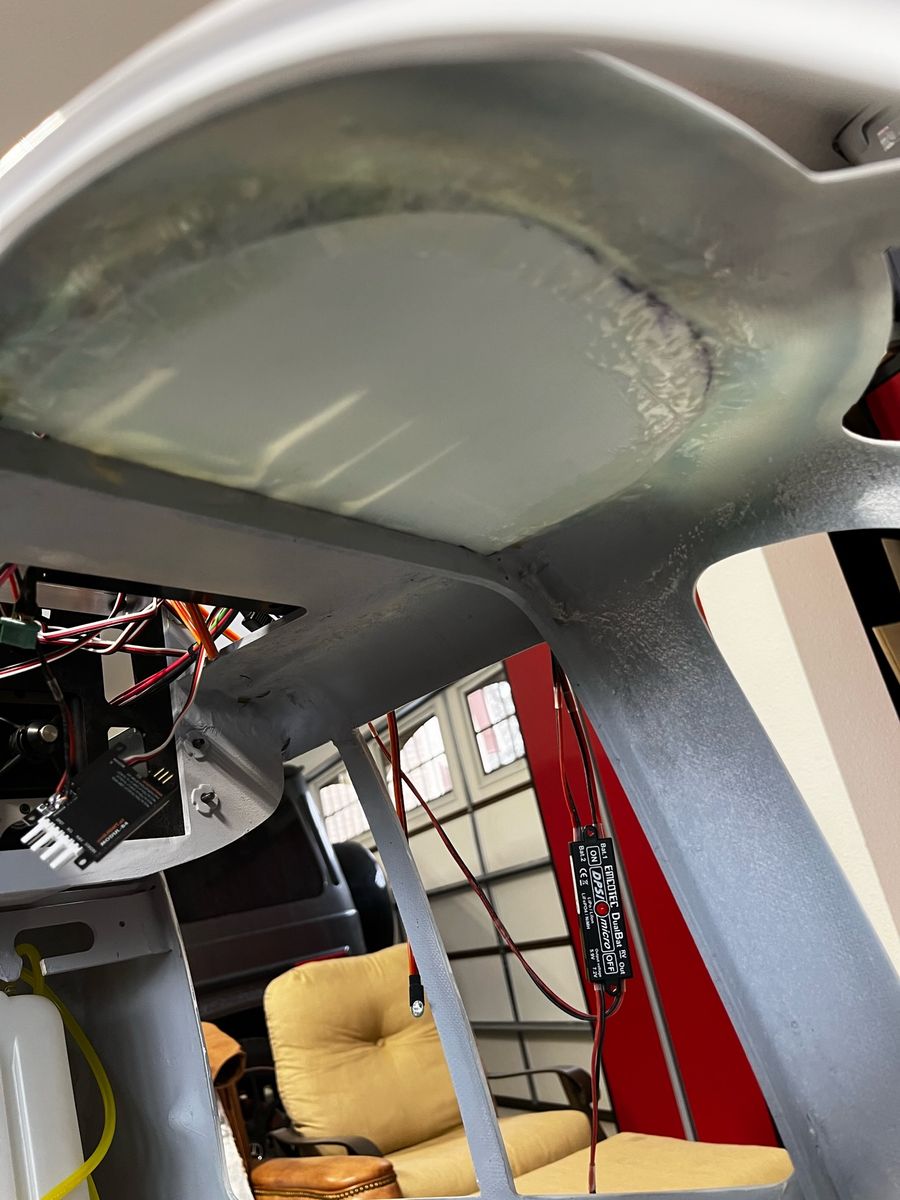
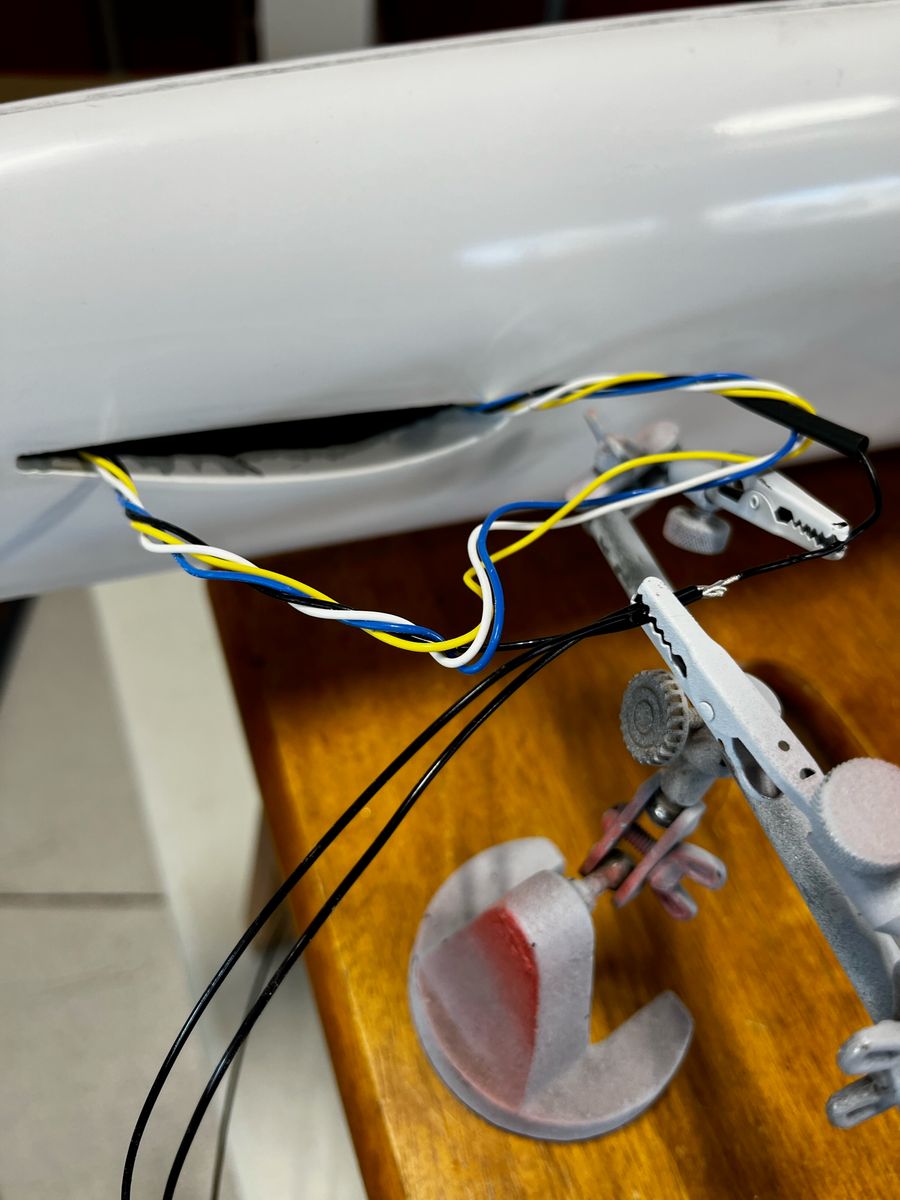
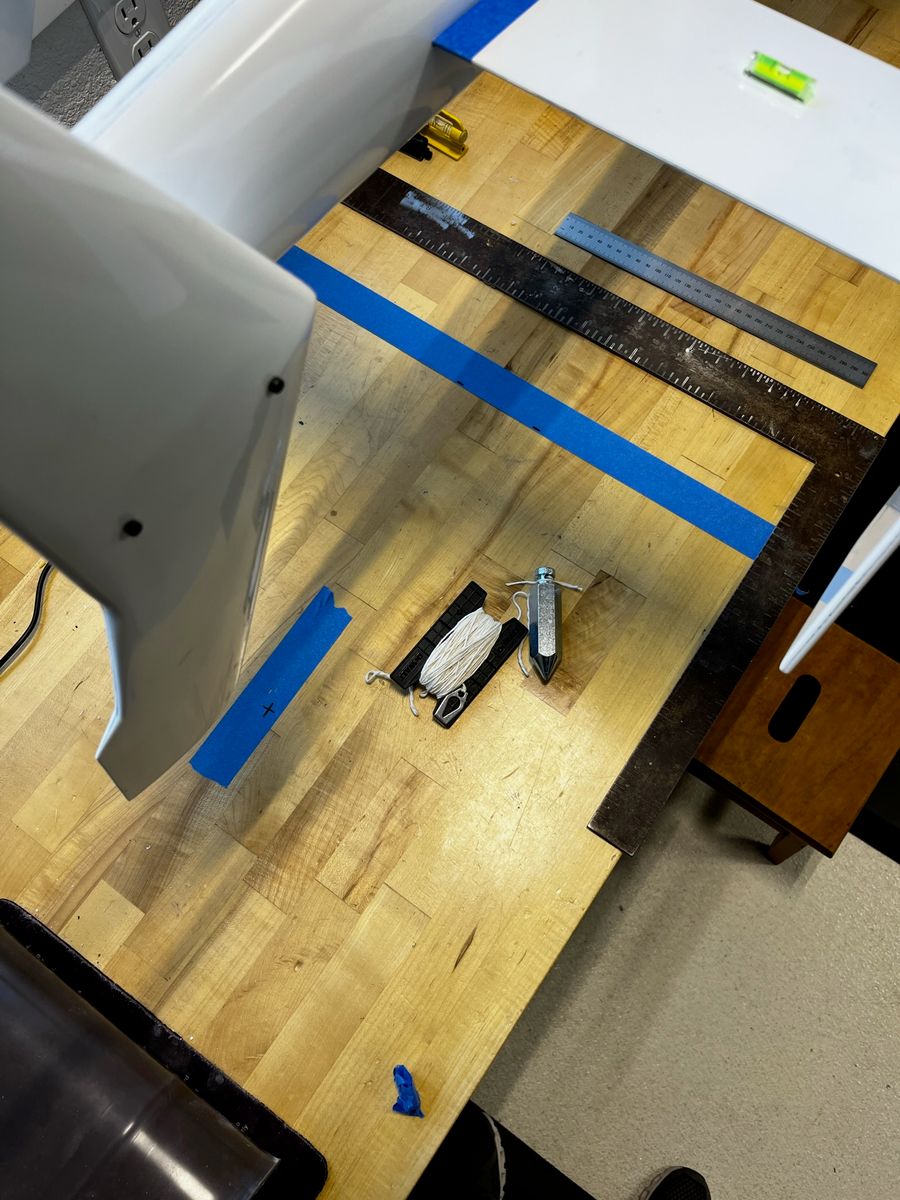
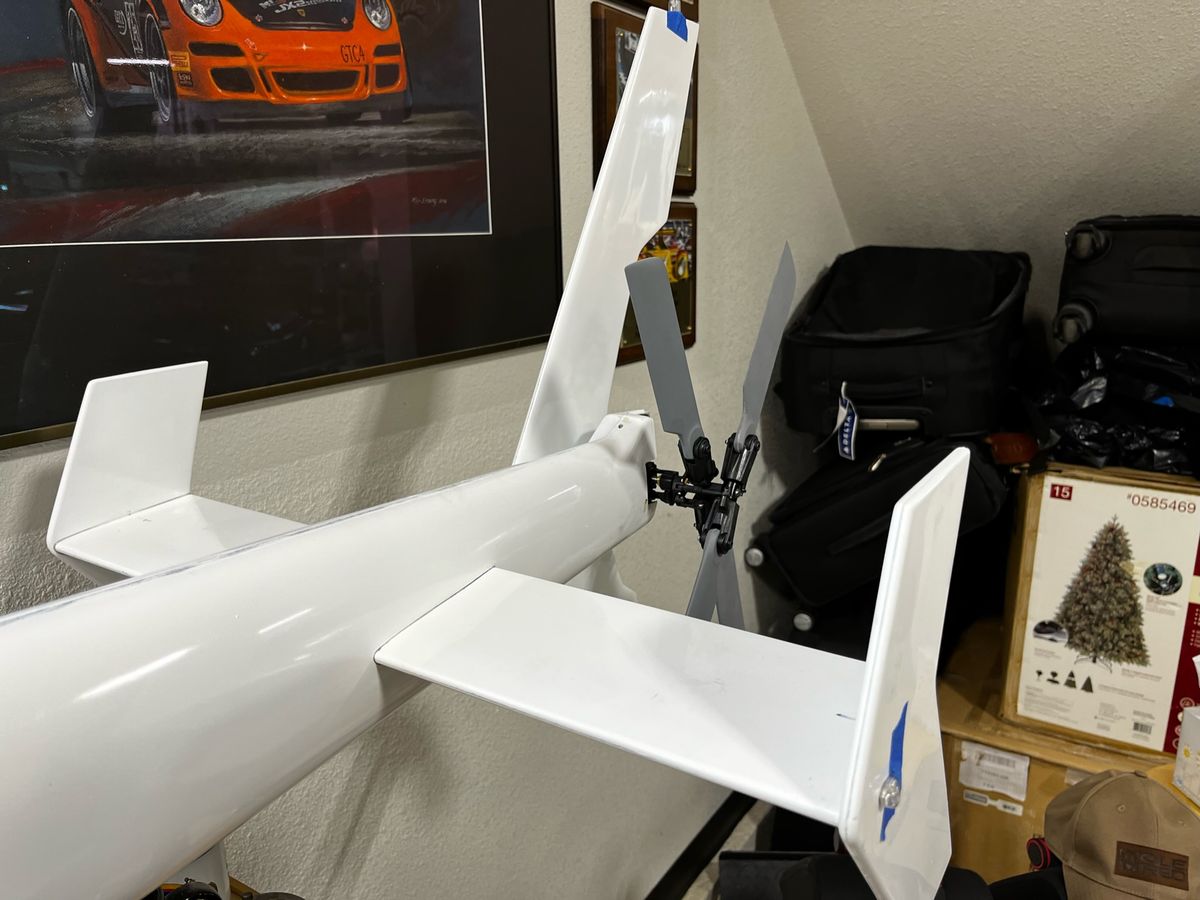
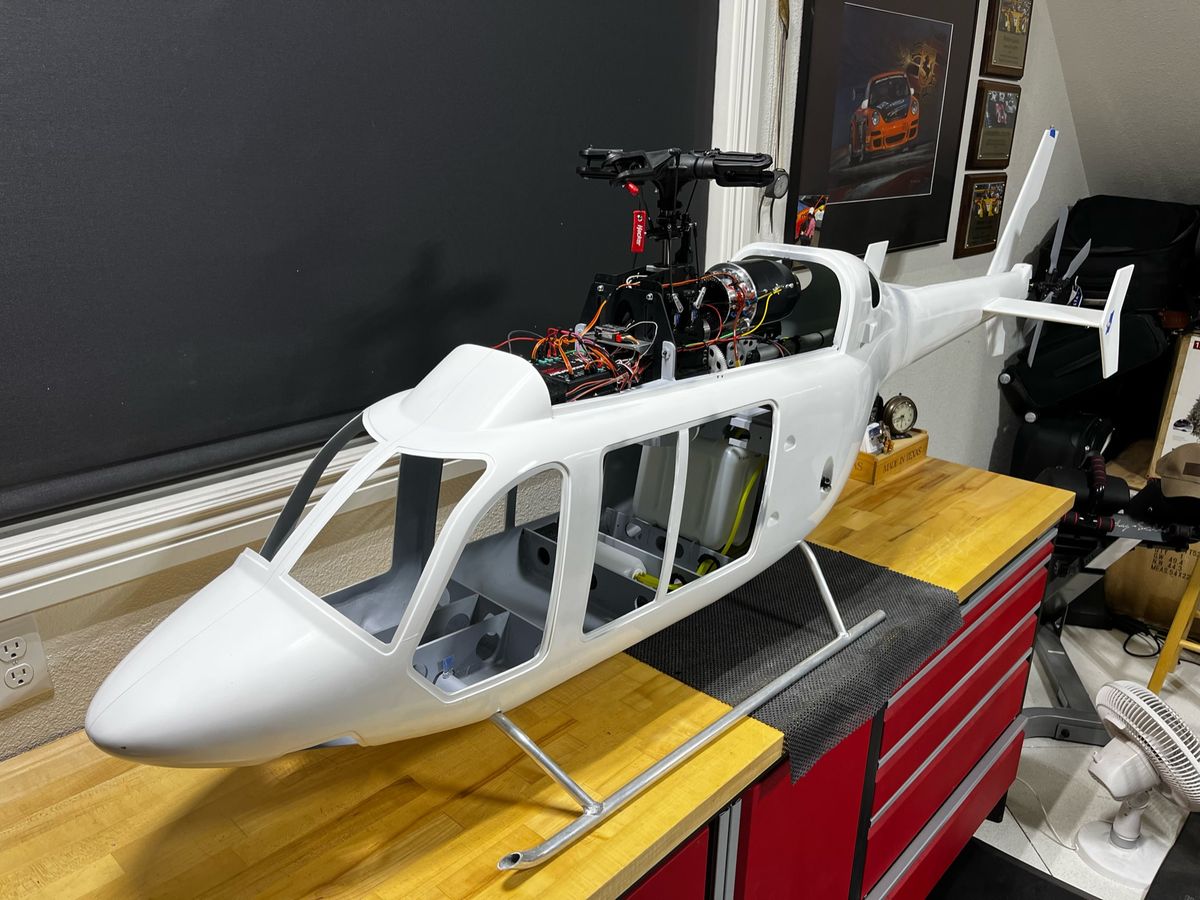
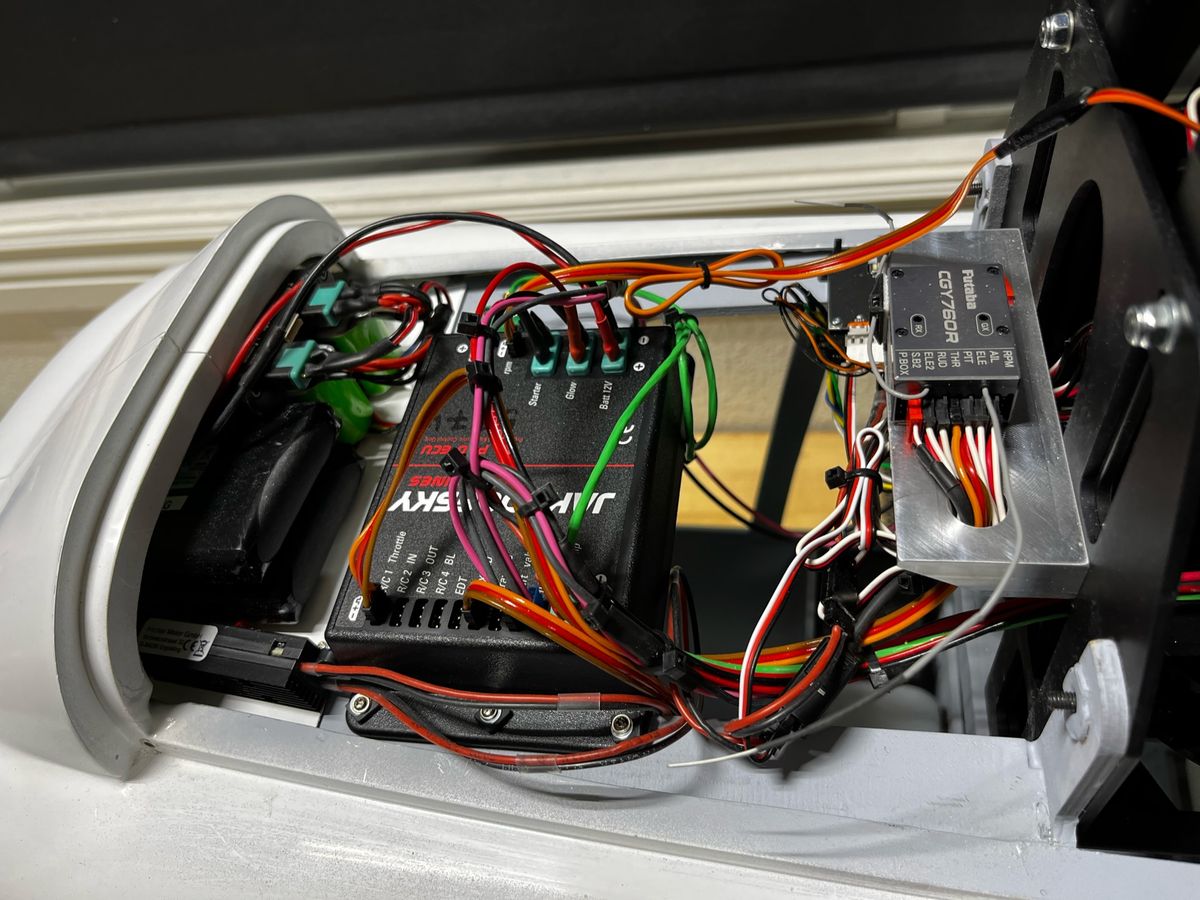
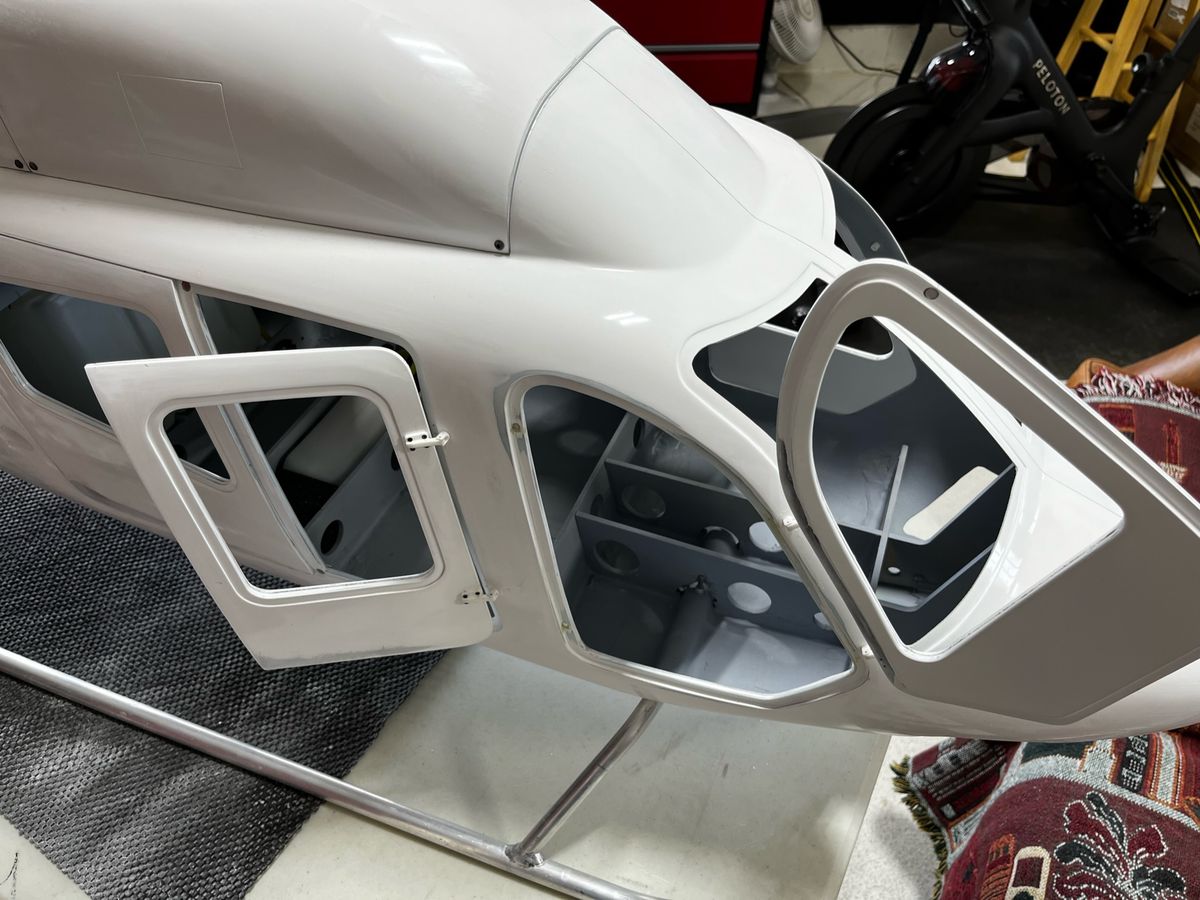
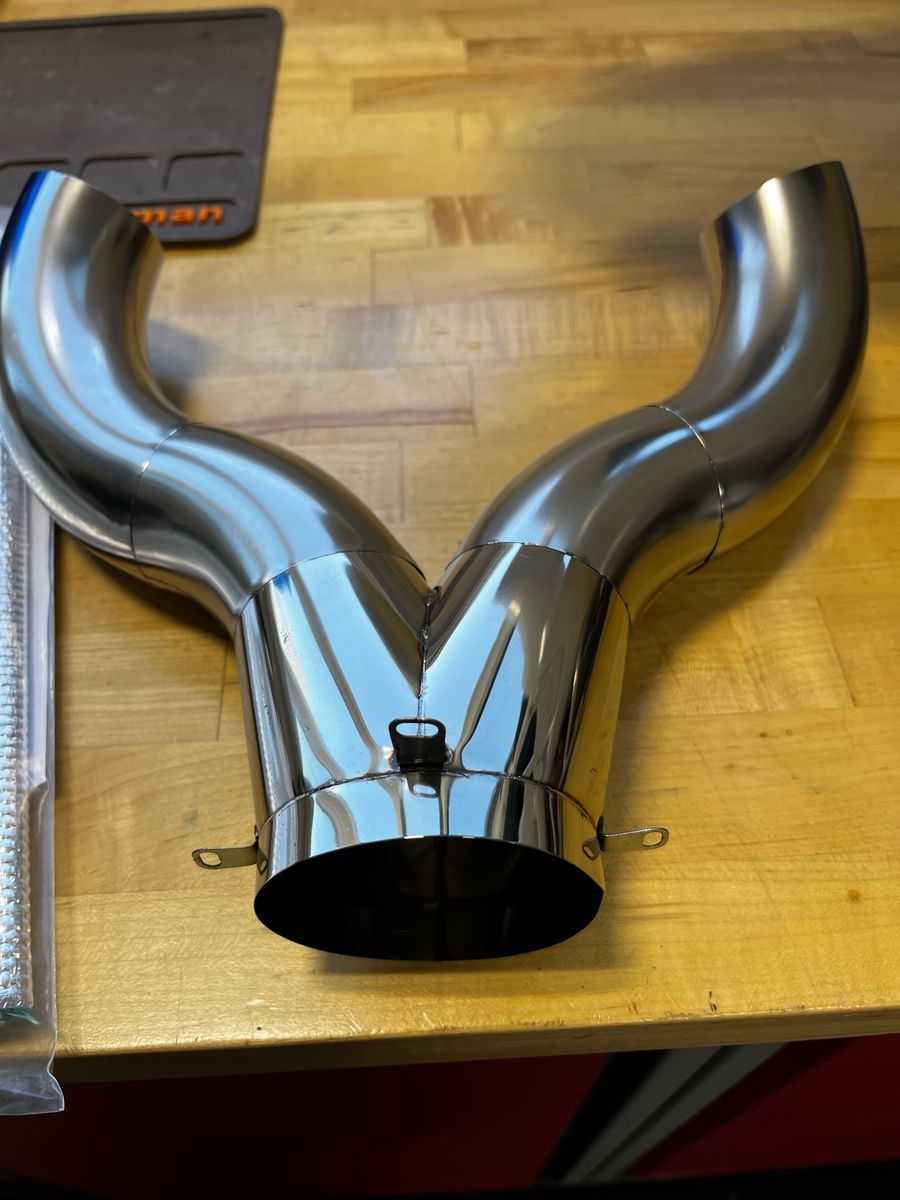
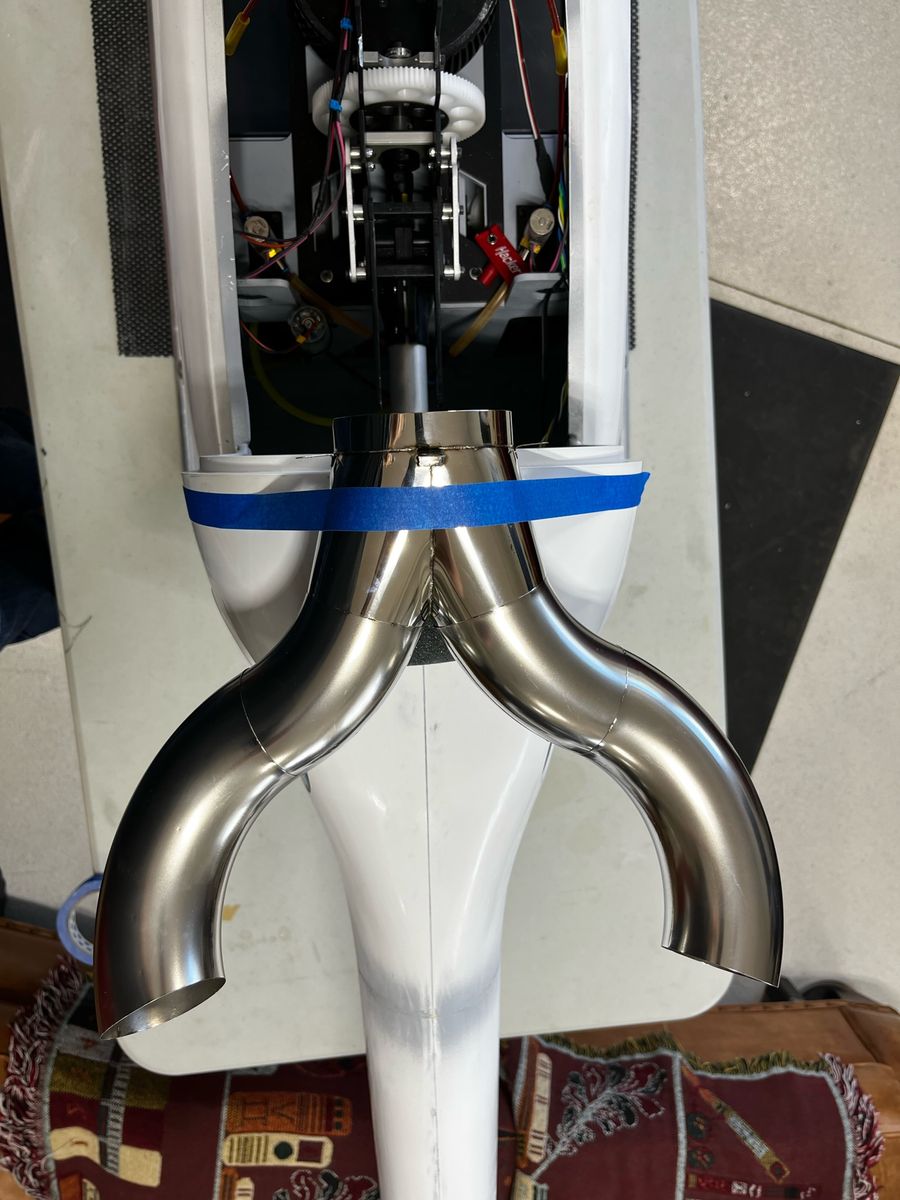
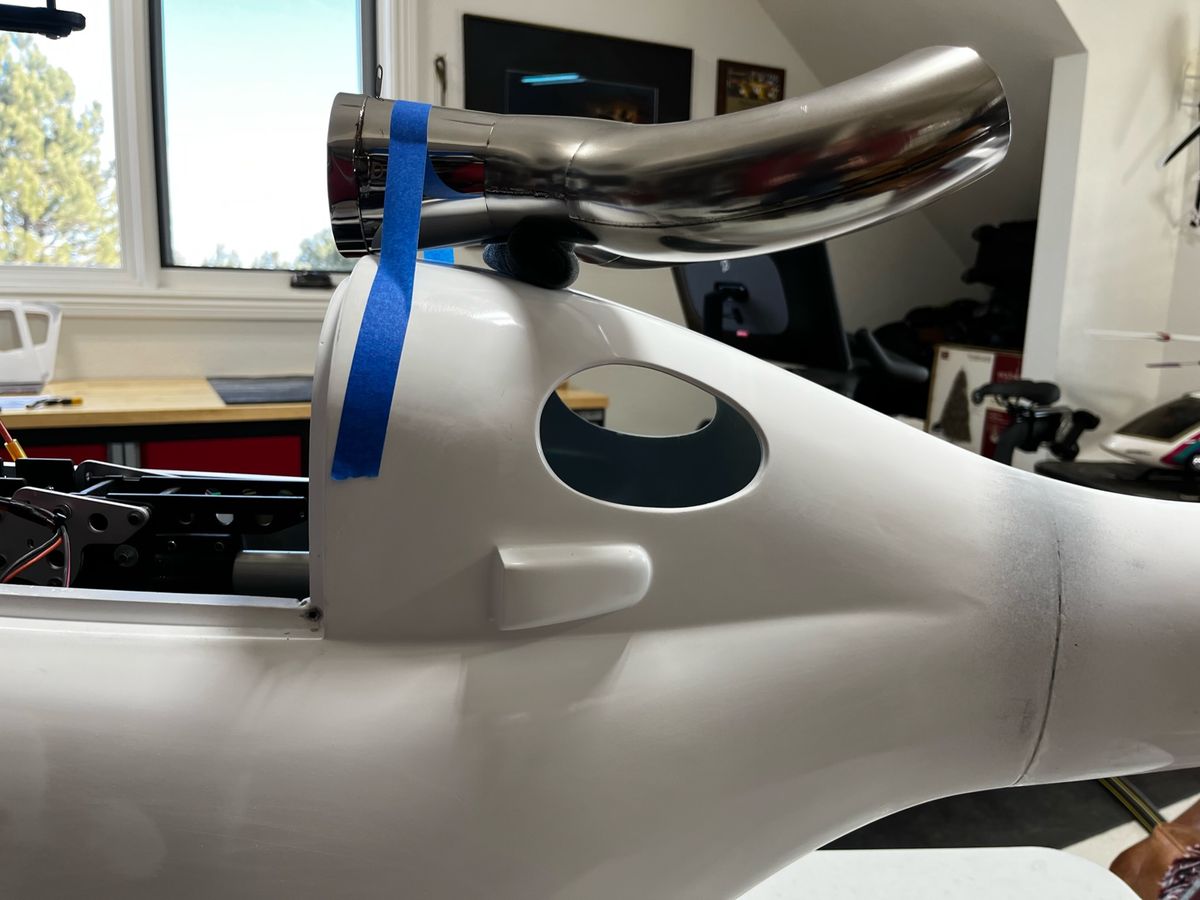
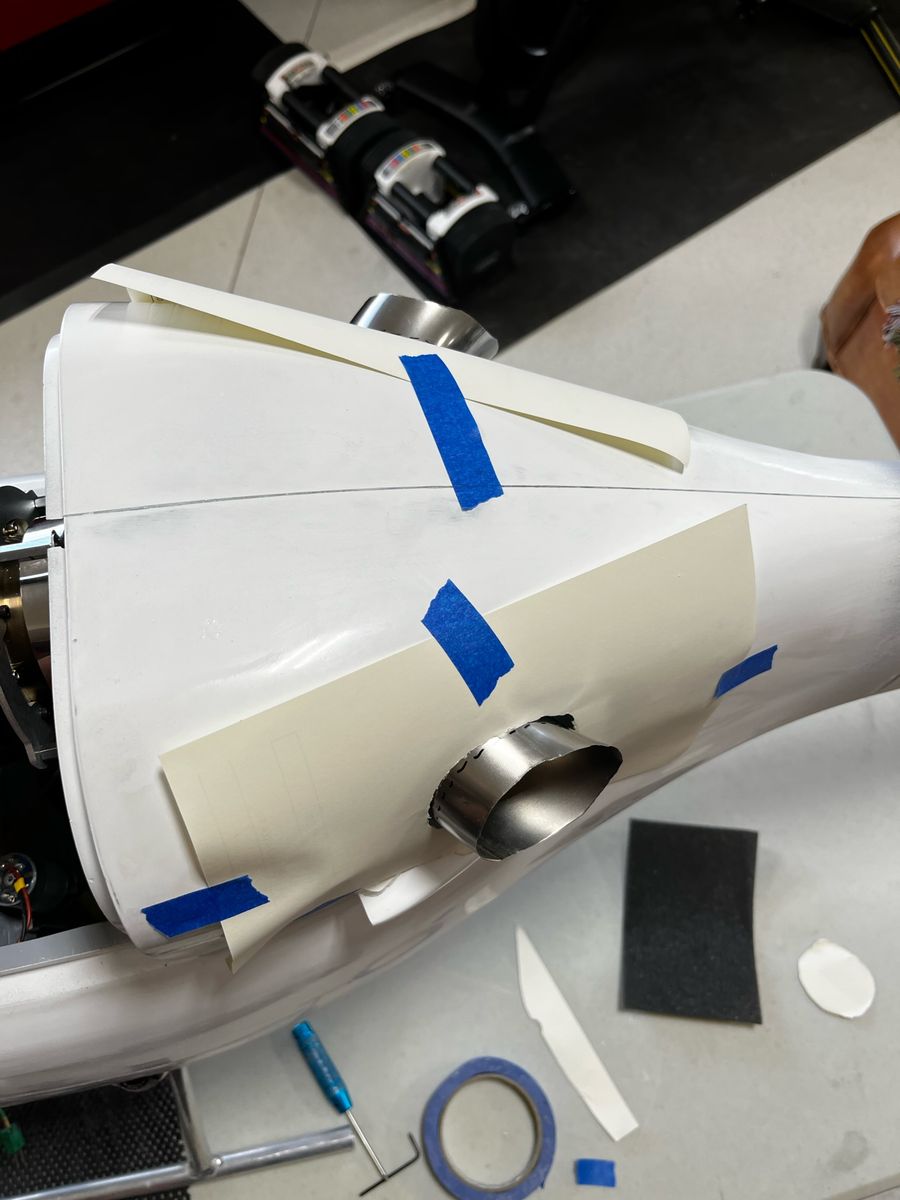
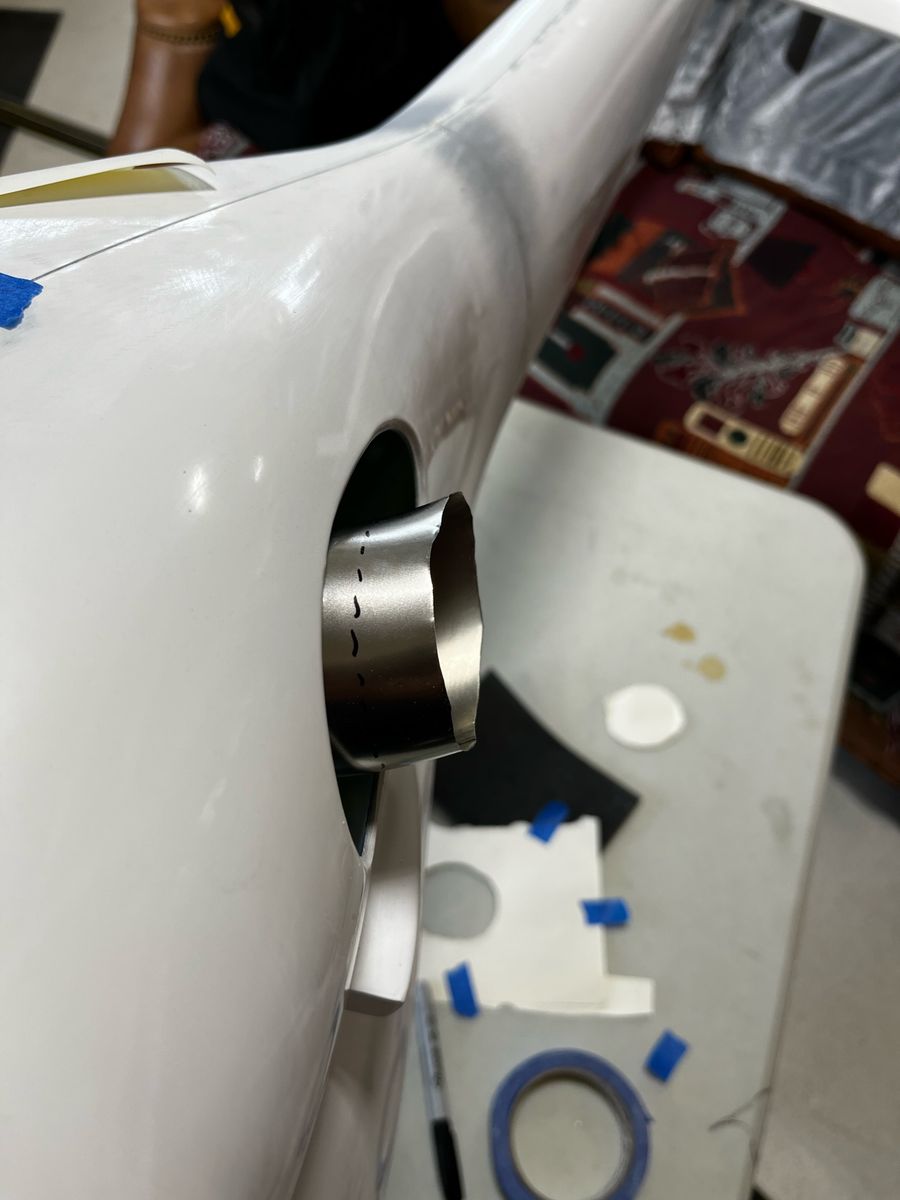
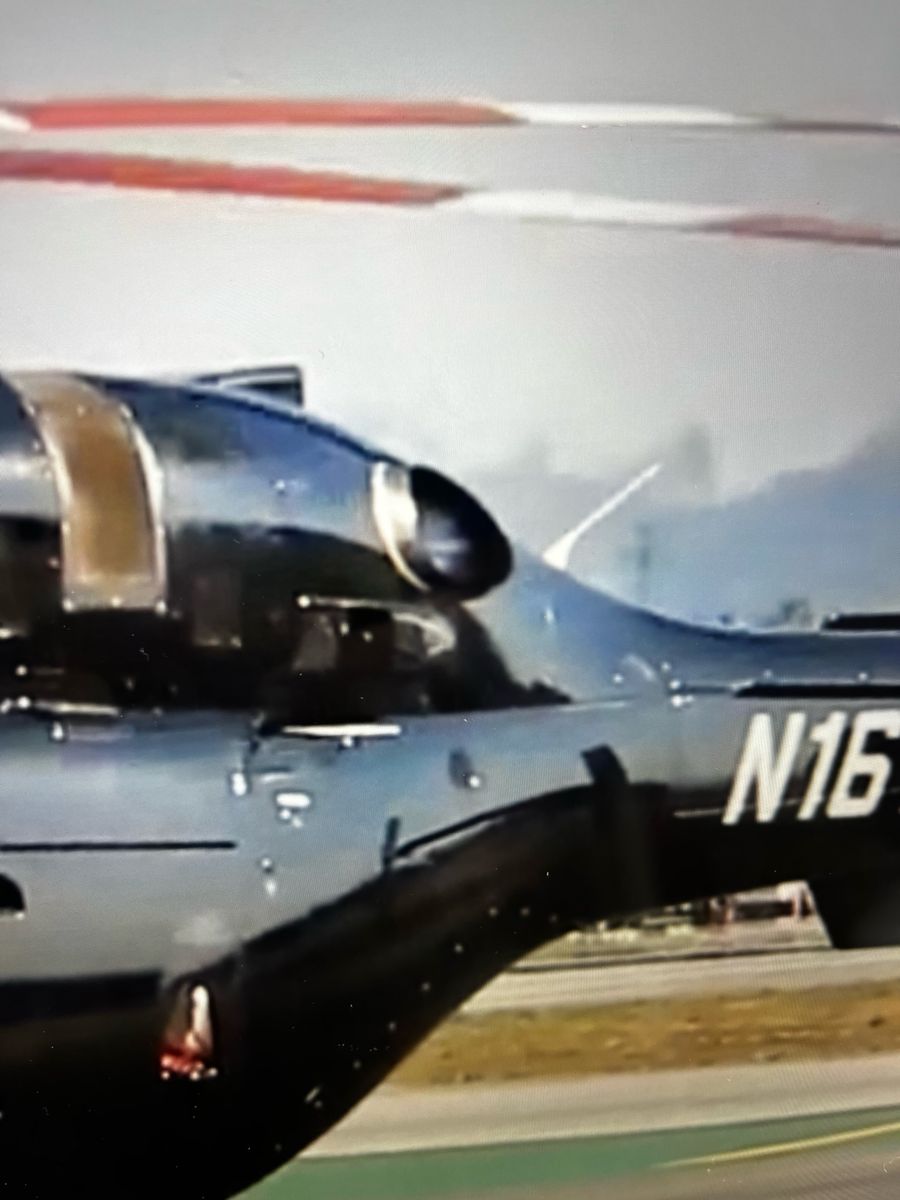
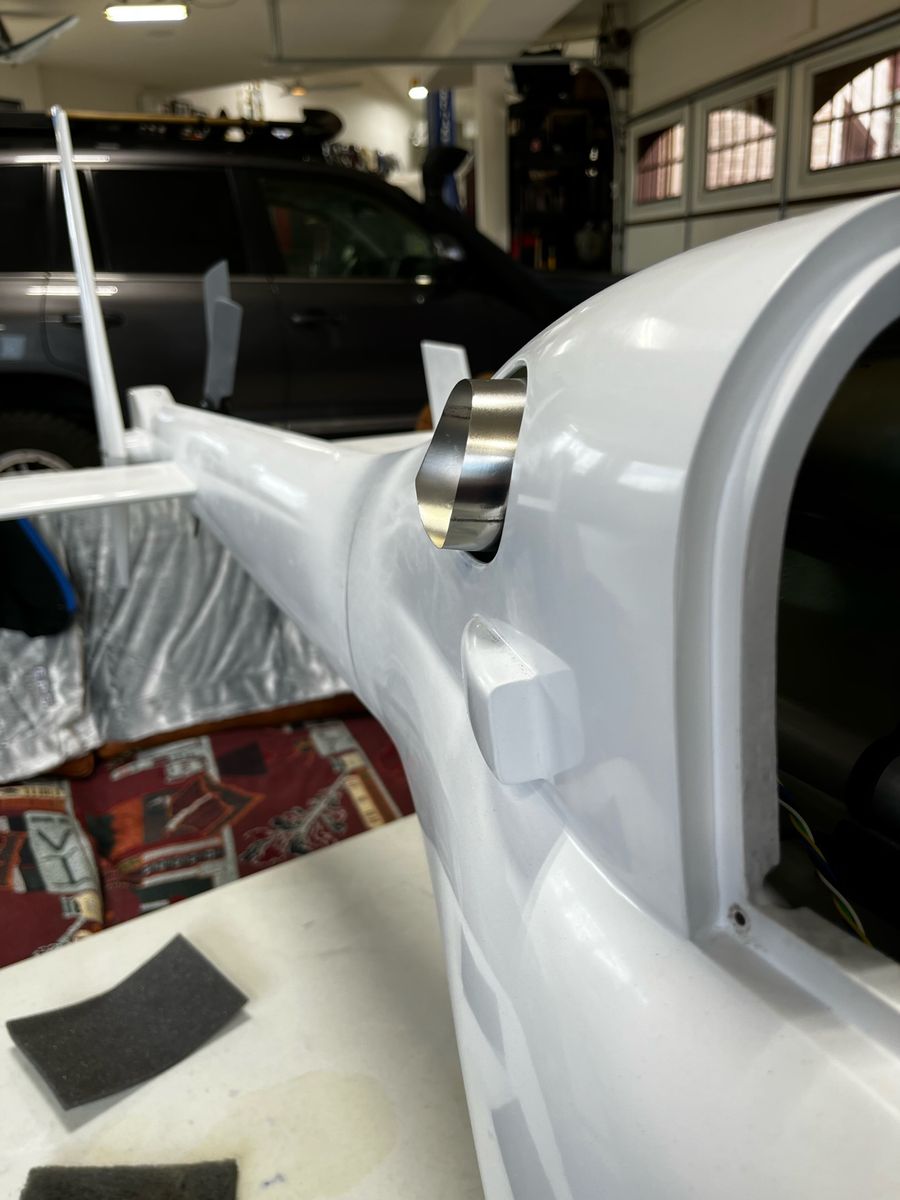
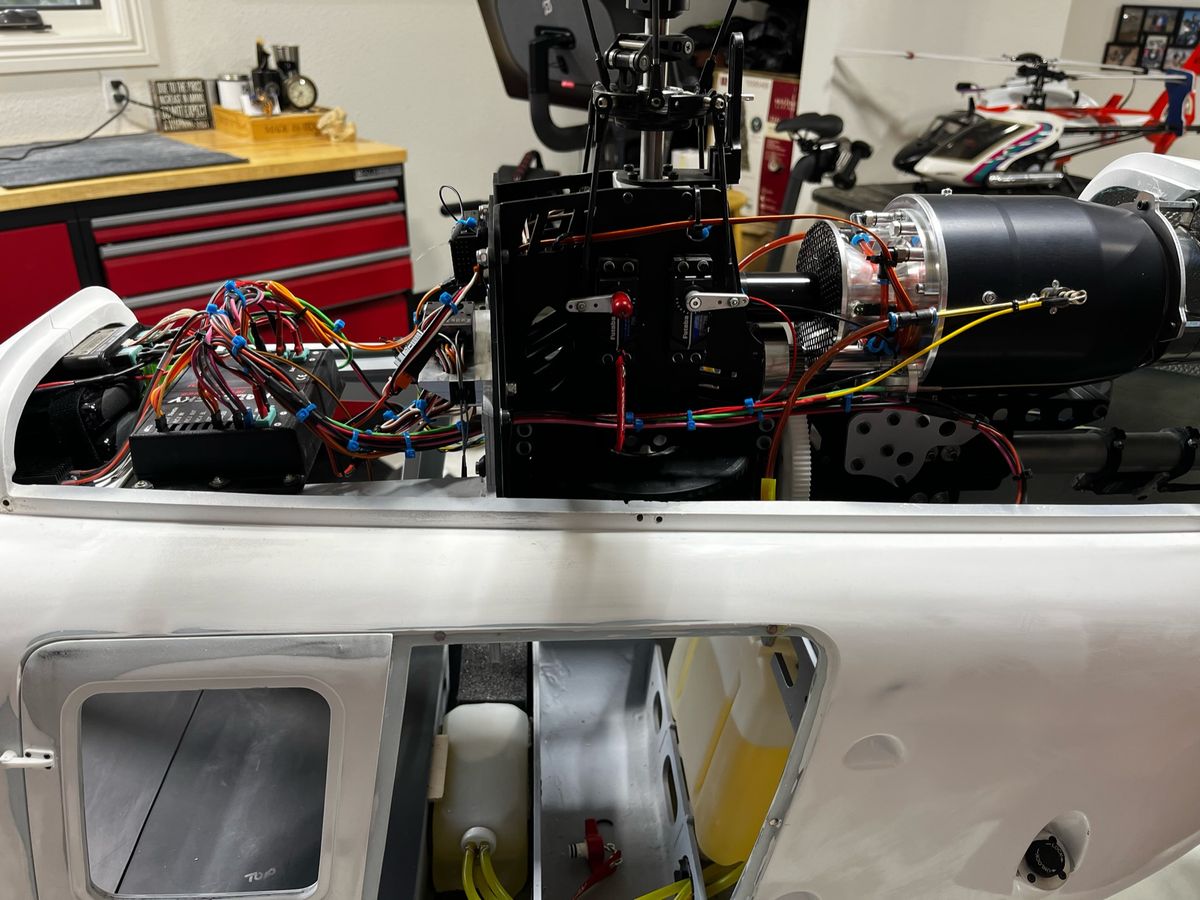
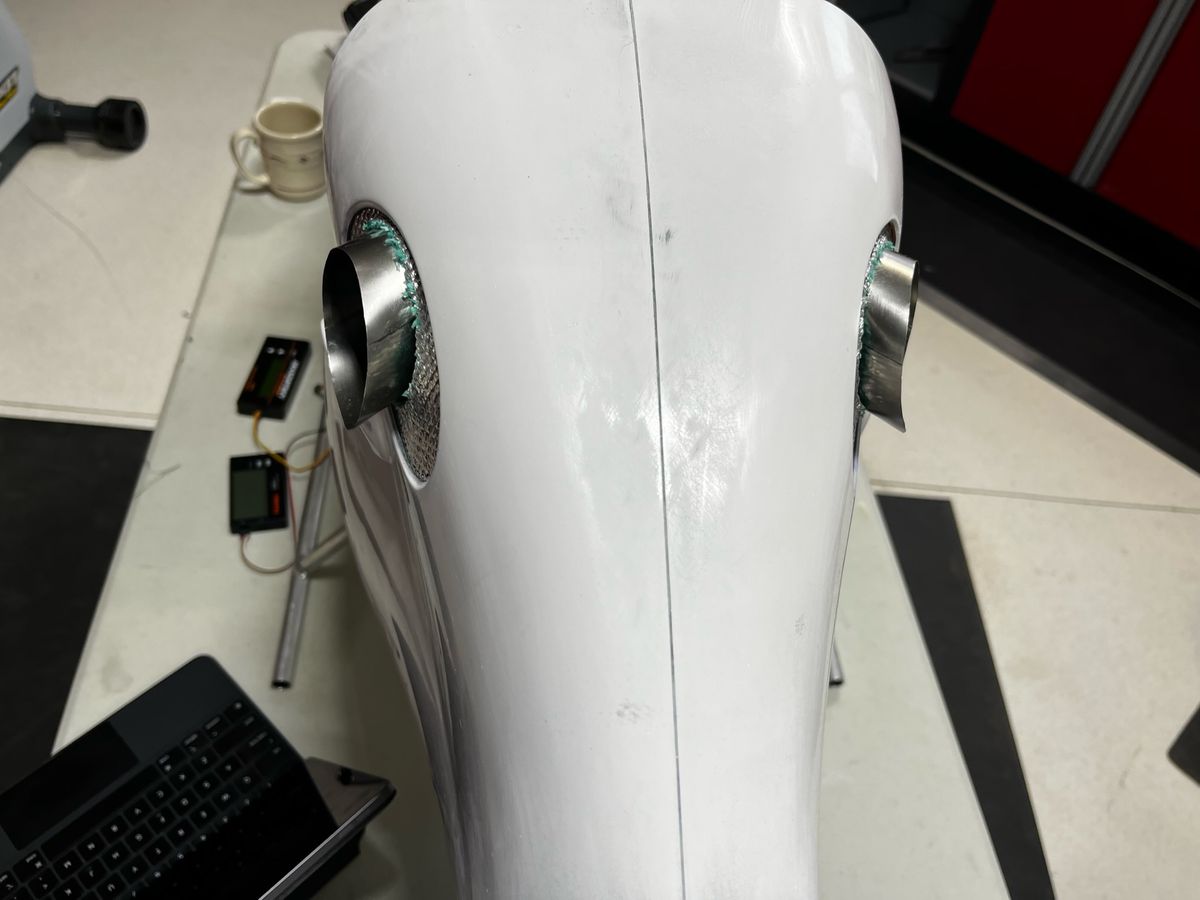
Exhaust, doors, wiring
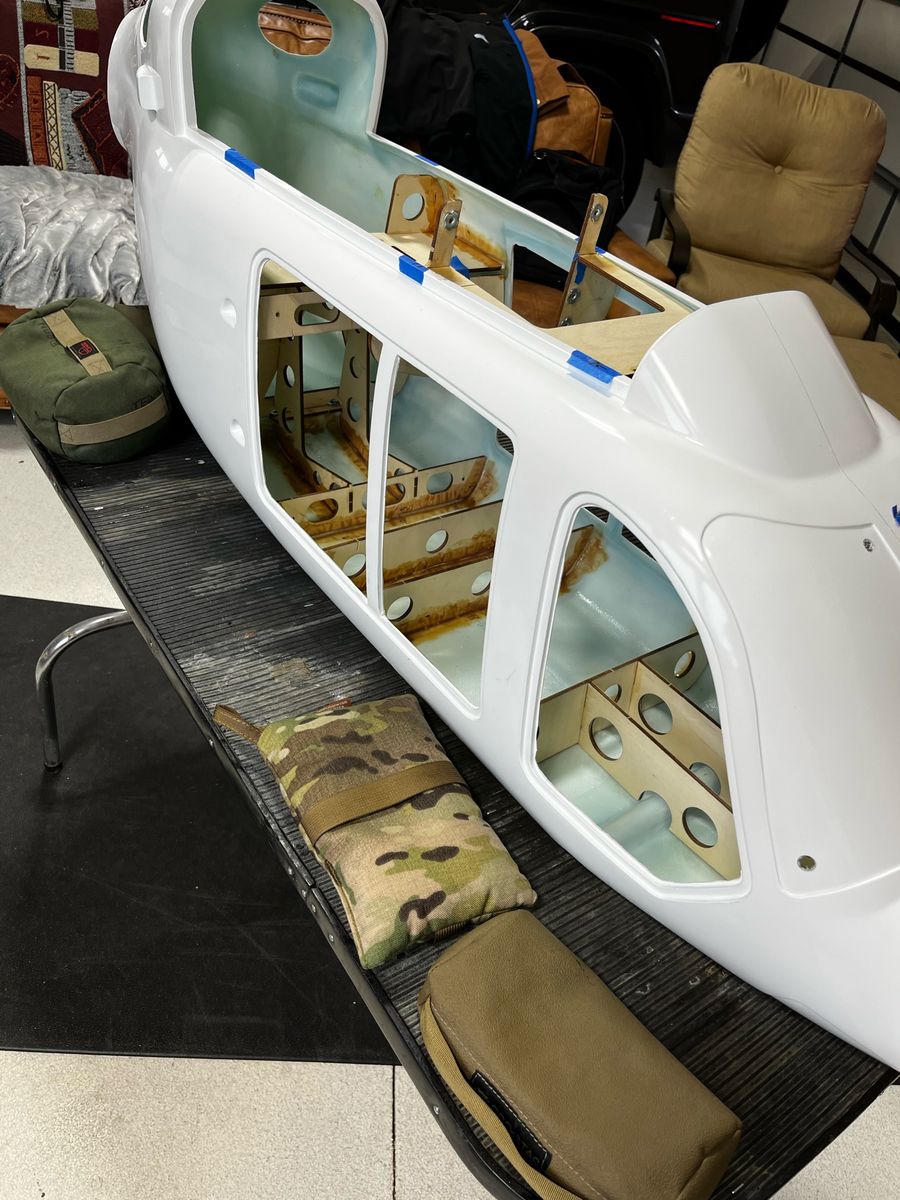
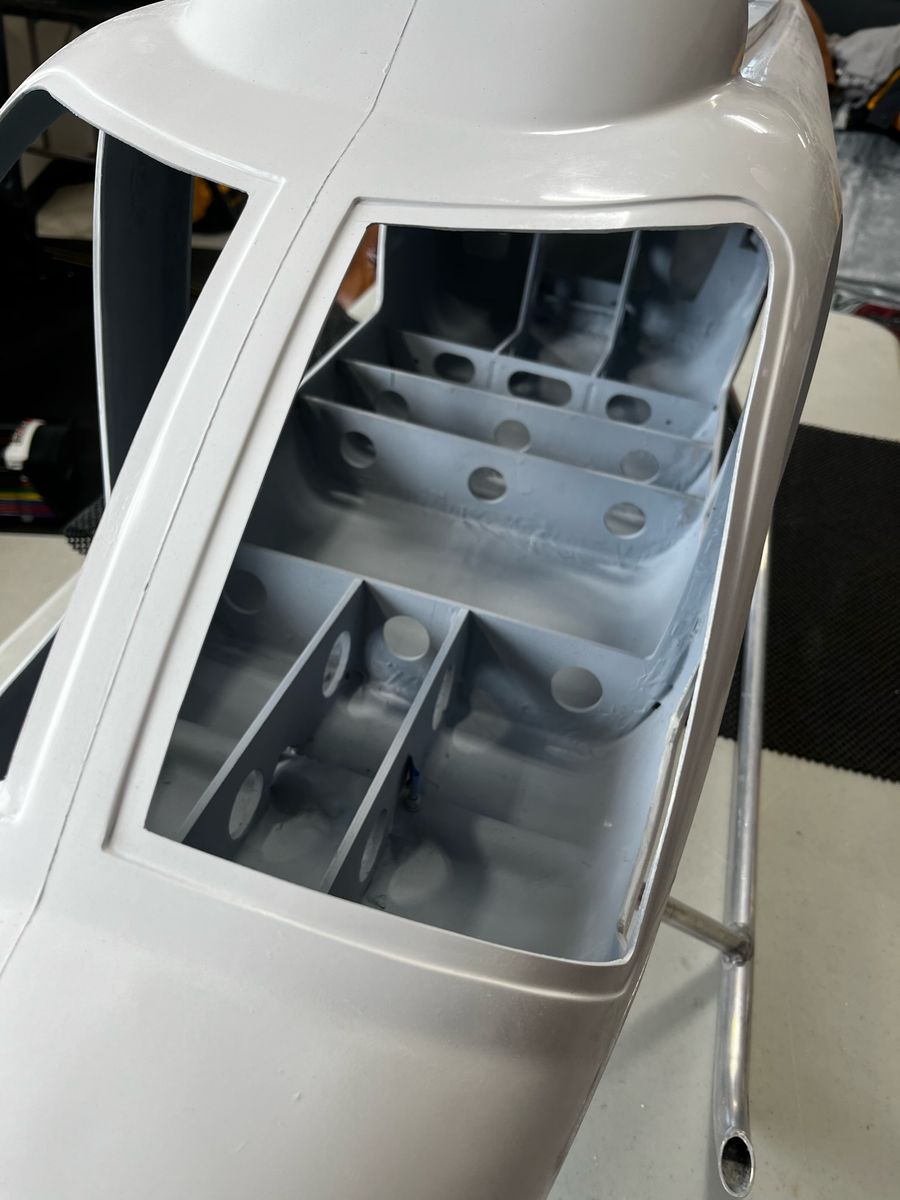
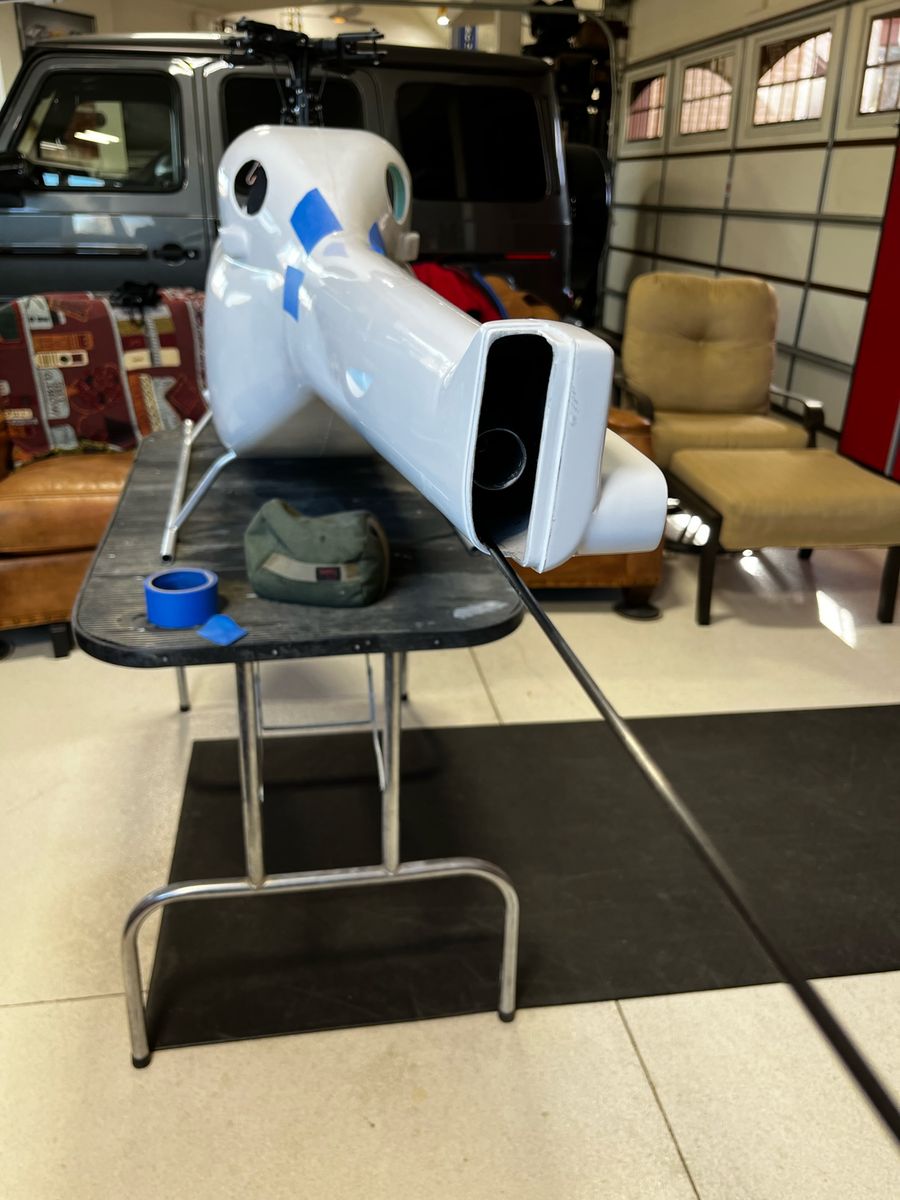
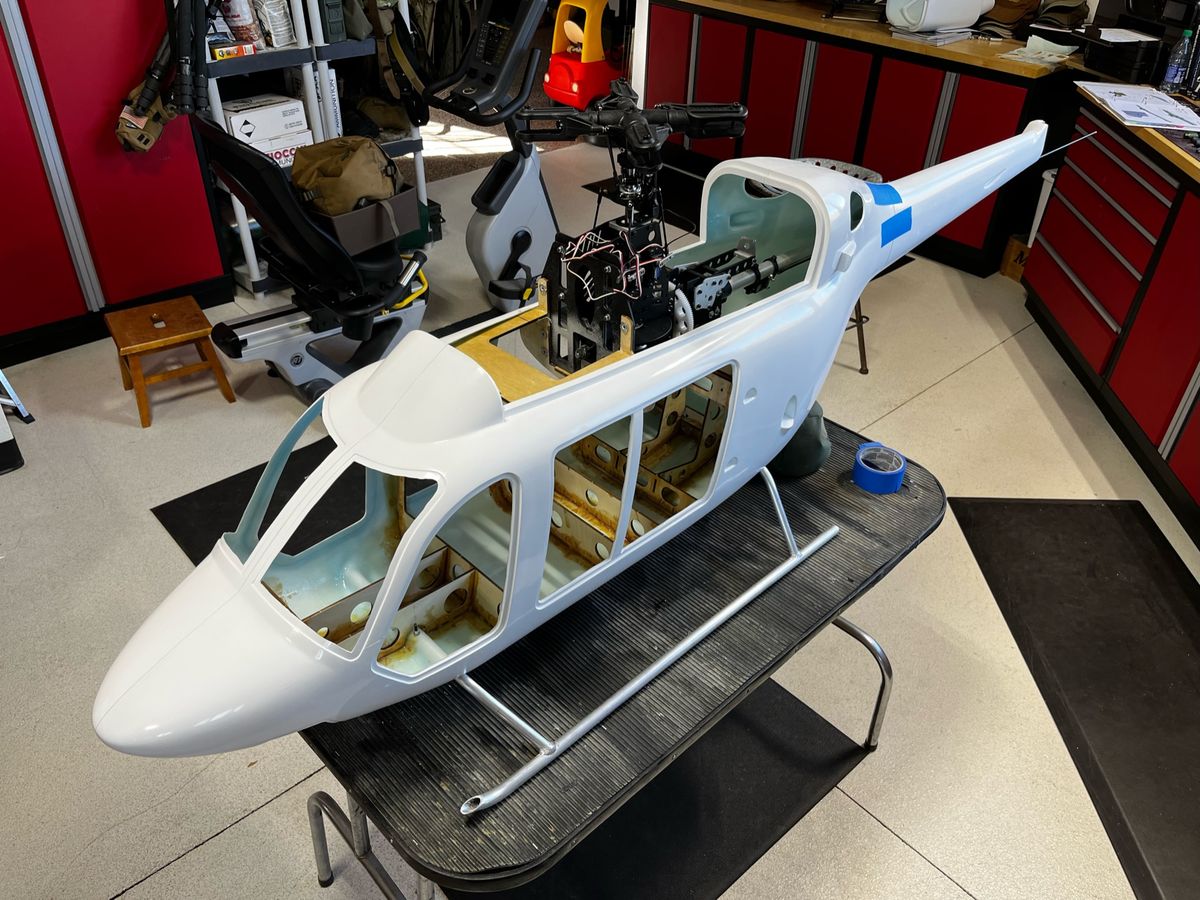
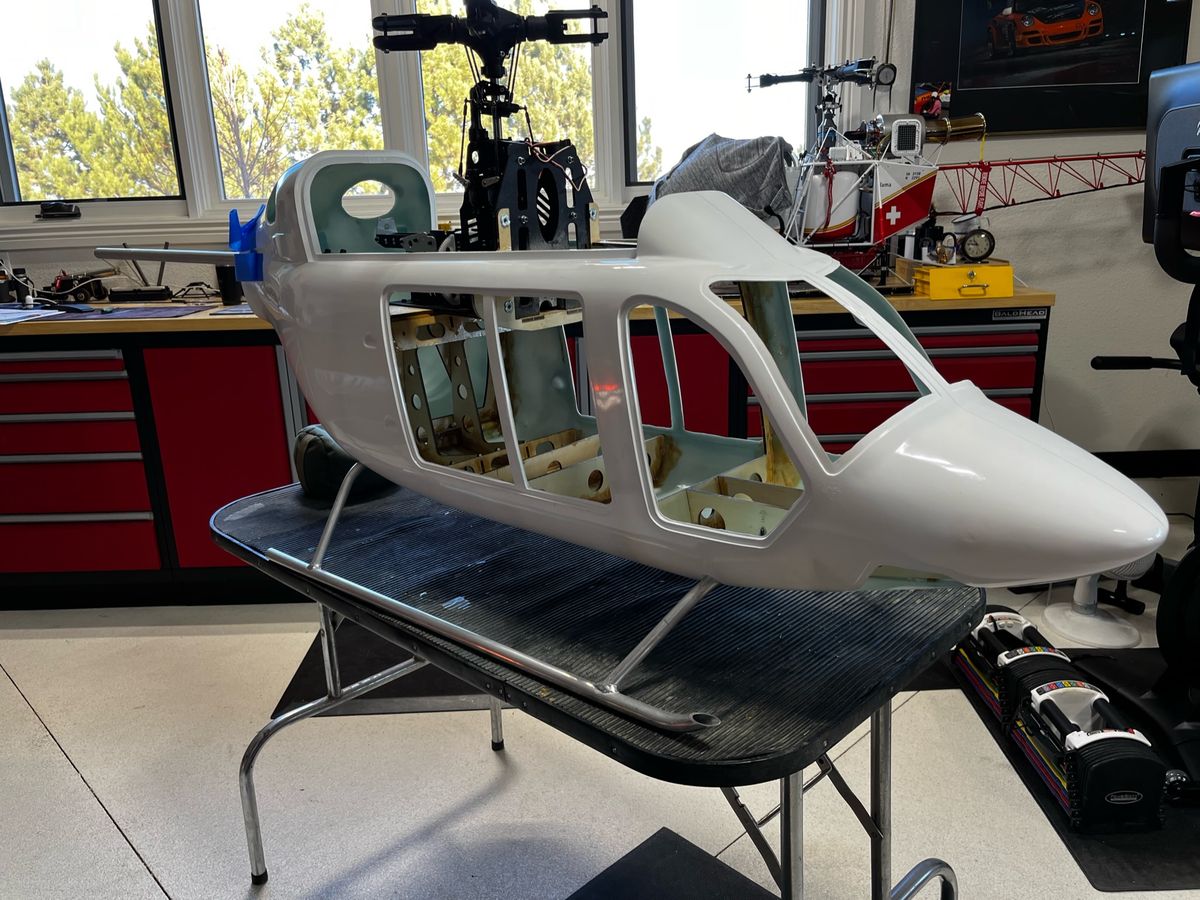
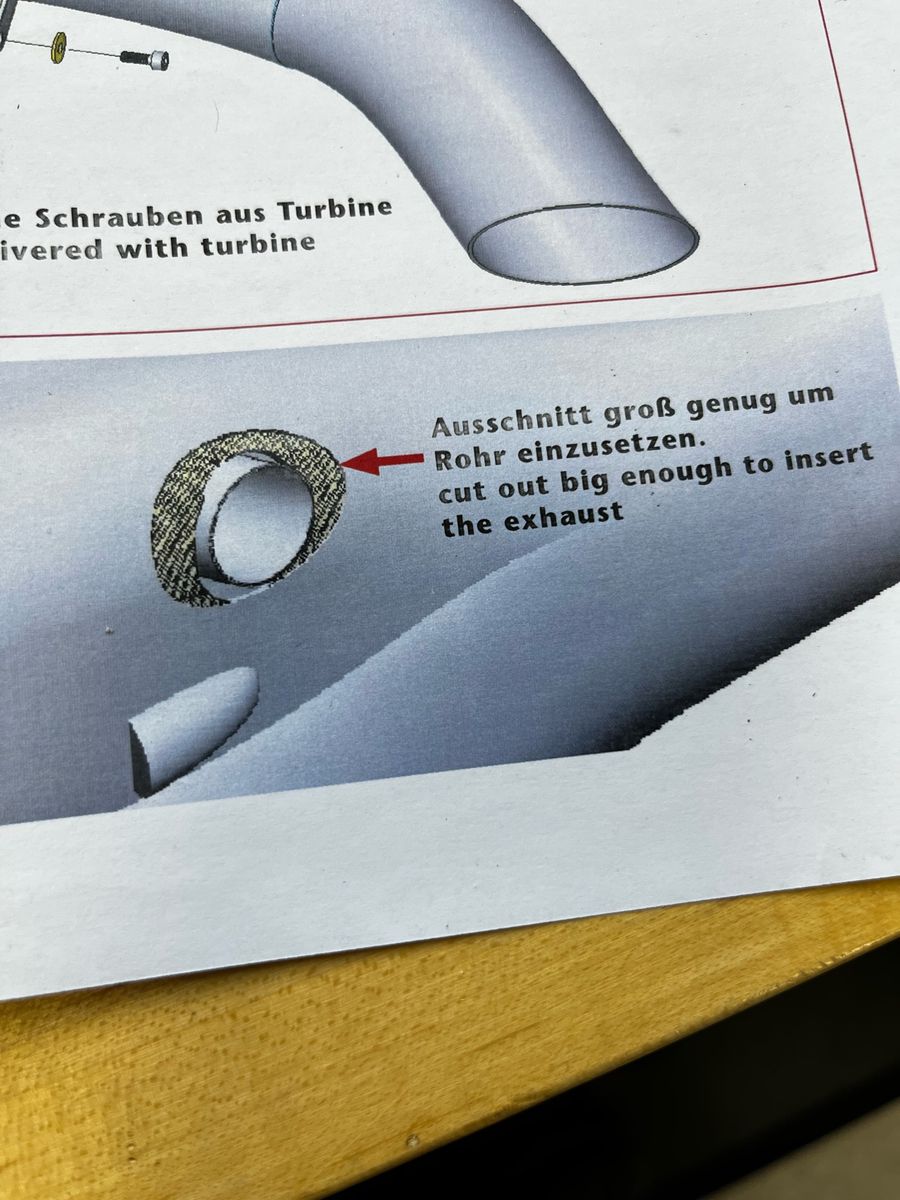
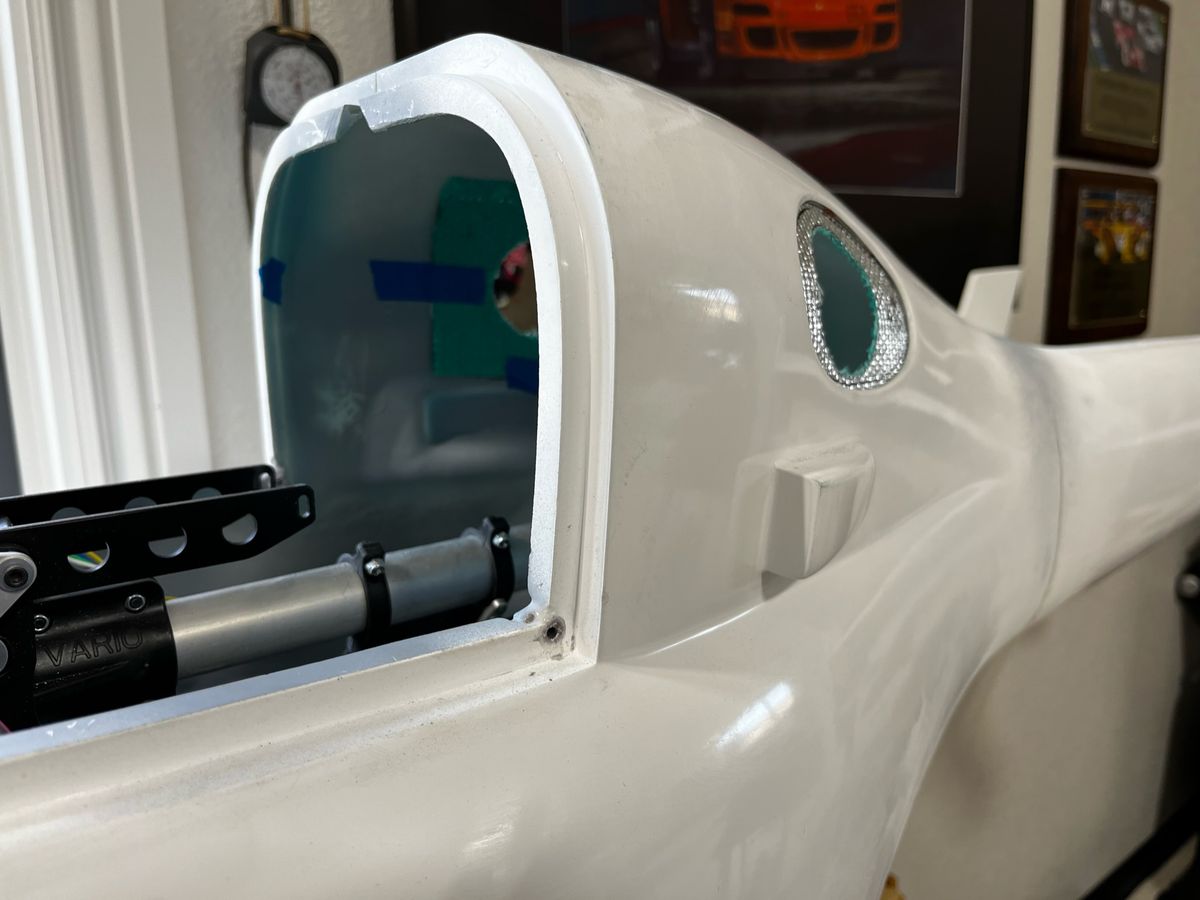
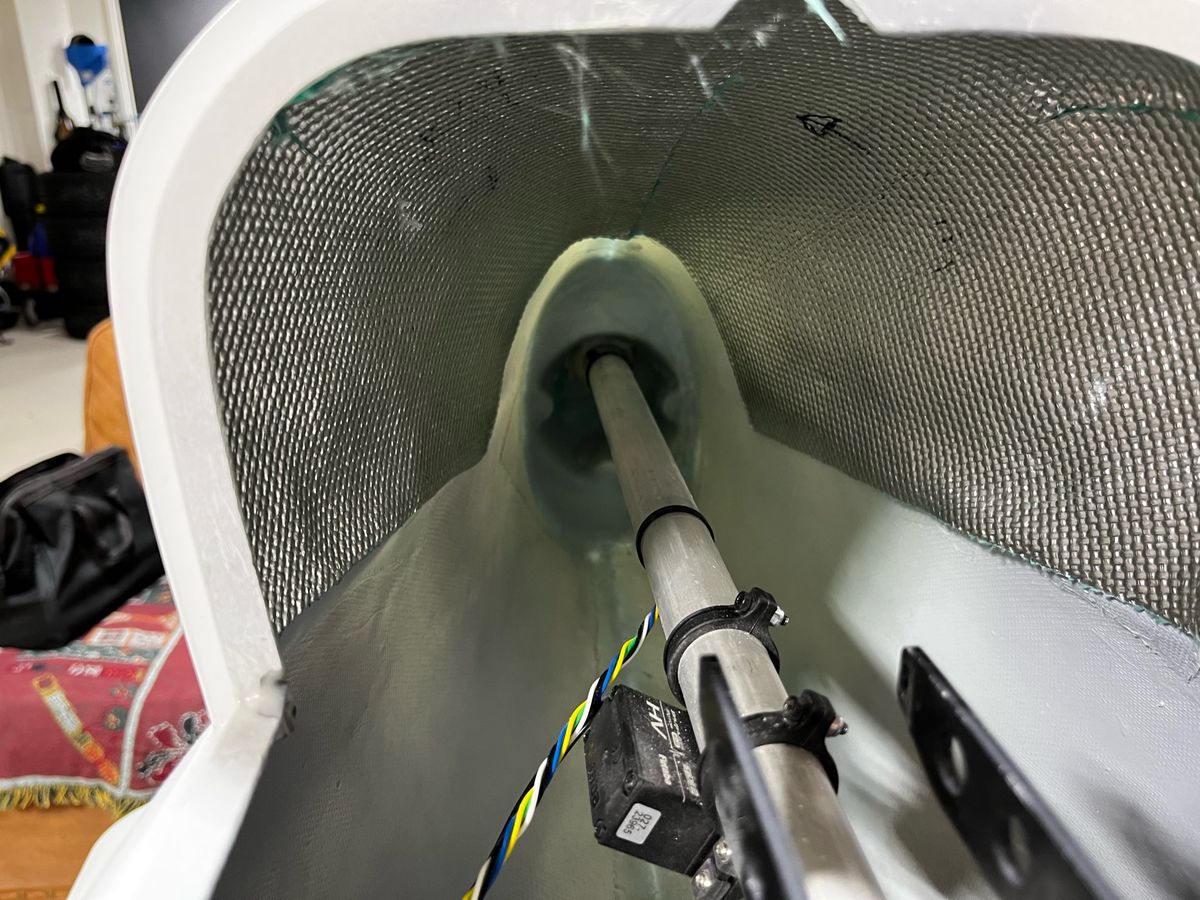
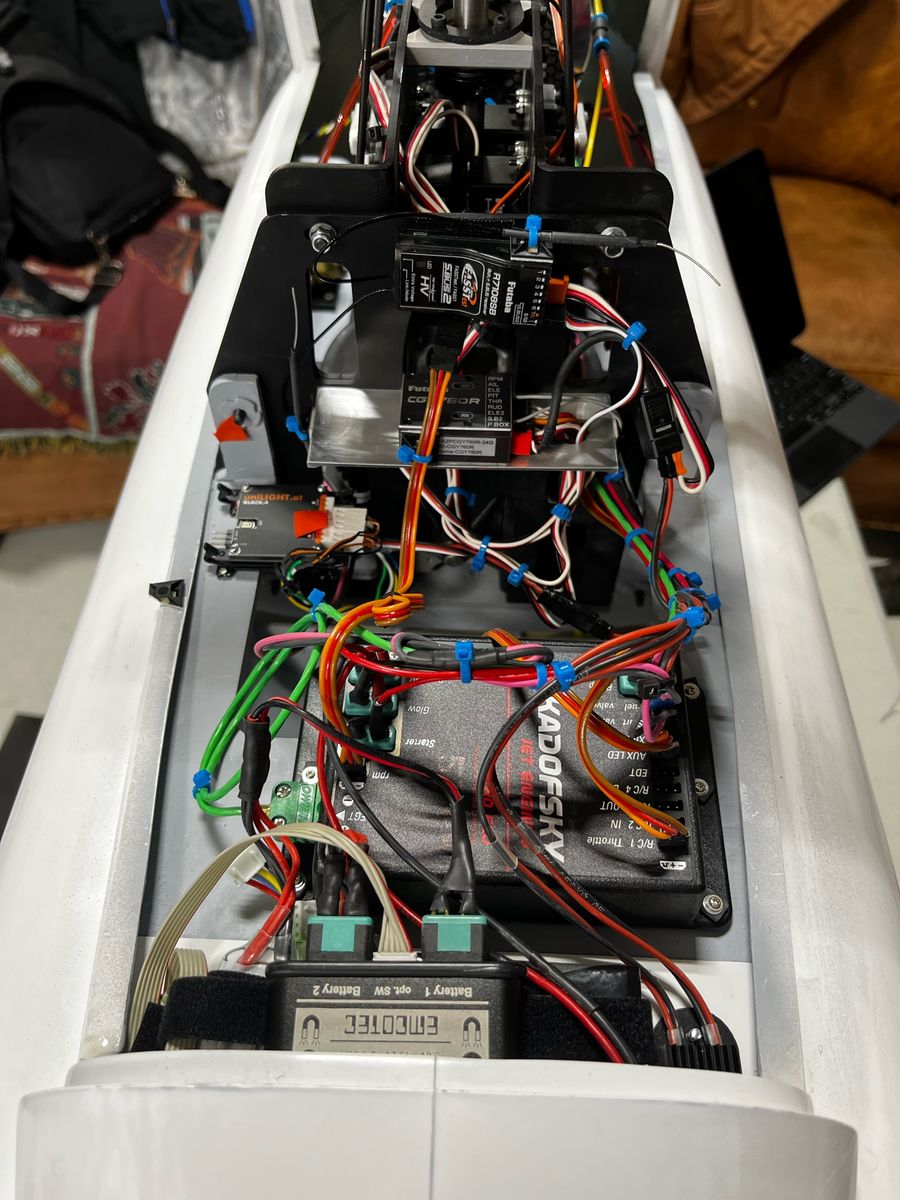
Exhaust install and trimming, door fitting, rough sanding and initial wiring layout
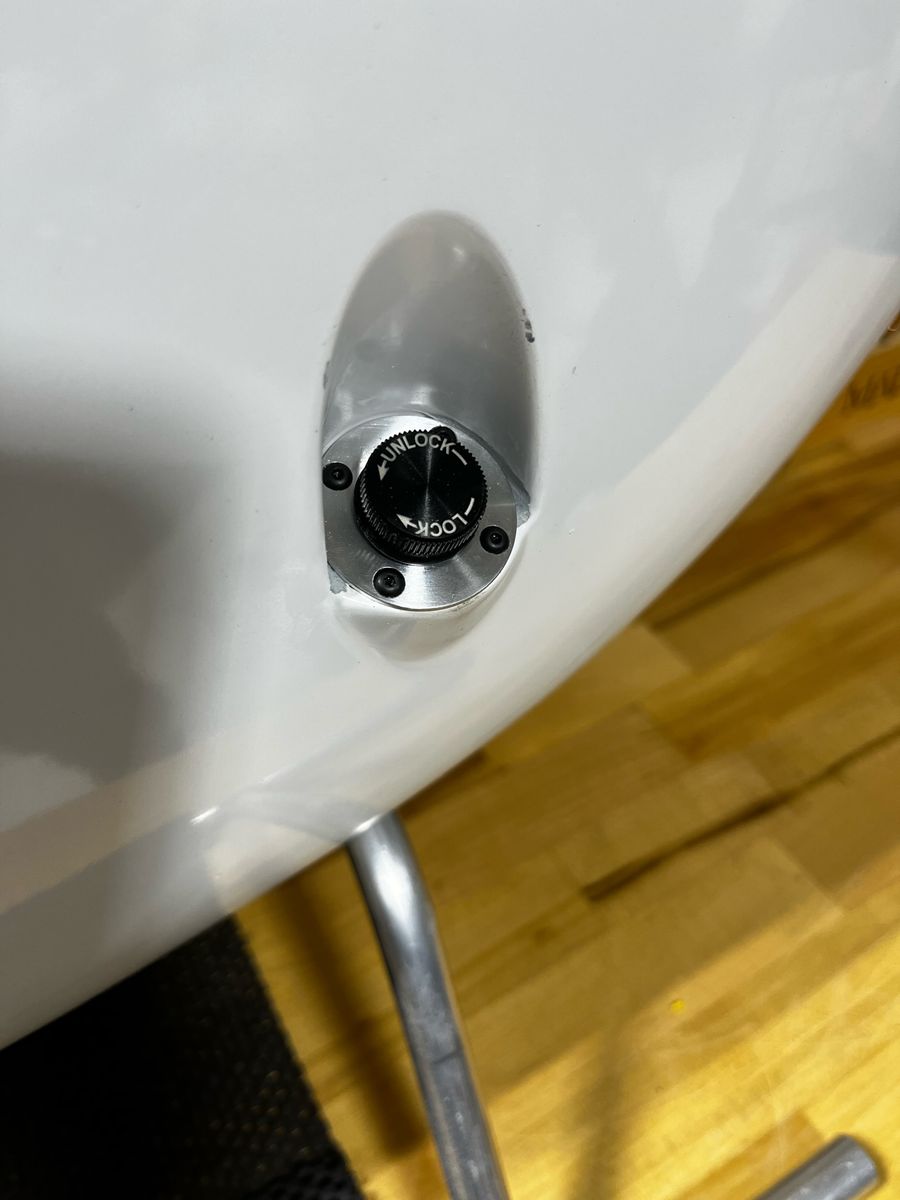
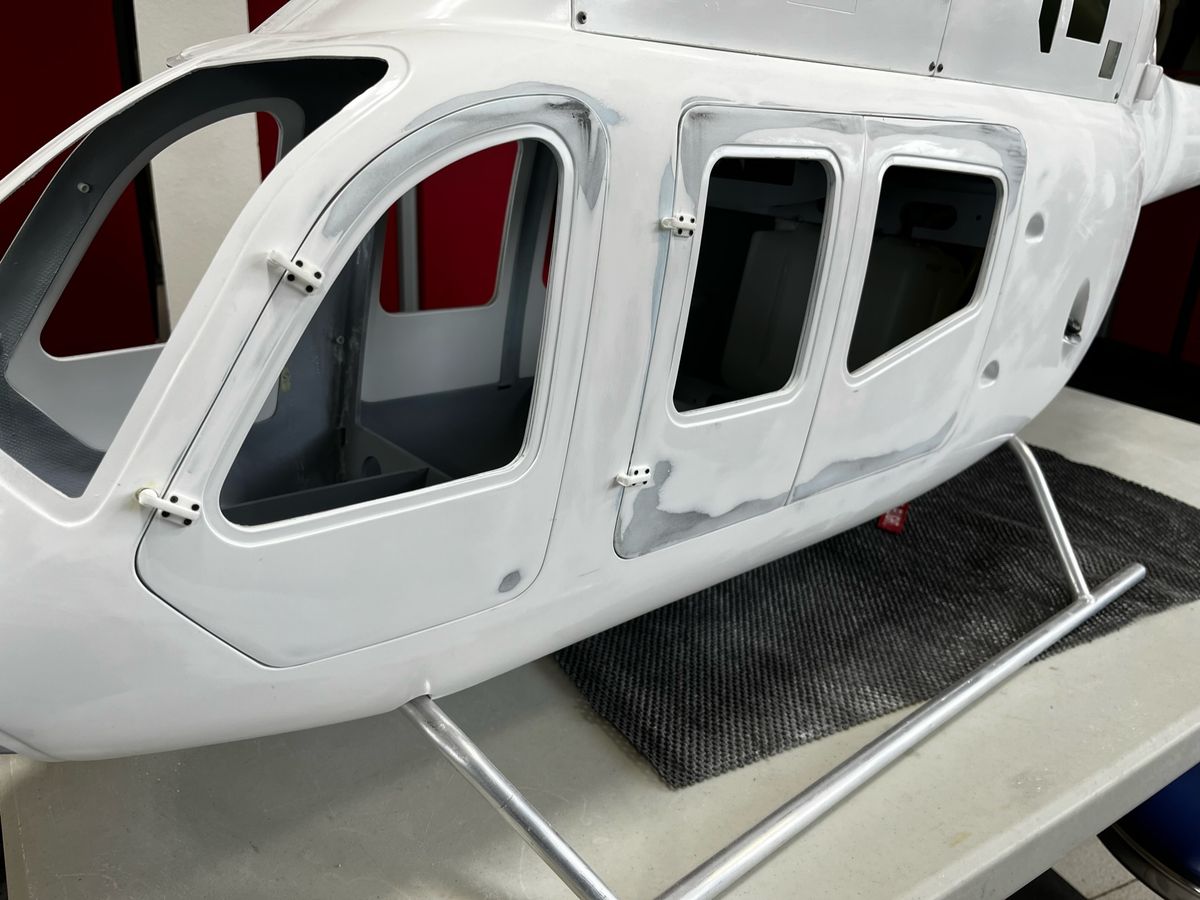
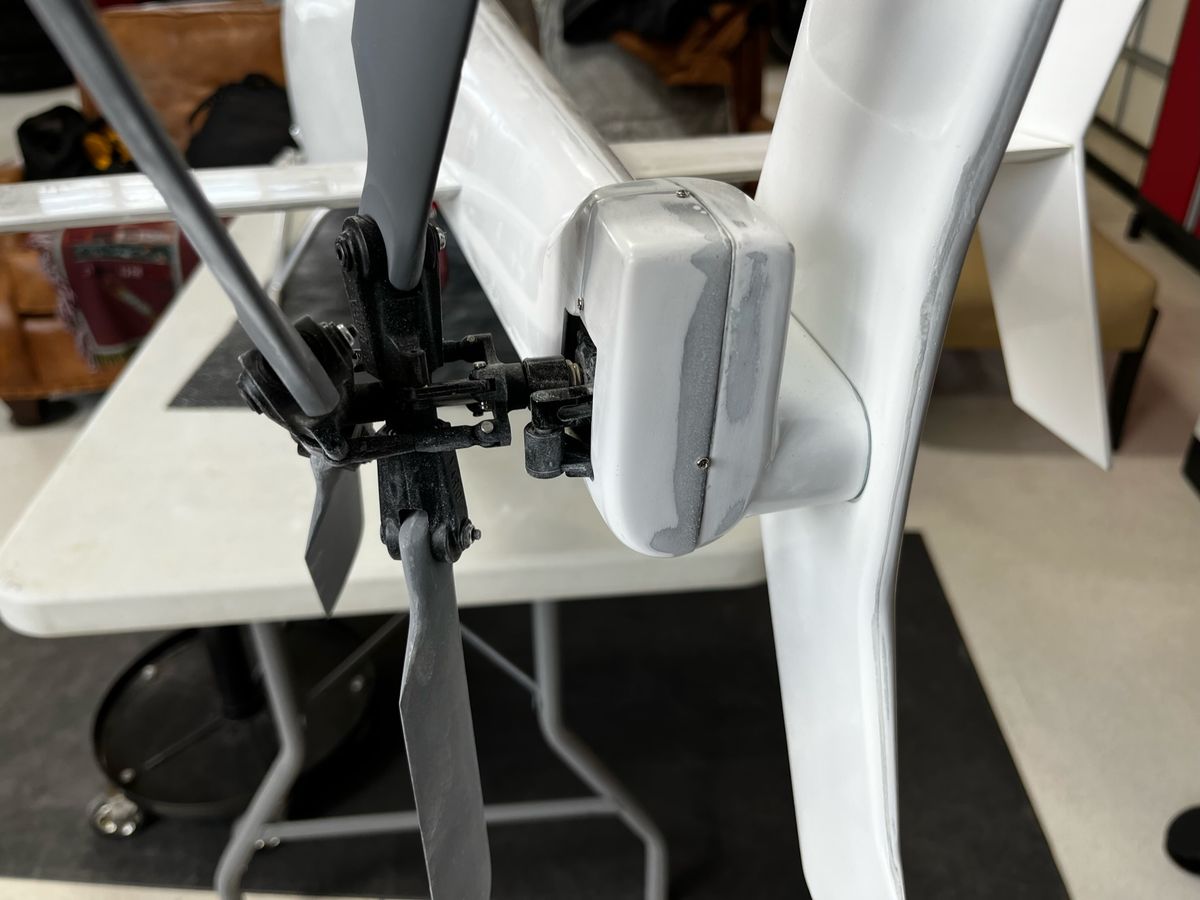
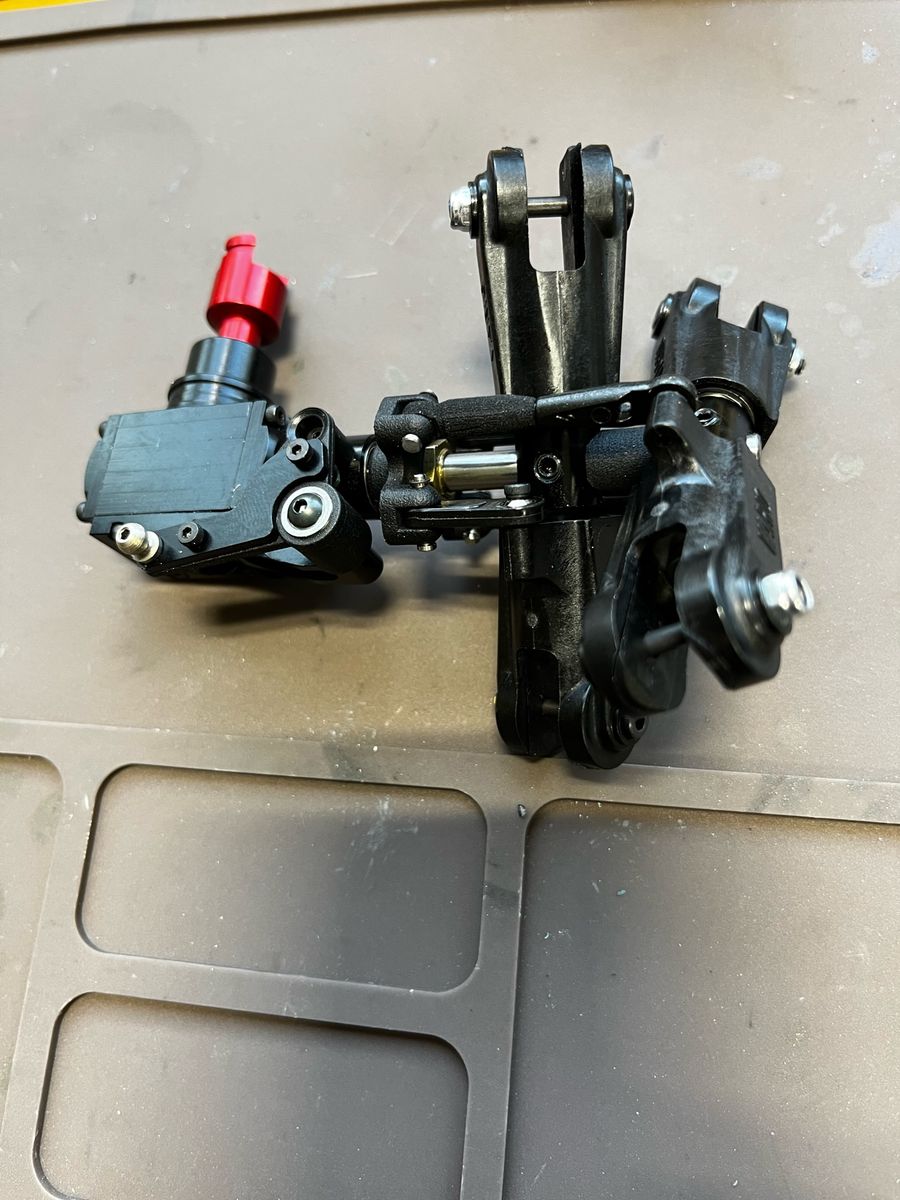
Tail rotor modifications
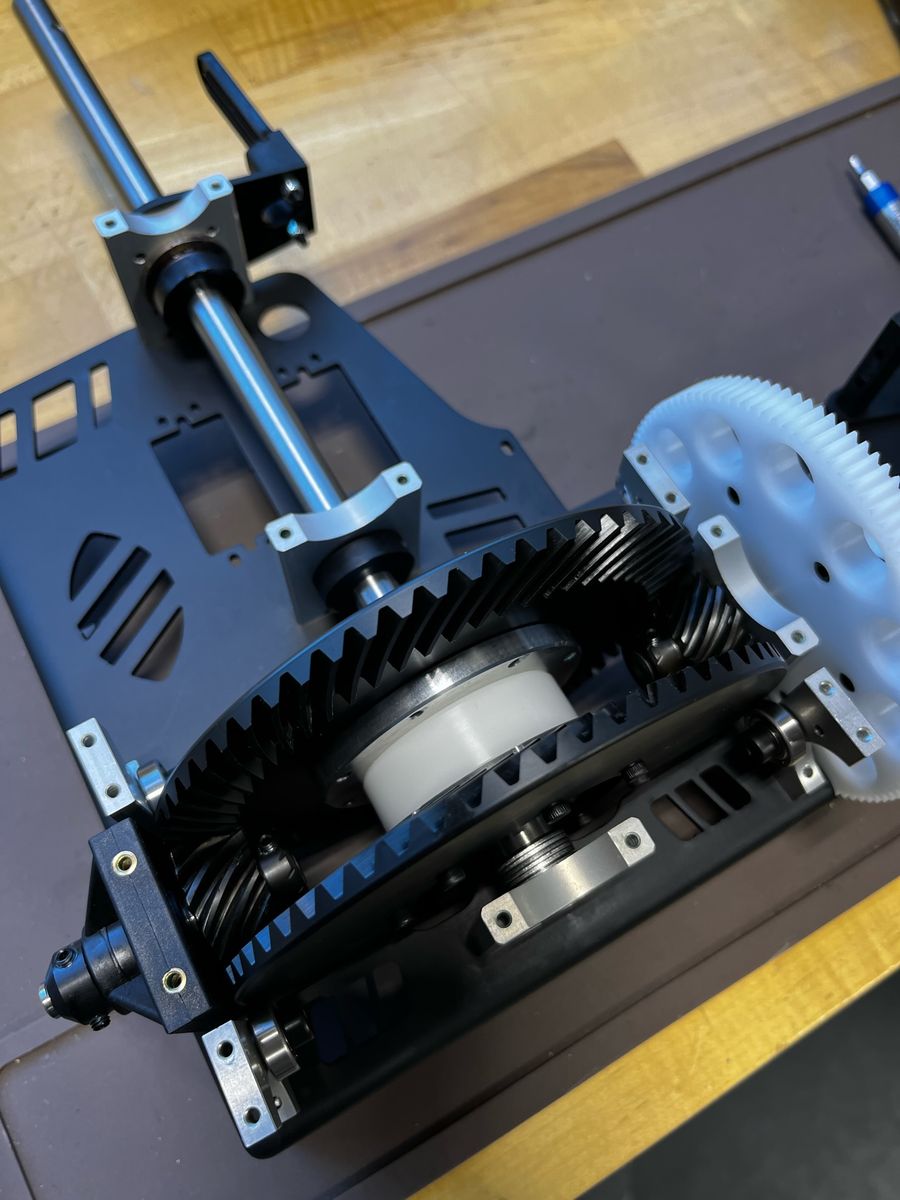
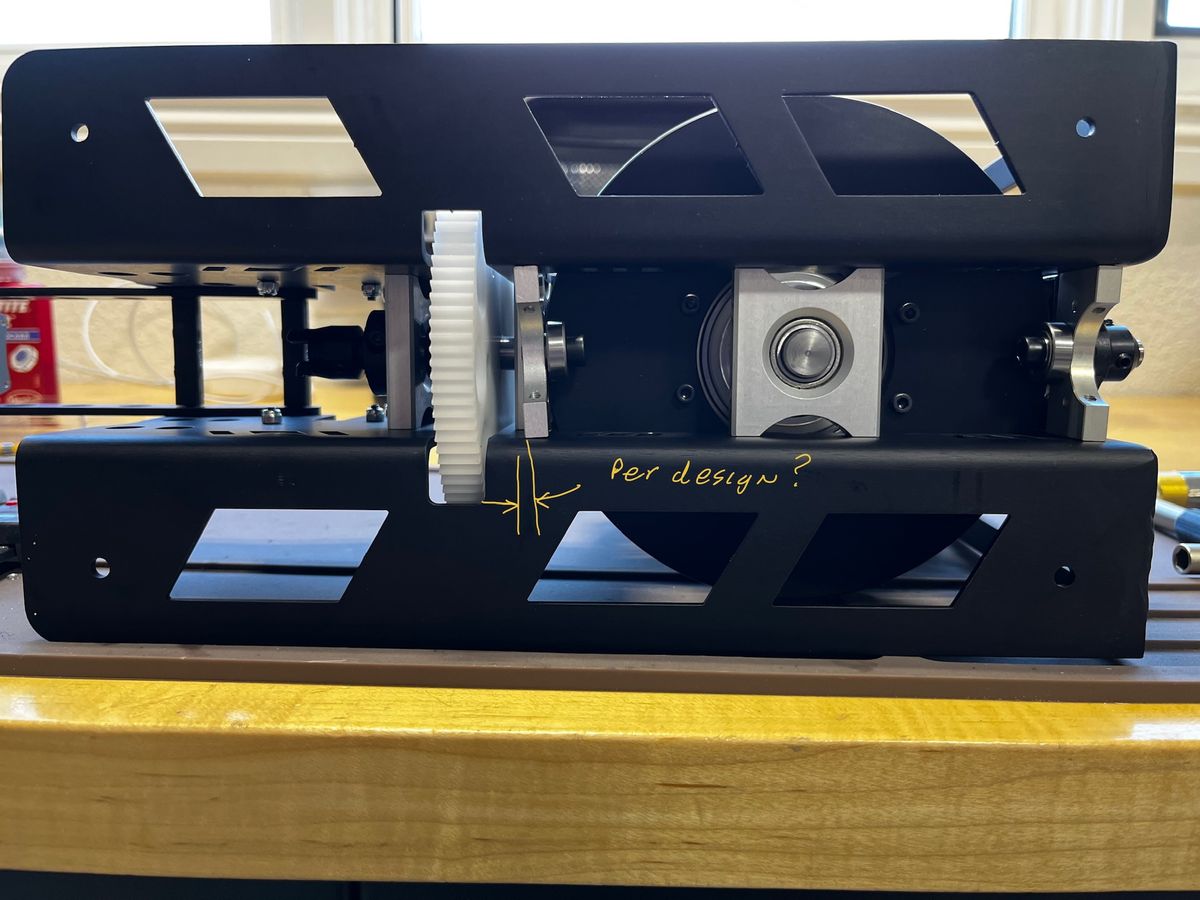
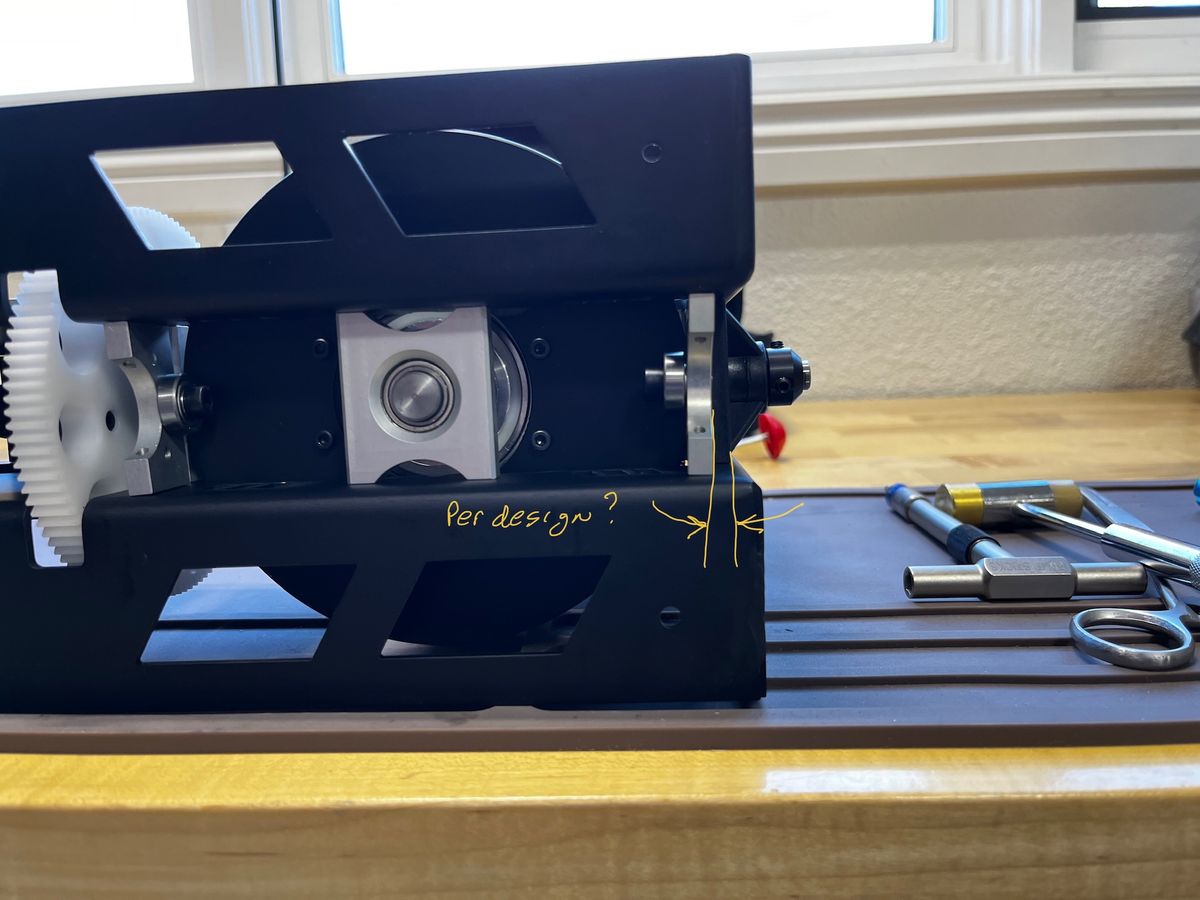
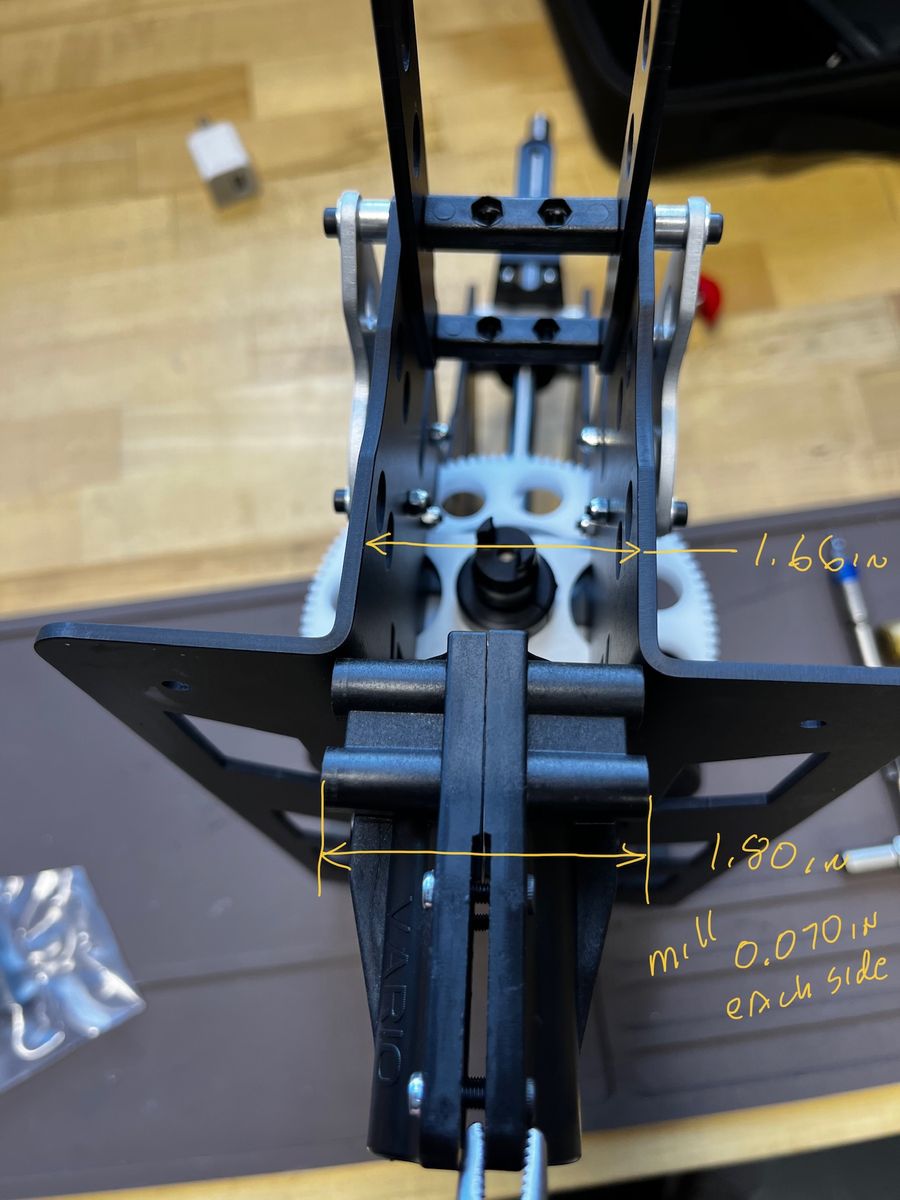
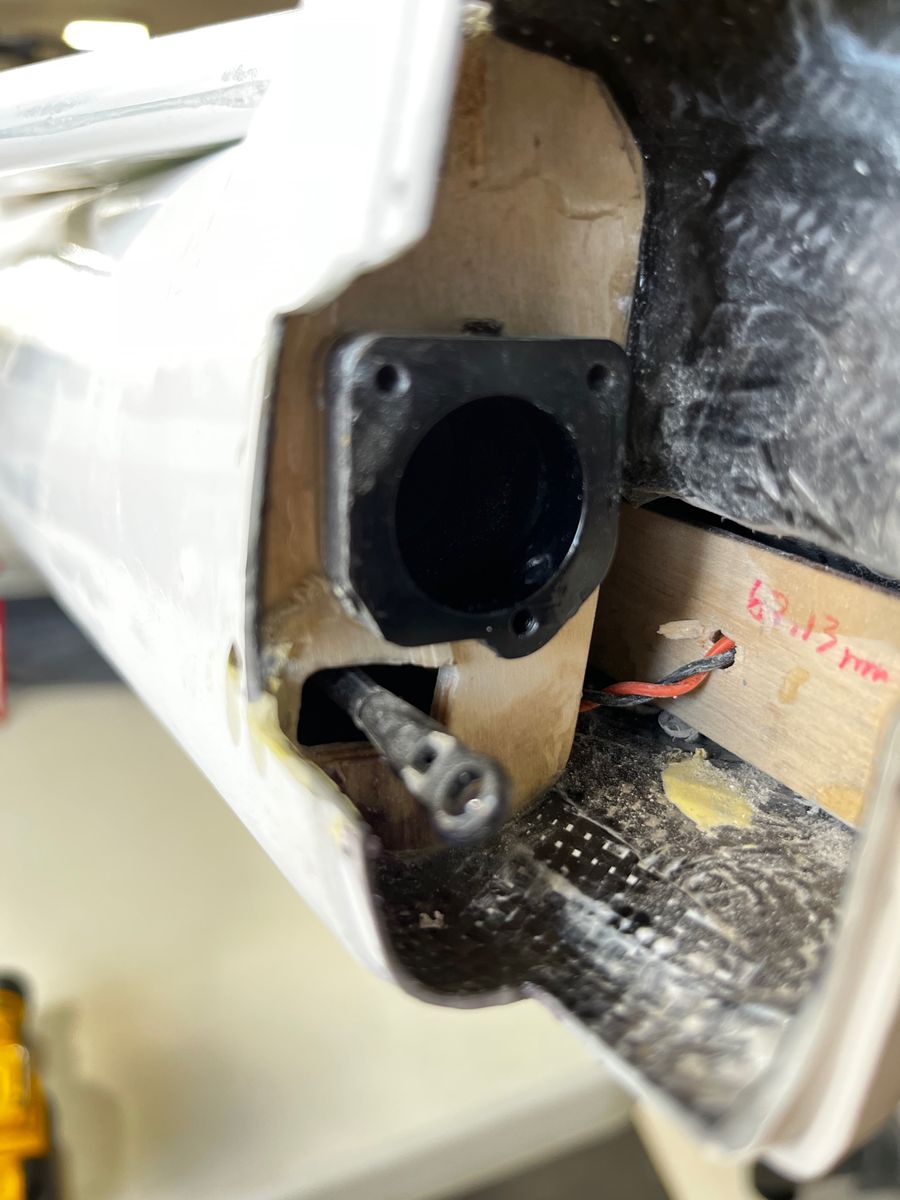
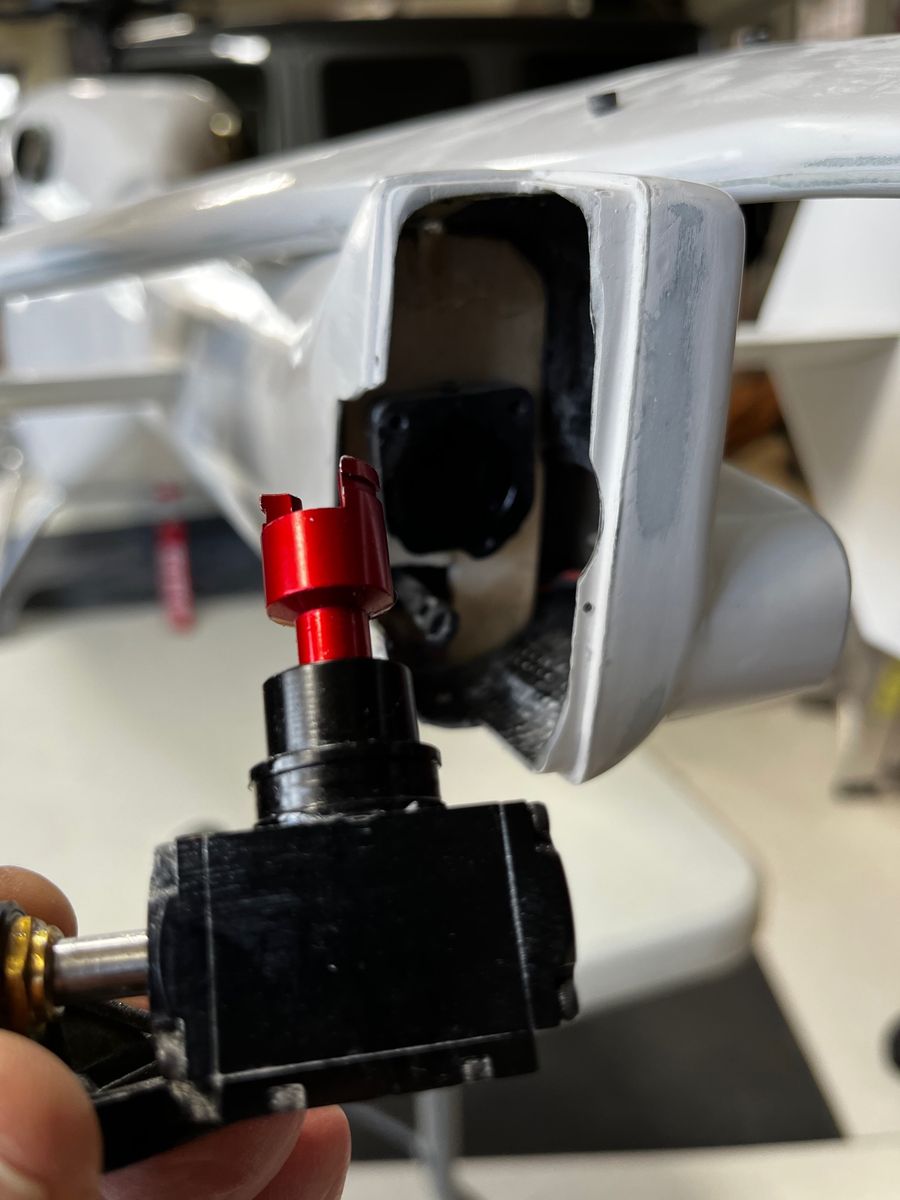
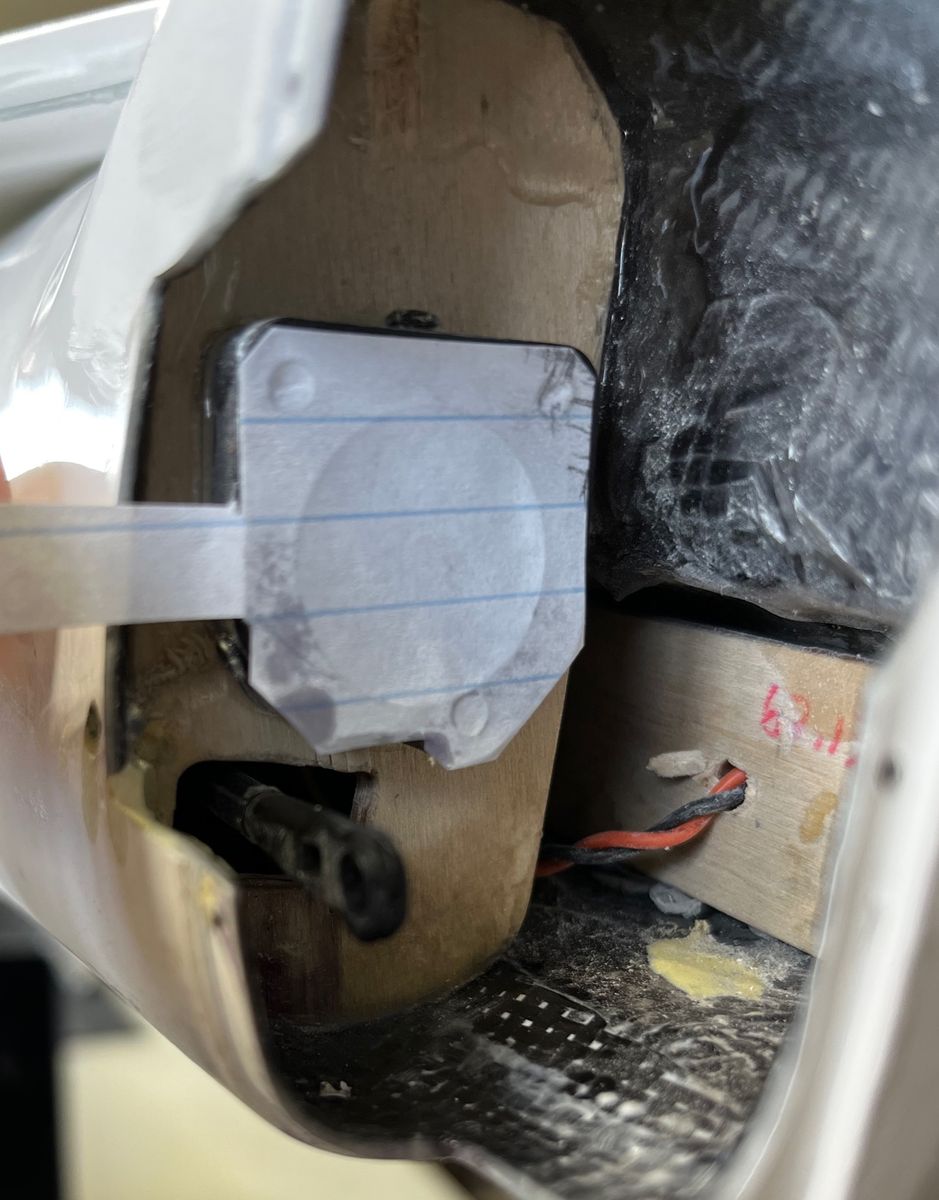
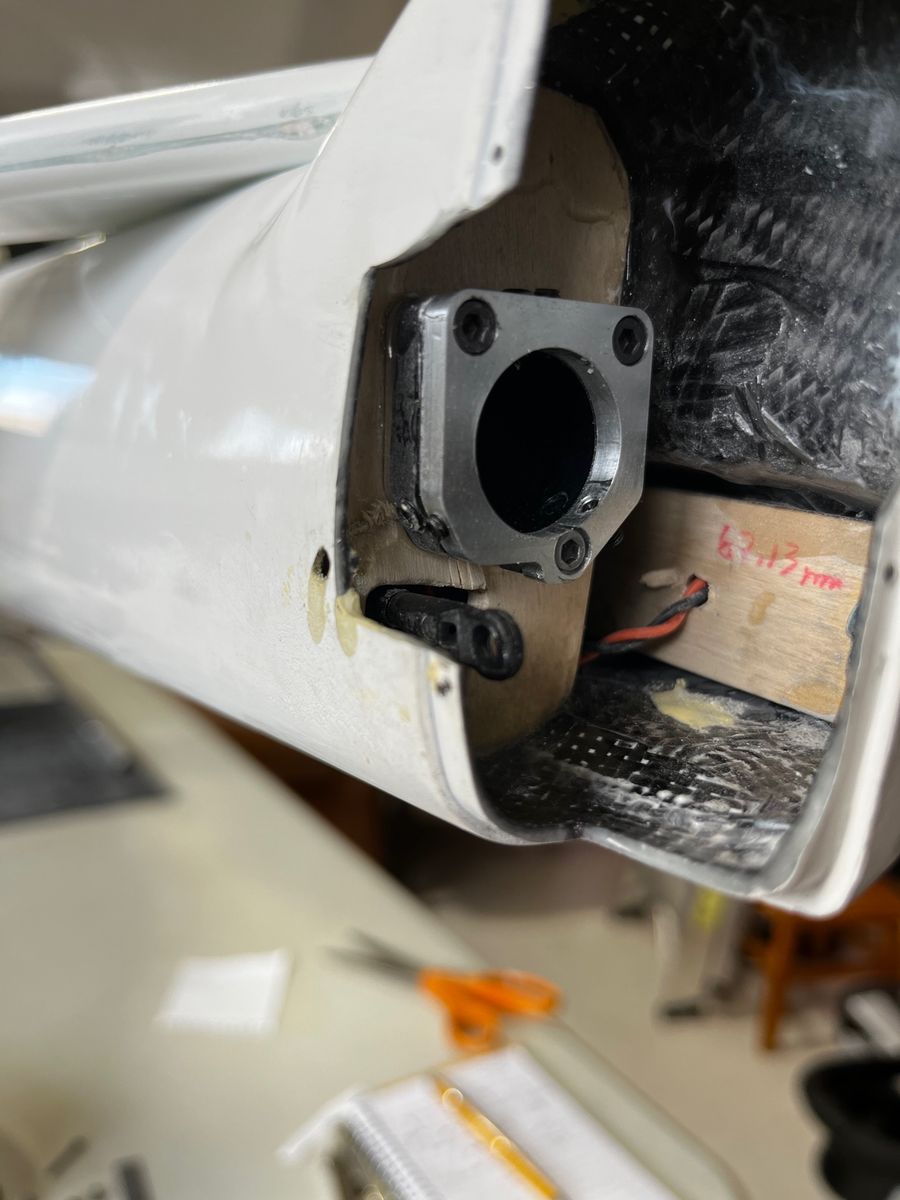
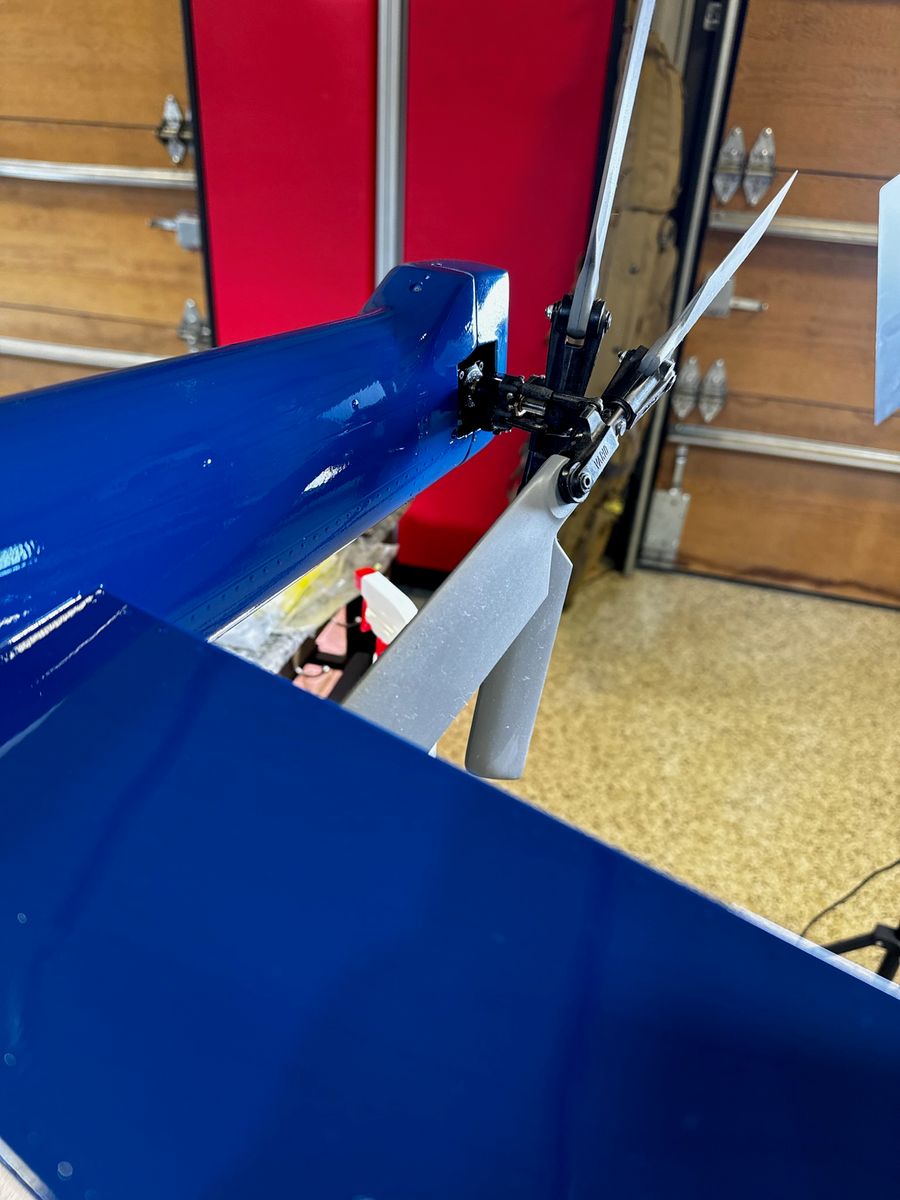
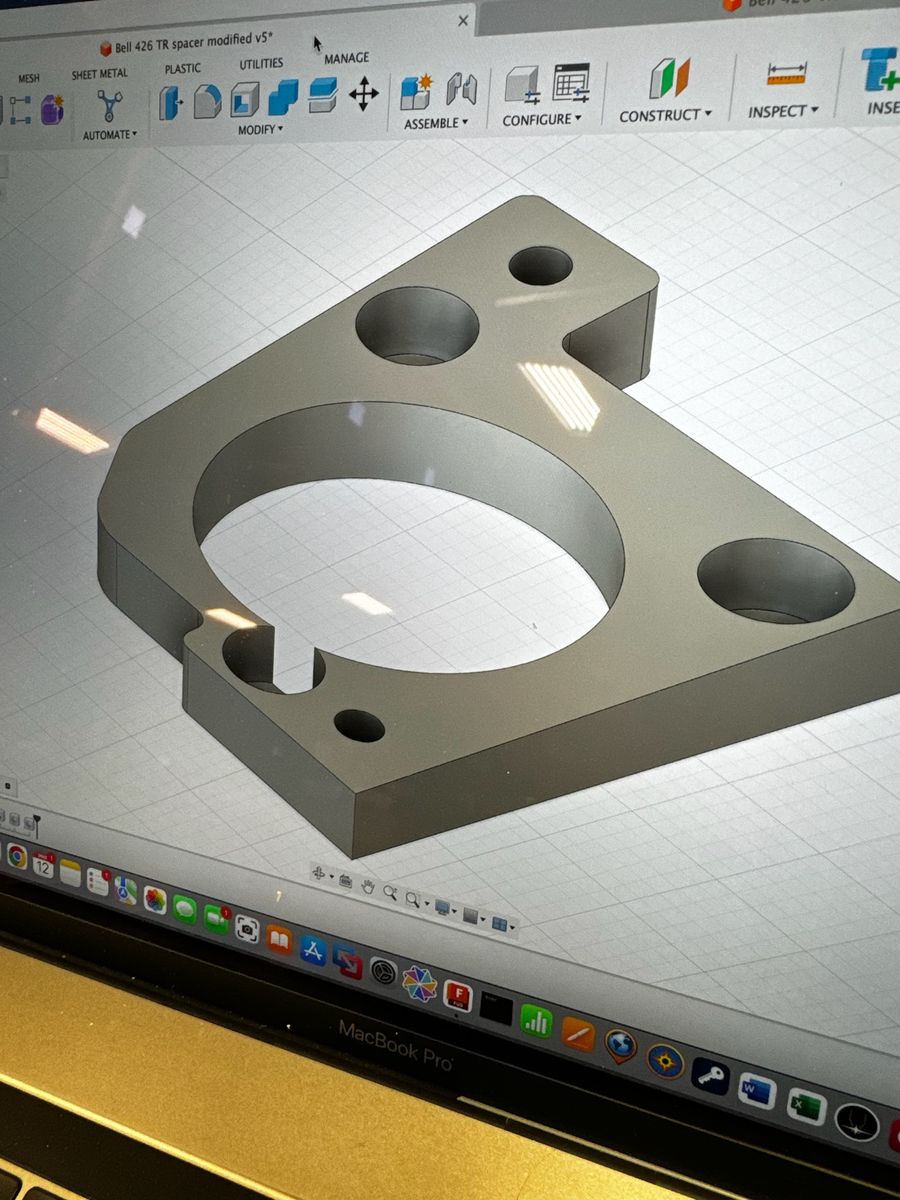
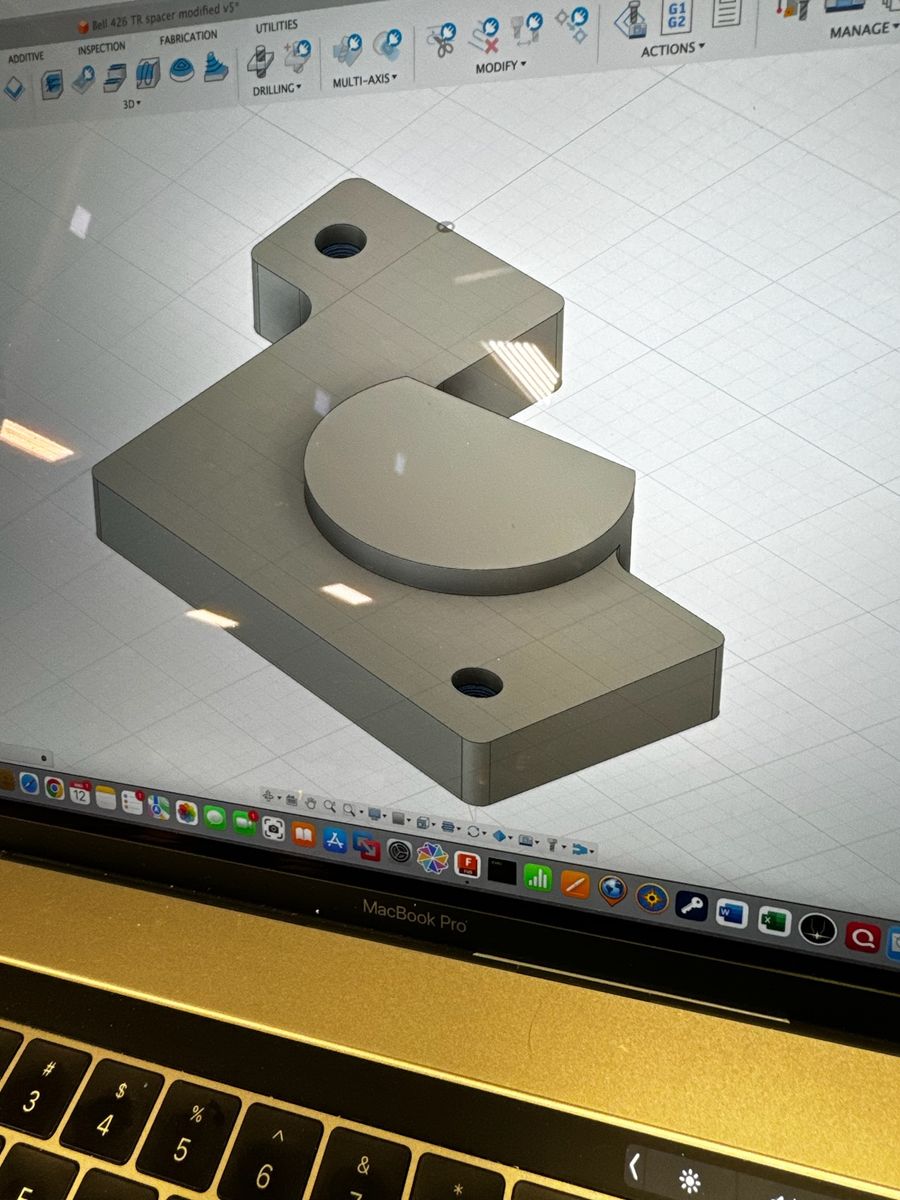
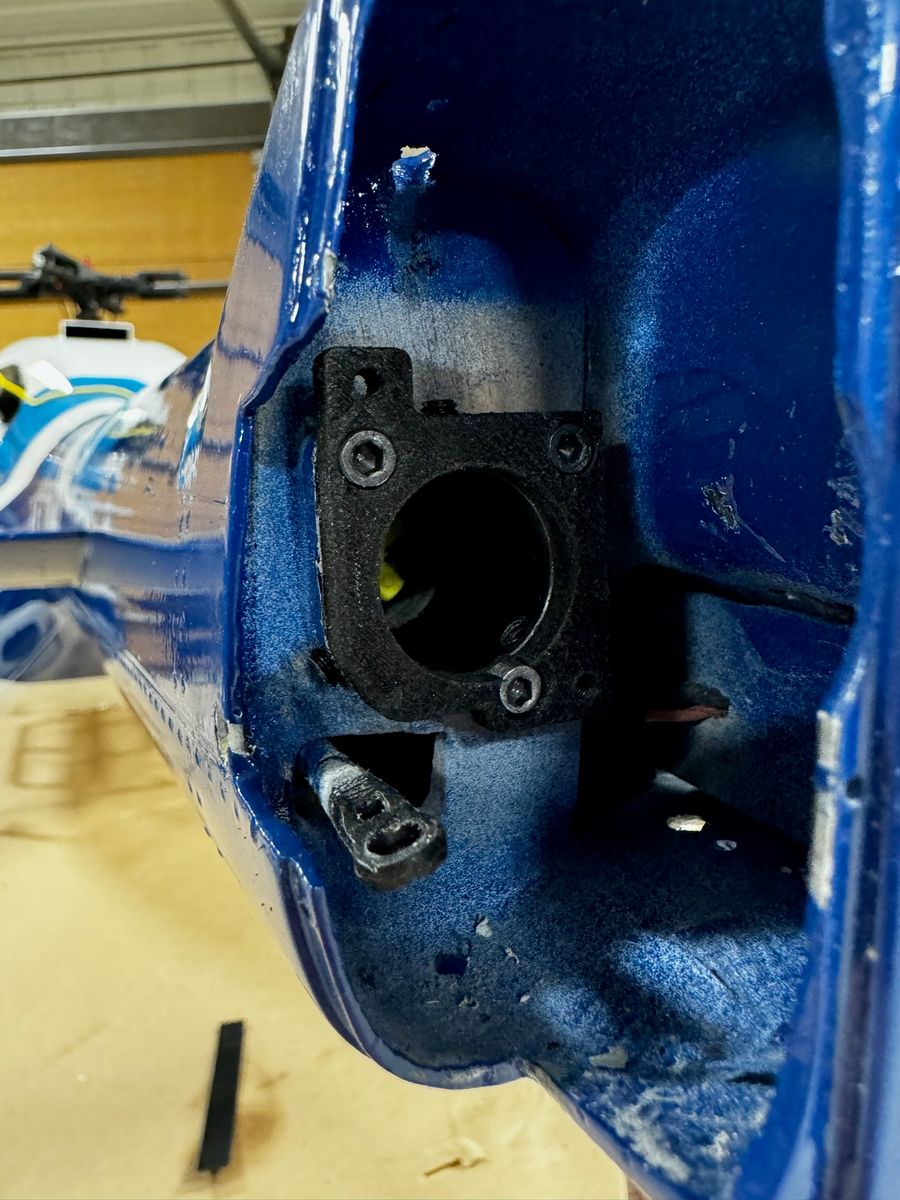
After installing the TR bulkhead, I noticed the TR blades would impact the horiz stab. I had to add a spacer to move the TR gear box aft. This, as you will see, was the start of my TR issues……
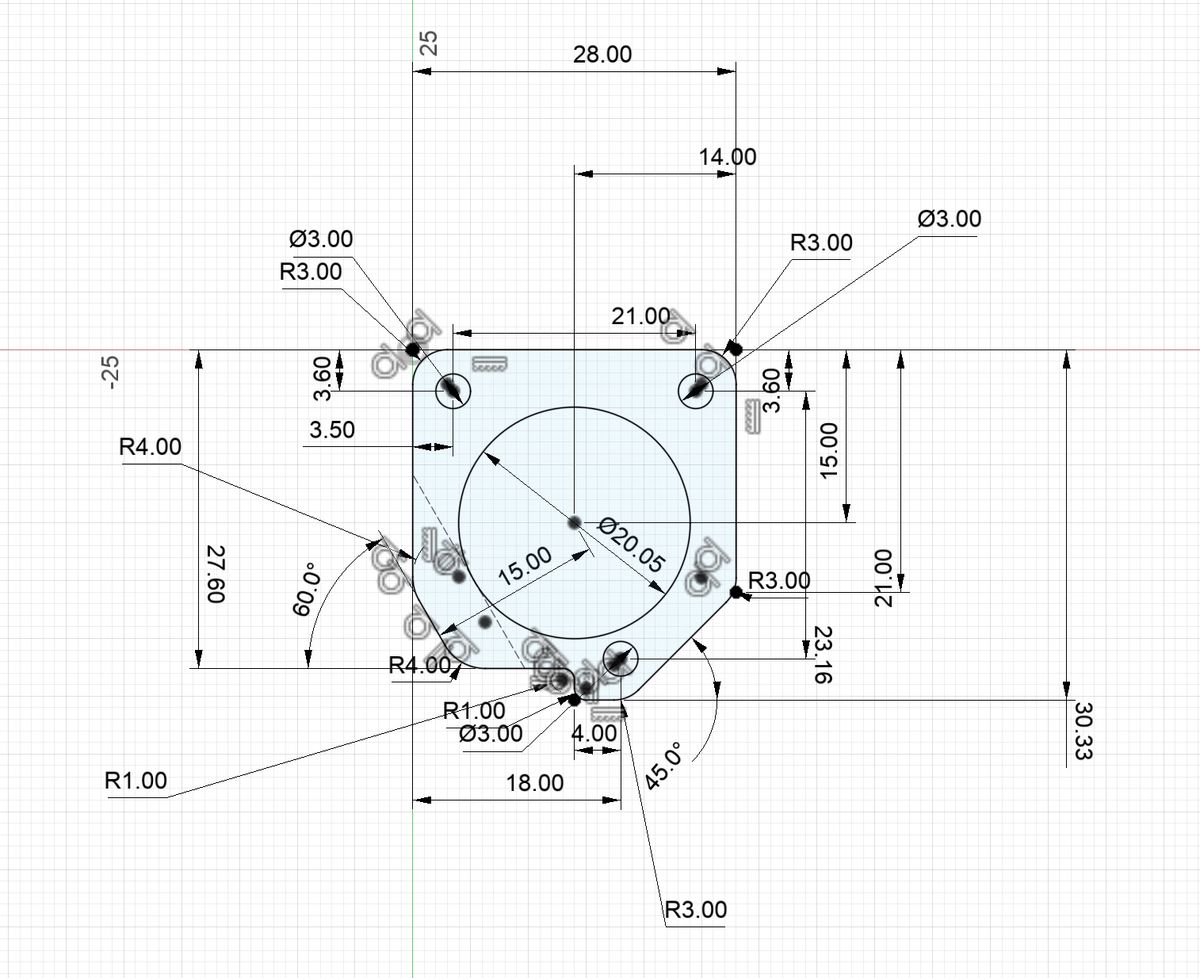
Bodywork and interior prelim fitting
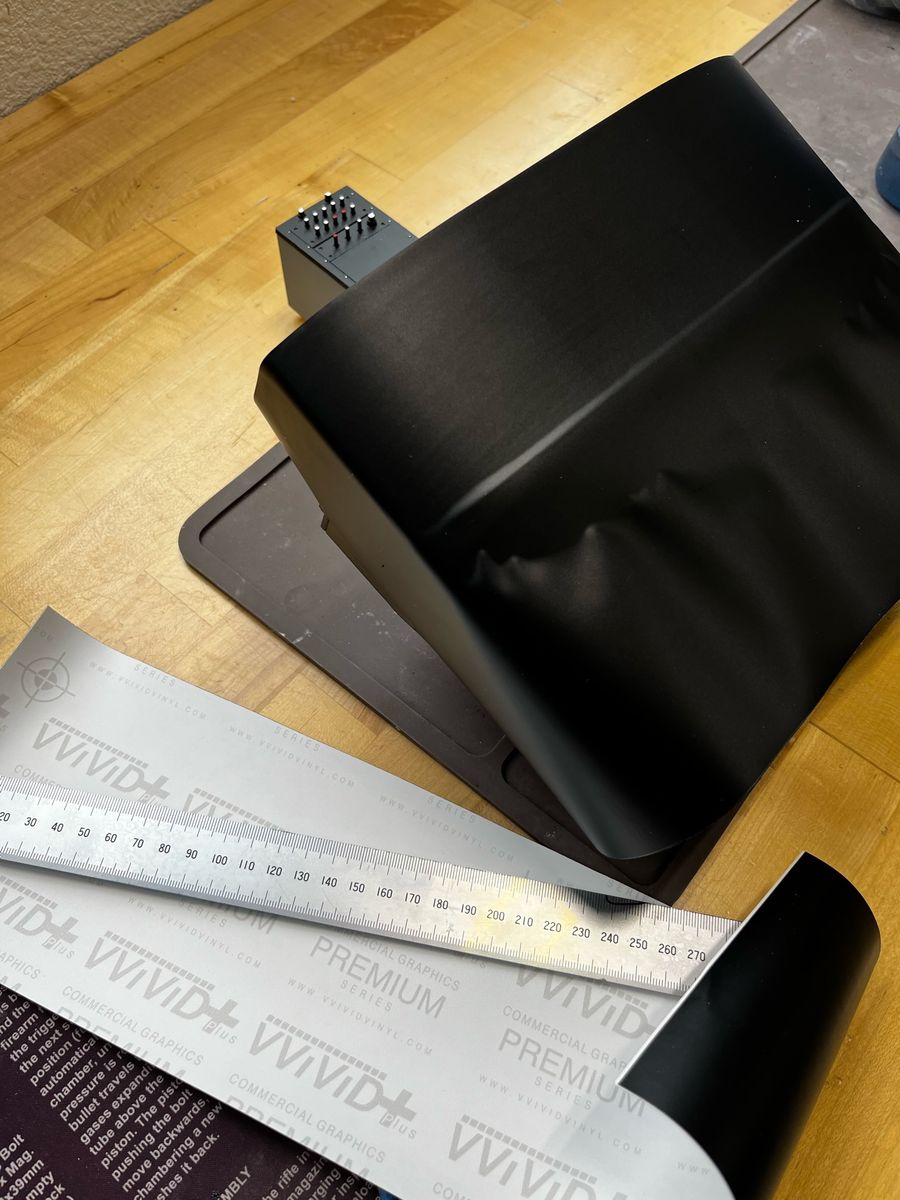
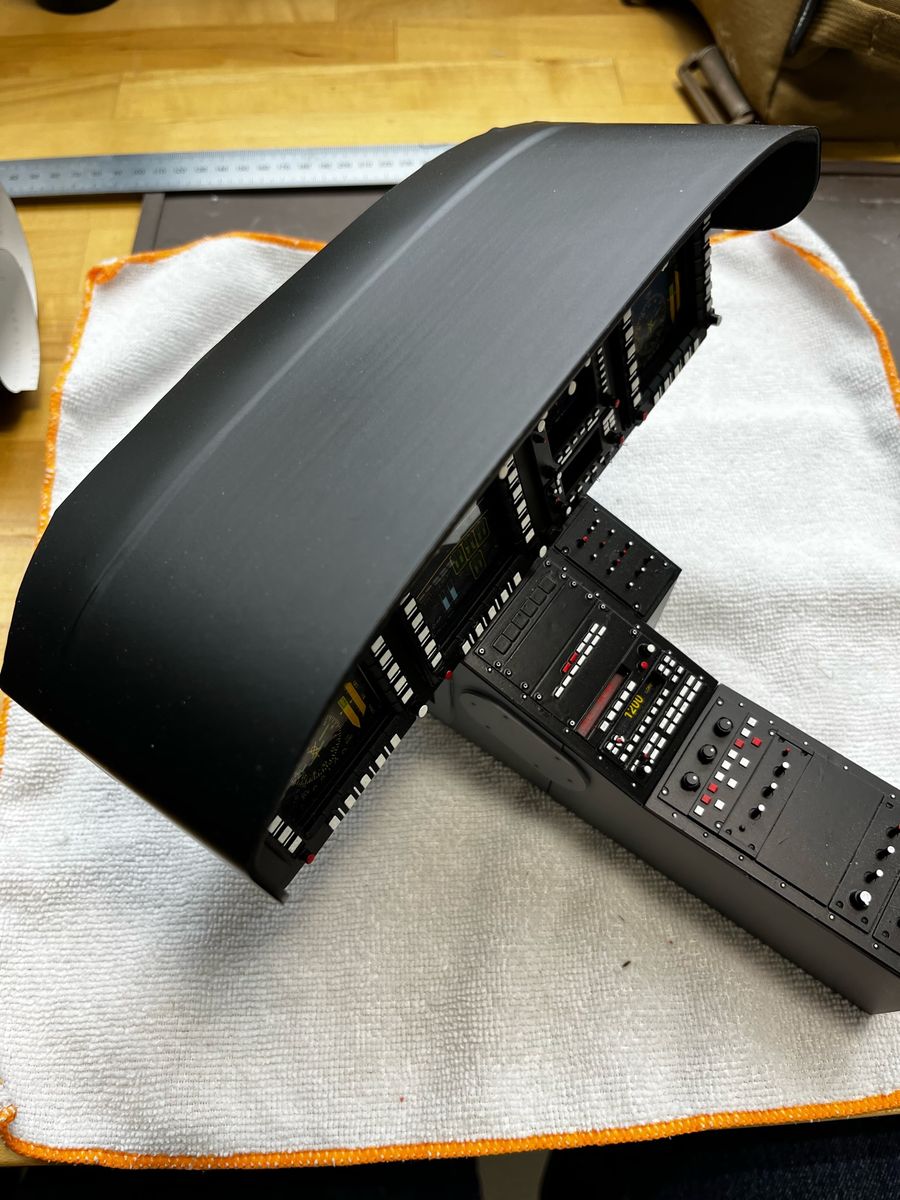
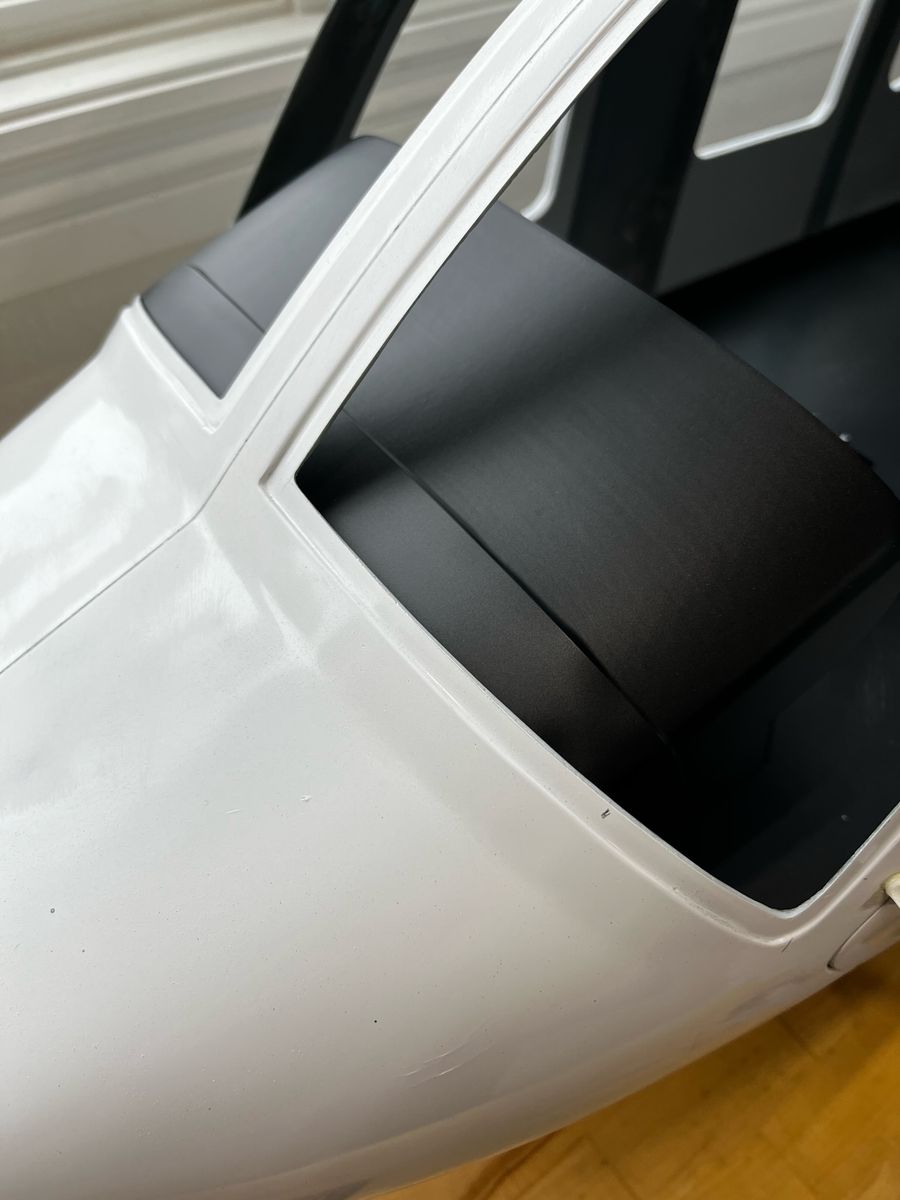
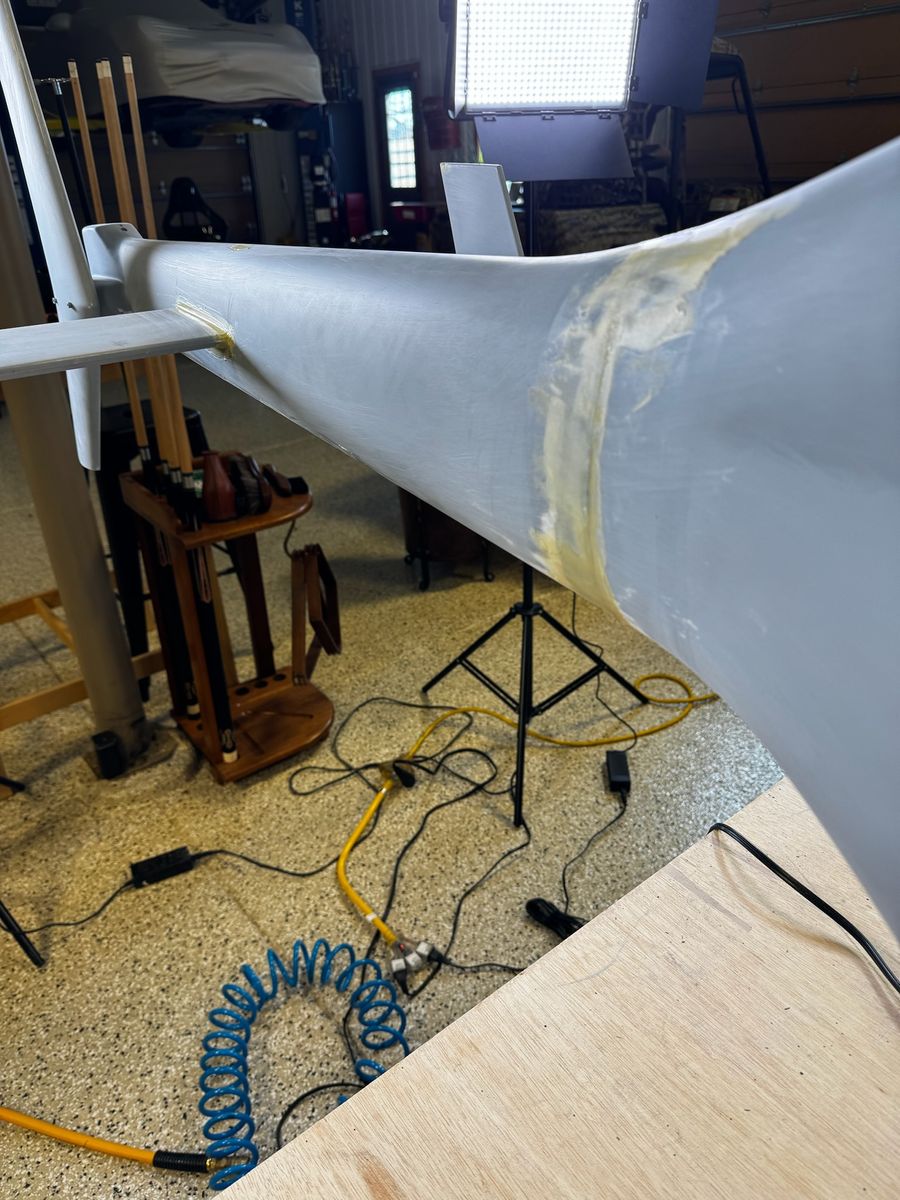
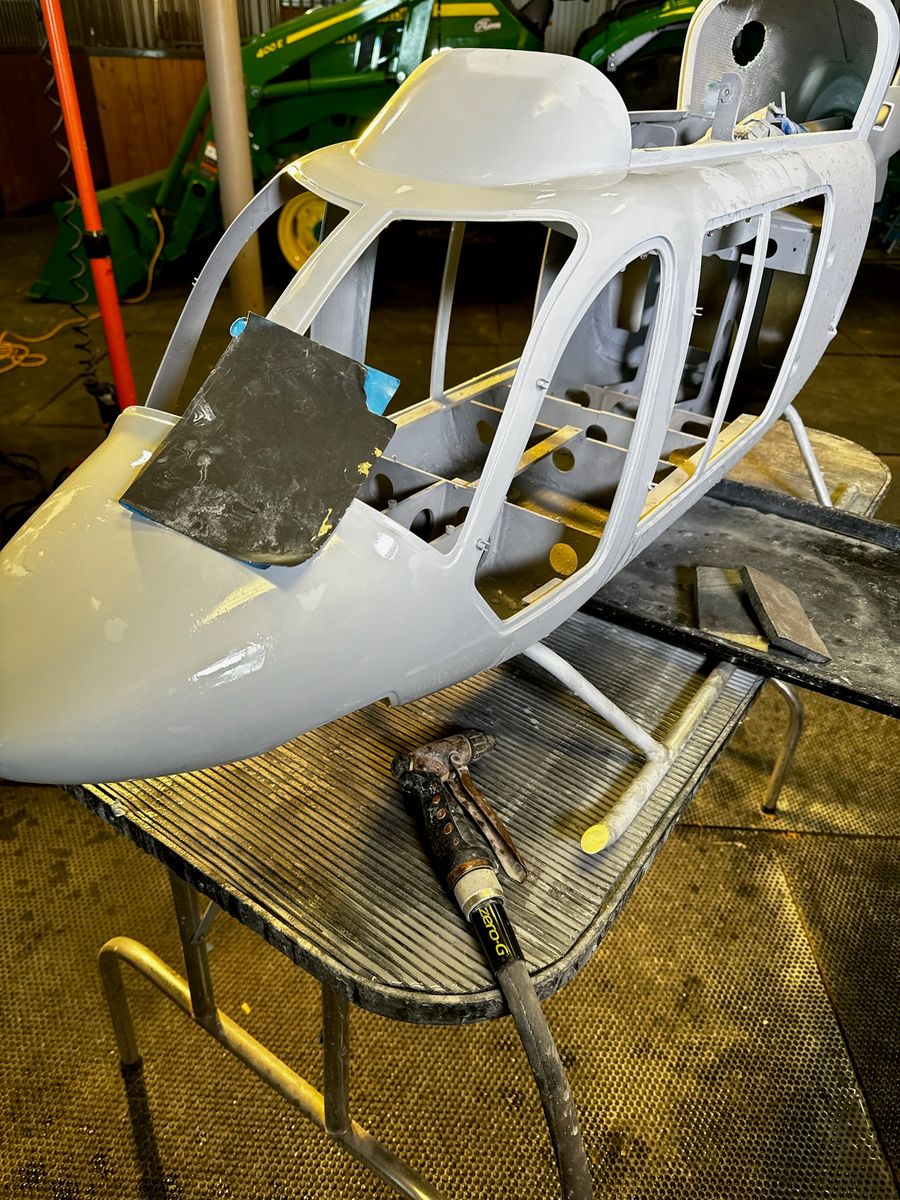
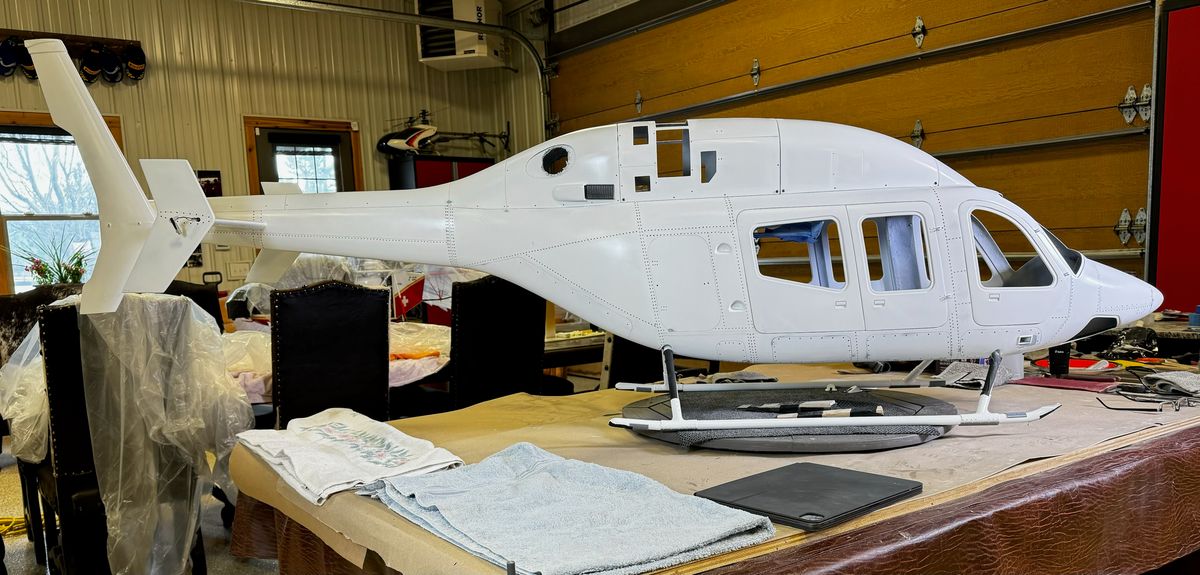
The start of body fill work and trial fitting of the interior.
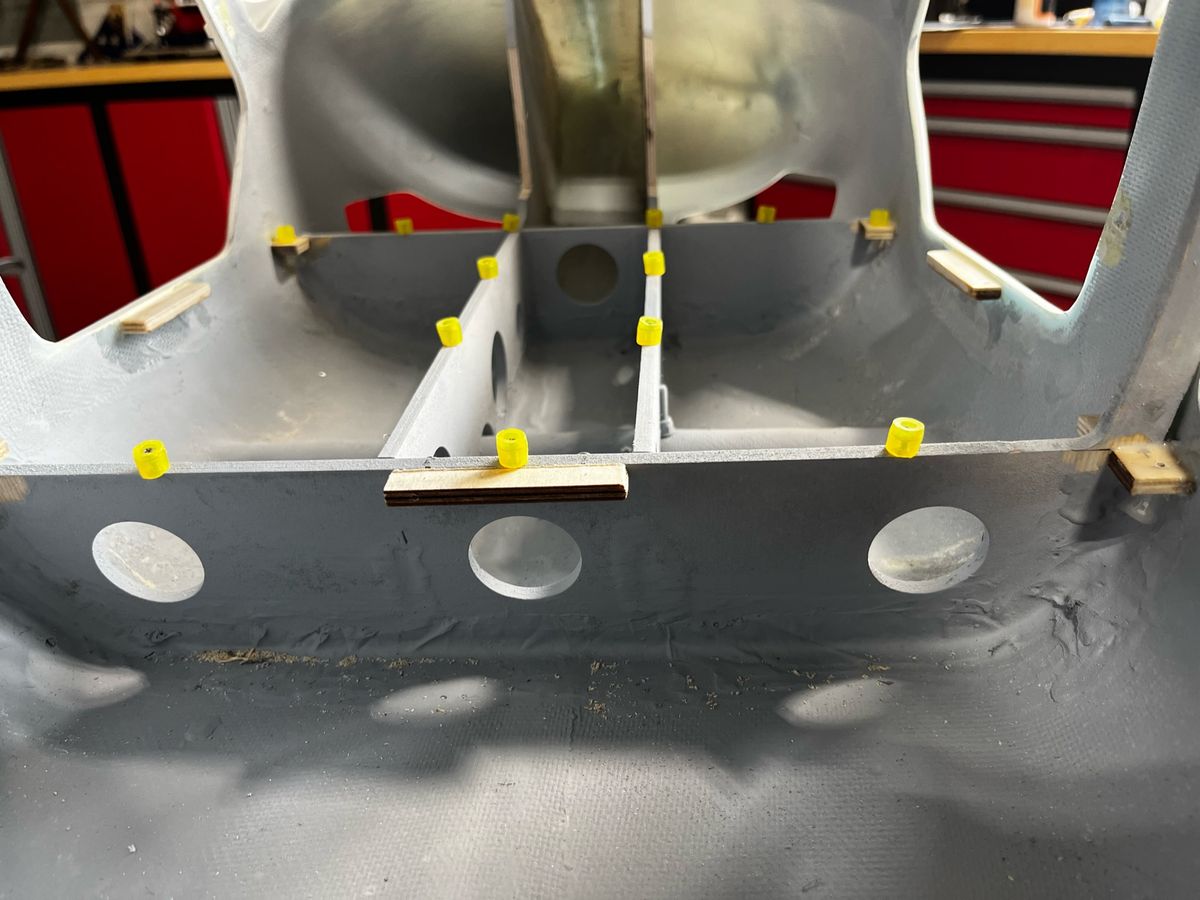
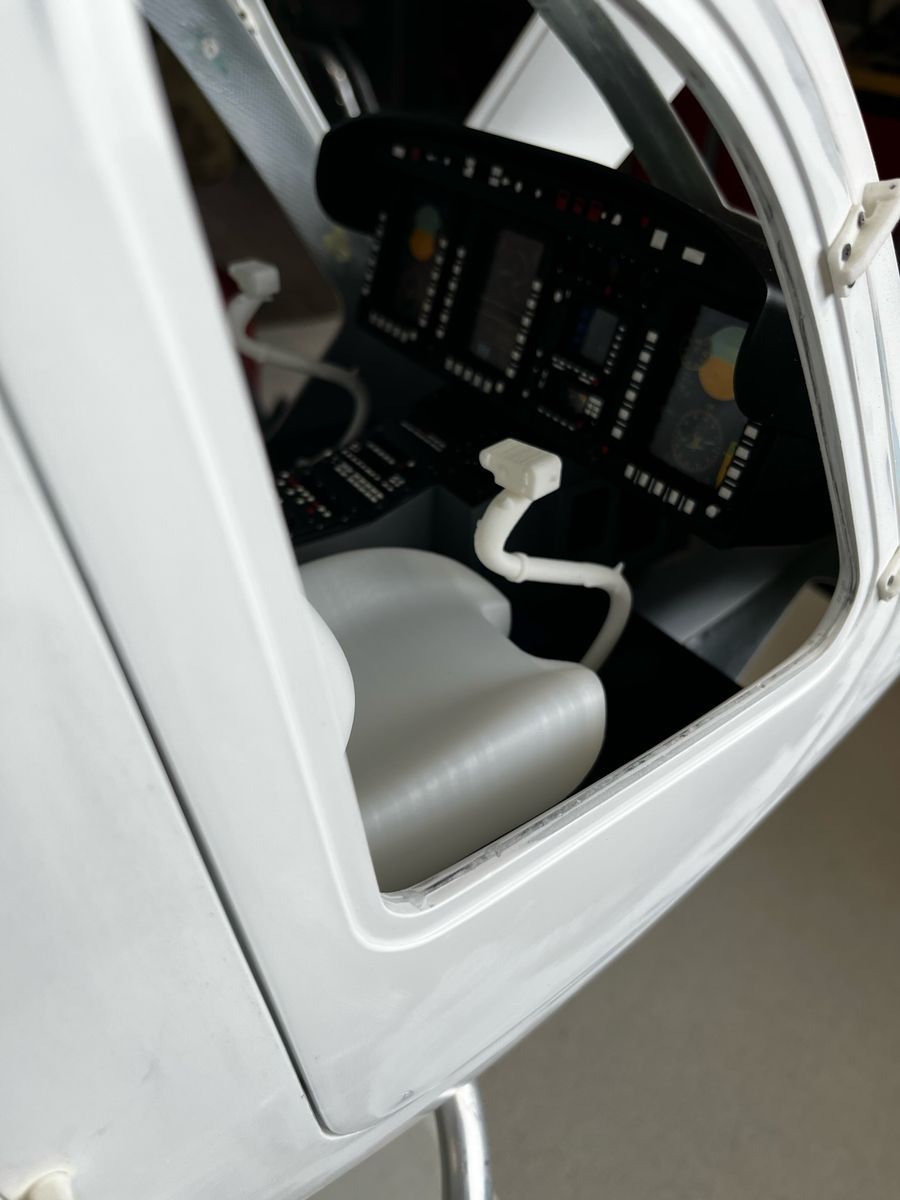
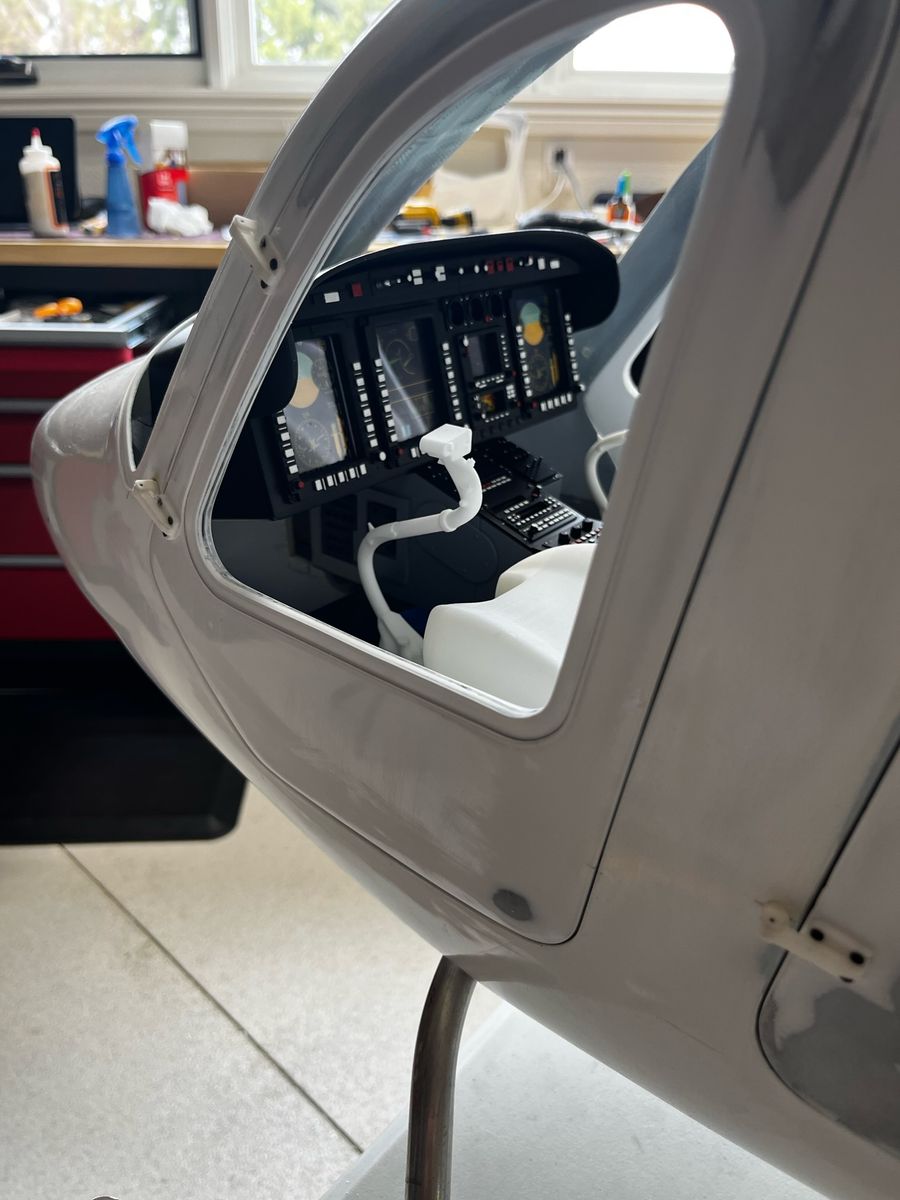
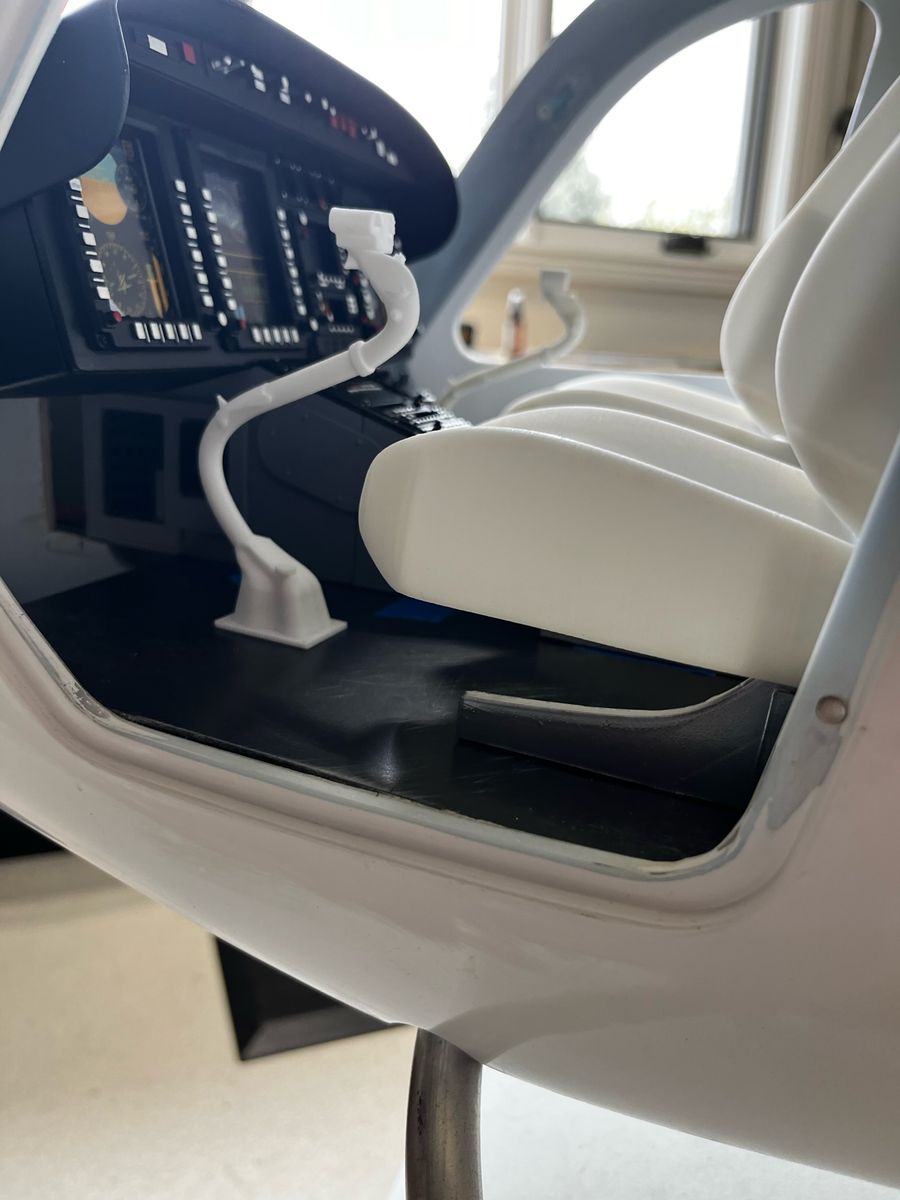
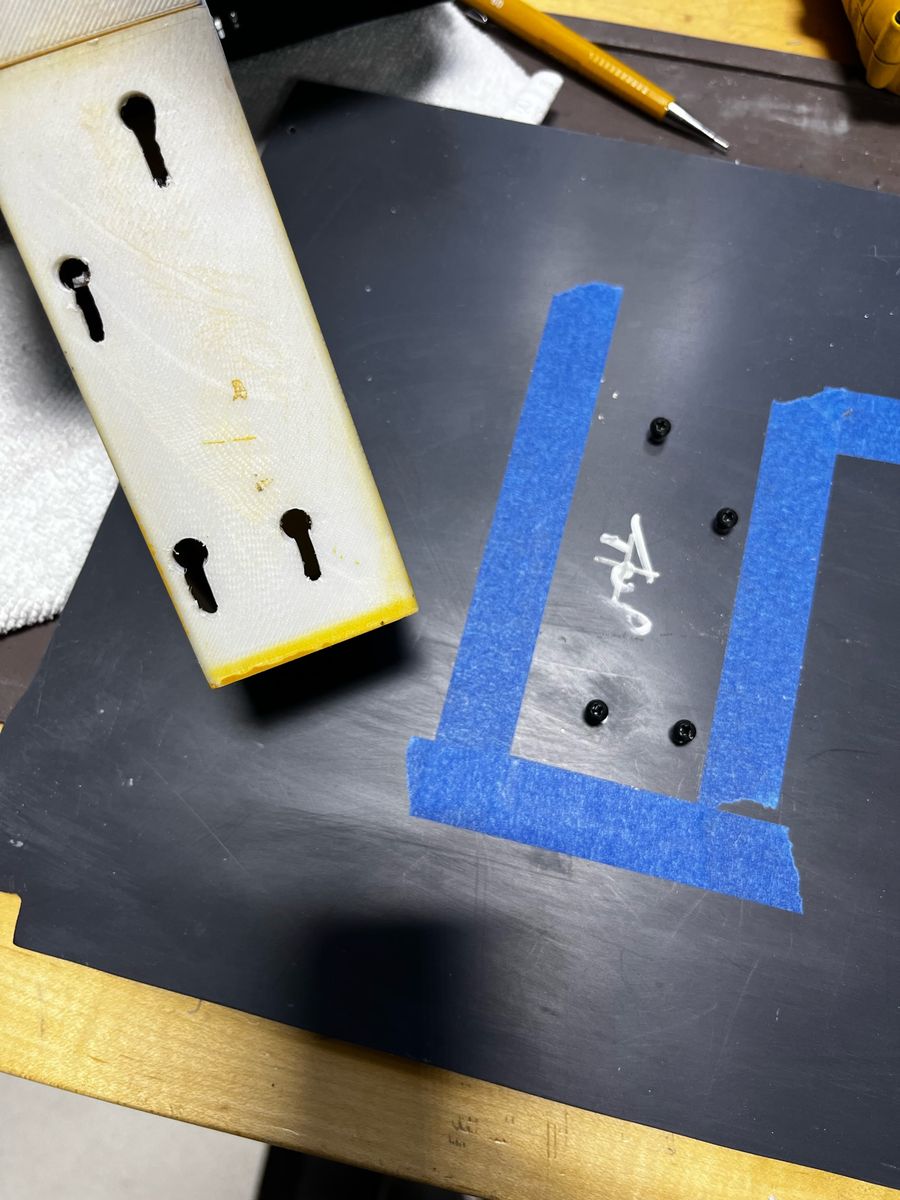
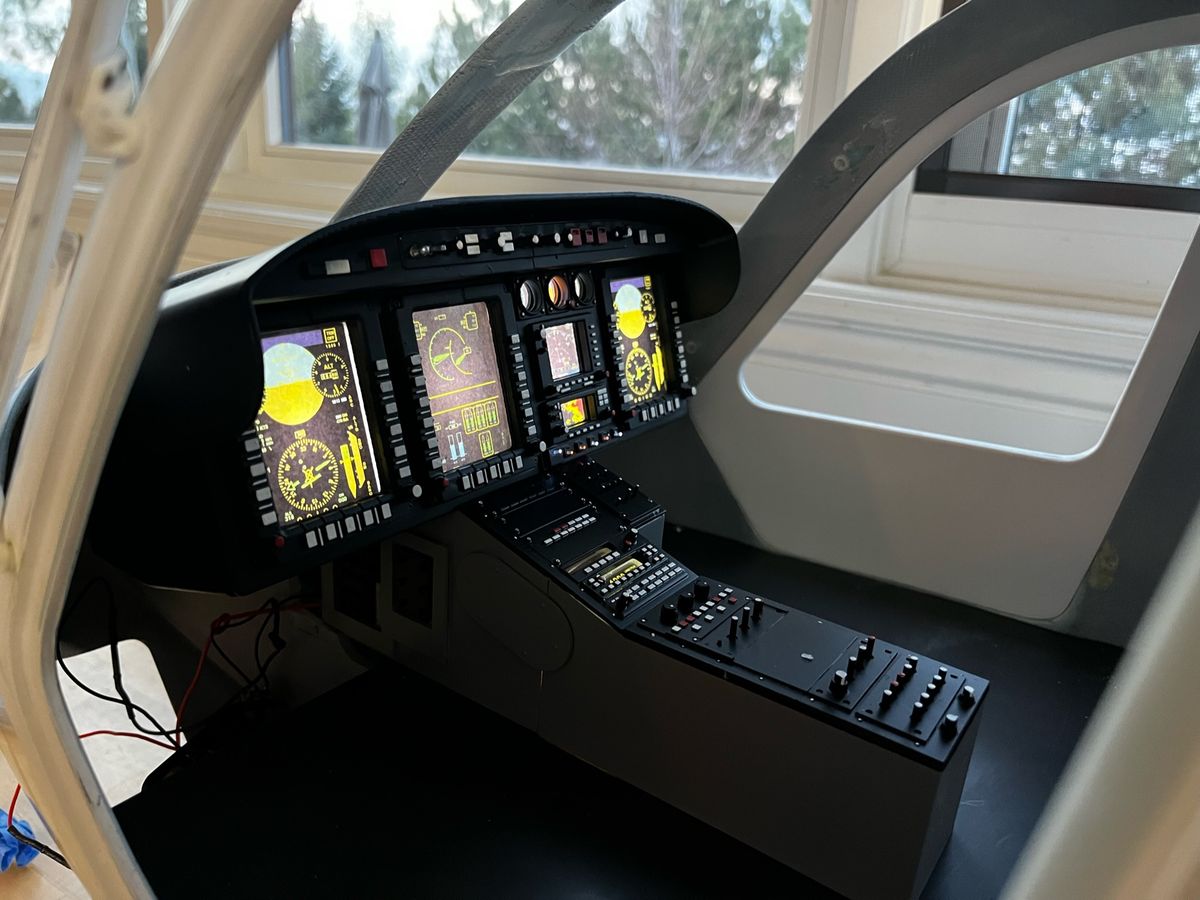
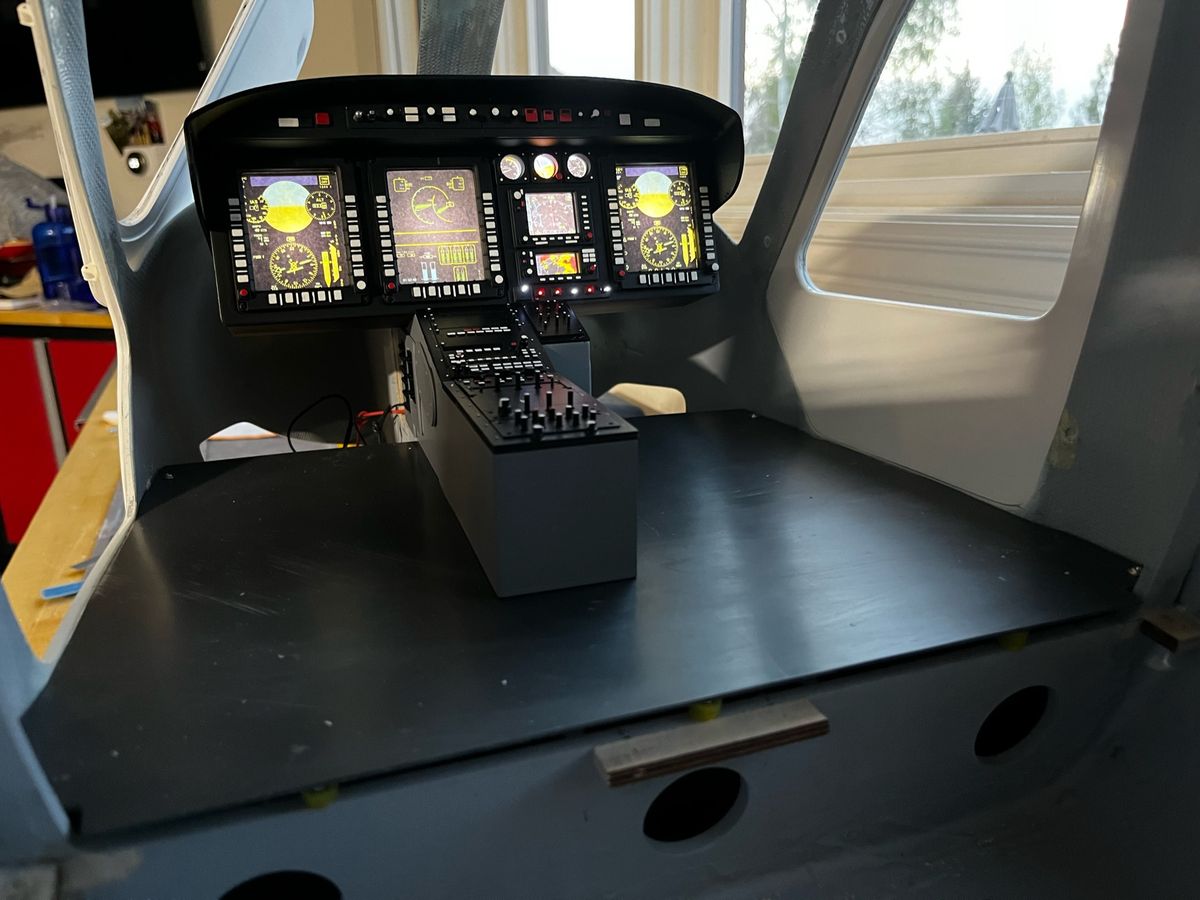
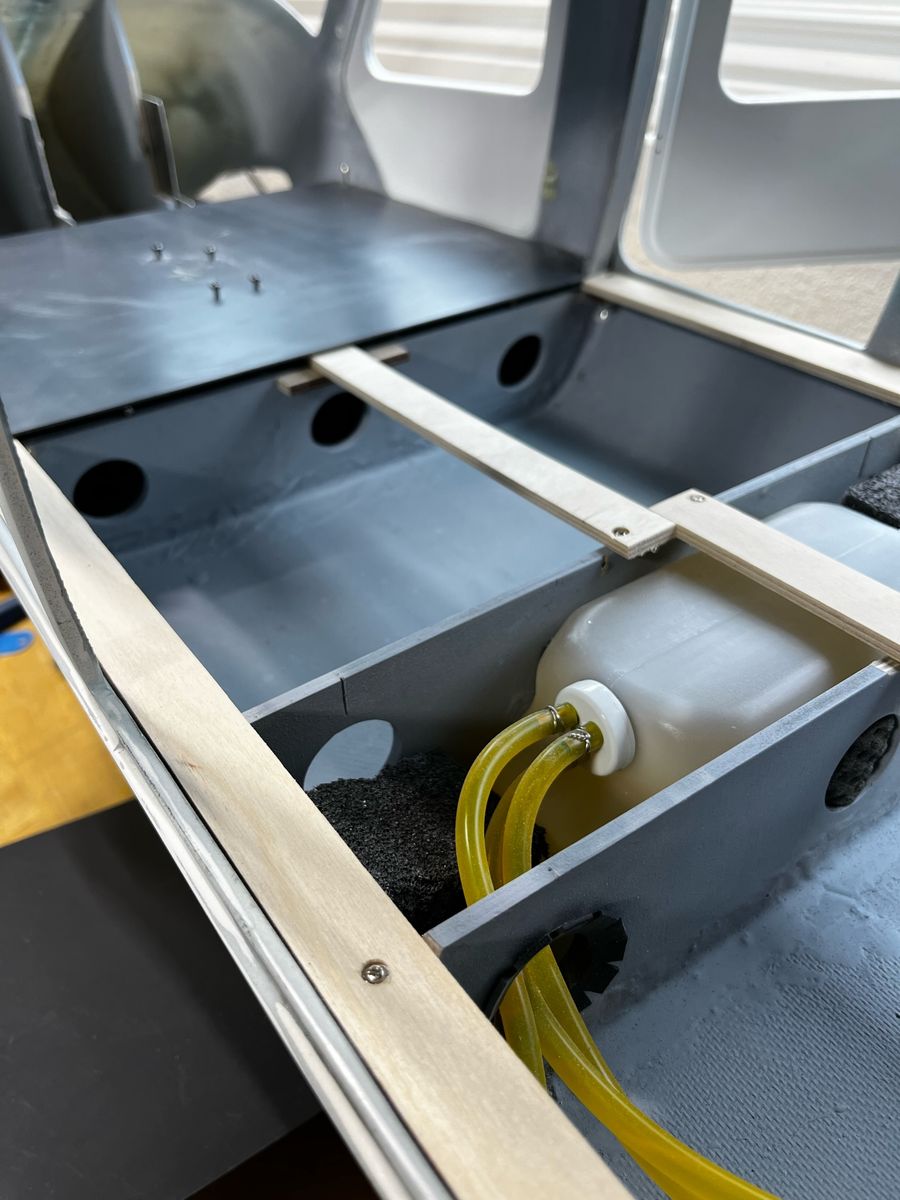
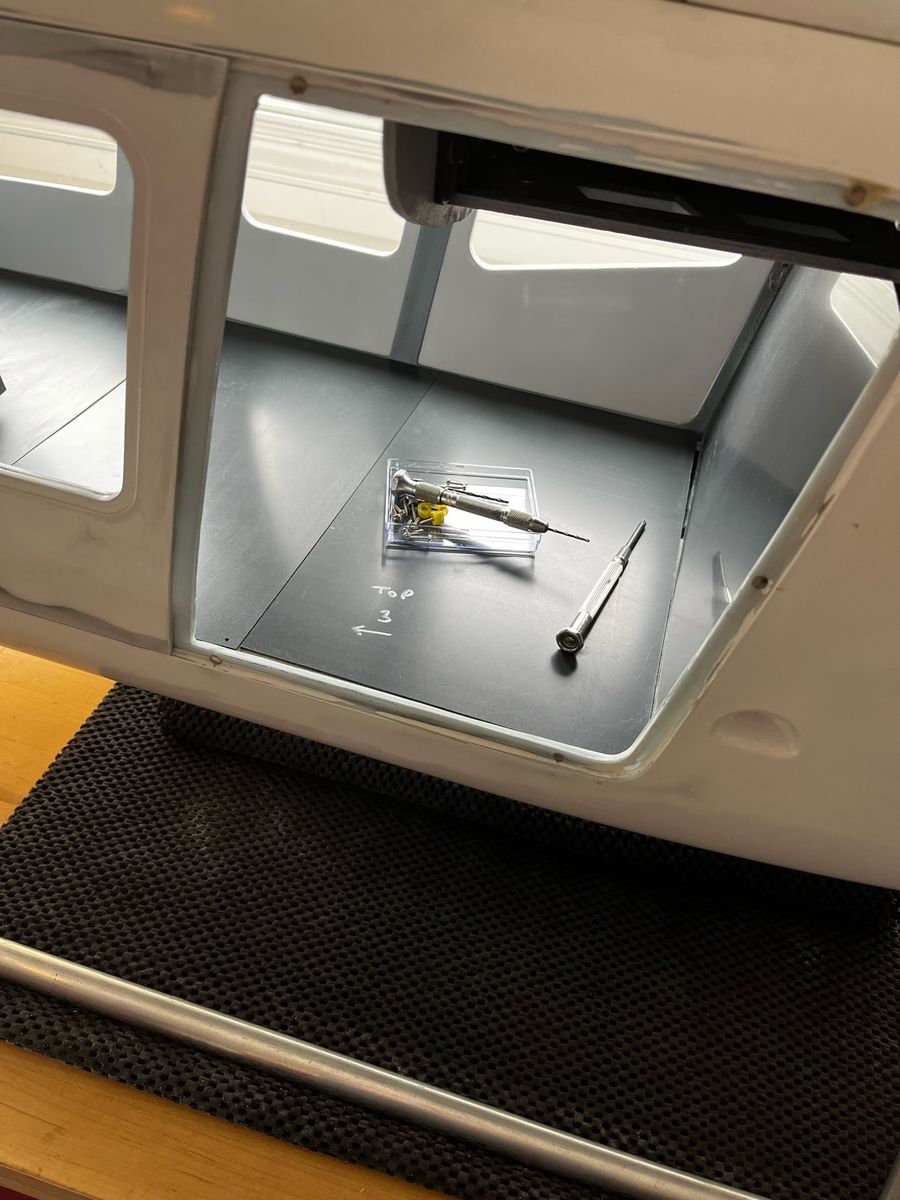
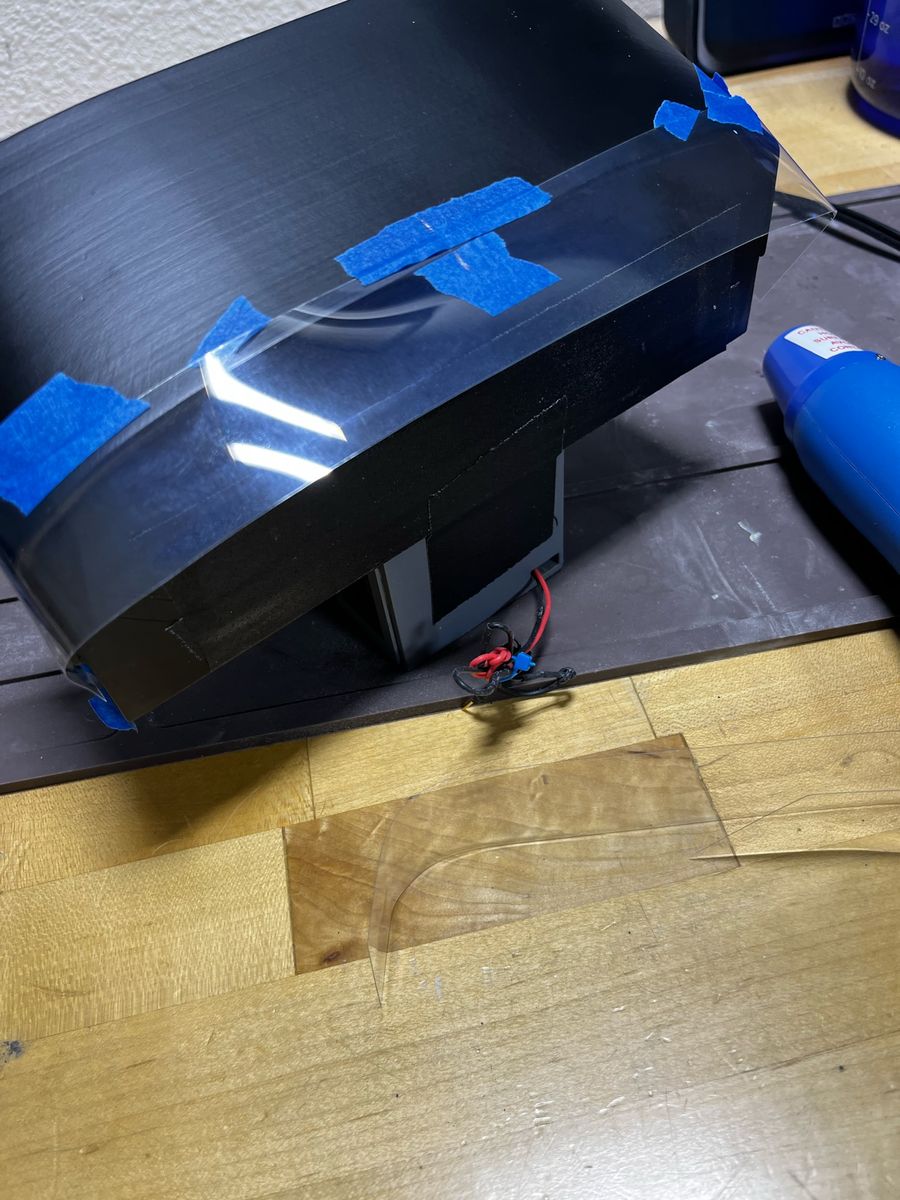
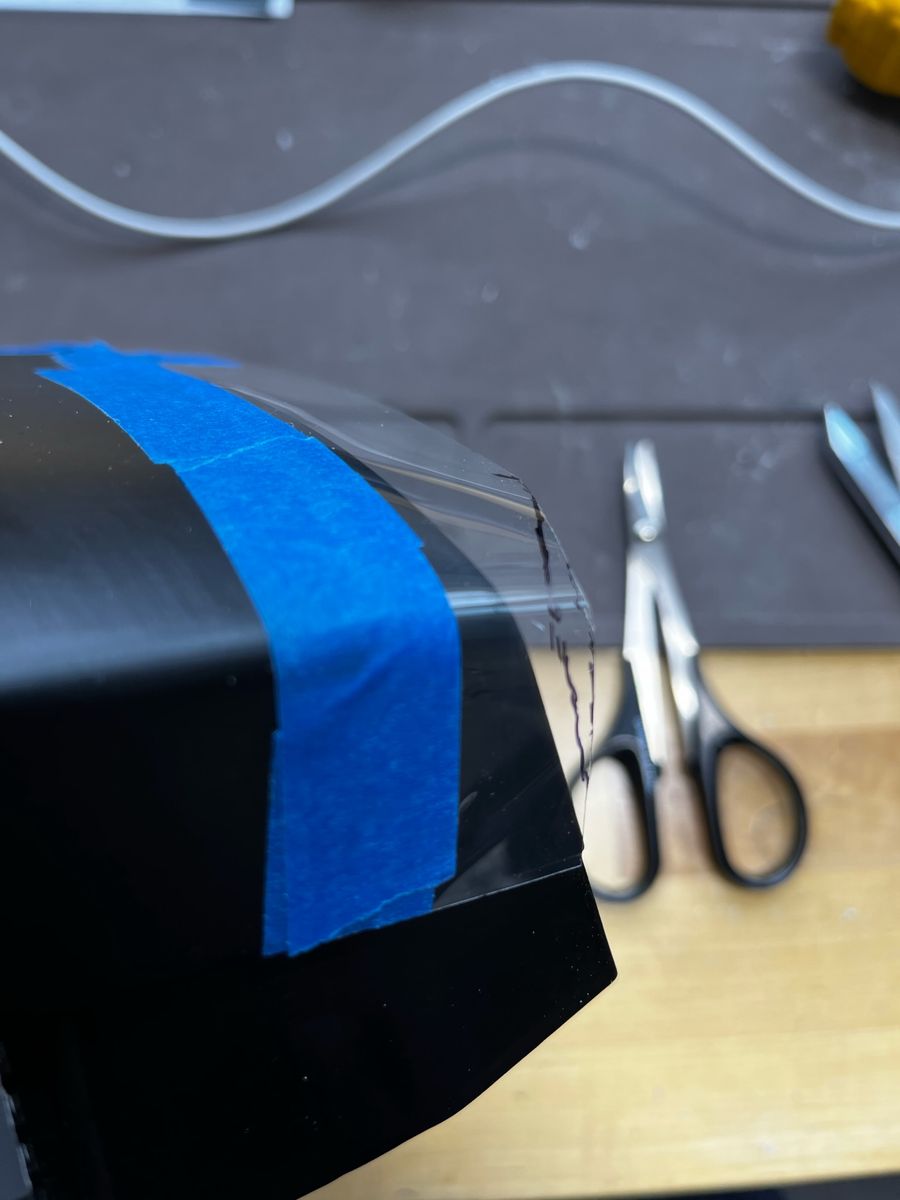
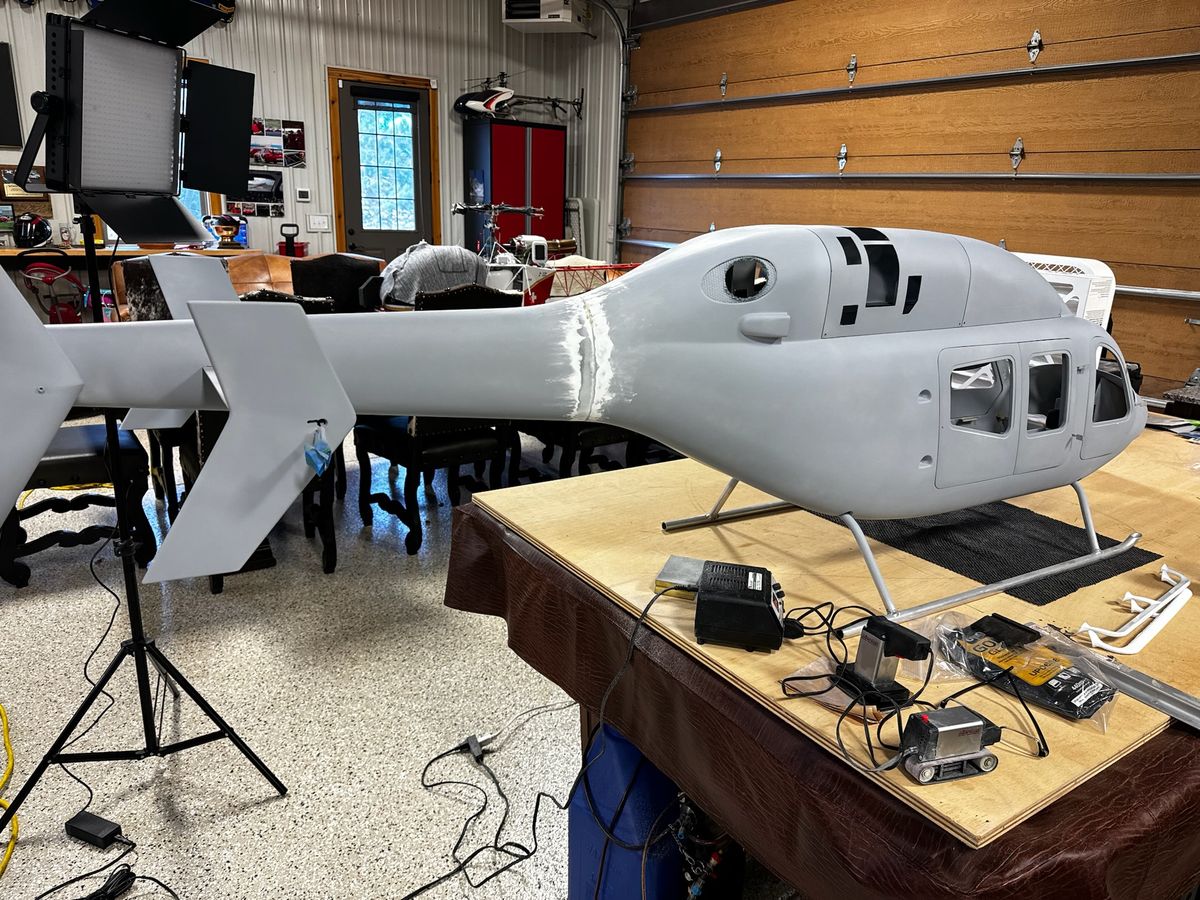
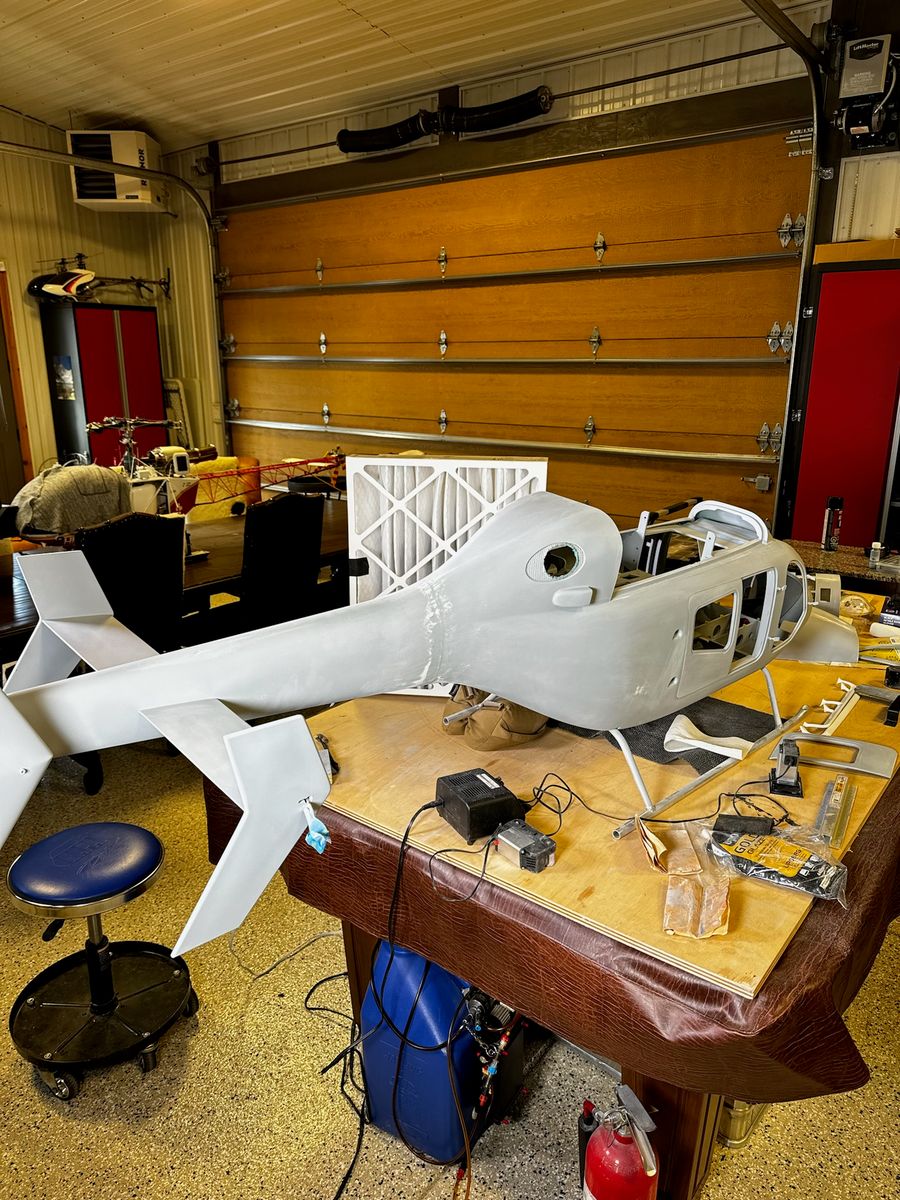
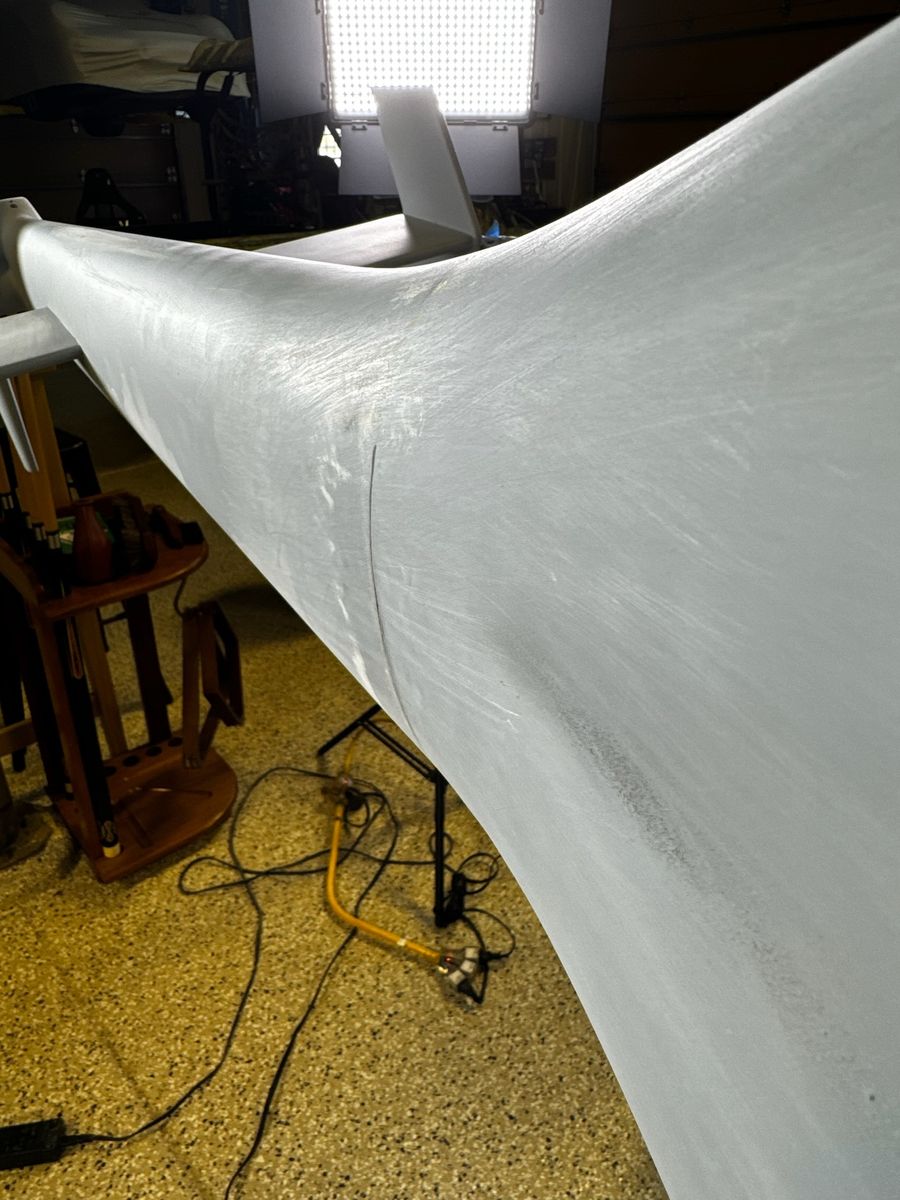
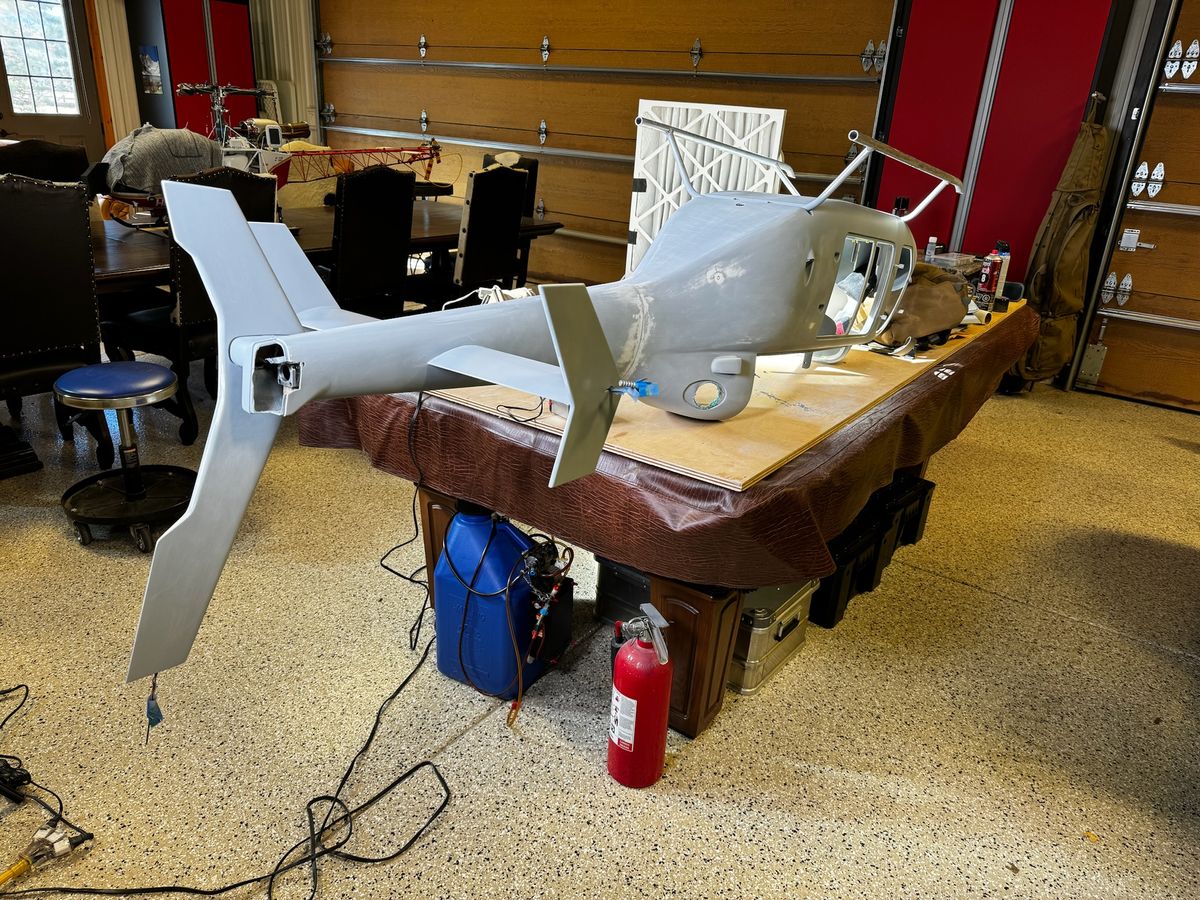
Priming begins
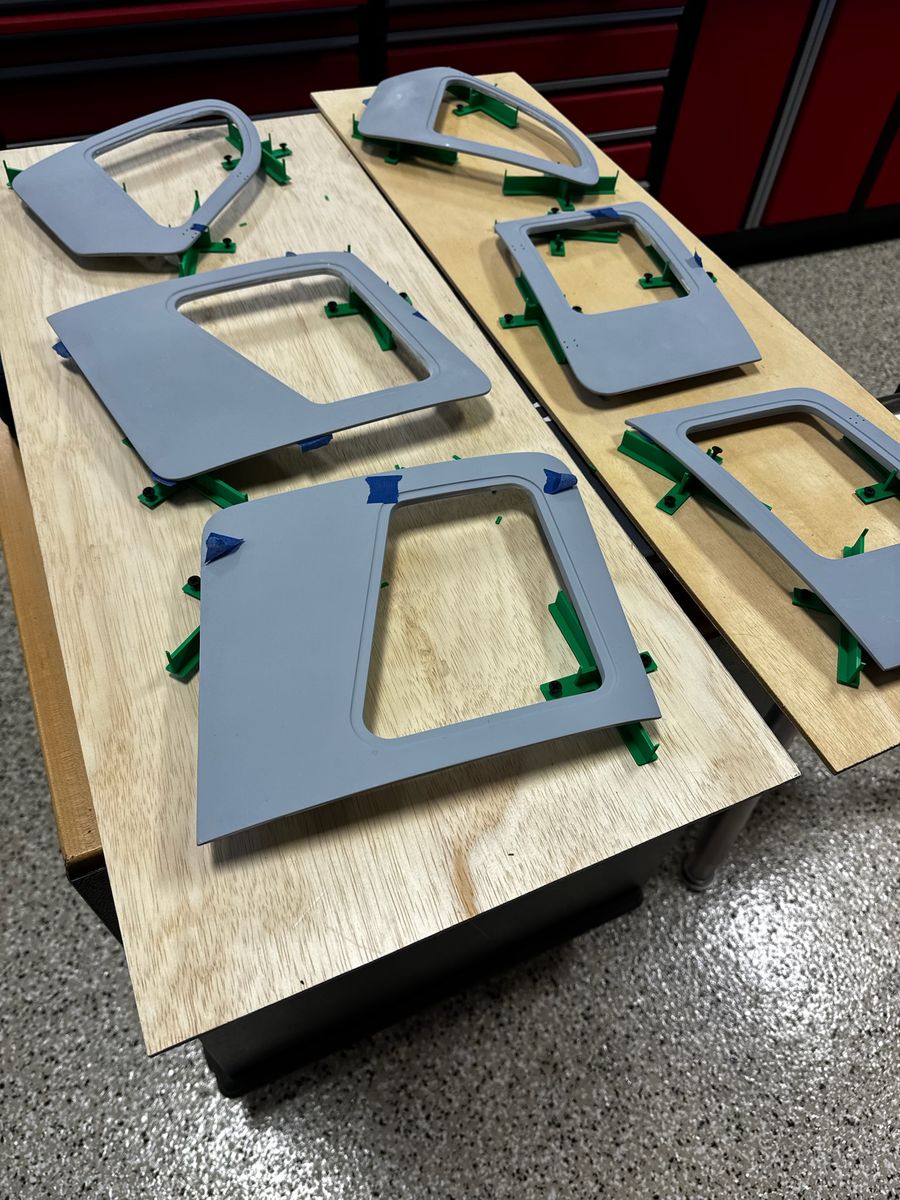
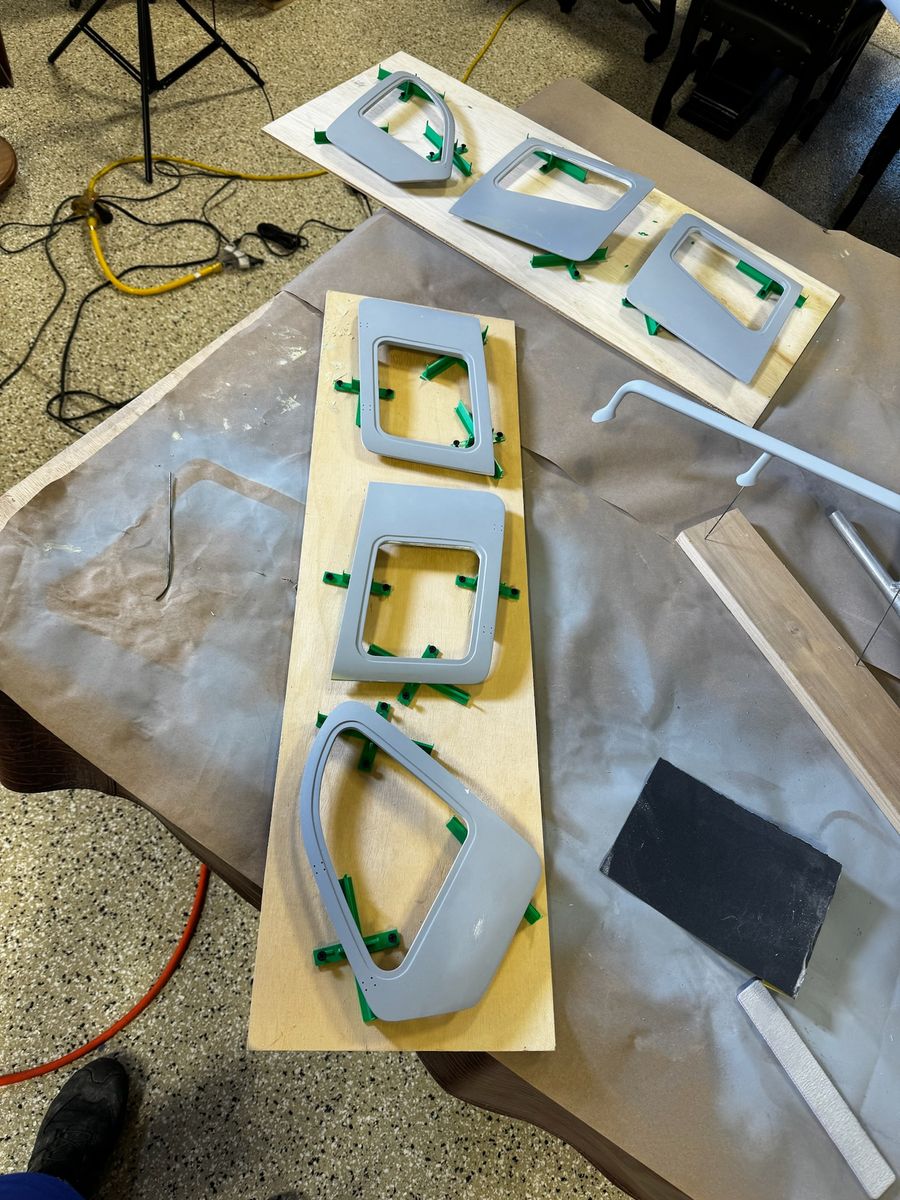
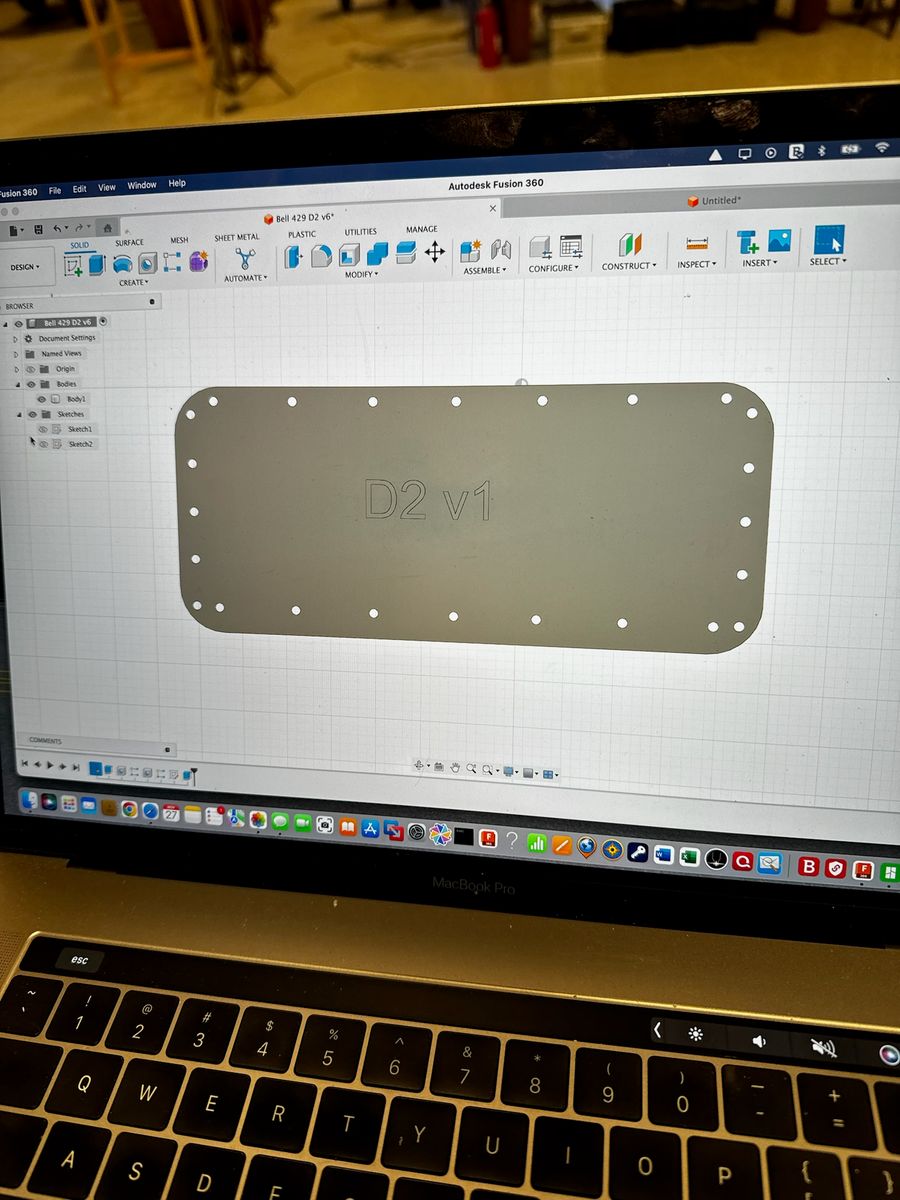
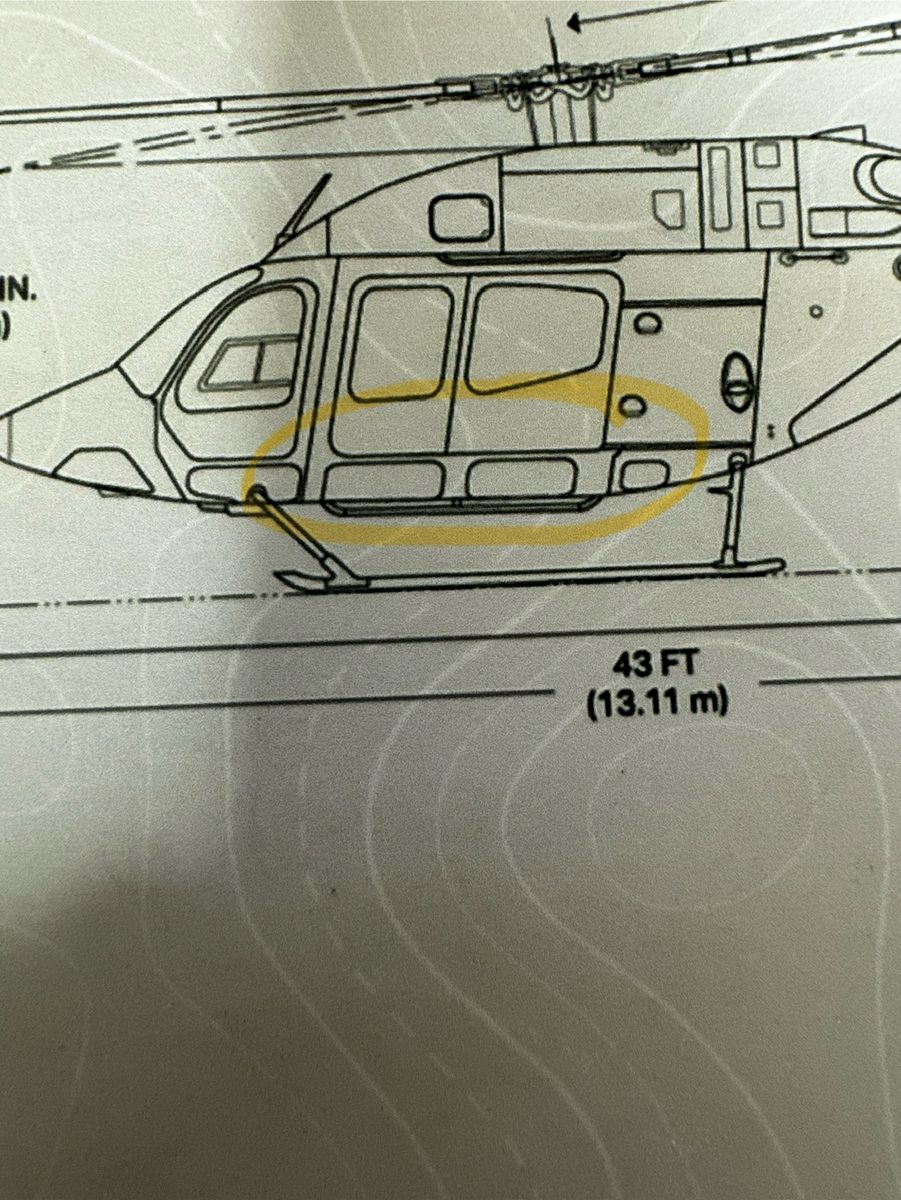
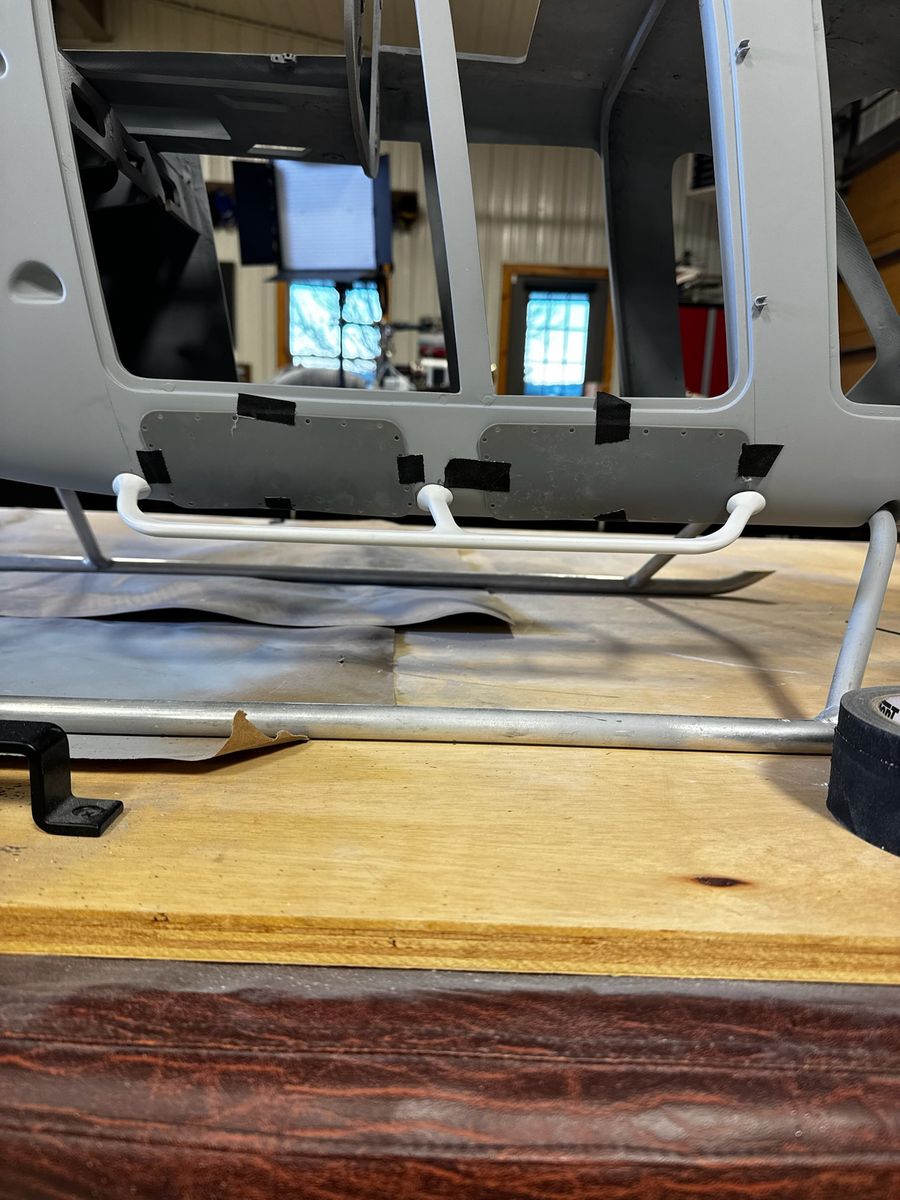
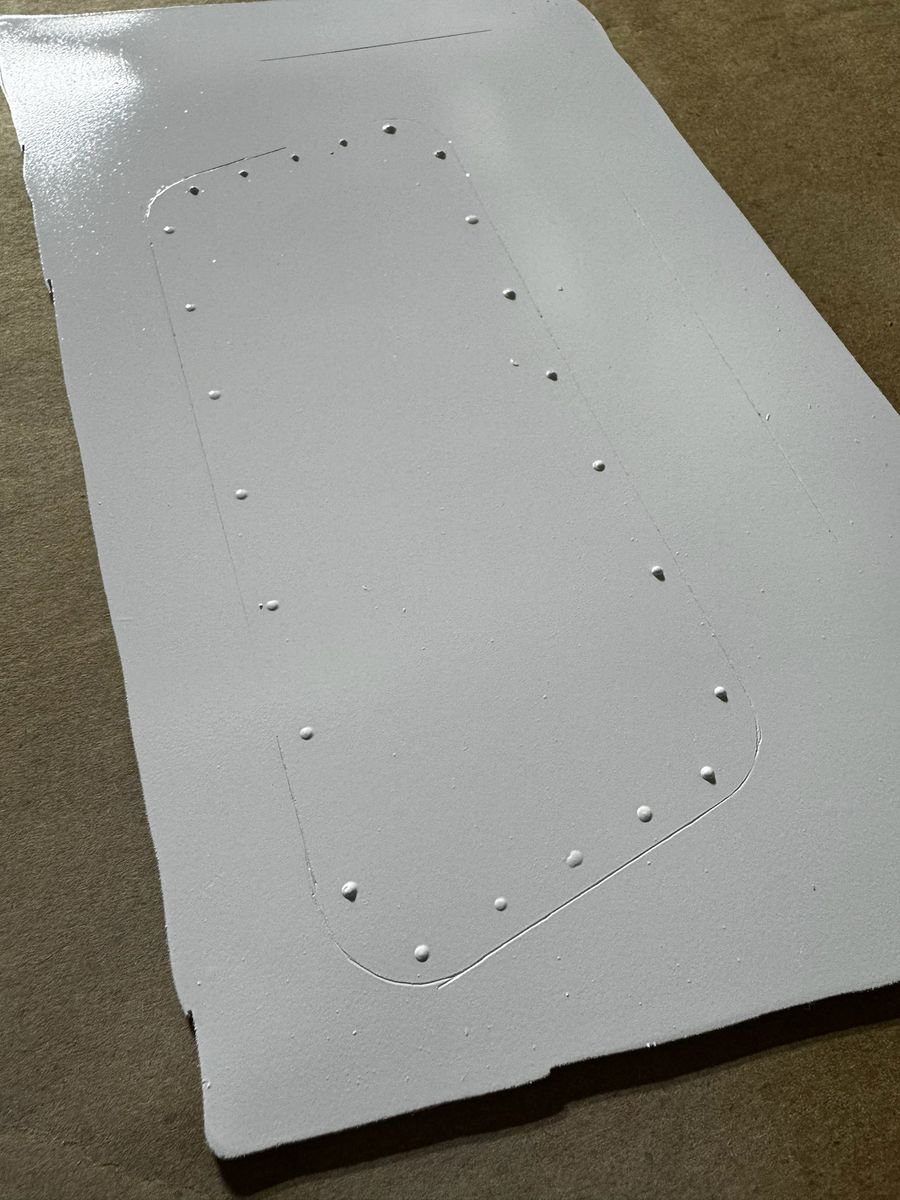
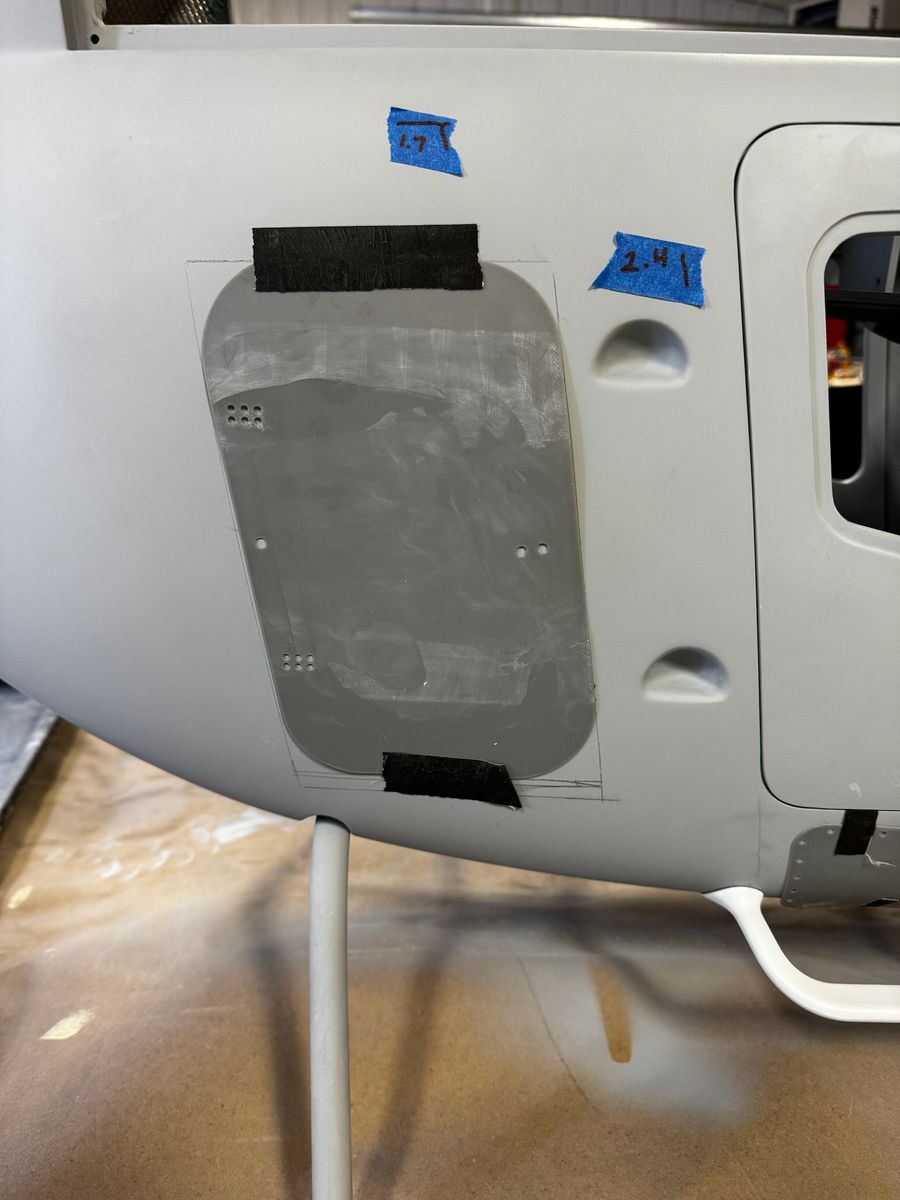
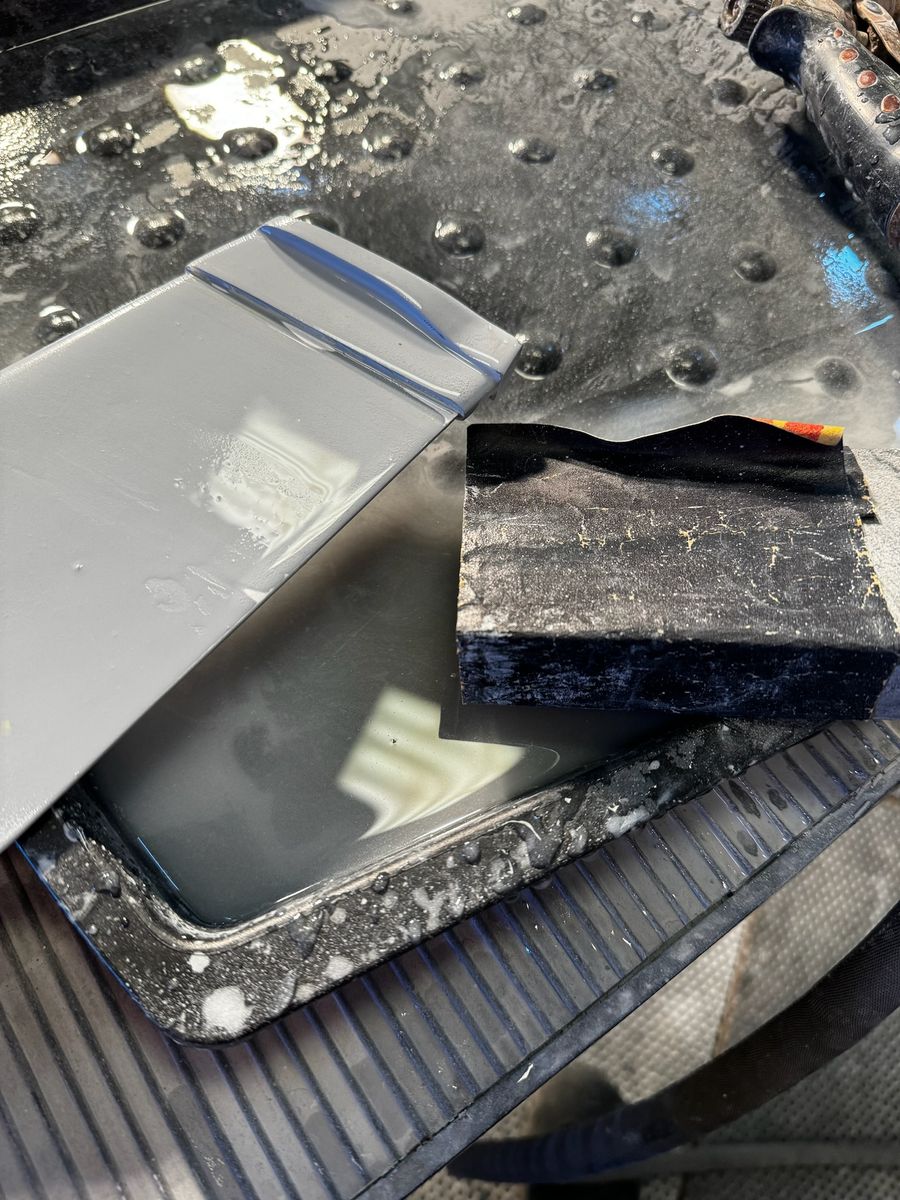
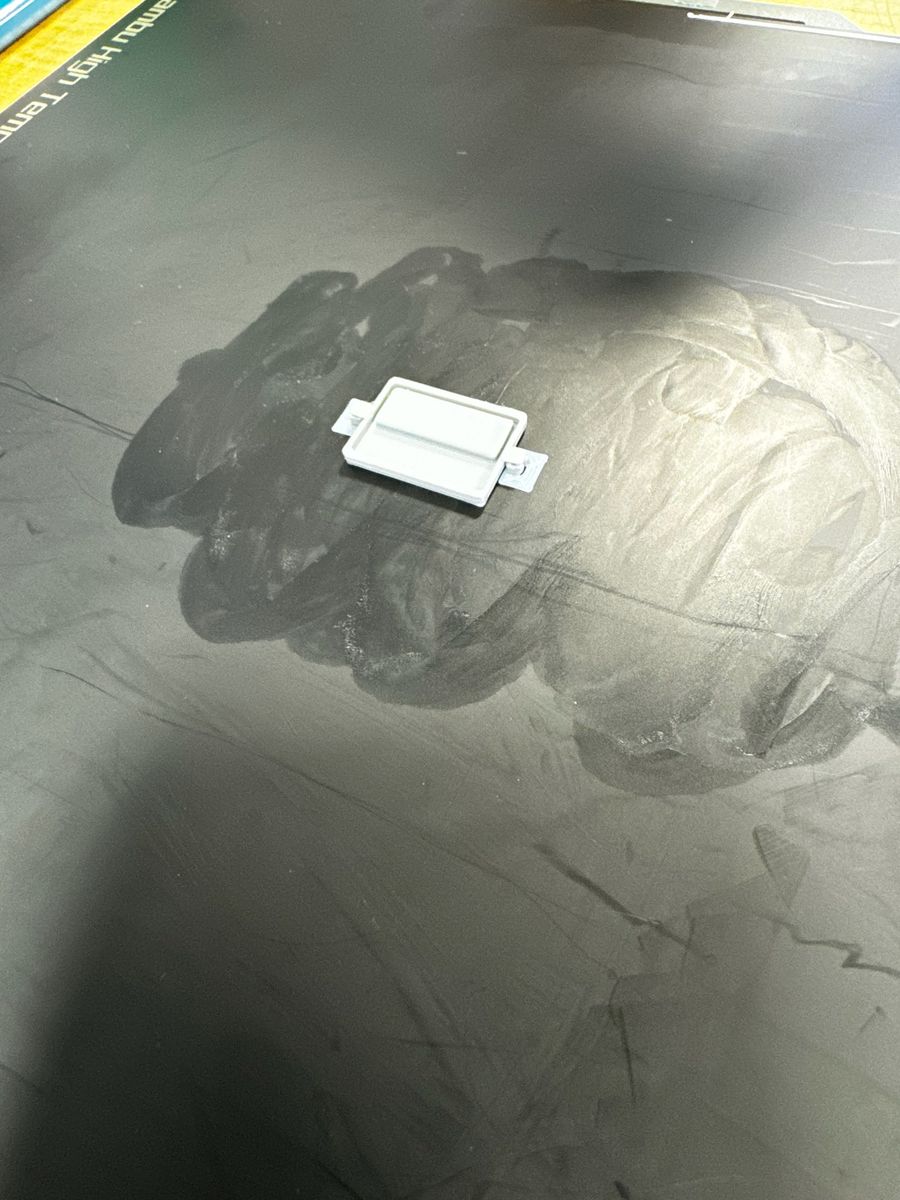
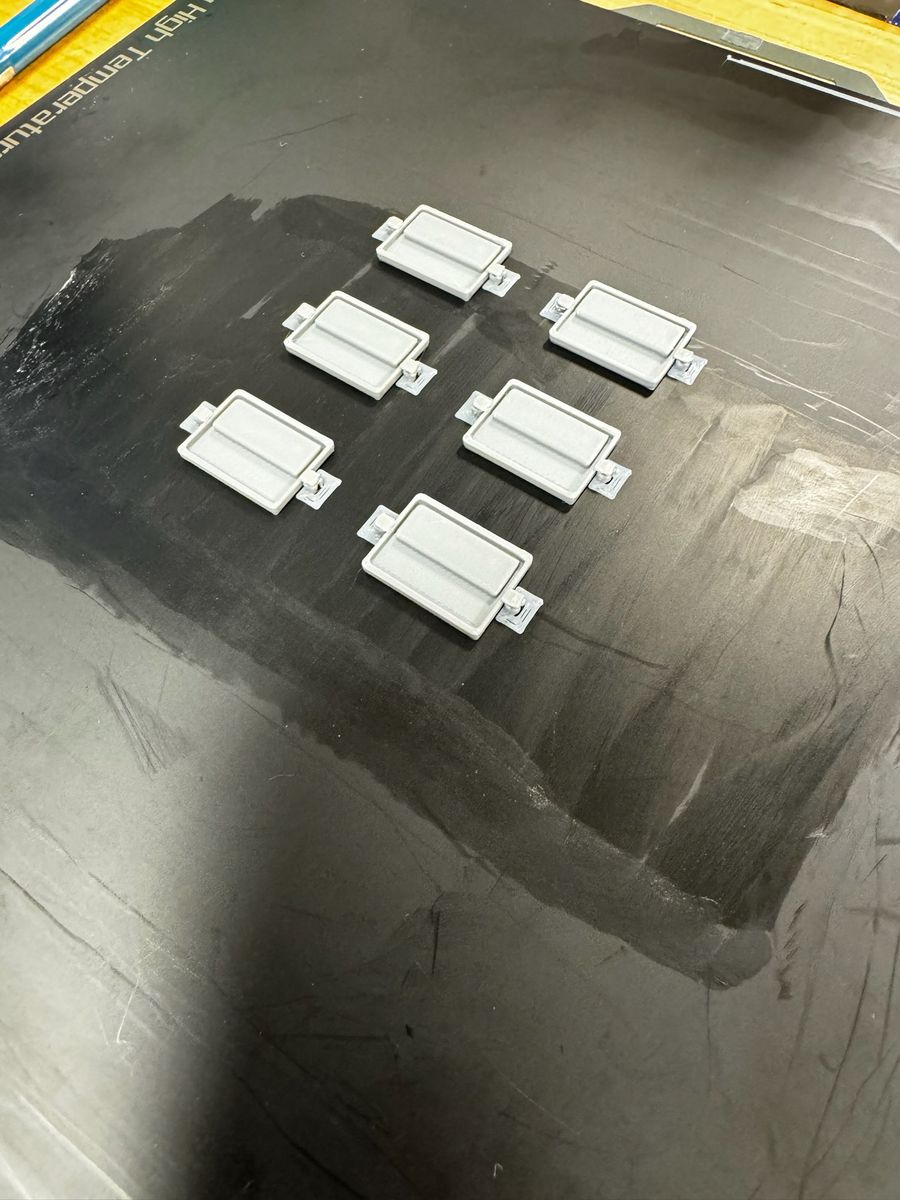
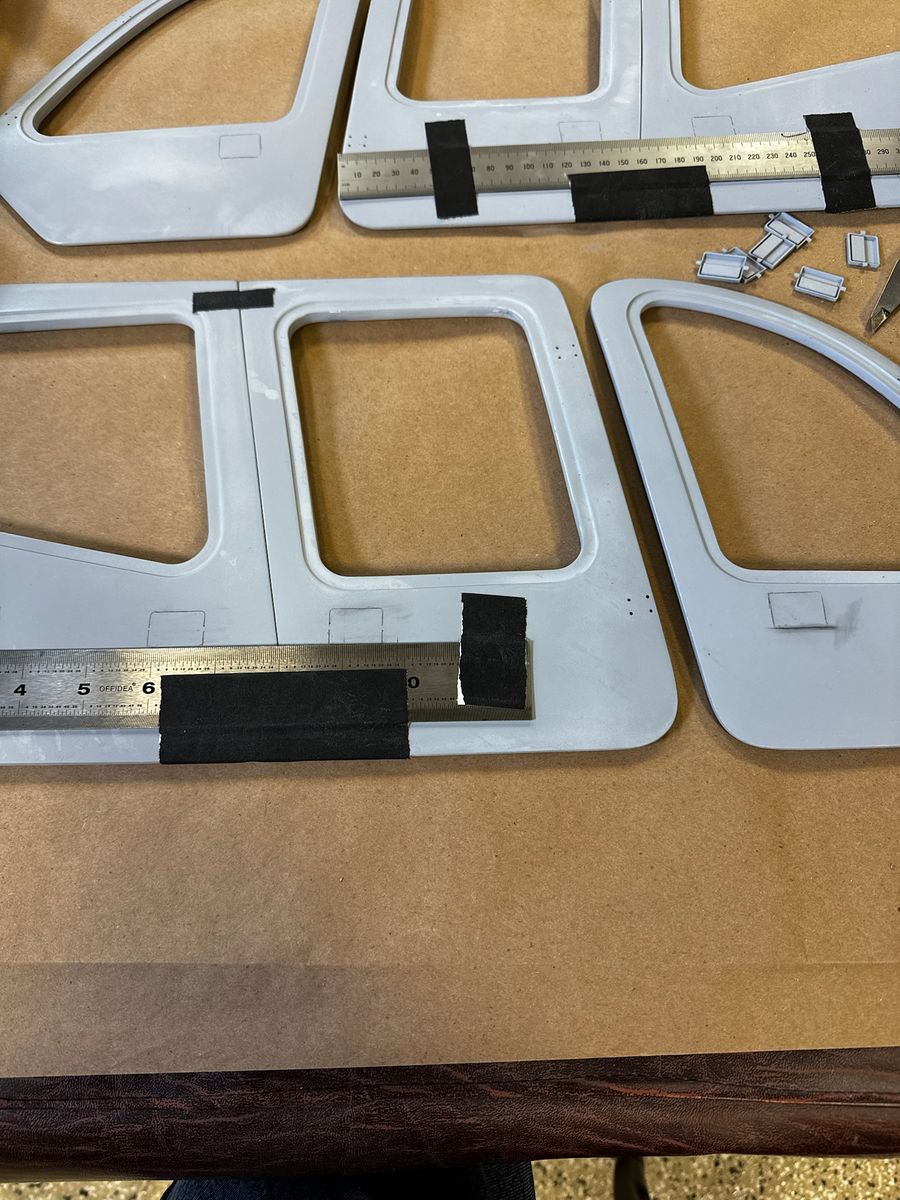
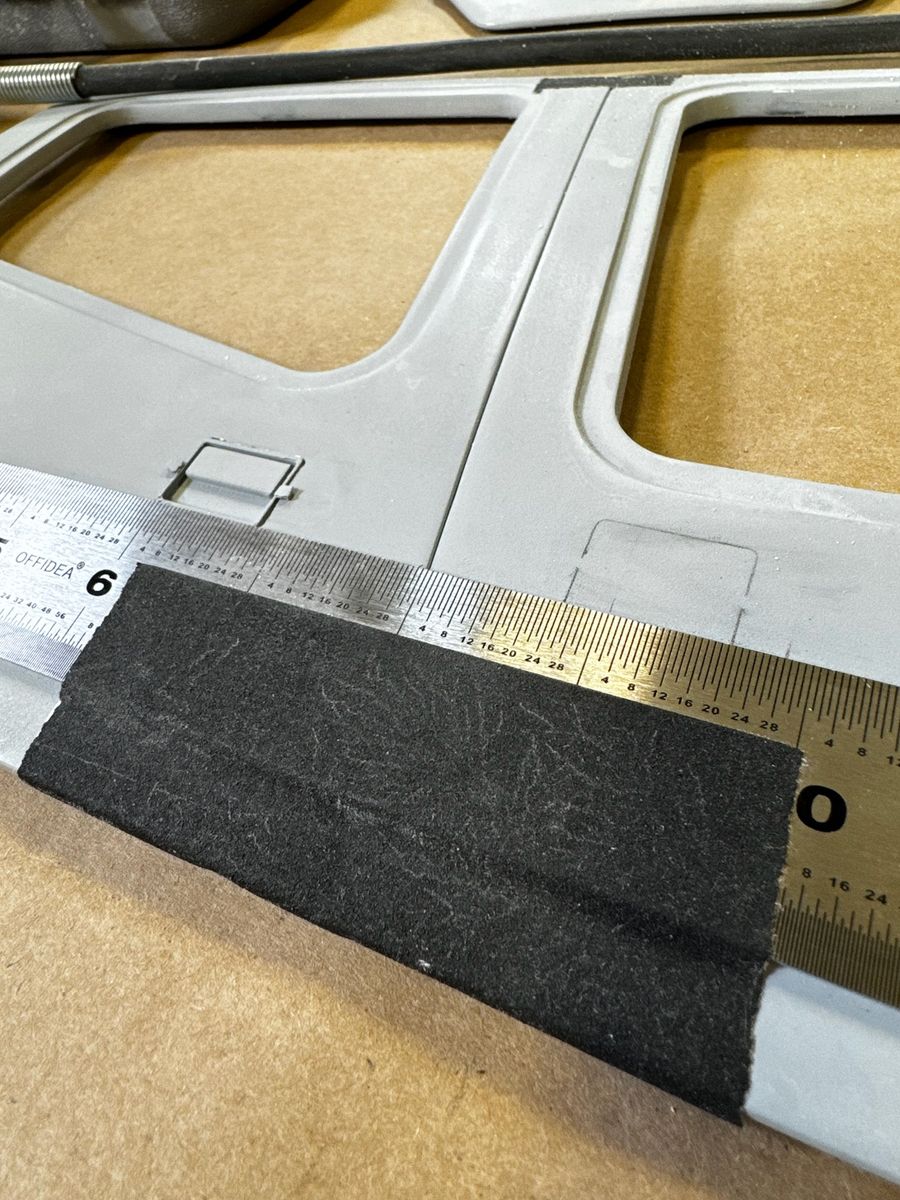
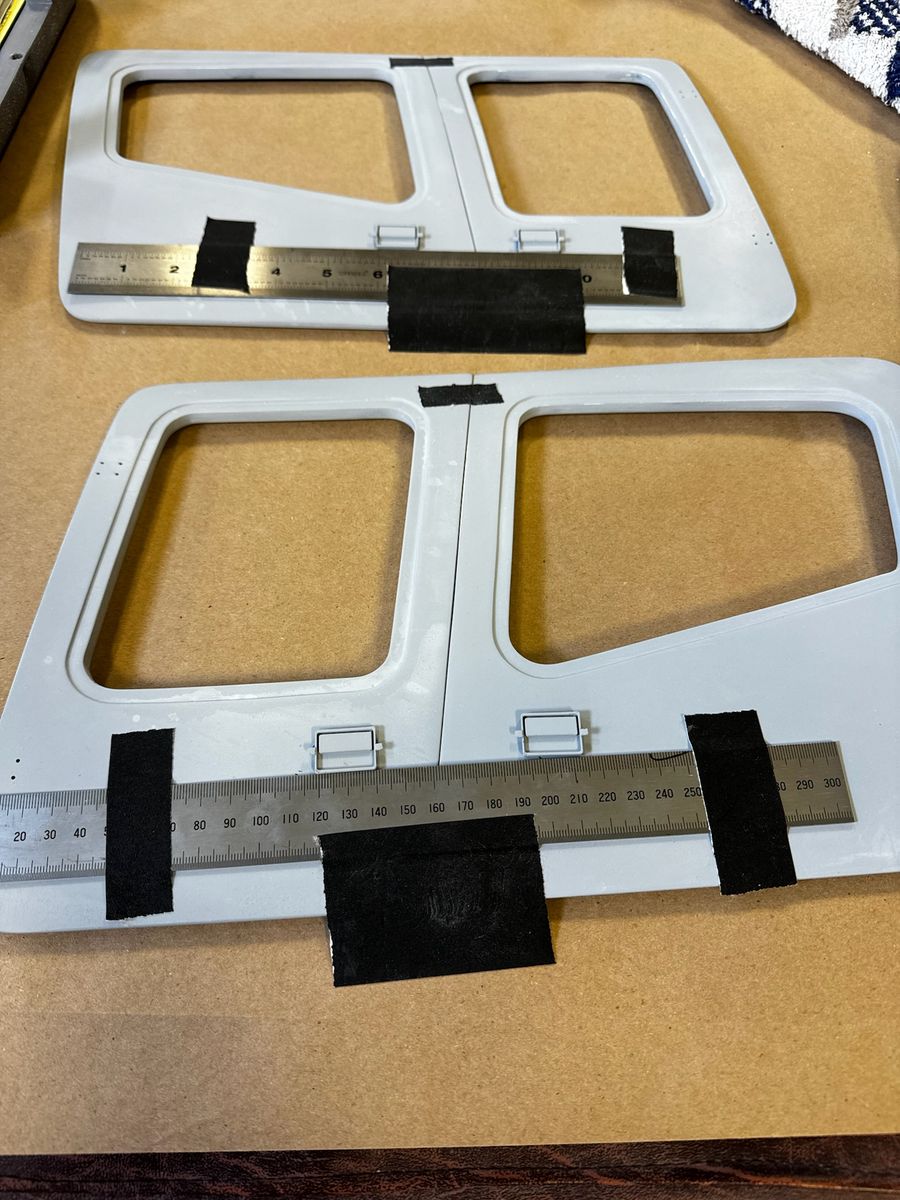
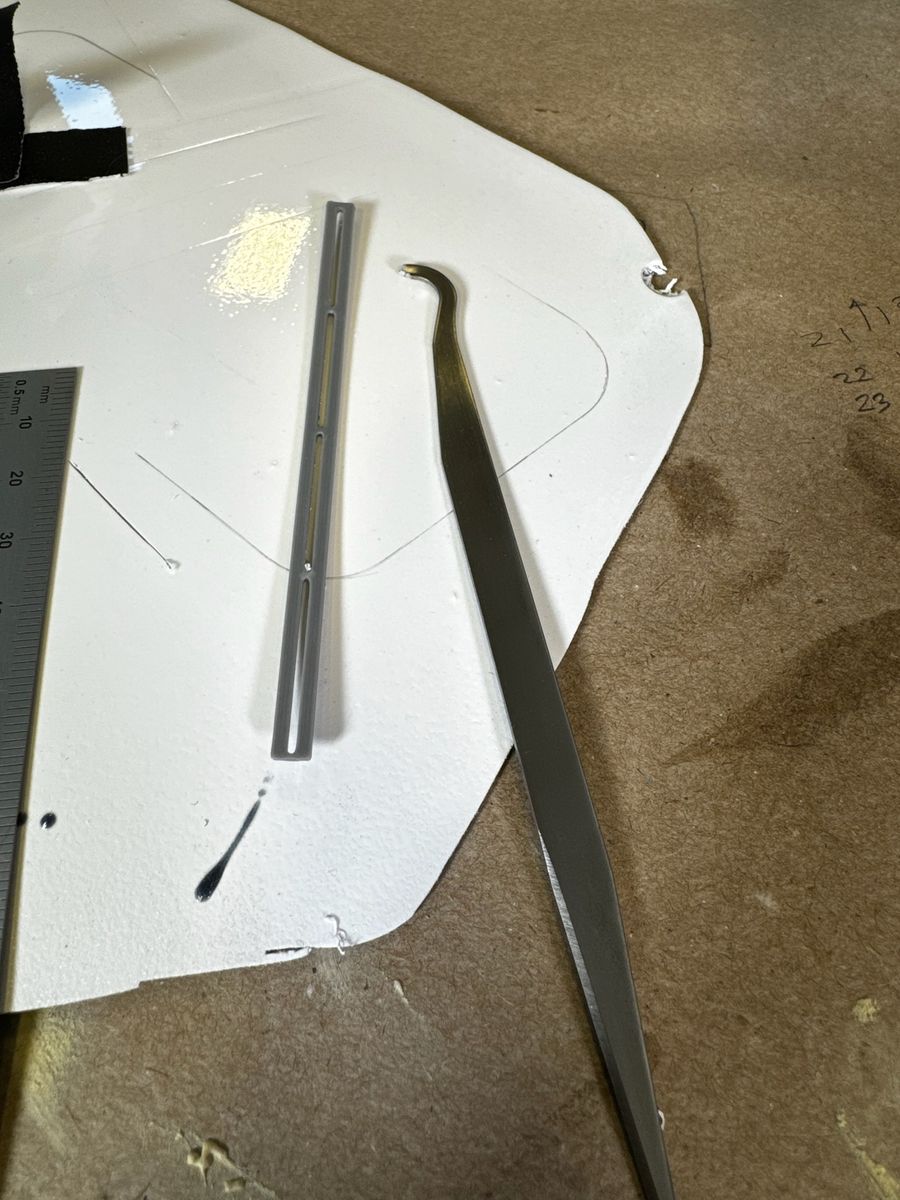
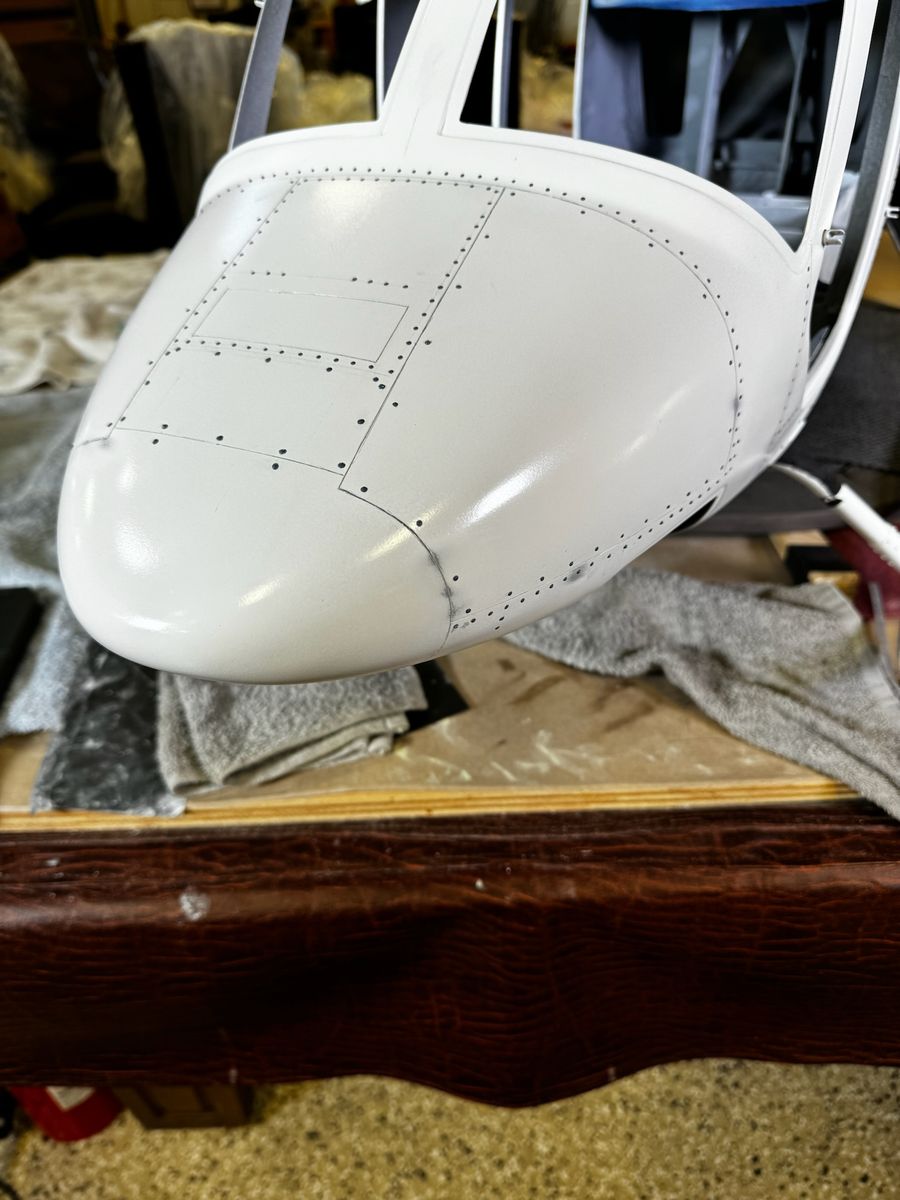
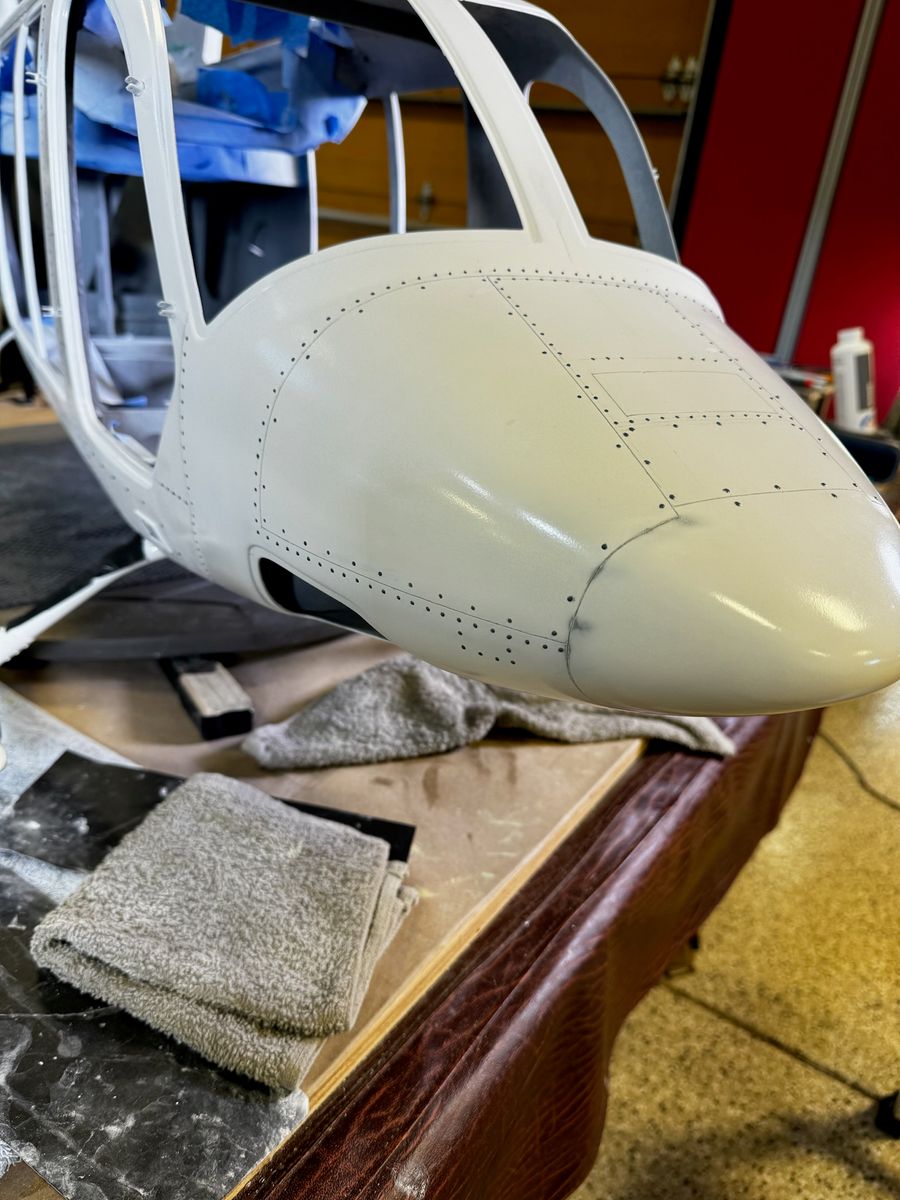
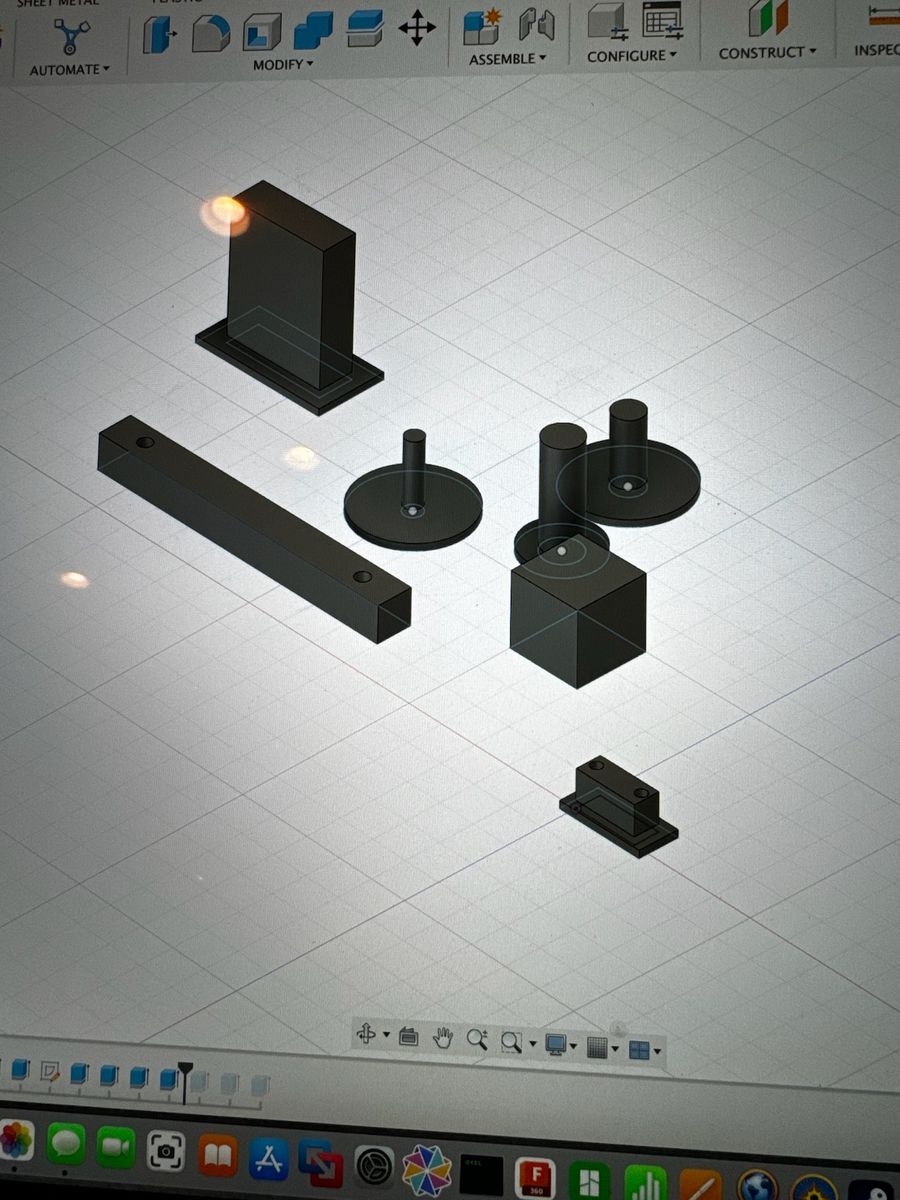
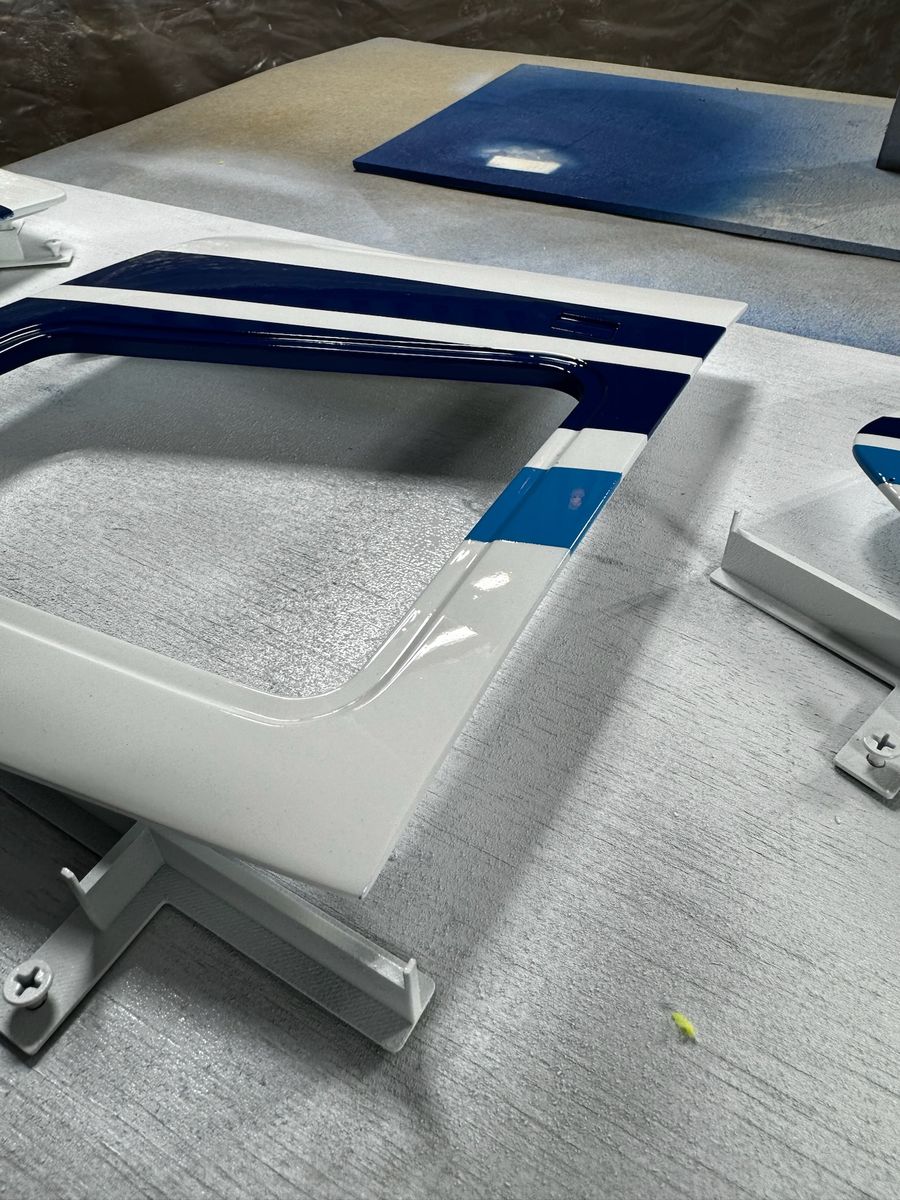
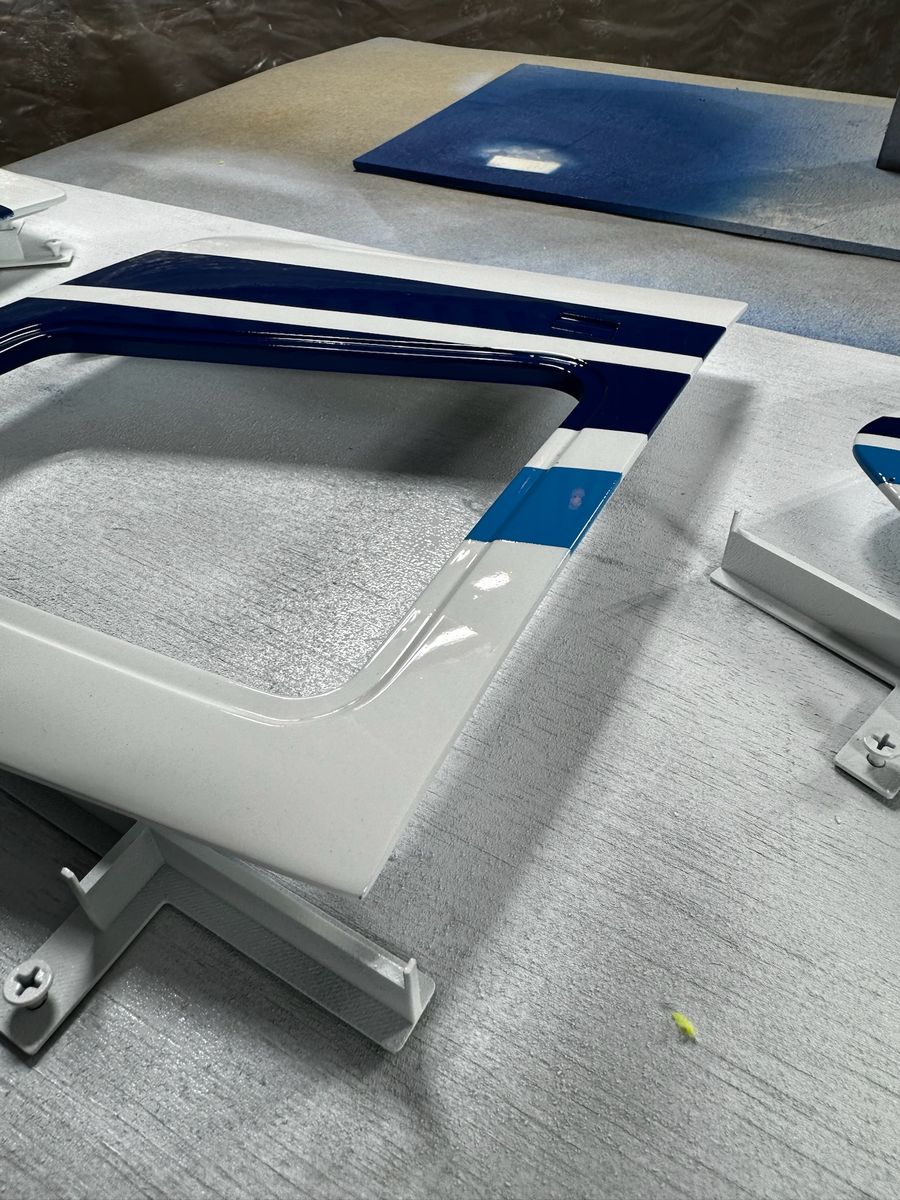
I use all Sherwin Williams automotive products. Wet sanding, more wet sanding and on and on. I printed some jigs to facilitate the painting of the doors and miscellaneous components. Shown are 3D printed templates to be used in panel line scribing.
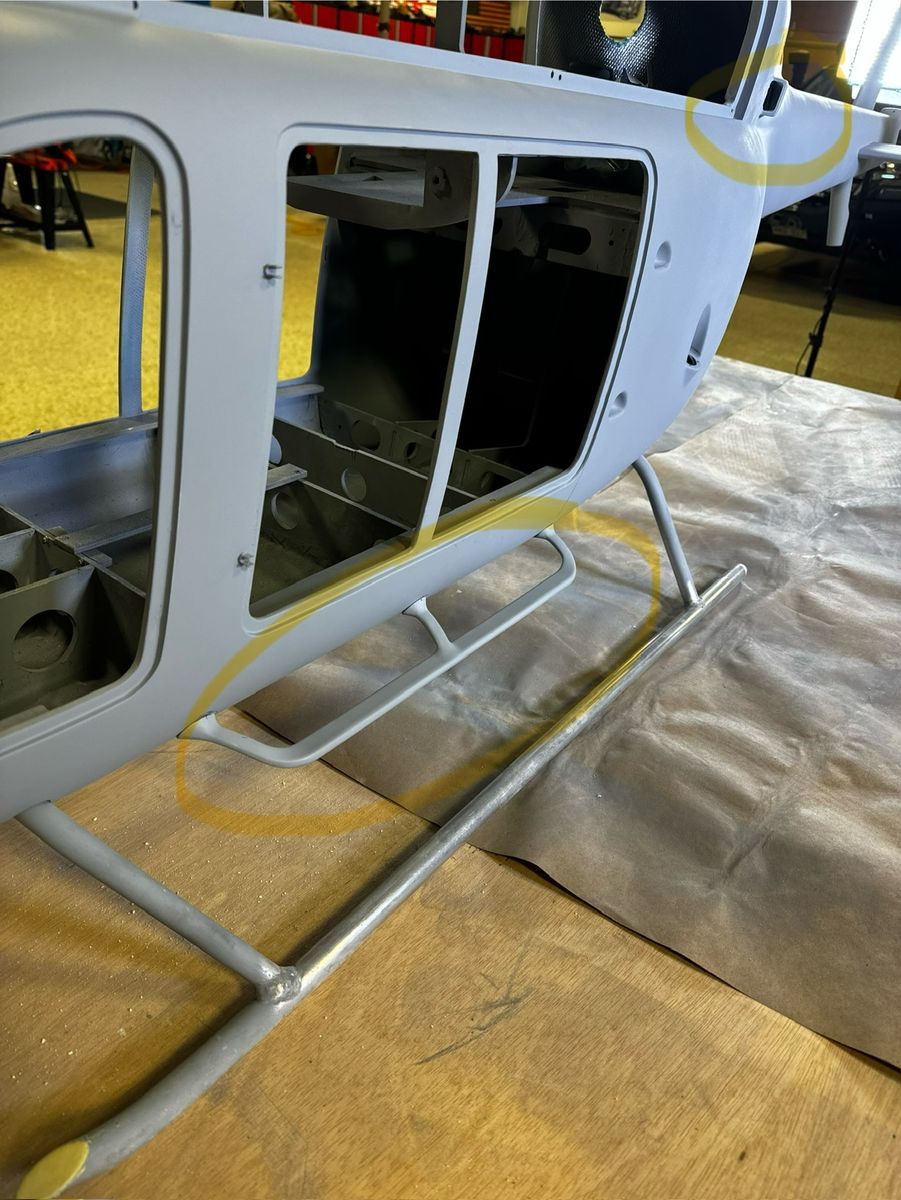
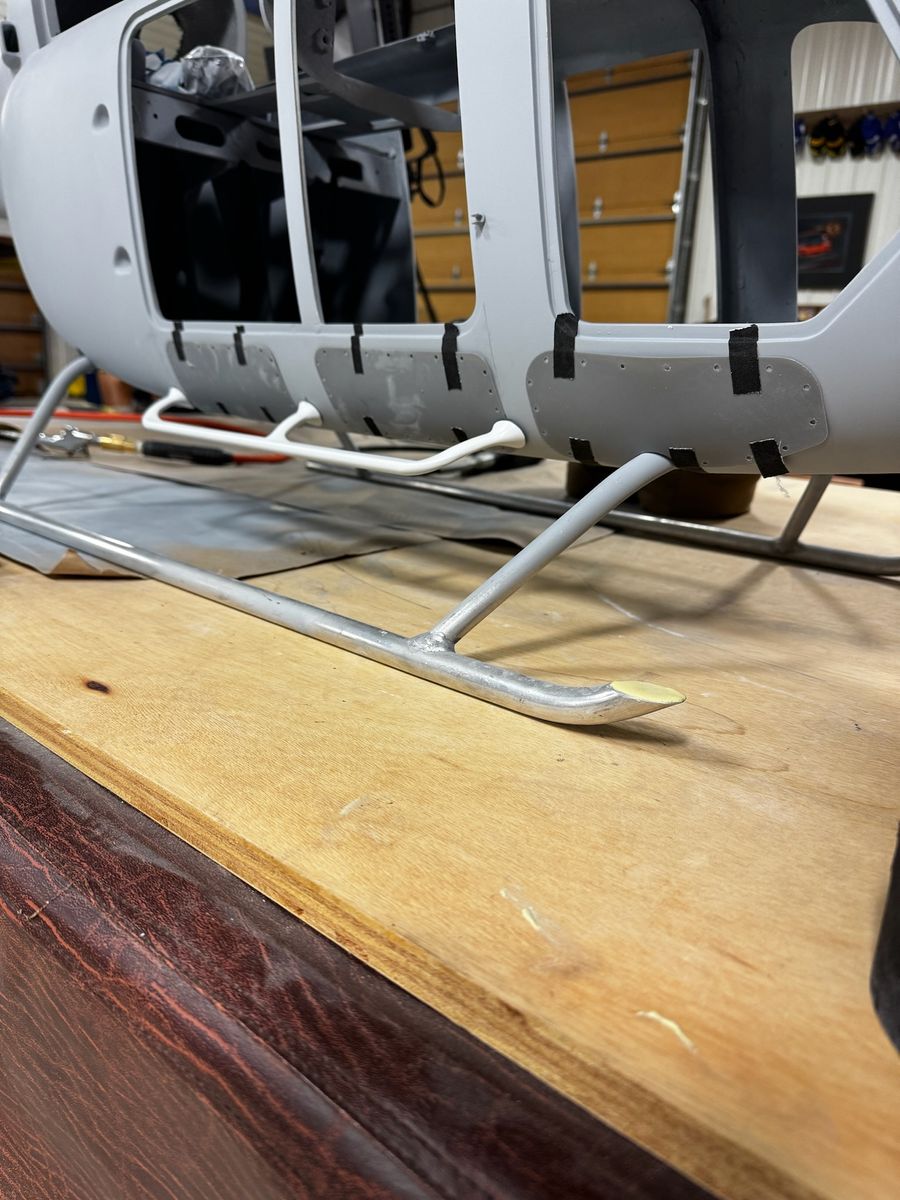
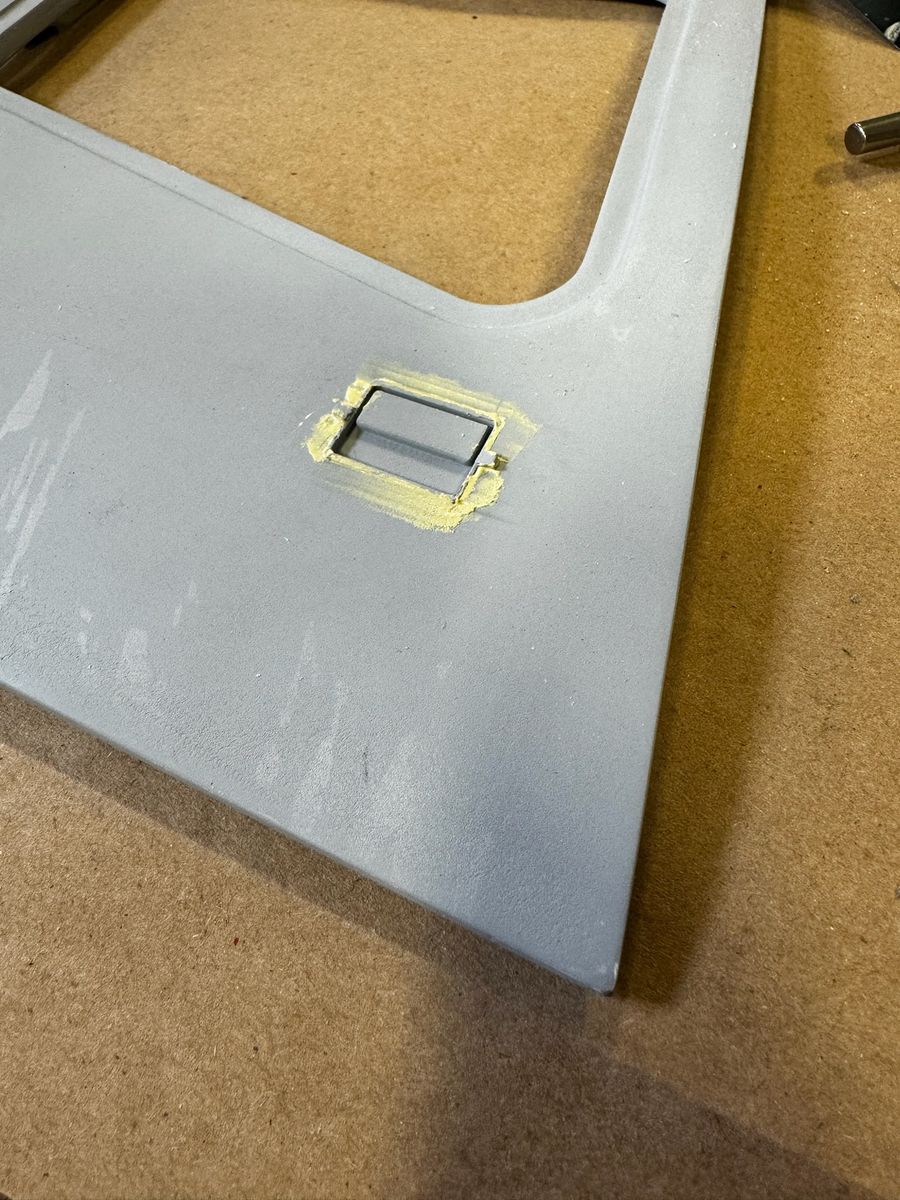
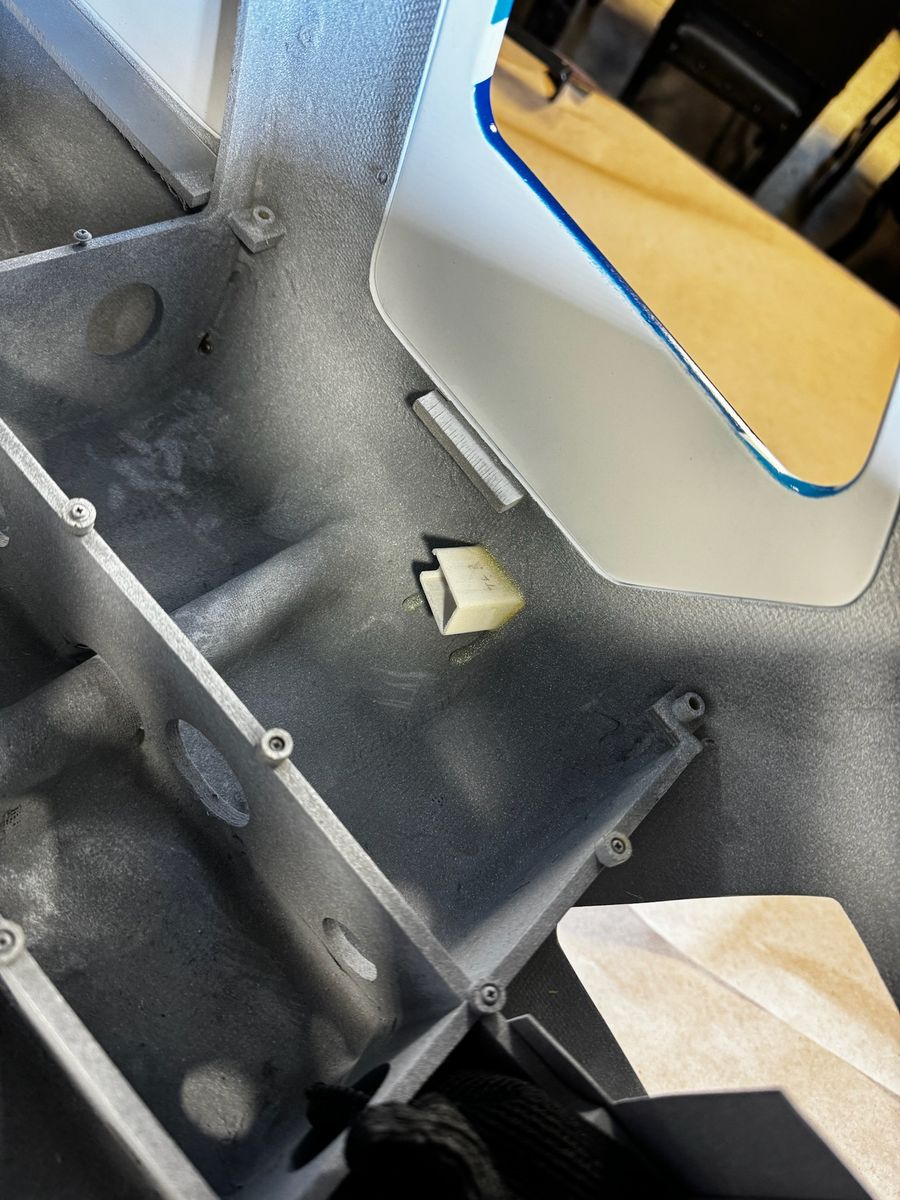
More 3D printed door handle inserts. The landing gear interferes with the body and rectified later.
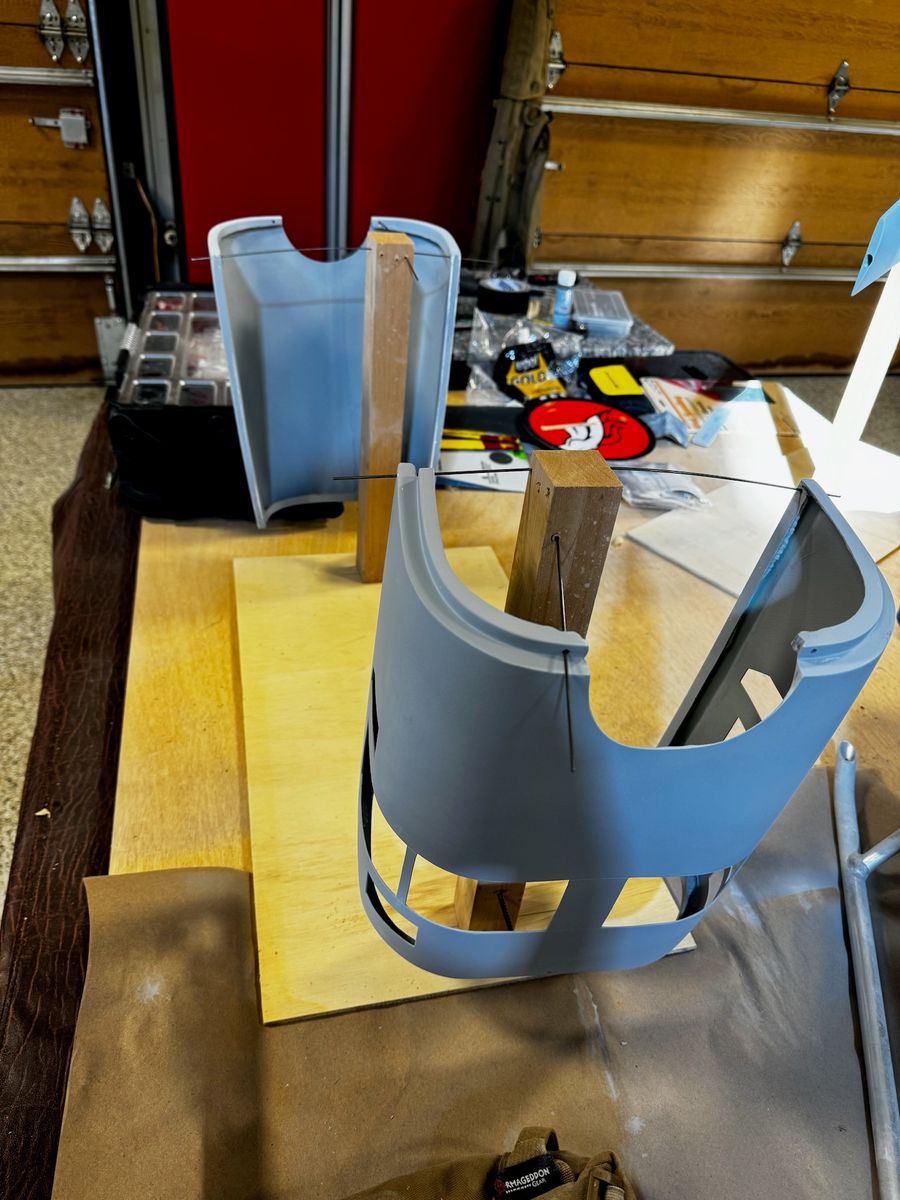
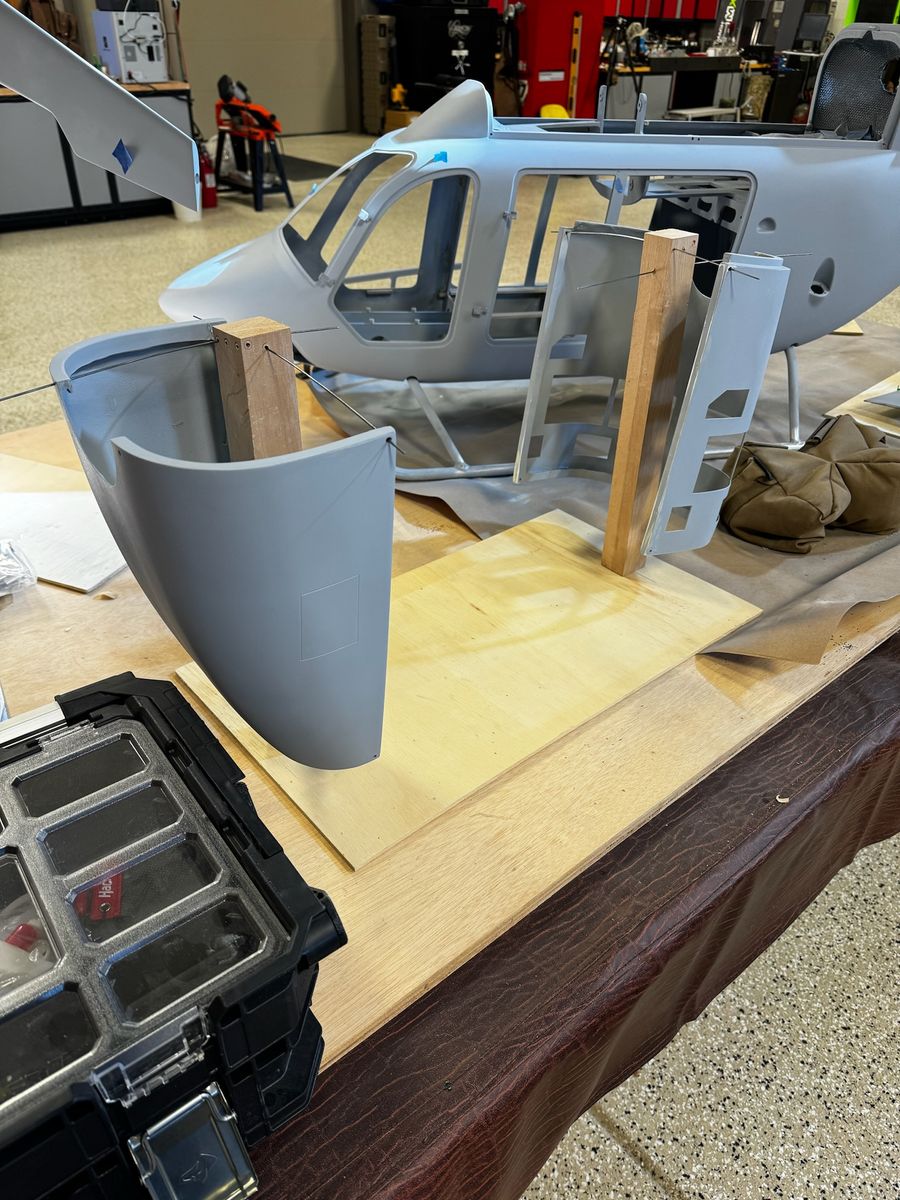
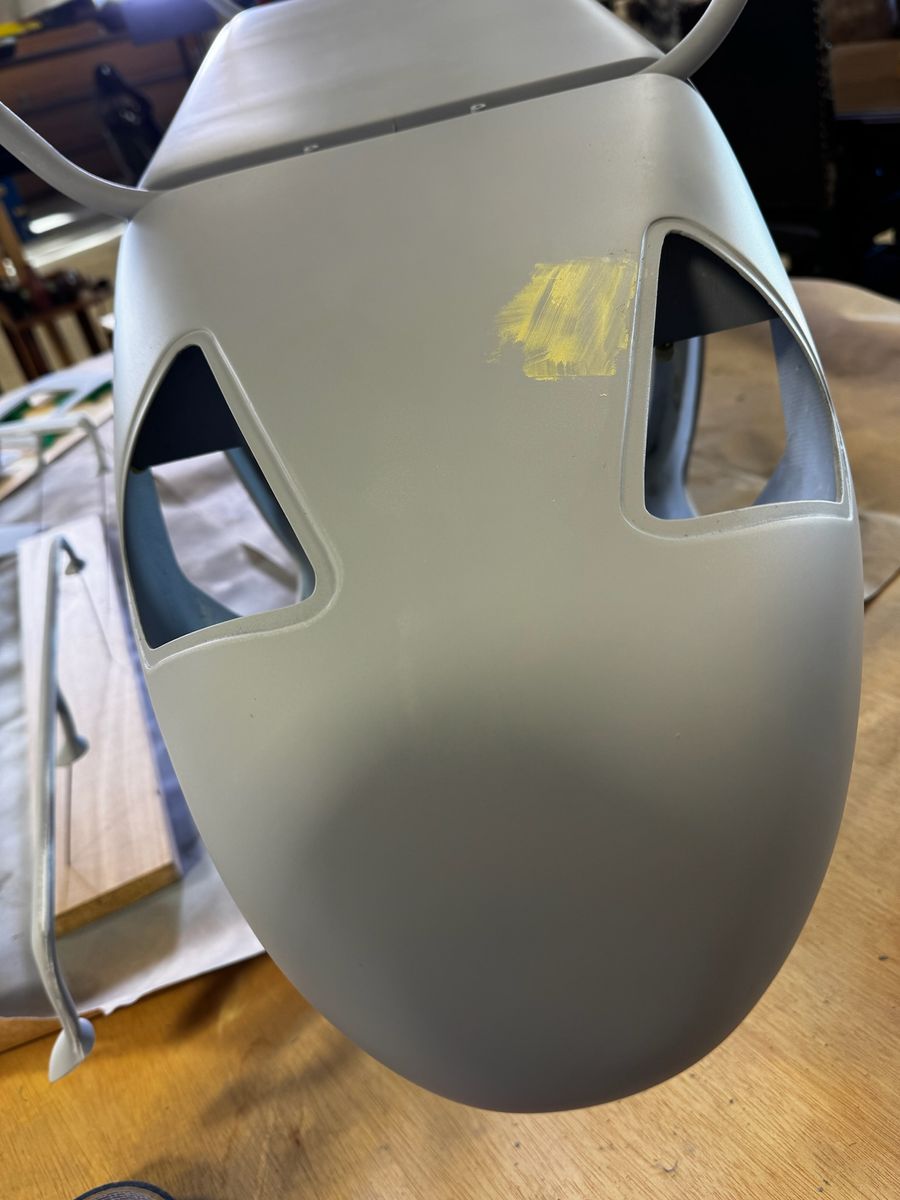
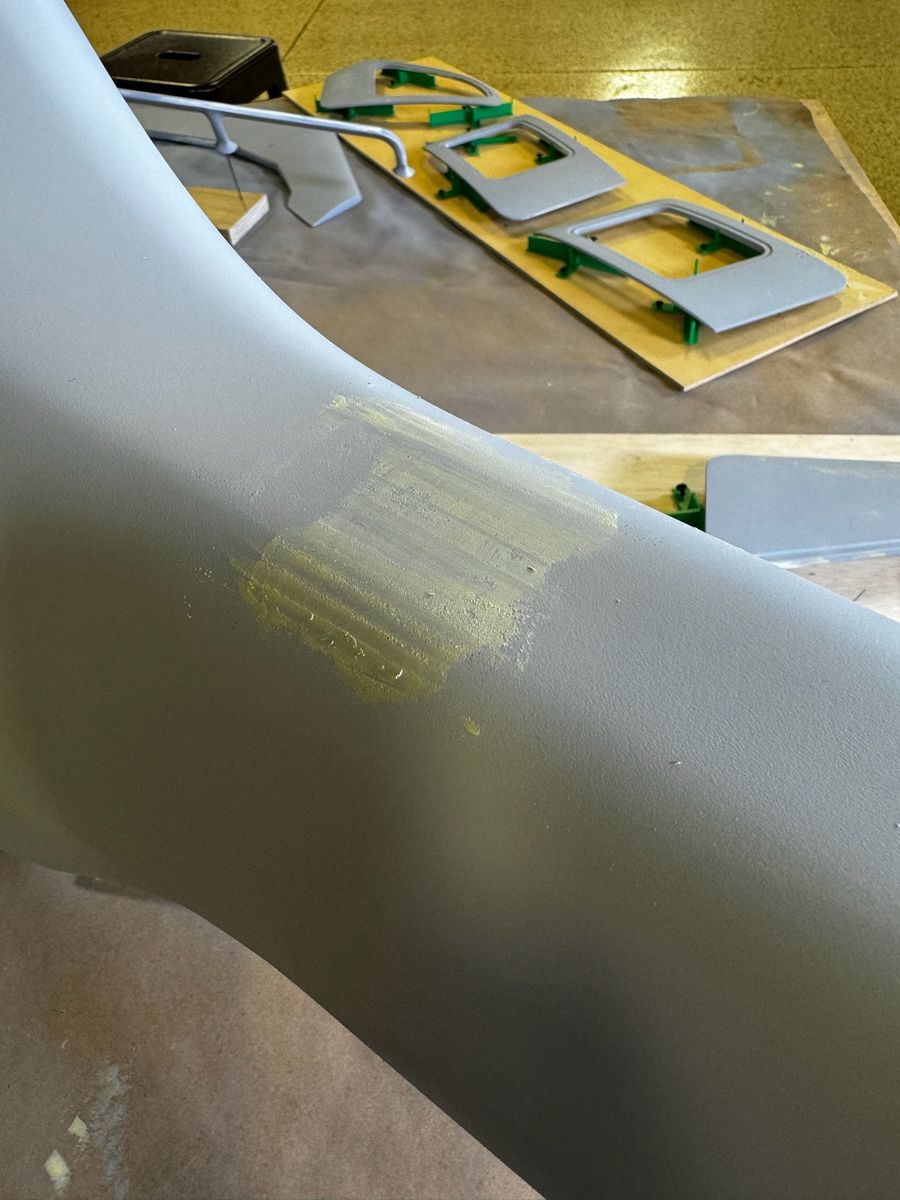
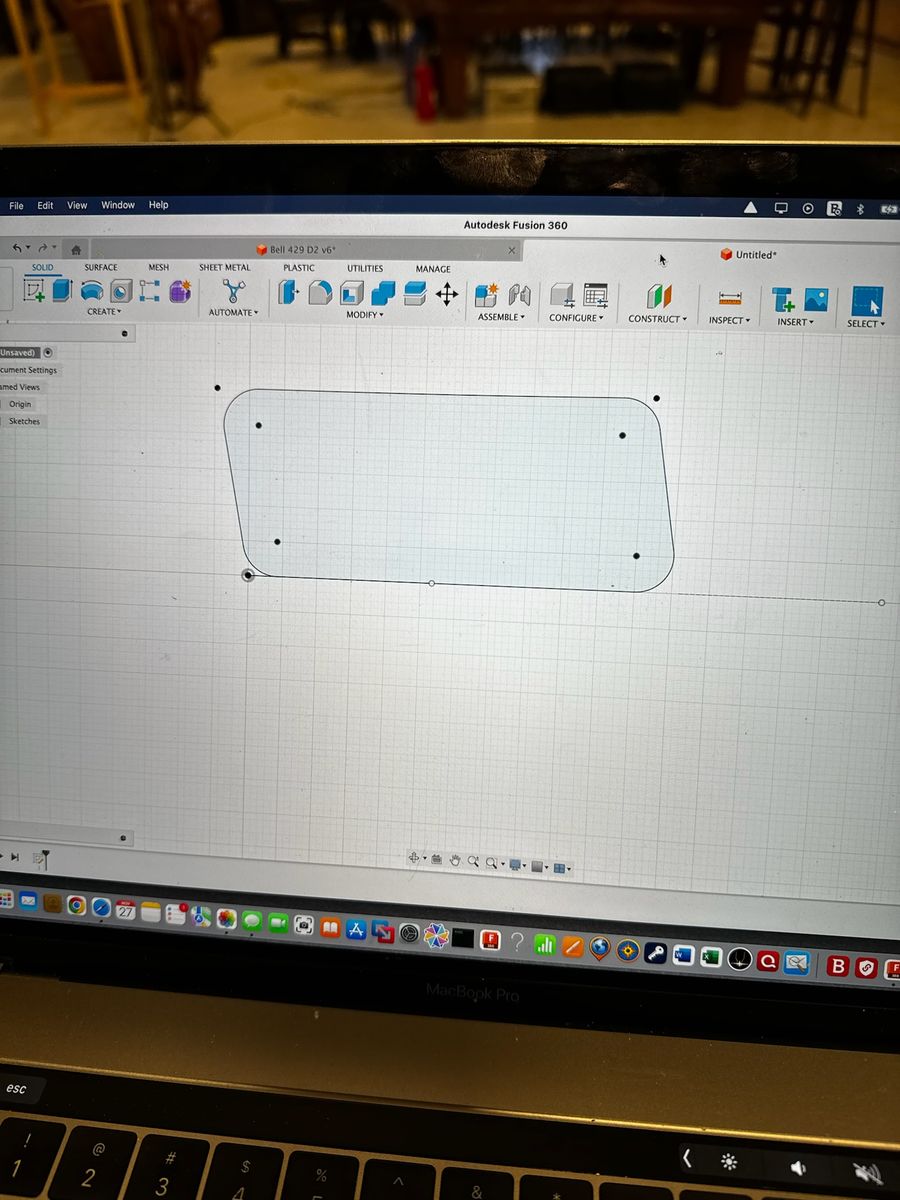
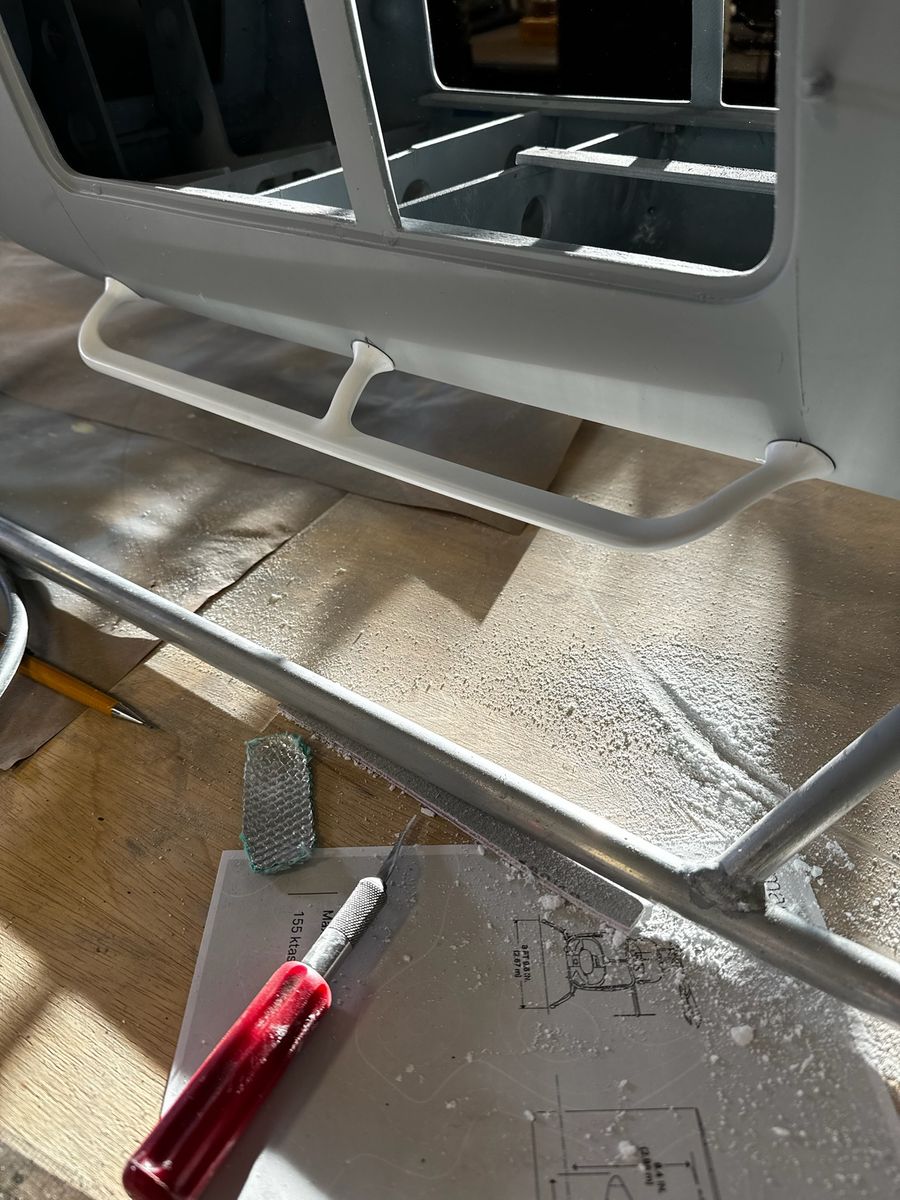
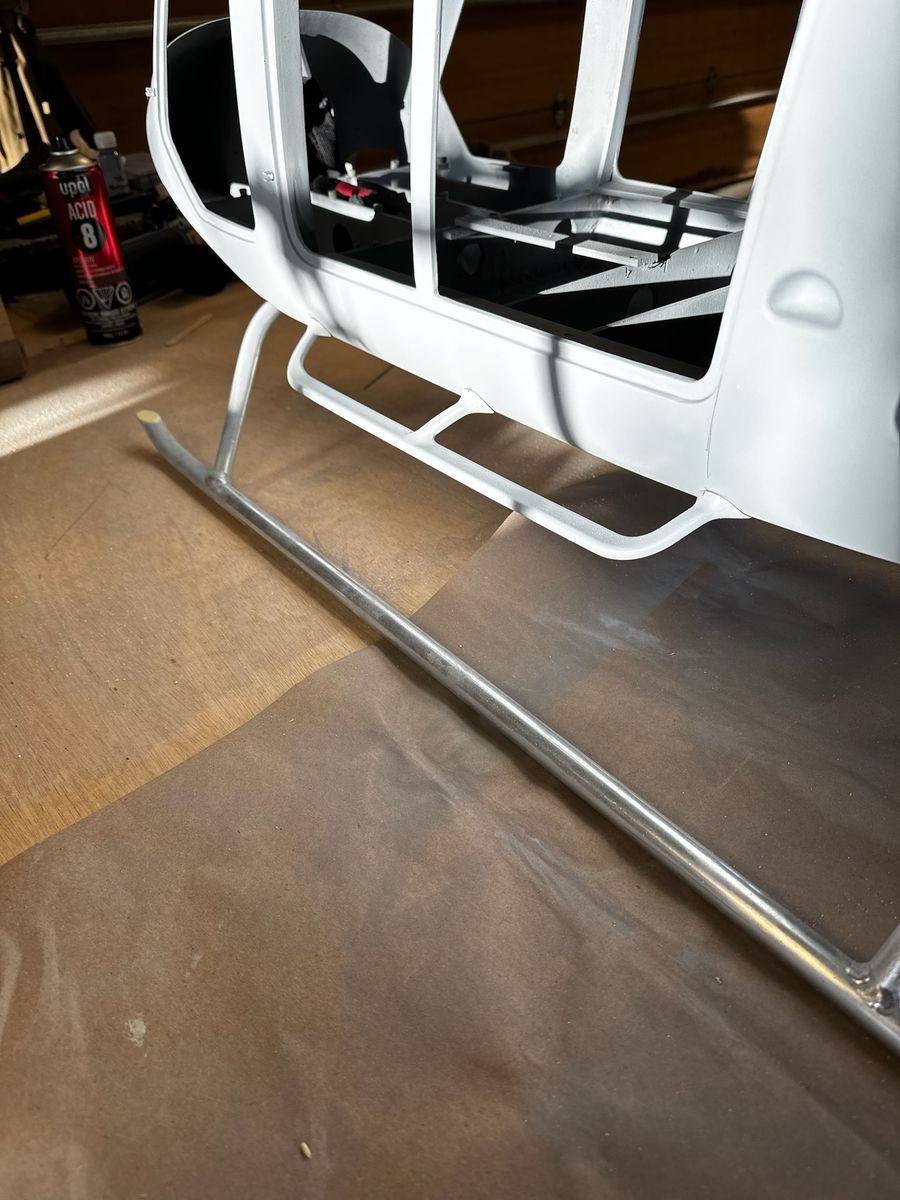
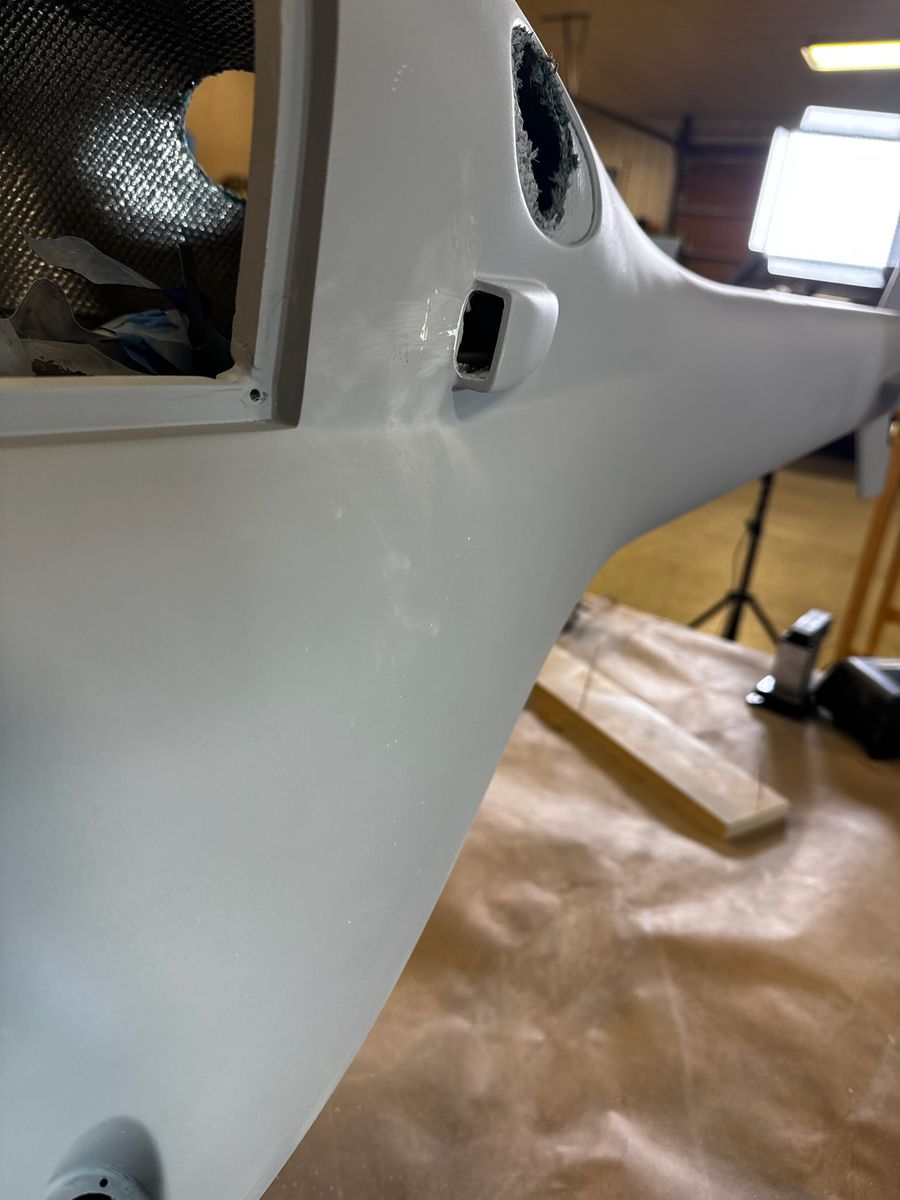
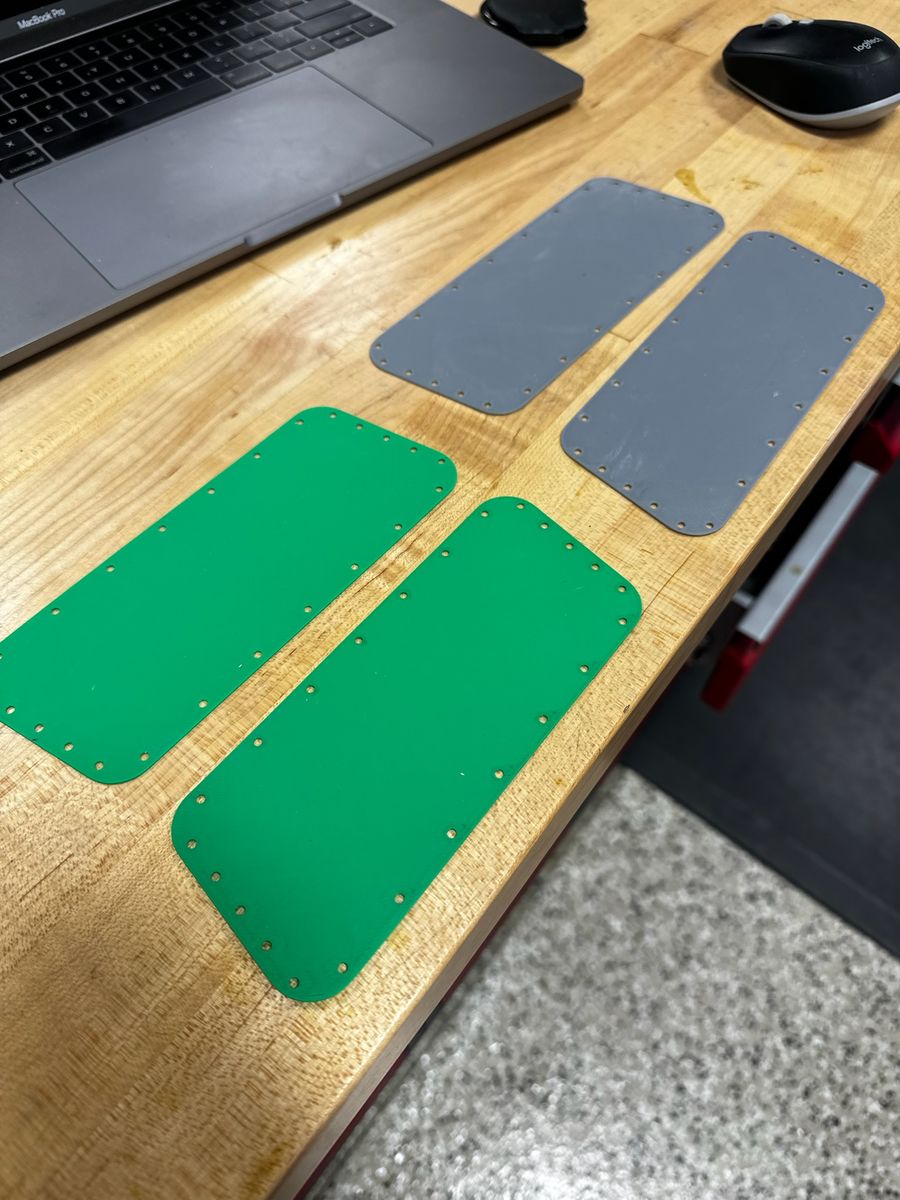
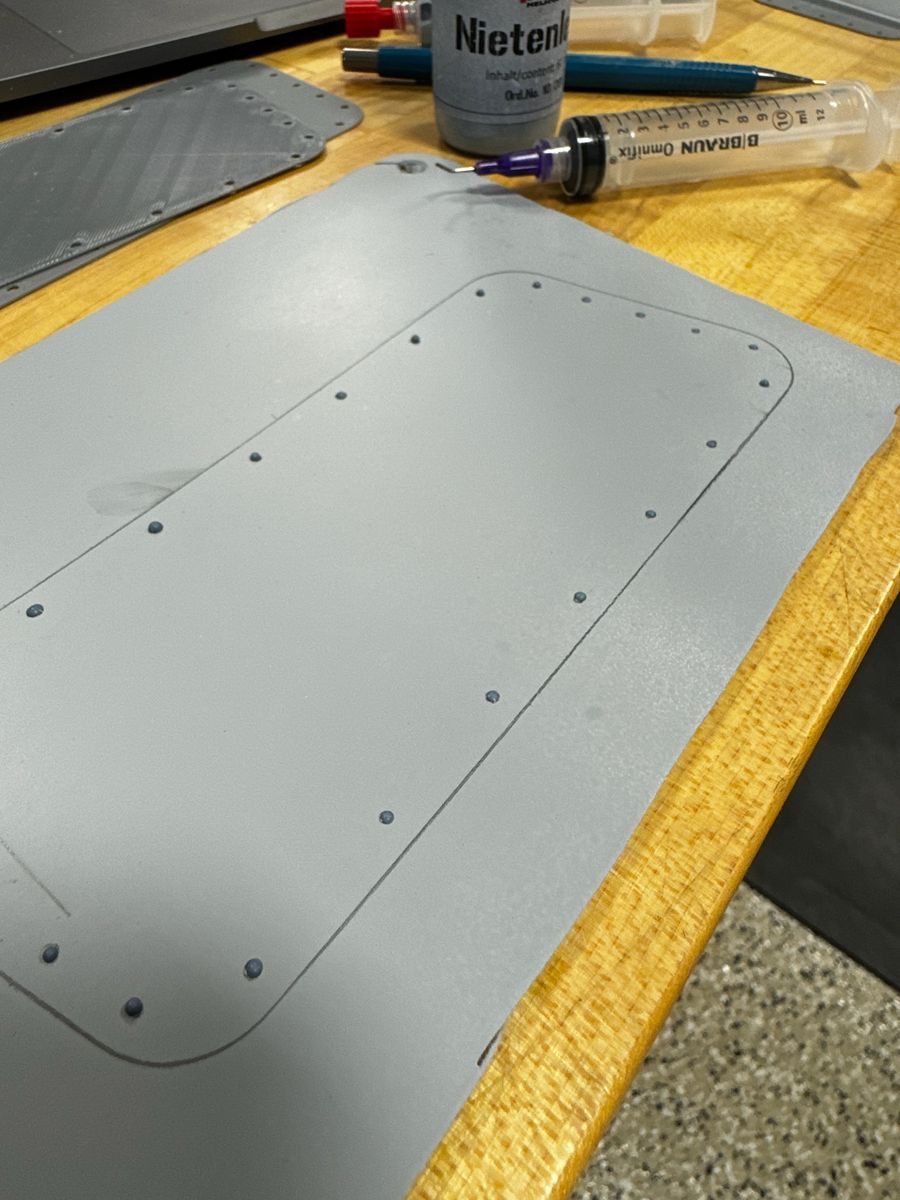
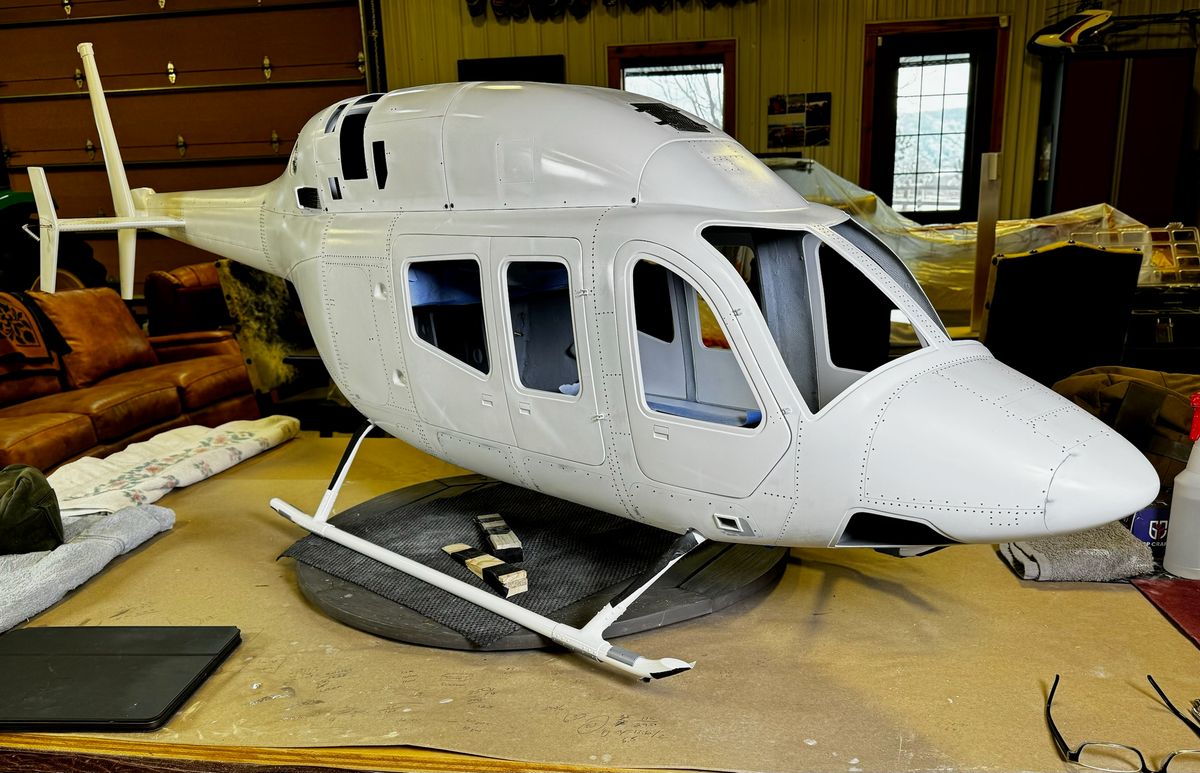
Base coat, panel lines, rivets and the start of skid work
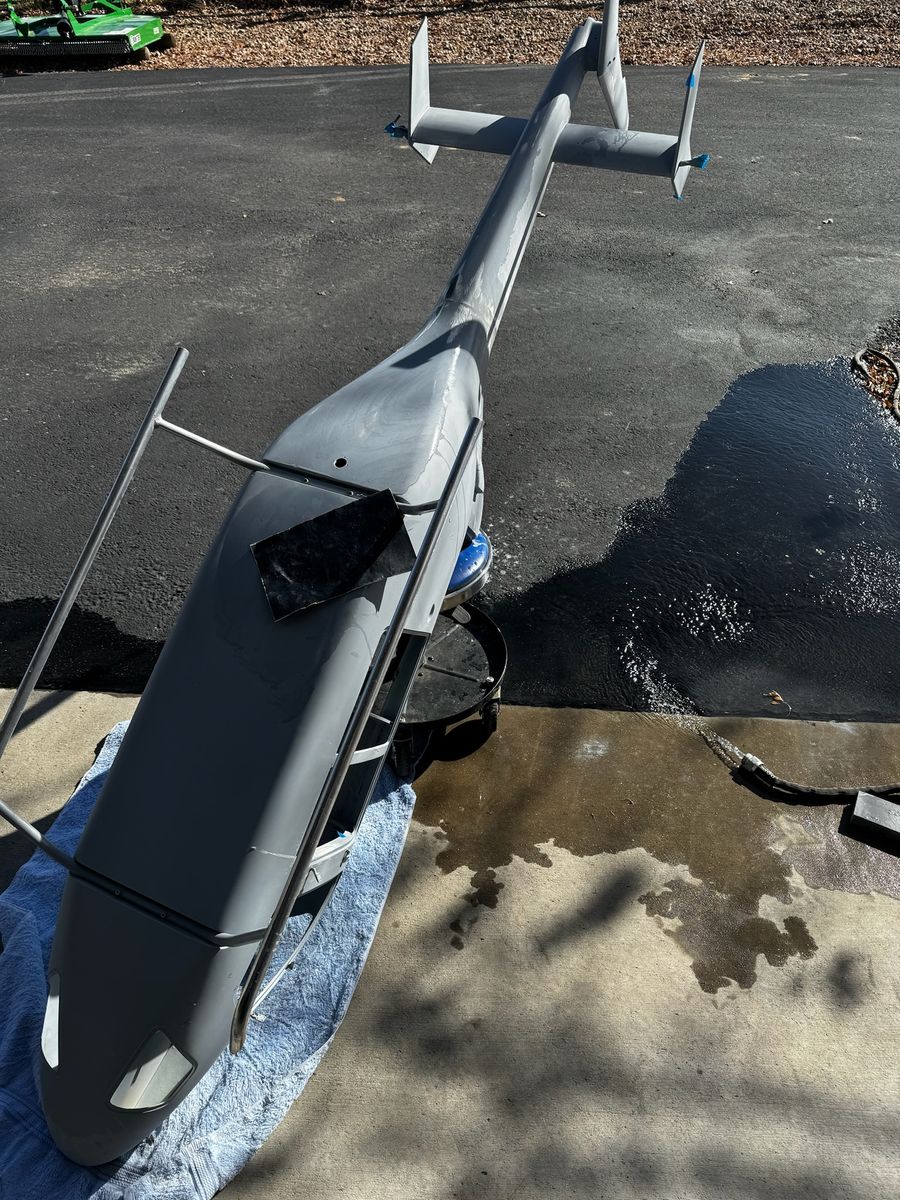
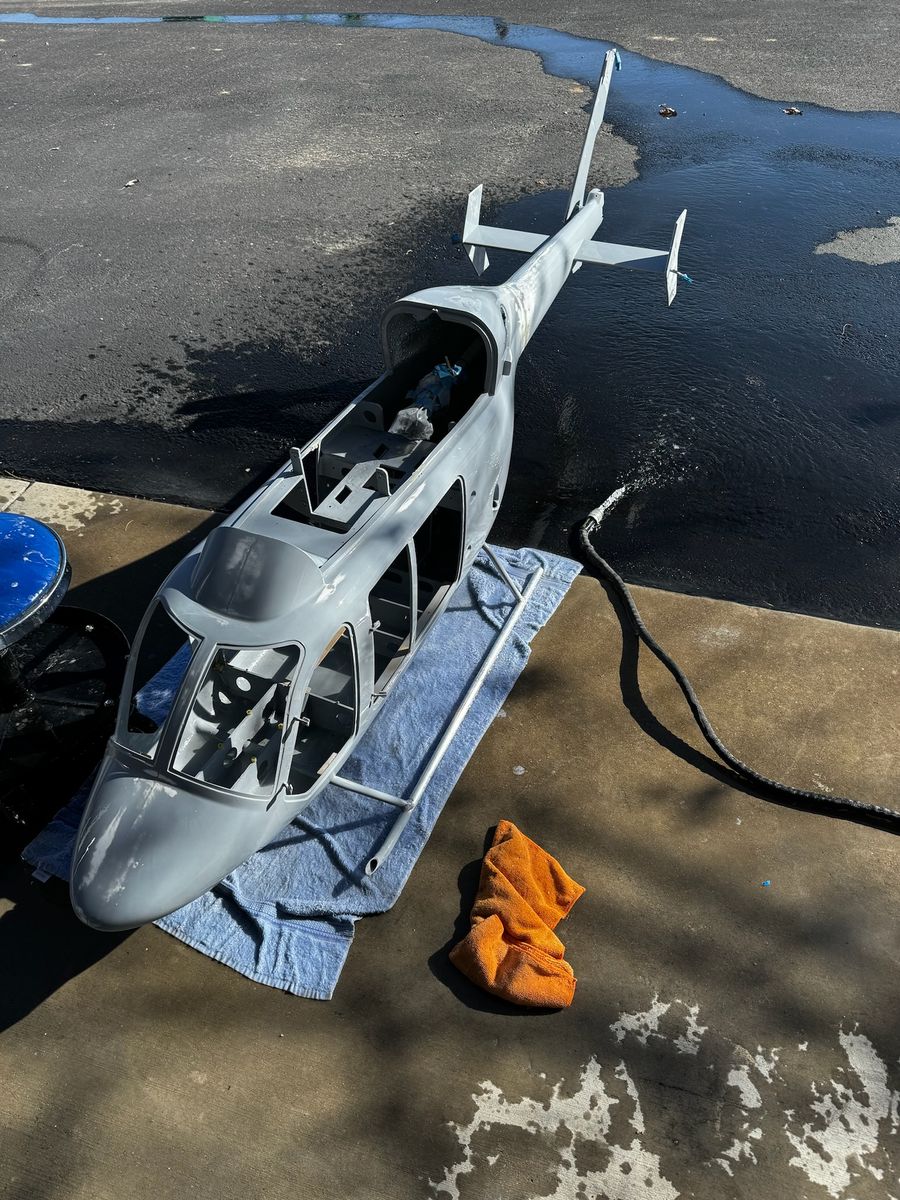
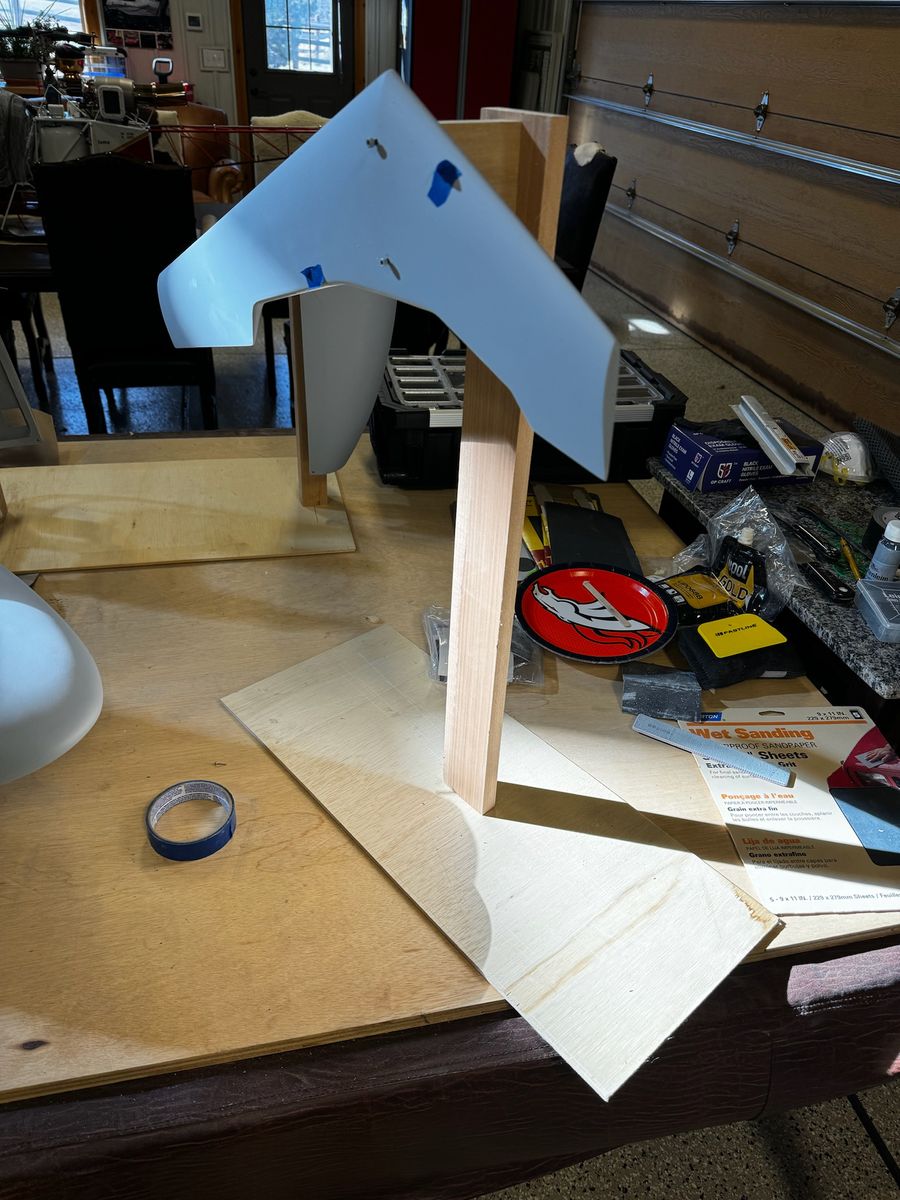
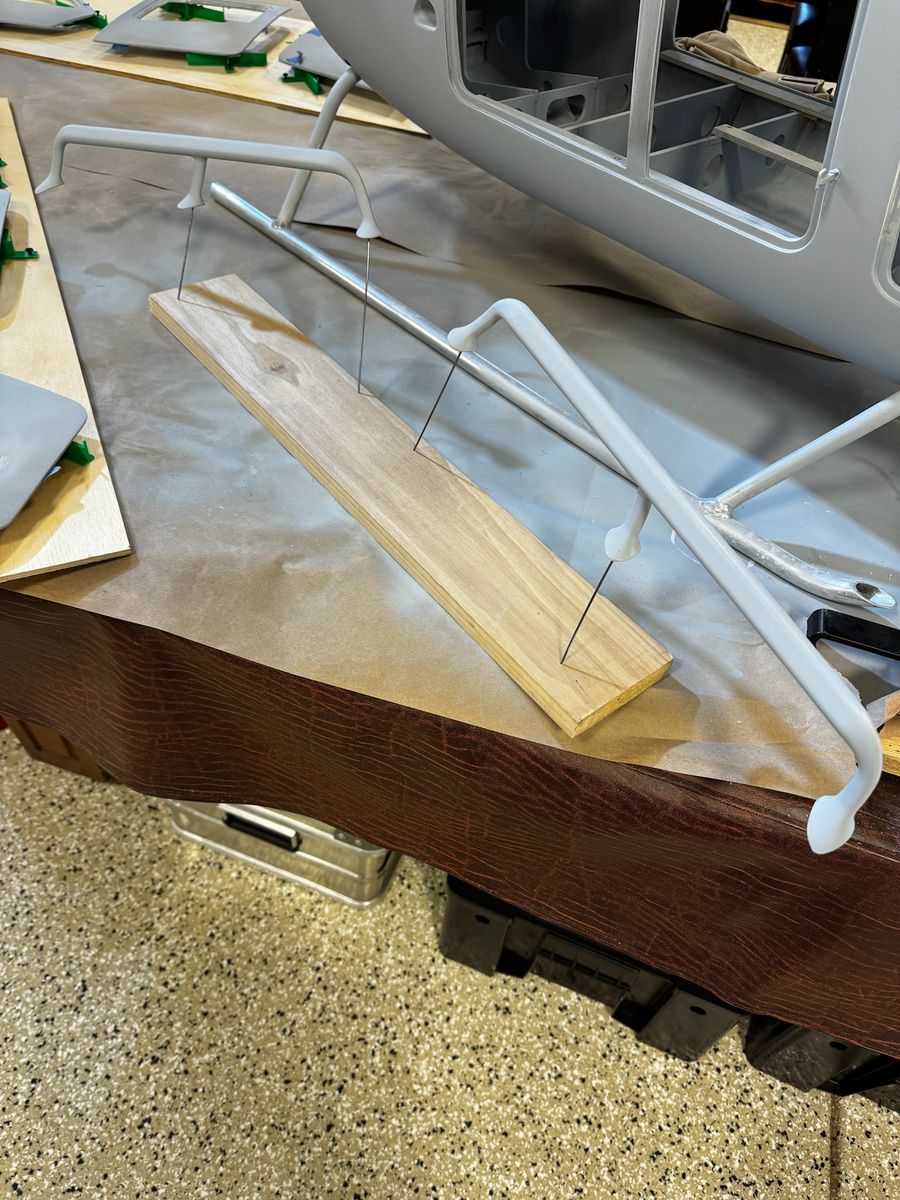
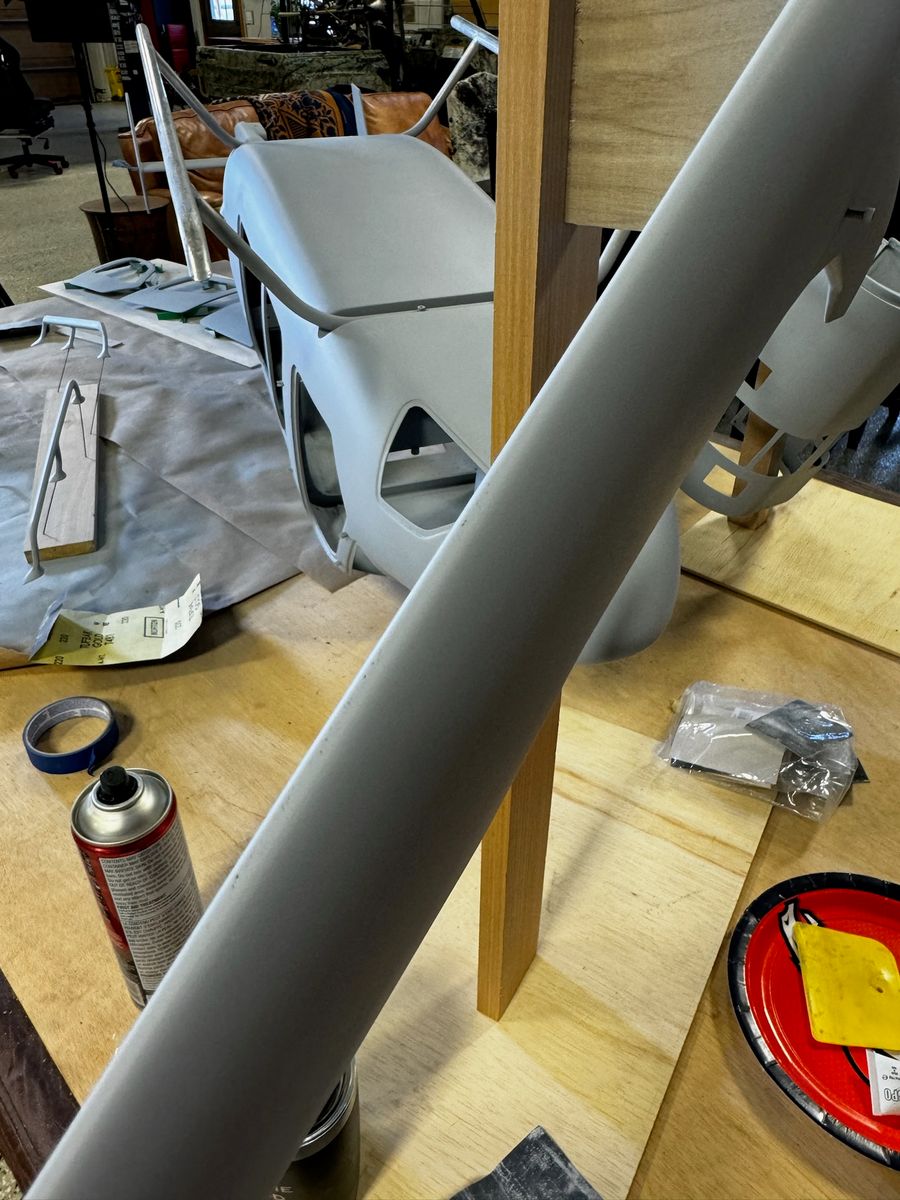
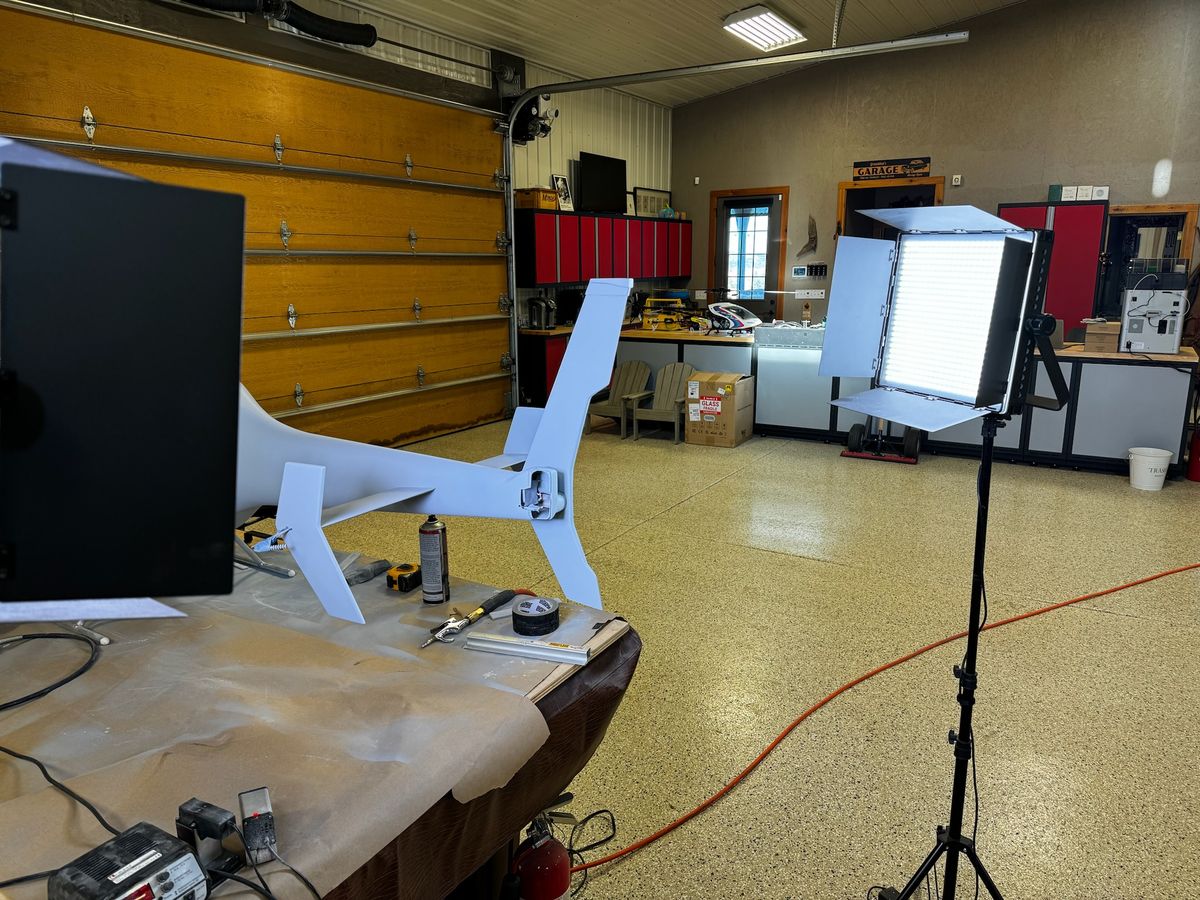
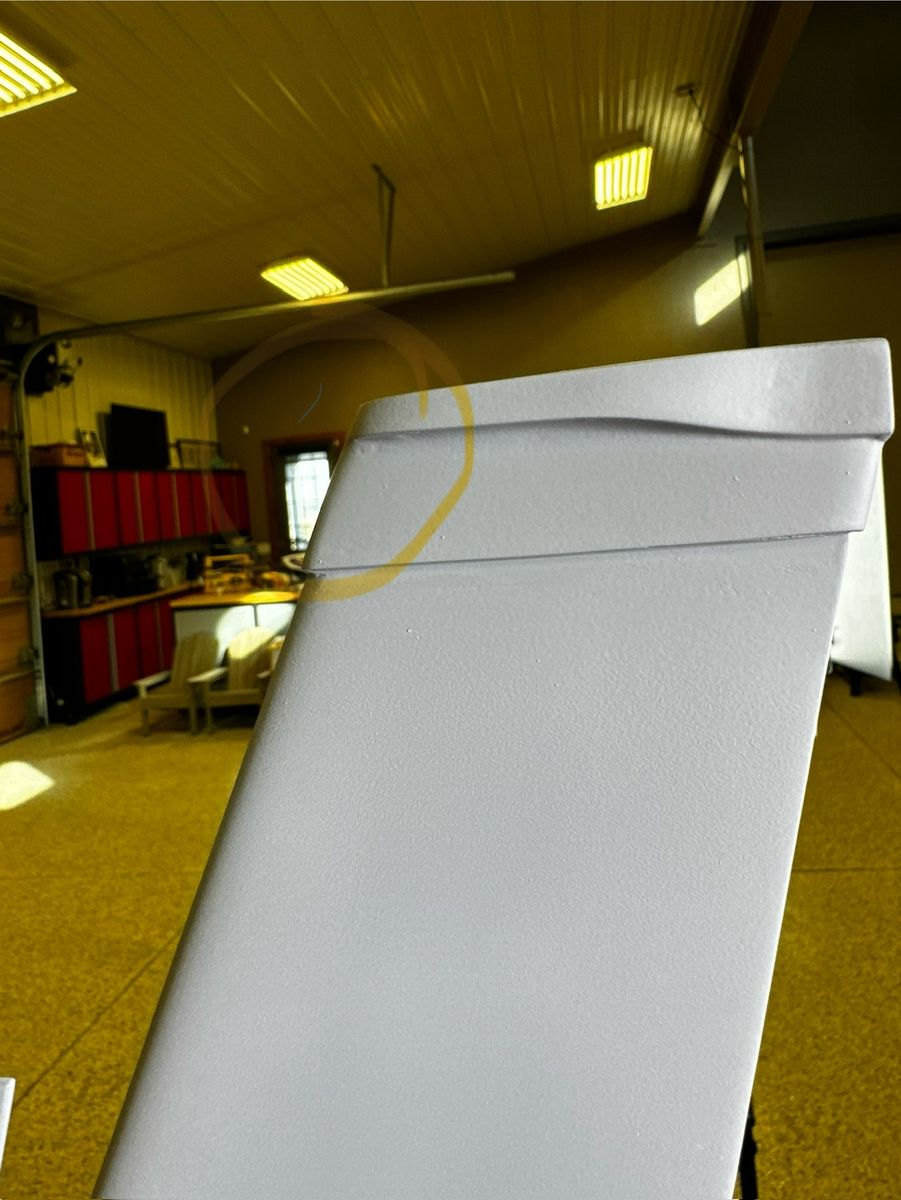
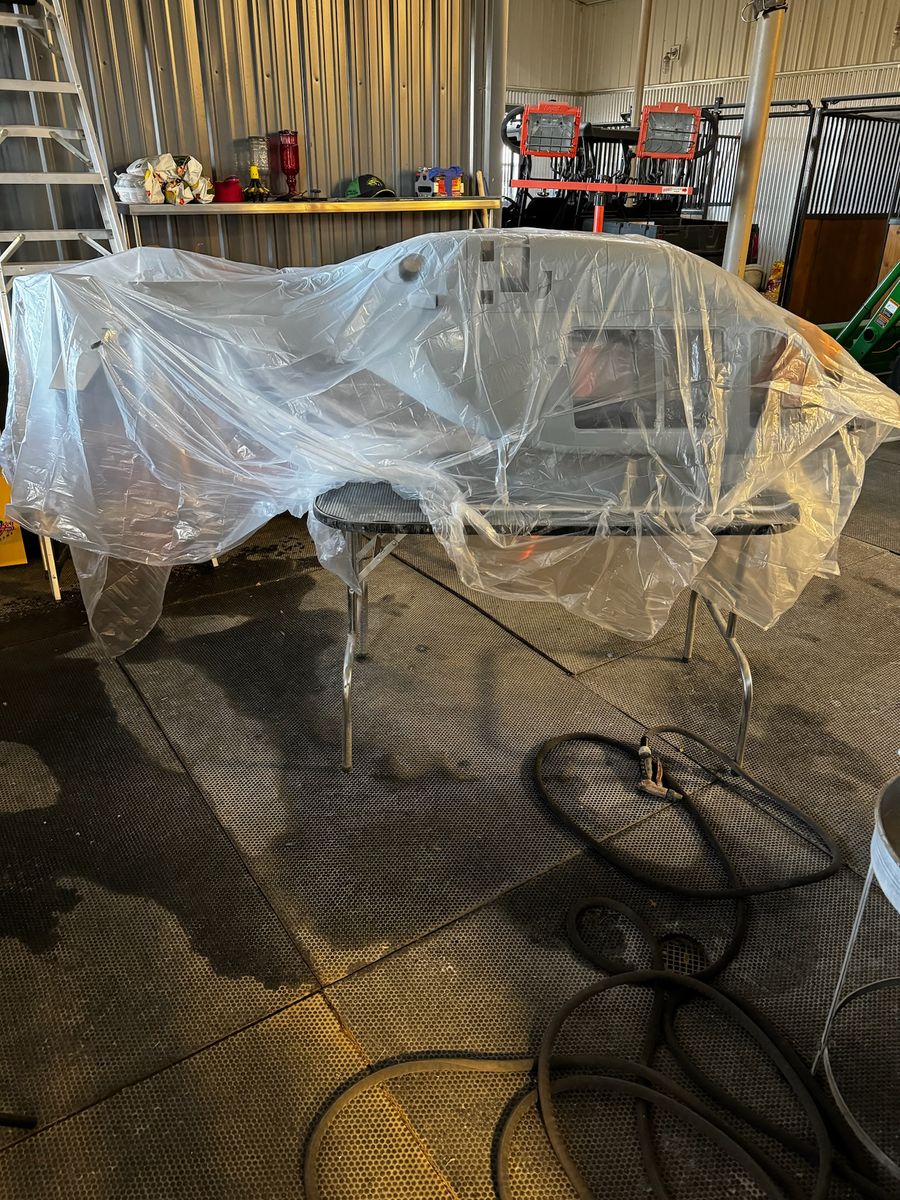
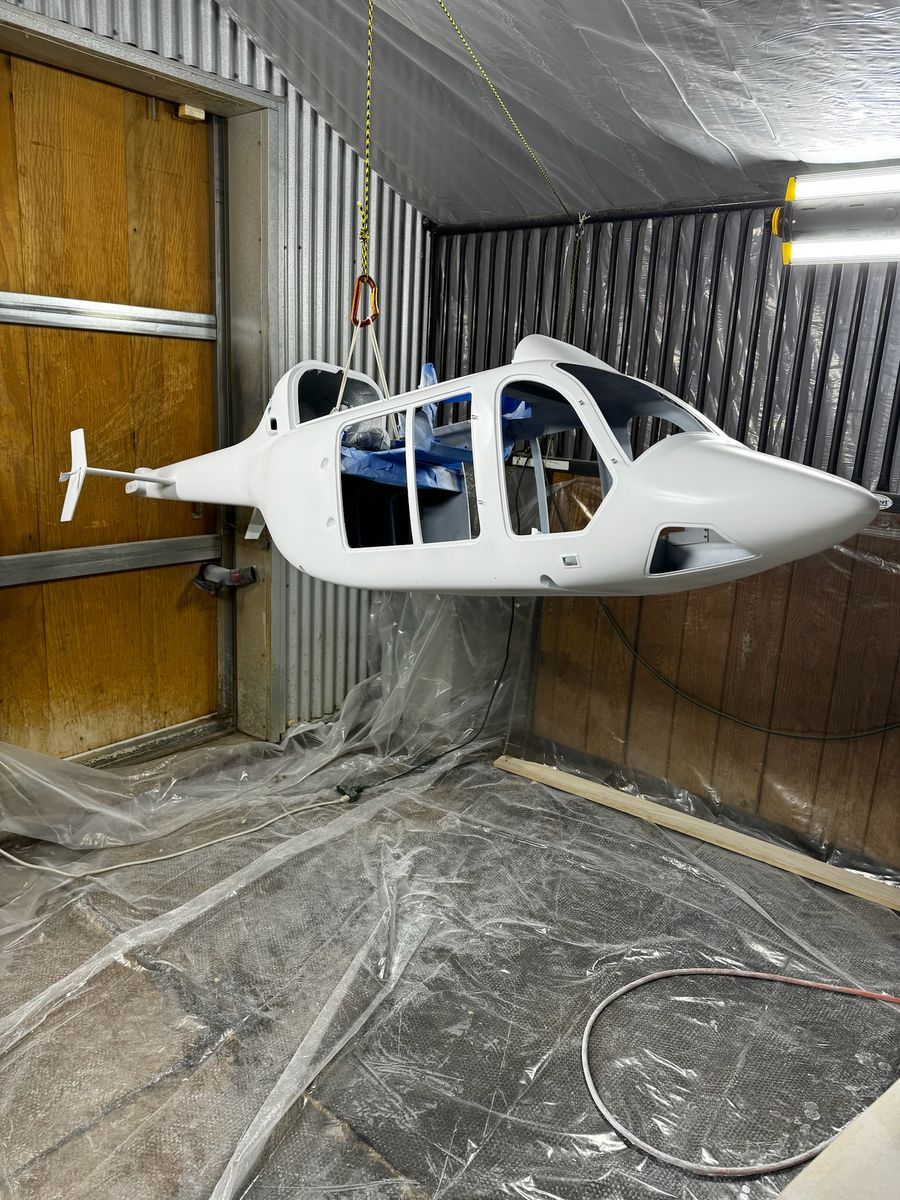
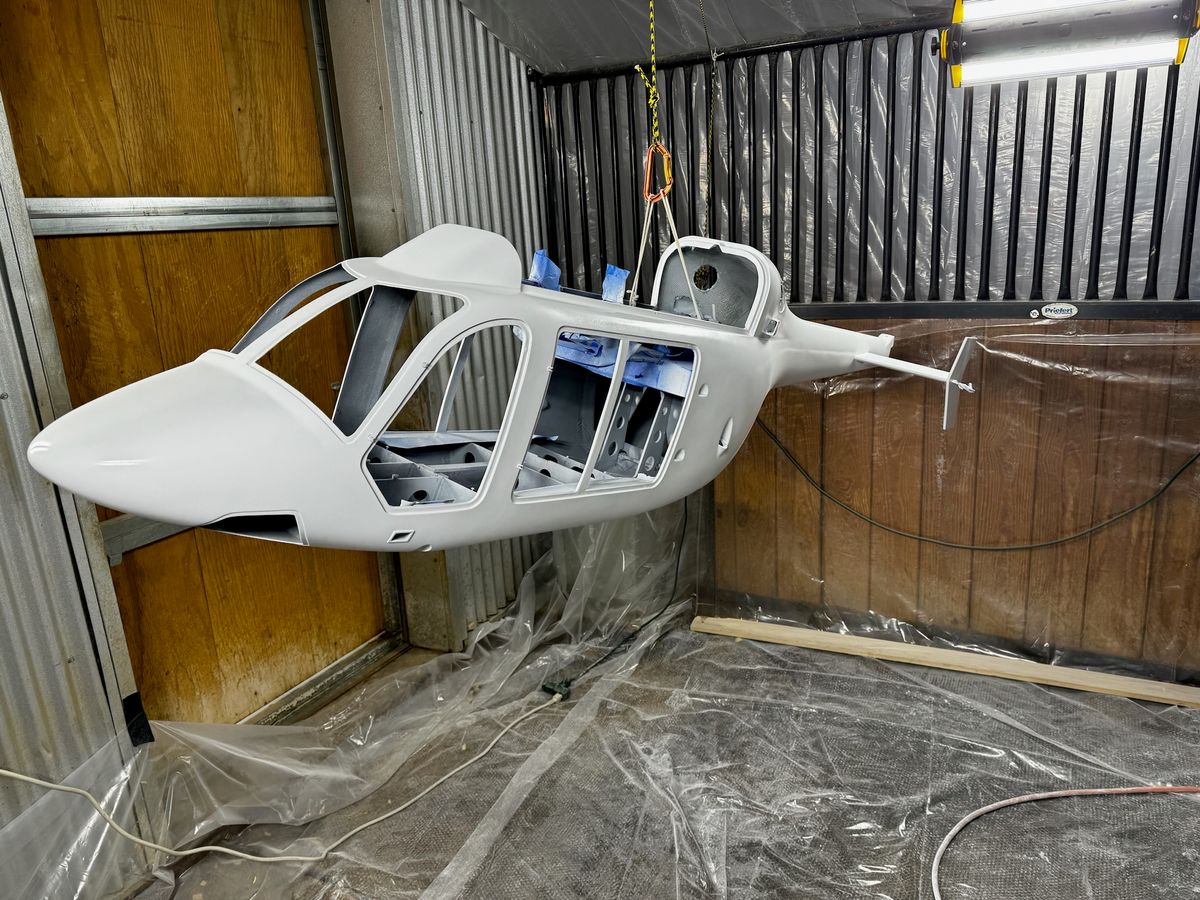
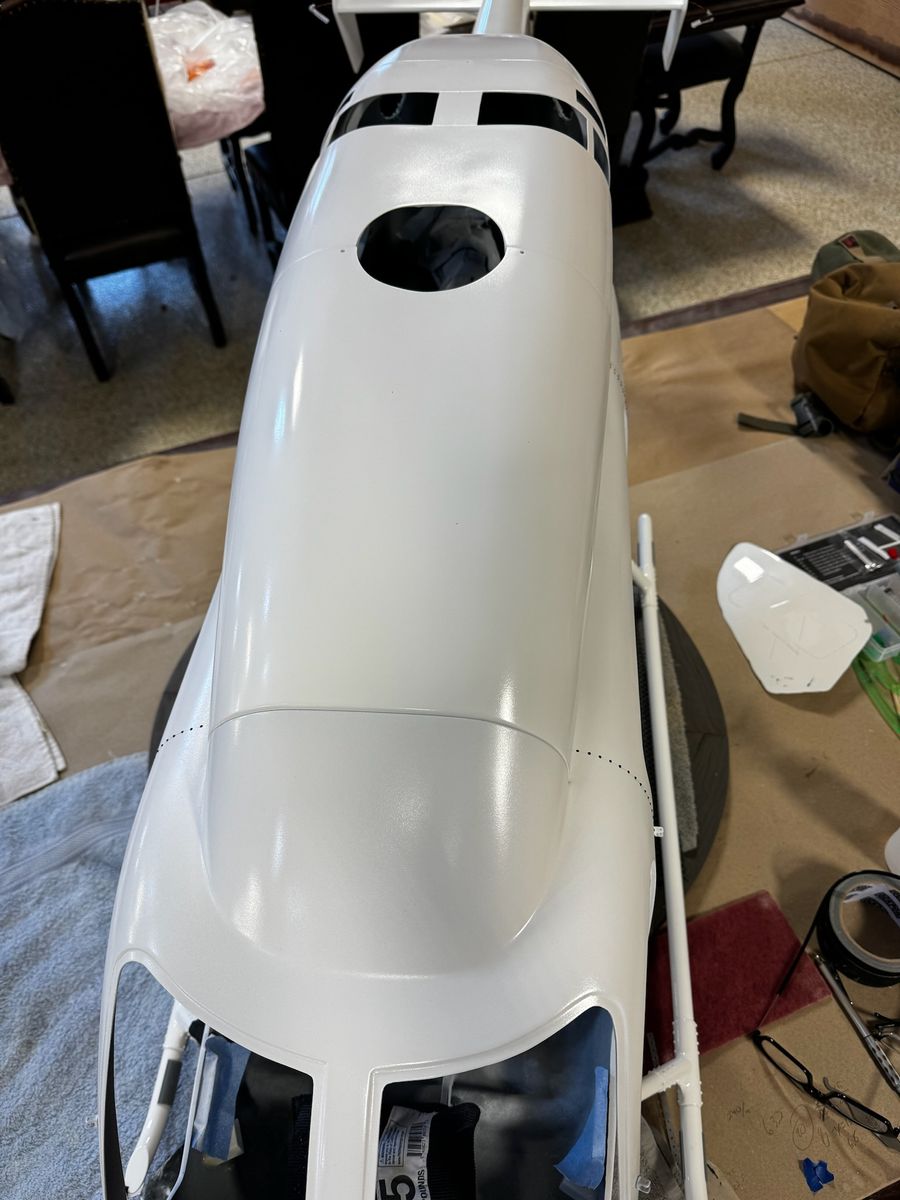
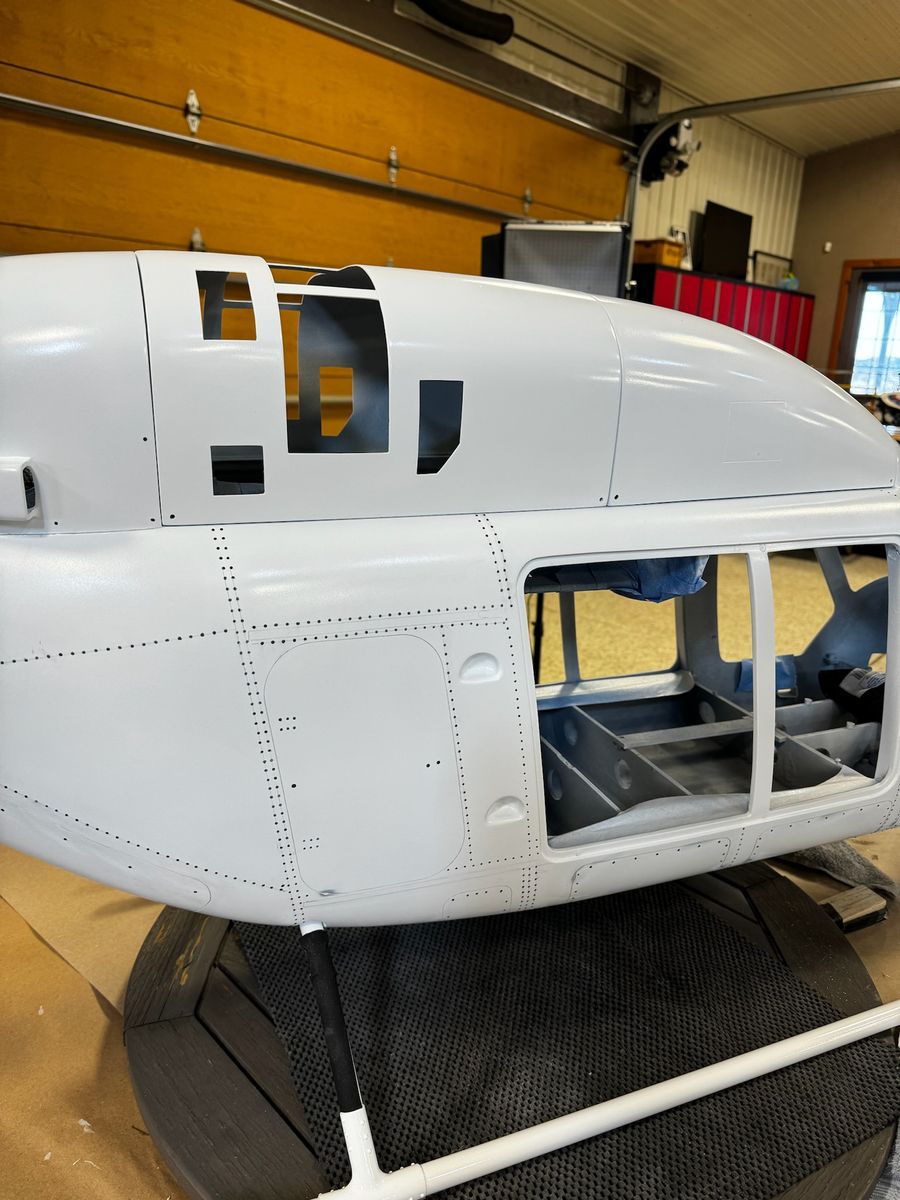
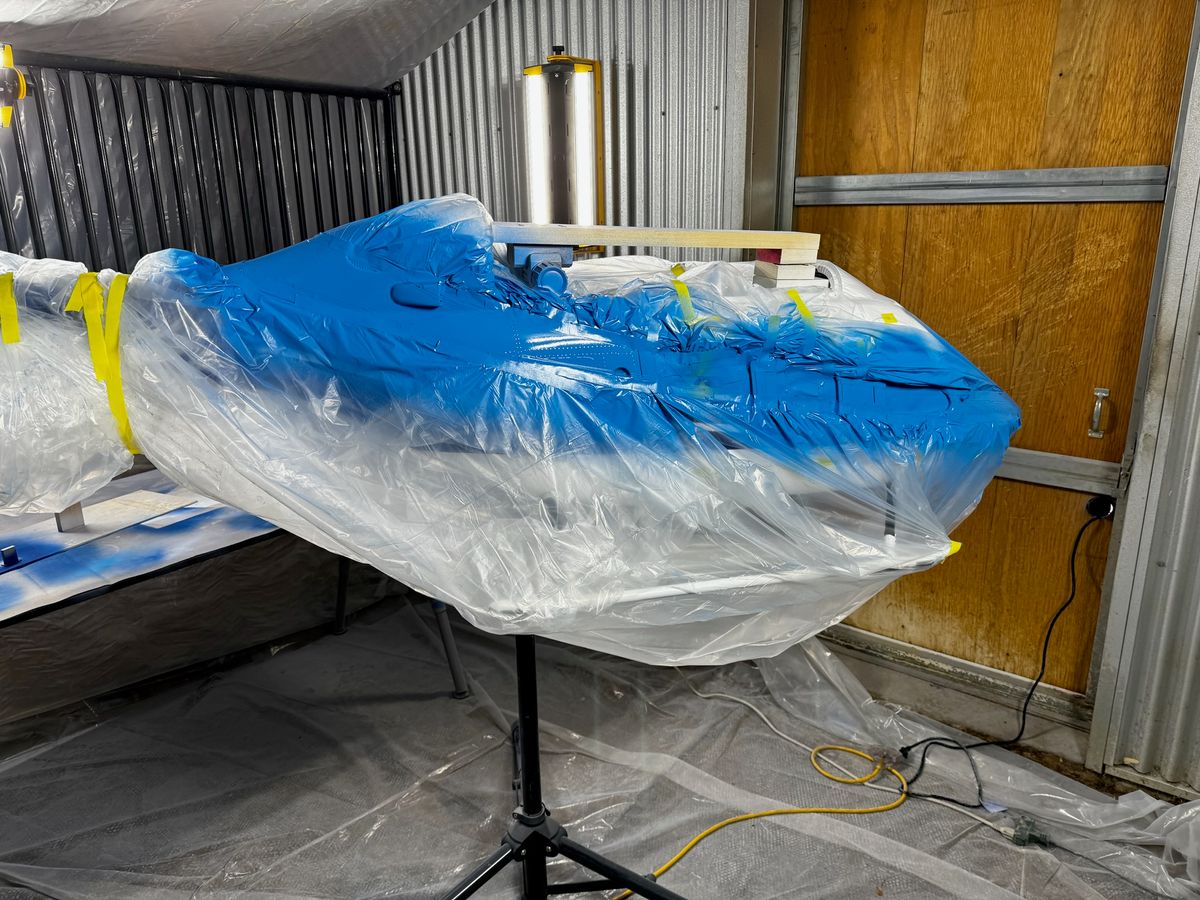
Base white coat was applied. Hanging the model for painting was challenging.
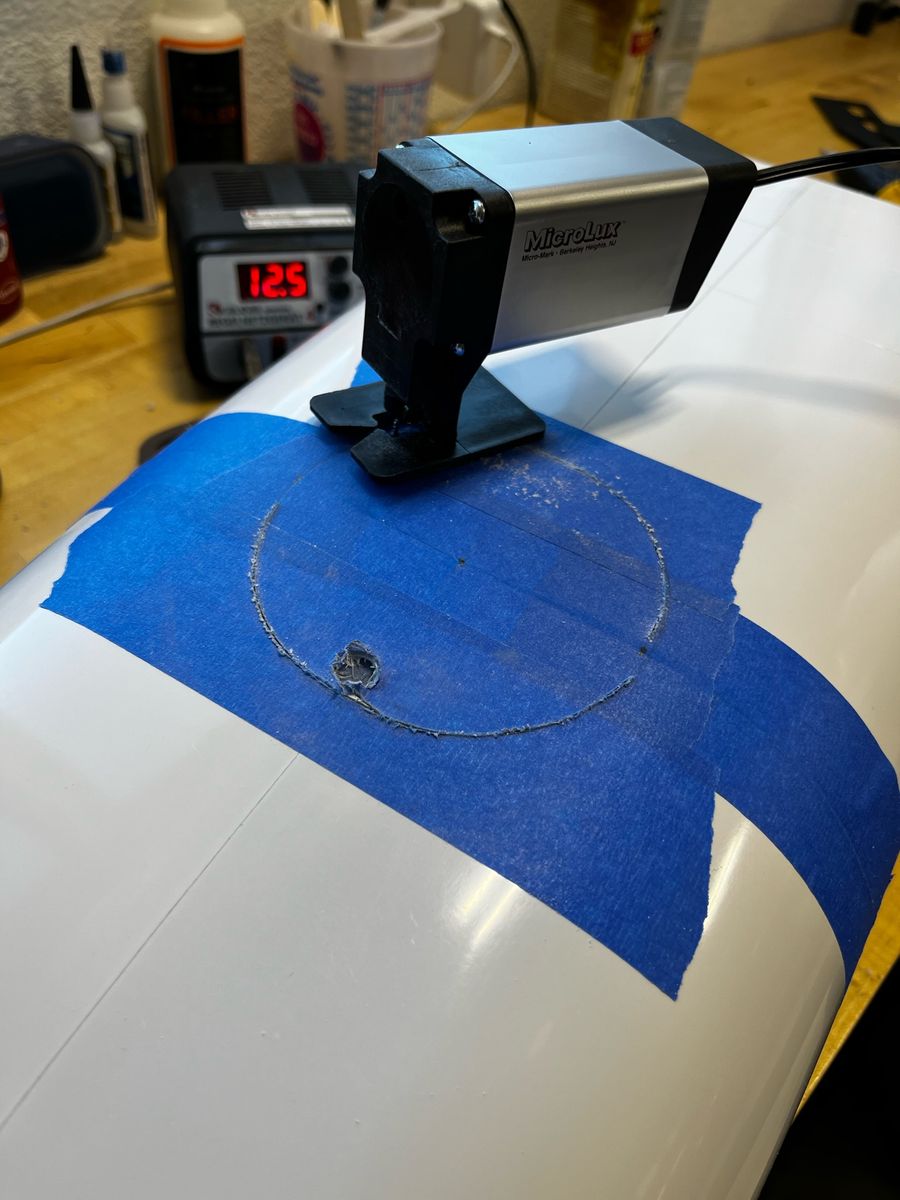
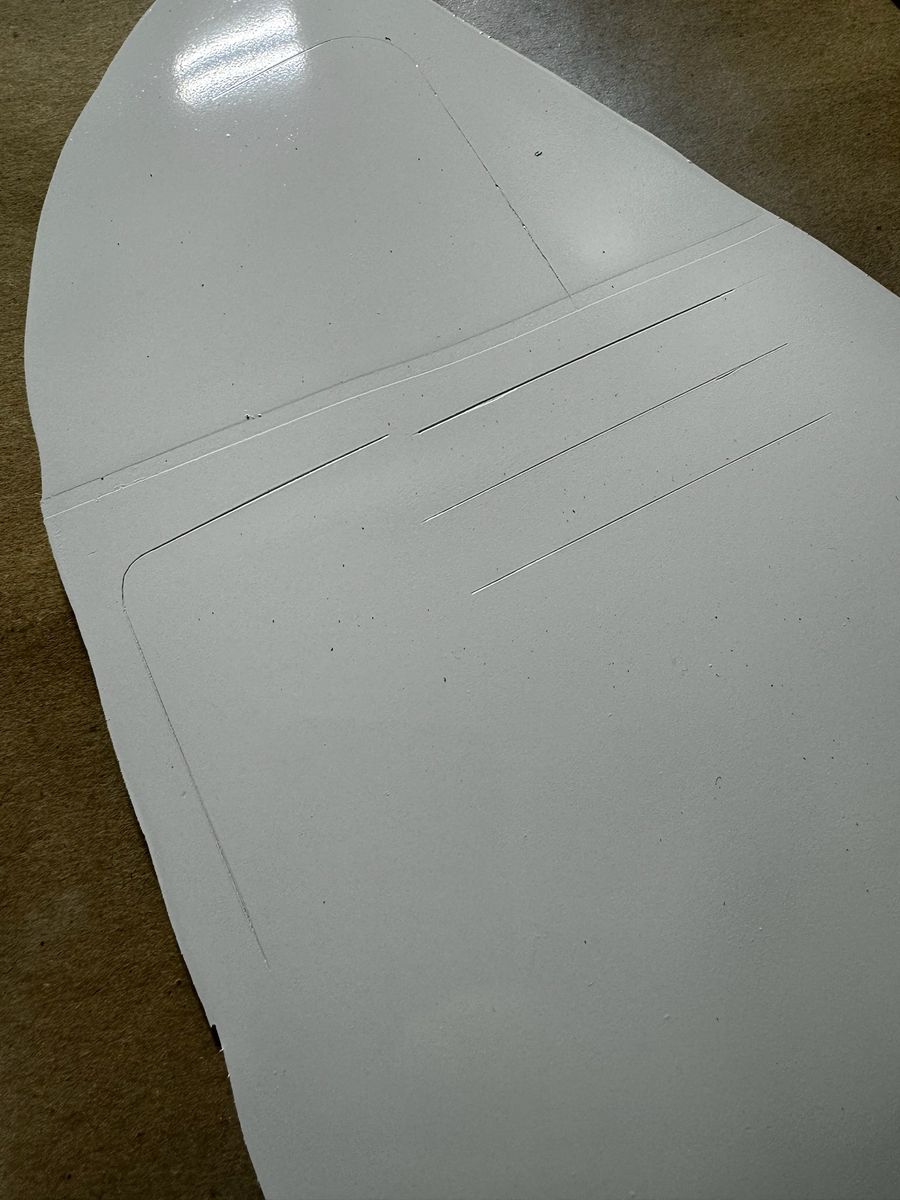
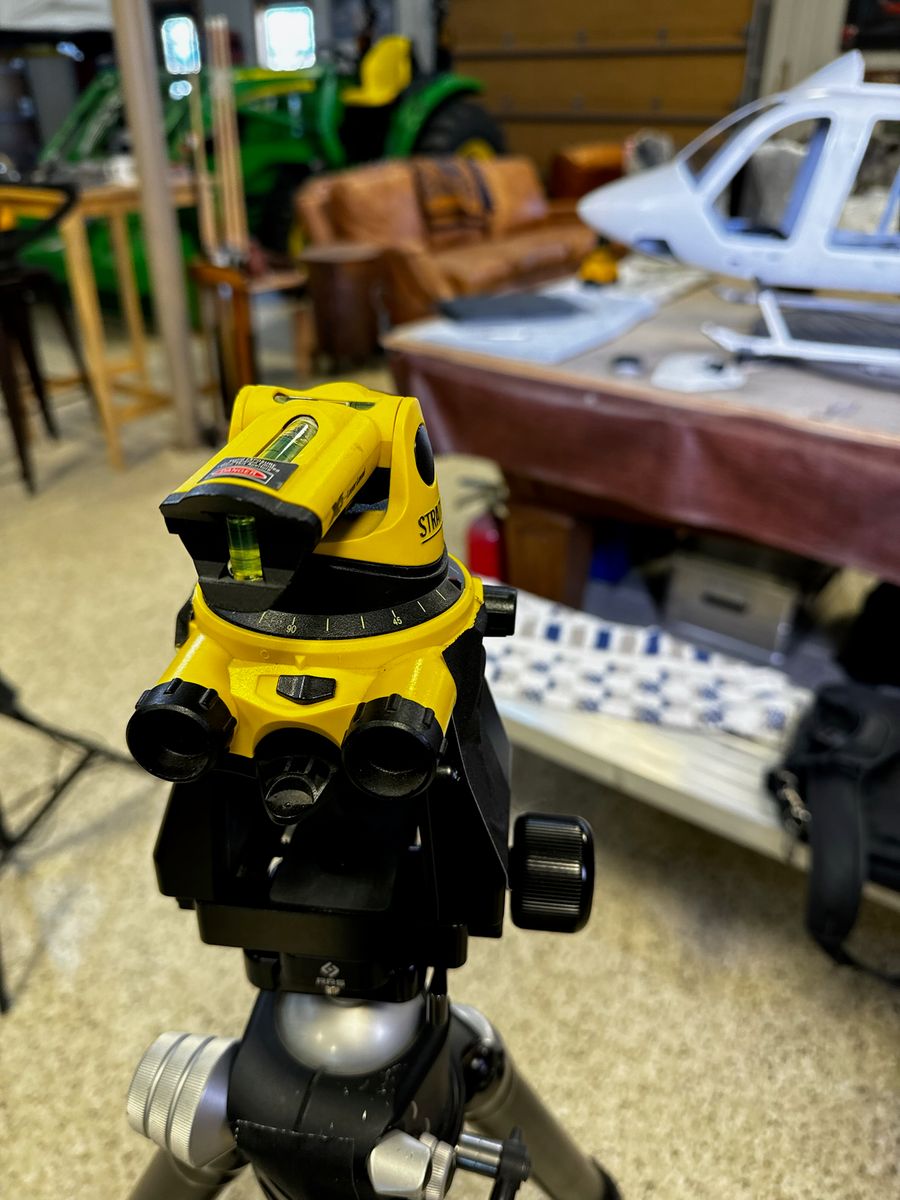
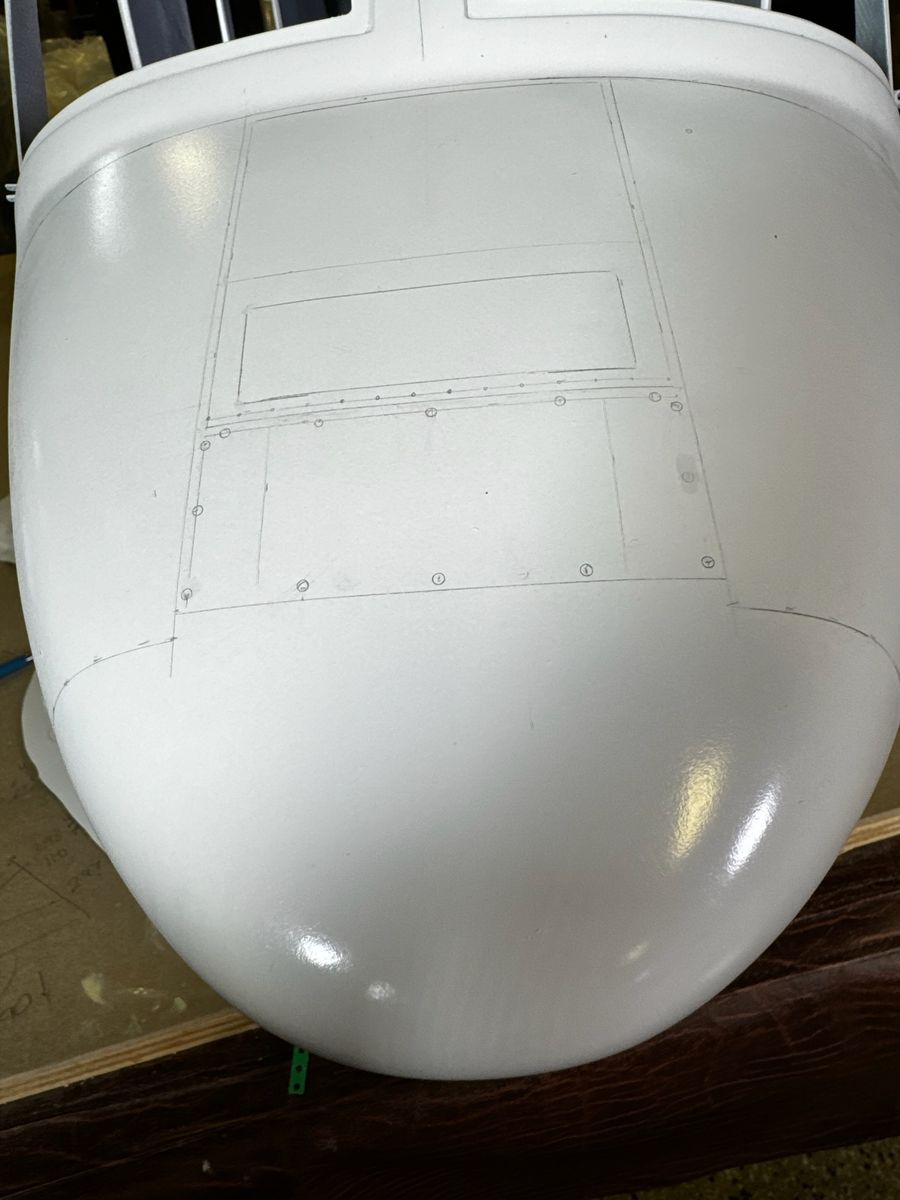
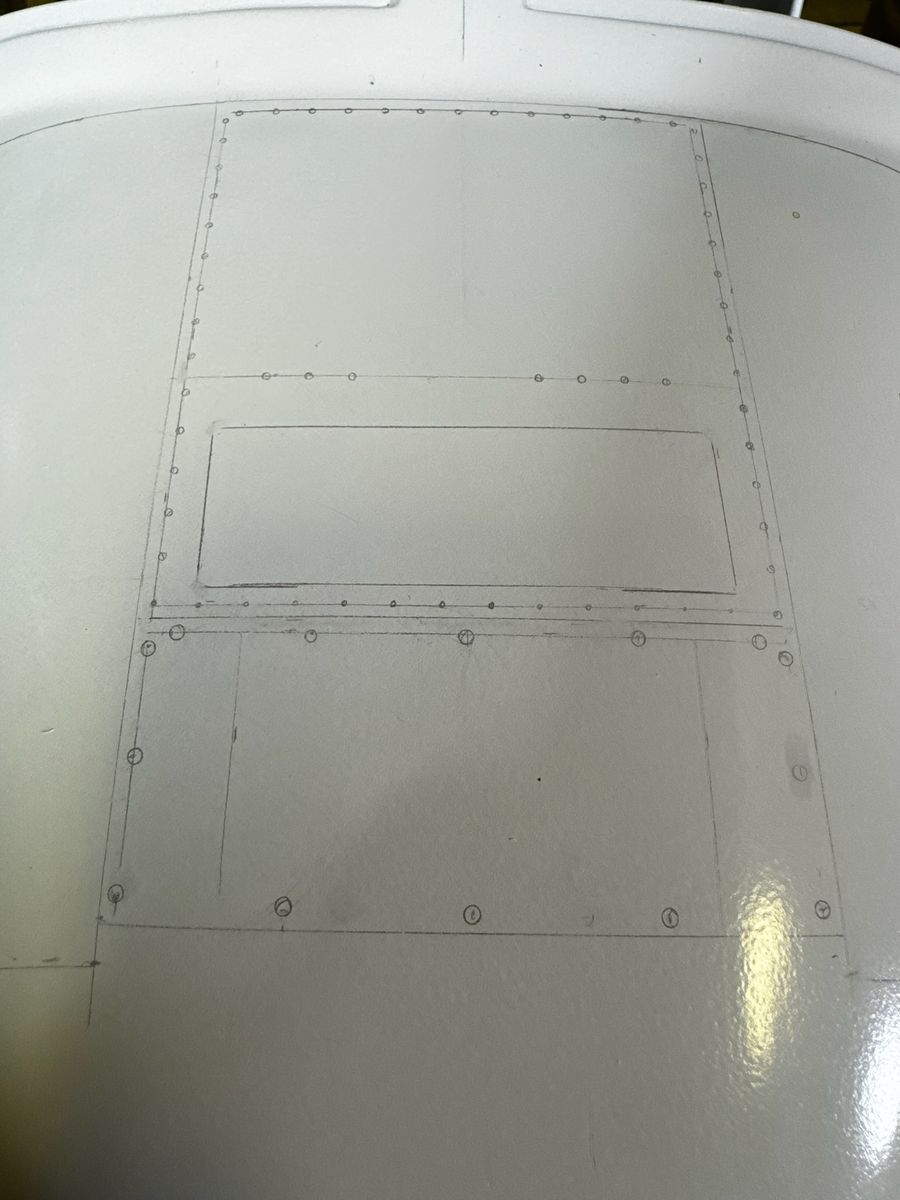
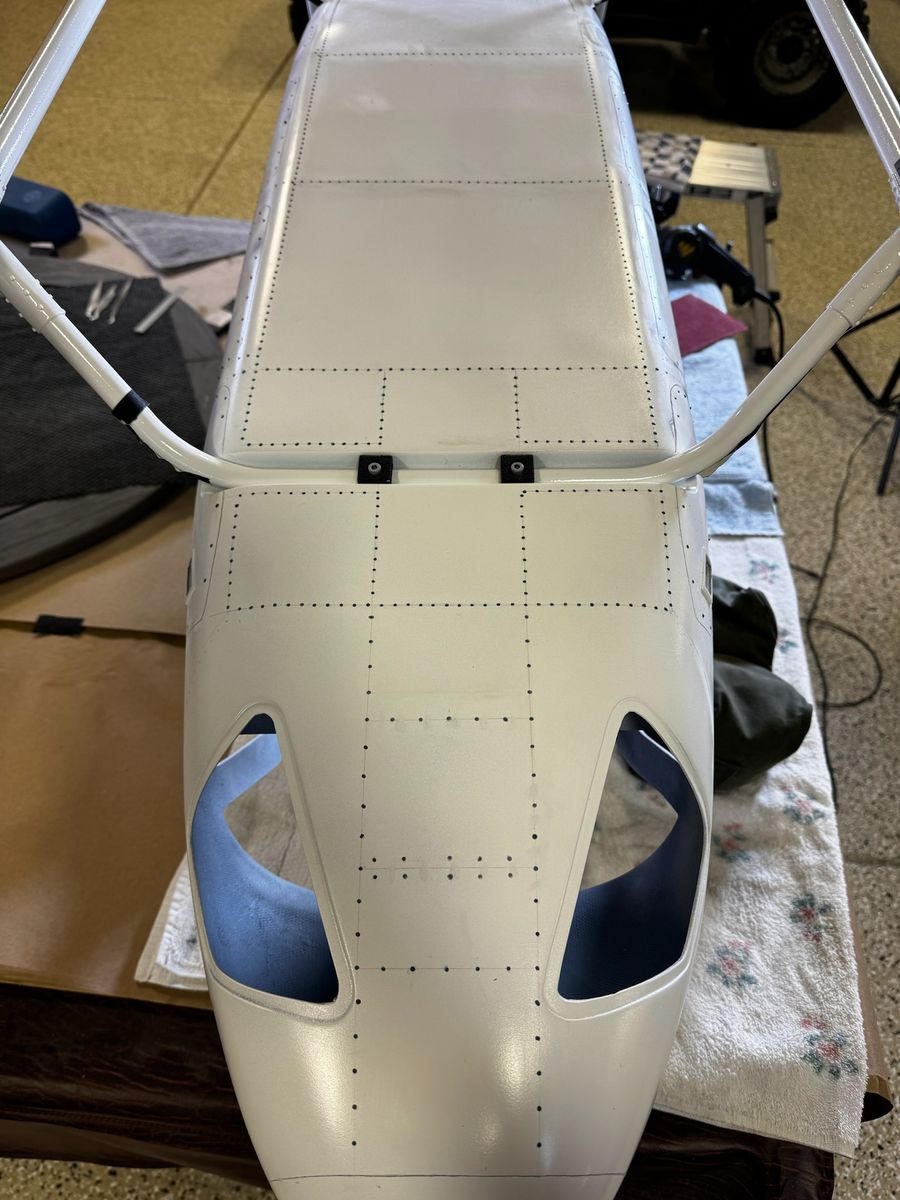
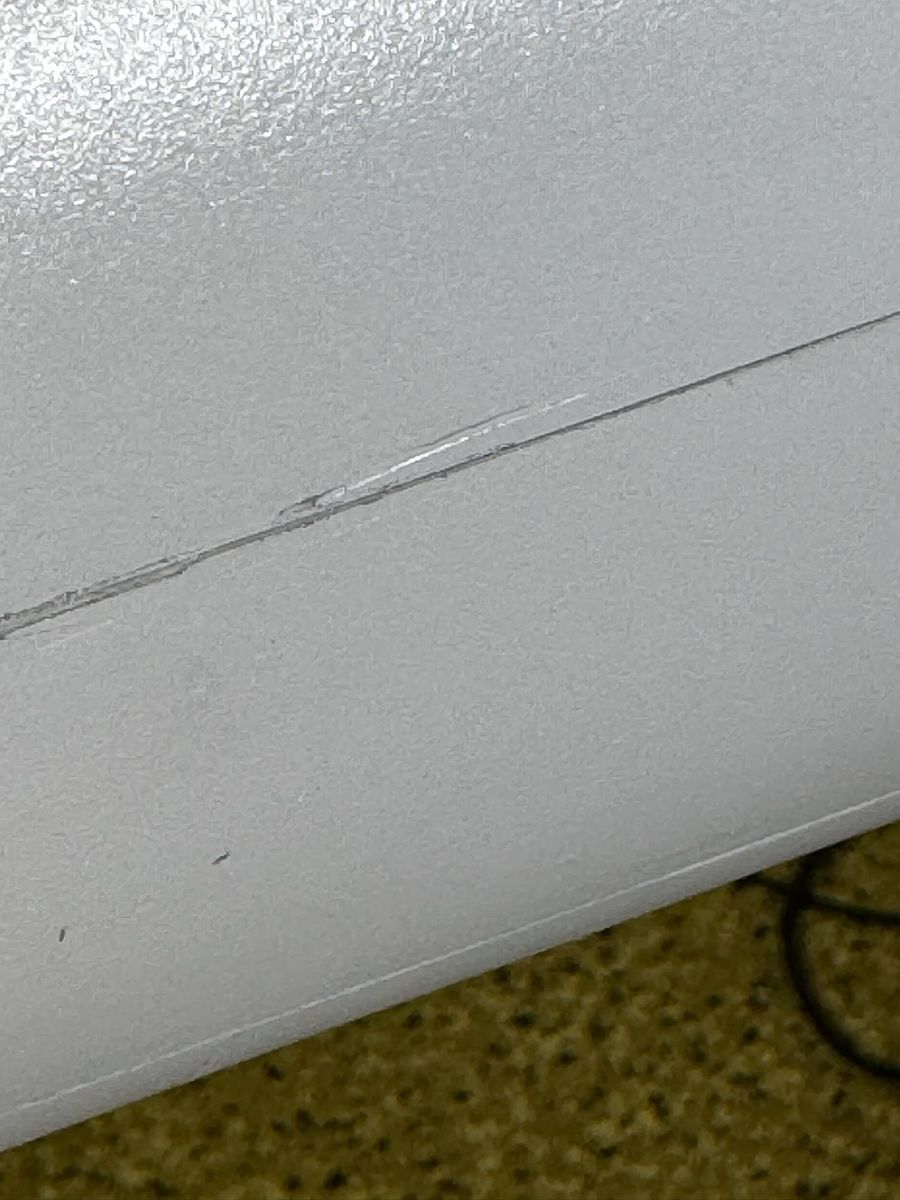
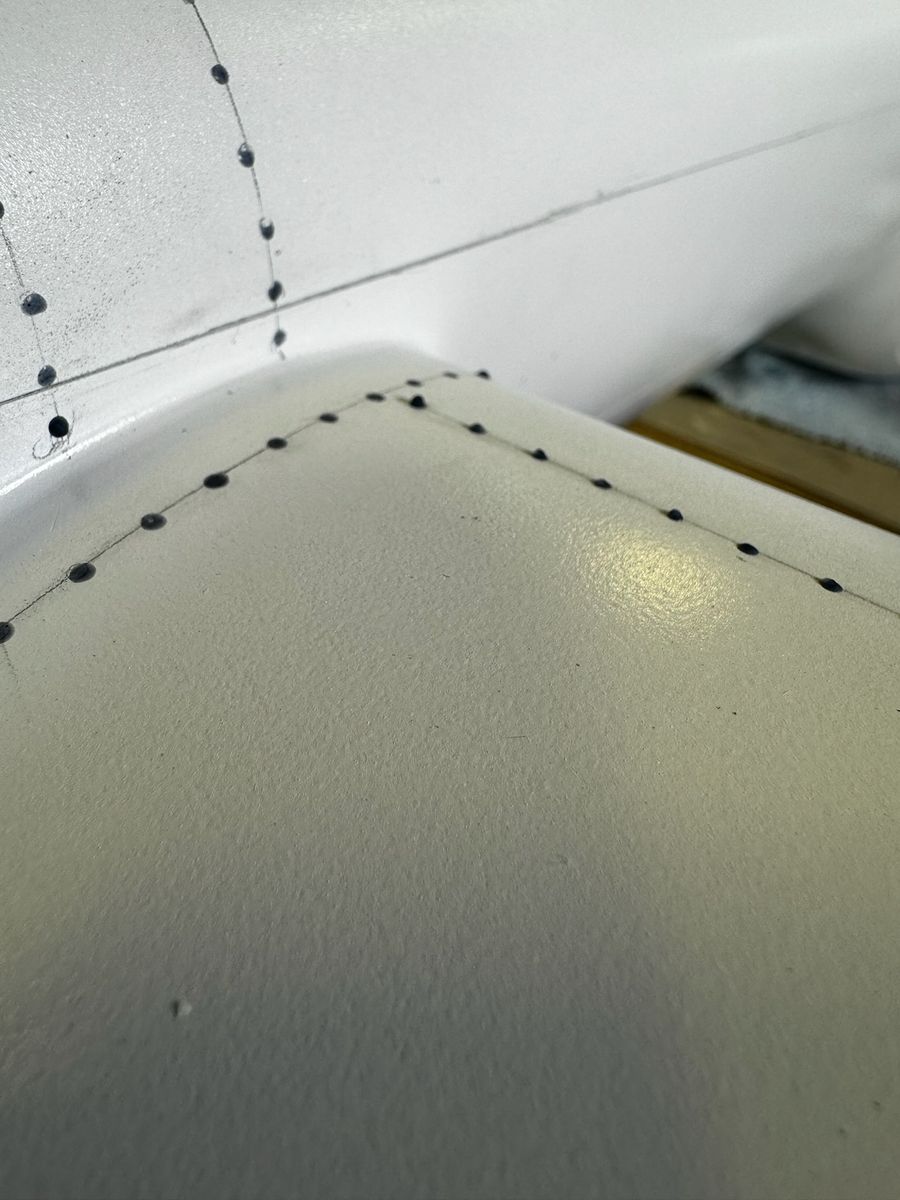
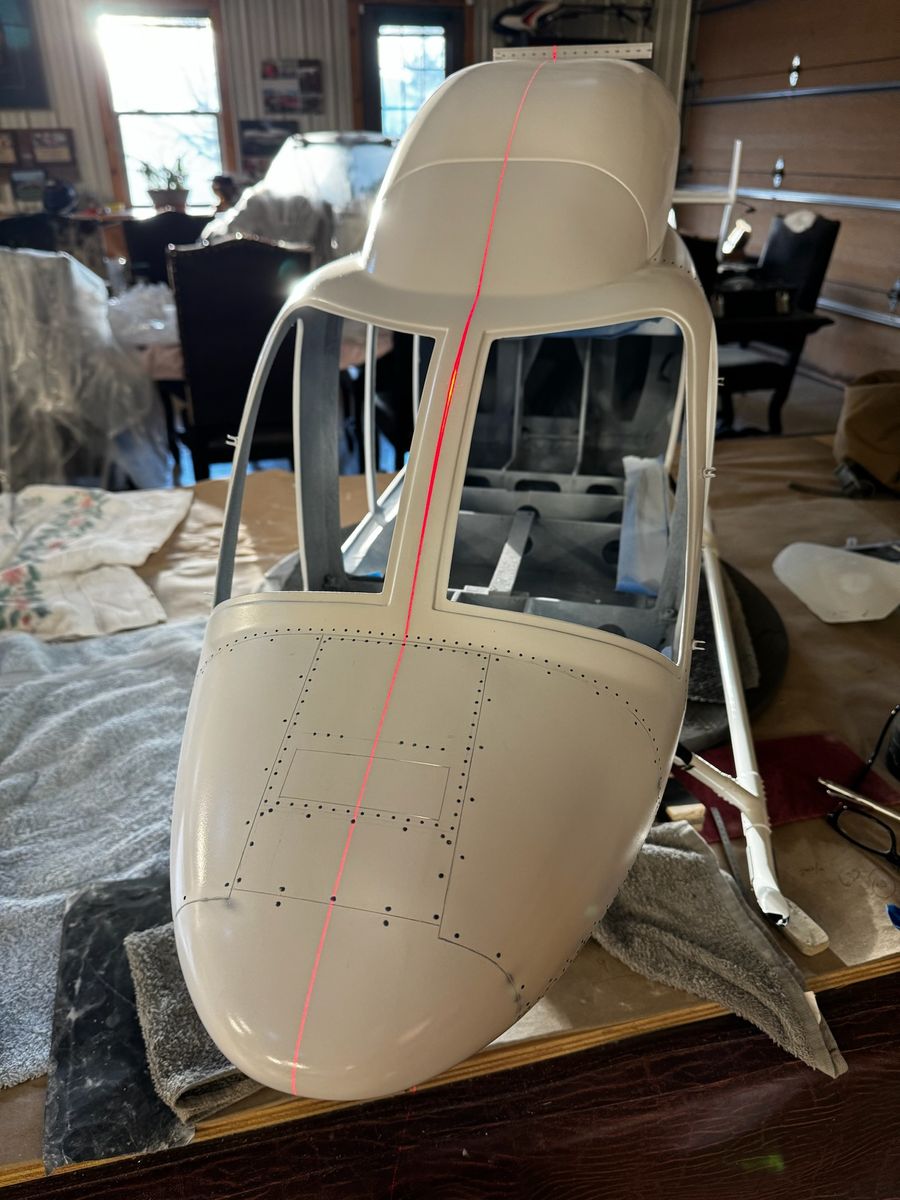
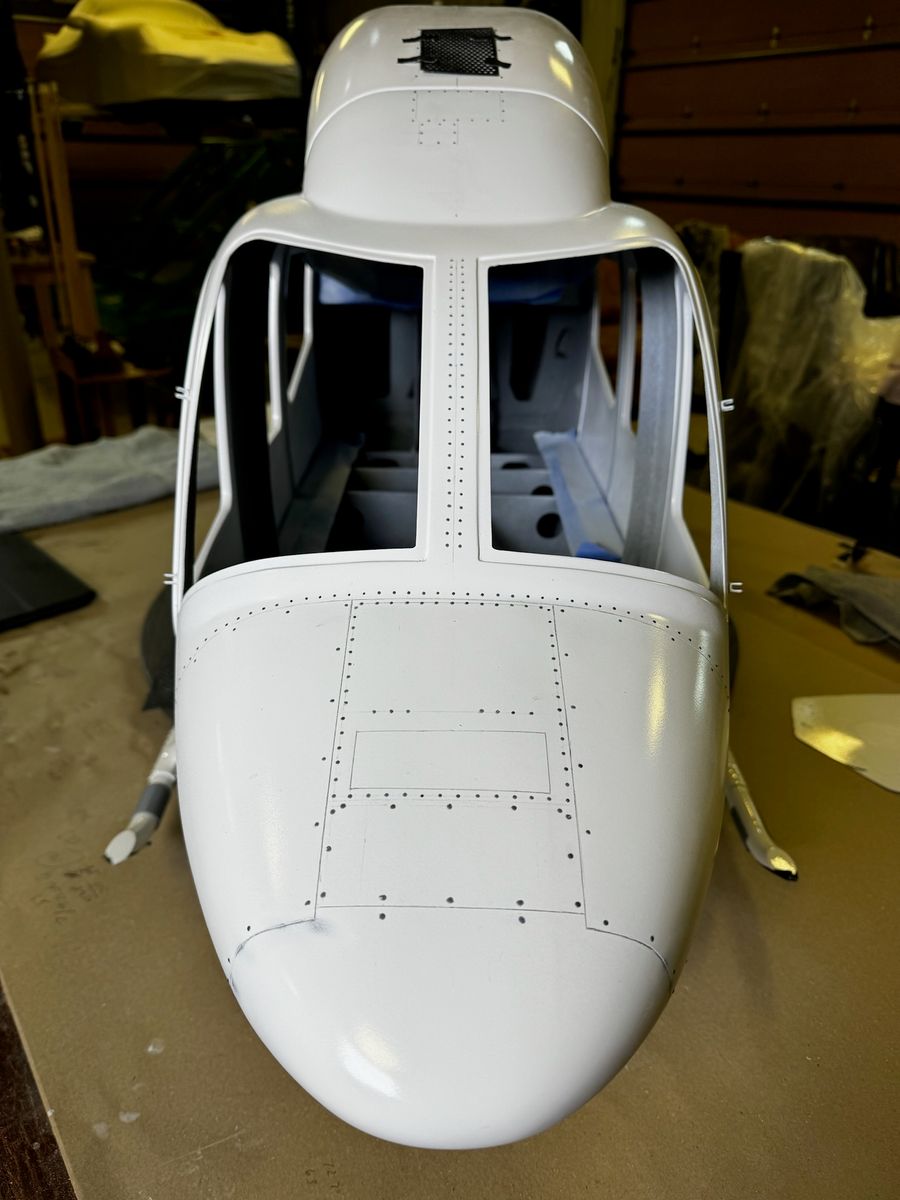
I used a laser to insure panel lines were as close as possible. Panel lines, rivets and the start of 3D printed skid details.
I will note that I knew the printed skid details at the joints would be a risk of cracking under stress. The layering of the 3D process naturally creates fault lines. Getting the CAD software model was mostly trial and error despite the calculations of angles. Once the clear coat is on, you are committed.
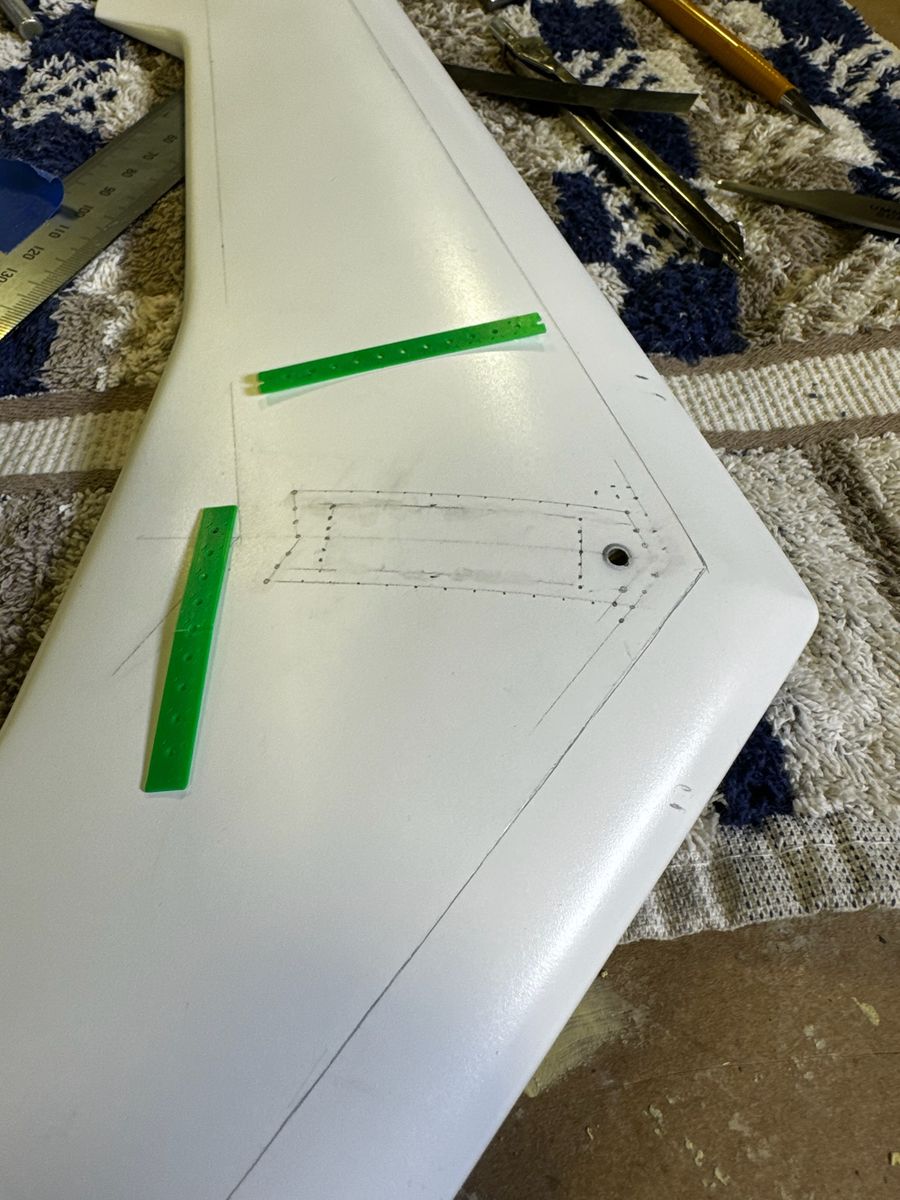
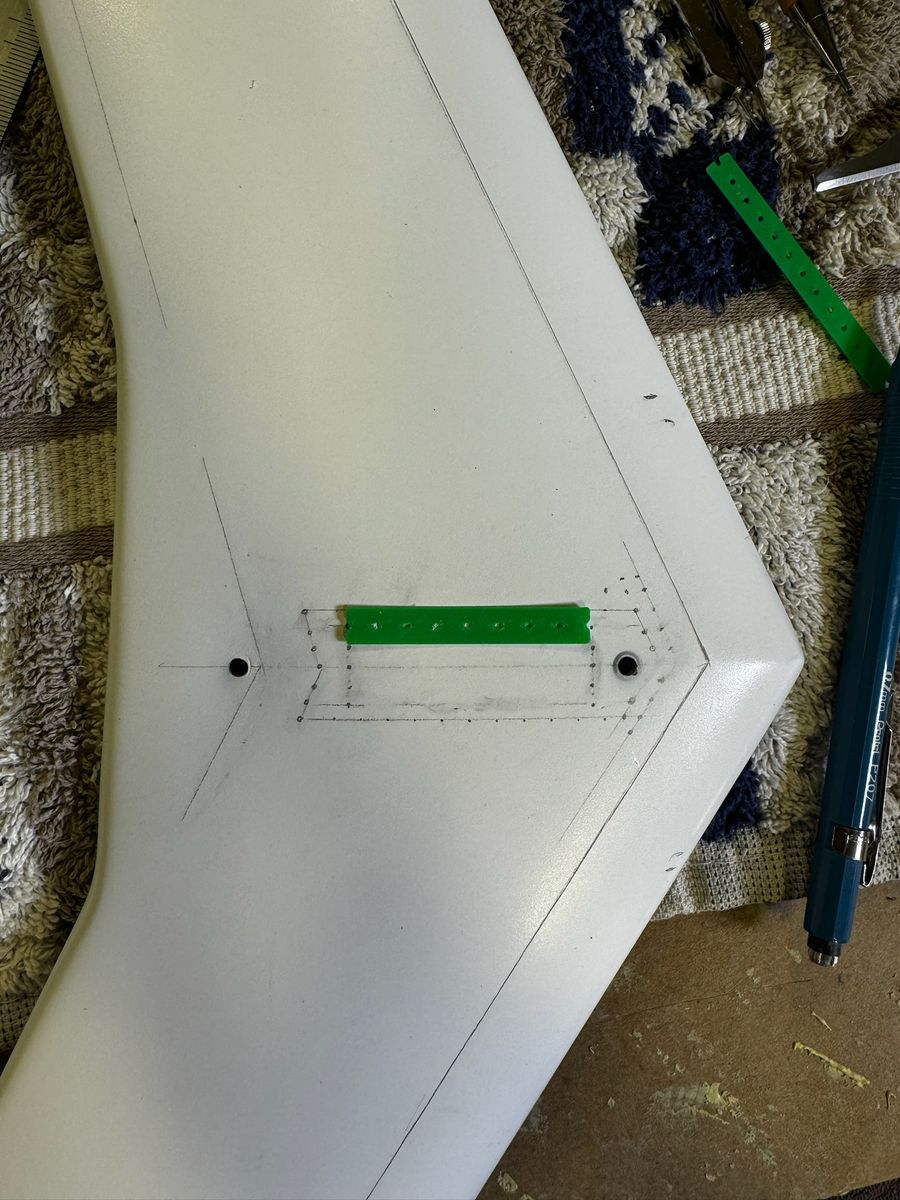
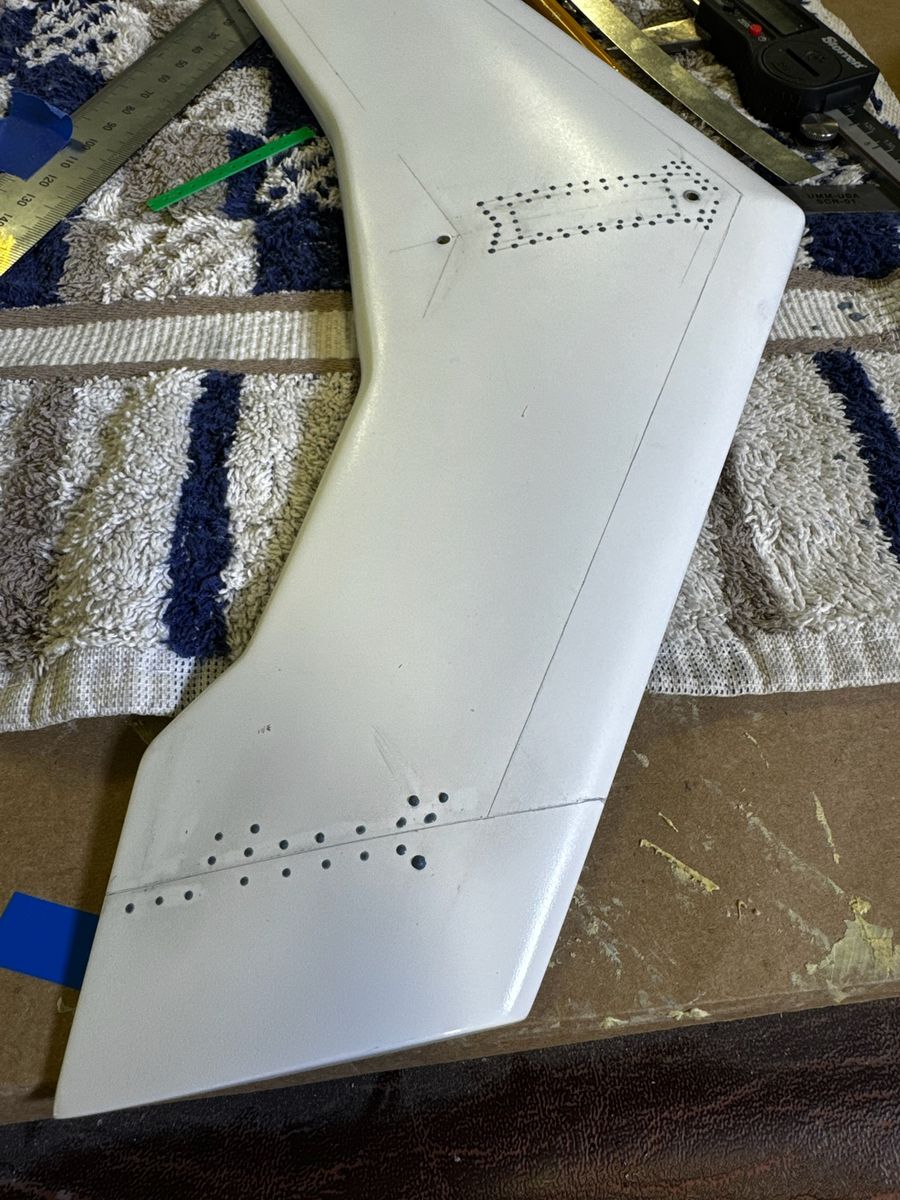
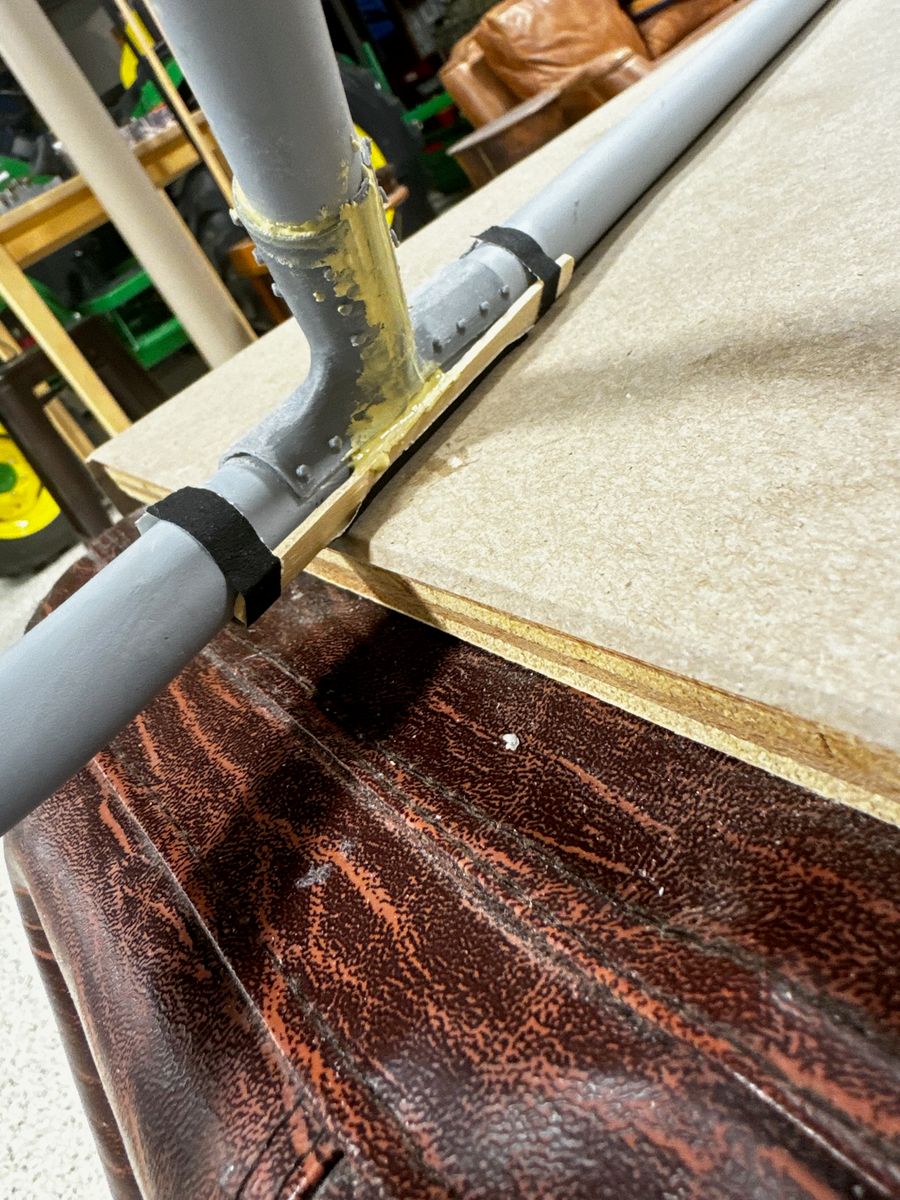
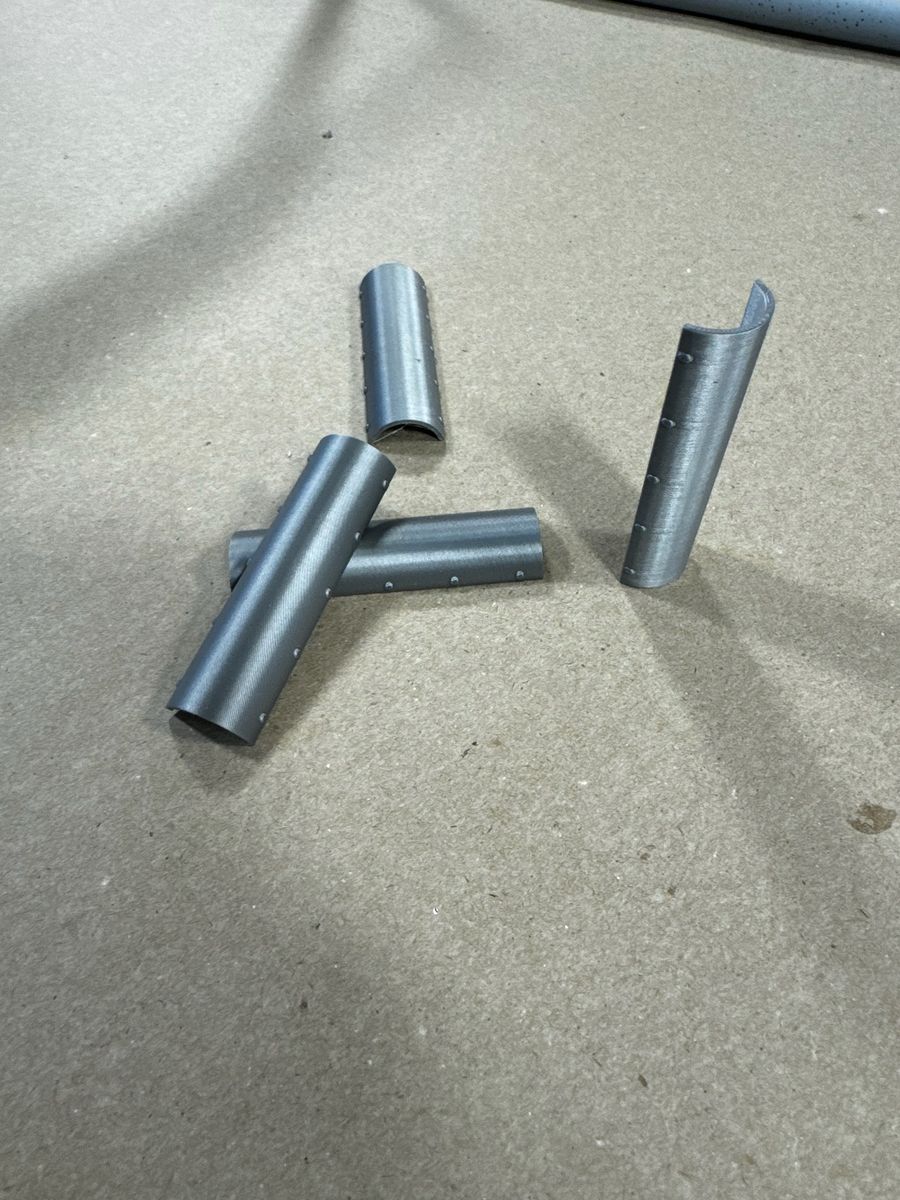
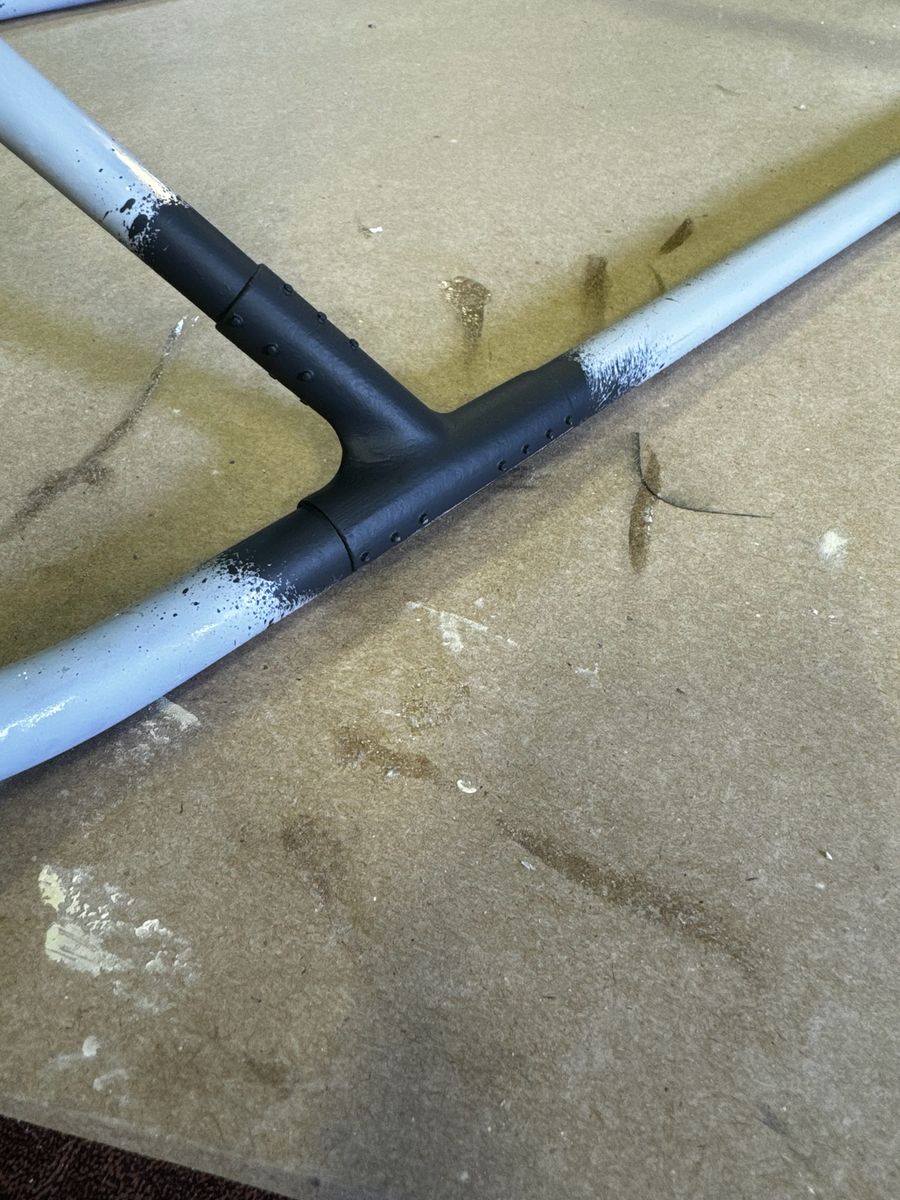
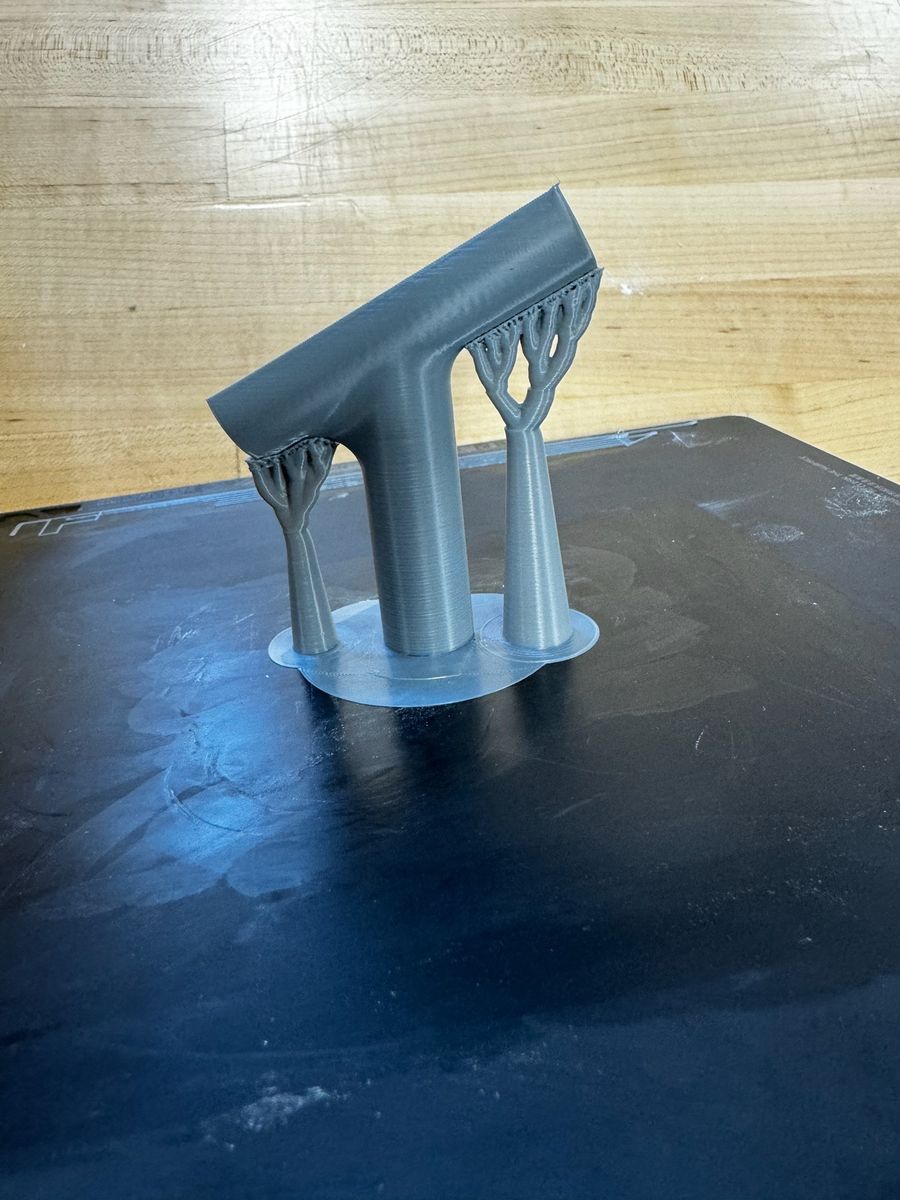
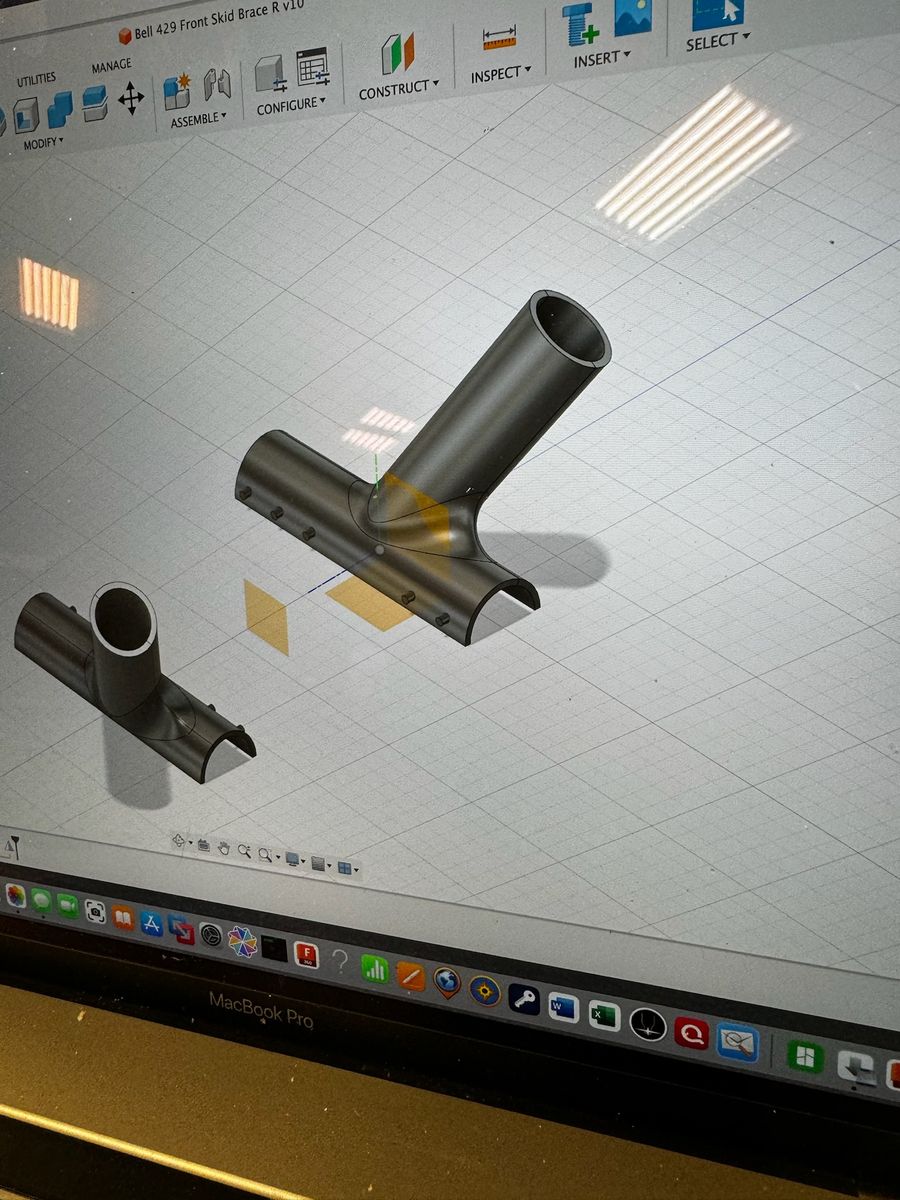
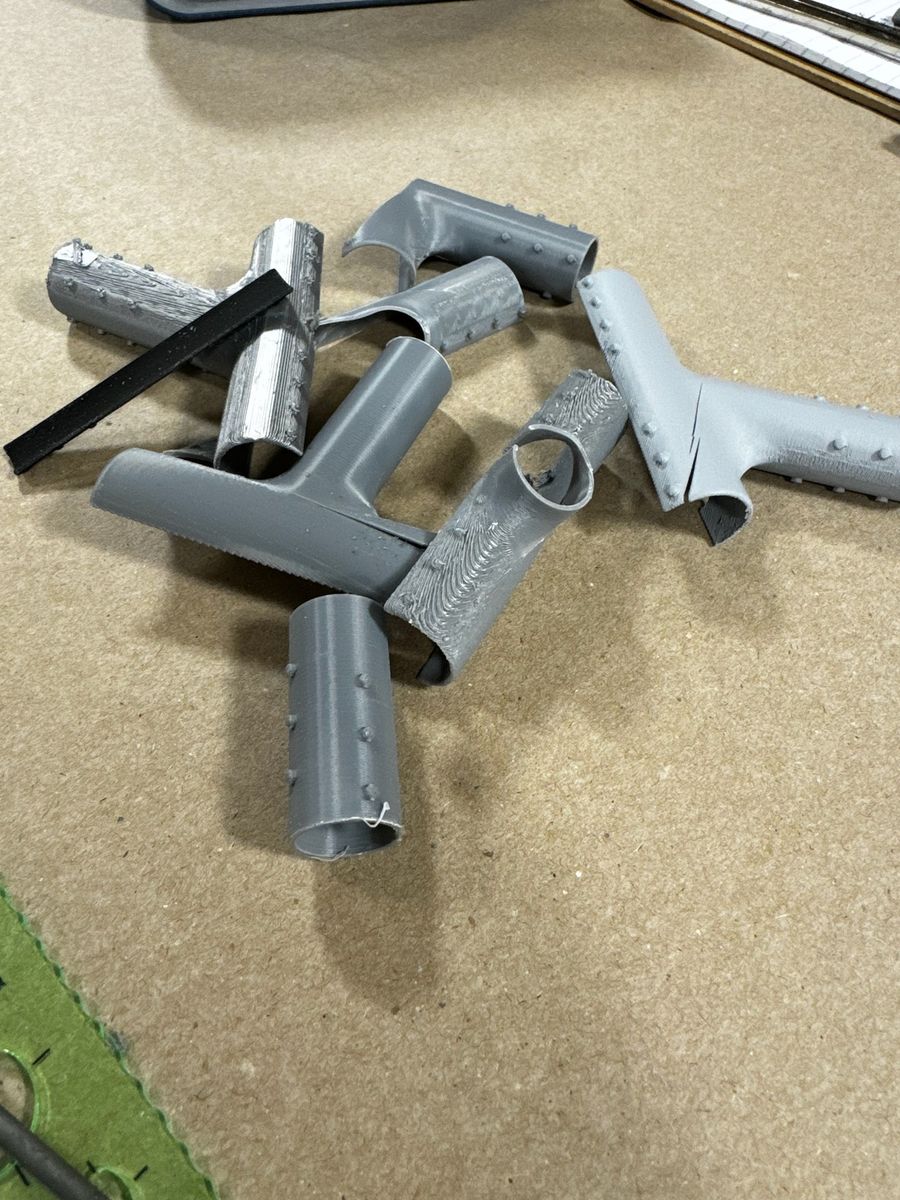
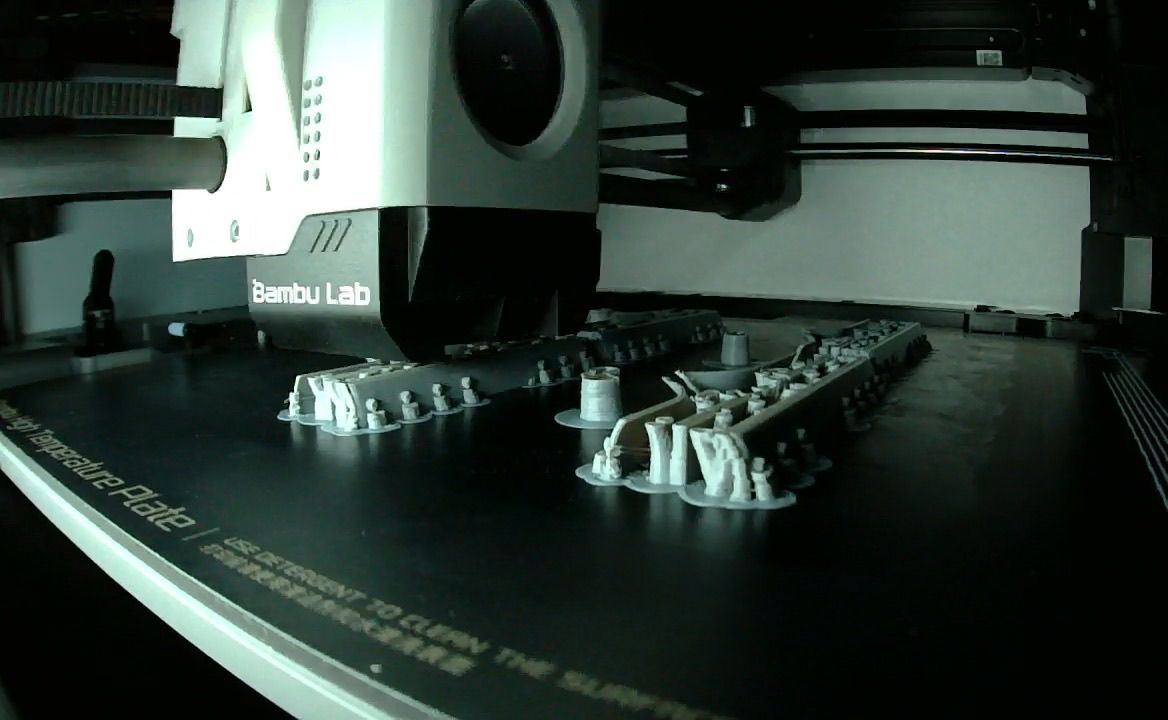
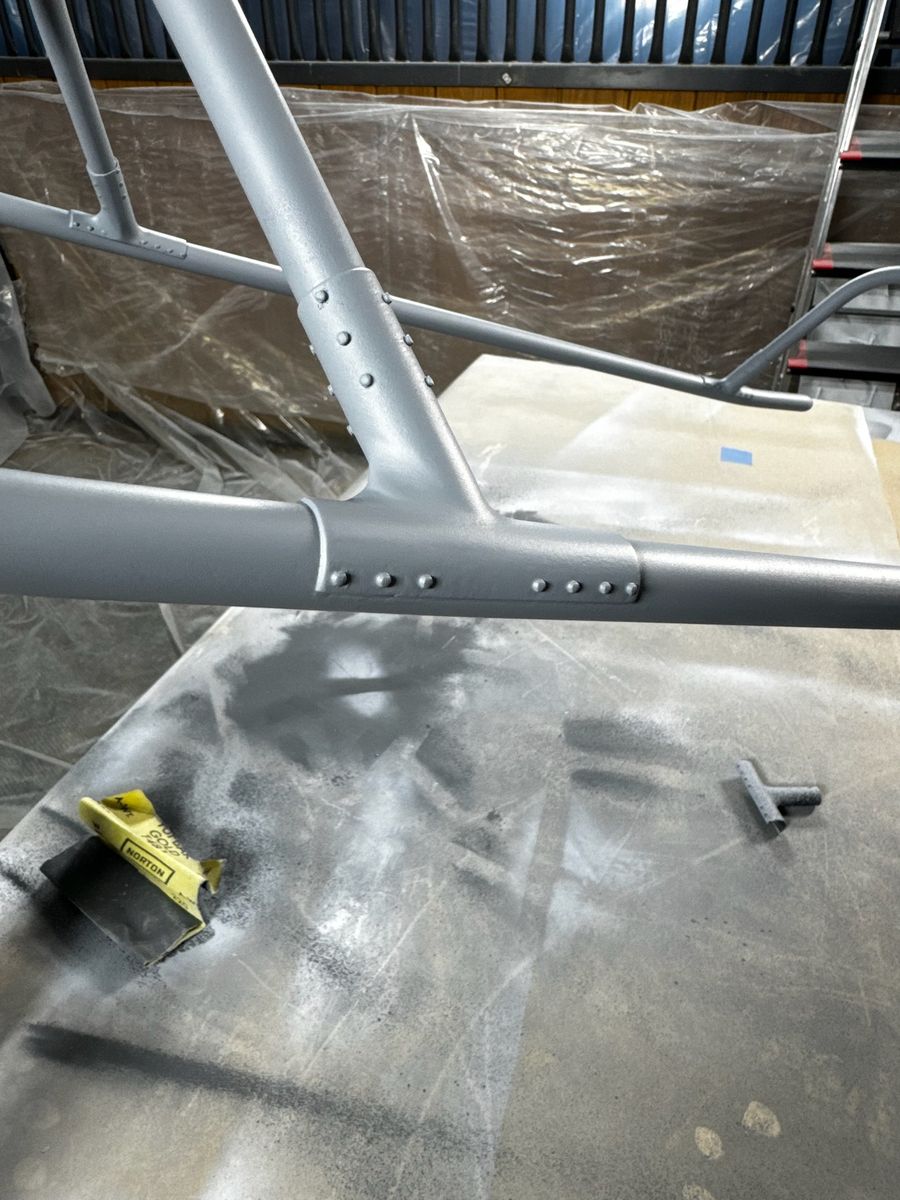
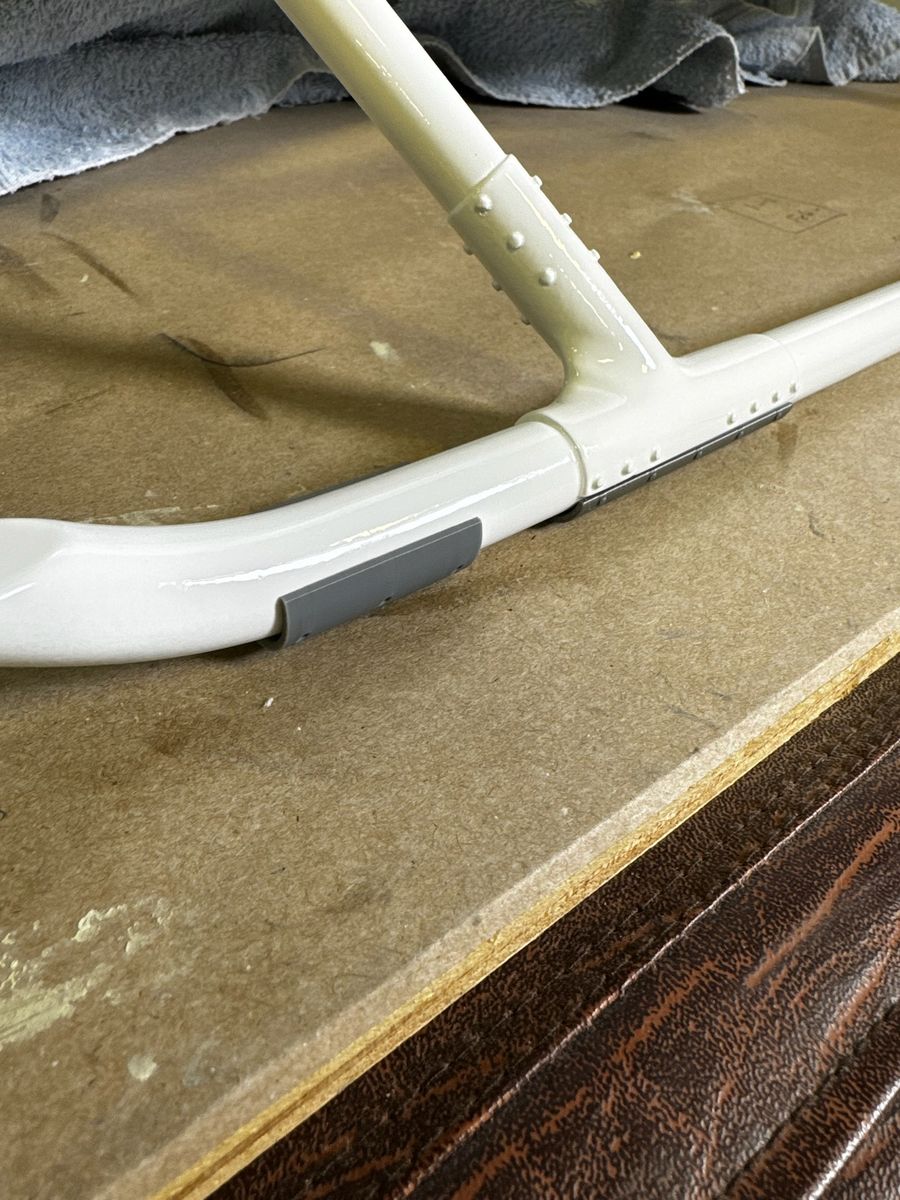
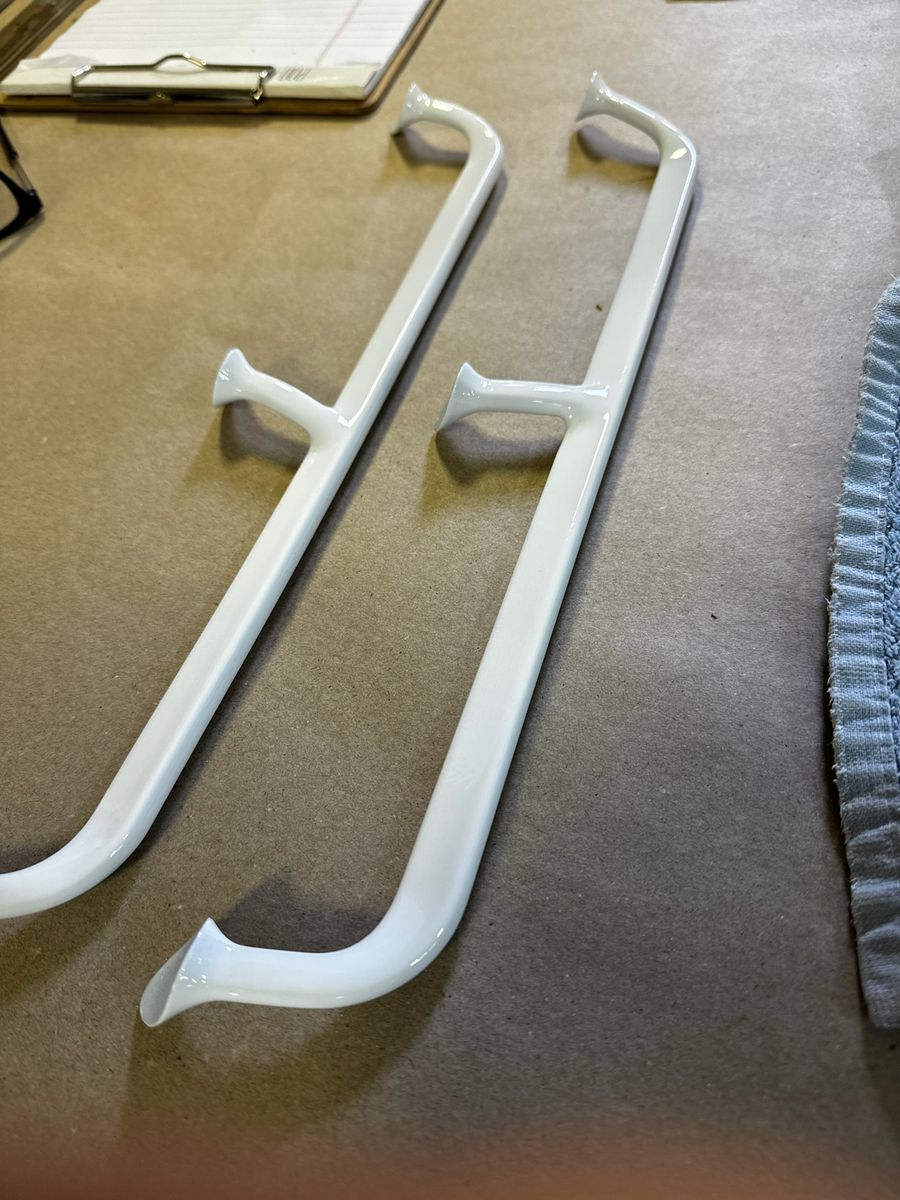
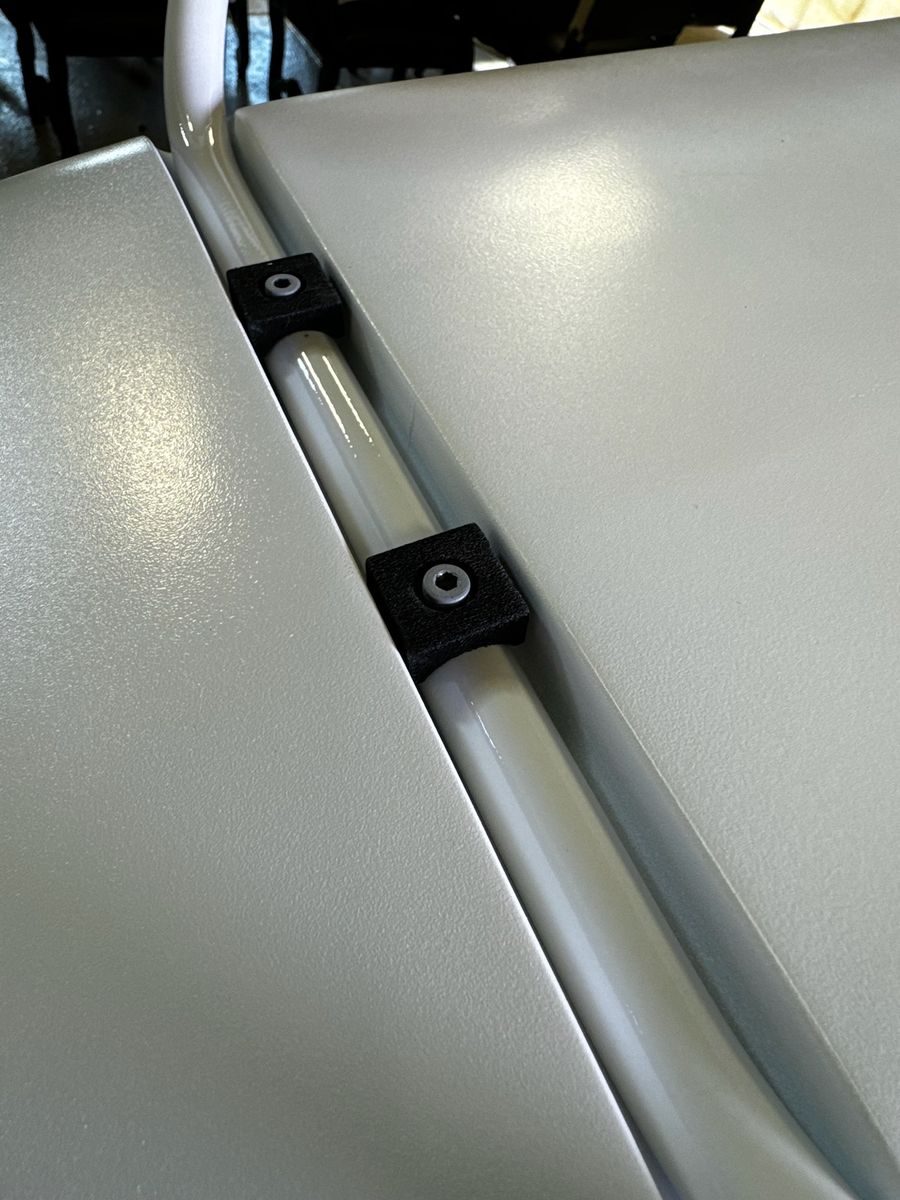
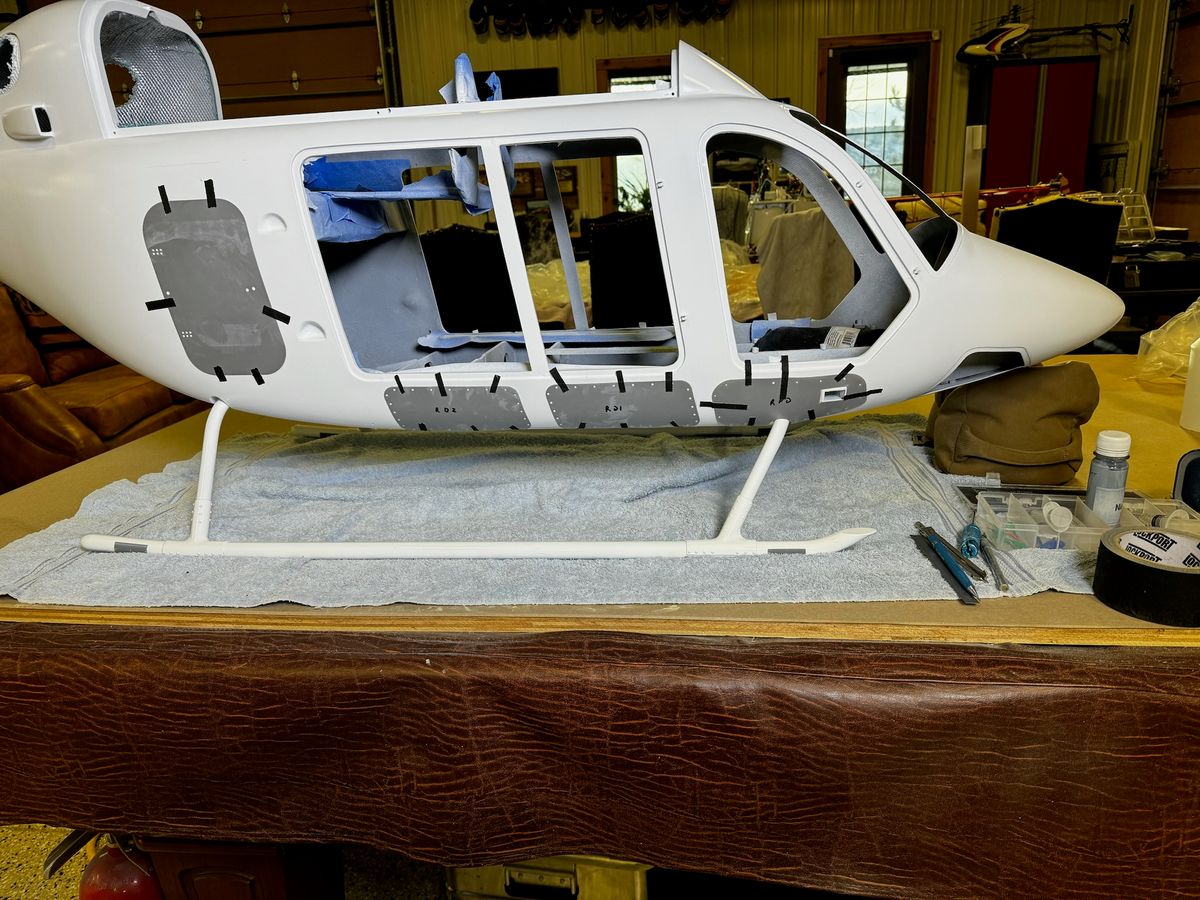
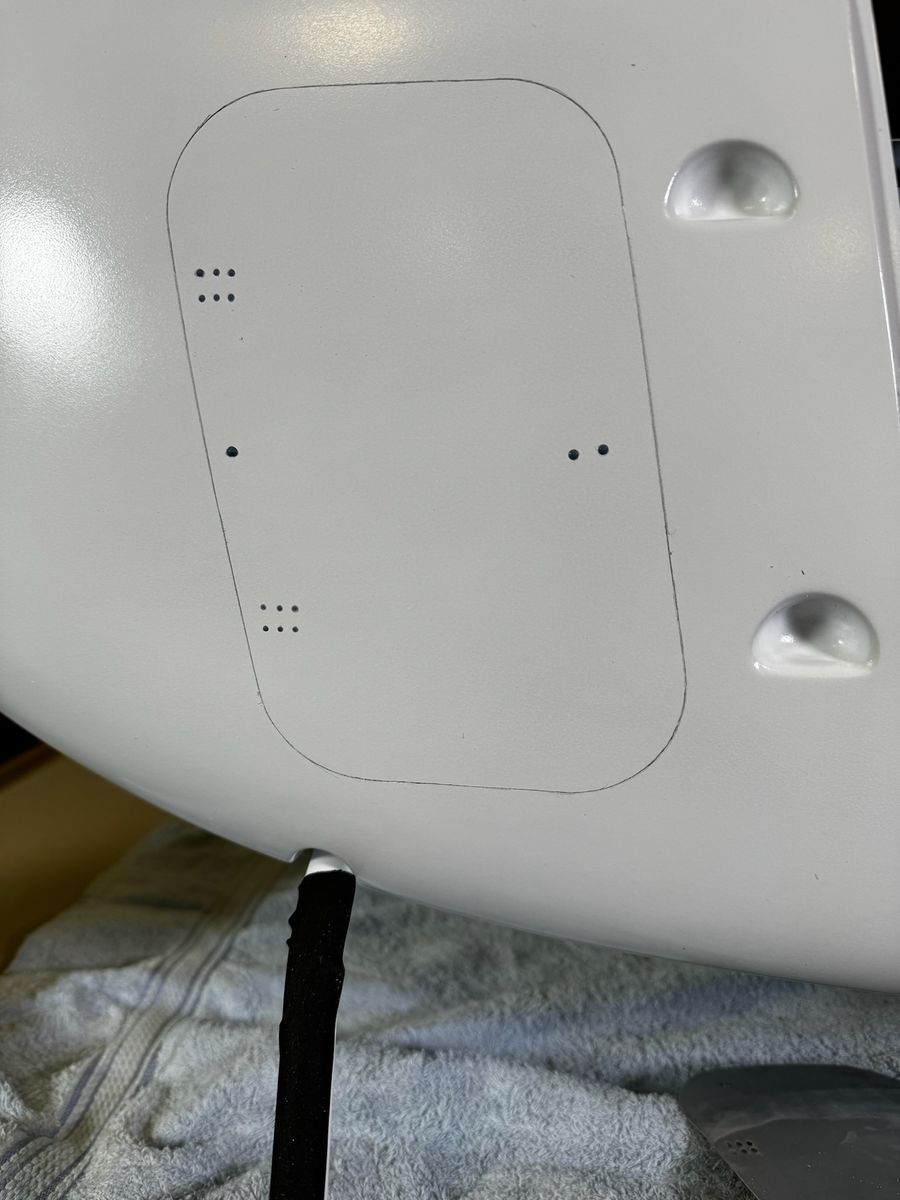
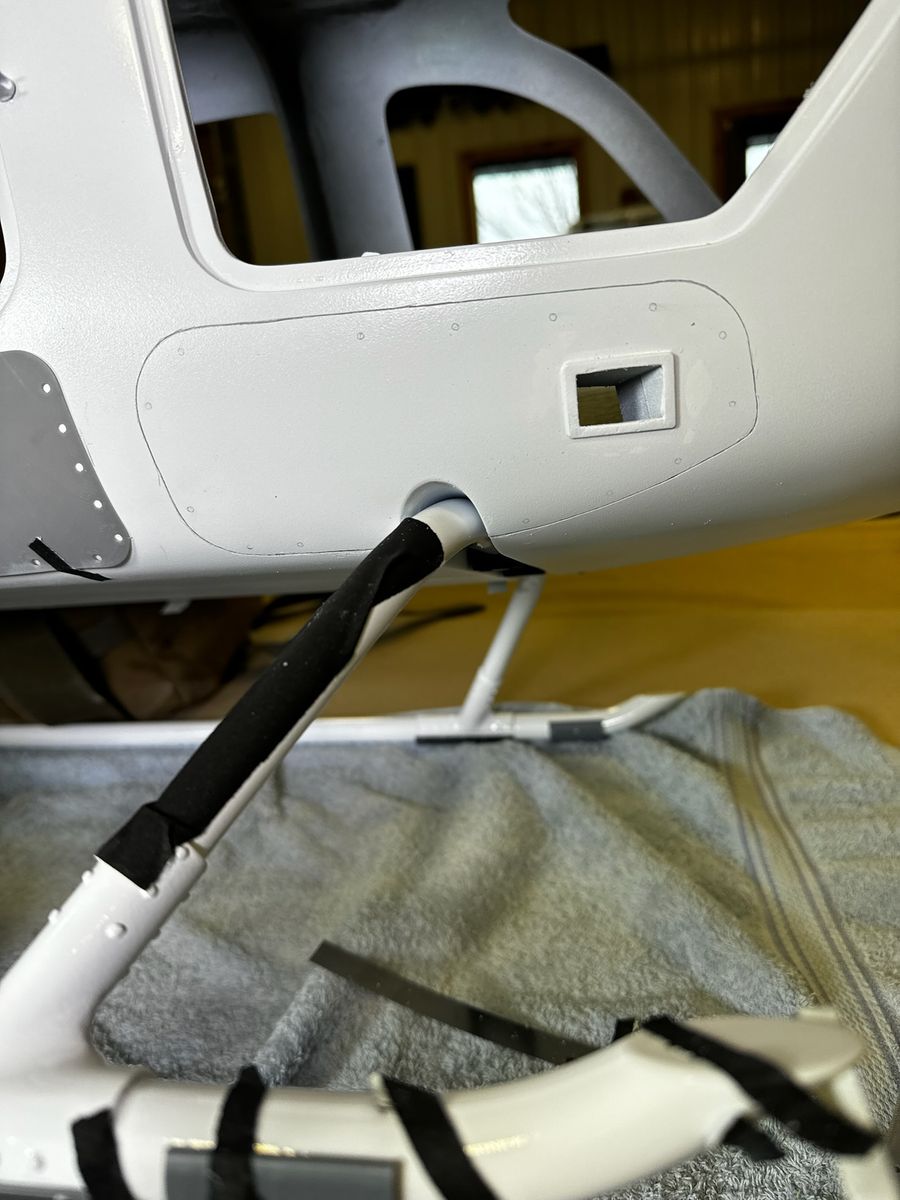
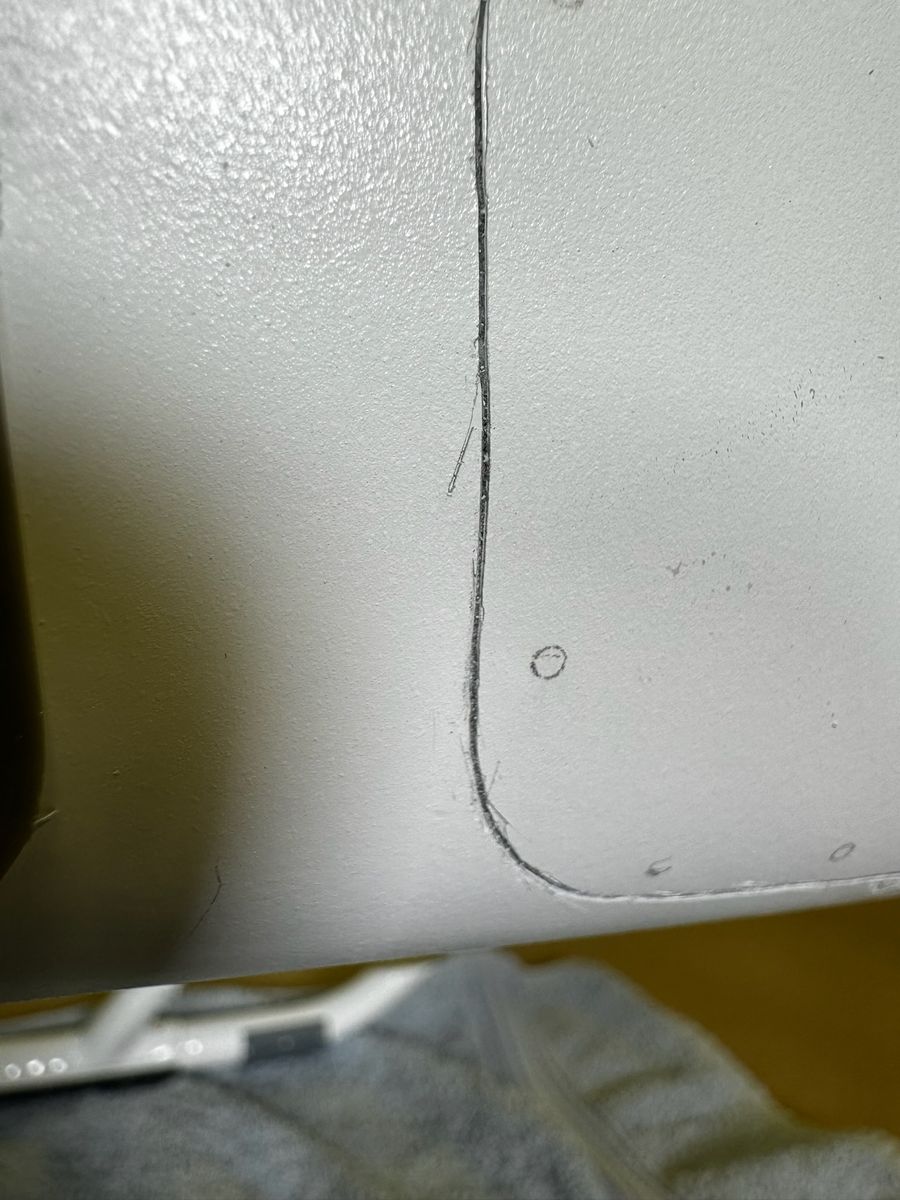
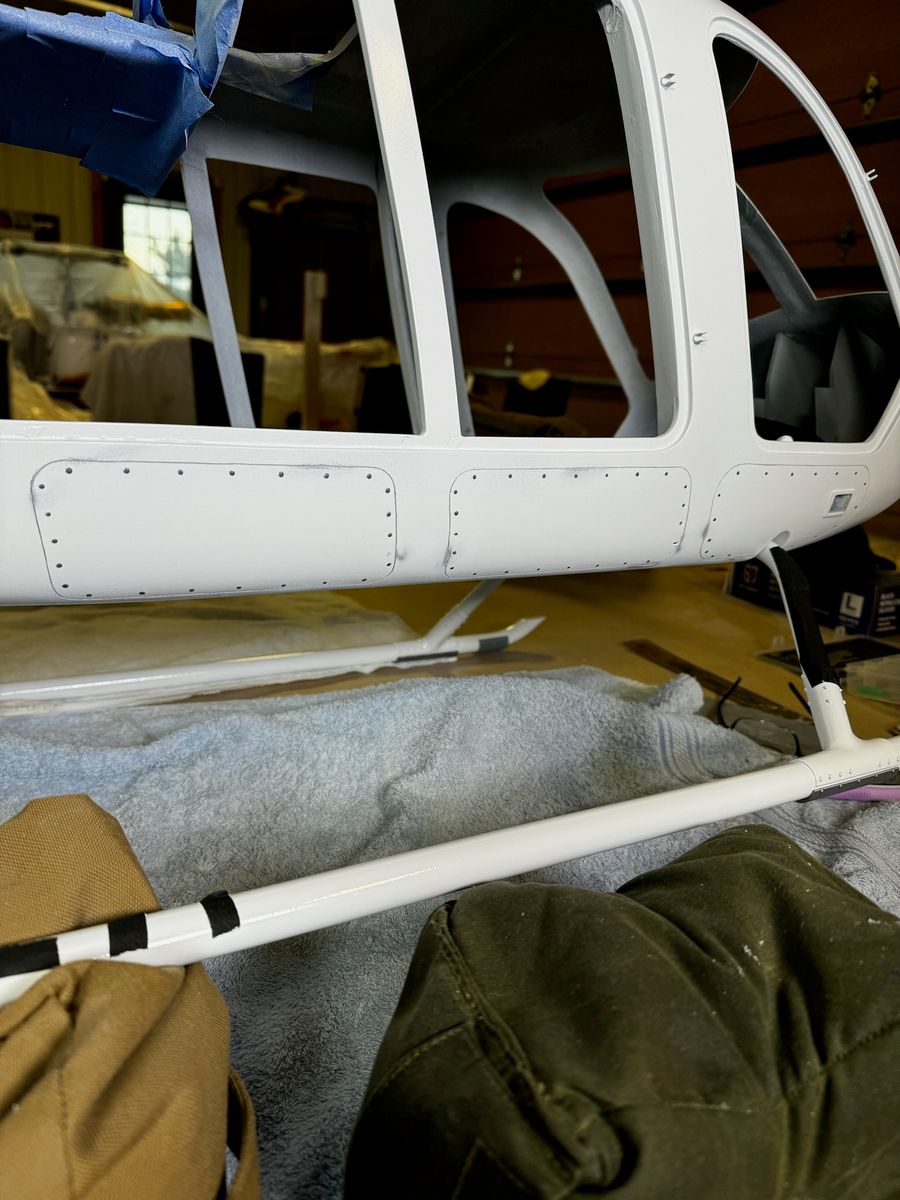
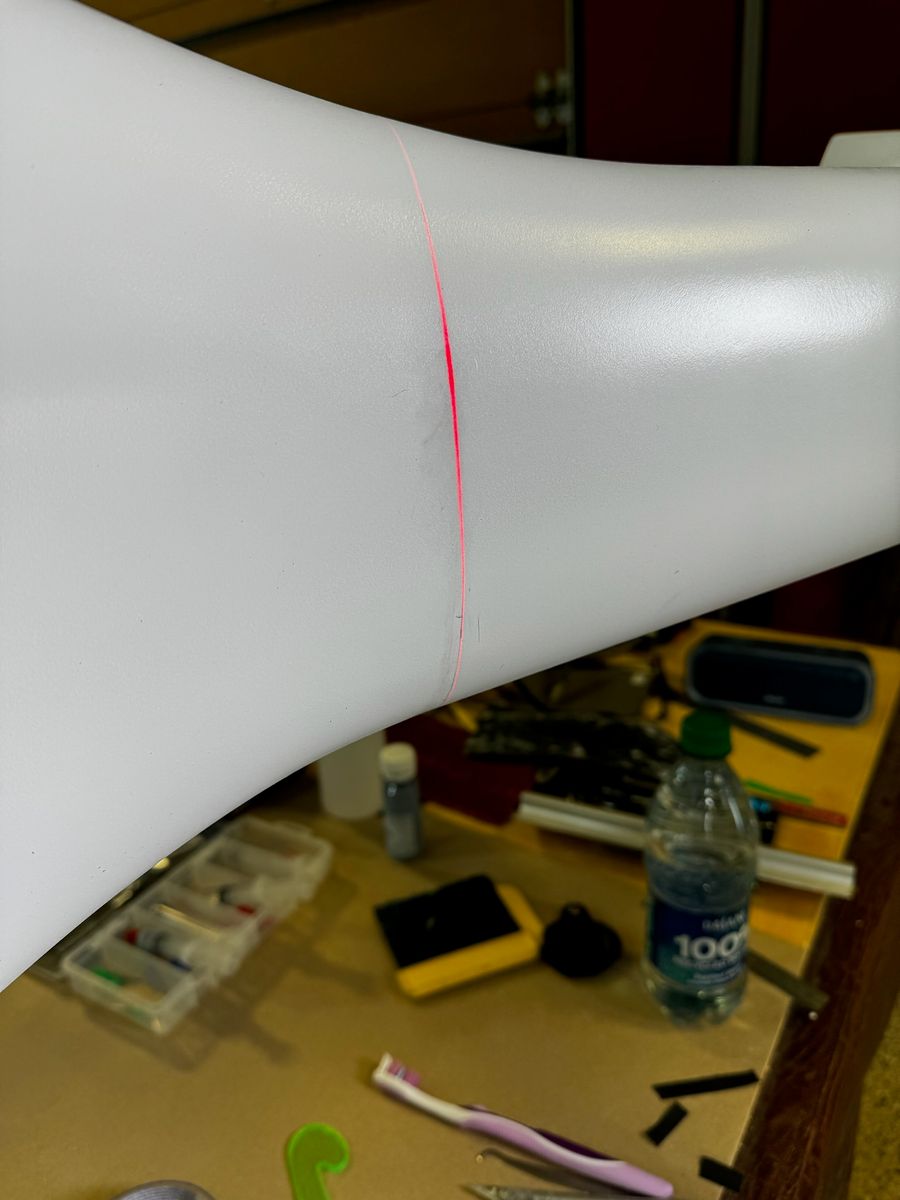
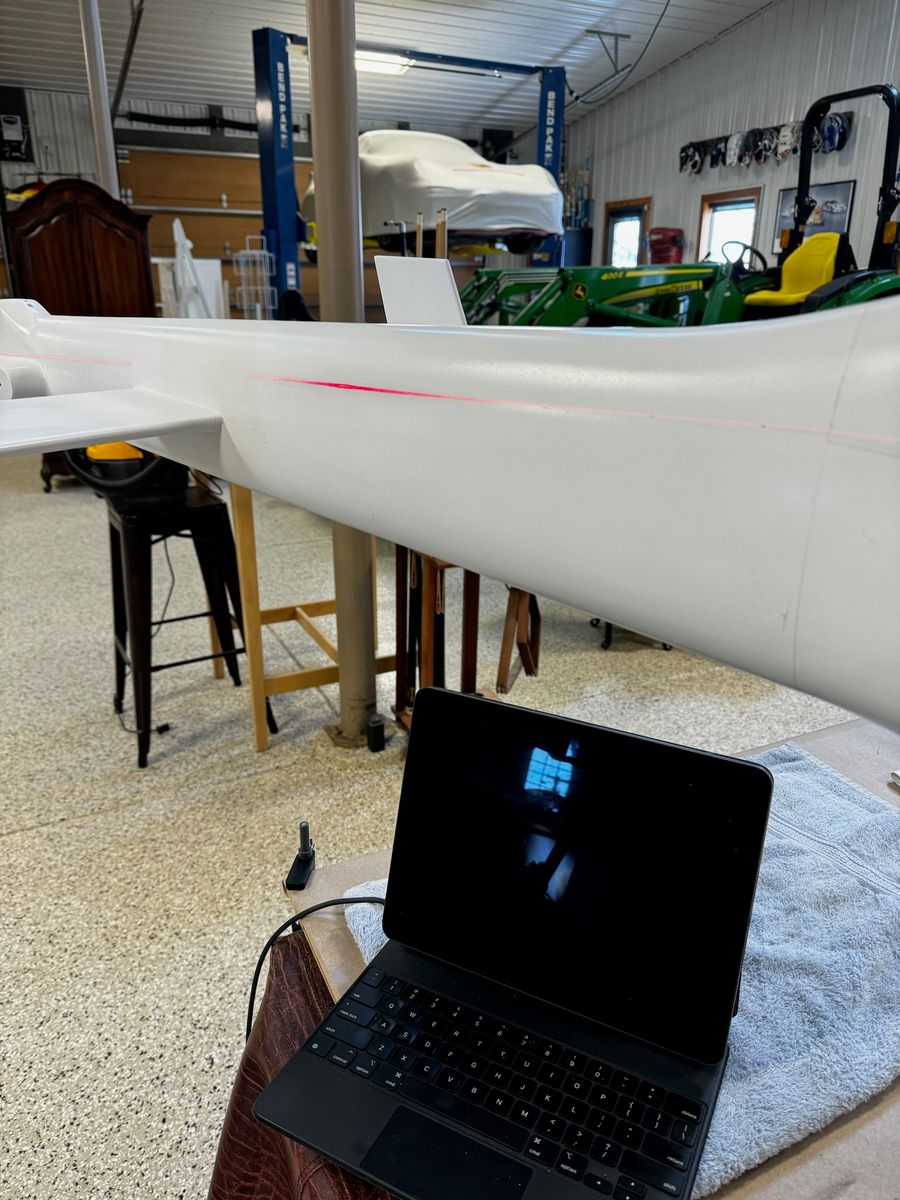
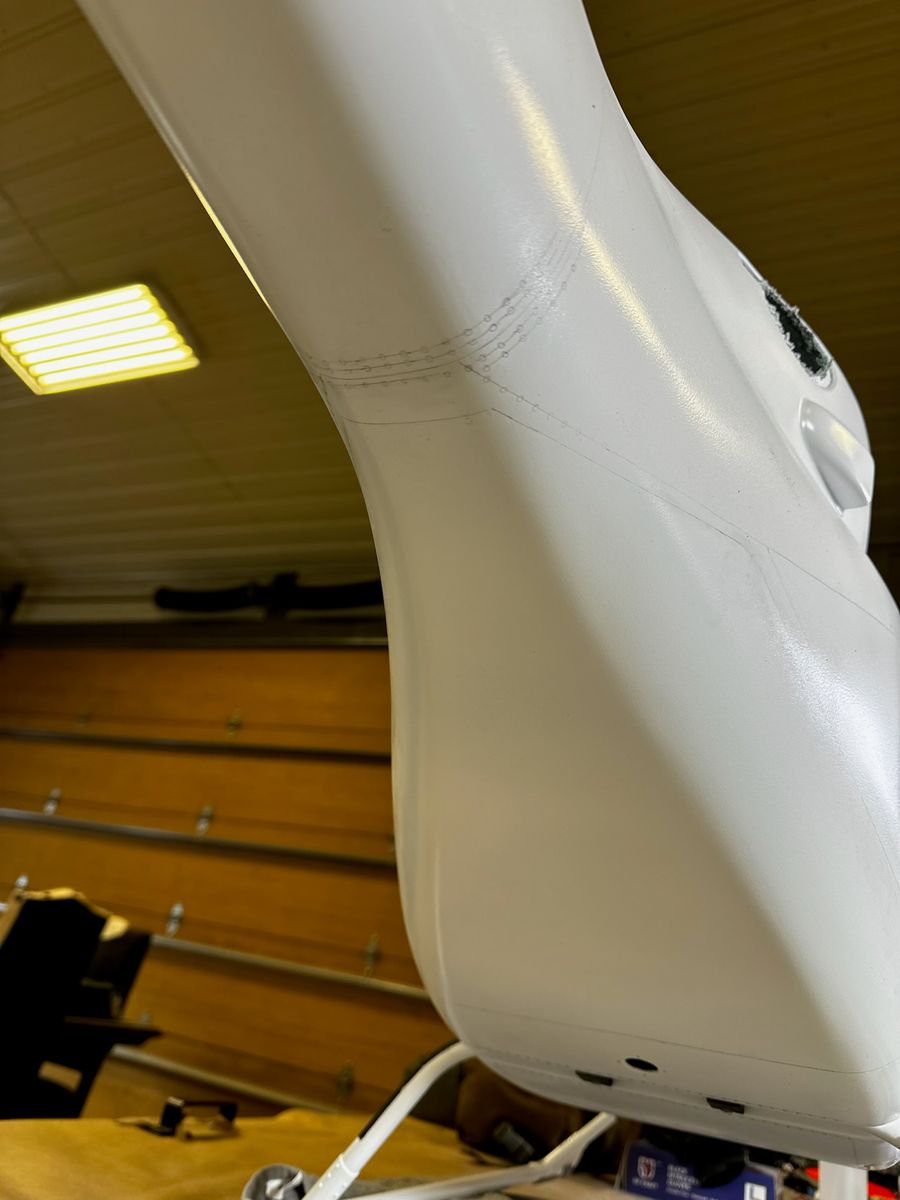
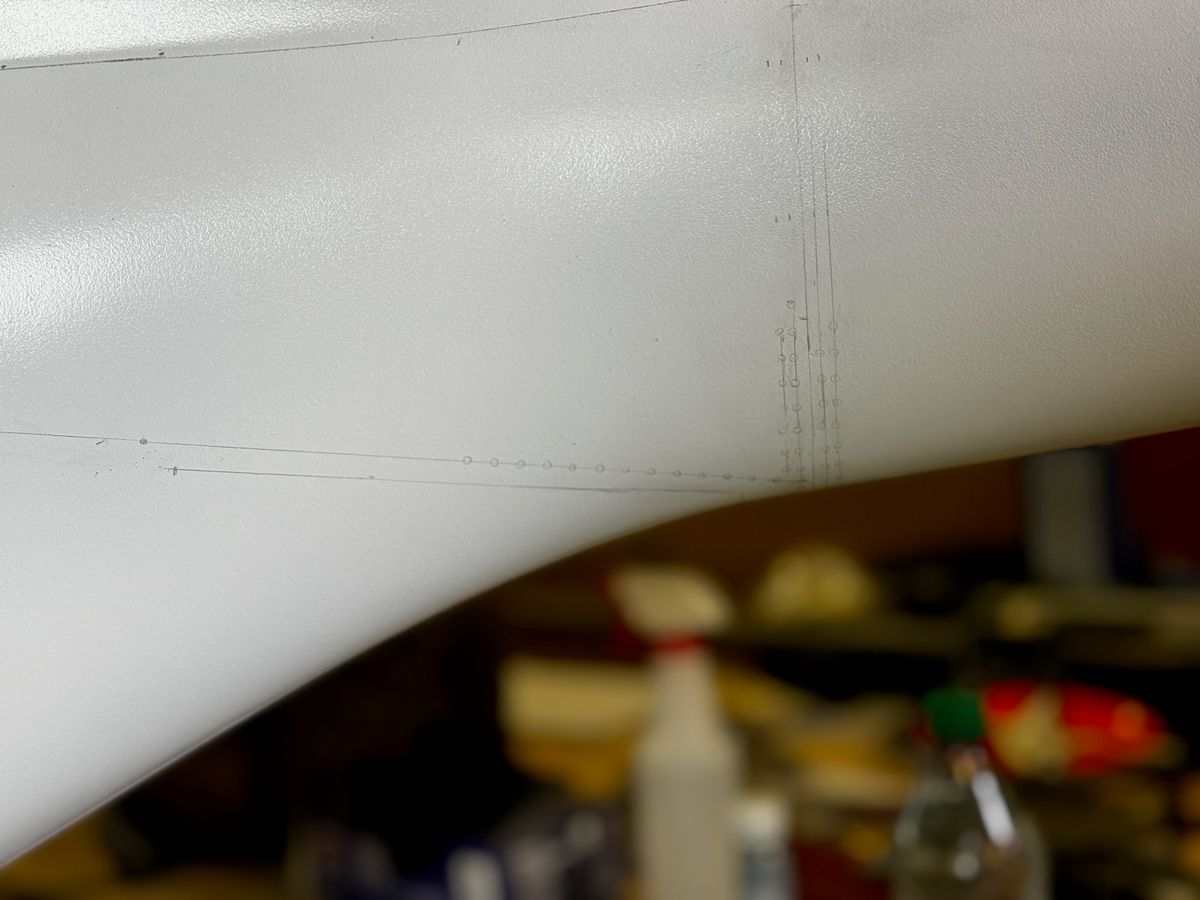
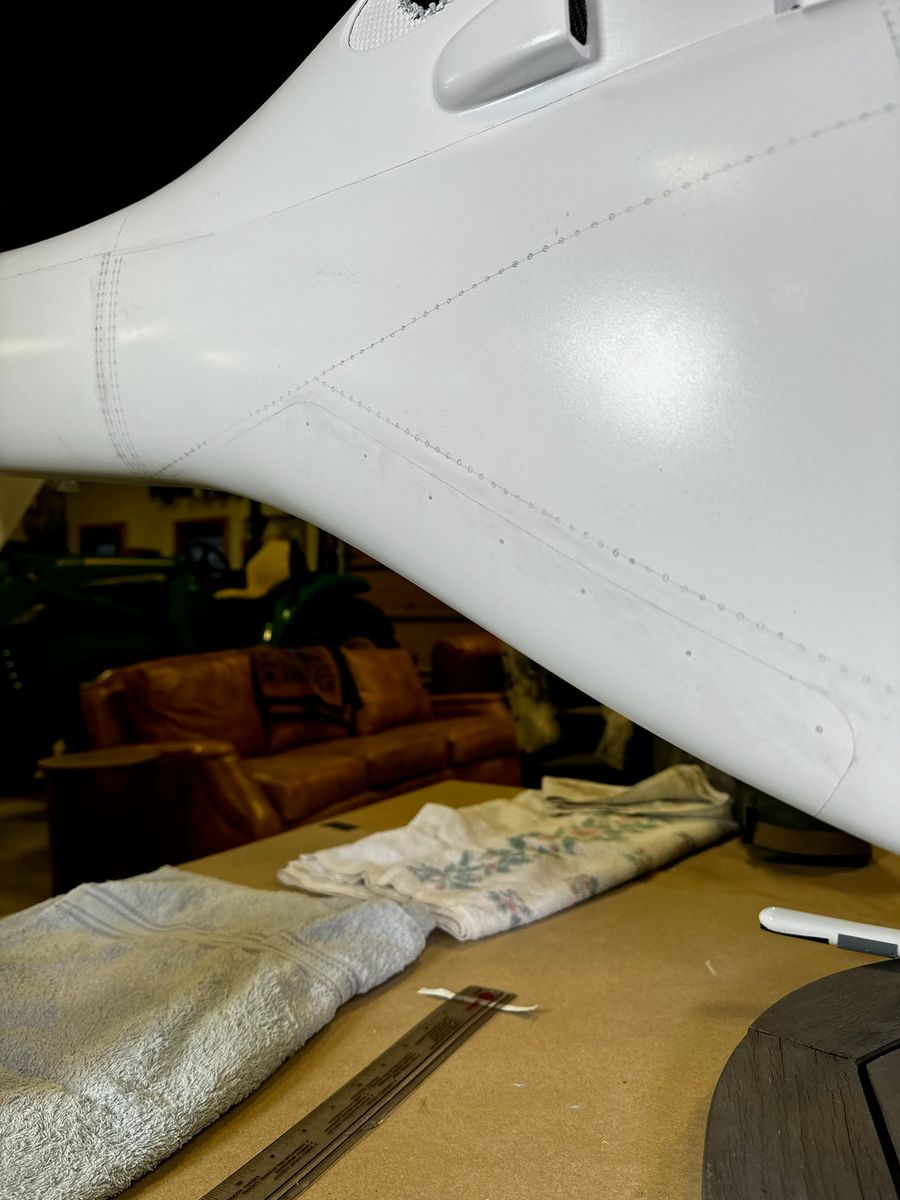
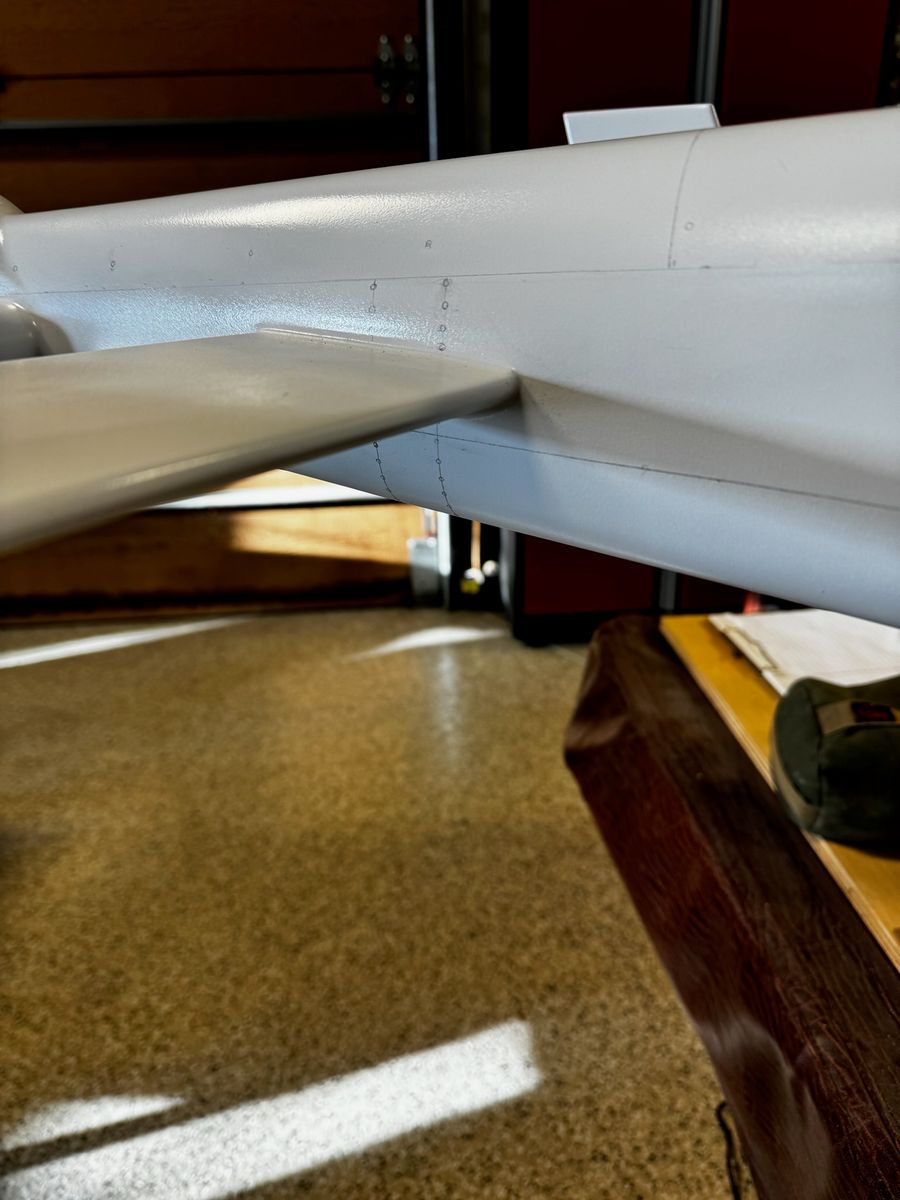
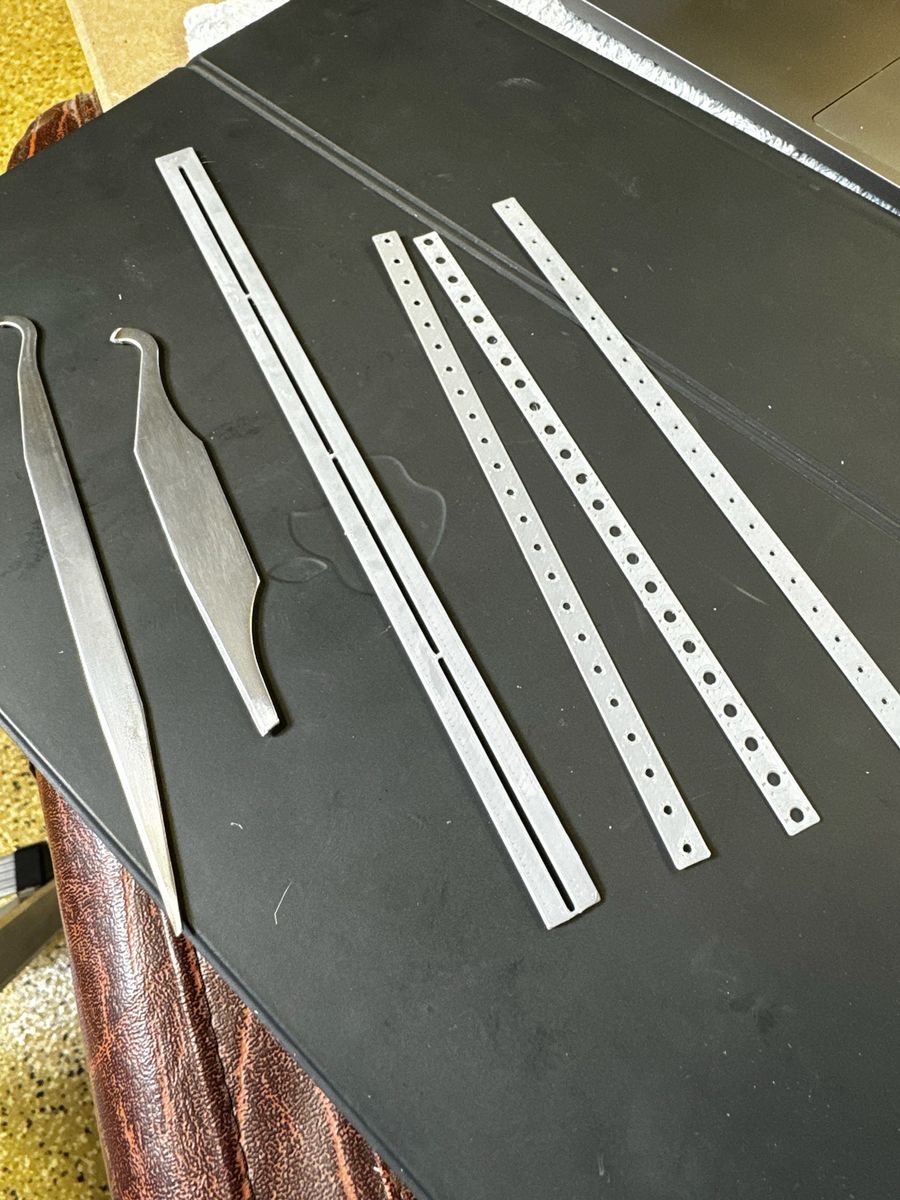
Scribing tools and small parts priming
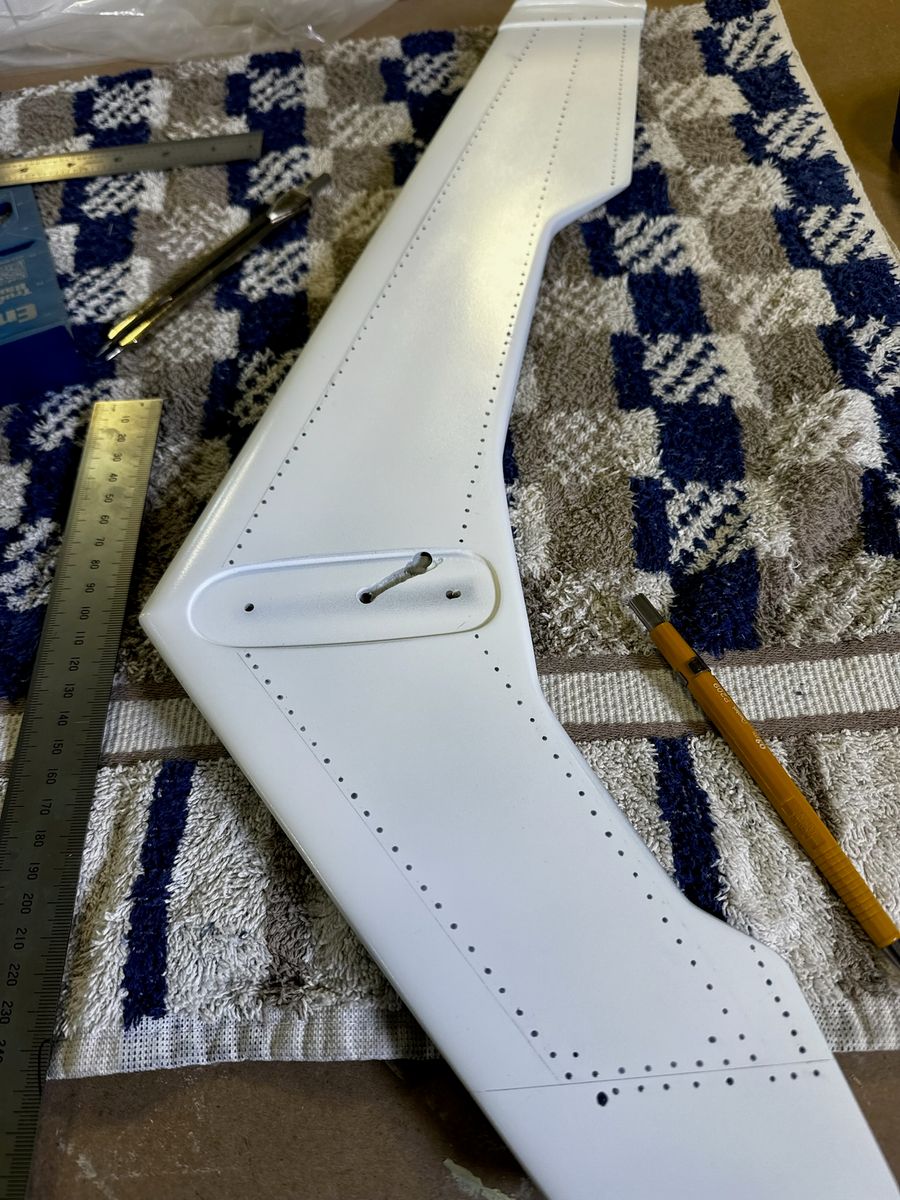
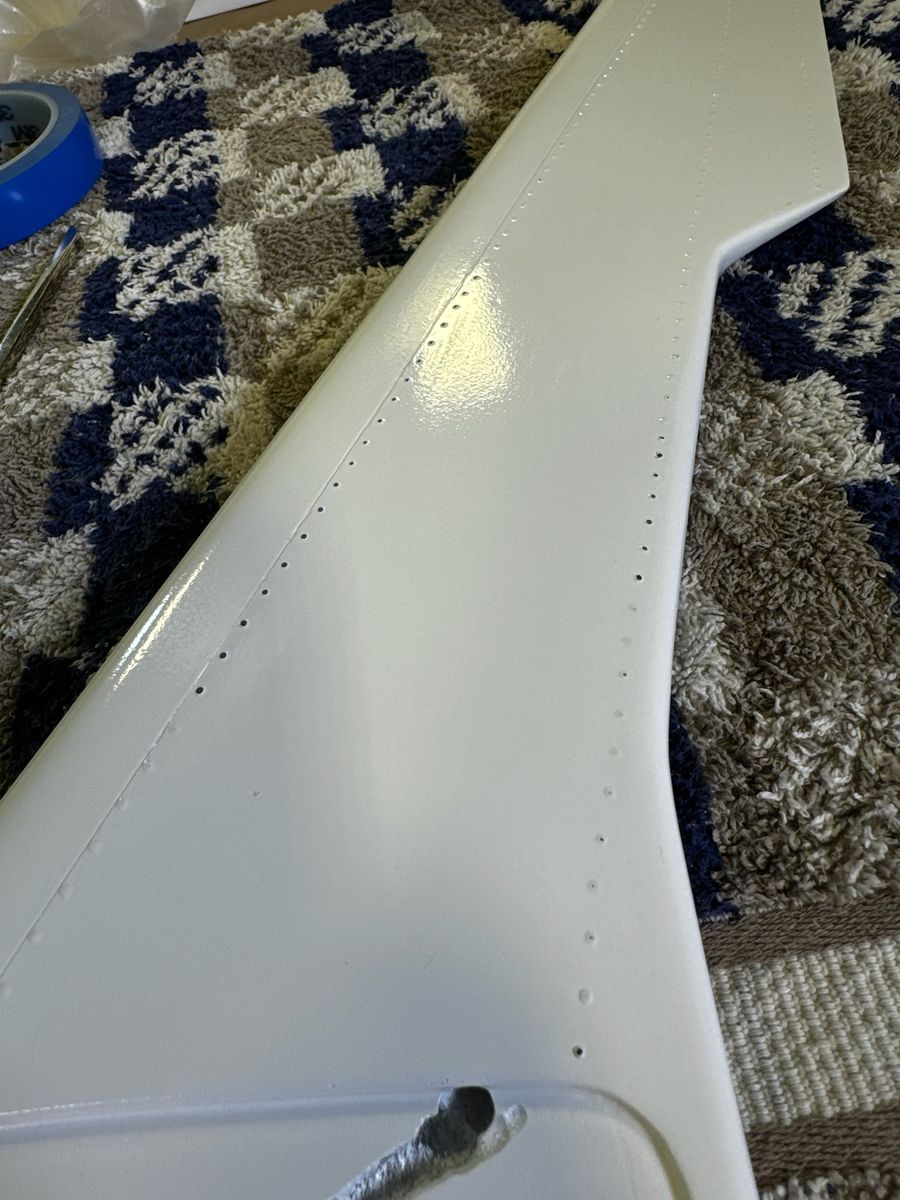
Scribing tools were used for panel lines. I had to sharpen them many times. It is so easy to get off line and create extra work for fix.
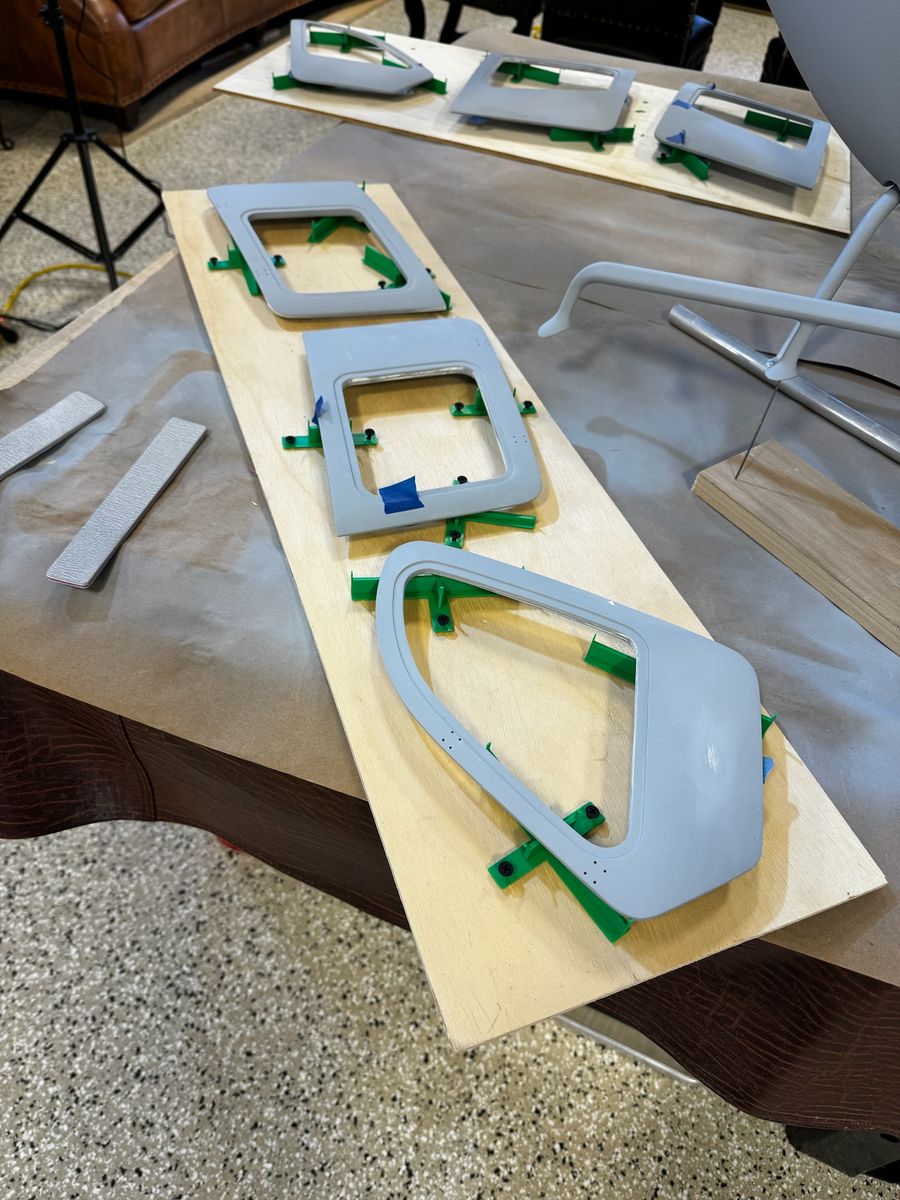
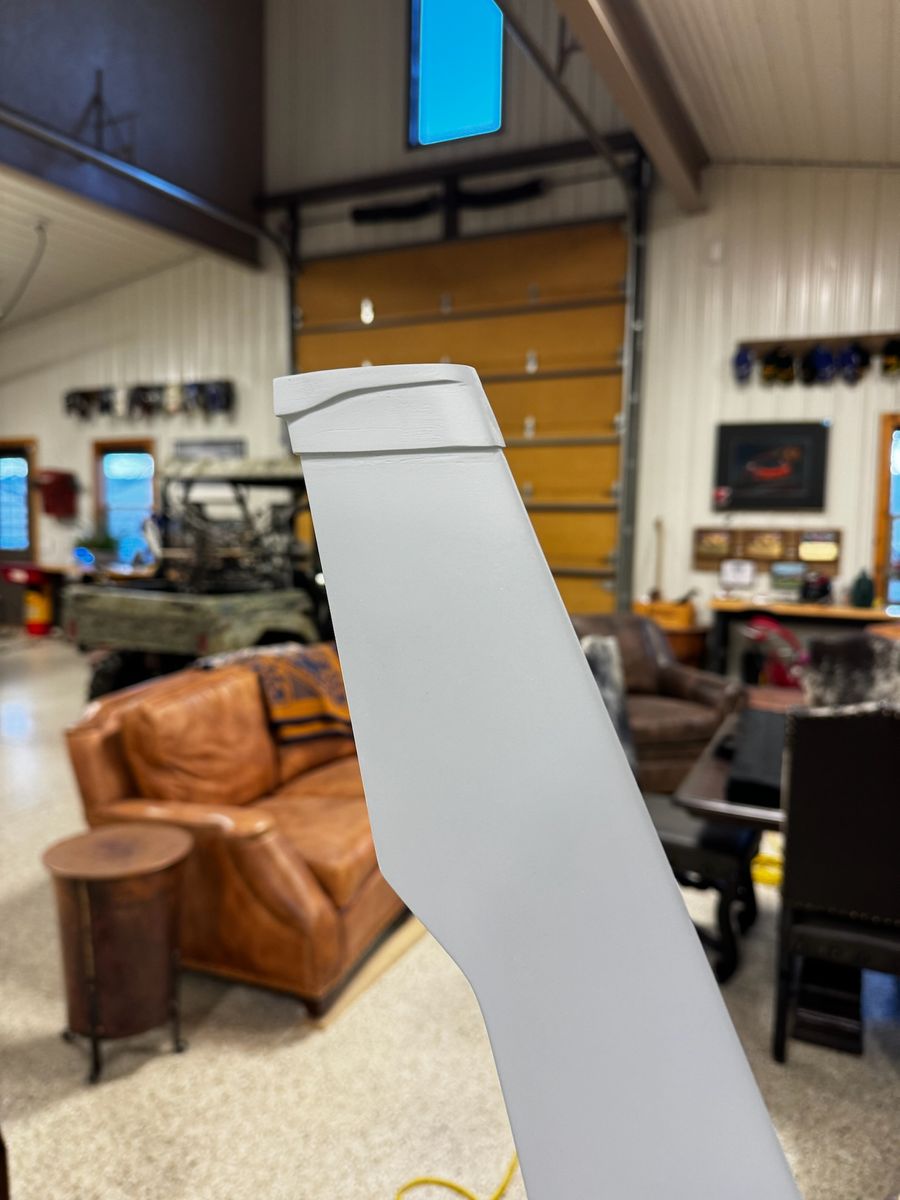
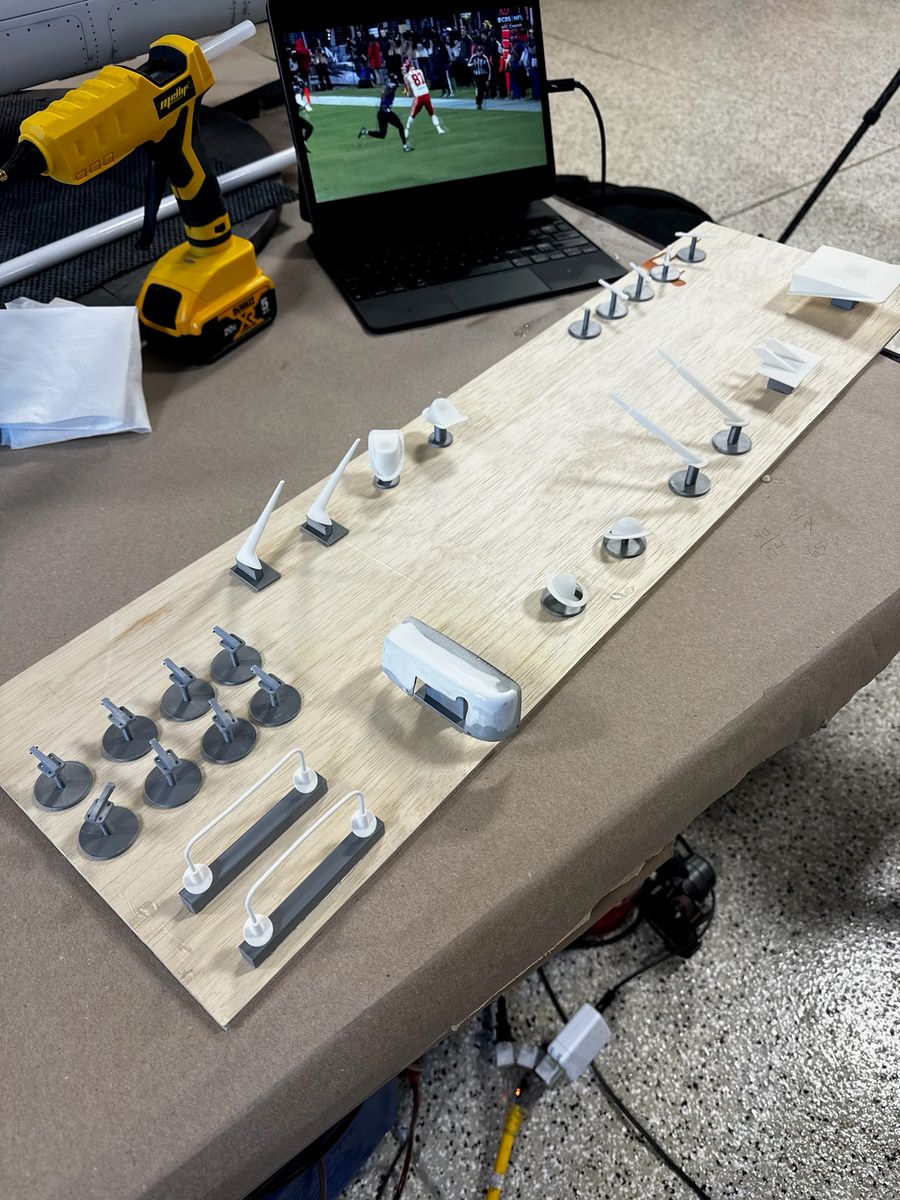
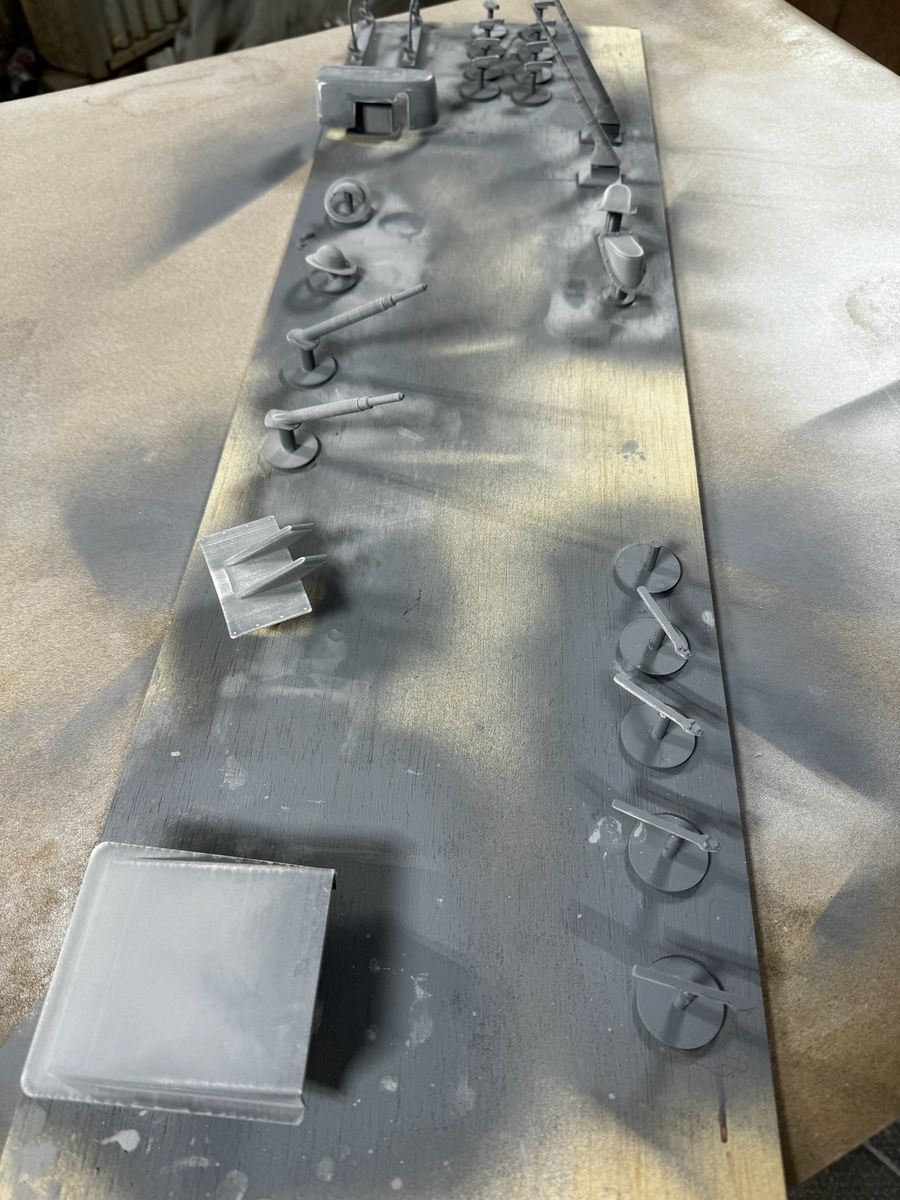
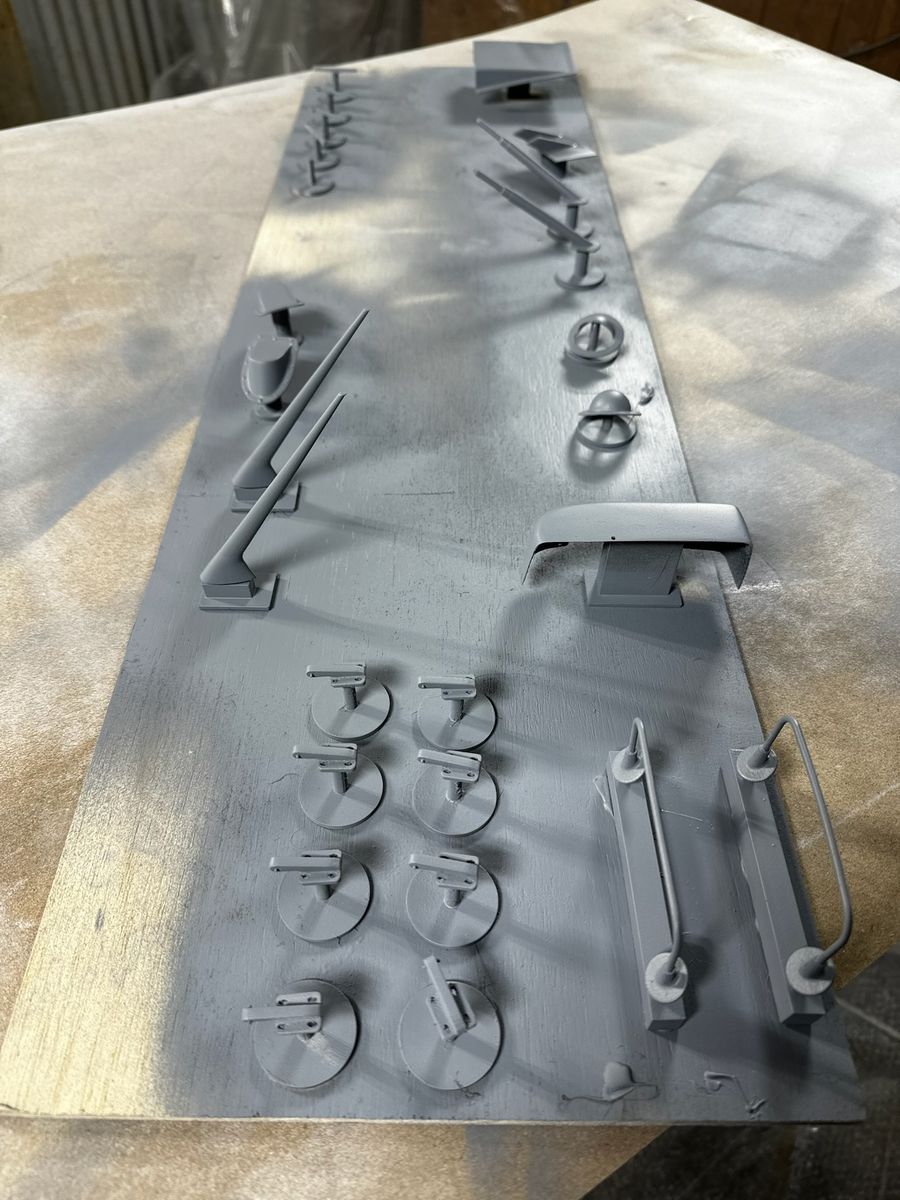
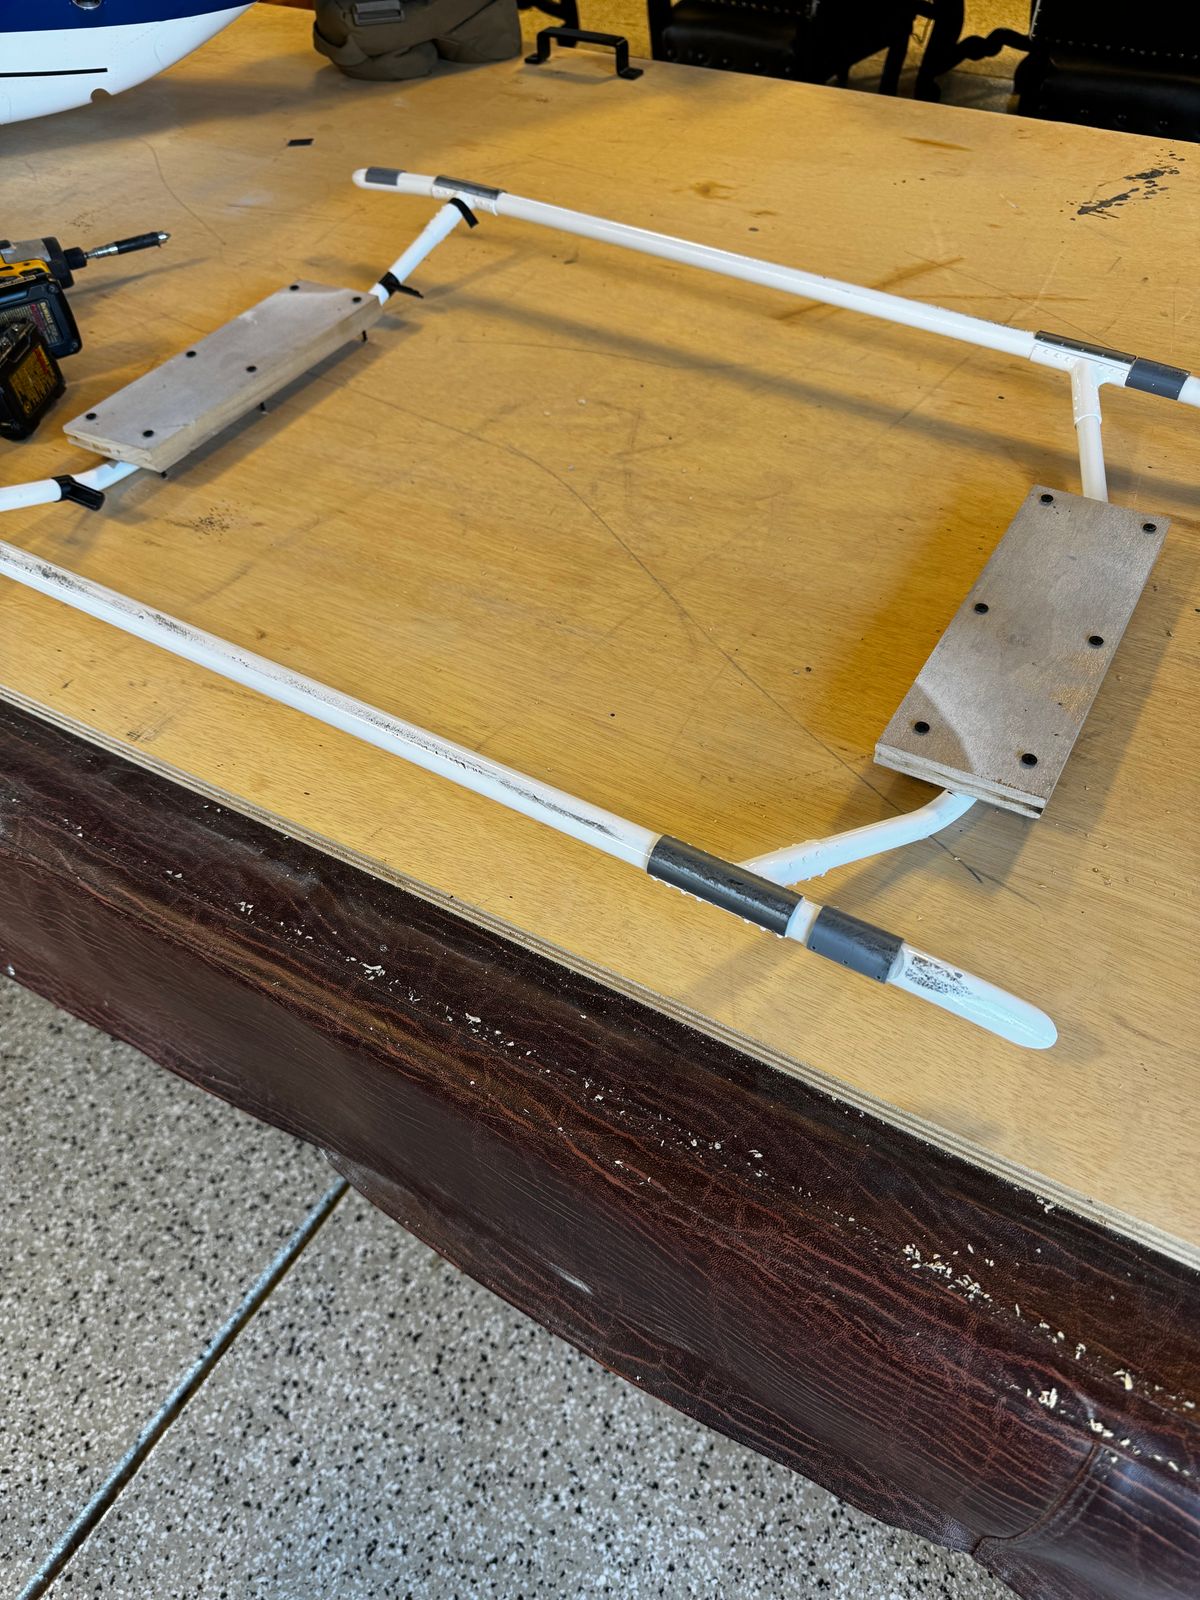
Small parts priming board and supports.
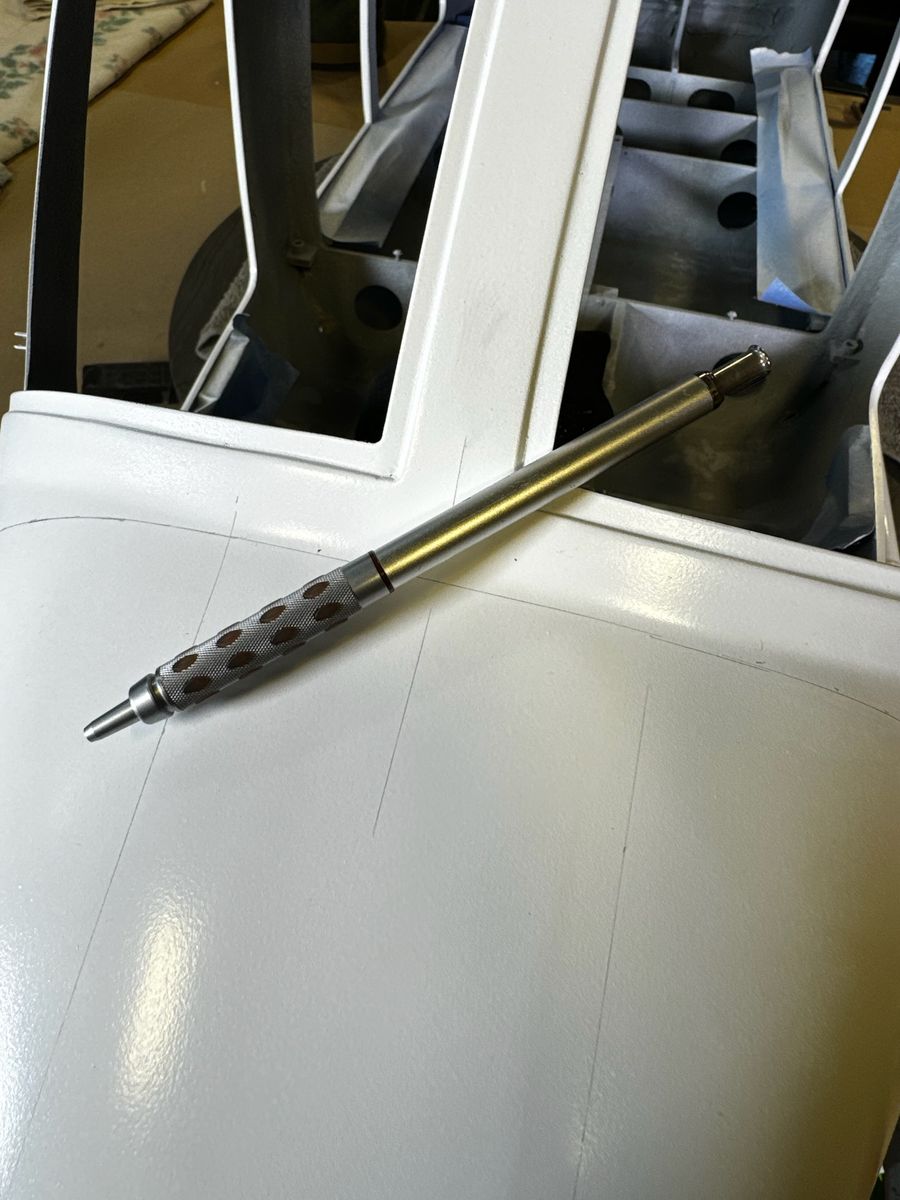
I was aware that the use of a pencil can be problematic in the painting process.
Projection of the paint scheme and masking
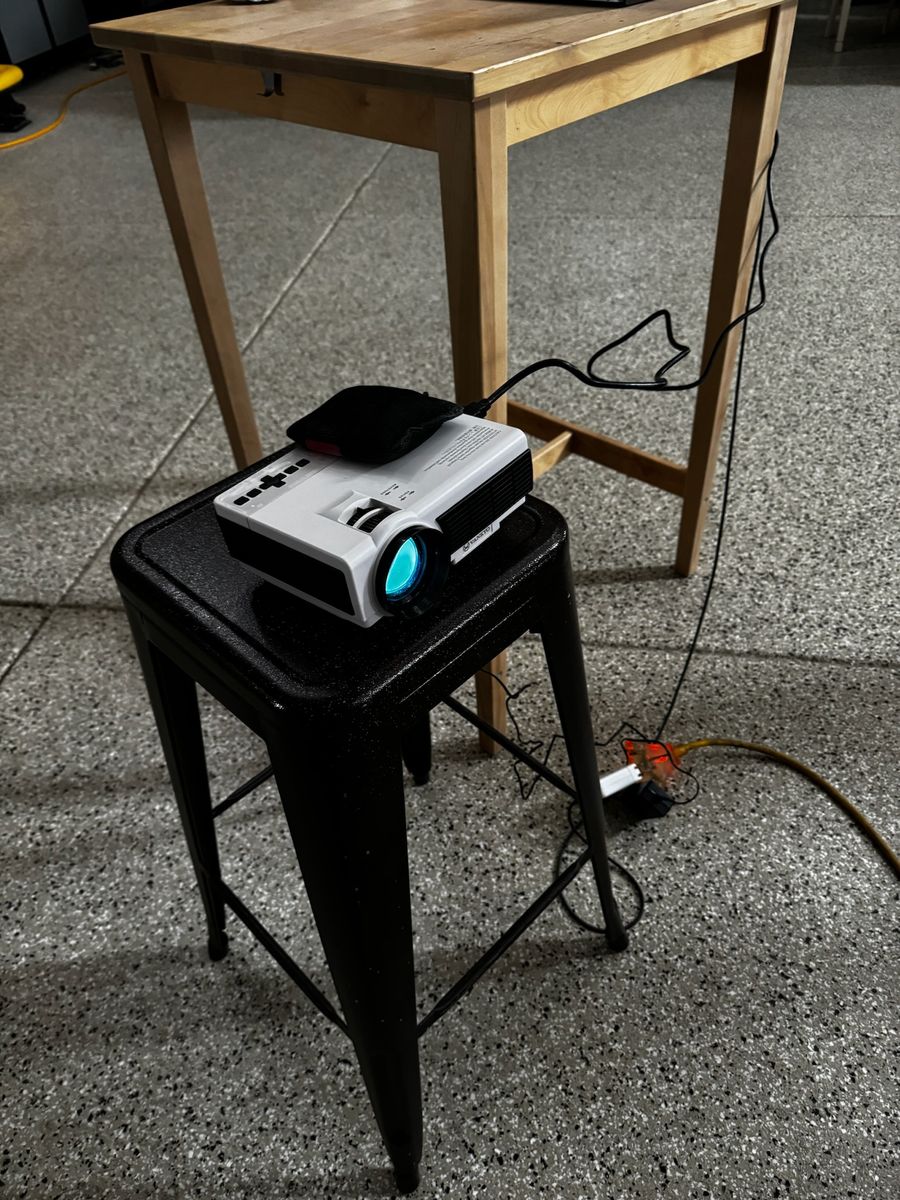
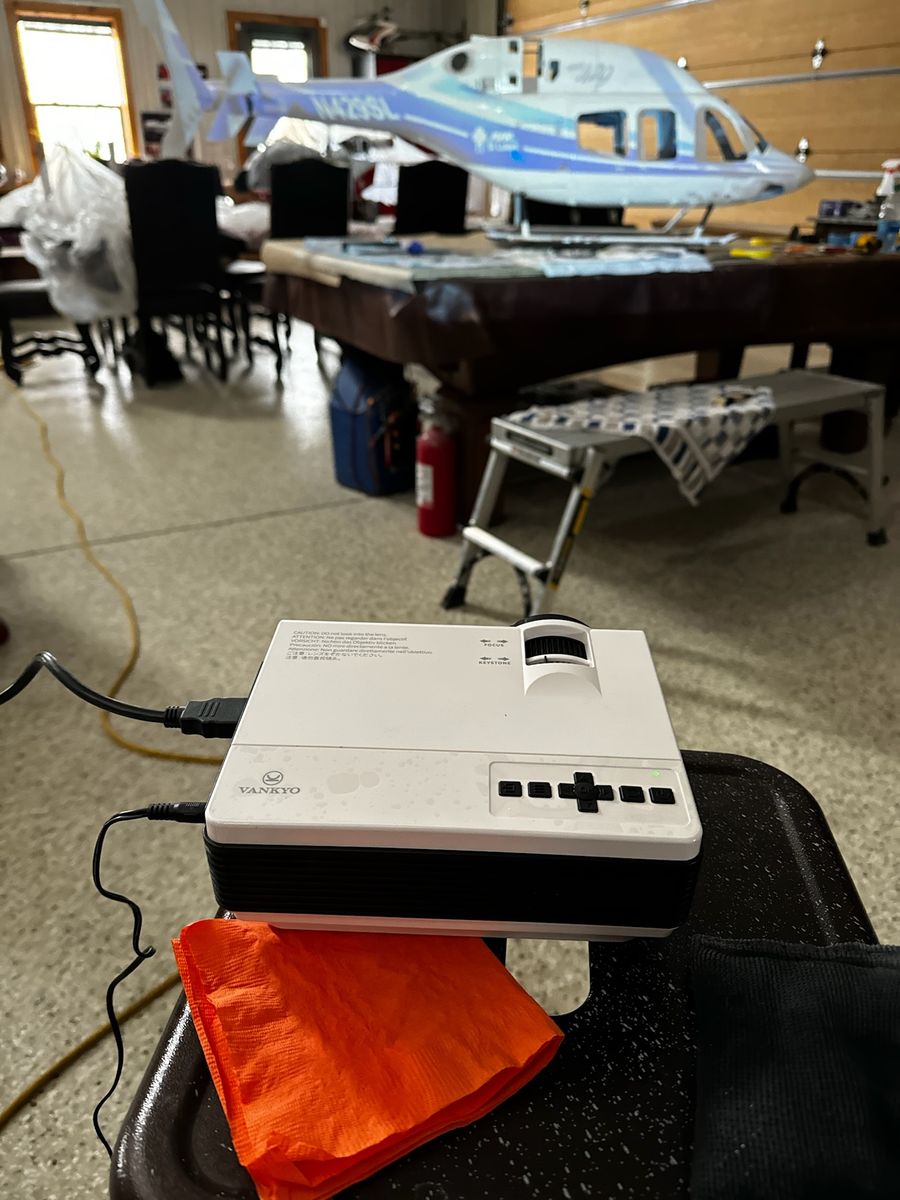
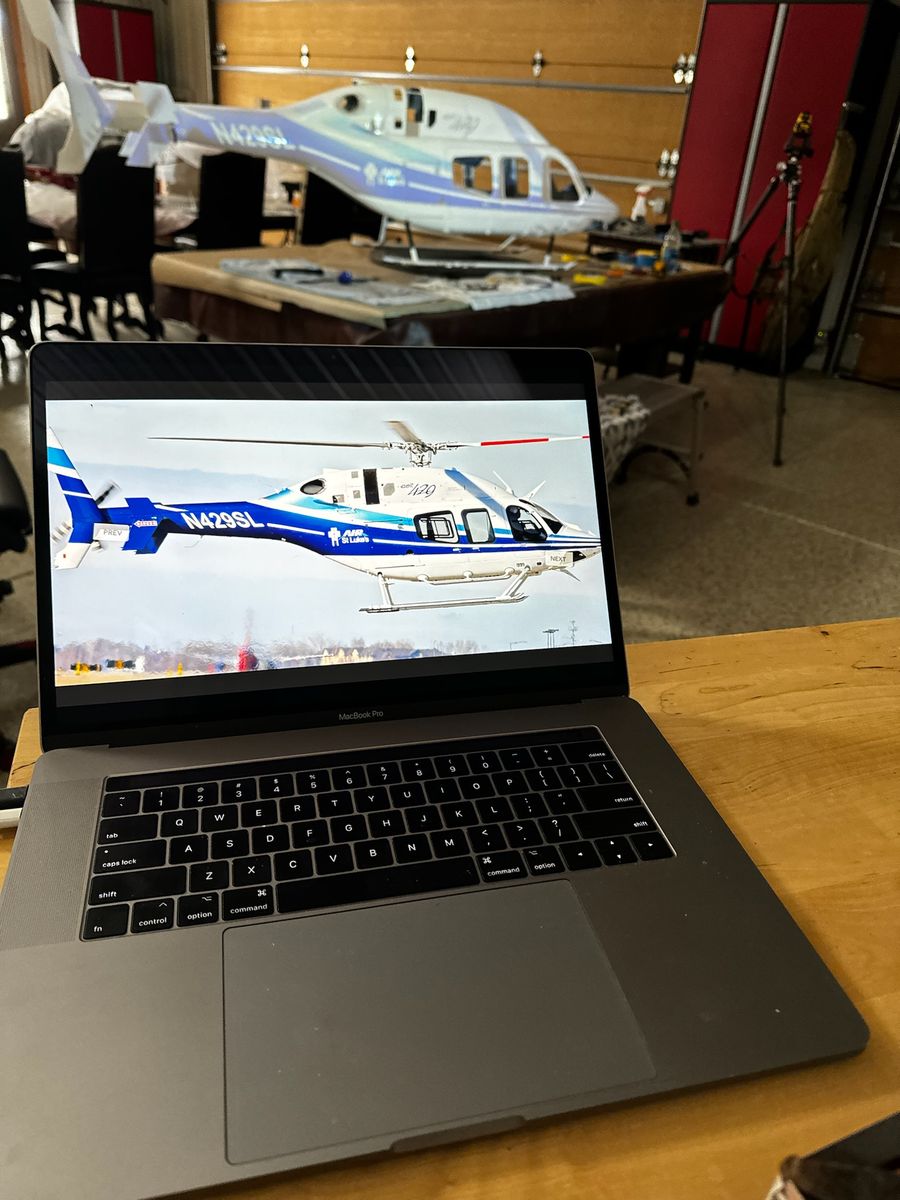
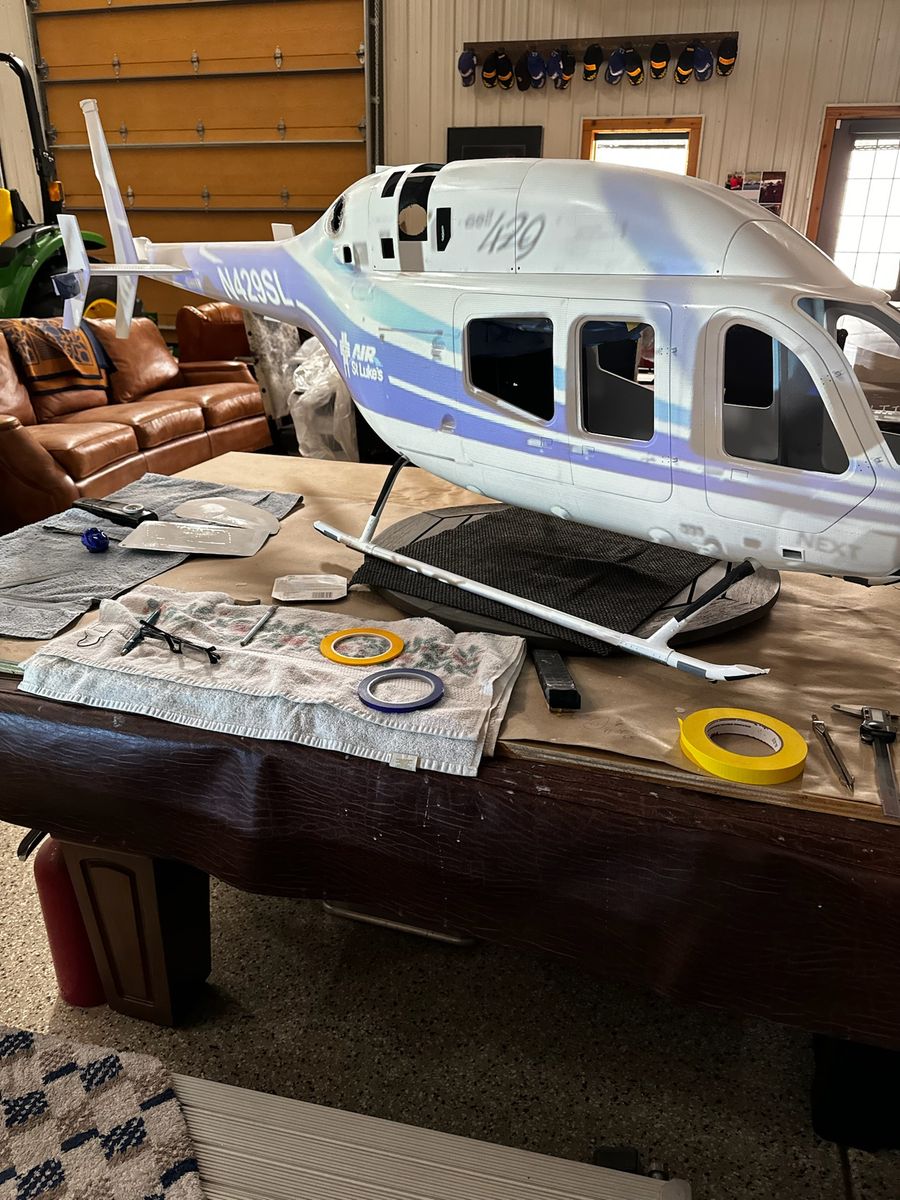
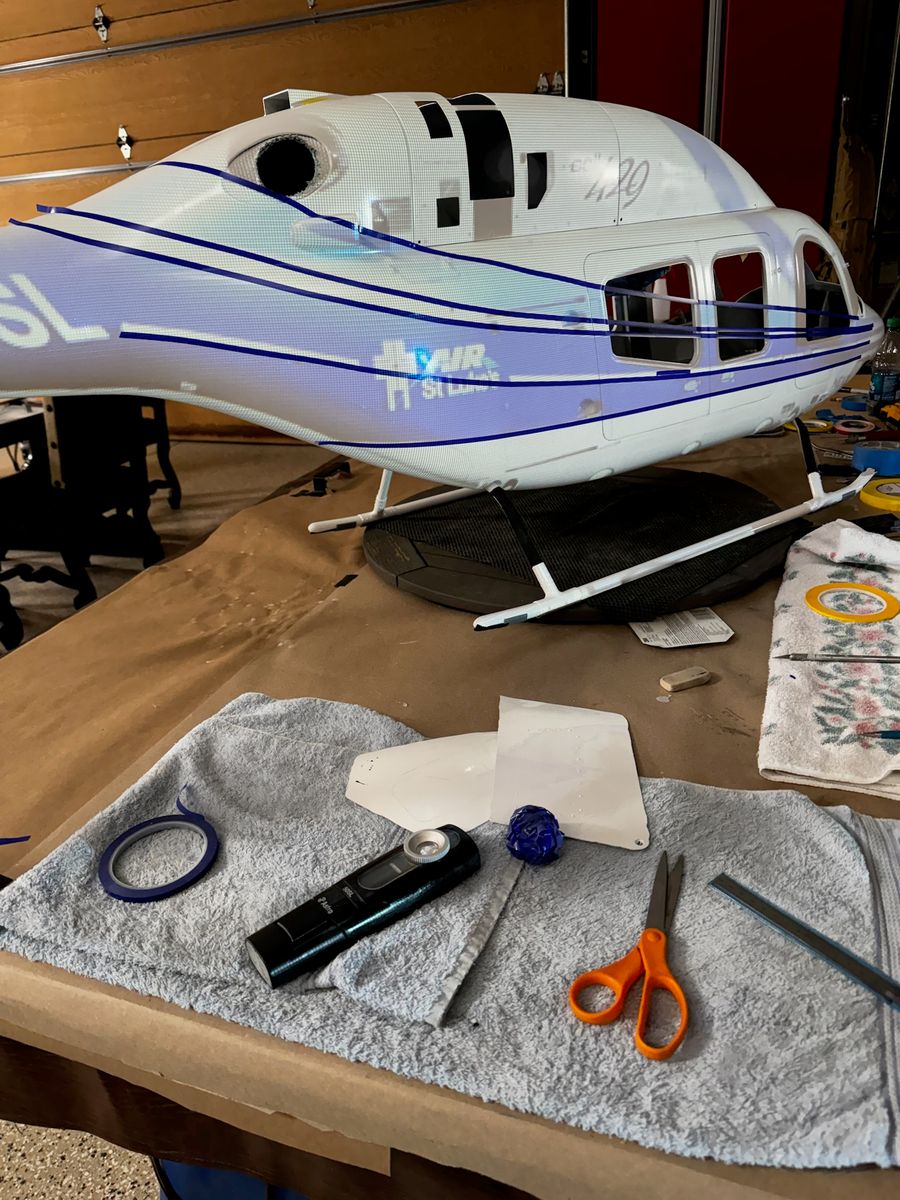
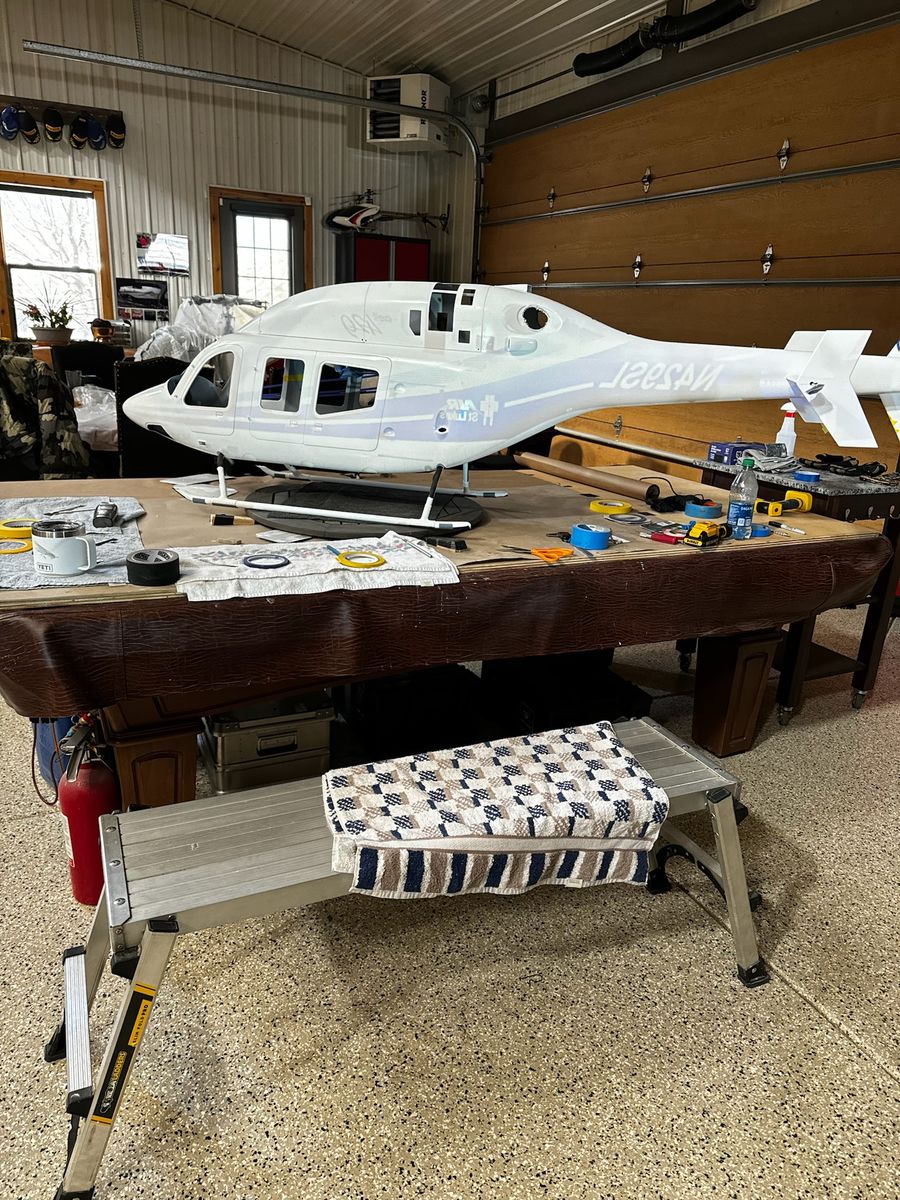
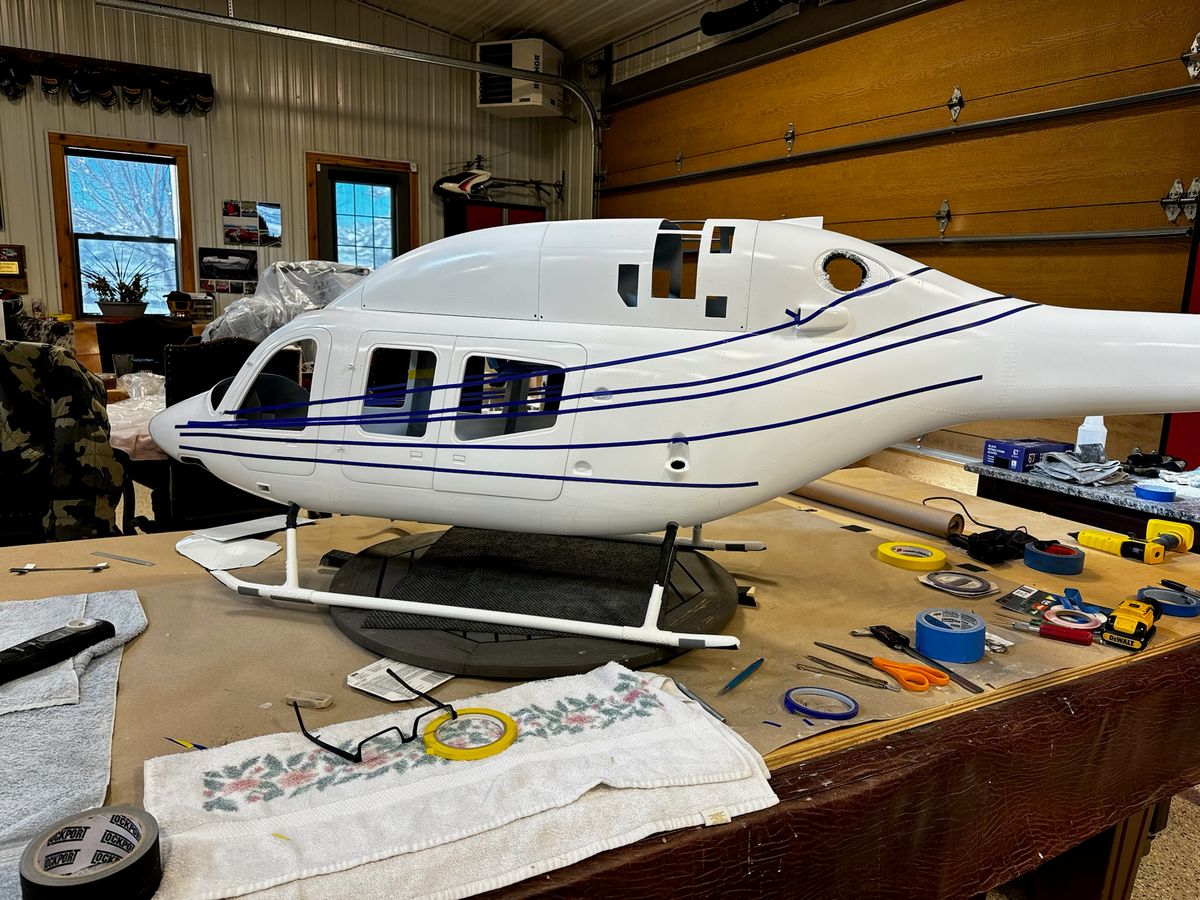
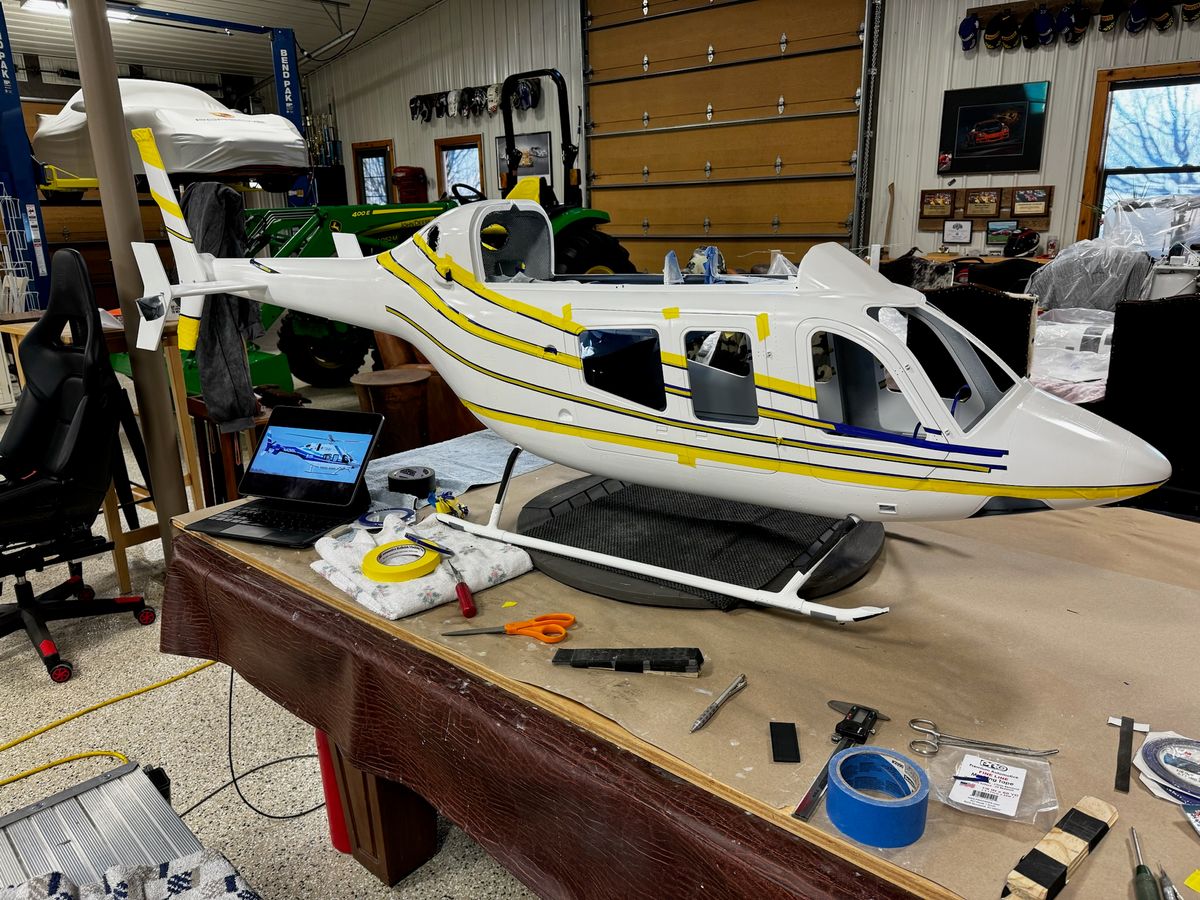
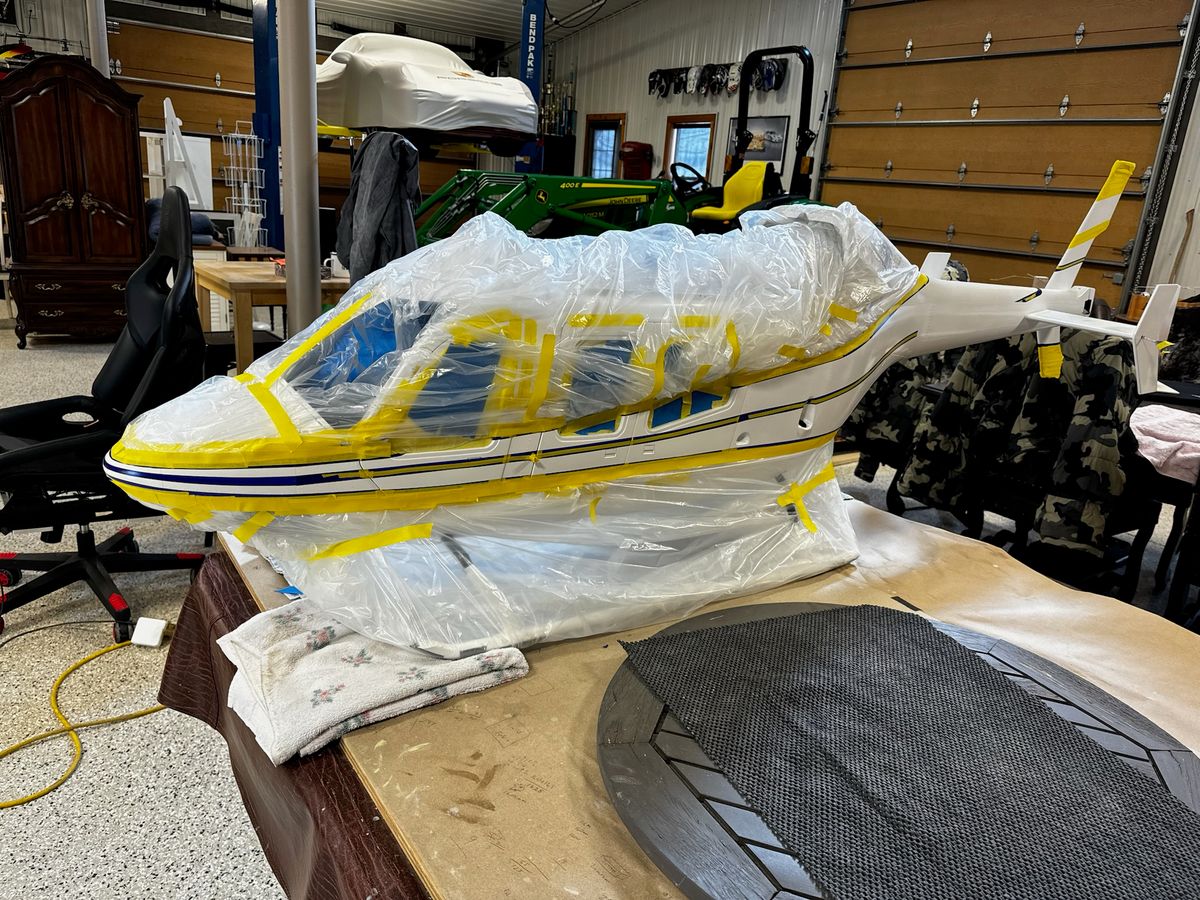
Here we start the process of masking. I use a cheap projector to project the outline to help layout masking lines.
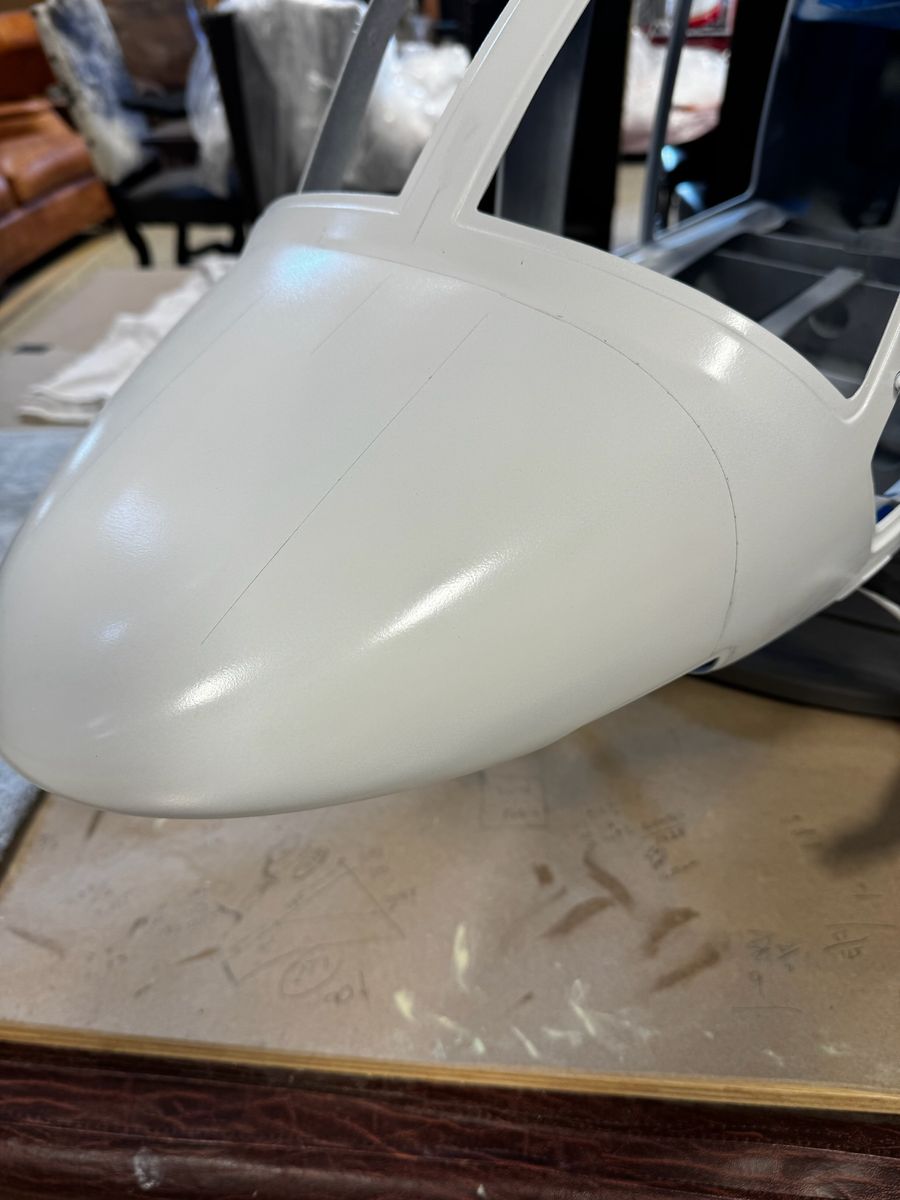
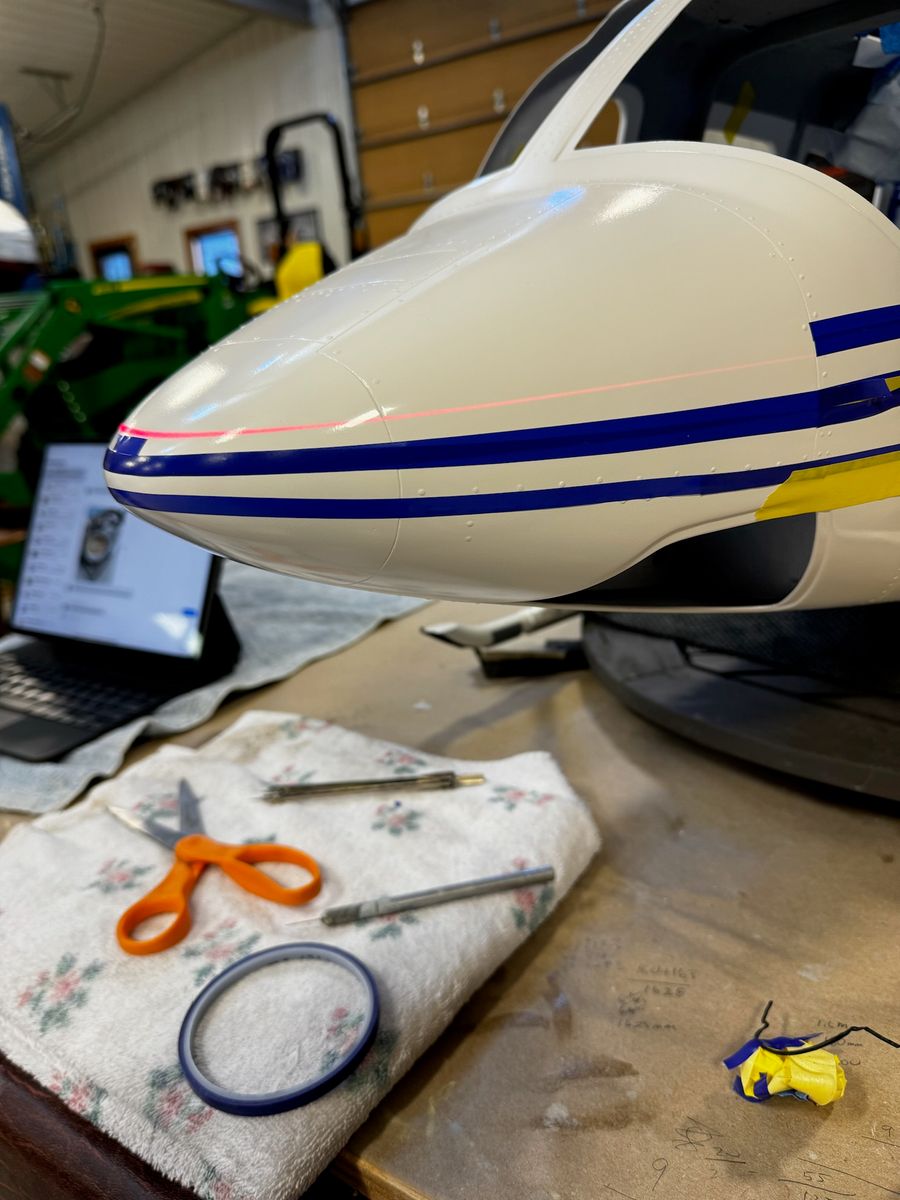
I used a laser to align the nose lines.
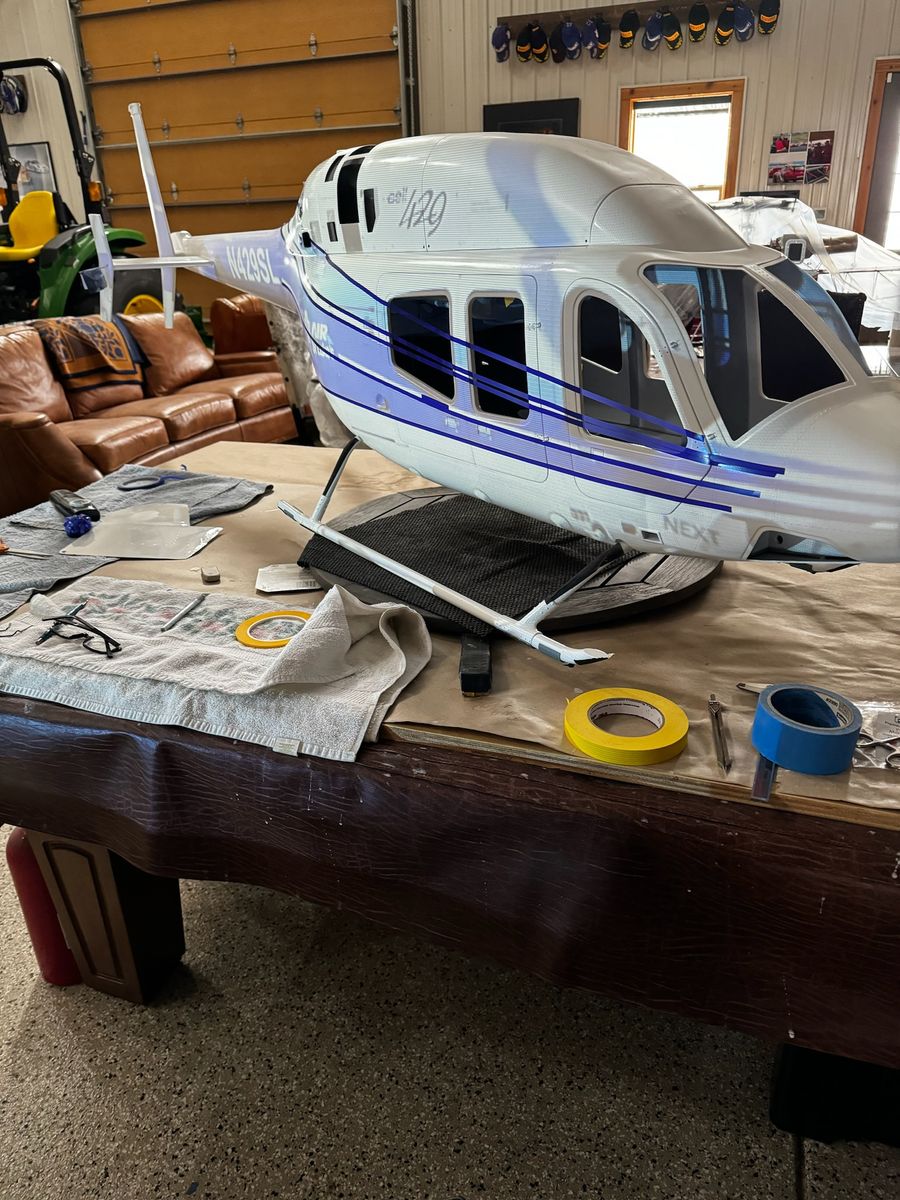
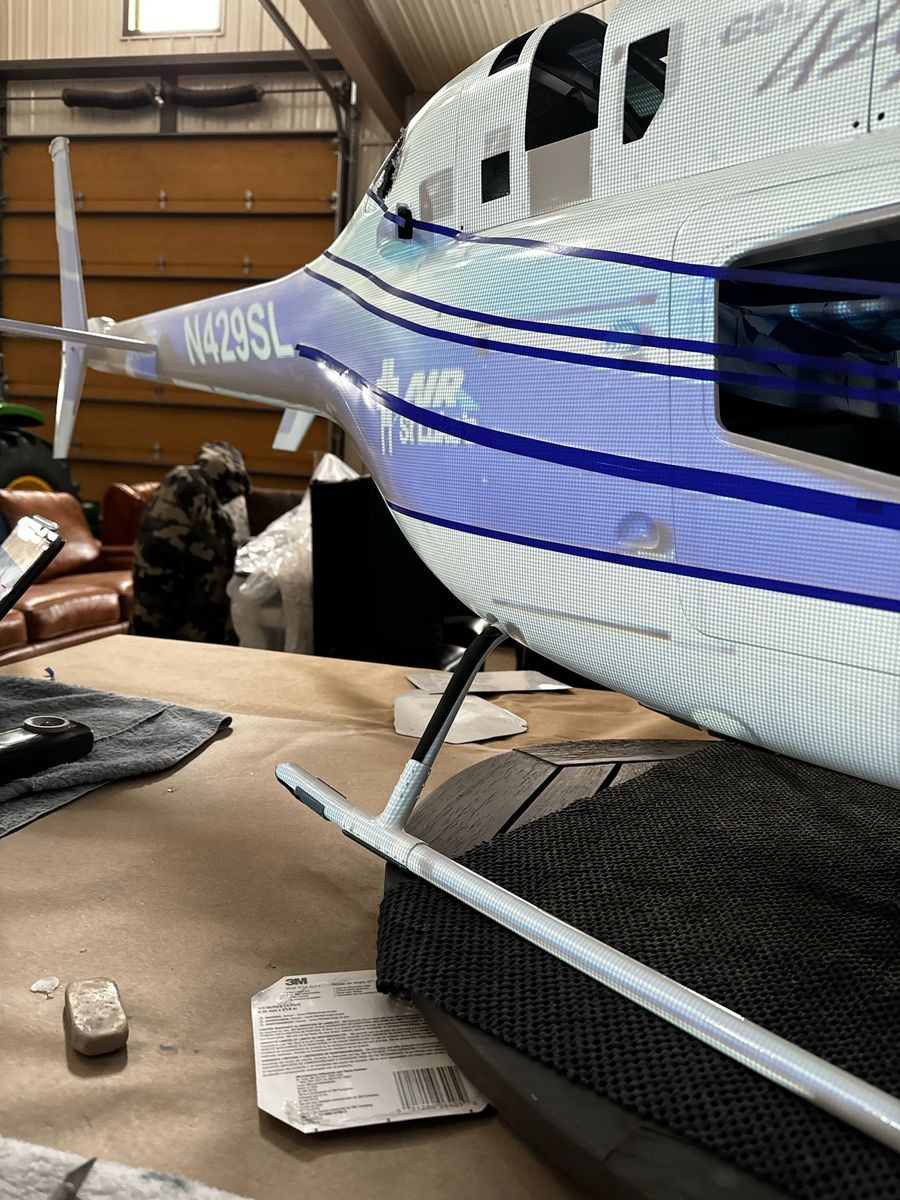
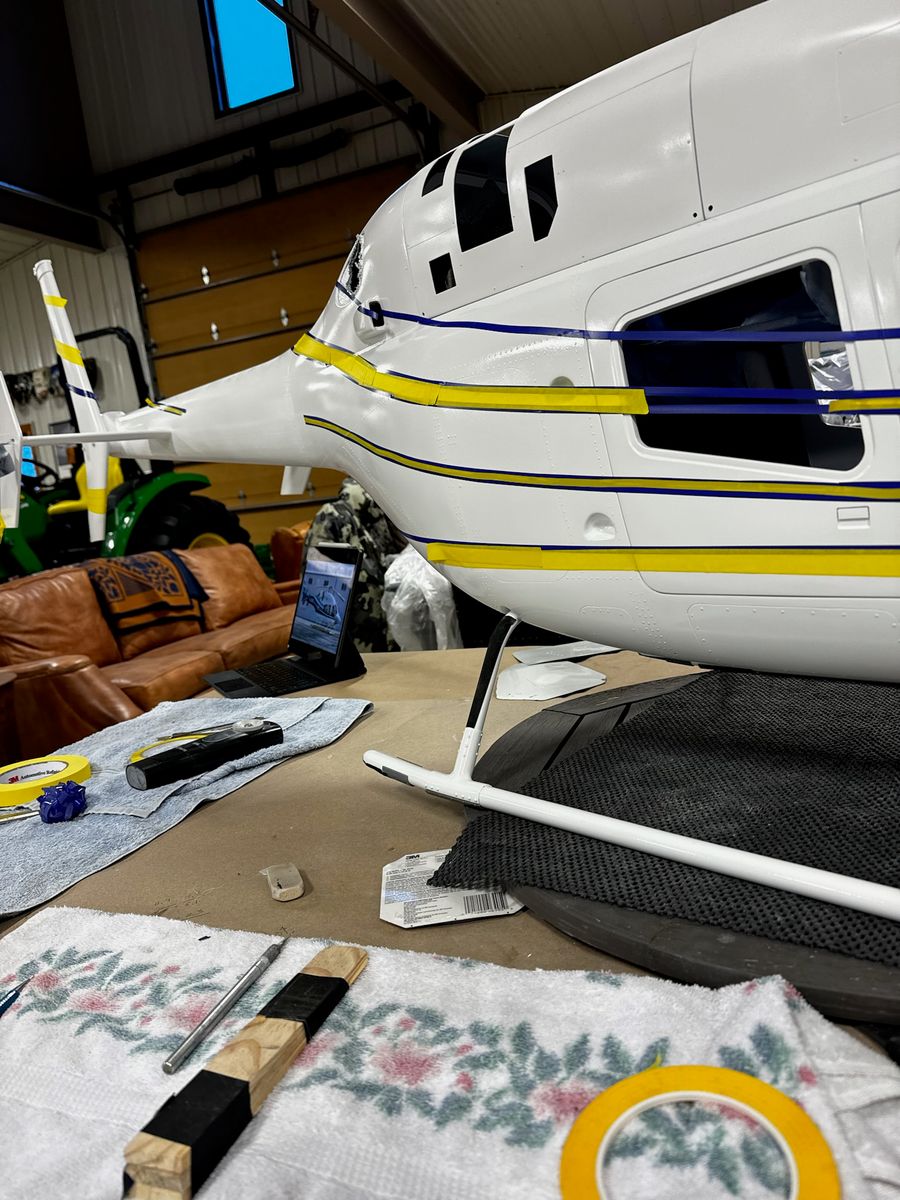
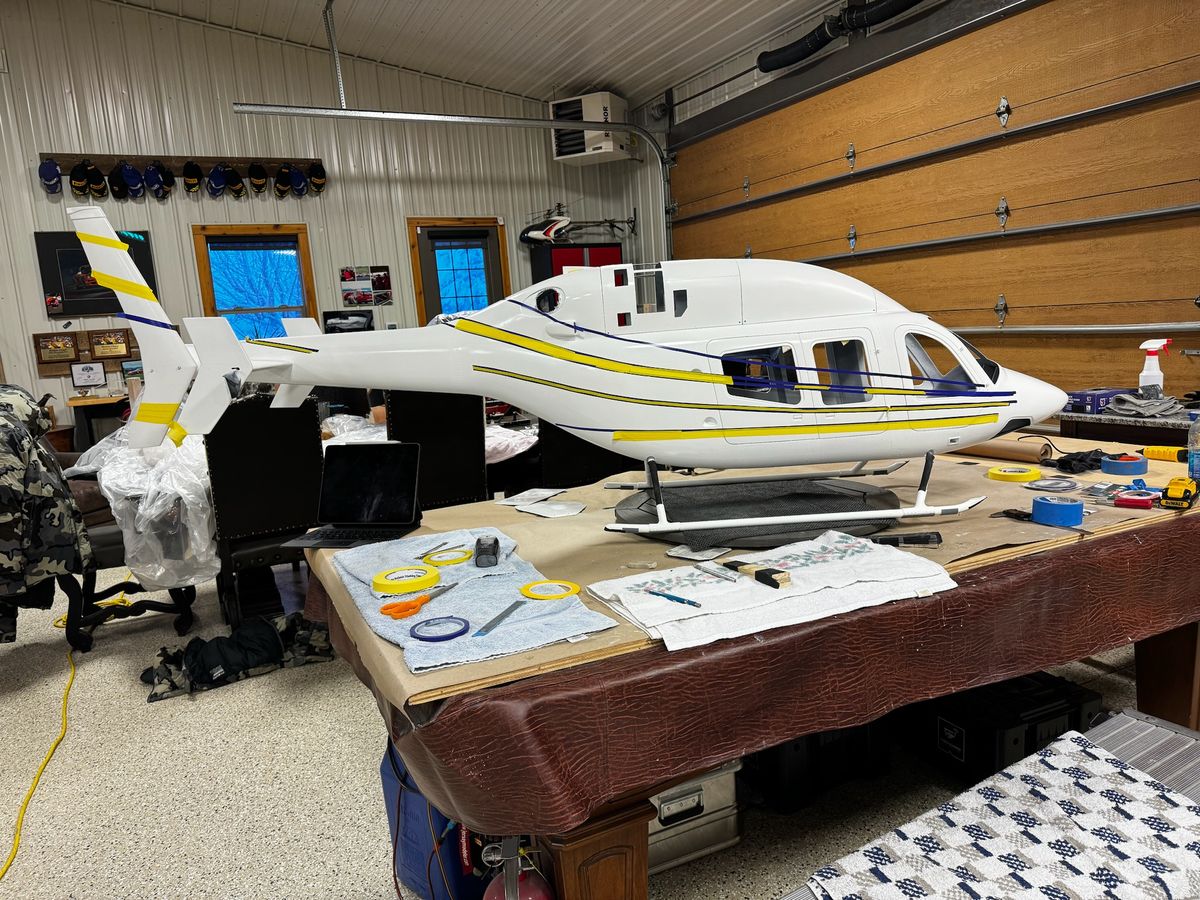
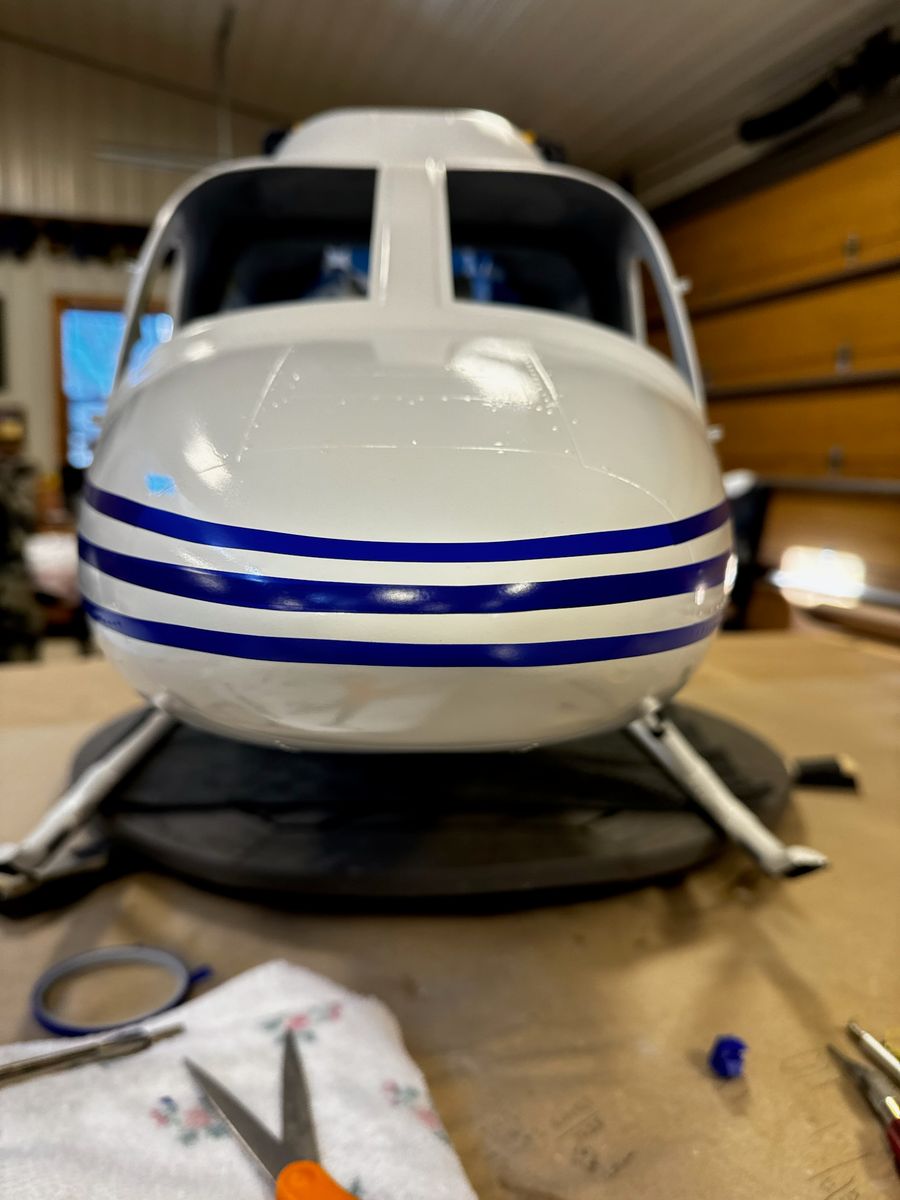
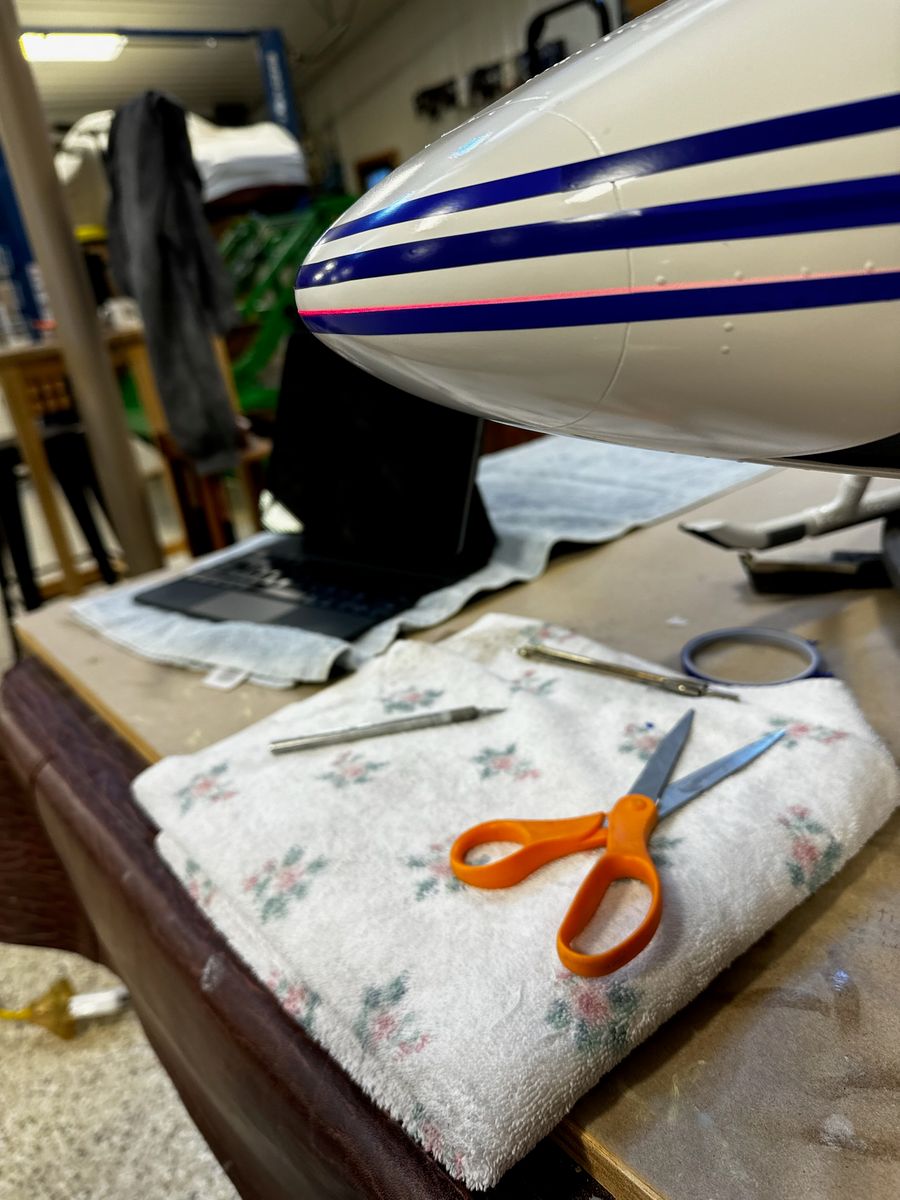
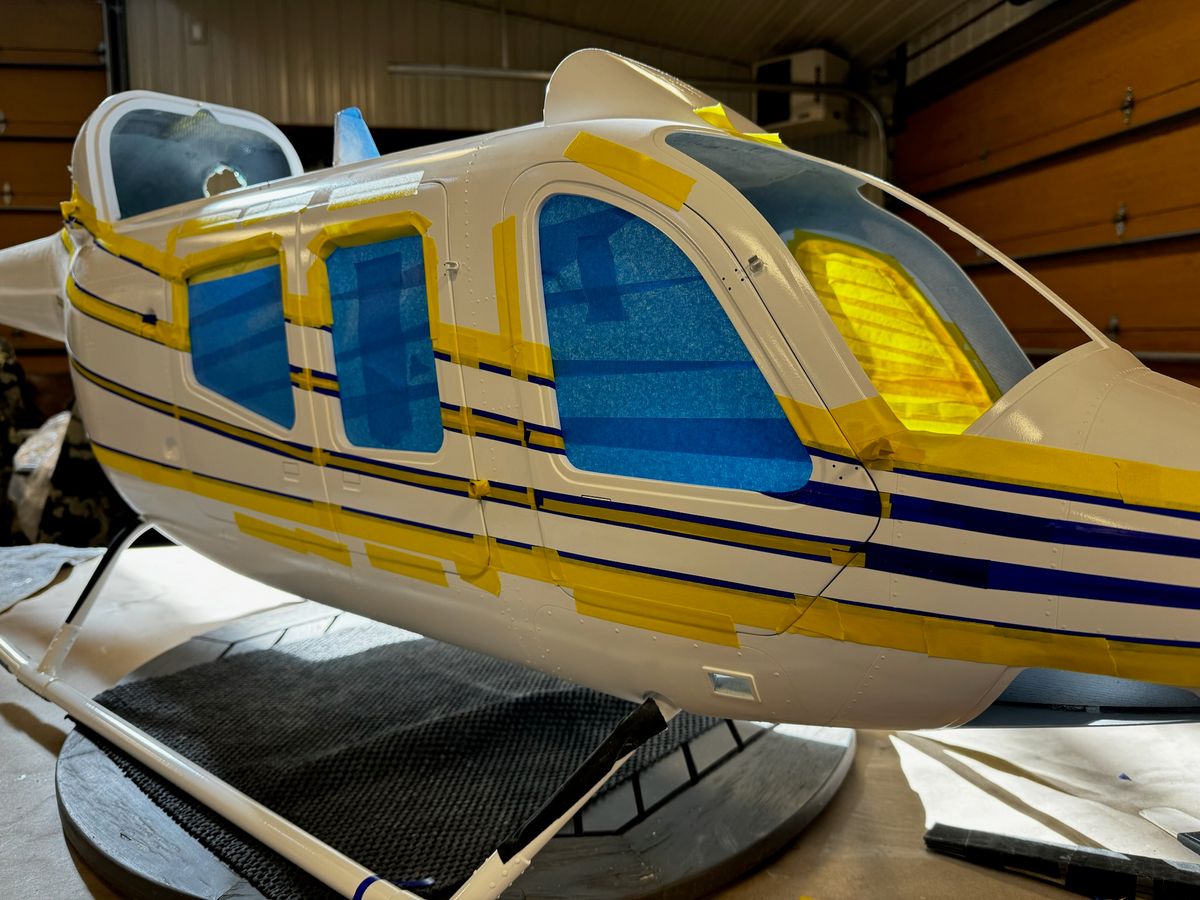
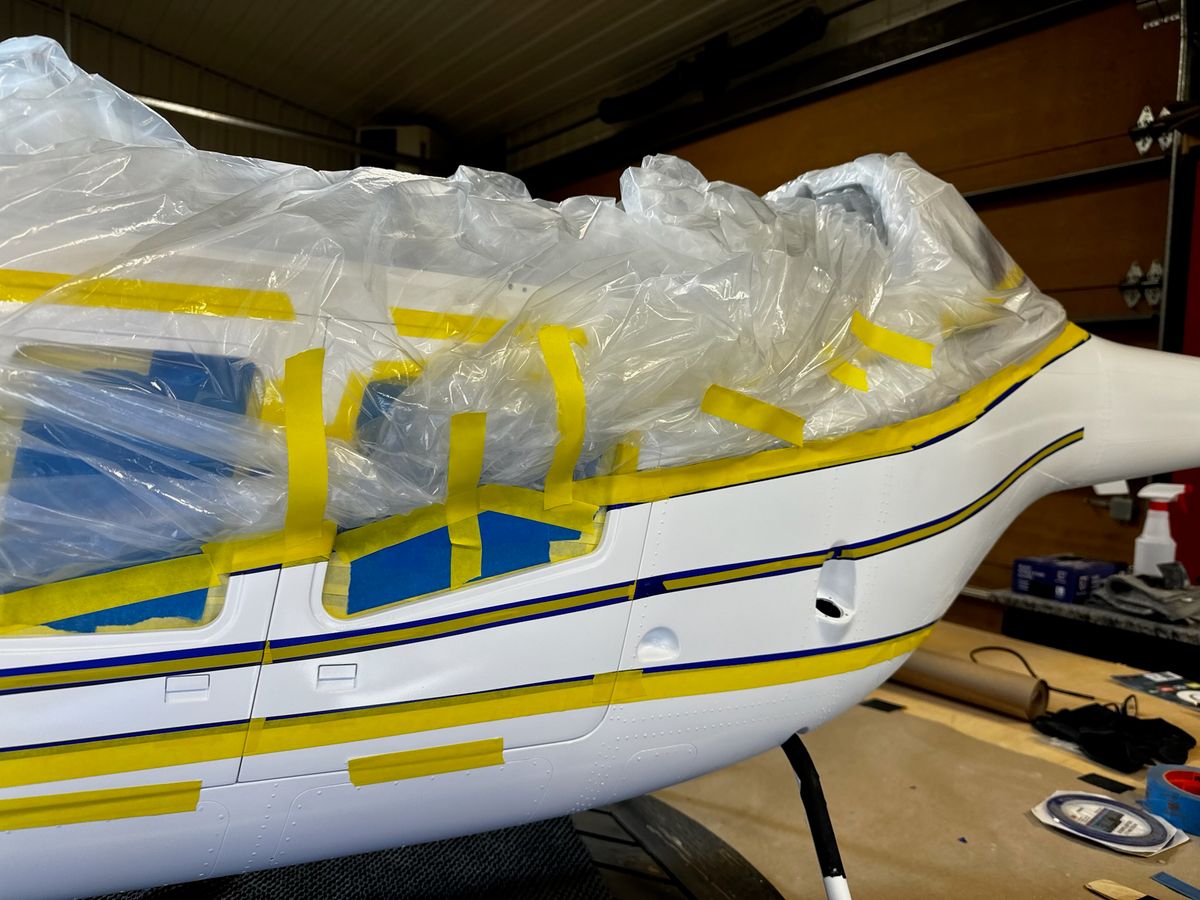
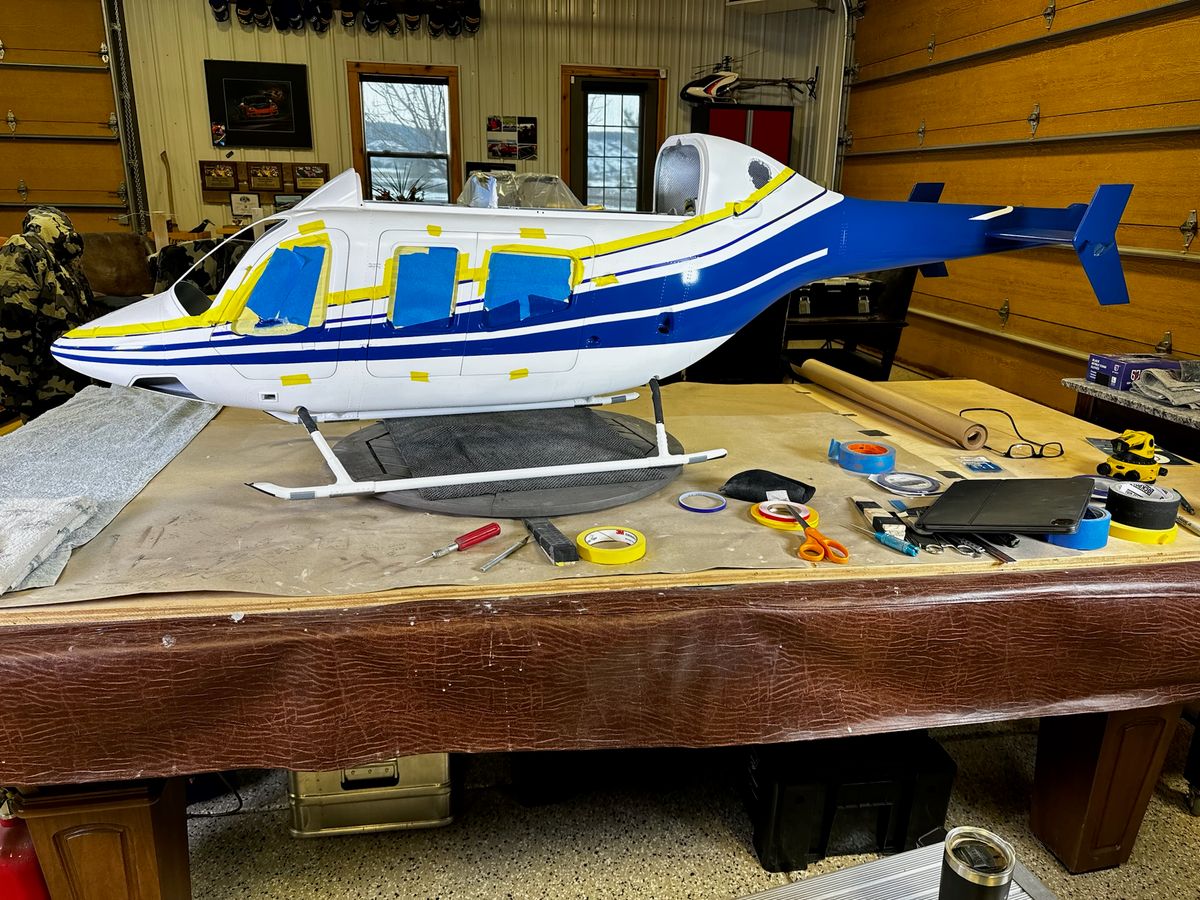
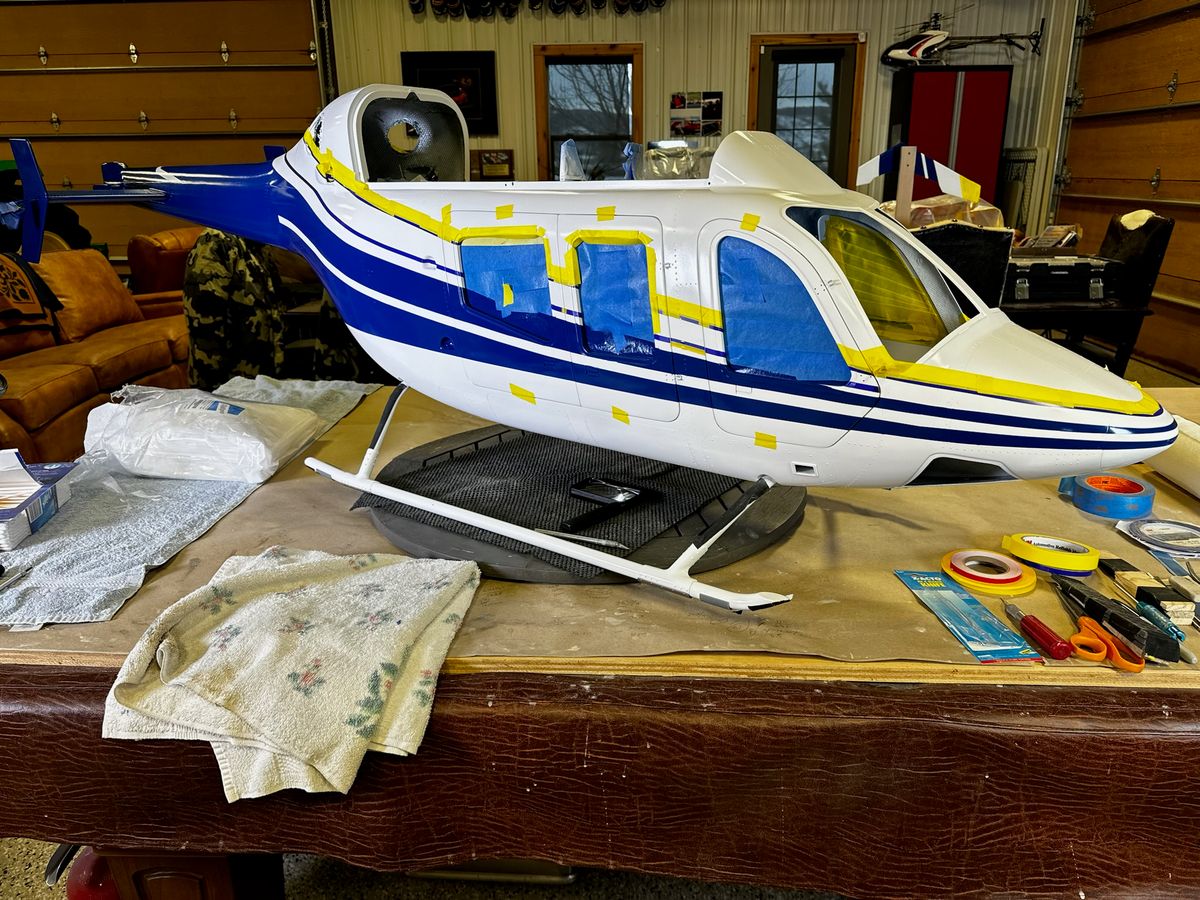
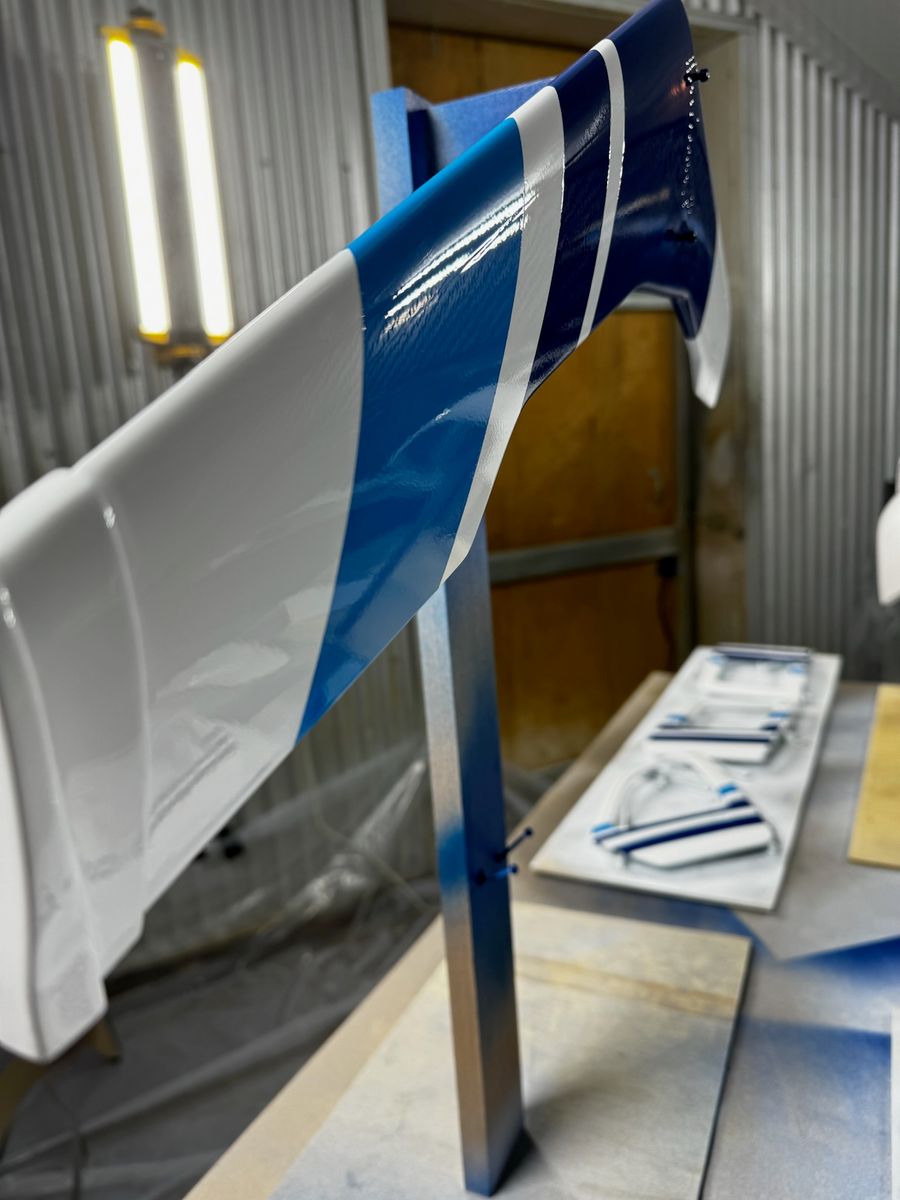
Secondary and third paint colors
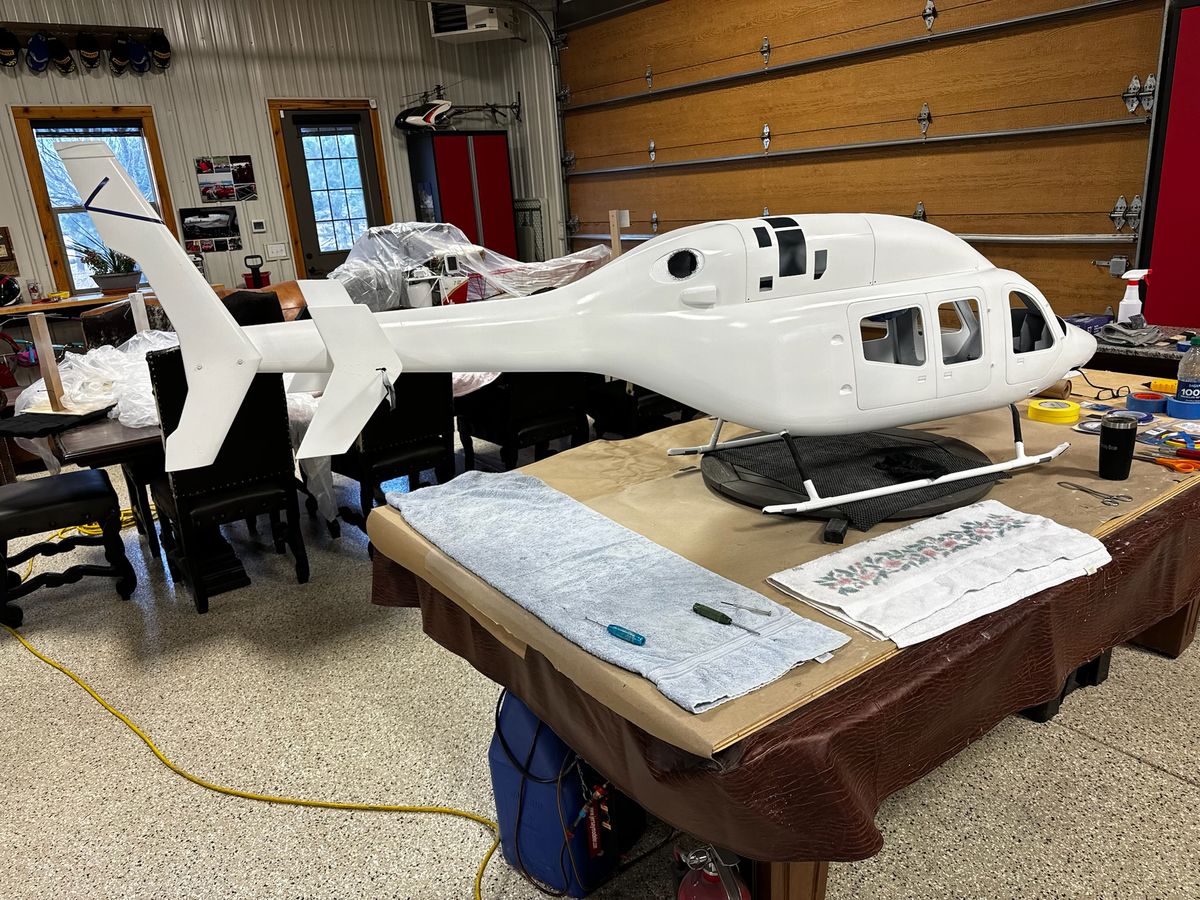
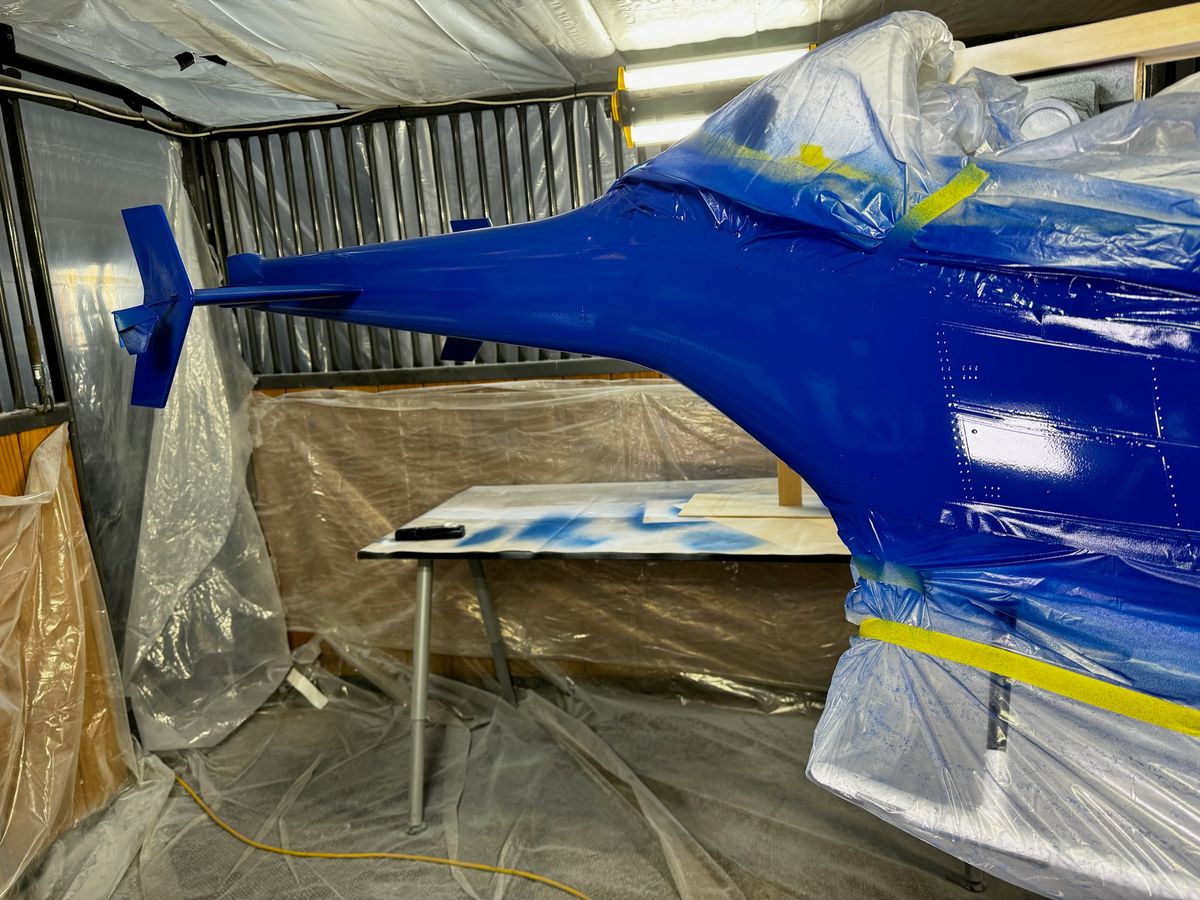
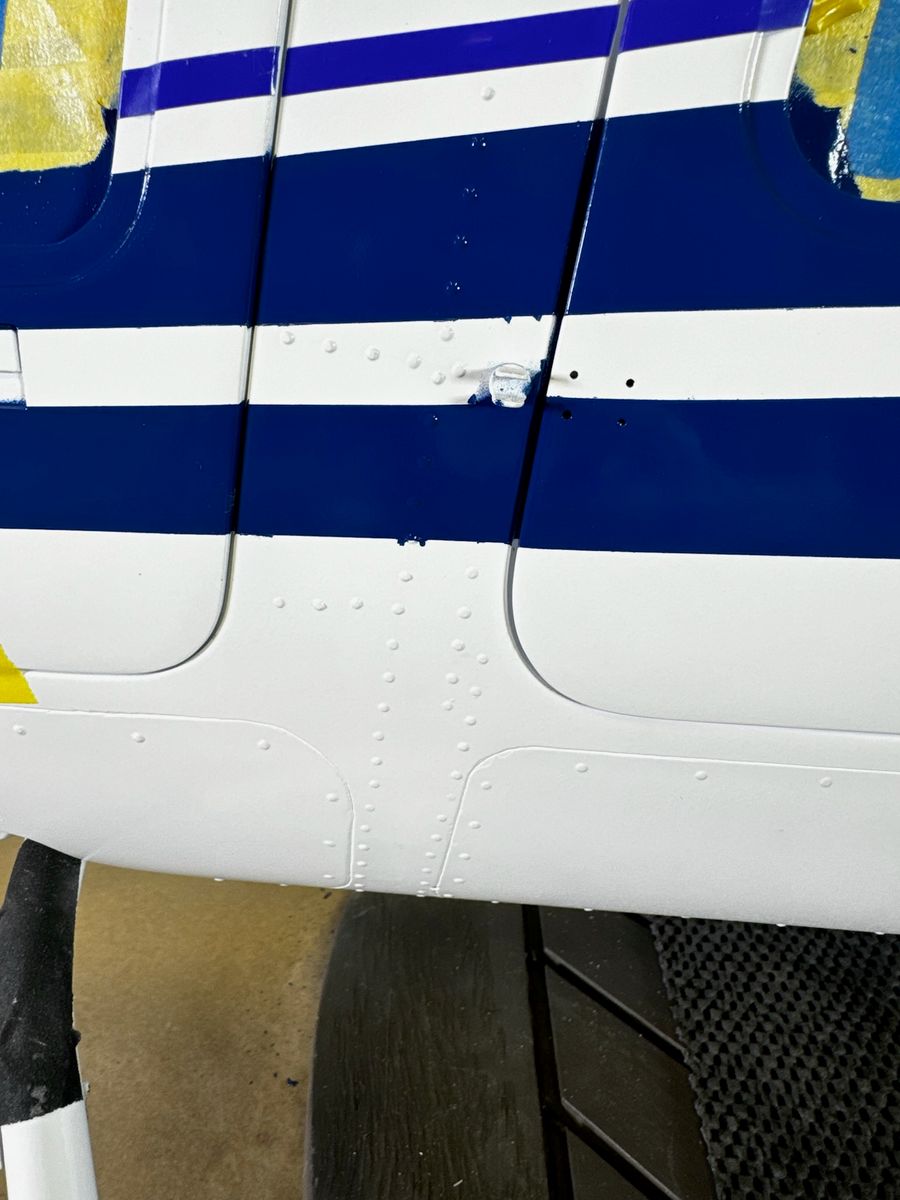
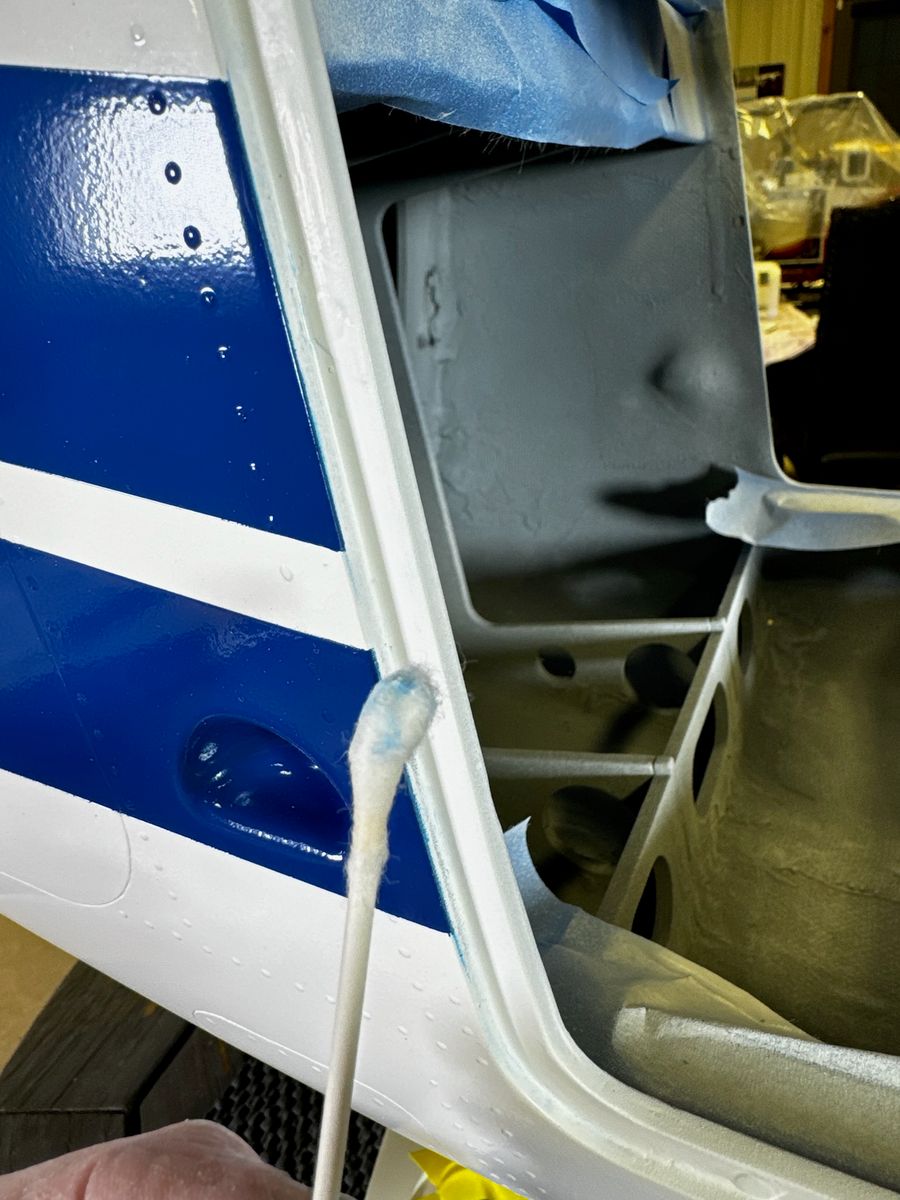
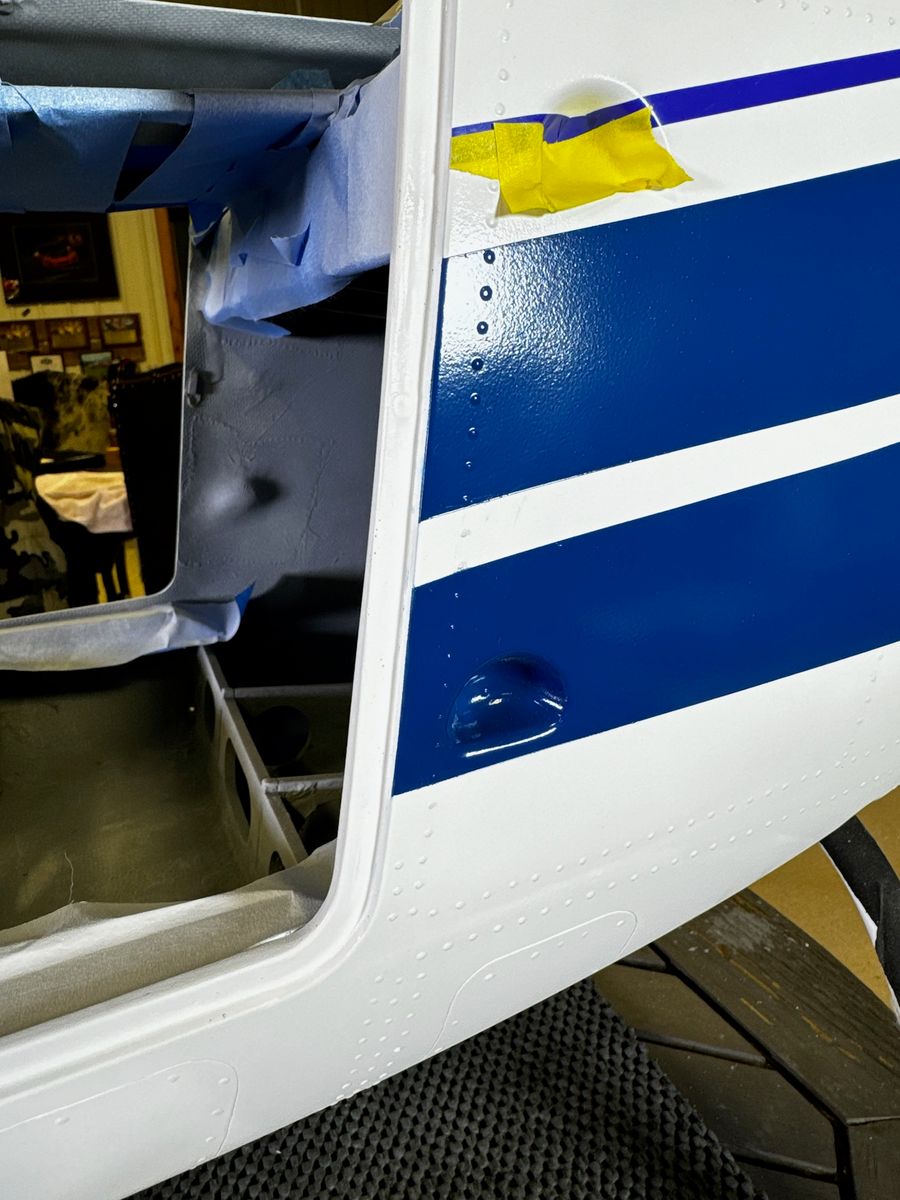
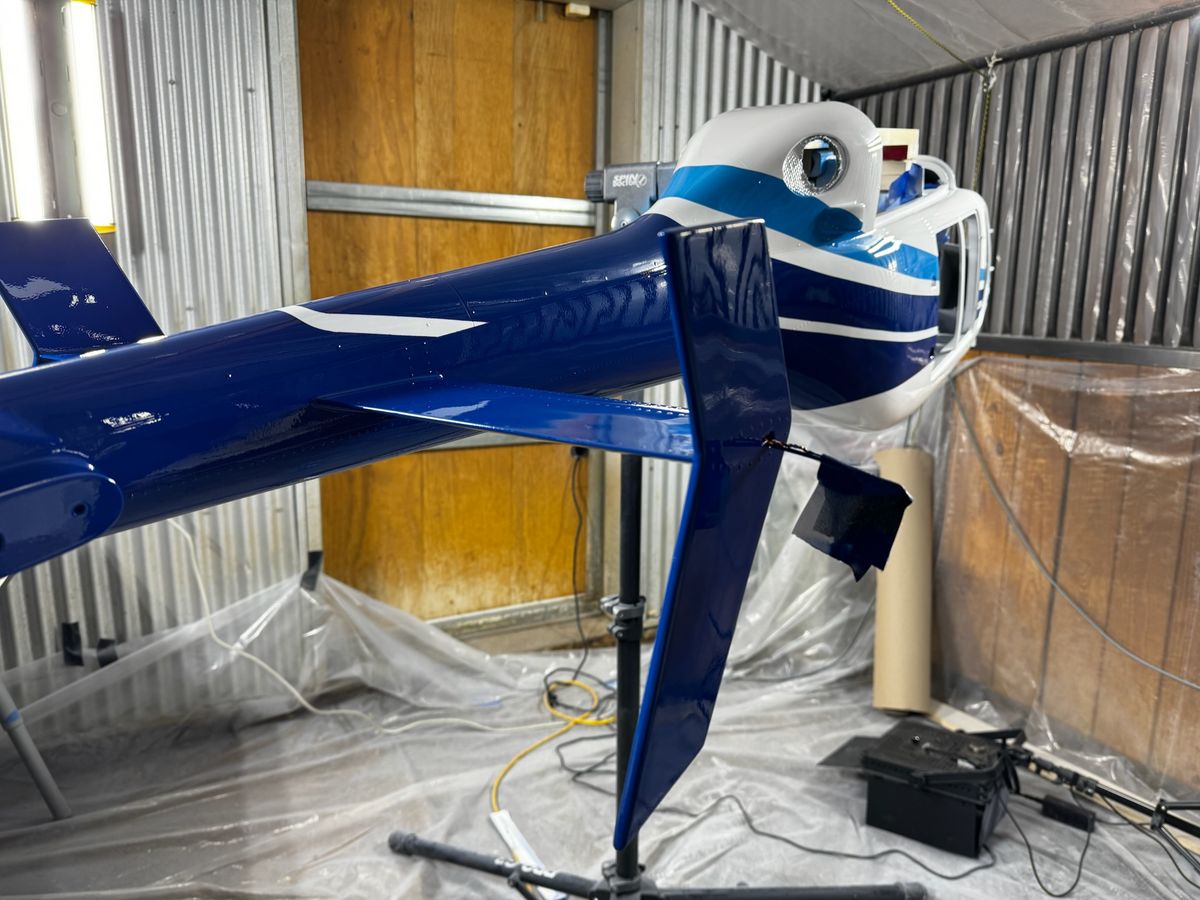
I fabricated a paint booth supplied with filtered supply air and exhaust, balanced to produce a slight positive pressure. Imperfections were carefully removed using acetone.
Clear coat
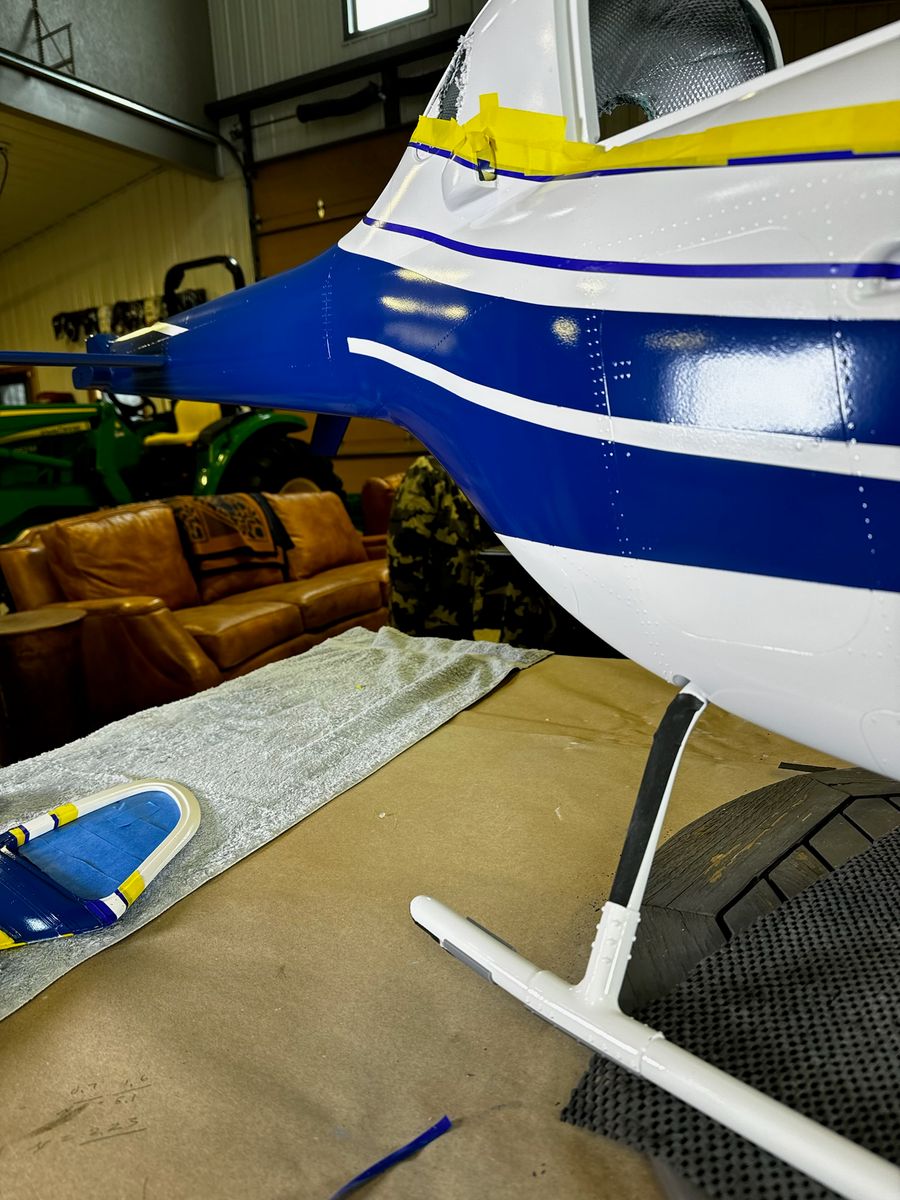
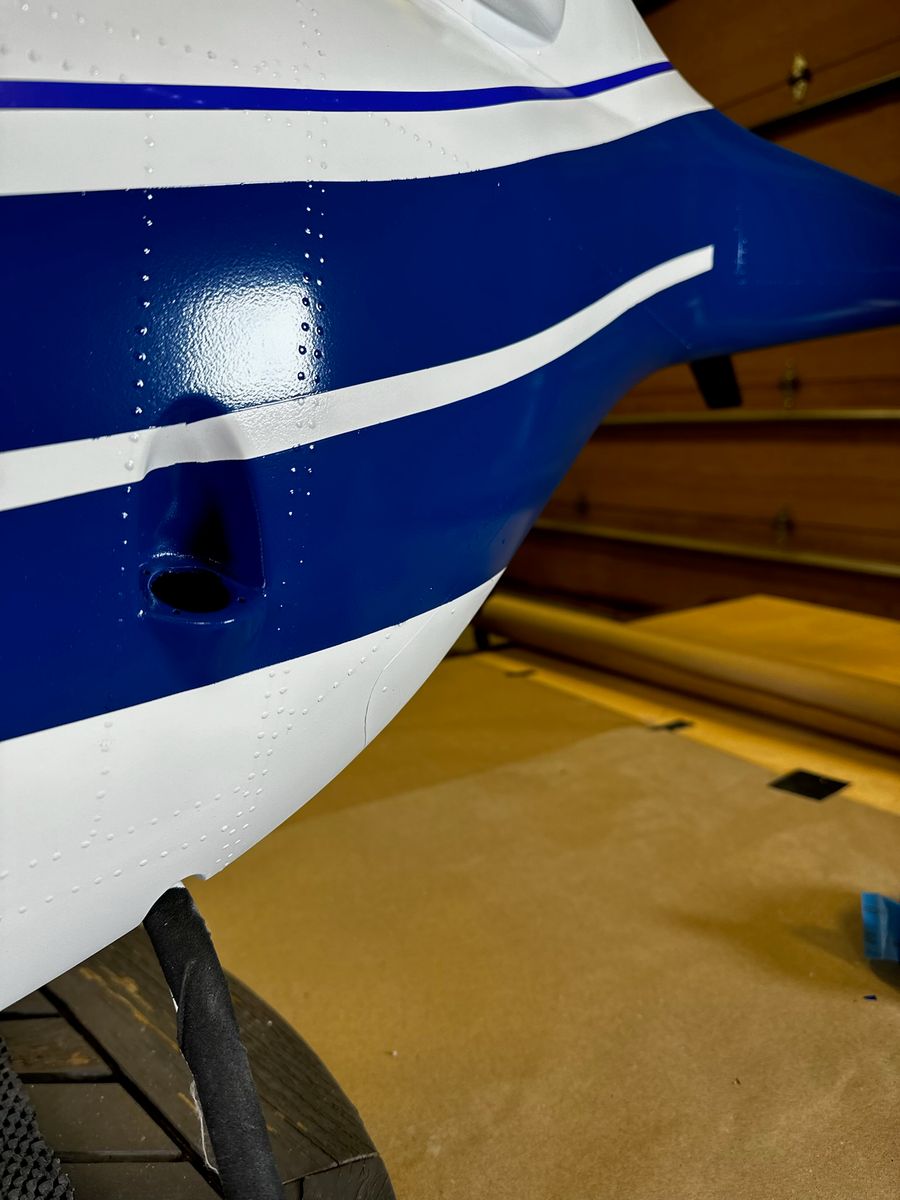
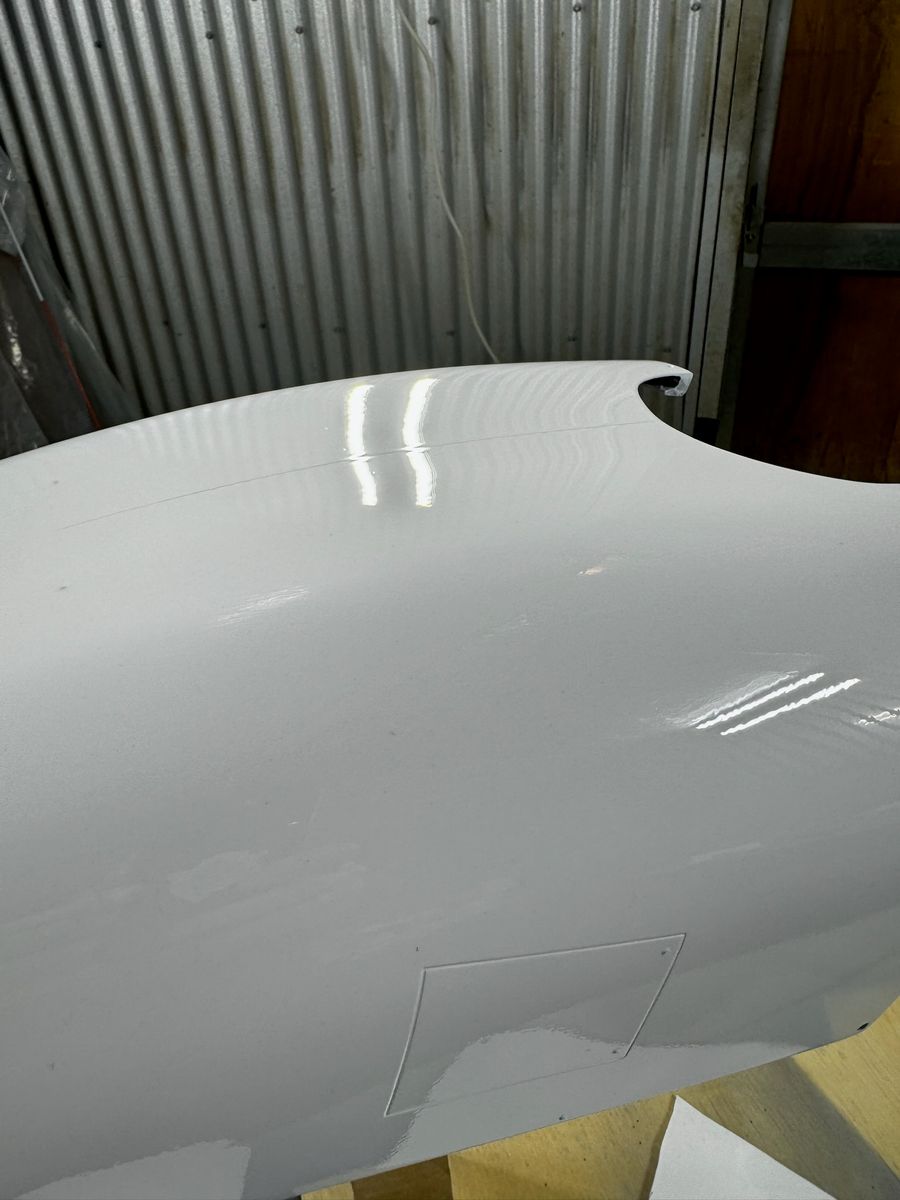
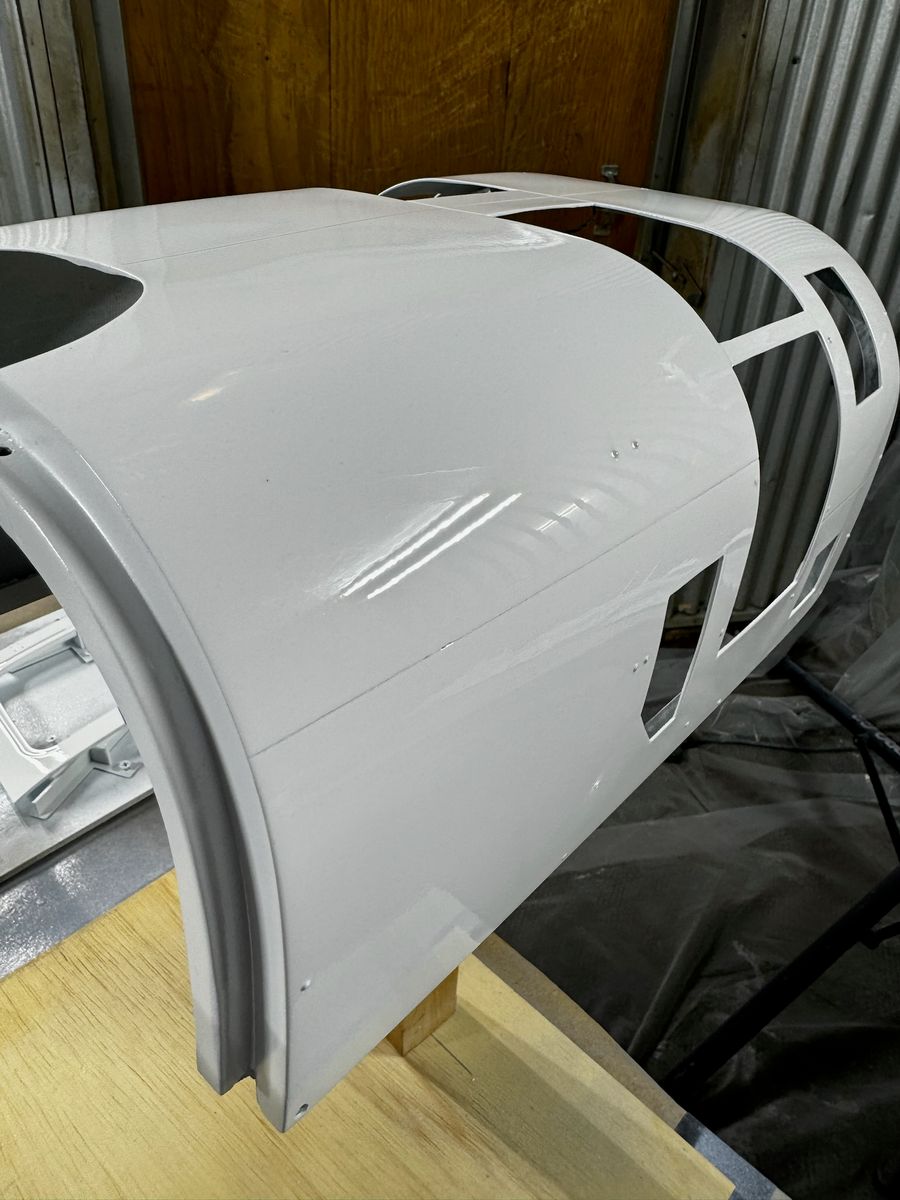
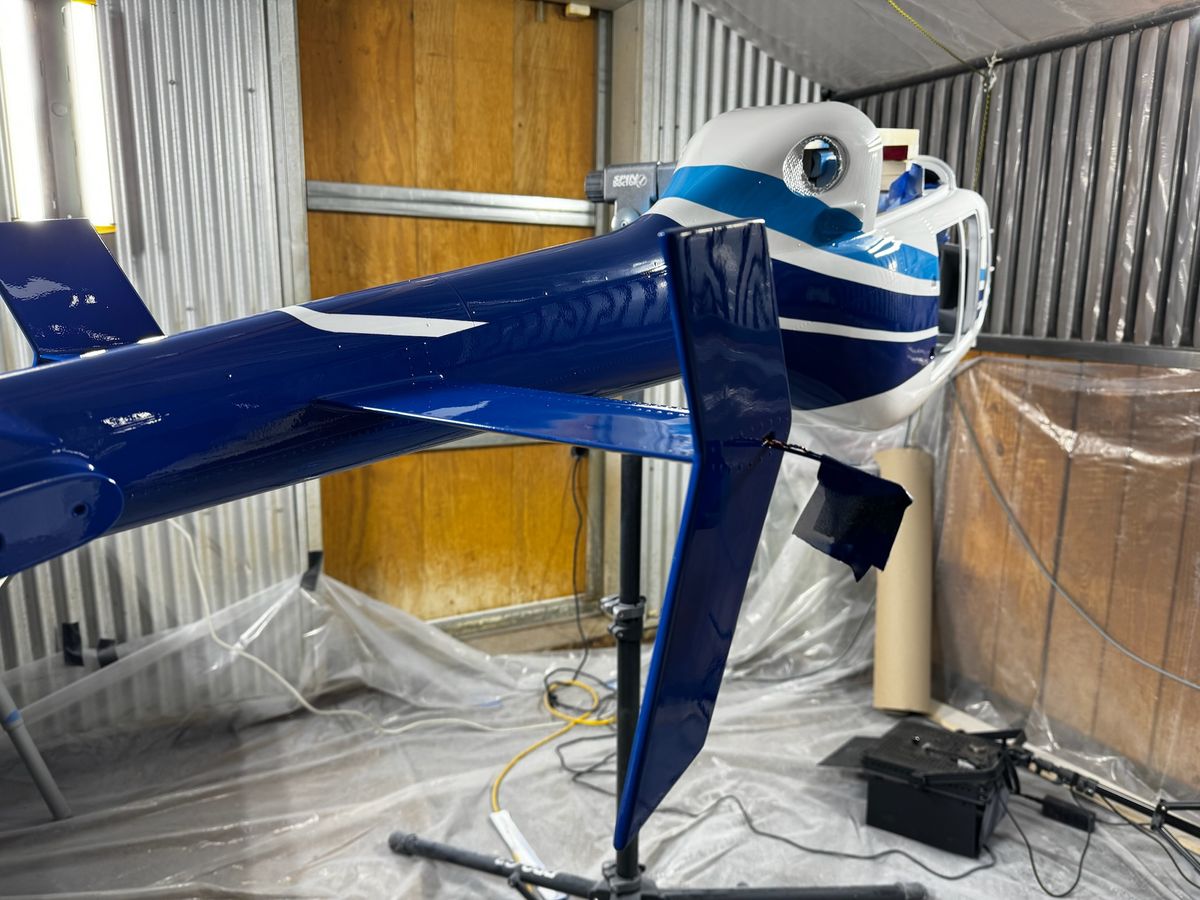
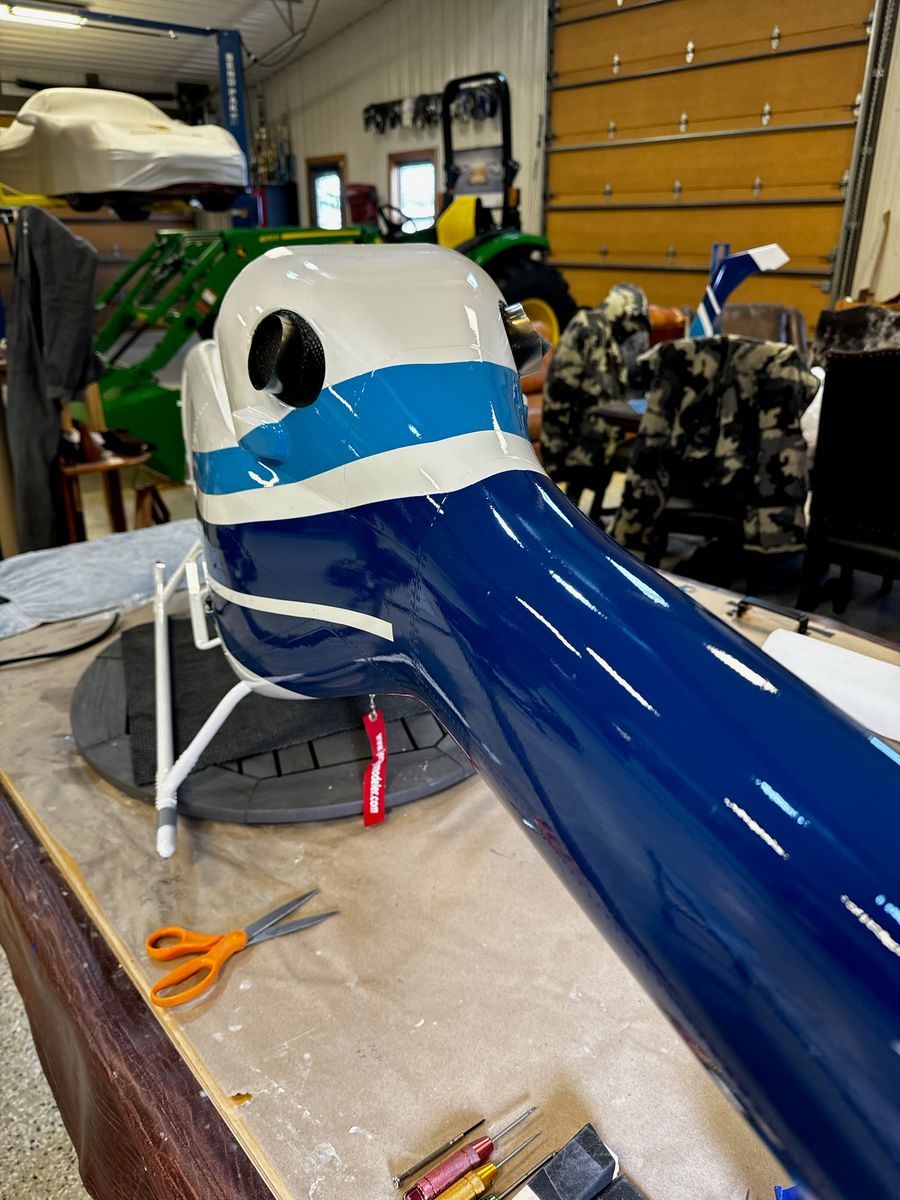
Clear coat is the most stressful part for me. The makeshift paint booth air was provided via pleated filter and fan with the exhaust on the opposite side. It provided a net positive area.
And of course, one strand of lint found it way to the nose, a painters nightmare.
After clear coat, now for some details
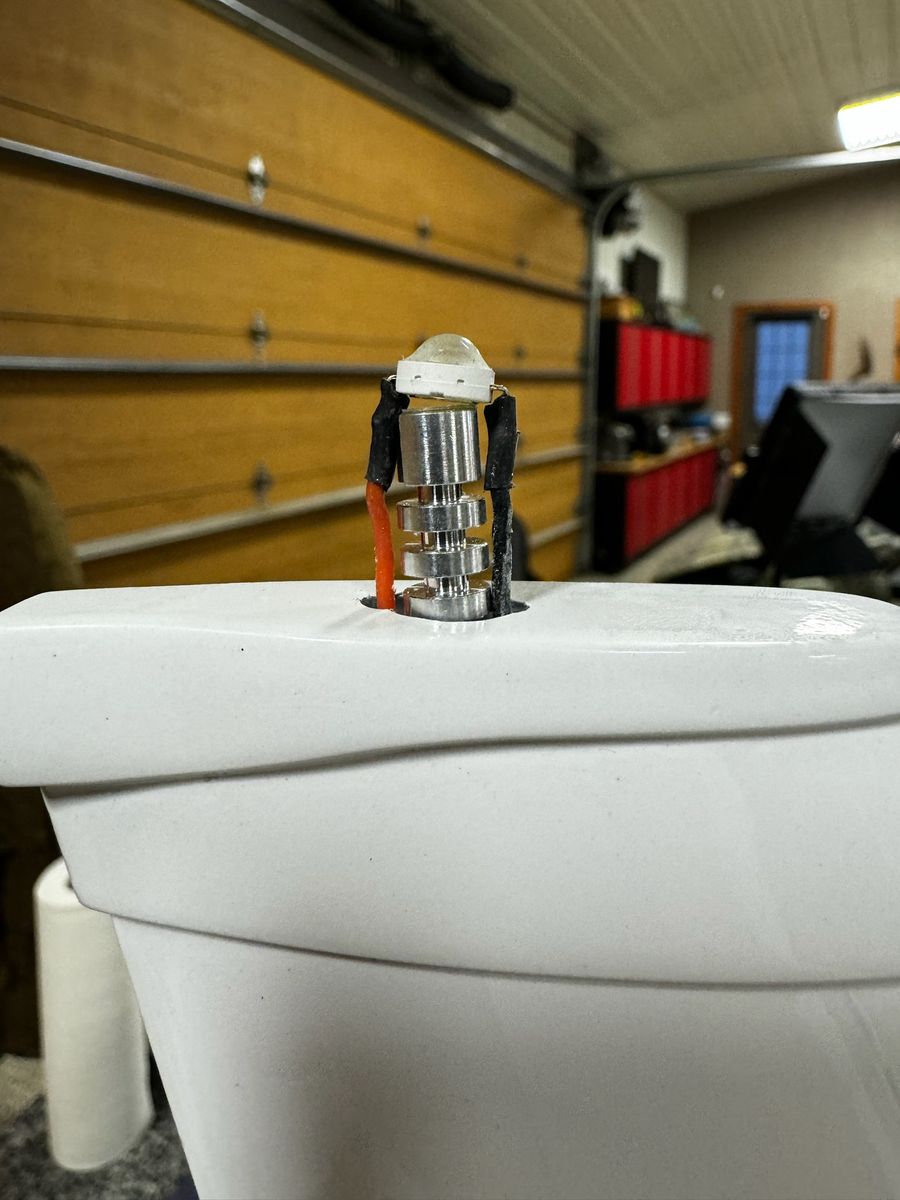
3D printed some details and added other items.
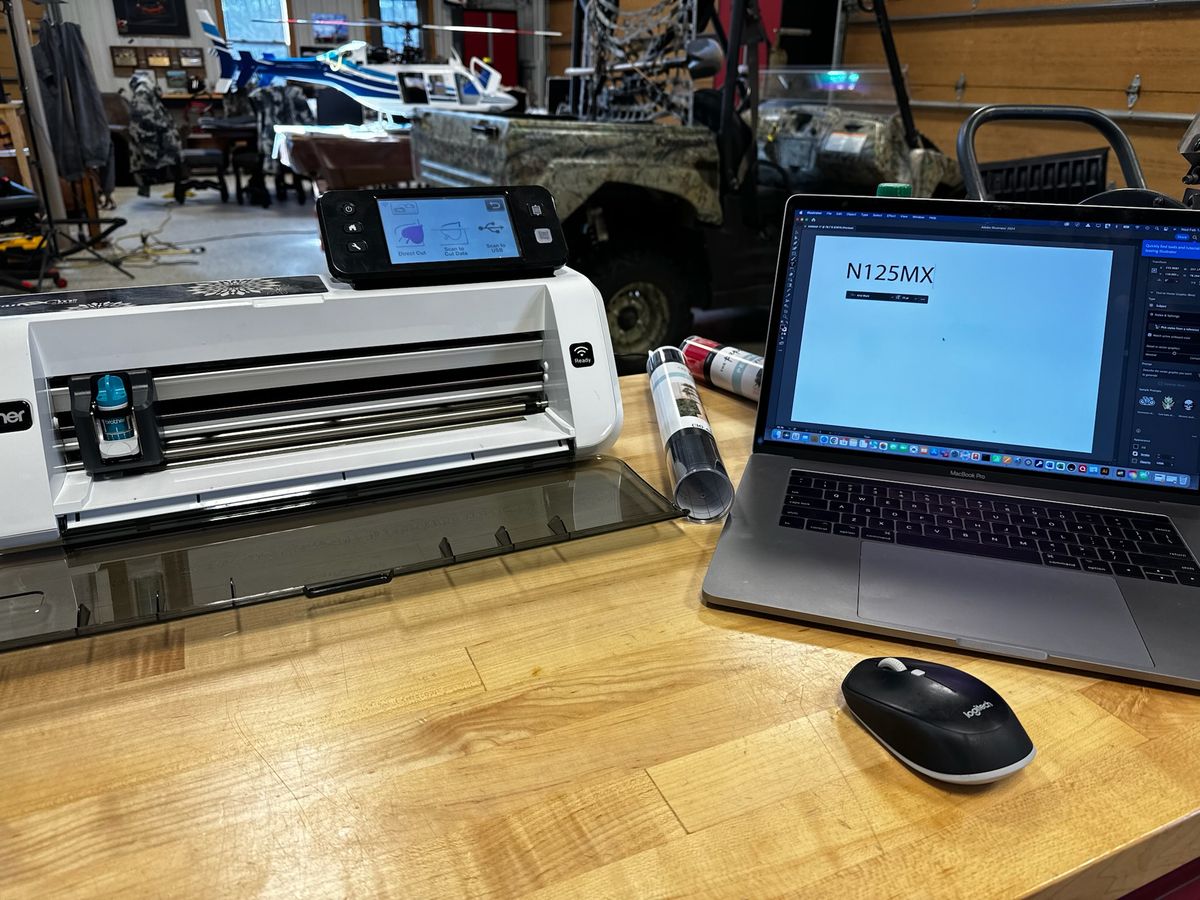
Added graphics
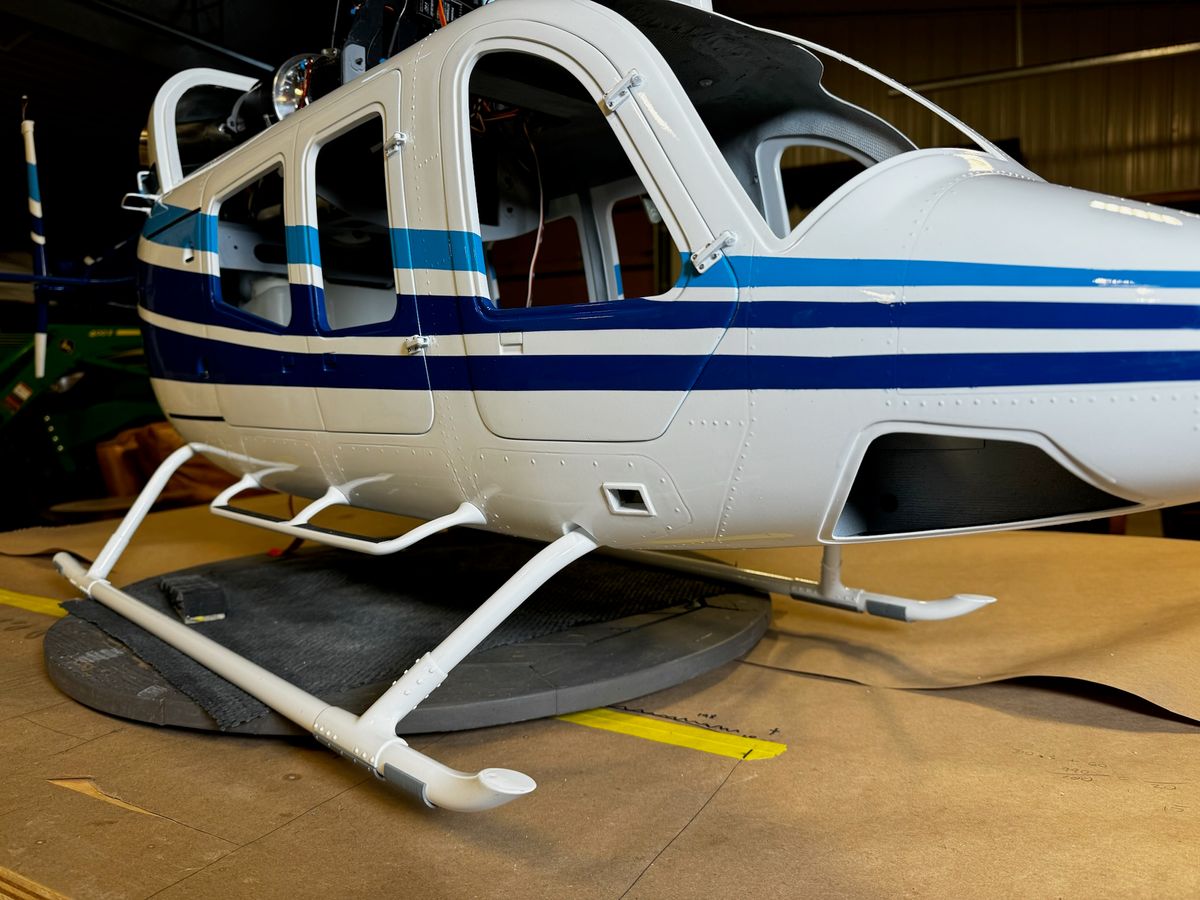
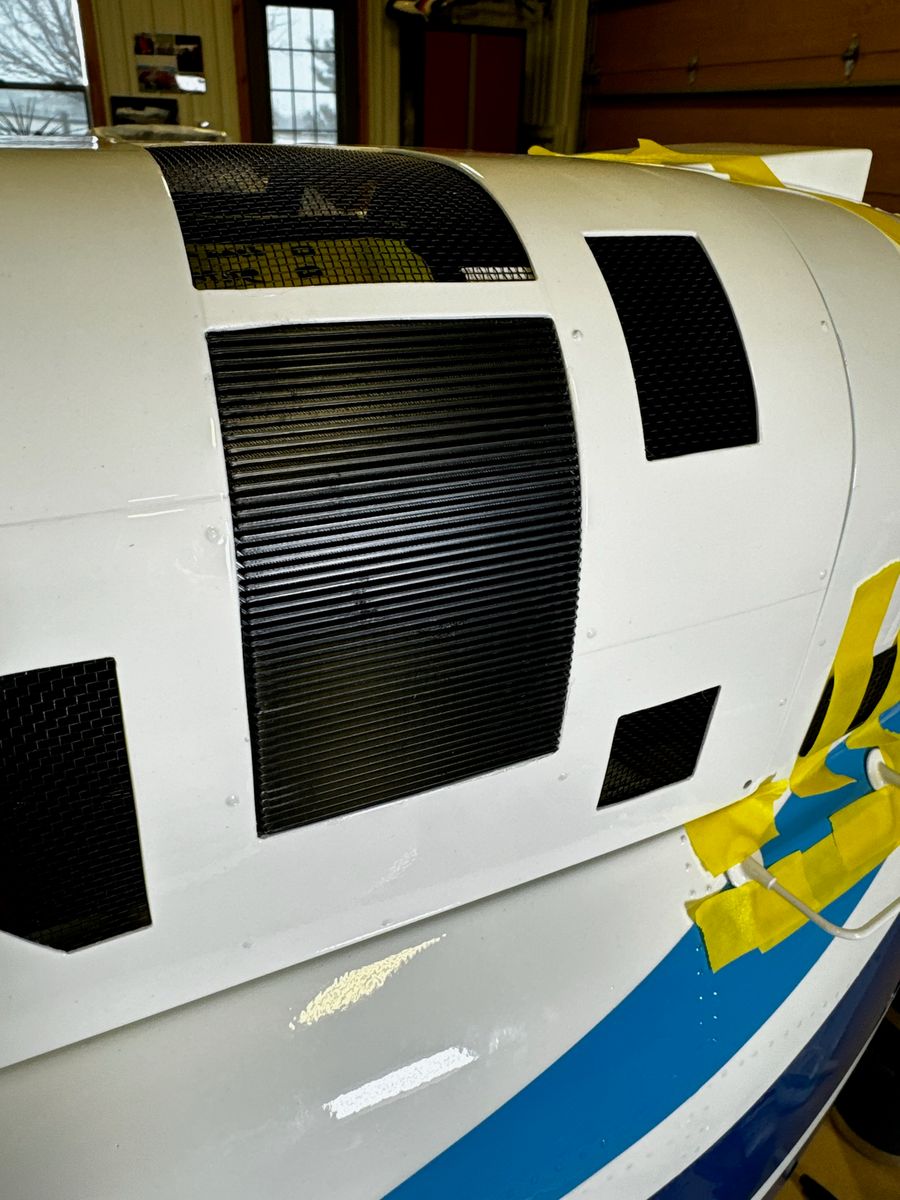
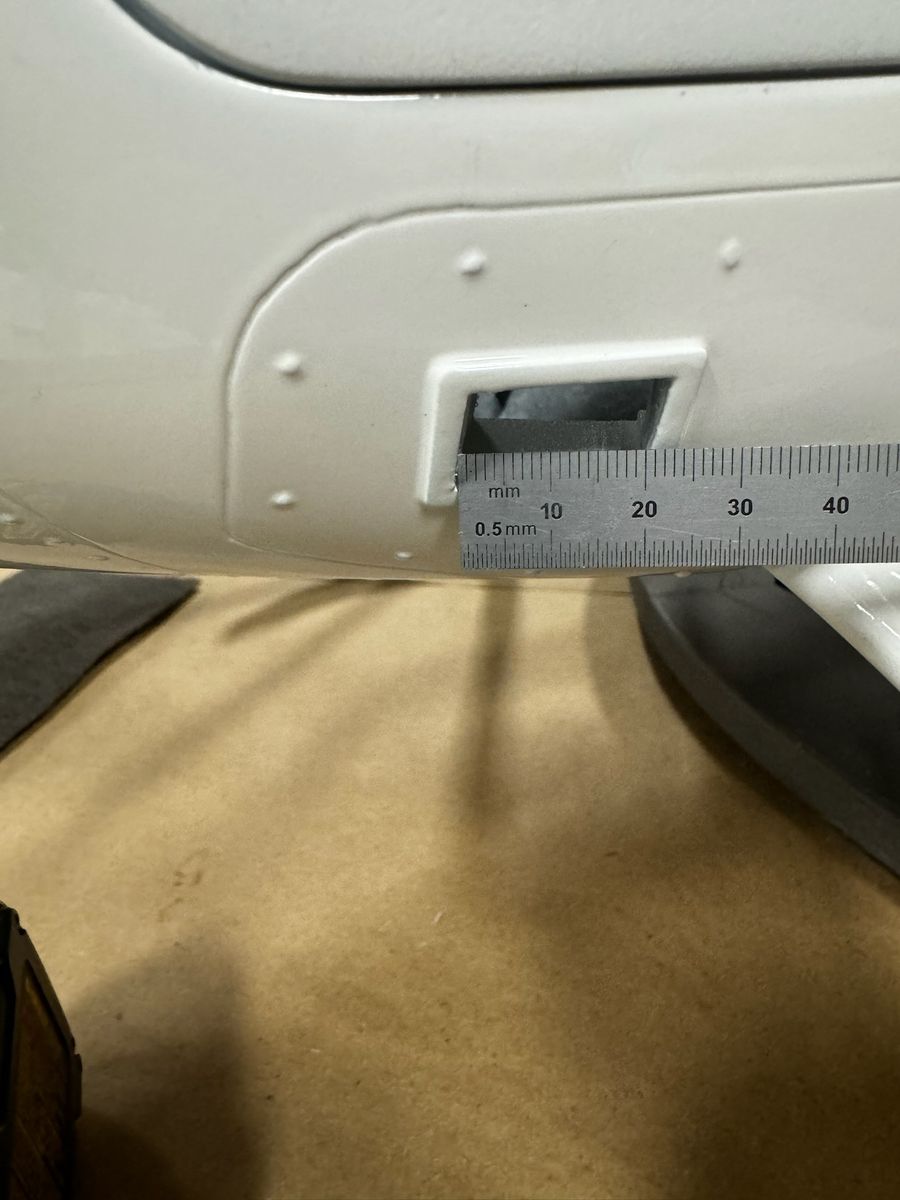
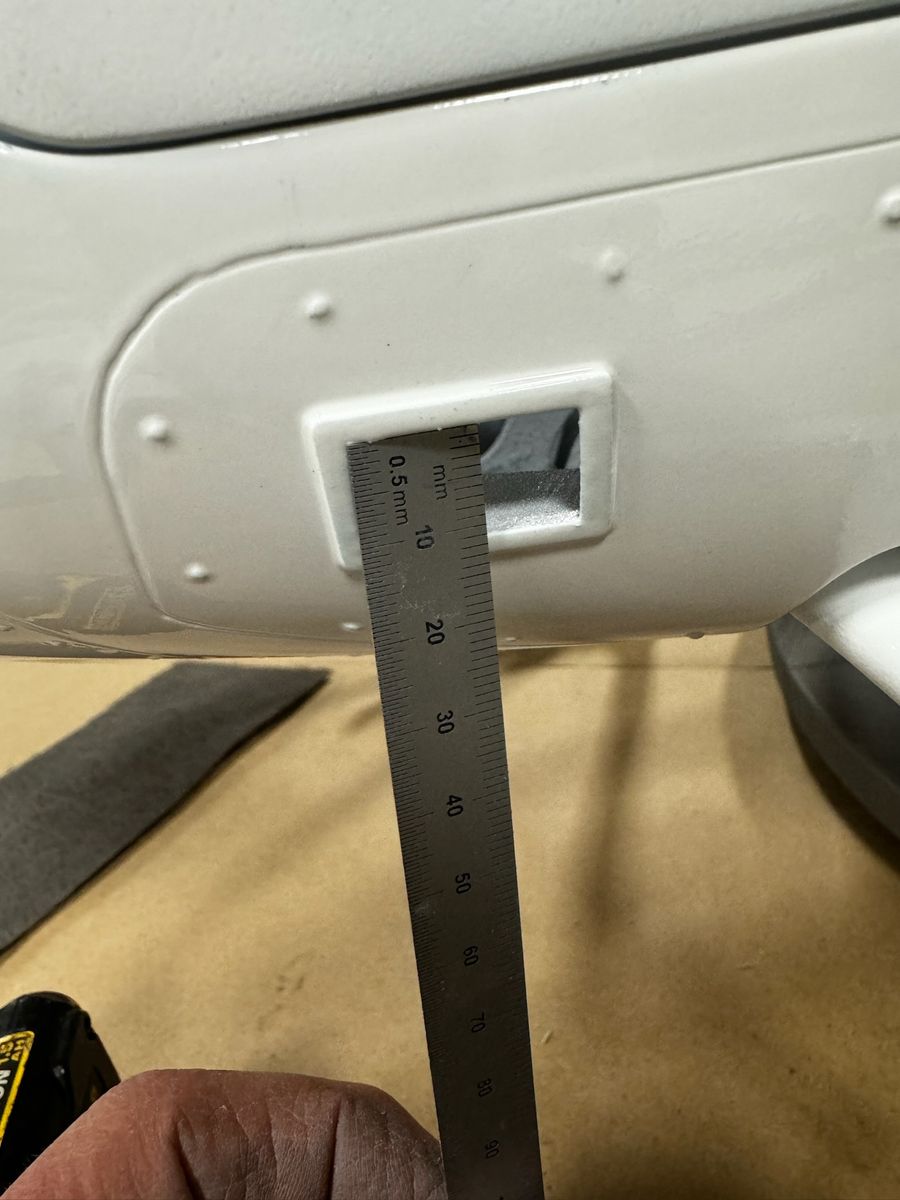
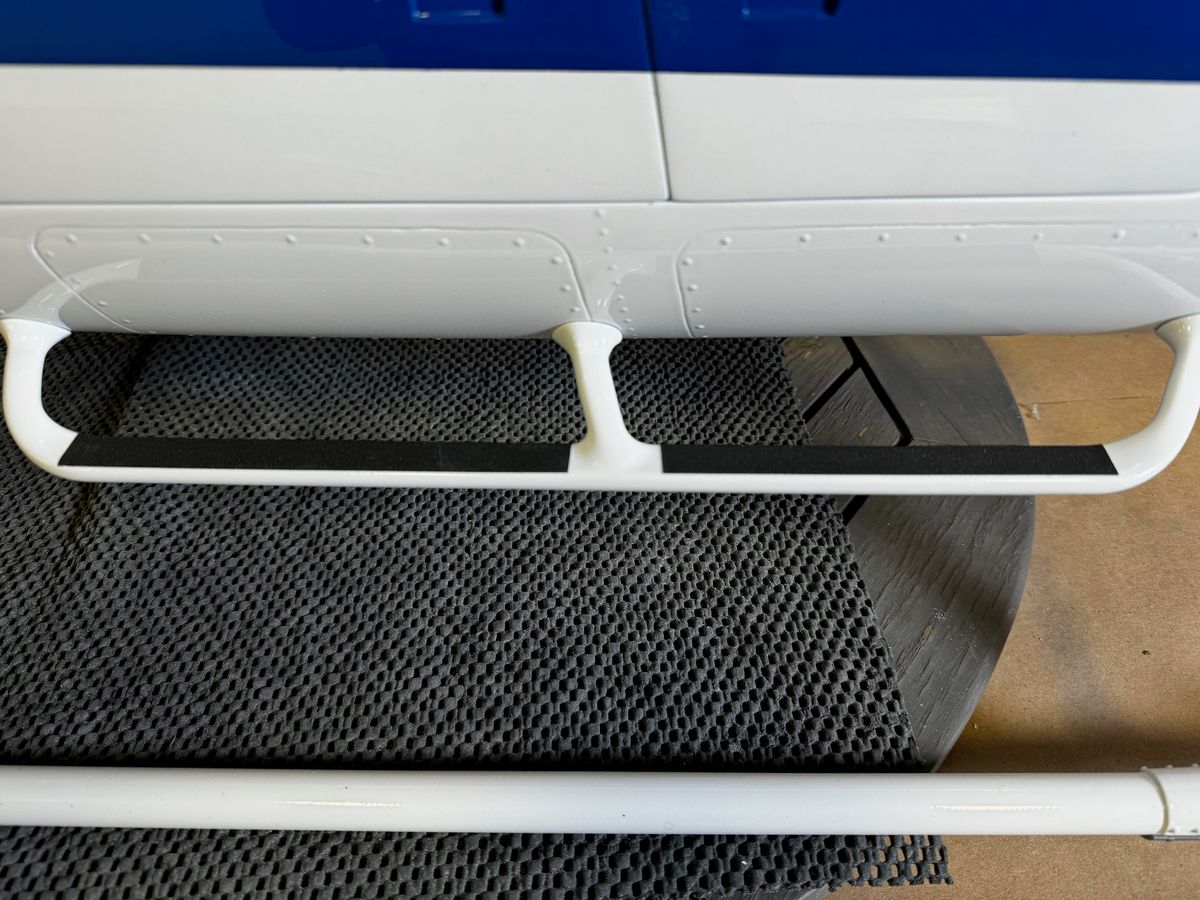
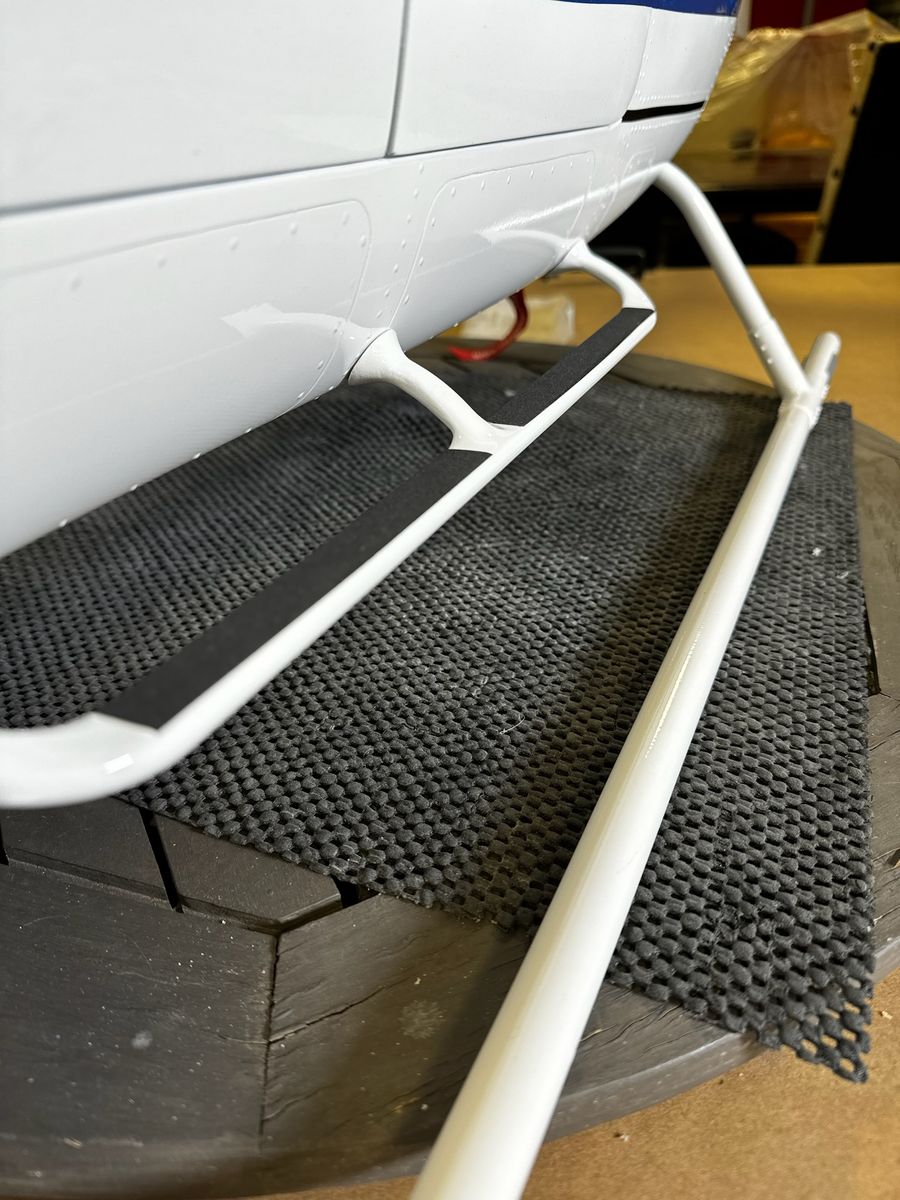
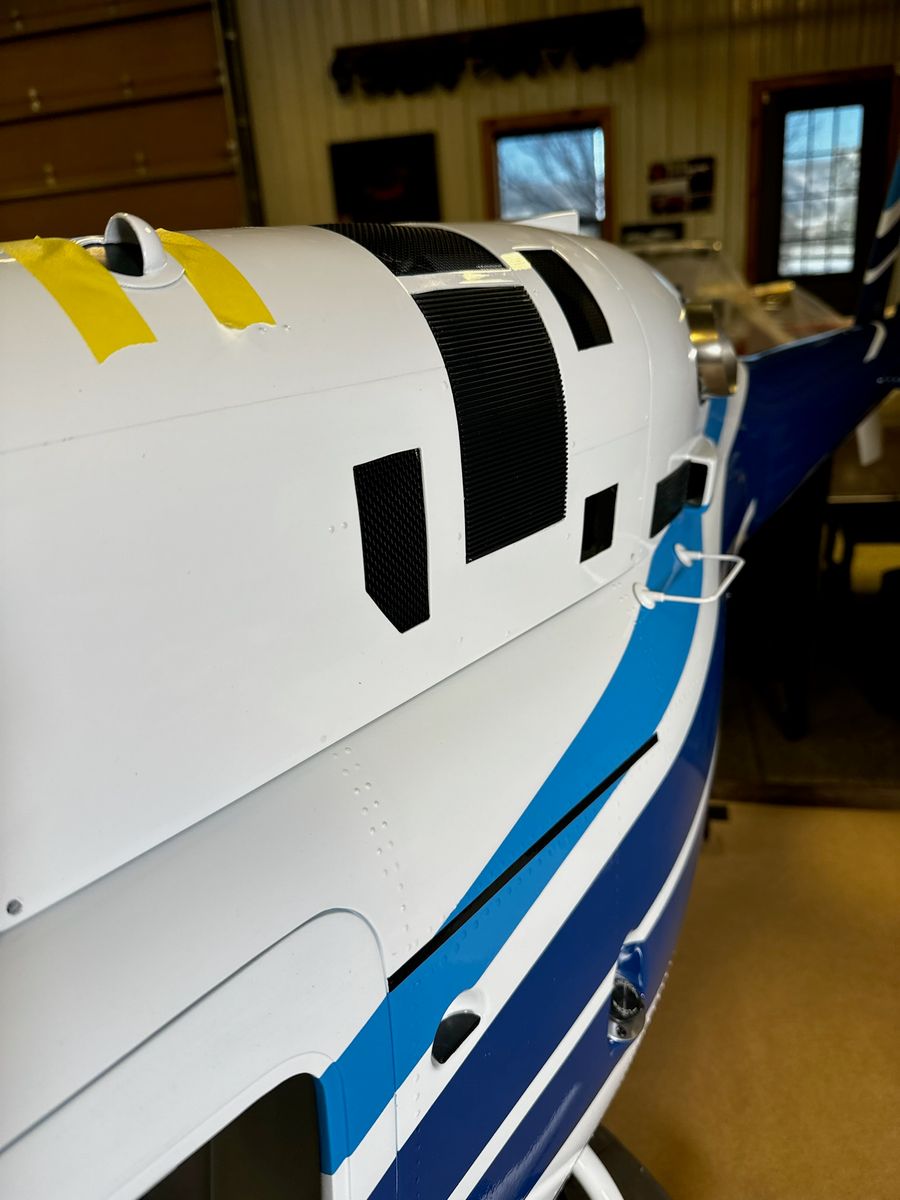
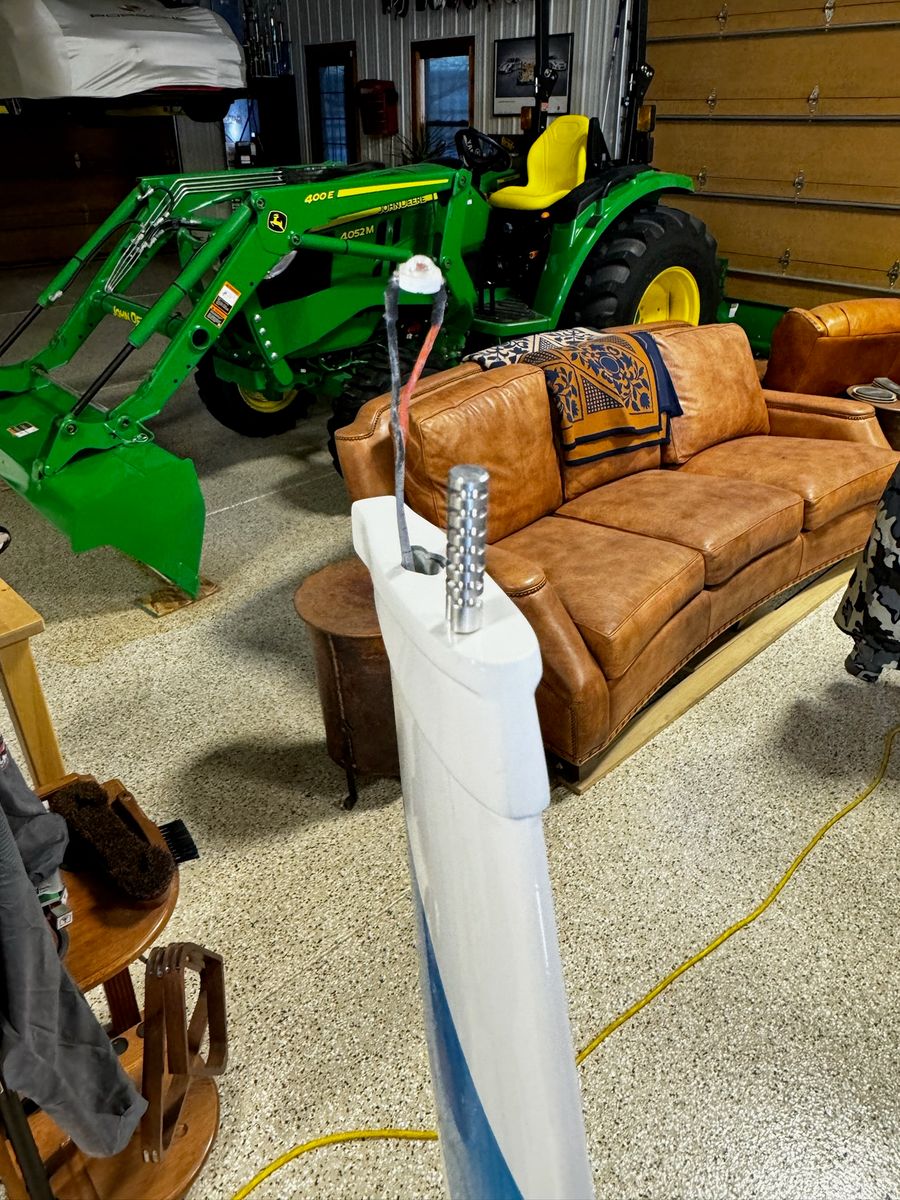
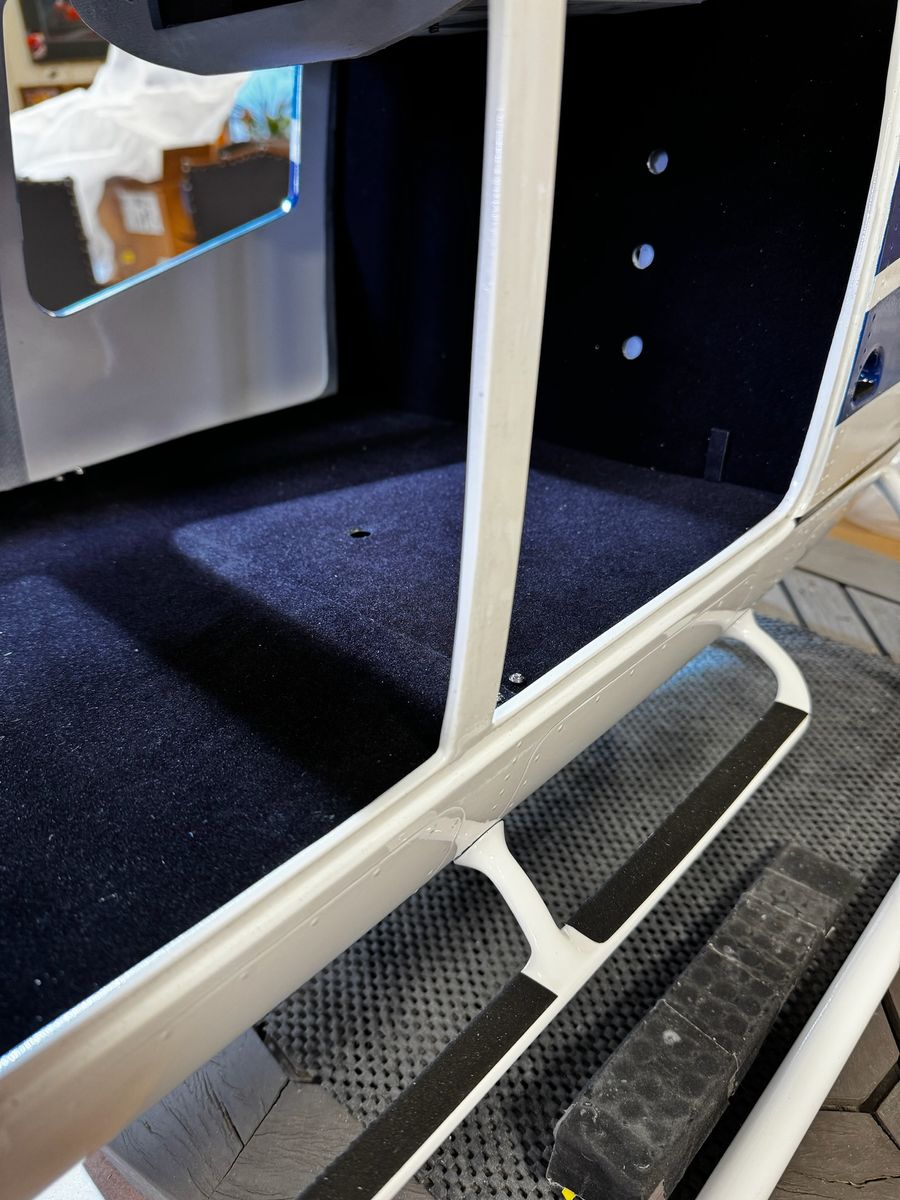
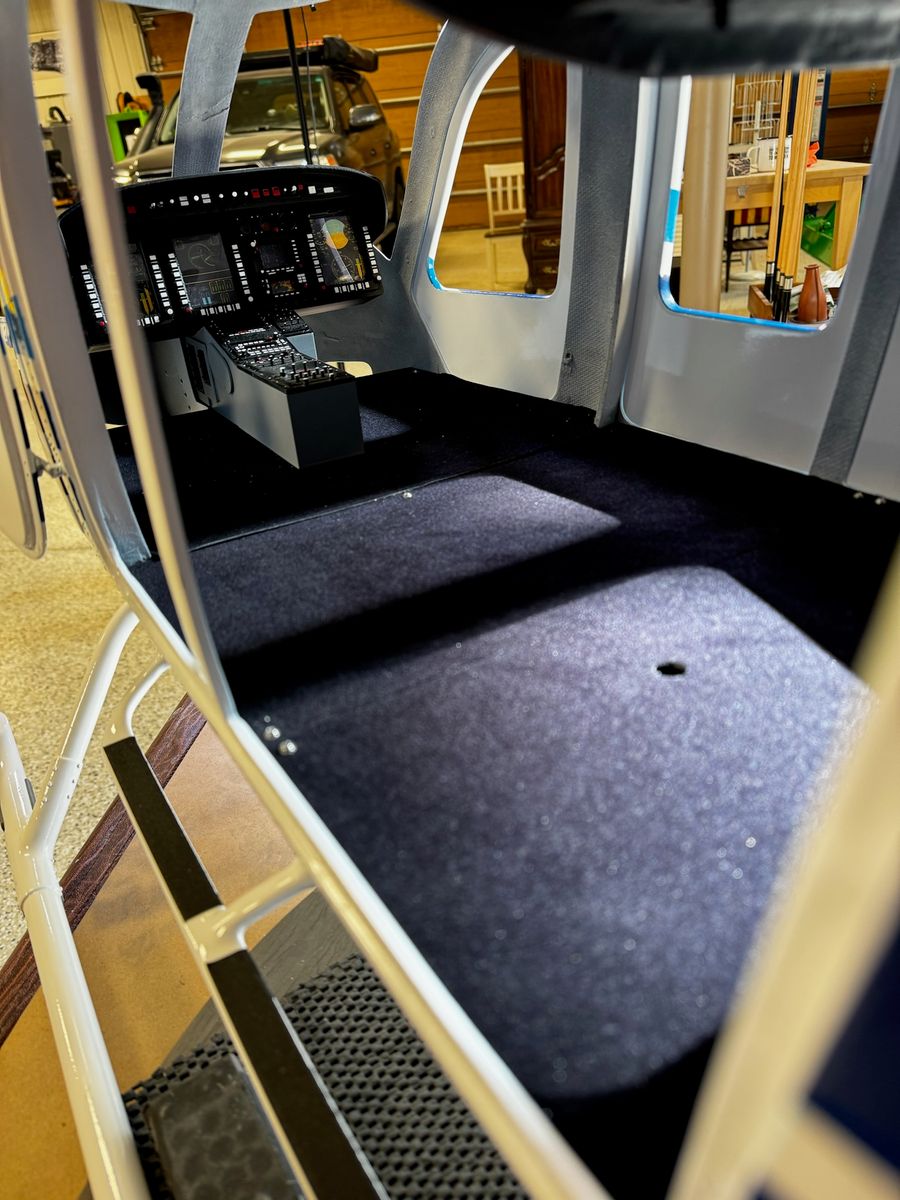
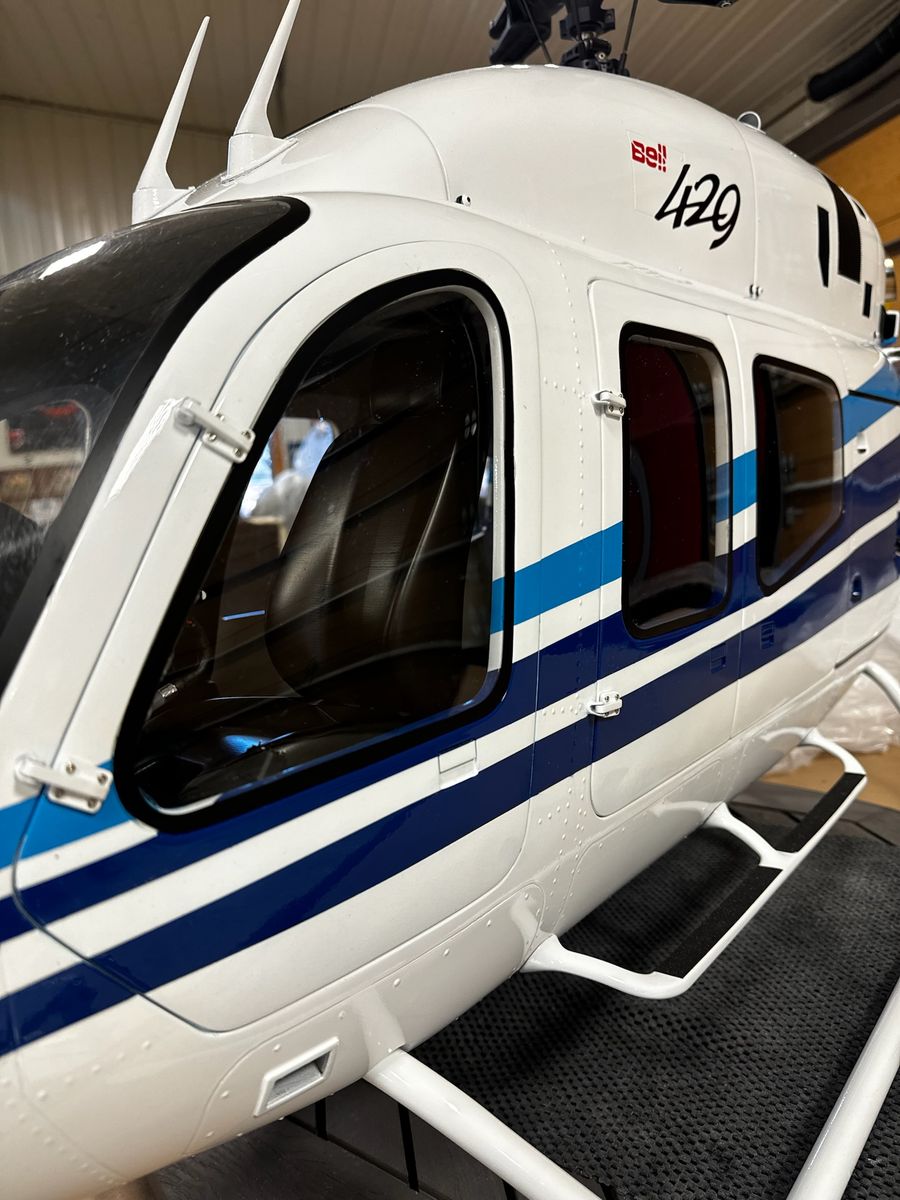
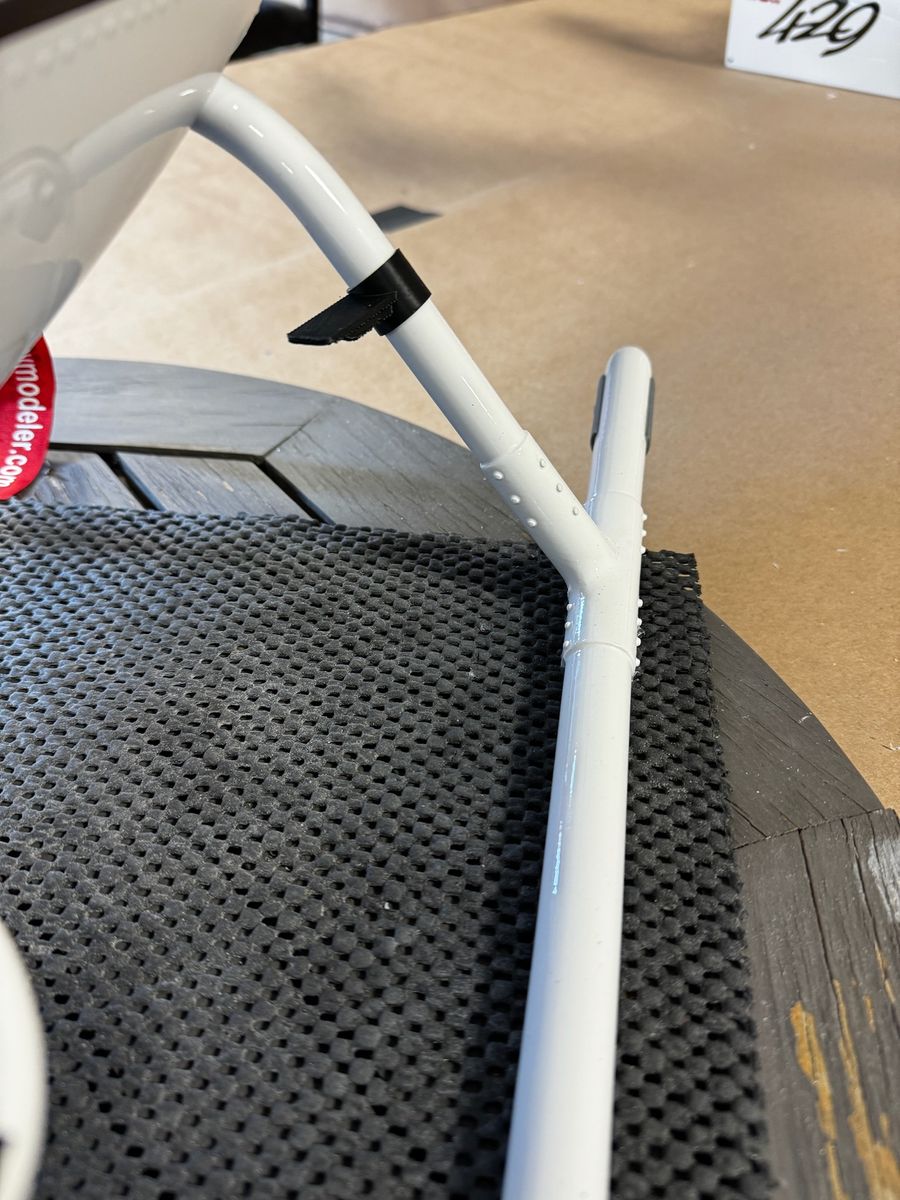
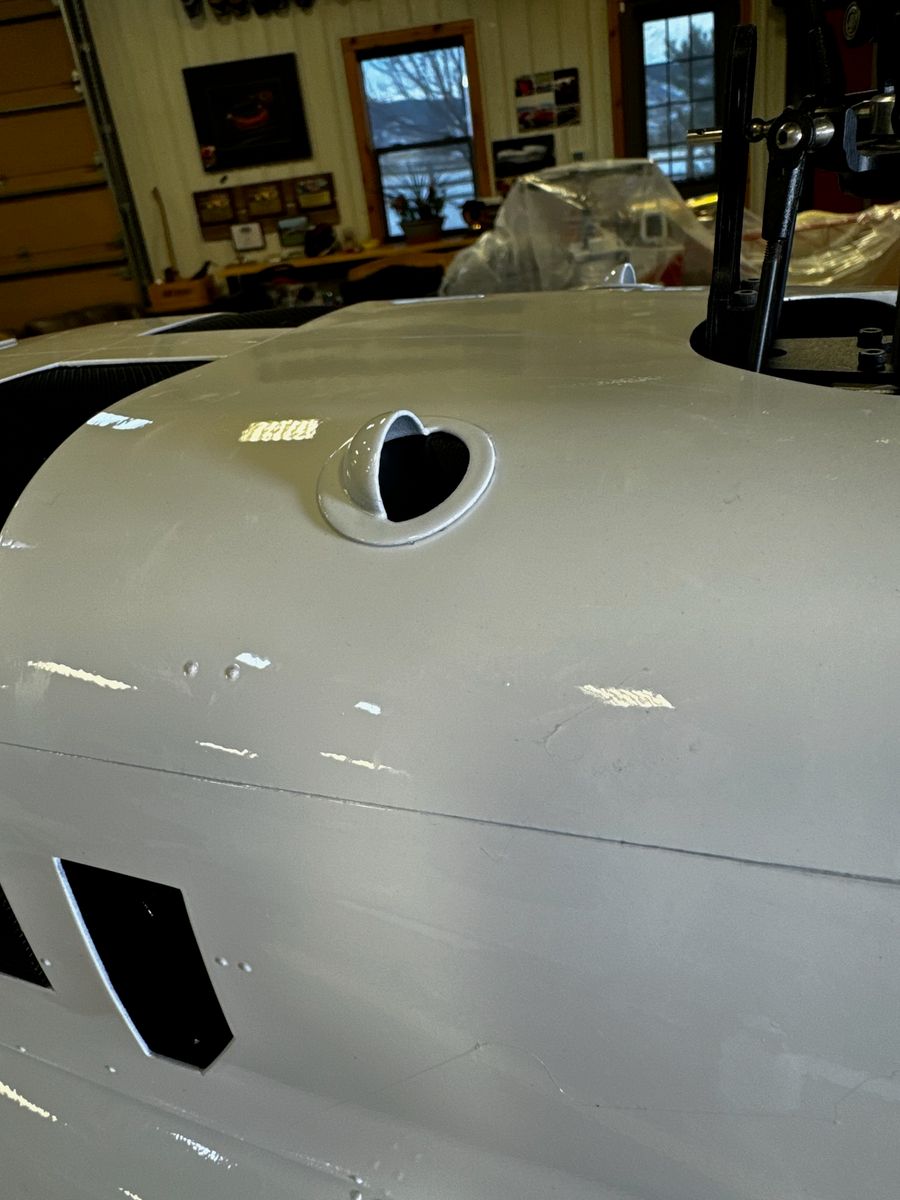
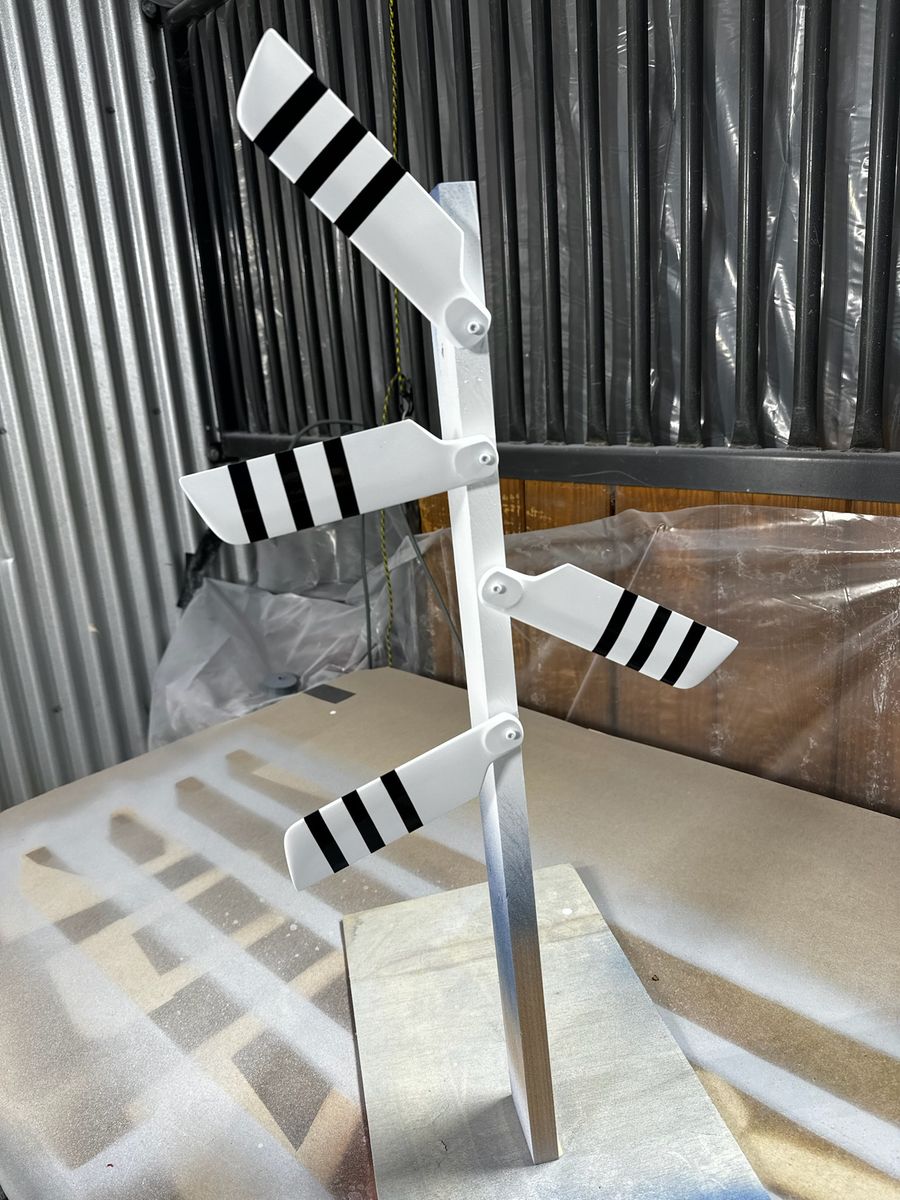
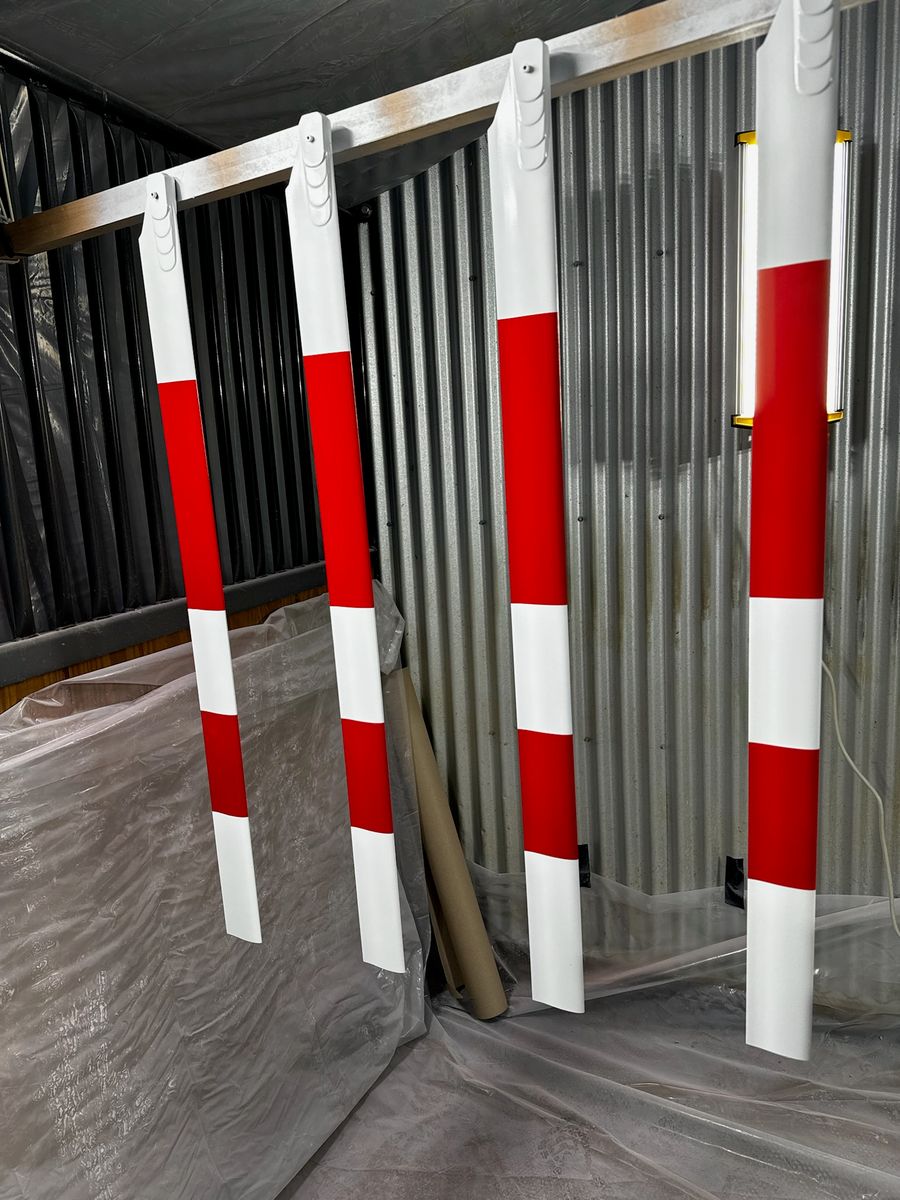
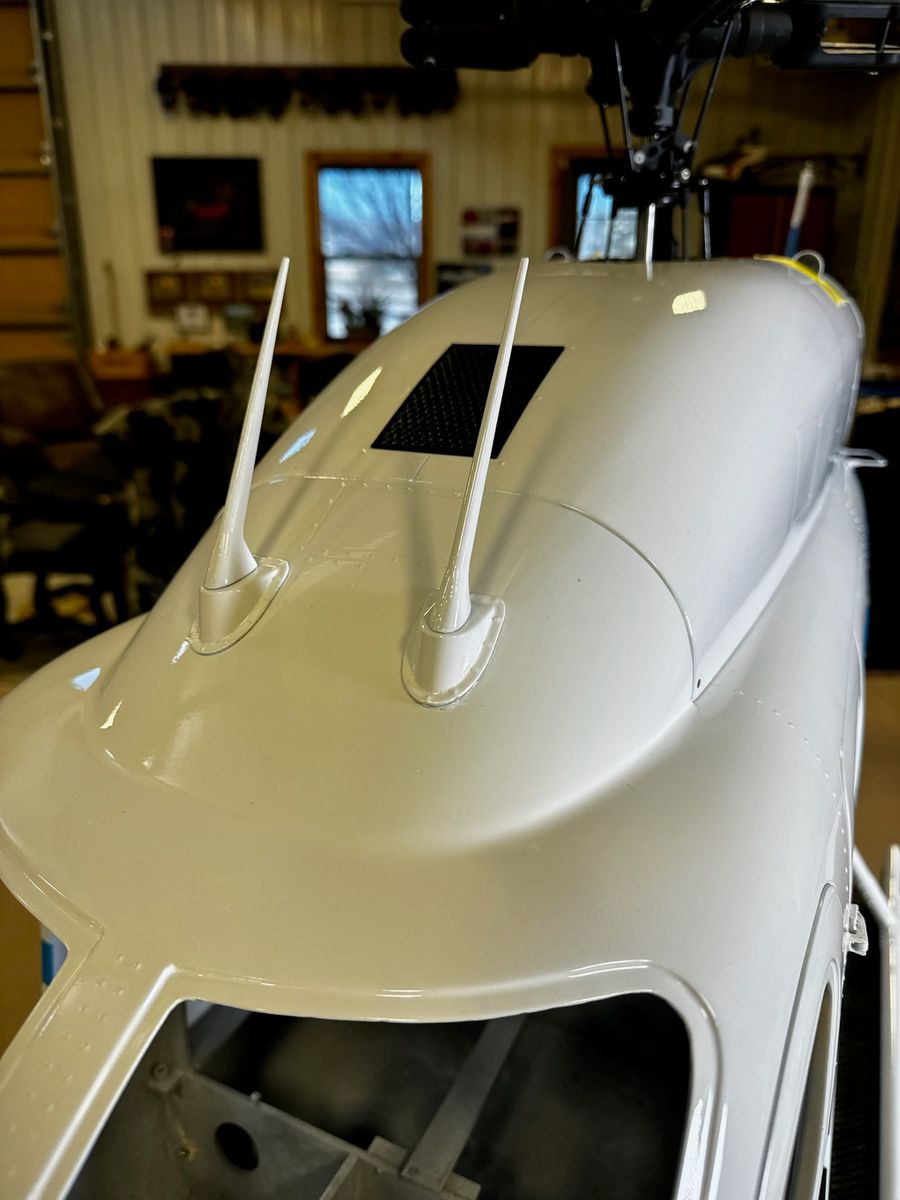
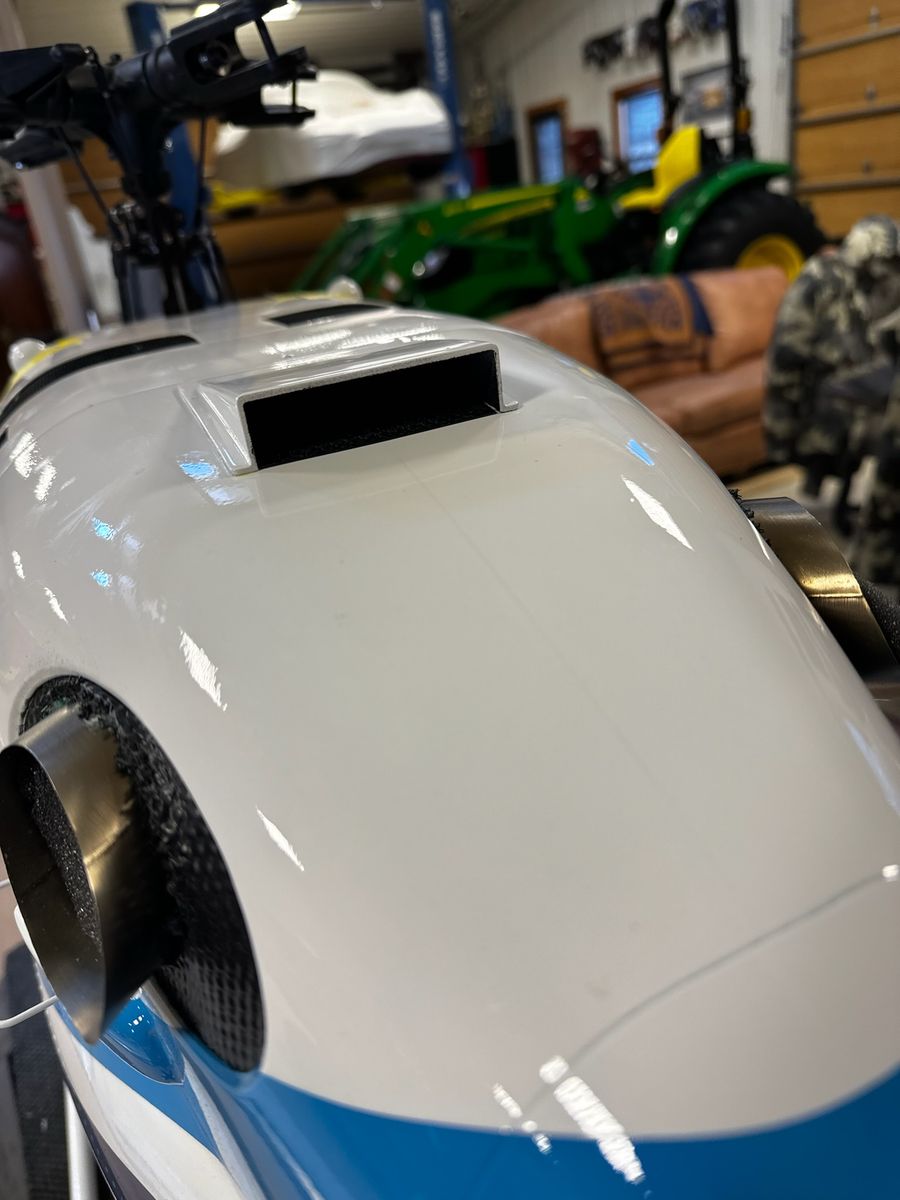
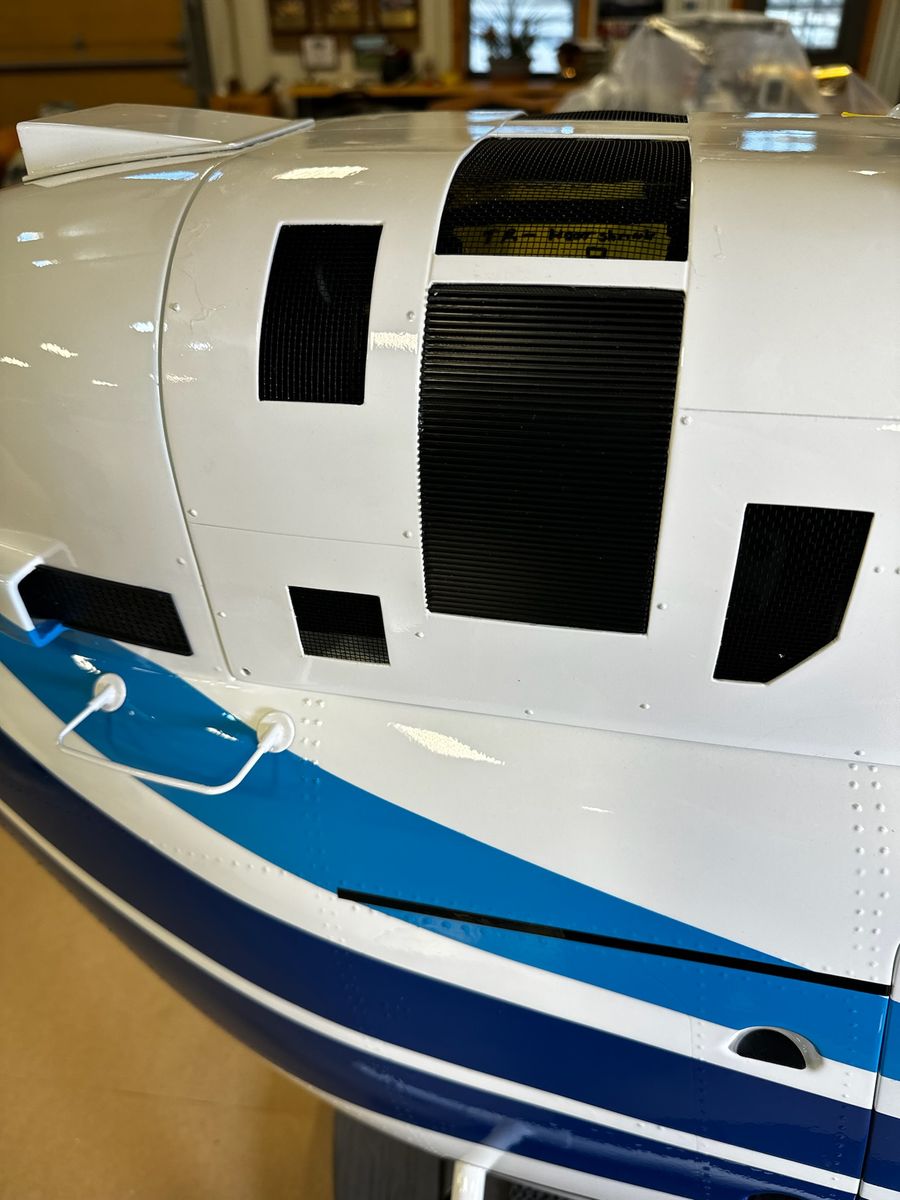
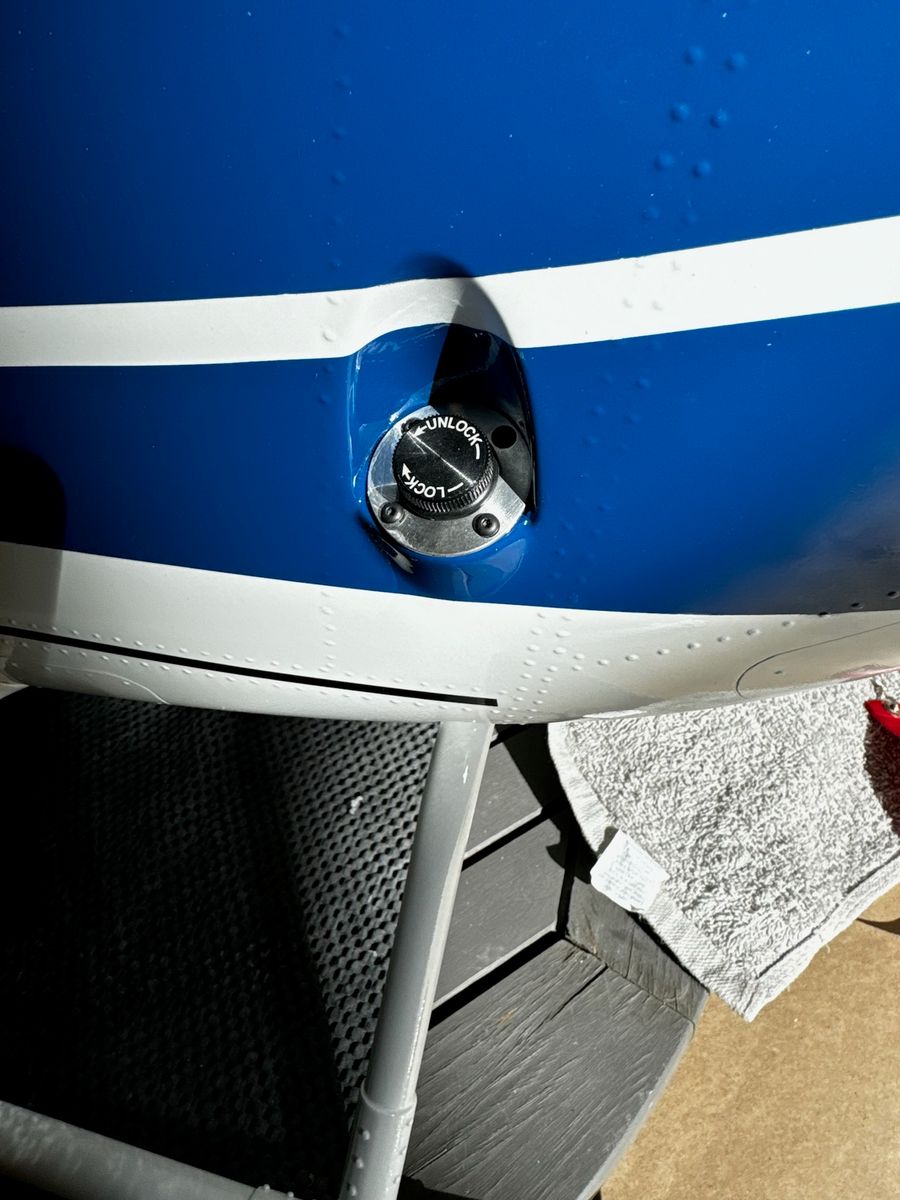
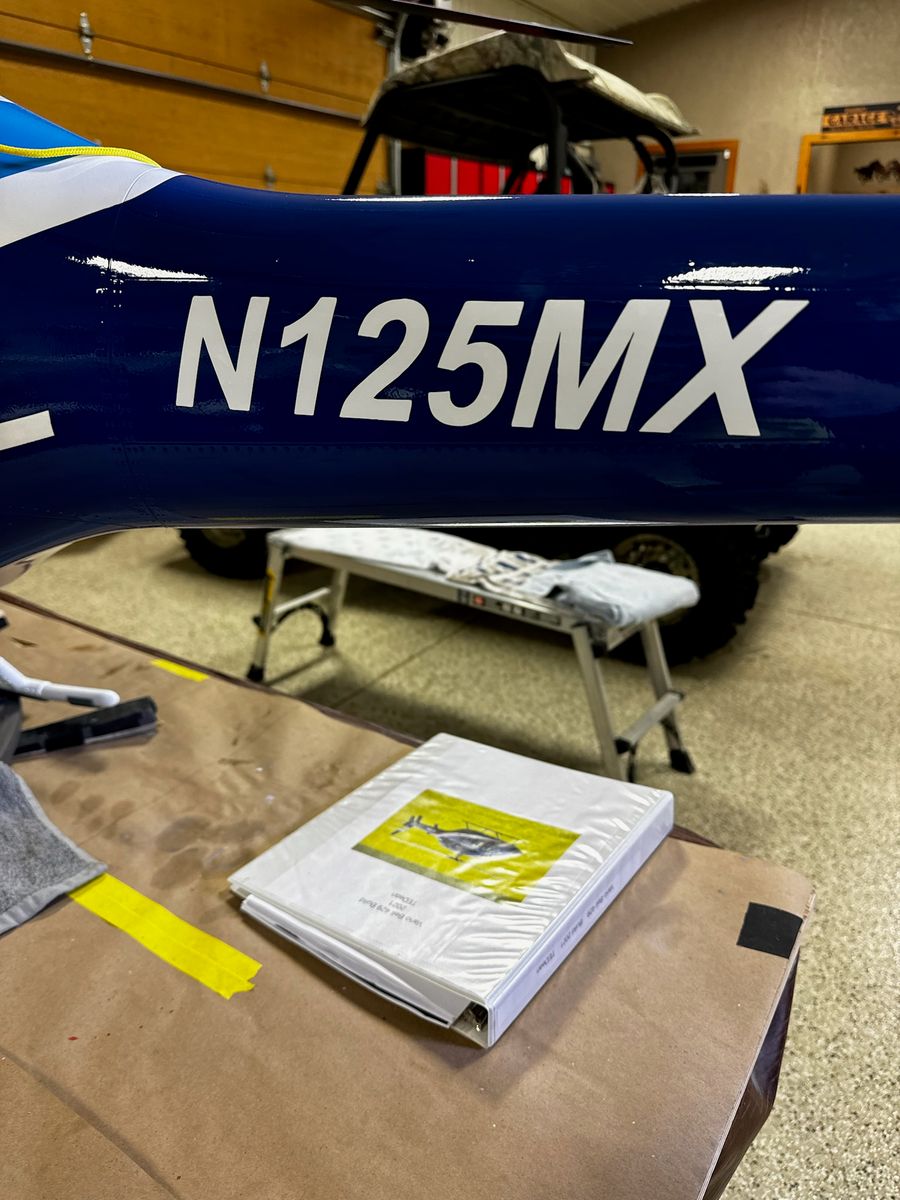
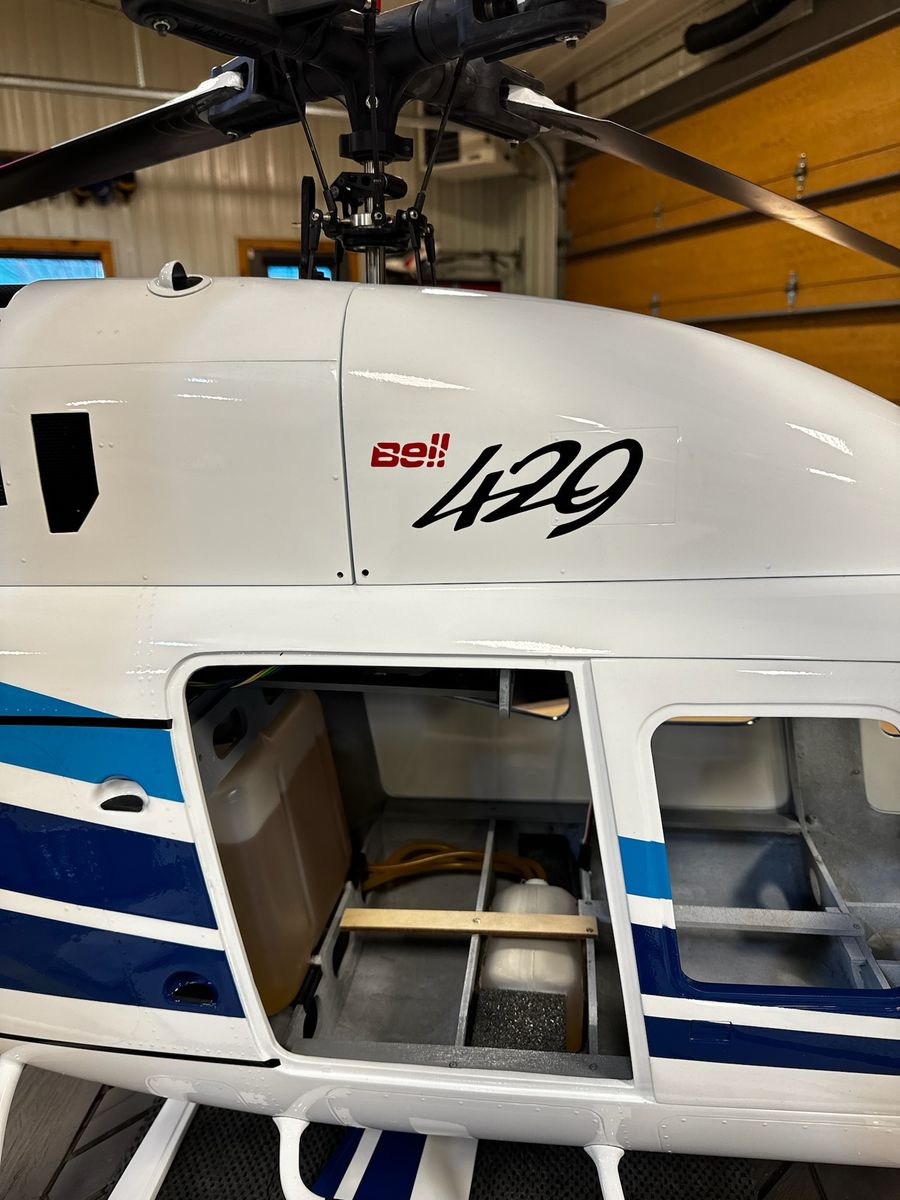
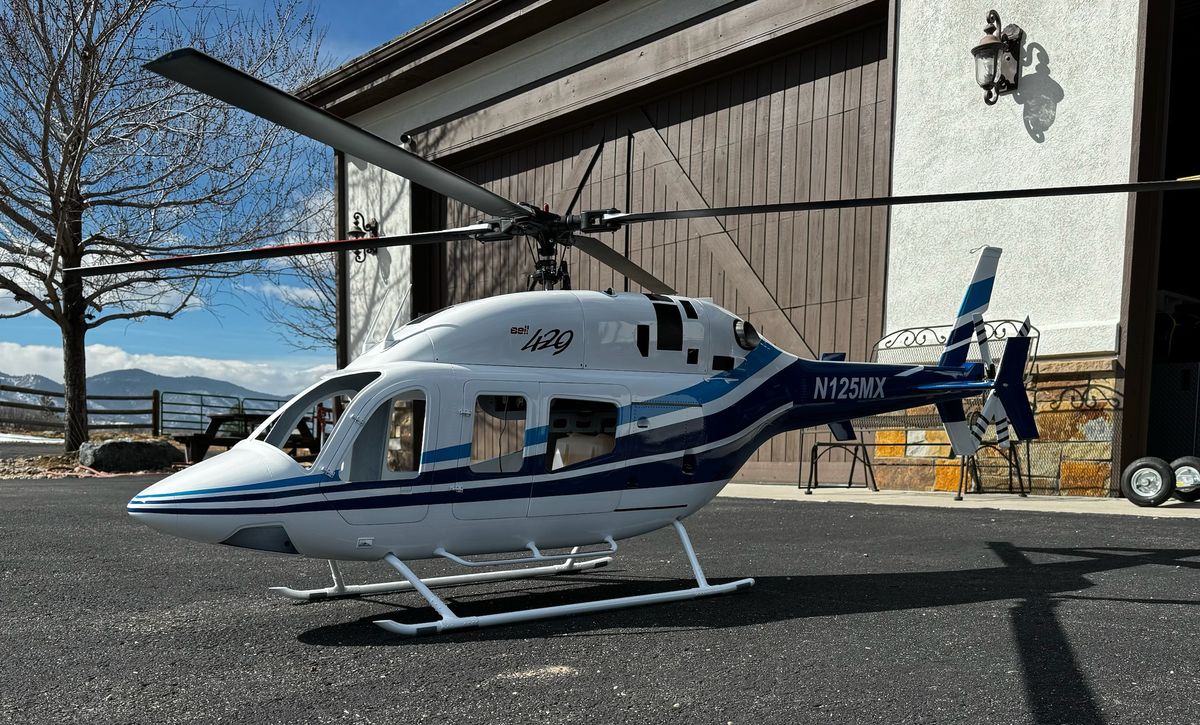
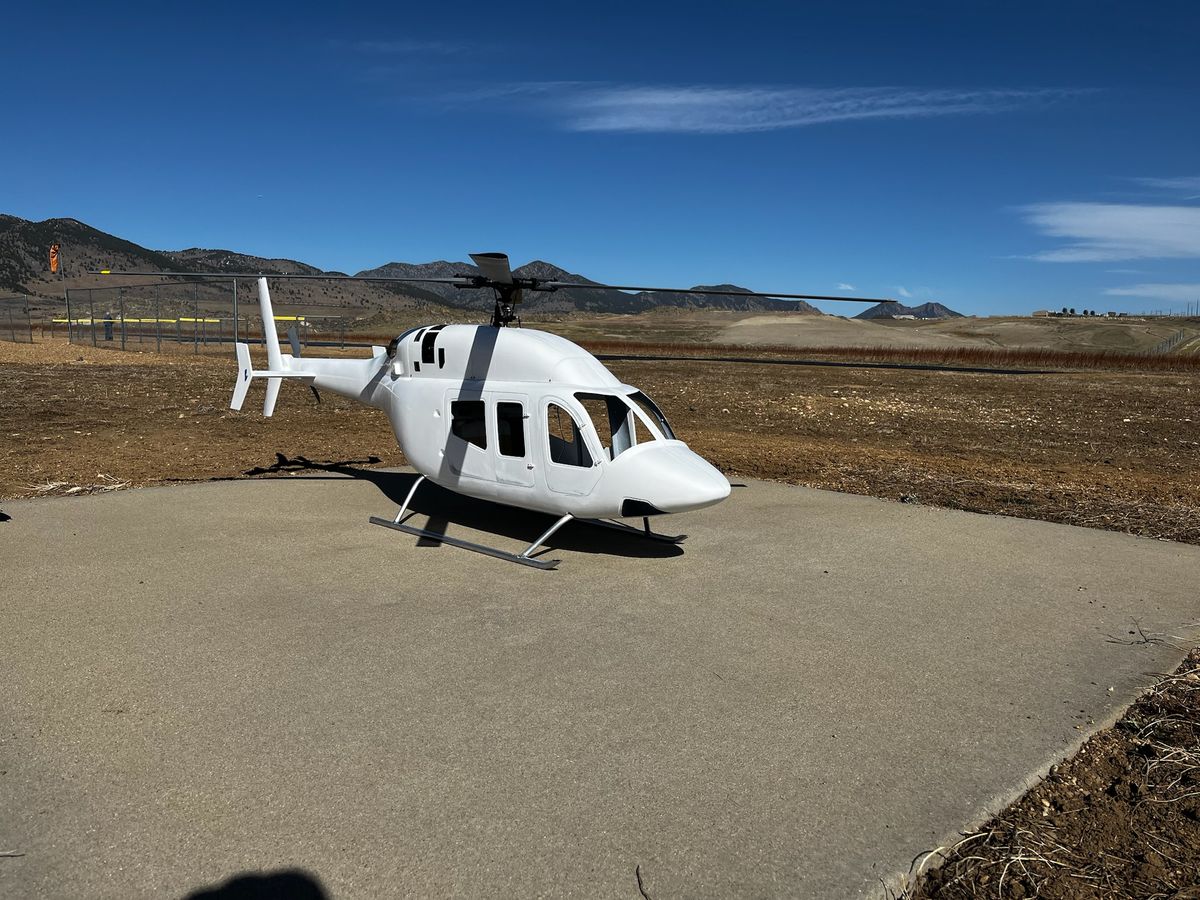
Random finished pictures and transport
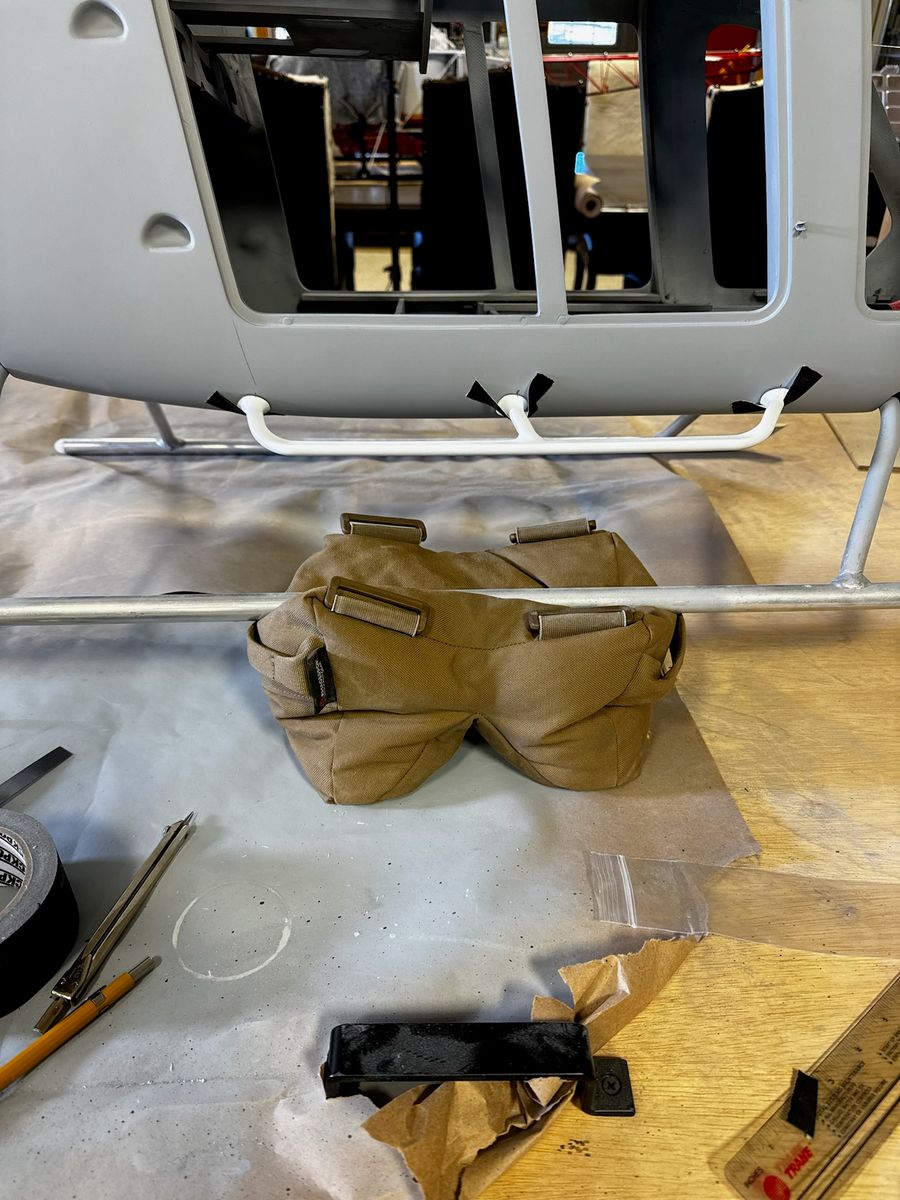
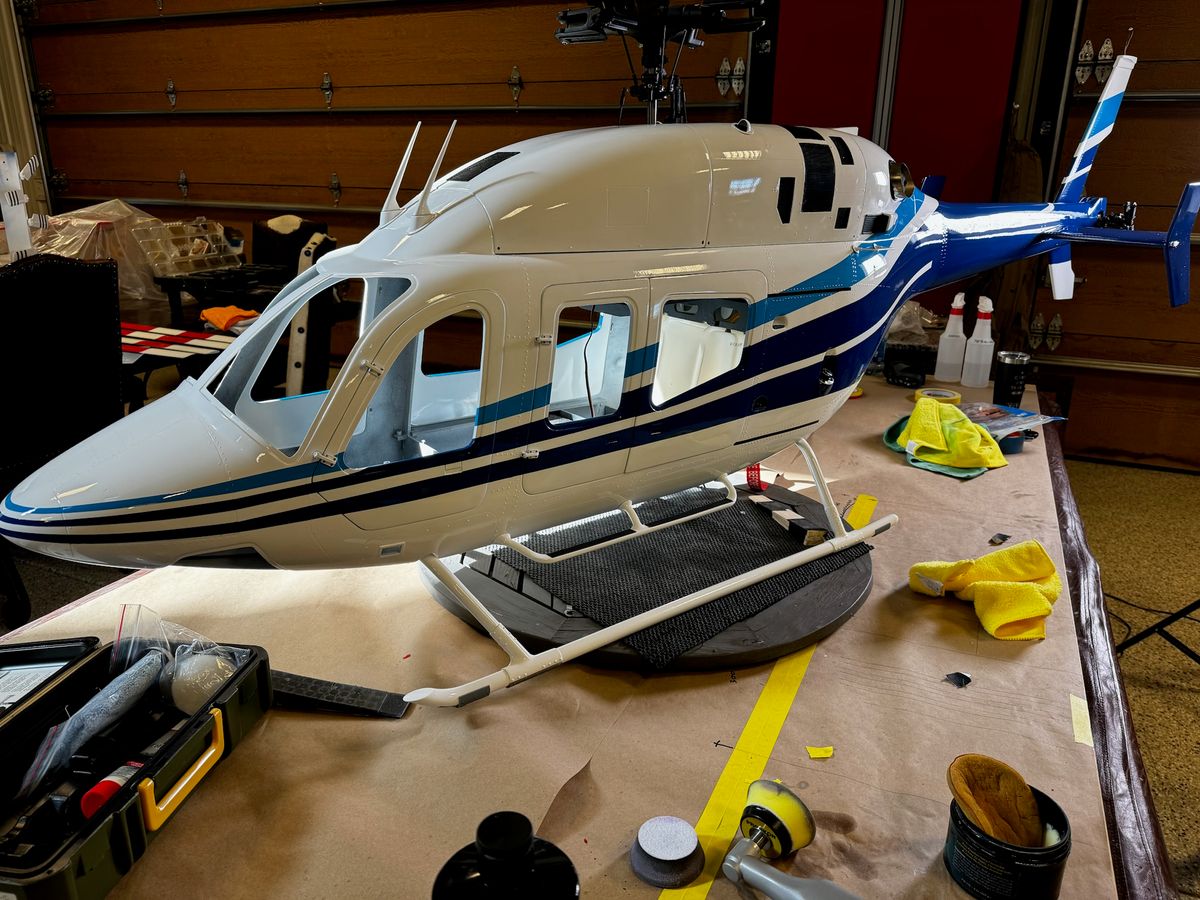
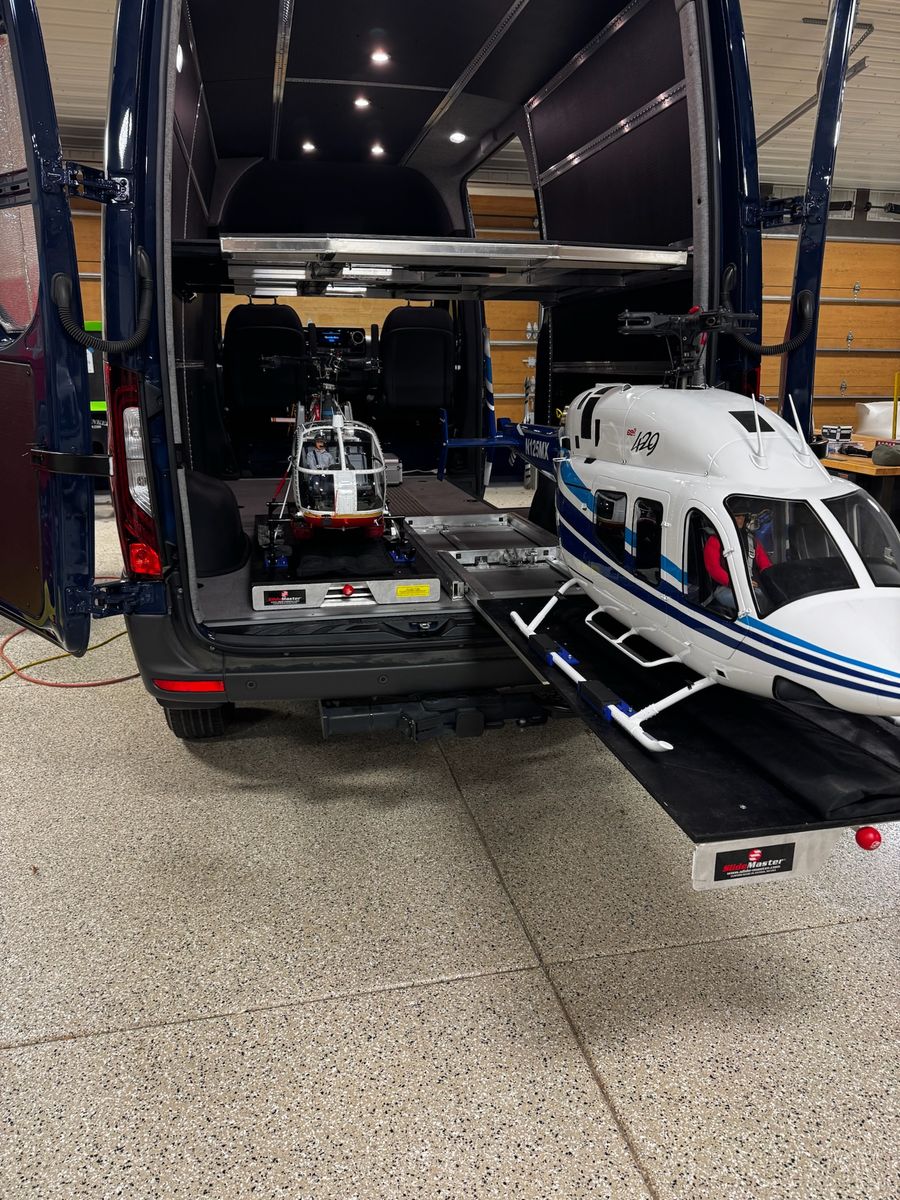
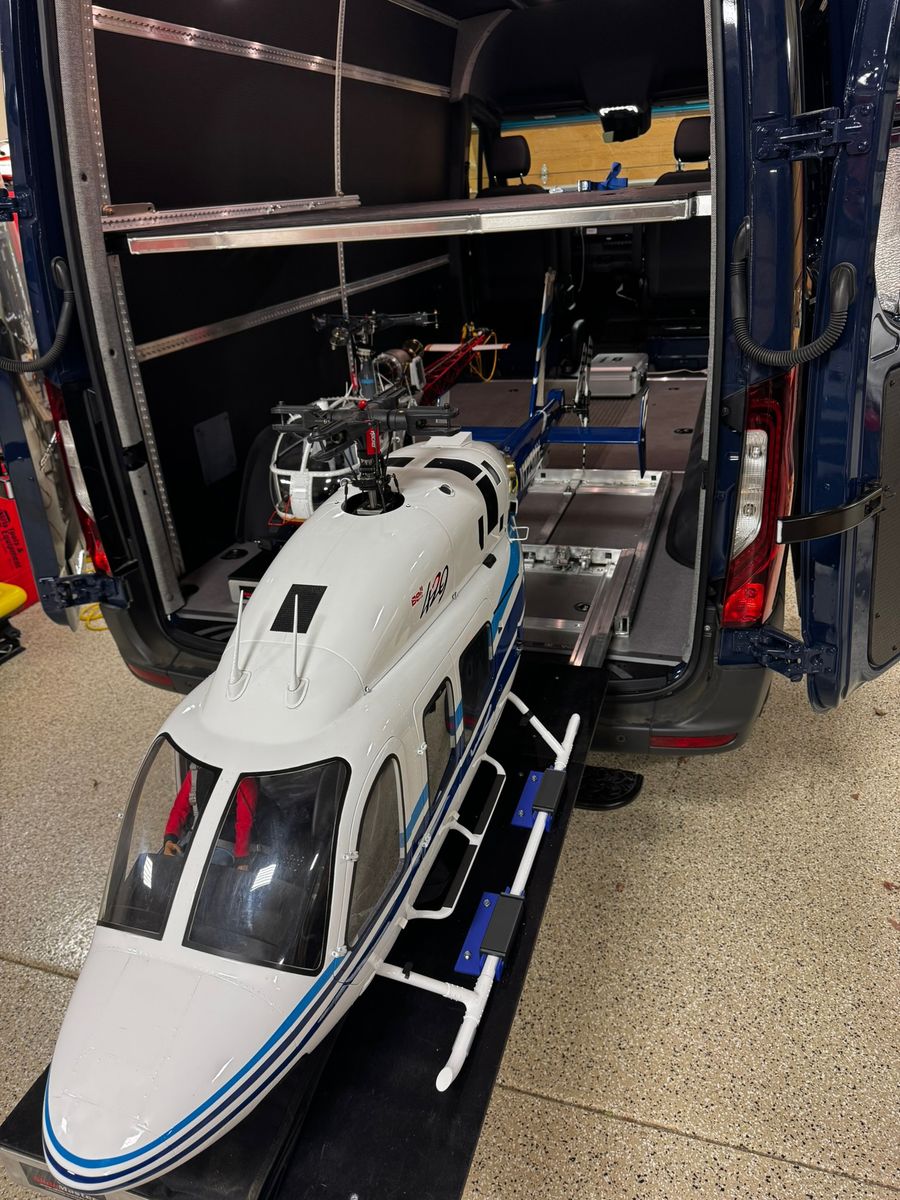
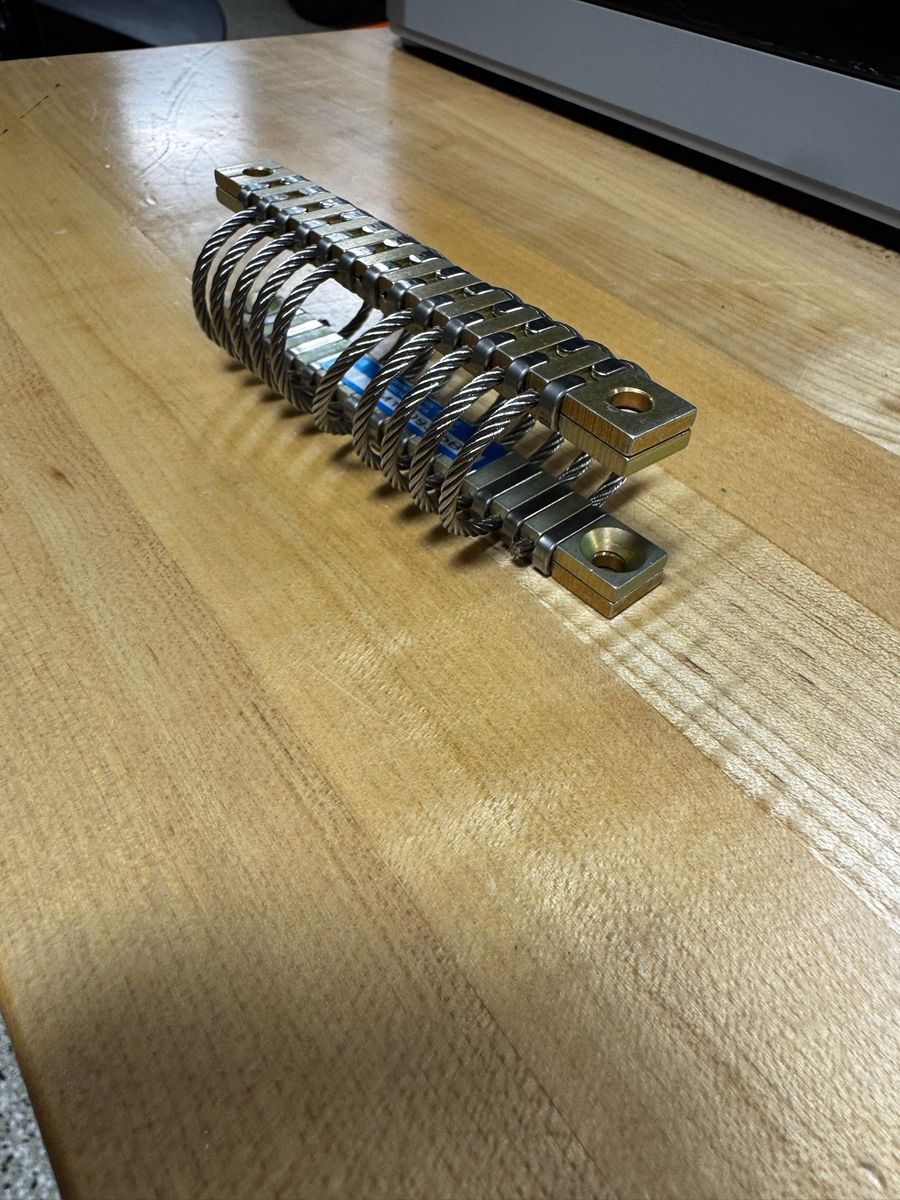
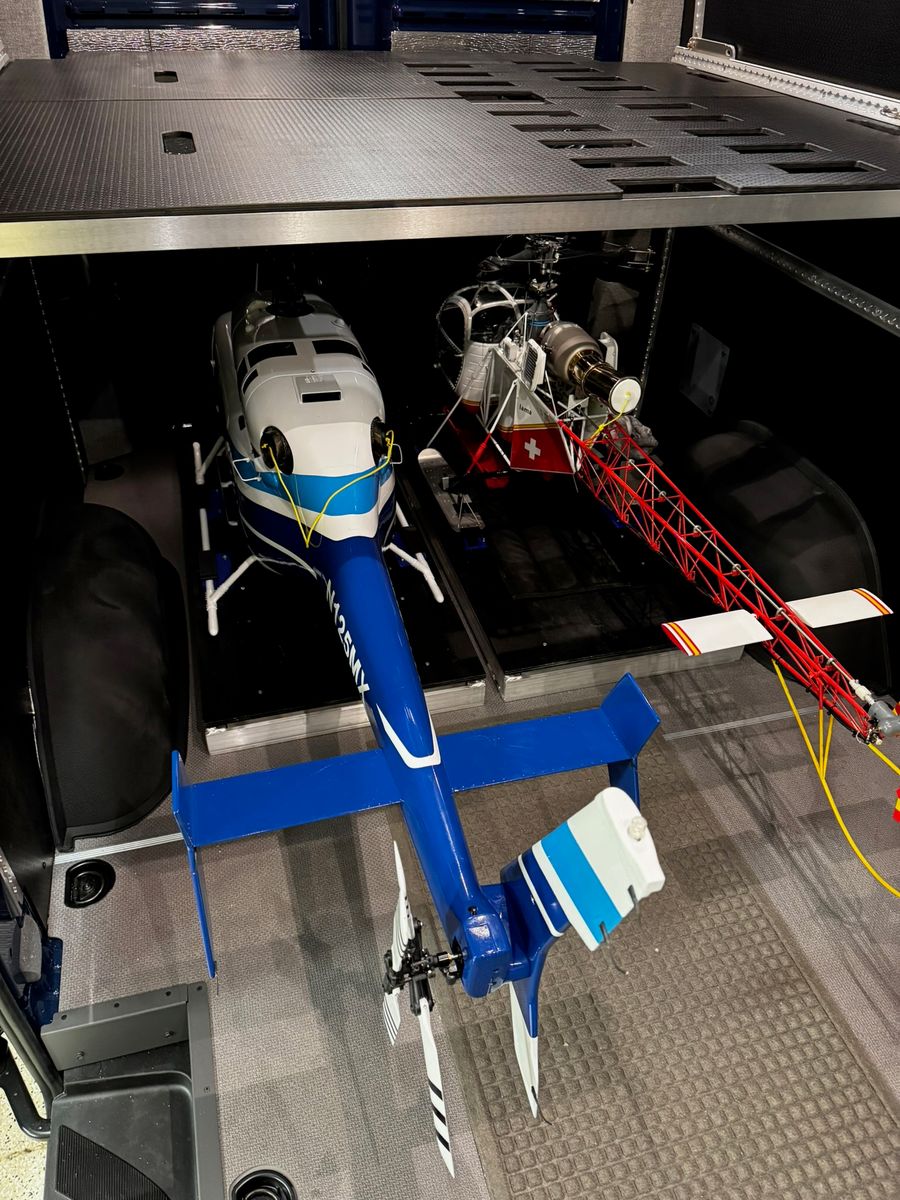
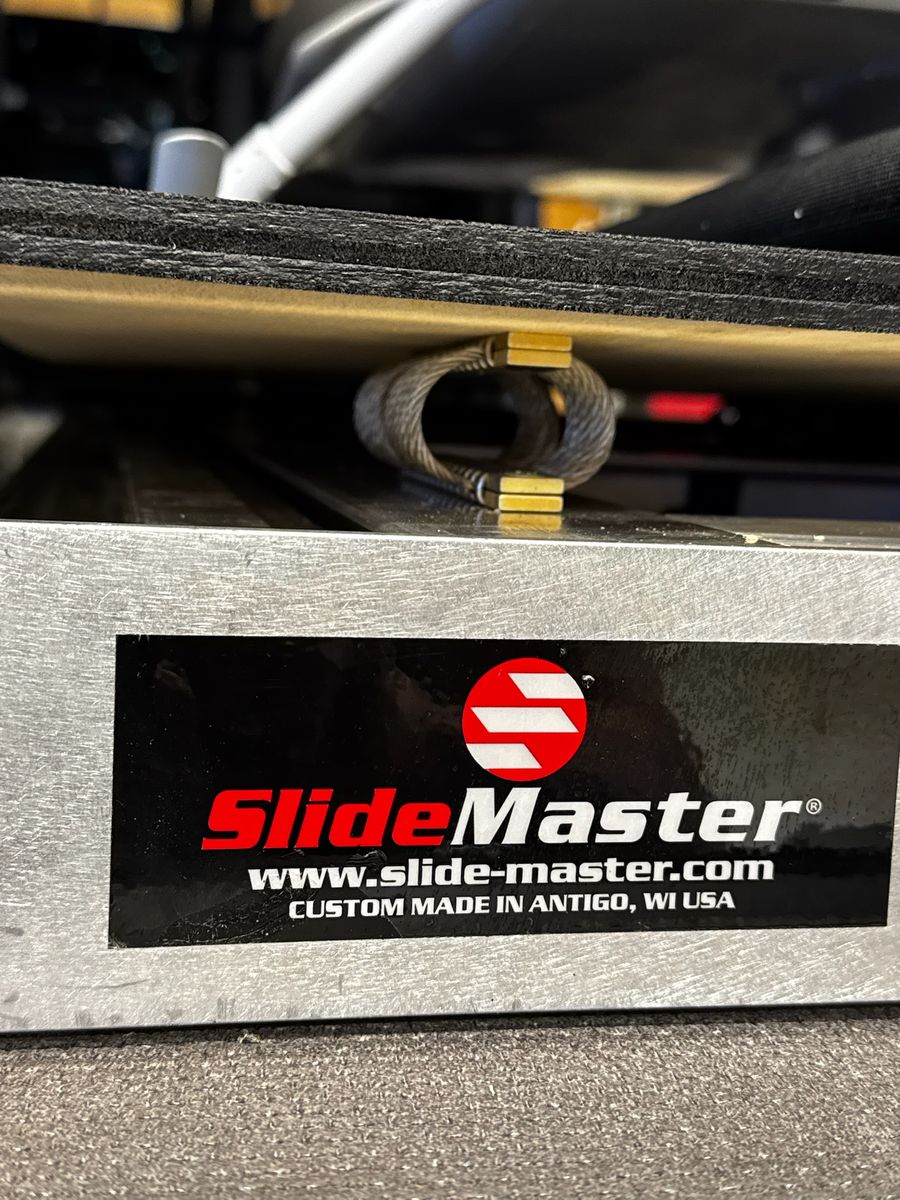
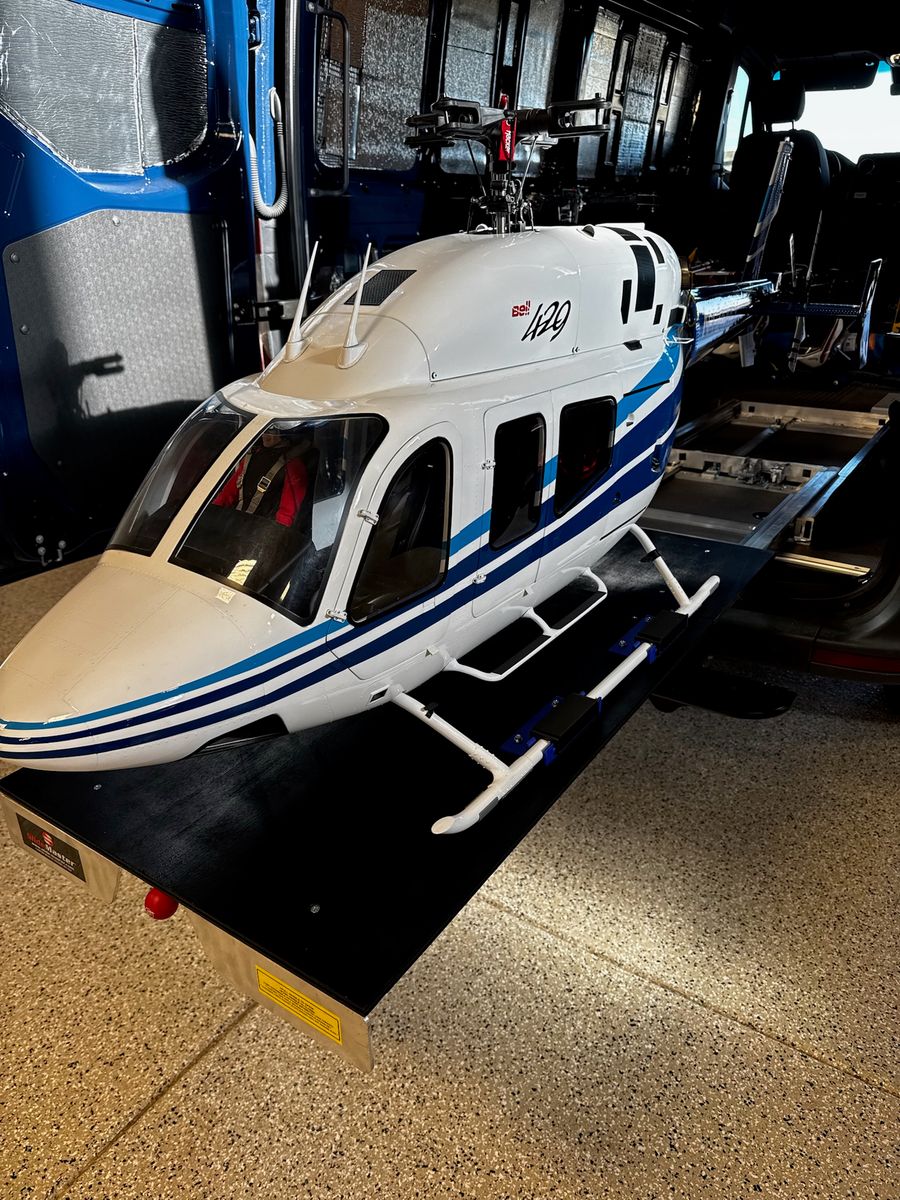
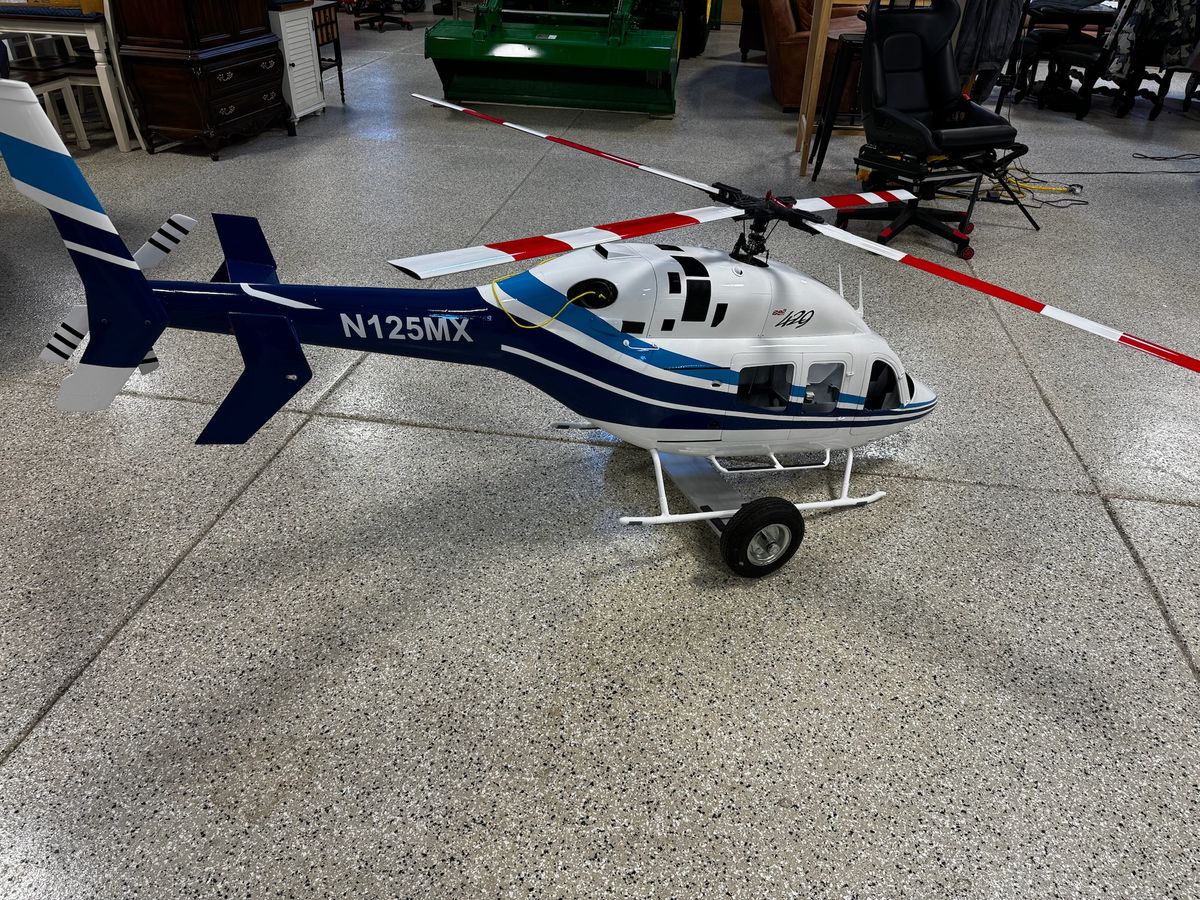
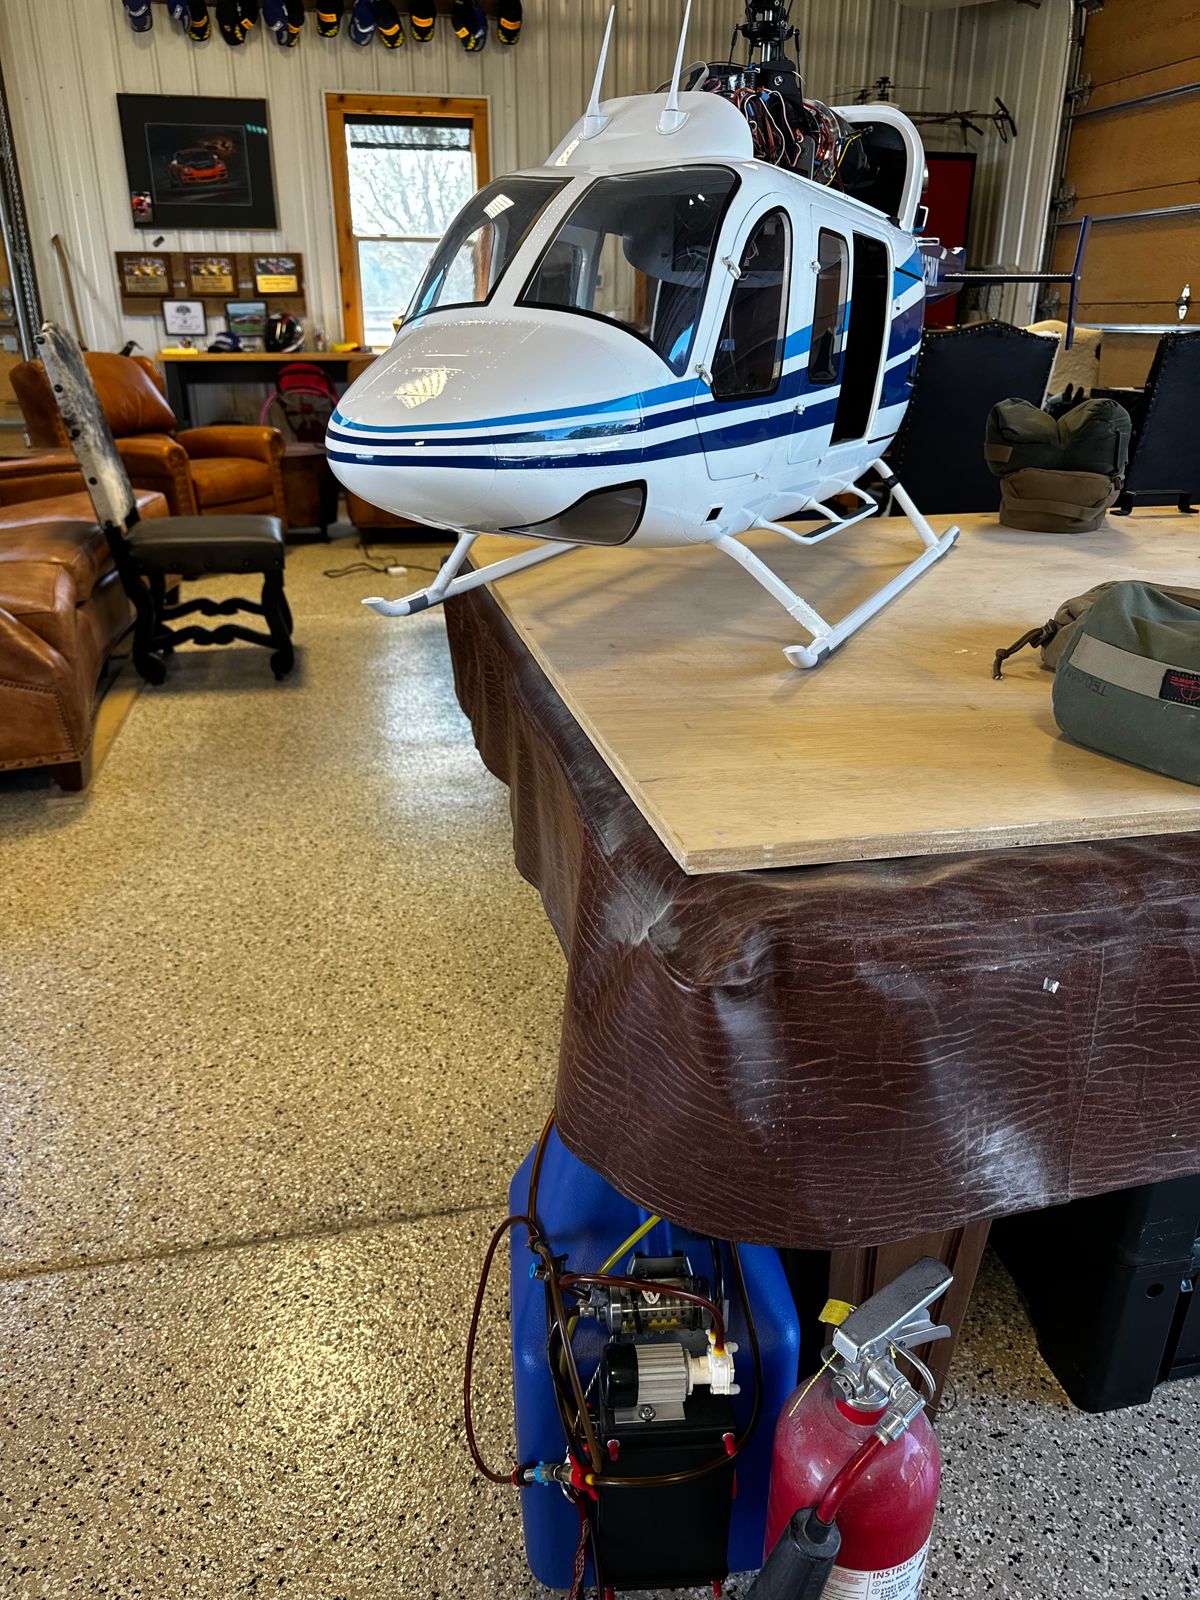
The pics will show the finished model and how I transport it. Fully fueled and ready for flight it weights in at about 45 pounds. Note the type of spring isolators I sourced for transport. These provide vibration isolation and dampening. Plus, a very short video confirming TR pitch in hover.
The on ground 2 wheel dolly was machined from bar stock. Heavy but stable. 3D printed skid slots they key into the dolly. I change them out for transporting the Lama.
Trail rotor issues as a result of my one building error
I will provide a detailed analysis of tail rotor failures I have experienced. This is completely attributed to building changes I did and is no reflection on Vairo's intended design. I will ID the causes and my solutions.
There were two main causes:
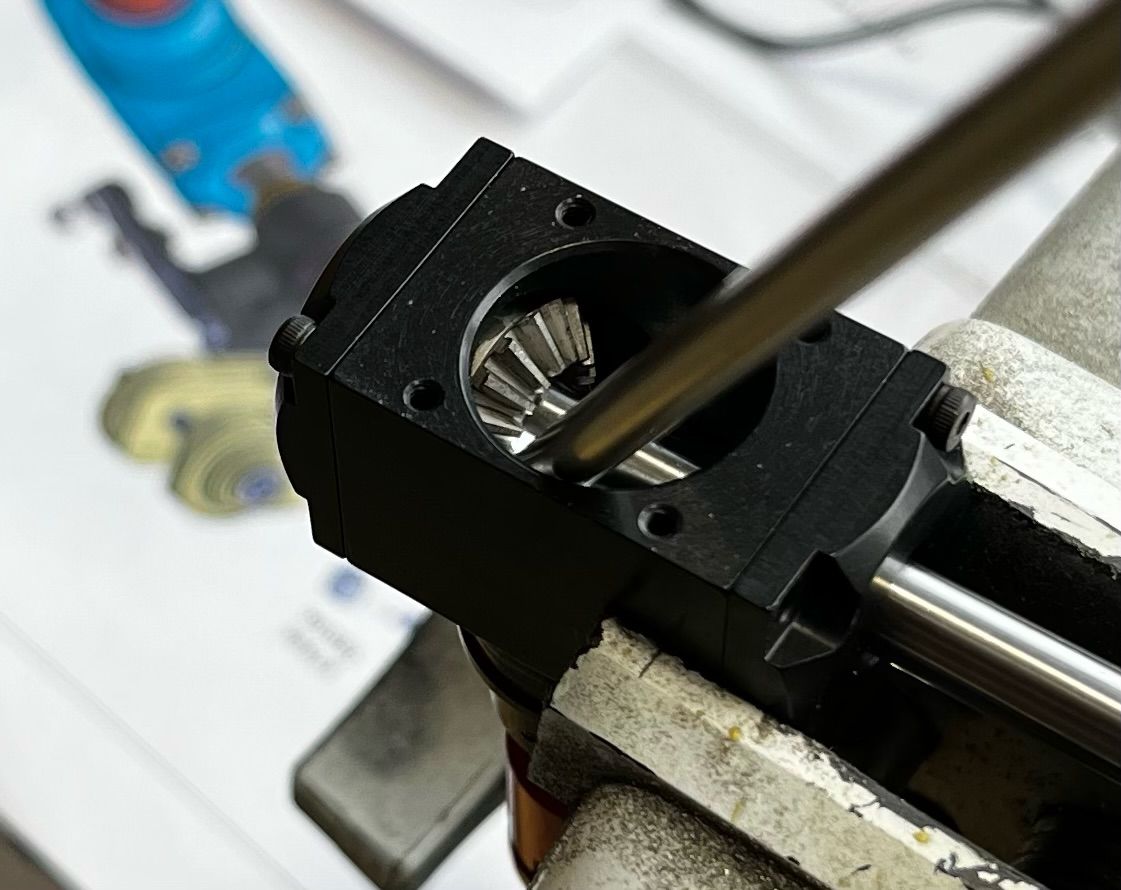
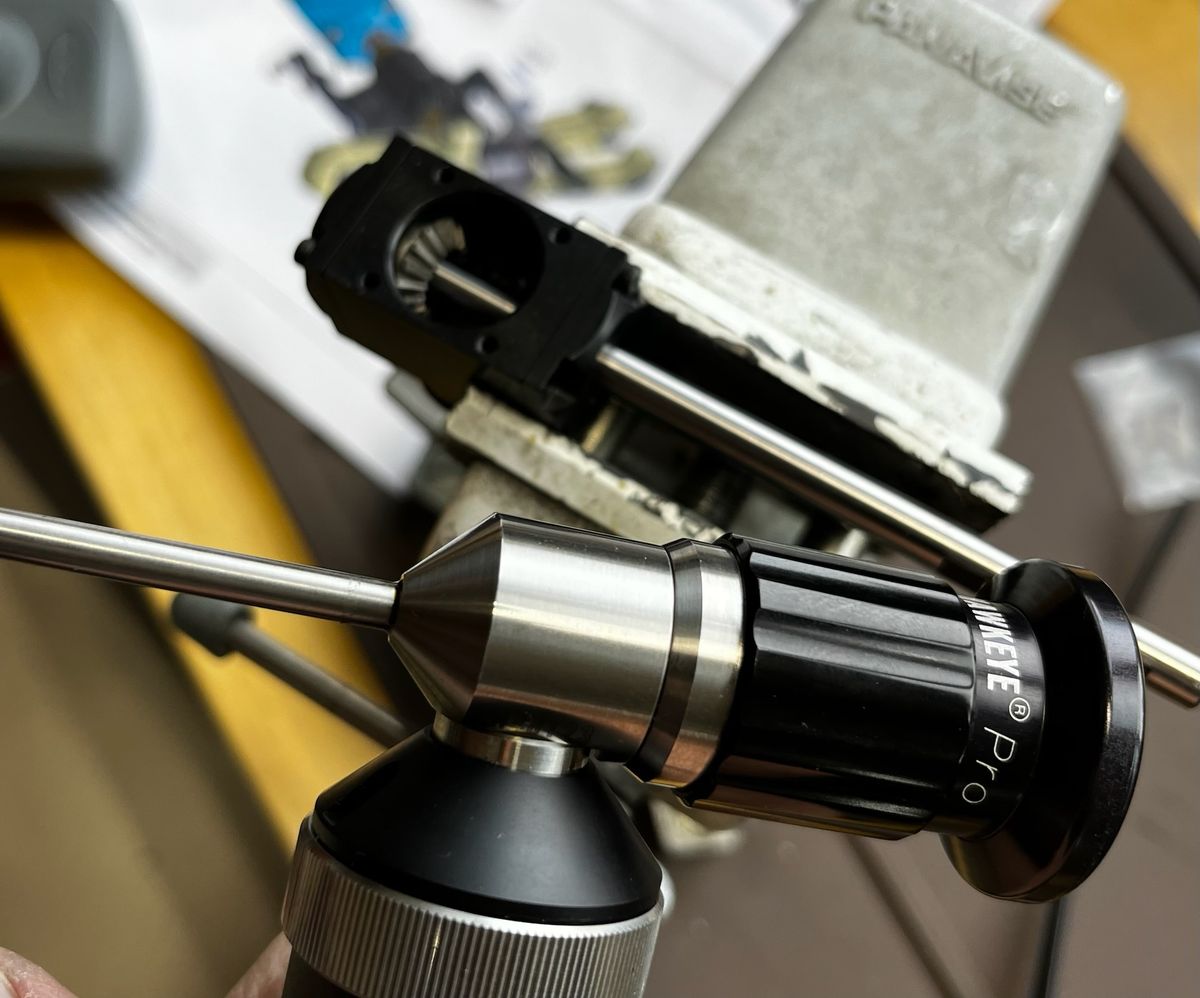
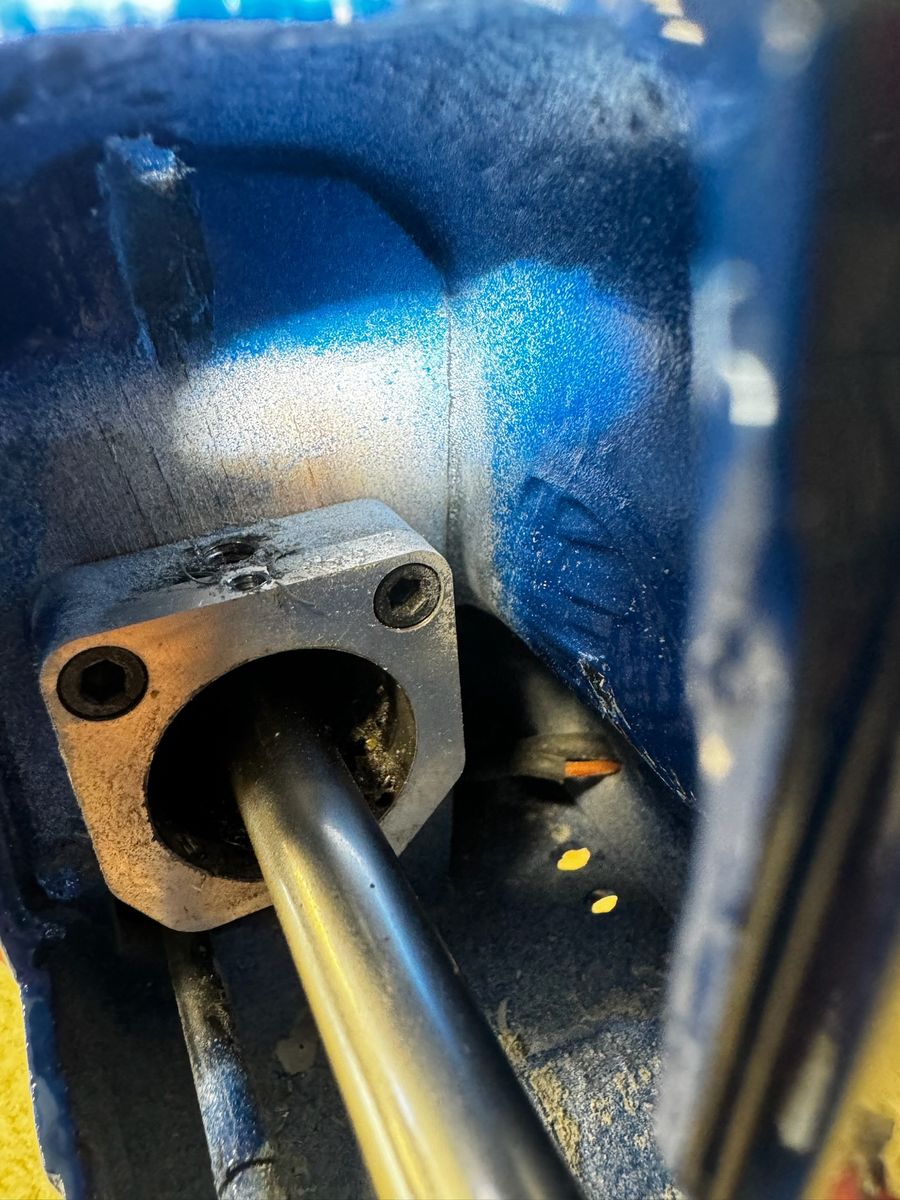
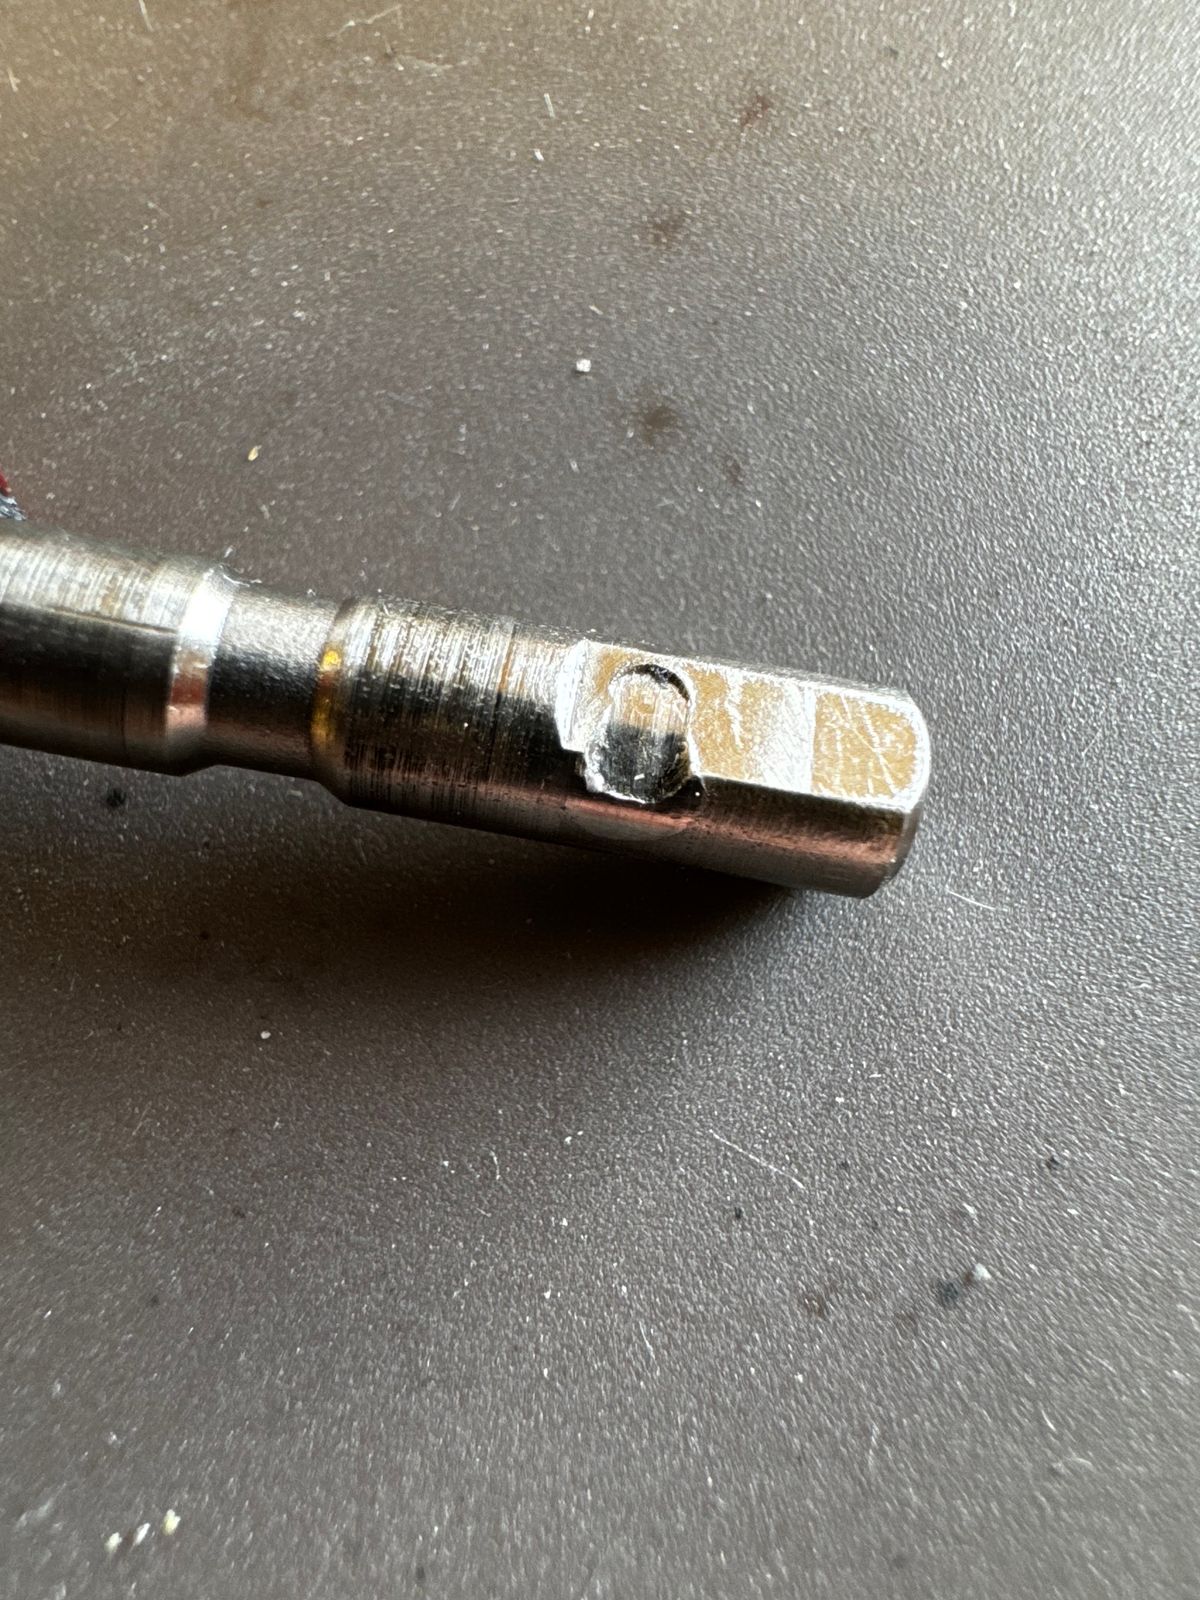
1) I had to extend the Vario TR housing rearward to prevent TR blade striking of the horizontal stabilizer. This was due to me installing the bulkhead too far forward. I added a spacer and added two additional grub screws. These grub screws did not align with the original TR housing machined to not only prevent rotation but to also prevent aft movement. Aft movement under load and vibration would thus extend the drive assembly and claw mounts causing decoupling.
2) After machining a new TR housing to solve item 1 above, I inadvertently did not leave enough free play between claws. A costly oversight on my part. This caused another decoupling under load. Mark Smith with Heliworkshop helped me diagnose that one. Thank you Mark.
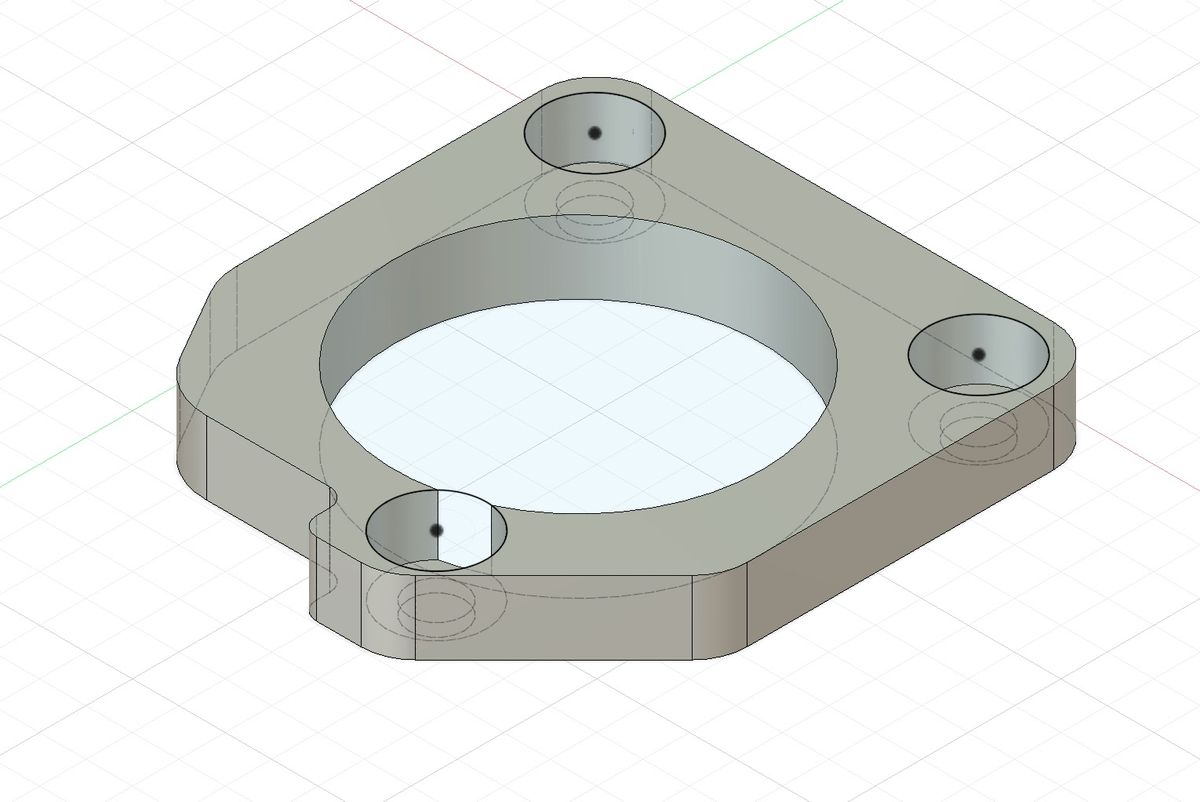
My solutions were to, as noted above, 1) I machine a new TR housing assembly. This one had a larger OD to better allow the grub screws to secure to the gear box. The additional parts insured the TR housing no rotation or aft movement and 2) floating sleeves to cover each claw coupling. Pictures and one video to follow....
If anyone has experienced a TR failure you know you will go to great lengths to not let that happened again. As of this post, the issues have been resolved.
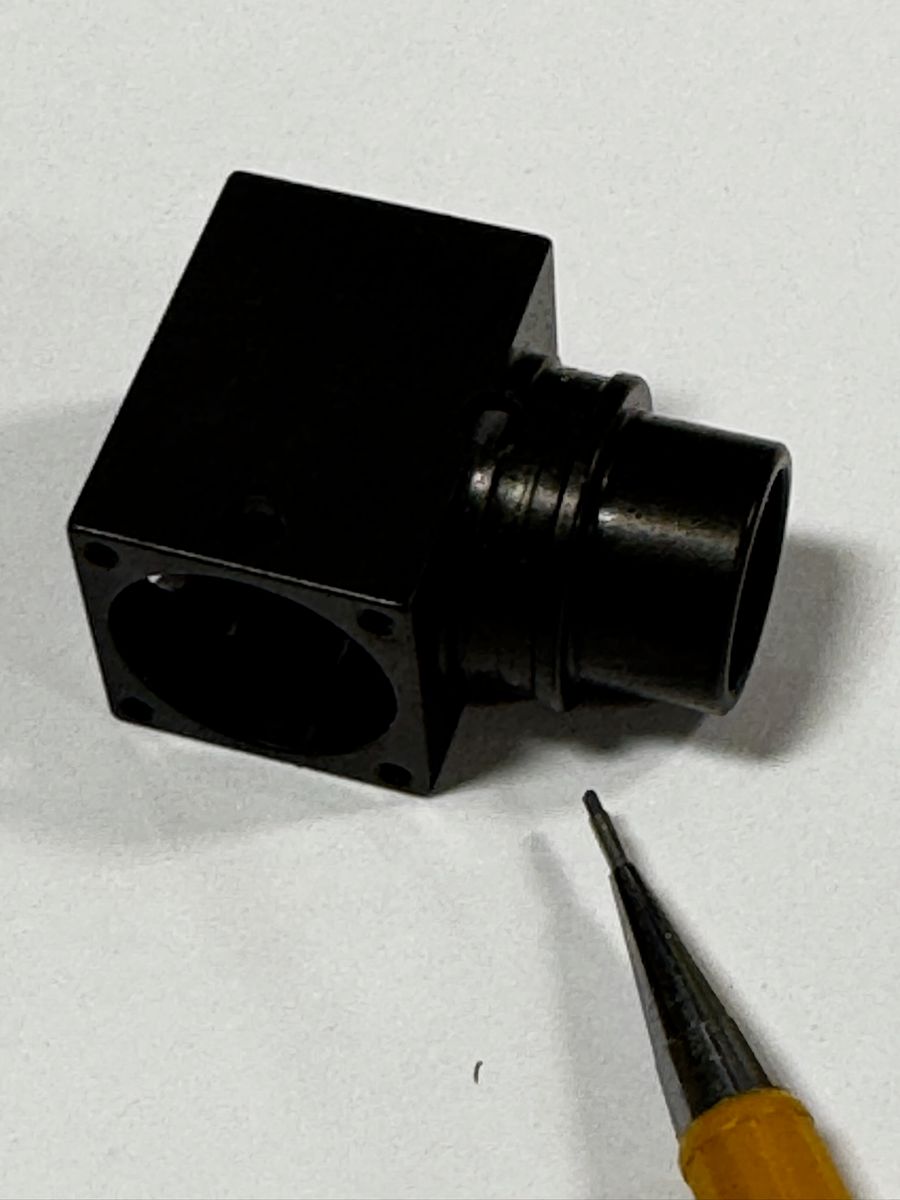
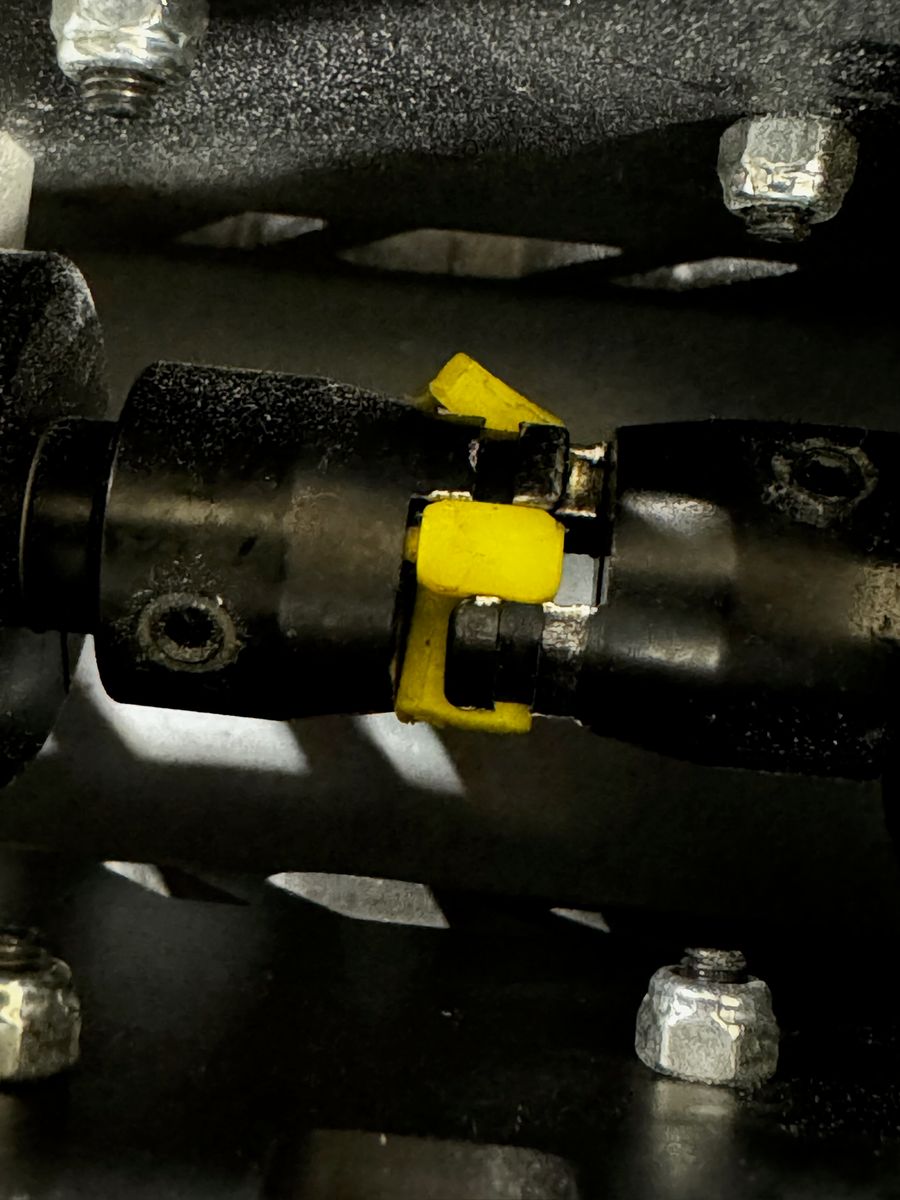
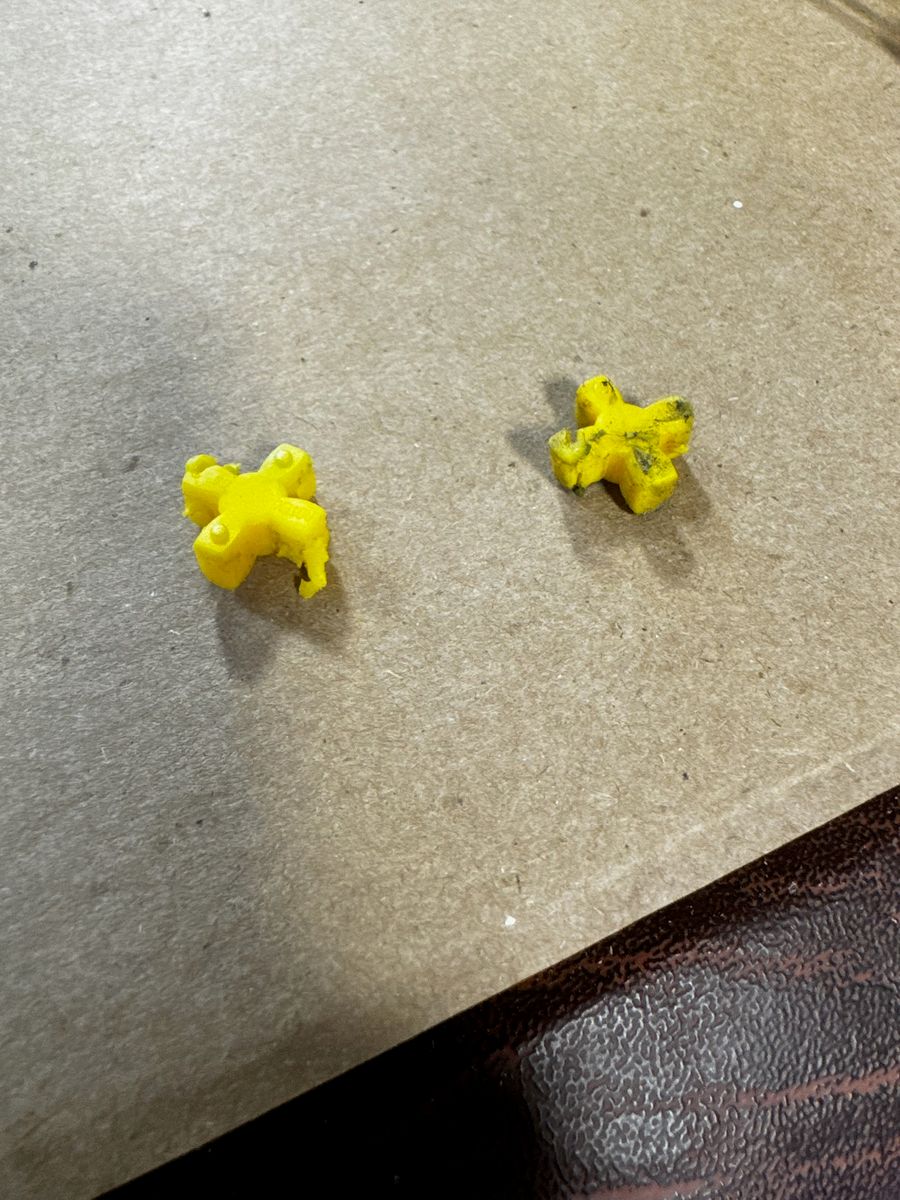
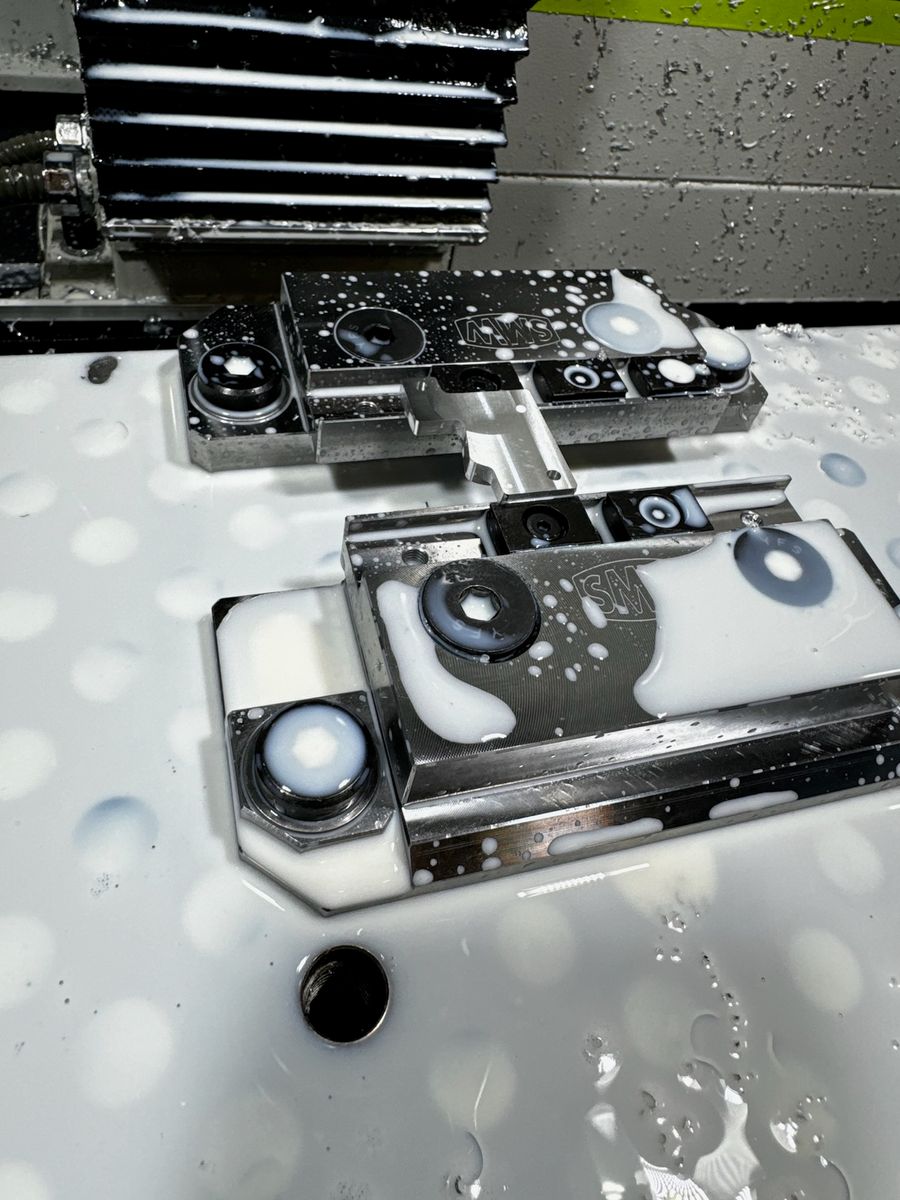
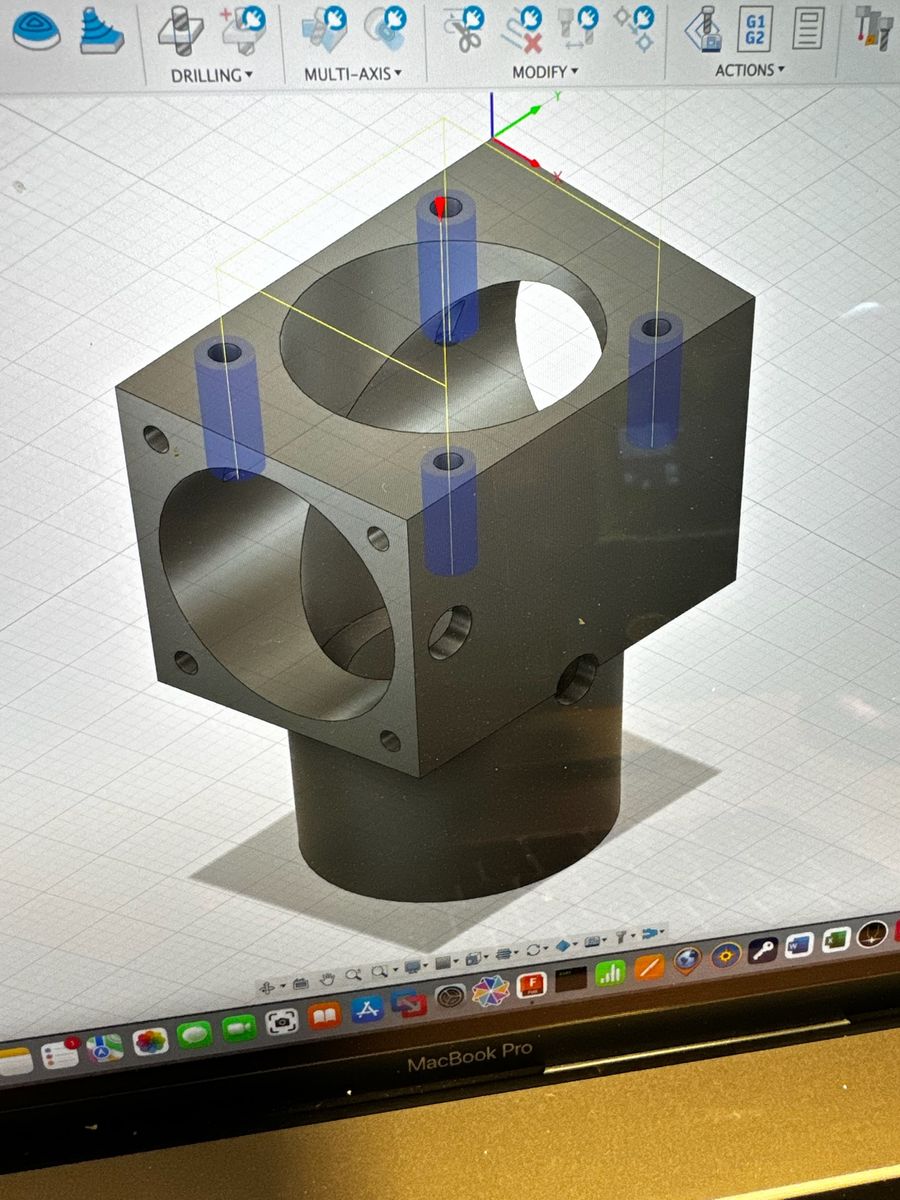
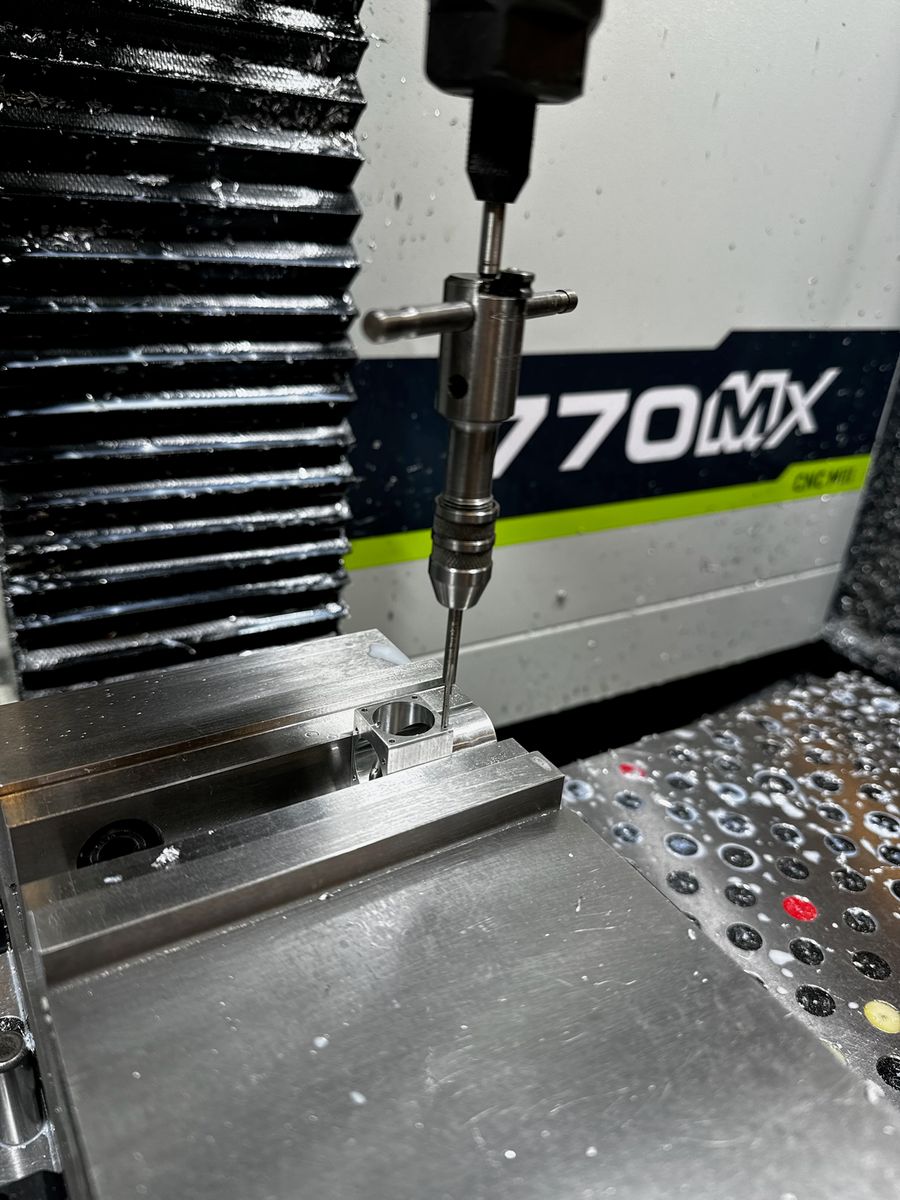
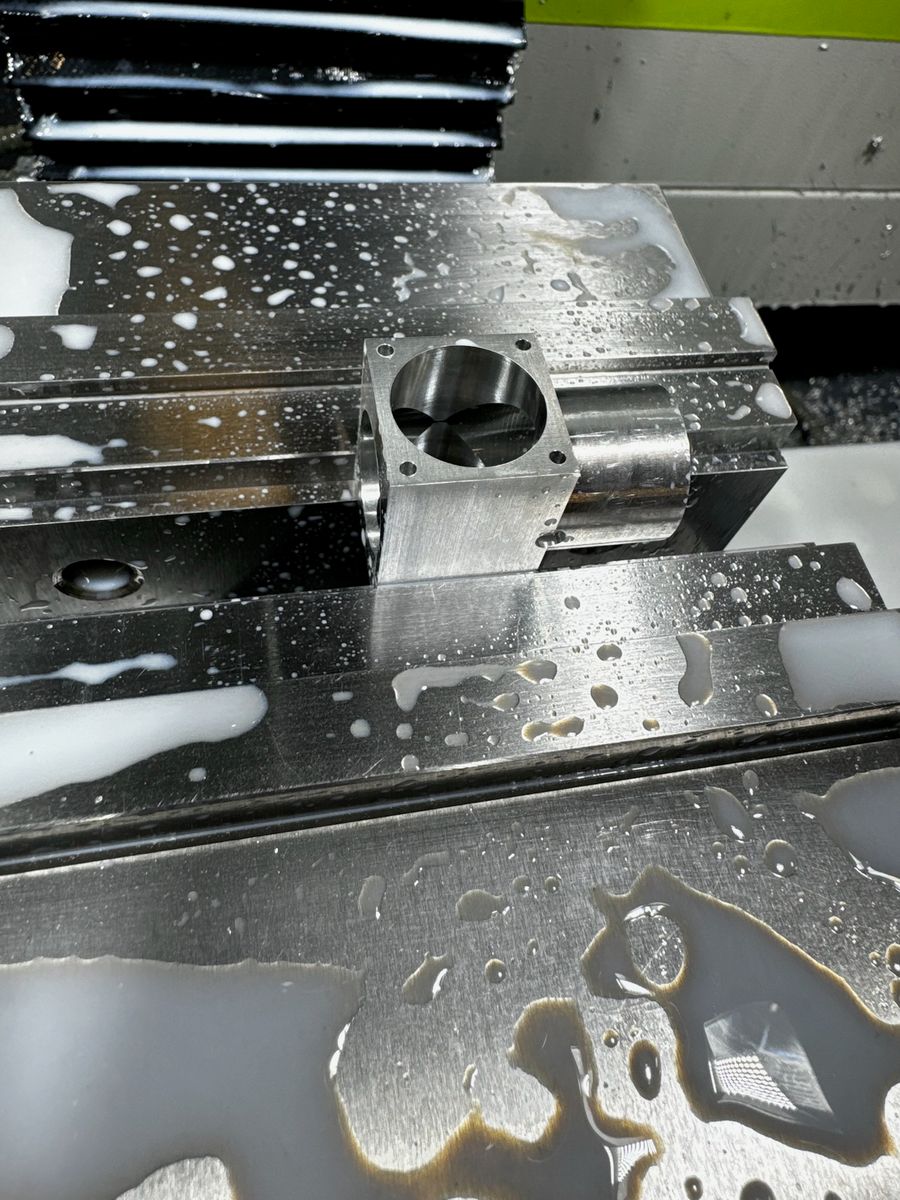
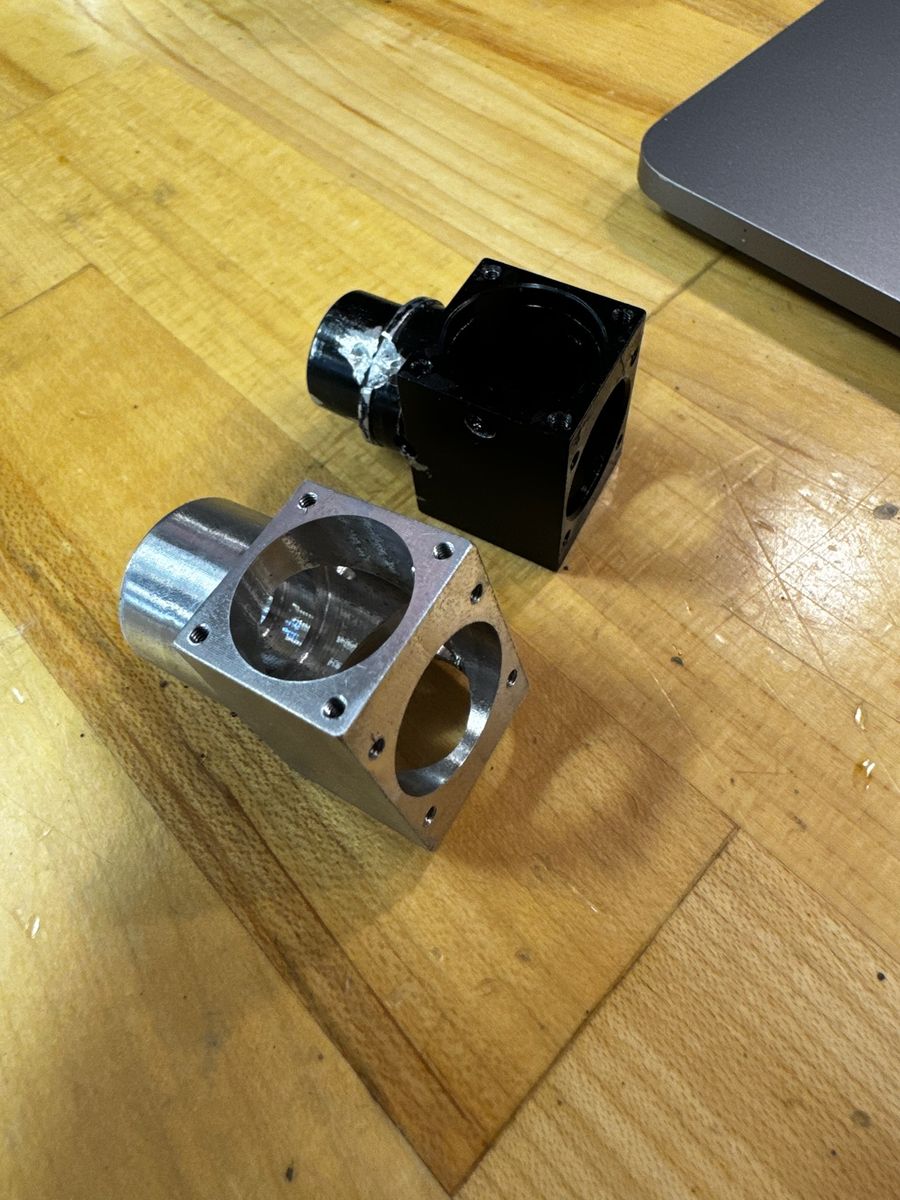
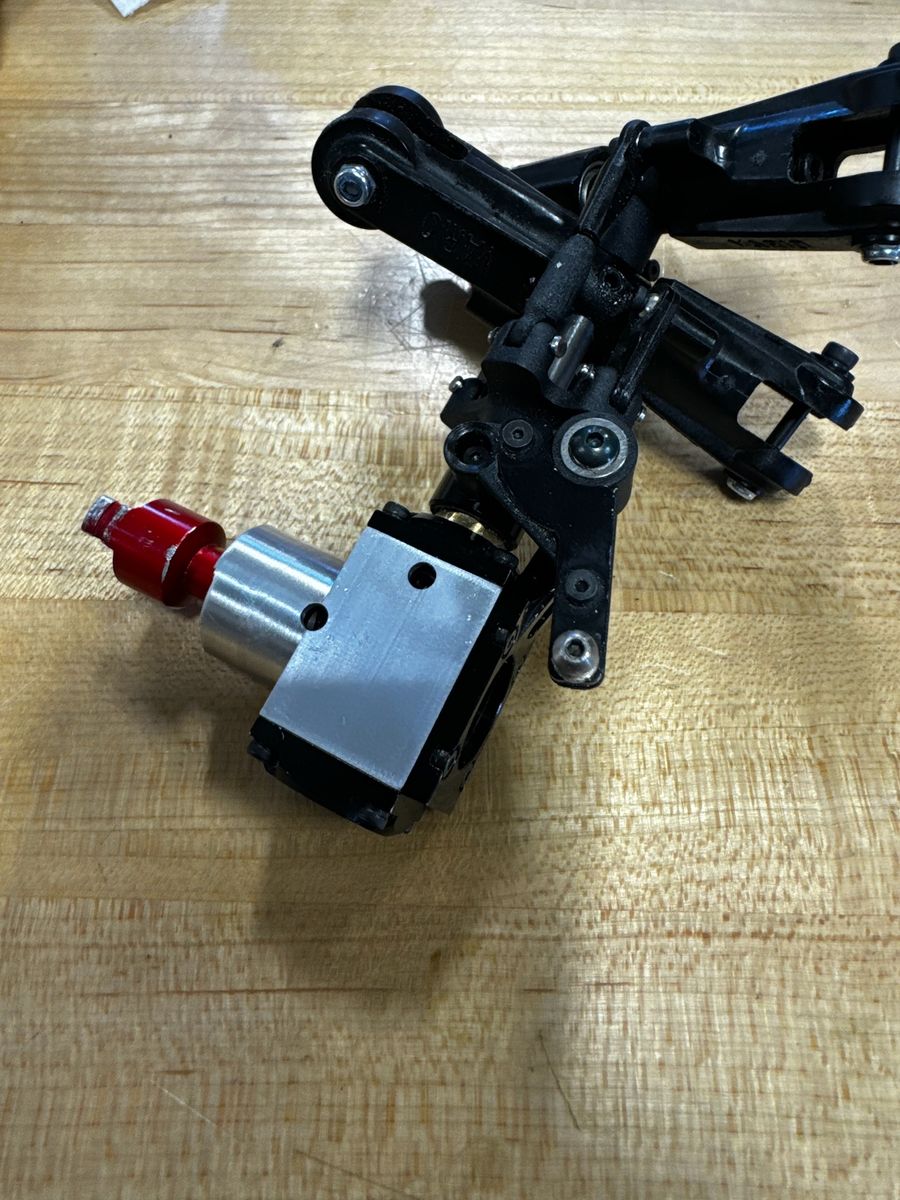
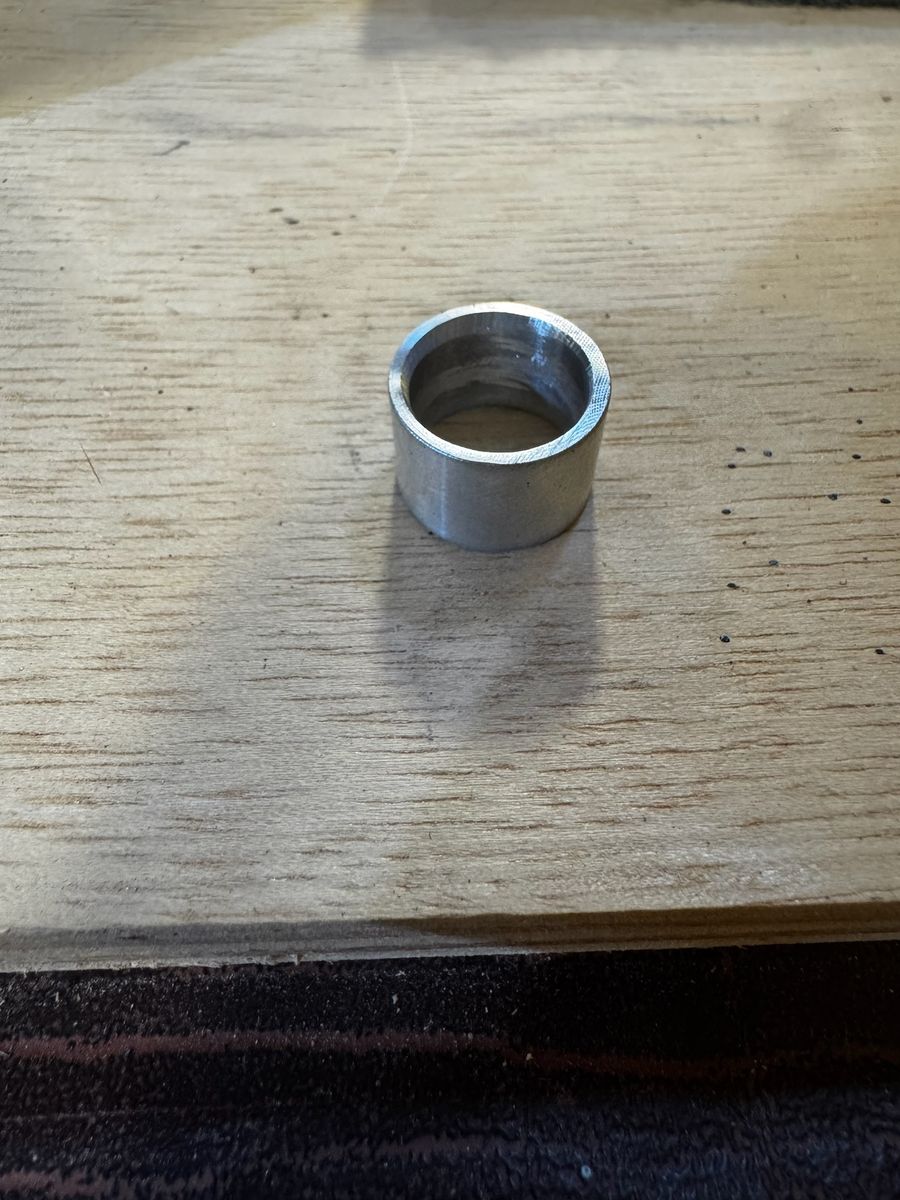
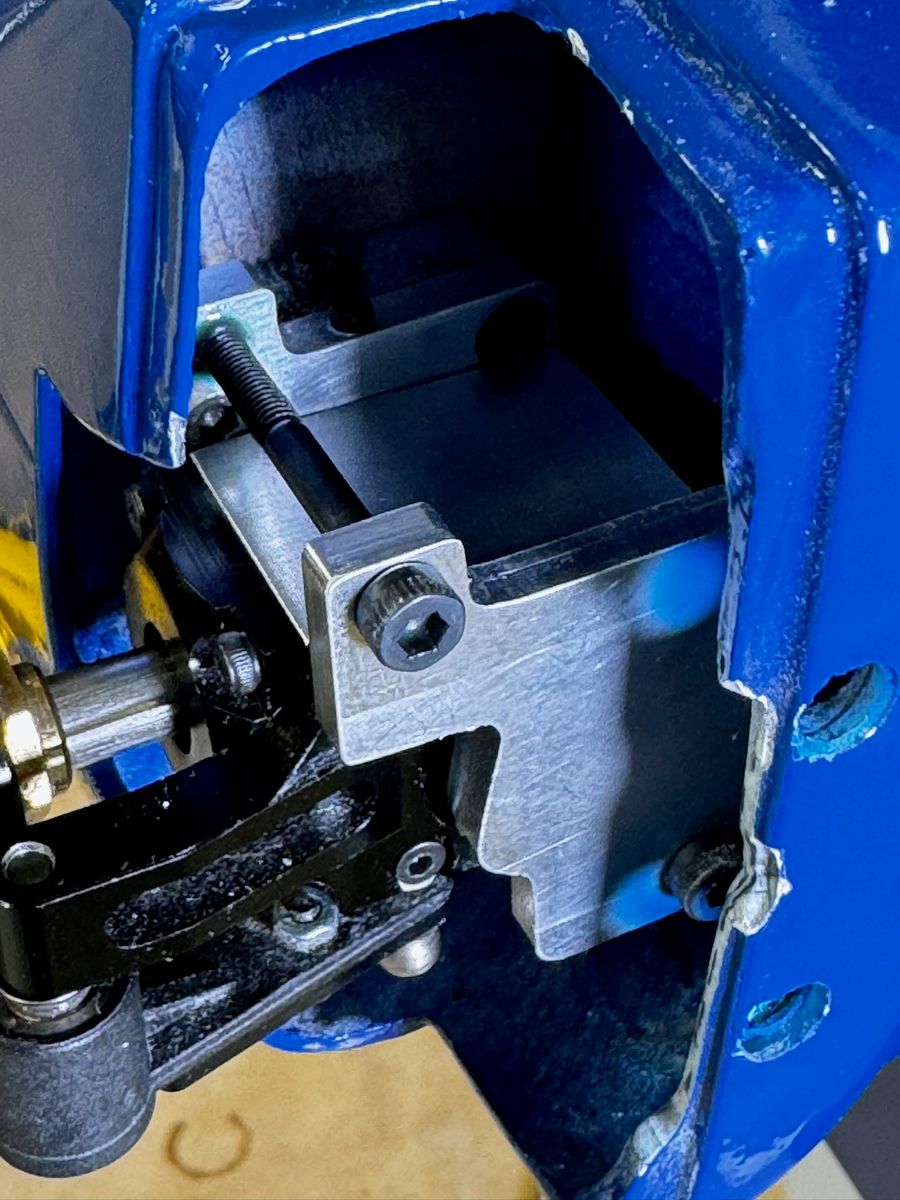
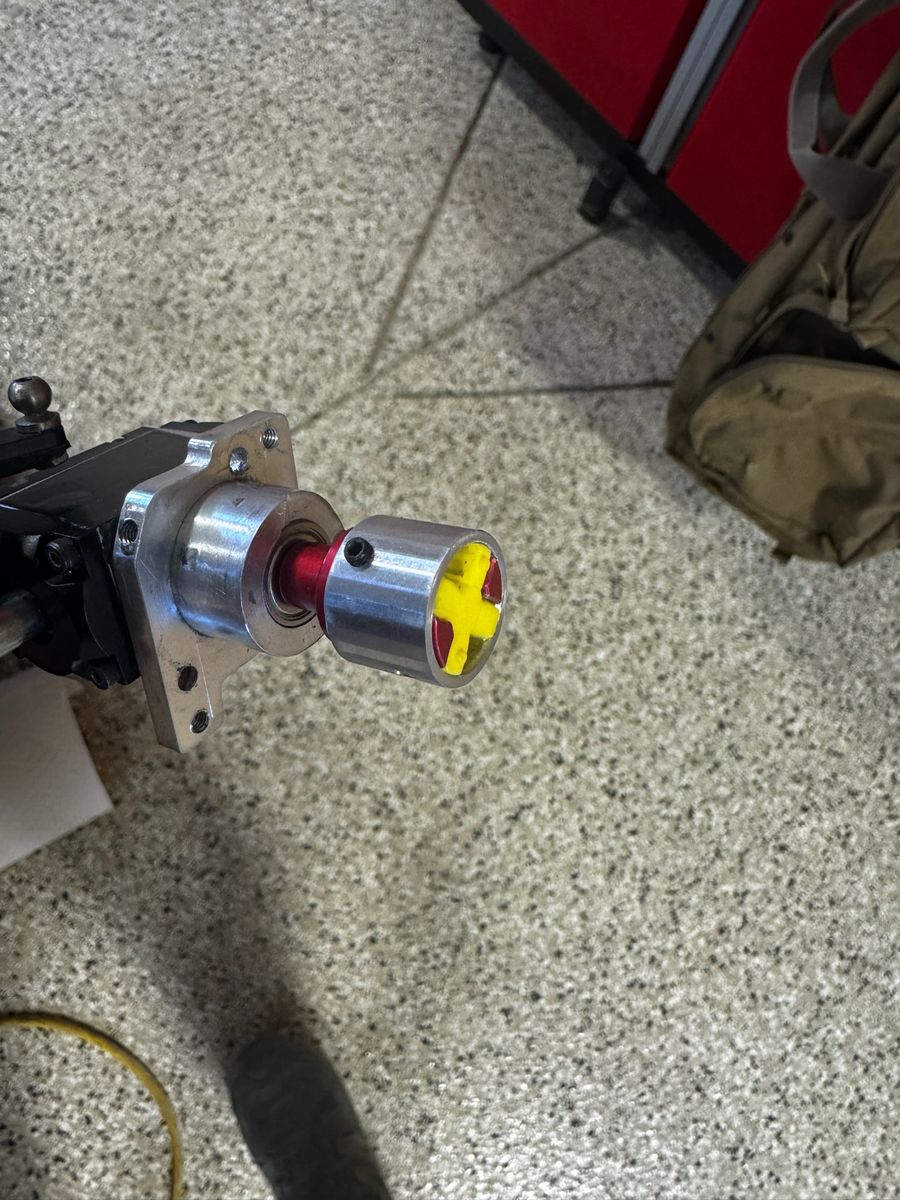
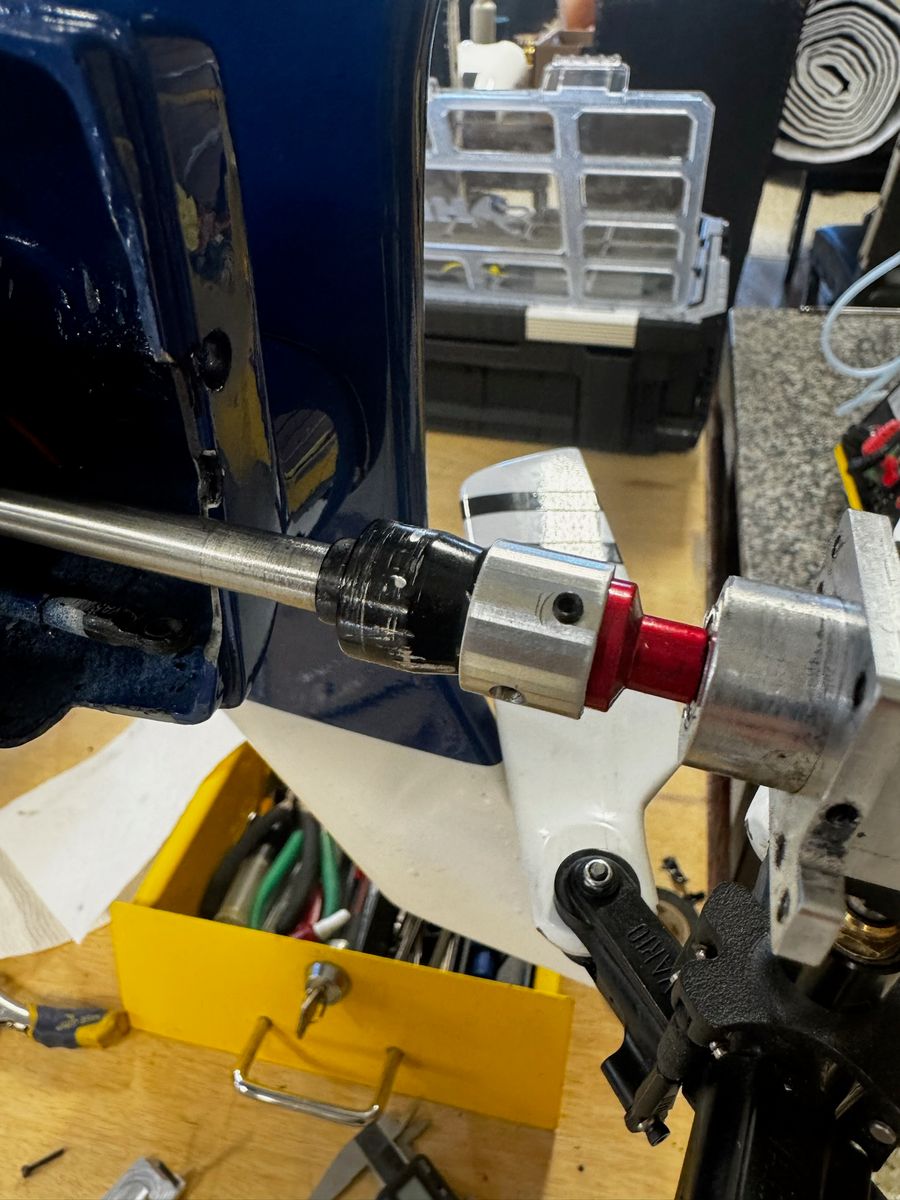
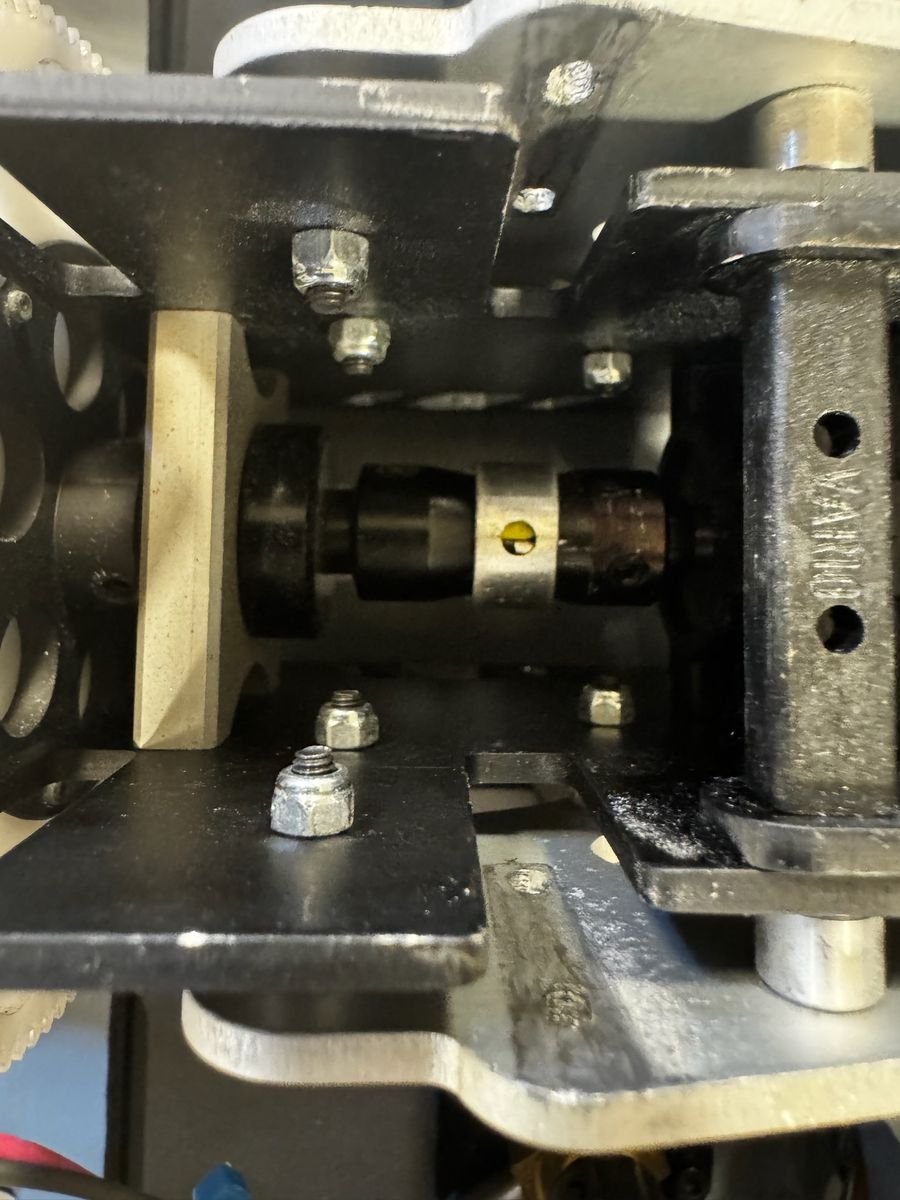
Tail rotor failure several months back. Now fixed.
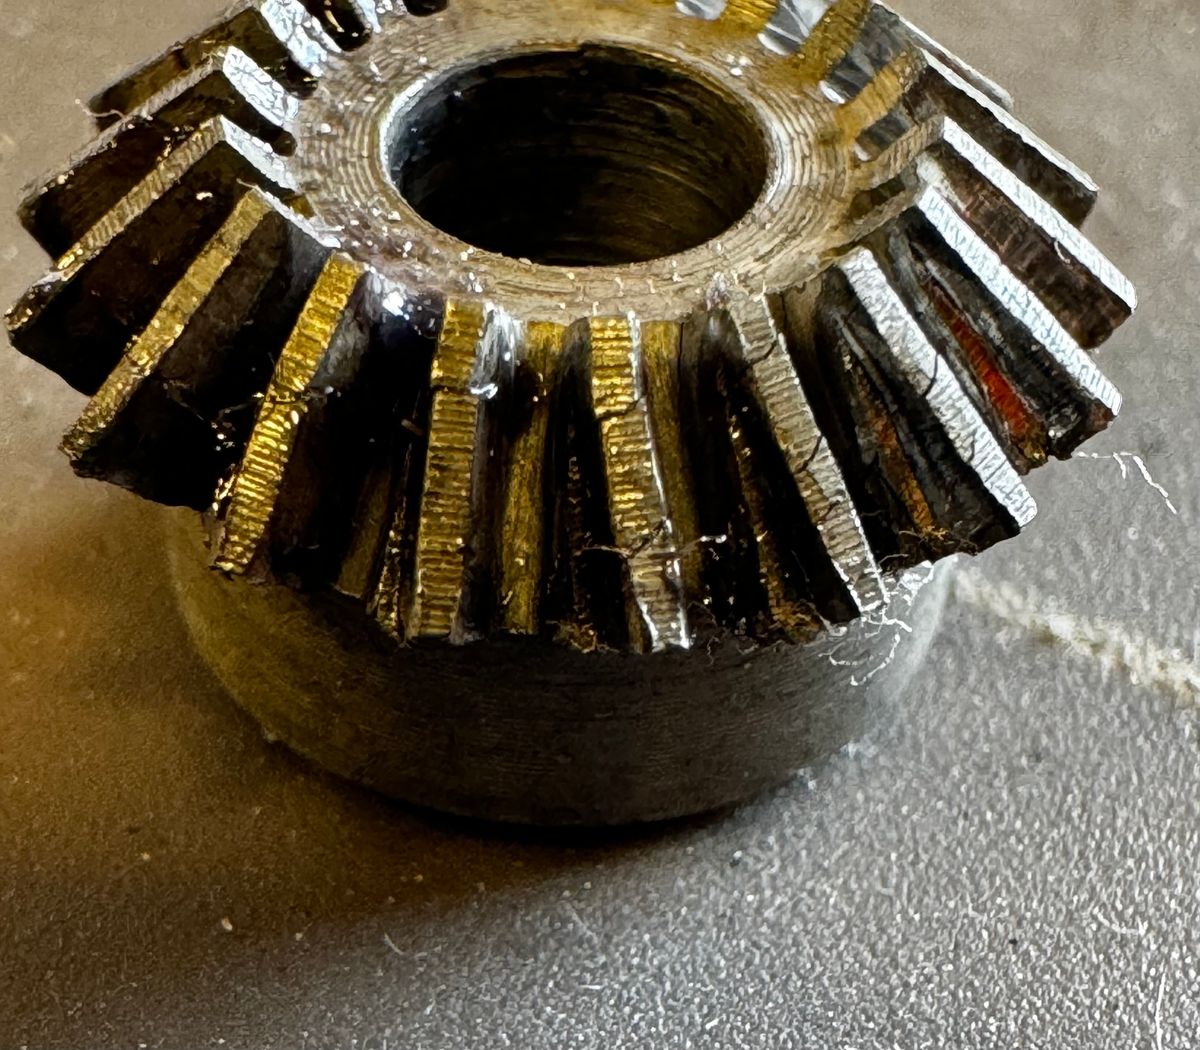
Let me emphasize that the tail rotor issues were not due to a Vario design. I made an error in building that resulted my TR struggles. The video is hard to watch.....it happens so quickly. I was able to fab some jigs to help straighten the landing gear. TR gear box inspection revealed deformed teeth.
Again, all is resolved. Perhaps this will help someone not make the same cascade of errors.
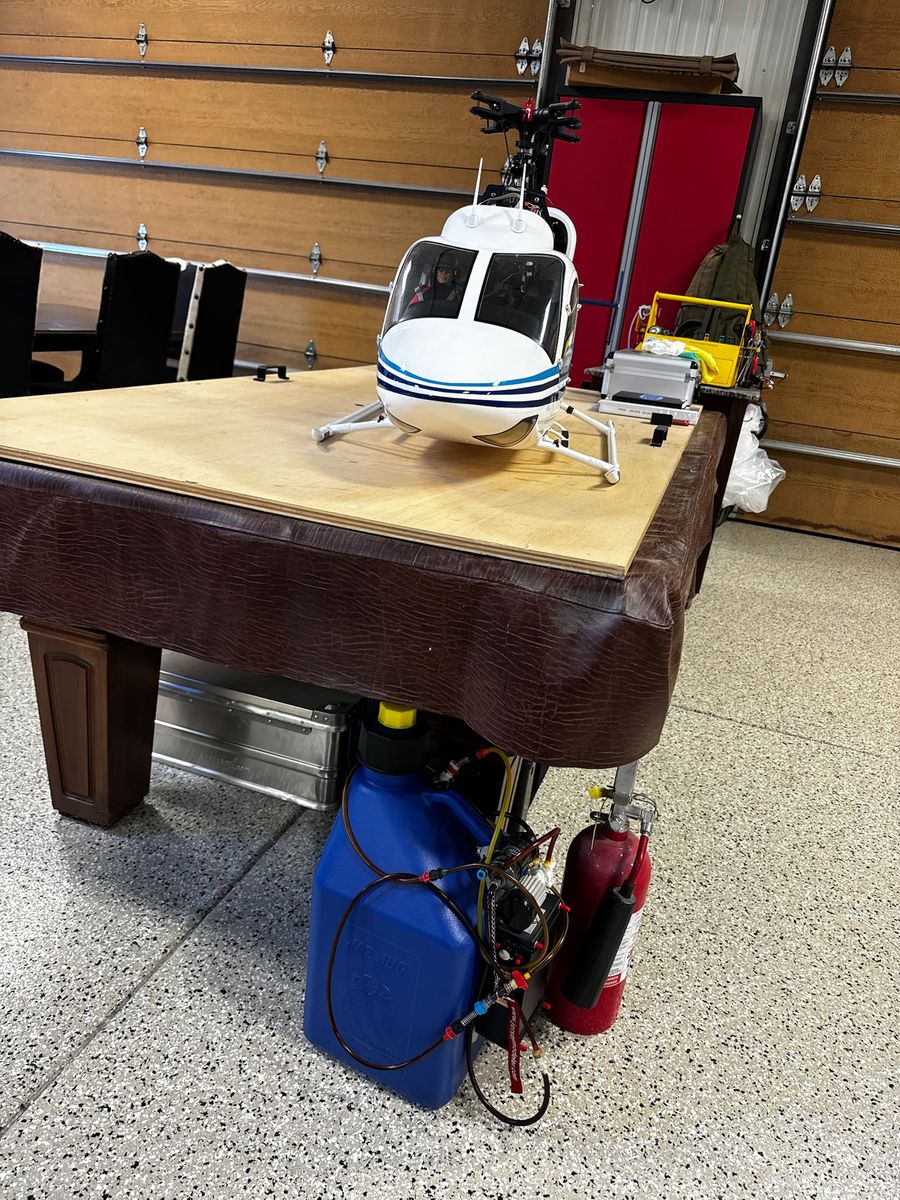
Testing the GoPro Max2 on the Bell 429
The tail rotor issues have long since been resolved. Today I tested the new GoPro Max2. I have used GoPros for many years mainly with motocross and road racing activities thus I stayed with the GoPro landscape. 360 cameras are nothing new, but this one is new to me. Amazing technology in all these cameras. This was just a test to learn its functionality.
6 Comments
Nice save...
Using the video projector is brilliant, never seen this!
Thanks!
The projector is KEY!
Never seen indeed, either build reports or Vario wiki (I won the 2nd prize in 2023 contest with Bell 212 1:7 build report). Usage of video projector looks to be generally "undocumented" or not used often, while makes so sense to use it for best scale results, like a laser. Maybe I miss something, that's possible
That pretty cool. I like it.
B