The great Crate Create
Soon or later, you will crater. You will give into the need to crate a model and send it packing! I have crated quite a few models in my day (this says something about my short attention span and propensity to buy and sell models like my wife does with shoes). Over the years, I've learned some good tricks. This is what I've learned:
 Make It Strong
When building a crate, don't skimp on strength. You can write "fragile" on the crate in 20 different languages and it will always be read "slam, stack, slide, shimmy or sit on as desired."
I start with 2 x 2 furring strips. They are inexpensive and you can grab them in 8-foot lengths at Home Depot or Lowe's.
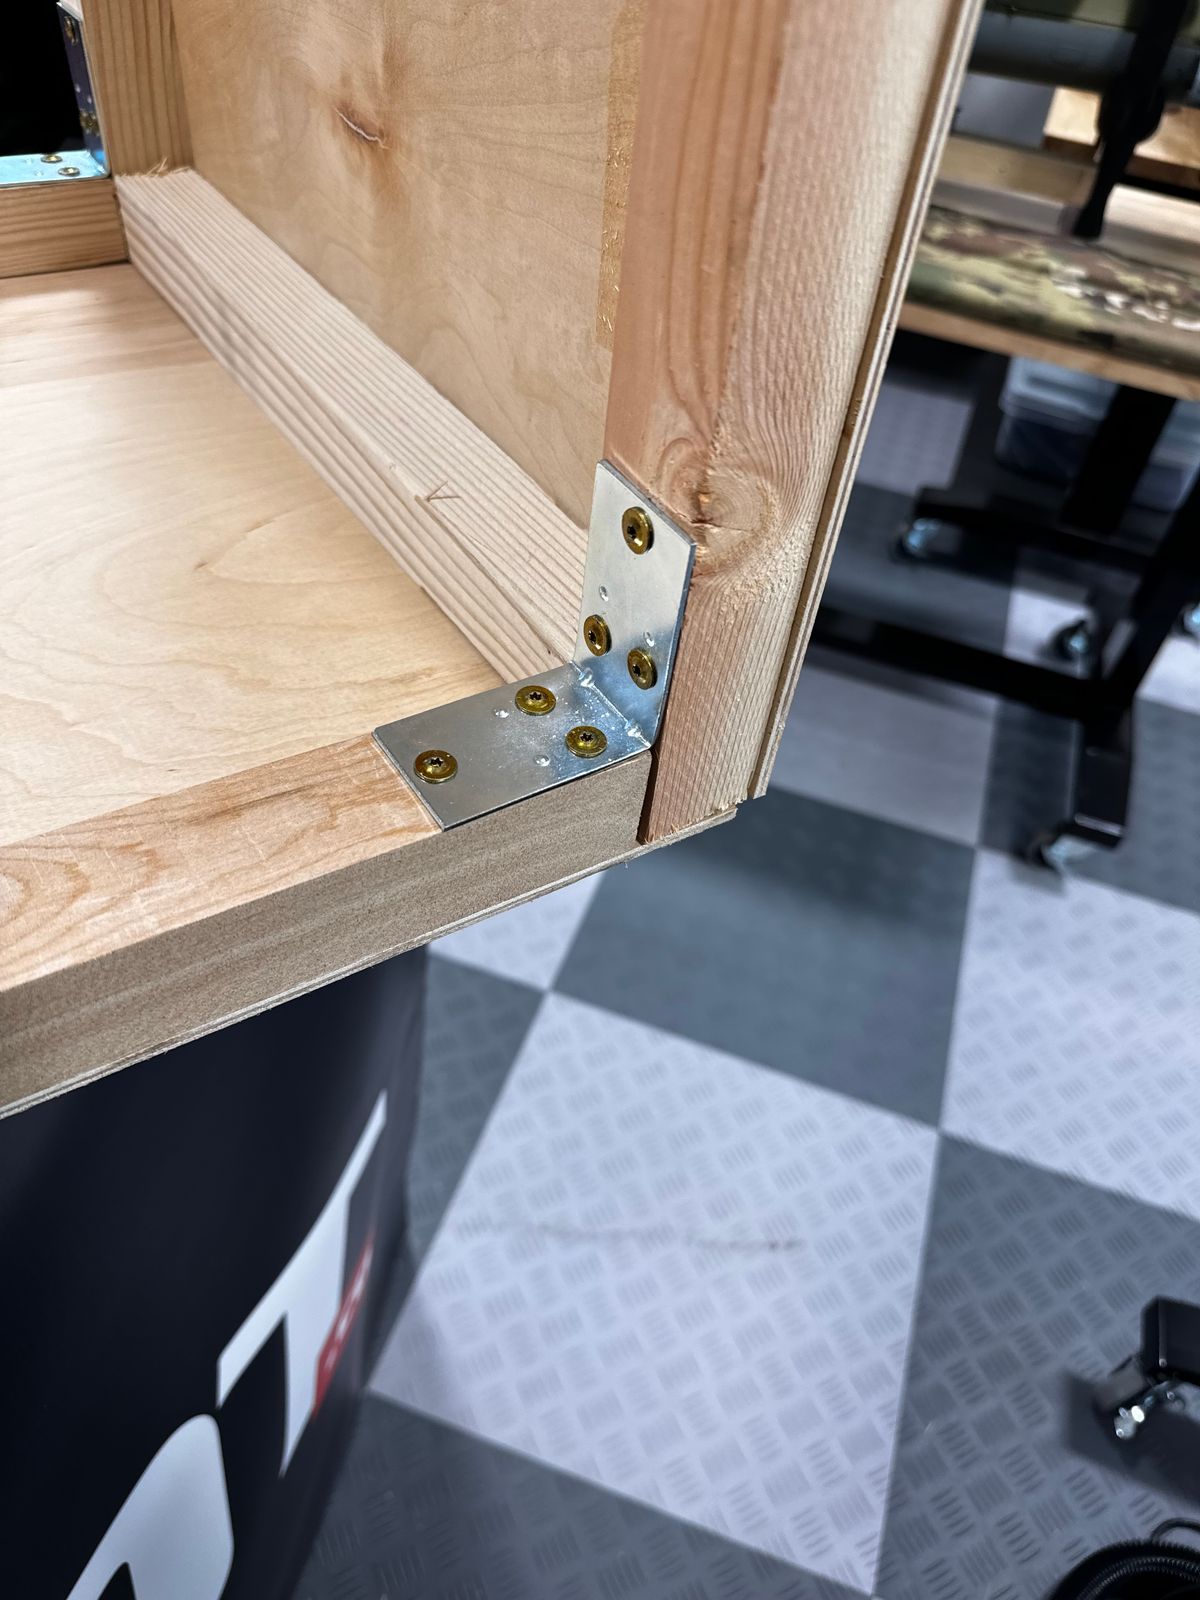
For sheeting, I use 3/8"/5mm plywood. Corner braces are key, whether you use metal ones or blocks of wood. These keep the crate from deforming.
I use cabinet screws (with the star heads) to secure everything. If you have a nail gun, that will be hand to tack the sheeting in place during the early stages of the build.
The Measure
If you are like me, the hardest part of building the crate is figuring out the dimensions of the sheeting. OK, it's not THAT hard, but you do need to figure out your butt joints and add 1.5" on the ends of certain pieces to account for the width of the 2x2. I begin with the necessary interior dimensions and work from there. In the crate shown in this article, I needed 58" in length, 16" in width and 20" inches in height. To figure my end caps, I determined that the top and bottom 16" 2x2 pieces would fit inside the two 20" 2x2's. My sheets for the ends, therefore, needed to be 20" tall by 19" wide (to account for the 1.5" width of the 20" vertical pieces.
The same thing needs to be done when figuring out the top, bottom and sides of the crate sheeting. Have these measurements handy when you beg the guy at Home Depot to cut the sheeting for you. By the way, expect 1/4" variations in cuts when having the hardware store make the cuts for you. It's not furniture, it's a crate, so you'll be ok.
The Build
Build the crate by constructing the end caps first. You can do this on your work table. Just tack the plywood to the four pieces of 2x2 that make up your end caps. Follow that with cabinet screws. There is nothing more satisfying than tightly securing the sheeting with these screws. If they countersink into the sheeting, no problem.
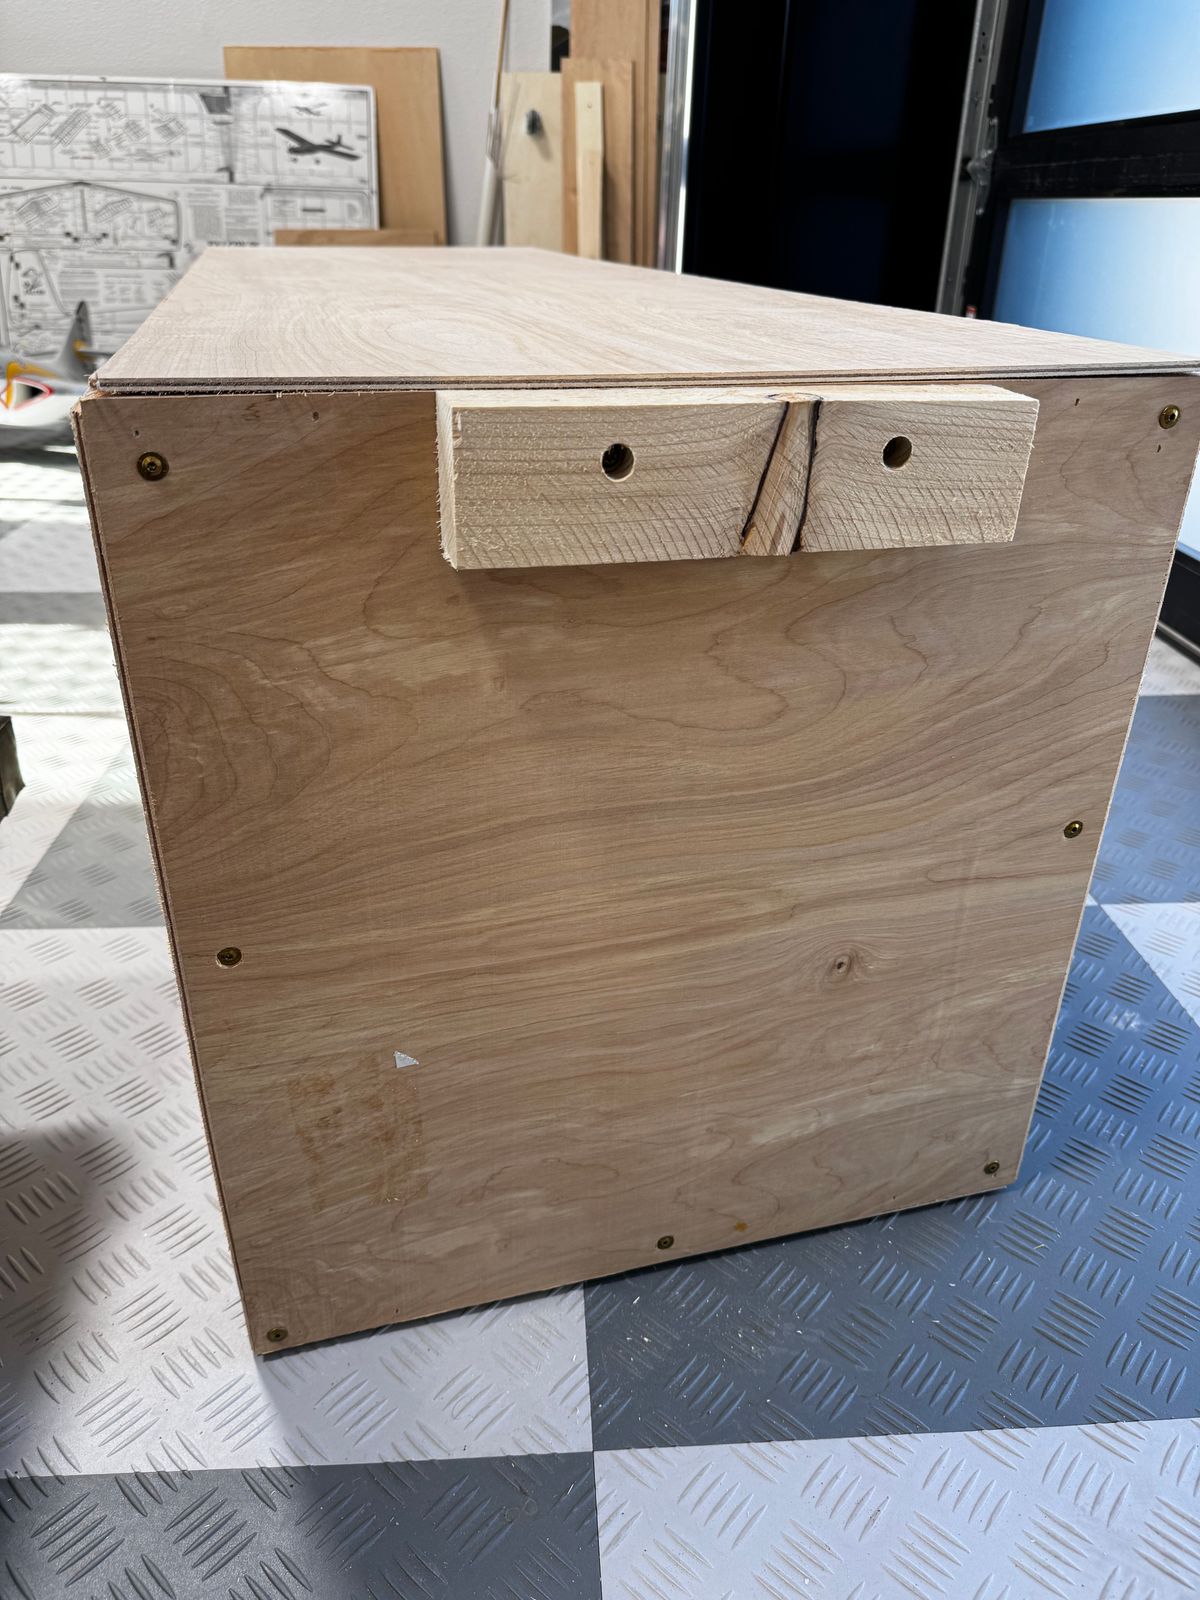
I like to add handle blocks onto my crates (you have to use some sort of handle) so I use thicker cabinet screws to support the weight of the crate. I wait until the end to attache these. Notice in the picture that I drilled countersunk holes into the handle material in order for the 2" cabinet screws to seat far enough into the end cap frame.
Once you get the end caps finished, stand one up and lay your lengthwise 2x2 on the table. Stand the end cap adjacent to the butt end of the 2x2 and secure a corner brace to the stringer. Then, secure it to the end cap. Repeat this on both lower stringers and each end cap.
At this point, I like securing the bottom sheeting to help maintain the rigidity of the unfinished box. Once that is complete, add the top stringers followed by the sheeting on each side.
 The Packing
Everybody has their own way of packing. I like the following:
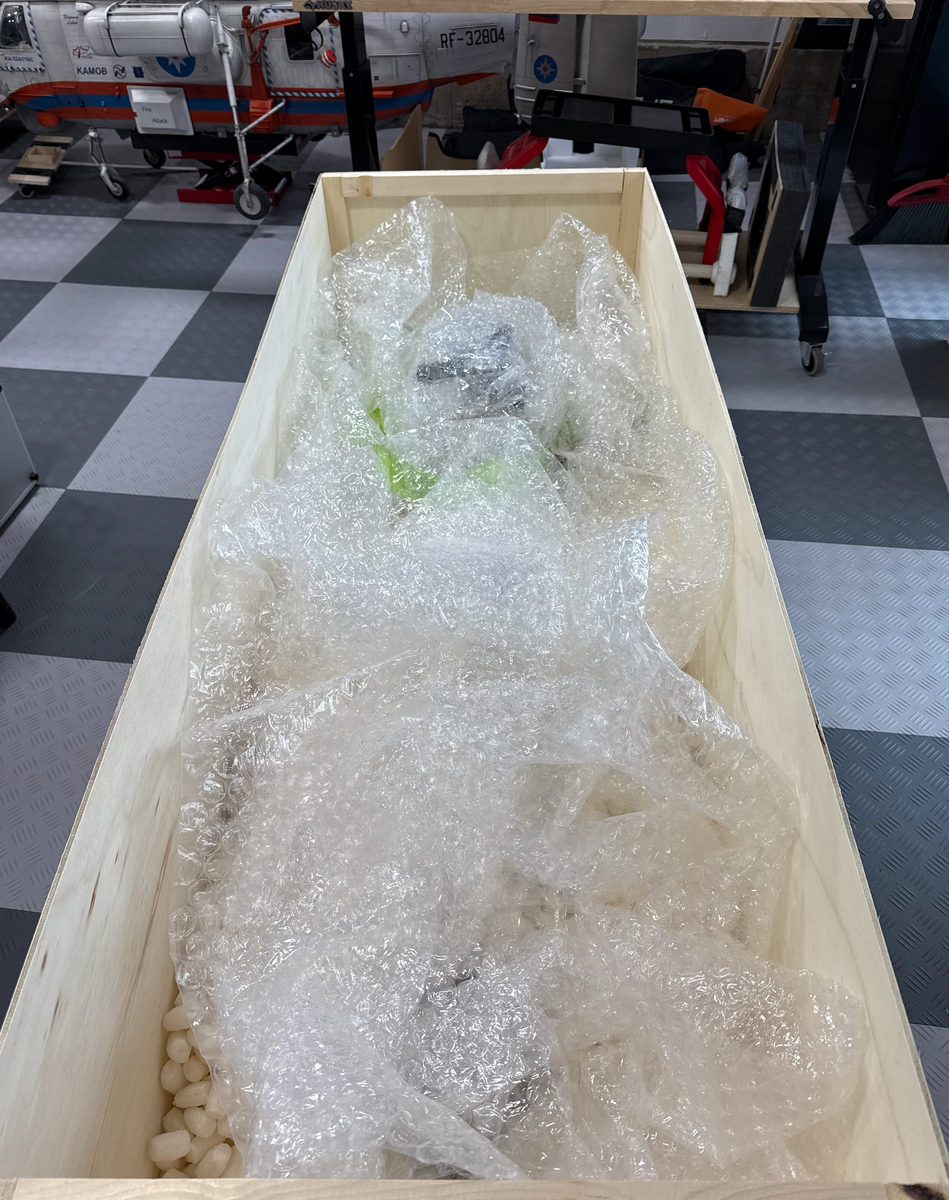
- Lay bubble wrap, sheet foam or similar material on the bottom of the crate.
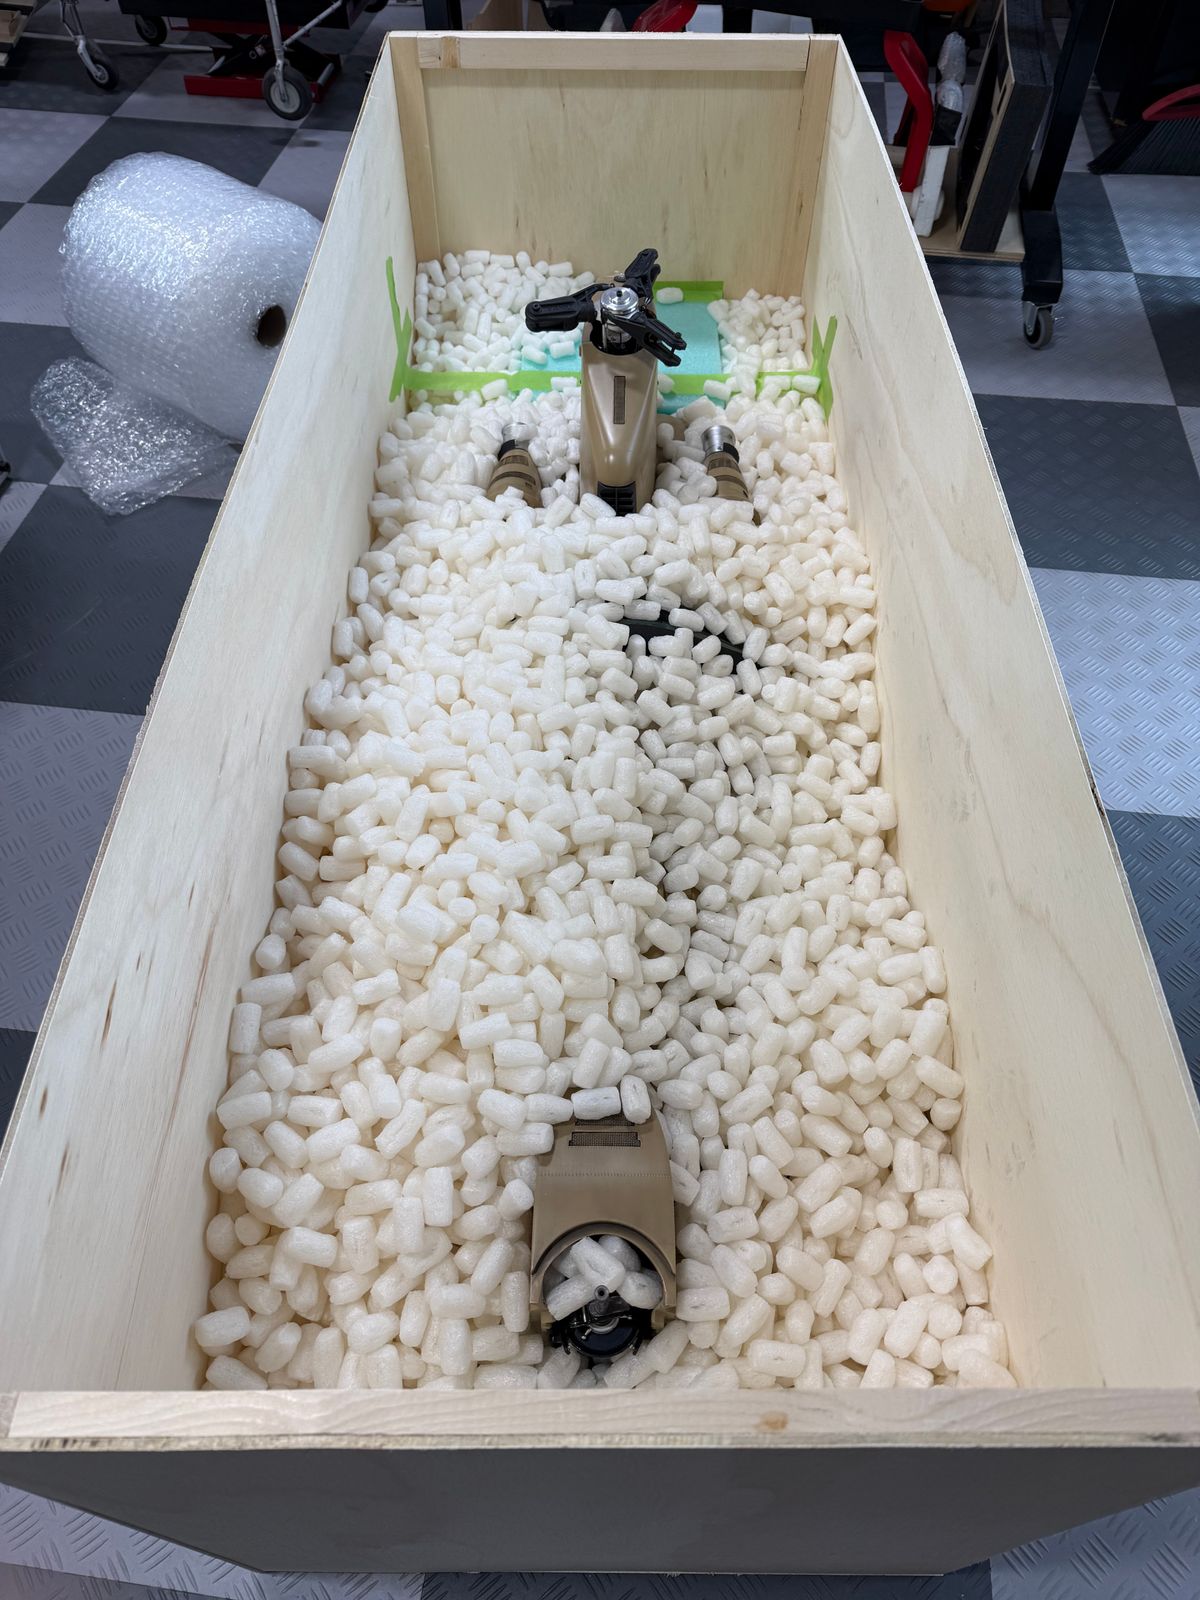
- Next, add a layer of packing peanuts to the bottom
- To the extent possible, bag the model in a plastic bag (unless you are worried about scratching, in which case, you can use the rolls of cello wrap that movers use.
- Line the bottom of the crate with peanuts. Just enough to add a bit more "float" to the model.
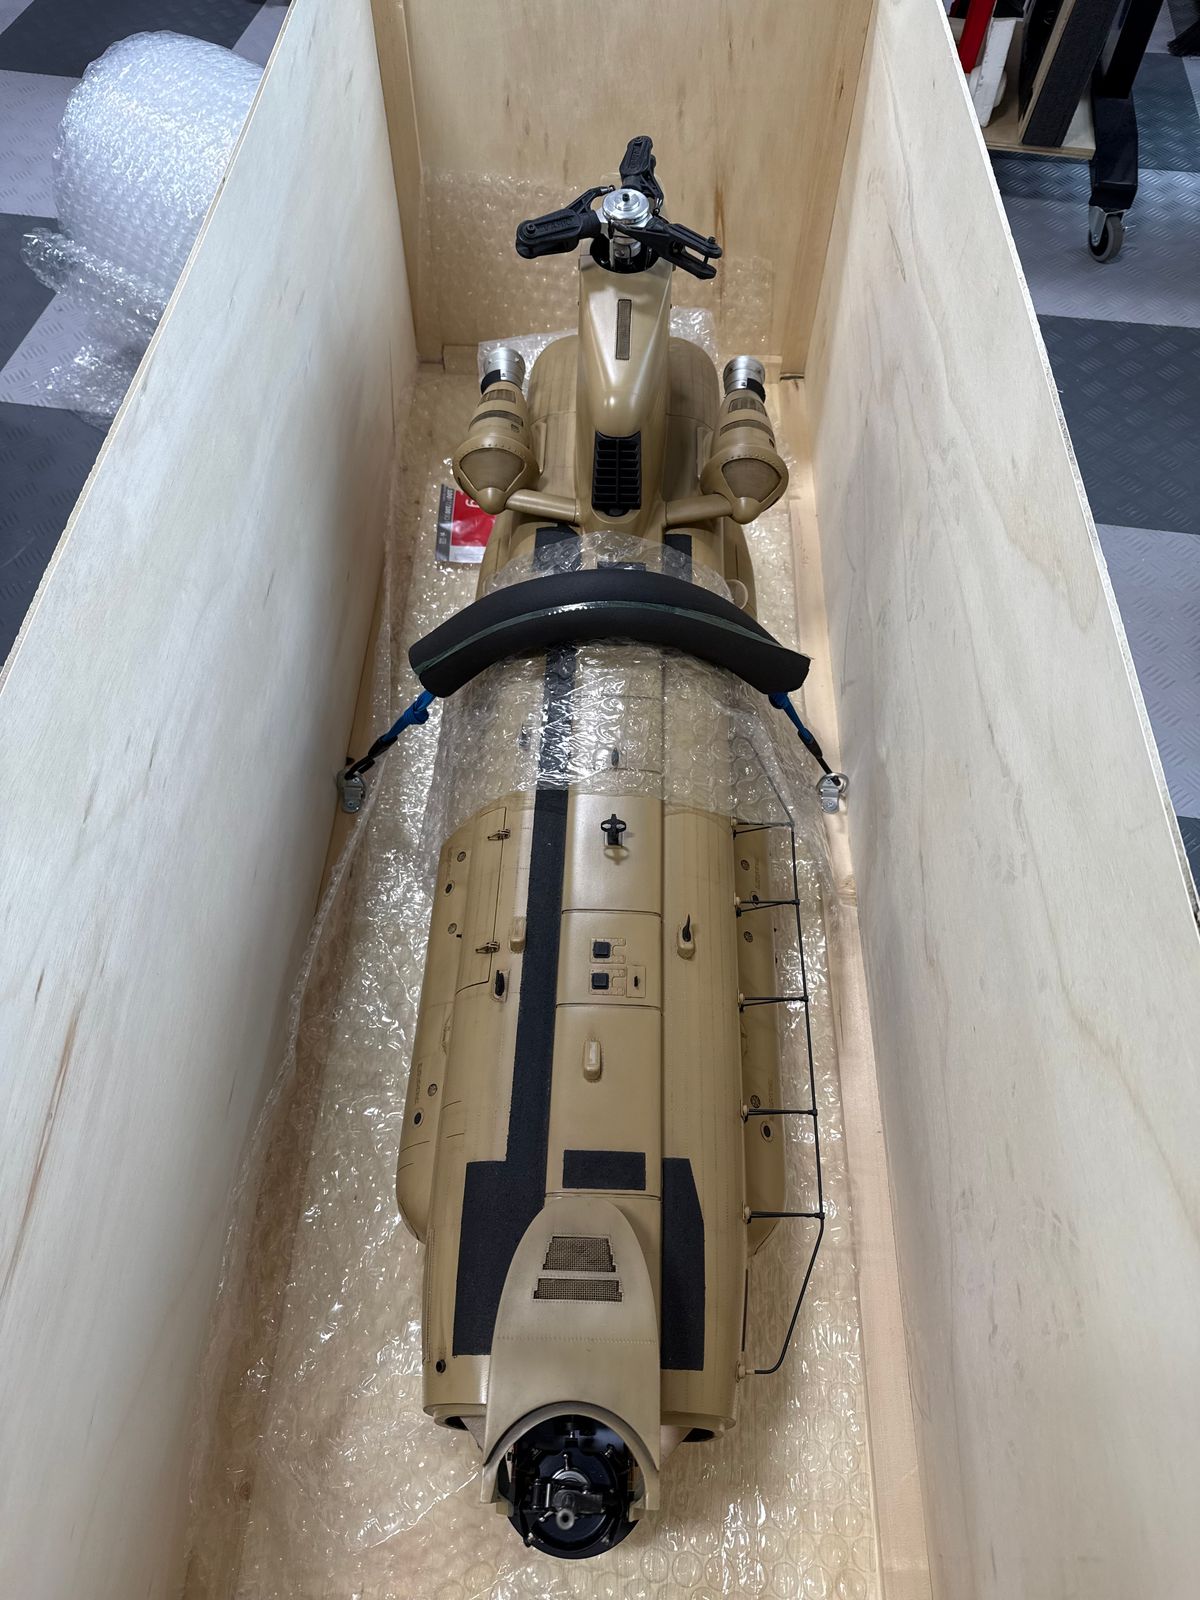
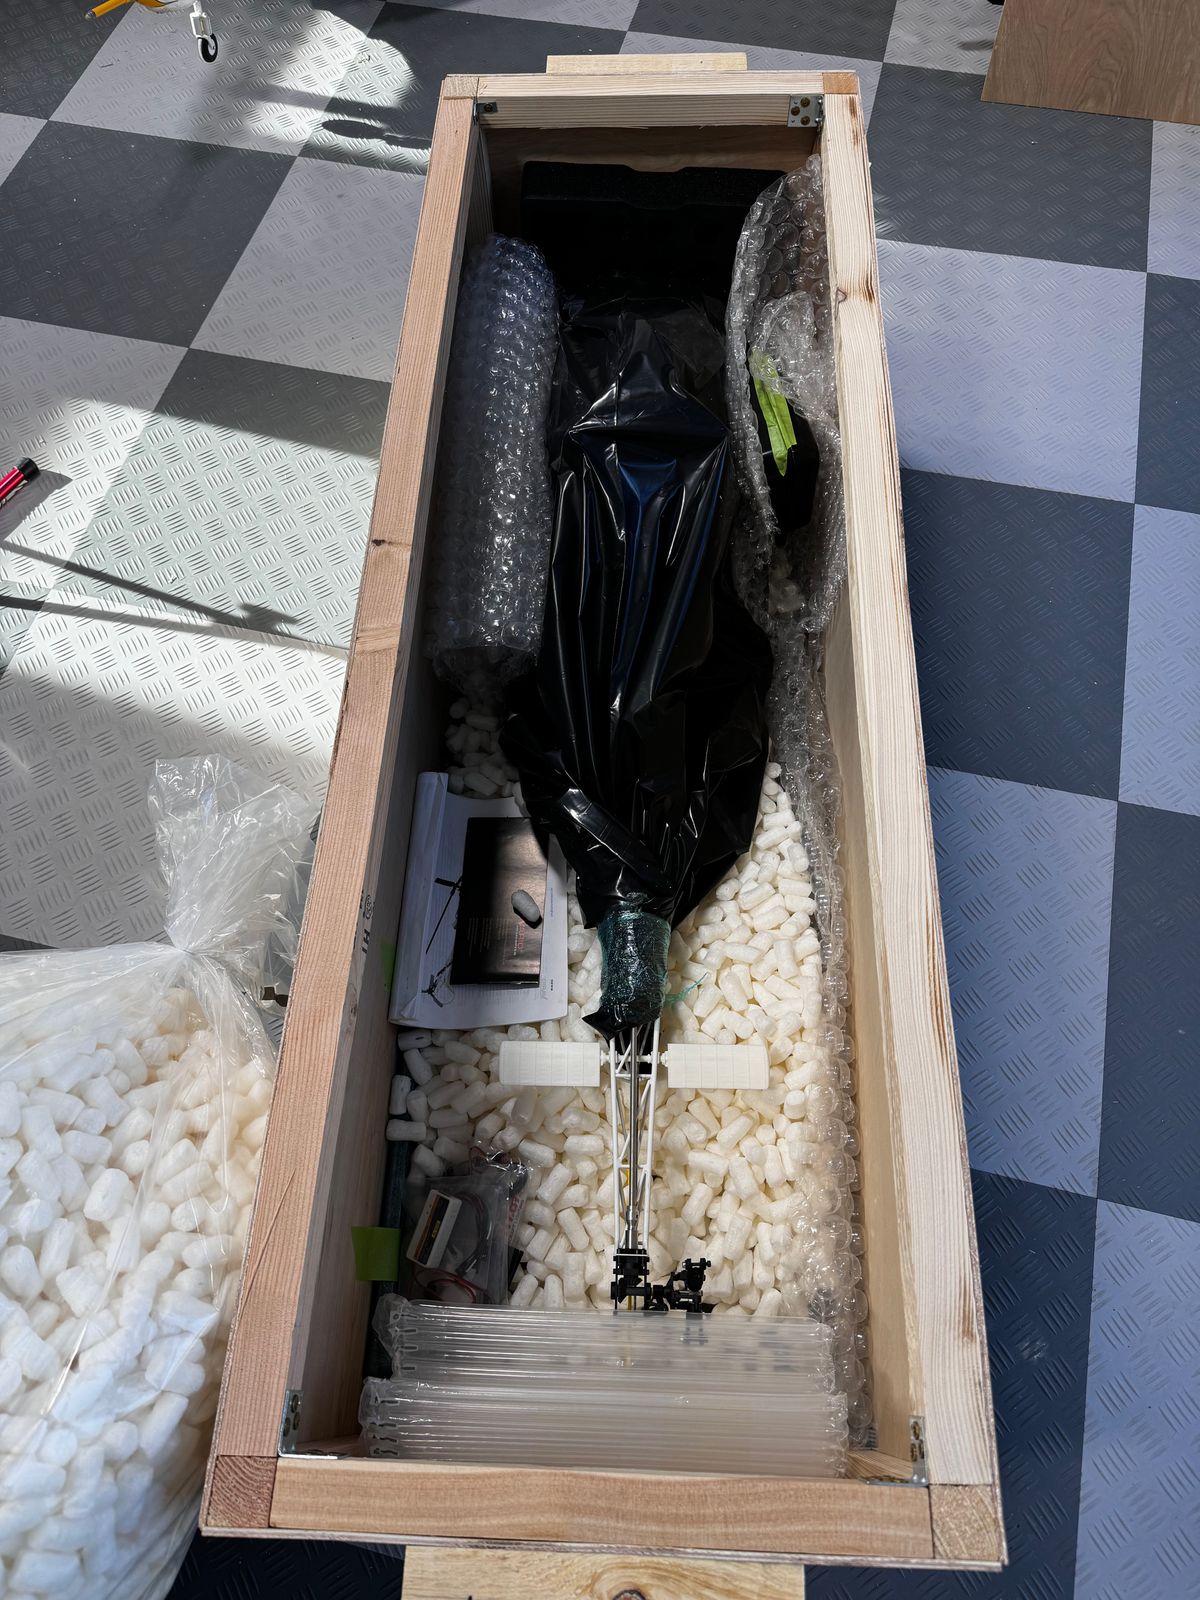
- Drop the model in and position it with sufficient buffers on all sides. Toward the rear of the crate, drop in blades and other pieces. I use movers cello to wrap the blades into tidy packages. These get taped to the bottom and side of the crate so they can't cause damage in transit.
- With every new kit I get, I tend to save any soft foam along with blocks of styrofoam. These make great bumpers for the front, rear and the sides of the model. Do not just rely on peanuts for lateral and fore/aft shifting. Bumpers give you a nice backstop.
- Now, fill the rest with peanuts and screw on the lid!
- Mark the crate NO STACK and NO FORK. I have seen crushed tops and pierced sides.
There is no substitute for a well-built container. Your buyer wants an undamaged model as much as you want whatever they paid for it! Final note: UPS has really good shipping rates if you log onto, and setup an account using, their website. I shipped my 58" x 16" x 20" crate from Denver to Washington for $180! The local UPS store wanted nearly three times that!! They also wanted another $340 to "create a box." I spent roughly $100.00 on the crate.
UPDATE: 2025
I needed to ship a Vario 1:11 Chinook to Texas from Denver. Here are some shots of the crate and packing.