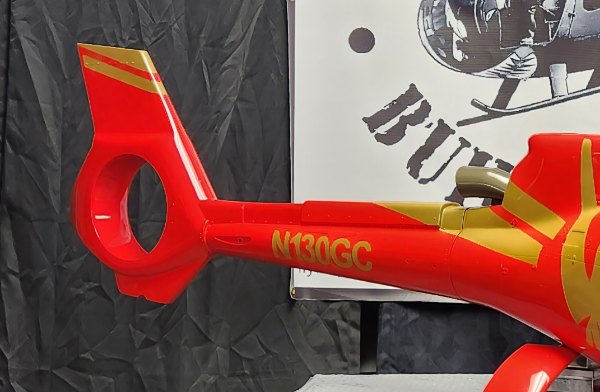
Roban UH60L Aztek Camo Scheme!
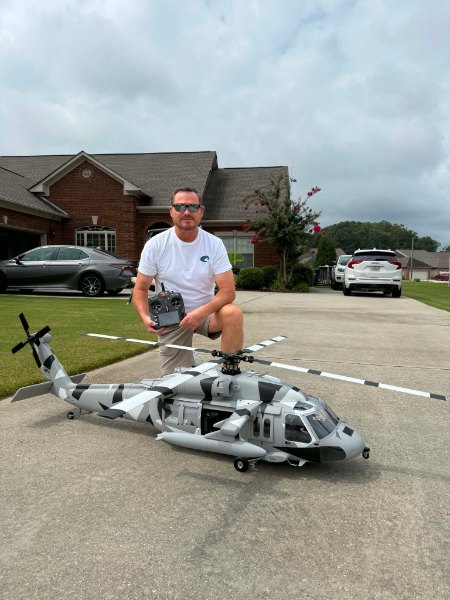
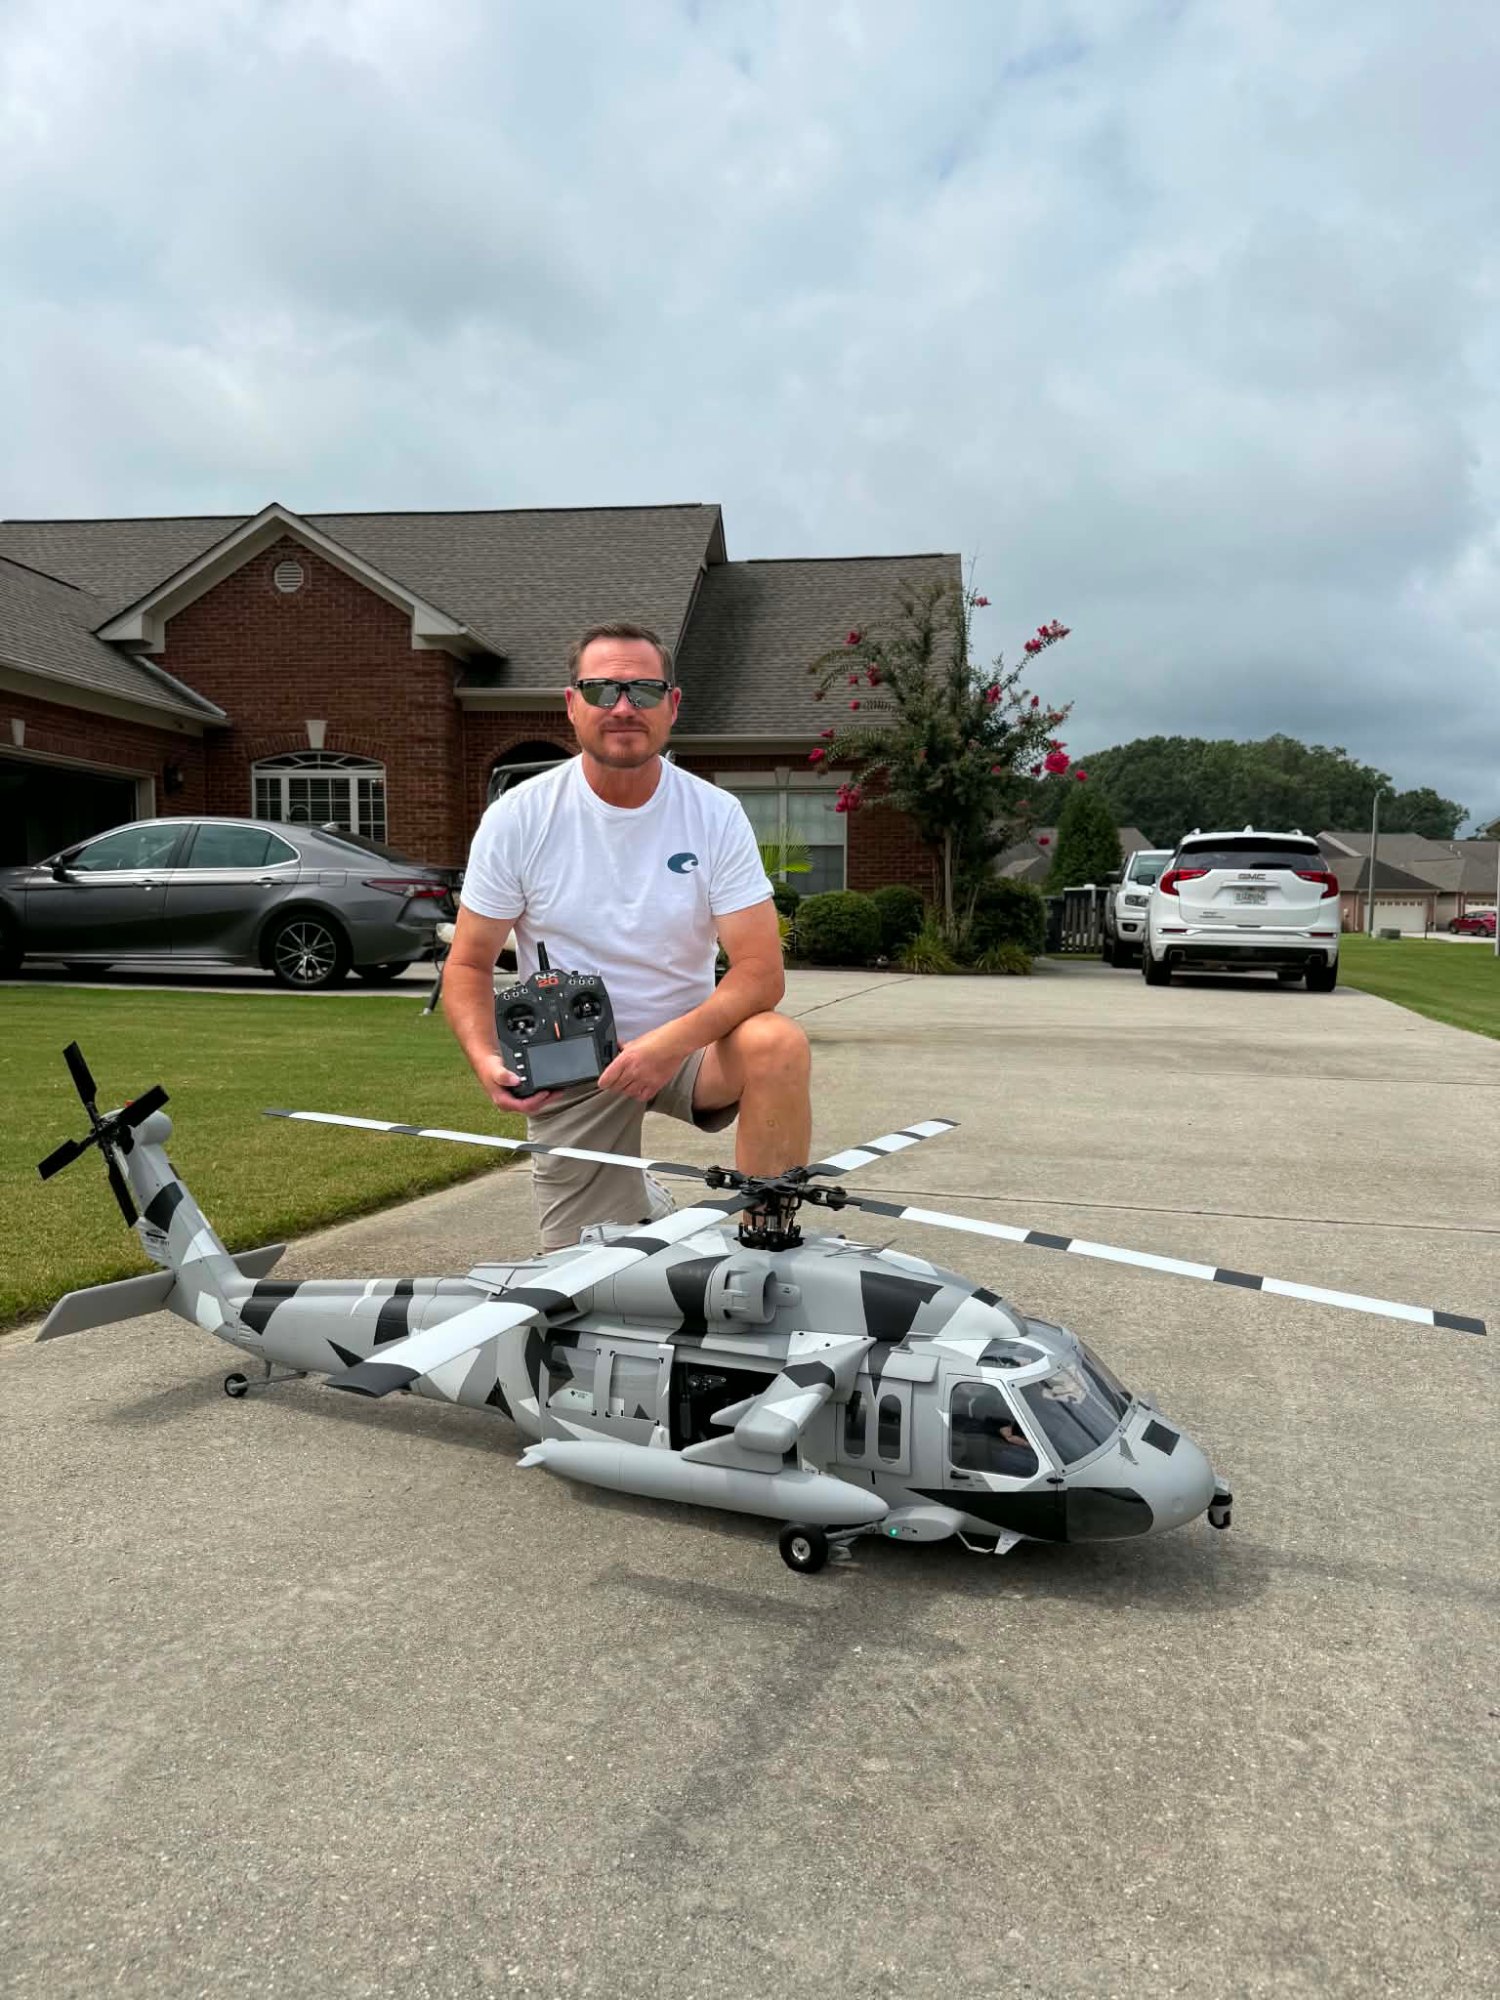
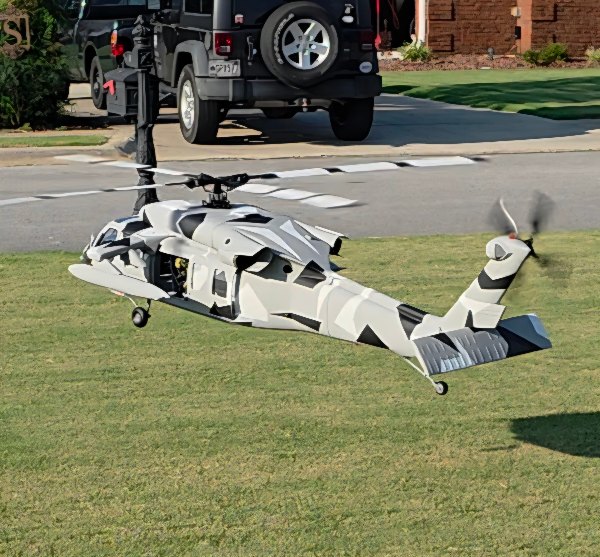
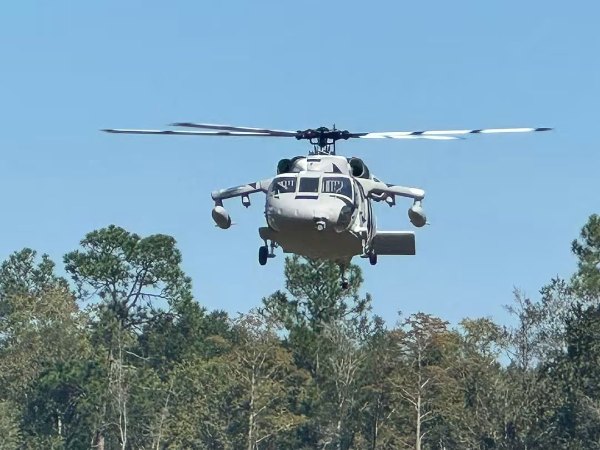
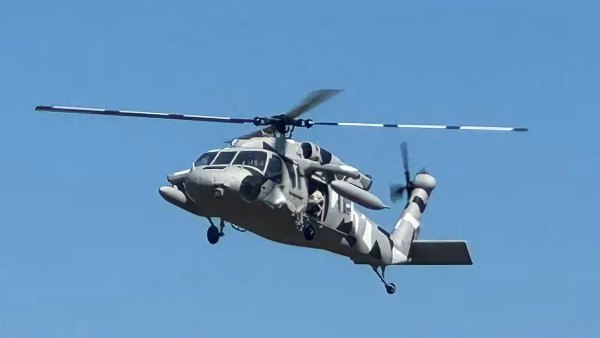
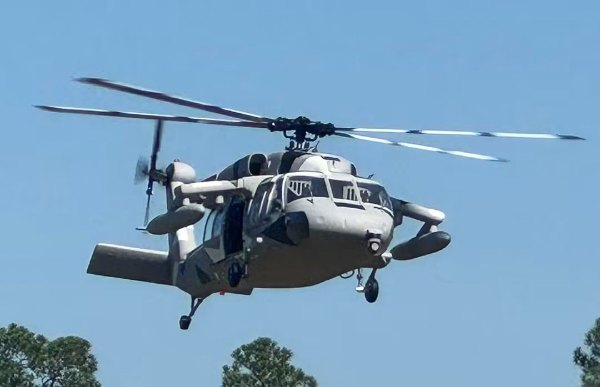
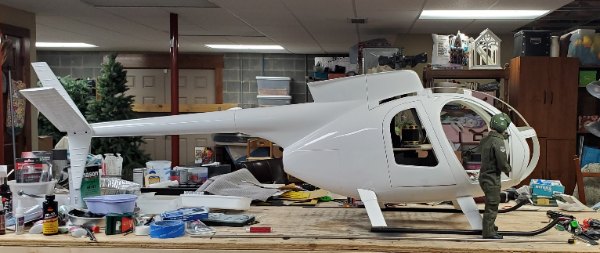
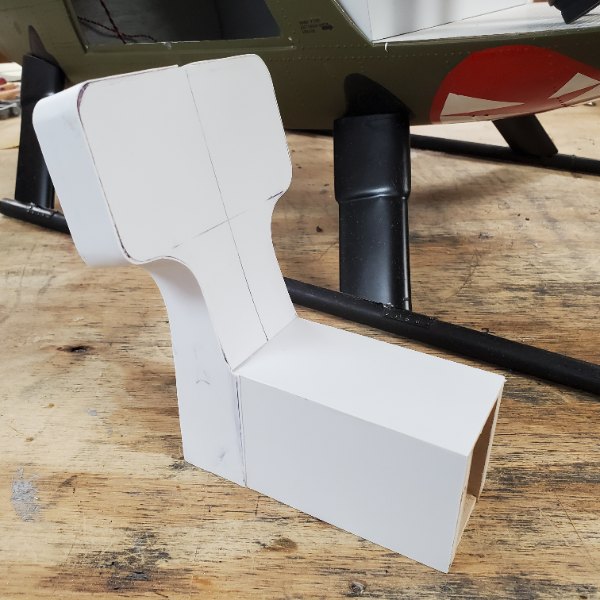
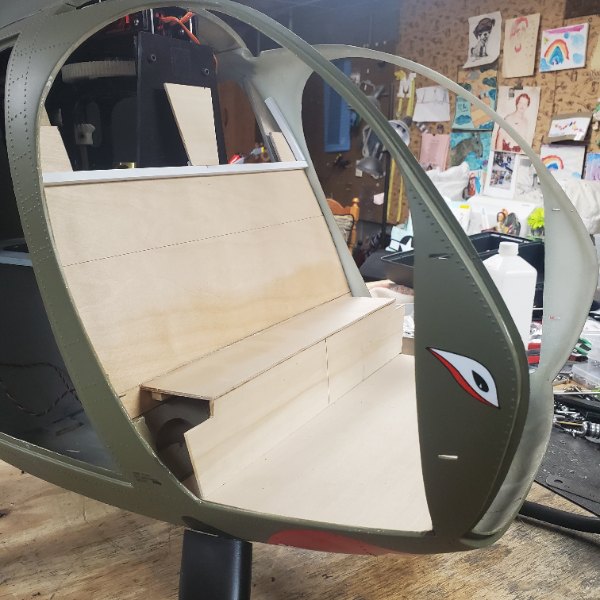
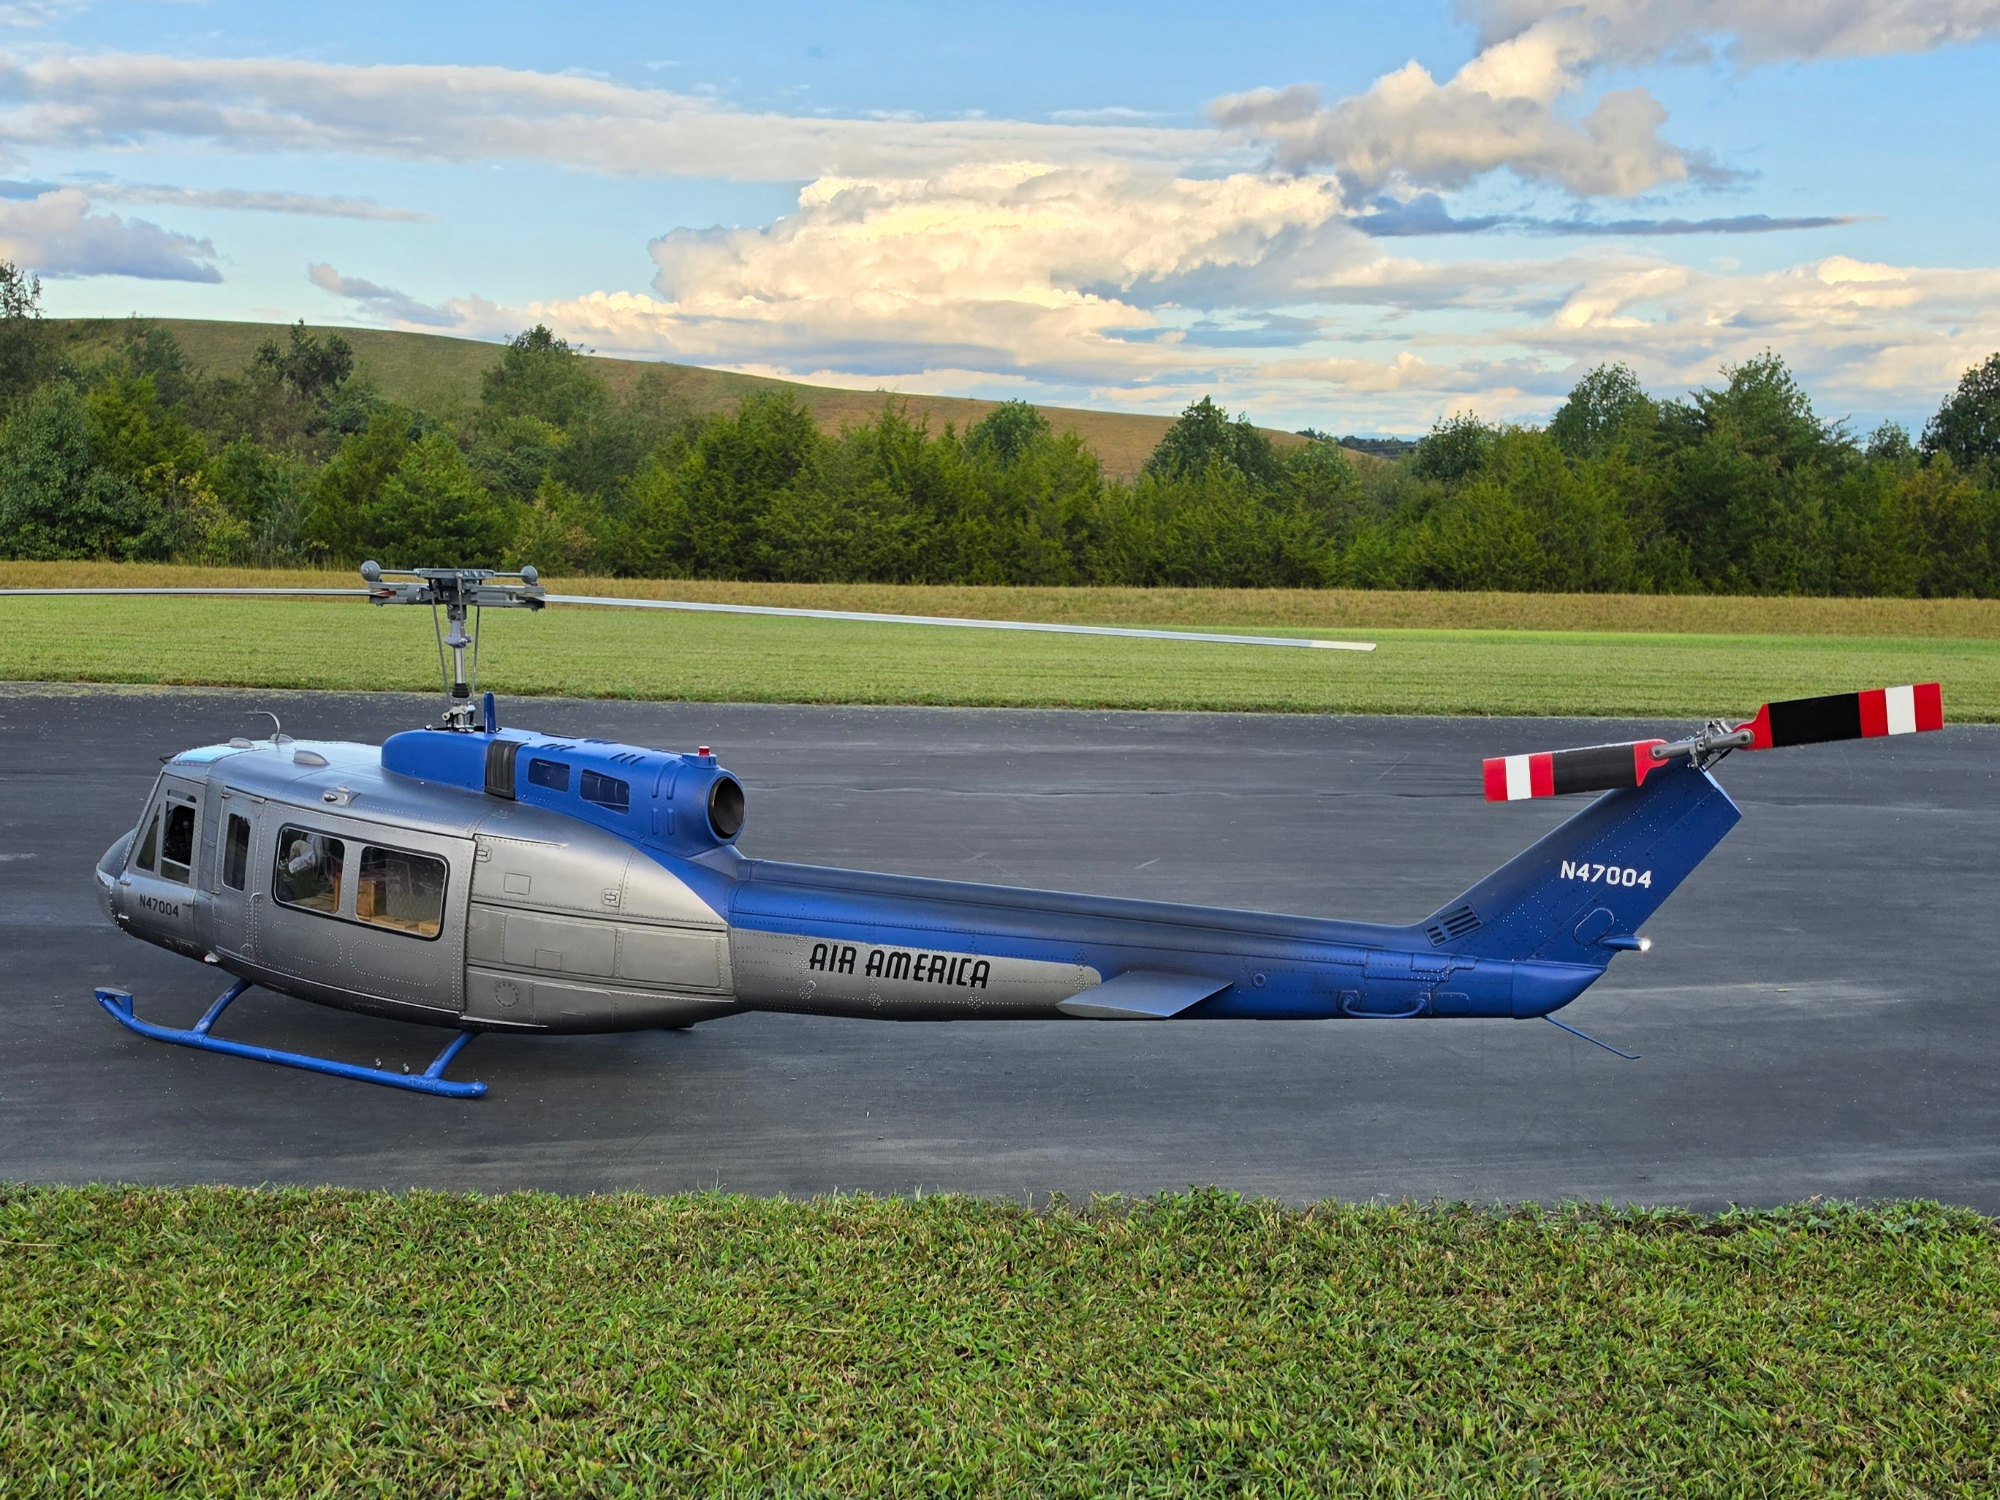
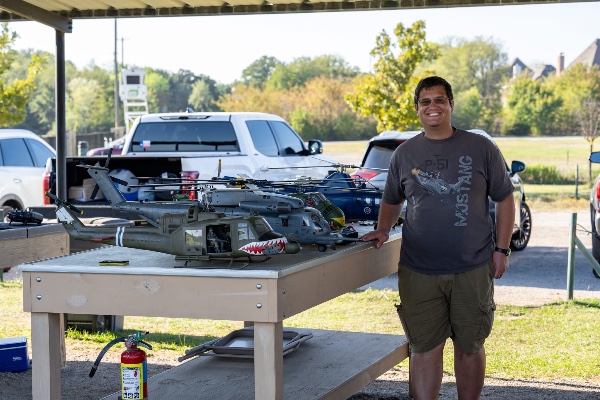
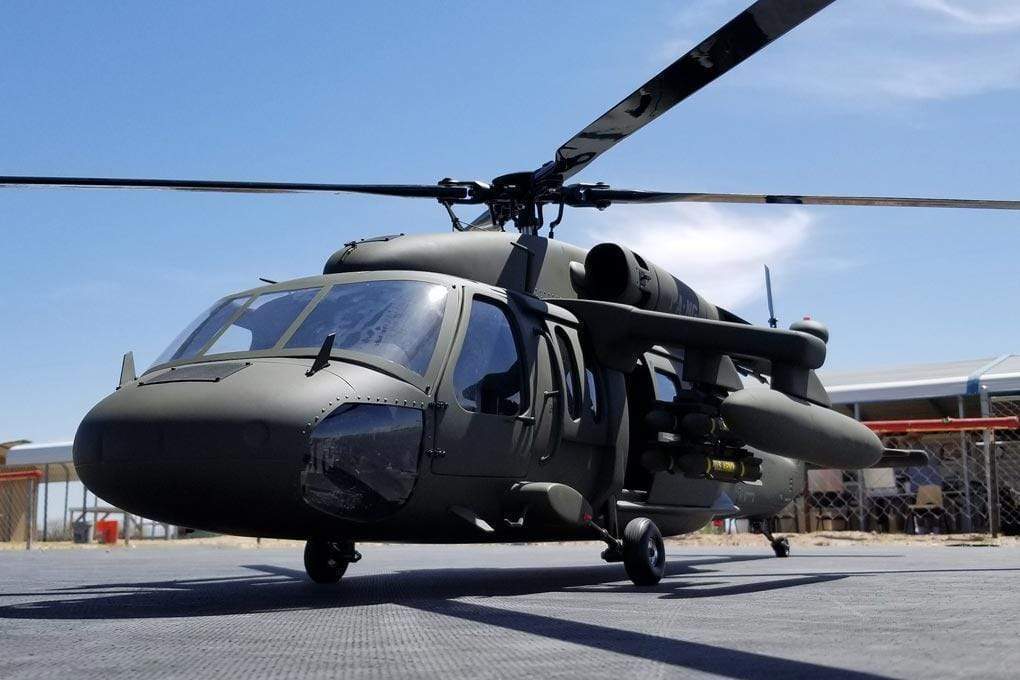
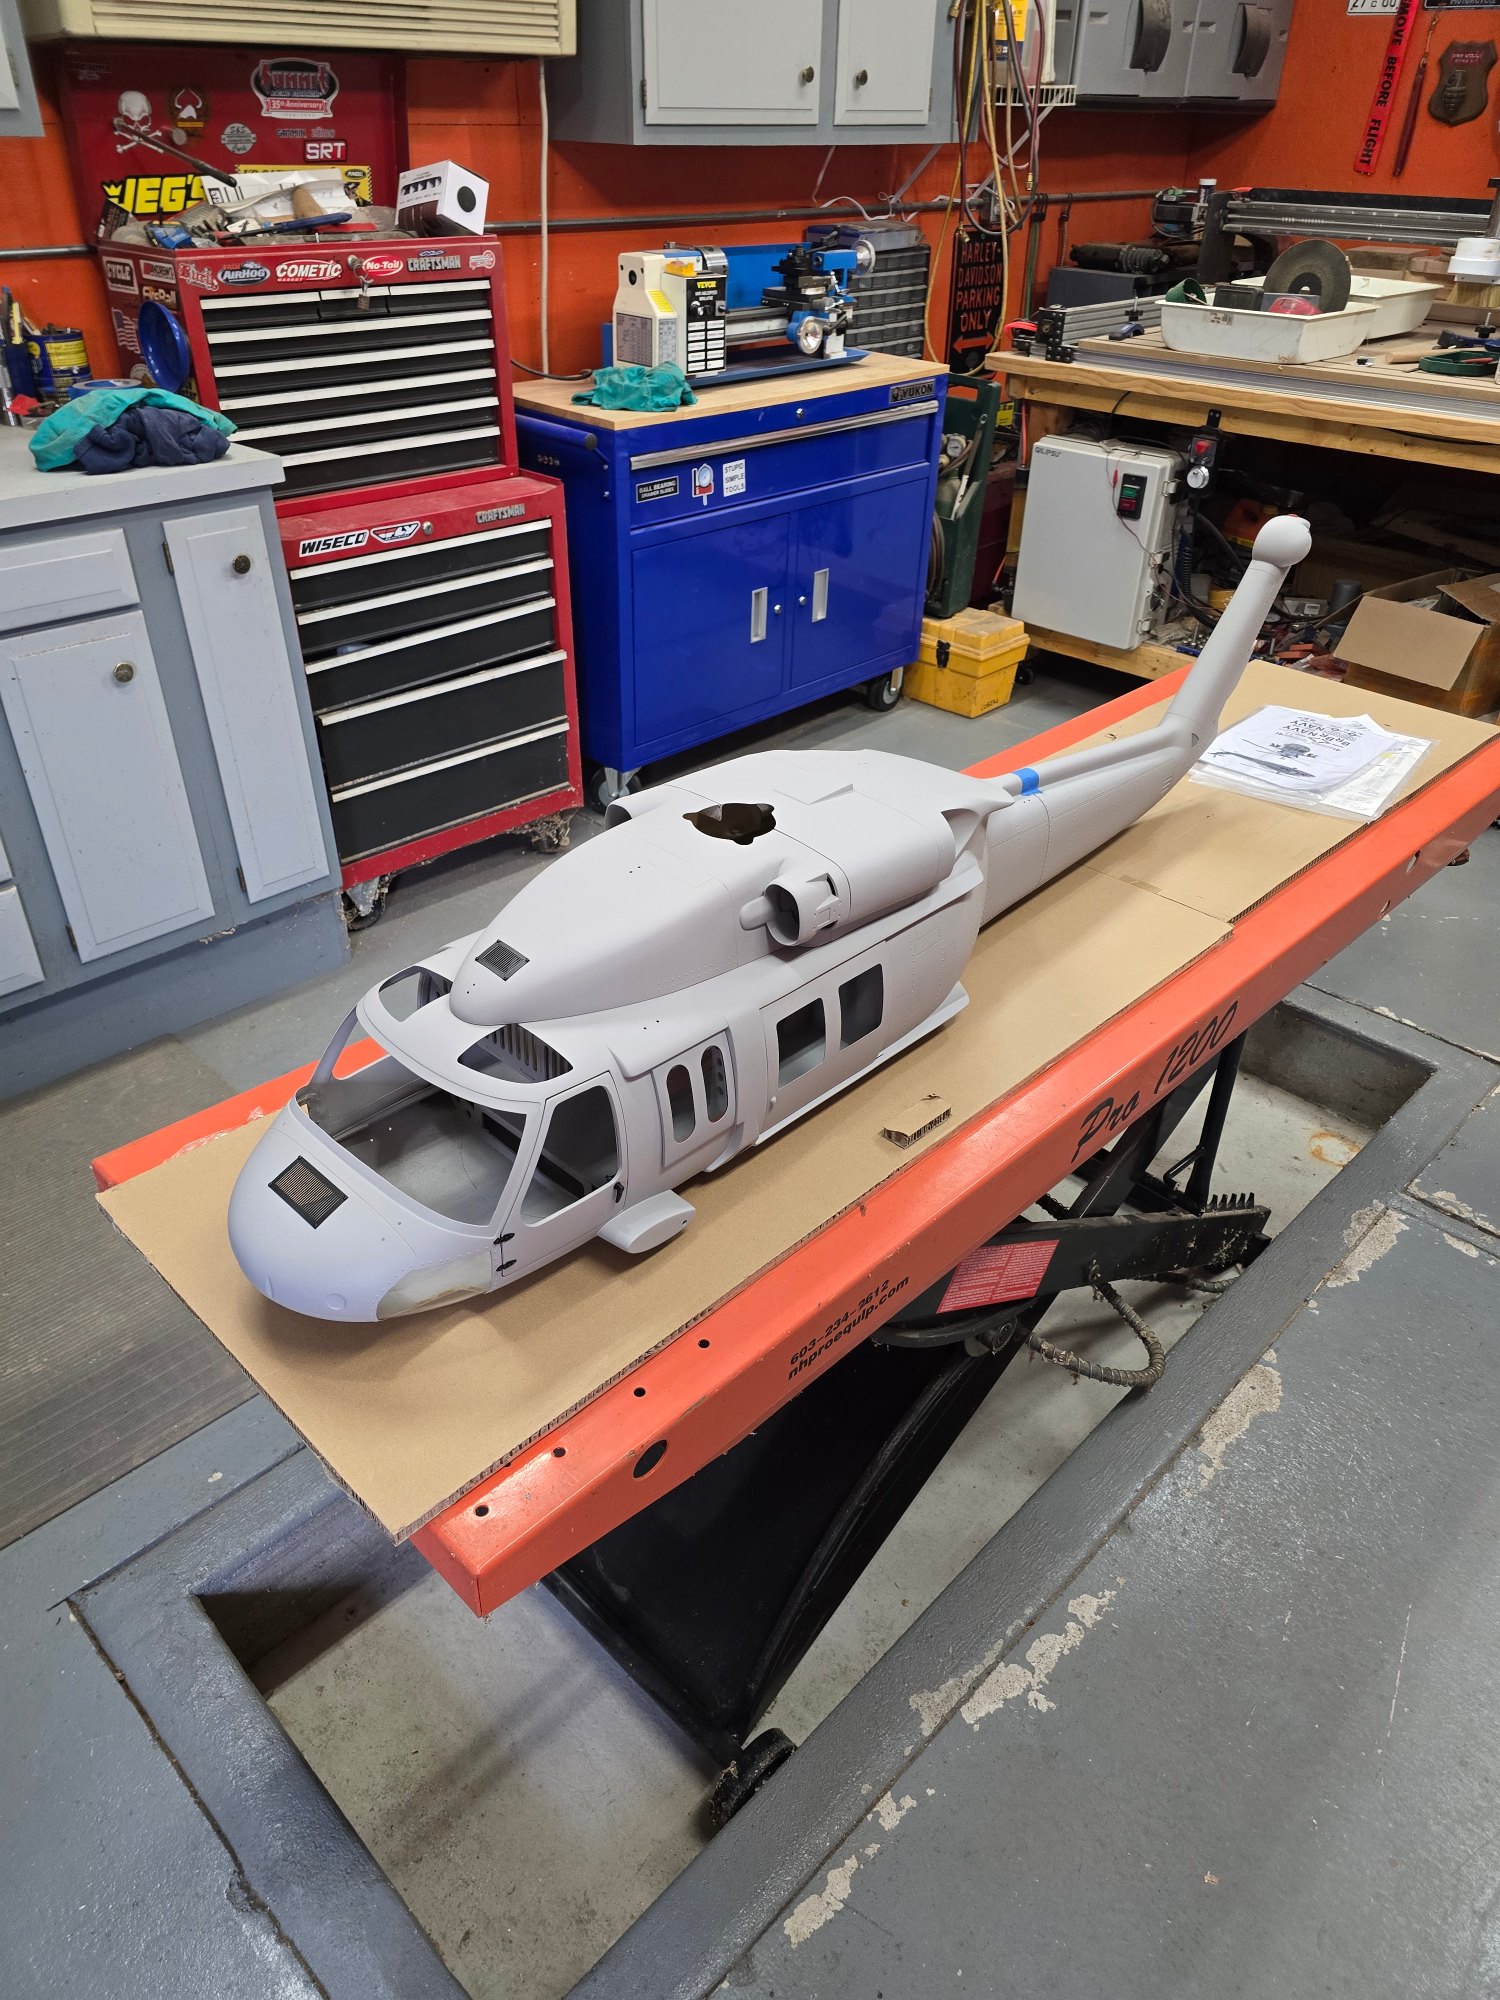
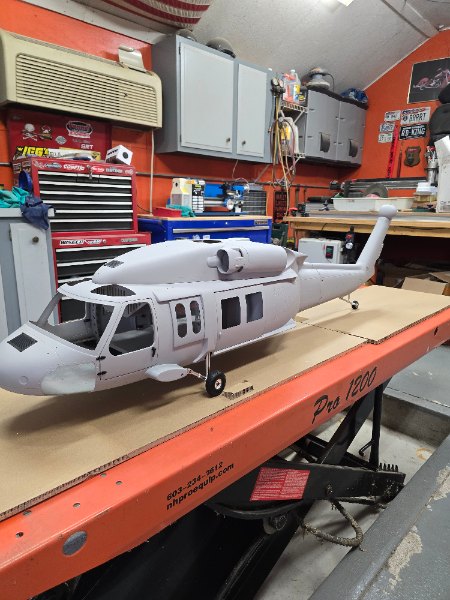
This is my latest build, Roban 700 UH60L painted in the Aztec Camo based off the real aircraft flown by Heavy D Sparks.

This is my latest build, Roban 700 UH60L painted in the Aztec Camo based off the real aircraft flown by Heavy D Sparks.
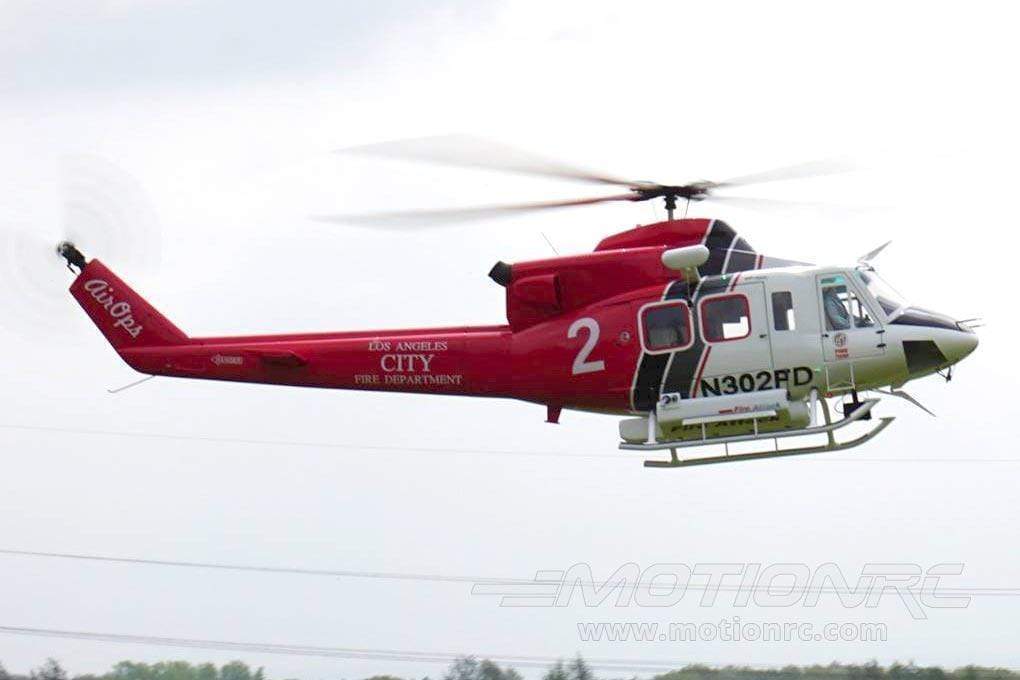
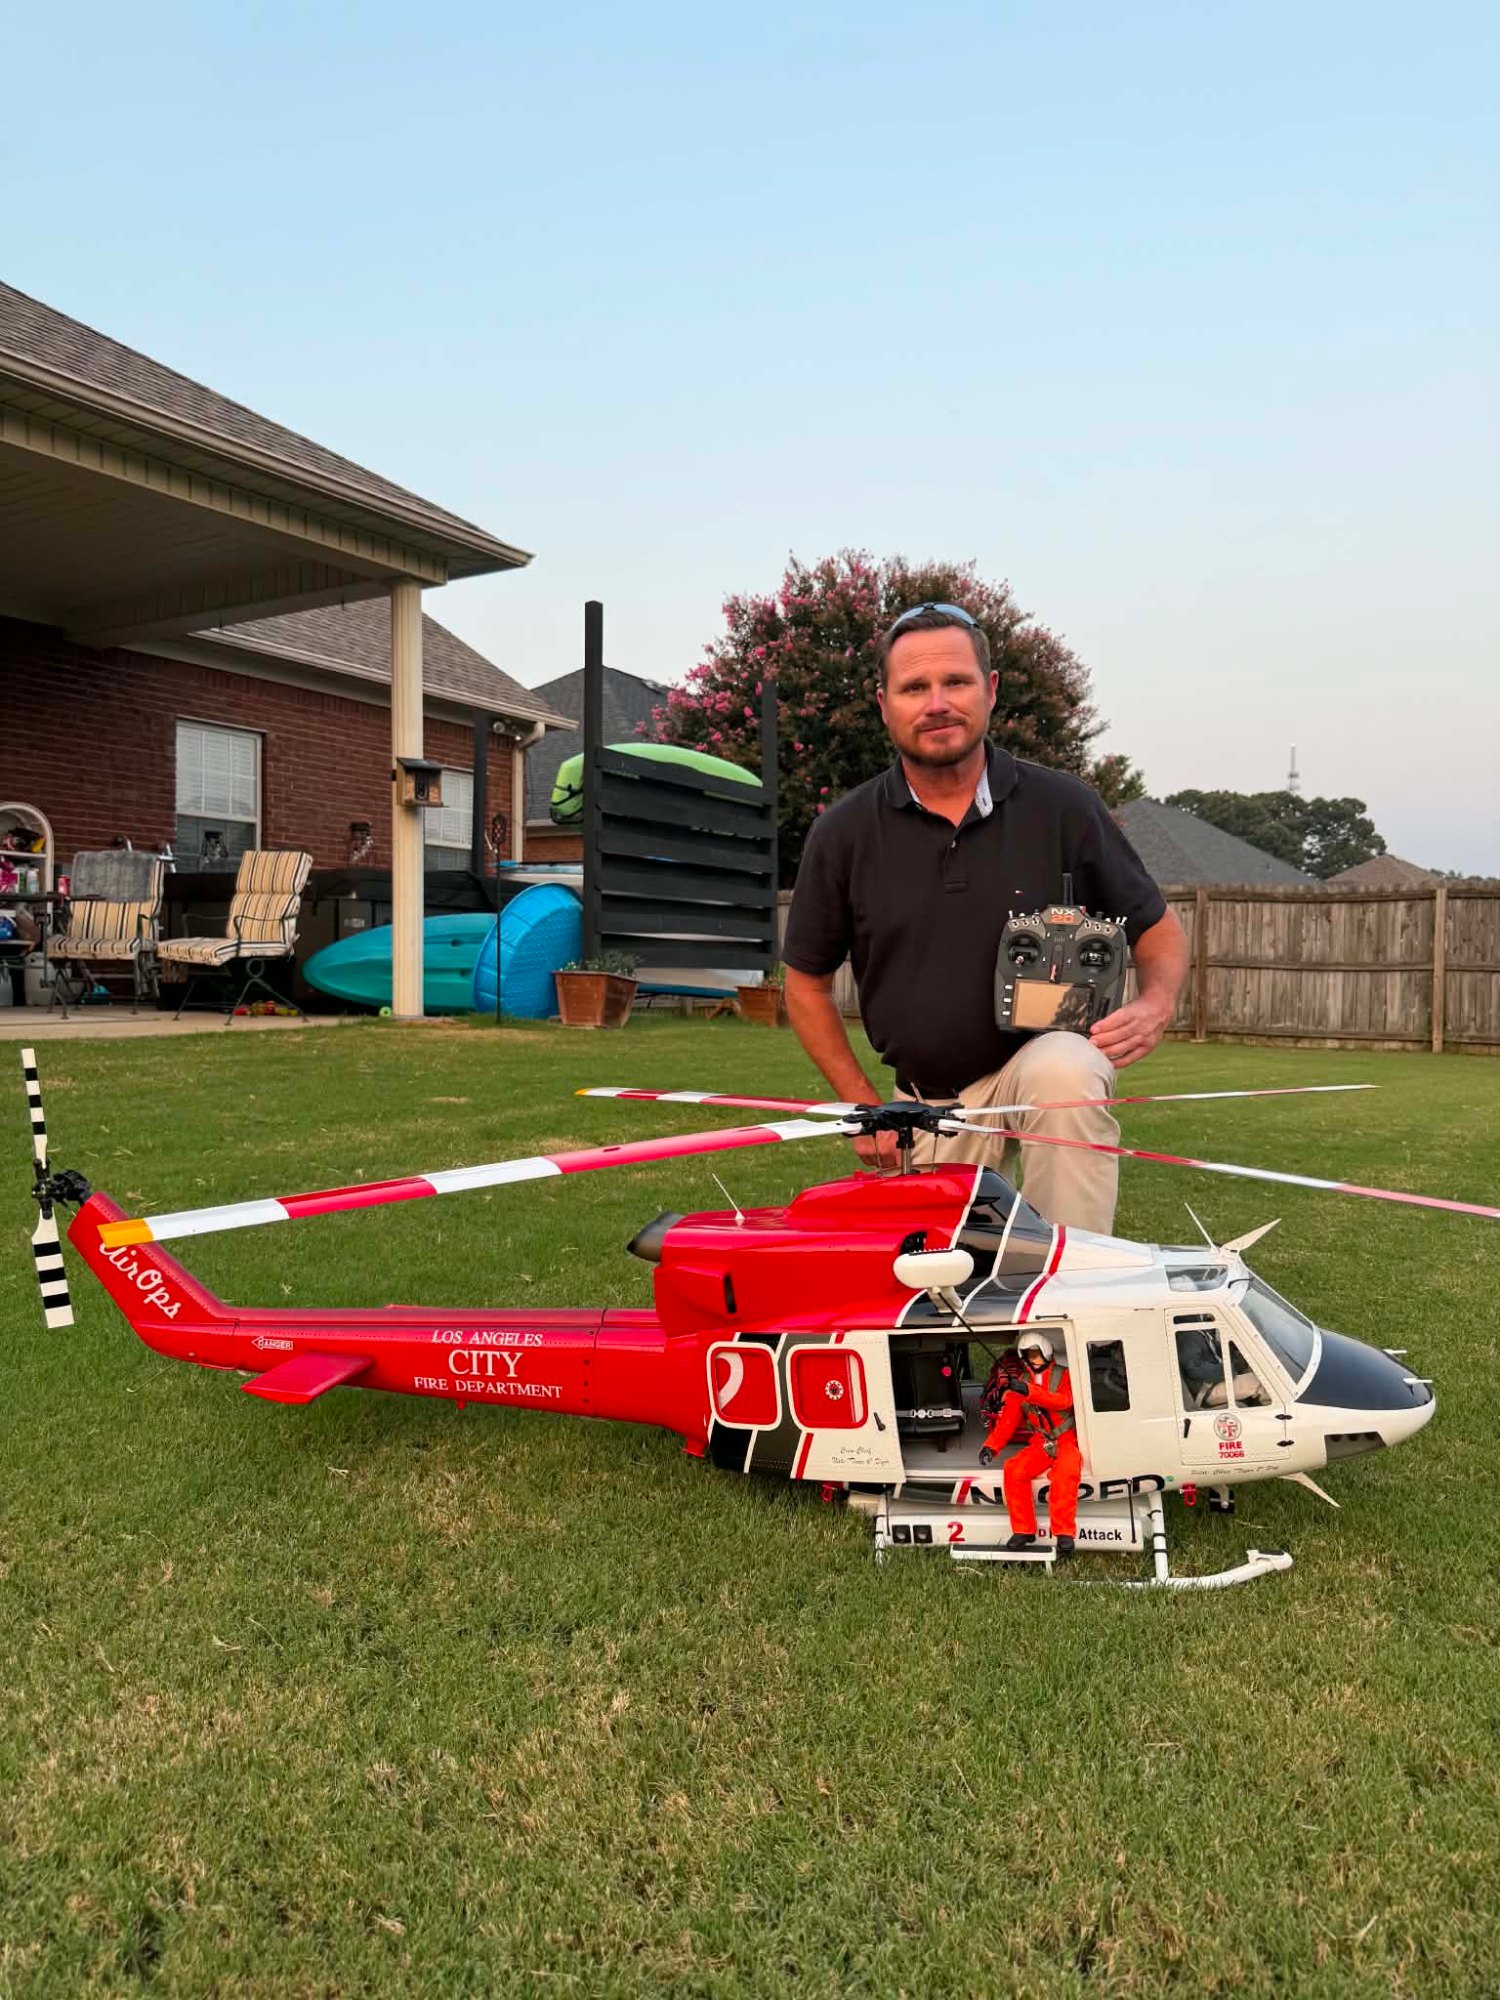
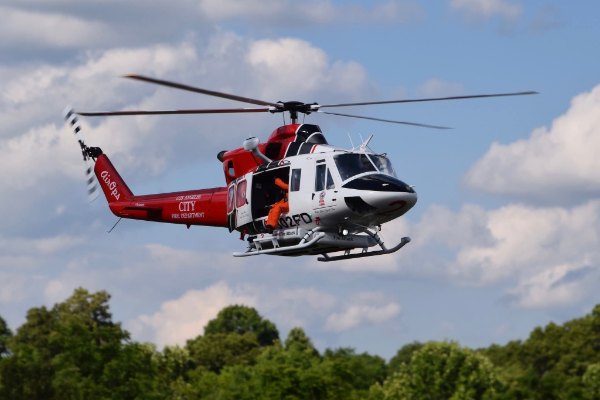
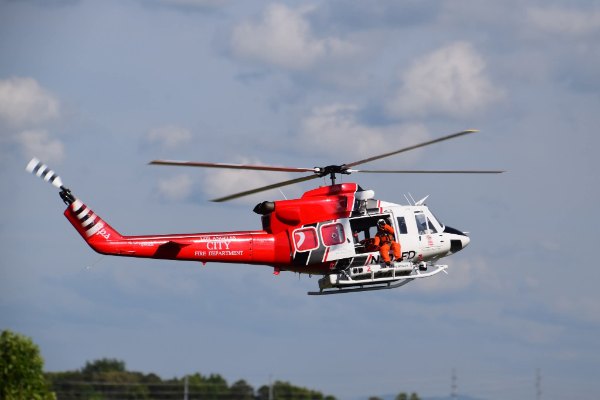
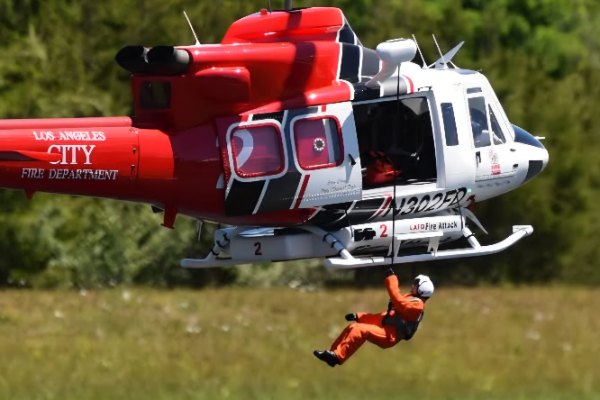
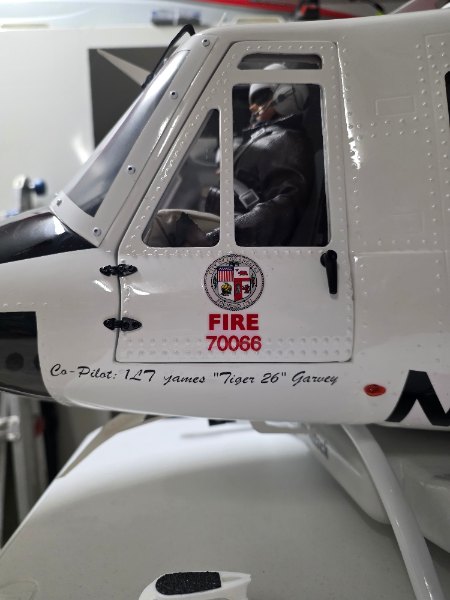
Just joined this site. Thought Id share some of my models. Here is my detailed Bell 412 Los Angeles Fire Rescue Helicopter
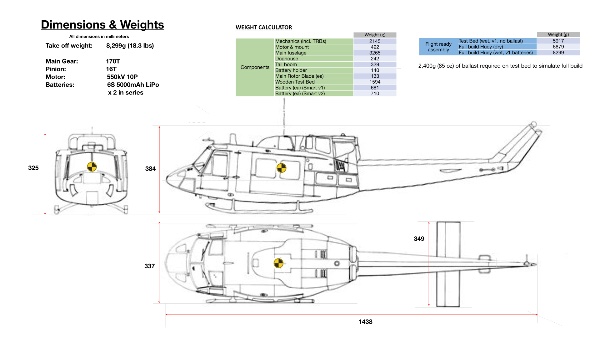
Very nice! Is this the Roban 700 version? If so, can you tell me the length of the fuselage (nose to tail), as I’m thinking of getting one too, but only if it’ll fit in the back of my SUV to get it to the flying field!

As you will notice, I did a small update to the UI so that other RC worlds are more accessible and to move away from the mindless feed scrolling we do on other platforms. RCPilot is designed mainly for sharing and consuming knowledge, but it also supports mindless scrolling so we still have that; it's just not the emphasis.
RCPilot is here to preserve and catalog the knowledge our community...
As you will notice, I did a small update to the UI so that other RC worlds are more accessible and to move away from the mindless feed scrolling we do on other platforms. RCPilot is designed mainly for sharing and consuming knowledge, but it also supports mindless scrolling so we still have that; it's just not the emphasis.
RCPilot is here to preserve and catalog the knowledge our community contributes. The tools we have are the most advanced in the hobby. When everybody contributes to the effort, the result is a highly accessible resource for both veterans and newcomers to the hobby.
Contribute your wisdom!
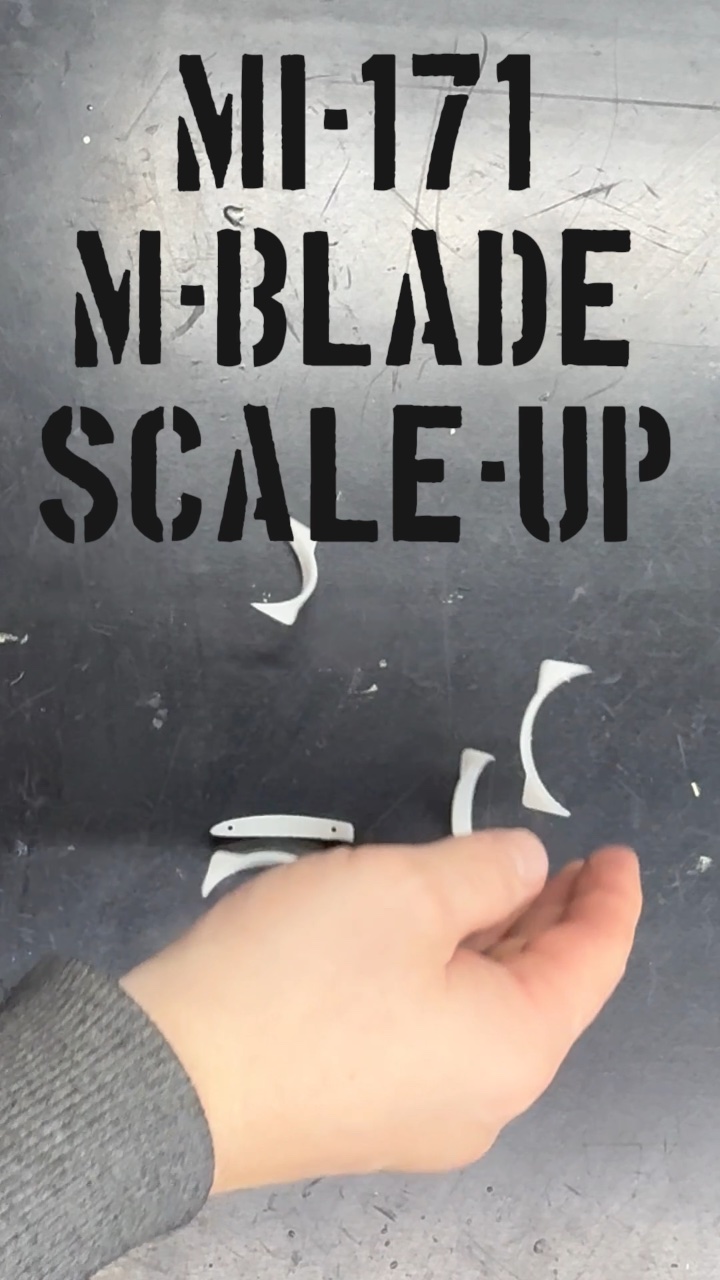
A short video to show the processes involved to achieve a detailed level of realism for your rotor blades. The same technique applies to most rotor blades with the exception of etch primer used here on these metal blades.

Lee, thank you for sharing this; It's phenomenal! I'll add it to our articles section.
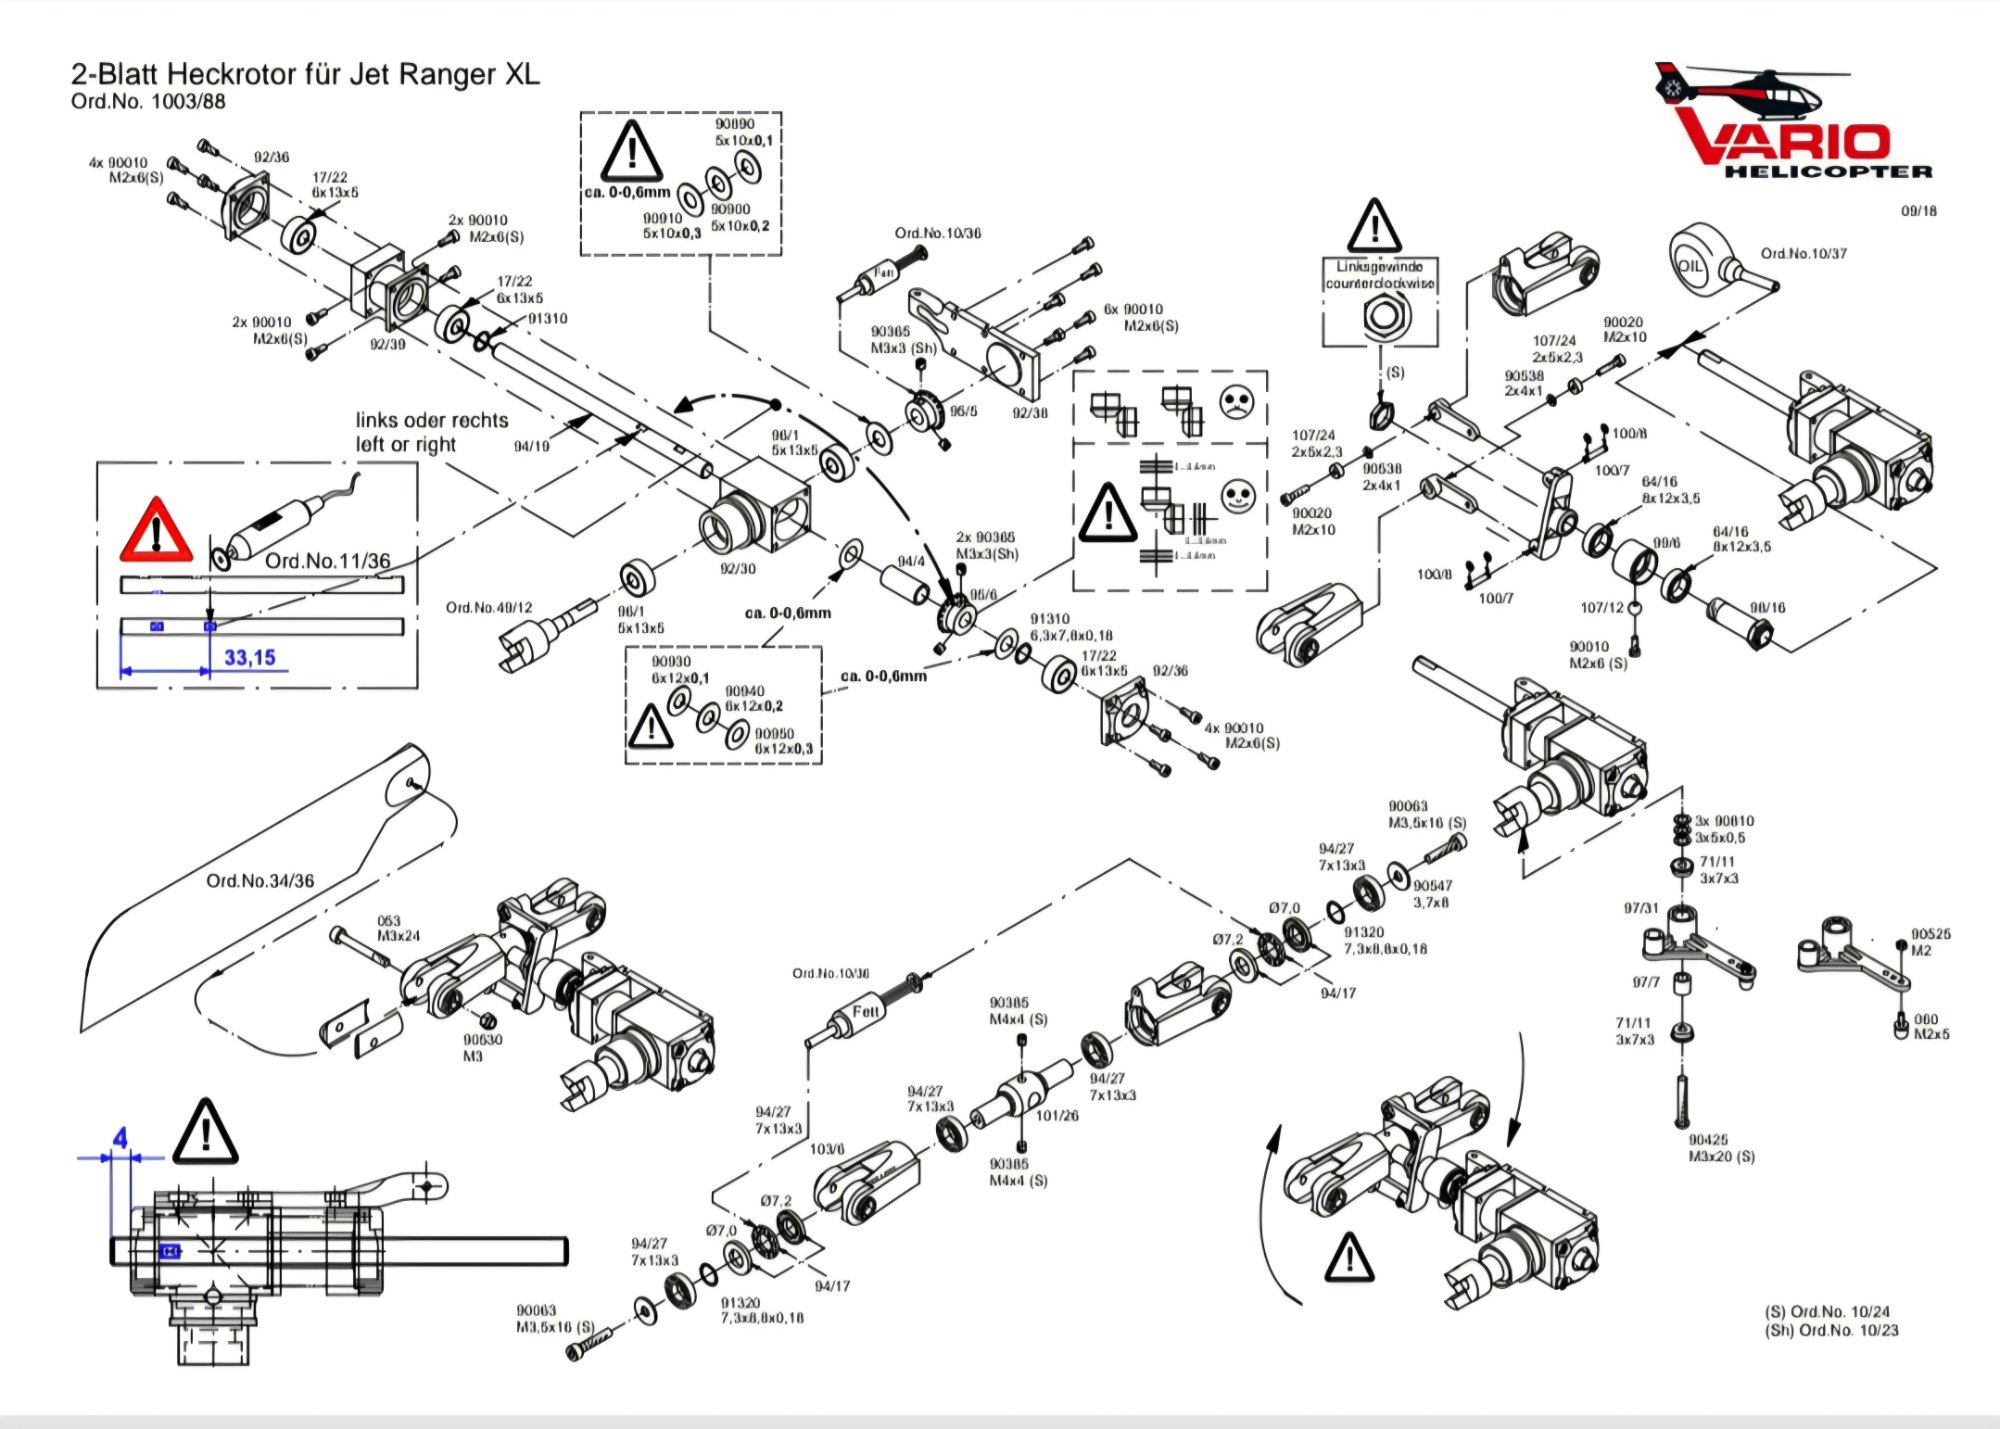 RCPilotBuilding Vario Tail Rotor GearboxesOK, so I've been building Vario helicopters for a long time and have heard stories regarding tail rotor gearbox failures off and on over the years. These tail rotor gearboxes are not complicated, but they do require spec
Check out Barry's VERY insightful tail rotor post.
Looking for ideas. Has anyone built the Roban AS365 Coast Guard 800 size heli? Where did you mount the ESC? I assume the batteries go in the top front of the doghouse area. Any photos would be great. Thank you.
Hi, I am currently building a Roban bell 429 in 700 size. I’m currently trying to setup rotorflight, and get everything dialed in. But I’m having a hell of a time, I originally planned to use a spirit 3. But it was non operational when I received it. So I decided to use a flydragon I had, is anybody possibly willing to share their rotorflight settings if you happen to also use rotorflight in a...
Hi, I am currently building a Roban bell 429 in 700 size. I’m currently trying to setup rotorflight, and get everything dialed in. But I’m having a hell of a time, I originally planned to use a spirit 3. But it was non operational when I received it. So I decided to use a flydragon I had, is anybody possibly willing to share their rotorflight settings if you happen to also use rotorflight in a Roban 700 size. Im mainly looking for a solid baseline for the collective and cyclic movements.
thank you
There are tons of resources for Rotorflight out there, and the setup guide on the website does a great job of helping you with initial setup. Where are you getting hung up?
Sharing your generic Rotorflight settings is typically not very helpful - there are a couple hundred settings to go through, and many will need to be set for your specific setup.
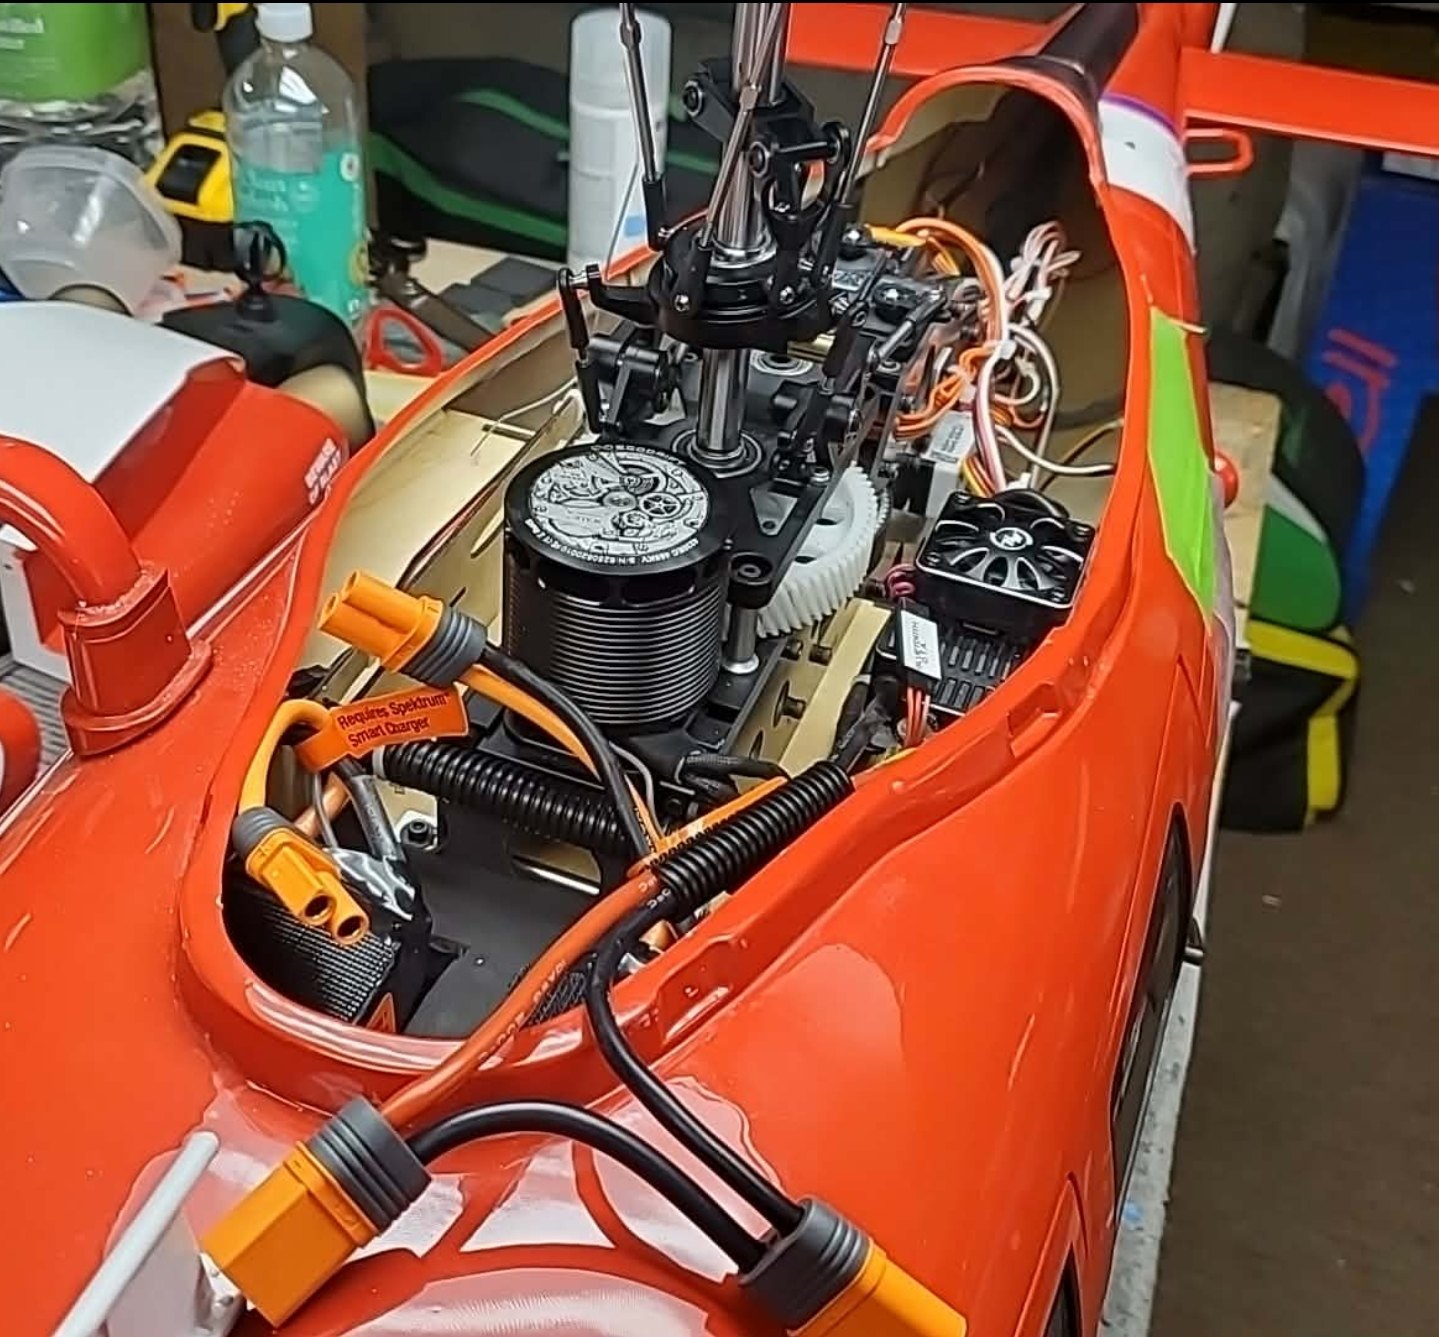
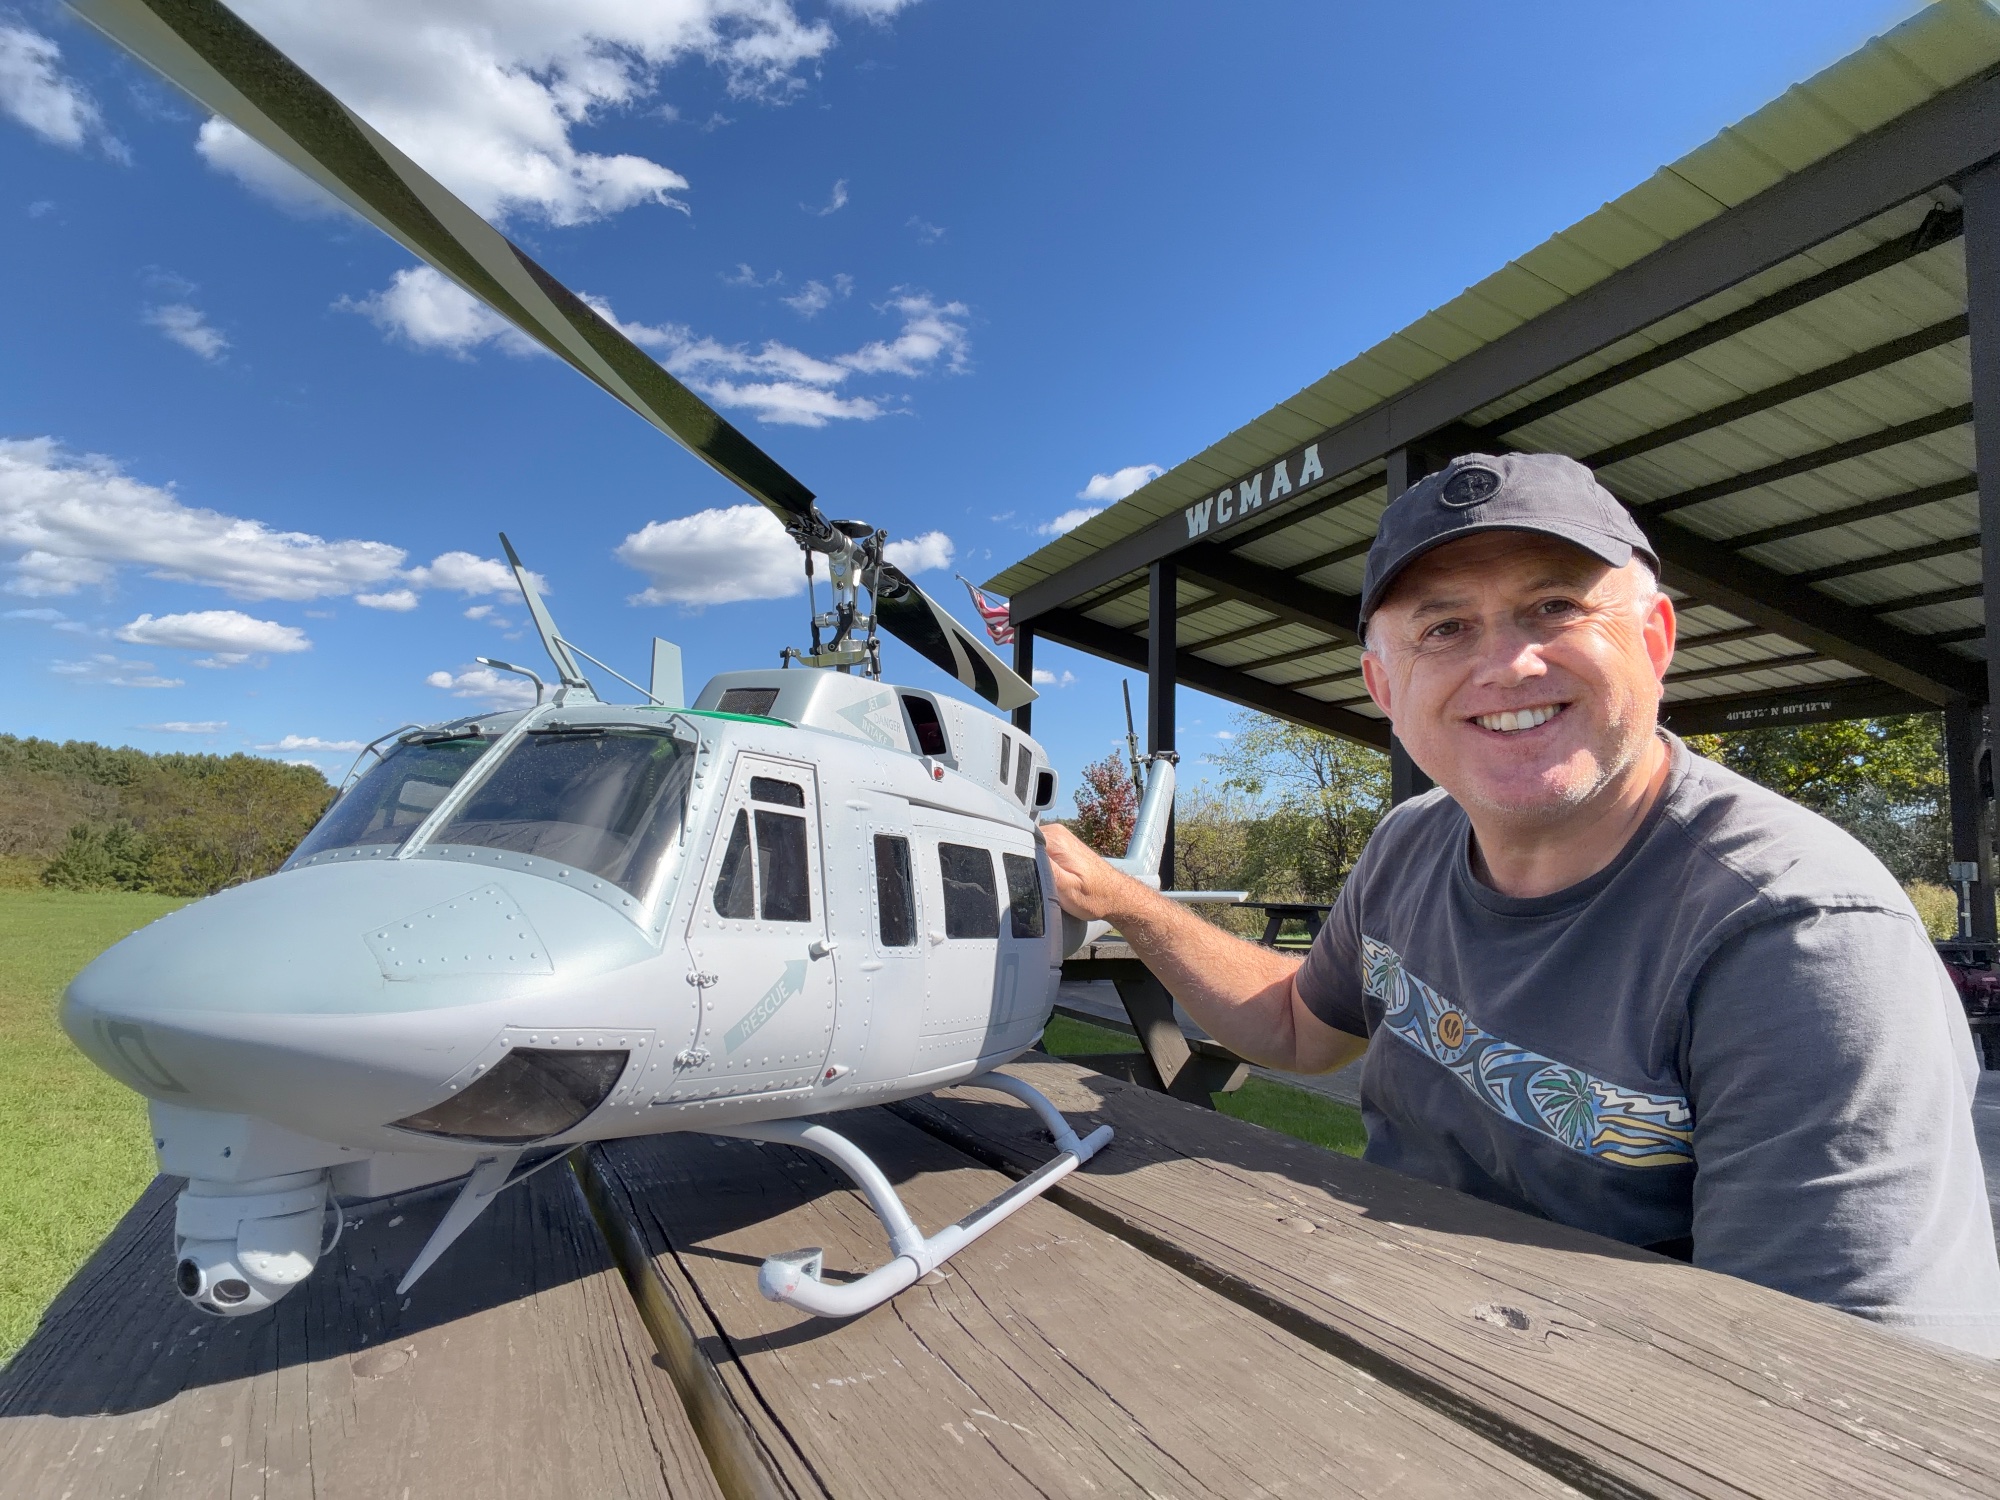
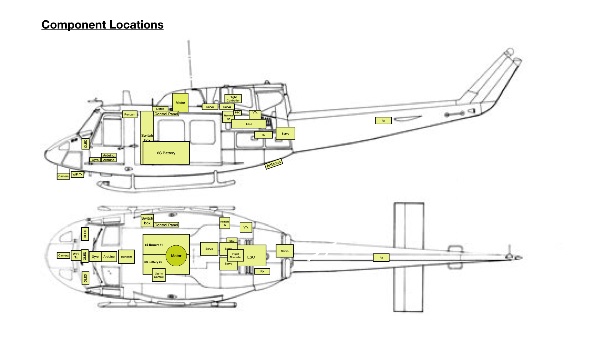
I thought I’d share my build notes for my UH-1N, and hope the info may be of use to anyone about to embark on a similar build. My heli is far from perfect and is only my second attempt at a scale model (I’m always amazed by the standard of others’ builds on these sites).
The notes include my component layout schema, wiring diagrams and the additional components I bought / built to complete the...
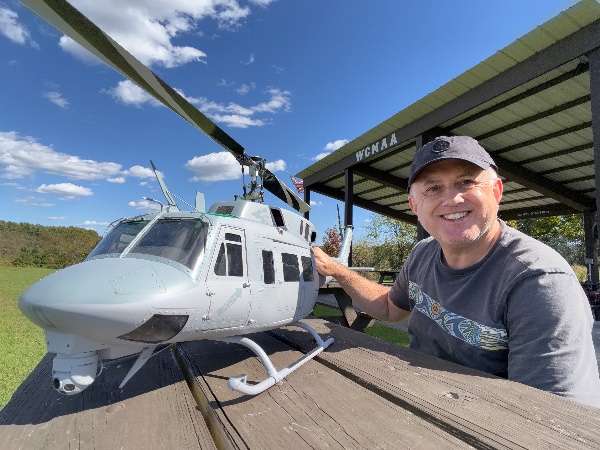
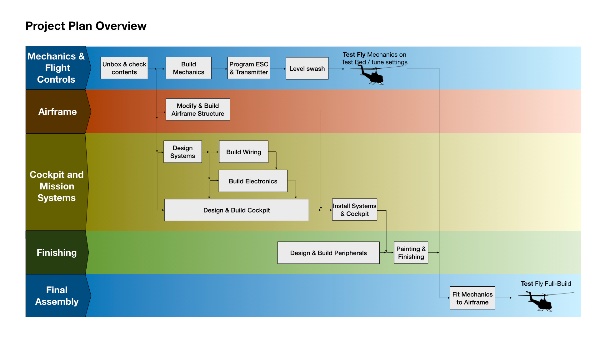
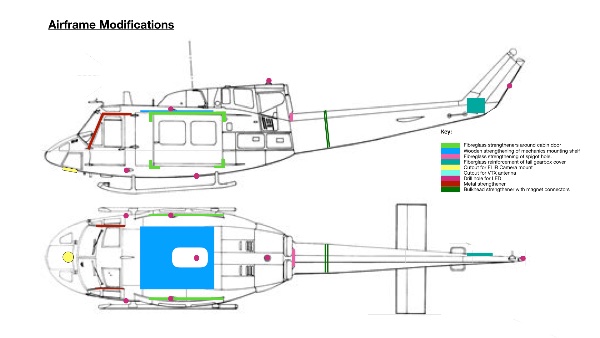
I thought I’d share my build notes for my UH-1N, and hope the info may be of use to anyone about to embark on a similar build. My heli is far from perfect and is only my second attempt at a scale model (I’m always amazed by the standard of others’ builds on these sites).
The notes include my component layout schema, wiring diagrams and the additional components I bought / built to complete the model.
In addition to mechanics and stock Roban fuselage, the build included lights, a glass cockpit (with working Artificial Horizon and compass rose), a HD camera in the cockpit that downlinks using standard 5.8GHz, a wifi camera in the nose turret (that downlinks to a laptop), and a RemoteID tramsmitter. There was also quite a bit of 3D printing to make items such as the wire strike protection system, the under-nose ball turret, the cockpit, and a battery tray.
I’d welcome any positive ideas to improve :)

Fusion works great for me due to its CAD/CAM capabilities and mostly that is what I started learning when I dove into home machining (Tormach mill, lathe, Bambu, FormLabs). I can upload the files it just works on my machines. If you do a search Solidworks, Fusion, Siemens NX, and a host of others populate the list. Thus I suspect good is what you do with it and what you learn. Fusion offered a free version that I started with, however now I have the subscription version. I do know I wanted something I would not grow out of. Oh, and I wanted a good platform that had a TON of online tutorials! FWIW
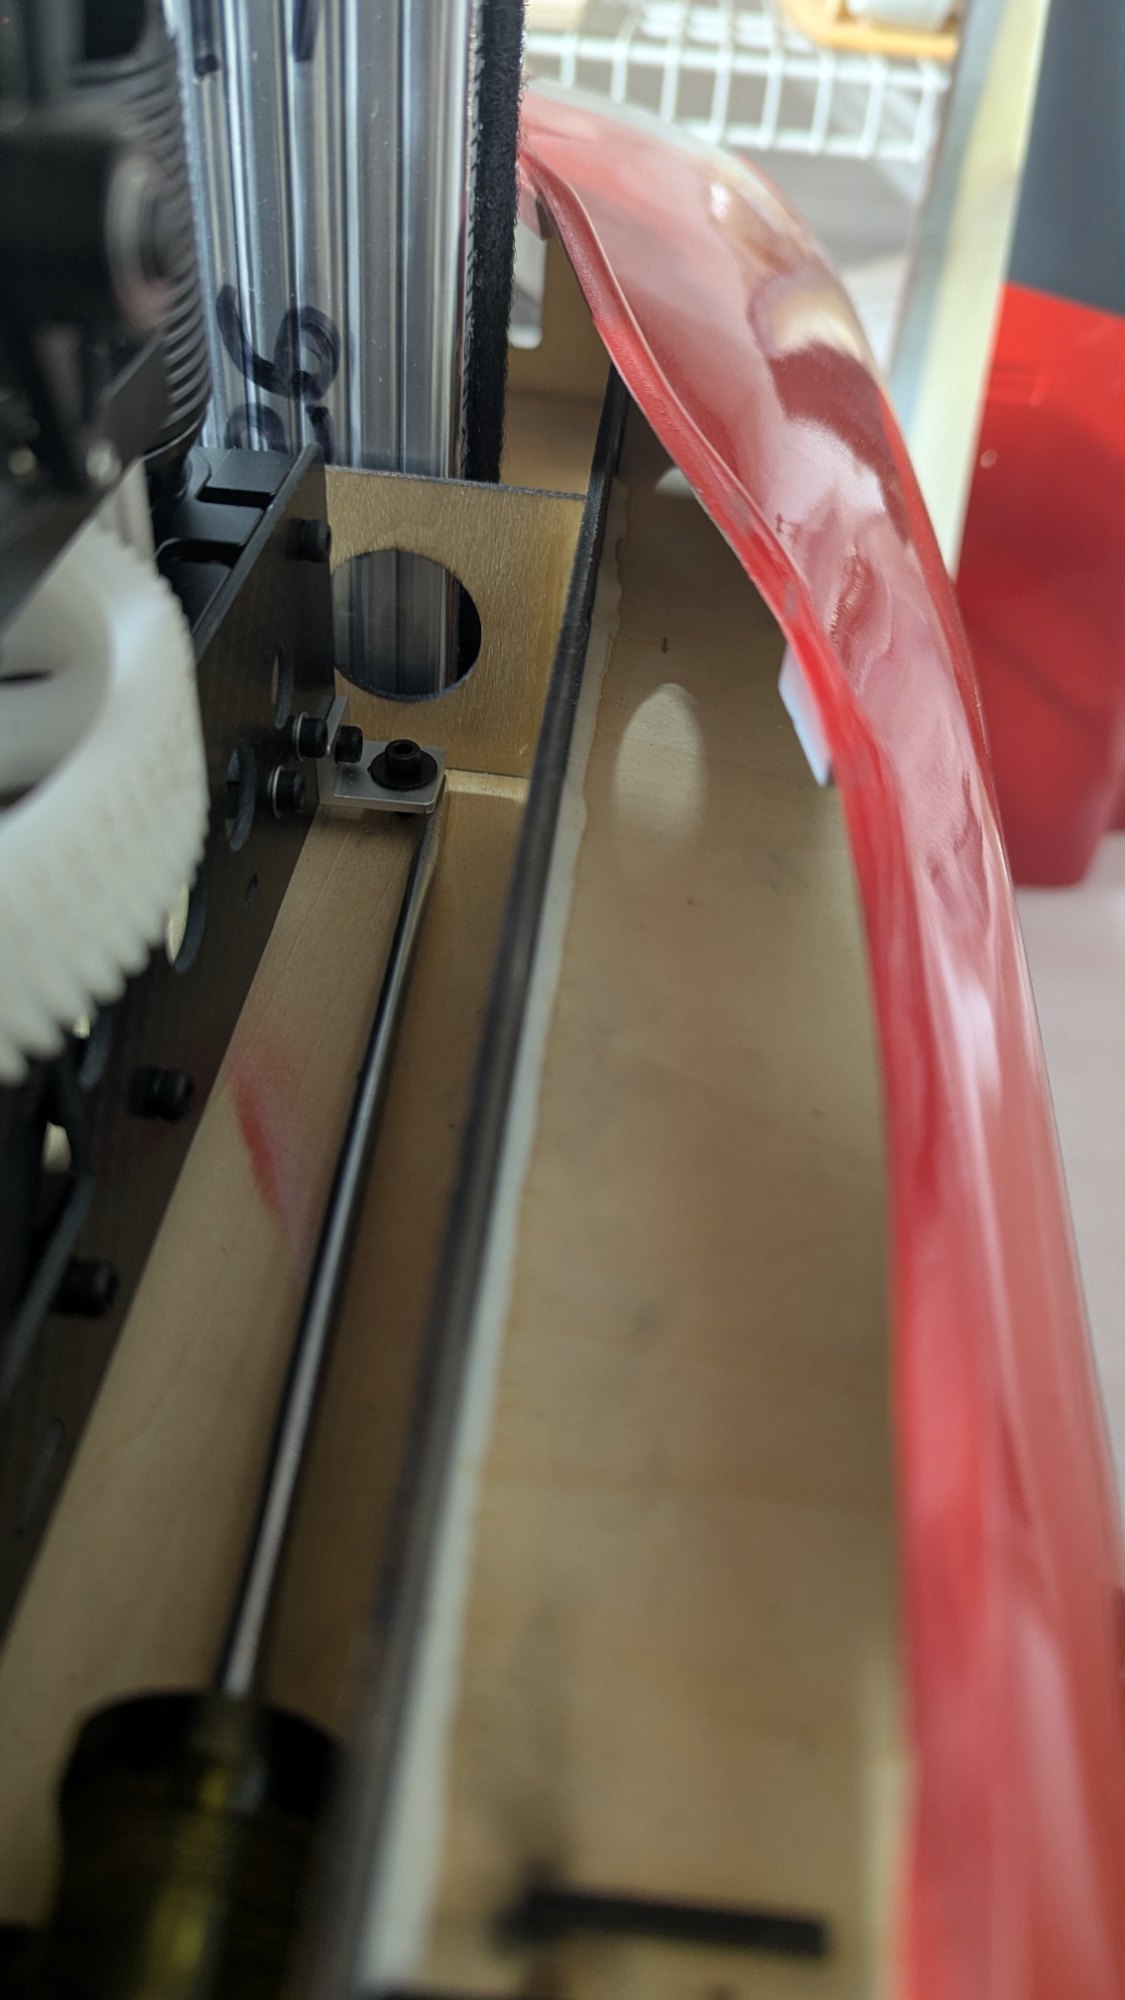
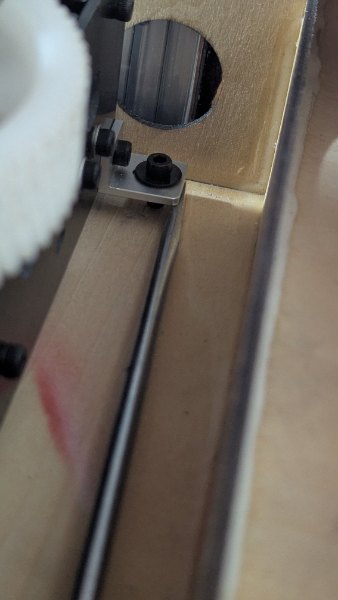
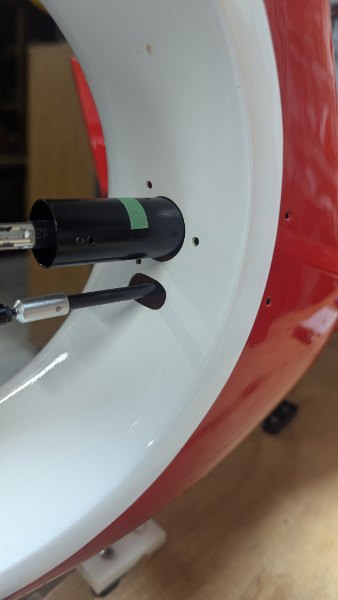
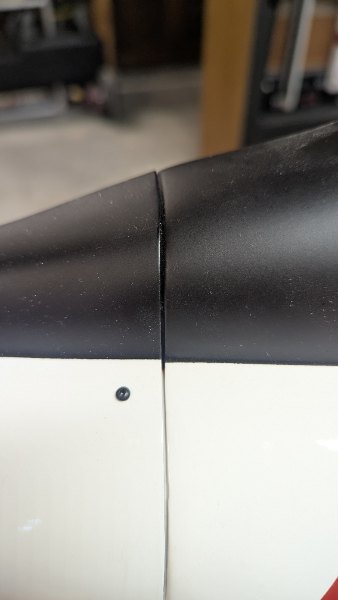
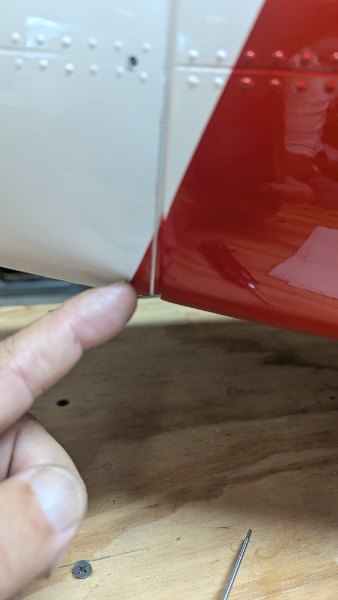
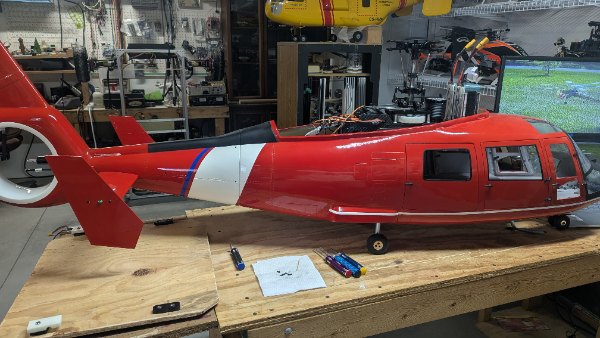
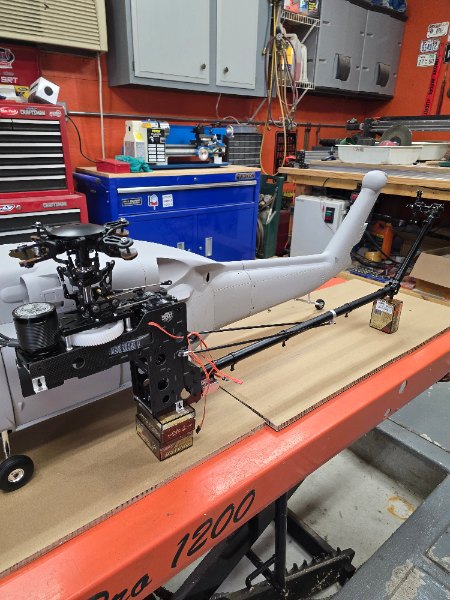
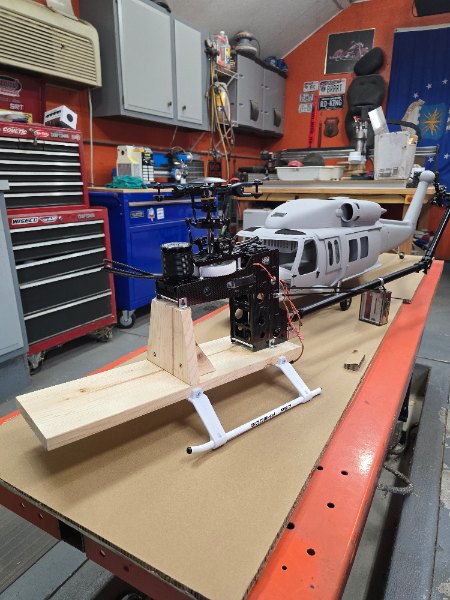
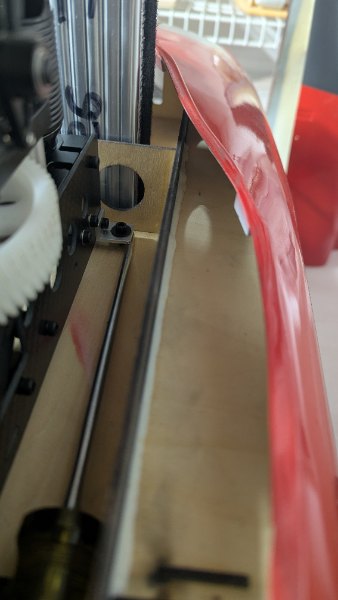
I am currently building my second Roban 800 size heli, a AS365 Coast Guard. Following the instructions I drilled the tail mounting holes, glued in the pem nuts, and life was good. Now I am installing the mechanics and when they are bolted in place, the tail assembly does not line up with the front fuse half, or the mounting holes. I see only two ways to fix, raise the front of the mechanics as...
I am currently building my second Roban 800 size heli, a AS365 Coast Guard. Following the instructions I drilled the tail mounting holes, glued in the pem nuts, and life was good. Now I am installing the mechanics and when they are bolted in place, the tail assembly does not line up with the front fuse half, or the mounting holes. I see only two ways to fix, raise the front of the mechanics as you can see in the photos with the screw driver, or enlarge the opening where the tail boom exits the fuse into the tail rotor area, (not my first choice). What would guys do, especially the Roban builders who may have delt with this already? Thank you.
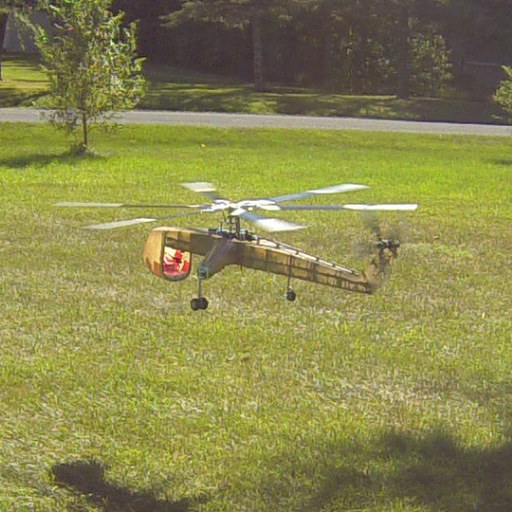
R/C can be useful to keep model on smaller fields but otherwise free floght remains more chalanging as it callks for careful adjustment to teach your bird to fly. It takes it out of your hands. Otherwise it is like holding a model in your hands and making engine noises while waving it about in pretend flight. Every launch of a free flight is a new adventure while R/C just circling about and...
R/C can be useful to keep model on smaller fields but otherwise free floght remains more chalanging as it callks for careful adjustment to teach your bird to fly. It takes it out of your hands. Otherwise it is like holding a model in your hands and making engine noises while waving it about in pretend flight. Every launch of a free flight is a new adventure while R/C just circling about and going through controled patterns at often considerable expense. Some overbuilt monstsities look dangerous flying at well over scale speeds. Perhaps I am just a ludite but some of you folks might try flying a rubber powered ROG.
Interesting, Paul. Do you think members of the FF community would use RCPilot if we added a "world" at the top for FF? I asked David Lindley this question and he showed some interest.

Thomas, Very good point. I have always held the belief that you helis talk to you. If the stab or skids begins to shake, a strange noise, the collective is a touch higher that normal in a hover, maybe its time to land and have a look at things. Things such as this could be anything from a main rotor shaft bearing, a failed main rotor grip thrust bearing cage, and in one recent case on Comanche, a main gear tooth that was cracked yet still attached. B
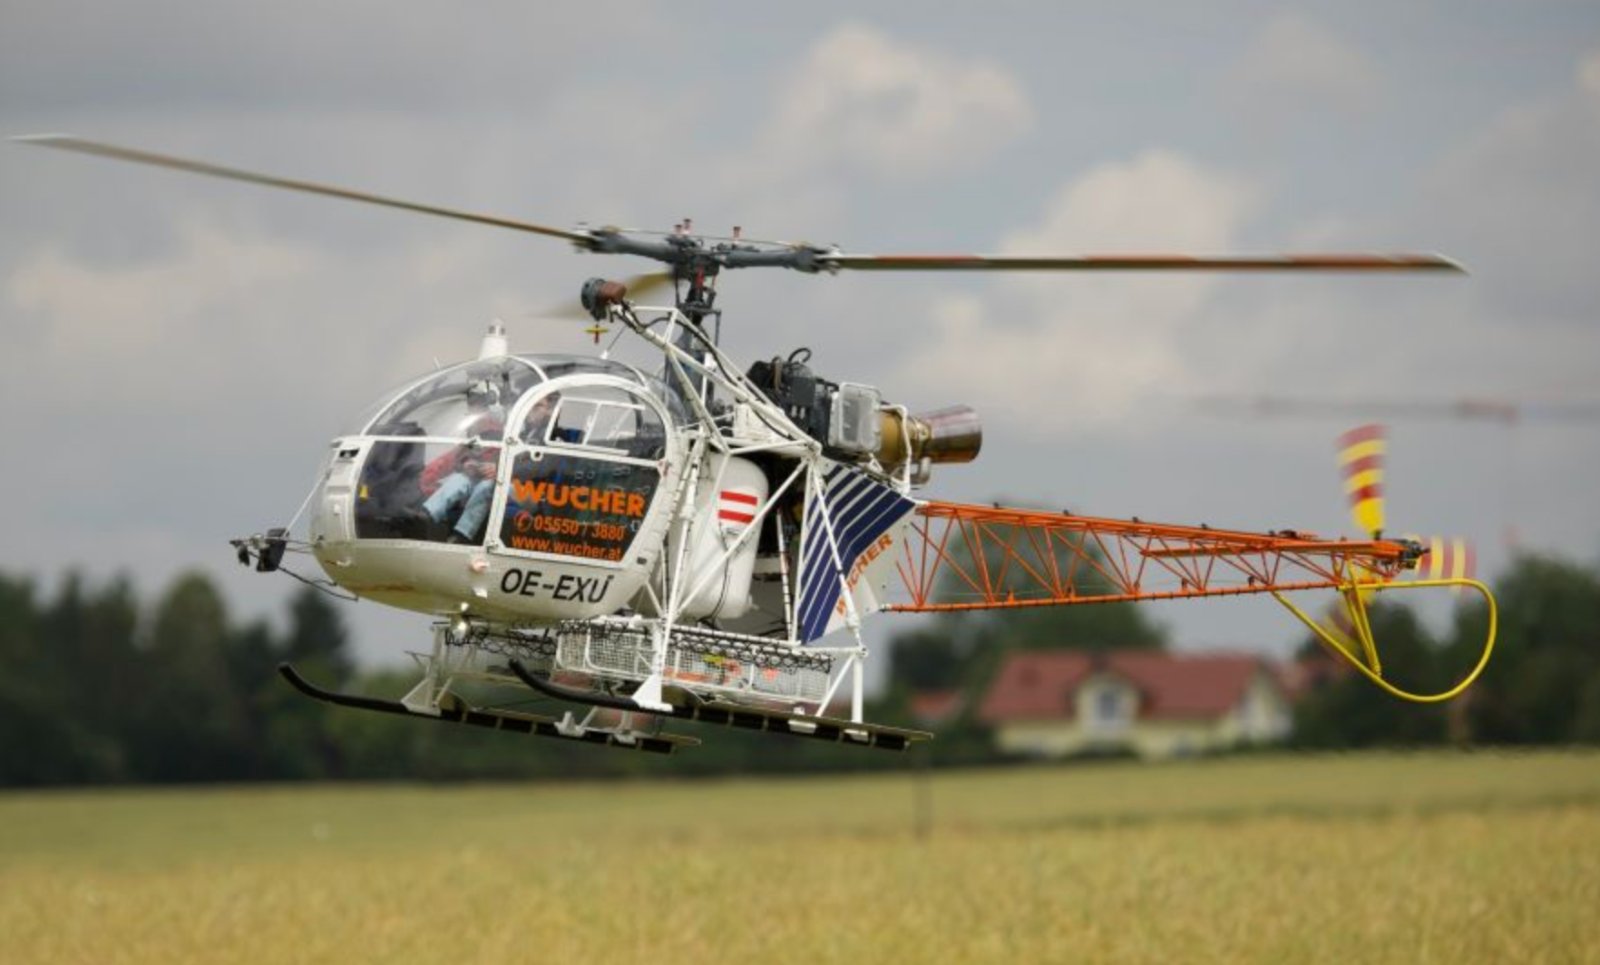
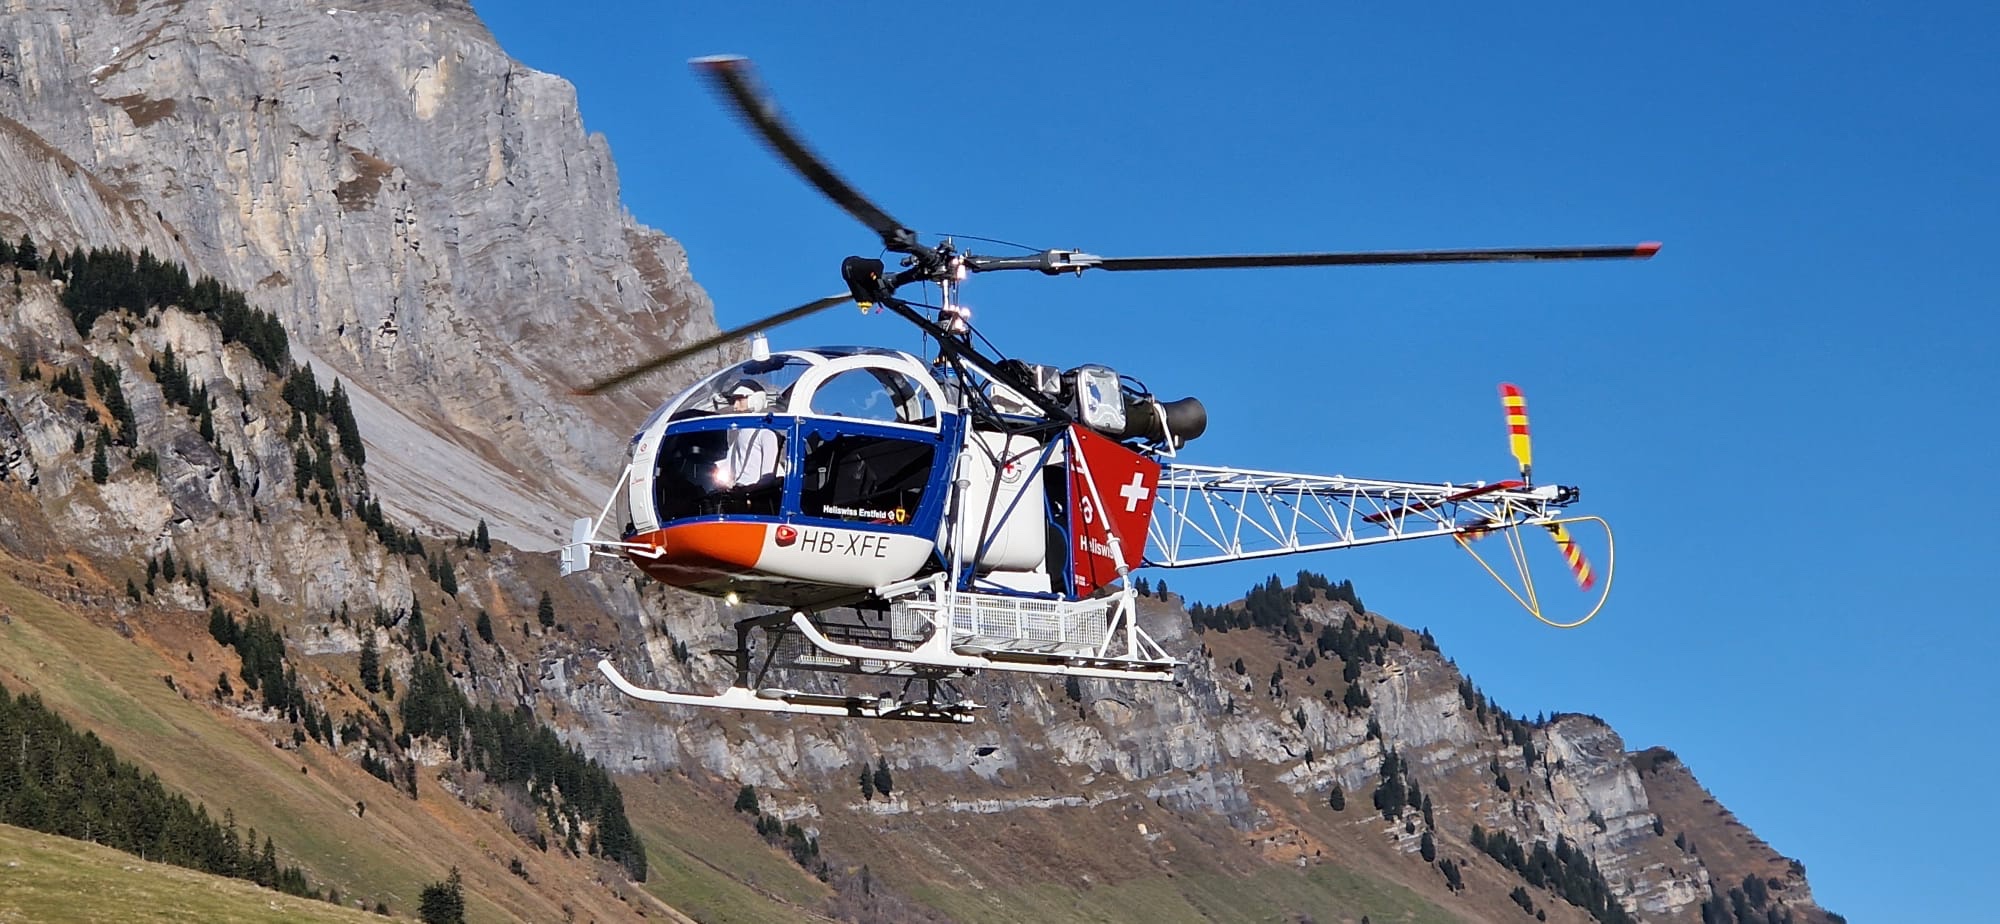
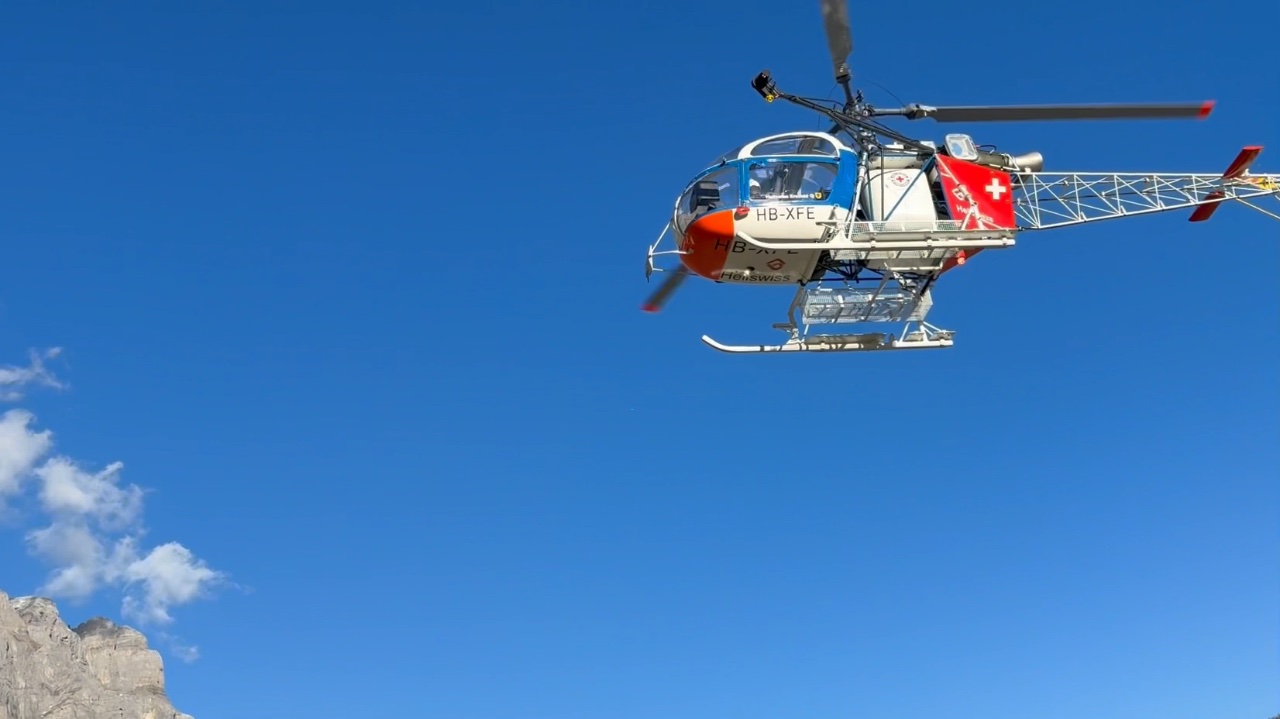
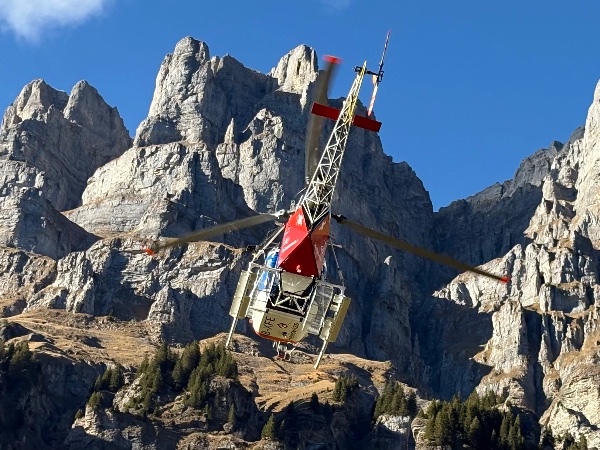
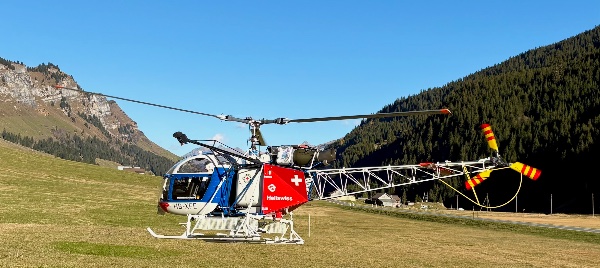
First flight with my new Lama👍
In the article section, I have a story about resonance with this model. Take a look.
A hearty congratulations to Cody Smith from Nine Mile Falls, Washington for absolutely blistering everyone in Pilot Poker!
Code wins the Spektrum NX8+ courtesy of the fine folks at Horizon Hobby!
Feel free to continue playing Pilot Poker. It's just fun 🤷🏼♂️
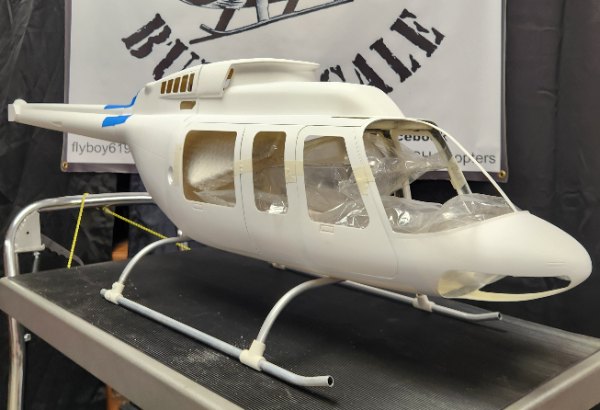
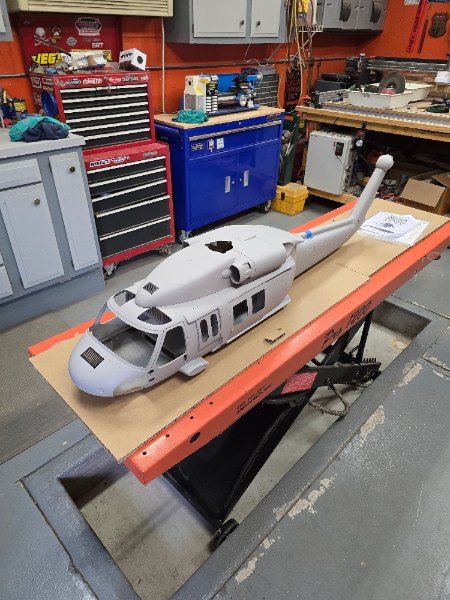
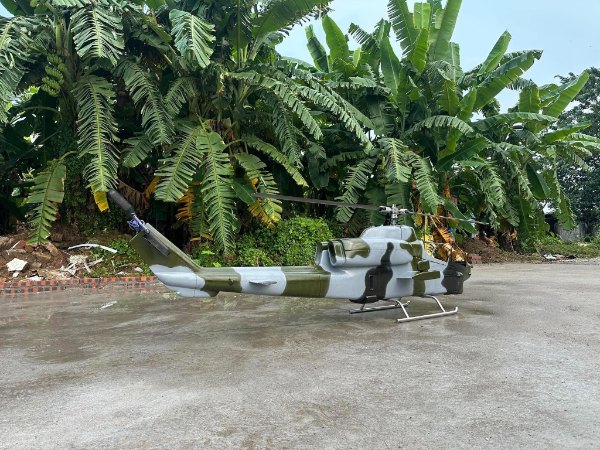
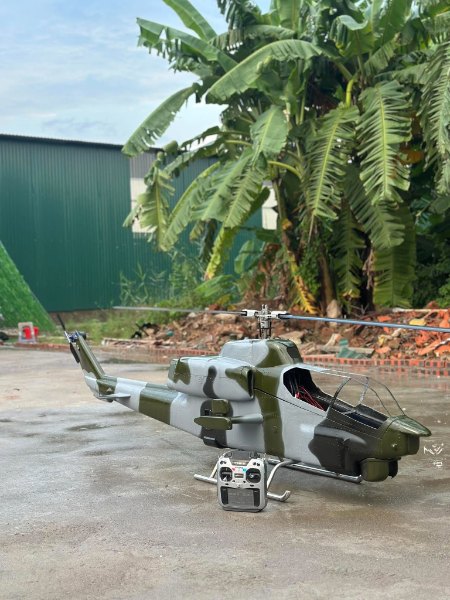
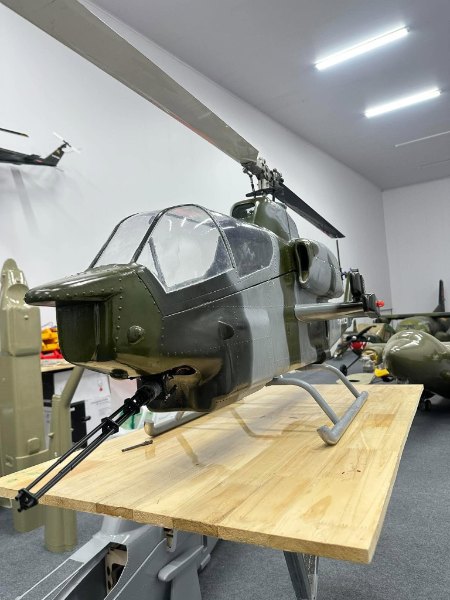
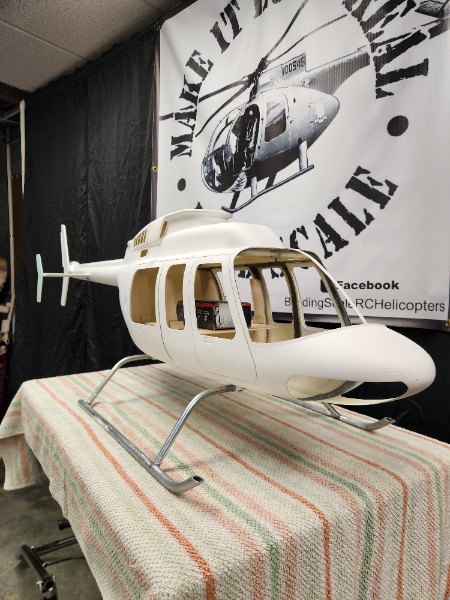
The aircraft fuselage is cast from composite material using custom-made molds, then reinforced with a balsa wood framework and a system of structural ribs. Each component undergoes a center-of-gravity calibration process before moving on to the finishing stage.
The product is delivered unpainted, allowing the project owner to select their own color scheme and level of detail; alternatively...
The aircraft fuselage is cast from composite material using custom-made molds, then reinforced with a balsa wood framework and a system of structural ribs. Each component undergoes a center-of-gravity calibration process before moving on to the finishing stage.
The product is delivered unpainted, allowing the project owner to select their own color scheme and level of detail; alternatively, clients may request that the workshop complete the finishing process according to agreed-upon specifications.
This is really cool! Are you manufacturing and selling these?



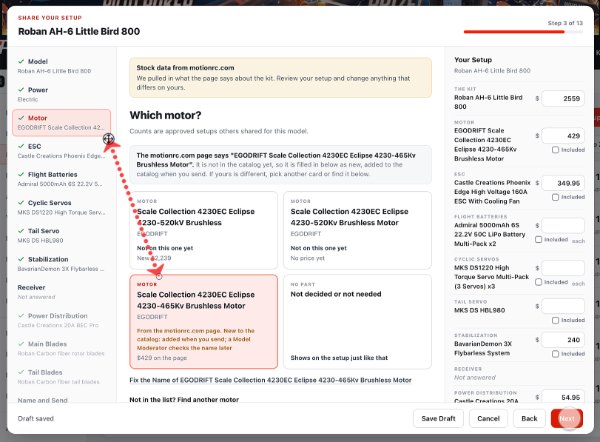
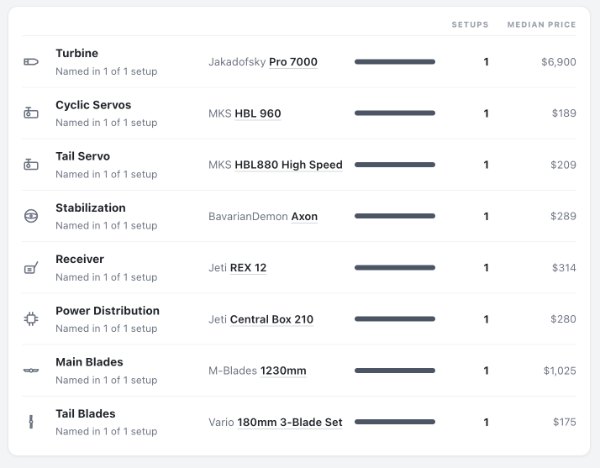
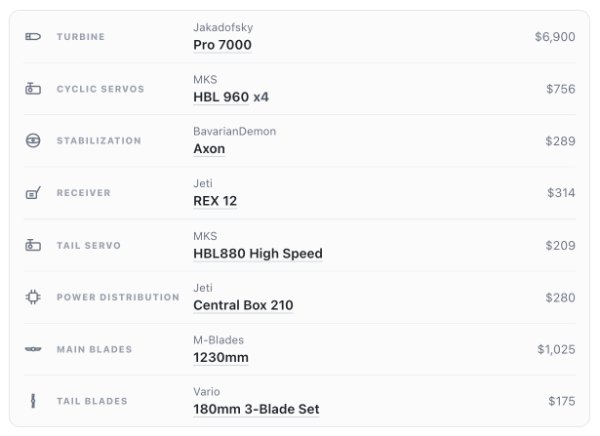
Guys, this is one of the coolest features I've ever built for RC. Check it out the new Model Setup engine! Click MODEL SETUPS from the left menu.
Nice feature.
I've been a JR guy since the days of the original shuttle. Ending with xg14 from Japan. Have had spektrum and friends as well. I bought a radiomaster tx 16 and have been flying with a goosky s1 to learn. Are scale flyers going the open source route or sticking with Jeti and the like

I went from Jr to Jeti a life time ago….never looked back. Before that I was checking different systems, from Futaba, Vbar and similar. After I got my first Jeti (DS14) all I did was progressed to DC24 -Gen1. I never needed anything else as it does all I want it to do! Is super reliable and I can set it and adjust it to fit me.
Hey Nick, this is great content! You spaced these chapters out nicely and it's easy to follow your progress!
This 500 was built last year. Flew great right off the bench with no modifications other than pinning the torque tube and shortening the landing gear struts by two inches to give a more realistic look. Powered by Align 850MX, Castle 120 on 12S, Spektrum electronics, Bavarian 3X.
 RCPilotLet This Concept Resonate With YouSeeing Is Believing Watching a model (or full-size) helicopter experience severe ground resonance is a sobering experience. Watch this video and then read about why this occurred and how to prevent or mitigate it in your
Seeing Is Believing Watching a model (or full-size) helicopter experience severe ground resonance is a sobering experience. Watch this video and then read about why this occurred and how to prevent or mitigate it in... more
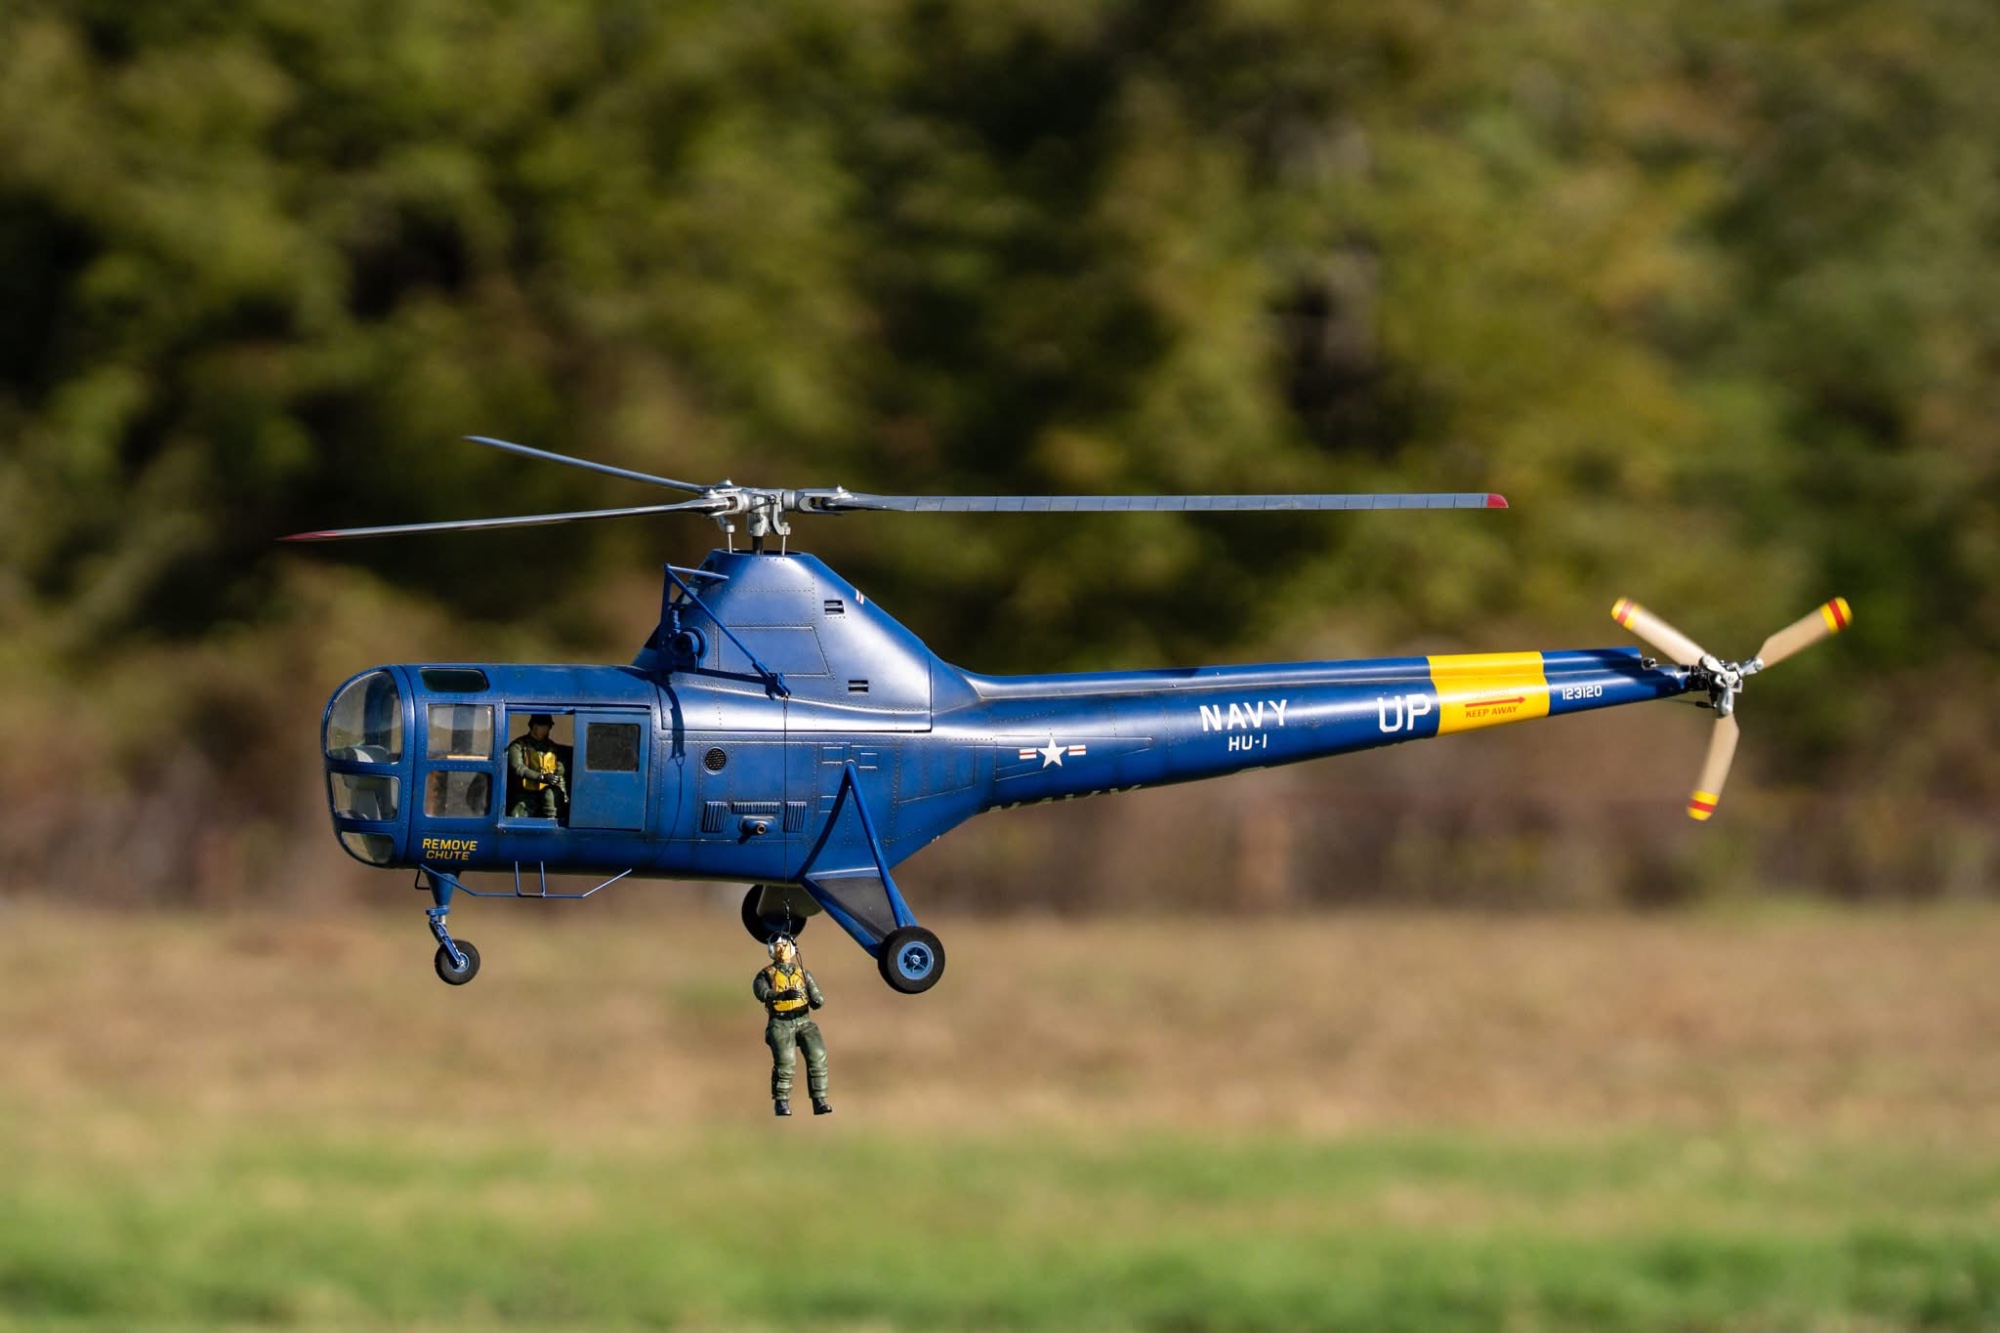
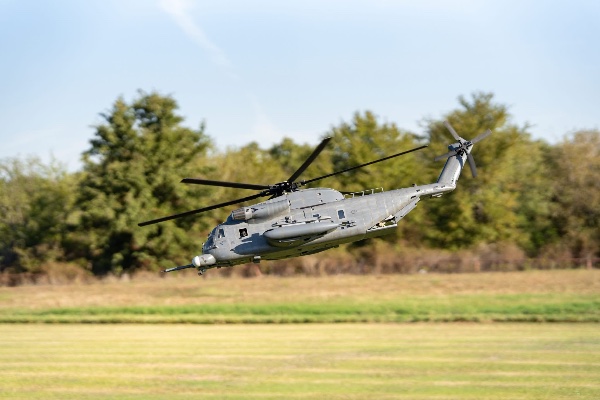
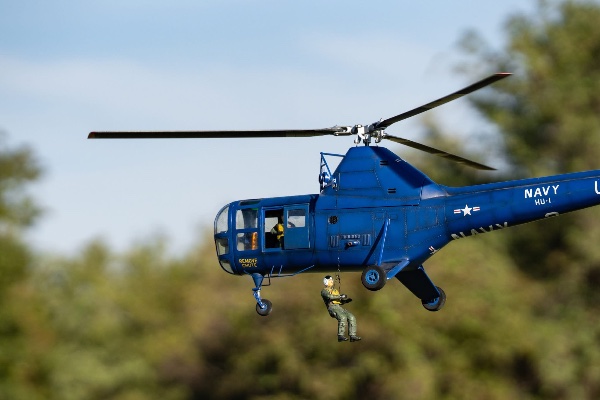
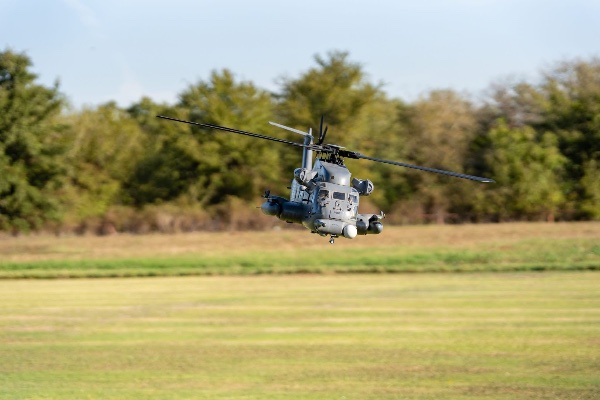
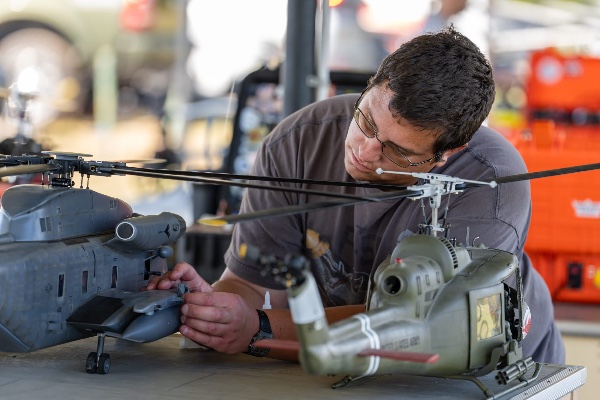
Thanks to Robert Ables for the great photos of my models in the air Saturday at the Texas Heli Bash in Grapevine!
As usual, beautiful shots! Thanks for contributing, Mike.
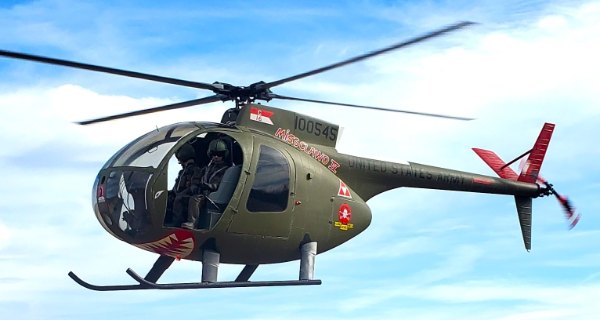
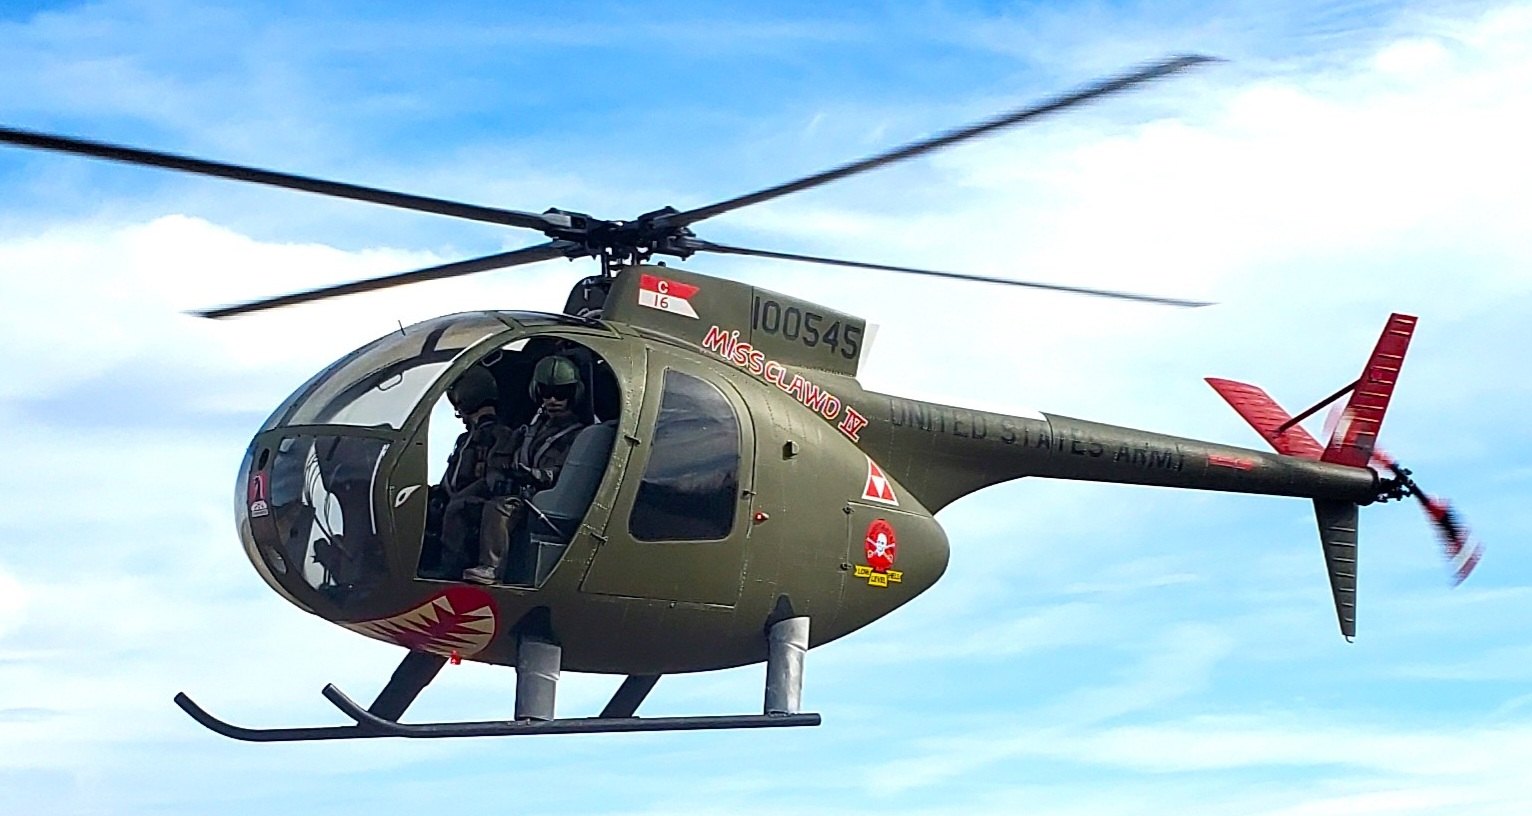
Being a Veteran of the Vietnam era I have a great fondness for anything helicopter during that time. If you have not read "Low Level Hell" by Captain Hugh Mills you should read it. That is the man and the book that made "Miss Clawd" a well known helicopter in the scale helicopter community. This is my second Miss Clawd with the first being built in the early ninties and nitro powered. This one is...
Being a Veteran of the Vietnam era I have a great fondness for anything helicopter during that time. If you have not read "Low Level Hell" by Captain Hugh Mills you should read it. That is the man and the book that made "Miss Clawd" a well known helicopter in the scale helicopter community. This is my second Miss Clawd with the first being built in the early ninties and nitro powered. This one is a product of Vario Helicopters and equipped with Vario Benzine mechanics, powered with a Scorpion 5035 and retaining the Benzine clutch with a Heliworkshop clutch adapter, a Castle 160 ESC on 12S, Spektrum electronics and a Sound system making a very realistic model. The mechanics were highly modified to allow for a full cockpit and easy battery change. The cockpit is completely "scratch-built" from wood, plastic and aluminum. Pilots are a product of TailoredPilots, WarBirdPilots and patches added for the Vietnam era. Personal weapons and other cockpit accessories came from BlackOpsToys and Ebay. Stetsons were 3D printed by my friend of many years Mark Burks owner of Micro Designs. The "stogie" in the gunners mouth was the idea of my fellow full size pilot Csptian Randy Rivers that I shared a lot of civilian airspace with who also flew the OH 58D in the Iraqi and Afghanistan wars. I try to fly this model just as Miss Clawd was flown by Captain Mills.
Ironically, the song was a protest of the war! I still love it.
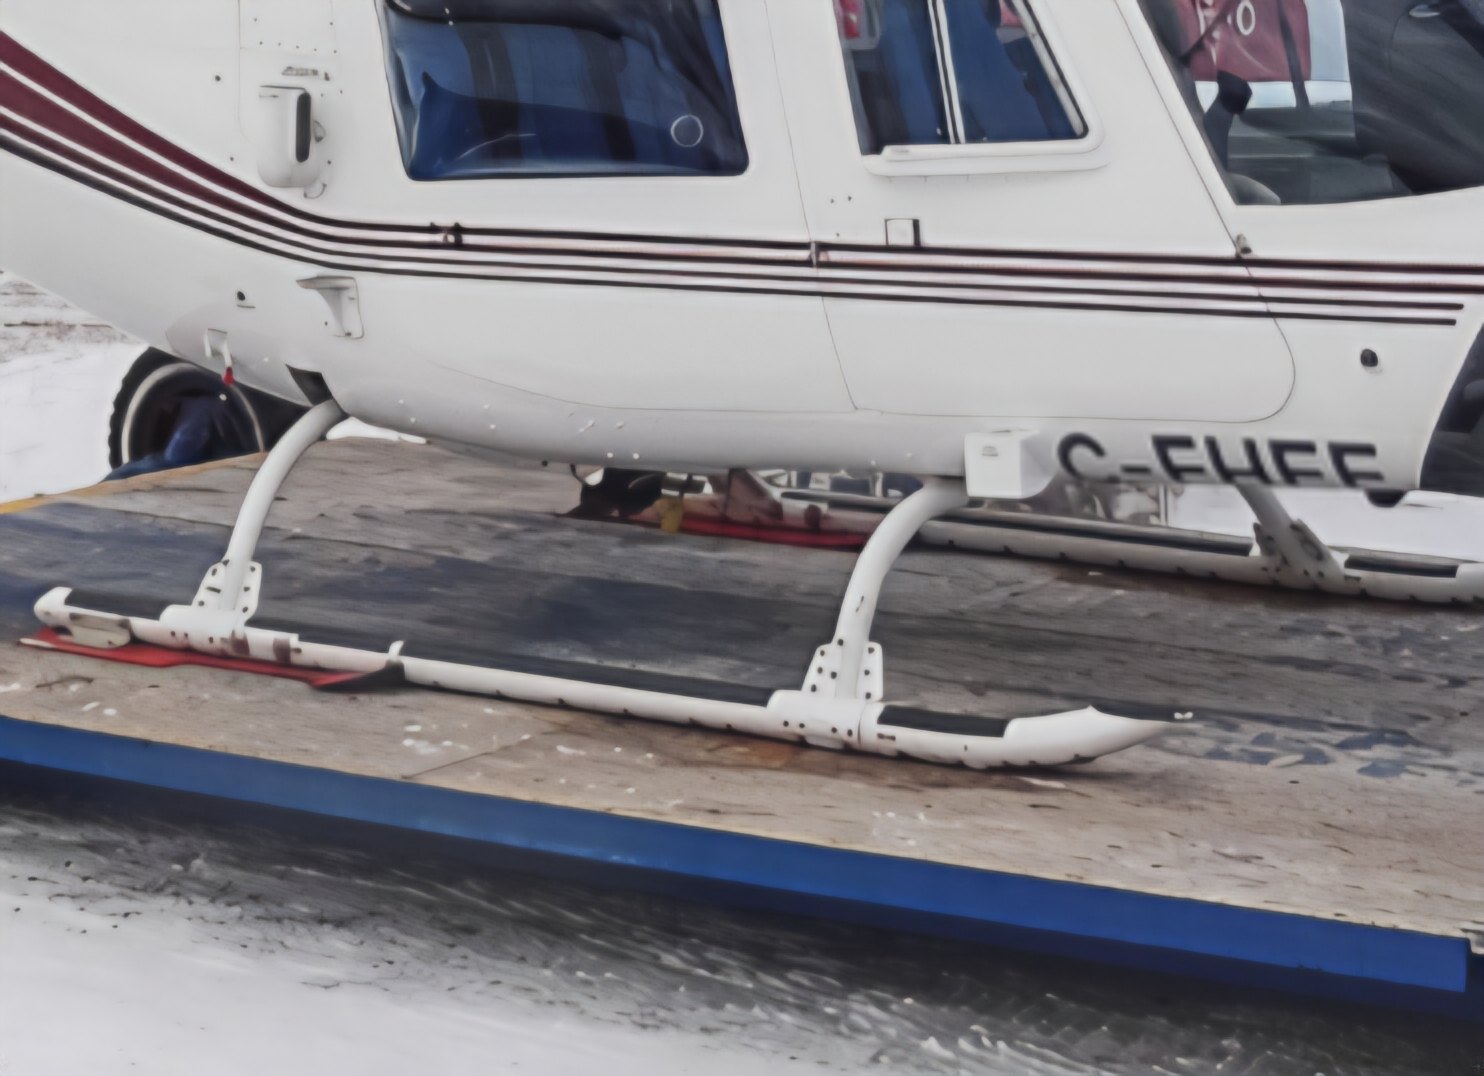 RCPilotBuilding Scale Landing GearThis little bit of detailing will be important to those of you who are like me and don't have the equipment to weld metal and aluminum or do not want the expense of having it custom made (professional welders ARE NOT che
Check out Jon Ellis' latest article on scaling up your skids!
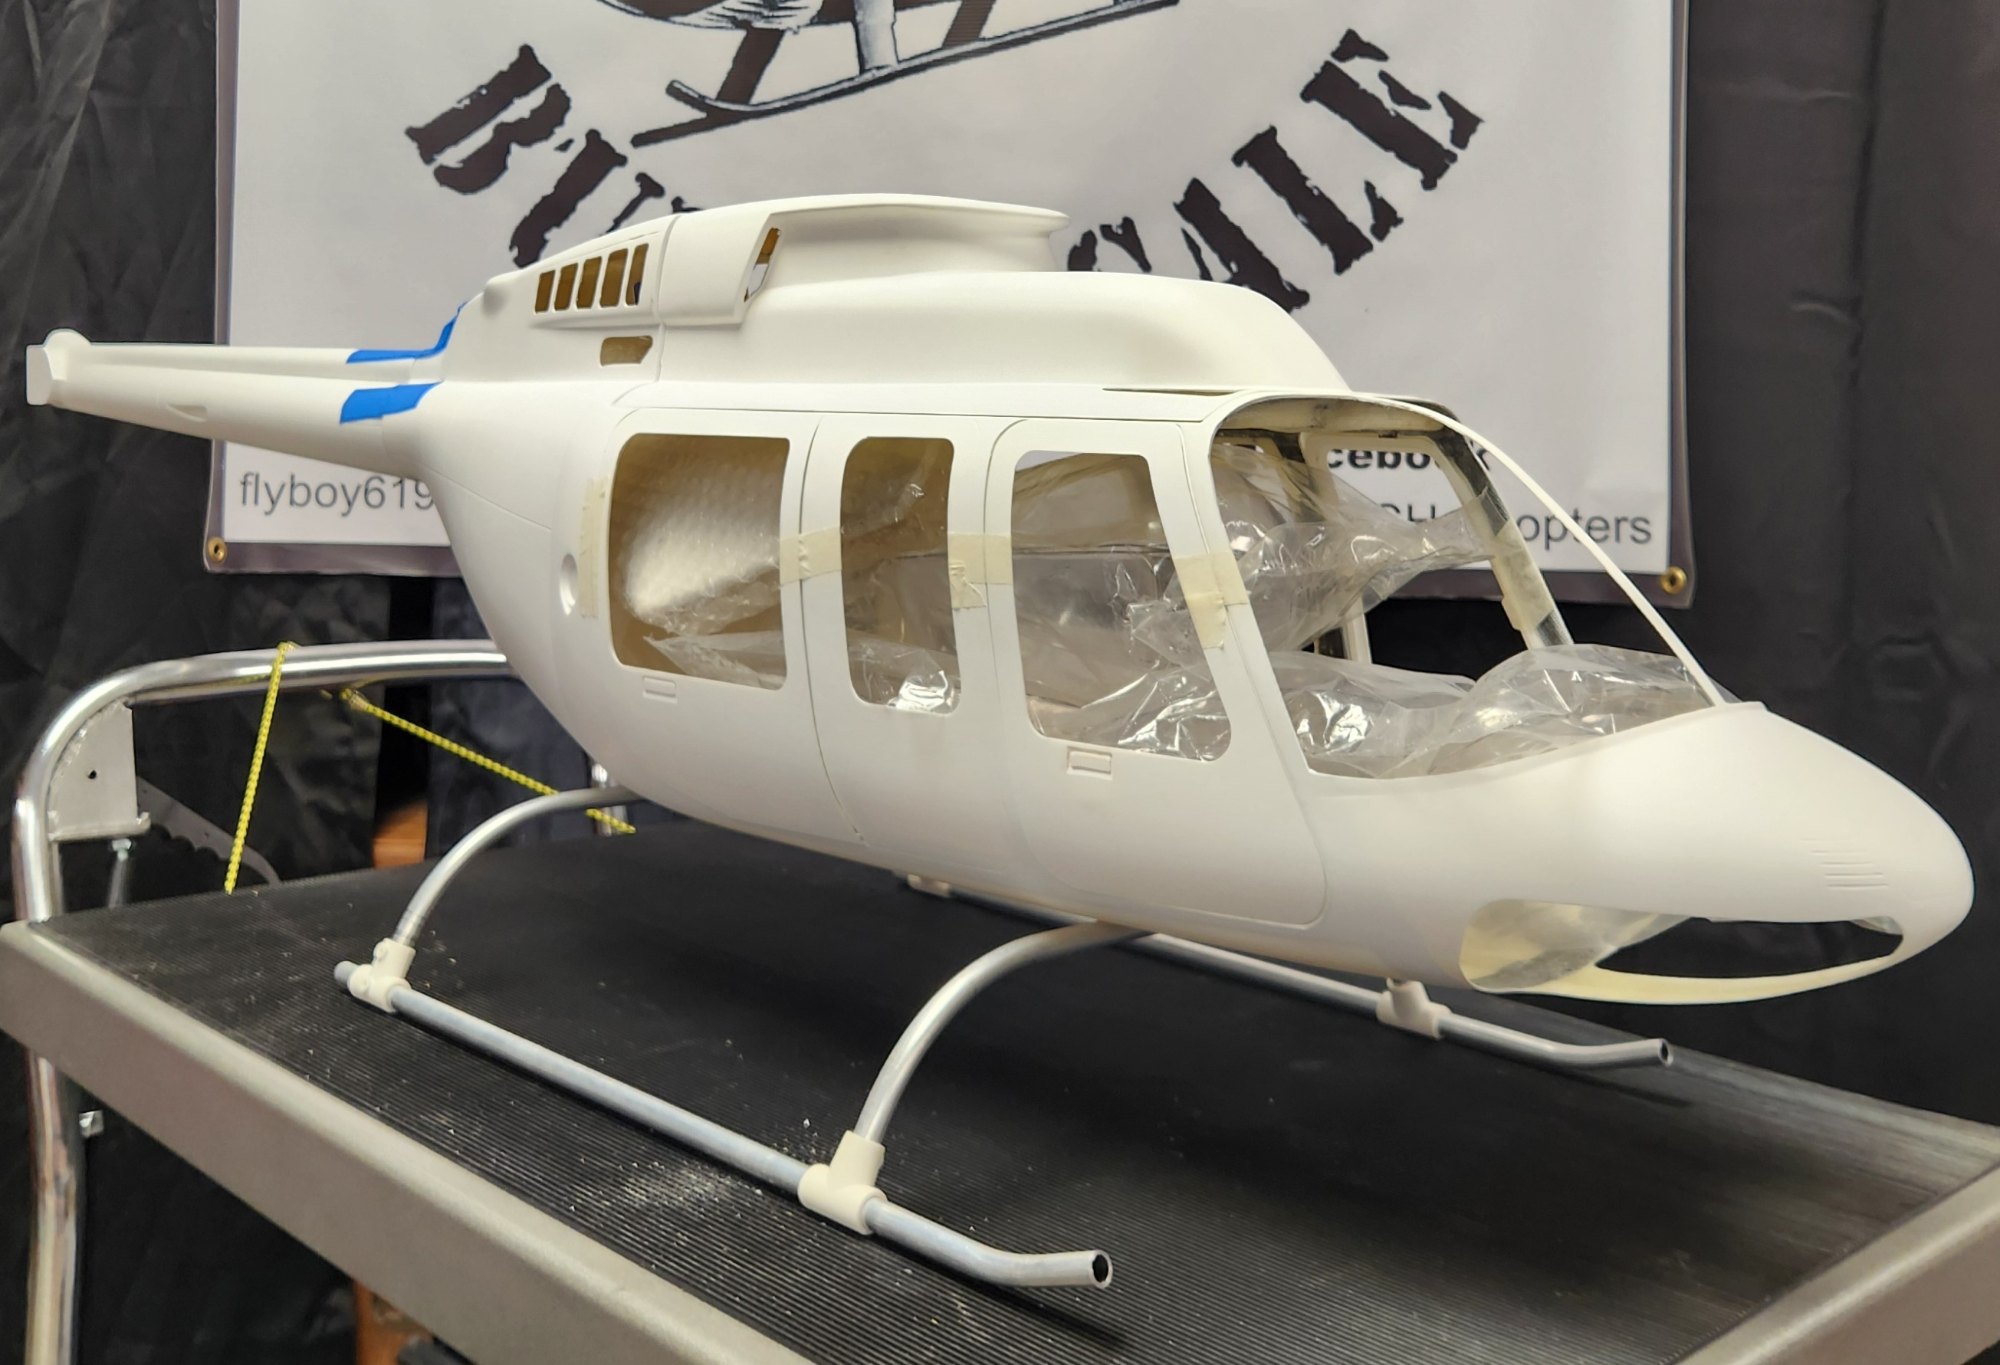
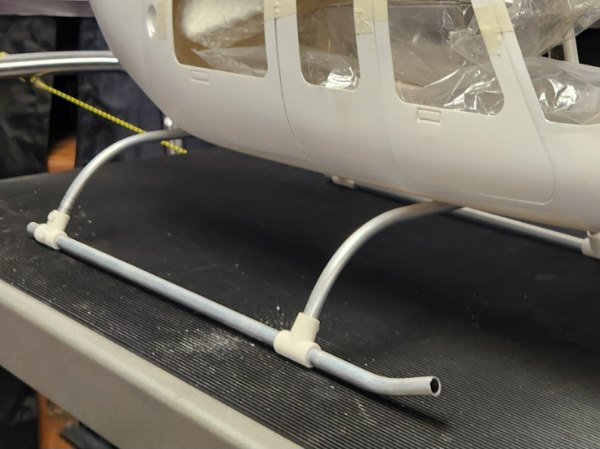
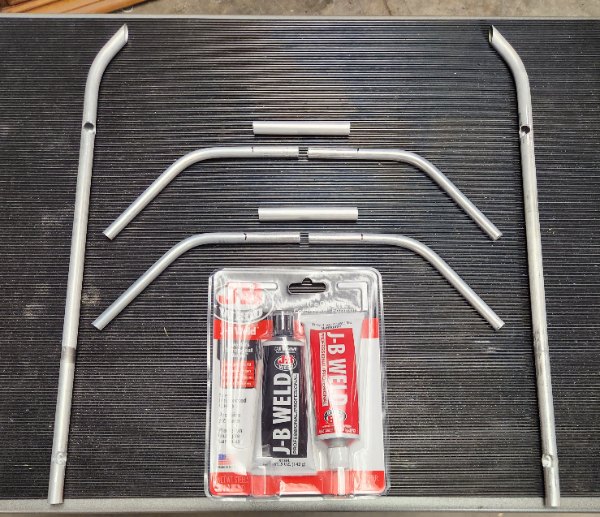
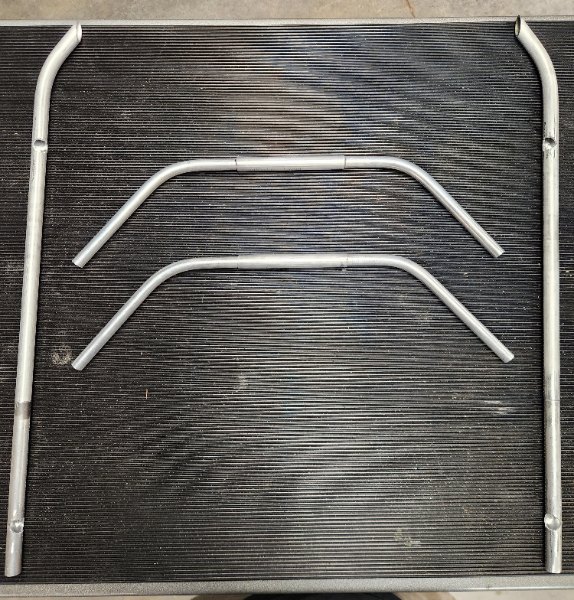
This little bit of detailing will be important to those of you that are like me and don't have the equipment to weld metal and aluminum or do not want the expense of having it custom made (professional... more

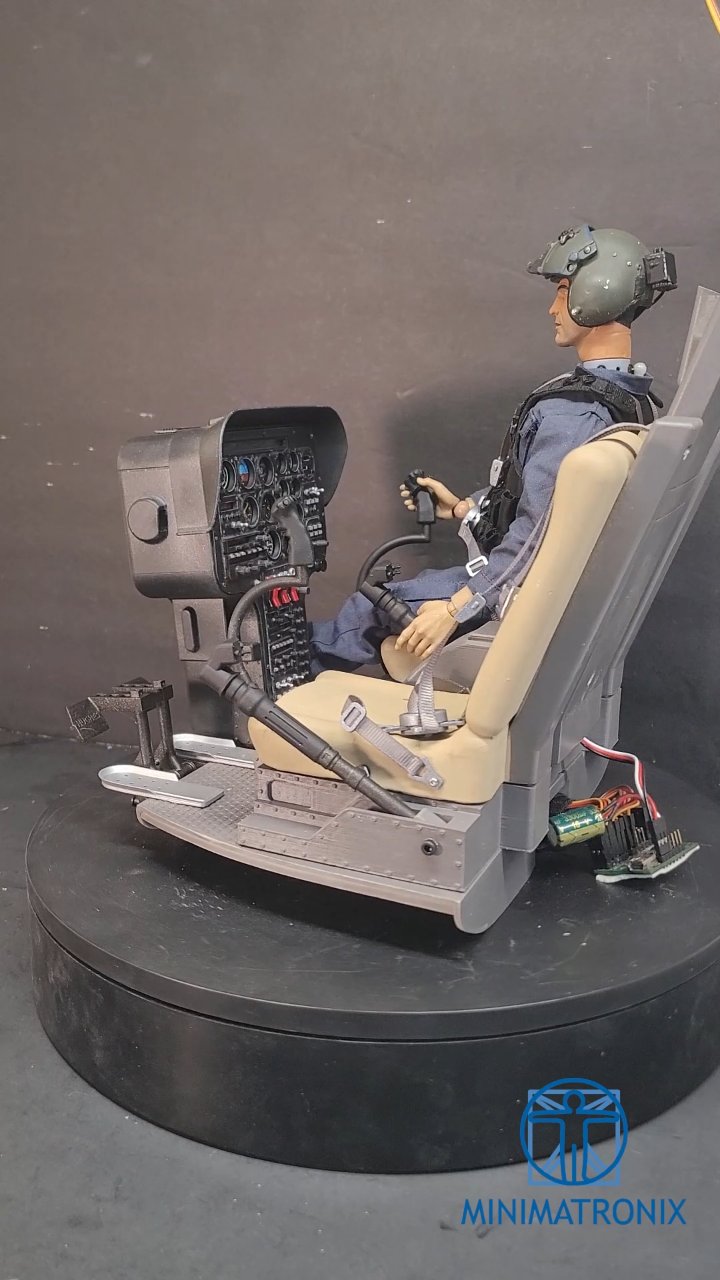
I have built a total of 13 Roban scale helicopters and all have flown perfectly. I loved the looks of the Mercy Air but wanted to change it to the "Utility" version replacing the retractable gear with skid gear. Being new to 3D printing, I printed some suitable looking seats, patient streacher, SPH5 flight helmet, cyclic grips. I pieced together the pilot using accessories from Ebay and...
I have built a total of 13 Roban scale helicopters and all have flown perfectly. I loved the looks of the Mercy Air but wanted to change it to the "Utility" version replacing the retractable gear with skid gear. Being new to 3D printing, I printed some suitable looking seats, patient streacher, SPH5 flight helmet, cyclic grips. I pieced together the pilot using accessories from Ebay and BlackOpsToys, added a harness set from Micro Designs to finish out the cockpit and interior. I enjoy building the Roban models, they build easy and fly great. I can't keep them all, lol and this one has a home with a lifelong friend David Stinnett and he is enjoying it immensely.
This my friends is one of the most noticeable things you will do to add a realistic and authentic touch to your beautiful model. Nothing else will make the "impact" more than a little exhaust soot. Keep in mind you only want to add this to your scale models with a "top mounted" turbine where you will see the accumulation of soot on top of the tail boom and stabilizers. Don't forget to add little...
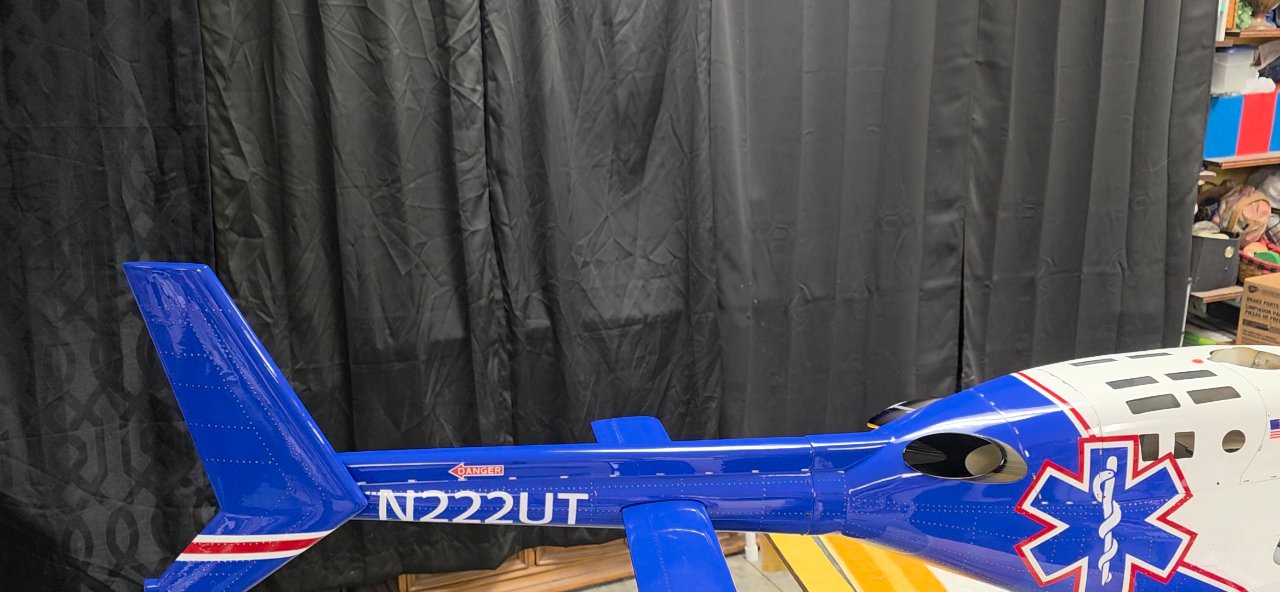
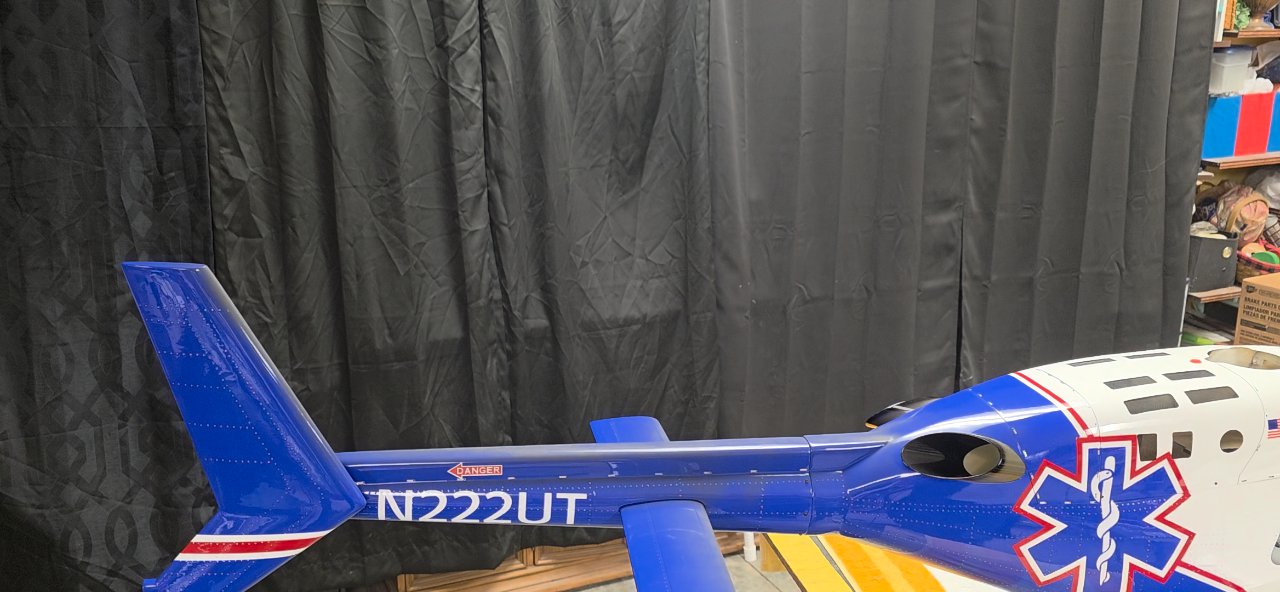
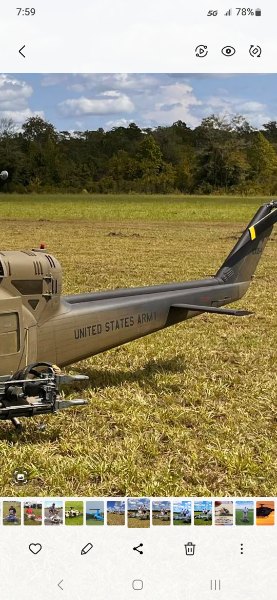
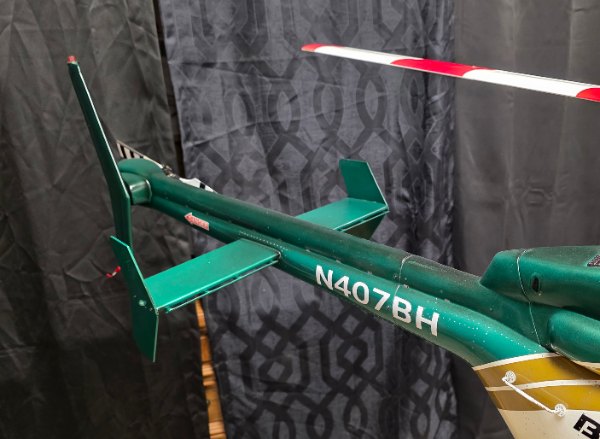
This my friends is one of the most noticeable things you will do to add a realistic and authentic touch to your beautiful model. Nothing else will make the "impact" more than a little exhaust soot. Keep in mind you only want to add this to your scale models with a "top mounted" turbine where you will see the accumulation of soot on top of the tail boom and stabilizers. Don't forget to add little soot to the leading edge of the tail rotor blades. The models such as the Hughes 500 series with a bottom mounted turbine will not leave but a slight amount of soot. The reason being: the exhaust from a top mounted turbine will accumulate more on top and in the middle of the tail boom due to air flow and rotor wash. The soot from a 500 series with a bottom mounted turbine will be mostly dissipated before reaching the verticle stabilizer and only a slight amount will accumulate near the bottom from the tail boom down. I like the results from using the Rust-oleum "High Heat 2000 Degree Ceramic Coating" for the best results that suit my goal. I spray the Rust-oleum into a cup and transfer it to my airbrush because the airbrush "atomizes" the paint into a very fine spray. I have used "flat black" paint and it works well but to me is a little "too black" when shot heavy, your choice. Apply the soot compared to your full size pictures. Most Military models accumulate a lot of soot because in a combat environment they are washed only "when water is avalible", lol. When I was flying full size on a long day of flying as you see in the picture of the ENG 206 it would get quite dirty. Just a little soot will enhance the realistic look of your model. If you have a model with a "black" tail boom you need only to add a little dusting of Testors DullCoat right from the can to simulate the soot and deglossing the tail boom. You can see my use of DullCoat in the video. The use of DullCoat is because after many washings the gloss coat will loose it's high shine. The decision to make is "do you want a big beautiful model" or do you want a "big beautiful model that looks REAL".
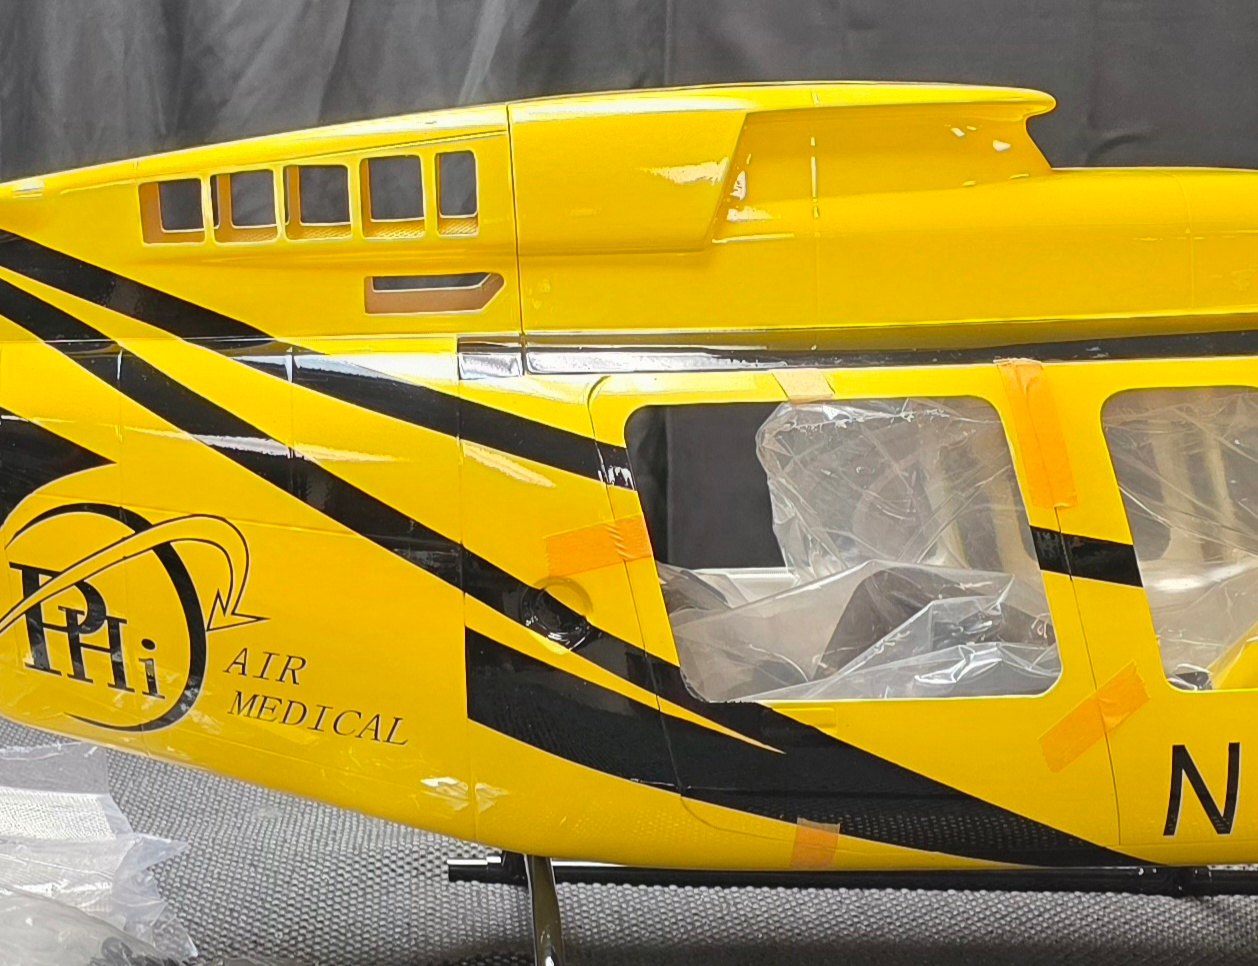
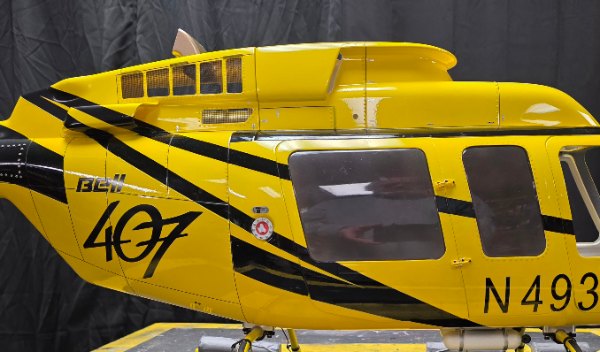
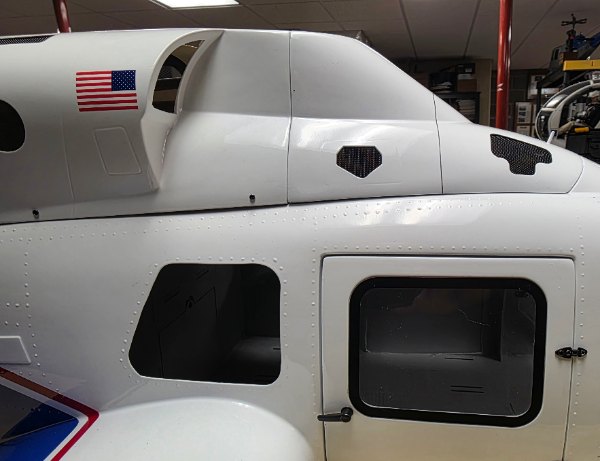
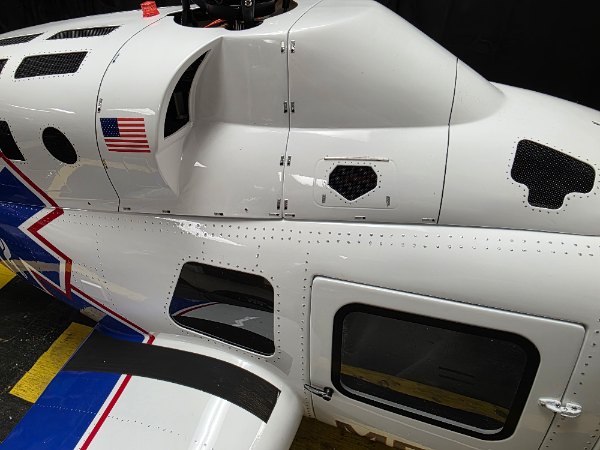
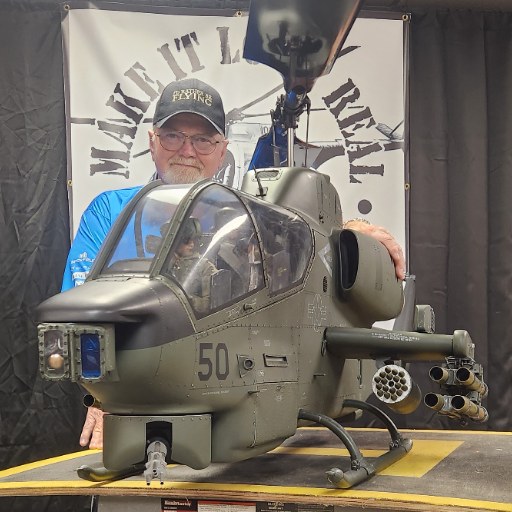
Most prepainted models from Roban, Funkey, Marvelcraft and others come with very nice paint but not a lot of detail. It is VERY easy to increase the realistic appearance of a prepainted fuselage by adding highlights to the rivets, adding panel lines, hinges and latches with nothing more than a little paint, brushs, 1/64th Graphic Tape and different colors of fine point permanent markers. I...
Most prepainted models from Roban, Funkey, Marvelcraft and others come with very nice paint but not a lot of detail. It is VERY easy to increase the realistic appearance of a prepainted fuselage by adding highlights to the rivets, adding panel lines, hinges and latches with nothing more than a little paint, brushs, 1/64th Graphic Tape and different colors of fine point permanent markers. I highlights the rivets with silver or aluminum permanent markers and "dry brushing", add or highlight panel lines with 1/64 Graphic Tape, simulate latches with small pieces of Monokote trim. I add exhaust soot with a cheap airbrush, if you have a black tail boom as on my yellow and black 407 I simply sprayed a light coat of Testors DullCoat on top of the tail boom and the leading edges of the horizontal and vertical stabilizers along with the leading edge of the tail rotor blades. You can judge by the "before and after" photos to see what a difference this little bit of detailing can accomplish to add a more realistic appearance to your prepainted model.
 Koby L.


 Steve A.


 Armin A.
 Paul T.
 Jon E.
 Michael R.