
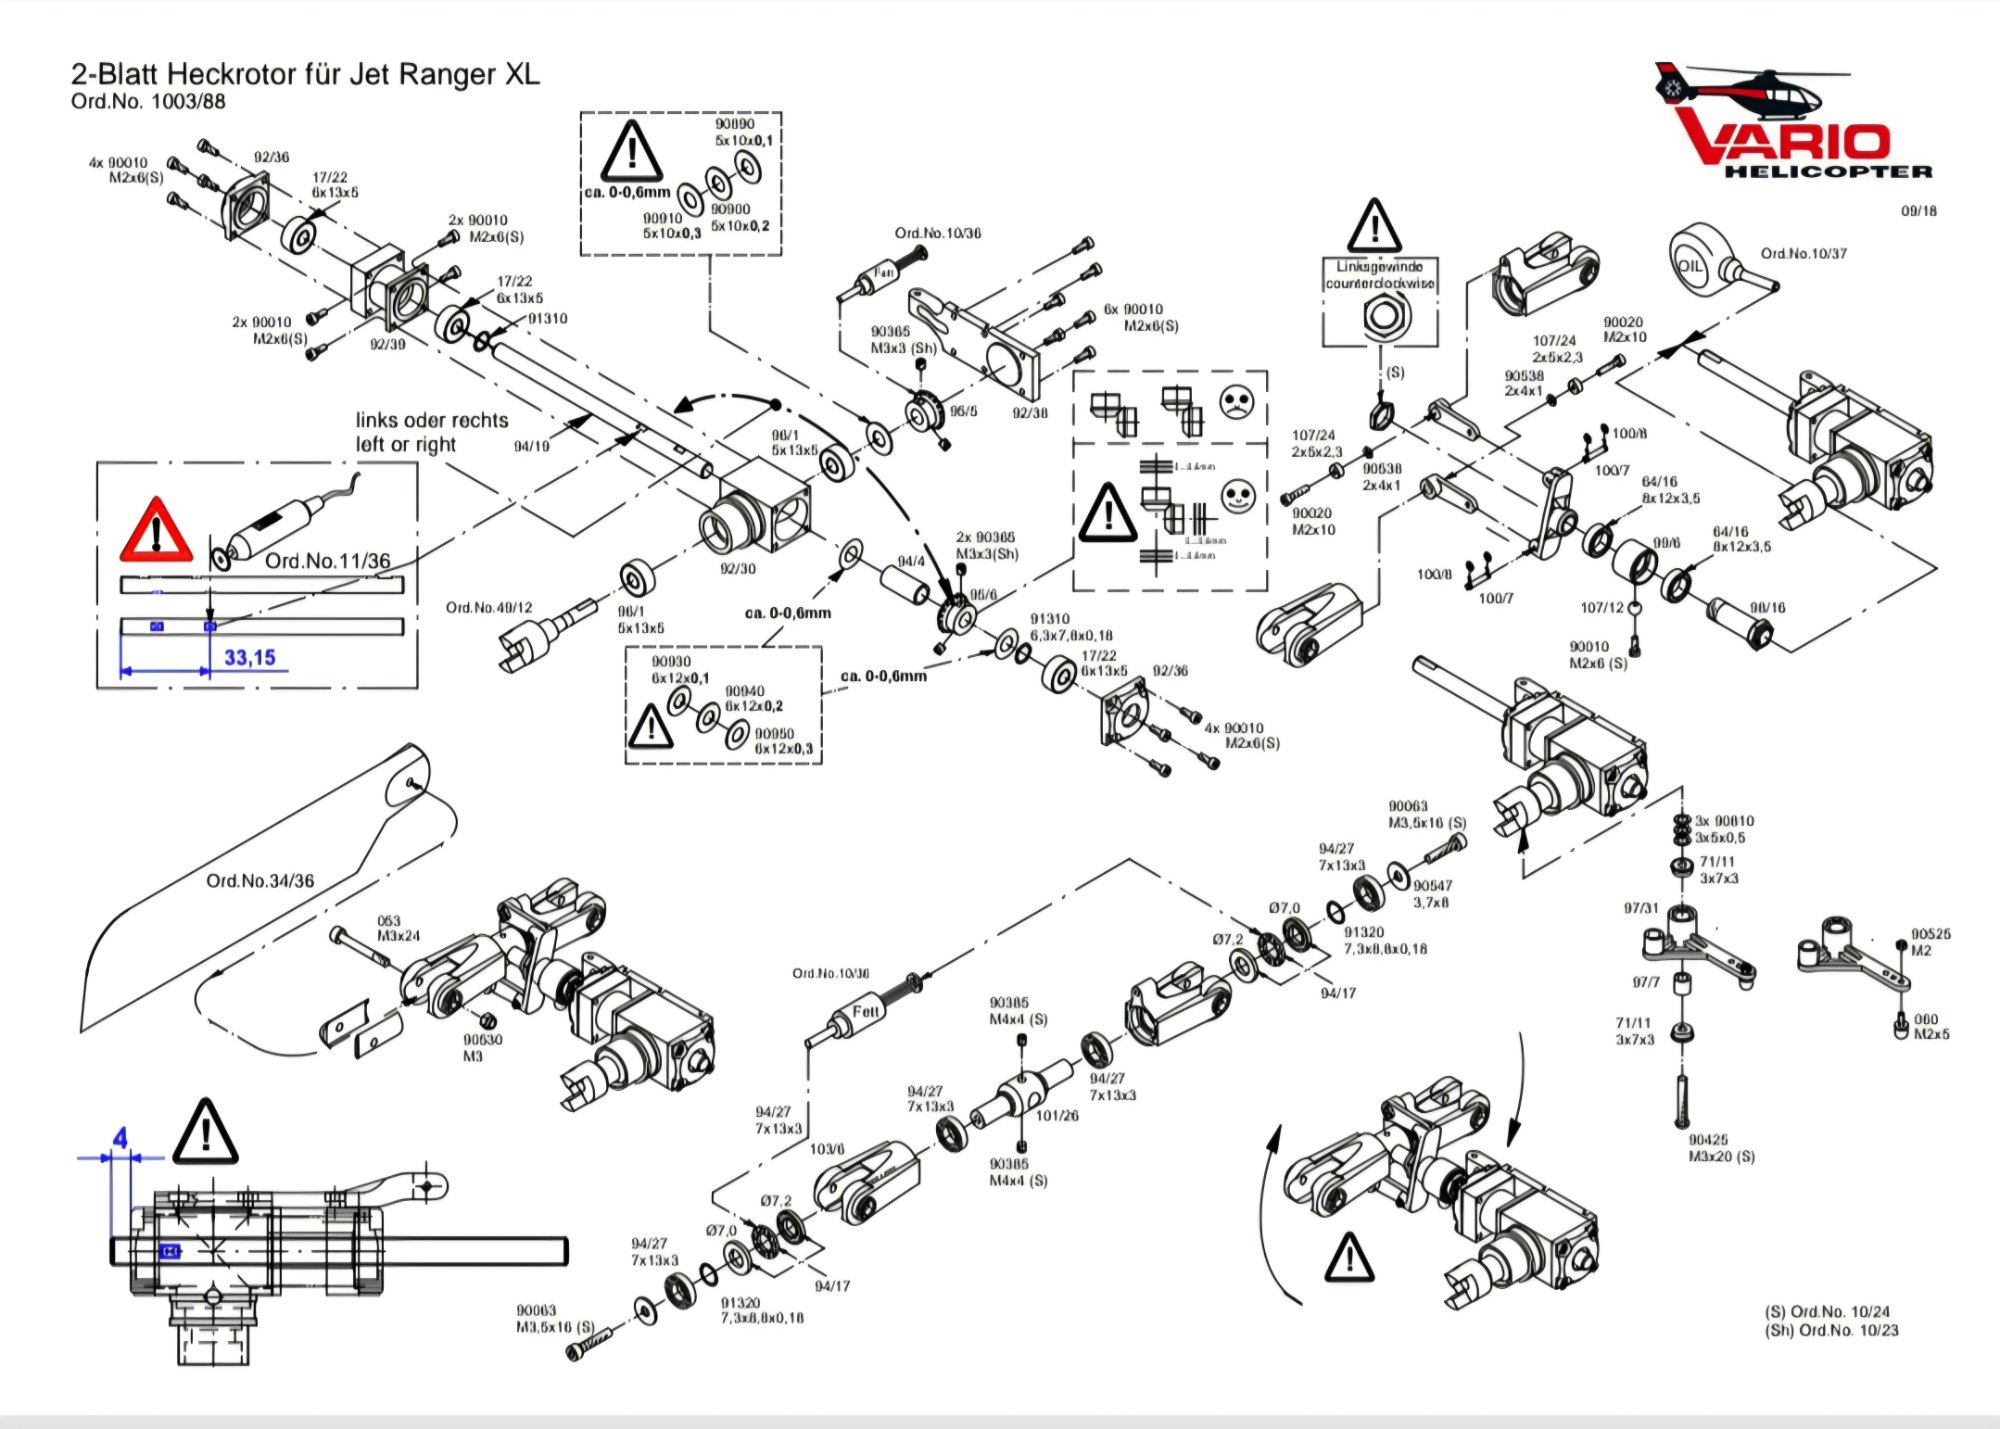
Building Vario Tail Rotor Gearboxes
OK, so I've been building Vario helicopters for a long time and have heard stories regarding tail rotor gearbox failures off and on over the years. These tail rotor gearboxes are not complicated, but they do require specific attention to shimming and gear runout when assembling them. I'll lay out my process step by step here.
I have yet to experience an in-flight failure of a Vario tail rotor gearbox, but I will say that periodic inspection and maintenance are essential components of longevity. First things first.
Checking Shaft Runout
A) Roll the input and output shafts on a granite countertop for a quick check of the shaft runout. I say granite countertop due to the fact that it is a very flat surface, and most hobbyists don't have a lathe and dial indicator to verify if the shafts run true. If you see any wobble in the shafts, return them for replacement. But I have only ever received 1 shaft that didn't run true.
Checking Gear Runout
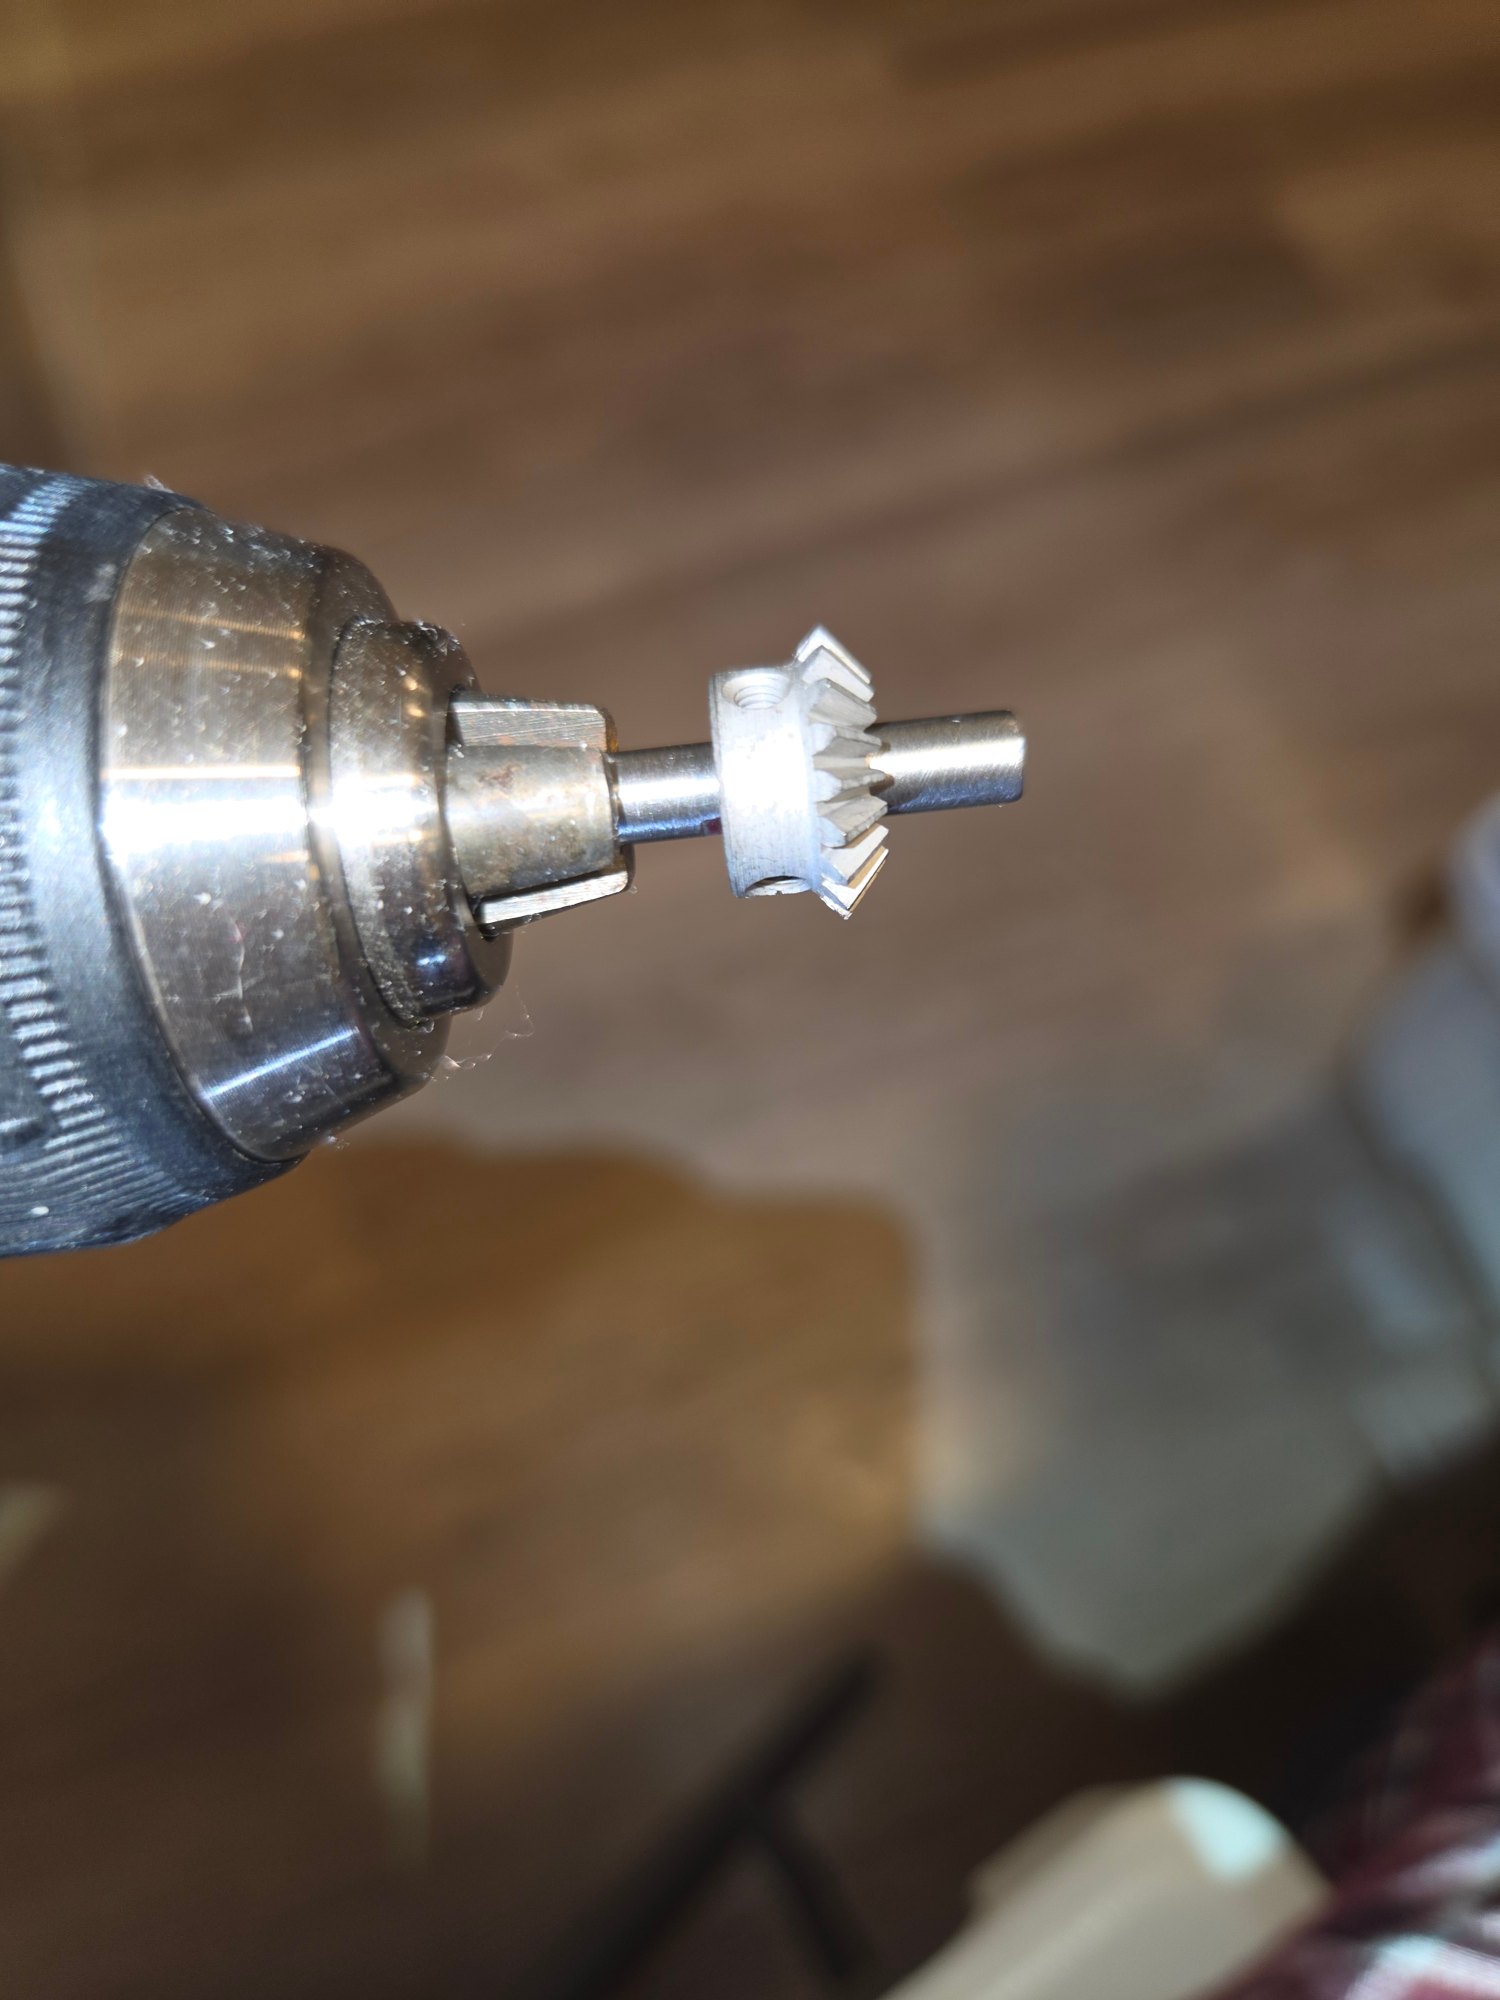
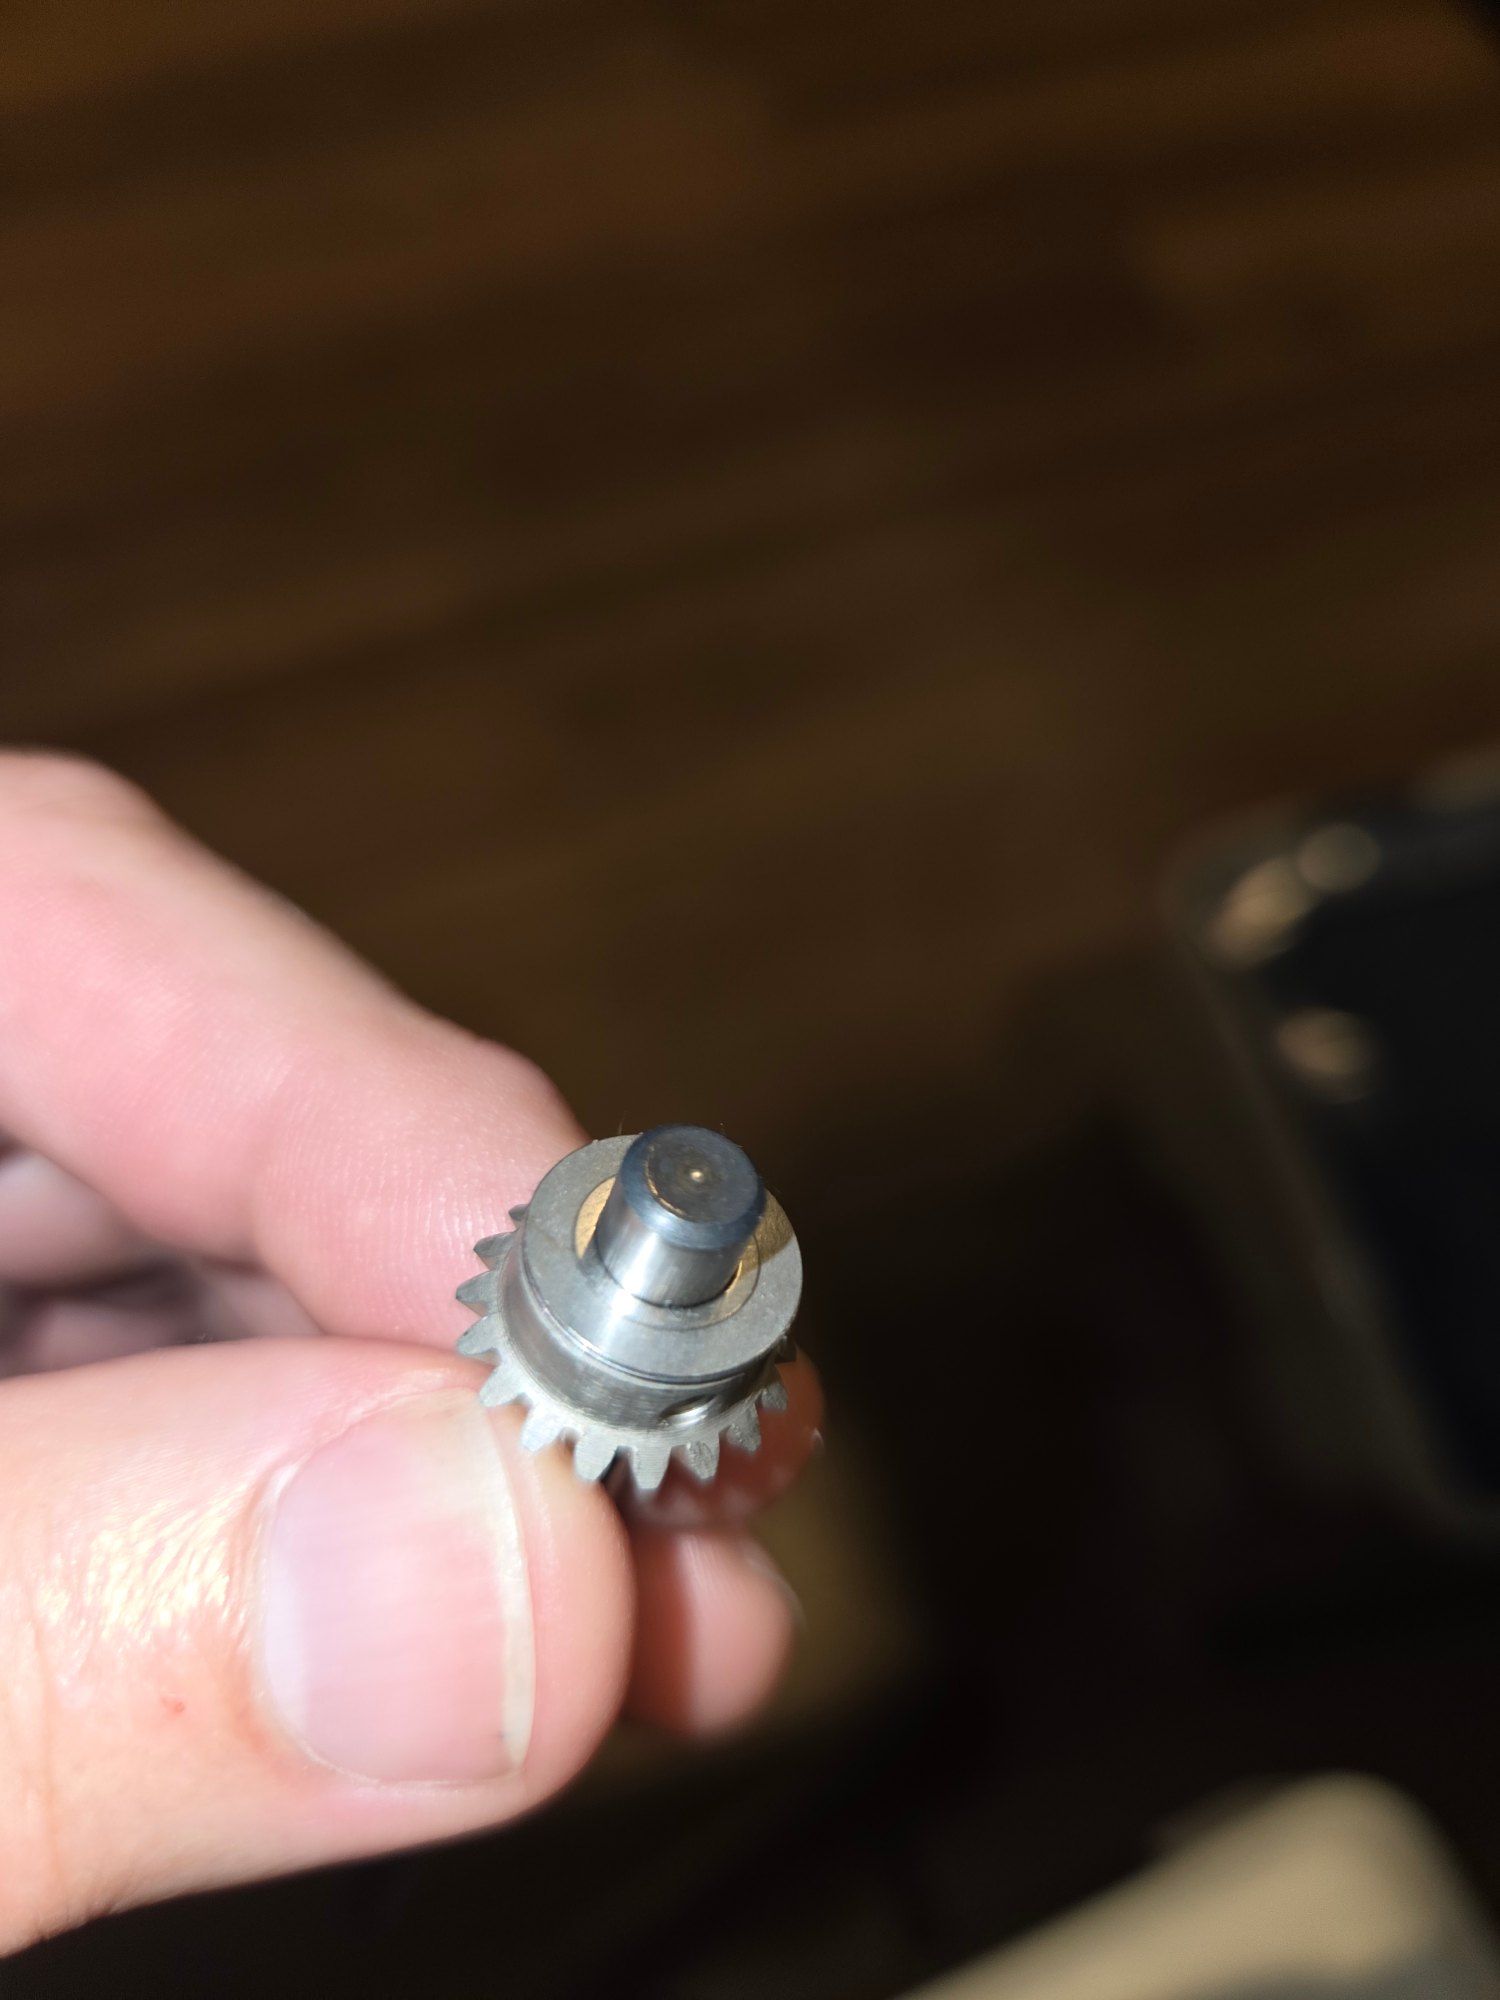
B) Install the gears on their respective shafts and spin them in a quality high-speed drill to check for runout or any wobble in the gears. If the gear does not run true, return it. Every so often a bad gear makes it past quality control.
Shimming the Gearbox
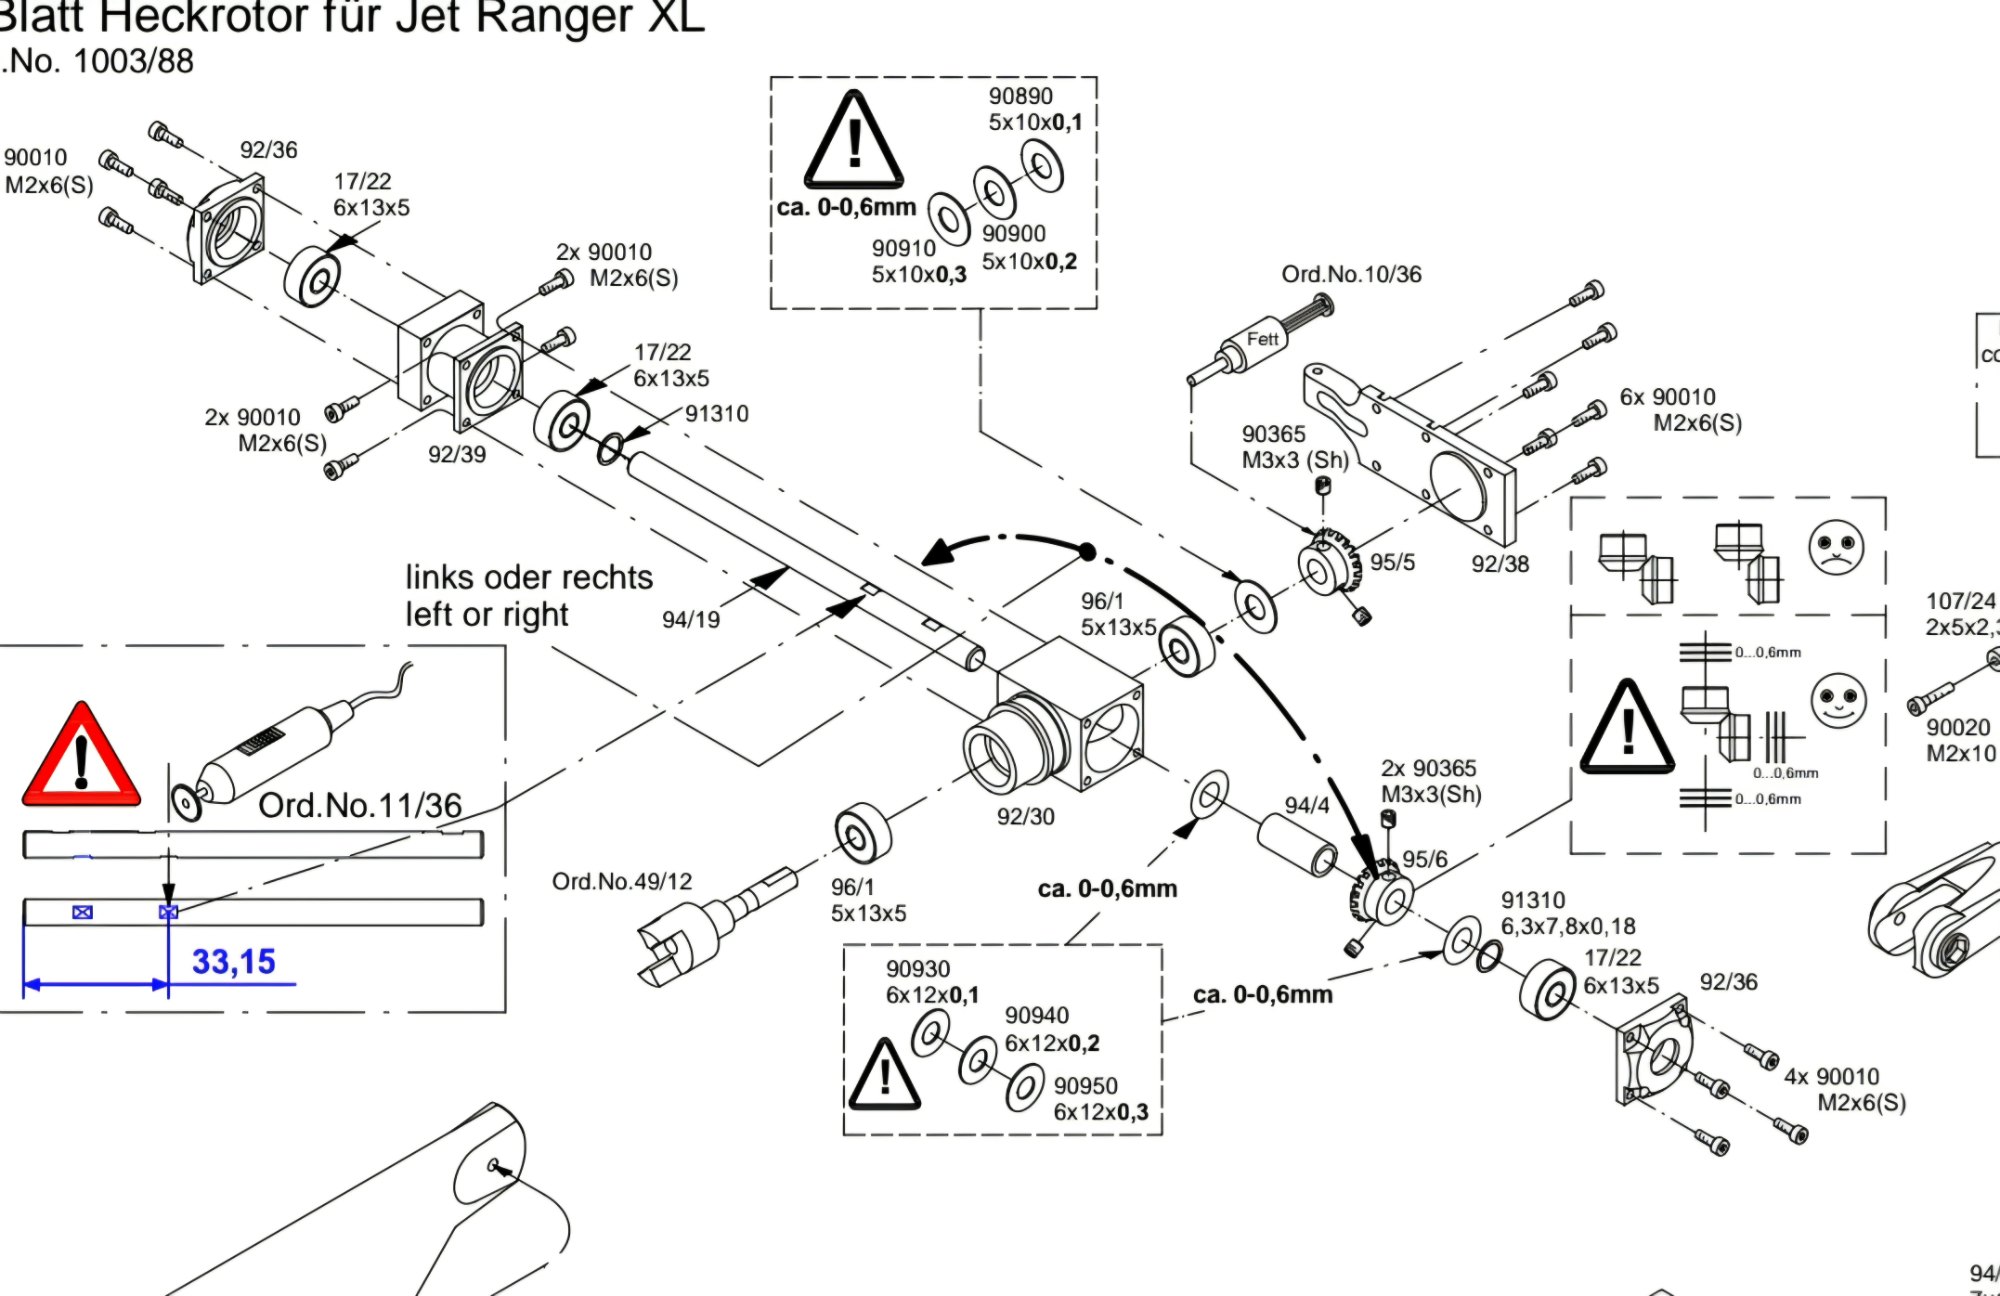
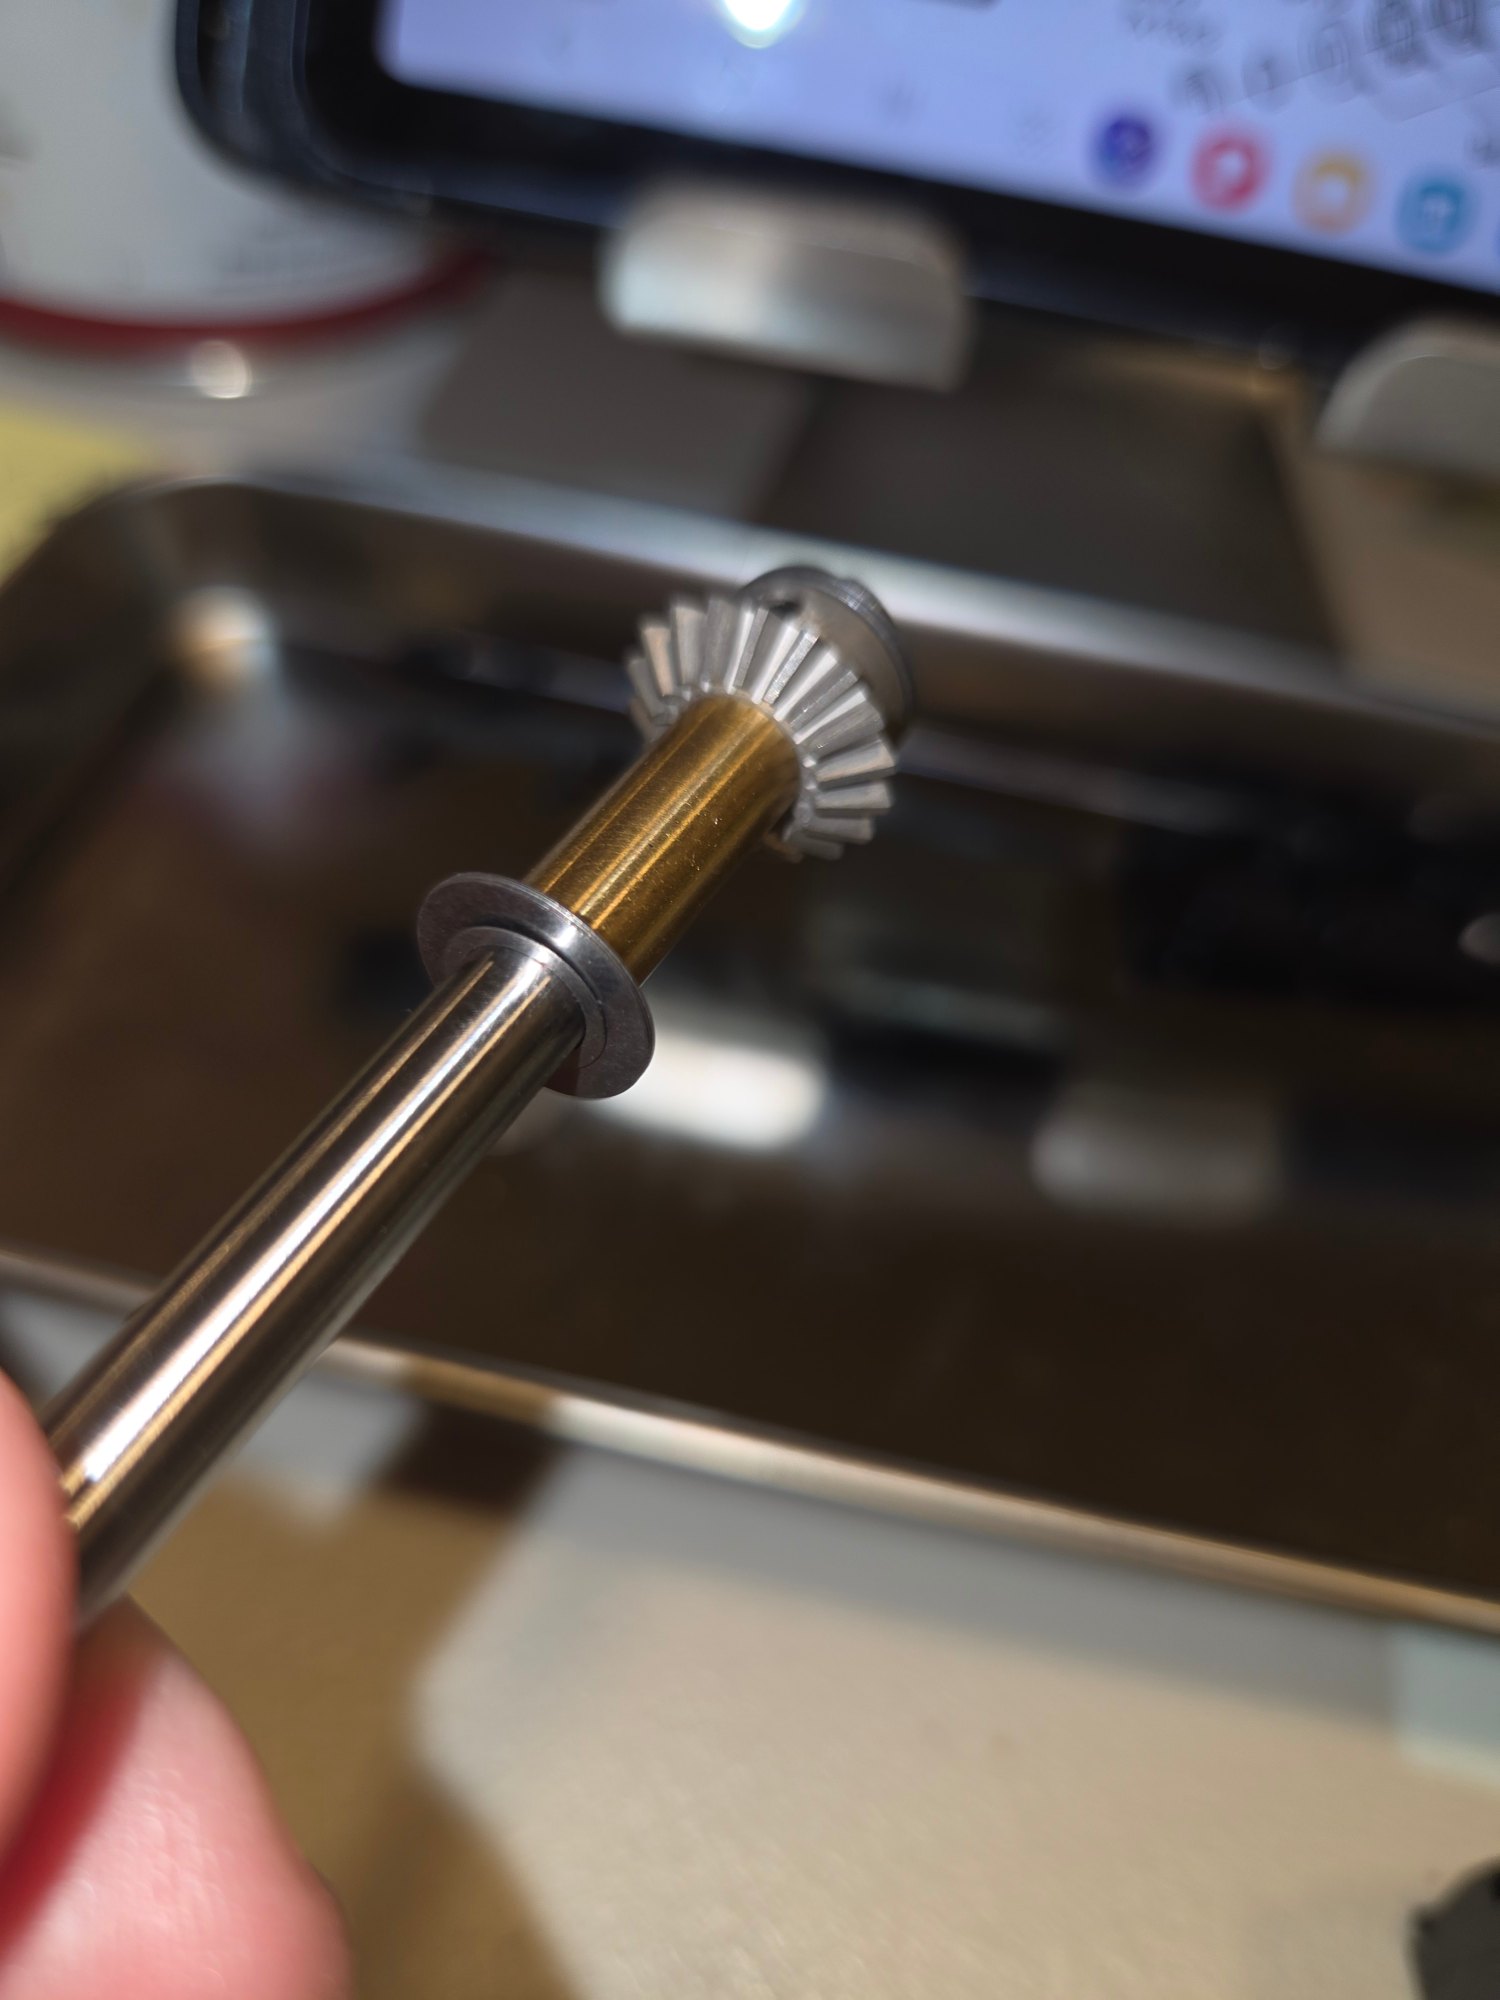
C) When shimming the gearbox, start with a minimum thickness shim on the input shaft, as that allows you to maximize the amount of shimming of the driven gear (side gear) to maintain alignment between the 2 gears (maximum amount of tooth engagement and proper alignment). You can increase the thickness of shims on the input shaft after verifying that you have proper alignment between the 2 gears.
Pay special attention to the location of the small diameter shims, as they are a spacer for the large diameter shims. It is critical to install these in the correct location, or the larger shims will rub the bearing face.
Setting Gear Lash
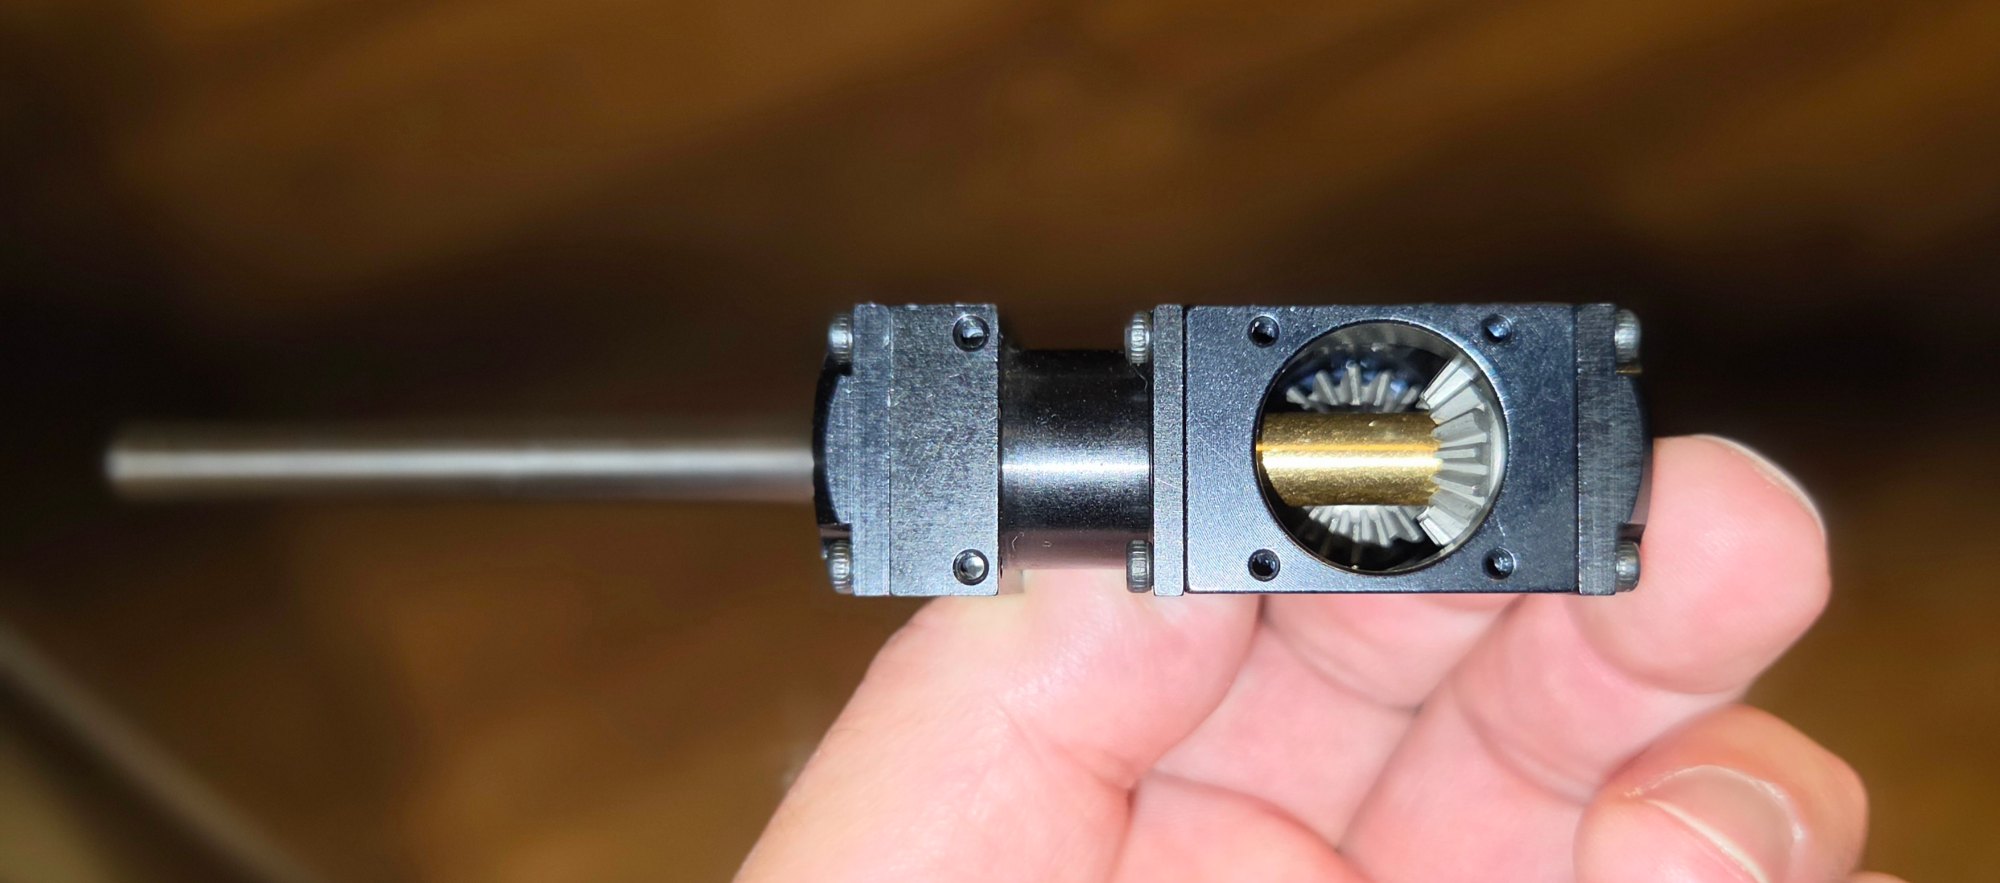
D) After shimming, spin the input shaft. The gearset should be smooth (NO CHATTER). This is critical. You should have a small amount of gear lash, or the gears are not shimmed properly. Lack of gear lash will lead to early failure of the gearset. Think paper-thin lash, .002", as this will allow the grease to lubricate the gears.
Grease and Break-In
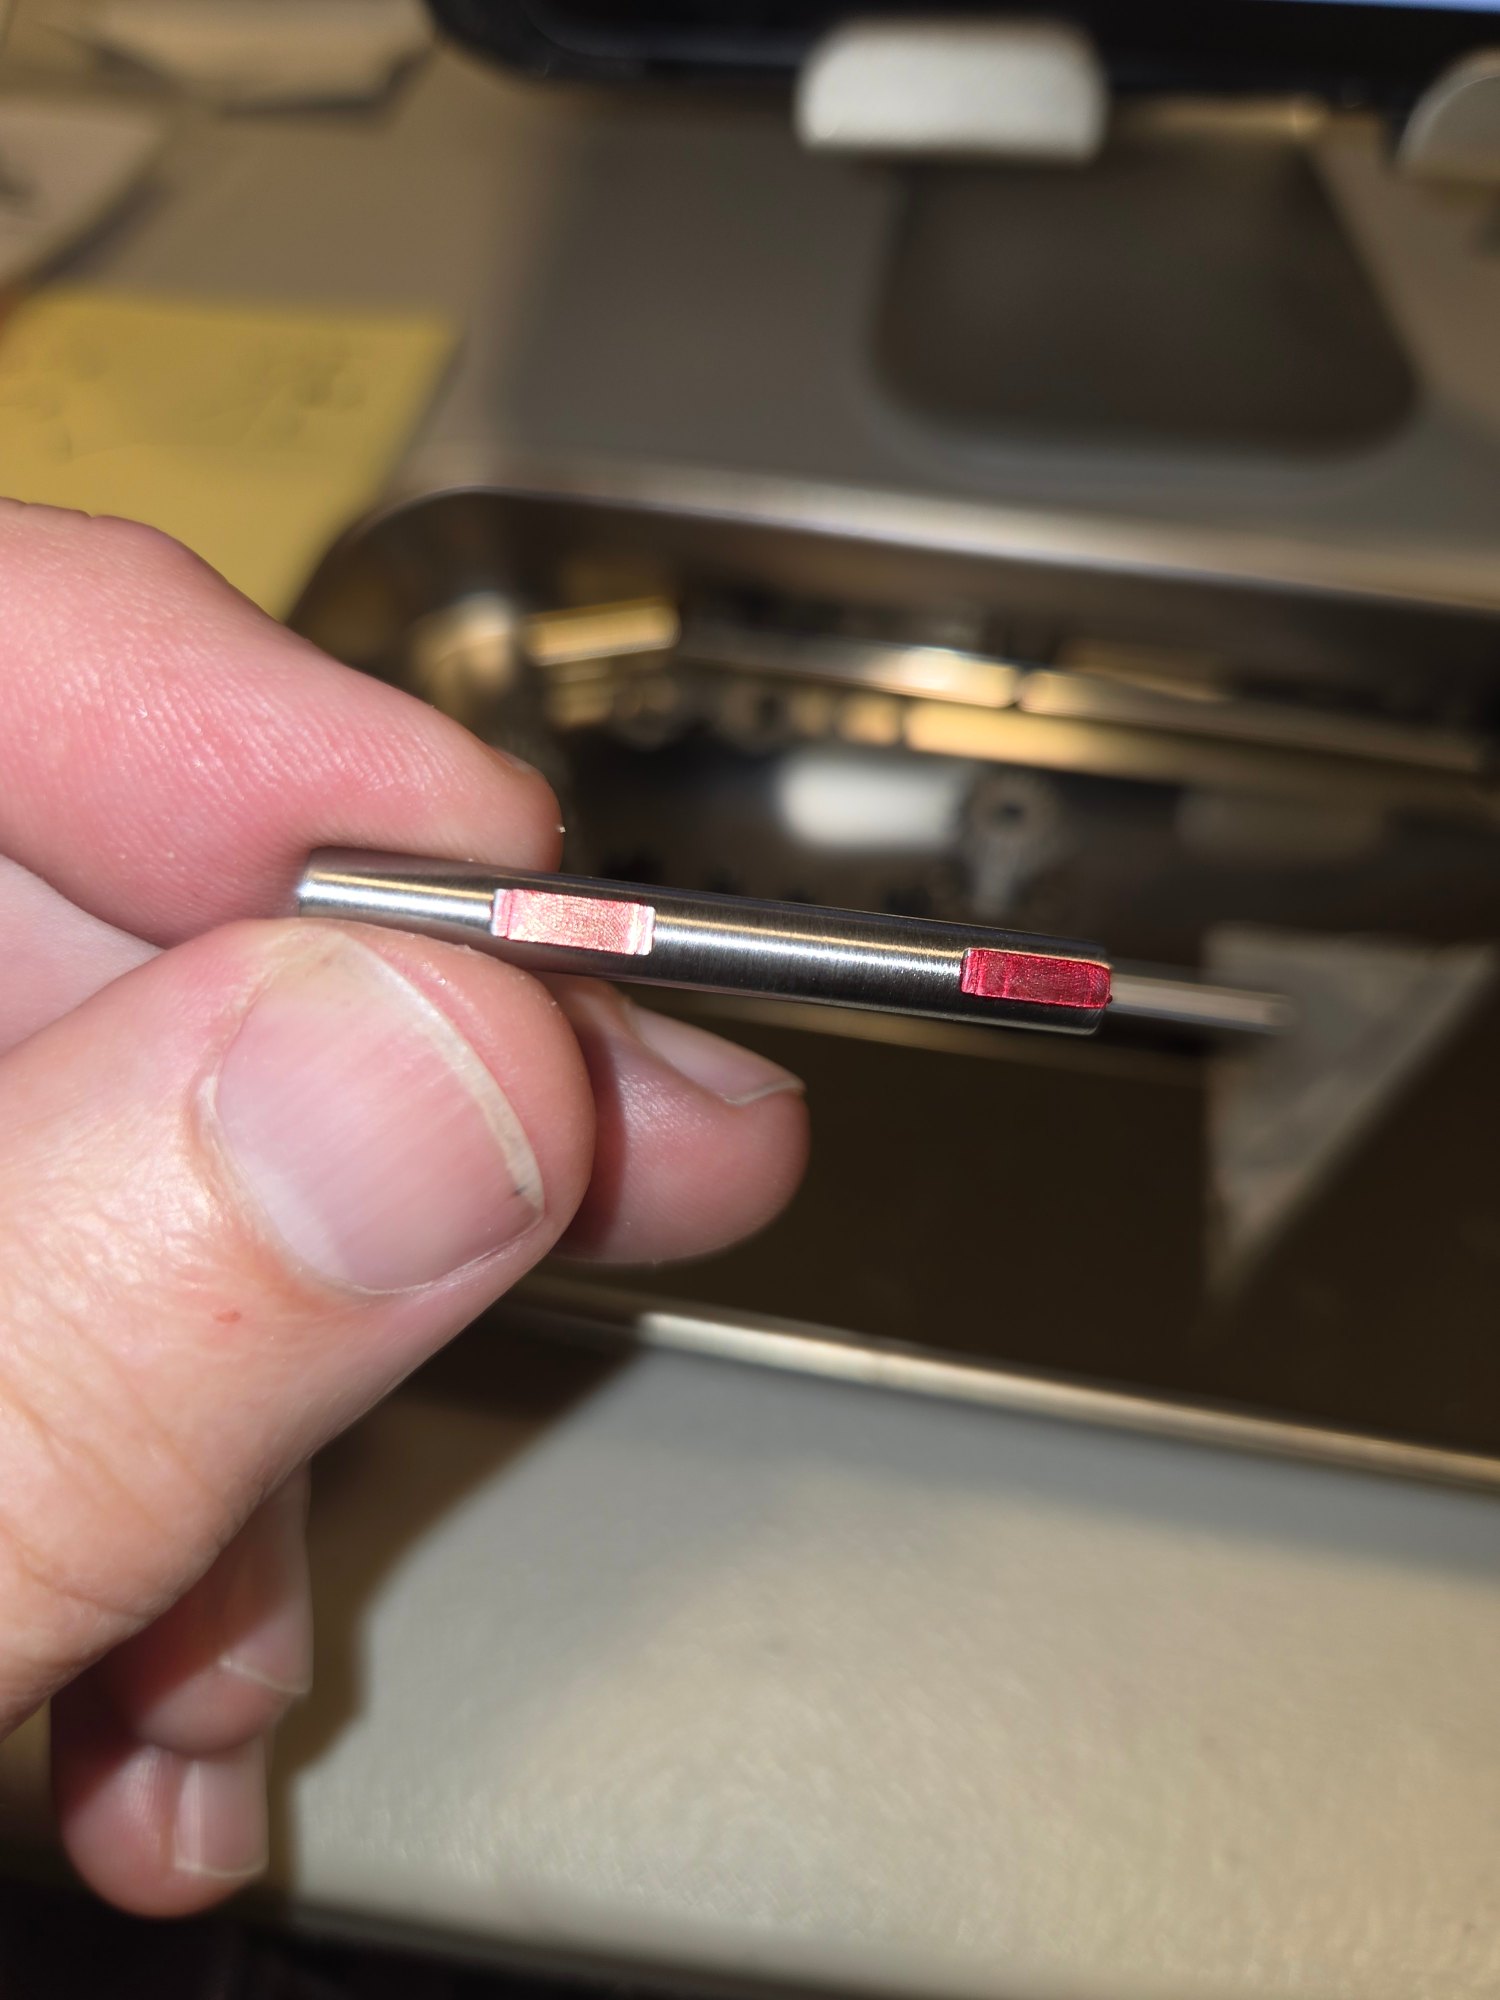
E) I use a high-quality synthetic automotive wheel bearing grease from Valvoline (red grease).
F) After assembly and grease, I run the gearbox through a break-in with a high-speed air drill. Then I inspect it. If all looks good, hit full send and install it in the bird.
2 Comments
I’ll echo Butch’s comments and thanks for posting this. I’ll also add that we should not assume a purchased prebuilt gearbox is properly set or lubricated appropriately.
Thank you. You're absolutely correct, always disassemble, inspect, clean and lubricate. On ARF mechanics, I remove every fastener and apply loctite blue as well.