

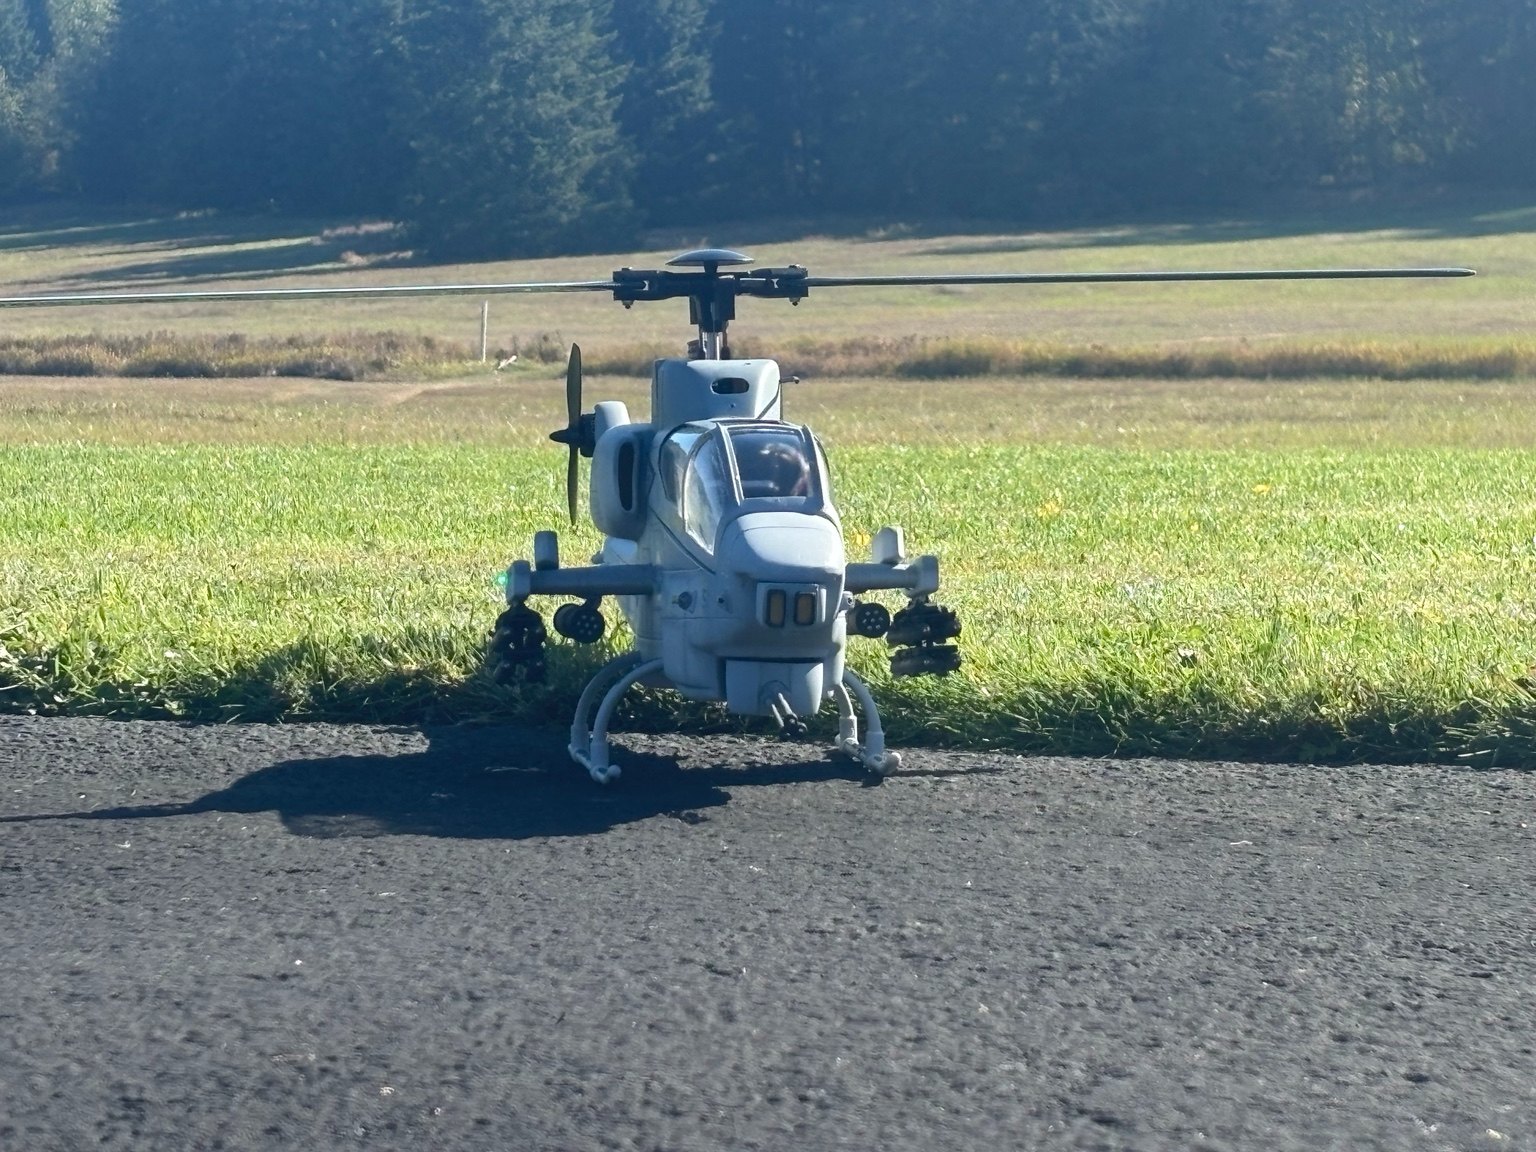
Converting the Roban 470 Cobra to a FrSky X18 and TD R6 Receiver
A Complete Step-by-Step Conversion Guide — From Installation to Successful Flight Testing
Thanks for stopping by! I'm honored to have the opportunity to share what I've learned while converting my ready-to-fly Roban 470 Cobra to work with my own radio system. I'm not a very experienced RC helicopter pilot, and I don't claim to be. But I thought putting together an article to help others do what I did would be both fun and informative. Instead of spending countless hours searching for answers in different places, I figured I'd bring the steps, settings, and lessons learned together right here. So strap in, grab a coffee or your favorite energy drink, because this is going to be fun!
I've been flying RC fixed-wing airplanes for over 20 years, but the Roban 470 Cobra is my first dive into RC helicopters. I'm an Airframe and Powerplant (A&P) mechanic with Inspection Authorization (IA), and I've worked on and flown full-scale airplanes and helicopters. I wanted to bring some of the knowledge and skills I've developed in my day job into my model-aircraft hobby, combining practical aircraft experience with the electronics and flexibility of modern RC systems.
After flying my Roban 470 Cobra with its original ready-to-fly radio system, I wanted to move to my FrSky X18 transmitter and TD R6 receiver without giving up the helicopter’s existing functions. I also wanted independent control of the forward gun turret.
The conversion retained the original Roban X2 flight controller and its ArduCopter configuration. The work involved replacing the FlySky receiver, adapting the receiver signal wiring, configuring S.BUS and the X18 controls, checking the lighting system, and later adding a separate gun-control channel.
My completed setup has flown successfully on three test flights. This article records my working installation, rather than presenting every possible X18 or ArduPilot configuration.
I also plan to share more detailed articles about two related projects: modifying the Cobra's forward gun turret so it traverses on command using the X18's right-hand slider instead of being tied to the roll axis, and building a miniature cockpit instrument panel with working instrumentation. Those projects are a chance to bring even more of my full-scale aviation experience into this helicopter.
Step 1 — Identify the Equipment and Back Up the Original Configuration
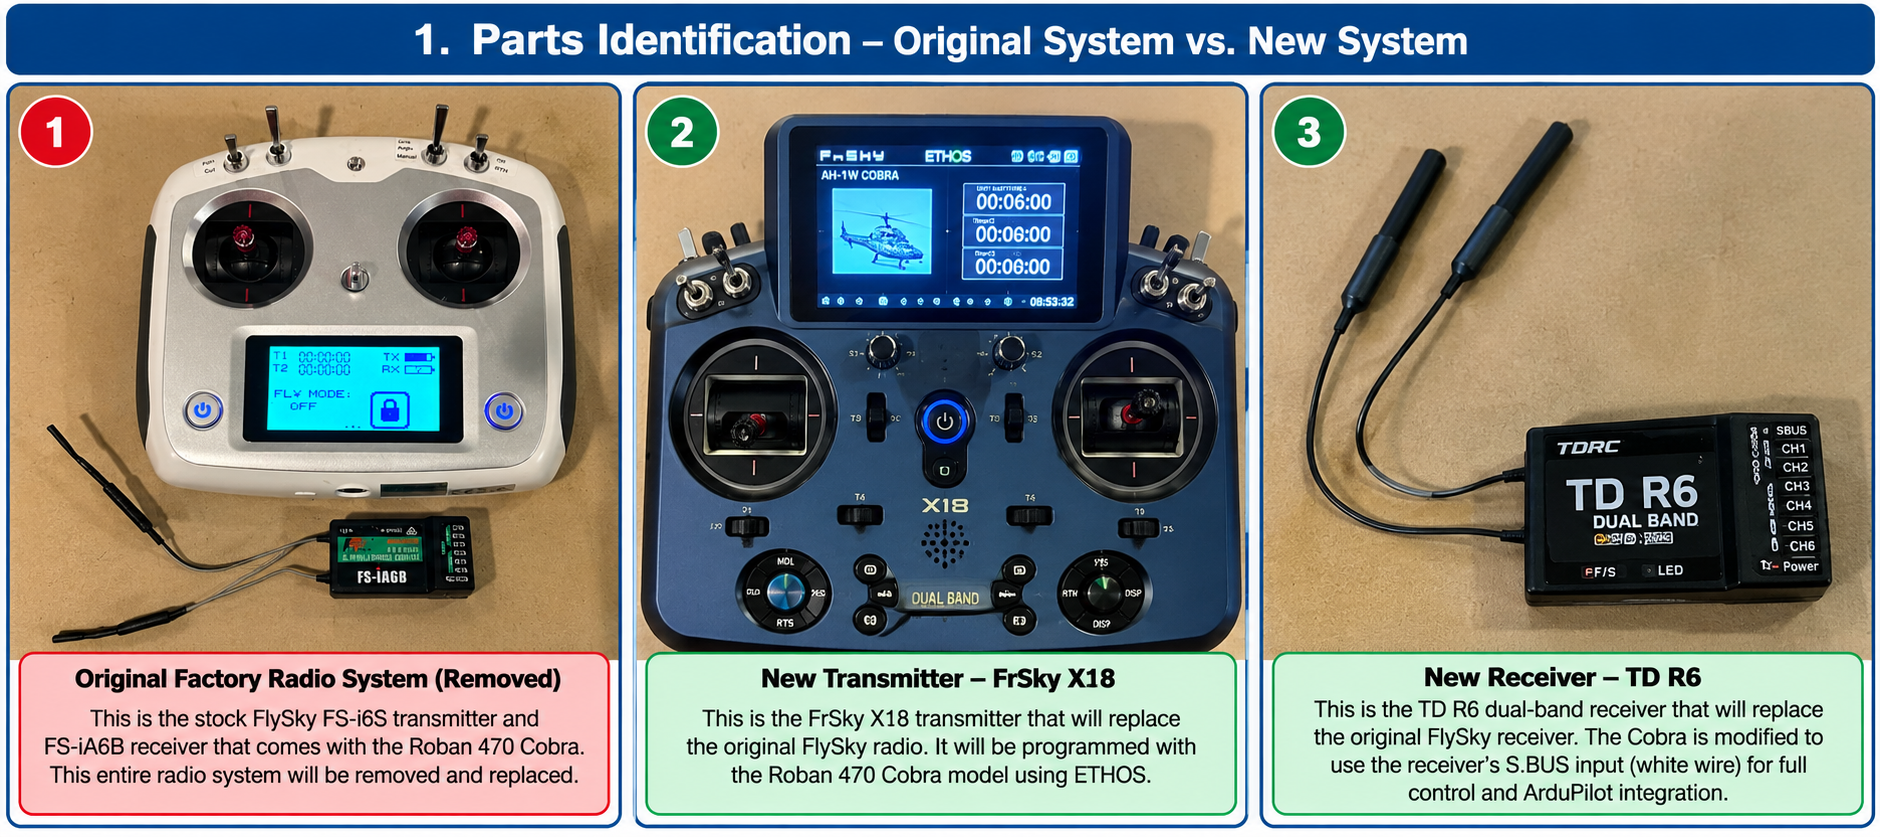
My helicopter uses the Roban X2 flight controller, identified in Mission Planner as QioTekAdeptF407, running ArduCopter 4.5.6. I used a FrSky X18 running ETHOS, a FrSky TD R6 receiver, and Mission Planner 1.3.83 for setup and verification.
Before changing parameters, I connected the flight controller to Mission Planner and saved a copy of the current parameters using CONFIG → Full Parameter Tree → Save to File. A .param backup stores settings; it is not a copy of the flight-controller firmware. I kept the installed firmware rather than reflashing it.
The stock FlySky FS-i6S radio was useful as a reference. Its information screen identifies software version 2.00 (04-Apr-2020) and hardware version V3.0. Its settings are shown in the reference photos, but they should not be copied blindly to the X18 because the two radios organize channels and functions differently.
Step 2 — Remove the FlySky Receiver and Install the TD R6
Understanding the receiver protocols: In its original ready-to-fly configuration, the Roban X2 flight controller received the stock FlySky receiver signal using i-BUS. The replacement FrSky TD R6 uses S.BUS for this installation. The X2 can be configured to accept the S.BUS signal, so I kept the original flight controller and changed the receiver connection and settings rather than replacing the X2. The related Mission Planner parameters are covered in Step 3.
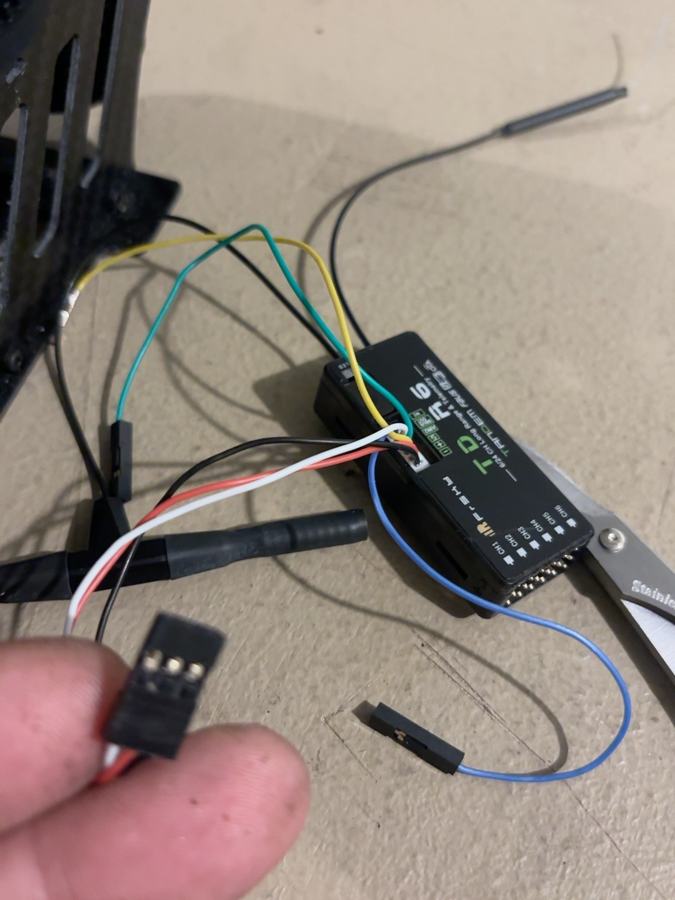
The original FlySky receiver must be disconnected and physically removed. With the helicopter fully powered off, I identified its connection to the X2, disconnected the receiver lead, removed the FlySky receiver, and mounted the FrSky TD R6 securely in its place.
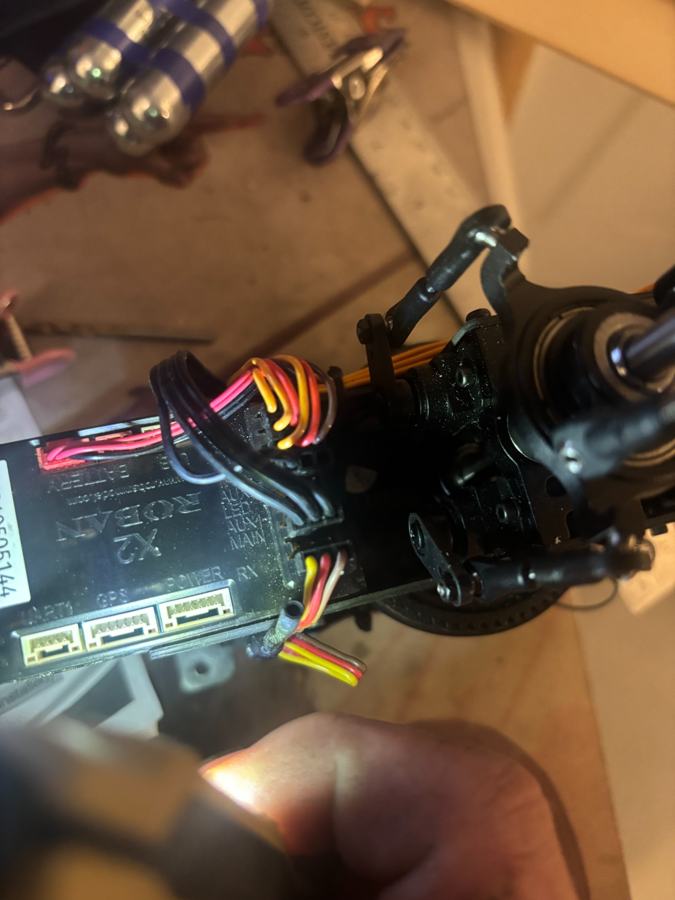
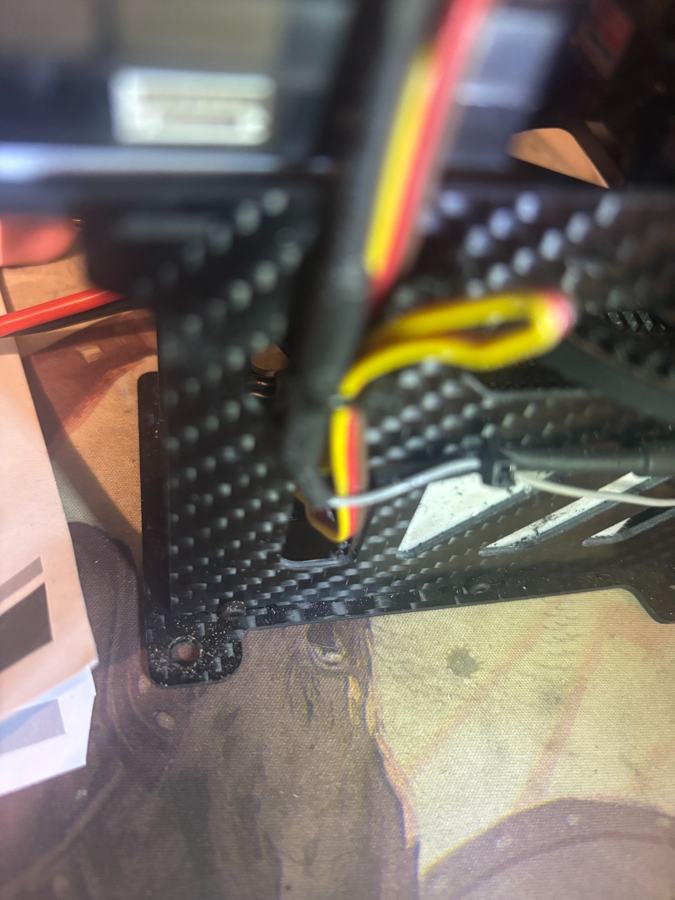
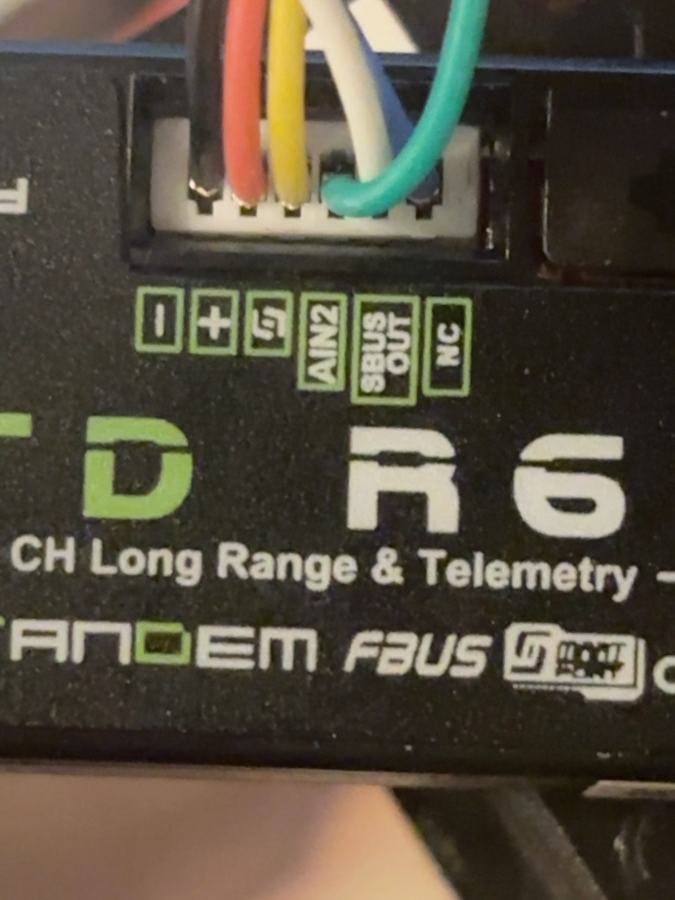
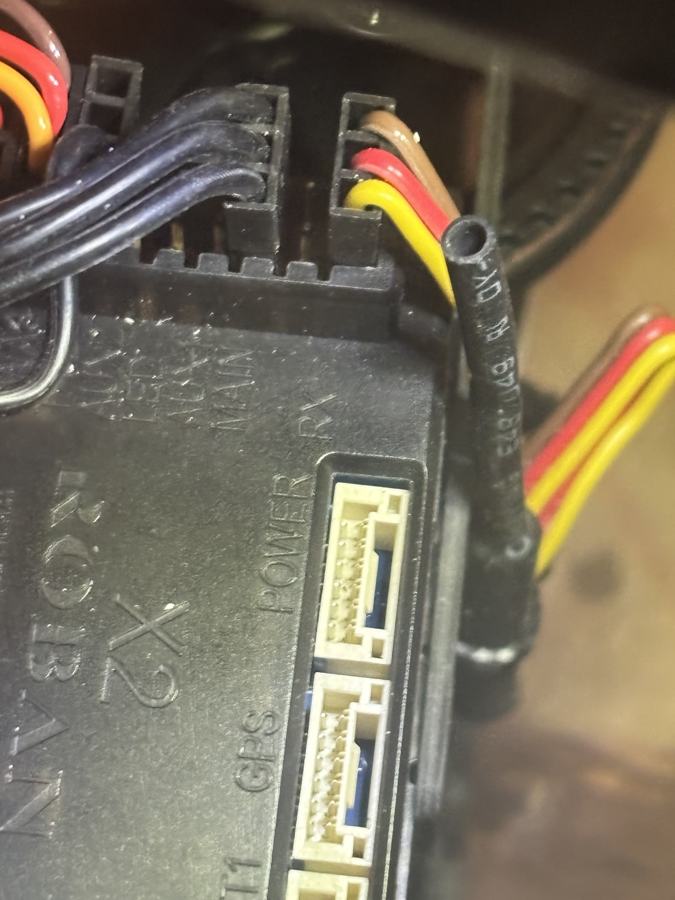
The critical signal-wiring detail in my Cobra was the yellow-to-white change at the X2 receiver connection. The working connection uses black for ground, red for receiver power, and white for the S.BUS signal to the X2 RX input. The original yellow signal position is no longer used as the S.BUS signal. I verified connector orientation and polarity before powering anything.
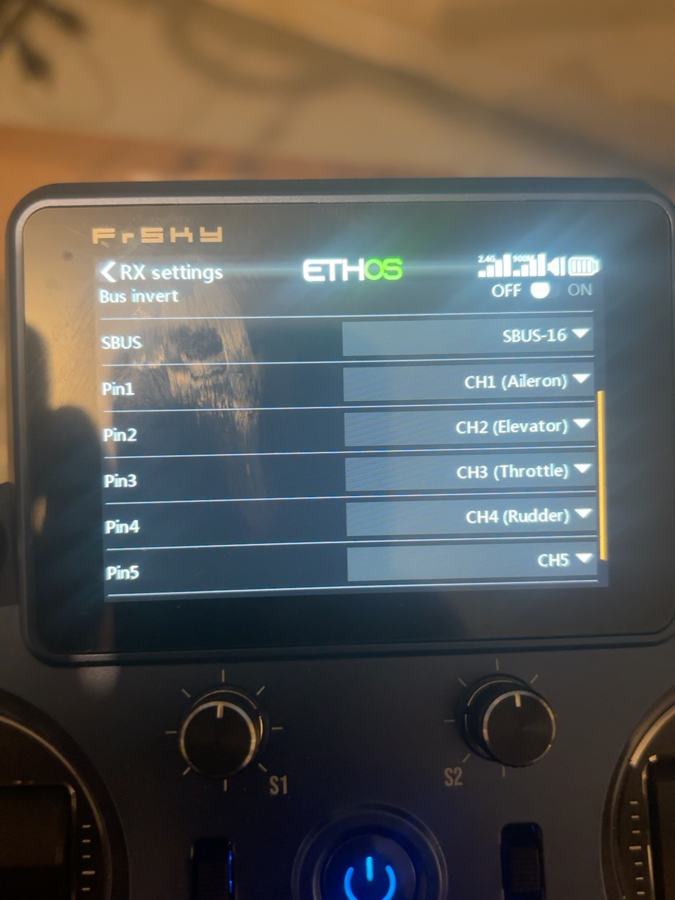
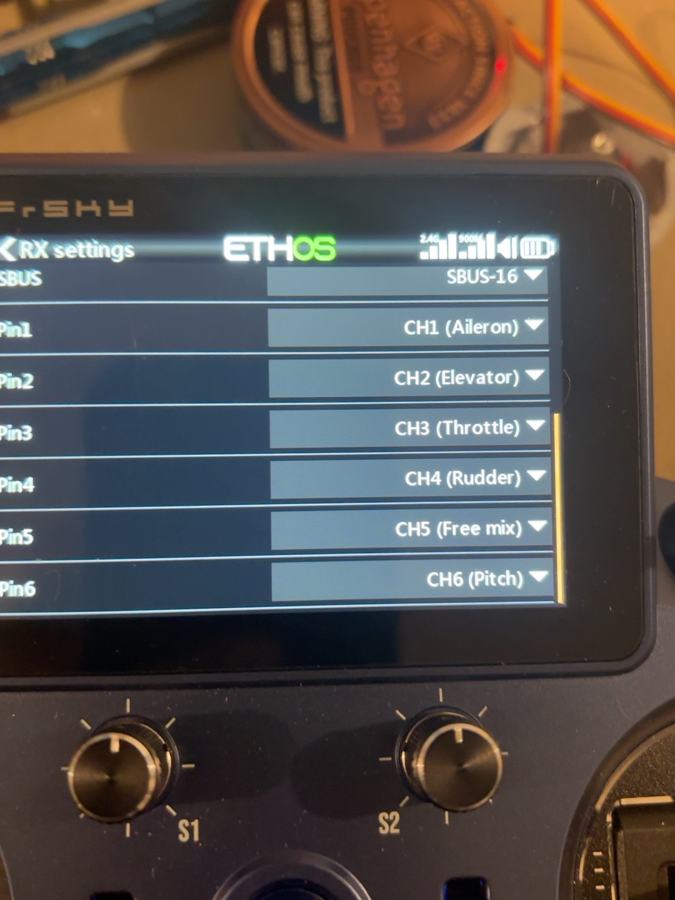
After binding the TD R6 to the X18, I configured its S.BUS output with S.BUS-16 enabled and S.BUS invert ON. I selected No Pulses as the receiver failsafe behavior. The Roban X2 remained installed; only the radio receiver was replaced.
Step 3 — Configure the X2 to Read S.BUS
In Mission Planner I configured the X2 to accept the receiver signal. The key parameters used in my working setup were:
- SERIAL4_PROTOCOL: 23
- RC_PROTOCOLS: 1
- FS_THR_VALUE: 950
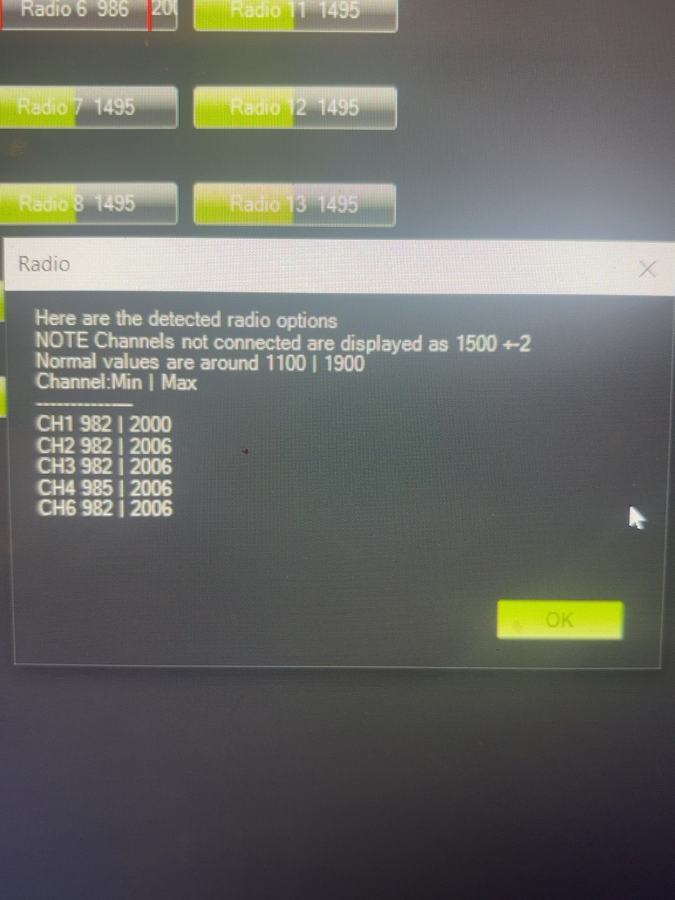
I then opened Initial Setup → Mandatory Hardware → Radio Calibration and confirmed that the X2 received the X18 stick and switch signals. I checked channel direction, travel, and centers instead of assuming that a moving bar meant the function was correctly assigned.
These are the parameters relevant to this conversion, not a complete export of every setting in my X2.
Step 4 — Assign and Verify the X18 Flight Controls
I used the following channel arrangement on the X18:
- CH1: Aileron / roll
- CH2: Elevator / pitch — reversed on my X18
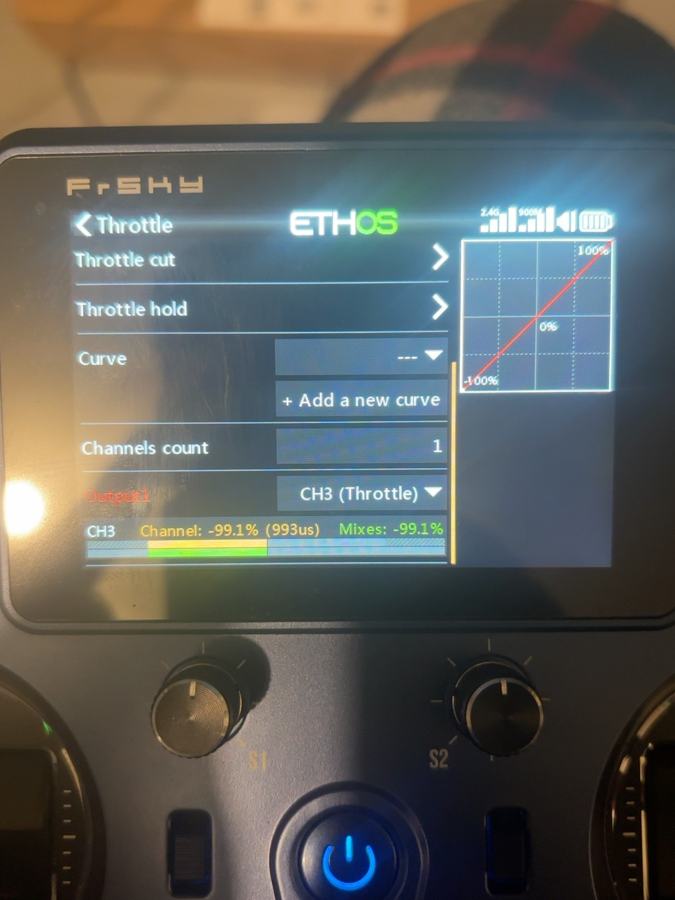
- CH3: Throttle input
- CH4: Rudder / yaw
- CH5: Flight-mode selection
- CH6: Collective pitch
- CH7: RTL switch
- CH8: Motor interlock
- CH9: Lighting control assignment
- CH10: Independent forward gun traverse
CH2 needed reversing on my transmitter for the correct elevator/swash response. With the rotor made safe against unexpected operation, I checked roll, elevator, collective, rudder/tail response, and the direction of the stabilization corrections. I did not rely solely on the radio channel monitor.
Step 5 — Configure GPS-Assisted Flight
I assigned the X18 SA three-position switch to CH5 for flight-mode selection. The flight mode I actually tested in the air was Loiter, the GPS-assisted mode in which the Cobra can hold its position.
Before flight, I checked for a valid GPS 3D fix in Mission Planner, verified the selected flight mode, and confirmed the normal arming conditions. I am deliberately documenting the tested Loiter behavior here rather than describing other modes as flight-tested.
Step 6 — Set Up and Test Return-to-Launch
I assigned the X18 SD switch to CH7 and set RC7_OPTION = 4 in Mission Planner for RTL. I verified that the switch activated the intended function before flying.
Step 7 — Configure the Motor Interlock
I assigned the X18 SF switch to CH8 for motor interlock. My working parameters were:
- RC8_OPTION: 32
- H_RSC_MODE: 2
- H_RSC_RAMP_TIME: 1
- RC8_REVERSED: 0
On my radio, SF UP = interlock OFF (about 988 µs) and SF DOWN = interlock ON (about 2012 µs). With the interlock OFF, the motors remained stopped even when the flight controller was armed. I verified the switch behavior during ground checks and flights.
Step 8 — Configure Receiver Failsafe
I set the TD R6 receiver failsafe to No Pulses and retained FS_THR_VALUE = 950 in the X2 configuration. This arrangement was intended to let the flight controller detect loss of receiver output rather than continue receiving a held stick command.
Important distinction: I tested RTL using the assigned transmitter switch. That does not establish that every radio-loss scenario will produce the same result. Failsafe behavior must be verified independently, with appropriate safety precautions, before relying on it.
Step 9 — Retain the Original Cobra Lighting System
I retained the Cobra’s stock lighting system by connecting its lighting lead to the dedicated connector labeled LED on the Roban X2 controller. I assigned the X18 SWJ momentary control to CH9 as part of my radio setup.
The lights remained part of the original helicopter system; I did not install a separate lighting controller. I verified that the lighting operated after the receiver conversion.
Step 10 — Complete Mechanical and Ground Checks
Before flight I reassembled the helicopter and checked the rotor and blade installation, blade pitch, swash movement, stabilization compensation, tail motor and yaw compensation, receiver link, switch directions, motor interlock, arming, GPS status, RTL selection, and lighting. I also checked that wires were secured away from moving components.
The main rotor and tail are not items to test casually with the model unsecured. Any powered checks must be performed with the aircraft appropriately restrained and the rotor system made safe.
Step 11 — First Flights and What Changed
I completed three successful test flights in GPS-assisted Loiter mode. The Cobra held position, responded to control inputs, and completed the commanded RTL return and automatic landing.
During a test flight, I commanded RTL at approximately 120 feet. The Cobra maintained its altitude initially, returned toward its launch point, hovered, descended slowly, and landed automatically. After touchdown I used the motor cut/interlock procedure. This was a manually commanded RTL test, not proof of how the aircraft would behave after a complete radio-link loss.
Compared with the original radio, I noticed more pitch authority and slightly more roll authority. The helicopter felt quicker and more nimble, even in Loiter. I prefer that added responsiveness.
One important difference is the X18’s left throttle/collective stick. Mine has a ratchet-style action: it does not spring back to center and remains wherever I put it. Even though the Cobra can hover hands-off in GPS-assisted Loiter, I still need to place the stick at an appropriate position for a stable hover. Anyone switching from the stock transmitter should become familiar with that difference before takeoff.
Final Working Configuration
- Helicopter: Roban 470 Cobra
- Flight controller: Roban X2 / QioTekAdeptF407
- Firmware: ArduCopter 4.5.6 (retained)
- Transmitter: FrSky X18 / ETHOS
- Receiver: FrSky TD R6 replacing FlySky receiver
- Receiver protocol: S.BUS-16; invert ON
- Receiver signal wire: White wire to X2 RX
- Tested flight mode: GPS-assisted Loiter
- RTL: SD switch / CH7
- Motor interlock: SF switch / CH8
- Lighting: Original system via X2 LED connector
- Flight results: Three successful flights; commanded RTL automatic landing
Final Thoughts
This project let me replace the original FlySky radio system with the X18 and TD R6 while keeping the Cobra’s Roban X2 flight controller and the features I use. The details that mattered most were removing the old receiver completely, moving the S.BUS signal from the original yellow position to the white-wire connection at X2 RX, and keeping the lighting on the X2’s dedicated LED connector.
My three test flights confirmed that the Cobra flew well in GPS-assisted Loiter, that my motor interlock worked, and that a commanded RTL could bring the helicopter home and land it. The additional pitch and roll responsiveness is a change I enjoy.
For anyone repeating the conversion, I recommend saving the original flight-controller parameters and the X18 model configuration, verifying every channel direction and switch assignment, and treating the failsafe and stick-position behavior as safety-critical checks. This article documents what worked on my Cobra, not a guarantee that another helicopter will have identical wiring or settings.
— Jon