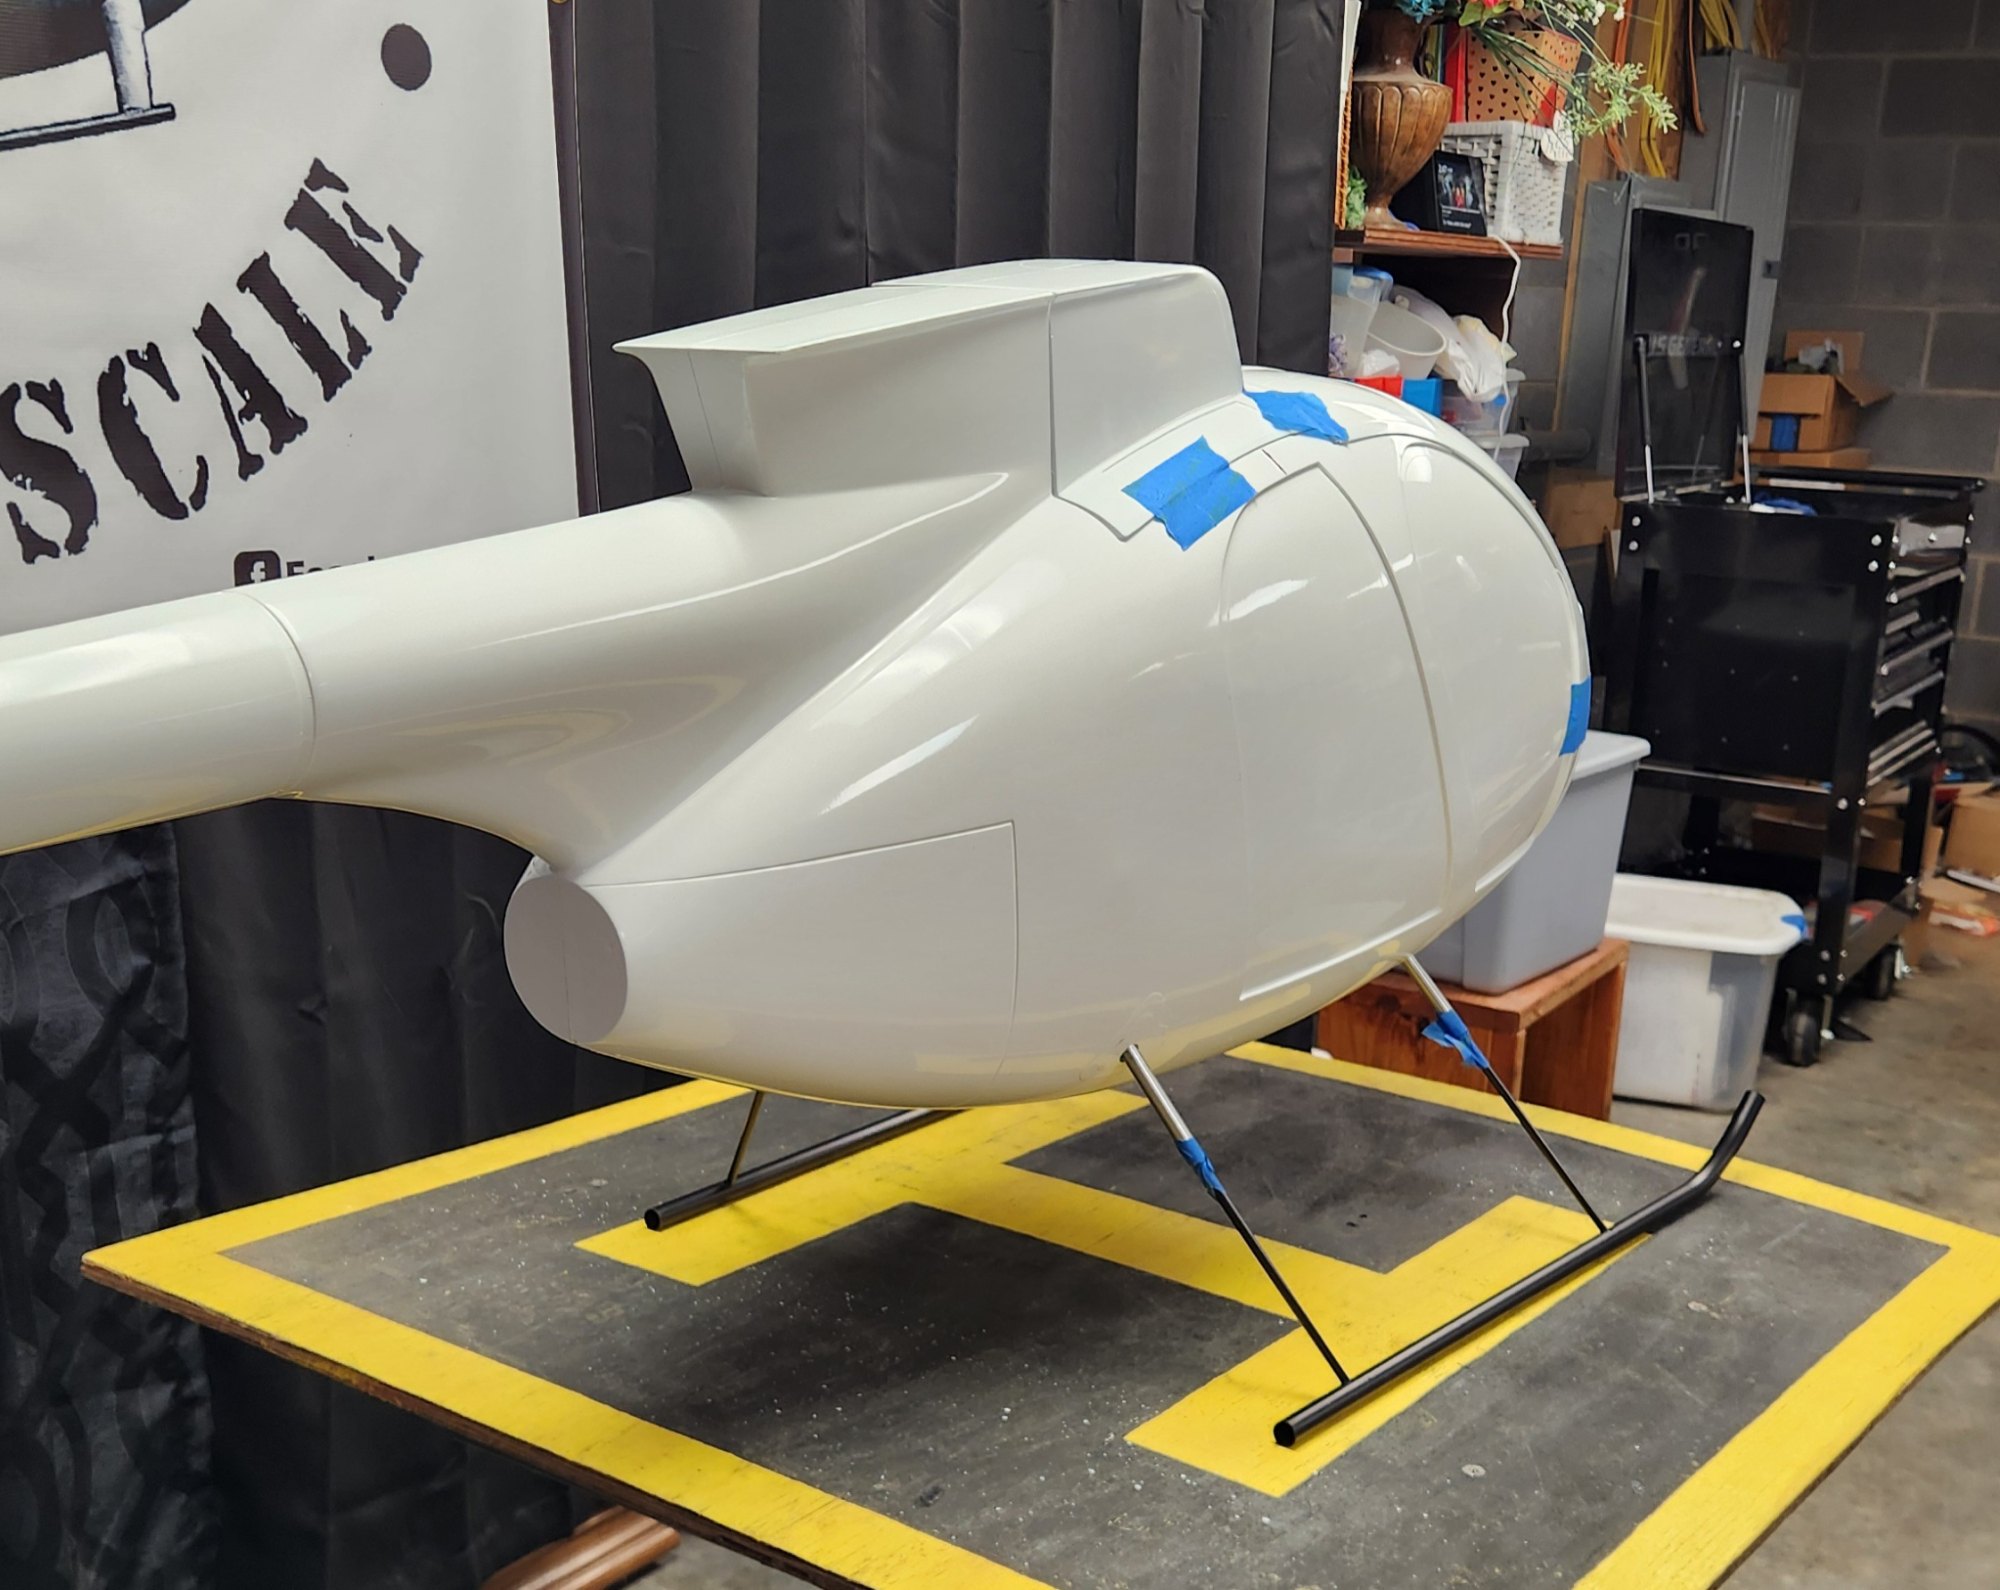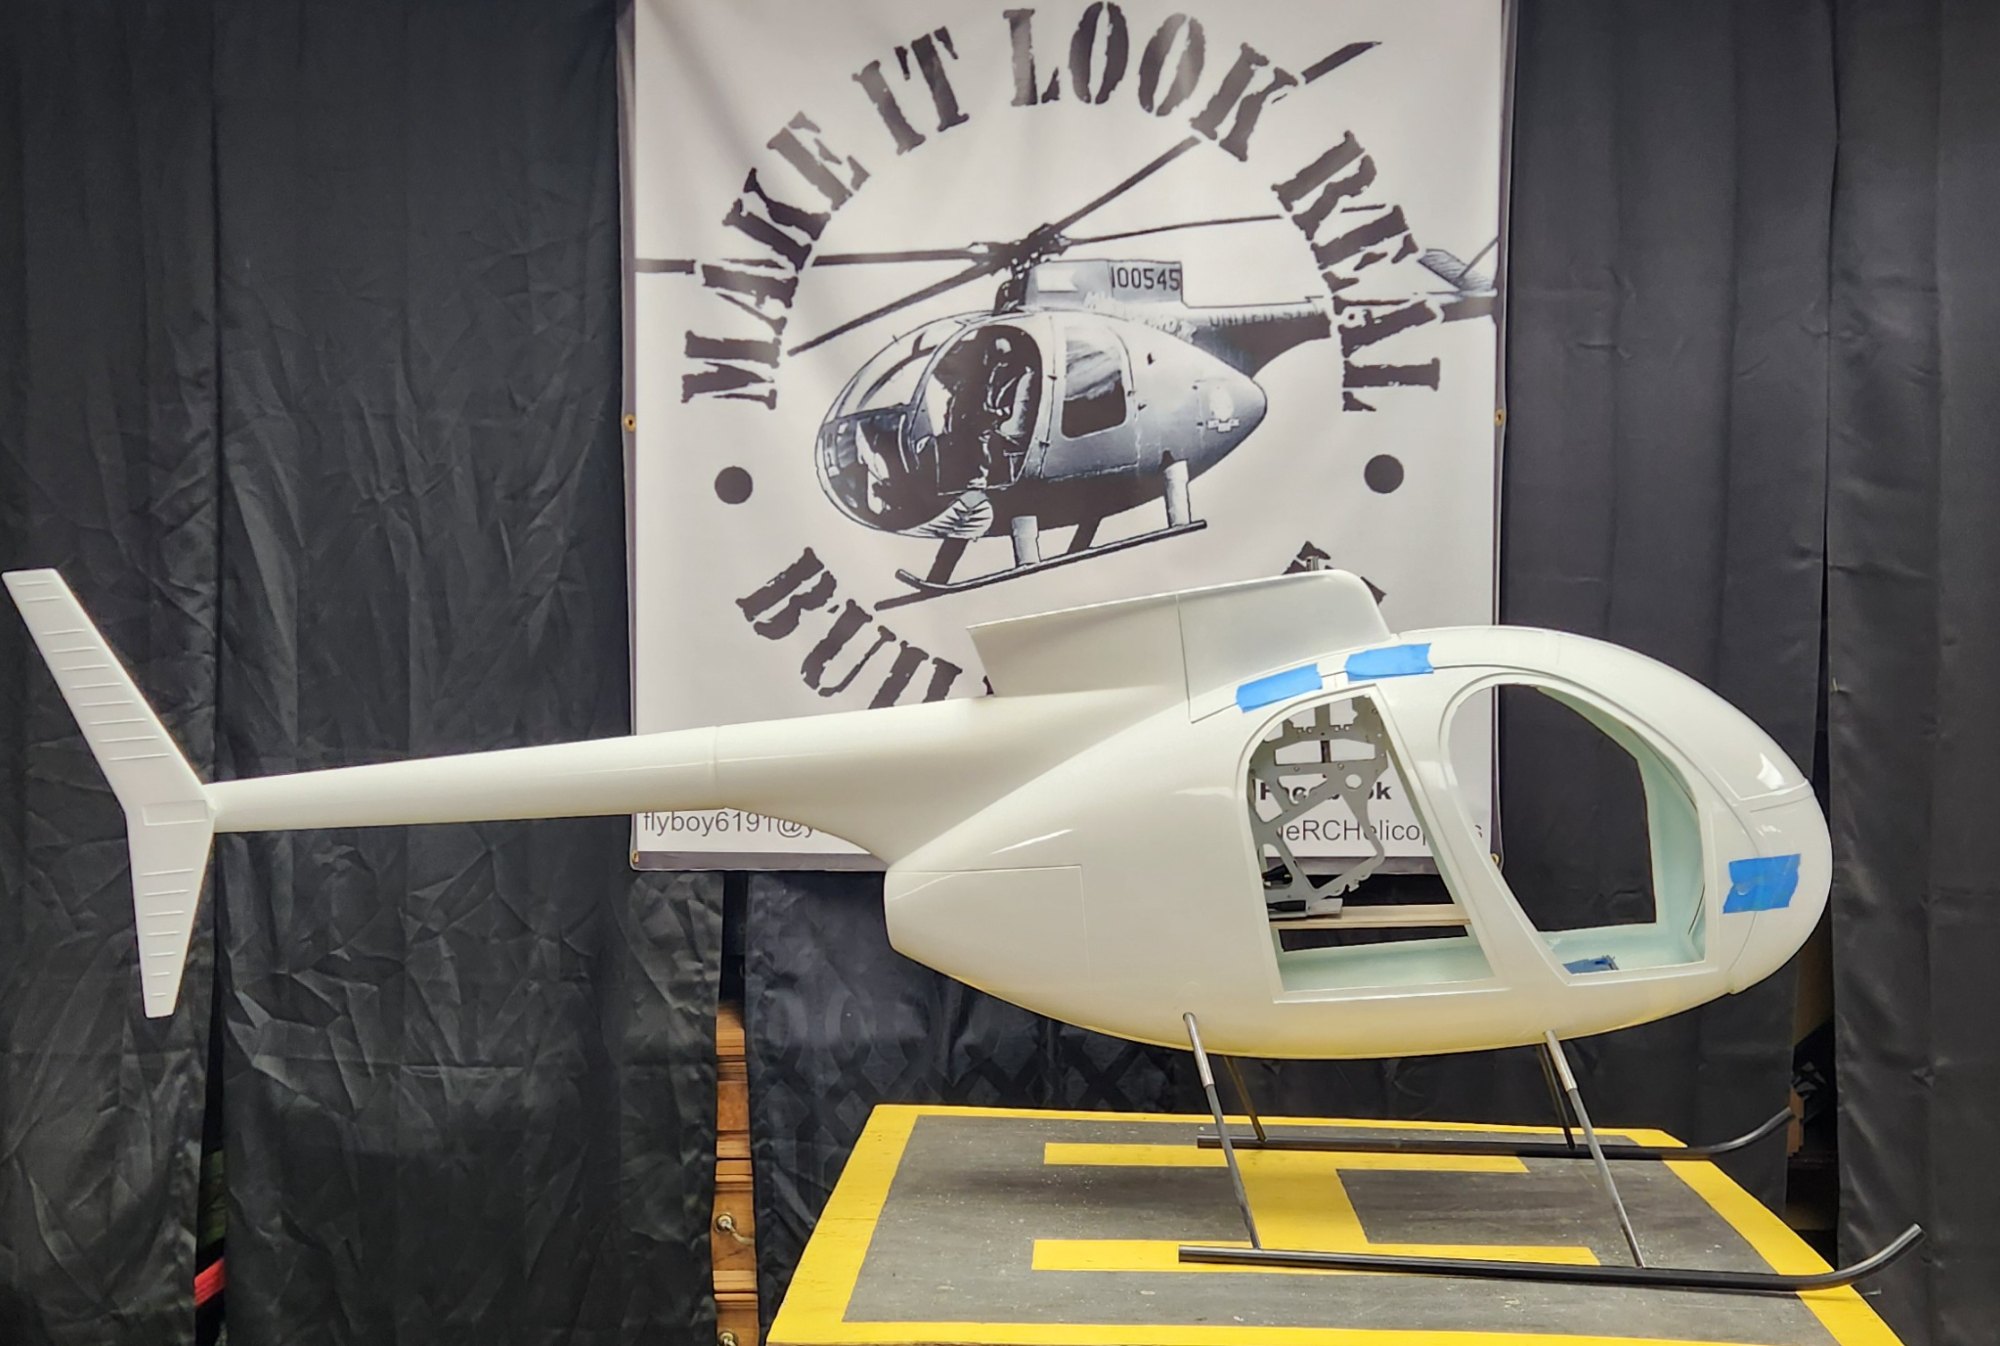
Vario Hughes 500C 1/5th scale
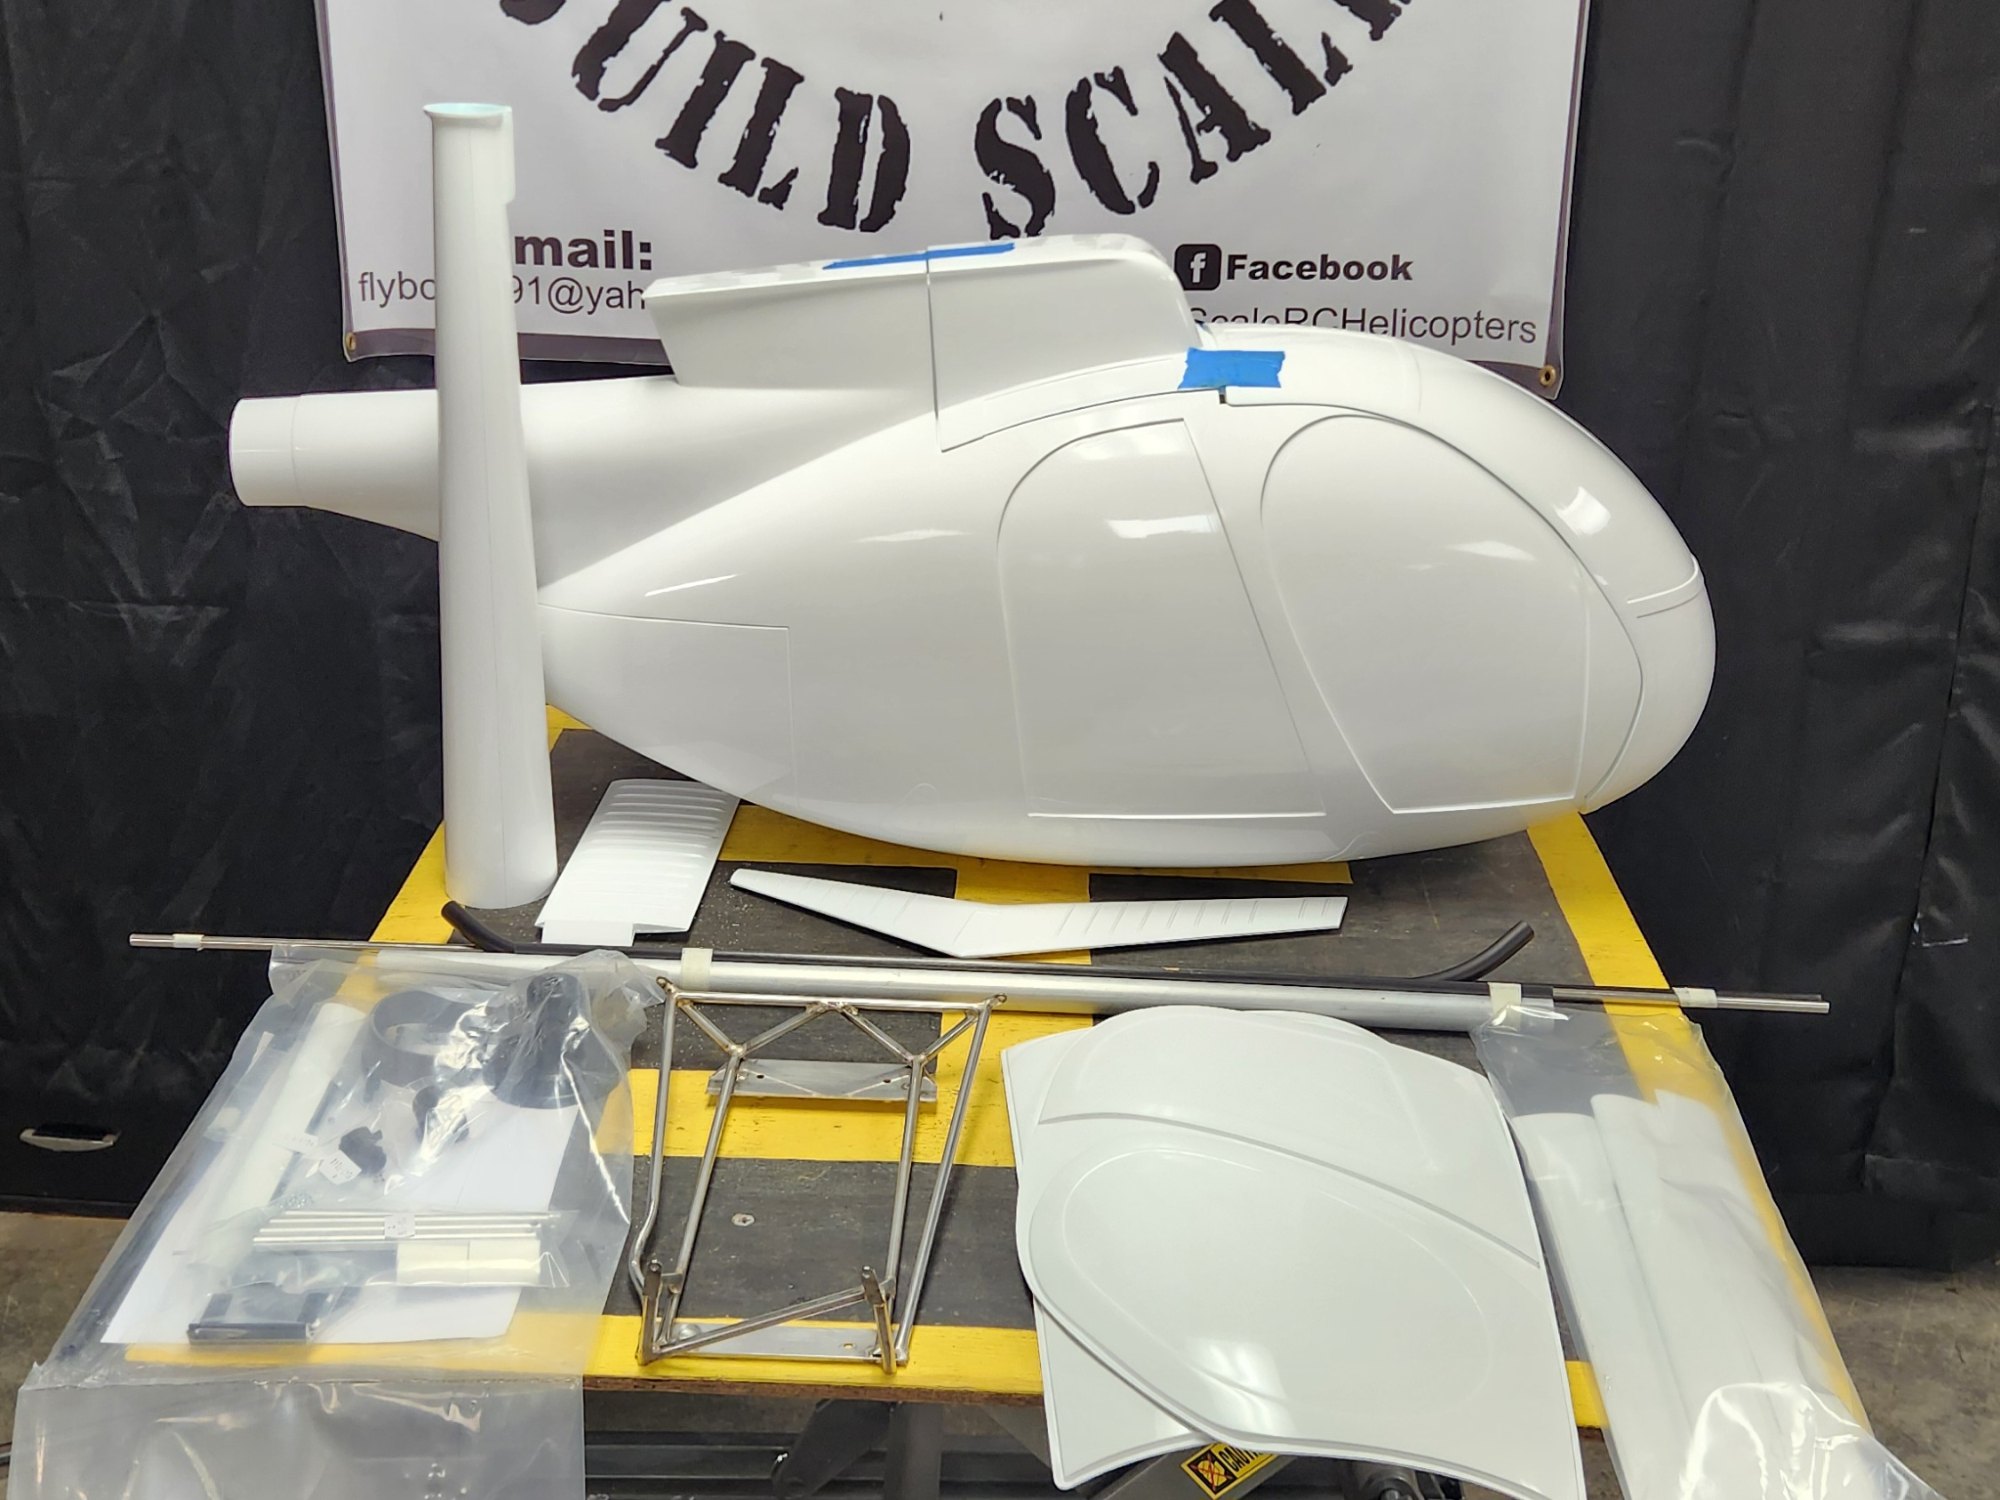
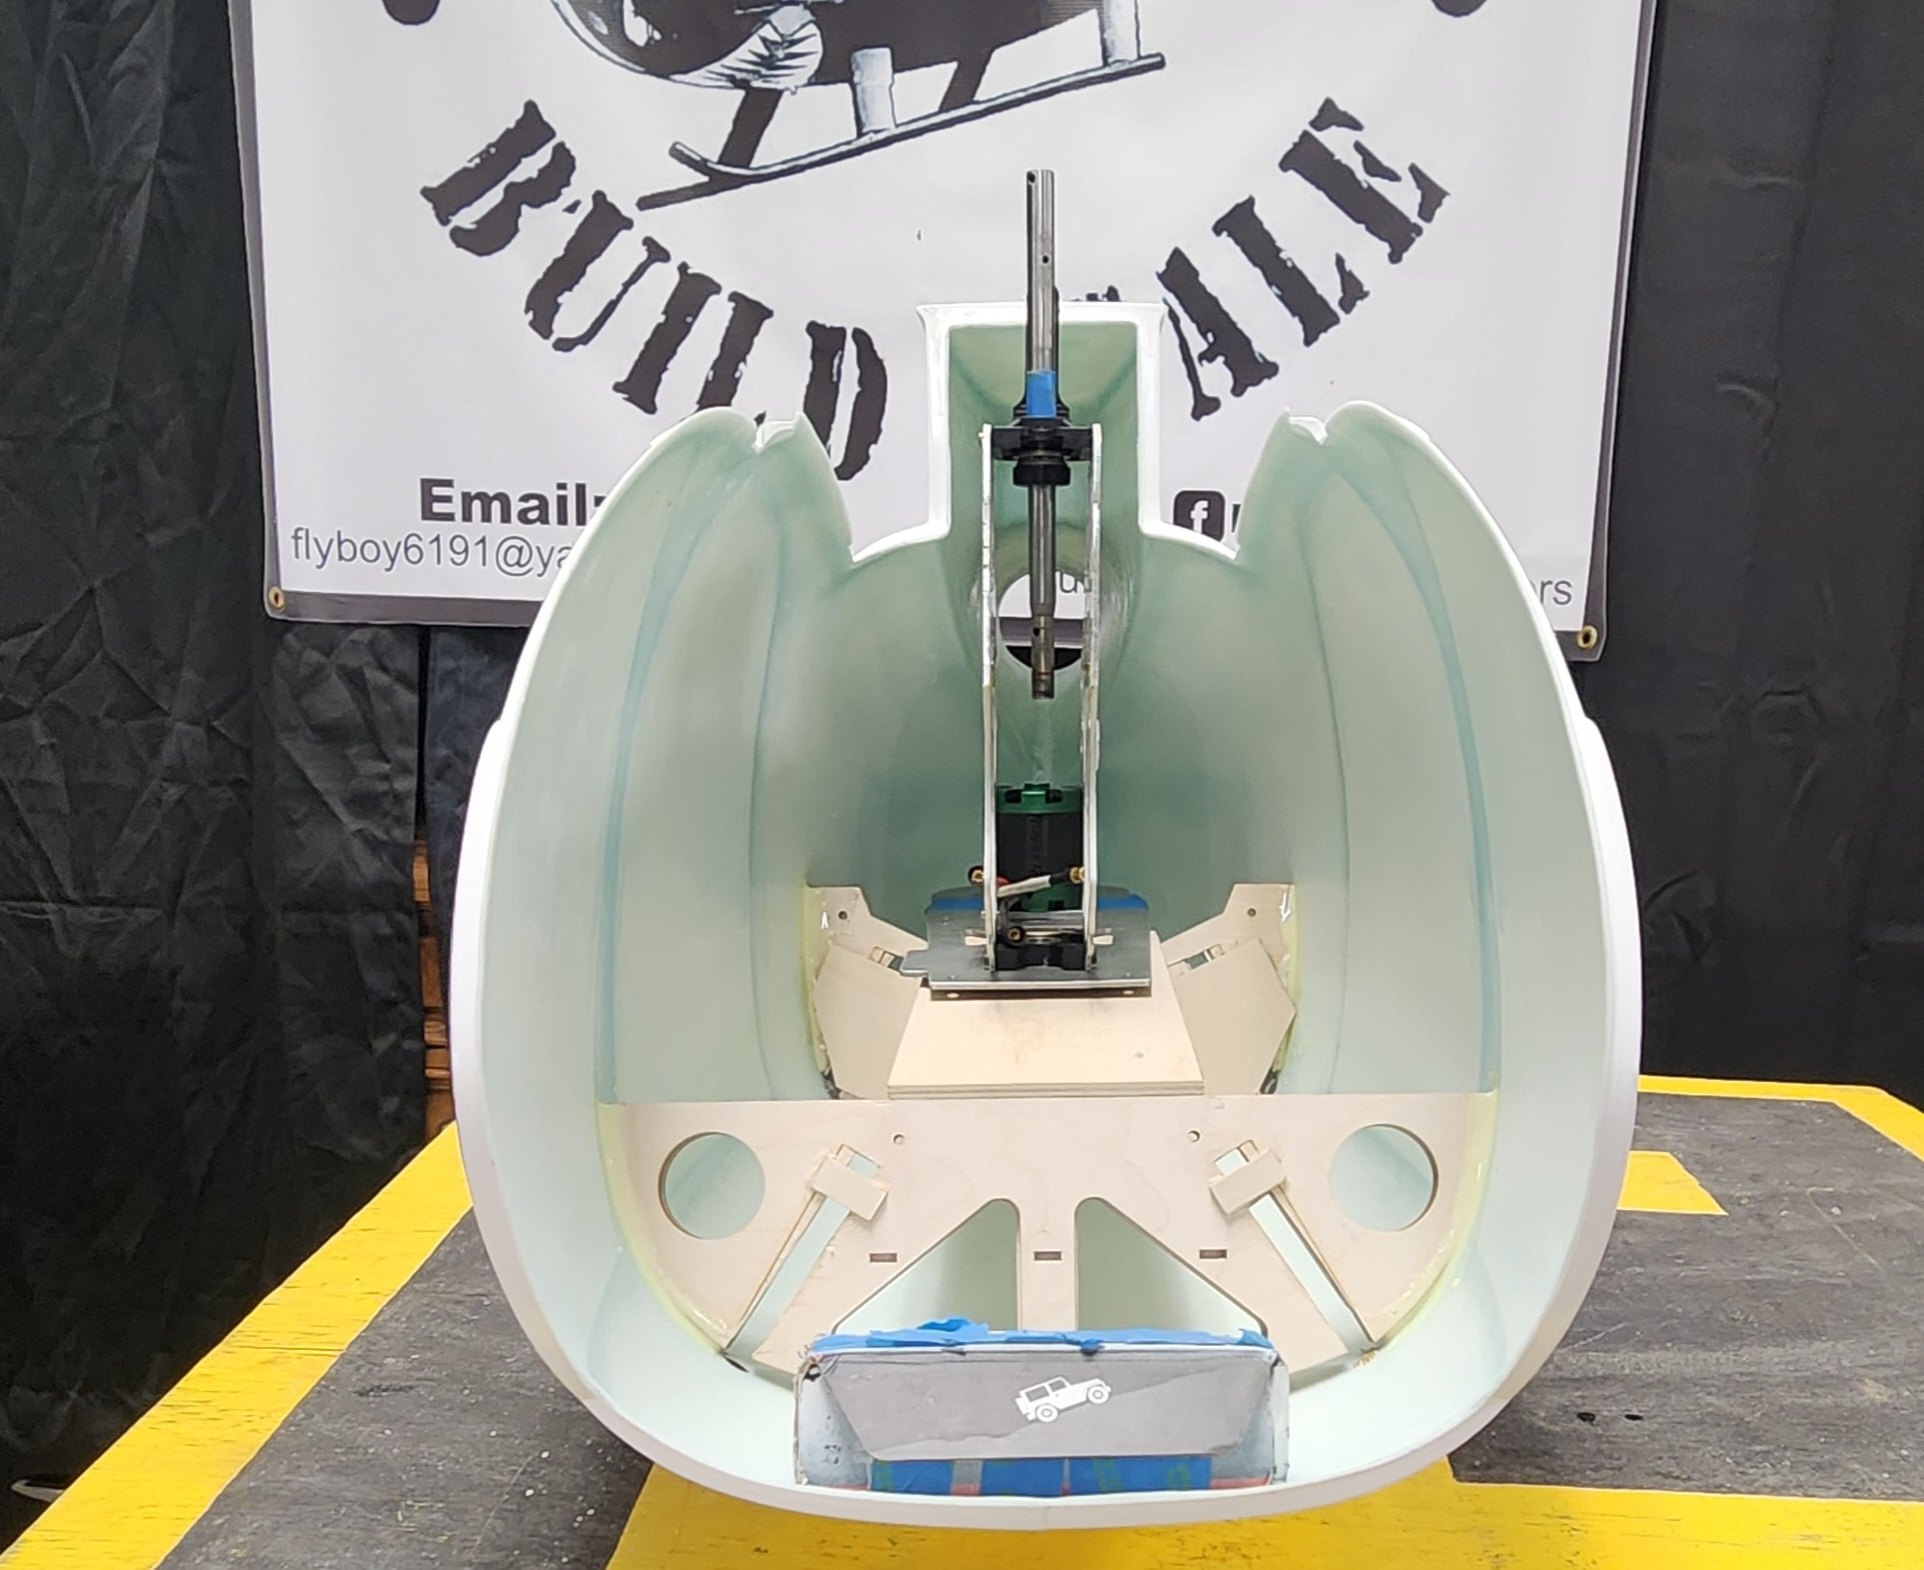
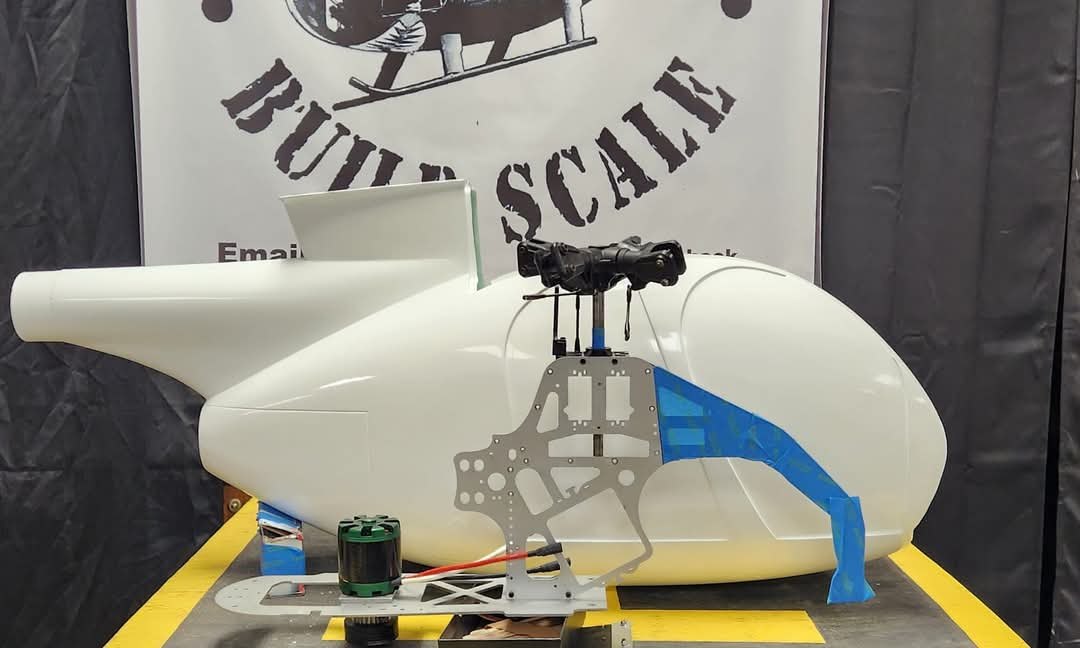
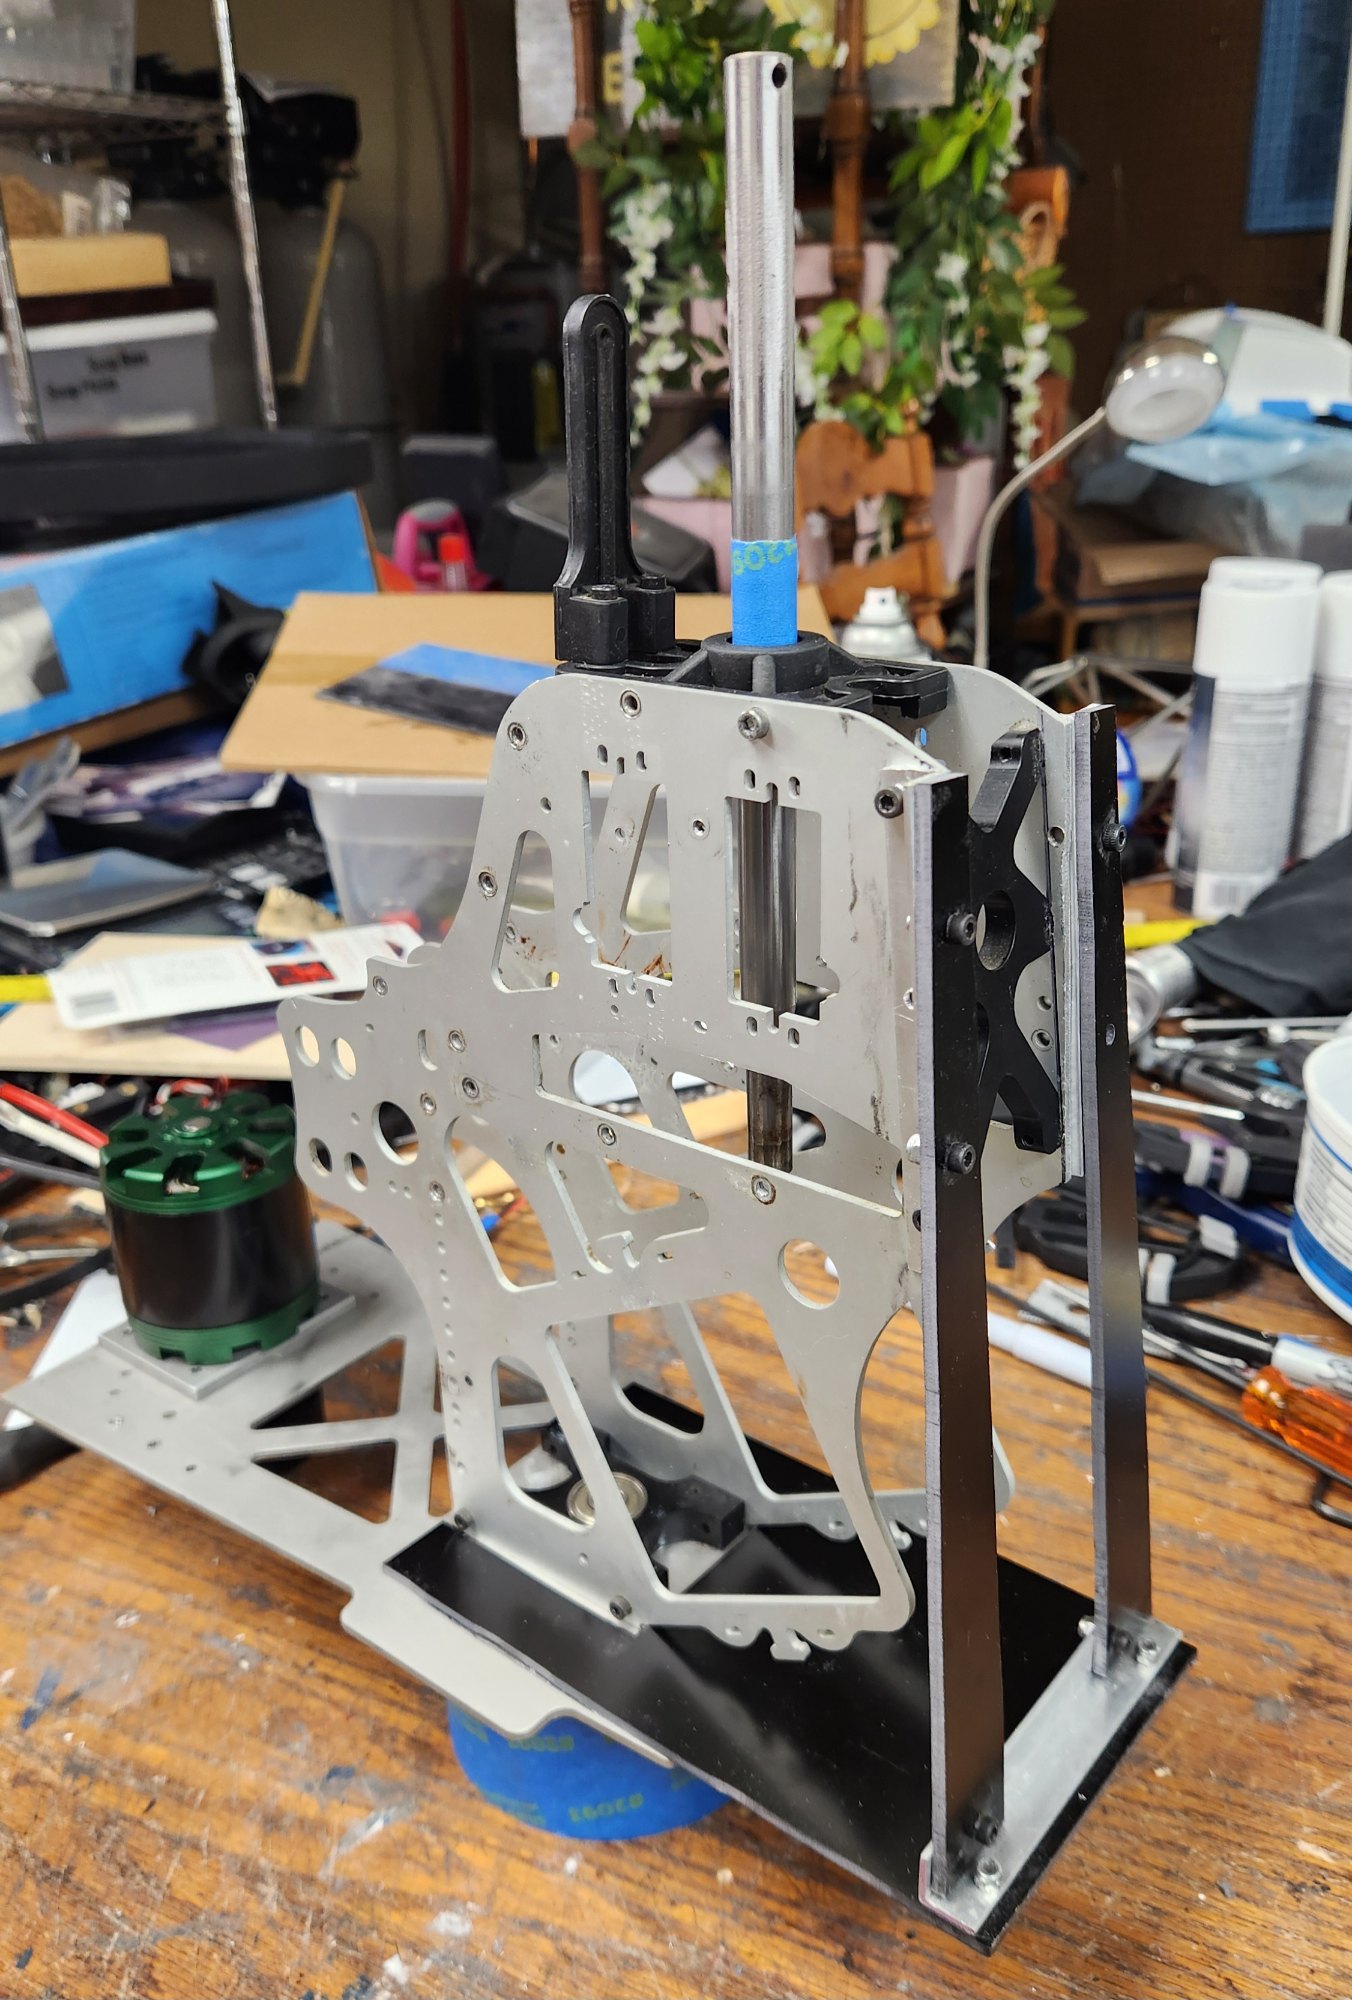
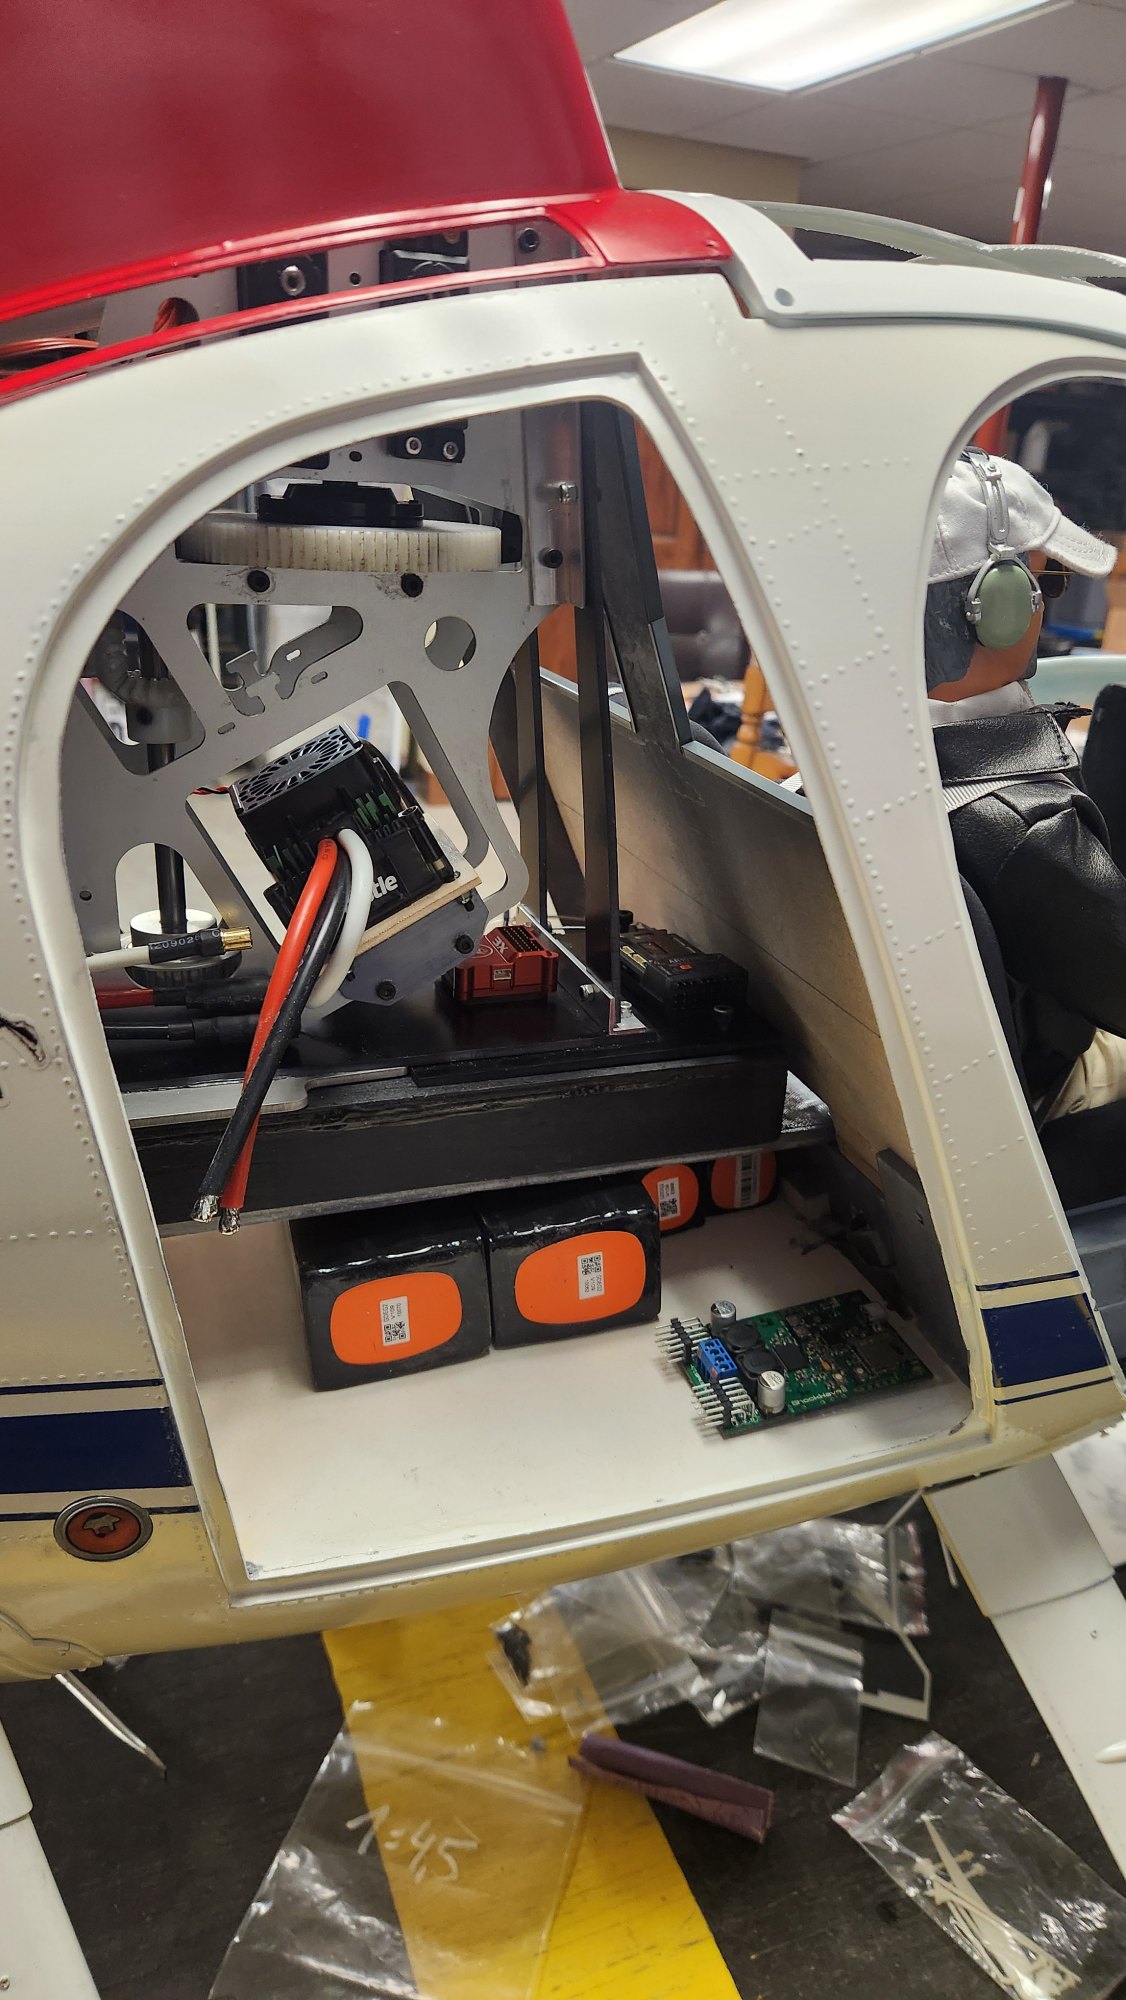
Always waiting my models to look a little different from all the others was my goal with this Vario 500C. I wanted to use the Vario 1002/40 mechanics converted to electric and utilizing the Benzine clutch with a Heliworkshop clutch adapter for the 5035 380kv motor and rotated the bottom plate 180 degrees putting the motor in the rear of the fuselage and leaving plenty of room for a full cockpit and easy battery change. I removed the front section of the frames and reinforced with 1/8th composite G10. I installed my prefered Spektrum electronics, Castle 160 ESC running on 12S, Bavarian 3X. I installed a new BeierElectronics sound system which coupled with the Benzine clutch made a very realistic model.
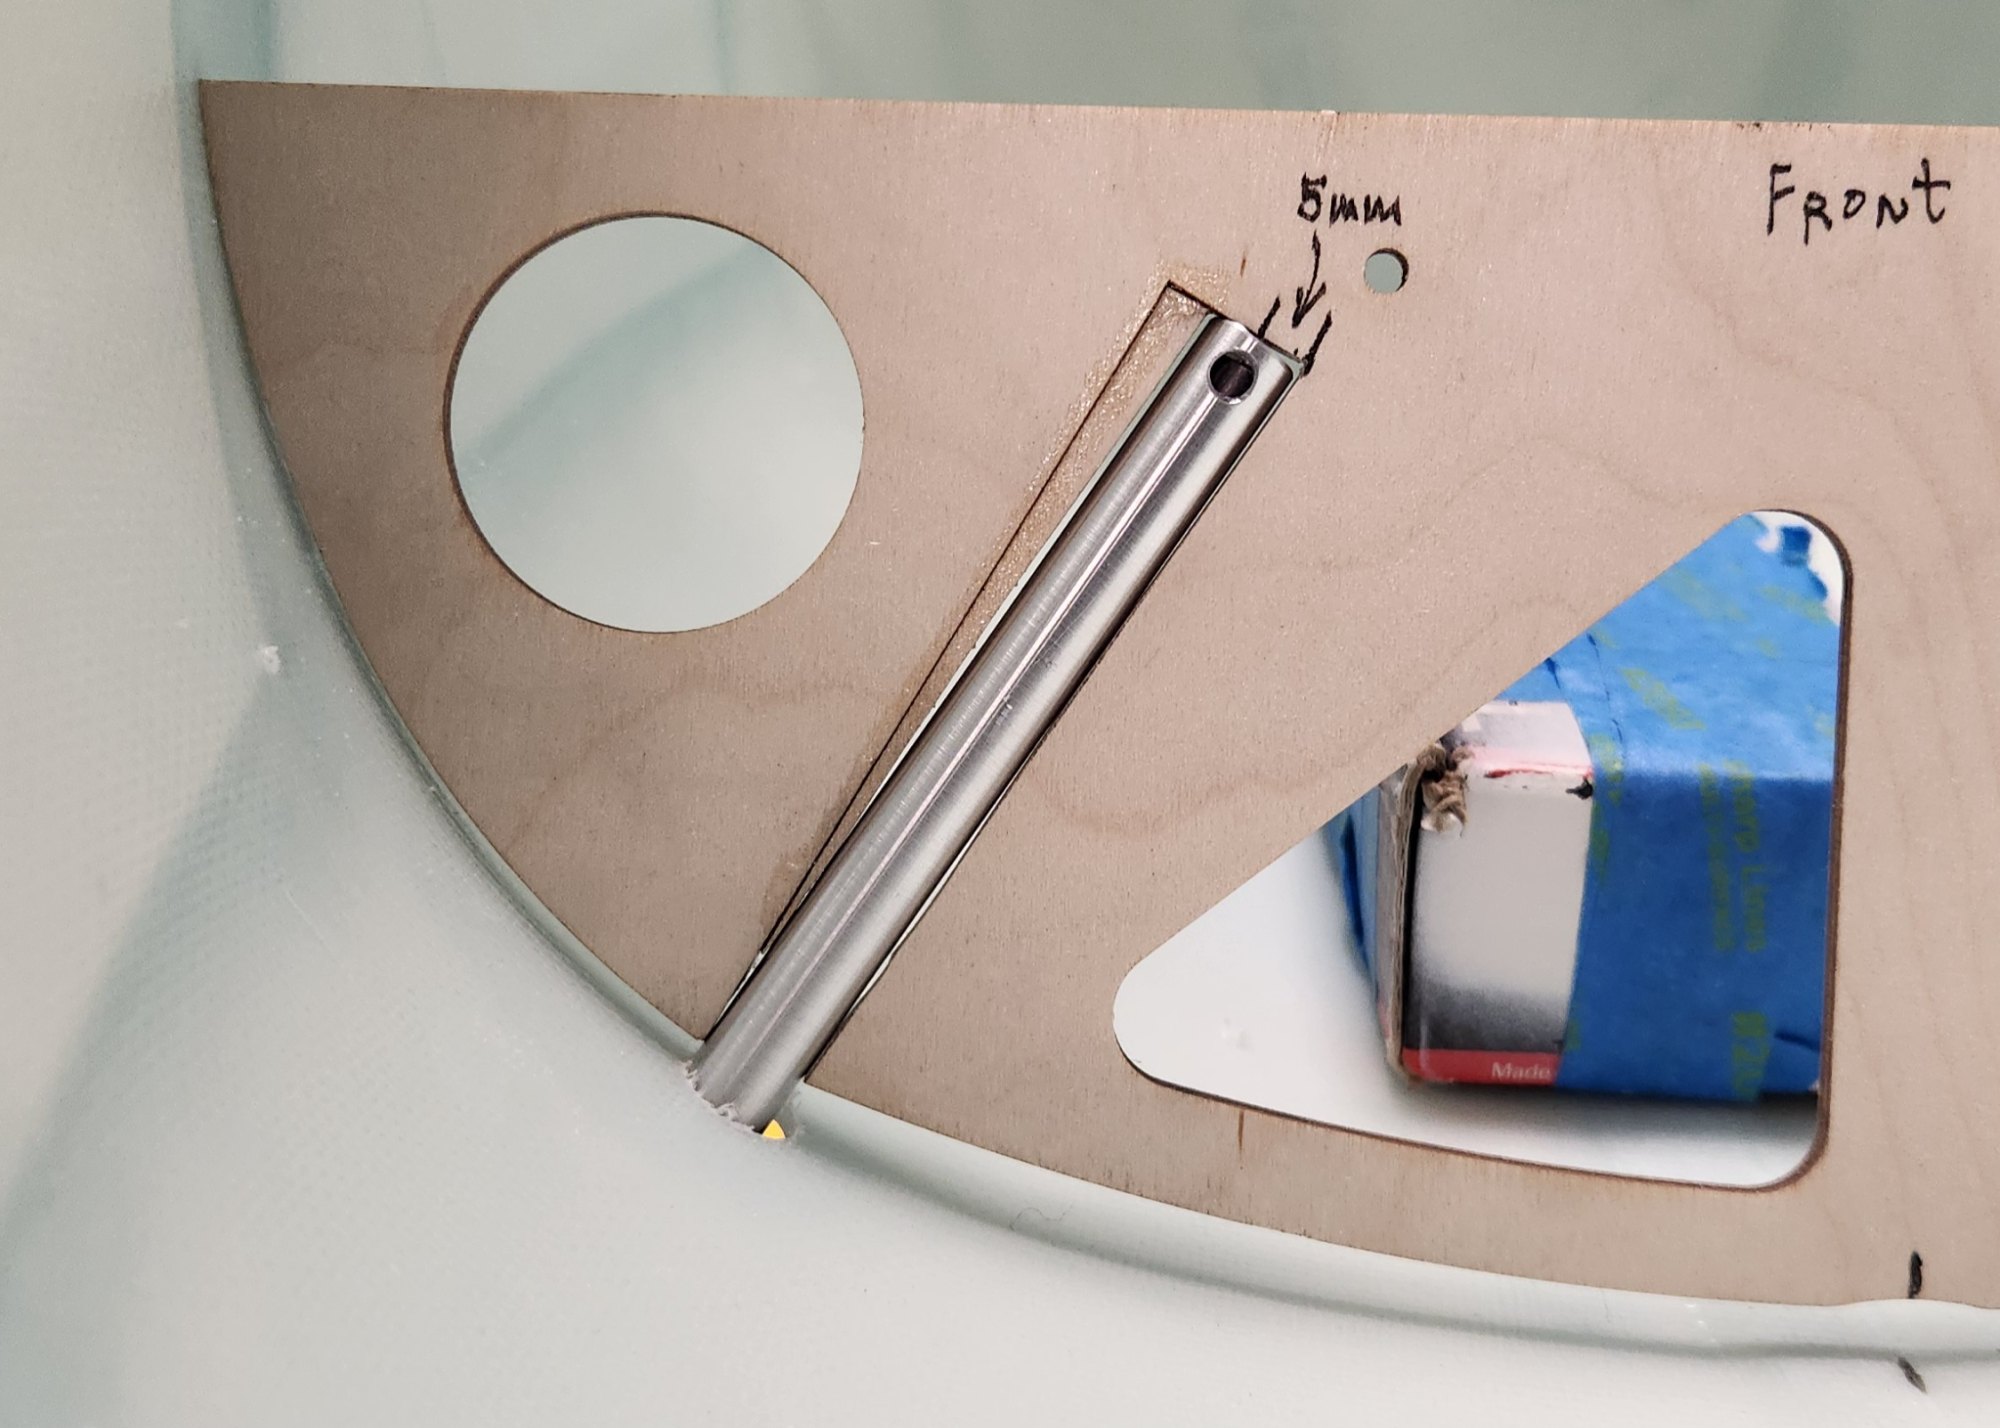
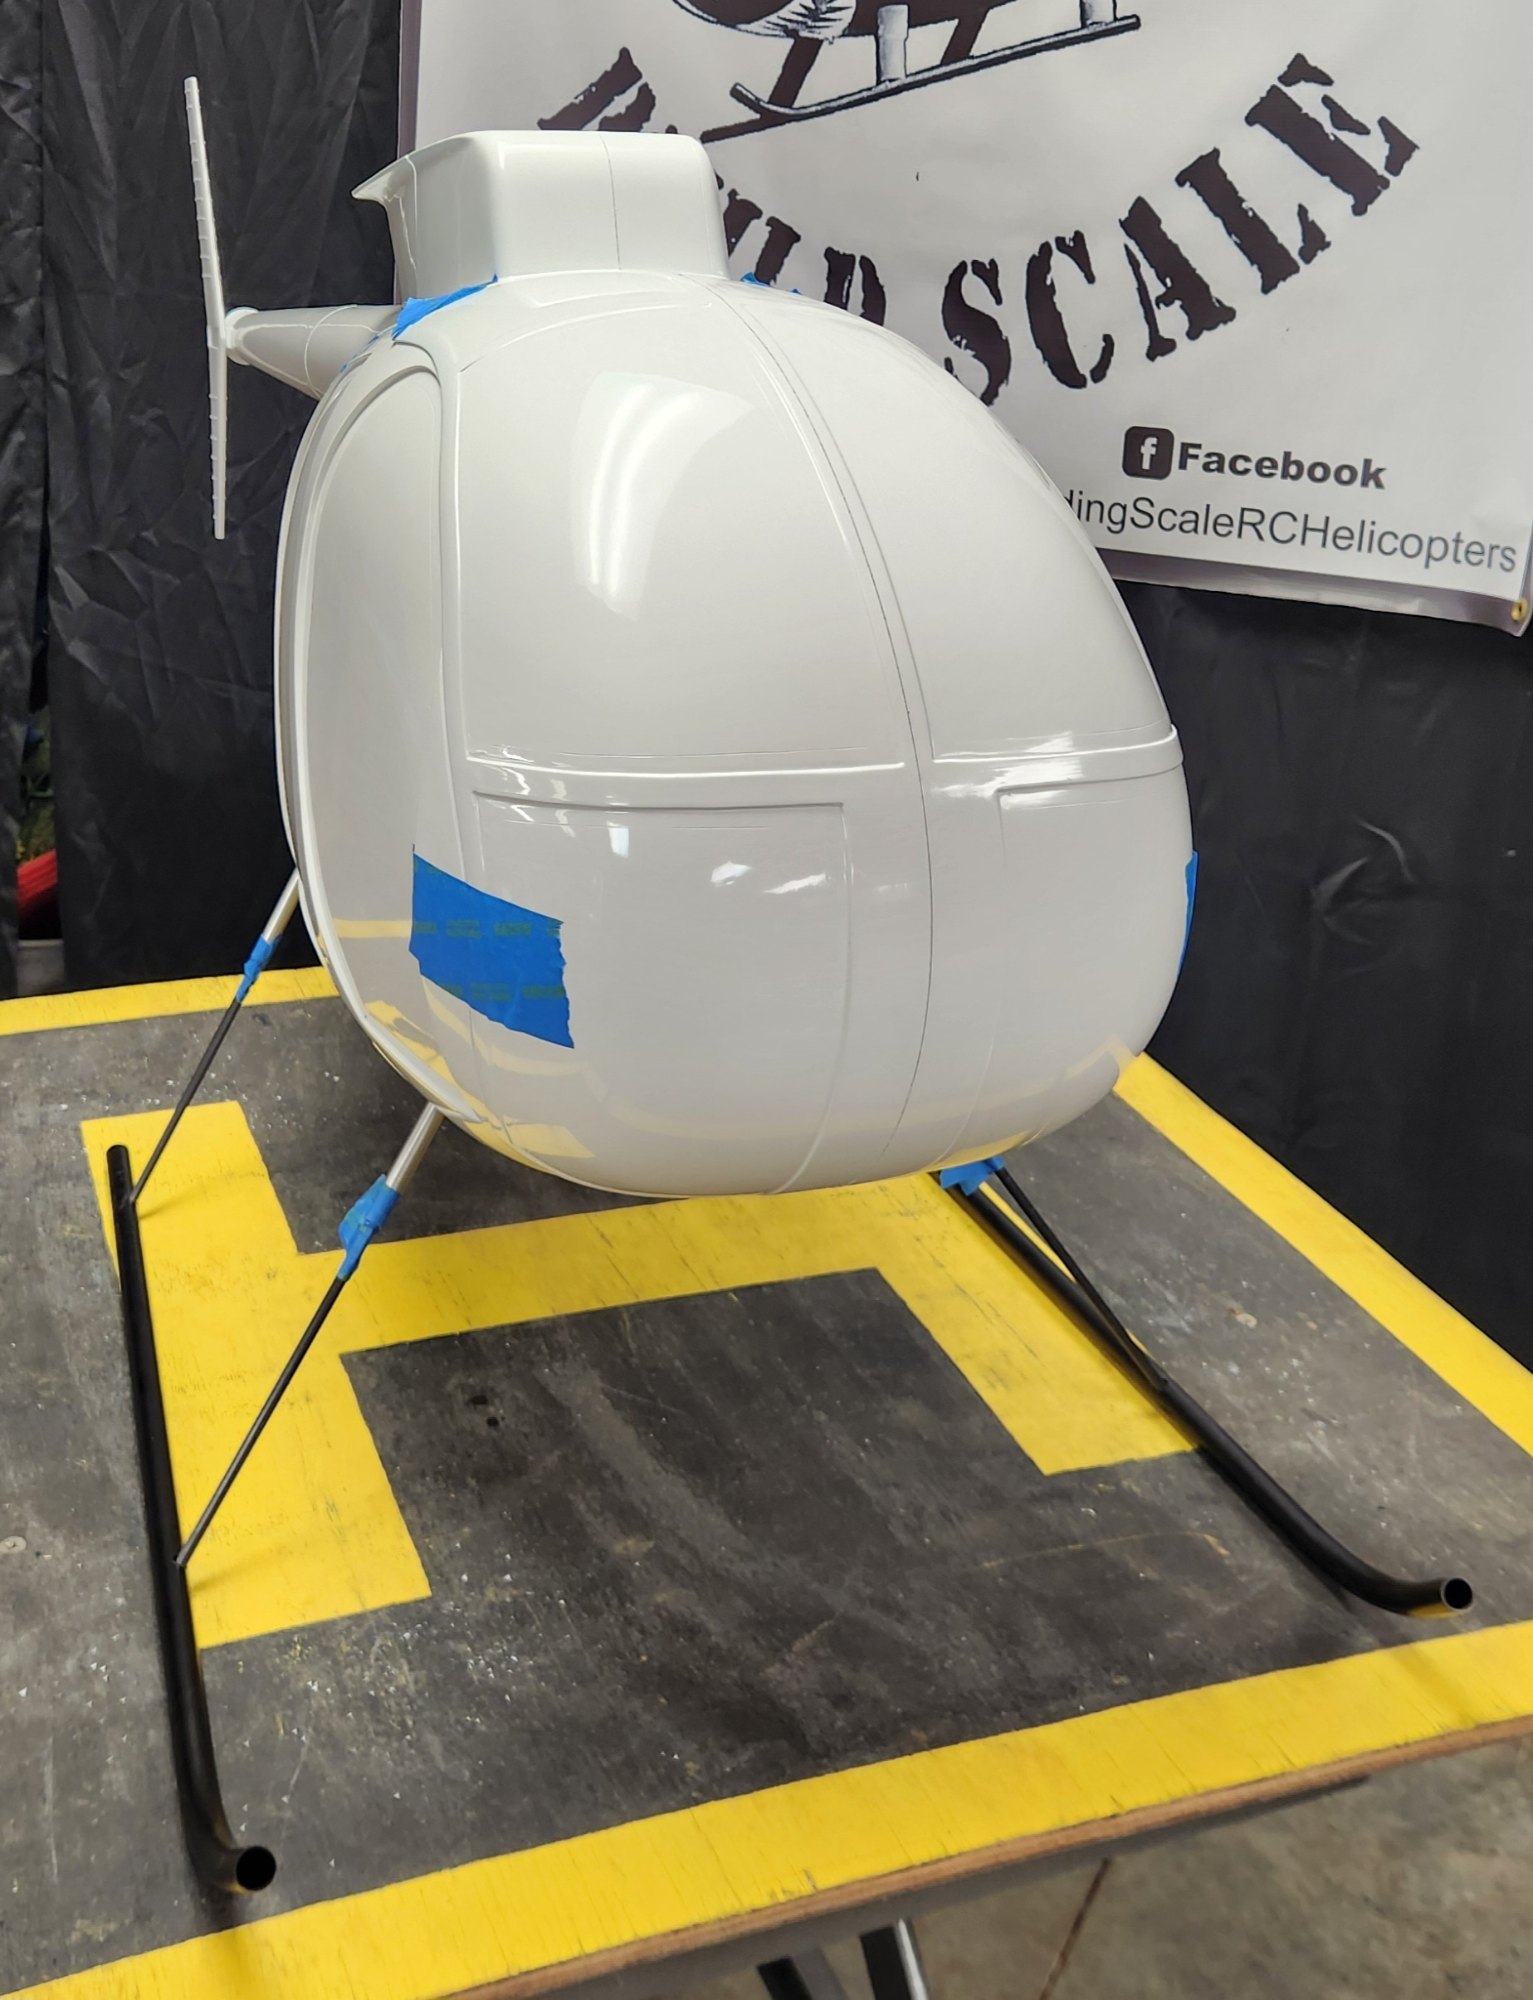
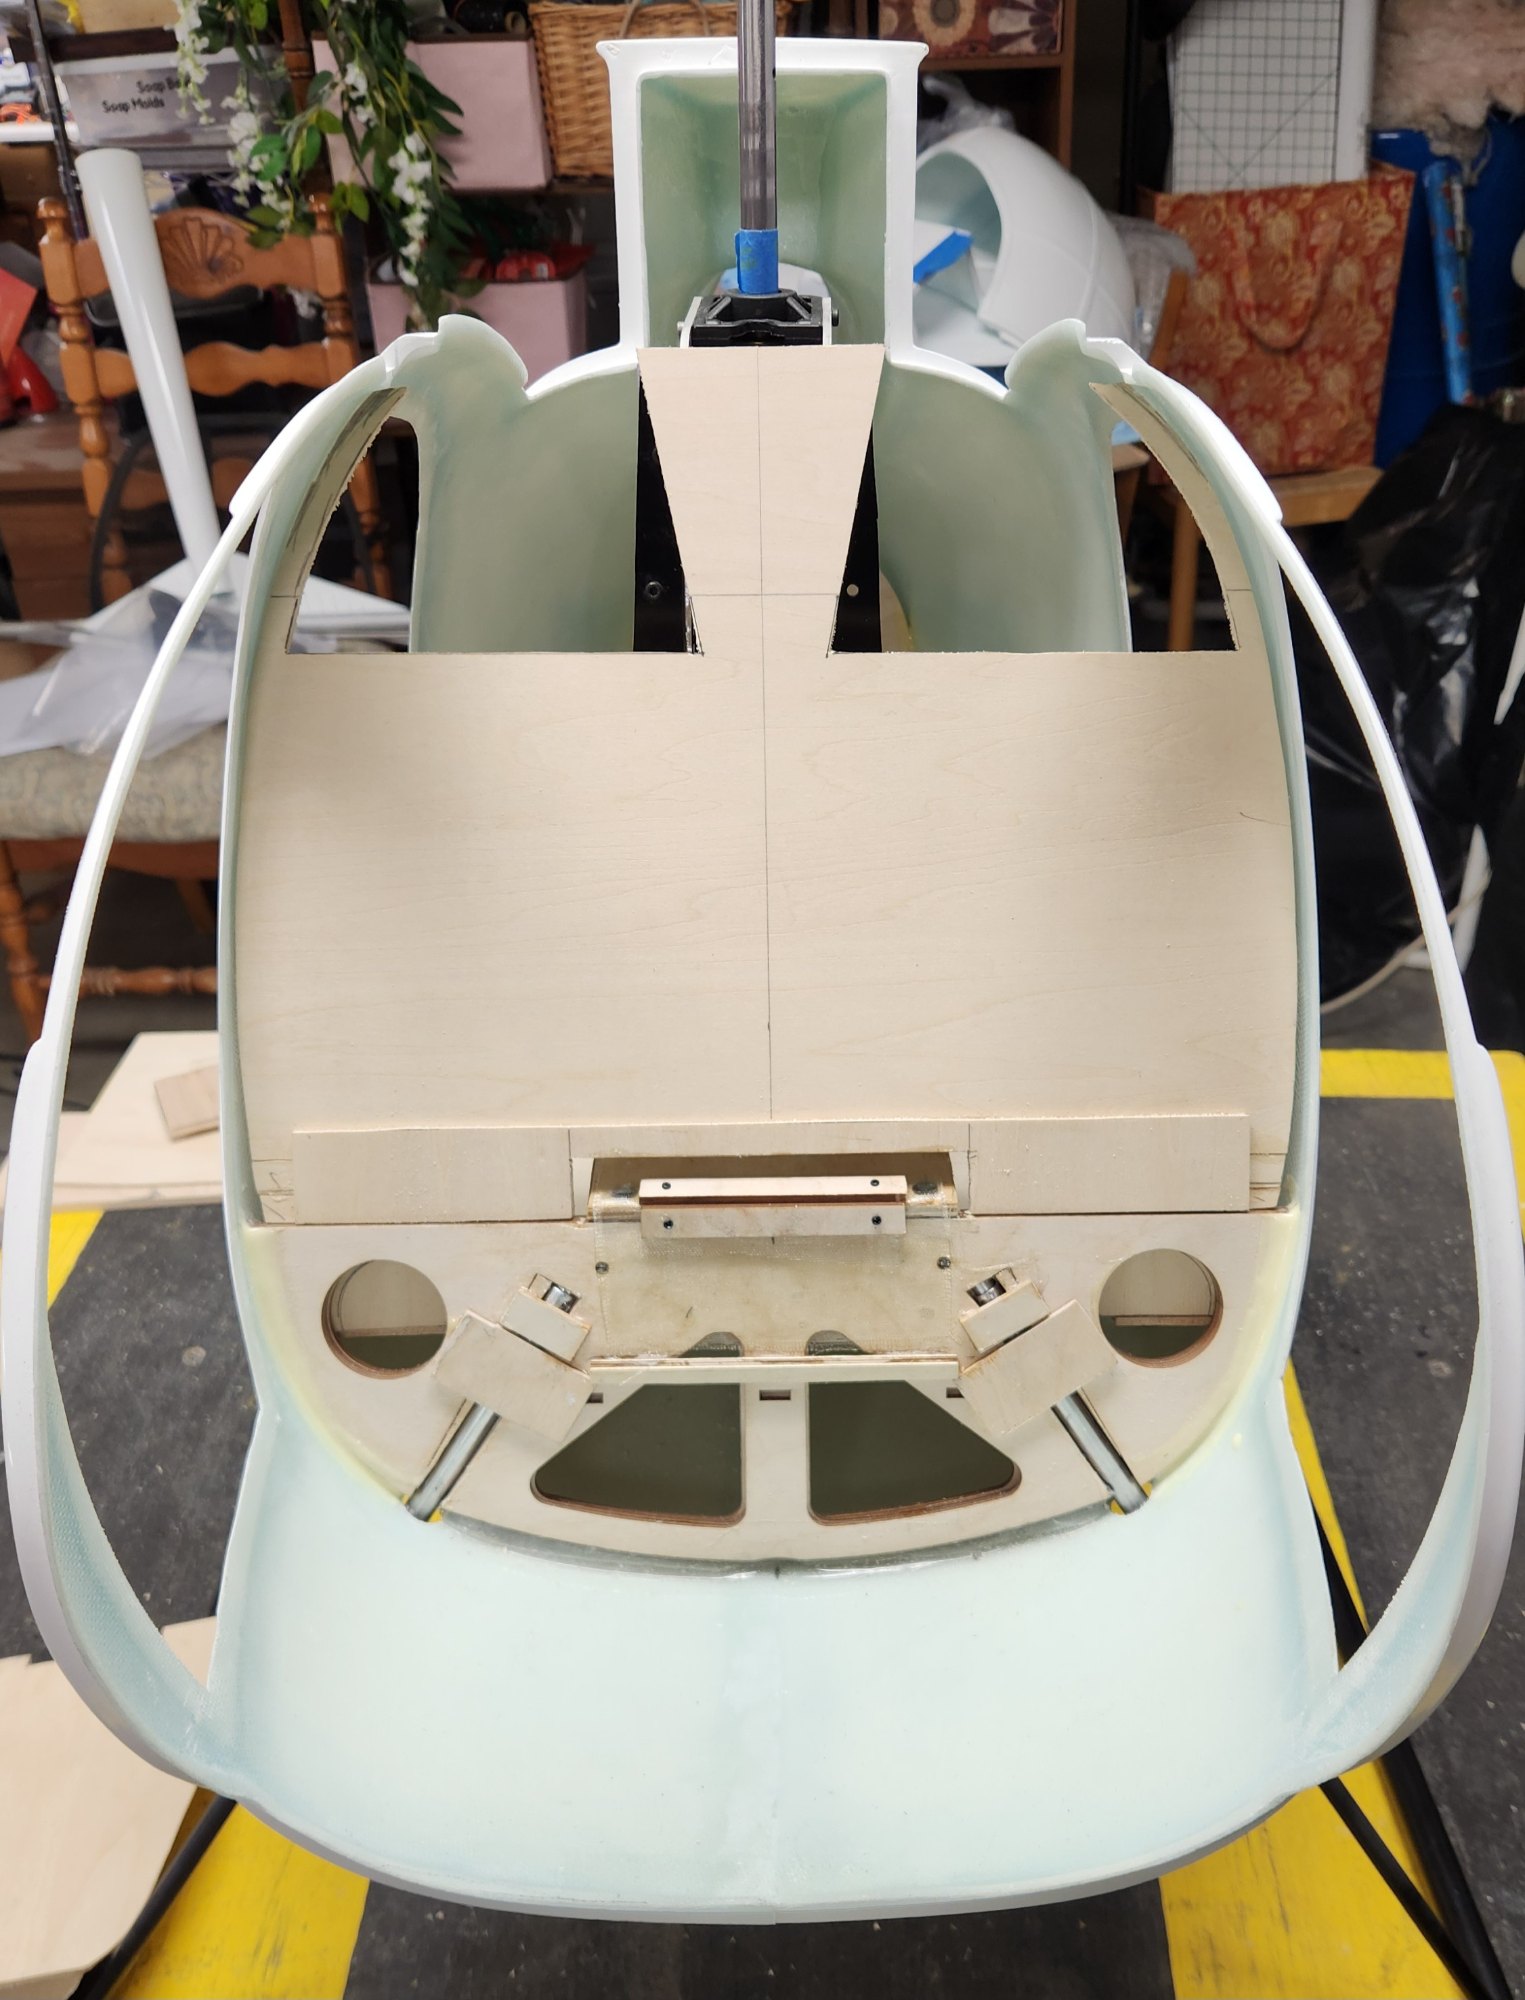
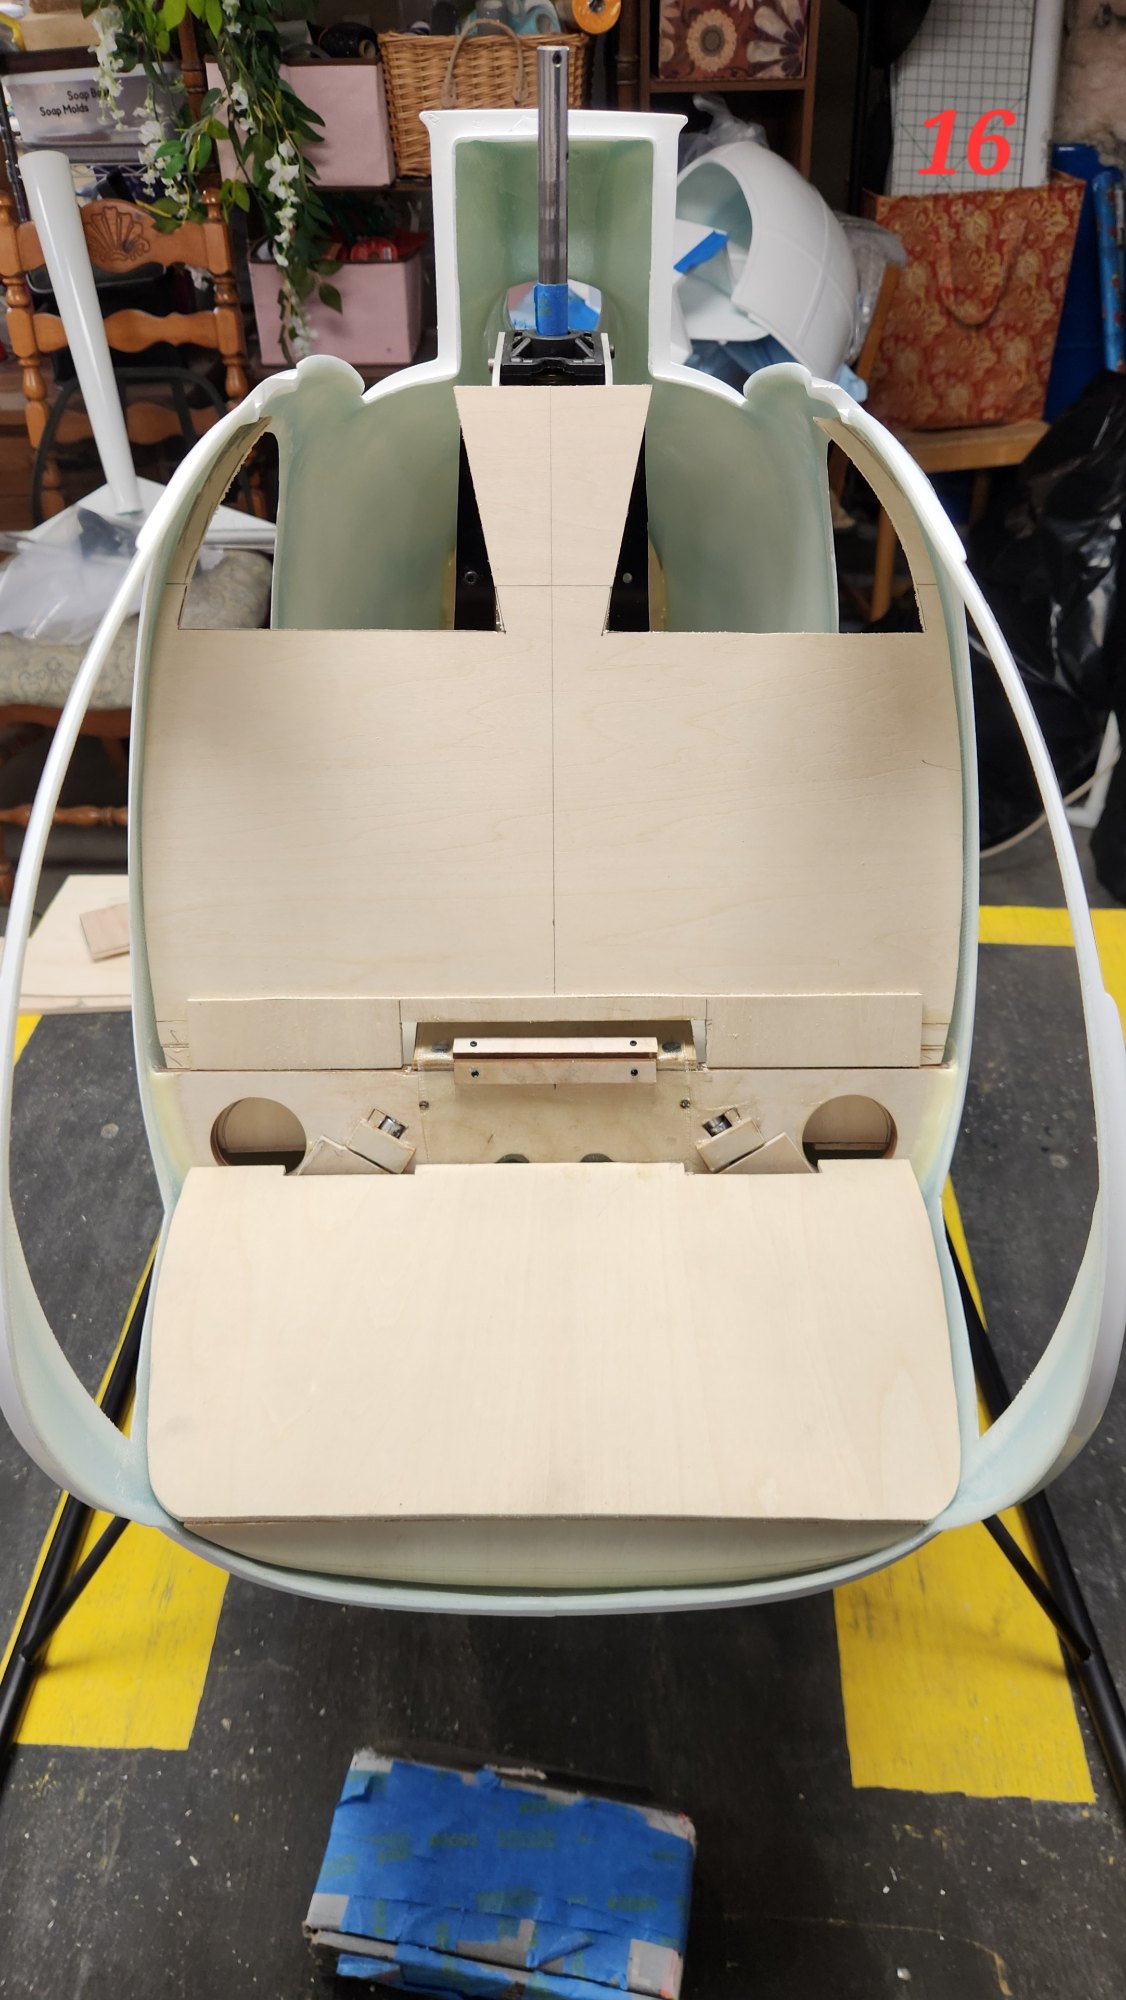
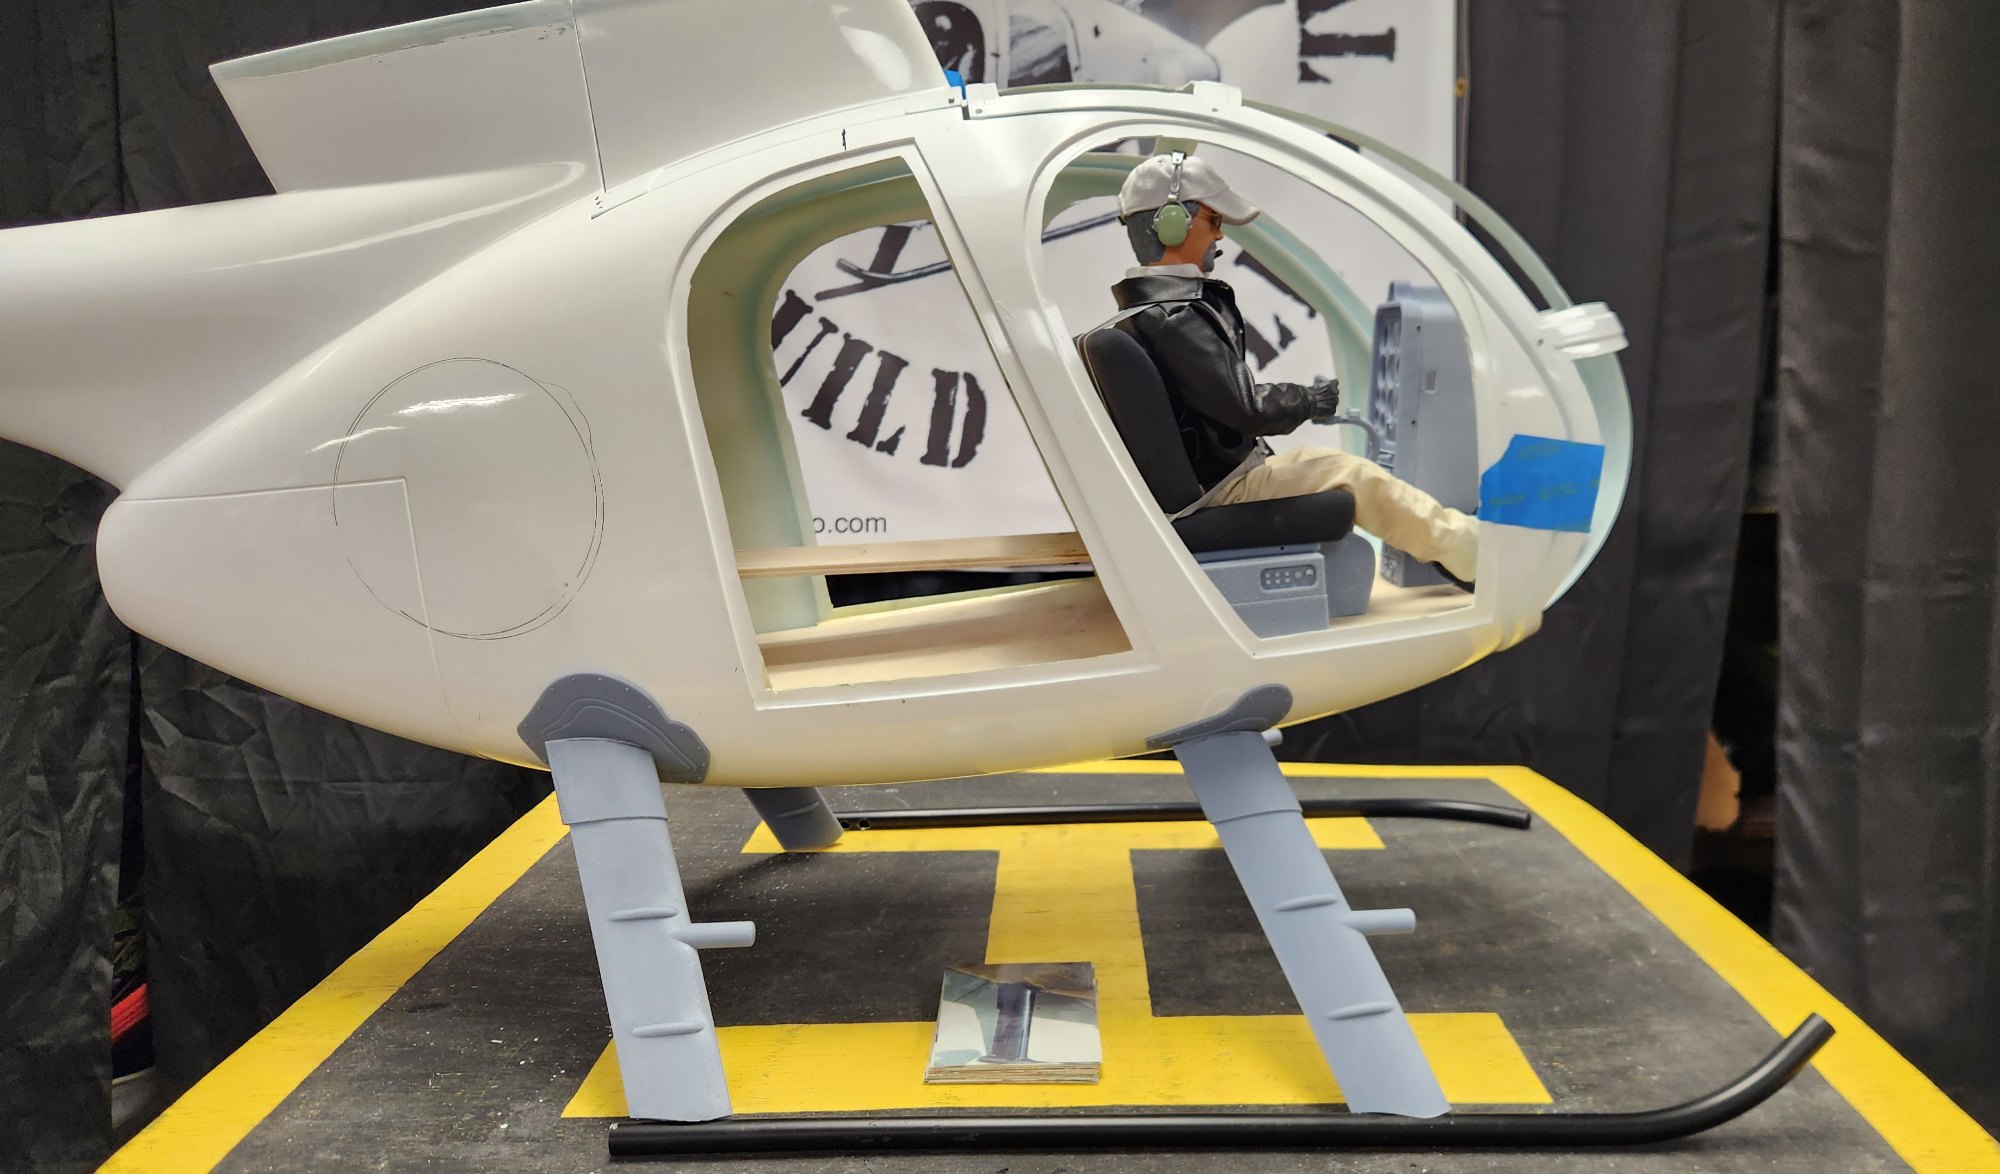
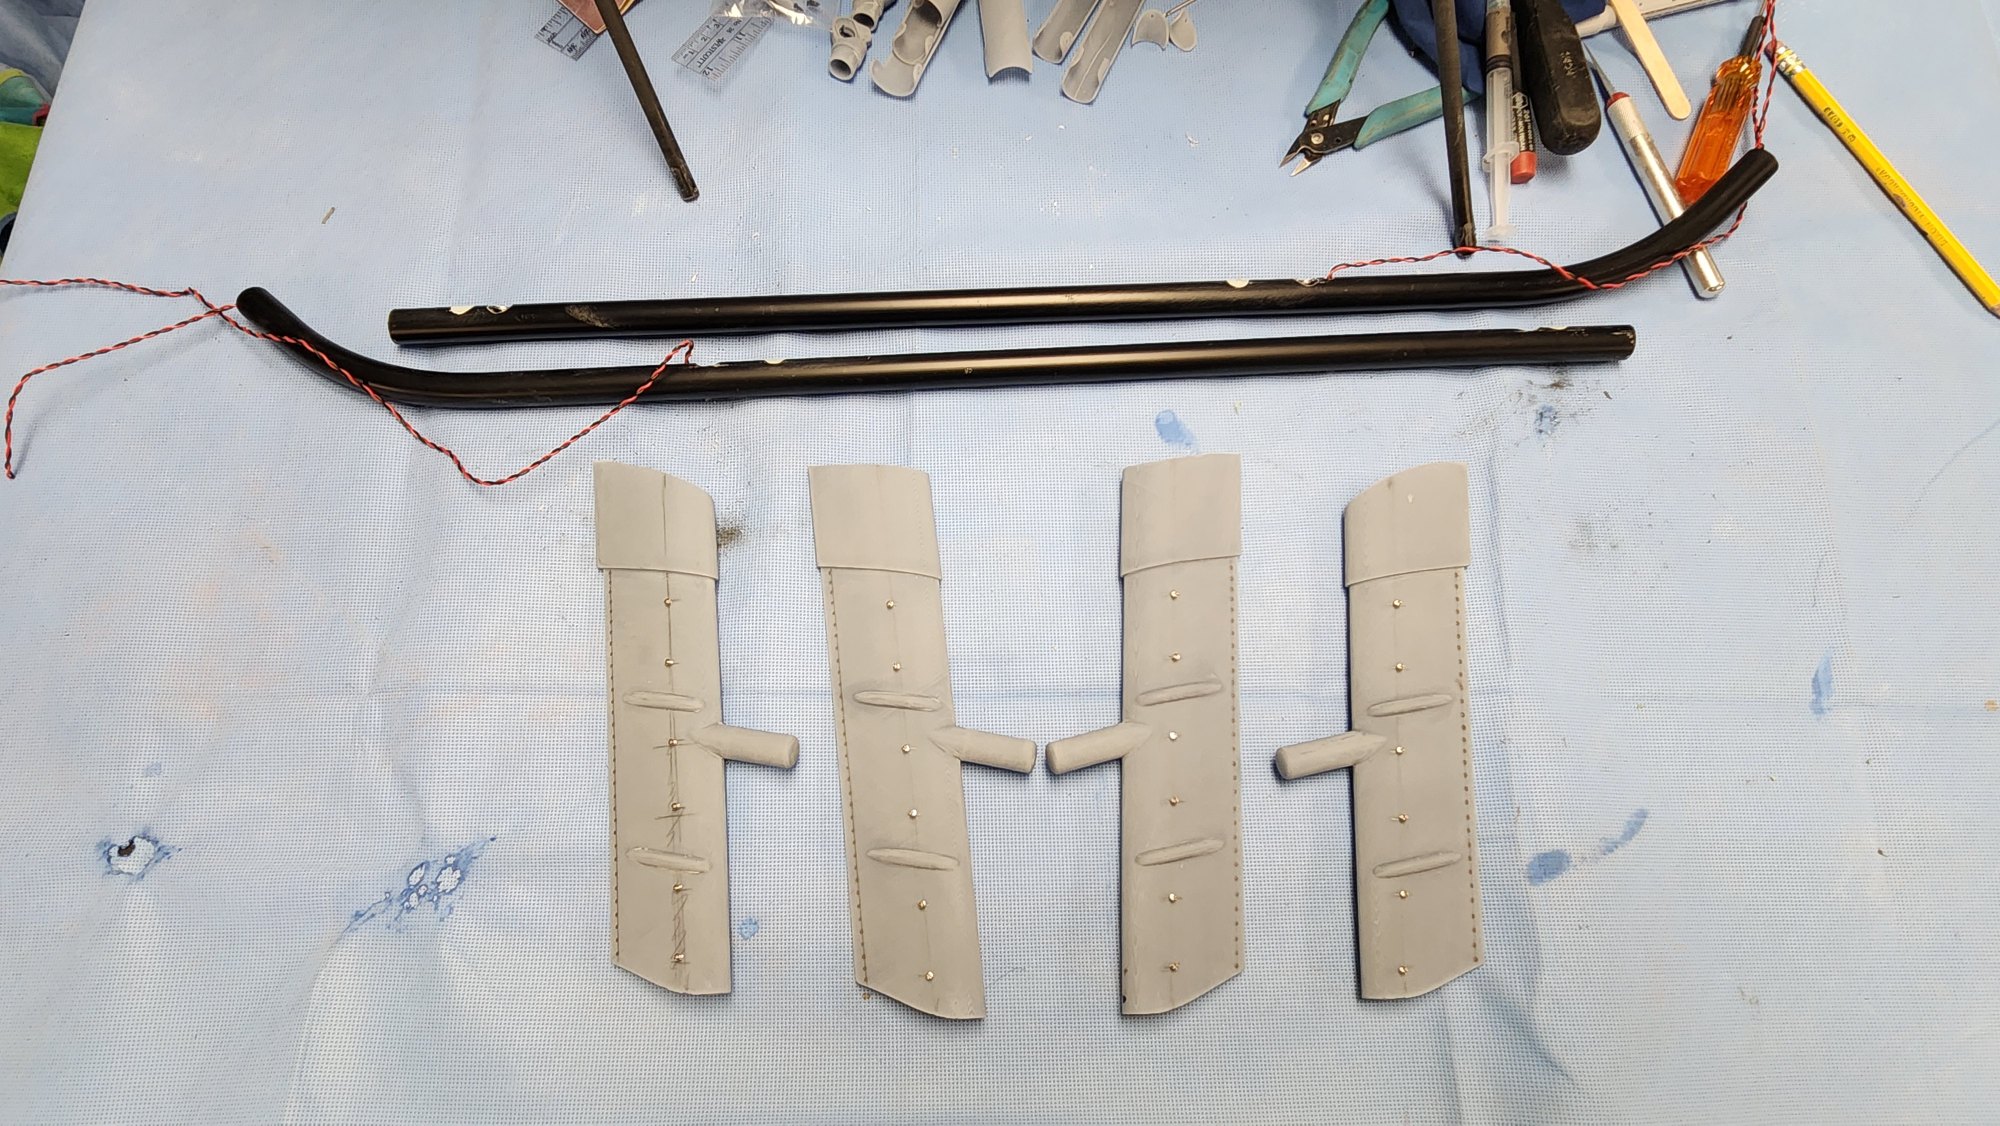
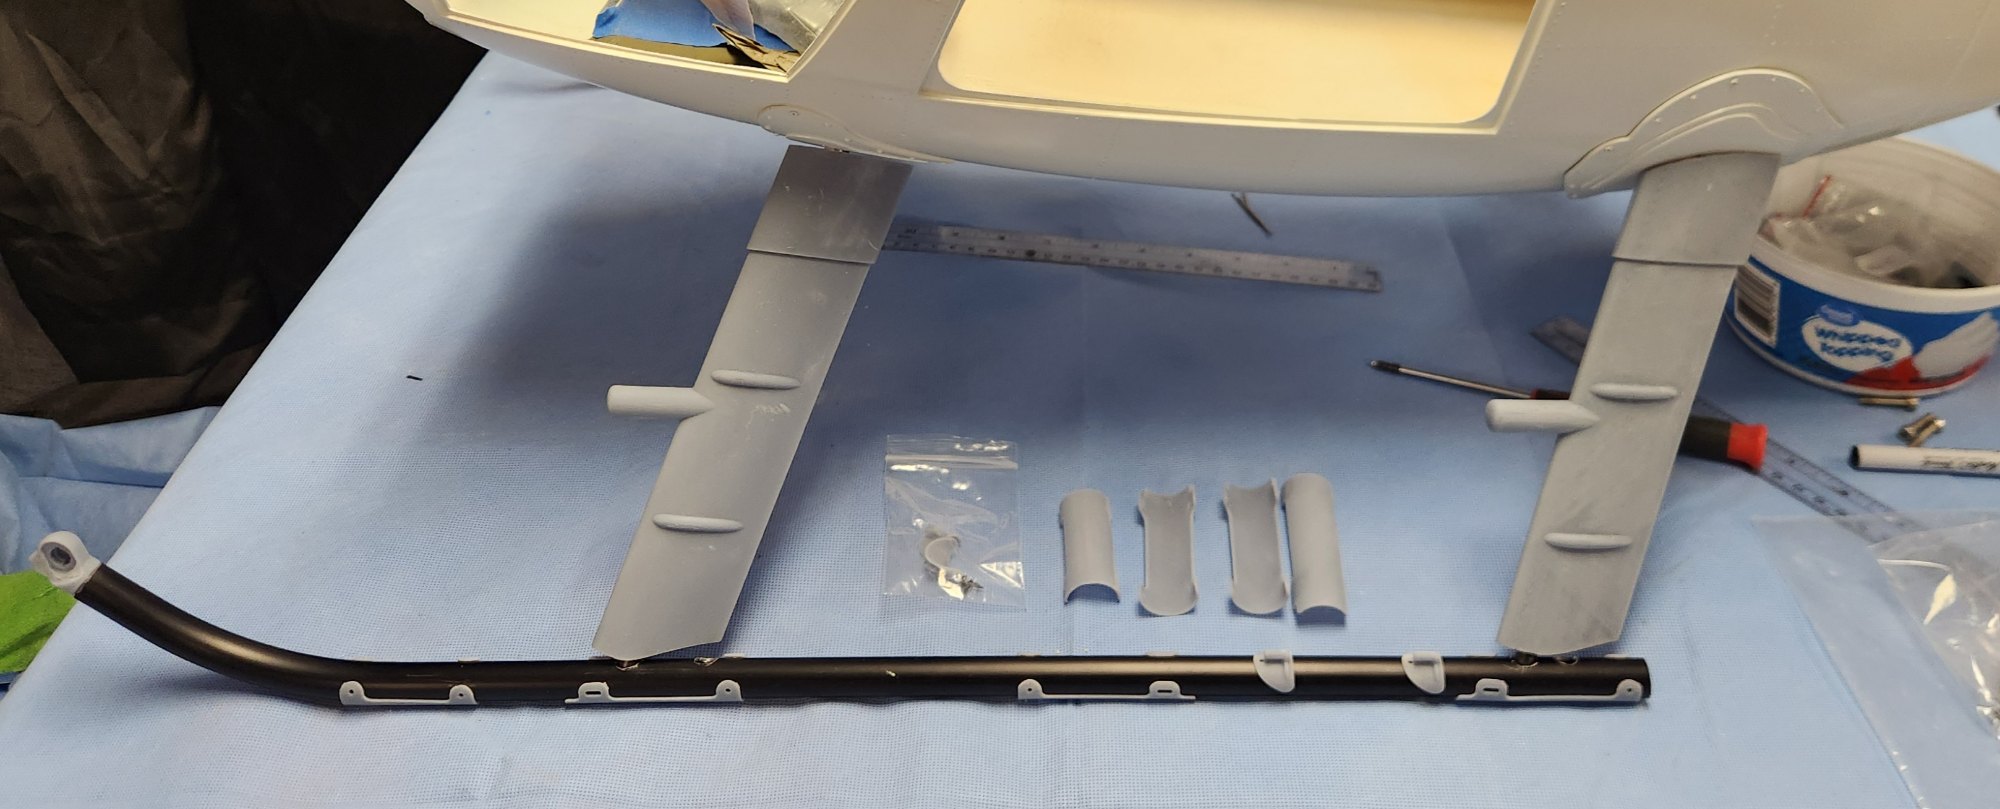
Next step was moving on to the fuselage to position the woodwork to mount the mechanics but I first had to modify the wood formers to give what I thought was a more realistic stance of the landing gear legs. I did this by removing 5mm from the angled cut outs and gluing it to the other side. Once I was happy with the stance I glued them in place and moved on to positioning the mechanics.
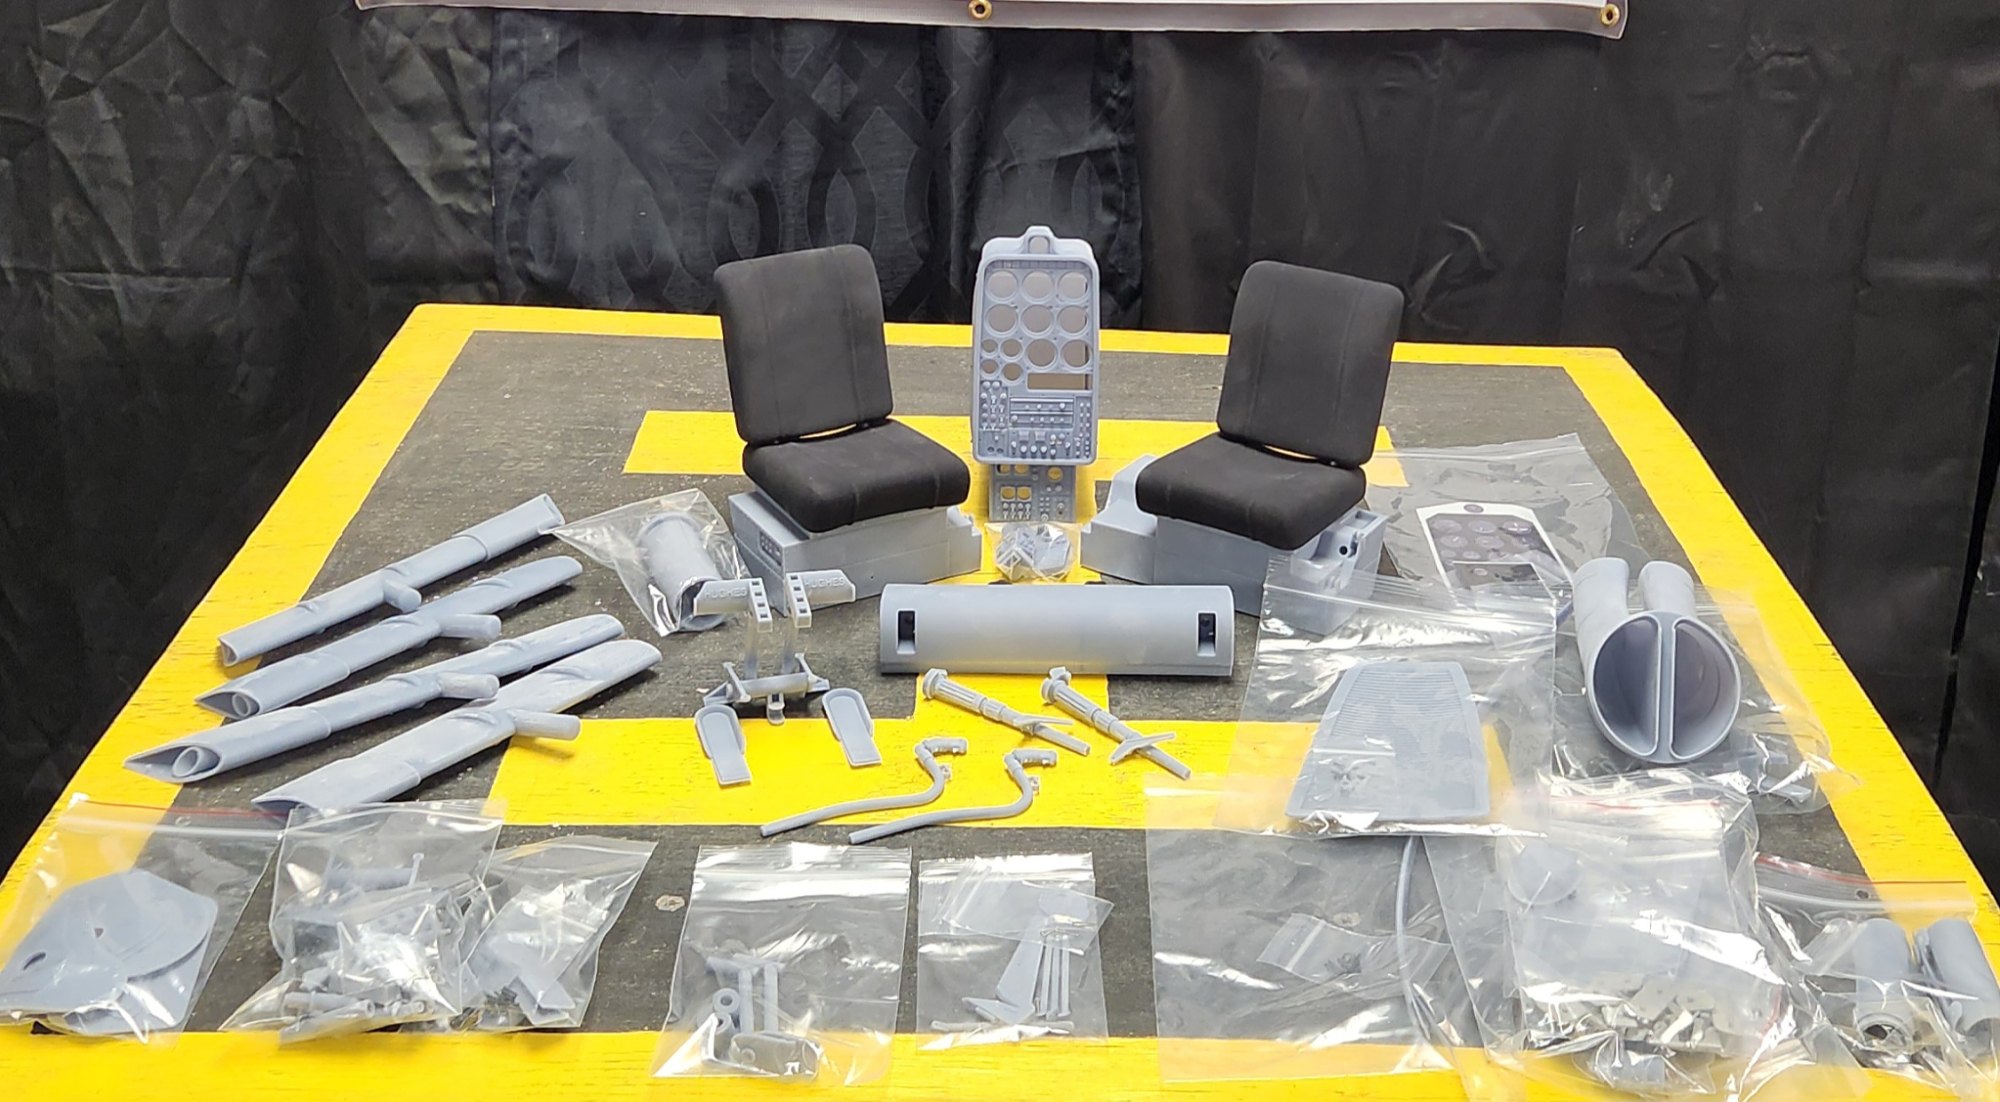
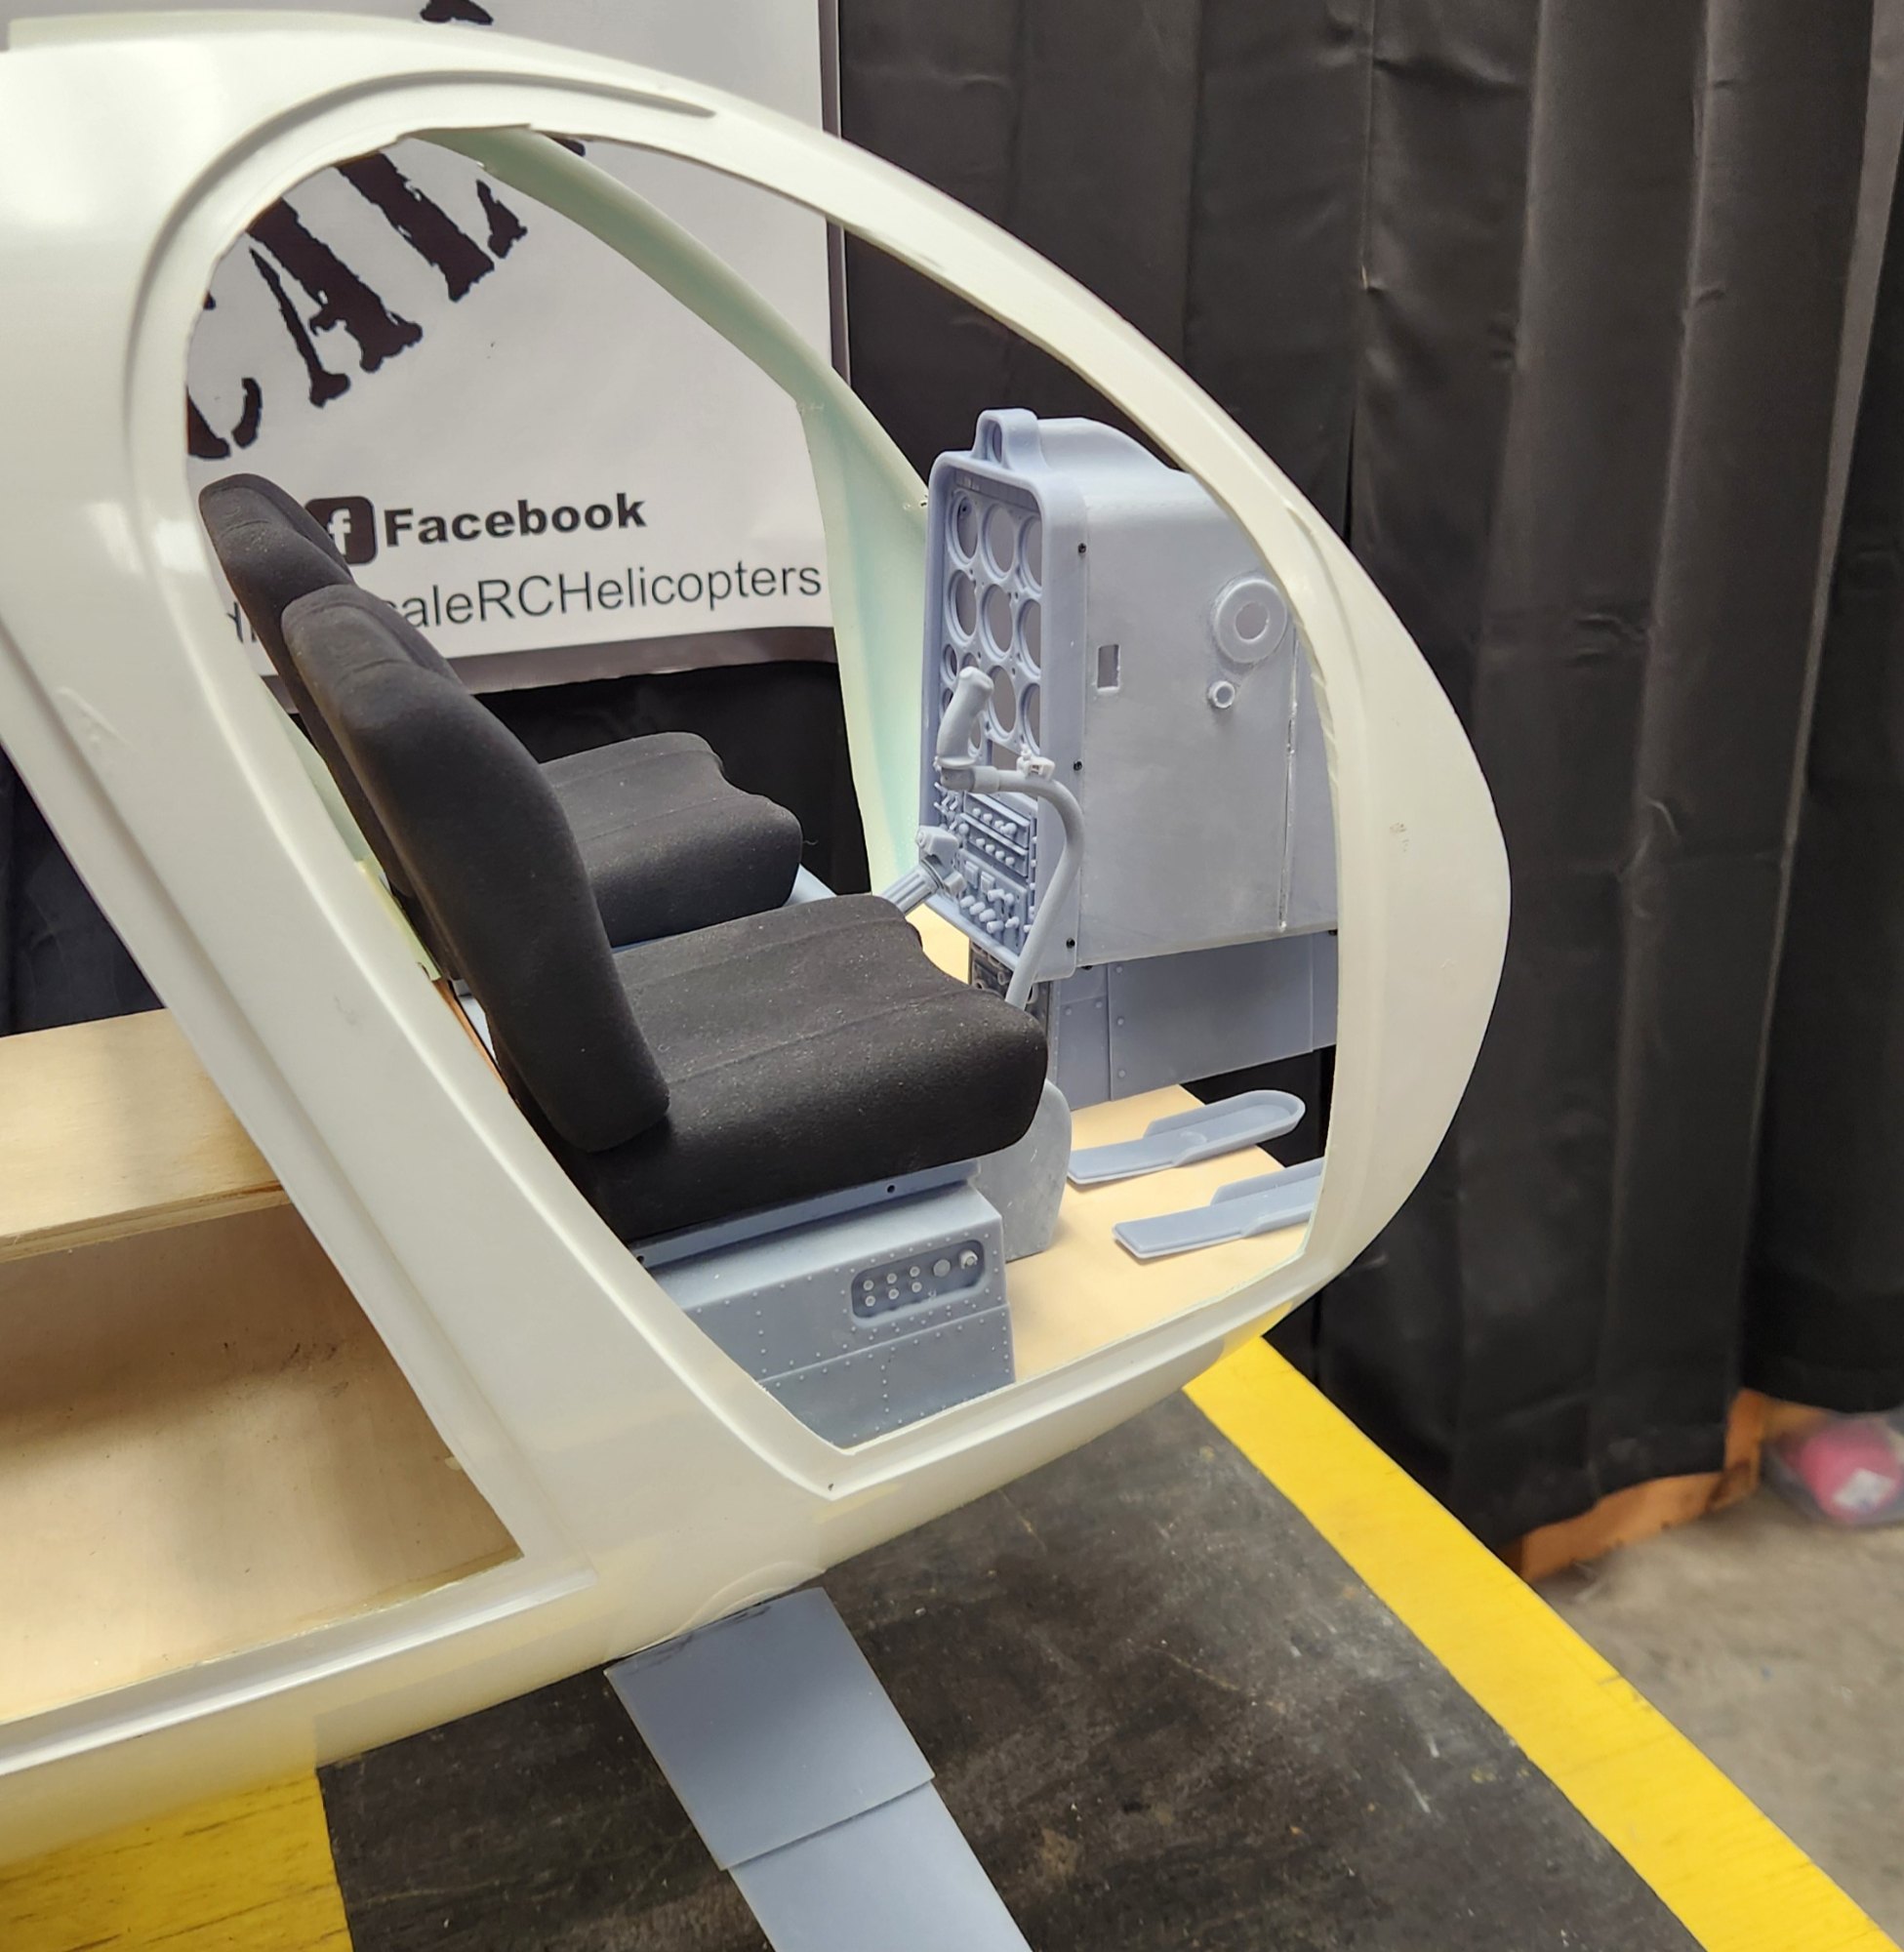
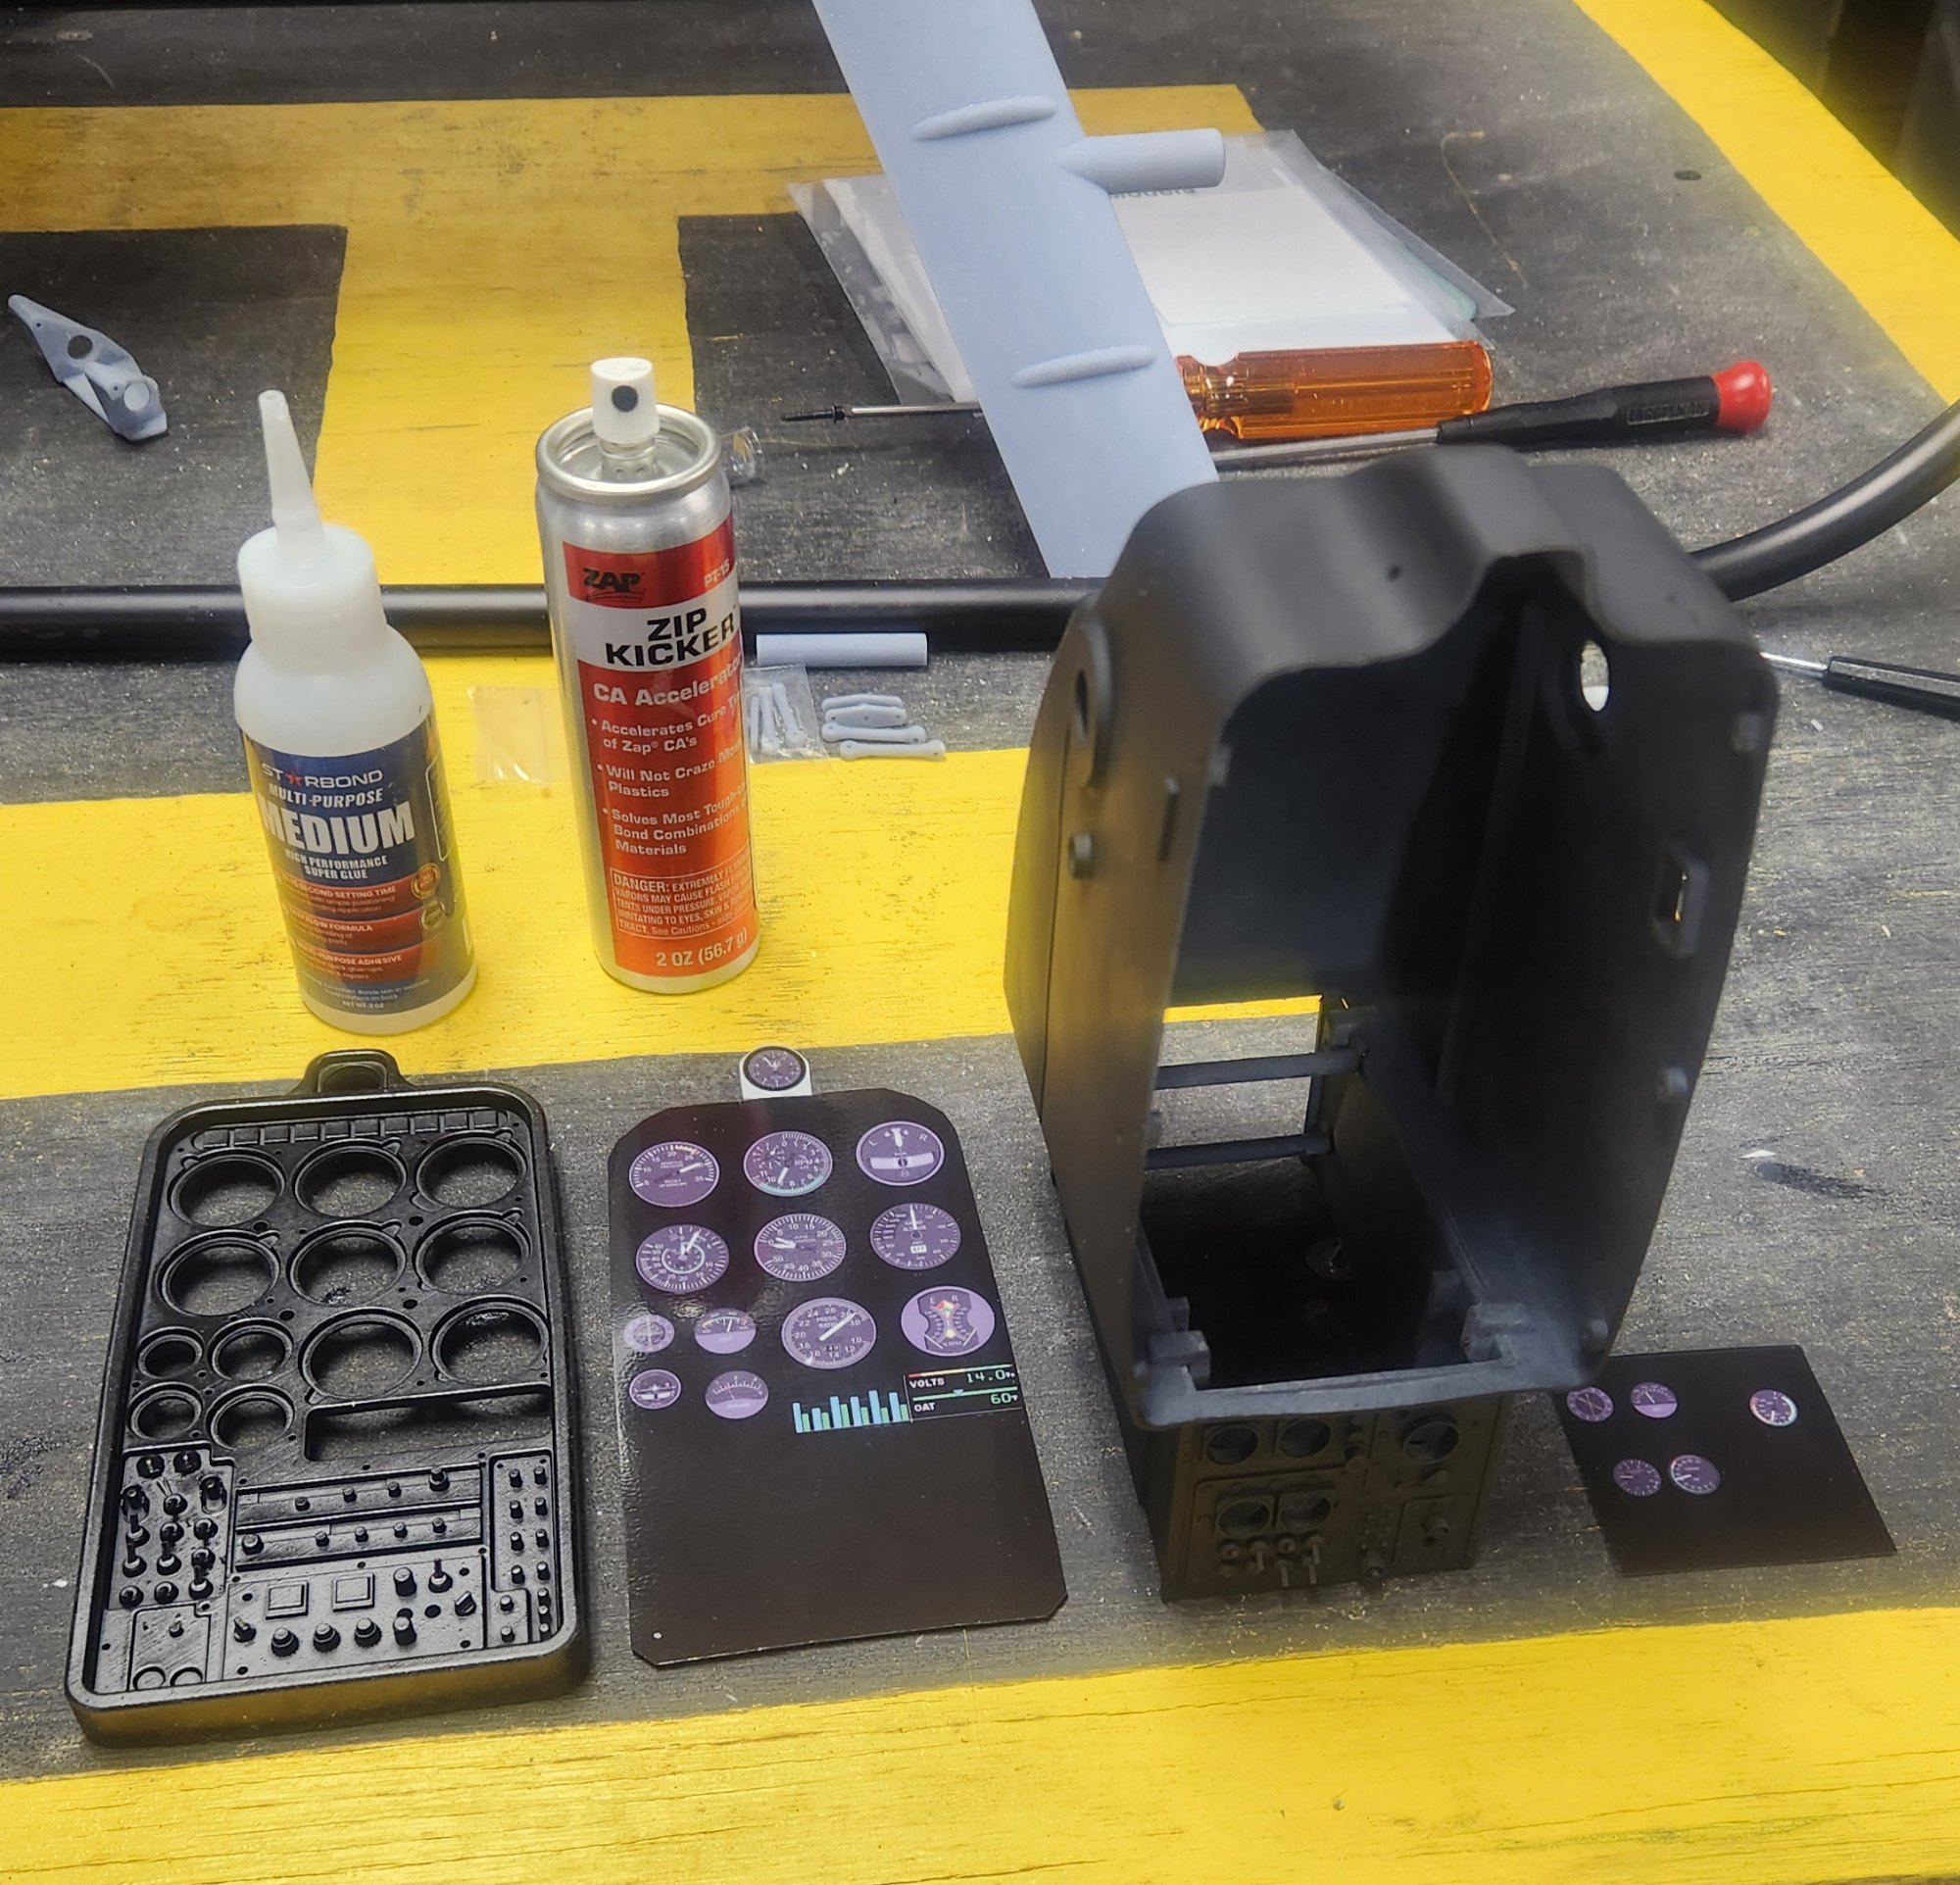
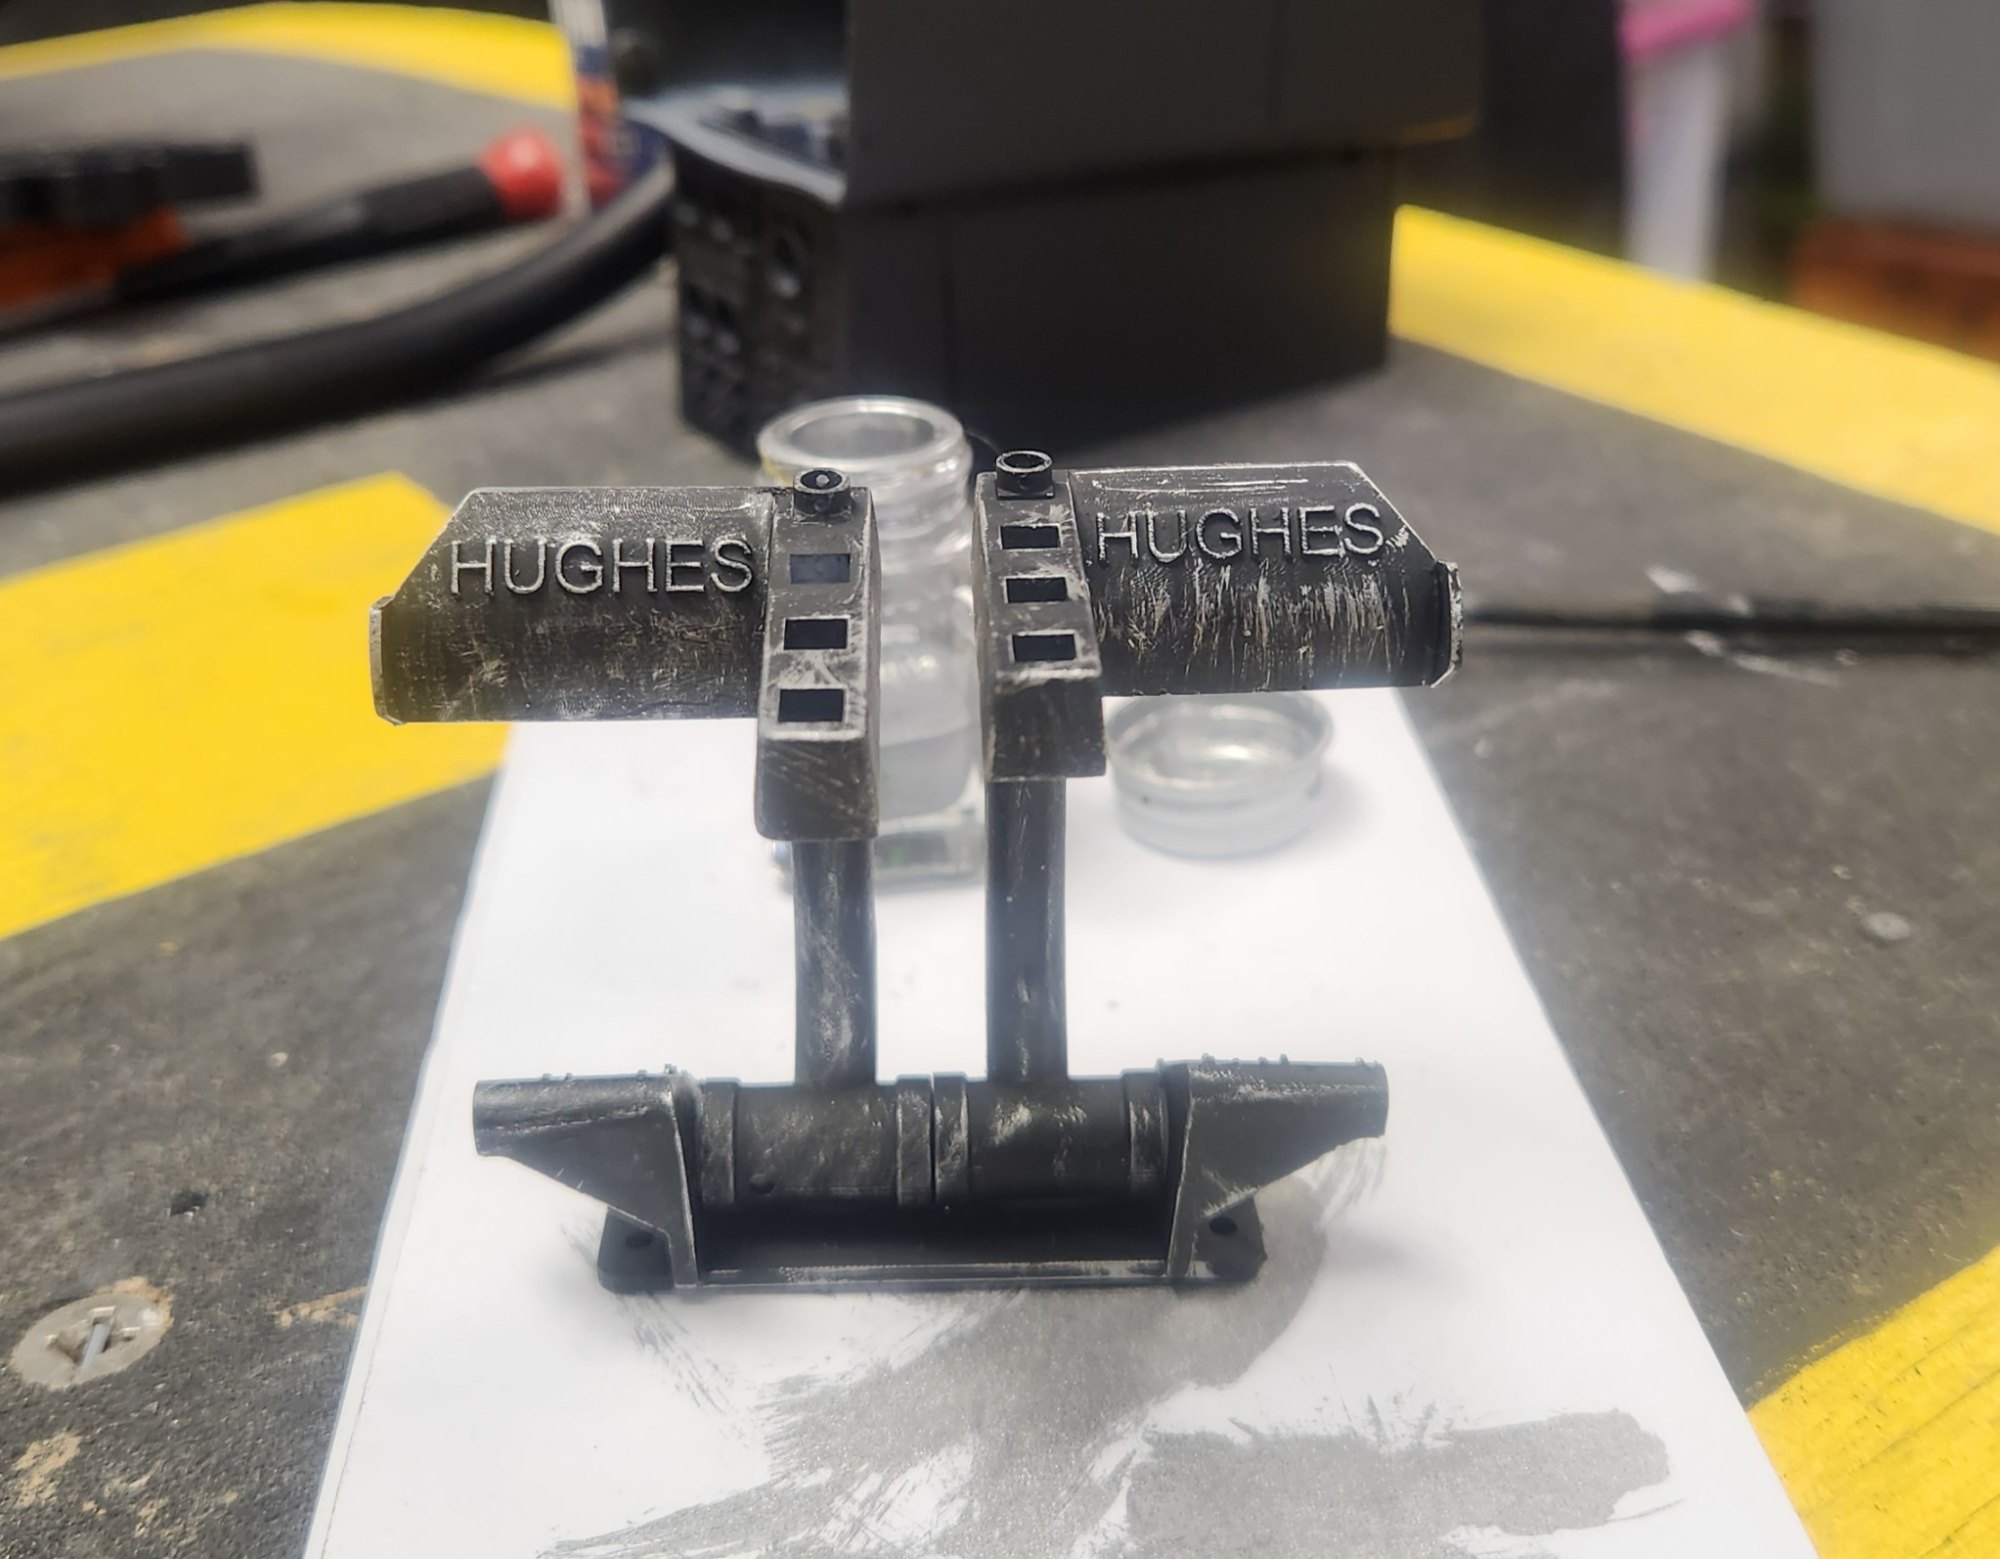
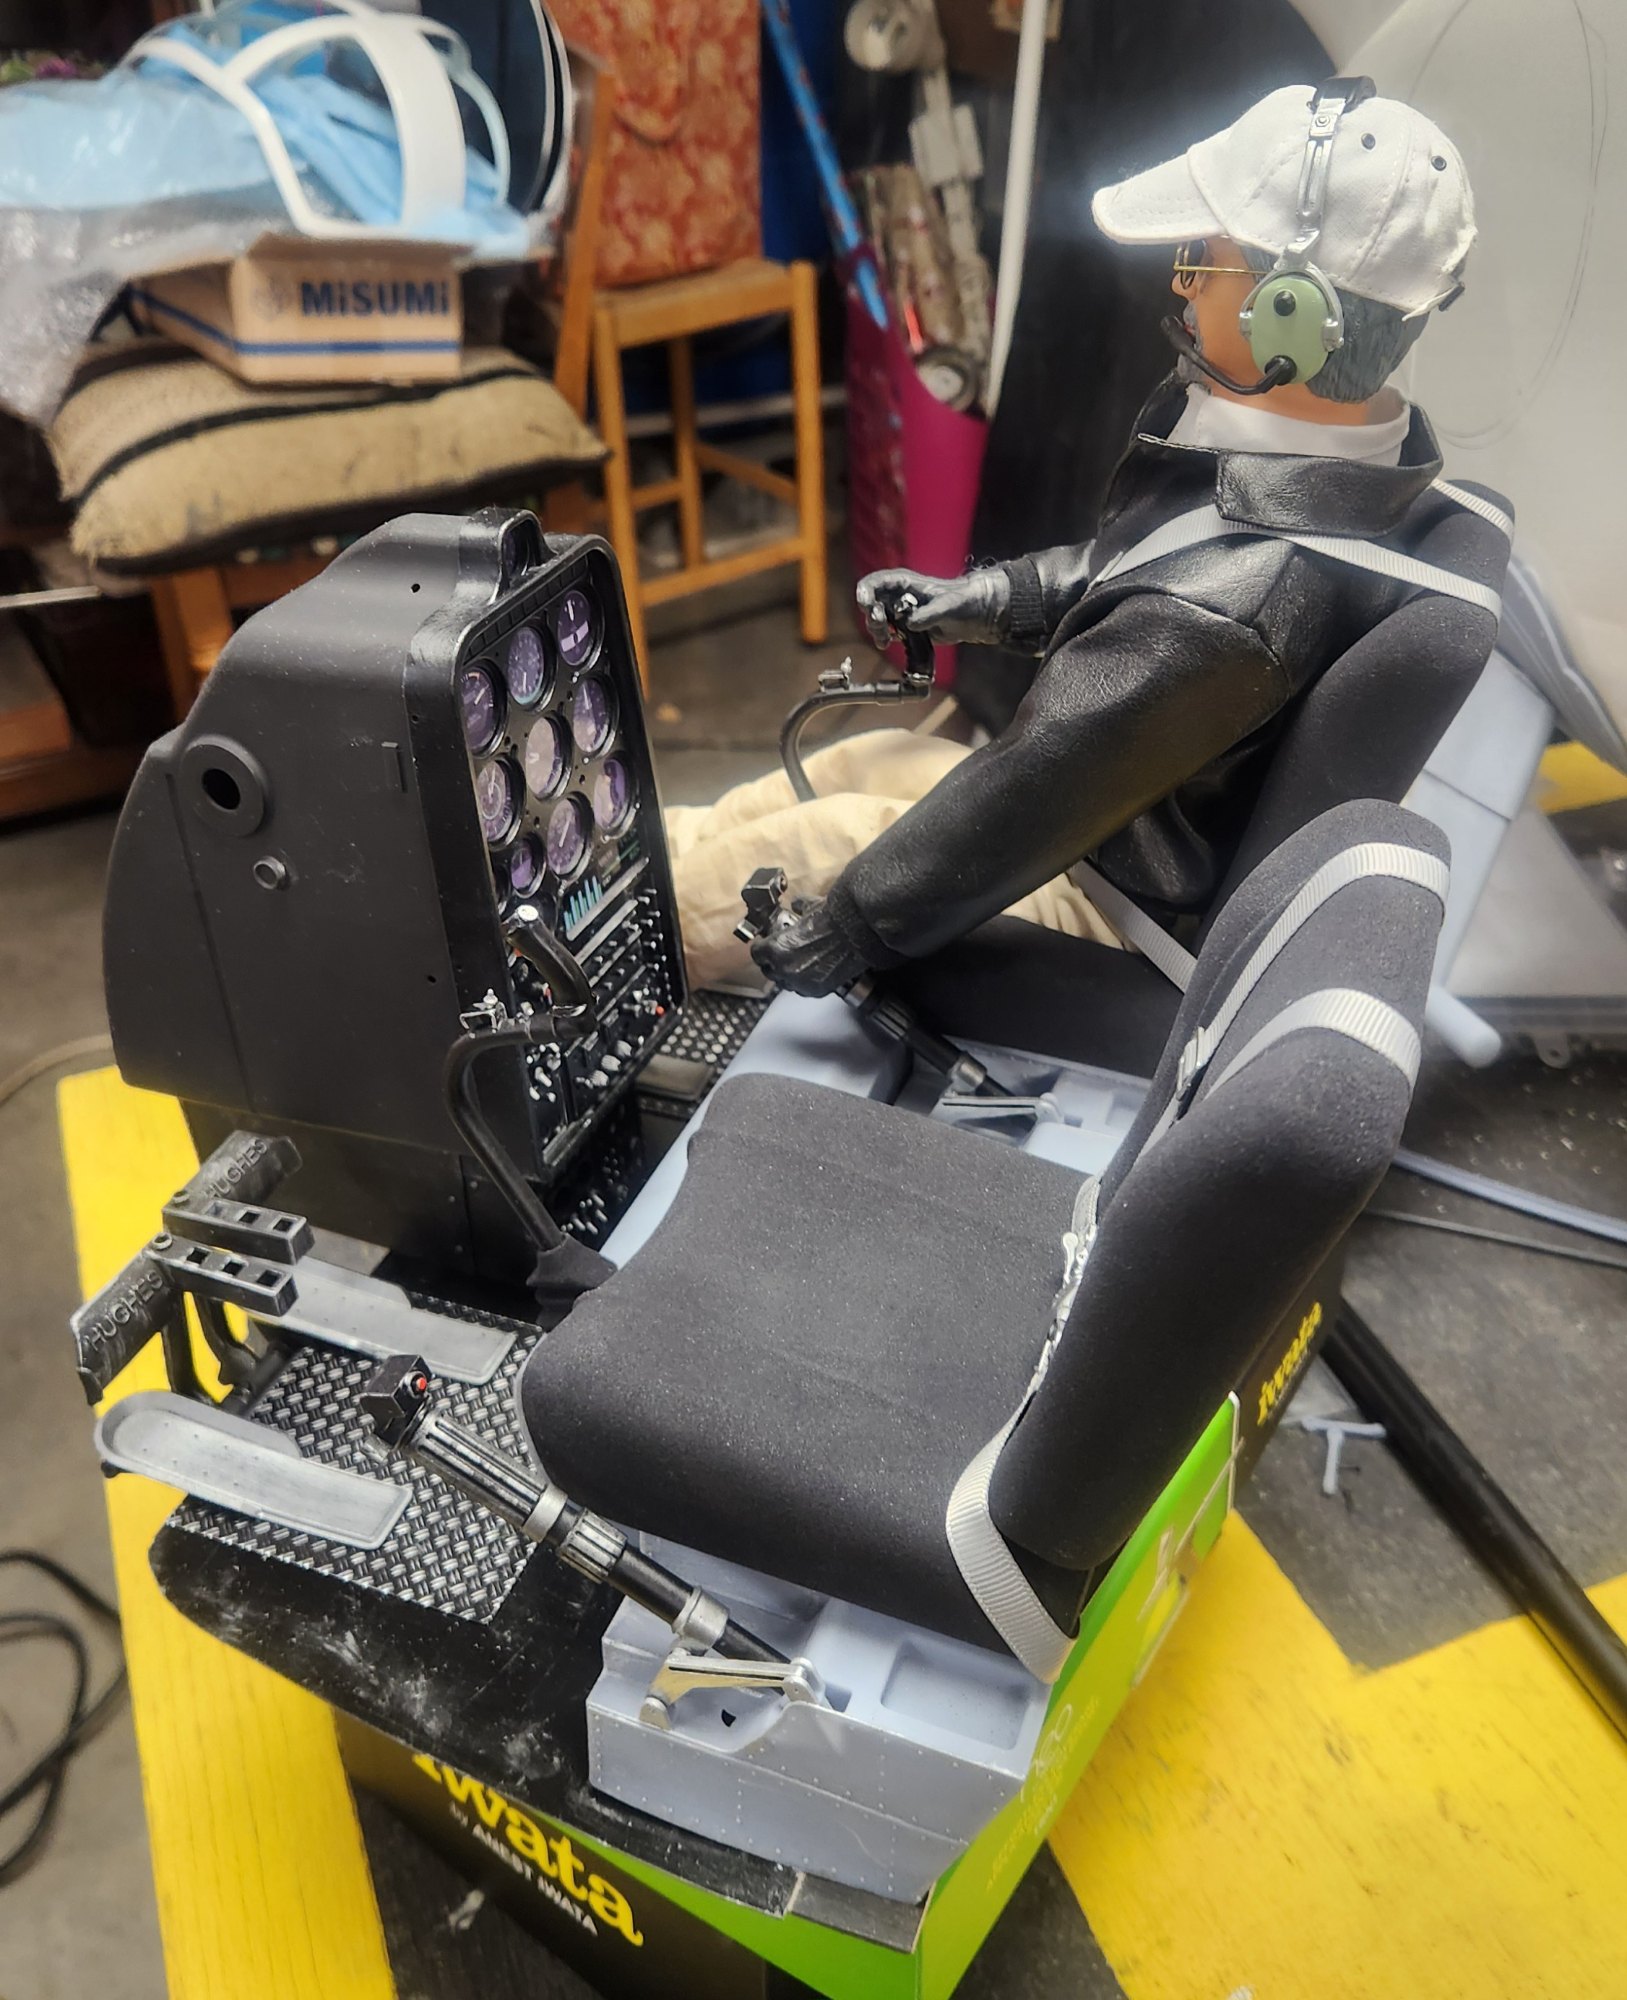
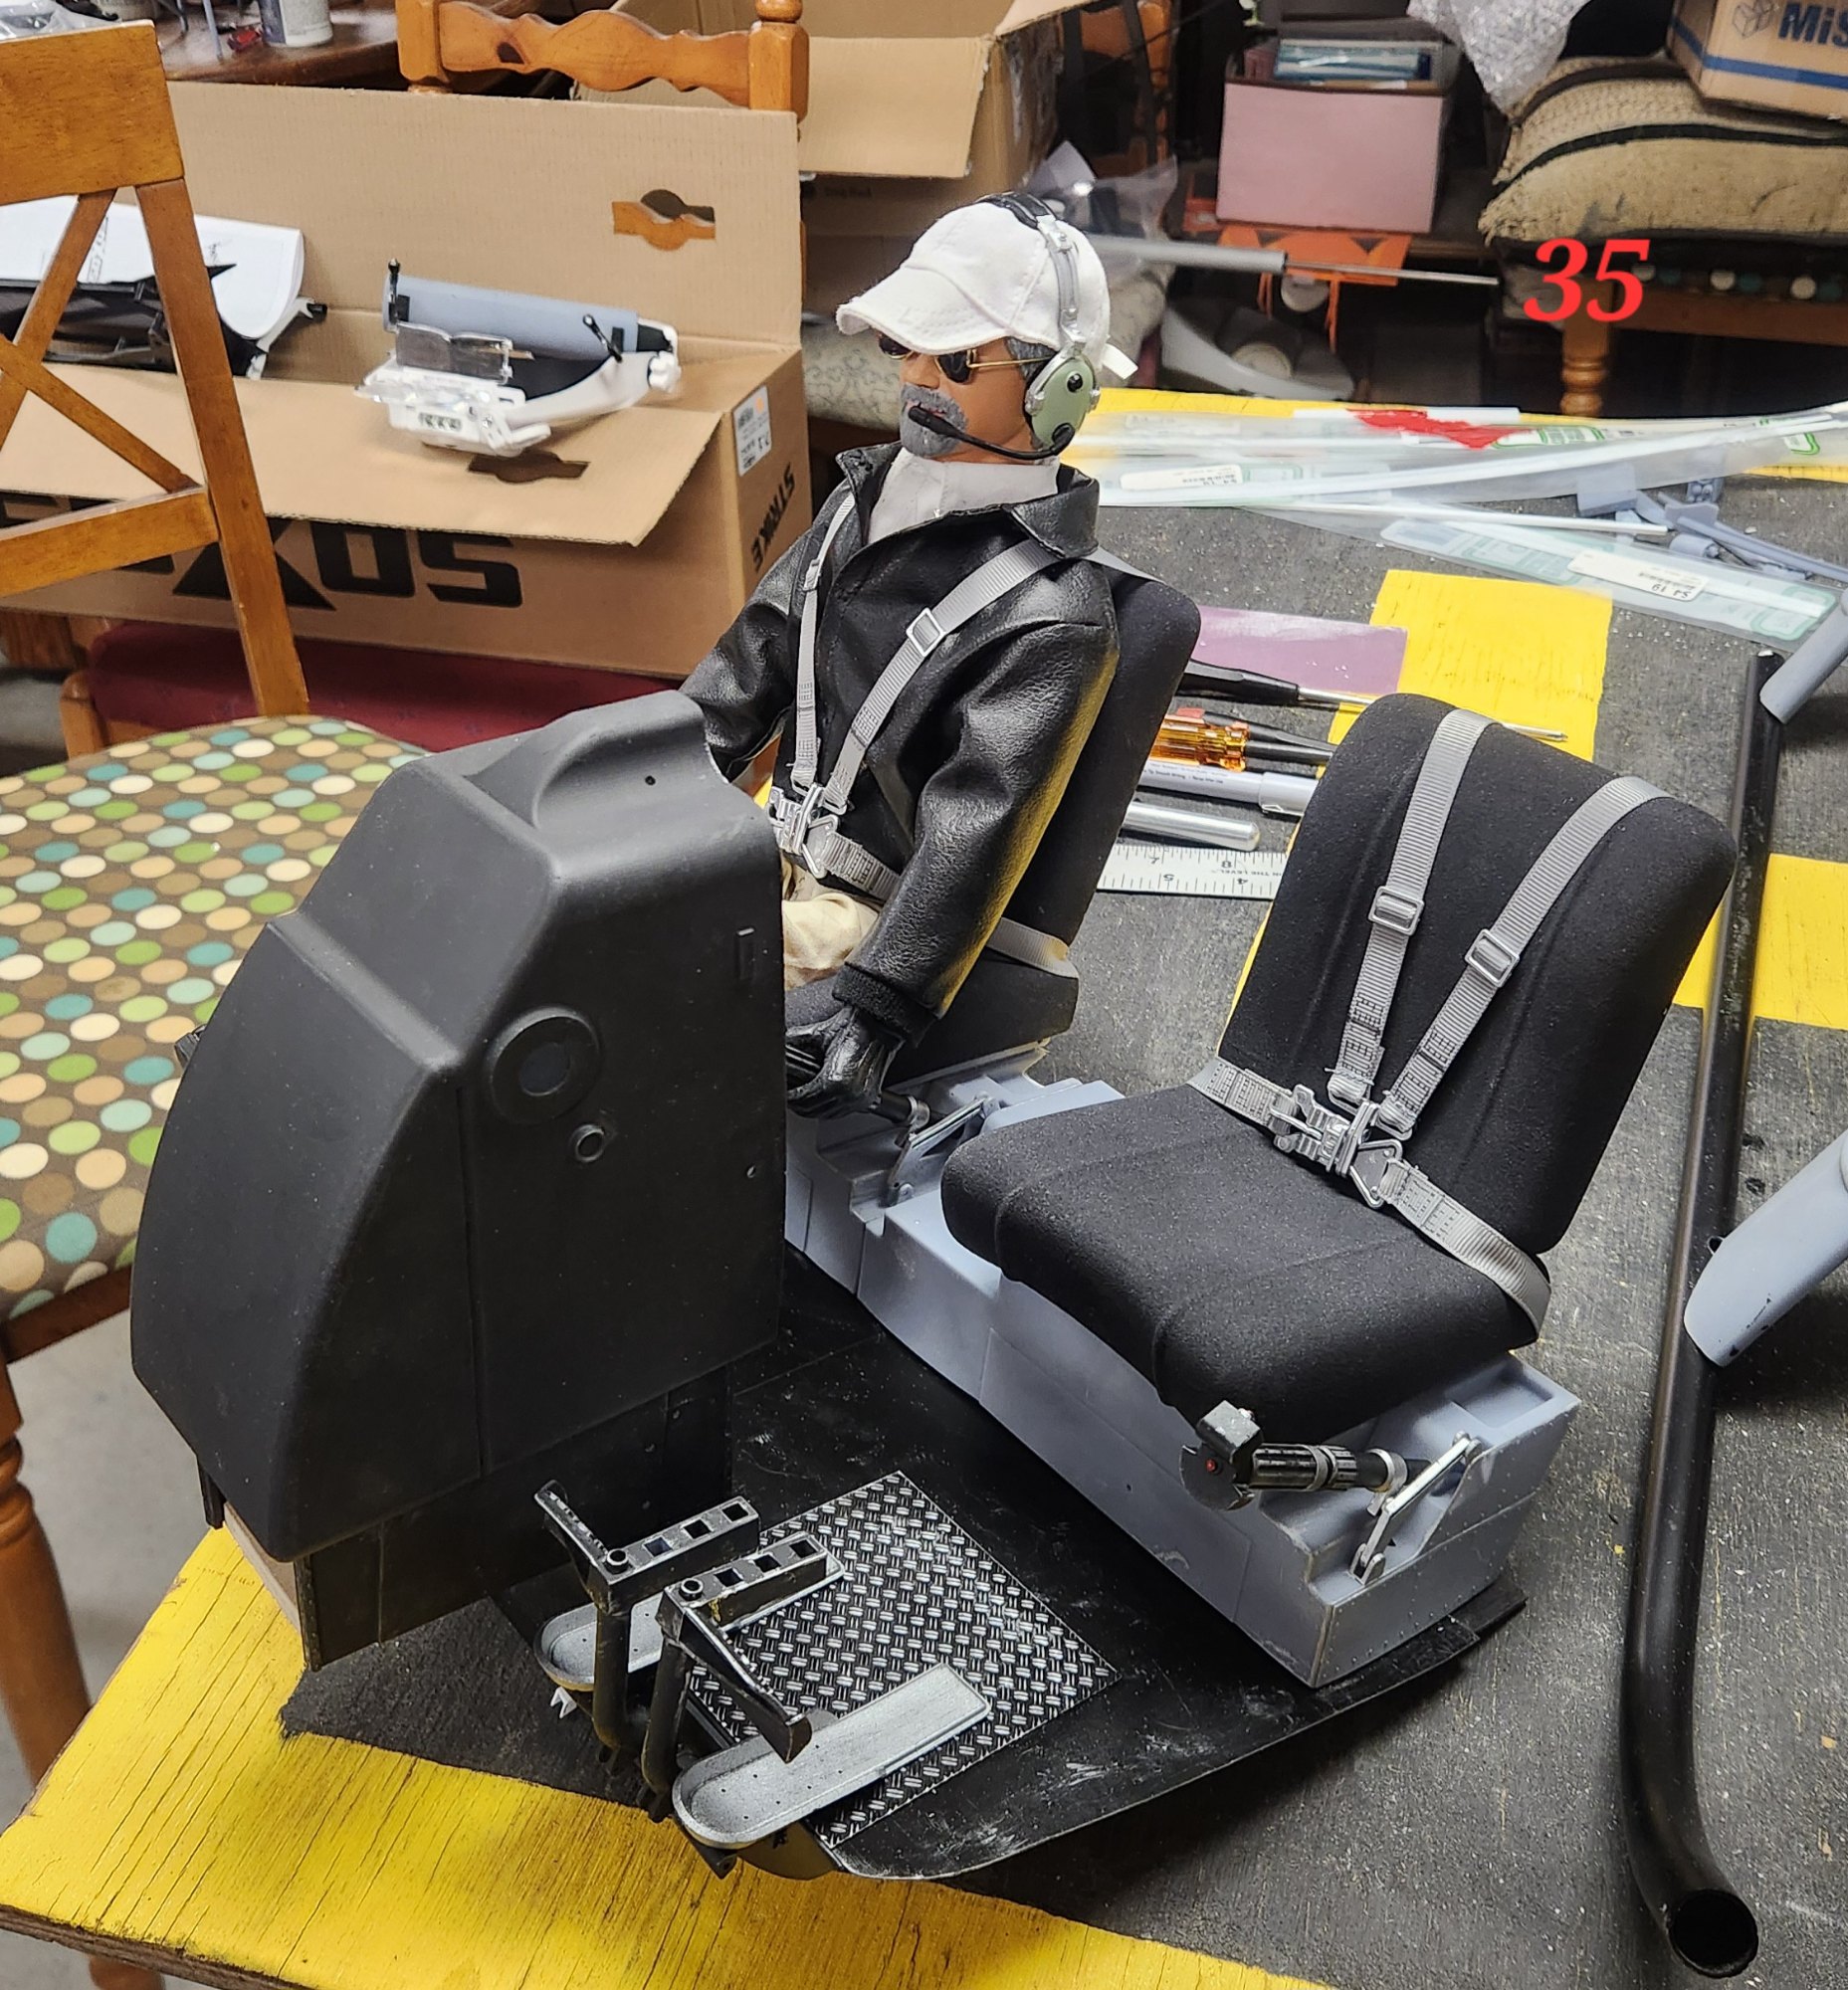
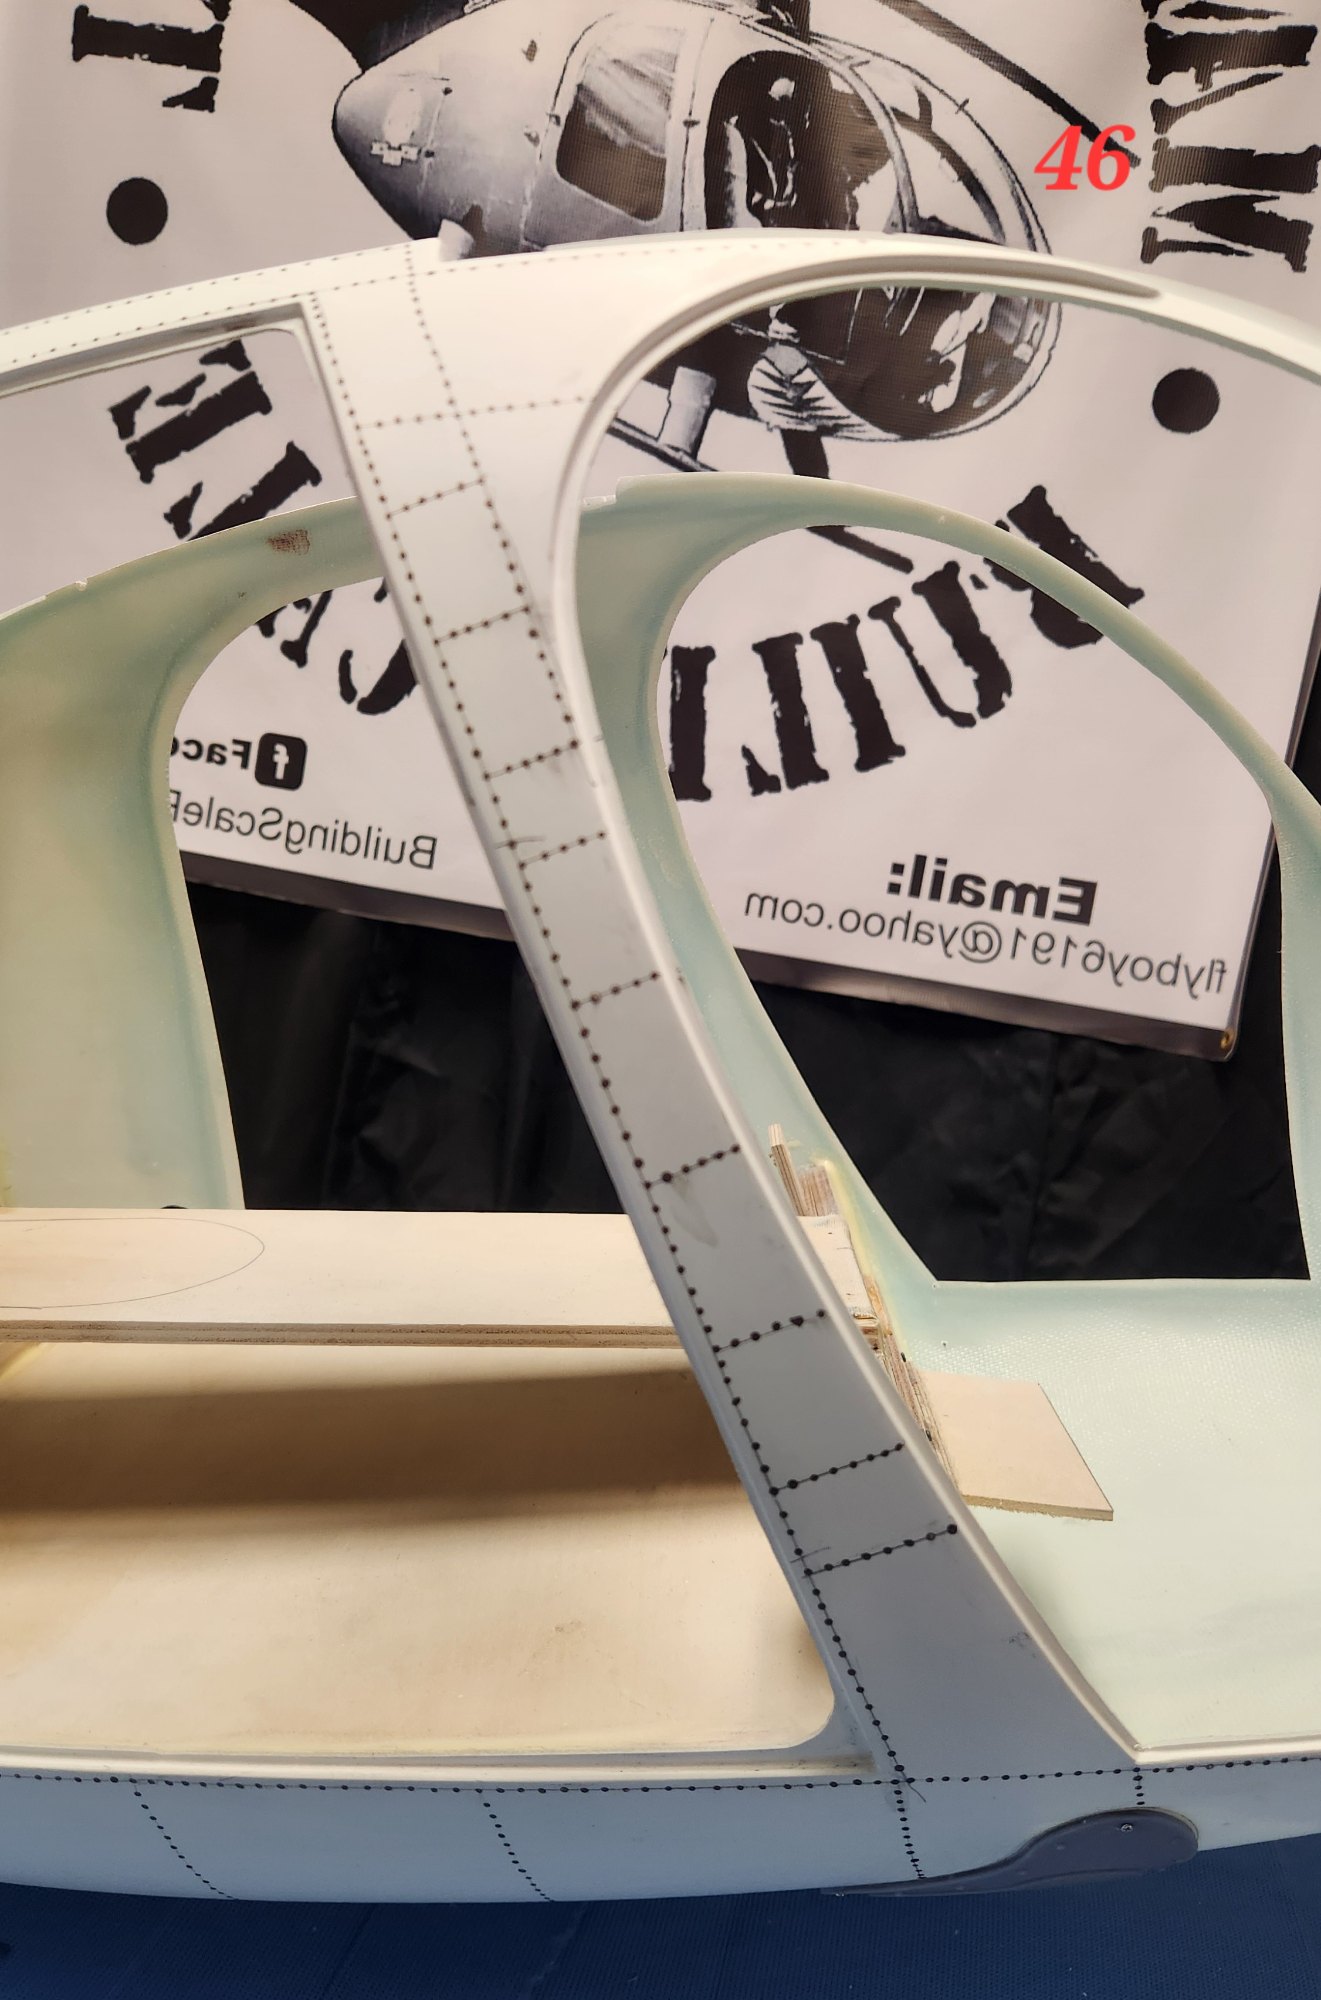
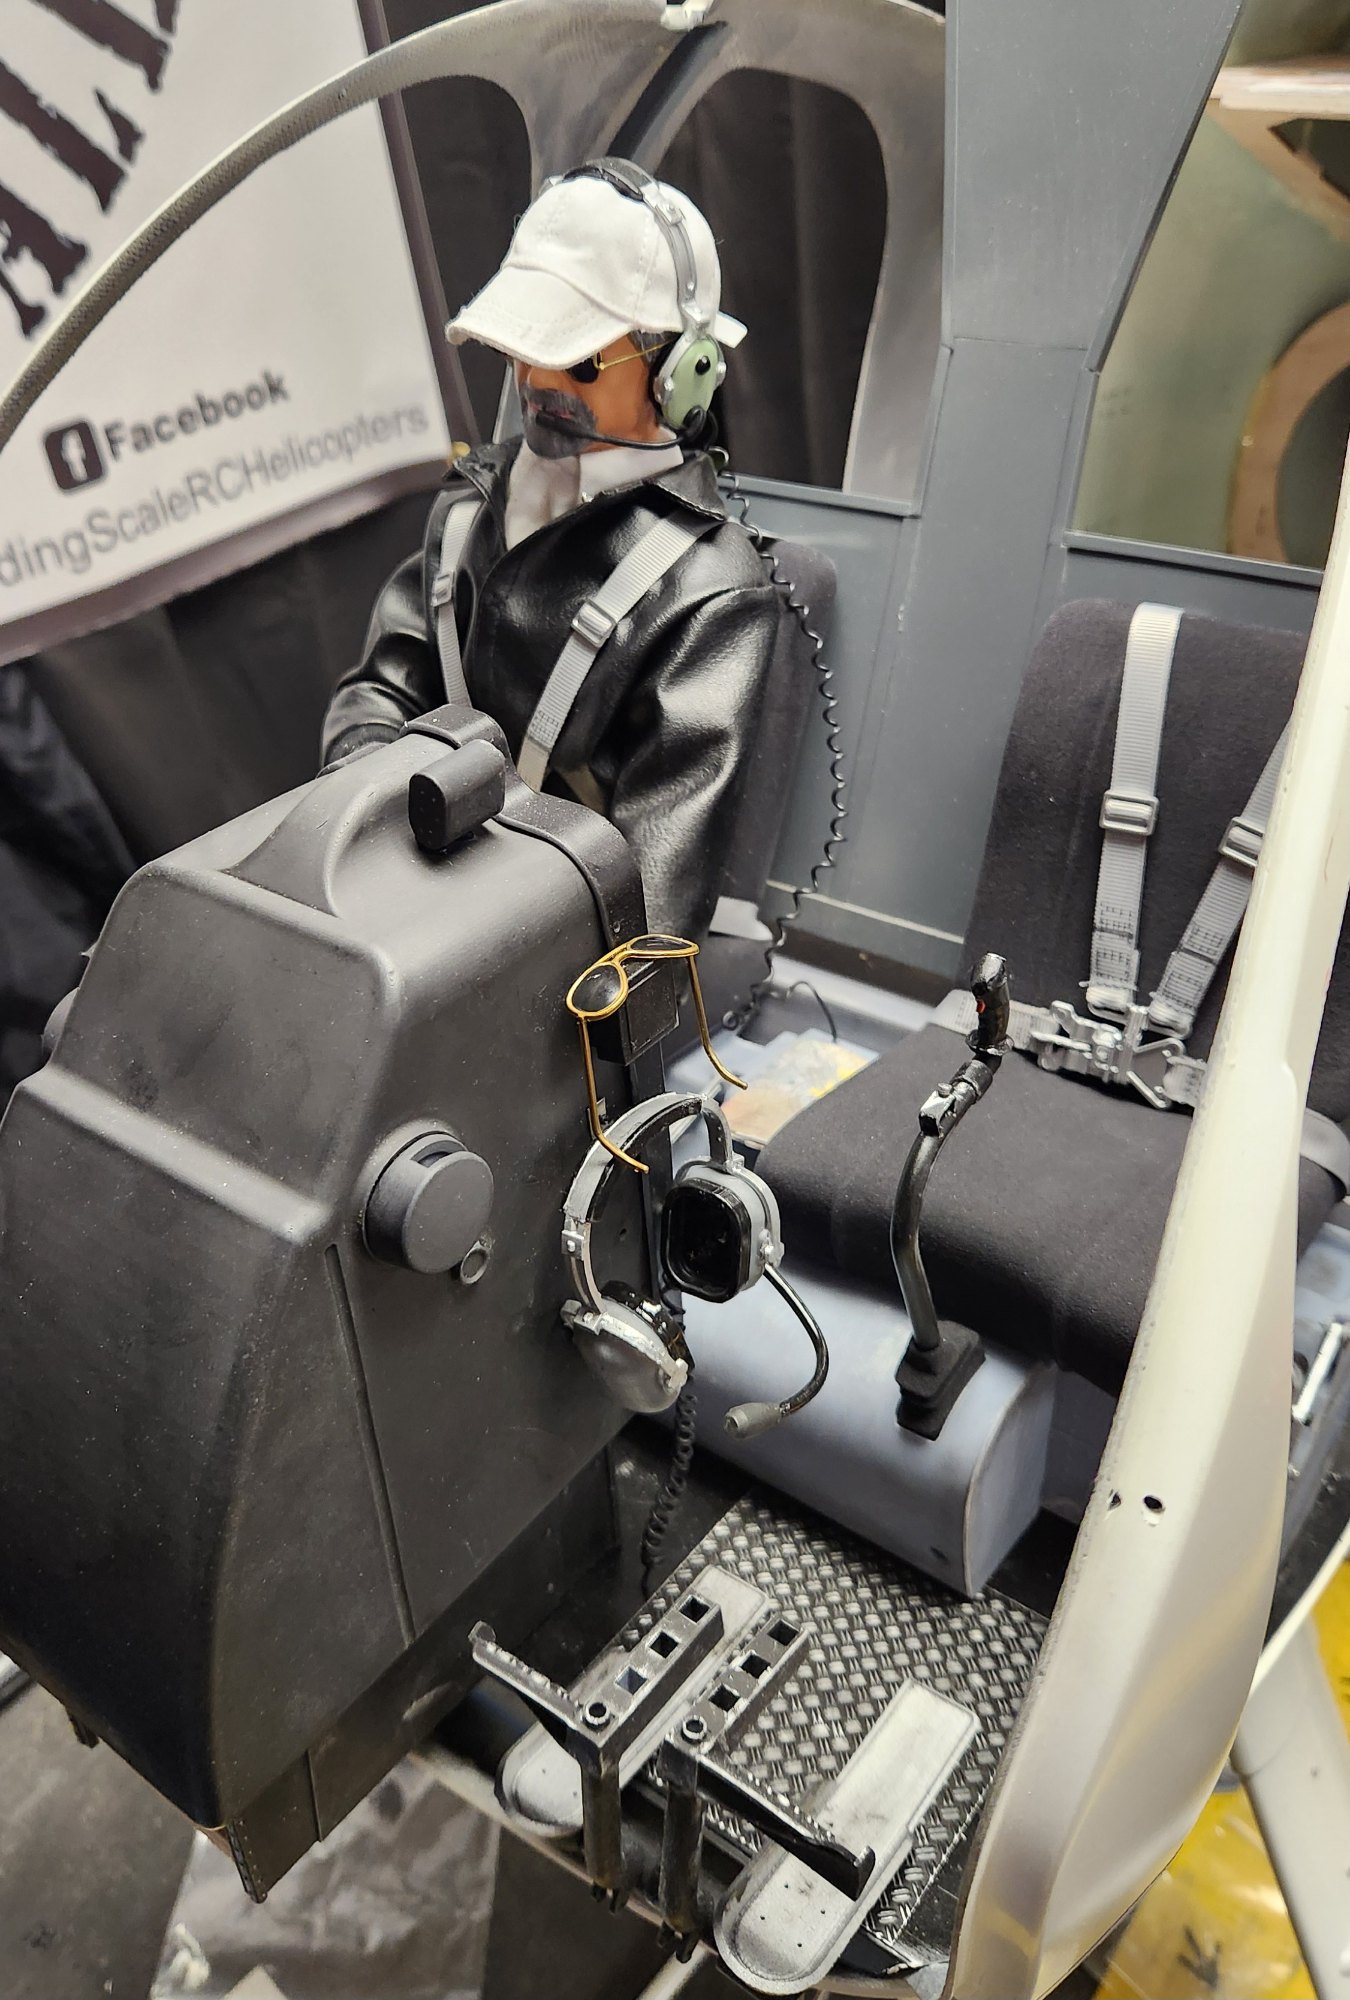
I started building the woodwork for the cockpit floor and cockpit bulkhead. I wanted the entire cockpit to be easily removable in one piece. I ordered everything I could from SCALE-PRINT both interior and exterior for this model trying to keep as accurate as possible to the 500C and surplus OH-6 that I had flown for a few hours many years ago.
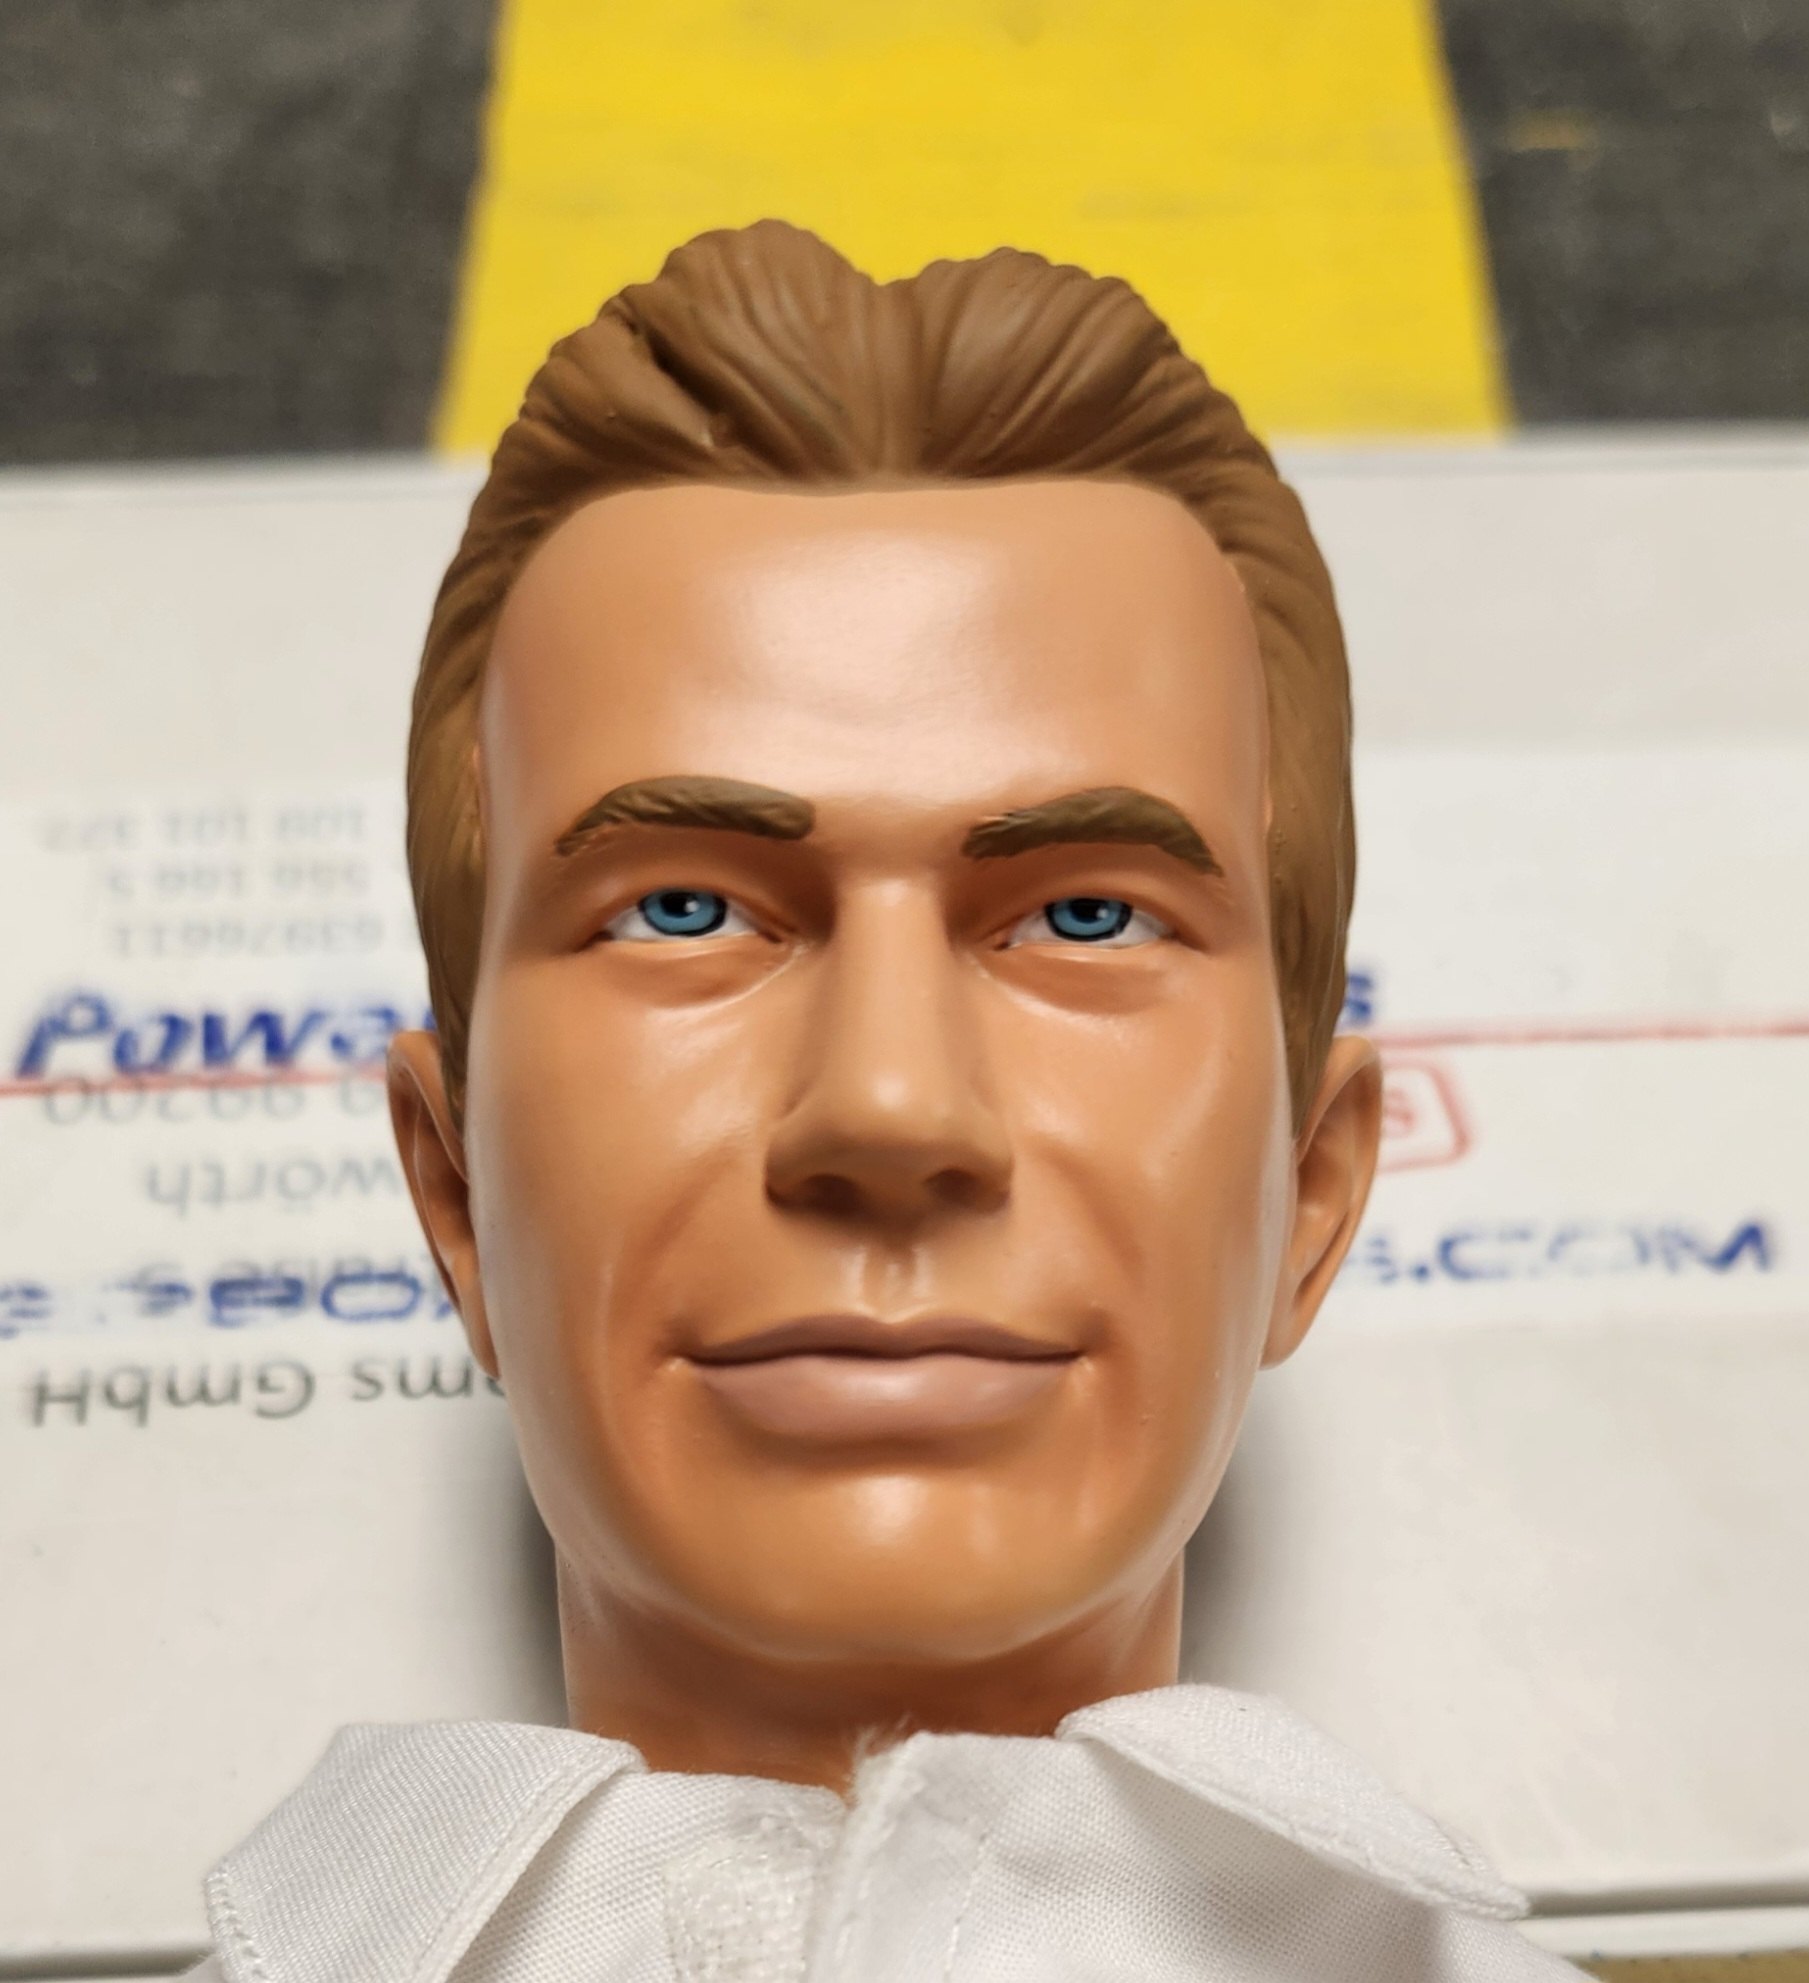
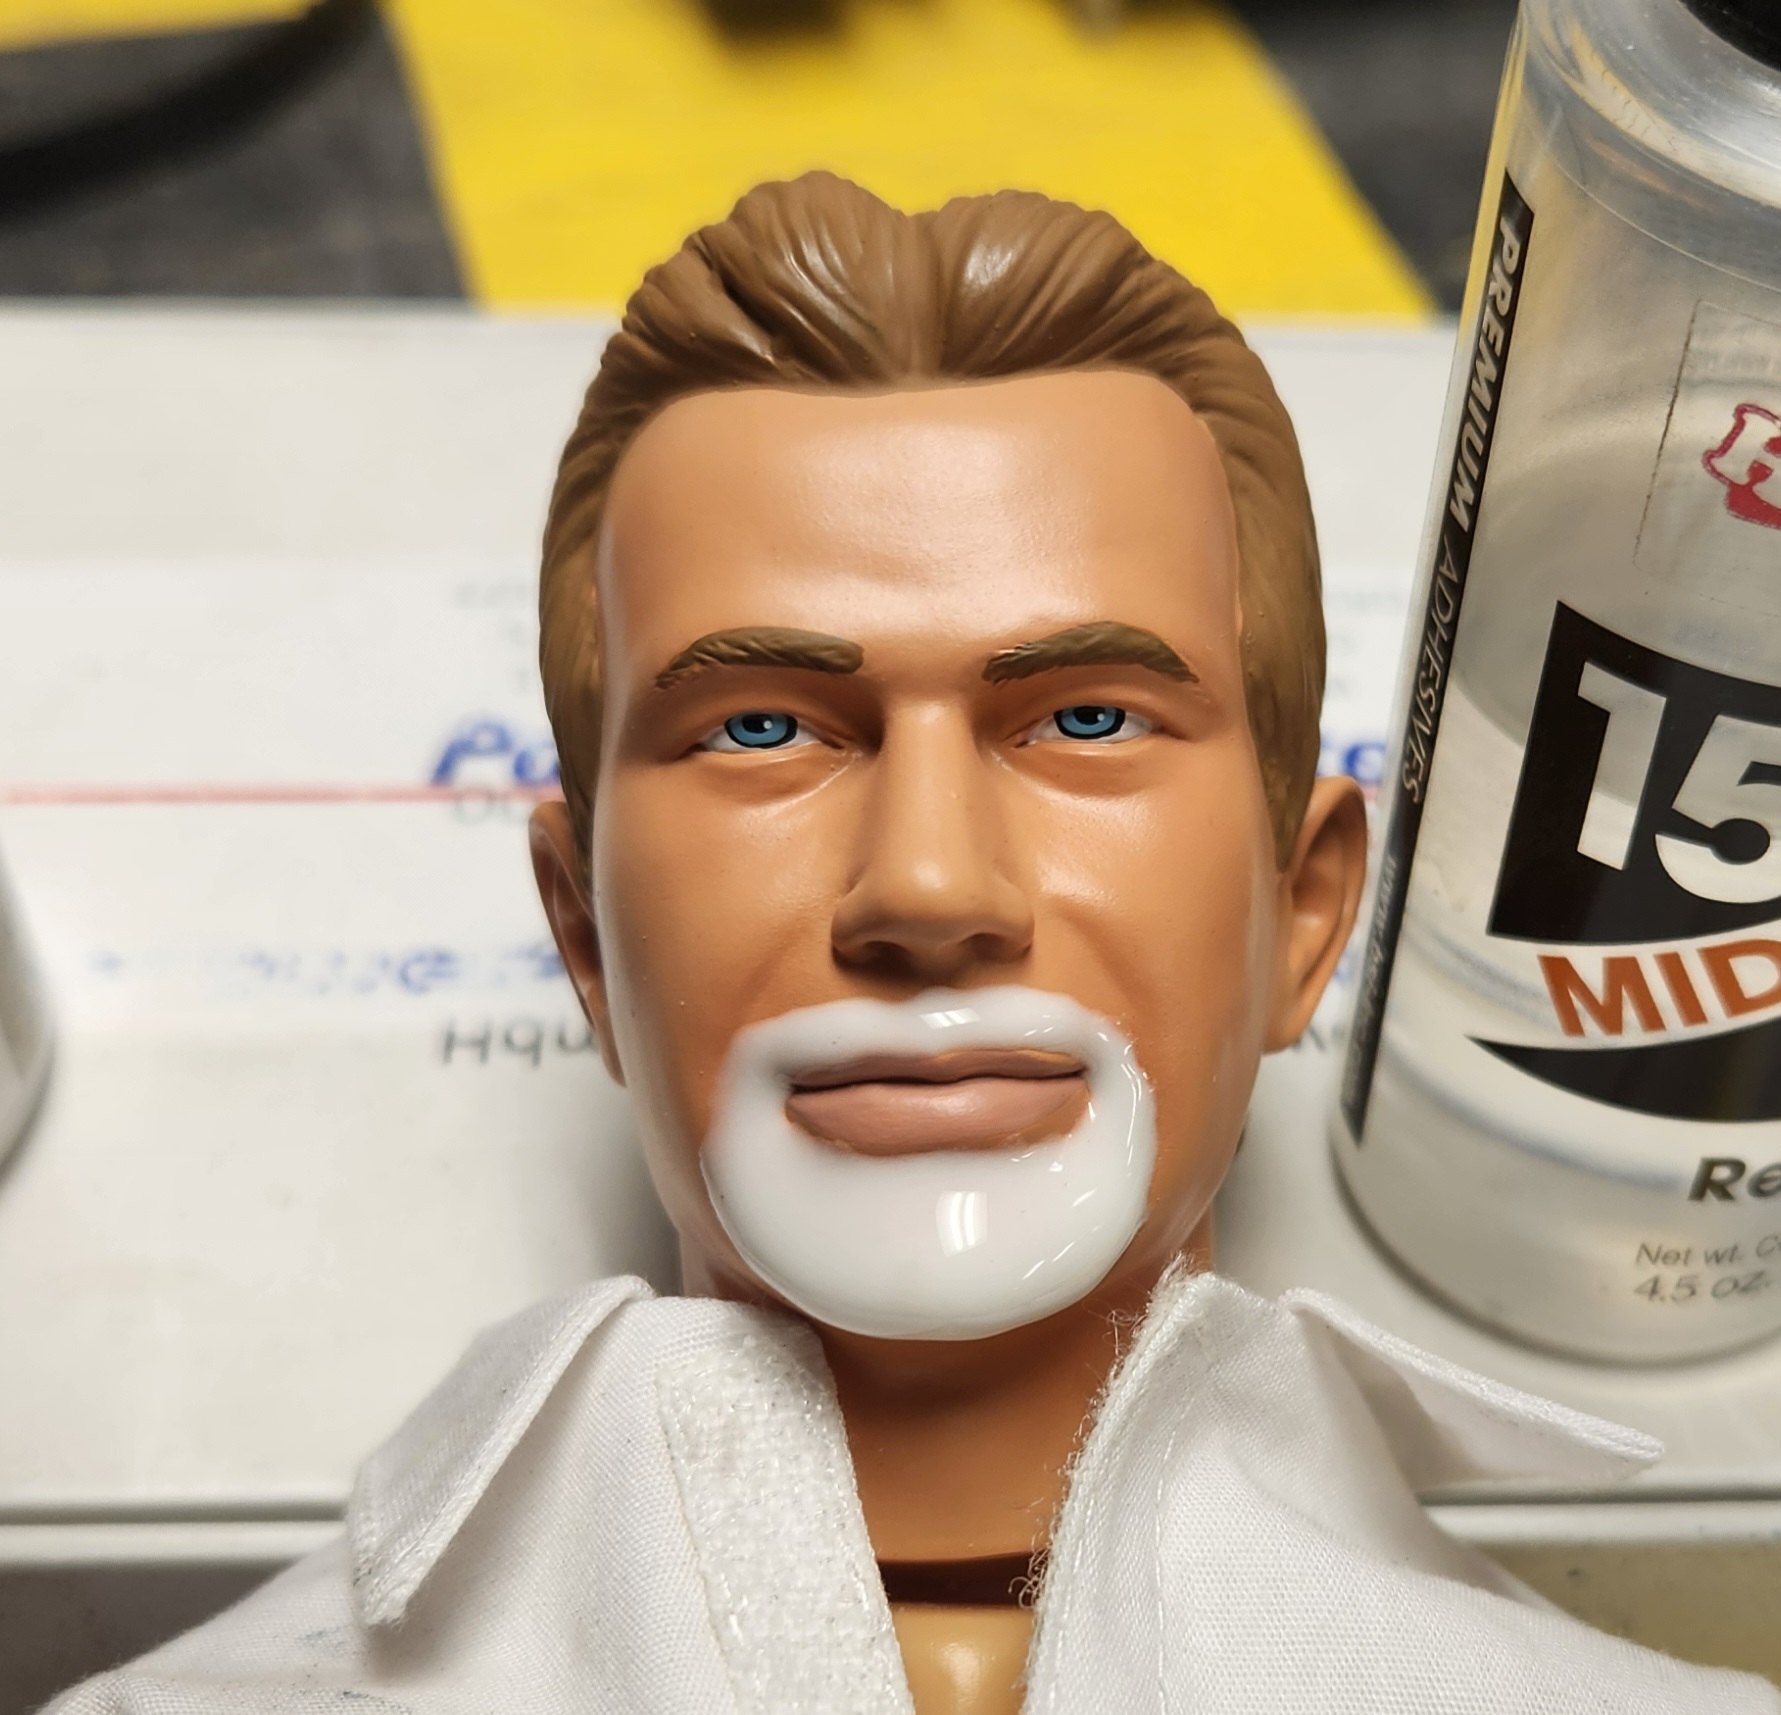
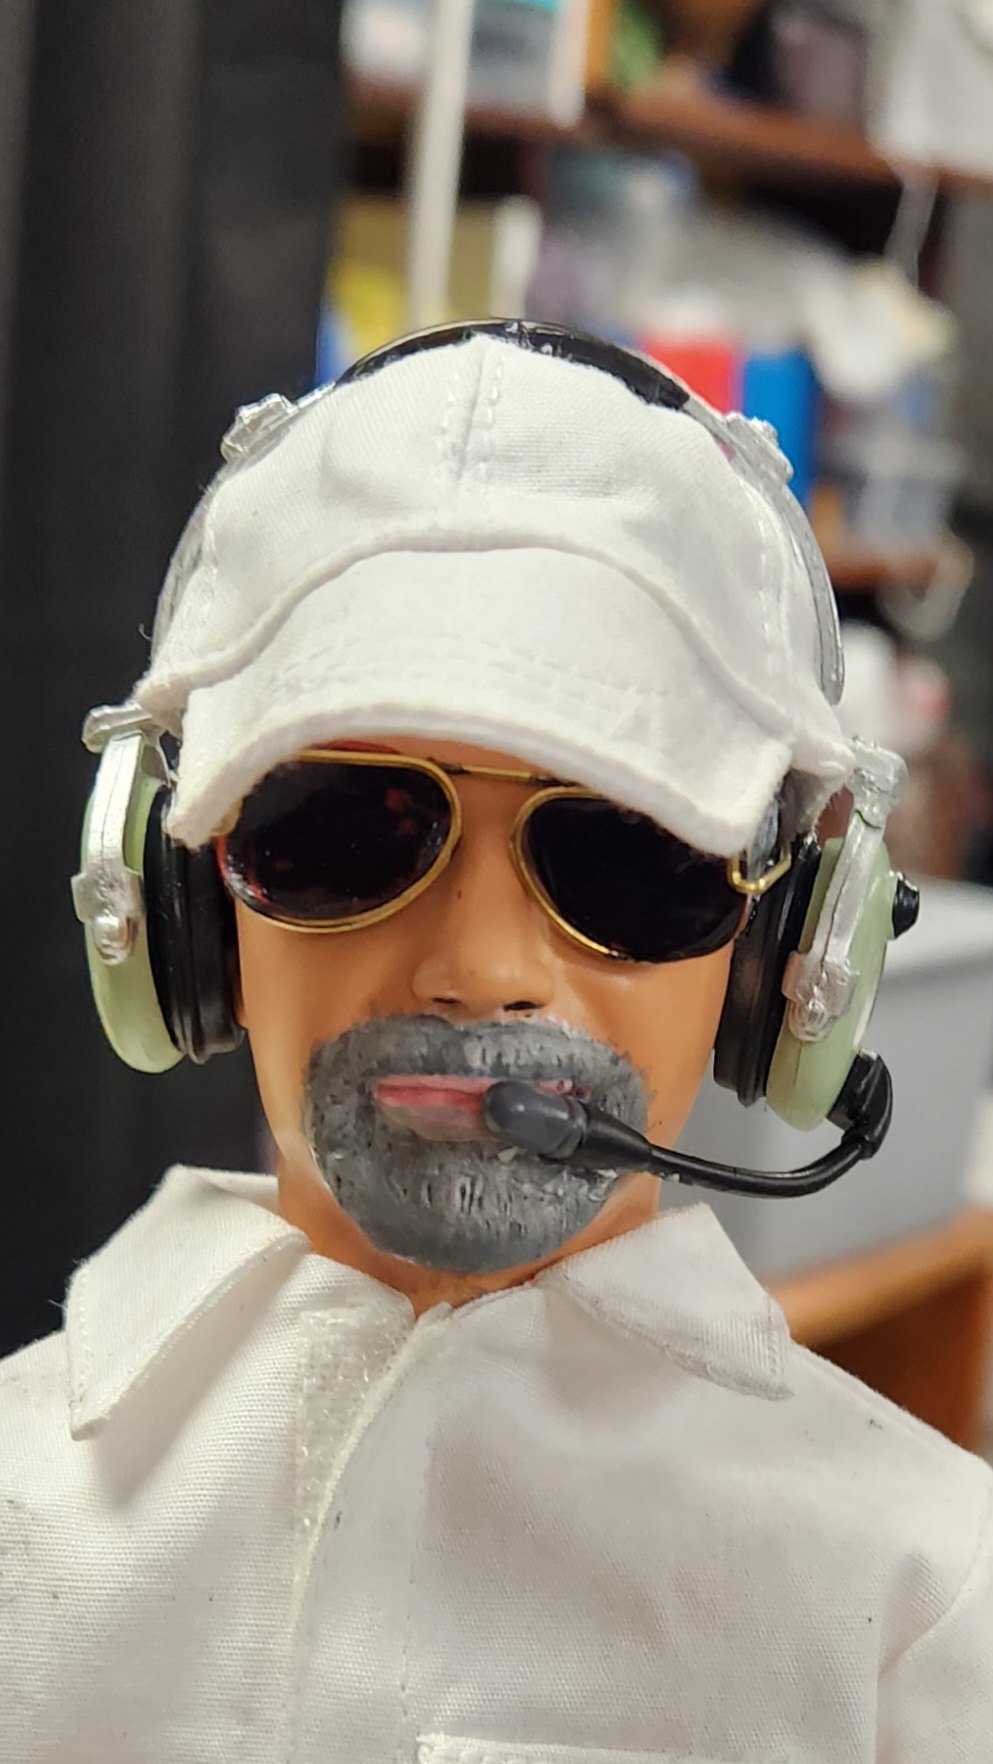
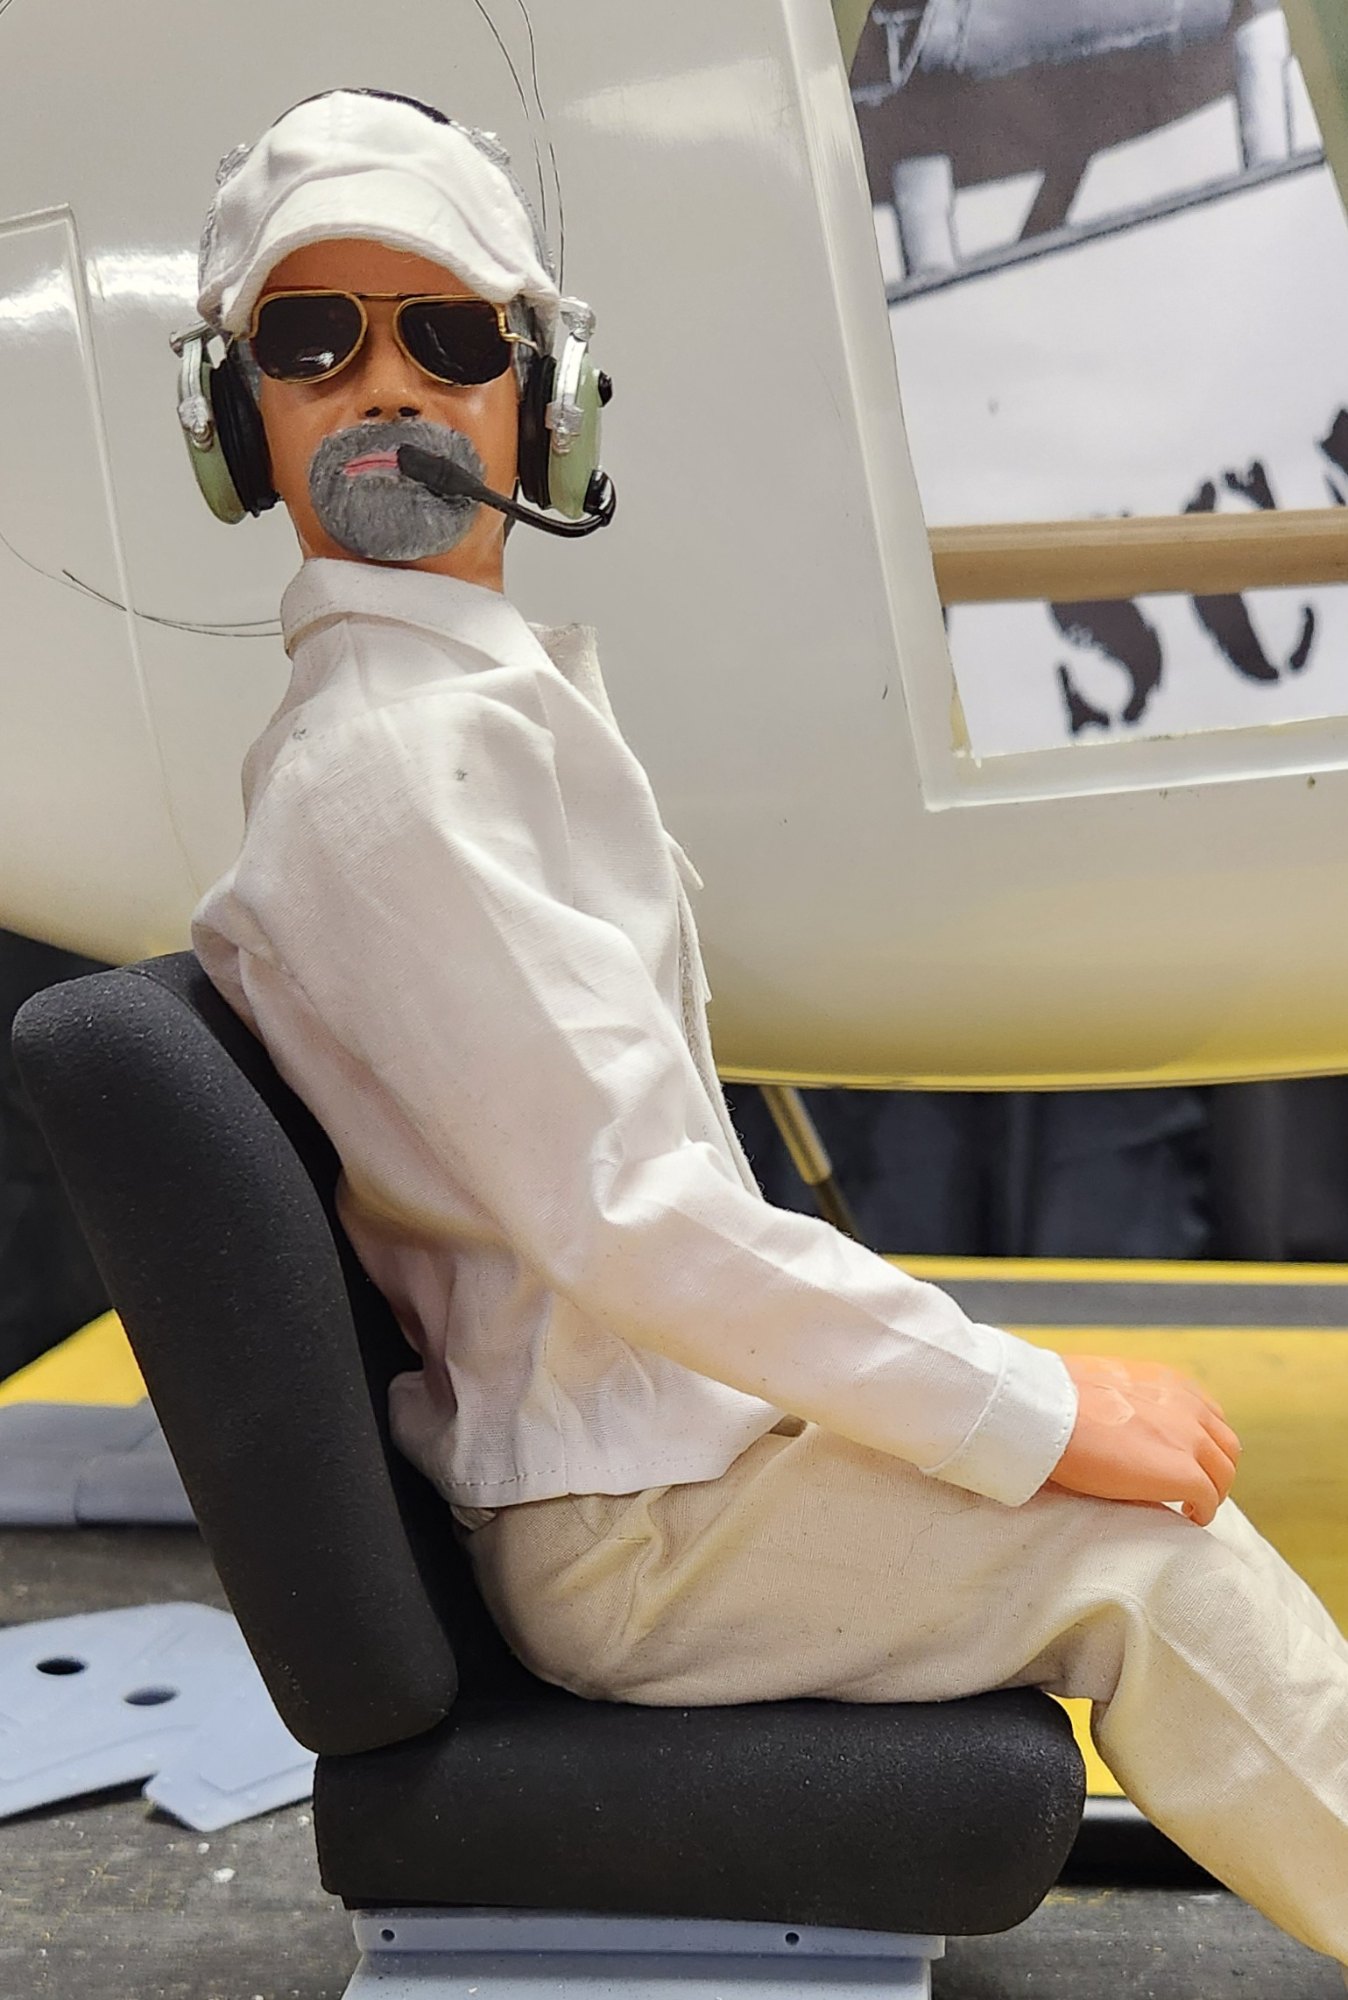
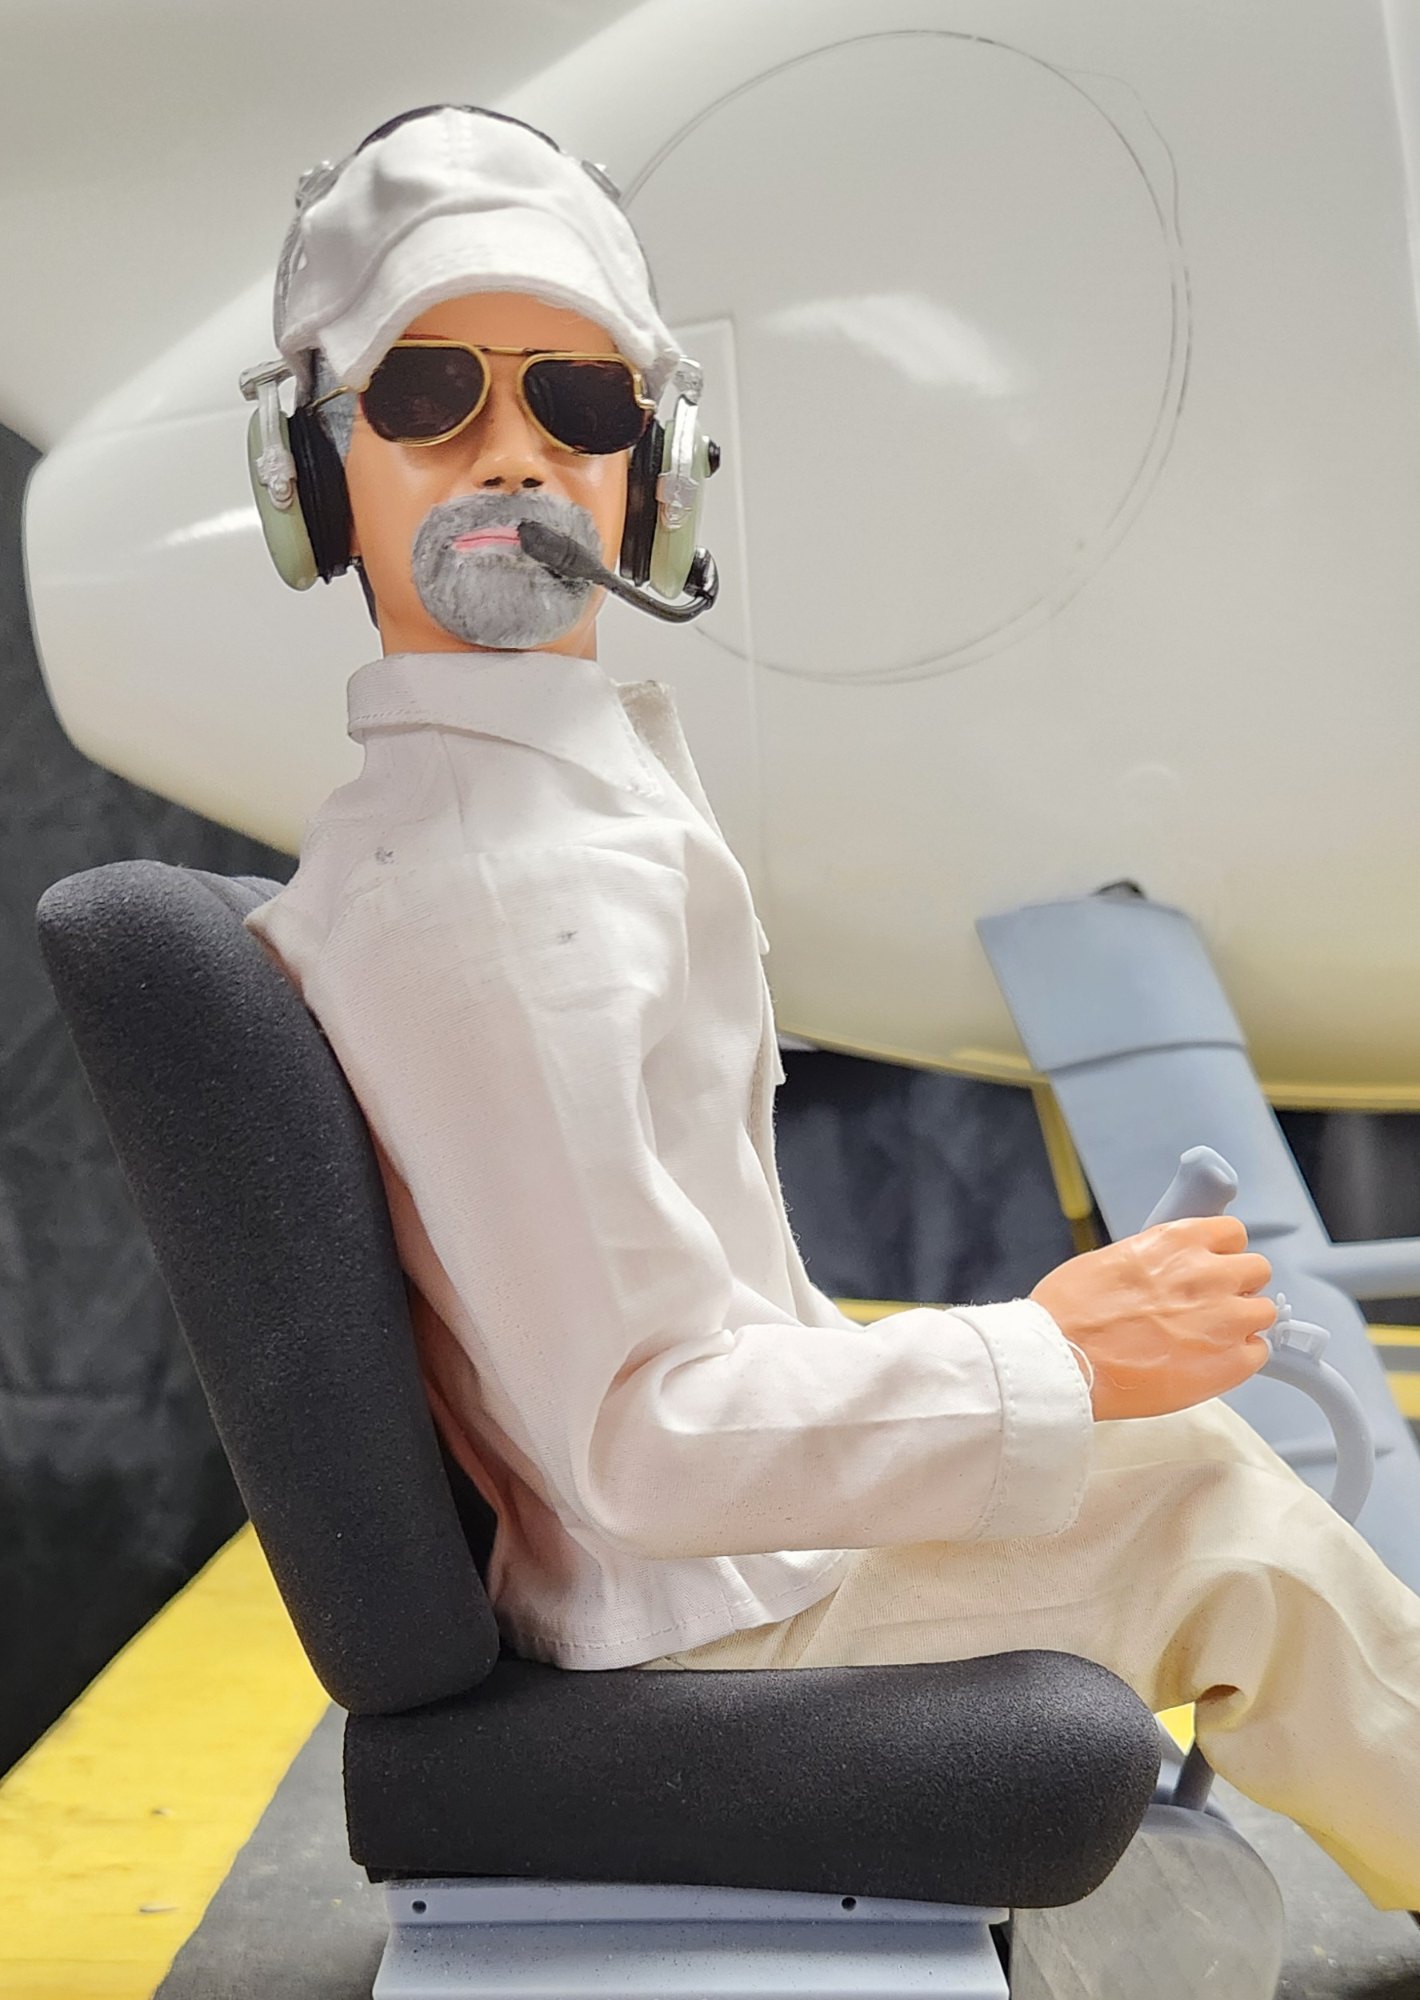
The pilot is a 1/4 scale "Bruce" from PremierPilots and was slightly shortened and a goatee added along with baseball cap and sunglasses.
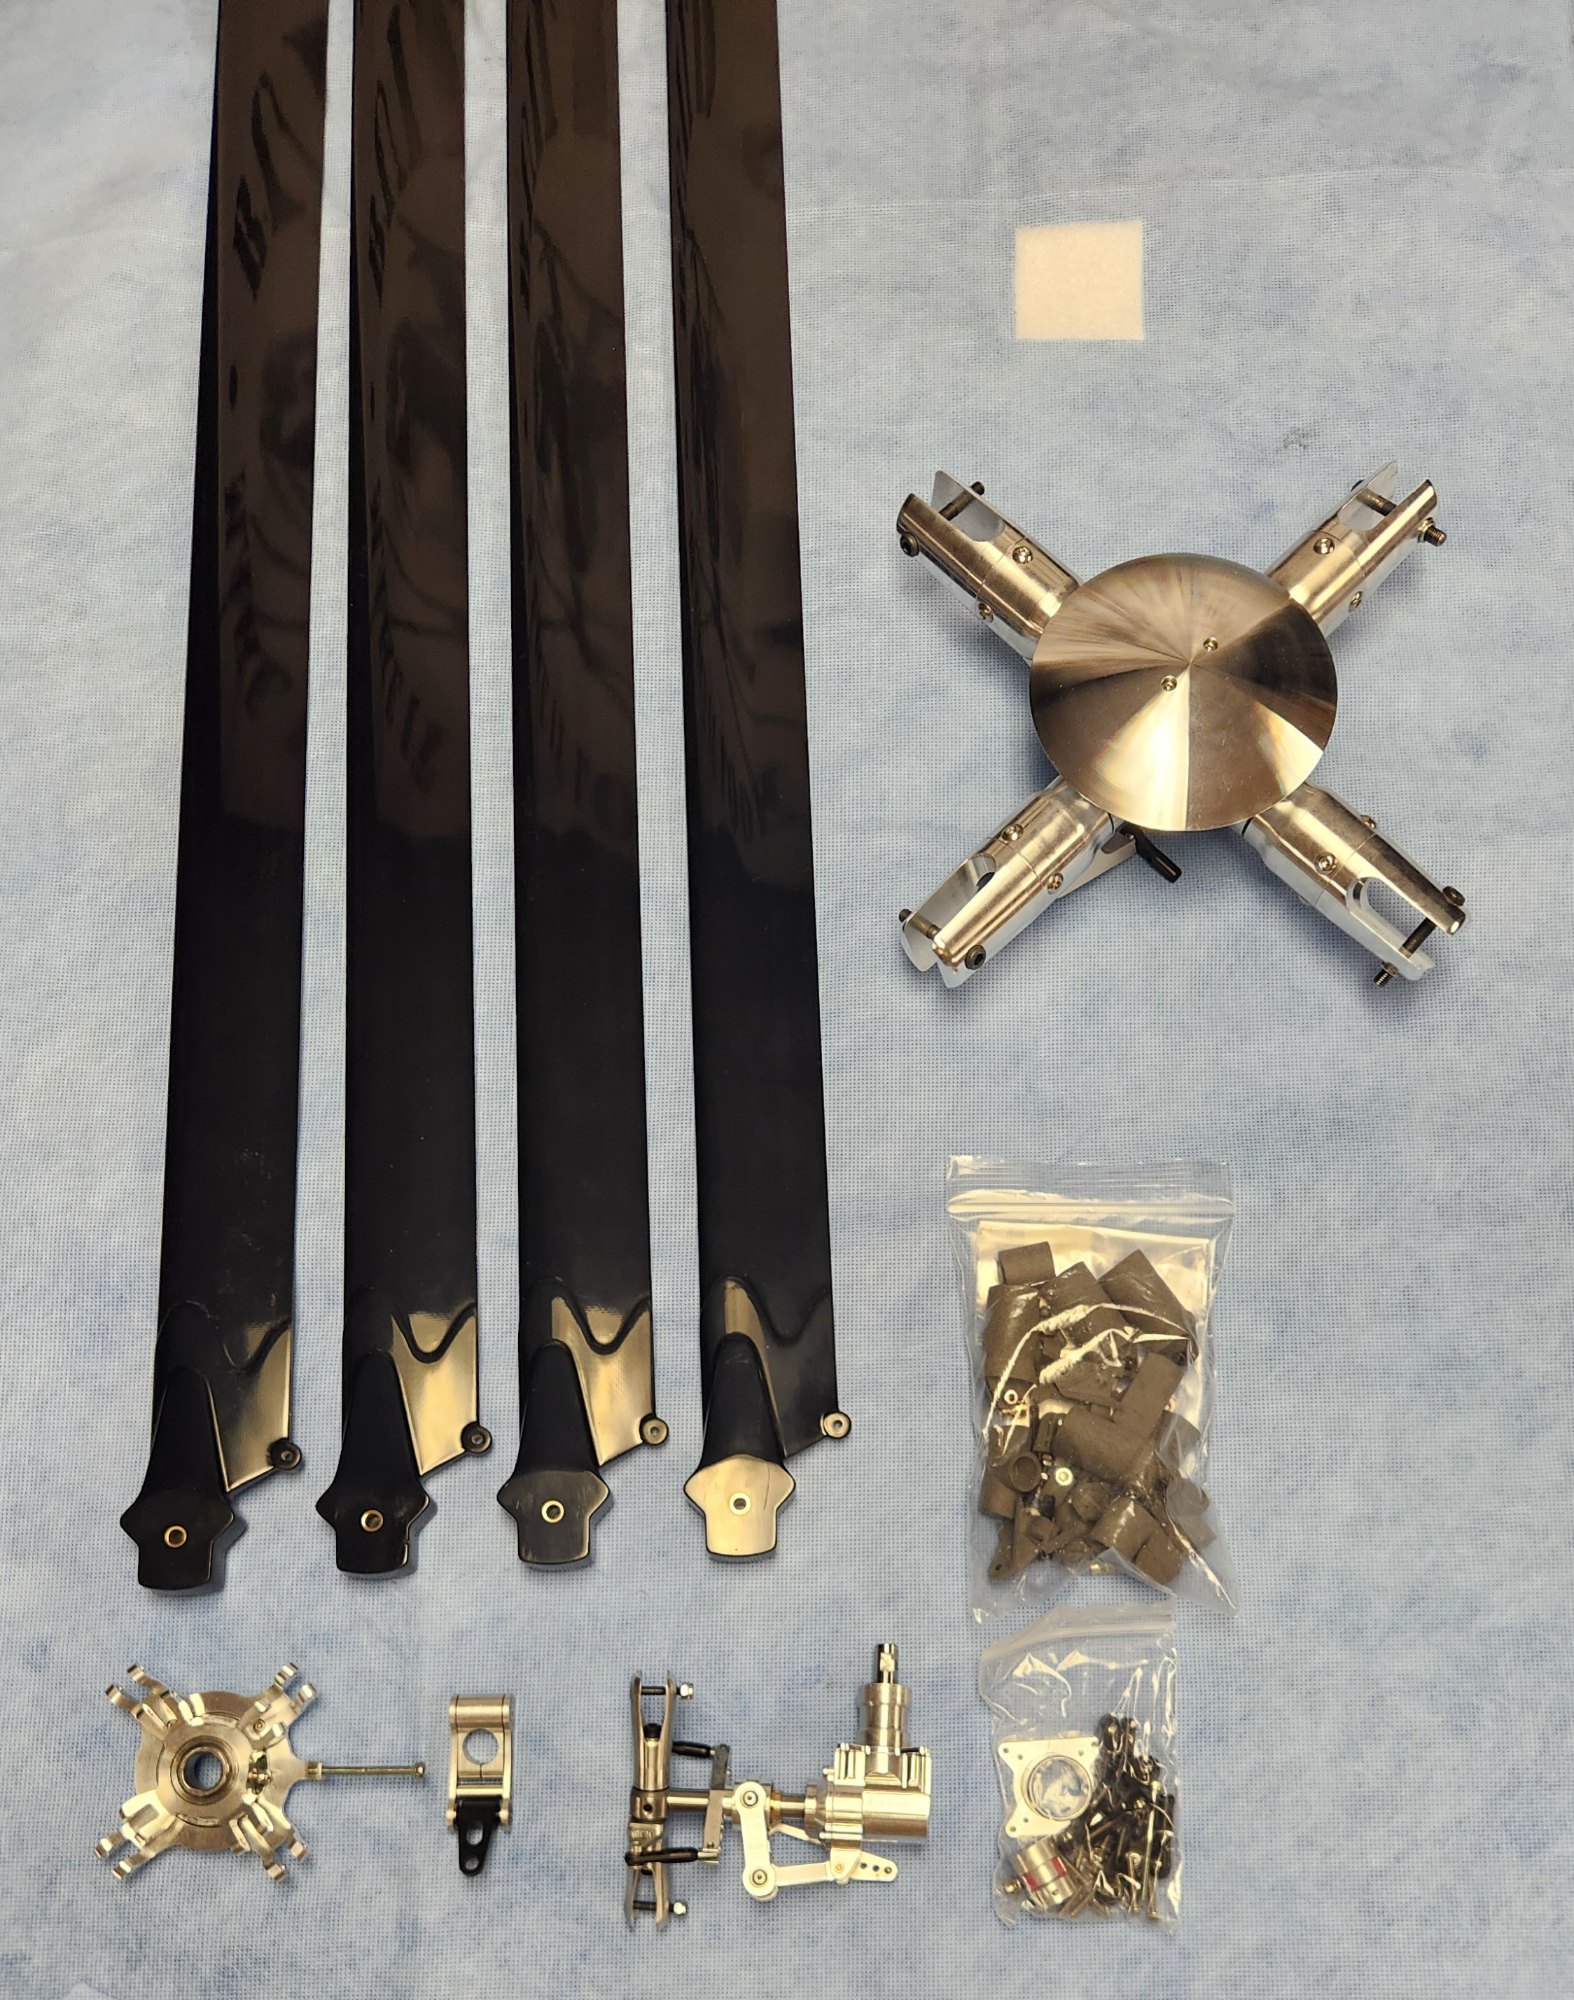
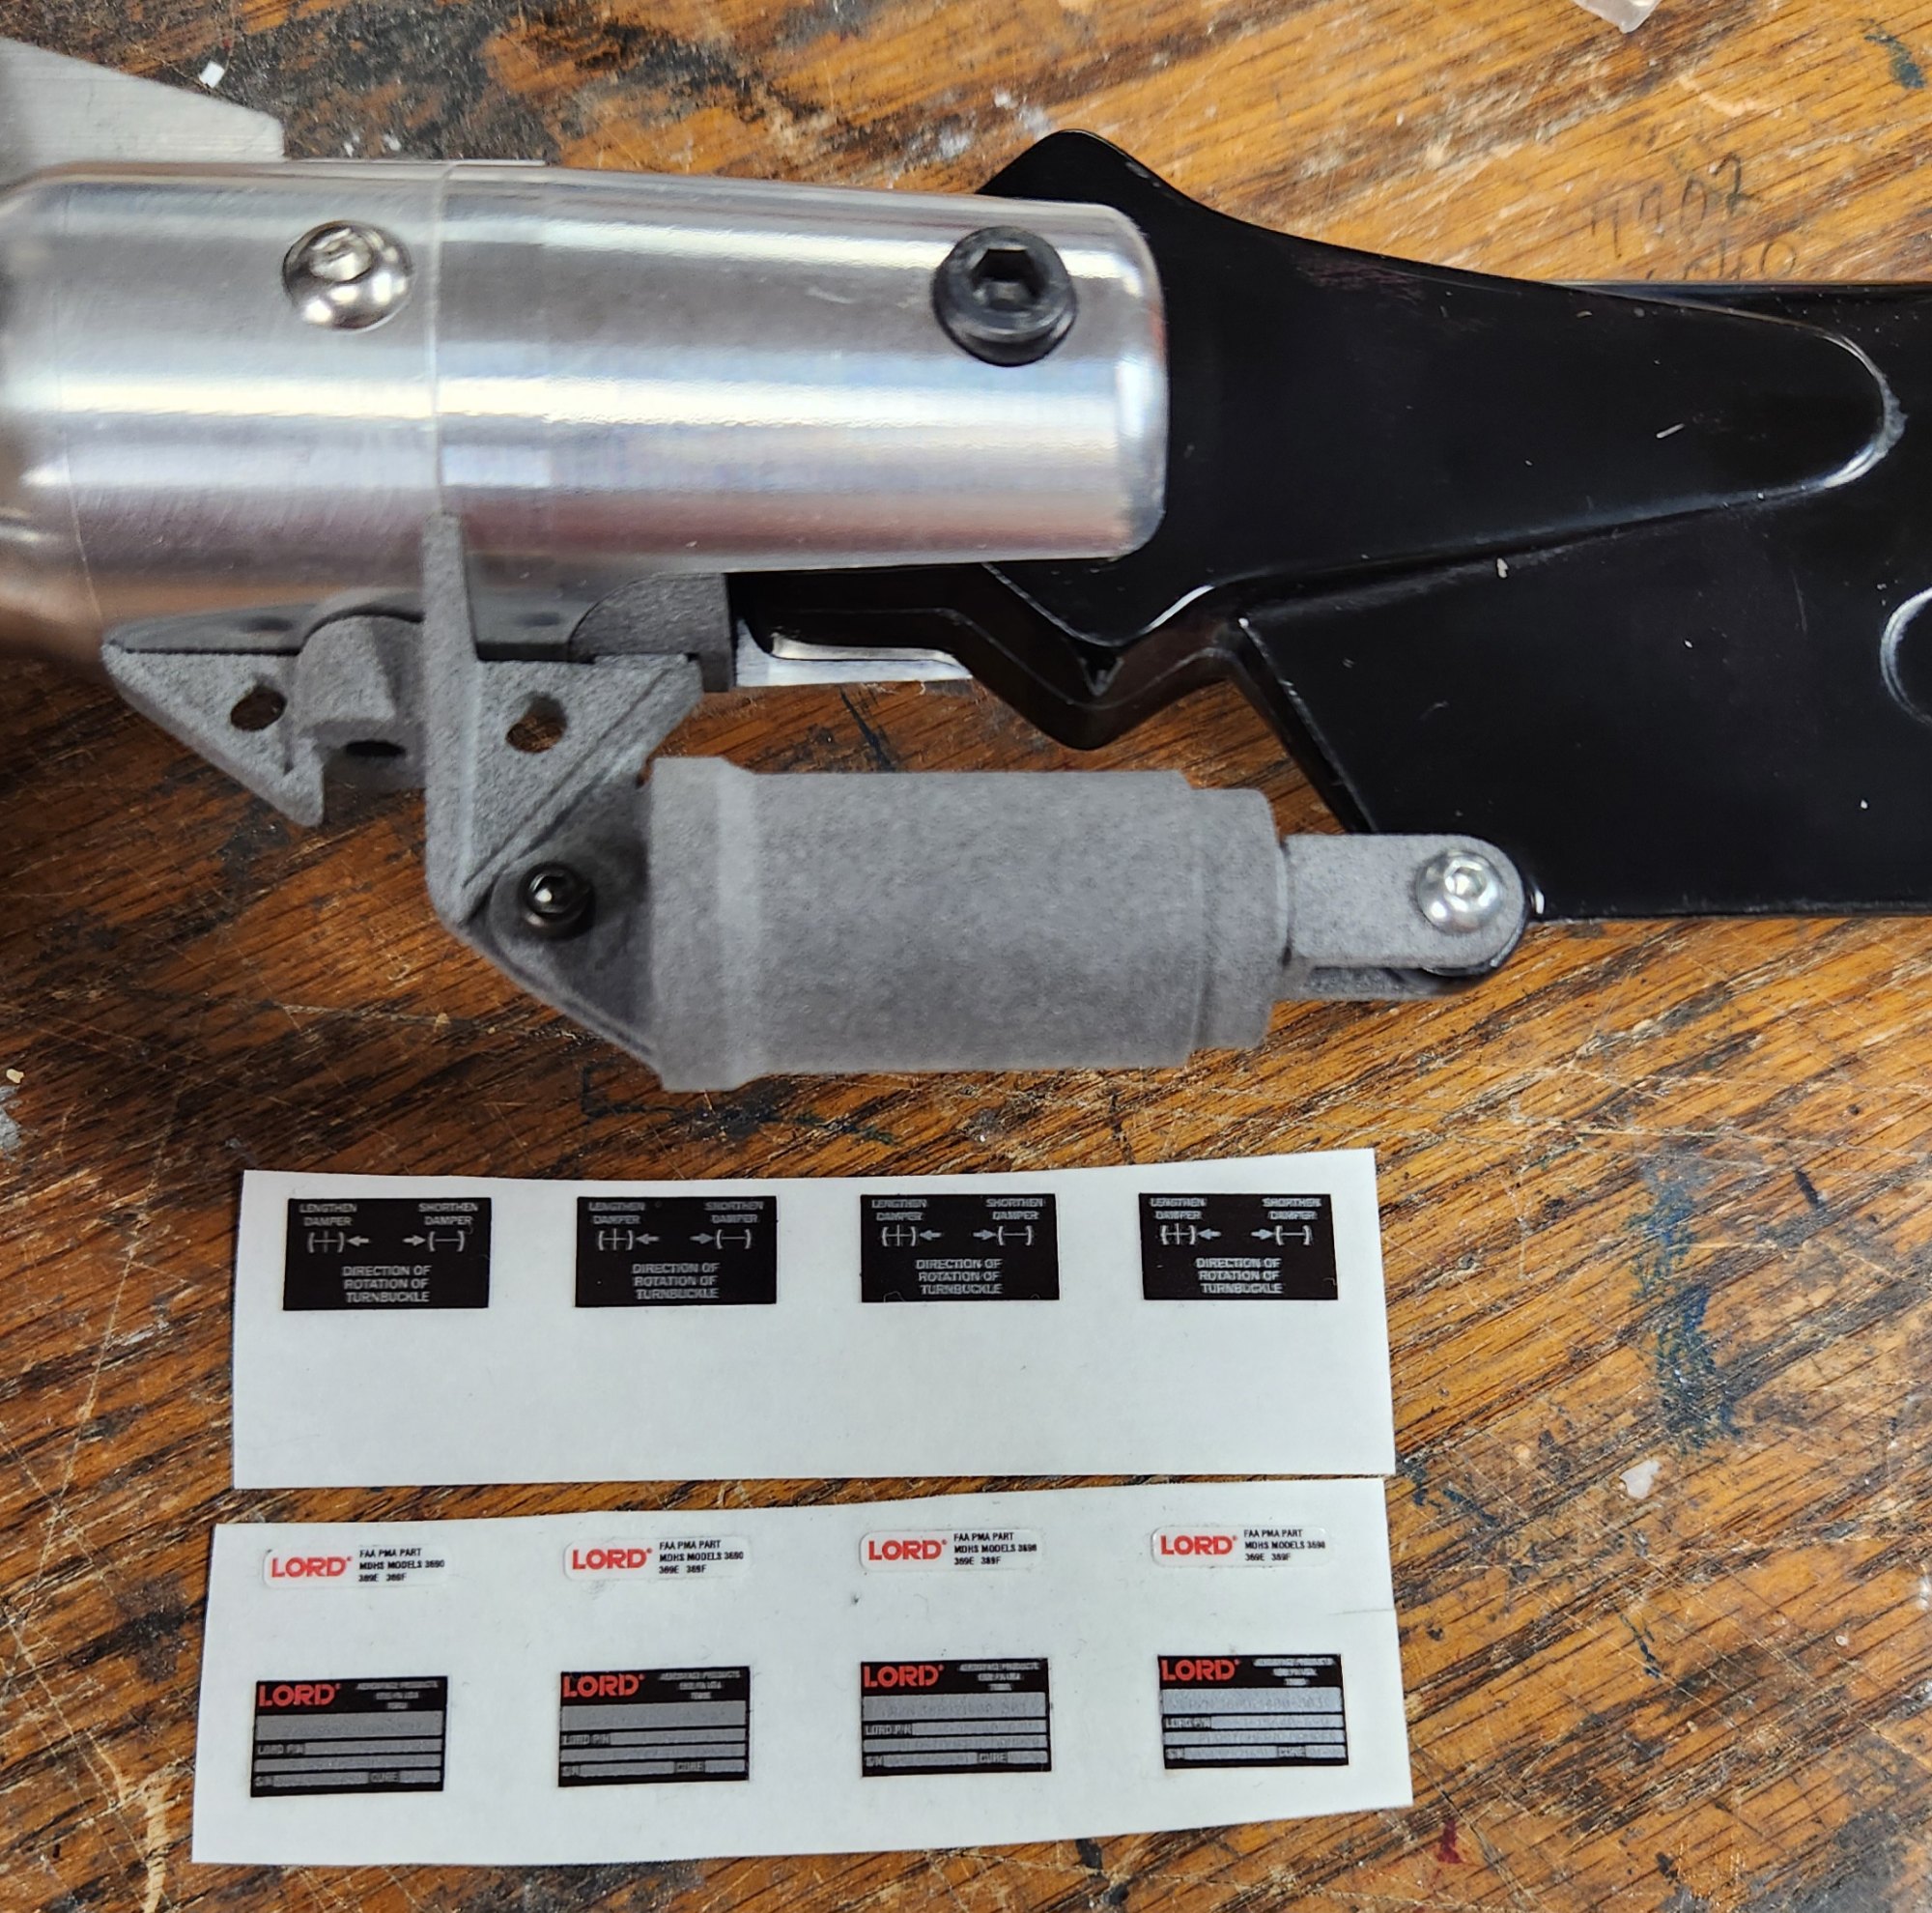
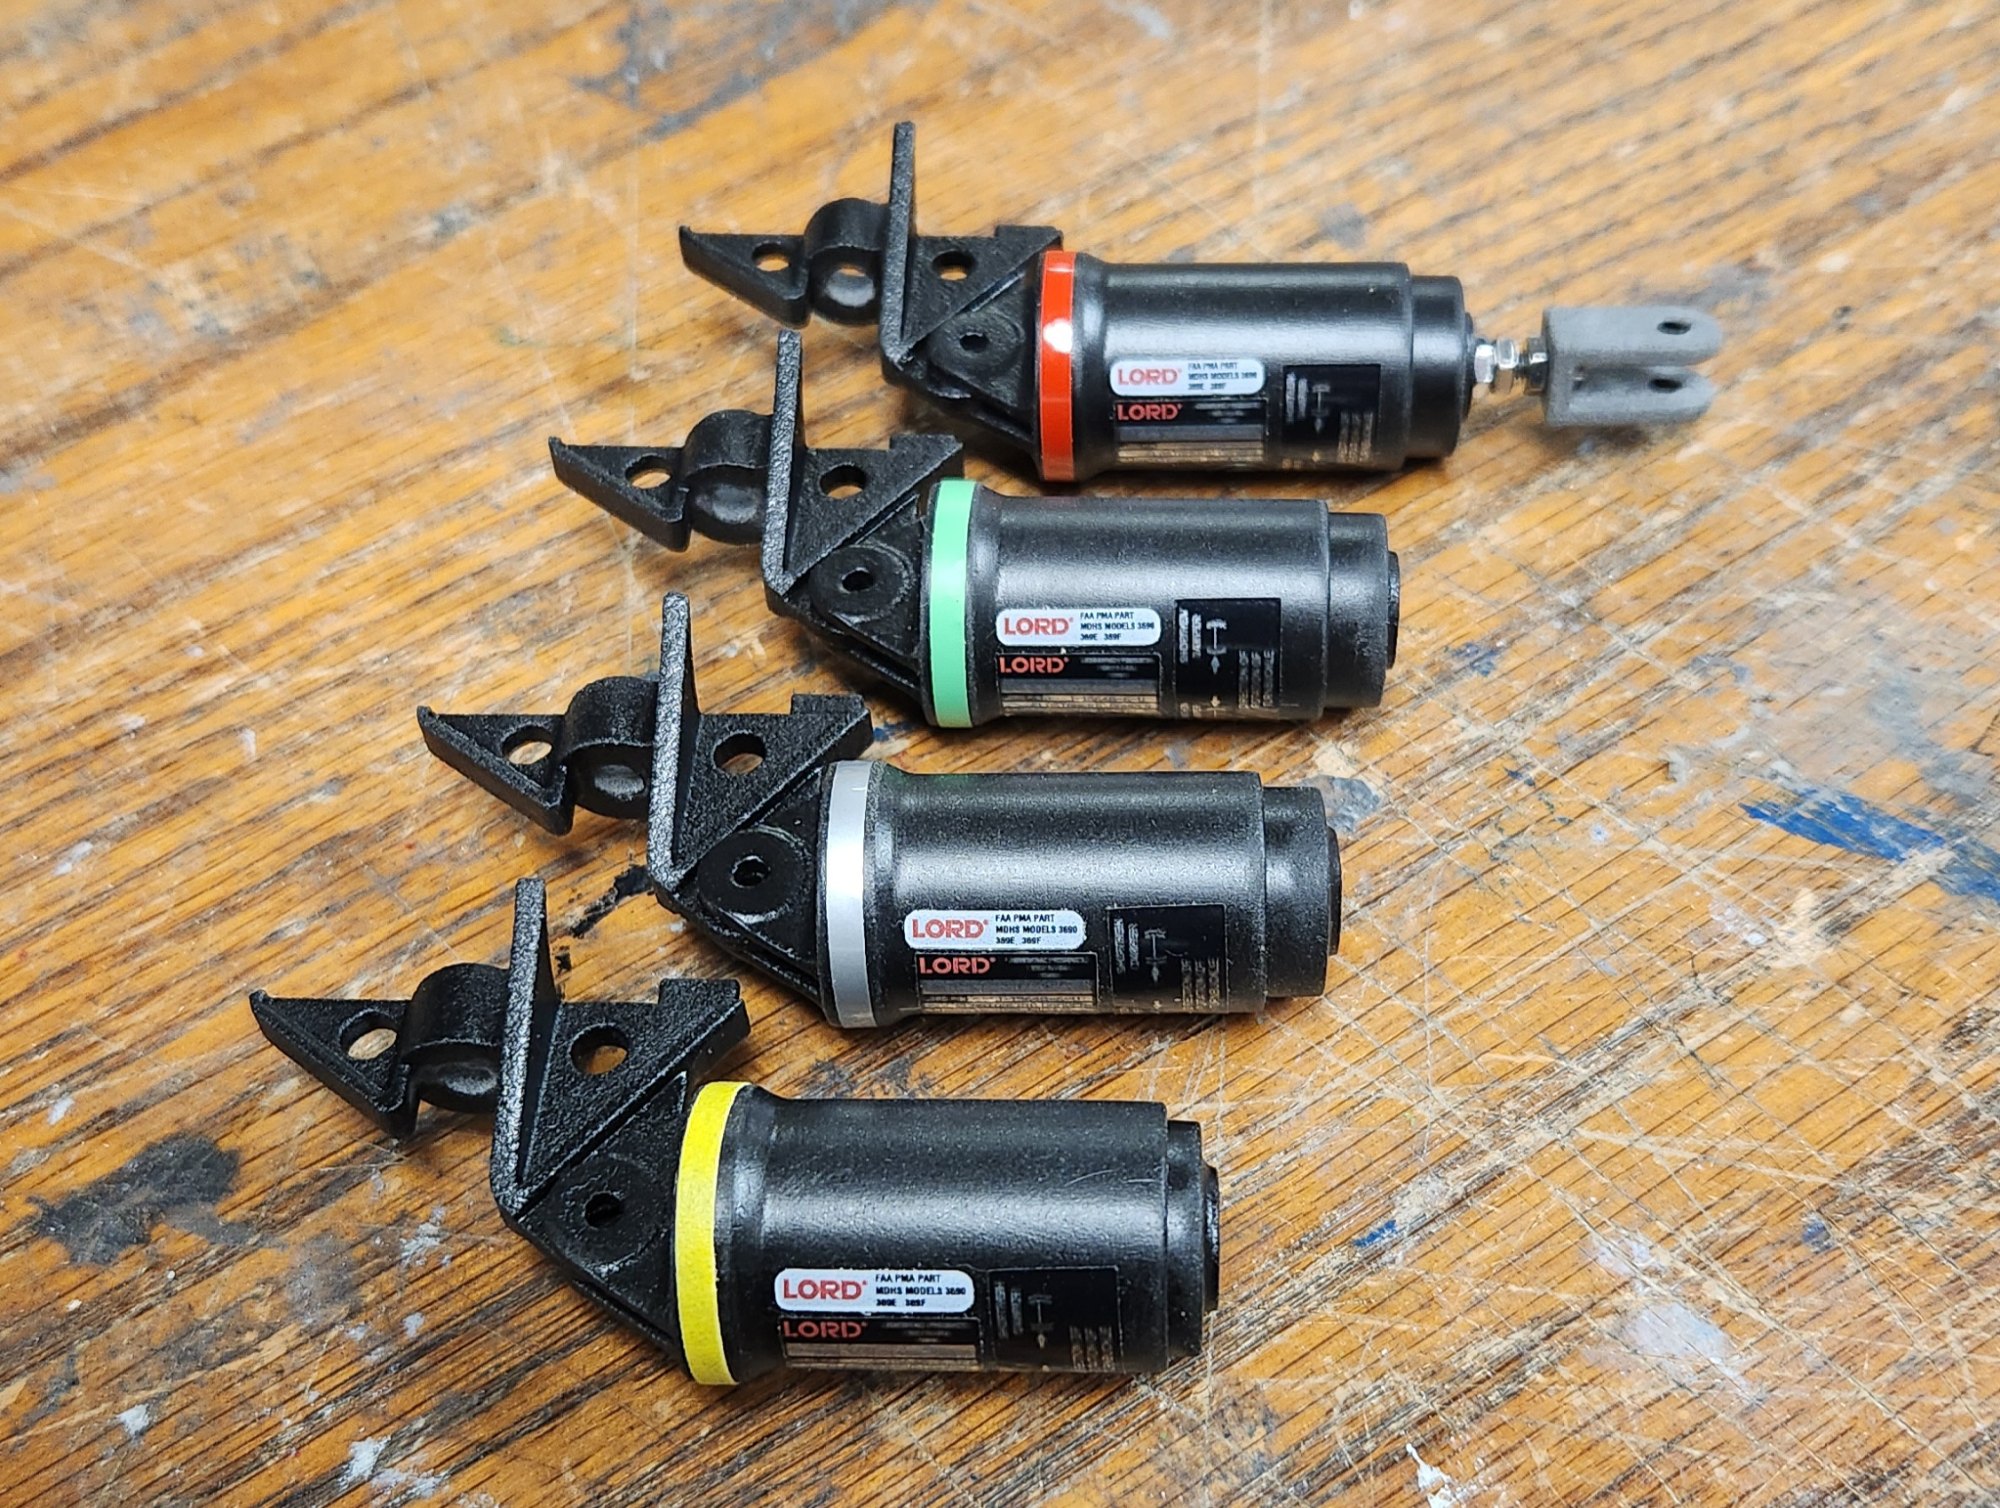
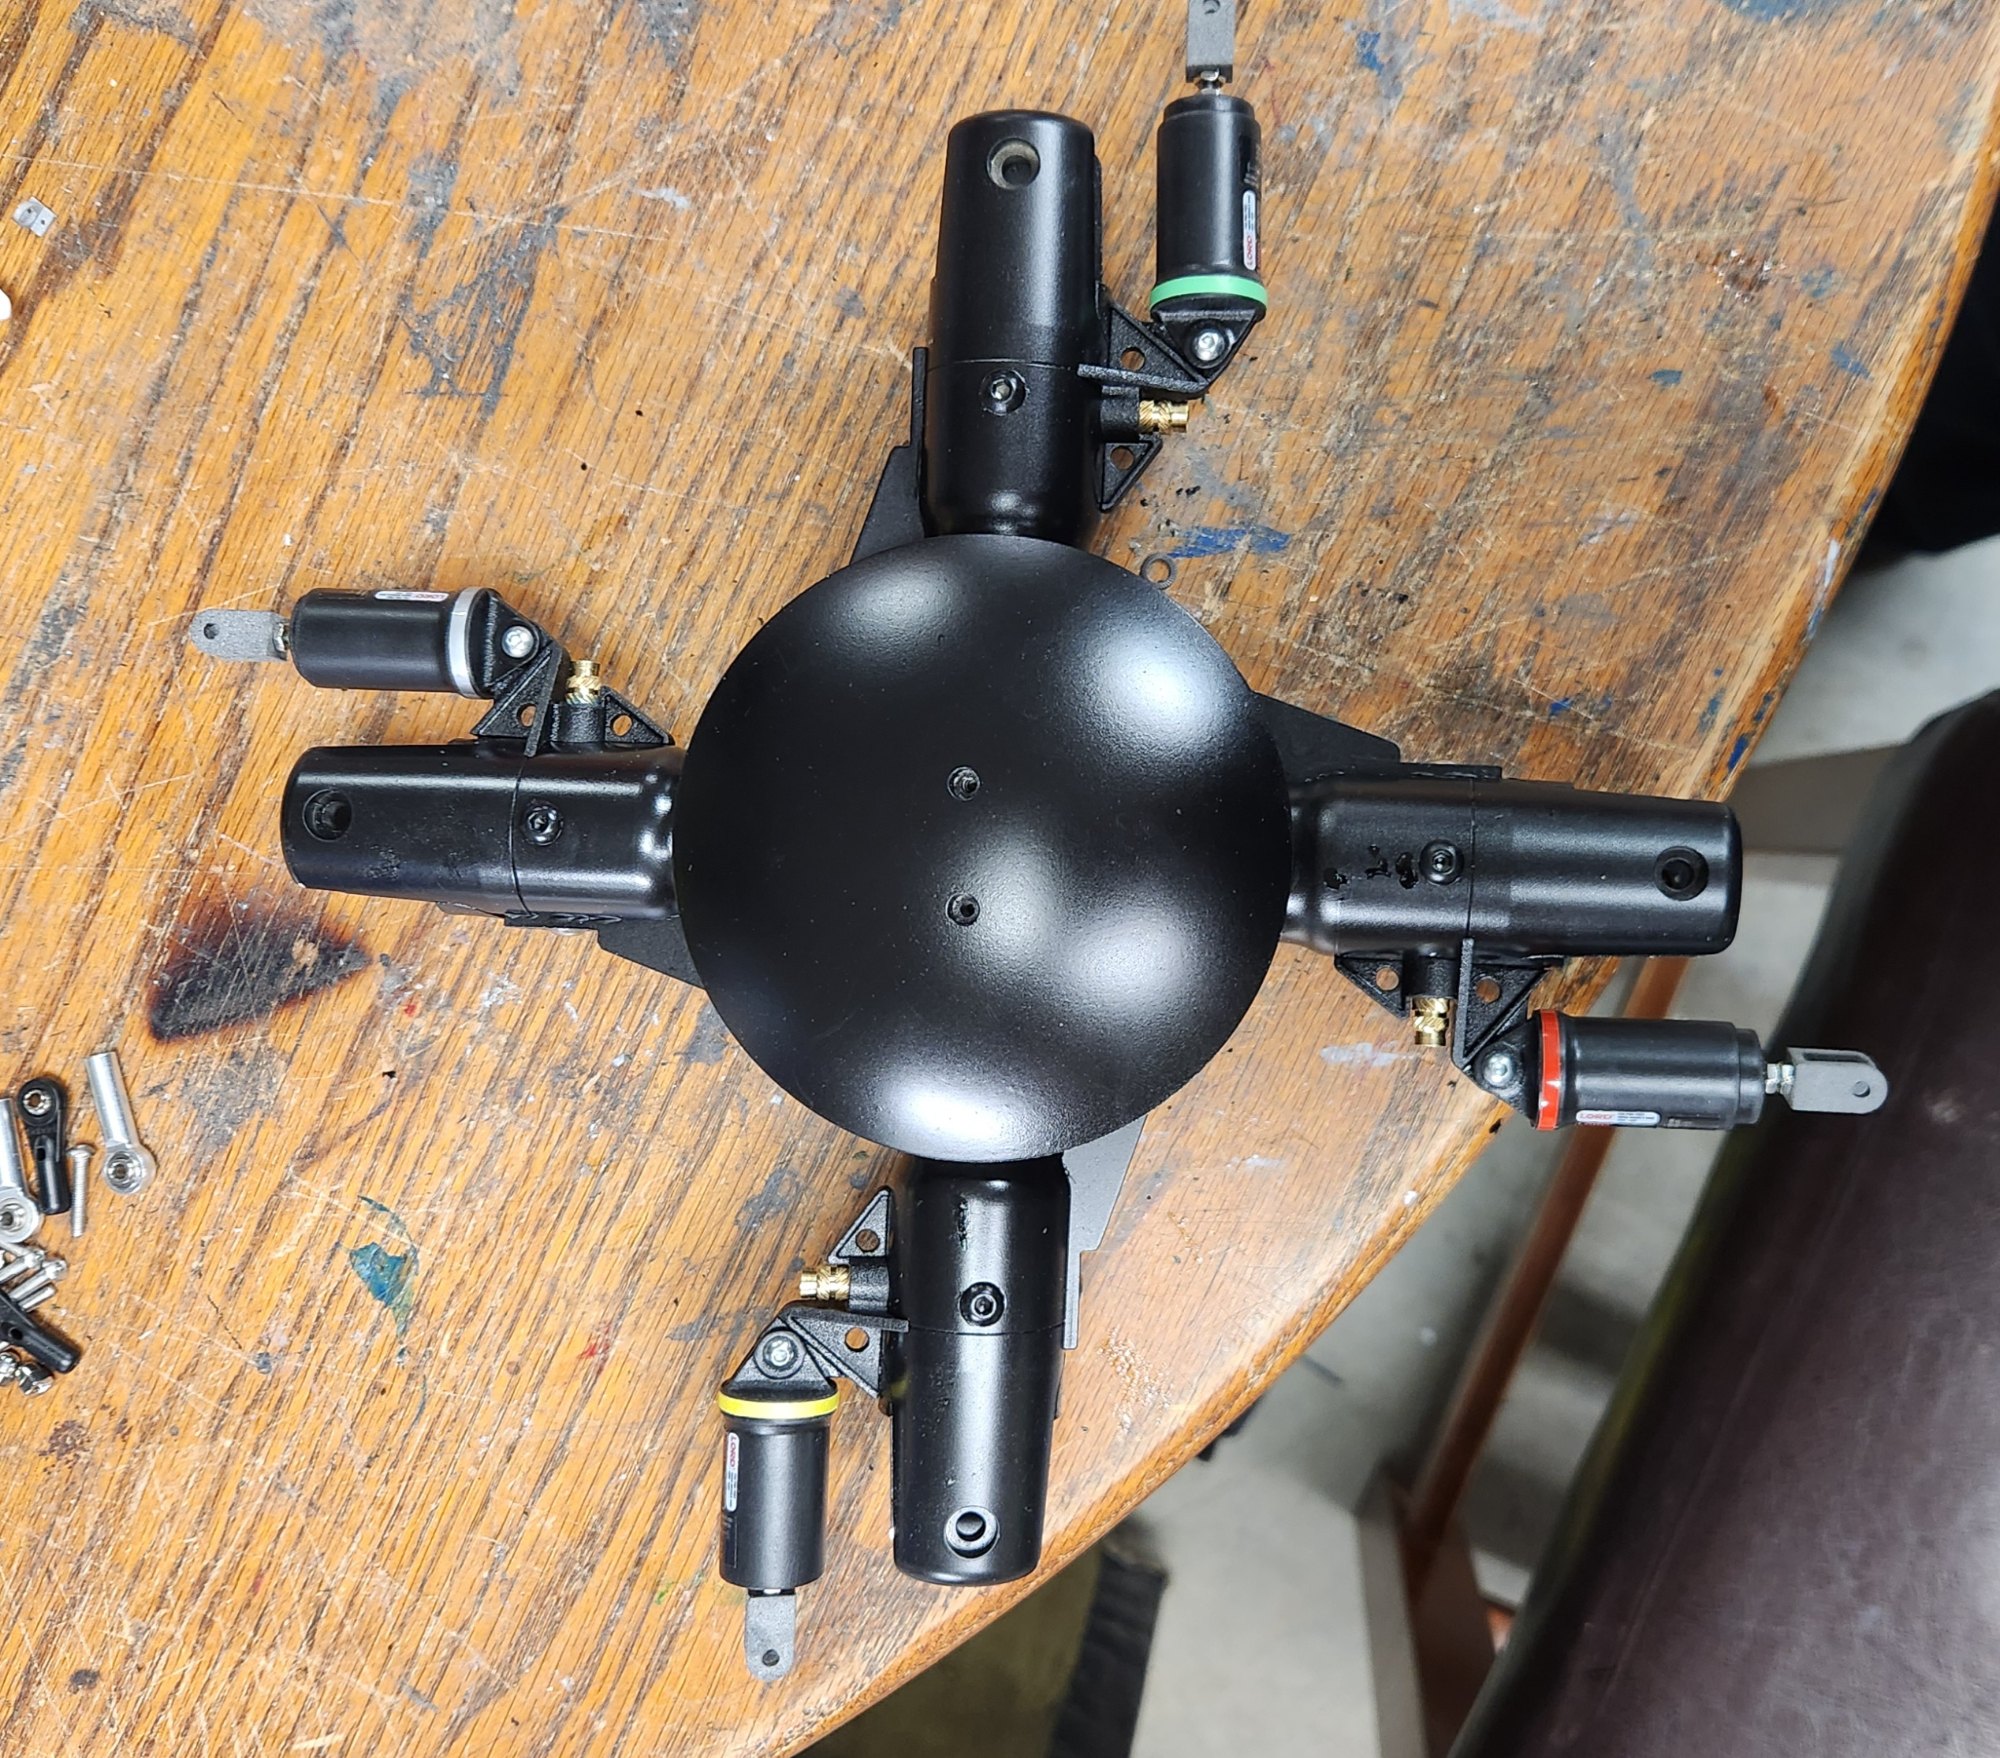
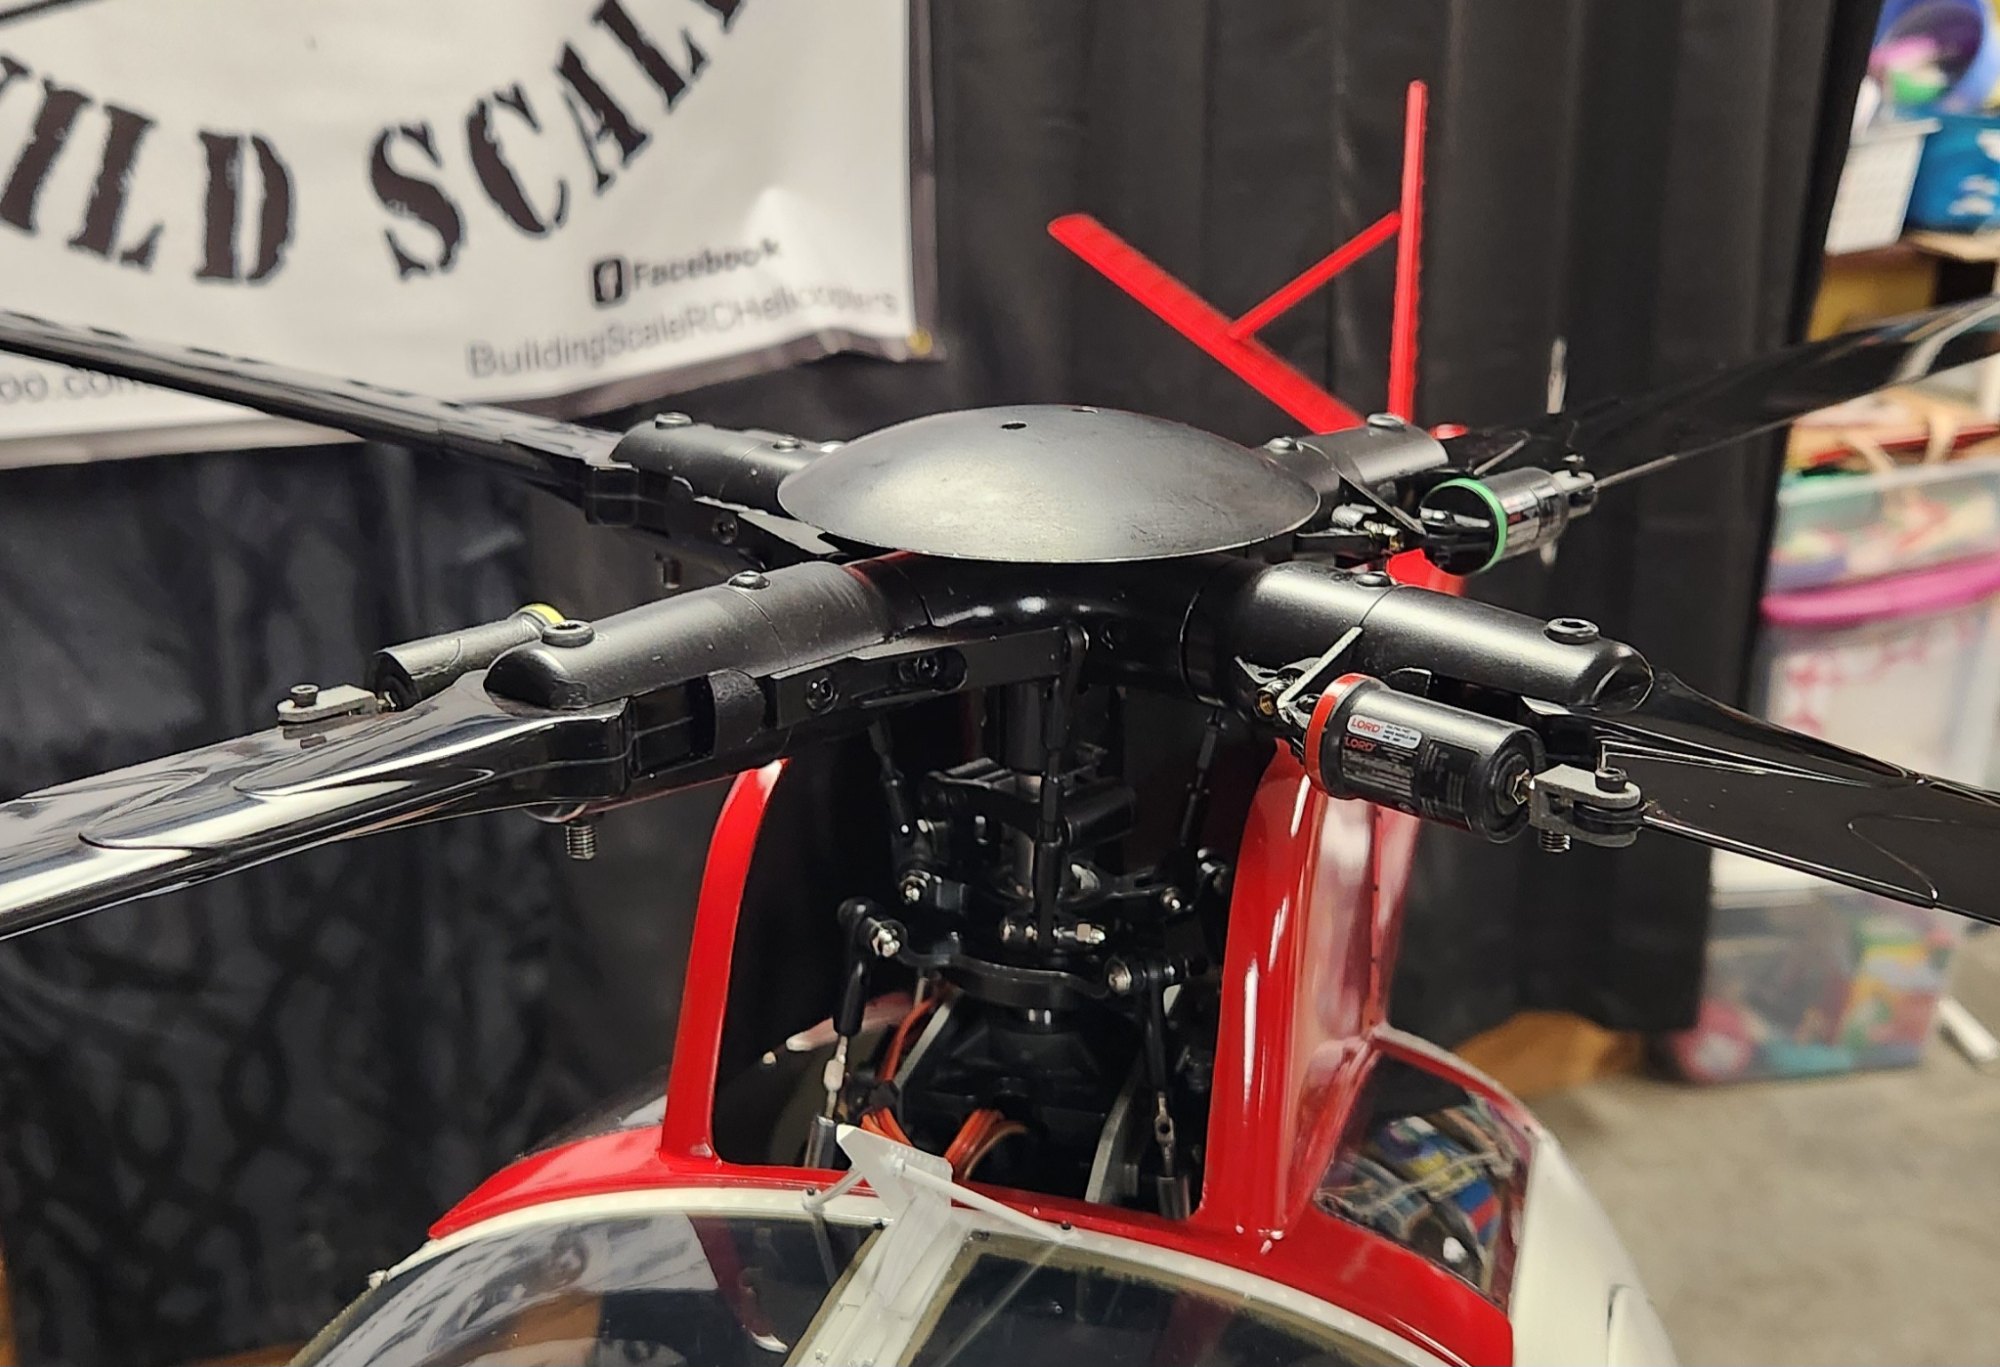
Moving on to the rotor head. While in Belgium a couple of years ago I saw the most realistic Hughes 500 rotor that I had seen, it was a HELI-FACTORY head fitted with Stefan Witte "scale" Hughes 500 rotor head accessories and flown with Stefan Whitte custom blades. Having seen the spectacular flying of Stefan's model I had to have it all, lol.
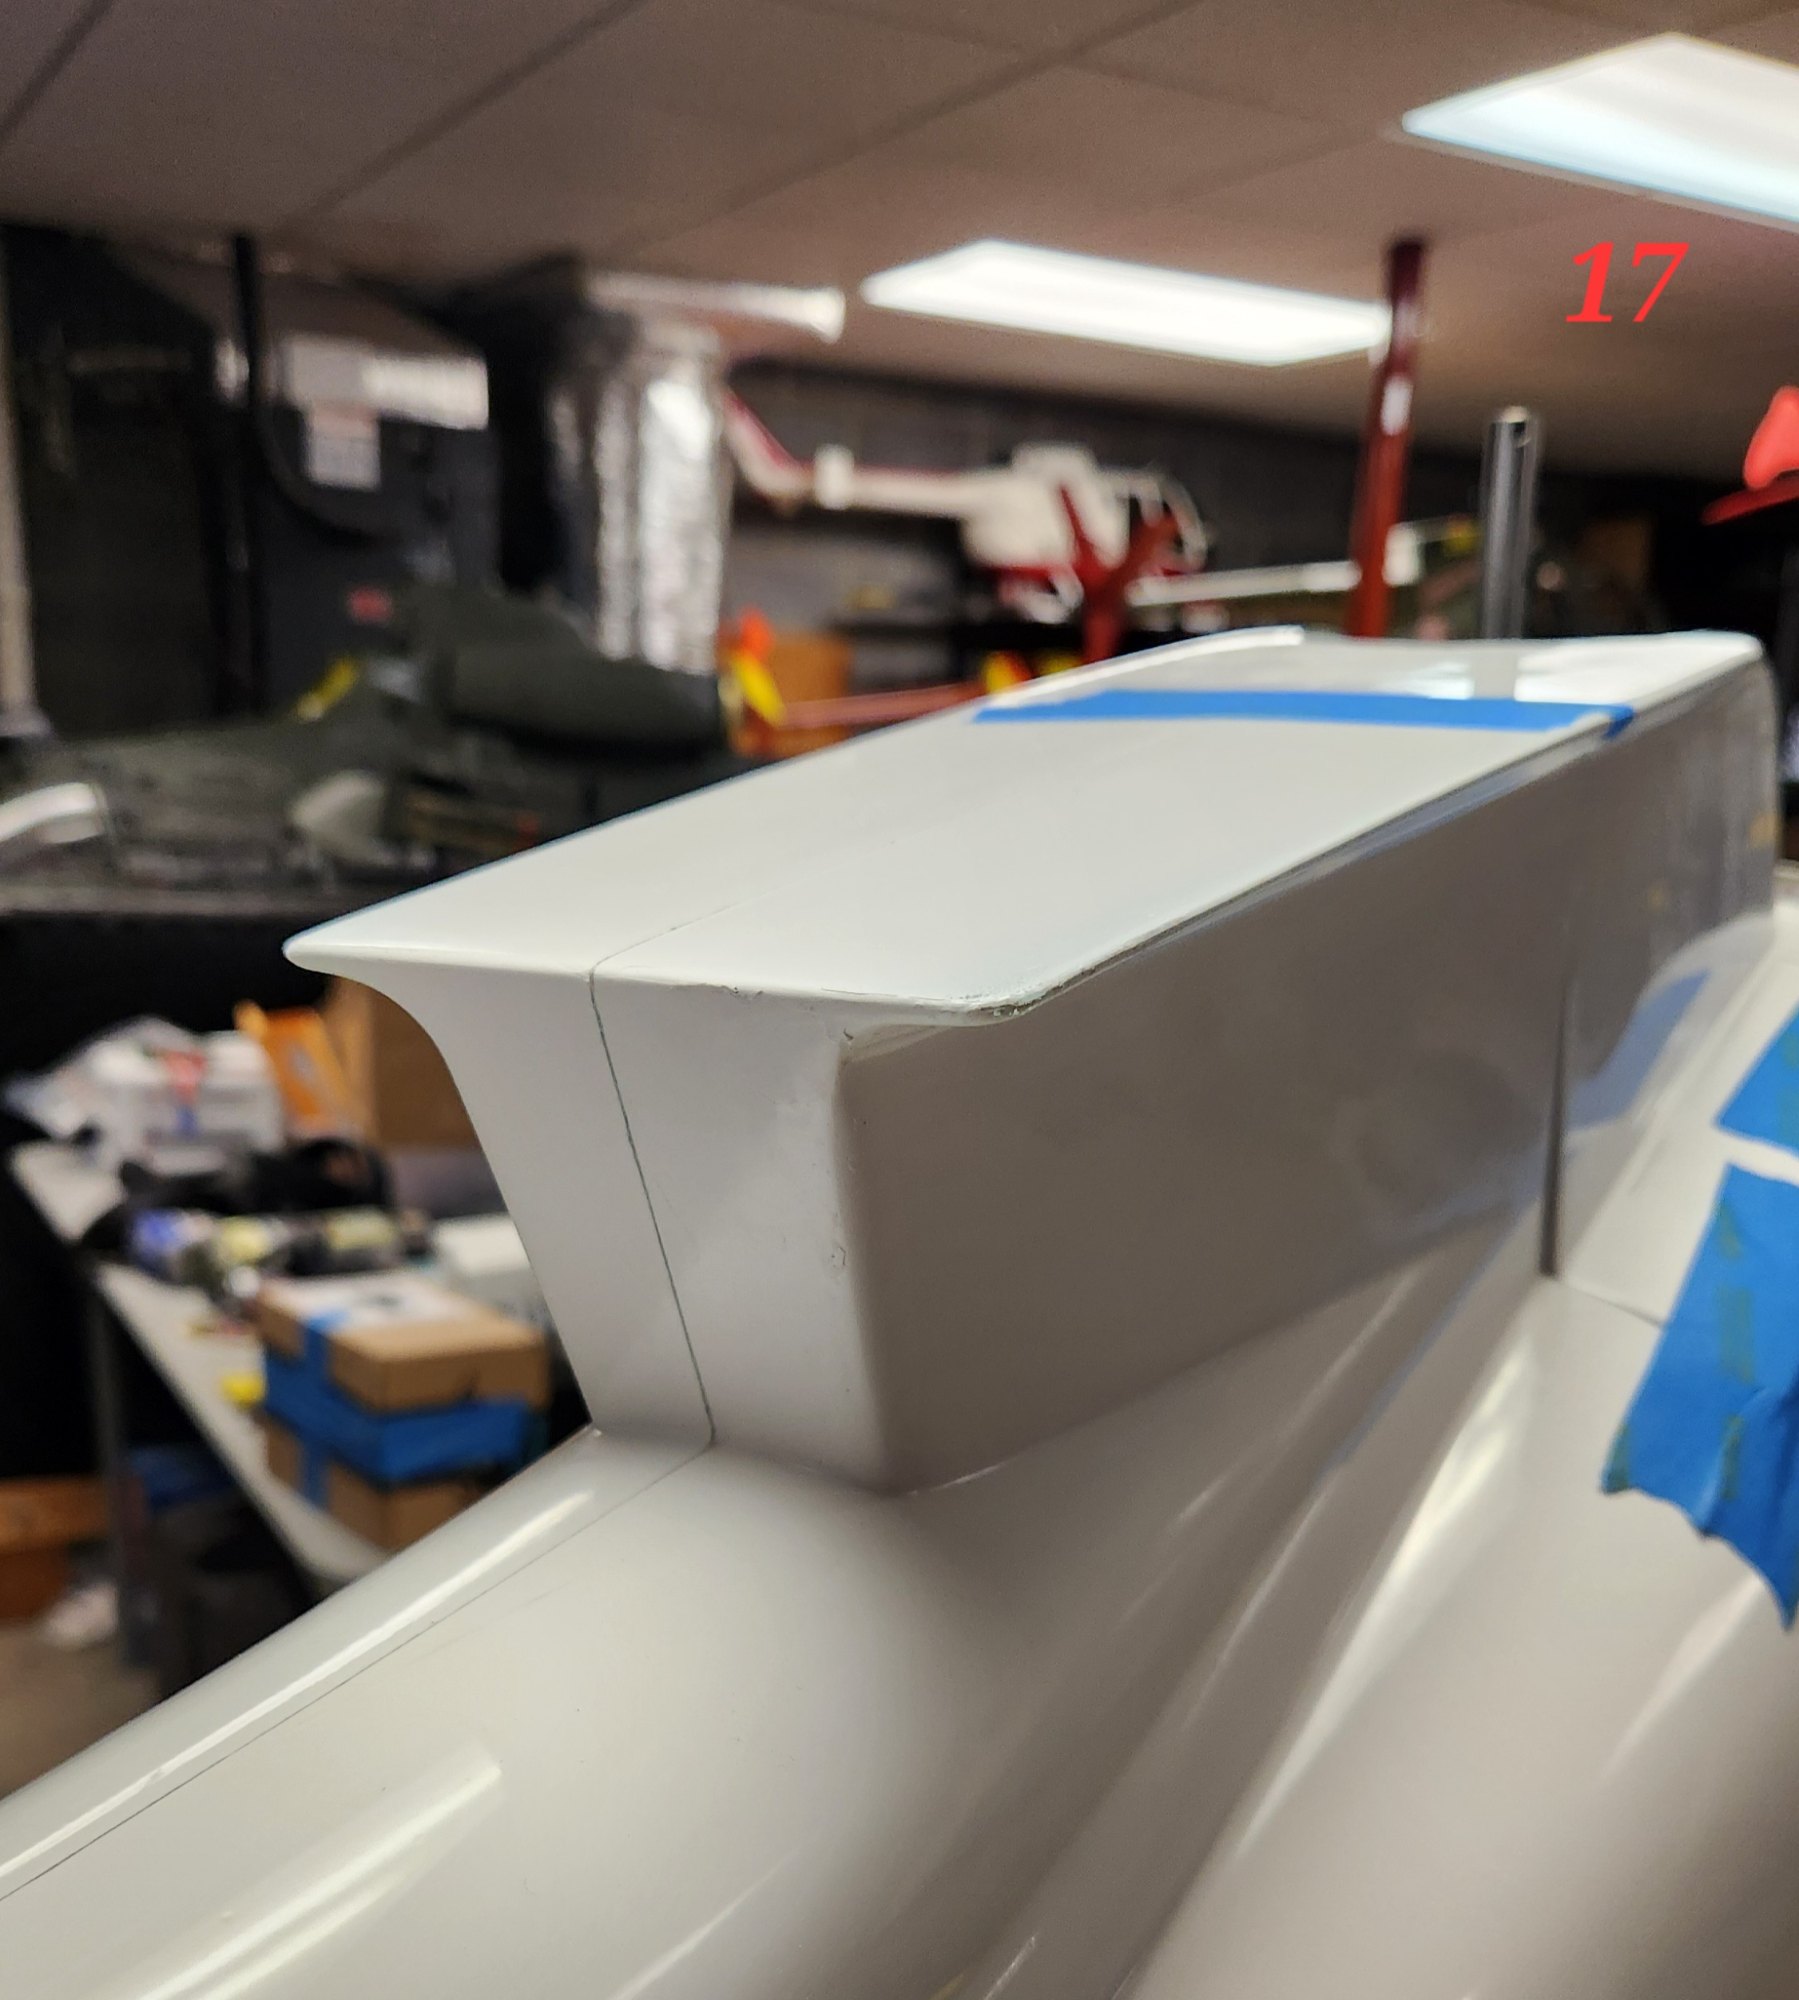
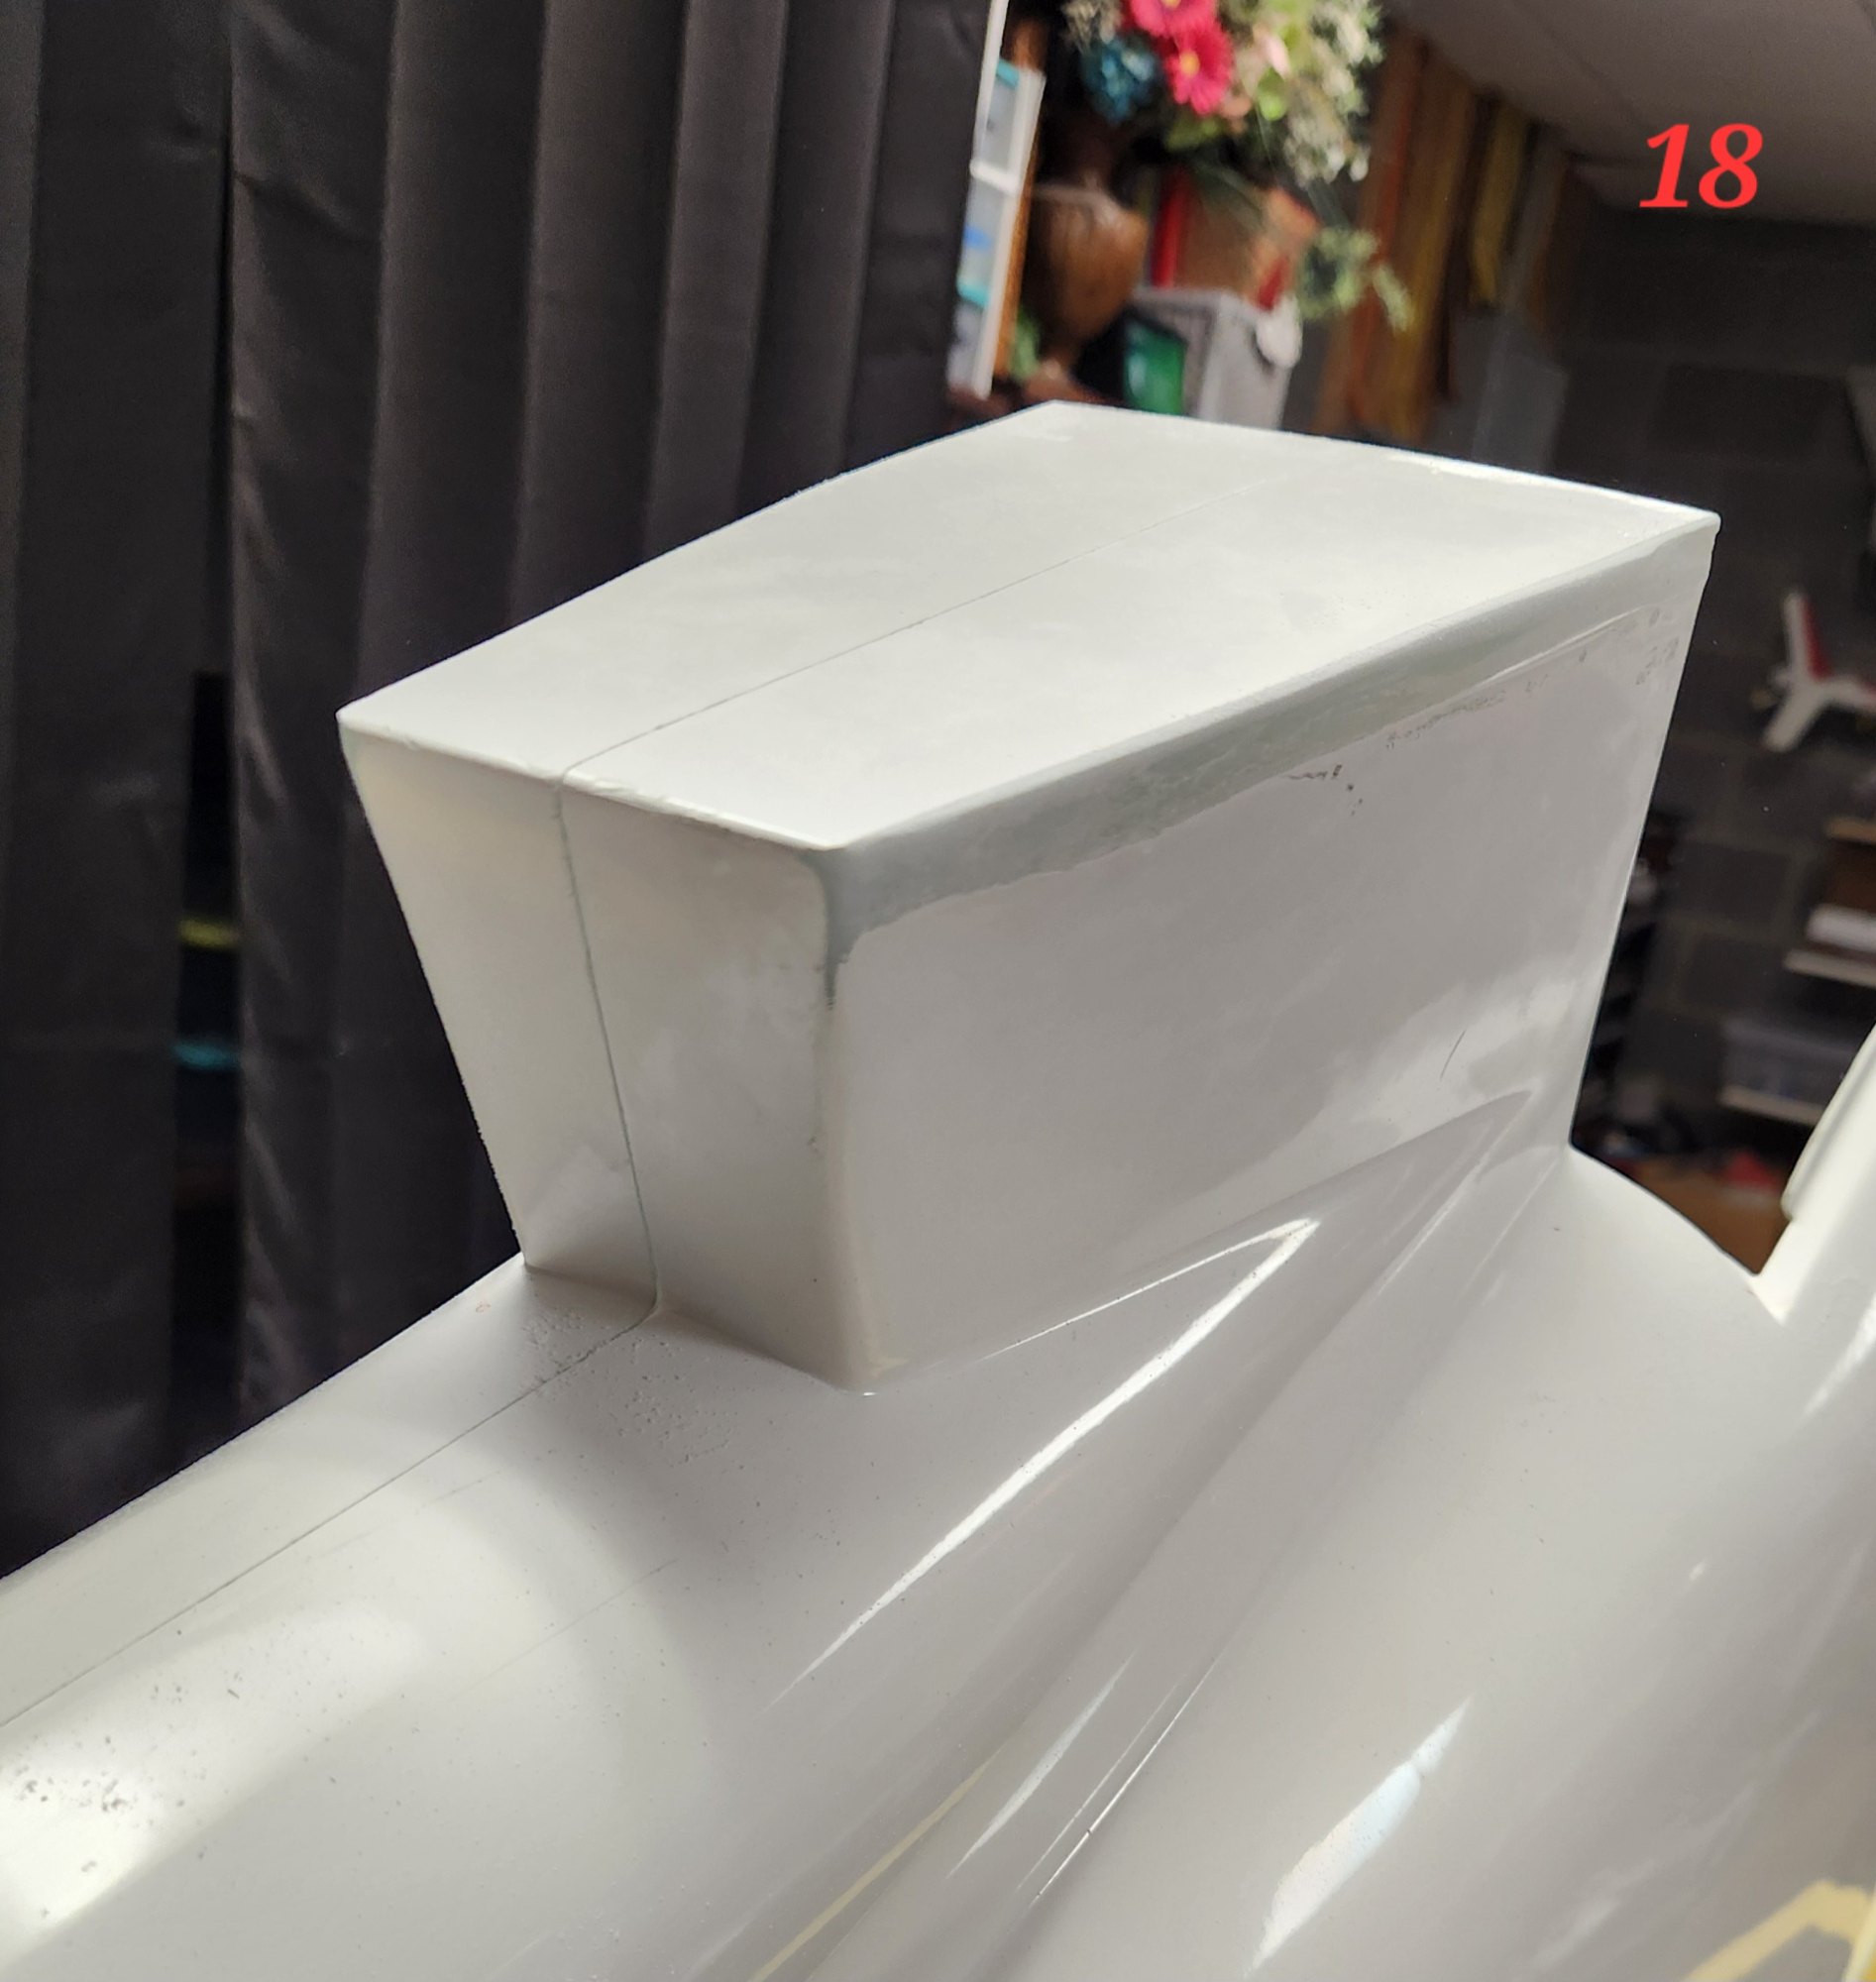
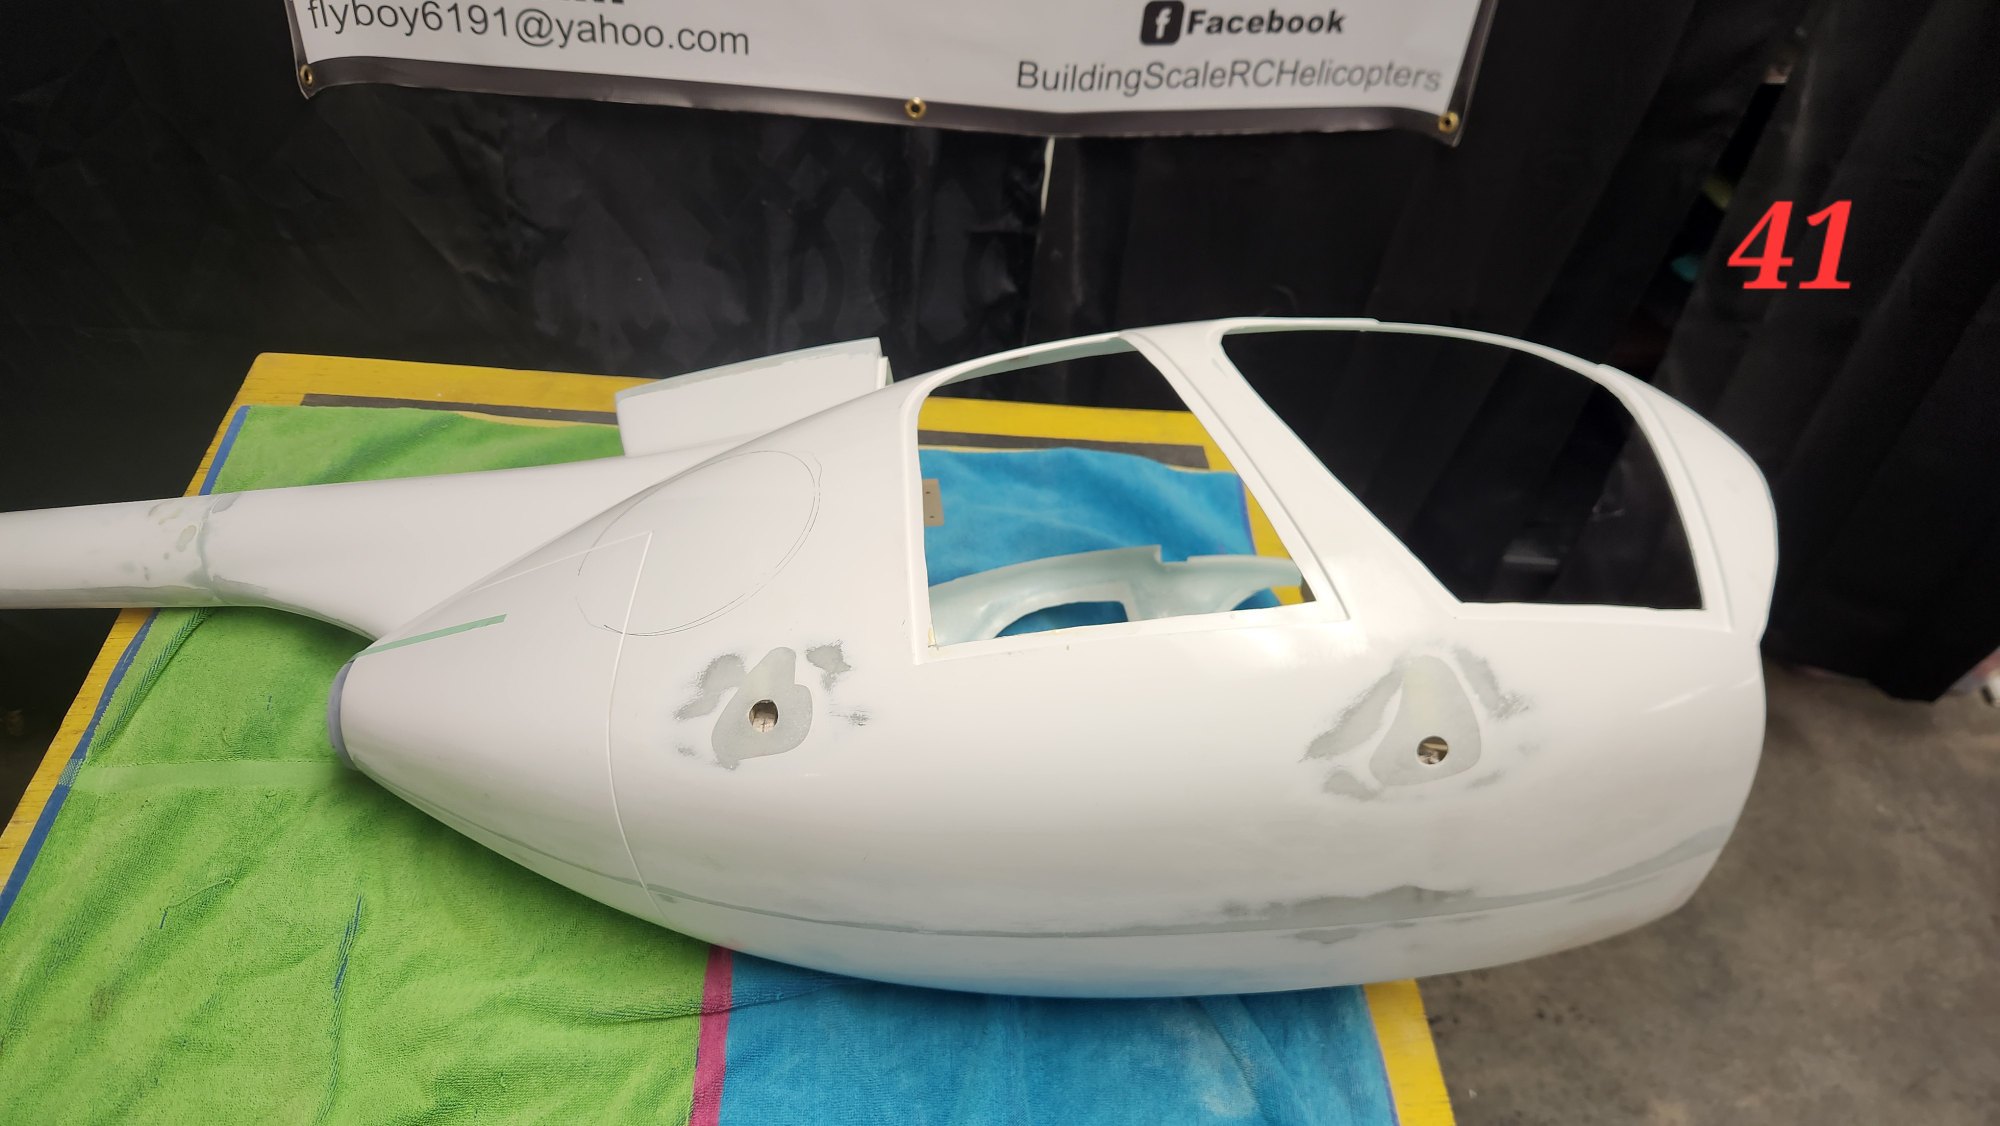
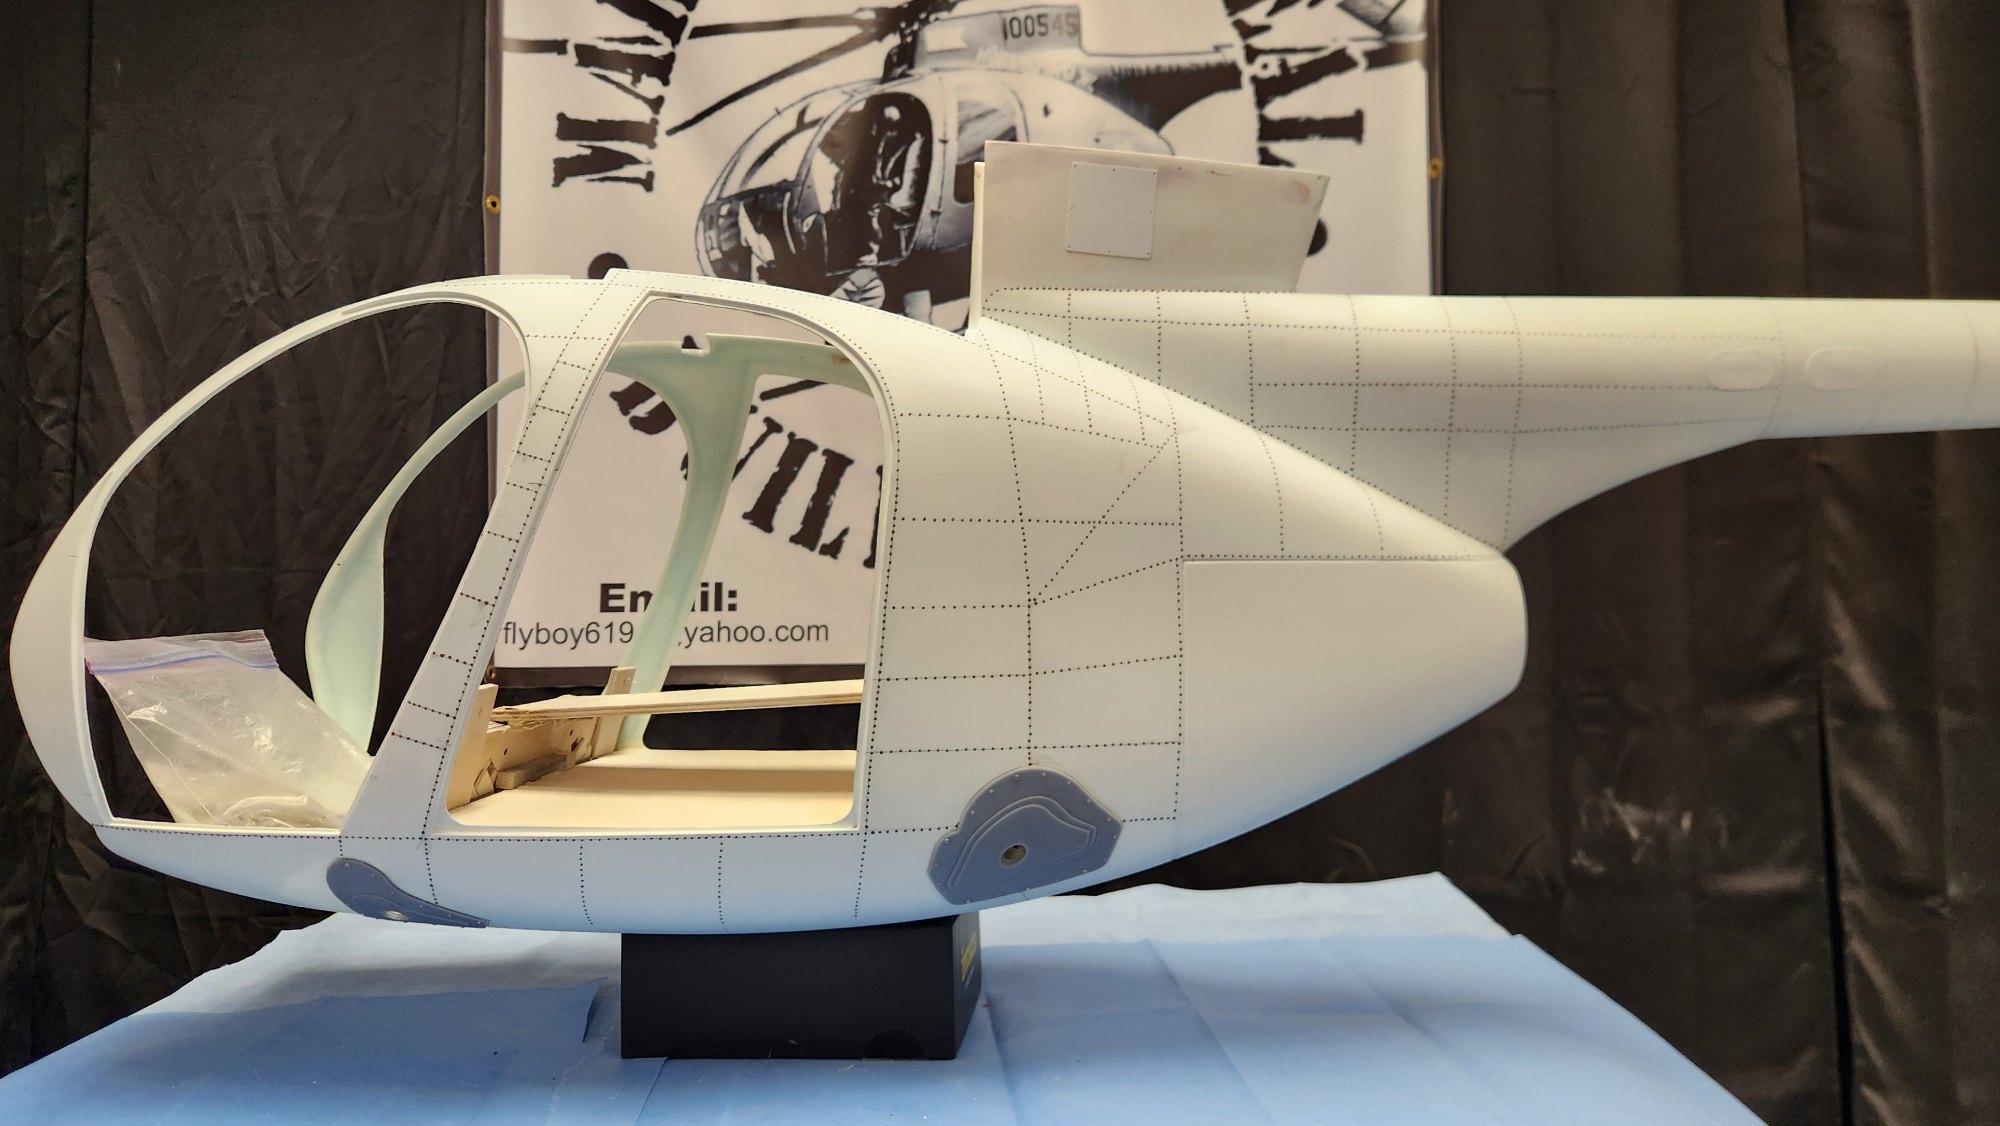
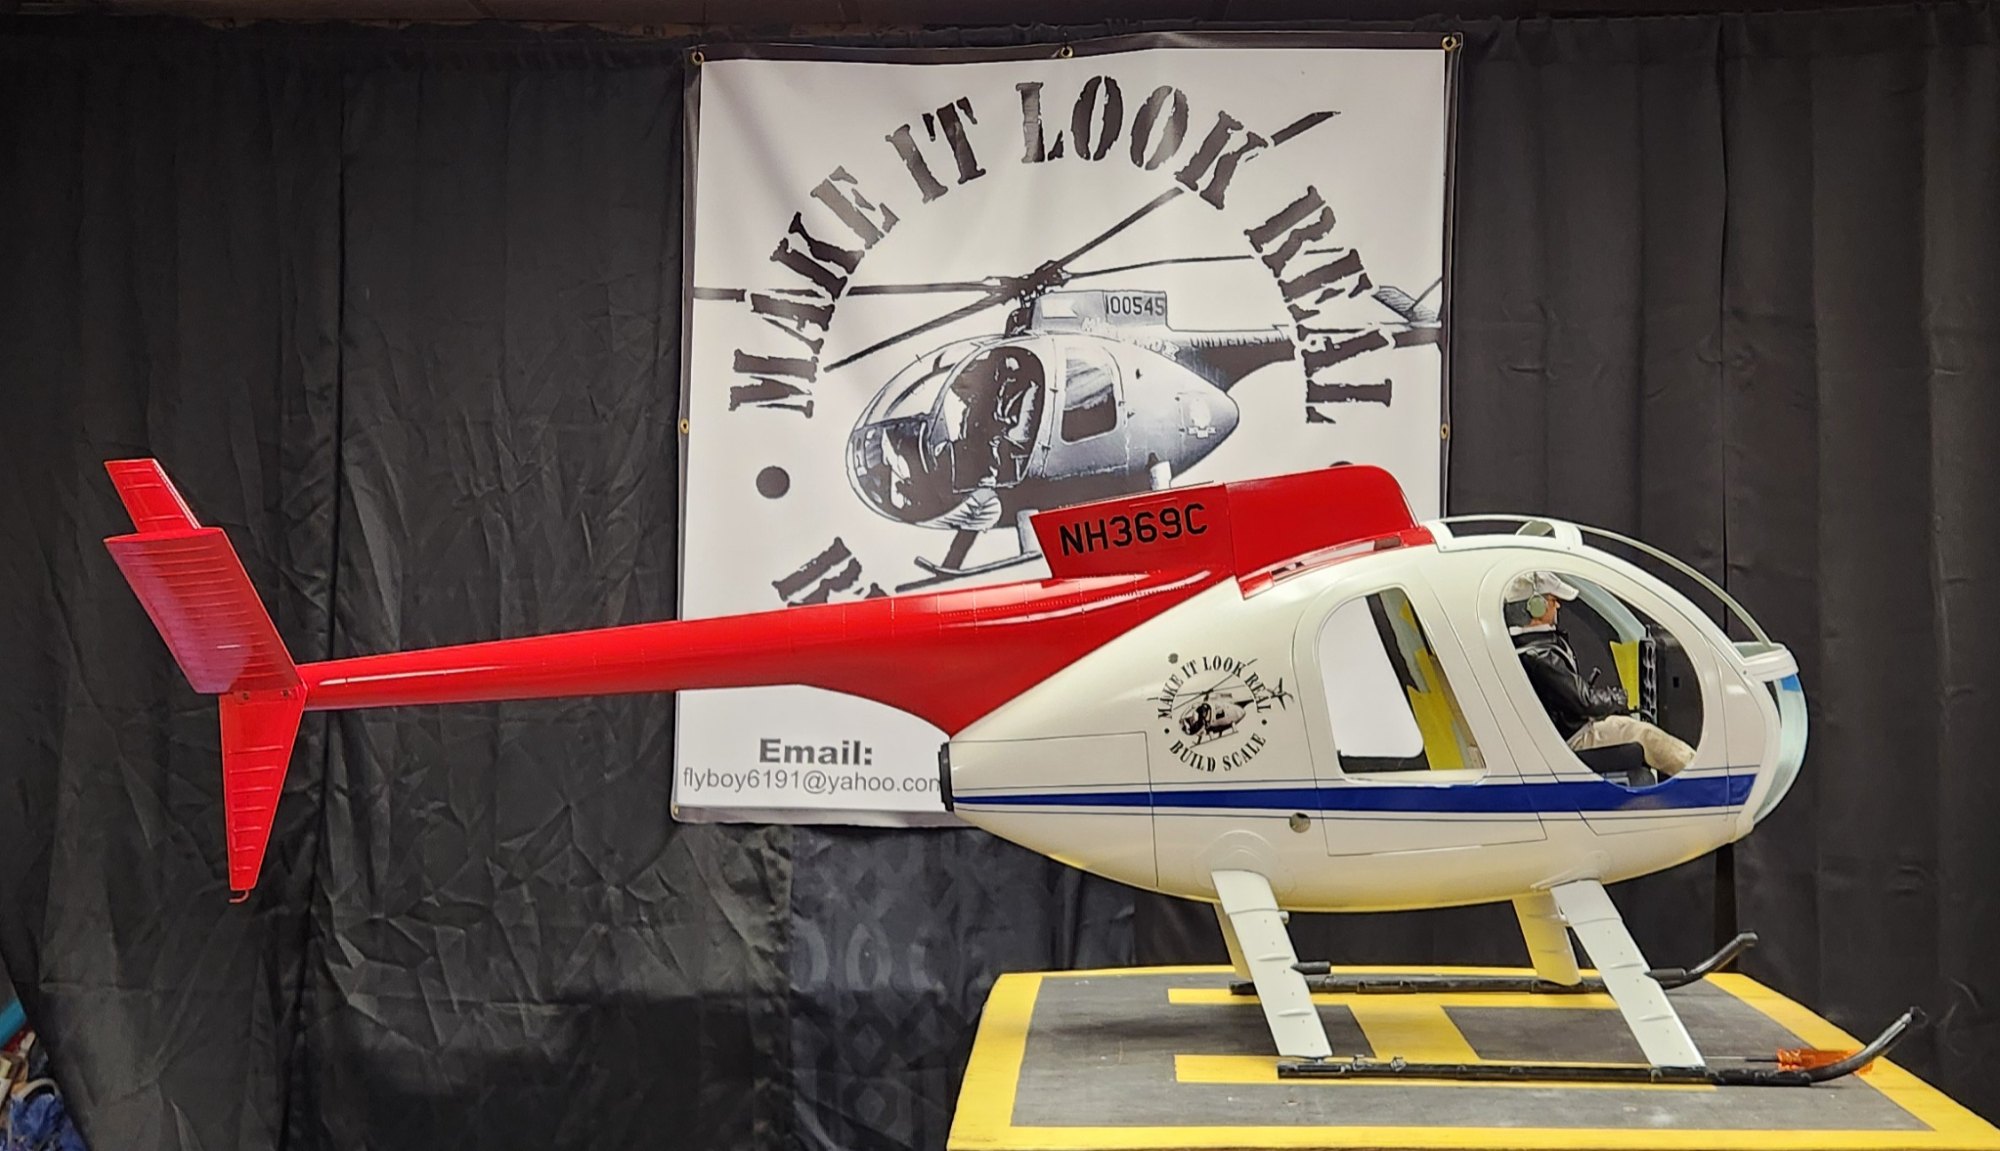
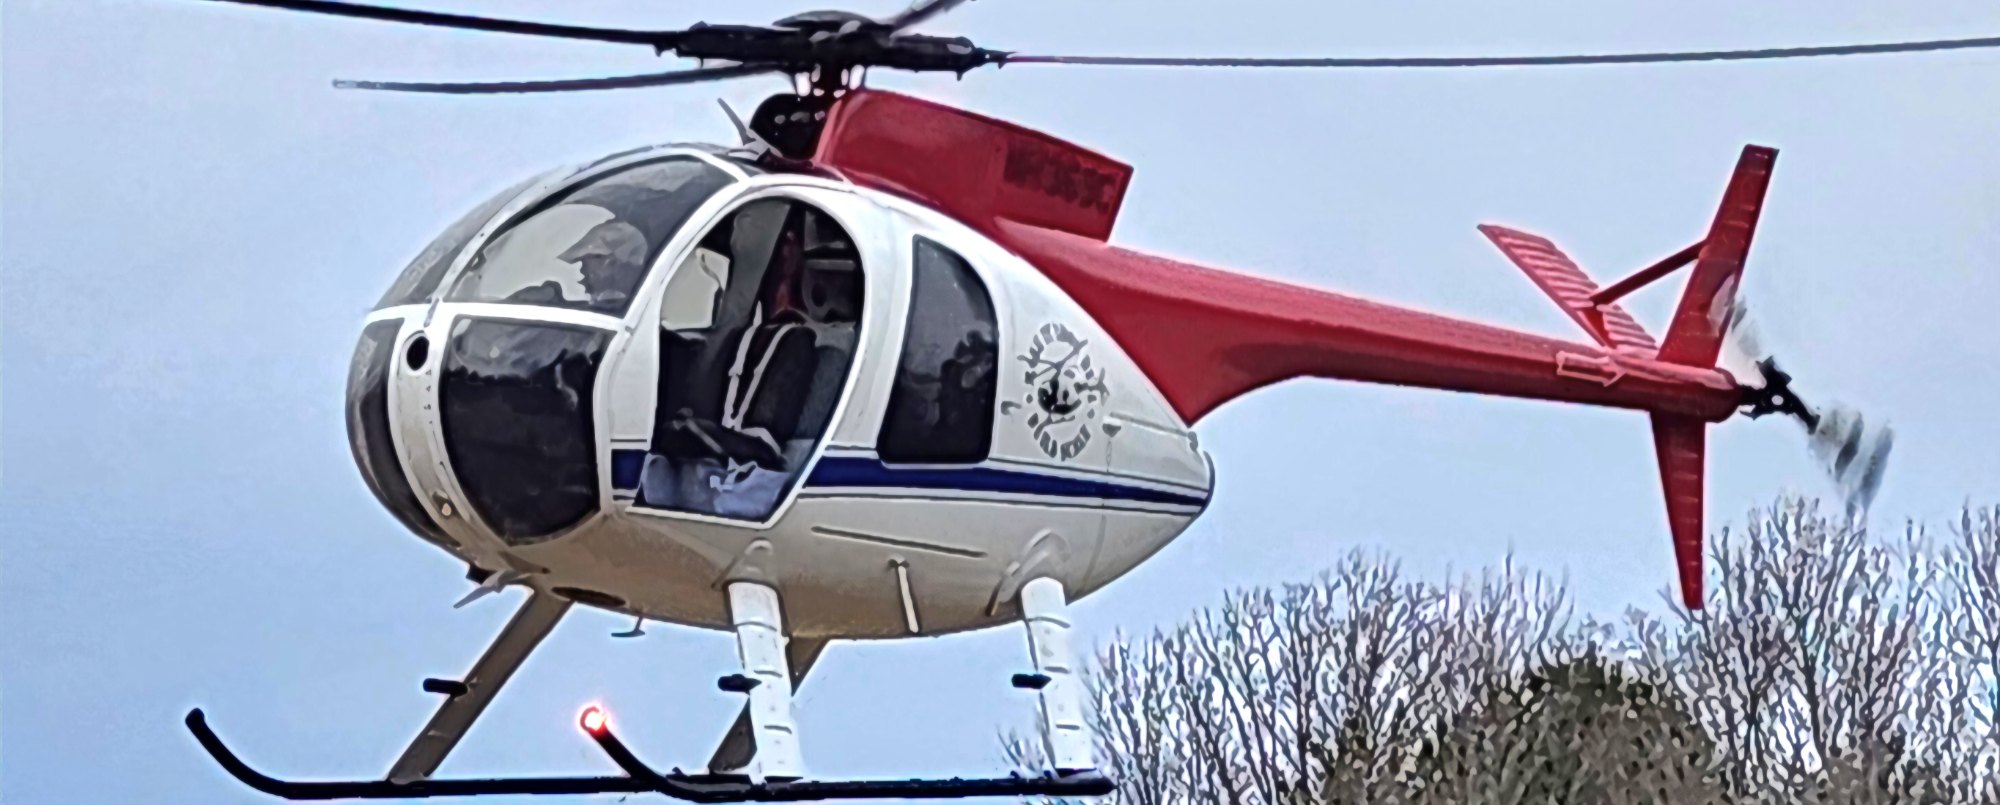
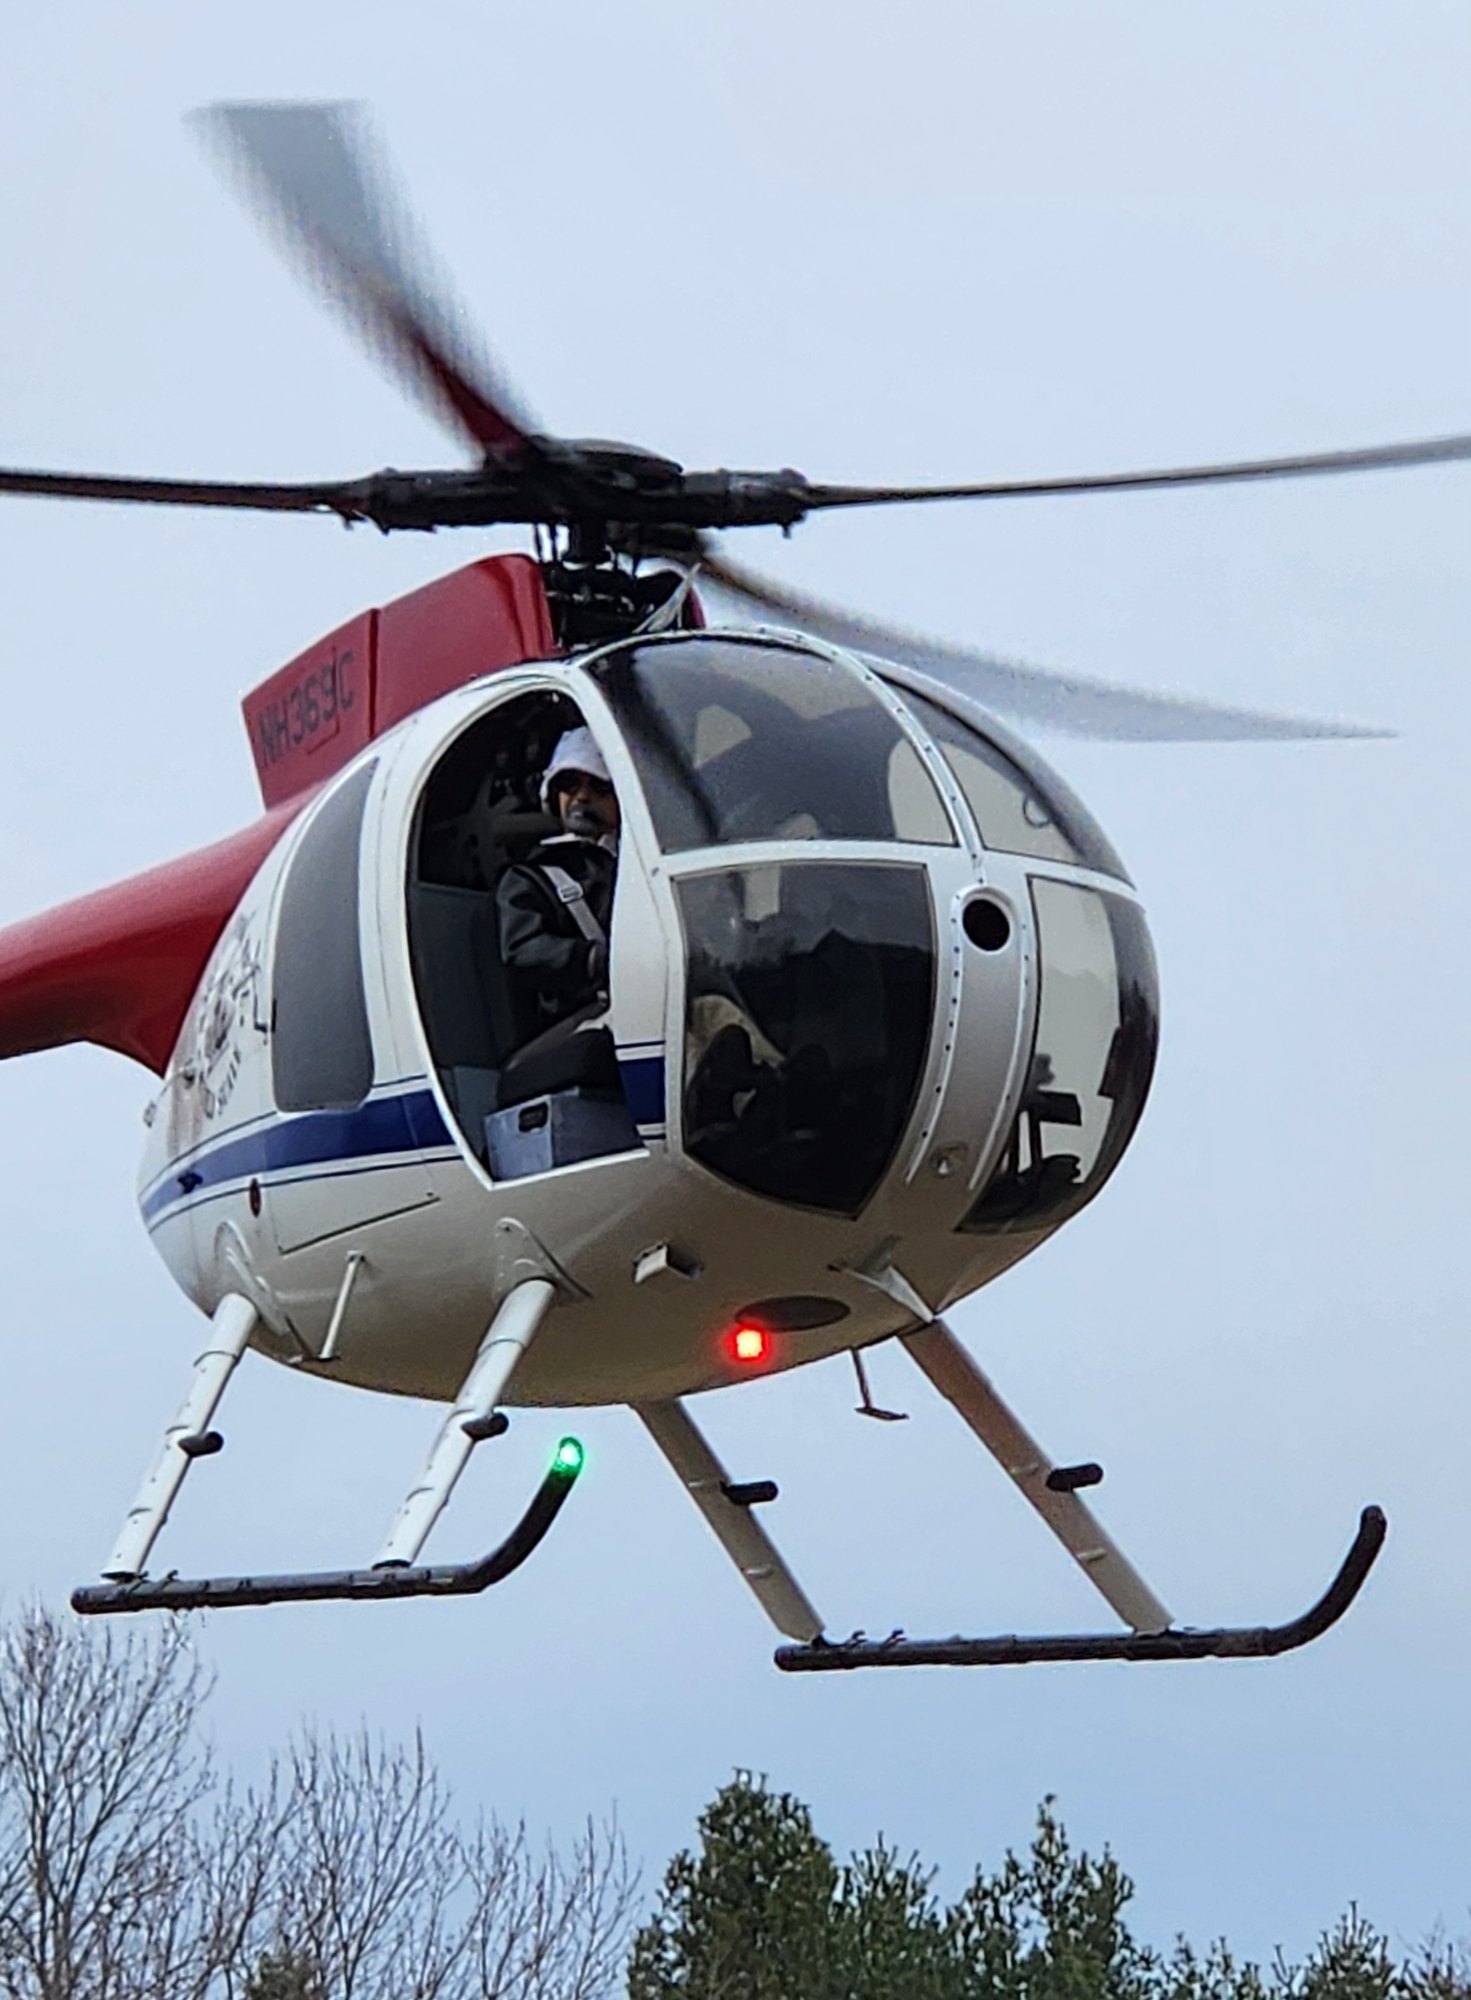
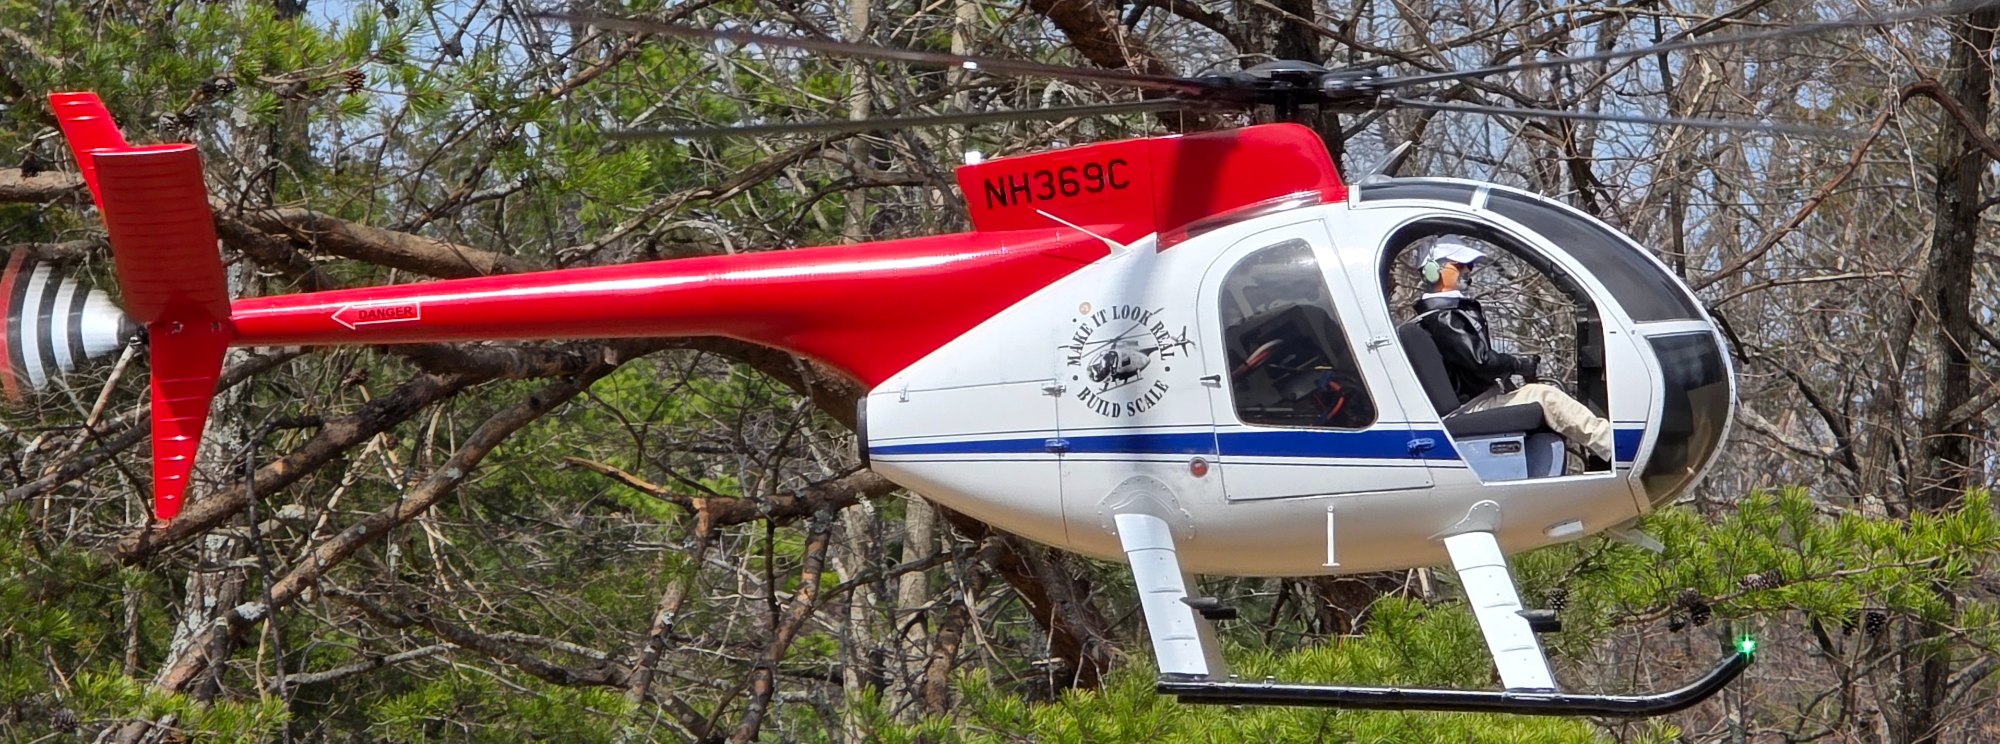
I started working on the fuselage exterior. This fuselage was what I refer to as a "slick" fuselage with no rivets and very little exterior detailing. I started by removing the "surfboard" on top of the fuselage and applying hundred of rivets and panel lines along with any other needed scale detail. I painted with red and white automotive paint and added my "signature" logo " Make It Look Real, Build Scale", lol.
Once everything cured and I was happy with the paint I started the weathering process.
I was very happy with the end result and the model flys GREAT.