

Vario Starwood Lama Project Build
 Thomas D.
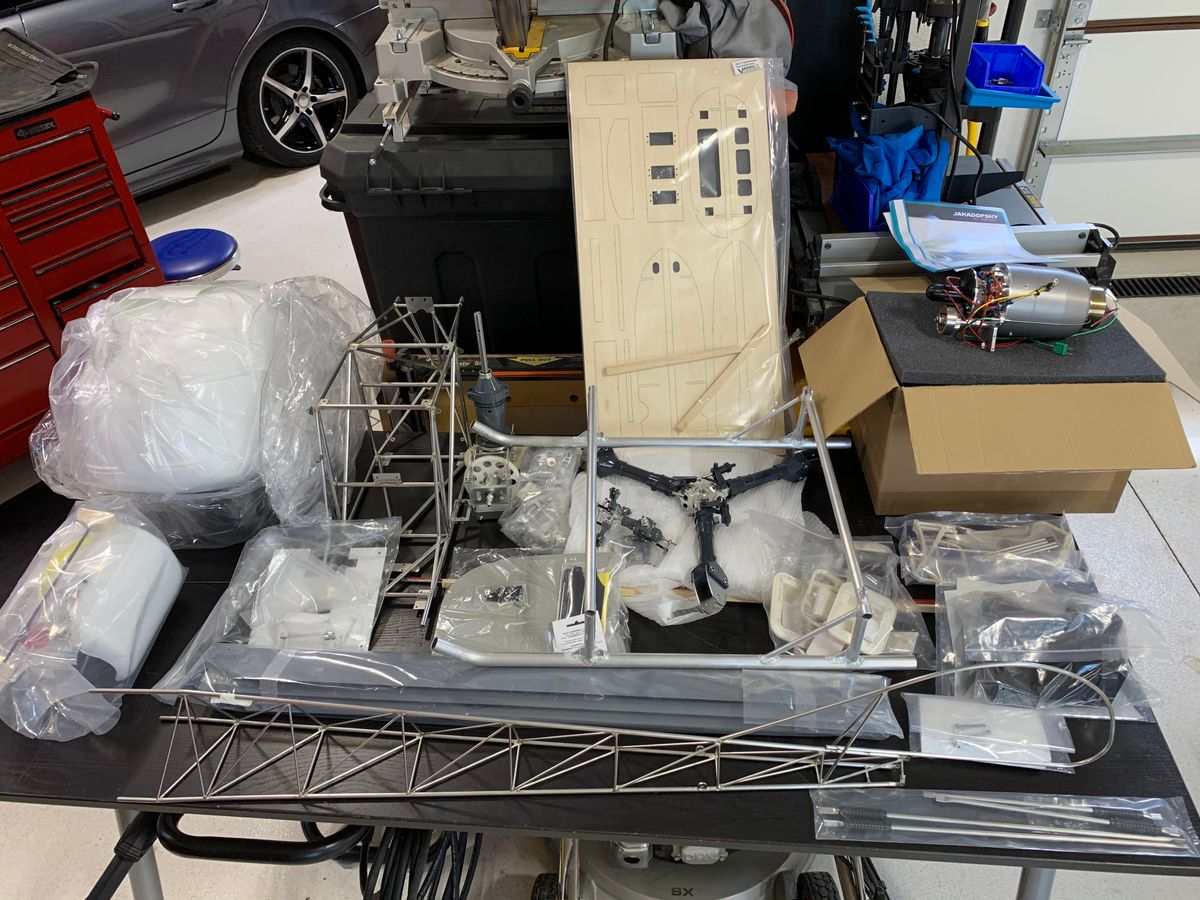
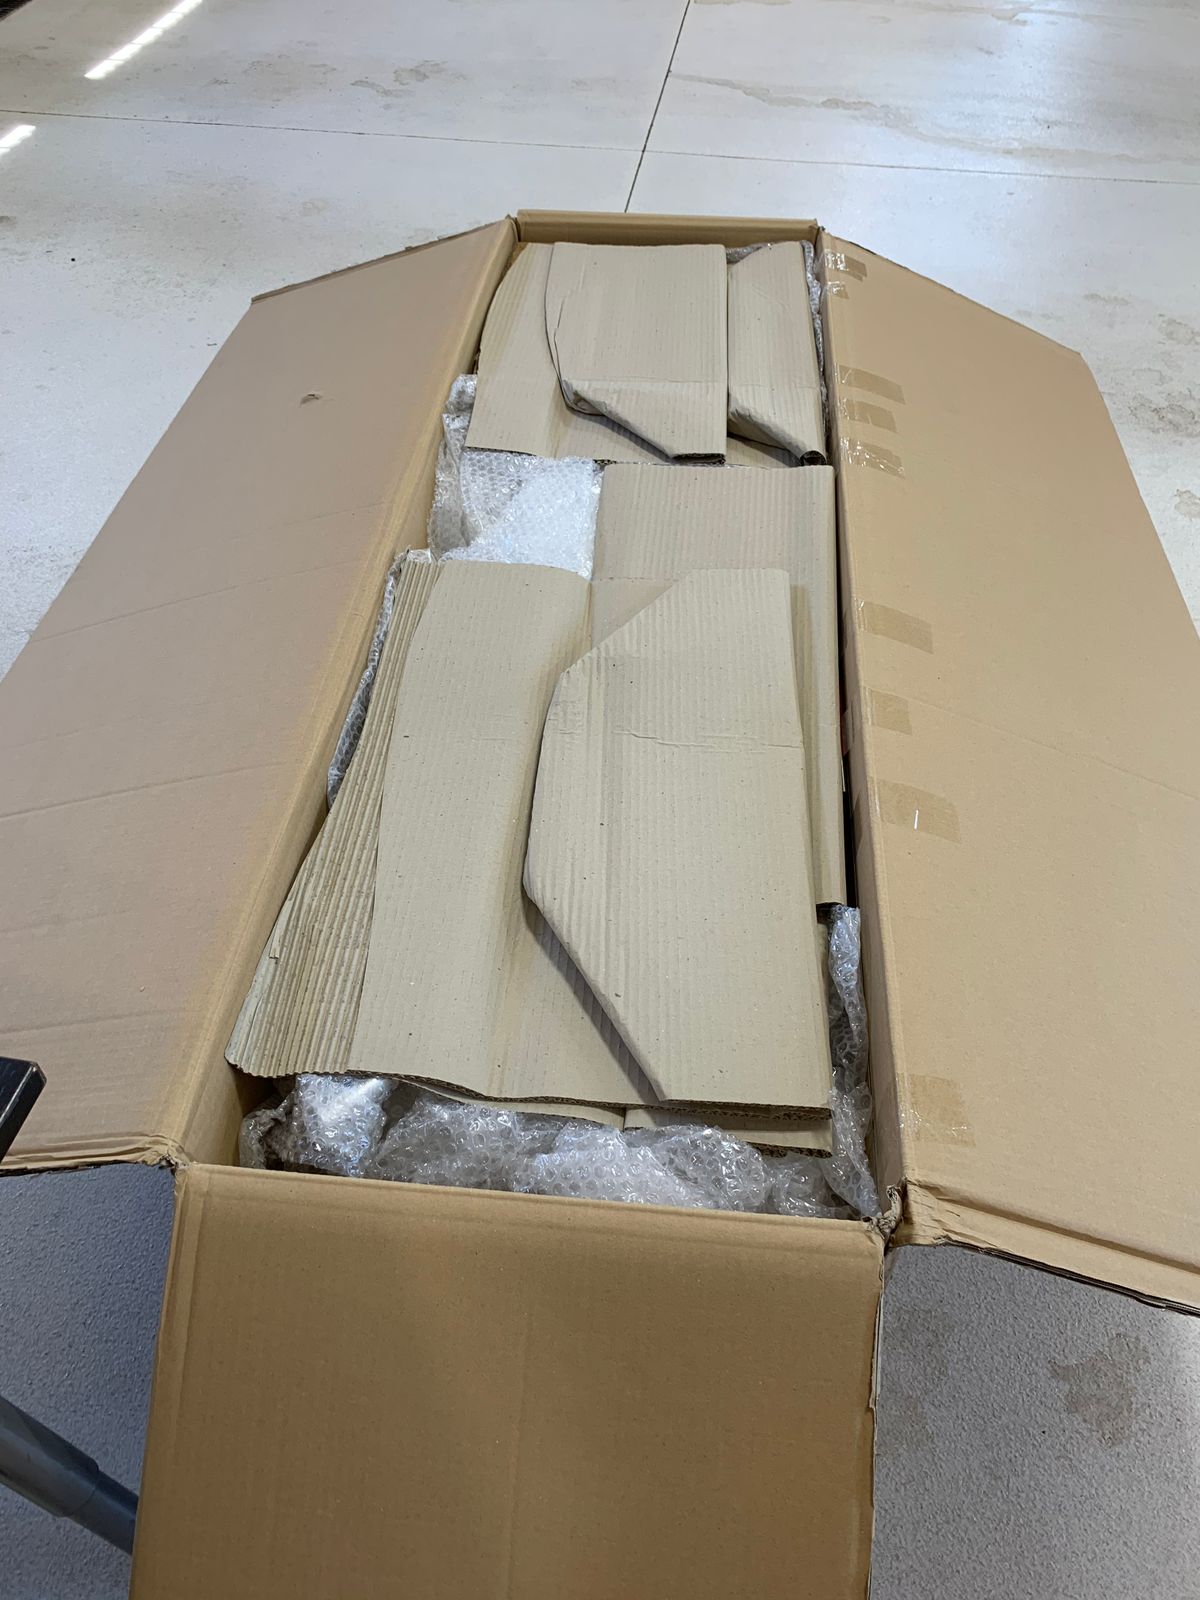
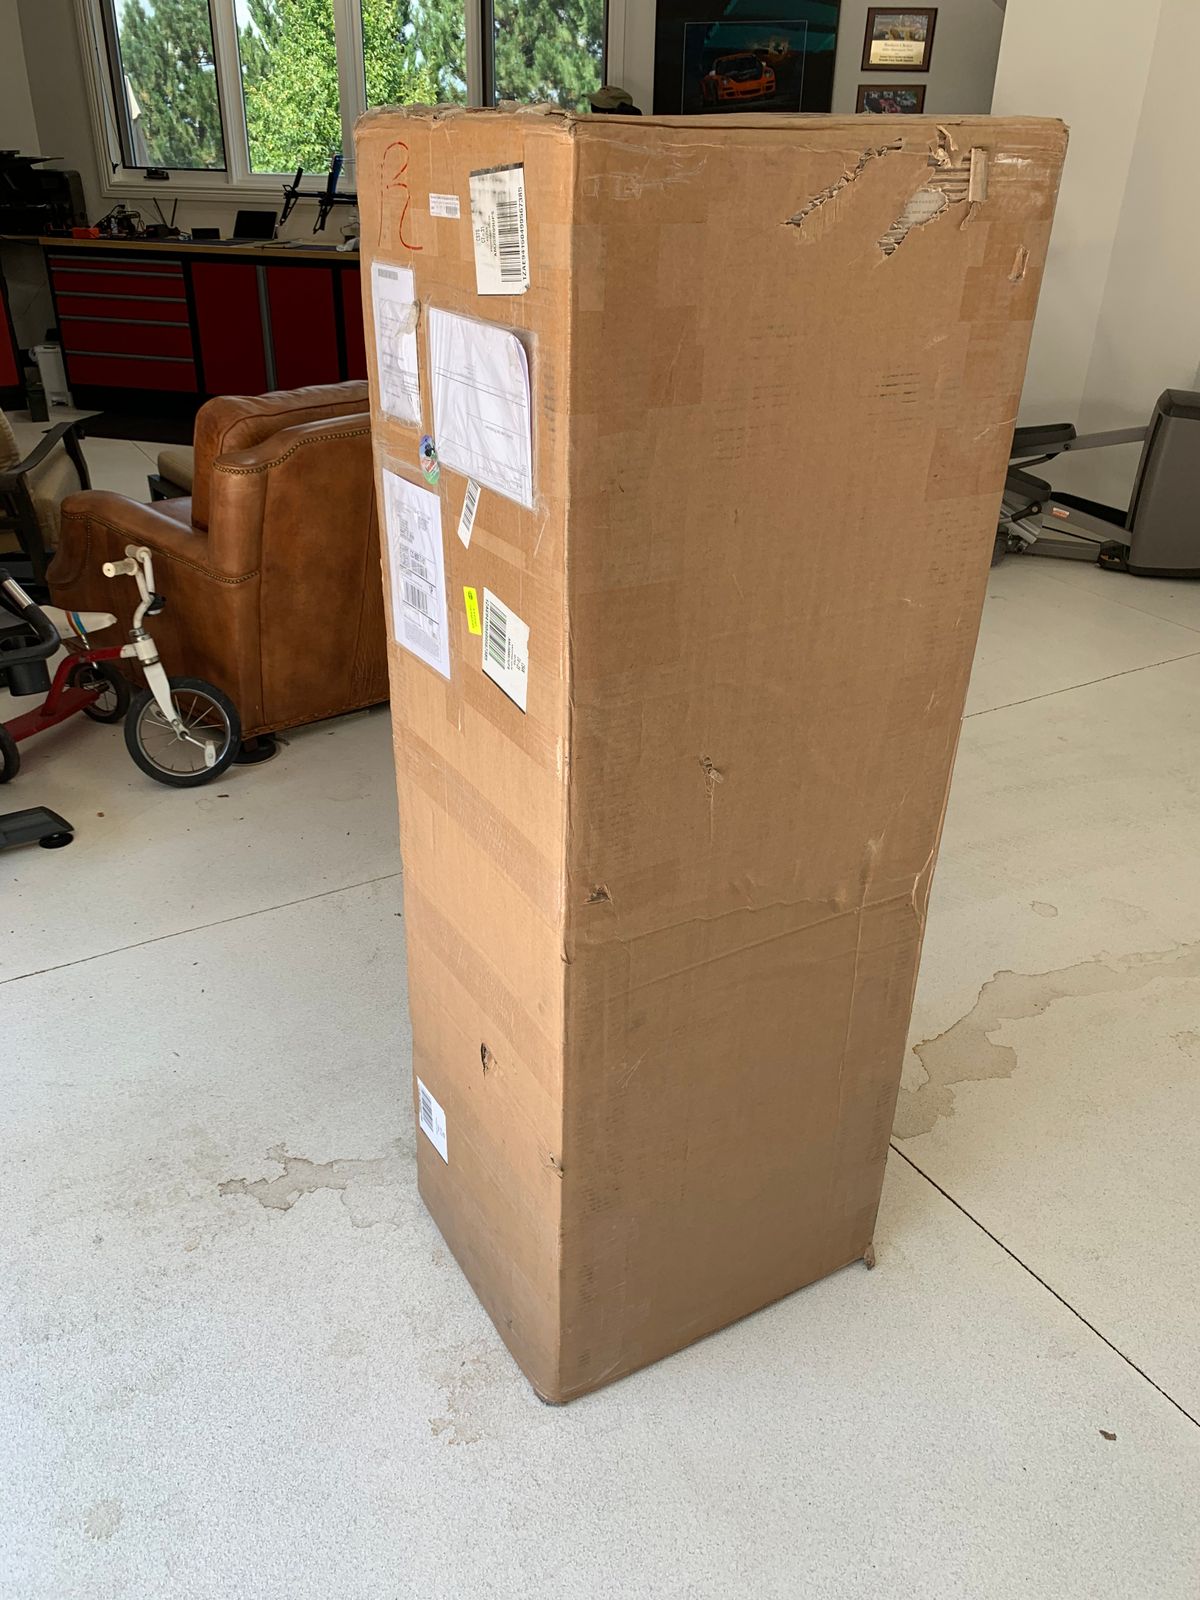
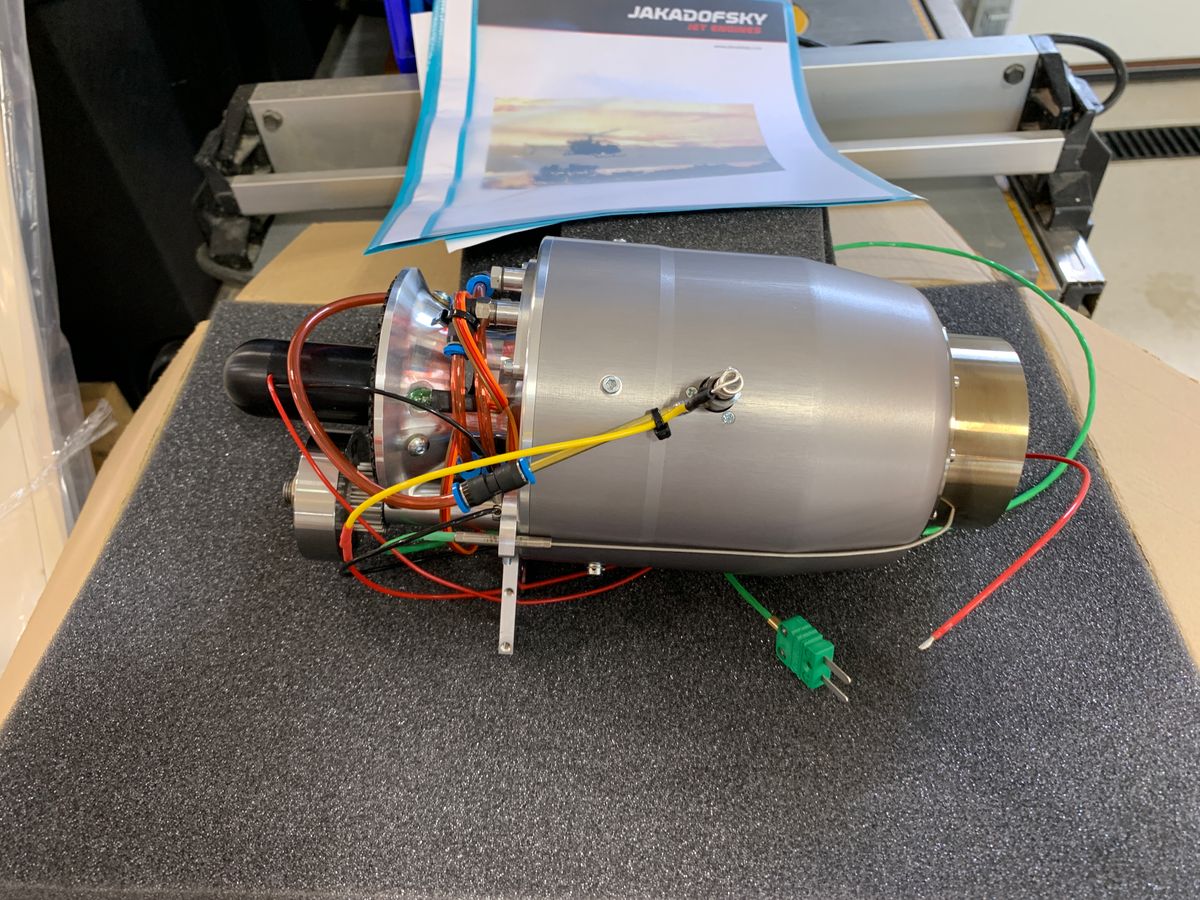
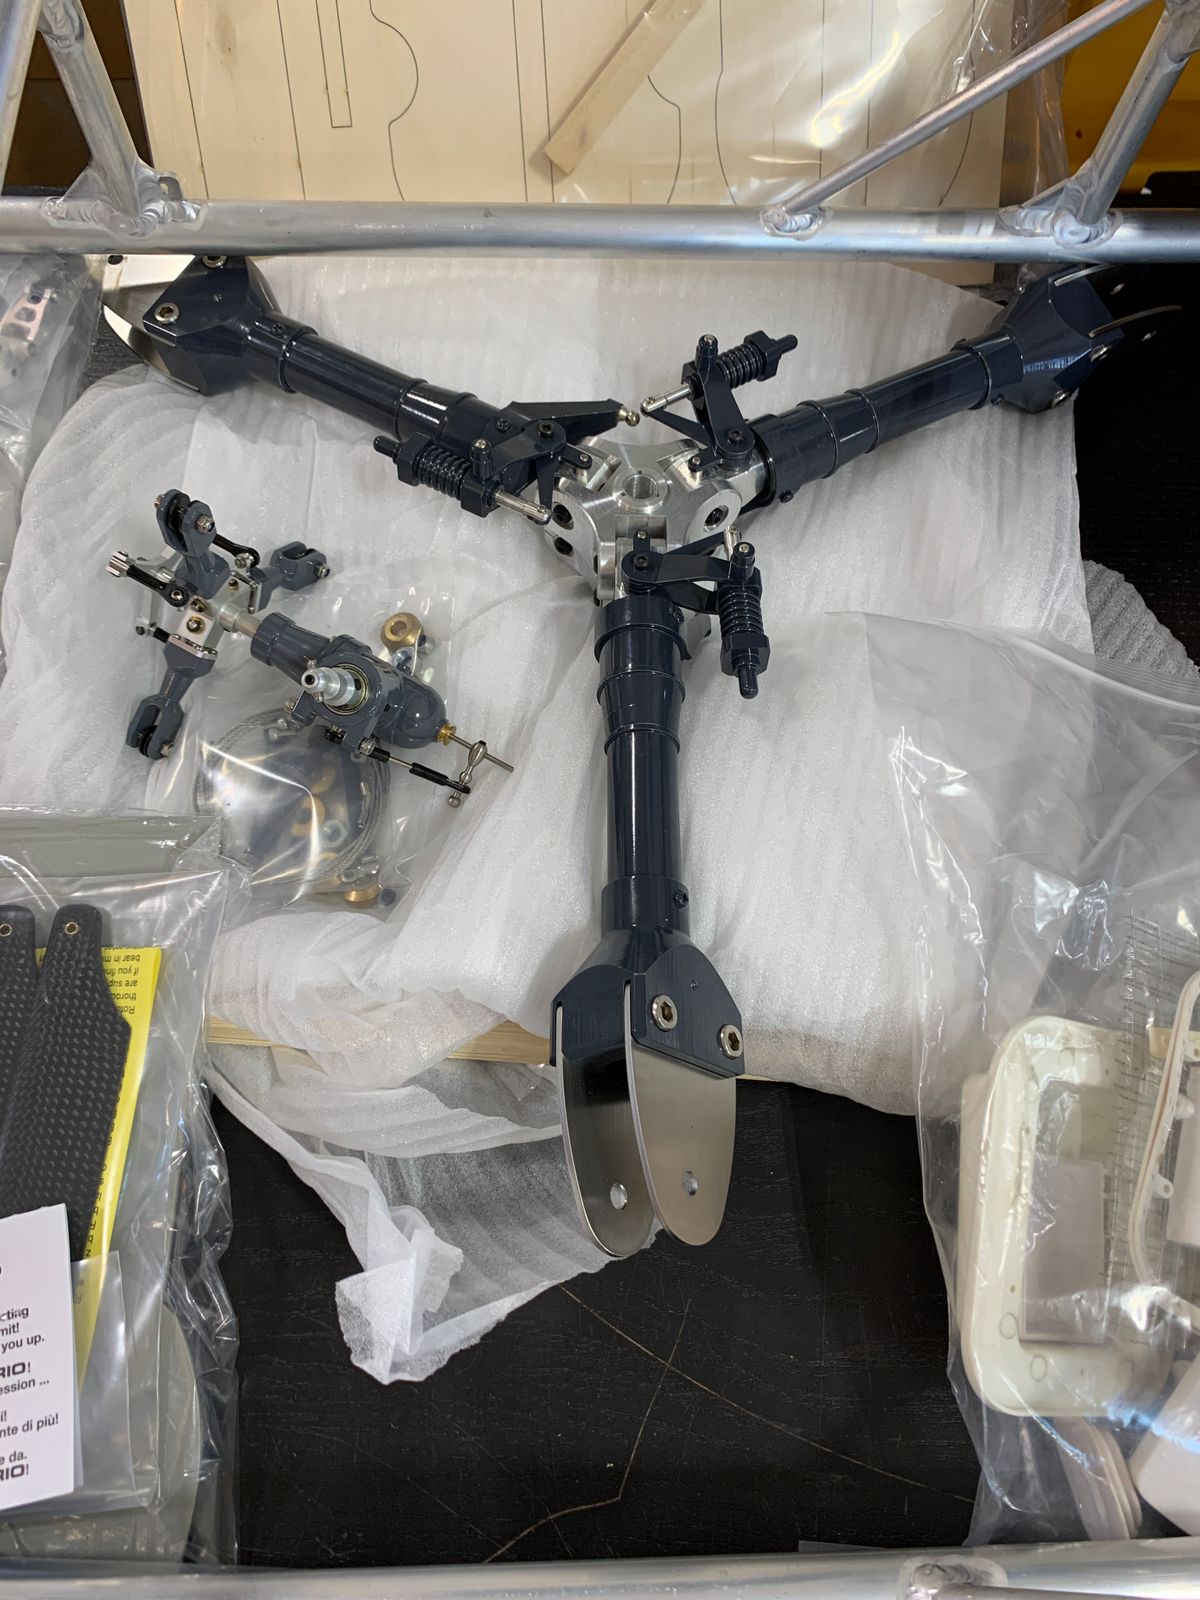
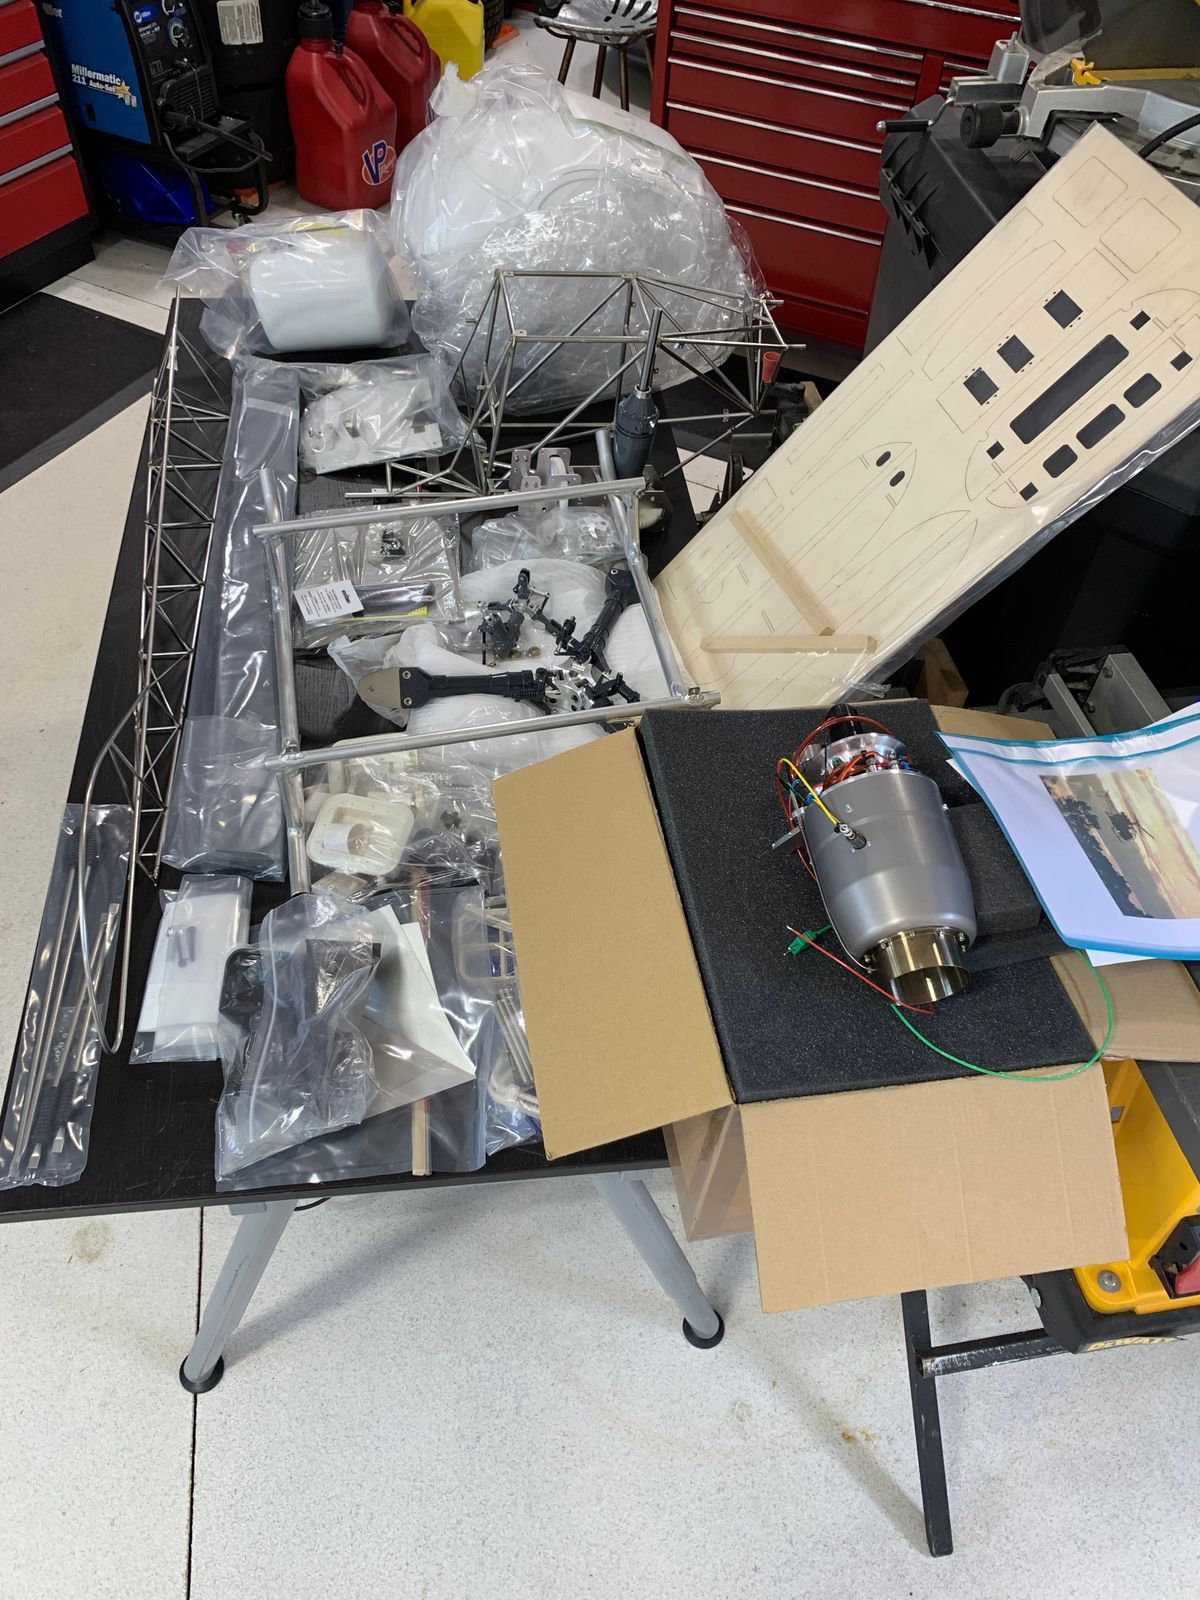
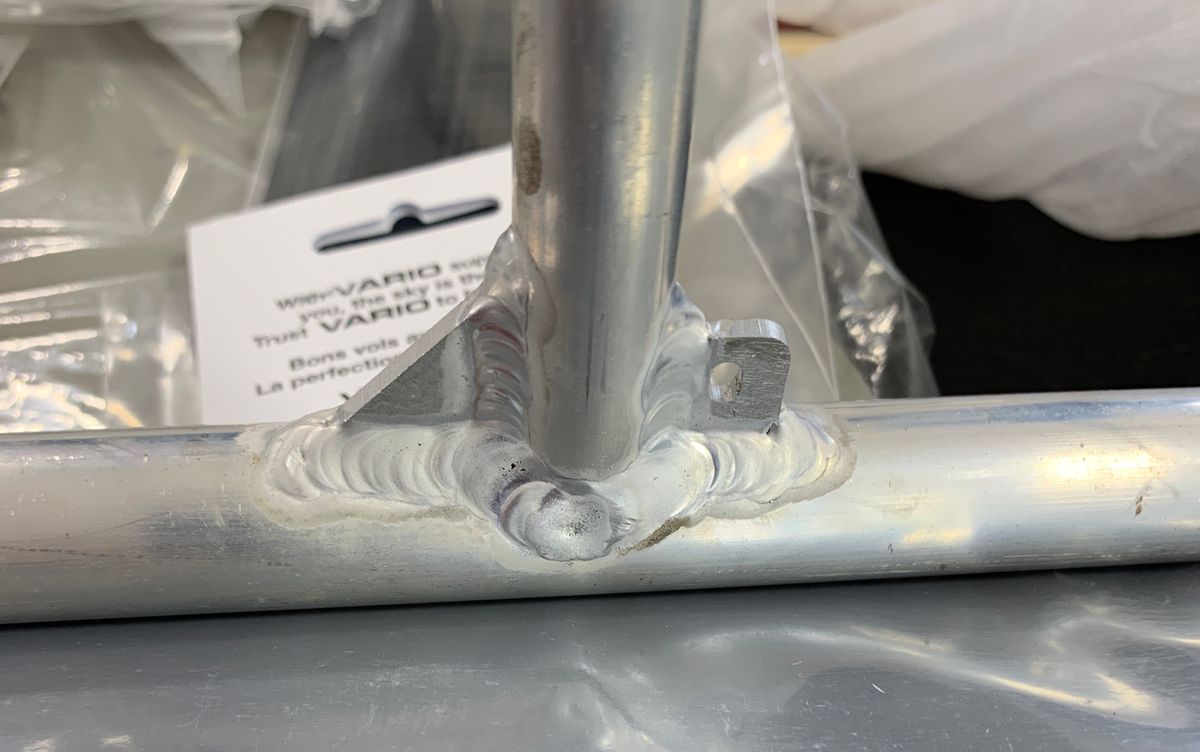
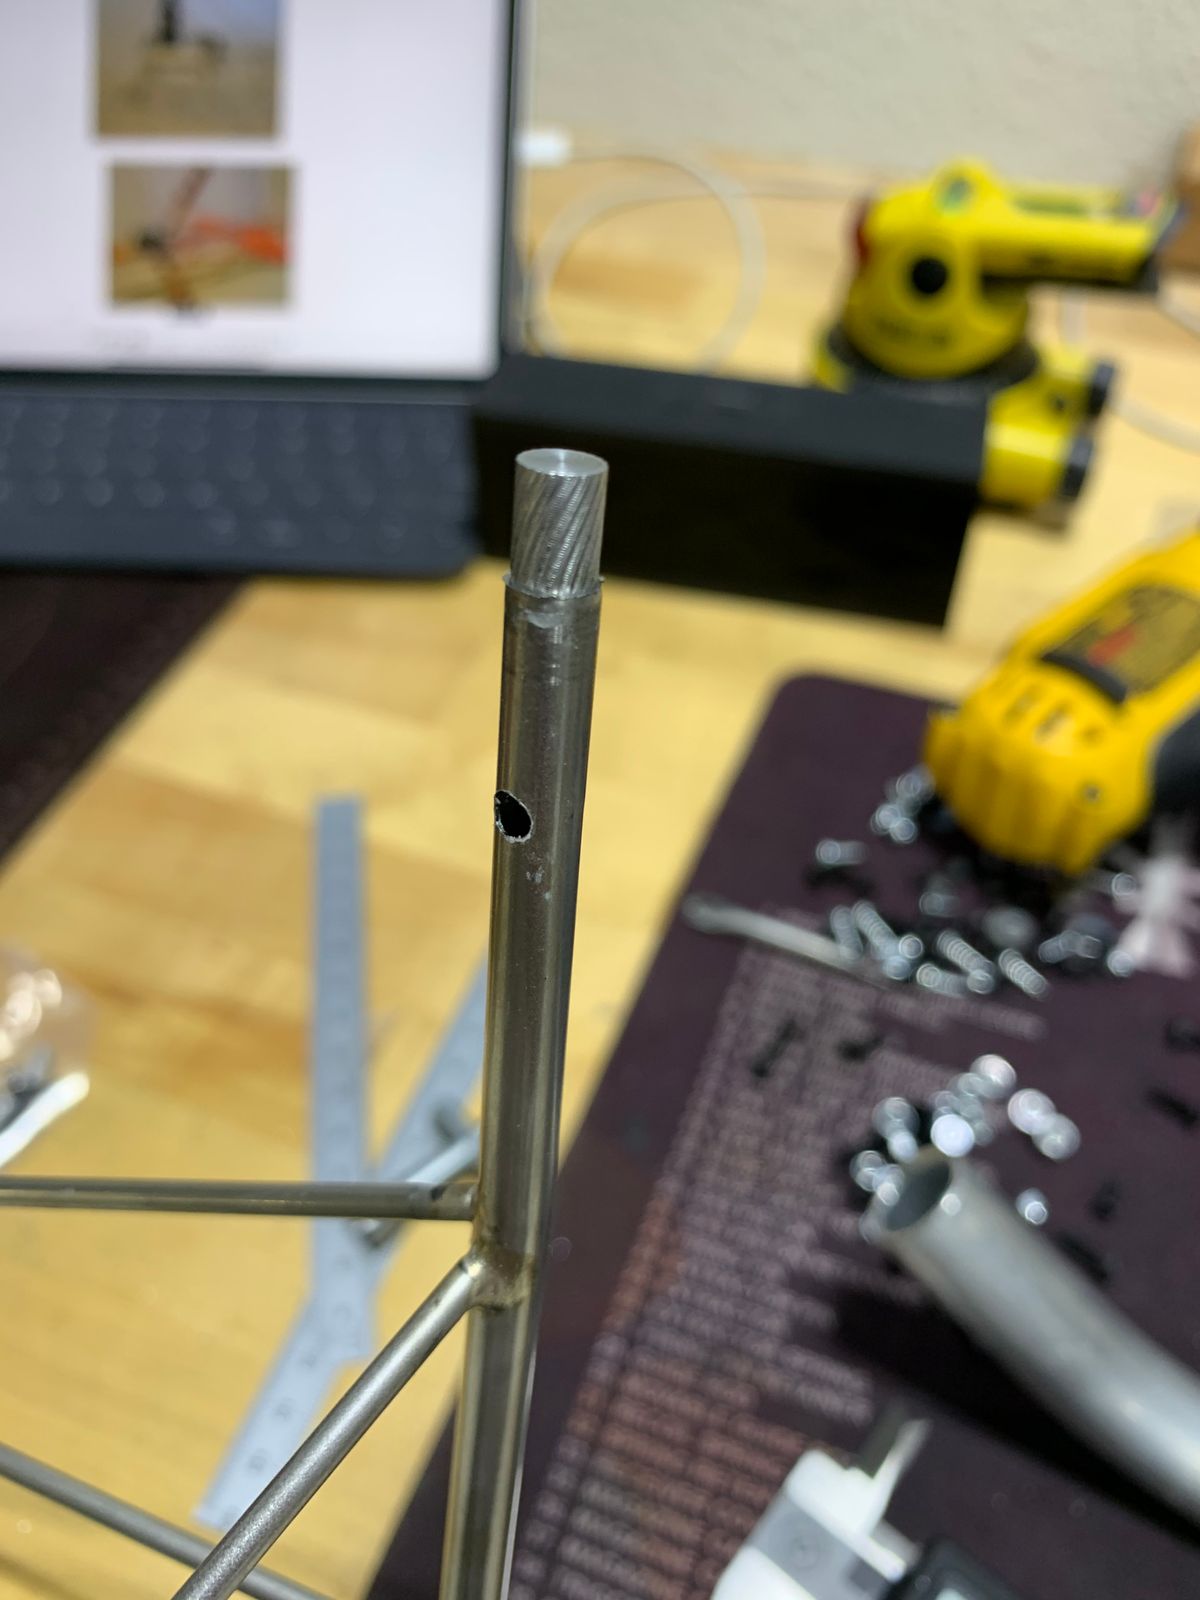
Unpacking
I wanted to share two builds. This one a Vario Starwood Lama and later my current build of a Vario 1/5 Bell 429. This Lama is completed and I fly it on a regular basis.
A few disclaimers. I am not a master builder nor do I attempt to create one for scale competition. I simply love building and flying. My first heli was a Schluter Heli Boy 47 years ago (I still have it). My hope is to provide a story in pictures. If you have questions, I will be happy to answer them. No doubt there are several approaches to building and the following was my journey.
And…as Vario documents state, you have to have prior building experience. Pics show the heli is delivered well packed and there was no damage. The manuals and instructions are well laid out, however one has to fill in the blanks. Vario is an incredible company that stands the test of time.
..and the projects begins.
Pre-Assembly
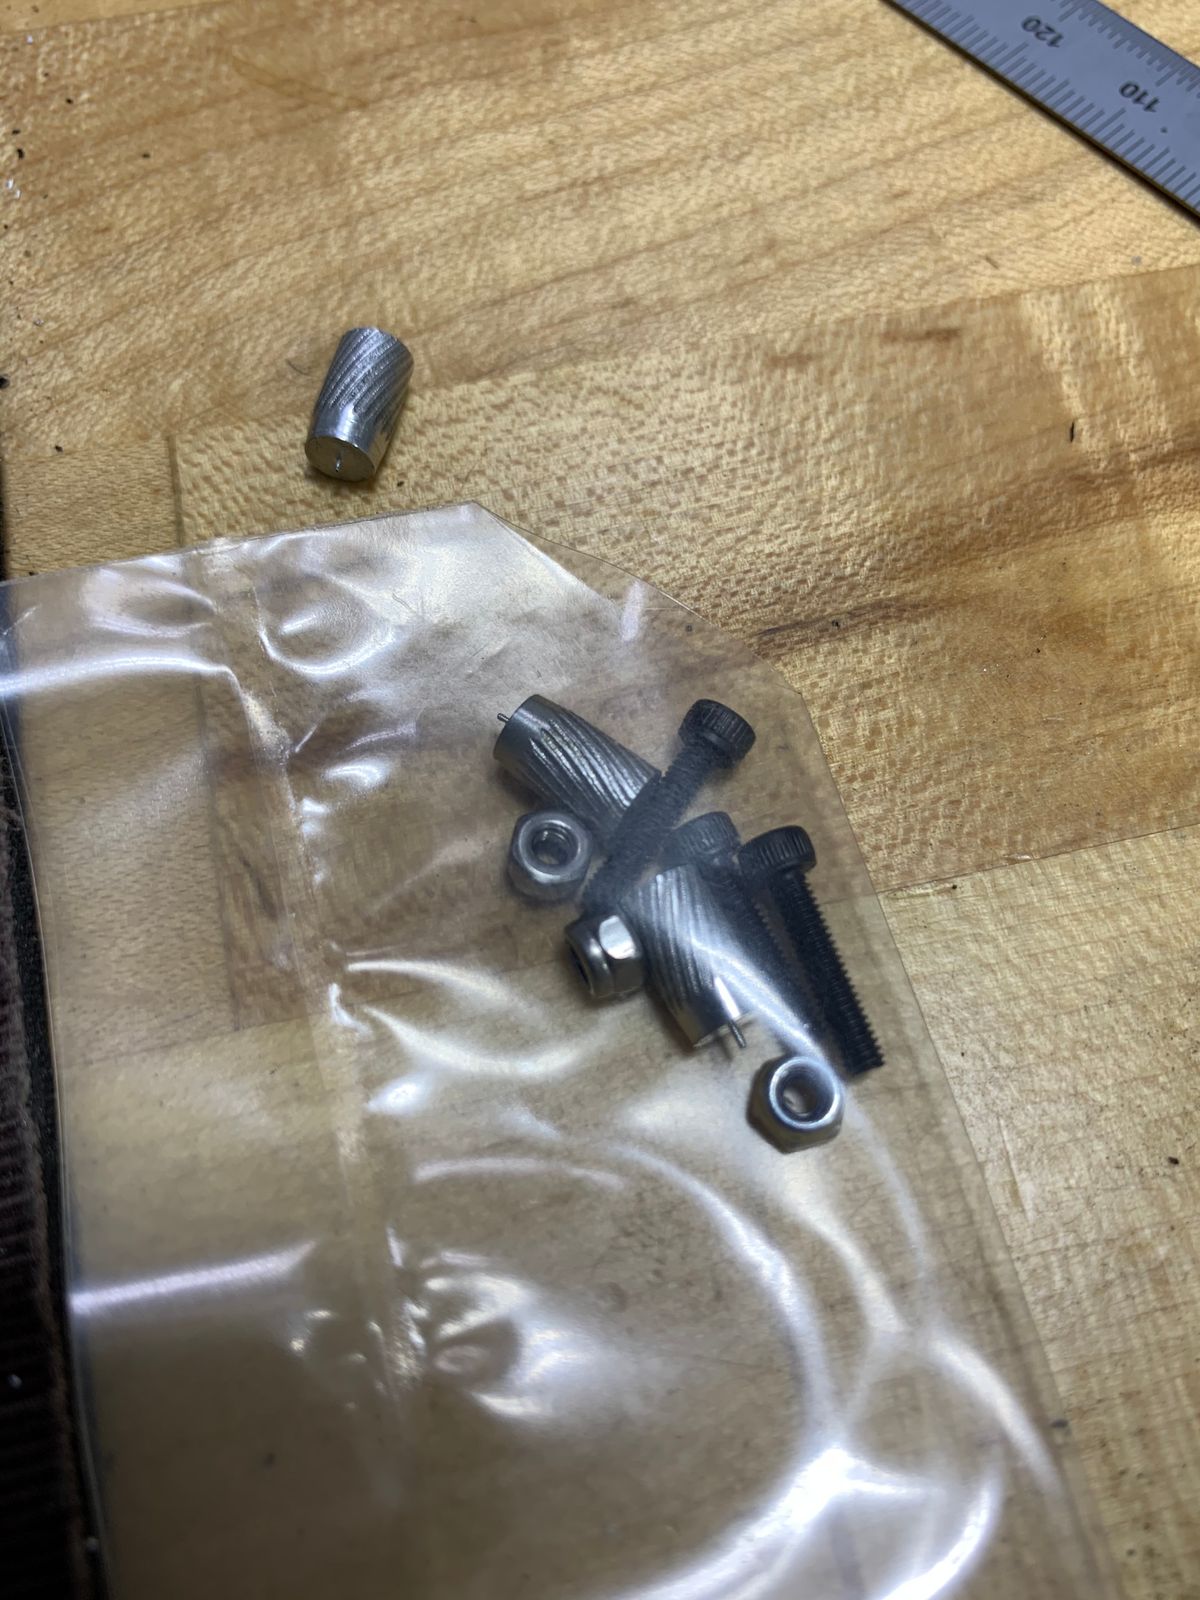
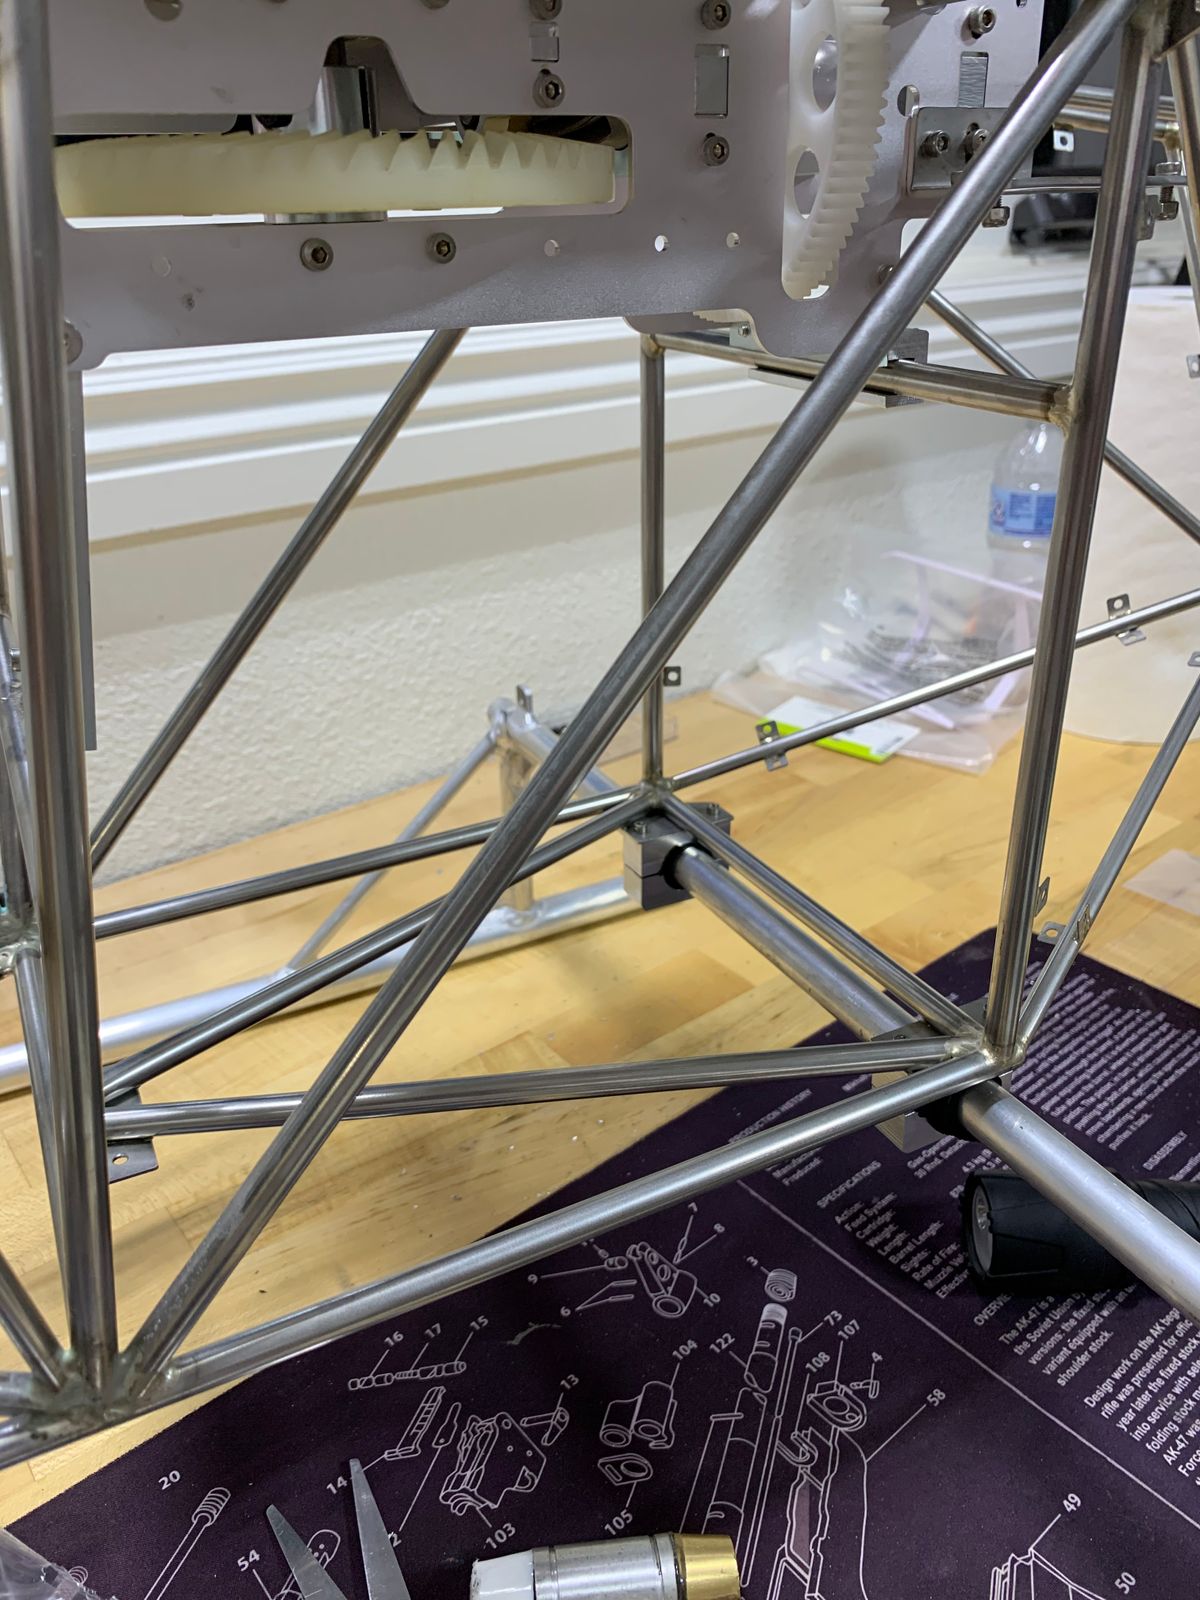
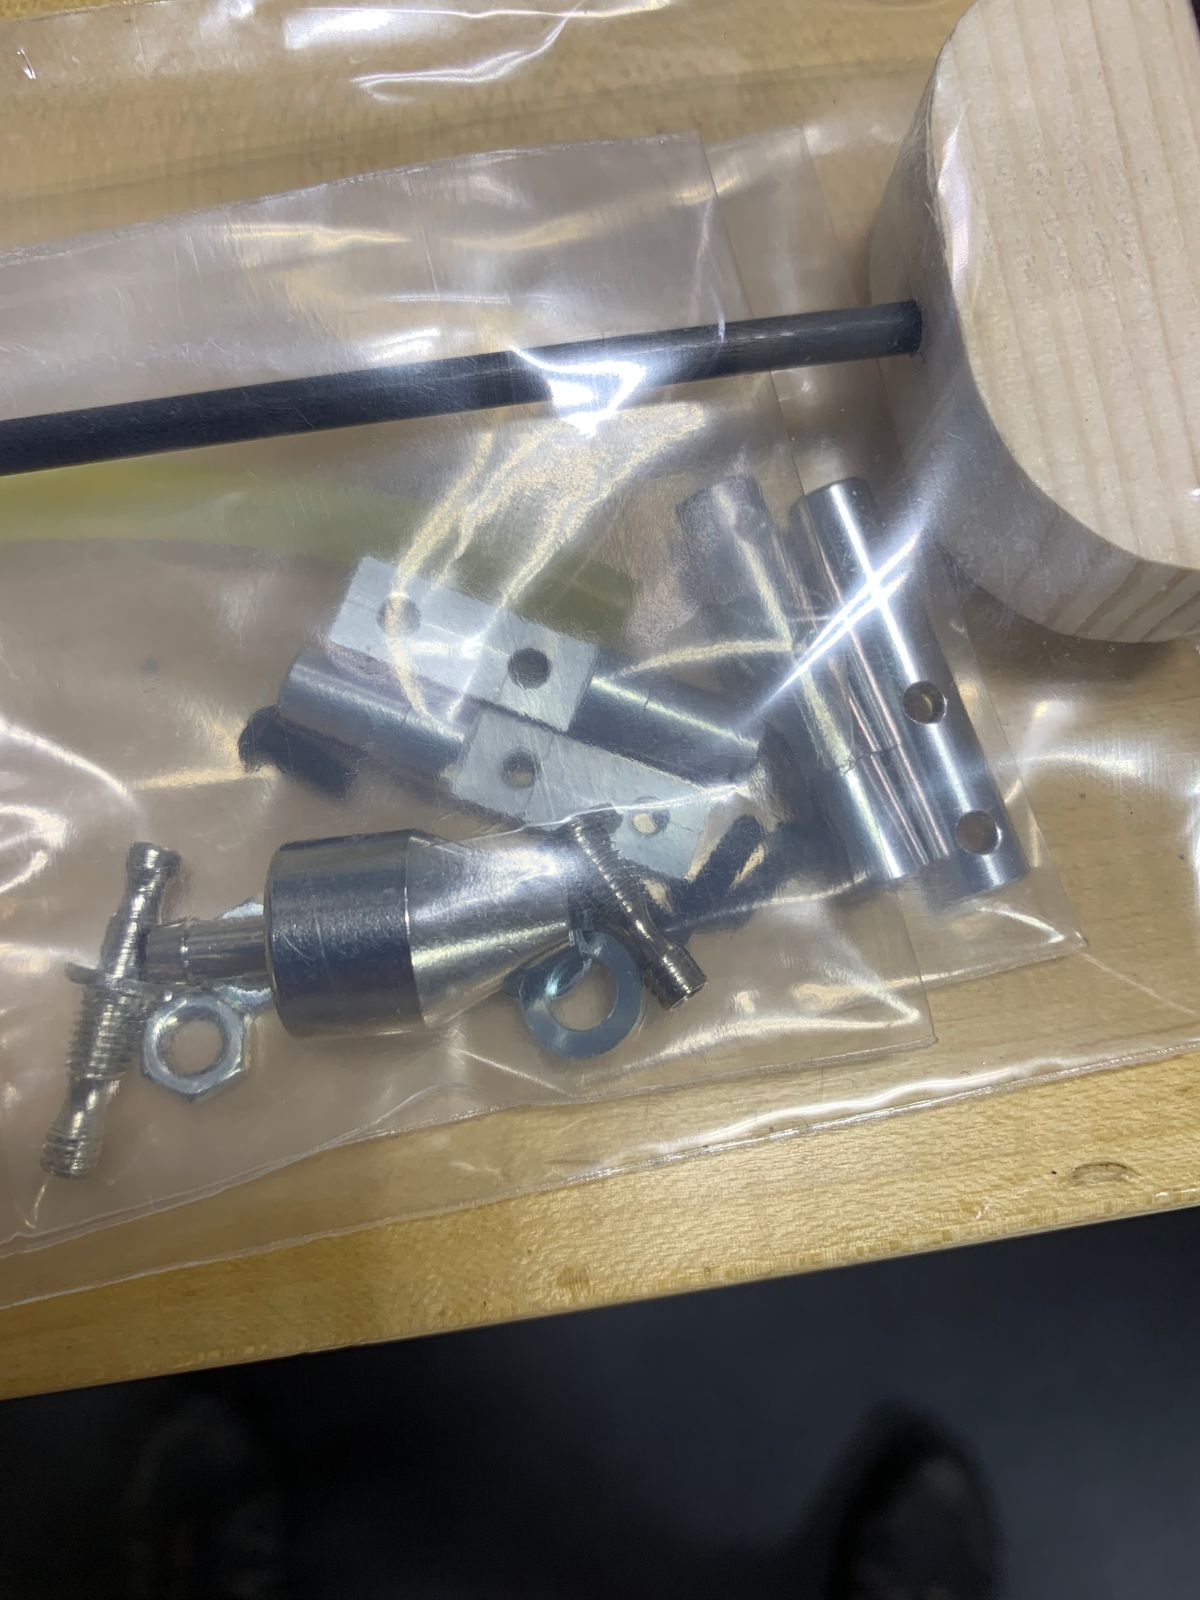
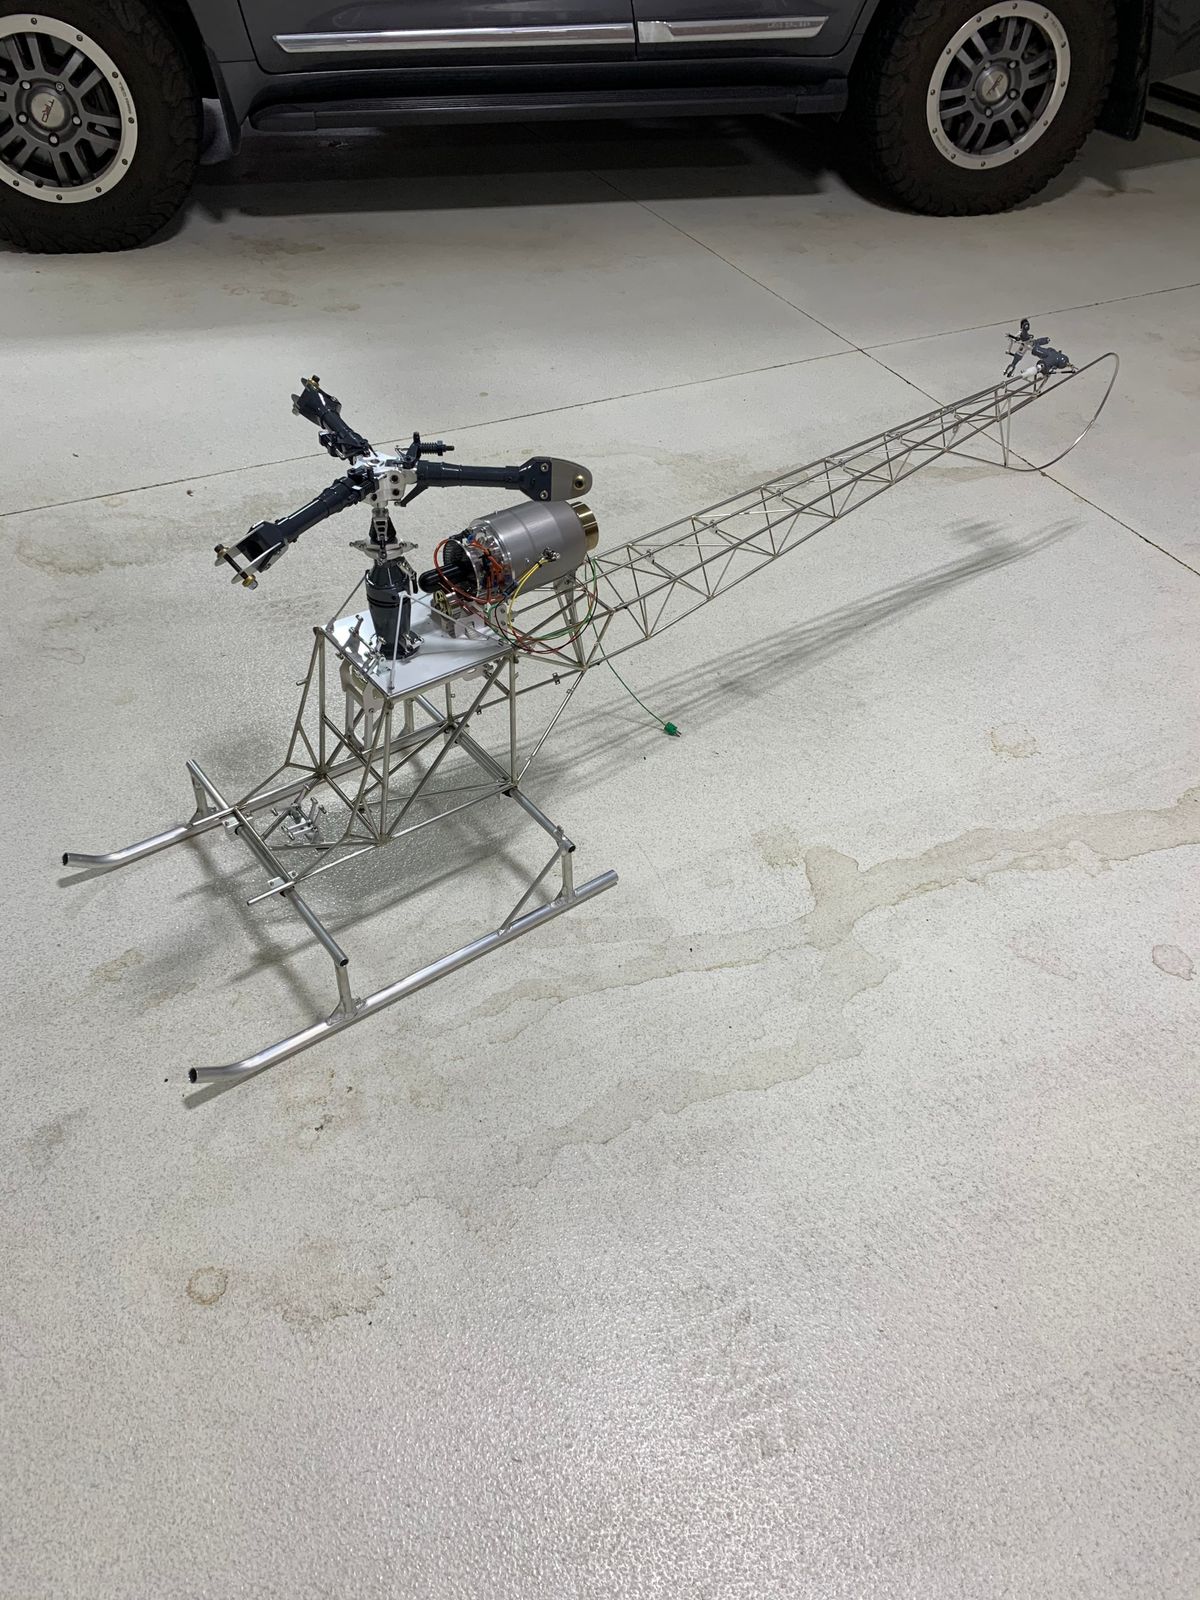
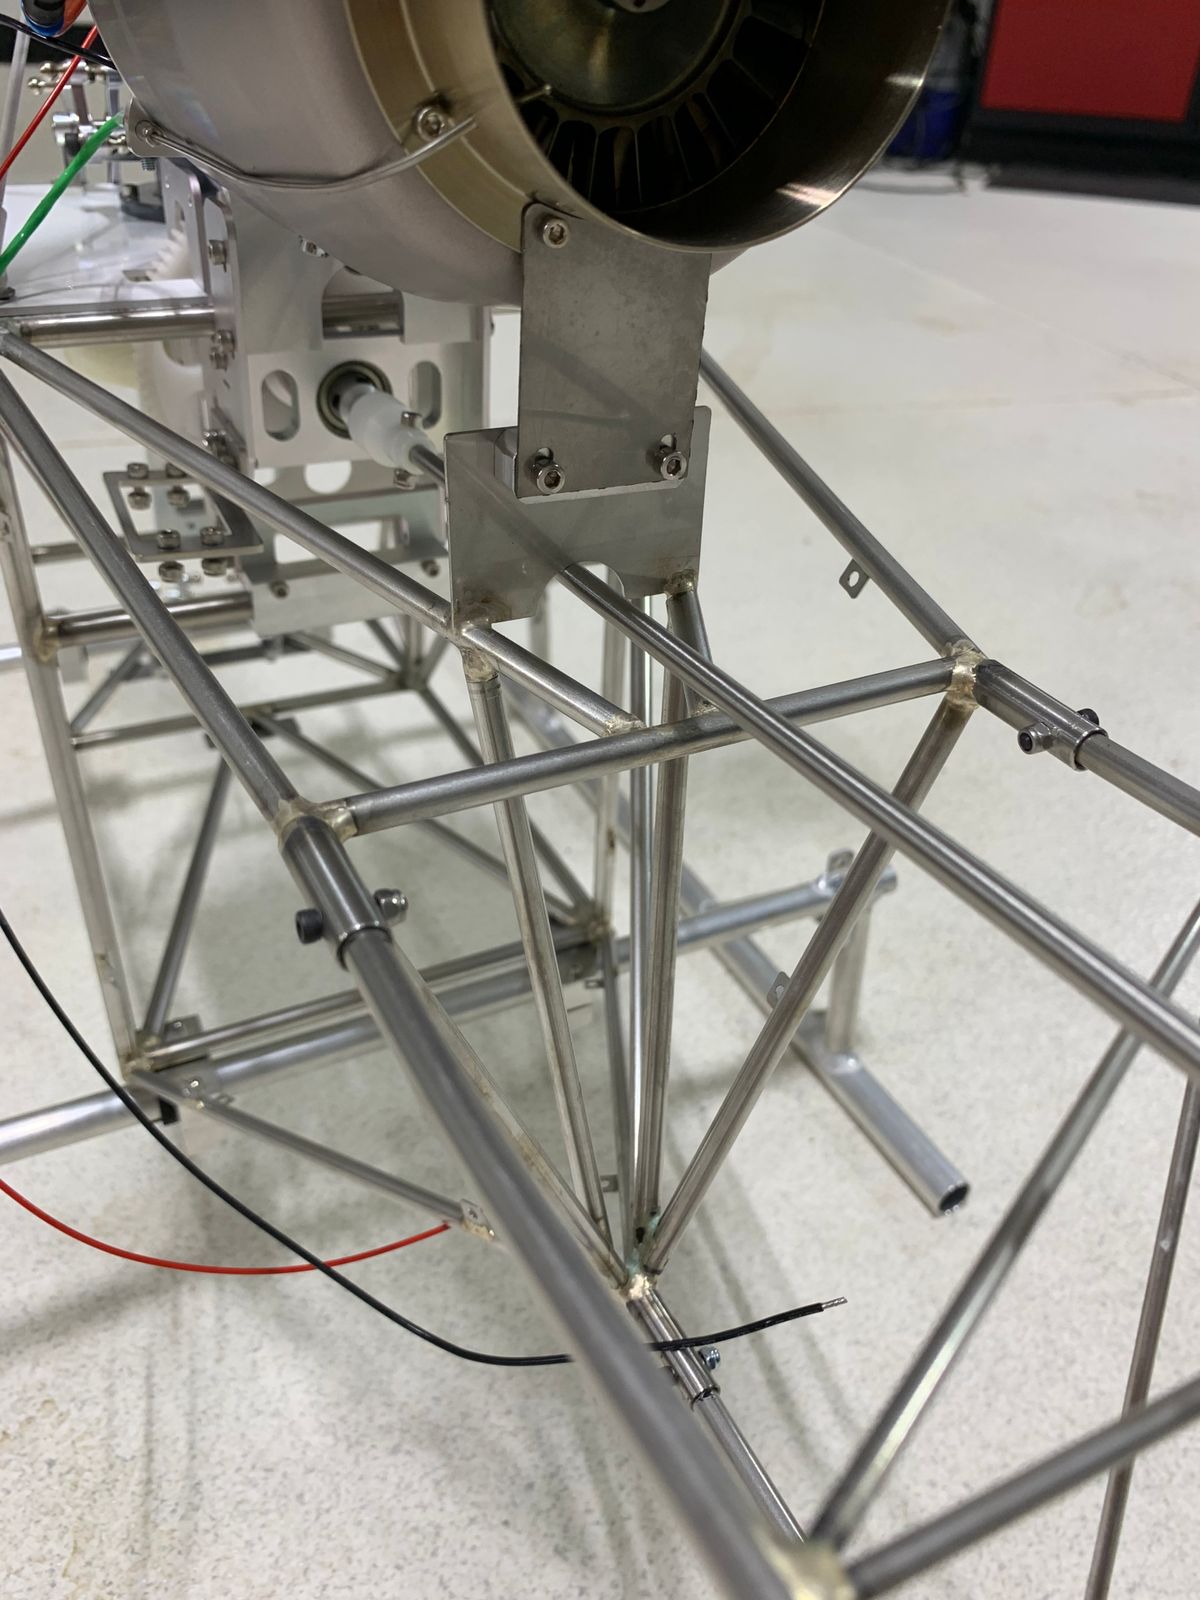
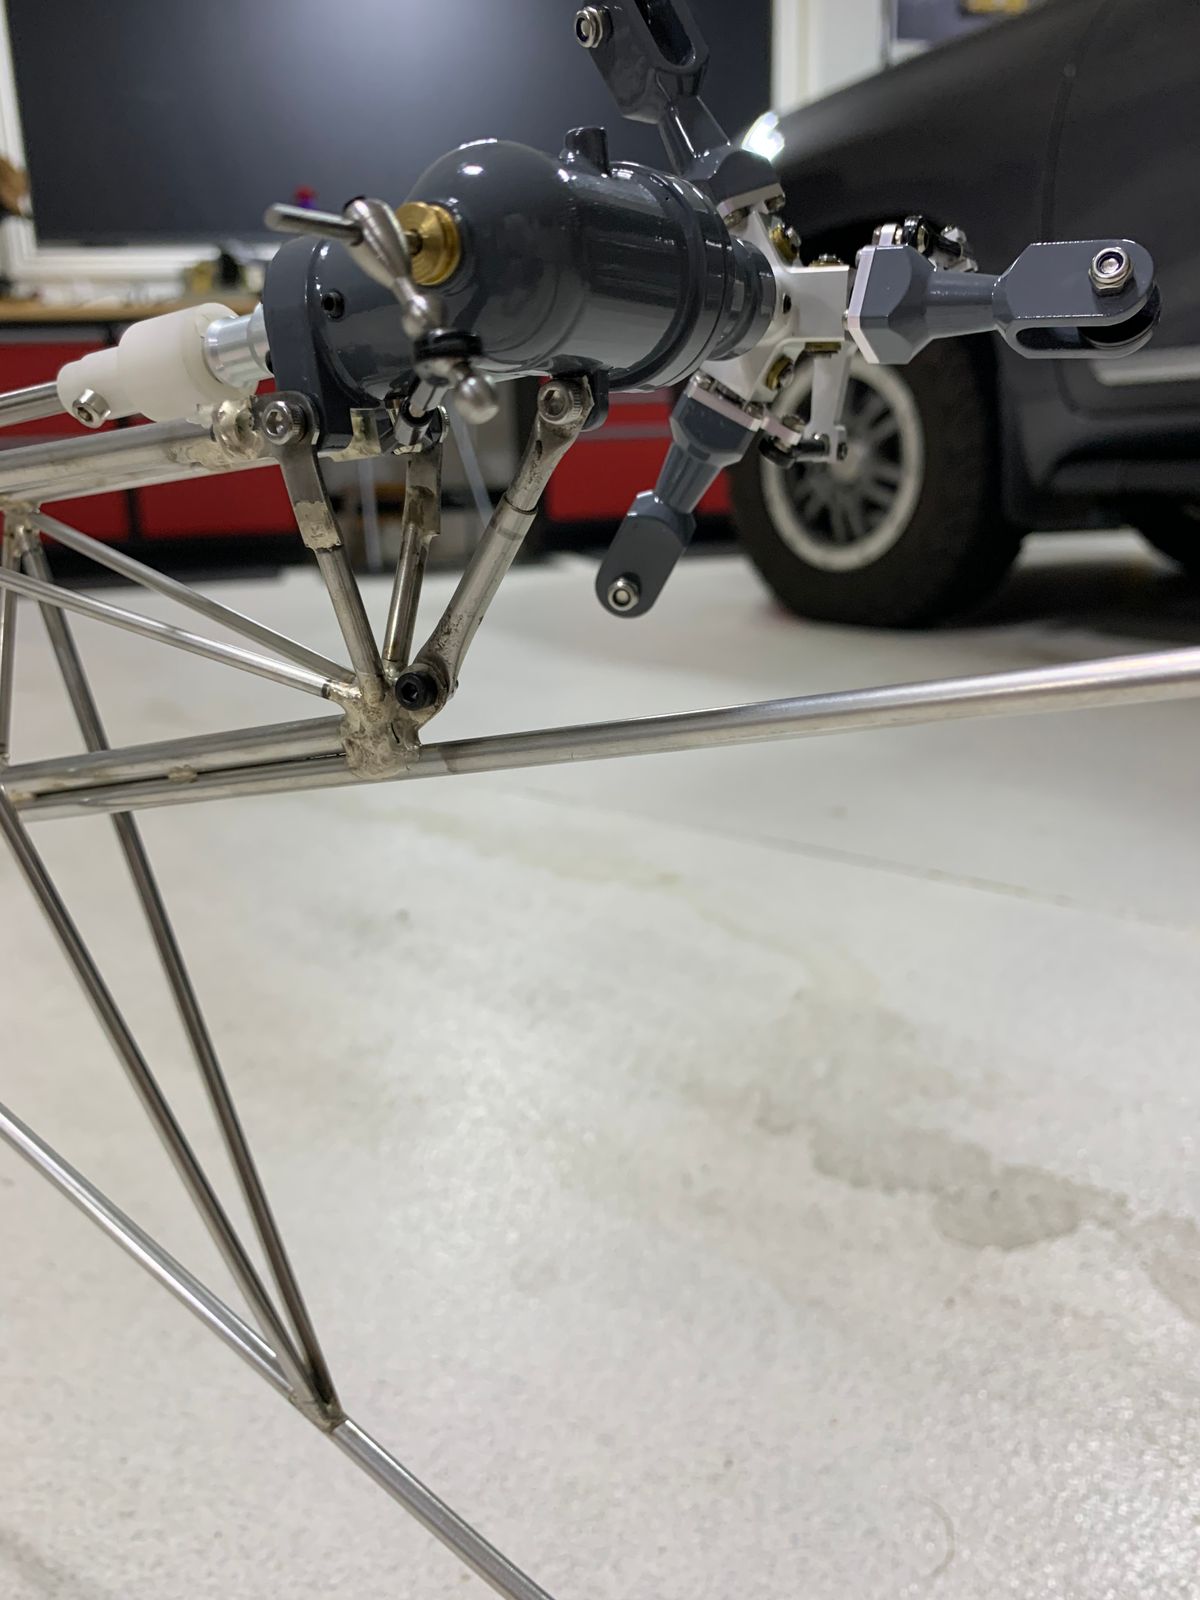
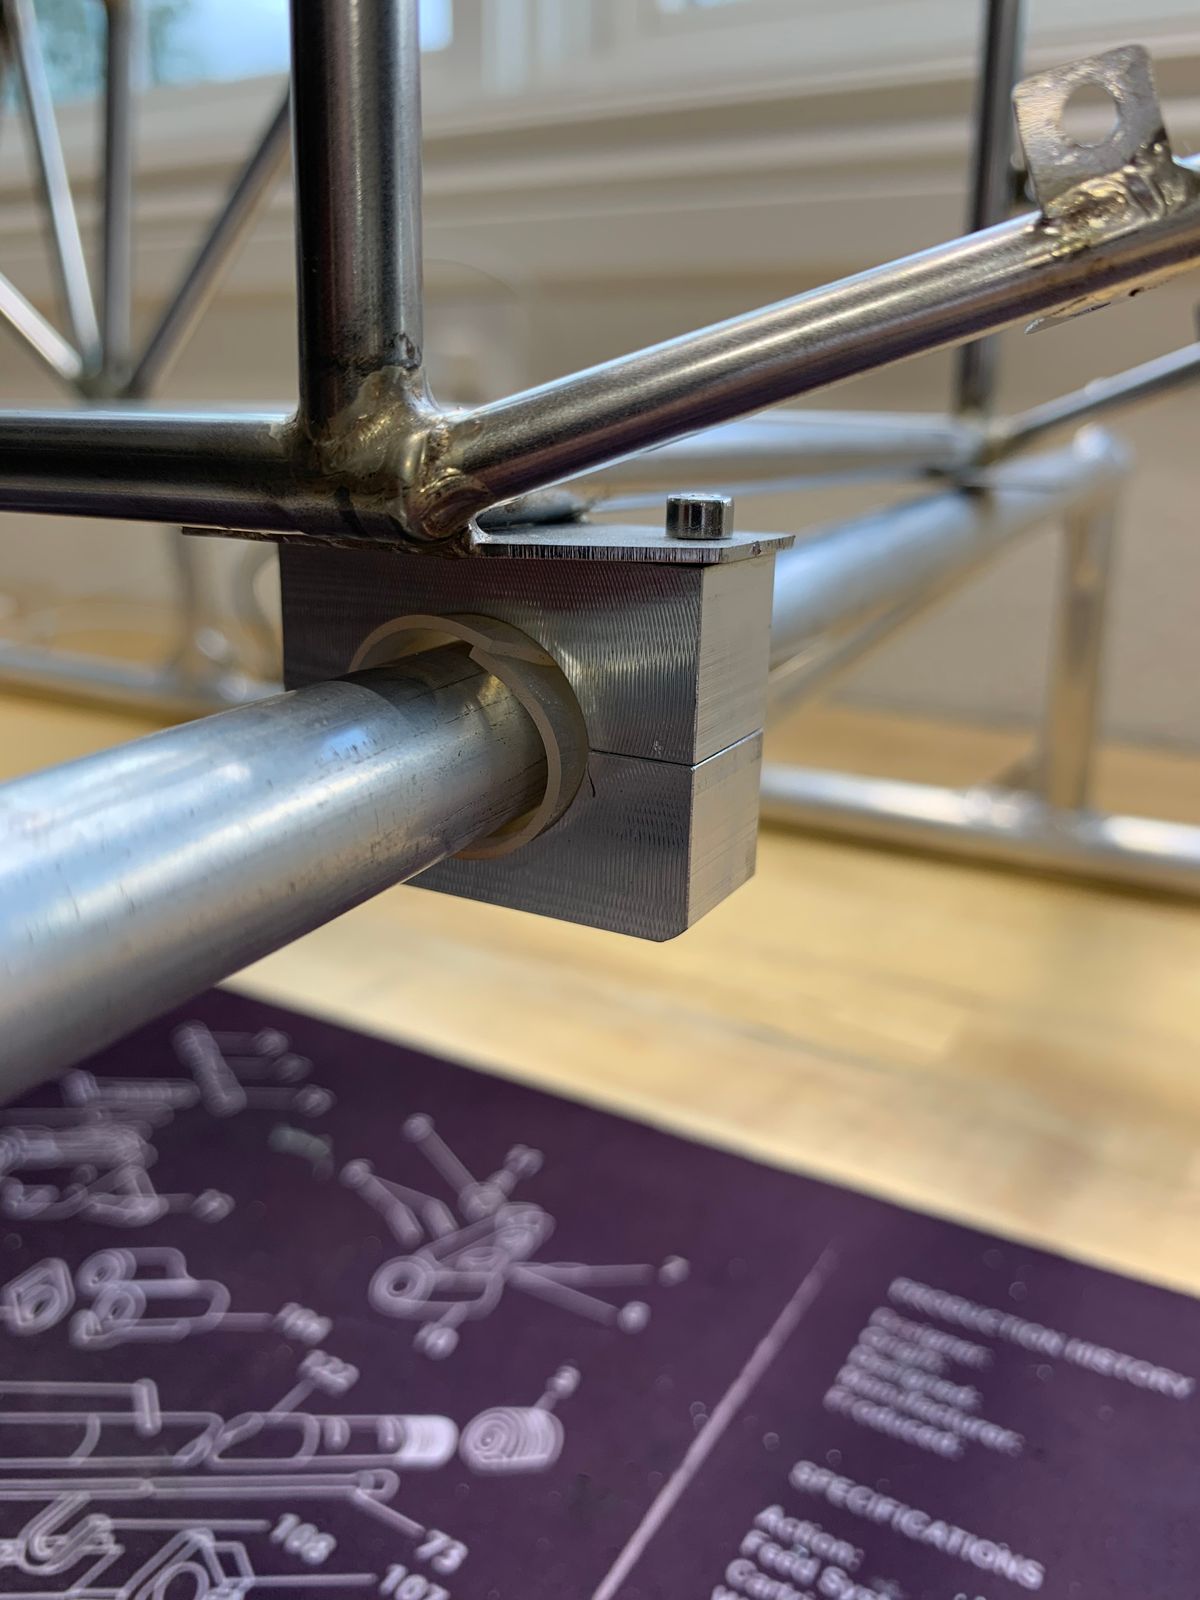
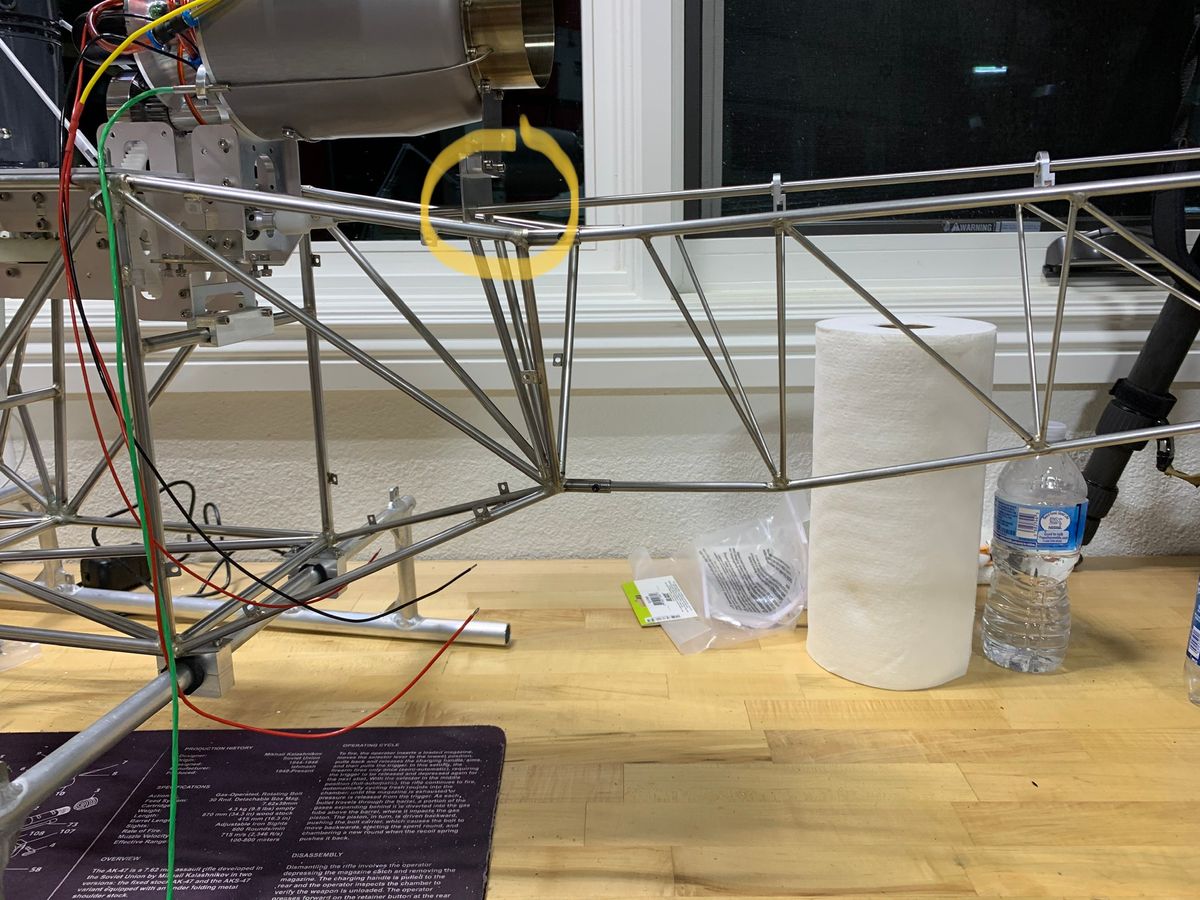
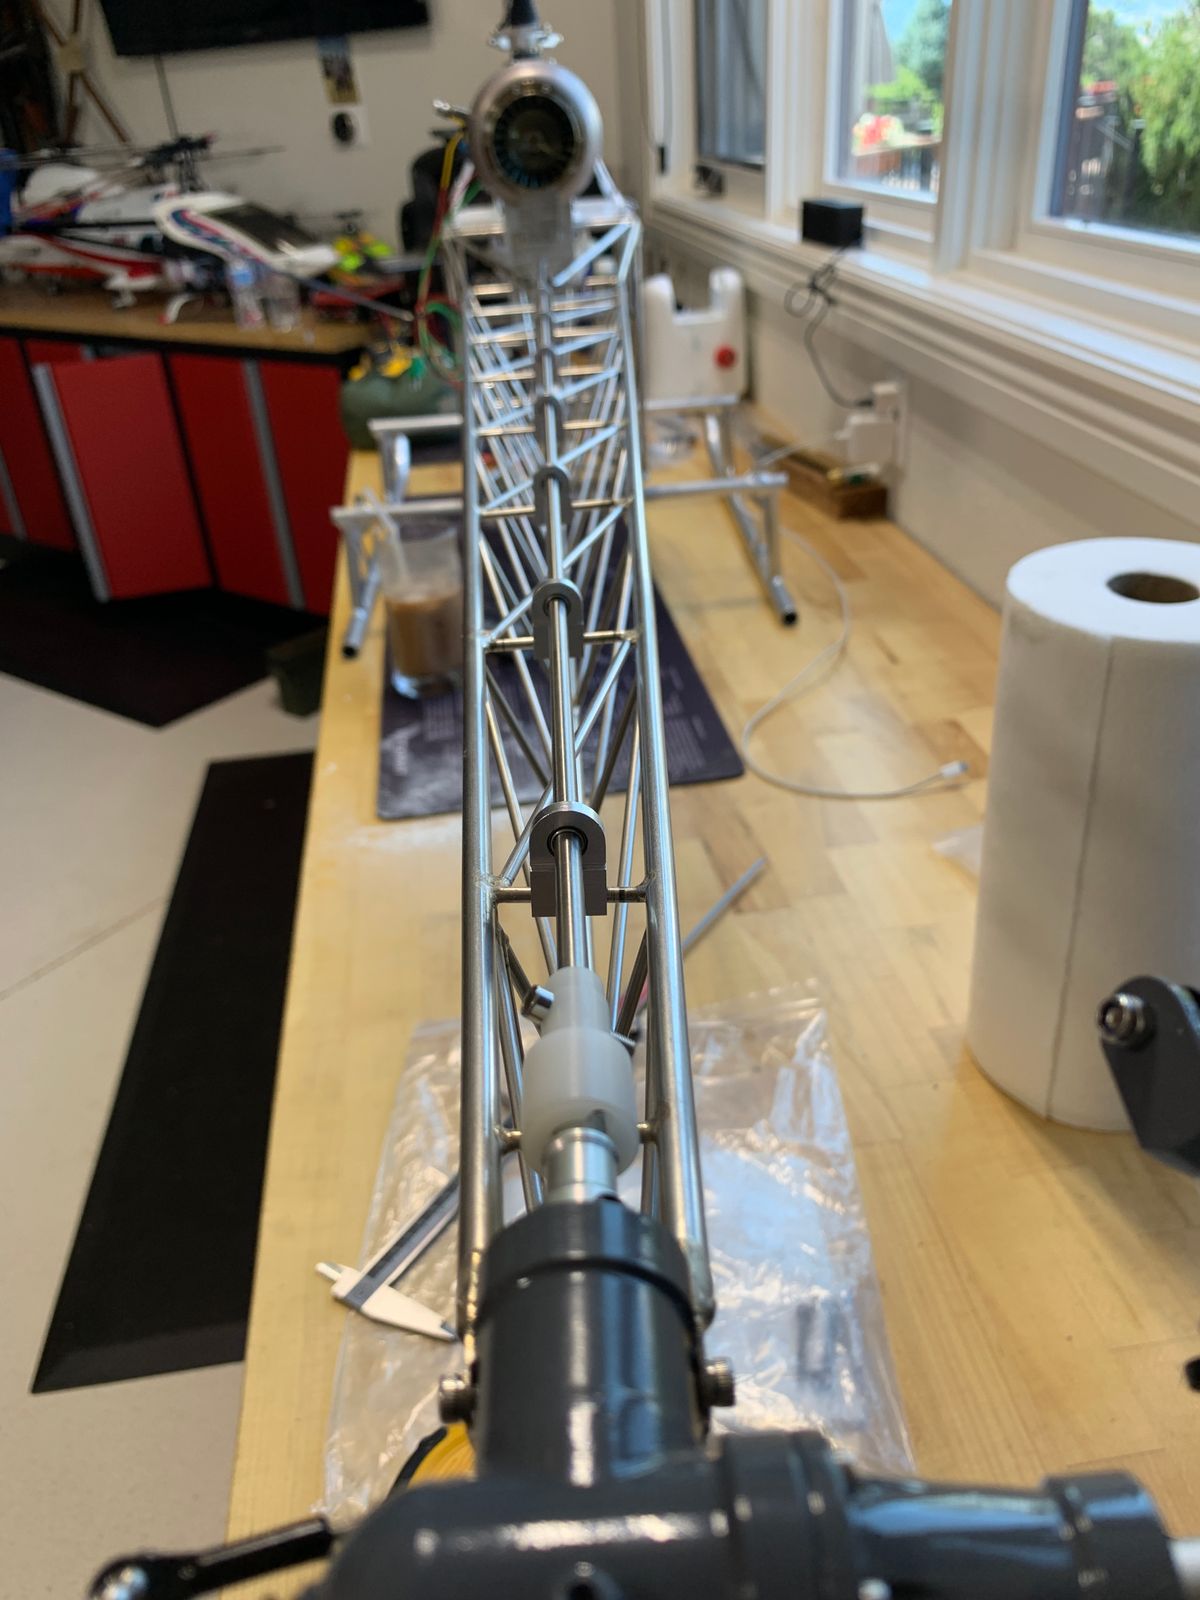
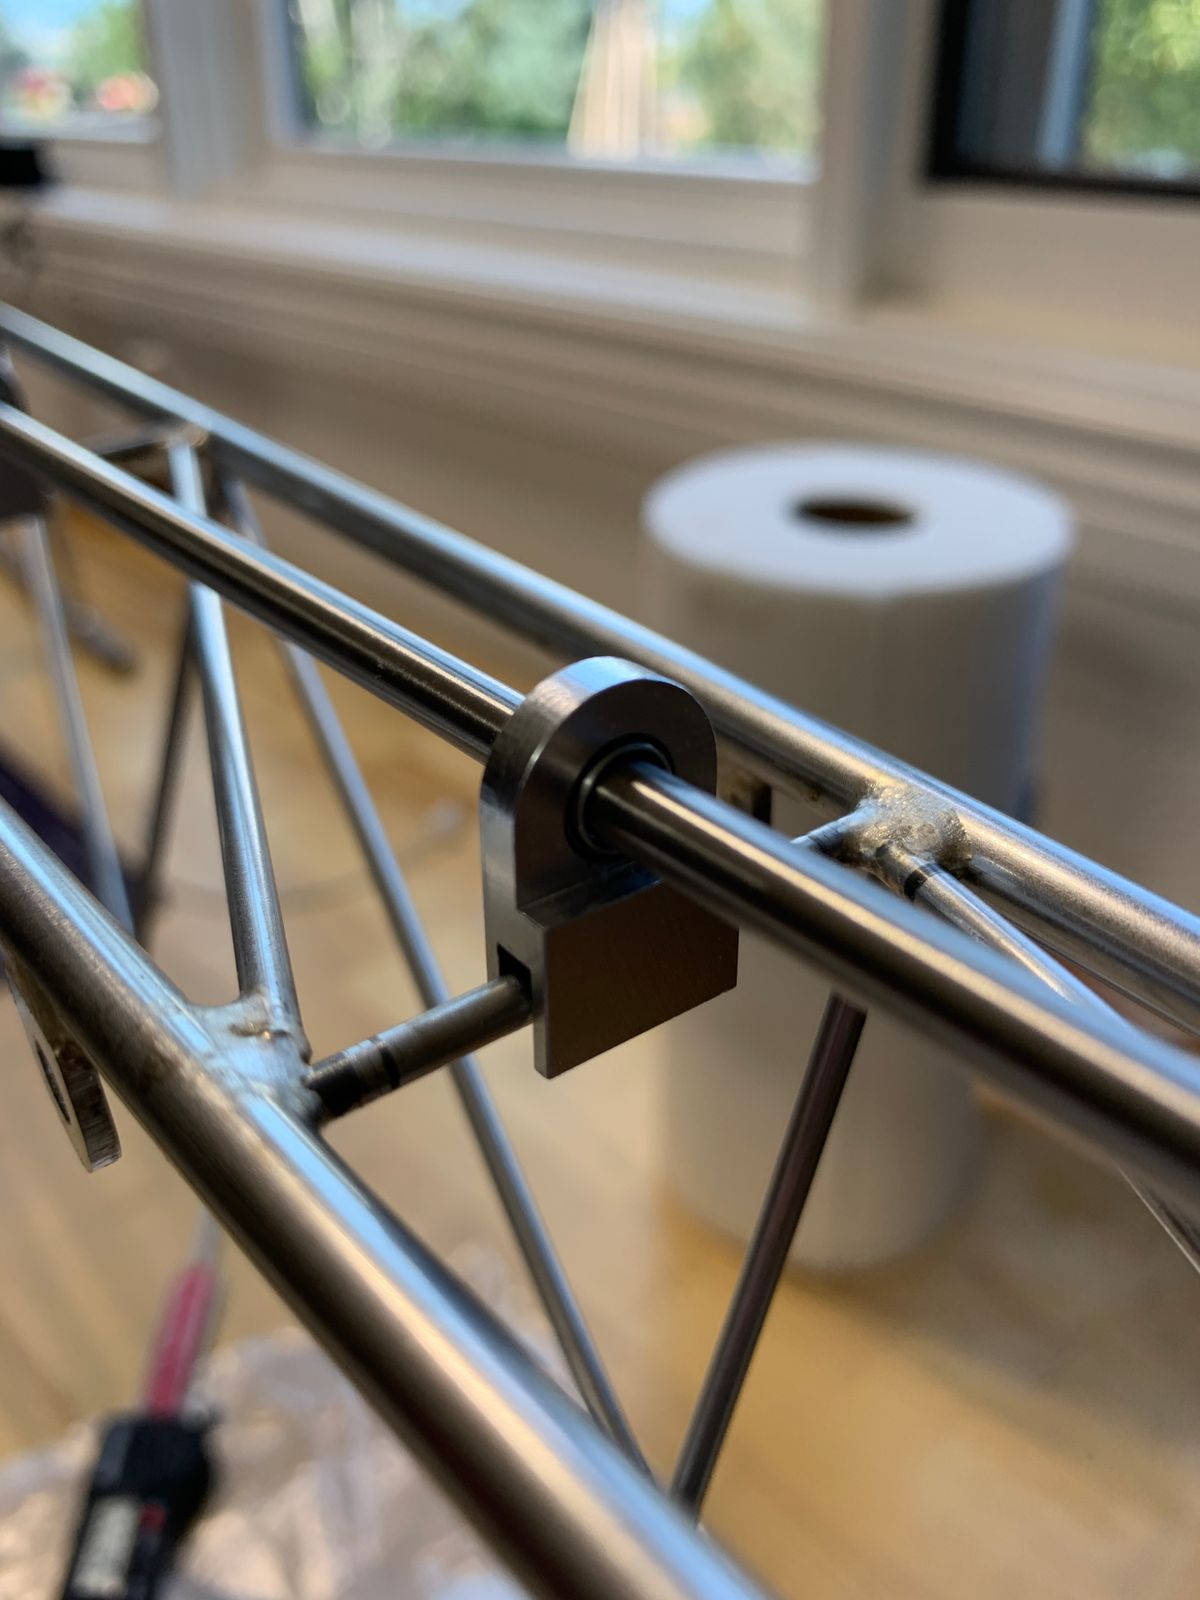
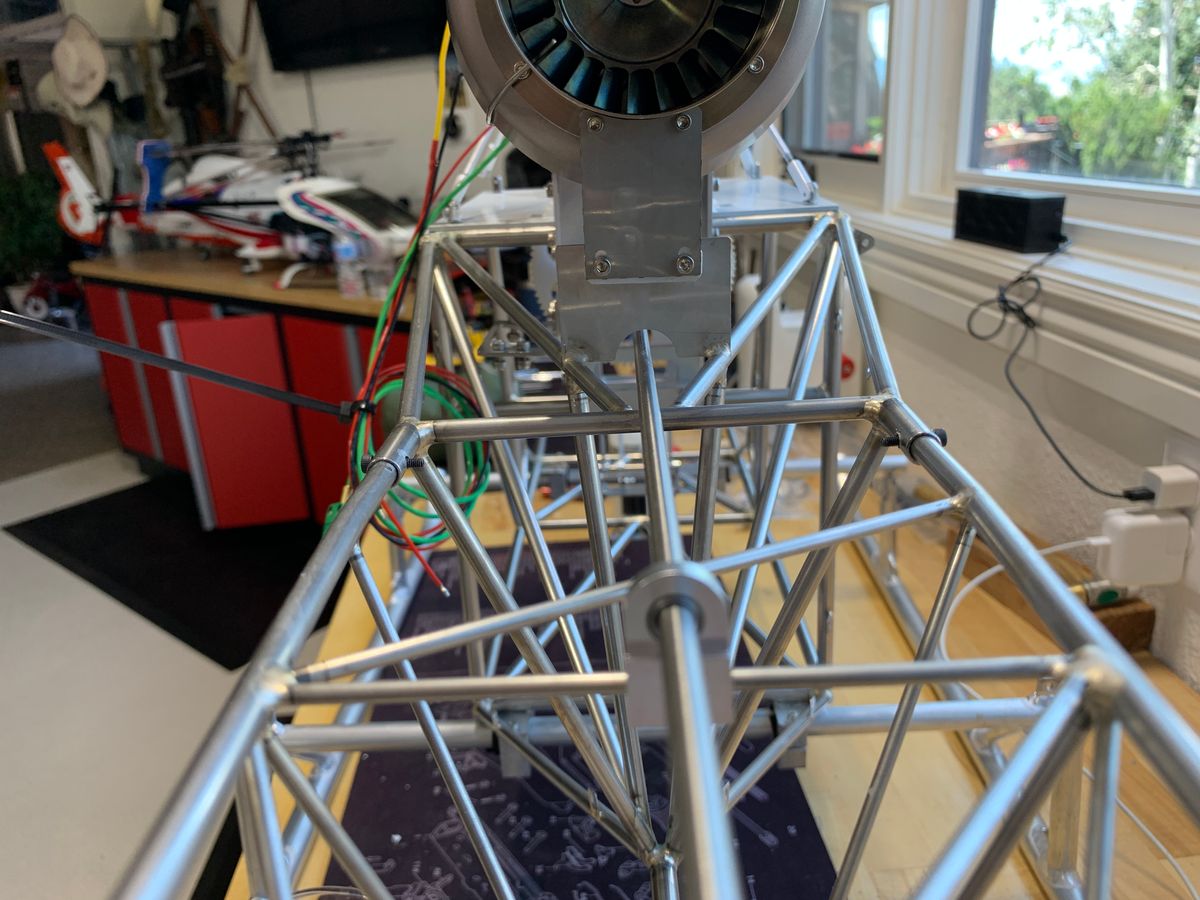
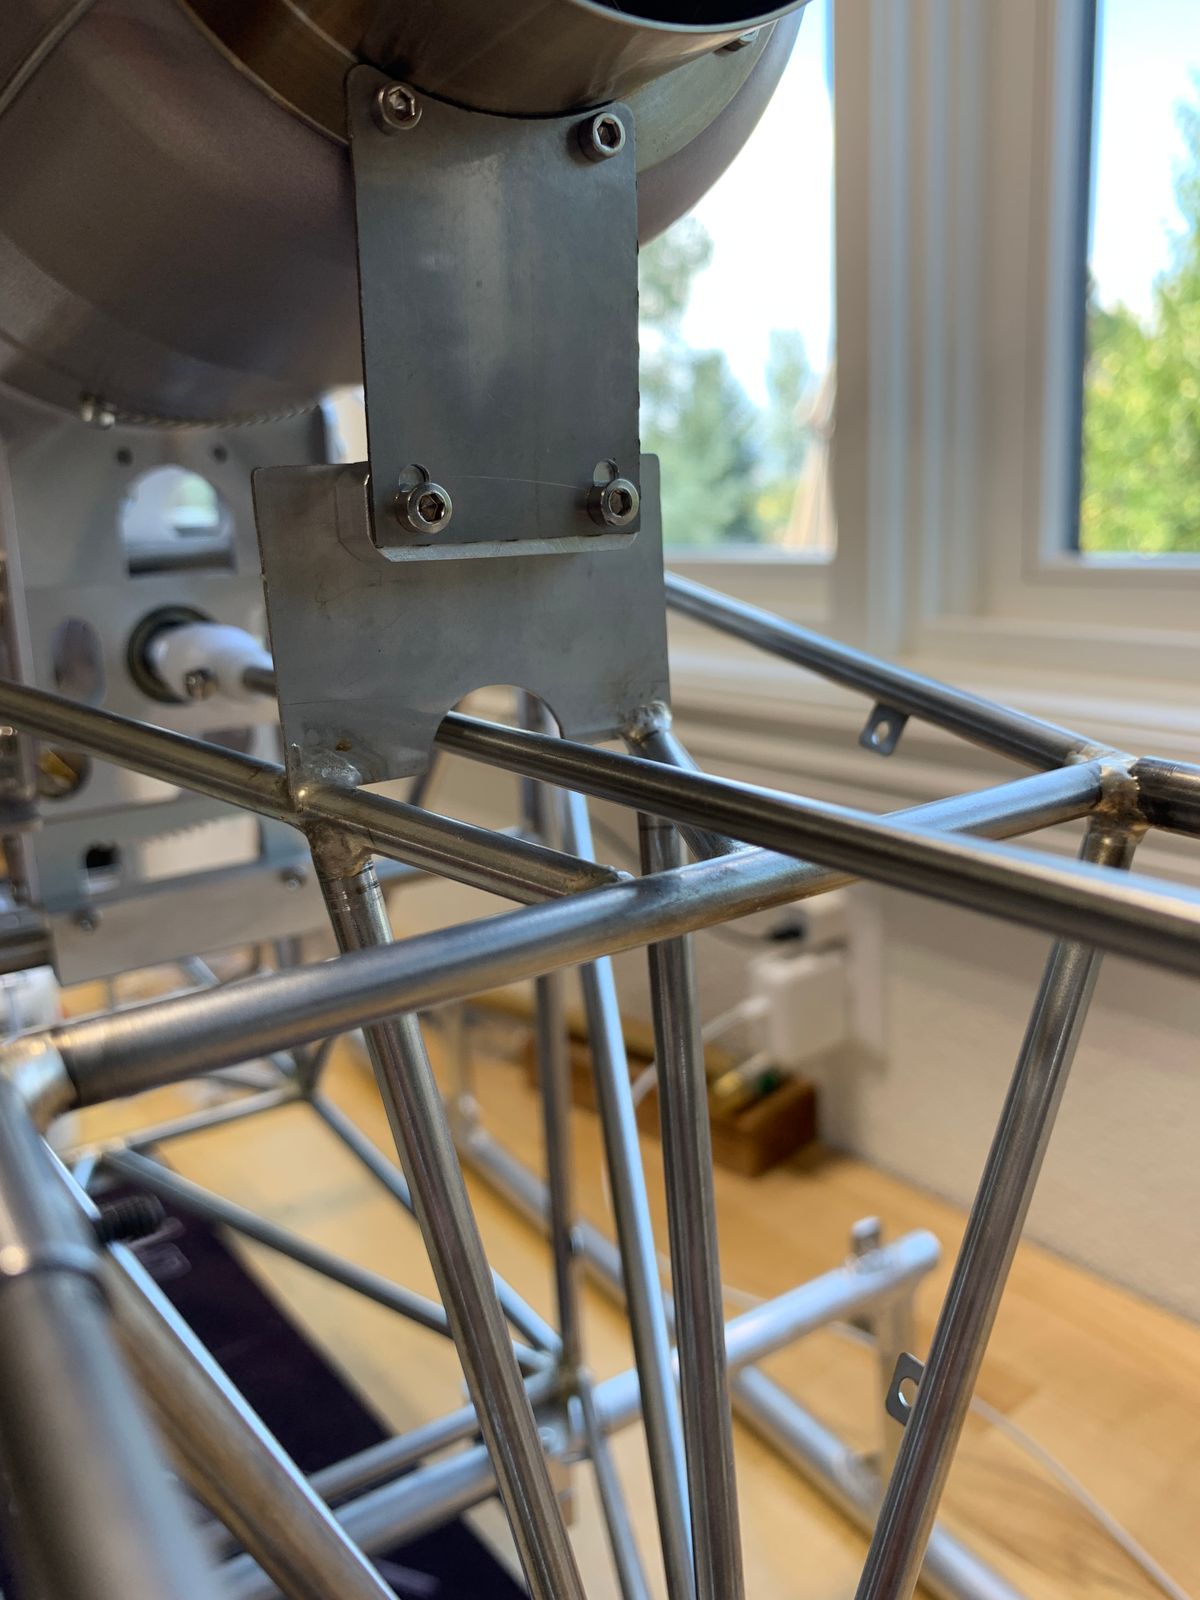
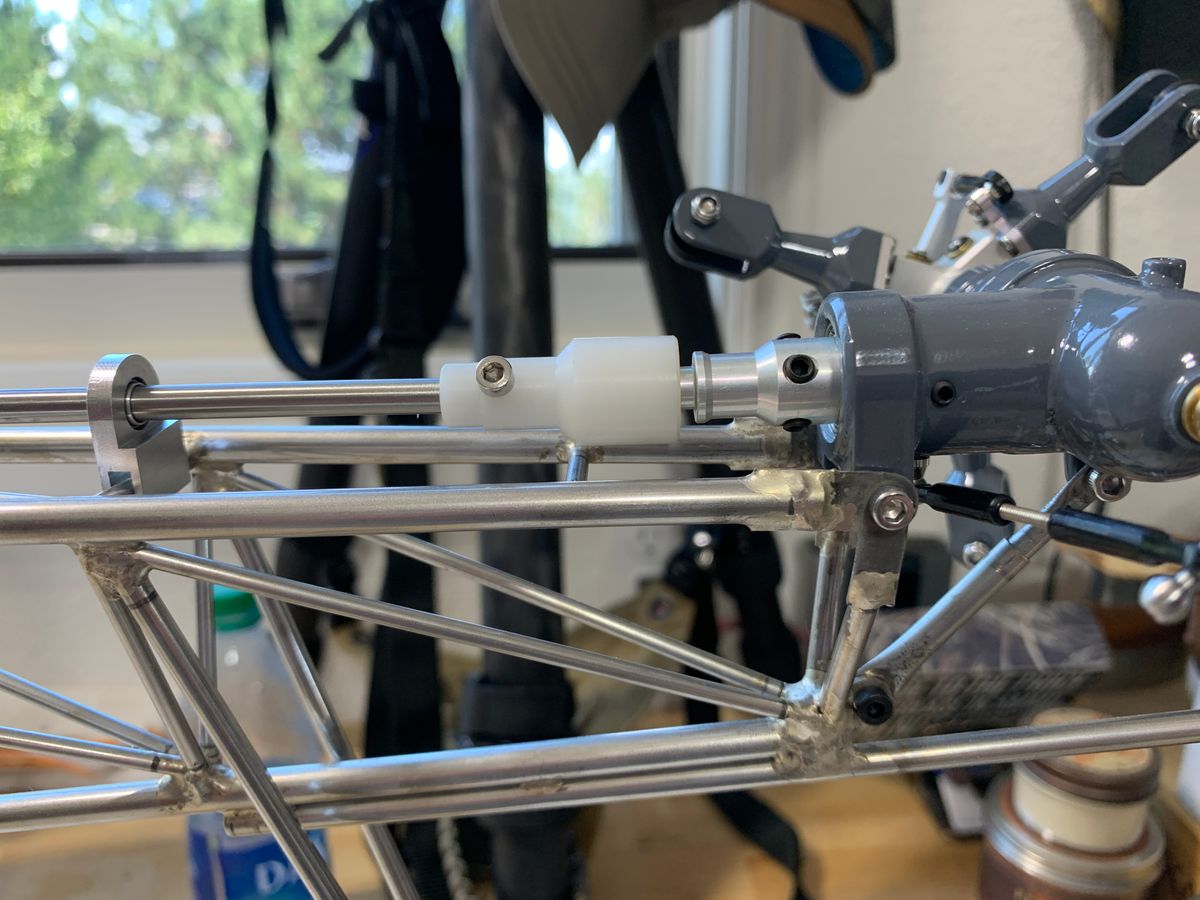
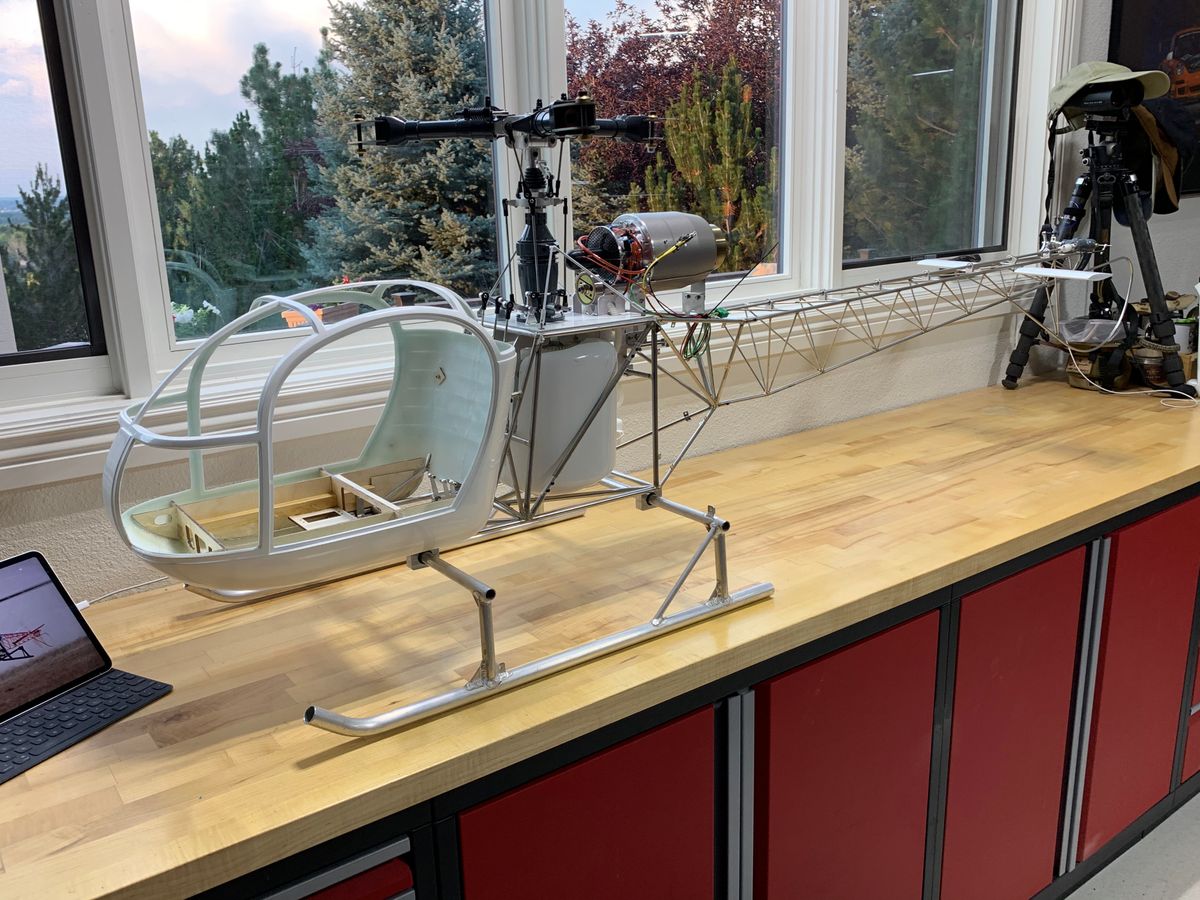
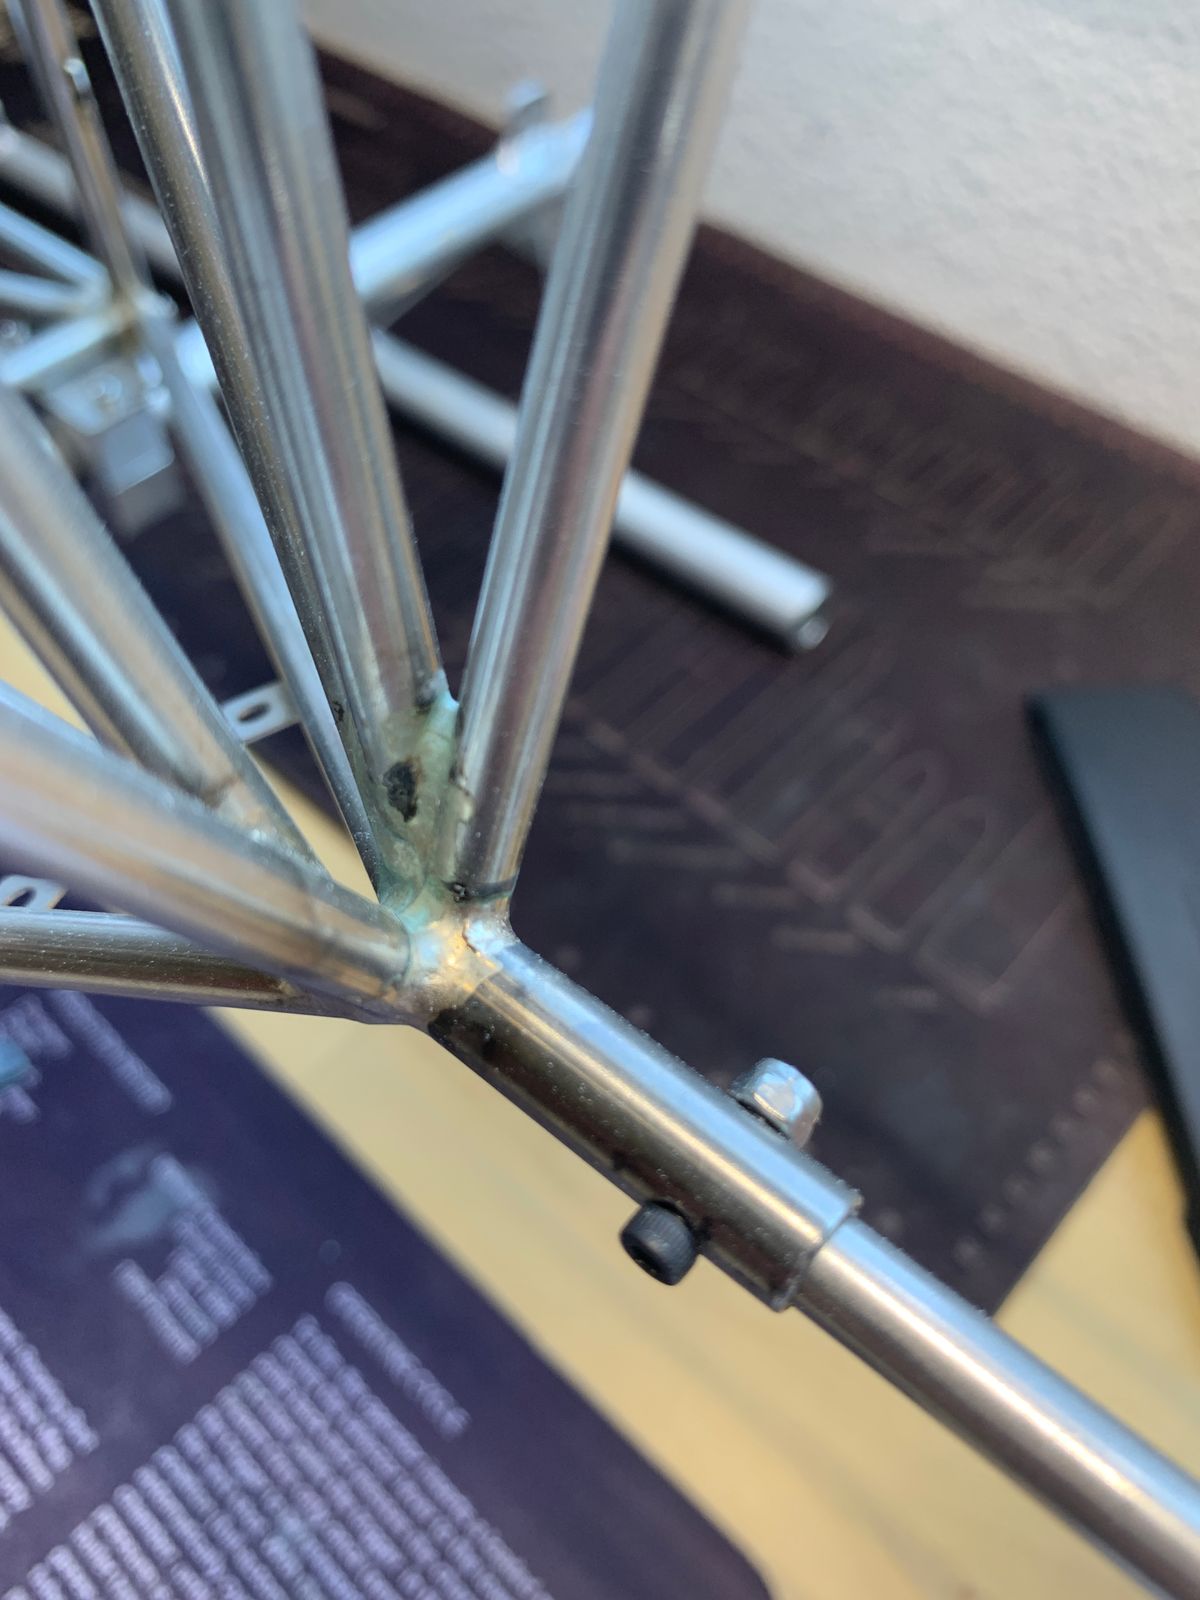
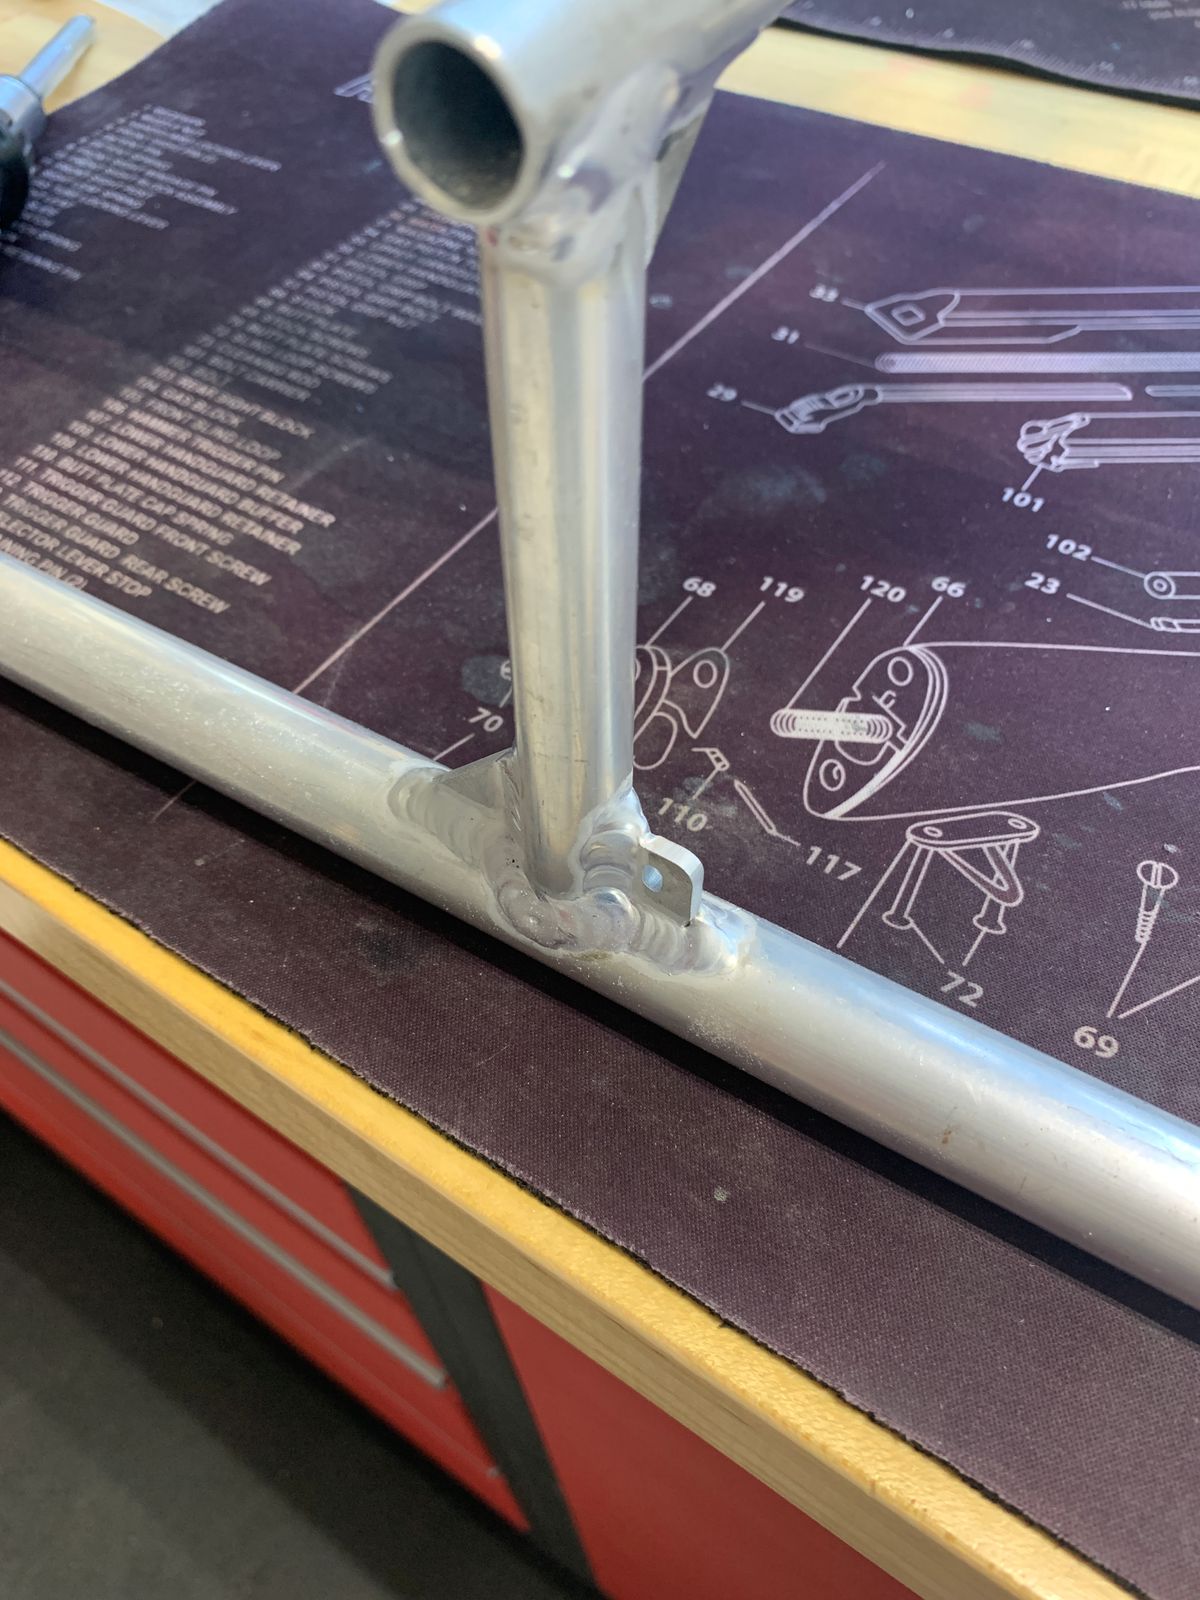
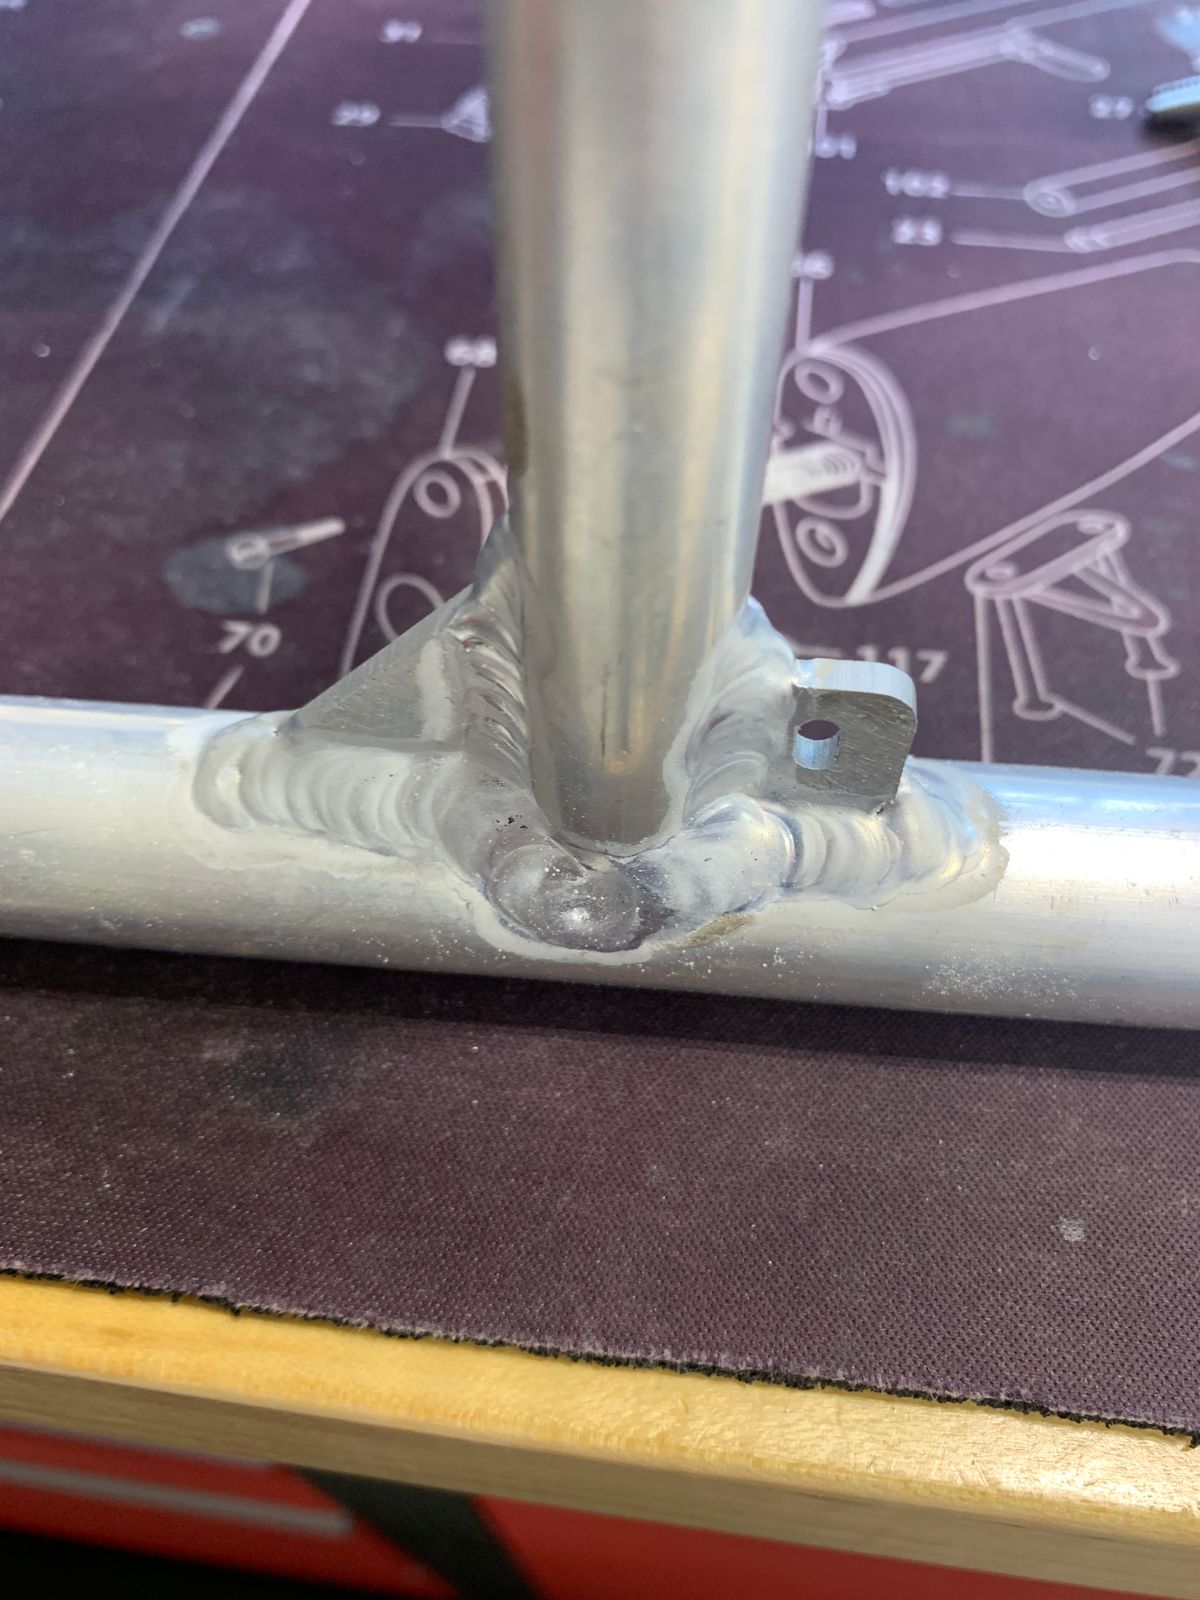
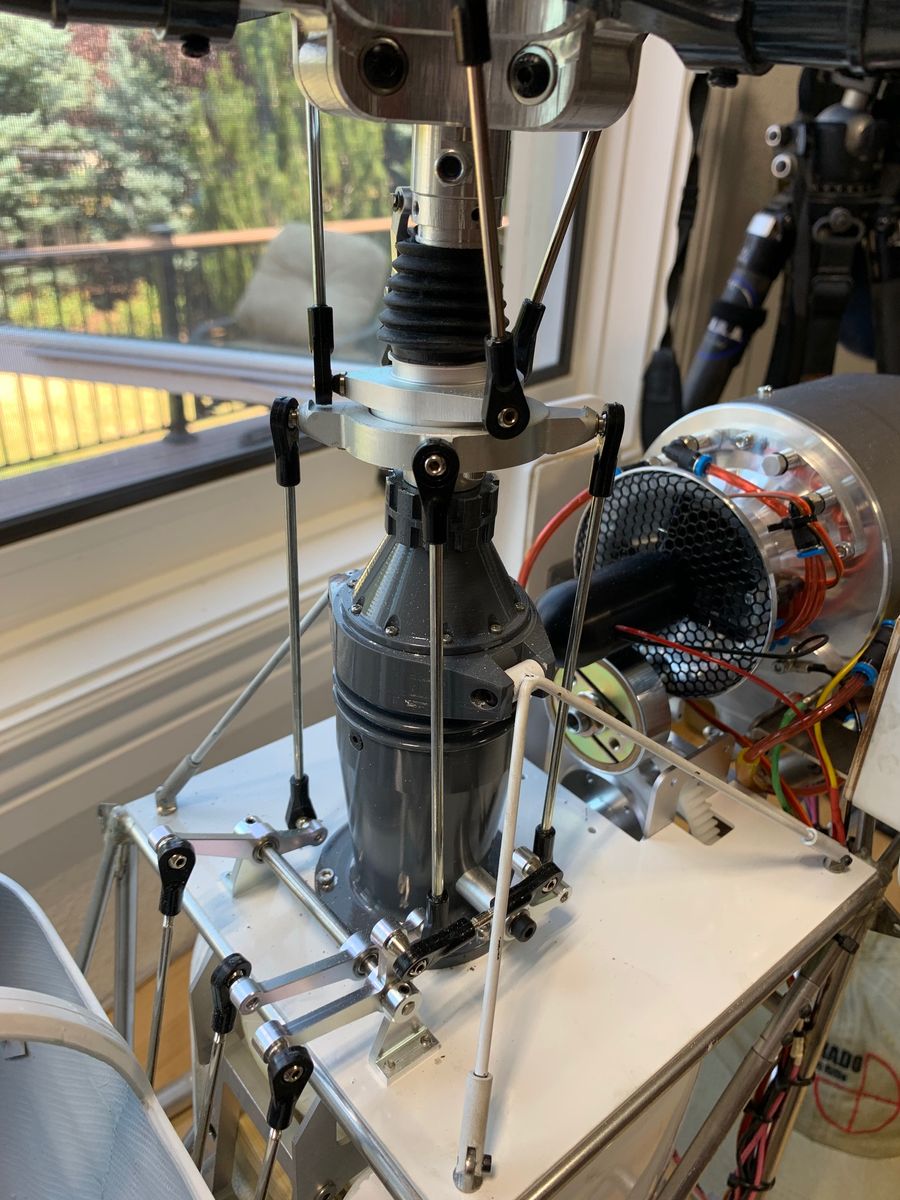
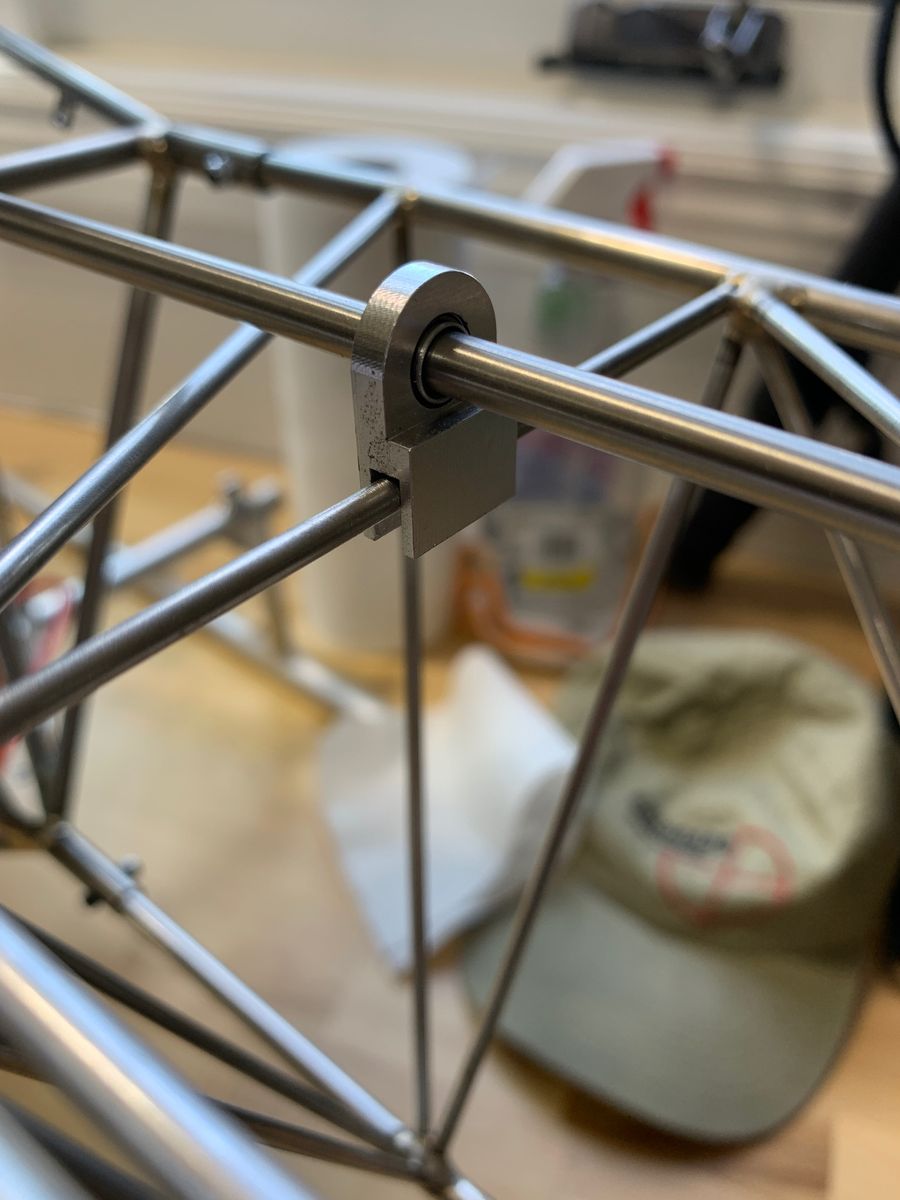
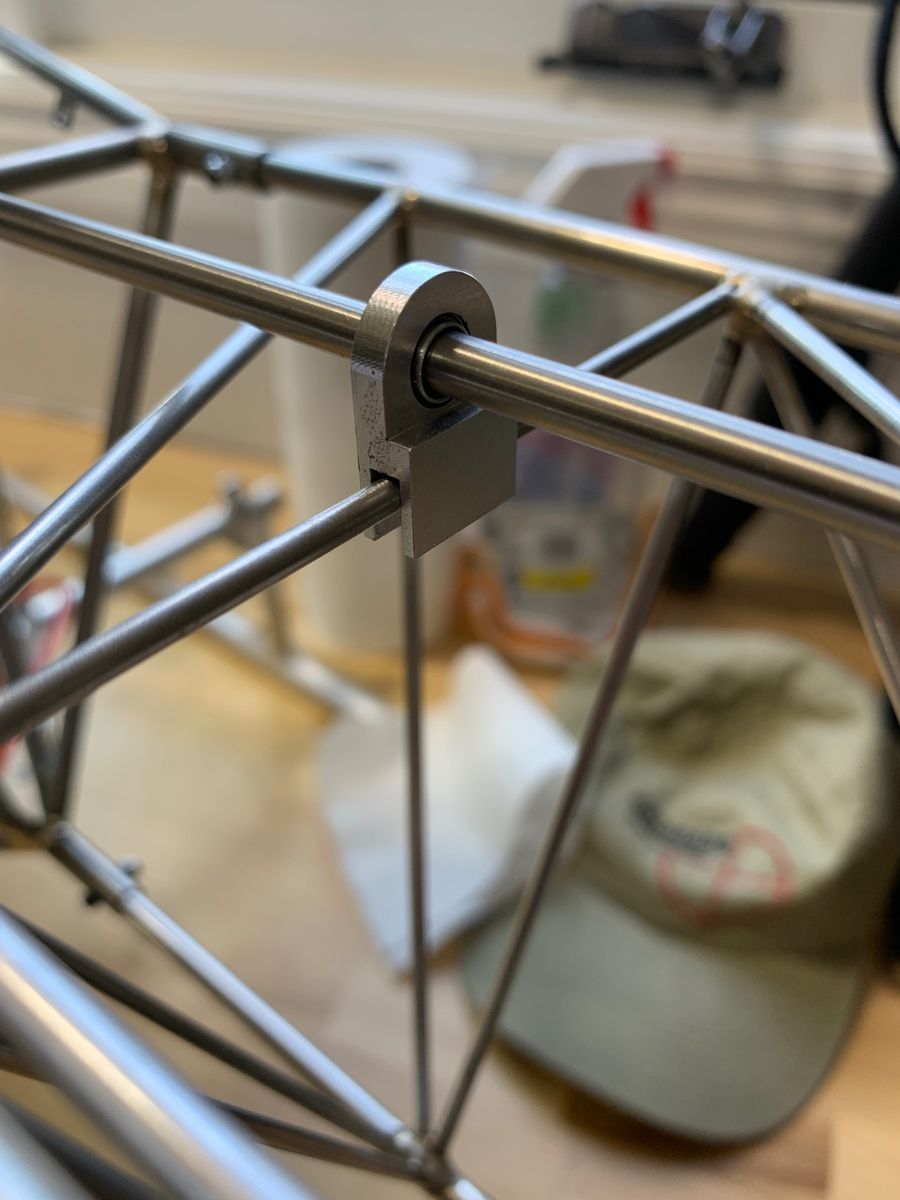
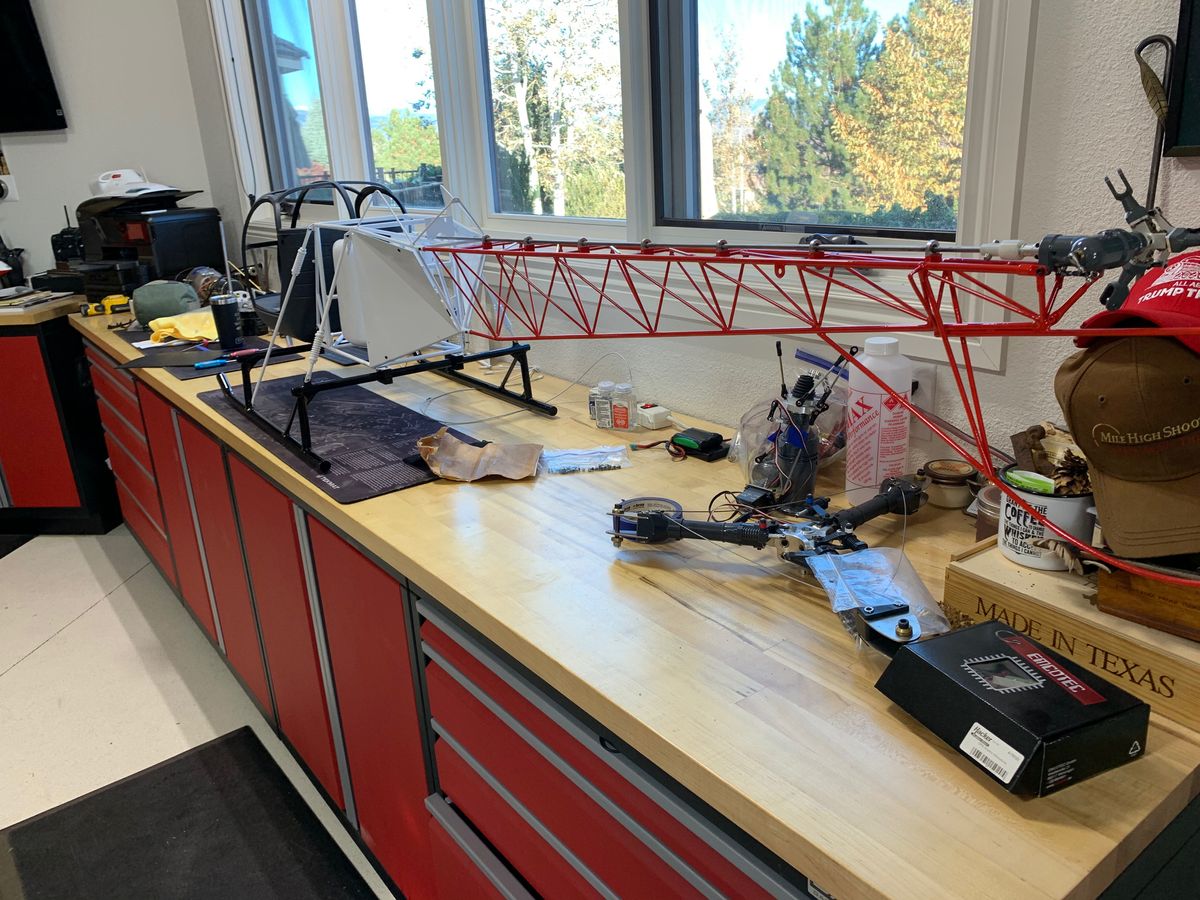
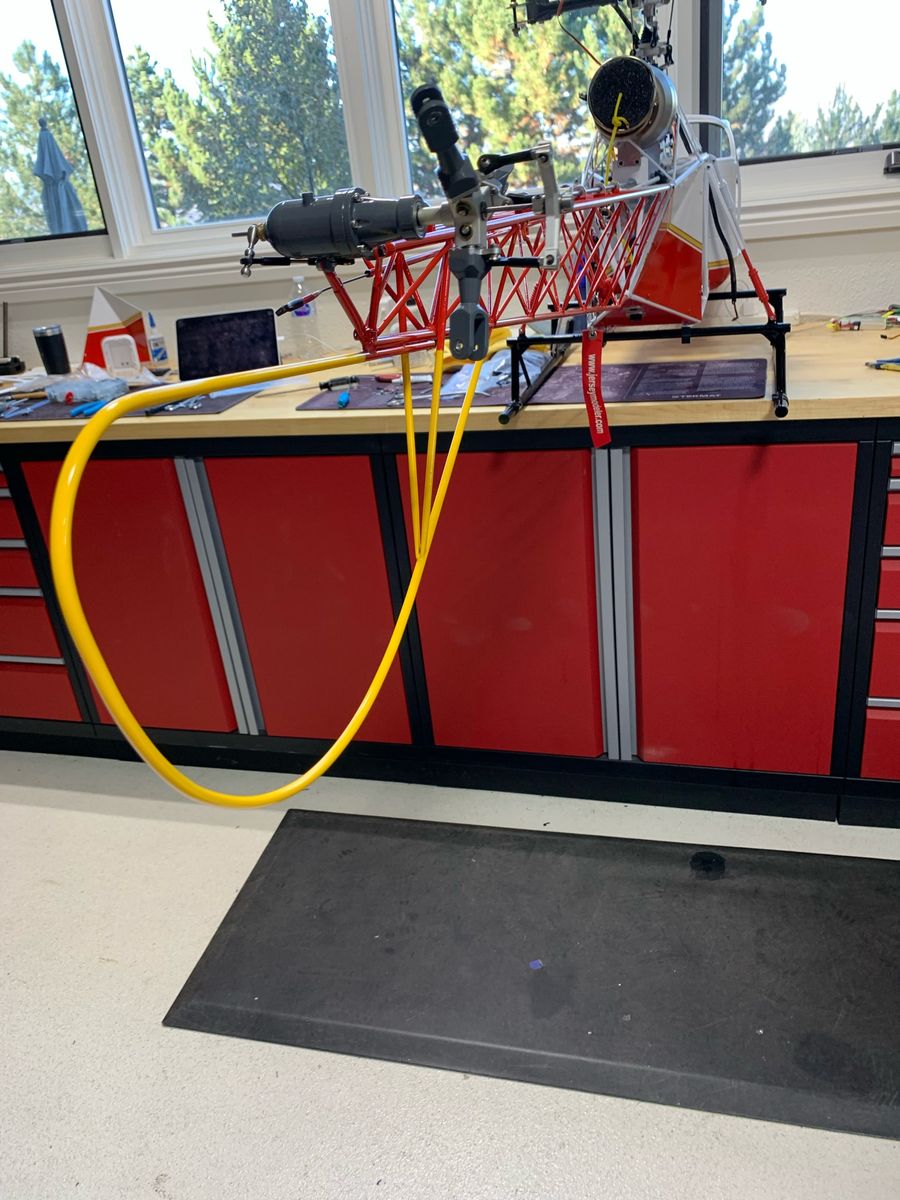
First up is to build and fly the model before painting and final detail. I test fit parts together and plan for any modifications required. All welds are rough at this point and will be ground before painting. The tail rotor drive shaft bearings will be adjusted and fixed to follow a true drive shaft alignment. The skid to frame mounting blocks required a custom rubber spacer, not as shown. The next few chapters depict the rough assembly.
Canopy and tank
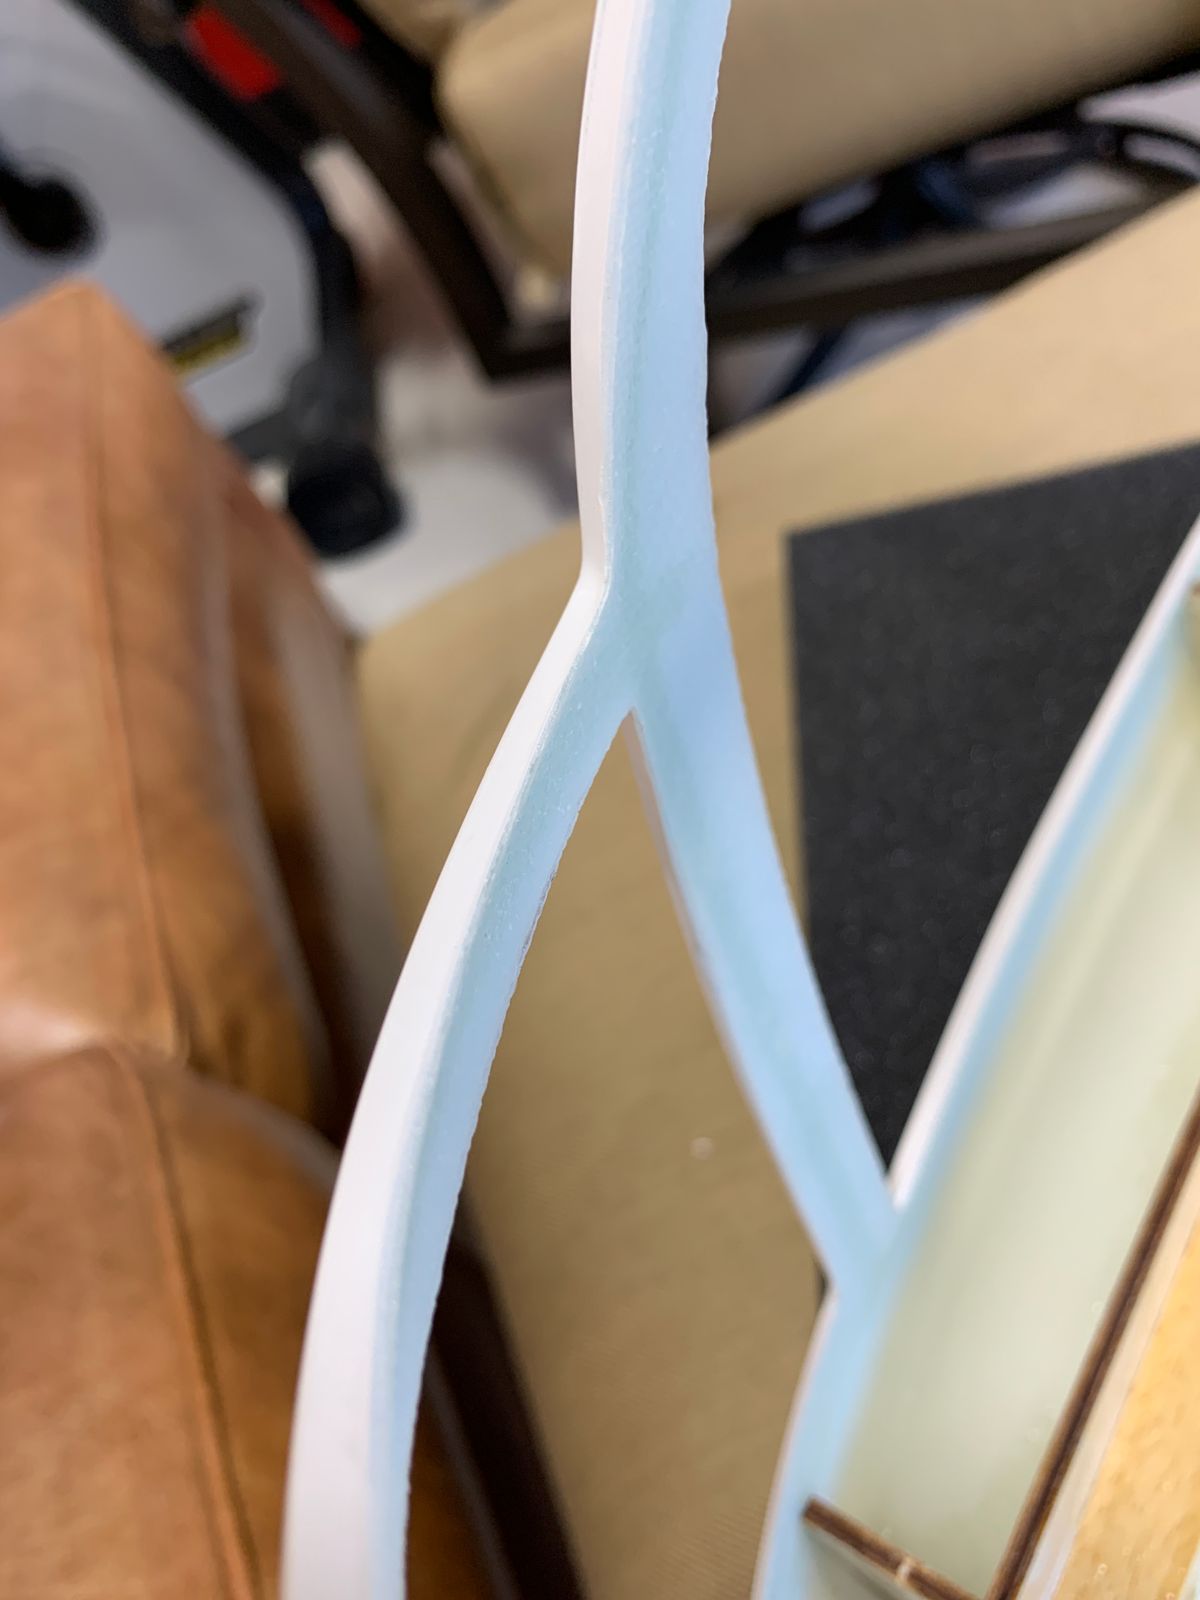
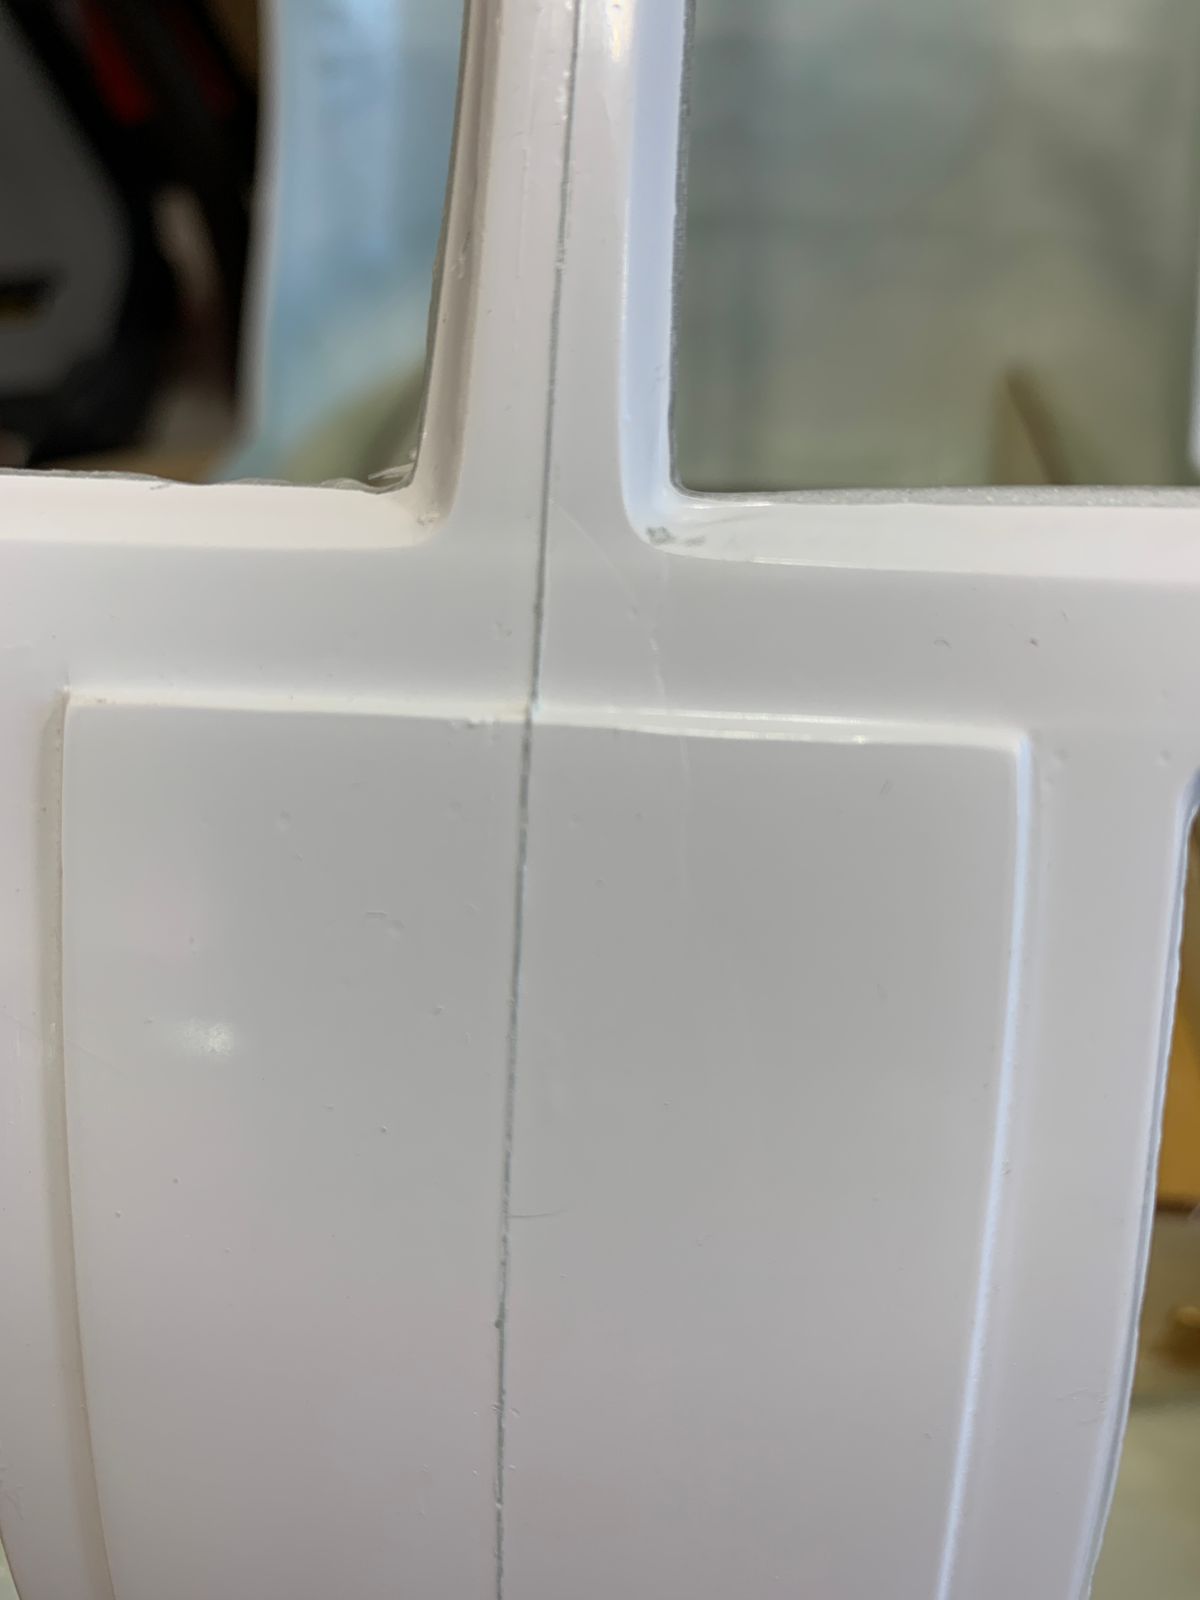
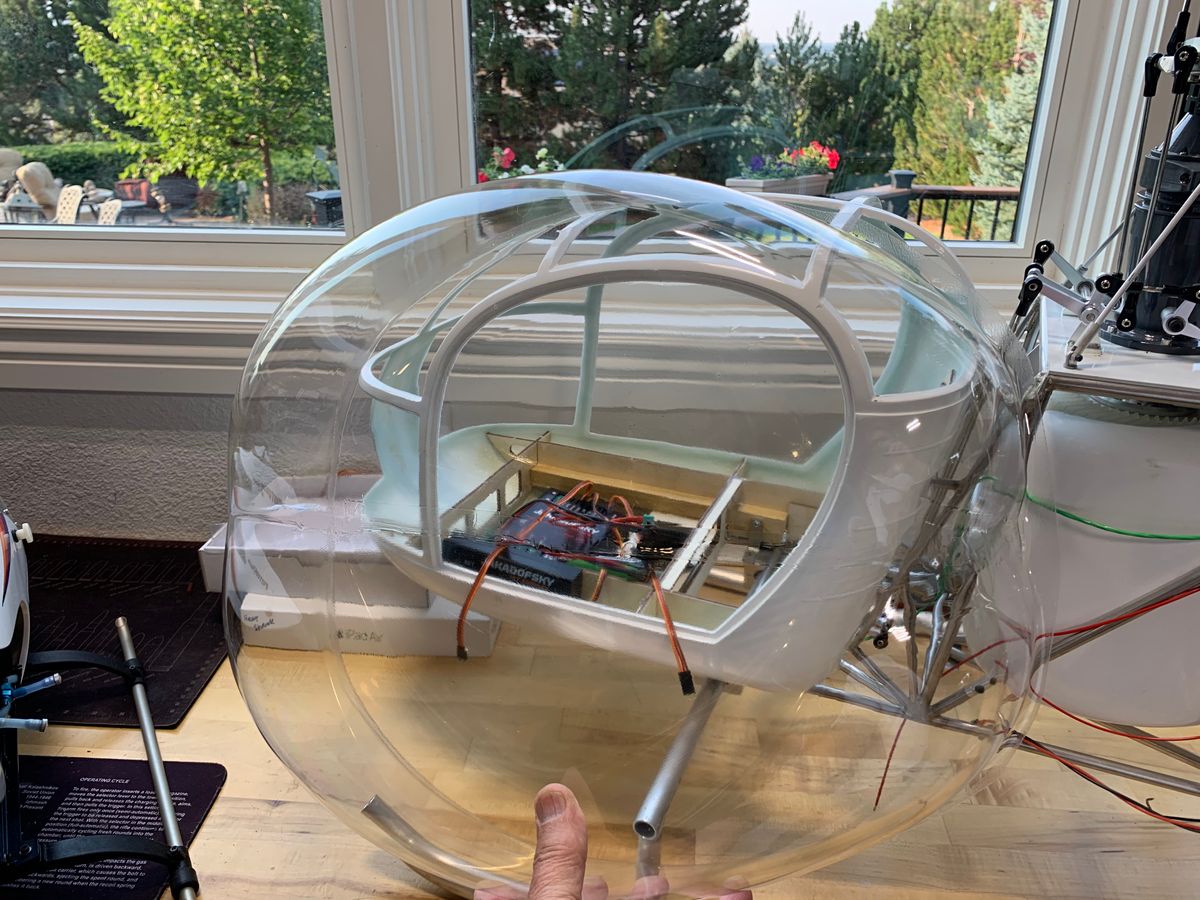
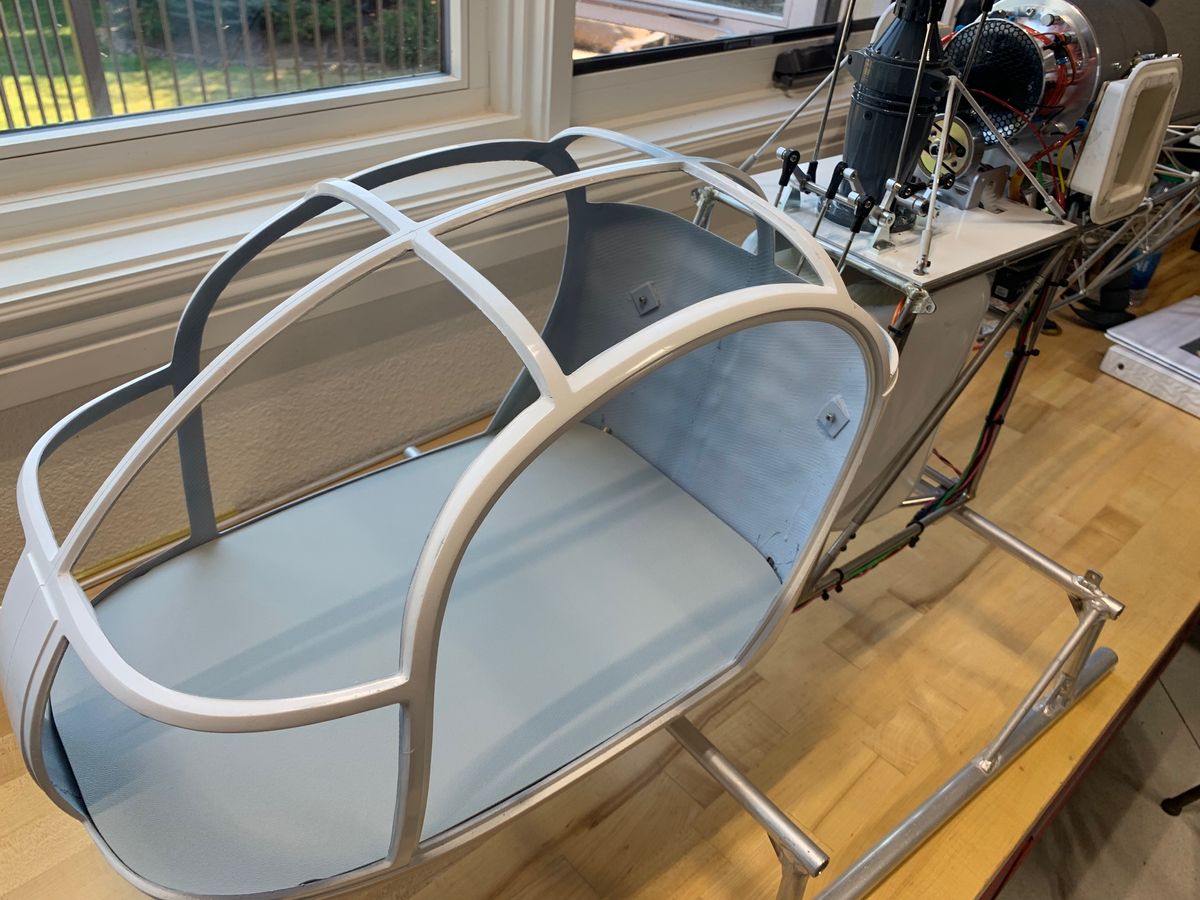
The focal point of the Lama is the cockpit, fuel tank and rotor mechanics. For me the canopy was the most challenging. Pics shown are before I bought a reciprocating saw.
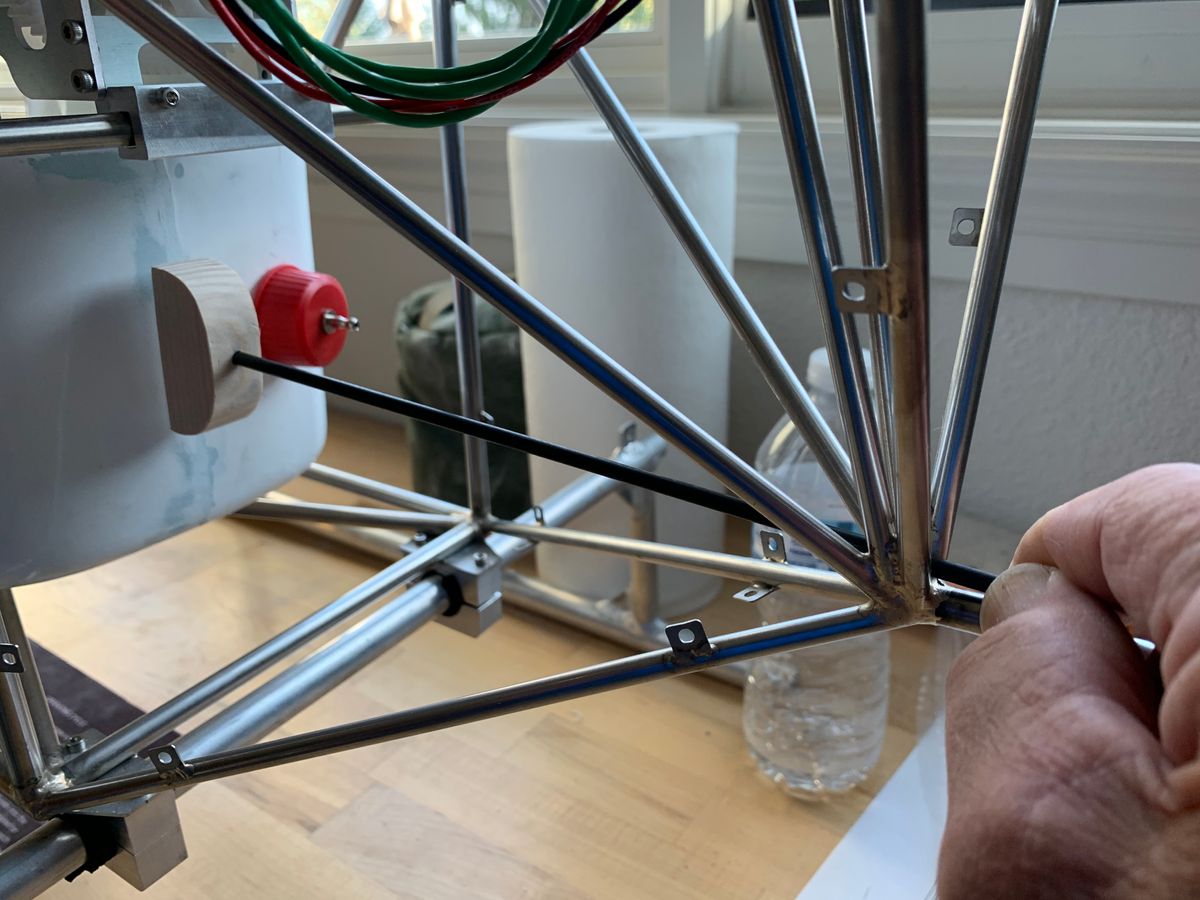
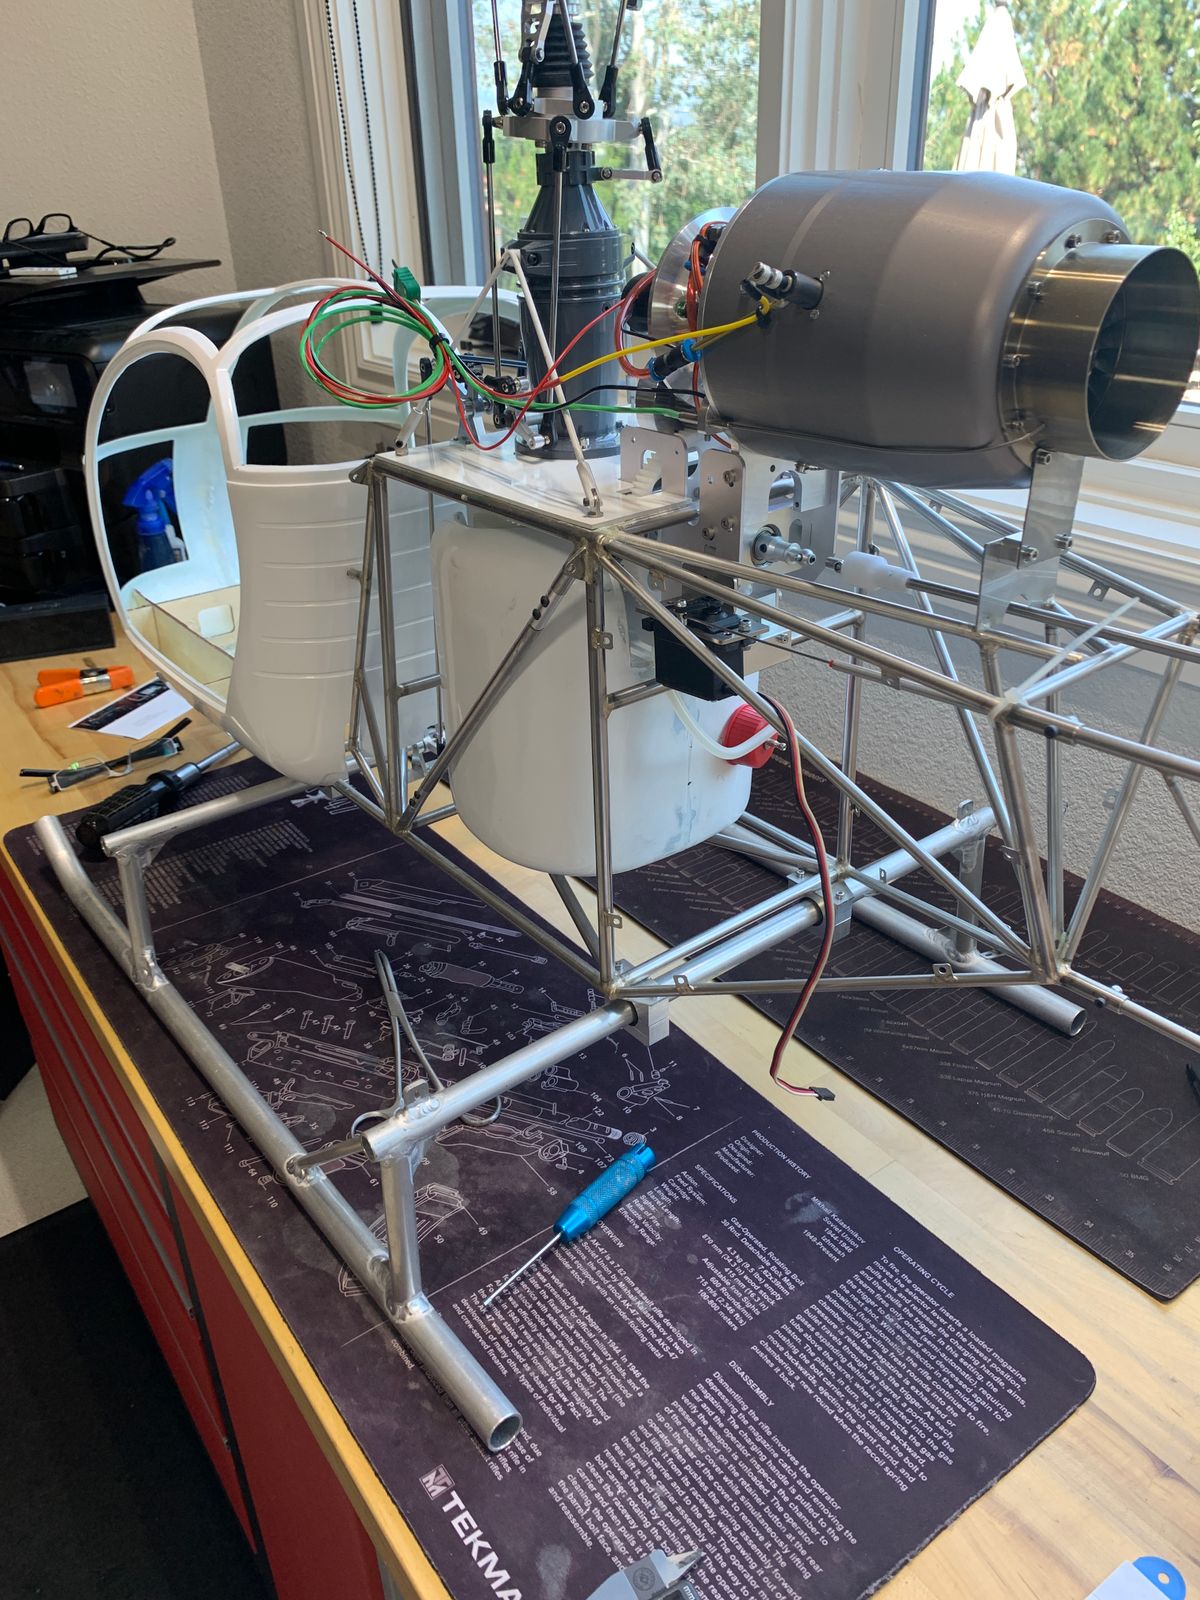
The fuel tank was challenge because of the critical frame cuts to enable installation and removal. The tank support methodology required some thought. Vario suggested a rear support (shown, not installed), however these and future pics will show how I eliminated the support. I wanted the area behind the tank for the hopper tank and turbine pumps.
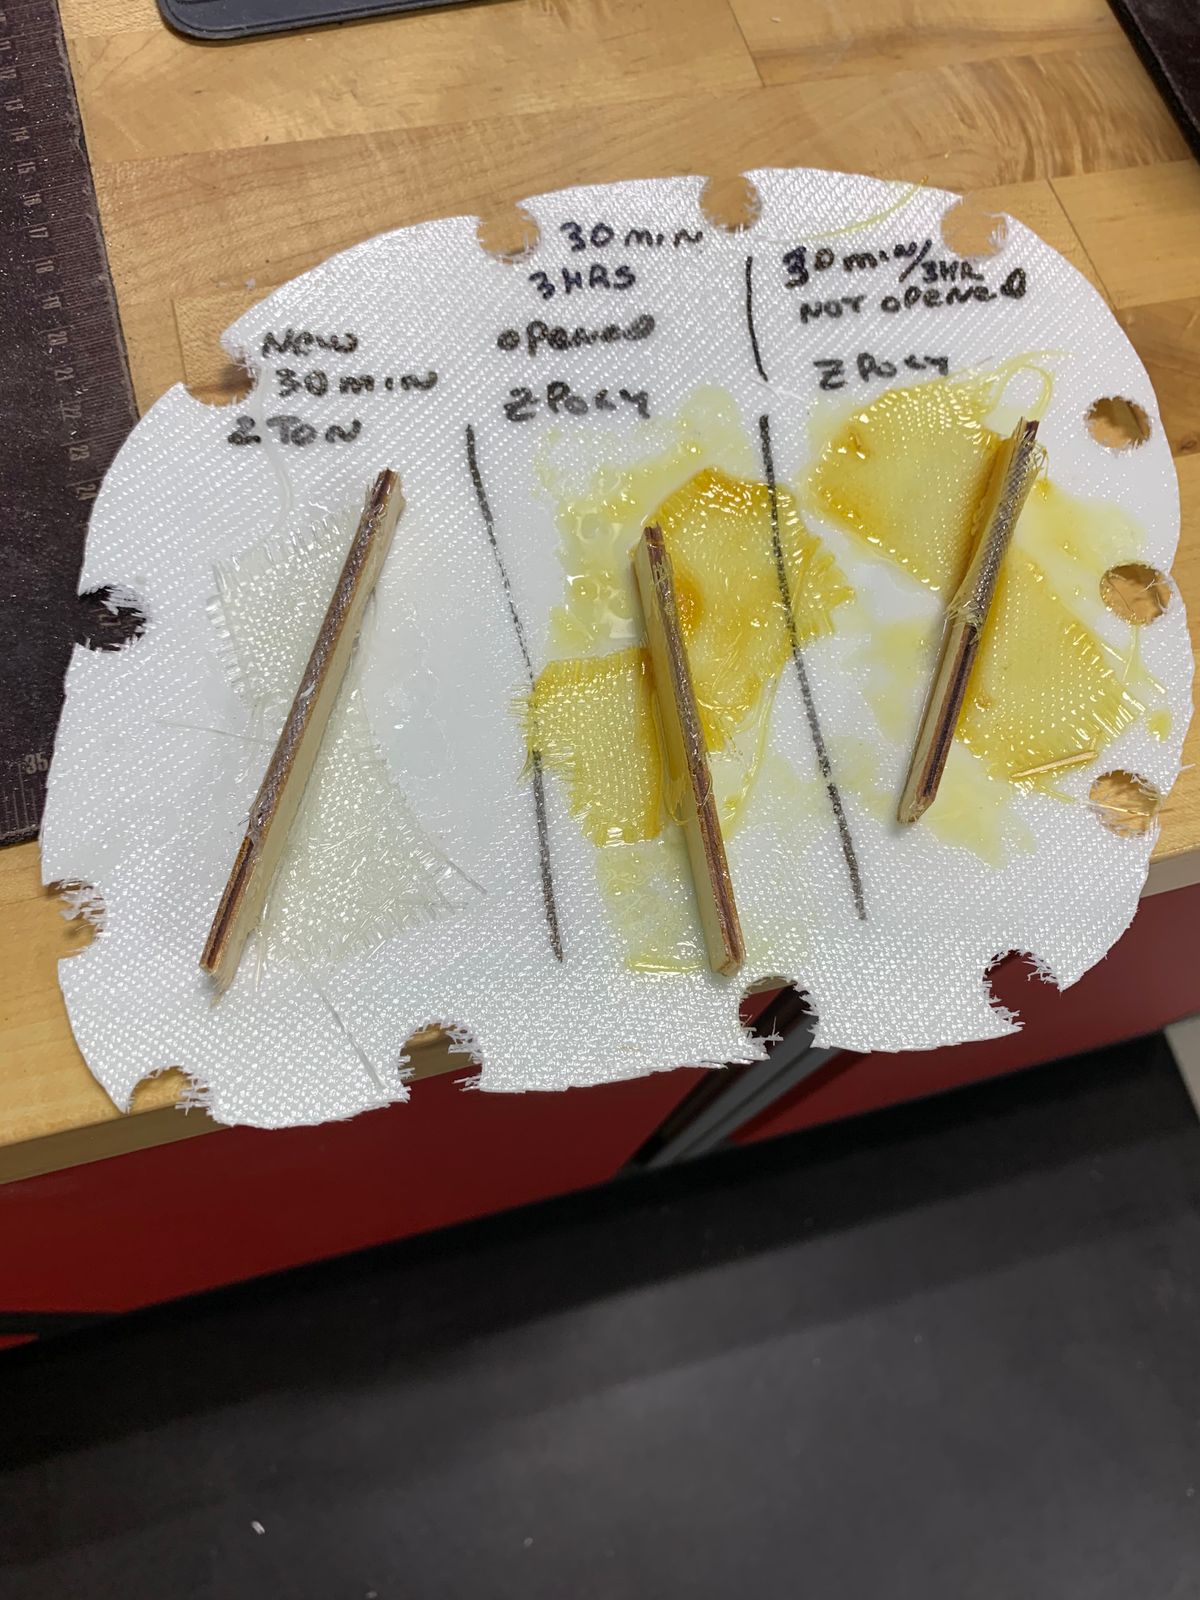
One pic shows my testing of epoxies for strength as some are left over from previous projects. Most know that roughing the fiberglass is a must.
The Jakadofsky turbine is a work of beauty, engineering and genius. Their customer service is incredible. The turbine is absolutely reliable.
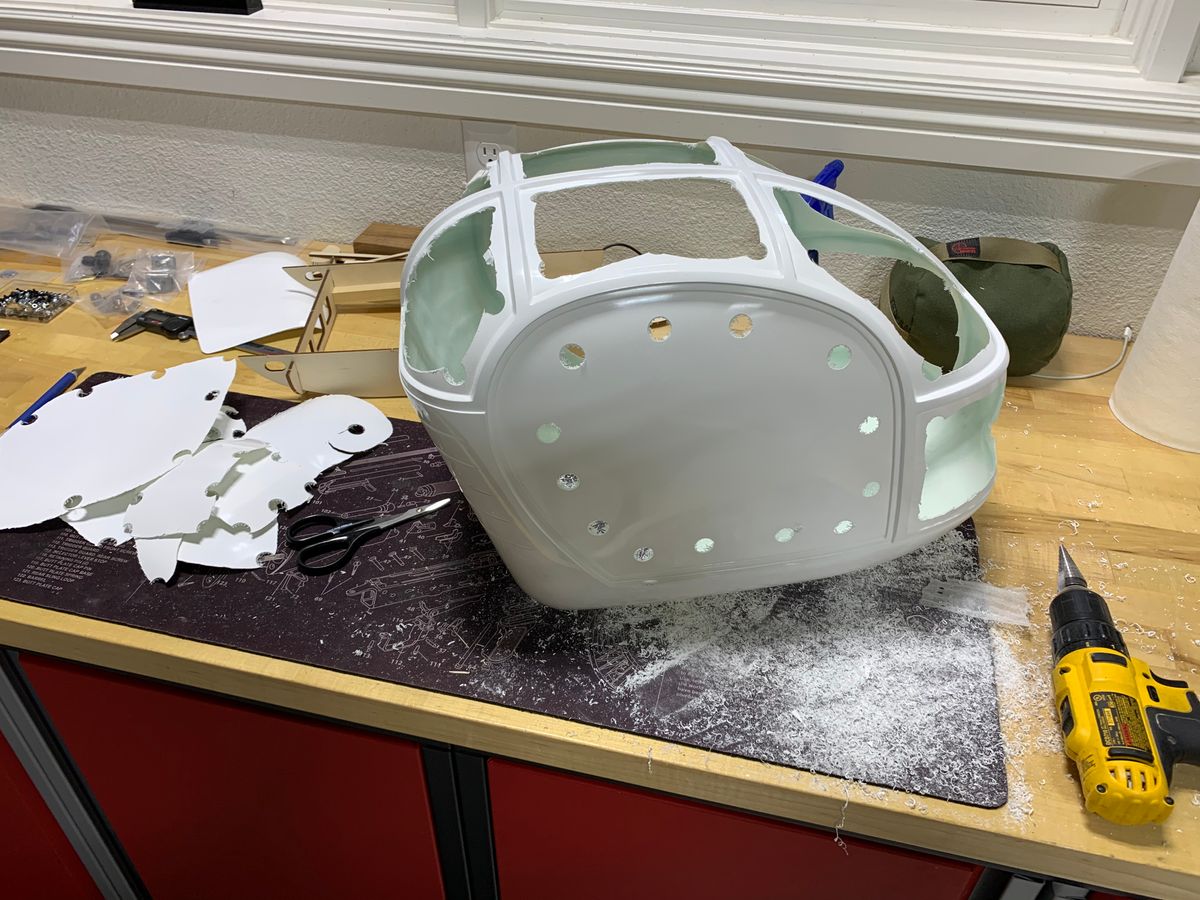
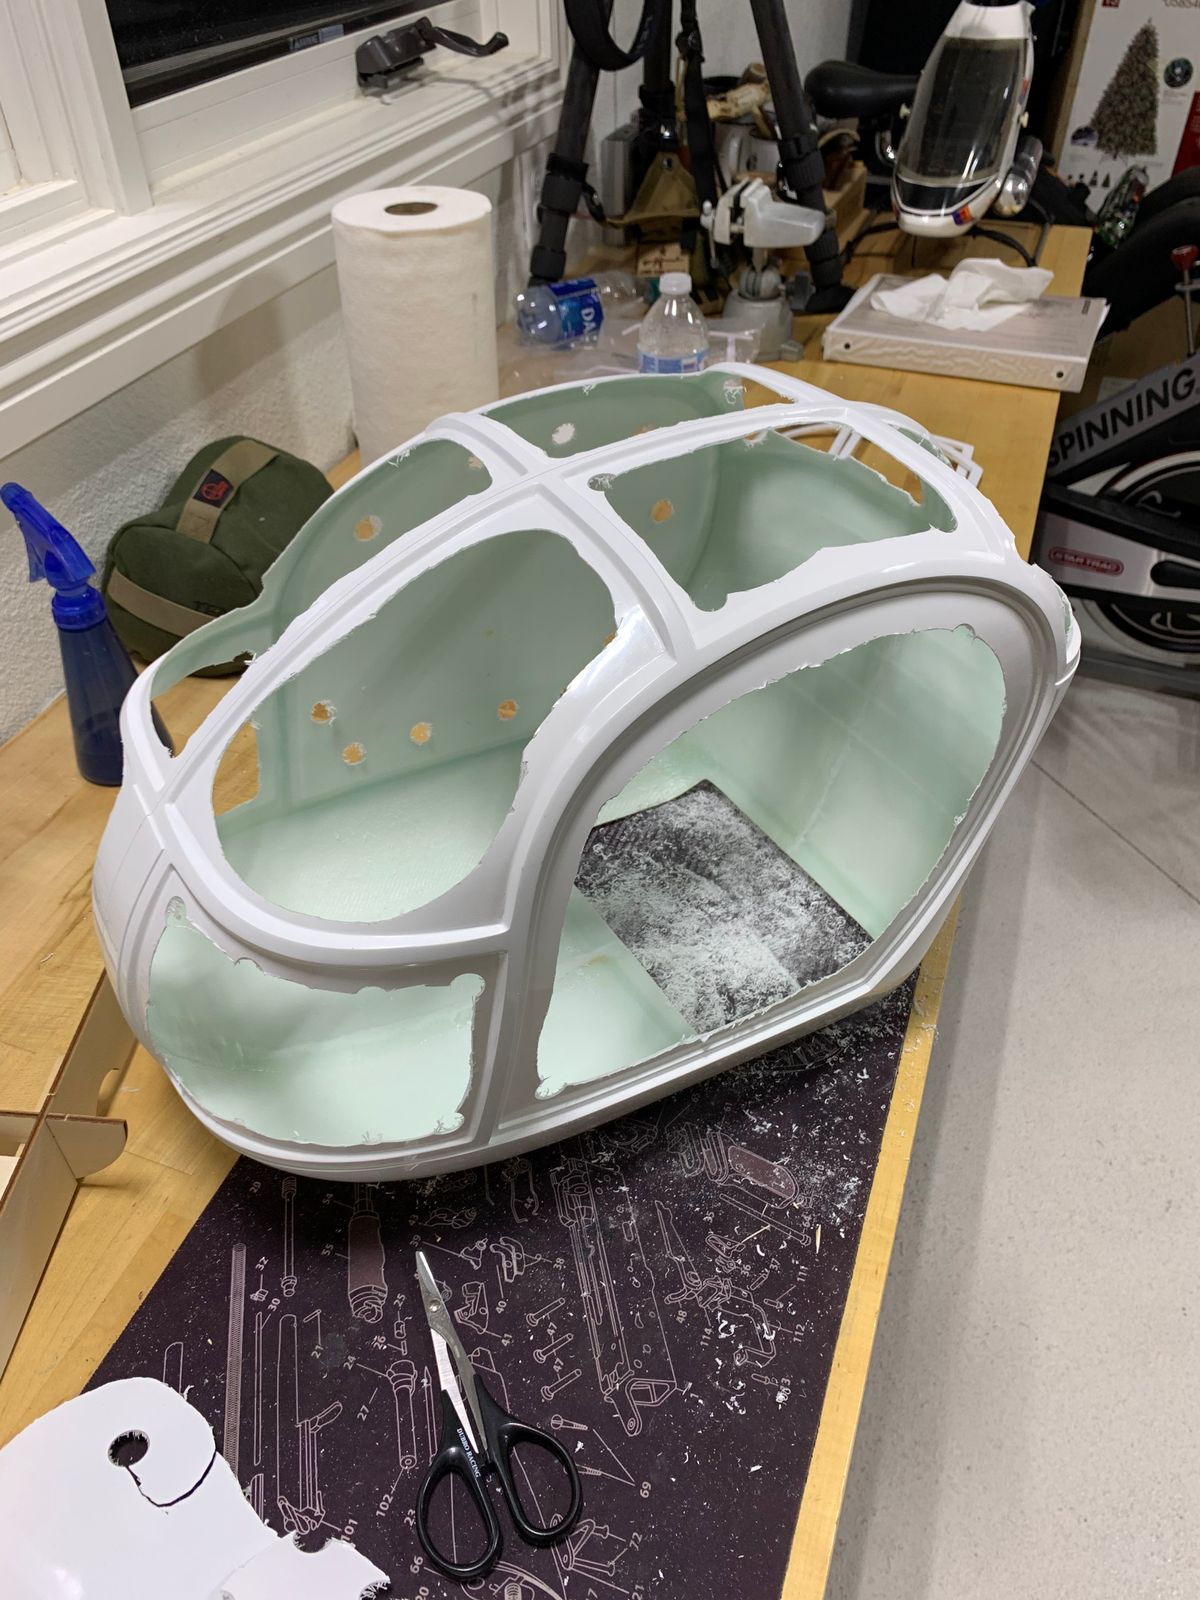
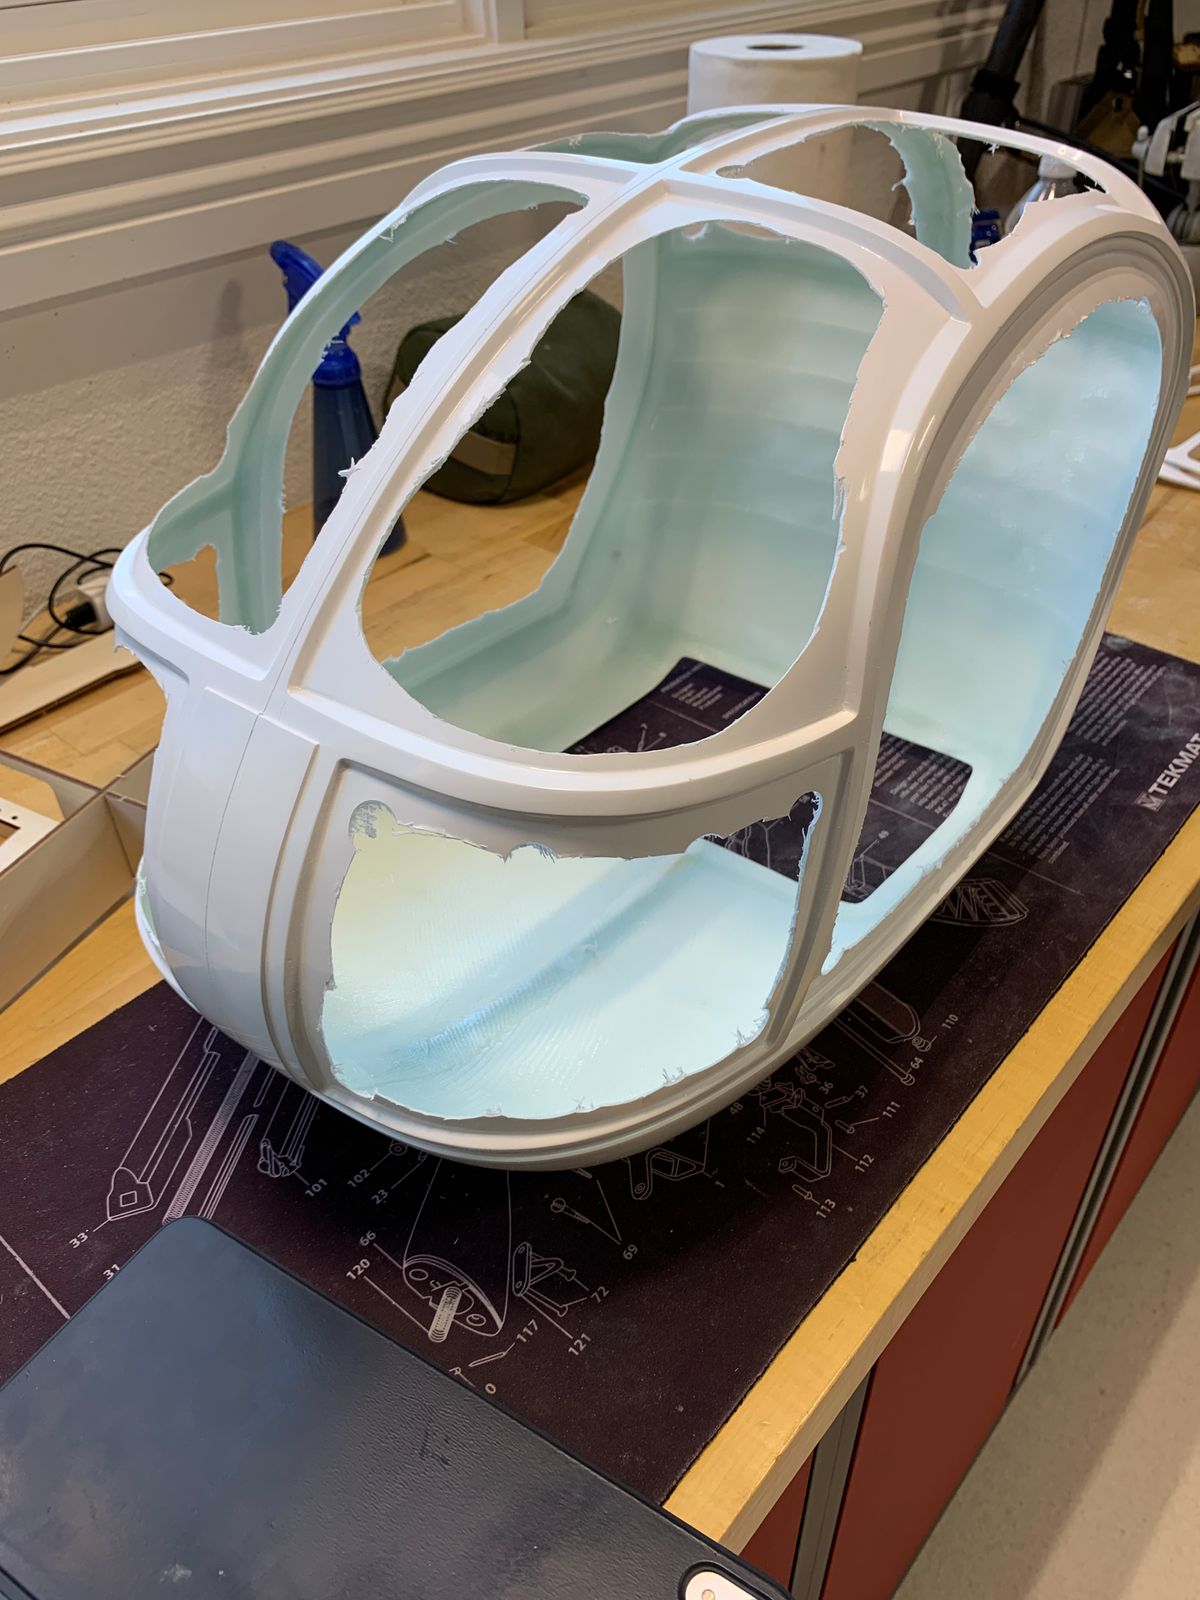
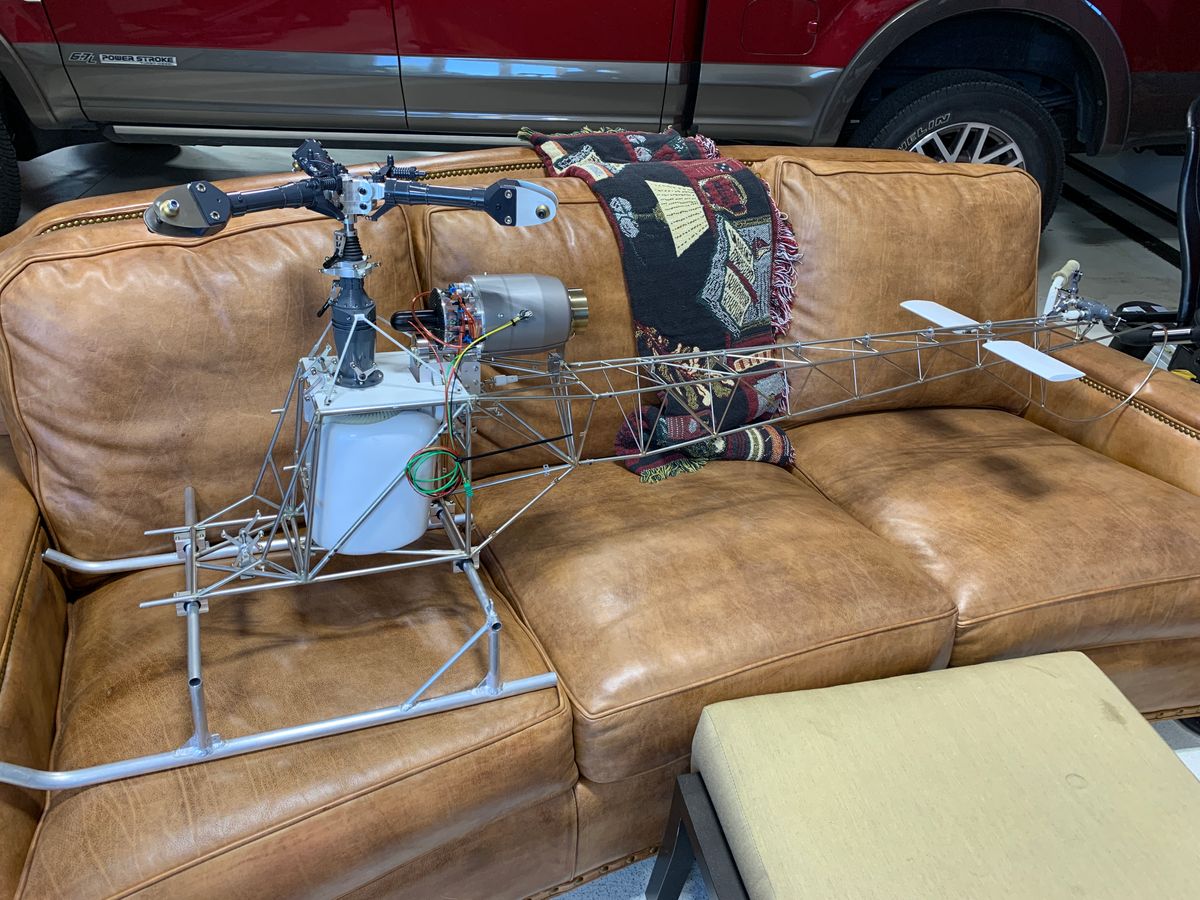
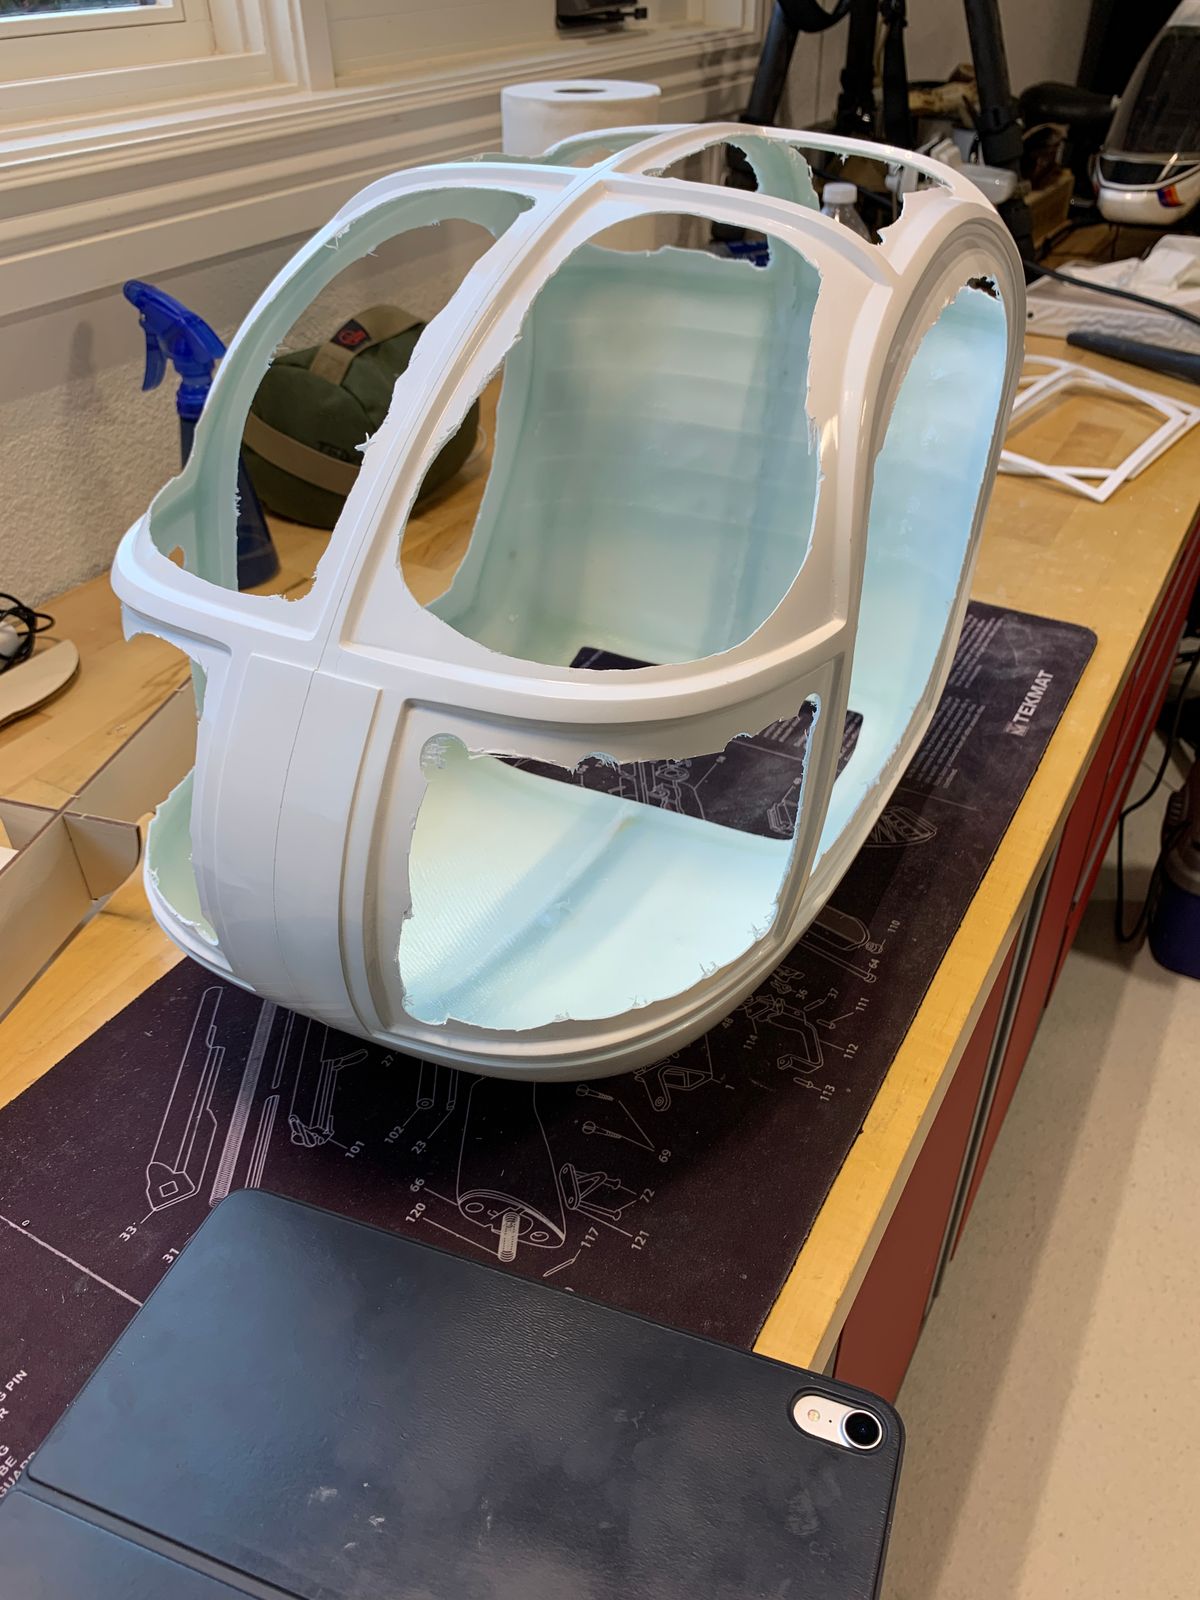
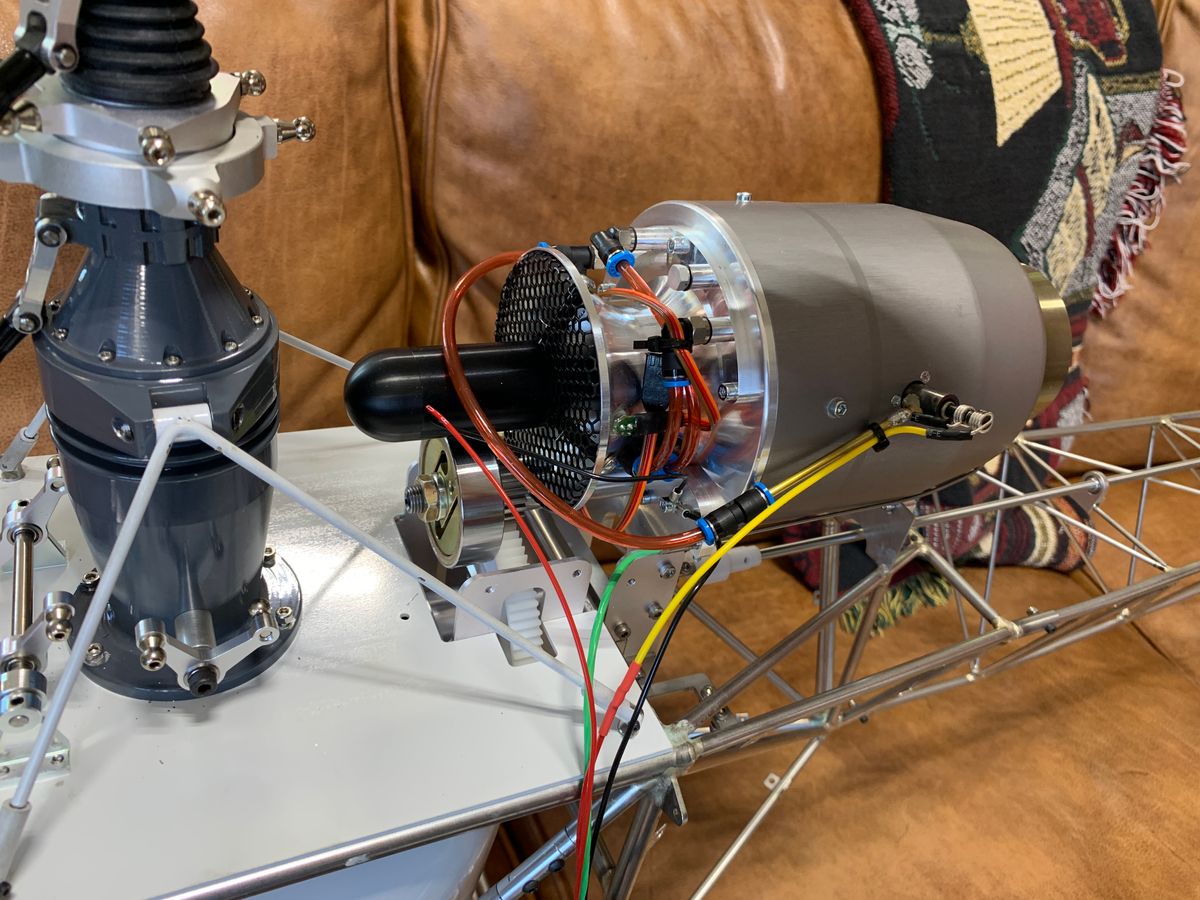
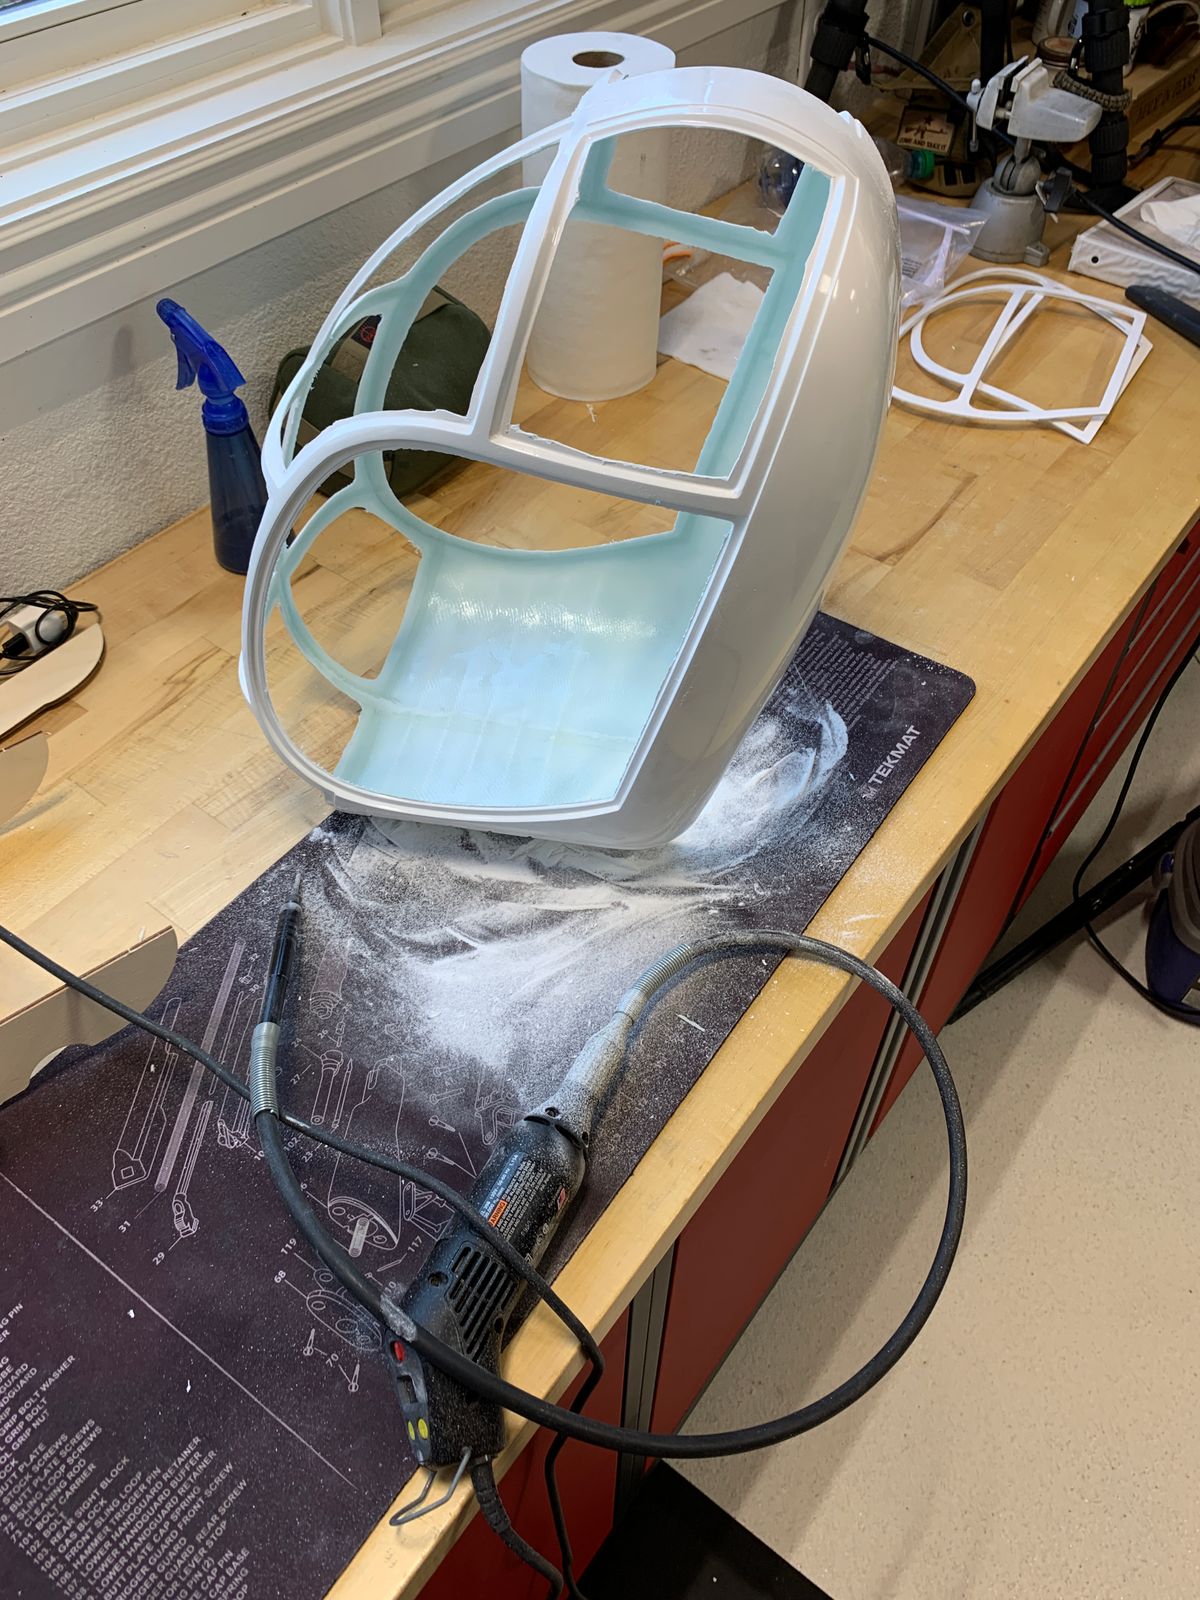
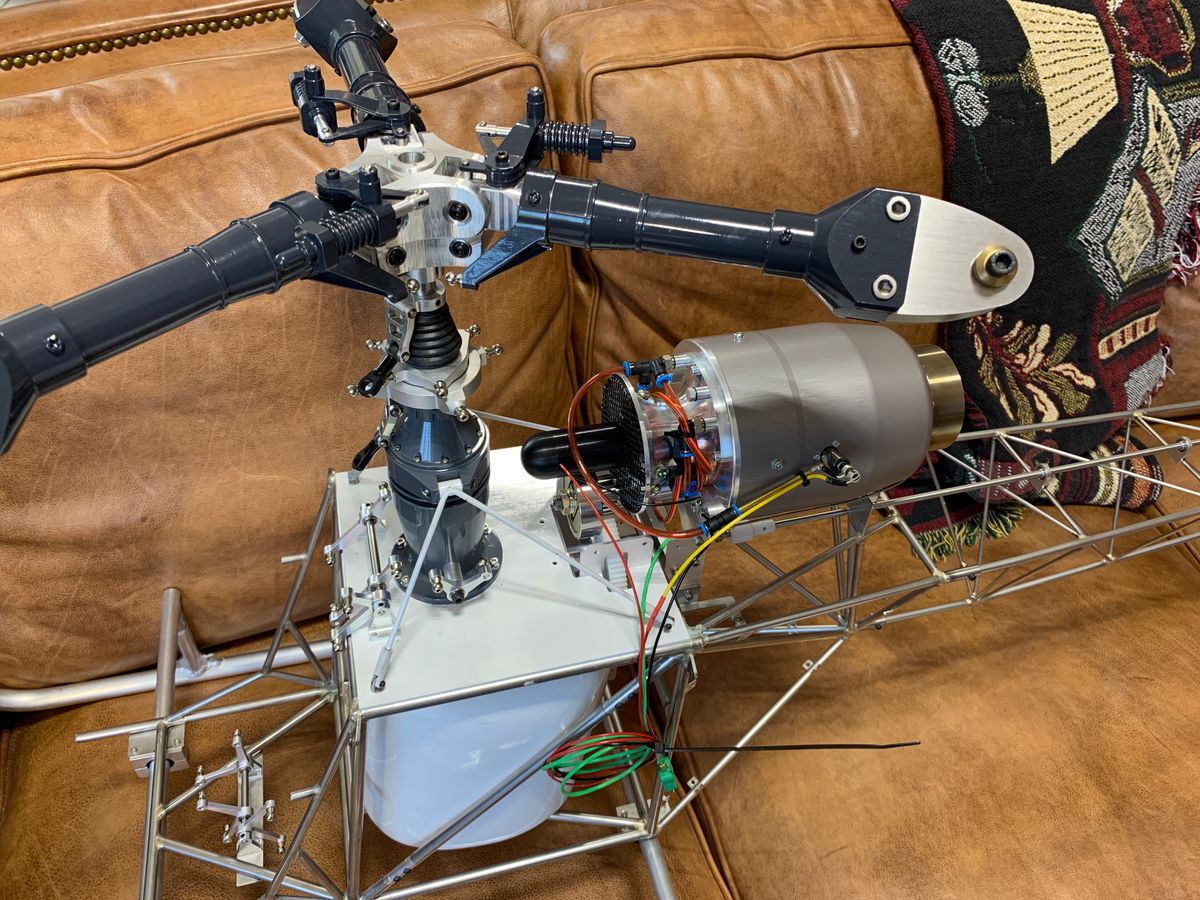
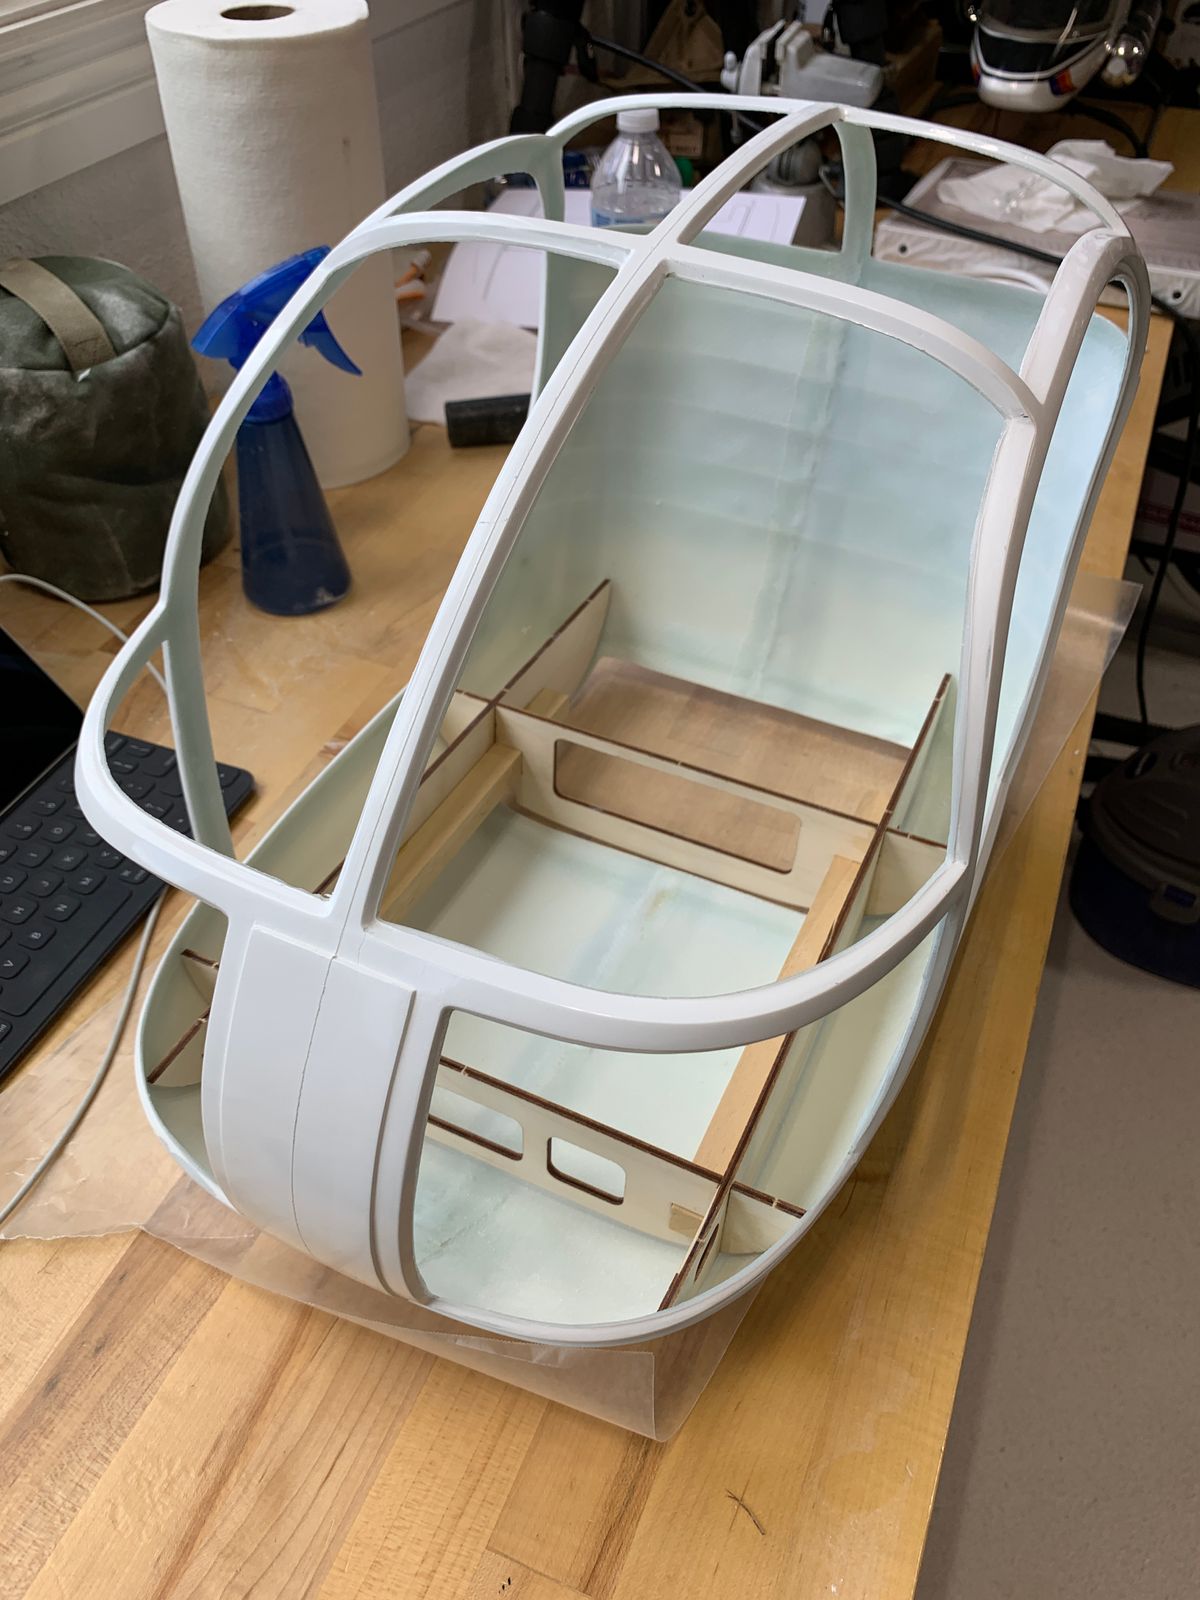
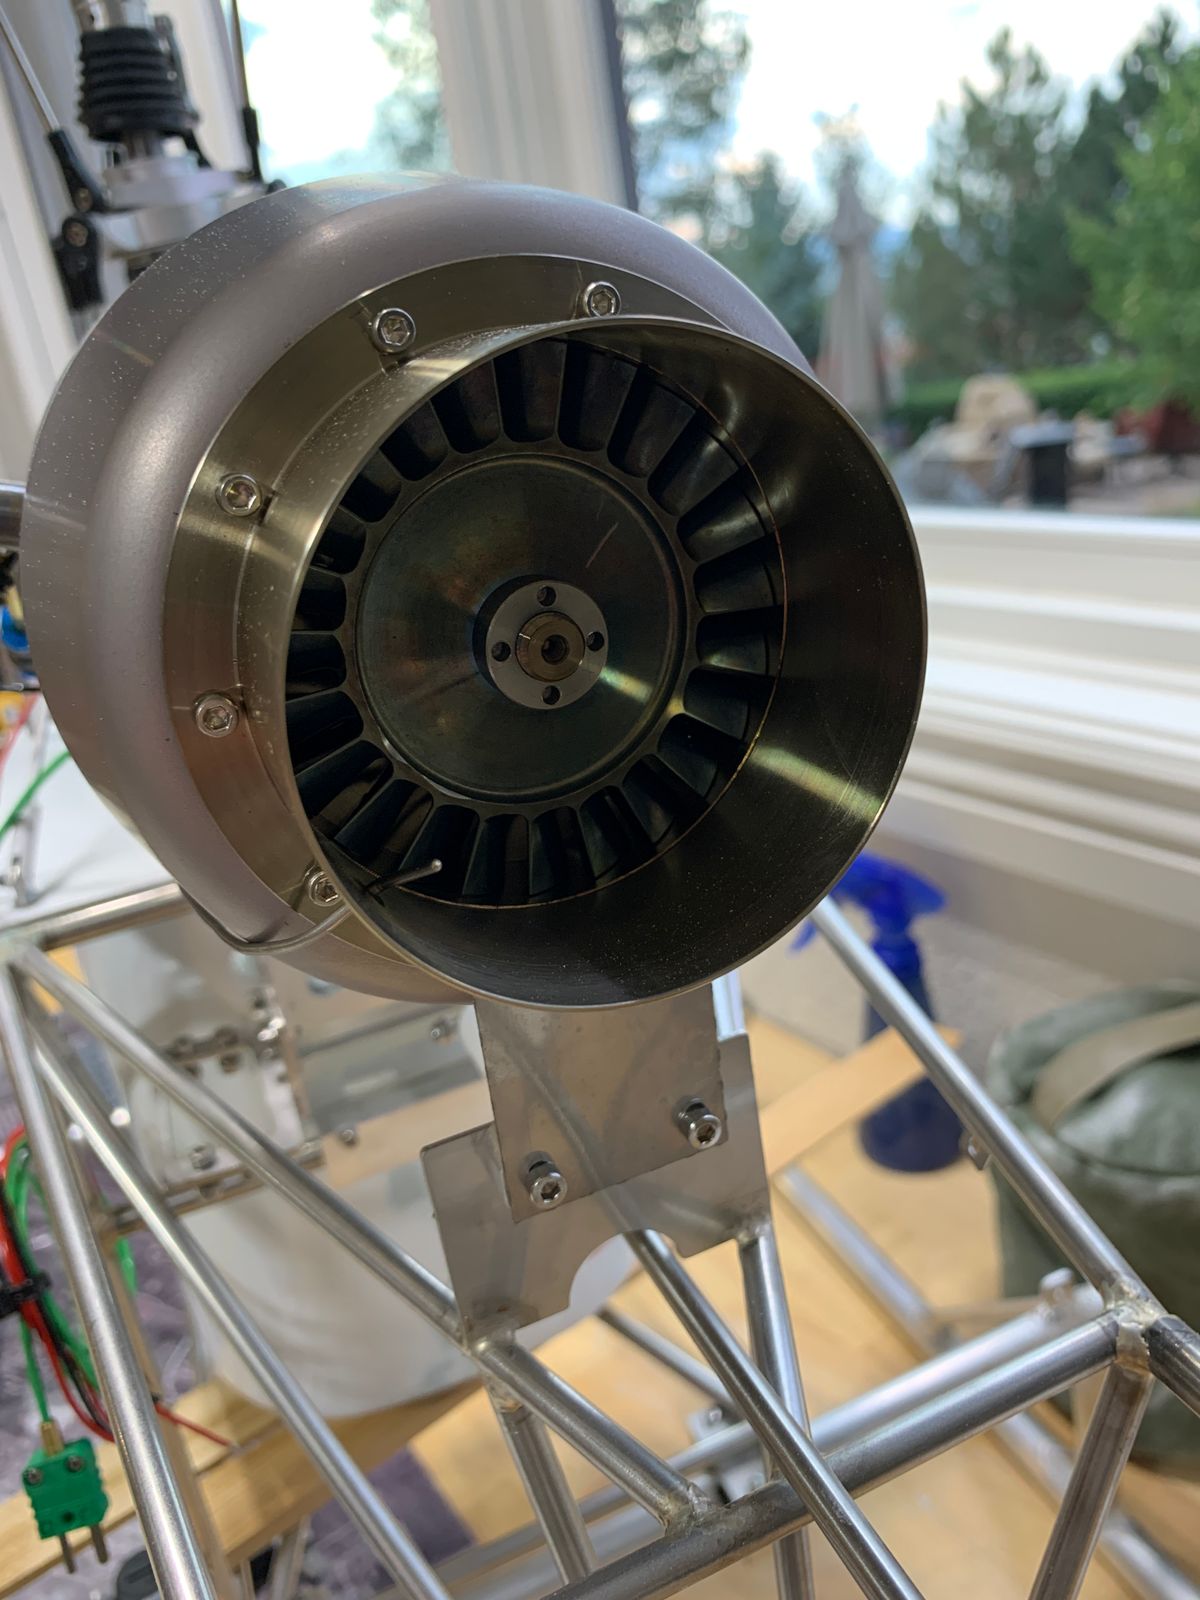
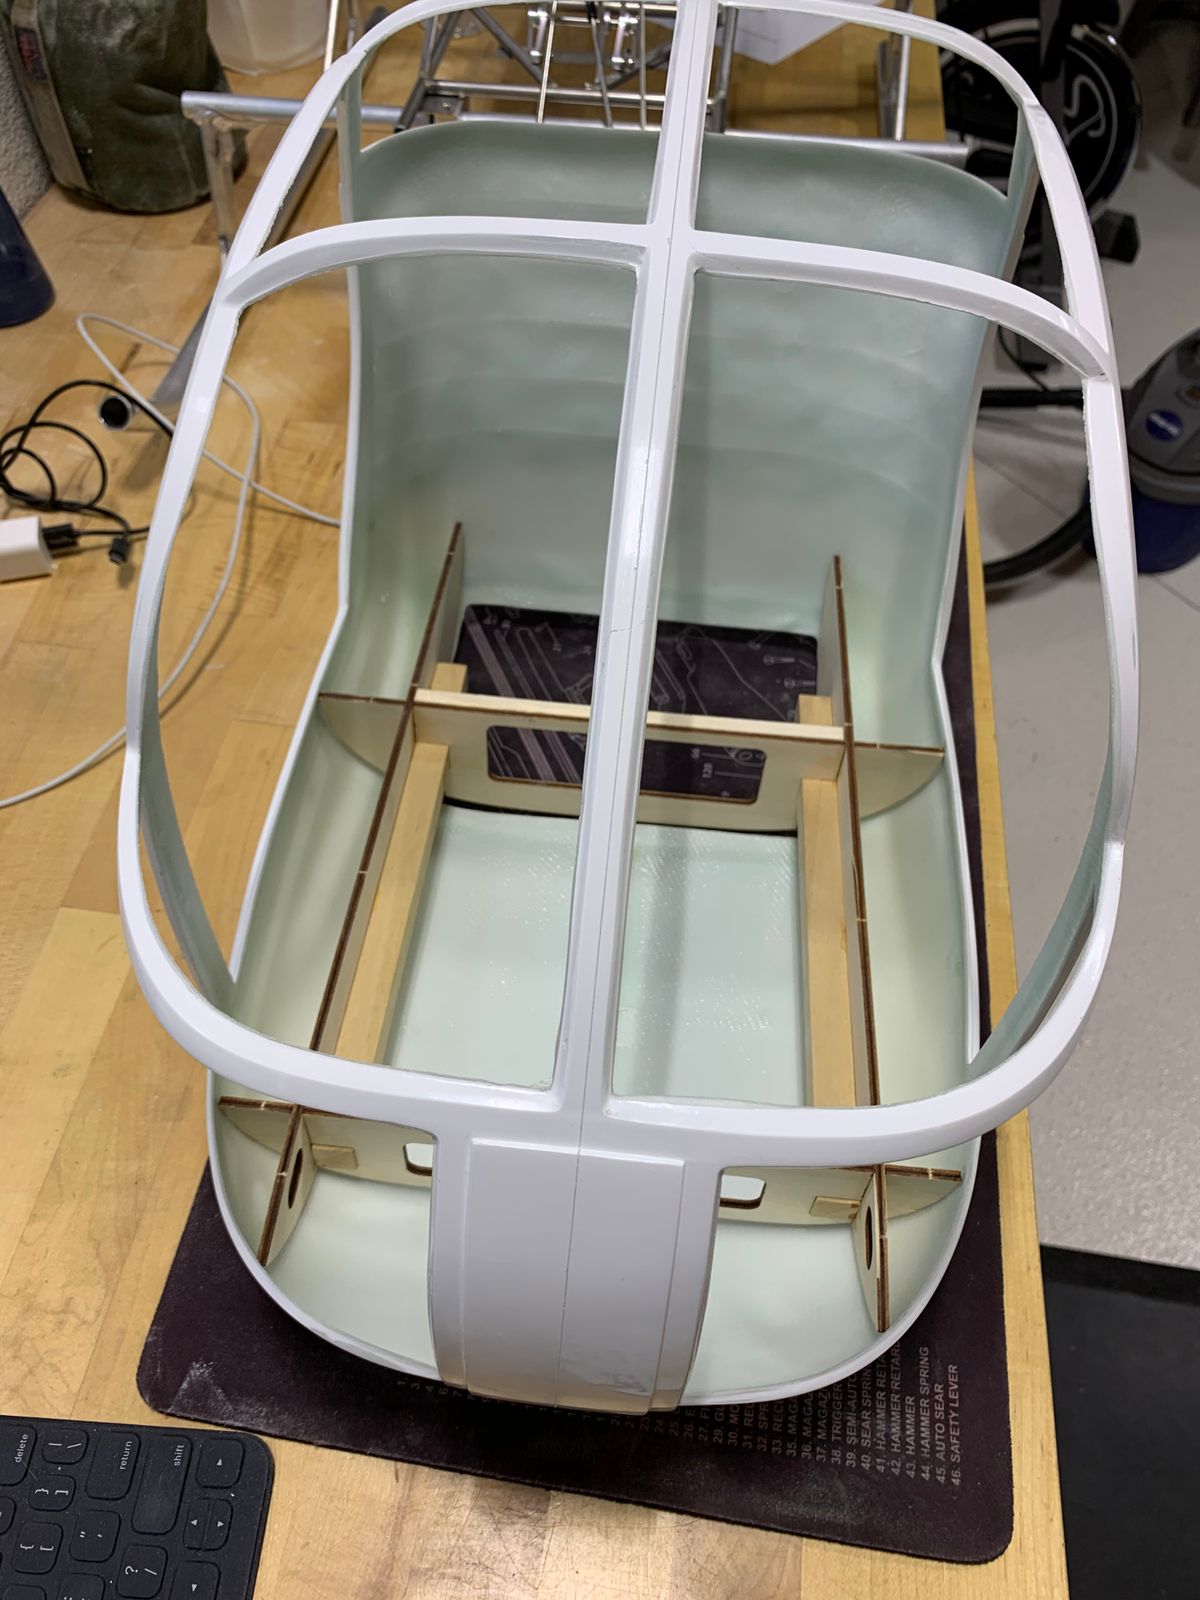
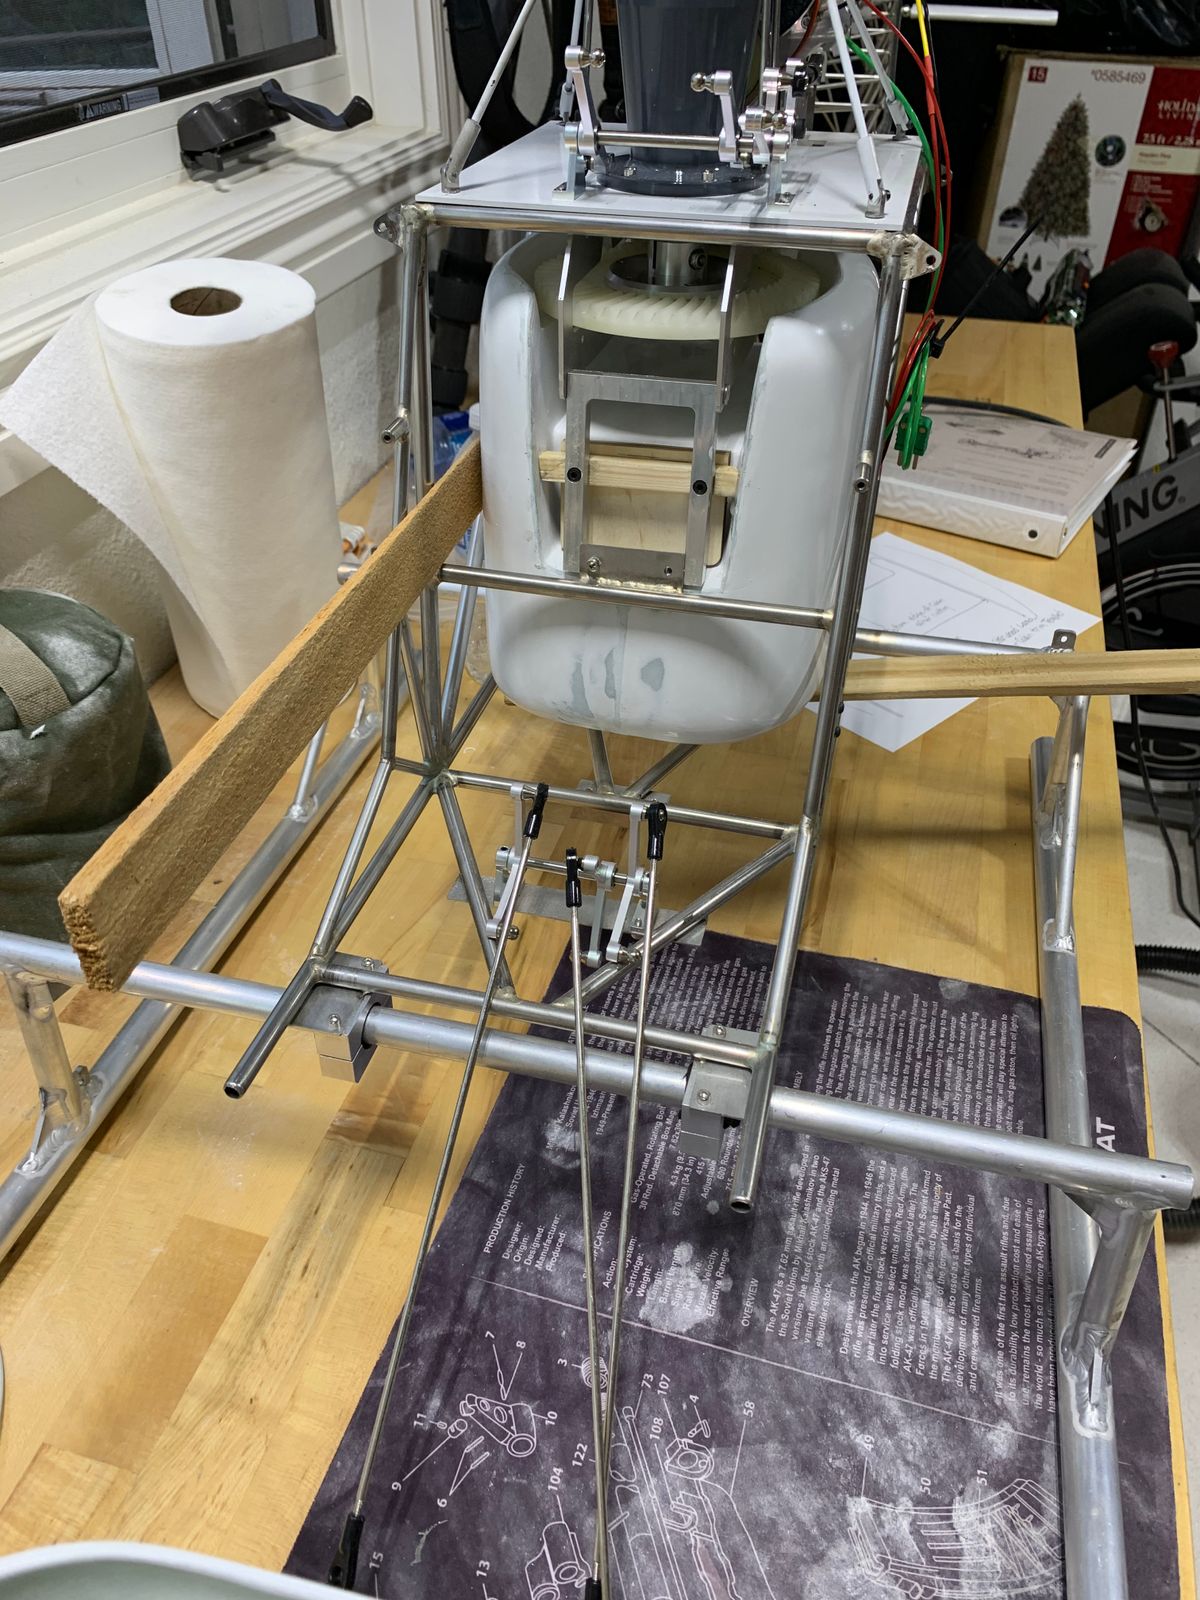
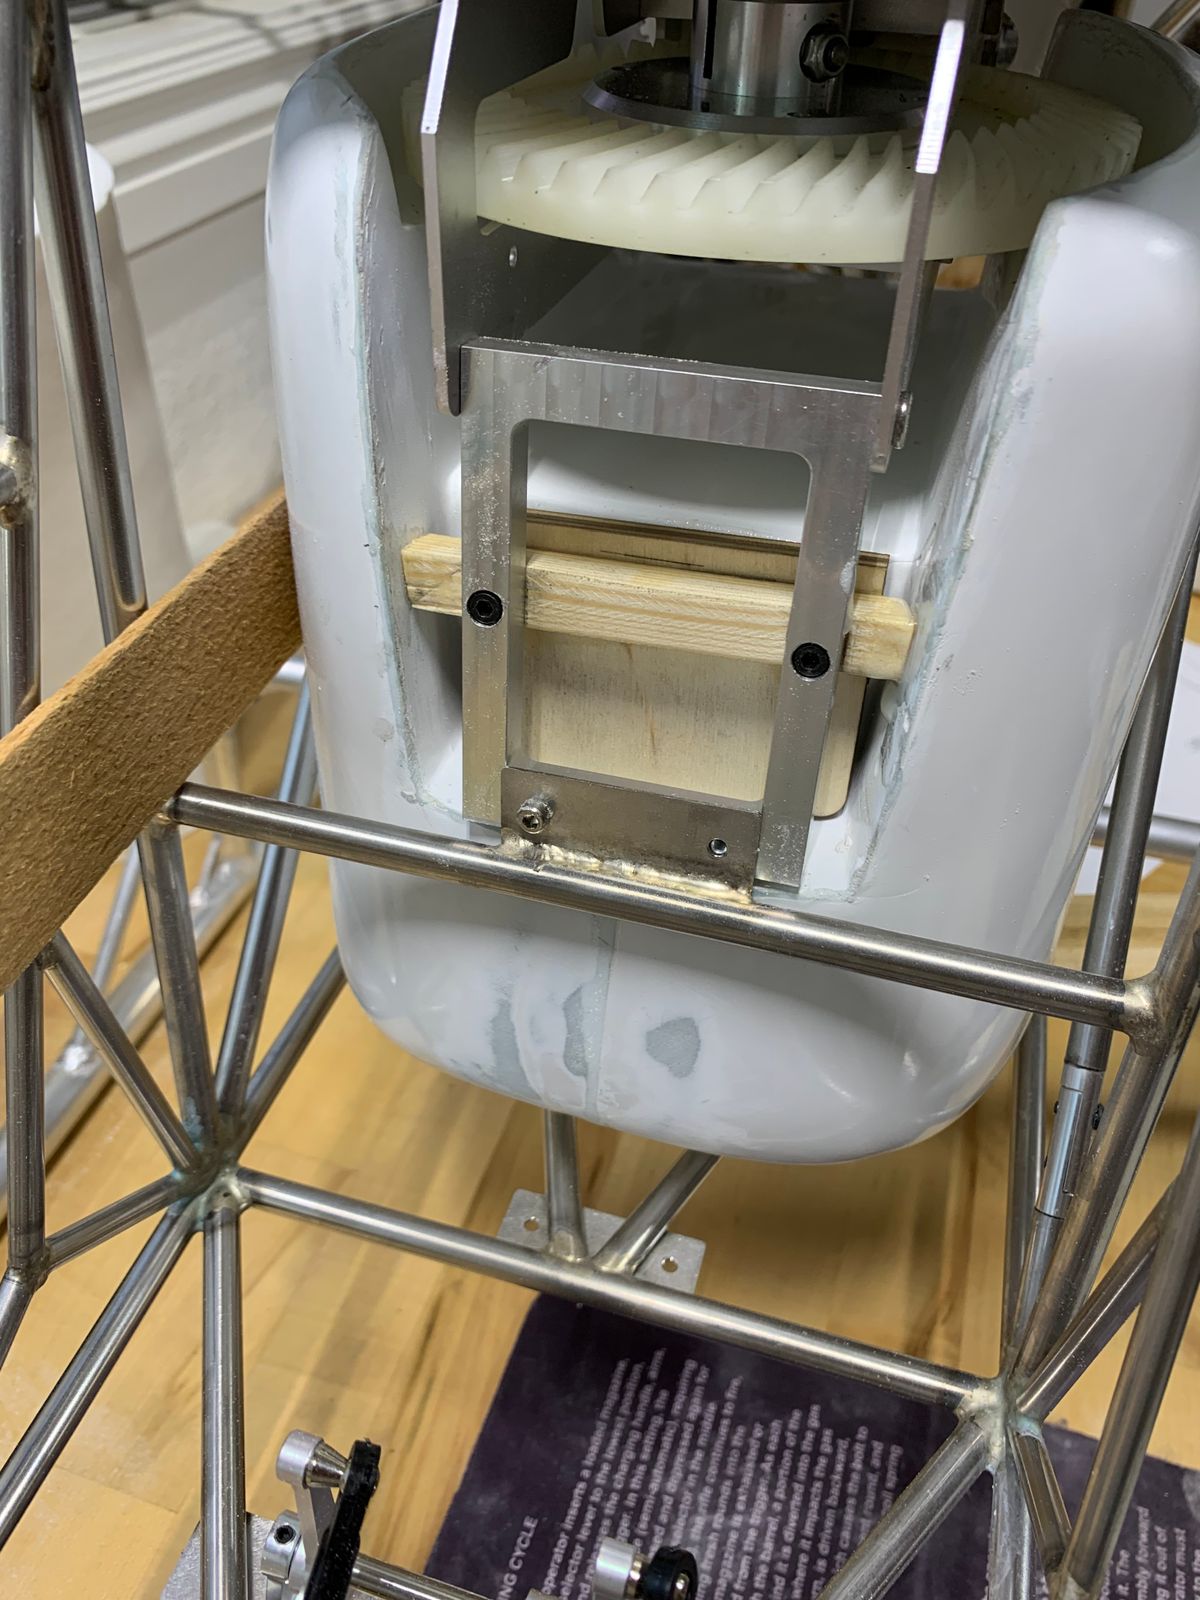
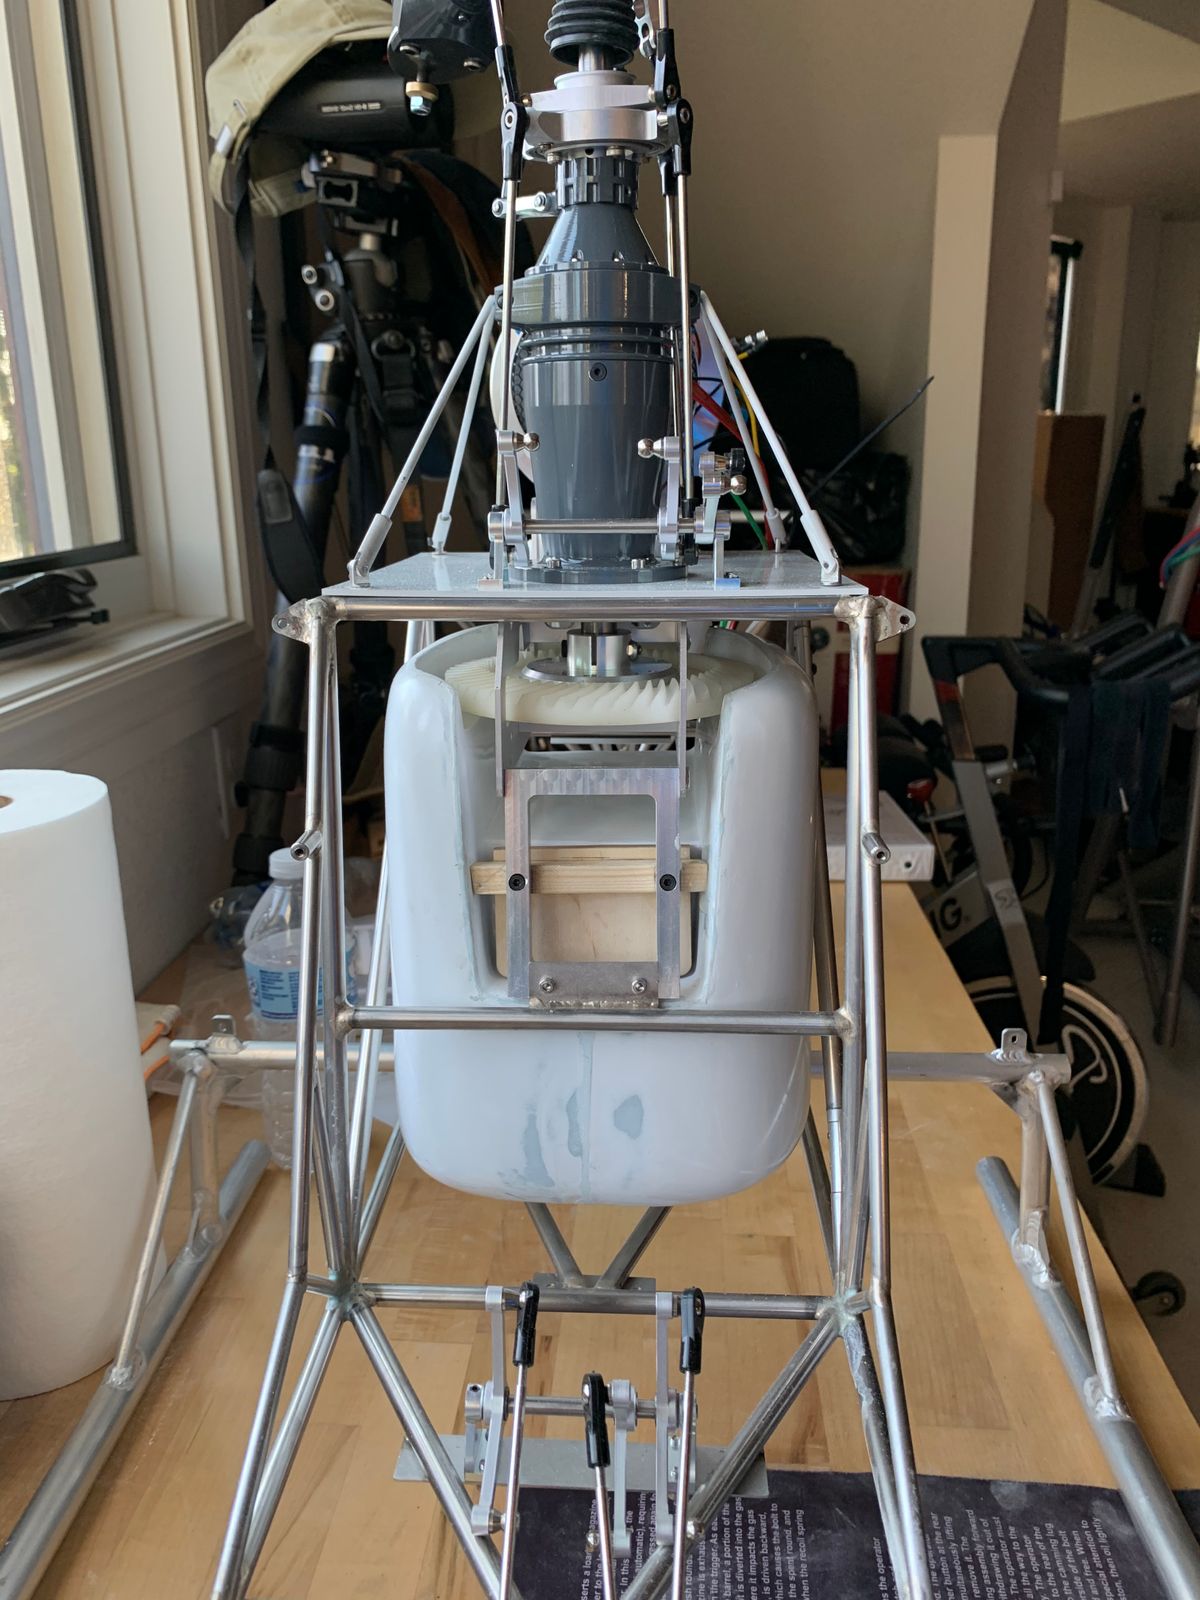
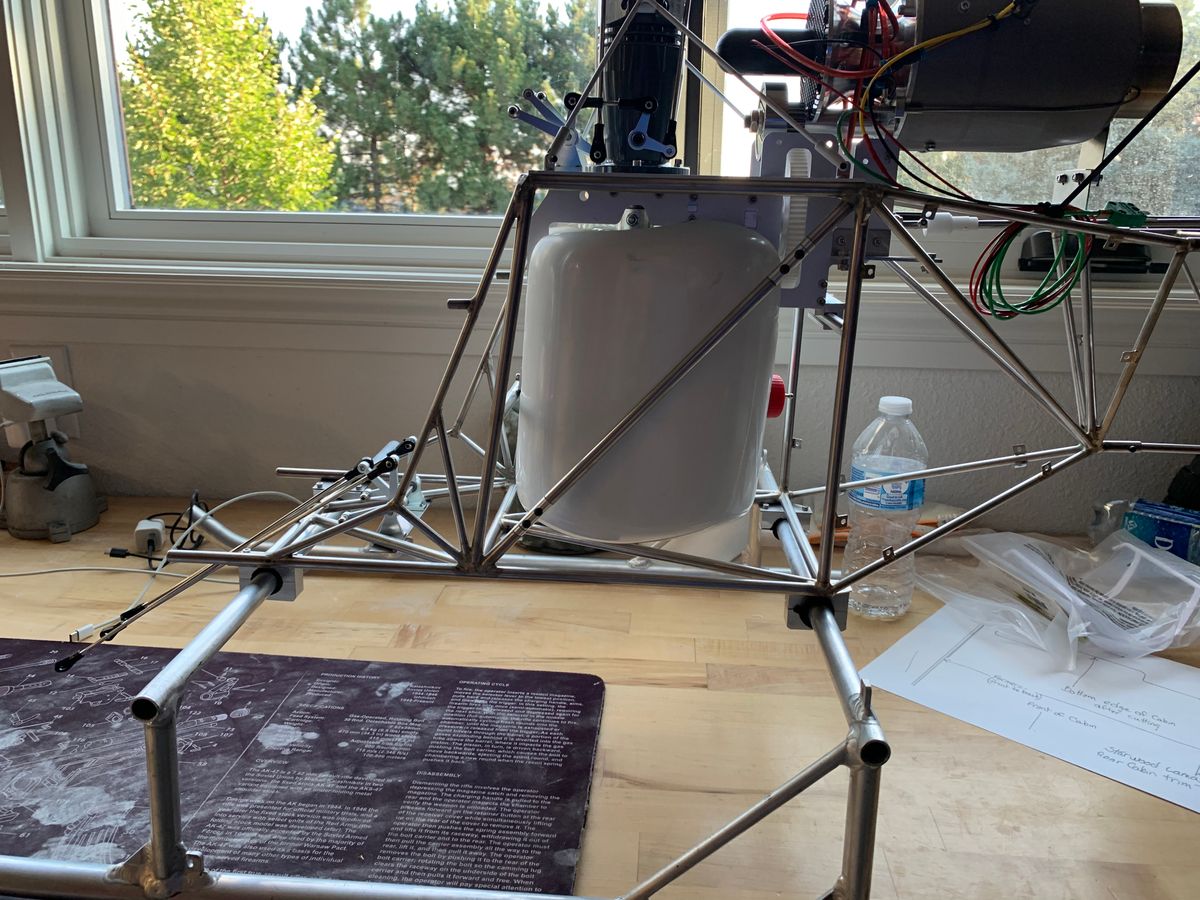
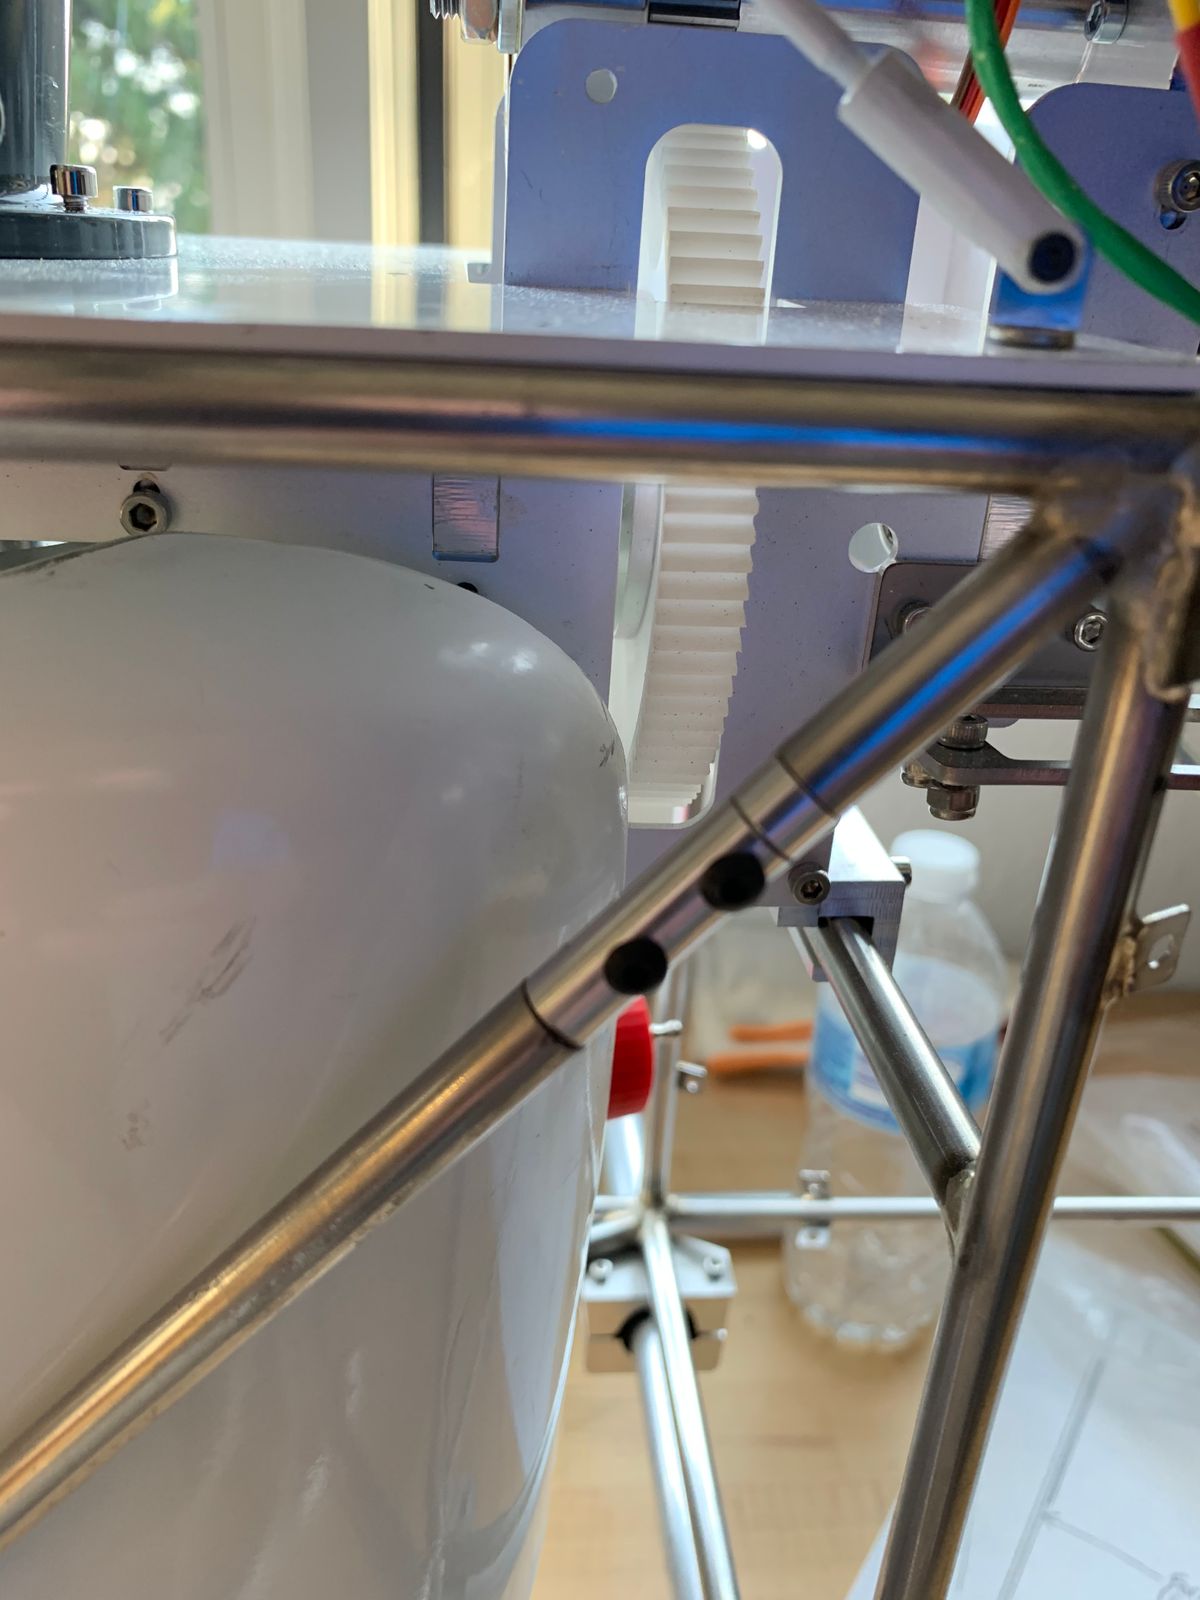
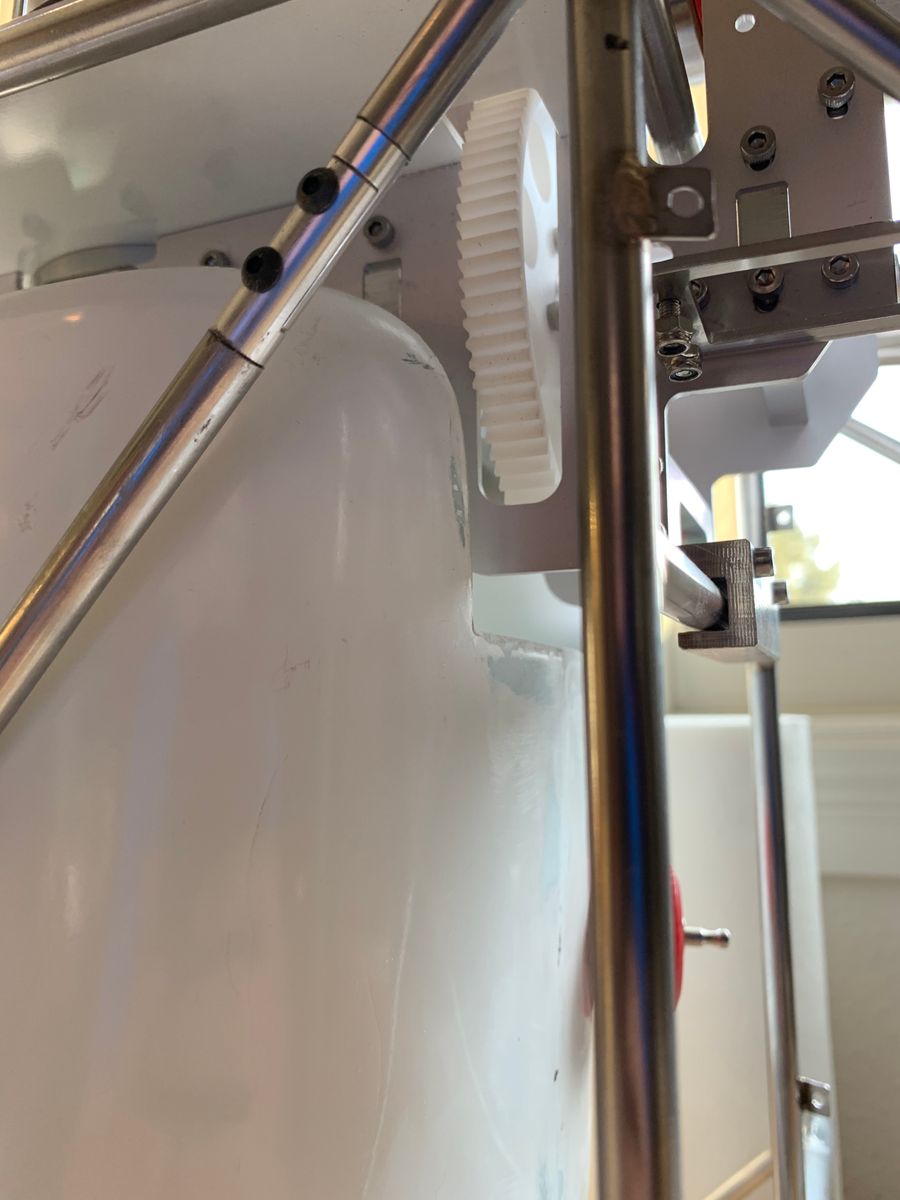
Canopy, tank, airframe fitting and assembly
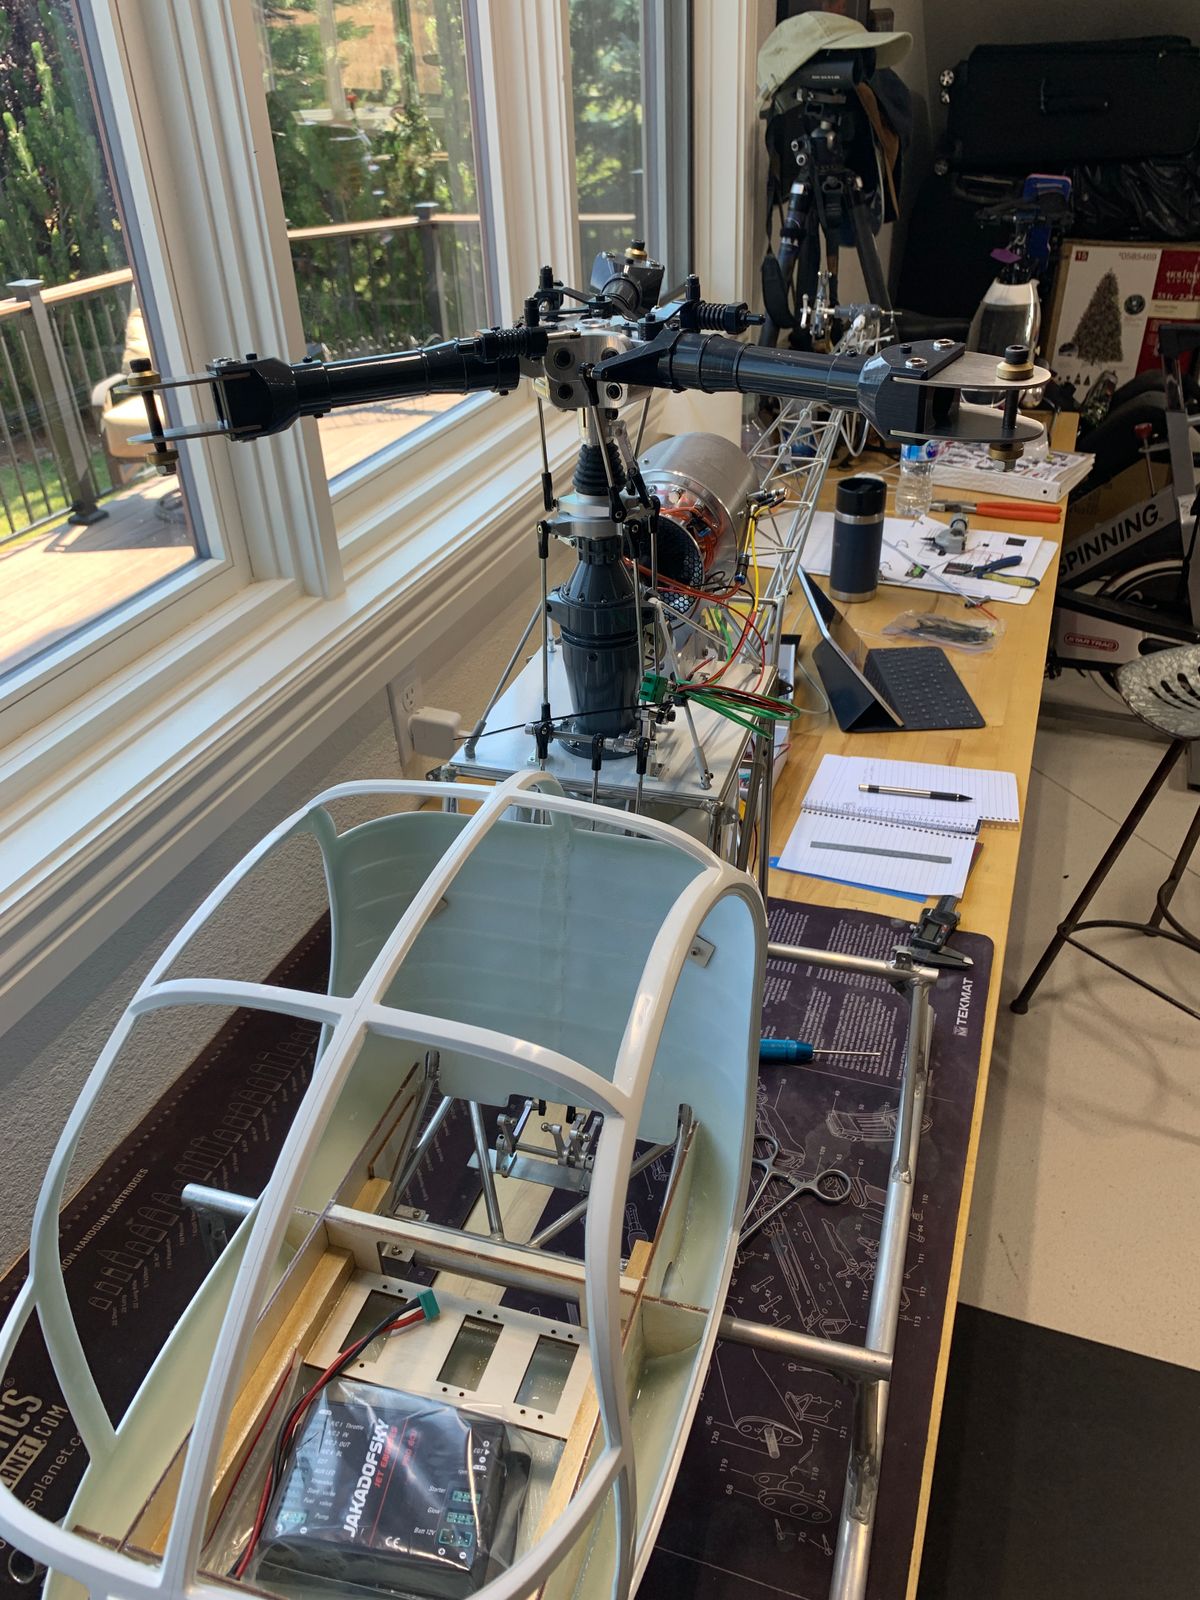
That first pic shows the suggested rear tank support I didn't use. Canopy, tail section and mechanics test fittings are presented. The tail rotor assembly is mounted with supports. I am starting to sort out the wood framing. Canopy is 98% cutout.
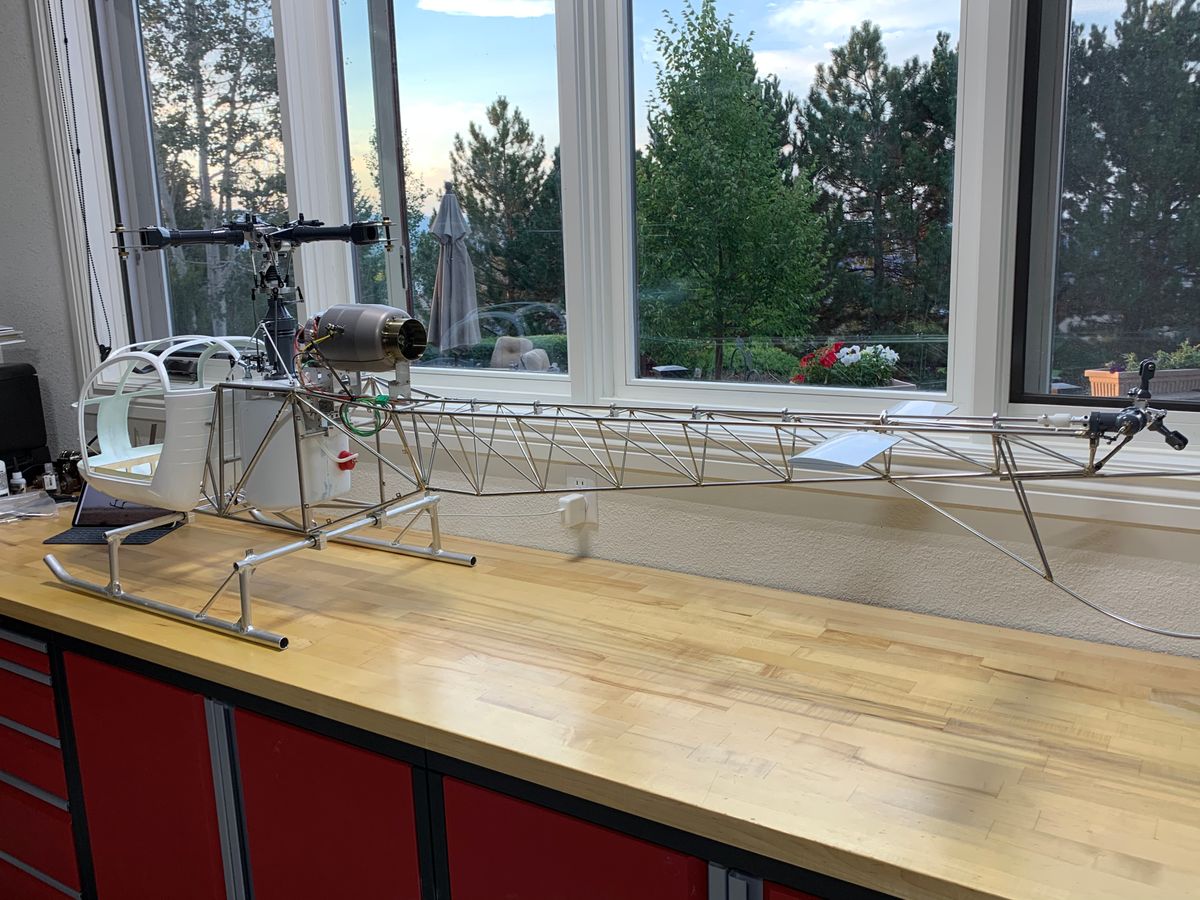
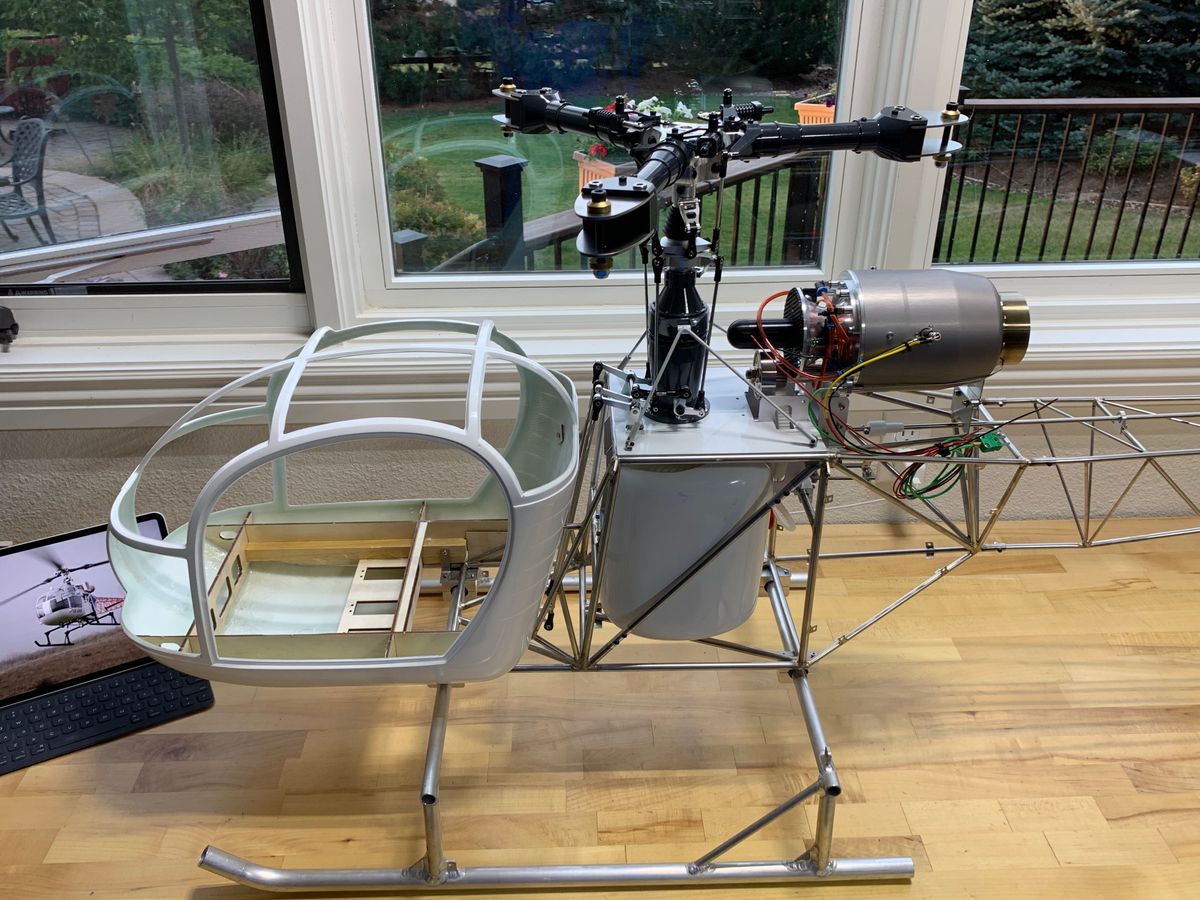
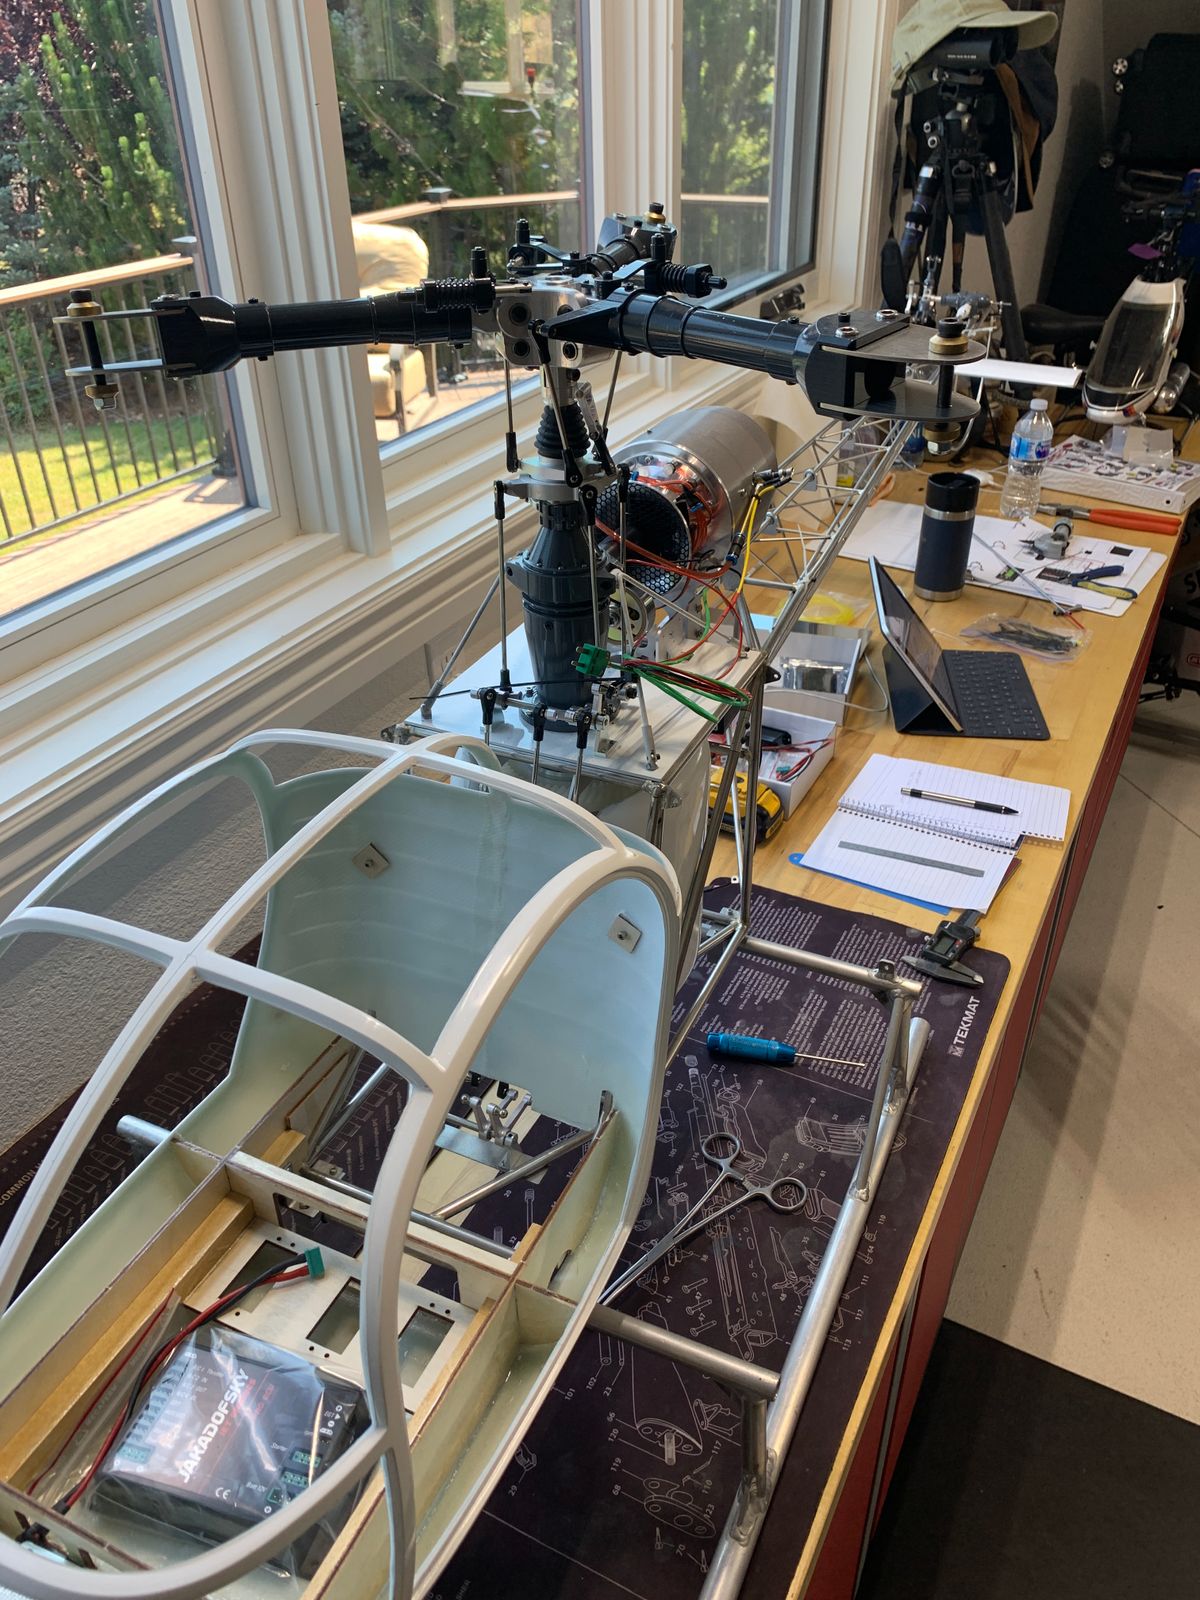
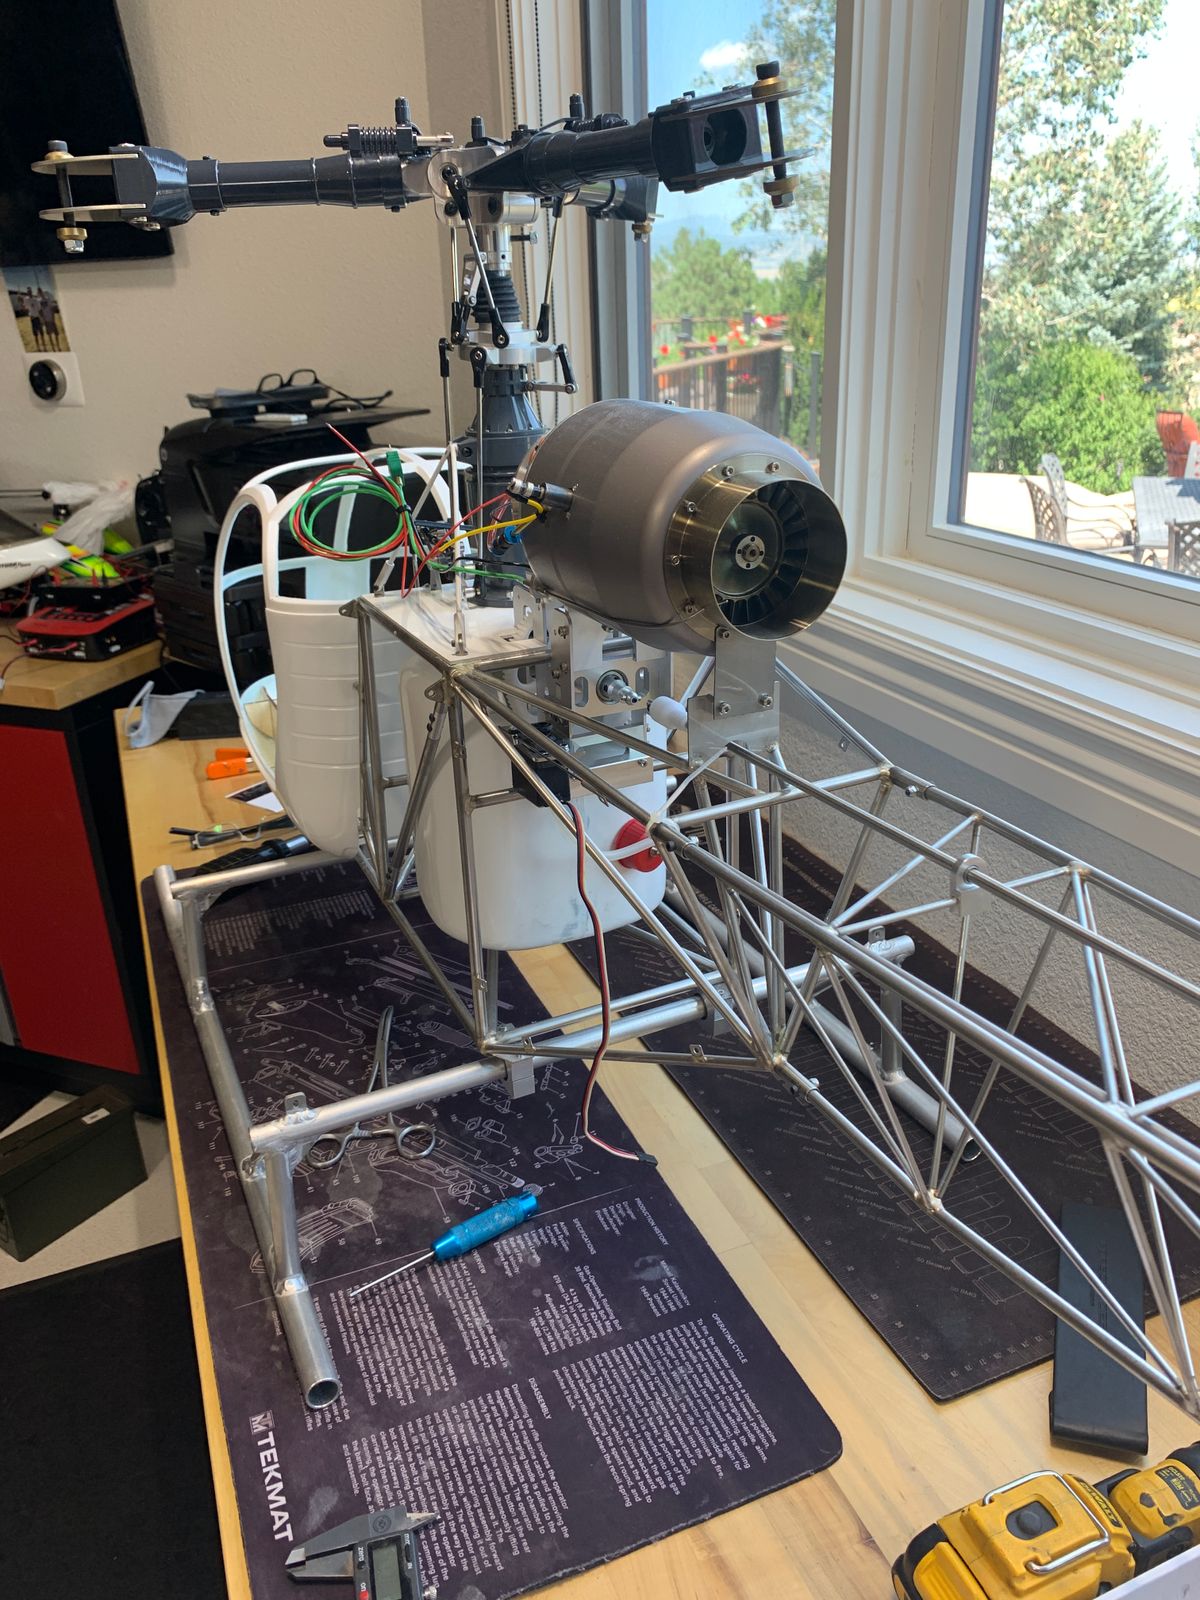
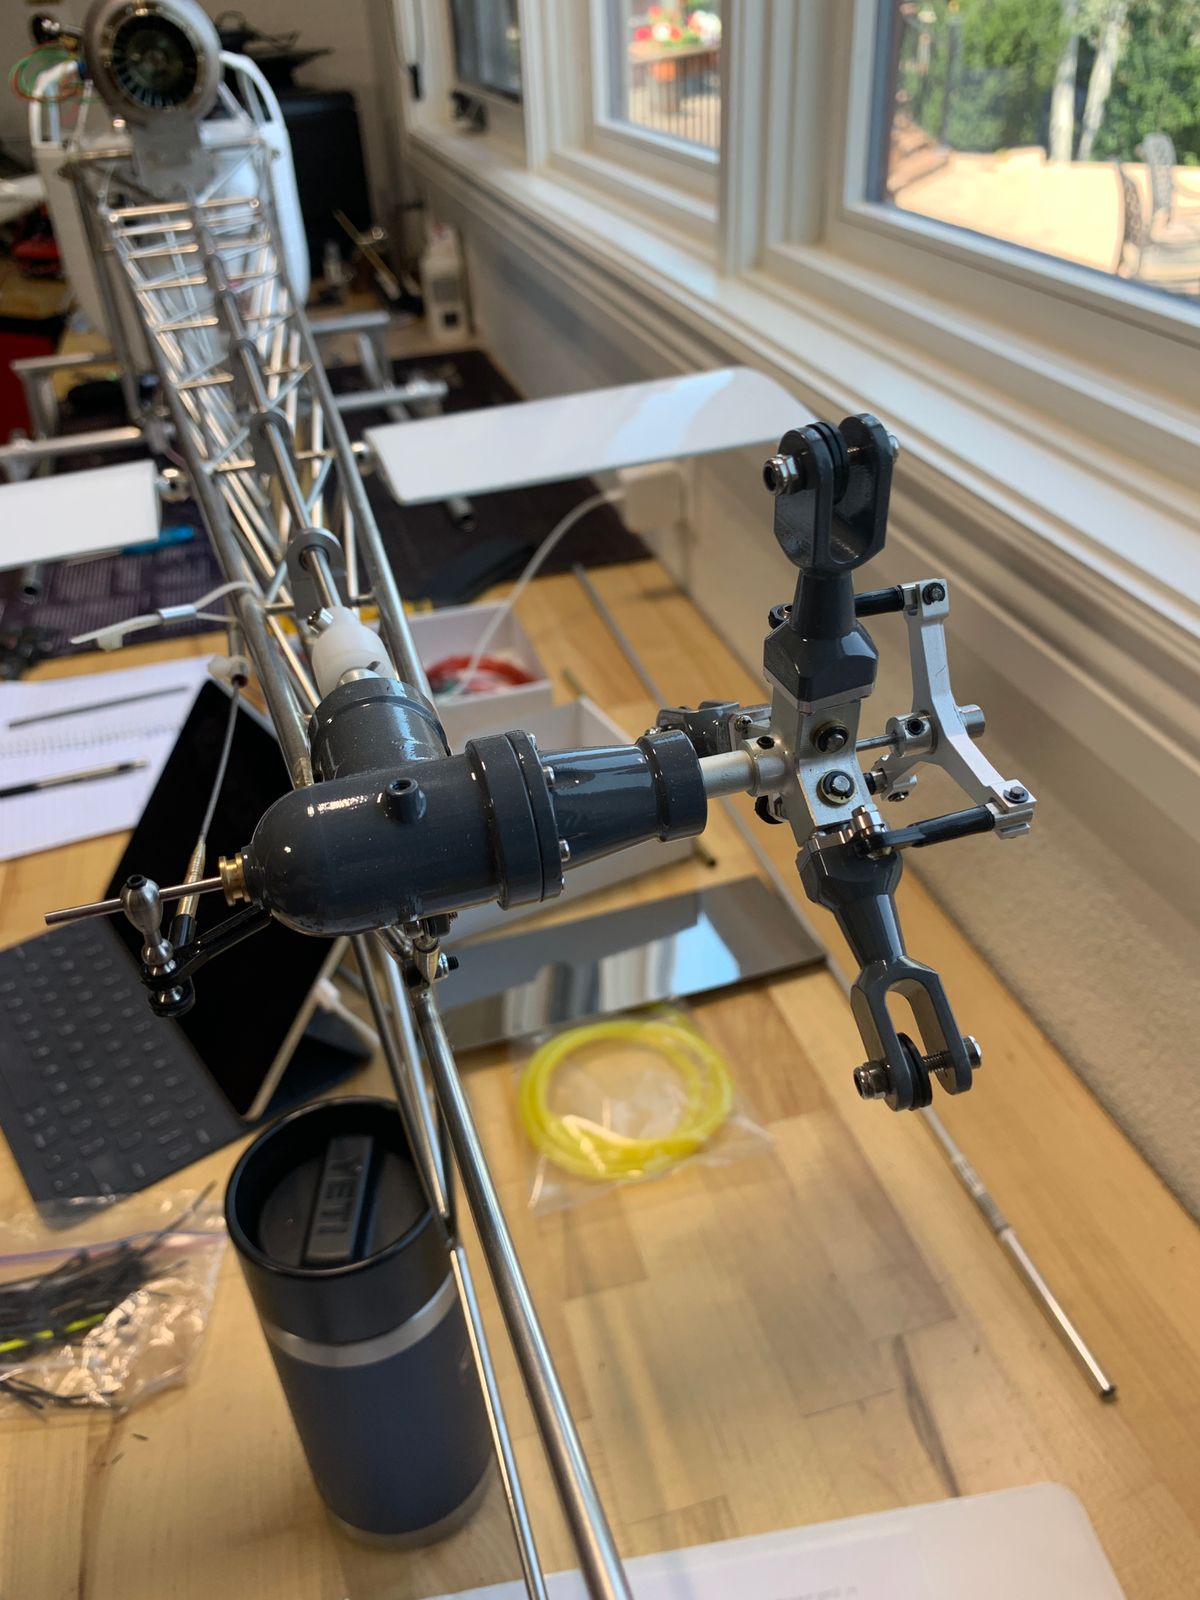
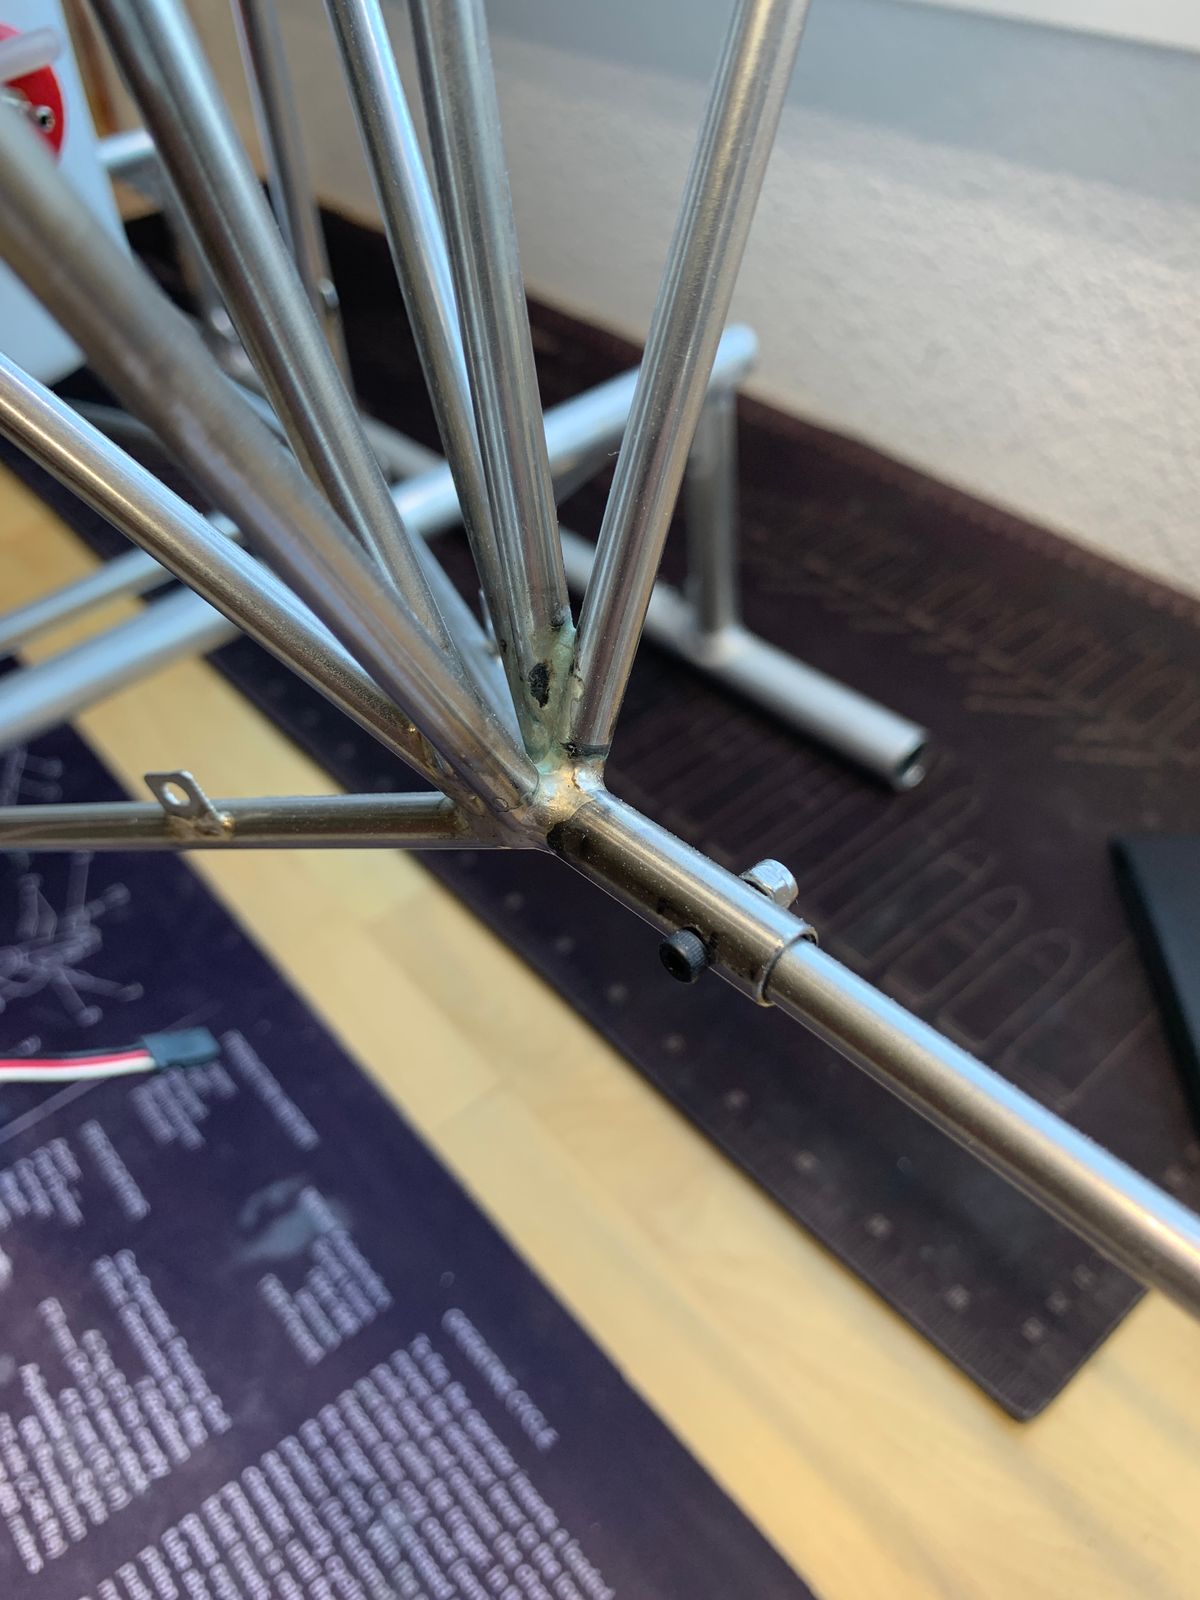
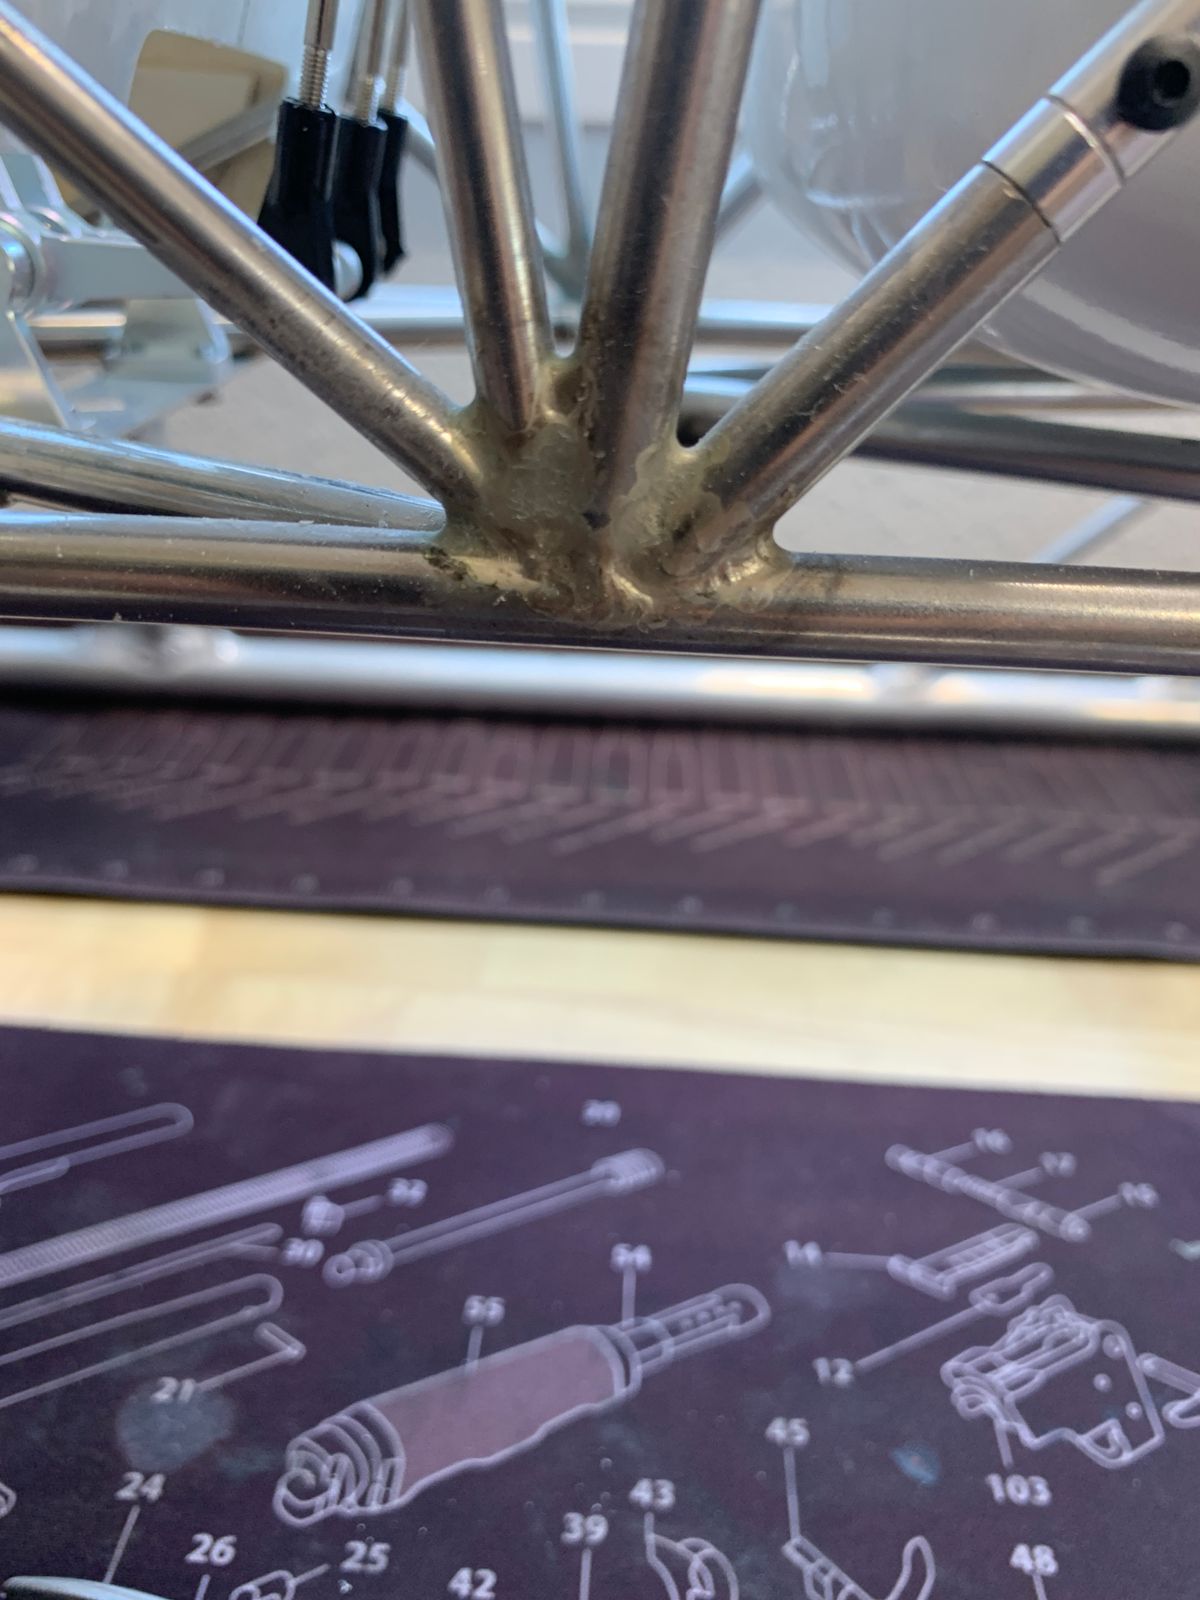
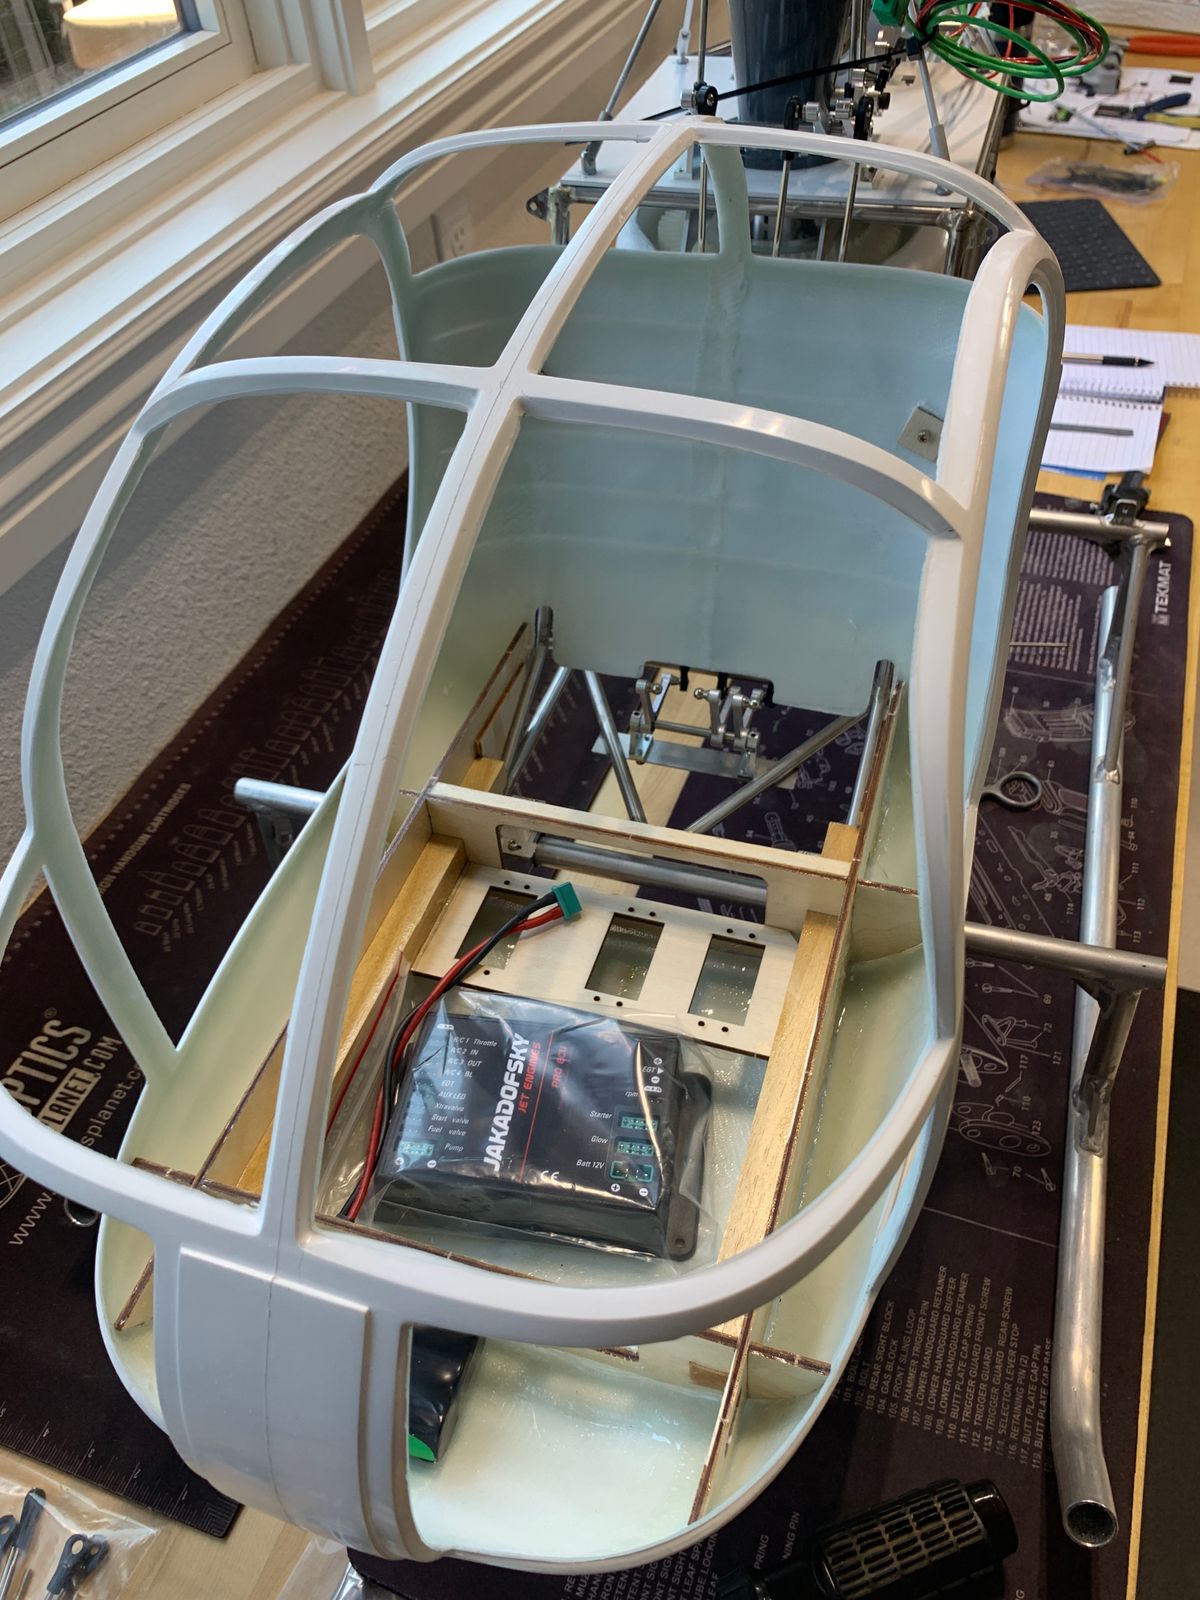
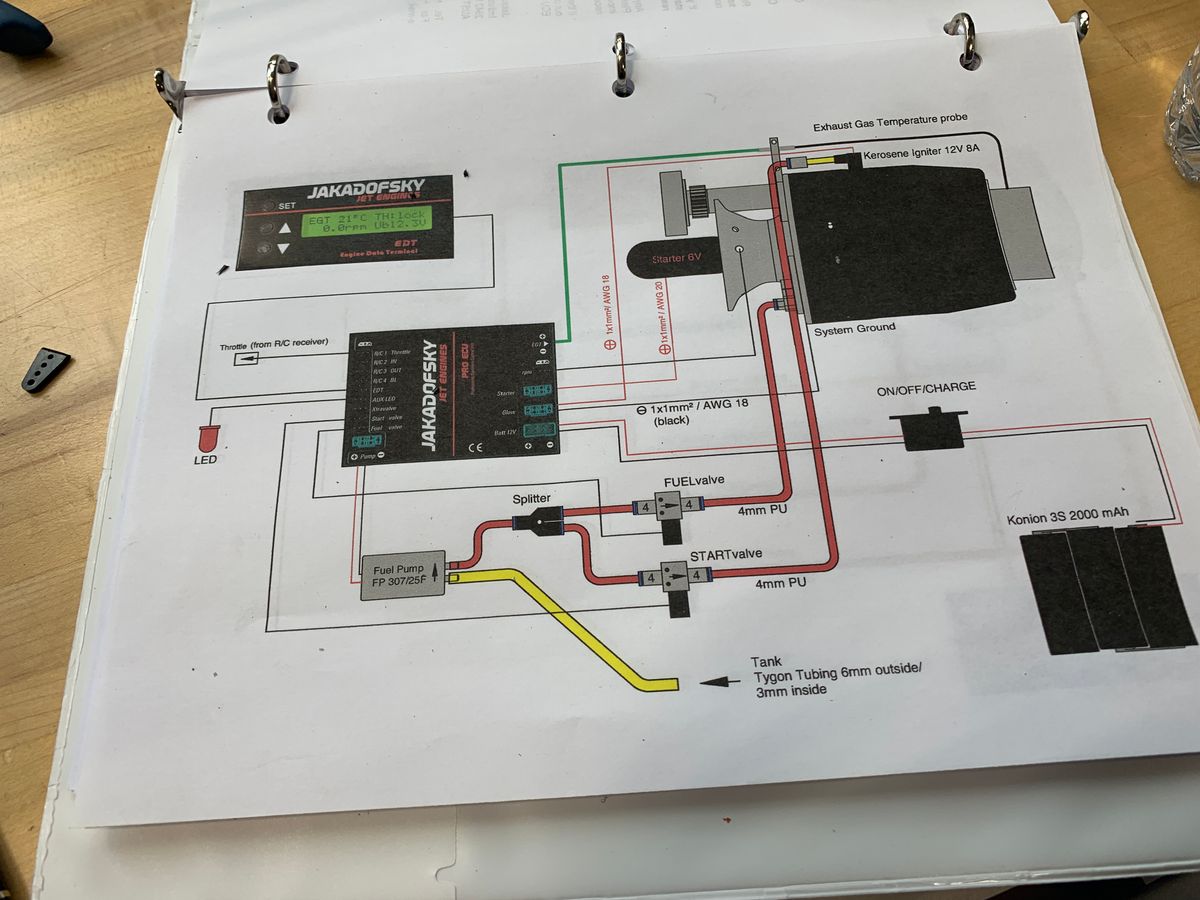
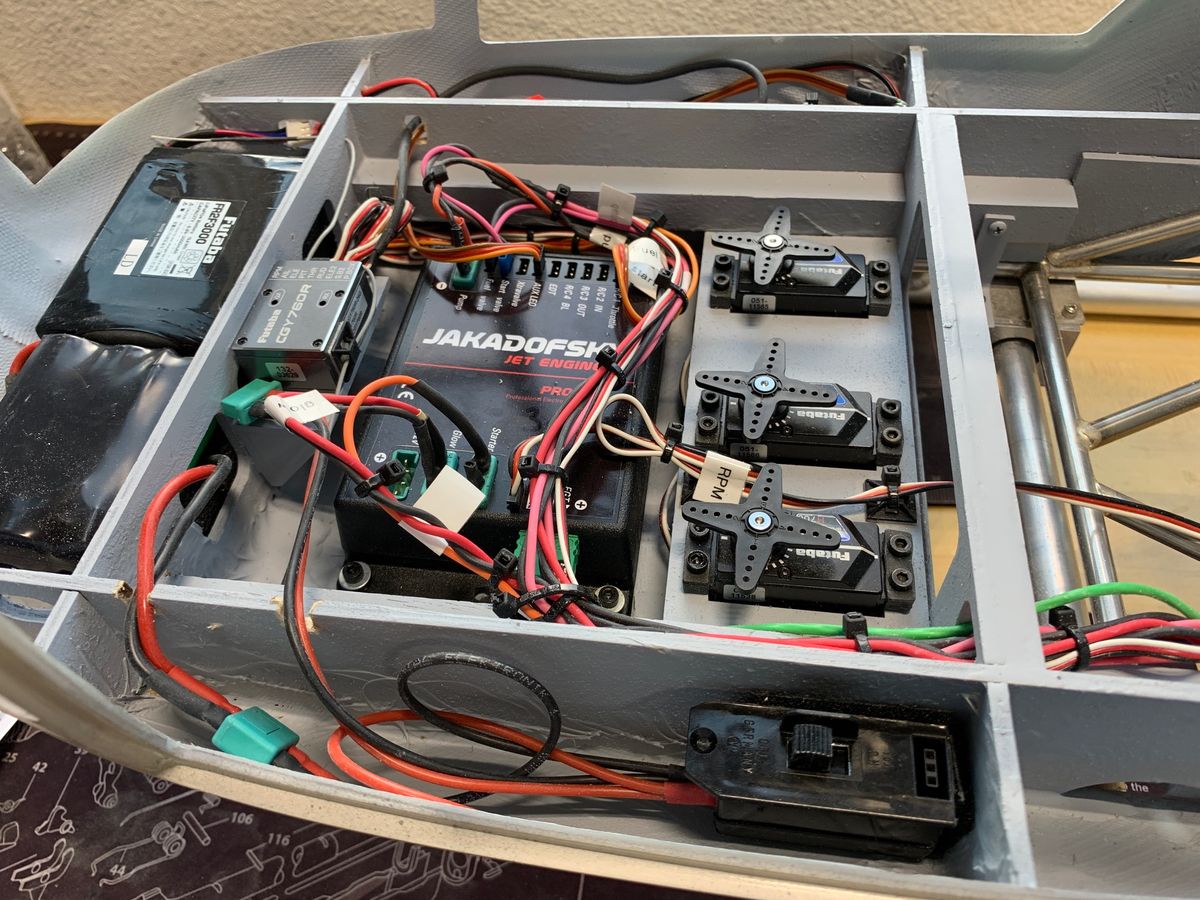
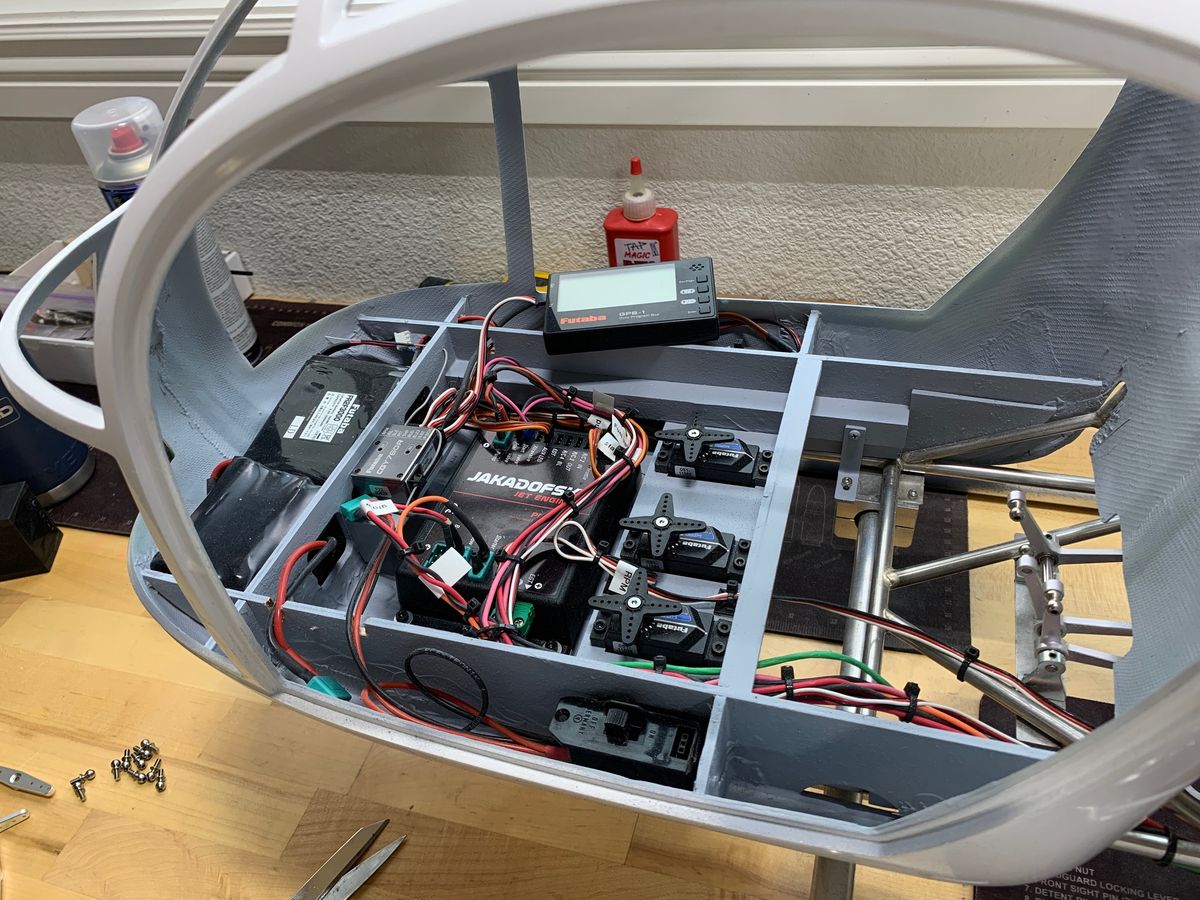
Turbine ECU, pumps and other accessory layout.
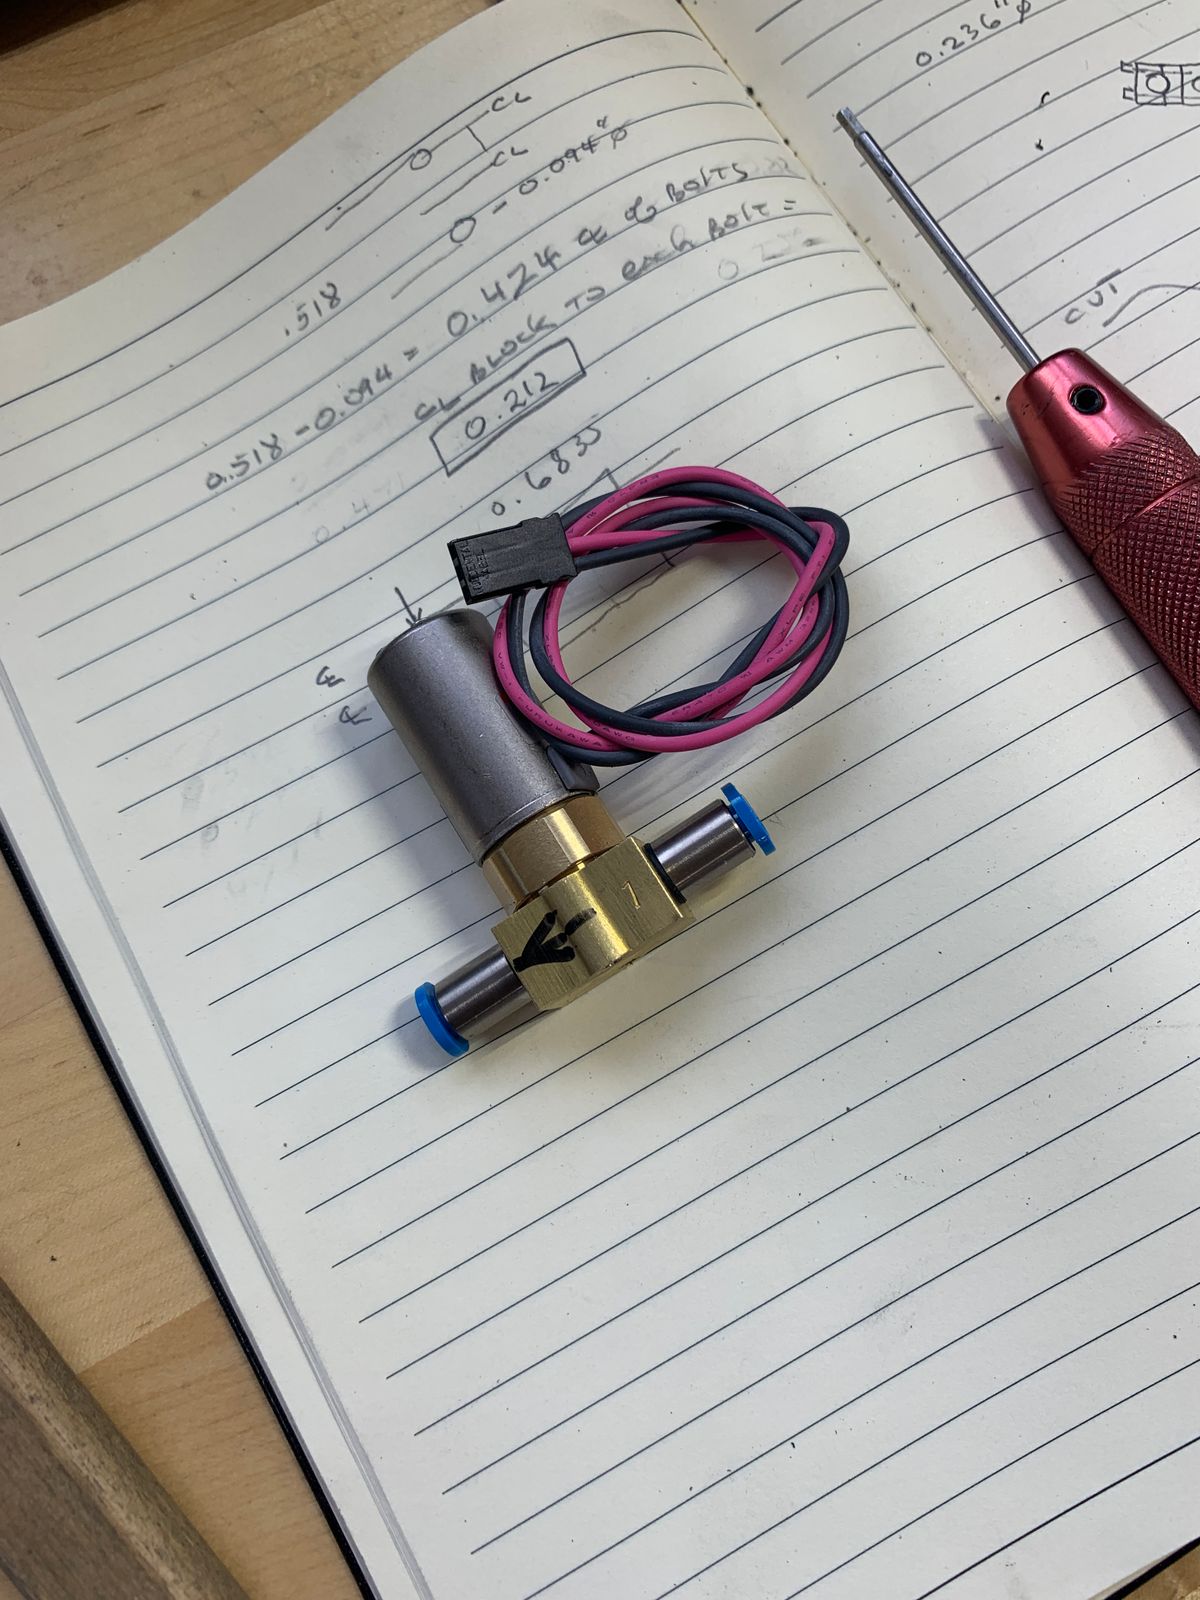
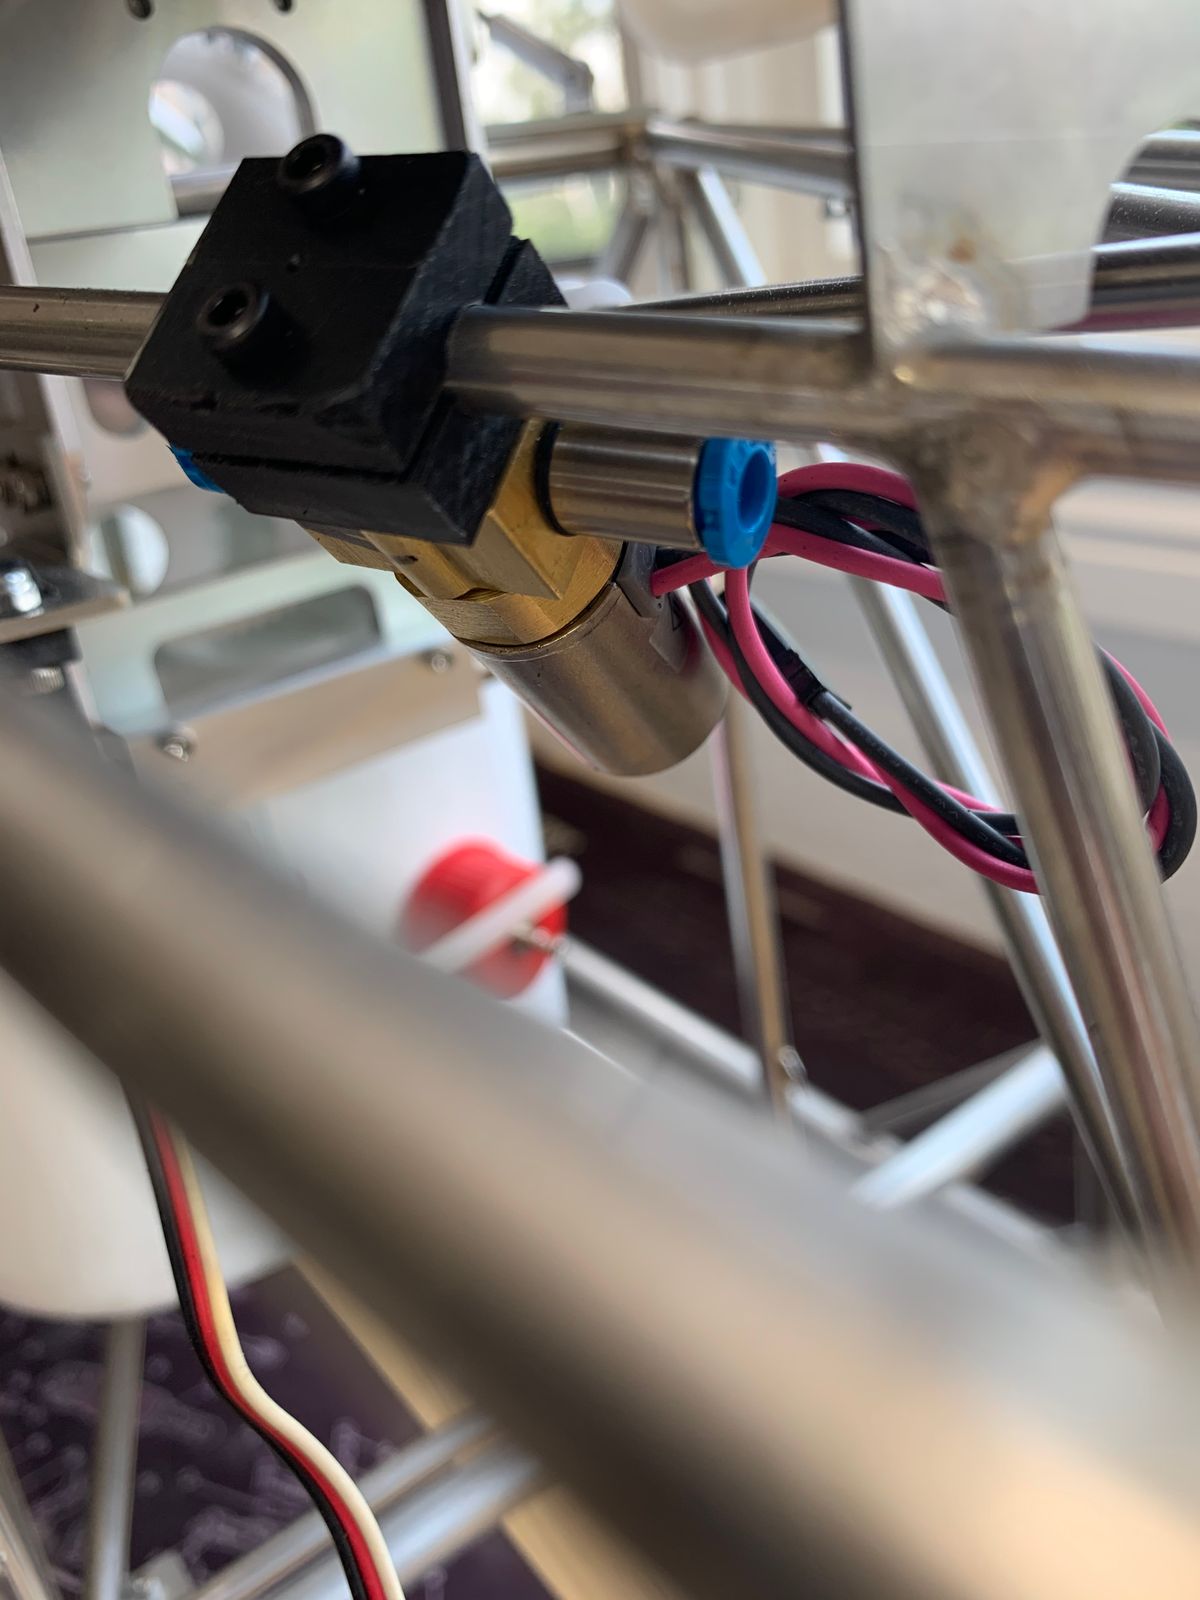
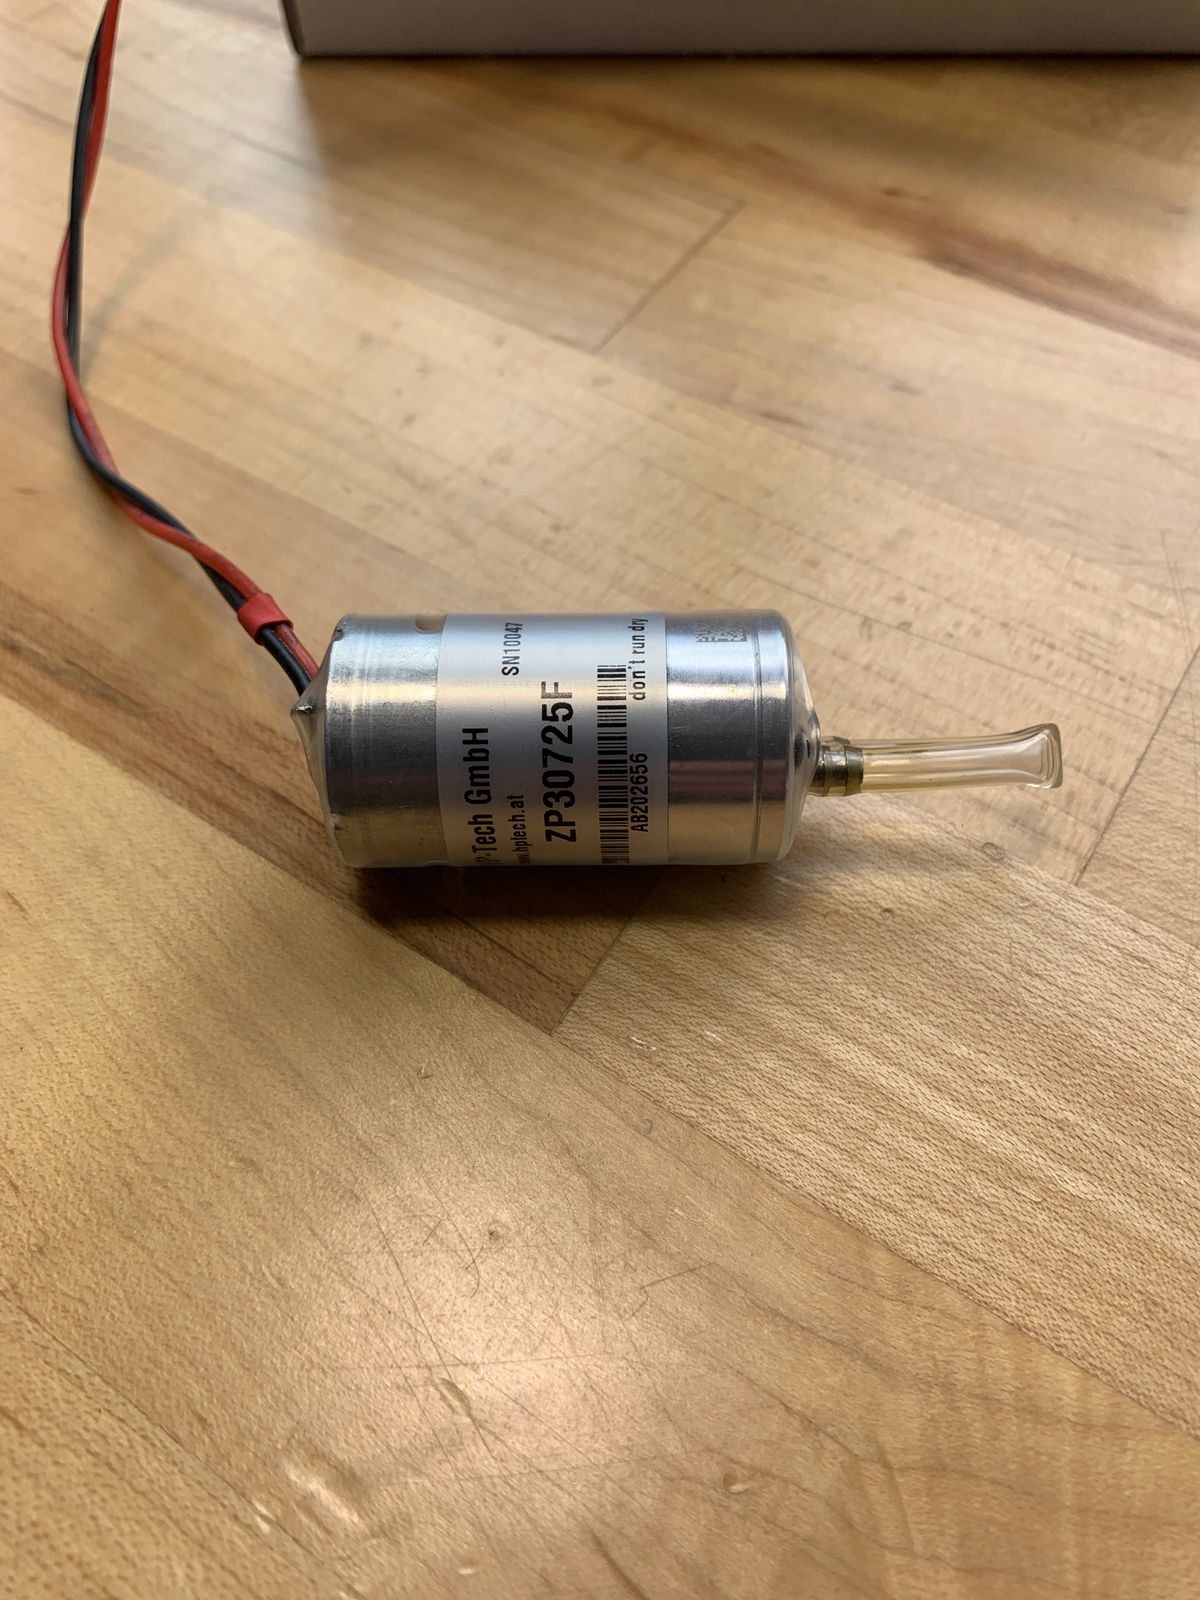
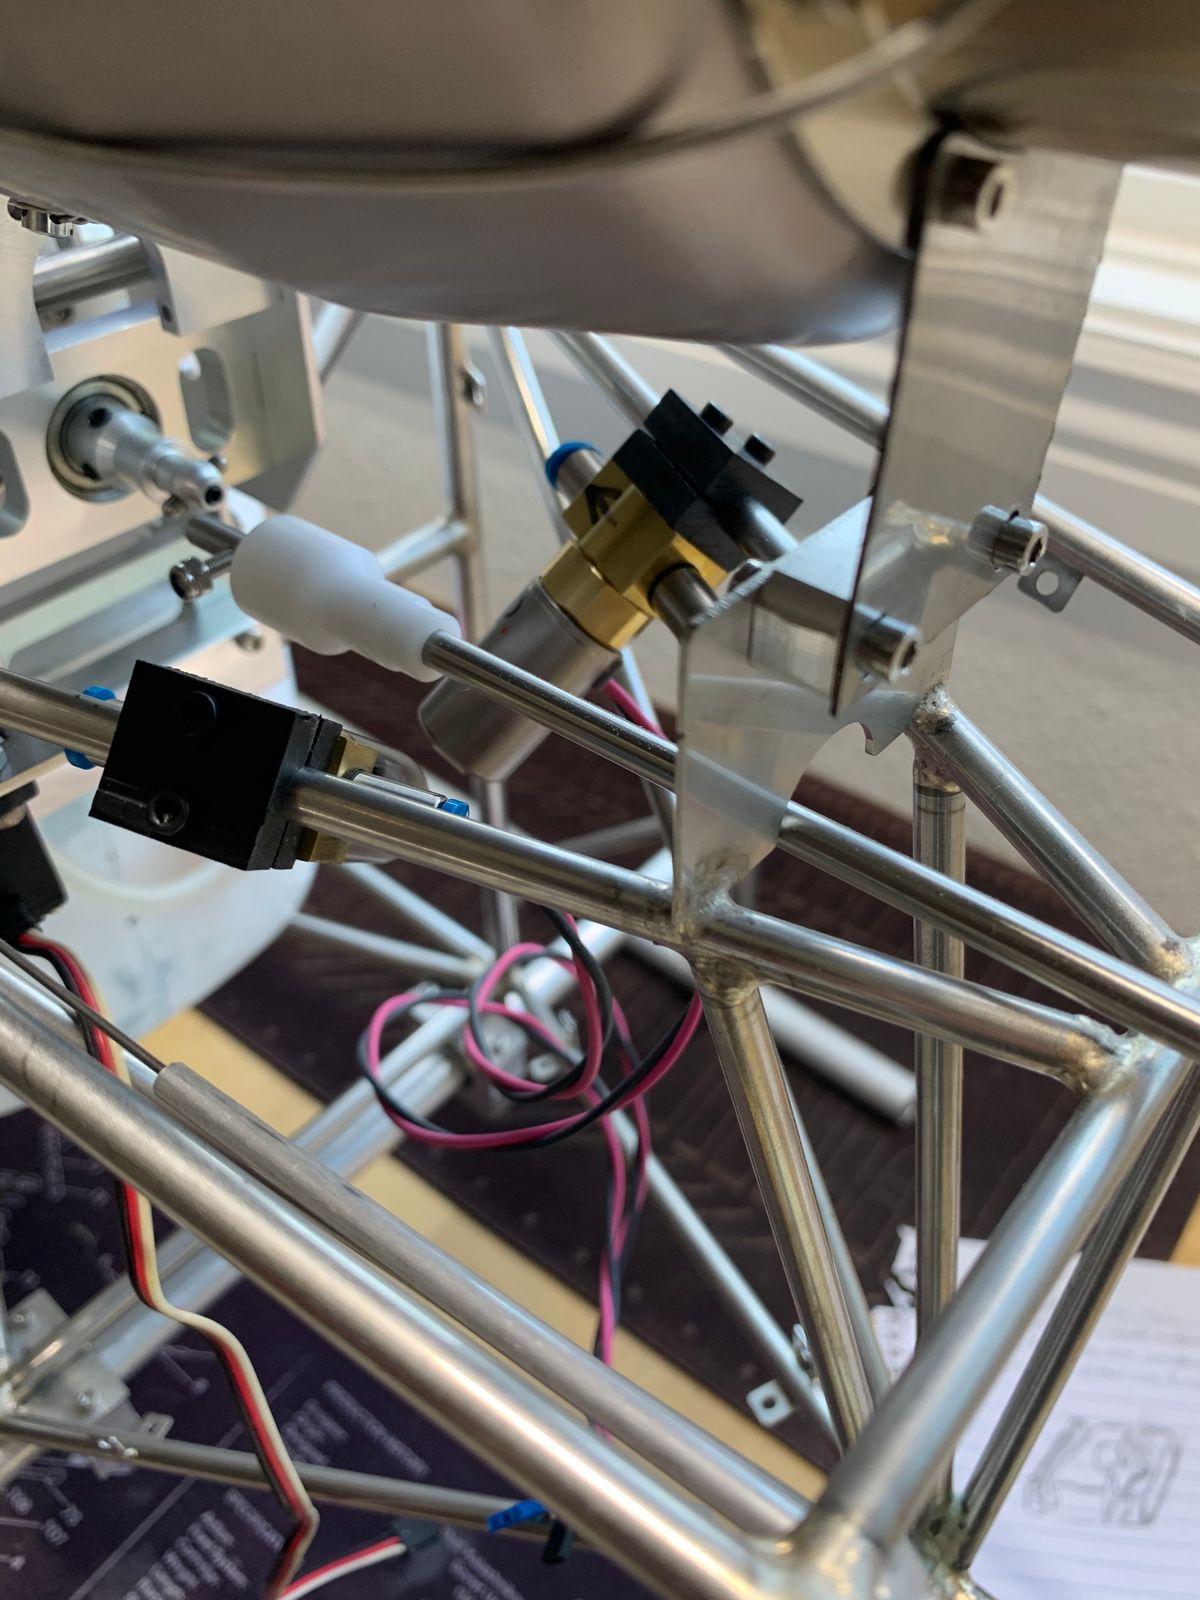
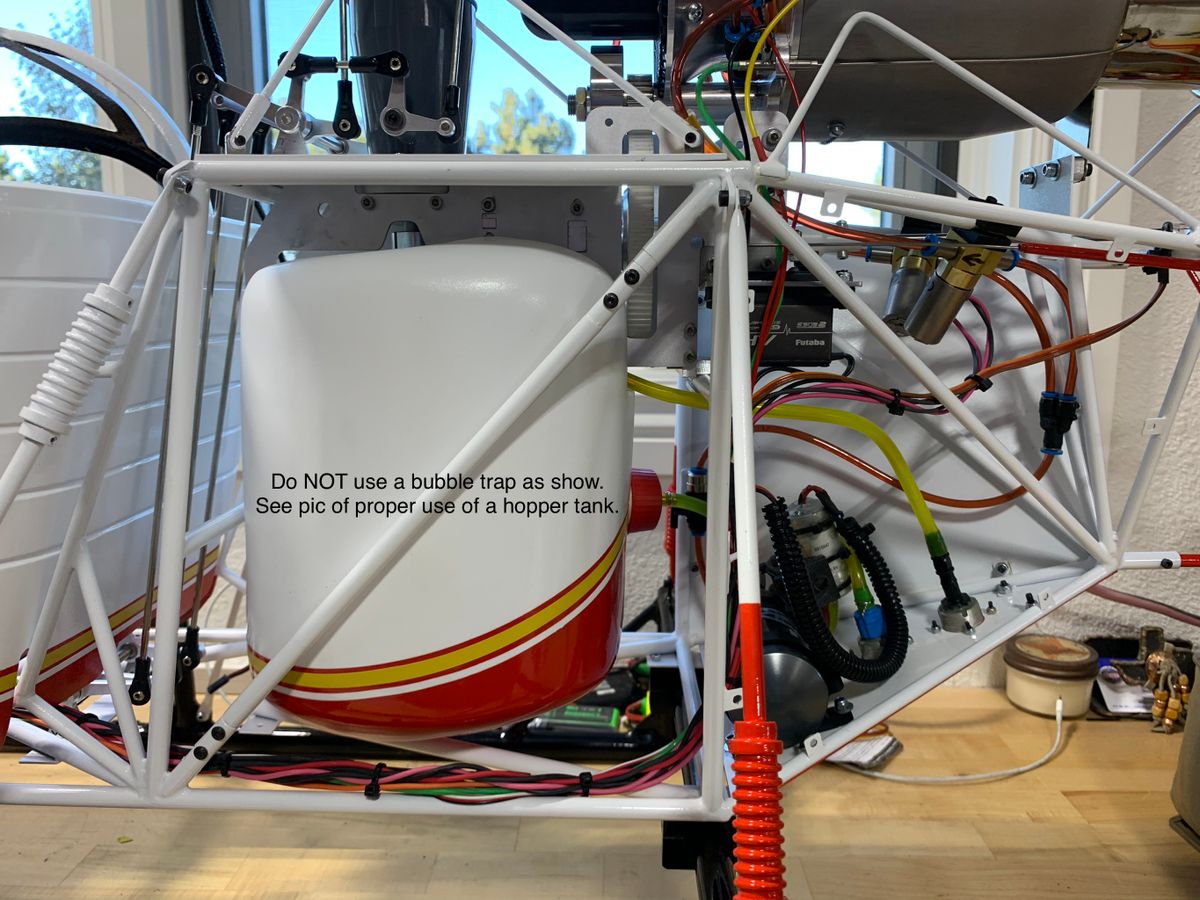
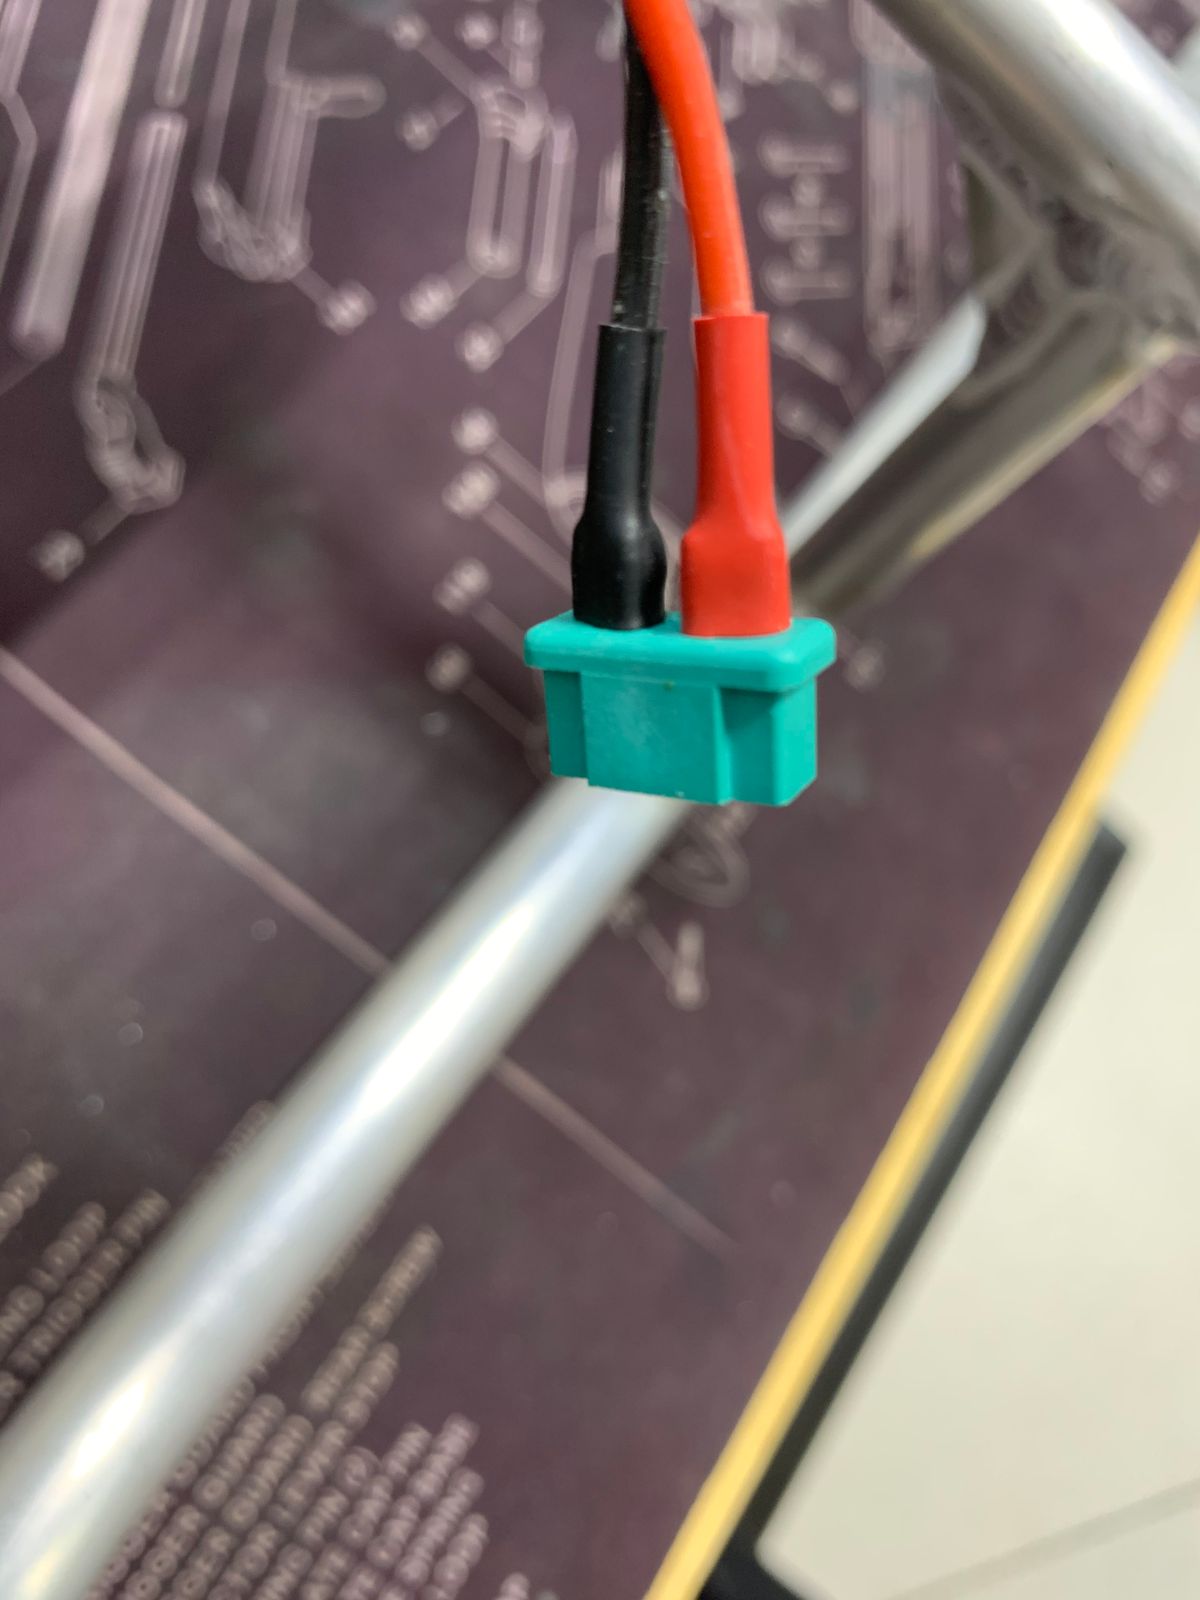
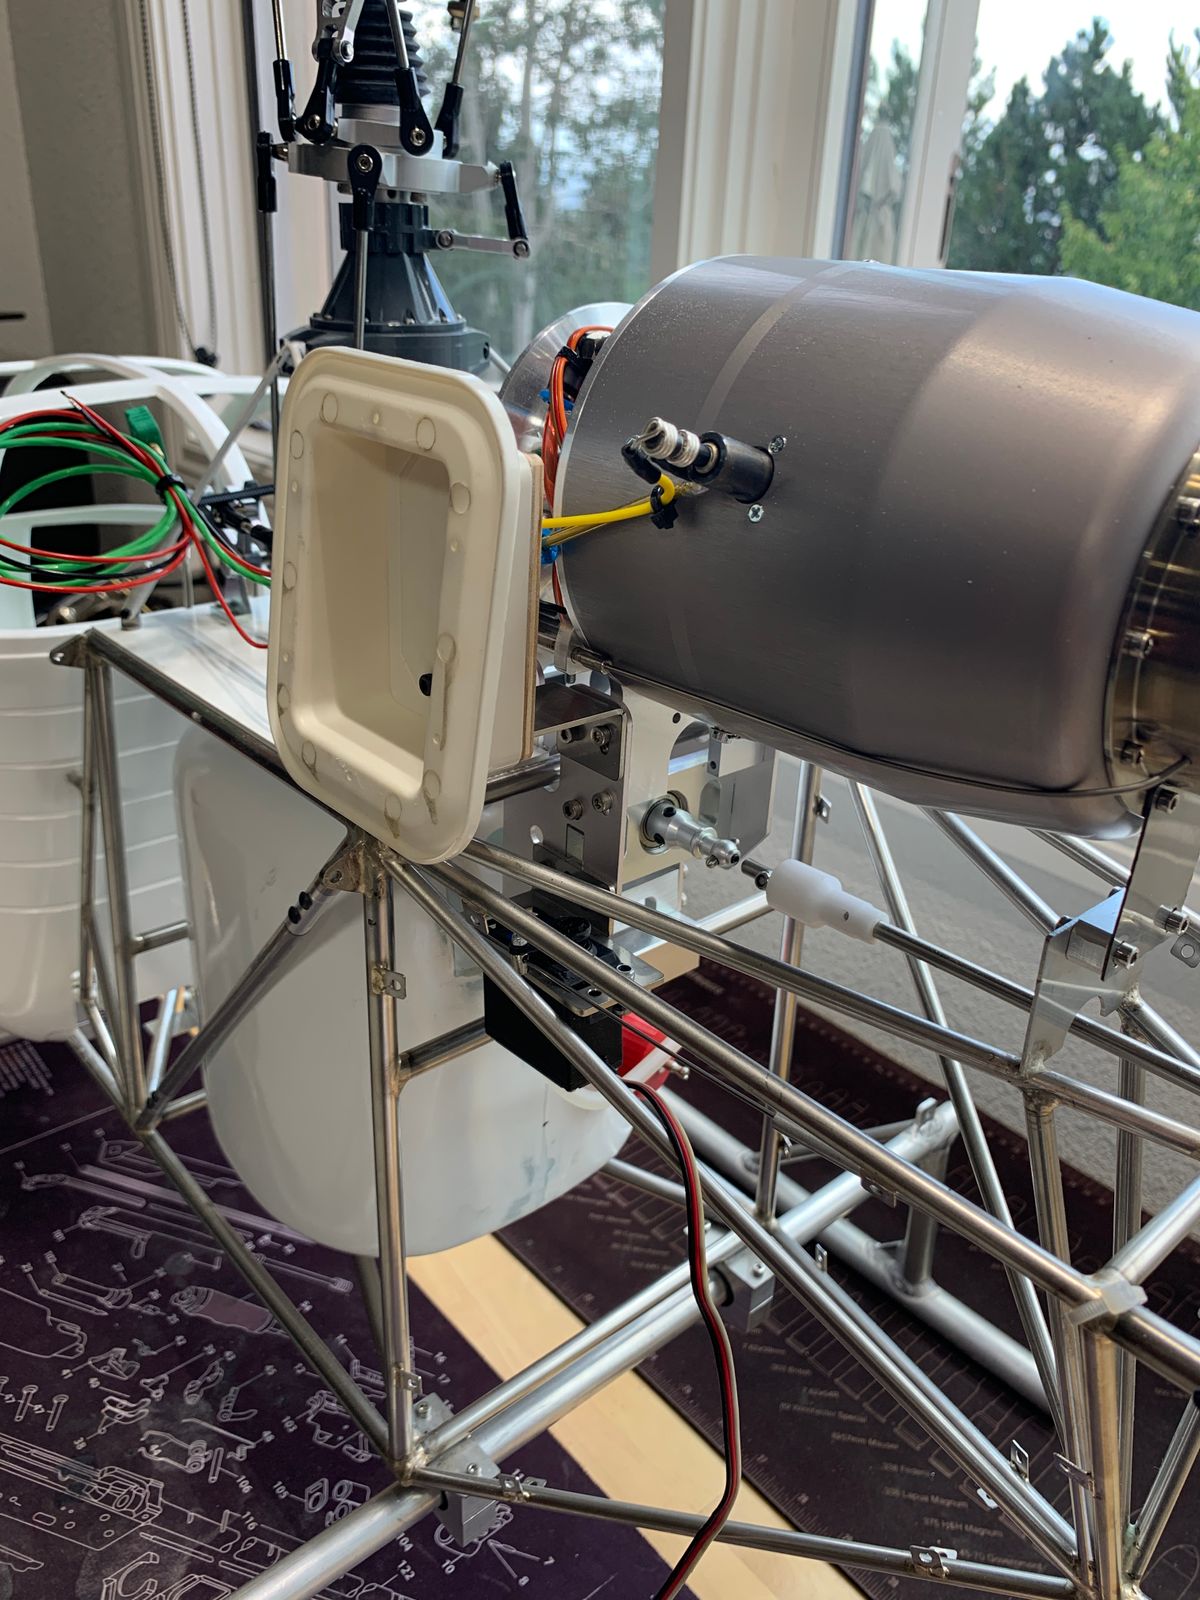
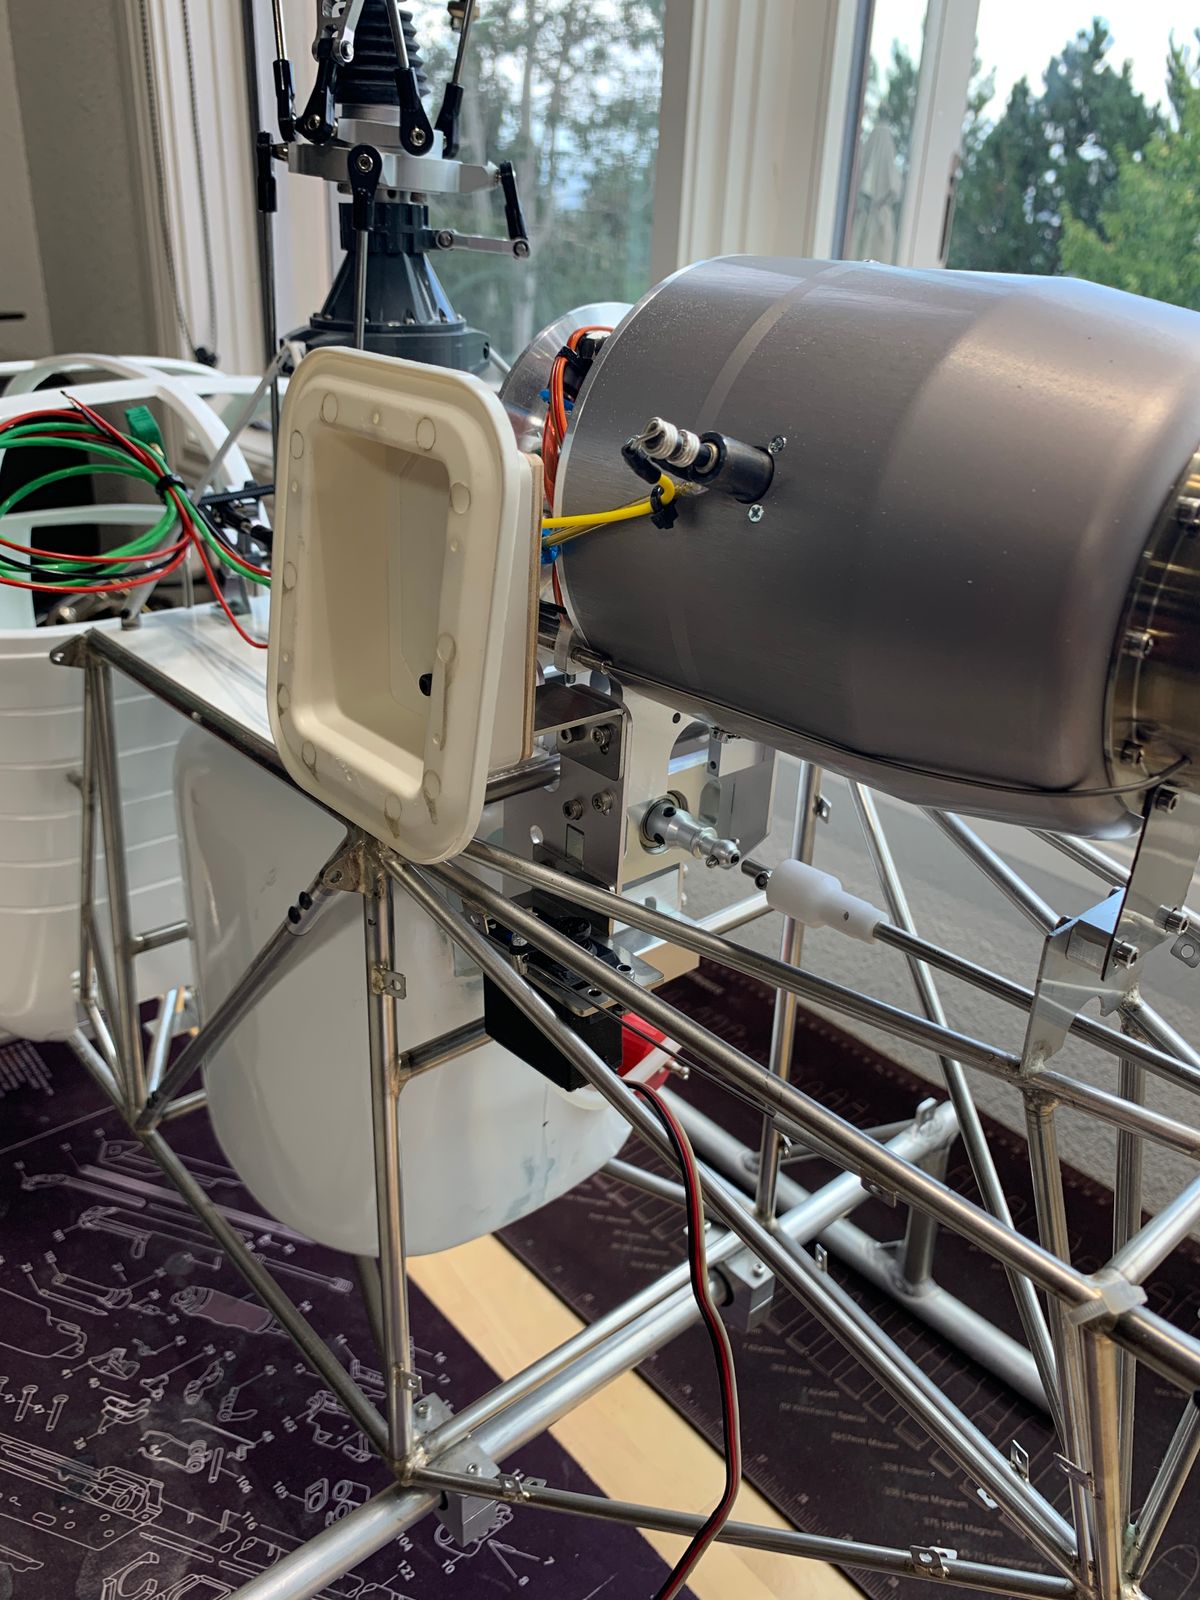
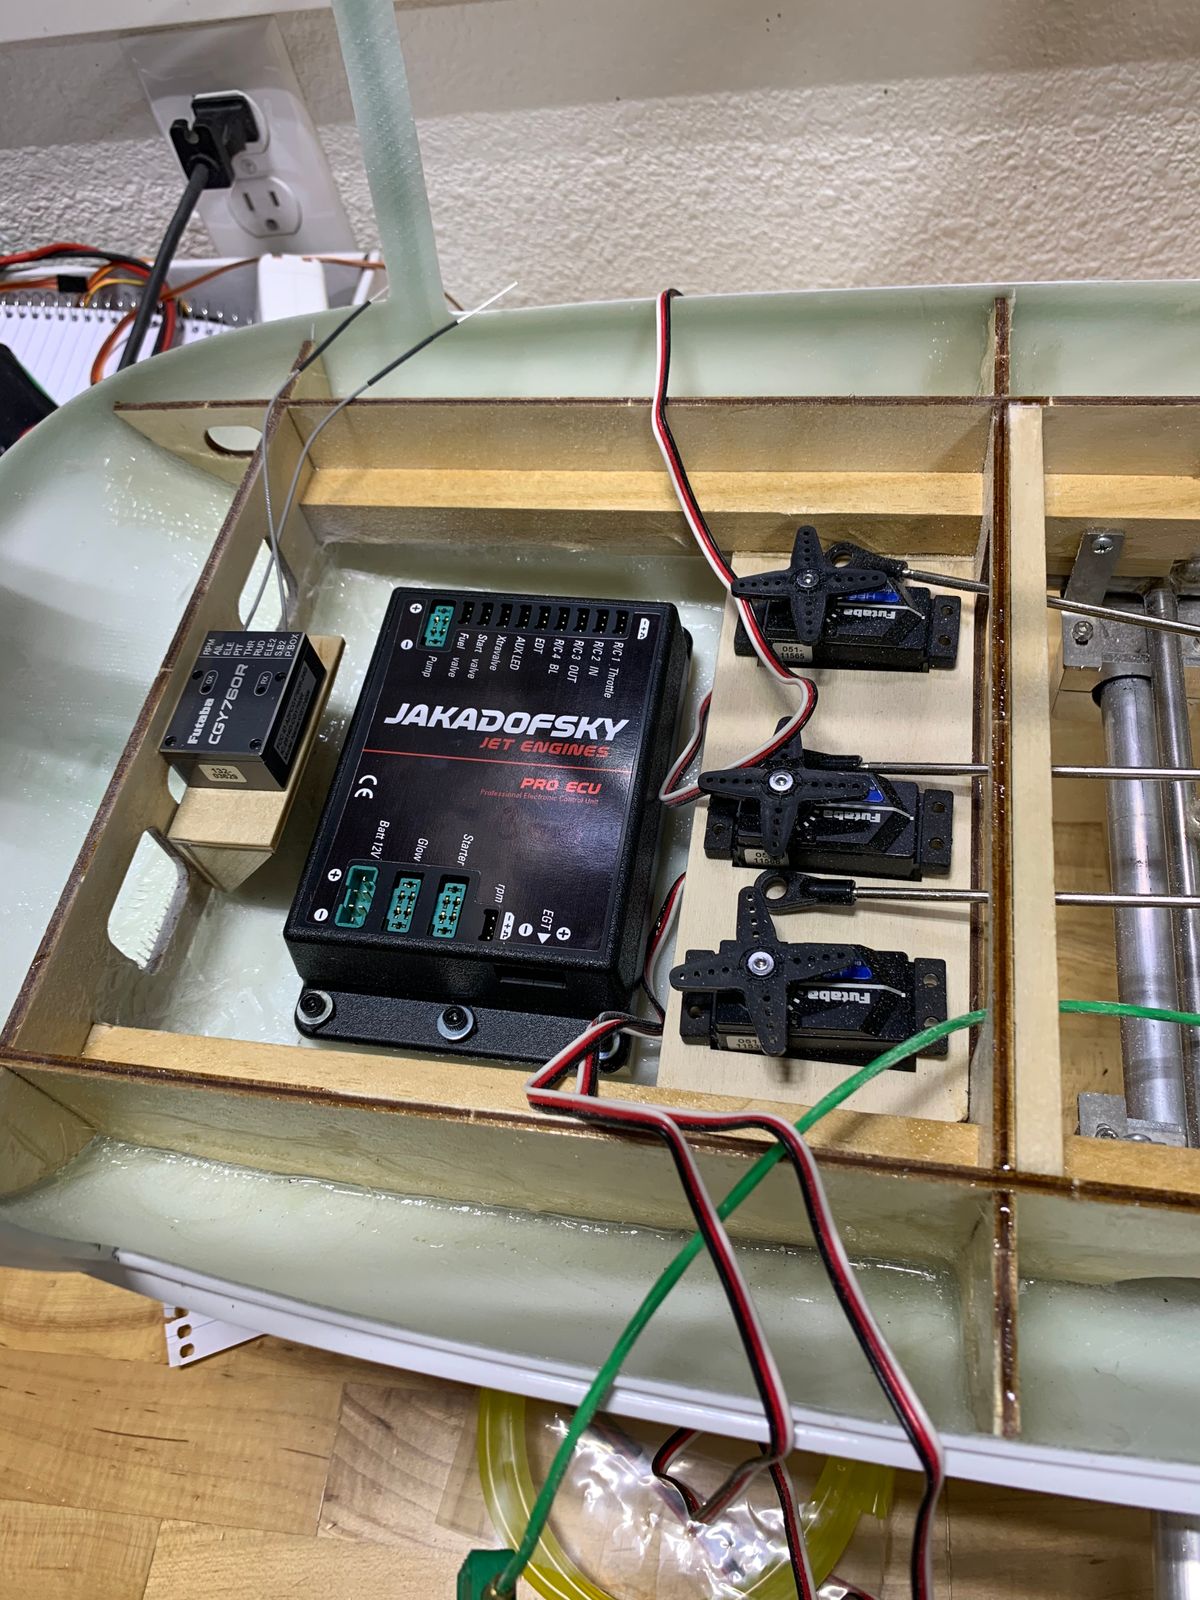
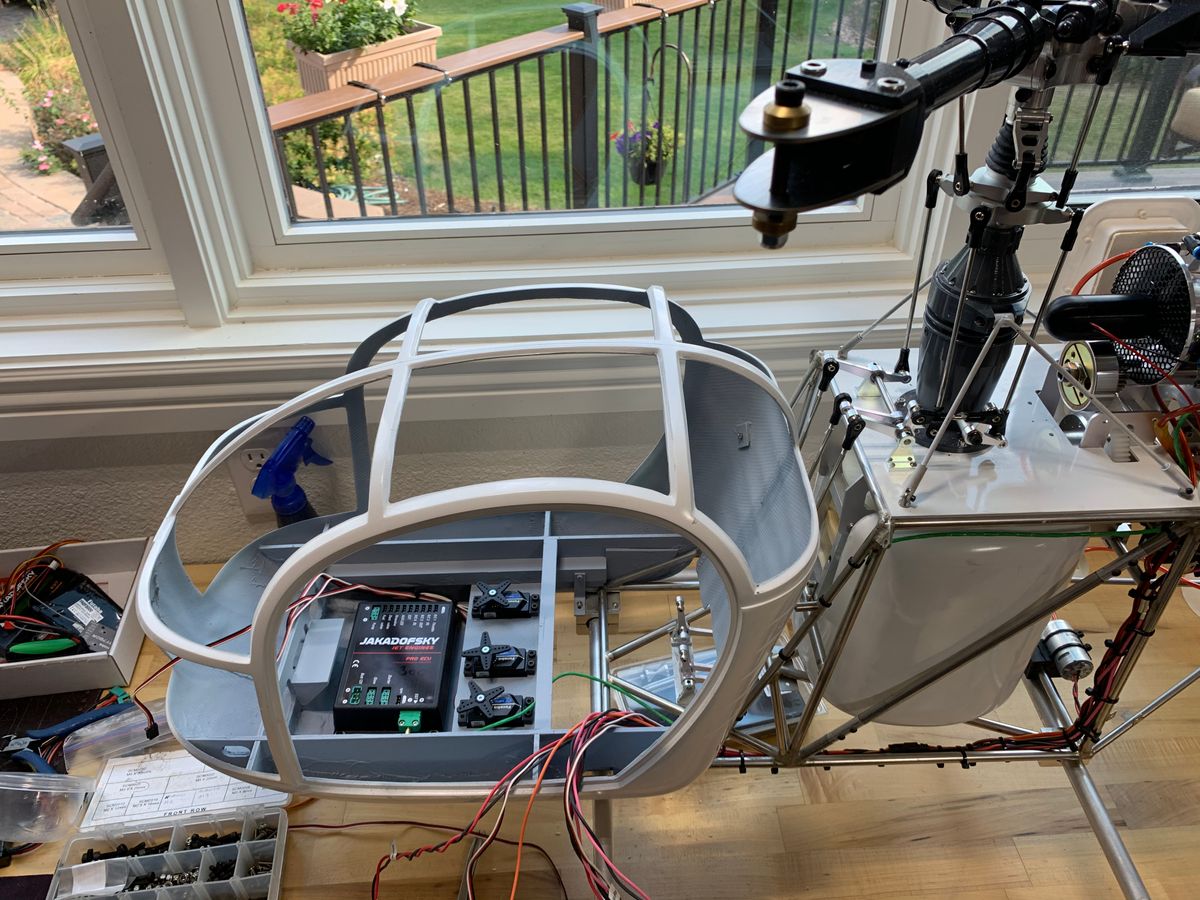
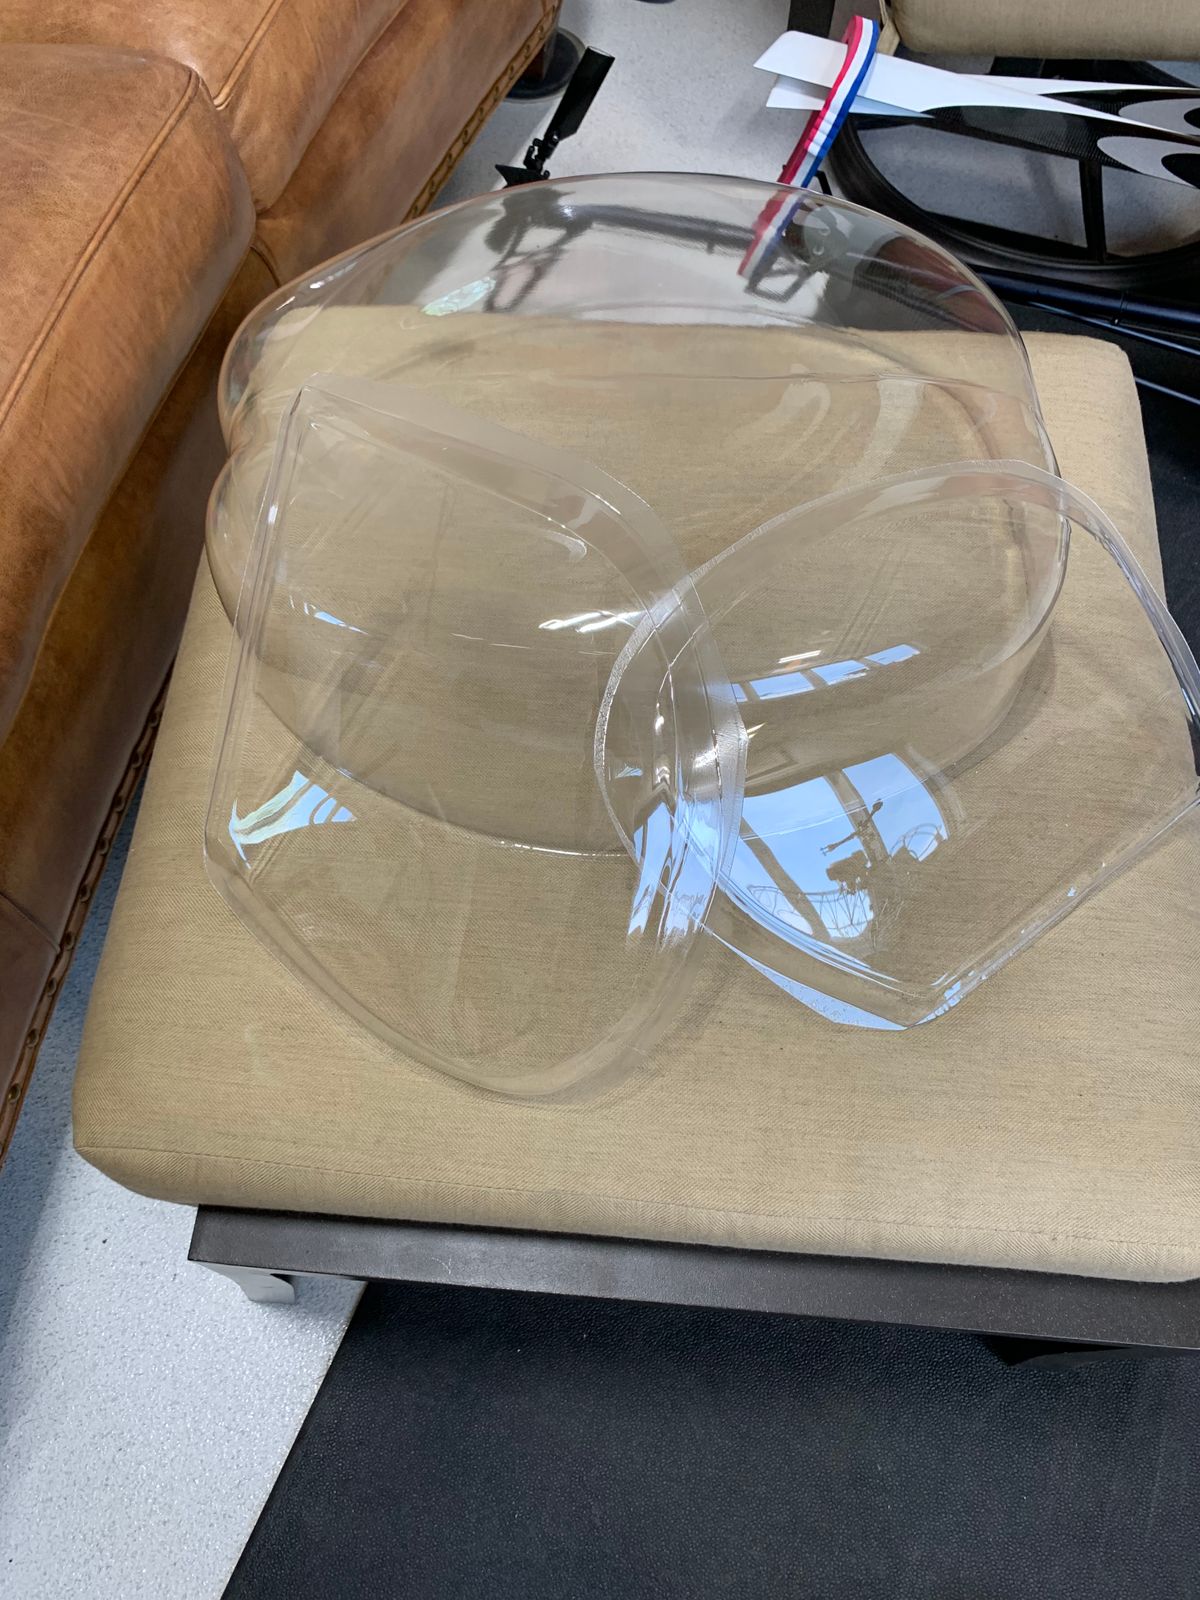
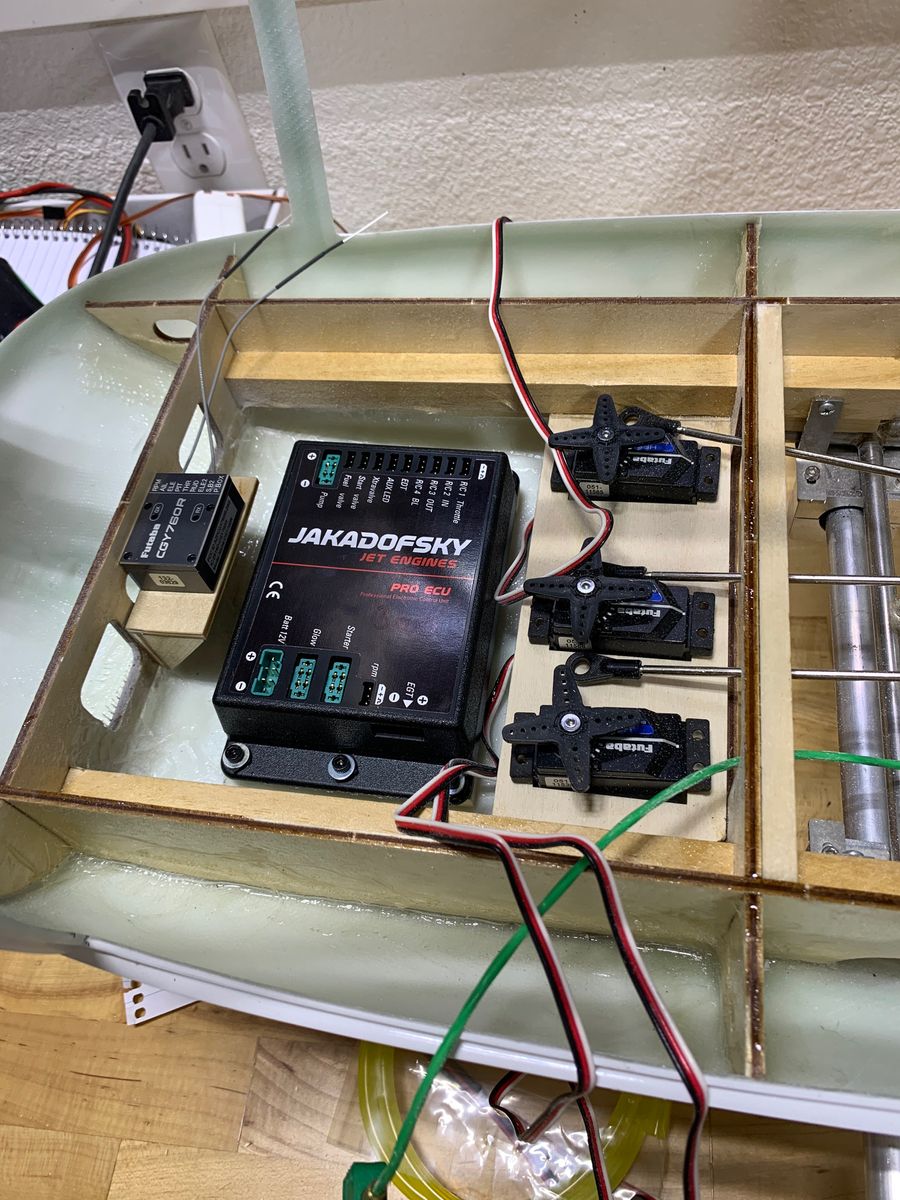
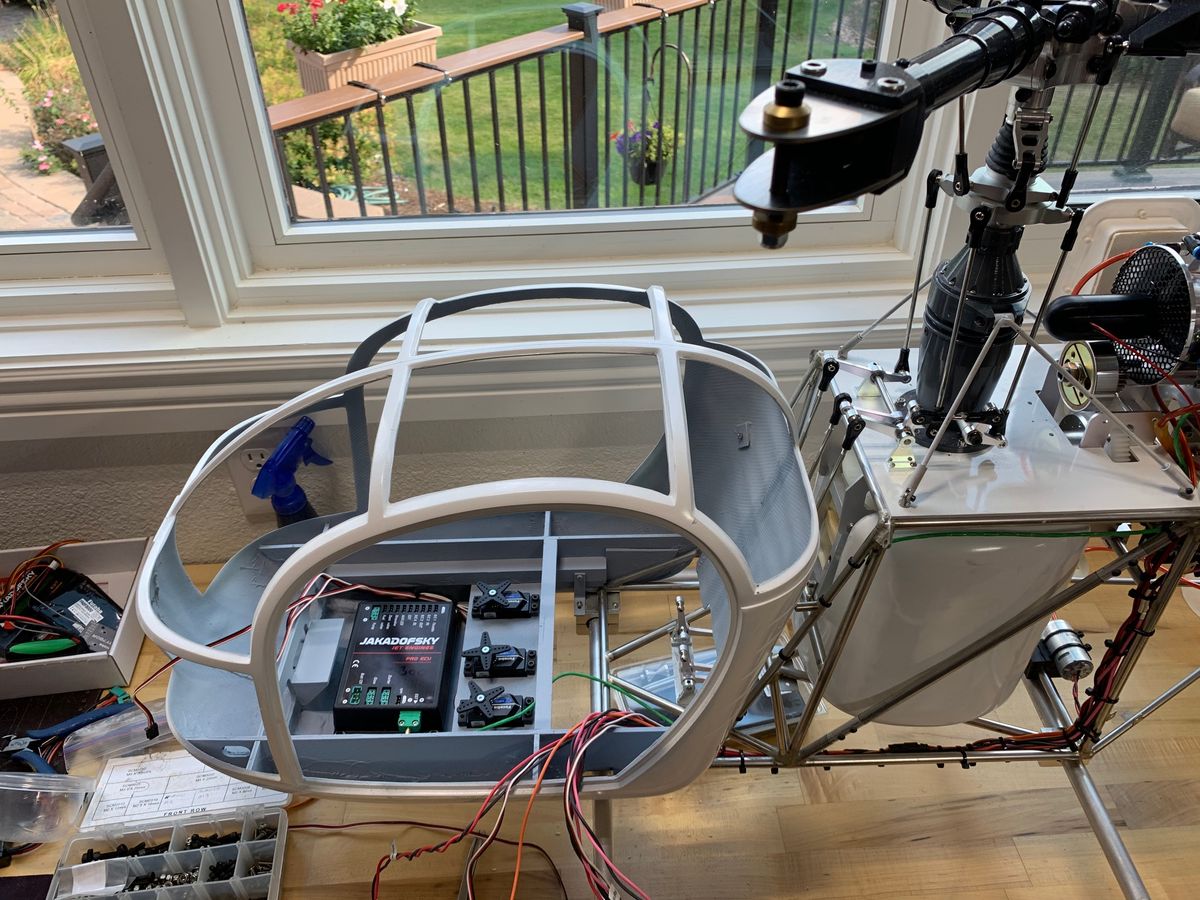
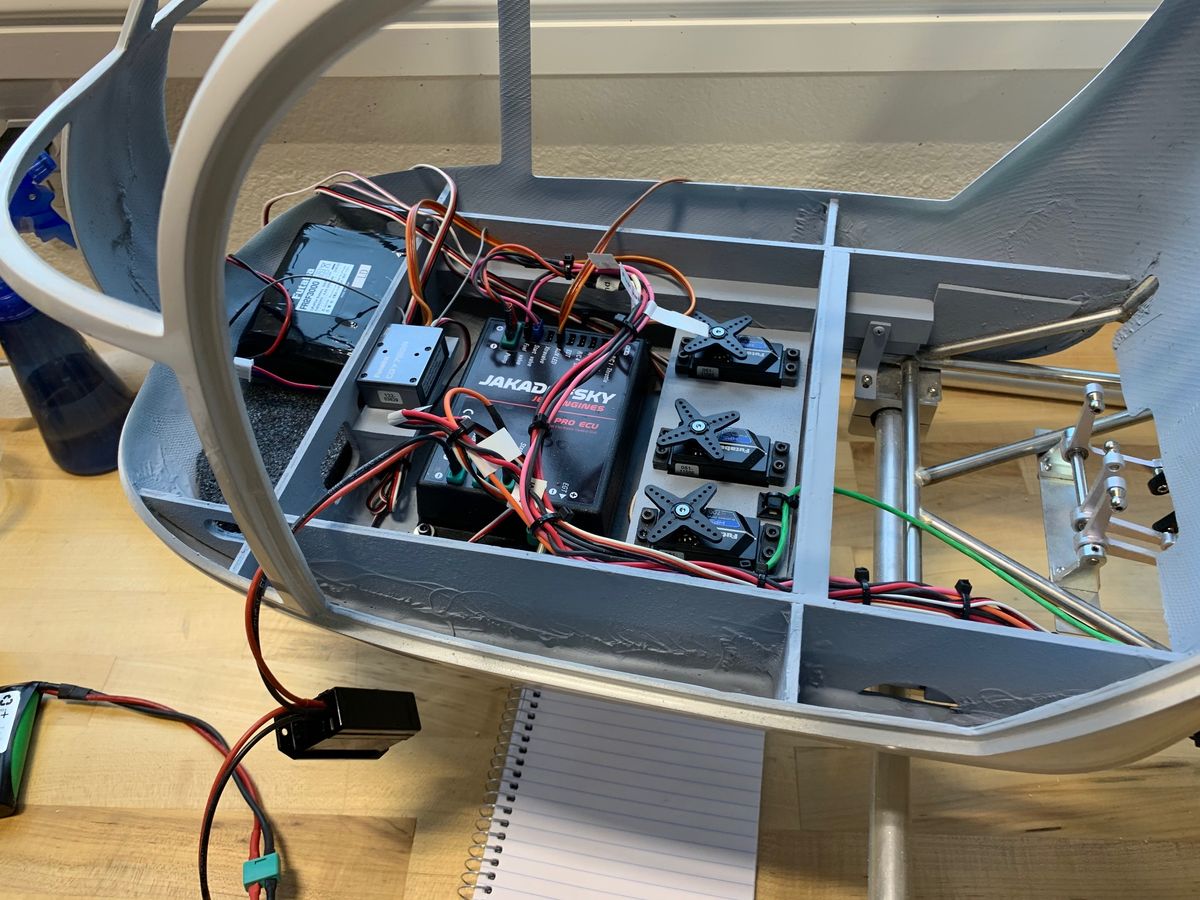
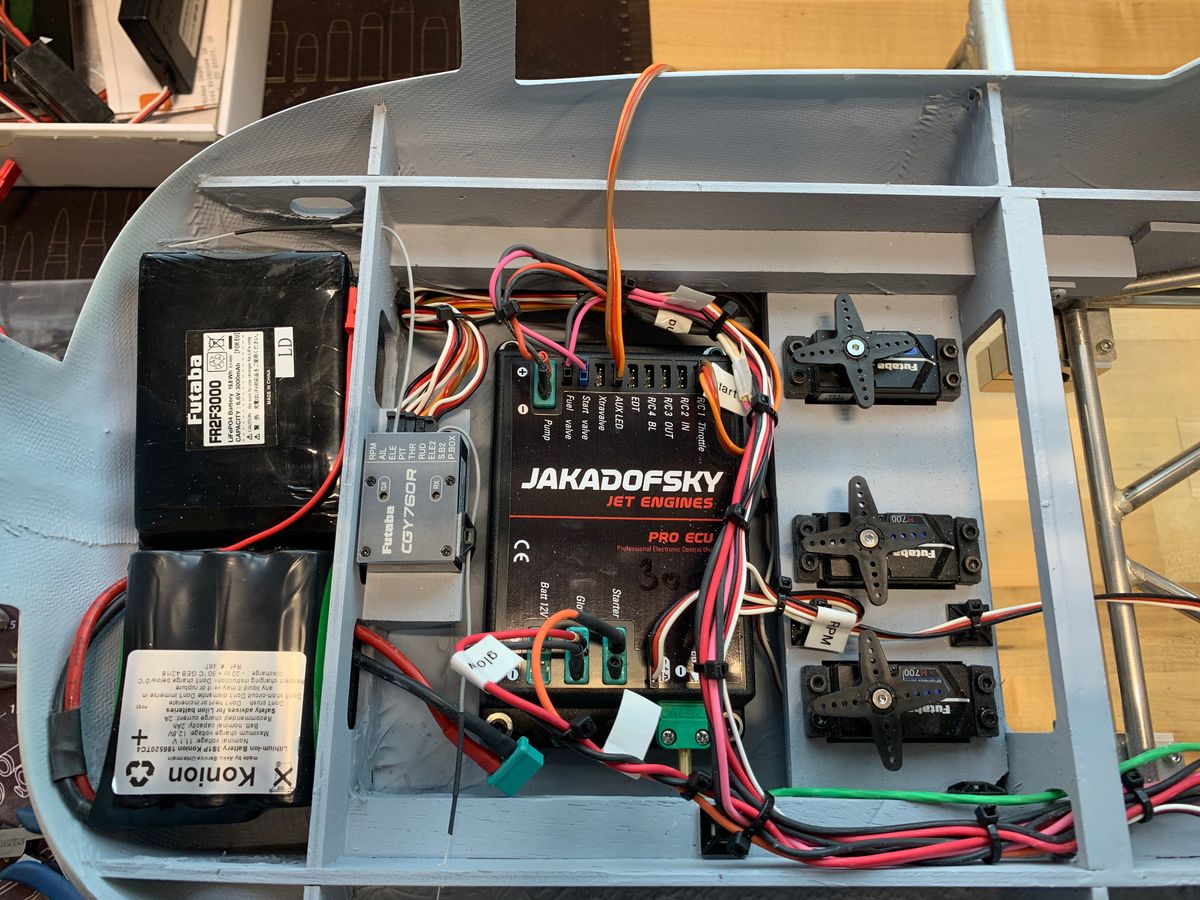
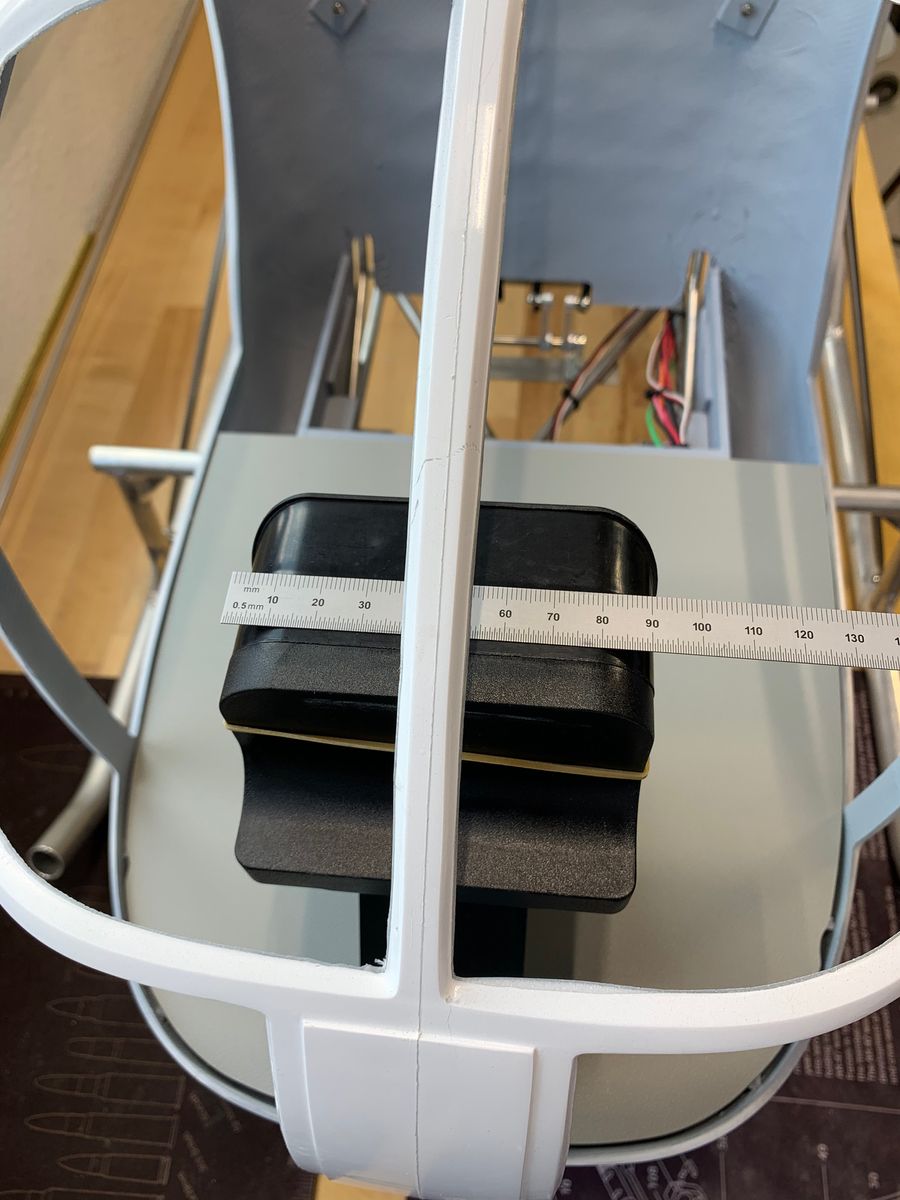
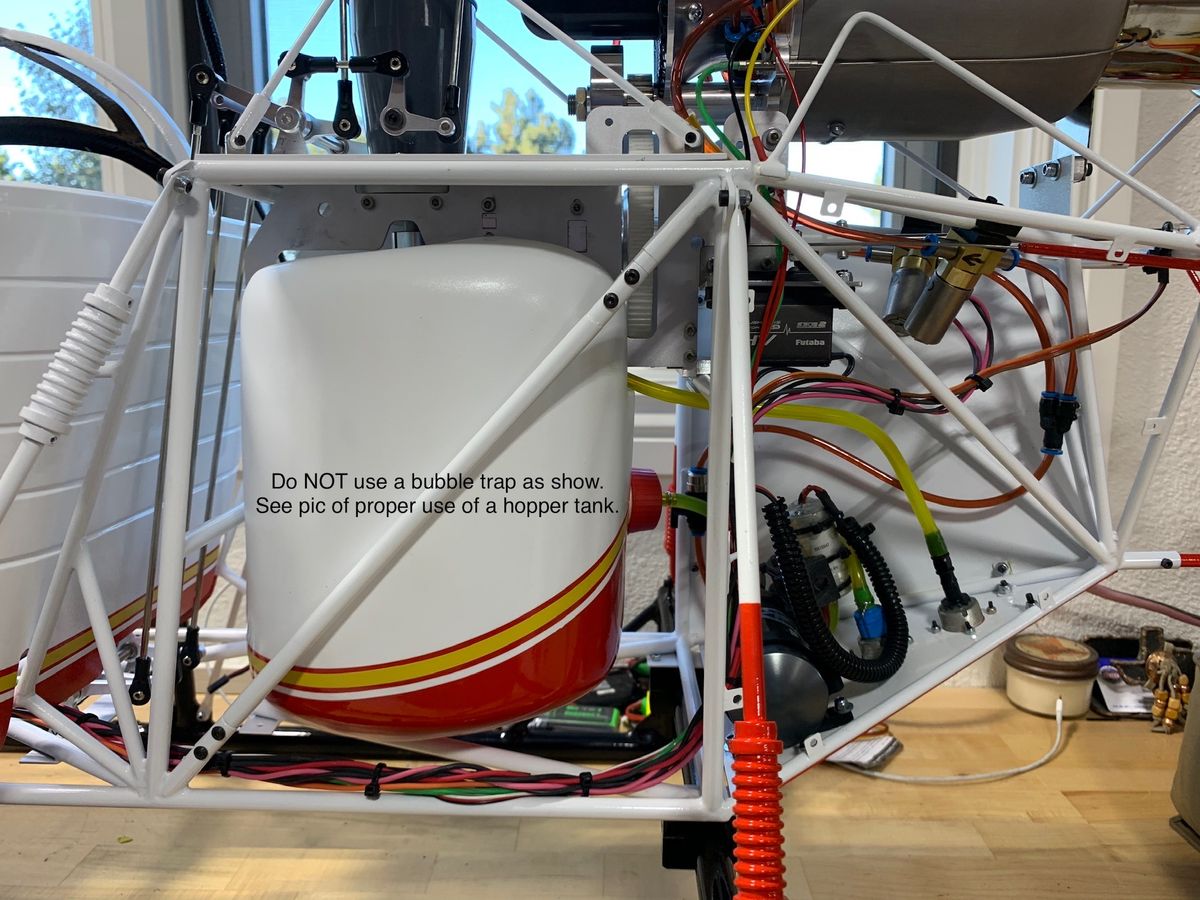
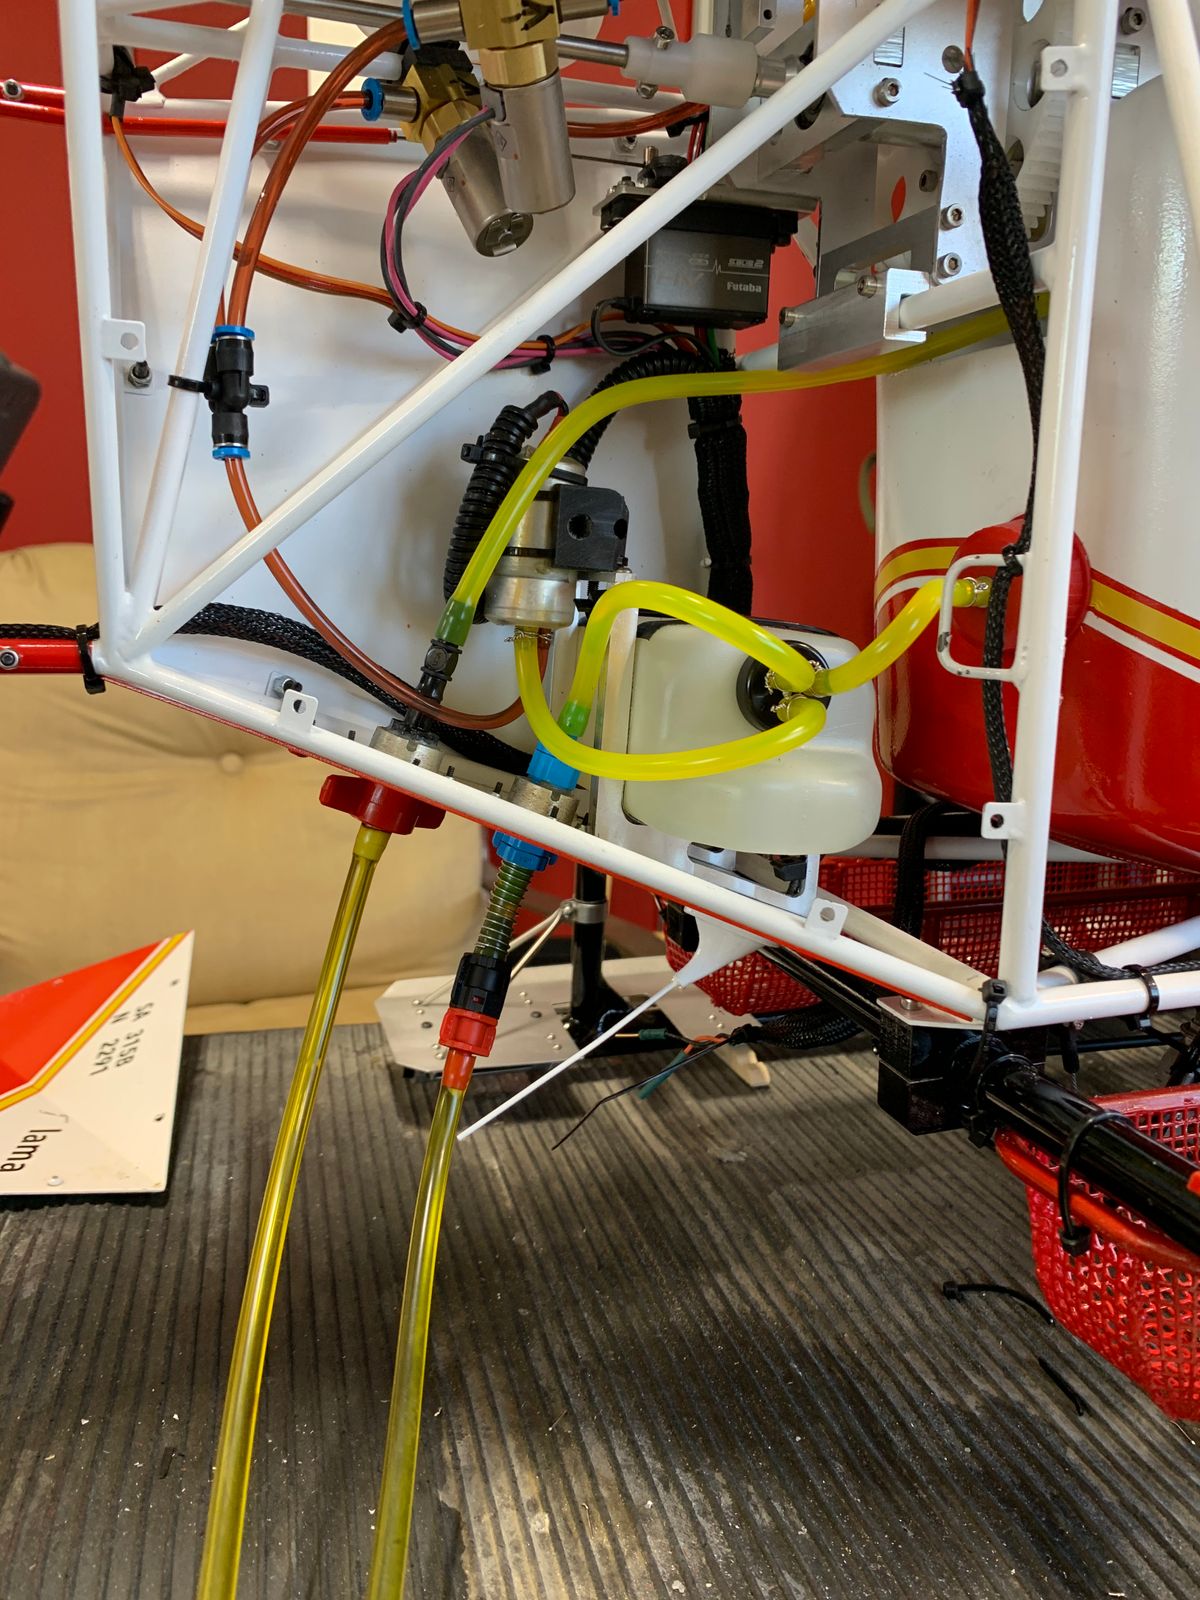
Pics show methods to mount the turbine start and run valves. My initial install of the pump was horizontal. This was incorrect. It should be mounted vertically with the hose connections down. This ensures any fuel leaks will not enter the pump motor. Another initial mistake was installation of a bubble tank. This created what we believed were too much flow restrictions (more details if you want). A hopper tank was installed as per the diagram. This assured flawless turbine run reliability. The ECU, receiver and servos will be mounted in the sub floor of the canopy. I also start sorting out the glazing. Oh the Lama canopy...........this was a work in patience.
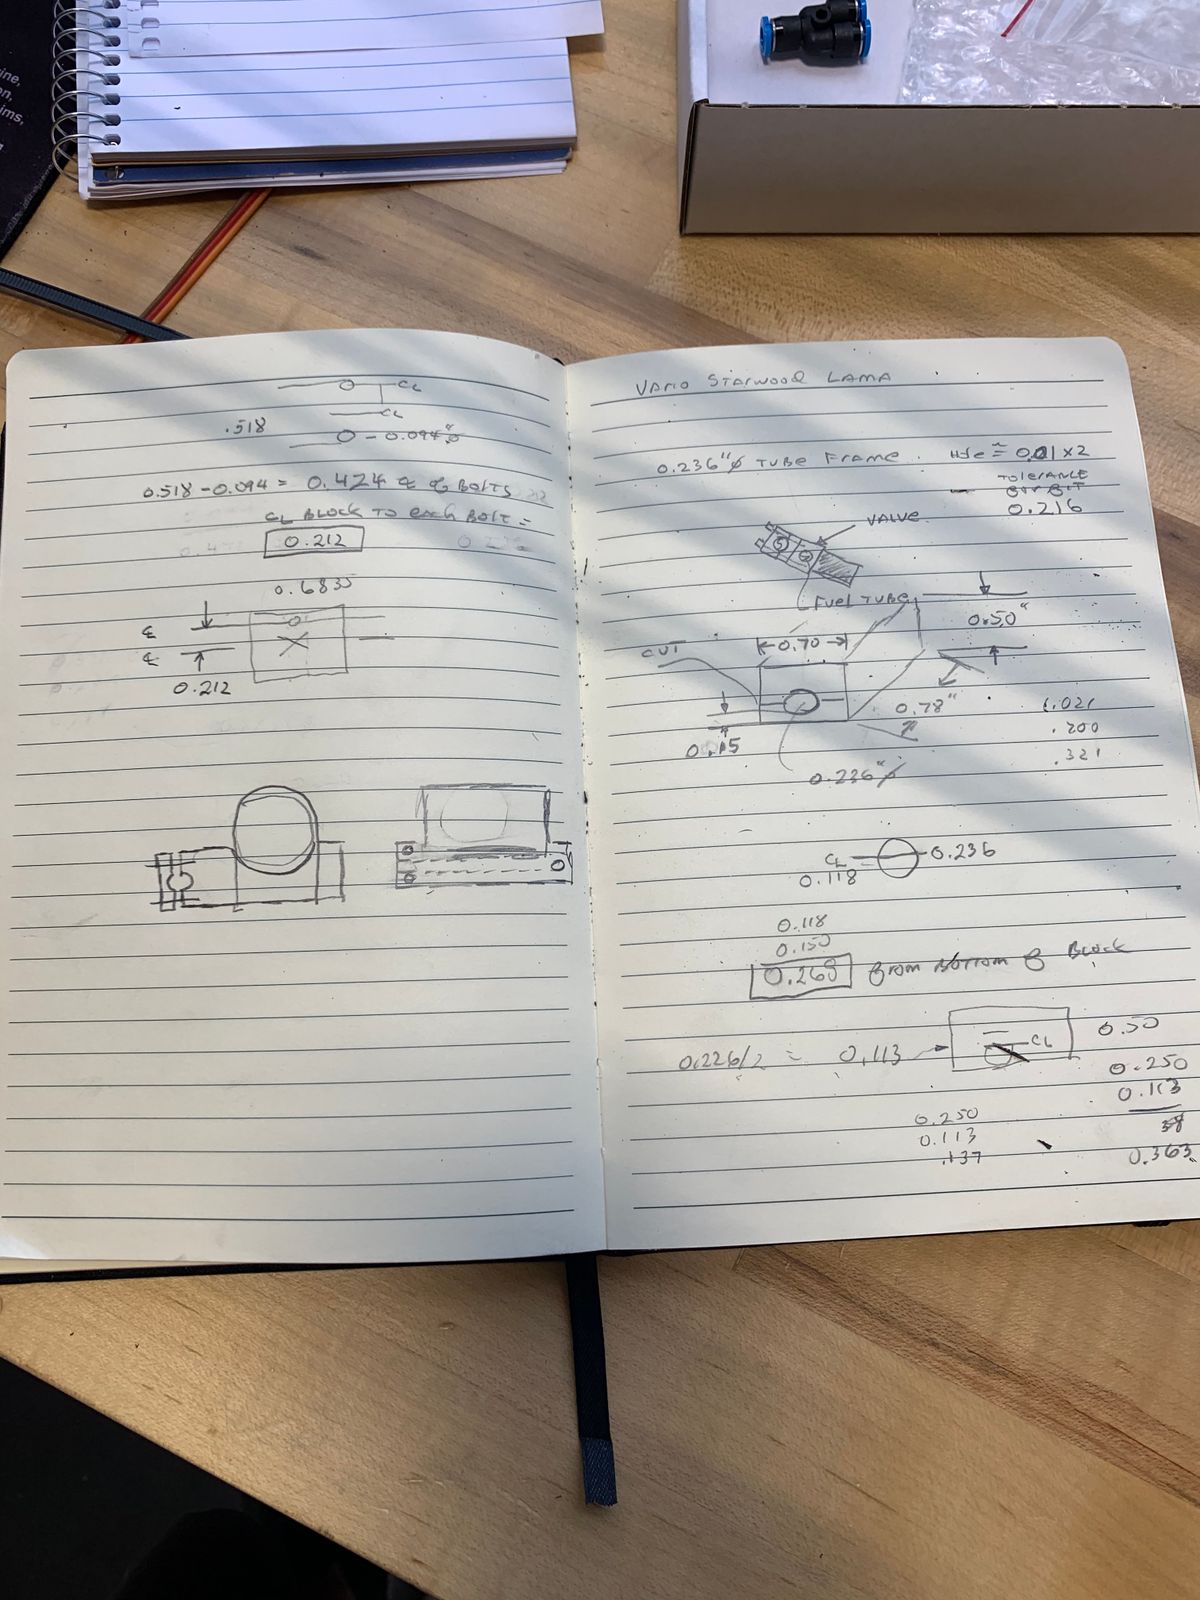
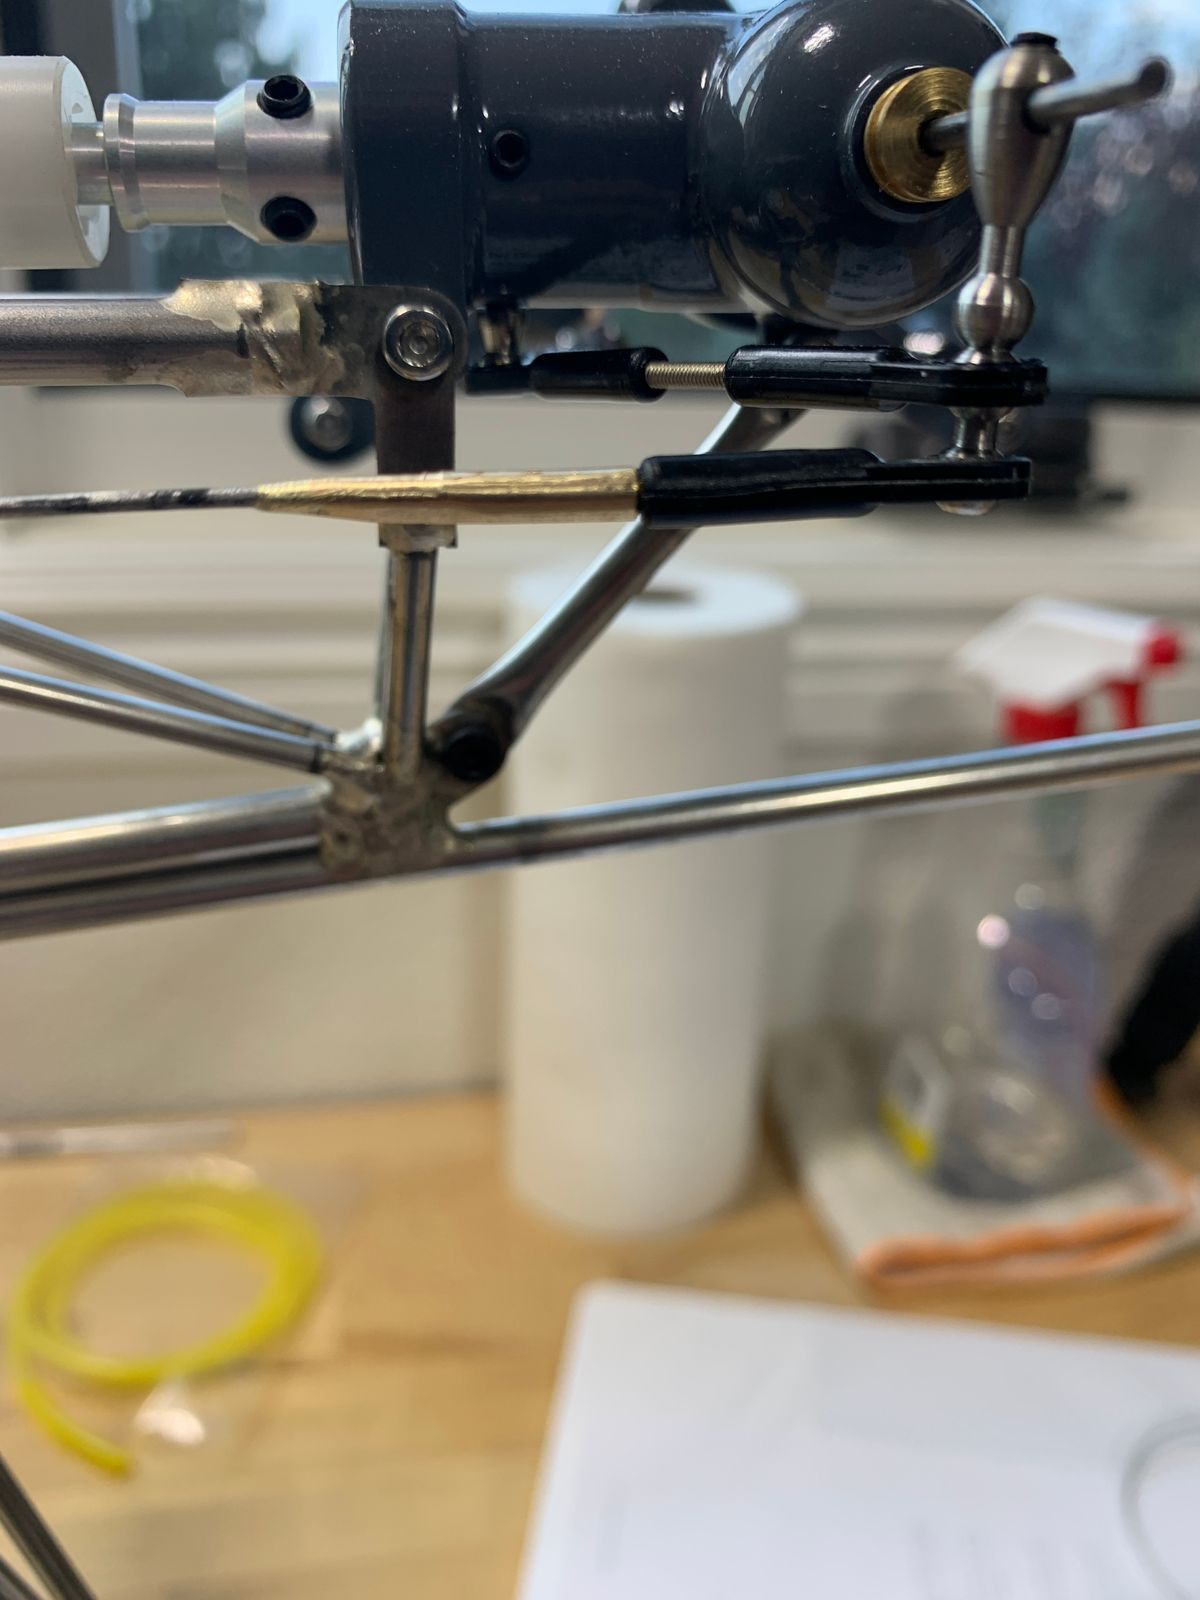
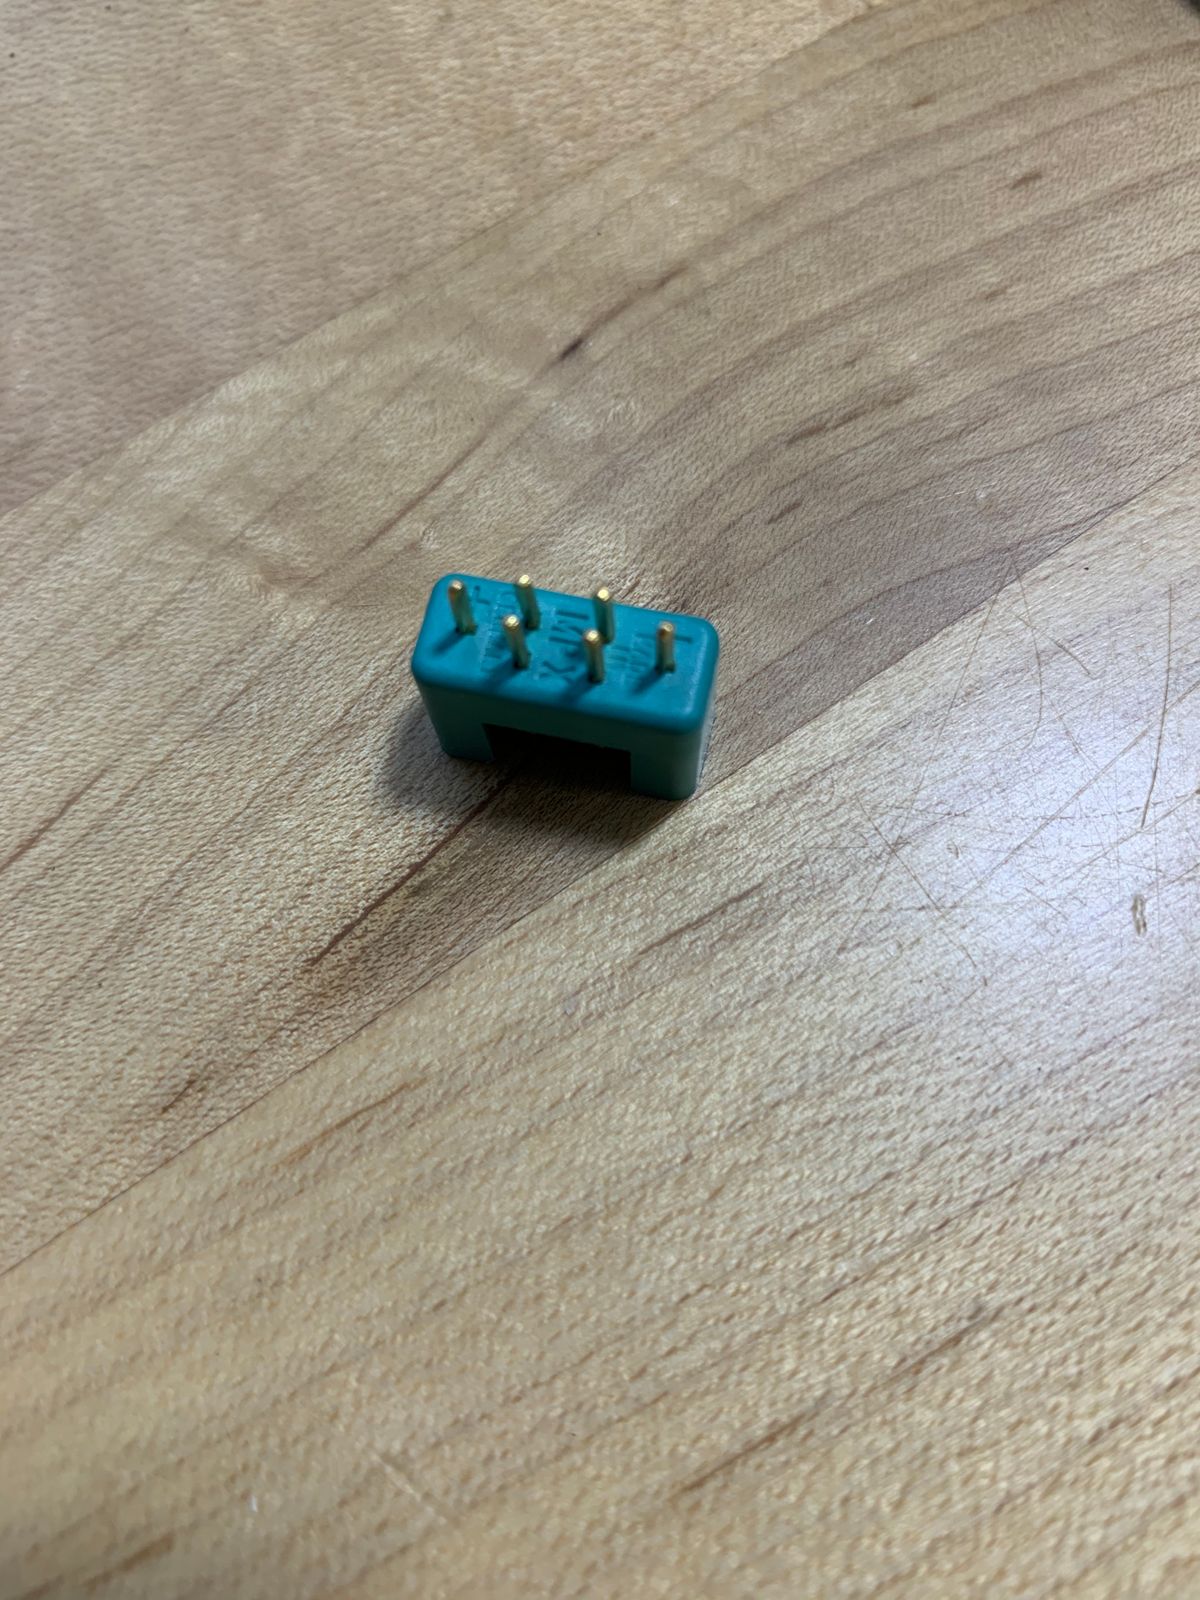
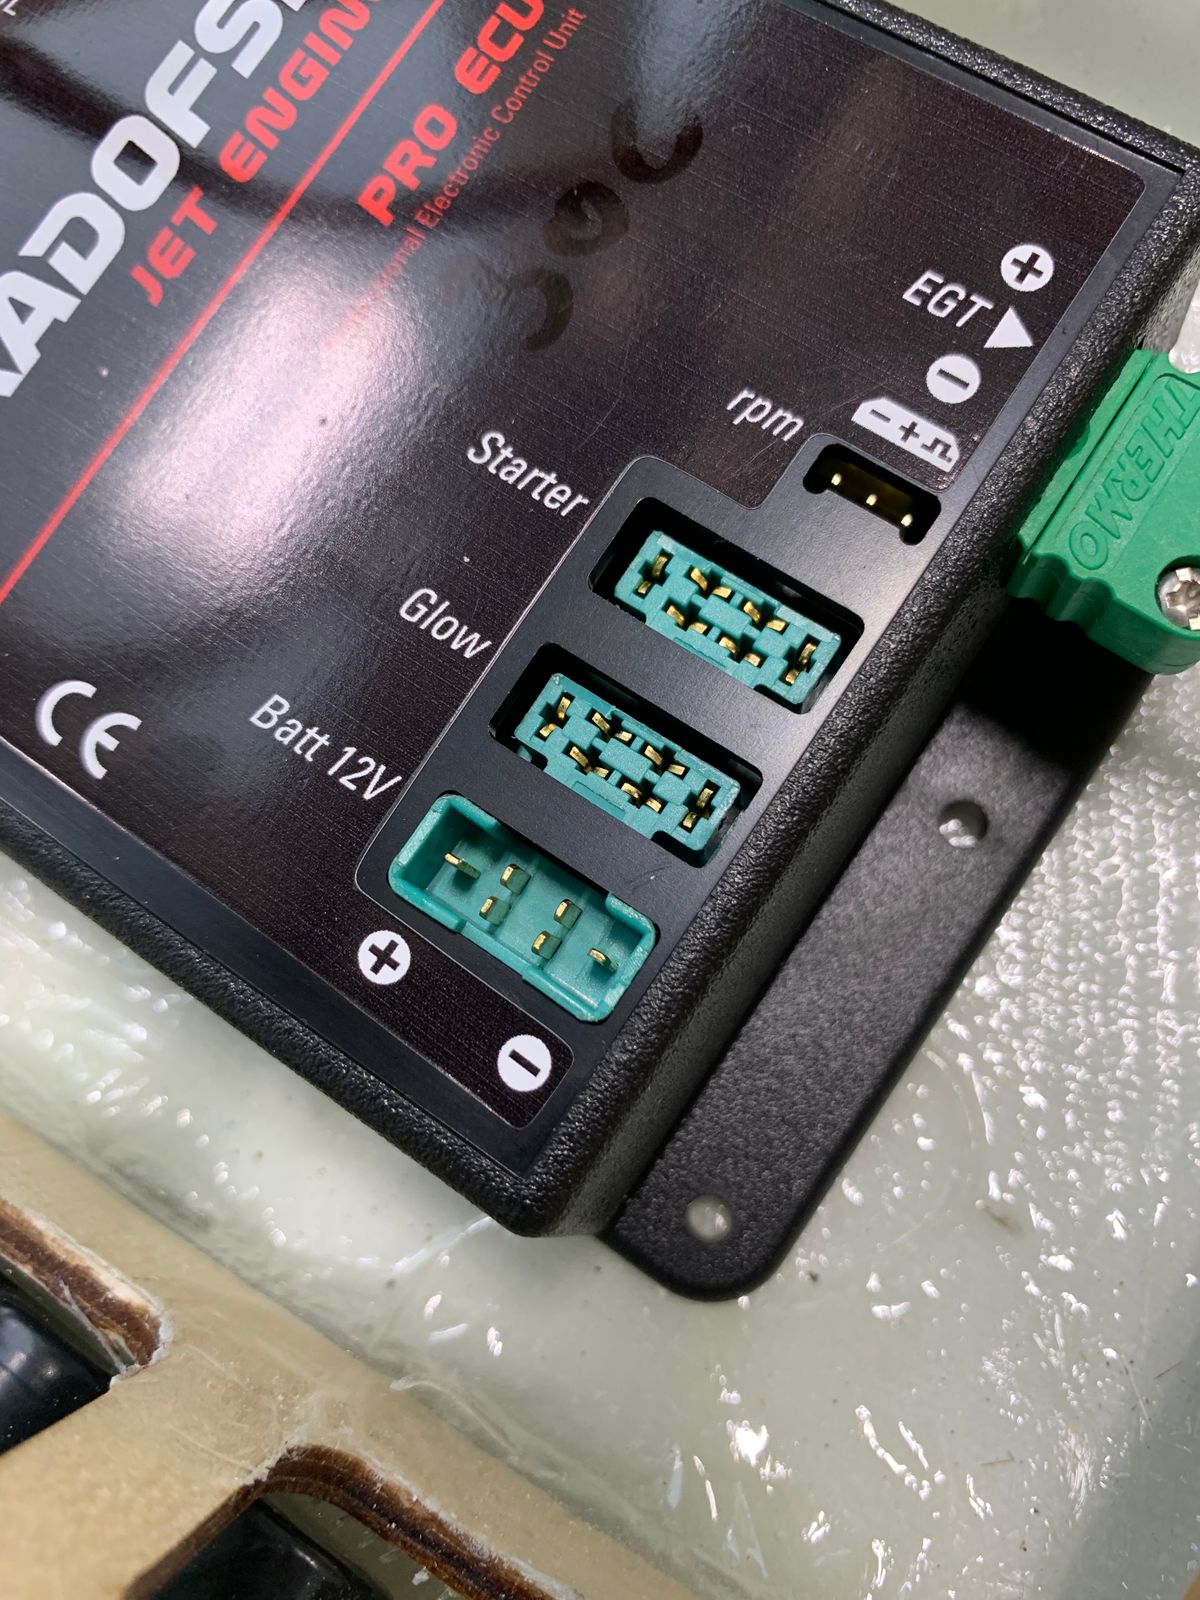
Canopy, electronics, tail rotor shaft bearings
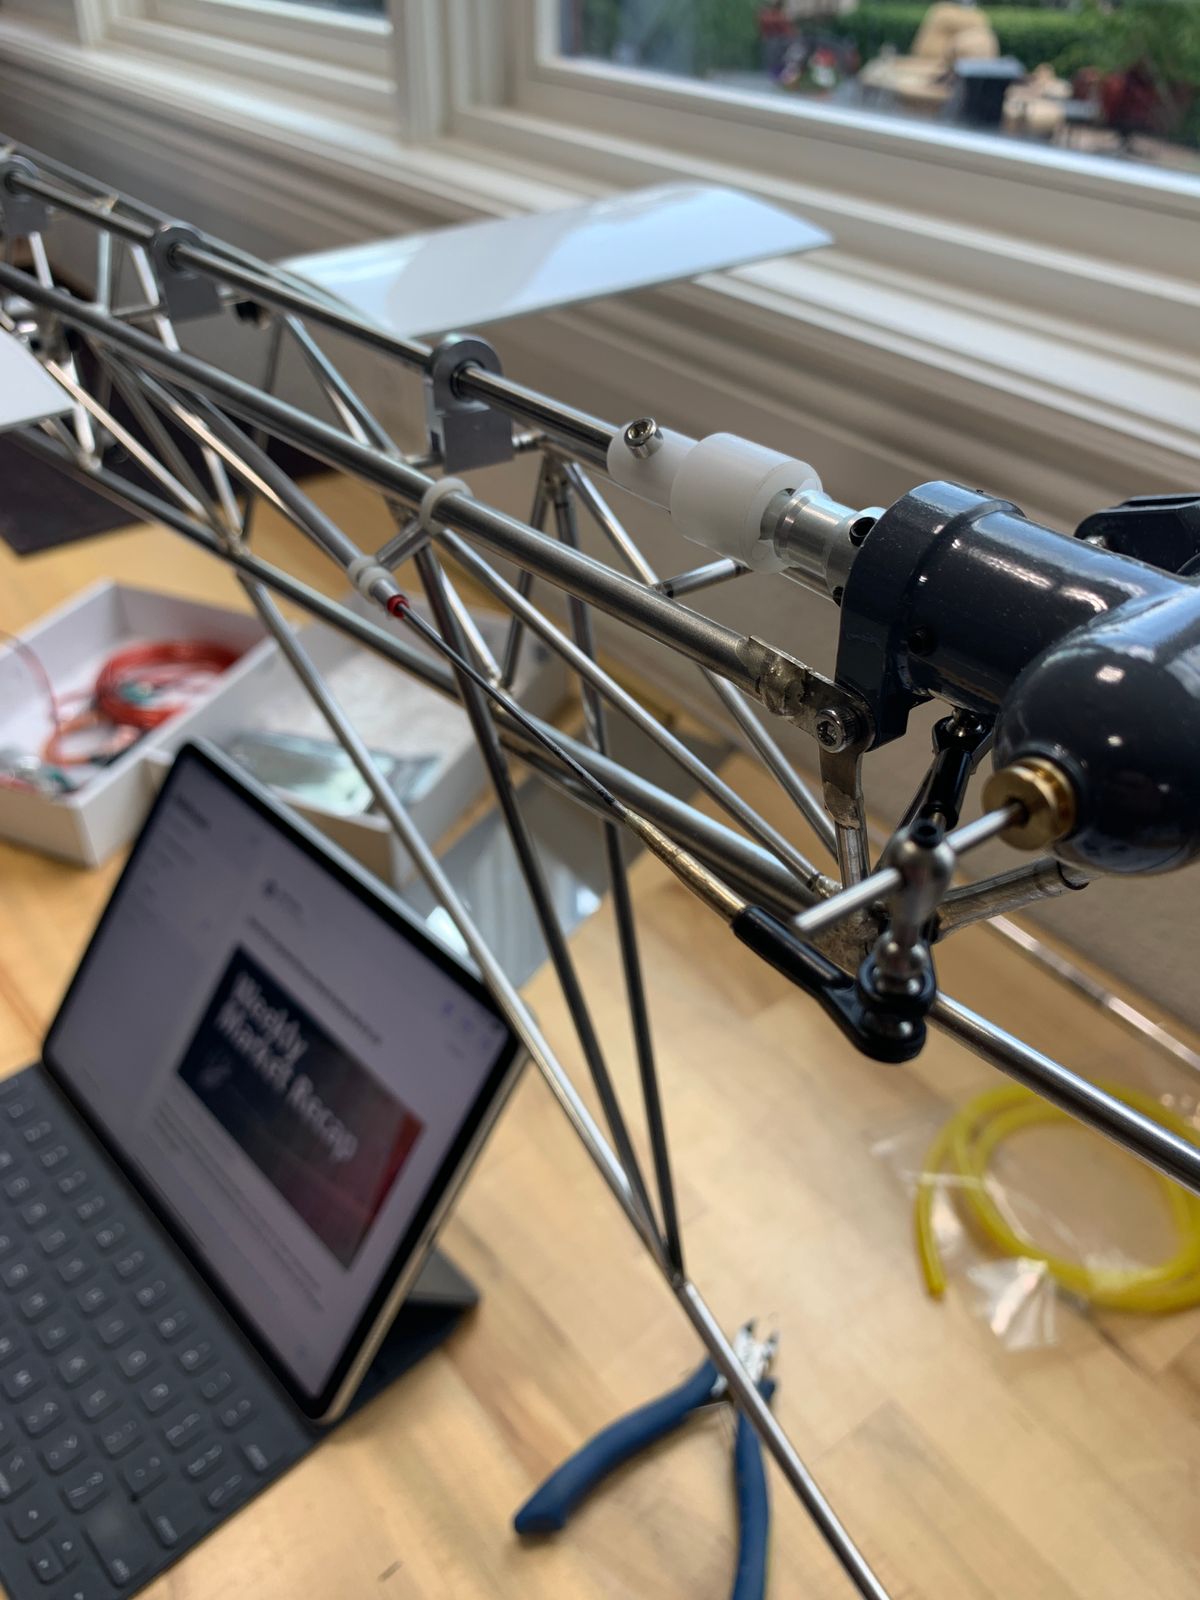
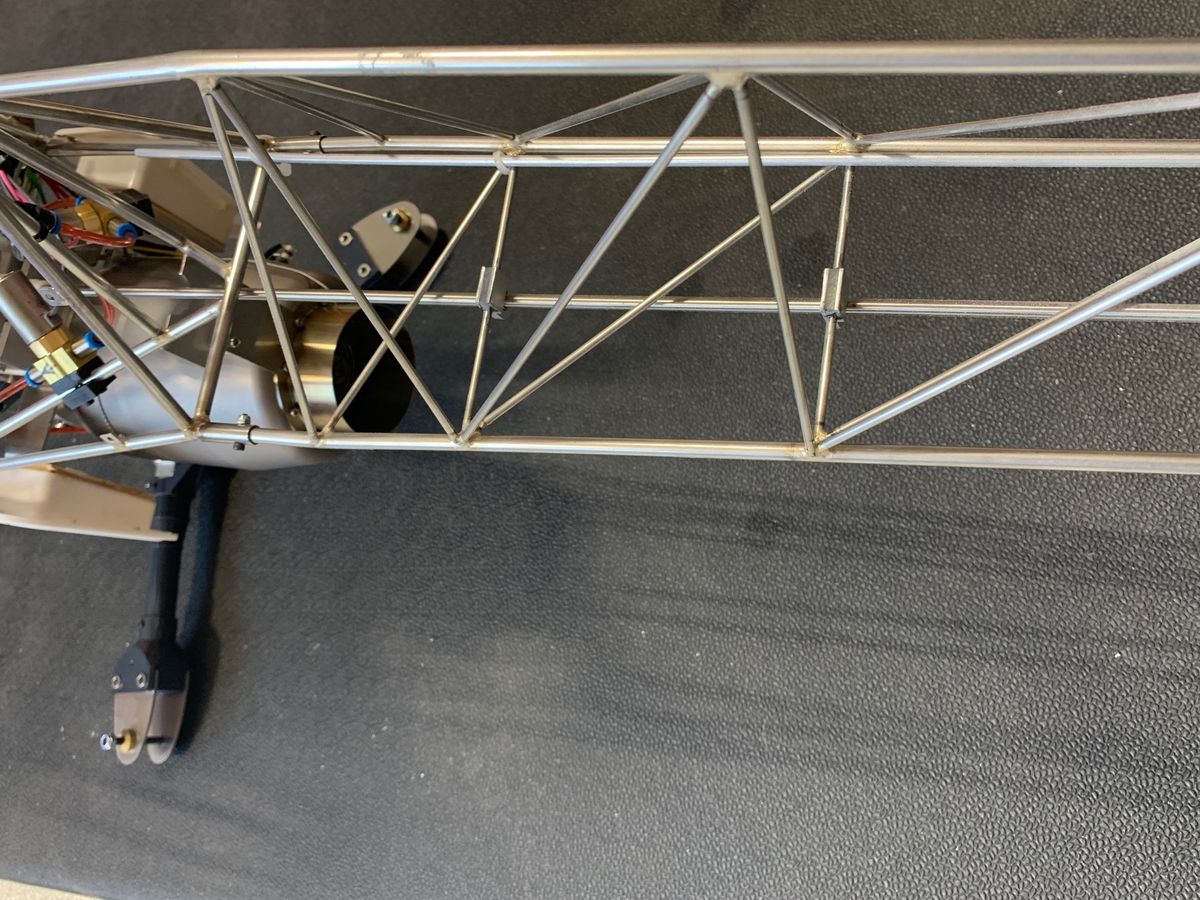
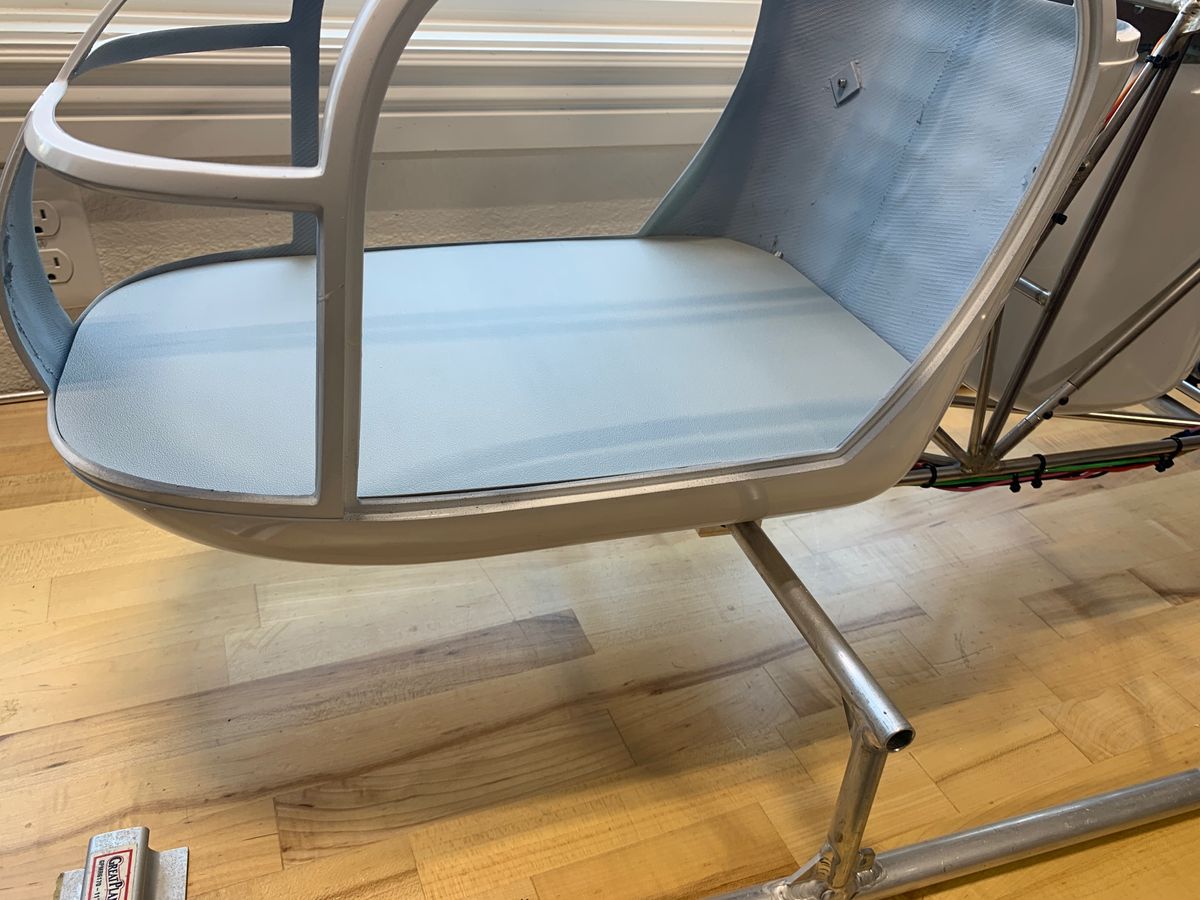
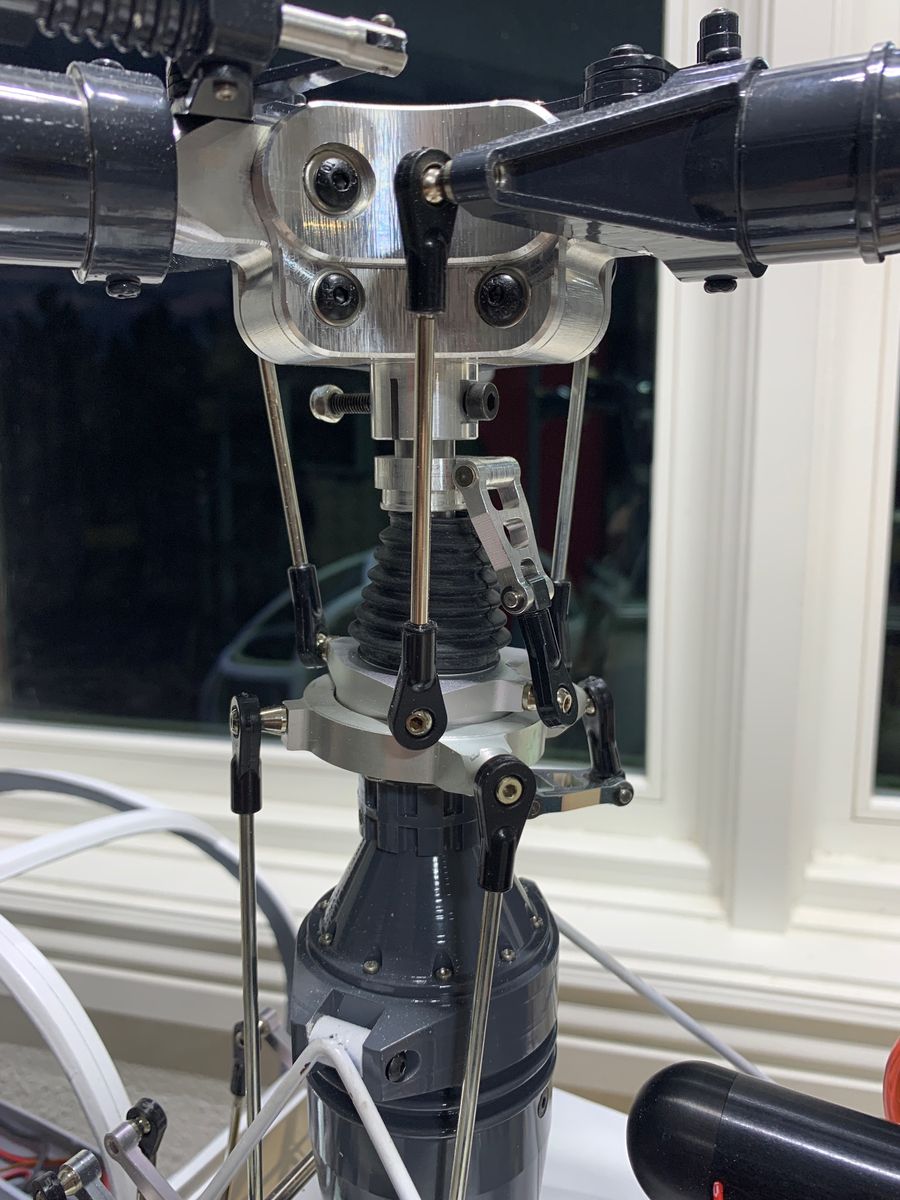
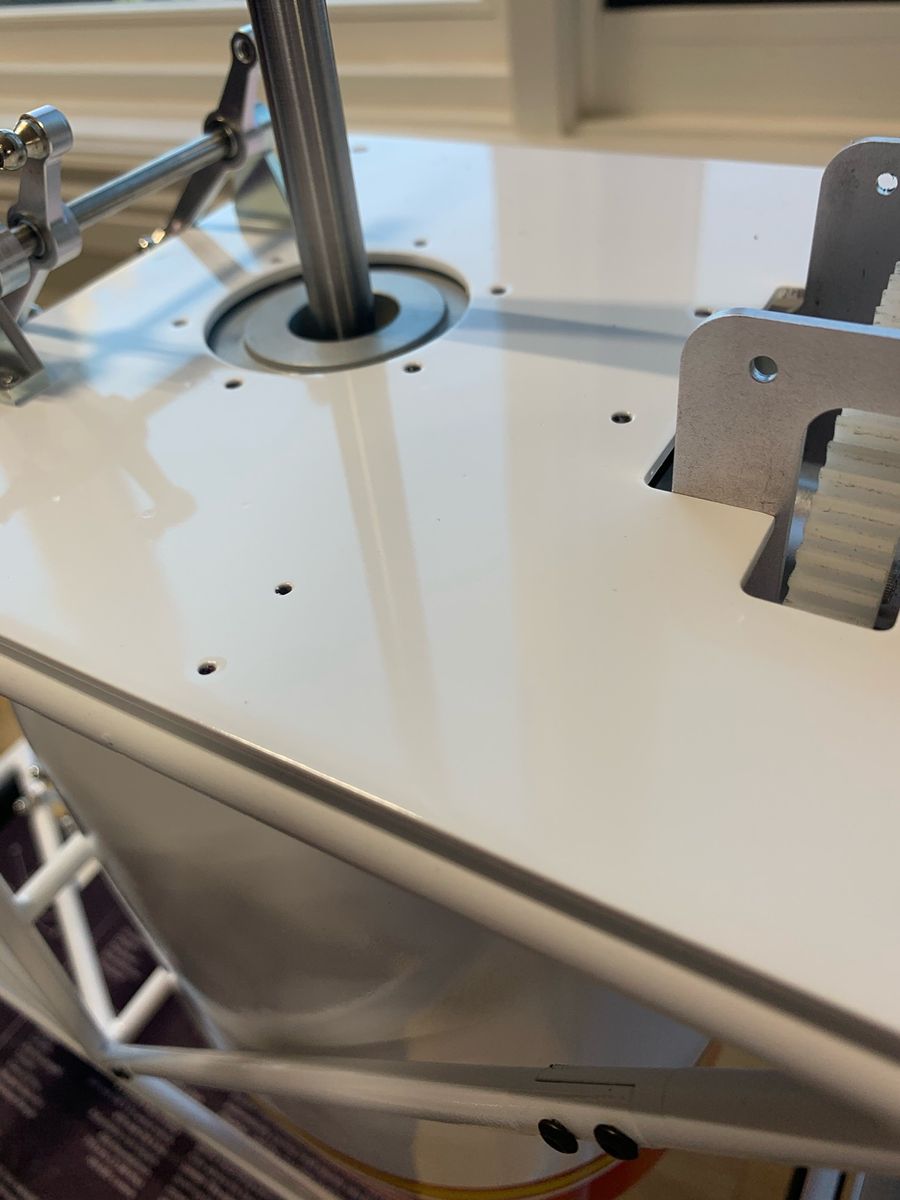
The ECU is vibration isolated as are the servos. Wiring is getting sorted. Canopy flooring is fitted and head linkage is adjusted. The tail rotor drive shaft bearings are epoxied in place. One will note each bearing is not flat to the frame, allowing the drive shaft to maintain alignment.
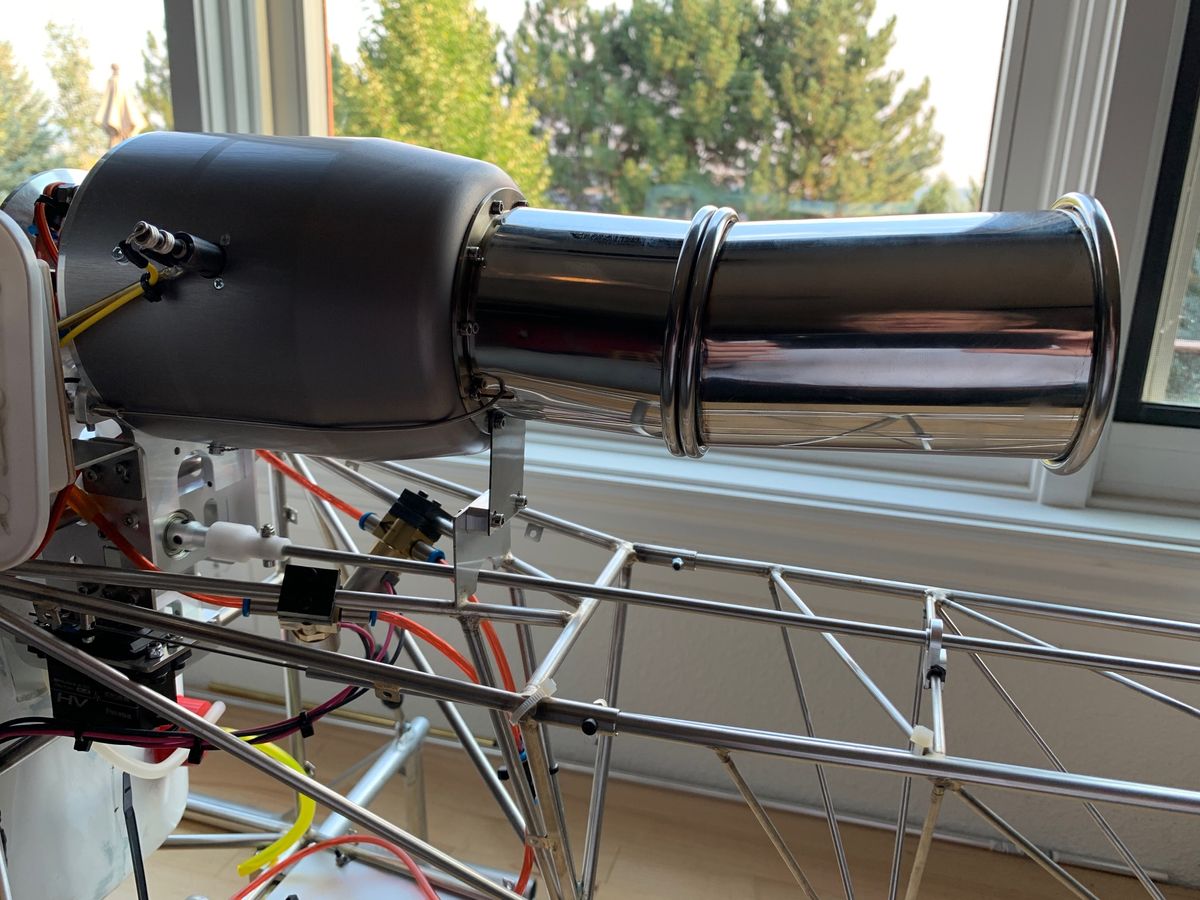
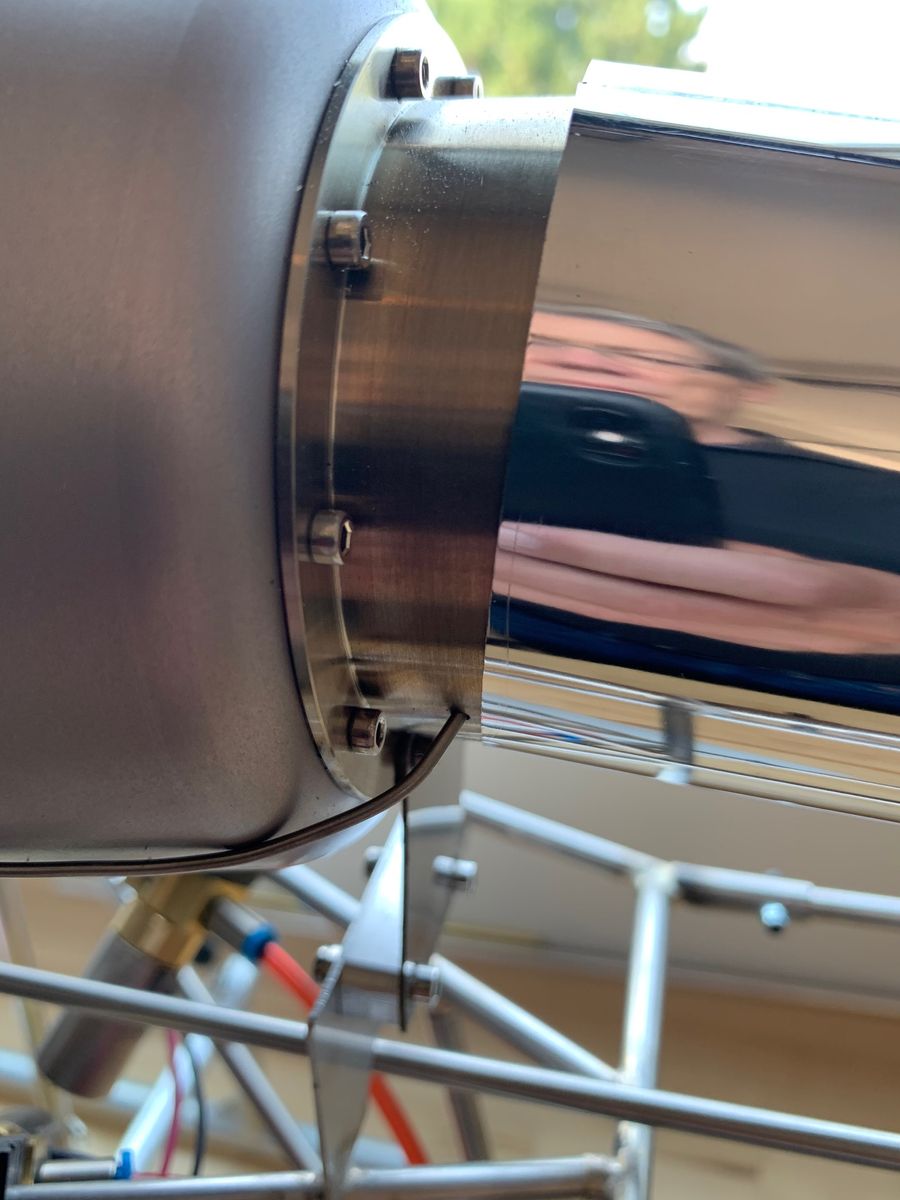
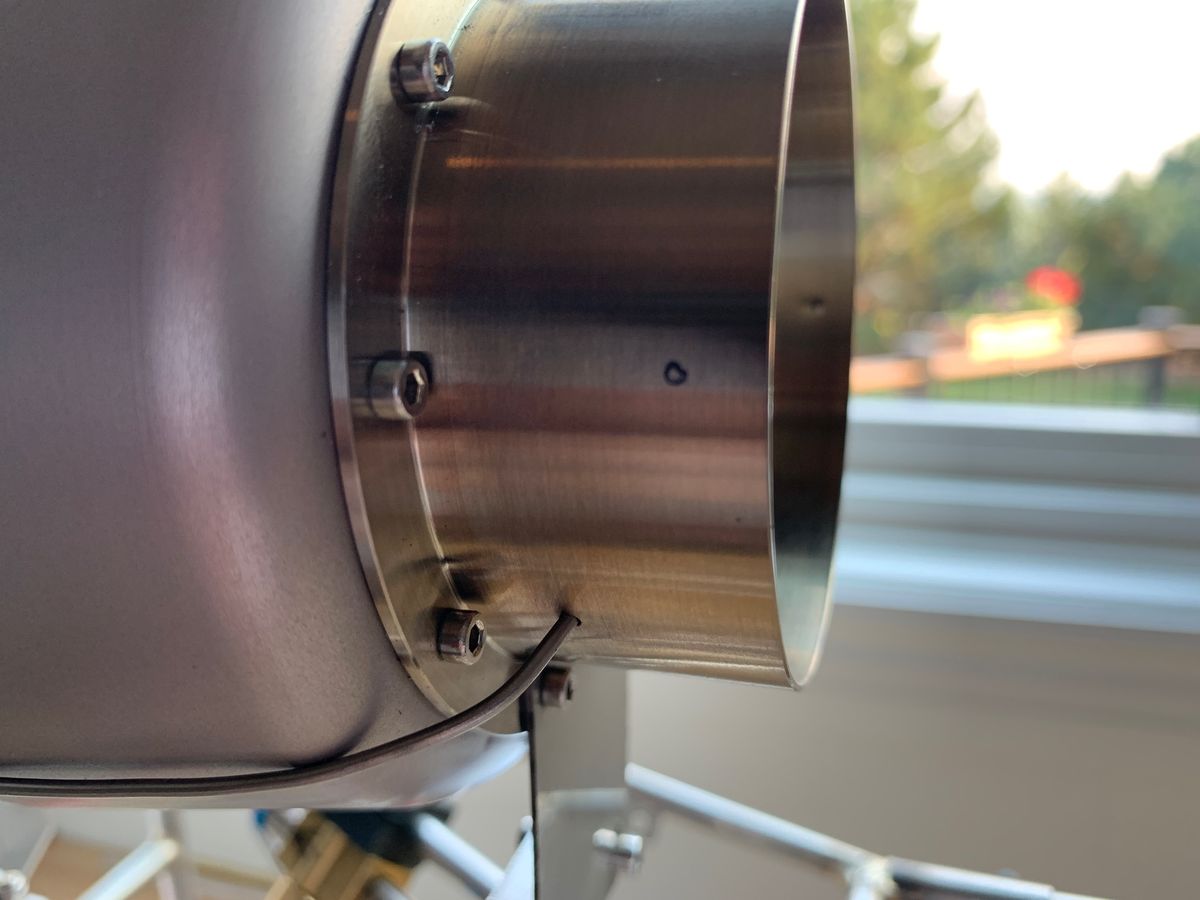
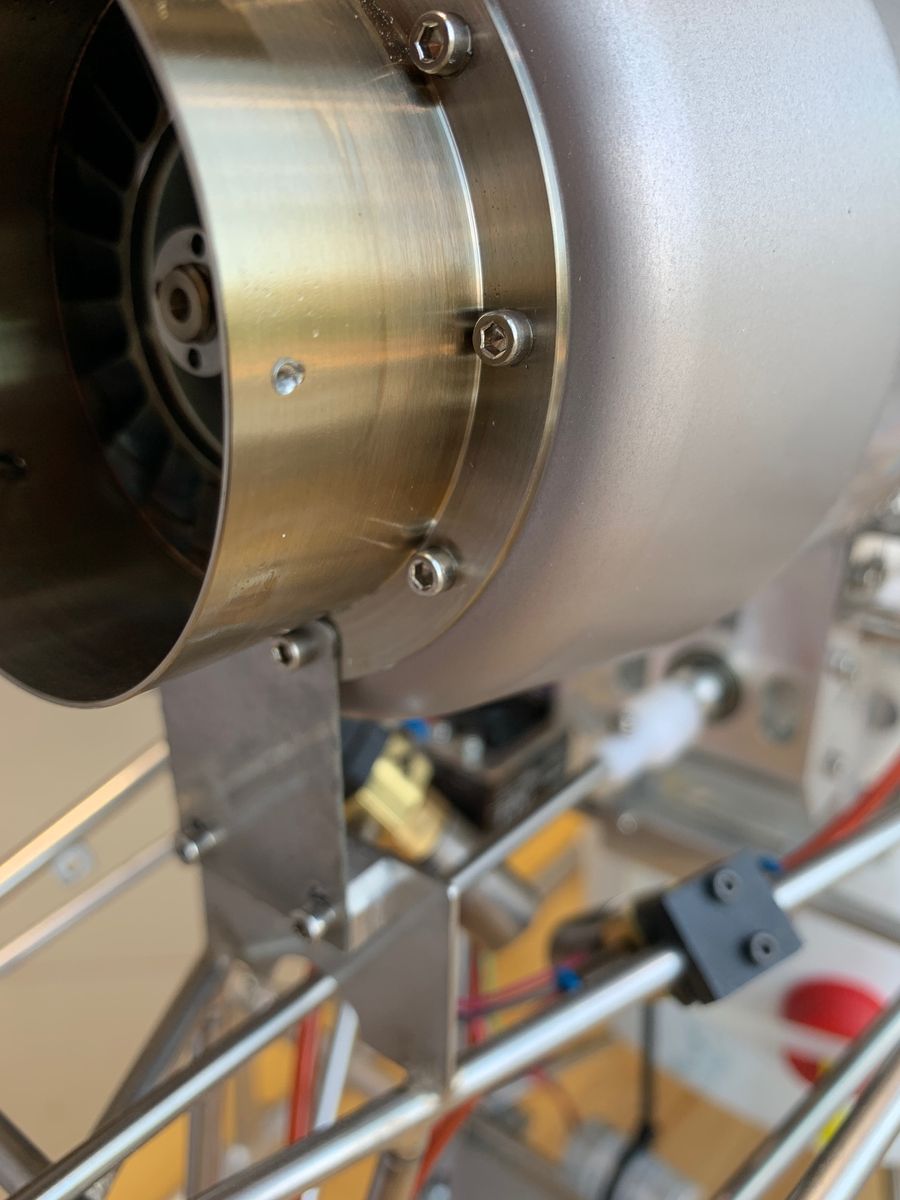
Turbine Exhaust
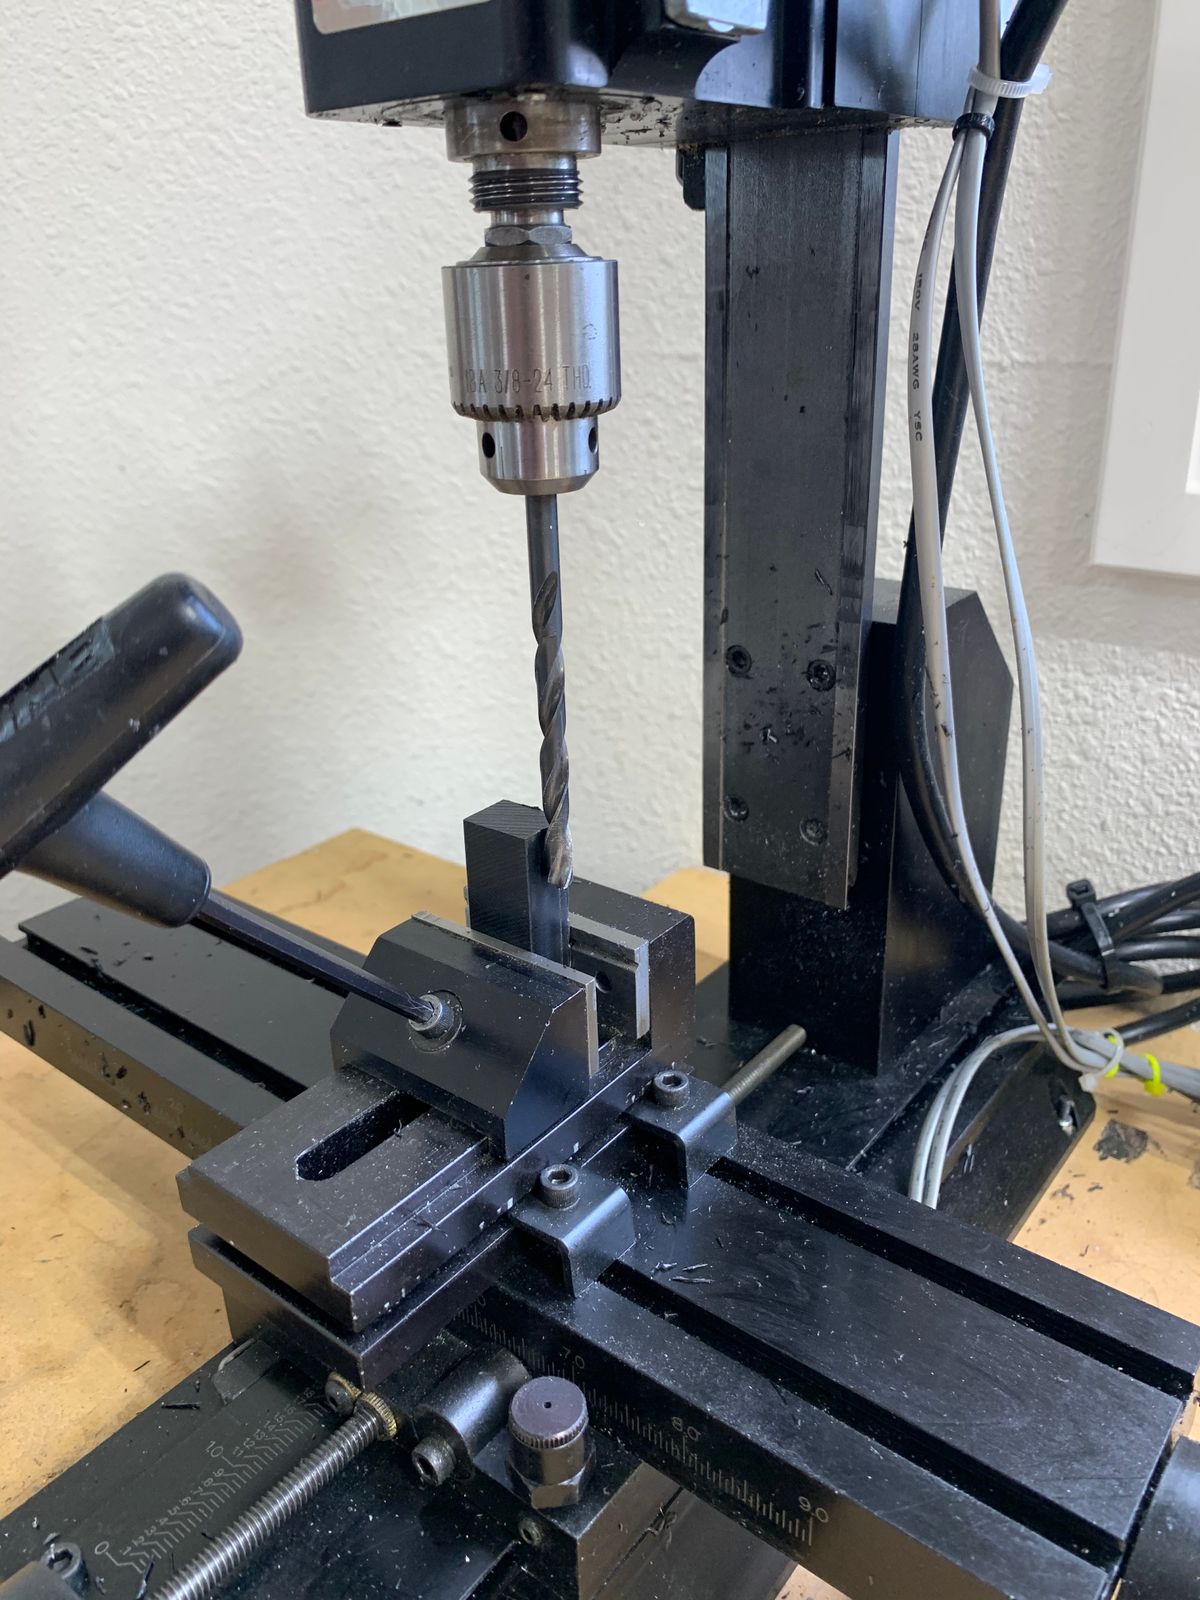
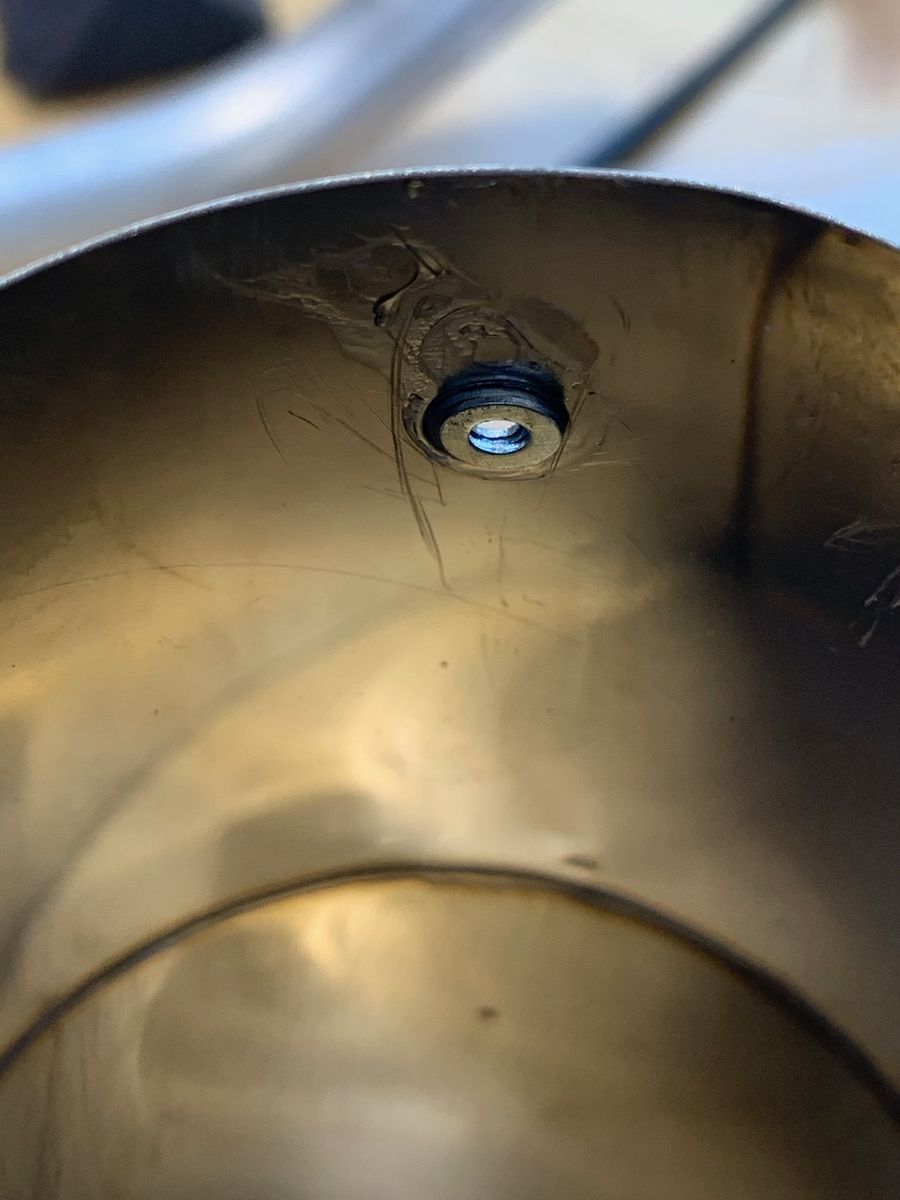
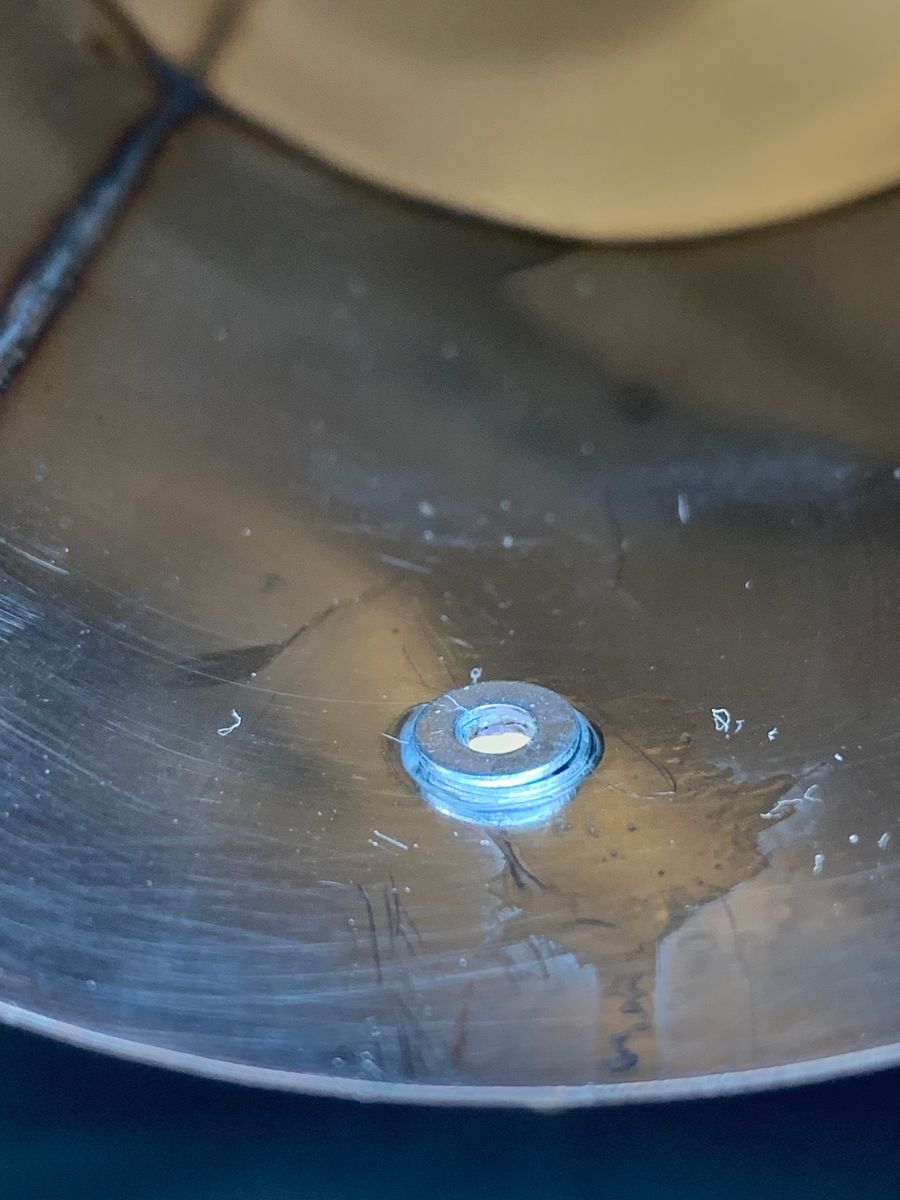
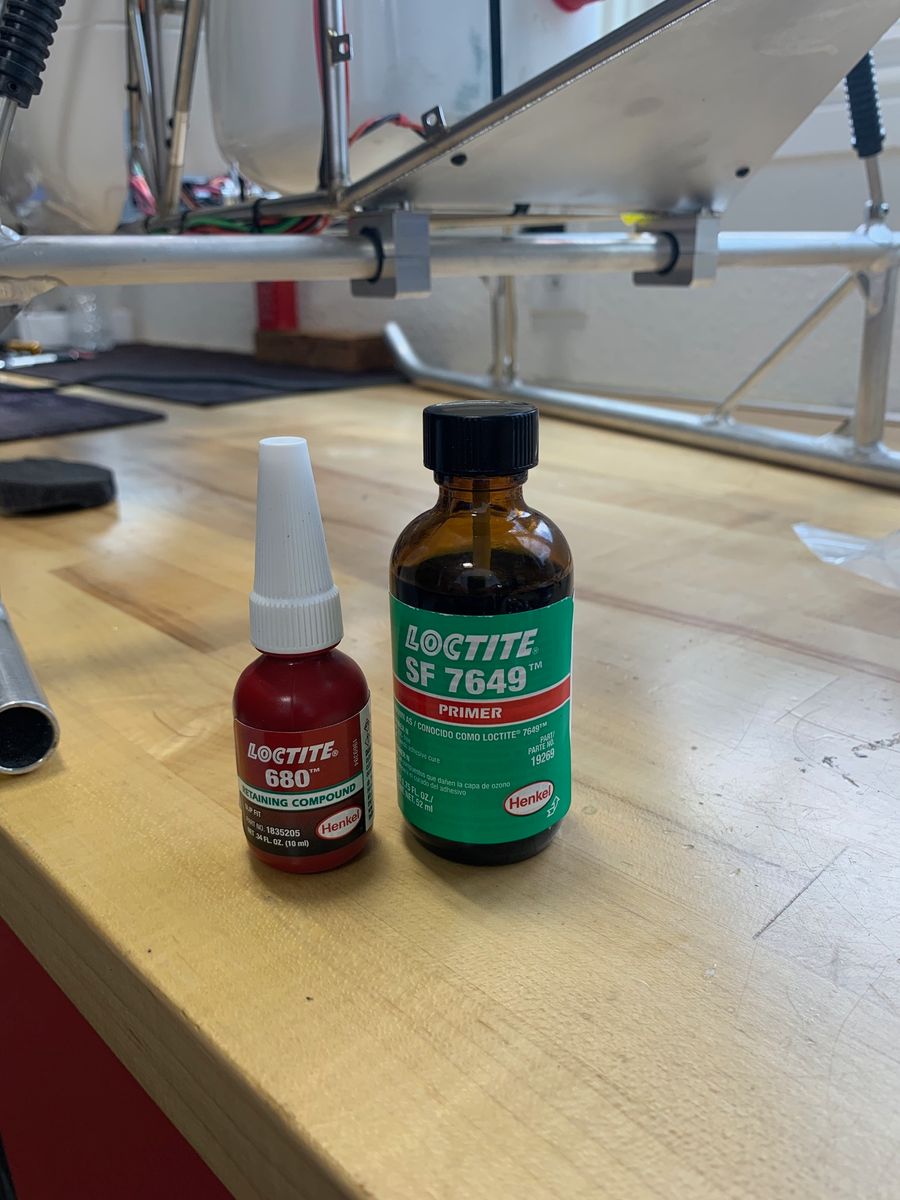
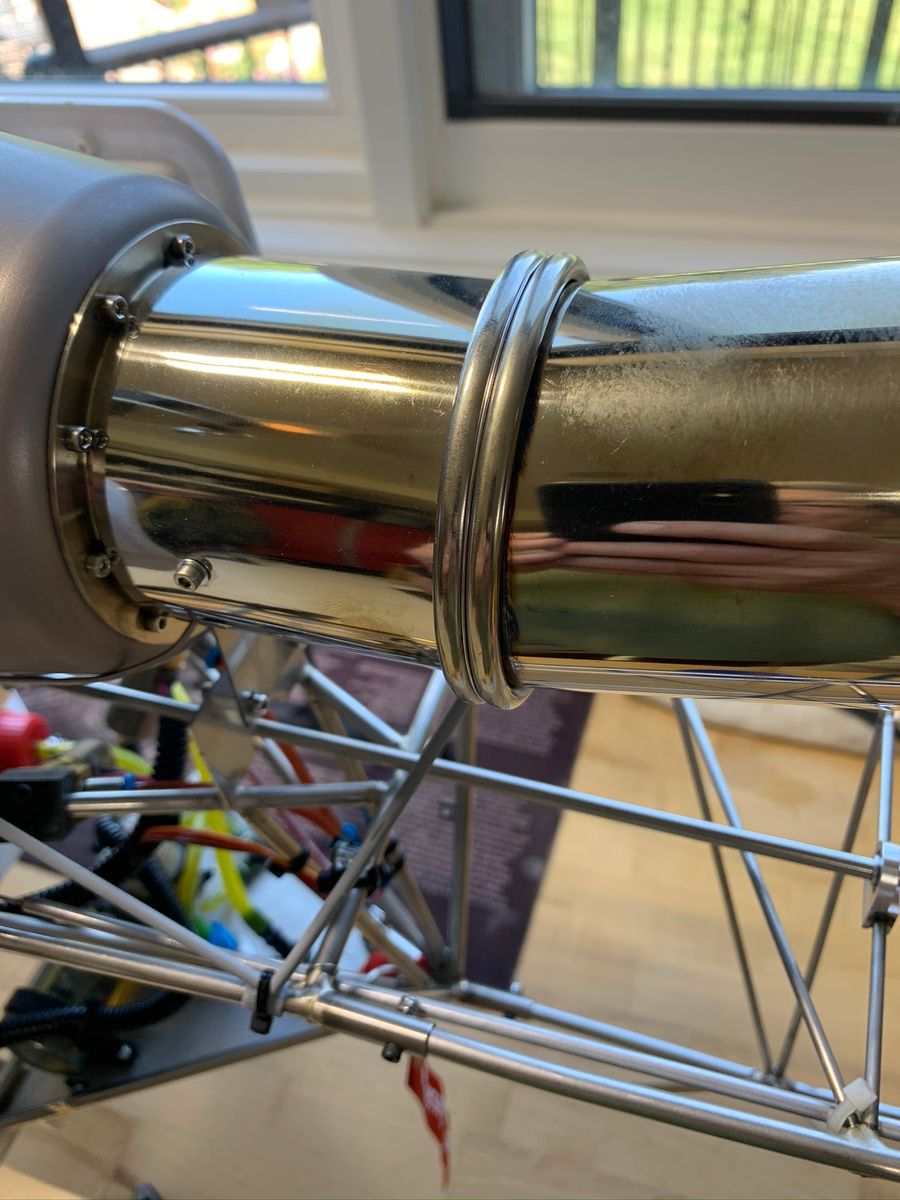
I drilled and tapped the fittings to hold the exhaust. The turbine exhaust housing is hardened steel making the tap process more challenging. I build a lower support later.
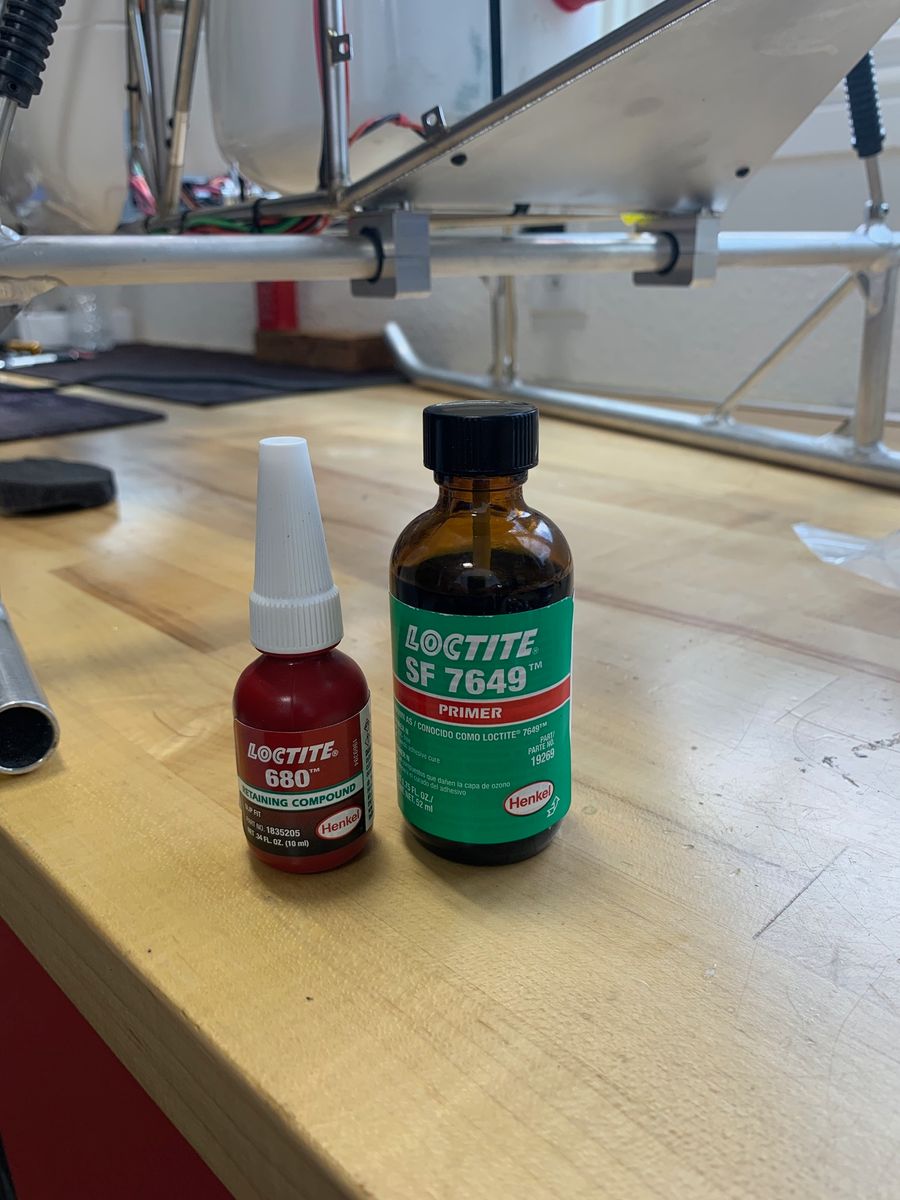
Skids
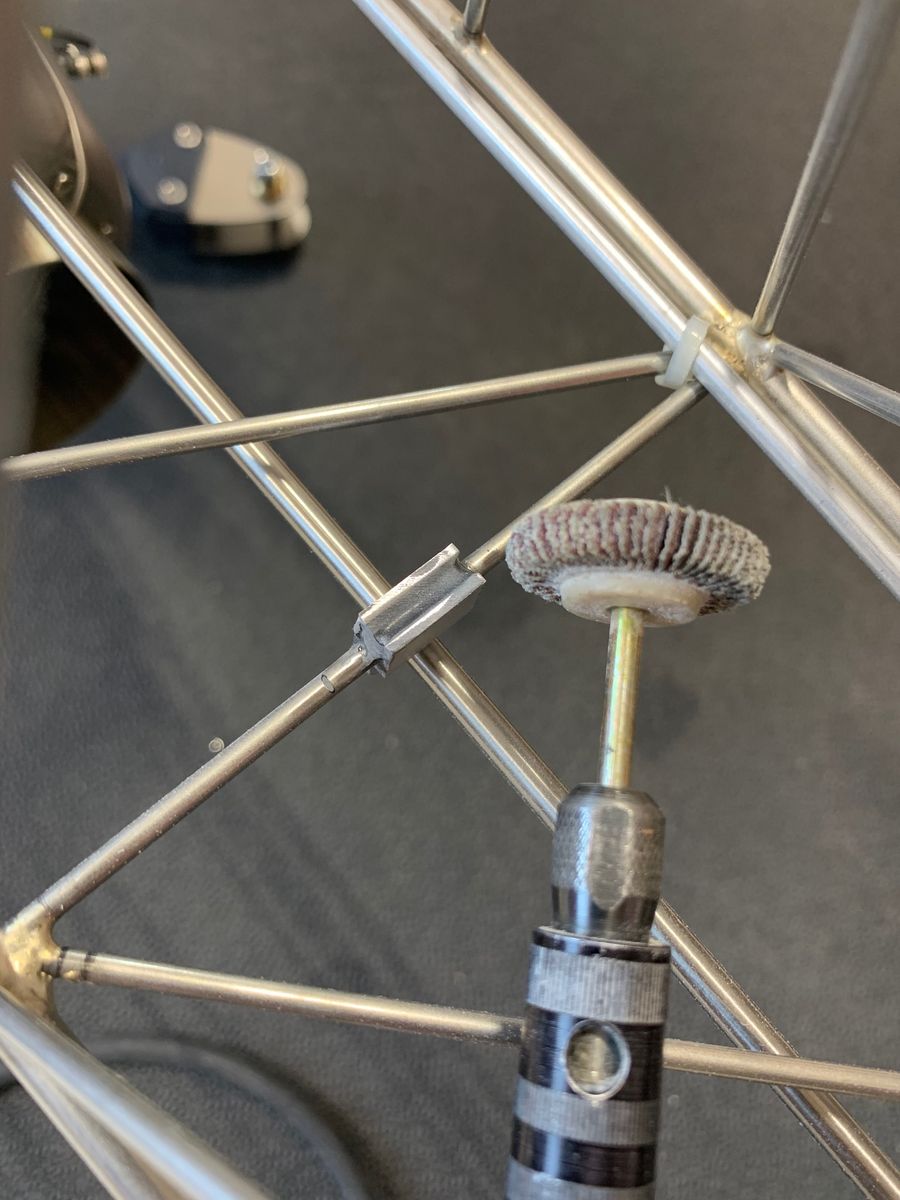
Grinding of the welds.
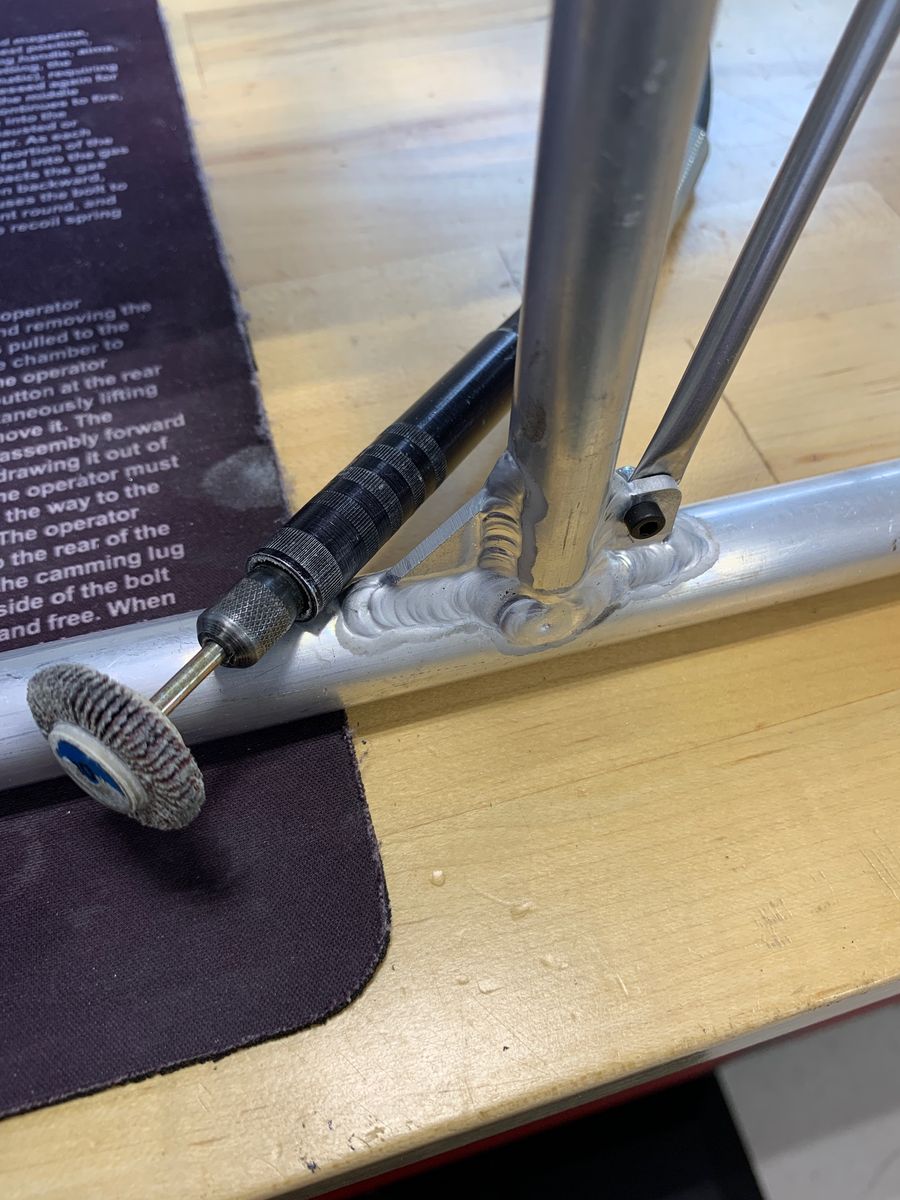
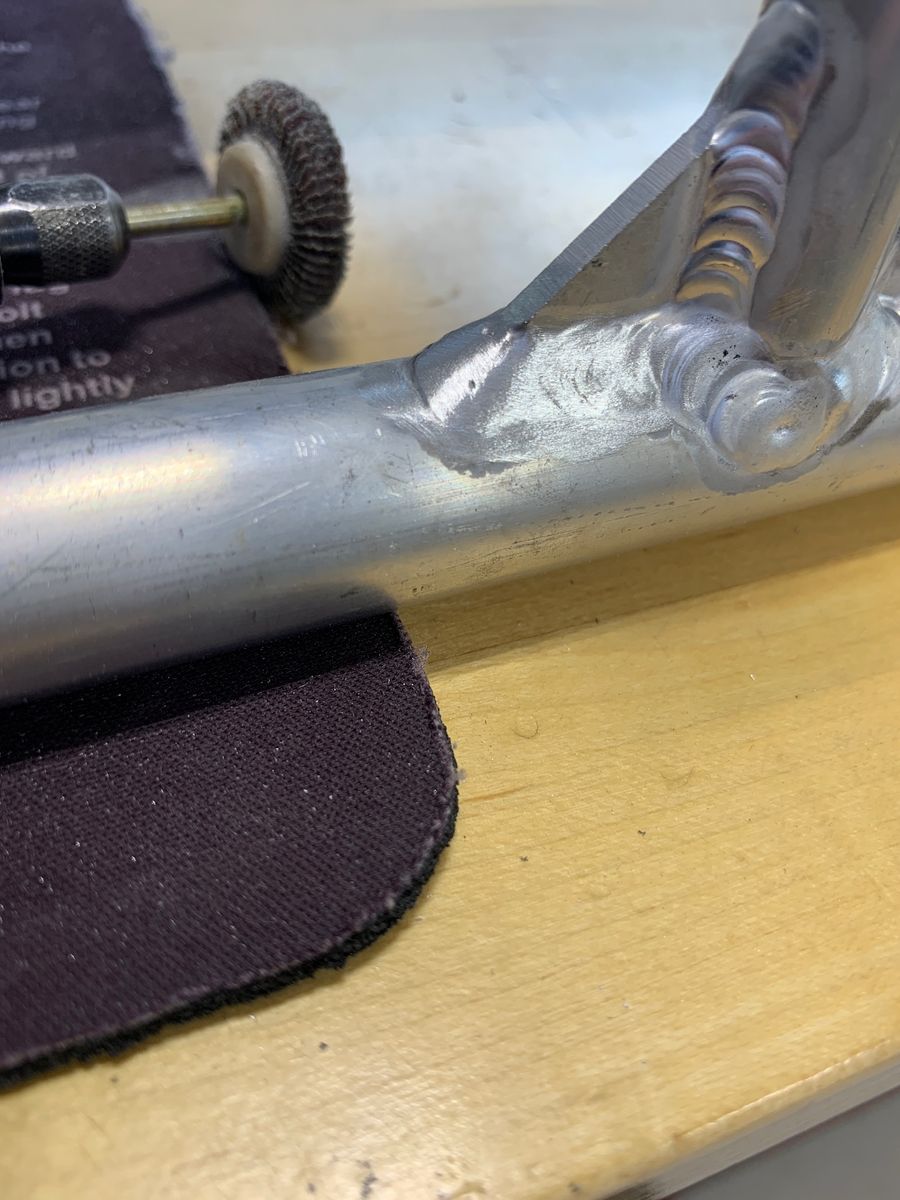
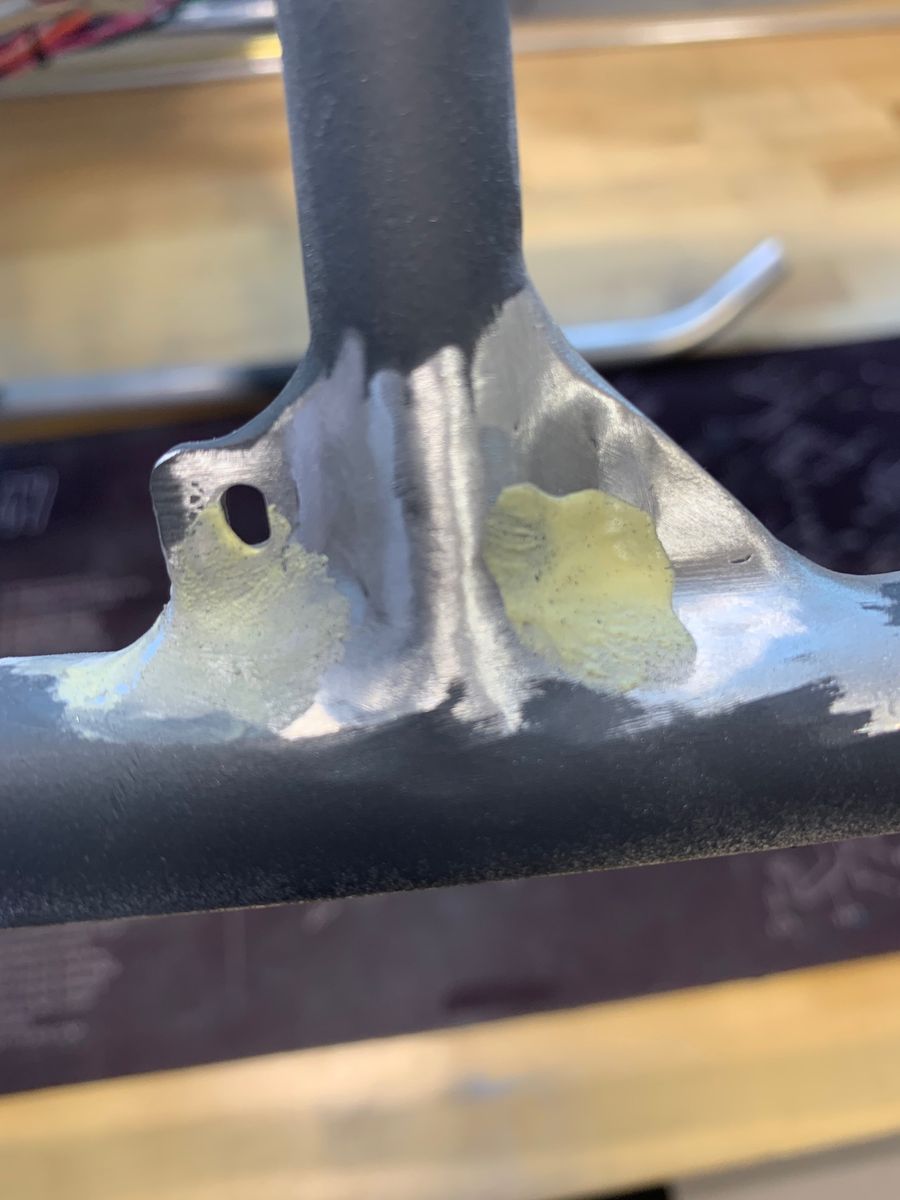
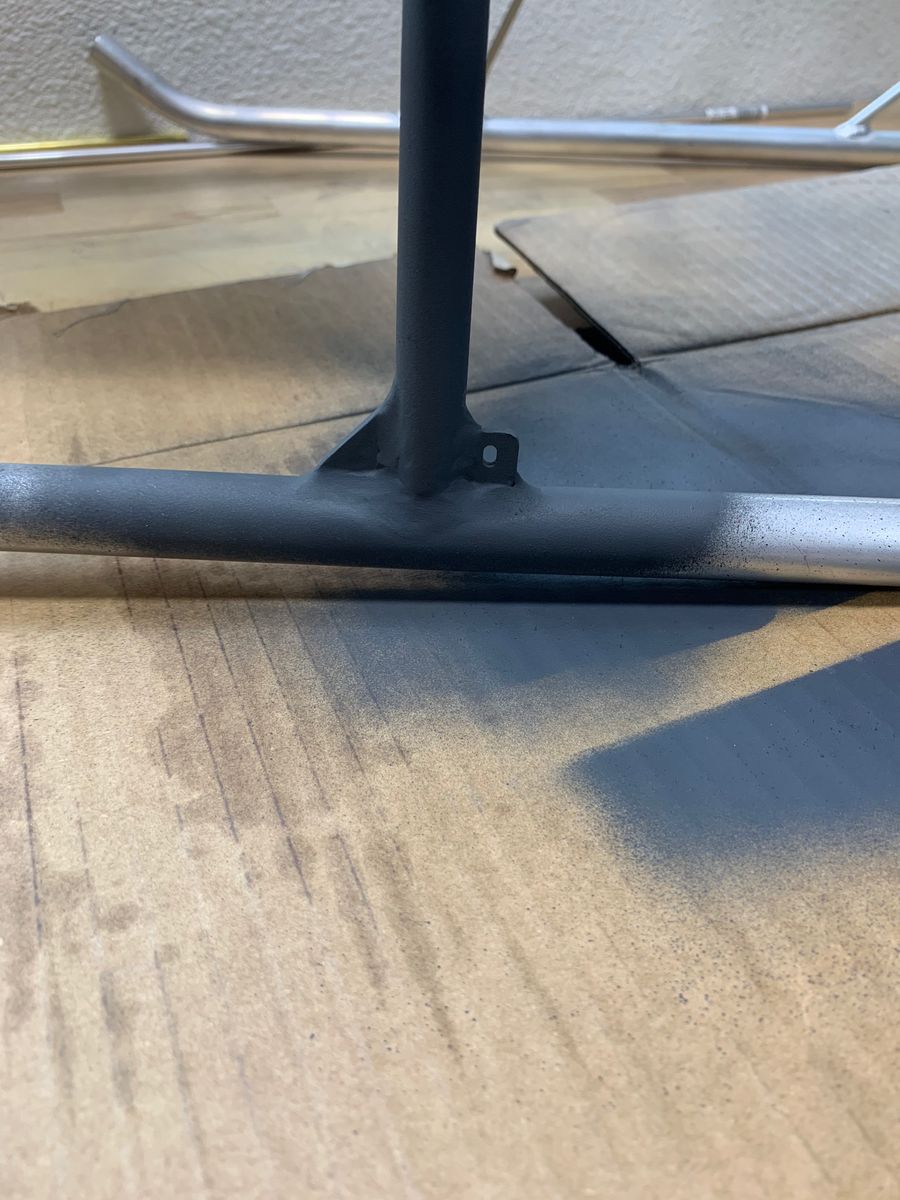
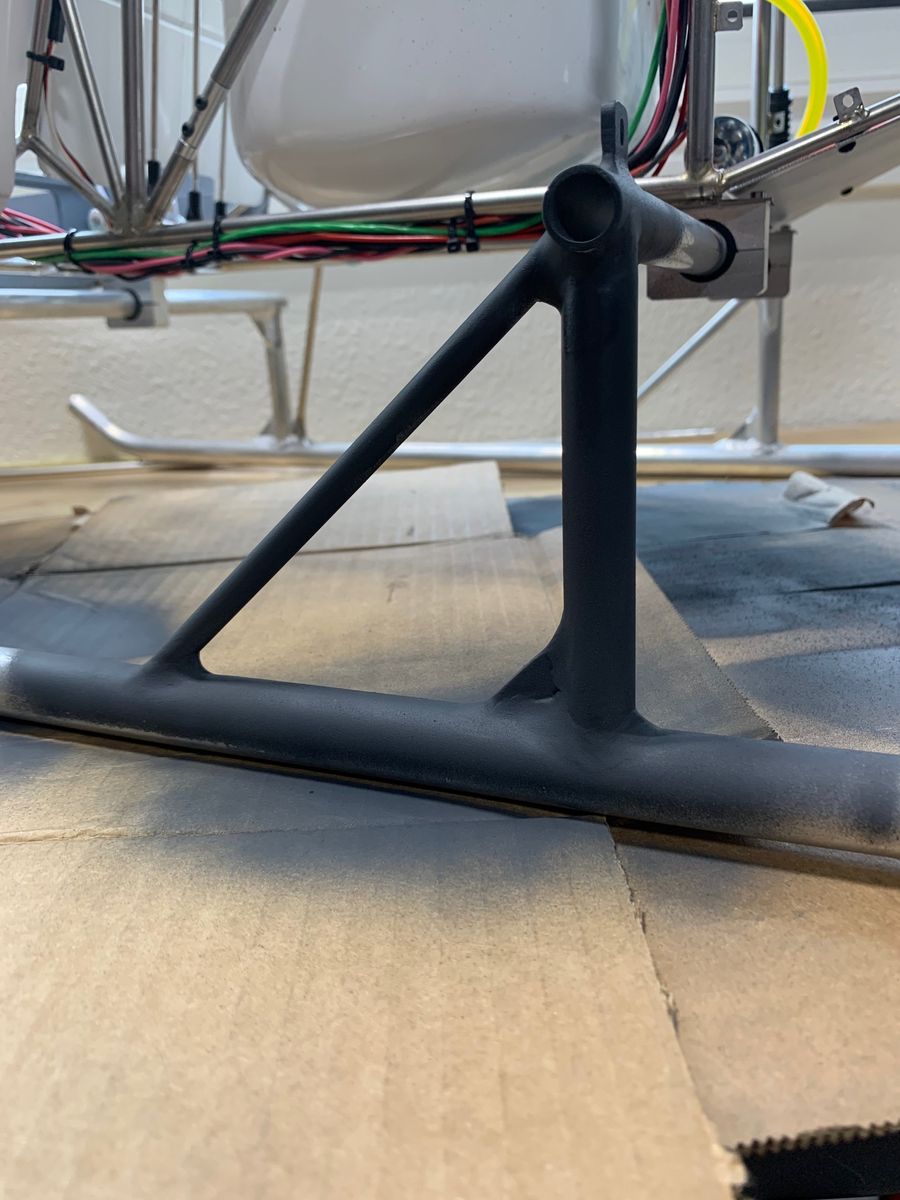
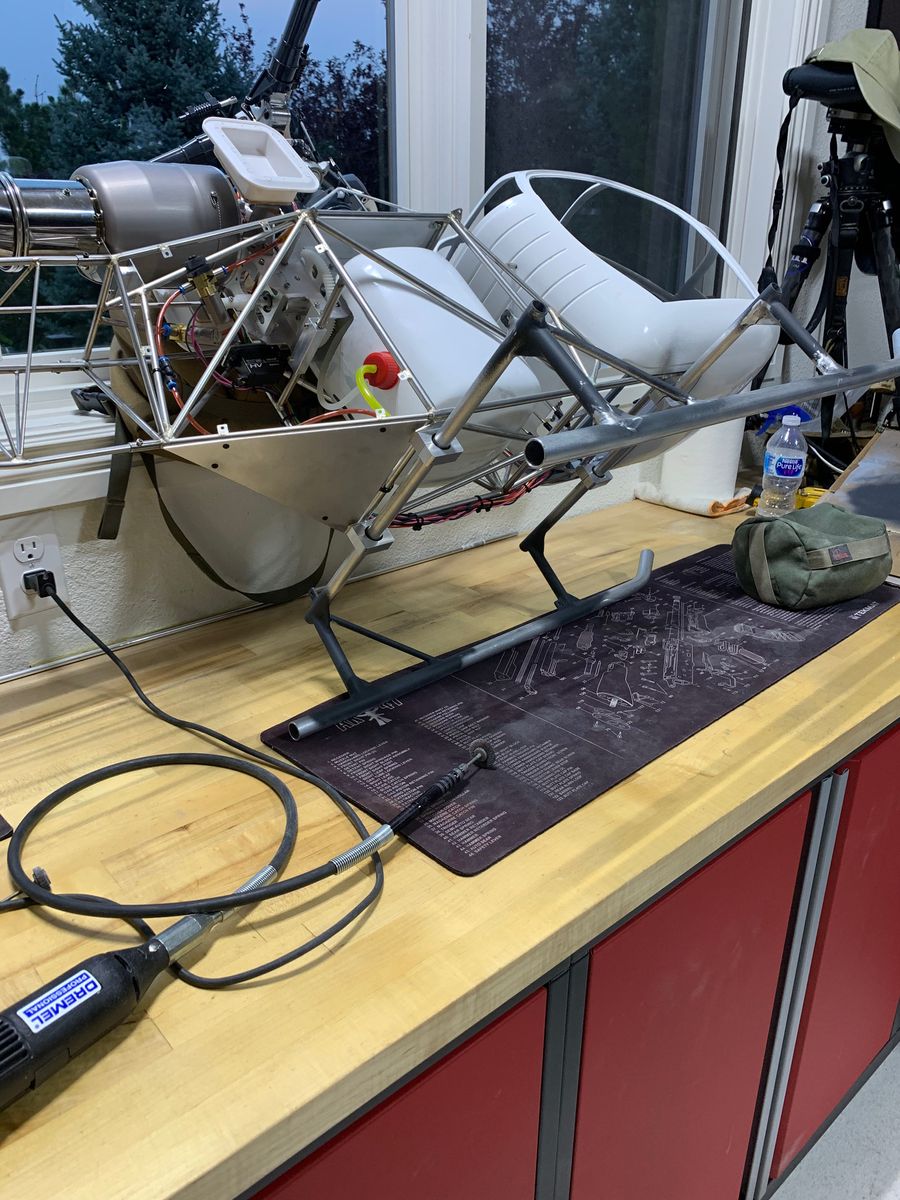
Servo linkage, receiver and transmitter setup.
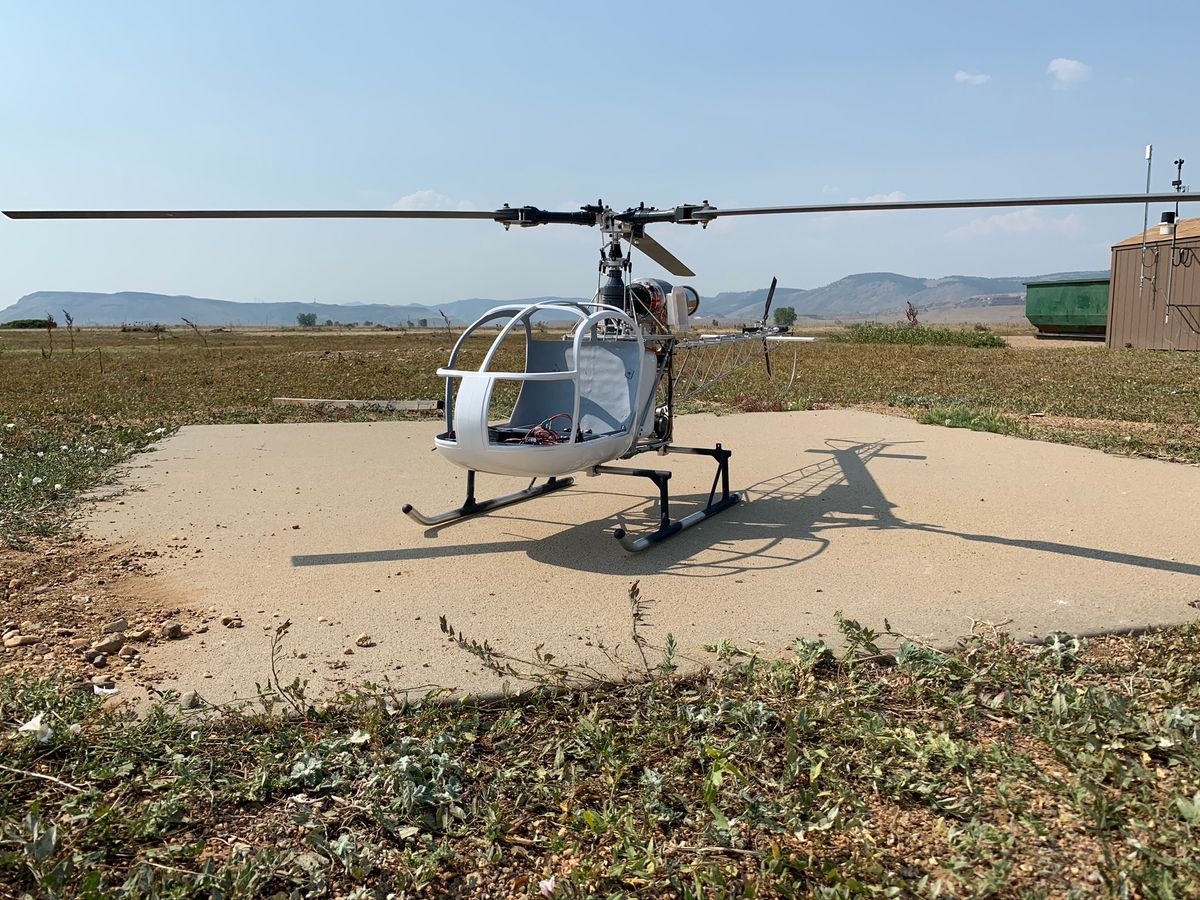
I use Futaba and the CGY760R. Almost ready for the first test flight. I leave the canopy unfinished until flight is proven. I am happy to share any transmitter or receiver setup details.
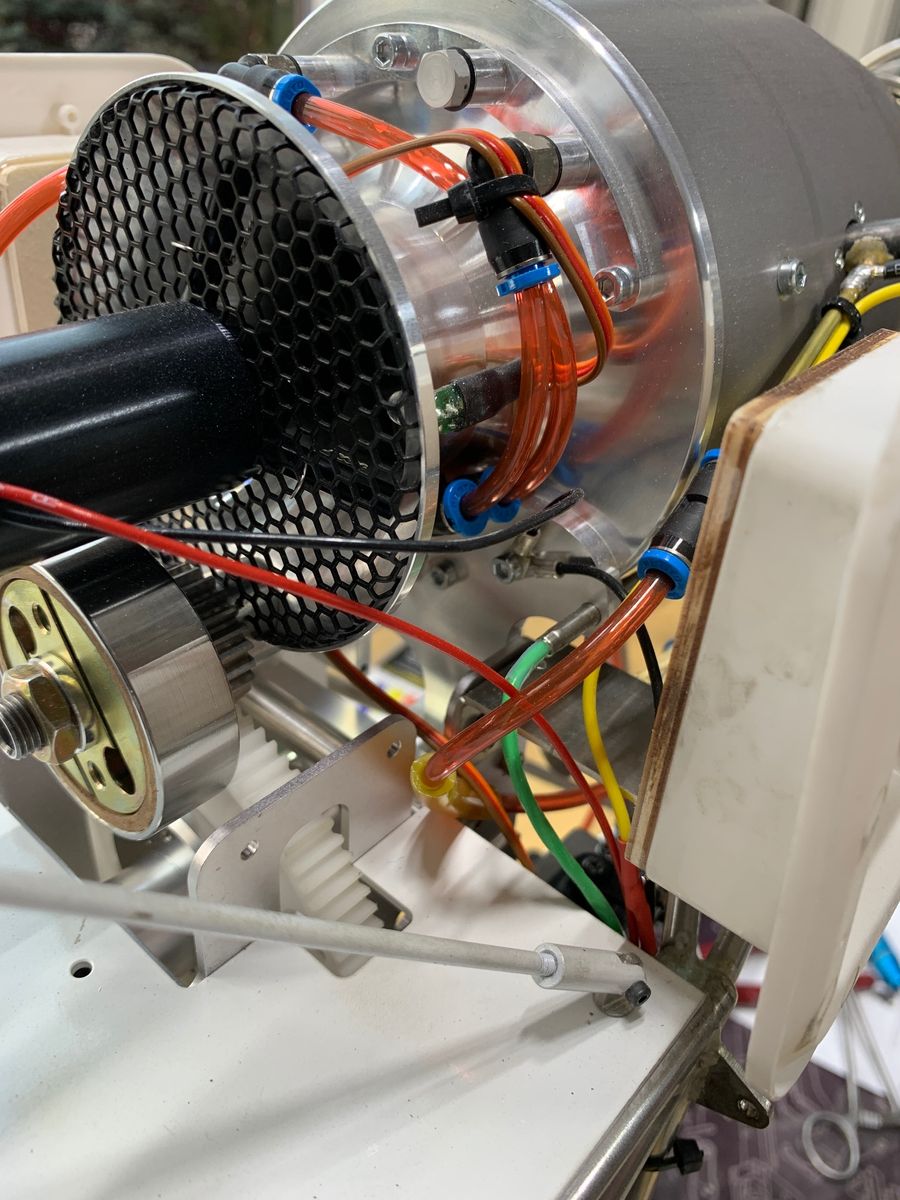
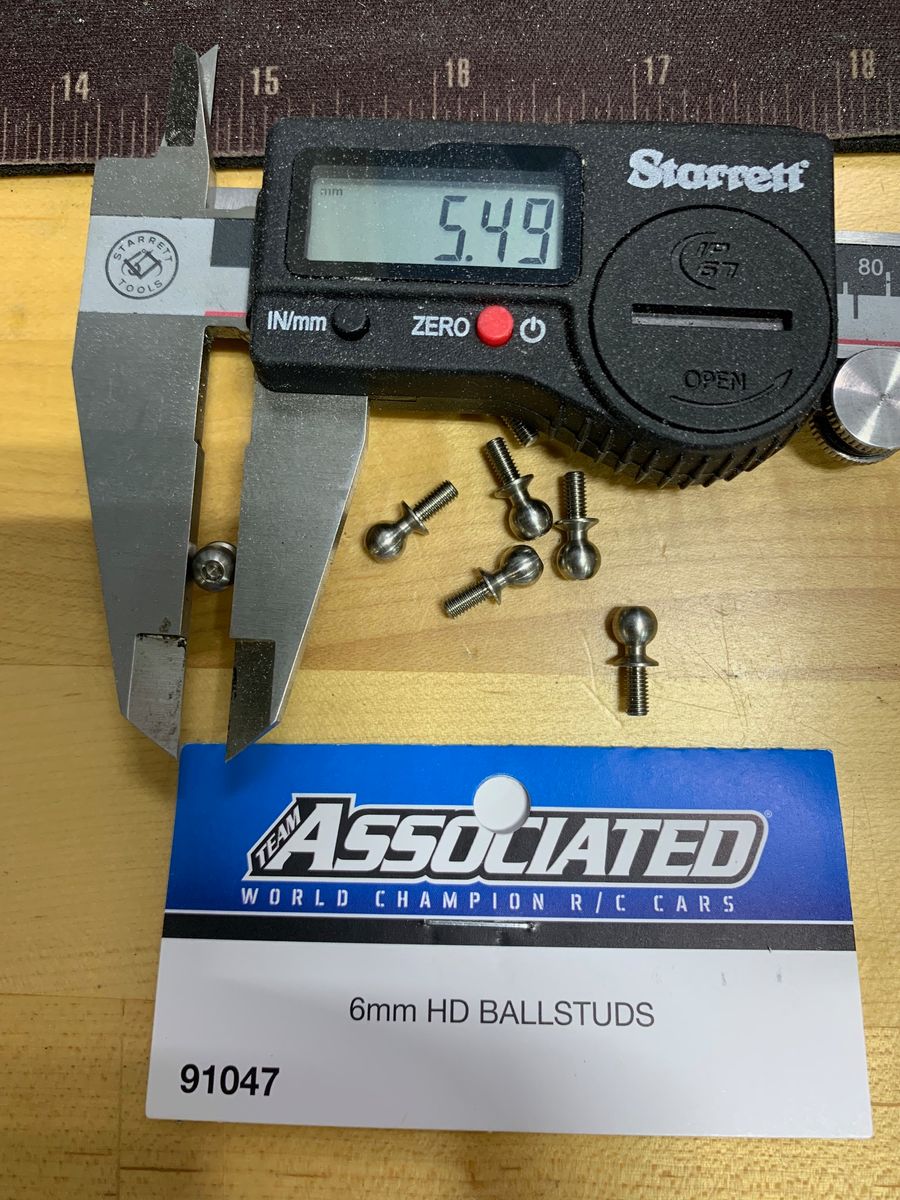
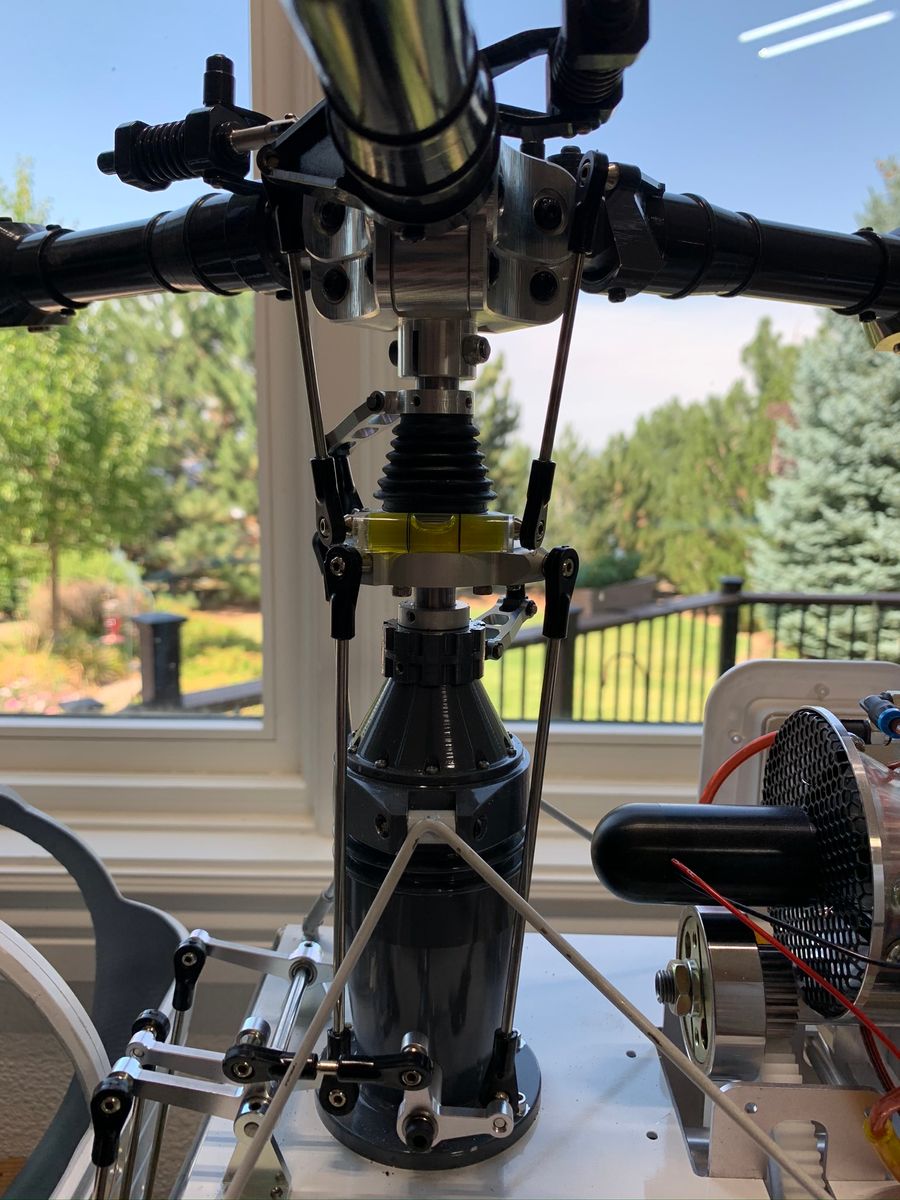
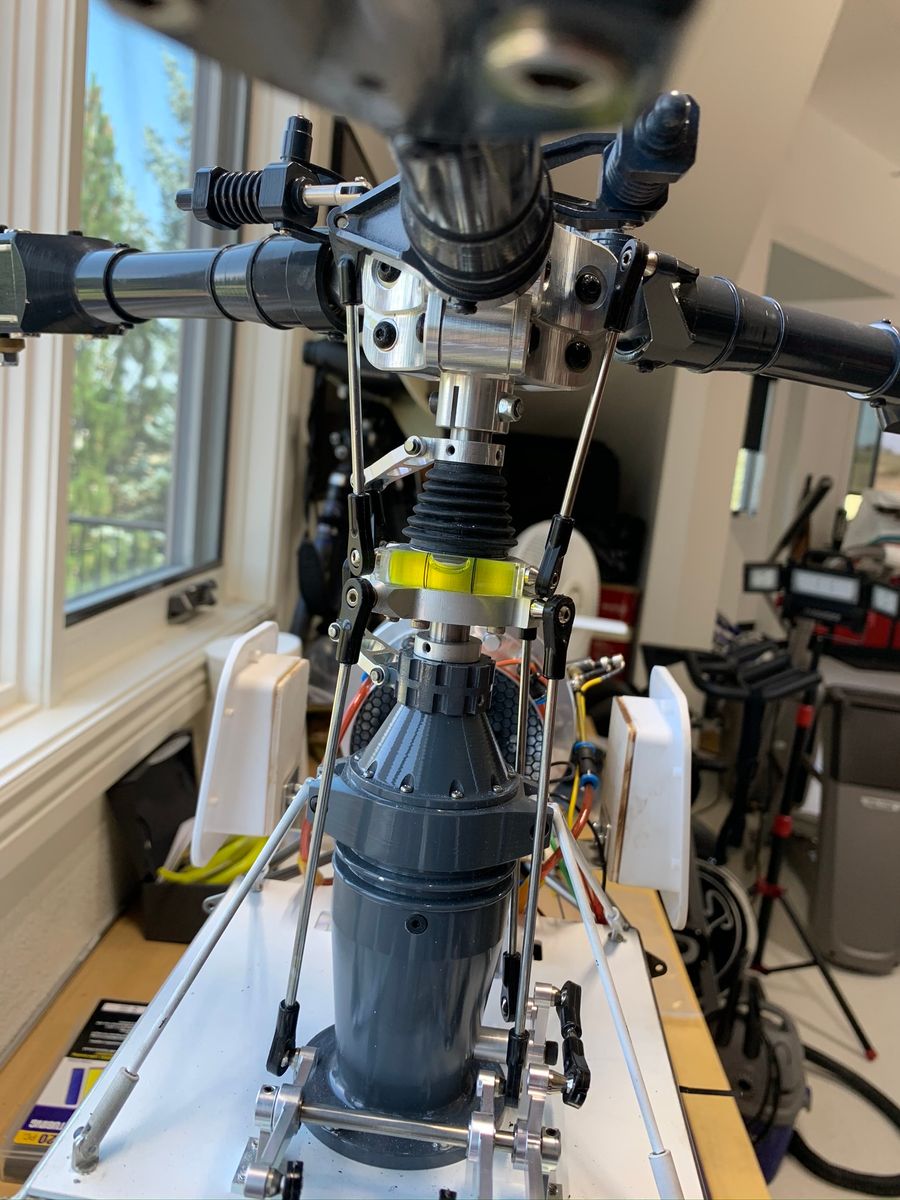
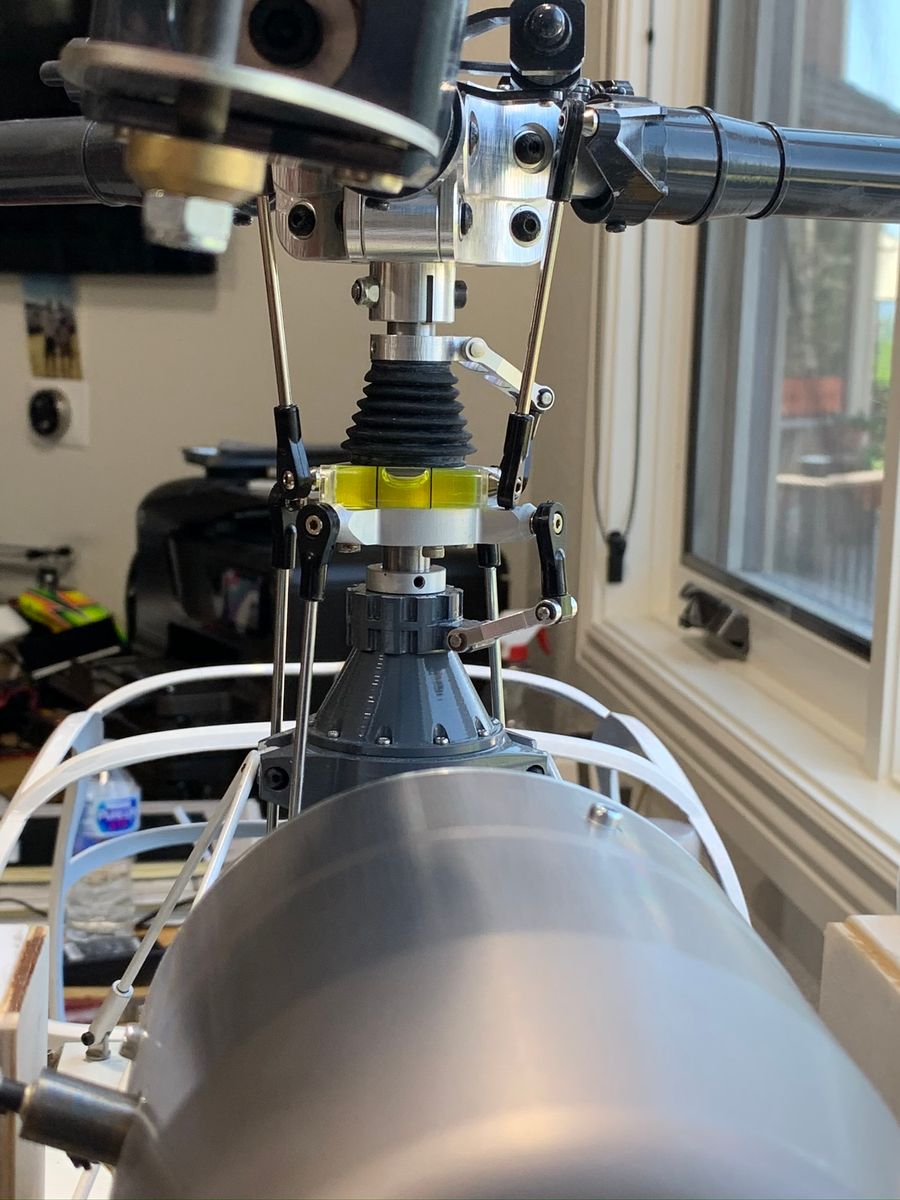
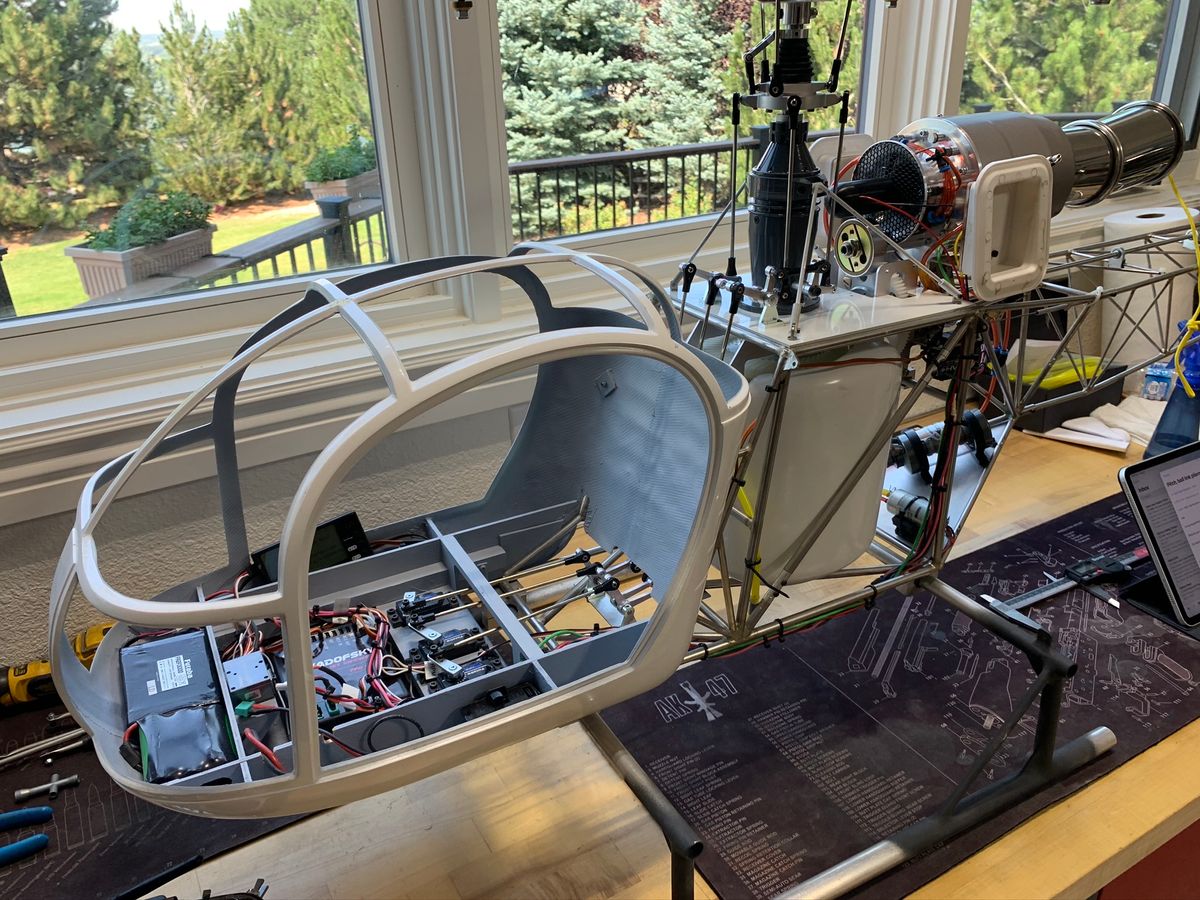
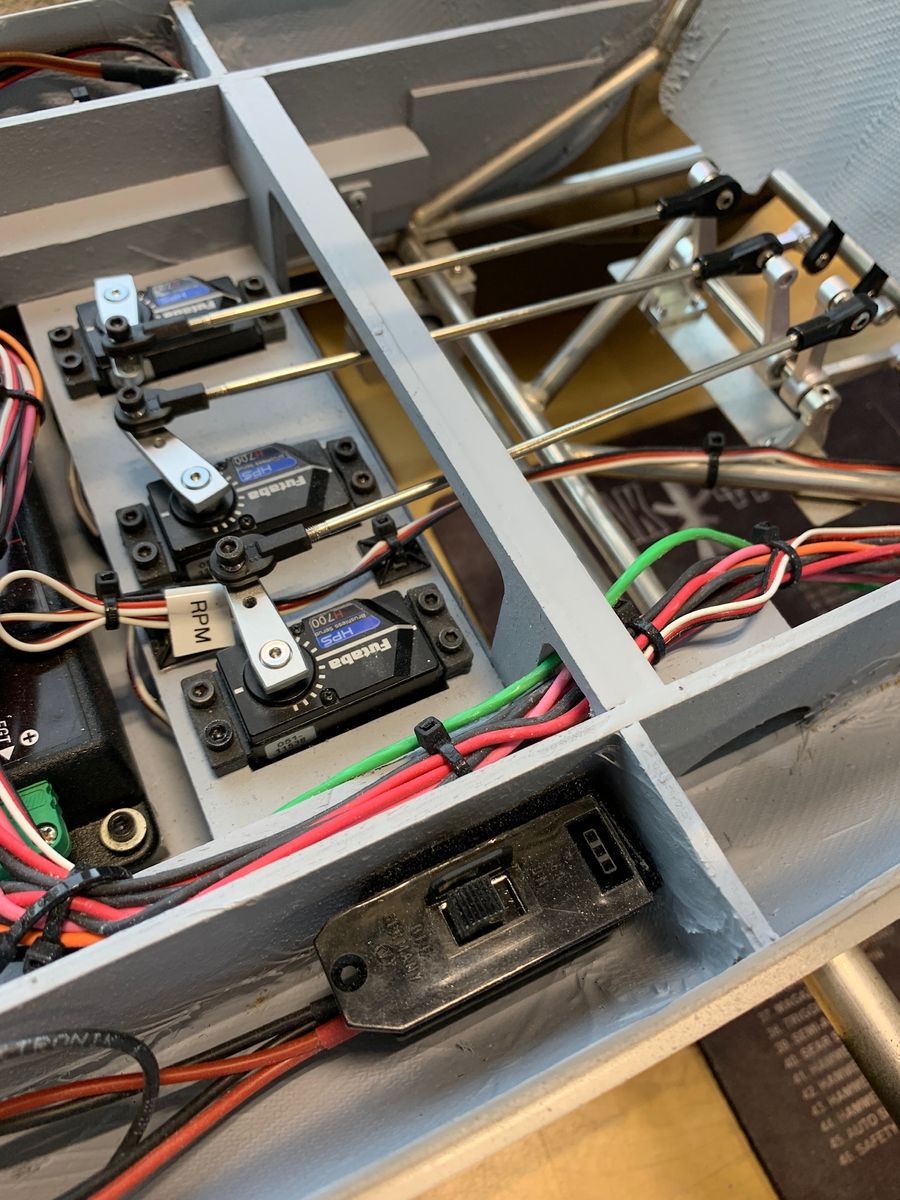
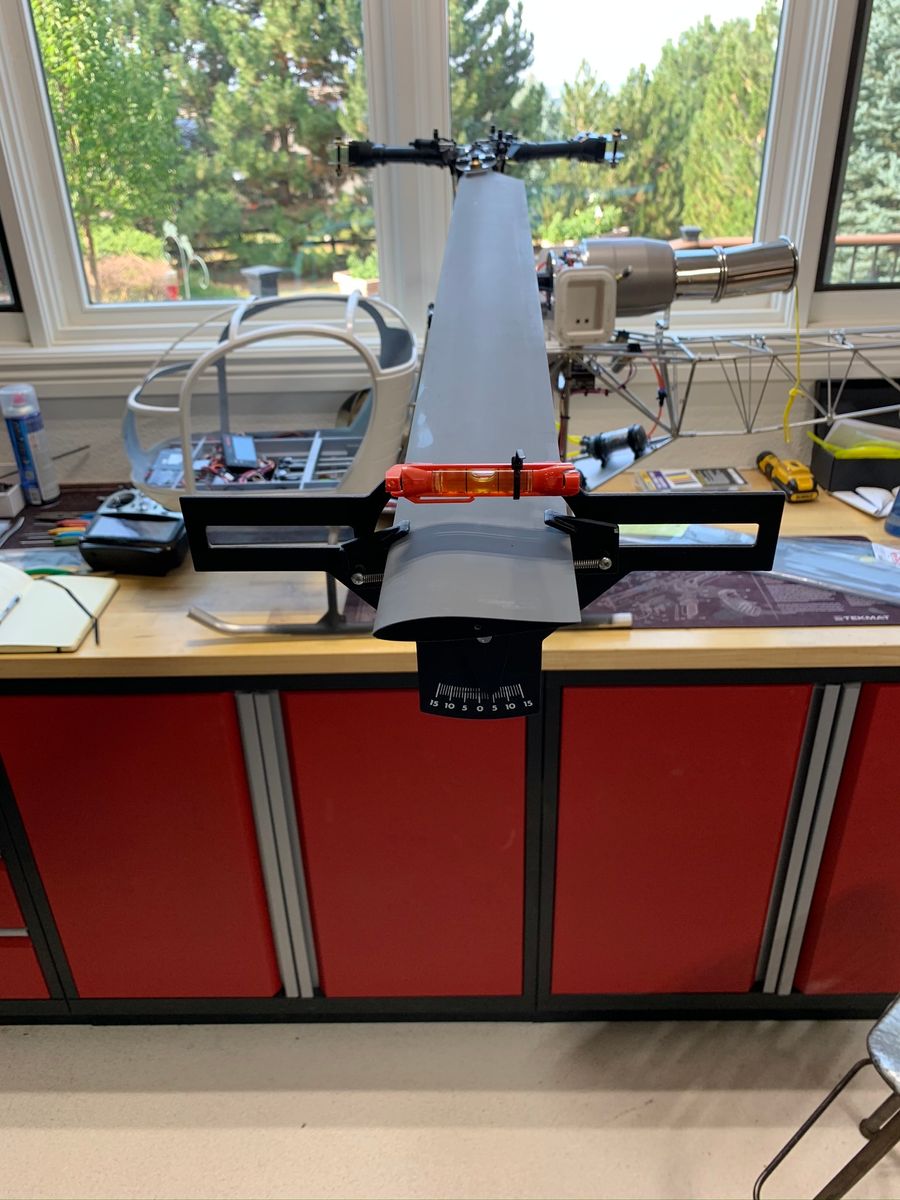
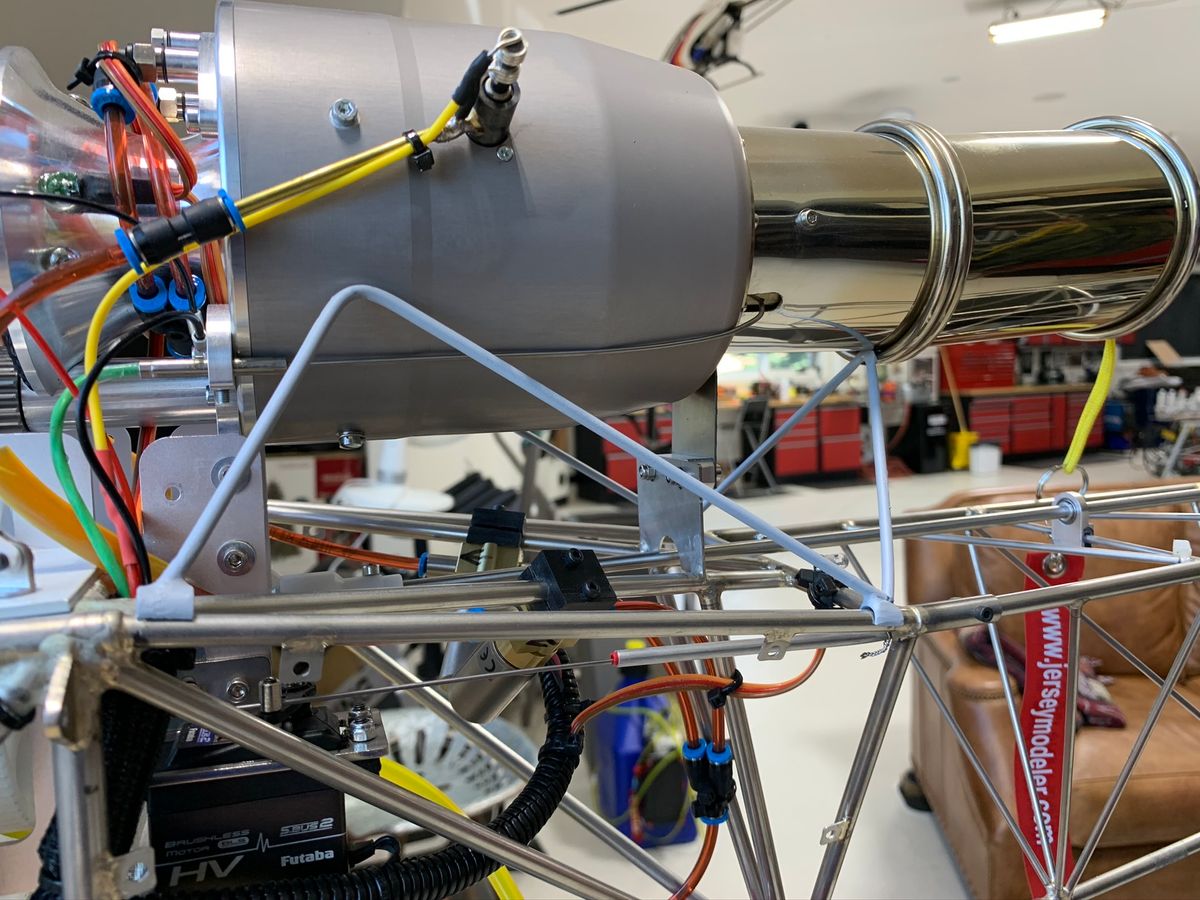
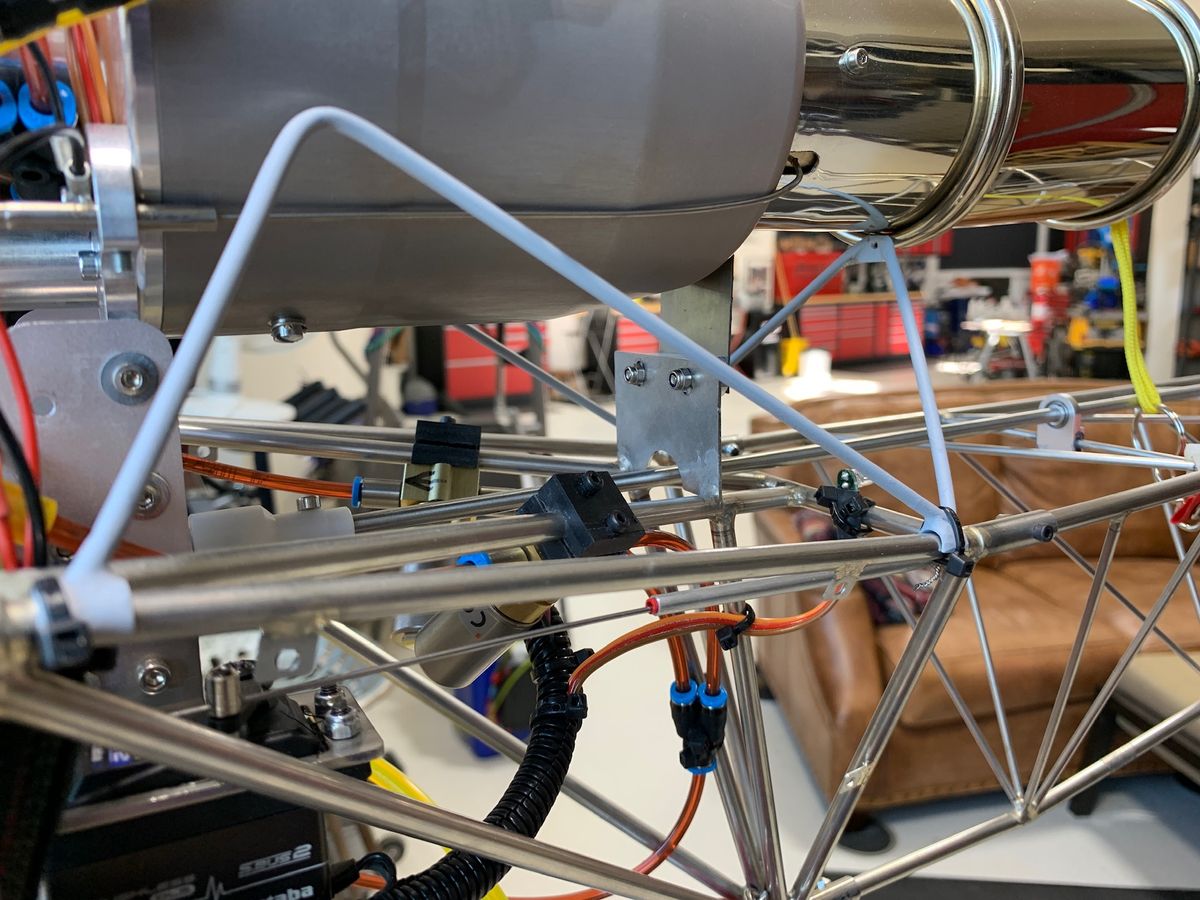
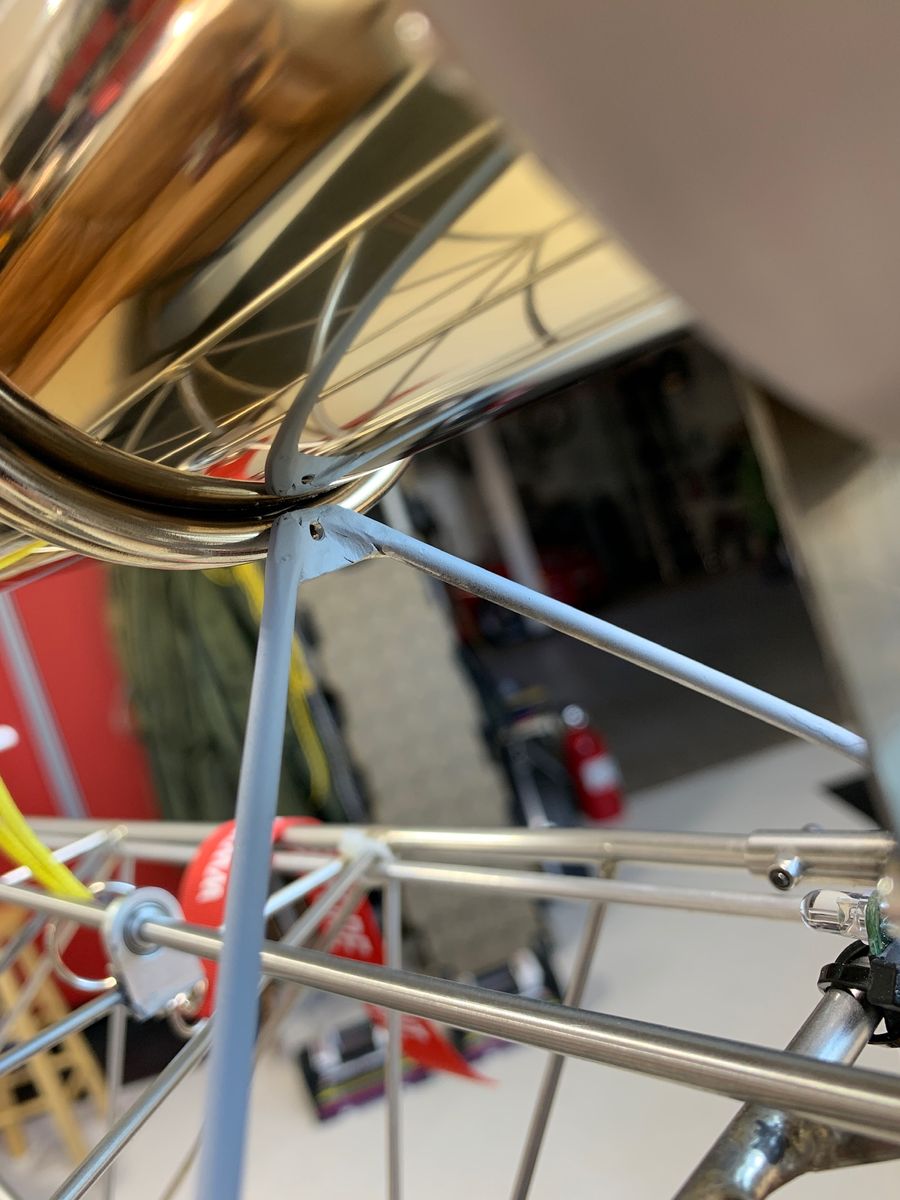
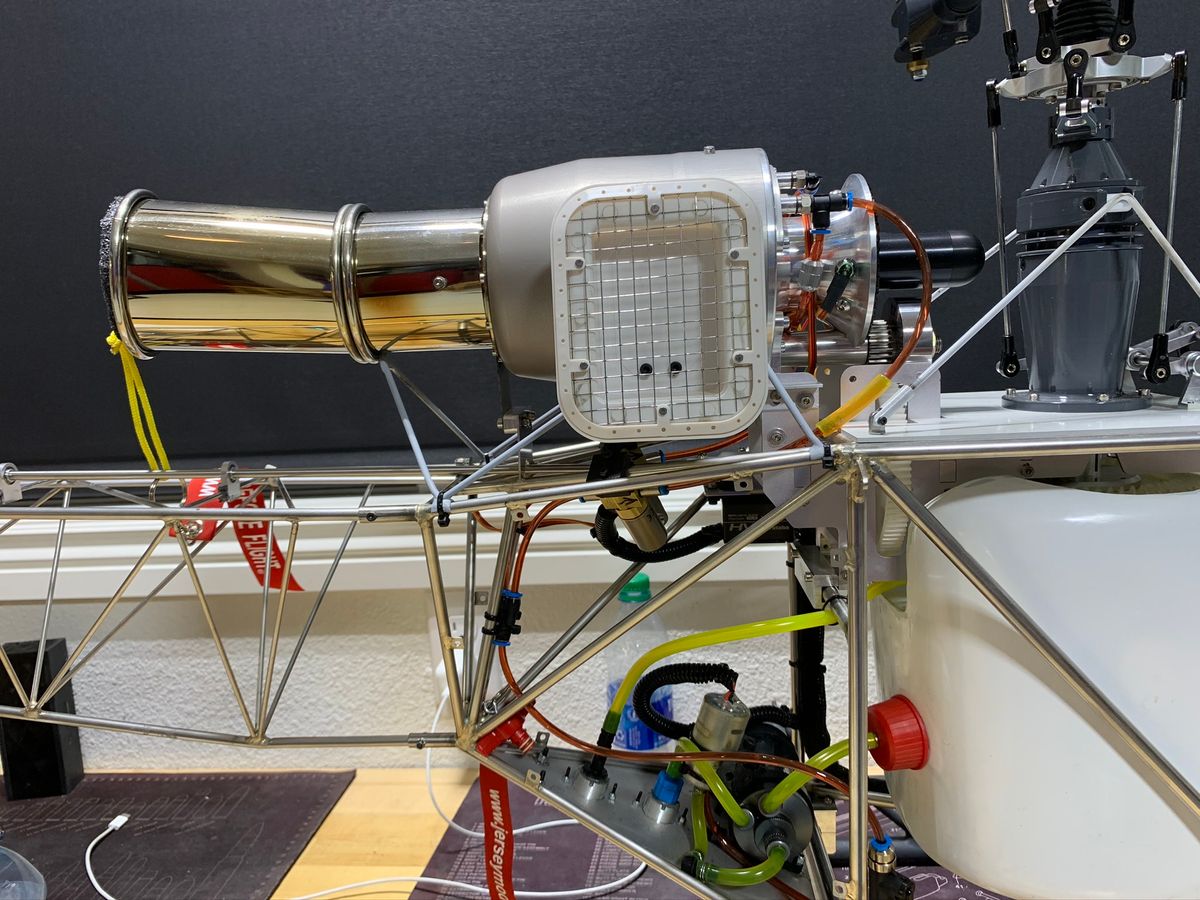
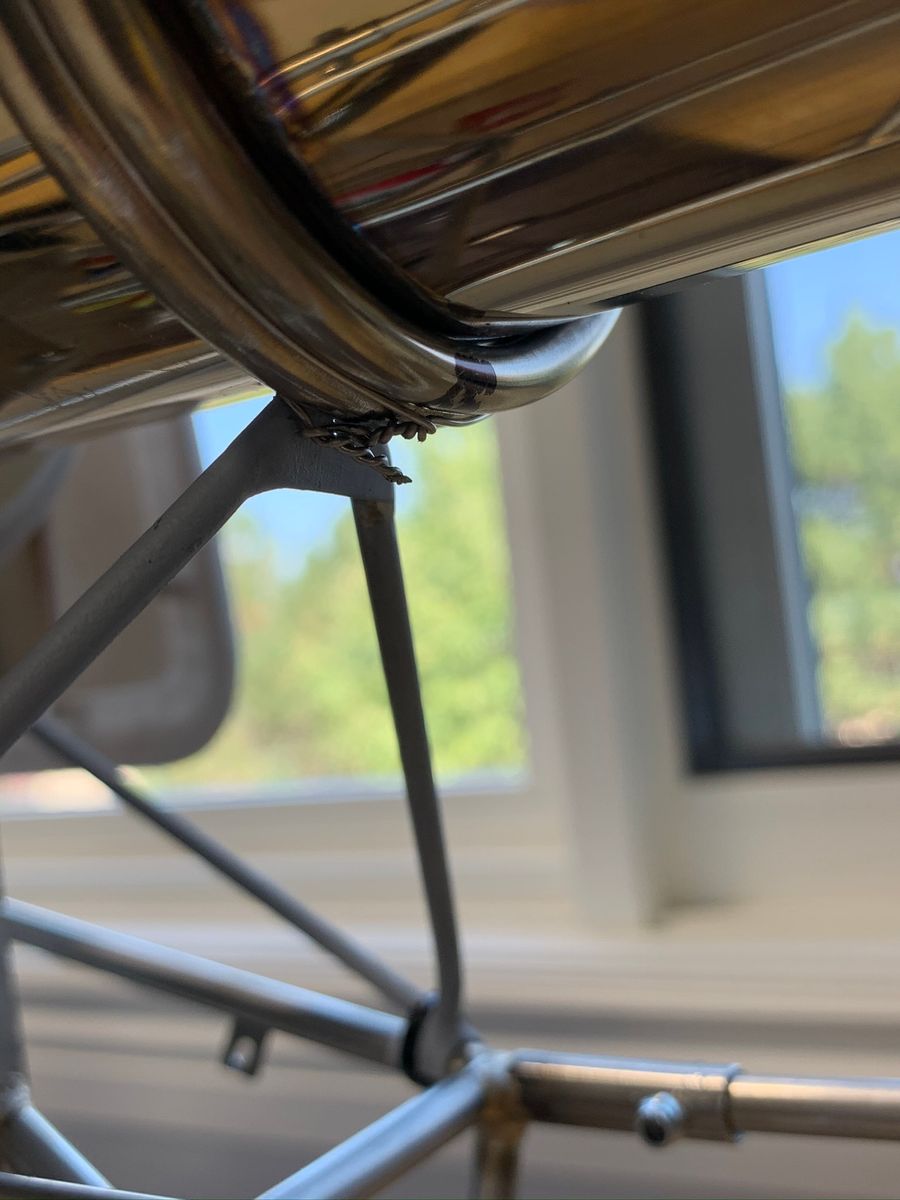
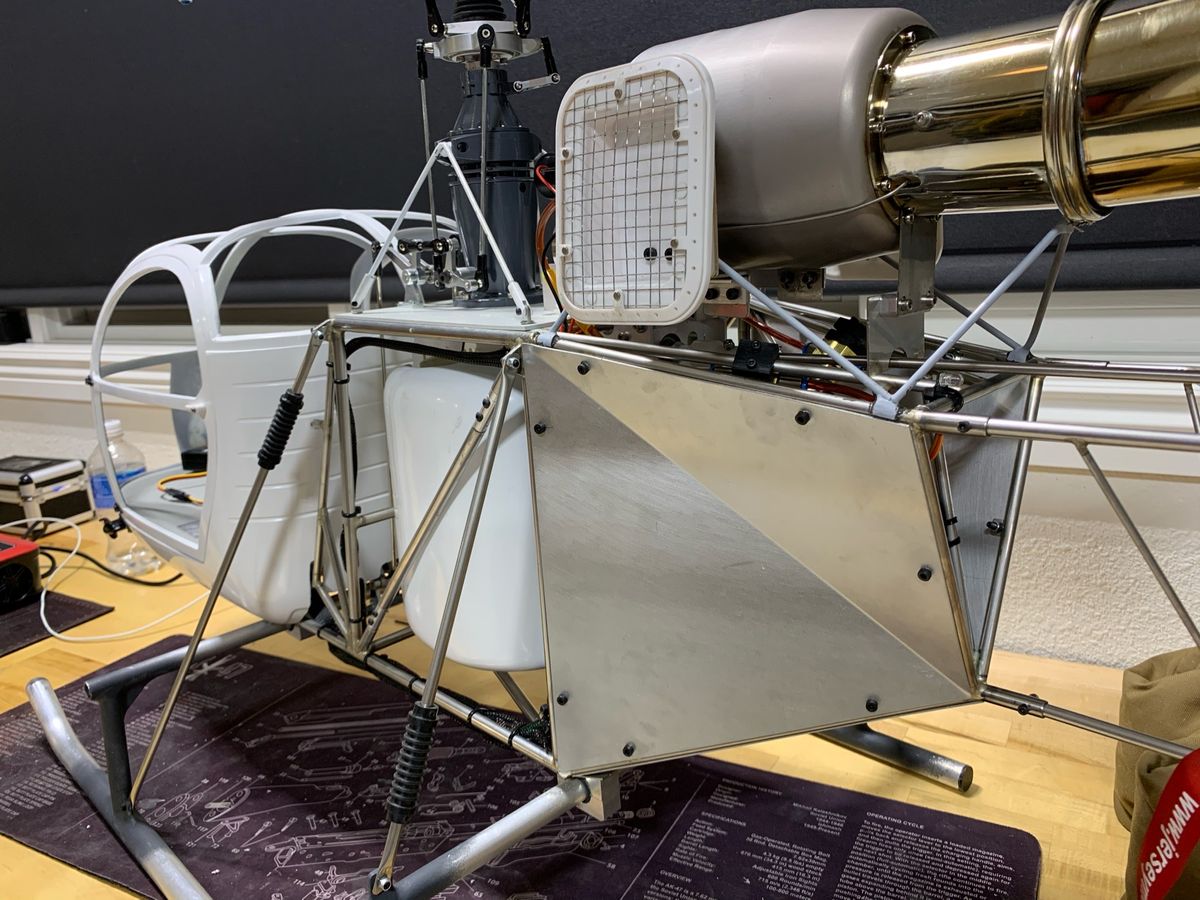
Turbine Exhaust Support
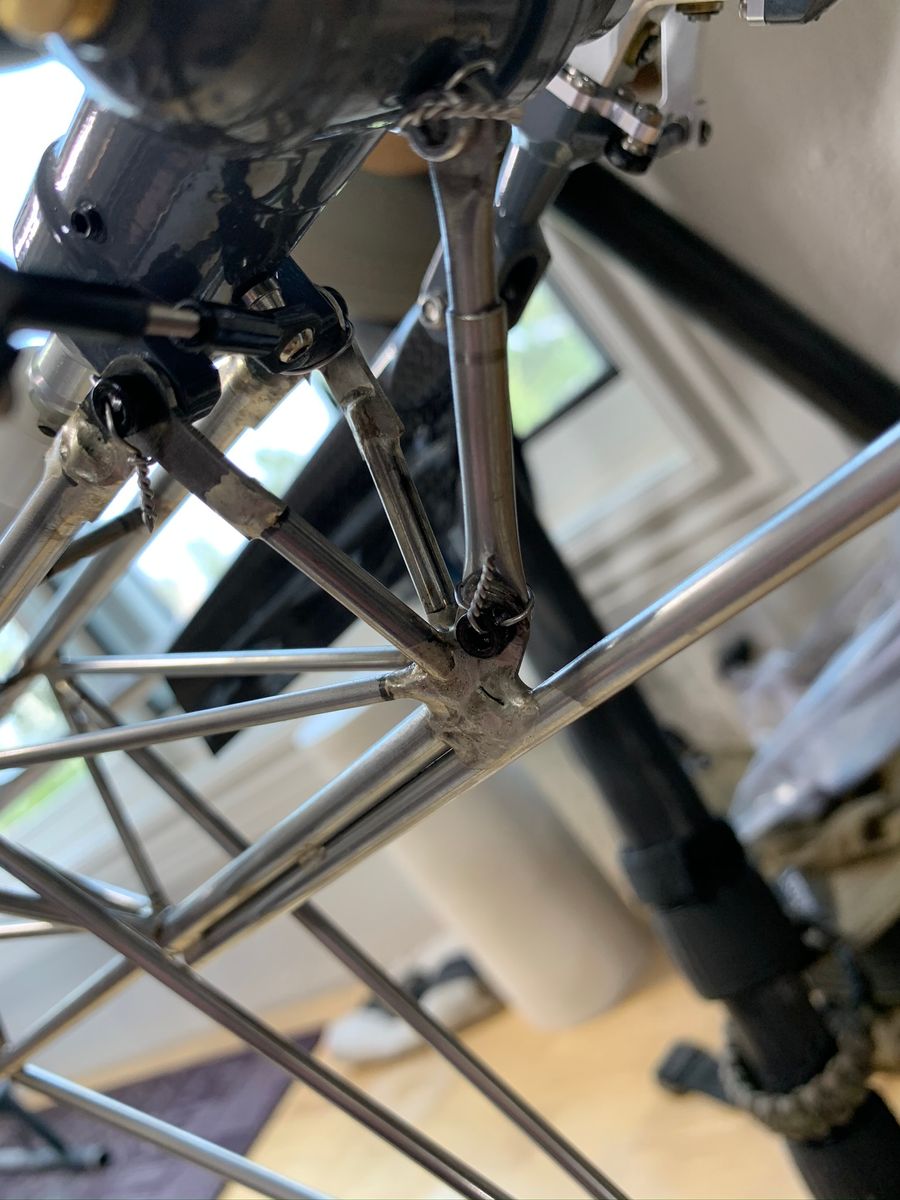
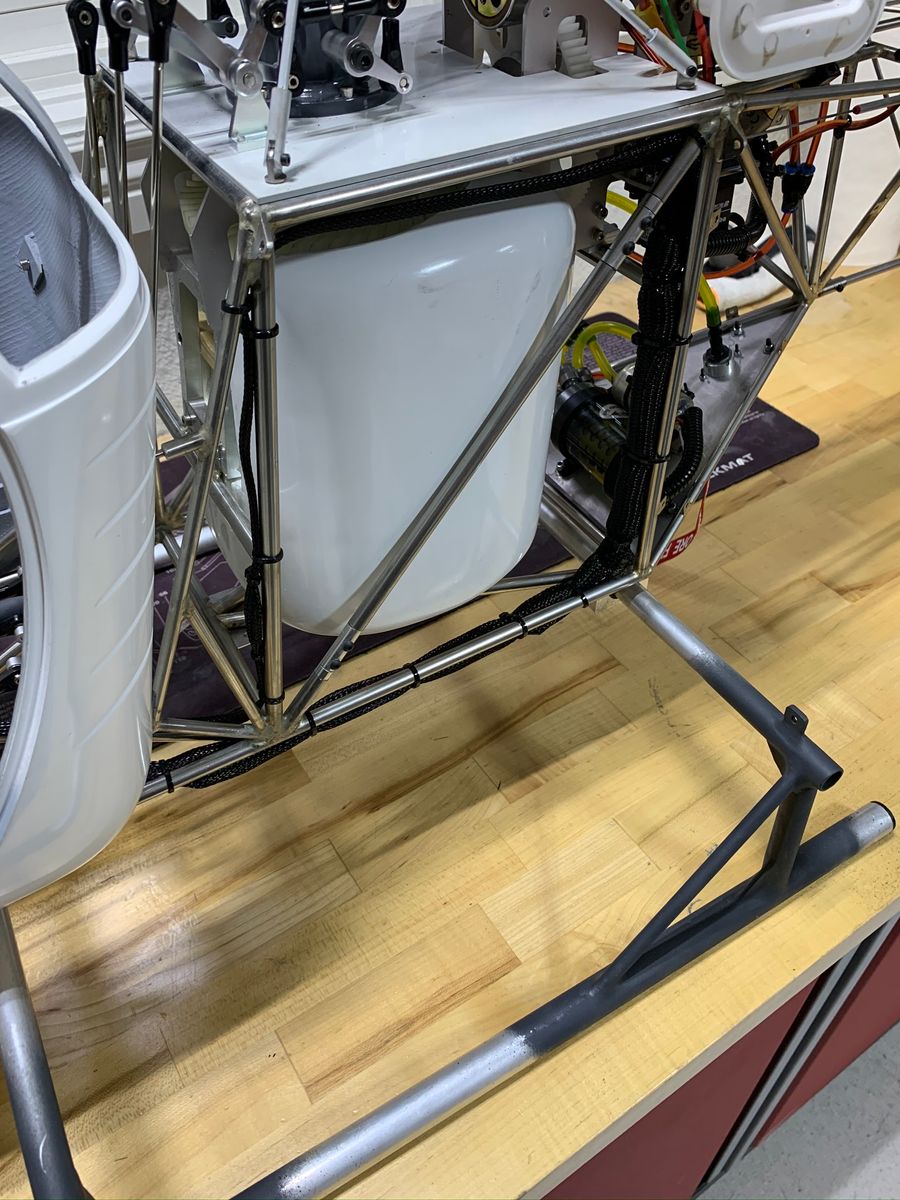
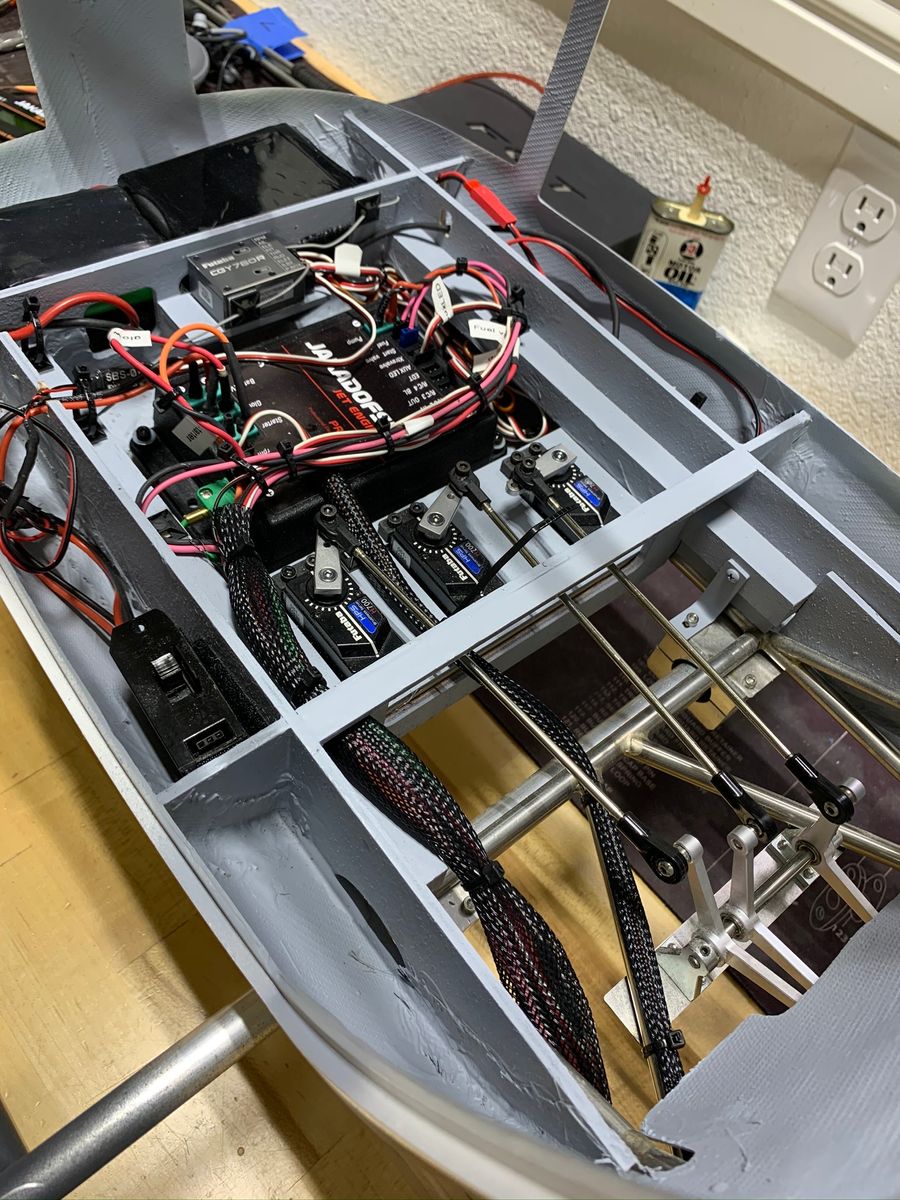
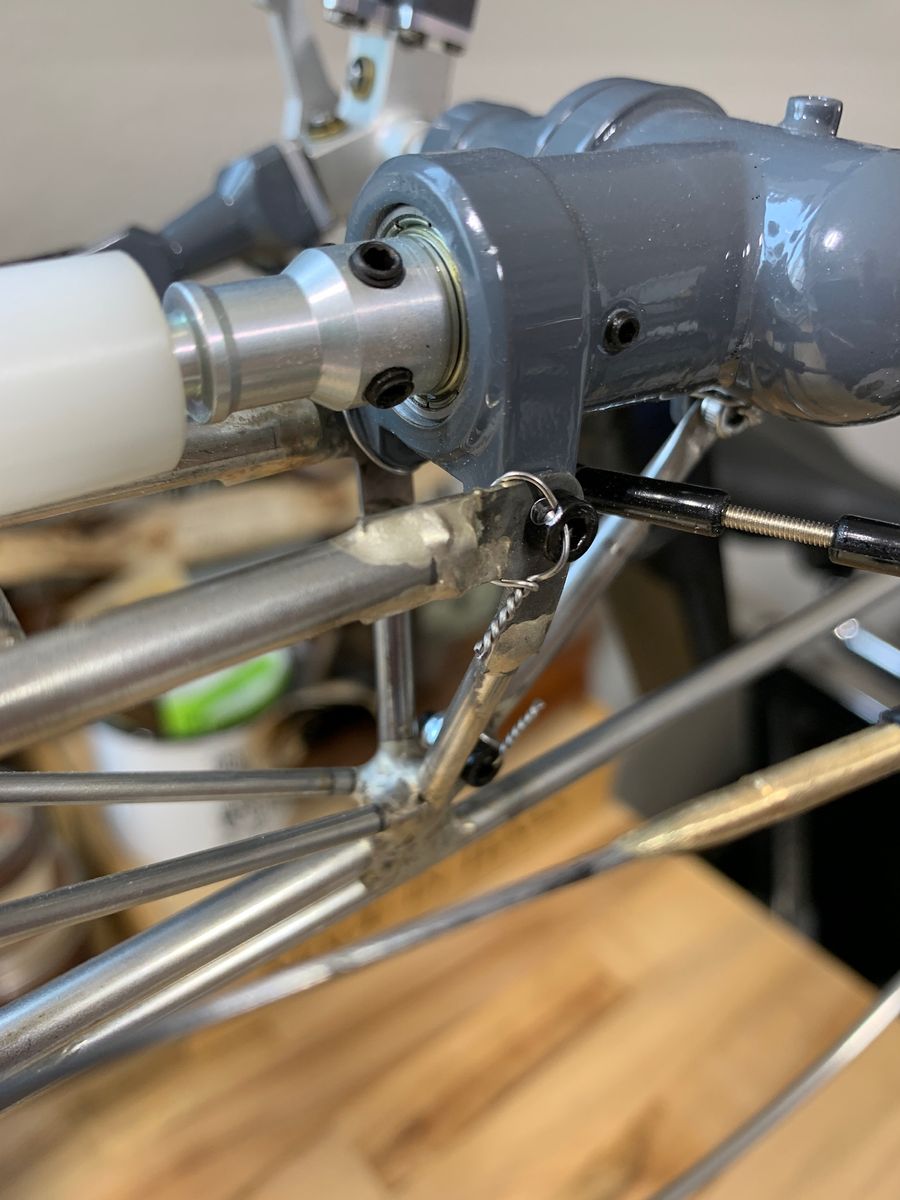
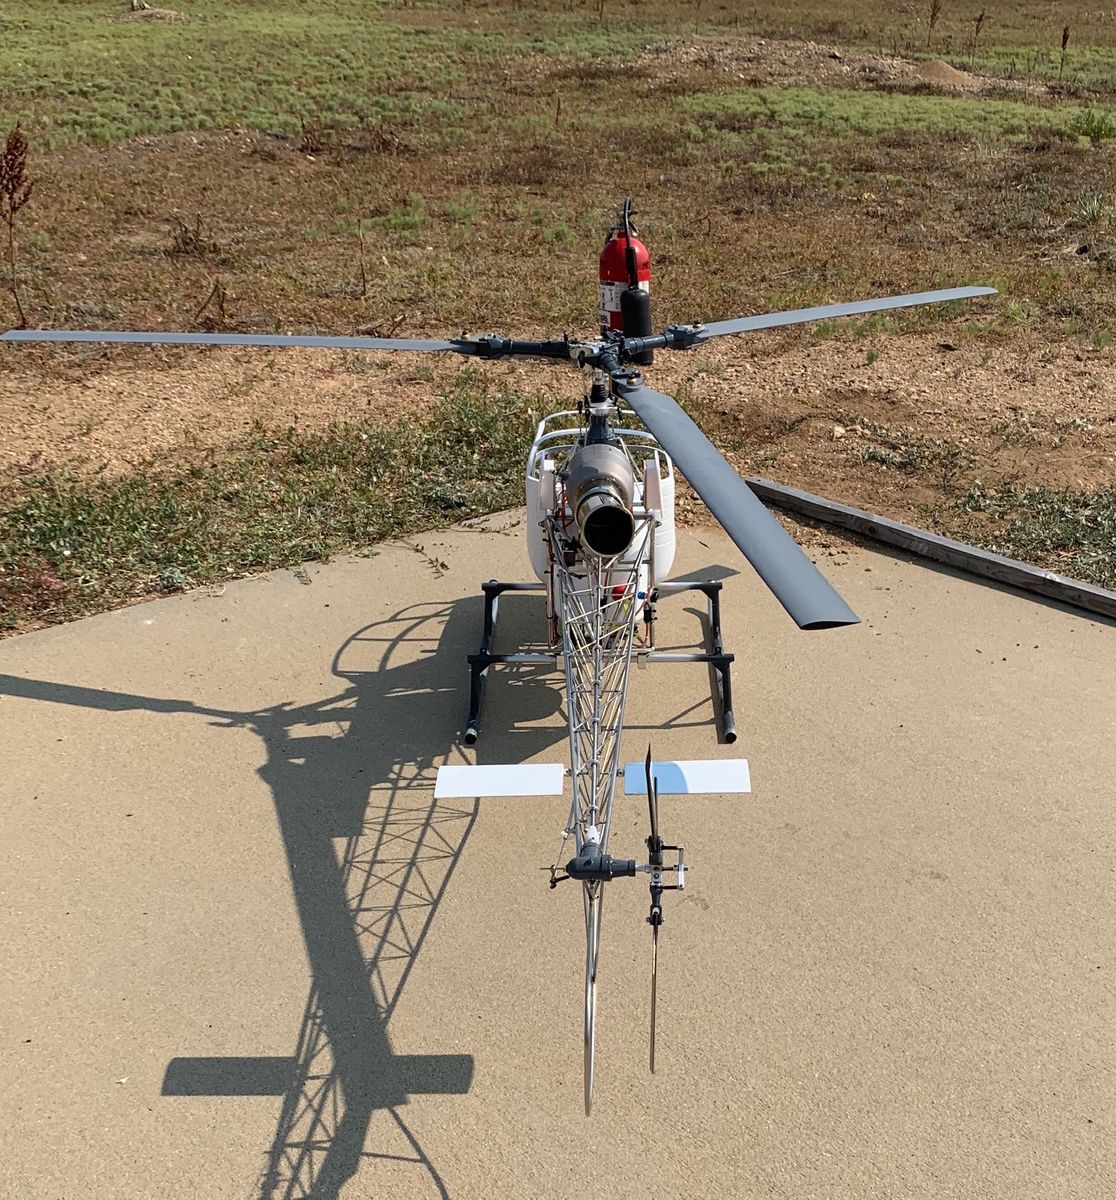
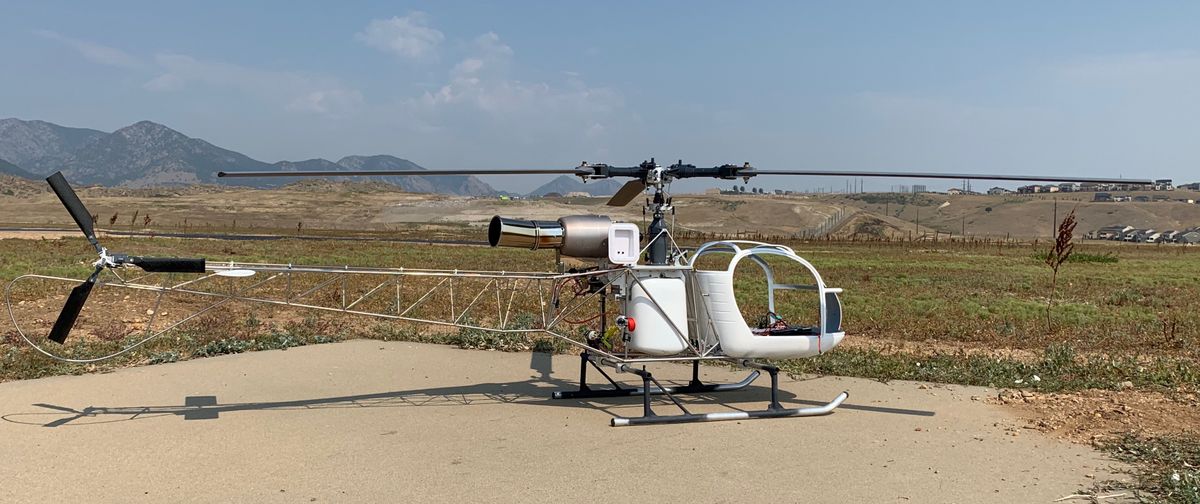
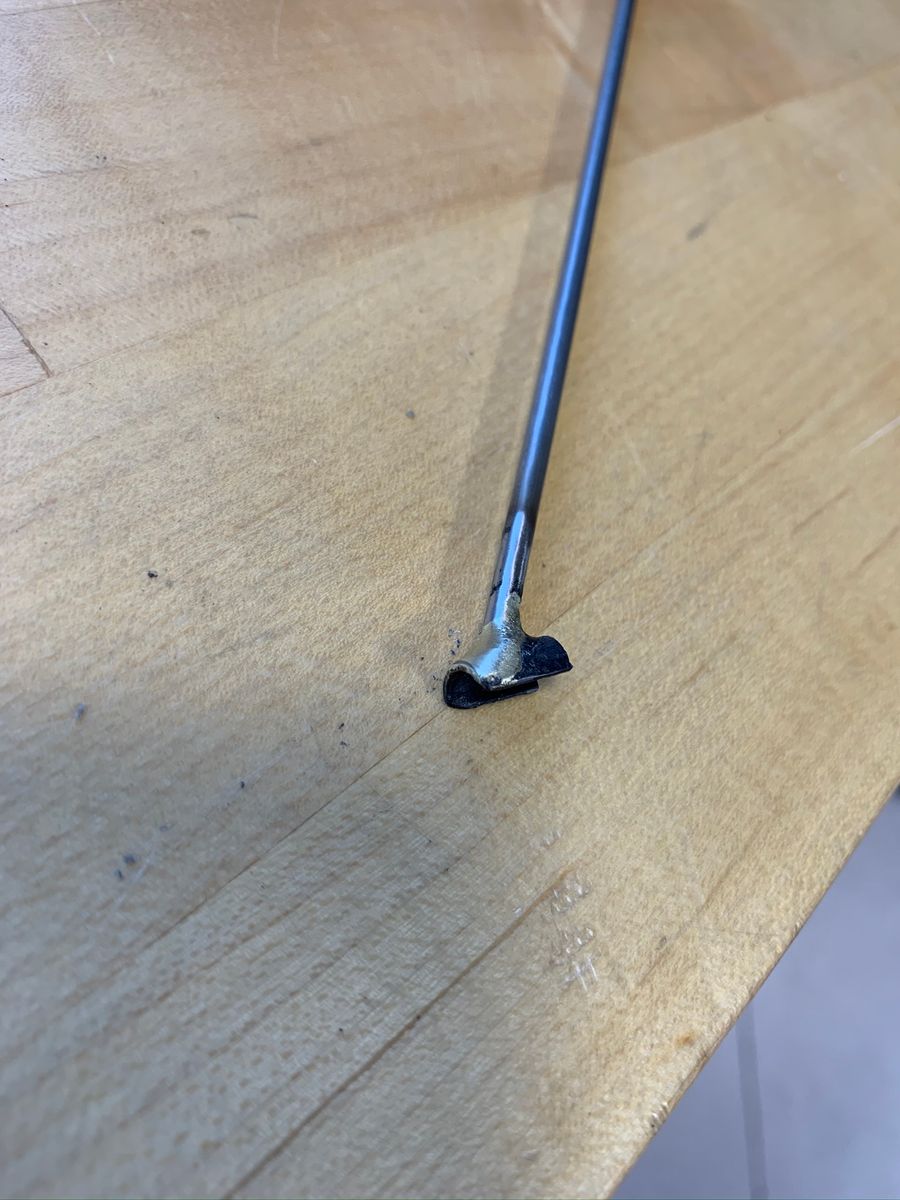
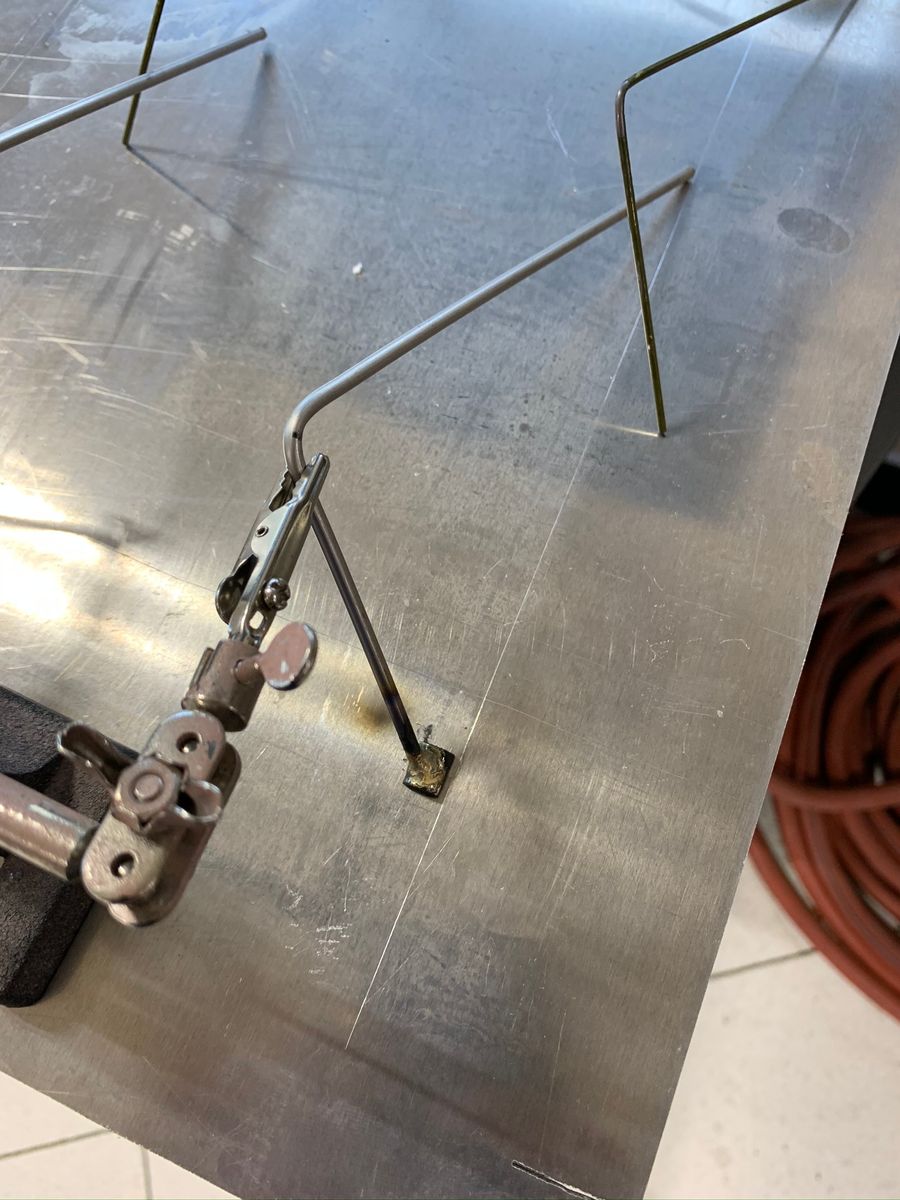
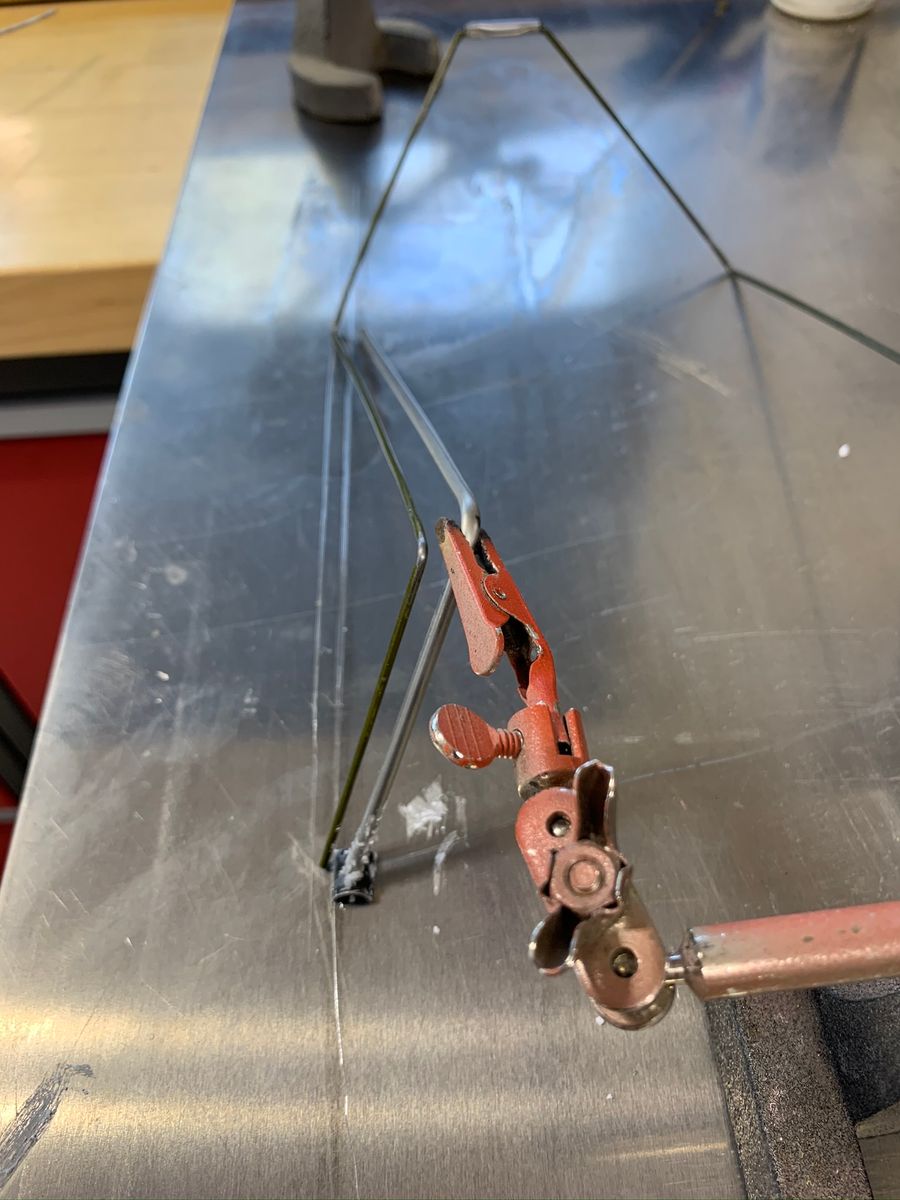
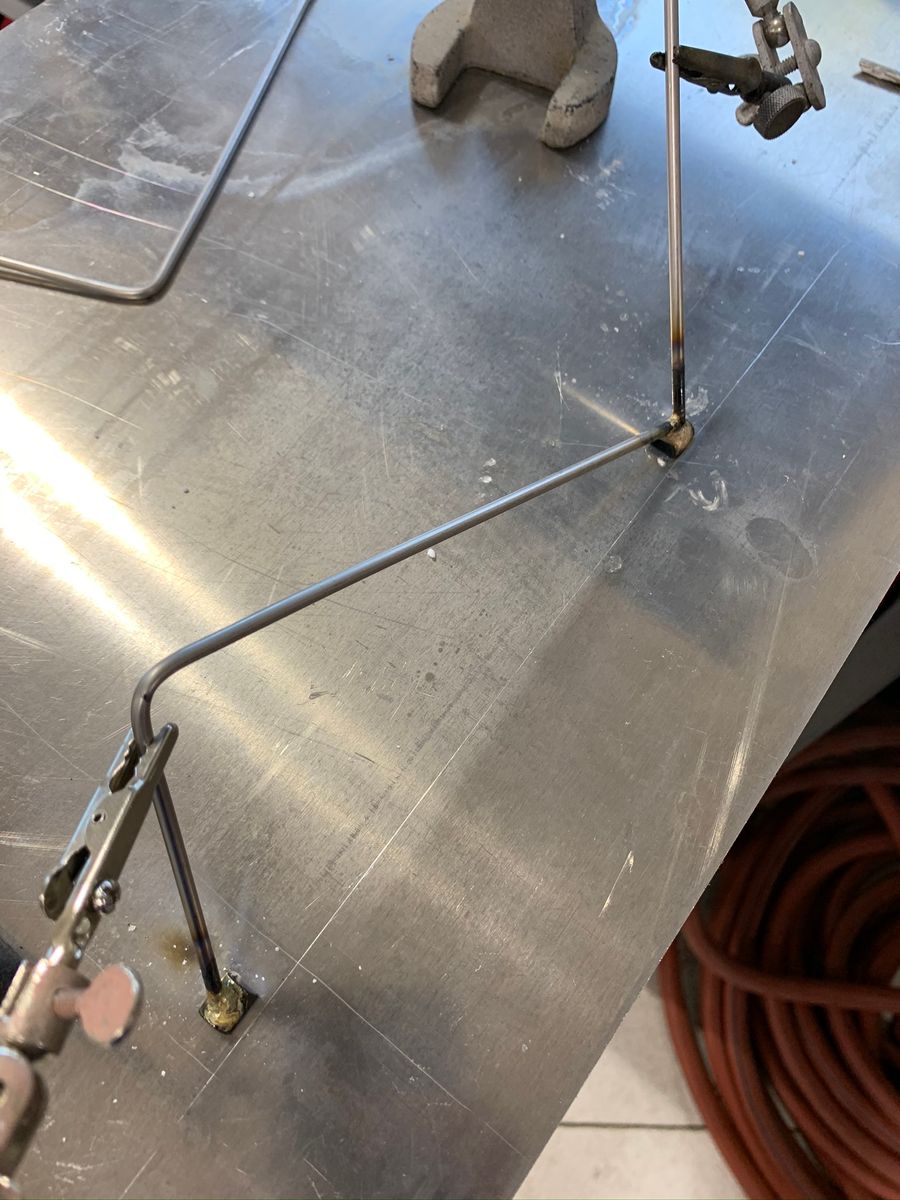
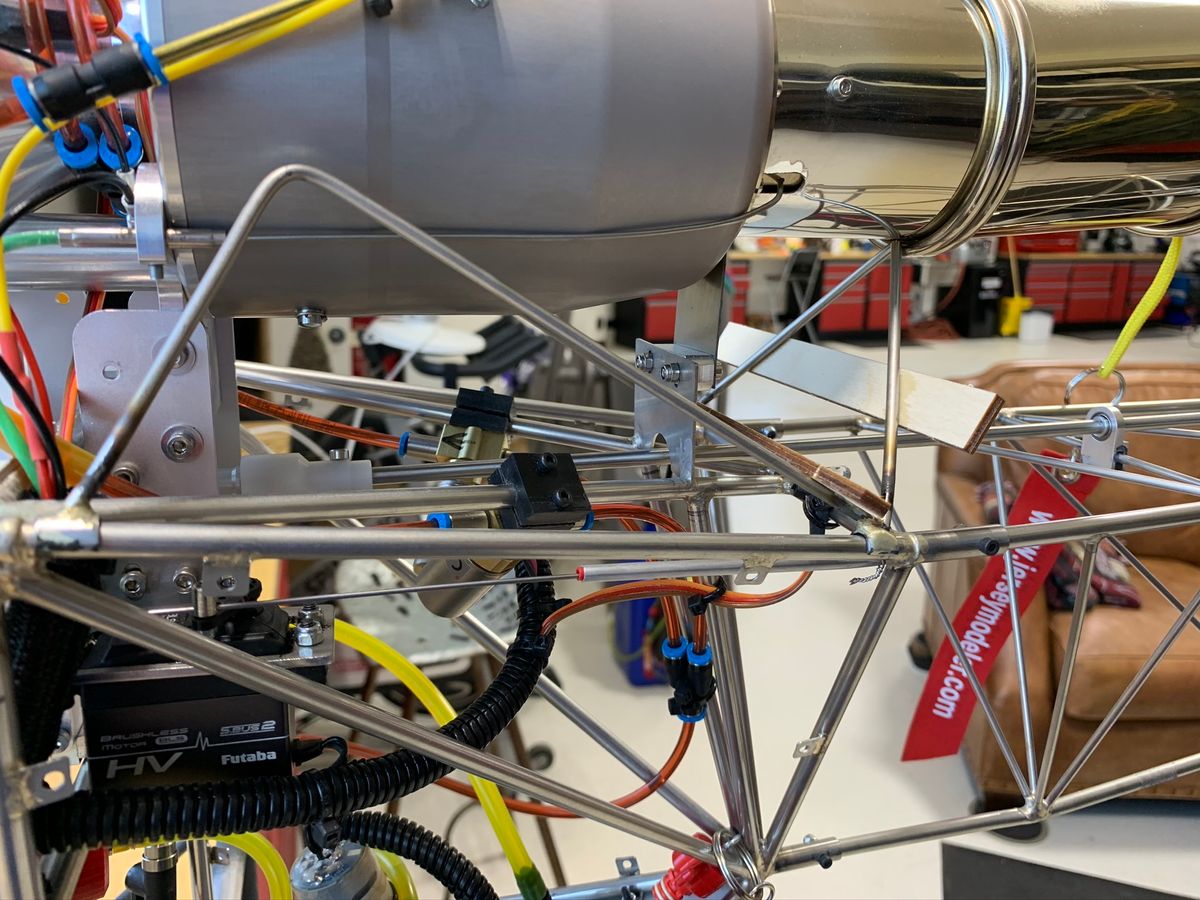
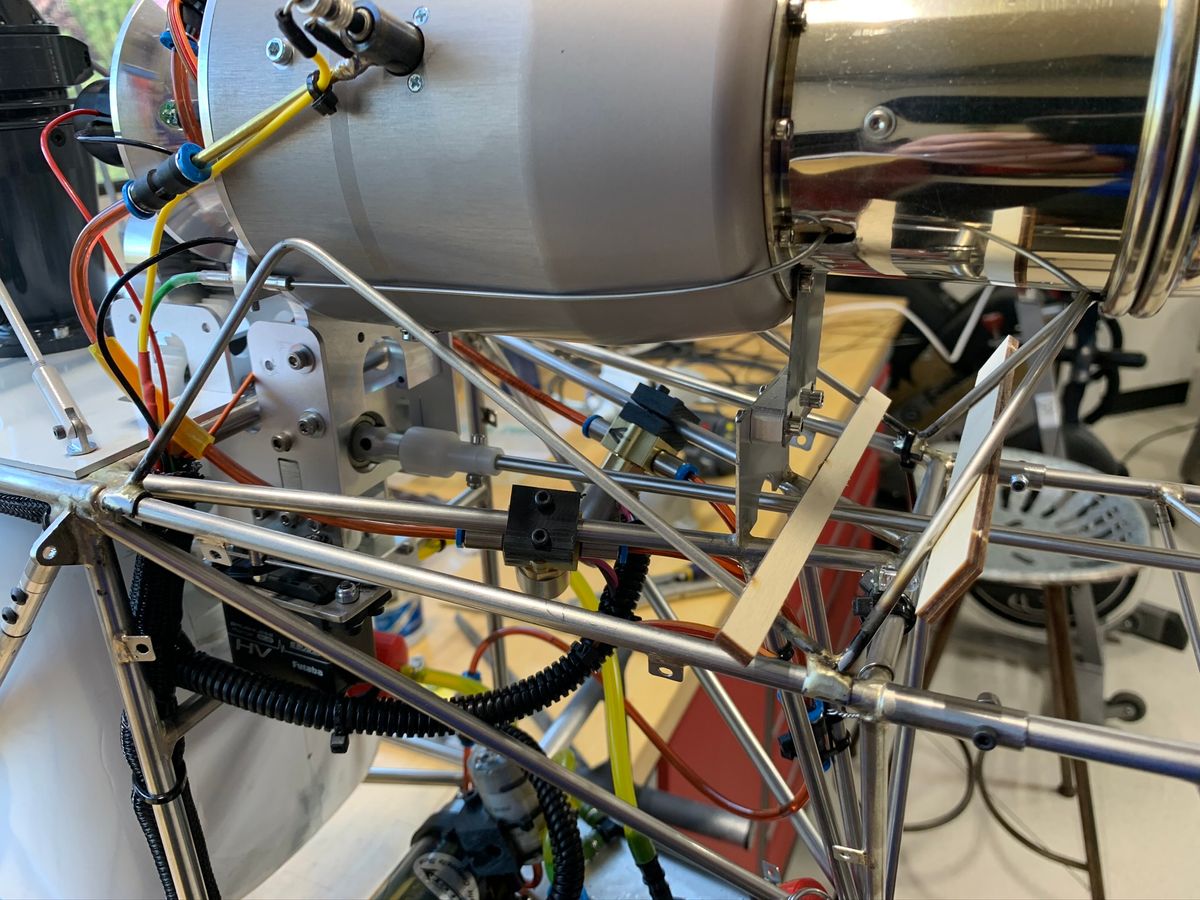
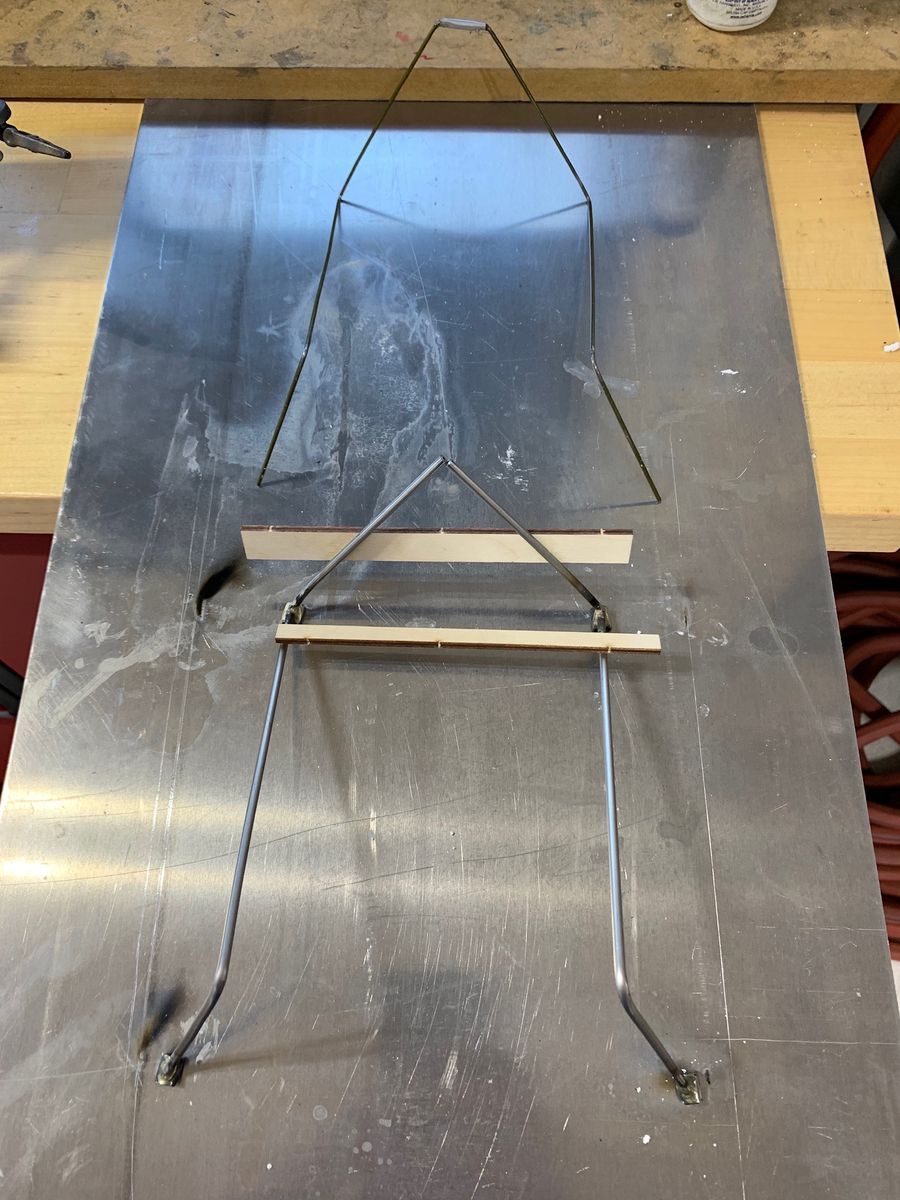
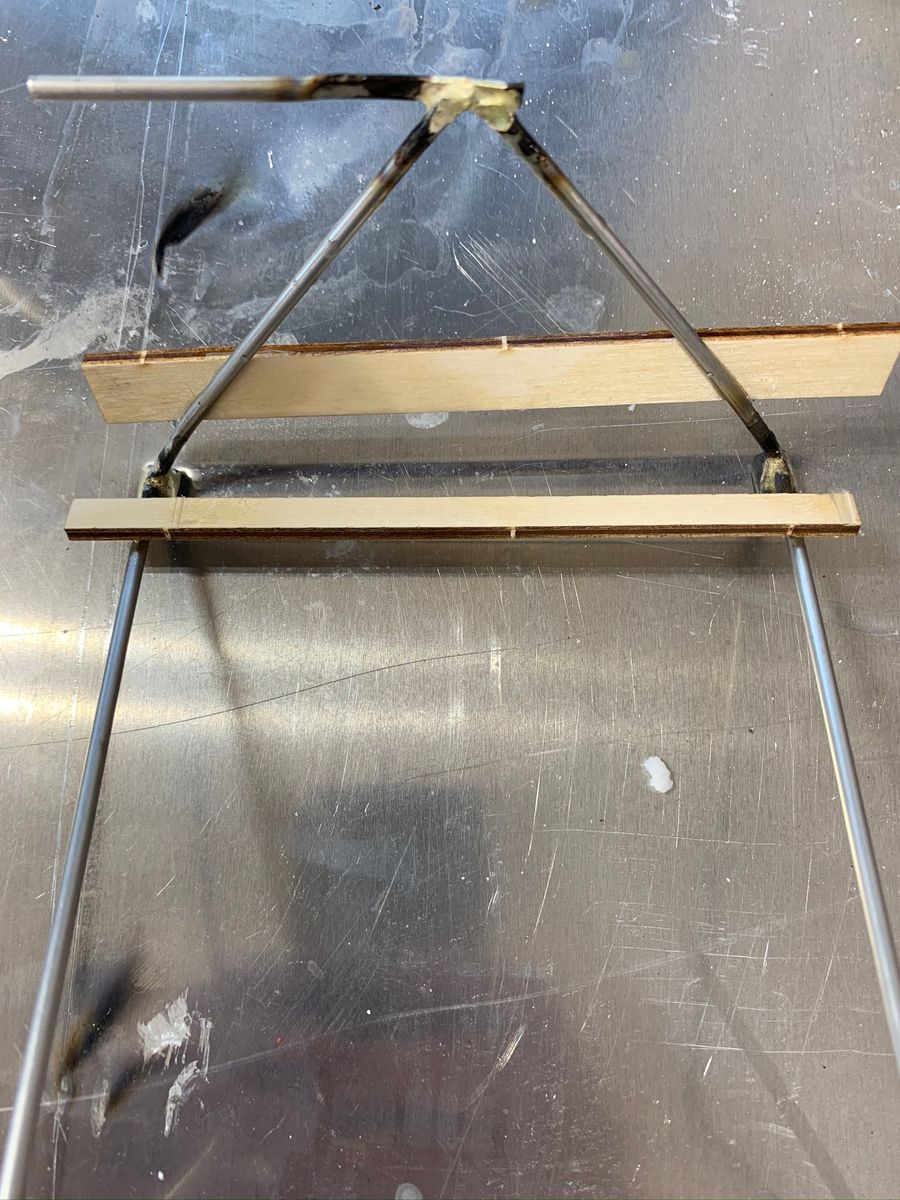
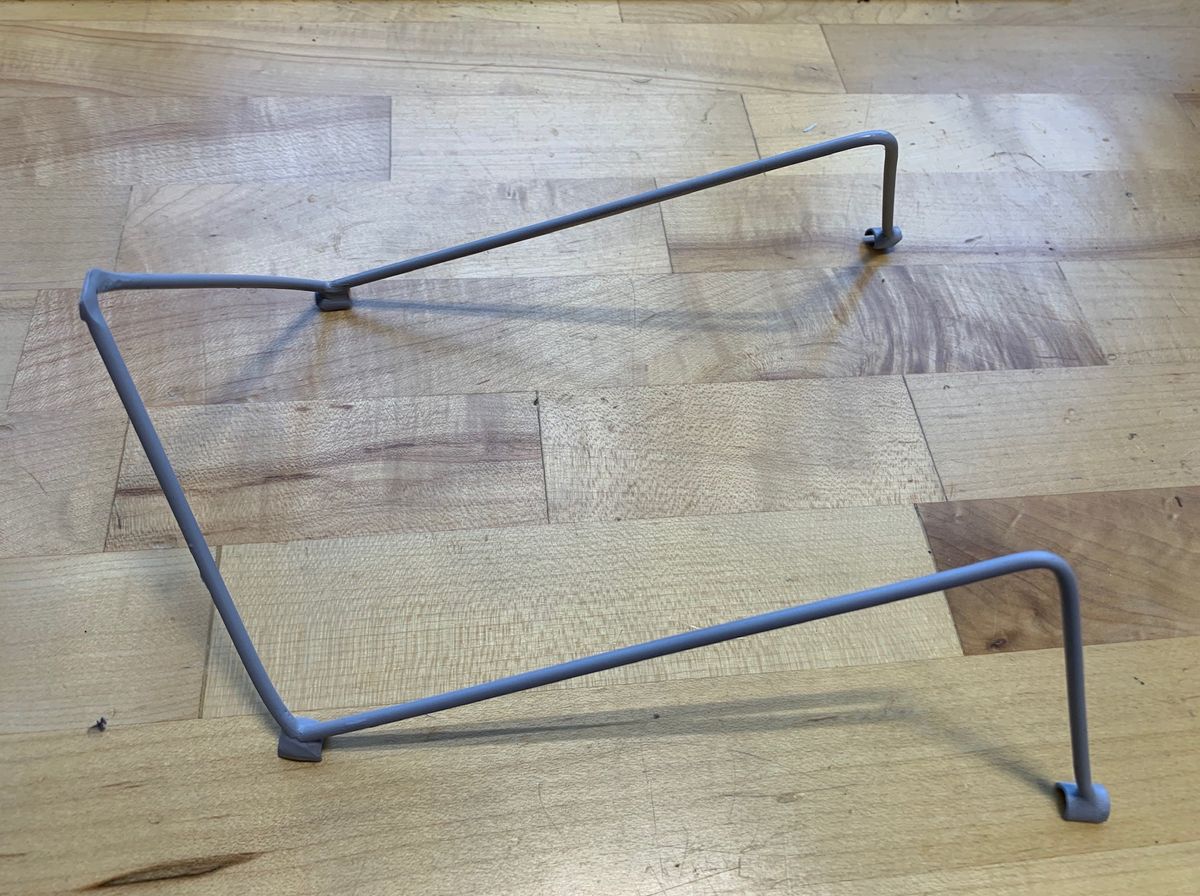
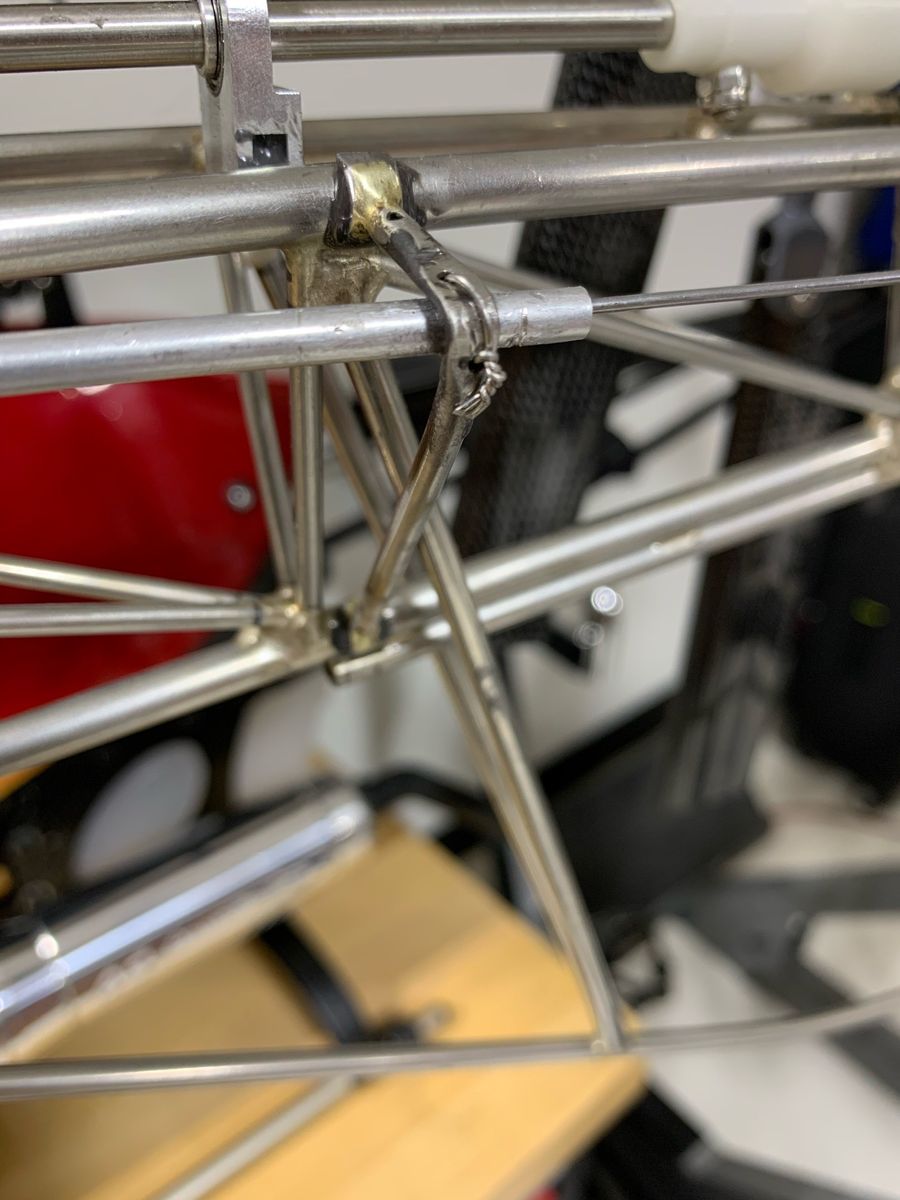
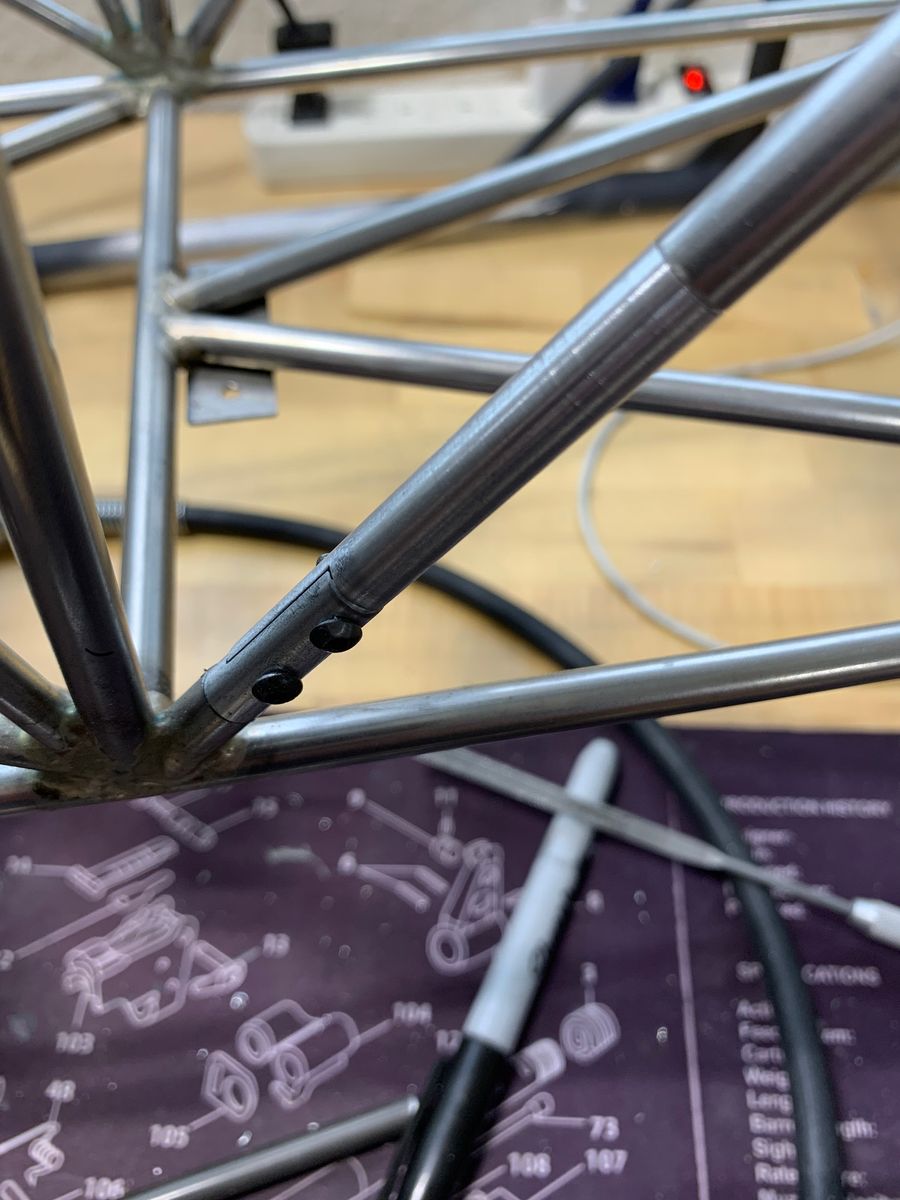
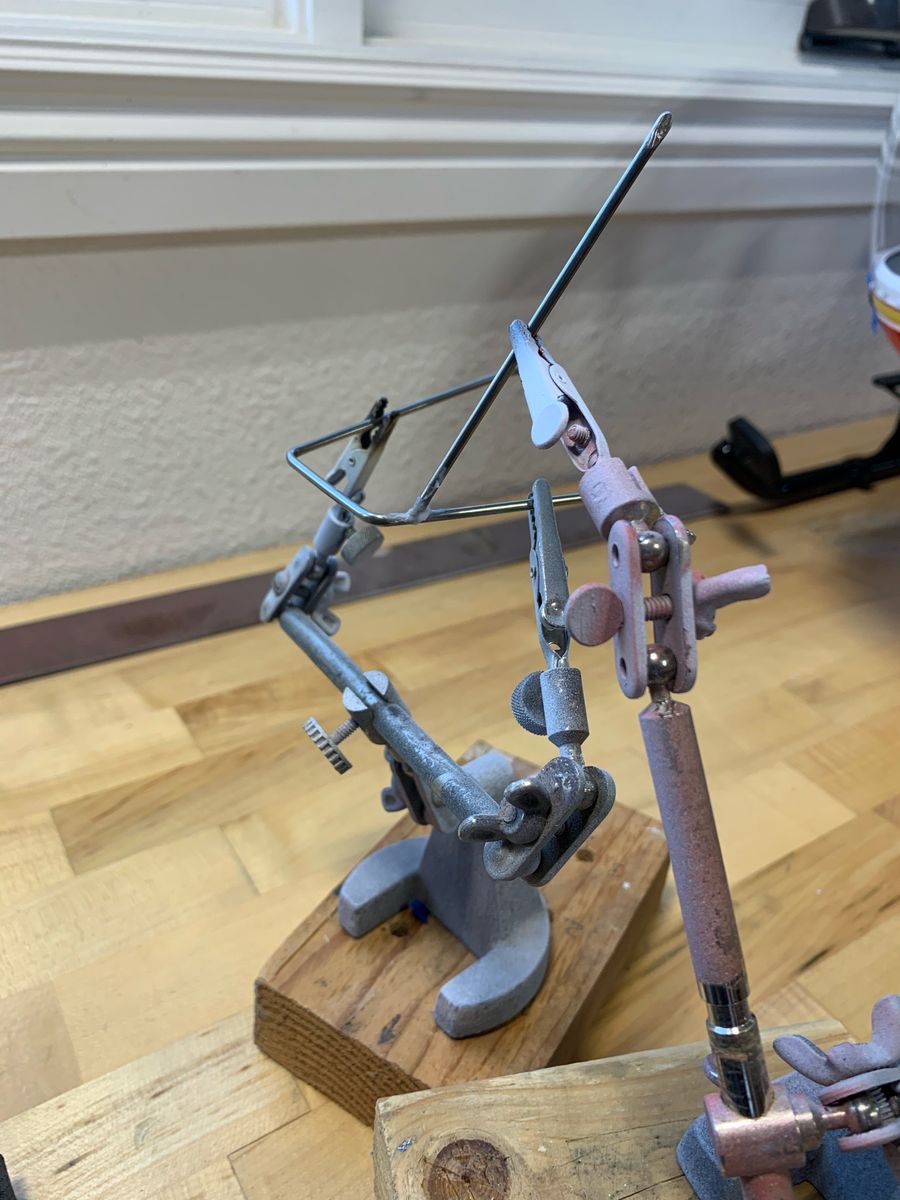
I silver soldered the support frame. The frame is then epoxied to the frame. I did not want to weld the support frame to the existing frame for fear of melting existing frame welds. I also fabricated the tail rotor control rod support as it nears the tail rotor.
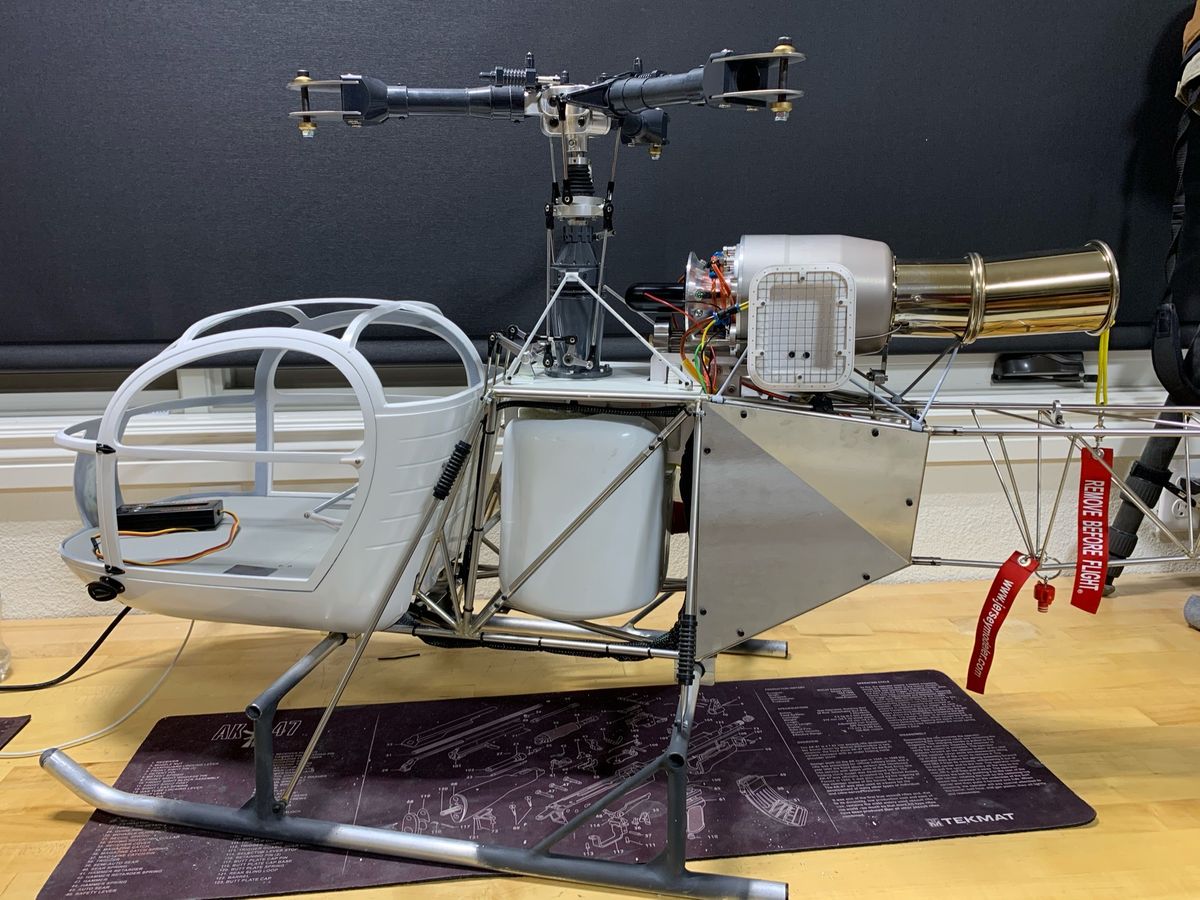
First test flight
One of my first few test flights. I'm cautious and interested in how the mechanics wear and needed to record turbine run data. The video was to record any flight issues. 4+ minutes, so not much to see.
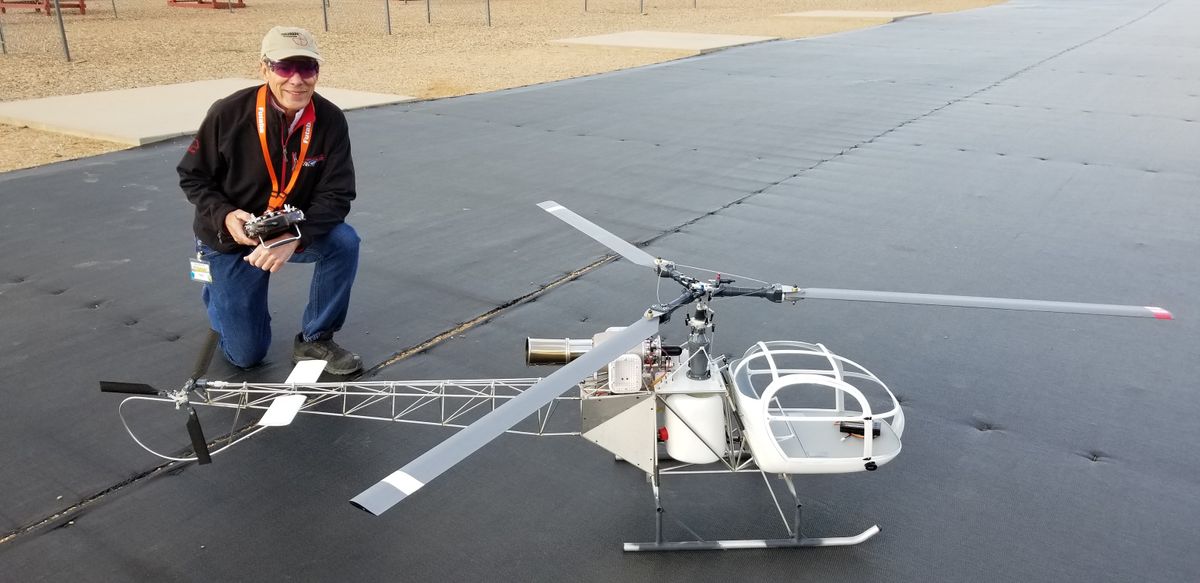
Lama Painting Process
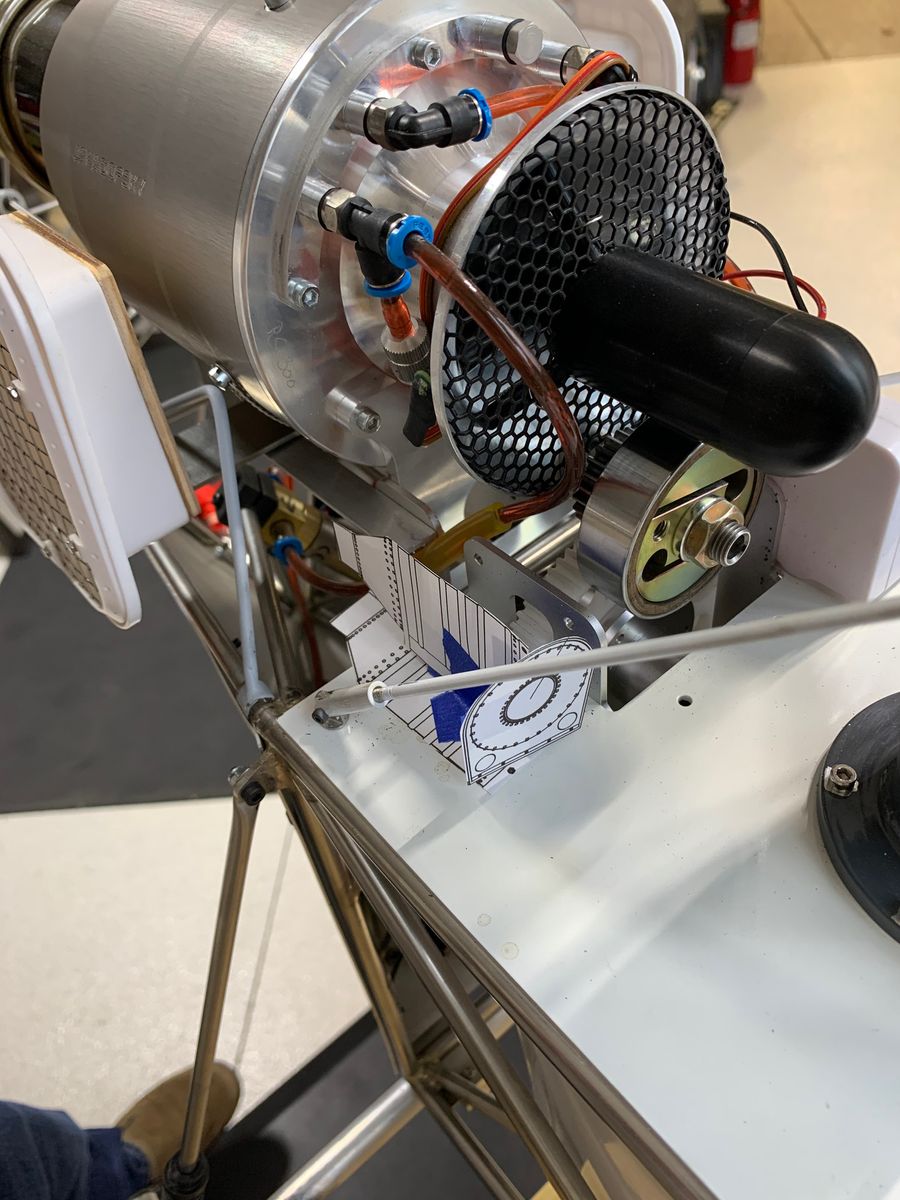
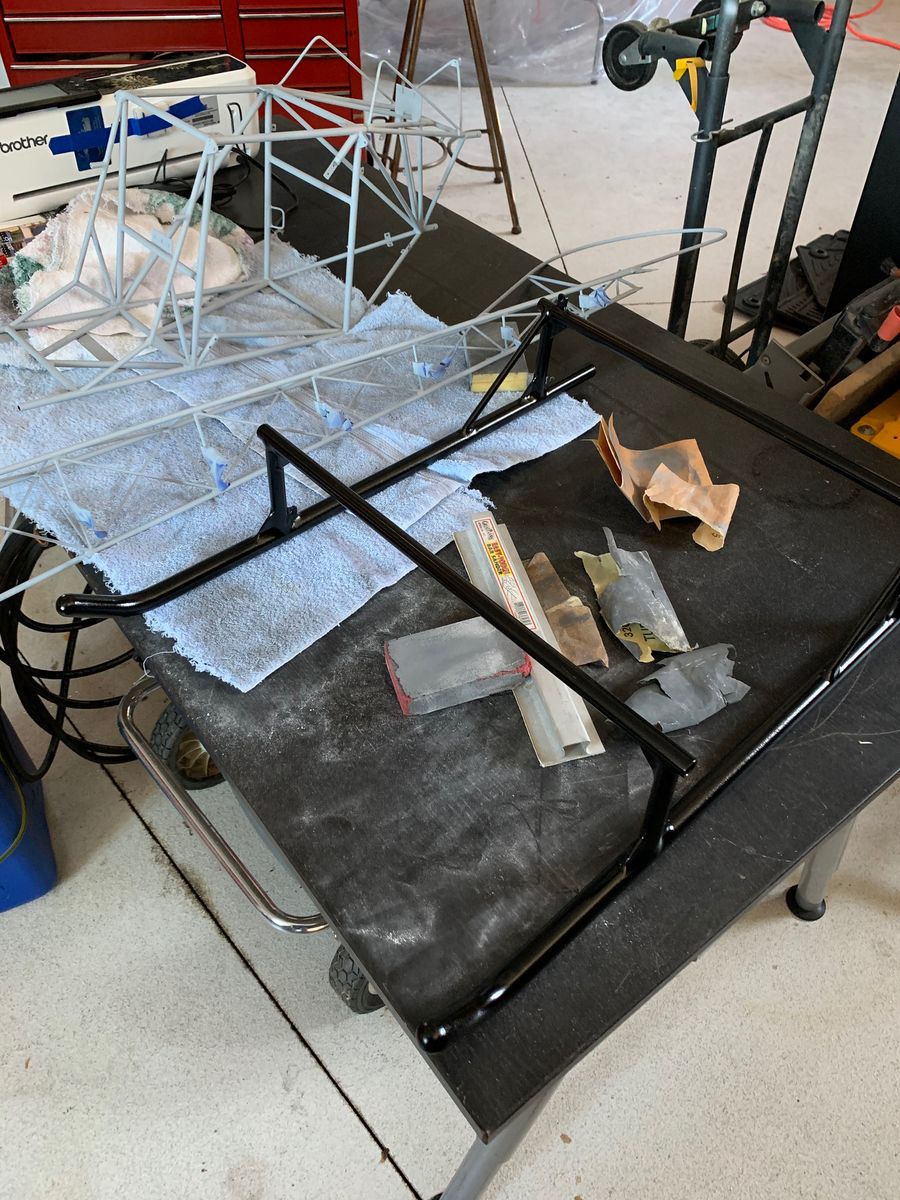
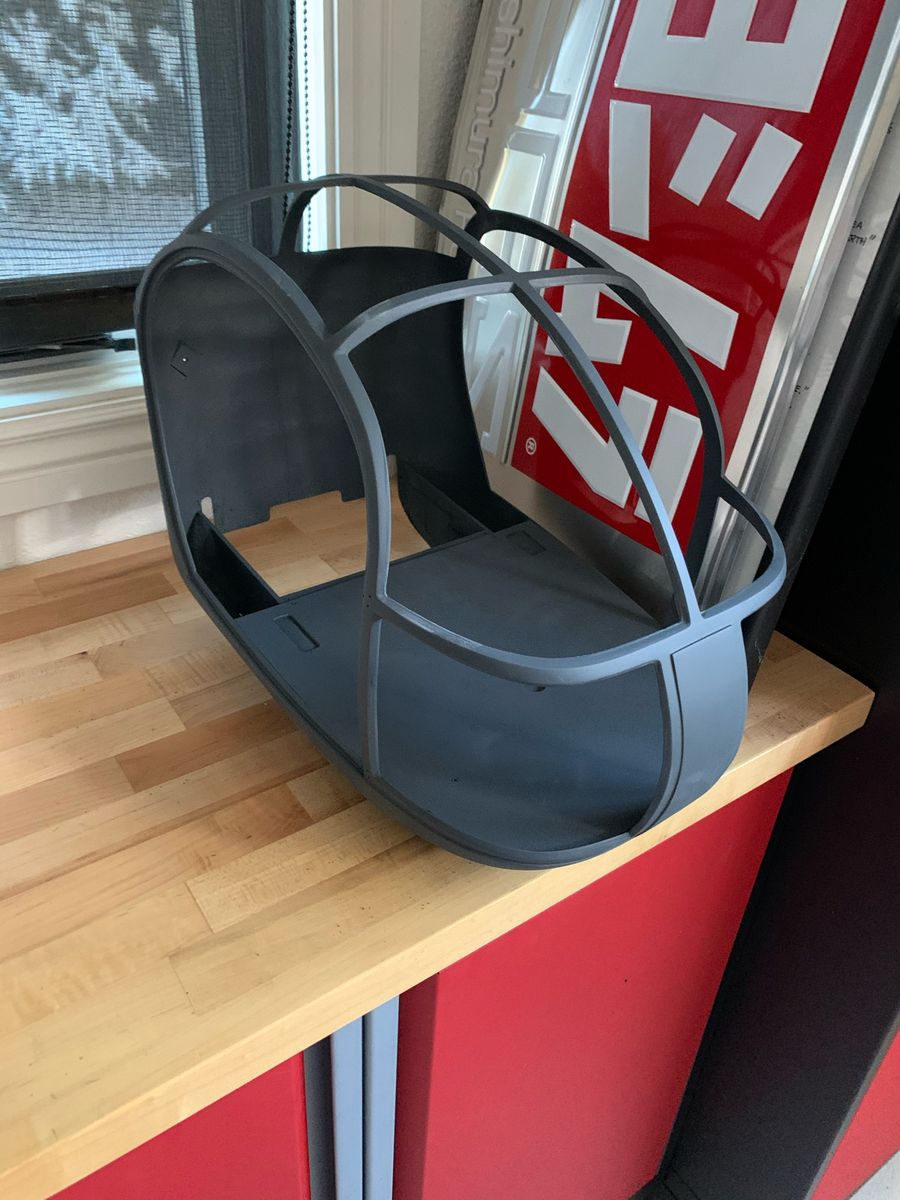
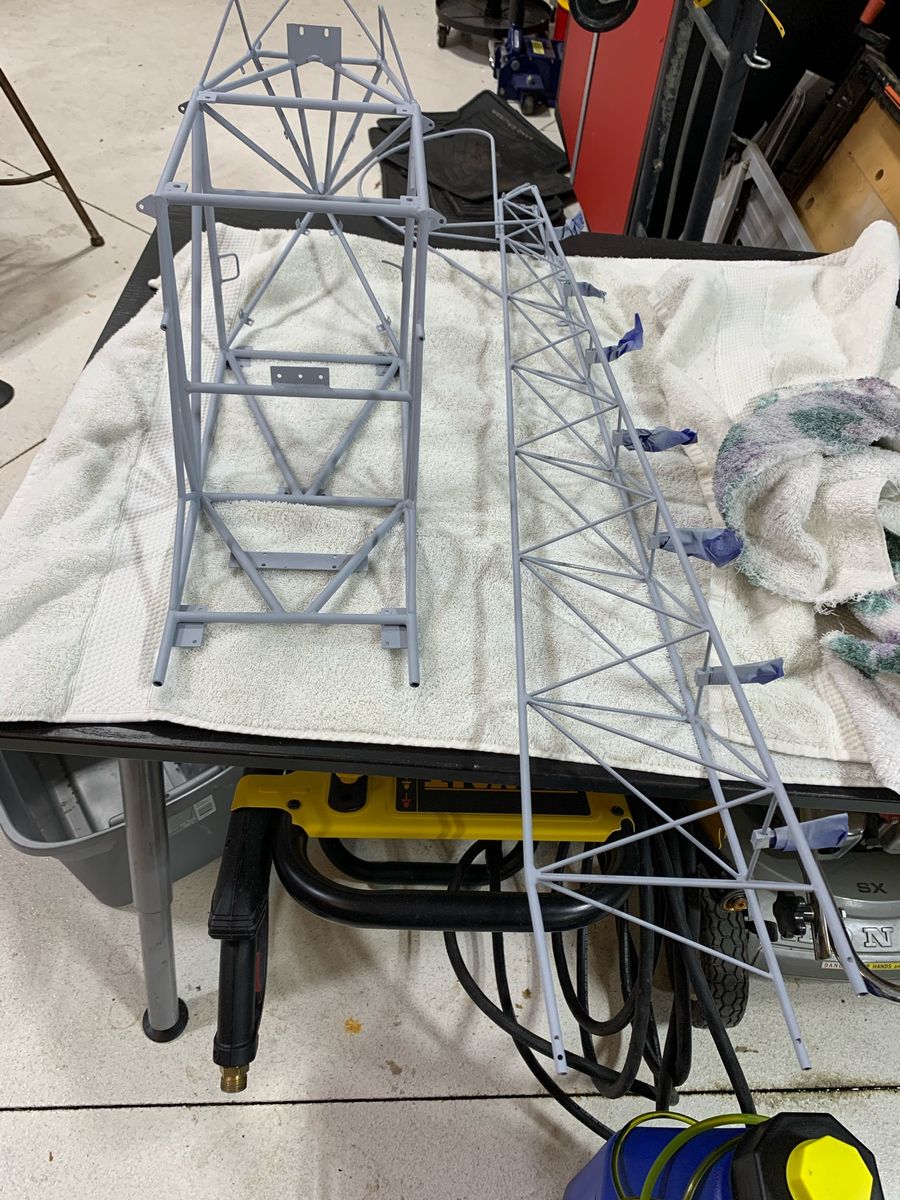
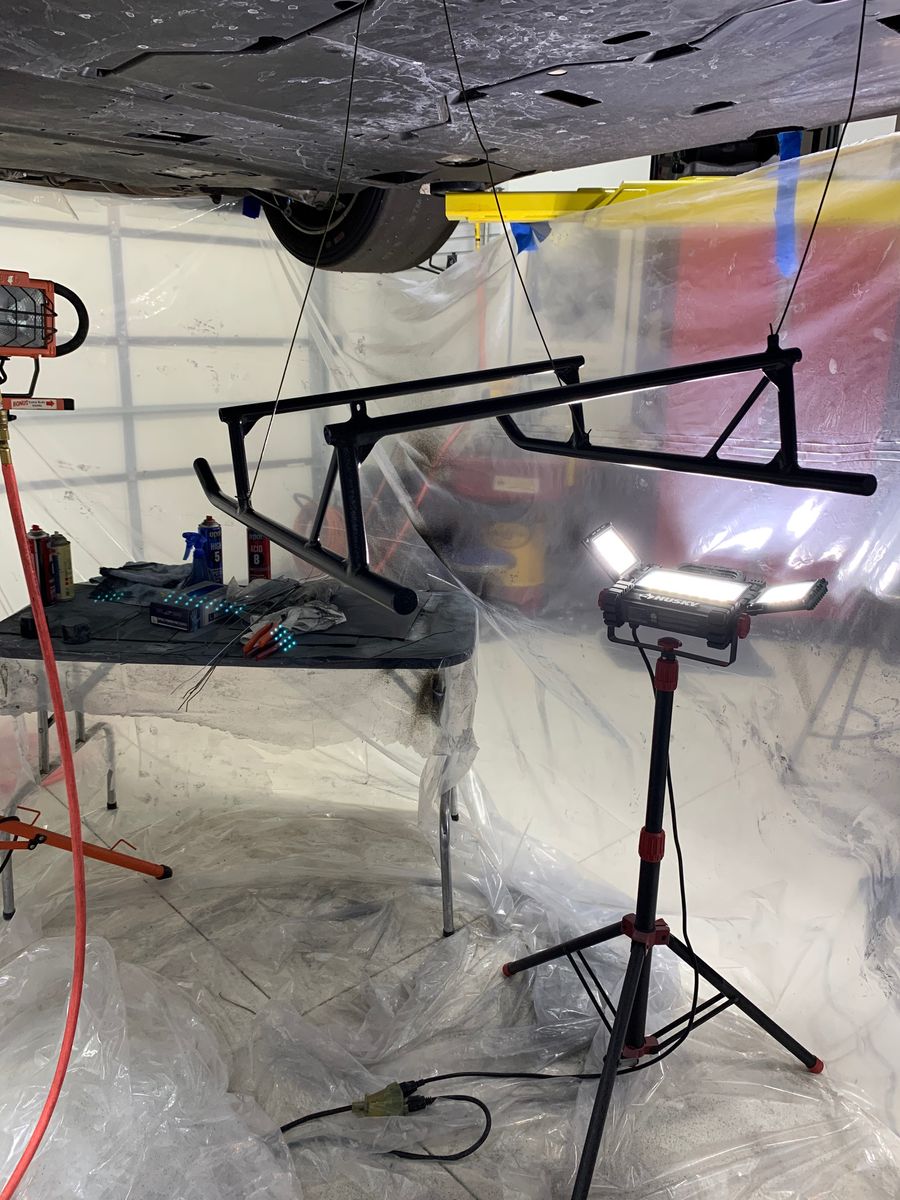
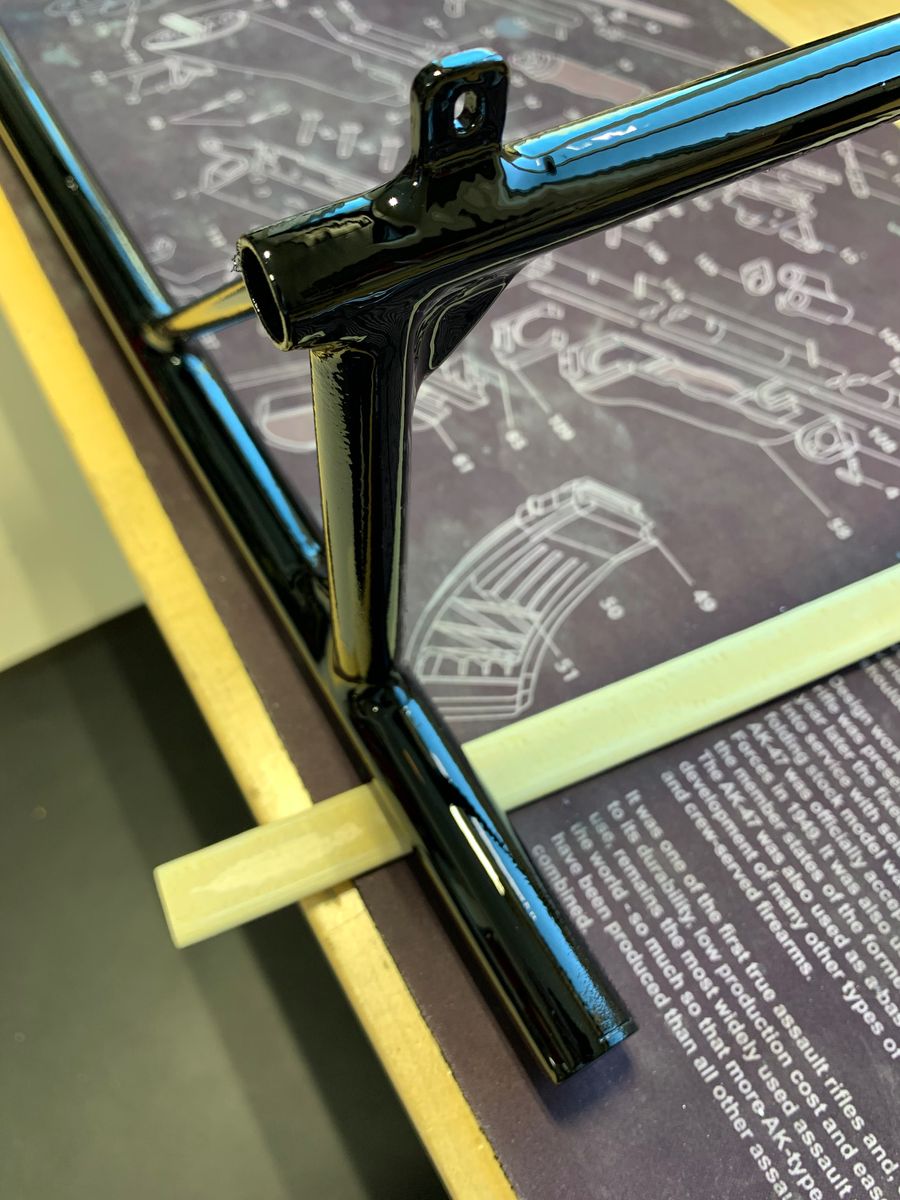
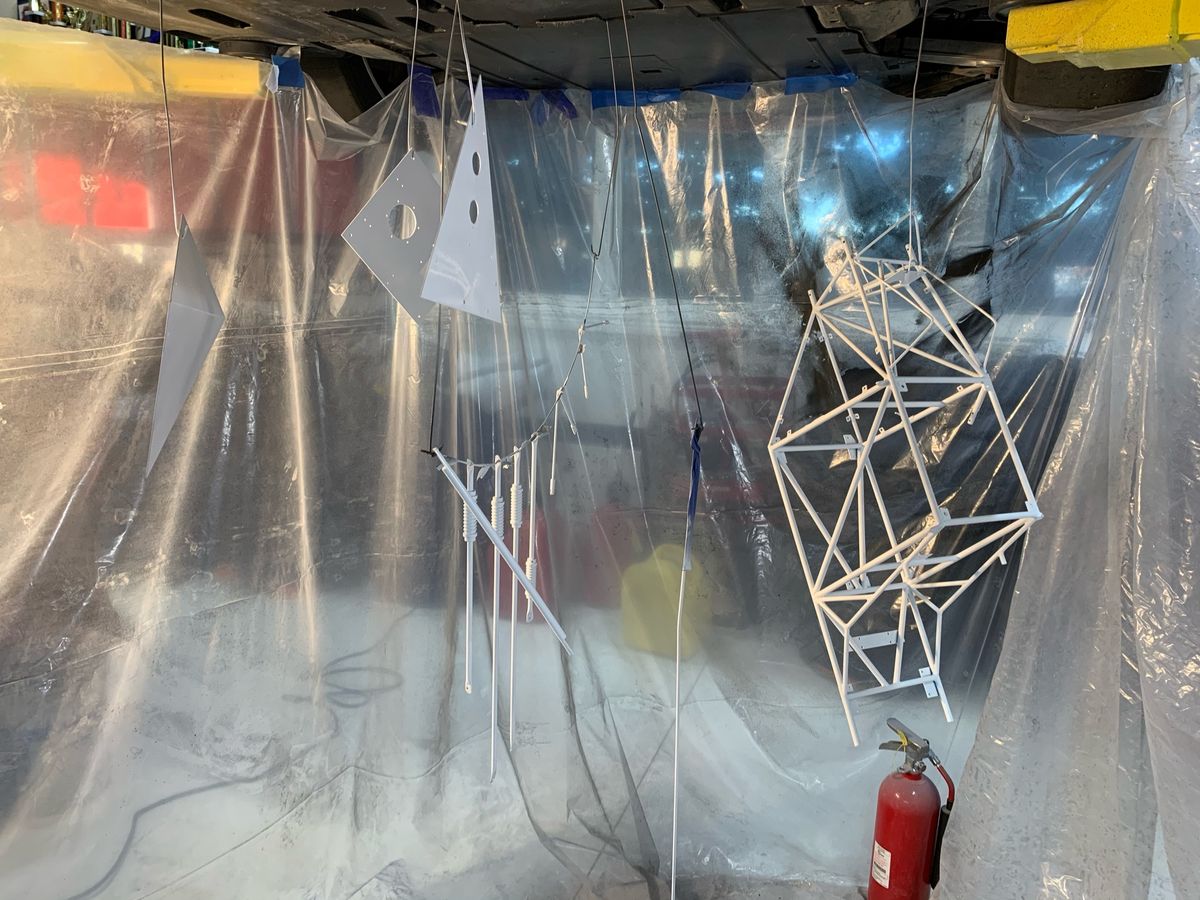
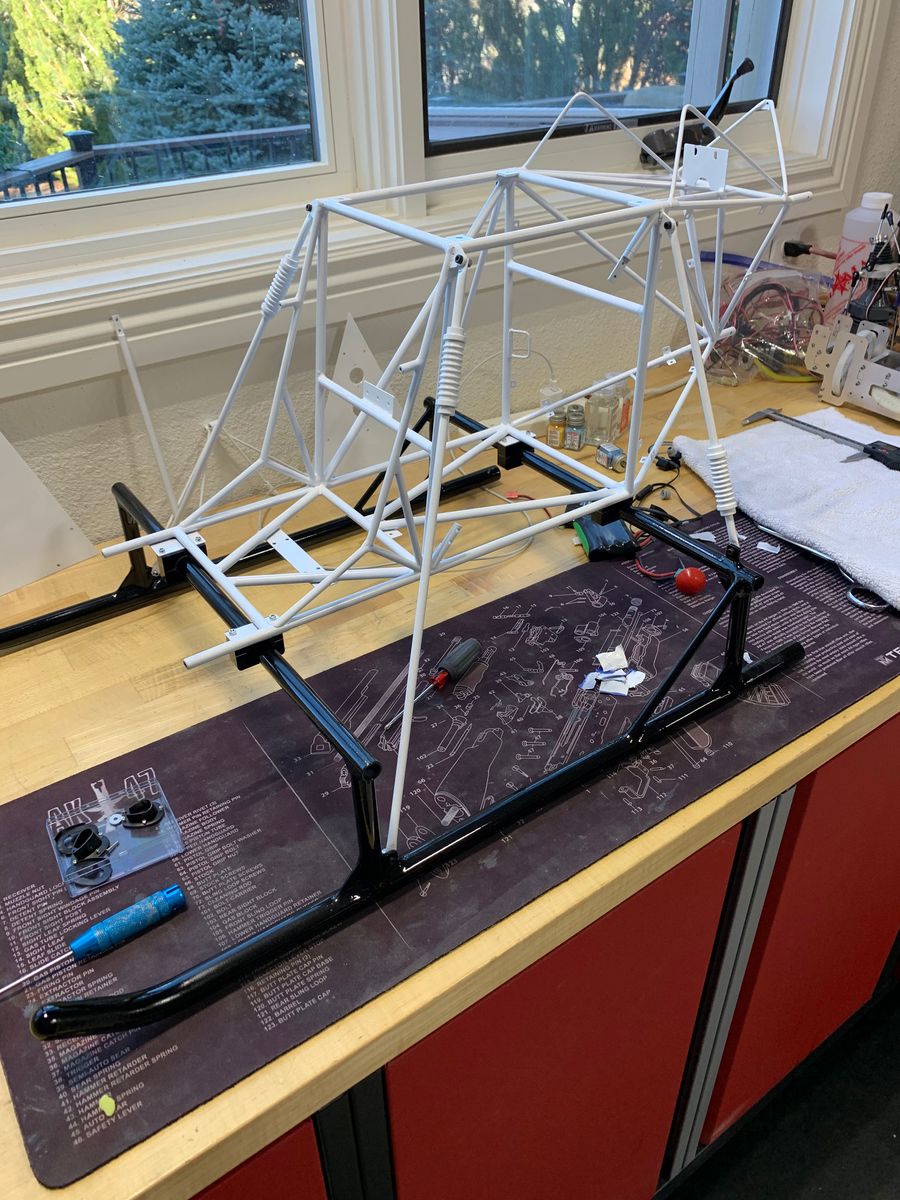
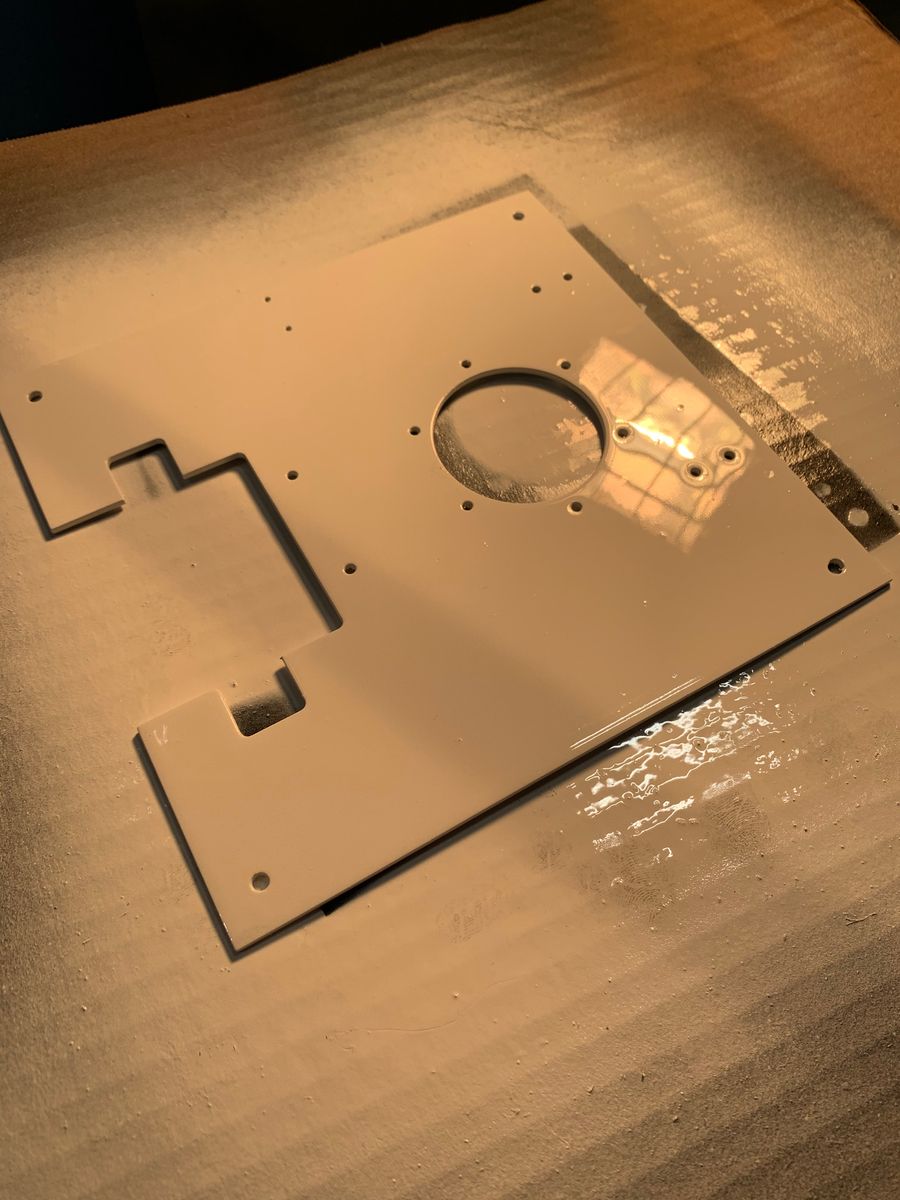
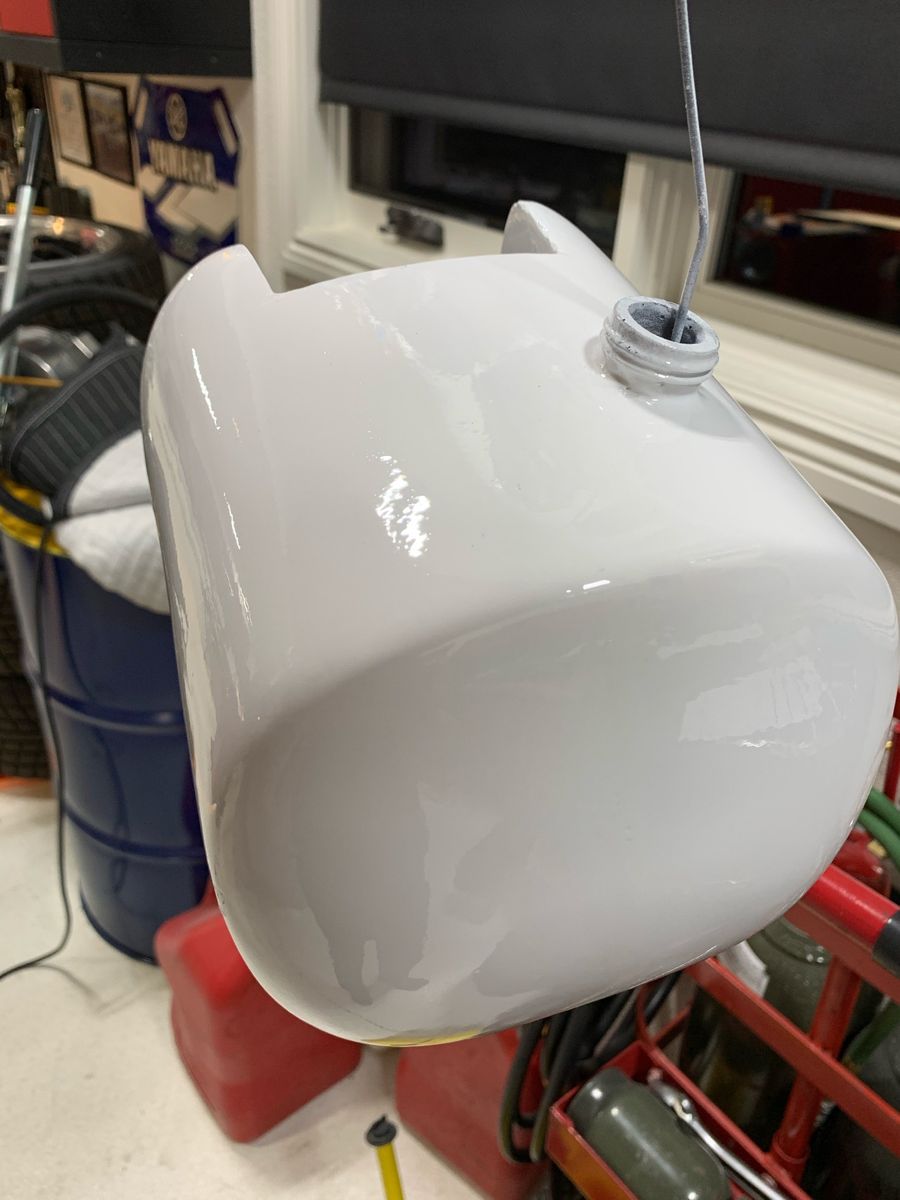
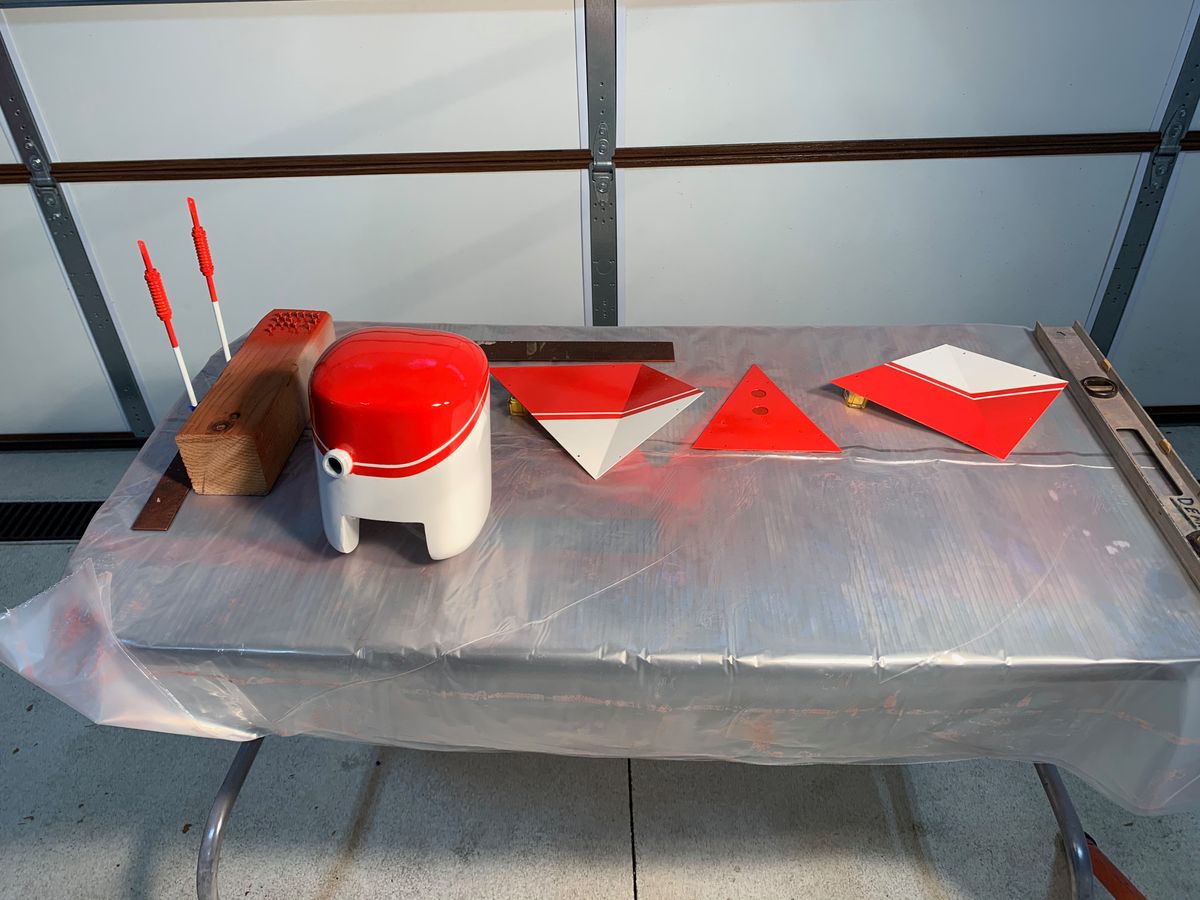
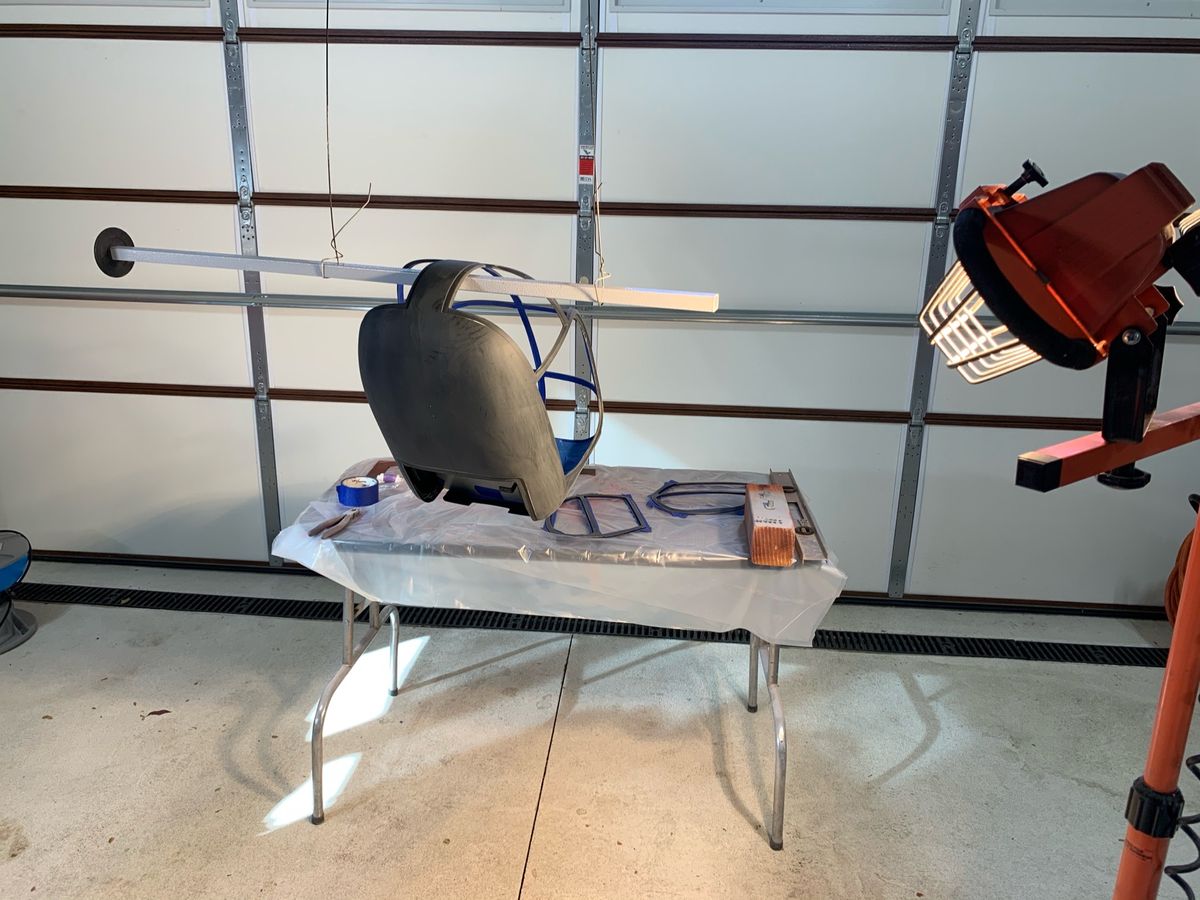
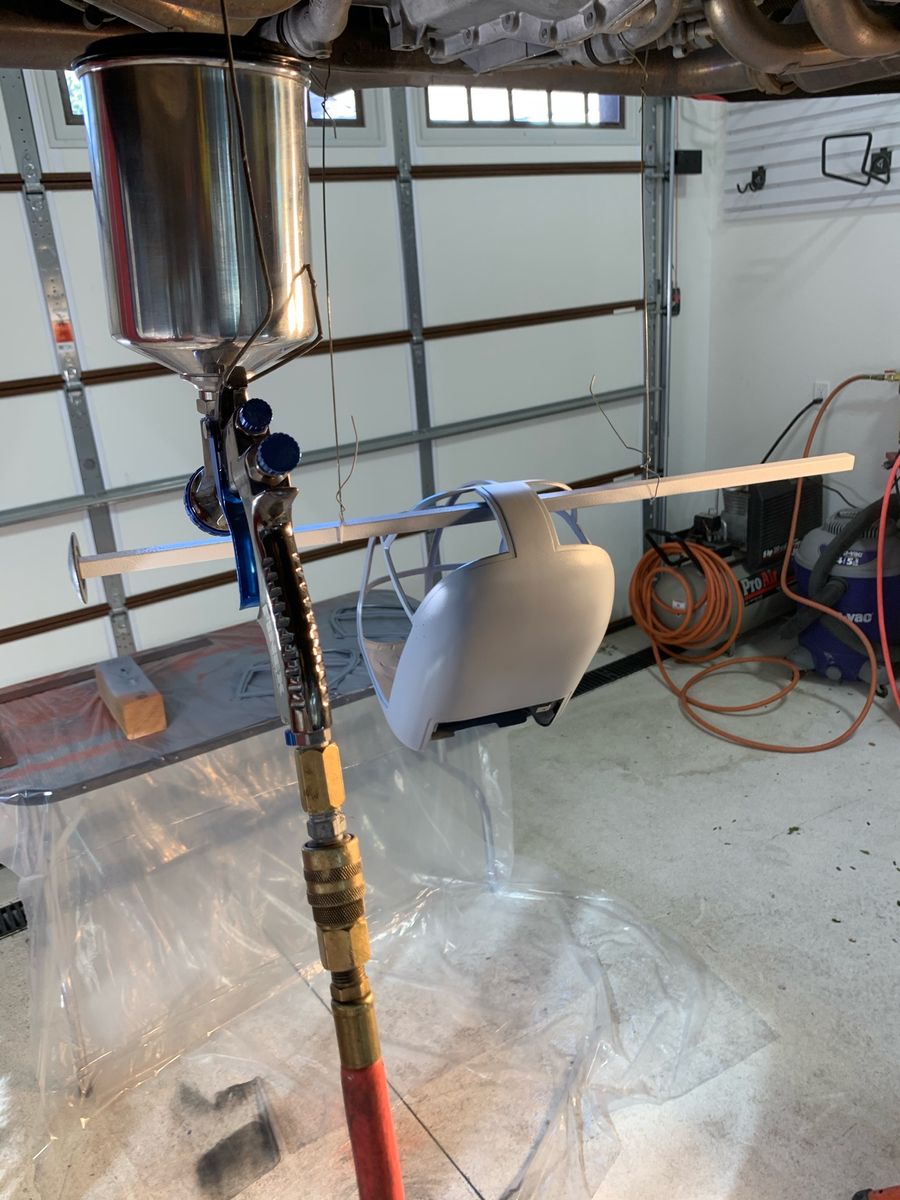
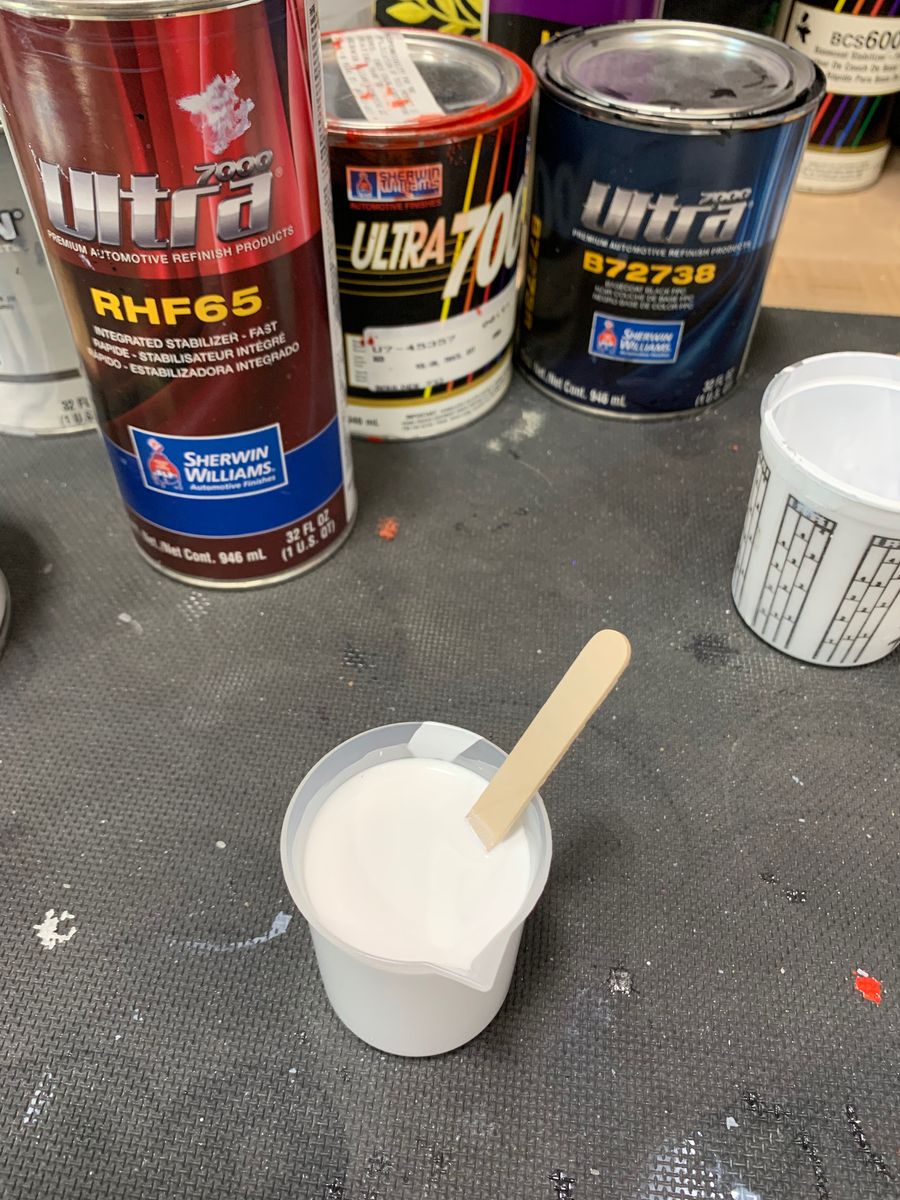
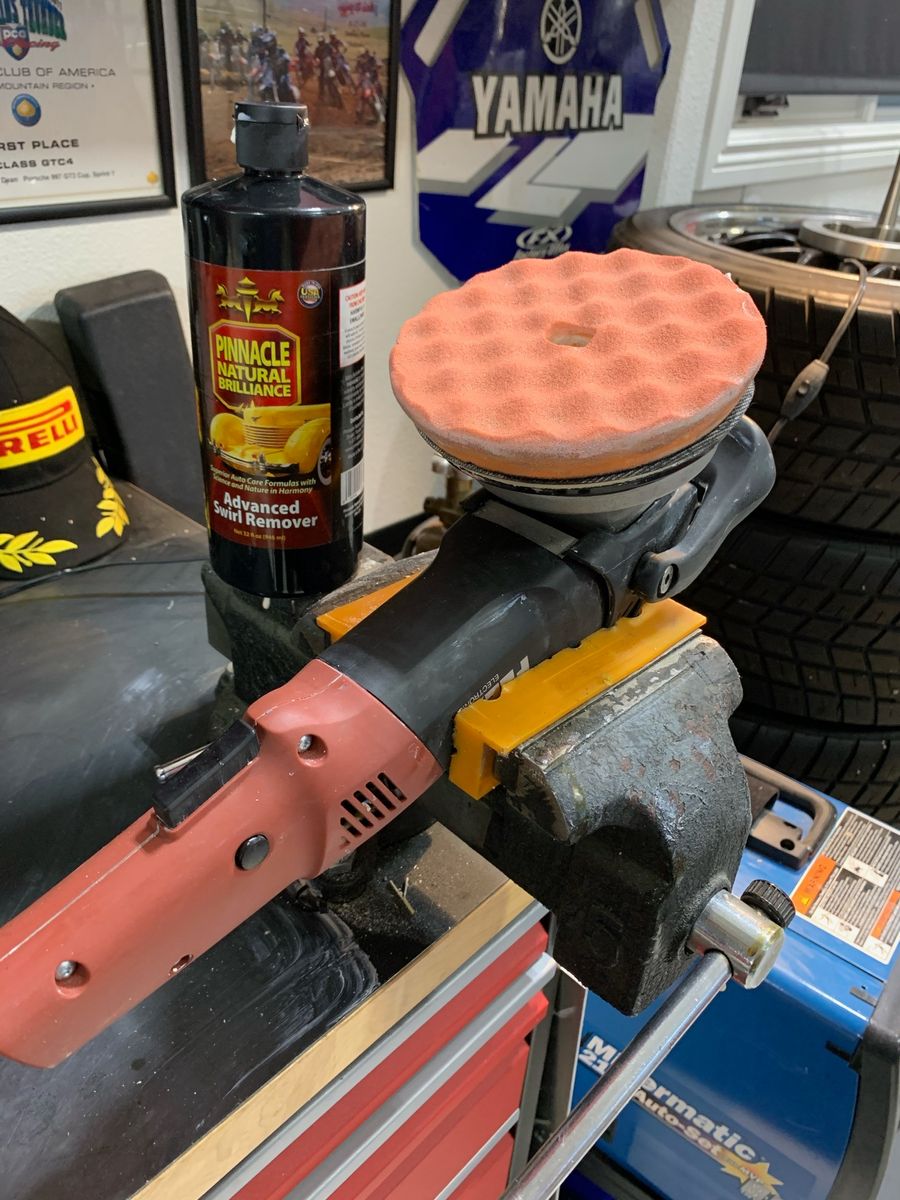
You will see the painting products I use. All automotive paint. I test painted my Robbe canopy to reacquaint me with the process and products. As expected, I had to trim the mechanics to ensure fit and reliability. Just part of the journey. I also modeled up some future 3D printed accessories. I created a makeshift paint booth. Rest assured I wore the proper respirator and Tyvek suit.
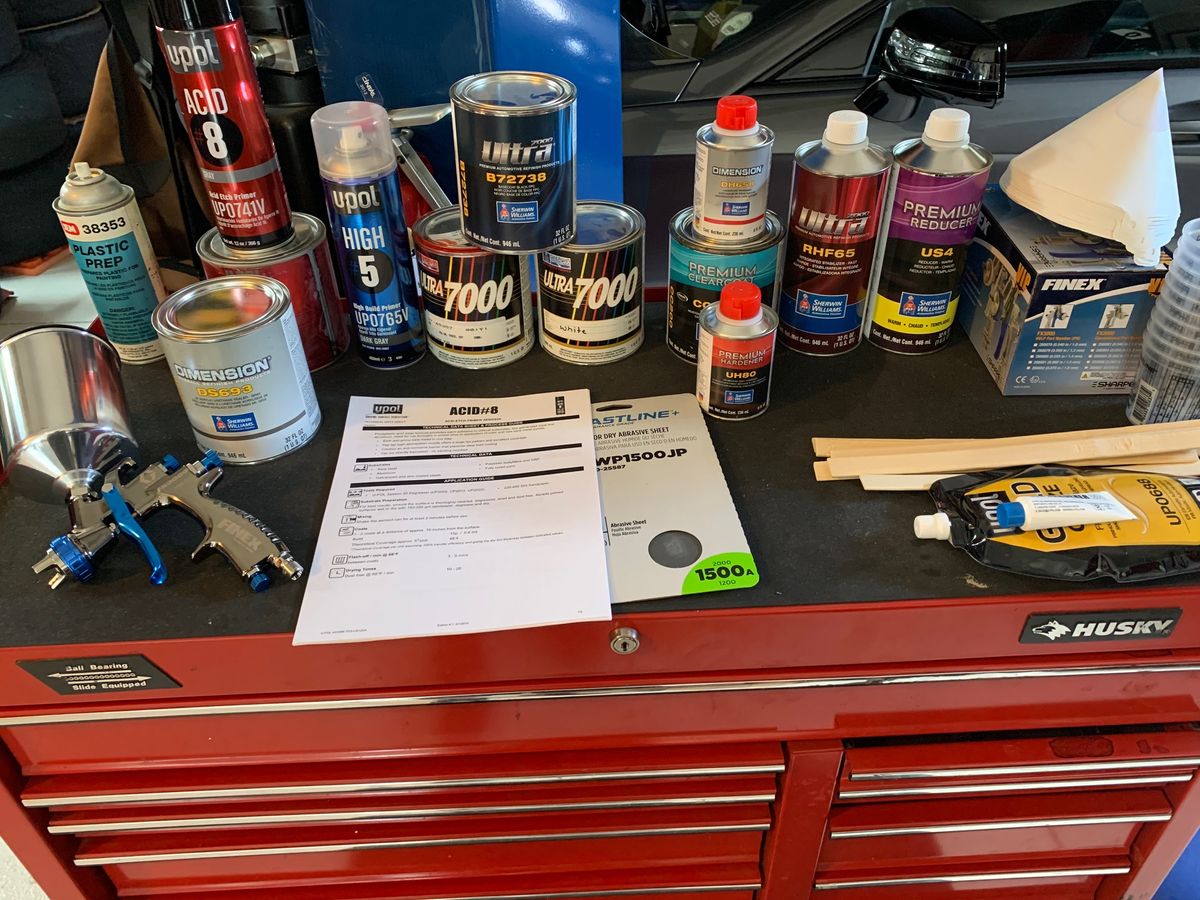
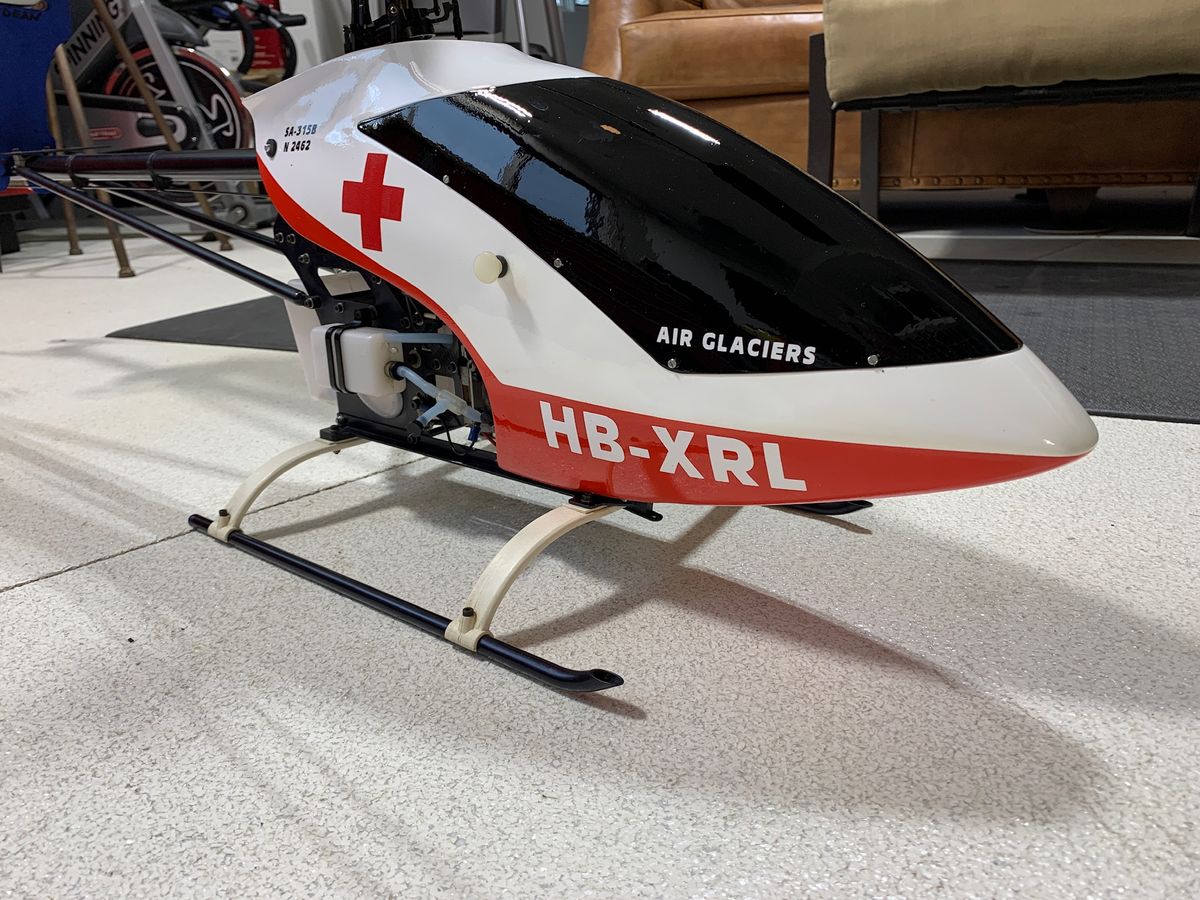
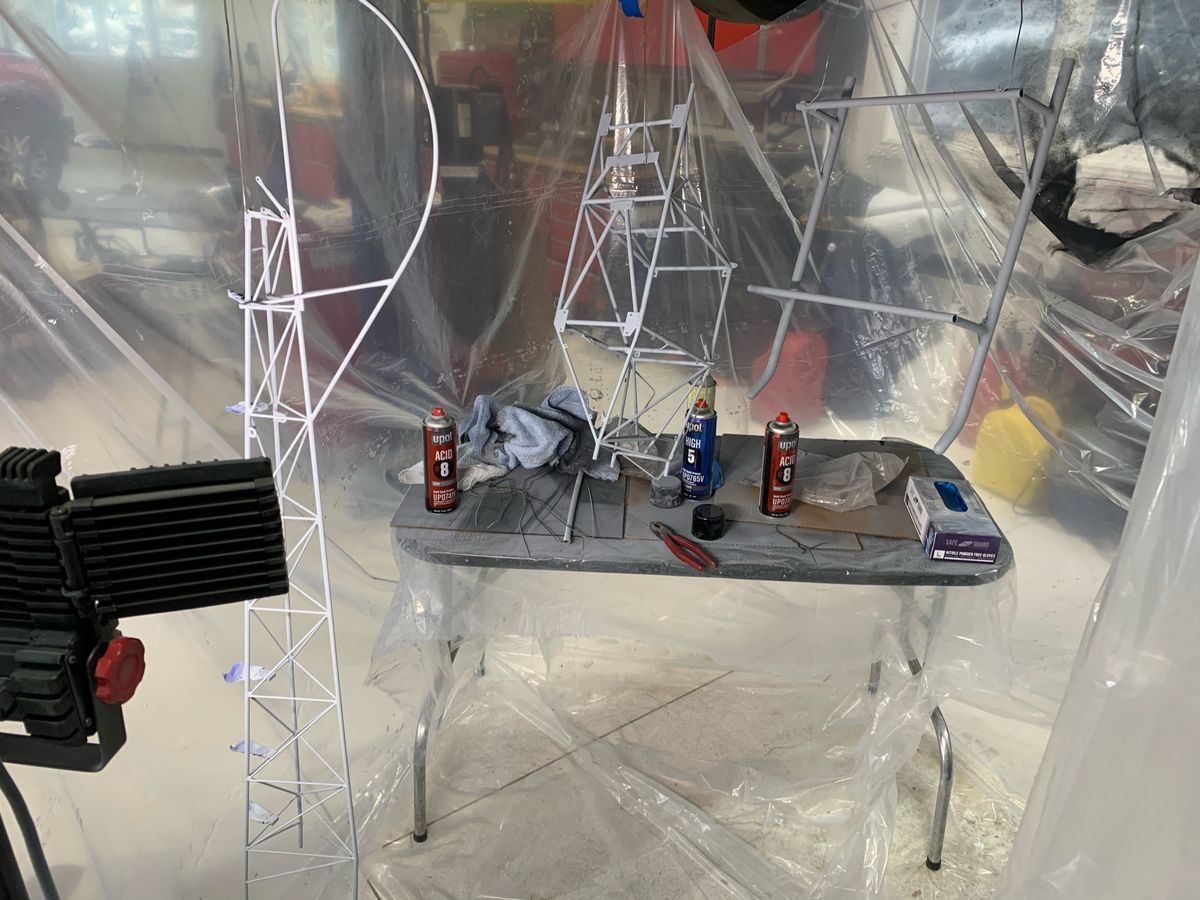
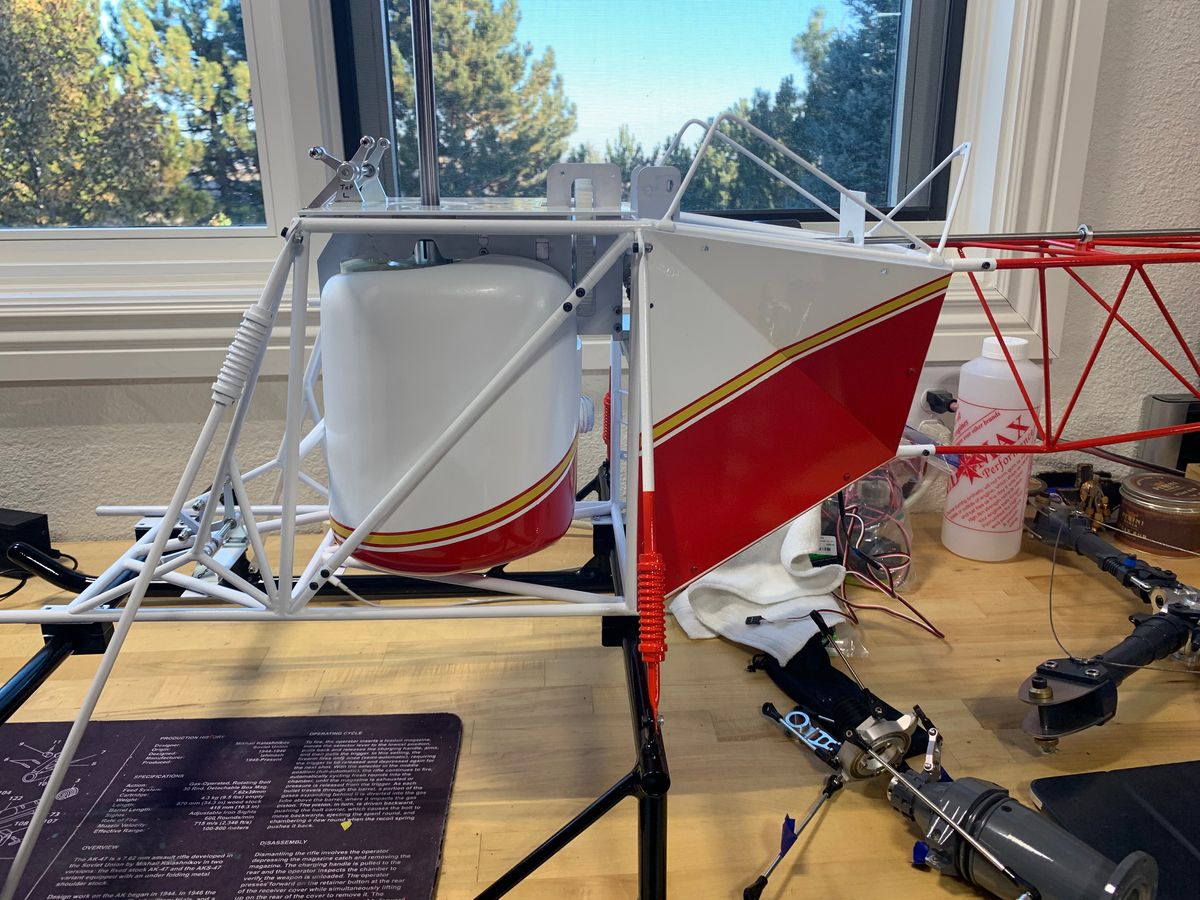
Canopy prep and painting
Canopy painting along with tail boom and panels.
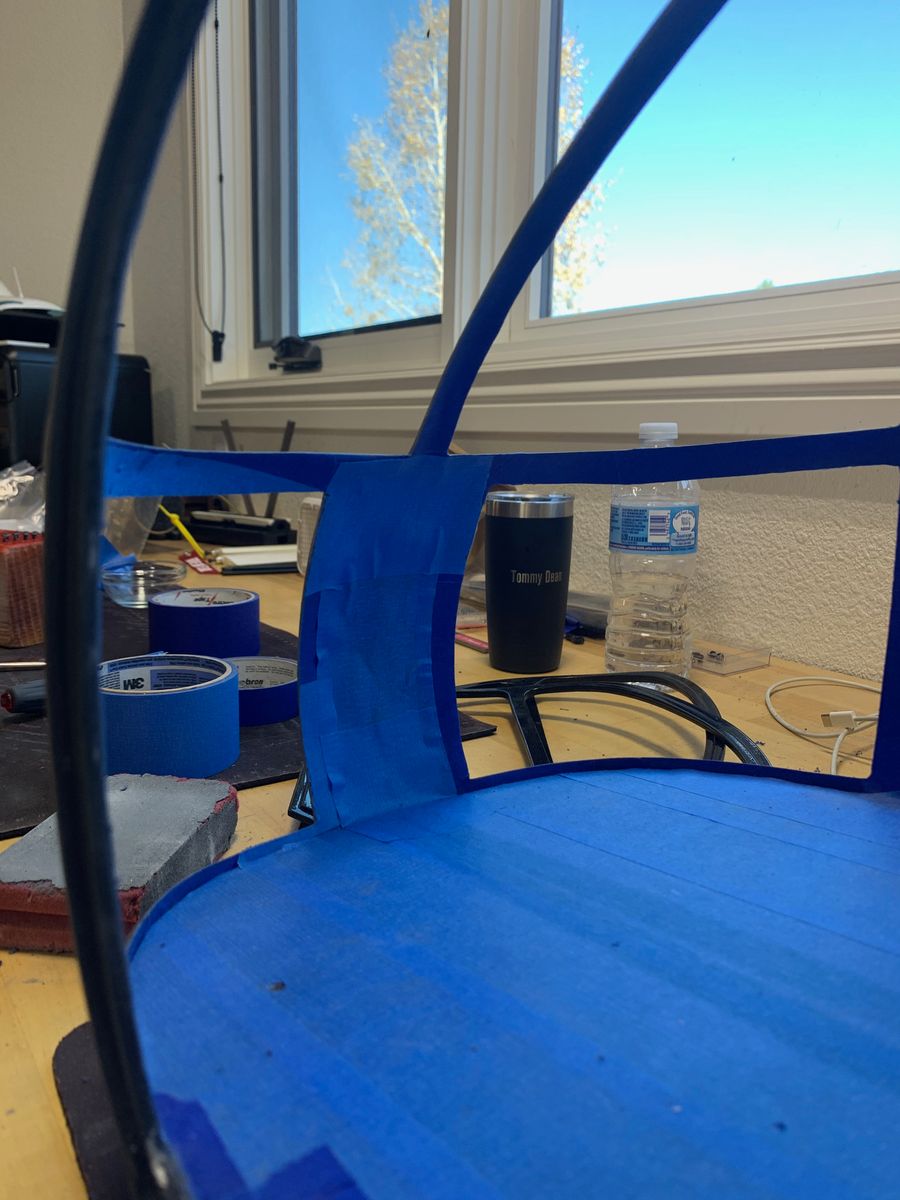
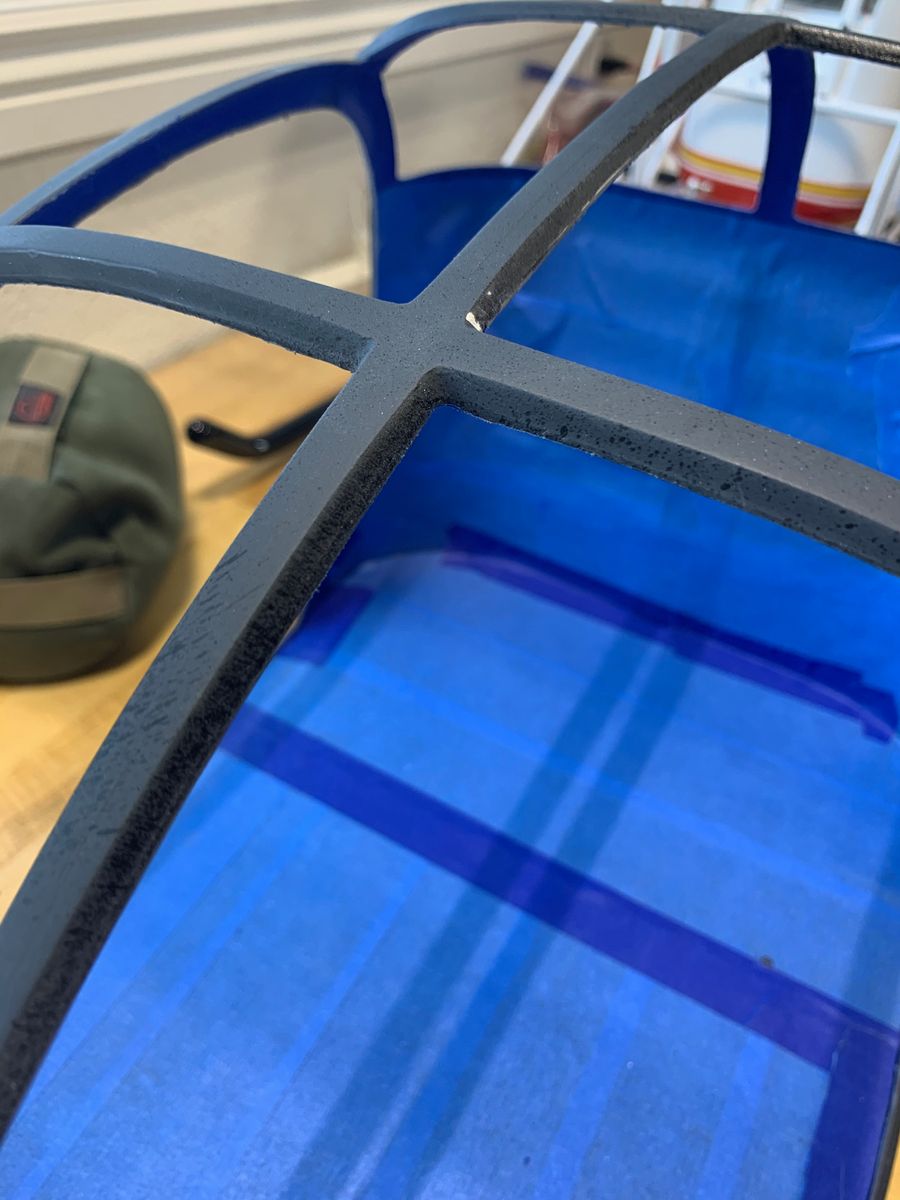
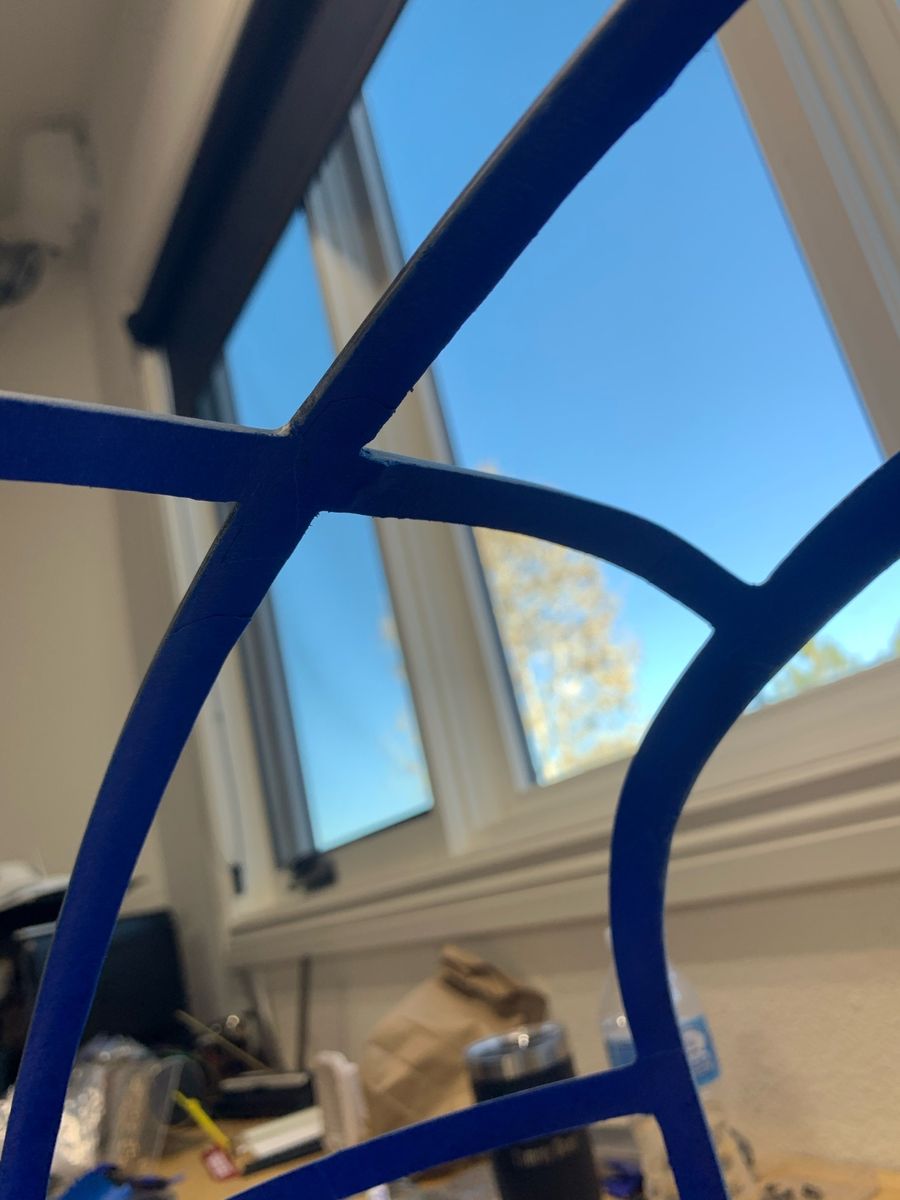
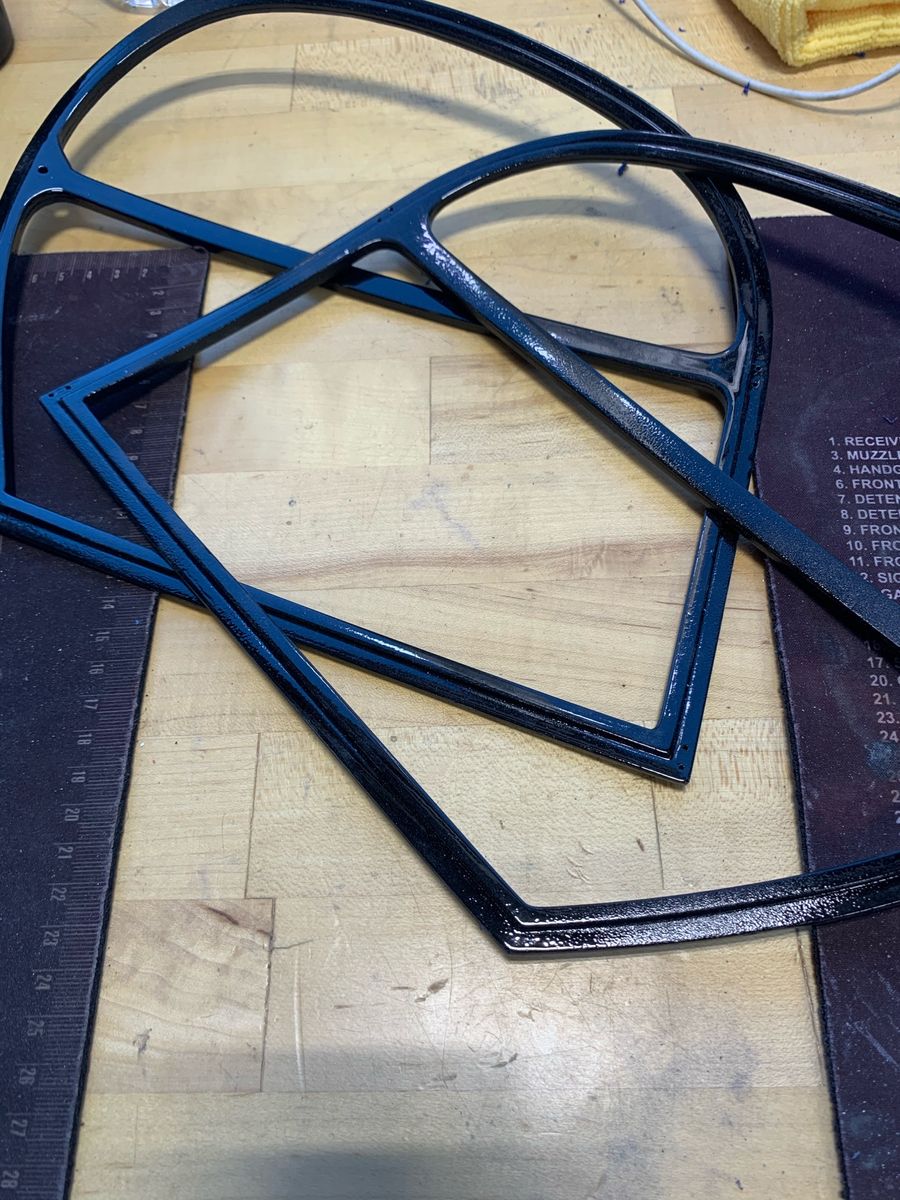
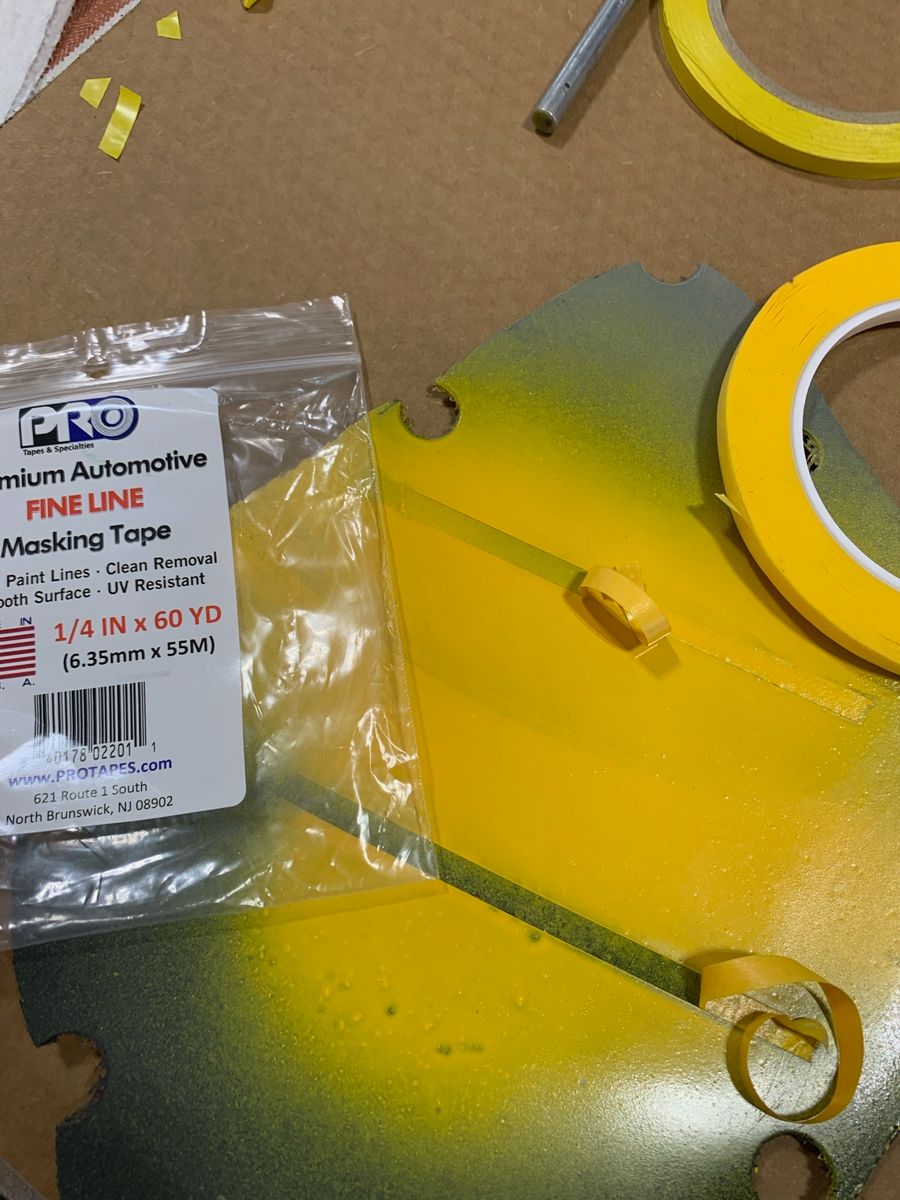
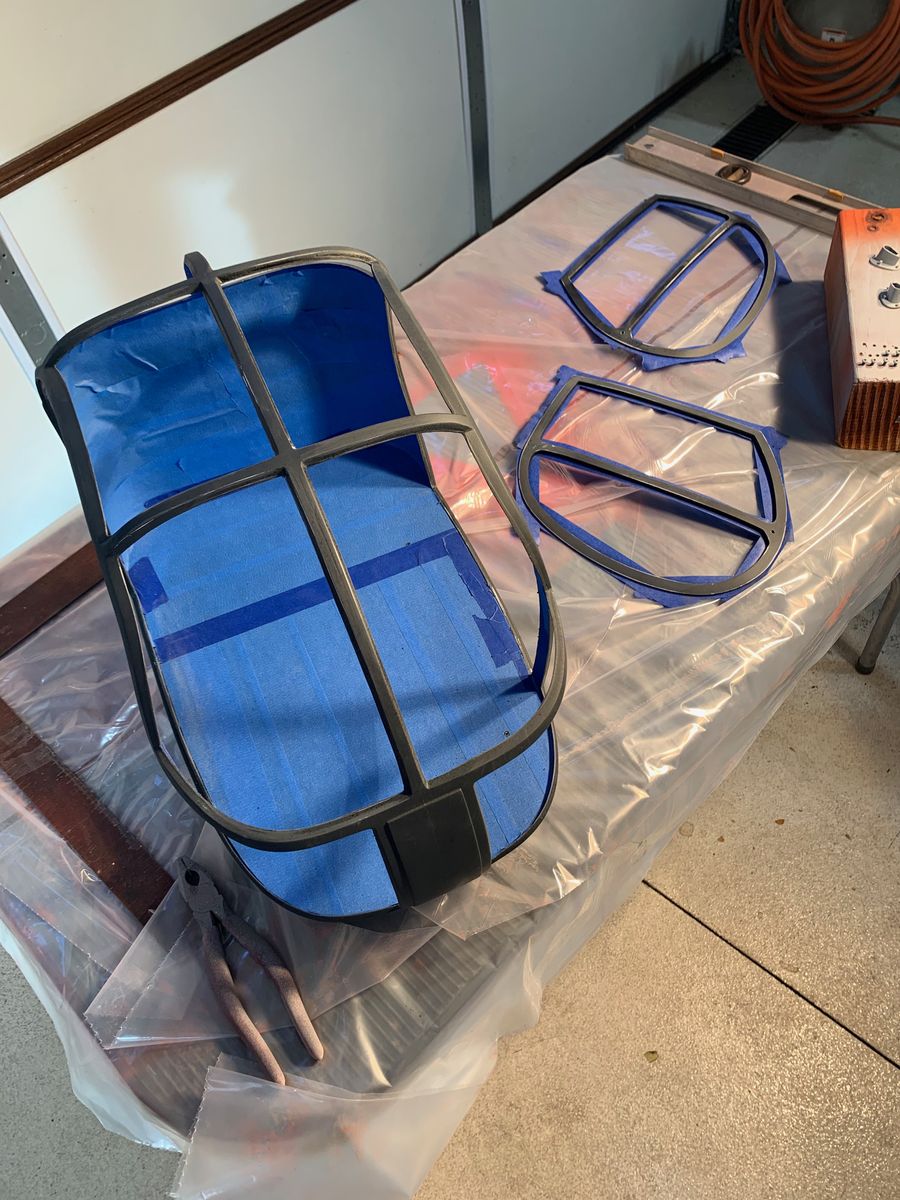
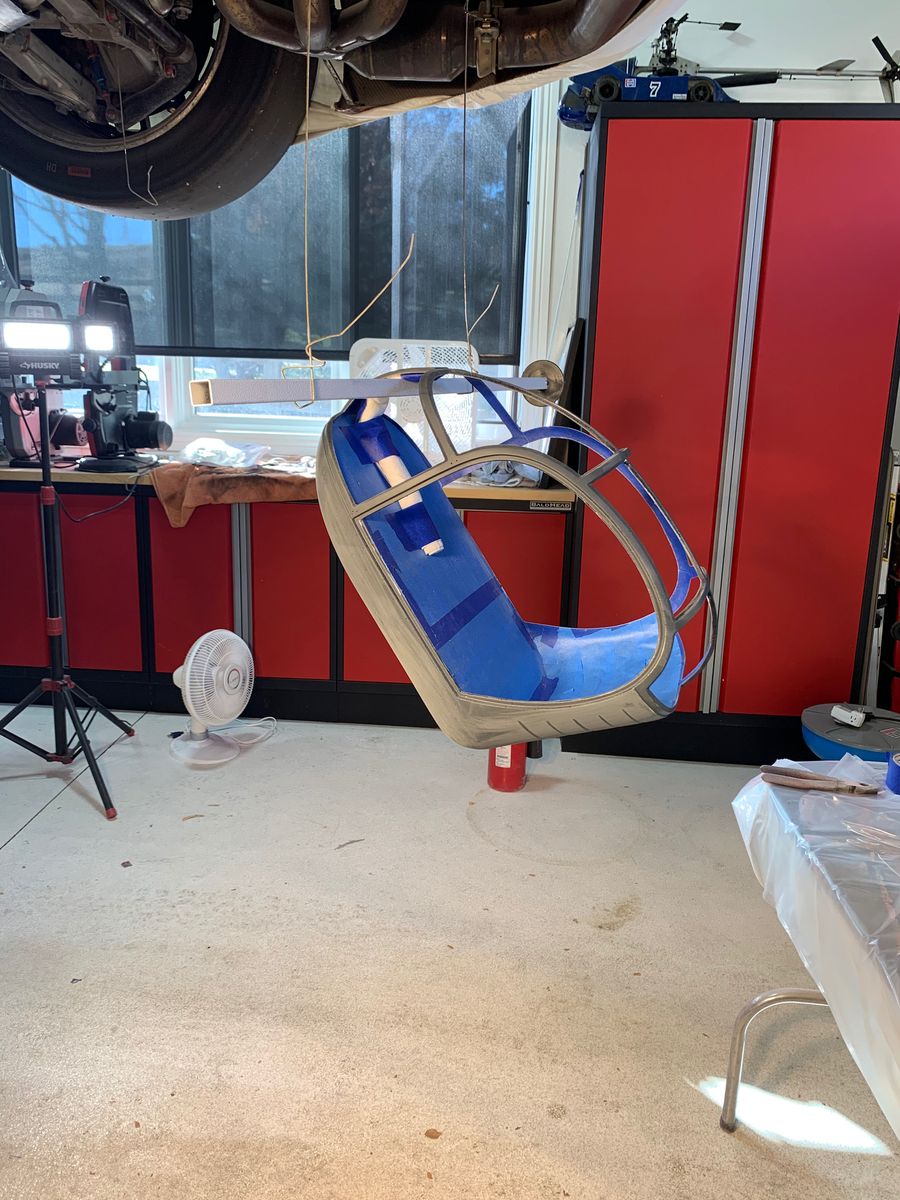
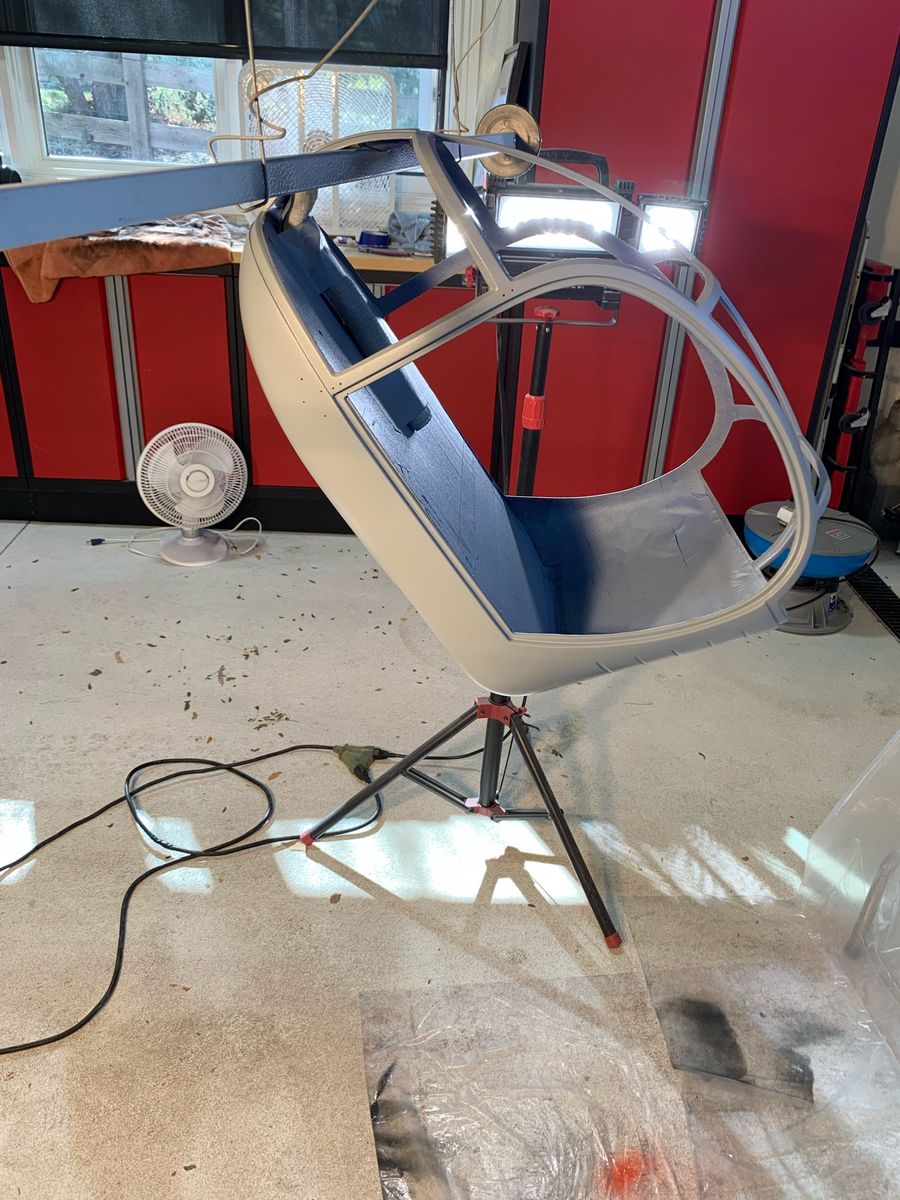
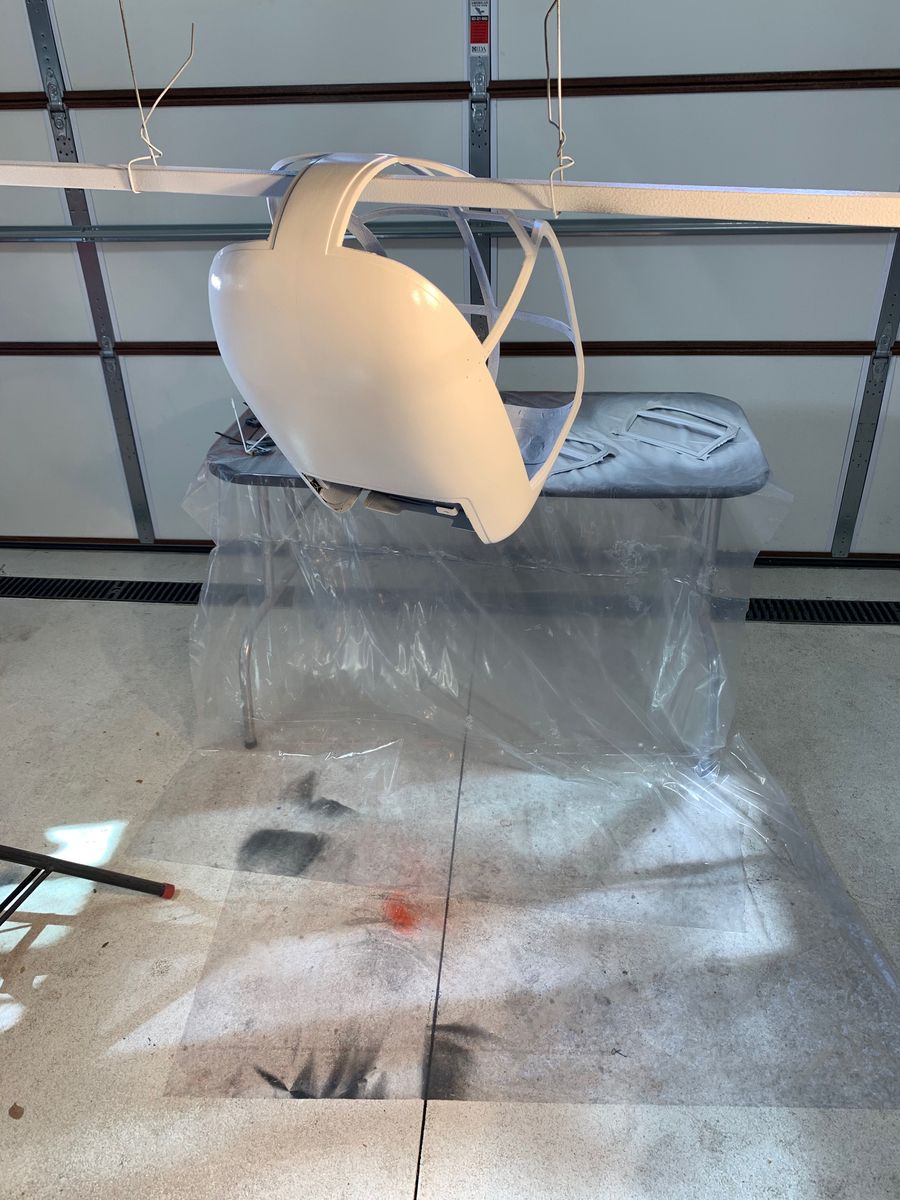
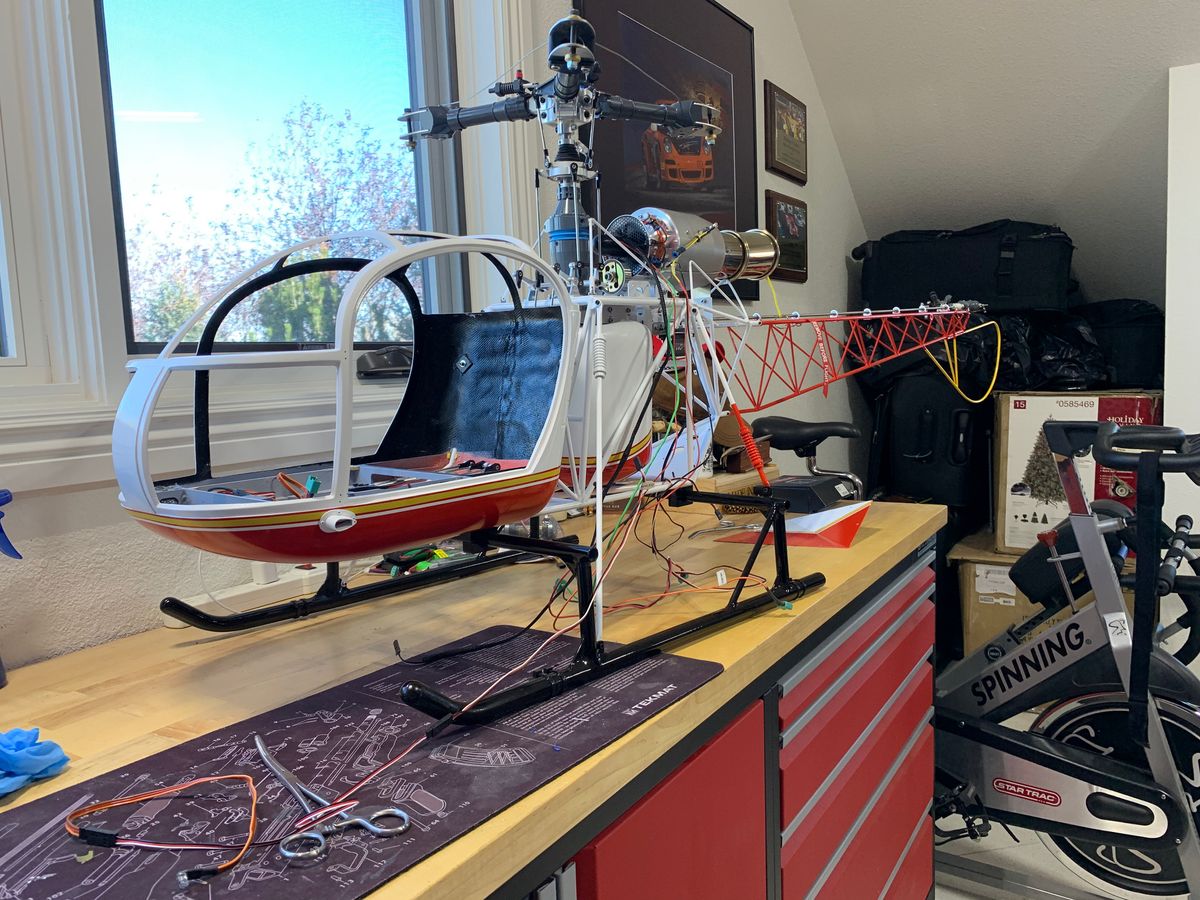
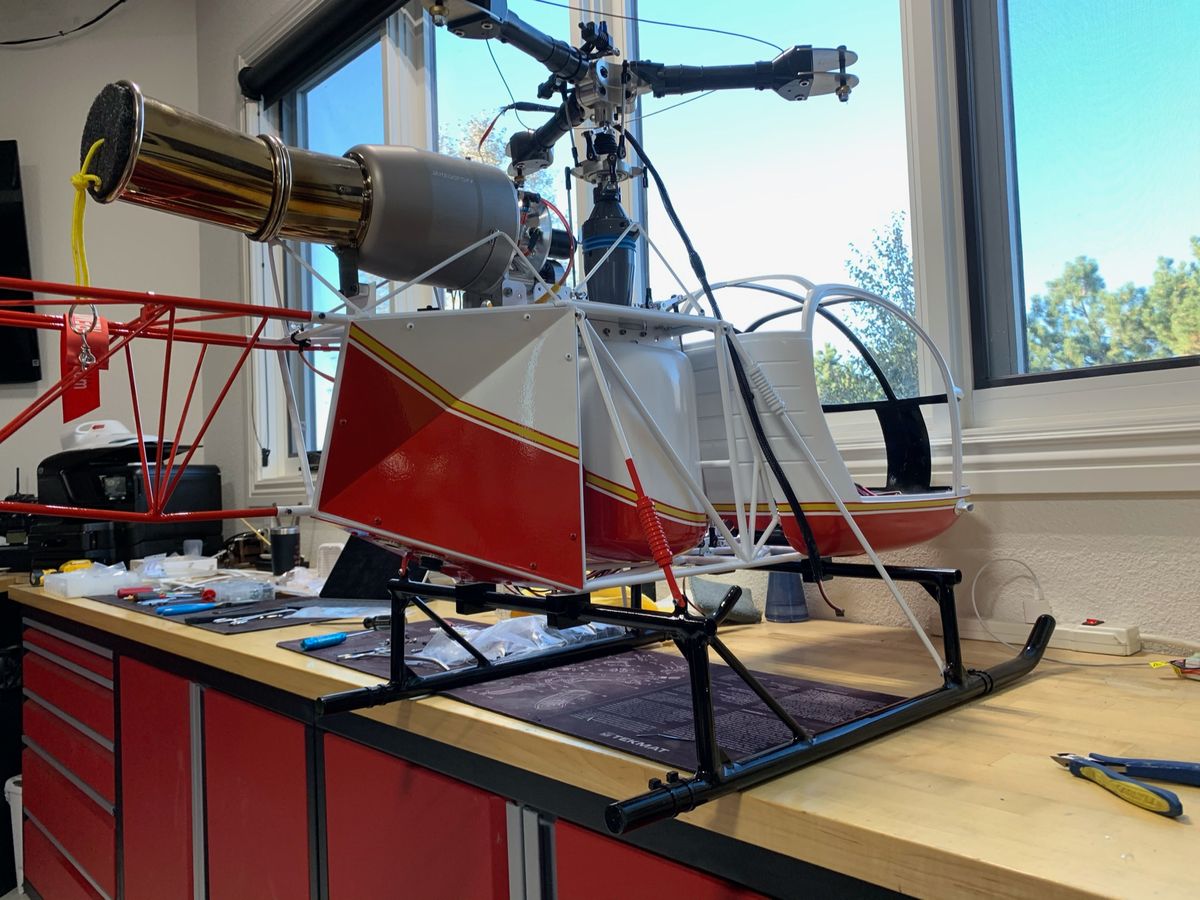
Canopy glazing and accessories.
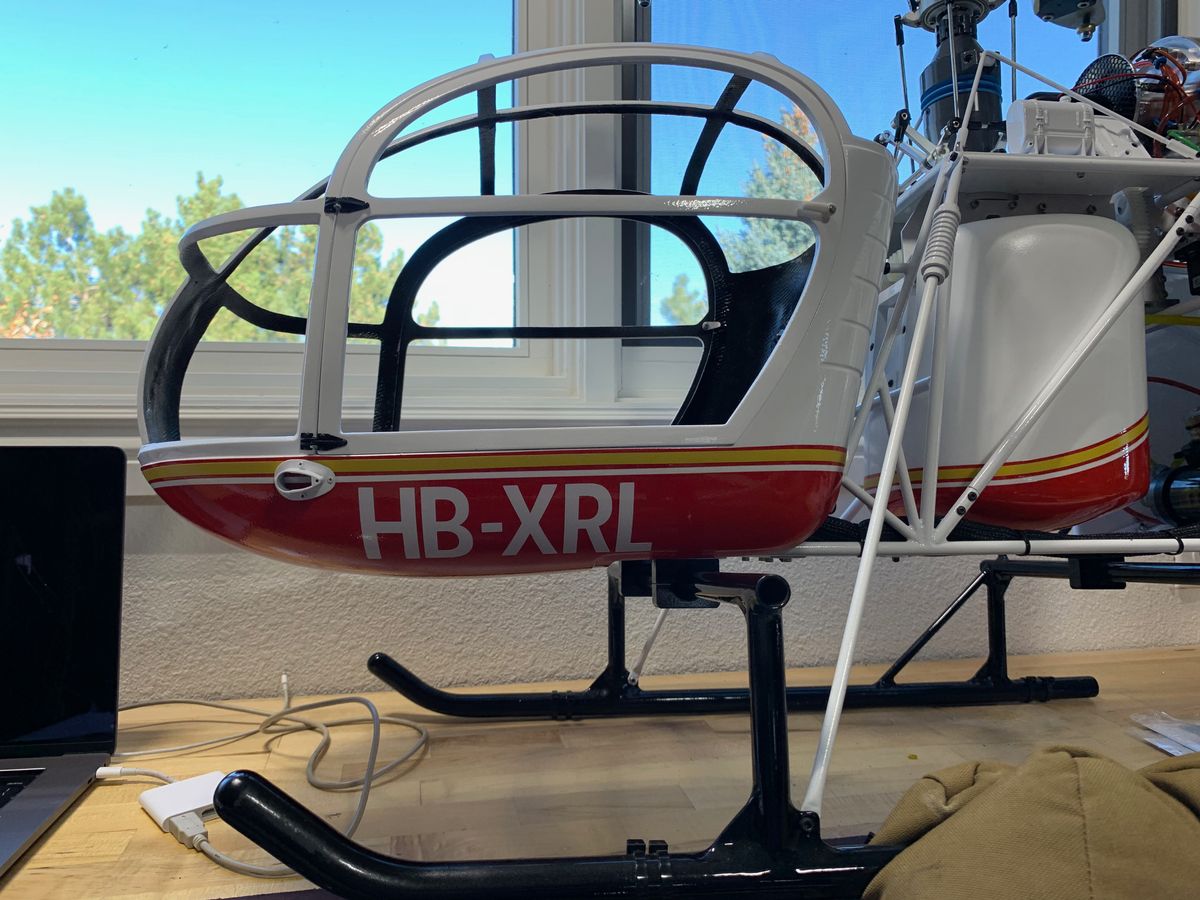
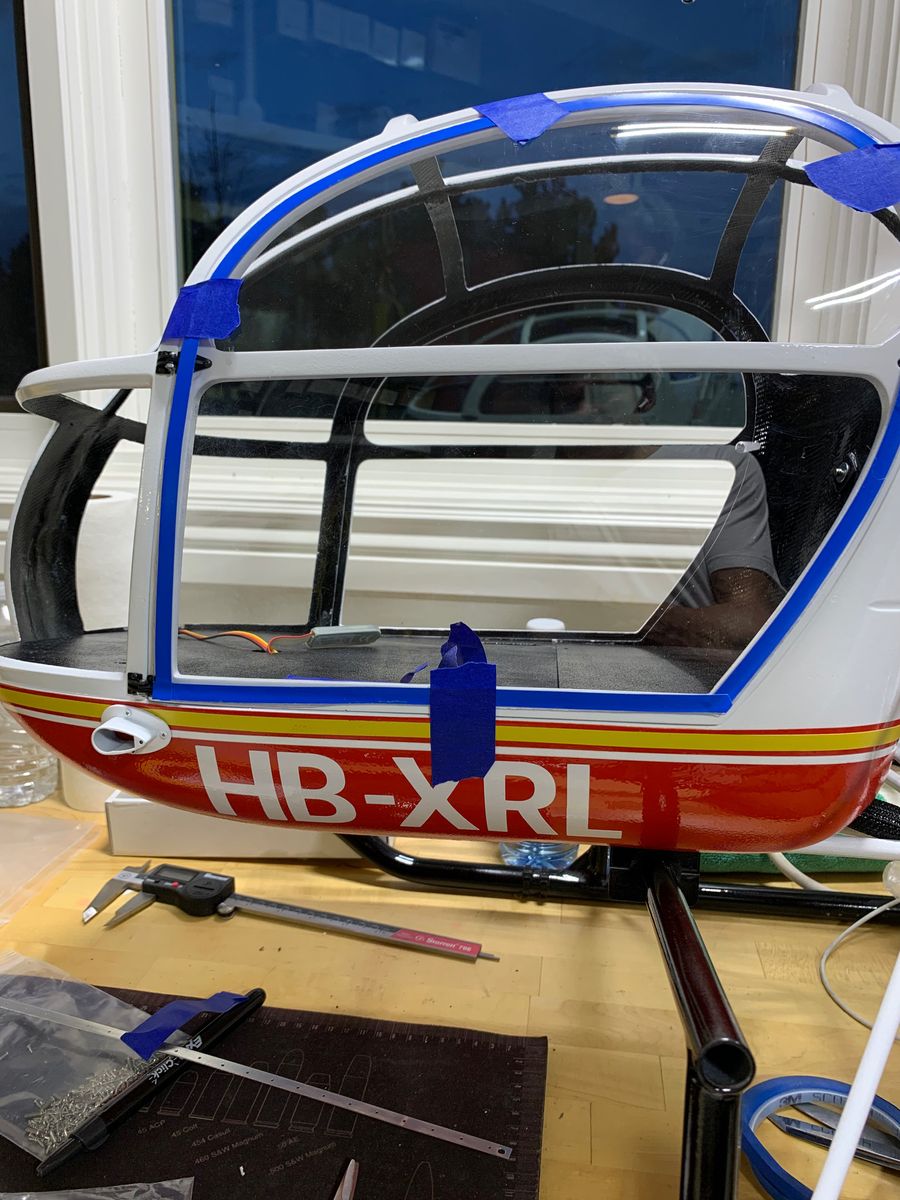
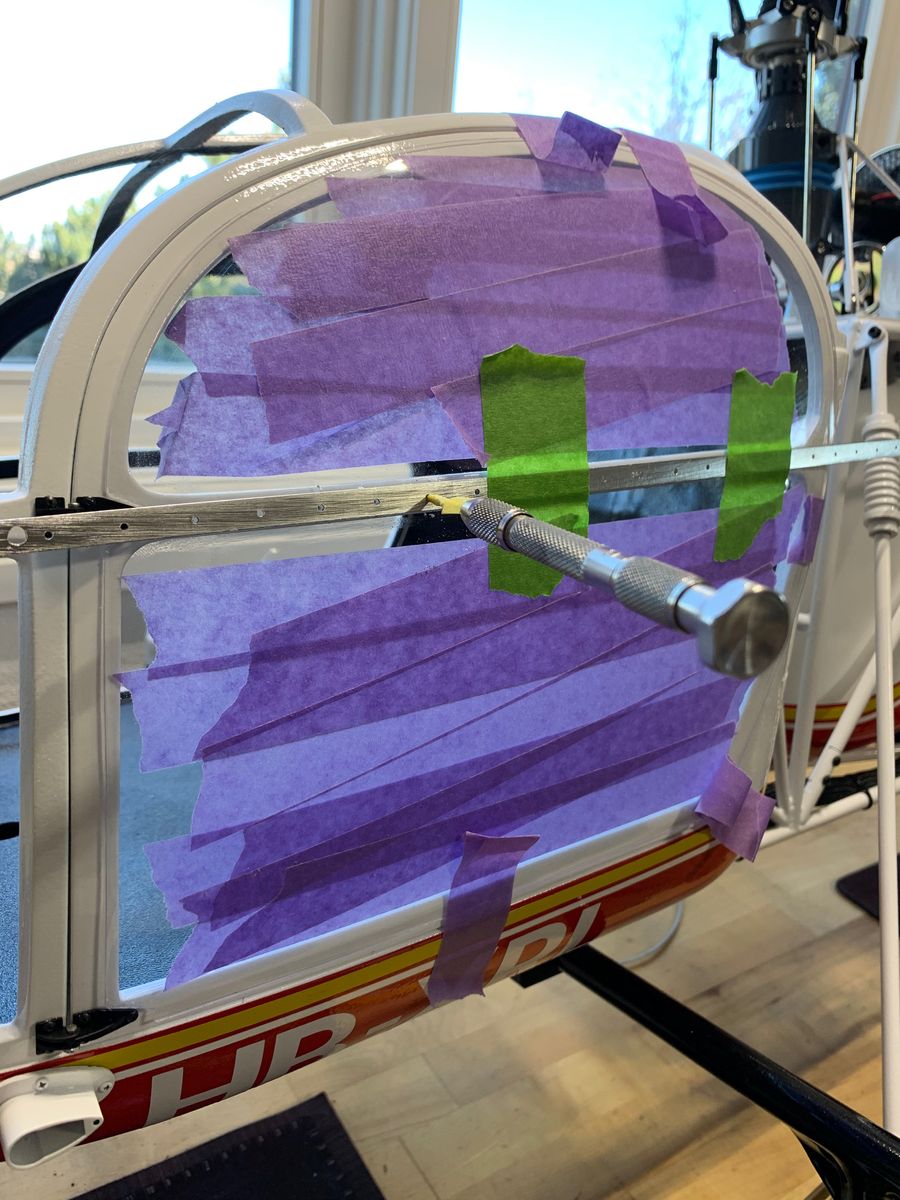
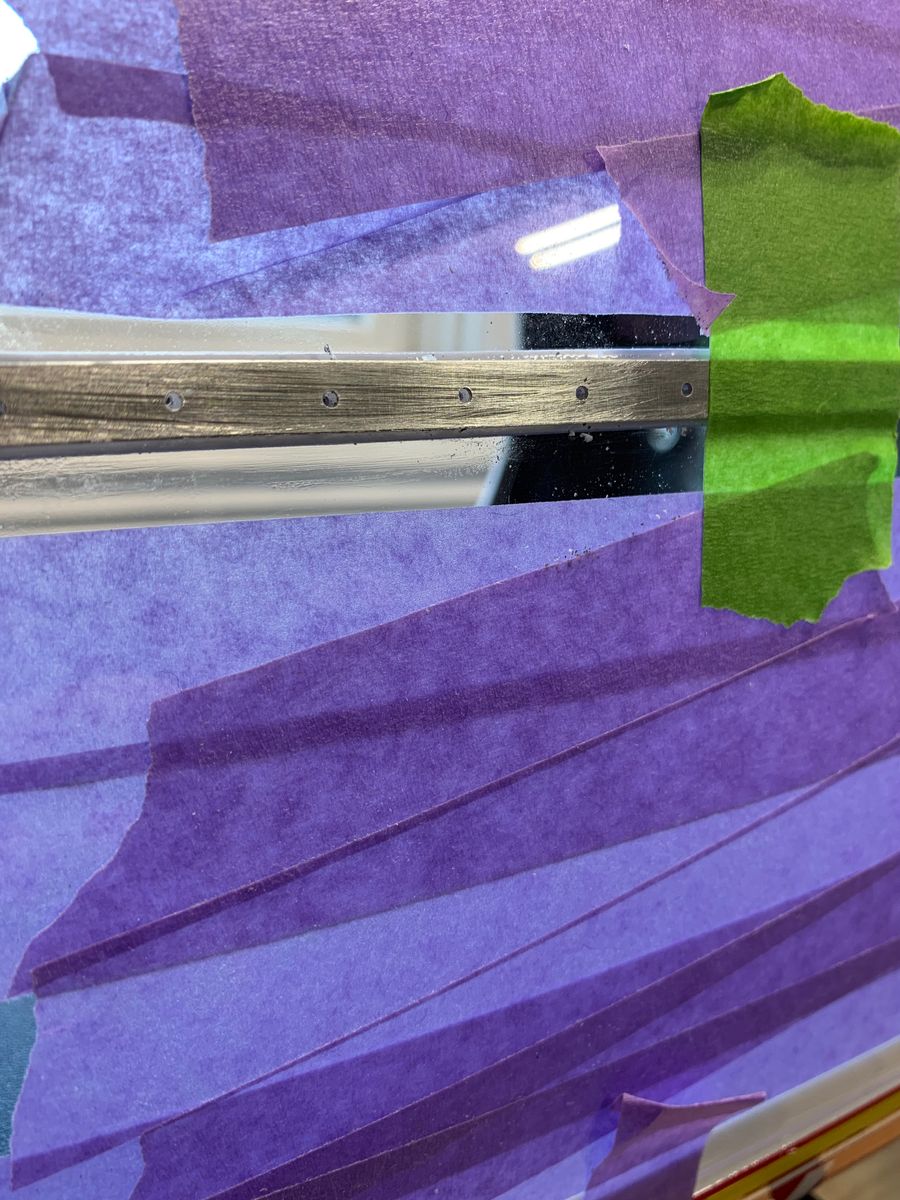
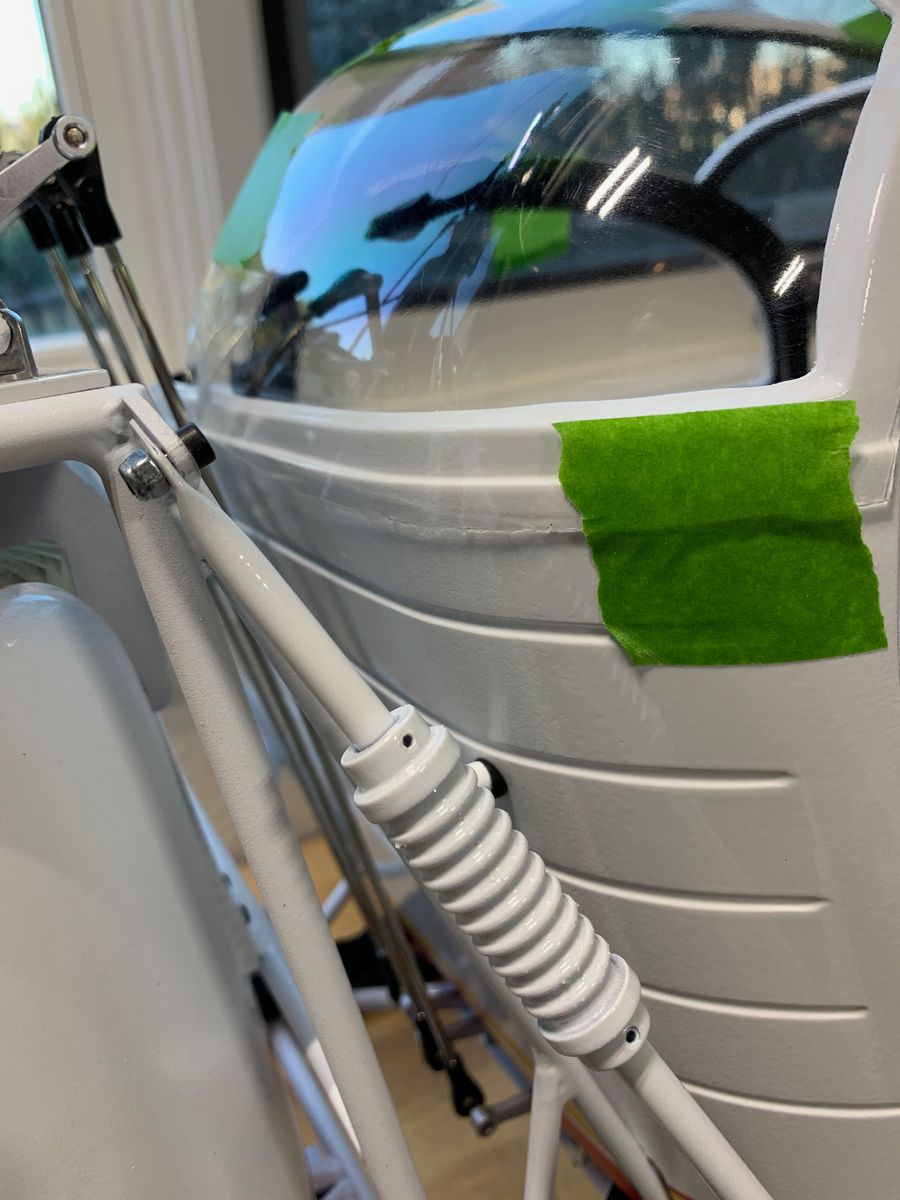
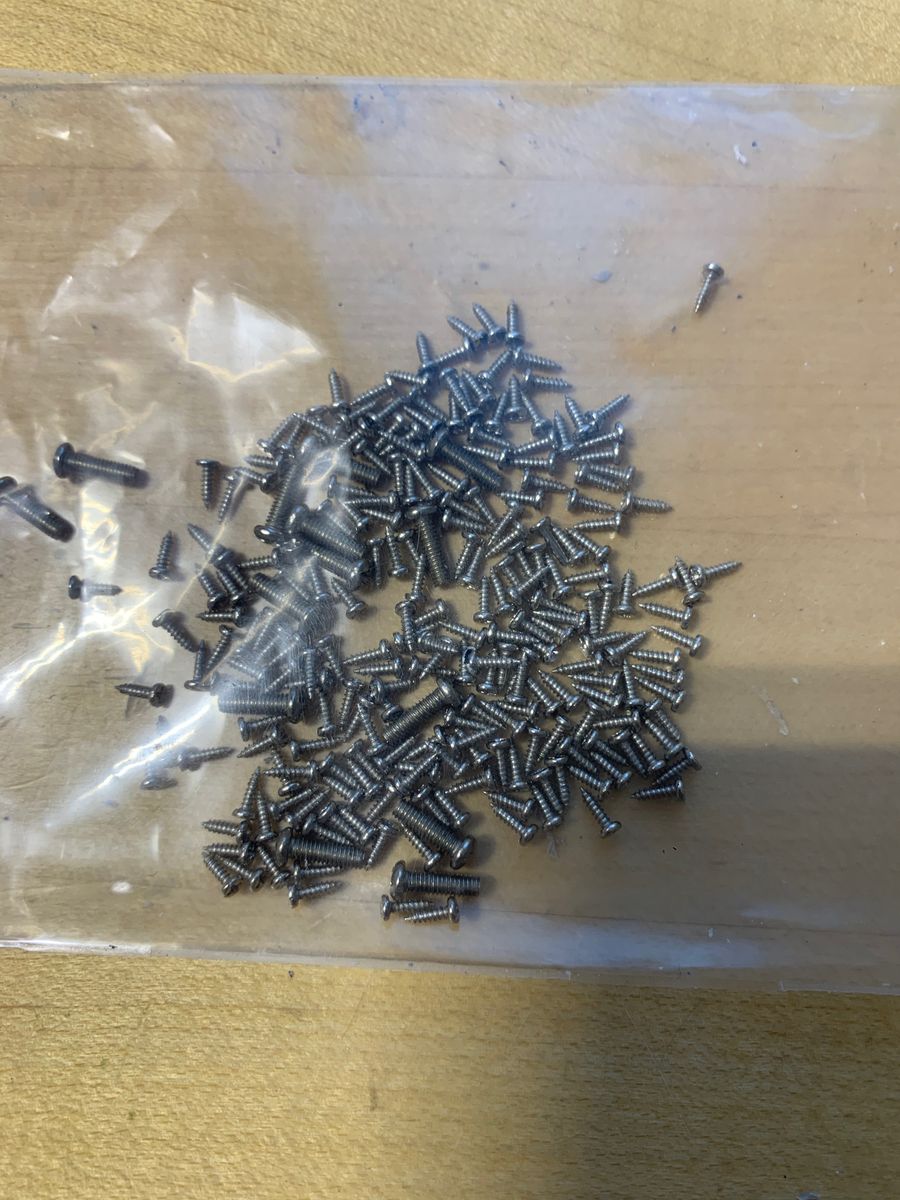
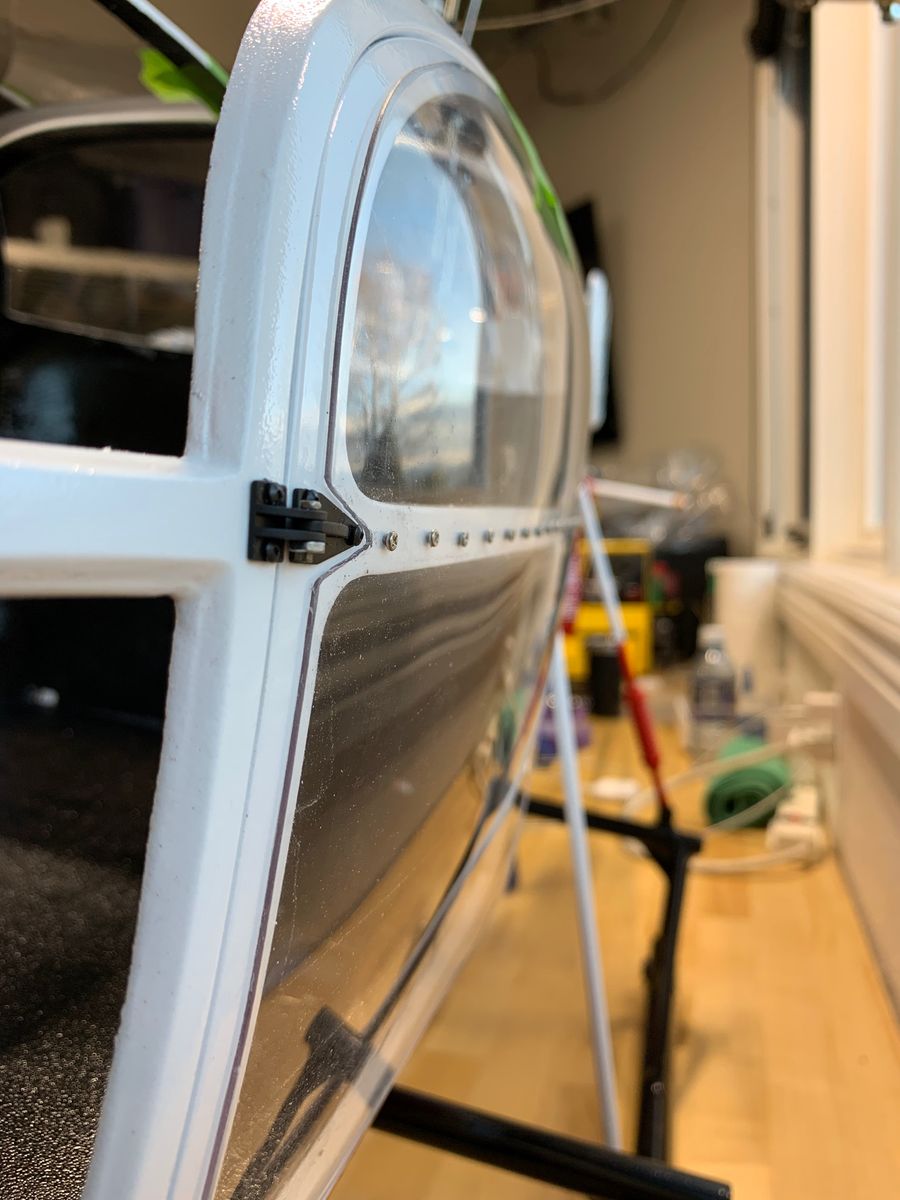
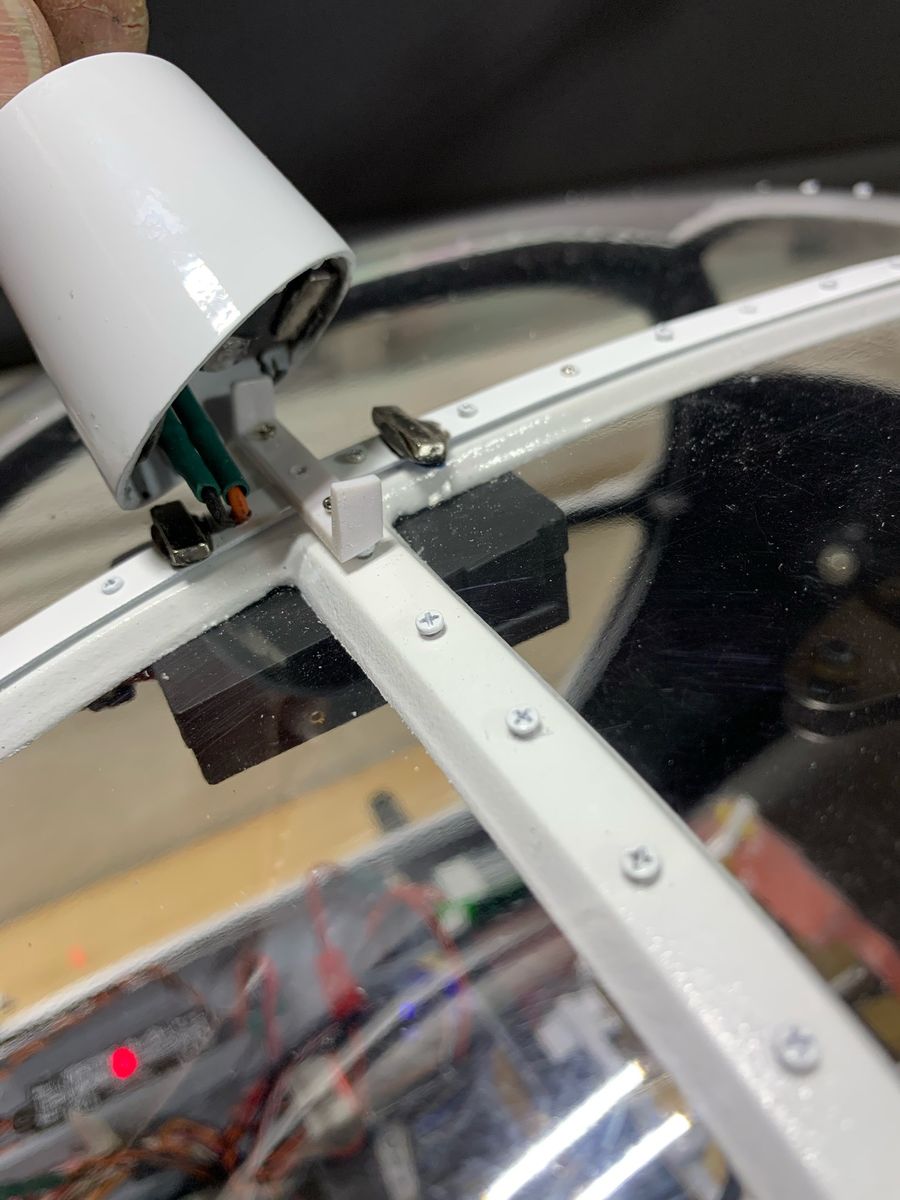
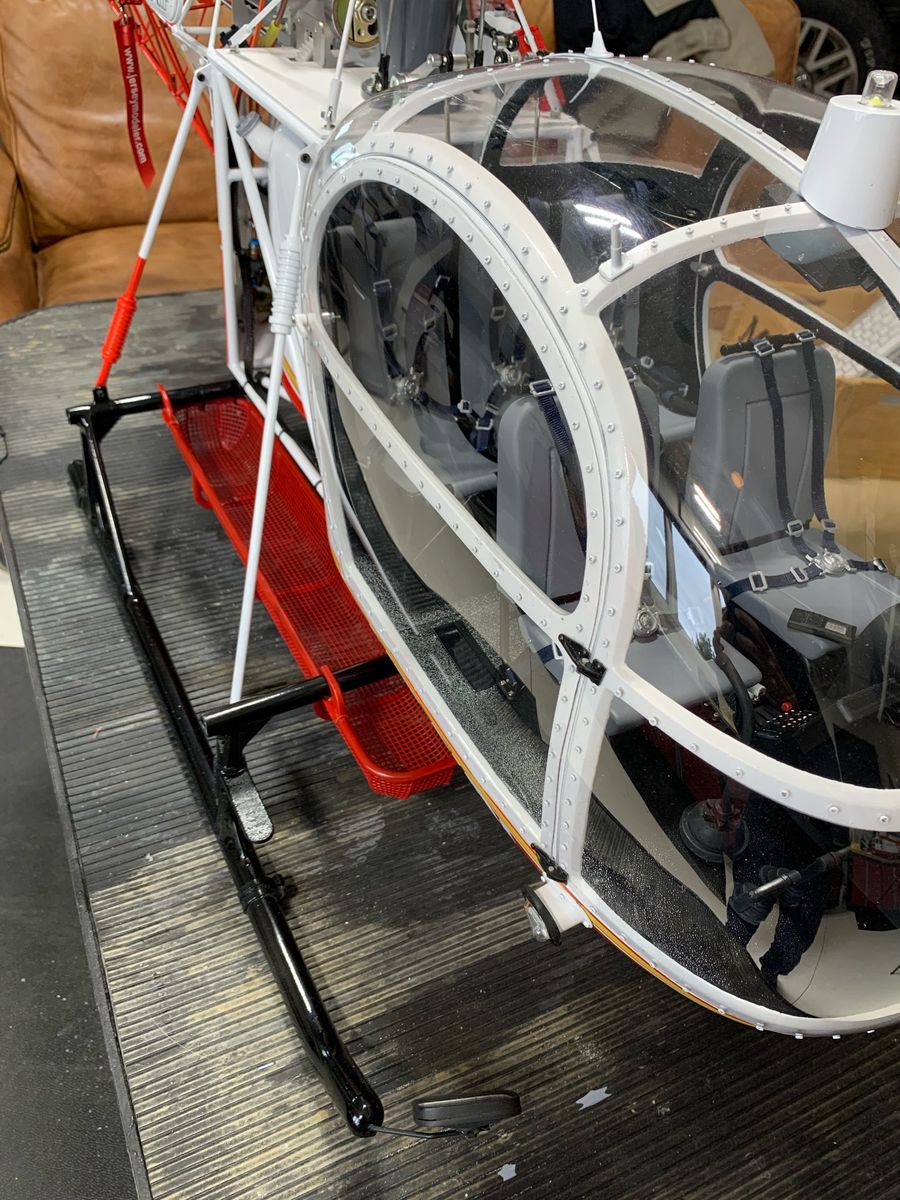
The canopy is the most challenging. I don't mind admitting that you are seeing the third set of glazings. It was hard for me to get it to my liking. Note I used a template for spacing the screws. The dome navigation light is held on my magnets.
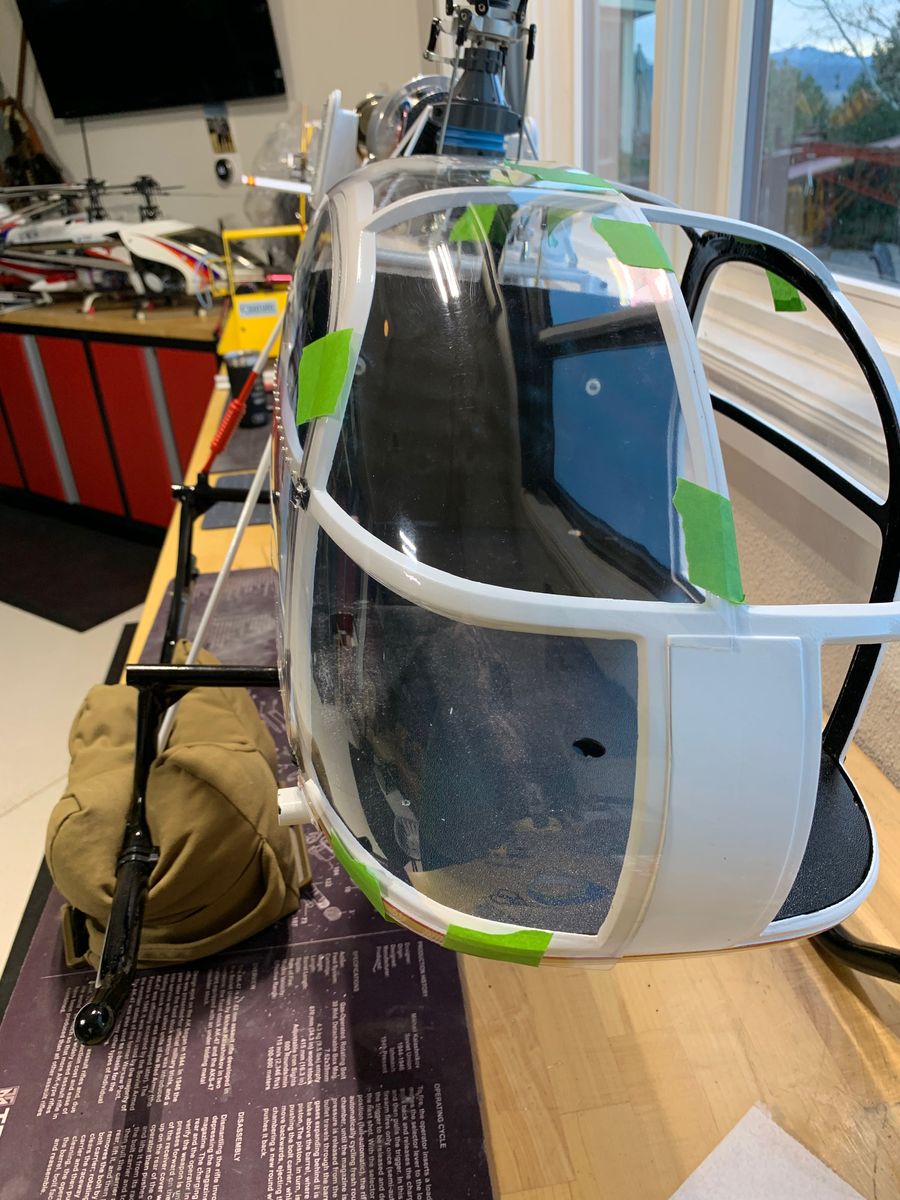
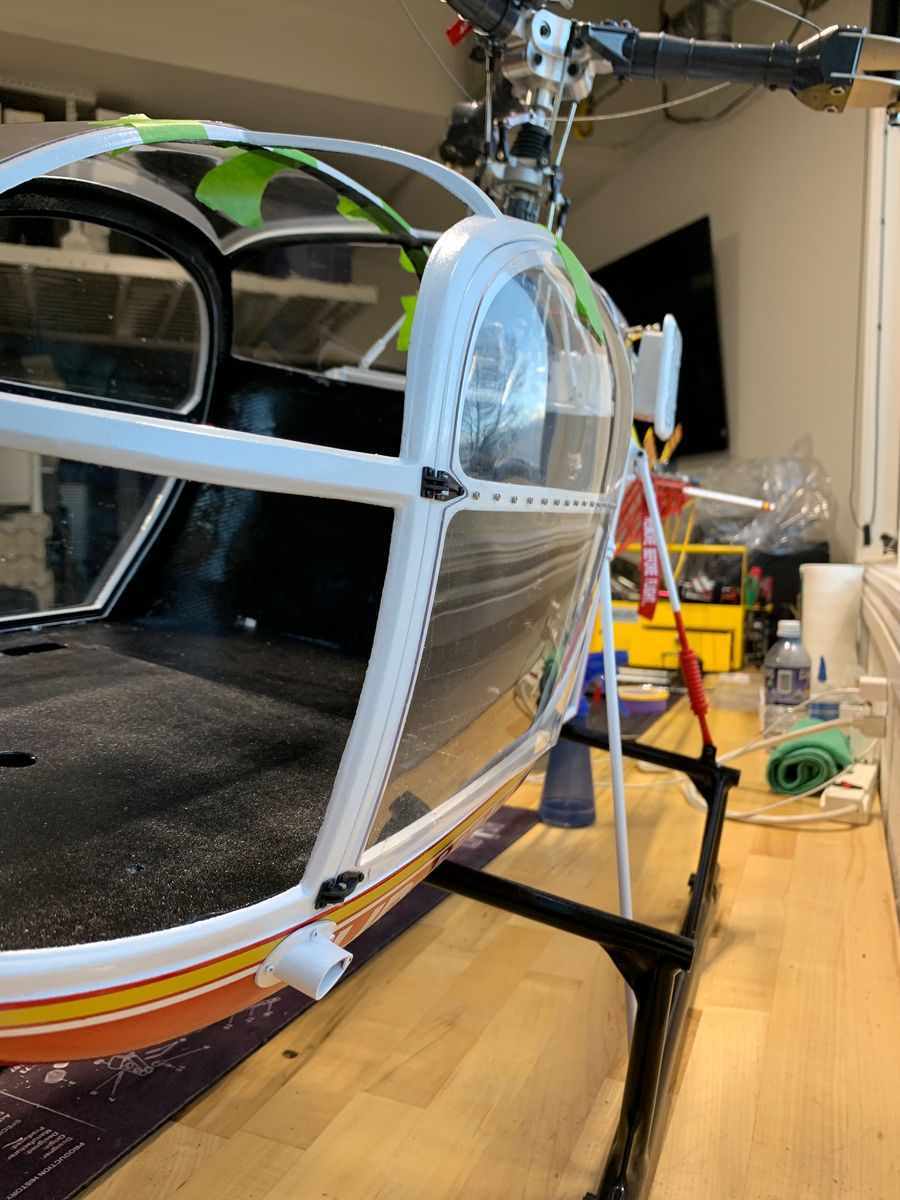
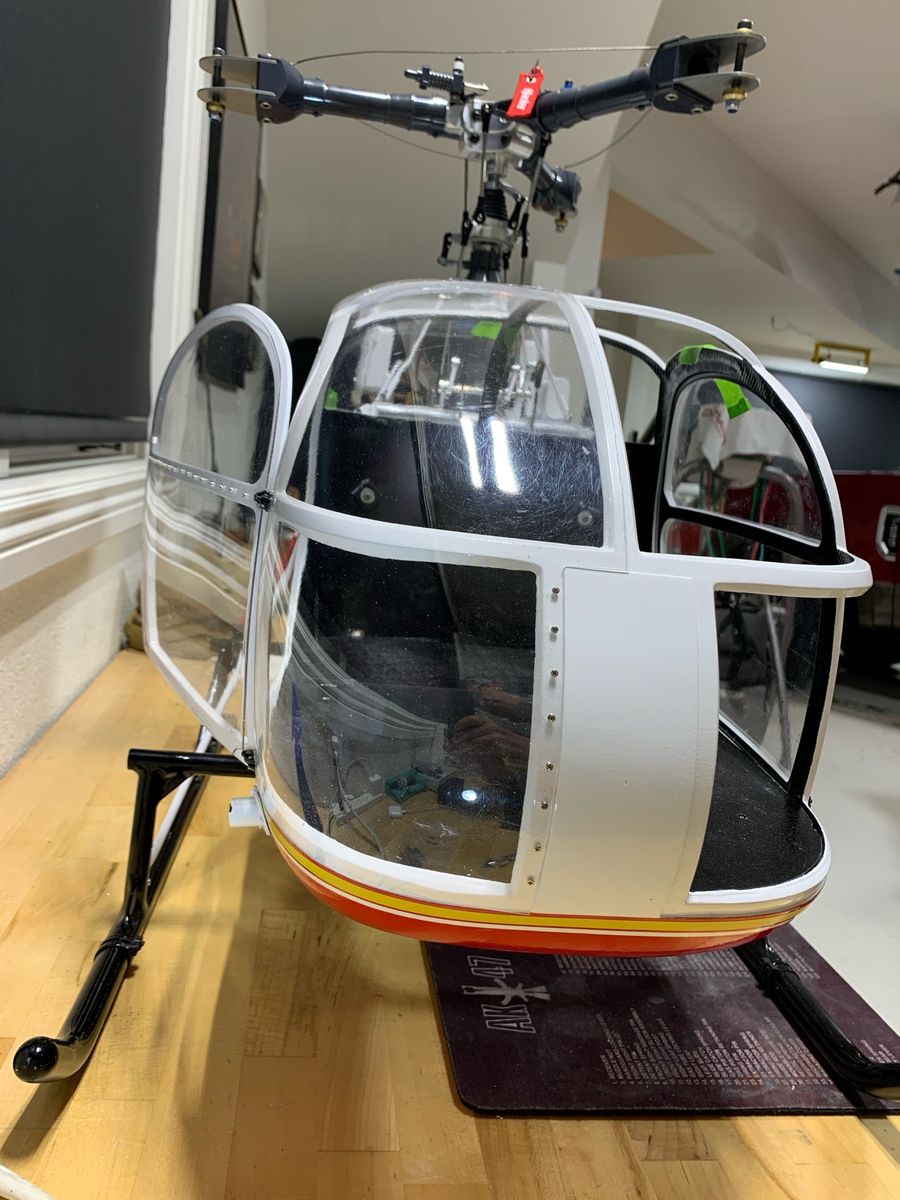
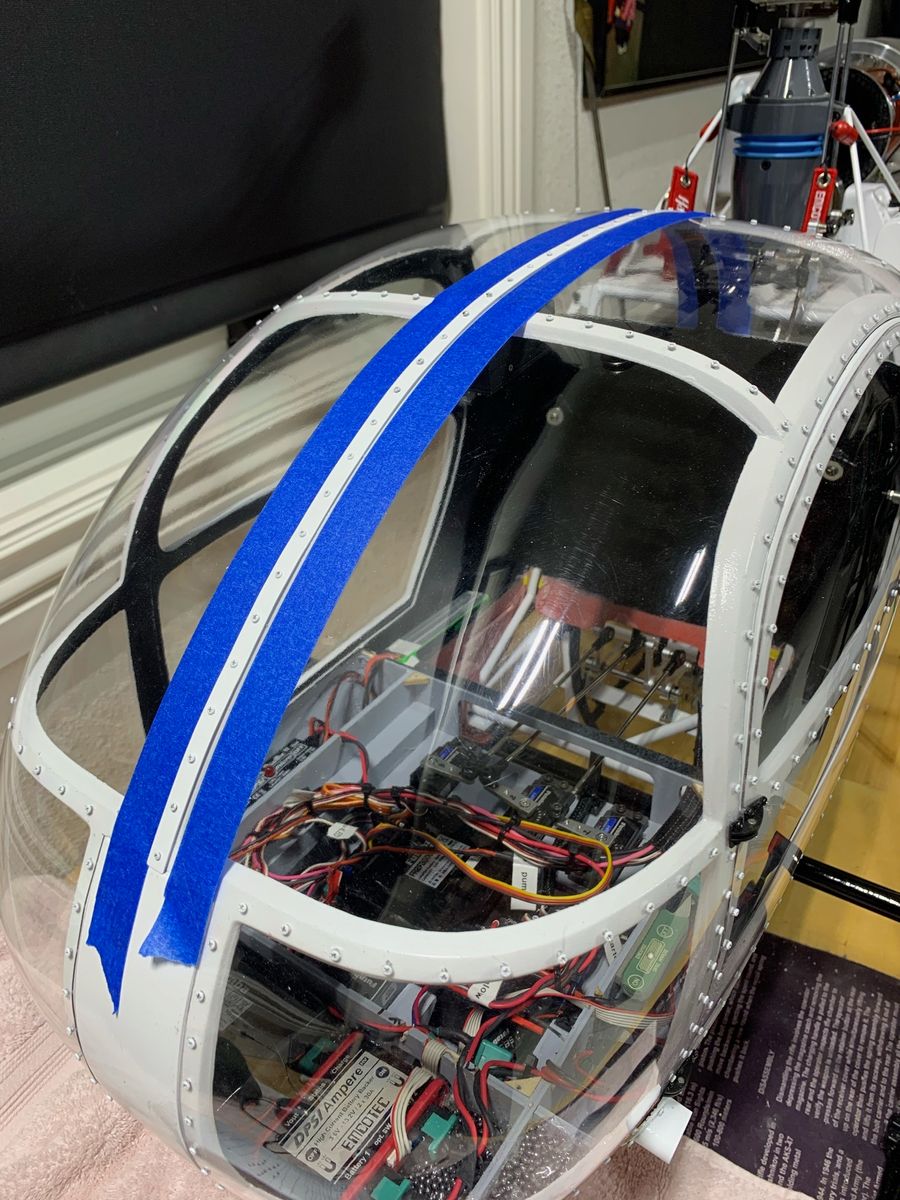
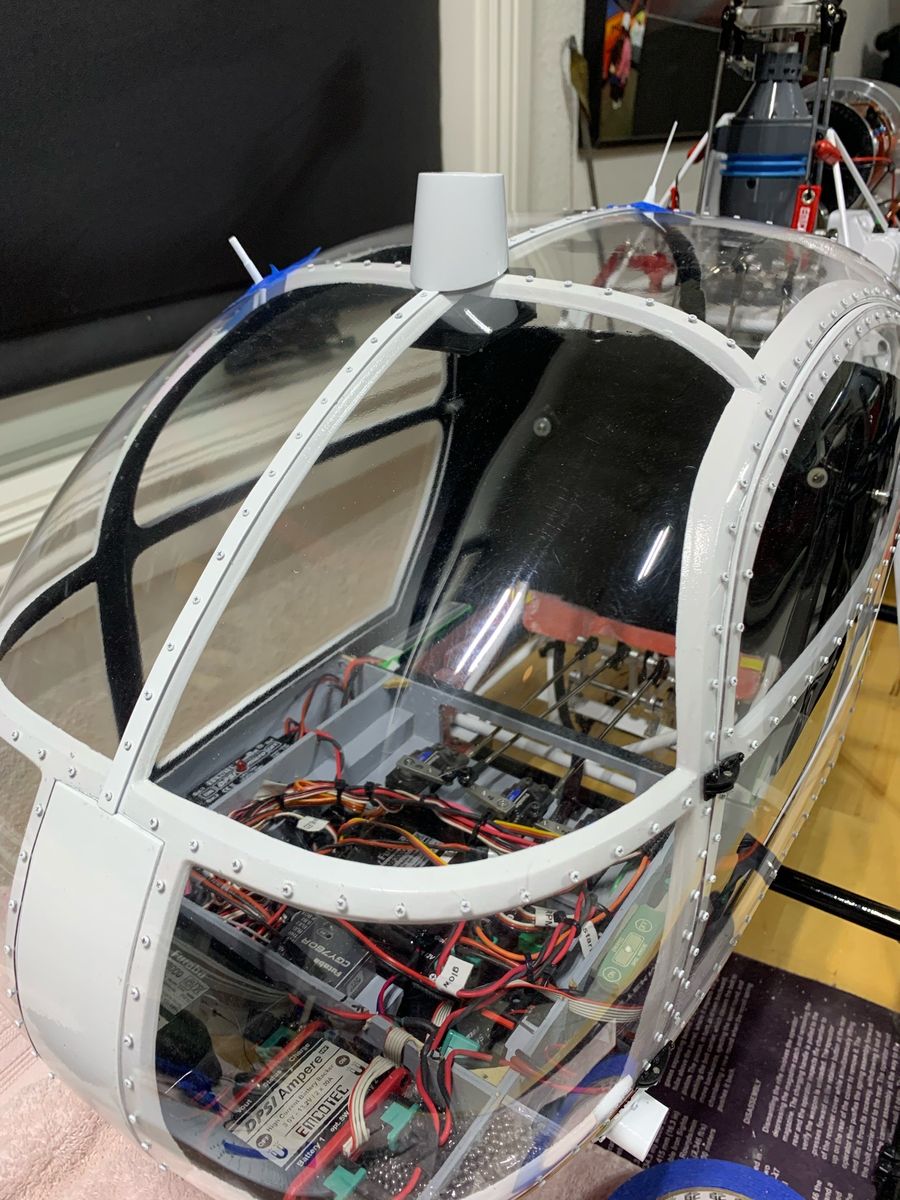
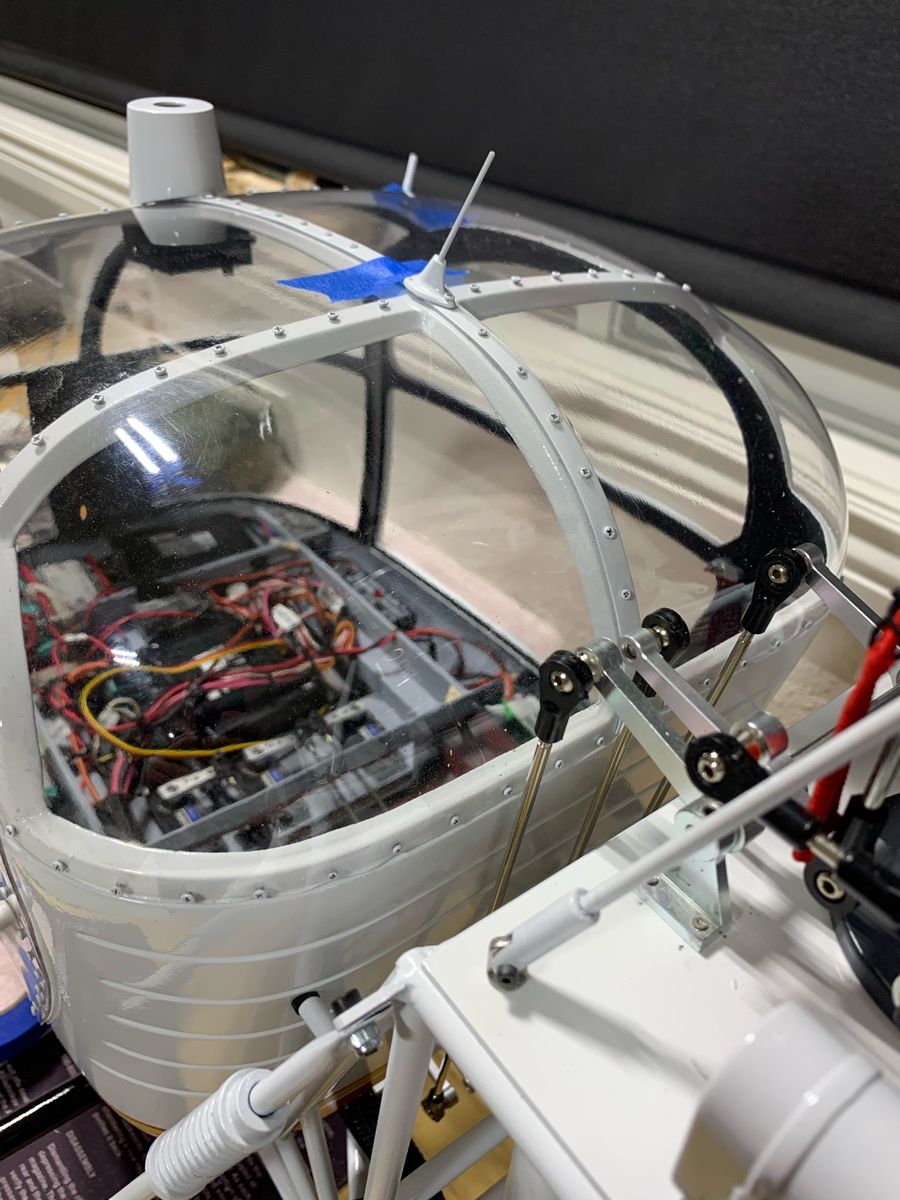
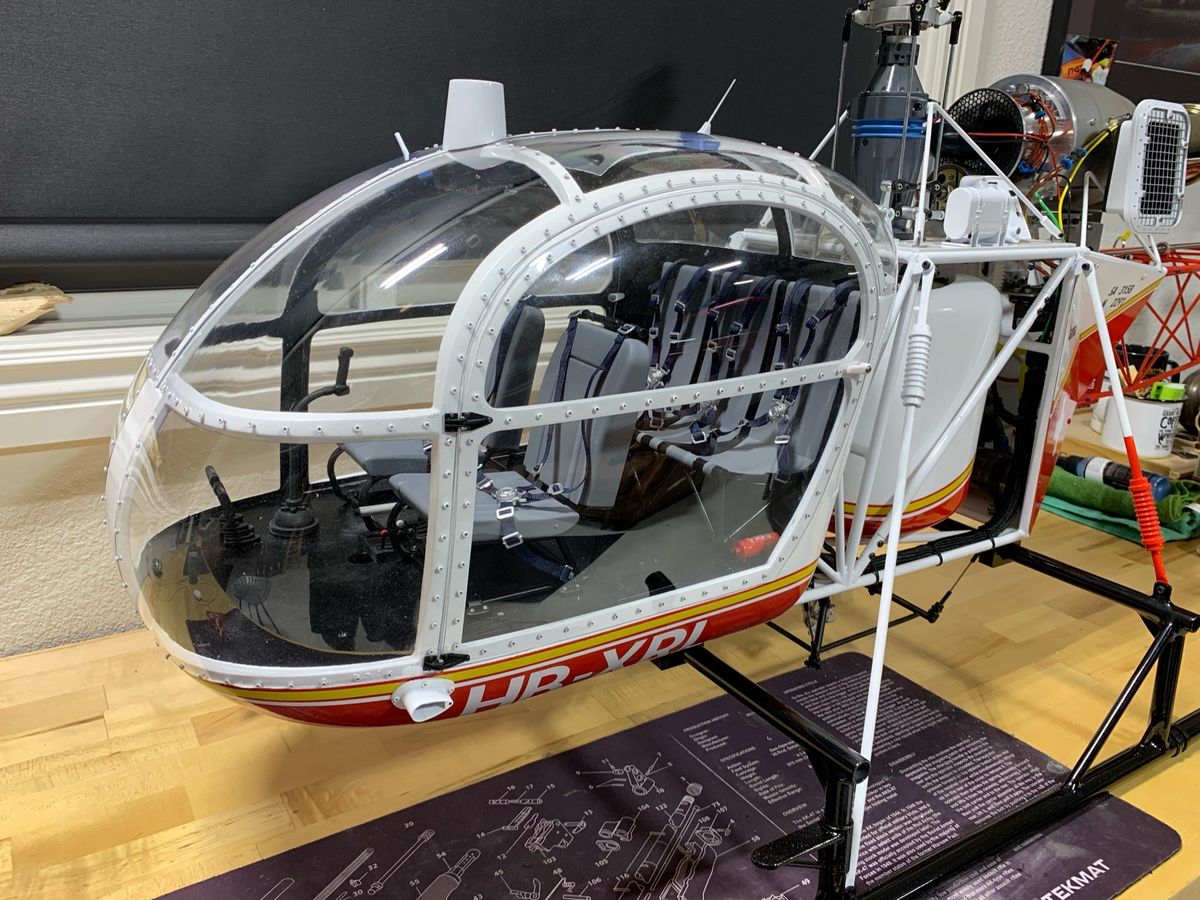
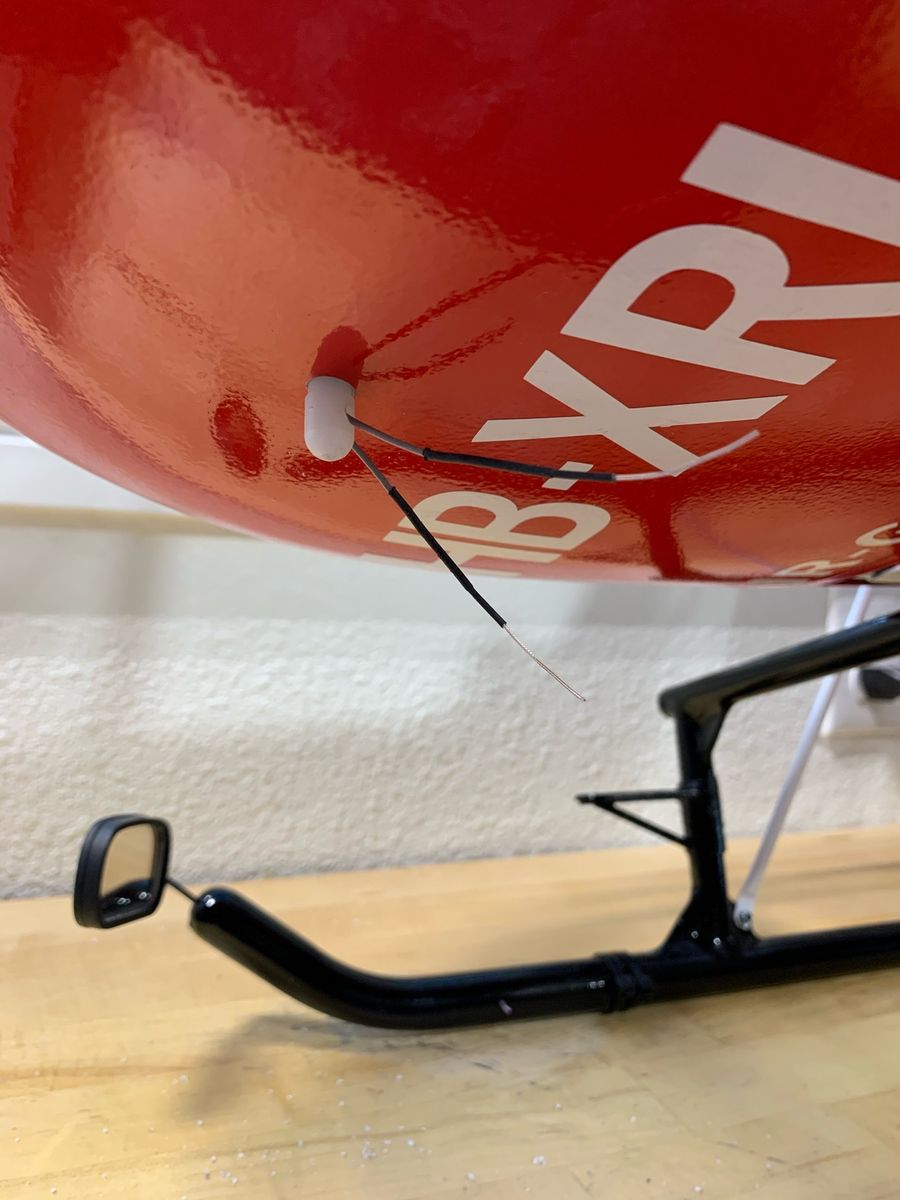
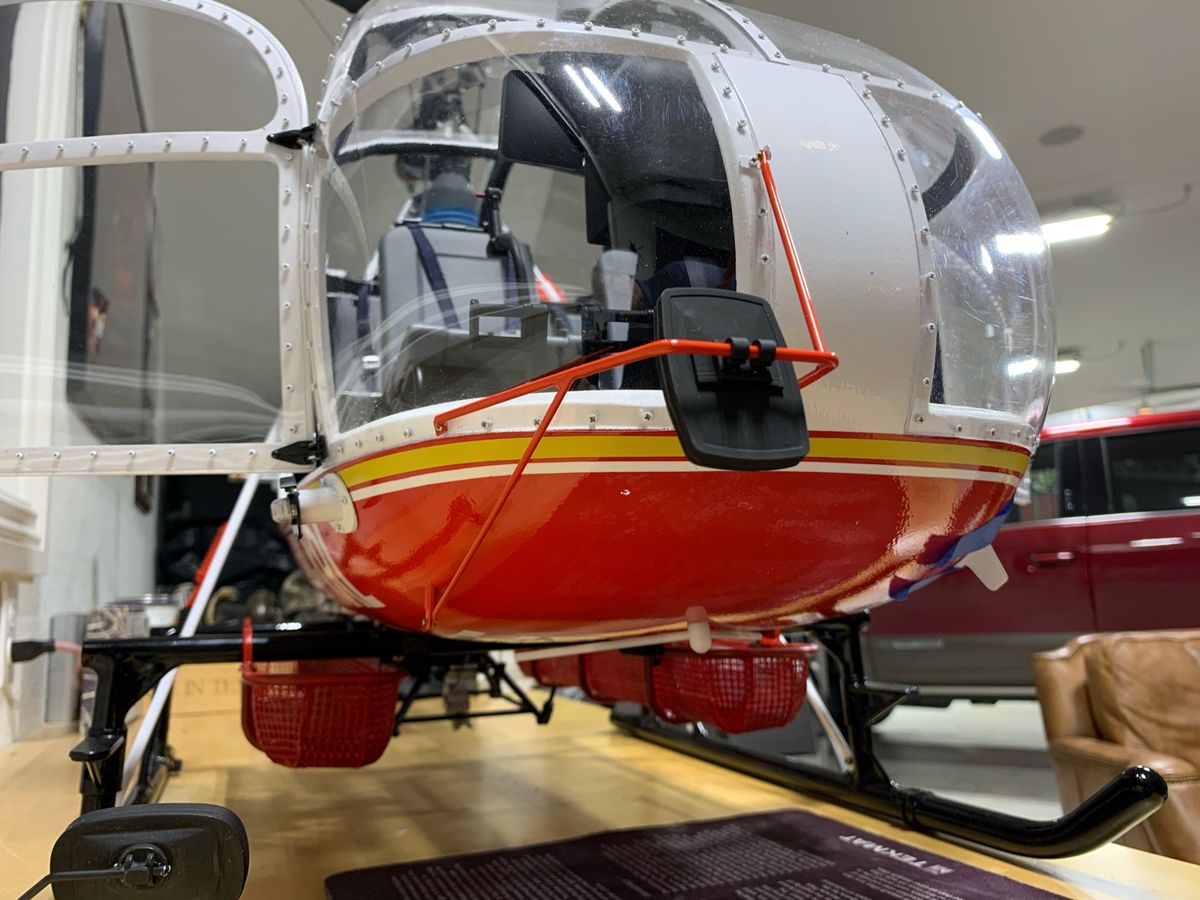
Wiring, interior, baskets, canopy, skid mirrors, ballast
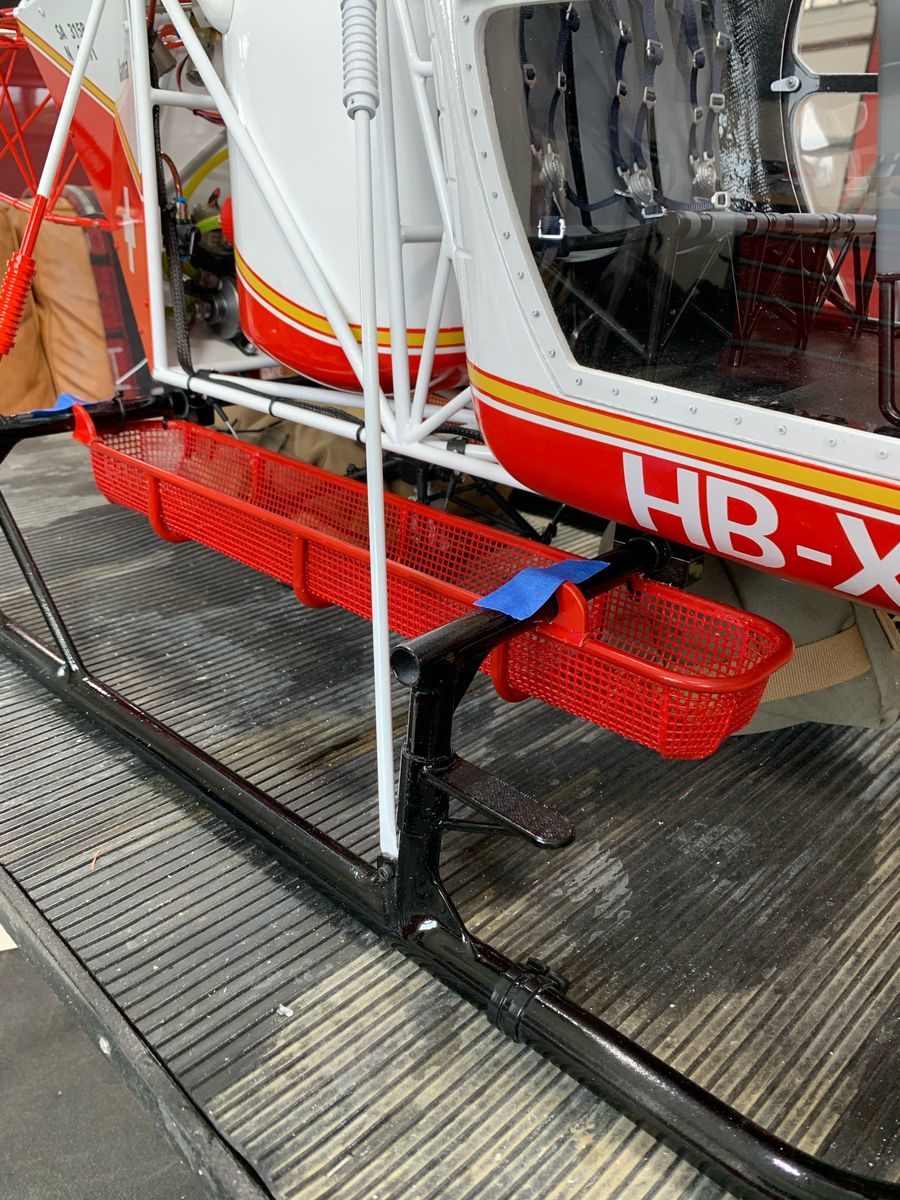
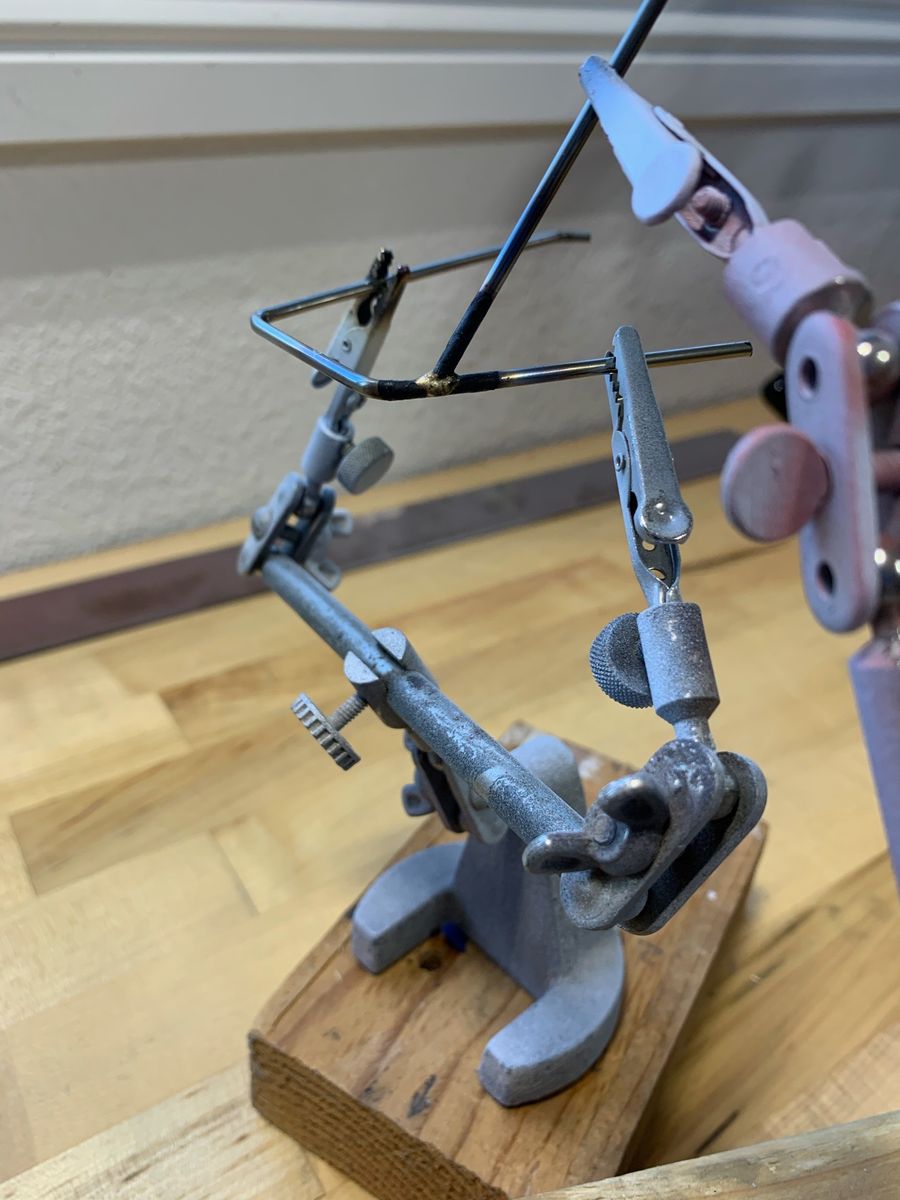
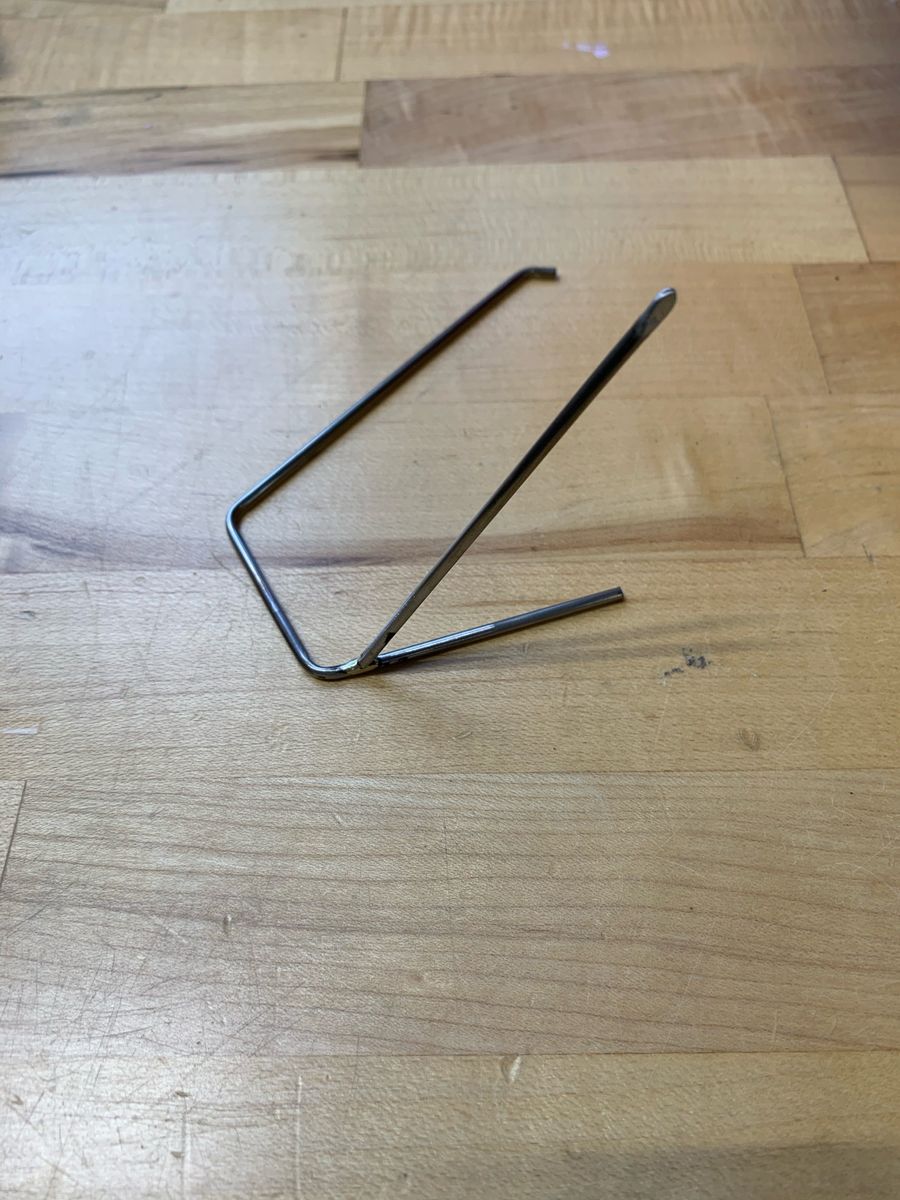
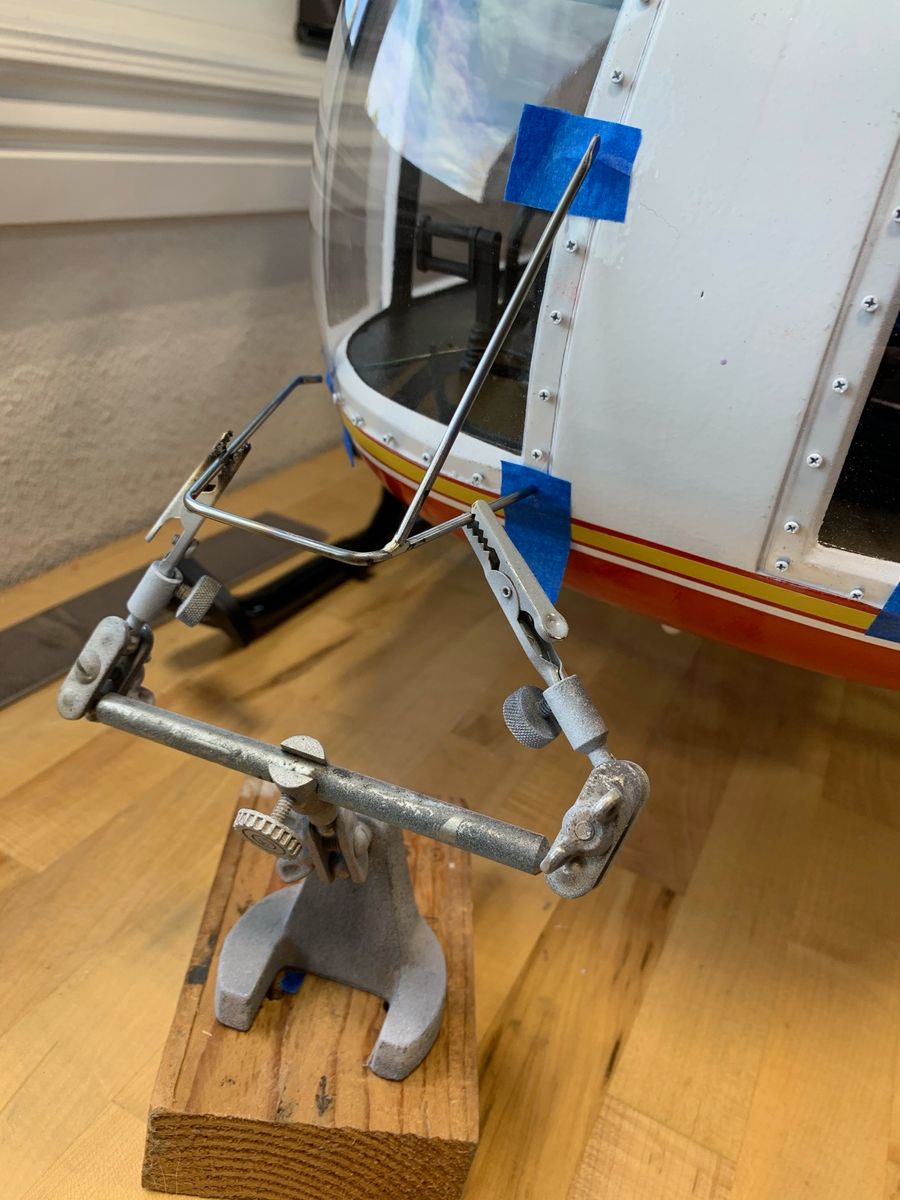
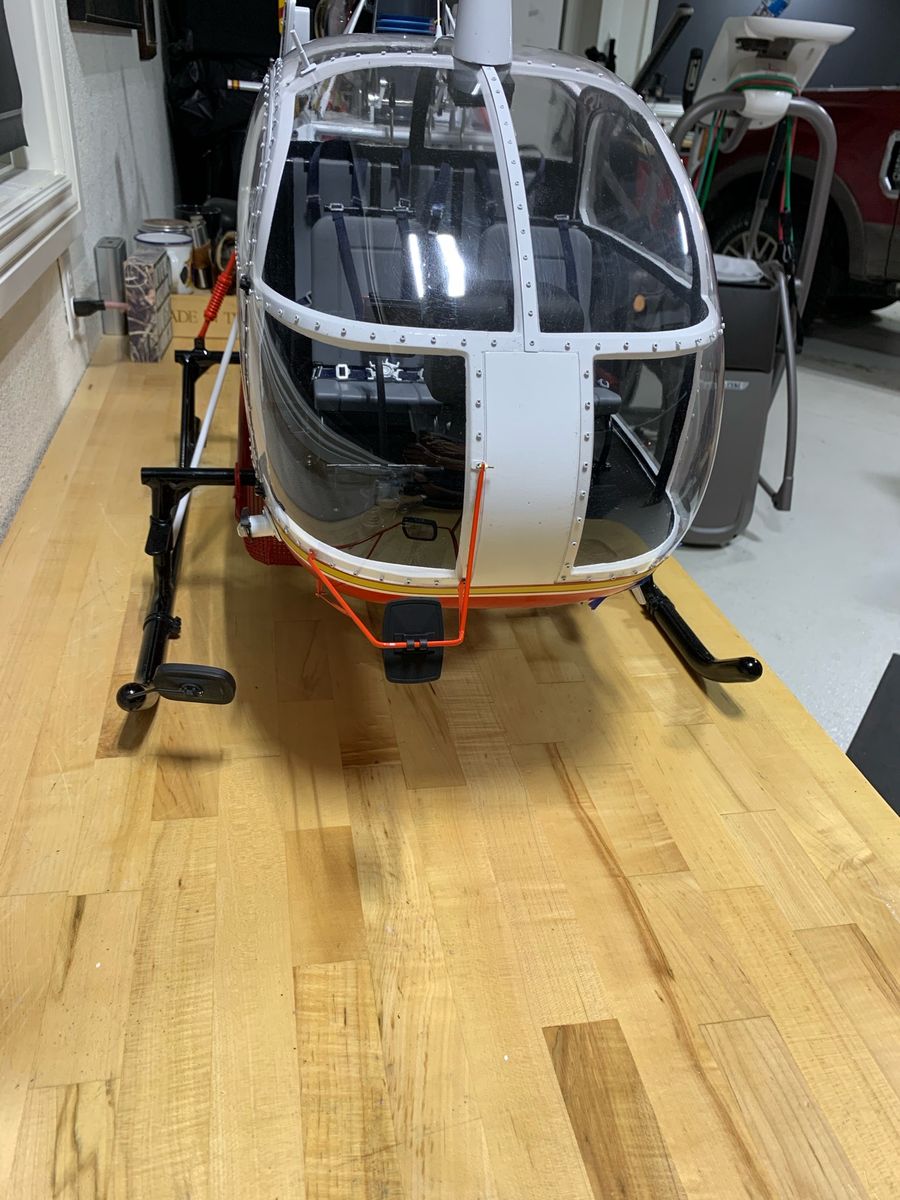
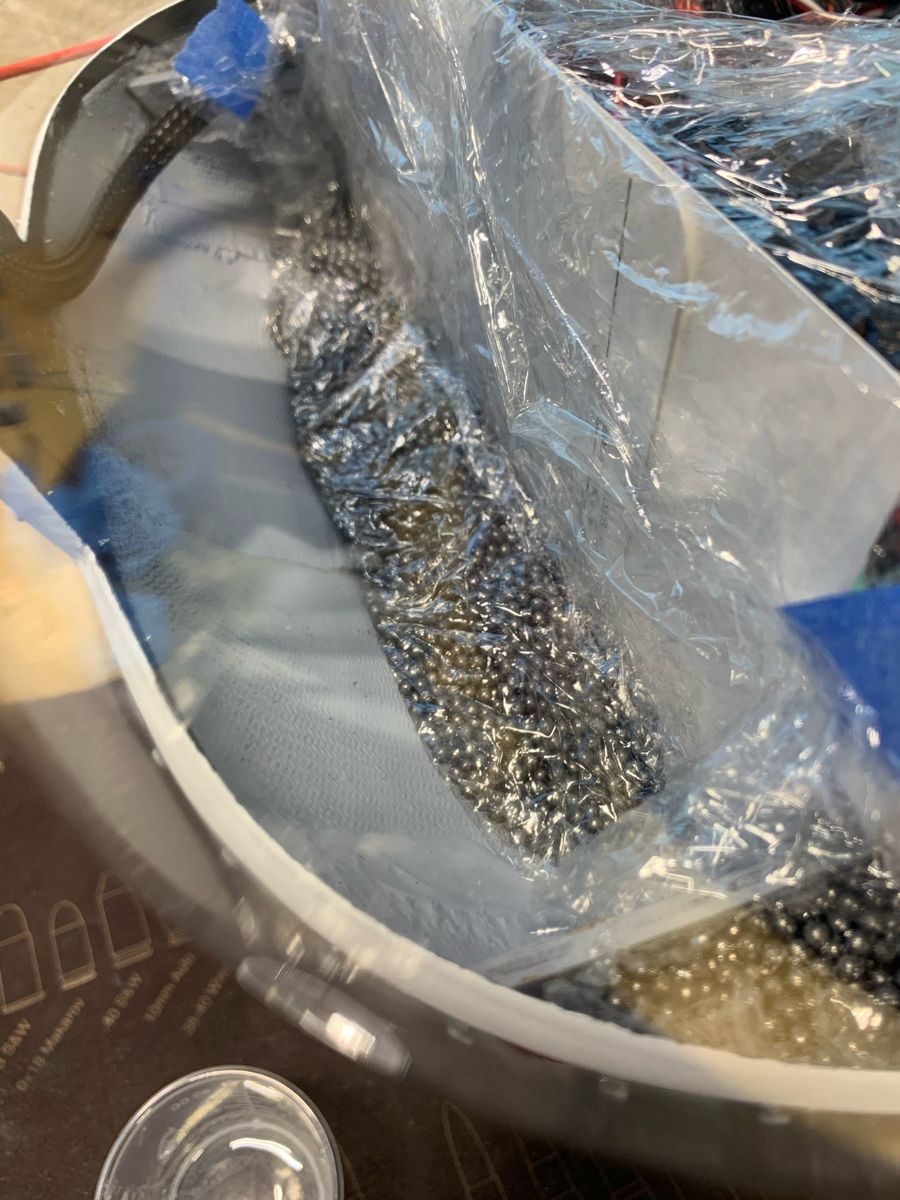
Fabrication of the front mirror brackets were silver soldered. Note how ballast is installed. Lead shot is mixed with epoxy and “poured” in place.
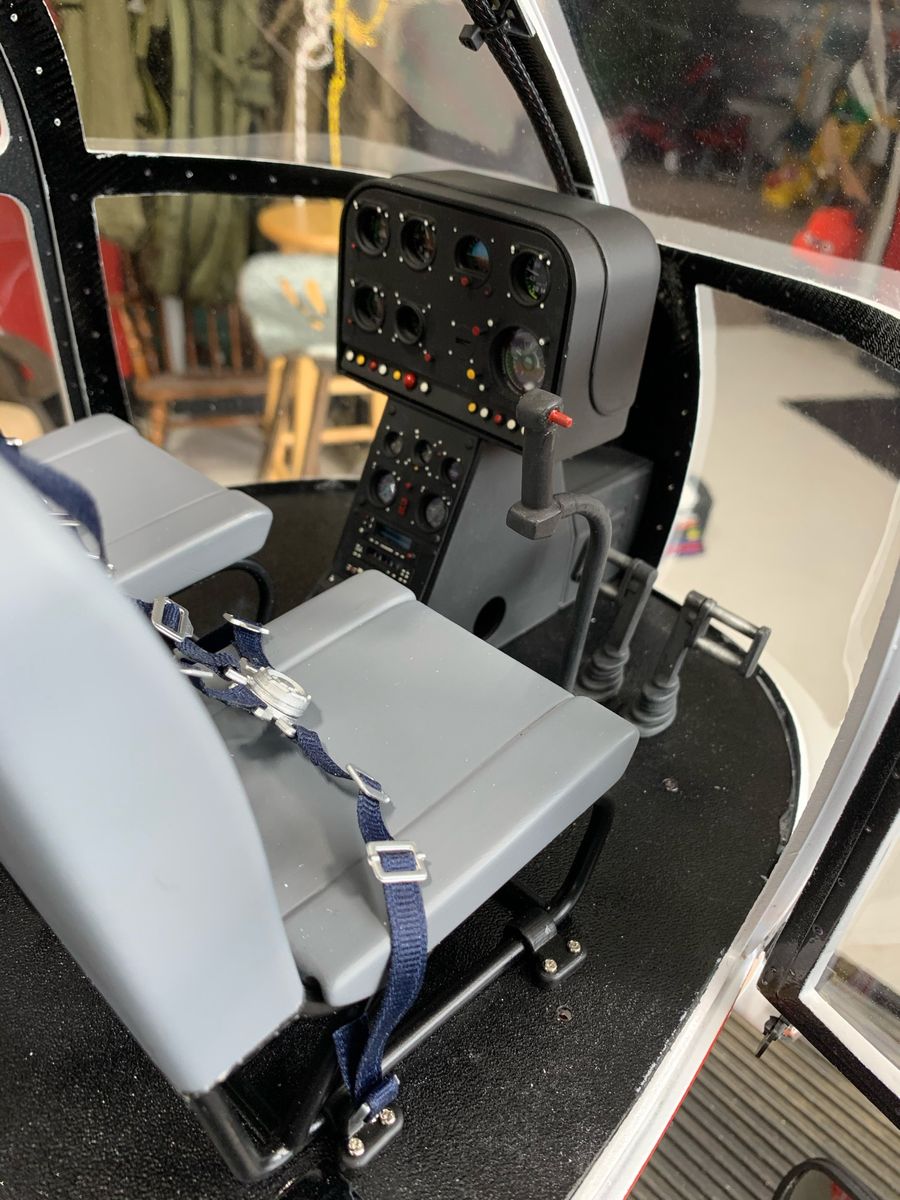
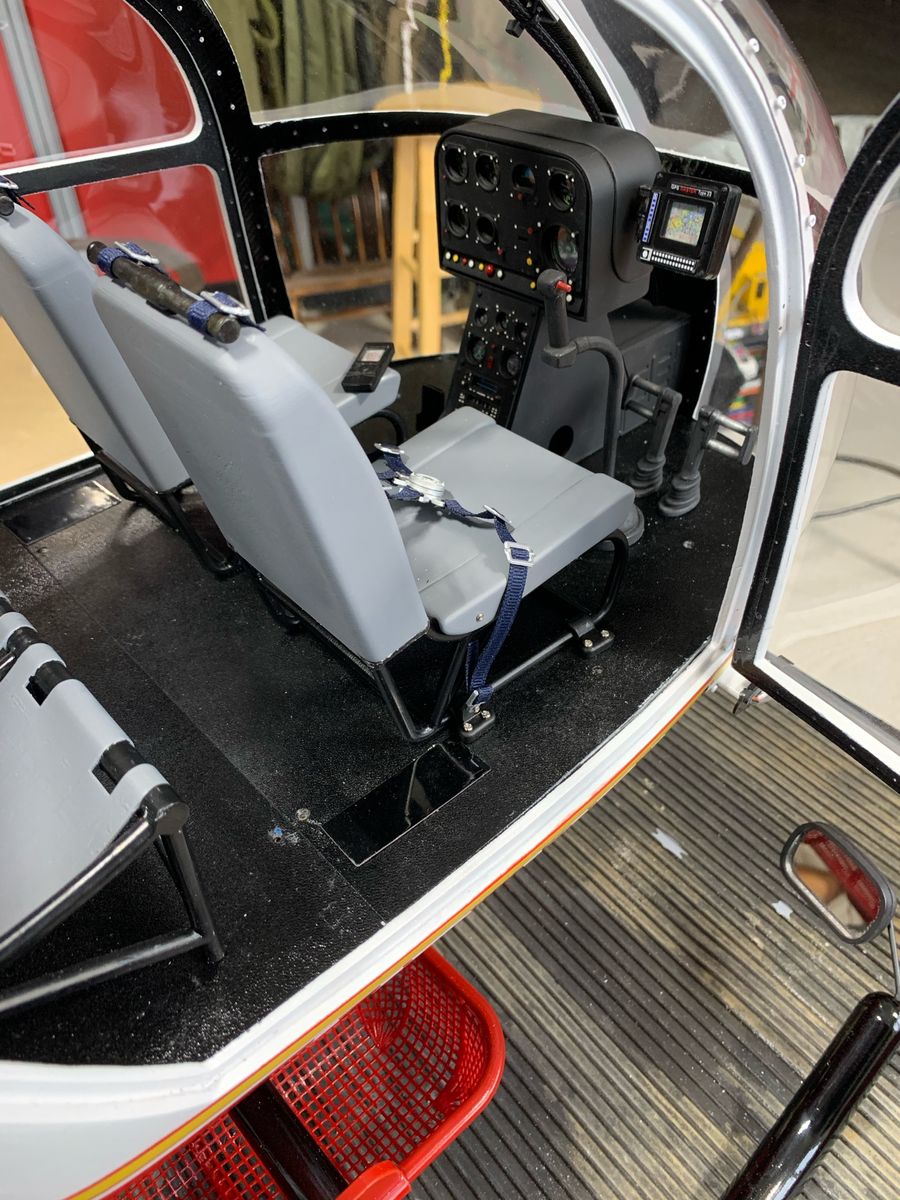
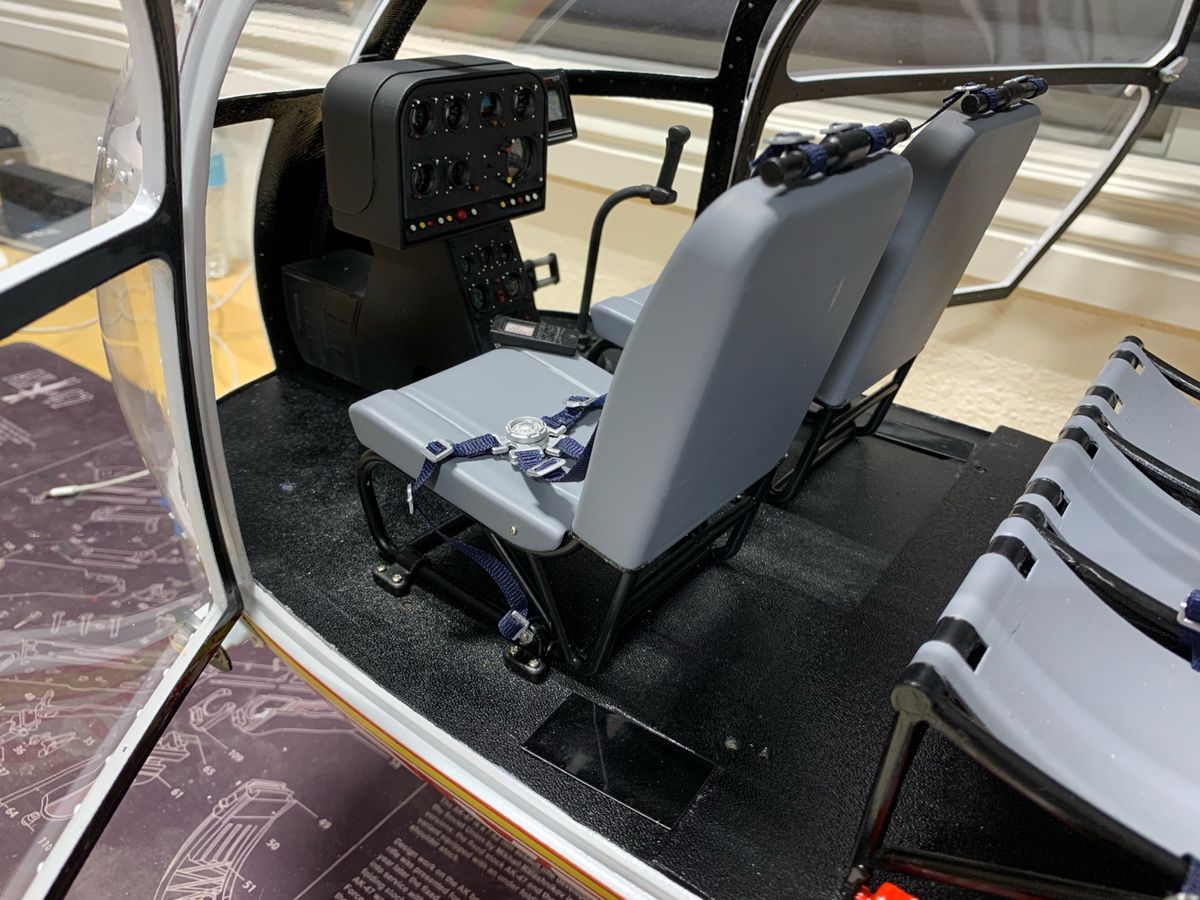
console, seats, belts, baskets
https://www.scale-print.de/en/
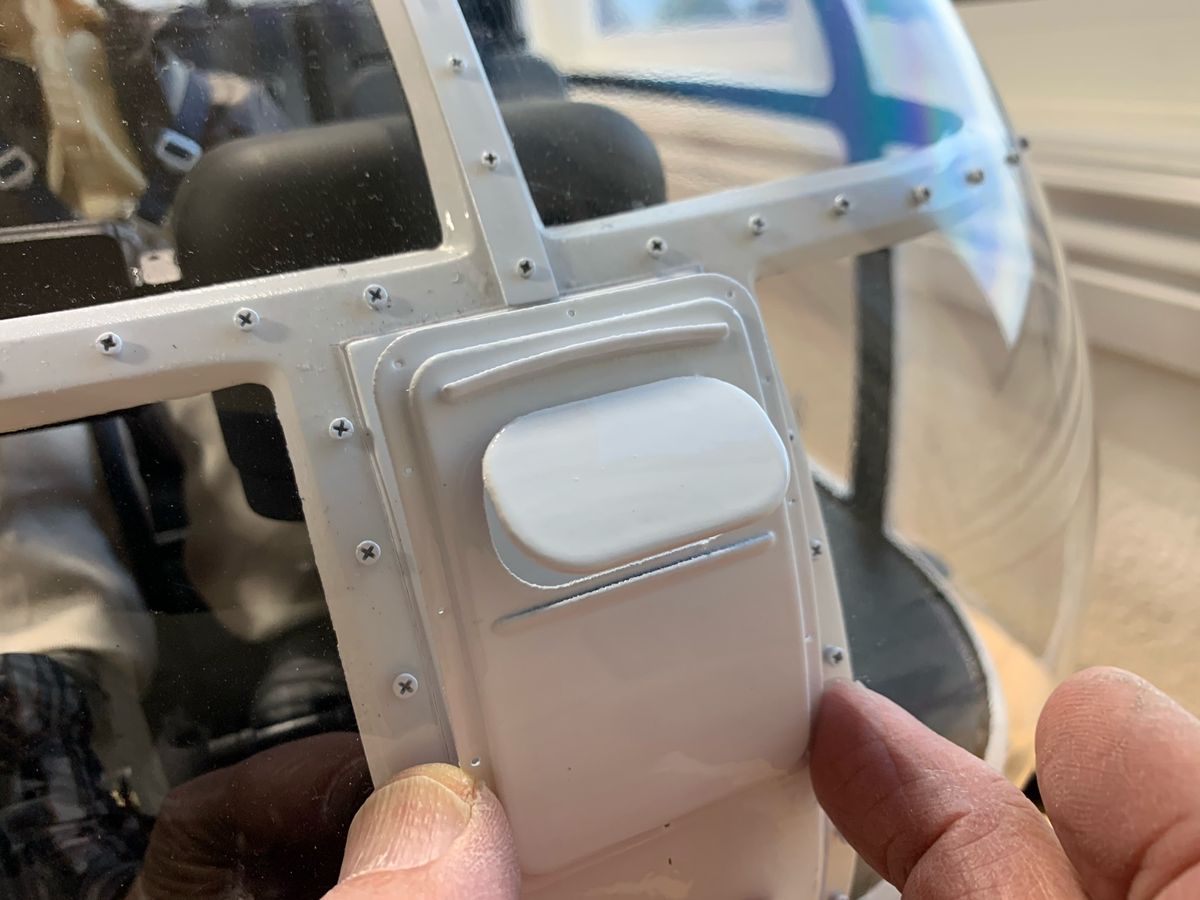
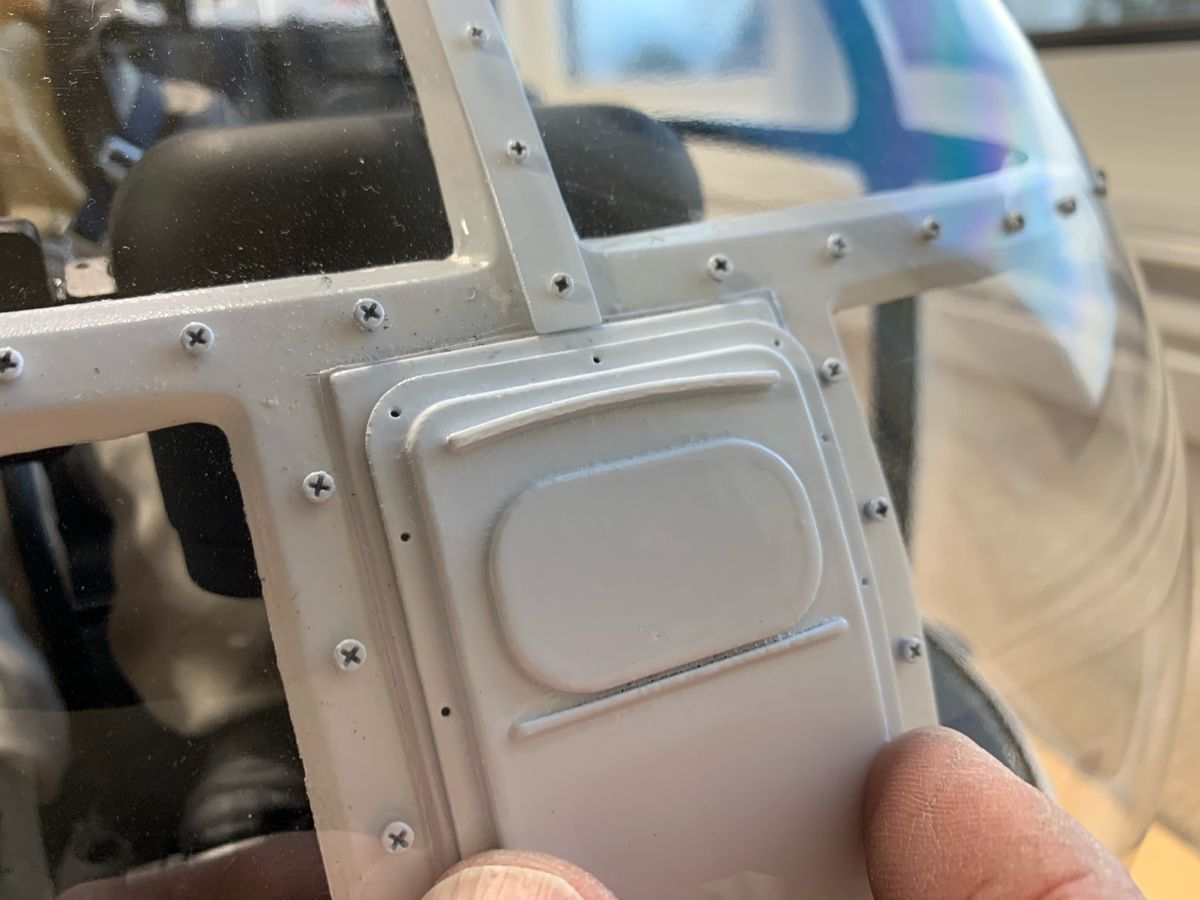
front access panel
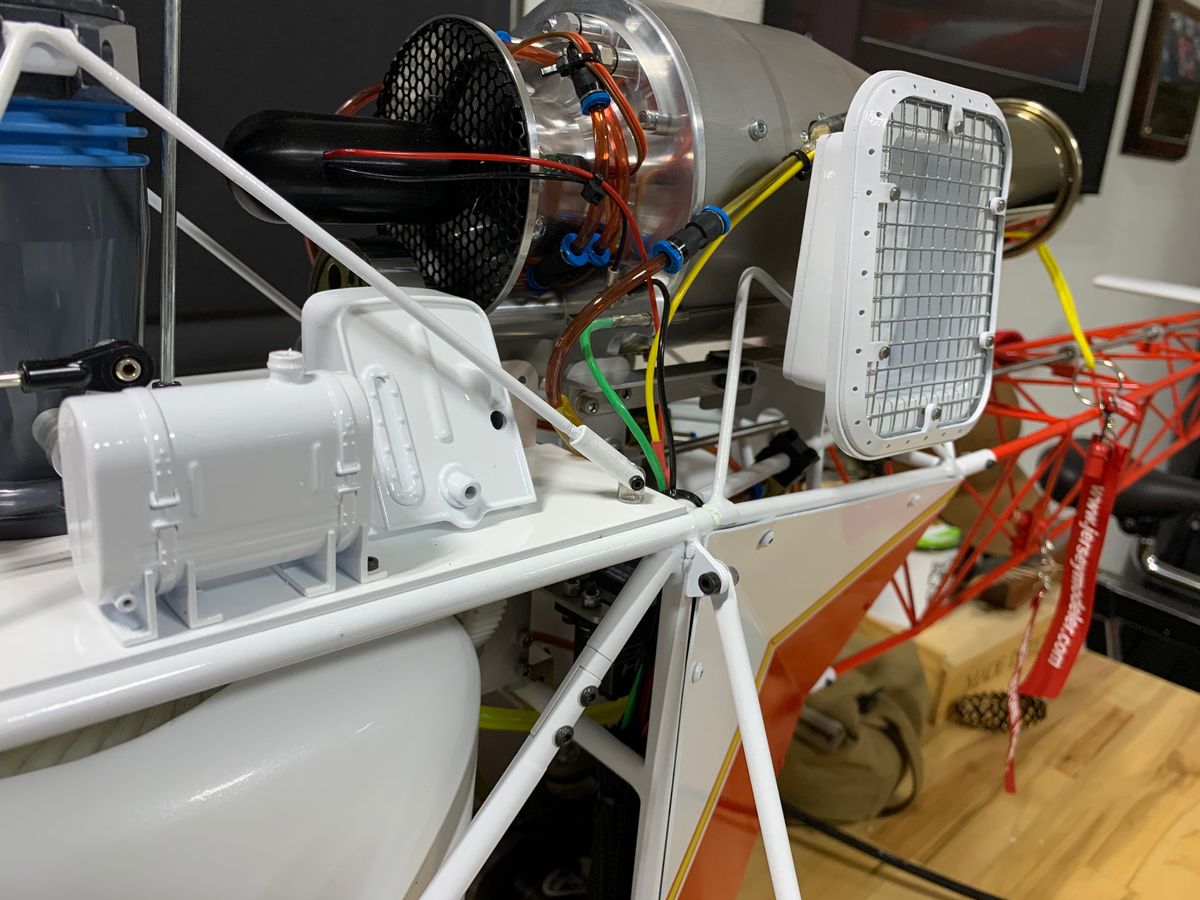
Top heat exchanger, oil tank
Both companies are excellent to deal with and provide great products.
 Fine Scale Modela - RC Helicopter and AccessoriesFine Scale Modela - RC Helicopter and AccessoriesScale rc model helicopter and accessories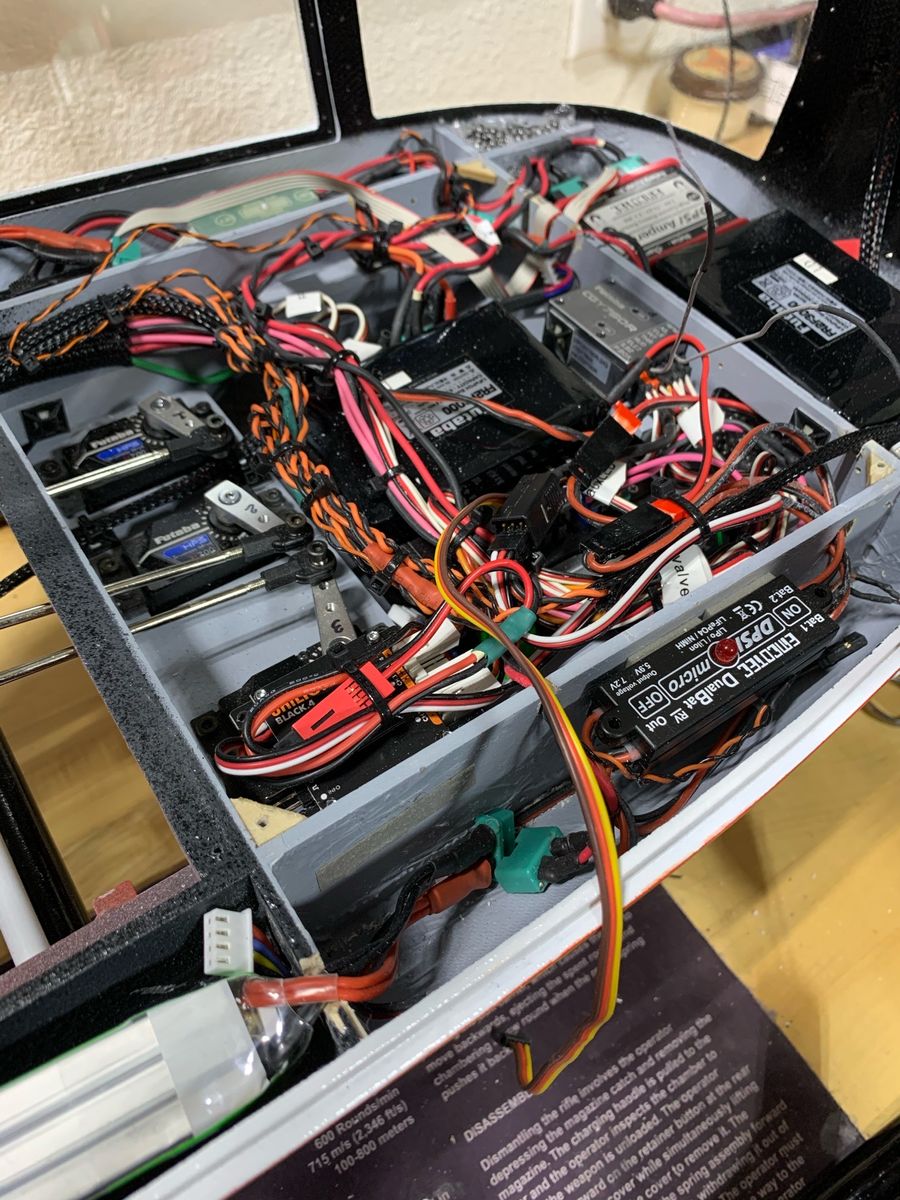
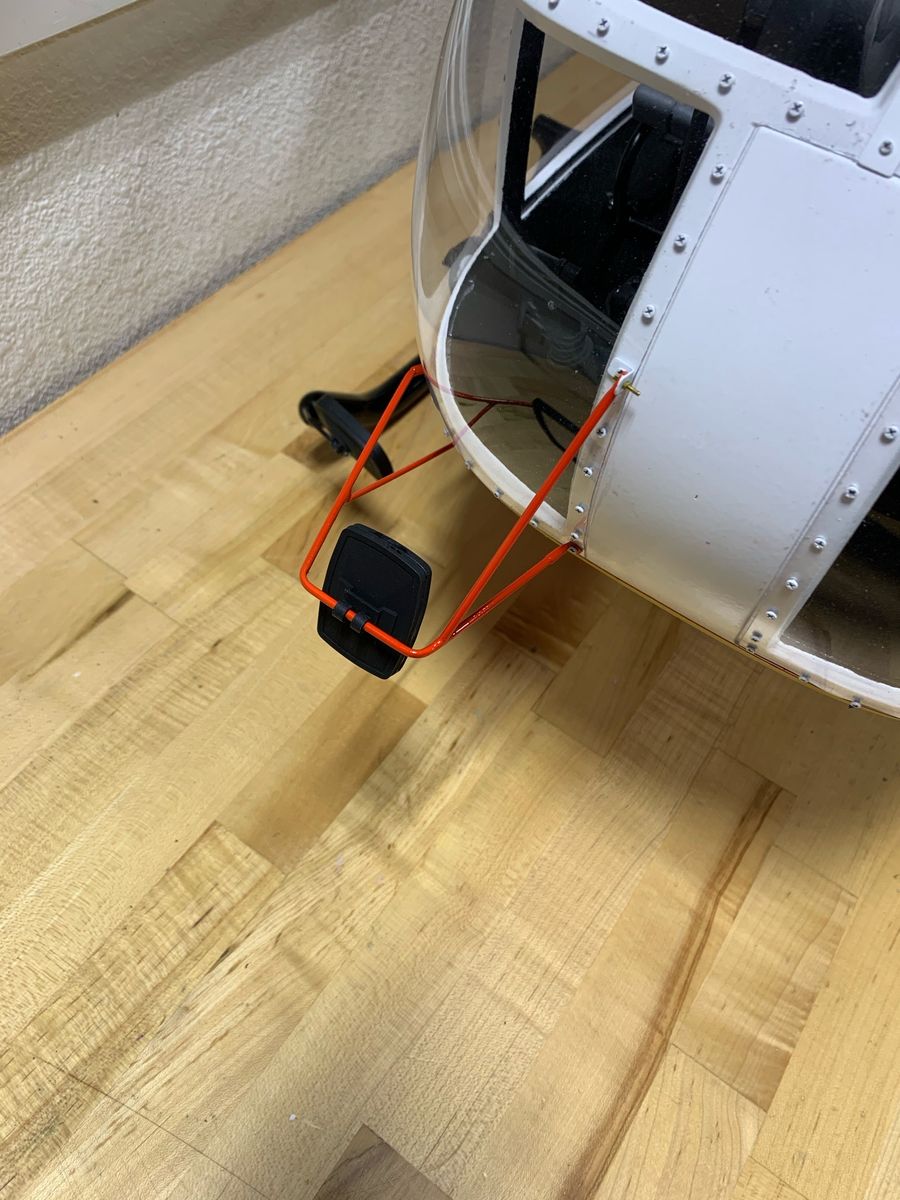
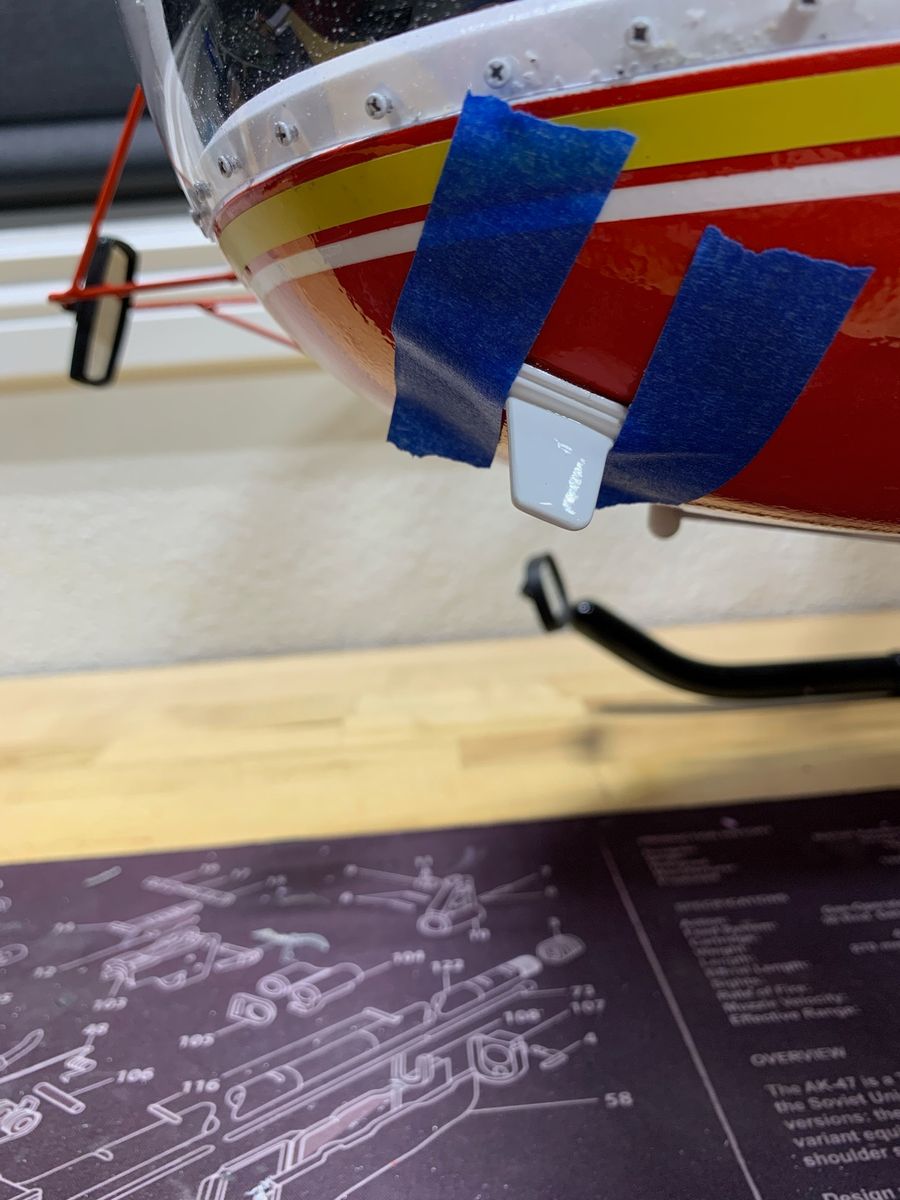
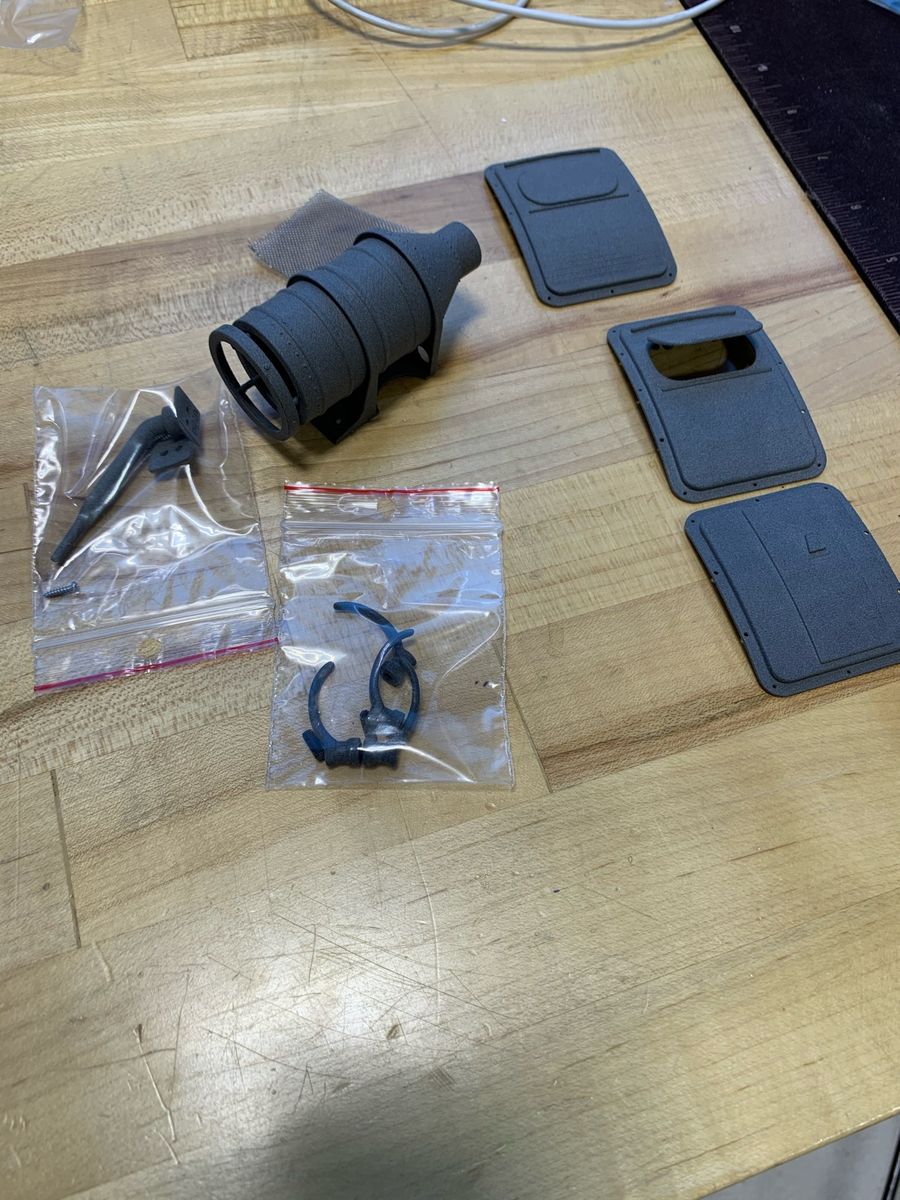
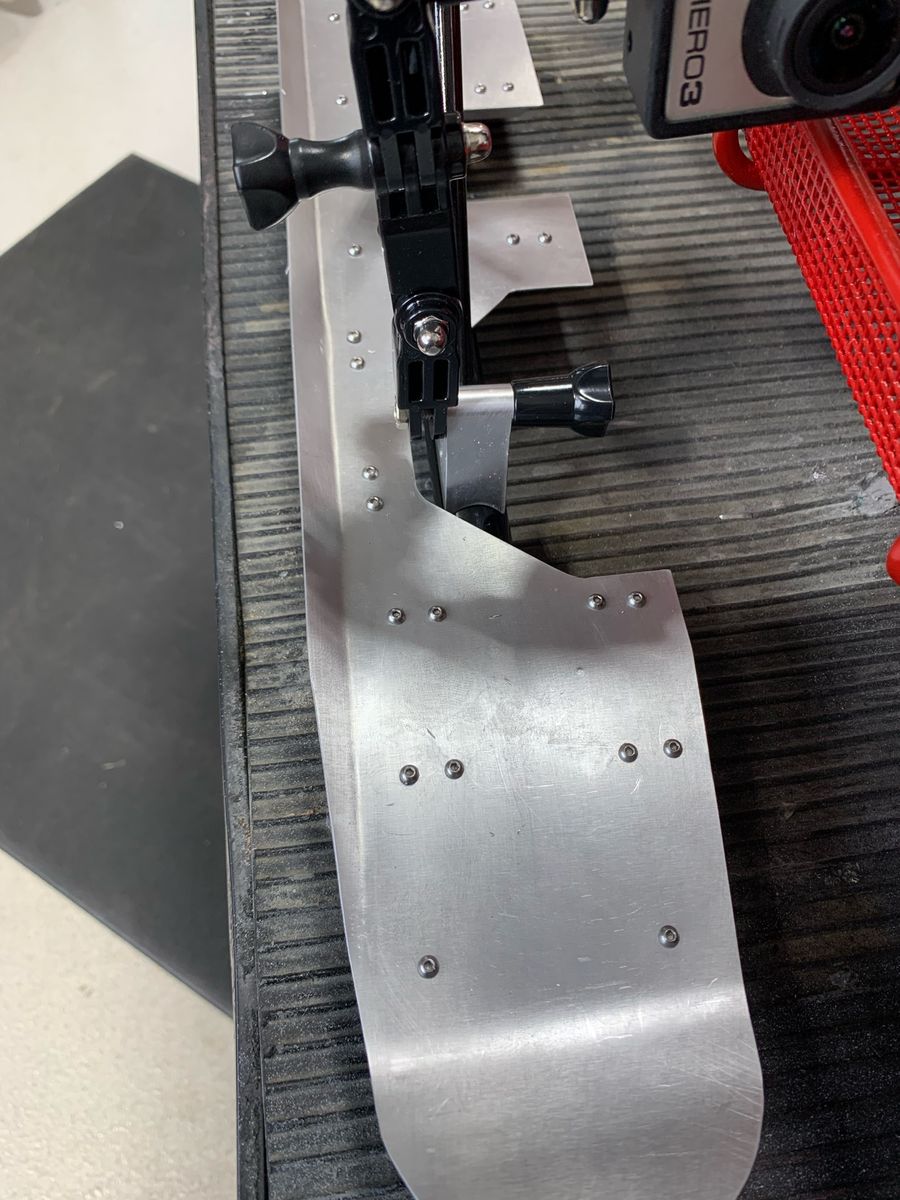
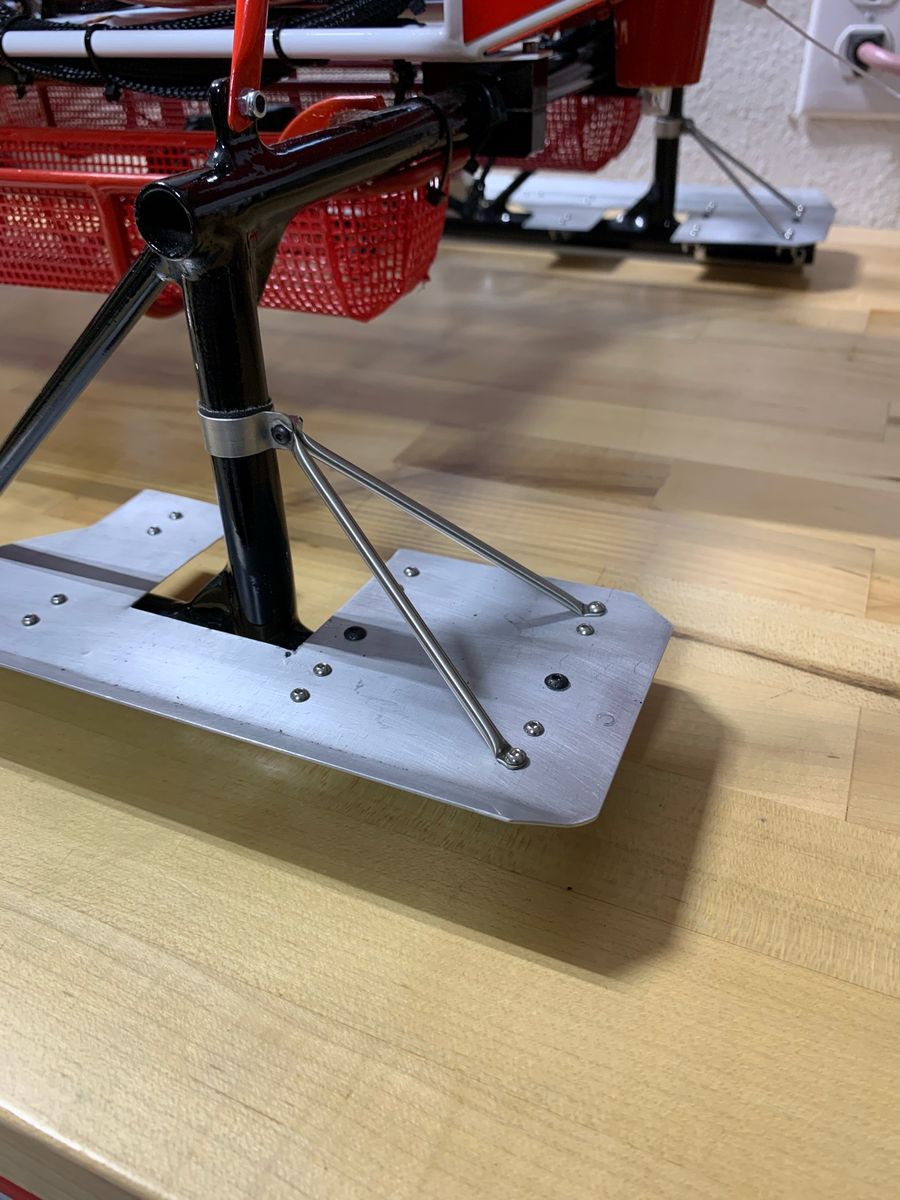
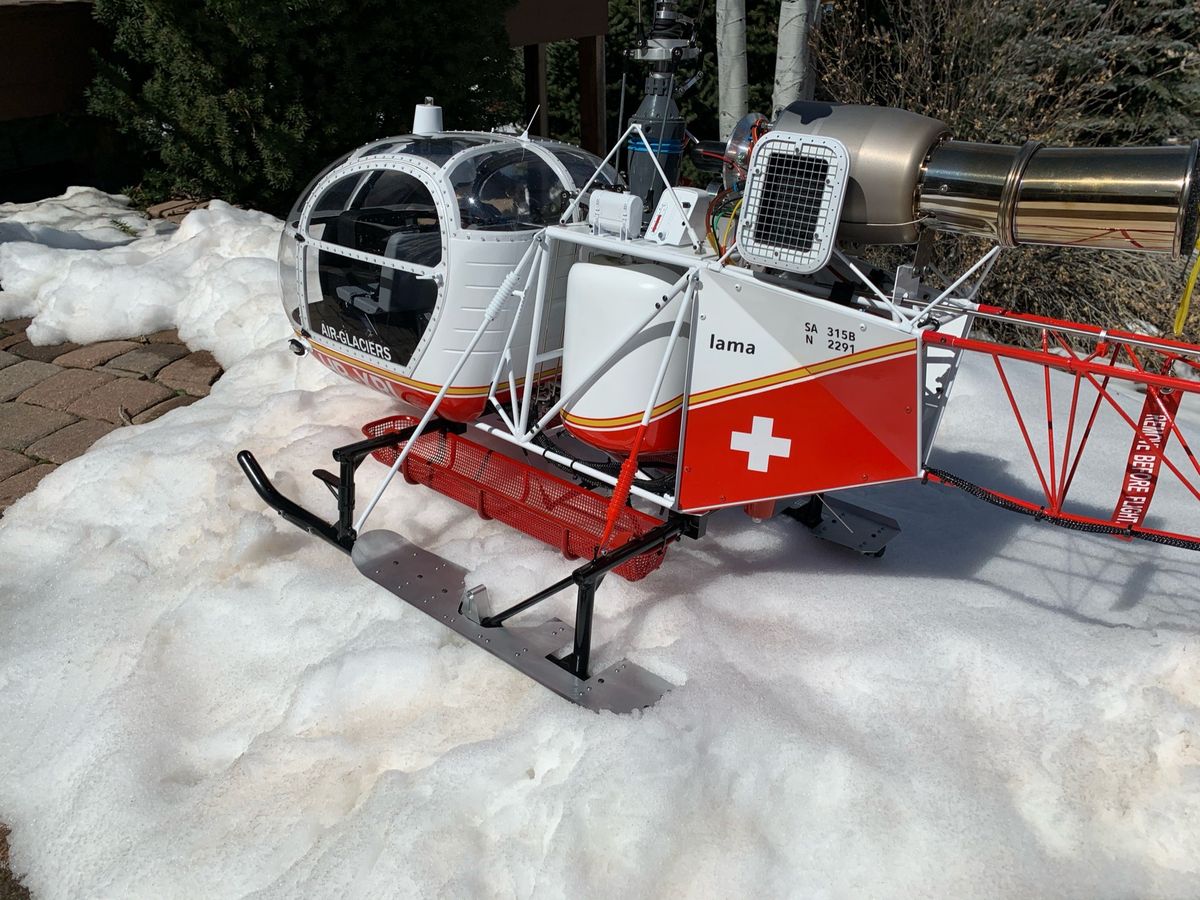
Accessories, hanger wheels, snow shoes
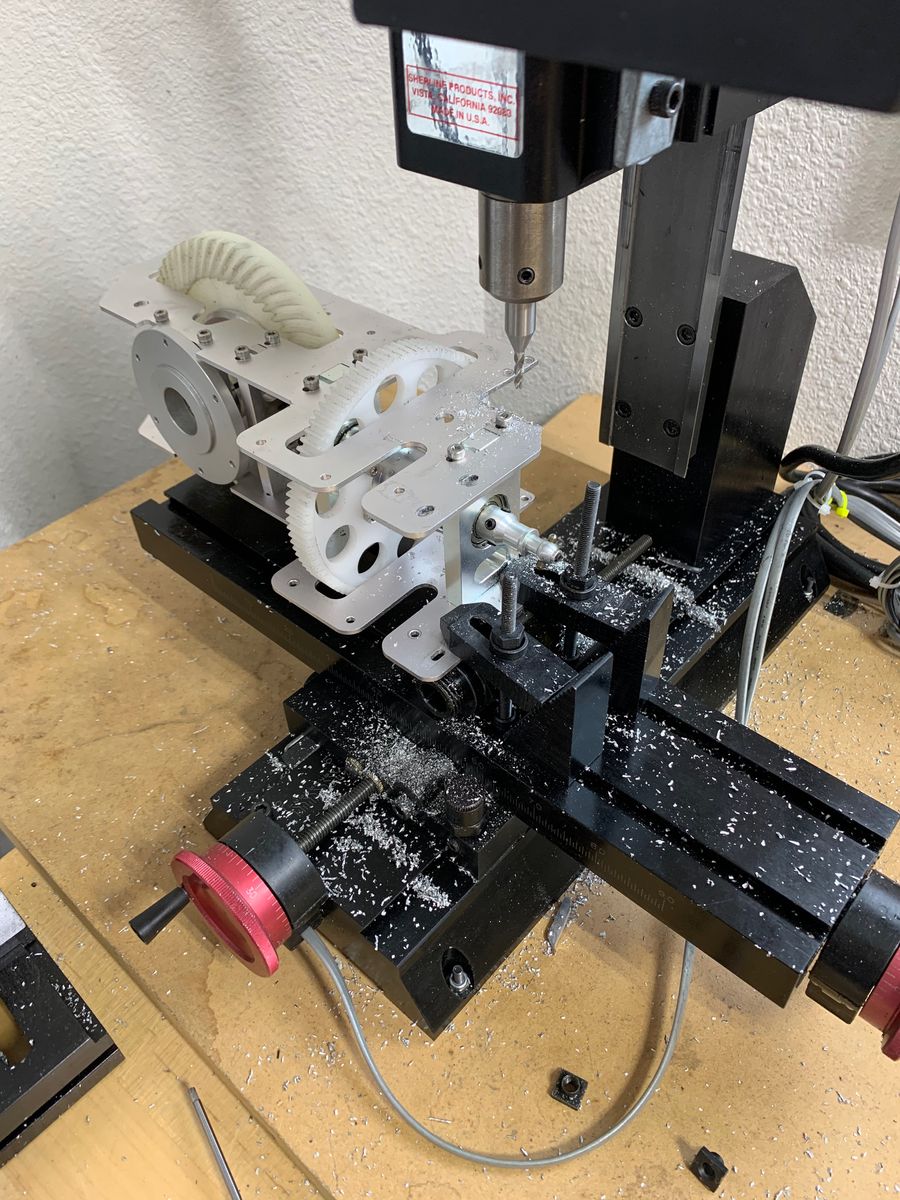
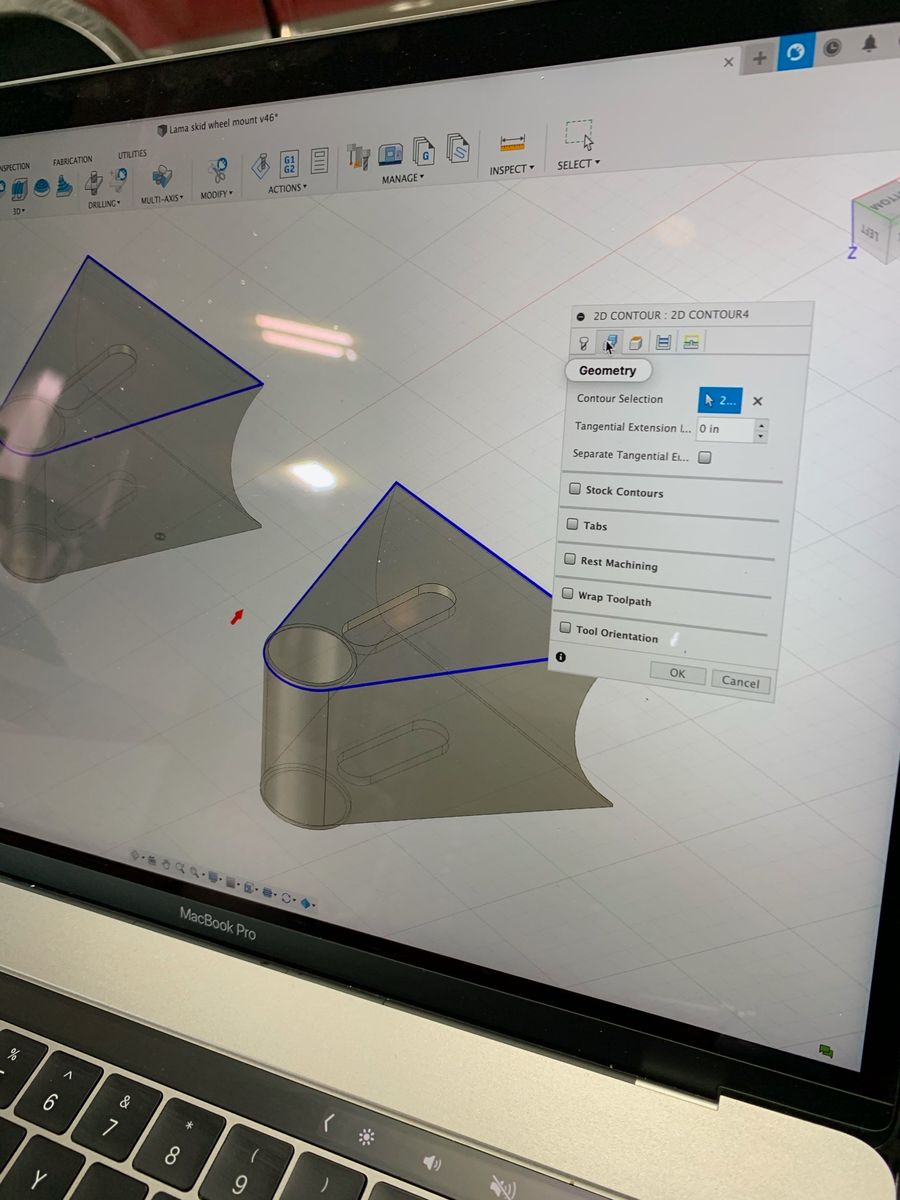
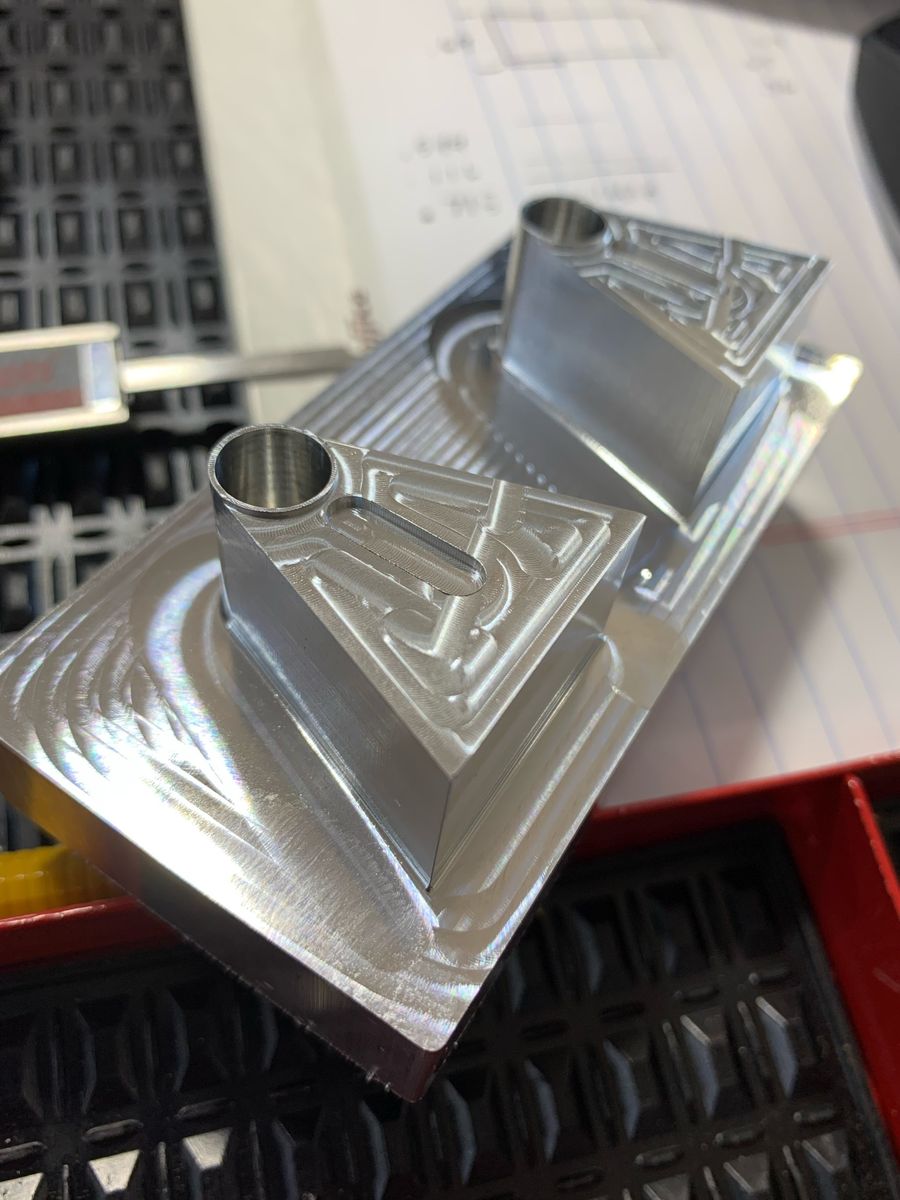
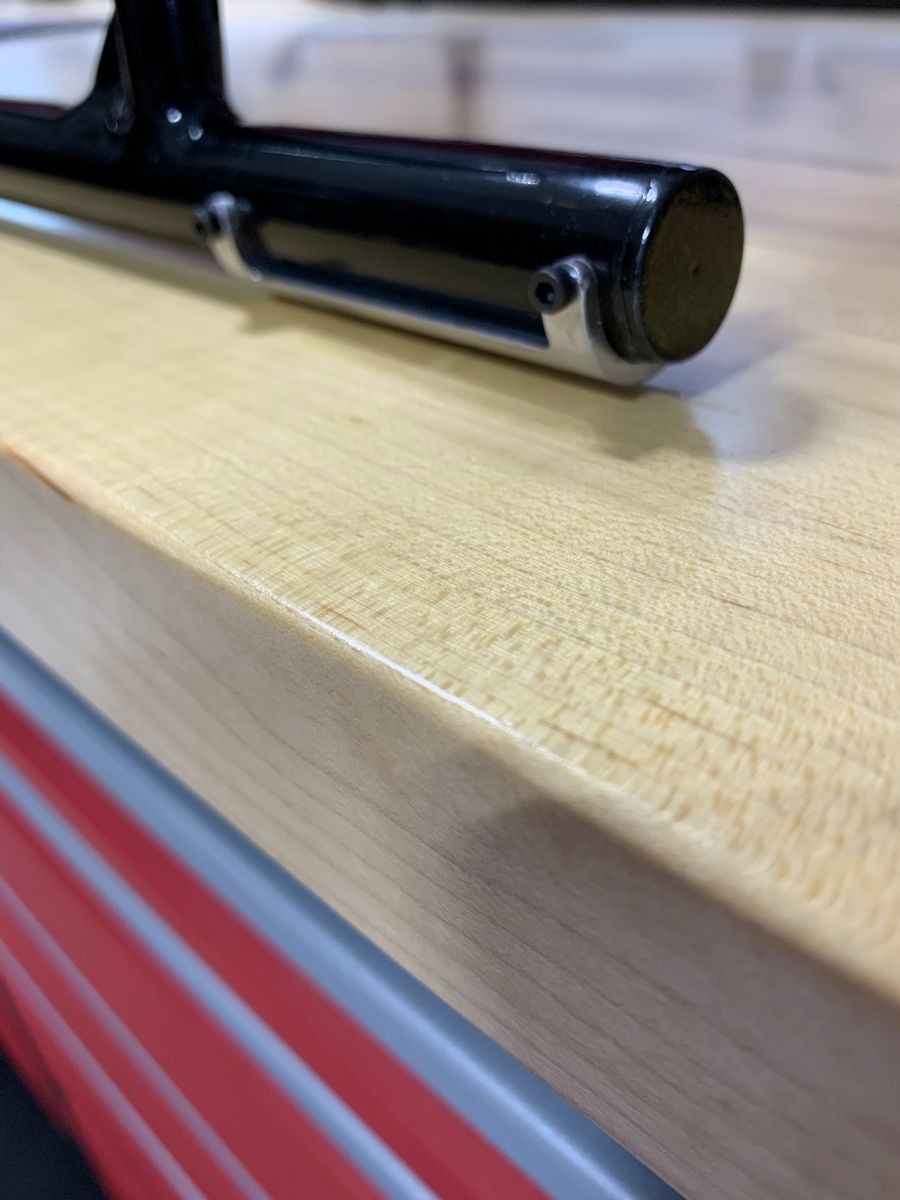
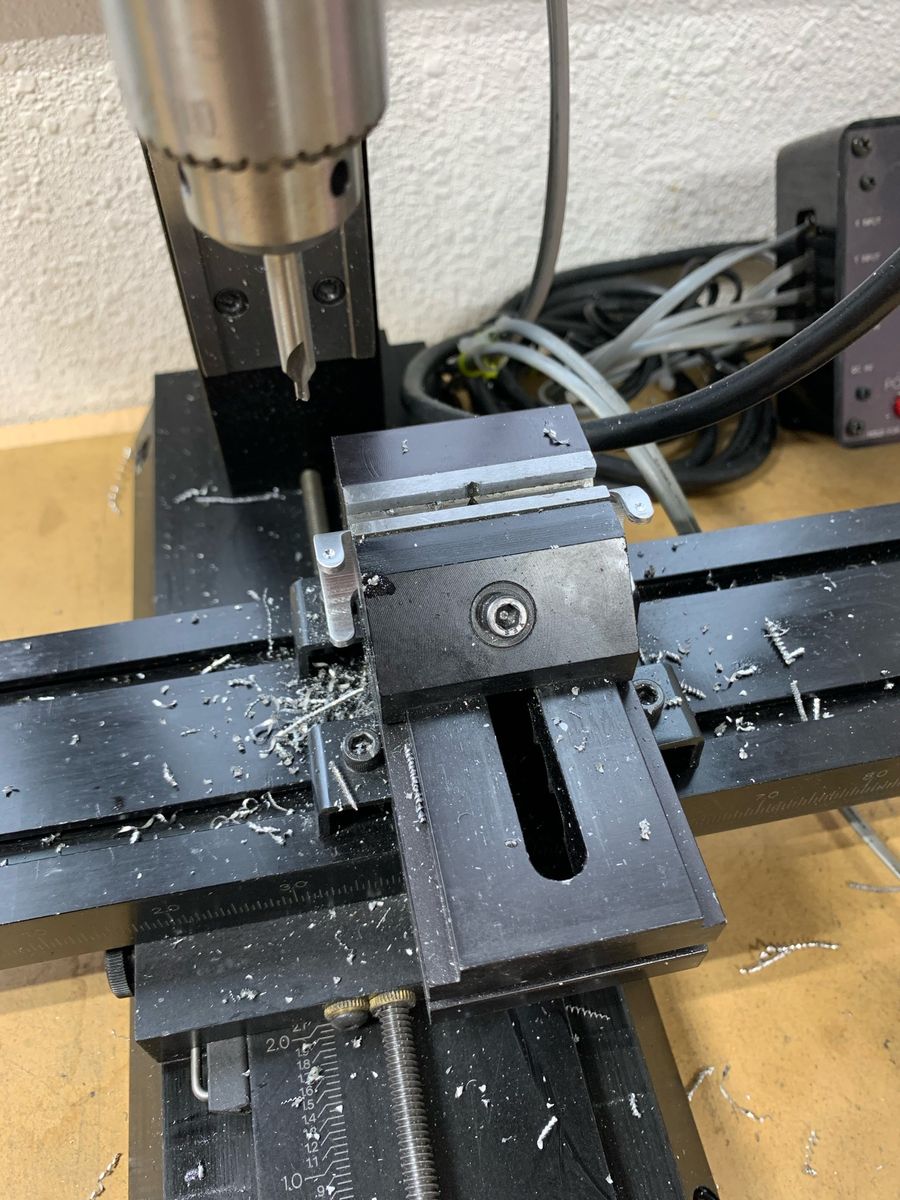
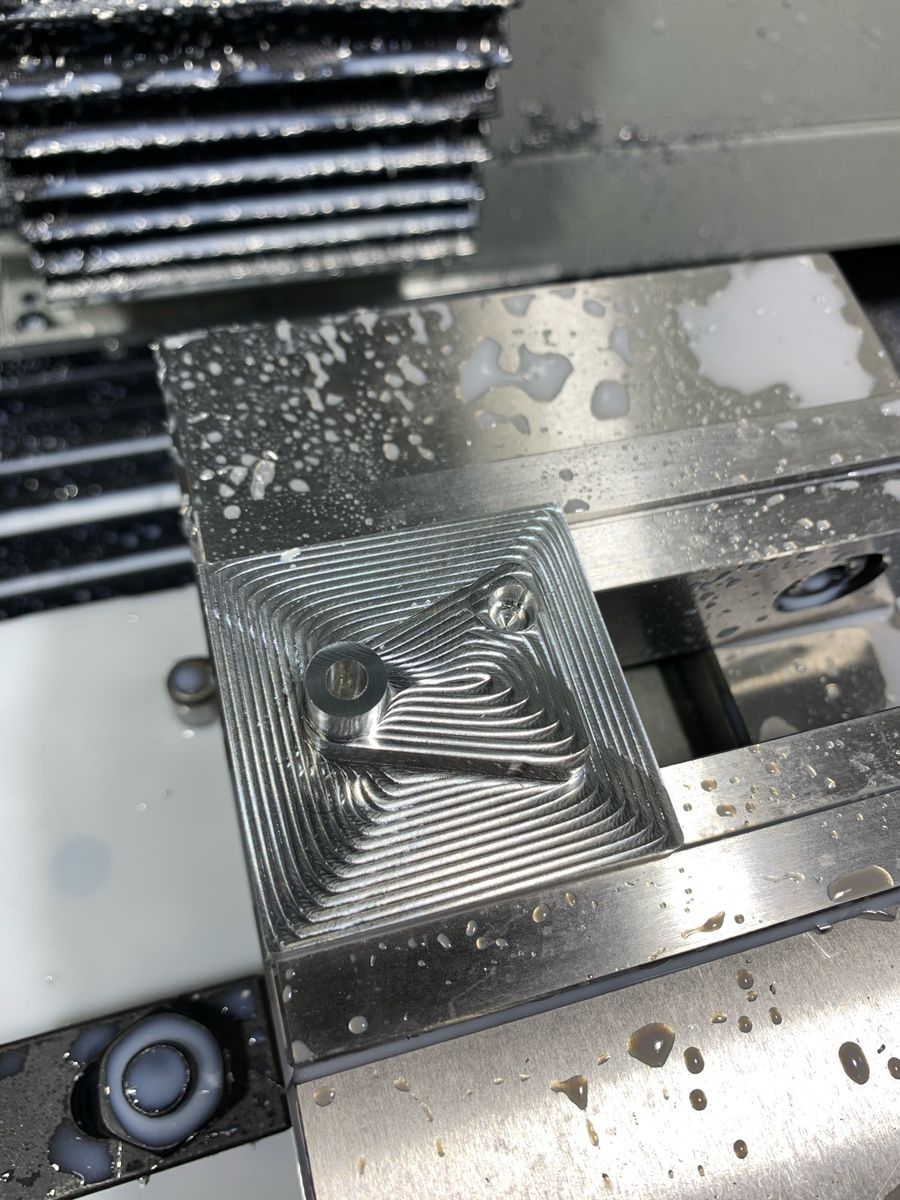
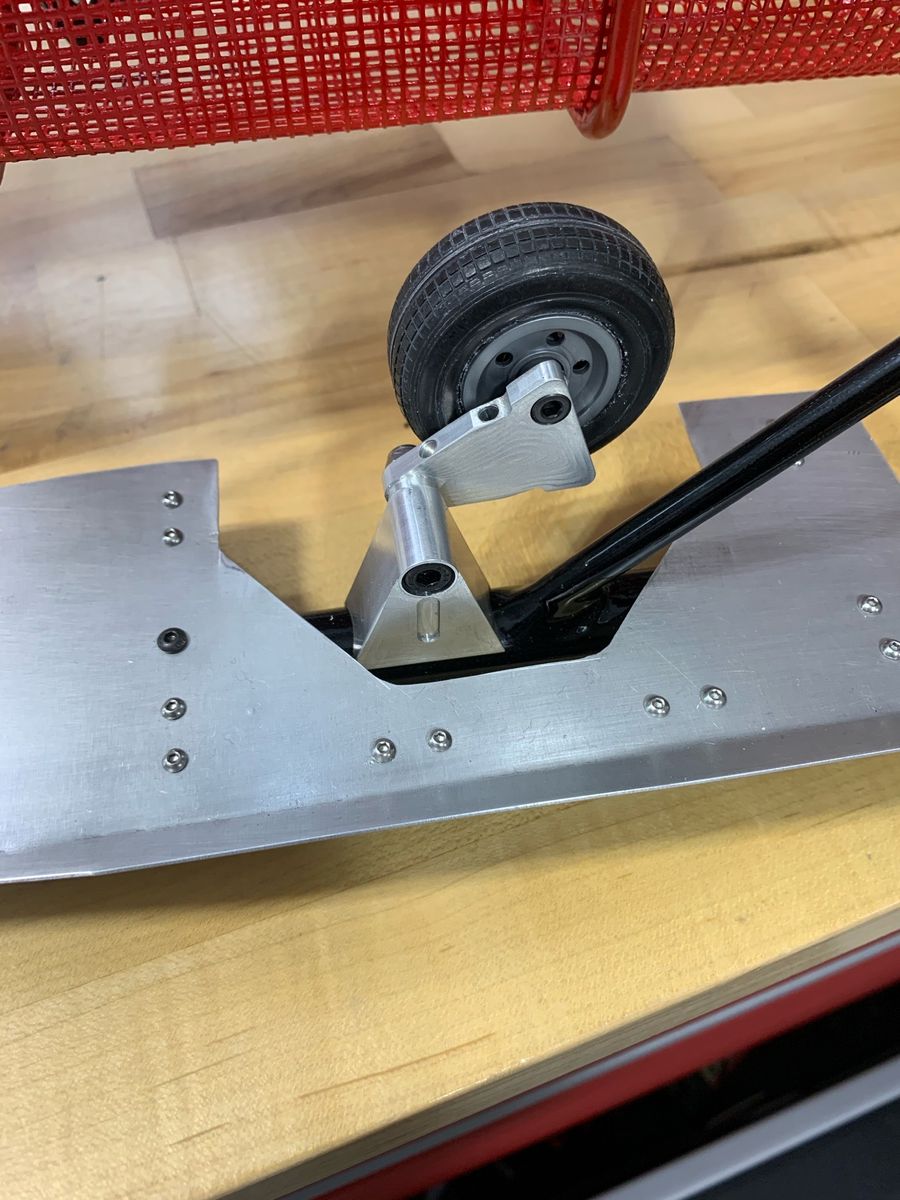
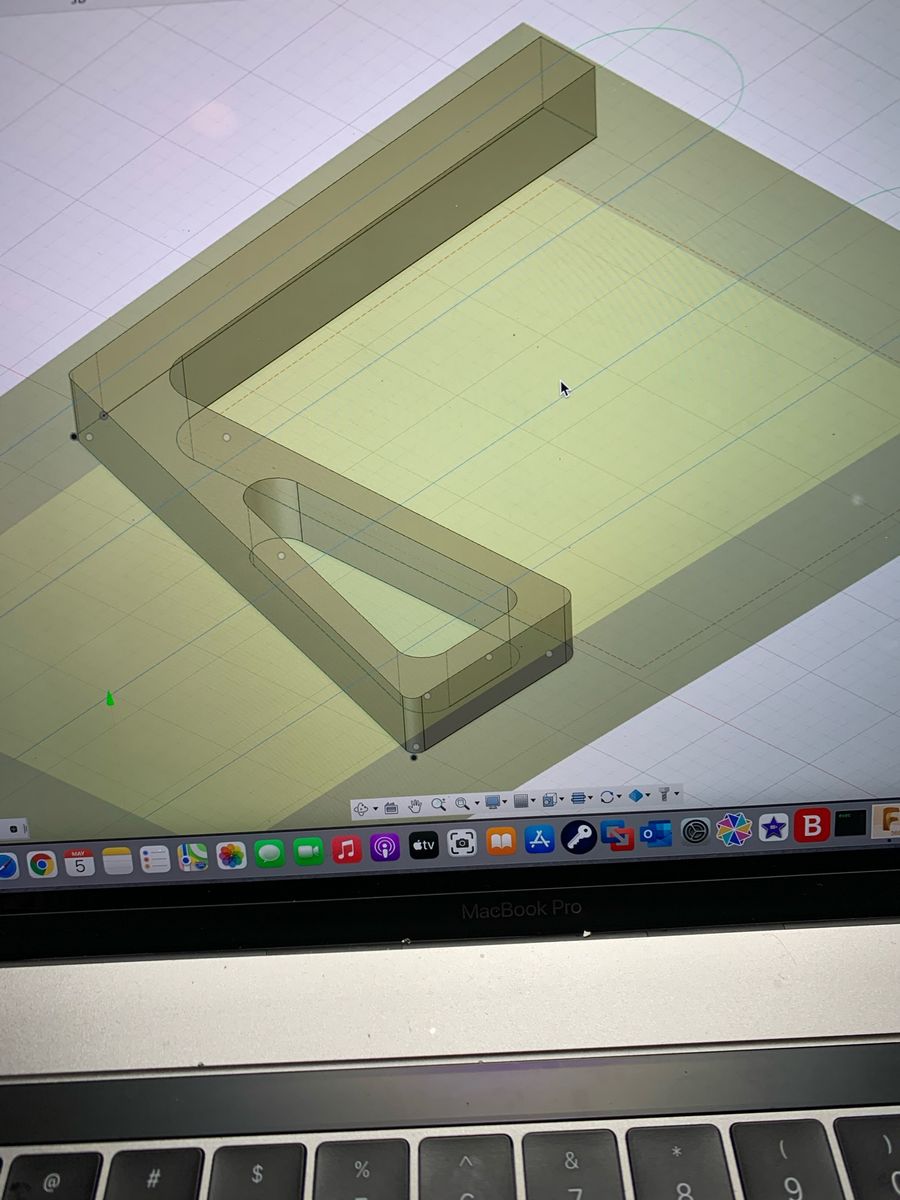
Mid process, I obtained a Tormach 770 CNC mill and learned Fusion 360.
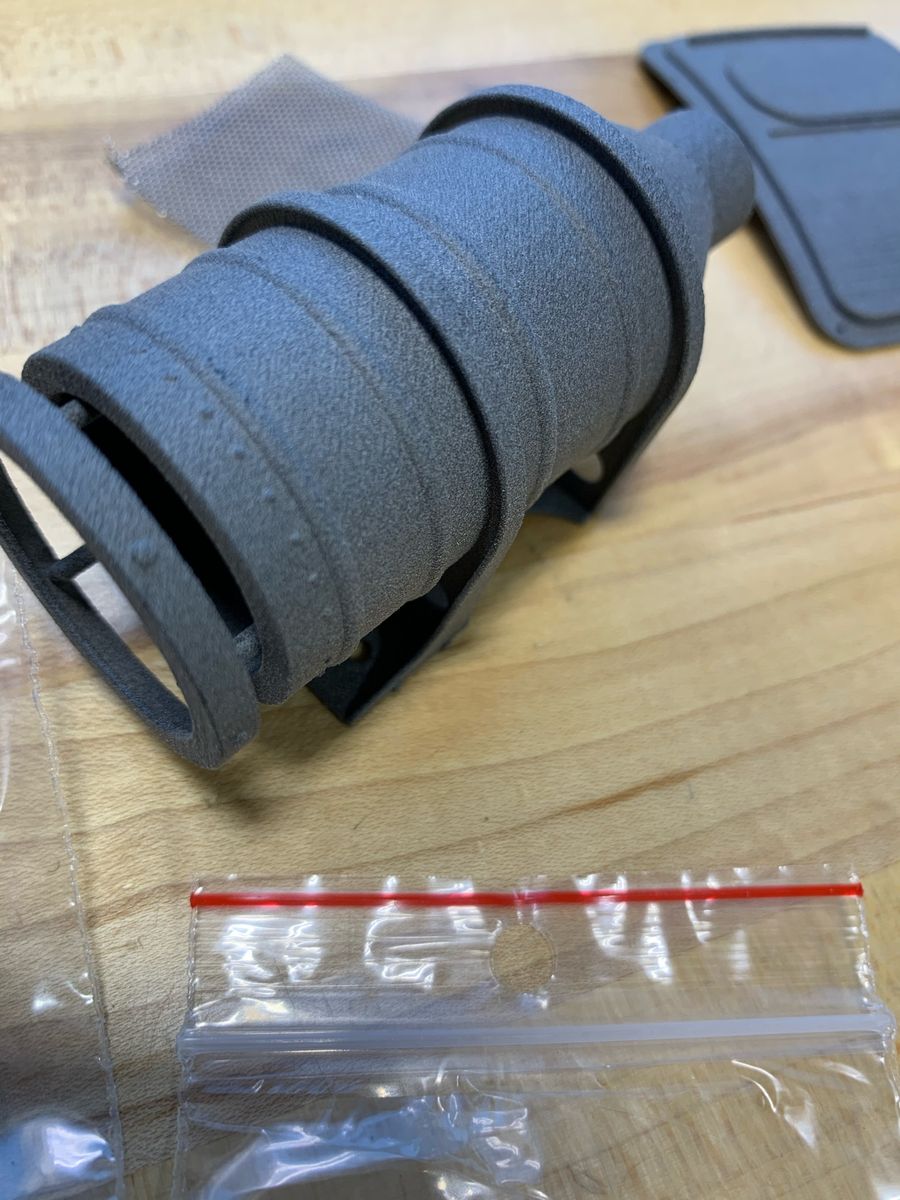
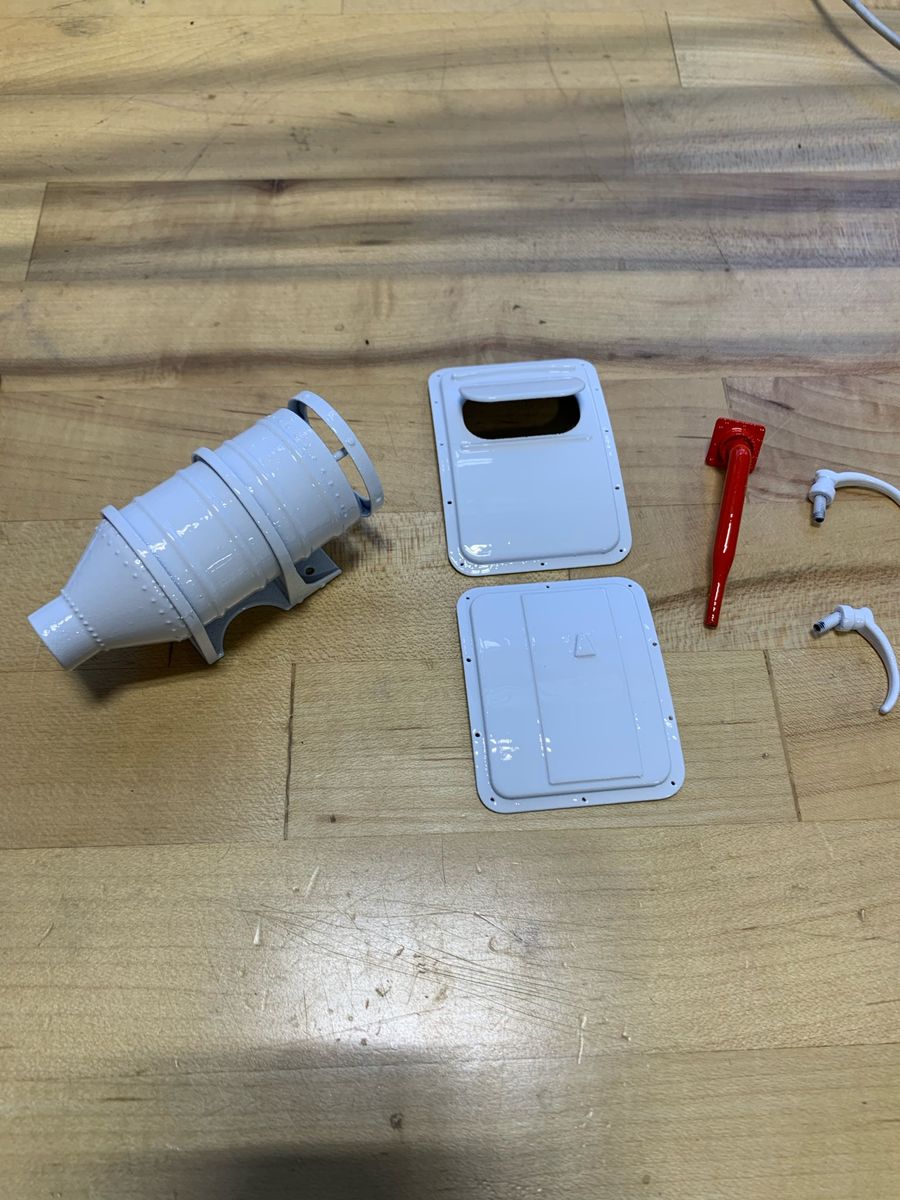
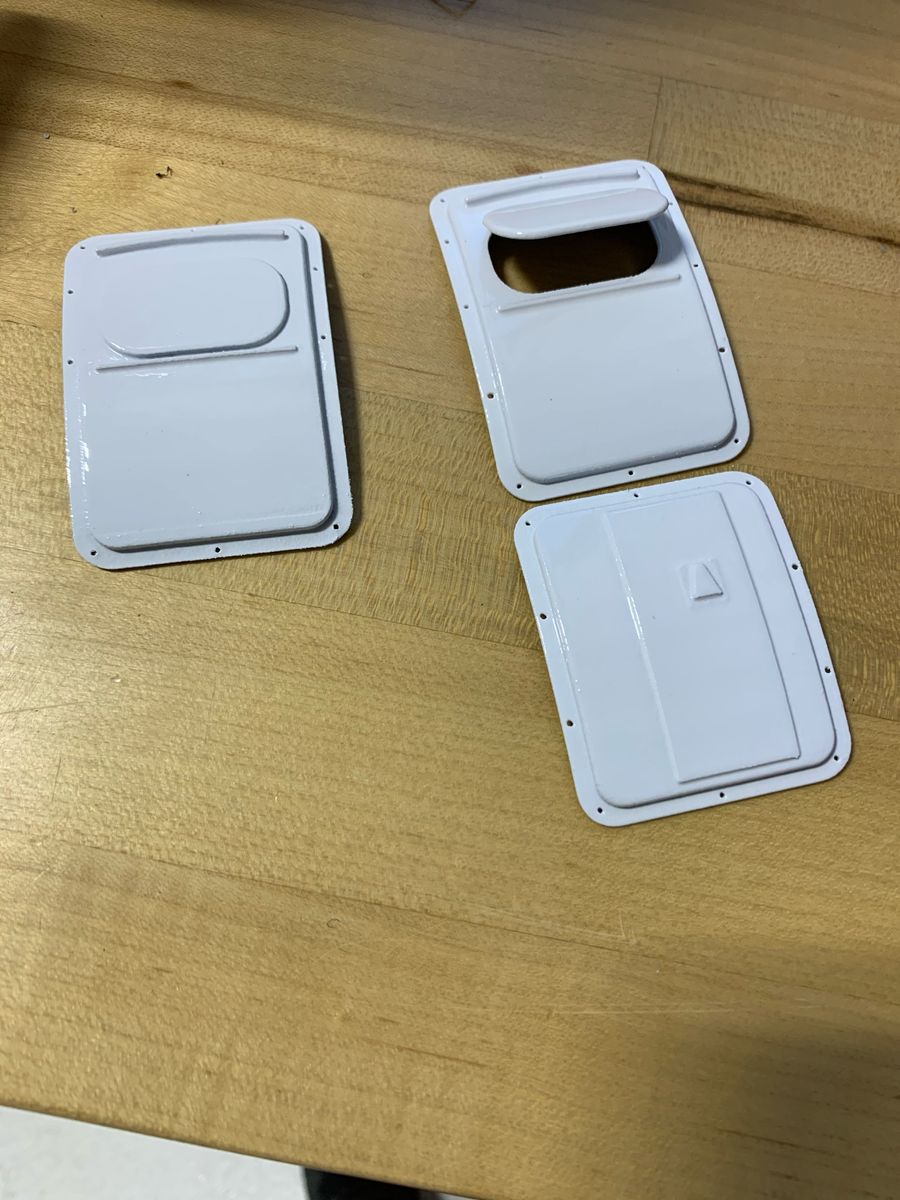
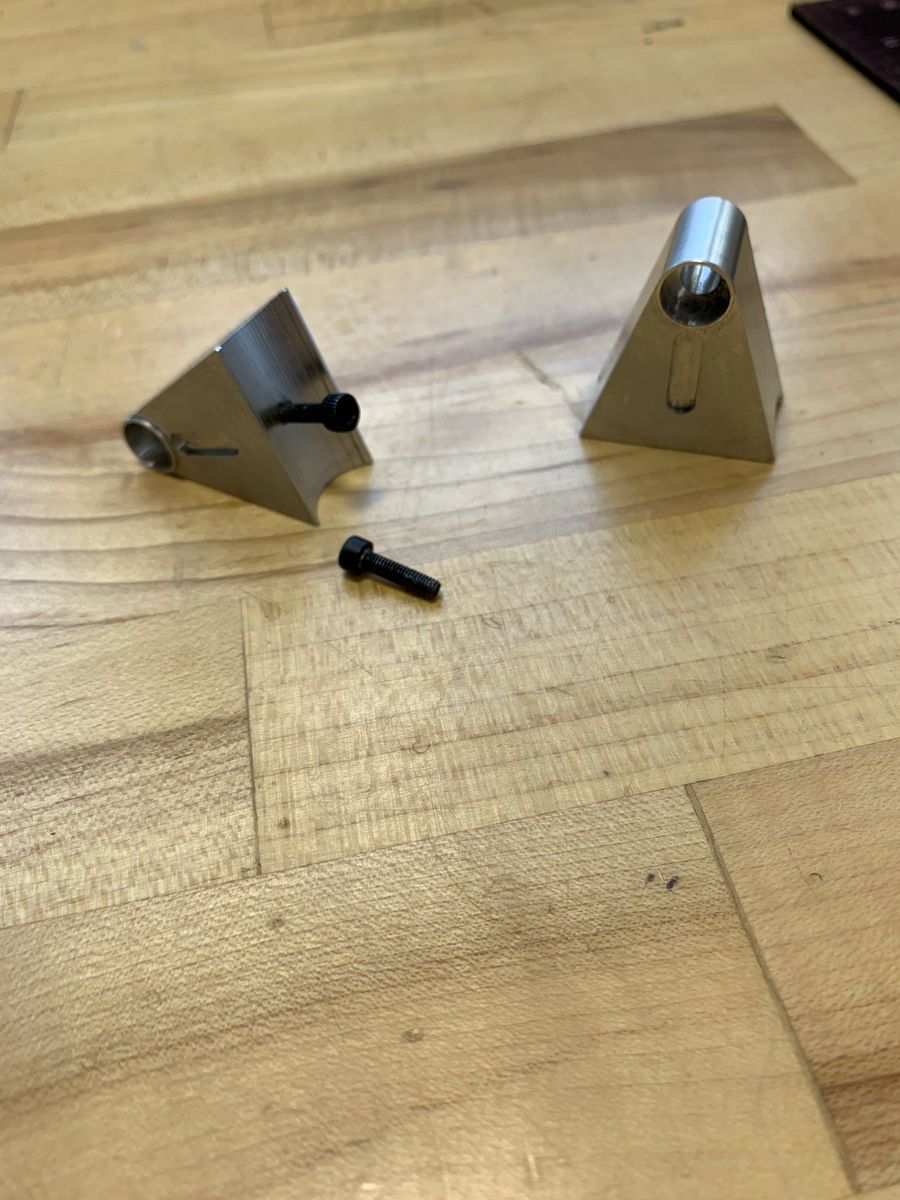
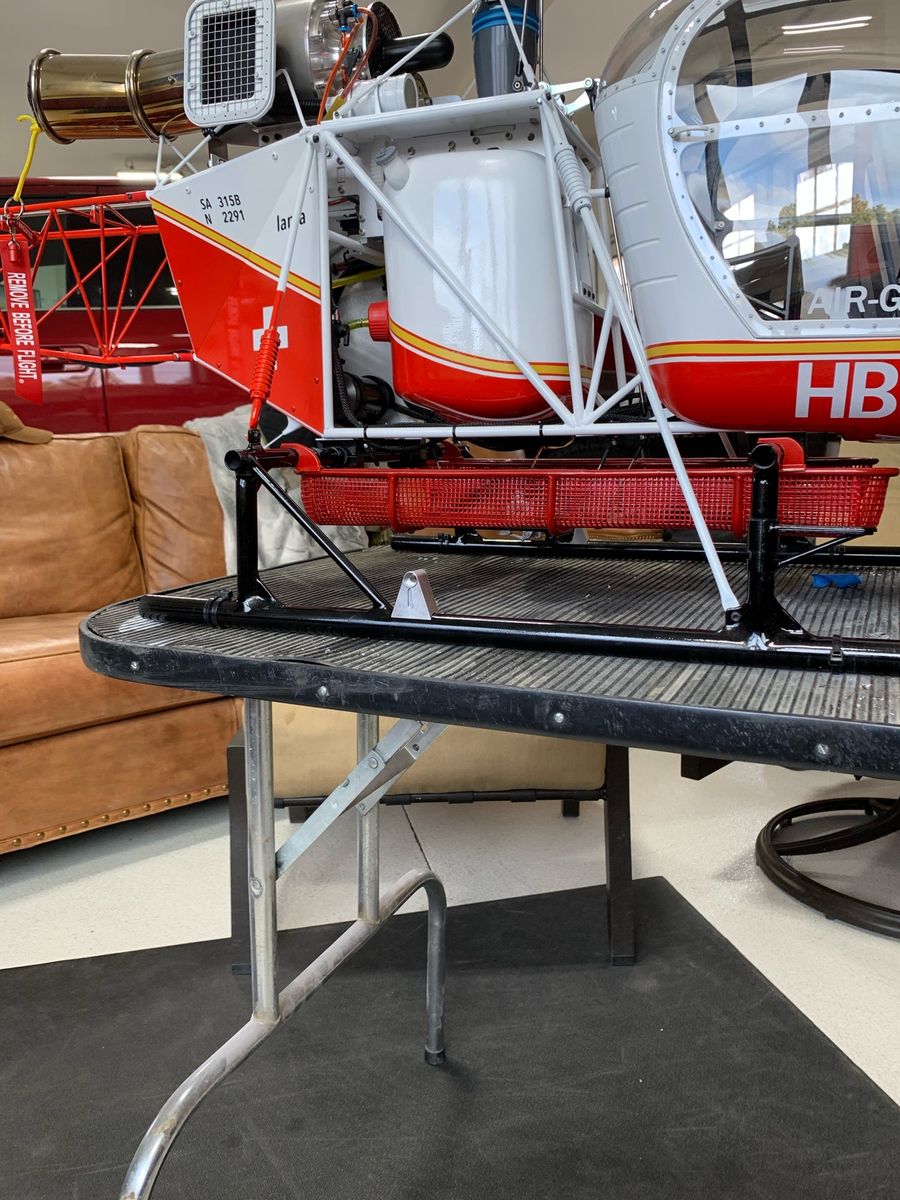
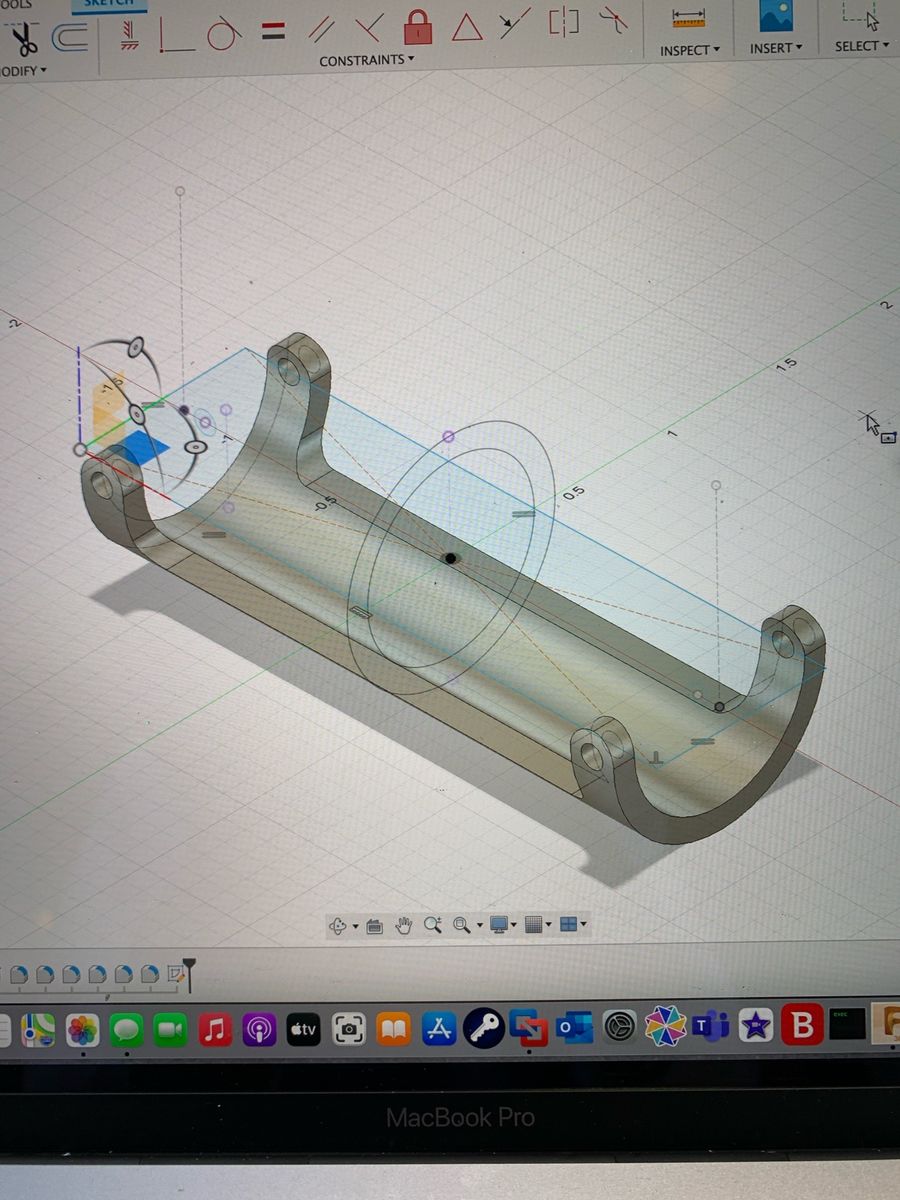
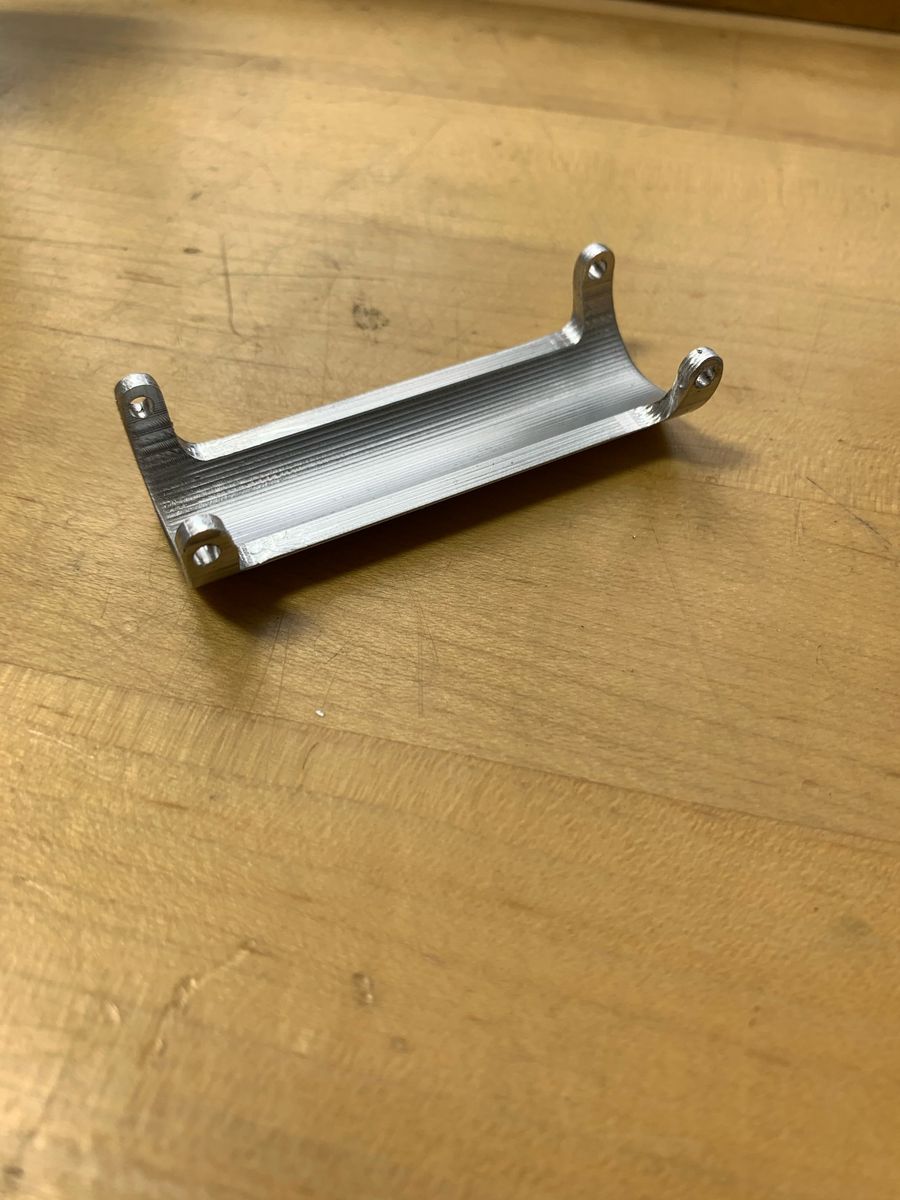
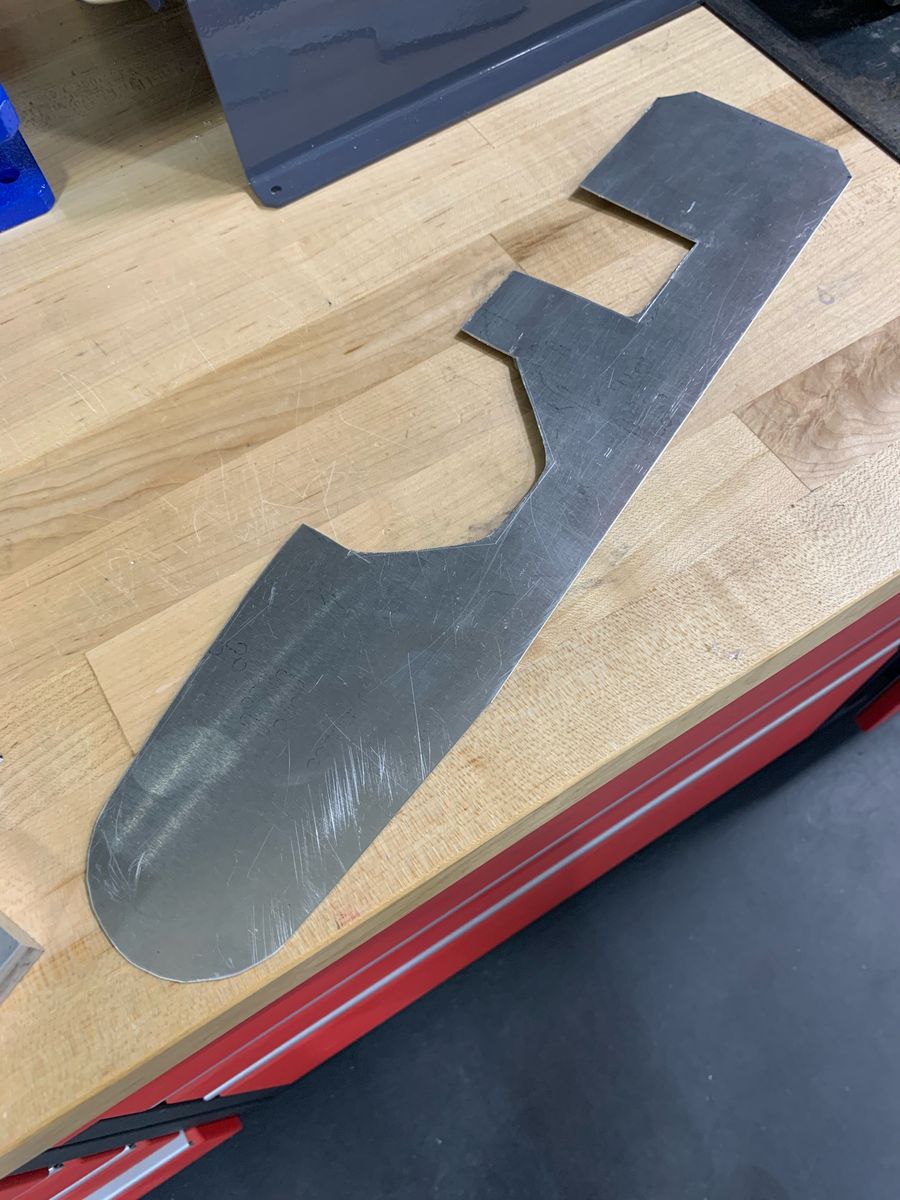
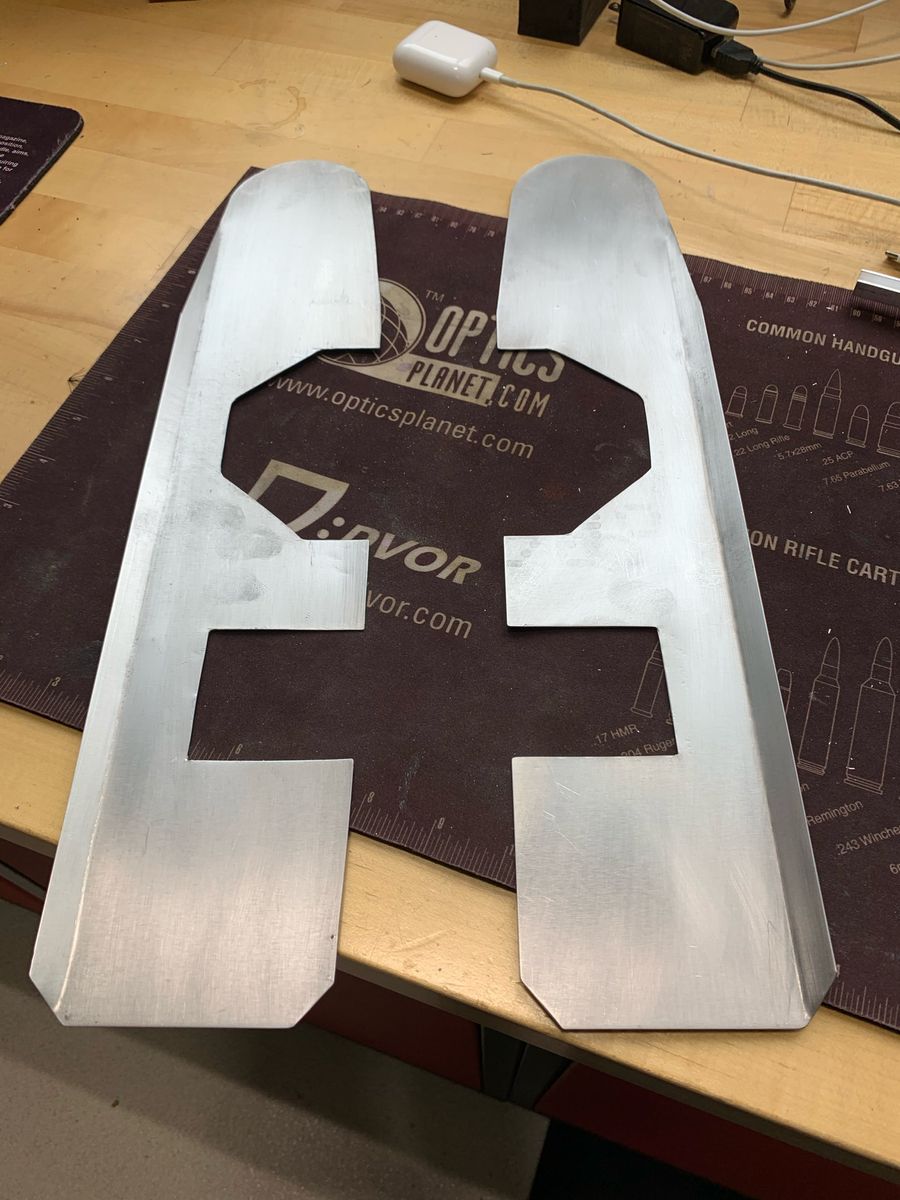
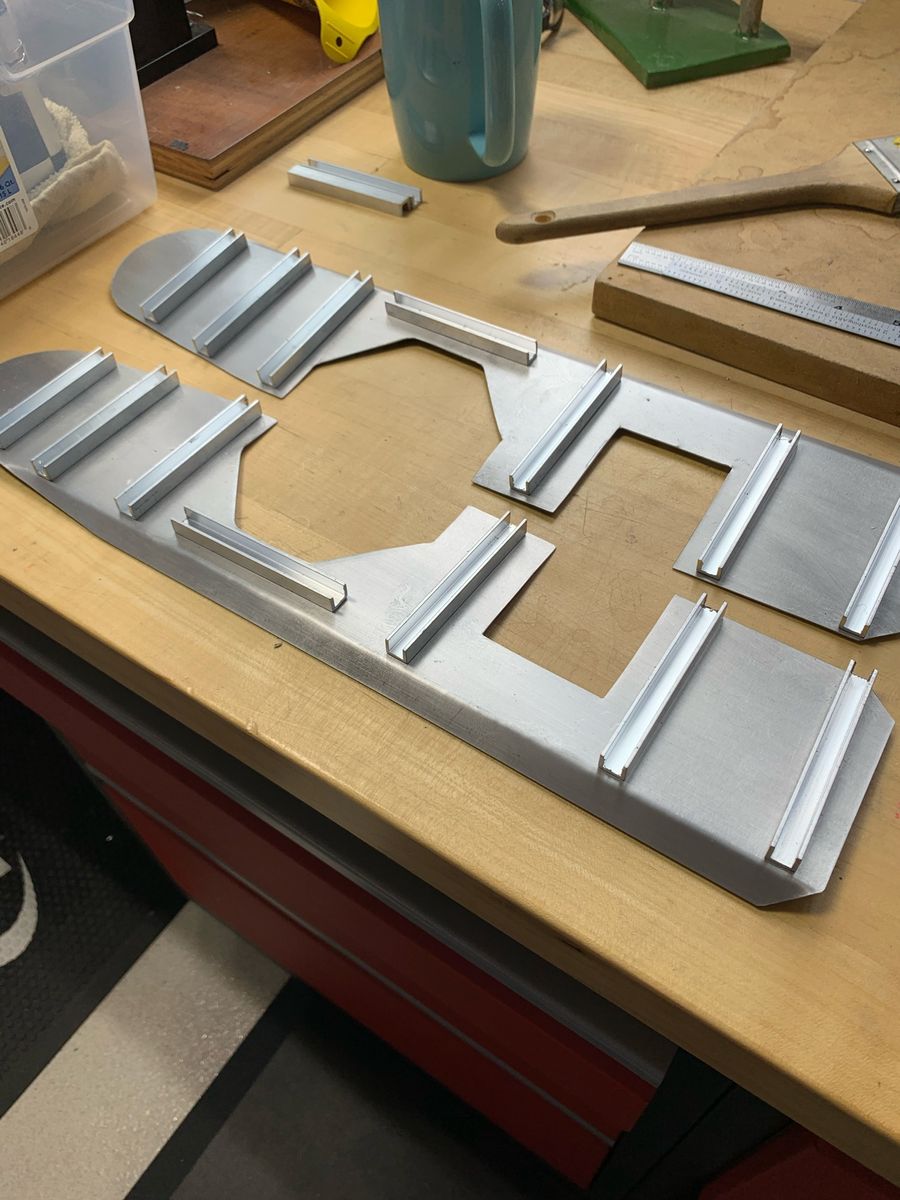
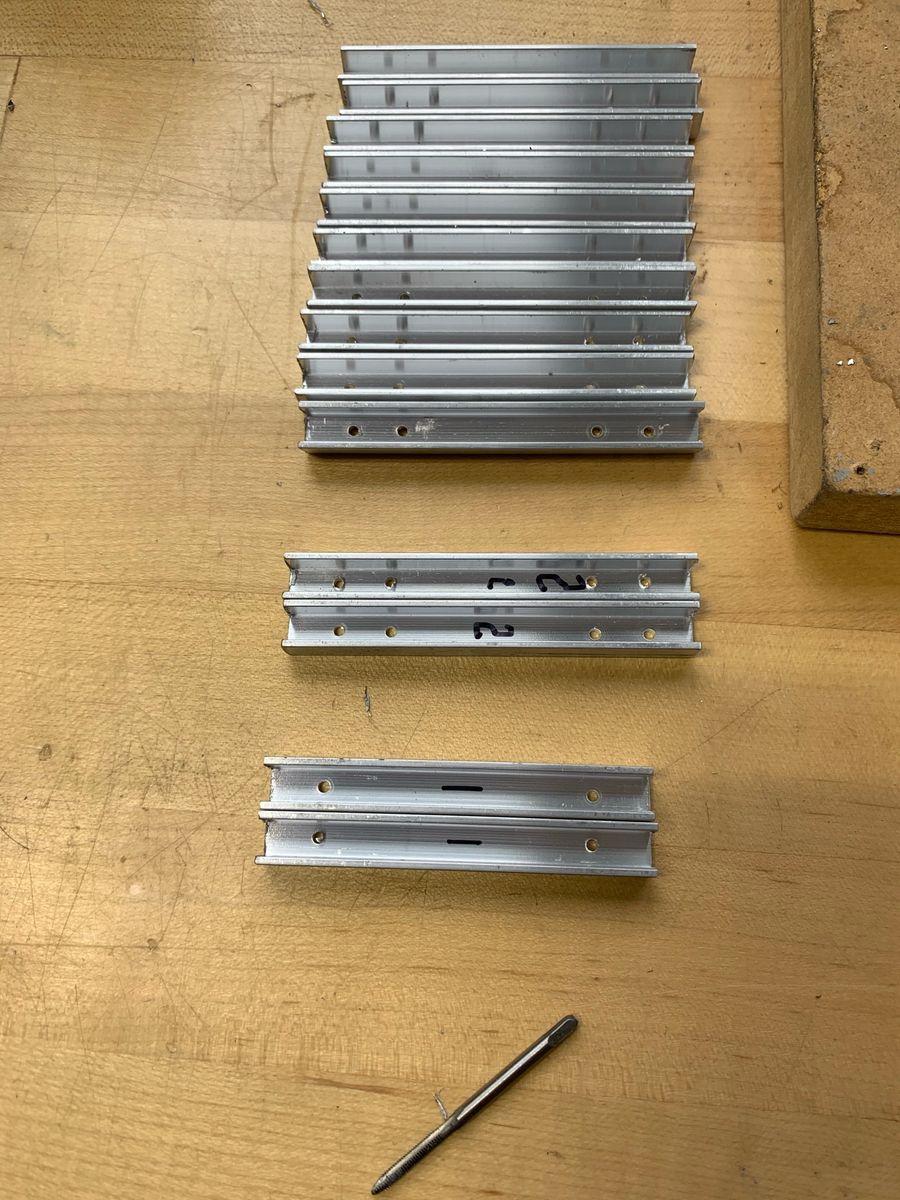
Snow Shoes
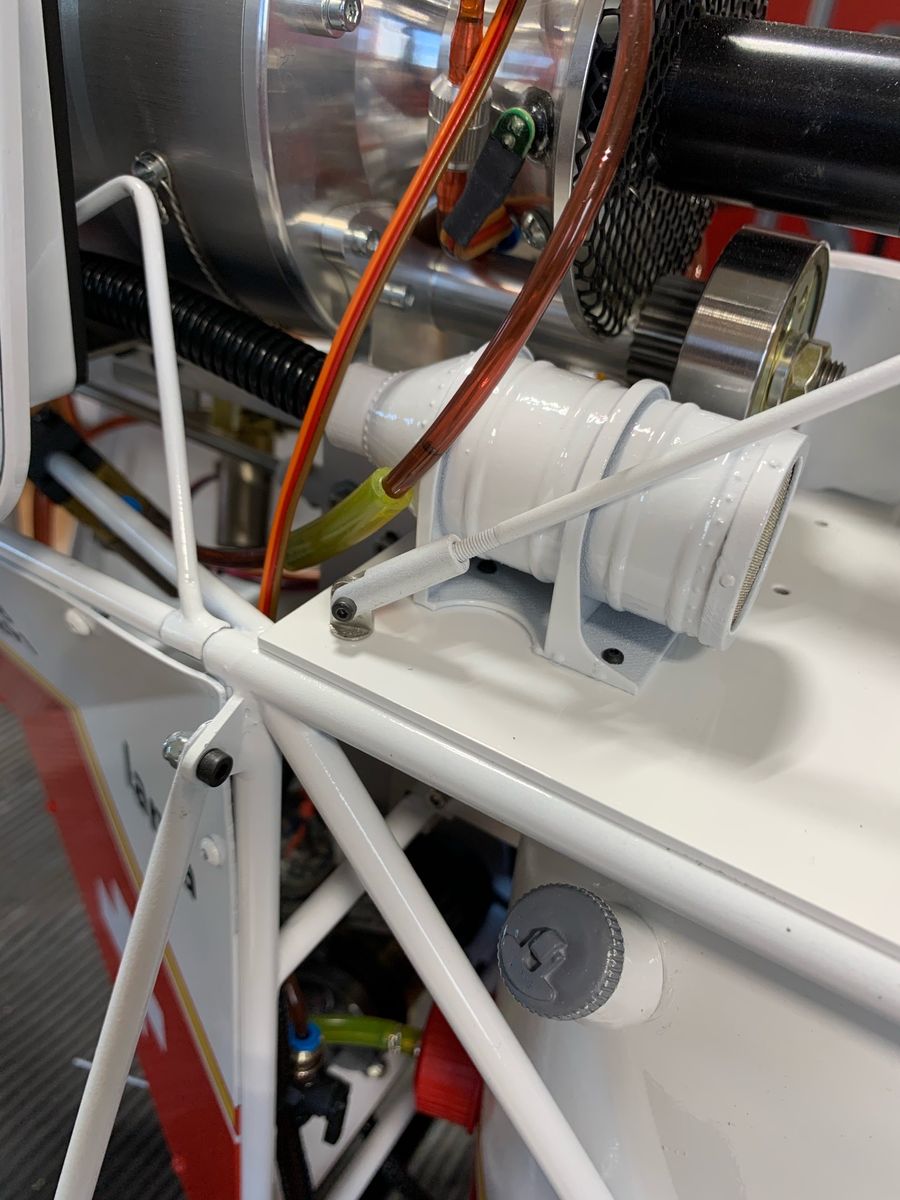
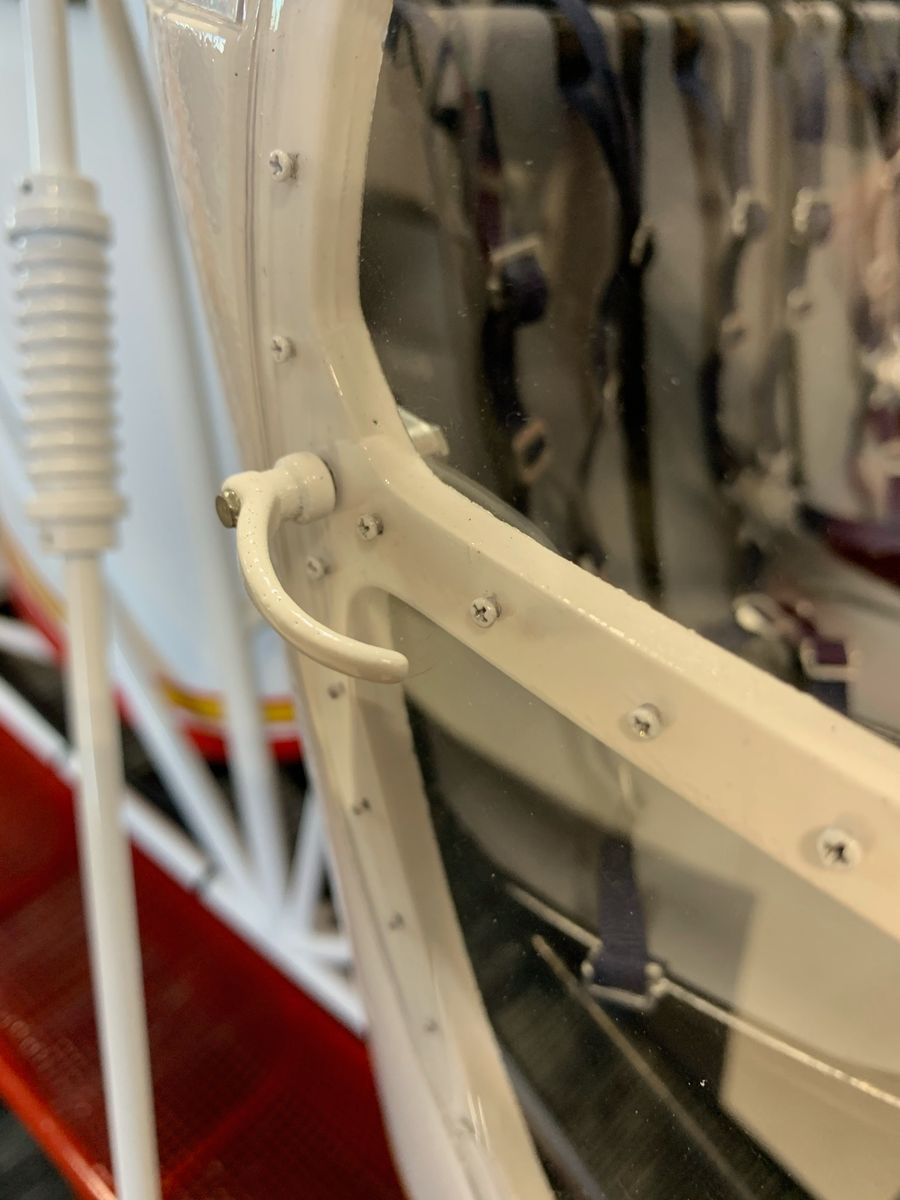
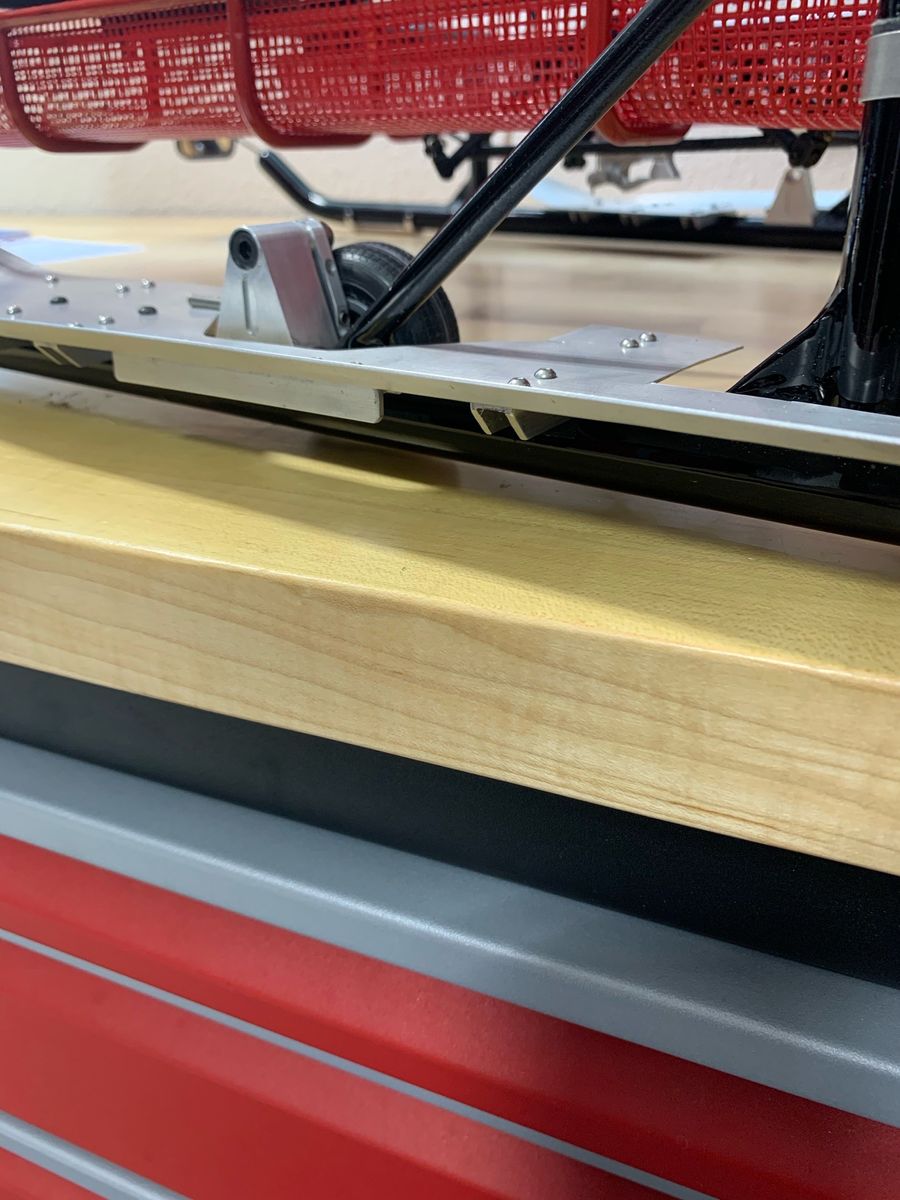
The snow shoes are proportionally accurate however the hanger wheels are not. The skids rear 45 degree braces prevent exact placement. The CAD and machining is fun to learn.
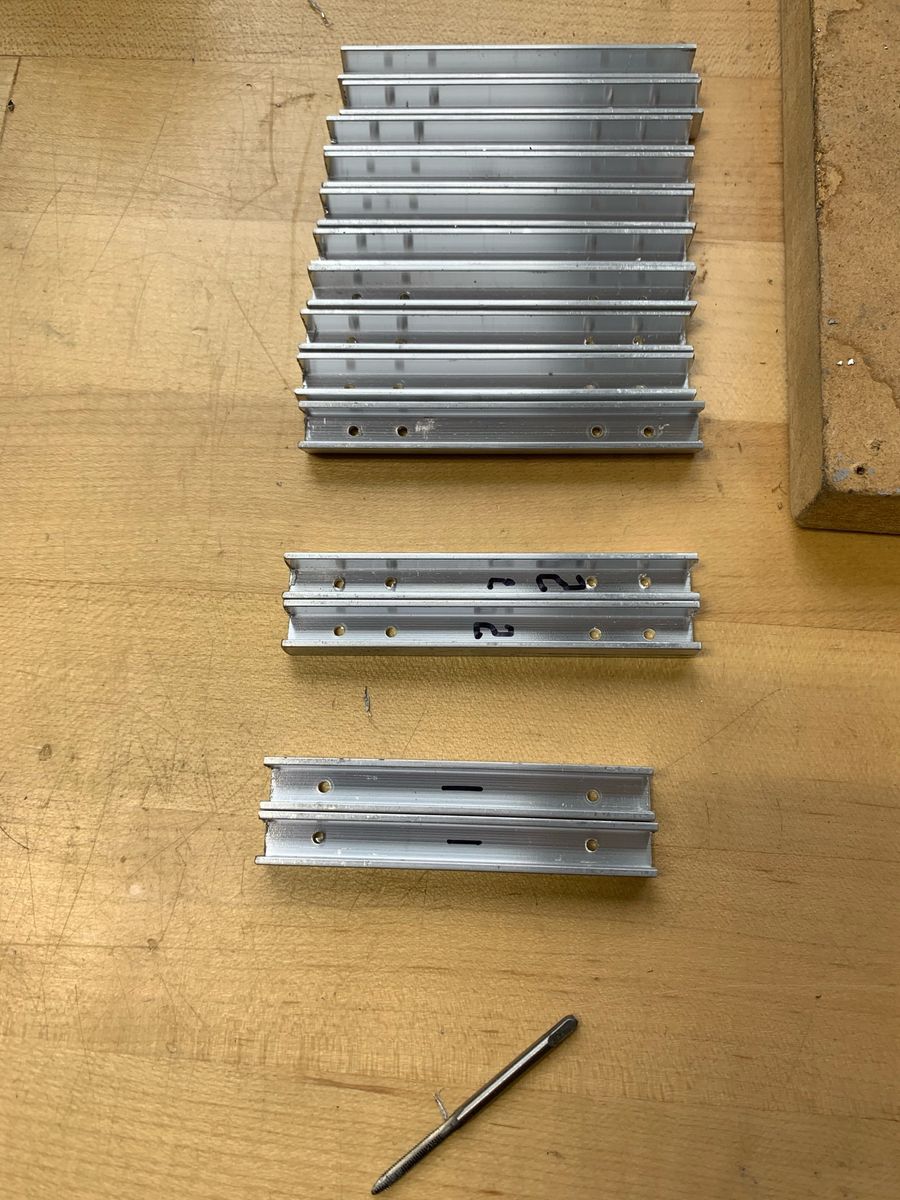
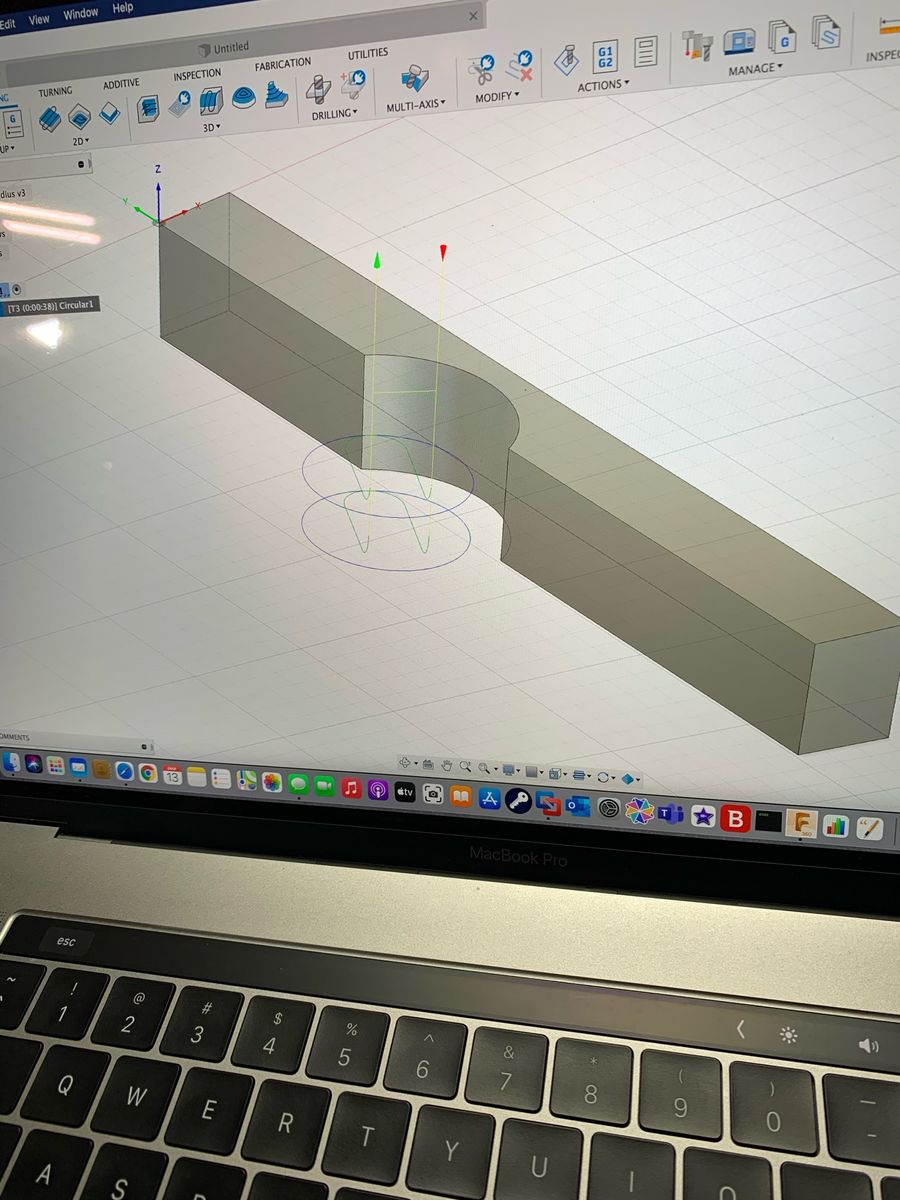
Hopper tank, brackets and transport dolly
A hopper tank is per the piping schematics and the pump is mounted vertically.
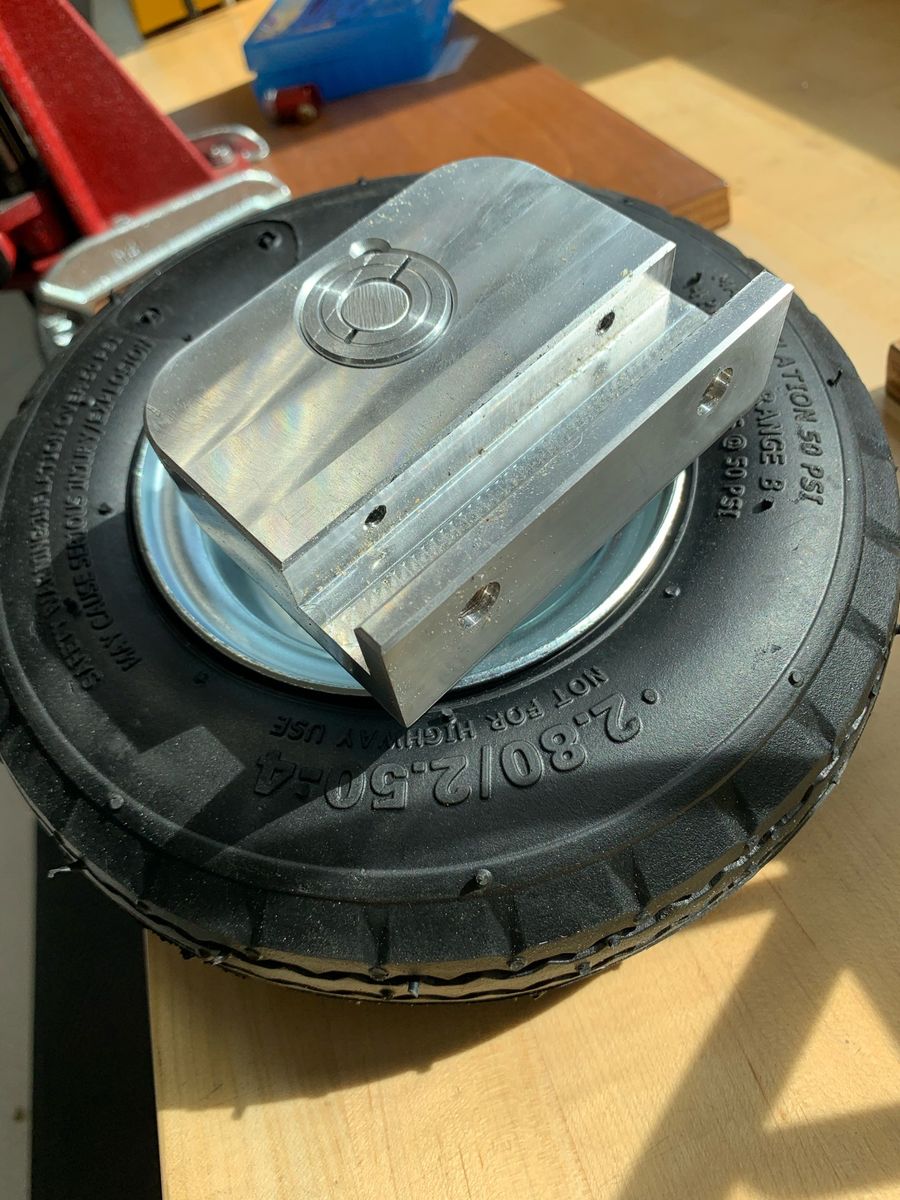
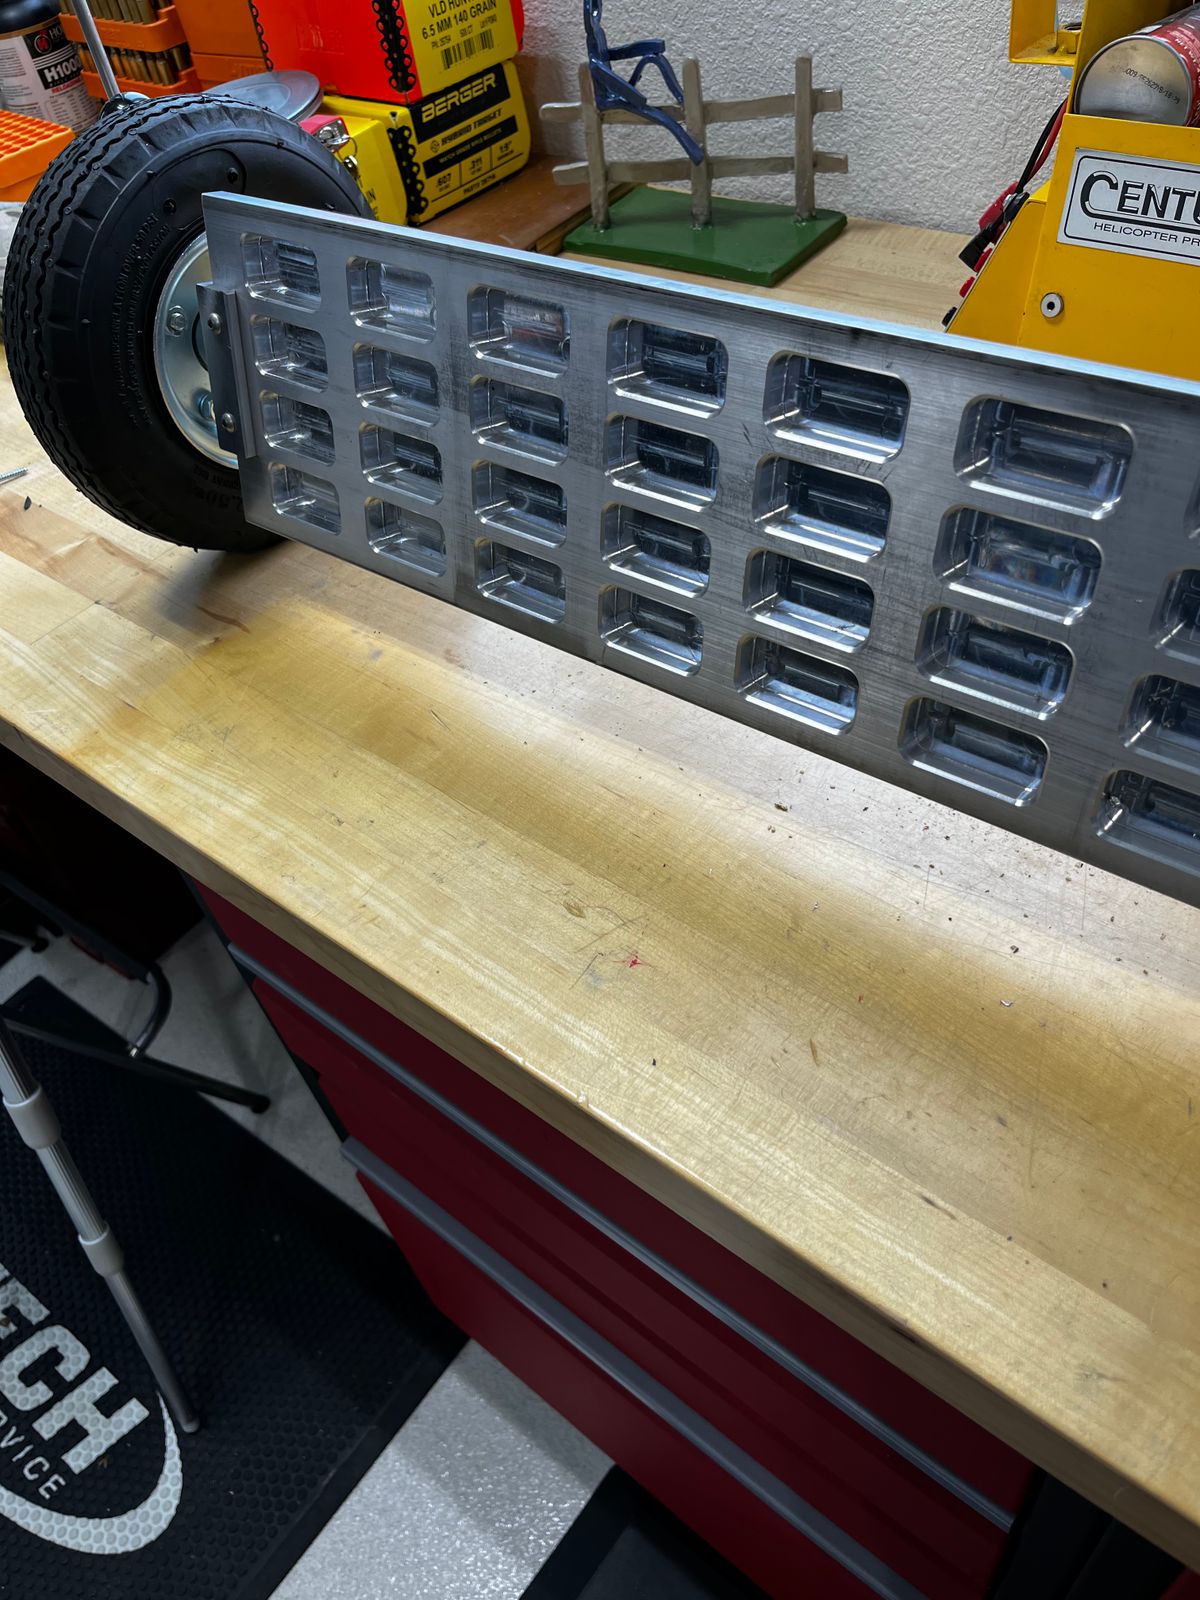
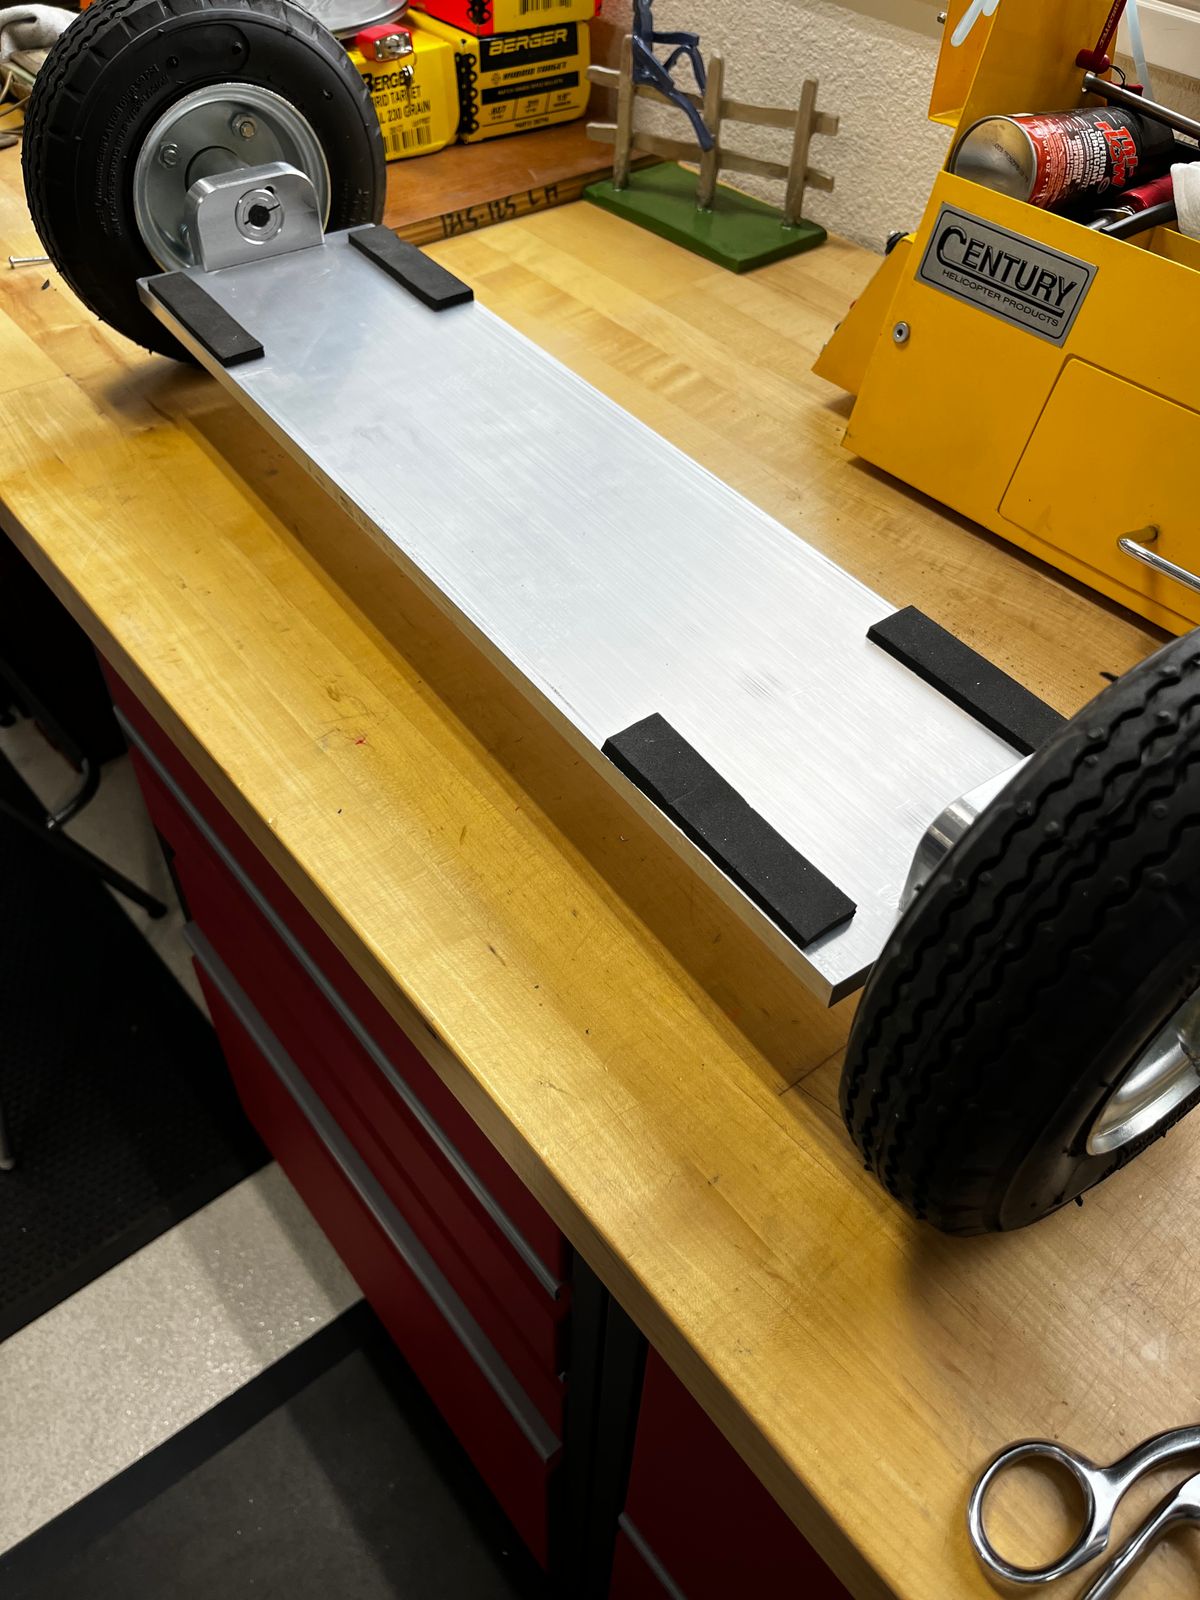
I also fabricated a rolling dolly machined from aluminum. It works as planned.
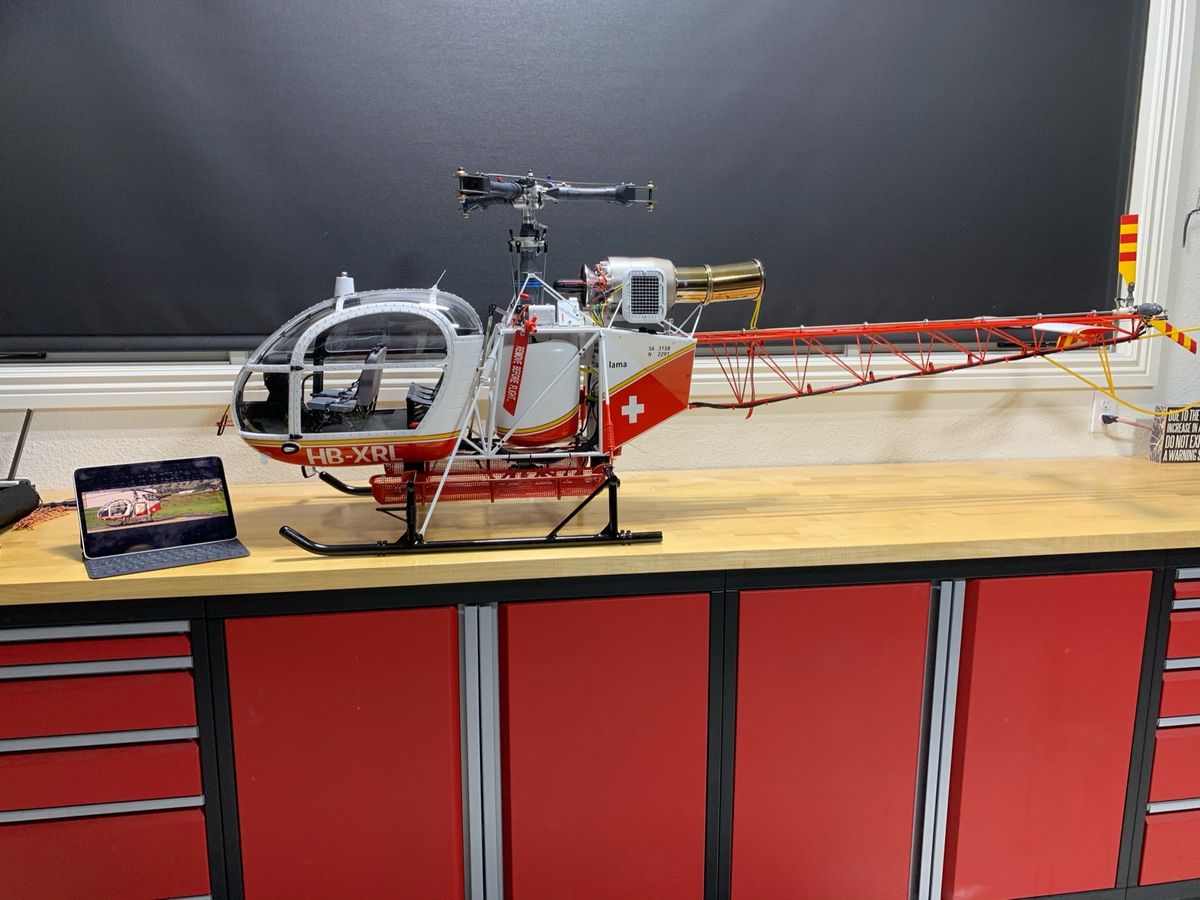
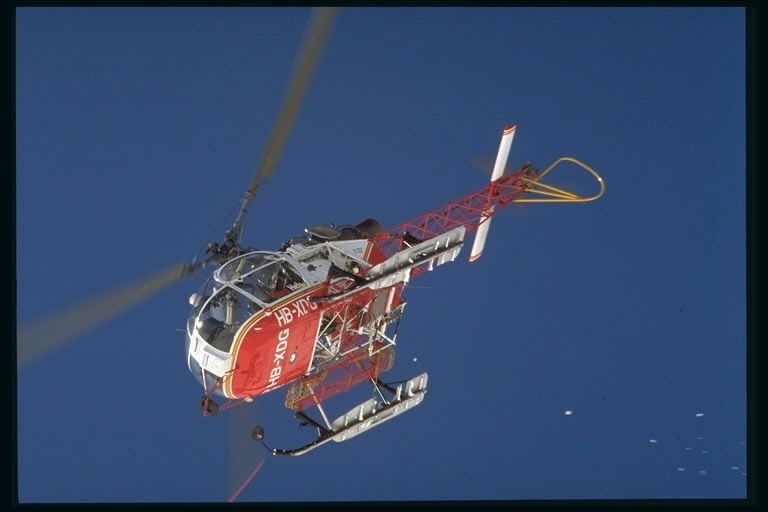
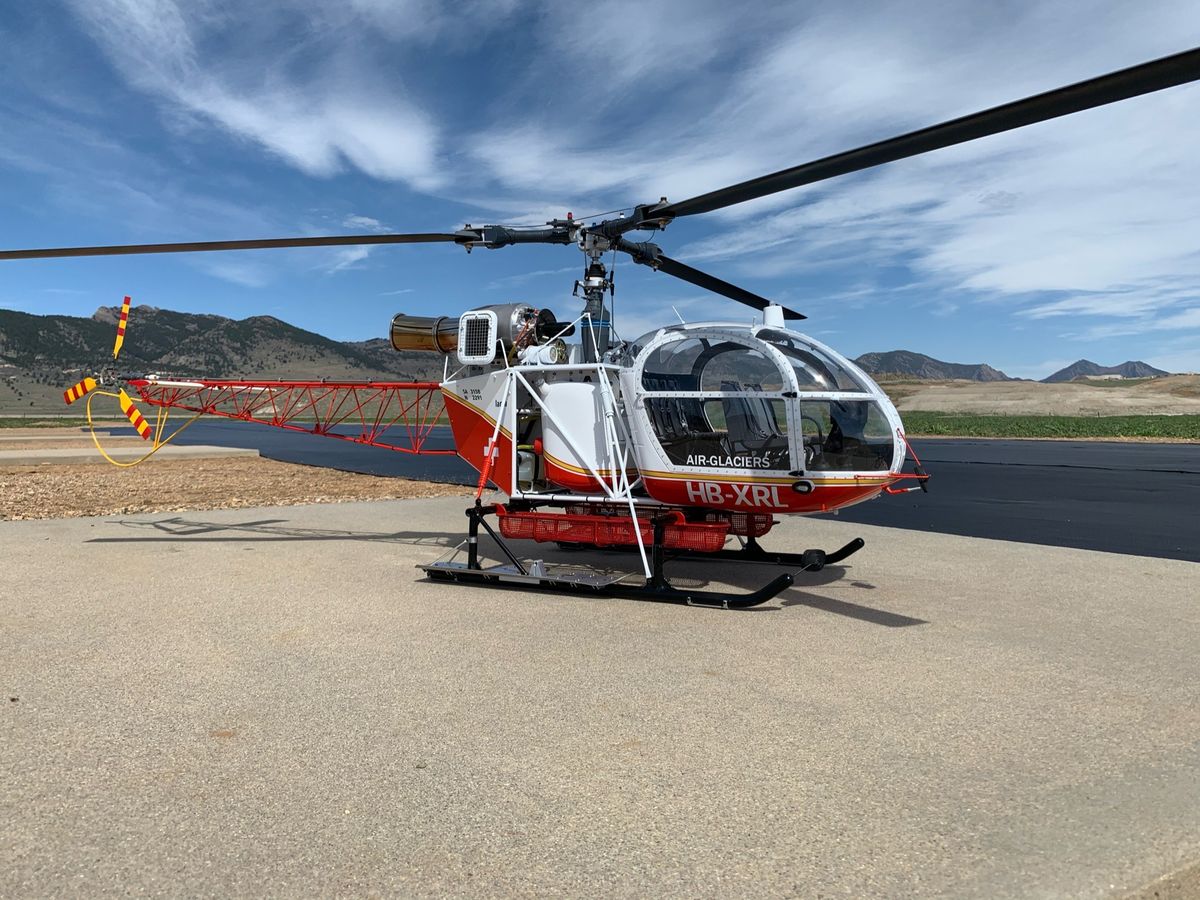
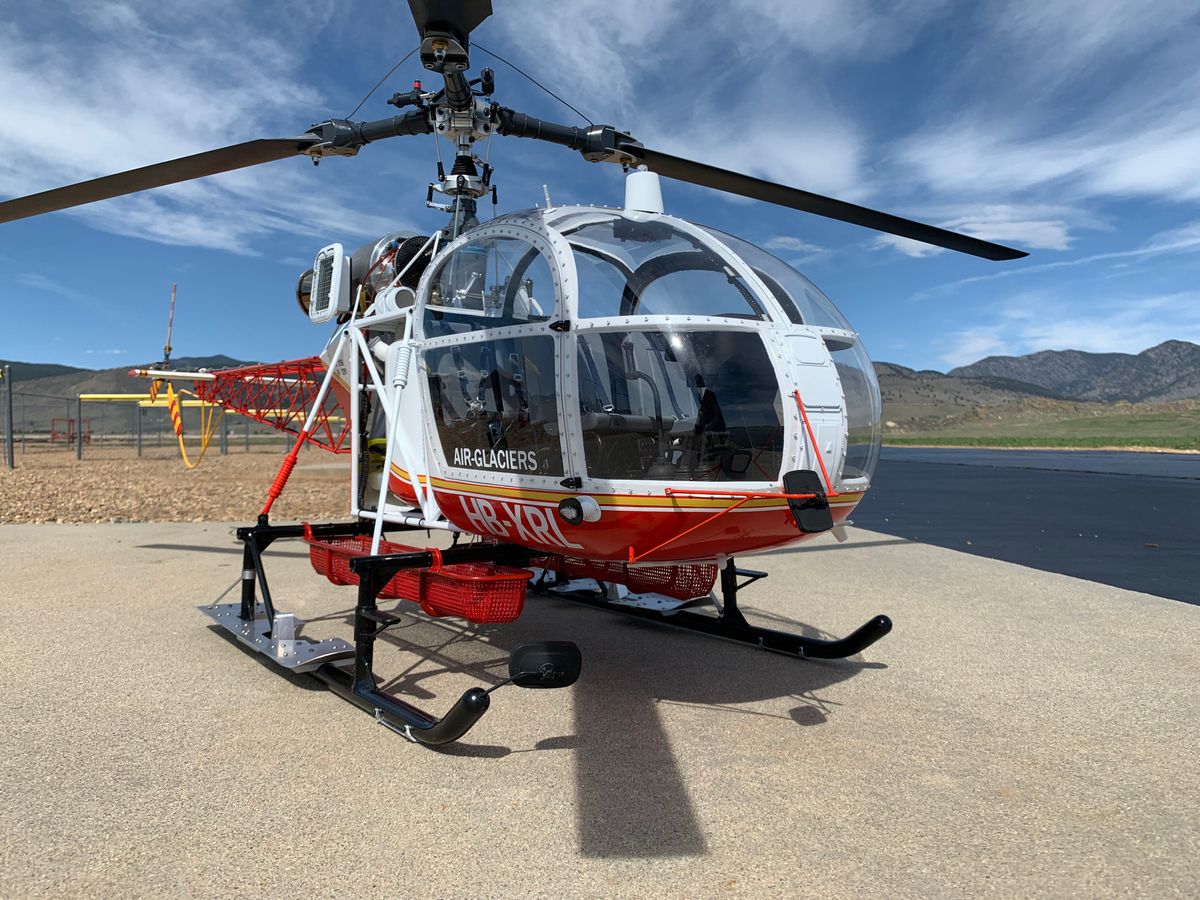
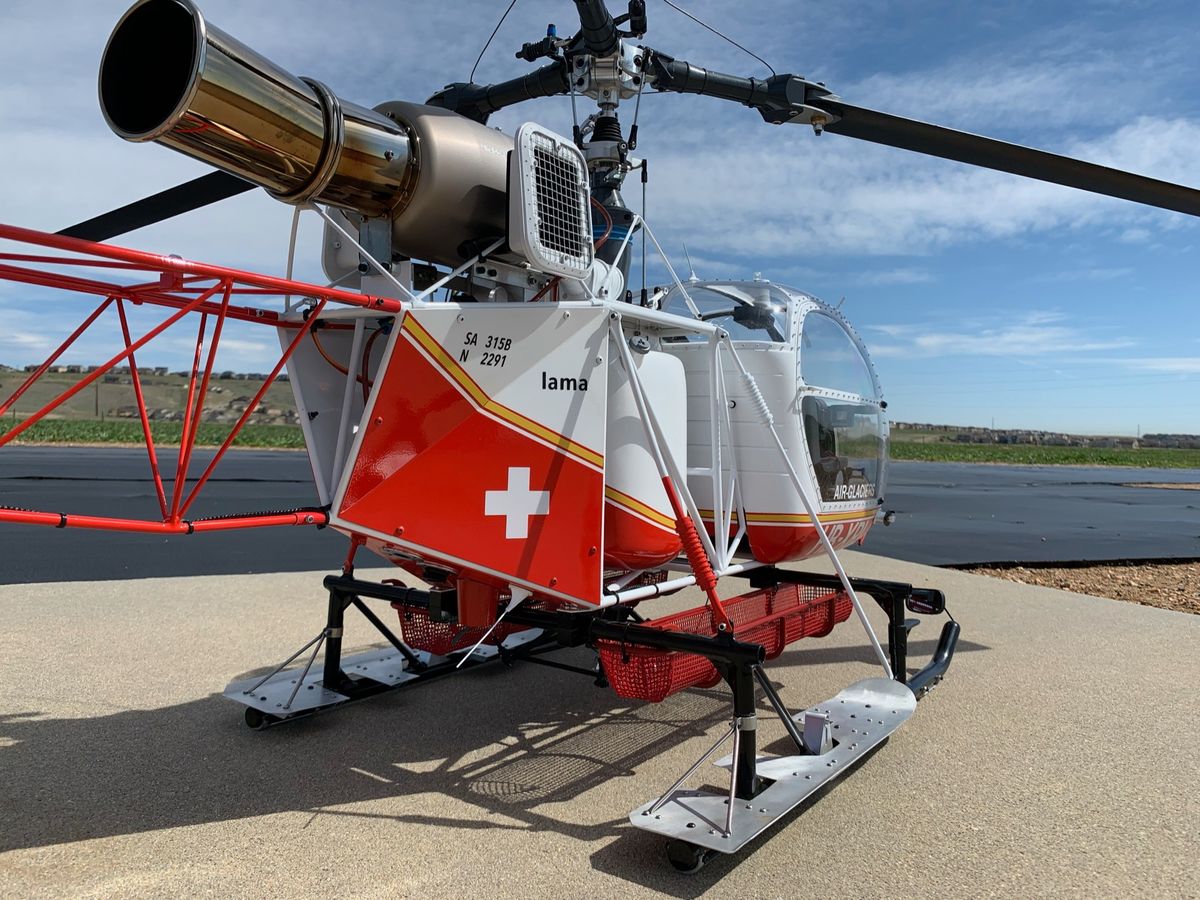
Final Completed pics and flying
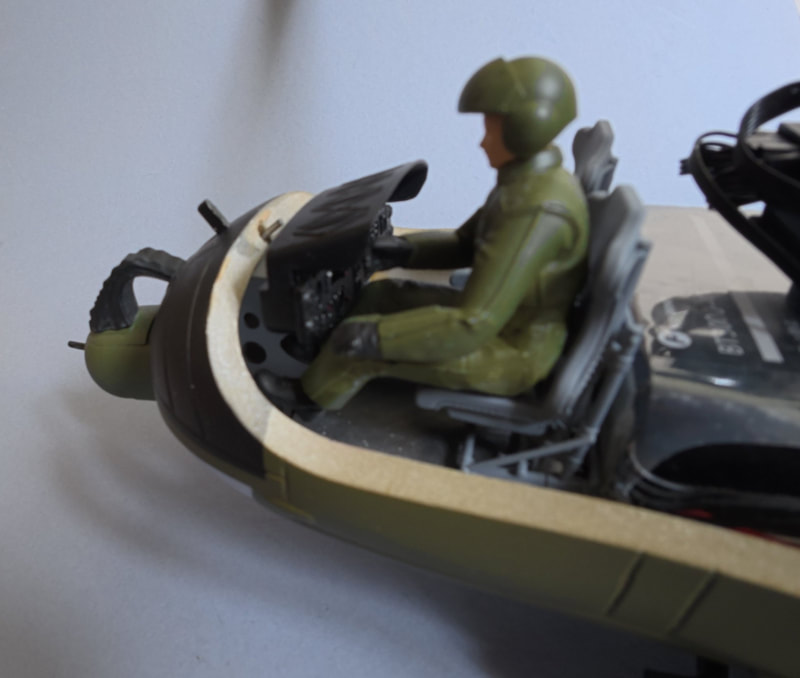
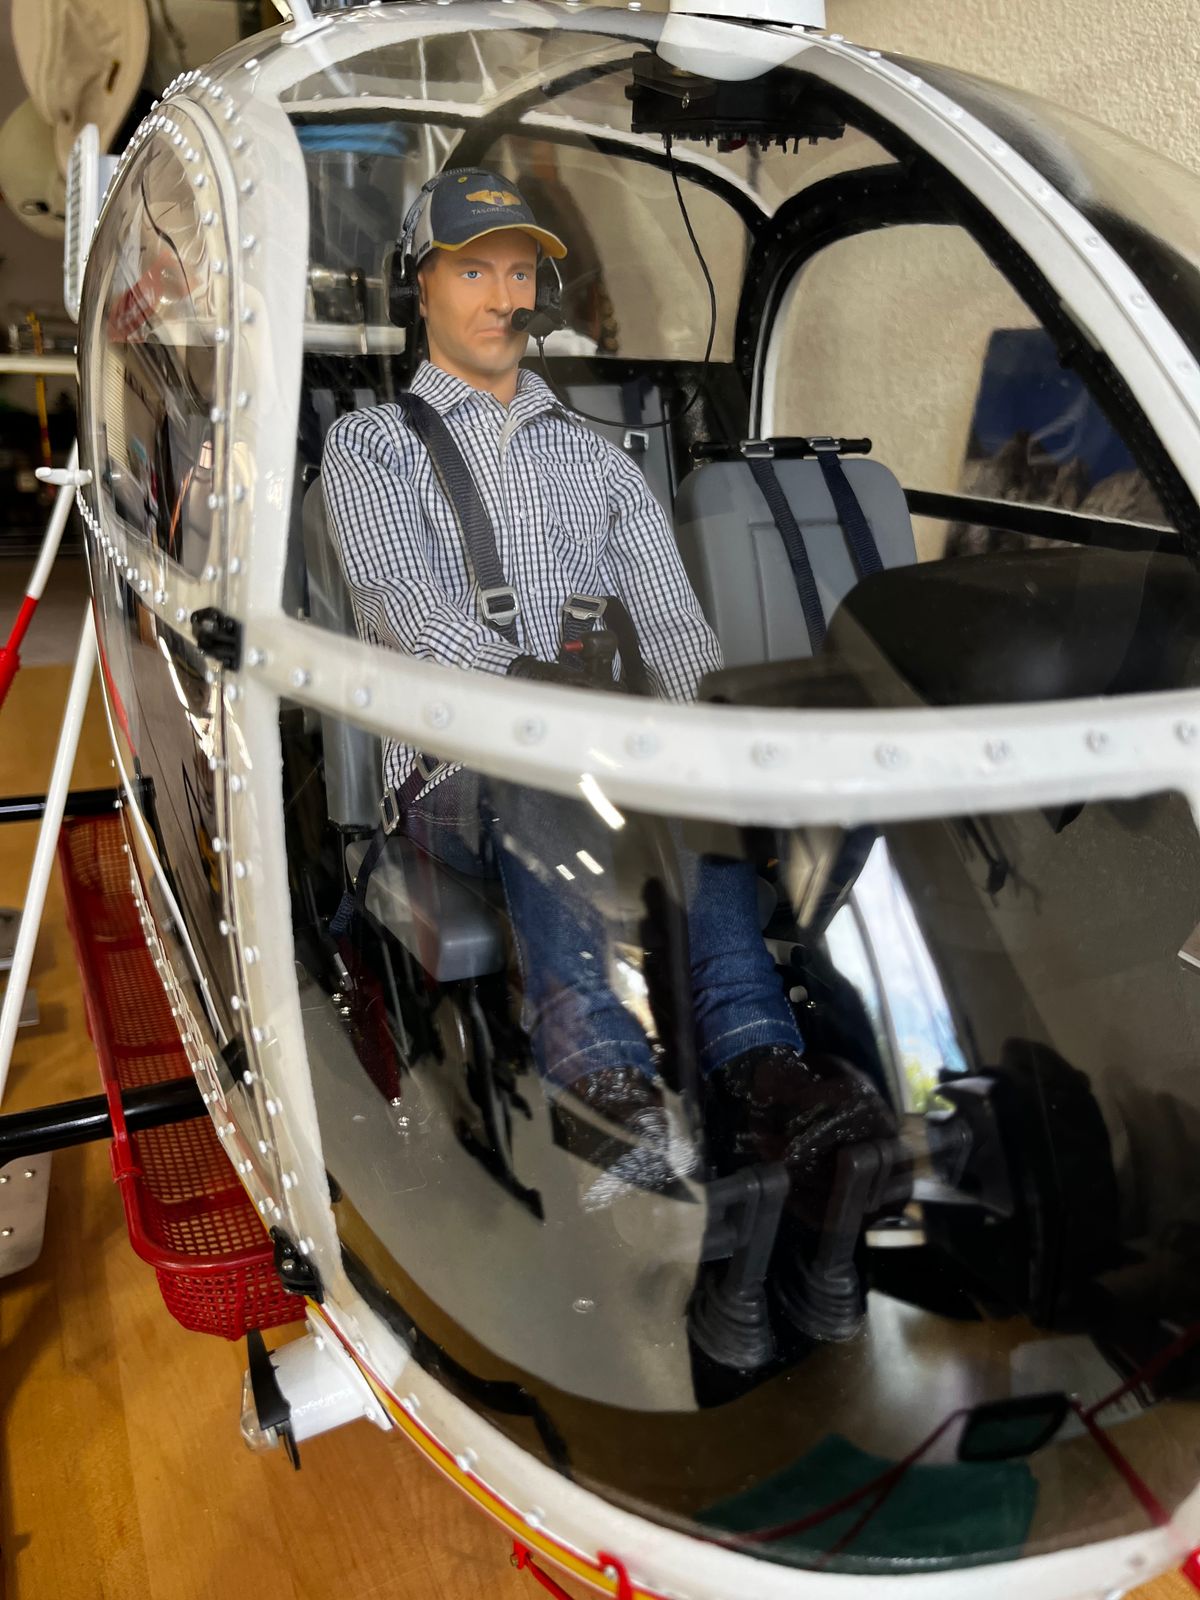
The Lama flys like a dream. I worked with Ben at Futaba for fine tuning the CGY760R. I added a pilot after this vid.
https://www.youtube.com/watch?v=I_nxjmI69NQ&t=123s
I hope this helps another builder. If you have suggestions, please let me and the group know.
Thanks,
Tommy
Lessons learned to date
Use a hopper tank and tubing per the supplied schematic supplied with the Jakadorfsky manual. I had substituted a bubble tank which caused improper flow and shut down in flight. Nothing against bubble tanks, it just didn’t work in this application.
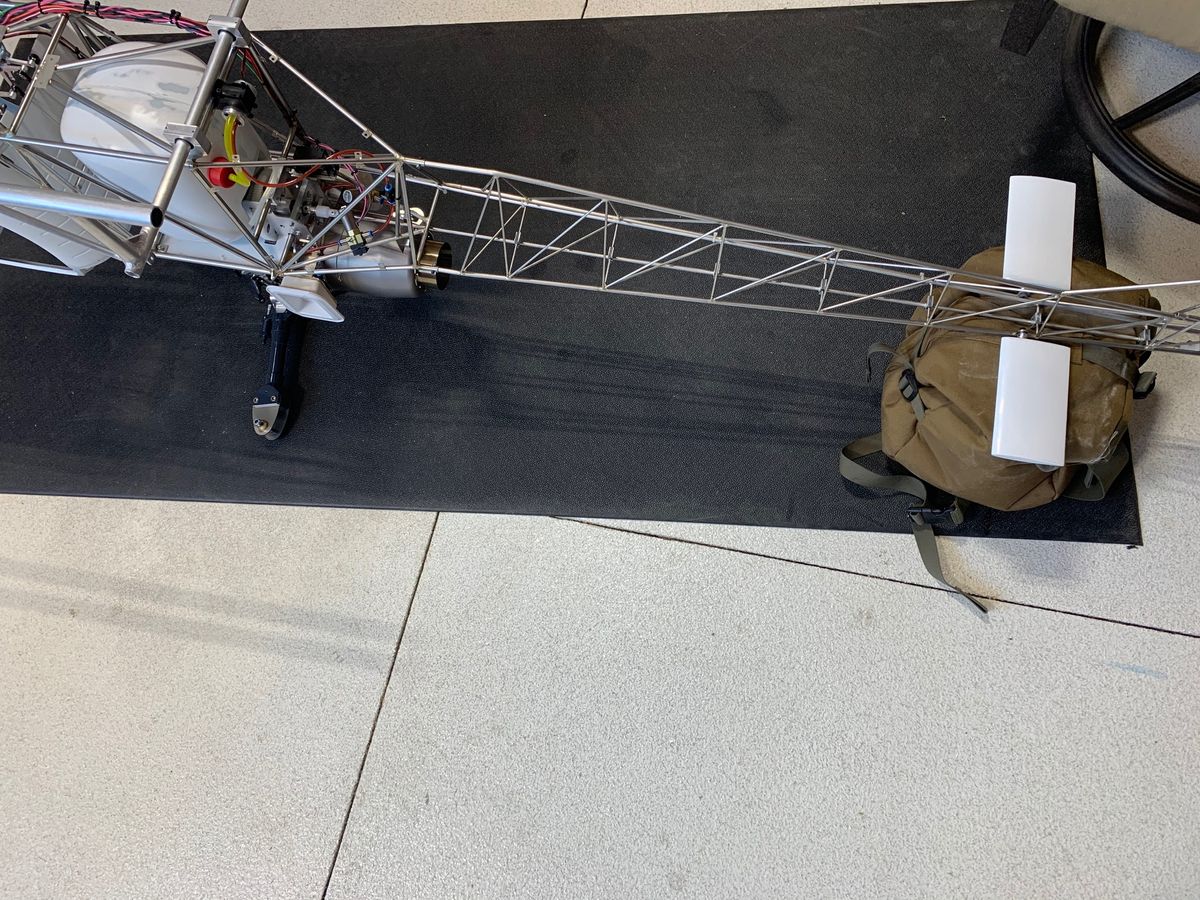
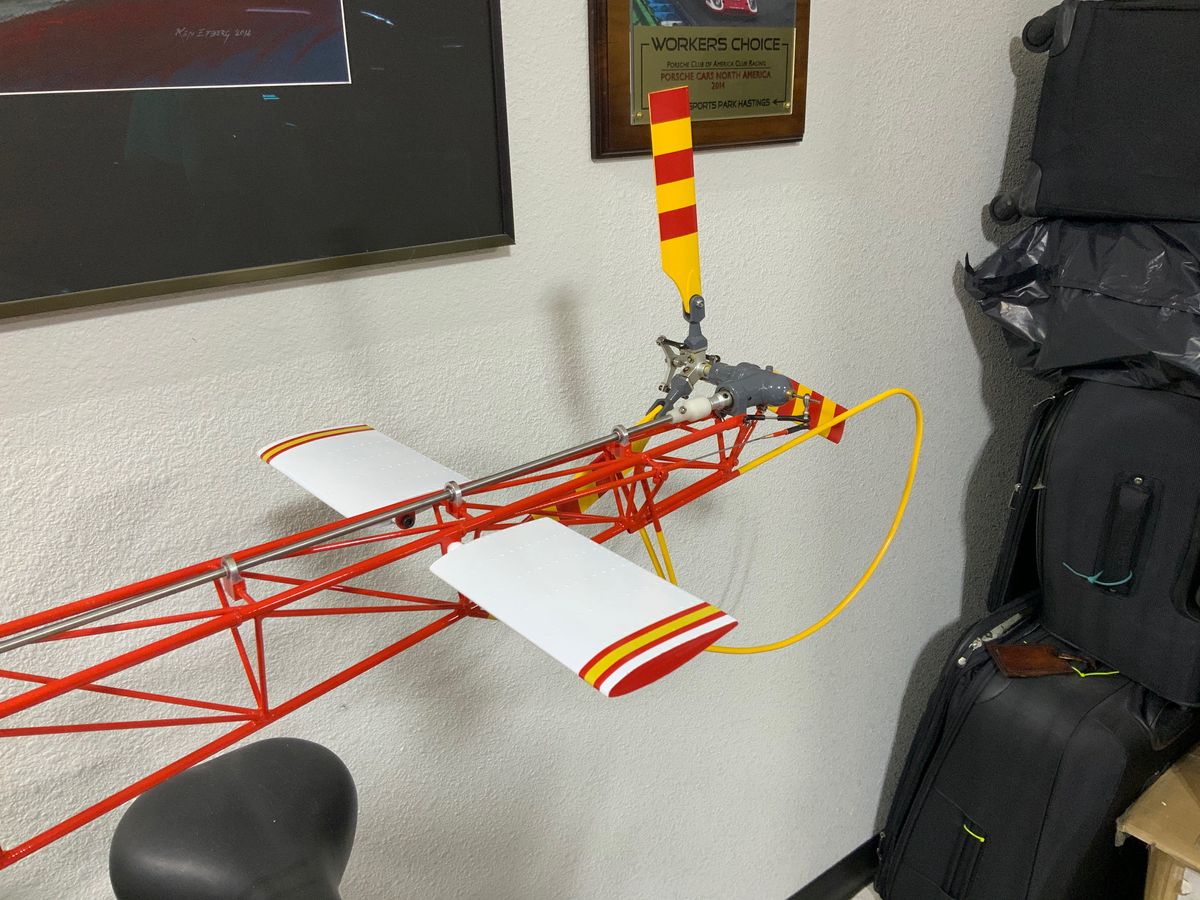
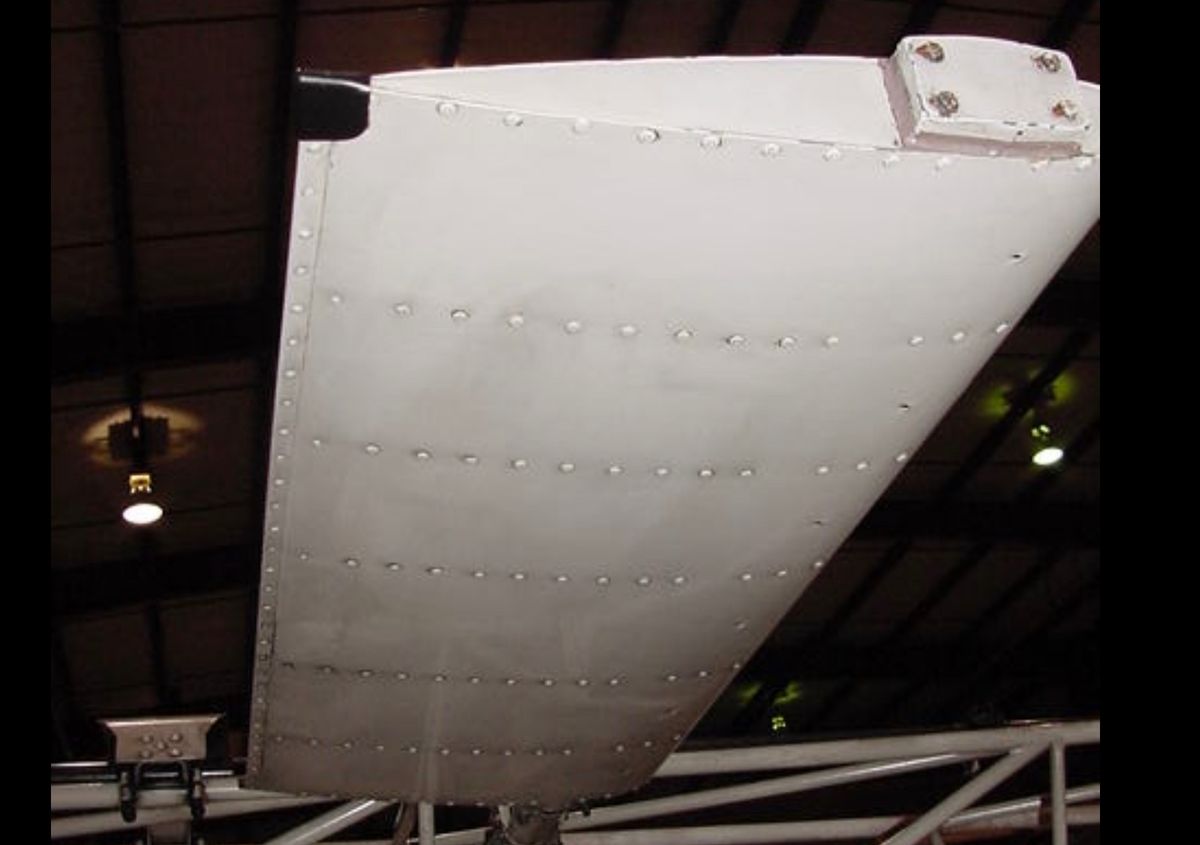
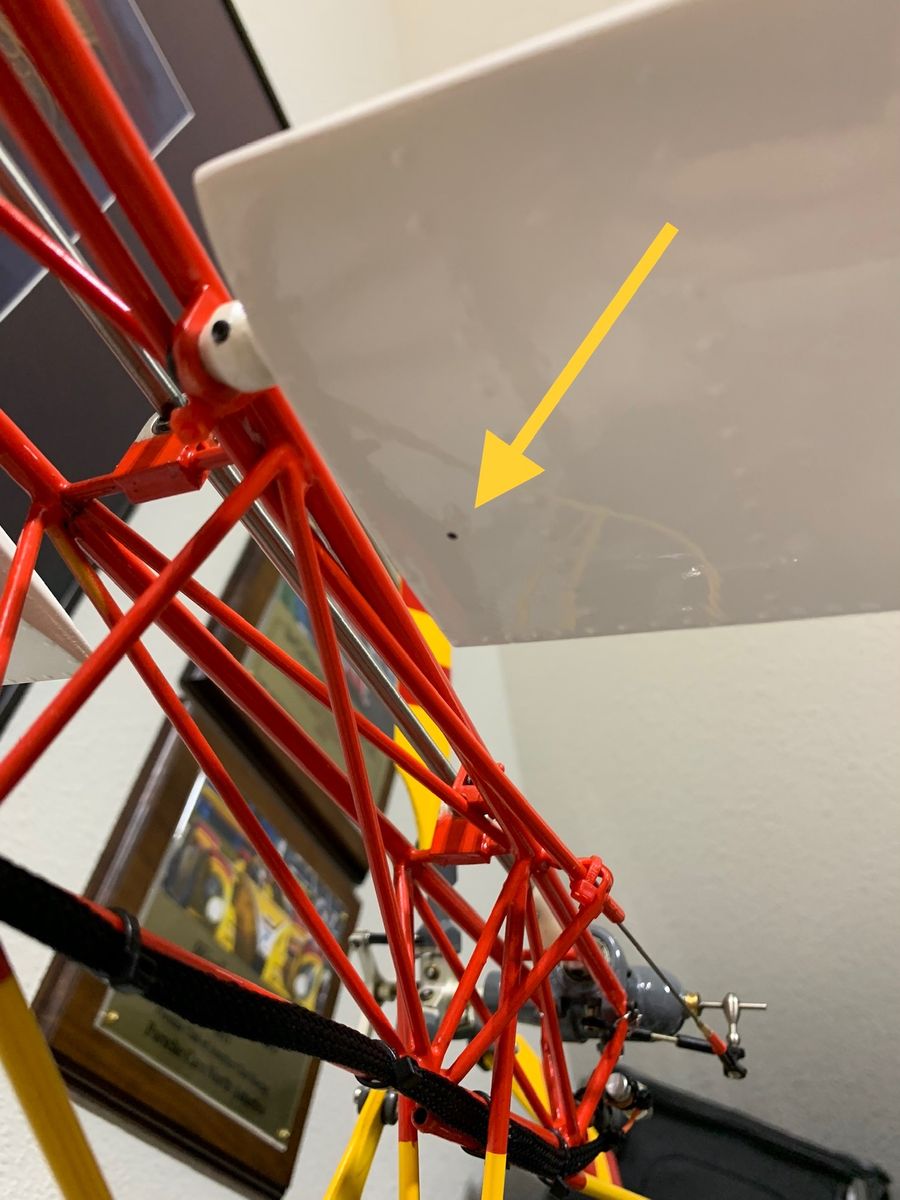
Horizontal stabilizers build up pressure due to the turbine exhaust heat which in turn created a split in a seam. I drilled a small vent hole for pressure relief.
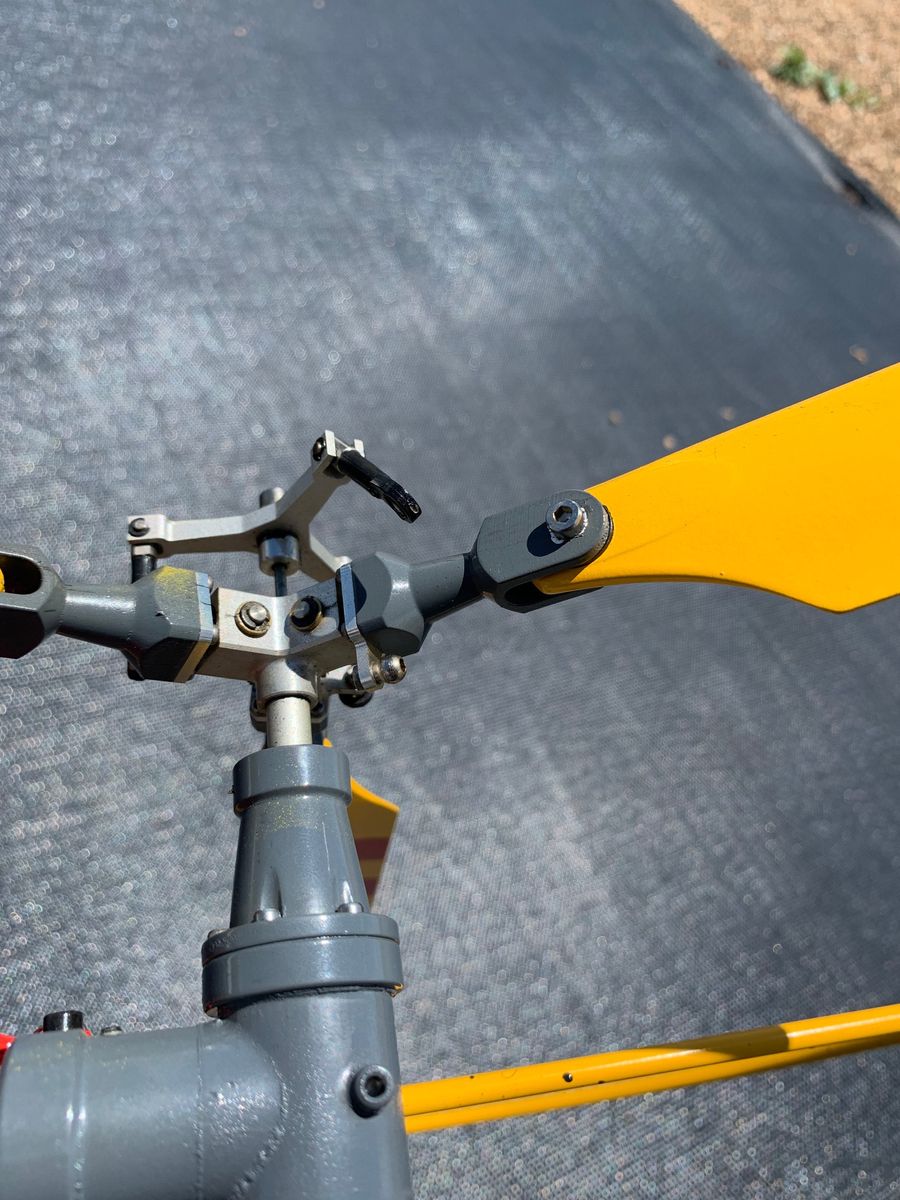
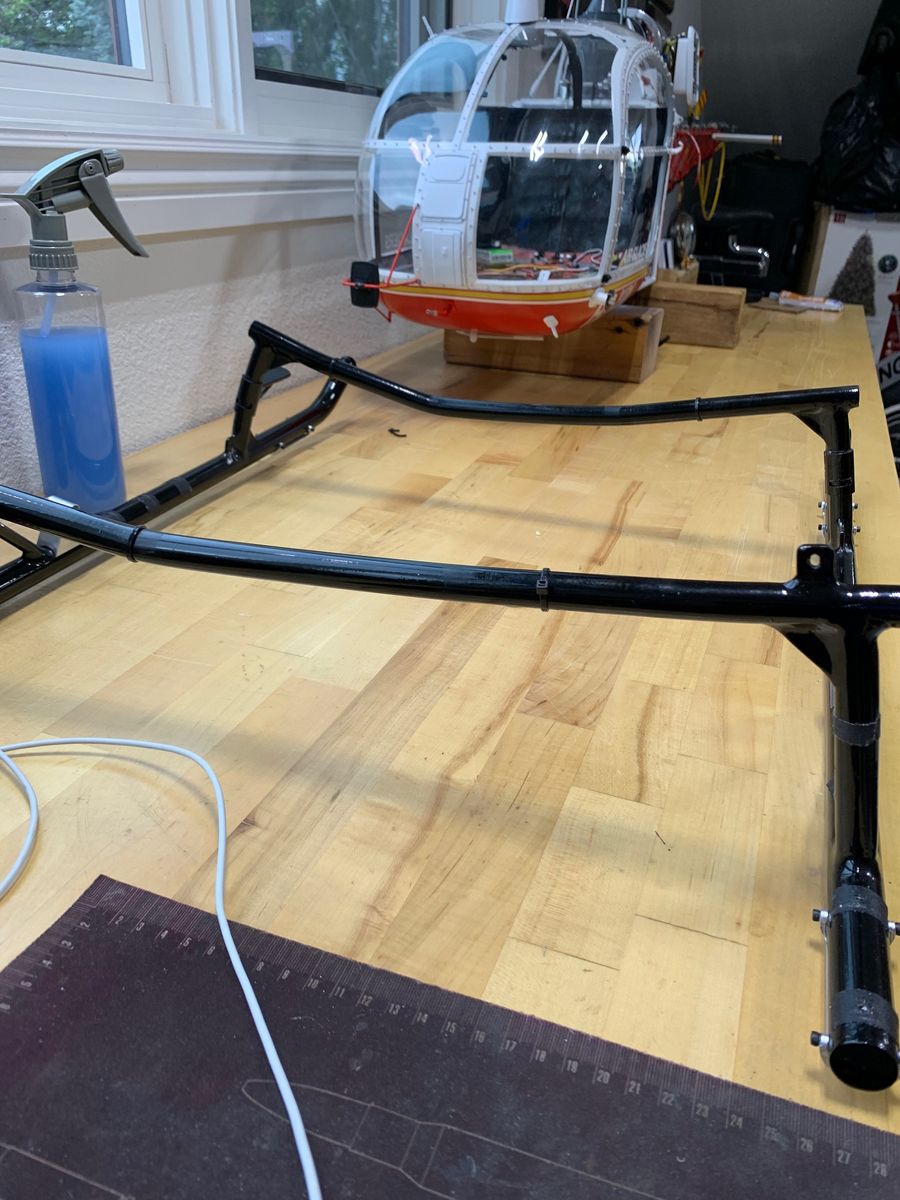
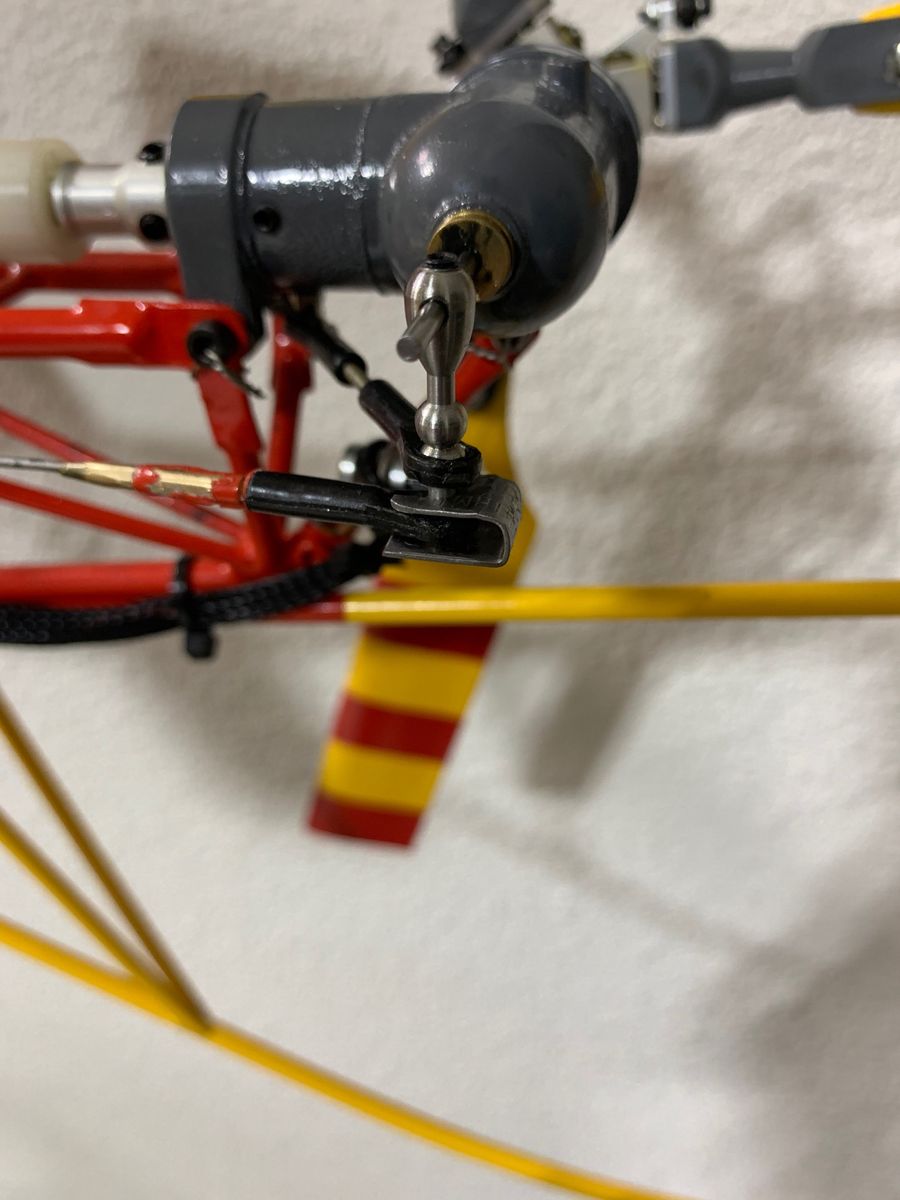
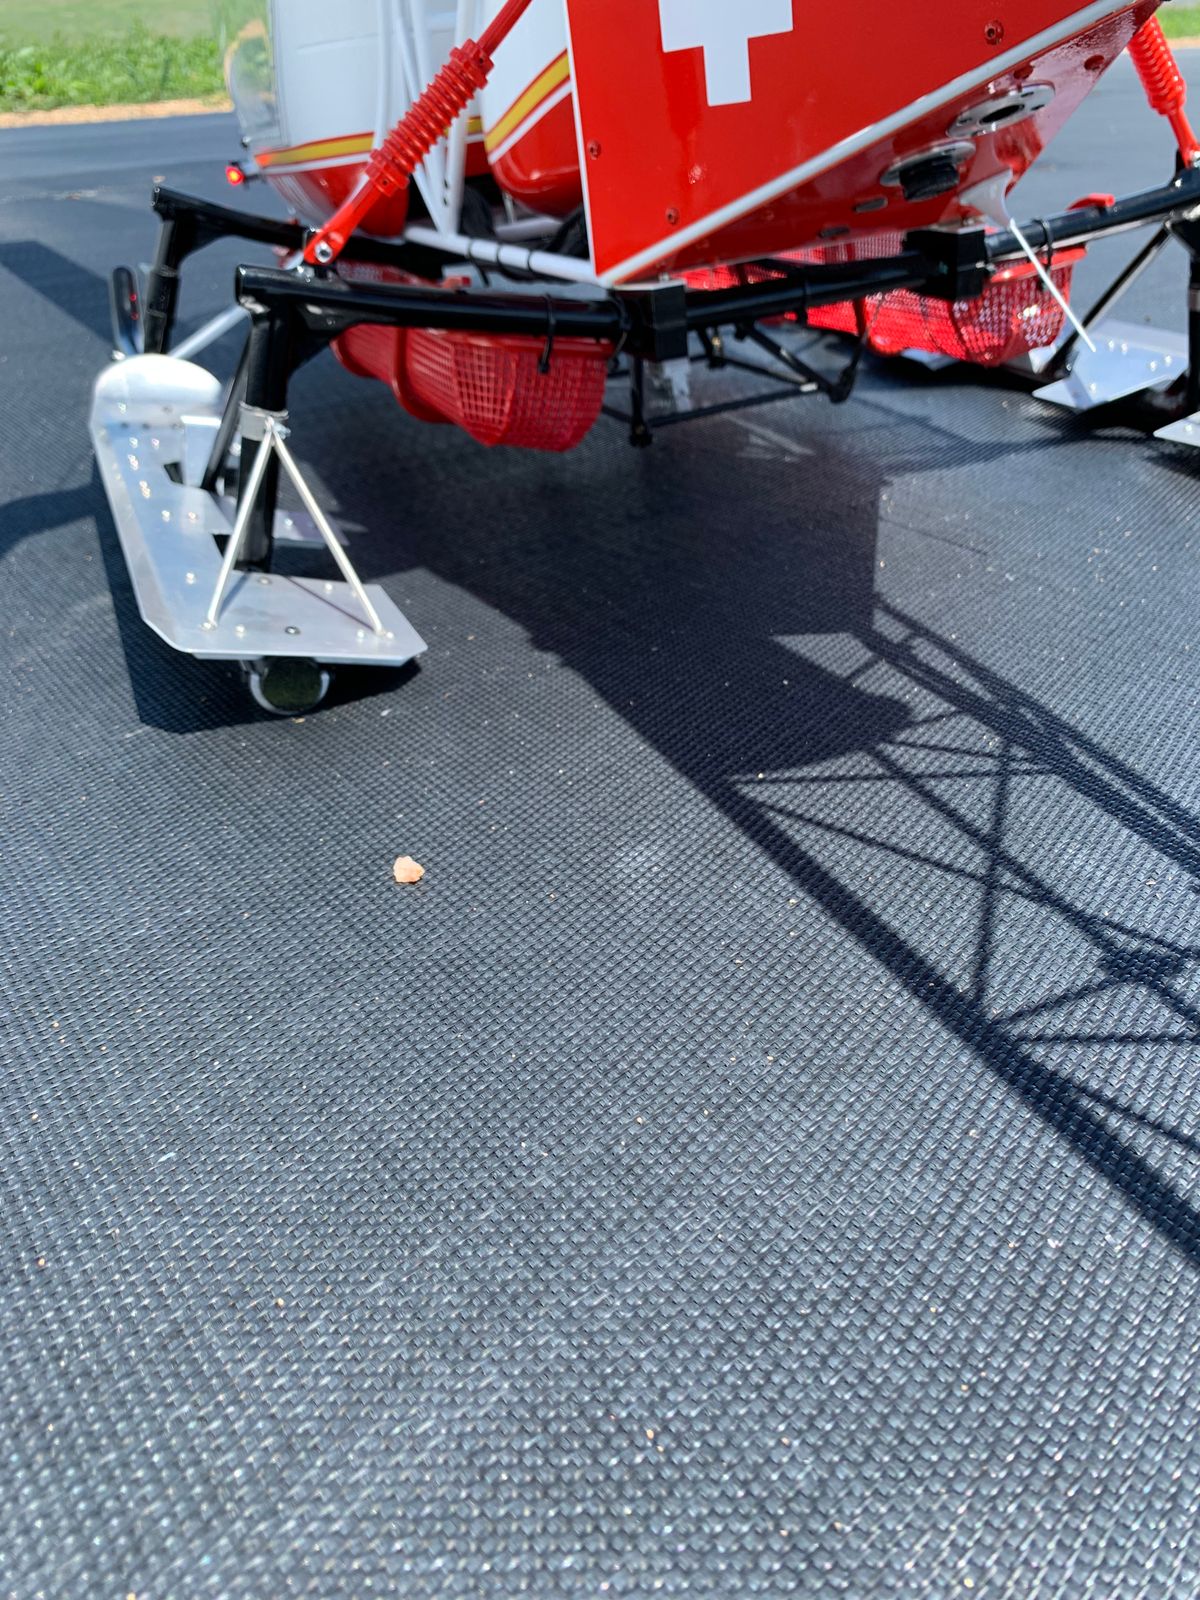
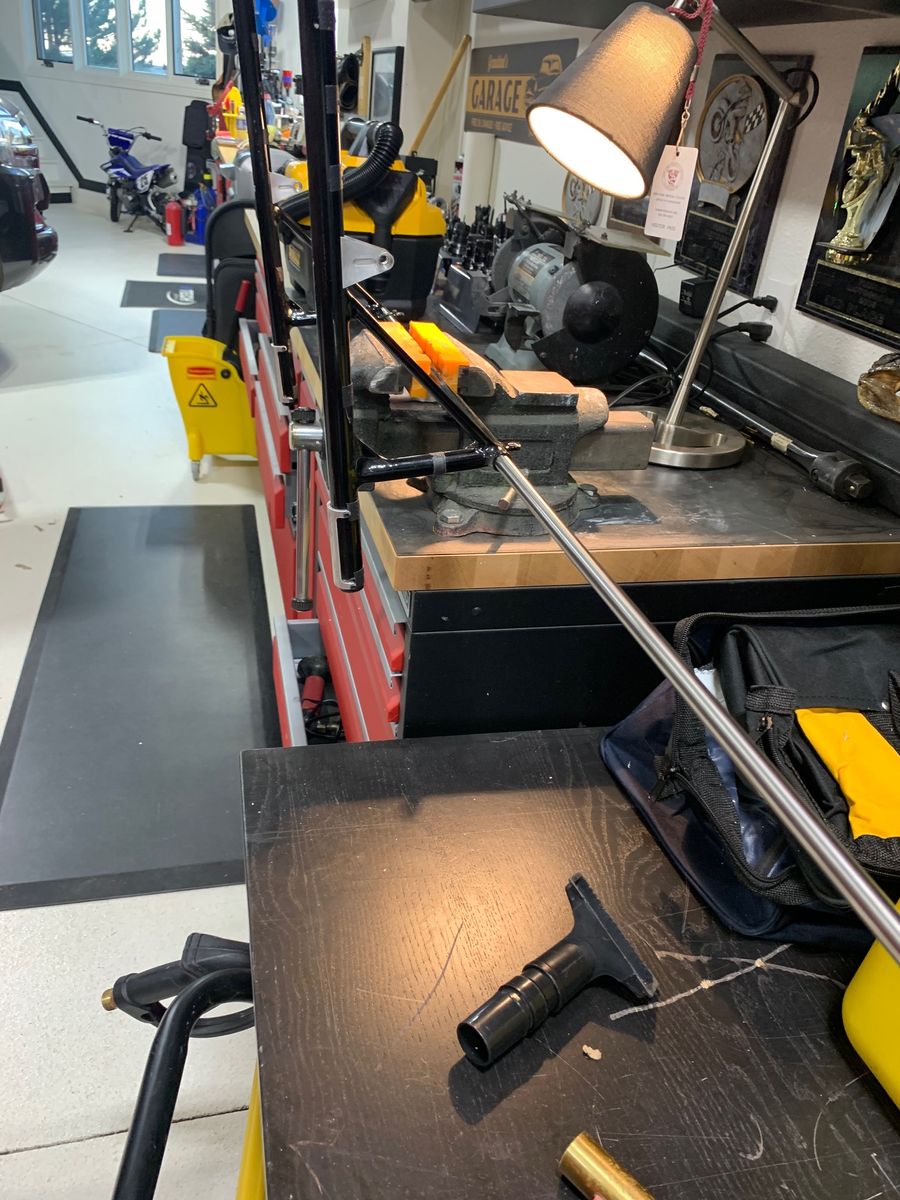
During flight, I had one link come off of one of three tail rotor blades loosing, you guessed it, 33% of tail rotor effectiveness. This caused the heli to pirouette out of control. I was able to land it, cutting power at the last minute for a rough landing. See modified links and bolts. I used a solid steel rod to straighten the landing gear (thanks Dan for the advice).
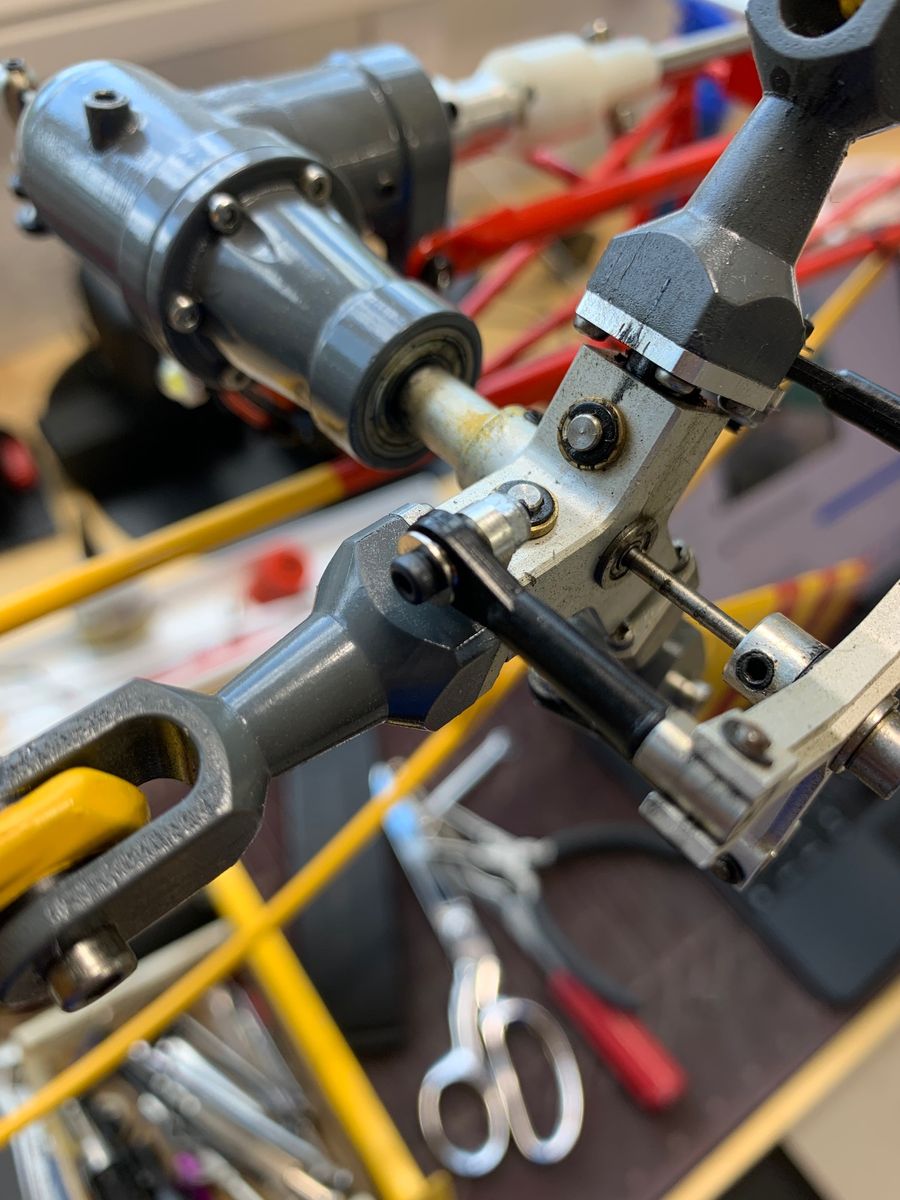
I fabricated a bracket to prevent the tail rotor control rod link from ever coming off at the tail rotor gear box.
I safety wired the tail rotor housing bolts to prevent them from working loose. This had happened on another Lama flyer.
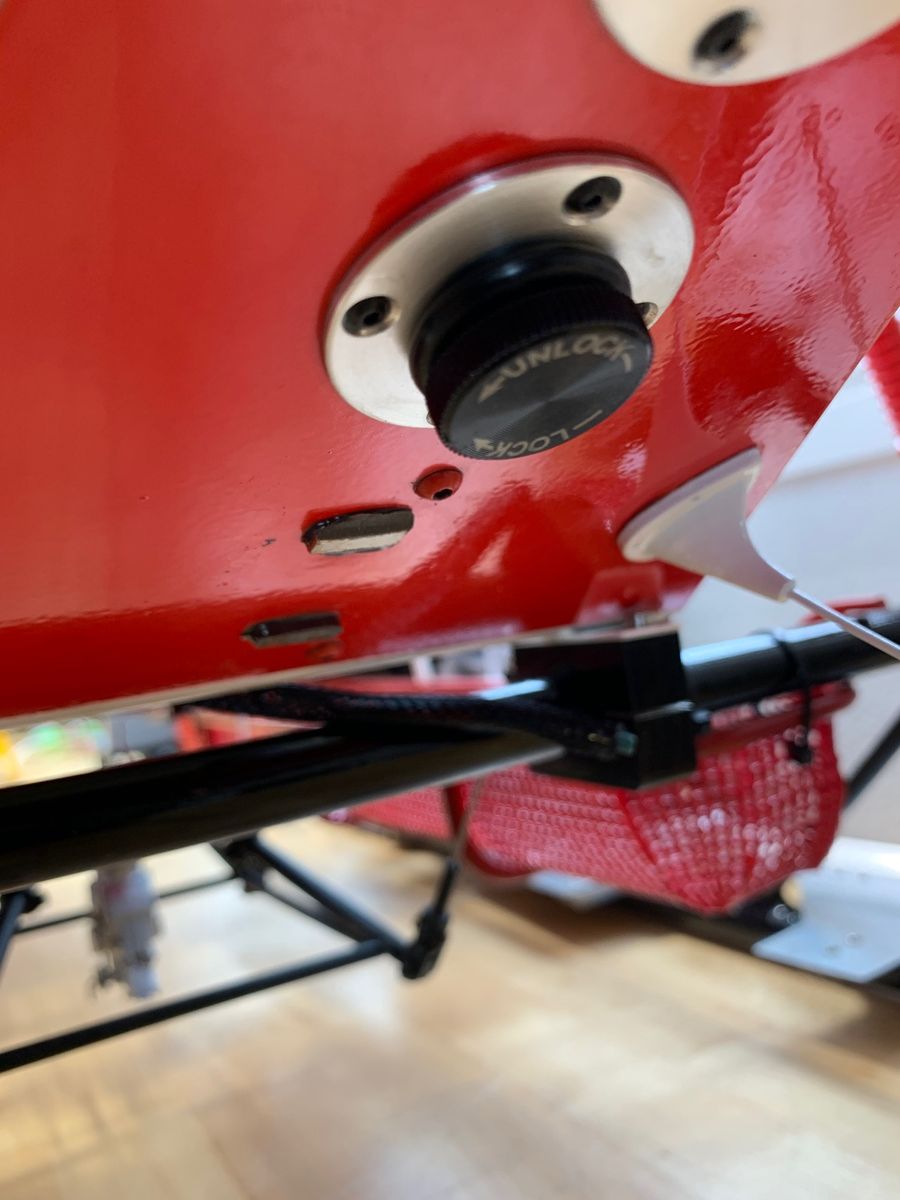
The location of my fuel tank vent seeped fuel ruining my bottom navigation light. I stuffed the light with absorbent material and check it often.
25 Comments
The Starwood kit is very nice until you get to the 4,000 little screws for the canopy! 😆😆😆
OMGoodness, so true, that chapter is coming…
Good chapter! The Jako is my go-to turbine!
I am still asking myself what is gratifying about cutting fiberglass!! I wish Vario would pre-cut this stuff. Pending that, I've had good results using a cut wheel that I get about 1/4" to where it needs to be. After that, I use a grinding bit. Then, it's all sanding blocks with a mask and vacuum during ALL PHASES! 😉
This reciprocating saw makes it a lot easier, but agree, lots of sanding regardless.
That's fascinating! I never imagined using a jigsaw on glass! I'm guessing it's a very fine tooth blade plus the tape has to help prevent fractures.
The bearing blocks for the tail drive are METAL! The ones that come with the larger 1/4 scale Vario Lama are PLASTIC. I've already had to replace one.
This is one of the most thorough build threads I've seen ANYWHERE!
I love clean wiring!
A hot knife will slice through the fiberglass easily without making any dust. There are electric powered hot knives that look like soldering iron handles with an X-Acto blade on the end. Another alternative that works really well is a butane powered handheld pencil torch with a blade attachment on the end of it. The butane powered torch is now my favorite way to do this.
OMG, I soooo need this cool kit! Shit, now I have to retract my request to Kirsten to pre-cut all their fuselages! Joel, you may have to do an original post with a video of this doing its magic!
I never knew…thanks! I’ll check it out for sure.
https://www.amazon.com/LEXIVON-Multi-Function-Self-Igniting-Adjusta...
Also look into perma-grit tools, I use them every day for composites, shaping glazing, and anything wood. Still have two sanding blocks that are over 10 years old and still as good as the day I bought them. https://www.tylergraymodels.com/Perma-Grit-_c_47.html
Manufacturer precutting windows will make the fuse weak, making it susceptible to shipping damage. Hot knife is the ticket, ask Ben Cheng, he is the master of making openings in fiberglass.
Outstanding work!
Thank you Rene!
Tommy, did you run tanks in parallel or series?
Tanks are in series.
Lama fest!!!
I have gone through all 20 chapters and have enjoyed every bit of it! Excellent job!
Thank you, really appreciate that.
Thank you for sharing. My Starwood 315 kit has been purchased for 2 years, and I have no time or energy to assemble it. Your article has taught me many skills. Maybe, I will assemble it next year.
Toms, I hope you do finish it and best wishes.
Thomas Dean, Thanks
来自中国的读者,看完了20章,很棒👍🏻