

Bell 360 Invictus
 Evan S.
Getting started
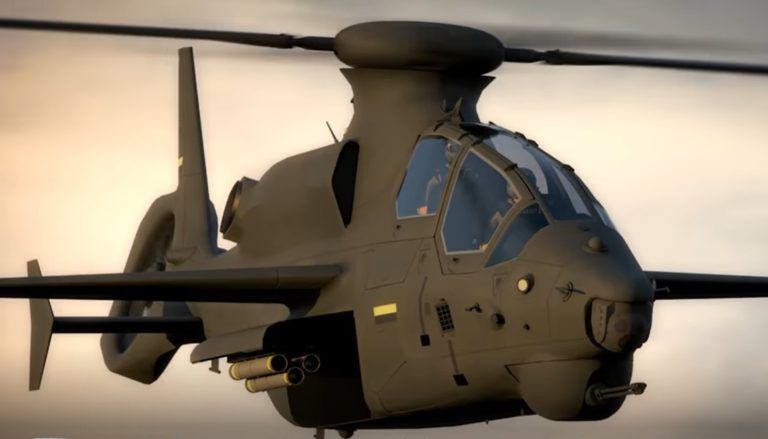
After deciding I wanted to scratch build something unique. I chose the Bell 360 Invictus because of the similarities it has to the RAH-66 Comanche.
I then decided to dive into building the model on a computer first. So I enlisted the help of my son who we sent to SCAD. For his degree in the area.
With the craft being a prototype we hade to use concept drawings and YouTube promo videos to build the digital model
I'll be posting more about that next.....
LOOKING FOR SOME PARTS
I need a KDE 700XF 535-G3 or a KDE 600XF 530-G3.
Only one or the other. No other brand. If you have one or know where I can get one please help.
SIZE matters
Good morning all,
After much consideration of the pros and cons. I have decided to increase the size of my model to 1:6 over 1:7.
The results will take the length up to2360mm(7ft-8in). and give it a rotor diameter of 2032mm(6.6ft)
Considering the full scale is only 42ft witch is relatively small. It will make scaling the details much easier.
The main mechanics are coming along nicely. We should have a test bed ready for a maiden in the next month if not sooner.
3D printing.....
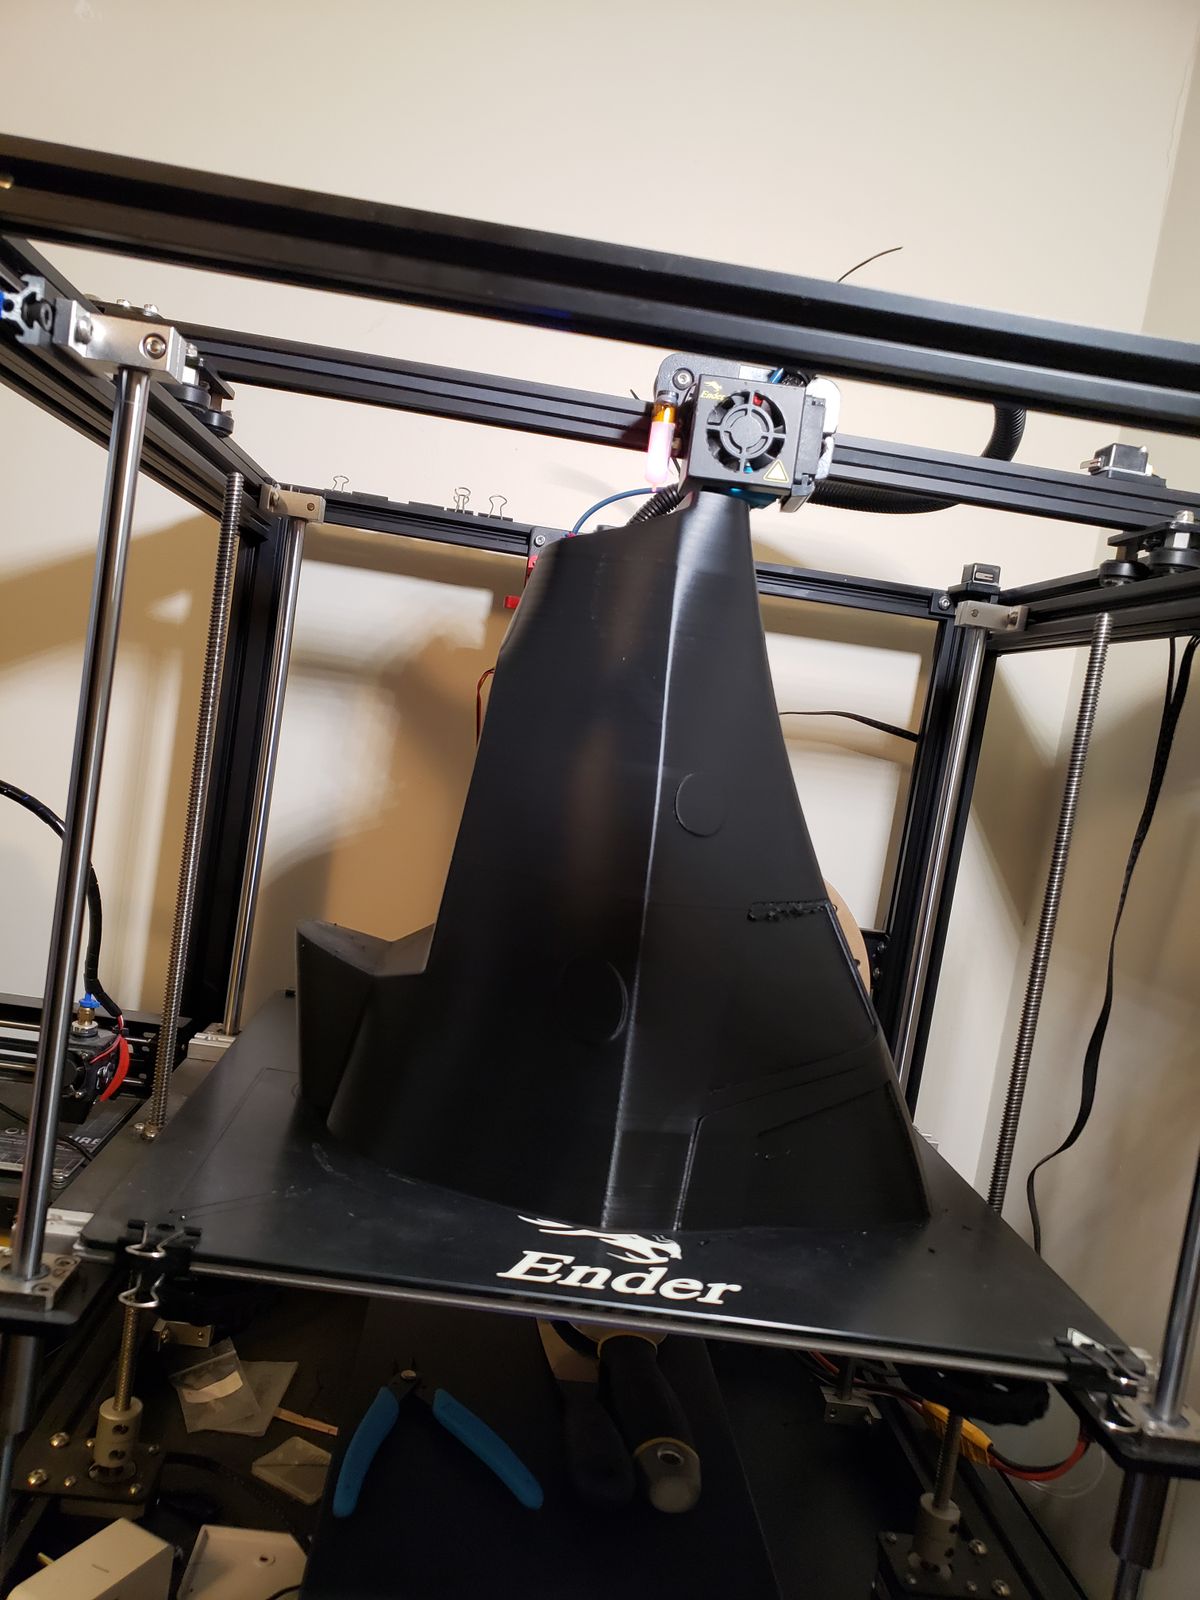
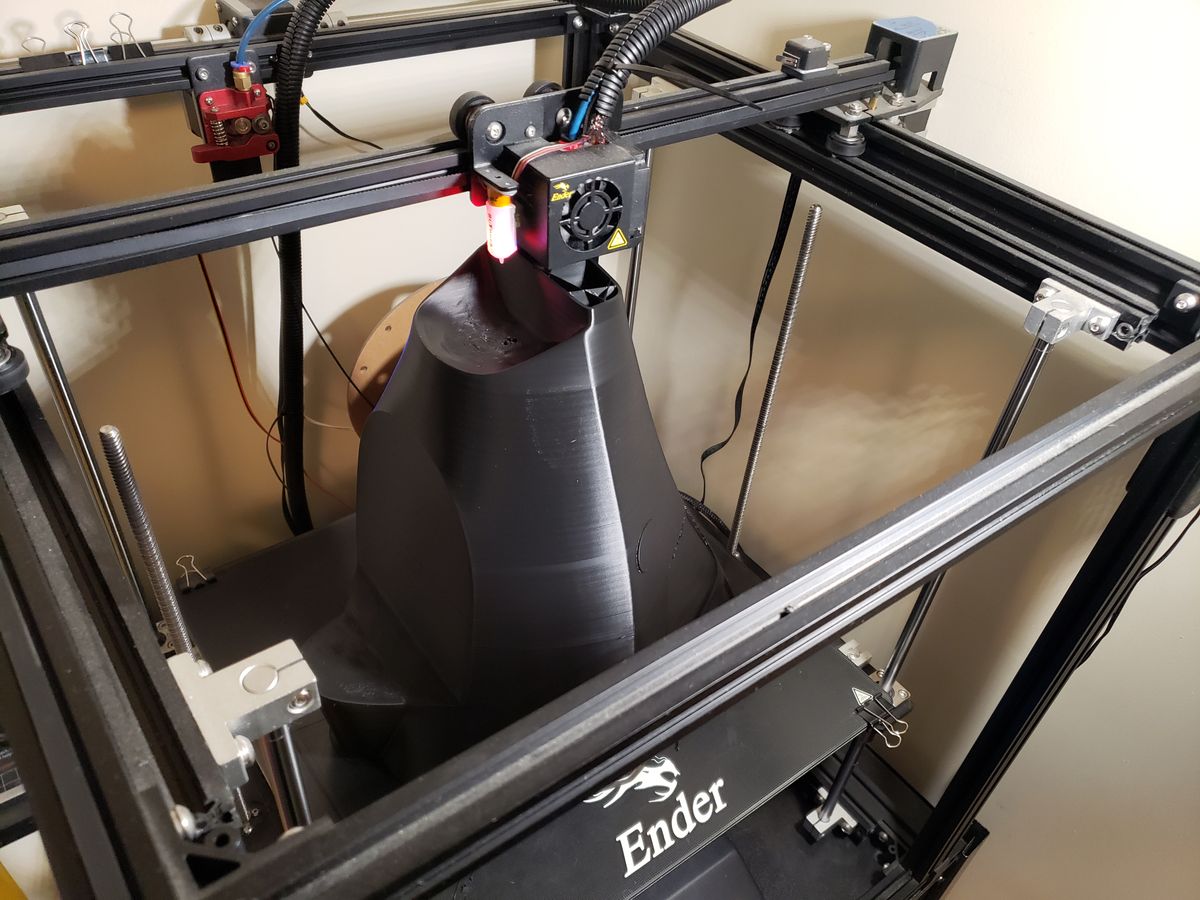
I decided to re make the plug. I'm going up to a 1:6 from 1:7. We are looking at about 3 to 4 weeks worth of printing.
Building the plug
He going to be a BIG BOY...
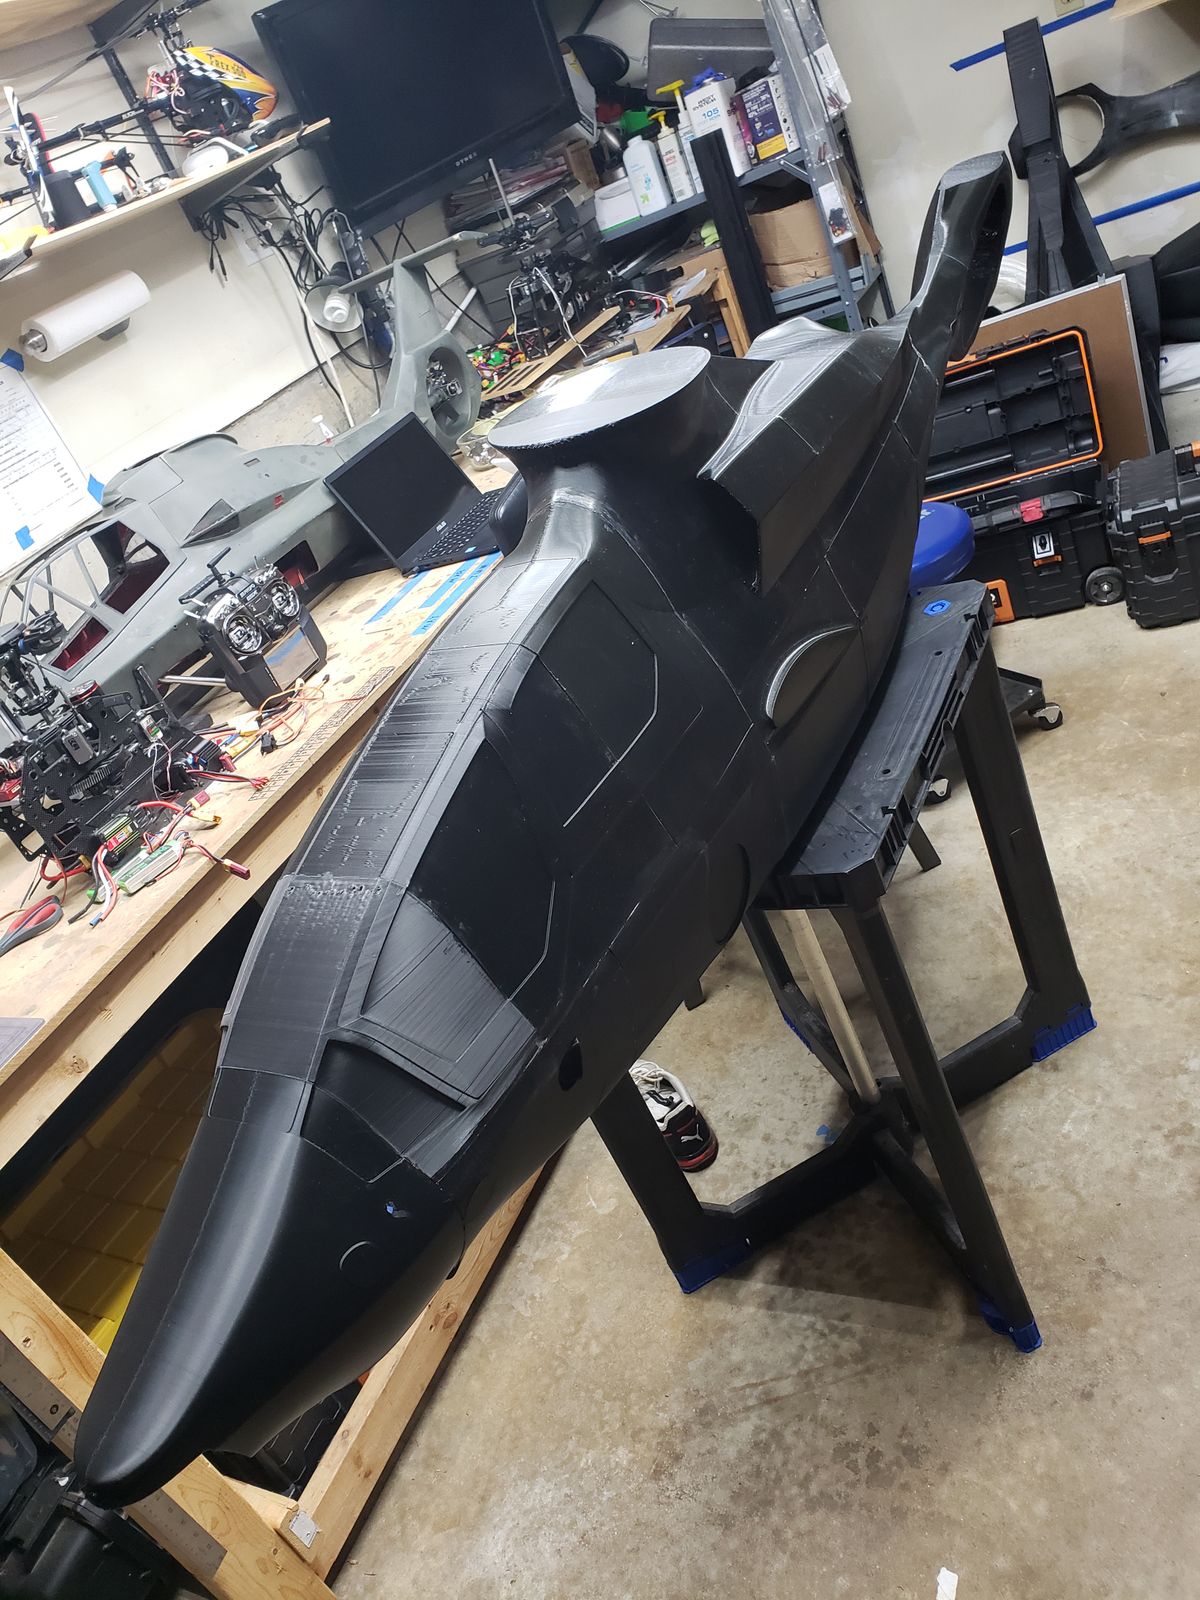
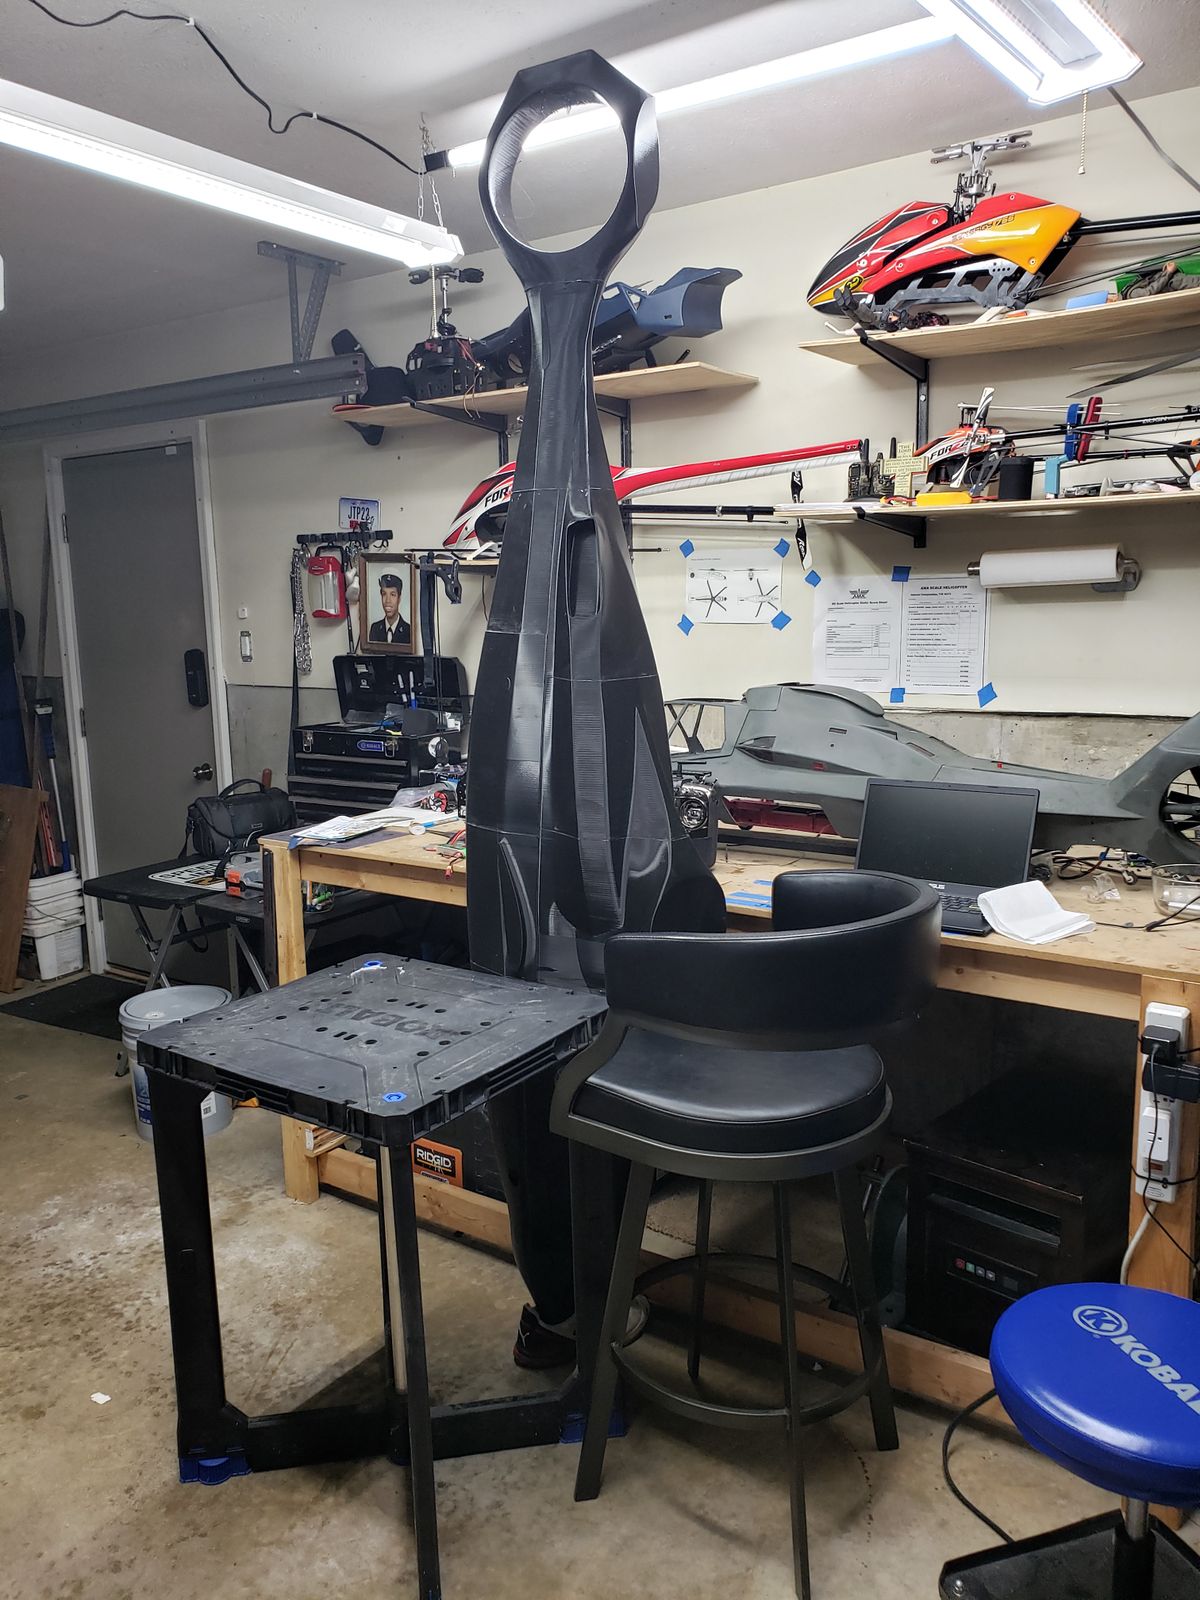
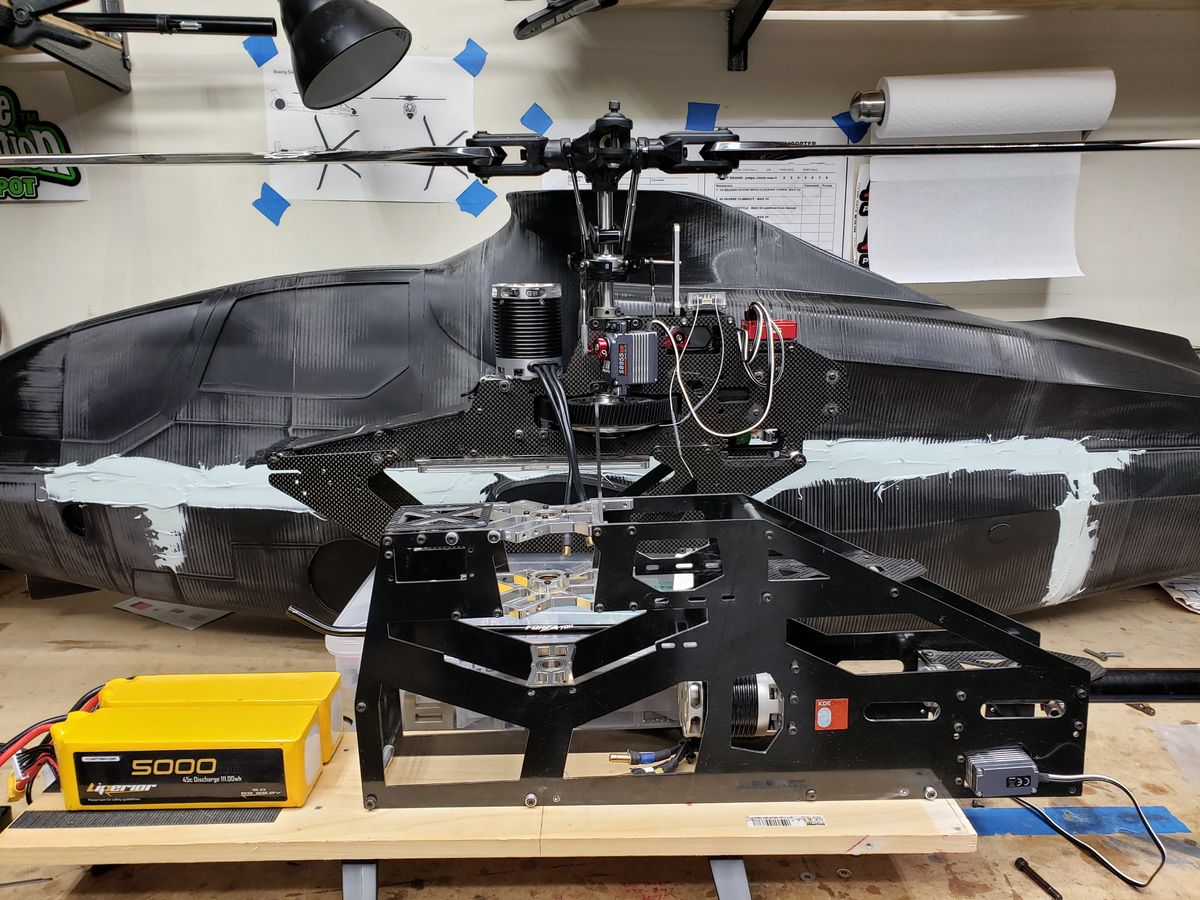
Digging into mechanic
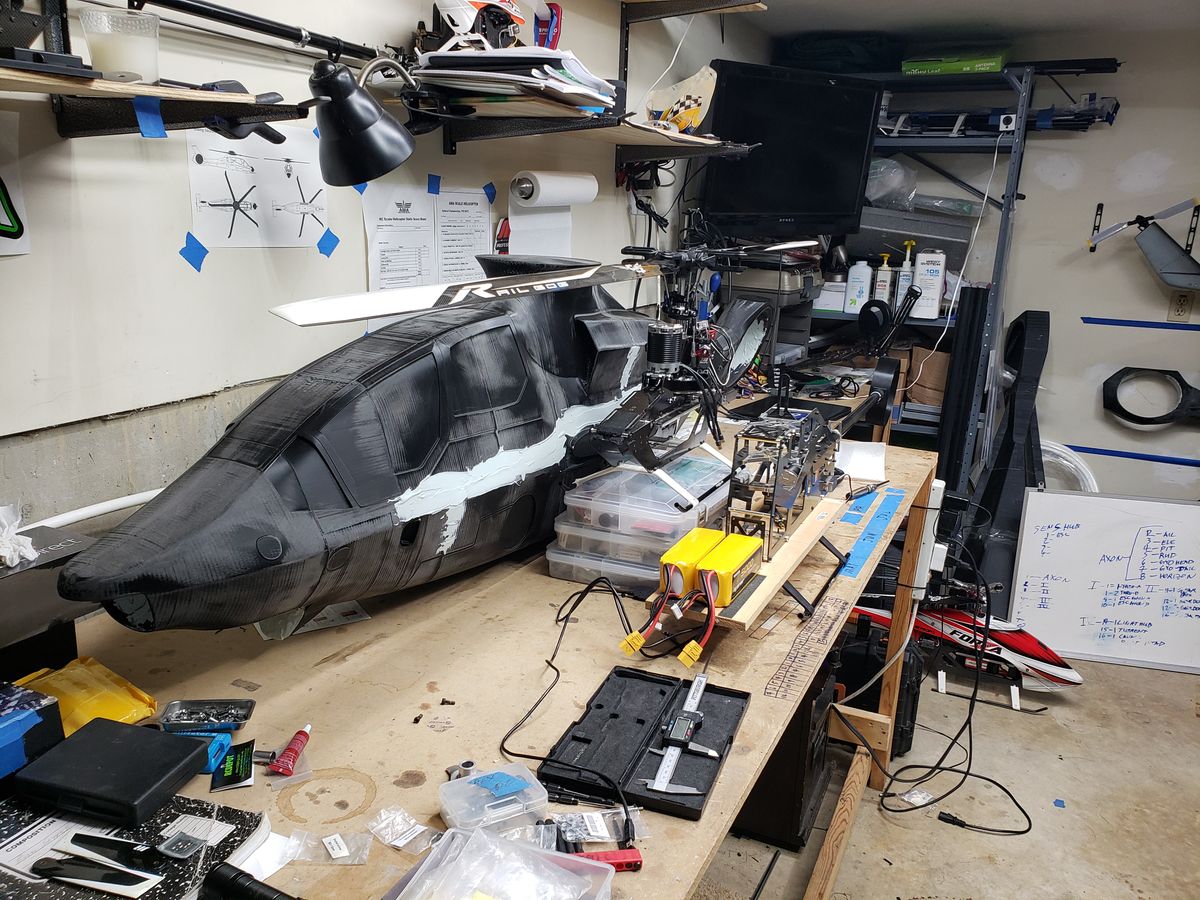
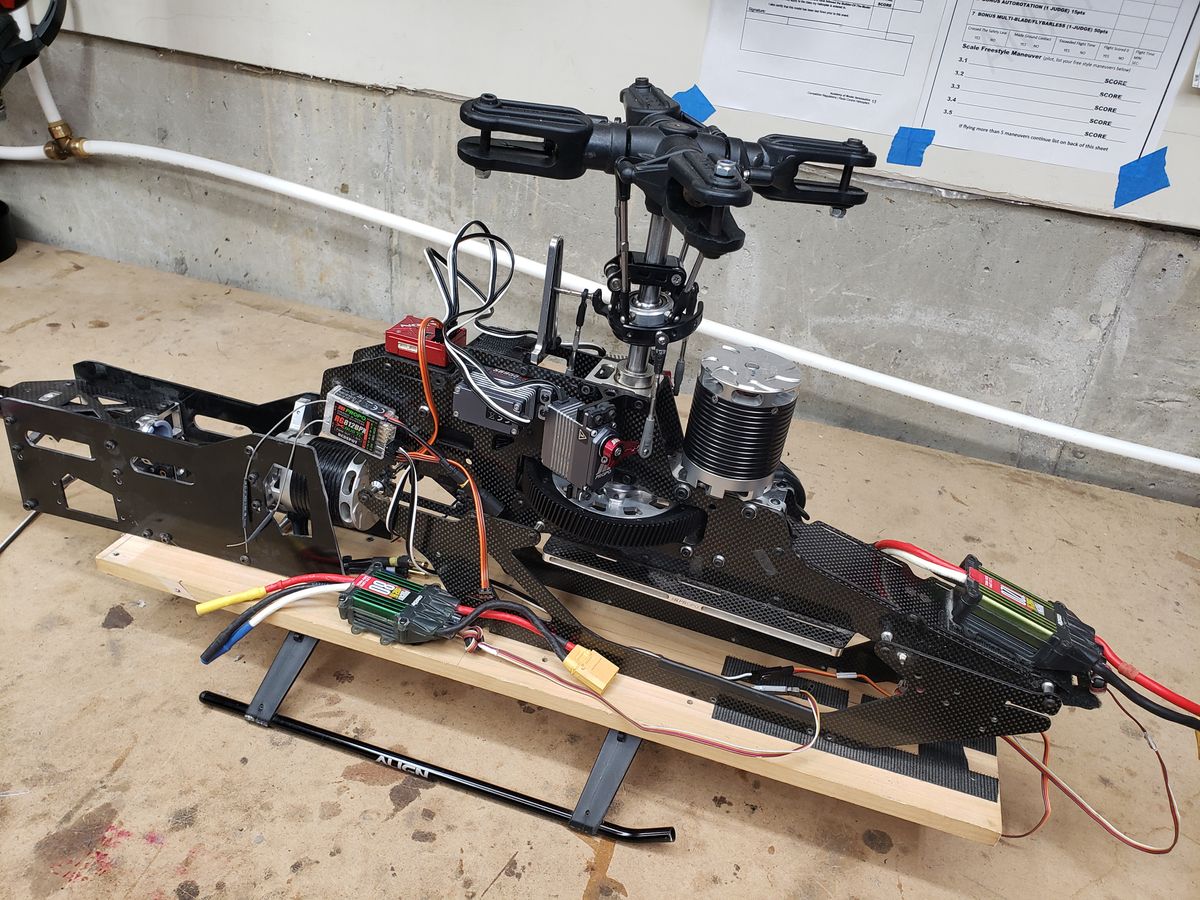
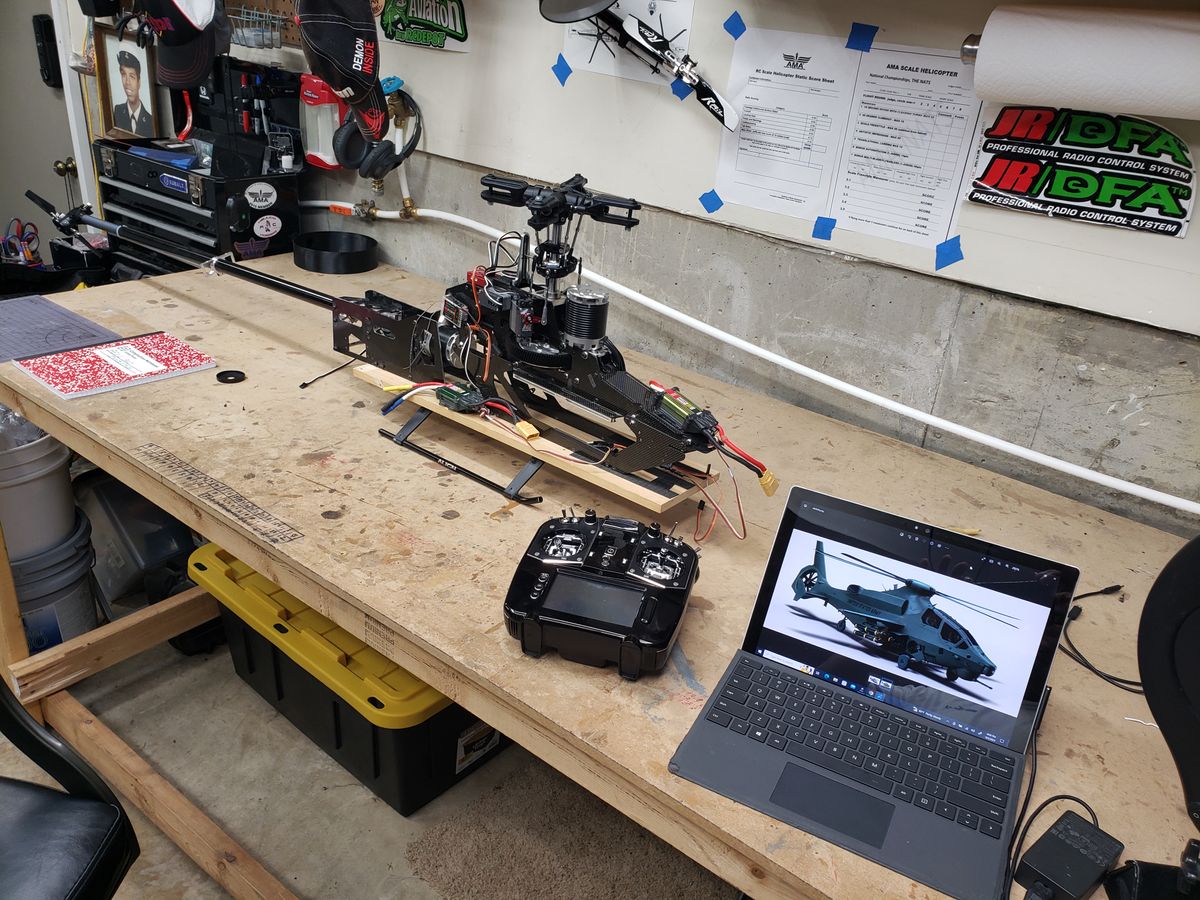
With increasing the size from 1/7 to 1/6, i need to re work a few things. Today i got serious about getting a test bed worked out.
I got the reciever and Axon set up to what i call level1. Next i will work on the tail-fenestron system. Normally i would have the ESC"s included. But with the new seperated systems i will need to work out the tie in of the main and tail side rails.
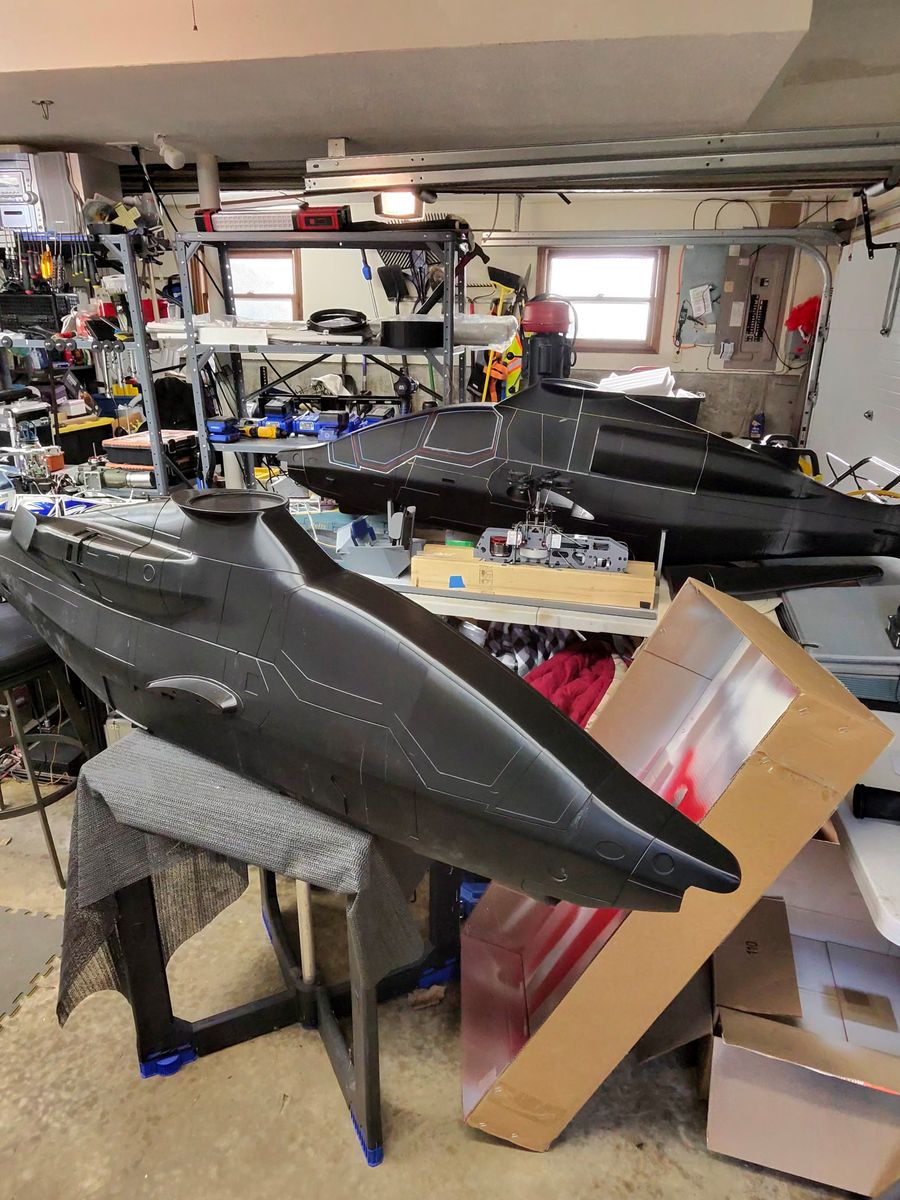
Looking at all three side by side. Im going to have a couple drinks stare some more and get back at it.
I seriously hope to have a flying prototype this weekend.
If you have questions or requests on the how, what, where. Please let me know.
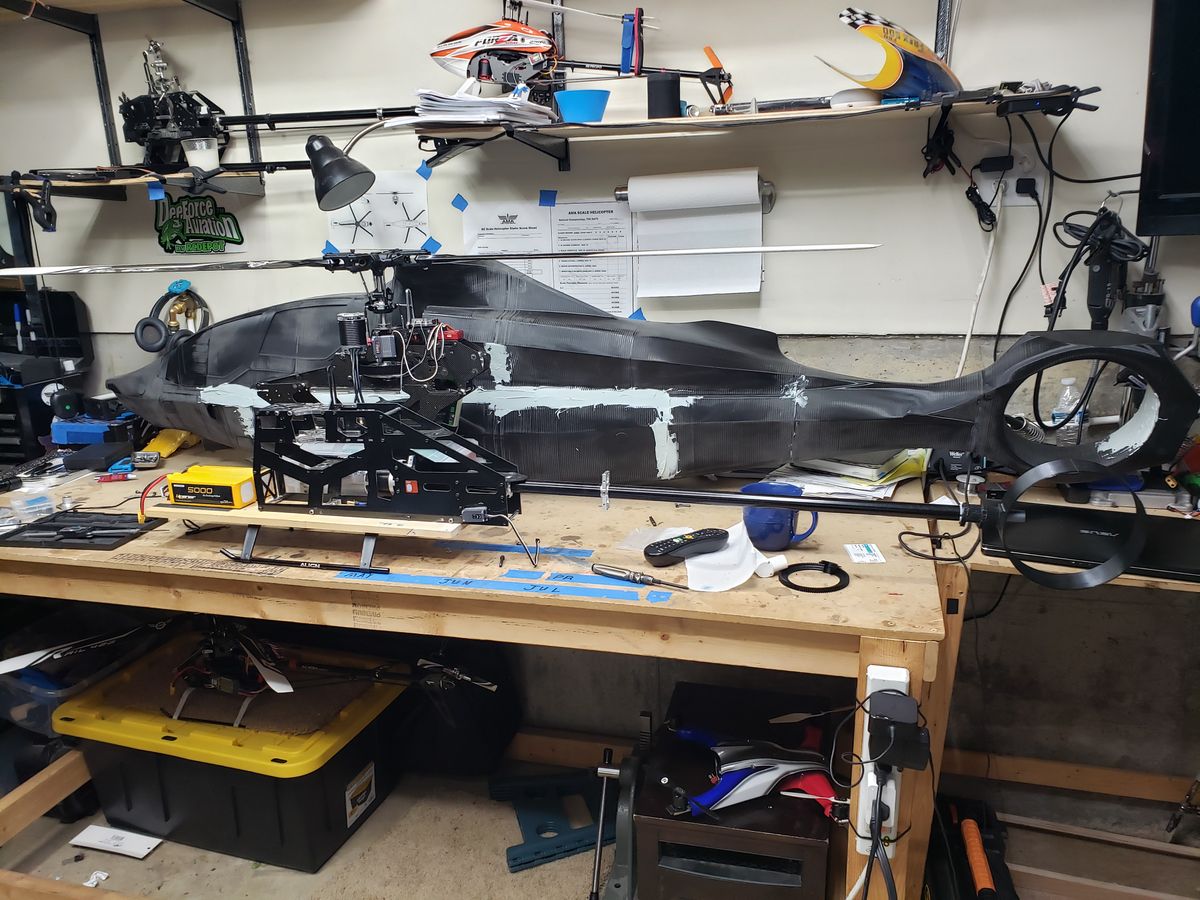
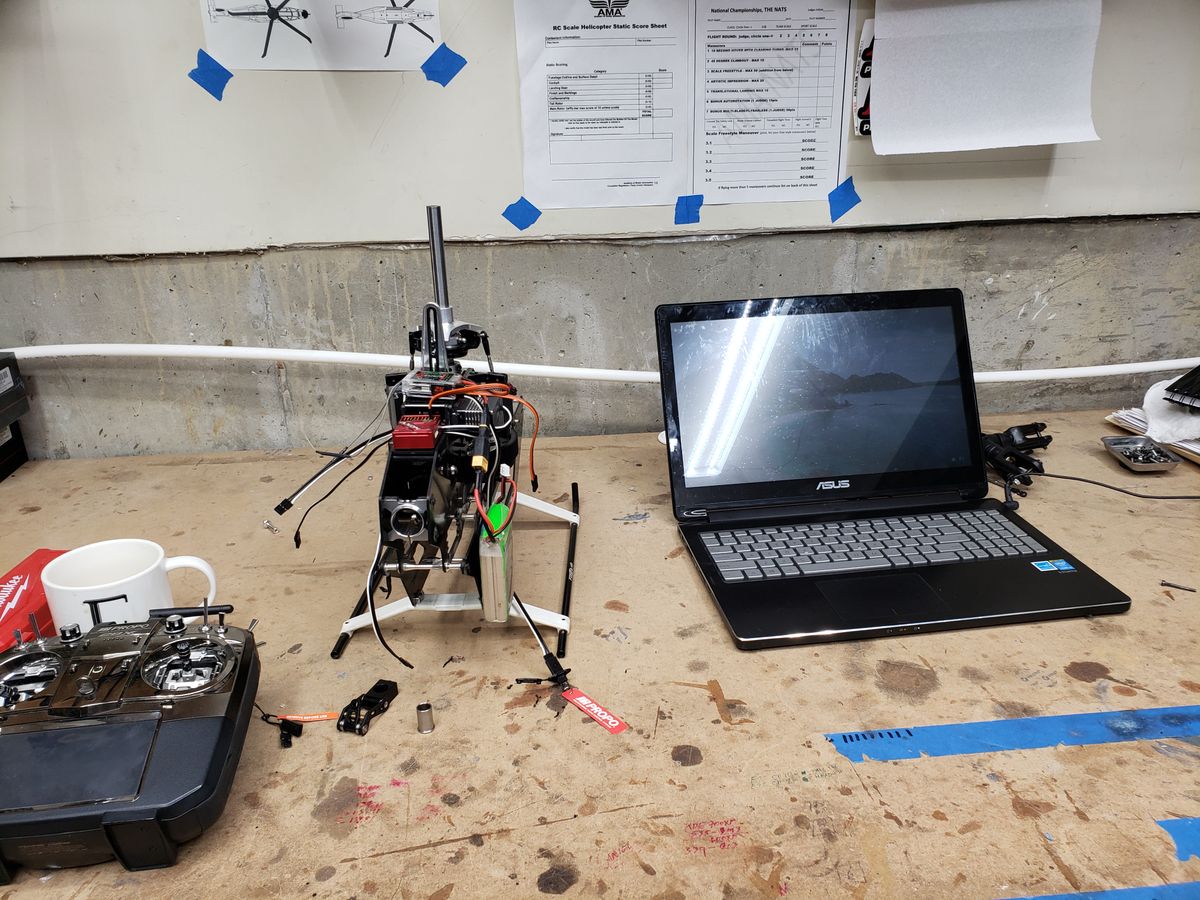
TOOLS FOR PLANNING
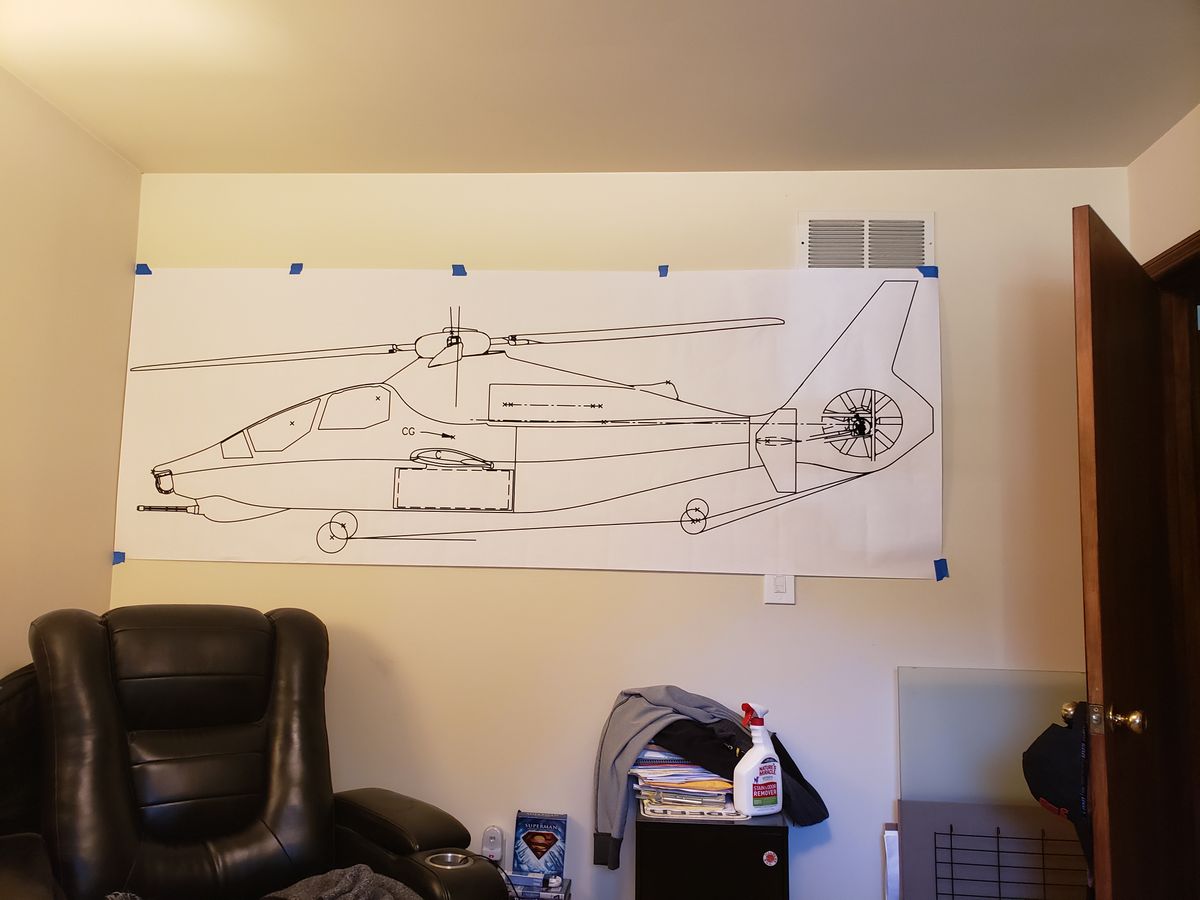
Im going to keep the 1/6 scale line drawind up in the office to dream, plan, and keep build notes on.
He's going to be a BIG boy!
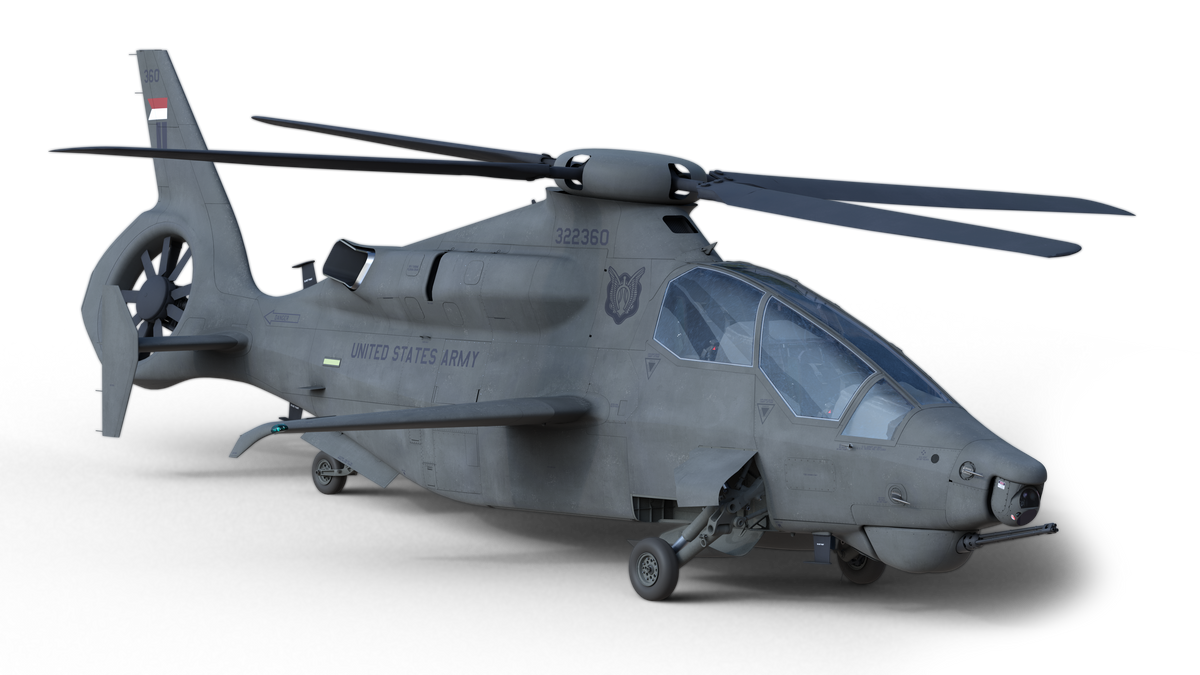
MY 3D MODEL
Details of the Mechanics
Well it is time to dig into getting these parts put together and see if we can get something off the ground.
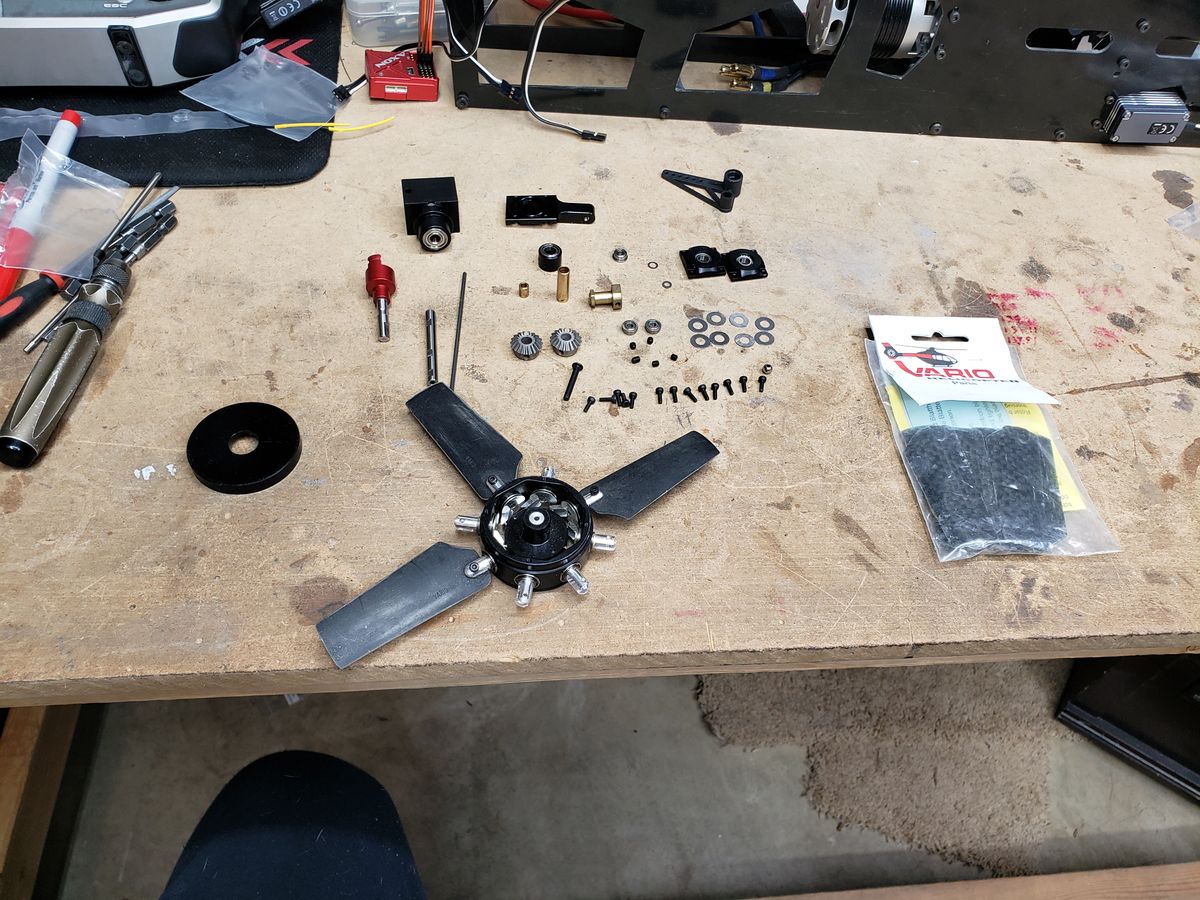
Tail / Vario 8 blade fenestron target 9500 RPM. Direct drive 6S.
Main / Vario 4 blade 2000mm dia. target 1100 RPM 12S
I'm going to start with the Castle brand ESC's because of familiarity of being able to program in specific numeric rpm choices. i have inquired for years both reps and manufactures only to get back. they can not or do not have this feature. I am either asking the wrong questions or this is just going to have to be the direction I must follow.
THE QUESTION: Can your ESC store a specific RPM in the Components and not the radio. Example I can tell a castle to run 1000rpm(normal), 1200rpm(idle 1), 1300rpm(idle 2) ?
The FBL/ Flight Controller will be a Bavarian Demon AXON with a JRPROP Xbus system.
Please give comments and questions as to this is going to be a unique and fun project.
When things get in the way!! "Be like the nature of water."
I have full plans to get back to build on this model.
All of the components to get a madden flight of the mechanics are here. And as the title says I just need to make the time. I do have to admit working on the project like it is a hobby and not a job is much more enjoyable.
ENJOY the build season everyone.
Back on the BLOCK!!
Now that there it a BIG event coming up I'm going to really enjoy getting this project ready for the SHOW!
The plan for my test cradled is have it built out of materials that weigh the projected flight weight(25 to 30lbs).
Between Mark over at HELI WORKSHOP, Butch over at TEAM WELLMAKER and JRPROPO, my project has taken new life and a super positive progression.
😎😎😎
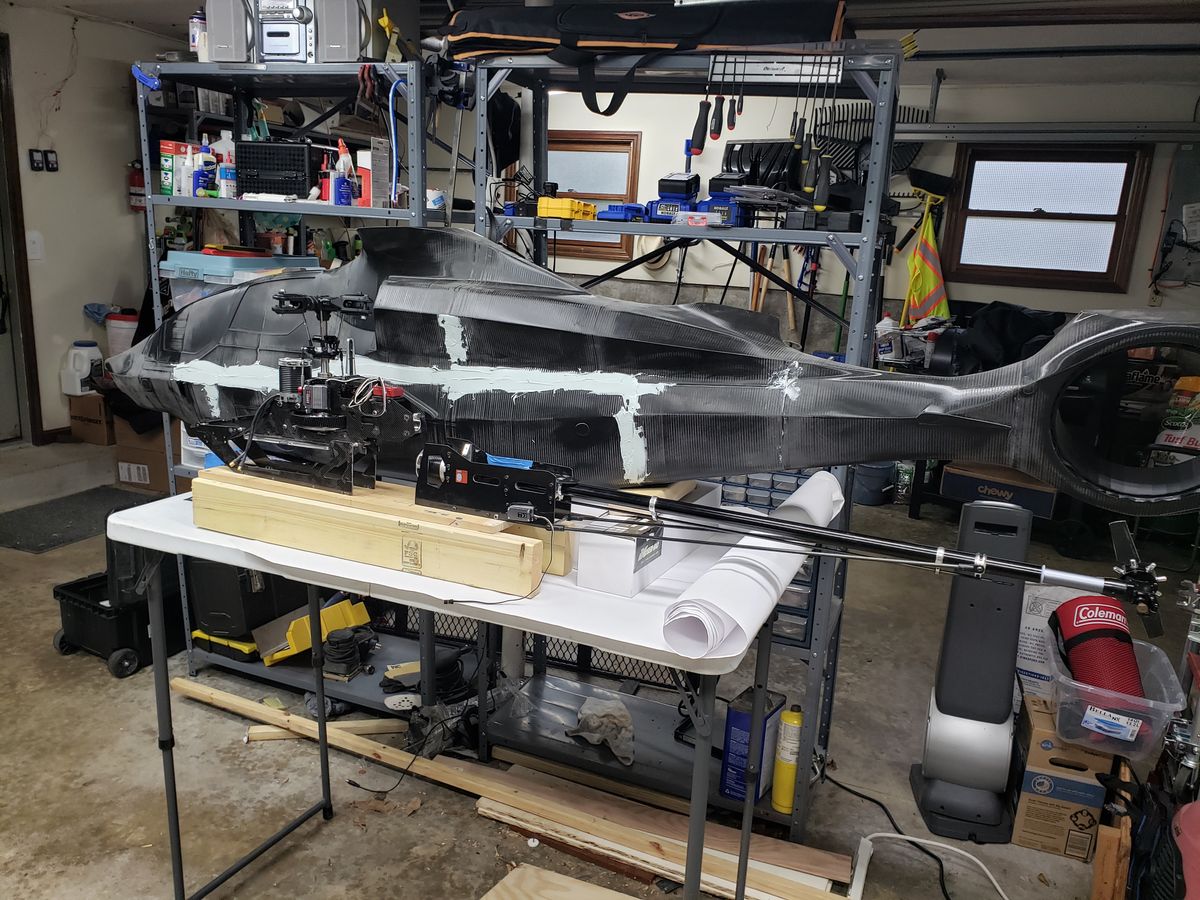
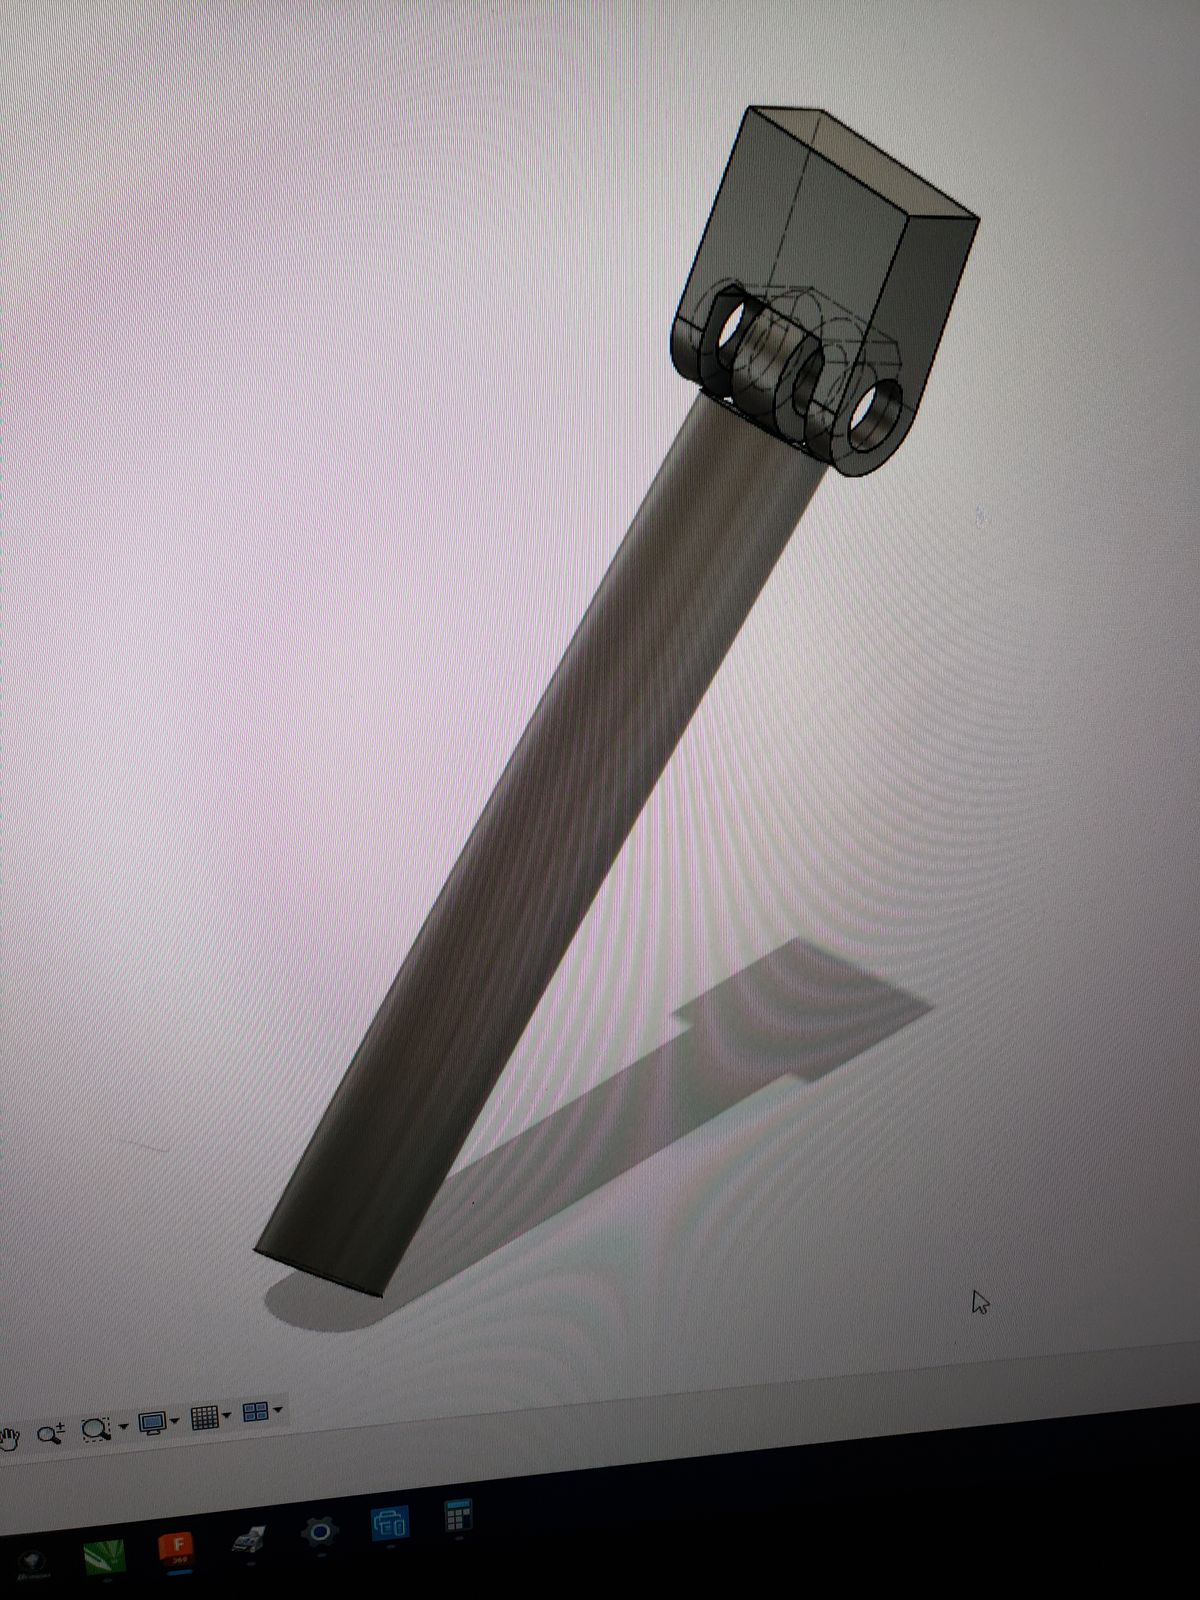
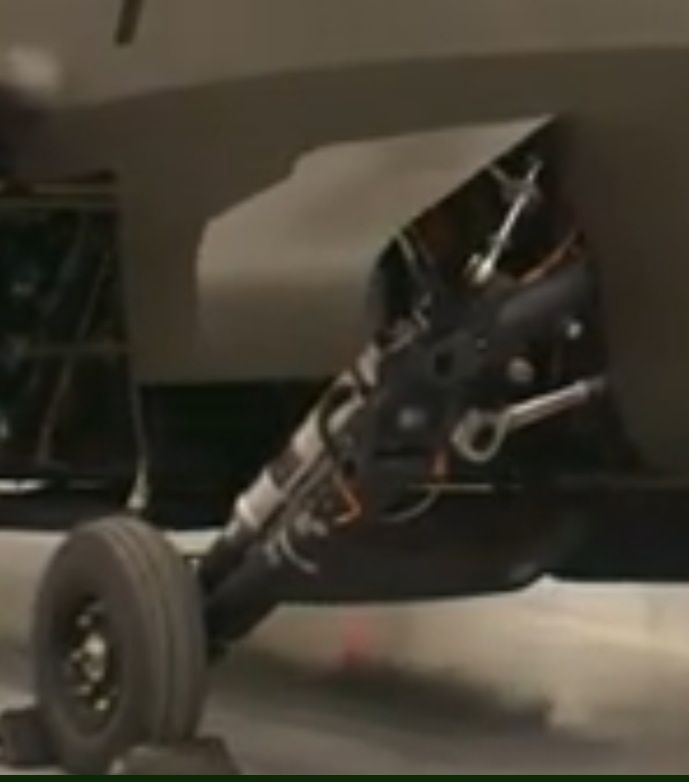
Landing gear!!!!
Taking a stab at trying to design a set in autodesk FUSION360.
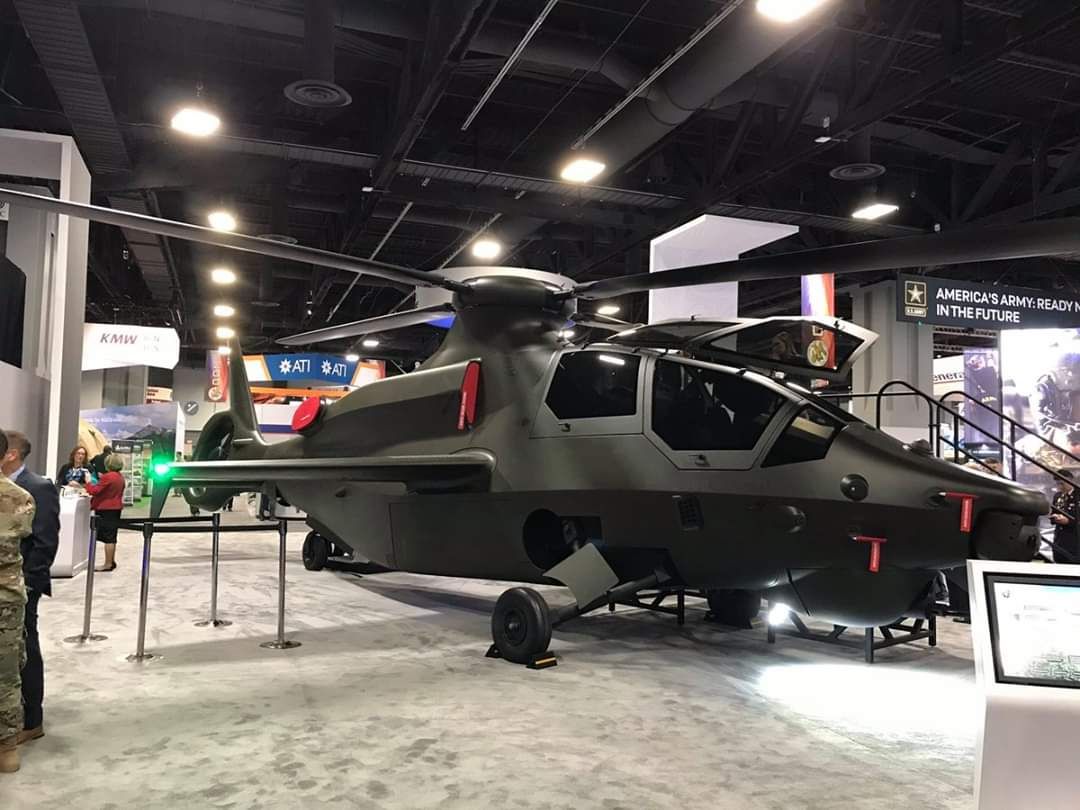
We'll have mail
I just got confirmation on an exciting package coming to my fleet!
Thank you,
#teamhelieworkshop
#360M #bellavation #Vario
It aint over till its over
I have had a few ask me where my project stands now that Bell has made thier announcement concerning the FULL size.
Those of you how know me, know me "R.O.D." And for those of you who don't, lol "you betta ask sum body..."😎👊🔥
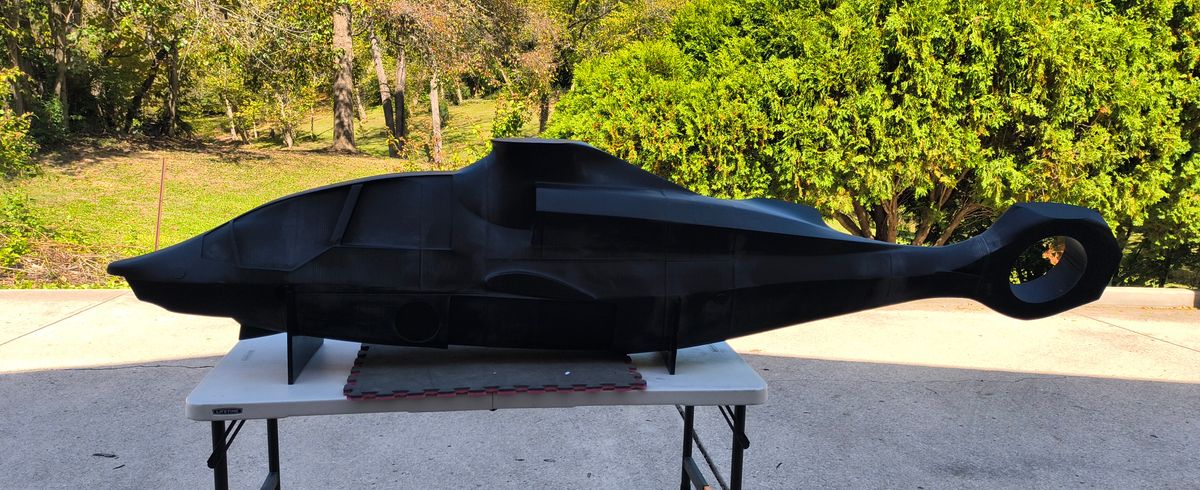
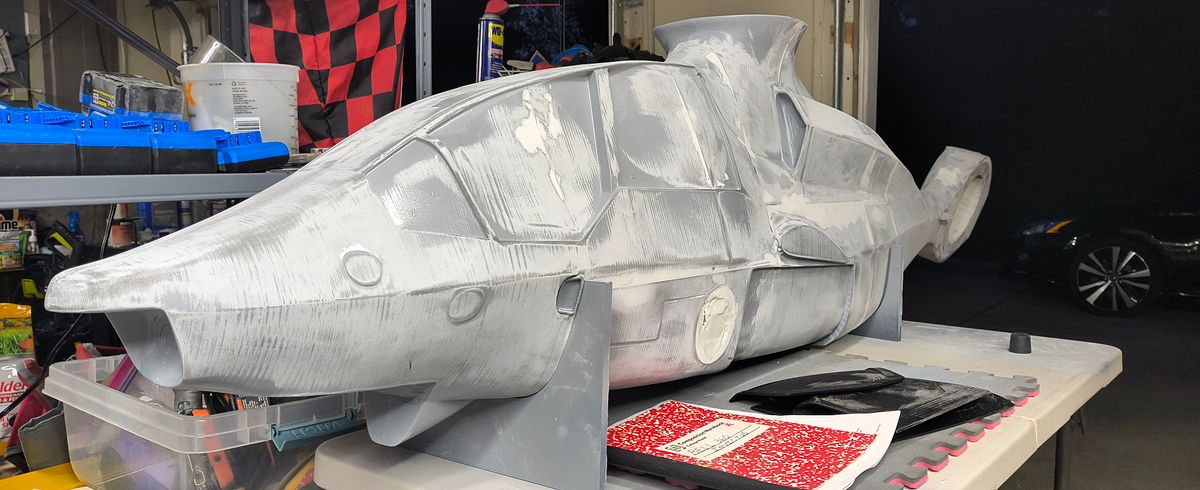
THE PLUG......
Where to start..... Life has been kicking my ass. But this is the test of the blessing to come.
The plug..... First I must thank Butch, Mark, Daryle. Their support, means the world to me. If not for them this would have been nothing but a past and long gone dream
Enough on with where we are.....
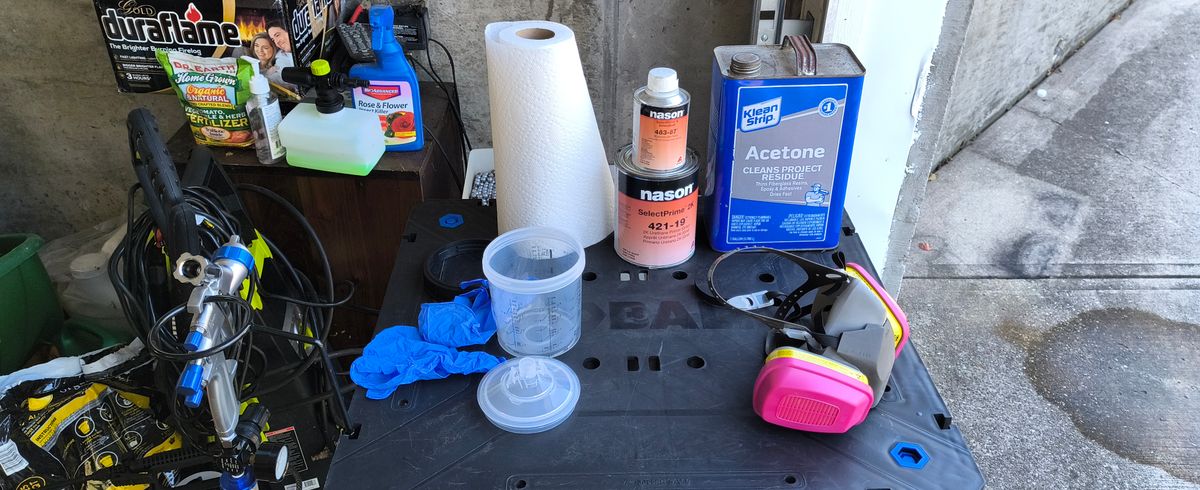
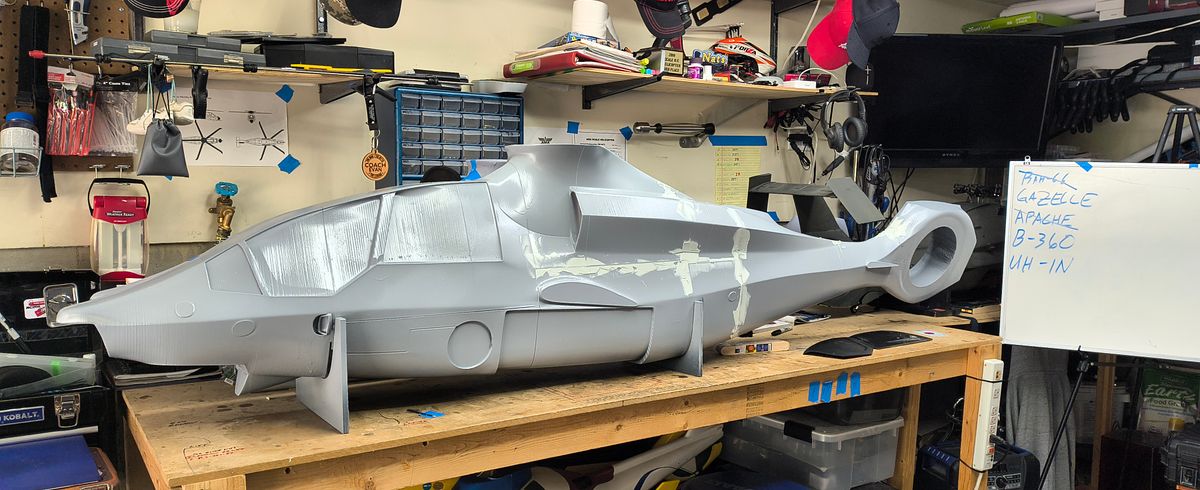
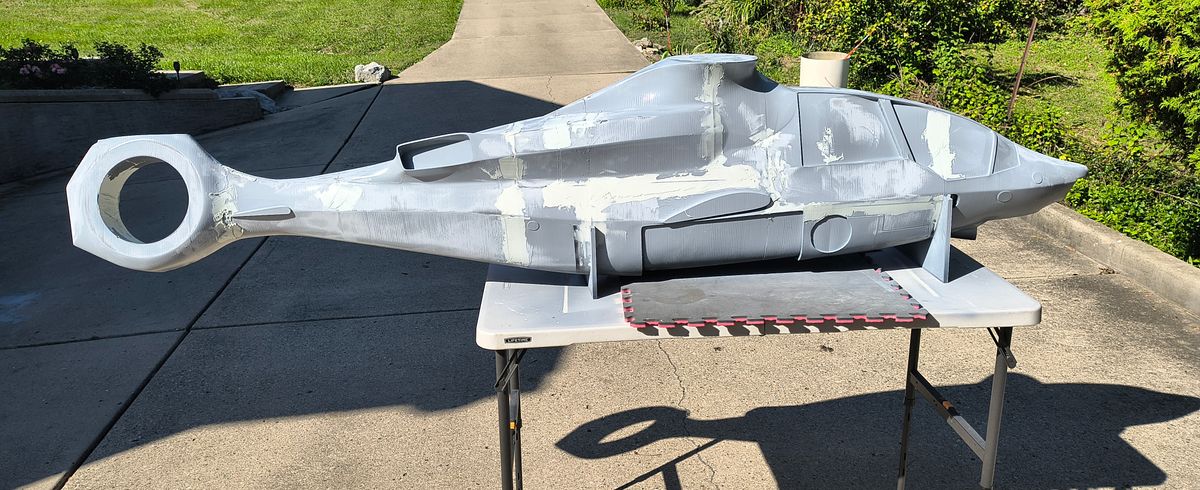
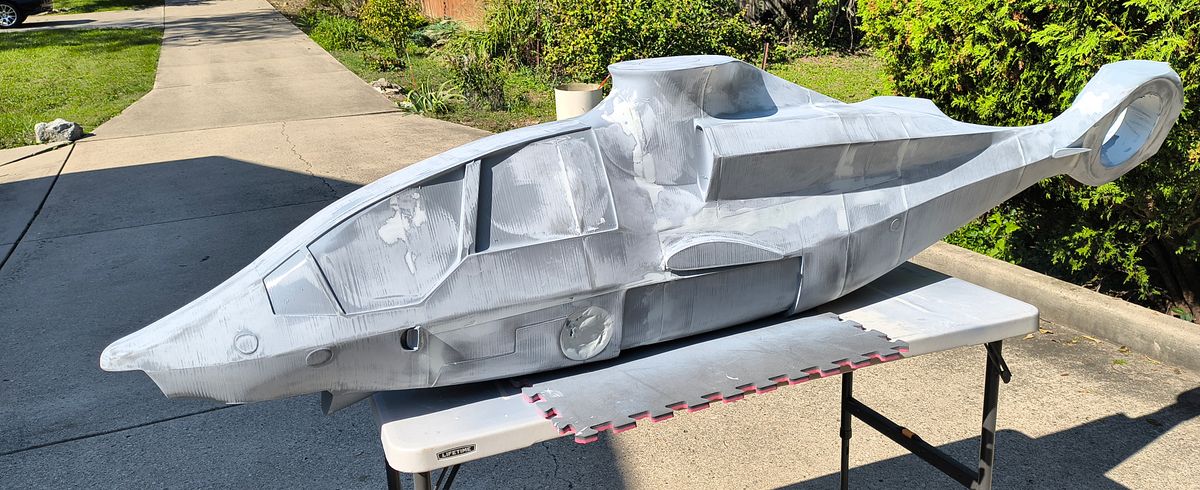
1. Learning to use a spray gun from ZERO experience.....
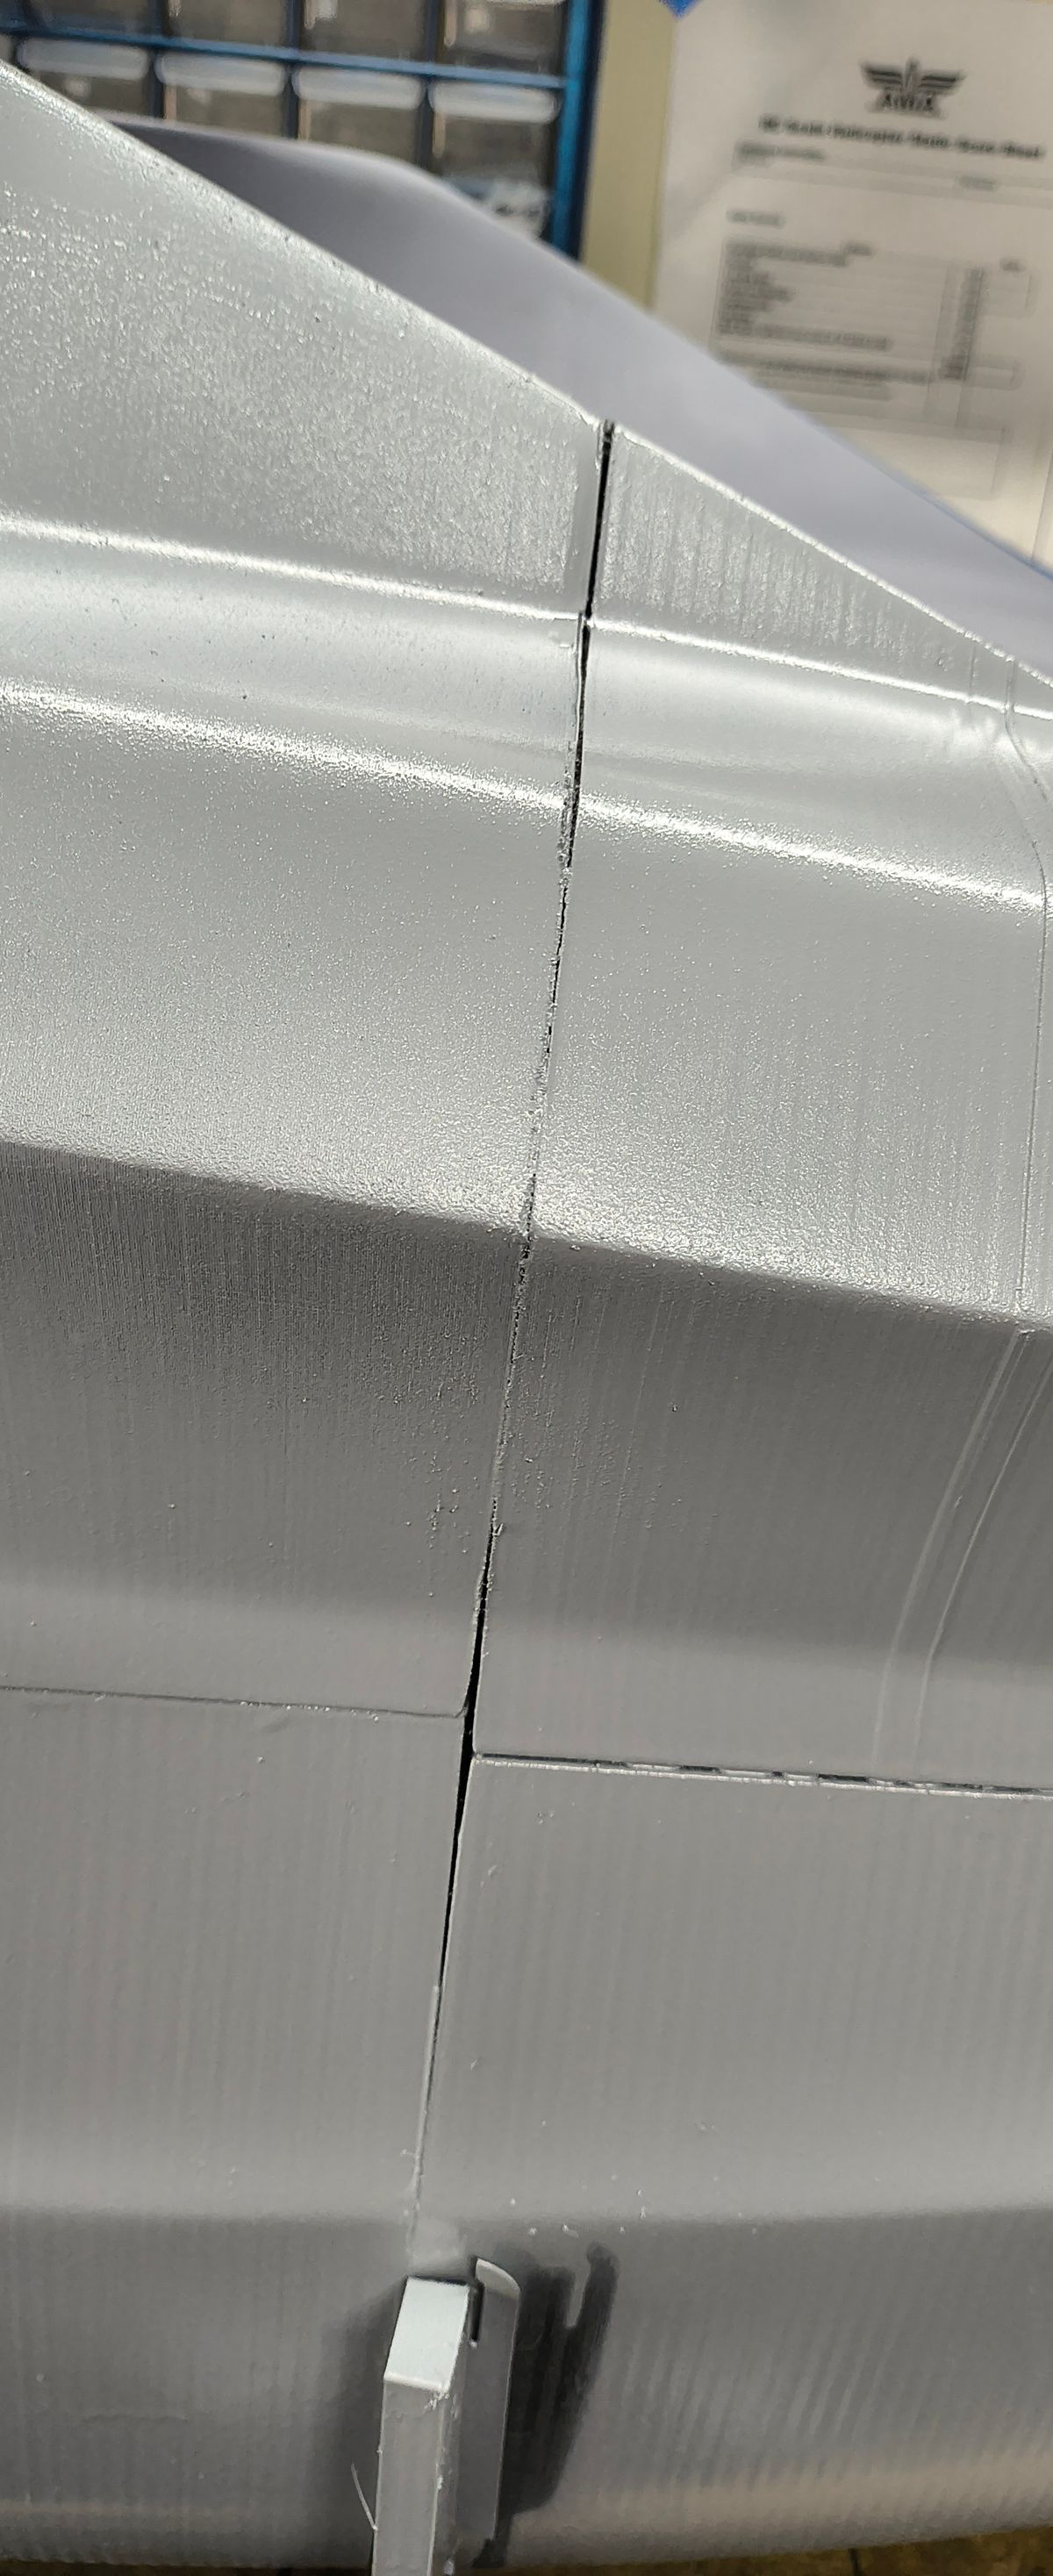
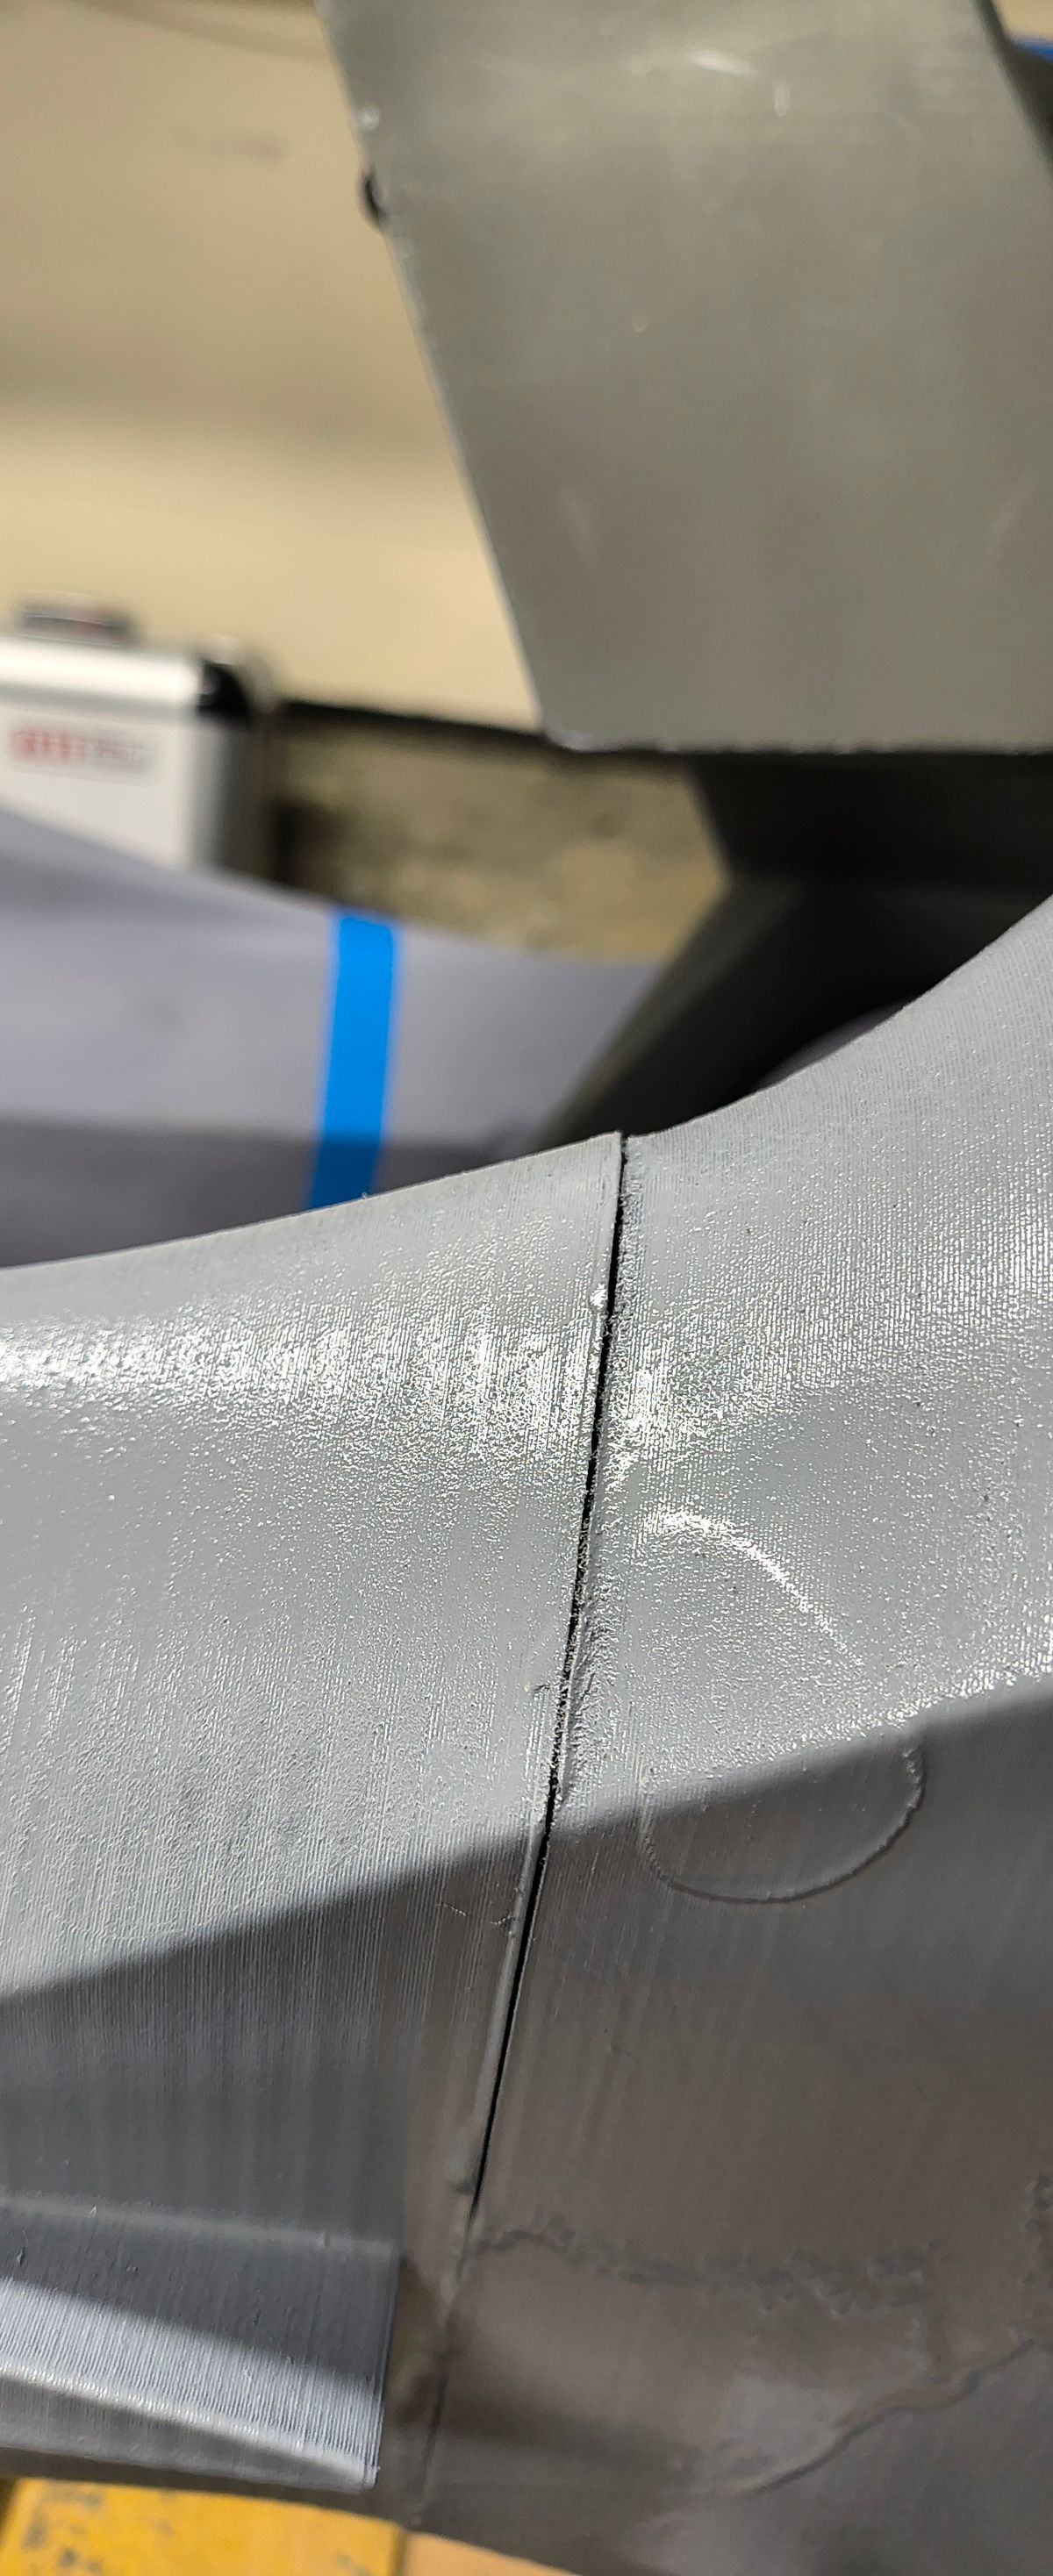
2. I put down the first coats of 2part high build primer.
3. Sanded everything down till the ocean bed showed up.
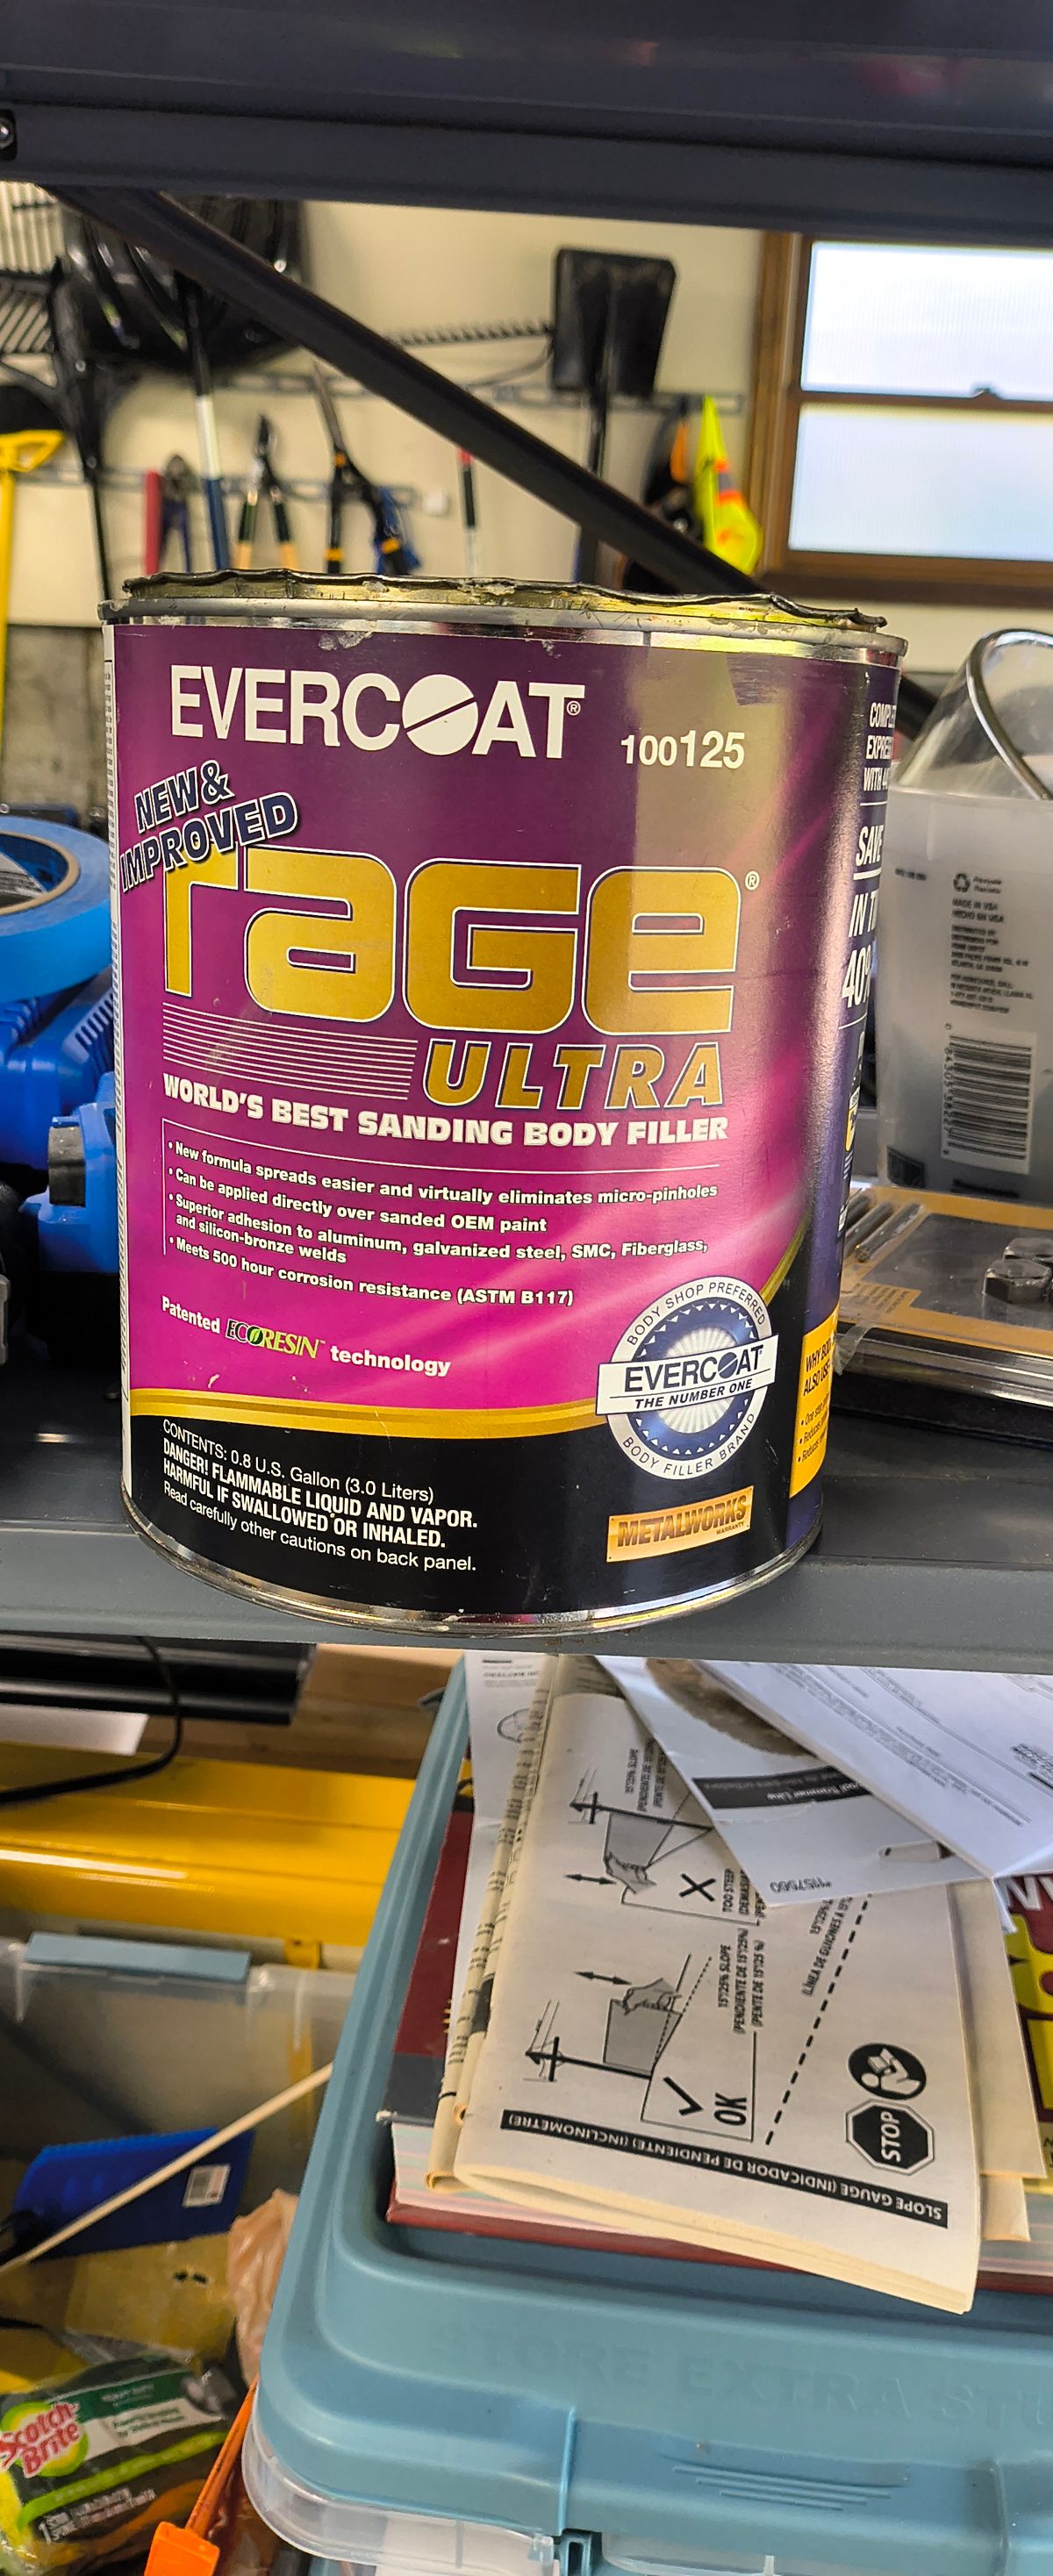
4. Applied several coats of high-end bondo in that area that the primer needed assistance.
5. Orbital sanding till the light bed showed and clouds out the tips.
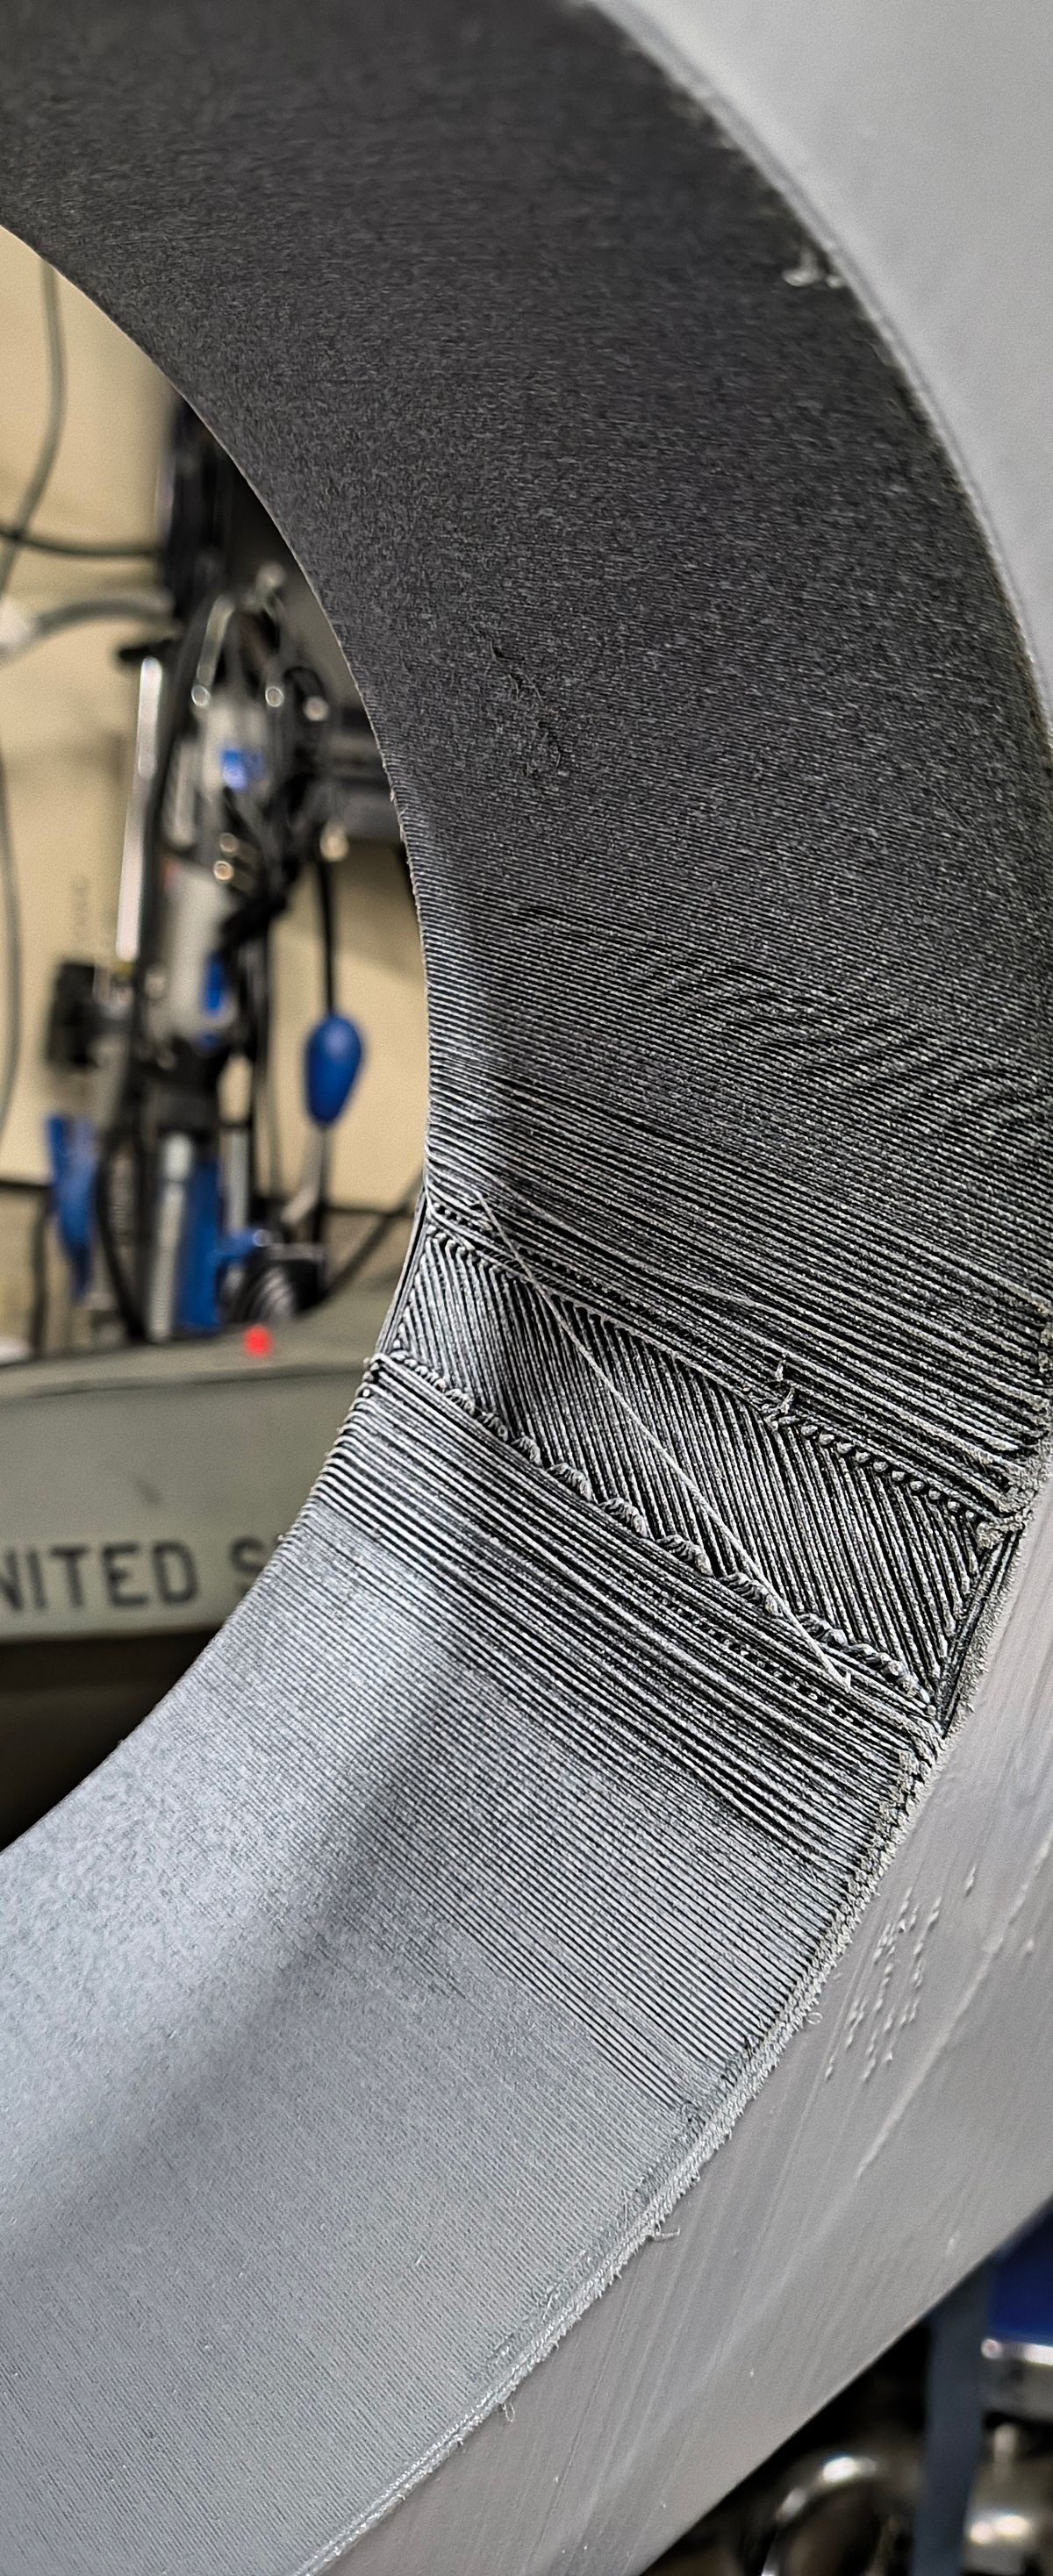
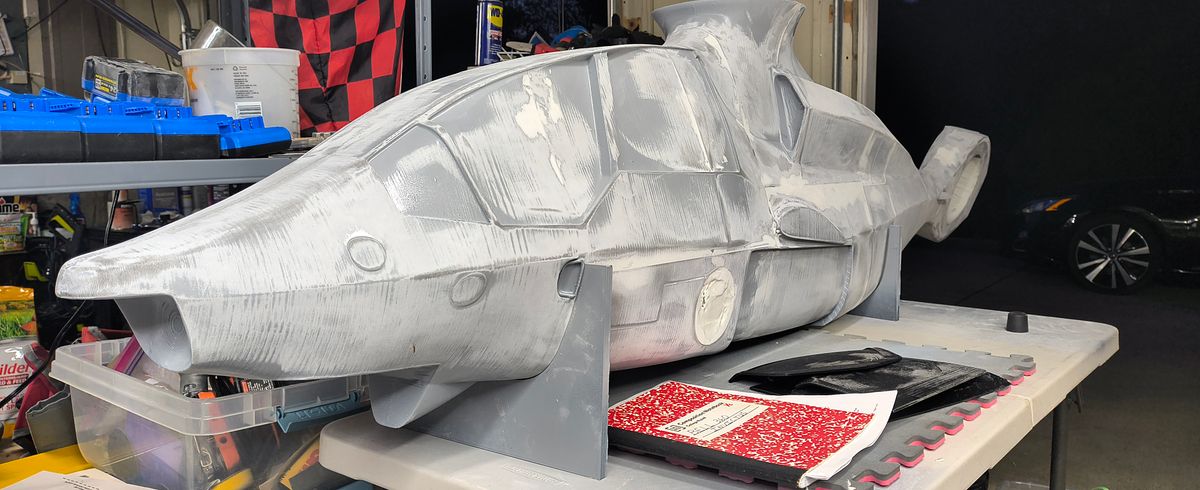
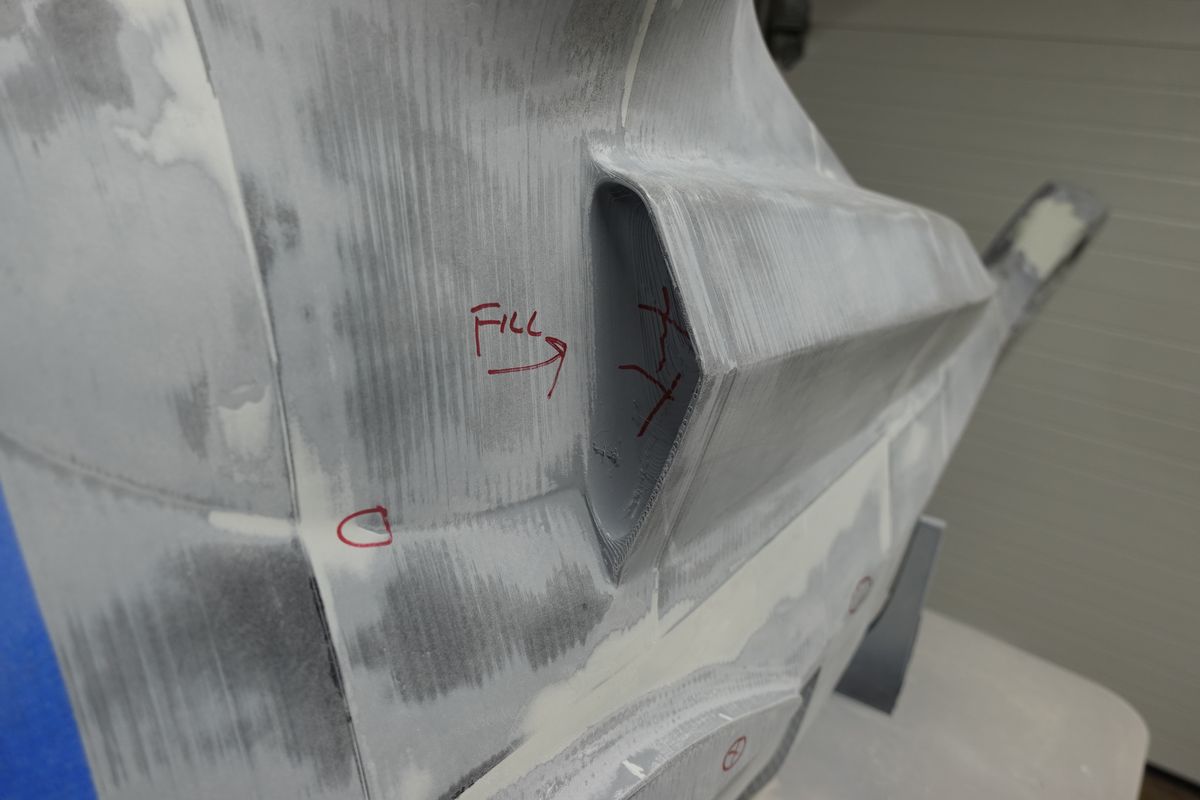
NEXT we shoot more primer 3 I hope but if it is 5 then we make it so. I also forgot I have 2 major areas to address.... The air intake and exhaust... I should have taken care of that back in the 3D phase. Say la vee....
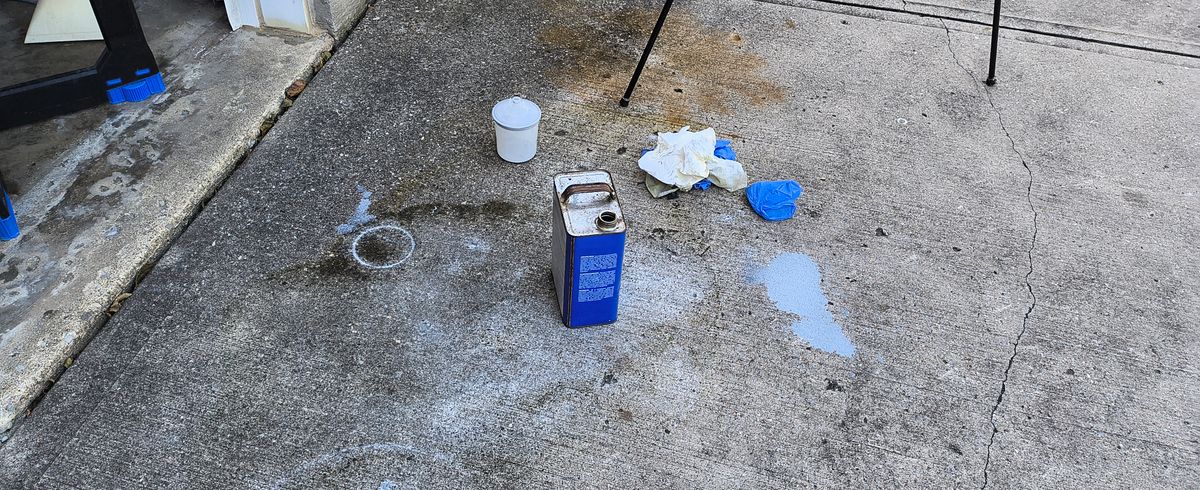
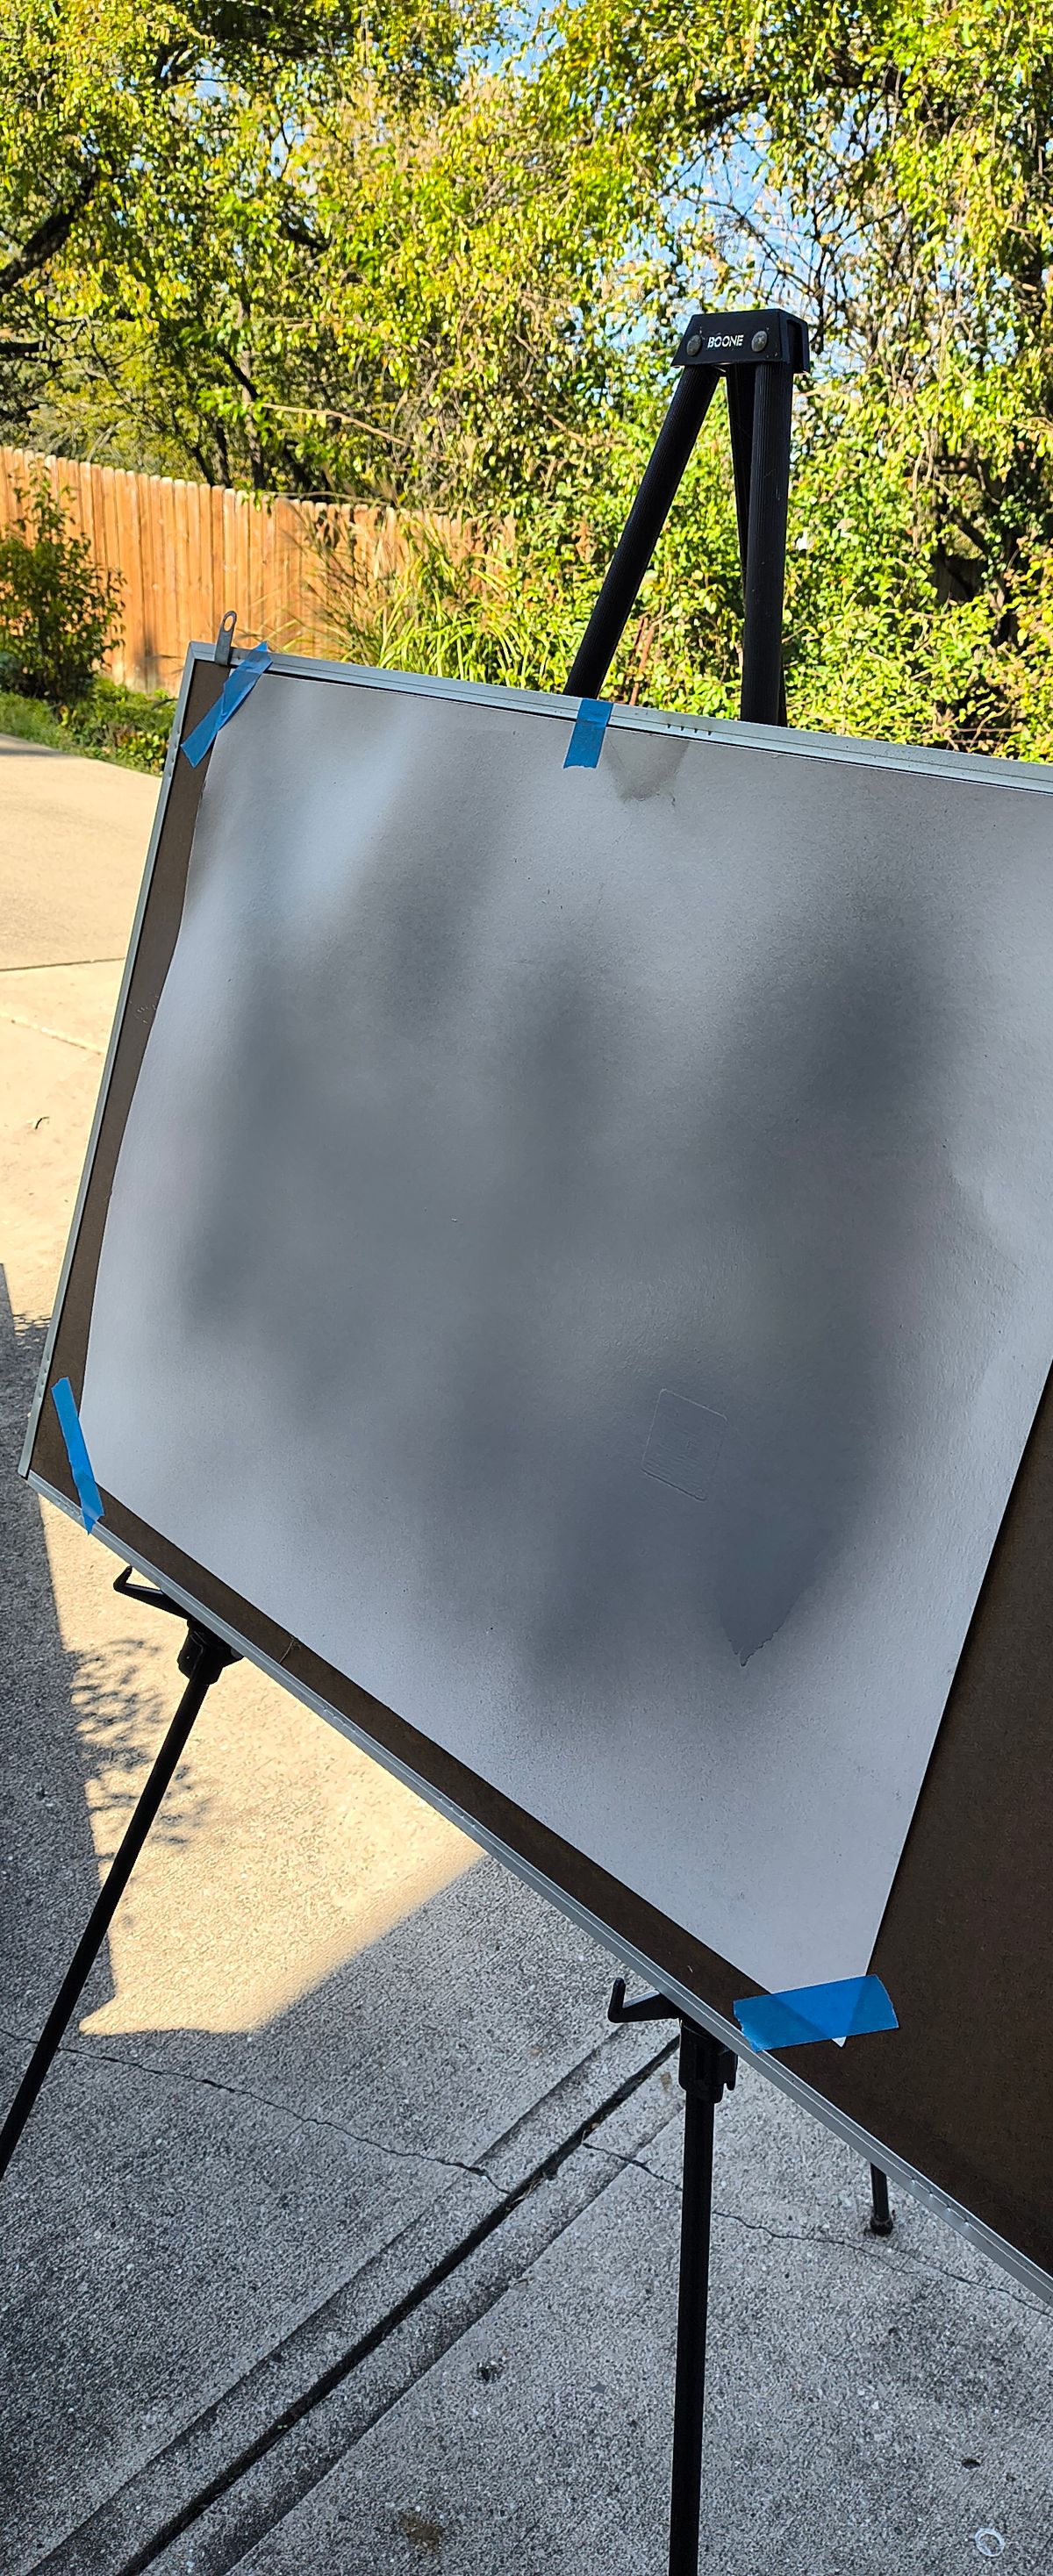
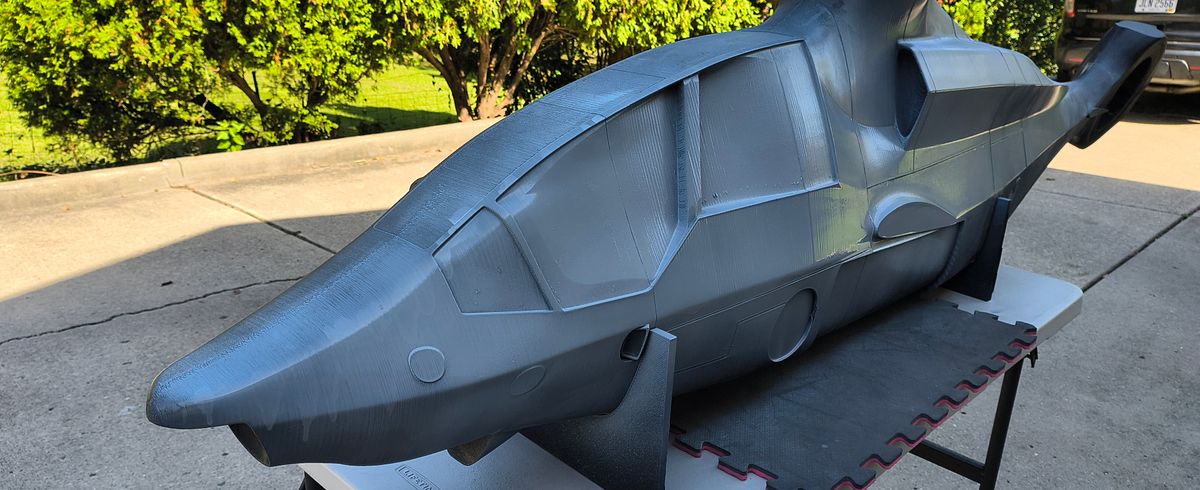
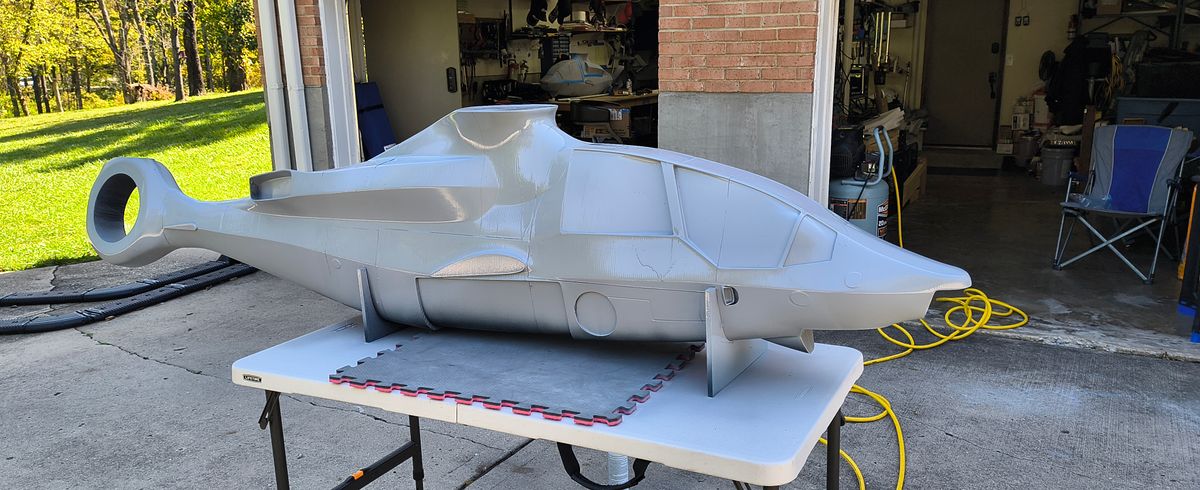
THE PLUG pt2
Remainder of the pics......
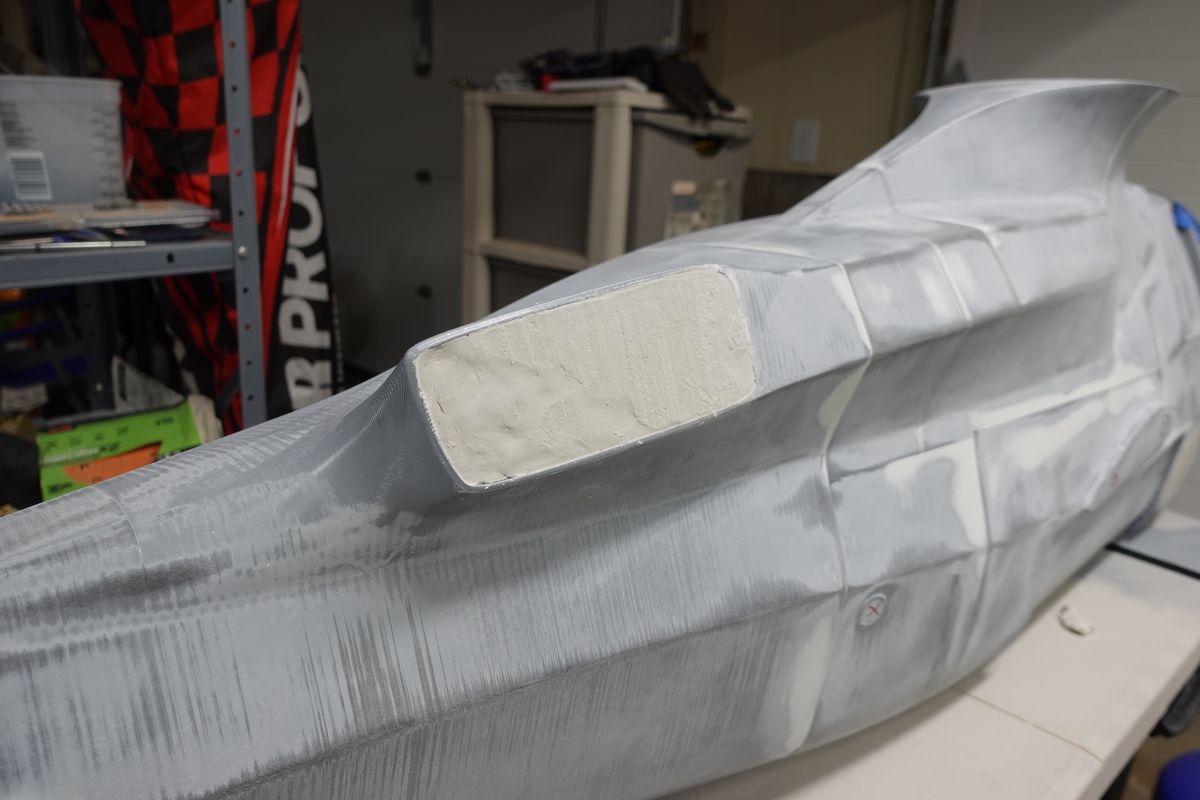
SCULPT and FILL
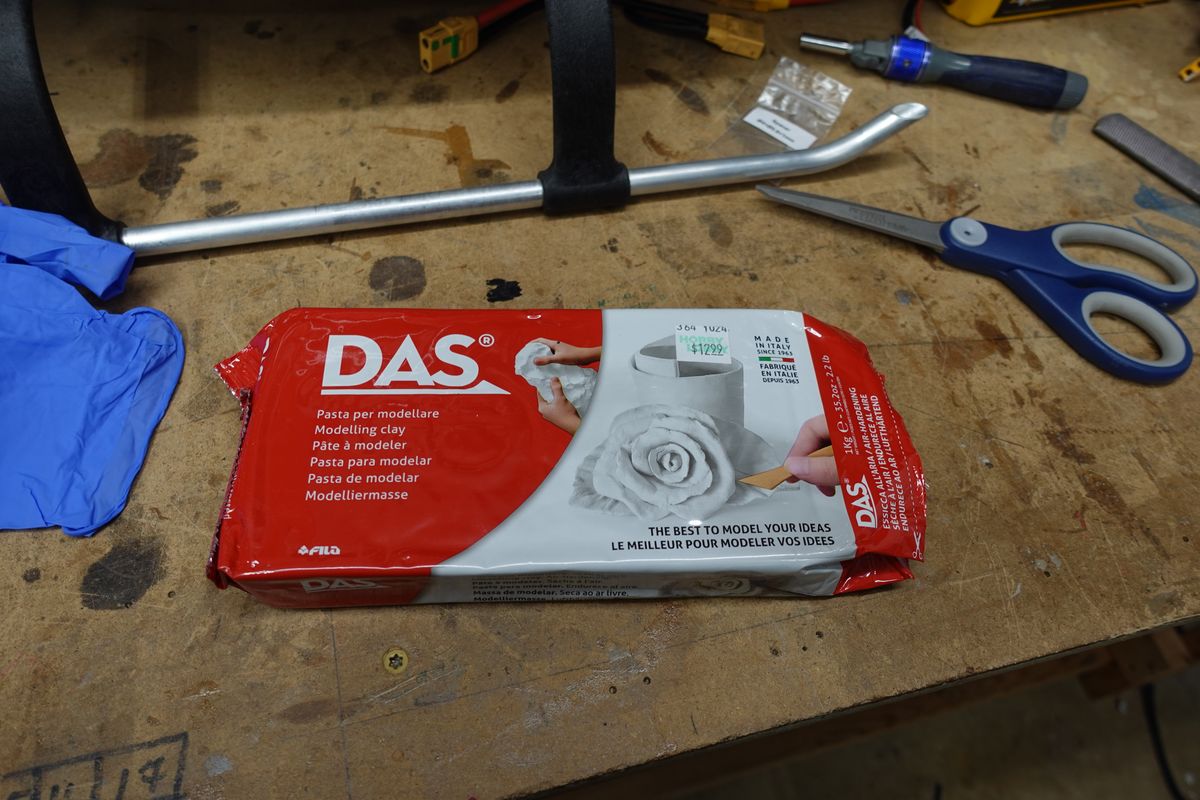
I'm trying out this sculpting clay in the large areas. We will see how well to sands.... As long as the 2k primer sticks to it we will have no issue. Yes I should have and could have done a test peace but what the hell. Lets all learn together............LOL
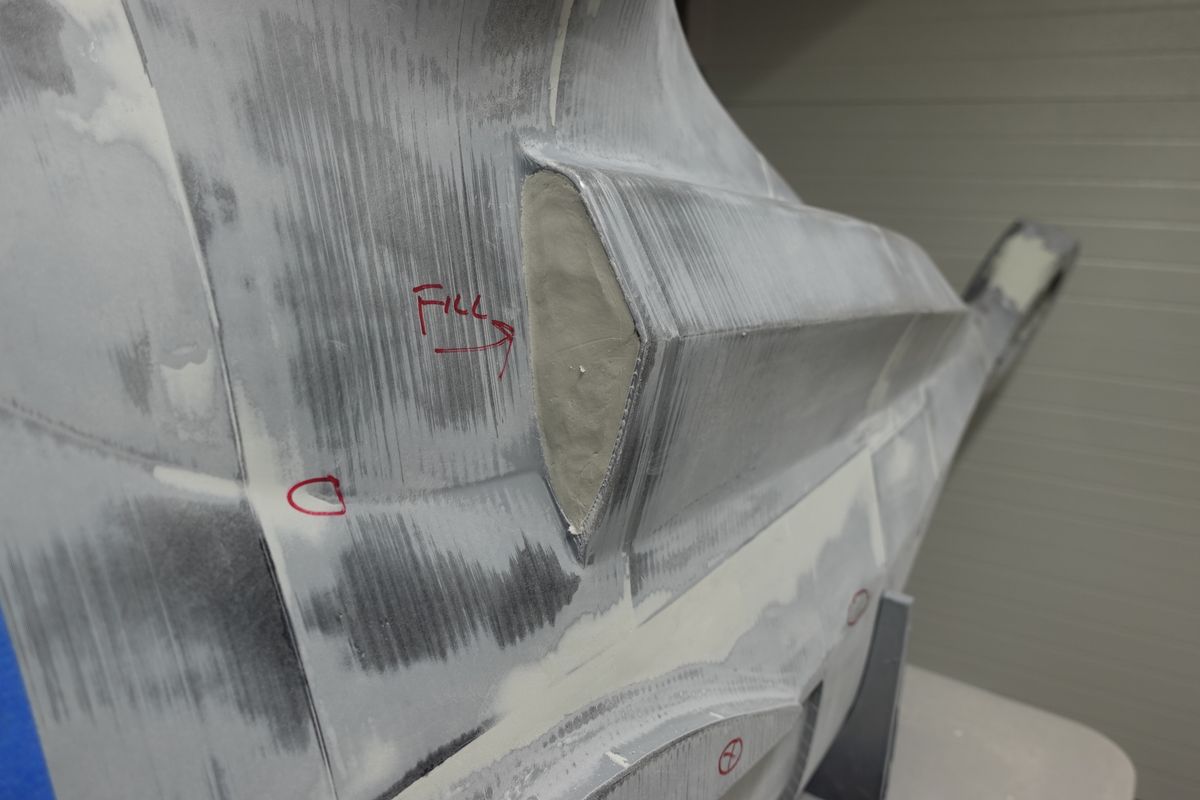
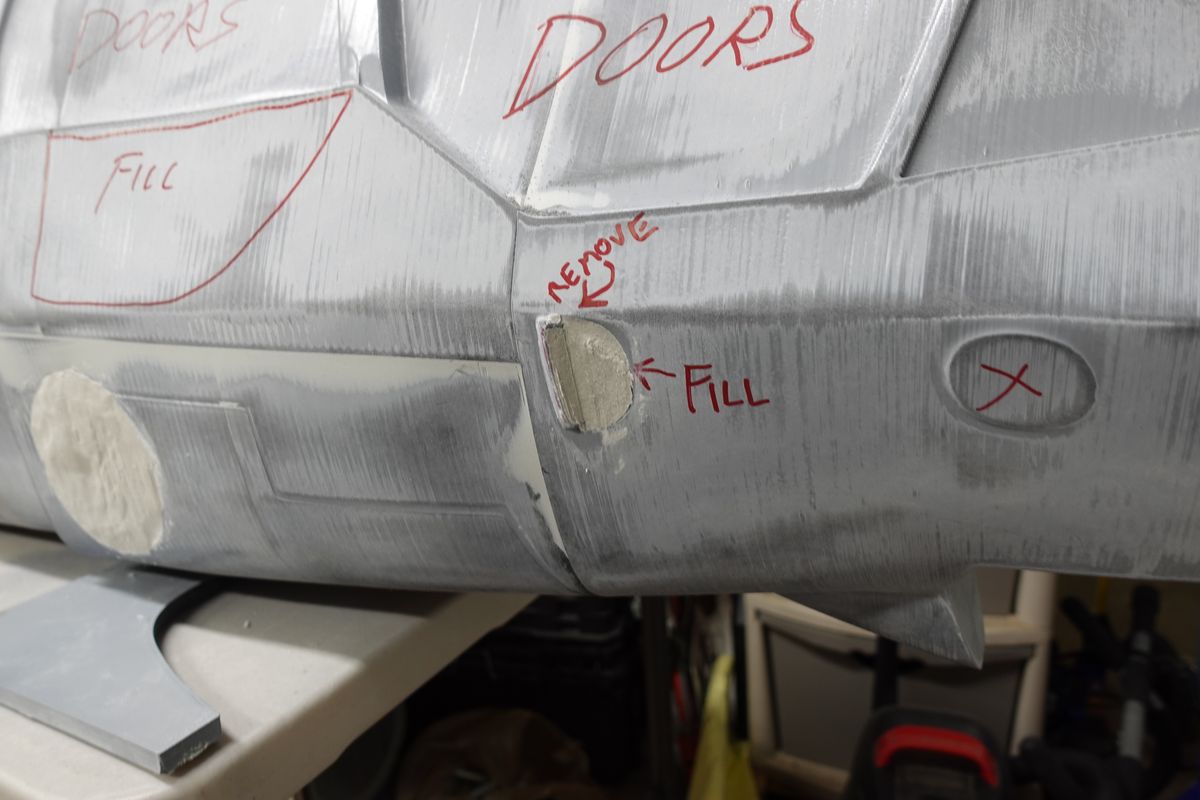
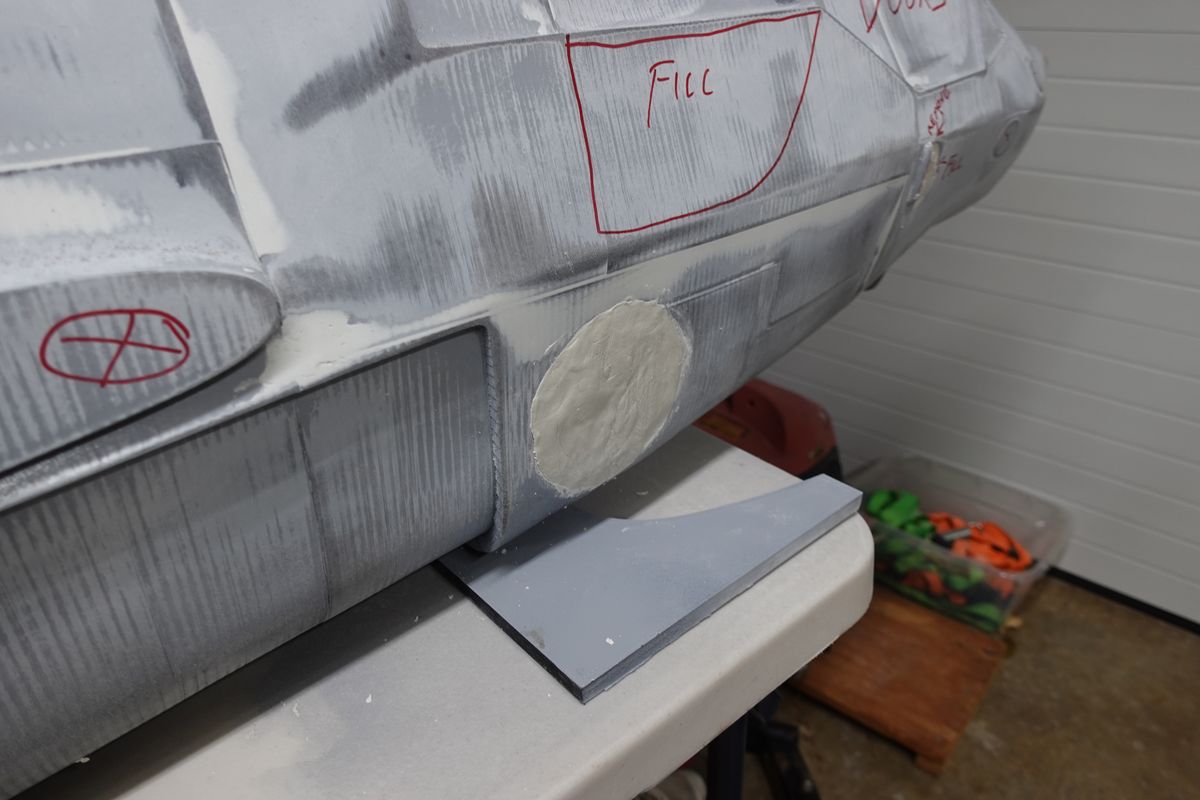
YES still at it!!!!!
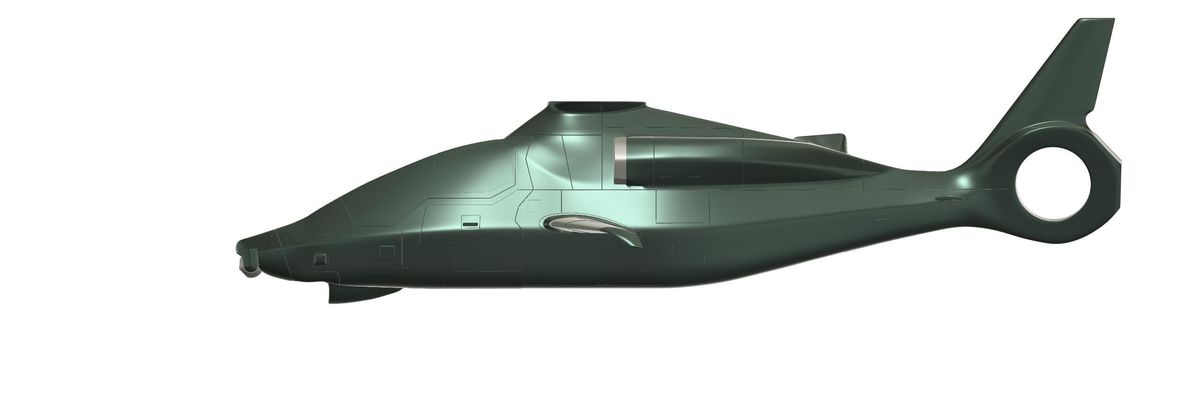
After getting some amazing feedback at the Scale Challenge last September, I decided to scrap that plug. This is a rendering of the past few months of work on FUSION, and having a great team. I also went all in and upgraded my printer to an H2D by Bambu Lab.
I've learned a lot over the past year and a half, and I'm ready to push this project forward.

Static and function
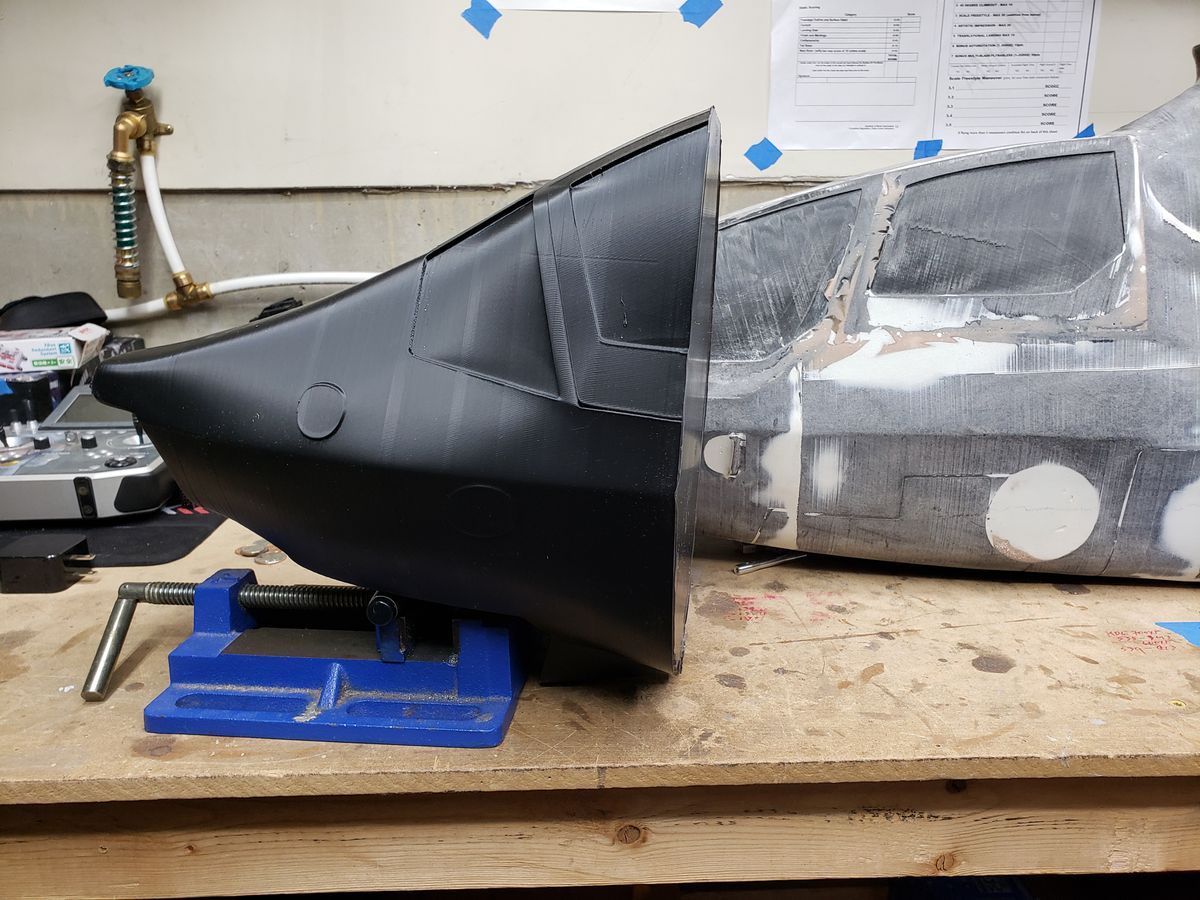
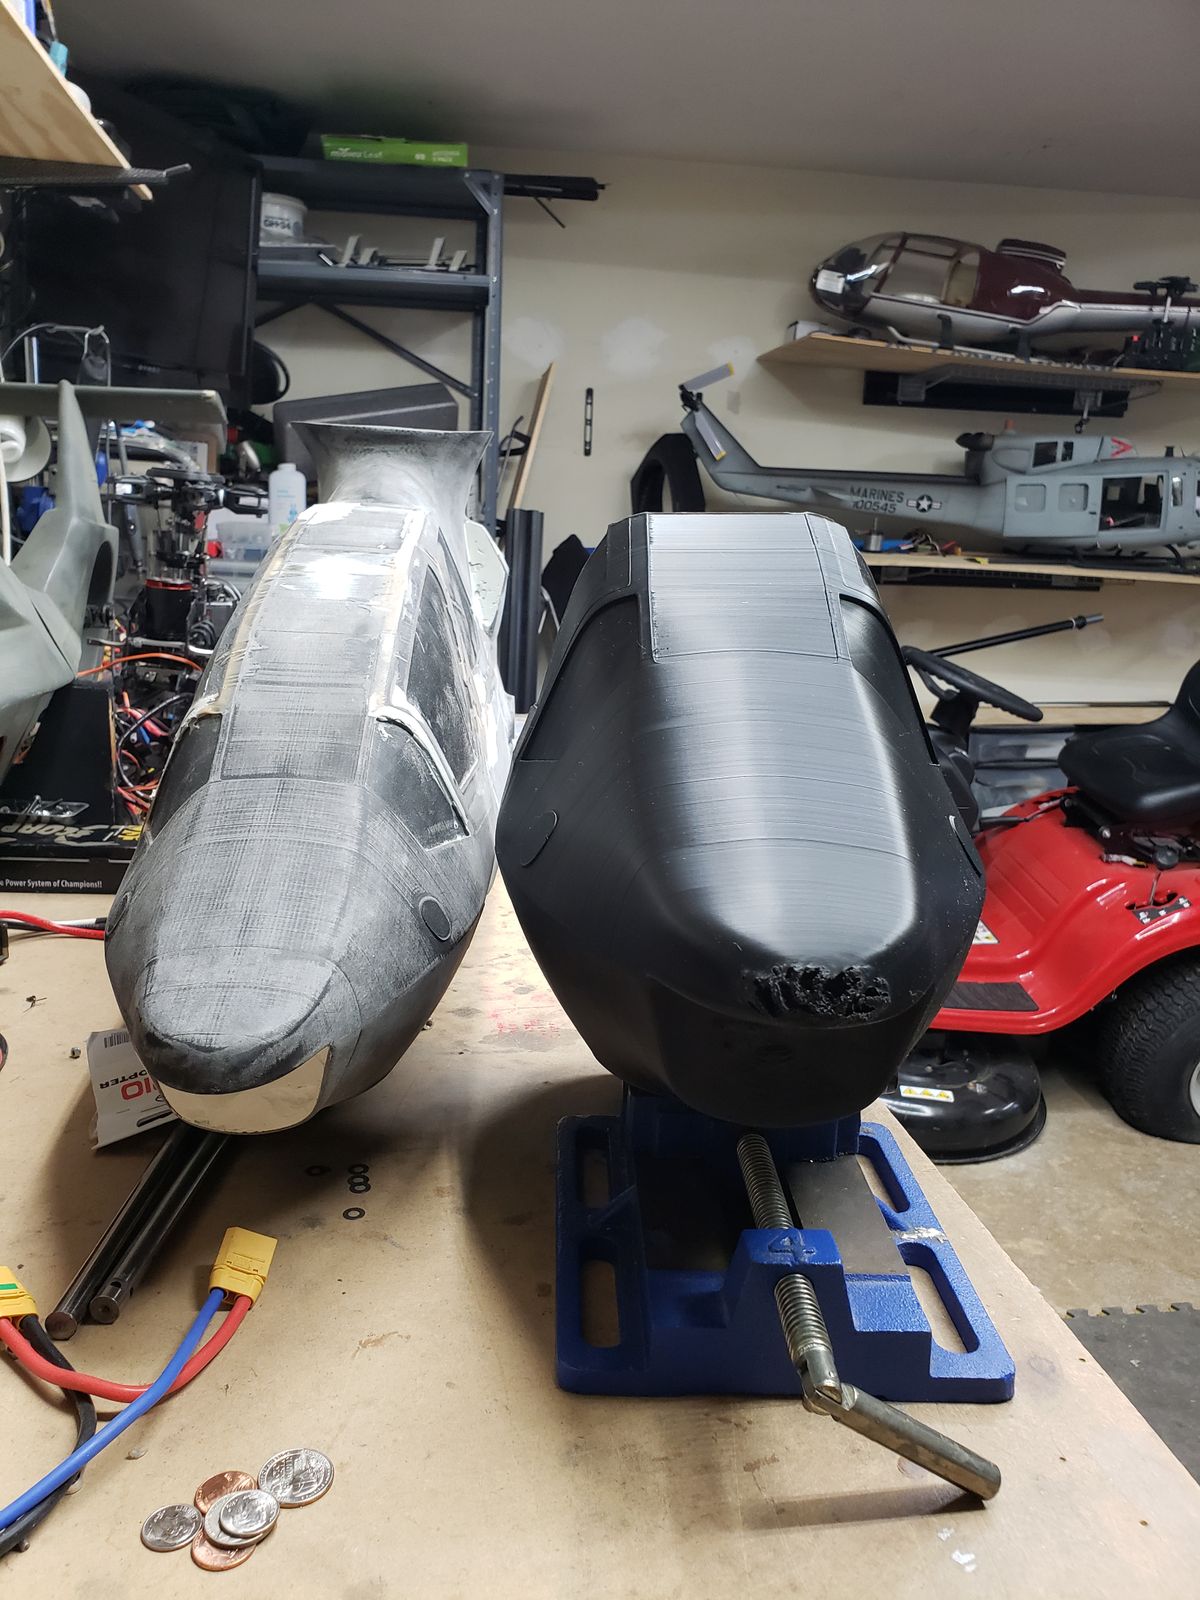
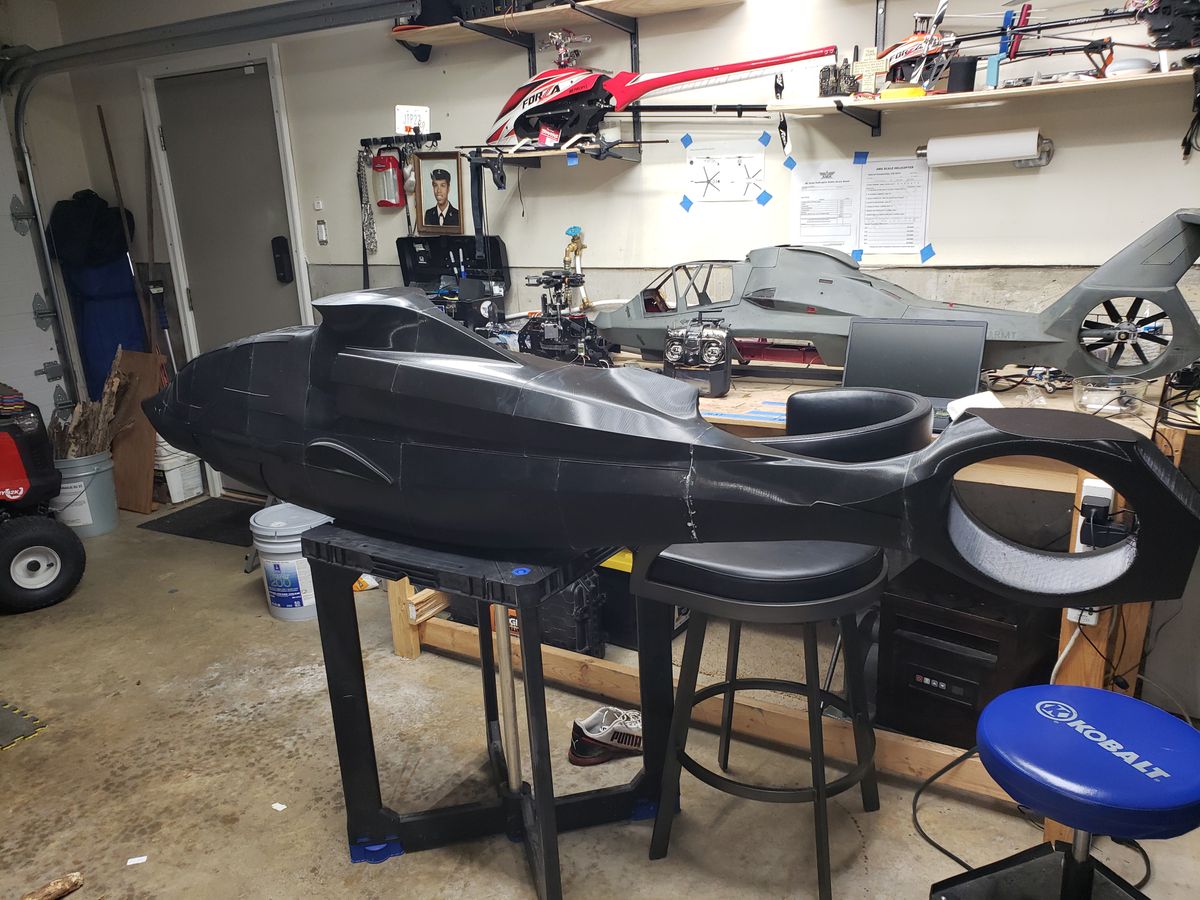
Here I have 3D printed a PLA static planning model and a PETG that will be used as the detailed plug. This final plug has panel lines, hatches and doors all included and ready to go! Next comes the filler , the primer. And sanding.........
36 Comments
It’s mean in green!
She is patiently waiting for the NATS and IRCHA to end so I can focus..
Bell has ditched that tail design and have opted for a conventional tailrotor. https://warriormaven.com/air/bell-360-invictus-attack-helicopter-ar...
yes they did. I am going to stick with prototype 2.
Looking forward to seeing this progress. I am a bit biased though, as I work for LM/Sikorsky. Lol
Any progress on this Evan?
actually yes i got some body filler finished. and the motor for the main mechanics came in.
Awesome!
after much thought i am going to design both type of models. With and with out the fenestrone.
Fenestrone huh? Can I get that with noodles? 😆😆
well i found the motor i needed.
Dry fit is looking good. I got some ESC work next!!
Evan,
Will be nice to watch this come together.
thanks i constantly get inspiration from your build.
Evan,
Amazing the difference in size from 1:7 to 1:6. Having the extra room will be a nice addition.
B
This will take the length from 6ft 7in to 7ft 8in. and the rotor diameter will be around 2000mm.
Nice.
That will make a statement for sure.
B
Evan,
I think you need a bigger boat.
That heli is going to make a really big statement for sure .
Holy crap!!
"Im going to have a couple drinks stare some more"
Amazing what one can dream up when following this protocol.
Looking good Mang,
UIH,
B
"Just... WOW!"
Time to get the buck prepped to get moving on the molds.
That is going to make a serious statement for sure.
B
Just so you know, we got now flexible filaments to extend possibilities. Printed part doesn't broke, has damper properties and form tolerence. E.g. I'm creating a turbine exhaust cap, similar to Vario 530/17. Flexibility allows easy fit and good grip.
Very cool
:I'm hoping the end result will be CNC'd in aluminum.
Do tell....
Mechanics for the 360. still got to get a 400kv motor with a 8mm. shaft. I'm looking at Kontronik, Scorpion, or Egodrift. 90 % sure it will be the Kontronik.
Evan... I recently got a "custom KV" Scorpion motor for the Chinook. The service was flawless and the motor is simply amazing. Get in touch with them as they can make whatever you require and the cost was completely reasonable...
I found a 455Kv in the parts. I swapped out the 6mm shaft with a new 8mm.
Looks like you're moving right along. You're in the worst part of the mold making process in my opinion. Prime, fill, sand, fill, sand, fill, repeat, repeat, repeat etc.
B
Showing my progress at the Heli storm event.
Looking good Evan, glad to see you still at it
Thank you charlie it is as grind.....
This will be most interesting to watch!
Evan,
Nice work my friend. I am sure it will be a beauty when finished.
Butch
Thank you sir. I'm hoping to ramp up my progress.
Your work has yet to begin man. just saying.
B