

Vario Baby Lama Build
 Michael K.
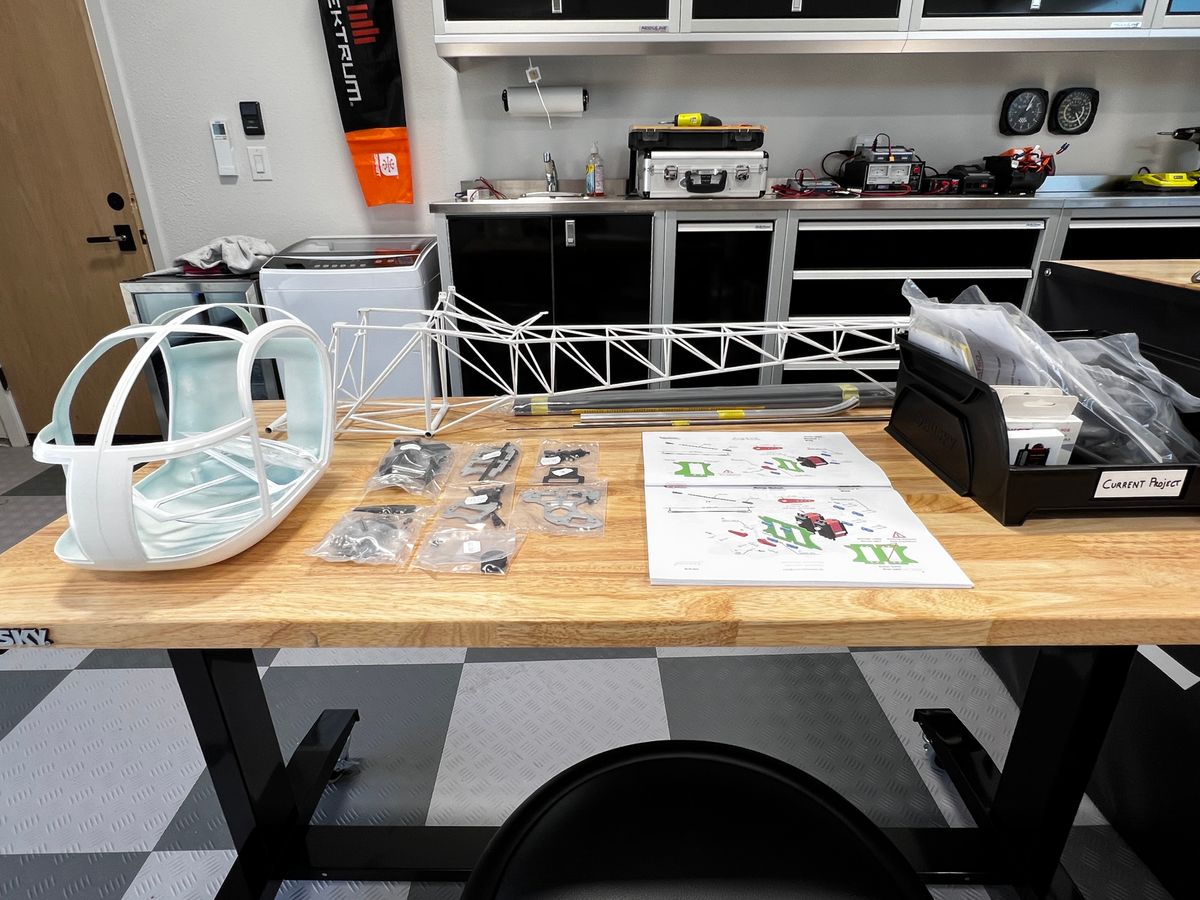
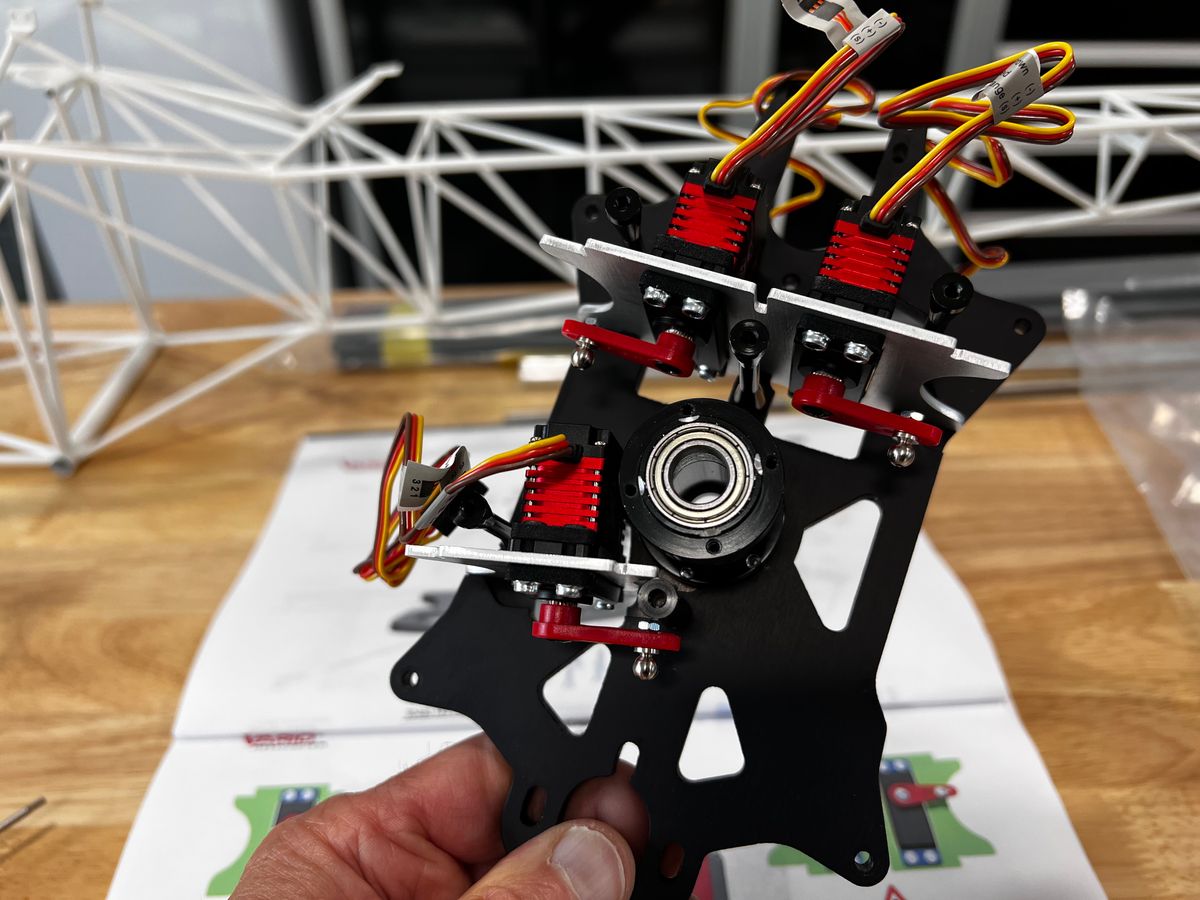
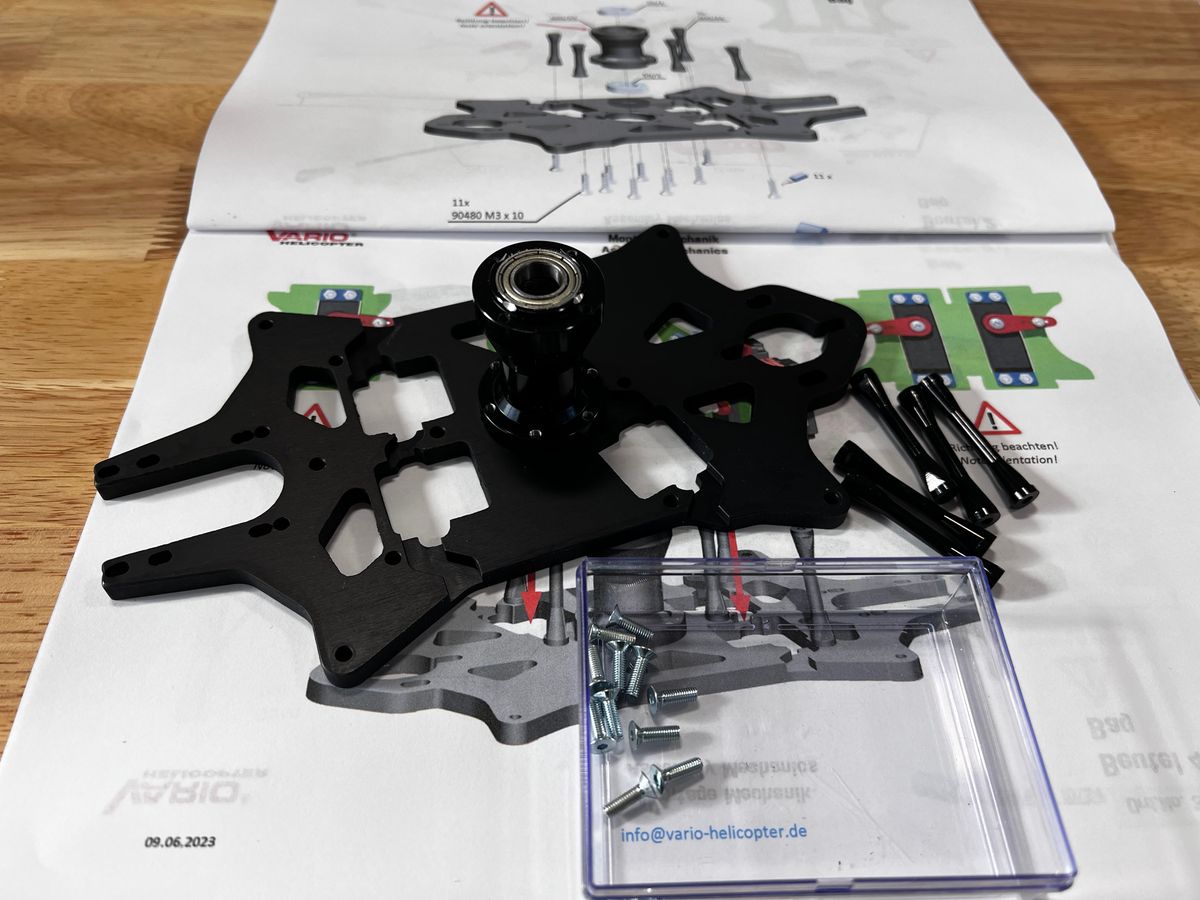
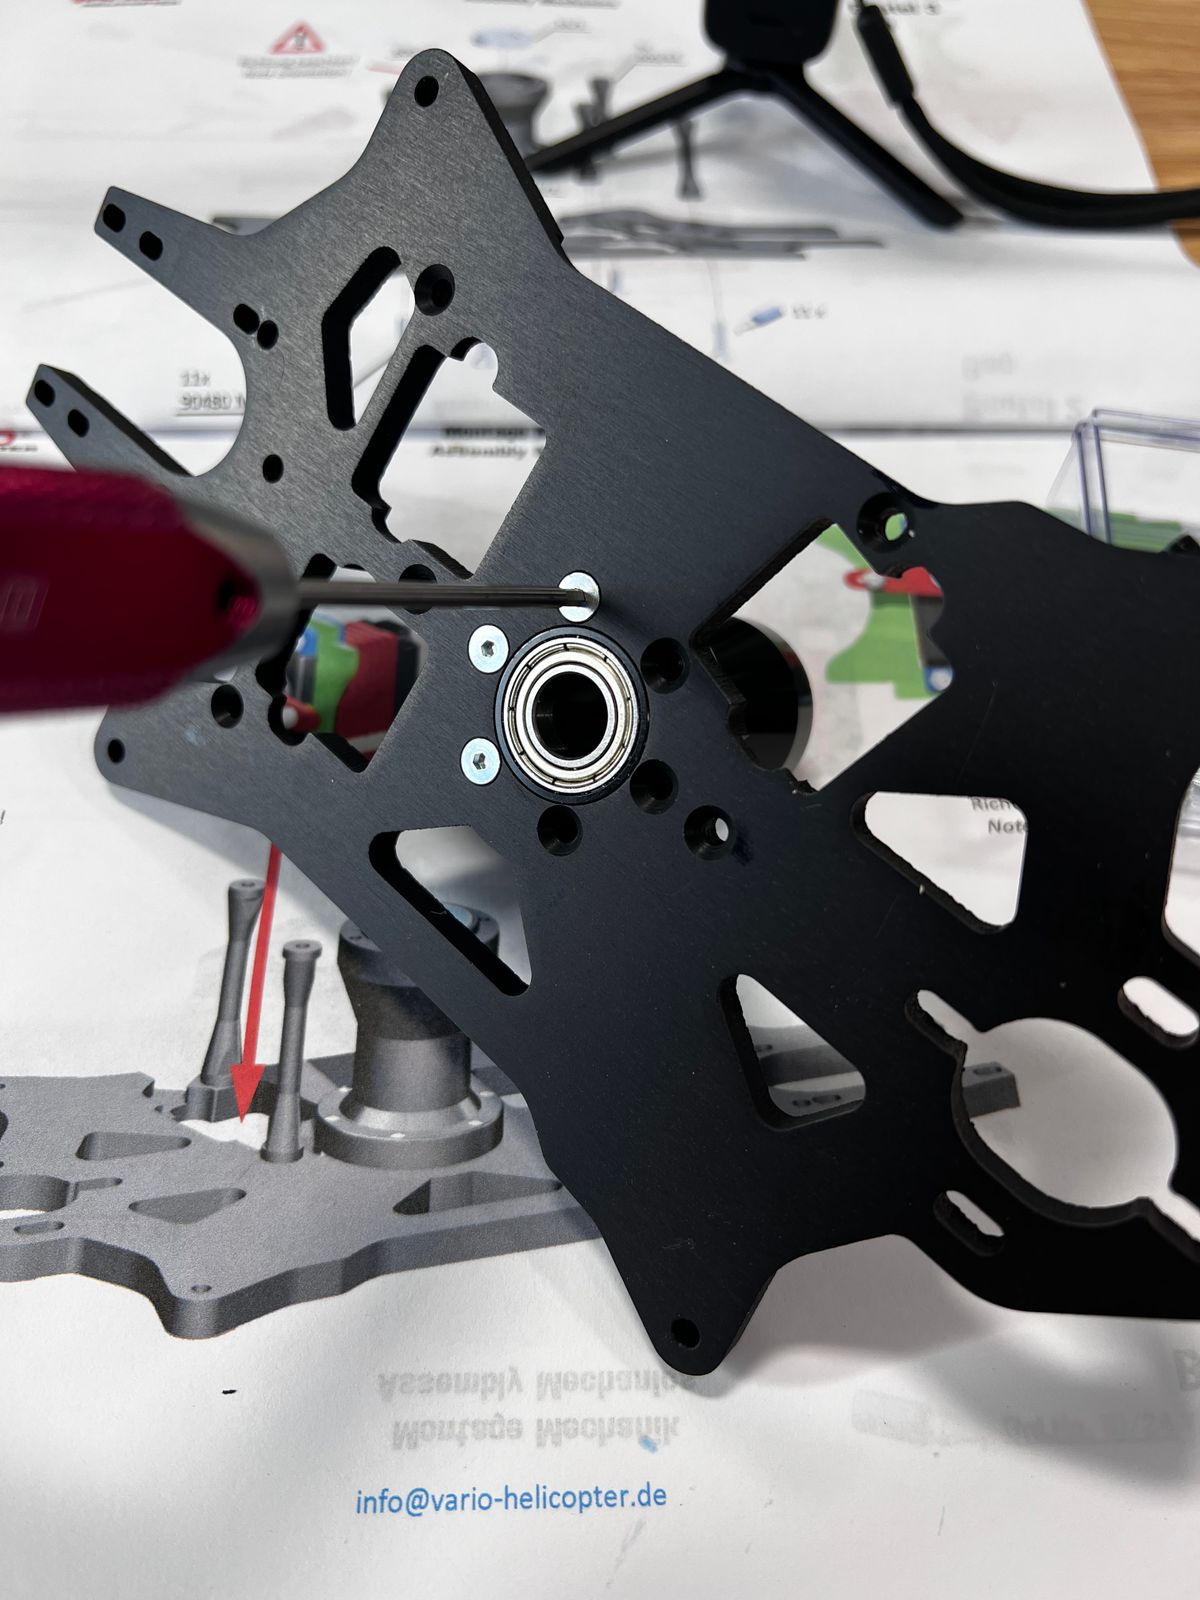
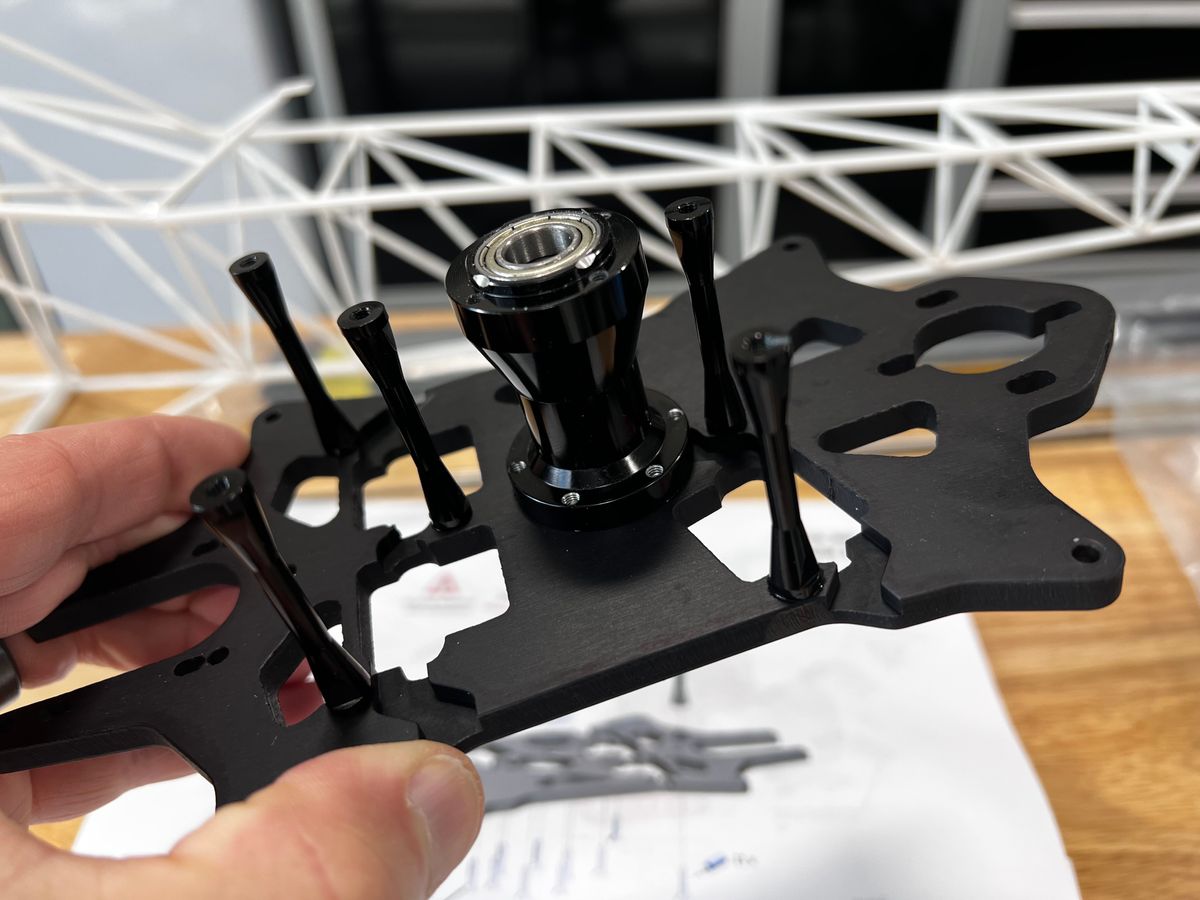
Chapter 1: Servo Mounts
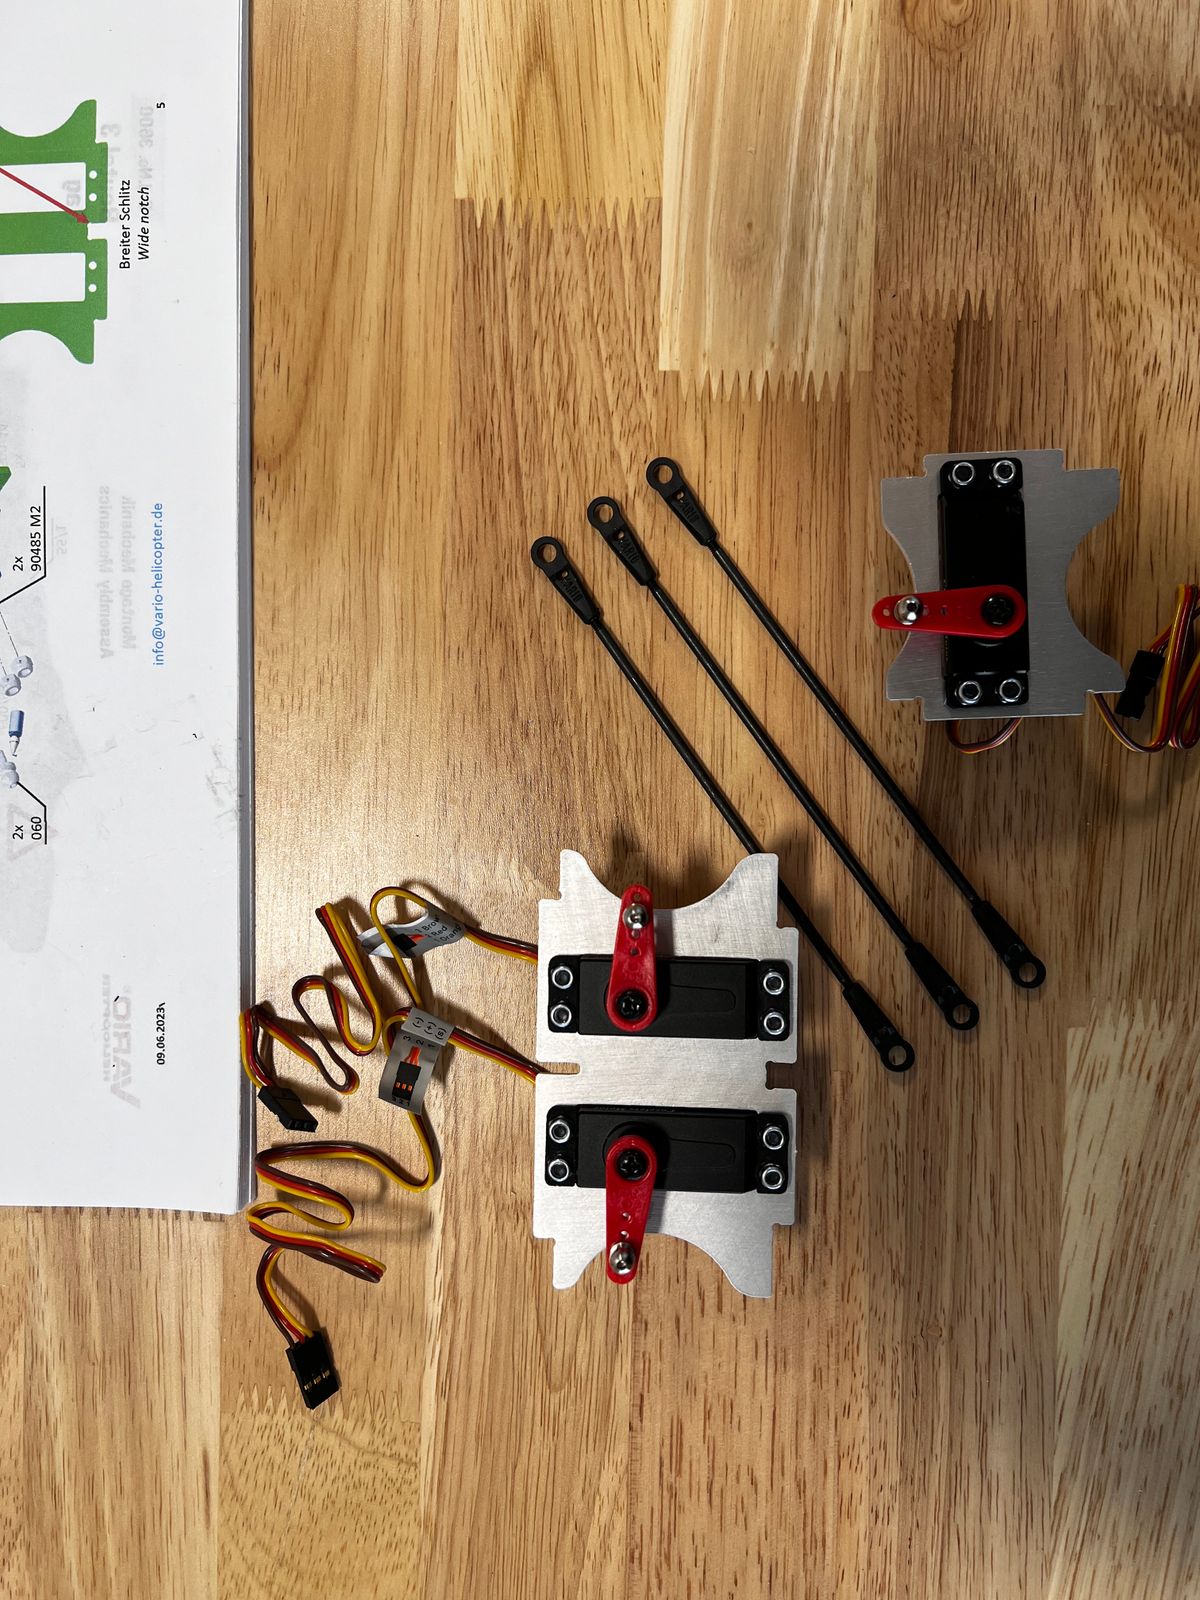
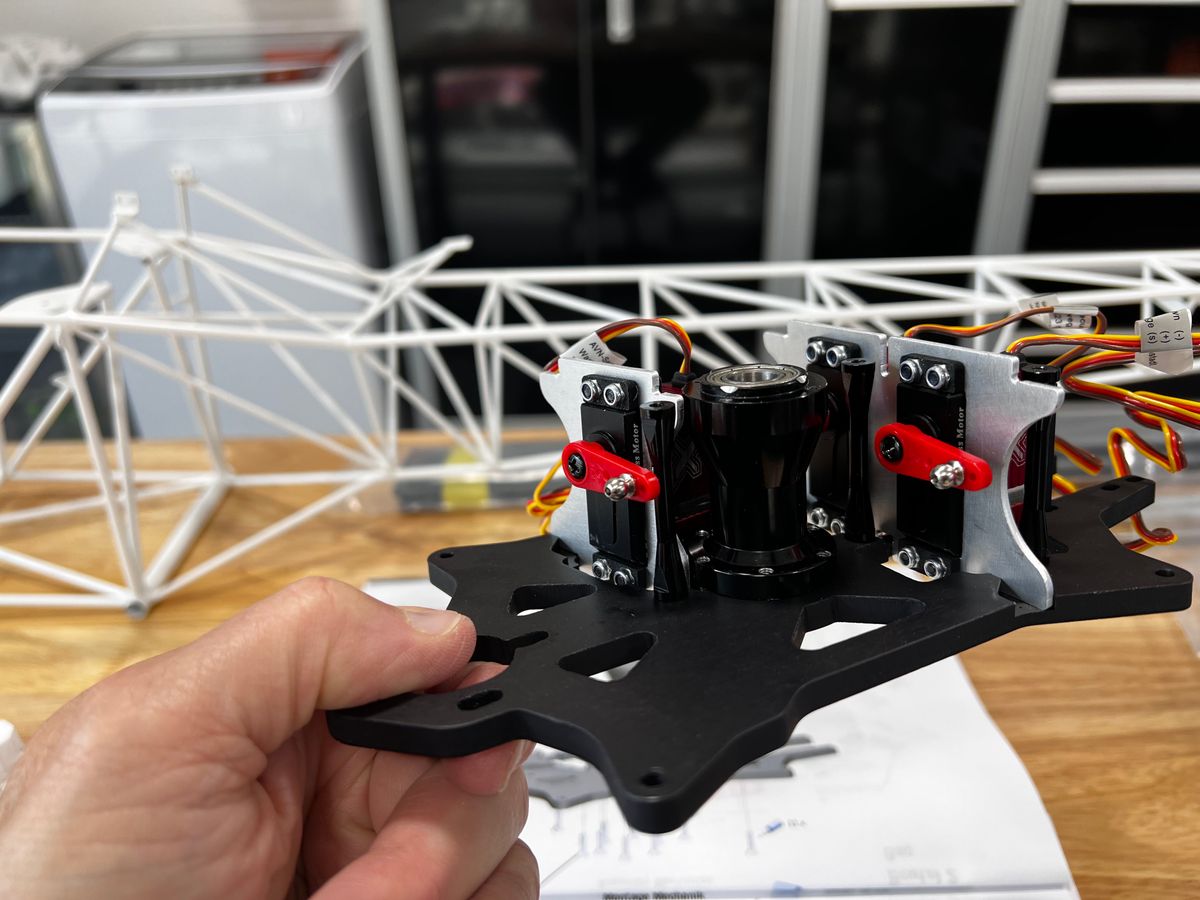
The first two steps are as simple as they get. Be careful to align the aluminum servo plates and servo spline correctly inside the plates. Those are the only gotchas in this section of the build.
Chapter 2: Central Drive Section
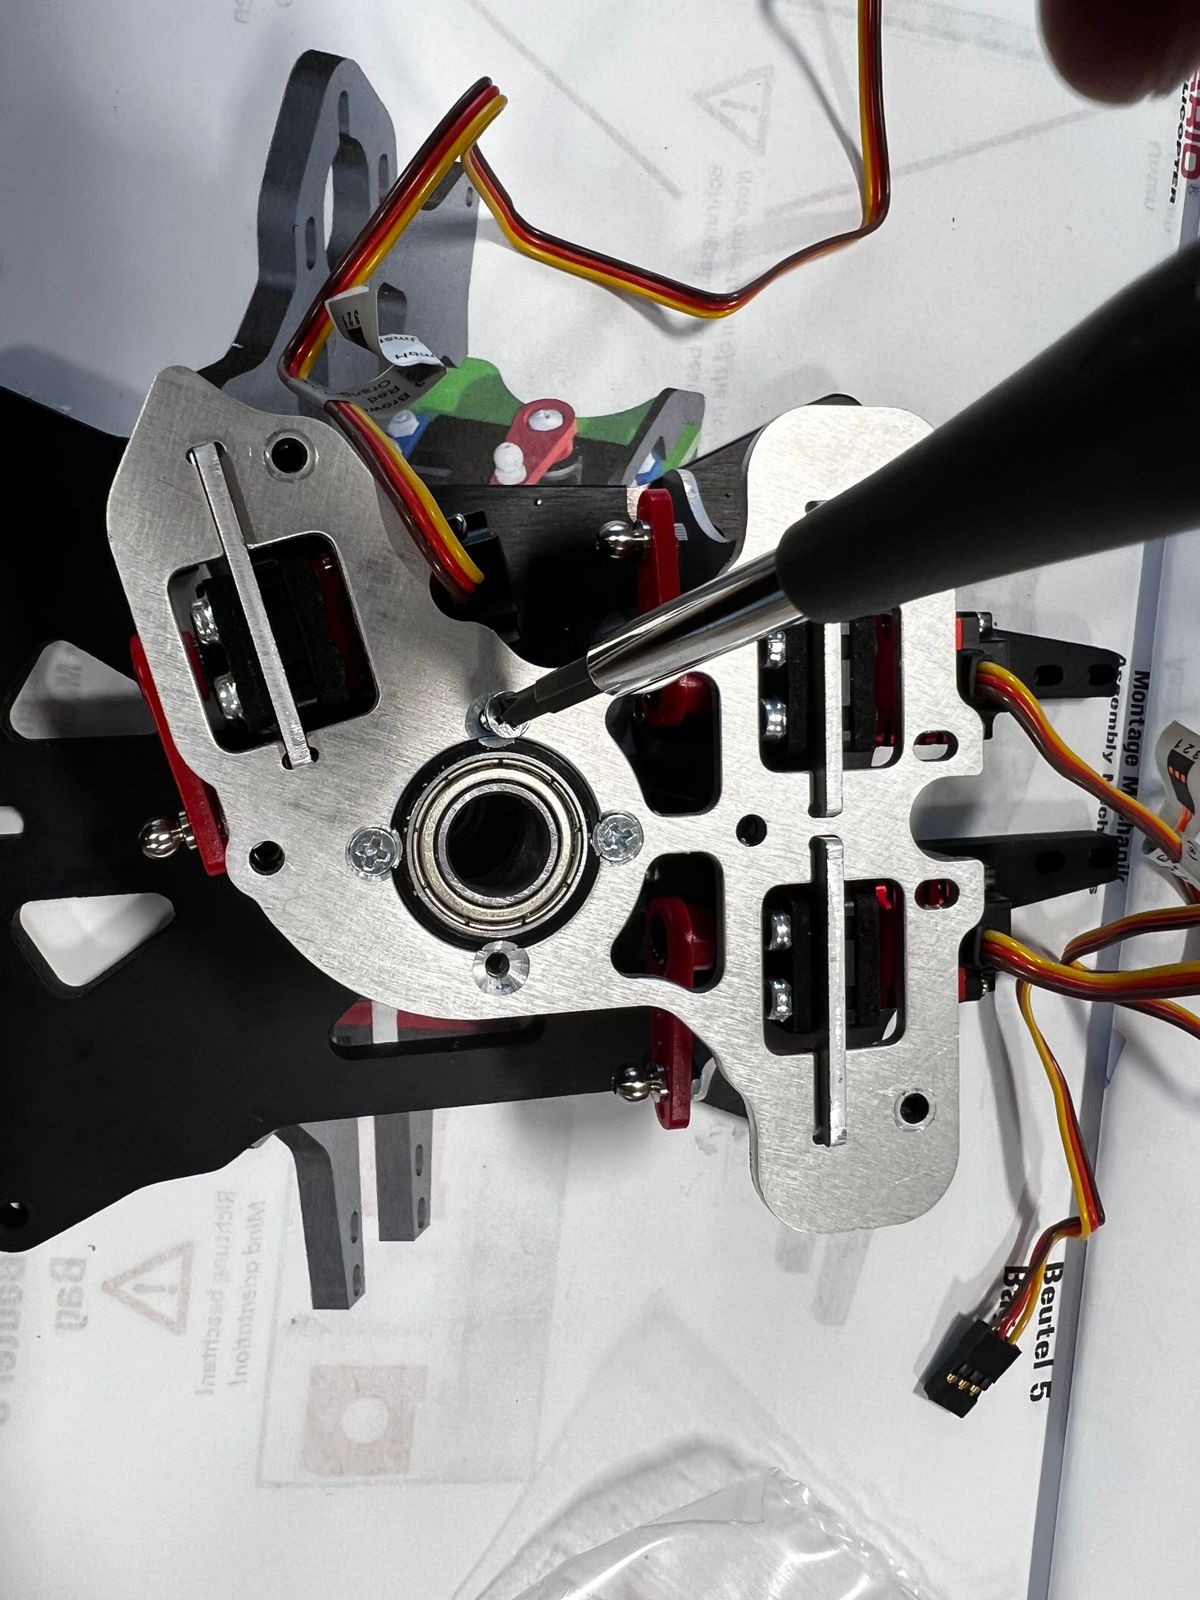
I love the machined aluminum design of this drive hub. It’s rock solid and there is no inefficiencies in design.
Read the instructions carefully when determining orientation of certain pieces. The video highlights the important ones.
This is pure fun so far (because it’s mechanics 😬)
Chapter 3: Swash, Rods & Motor
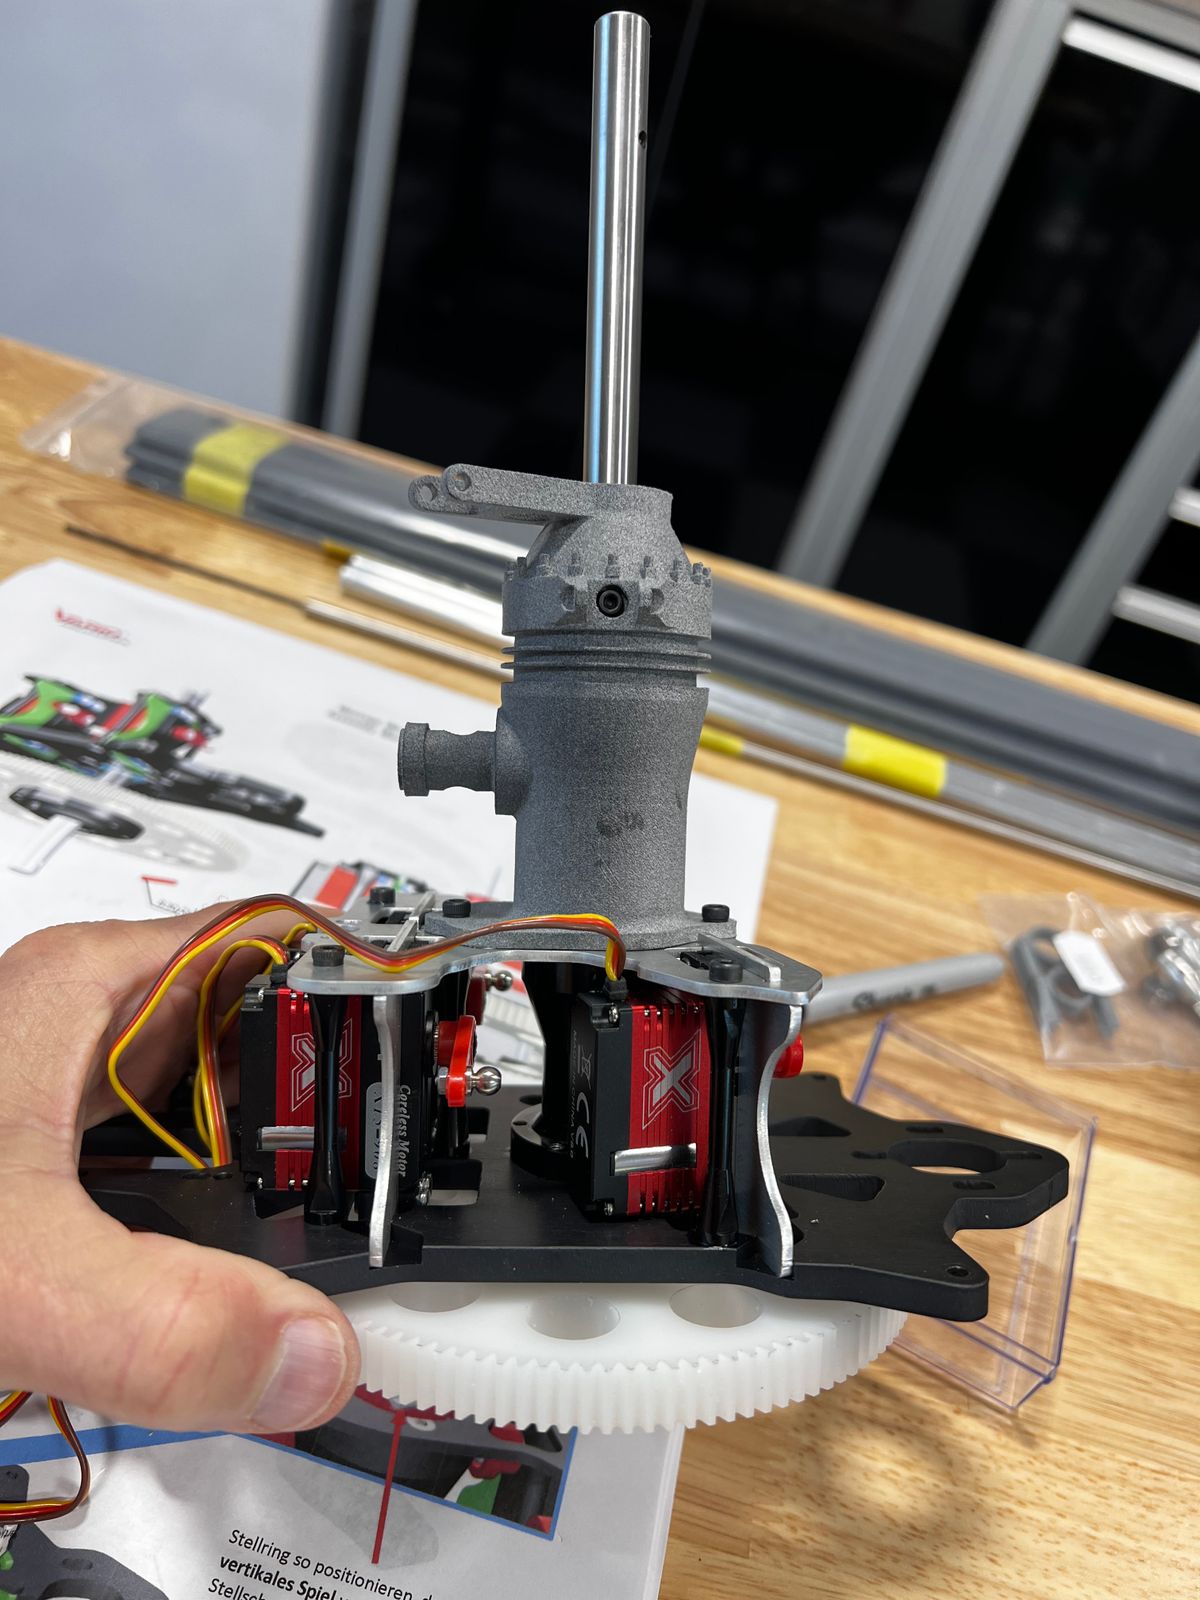
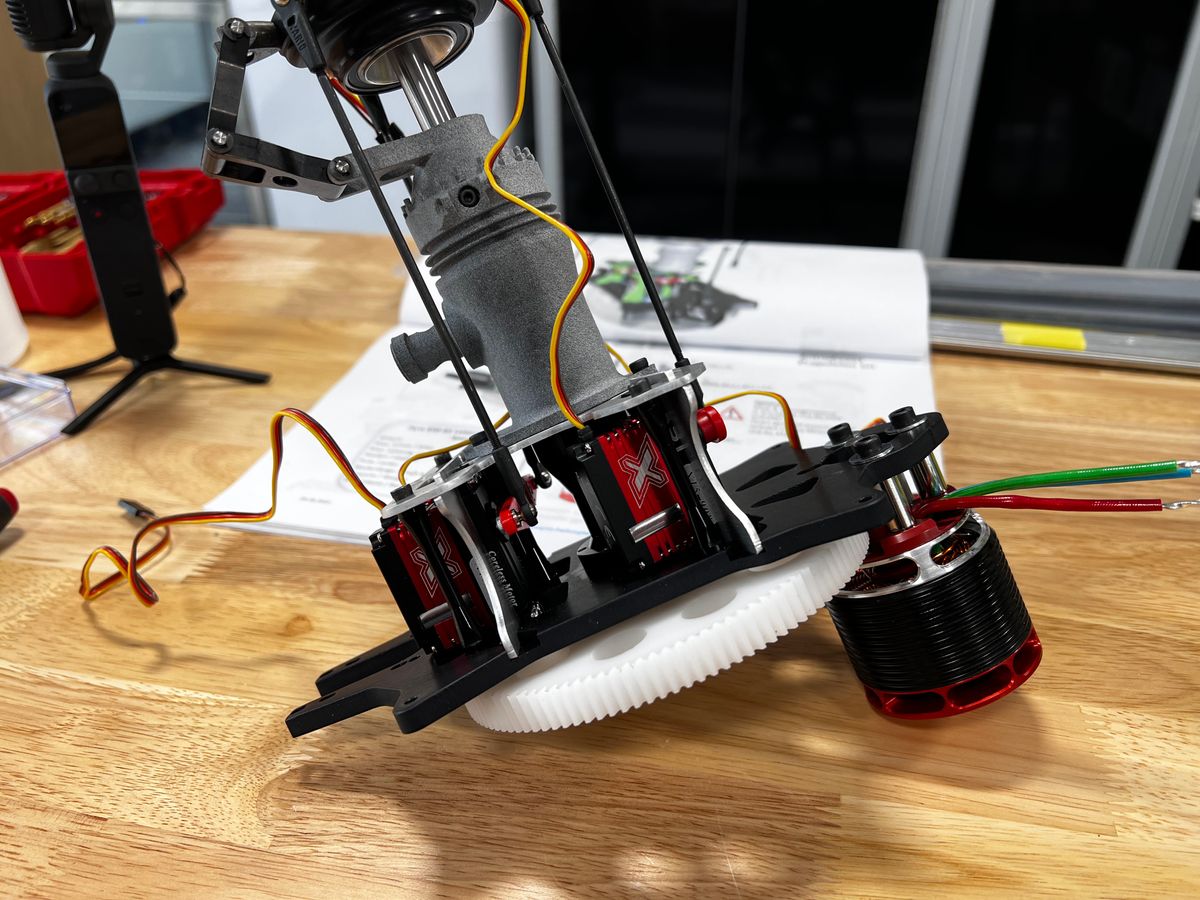
This part of the build is straightforward.
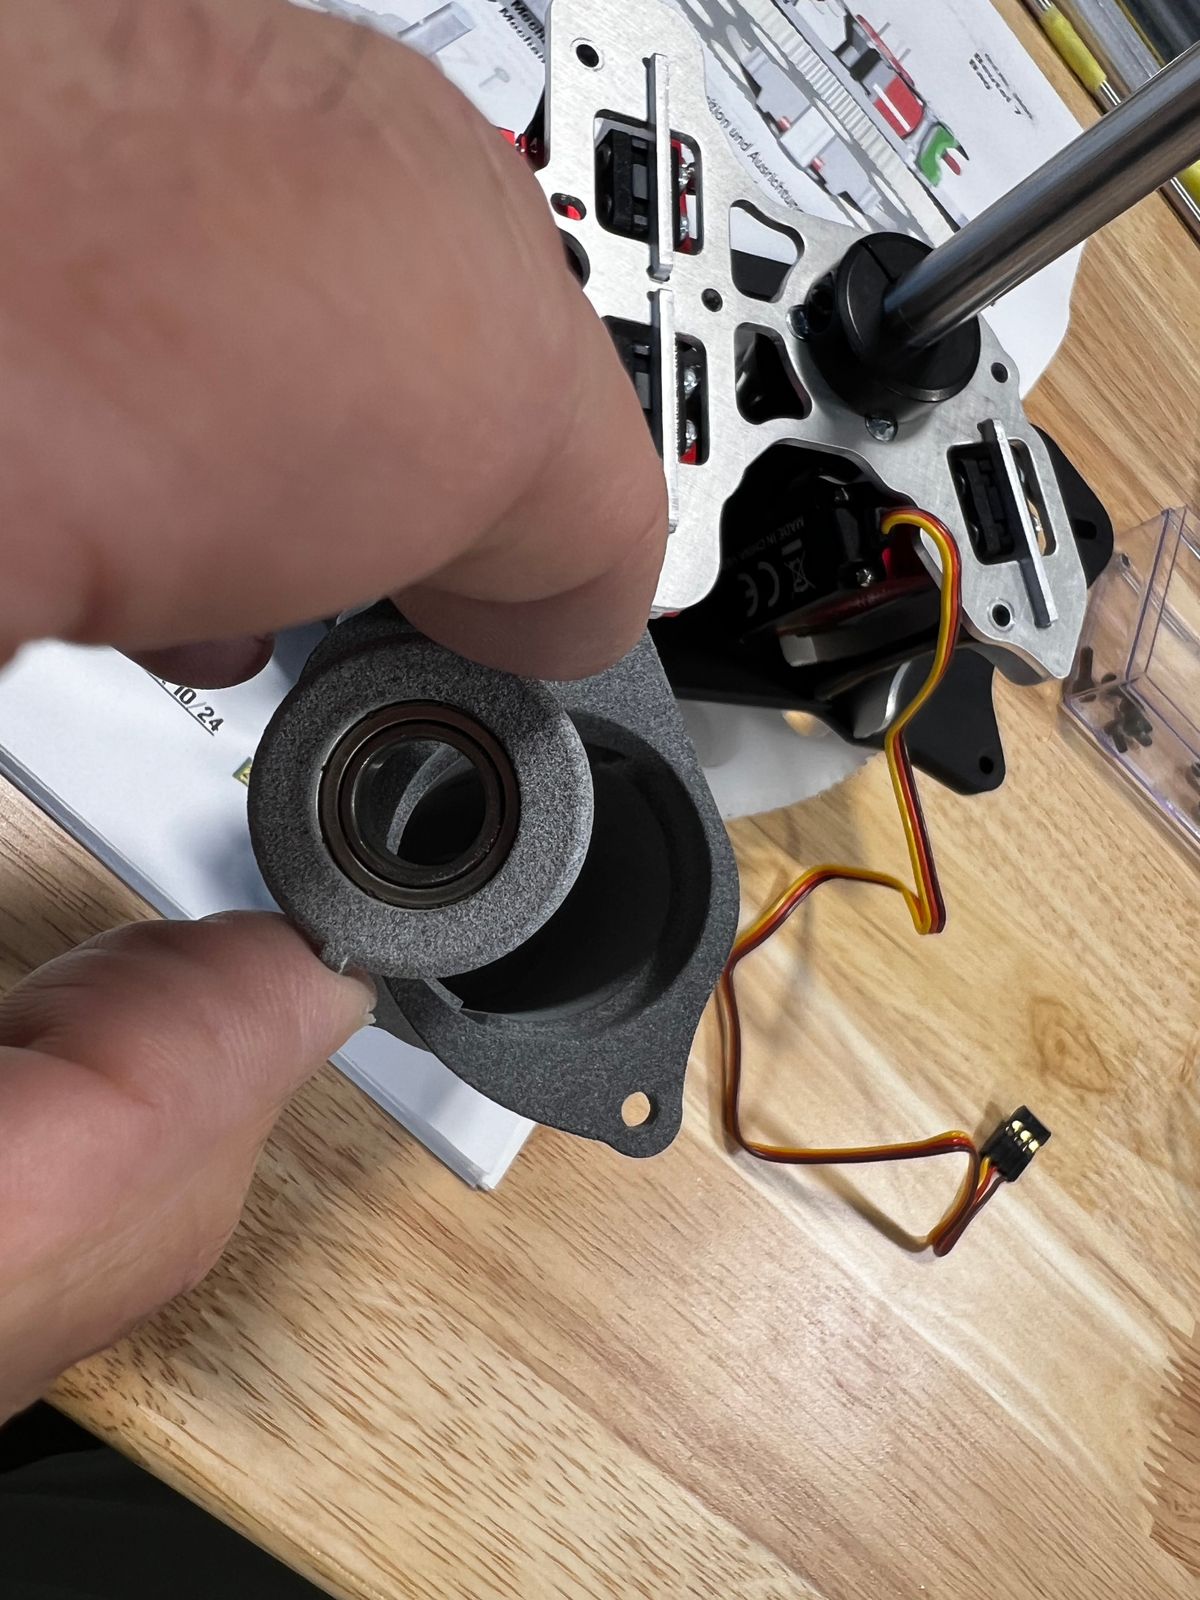
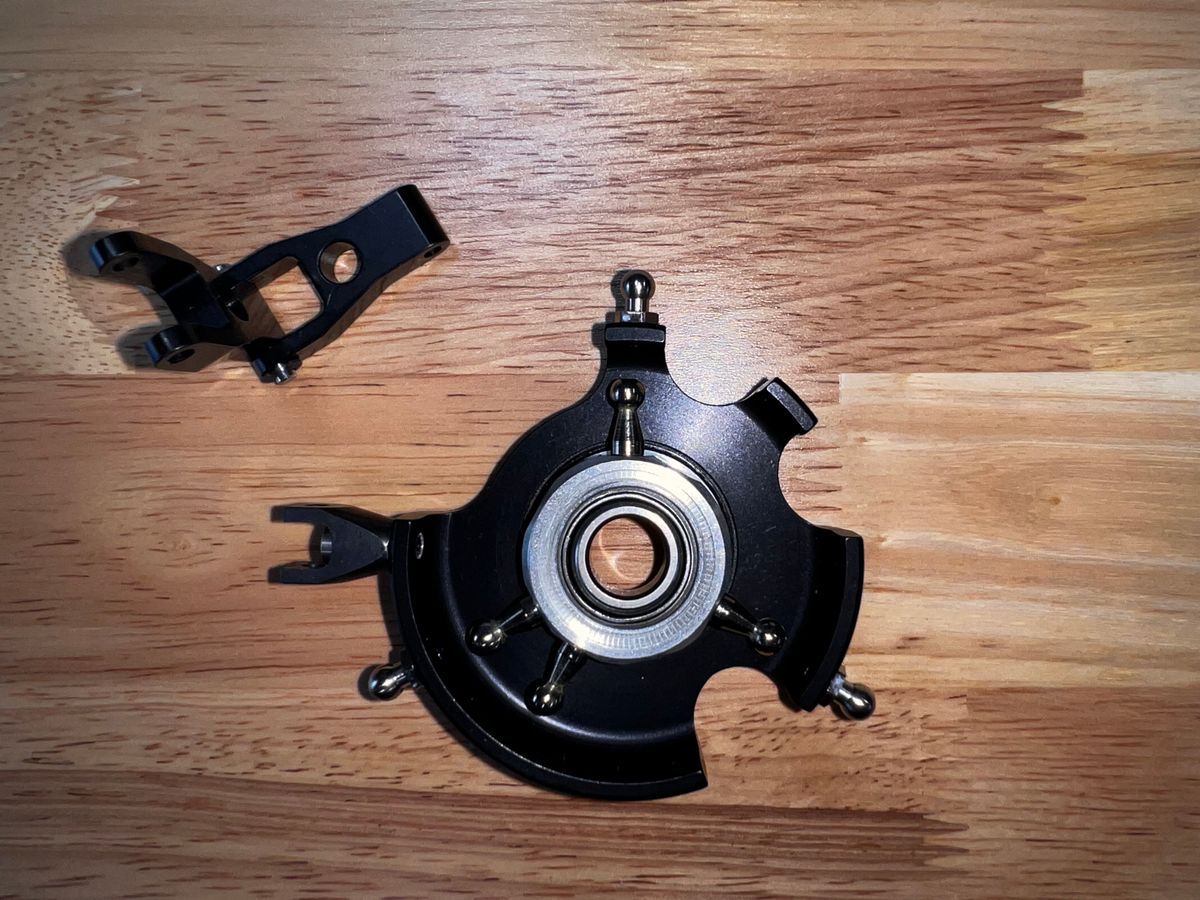
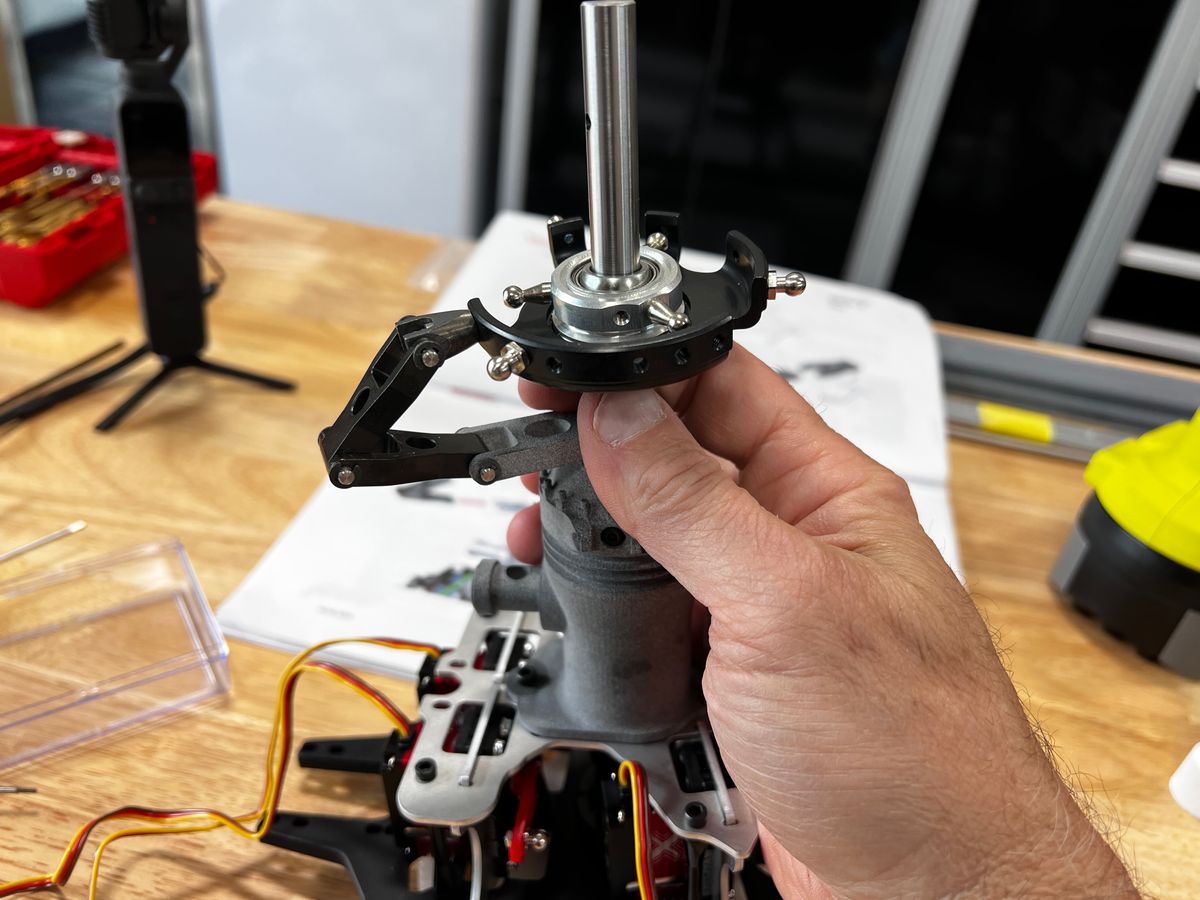
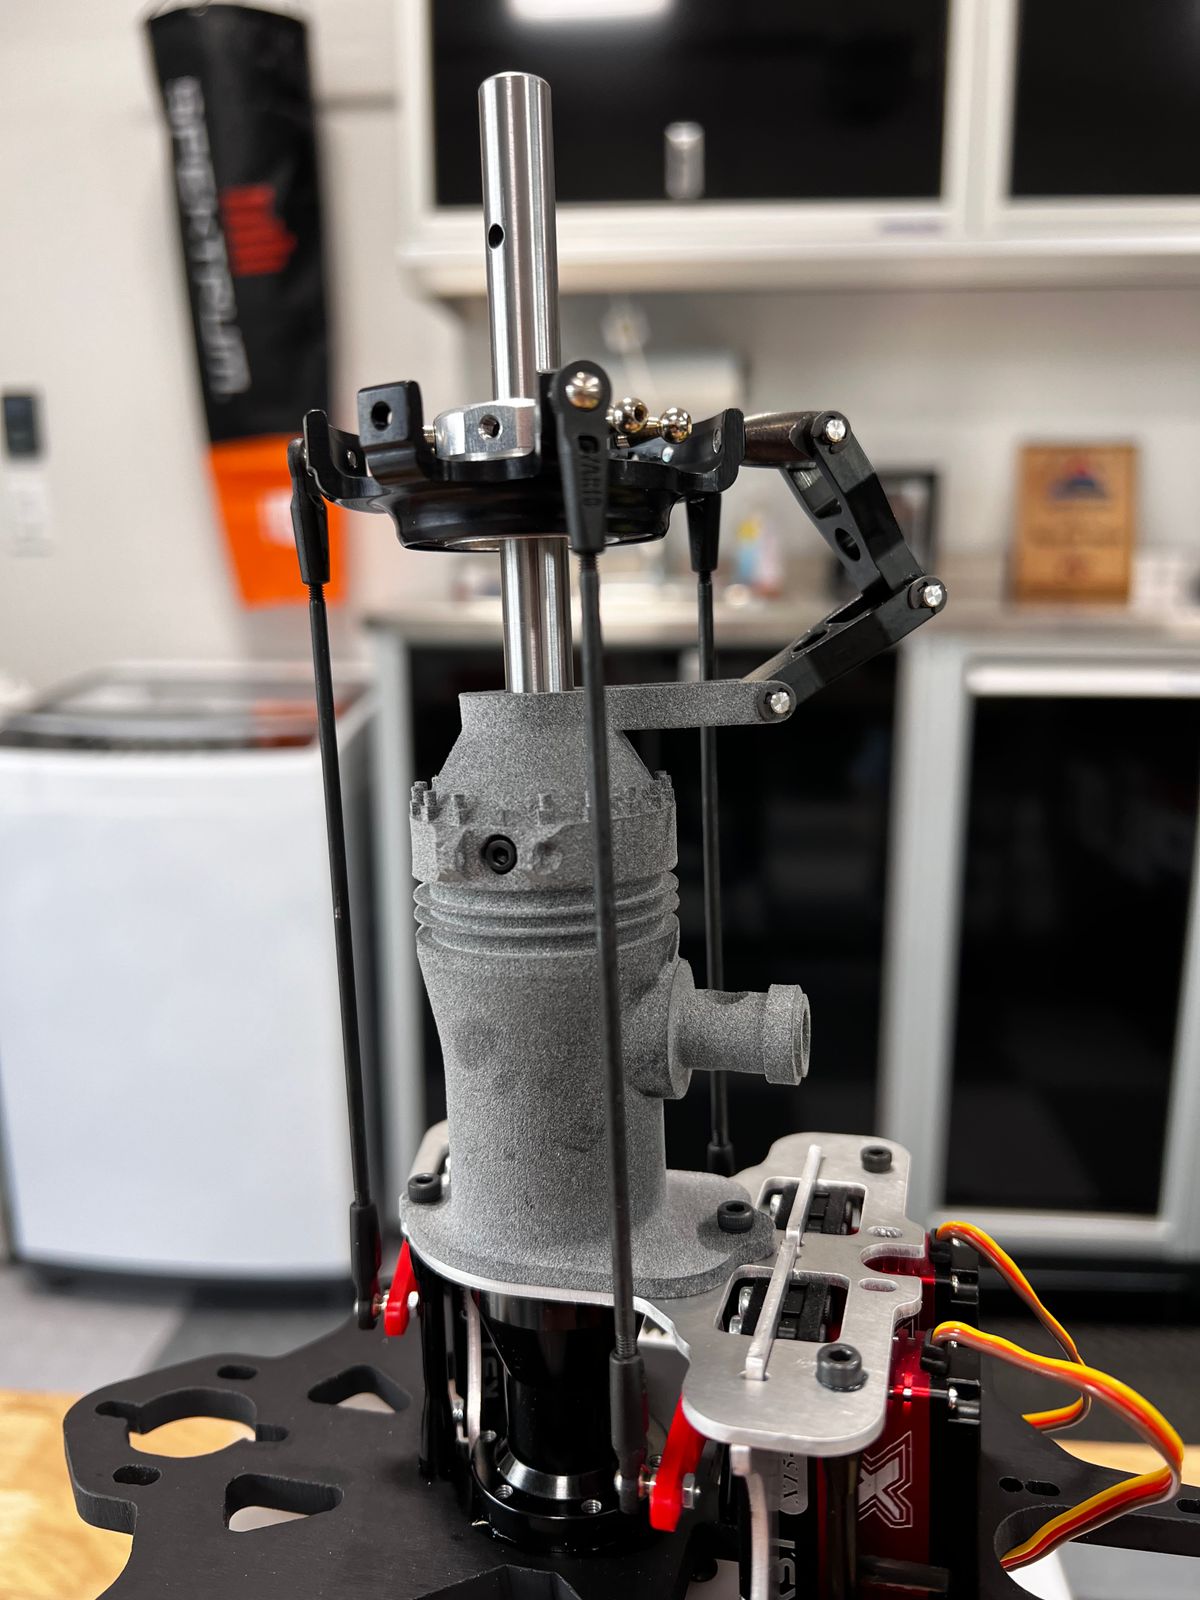
- You may need to enlarge the holes in the printed scale shaft housing to fit the swash anchor.
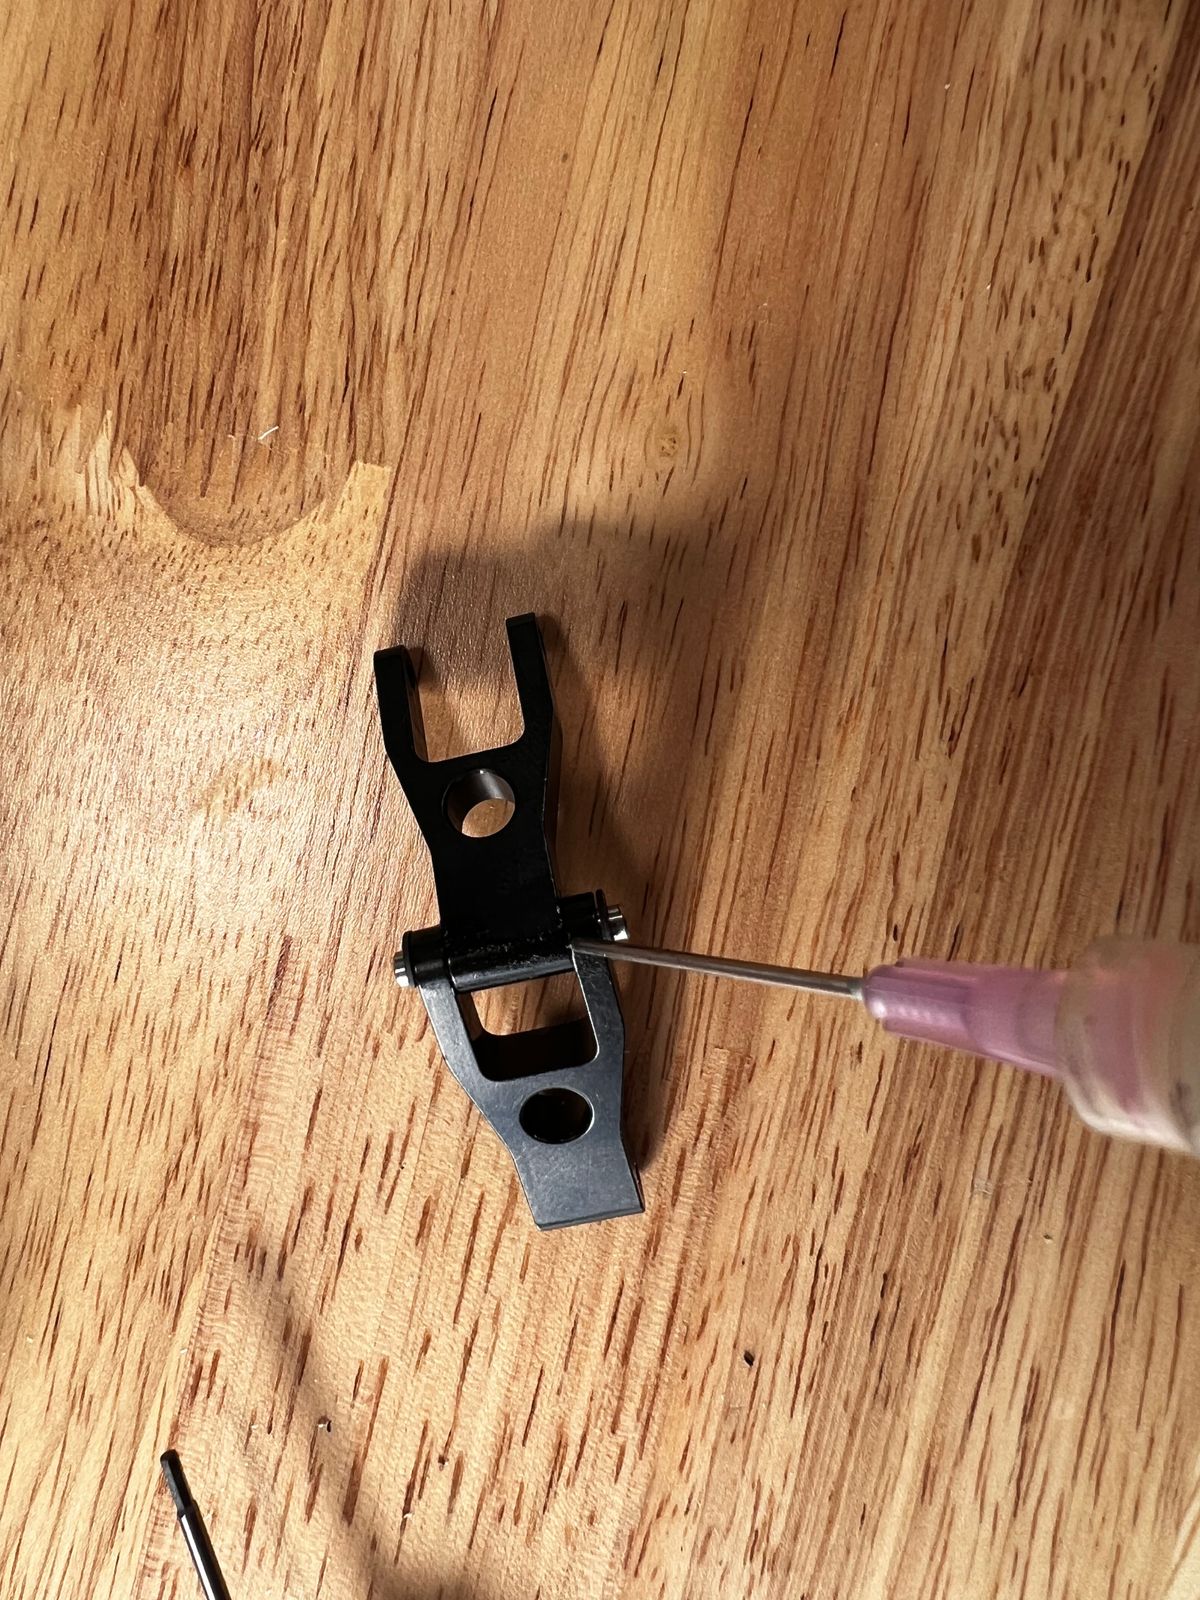
- Lube the swash anchor with a drop of oil to relieve friction
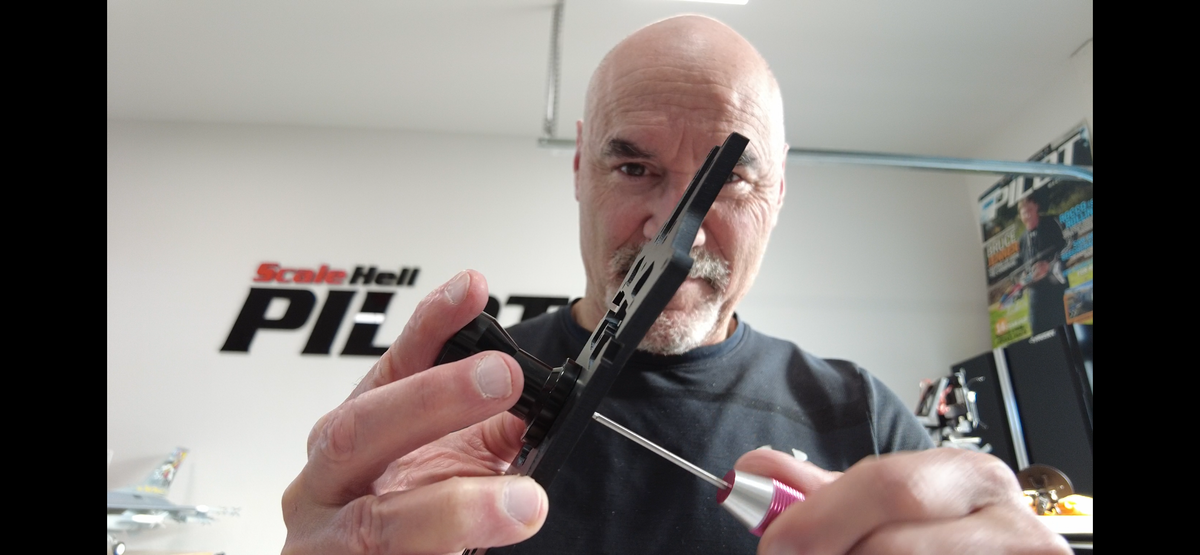
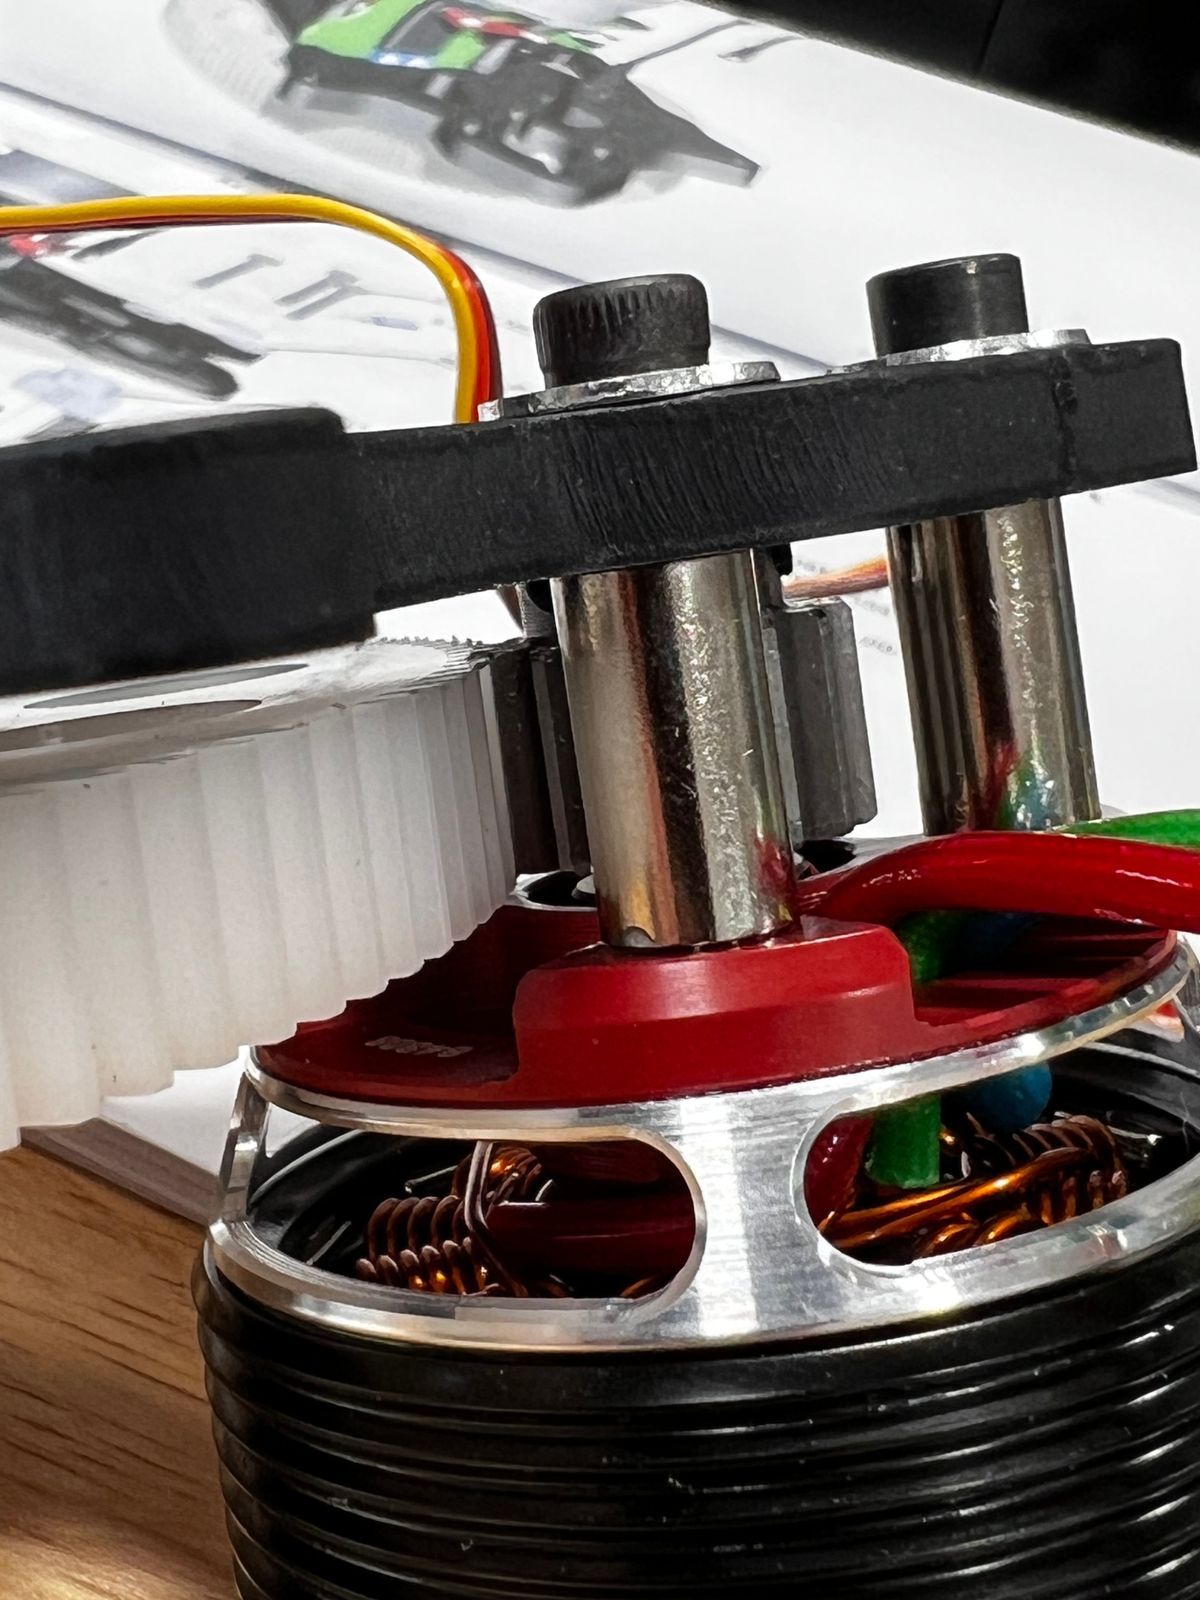
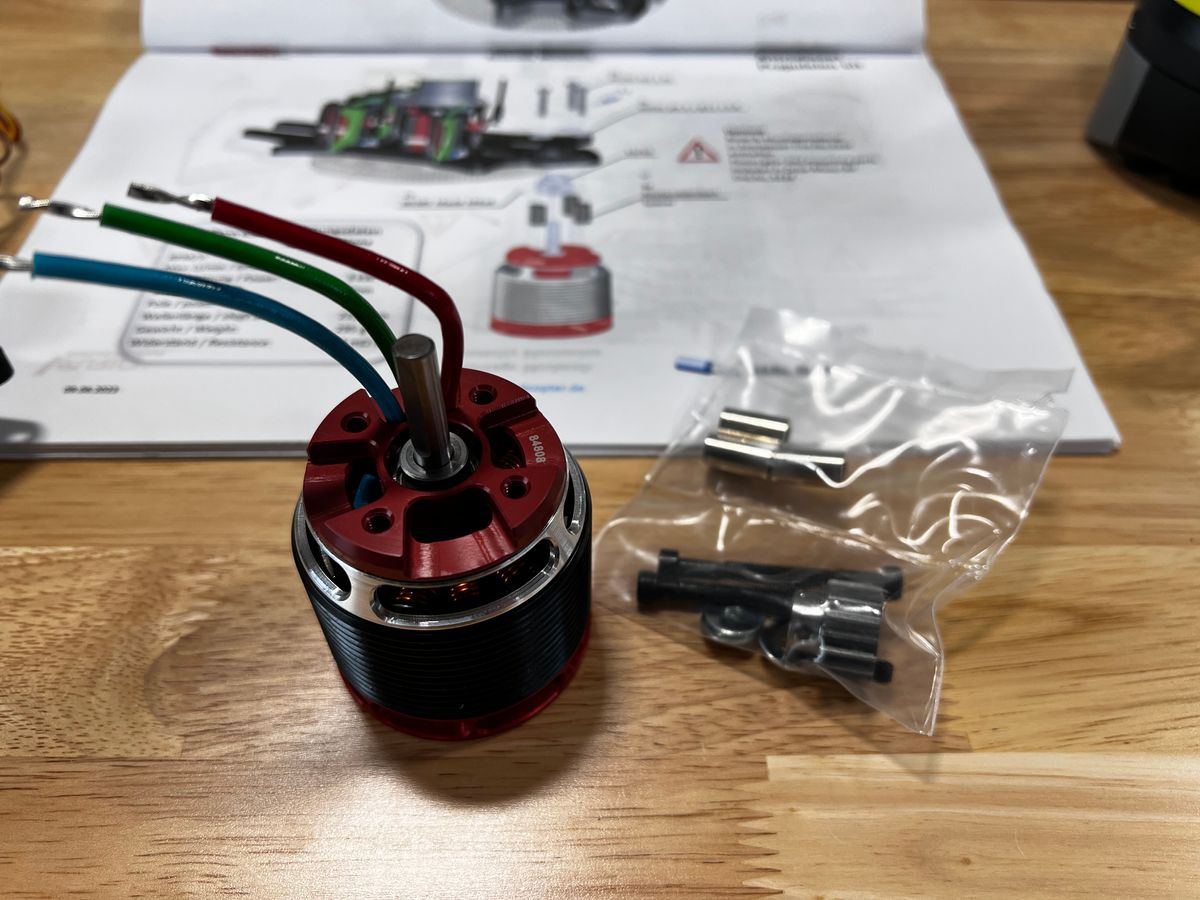
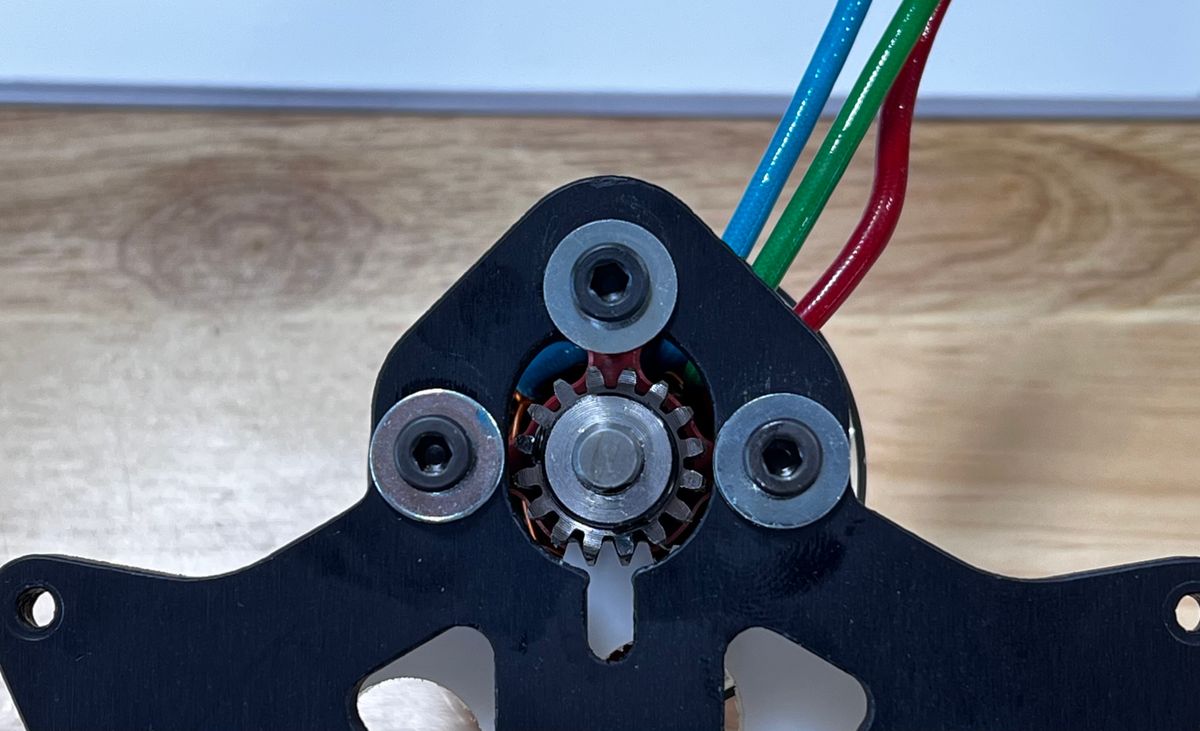
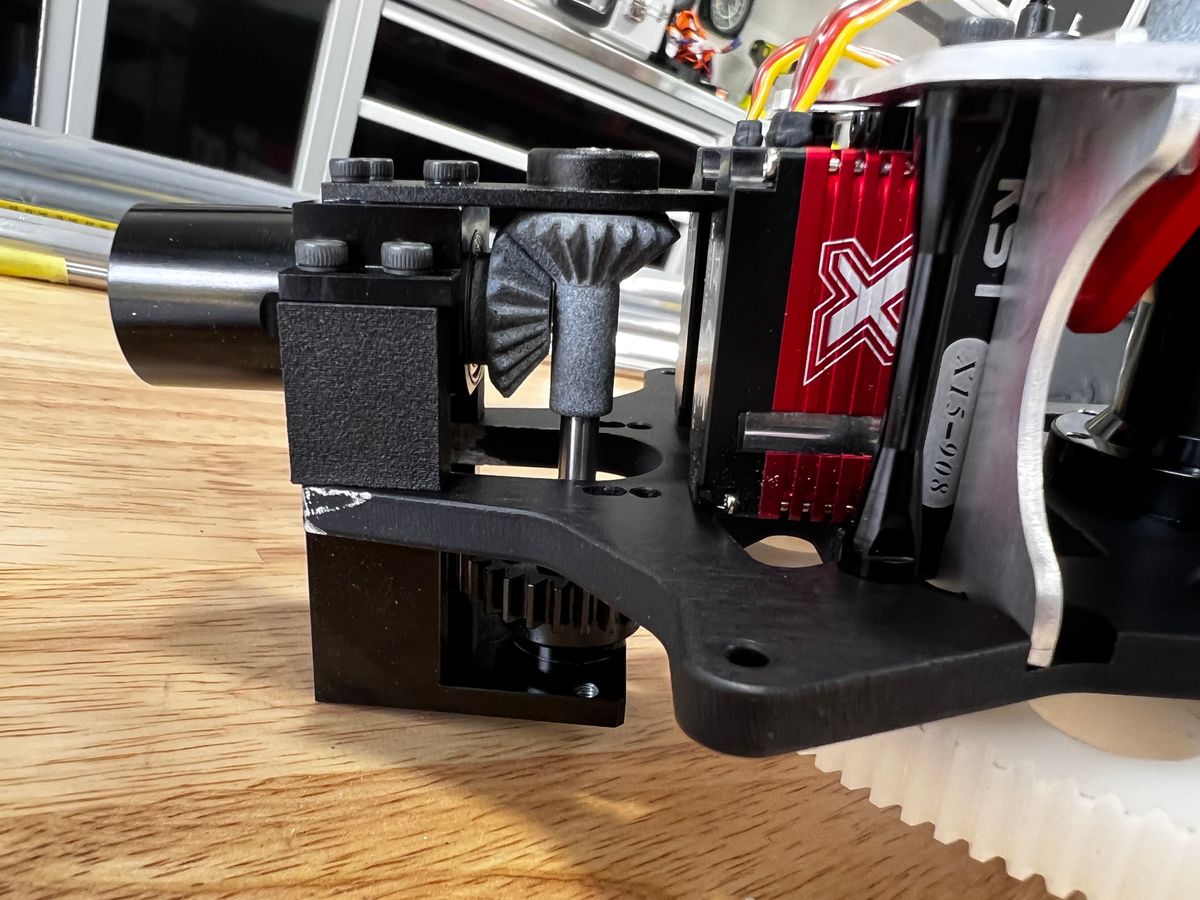
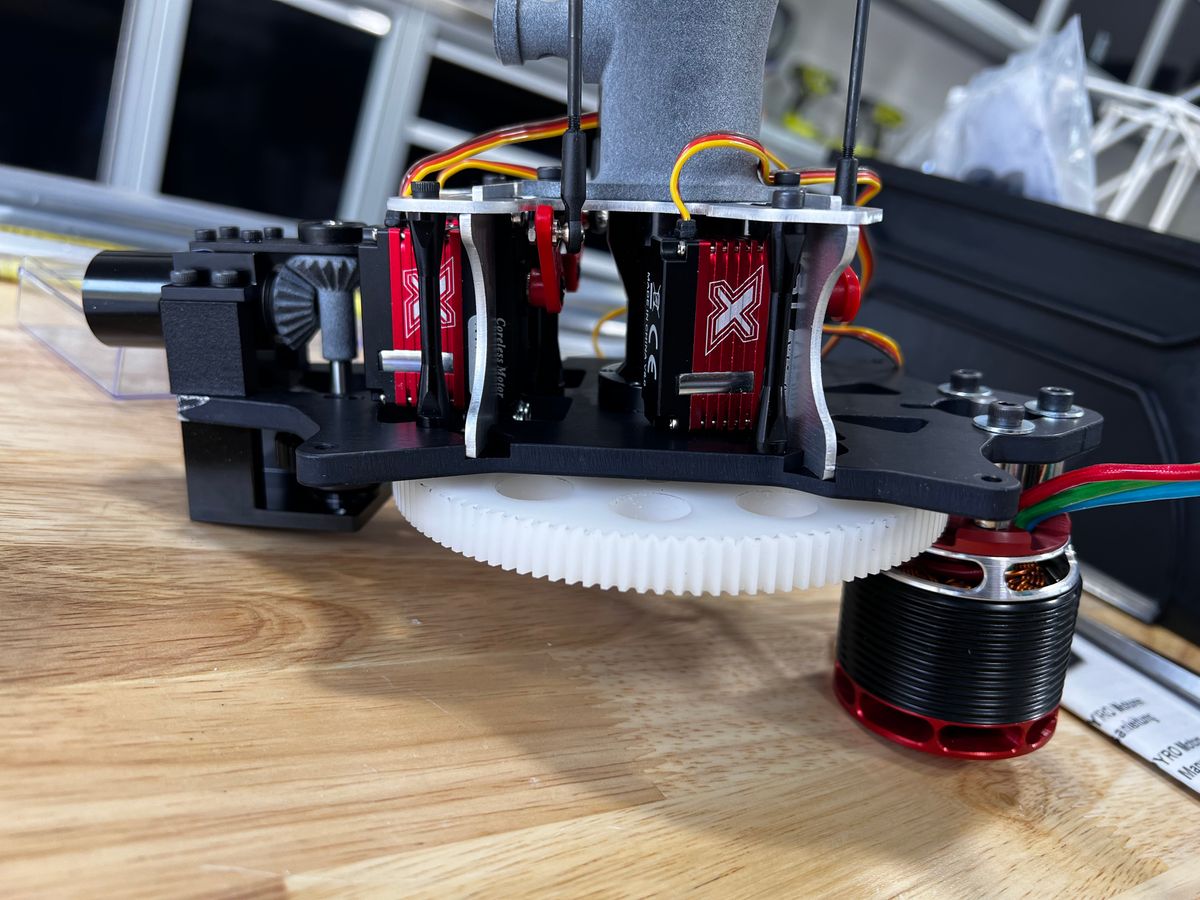
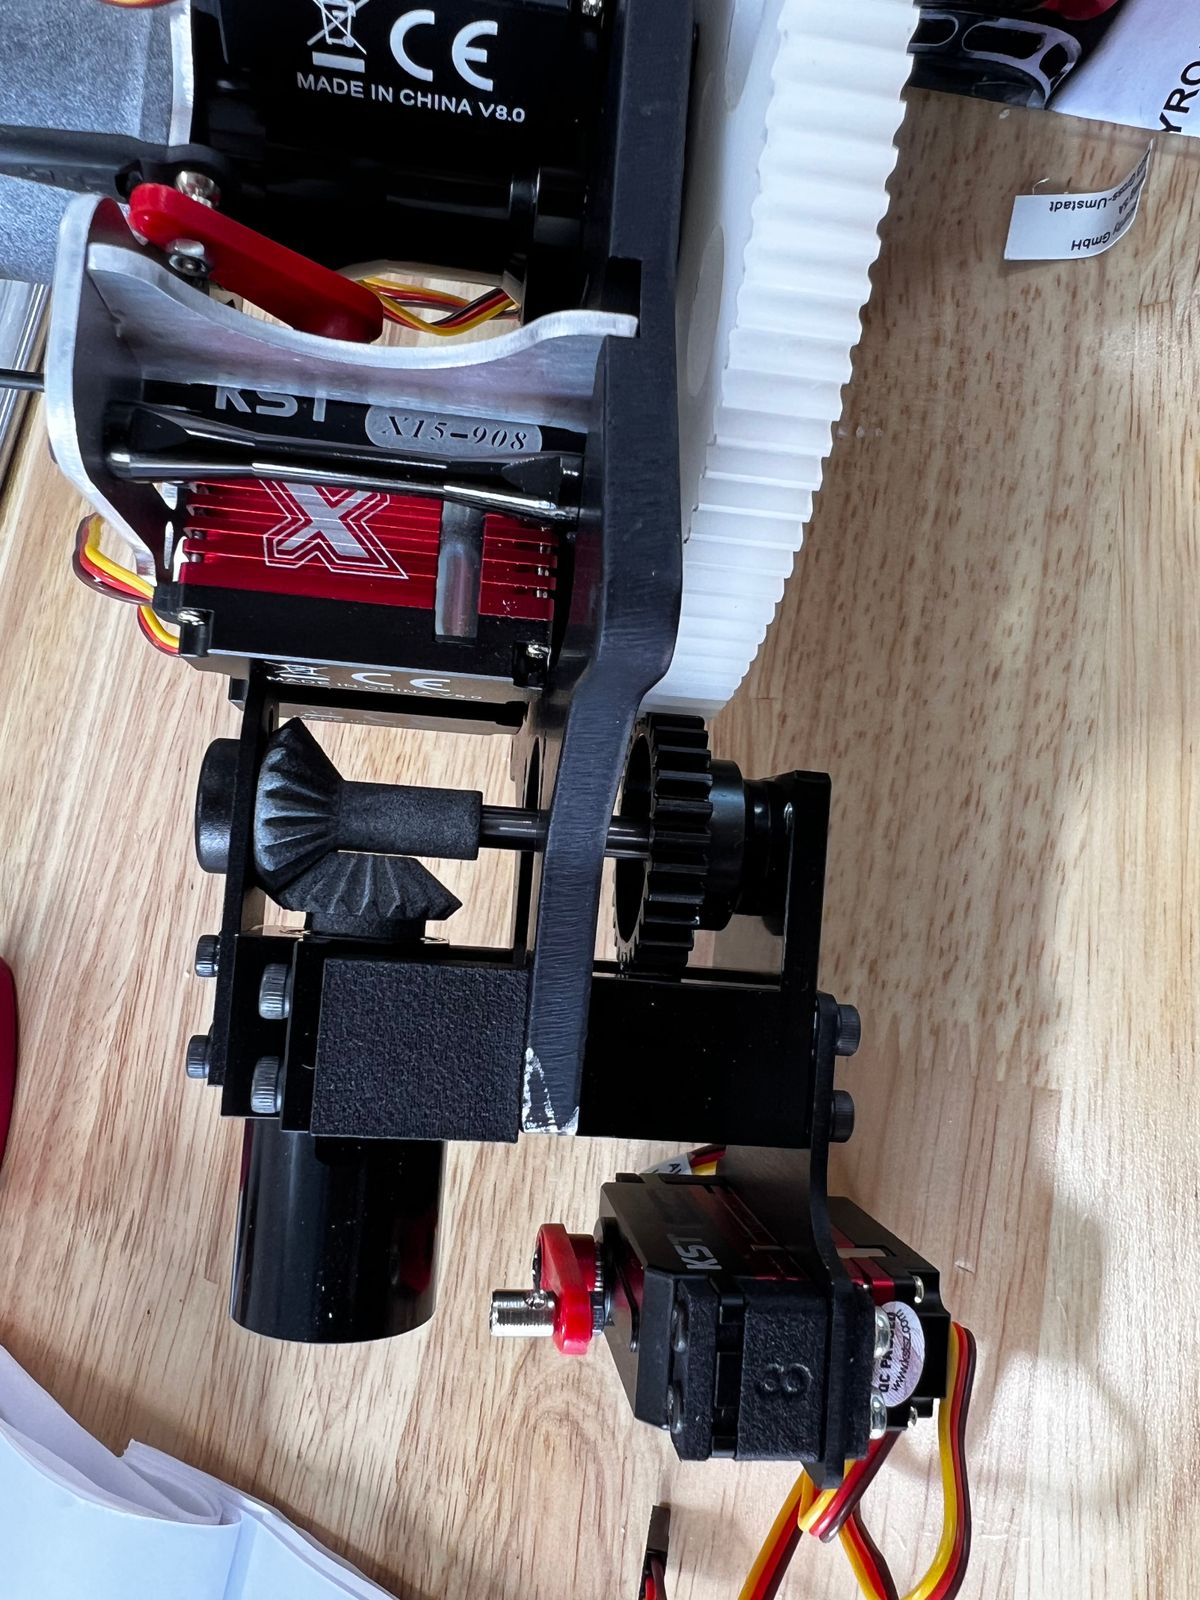
- When mounting the motor, partially seat the grub screws on the pinion gear before sliding it onto the motor shaft. Once in place, you will need a round-tip hex wrench to tighten the grubs with the pinion aligned properly with the main drive gear. A straight hex won’t clear the aluminum housing.
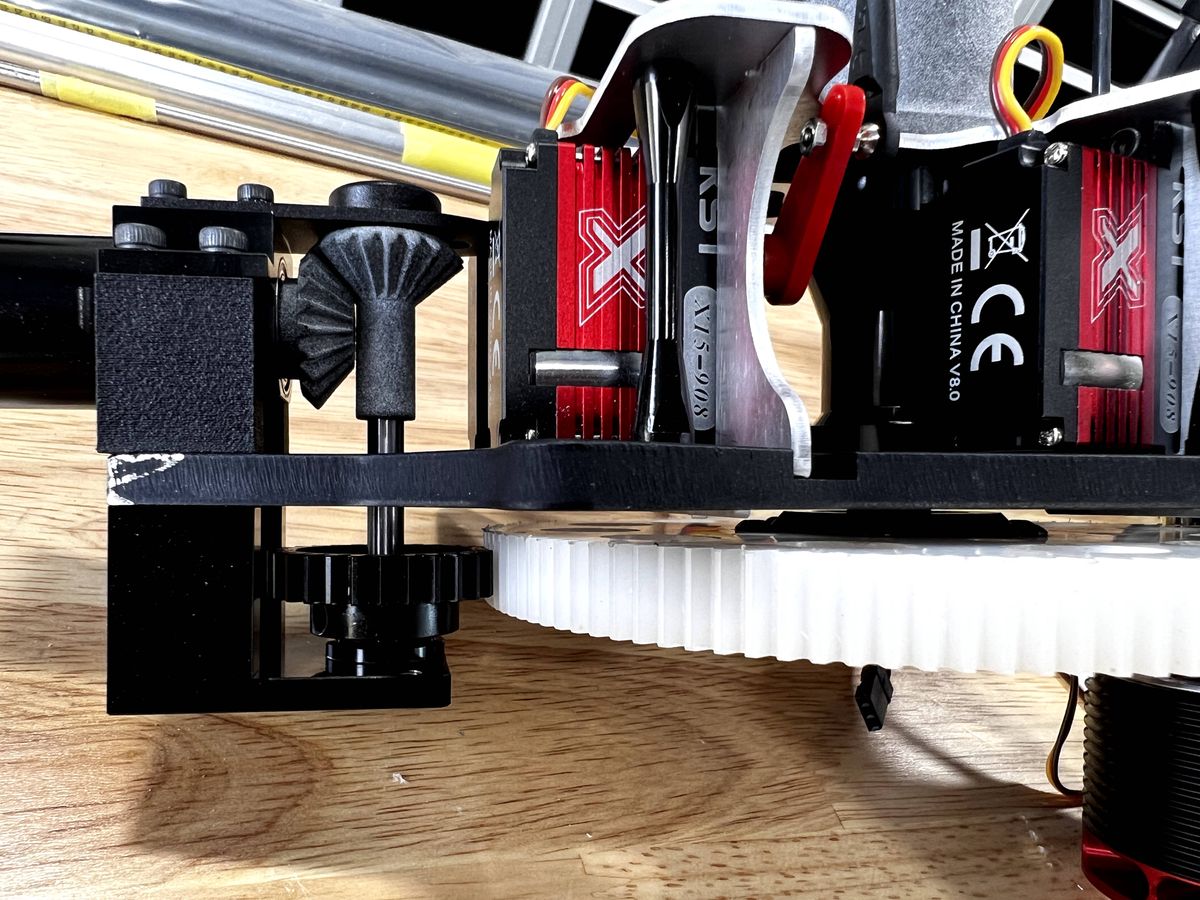
- Make sure your gear mesh is not too loose and not too tight. I use a piece of paper to test. See the picture below.
Chapter 4: Final Main Mechanics
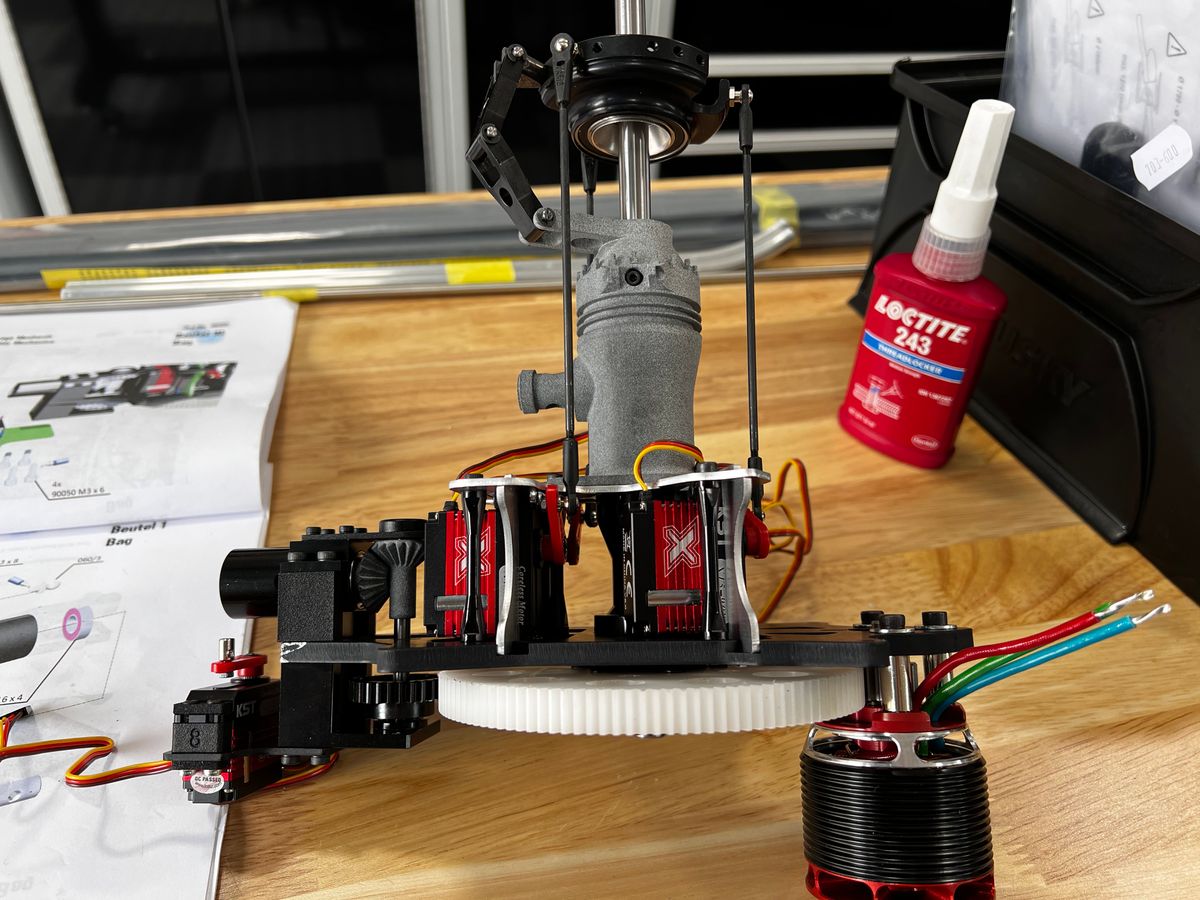
This is the last step before mounting the rotorhead. Nothing terribly difficult but take a look at the video for some gotchas.
I plan to chat with Vario about using 3D printed drive gears. I want to know why that material is superior to Delrin or metal.
Chapter 5: Pushy Pushrods and a Fussy Follower
Go ahead and say the chapter title 3 times fast...
PUSHRODS
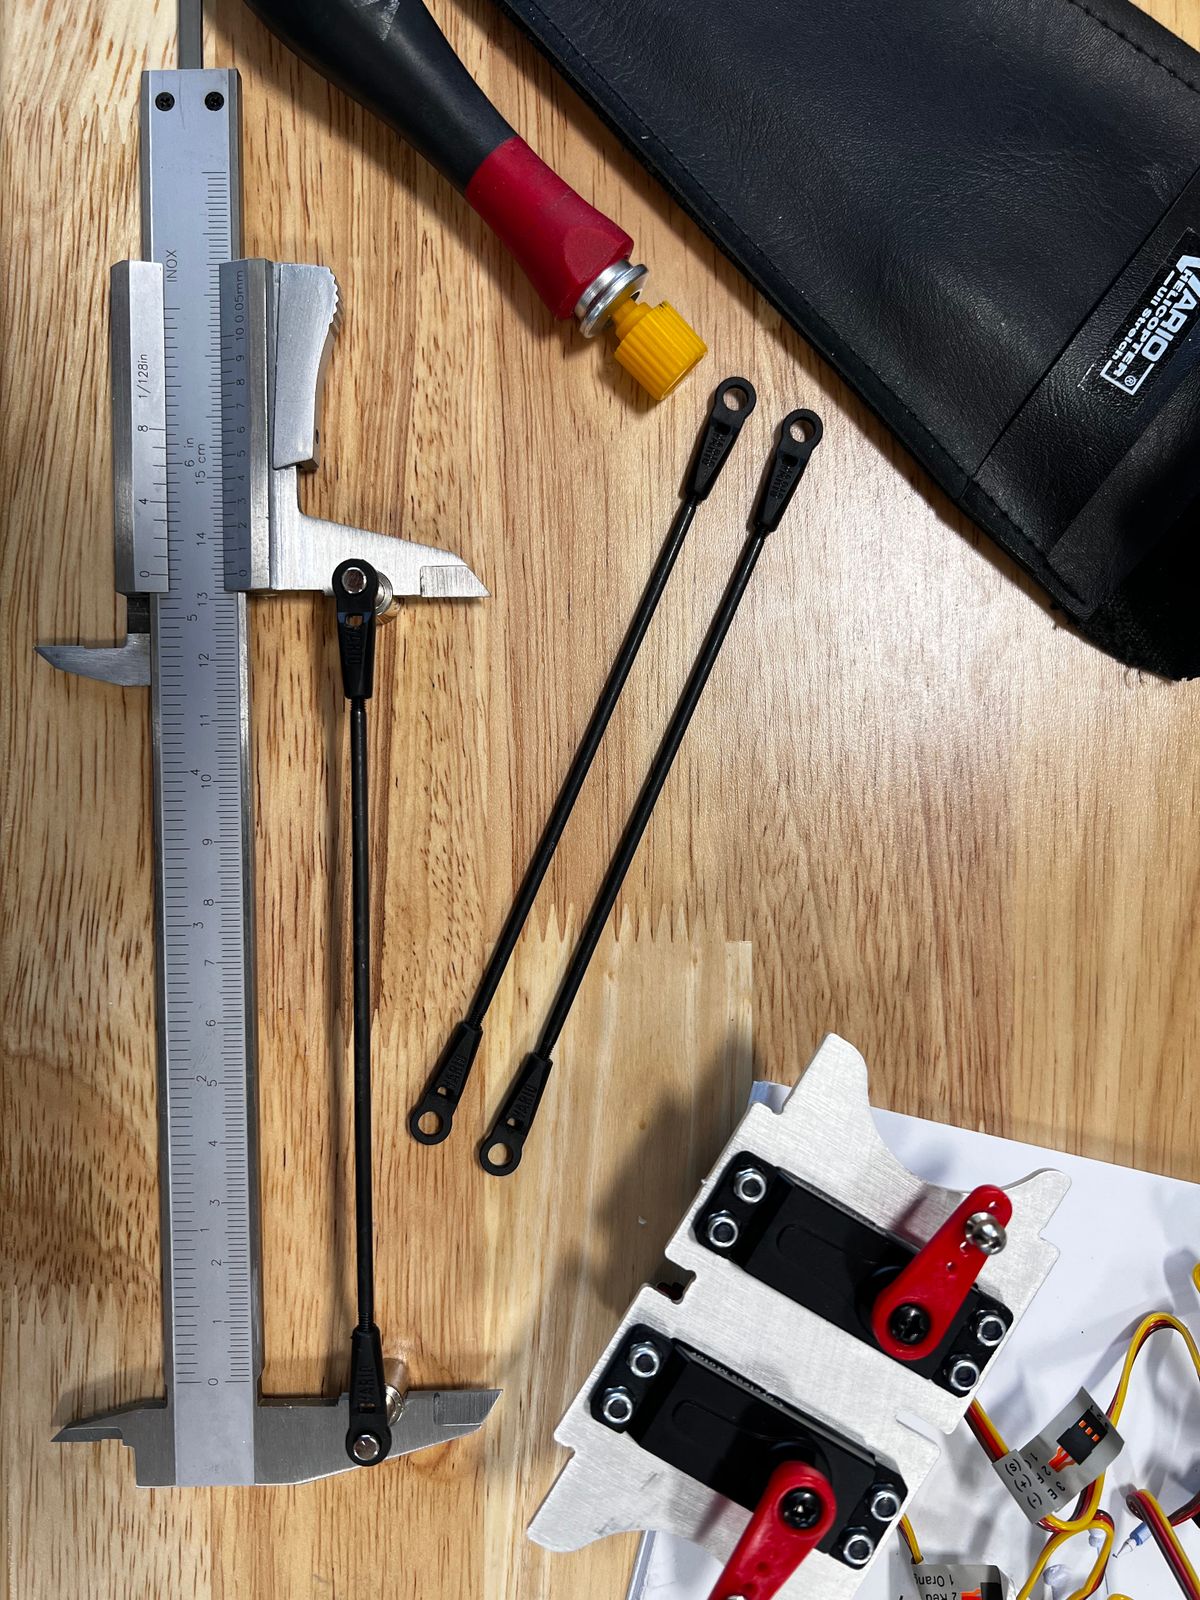
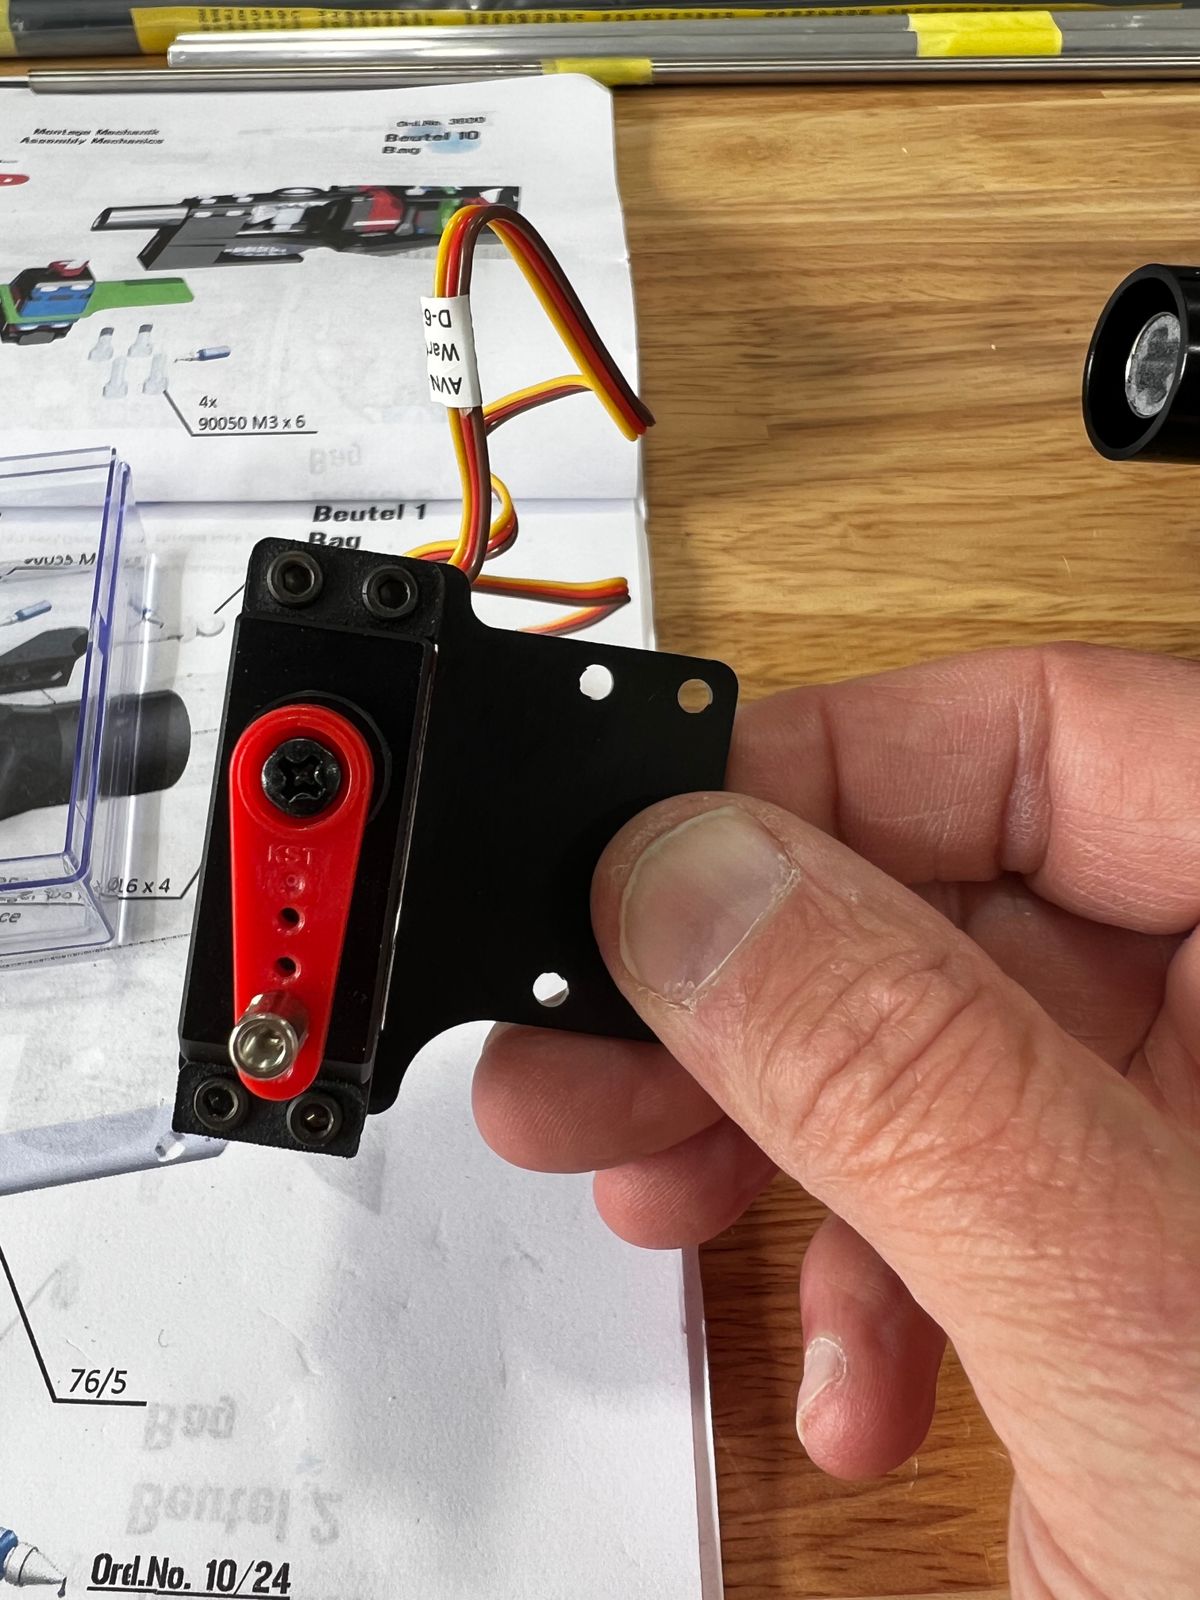
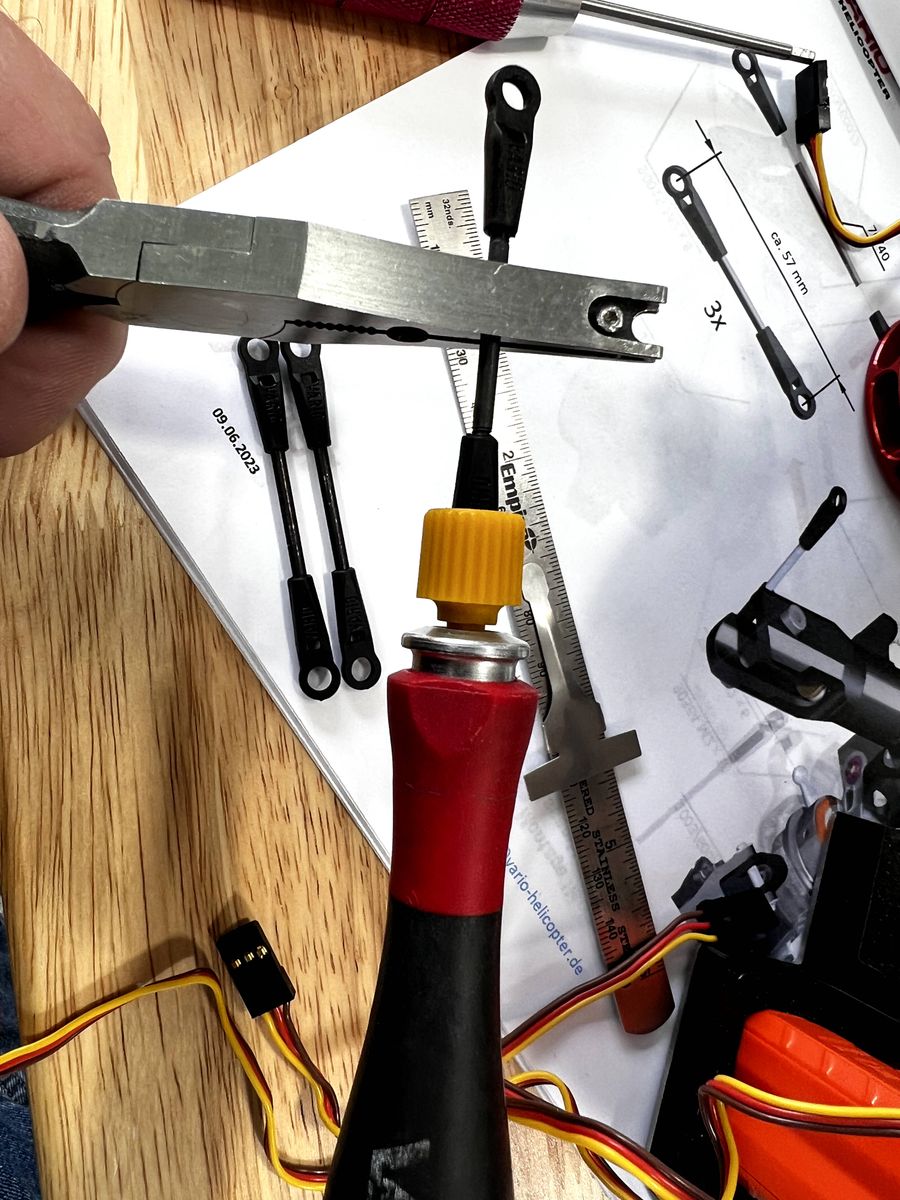
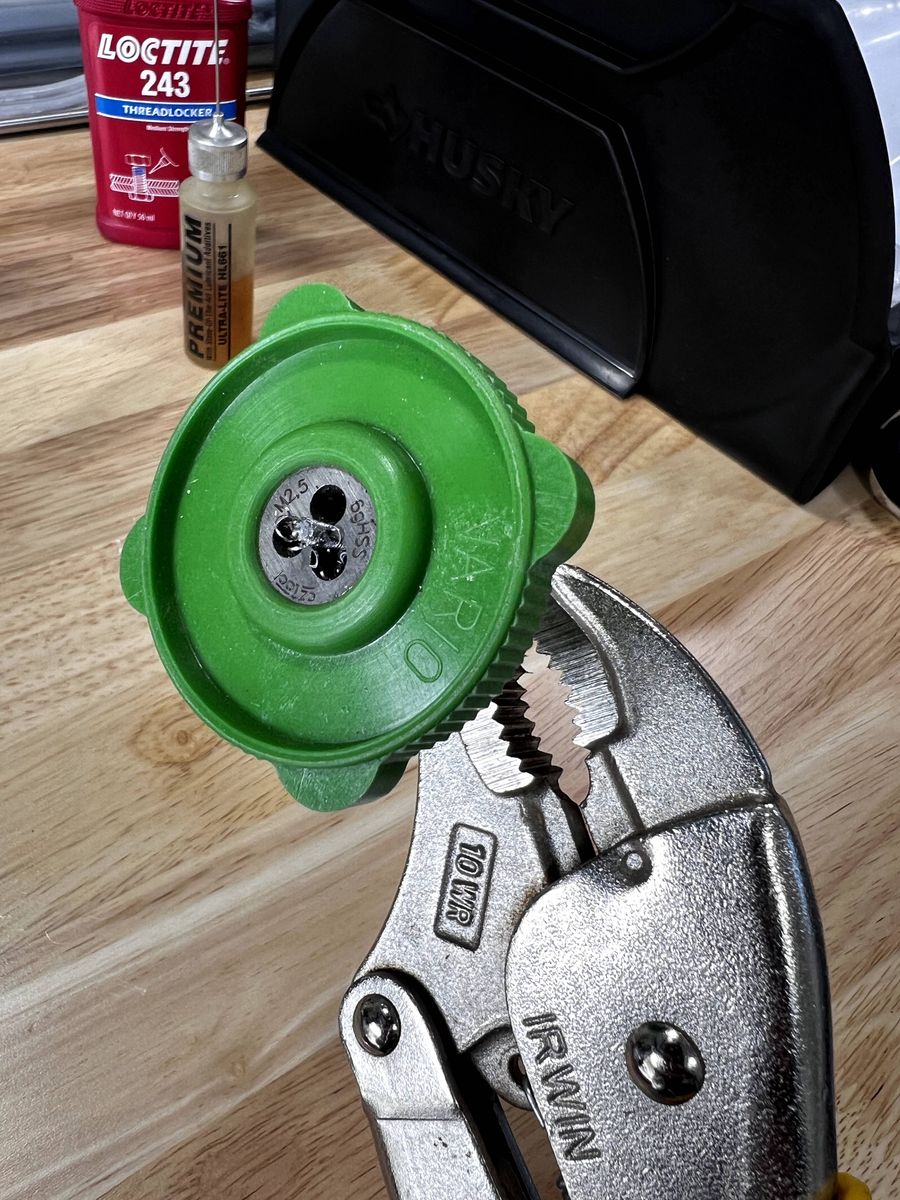
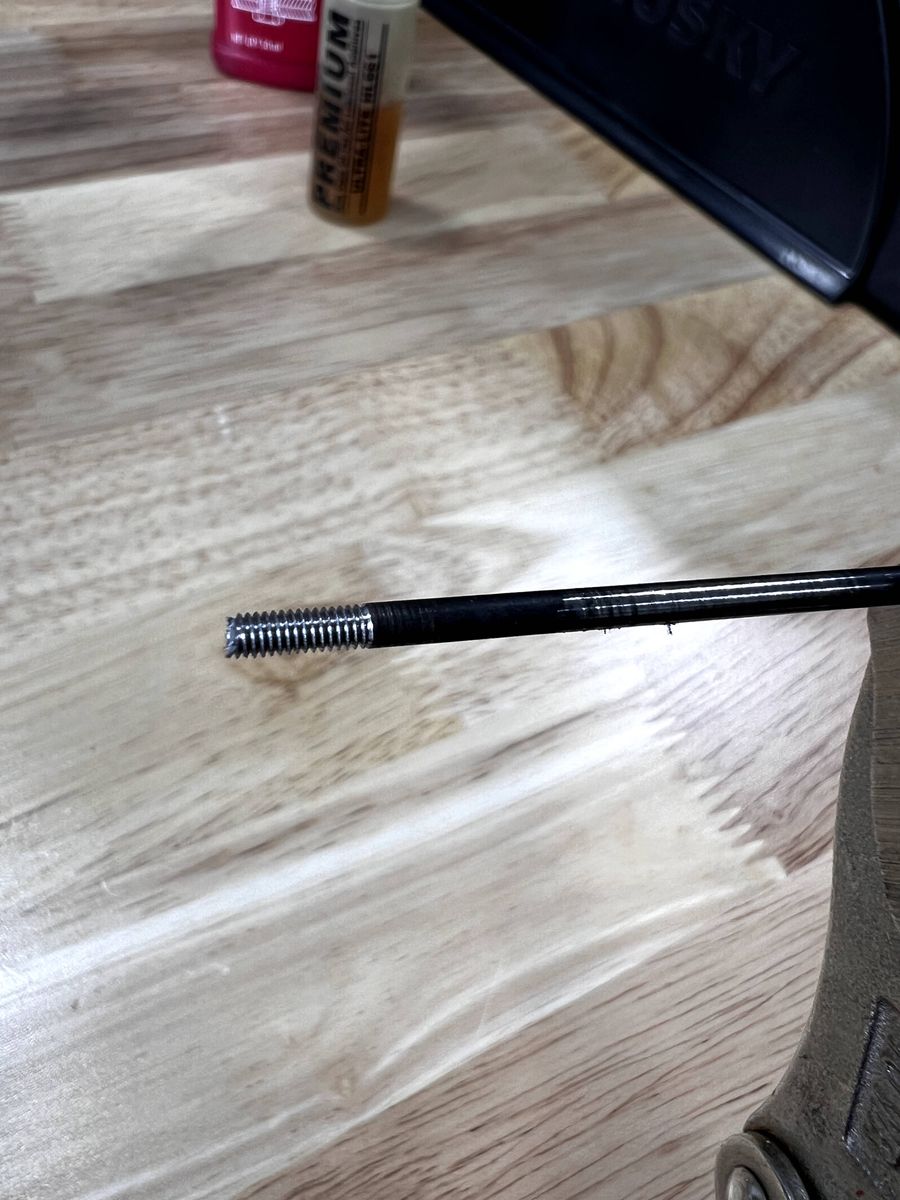
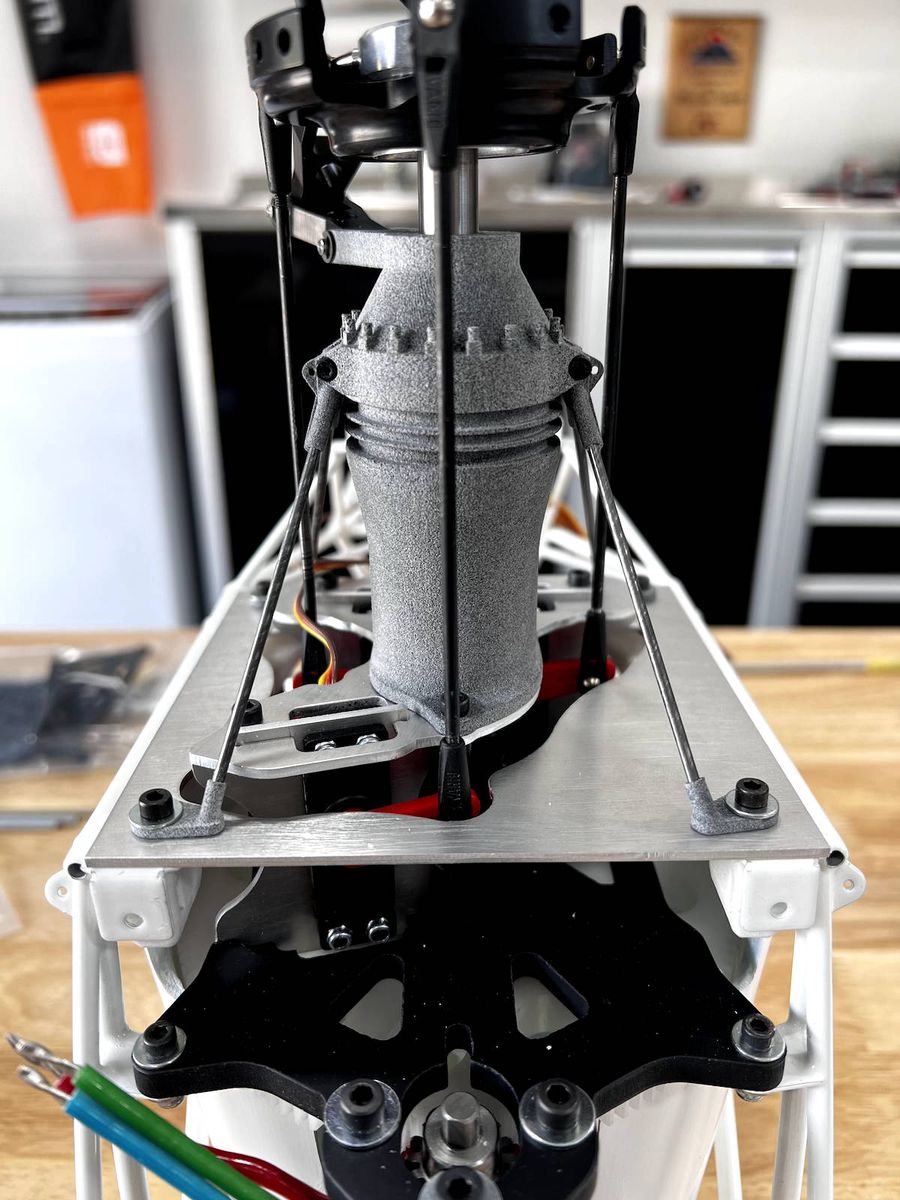
The 134mm main pushrods to the swash plate called for in the instructions must be an error. I found that 124mm was correct. Watch the video for details. Make sure you have a handy die tool in order to thread the pushrods after you cut them. I submitted this to Vario but have not heard back yet. In my experience, the 124mm works properly.
BEARING BLOCK
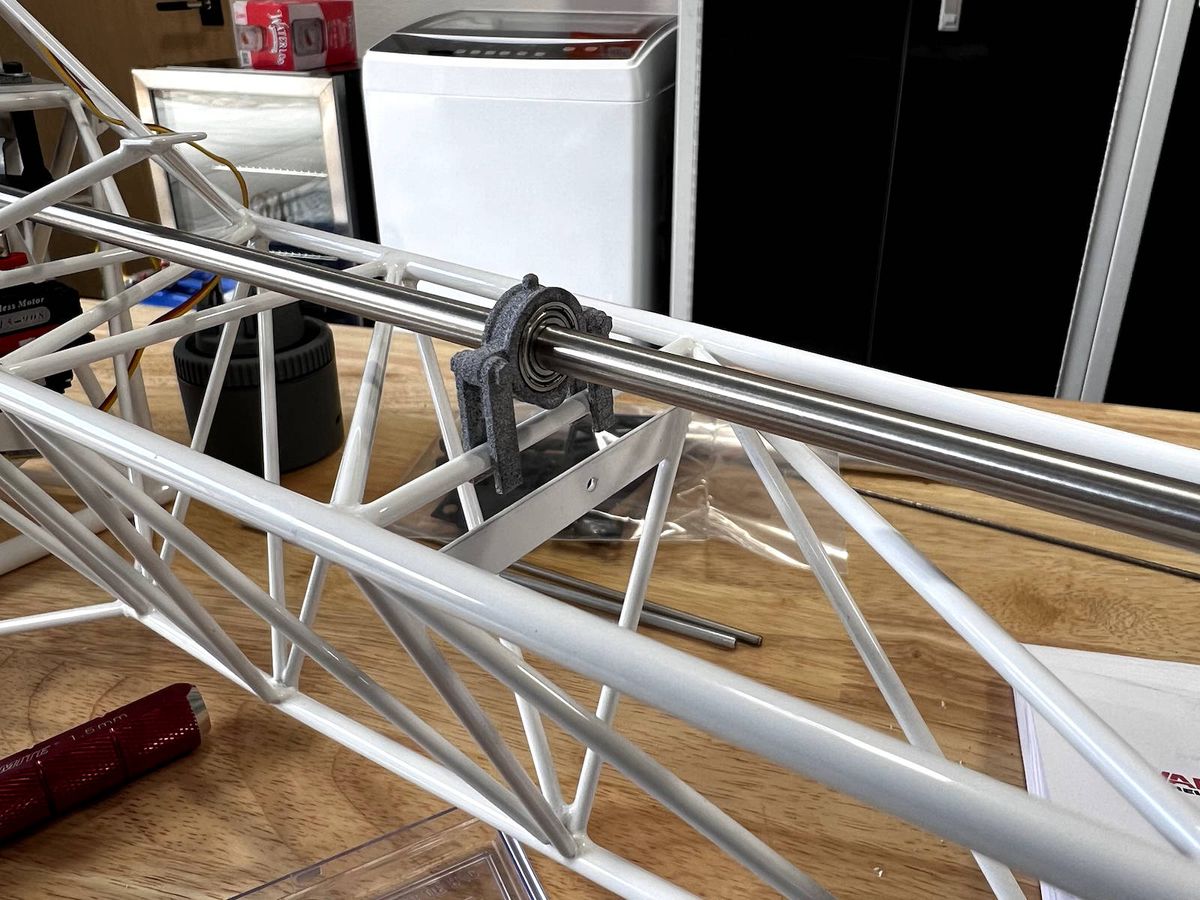
The bearing block for the tail drive simply doesn't fit into the aluminum base plate. A Dremel and 5 minutes handled things. Watch the video for details.
ALUMINUM HEAD
What a great touch! The Batman black aluminum head is badass. No more to say.
FOLLOWER IS TIGHT
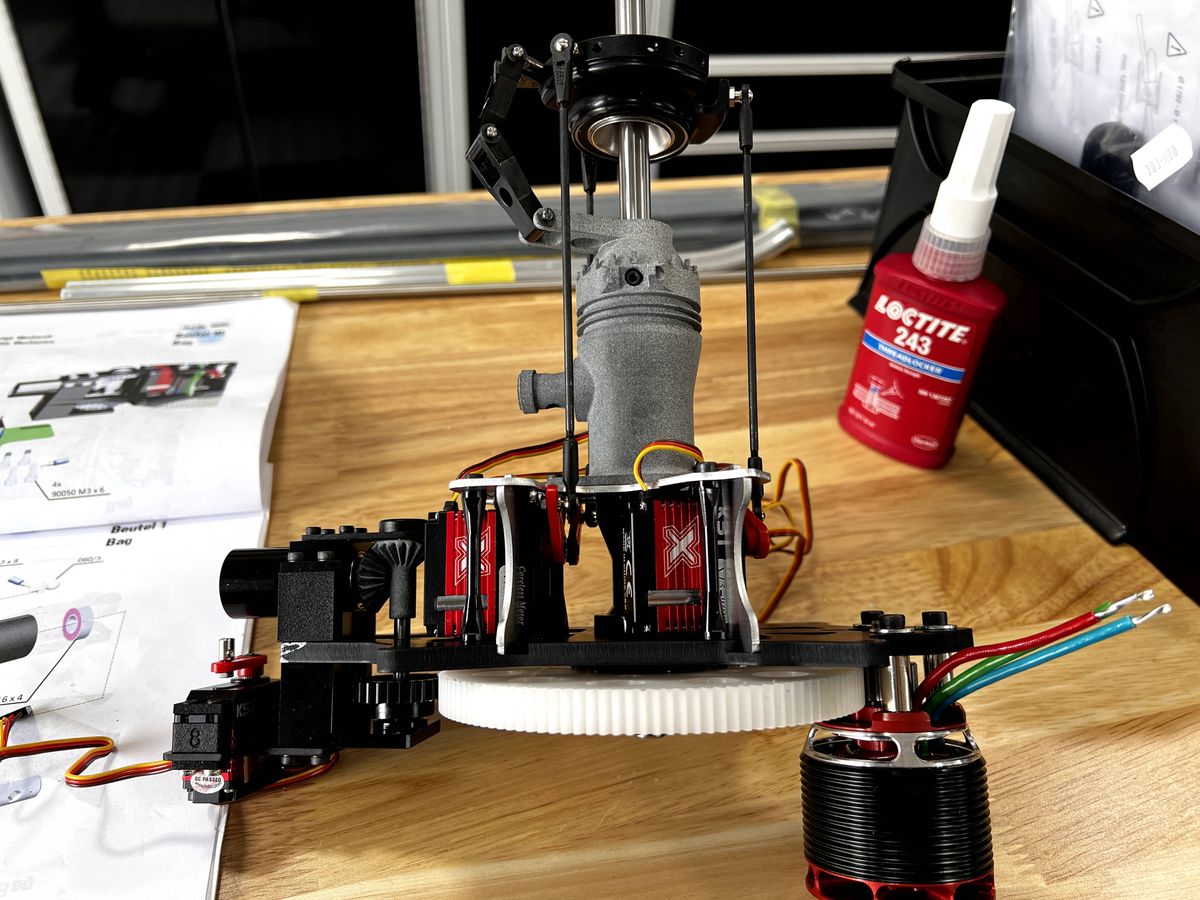
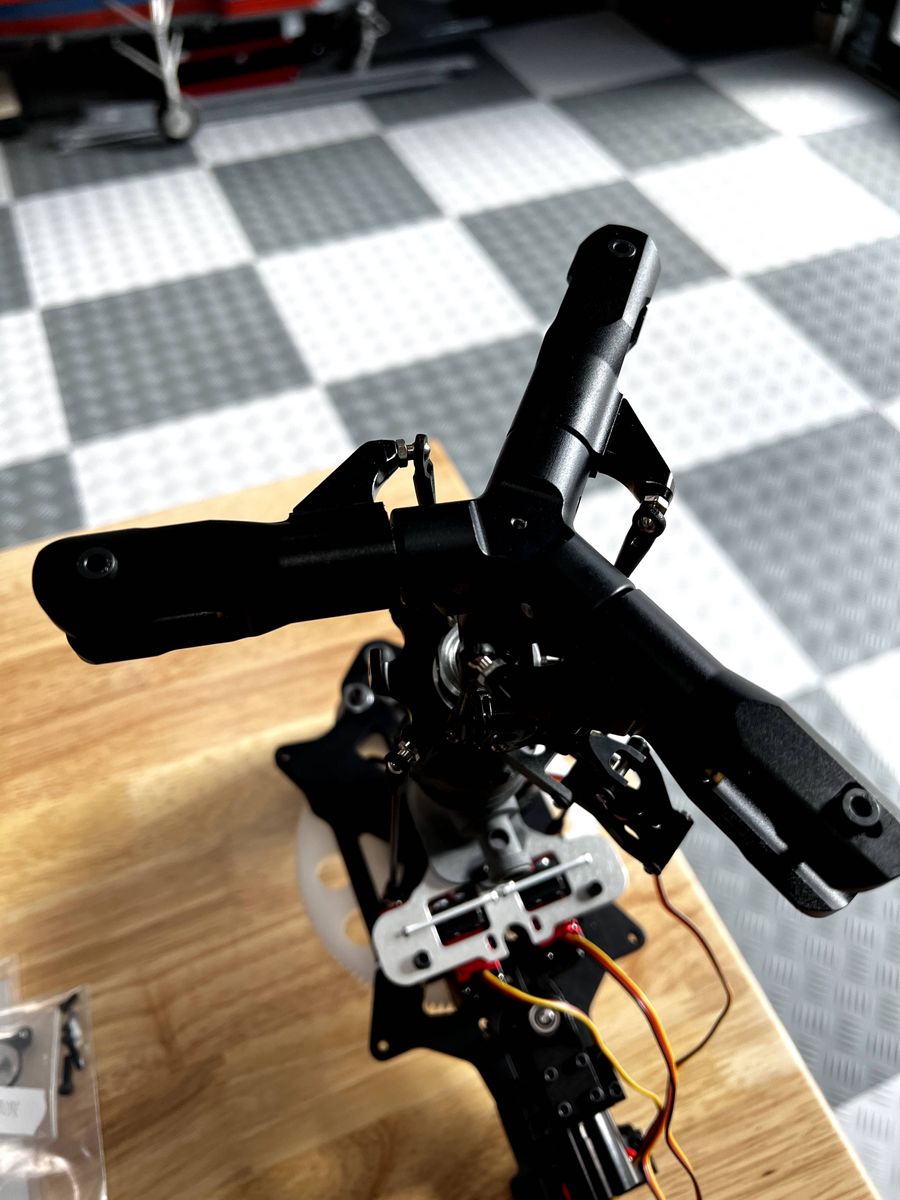
As mentioned in the video, the follower was not reamed properly. Someone should be reamed for this. As a result, rotating the follower for precise mechanical phasing is a bit of a hand workout.
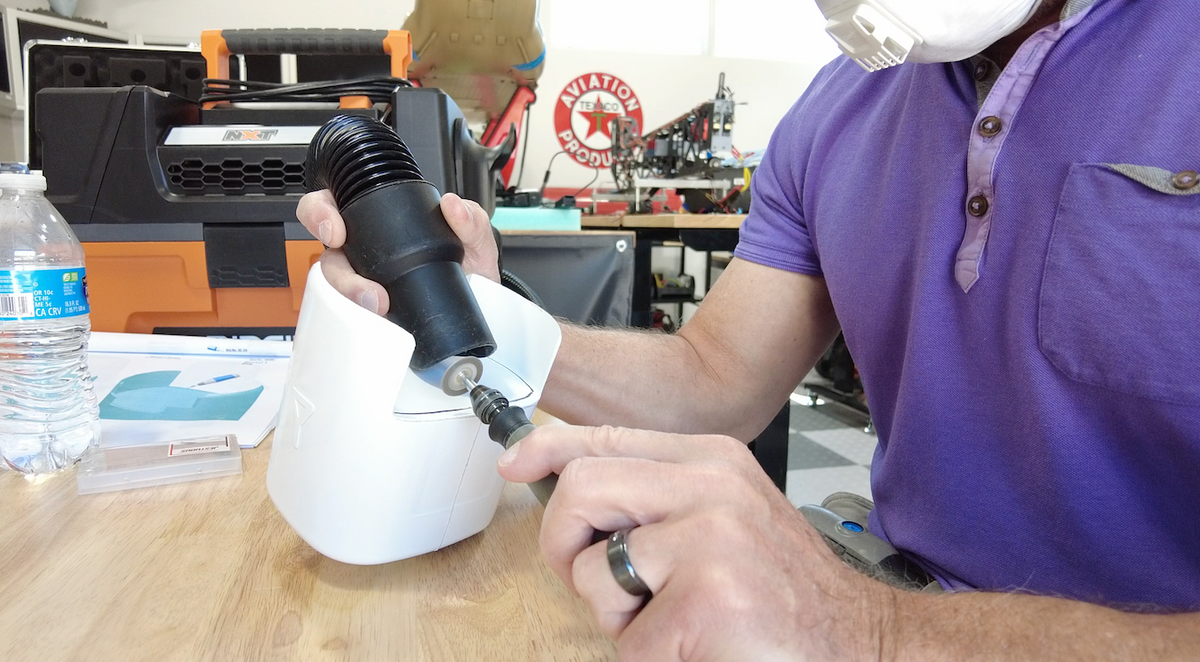
Chapter 6: Cutting the Fake Tank
The tank gave me mental fits. This is just the first chapter looking at why.
1. The instructions make it look like you need to CUT the tank shell into two but then on the following 3 pages make it look like you SHOULD NOT cut the tank shell in two pieces.
2. Vario has confirmed that you SHOULD cut the tank in two pieces.
3. The next chapter will really go into the final look and placement of the two tank shell halves. If you are building this model, you MUST watch this and the next chapter to save your head from being beaten against your work bench.
Chapter 7: Mechanics Fitment
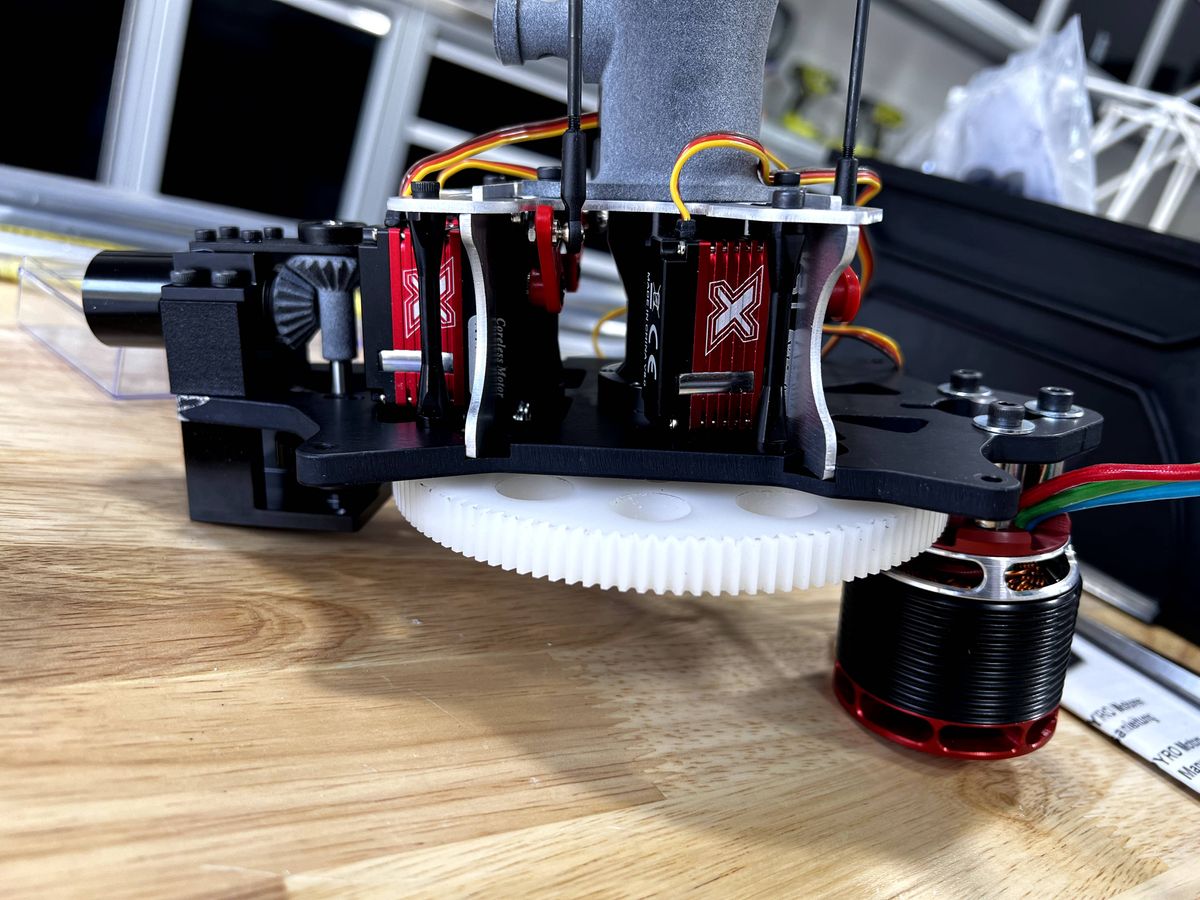
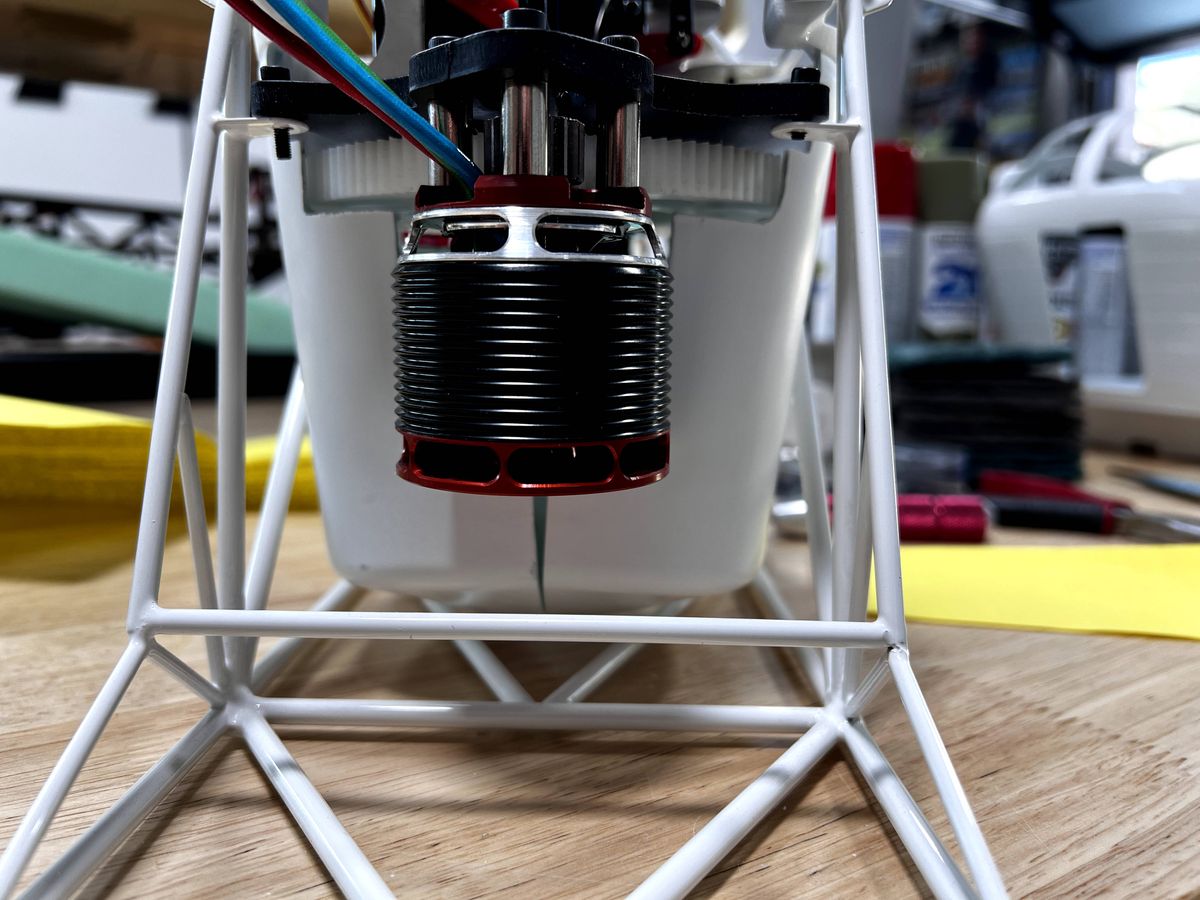
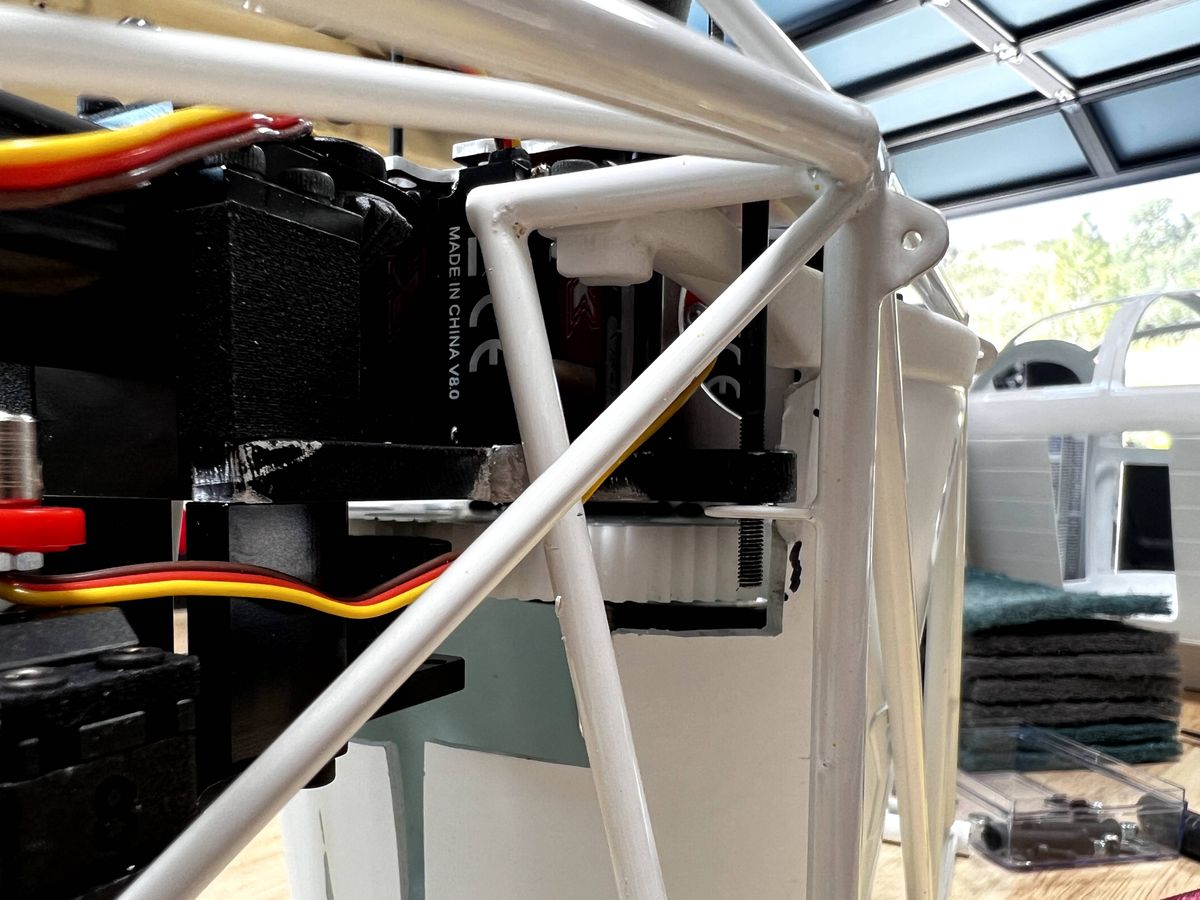
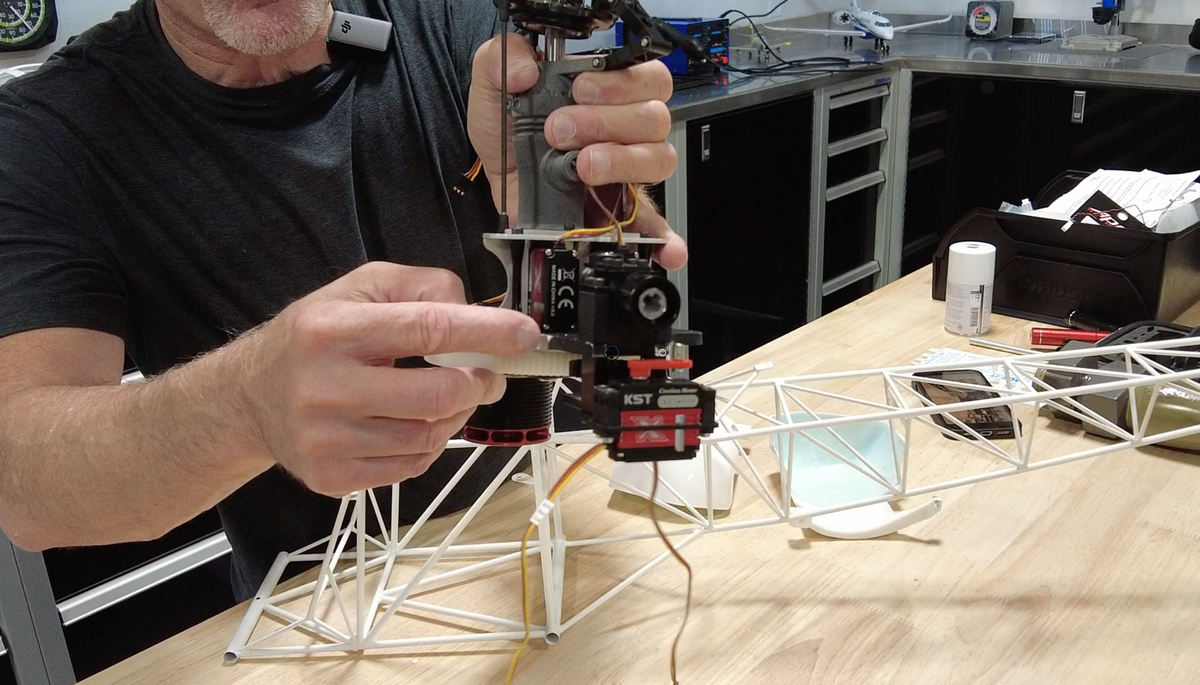
This chapter looks at the modifications needed to properly fit the mechanics into the frame with the faux tanks. The fit is extraordinarily tight and requires modifications to the tanks in order to preserve friction-free rotation of the main gear.
1. I have been in touch with Vario about what I believe is a major design problem with this model. All for the sake of fake fuel tanks (which are important, but not at the cost of function), this design leaves a paper-width's clearance for the main gear.
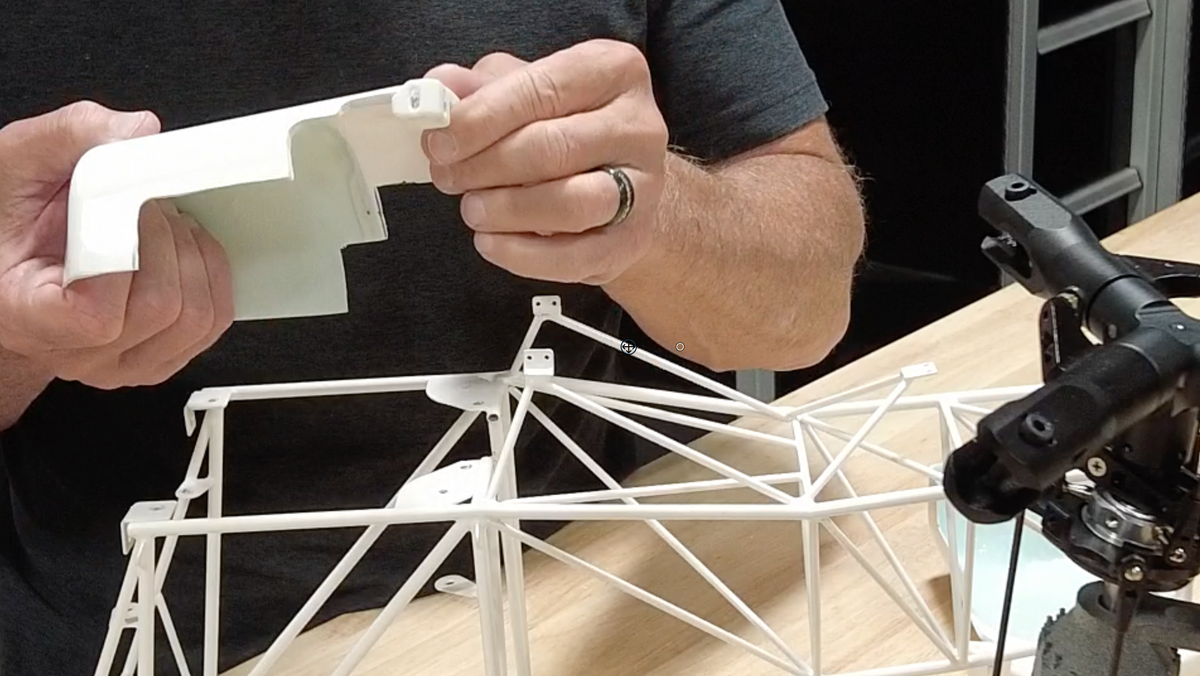
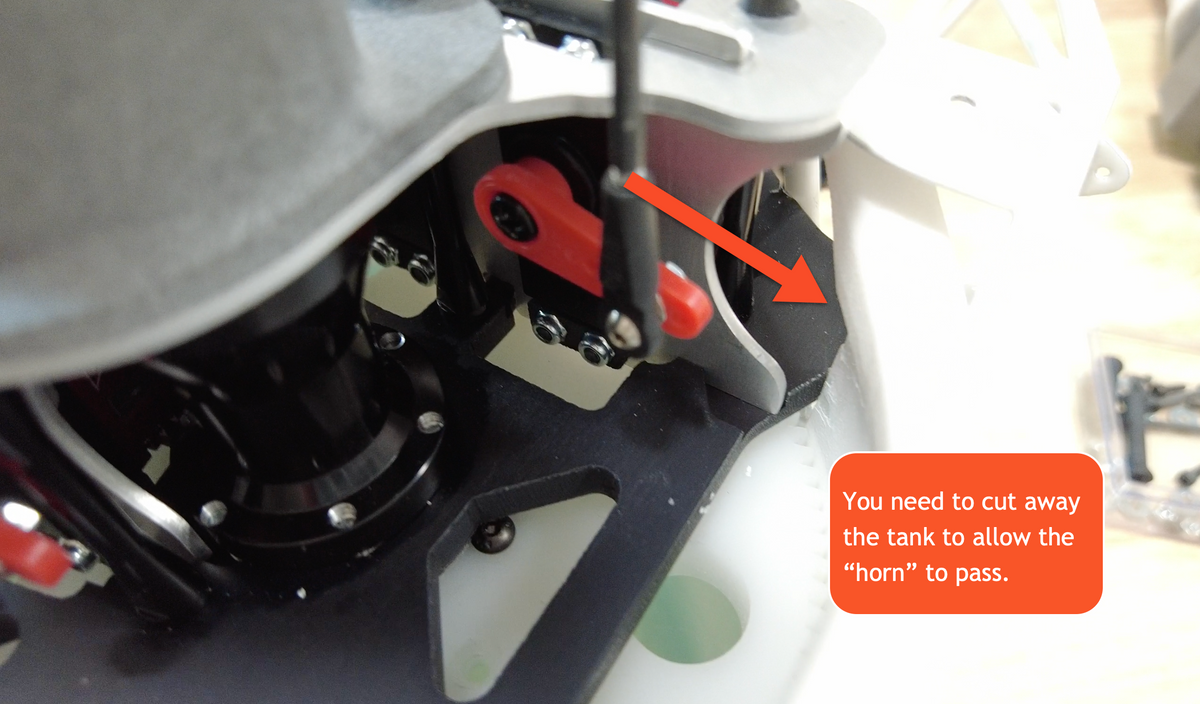
2. Be prepared to modify the cuts in the back and front of each tank half. The rear portion of the tank half must be carved to allow the "horn" mounts on the mechanics to actually pass by the tank on its way to the mounting tabs on the frame. This is a gross oversight that modelers can cope with but should not have to. It's possible that I am clueless but I had Matthias Strupf of HeliClassics look at this directly while he was in my shop and his conclusions were the same.
3. The aluminum mechanics main platform is a work of art, to be sure. But, when sliding them into the frame, that piece collides with two vertical struts in the frame. A bit of Dremel work fixed the issue, but this should have been addressed at the CNC stage.
4. The video explores all of these issues in detail.
Chapter 8: Big Surprise!
Torque Tube Trouble & Scale Bits
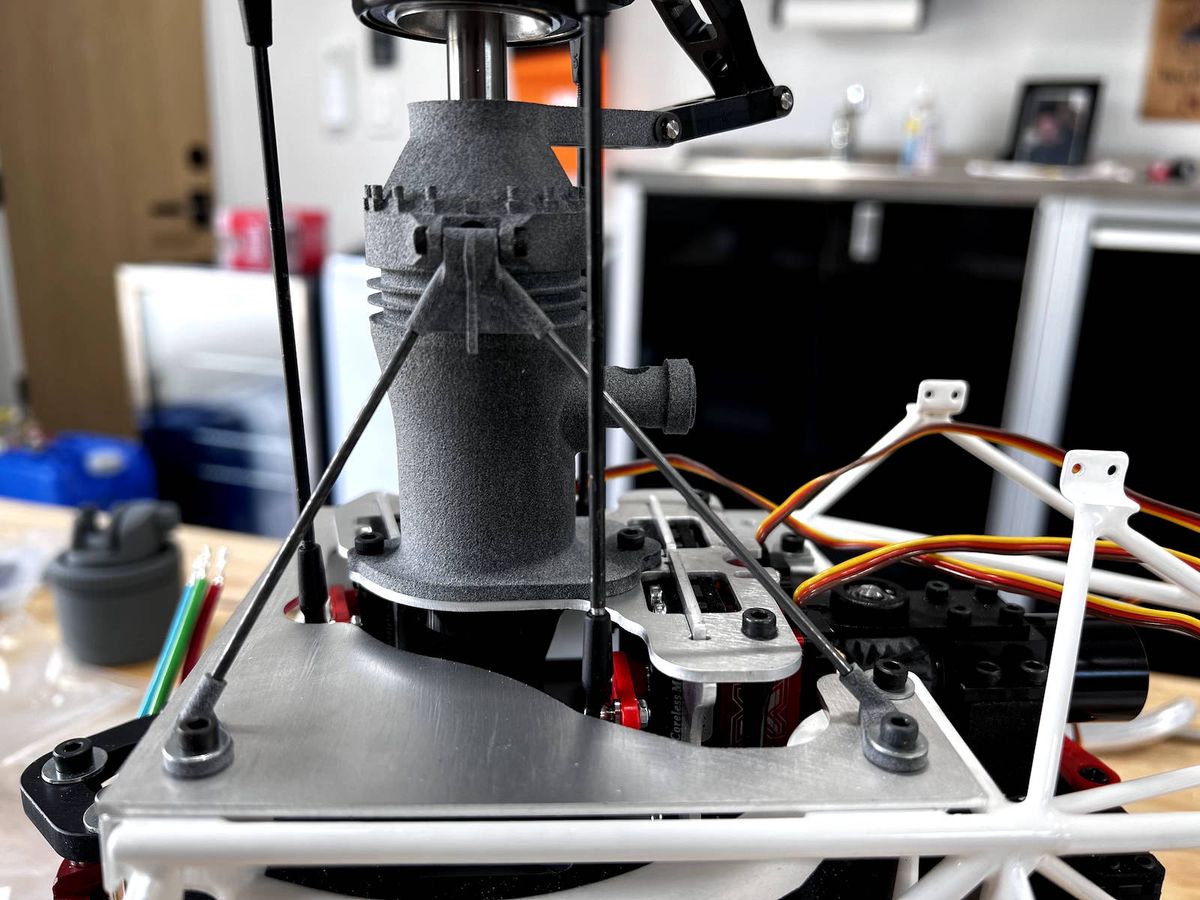
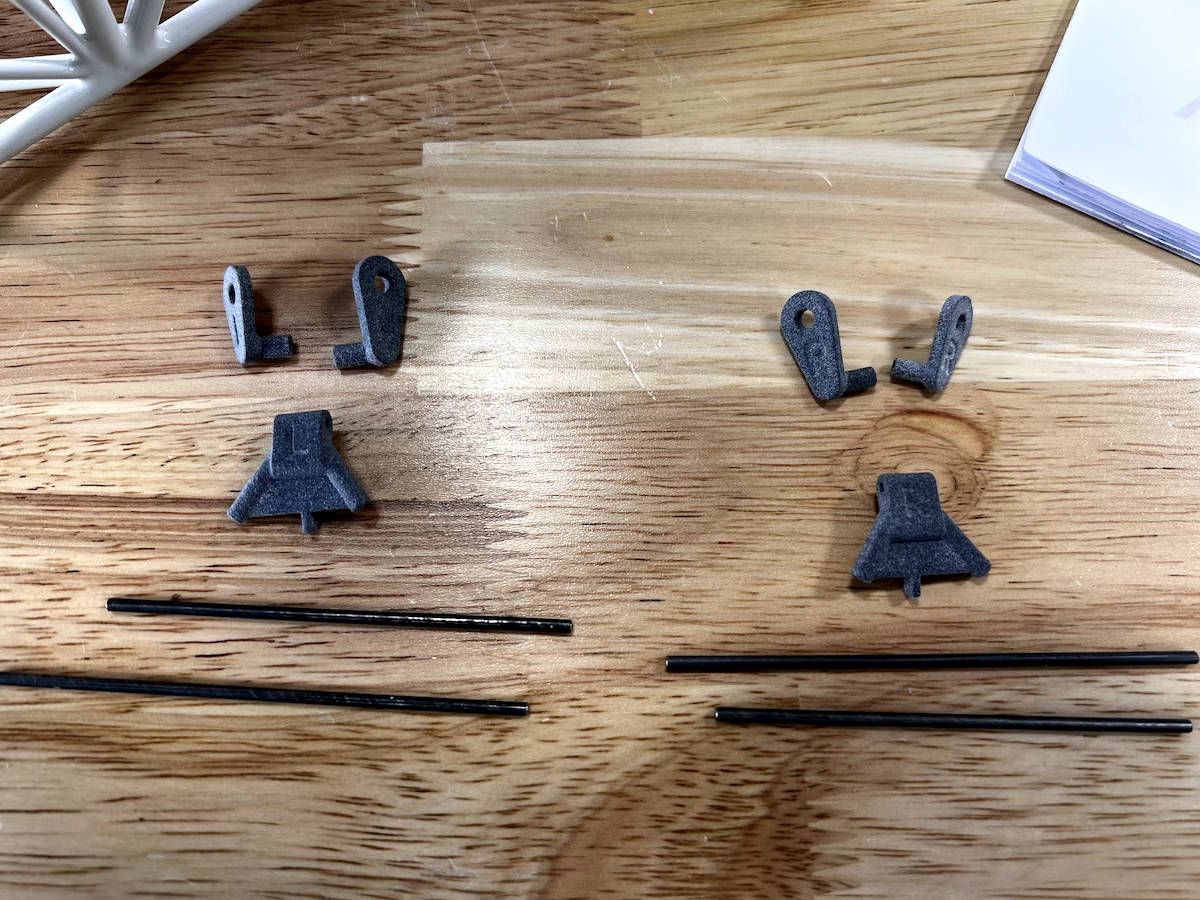
In this chapter, I go over a possible OOPS when installing the torque tube. I'll also give a look at the scale bits that make up the skid assembly and head supports.
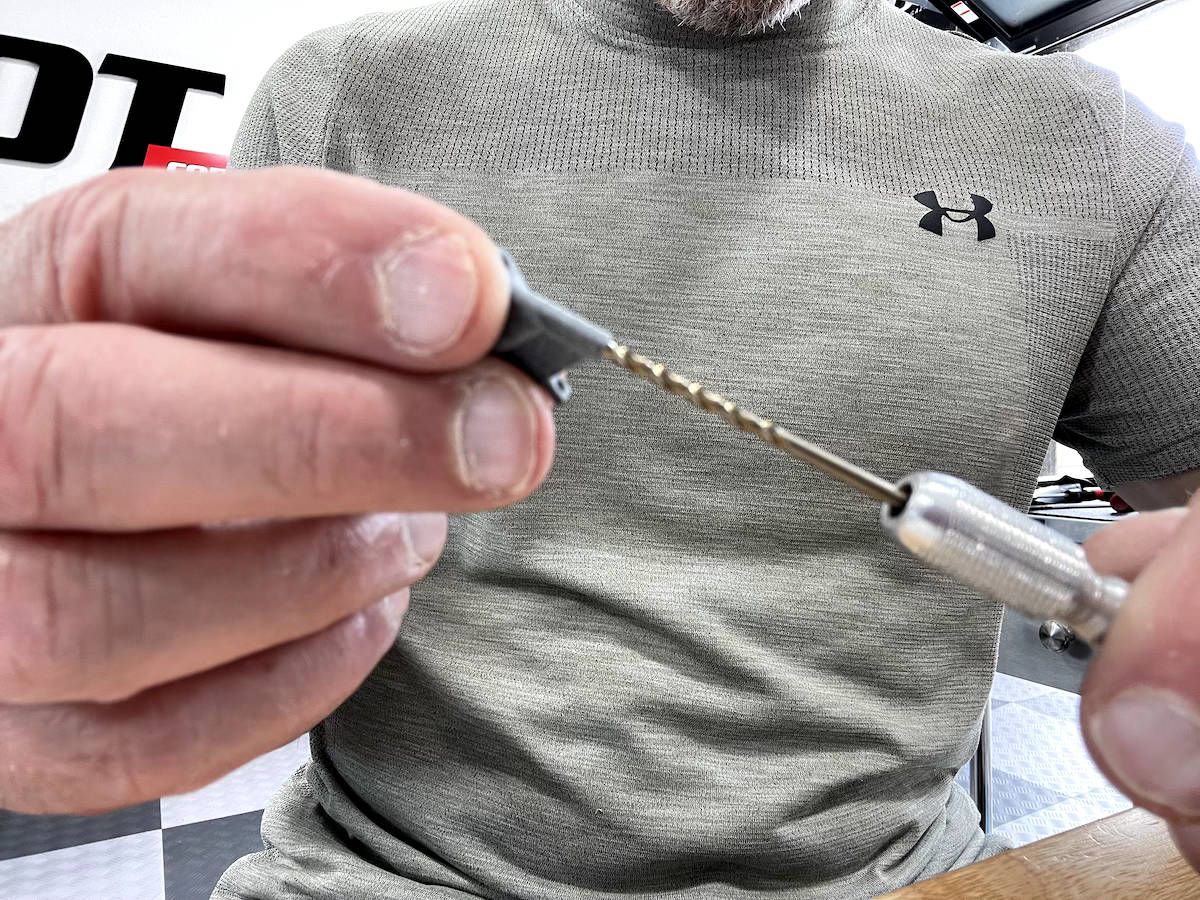
When working with these seemingly durable 3D printed parts, you will need a pin vise or small drill to bore out the holes.
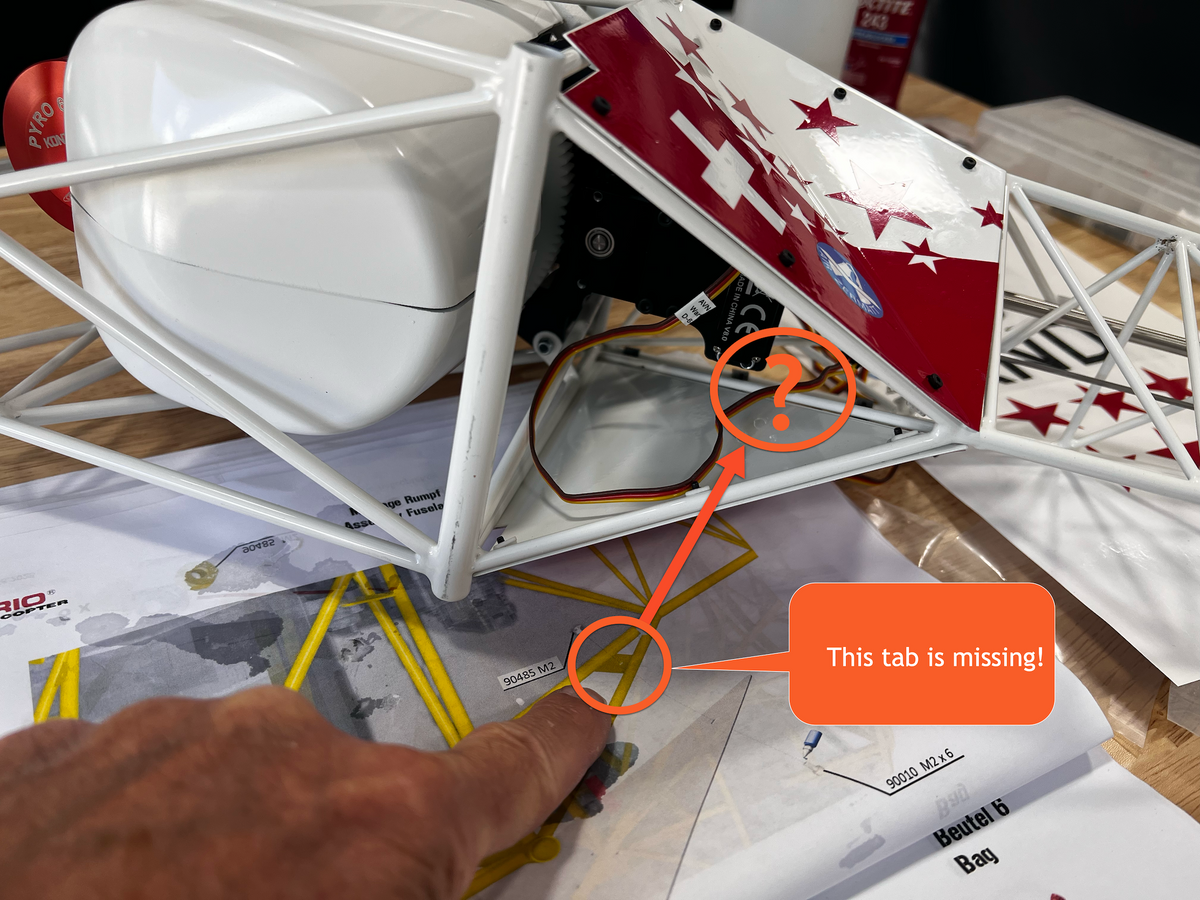
I also include a picture of the instructions showing how to attach the bottom triangle plate. The trouble here is that the mounting tab for the plate IS MISSING! It simply is not welded onto the frame. I had to rig a clamp to hold mine in place.
Glass & Canopy
It has been a bit since my last chapter but I did get some detail work done on the canopy.
1. Pre-drilled and screwed in the glass pieces, but NOT ALL OF THEM. I left off the four front pieces so I can get my hands inside easily.
2. Got the doors installed with hinges and latches. Pre-drilling is essential
3. Programmed the Kontronik Kolibri 90 for a 12 second slow start.
4. Ready to test hover after connecting the Axon!
Chapter 11: Wires, Gyro and Cables, Oh My!
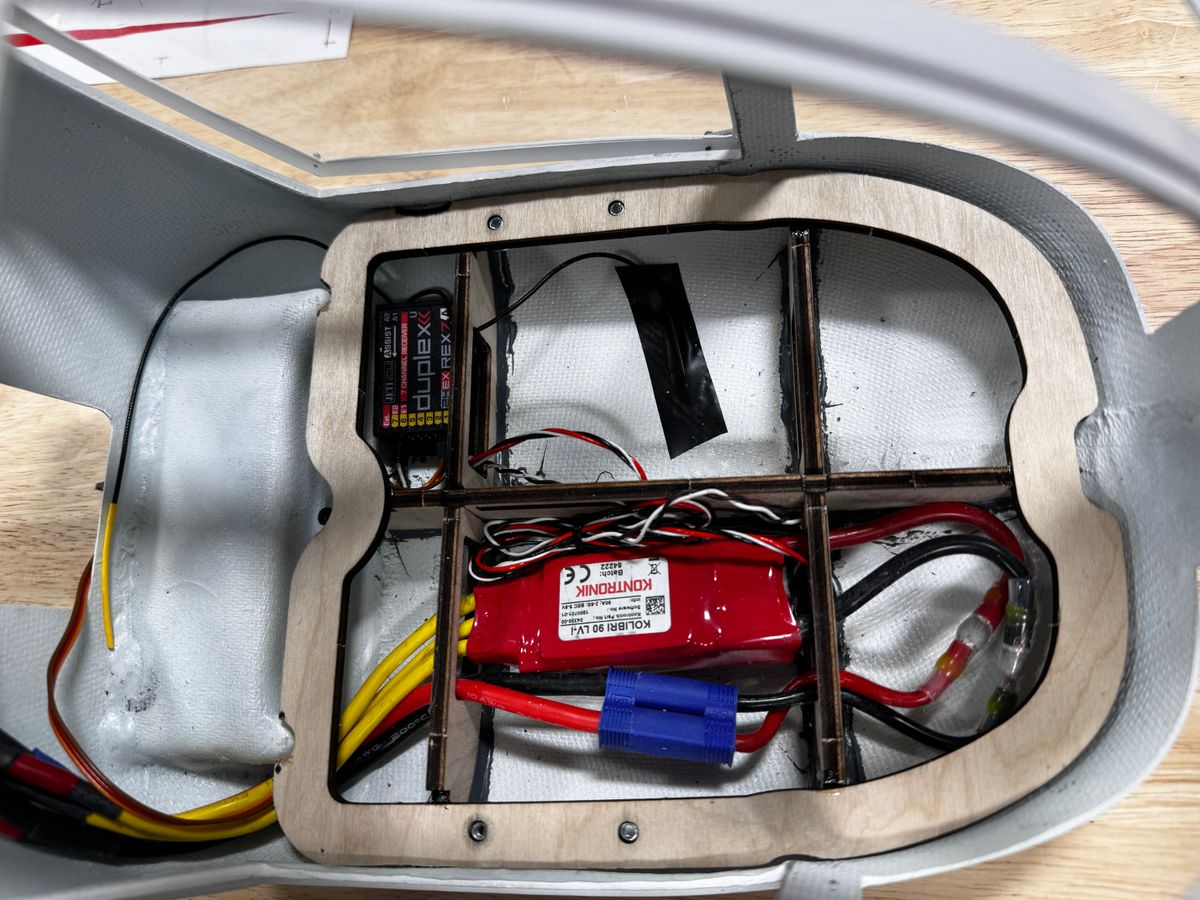
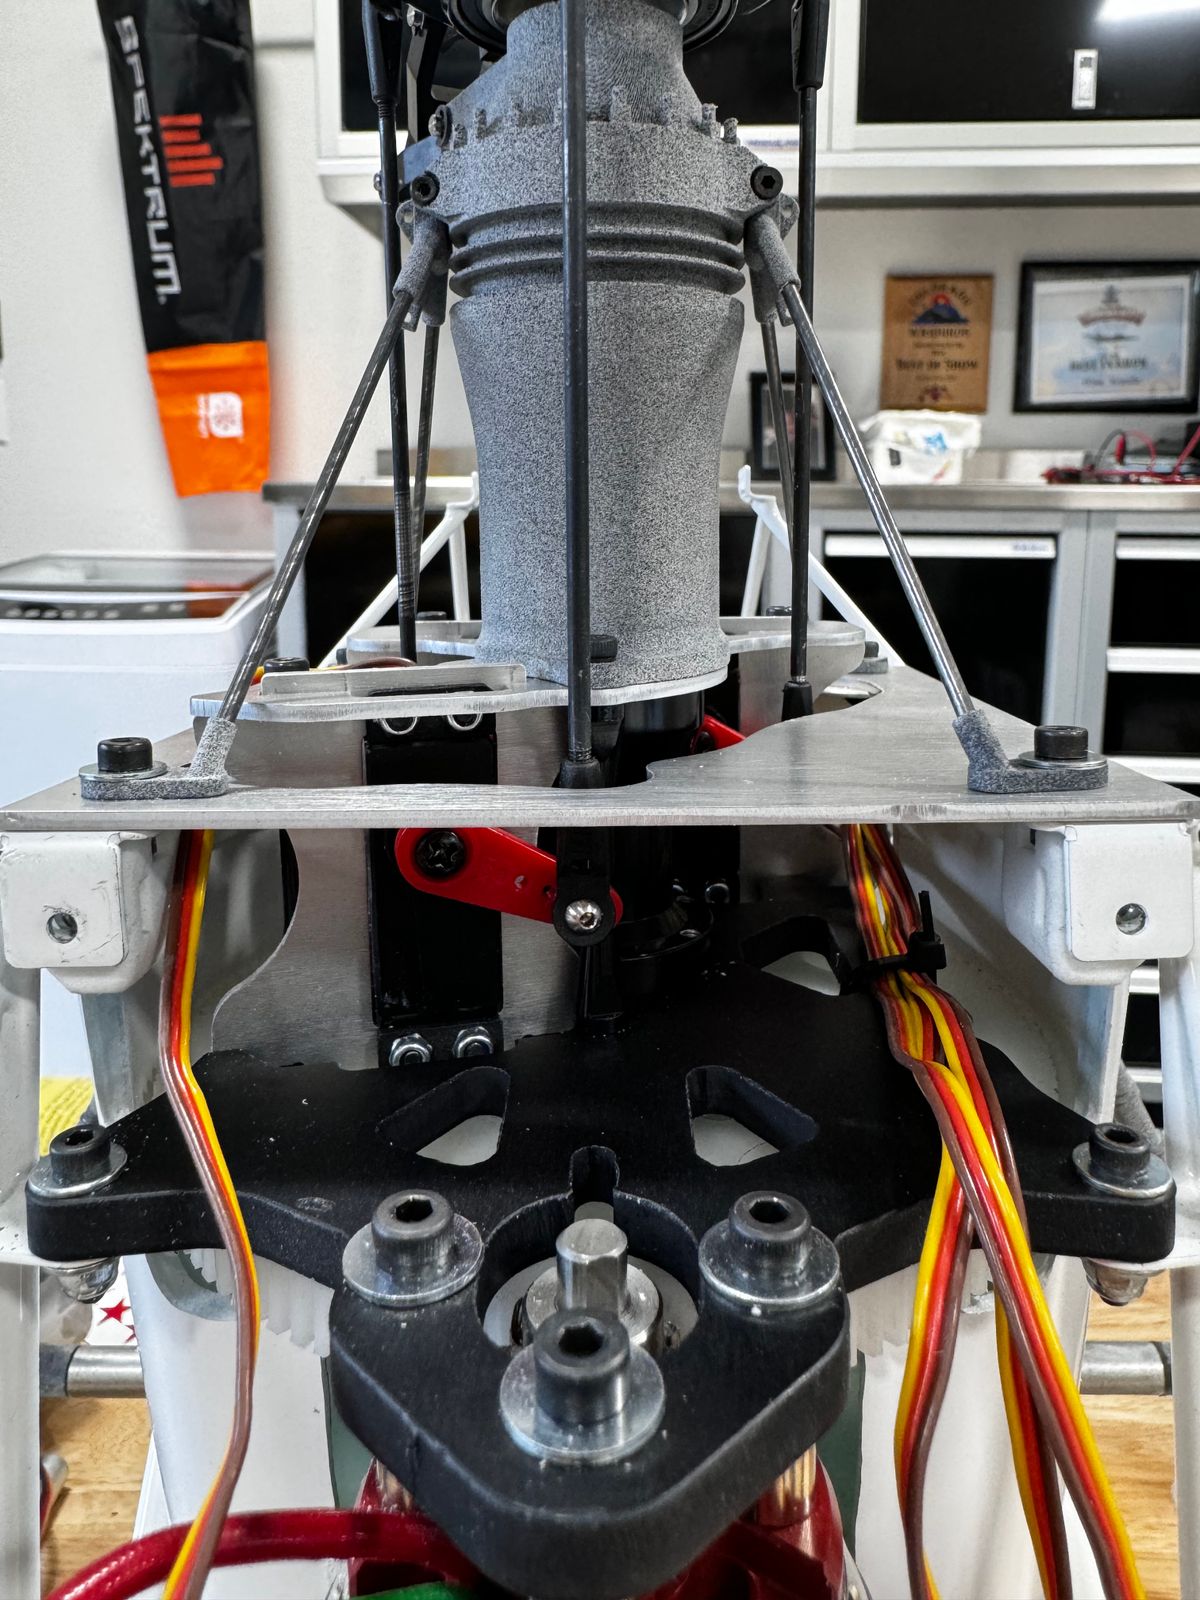
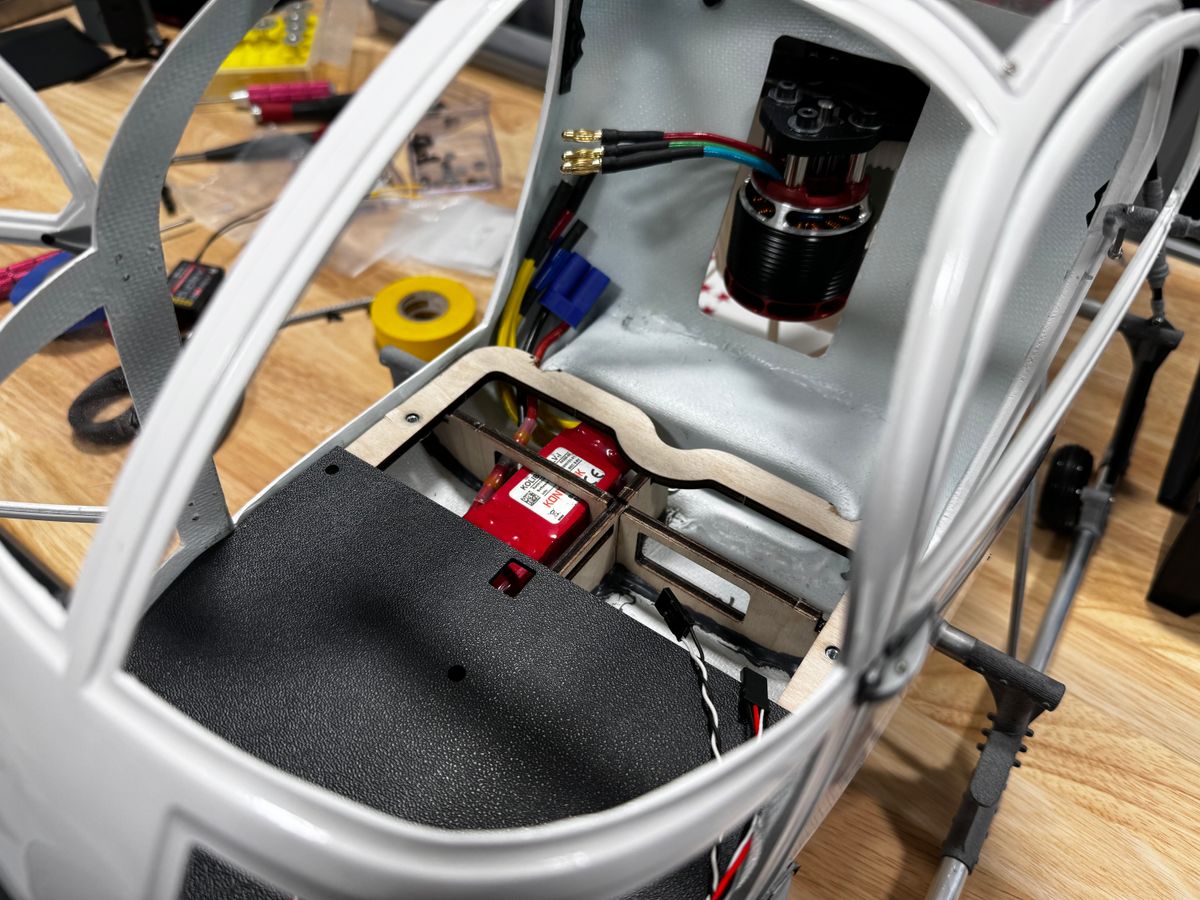
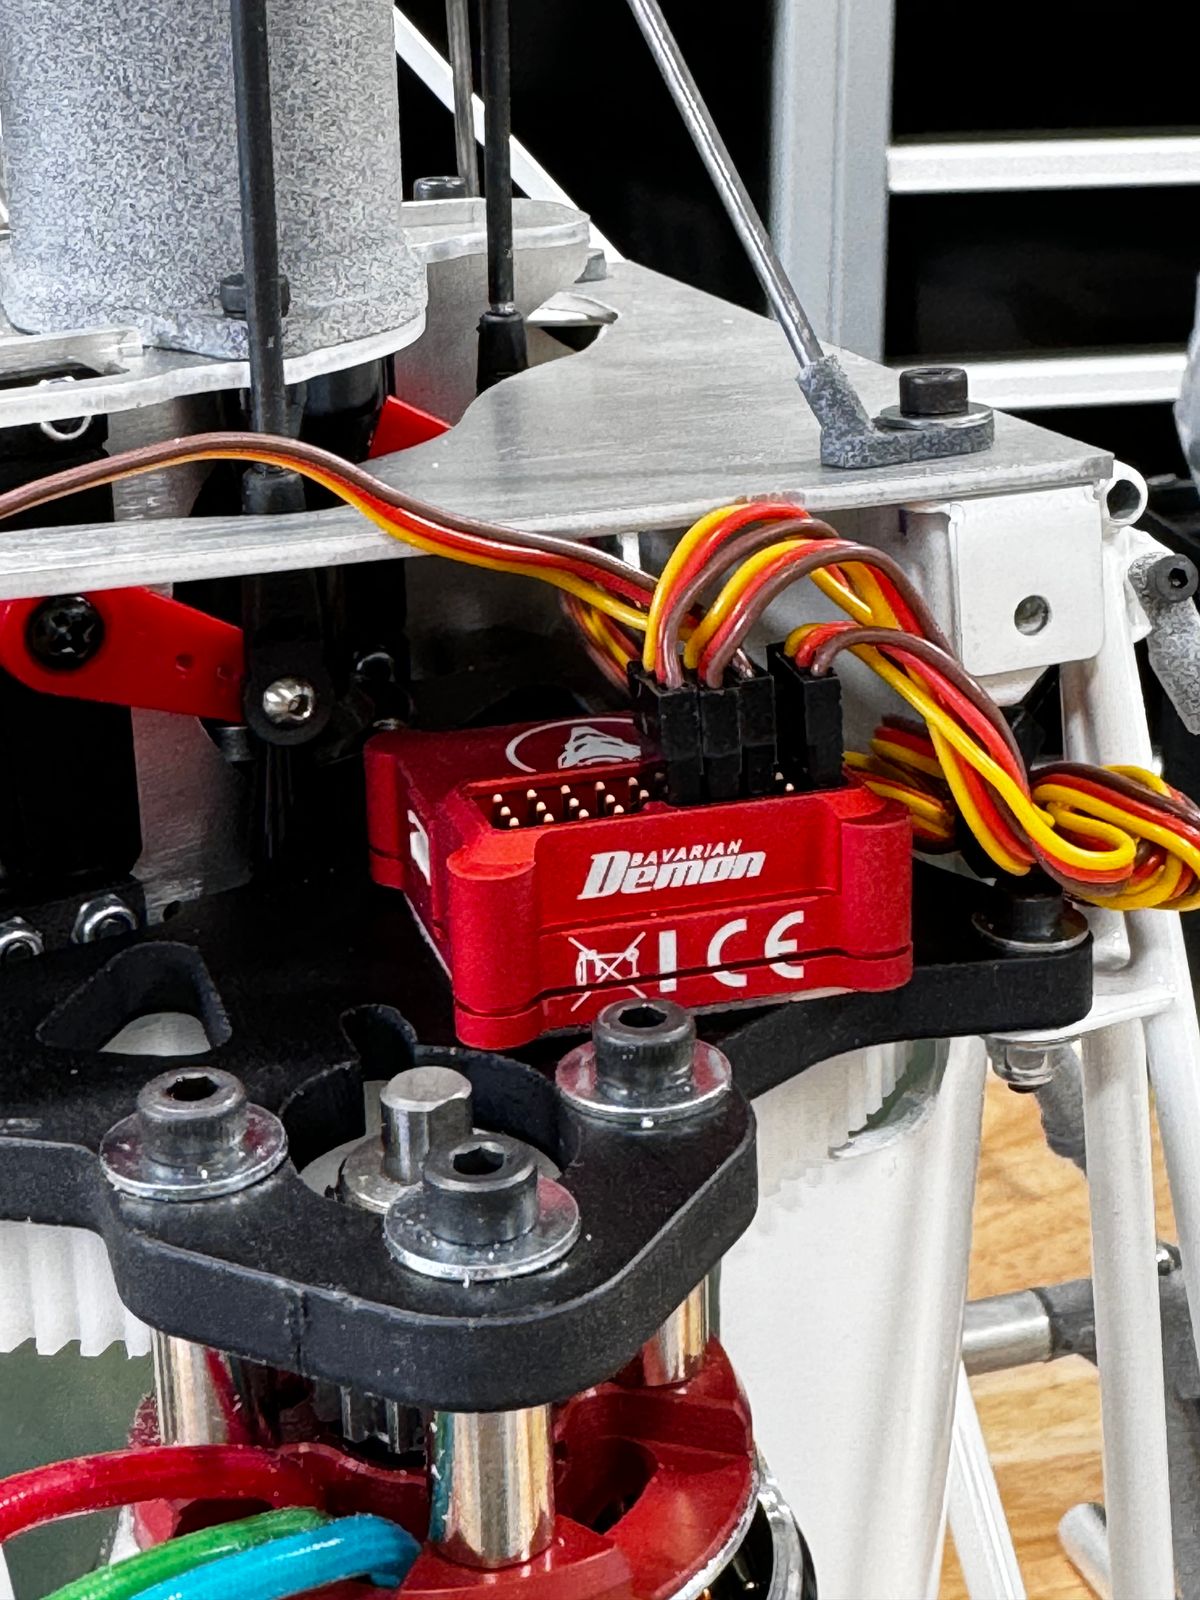
I really enjoy laying out and tidying cables. The photos show that I placed the ESC and receiver below deck and the gyro on the main metal mechanics plate to ensure limited — if any — vibration.
Once you mount the gyro, it’s unreachable unless you remove the canopy. For that reason, I stubbed in the computer cable so I can easily connect the cable during the tuning phase without have to mess with the canopy.
Chapter 12: Cockpit Electronics Update
This video gives you a look at how the finished electronics install will look before we add the fun stuff (seats, console, etc.).
Chapter 13: Battery
I recommend the Admiral 6S 5000 mAh battery from MotionRC.
Me Attempting Scale Detailing
It’s a bit of comedy when I try scale detailing…
First Hover Attempt -- OOOPS!
Don't worry, the helicopter is in great shape. See why I had to tear the entire thing apart before I try again. 😡
SUCCESS!!!
After fiddling around over weeks to determine why the ESC was causing the gyro to lurch up (collective), I finally bought a Castle 90 Talon ESC to test the final variable in the puzzle. I had disconnected the power from the ESC to the receiver, installed a separate receiver battery/switch, wrapped the ESC in aluminum foil and swapped gyros. Nothing worked until last night when I installed the Castle.
Today, in 22 mph winds, I hovered the Baby Lama! It still needs some gyro tweaks but overall I was amazed at how smooth it is. ZERO and I mean turbine-quality ZERO vibrations. It lifts off so nicely and is a stable platform. I'm running 1,600 constant head speed and using Castle's specific RPM setting system to maintain that. Here are the specs:
- 121-tooth main gear
- 16-tooth pinion
- Pyro 650 65 - 10-pole motor
- 6s battery
I do think the price on the Baby Lama may keep some buyers away, but if you are not daunted by the cost, I believe the Lama is a fantastic looking 600-sized bird that is super convenient to transport and a unique bird in that size category.
56 Comments
Nice Lama.. BUT! there is a Chinook in the background.. any more info on that one?
That article is coming soon! I’m waiting on some parts from Vario.
Sneak peek
Awesome.. I am gathering parts for my build... Should start this fall....
I assume the printed shaft housing is plenty strong, wouldn’t want the swashplate anti rotation link breaking.
I have the same concern! The beveled drive gears for the tail are also printed. I will be asking some hard questions to find out.
Is it possible that their measurement was based on the servos being reversed with the arm toward the bottom of the servo there by making for a longer length?
Not that I can see. The splines are oriented toward the top. There is only one way to mount the metal servo frame.
Here's another look
So… the bevel gears are 3D printed? What material?
I’ll talk more about these in the next chapter but it’s a proprietary blend that is very strong
Maybe by splitting it, Vario's aim is to have access to the mechanics?
You have to split in order to install the mechs. The upcoming chapter explains it all.
Agree this is confusing. Same can also happen with pictures not necessary matching with batch version. Manufacturers are sometime including some addendum sheet to highlight changes and fixes.
Fortunately, Vario makes the Lama instructions only in PDF so they can update easily.
kit change
Now you have custom, modified mechanics 👌
Cant waite to see this at the 2024NATS
Worth every penny and I don’t even know the cost!
will this be offered as a upgrade or will it be in the deluxe painted edition. I can't seem to find it listed in vario as a upgrade or parts
Not certain but I will find out!
UPDATE: Vario has informed me that the pre-cut glass is INCLUDED with the kit! Hip hip hooray!!
great thanks for the info
Looking good!
Mike, looks like not mention in current version of PDF user manual, but you can increase of 5mm the torque tube with adding two coupling pads - anyway recommended for all builds to damper the TT (ref. 412/49 ø7, 2x 2,5mm thick, to be glued inside)
Very good suggestion!!
Point 3: guess wanted to say 60 seconds slow start 😄
(12 is the default shipped value)
I haven’t flown an electric in 15 years (just turbine) 😆😆 I will update the settings to 60! Thank you for the input!
Nice build , have fun 😄
+1 on the prog unit and the full 60s slow start . I always use it too. Can’t wait to see the maiden hover! Looking good
Looking good. Interested to see how the battery fits under the seats.
I am not hopeful for Spektrum batteries because they are slightly too large for the space. For now, I’m more concerned with testing. 😳
Is that a kolibri 90? Can't quite see, very nice layout.
It is the 90!
Nicely done. Where there is a will there is a way. Modeling at its finest.
B
I like that! Looks like it slides in right through the door. Will you try to dress it up and hide it?
If it flies I will!
Are you not worried about the floor chafing against the cables with vibration ( i mean teeny weeny vibration of course 😄 )
Yes, actually! After testing, I will add clear tubing to that edge!
Here is the most recent shot!
I am using Vbar and have positioned the follower such that the push rods are vertical. However, it seems the phasing is not correct. May I know which swashplate setting I should use (e.g. H-3 120 Norm)? Thanks.
I’m not familiar with vBar but I would simply add or subtract phasing degrees in the software and iterate until you see proper action when you input cyclic commands
Hi Michael, do you know the gear ratio of this bird? Thanks
I been seeking that myself! I’m going to tach it.
Kindly let me know if you have the answer. Thanks a lot.
It looks great
Nice!
Looks good! Have you had a chance to hover it yet?
I have a video on that attempt coming up! 😆
Nice find Mike and another detailed video
No way! What a kick in the pants!
One-way bearing wrong direction might be due to outsourced work, or just internal. Error can happen, maybe some more check by Vario would be good.
I agree!!
Thanks Michael for this build series! I have been wanting to do my 1st Vario build and am a little intimidated with their complexity. Because of your build series I'm going to try the Baby Lama build!
That’s the best feedback I could hope for on this!! Go for it!
Just ordered it up from Mark Smith 😃