

Build Story
Vario Bell 1:6 UH-1 N
 Danny D.
Chapter 10 of 11
Mechanics finaly completed
Sep 18, 2024
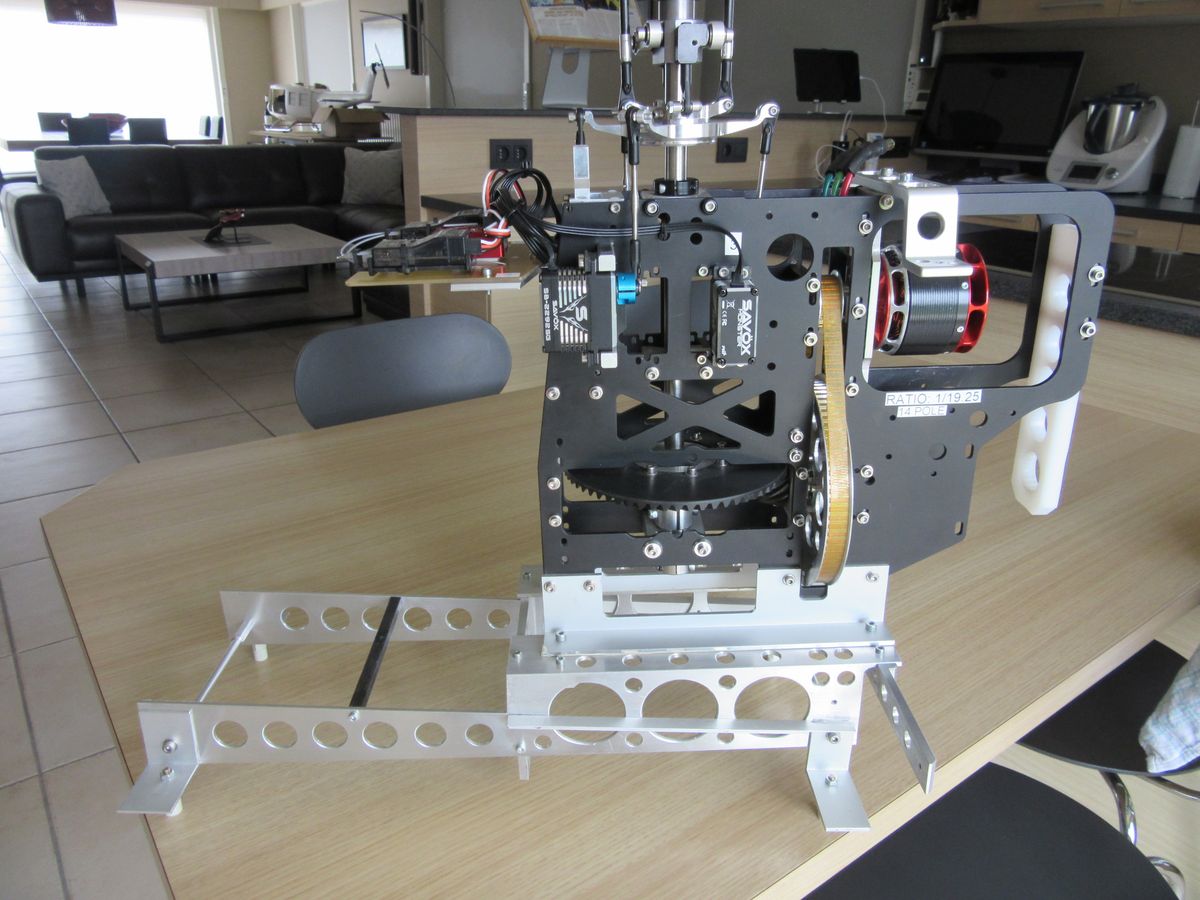
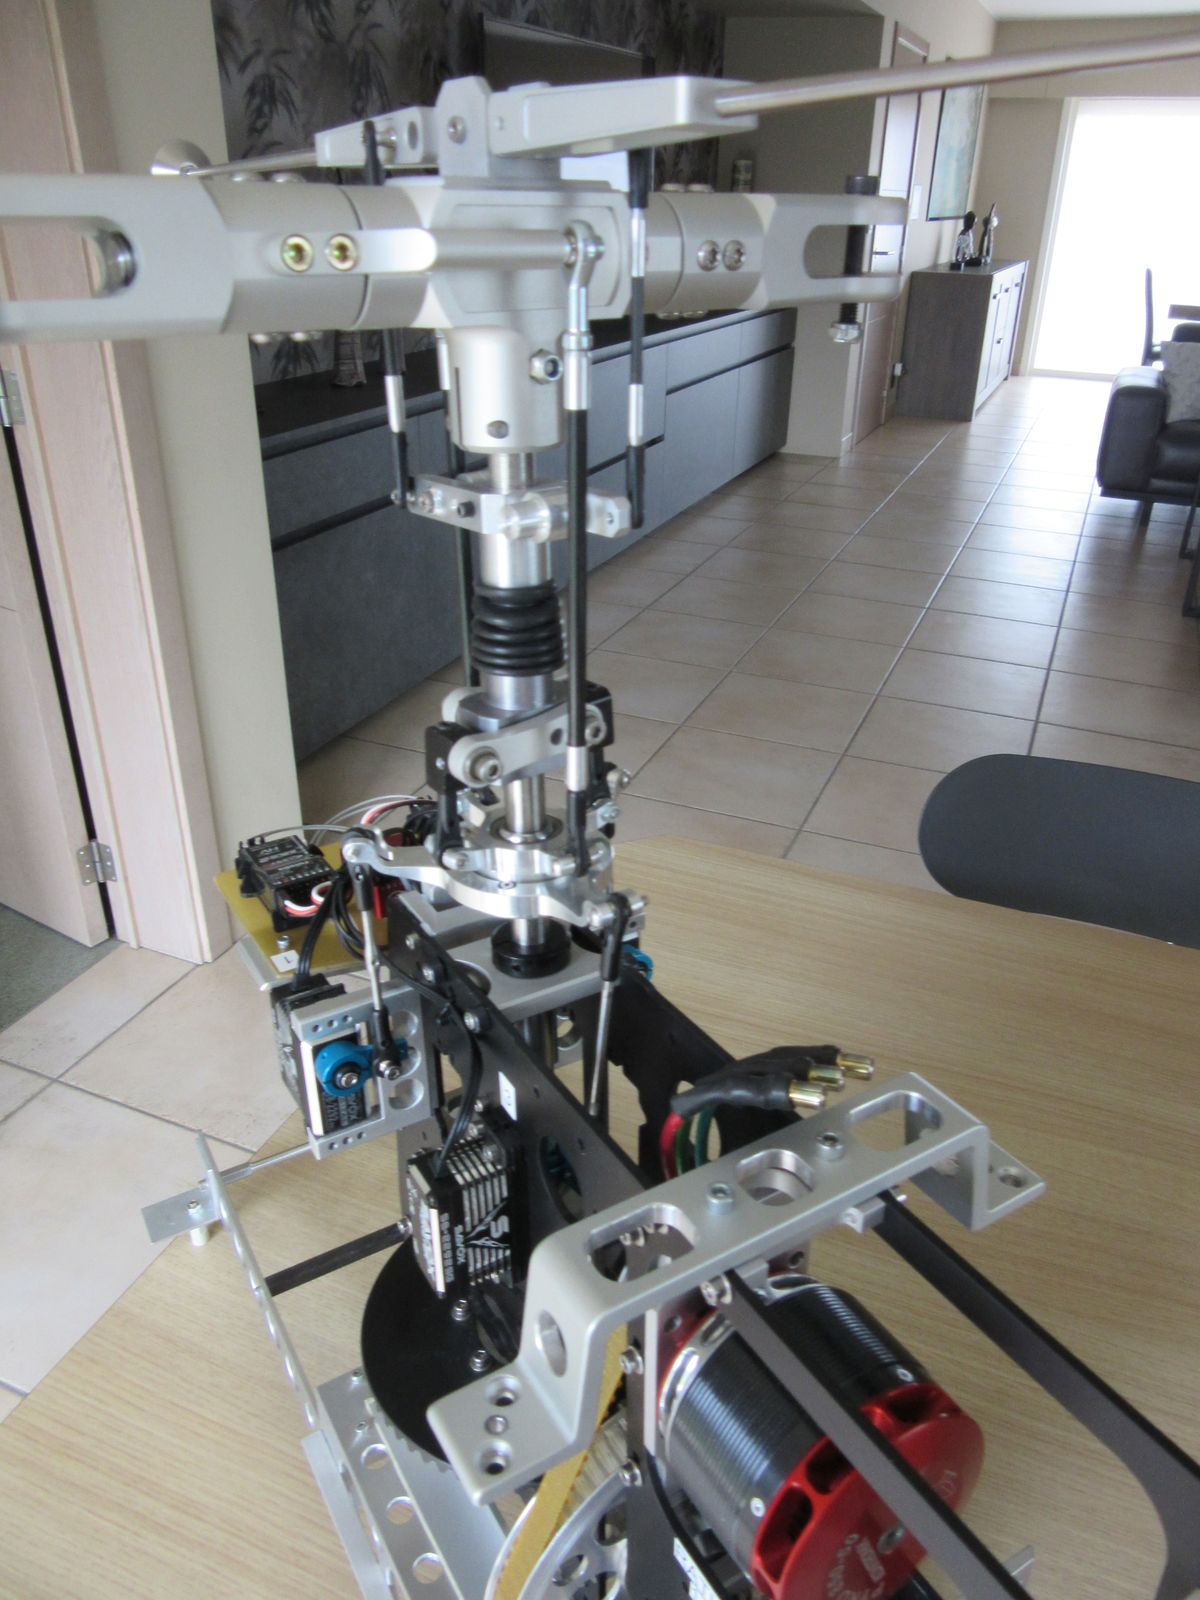
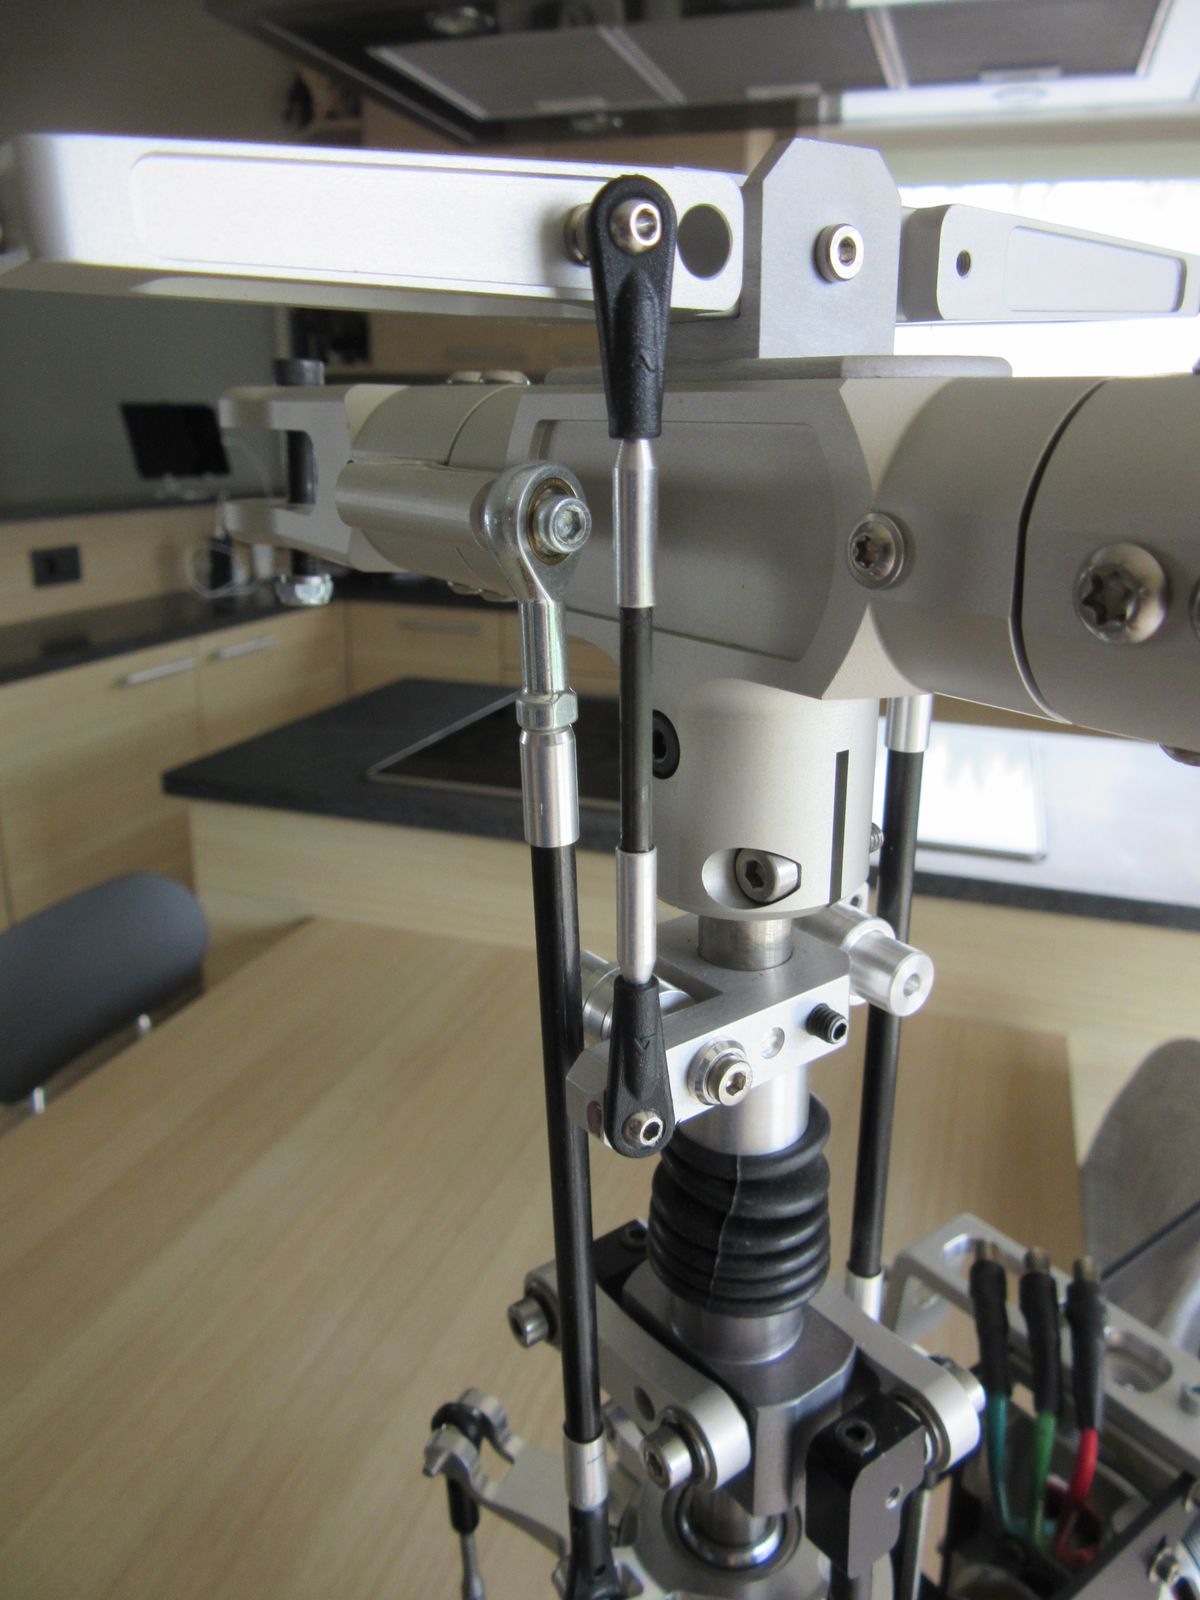
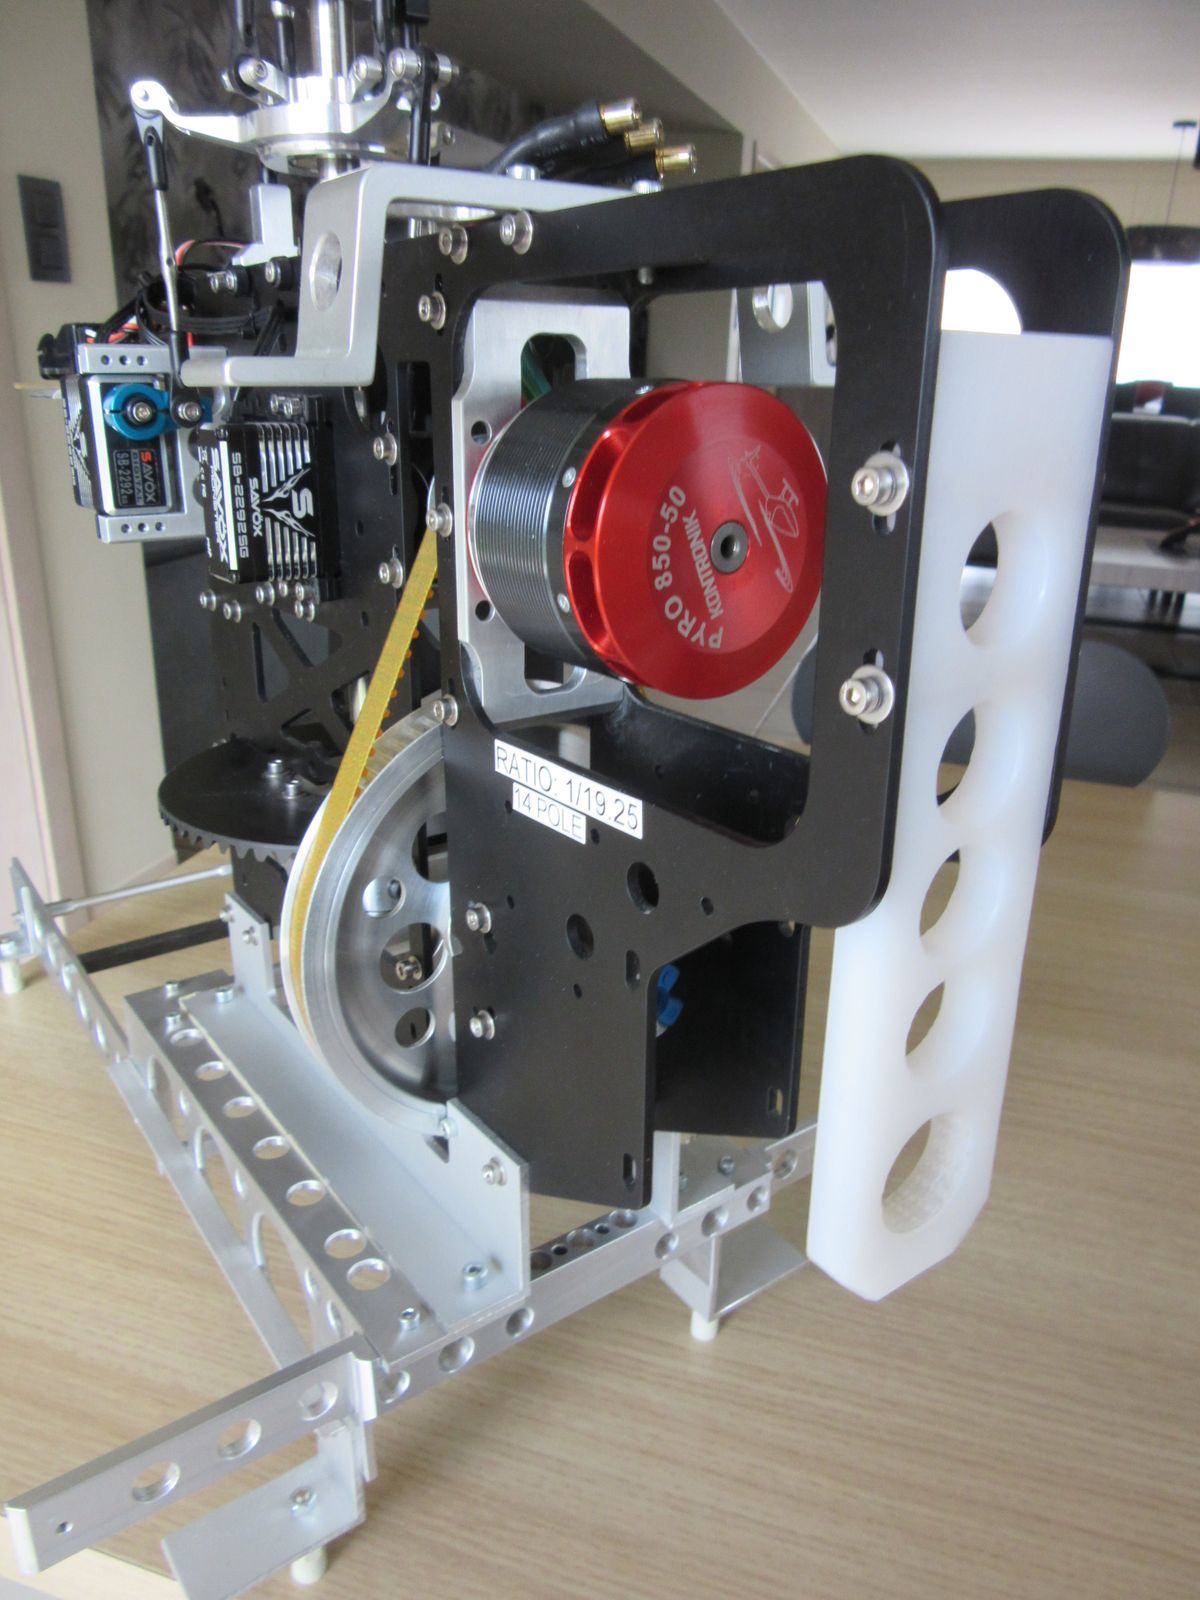
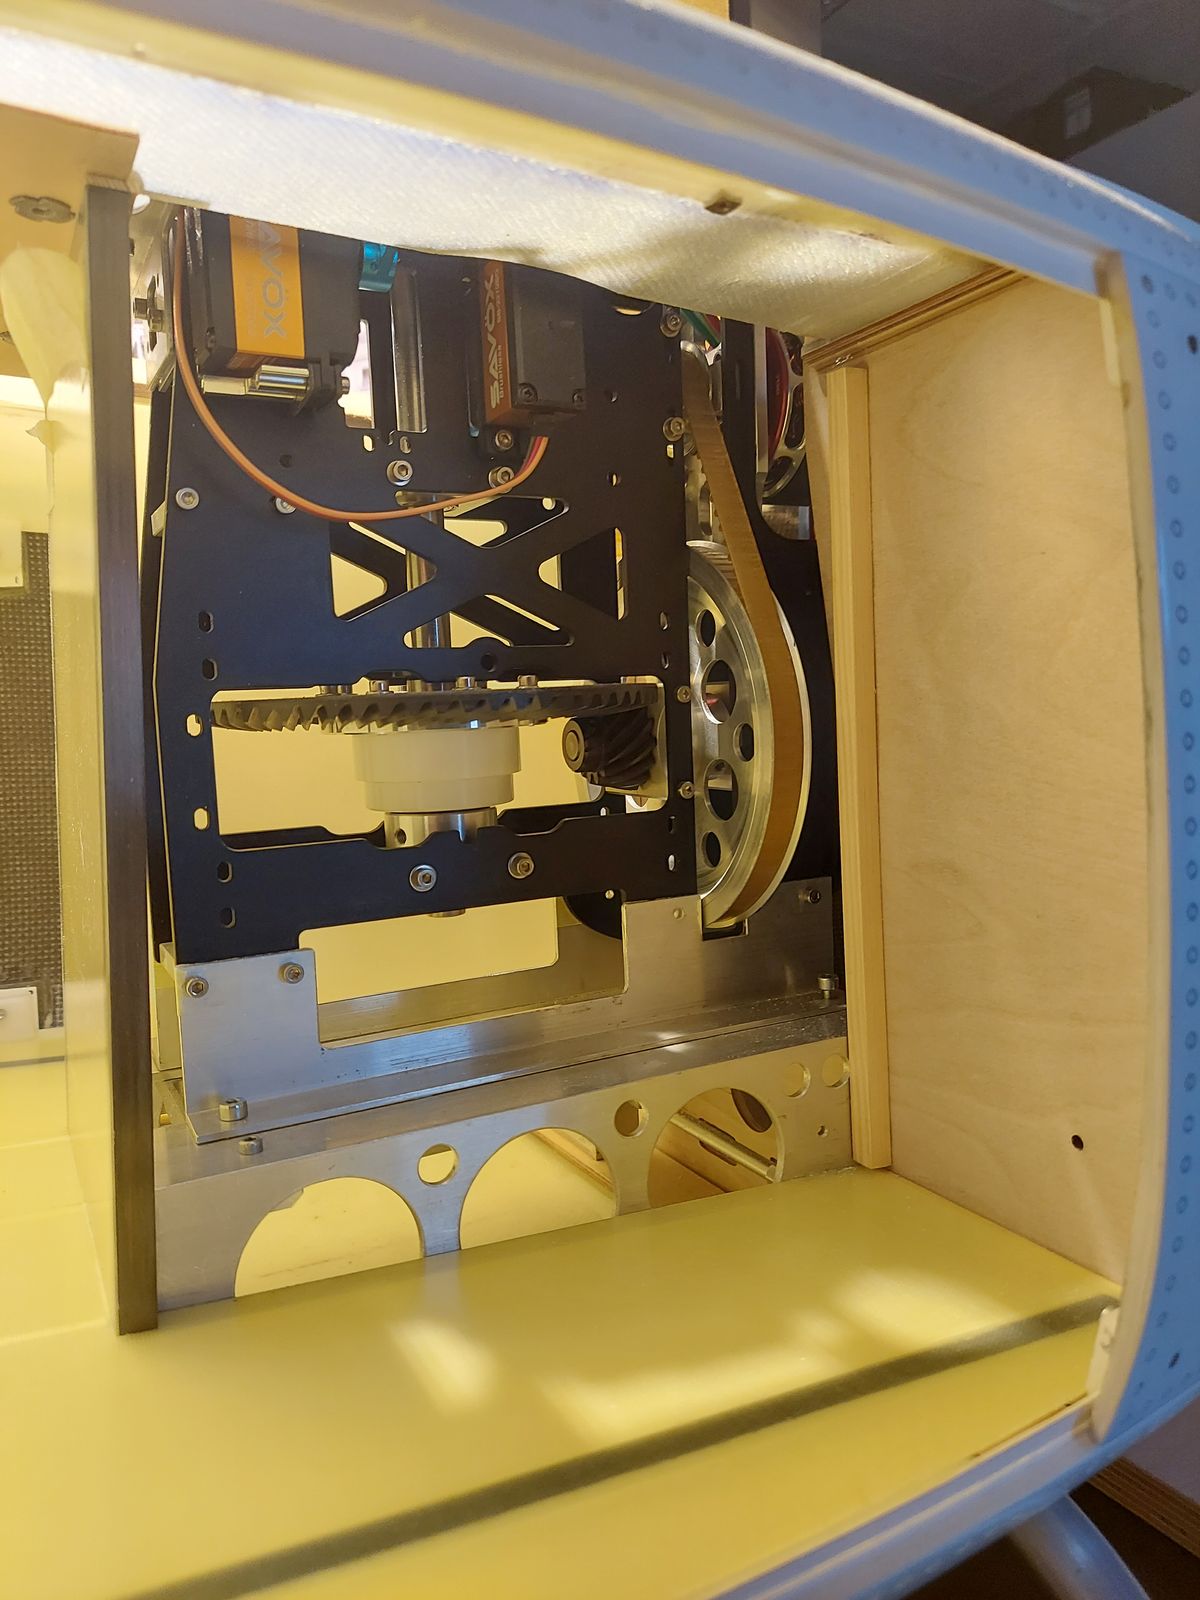
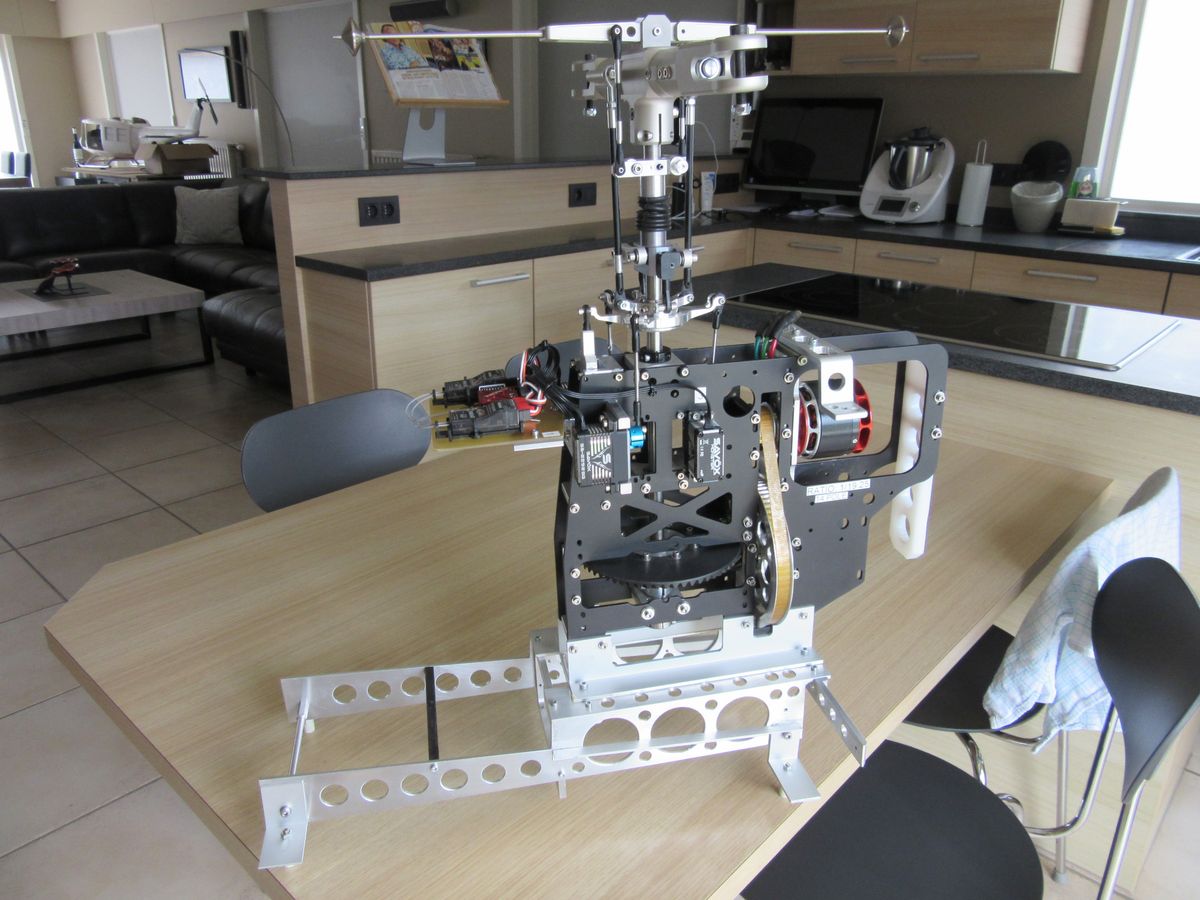
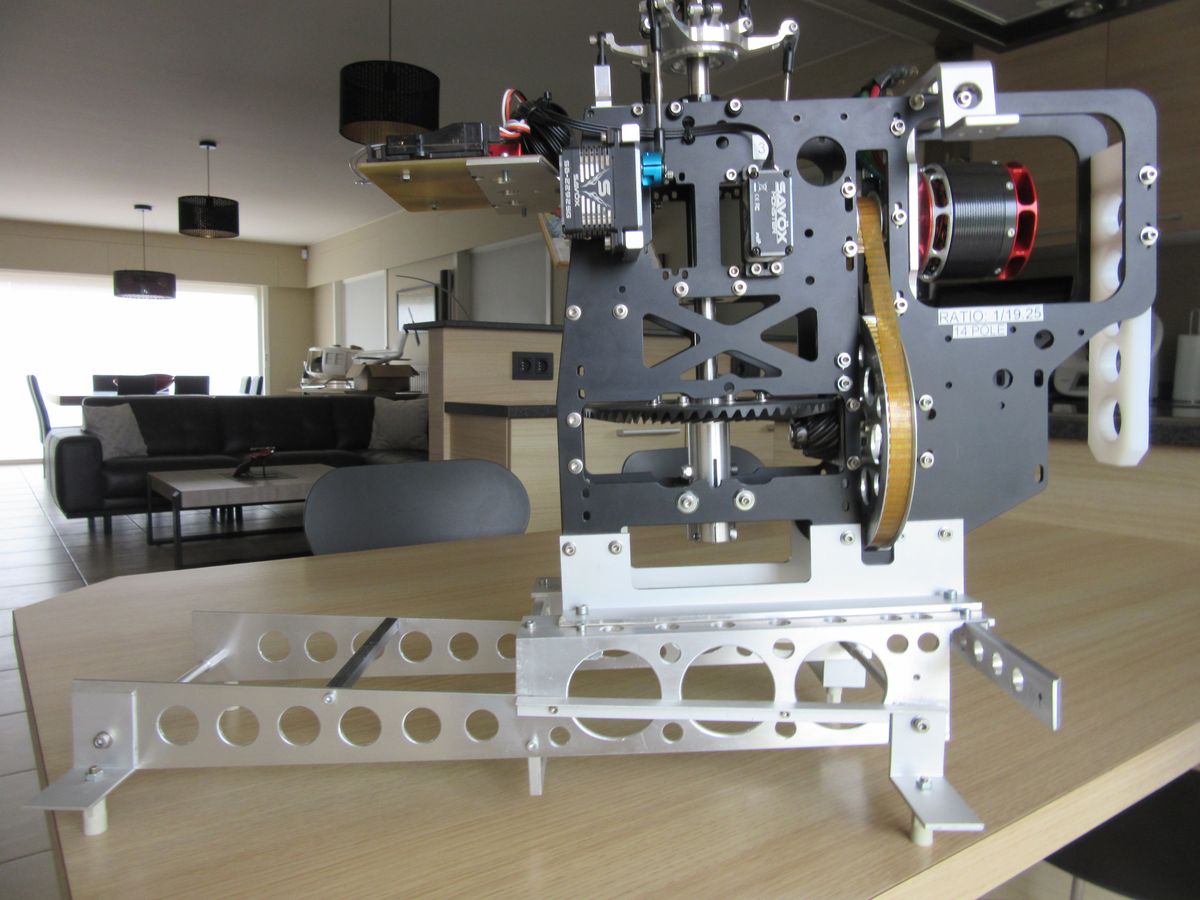
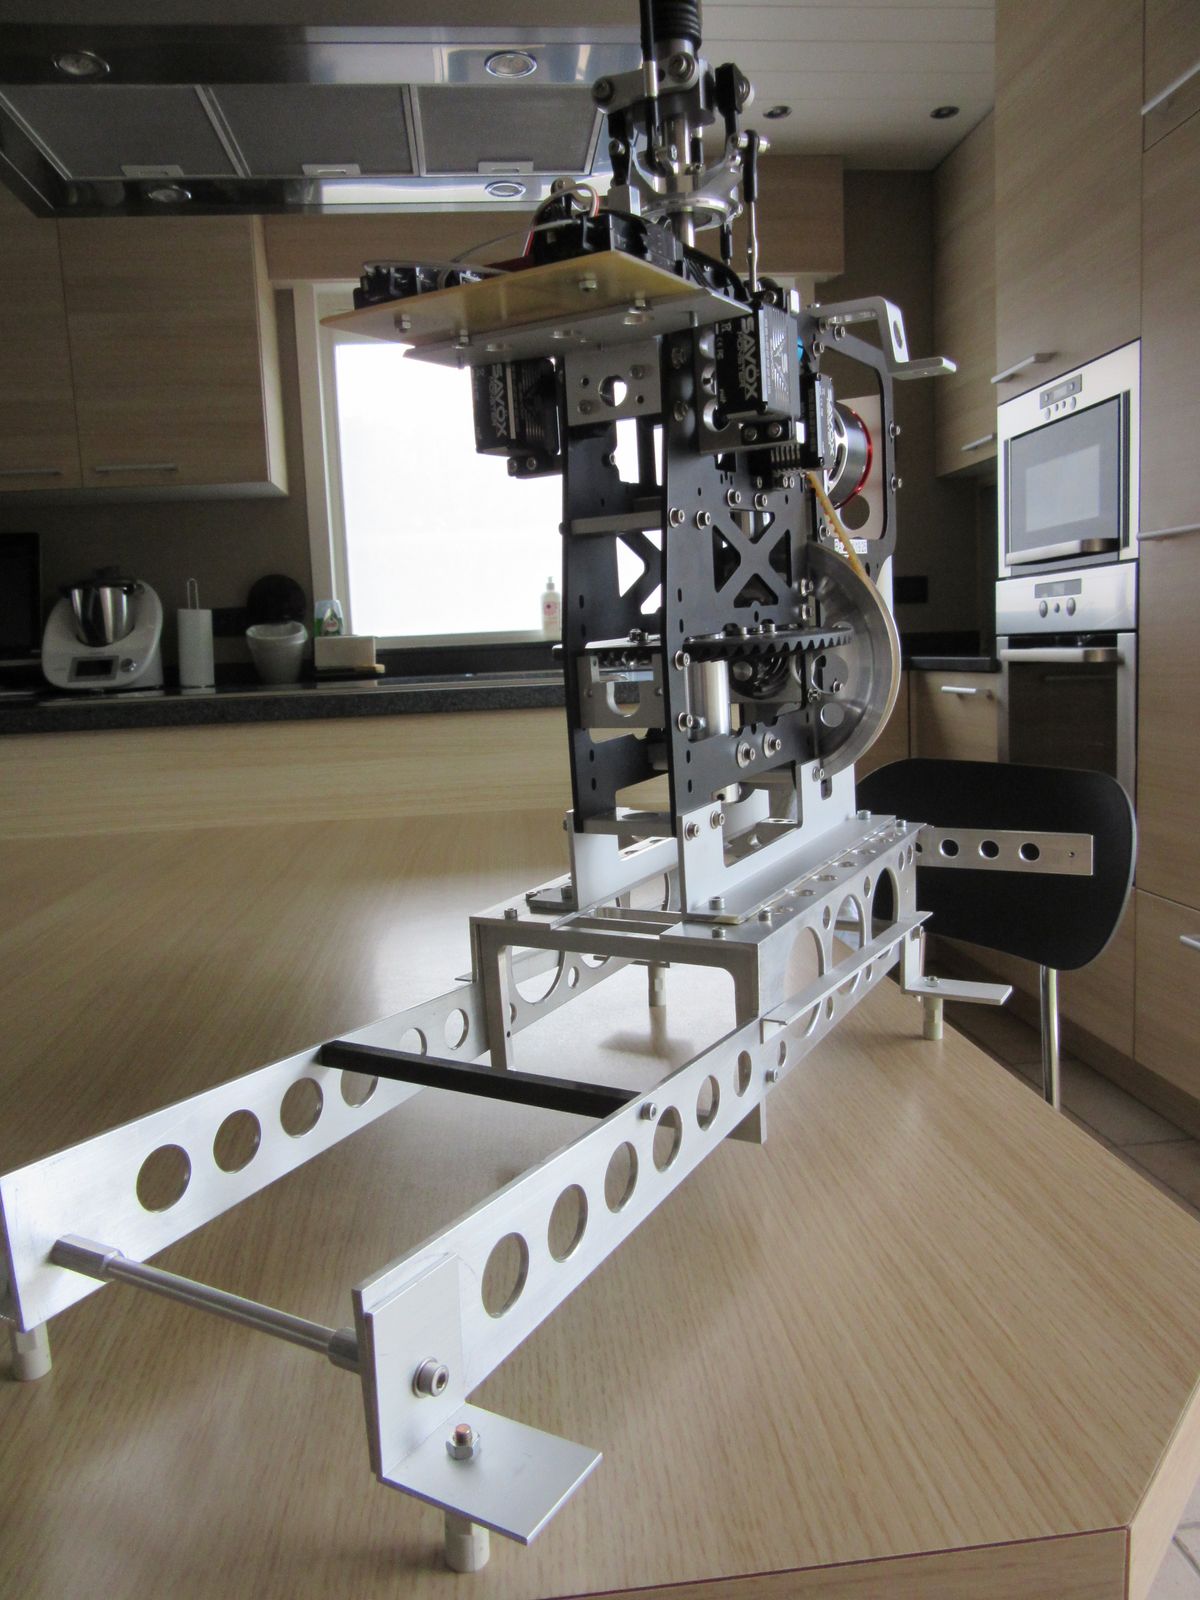
Mechanics and subframe ready.
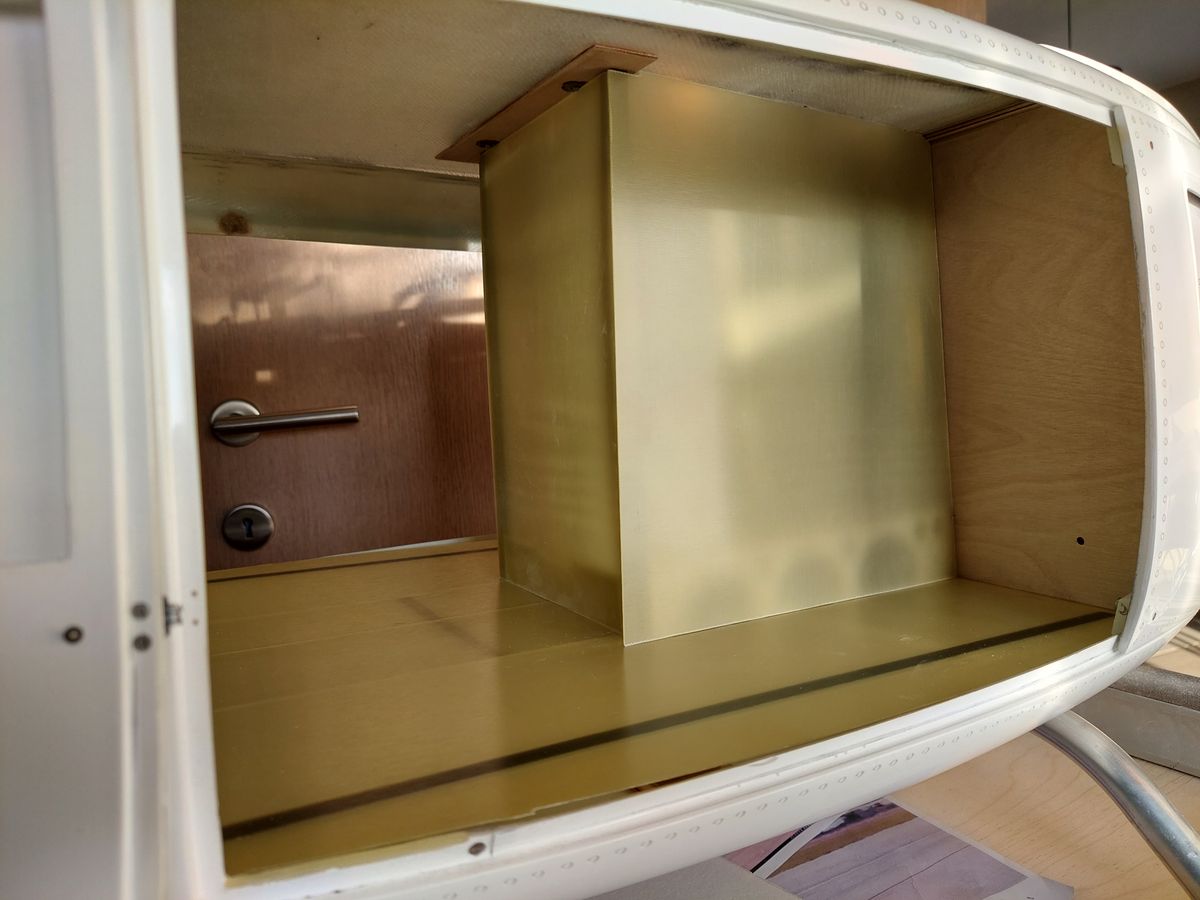
Used as less wood as possible to support the mechanics structure in the fuselage.
Full scale interior is possible due to the costum made subframe.
Alu subframe is attached to the main landing gear inserts.
47 Comments
Amazing
One of my favorites. Following!
The cuts look very clean!
Nice build and looking great thus far.
B
Looking like this at the moment, the details keep you busy. 😄
Yes they do.
I also add some woodwork in front. Allows more stability for attaching the upper side of the mechanics to the fuselage.
This is indeed very important. My mechanics is attached rear and front to the upper base of the fuselage structure, so it can not move or vibrate.
Tip: make sure to have a tiny hole in the tail fins, either internal or external. This is to avoid air pressure difference that could cause the tail fins to shrink or expand, if they are hermetically fixed in place.
Happened to me after several weeks, once returned from an airshow located quite far from home. 700
feets altitude difference + air pressure variation. Both tail fins equally inflated a lot and their surface looked very uggly on the upper side! To resolve this issue, I added the hole you can see in the picture and it took several weeks for the fins to recover their original flat shape. What a relief!
Do it internally if possible, so the air can circulate all the way from inside the tail thru the fin), otherwise outside as a fix.
My tail fins have a carbon rod inside to support them, and make them removable, so they are not "air tight".
Yep, here hole inside for non removable approach (not an issue if there is wiring) and best being able to remove for e.g. position light maintenance
This is by far the best system to support the horizontal tail fins. I did it the same way.
What material did you use to make the curved strip (picture 6/40) at the rear?
Recup material from the cutout portions of the windows, is thin and very "bendable" Other side strips are done the same way.
yippee😁
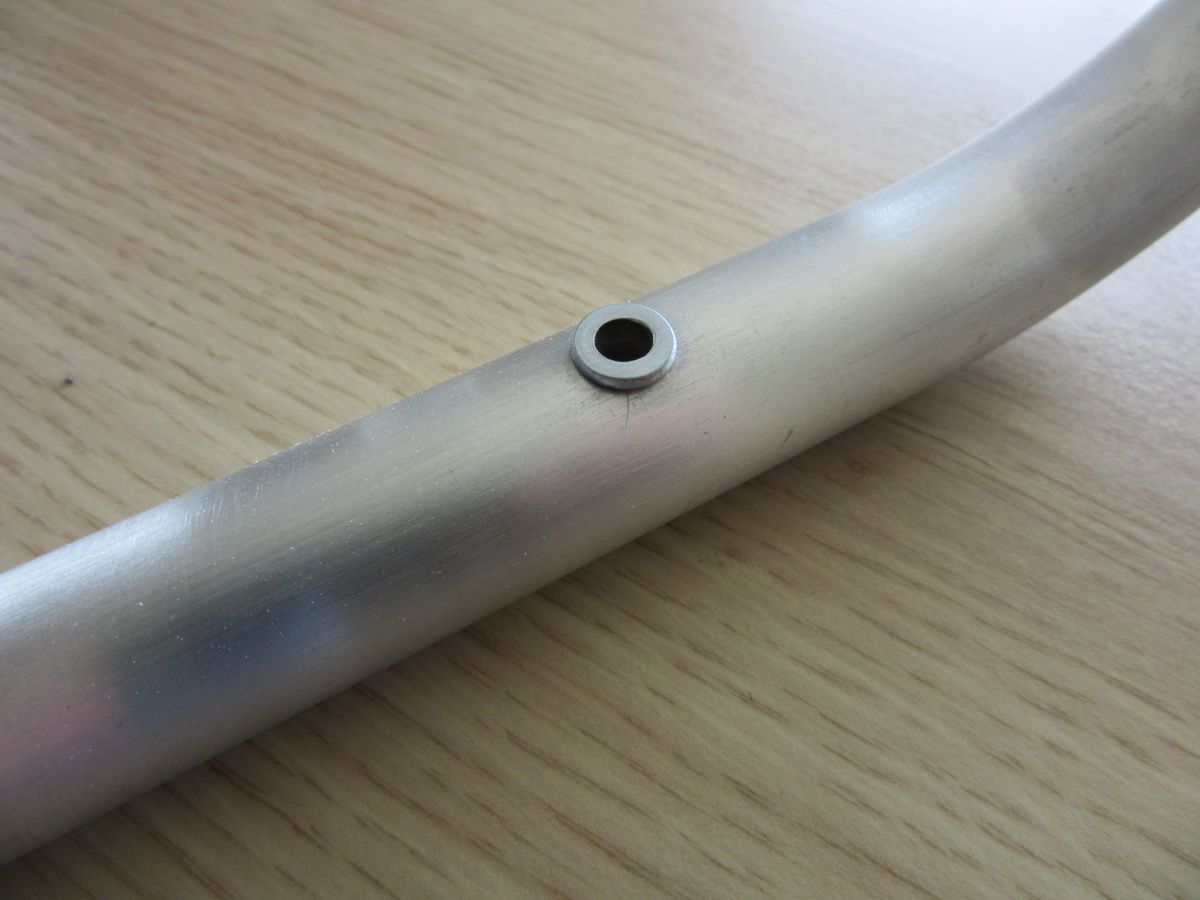
Are these flat rivets milled?
Yes they are, instant and consistent result, sanding proof and no waiting. The "milling" tool is a piece of stainless tube 3 x 4mm inserted in a Dremel. With a thin pcb drilled calibre you have a exact rivet size and distance interval. Simple and efficient.
fantastic idea💡
Thanks.
Now I don't know what to do anymore. I'm so fascinated by your flat rivets. Should I attach solid rivets as planned or mill your flat rivets 🤯
I don't want to confuse you, the work is the same, you have to do every rivet one by one, but when milling the result is really consistent, even if you don't have a steady hand, thanks to the pre made caliber strip. And the most inportant advantage, you don't have to wait for the rivets to cure. Kind regards. Danny
I like the way you placed the ESC... really smart...
Very Nice Danny
Butch
Superb!
Superb!
Very nice 👌 👍 👏
That is immaculate love it! YES we hate "sticky outy" AR brackets!
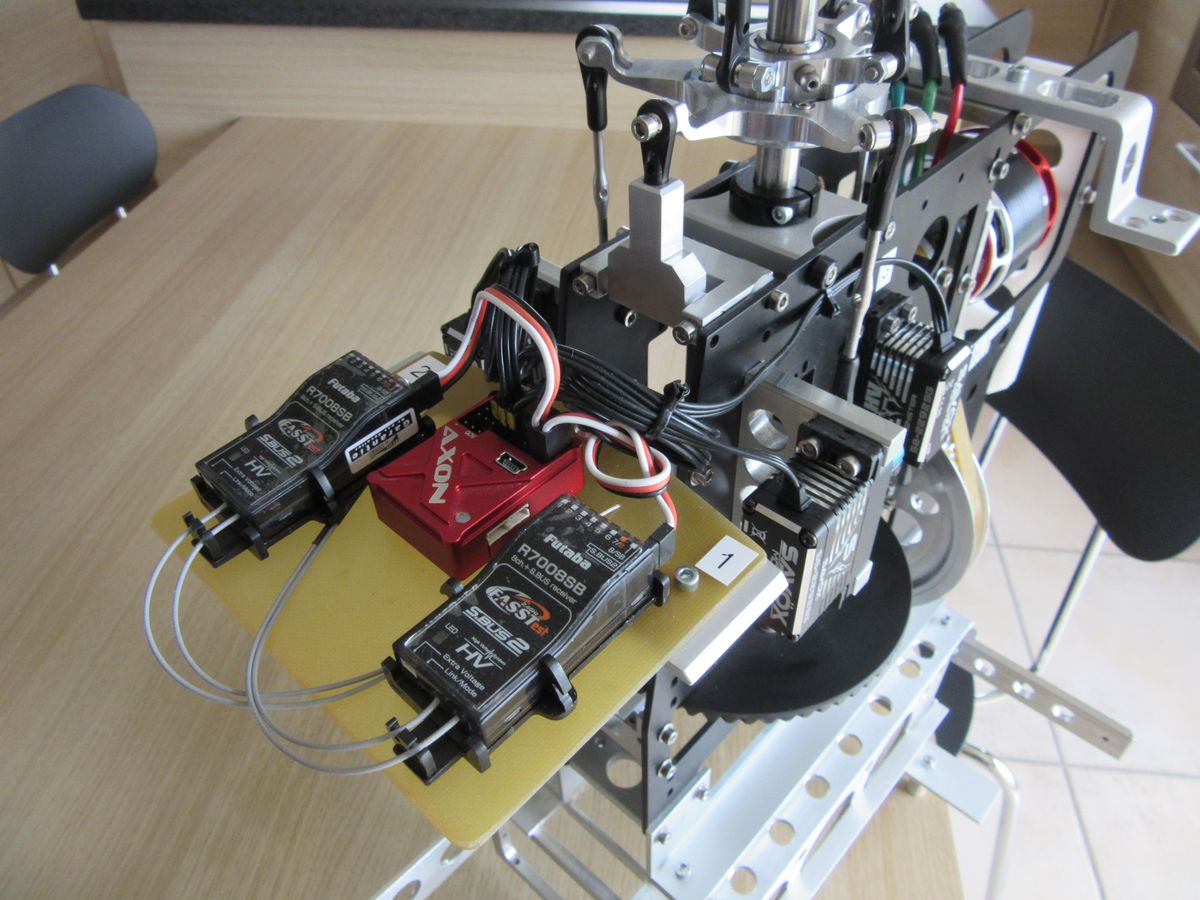
Danny perhaps I am thinking about this the wrong way... but shouldn't these two receivers be spaced further apart? In this way you get redundancy where in your case if one looses signal there is a strong chance the other will as well?
I tend to spread my jeti receivers as far apart as possible in such locations as not to loose signal within the CF fuselage...
You have a point, but i have extended antenna's (40 cm) for the recievers so the antenna's are 90° positioned, and further apart then they are now, so i have full redundancy.
Danny,
Looks good mang. Very clean and simple set up there.
B 😊
Danny,
That is some fantastic machine work and detail on this build. This kind of stuff makes me think about my builds and how to step up to the next level.
Thanks for sharing,
Butch
Thanks Butch. I love to make things just right, it gives me some kind of satisfaction. Unfortunately, it also takes a lot of (my free) time ..... 😄
The Axon has (with the latest V2 firmware) dual rx inputs , no other hardware needed, simply connect the two Sbus recievers on the Axon reciever inputs for redundand RX Sbus signal.
You’ve been busy!!
Bad weather, so workshop time. 😄
Mmh I'm not convinced about skin tone and the lips are very contrasting.
Find comparison. Truck driver is 30$ Ken toy, just to avoid an empty cabin. Pilot is a much more expensive pilot, on which I've done some weathering to avoid plastic looking (quite ok from far).
Of course, there are much more realistic than mines and colors or importance is personal.. Just wanted to report my impression.
Youre right, the lips are not very natural, i have to add some colour there. The chinese that coloured the lips was sick i supose that day. 🤪
Better?
Super!
Flippin SWEET👍
Danny this really looks AMAZING!
Very well done
Thanks
Nice....
Wow! The fan is spectacular!
Thanks. Anything is better than a open exhaustief port where you can see the mechanics.
Nice exhaust ports