

1/4 scale Jet ranger

Start of project
want to post my build here and try out the chapter feature.
I wanted to build a 1/6 scale cobra and started the design work to be ready for next season and take with me to helistorm next year. unfortunately, work told me that the fall and winter months were going to be a very heavy workload for me with lots of tight deadlines and I felt that i may not have the time or mental bandwidth to complete scratch project by march, i did not want it to become a chore since this is what we do to relax, not add to stress. my ever understanding wife allowed me to order a fuselage instead in the hope that i could just focus on the fun parts of building rather than making sure i met strict deadlines at home with the design, molding and build of a helicopter. she let me get a vario 1/4 scale jet ranger to build instead. best case scenario i would like to build my own mechanics and rotor on some newly acquired CNC machines in my garage with the ace in my pocket that i could buy stuff off the shelf should the timeline become an issue.
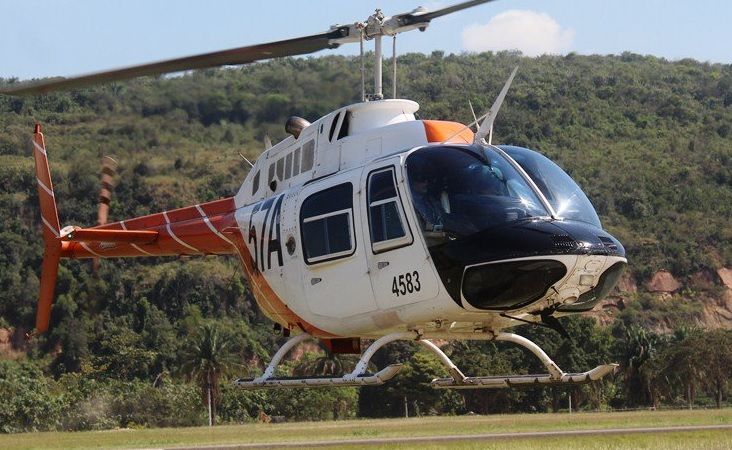
In houston there are lots of warbird events, about 1 every other week during summer. so wanted this heli to be military. i wanted to stay away from drab green because its boring on the jet ranger, unless its decked out like a kiowa worrior. i have not seen to many TH-67s done so i figured i would go for that model. also, the TH-67s have the same type of non-blown out glasswork the kit comes with.
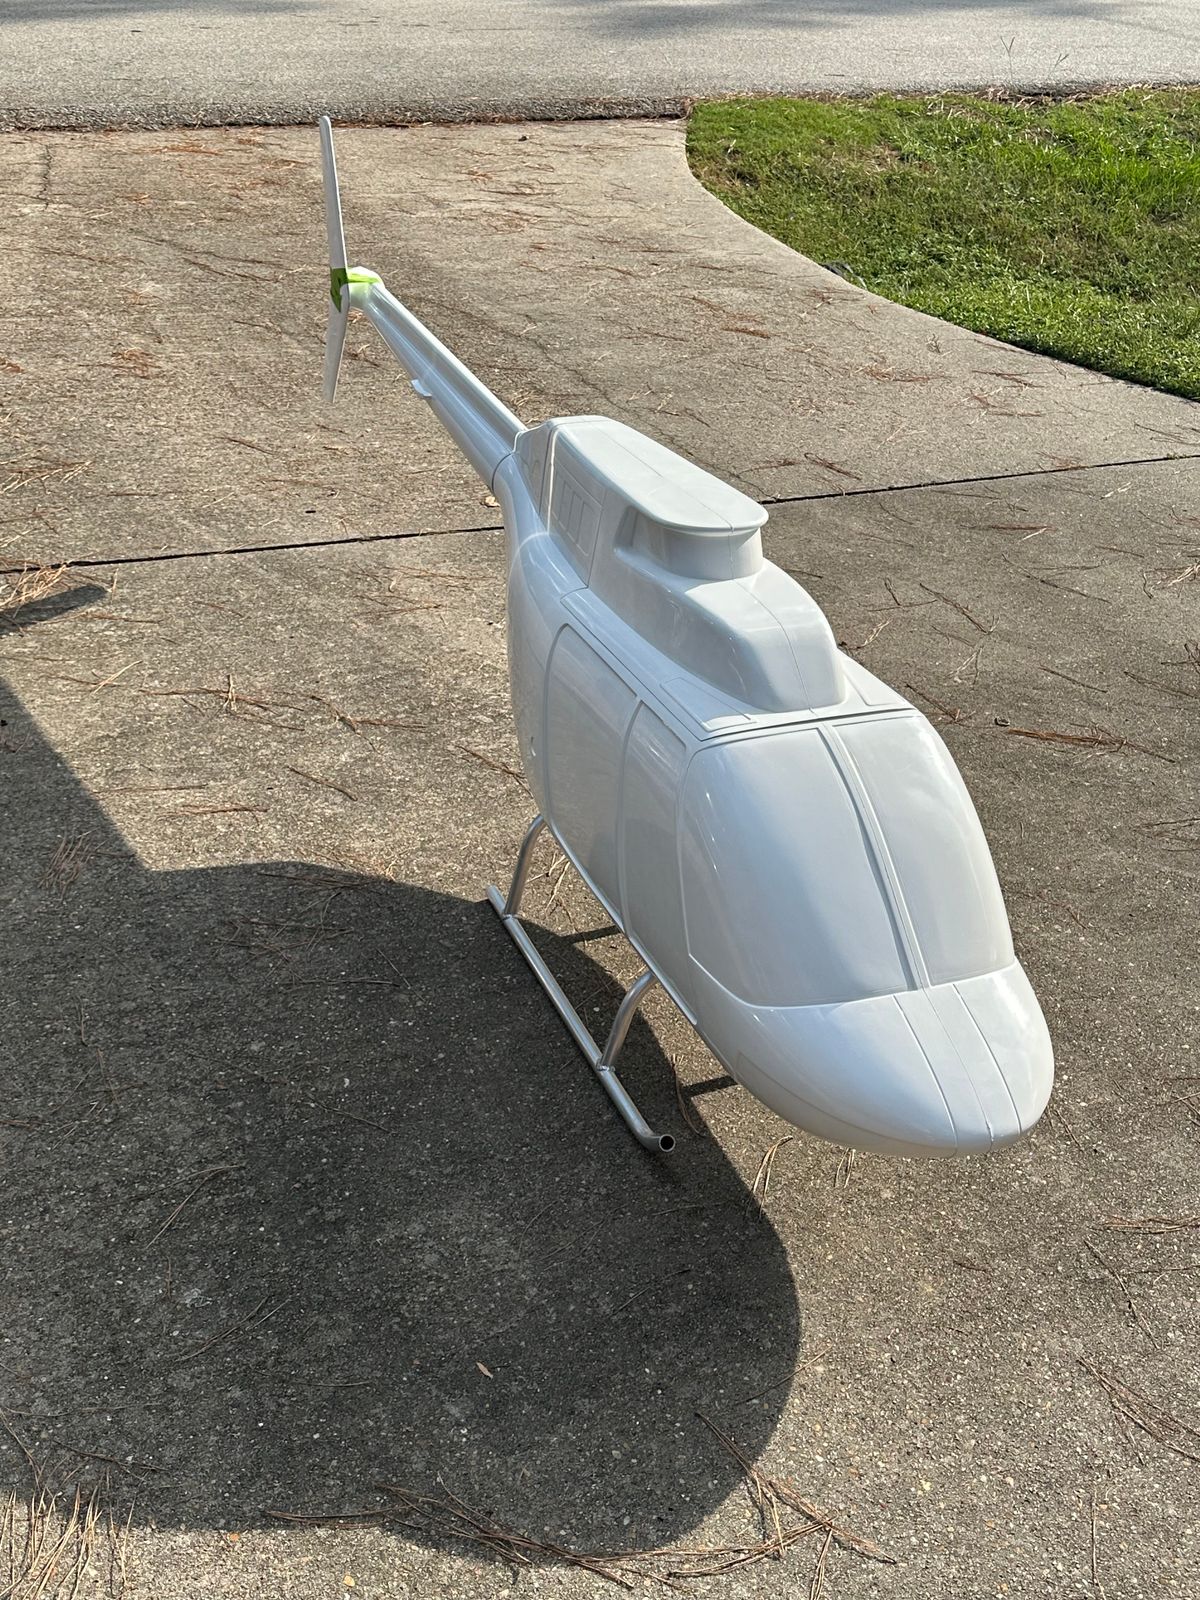
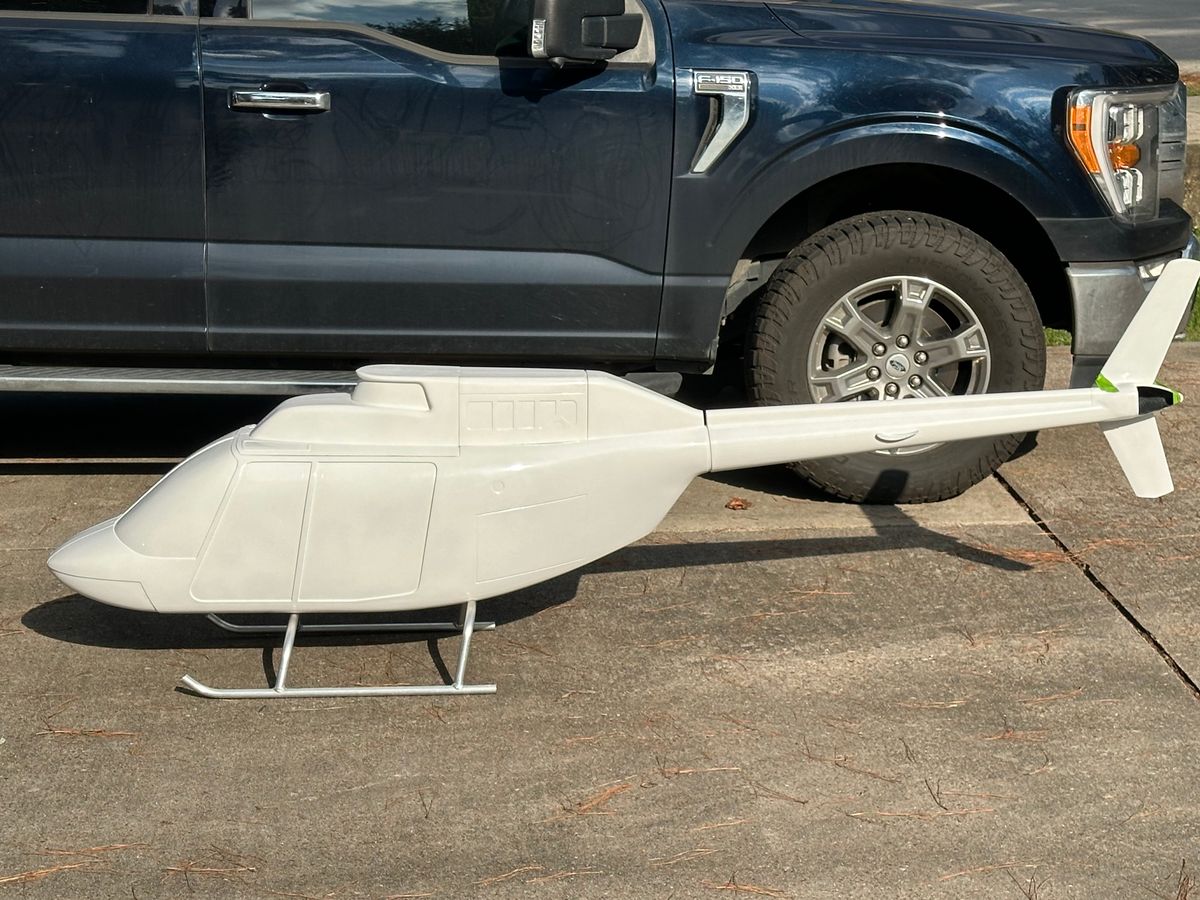
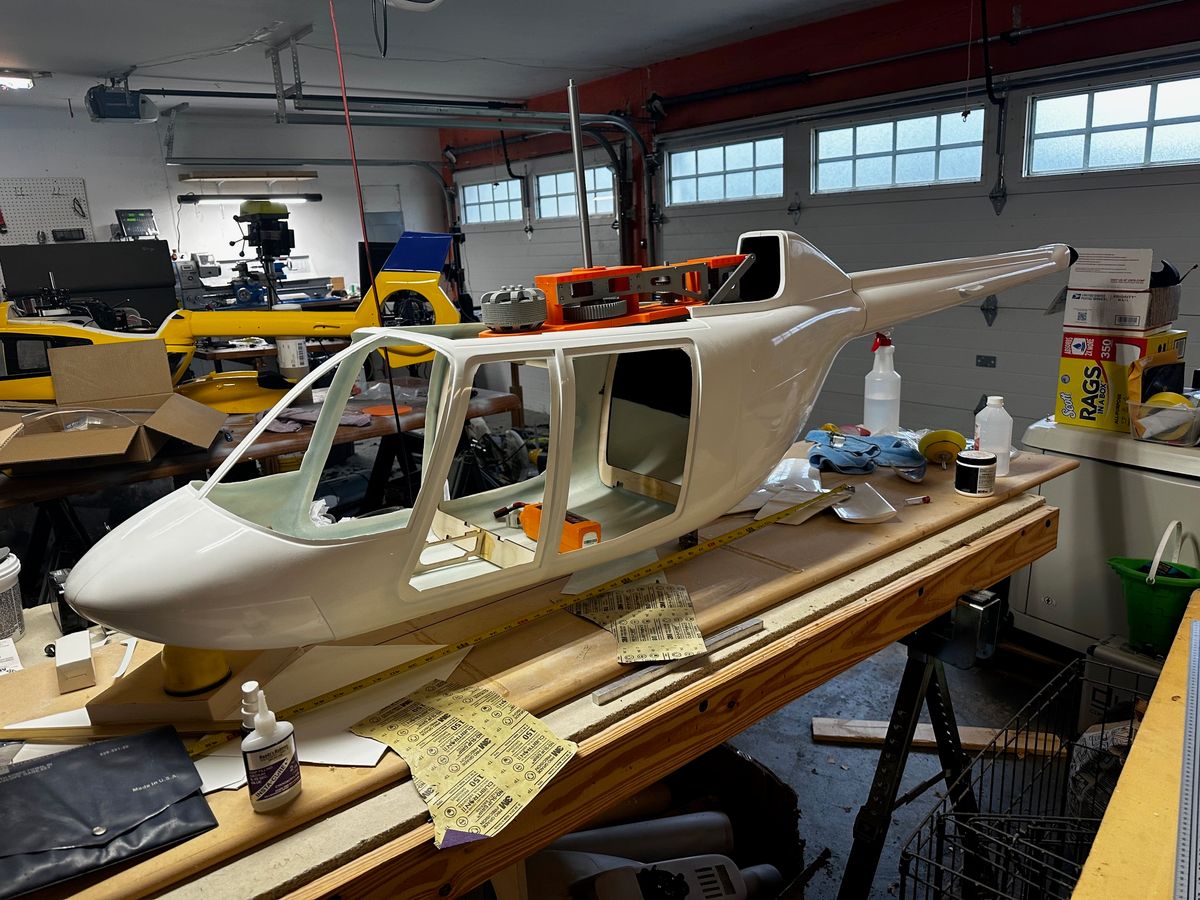
I started on the woodwork and have attached some obligatory shots of the fuse as it came to me.
looking forward to hit the ground running.
New landing gear and mechanics test fit
Updating this for the first time in a minute. I did not want to add chapters for every single thing I do, so i avoided it. But progress was made.
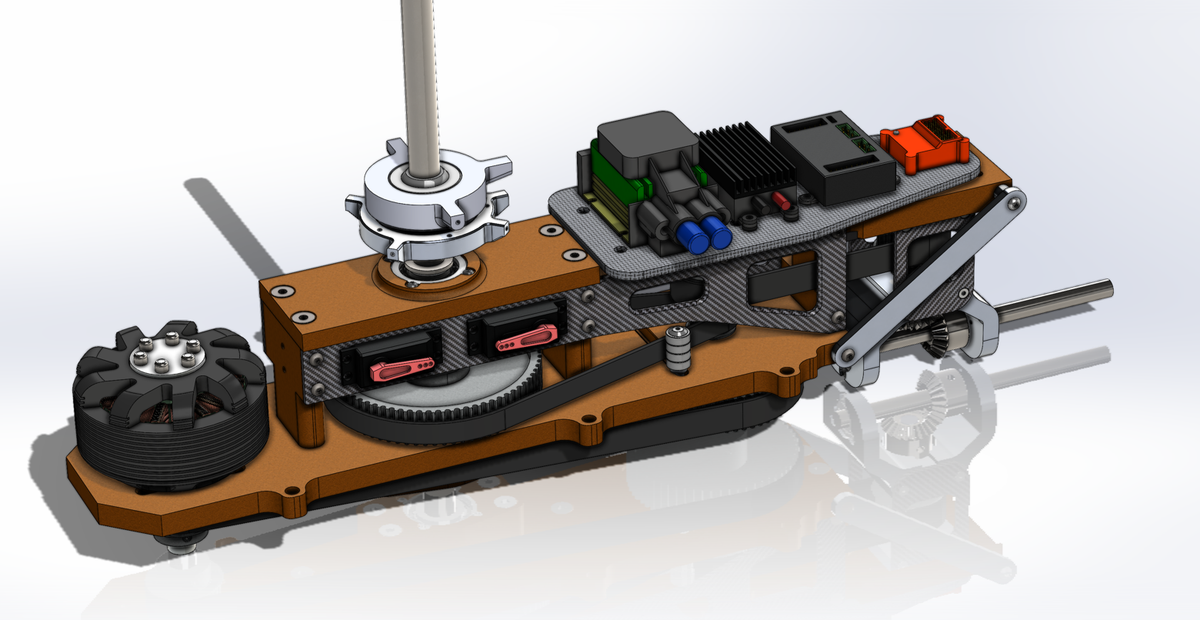
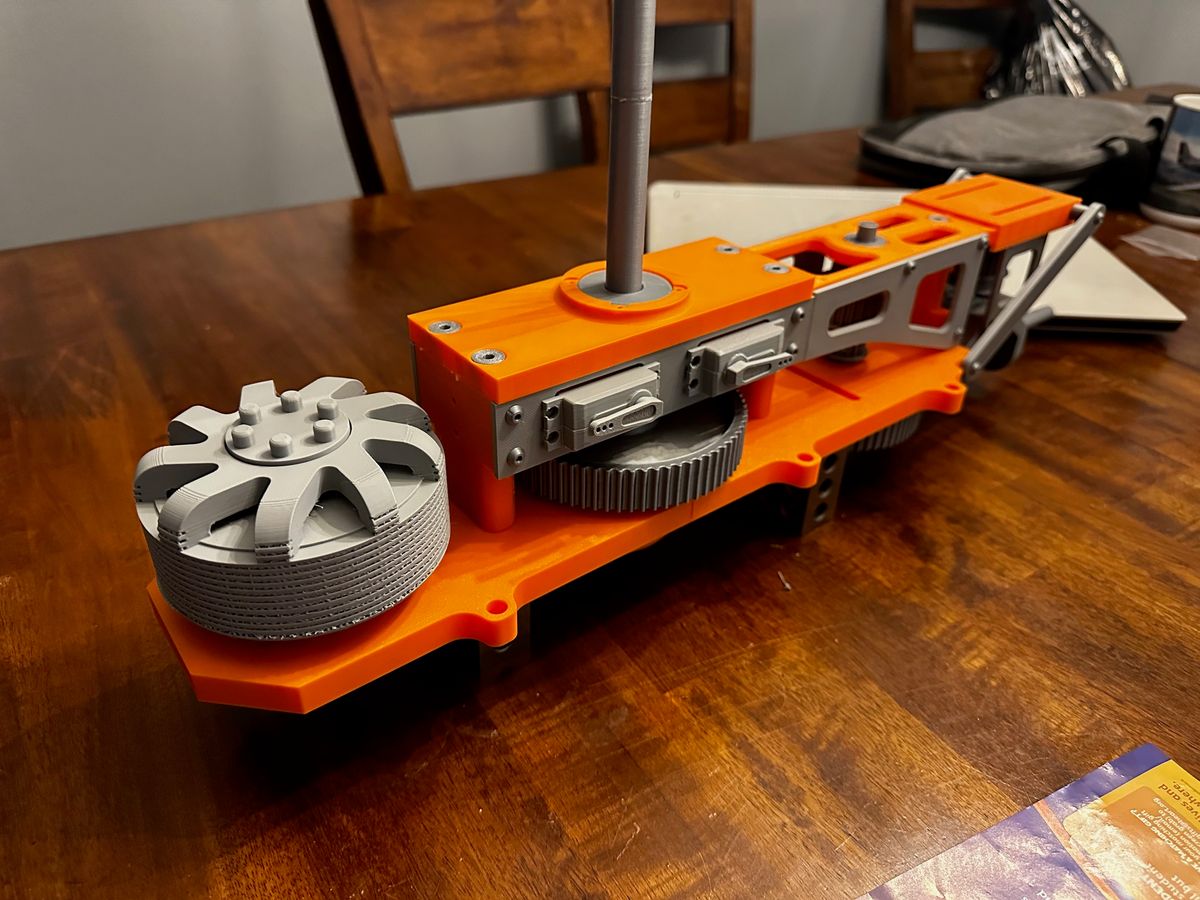
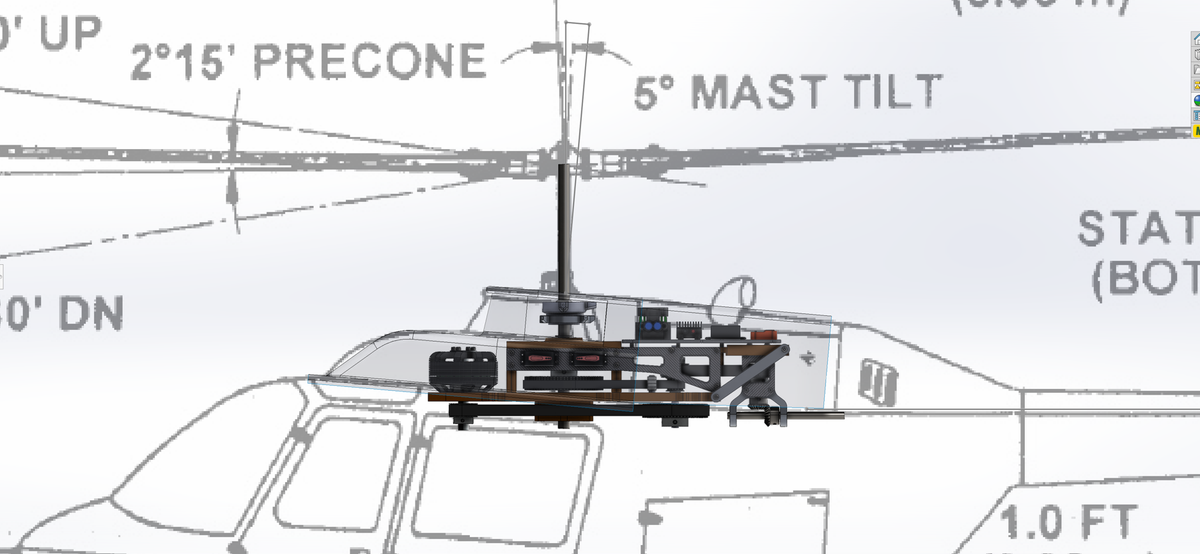
First up was designing the mechanics for this helicopter. I had posted some pictures on some of the Facebook pages as well. the mechanics are built around a 6KW/220KV neumotor and will also for an 850 RPM head speed as Vario recommends. will be buying the rotor head from Vario since I am running out of time to get done before helistorm.
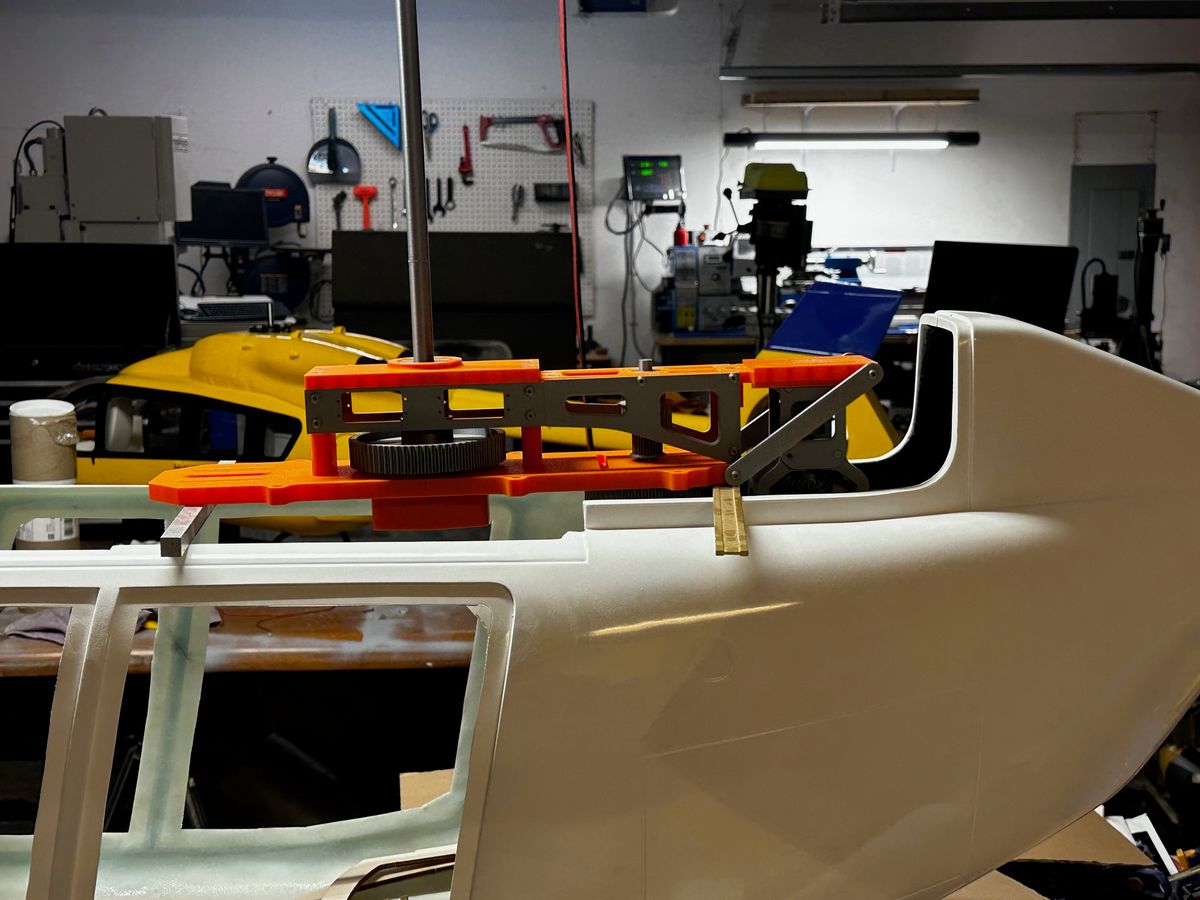
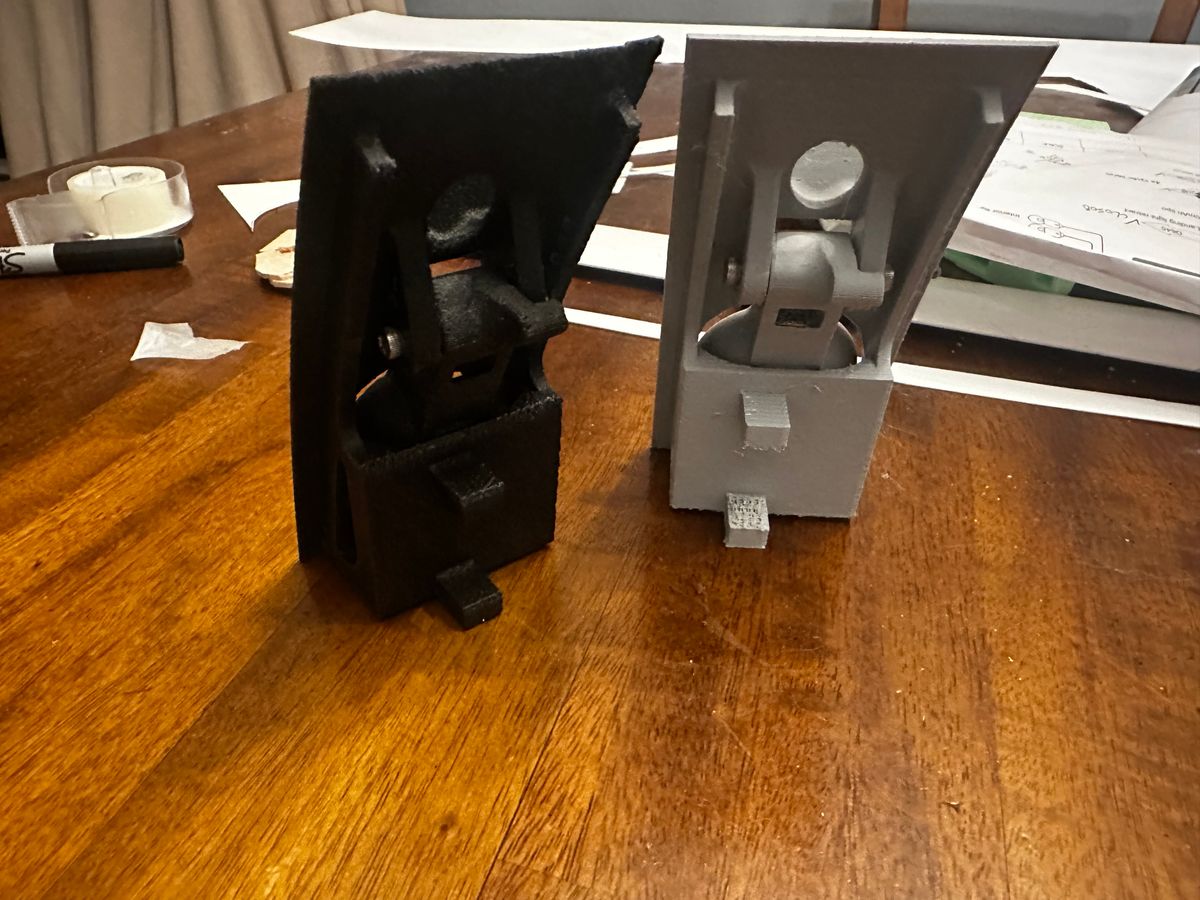
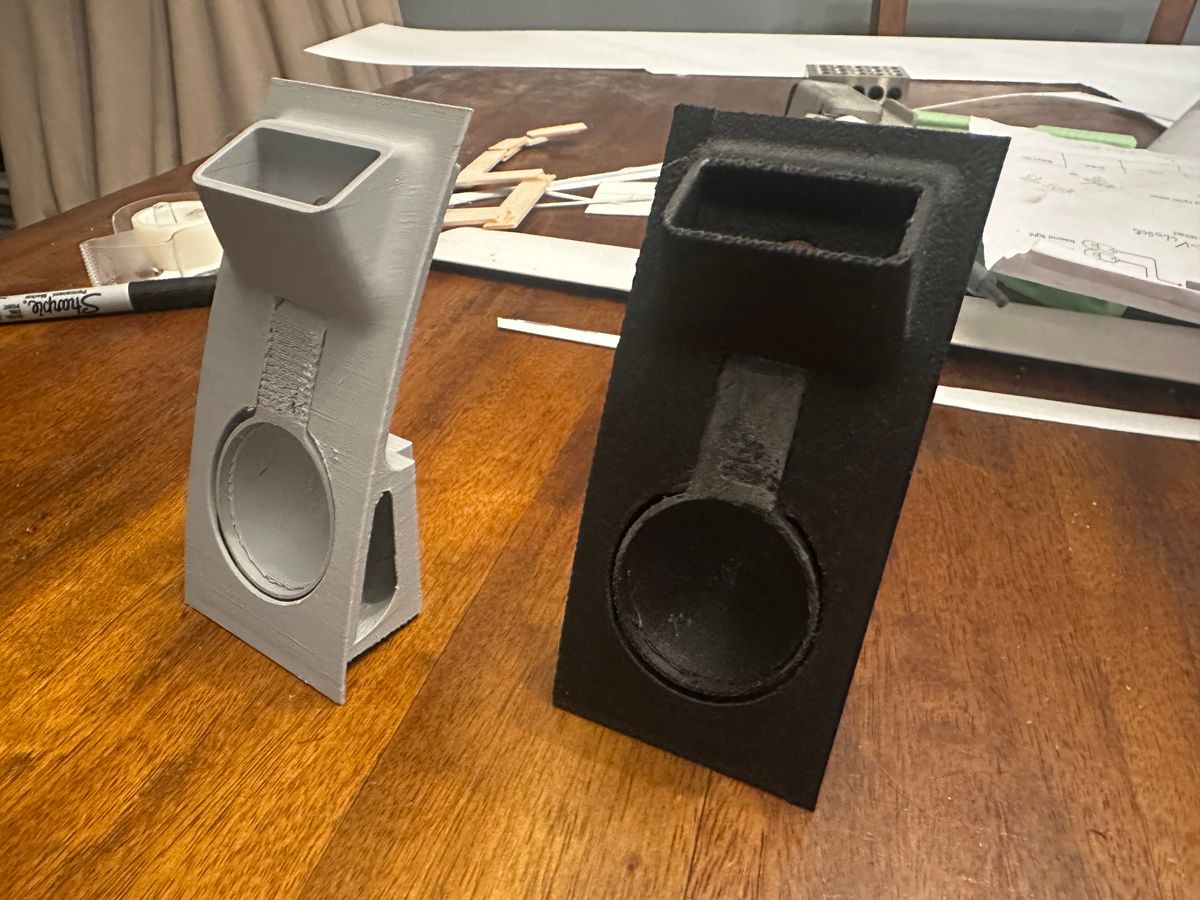
I printed a plastic version of the mechanics to use as a placeholder so I can keep working while the parts for the mechanics are being made.
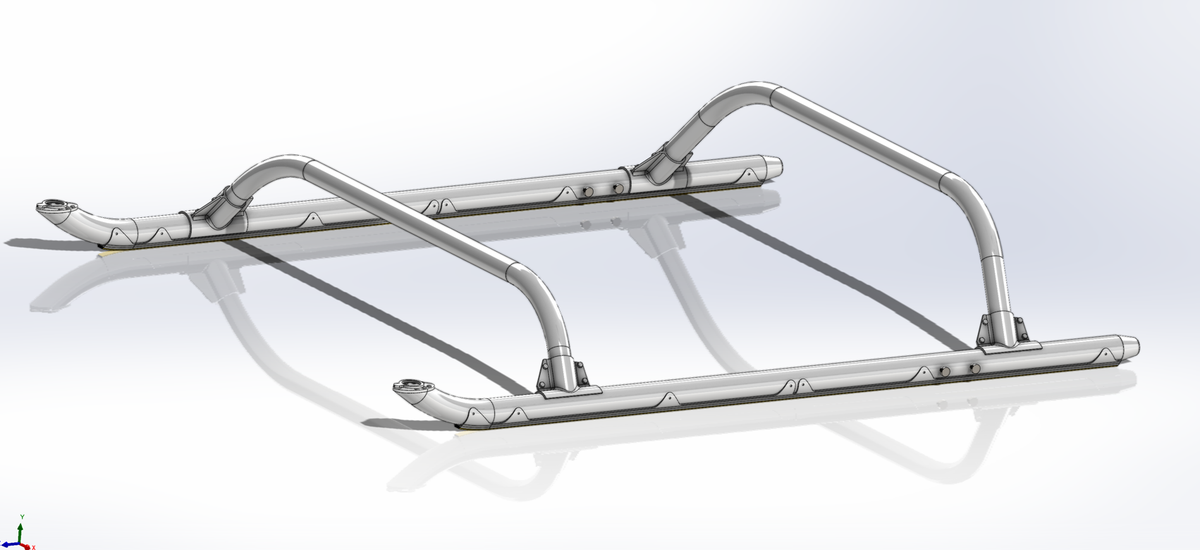
I also made new landing gear. the helicopter now has "low skids" and the boom now sits horizontal with the ground.
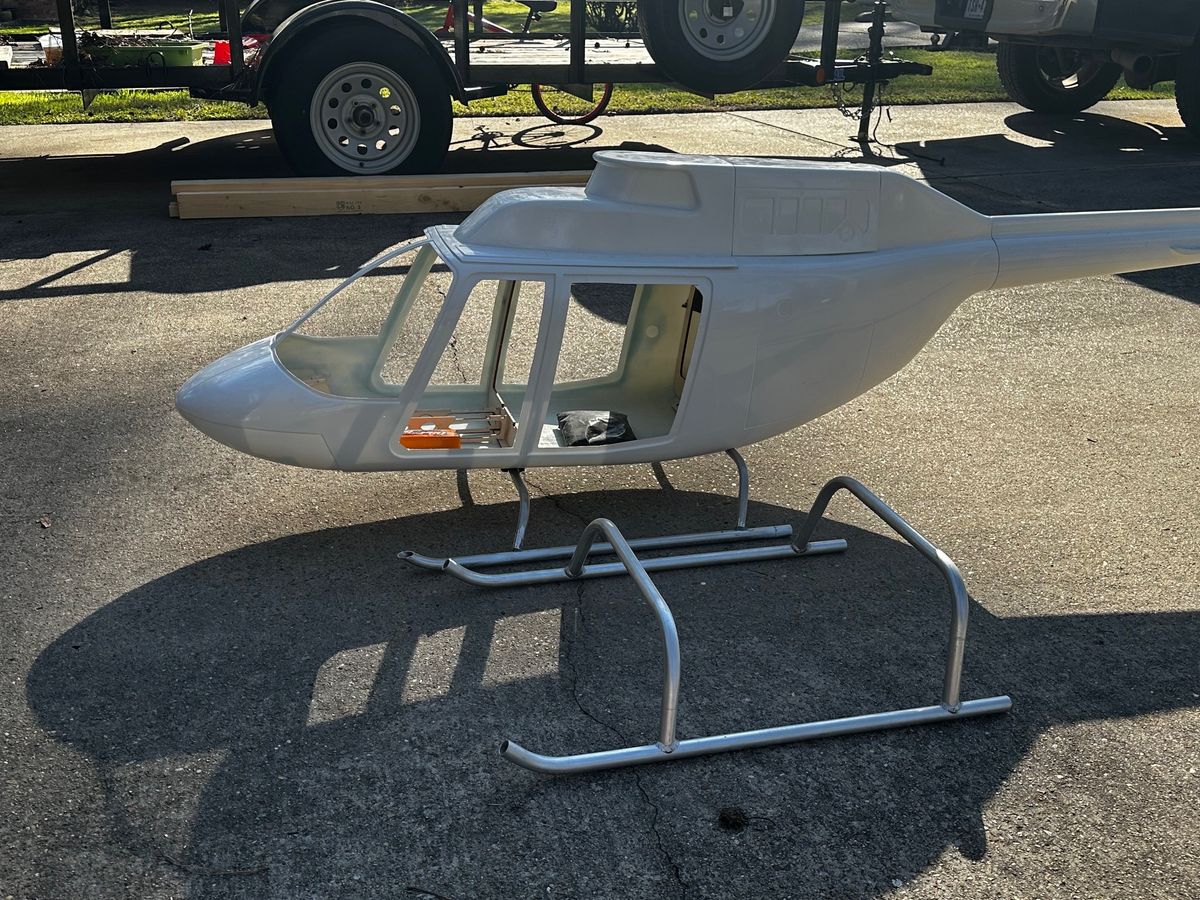
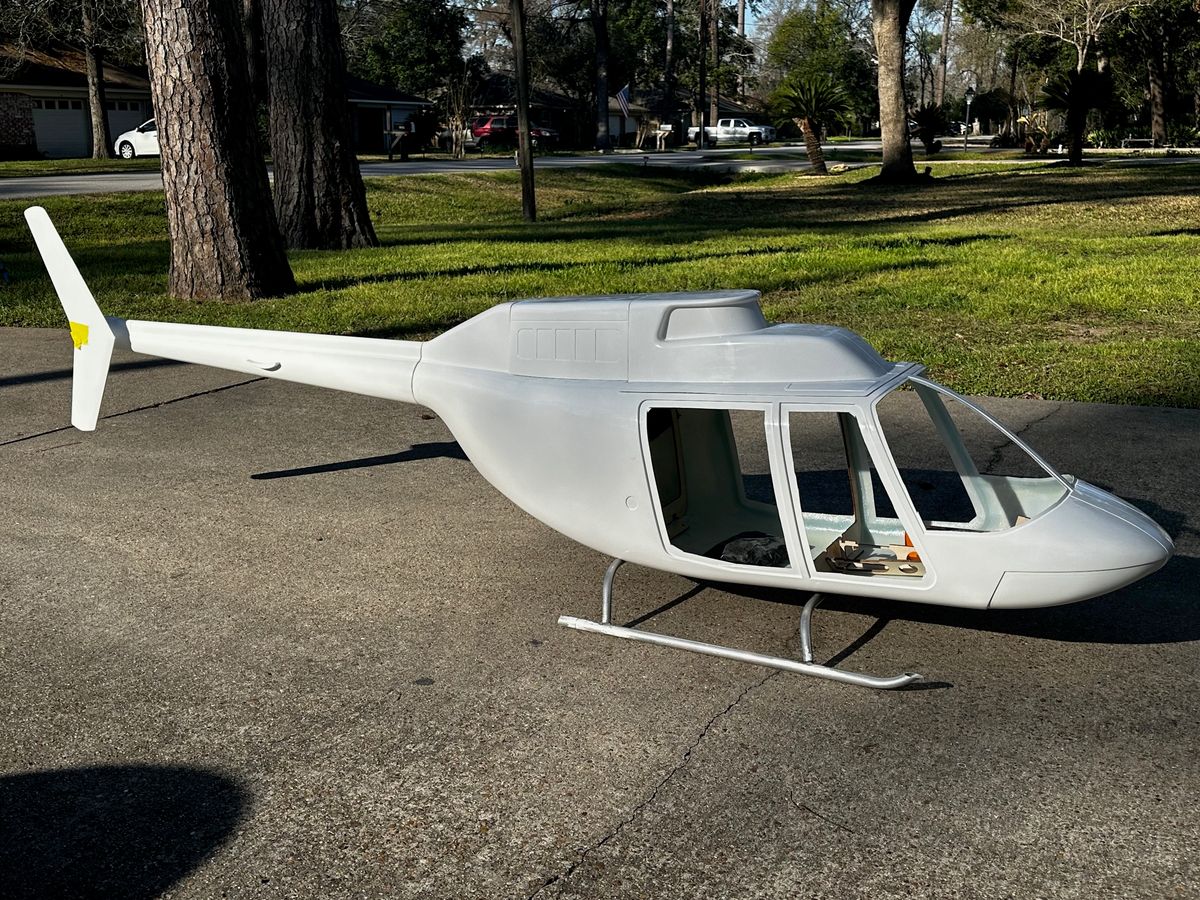
Roughing the interior structure
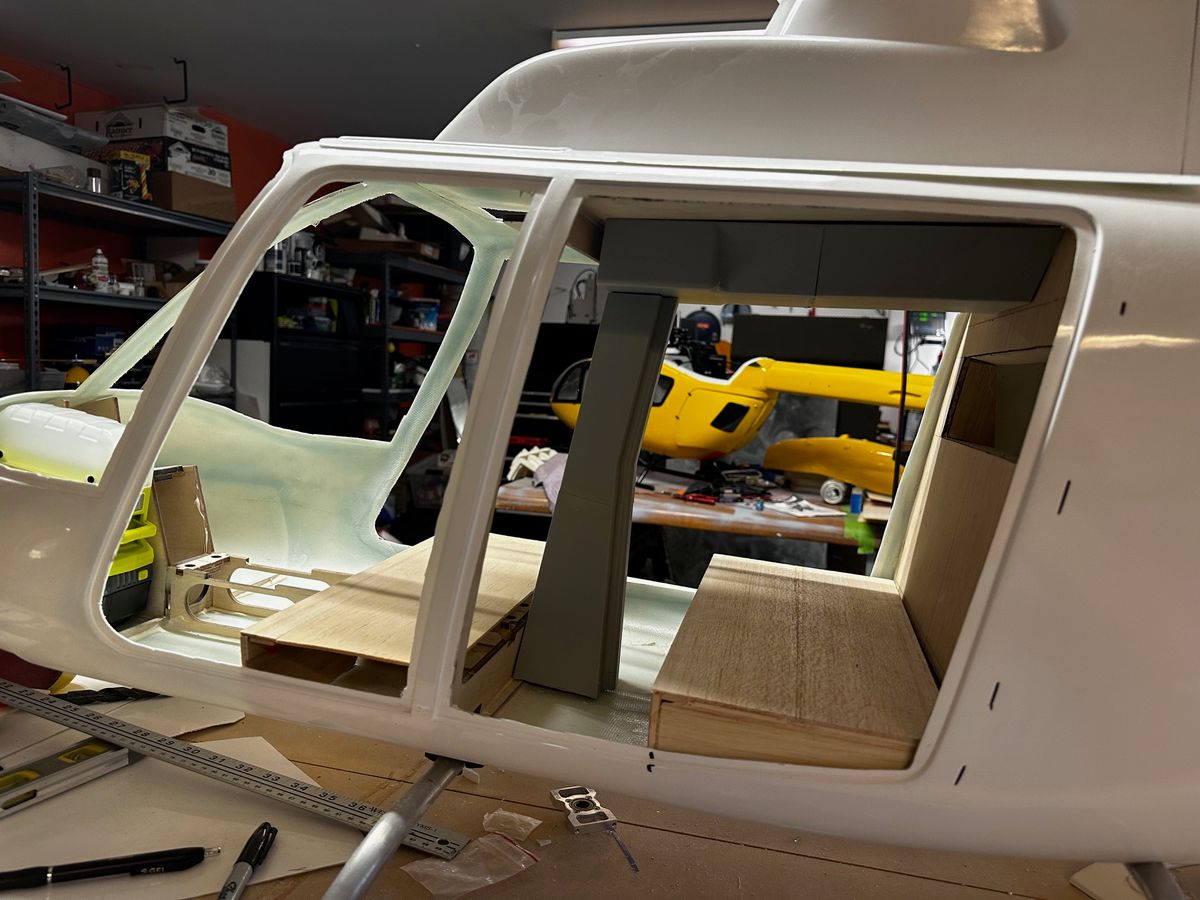
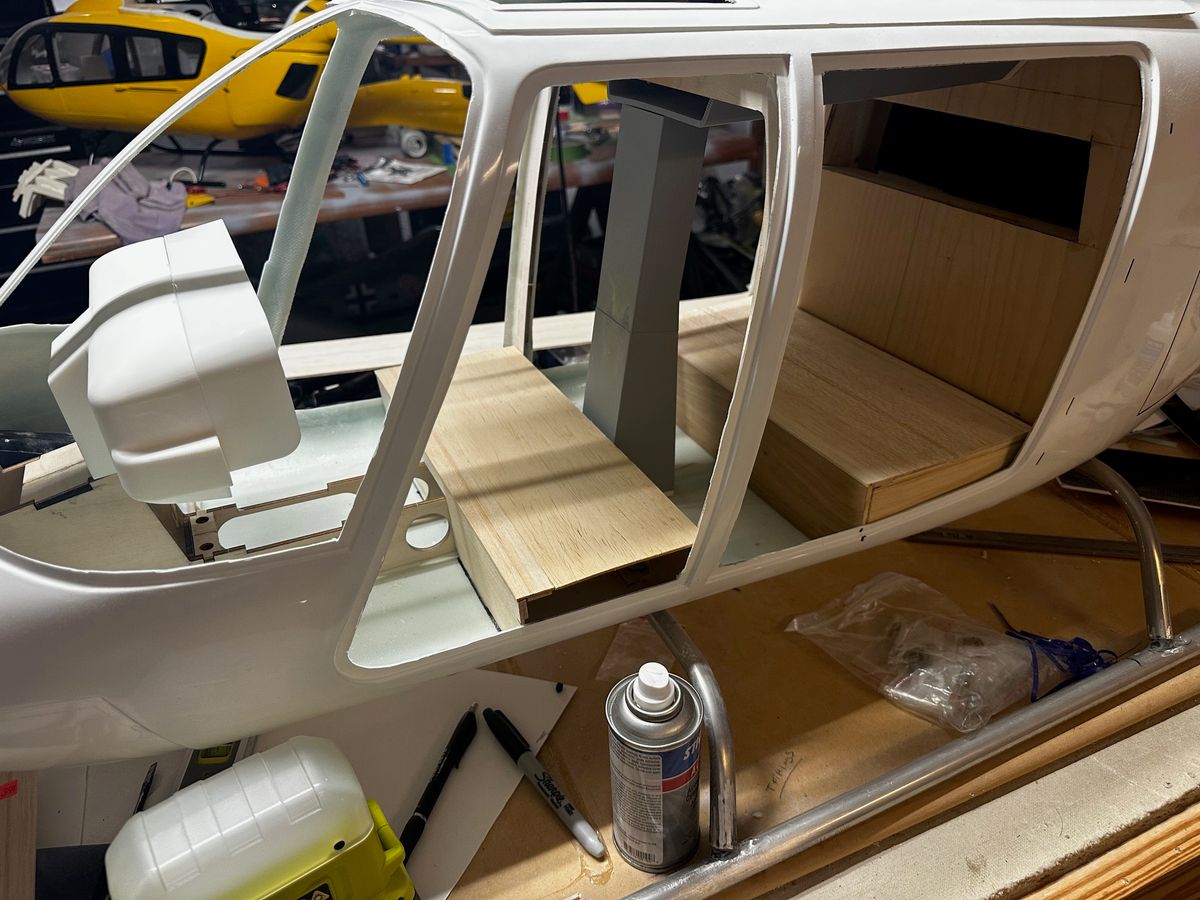
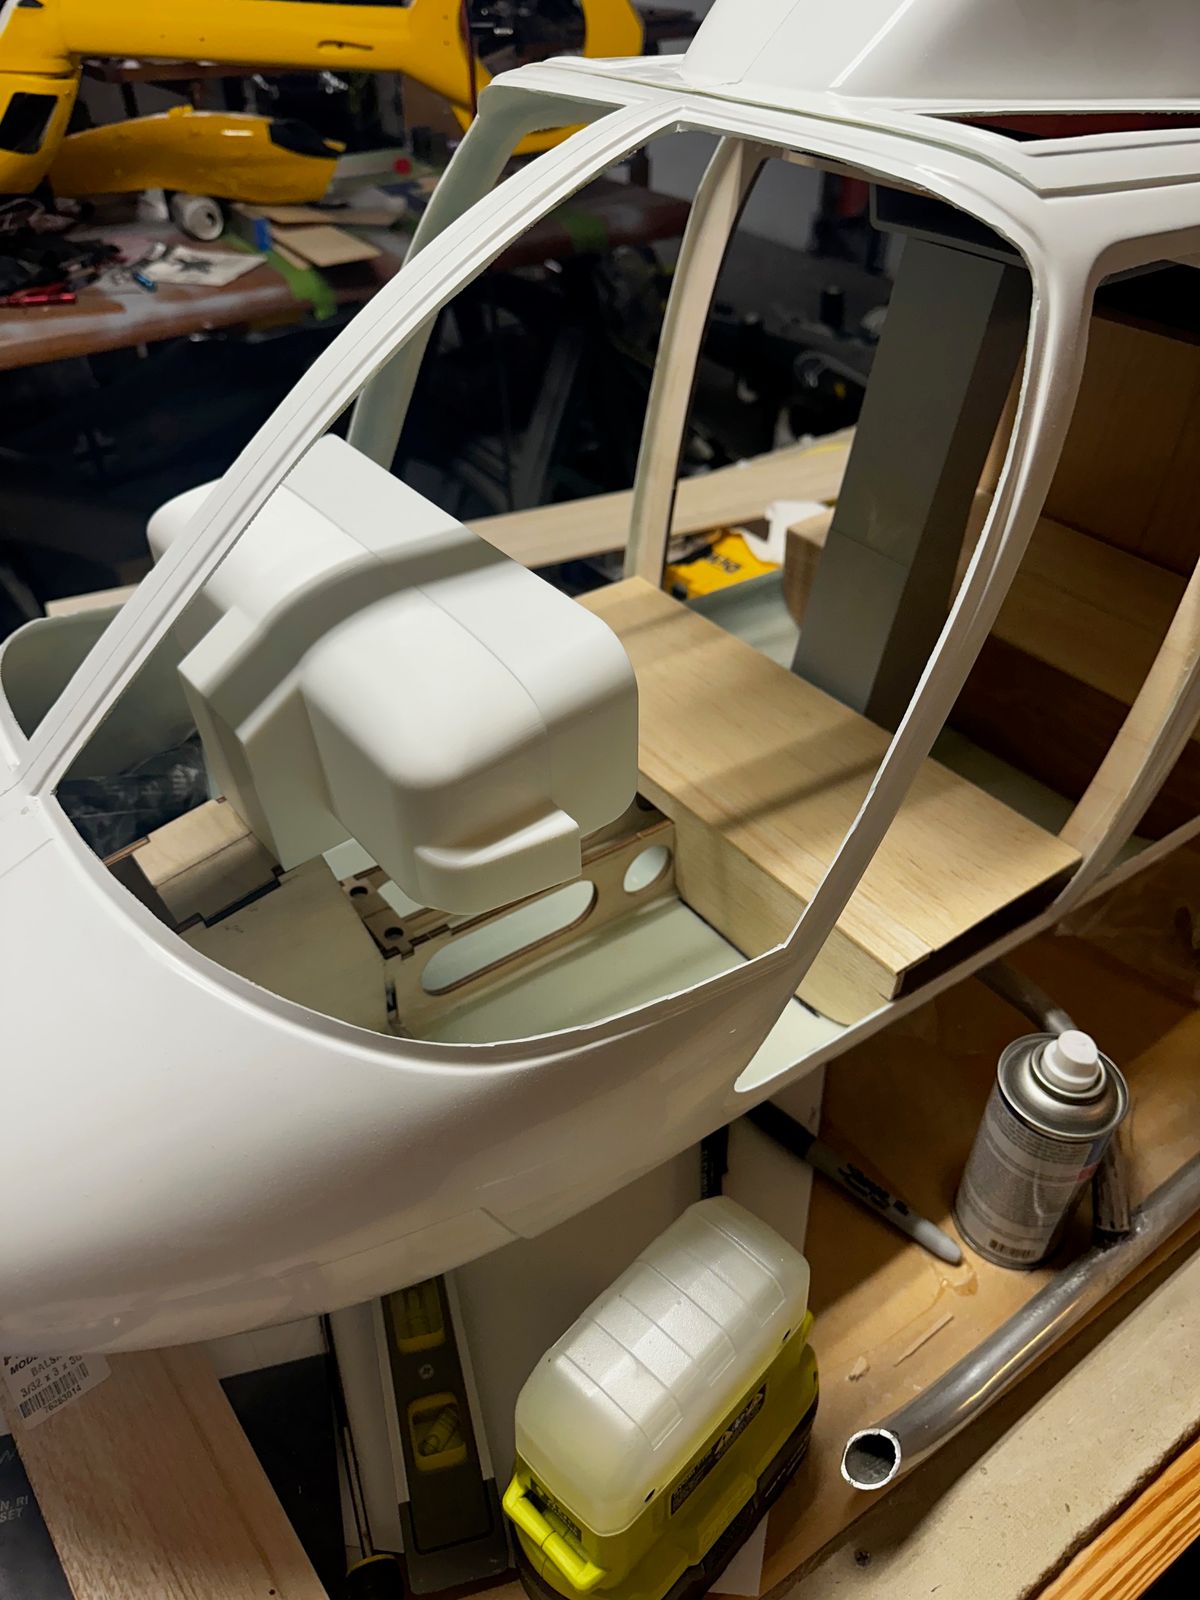
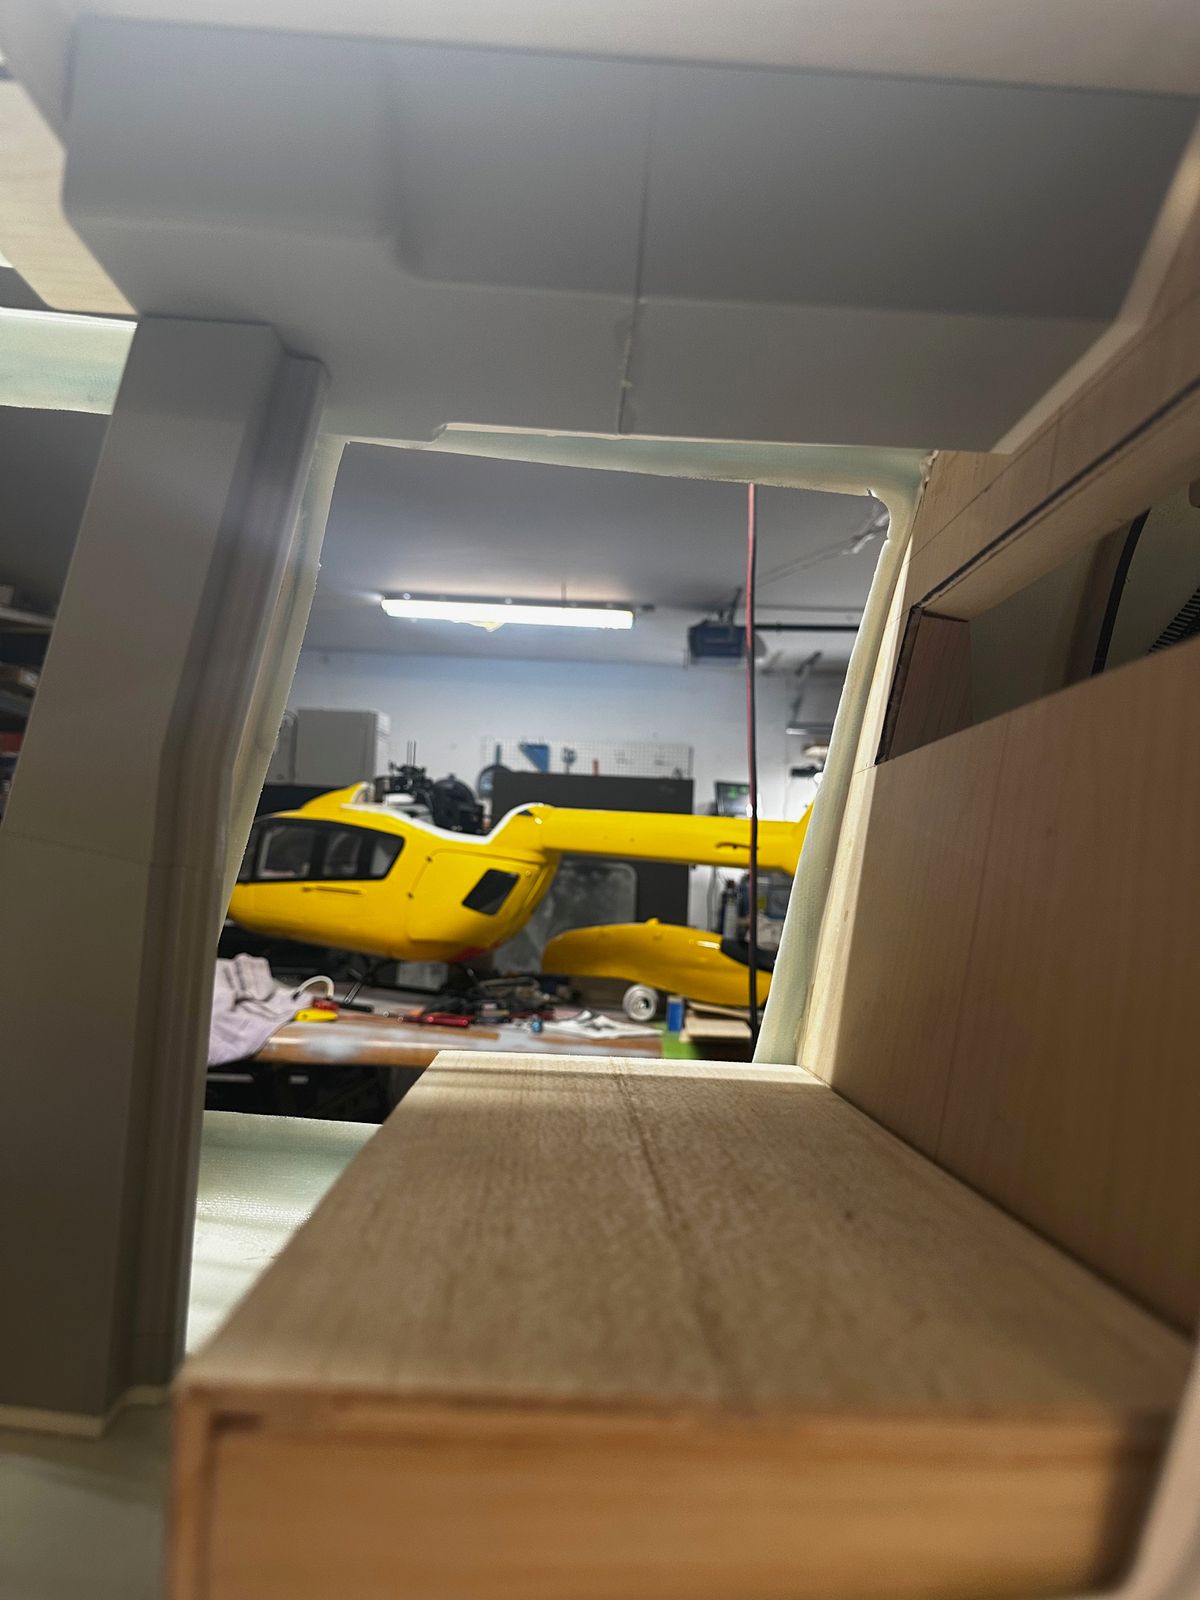
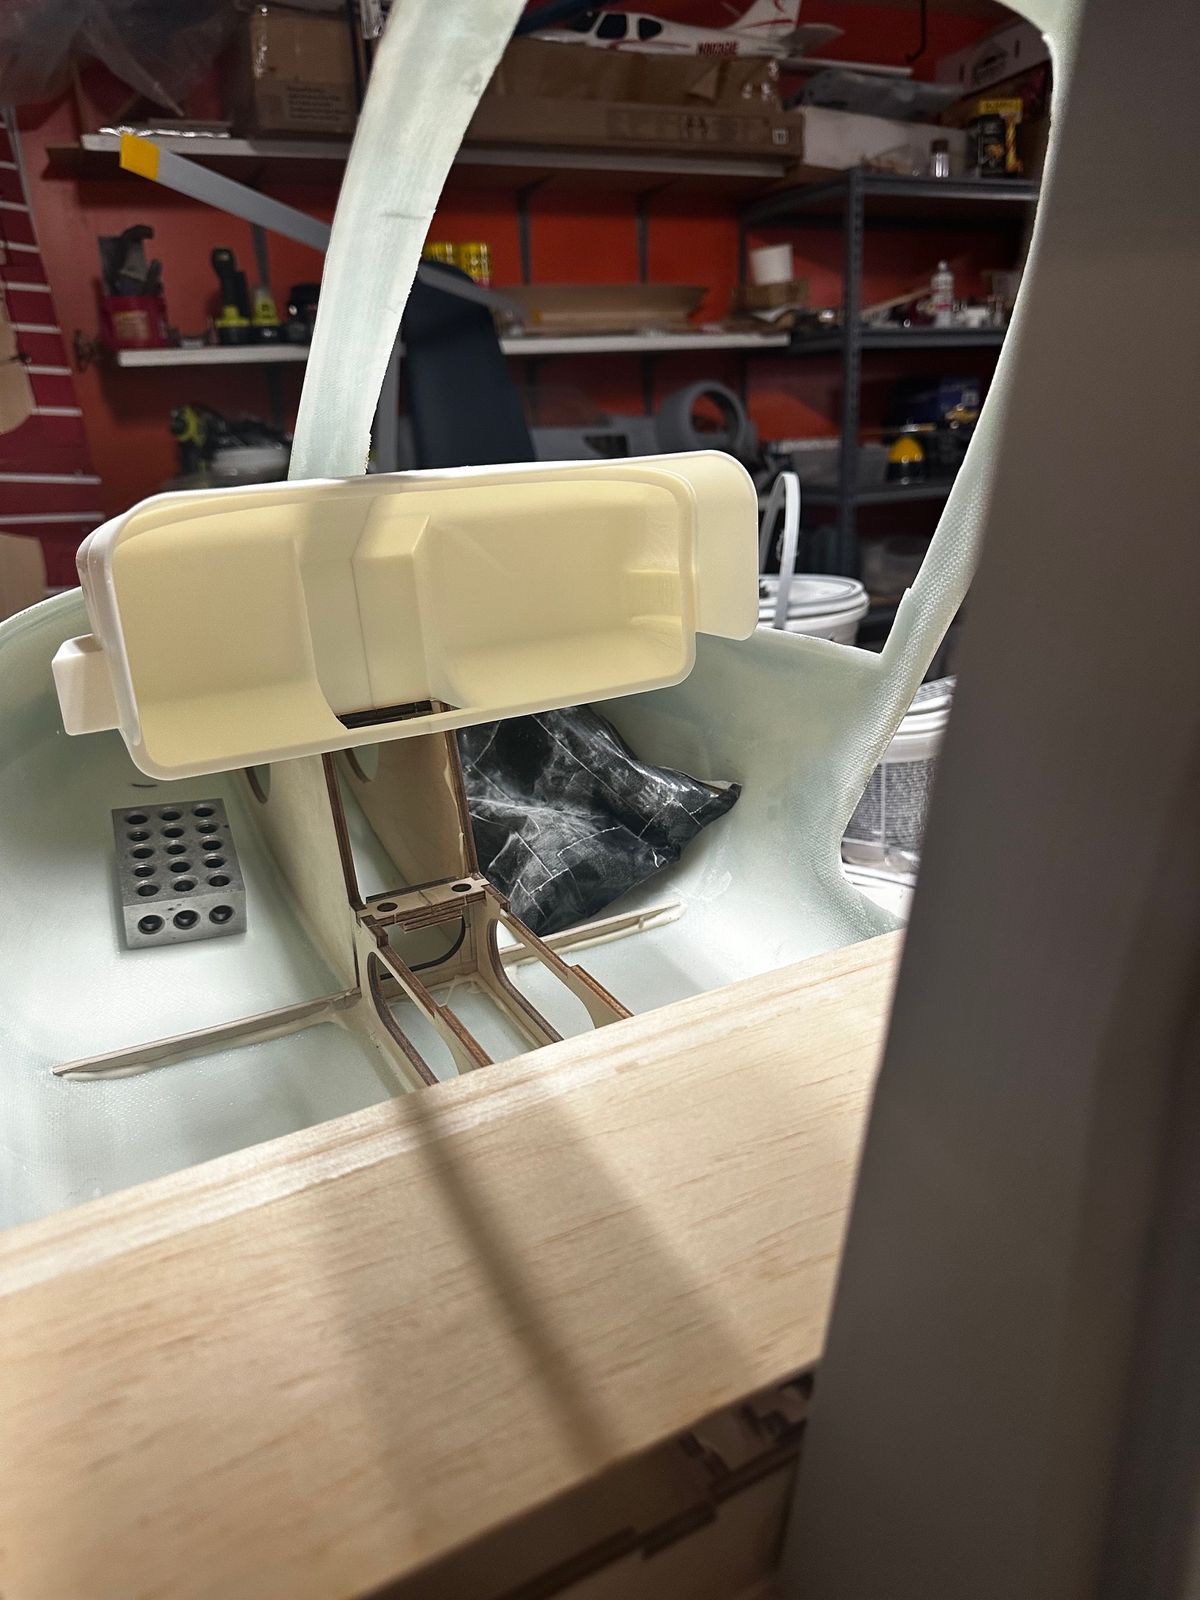
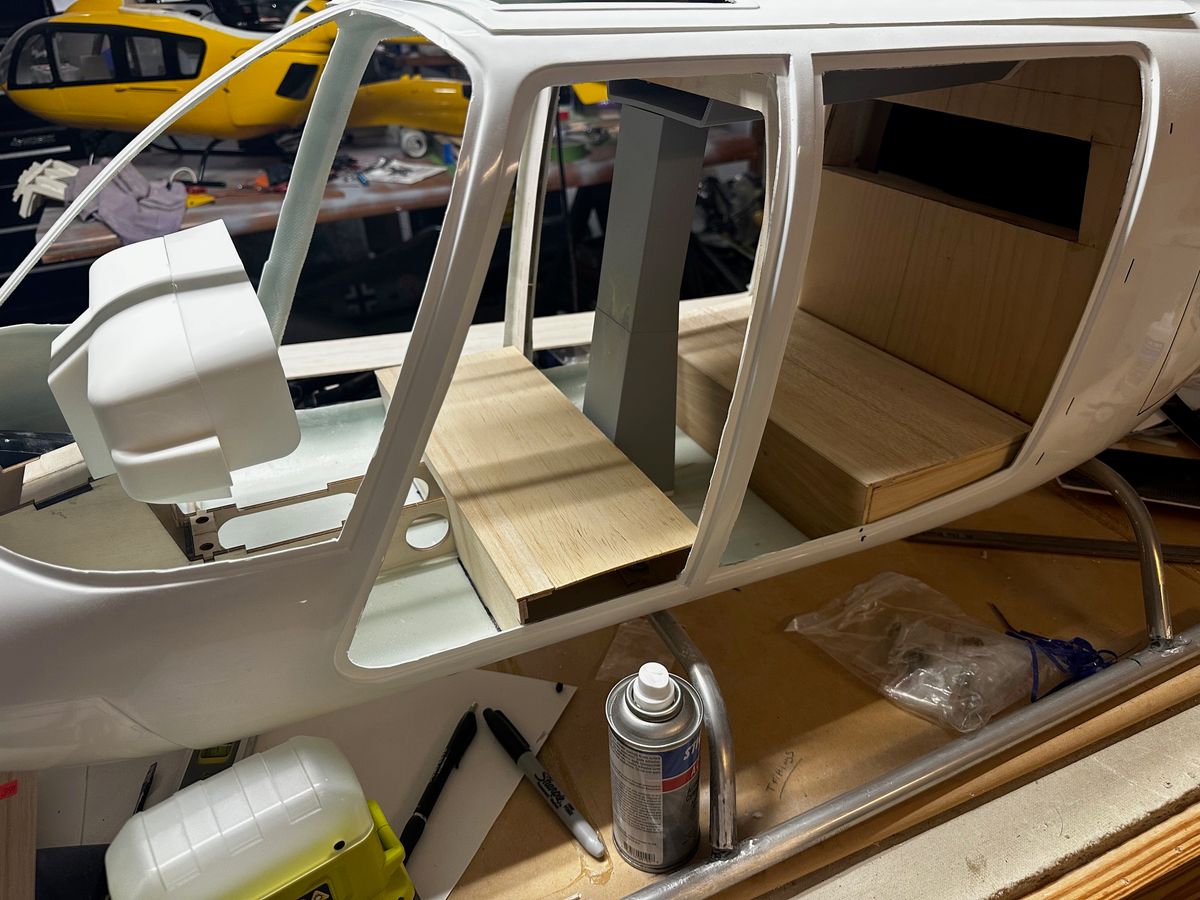
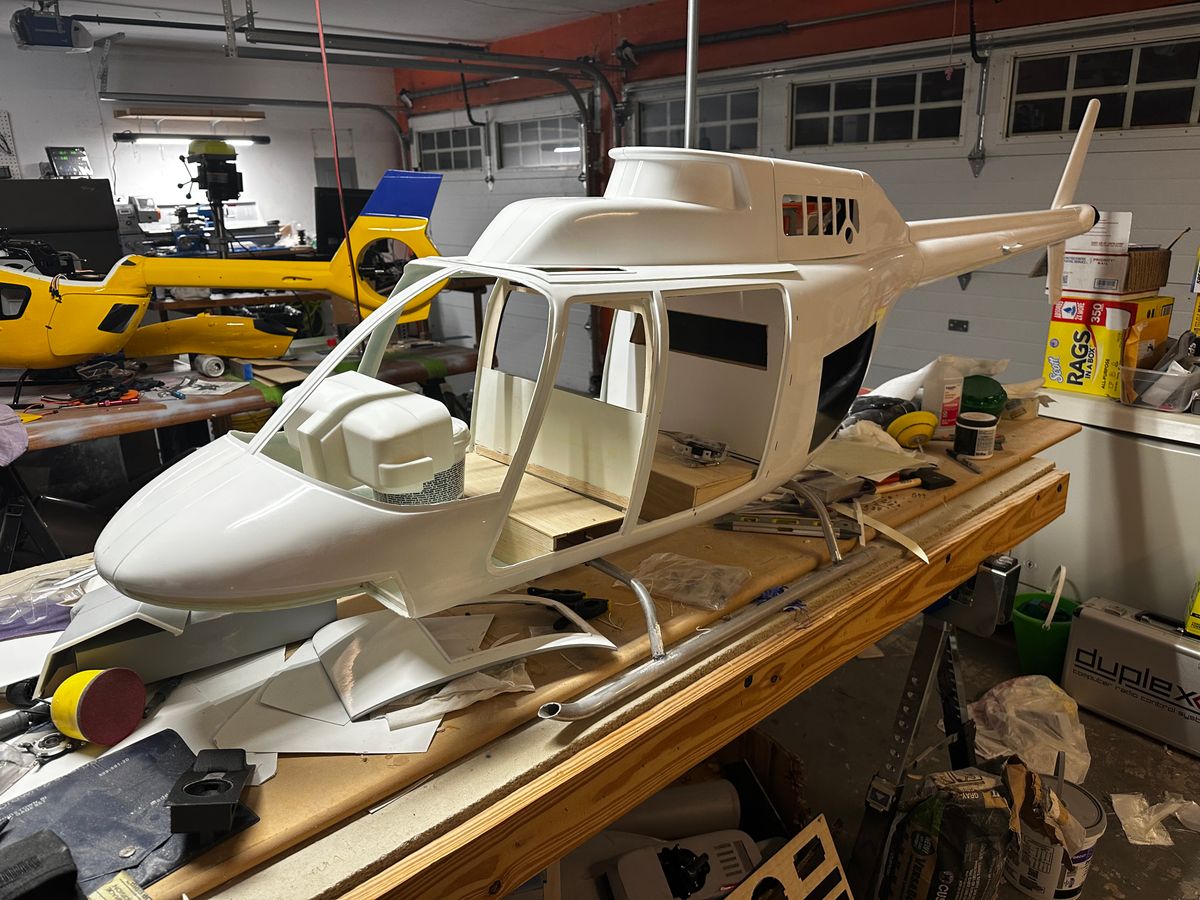
Next up was roughing the interior. I wanted to make sure all structure was in place before I added fluff. using the printed mechanics as a guide and installed the wood formers that came with the kit and added a 3rd one where the passenger back rest is. for some reason Vario wants you make the floor of the heli at the same height as the door jamb... like its some eurocopter or something...lol. so I am changing that to look like you are stepping into a tub what the door is open. Vario also wants you to install the batteries under the front seats in the form of 3 - 4S packs, but most of my stuff flies on some variation of 6S. so i have decided to put 4 packs under the back seat. the seat pan will come out and secure with magnets. the luggage door will open to allow me to make the battery connections. the batteries will sit under the CG so while they will not help, they will also not hurt. I have taken to printing some of the internal structure rather than shaping it all out of balsa. this is printed with PETG, its a pain but has a glass transition temp of 185F or 85C so when its sitting in the Texas heat, the inside wont melt on me. so far the benches are ready to be covered in styrene and i have printed the linkage tower, and a semi scale ceiling to hide the mechanics from the inside. I also made the instrument console itself. it needed to come forward a lot more than i though as is evidenced by the pictures. originally it stuck out of the windshield, so that was not good. it matches pictures and drawings a lot better now that its moved forward. i guess my spatial awareness was not as awesome as i like to think it is.
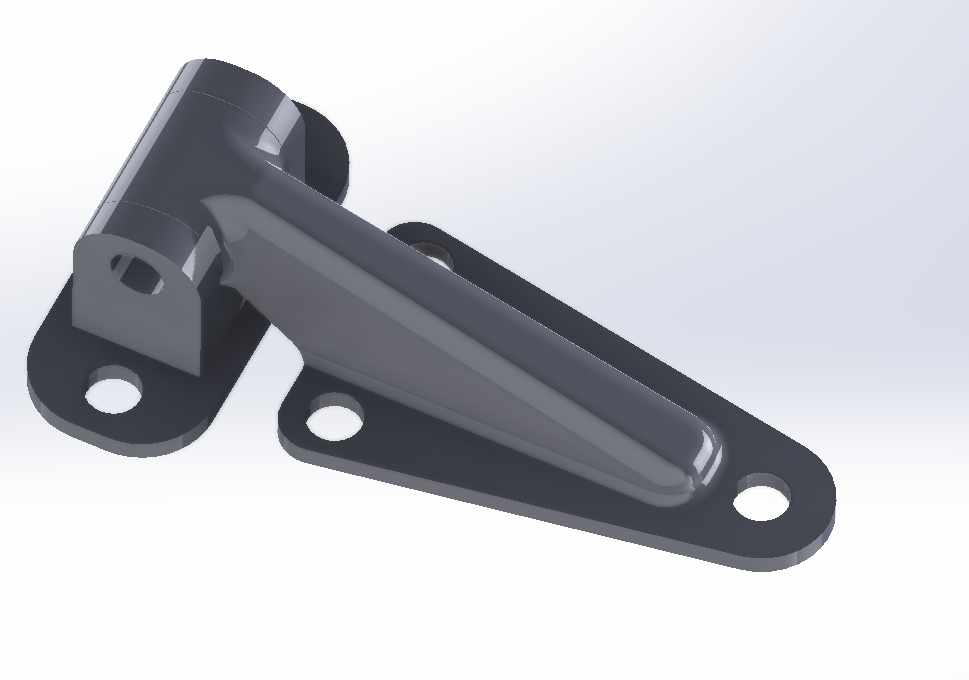
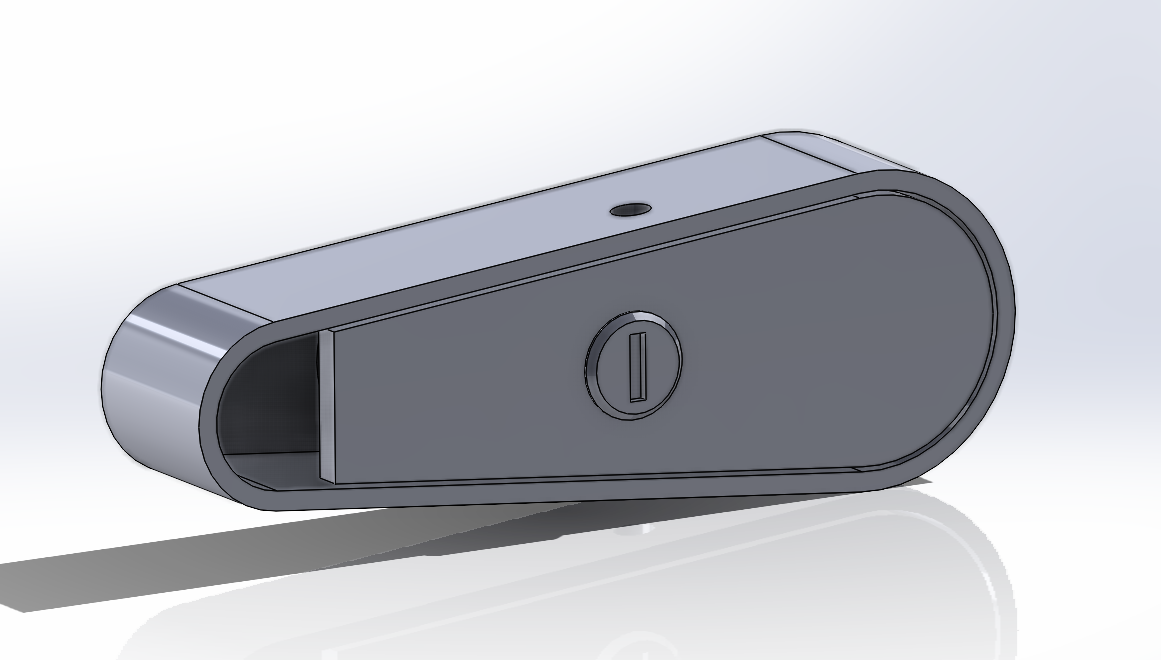
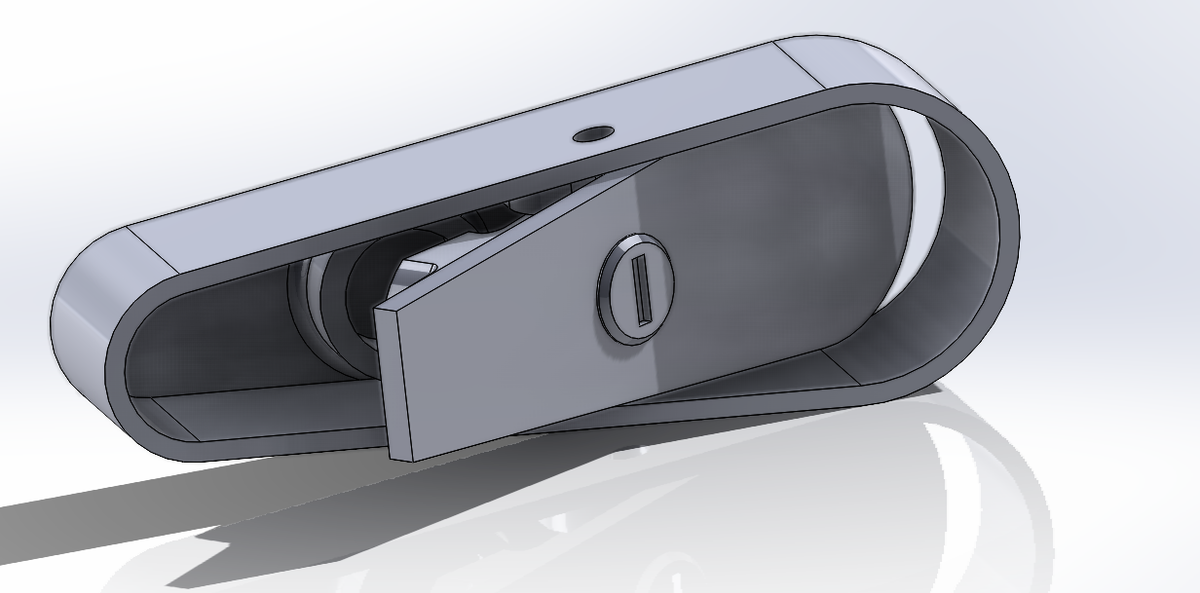
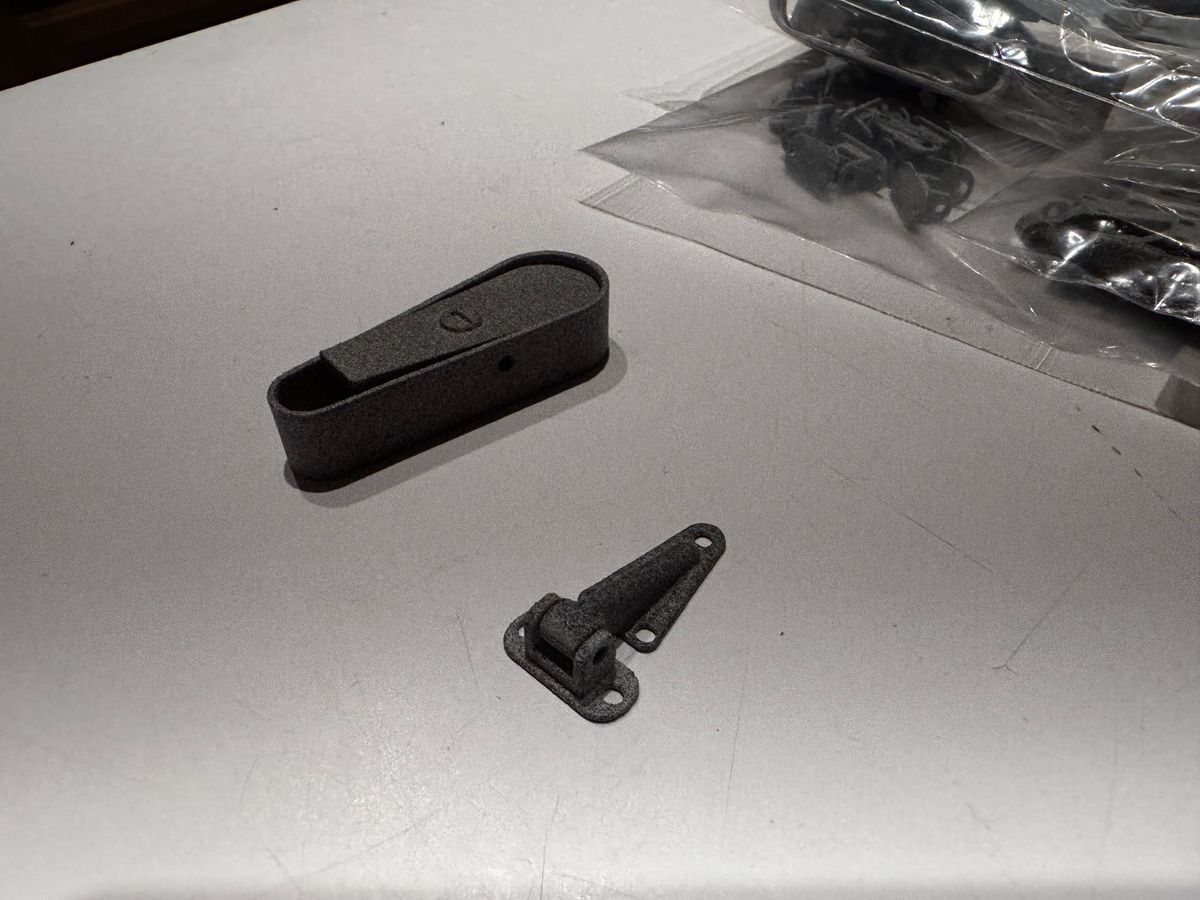
lastly, i made some more scale hinges and door handles that i have sent off to be printed in nylon powder as that is sadly still not something I can do in house. will update once i have them.
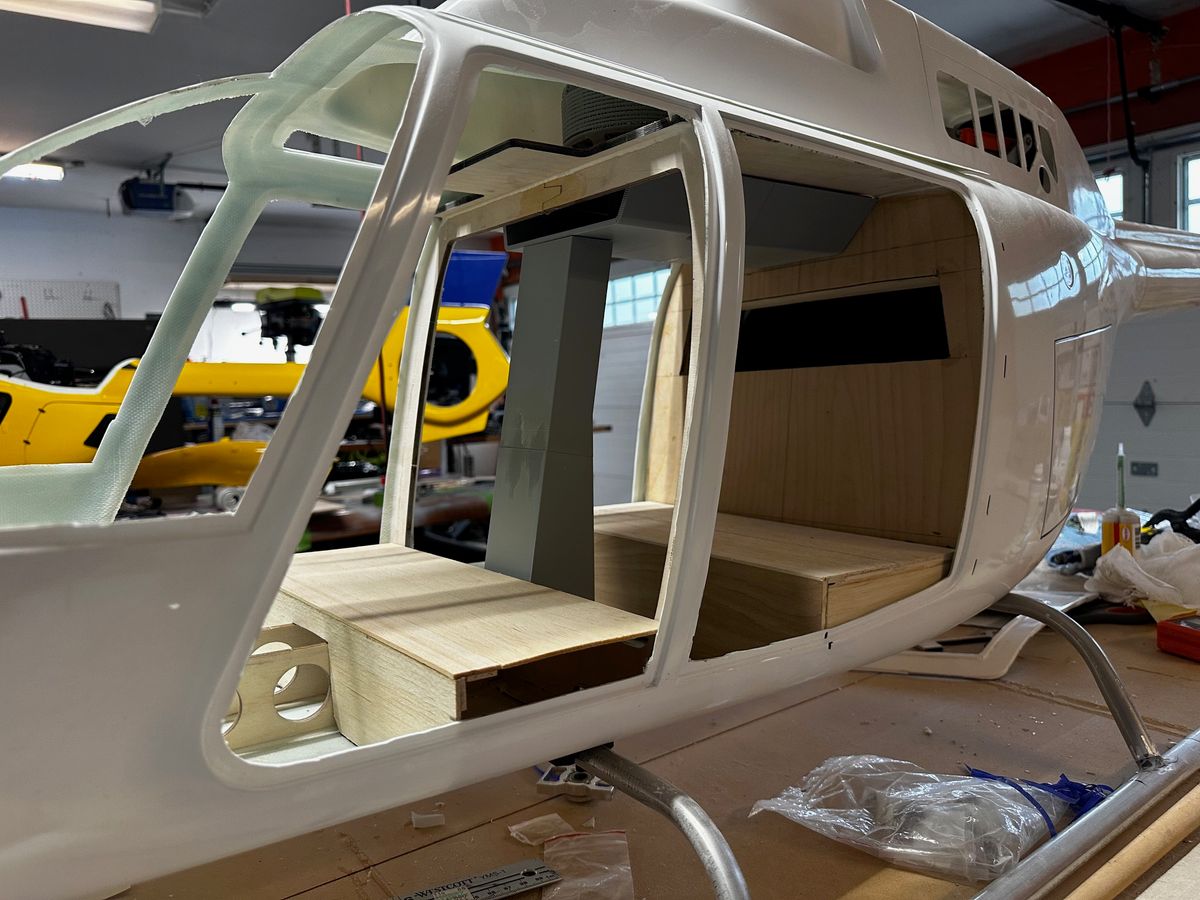
General update
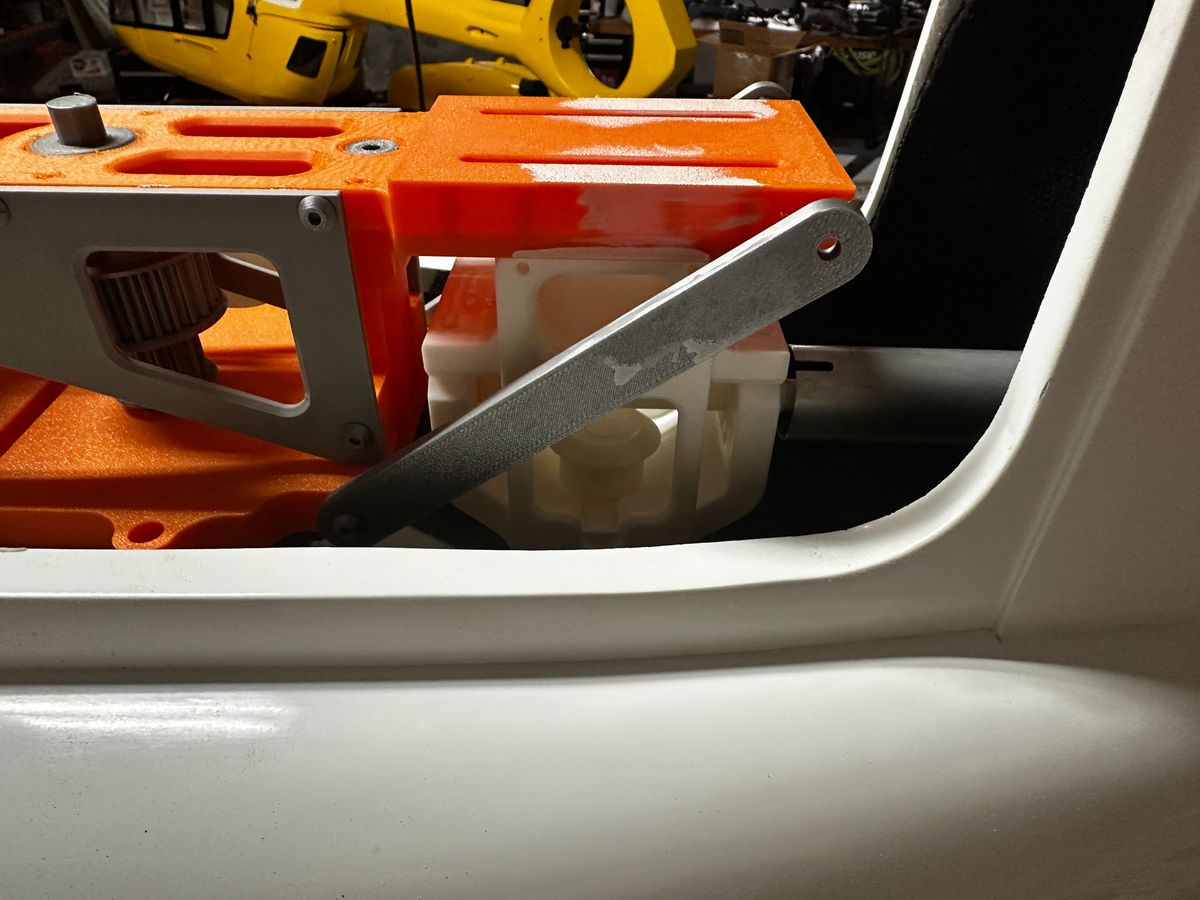
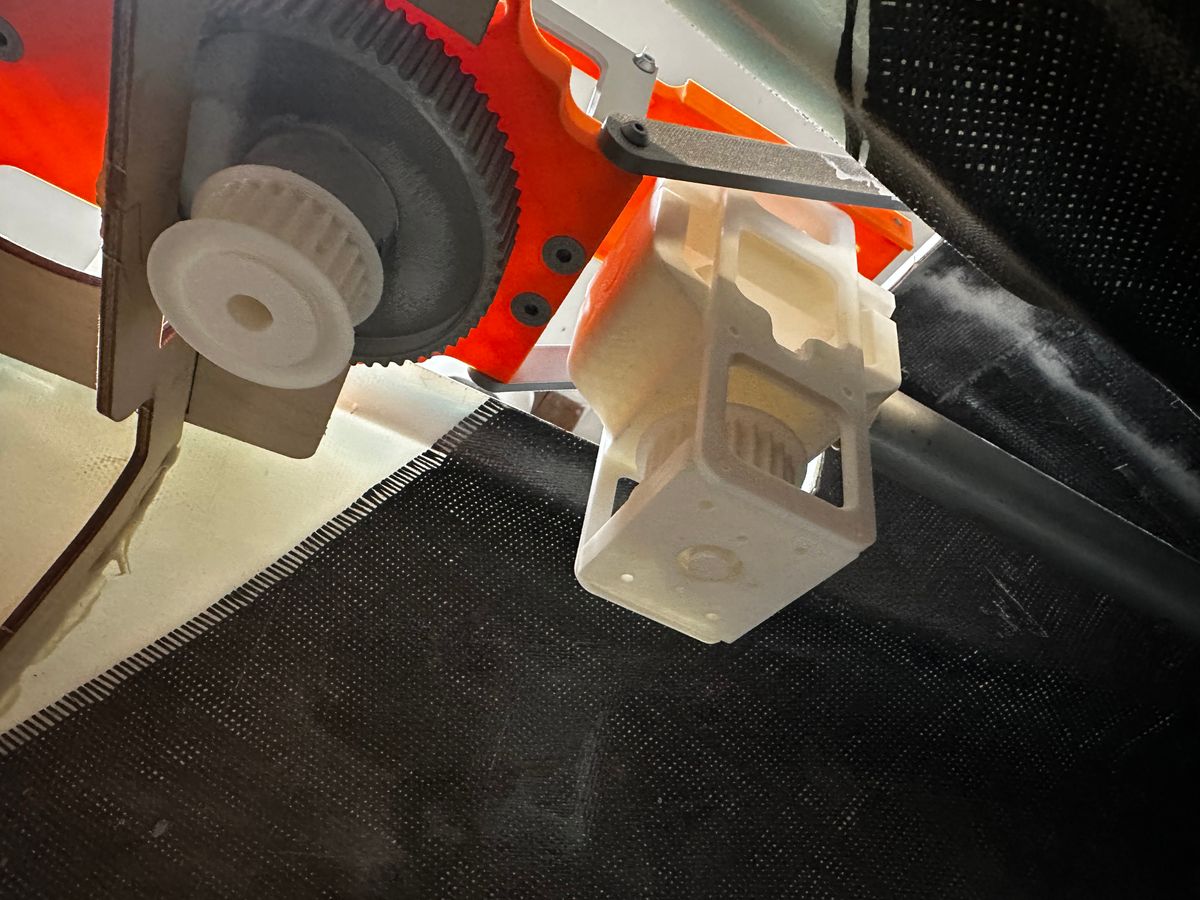
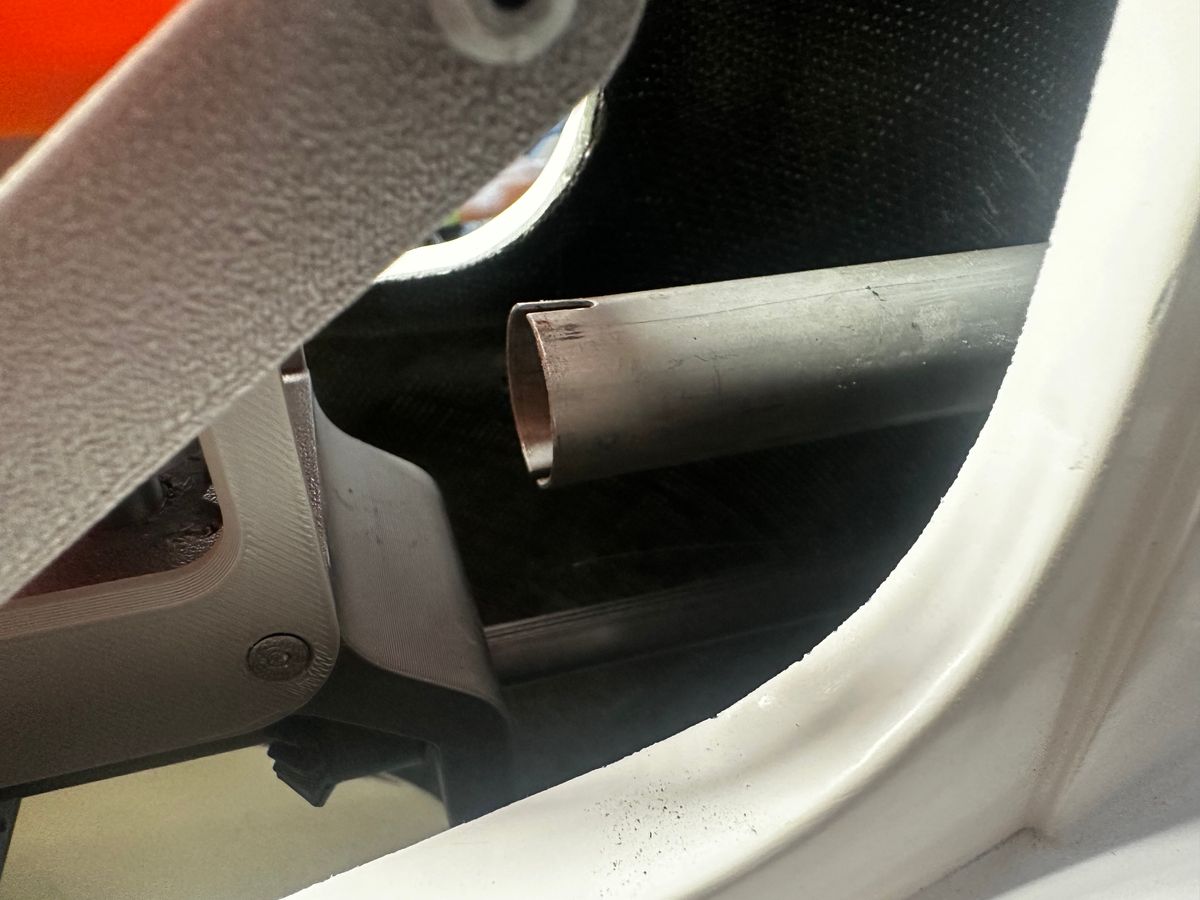
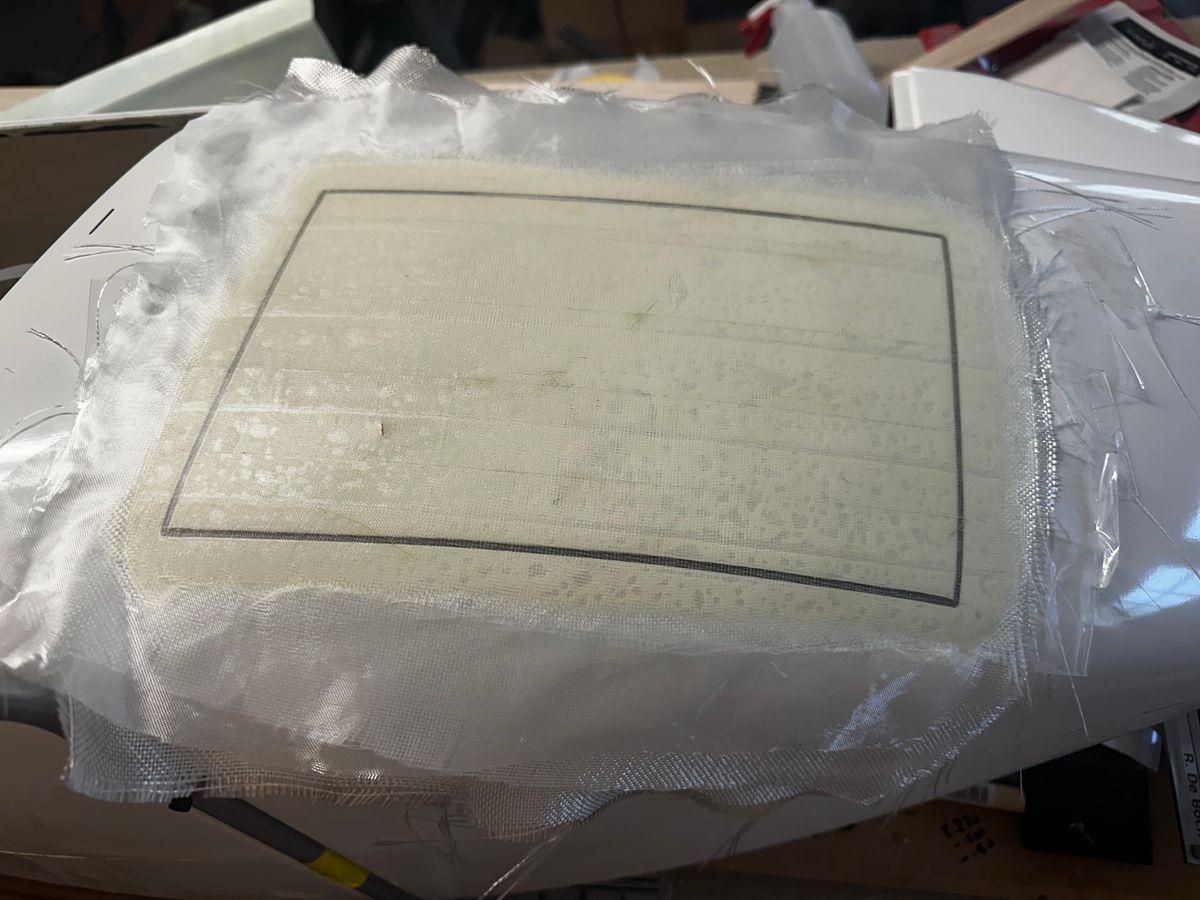
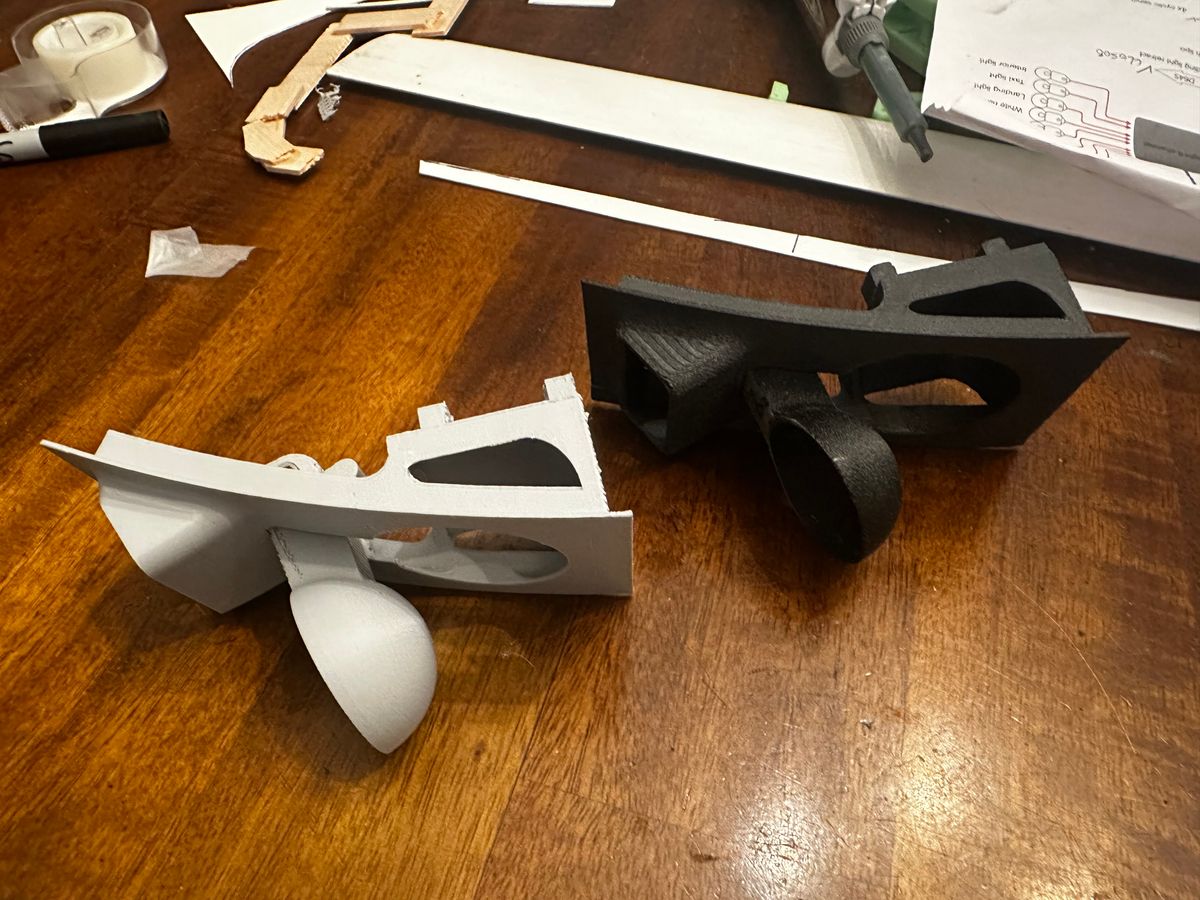
Chugging along, I cut the cheek windows out, made a fiberglass luggage door, removed the old door. I also received the nylon printed hinges and door handles, and printed the landing light assembly. I also found that I had a misaligned tail drive output. I originally was going to mount the mechanics at 5 degrees incline and planed my output accordingly. Later I ended up mounting them flat on the included woodwork. This resulted in a mismatch of 1.5”. I was able to flip the tail gear box upside down and drive the tail from the bottom of the mechanics ( i printed a proof of concept to make sure i got it correct, new parts are white on picture). Kinda proves to me that the mechanic is very flexible and will be able to accommodate just about any project. I also could not order the motor KV I wanted so I was able to switch out some gears and accommodate a different KV motor, can’t wait to test fly.
I have a personal goal to put her primer over the Easter weekend and start panels and rivets.
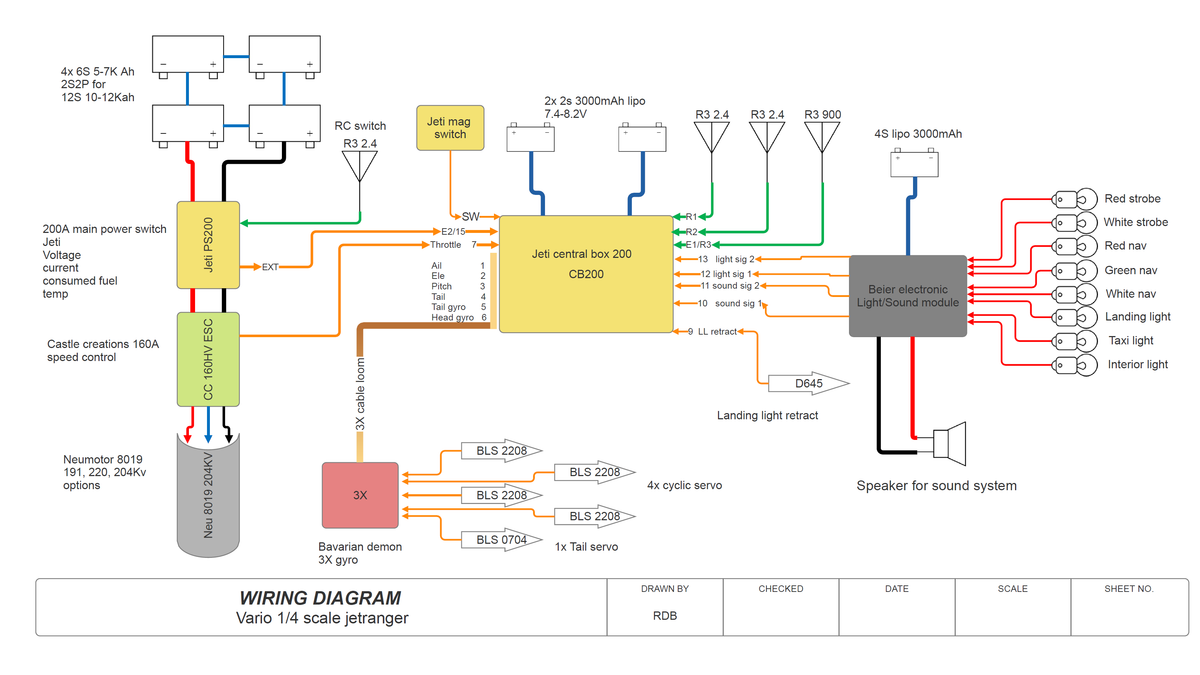
Ps also finished my installation plan for electronics and systems, feel free to let me know if I forgot something
12 Comments
Subscribed to the build, looking forward towards it
Can’t wait for this to take shape!
Looking forward to watching this project as it takes shape.
I love the prototyping of the mechanics. Fusion? And the landing gear drawing.
thank you. and no, I am firmly on team Solidworks.
Robbert, will she be ready for Storm?
That is certainly the plan. I have a timer on my phone with a count down to remind me to get out there and work on it. If i can get the interior sorted this weekend, and move to sanding and priming the outside, it feels like a tall order, but not unsurmountable. the jet ranger does not have a ton of surface details and rivets like an apache does. it would be cool if it is ready for paint by end of the month and assembly and test flight beginning of May...fingers crossed.
I’m rooting for you!!
Very nice and compact design of the mechanics. Good work!
Clean work on the interior, will be a true scale machine.
Good place @ the backseat for the Lipo's, easy acces.
This is amazing work, great to have a preview of the mechanical setup. Top job!
Nice wiring diagram too!