

Roban 800 UH-1D Huey build thread
 matthew S.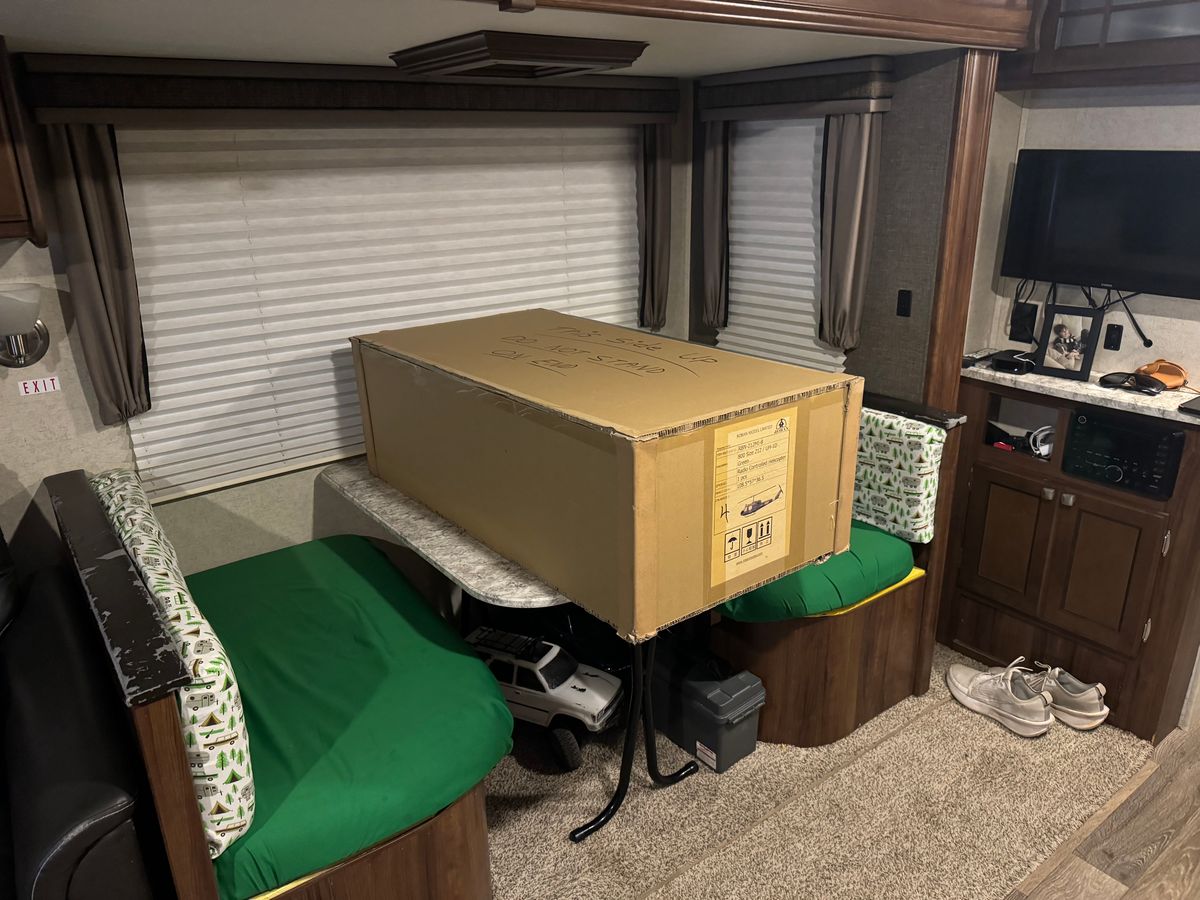
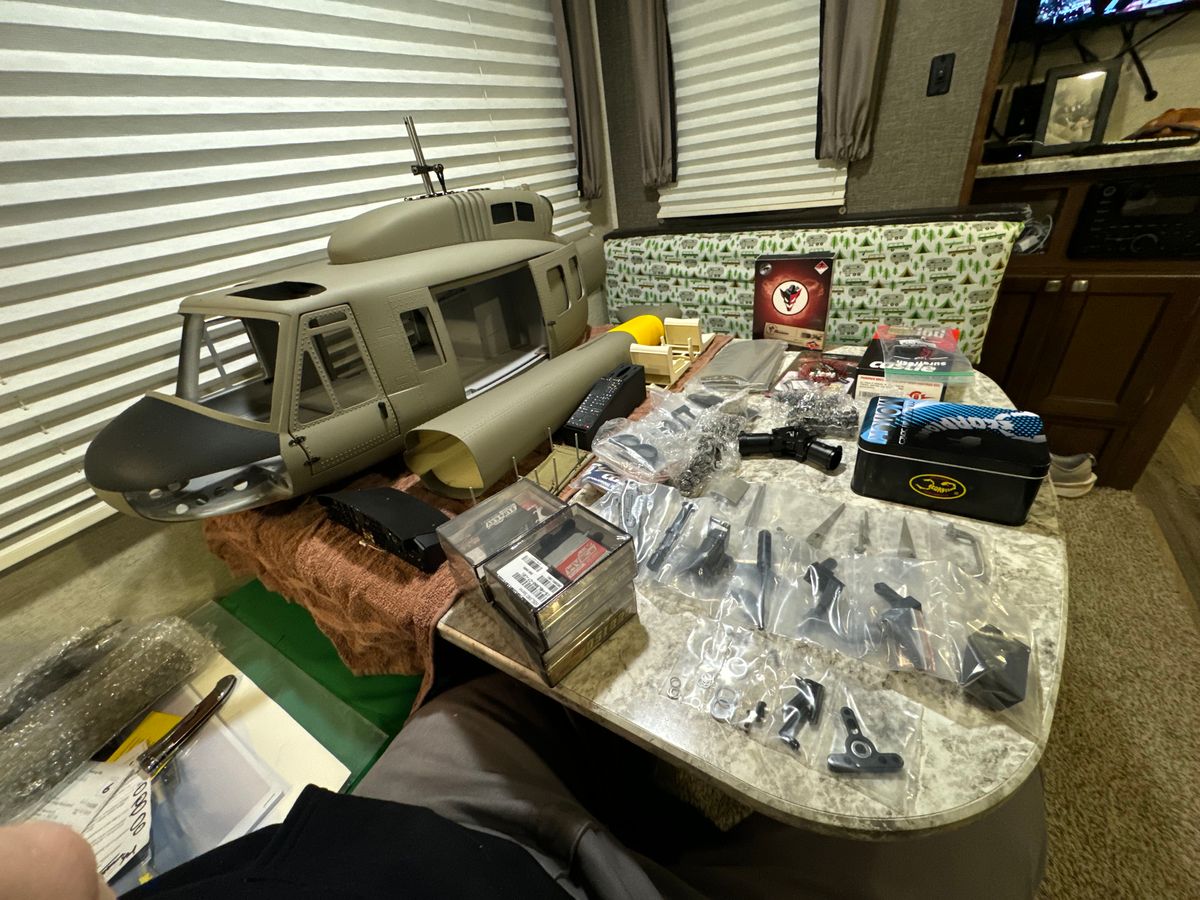
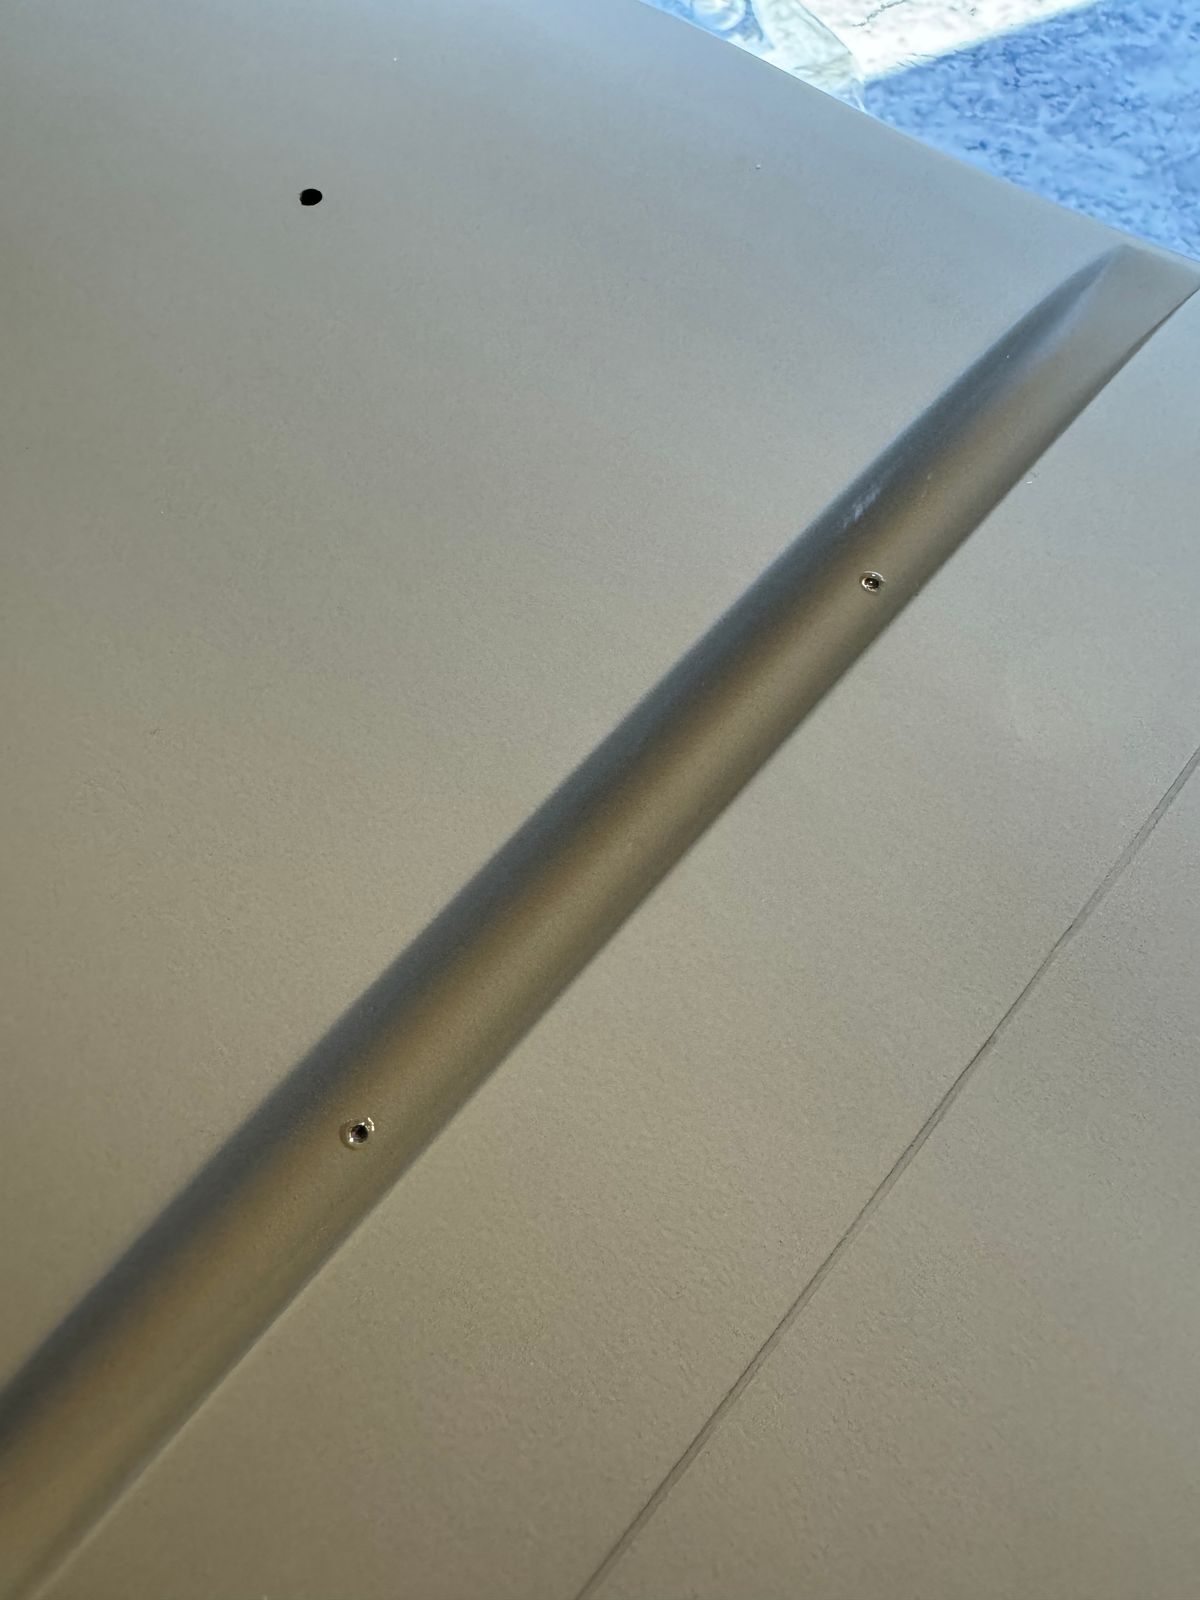
First steps.
Hello everyone, this is my first post here, although I have been a member for about a year now.
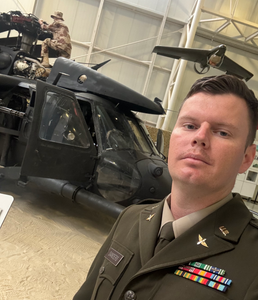
A little backstory: I have been in the Army for 10 years and decided to take a leap of faith and apply to become an army aviator. Thankfully my packet was accepted, and I have now graduated from Warrant Officer Candidate School and am currently waiting to start Army flight school.
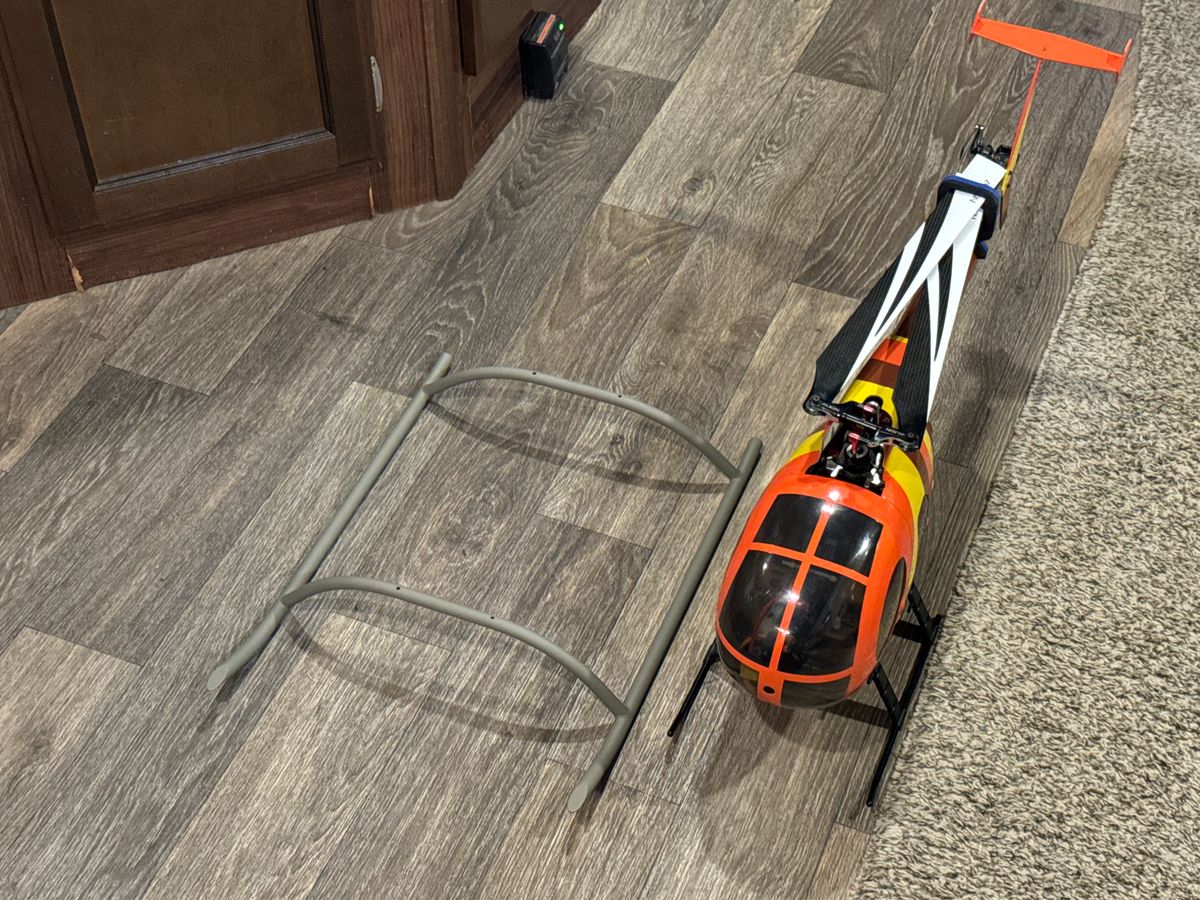
I’ve been flying RC since I was 12 years old. I’ve flown IMAC and pattern flying, and I mostly enjoy flying scale aerobatics. Around 2014, I got into helicopters. I started out flying 3D but found I enjoyed sport flying more. I ended up with my first scale helicopter in 2021—a RC Aerodyne UH-60 600, I’ve been hooked ever since. I’ve built two scale 450-size helicopters and decided to make the move to a true, dedicated scale helicopter, one that isn’t an Align kit shoehorned into a fuselage.
That’s where I’m at now with the Roban 800 Huey. I’ve decided to use the recommended electronics from Motion RC with this kit, hoping to minimize guesswork and create a strong, reliable platform that I can fly for many years.
I’ll be using my FrSky X20S radio to control this bird with a TDR 10 RX.
Here’s the list of components:
• TDR 10 RX
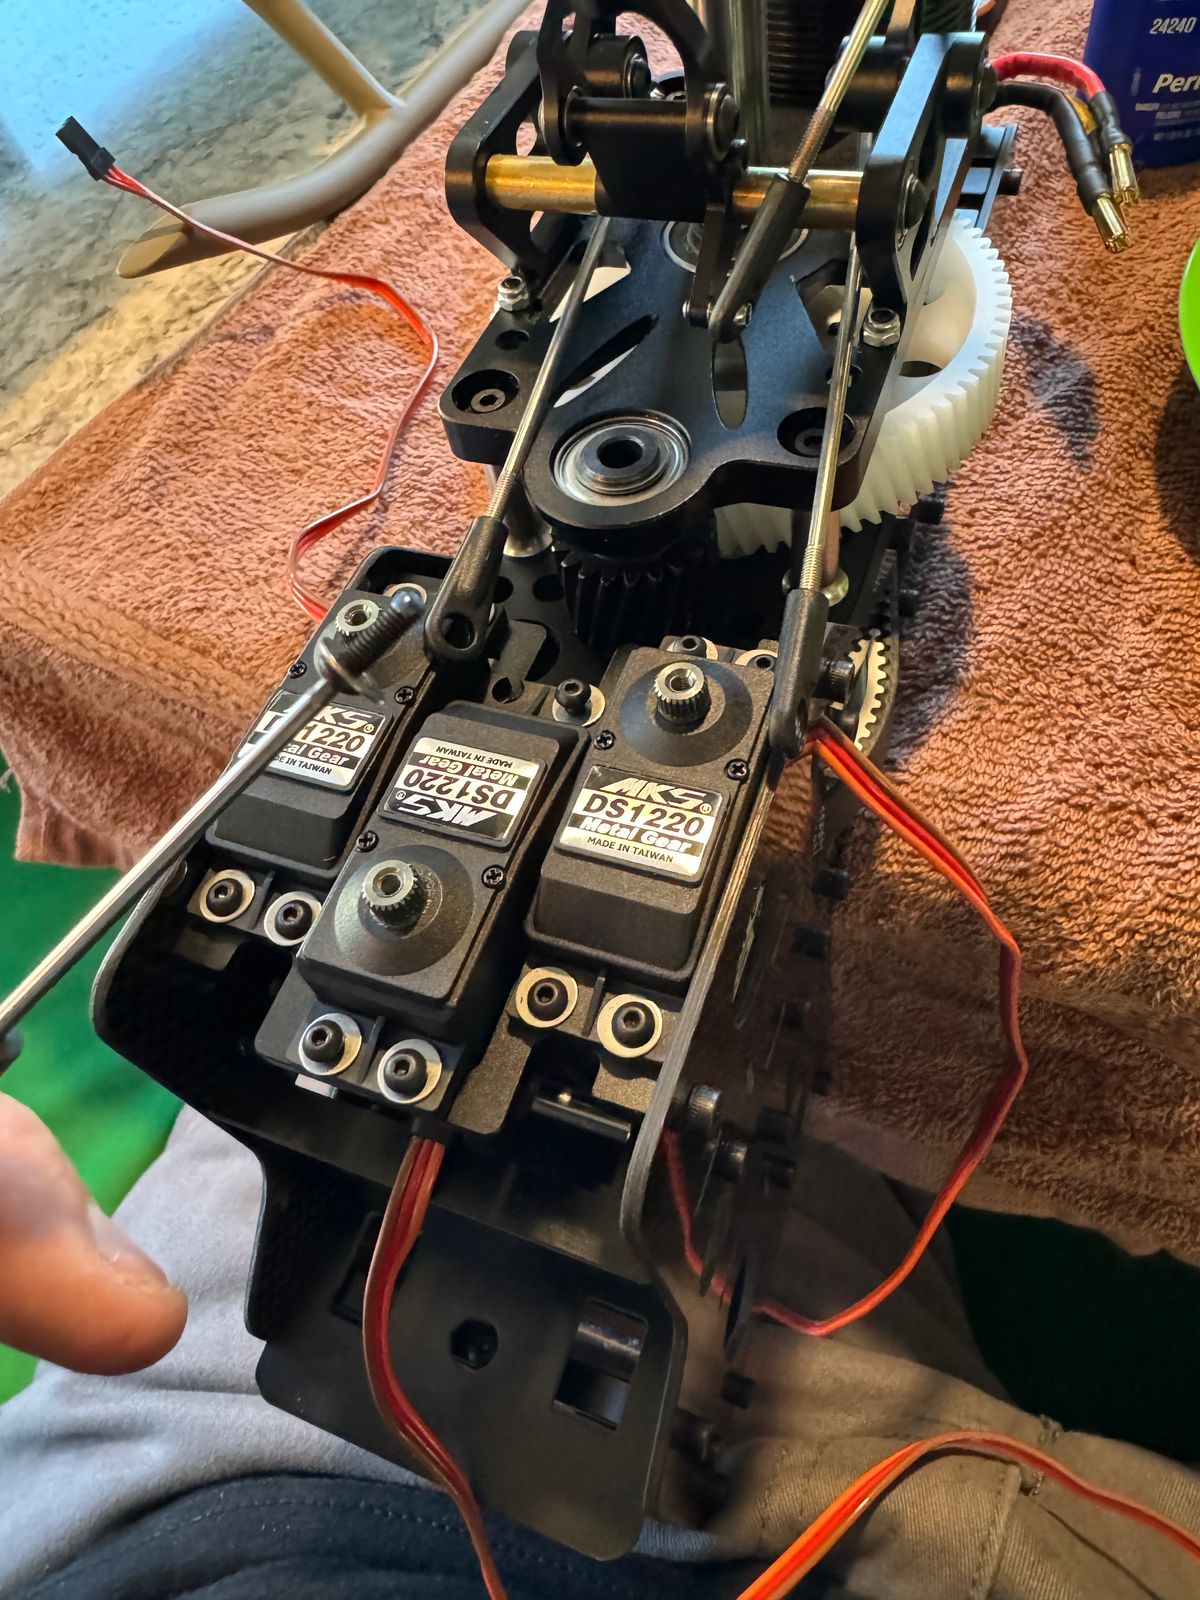
• MKS DS1220 cyclic servos
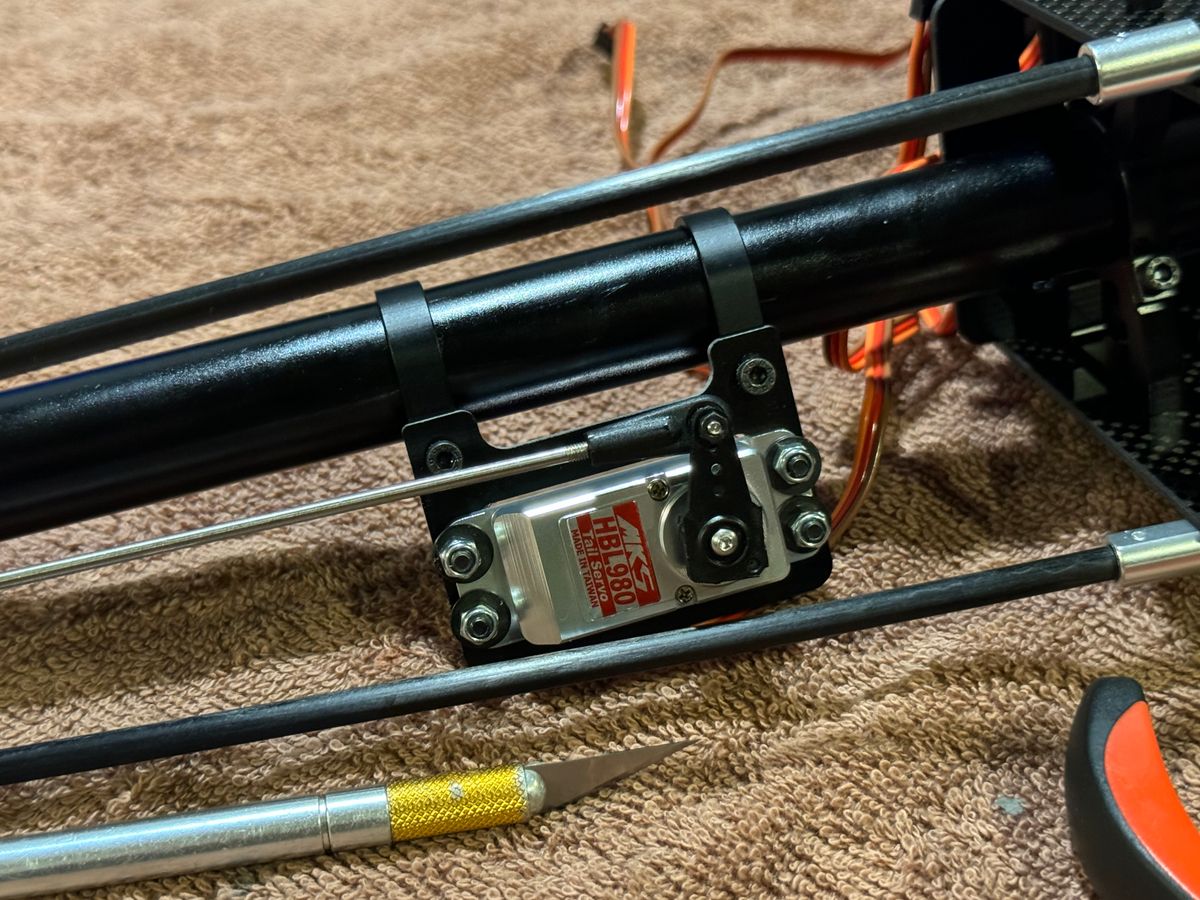
• MKS HBL980 tail servo
• Scorpion HKV-4035-560KV motor
• Castle Phoenix Edge 160HV ESC
• Castle Pro BEC
• HRB 5000mAh 50C 6S LiPos x2 in series
I haven’t decided a few things yet, like what battery to use for the receiver or what servo arms I want, but I’ll figure that out over time. I also want to do custom graphics to help it stand out from the OEM crowd.
Last but not least, I’ve already made some progress, so I’ll backdate some chapters until I’m caught up. I’m still relatively new to RC scale helicopters, so if you have any constructive criticism or feedback, please let me know. I promise I can take it!
-Matt
Planning the steps
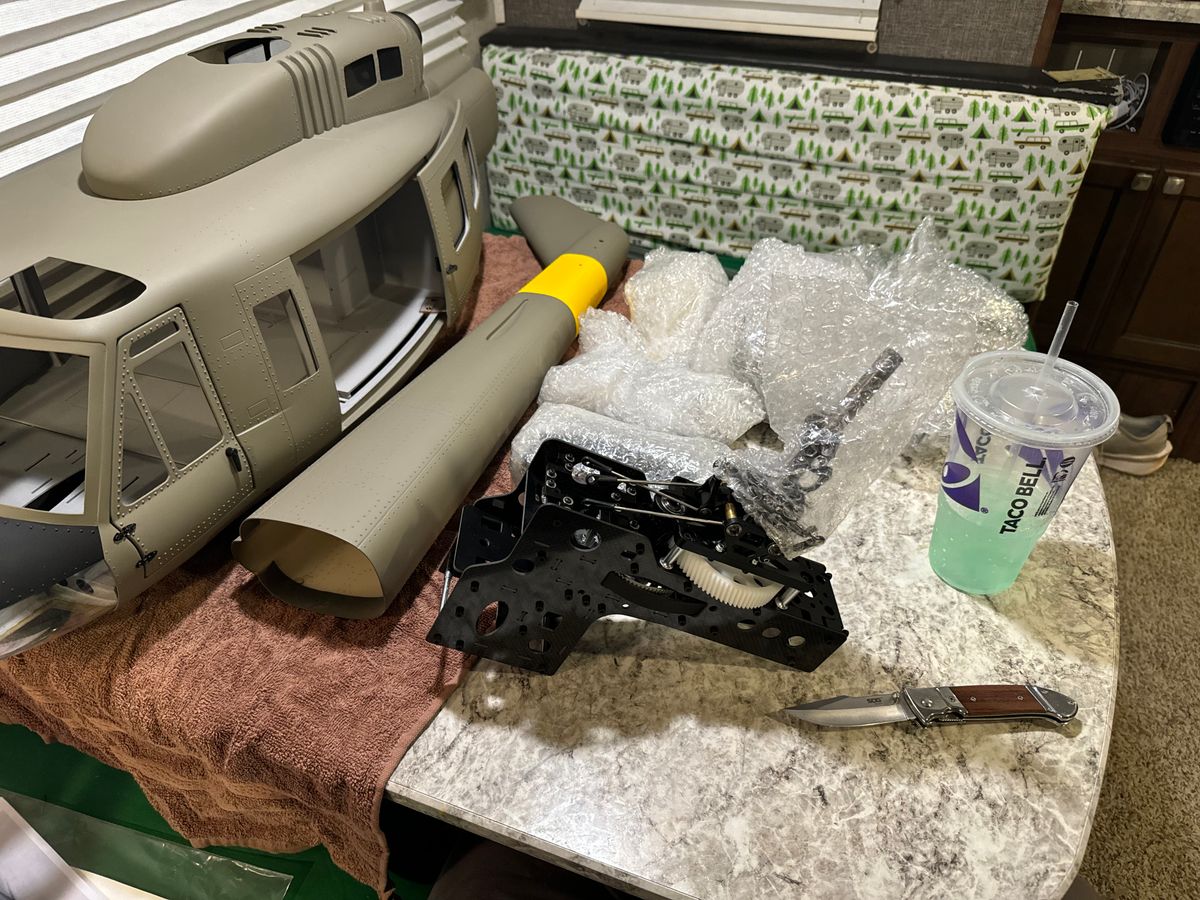
First things first, I read the instructions thoroughly—front to back, back to front, and even upside down—just to be sure. I also checked Motion RC and Rohan’s websites for any technical bulletins that might have been released since these instructions were published eight years ago. To be honest, the instructions are lacking. You definitely need to know what you’re doing or be prepared to do a lot of research before building this bird.
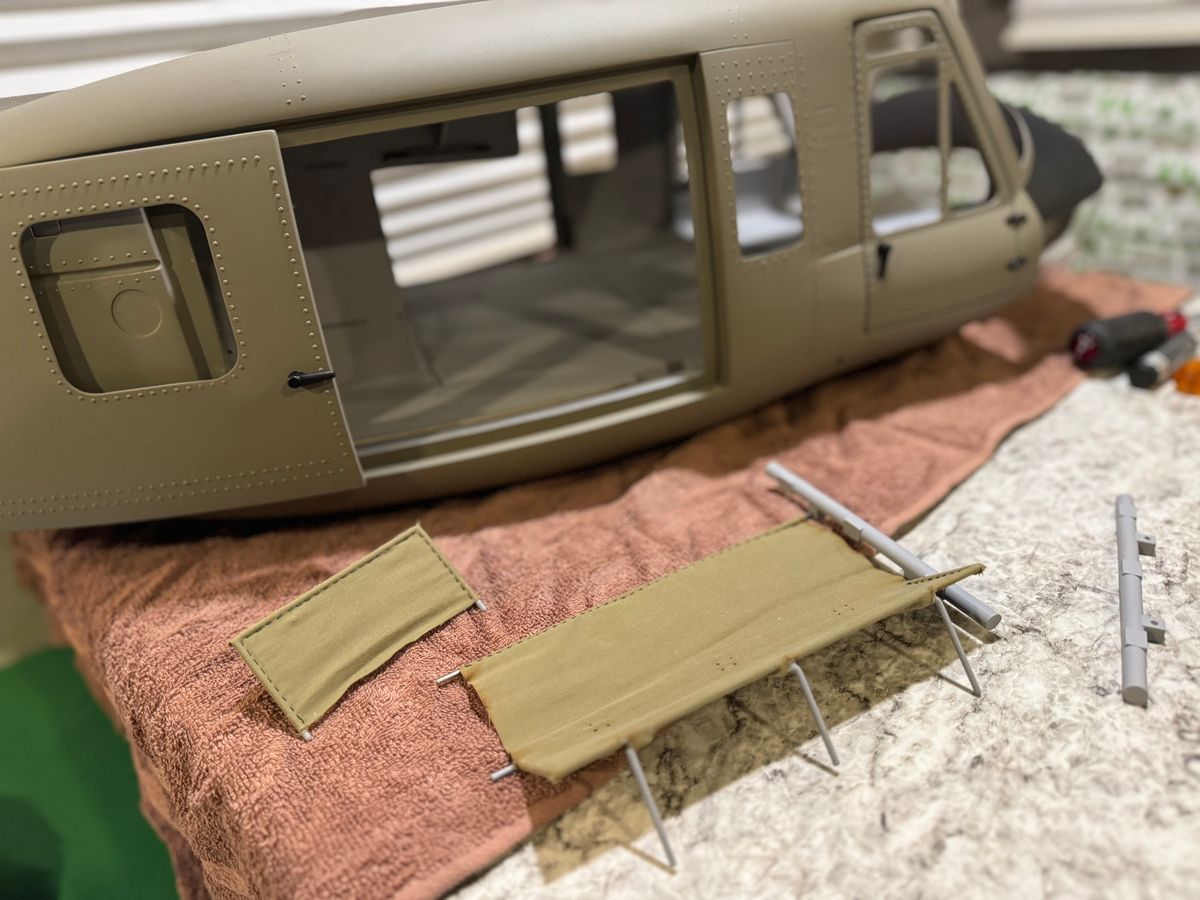
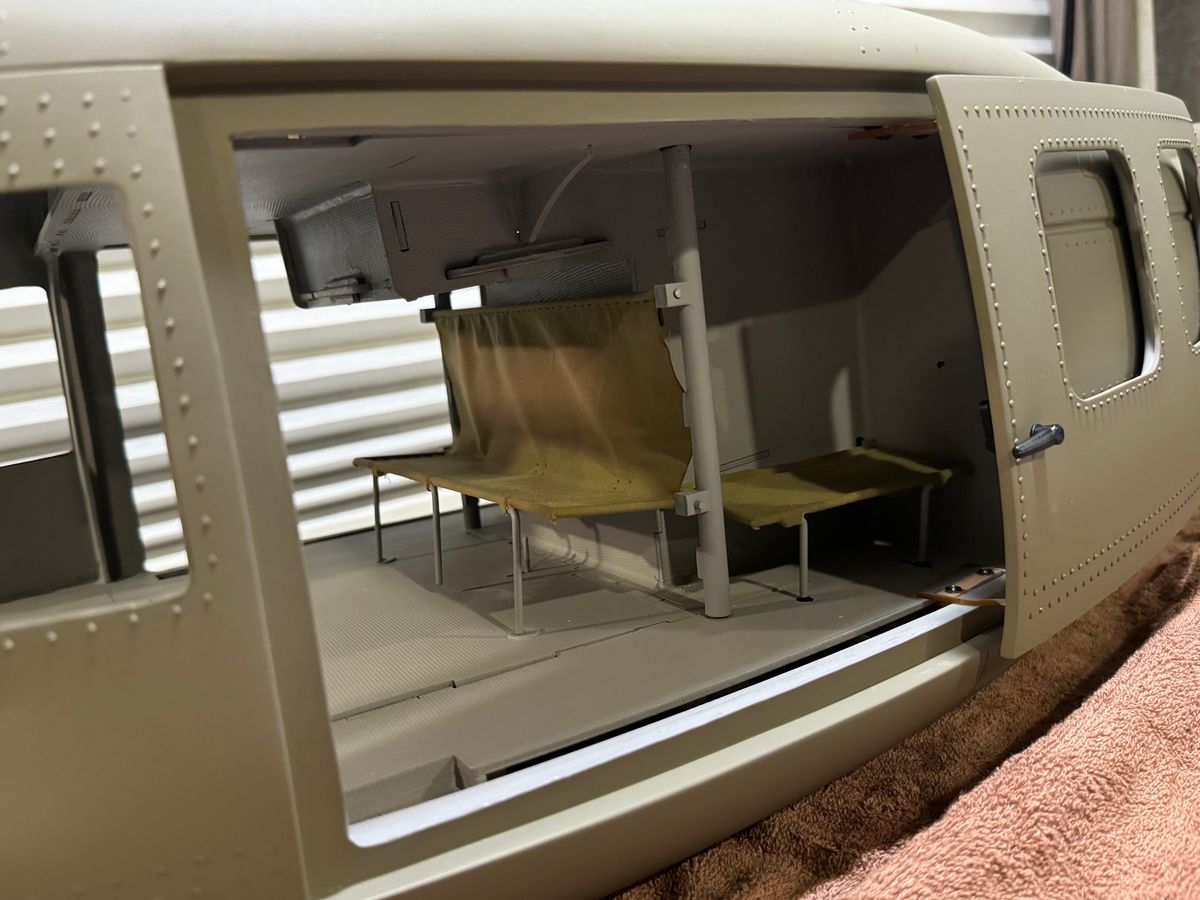
My first step was planning the order of operations for the build. I decided to start with something simple: mounting the skids and the scale seats in the rear.
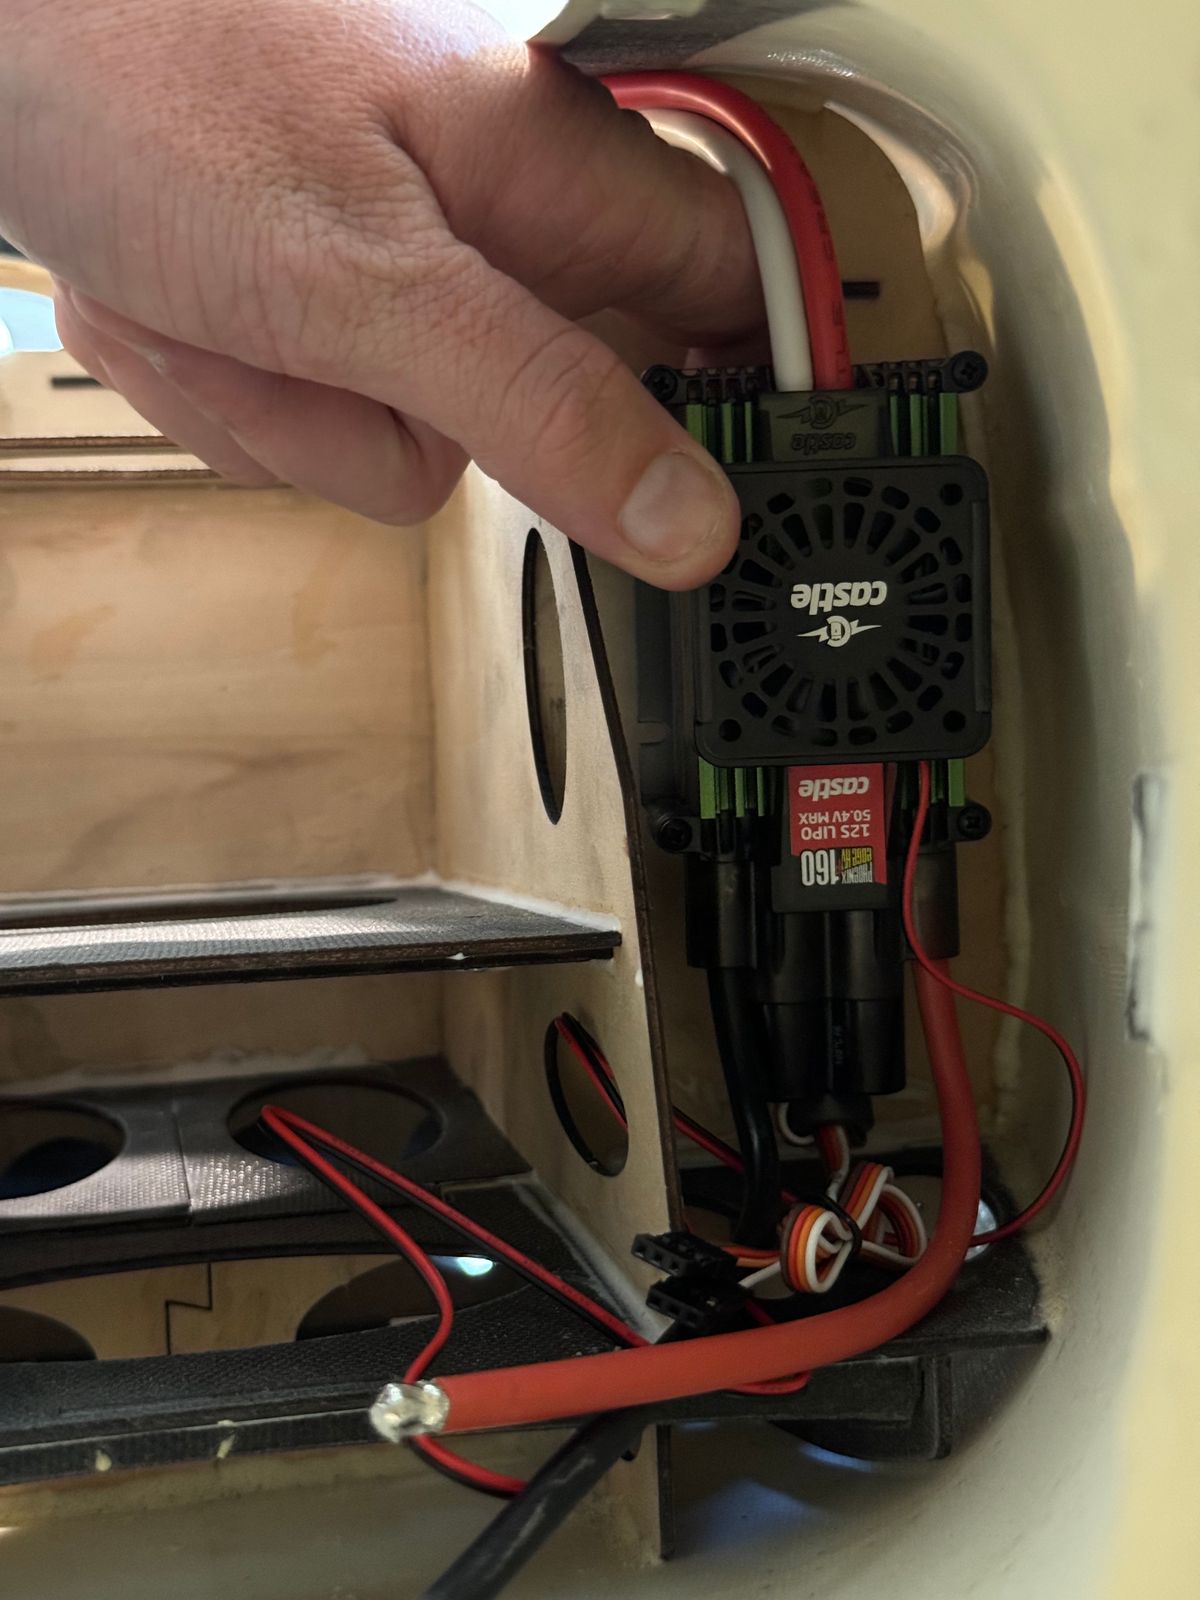
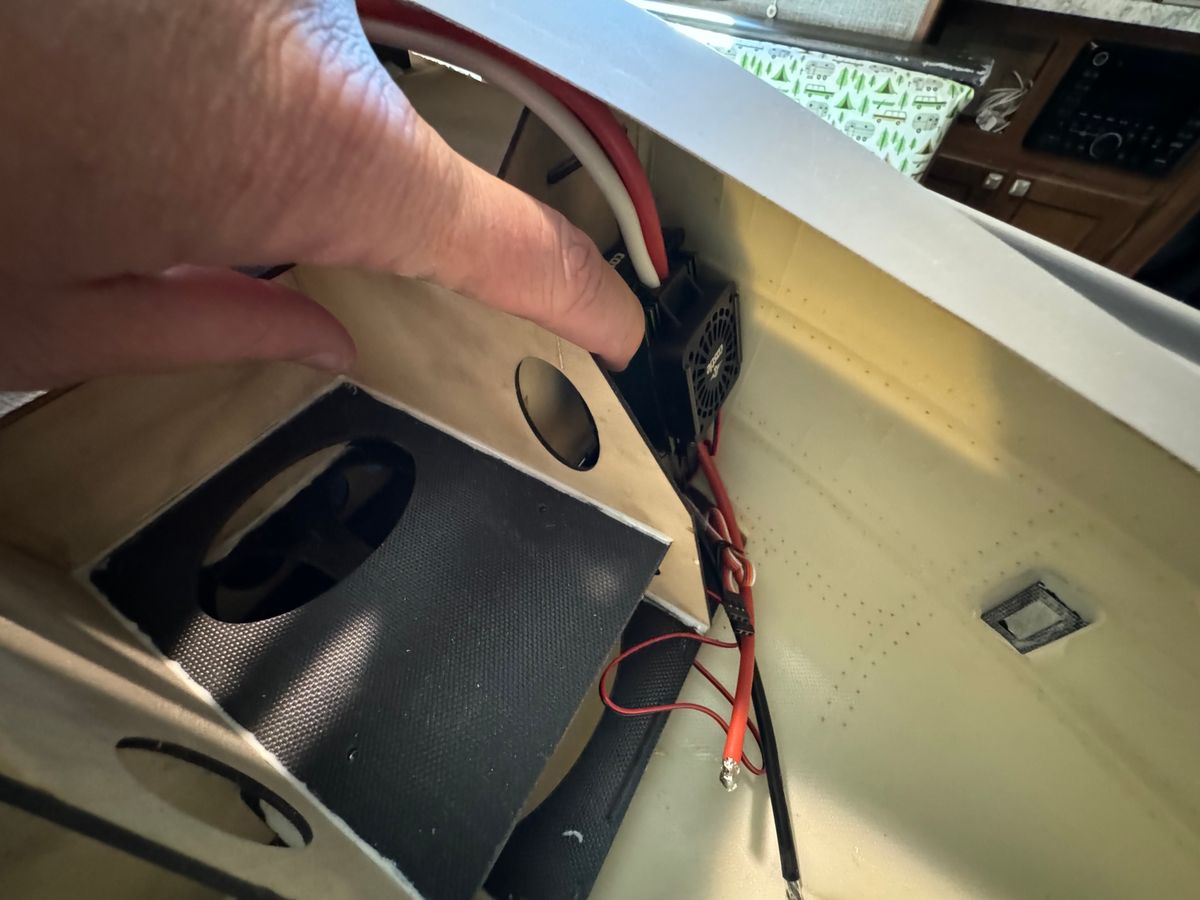
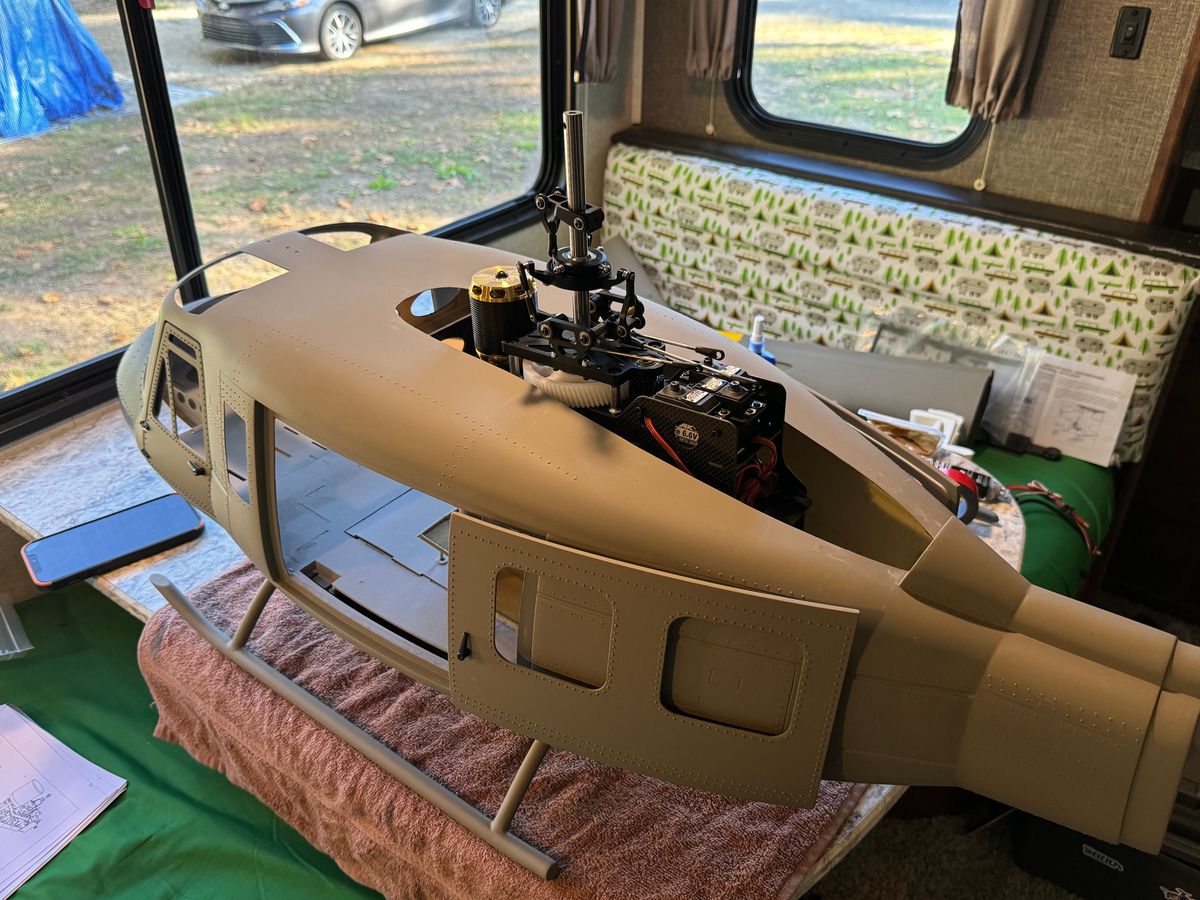
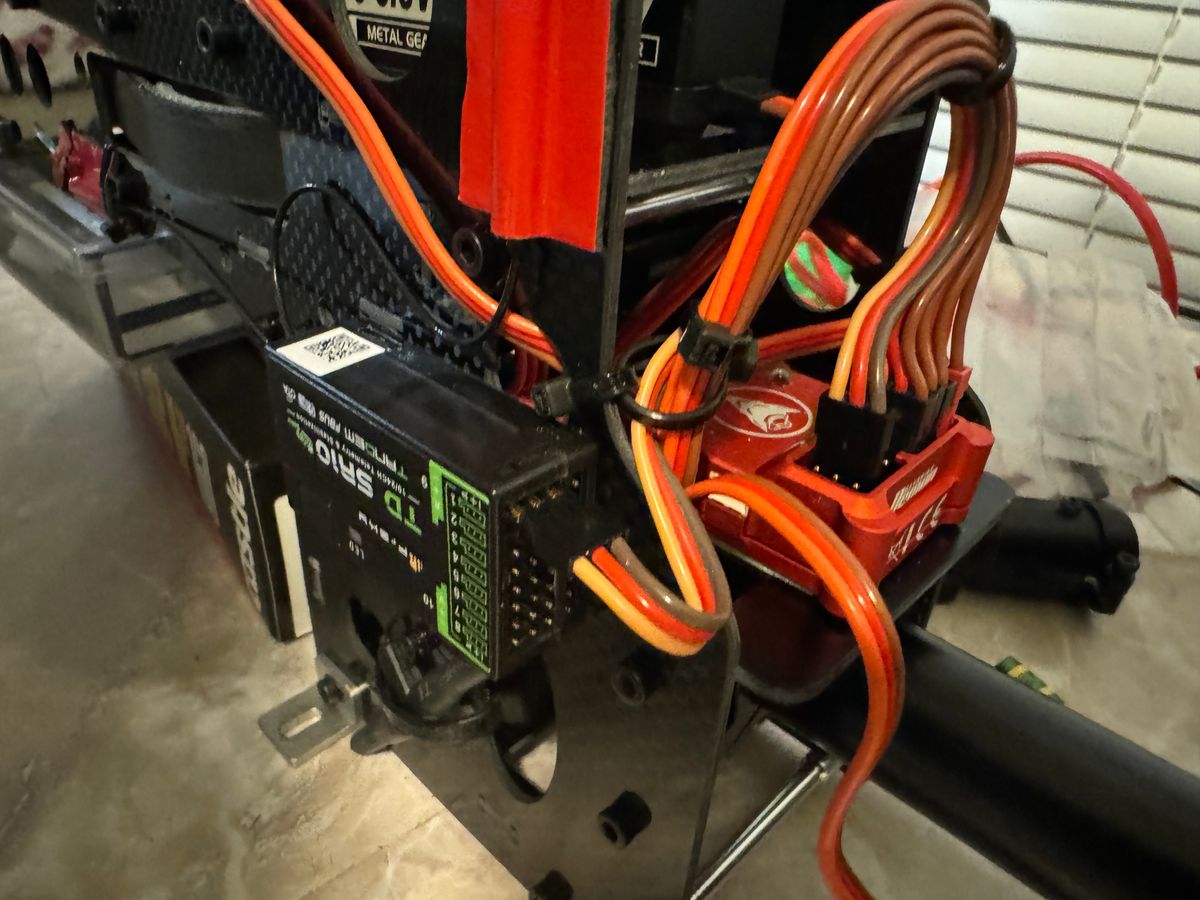
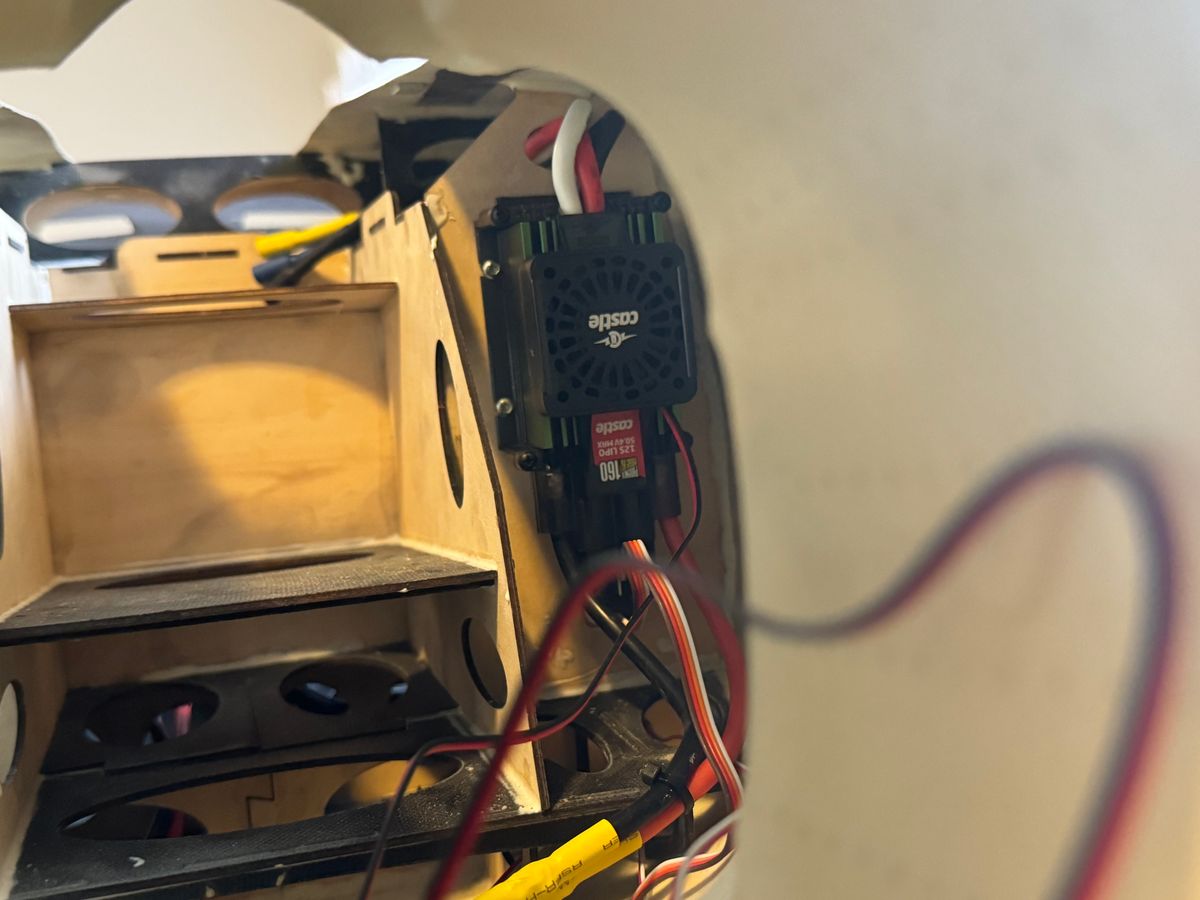
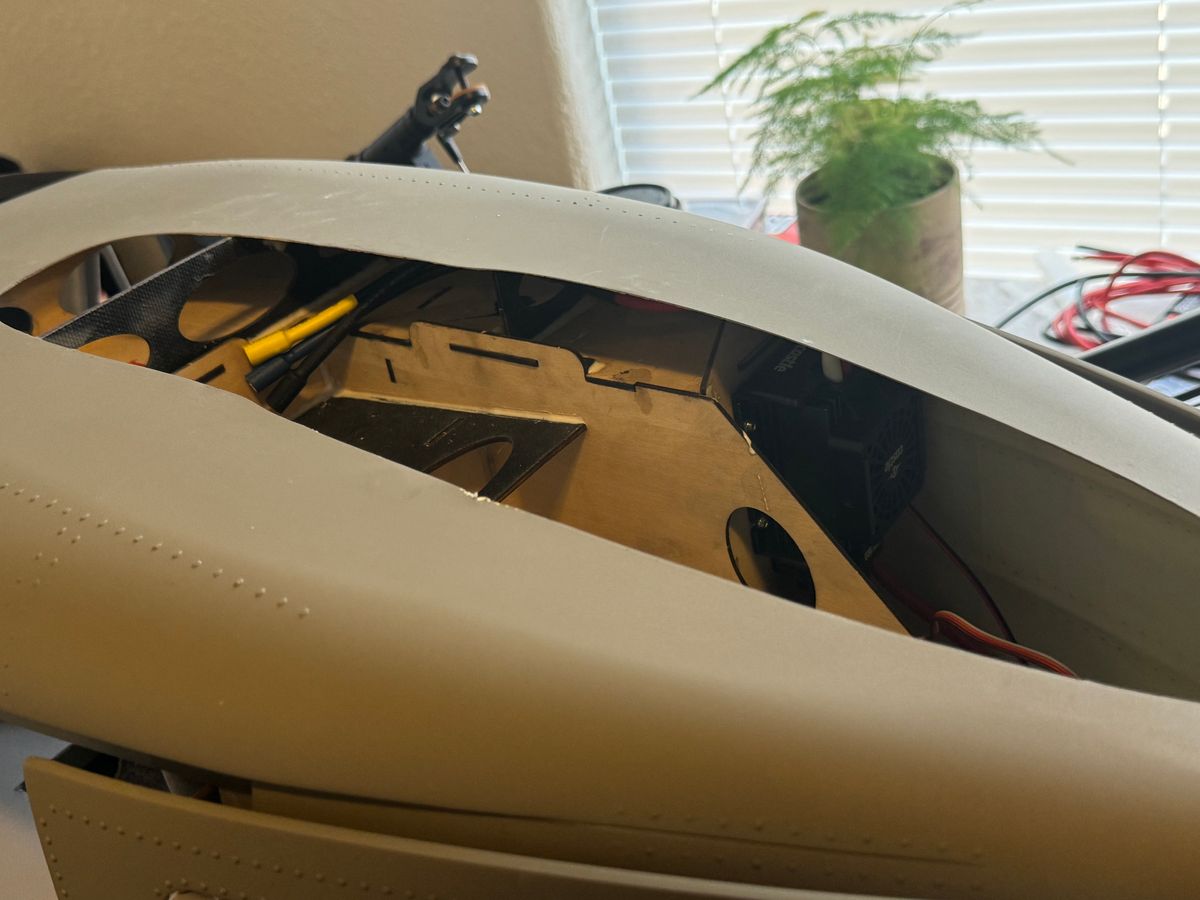
I also test-fitted the main frame of the mechanics and started brainstorming where to position the ESC. In my opinion, the recommended 160-amp ESC is overkill. You could likely fly this with a 120-amp ESC, which would also fit better inside the fuselage. I found that positioning it on the right side seems to make the most sense. Due to the large fan and capacitors, it doesn’t fit where I originally intended. However, placing it here, as shown in the picture, allows for shorter battery cables, which is a definite win.
All in all the progress is good and this helicopter is enjoyable to build.
- Matt
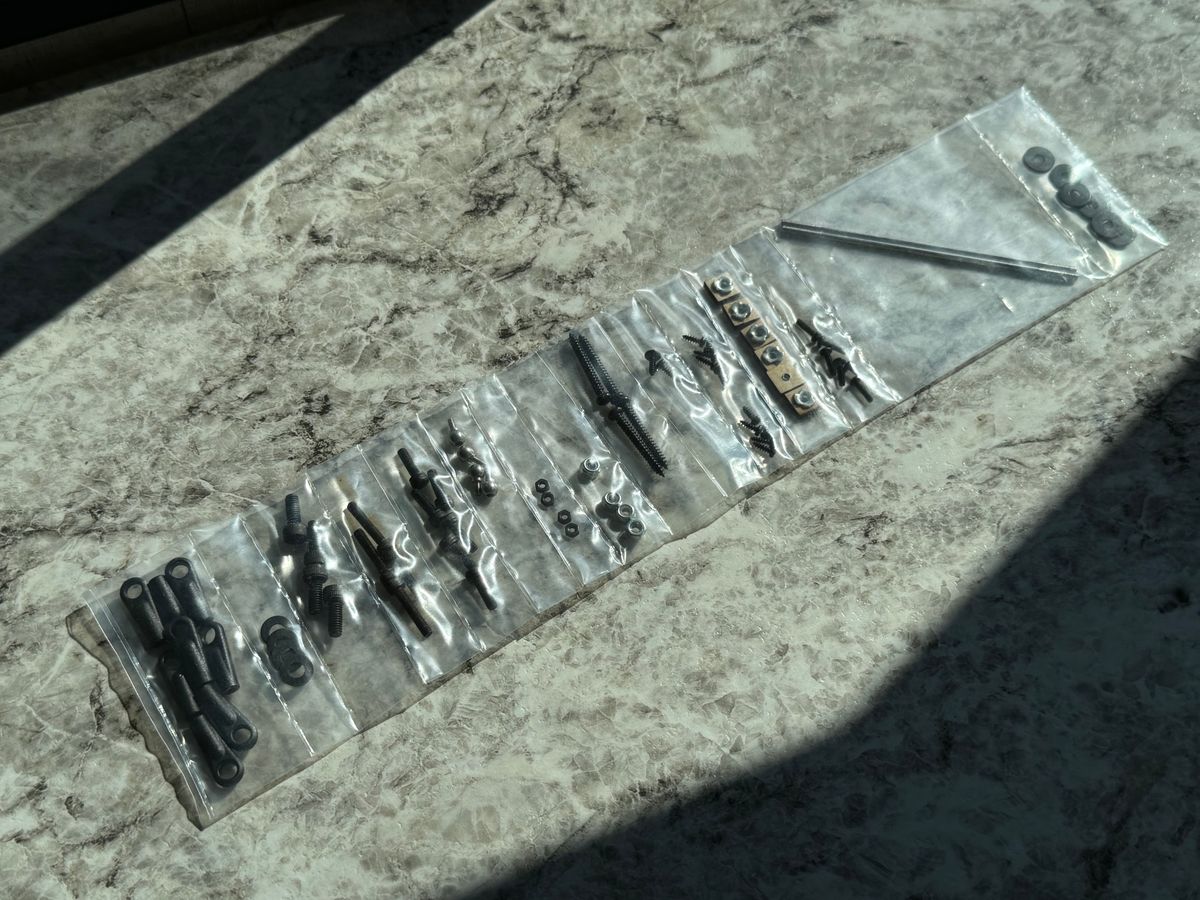
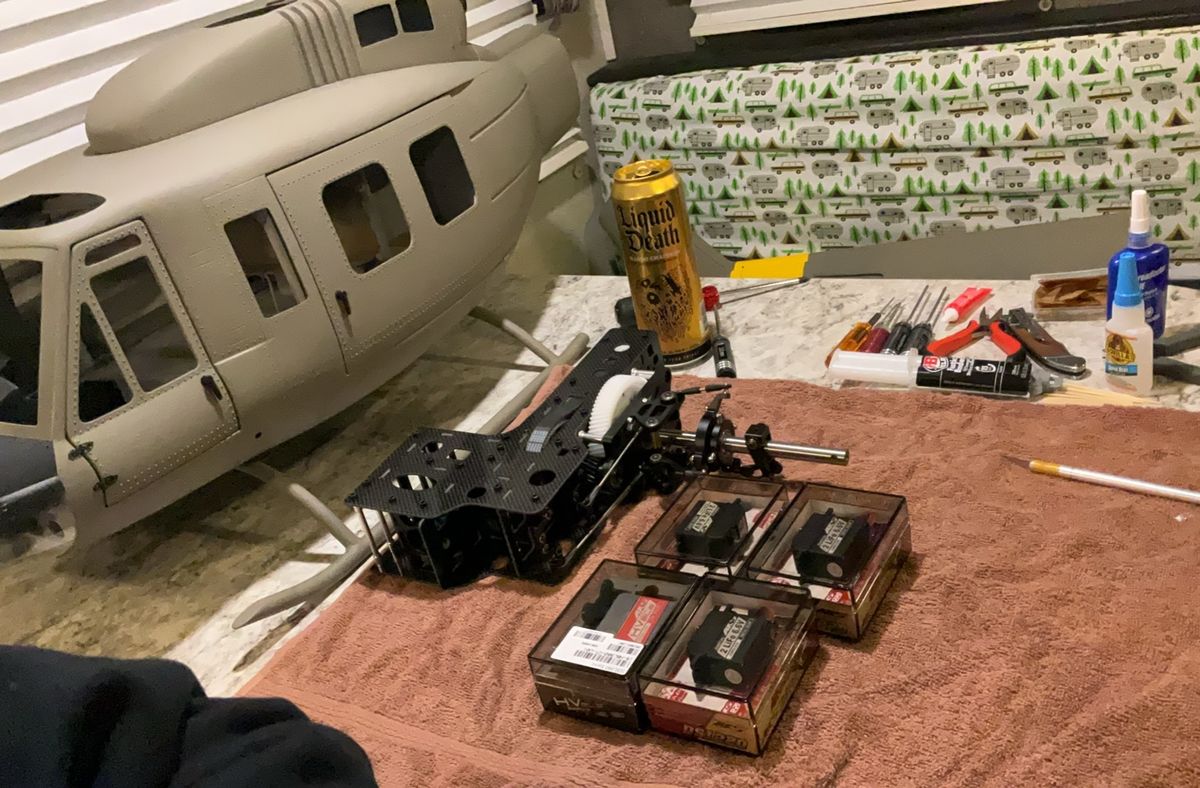
Mounting the servos and motor.
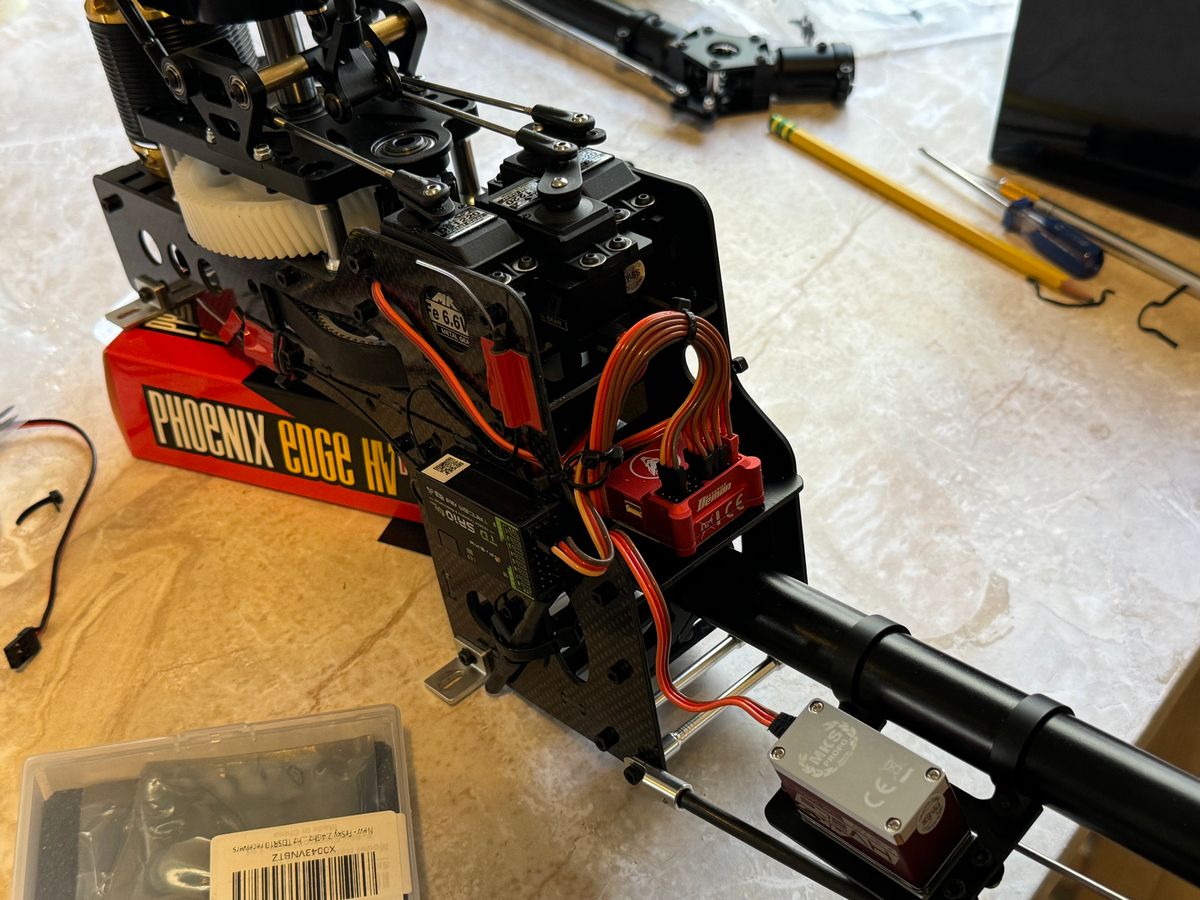
I started the electronics installation into the mechanics.
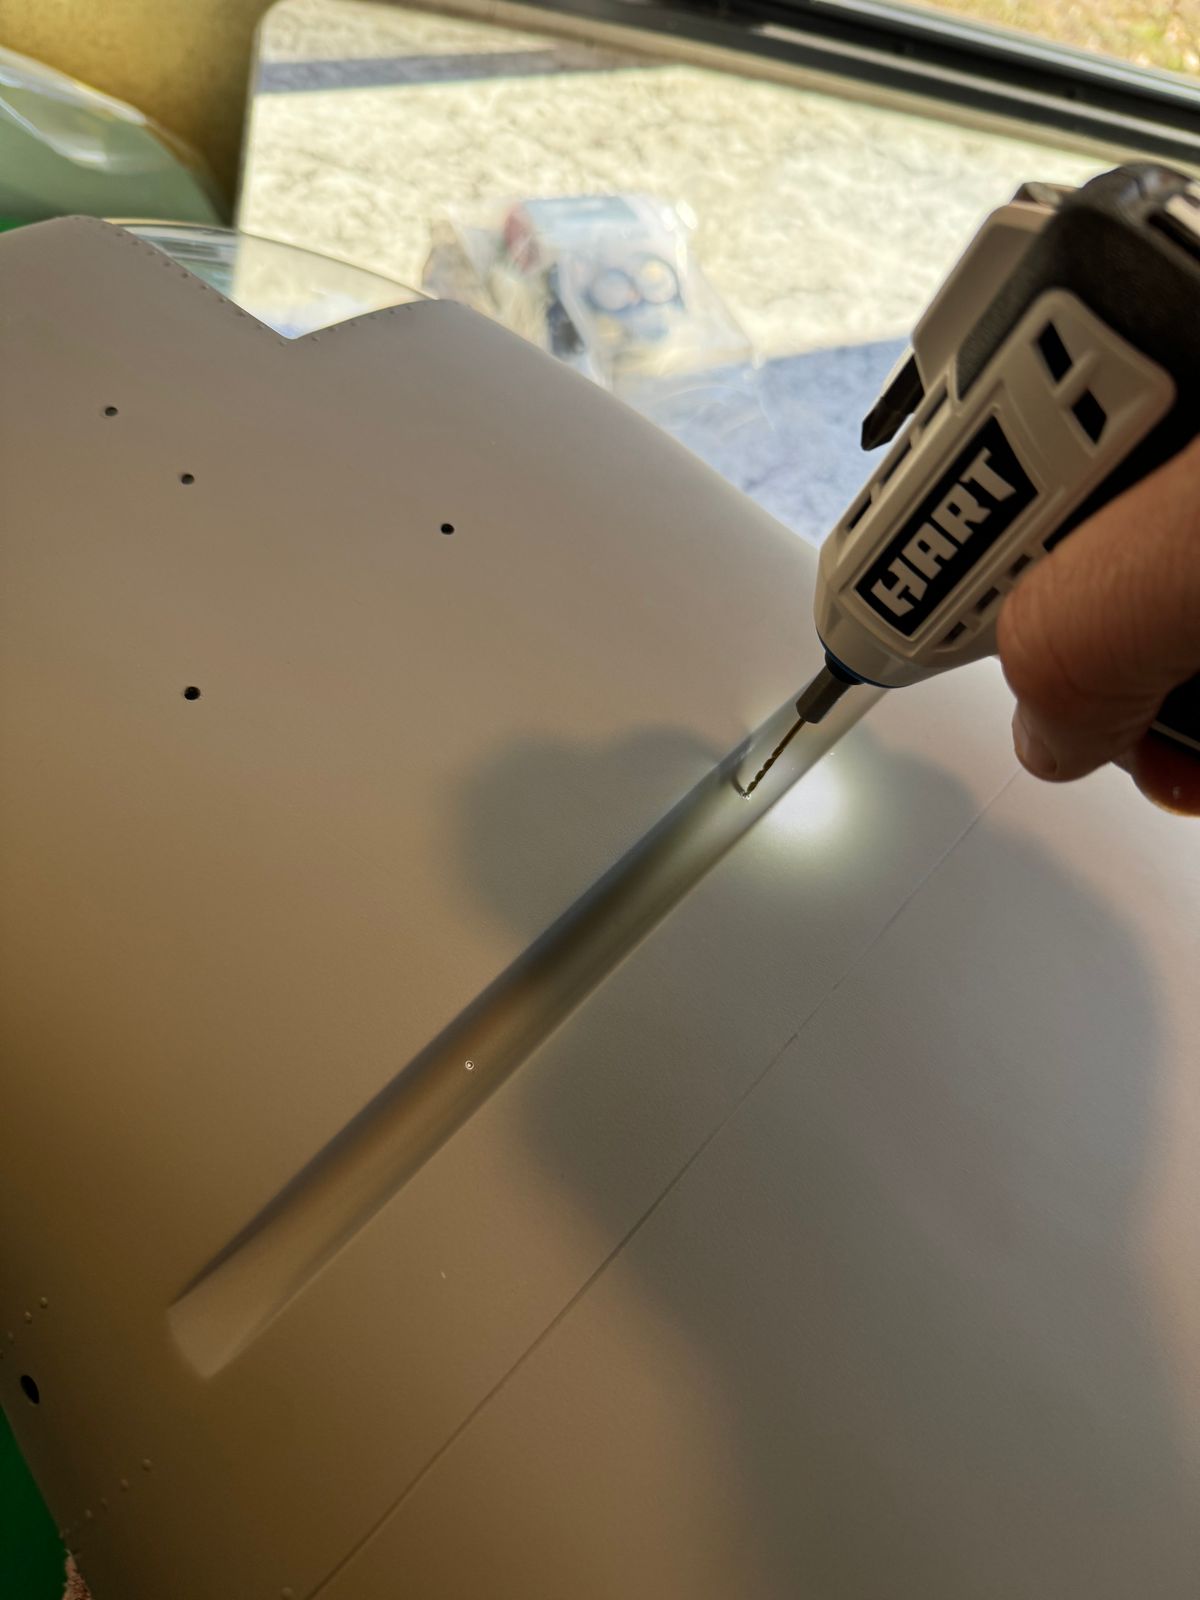
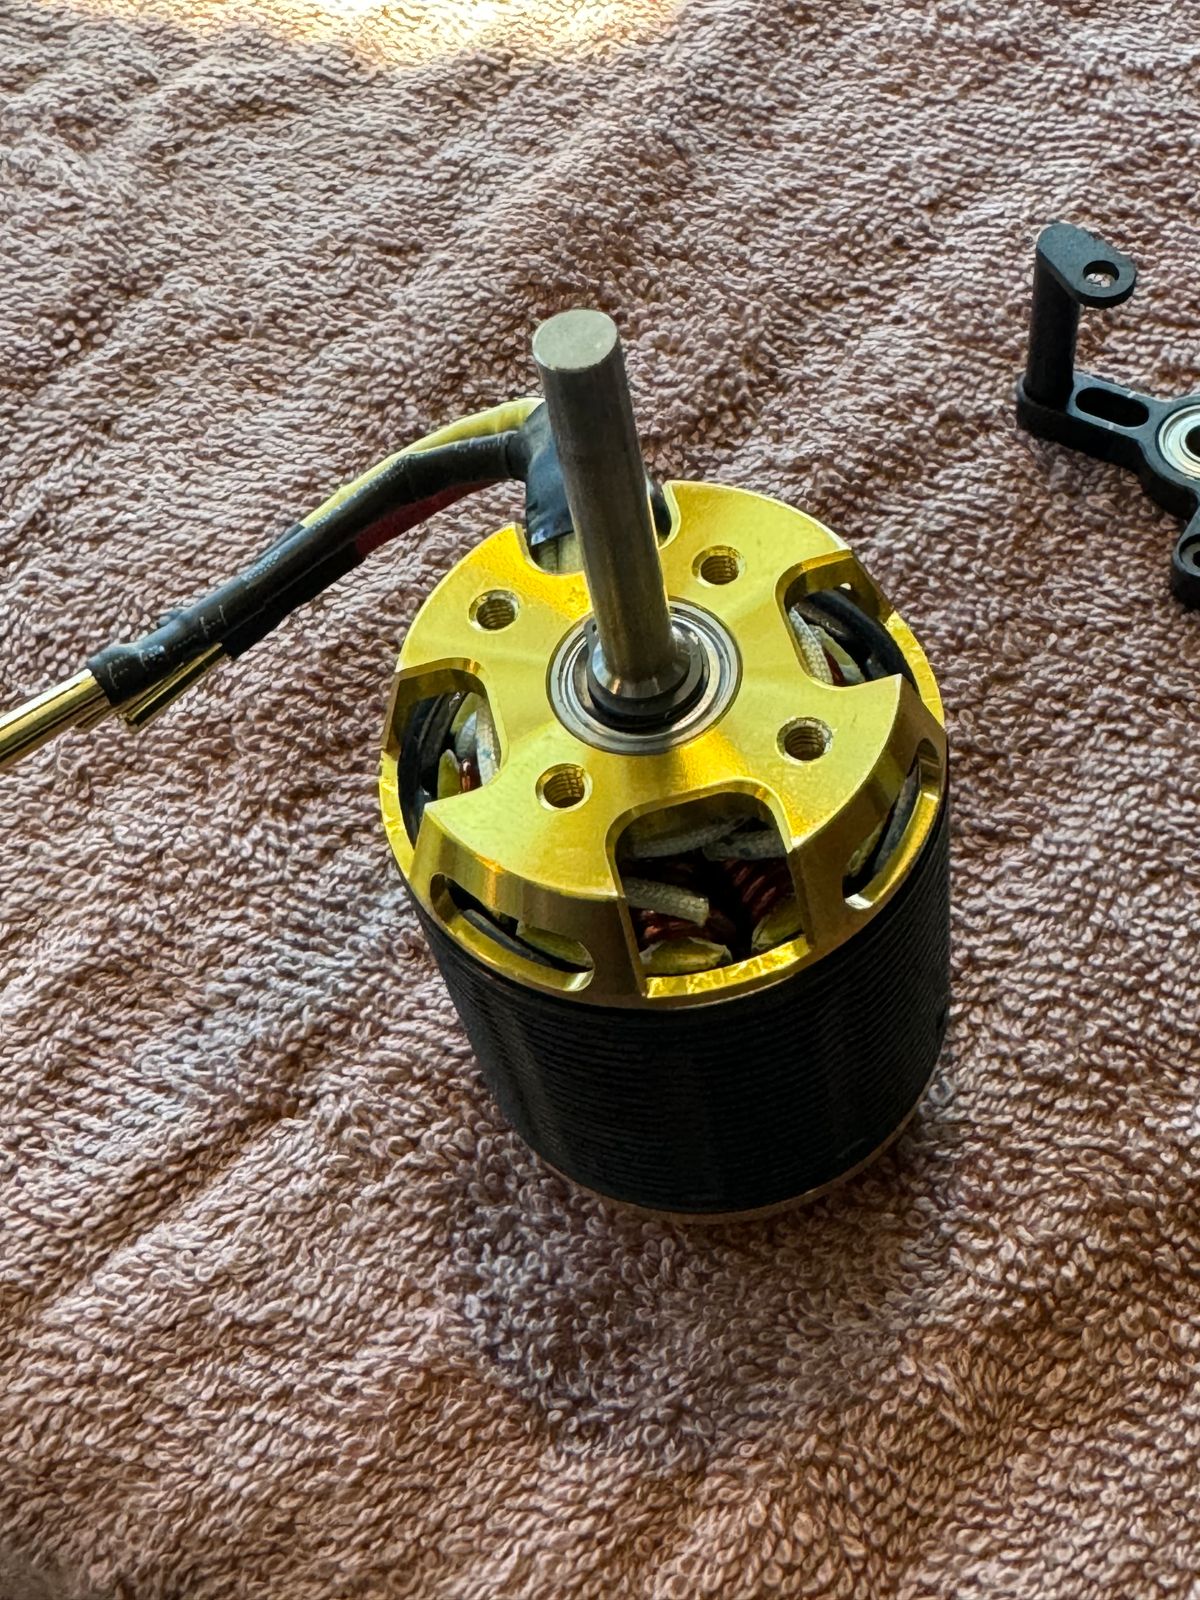
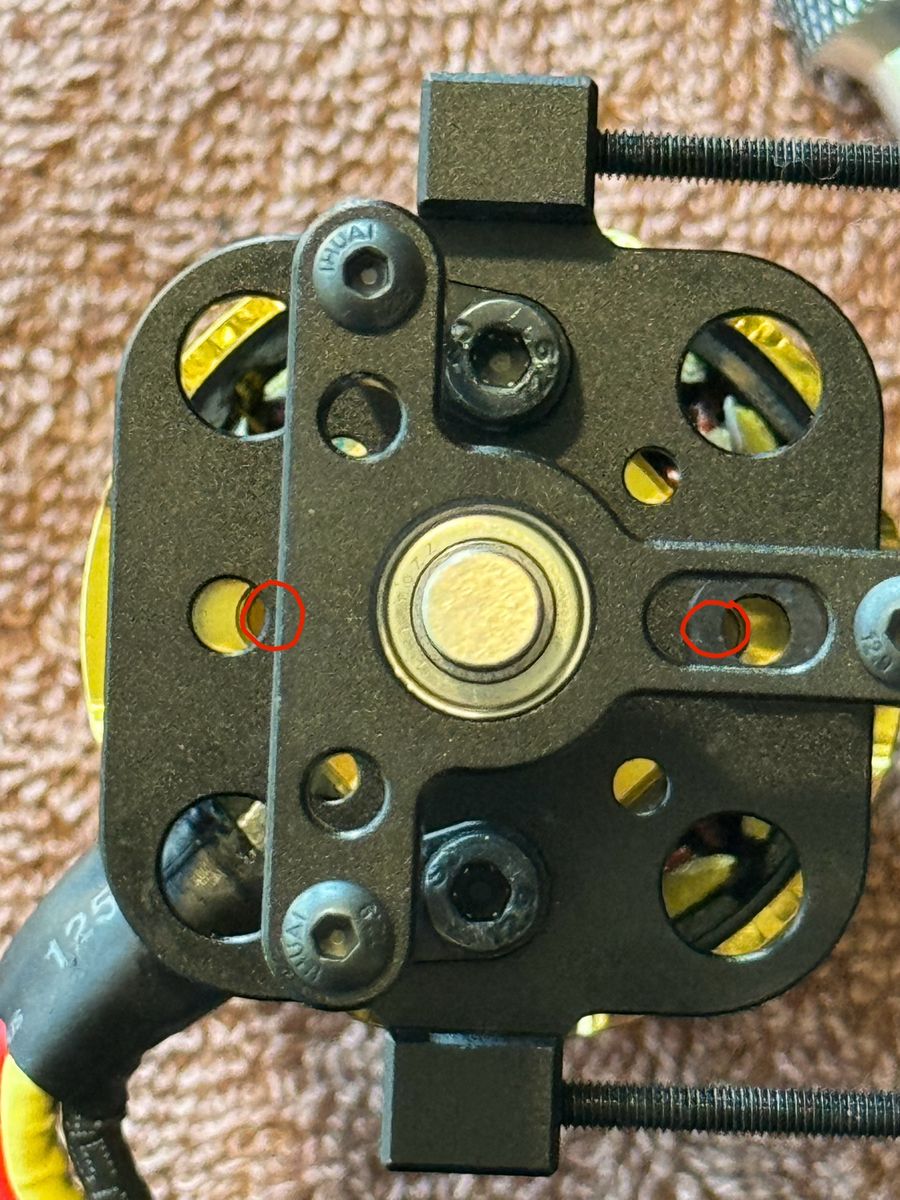
The recommended Scorpion motor doesn’t match up with the factory mount, so I had to drill out the factory mount to get the motor installed. Not a big deal, but also unexpected. Also because if this using the extra main shaft support bearing was kind of a pain.
Mounting the servos was straightforward. However, I do want to order some servo horns from Tyler Gray Models to maintain the servo resolution where I need it to ensure smooth flight.
All in all everything is going smoothly with the install.
-Matt
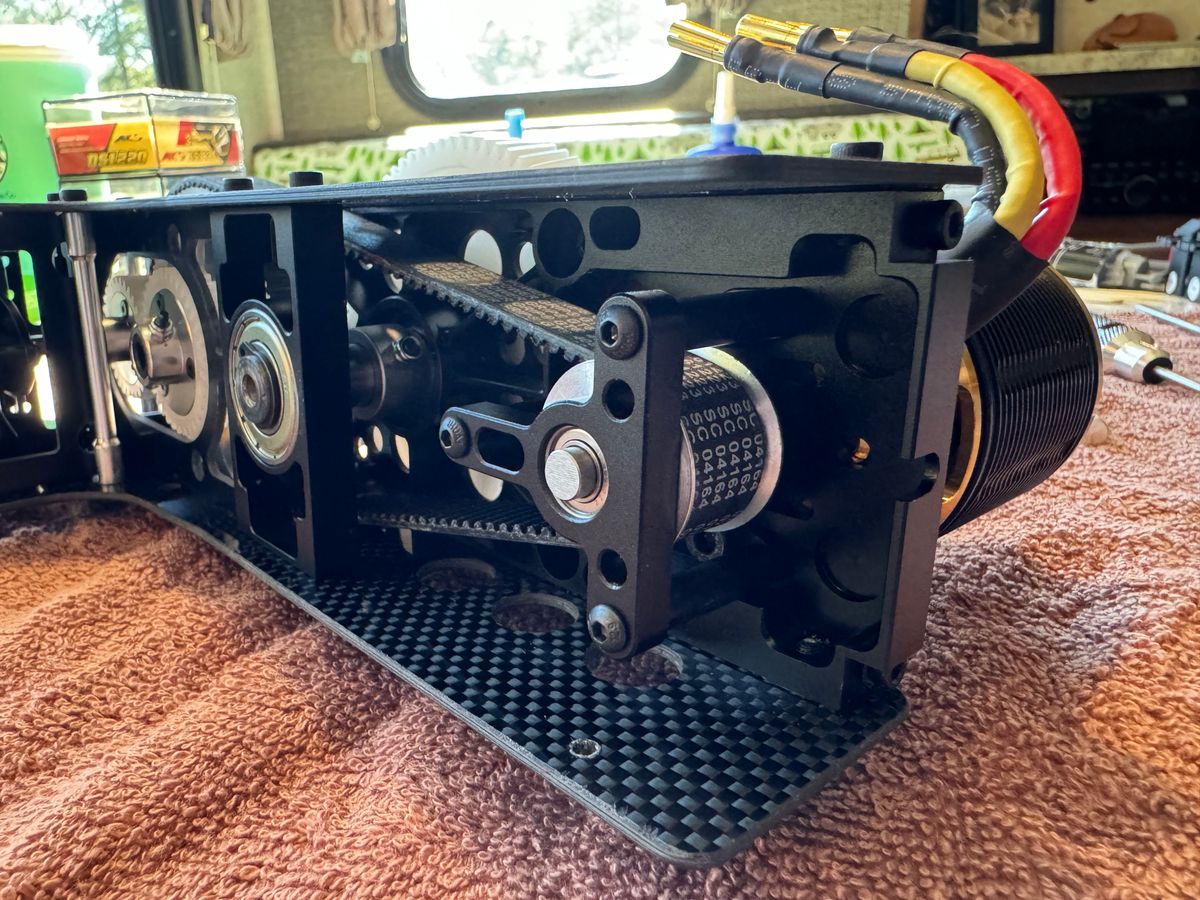
Attaching the tail, mounting the ESC and cable management.
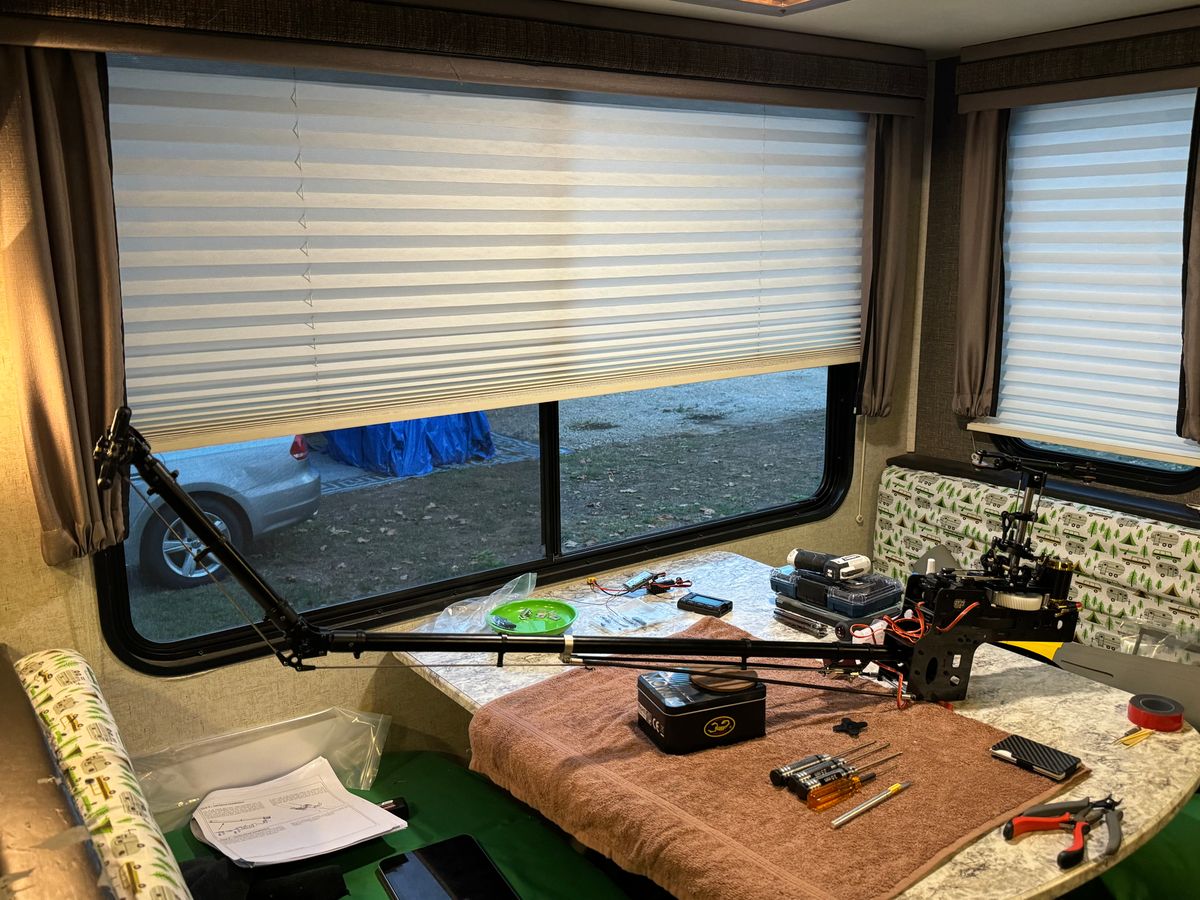
During these steps I realistically installed and removed the mechanics at least 15 times. Very fun!
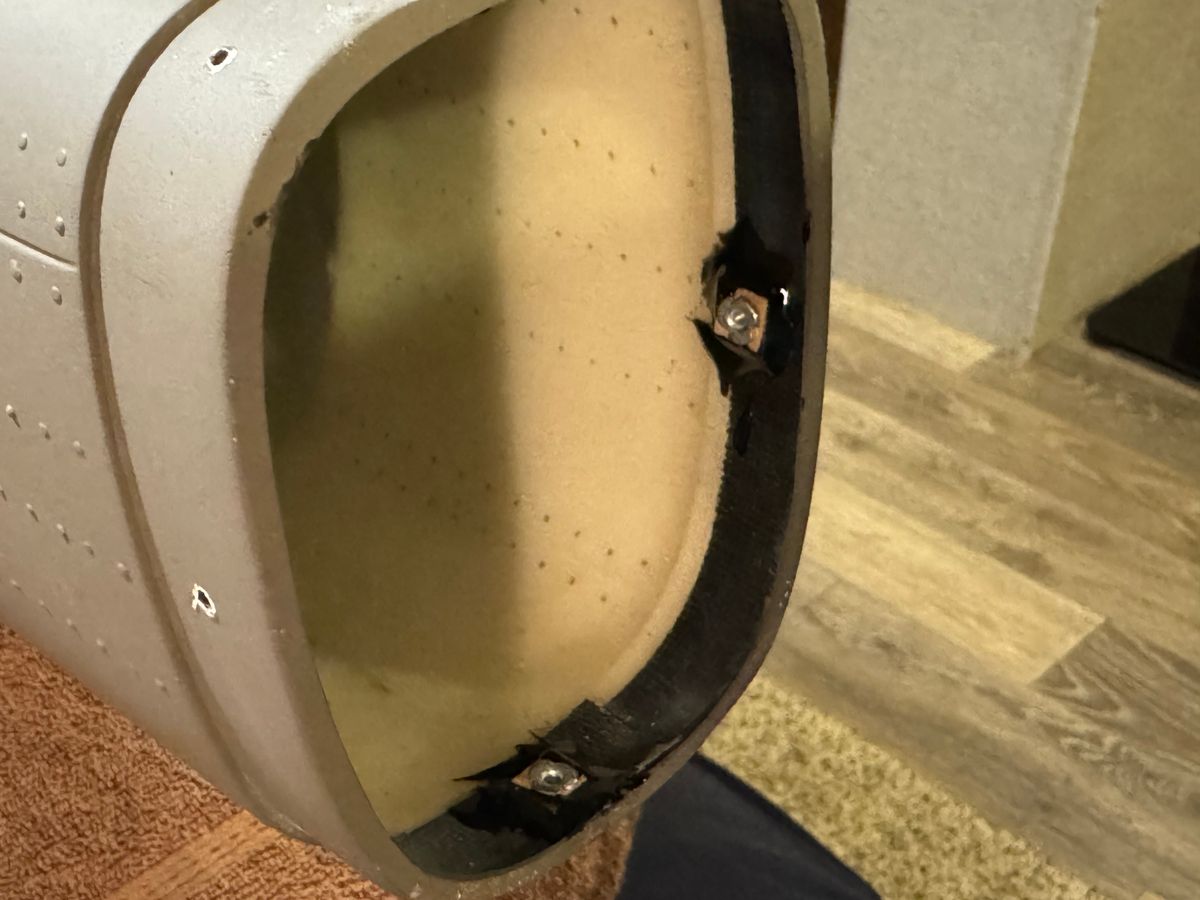
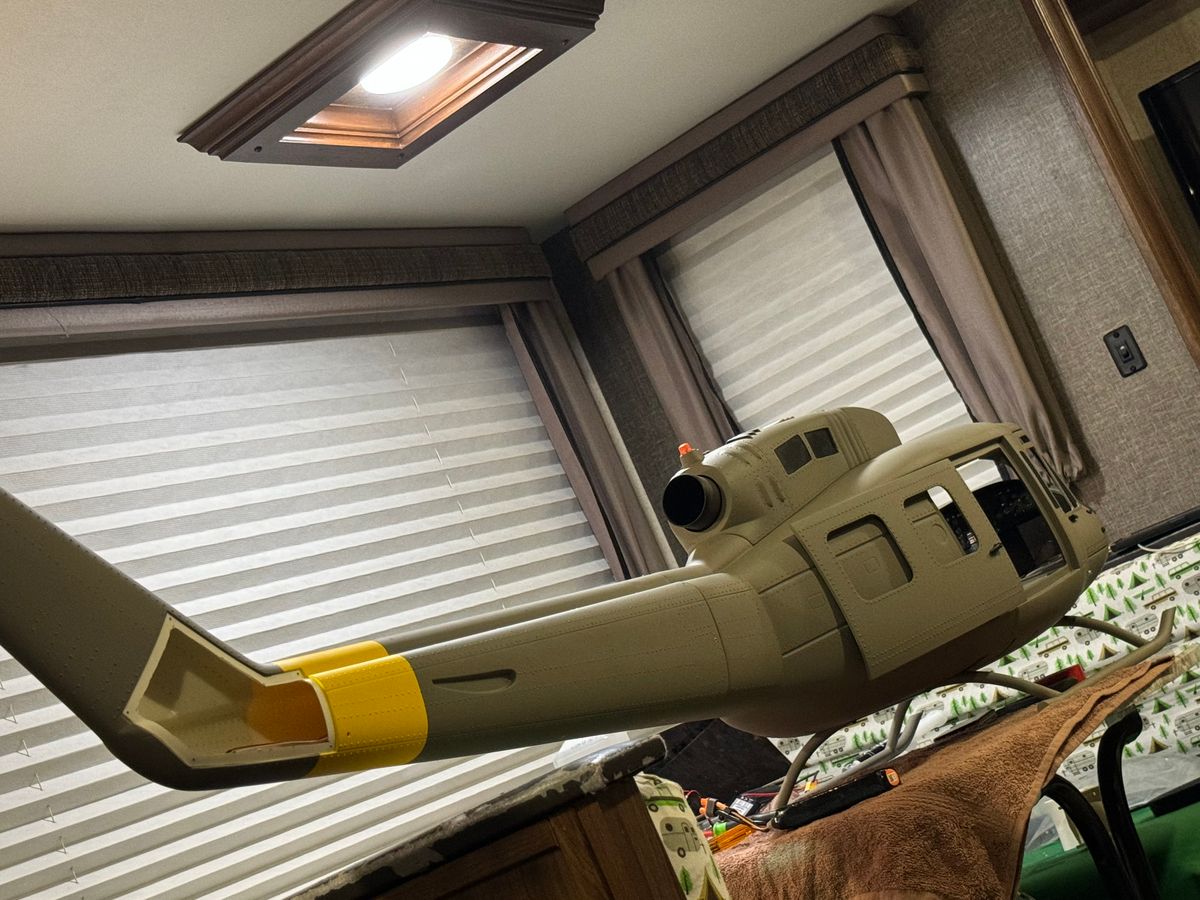
To attach the tail I used the supplied wood blocks that are pre made with threaded blind nuts. I ended up installing and drilling the tail first and then moving the mechanics around slightly to get it to fit properly that way the gap is even.
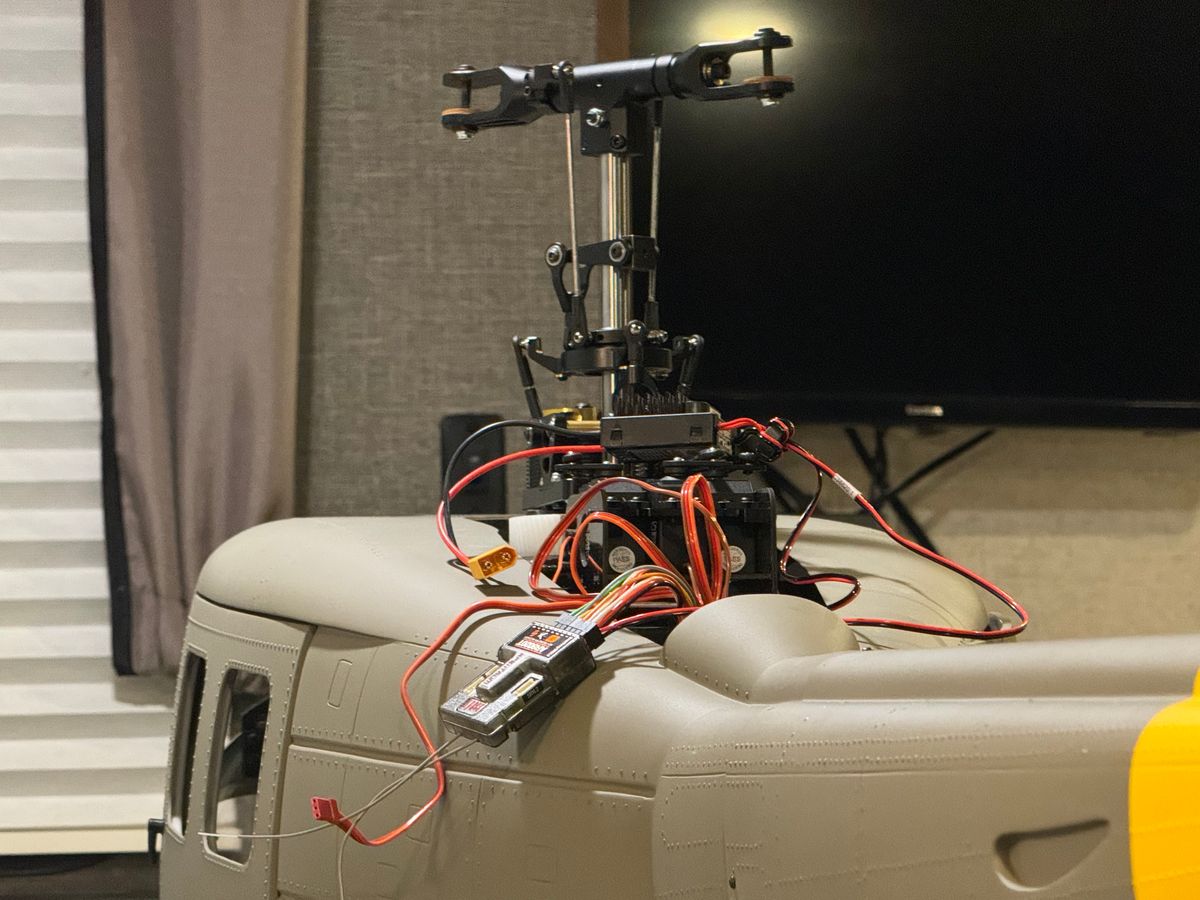
While the mechanics were removed I took the time to clean up my servo cables and other excess wiring. Especially the light system wiring. The next time I put the mechanics in the fuselage should be more semi permanent.
The build is going smooth so far, with no major snags.
Windows? And horizontal stabilizer.
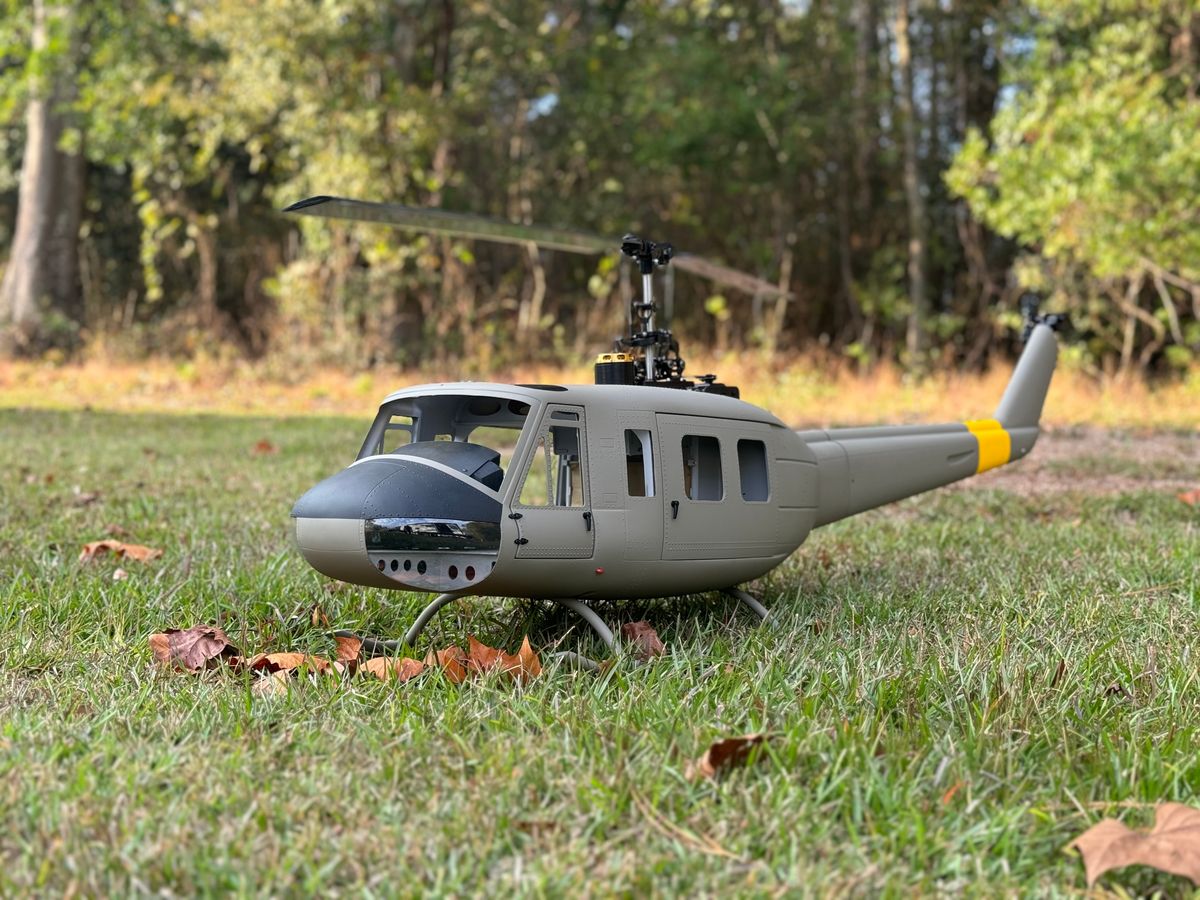
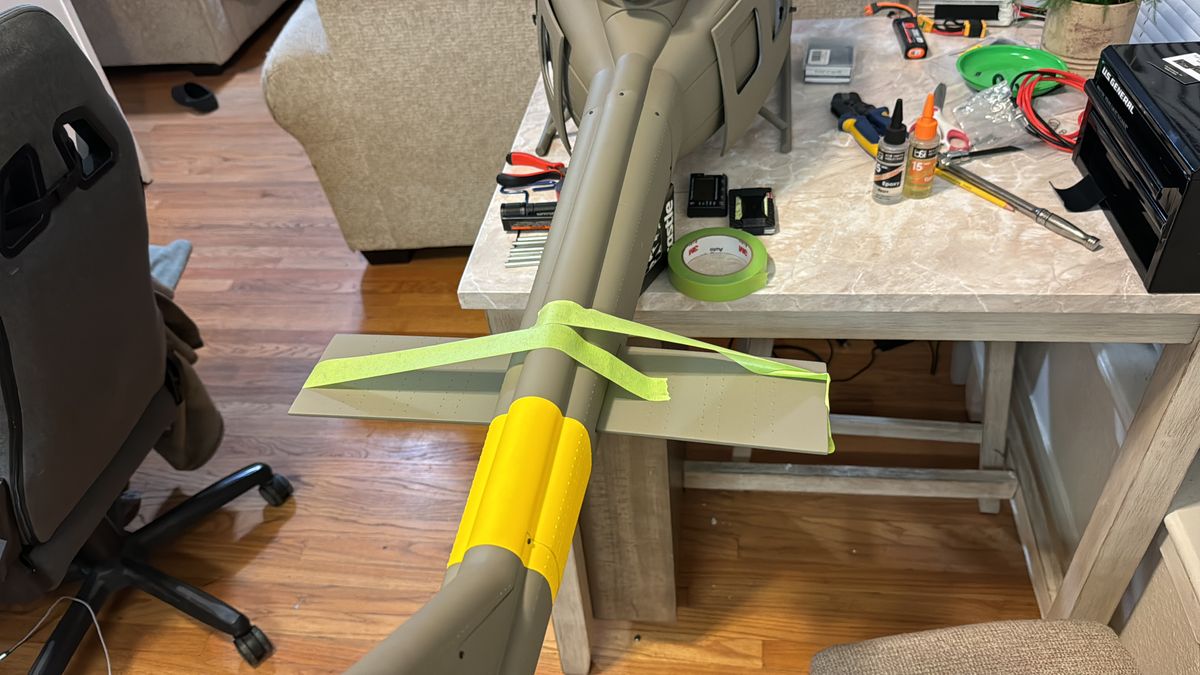
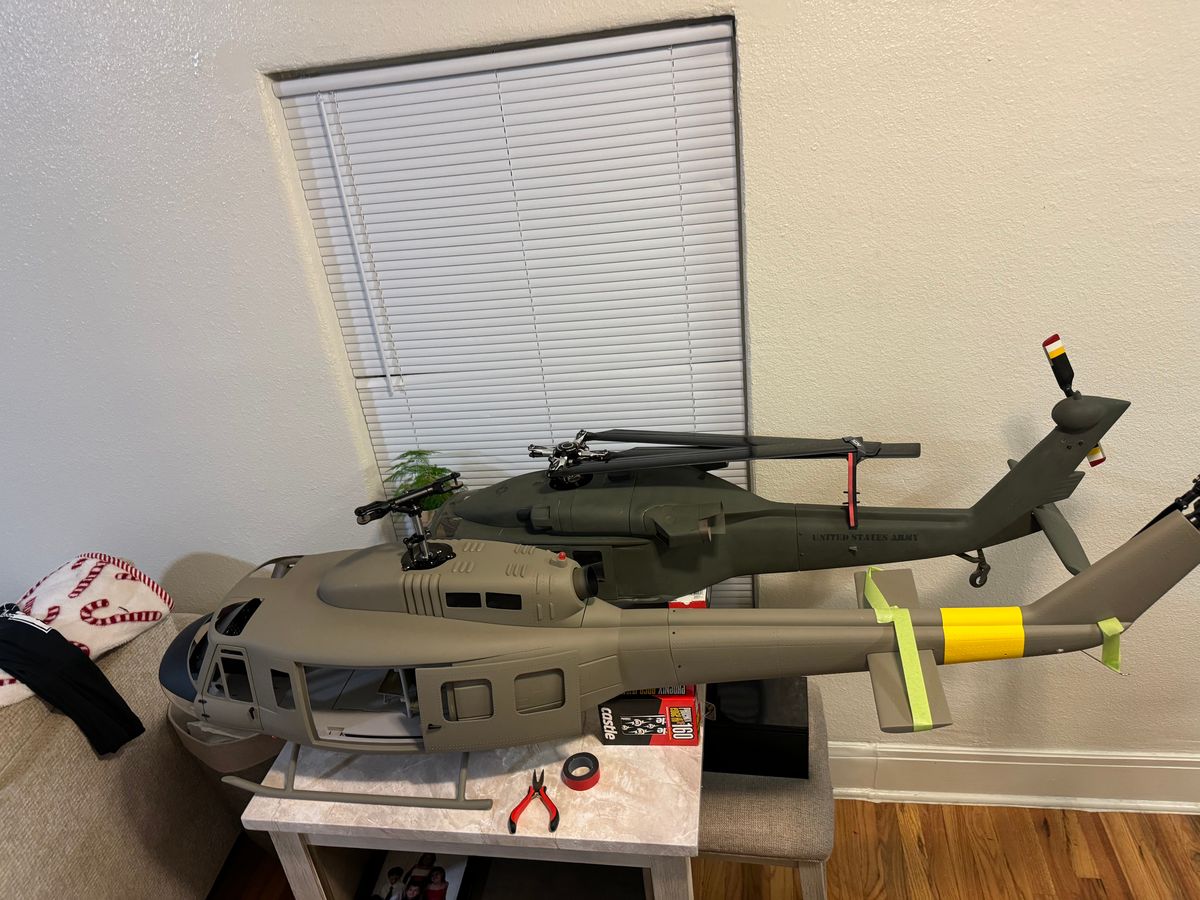
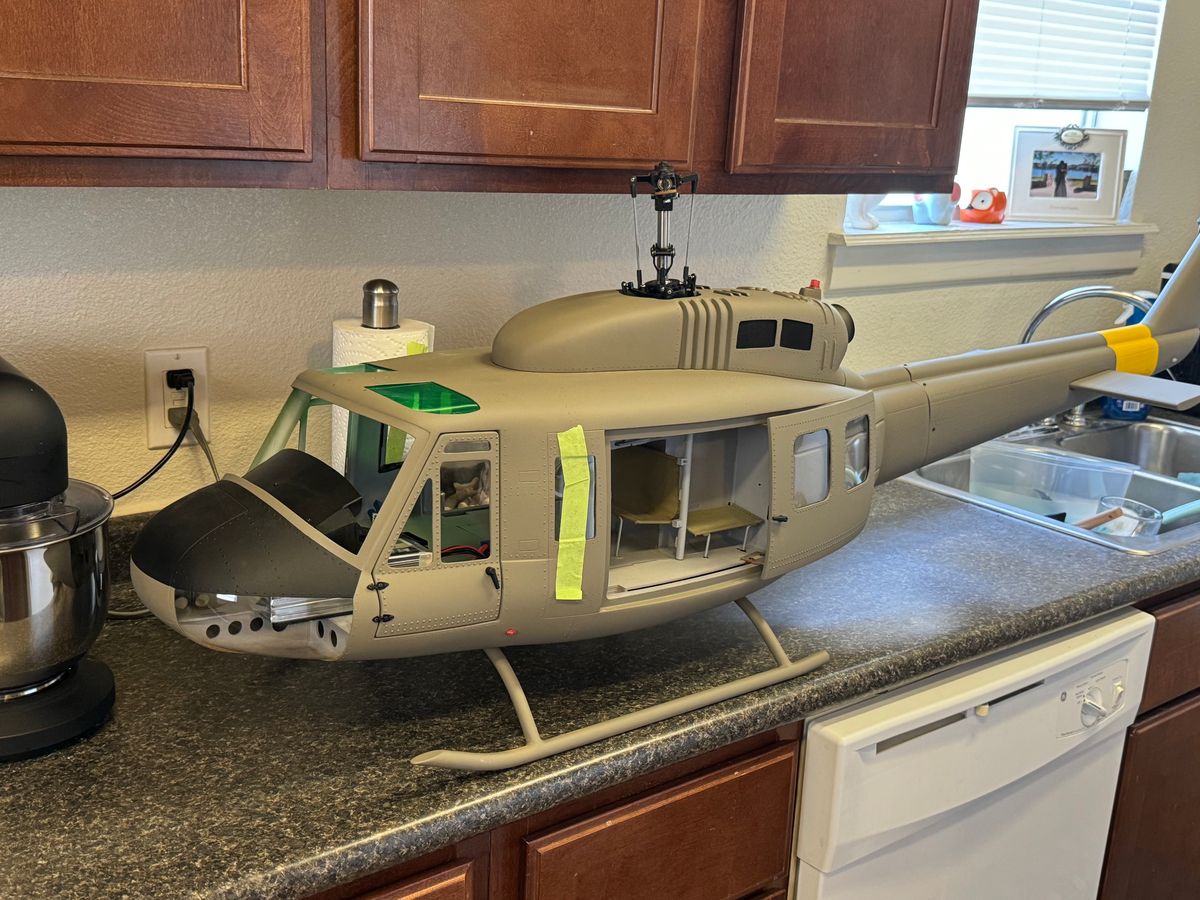
Next up are some of the small details. My main goal was to glue the horizontal stabilizer onto the tail of the helicopter and install the windows.
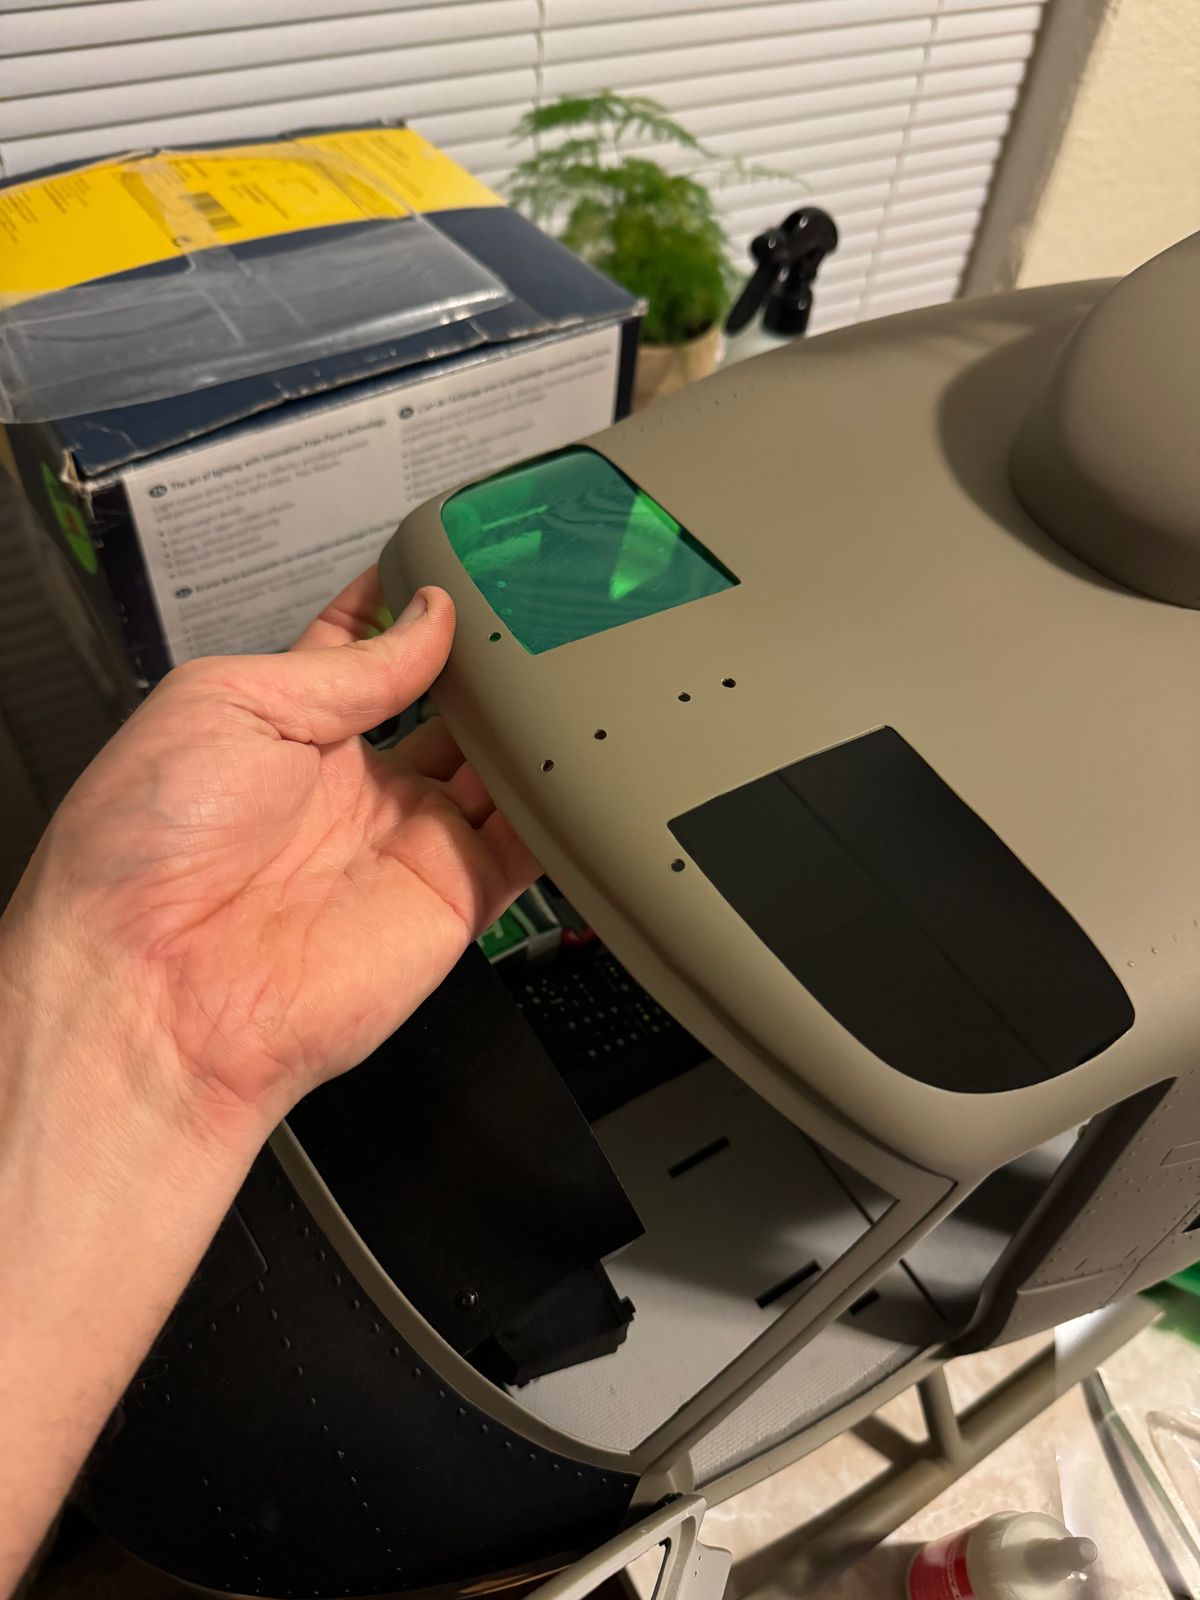
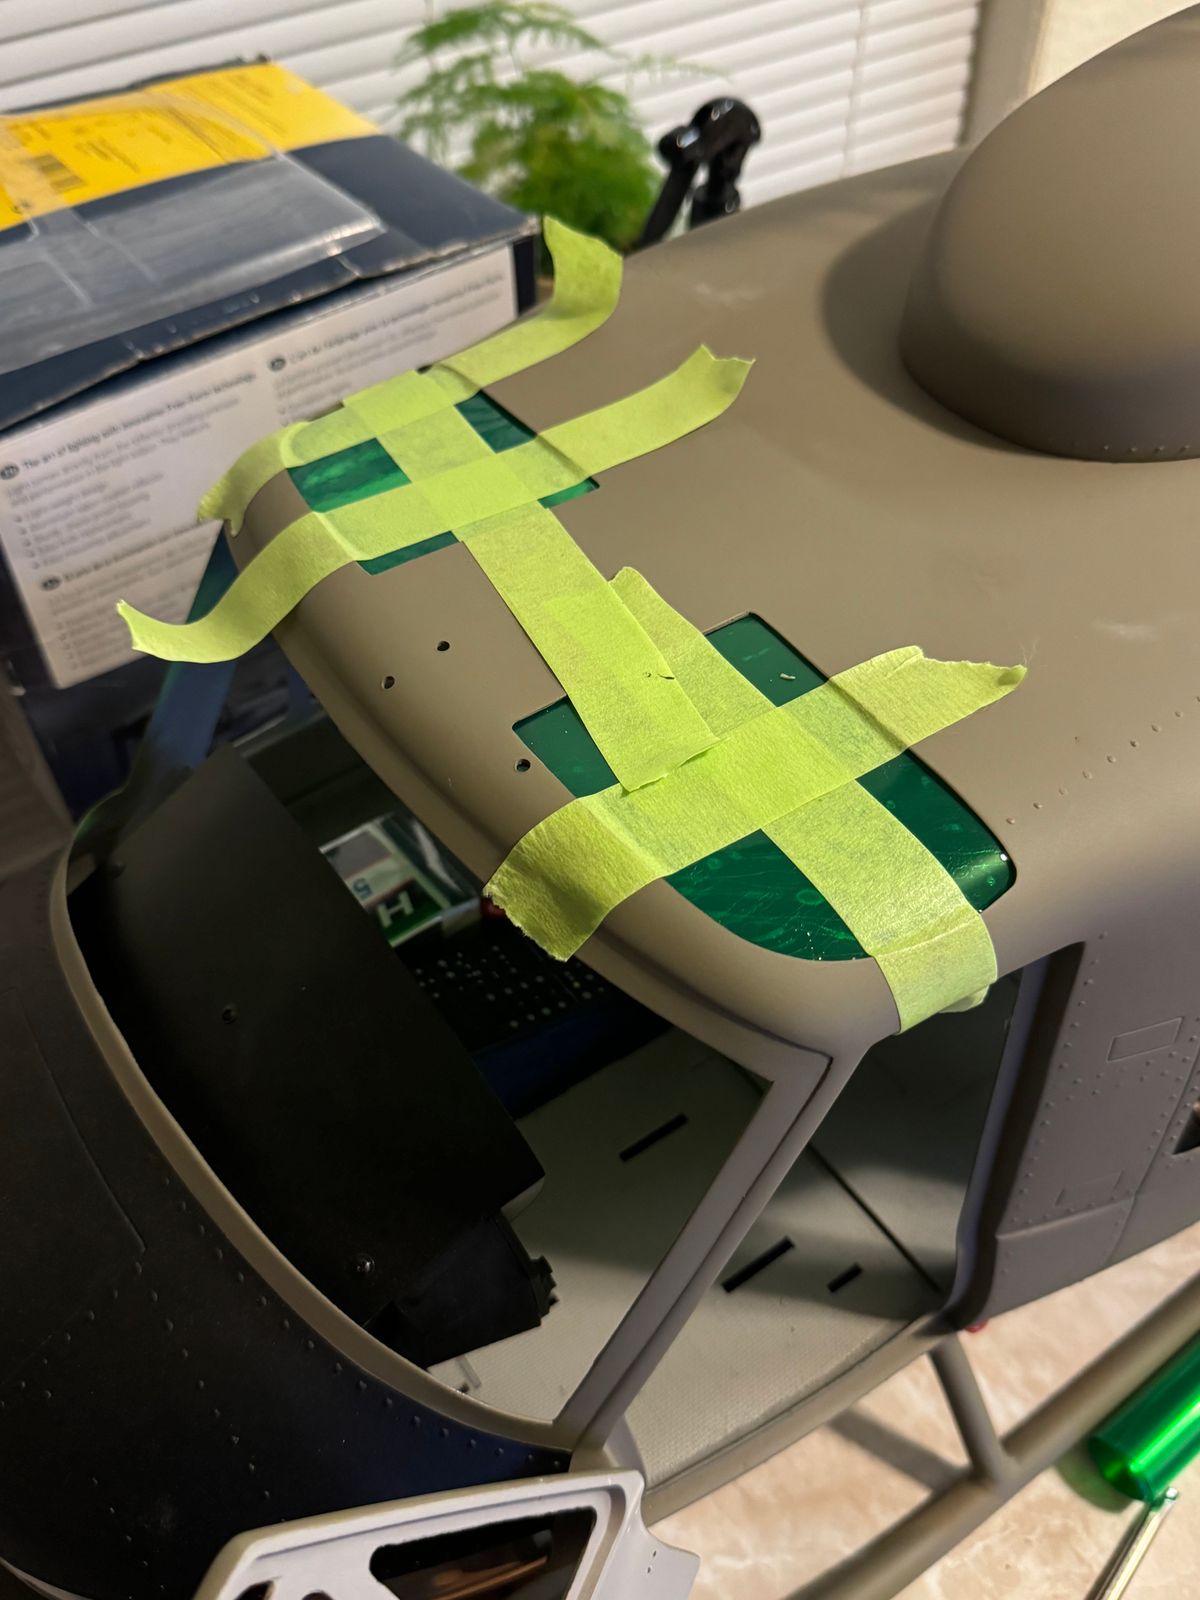
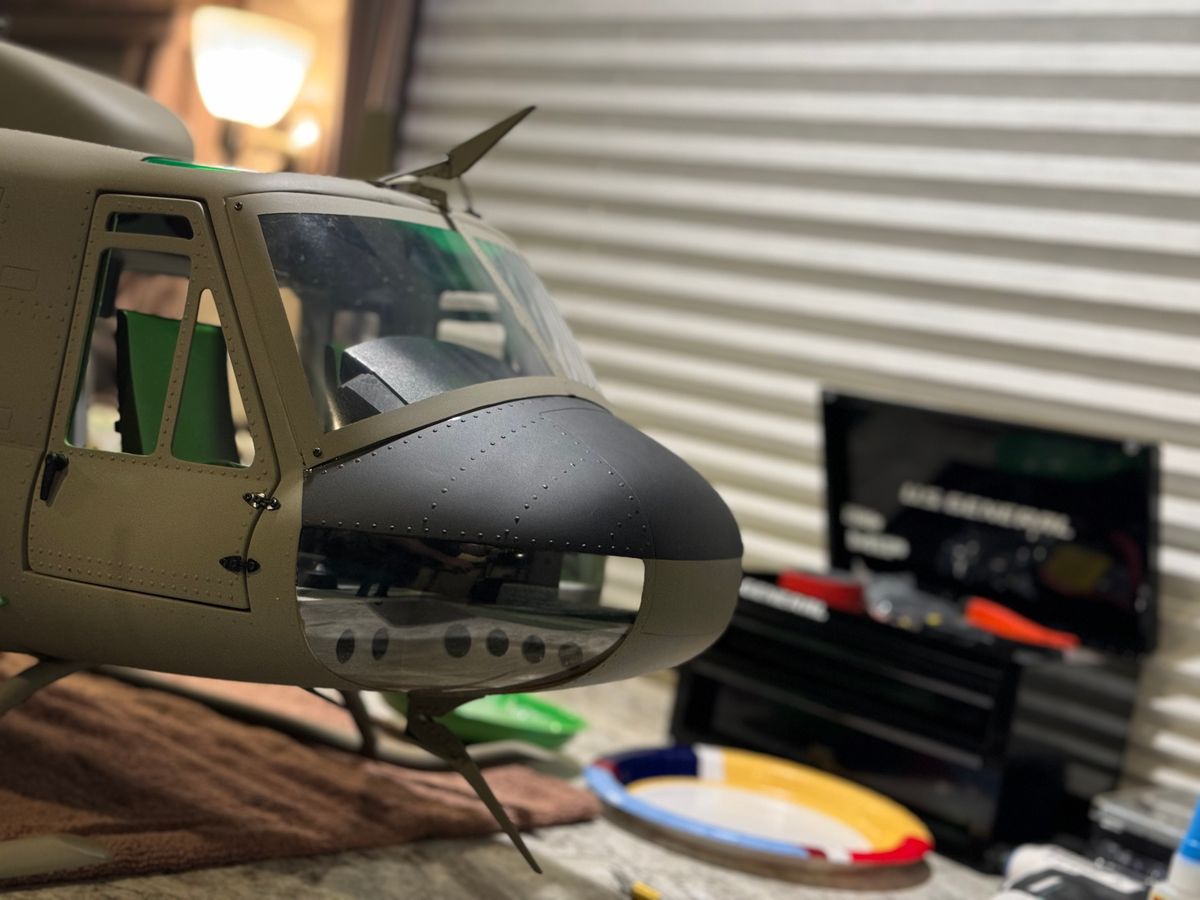
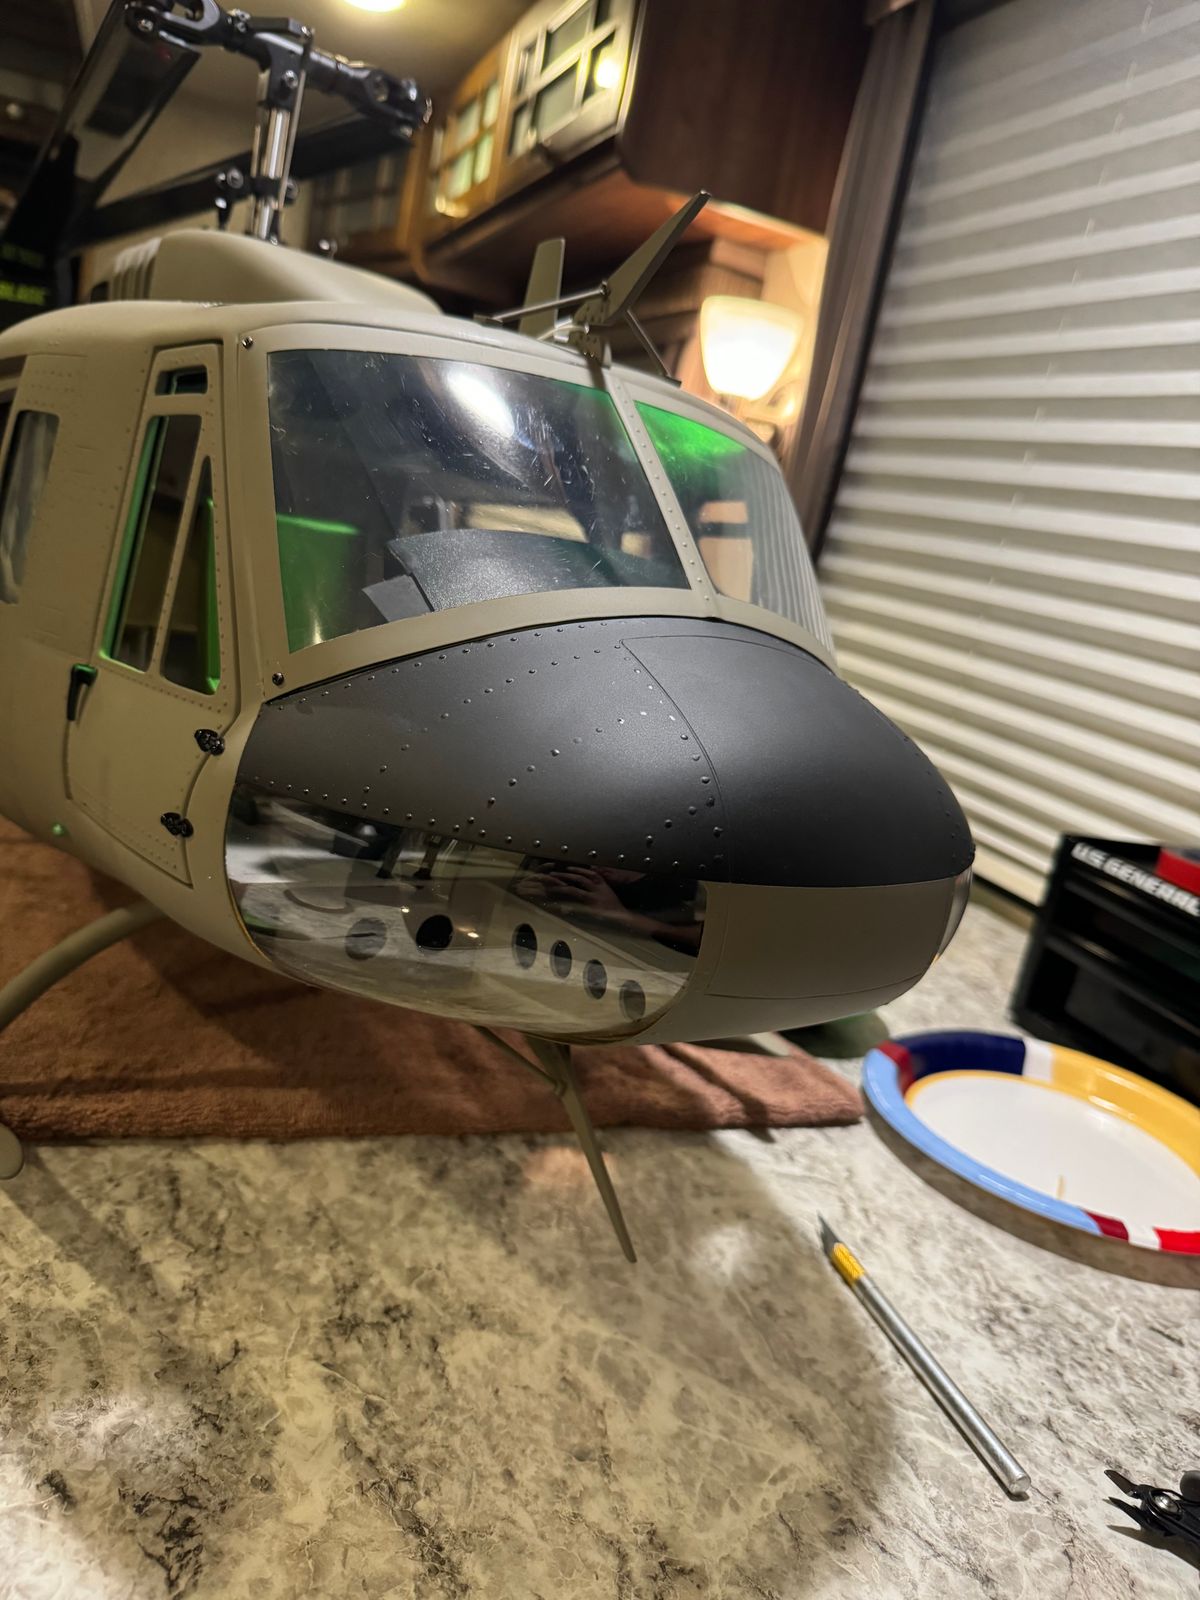
Unfortunately, my model did not come with windows, and they are currently unavailable for purchase. I was able to buy windows from the 800-size Bell 412. However, when I received the kit, I realized that it did not include windows for the doors. The door windows should be easy enough to make from a flat piece of acrylic, so I’m not too concerned.
For the windows on top of the fuselage, I wanted to make them green, so I used some clear green vinyl wrap for this. I applied two layers to make it more opaque, but after looking at it in the sun, the green turned out too fluorescent. I plan to search for a clear green paint to use later.
I’m a little bummed that this model somehow ended up without windows, but as a modeler, this isn’t something that will stop me from making progress—just adds to the fun.
Installing the cockpit and some scale details.
Now it’s time for the fun stuff: adding the scale details!
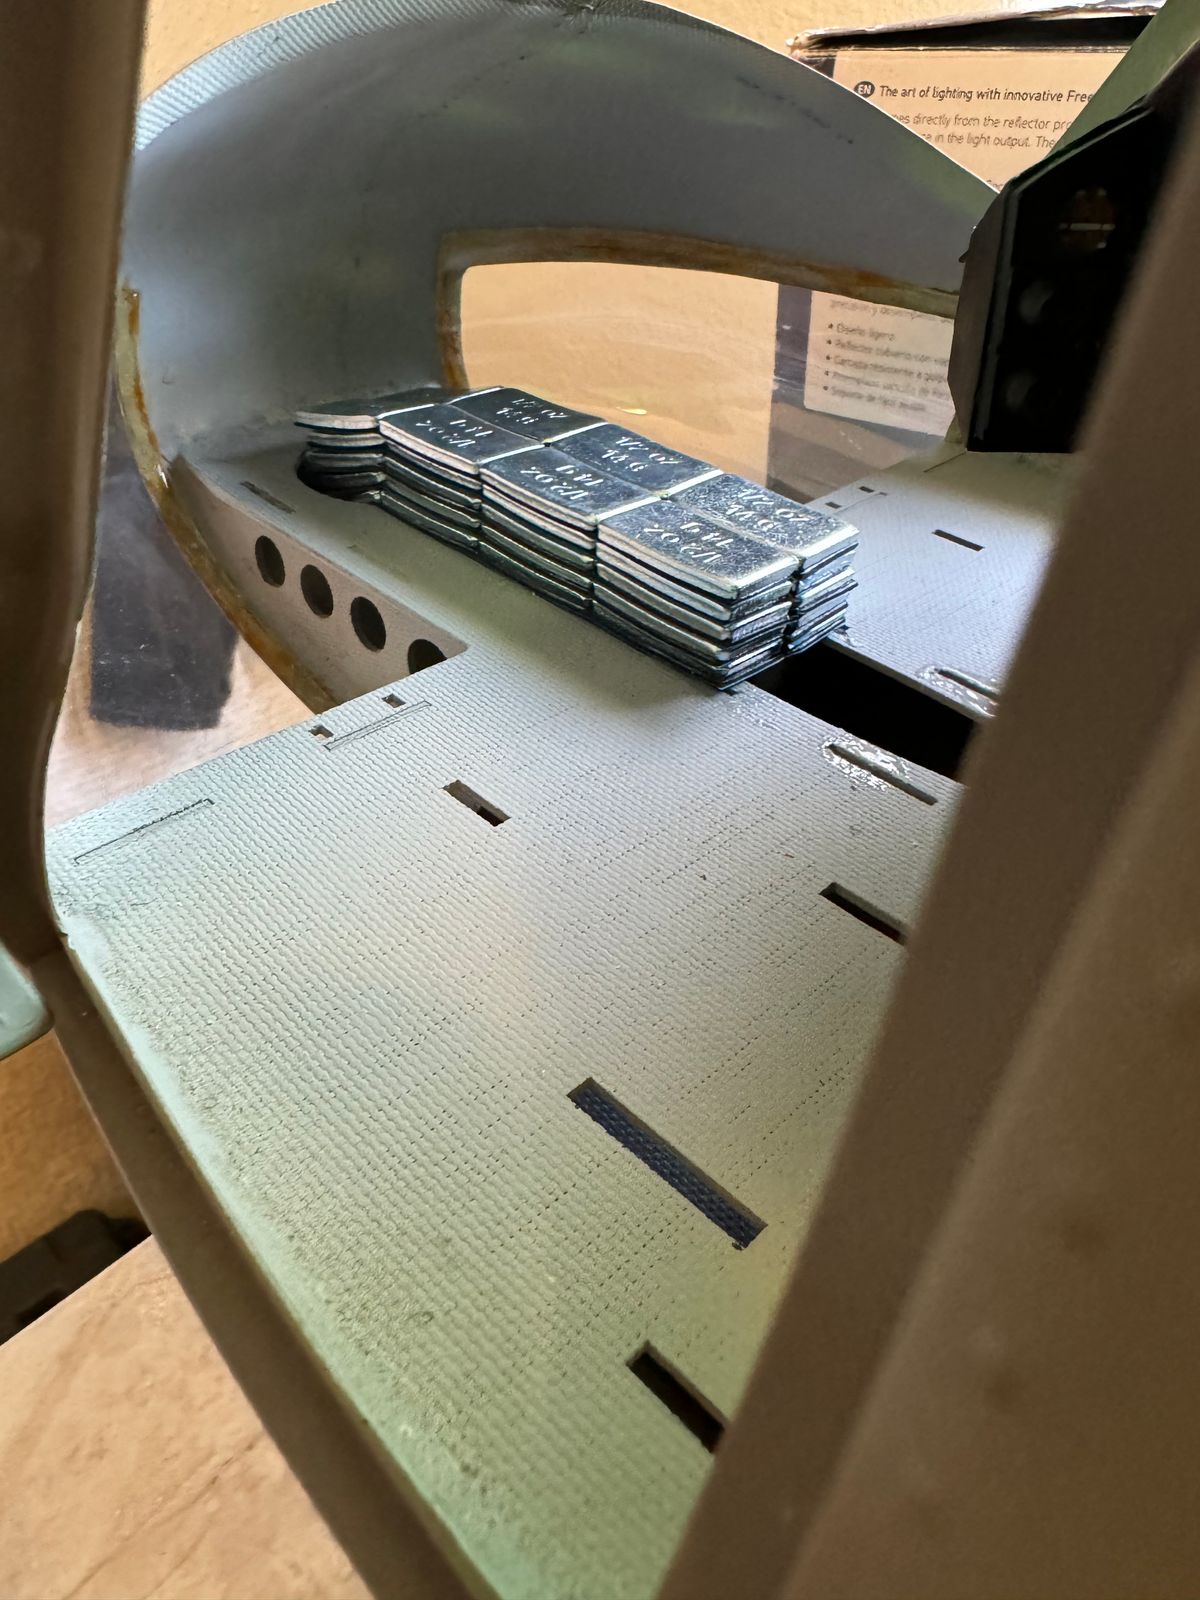
The first thing I had to do before gluing the cockpit in is add nose weight. To get the proper balance I had to add about 17oz of weight to the nose… ouch.
I eventually want to order all the items from Tyler Gray Models for the 800 Huey and add them to my model. For now, though, it will remain complete box stock. Once I get everything dialed in mechanically how I like, I’ll start slowly adding scale details.
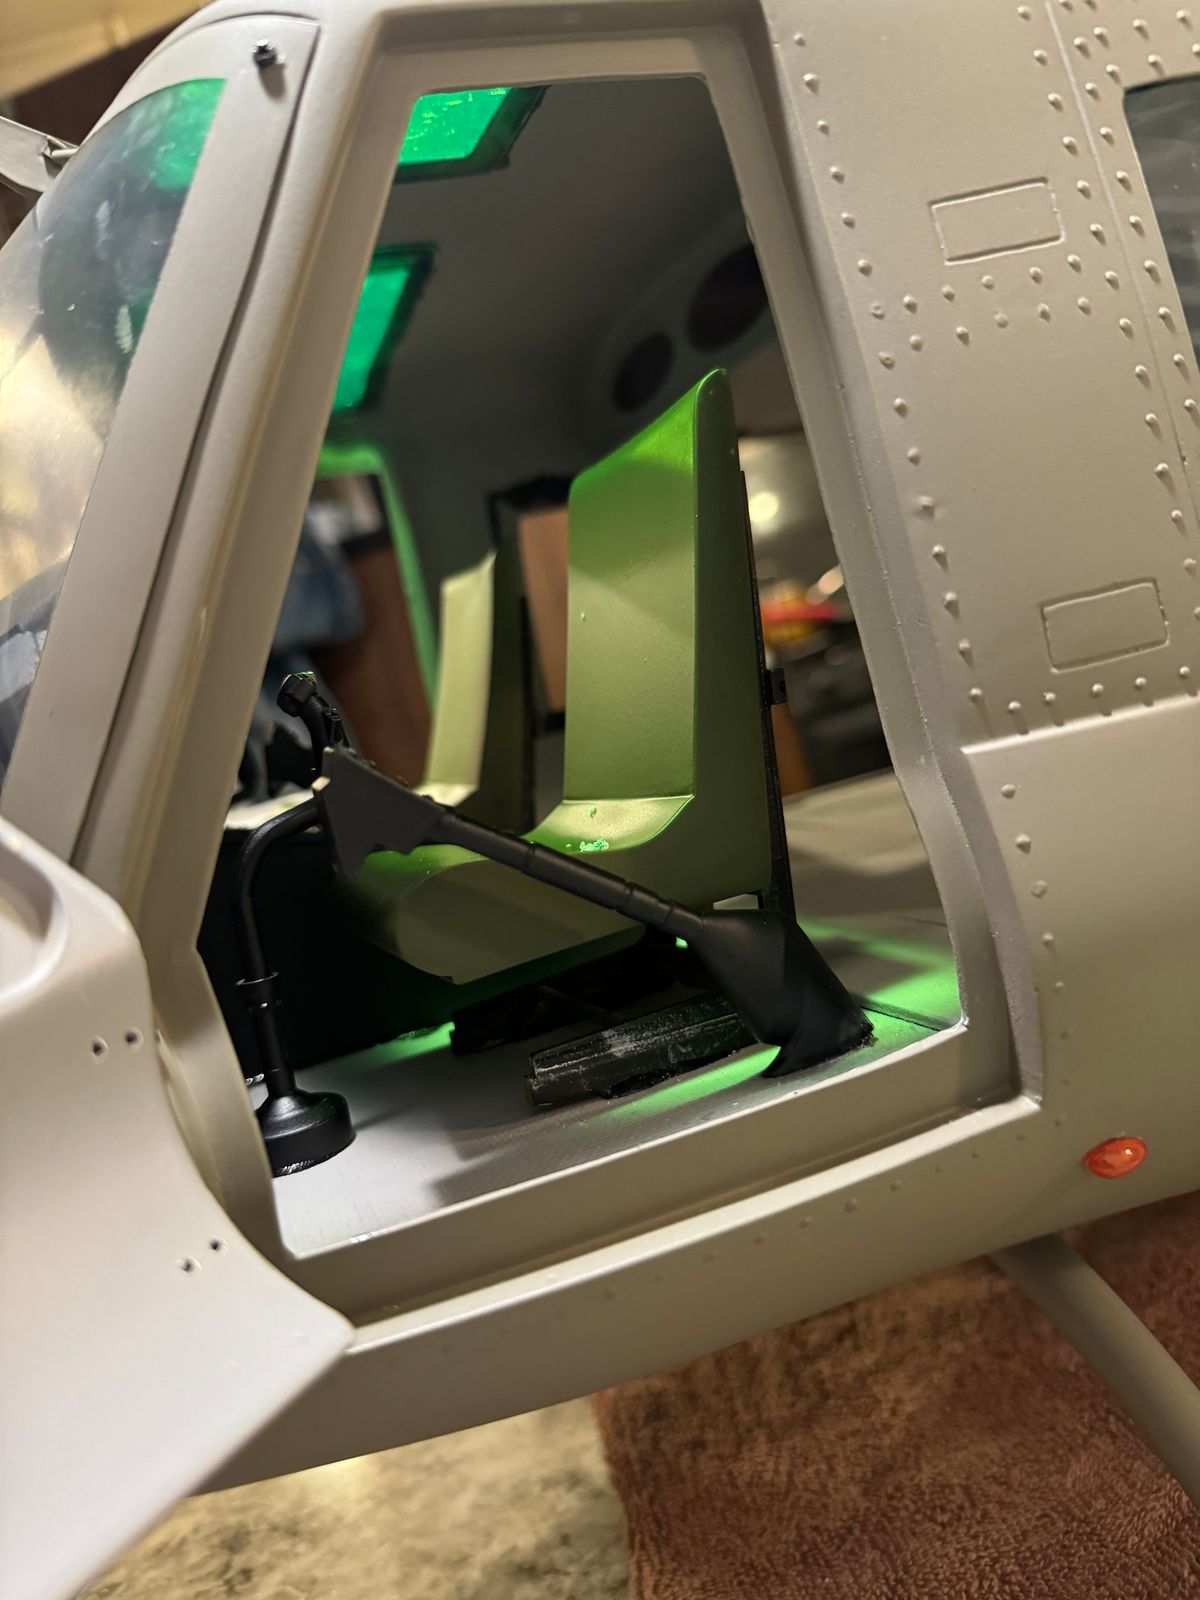
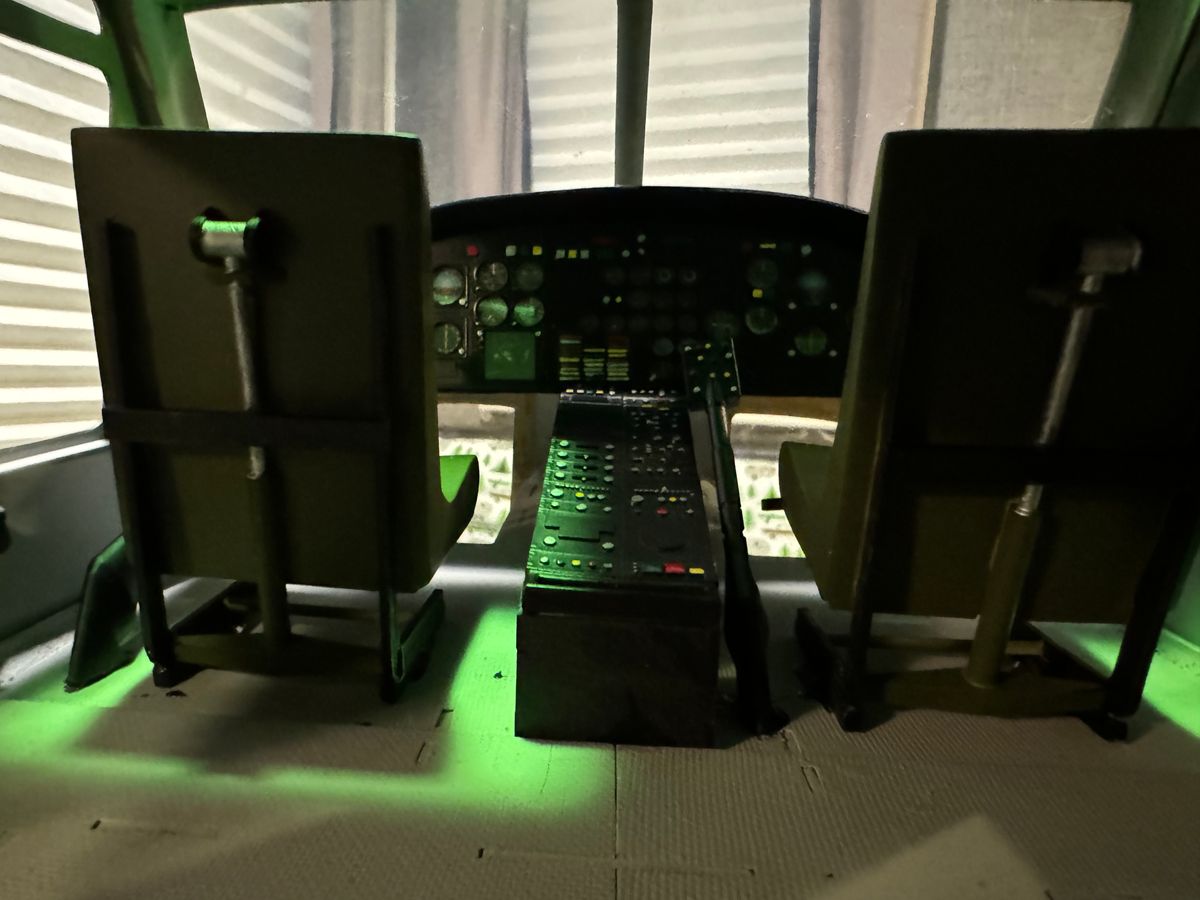
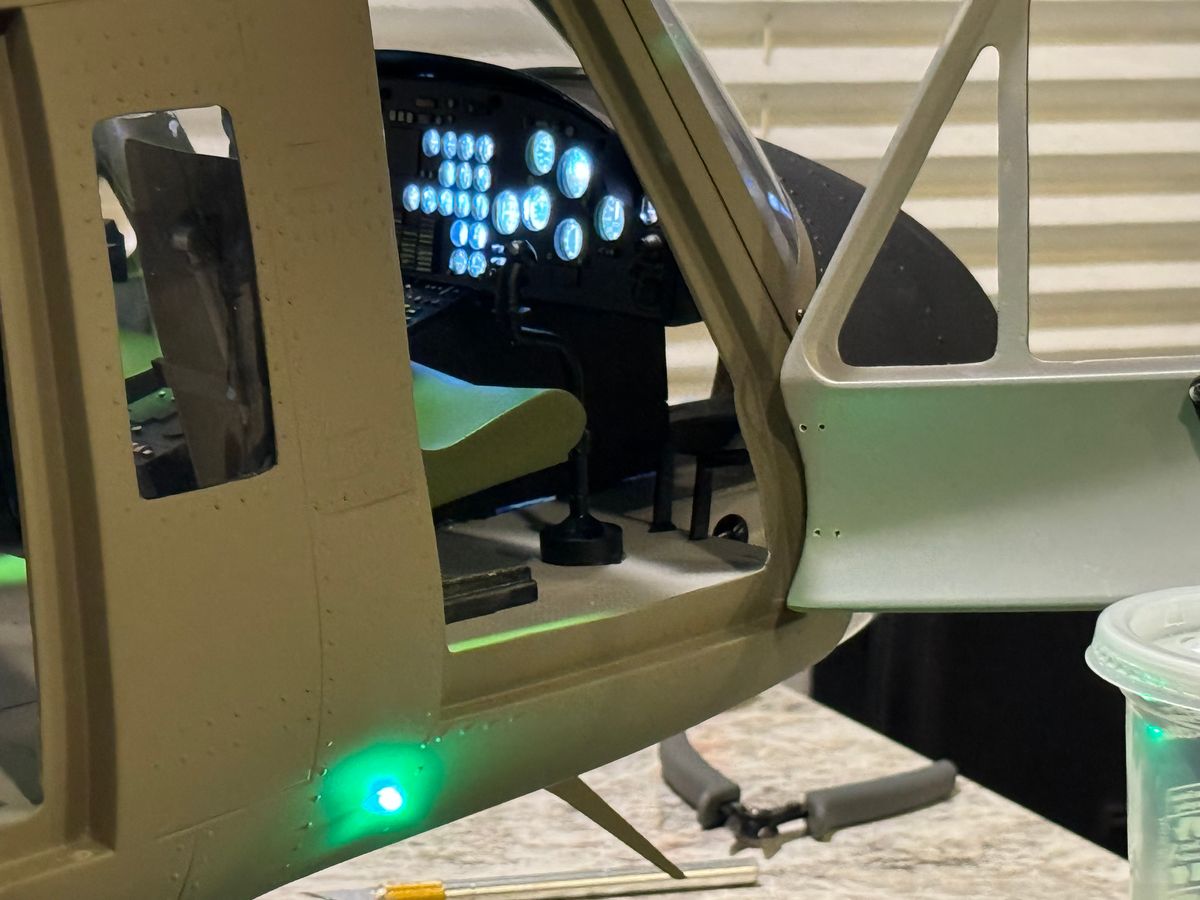
For what it is, the cockpit is pretty nice. Everything is pre-painted and detailed. The only thing not painted are the seats. They are a tan/white color and look like they might be 3D printed or resin-cast. I painted them olive drab with Tamiya TS-28 paint. I painted the seat rails with Tamiya XF-1 flat black and then did a light dry brushing with Tamiya X-11 chrome silver.
The cockpit has blue/white LEDs that light up. They don’t look quite right in low light or indoors, but during the daytime, it’s a nice touch that helps the instruments pop a little.
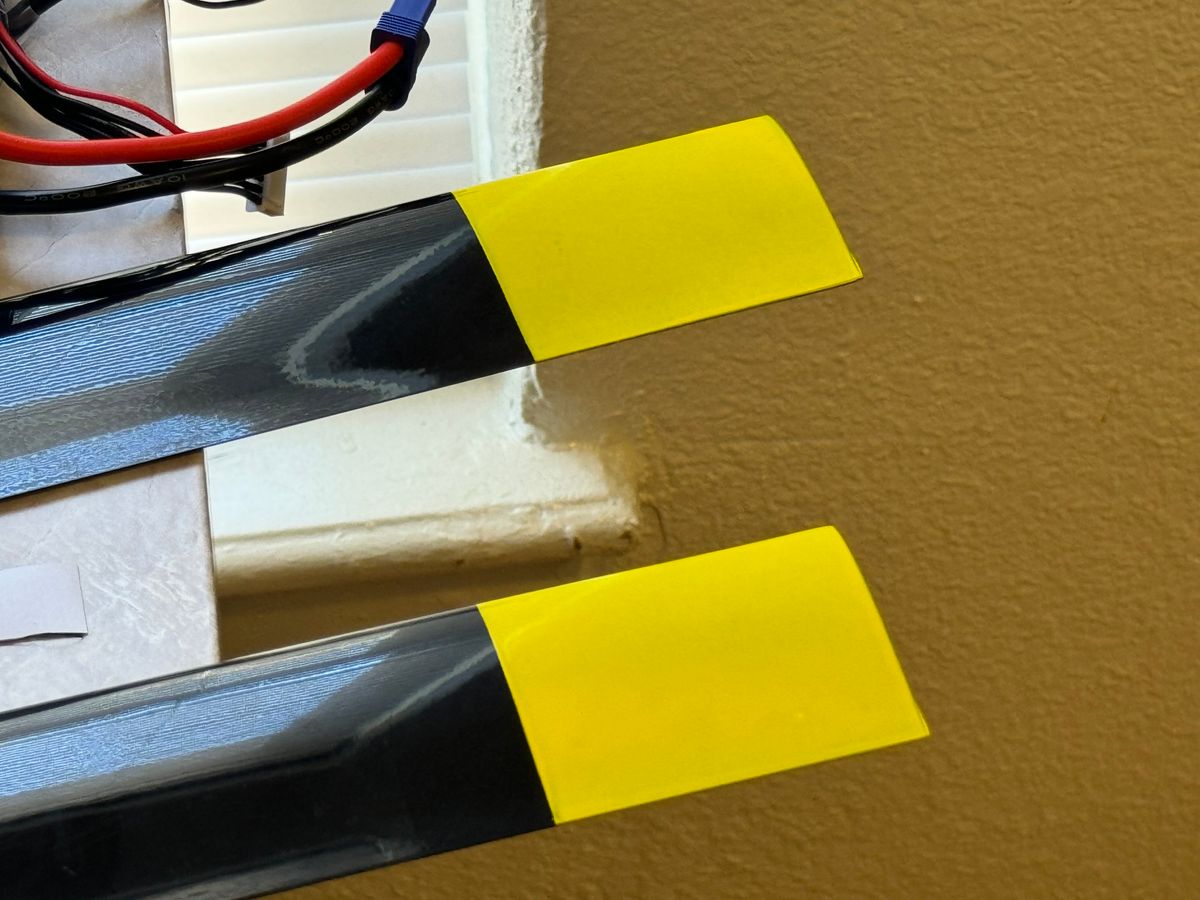
Lastly, I painted the tips of the rotor blades with Tamiya TS-16 yellow, then CG’d and balanced them. I like having the yellow on the blades mainly for safety, and I think it creates a cool effect. I’ve also seen it on a real one and thought it was a nice touch.
Setting up electronics and a hover test.
This is my first time using the Demon flight control software/hardware. Previously, I’ve only used Spirit flybarless units and Beast X flybarless units.
I still have a lot to learn about the different settings of the Demon 3X software to achieve the feel I’m looking for, but as a first impression, the software was pretty intuitive. I was able to figure it out and set up my helicopter without any instructions.
I initially set my hover pitch to 3 degrees and will adjust it accordingly with a pitch curve in my radio if needed.
I added two flight modes: throttle at 70% and throttle at 95%. At the higher throttle setting, the head speed still seems manageable and within the limits of the mechanics. I haven’t calculated the head speed yet, but I’m guessing it’s between 1100 and 1400 RPM.
After checking and double-checking everything, I did my first run-up of the mechanics with the blades attached. I checked blade tracking and had to make slight adjustments. Thankfully, there were no crazy vibrations during the full run-up.
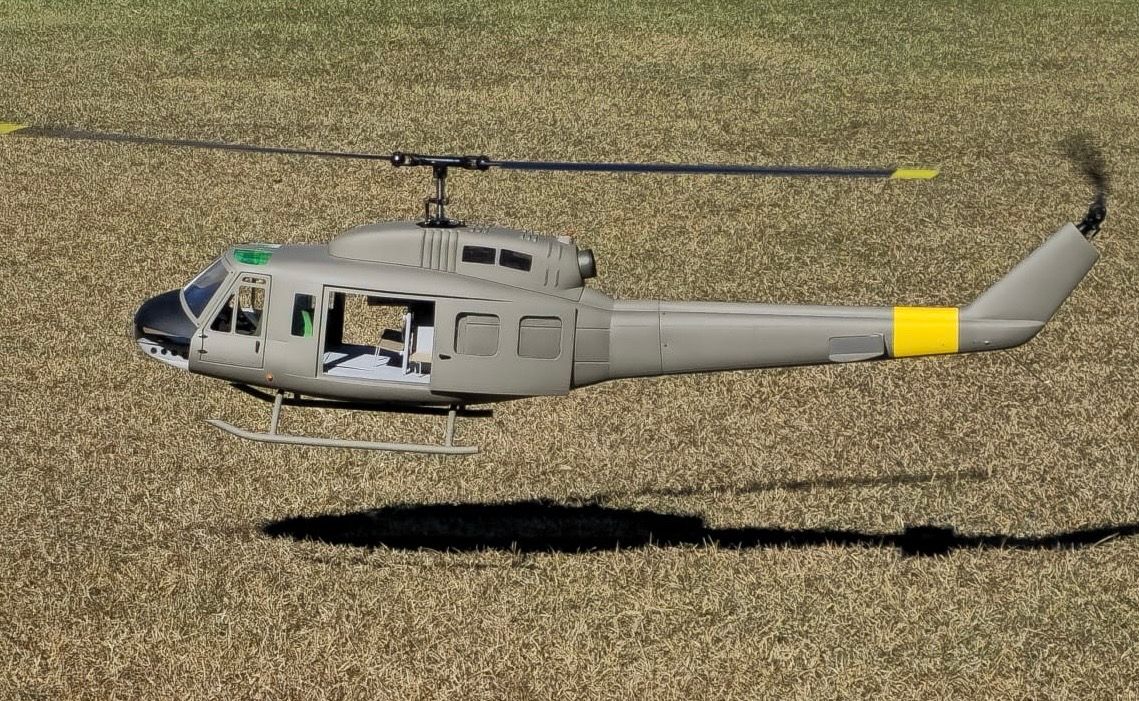
I then decided to run it up again and feed positive collective pitch to see when the helicopter would get light on its feet. Right at about 40% collective on my radio, it started to lift off the ground, and I brought it into a ground-effect hover for about 4 minutes. The tail was locked in, and in rate mode, it would slowly turn to the left, so I will adjust that mechanically. The heli wanted to drift slightly to the right, so I’m thinking my swash may not be perfectly level. I’ll need to buy an actual tool for that instead of using the zip-tie method.
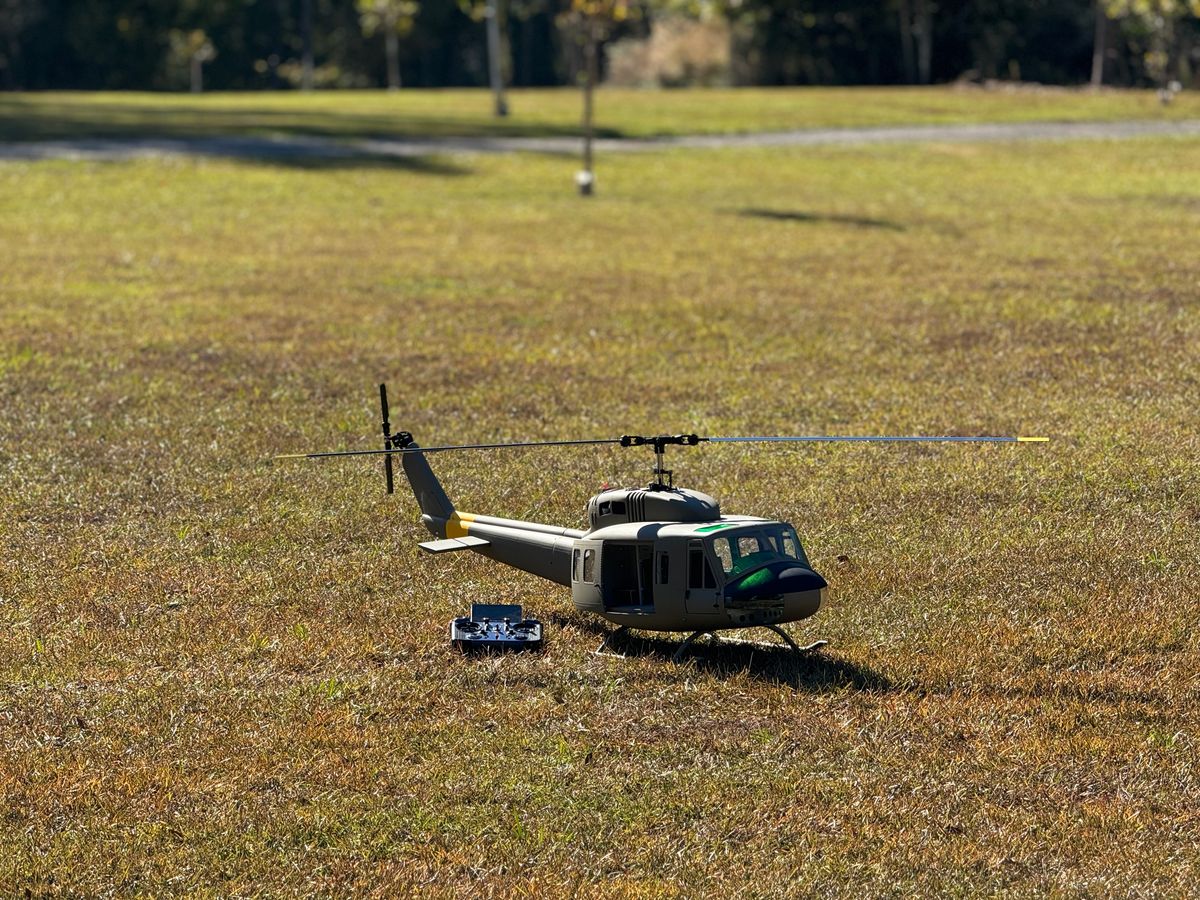
All in all, the helicopter is very stable and sounds amazing. I need to invest more time in tuning the flight controller to get the right feel. My rates felt a little too low at center stick, and my collective rate seemed too high, making it hard to maintain perfect altitude. But overall, I’d say this is a successful maiden. I’ll probably only be hovering it for the next few flights until I dial it in, before attempting any forward flight or out-of-ground-effect hovering.
In retrospect I wish I was at my house and not in a trailer at this flight school, I would have loved to have my garage and make a test bed for these mechanics. Thankfully i trust my basic experience to set up a heli and attempted a maiden in the fuselage. Thankfully Roban has created a package that requires minimum tools and fabrication to fly right out of the box.
6 Comments
Great start! For future chapters, you can create them here first and then just share them on FB anywhere to save time.
Welcome, and thanks for sharing your background. I was in the Army as a UH-1 crew chief and then went the Warrant Officer route and flew Huey’s. I am excited to watch your build progress.
Emile Sheriff is one of the best scale builders I know and he lives there in Enterprise as well.
thank you, and thank you for your service!! I know Emile he is a great person, I plan on collaborating with him to pin the torque tube on the huey.
Yikes!! Life shouldn't be that hard but sometimes these models call for that level of perseverance.
I ran into an issue with the tail gears binding up and could not figure it out so I kept having to take the mechanics out. Wasn’t hard though.
Ended up finding the torque tube was pushing on the 45 degree gears too hard so I needed to extend the tube from the transmission about 1mm that gave it the right clearance.
Tedious but worthwhile work!