

500 size CH-54 Tarhe (Skycrane) Build
 Michael R.
The beginning of a Crane
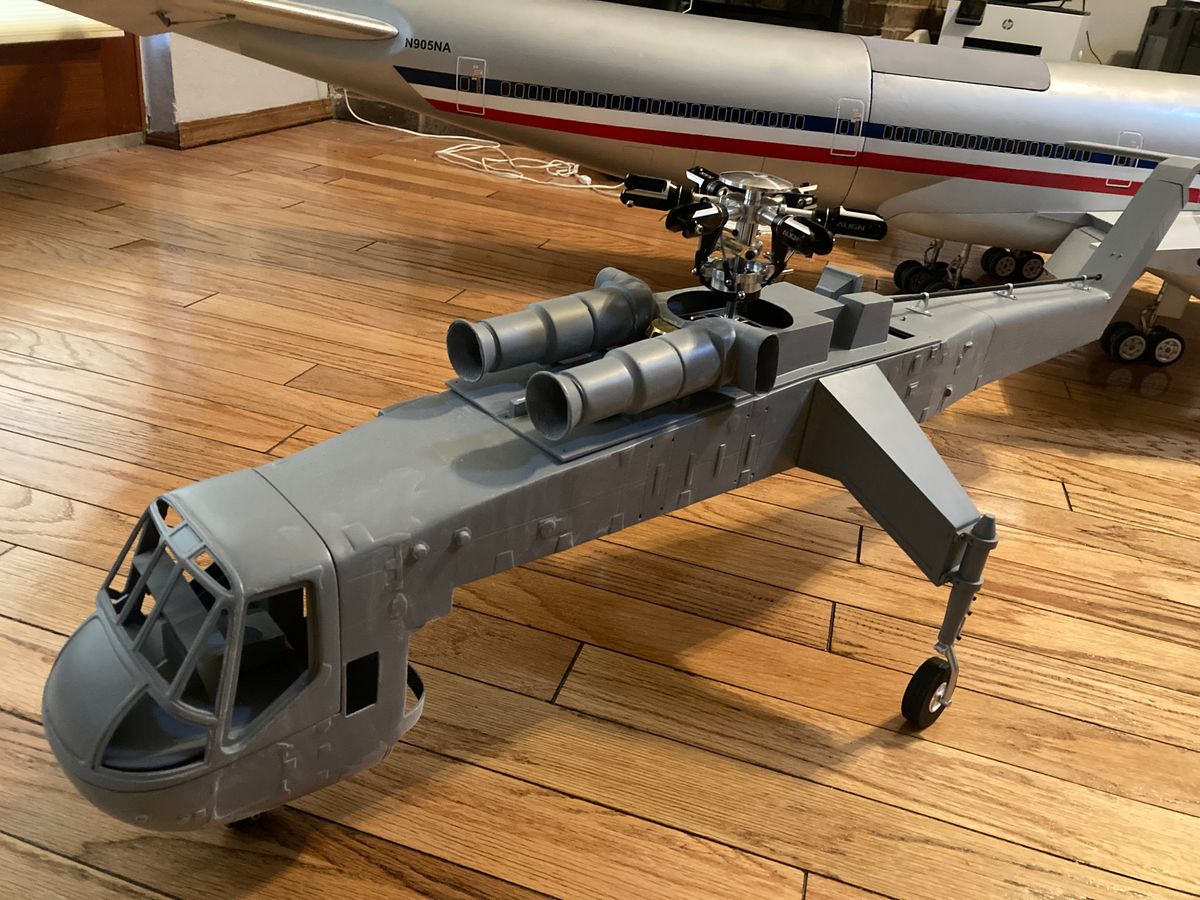
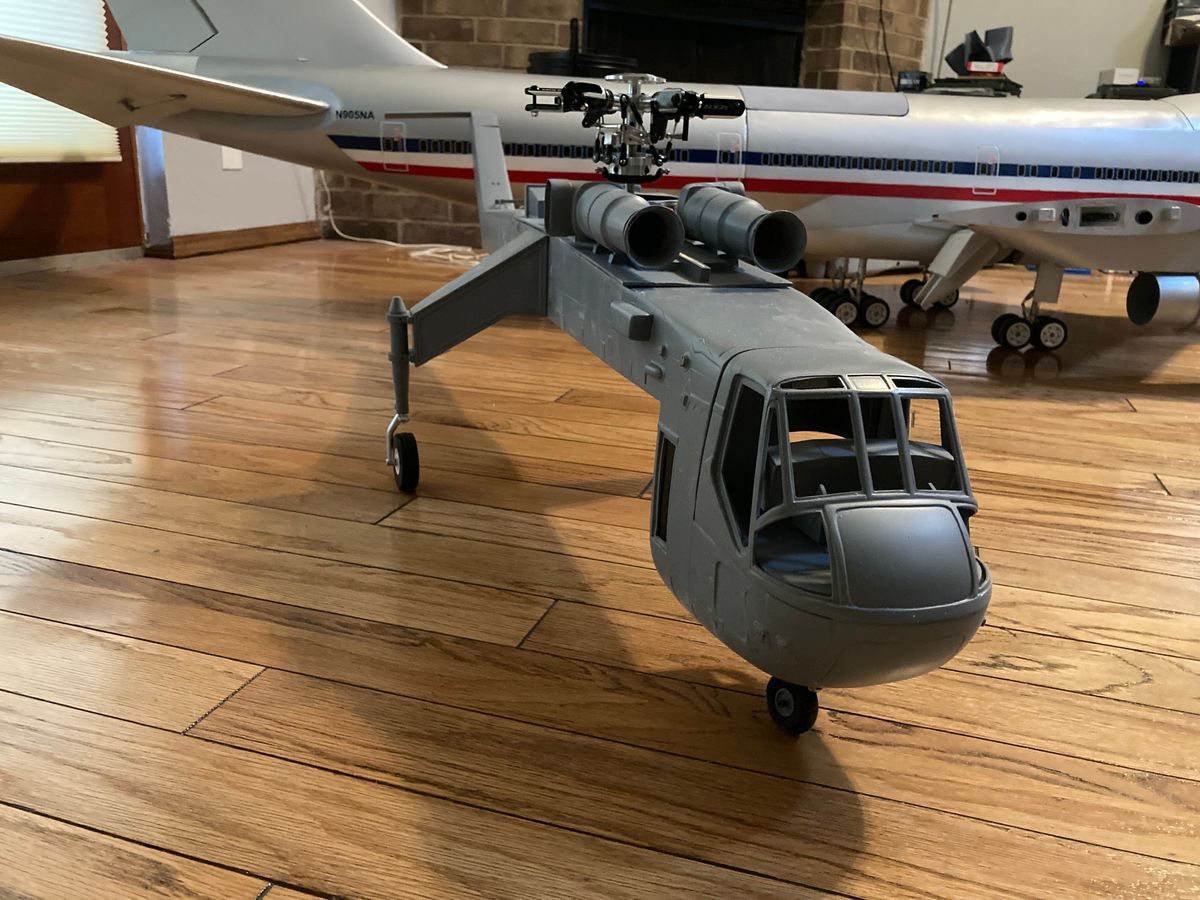
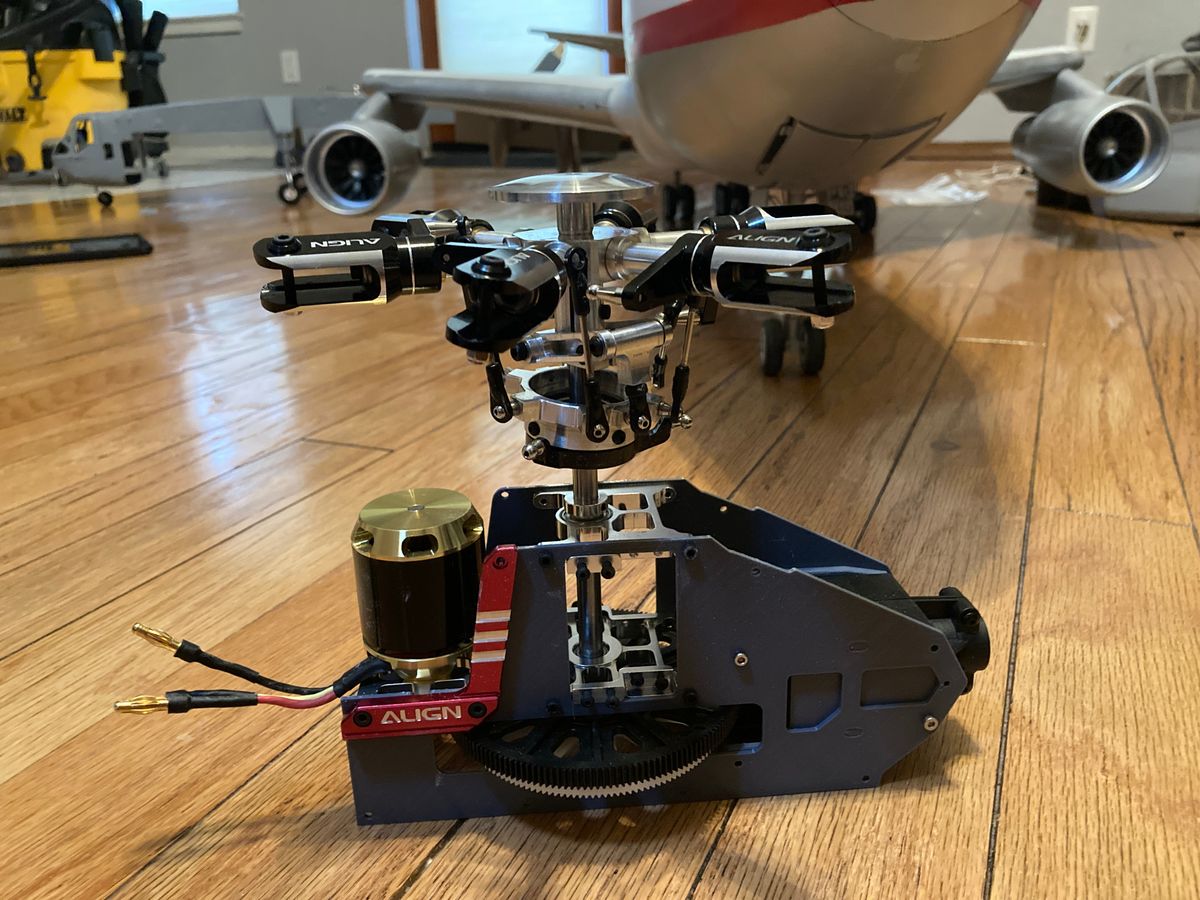
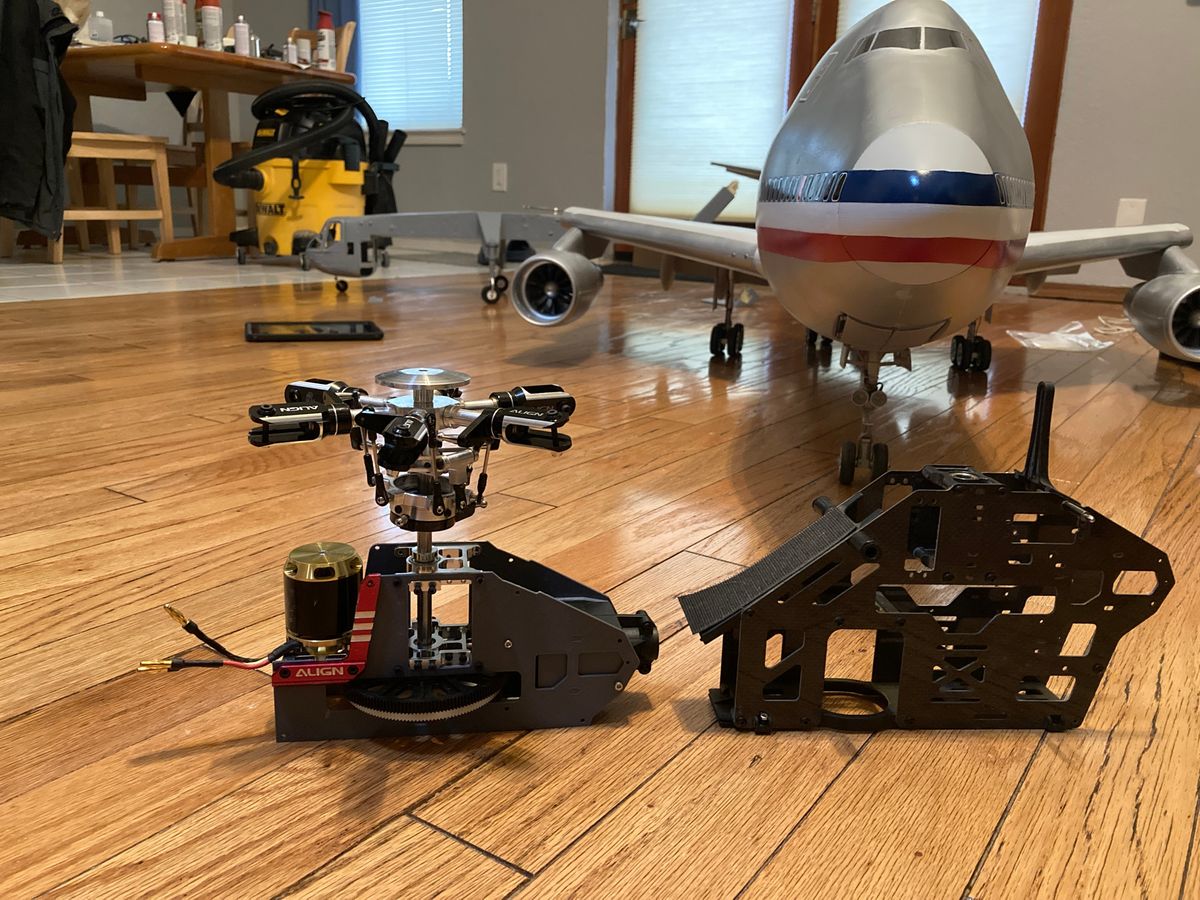
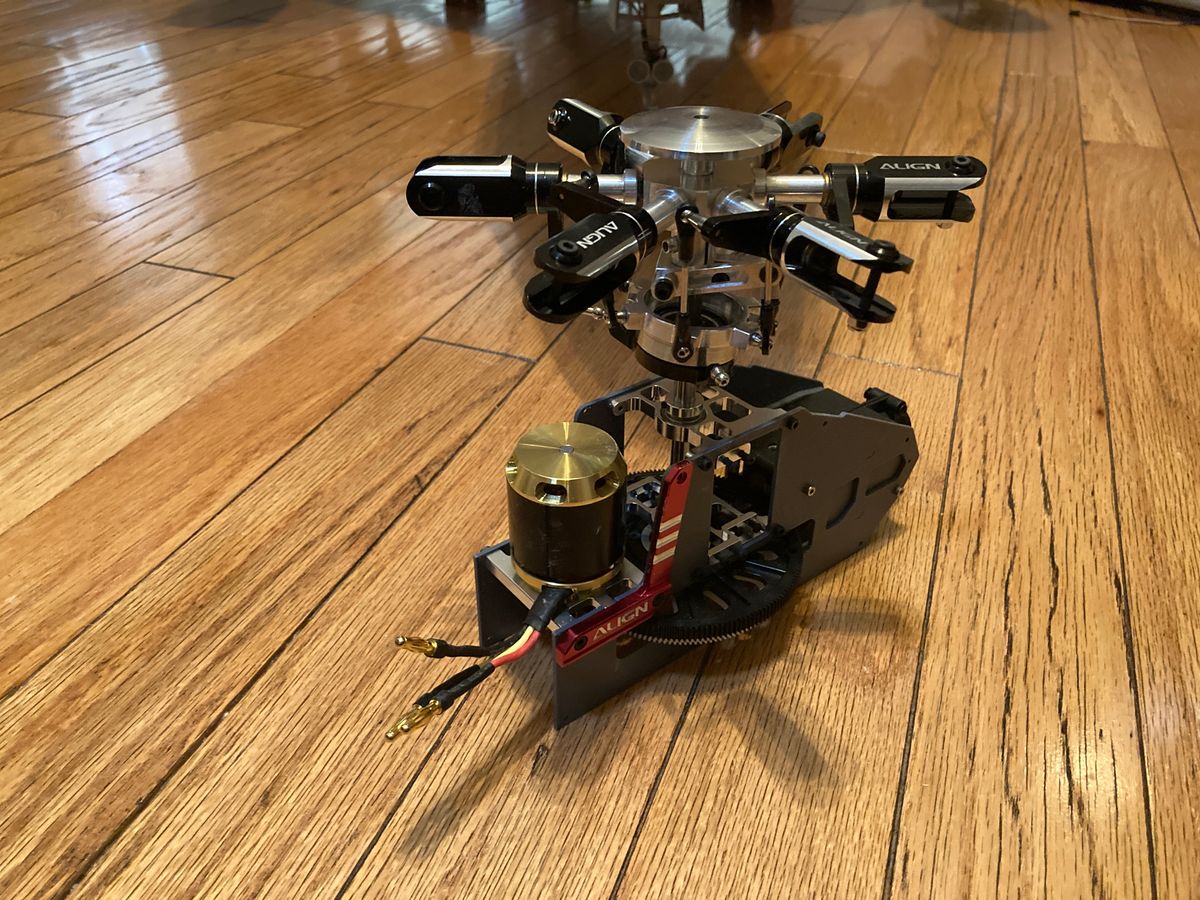
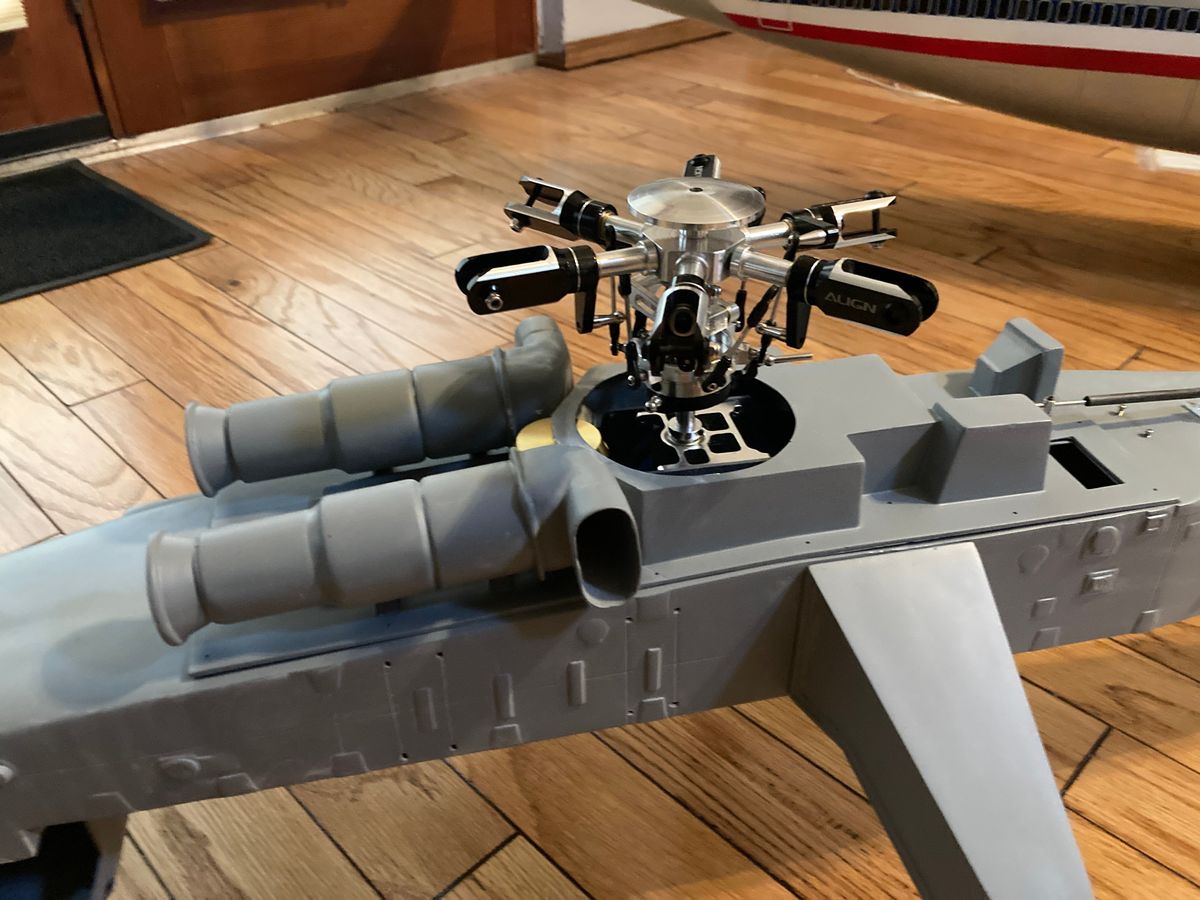
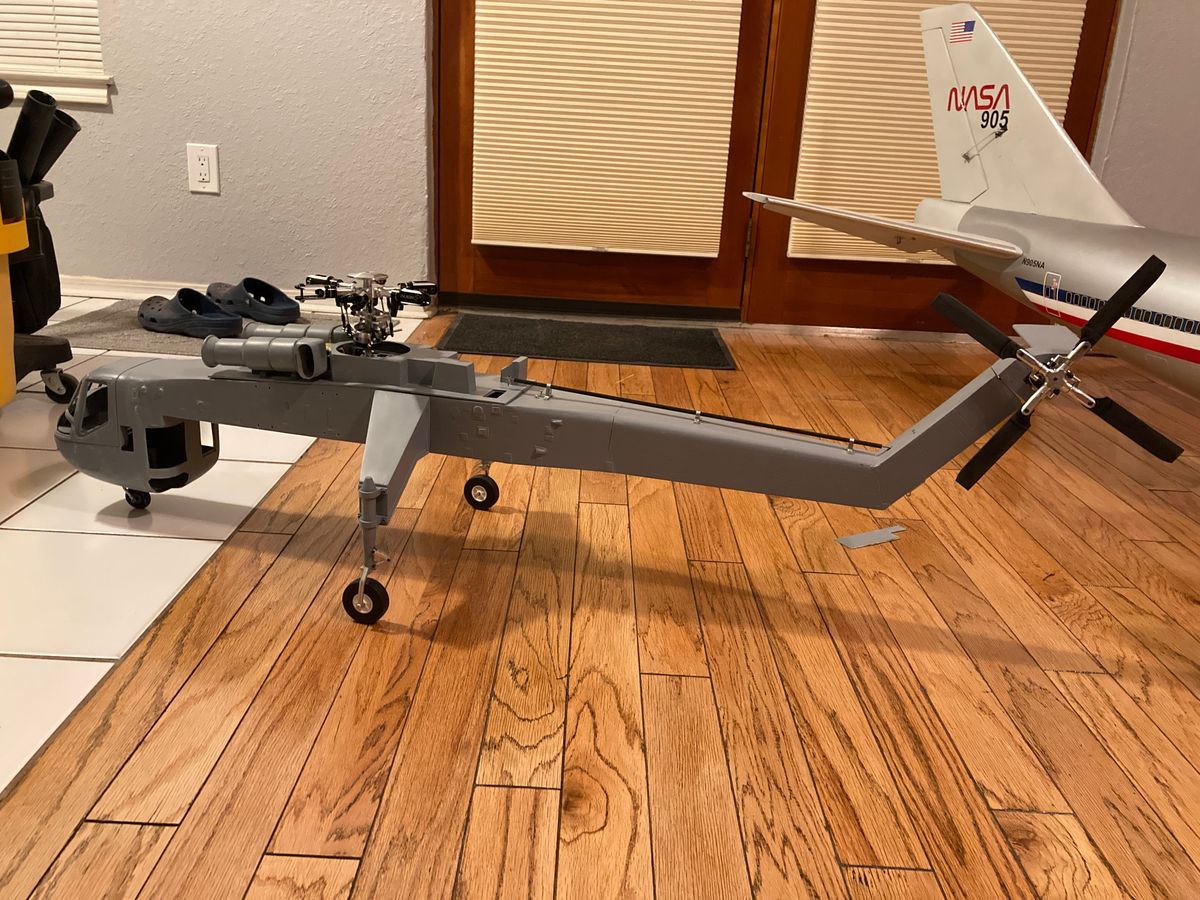
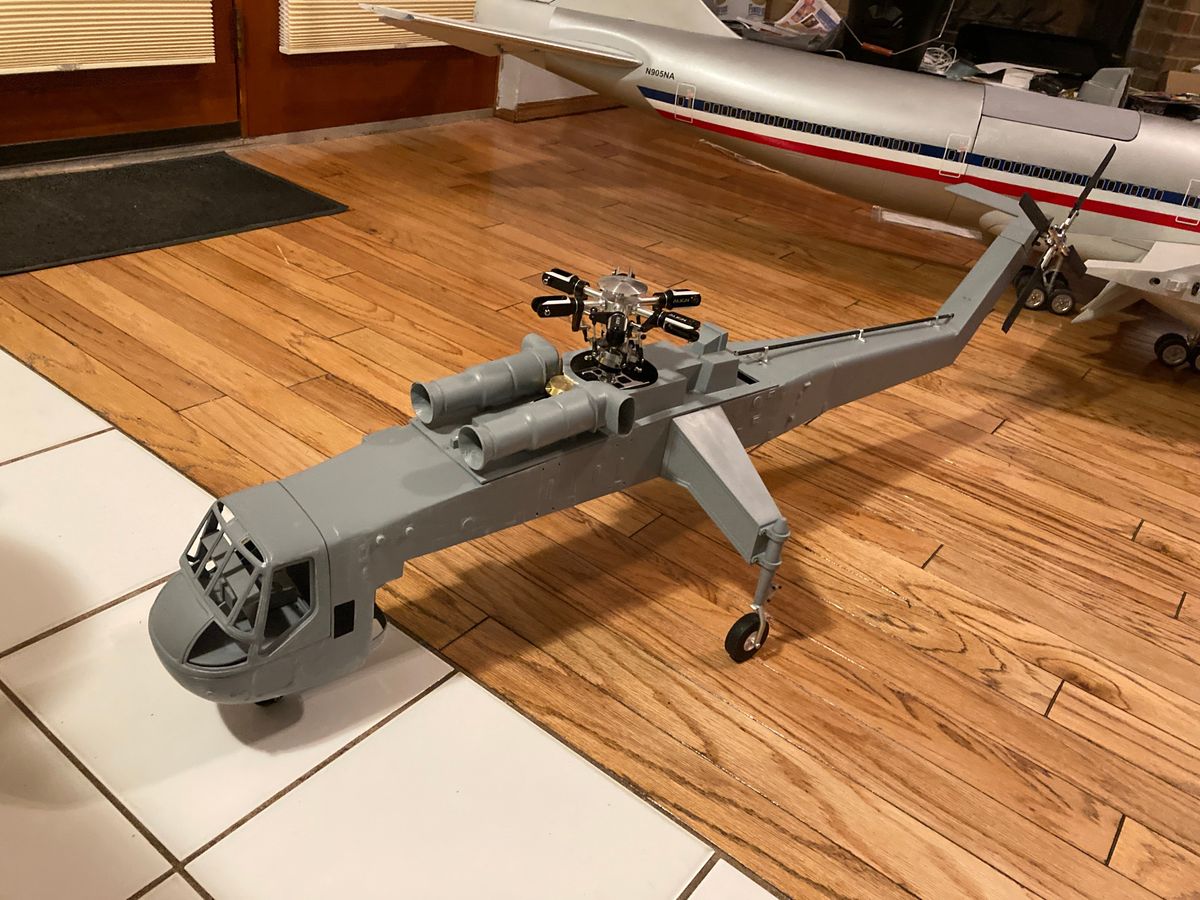
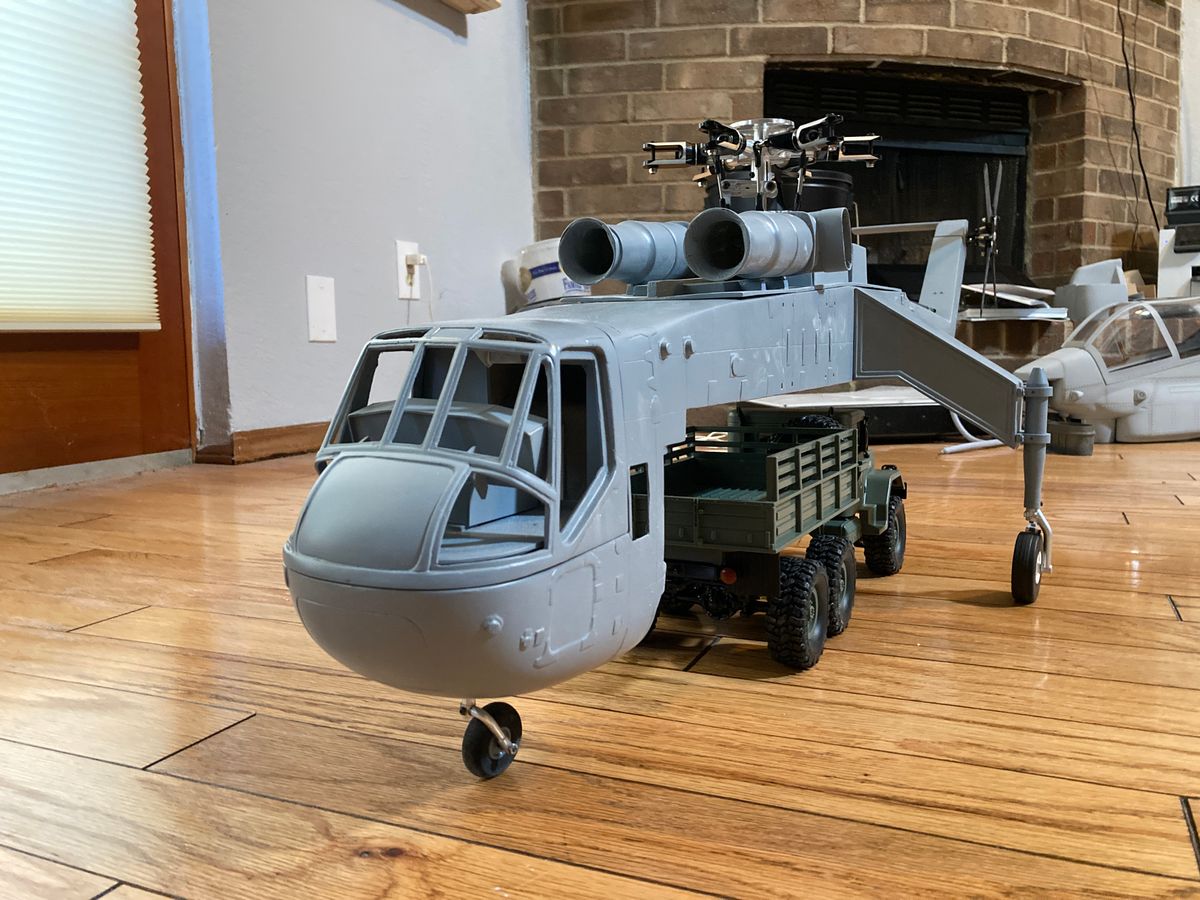
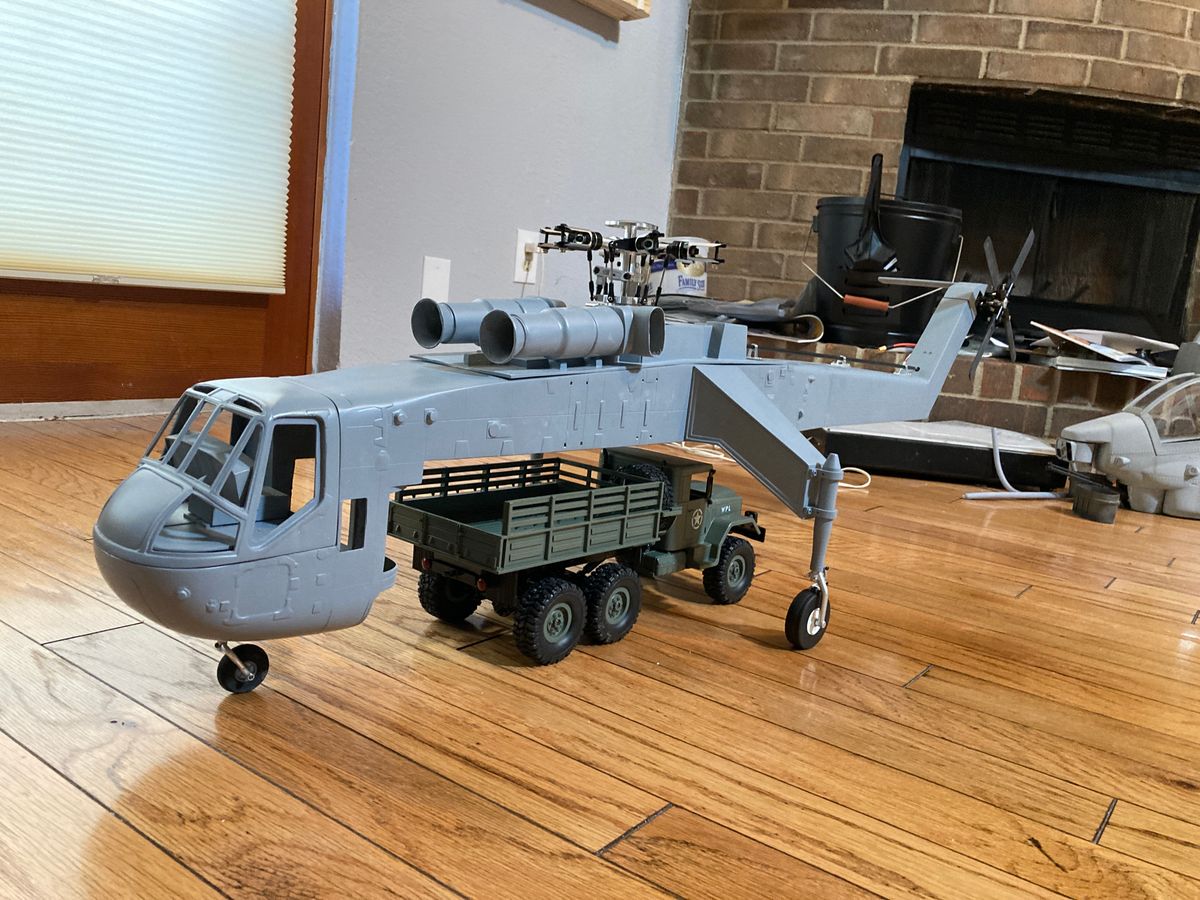
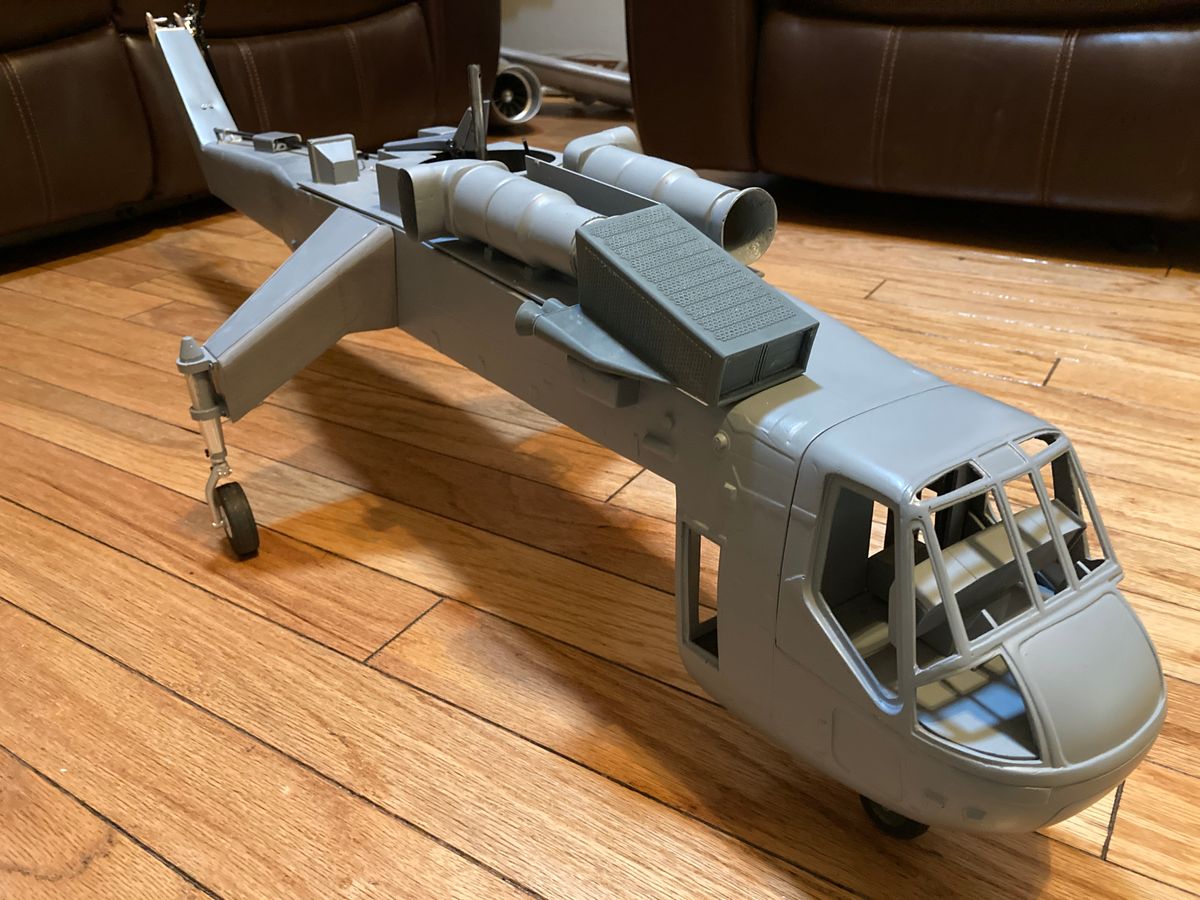
This will be my build log of the Buamodel 500 size Skycrane. The model is sold as an S-64 firefighting variant, but I wanted to convert it back to the military CH-54. One of the big challenges there was fitting the mechanics. The stock setup hid most of the Trex 500 mechanics inside the suppressant tank. With that tank removed, there is very little space left in the upper spine.
To solve this, I designed a compact frame that uses parts from the Trex 500X and 500ESP that is about 40% shorter. Still need to shorten the mast a bit, but it seems feasible. Will be running Vario 530mm blades on a custom 6 blade head.
Blades and tail (Part 1)
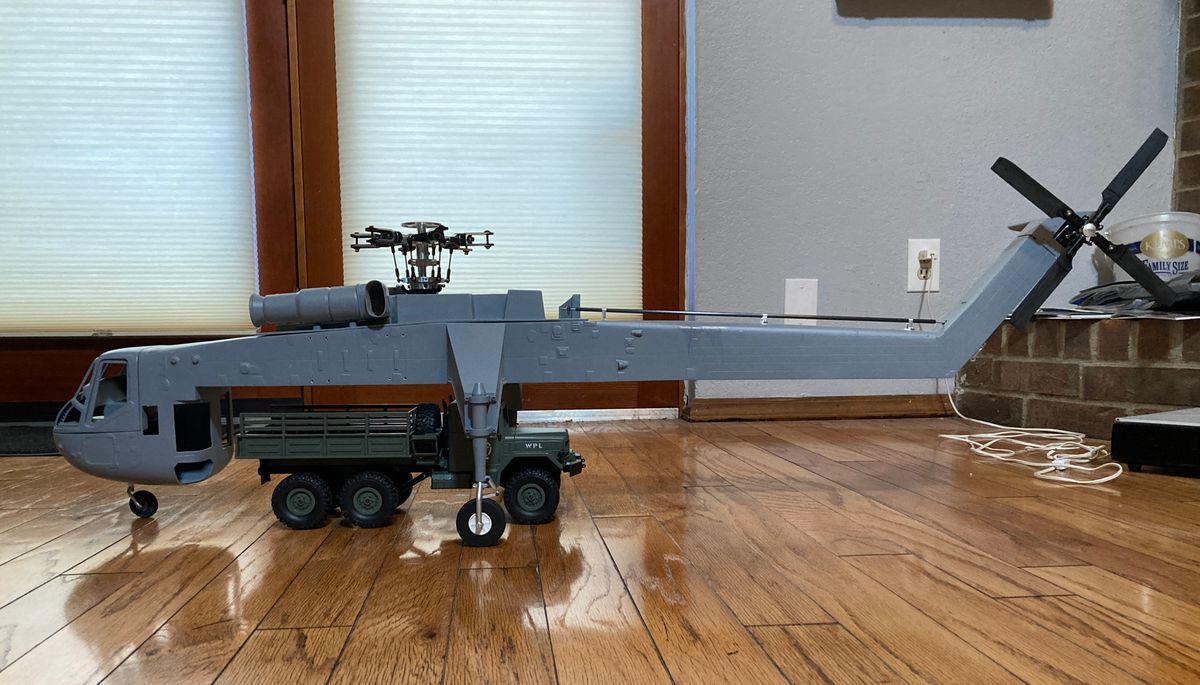
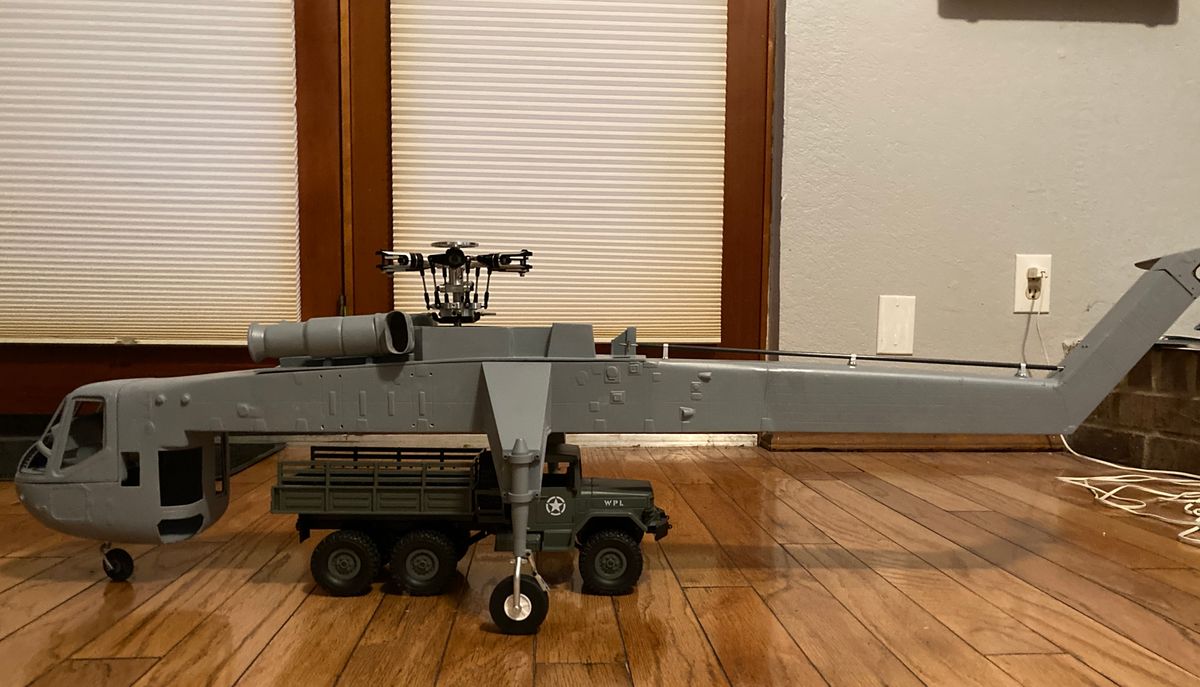
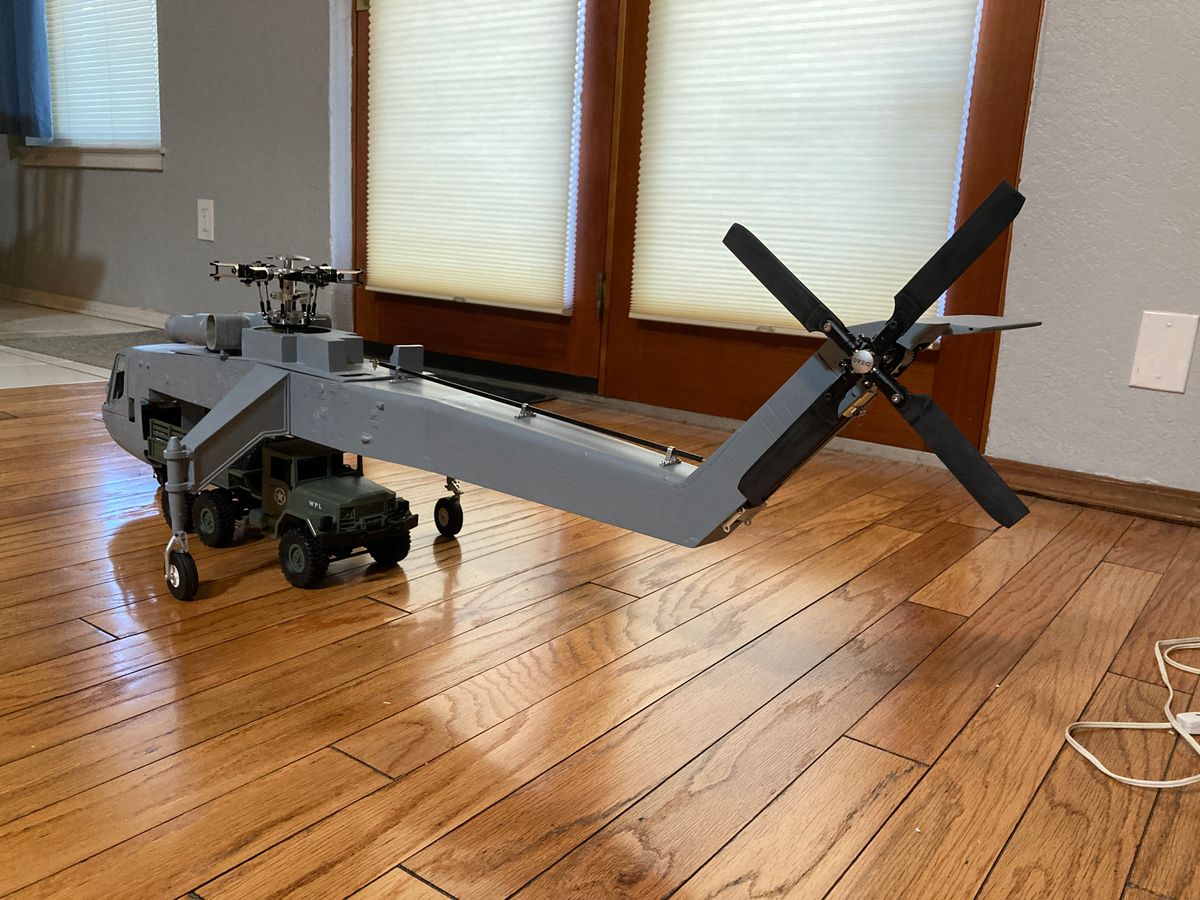
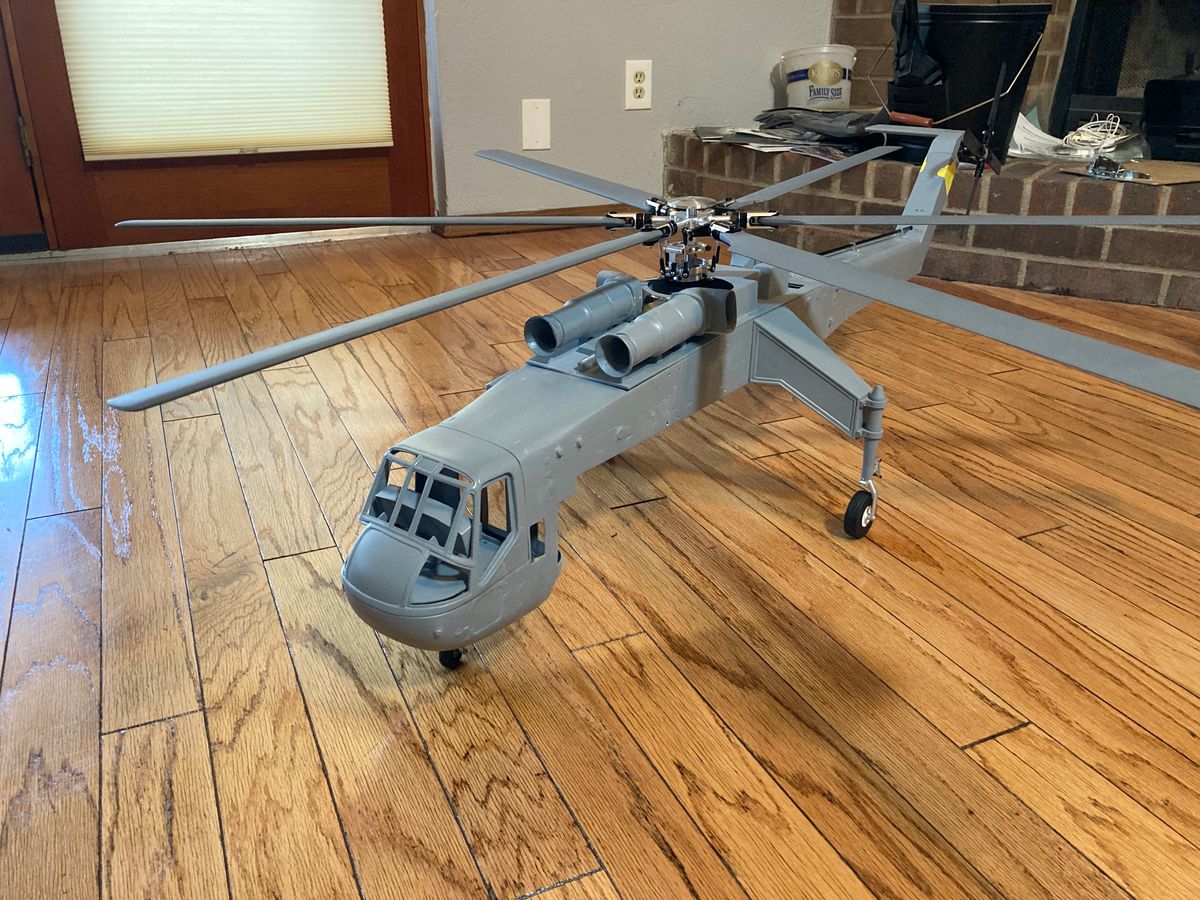
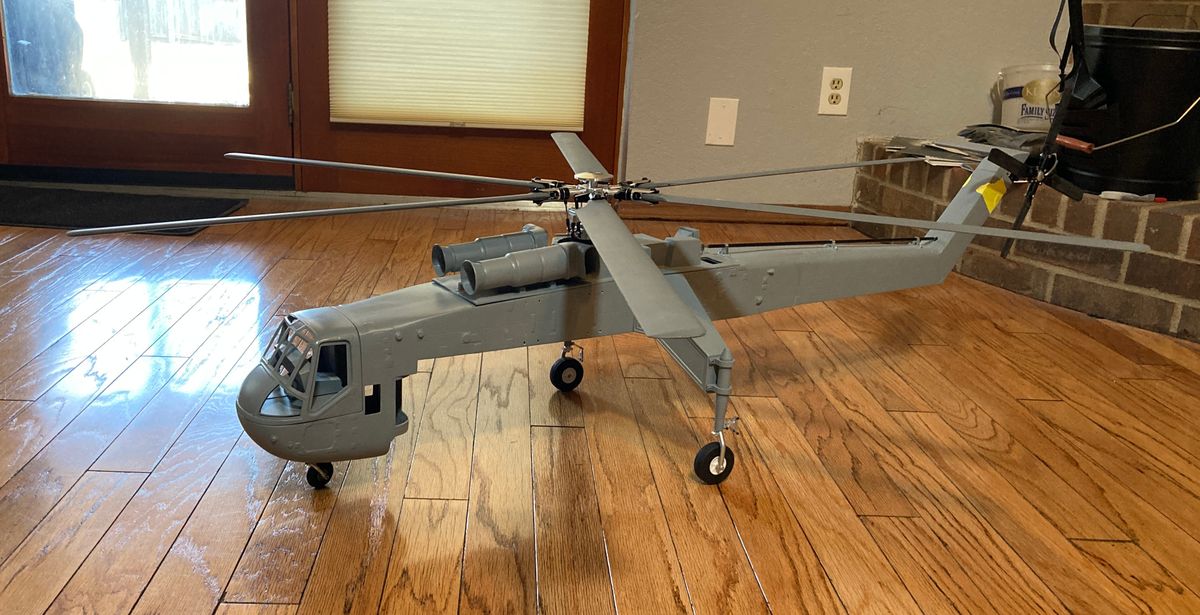
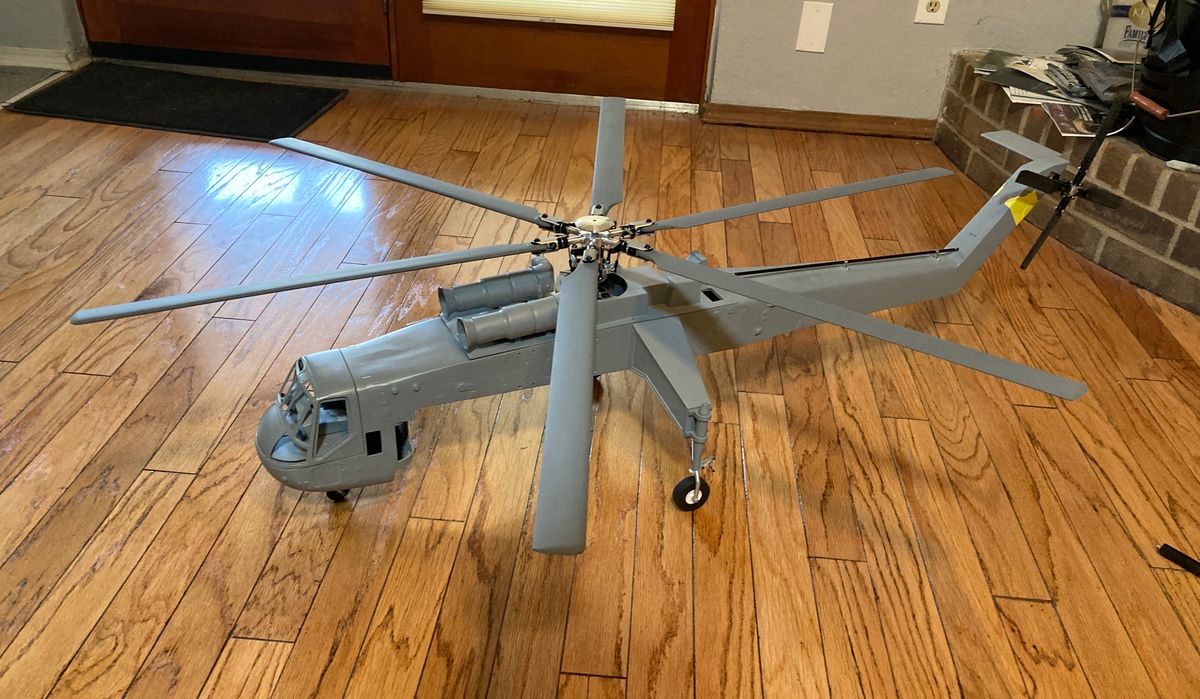
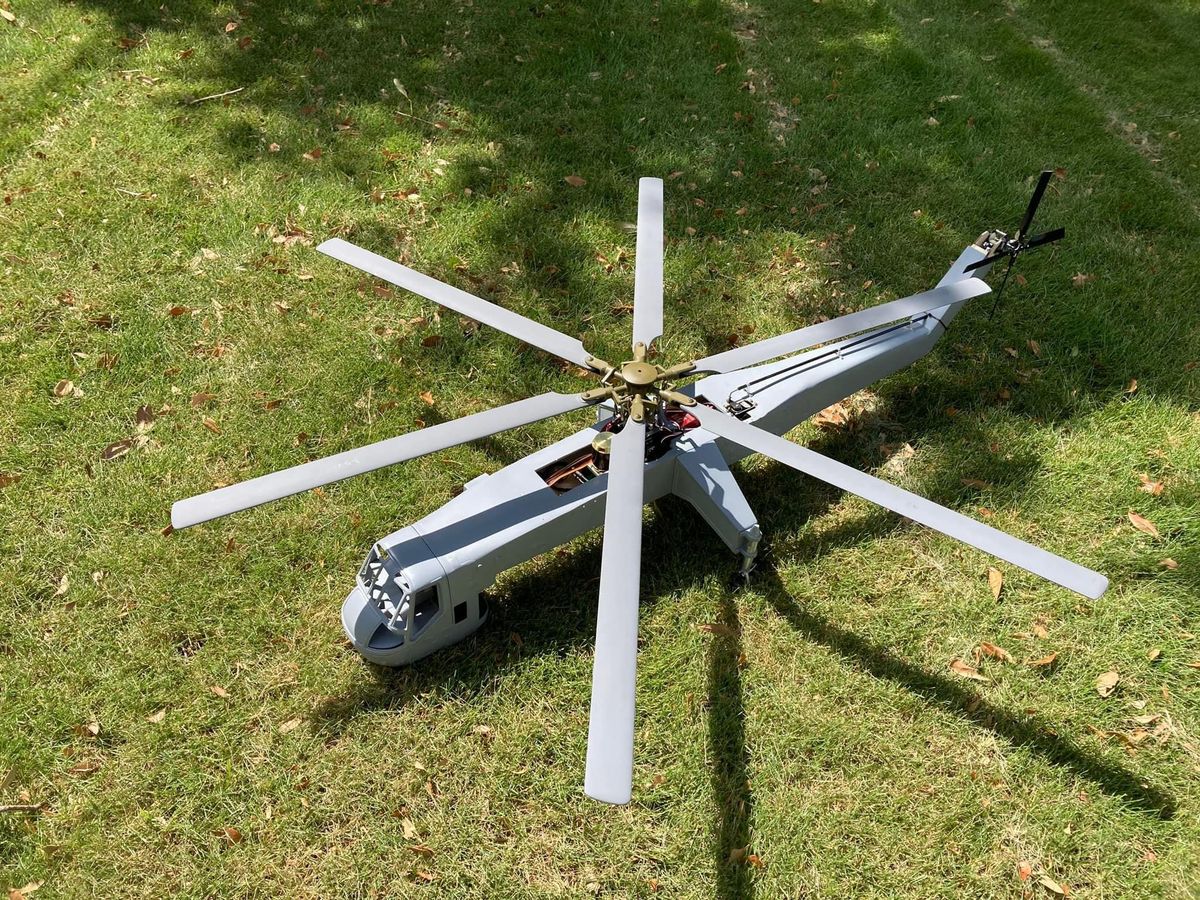
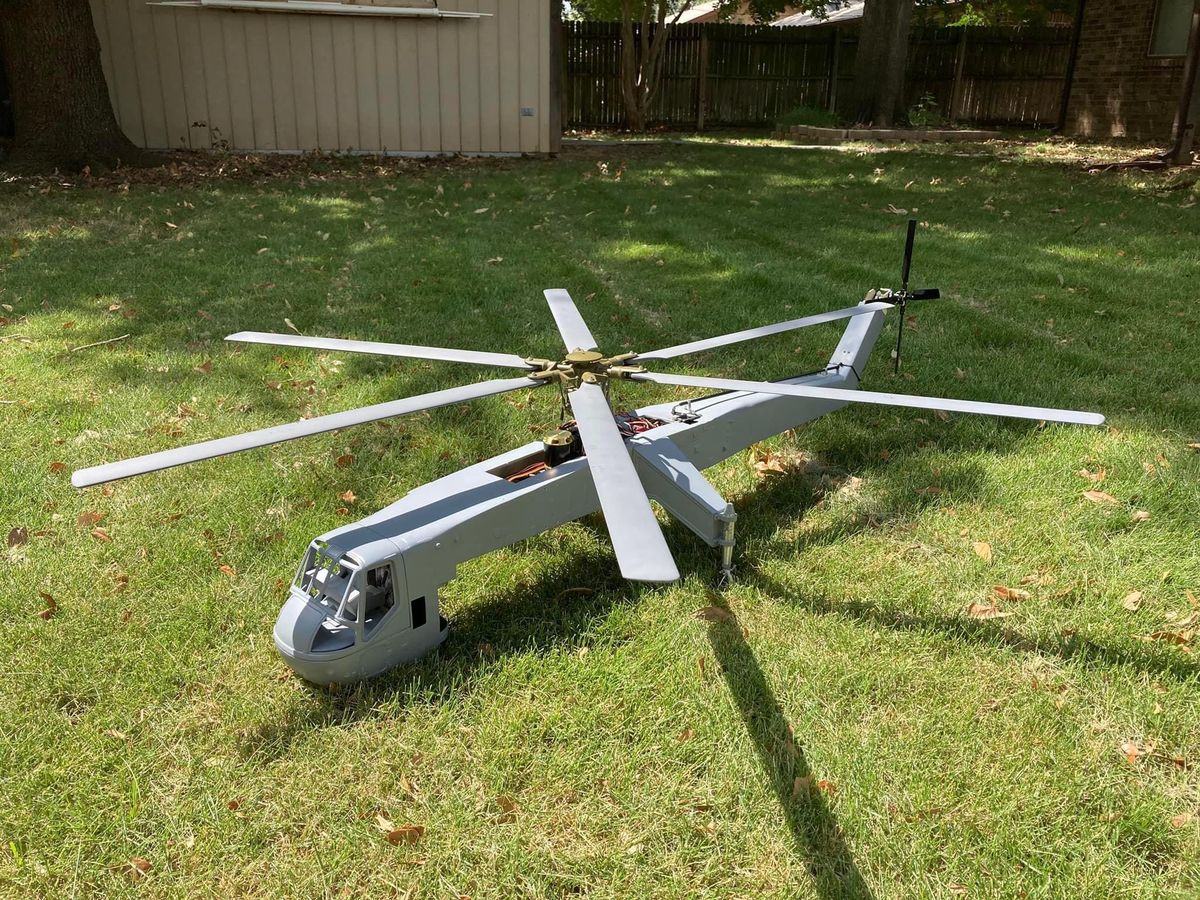
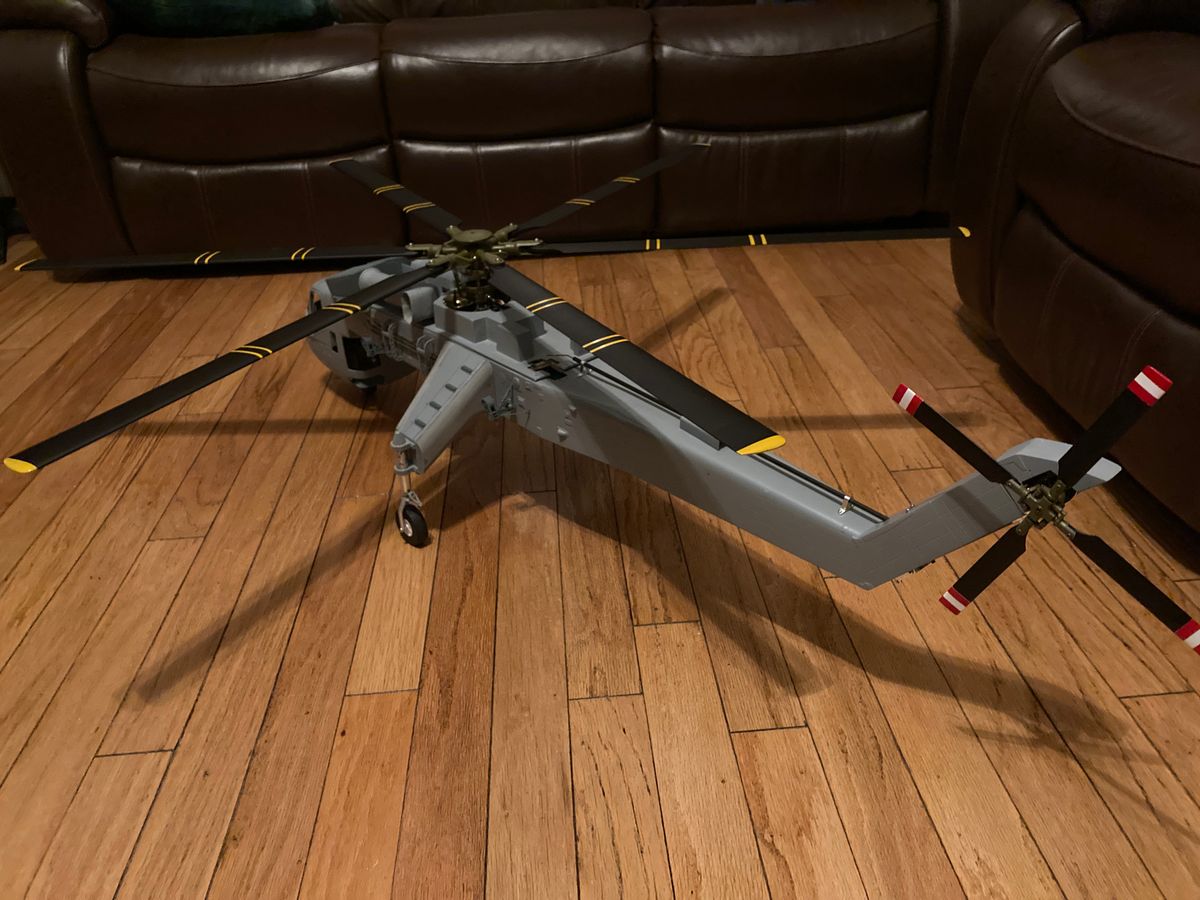
Test fitting payloads and playing with mast tilt on the 500 size CH-54. The photos with the tail rotor attached have no mast tilt, and the one without has 1 deg fwd mast tilt. Right now I’m planning on 1.5 deg fwd tilt. Less than the scale tilt, but should produce a roughly correct hover attitude.
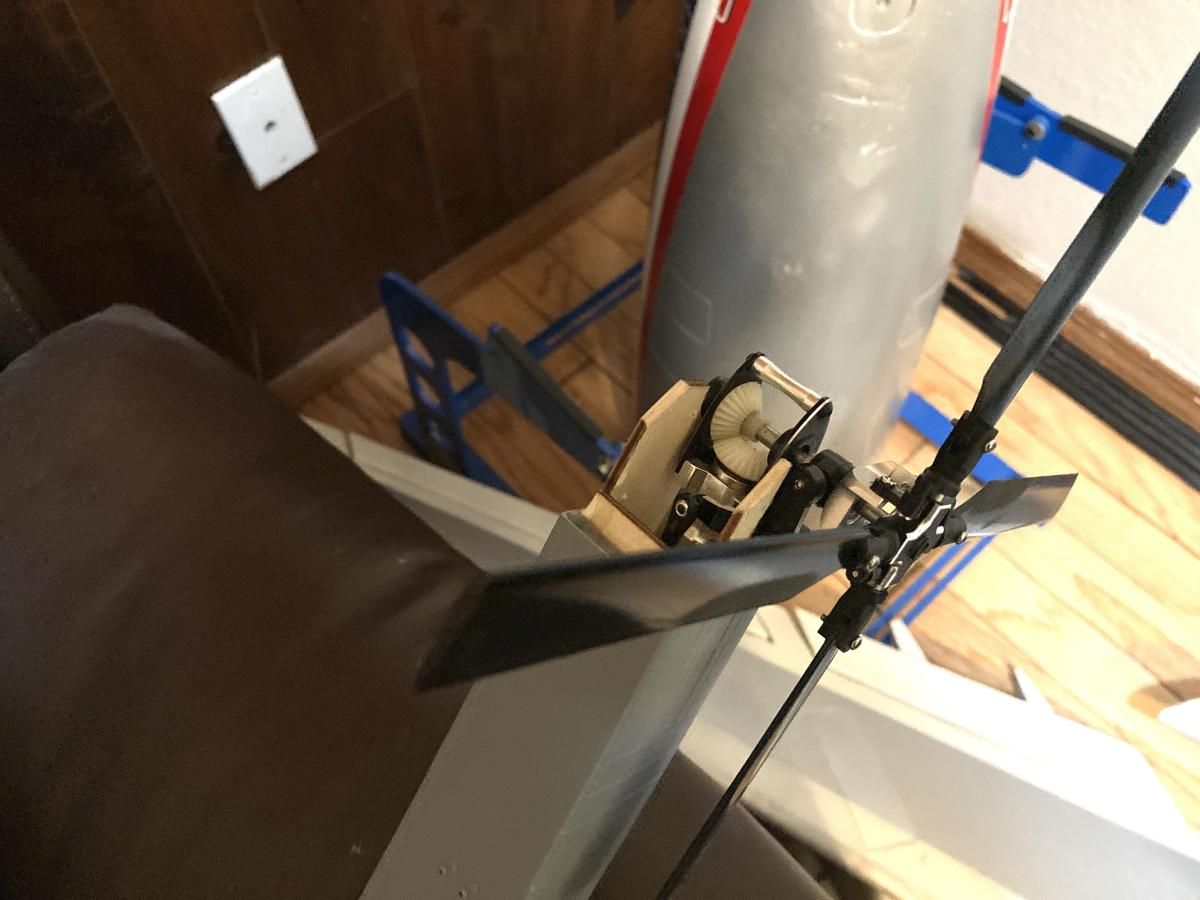
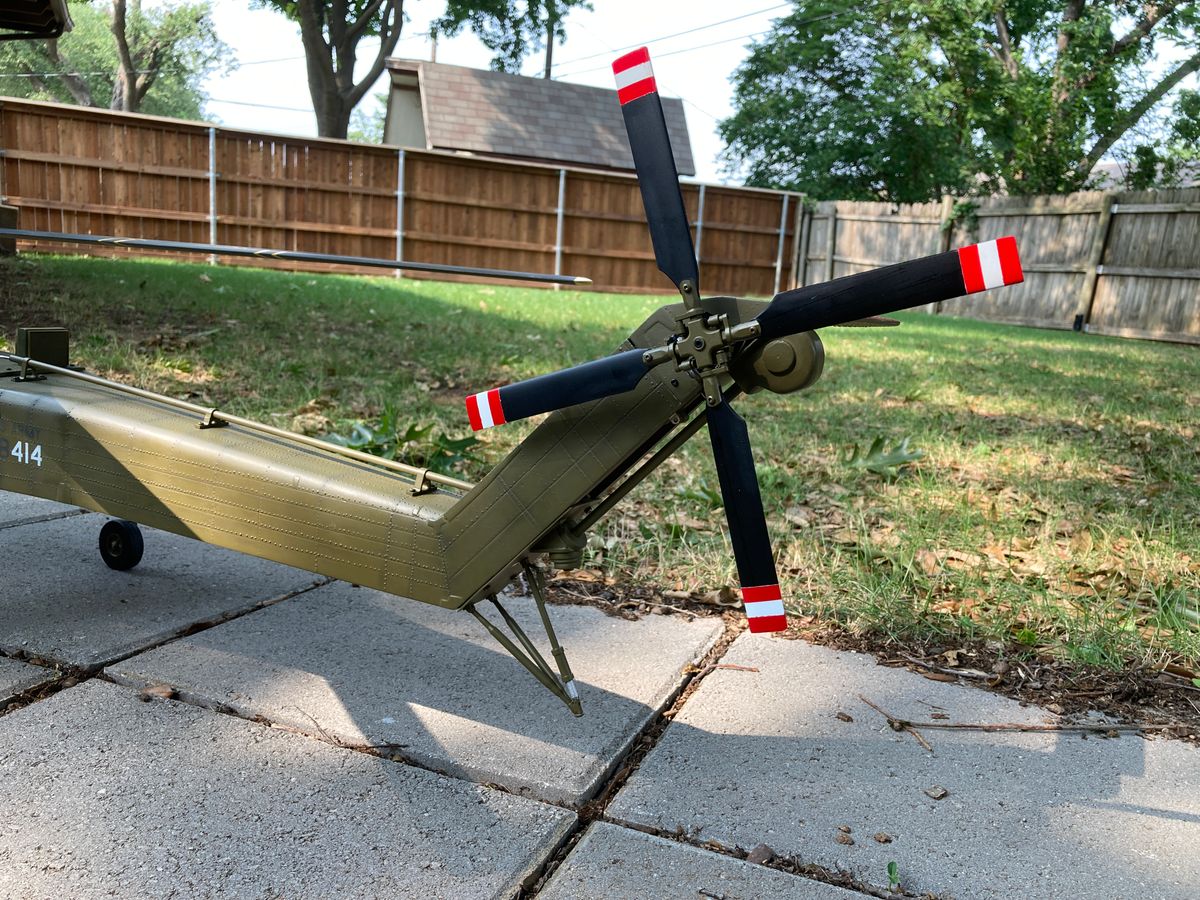
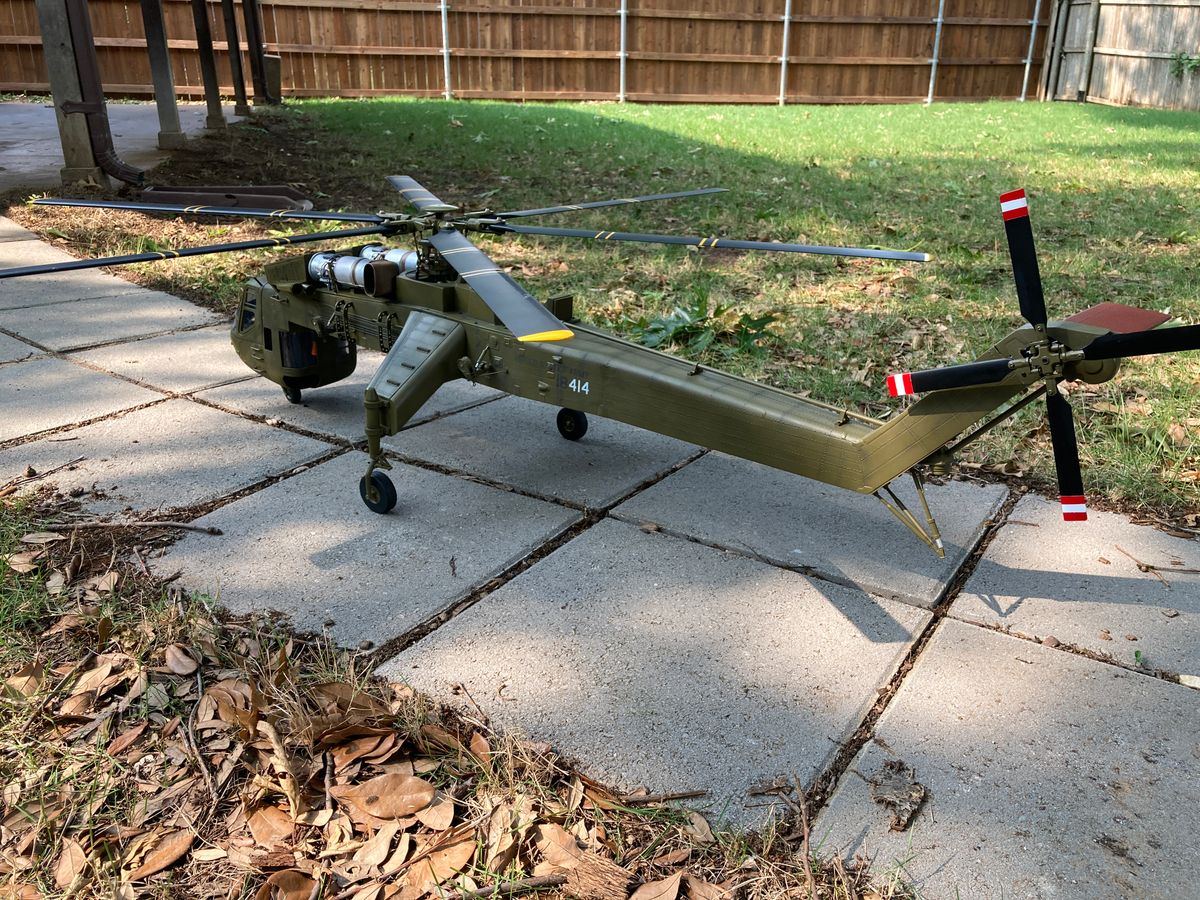
One of the distinctive features of the crane is the huge tail rotor. A standard 500 size tail rotor (72mm blades) looked way too small. After some calculations and experimenting, I found that 104mm KBDD tail blades gave me the closest appearance. And the great thing about those blades is that they are extremely easy to re-shape since they are plastic. I decreased the chord of each blade by about 30% and re-shaped the leading and tail edges with a small belt sander, then re-balanced them. I’ve done this a few times to replicate scale tail blade shapes, and it has always worked great.
Also completed a test fit with the Vario 530mm blades
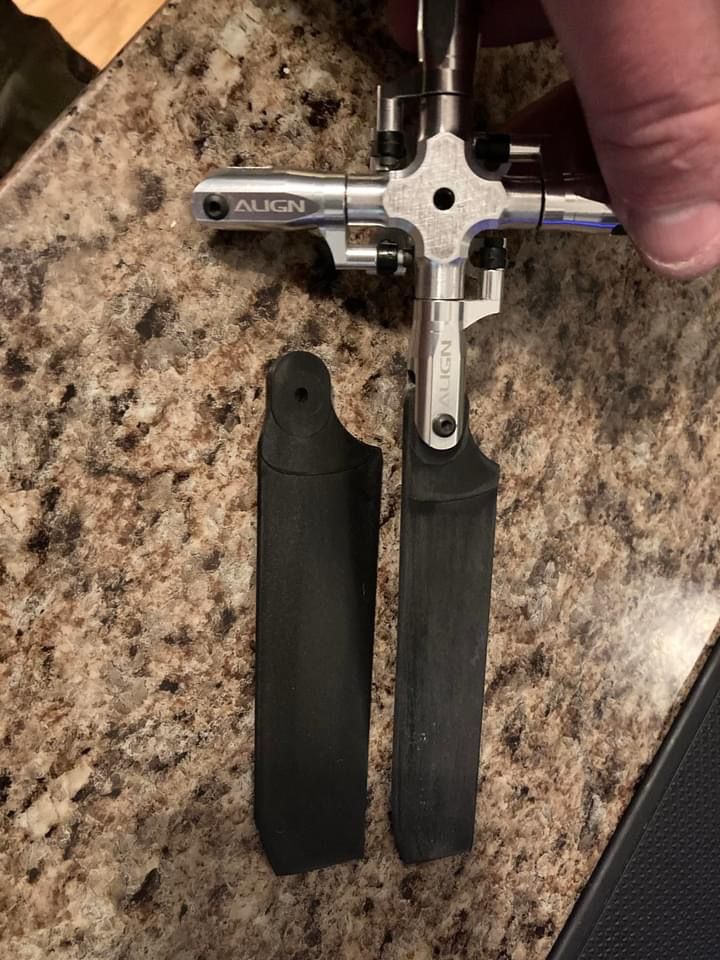
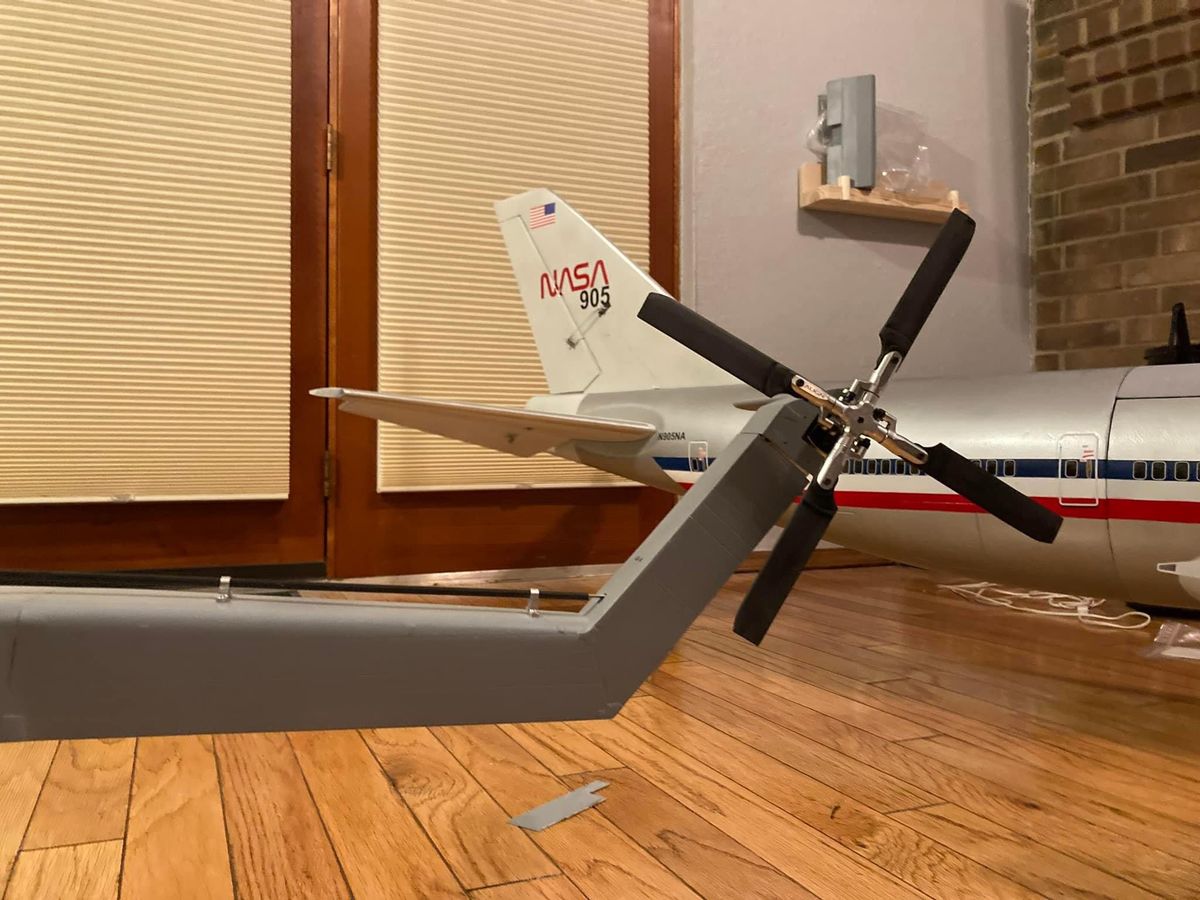
Adventures in 500 size 4 blade tail rotors
Over the last year I’ve been working on getting my Skycrane up and running. The tail rotor has been one of my major trouble points so far, but I think I’ve finally resolved it. Here’s my lessons learned from the process.
As a note, both the Buamodel Skycrane (and now MH-53 as well) run Trex 500 mechanics, but are big (for a 500) fuselages with stretched tails. Both of mine will be swinging 530mm main blades as the standard 425s looked pitifully undersized. However, this also means the tail rotor diameter needs to be stretched. Both the CH-53 and CH-54 have large tail rotor diameters relative to other helicopters. So, thus the adventure began.
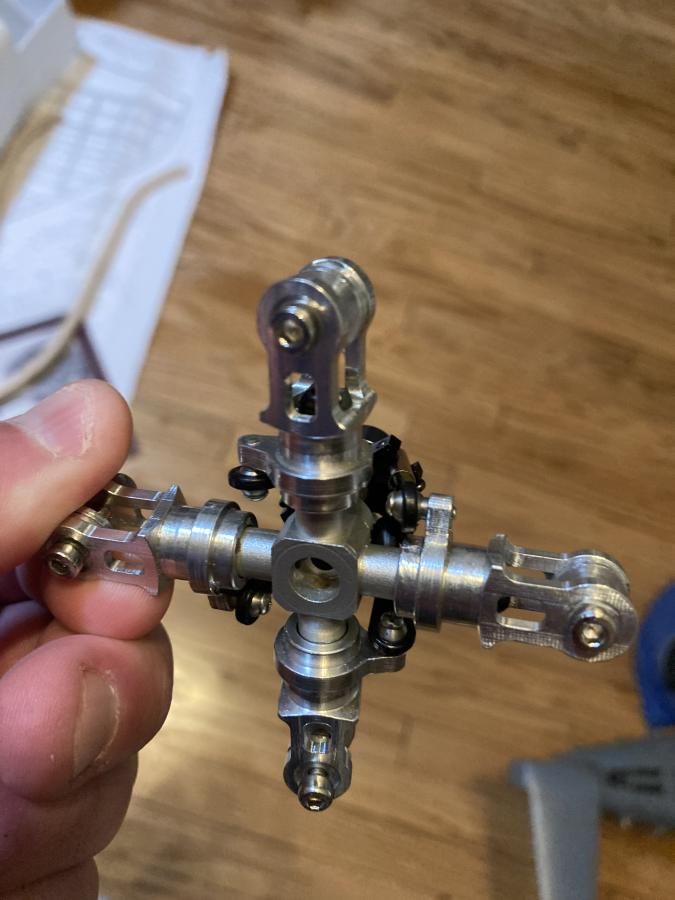
Currently, there is only one 500 size 4 blade tail on the market (STASRC), and it swings 470 size tail blades (69mm). It’s smooth and runs well, but running scale sized standard tail blades (104mm+) was out of the question. So, I decided to pursue other 4 blade tails with wider grips. I ended up testing a lot of options, with results listed below:
PKM 4 blade tail (discontinued)- Initially, this looked good and uses 4 of the standard Align 500 tail grips. However, the grips spindles were misaligned and it was unusable.
DEAO 4 blade tail (discontinued) - Notchy bearings, lots of friction to move.
CNC Helicopter 4 blade tail (discontinued) - Bad pitch slider. The tail grips and hub were true and smooth. I ended up mating this tail with the DEAO pitch slider to create a hybrid that worked pretty well. However, like the DEAO tail, it used ball links to go from the tail blades to the pitch slider. This created a lot more friction in the pitch linkage then I wanted. The standard align tail has a direct bearing supported connection and could be moved effortlessly.
This led me back around to option #1, the STASRC tail rotor. It was smooth and I’ve used it several builds without issues. However, how could I fit larger blades? I decided to buy some 155mm main blades from Microhelis and see if I could make them fit with some trimming. Sure enough, they fit right in, and they are a fiberglass reinforced plastic, so they were easy to cut down to scale diameter and balance! So I finally was able to achieve correct diameter, and an acceptable amount of friction in tail linkage.
Hopefully this saves someone else a bit of head scratching on their next 500 size build!
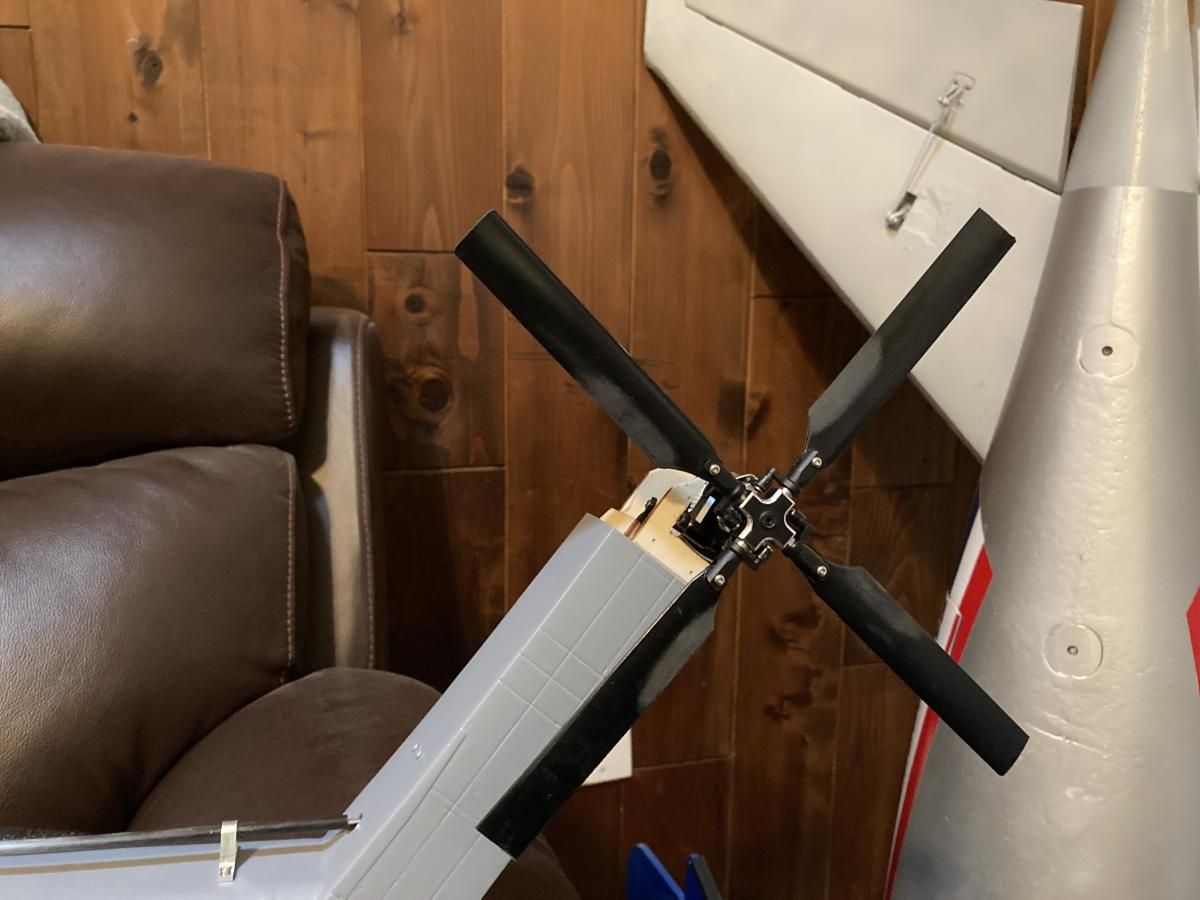
Maiden Flight
Maiden flight completed this morning (9/1/2024). Still need to do a bit more FBL tuning, but it will be on to detail and paint work soon!
Nose Wheel setup and tail difficulties
Got in about 15 flights so far. One of the things I hadn't addressed yet was the castoring nose wheel. For all the flights so far, it has been free to caster with no centering springs. Of course during startup, the aircraft always yawed a bit and I had to taxi to get the wheel re-centered. On my last flight, I applied full tail rotor during spool-up to minimize the heading drift. Wrong move... I stripped out the 45 deg gearbox as it got to flight RPM, luckily still on the ground. No damage noted on the airframe.
2 of the 3 gears in the gearbox were stripped and it was also evident that they needed to be shimmed. The mesh as-is was definitely loose. I ordered some 8mm shims, and after some trial and error, got it shimmed with a much better mesh. Also changed out all the bevel gears for Align parts. I am also adding the centering springs to the nose wheel before the next flight, which will hopefully occur tomorrow.
More Flying/Tuning
Bevel gears have been successfully replaced and shimmed. Also added a nose wheel centering mechanism. Had a great time flying today at B.E.S.T. (Best Electrics in South Texas) at the Tri County Barnstormers Field in New Waverly, TX. The Skycrane is flying well, and the next steps will be working on the cargo release system, and painting/detailing. Possibly some revision of the tail rotor pitch linkage as well.
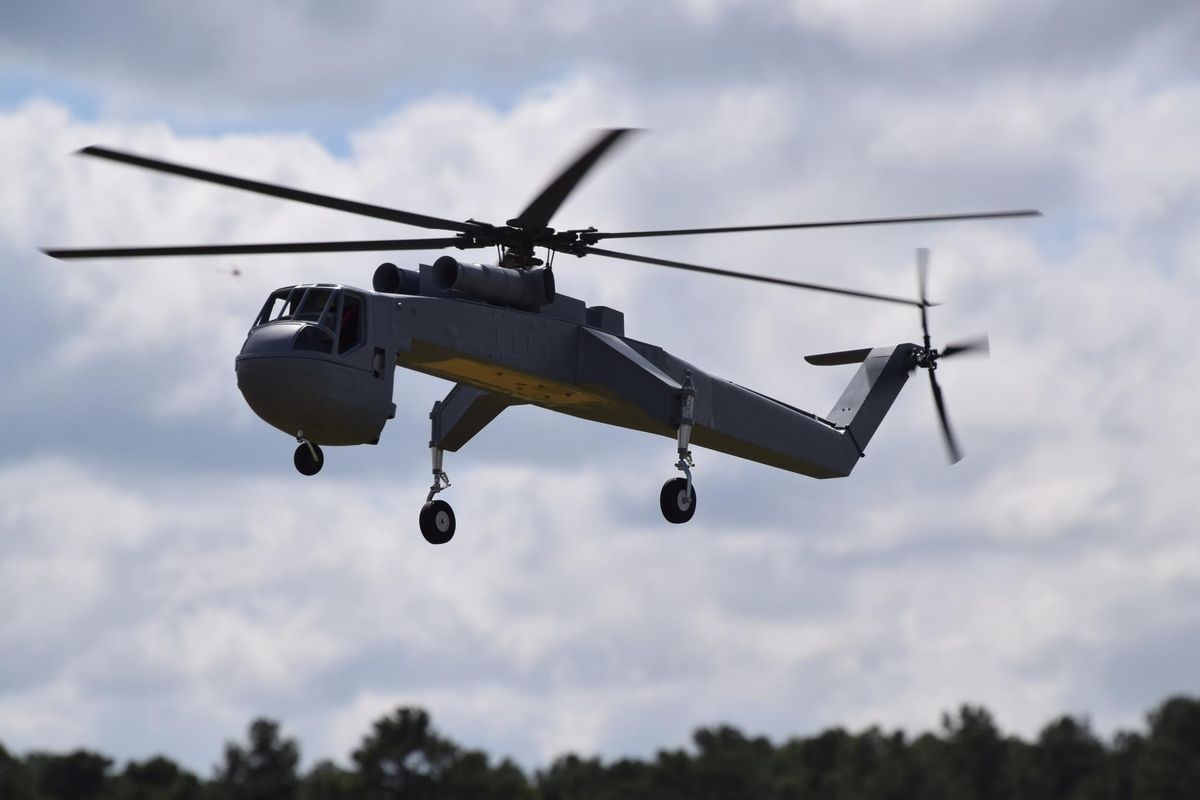
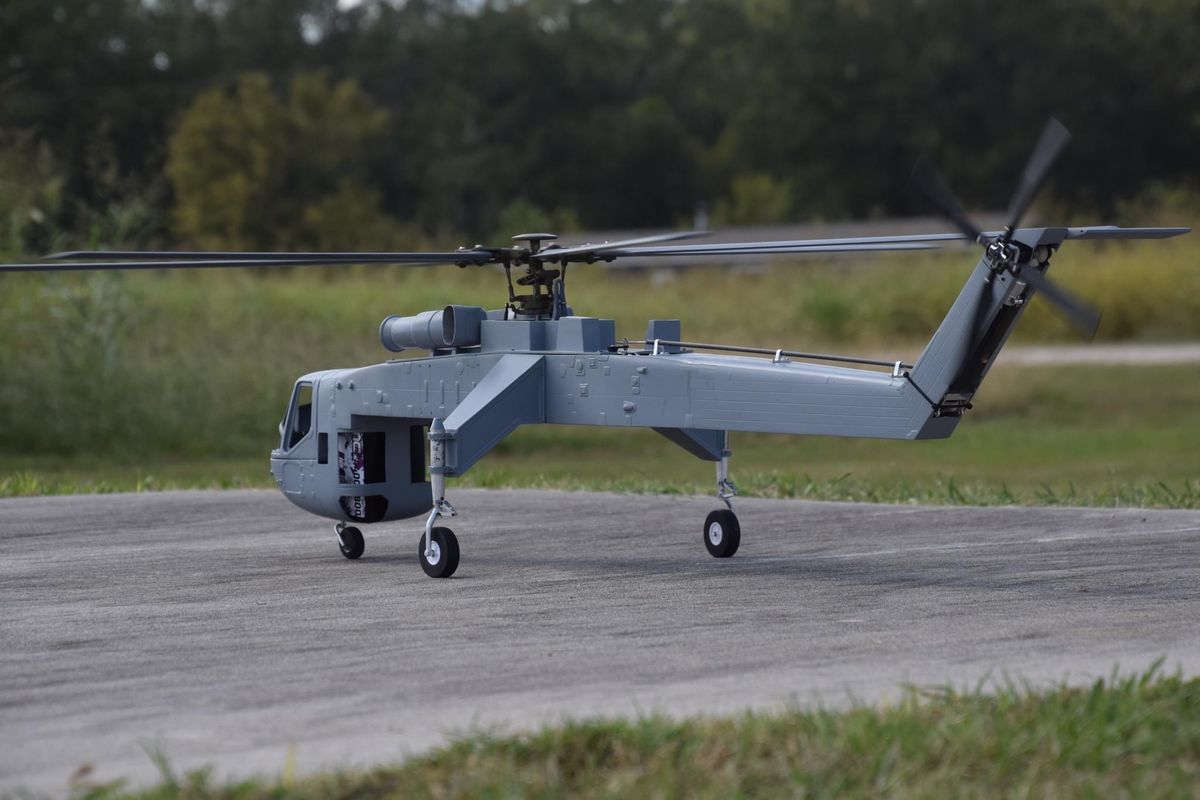
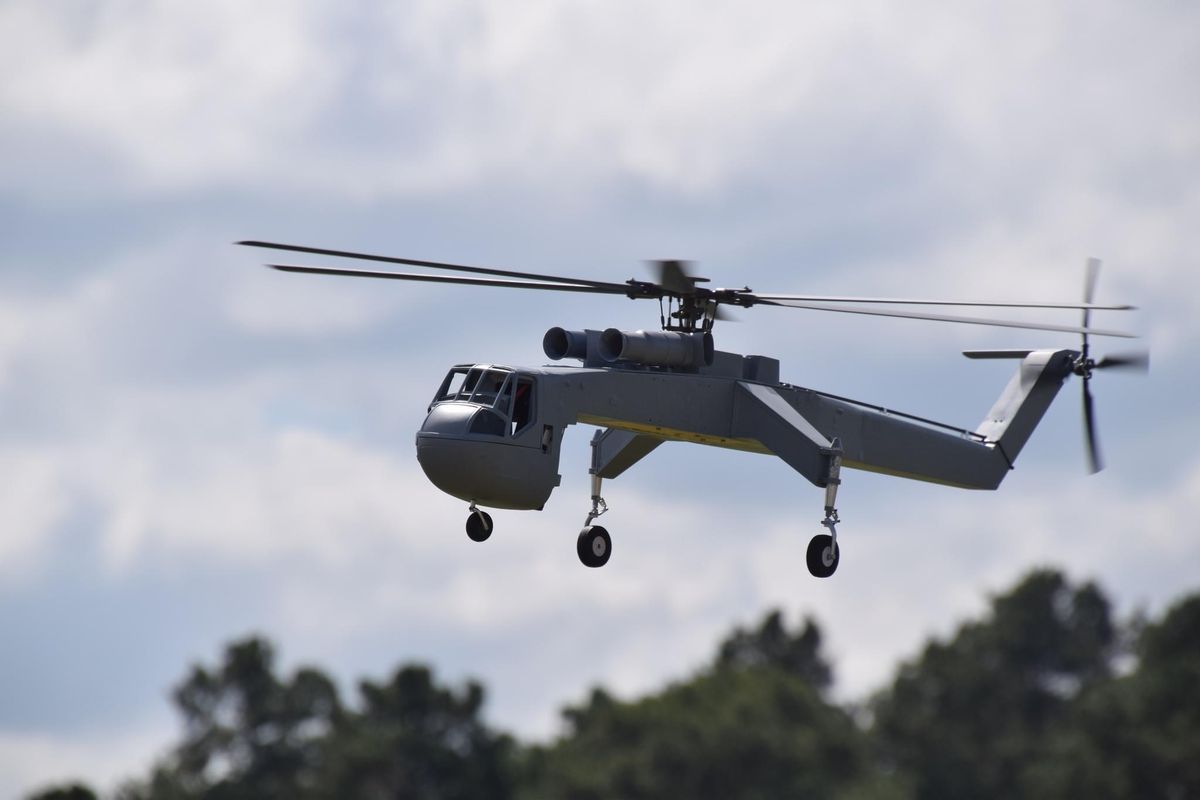
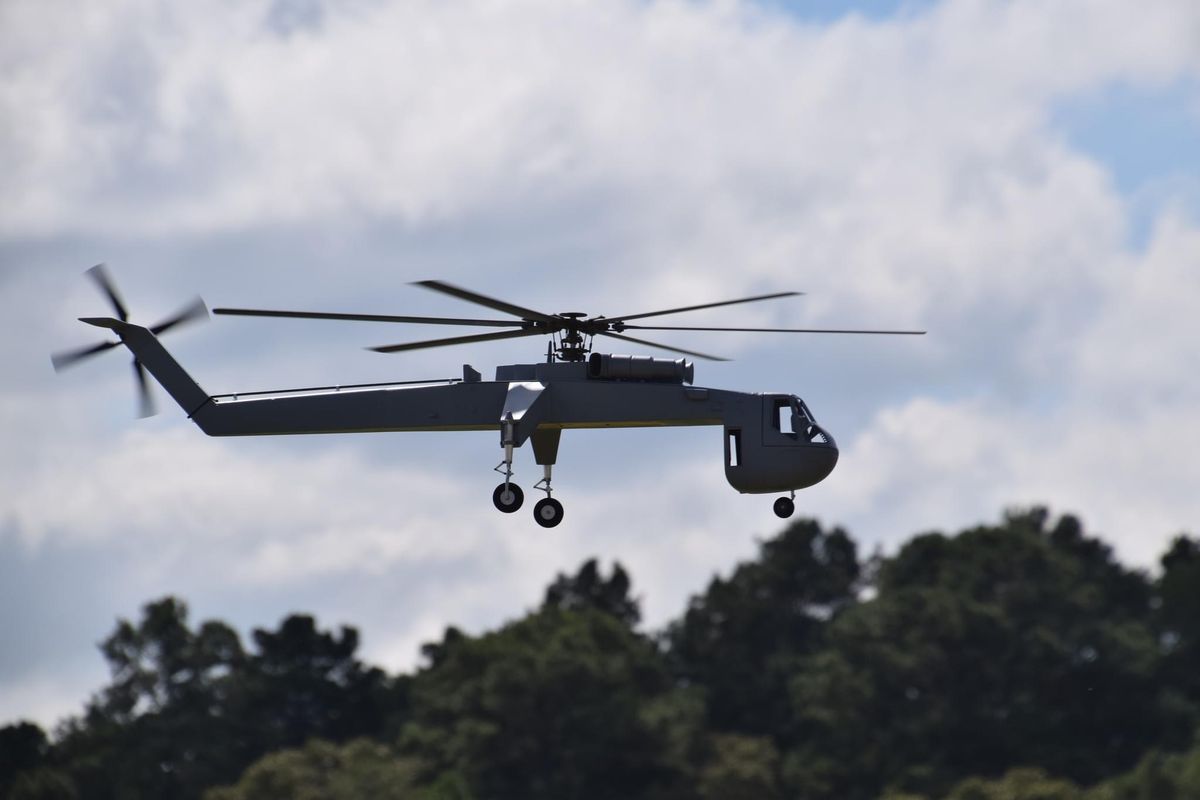
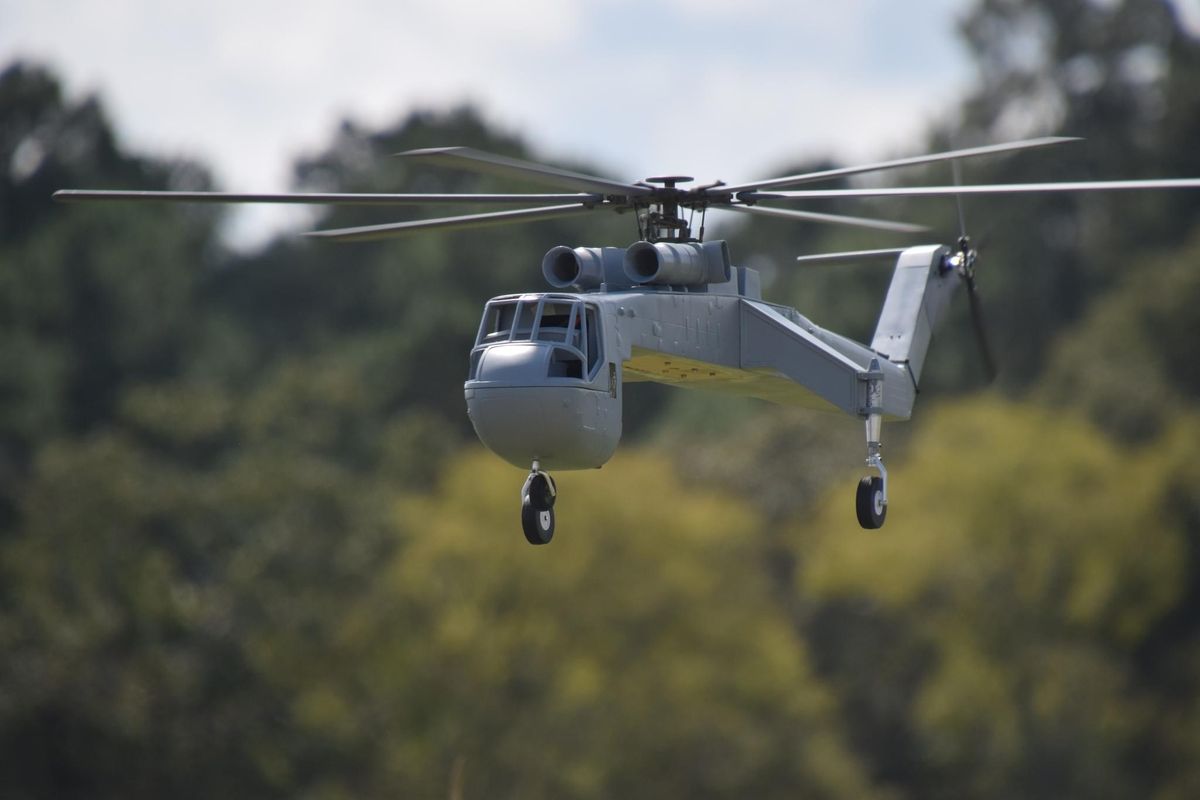
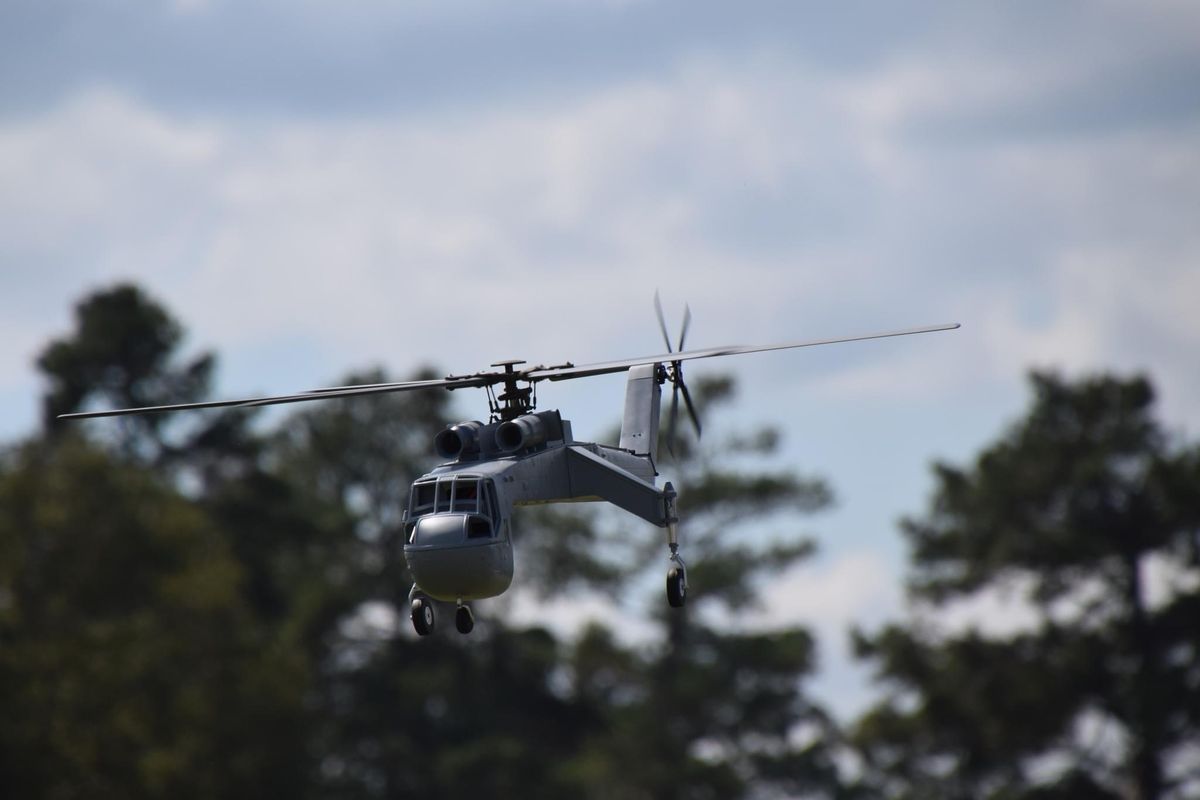
3D modeling and more tail fun
Work continues preparing the Skycrane for Helistorm. Spent pretty much all of yesterday doing CAD modeling of the IBFs. Also designed and printed the fore/aft gear fairings. Will be doing the aux external cargo hooks next, as well as running a whole lot of brass to simulate the Hyd lines and control tubes.
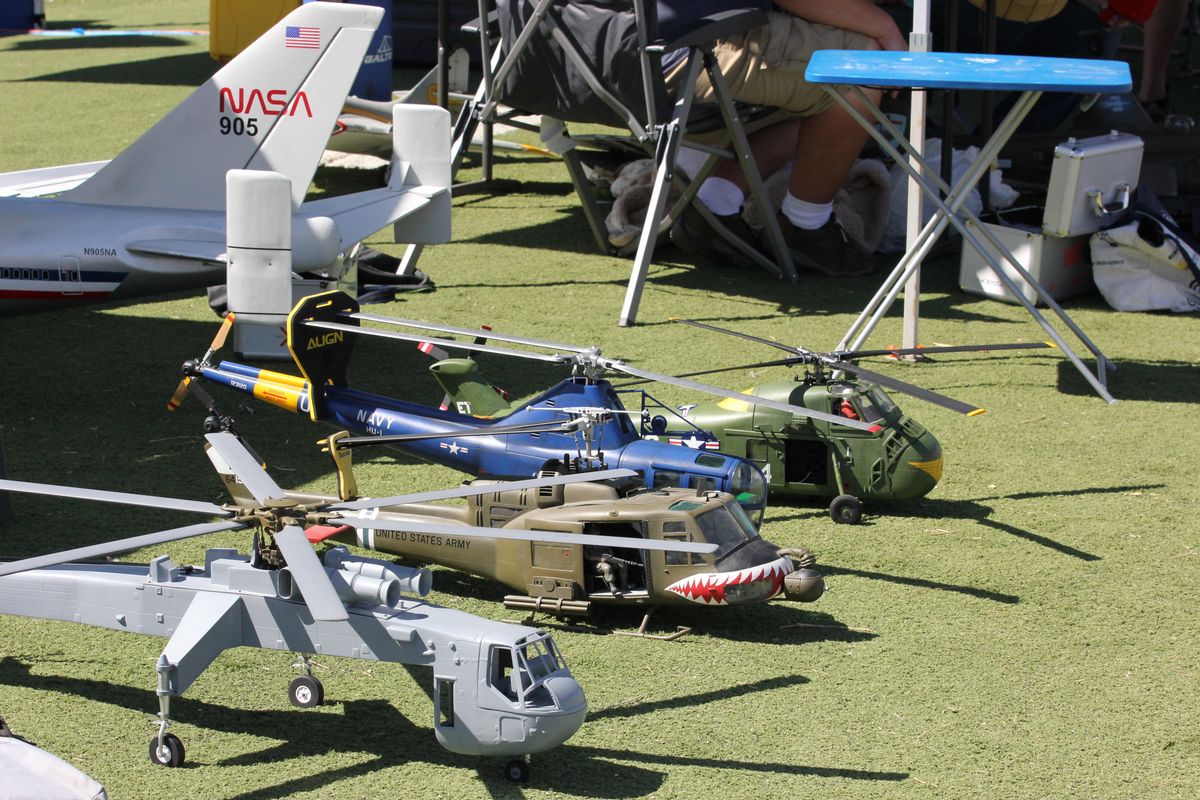
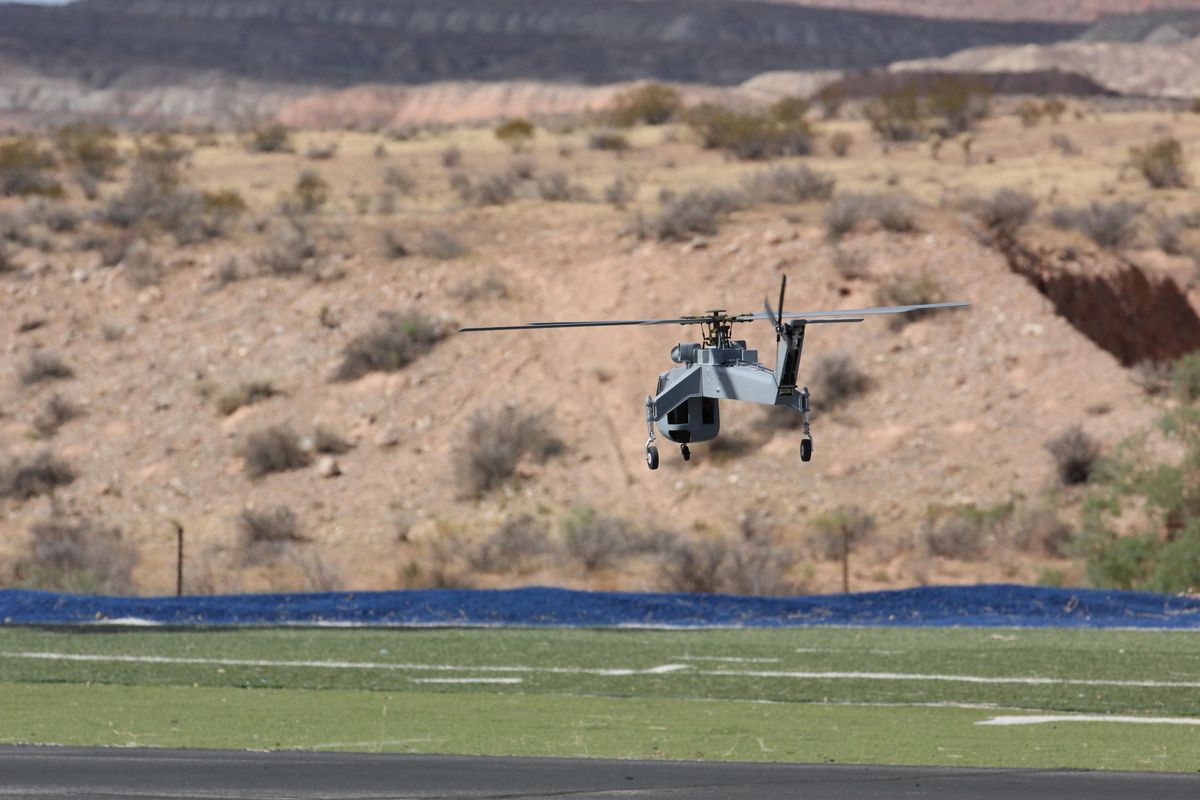
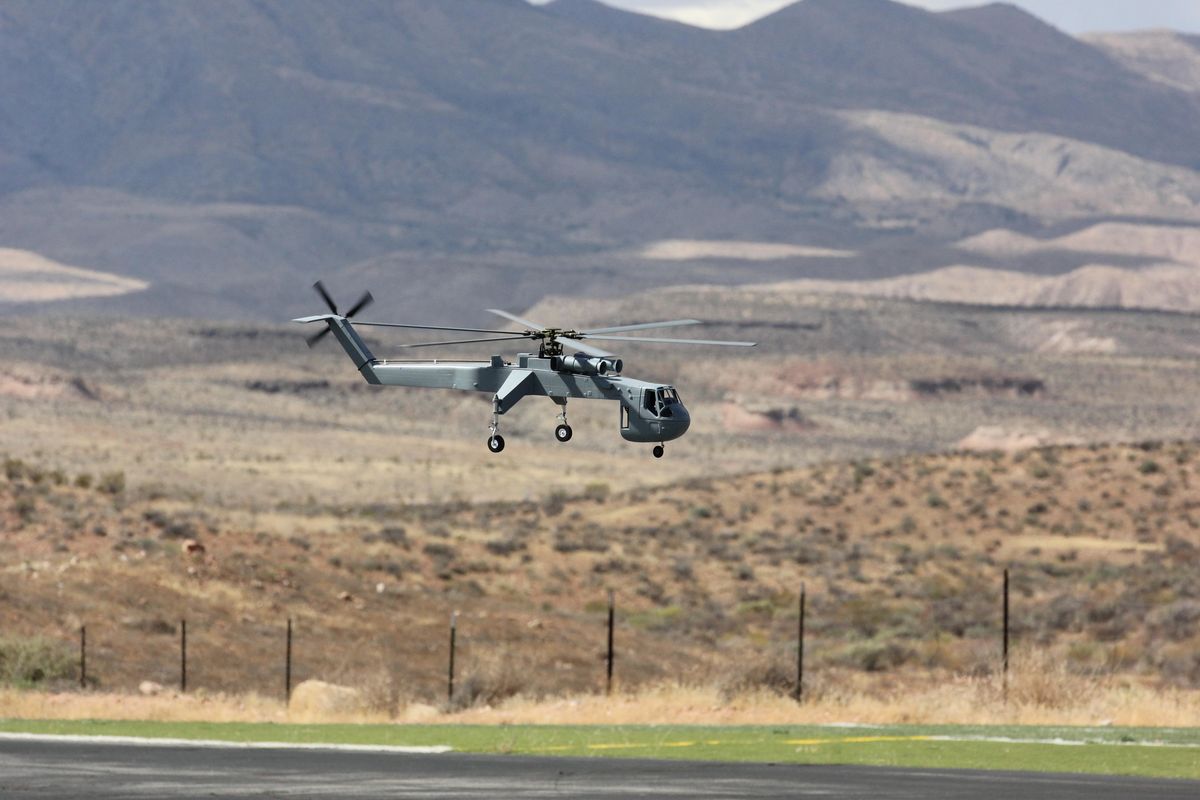
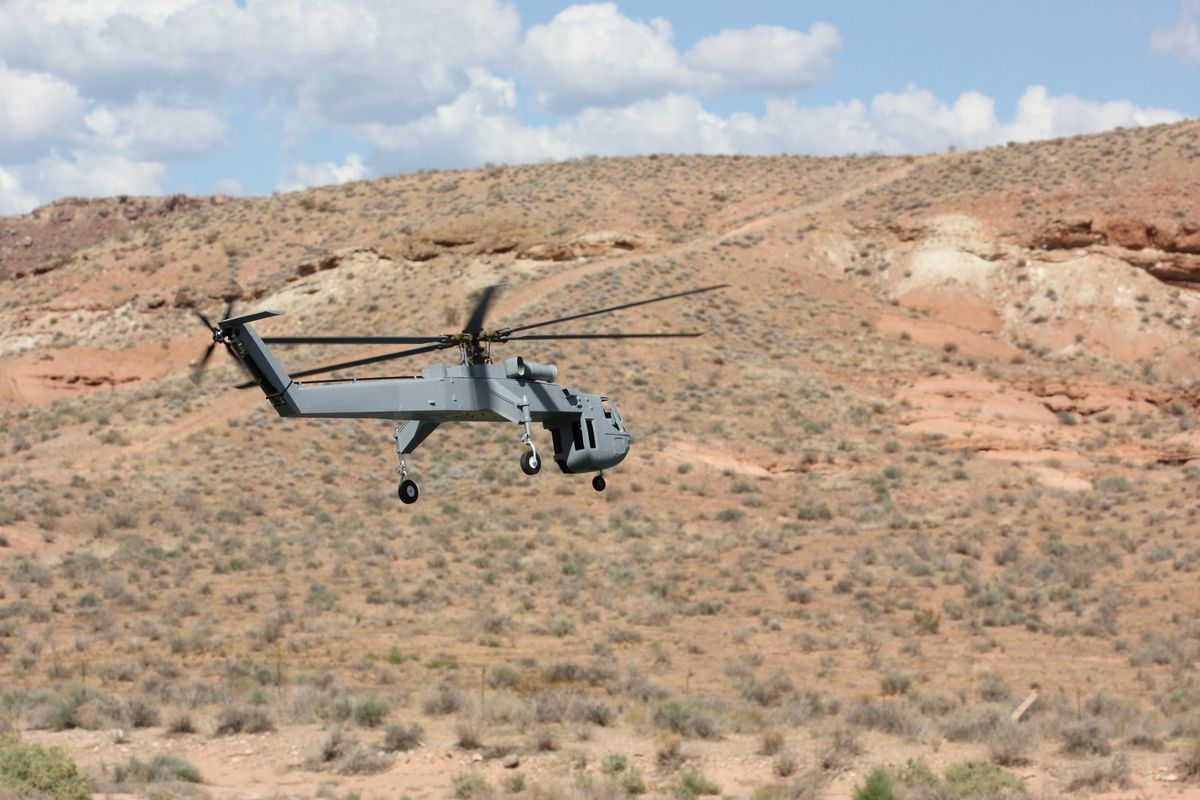
Also, added a few photos from September where I flew the crane at the annual electric event in St George, UT. At that event, I suffered an IGB gear failure on spoolup. No damage, but had to change the gears and some procedures to prevent that from happening again. After adjusting shims and redoing the tail pushrod mechanism a few times, I’m satisfied that I will have robust and precise tail control this time around.
Painted Blades
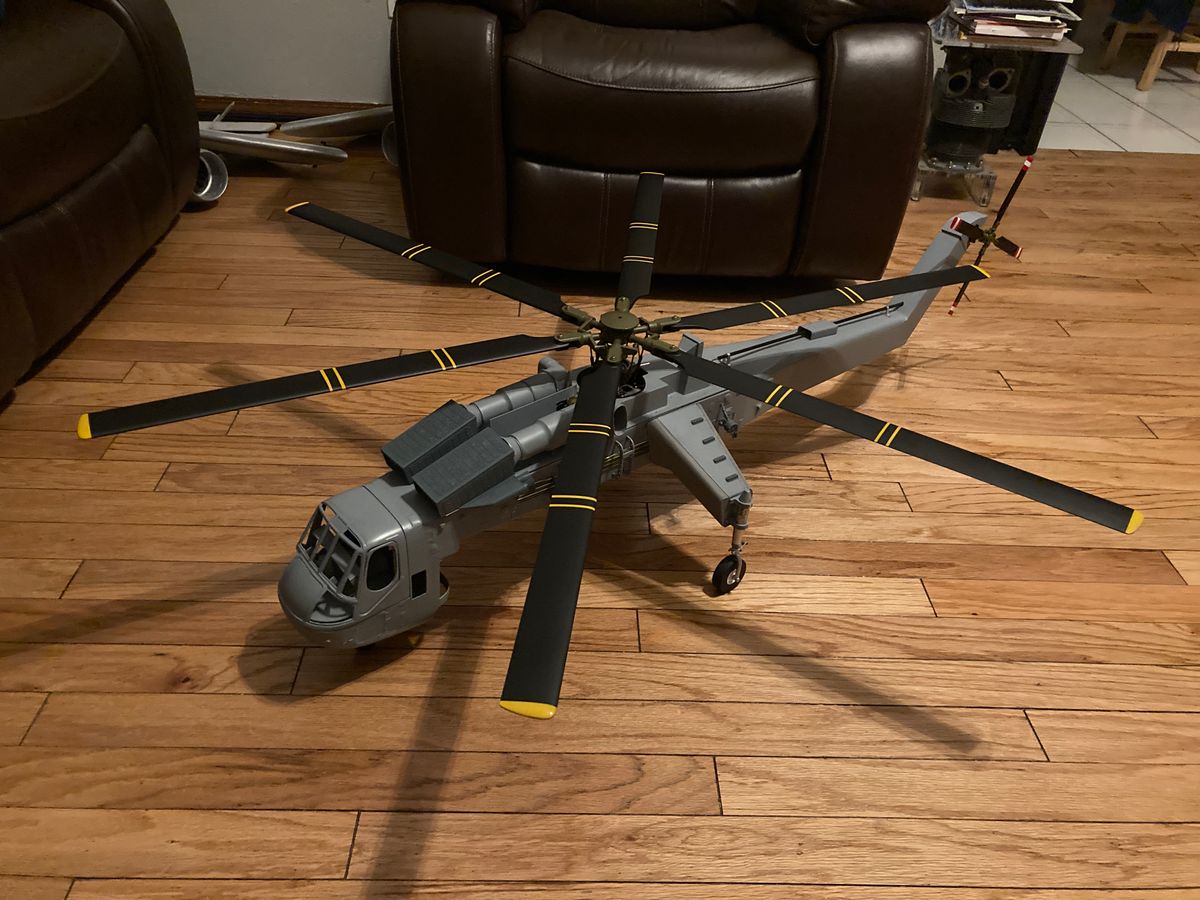
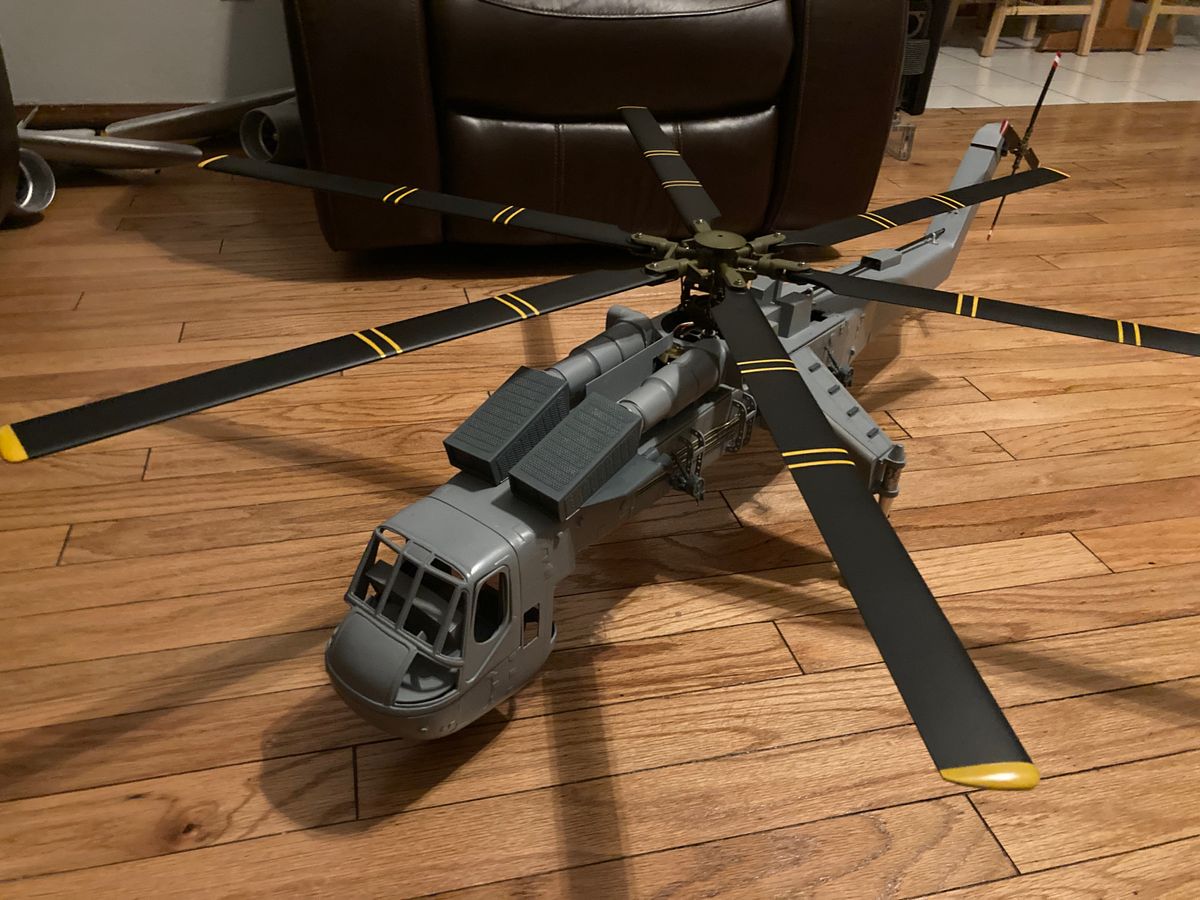
More Skycrane progress over the weekend.. Blades are finally painted. Took a while to get all 10 blades (6 main, 4 tail) masked off and painted. Now to get the rest finished in time for Helistorm..
Engine Details and more
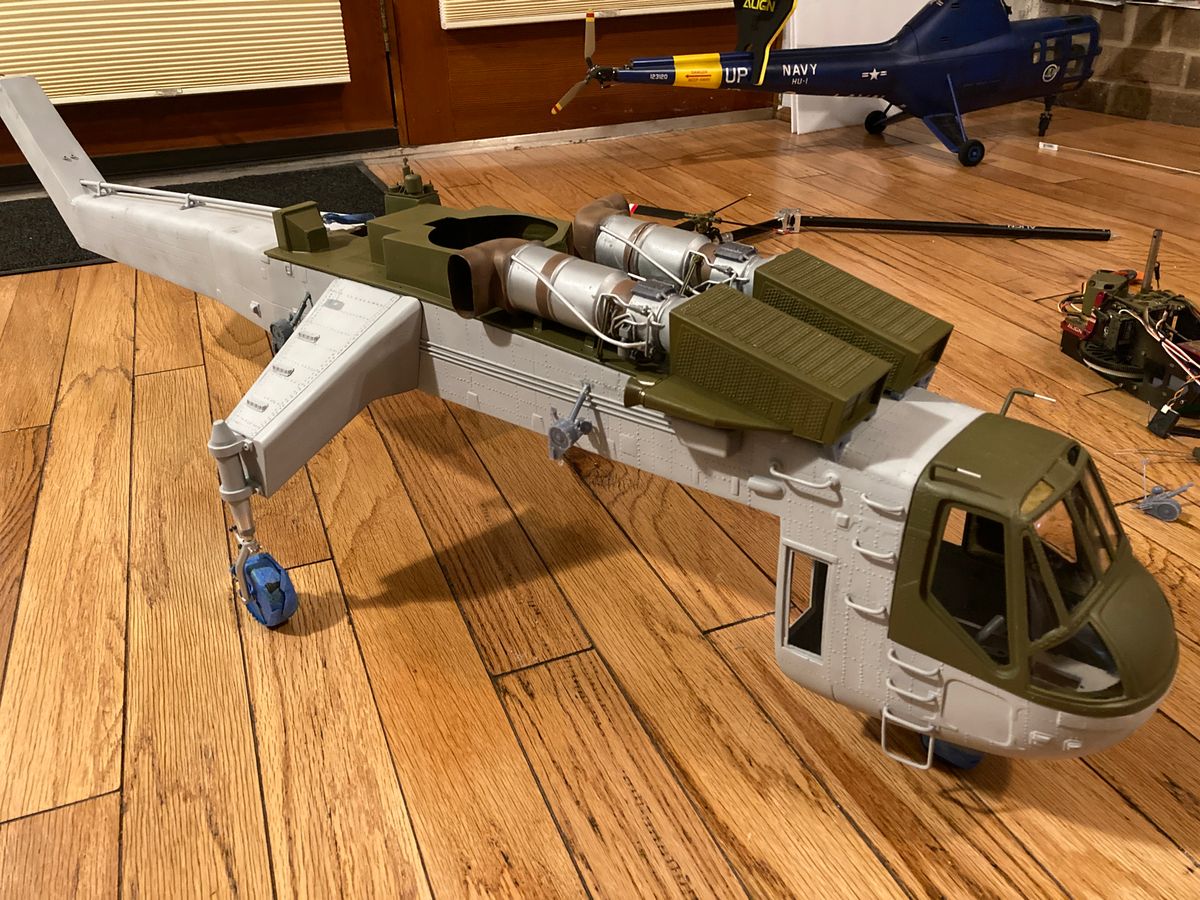
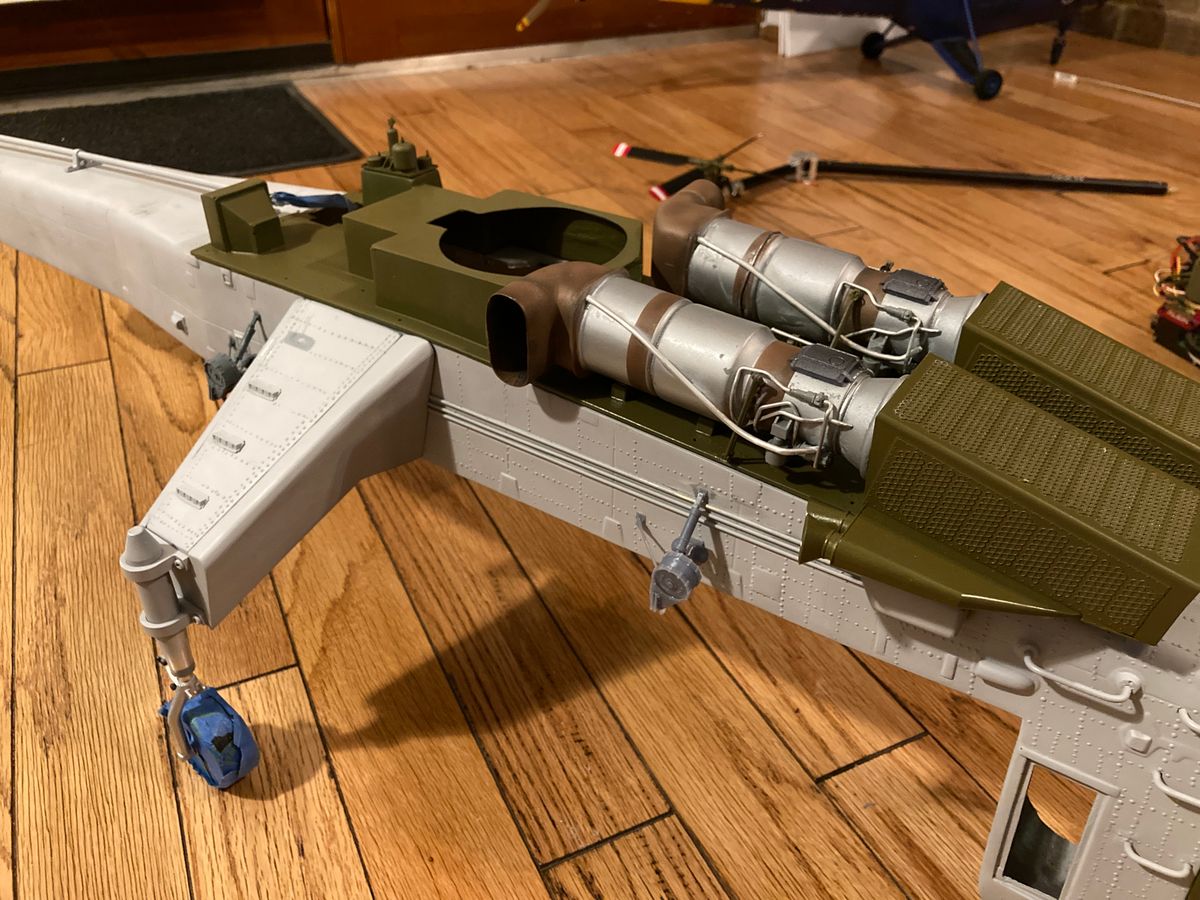
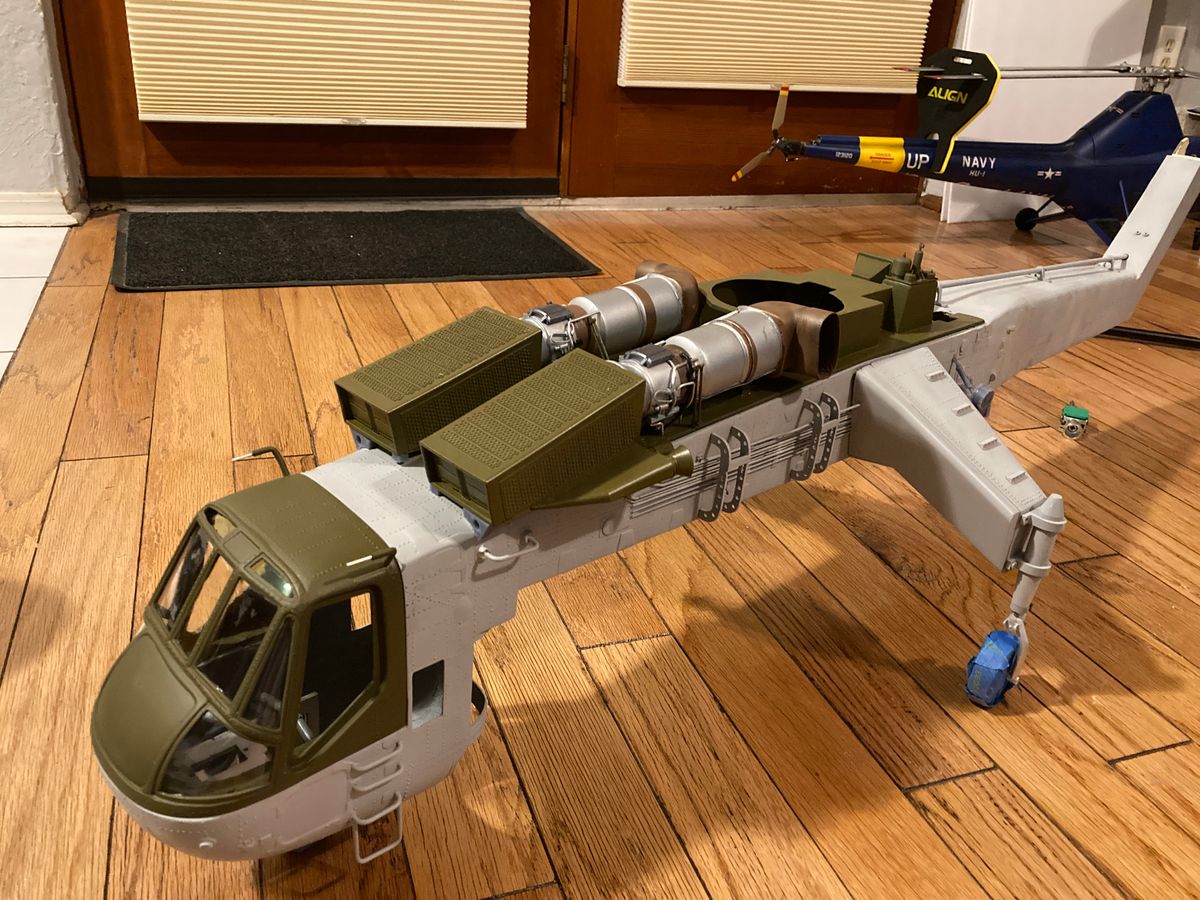
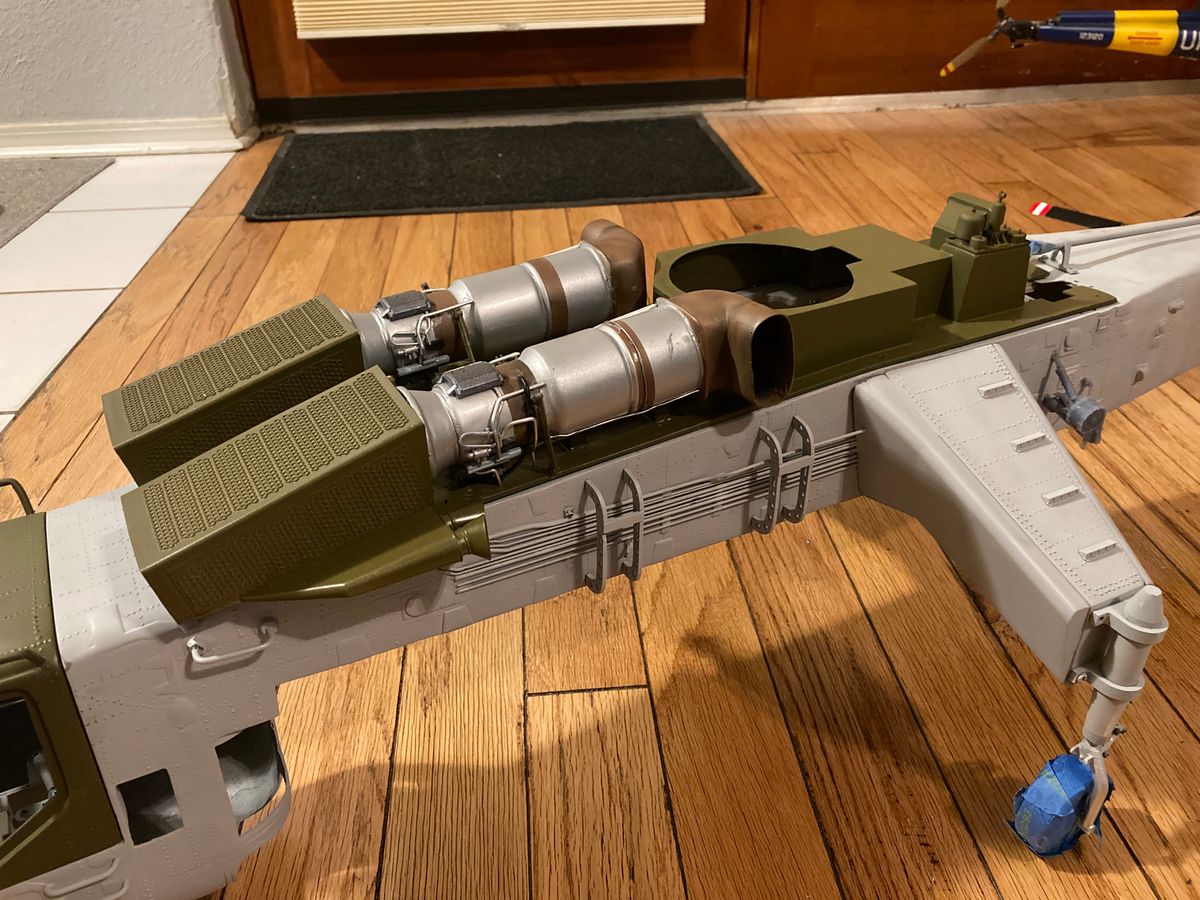
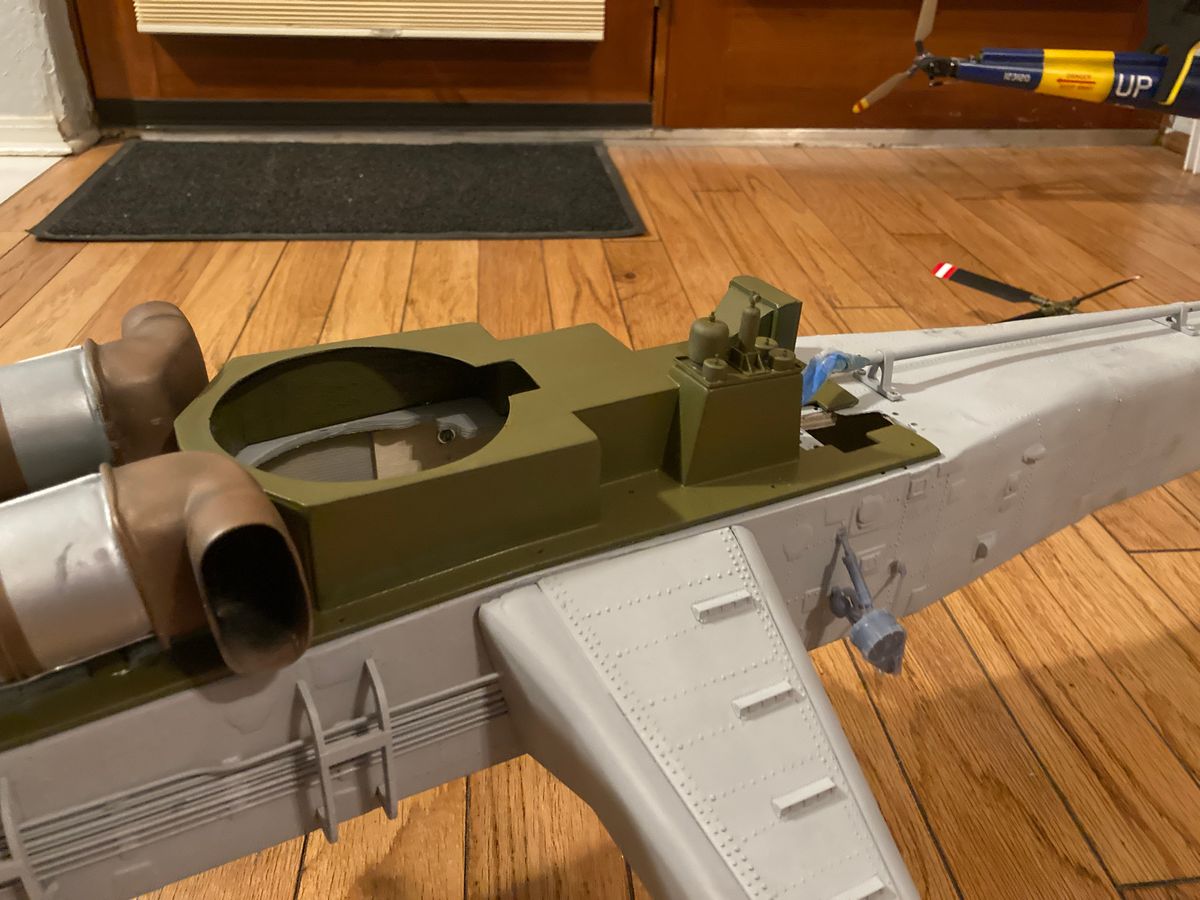
More weekend progress on the build. Lots of effort into the engine detail. Has been a combination of traditional scratchbuilding and 3D printing. Most of the fuel lines were done with 1/16” aluminum rod.Got the ladder steps done as well in brass, some of the rivet work (~50%) and got the windshield glued in. Still working on the cockpit and the rest of the rivets. It’s slowly getting there!
Cockpit
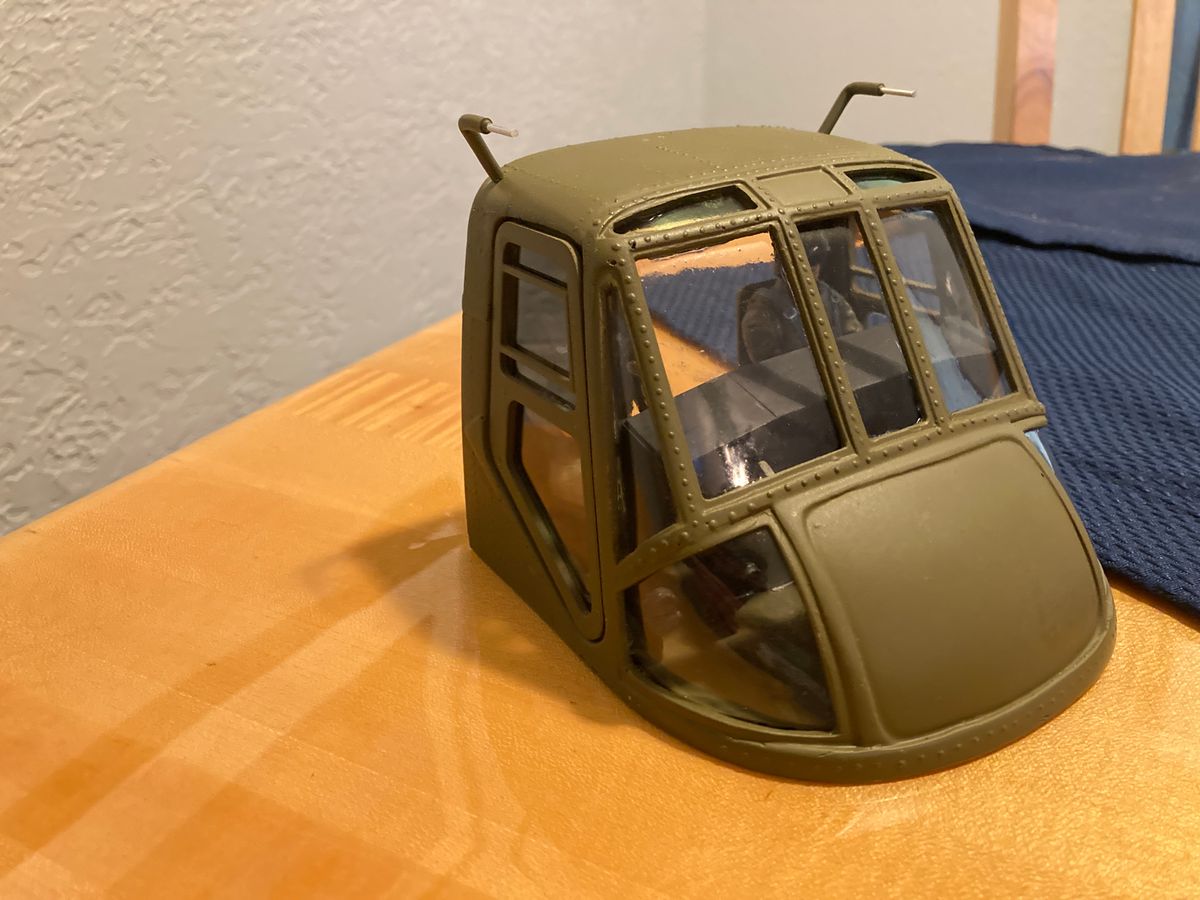
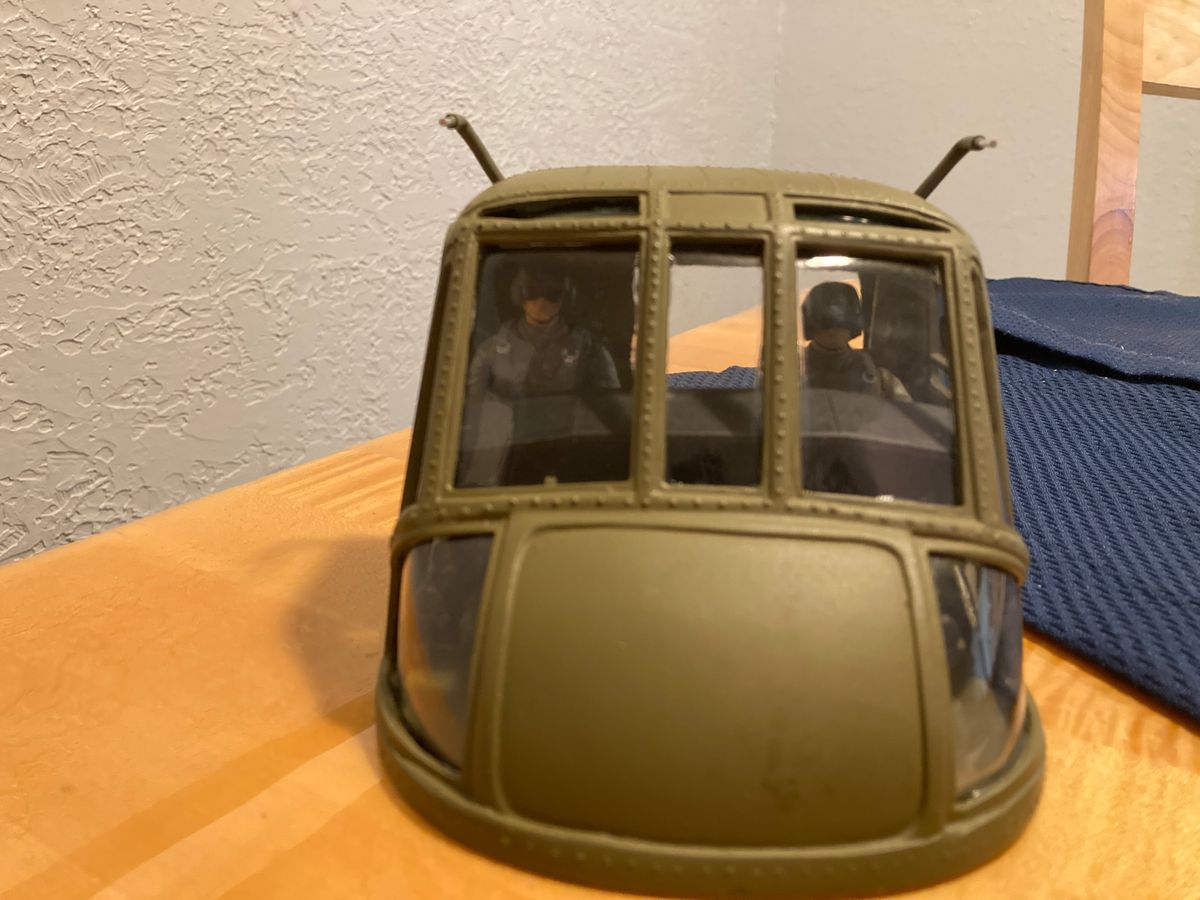
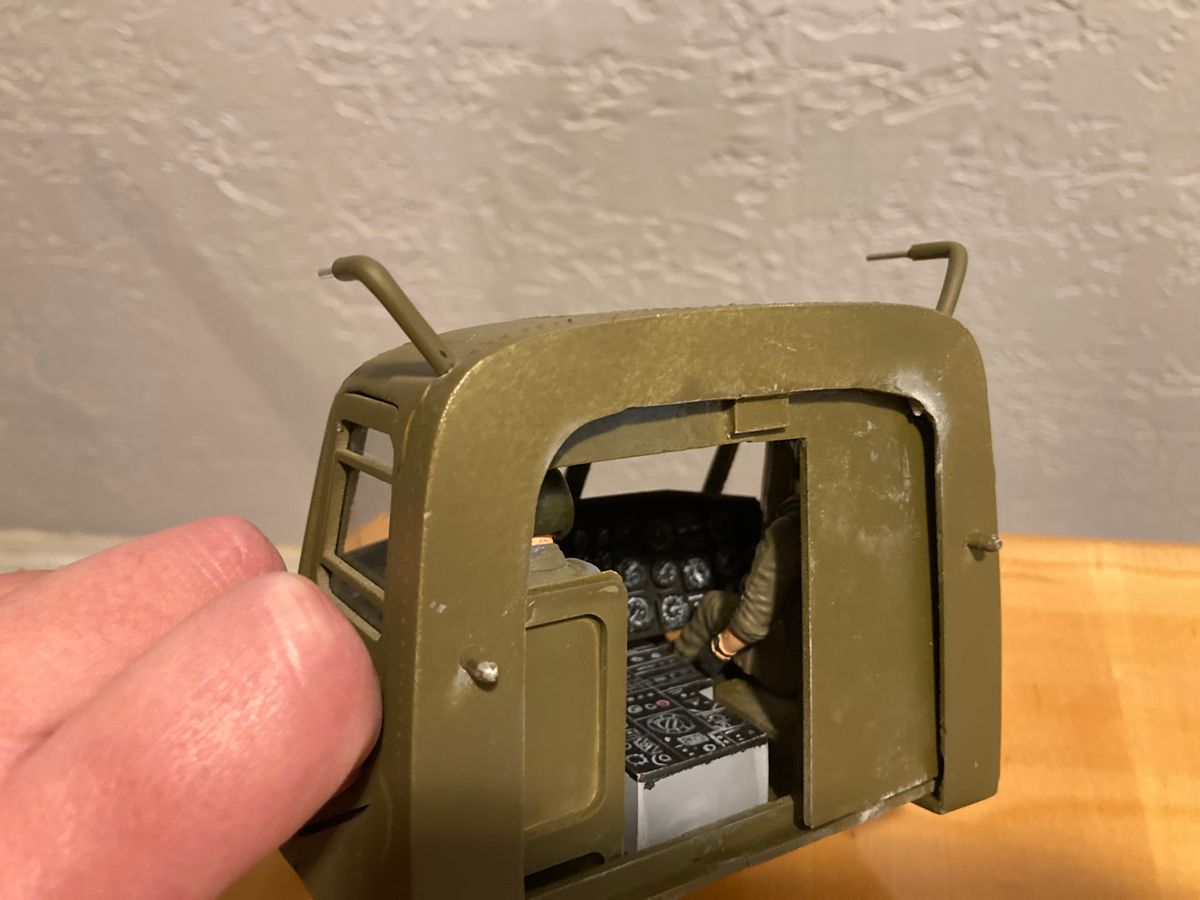
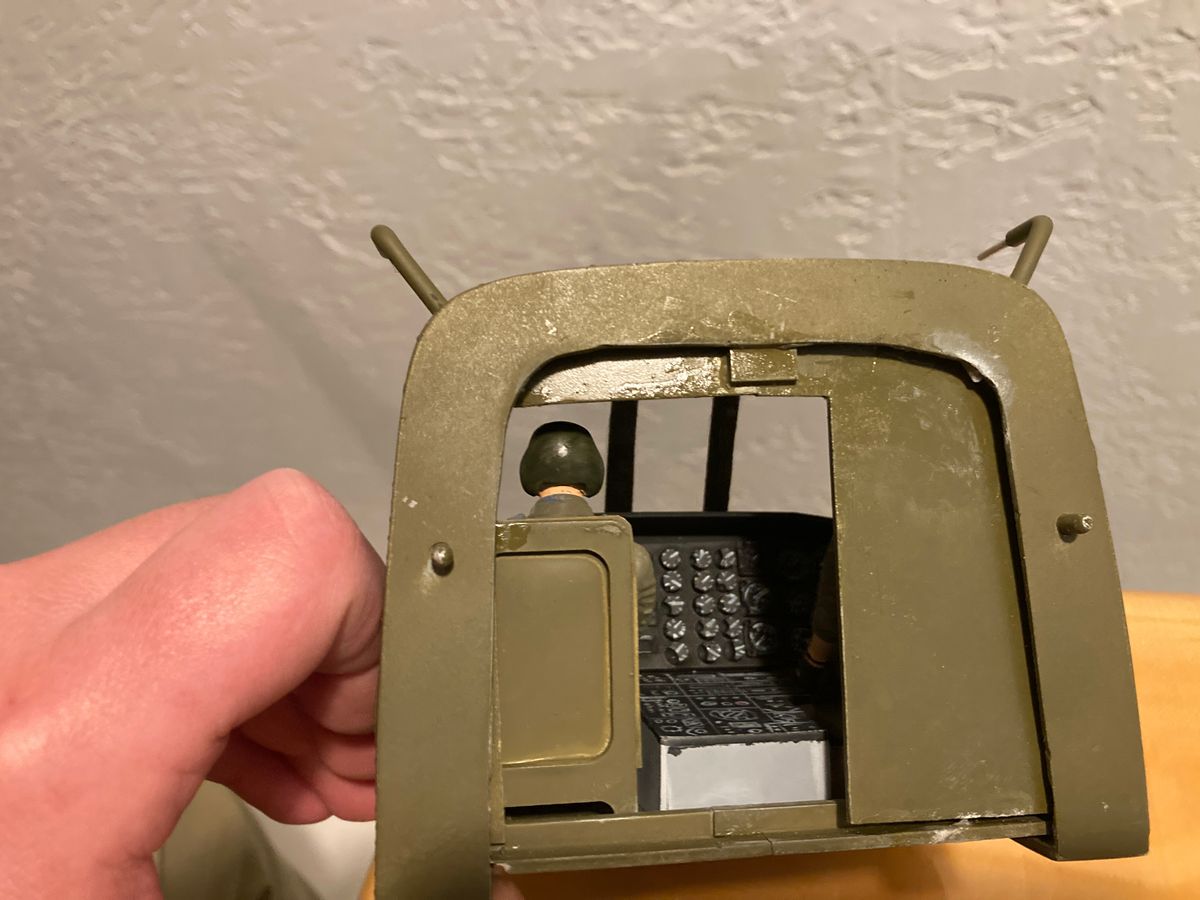
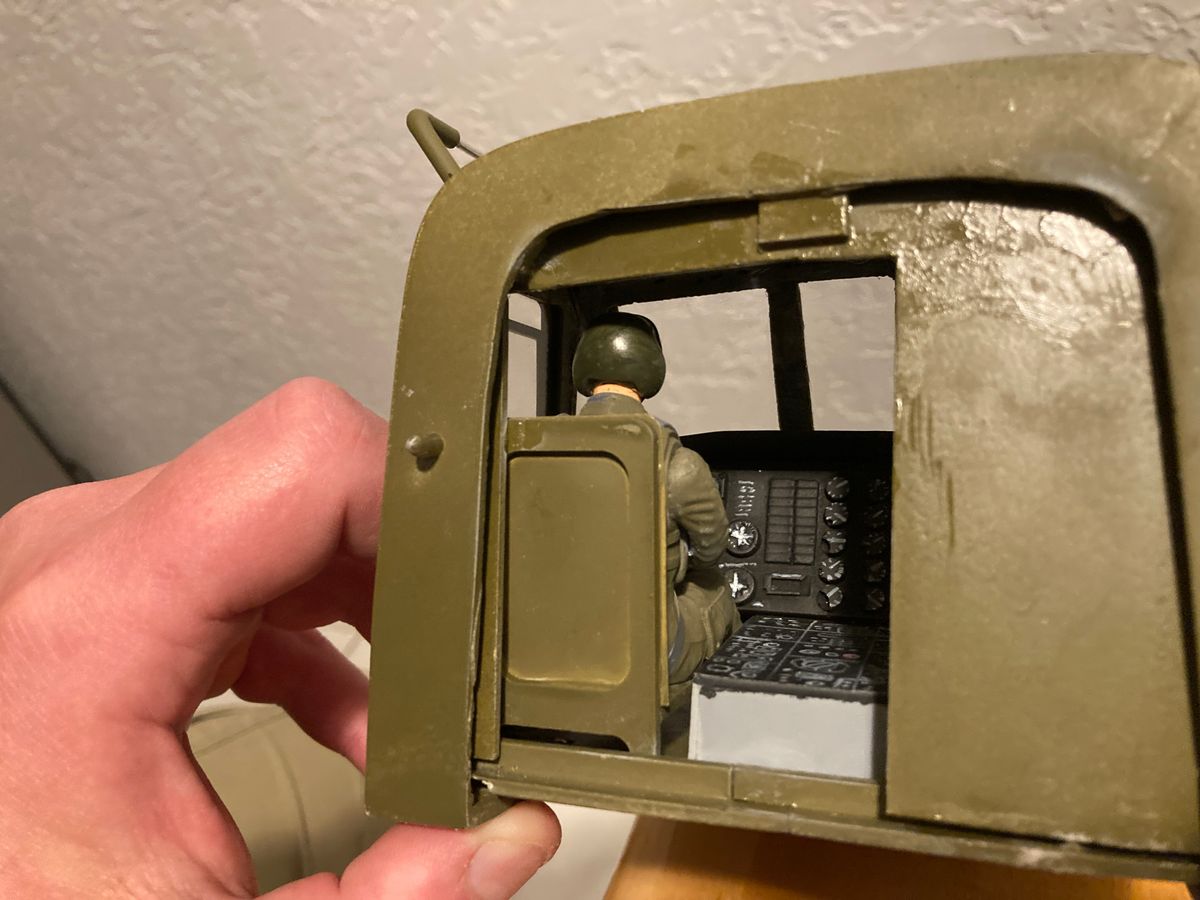
Cockpit interior is finished up and windshields glued in place. Still needs wipers to be added in.
Paint
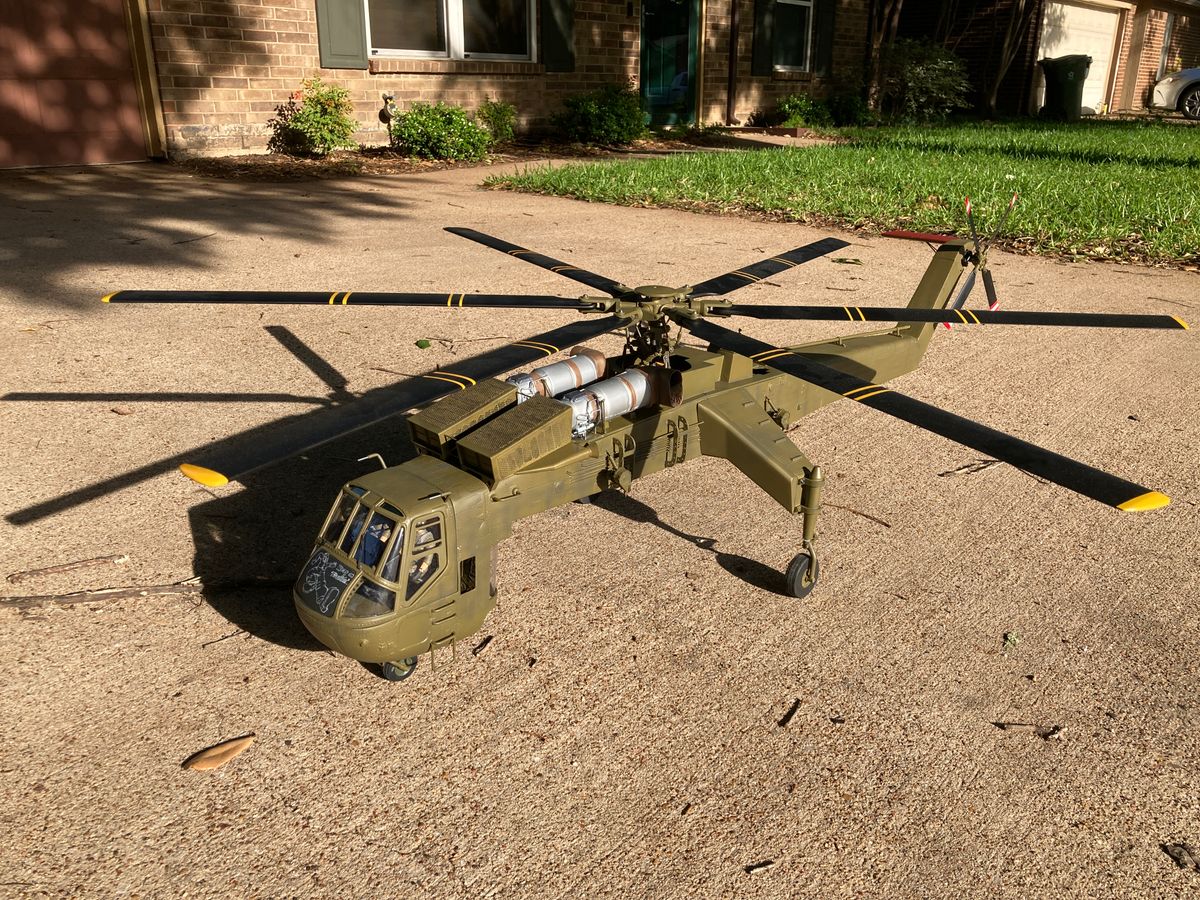
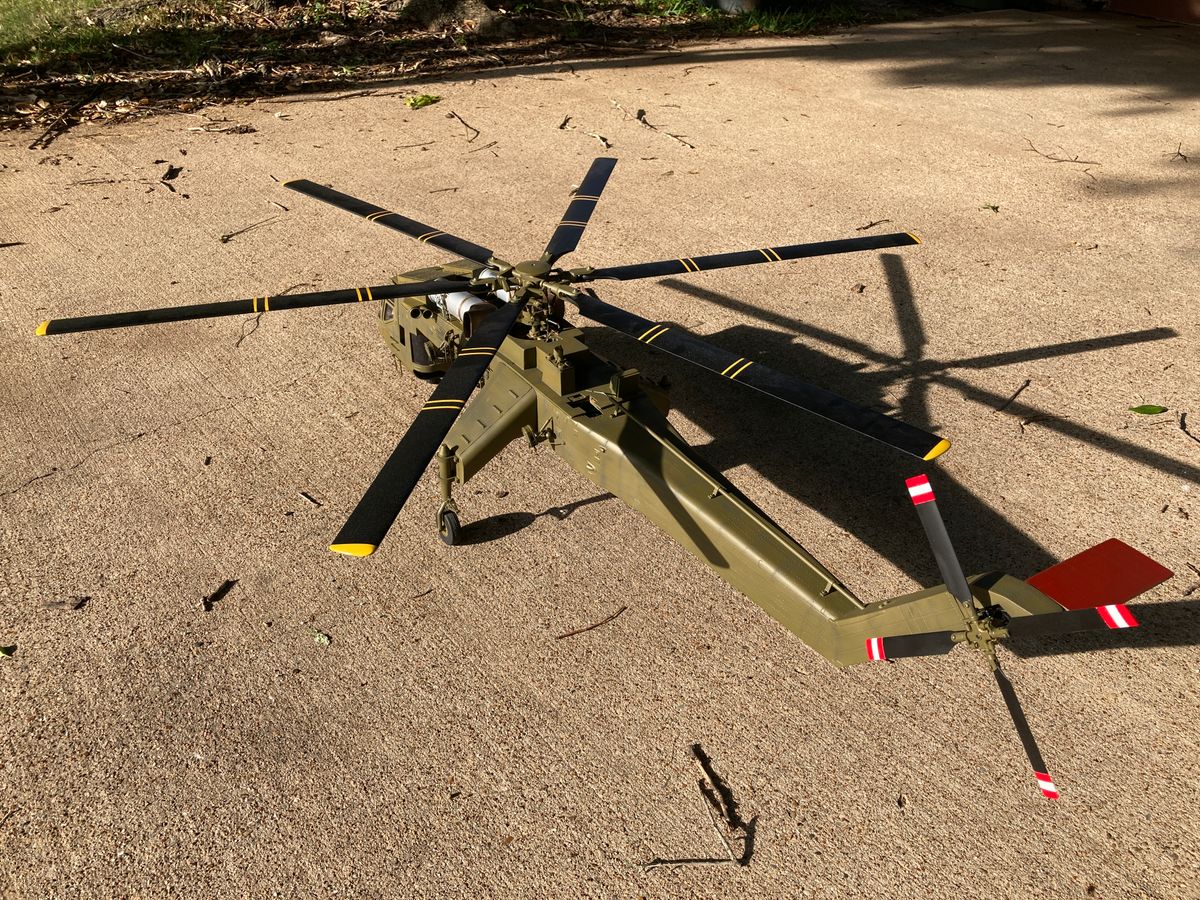
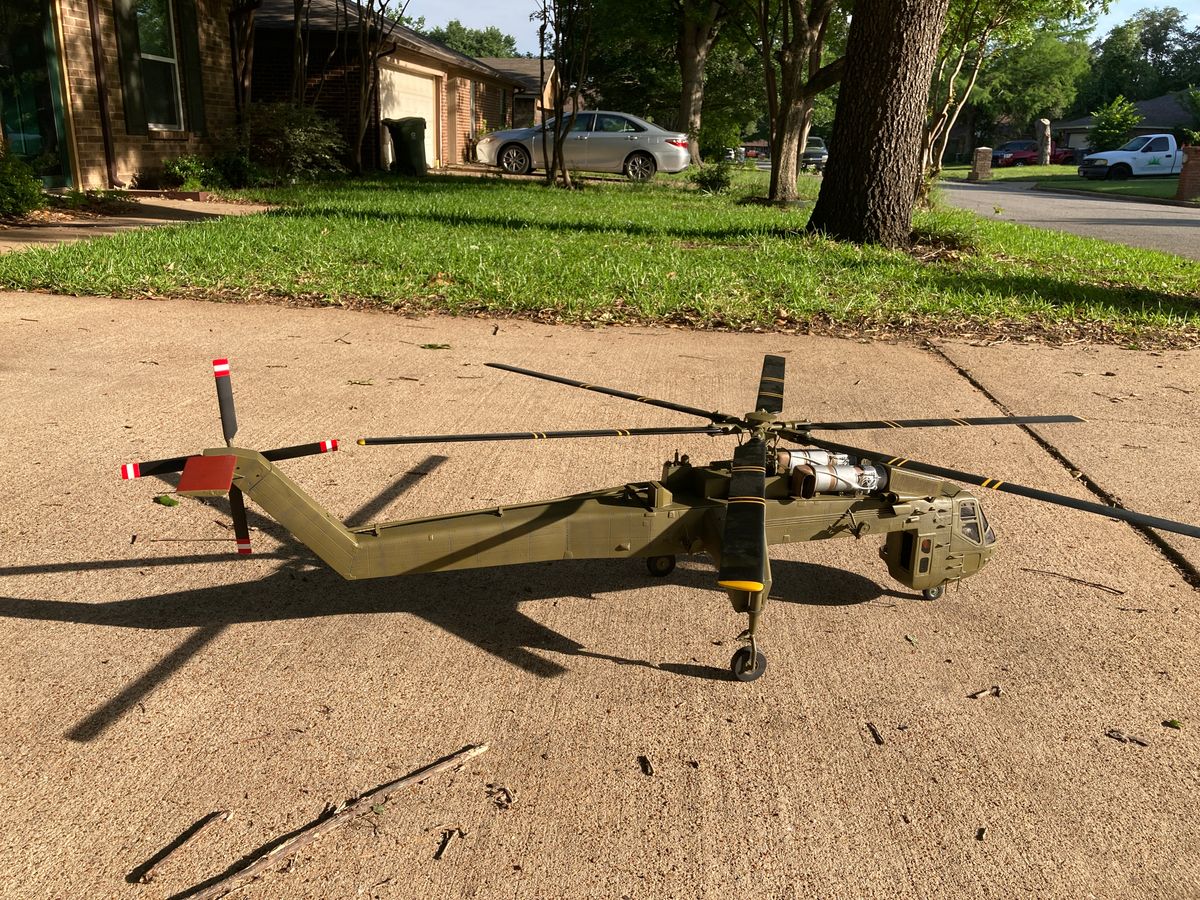
Paint work is finally (mostly) complete. Still need to touch up a few spots, but I’m pretty happy with how it is turning out. Need to get the vinyl cutter setup and try cutting some masks for the markings next, build a battery tray, and glue in the final clear parts.
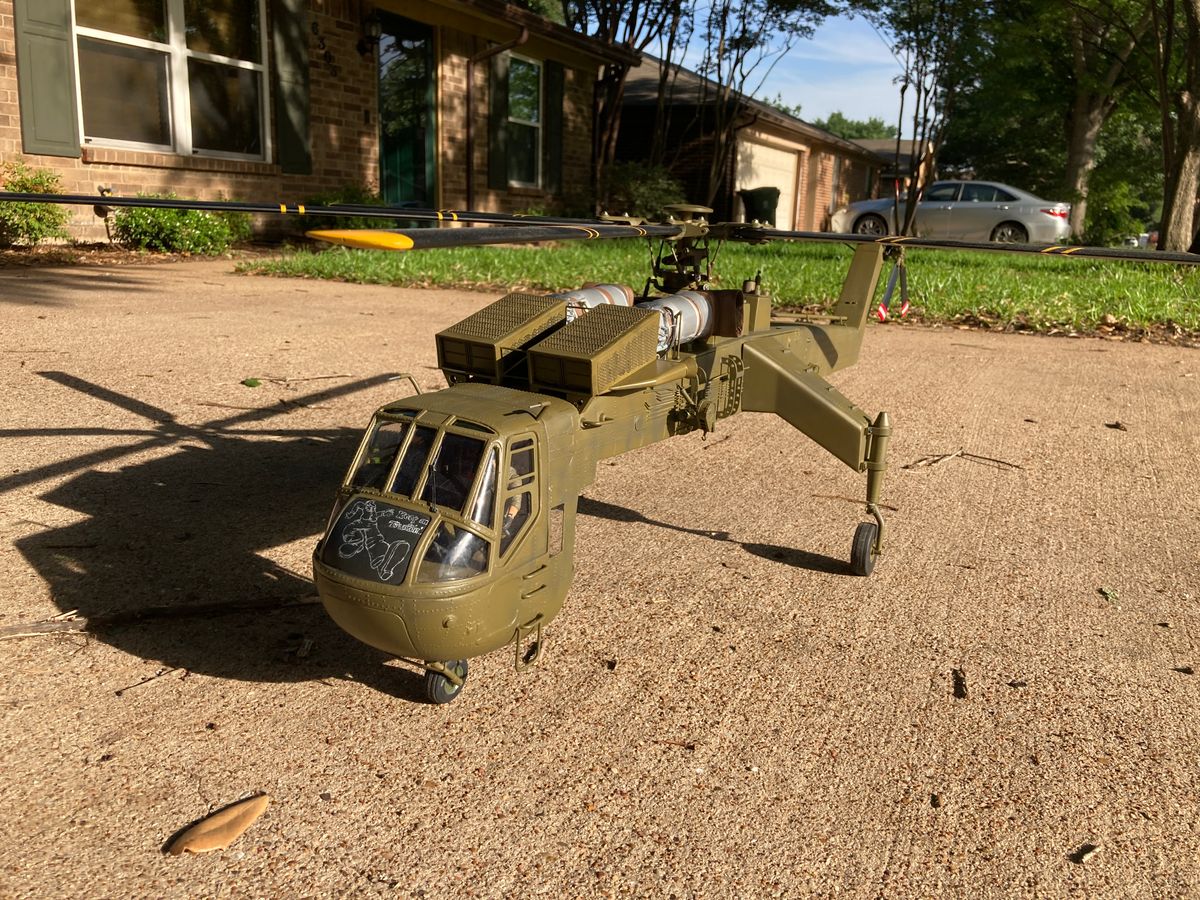
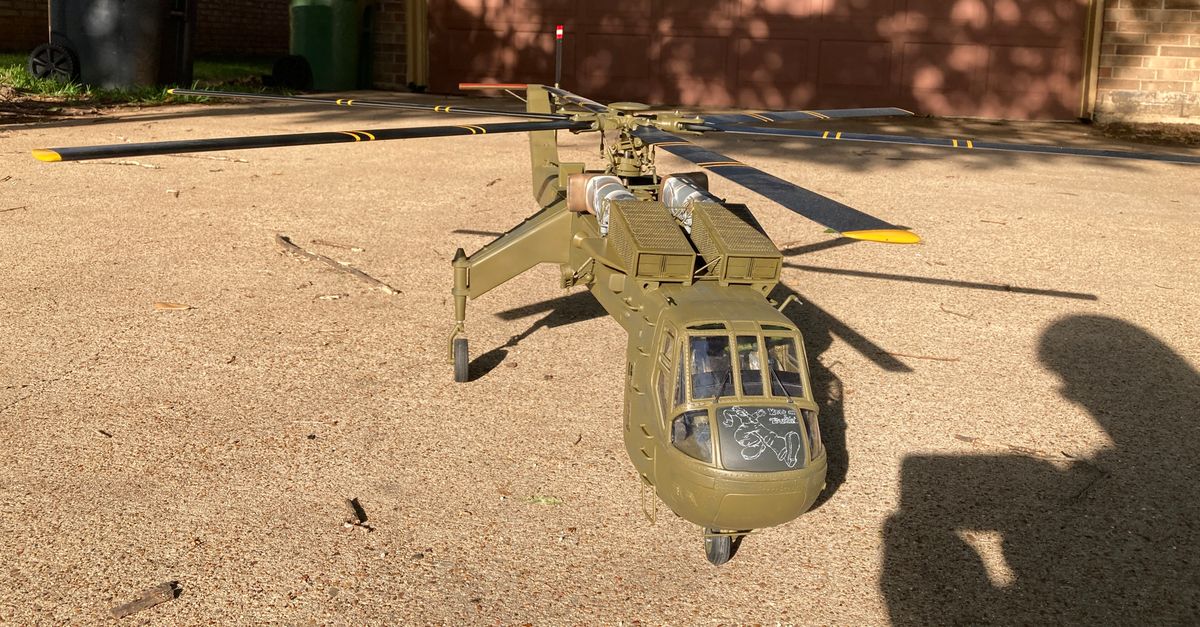
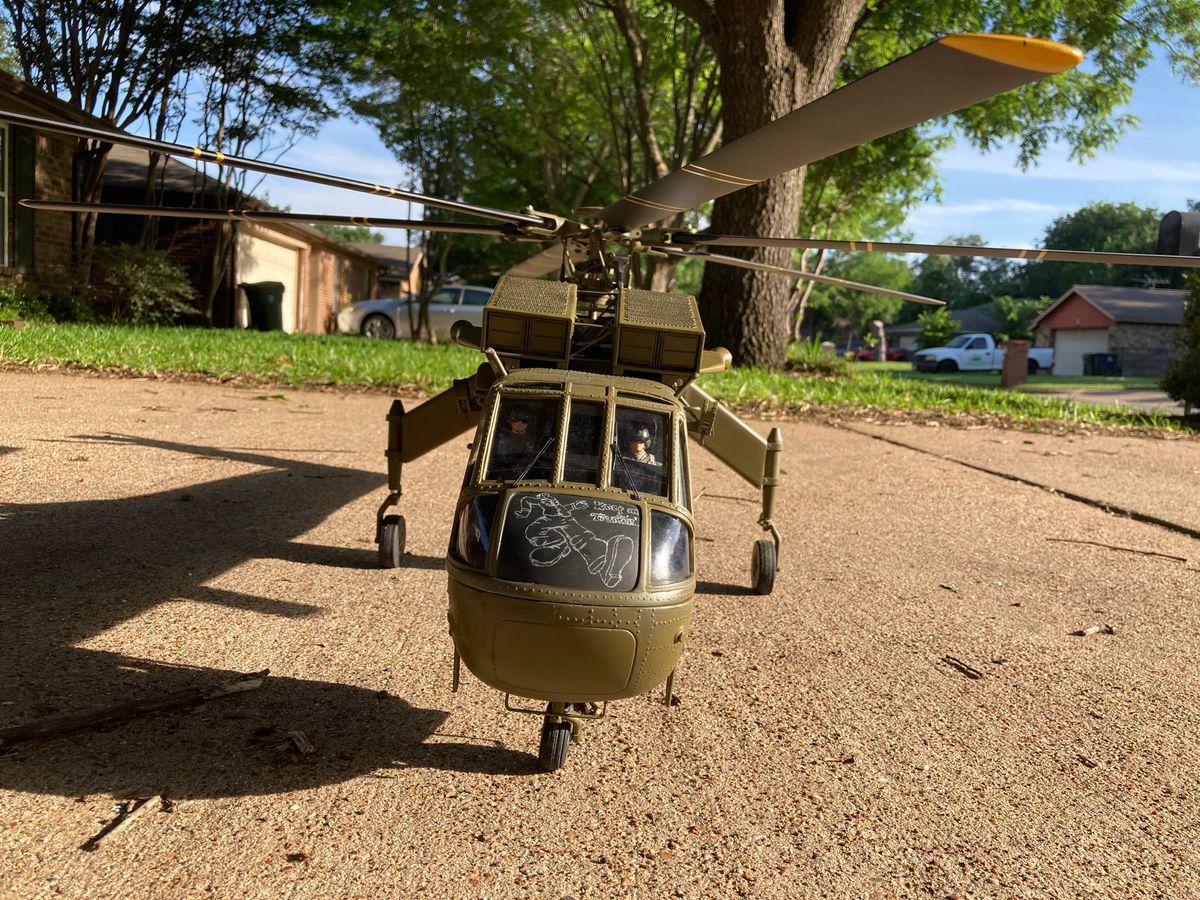
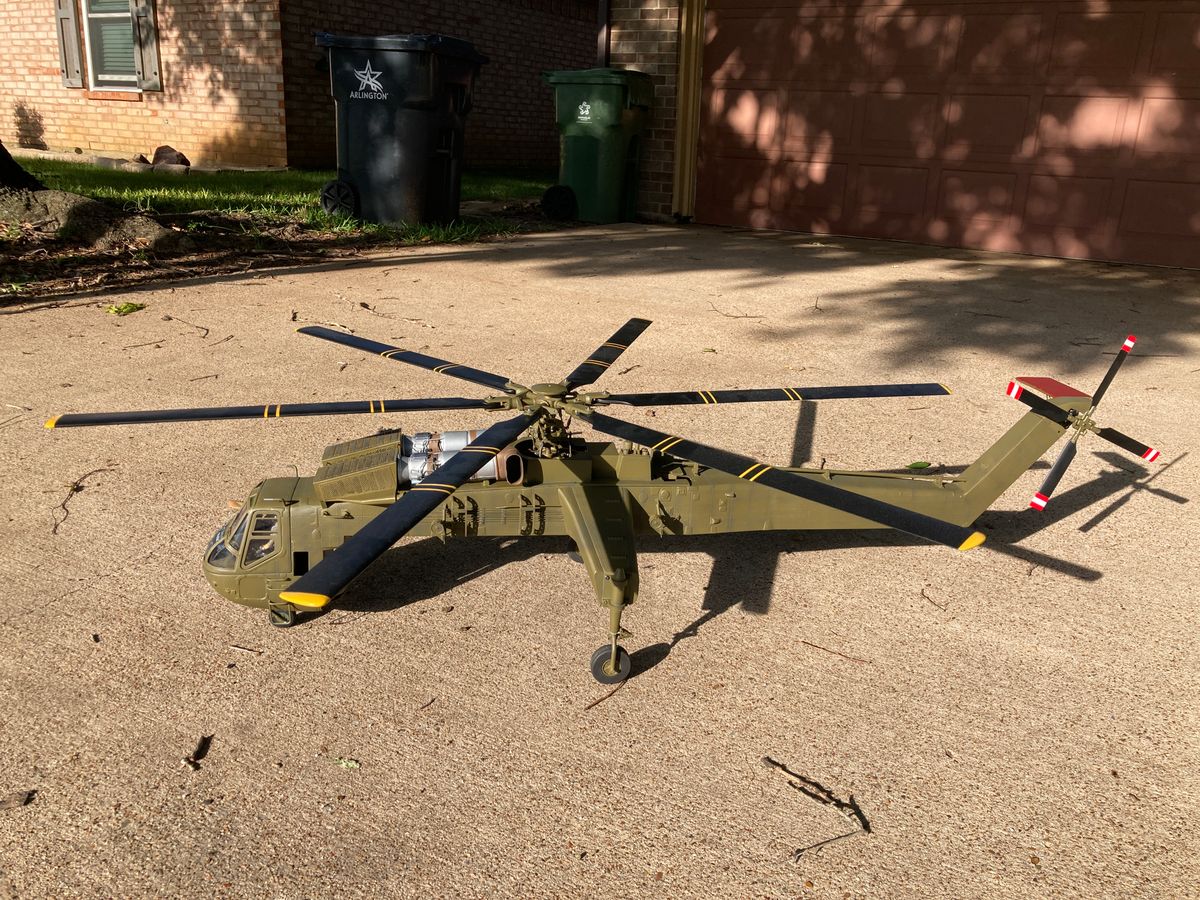
Test Flight, Troubleshooting, and Markings
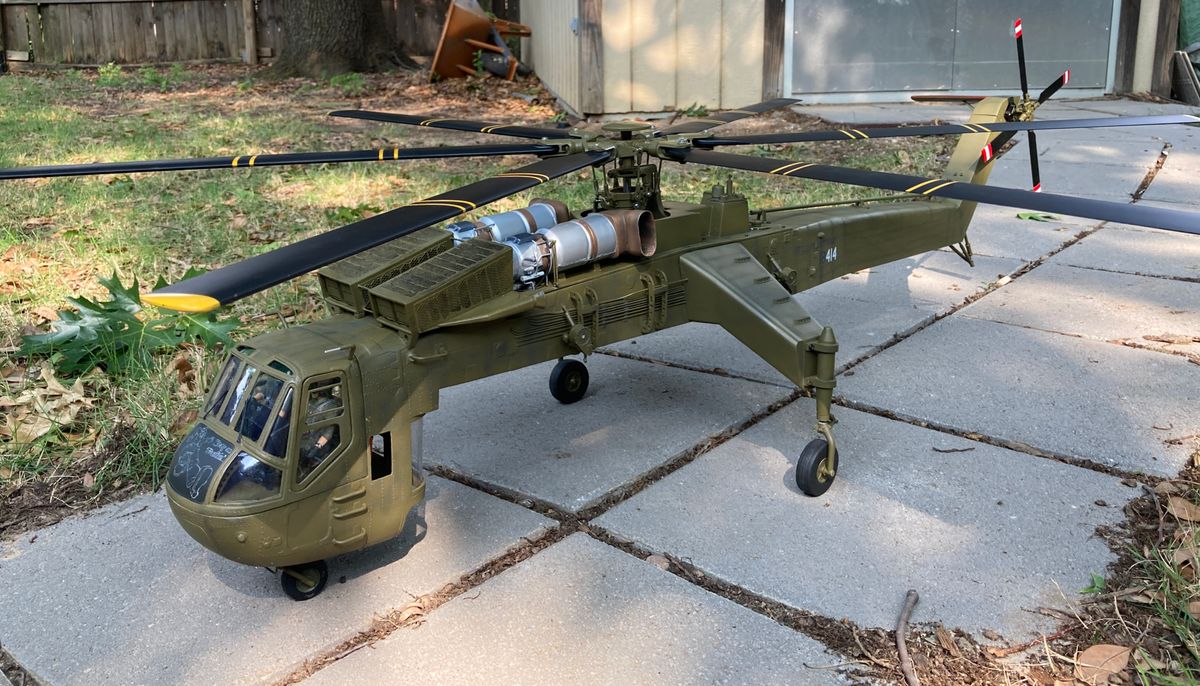
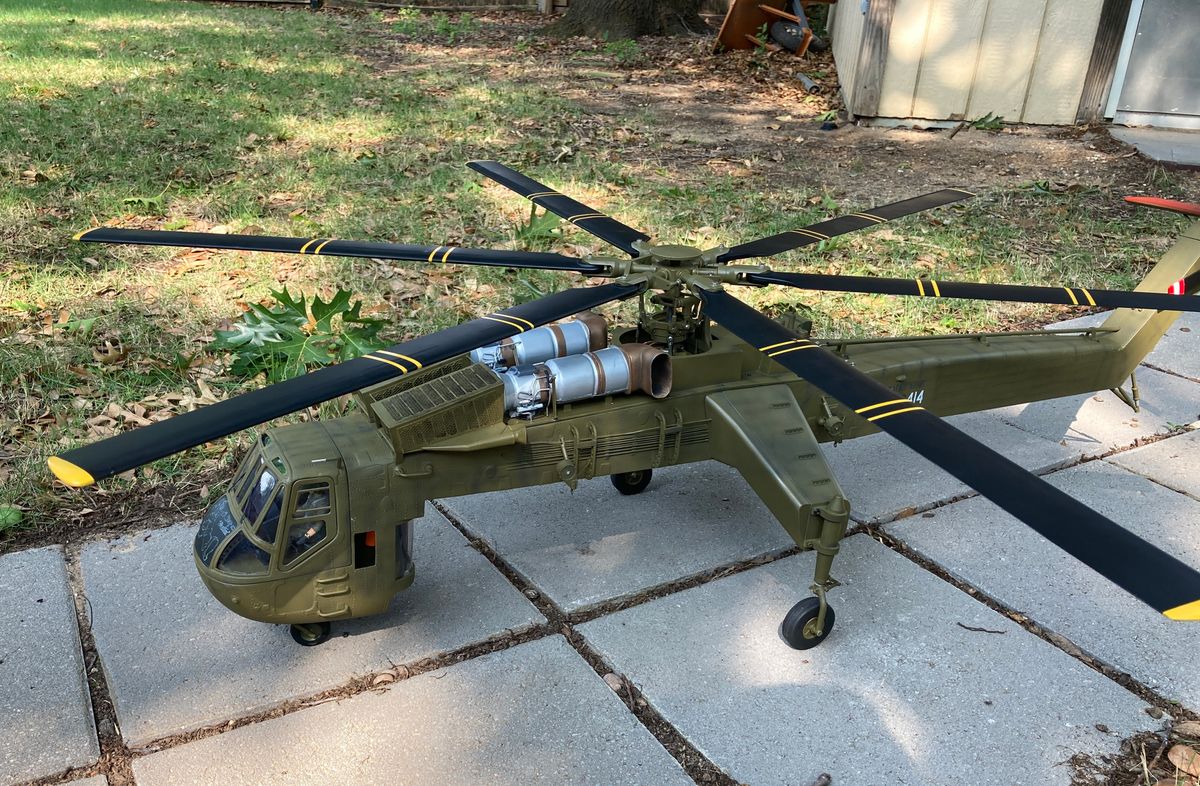
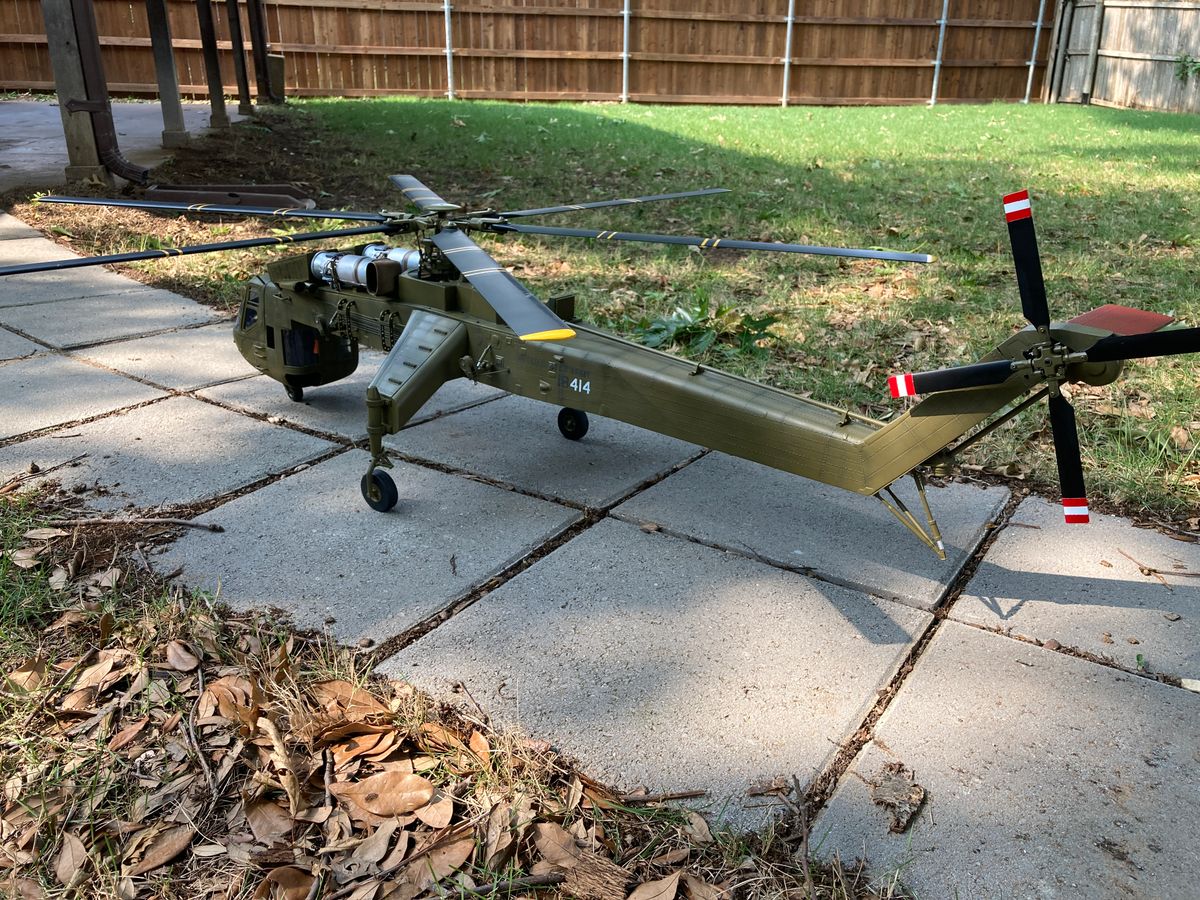
Got a few more things finished up on the CH-54A over the weekend. I painted on the final markings (my first time using a vinyl cutter to make paint masks) and added a rear cover to mount the tail stinger and false tail rotor driveshaft. I also weighed it.
With the 6S 4000mah battery installed, it weighs in at 10.5 lbs, the heaviest 500 size machine I've ever built.
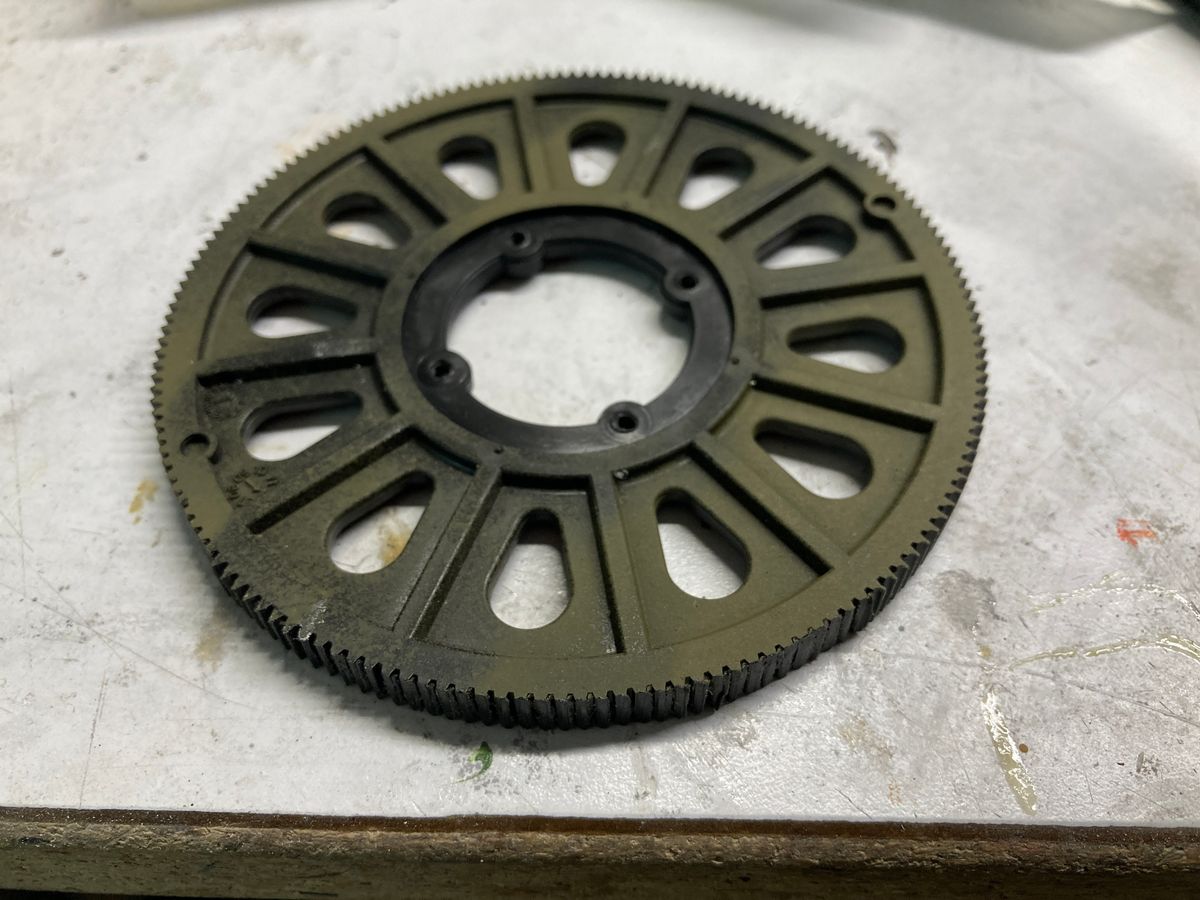
I completed a few test hops in the yard, and on the 2nd flight, the sounds suddenly changed. I quickly landed to find approximately 30% of the main gear teeth stripped. I disassembled the mechanics and found that gear mesh was a bit loose. I've since changed out the gear and put fresh loctite on the motor bolts. Will need to be pretty careful with this one. Might need to upgrade to the helical gear in the future. No video, but a few photos below.
For now, I'm awaiting better weather for further test flights. If that goes well, I'll try a sling load with my lightest payload.
Helistorm Photos
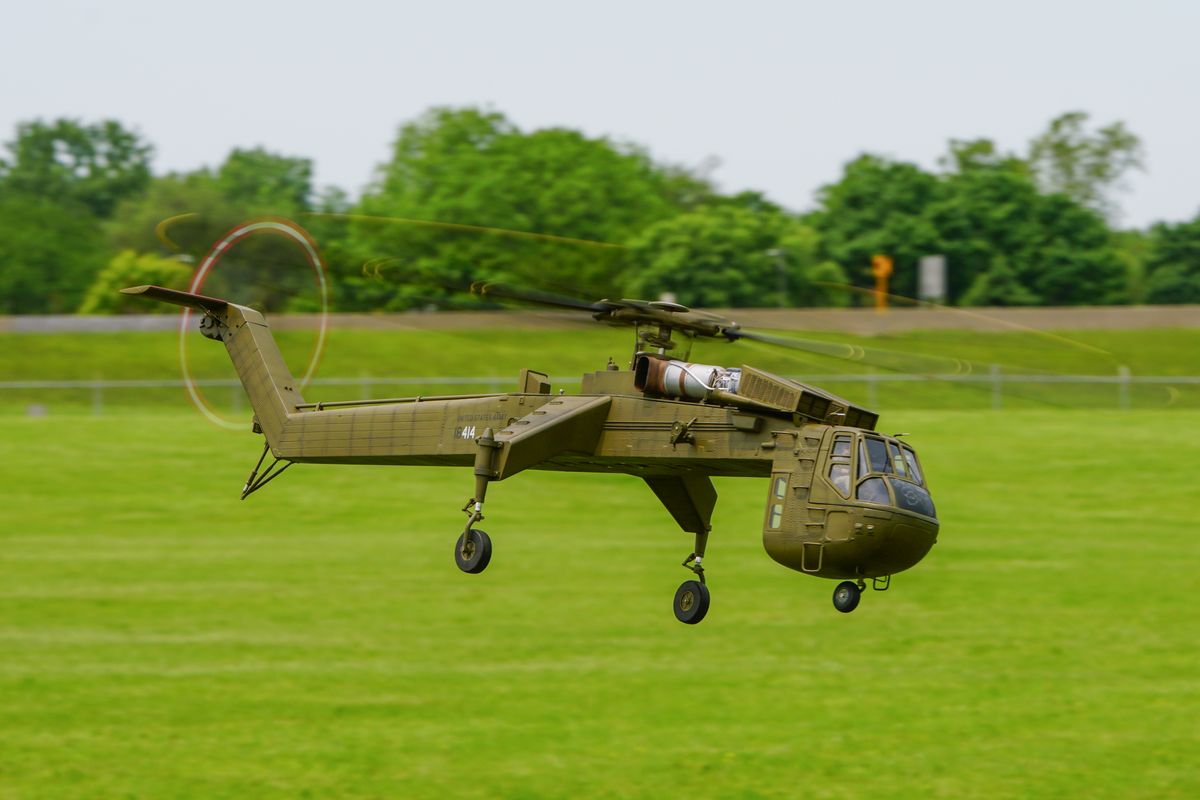
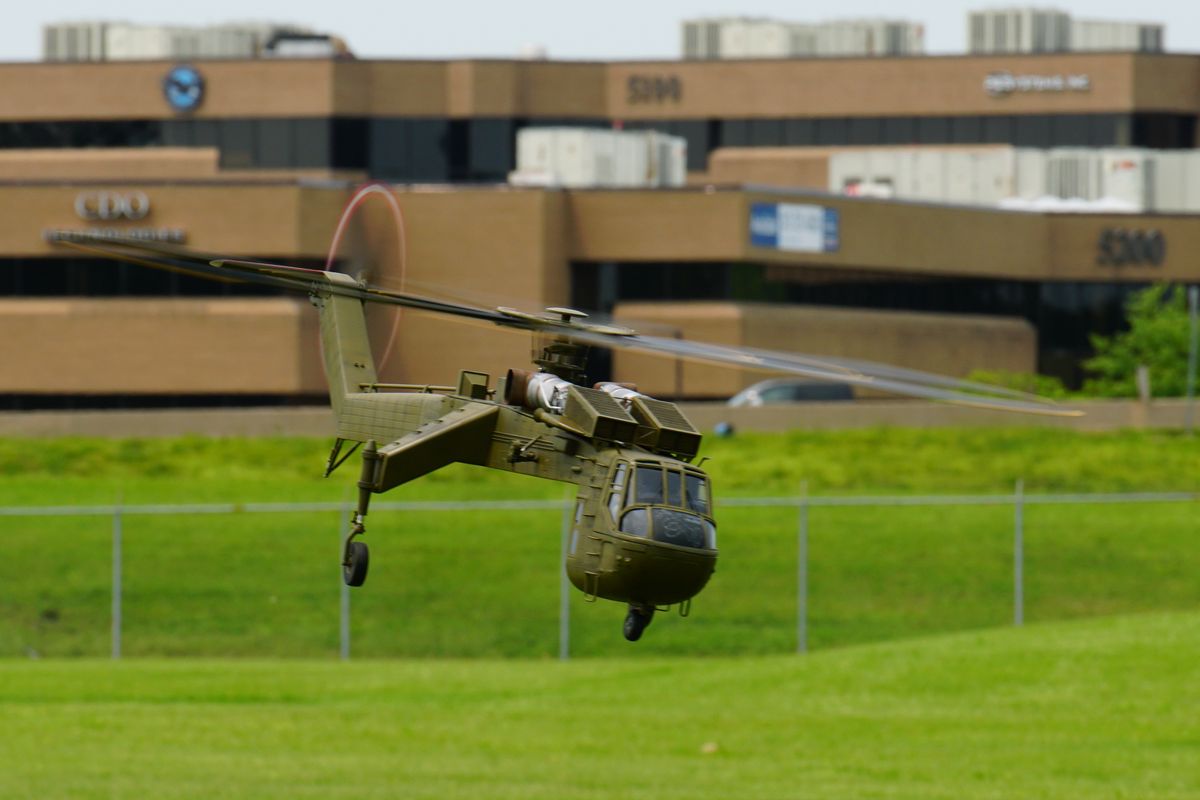
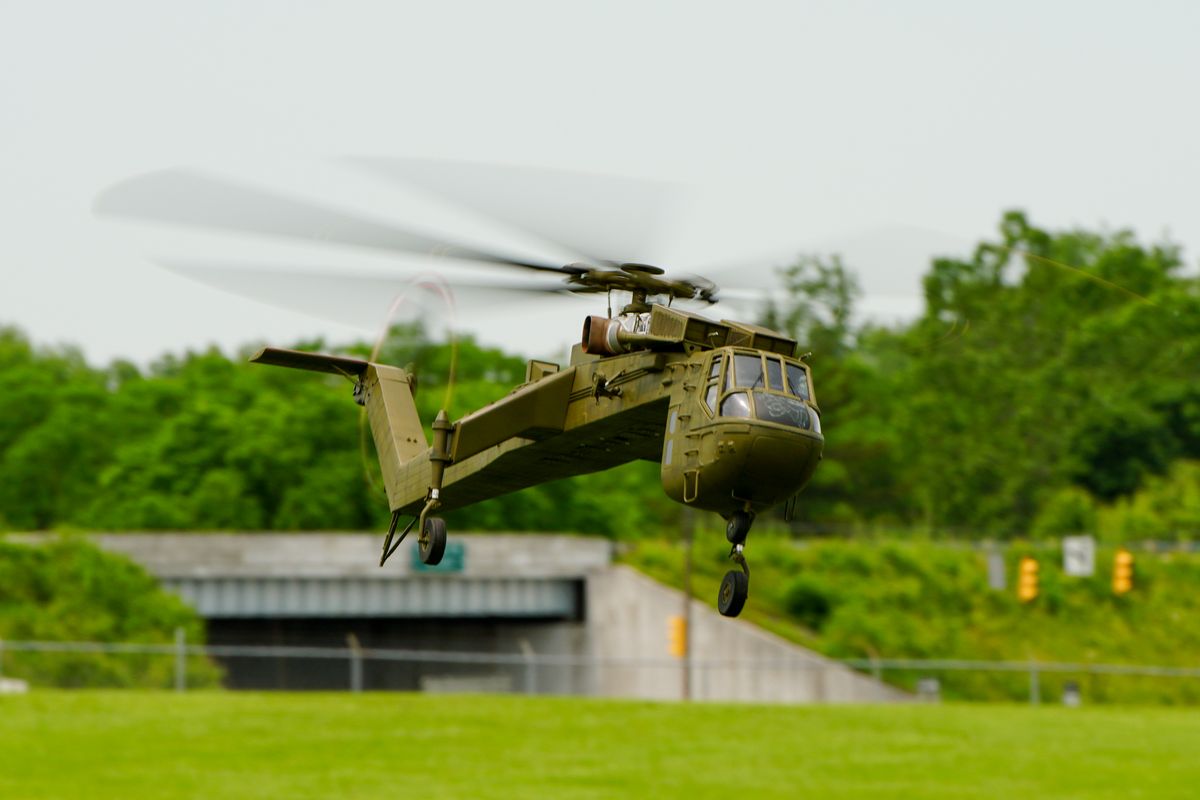
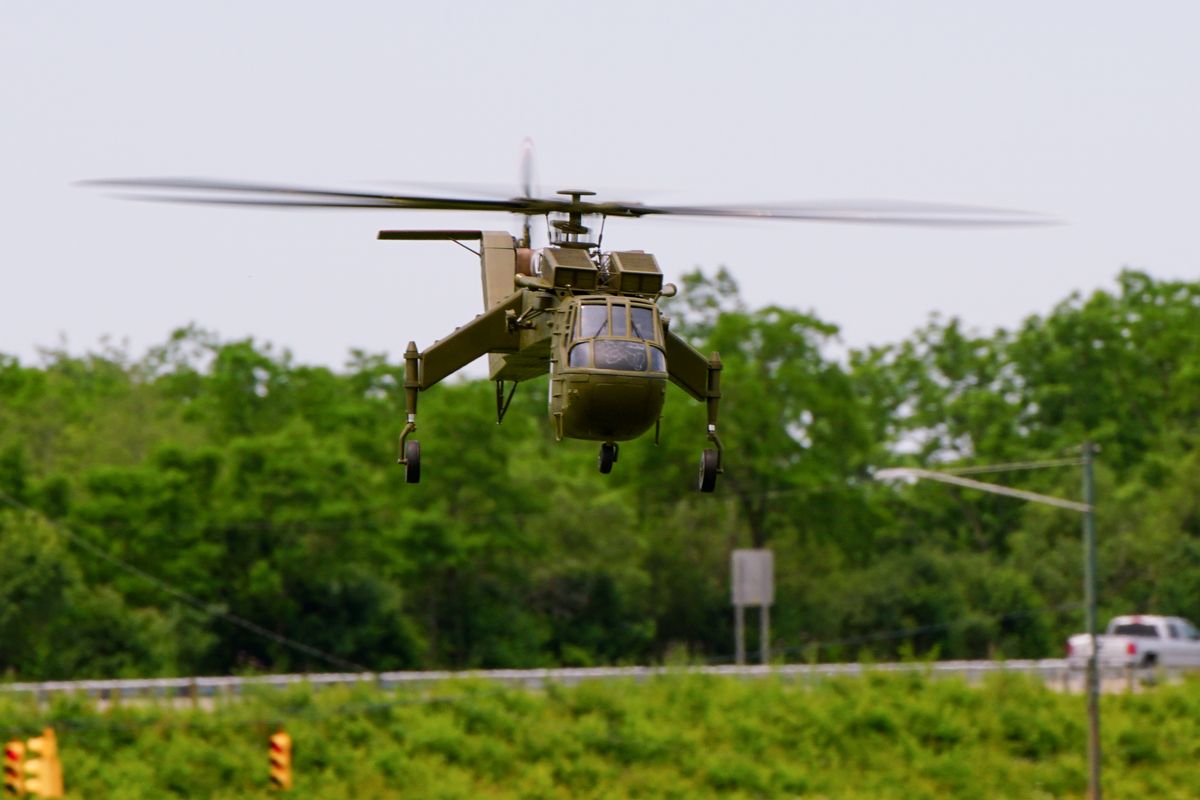
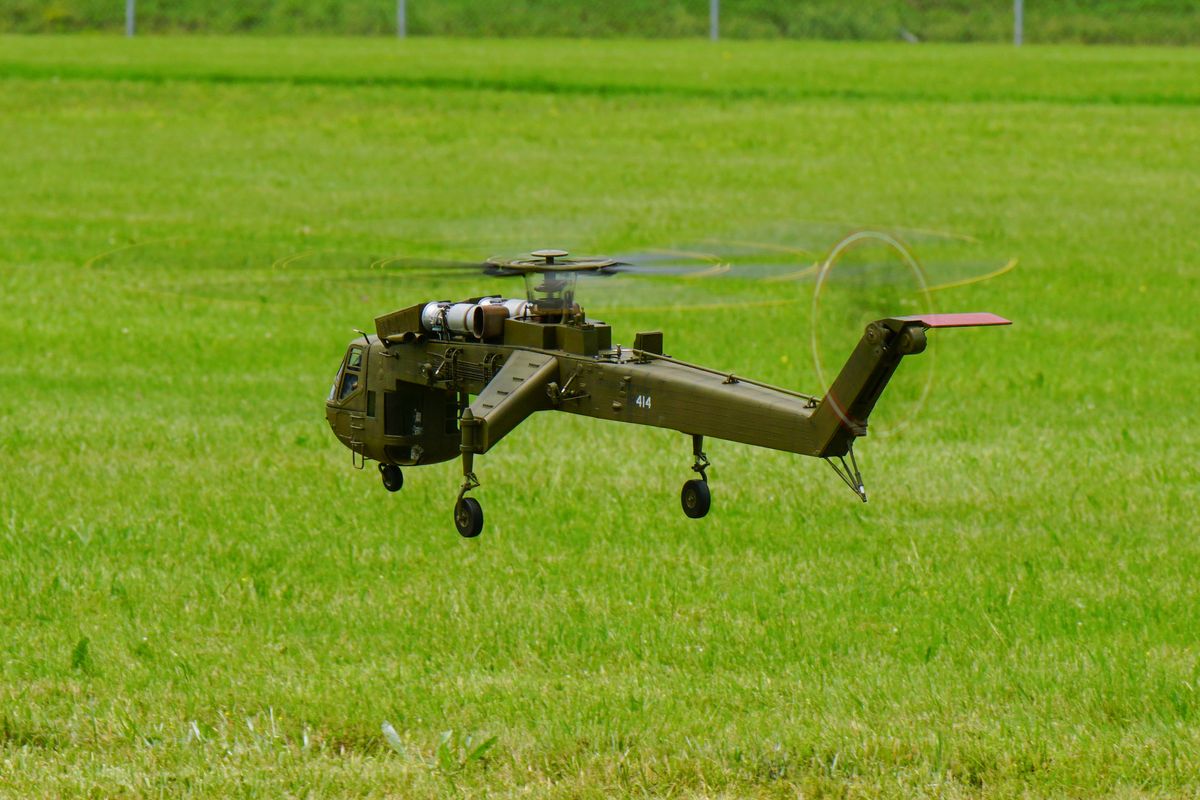
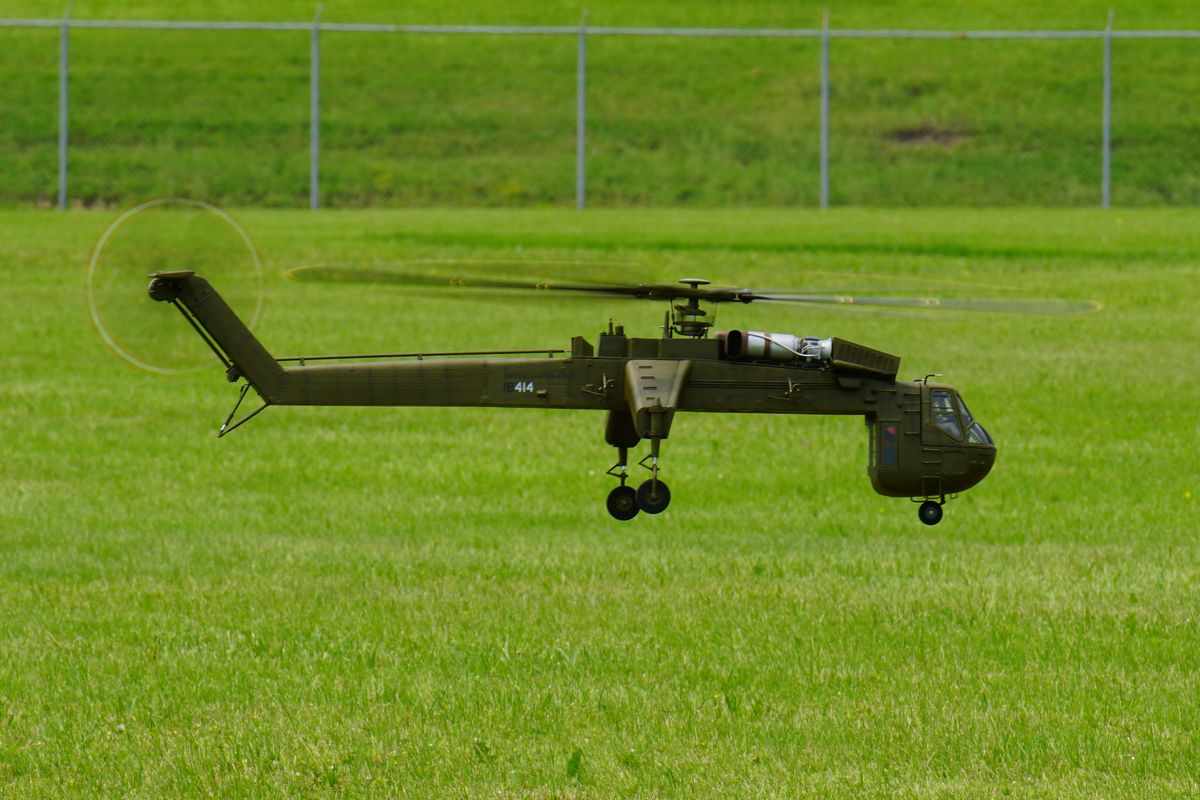
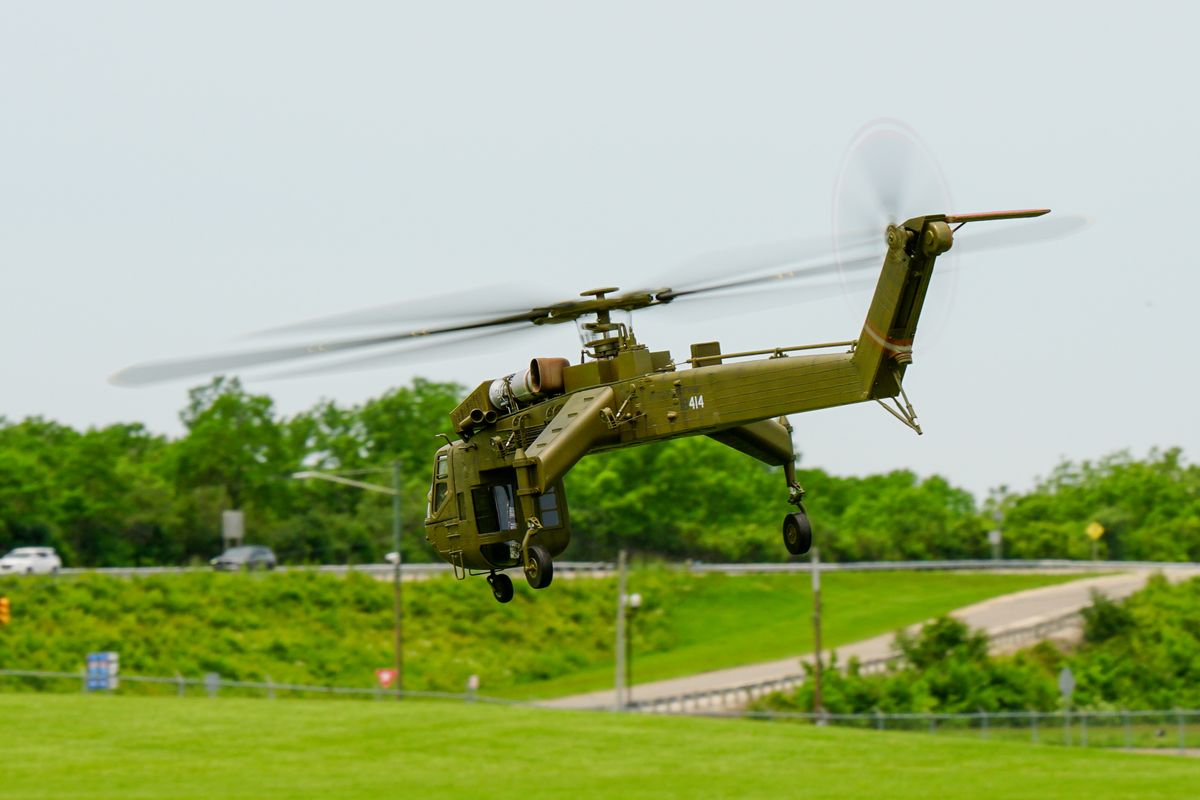
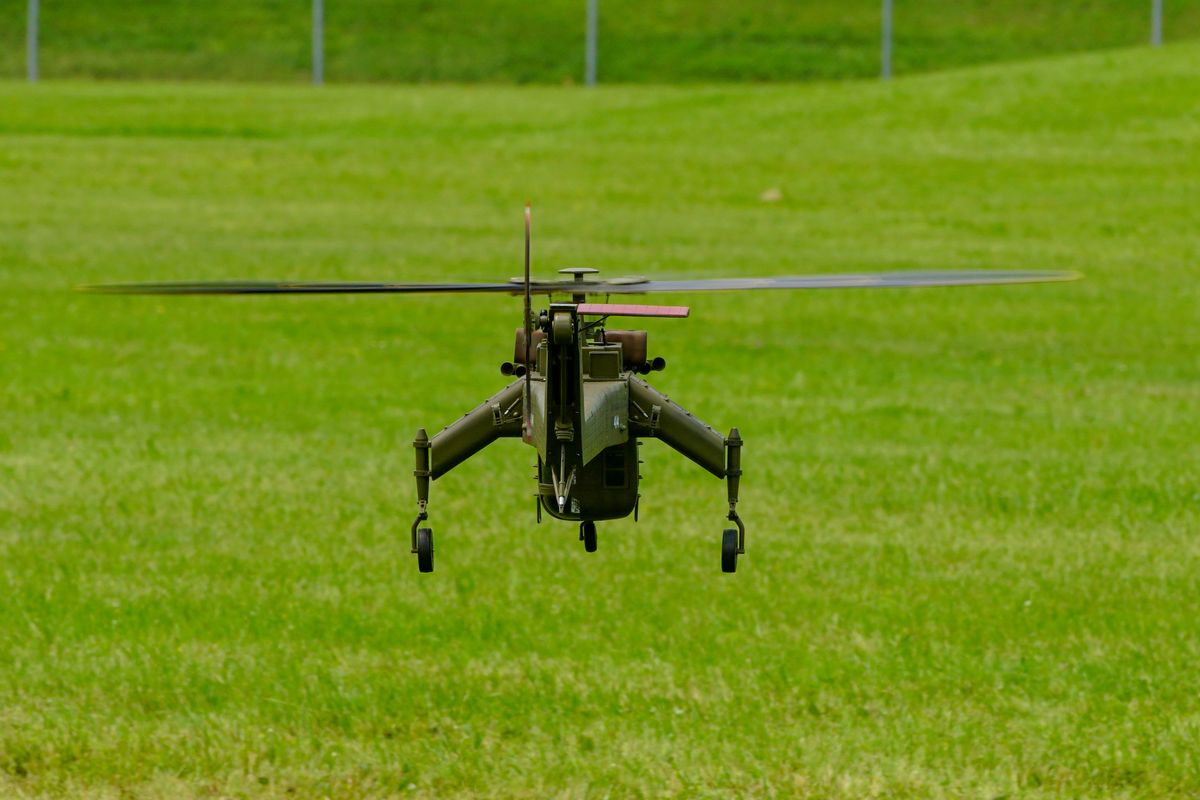
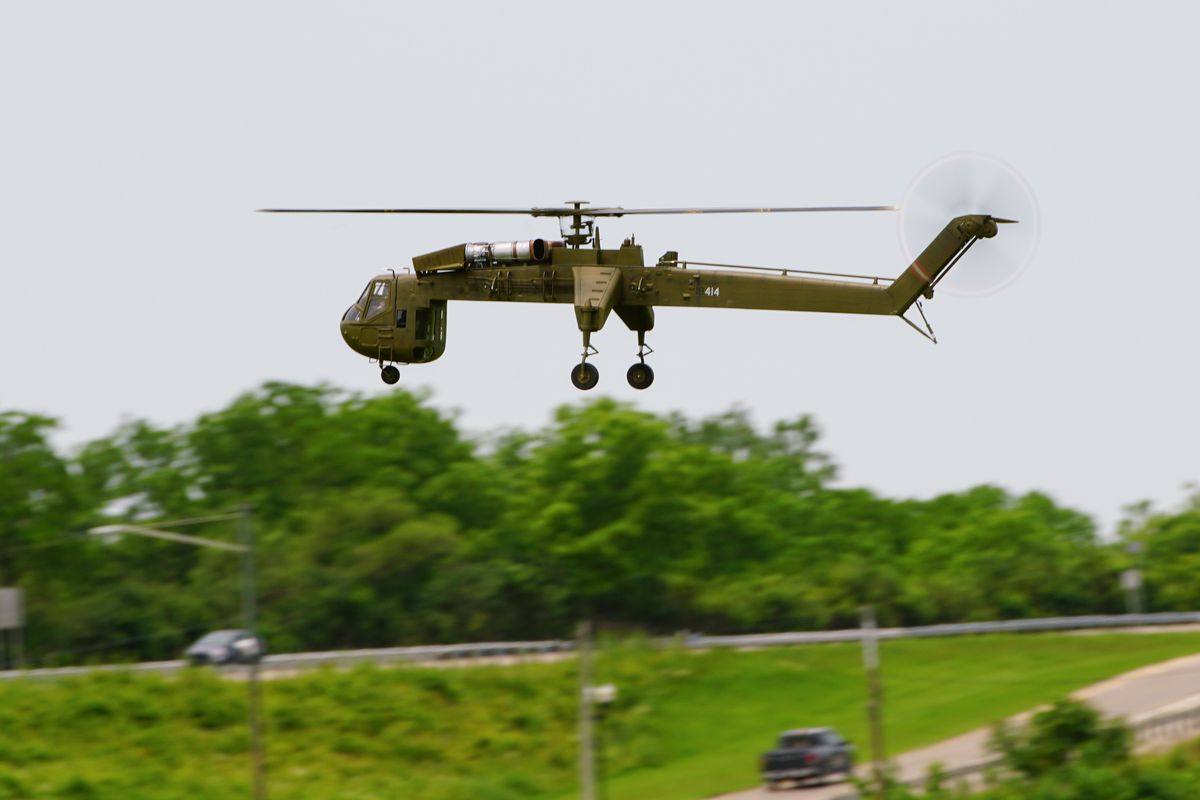
Thanks to Raymond Cervantes for these awesome photos of my 500 size CH-54A Tarhe in the air at Helistorm last weekend! Had to get the cranes together for a photo with Mike Spinner as well and his fantastic Vario Skycrane.
External loads
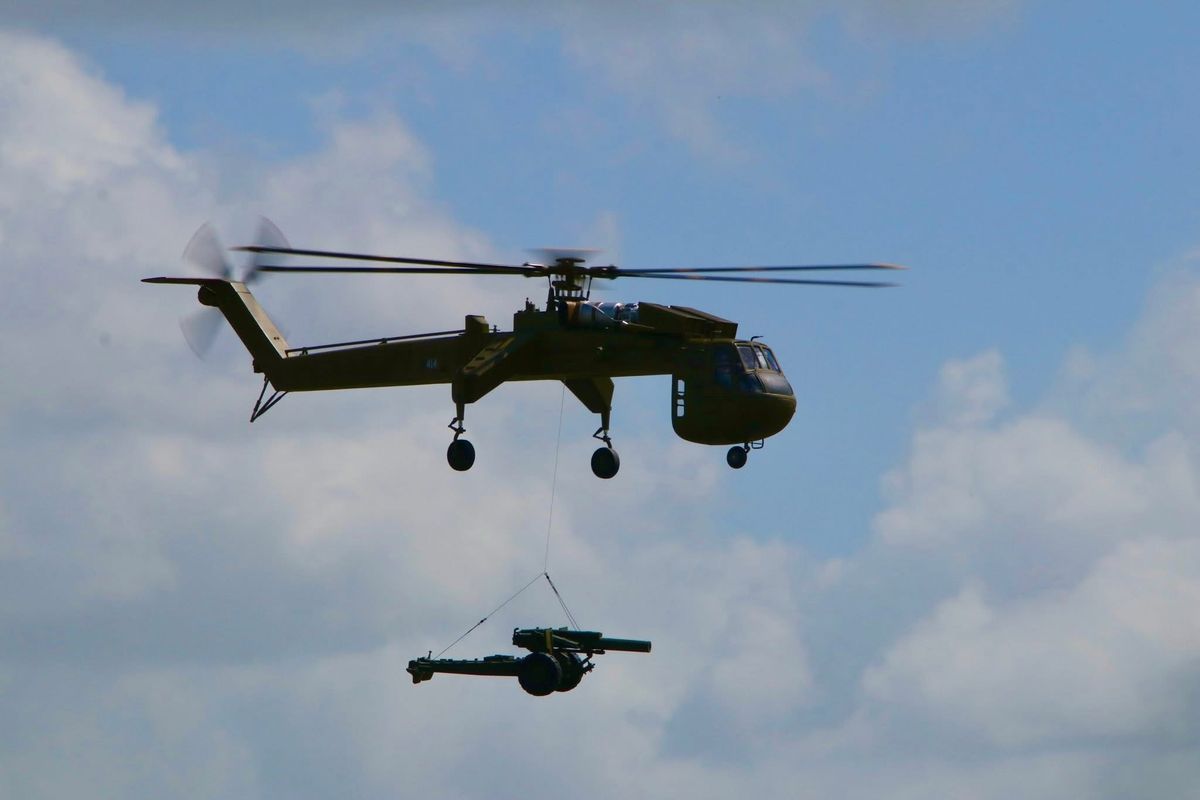
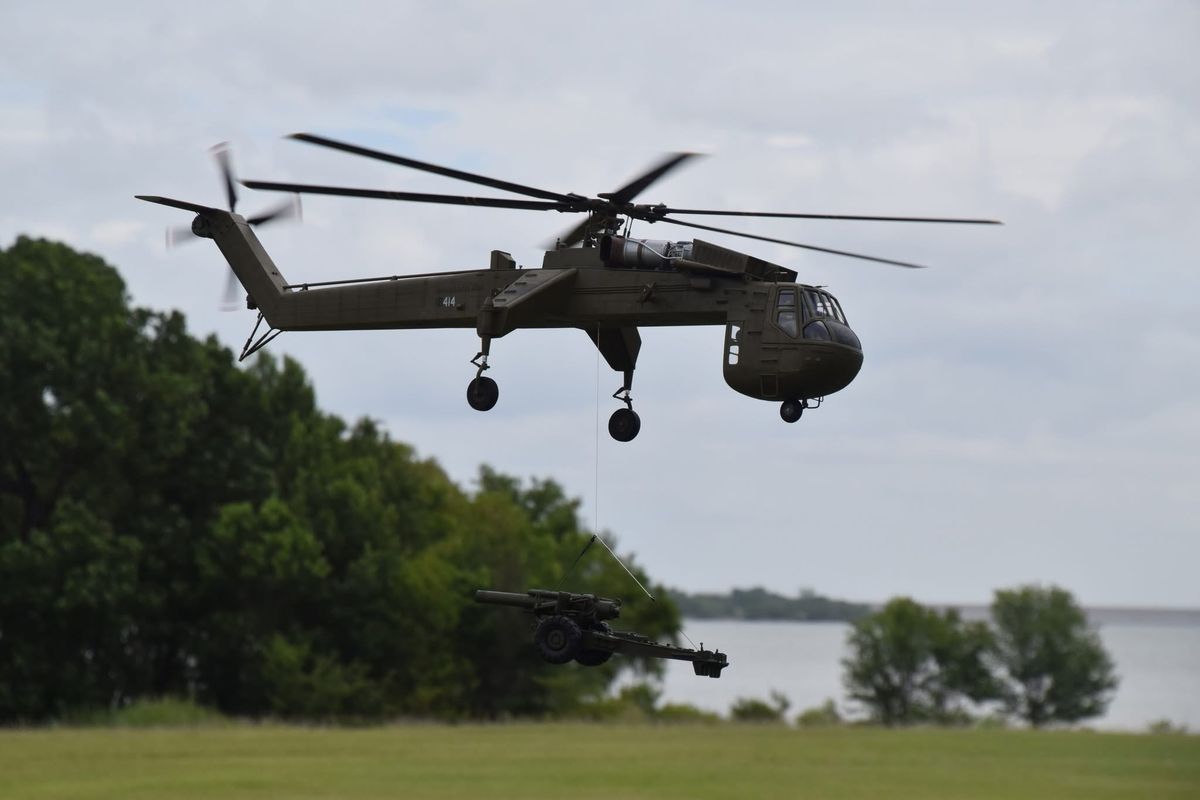
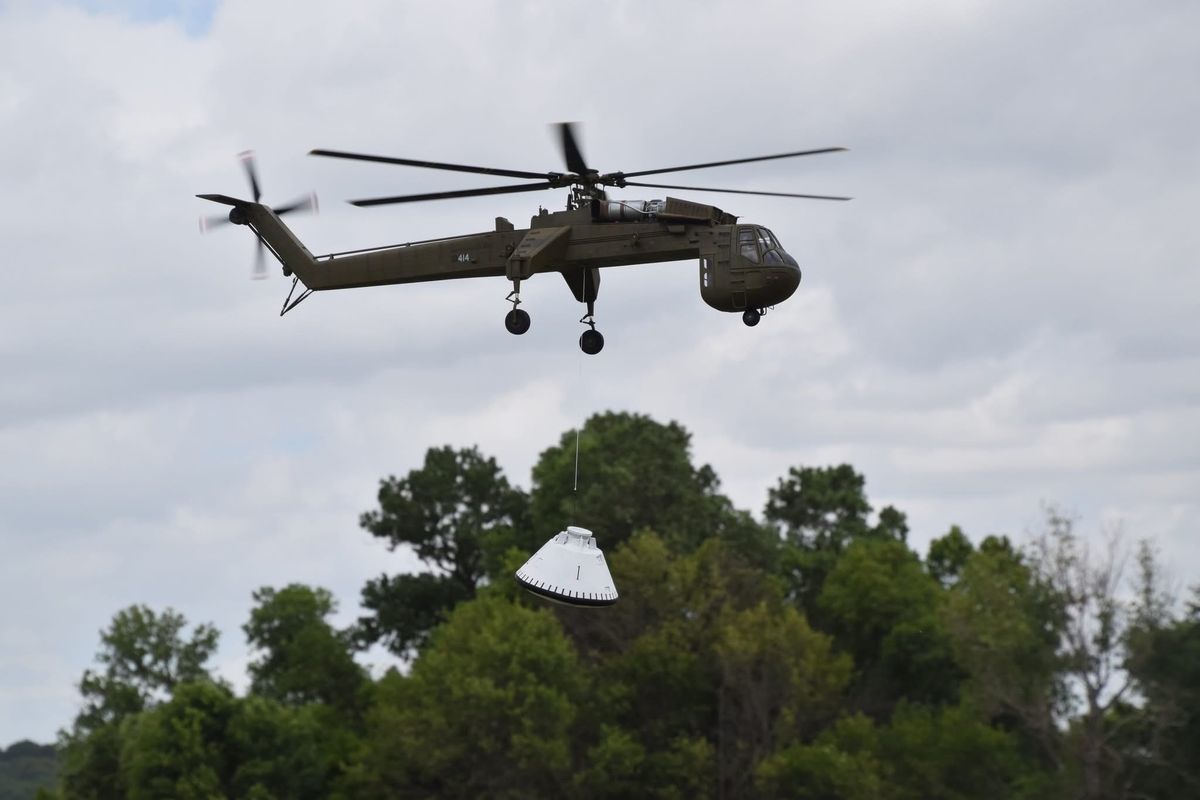
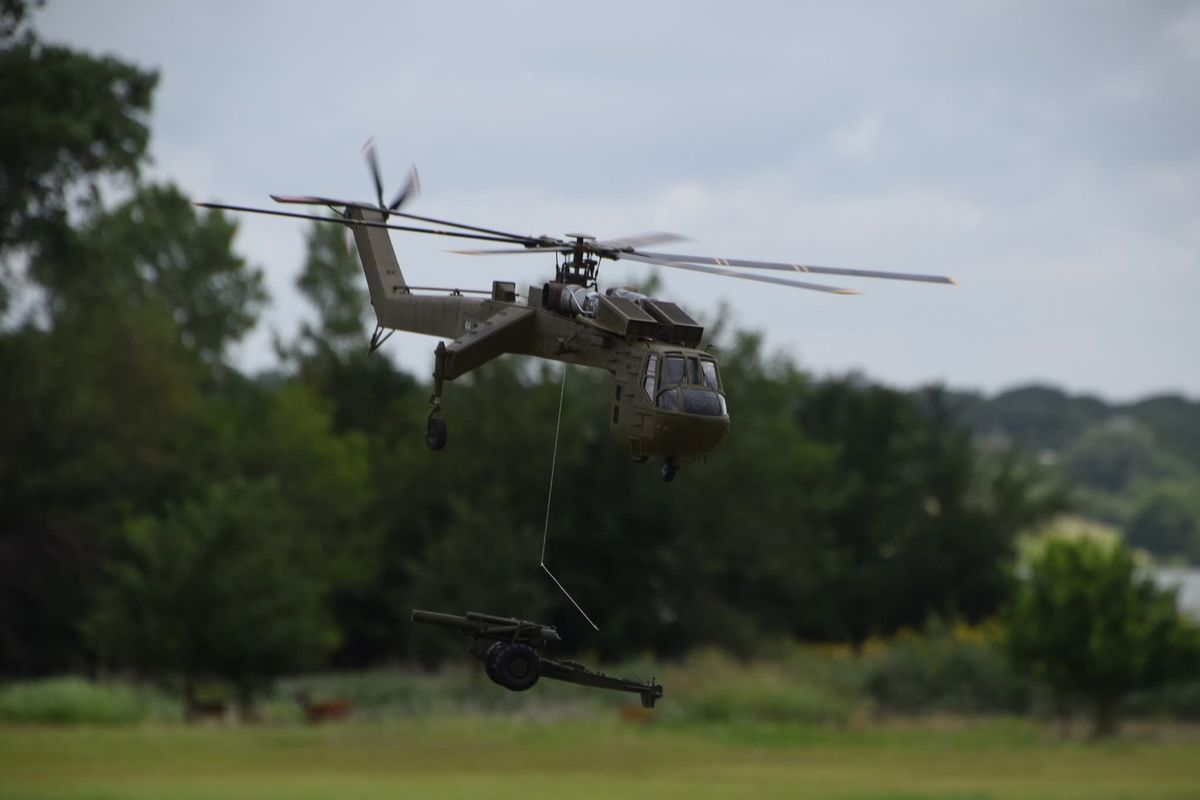
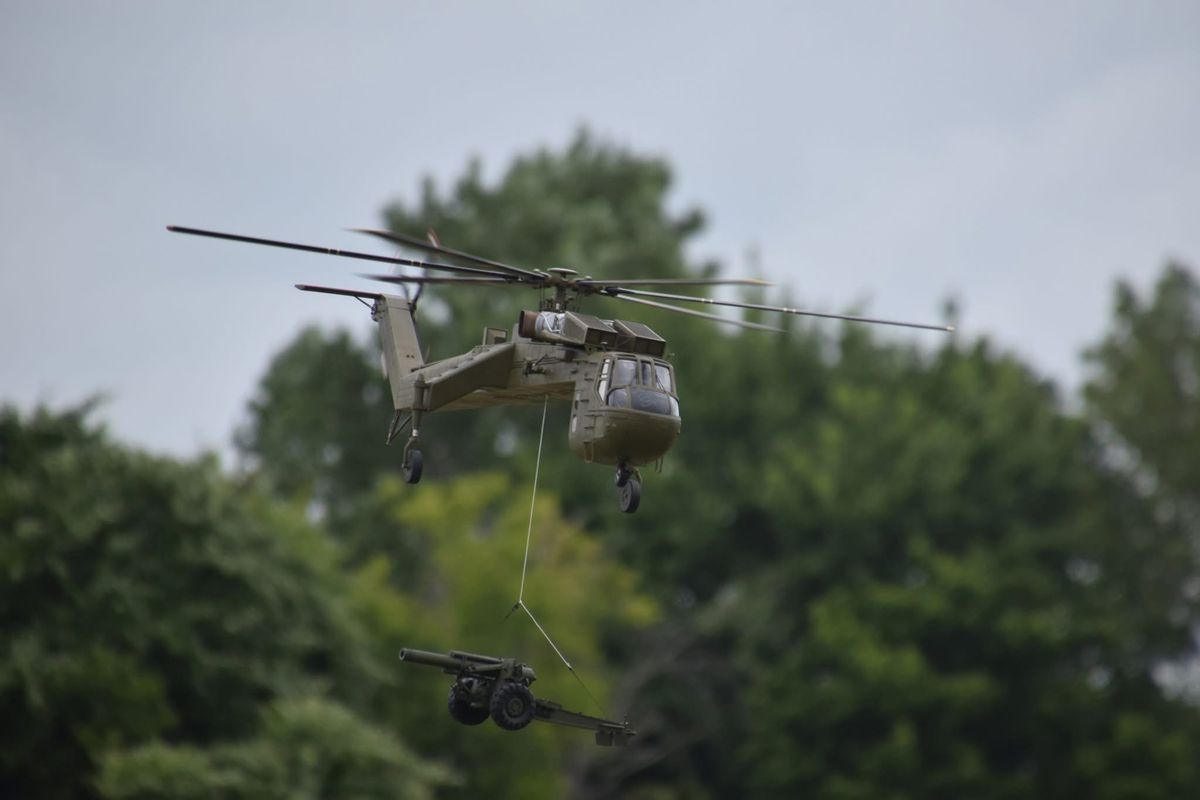
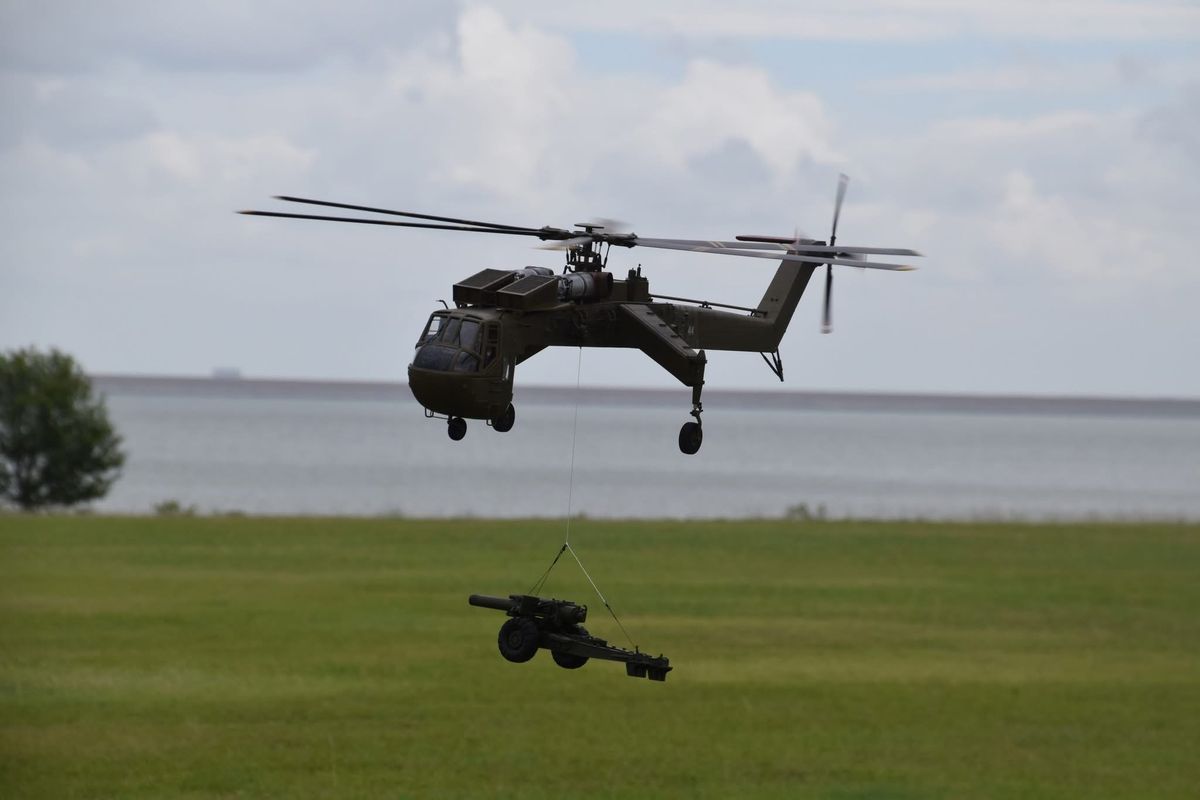
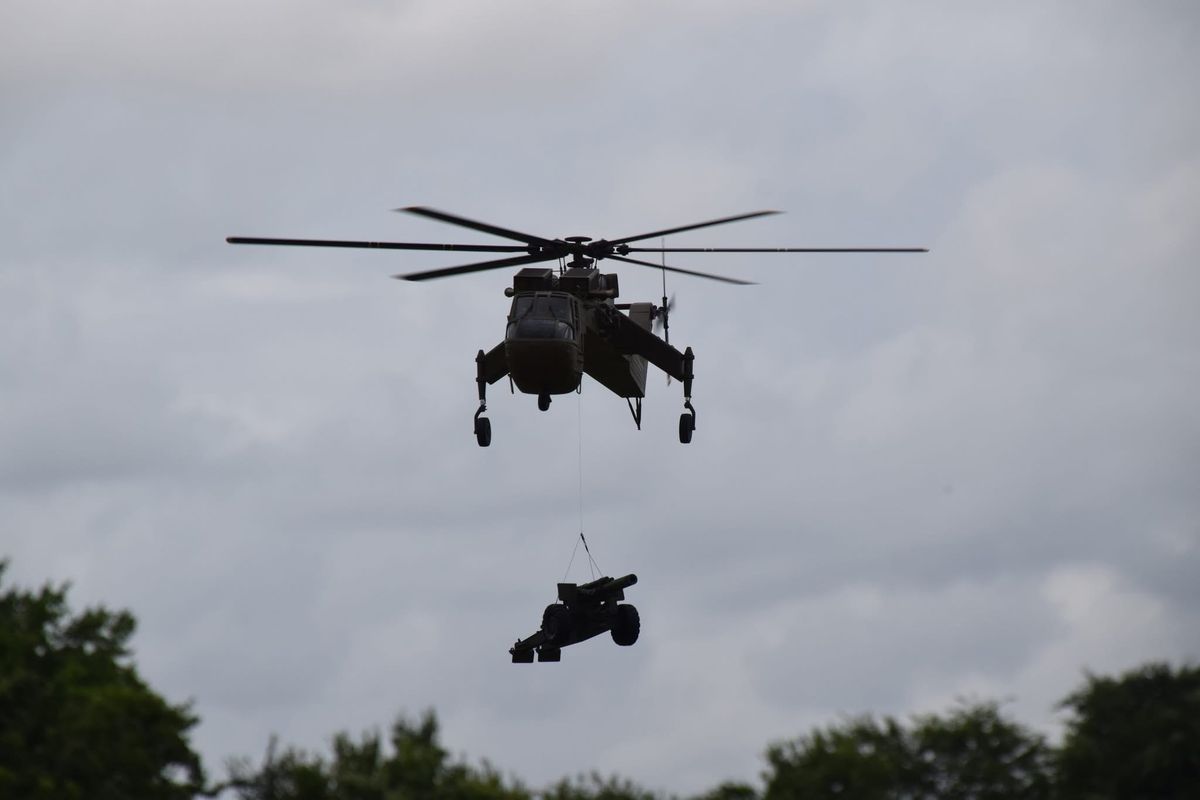
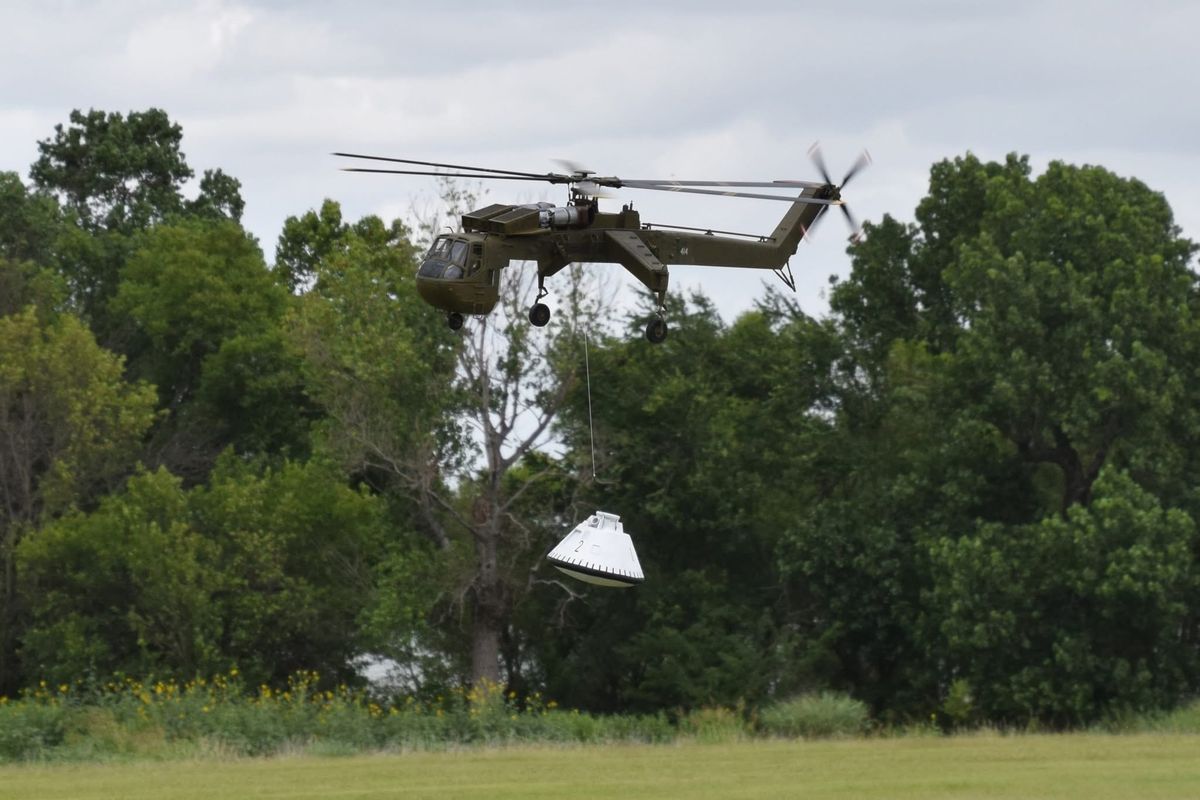
Had some success with on external loads with the Skycrane! Got in 4 flights at a Warbird event in Houston this weekend carrying a 3D printed 105mm howitzer, as well as an Apollo Capsule mock-up. The crane handled the wind quite well with both payloads. Will be working on a few more payload options in the future.
More External Cargo Flights
A few in flight photos from today’s flying carrying the Apollo Capsule simulator and an Artillery Gun
13 Comments
I am enjoying the build. It looks great. Thank you for posting.
Wow great 👌
Really Nice Michael!
Amasing work on the details ! Nice job.
Nicely done. I do not know how some modelers can work on small helicopters. My sausage fingers do not allow such work.
Great Job,
B
Looks outstanding Michael!
Thanks Tim!
Looks great
Oh how we heli pilots “listen” very intently every flight. Nice work.
Dude, I love the artillery suspended! What a great shot! I'm waiting for my Vario Air Crane to get painted and was thinking about suspending a Tamiya Maersk container from the bottom, but it's a turbine so I'll have to stash the fuel tank inside the container...fun project and yours gave me the idea to make the standard tank and my container swappable.
Very cool! Will look forward to seeing it!
Dammit Mann!!!
You may be the sling load "King"
Nicely done,
B
Very nice !