

Bell UH1N final assembly
 Danny D.
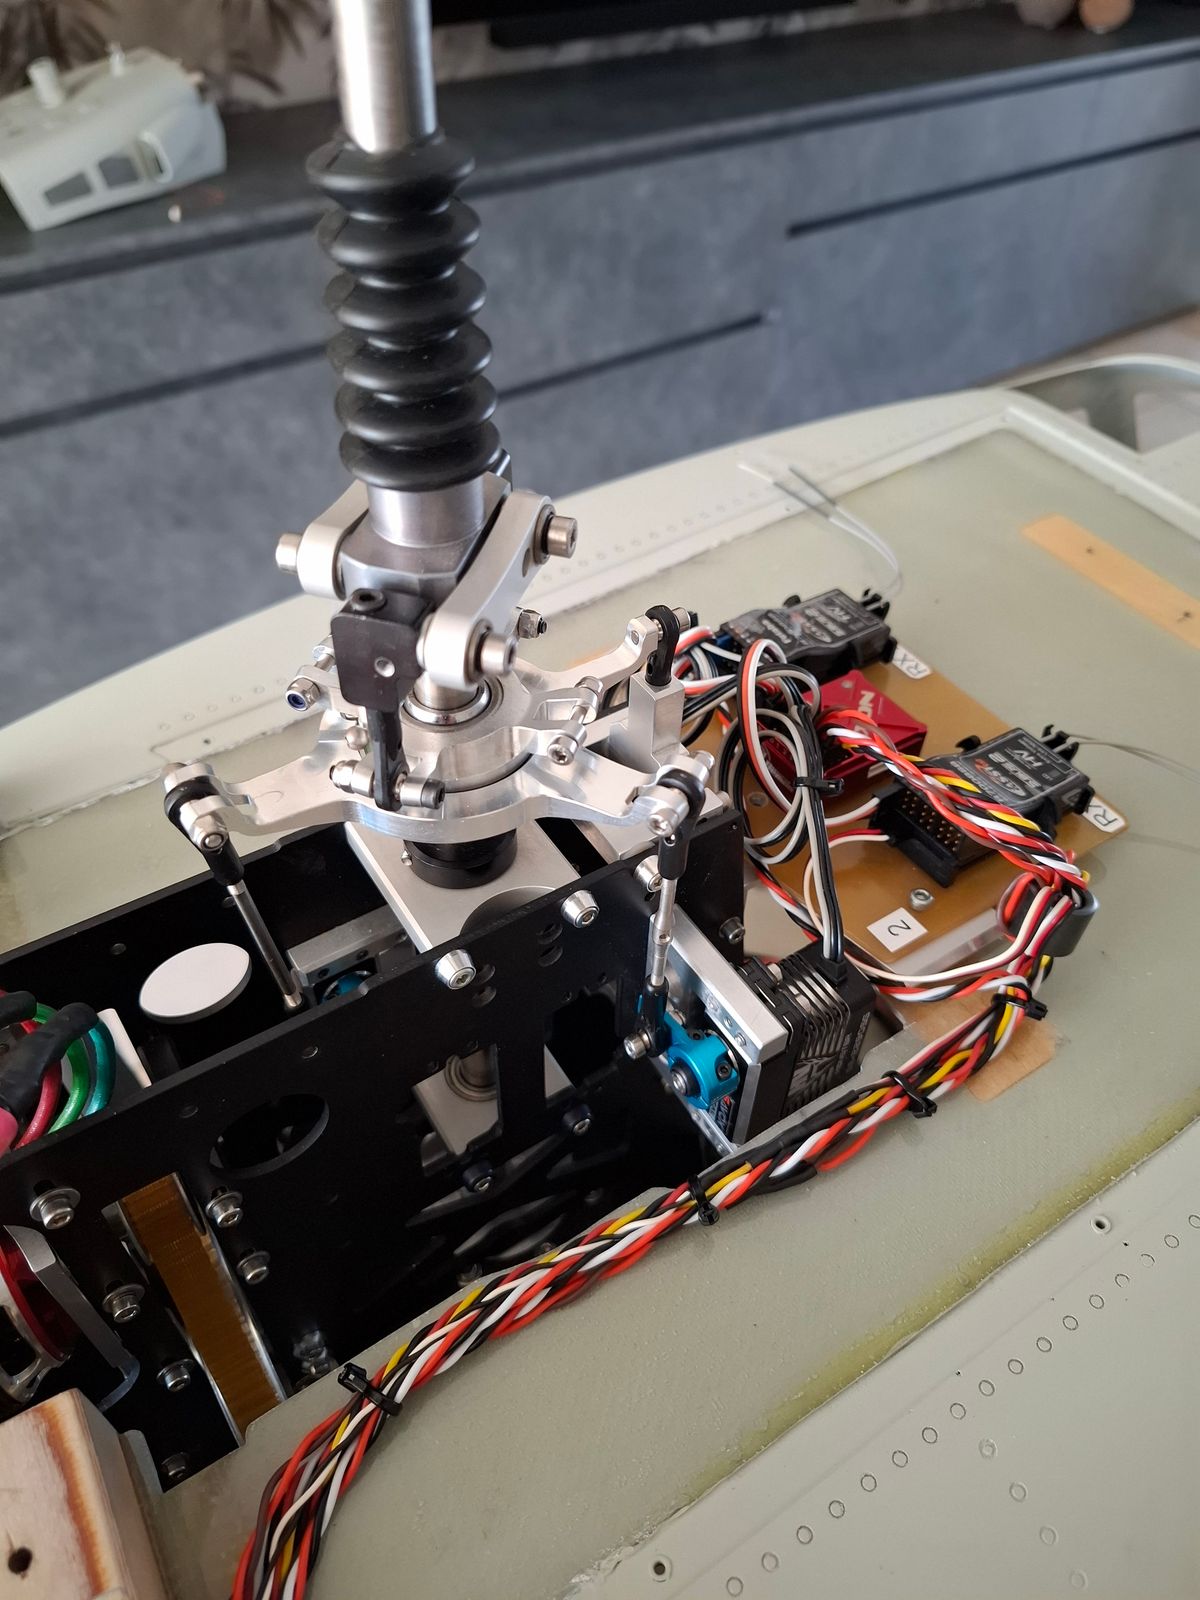
Vario 1/6 Bell UH1N Final assembly
After years of building, final assembly.
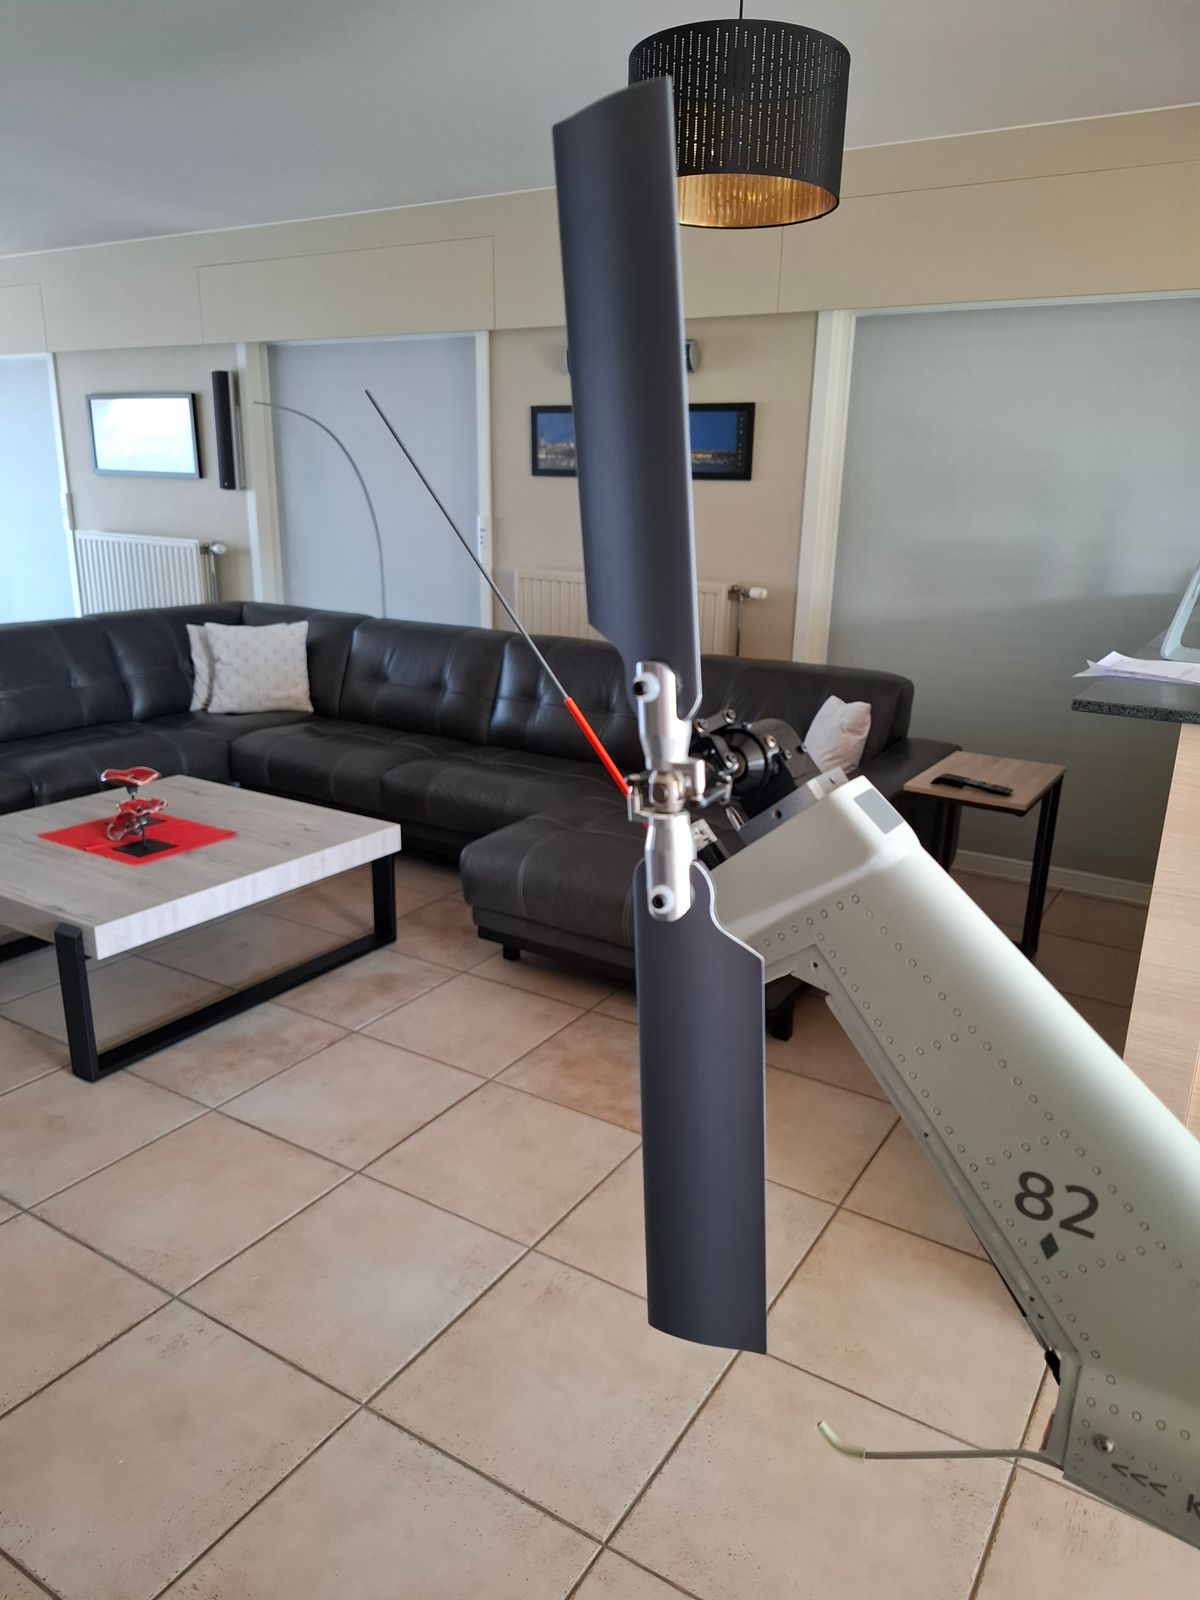
M blade 175 mm "S" schaped tail rotor blades.
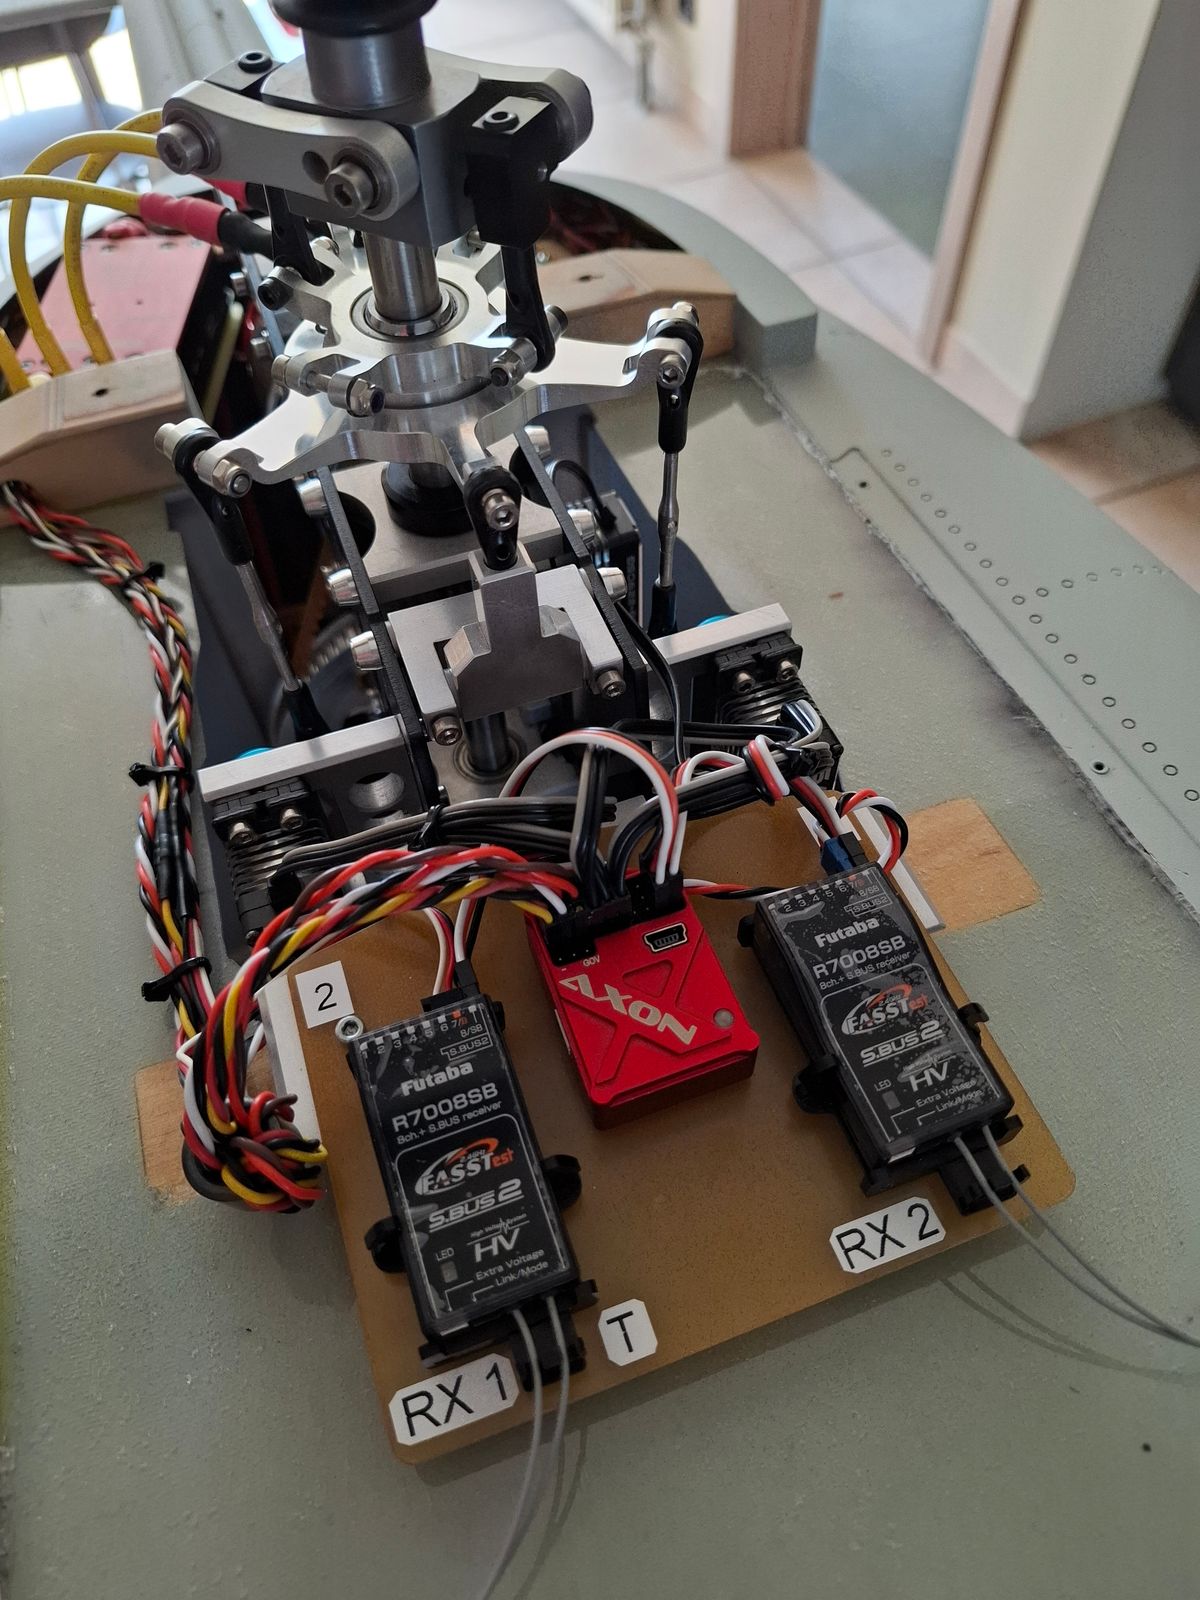
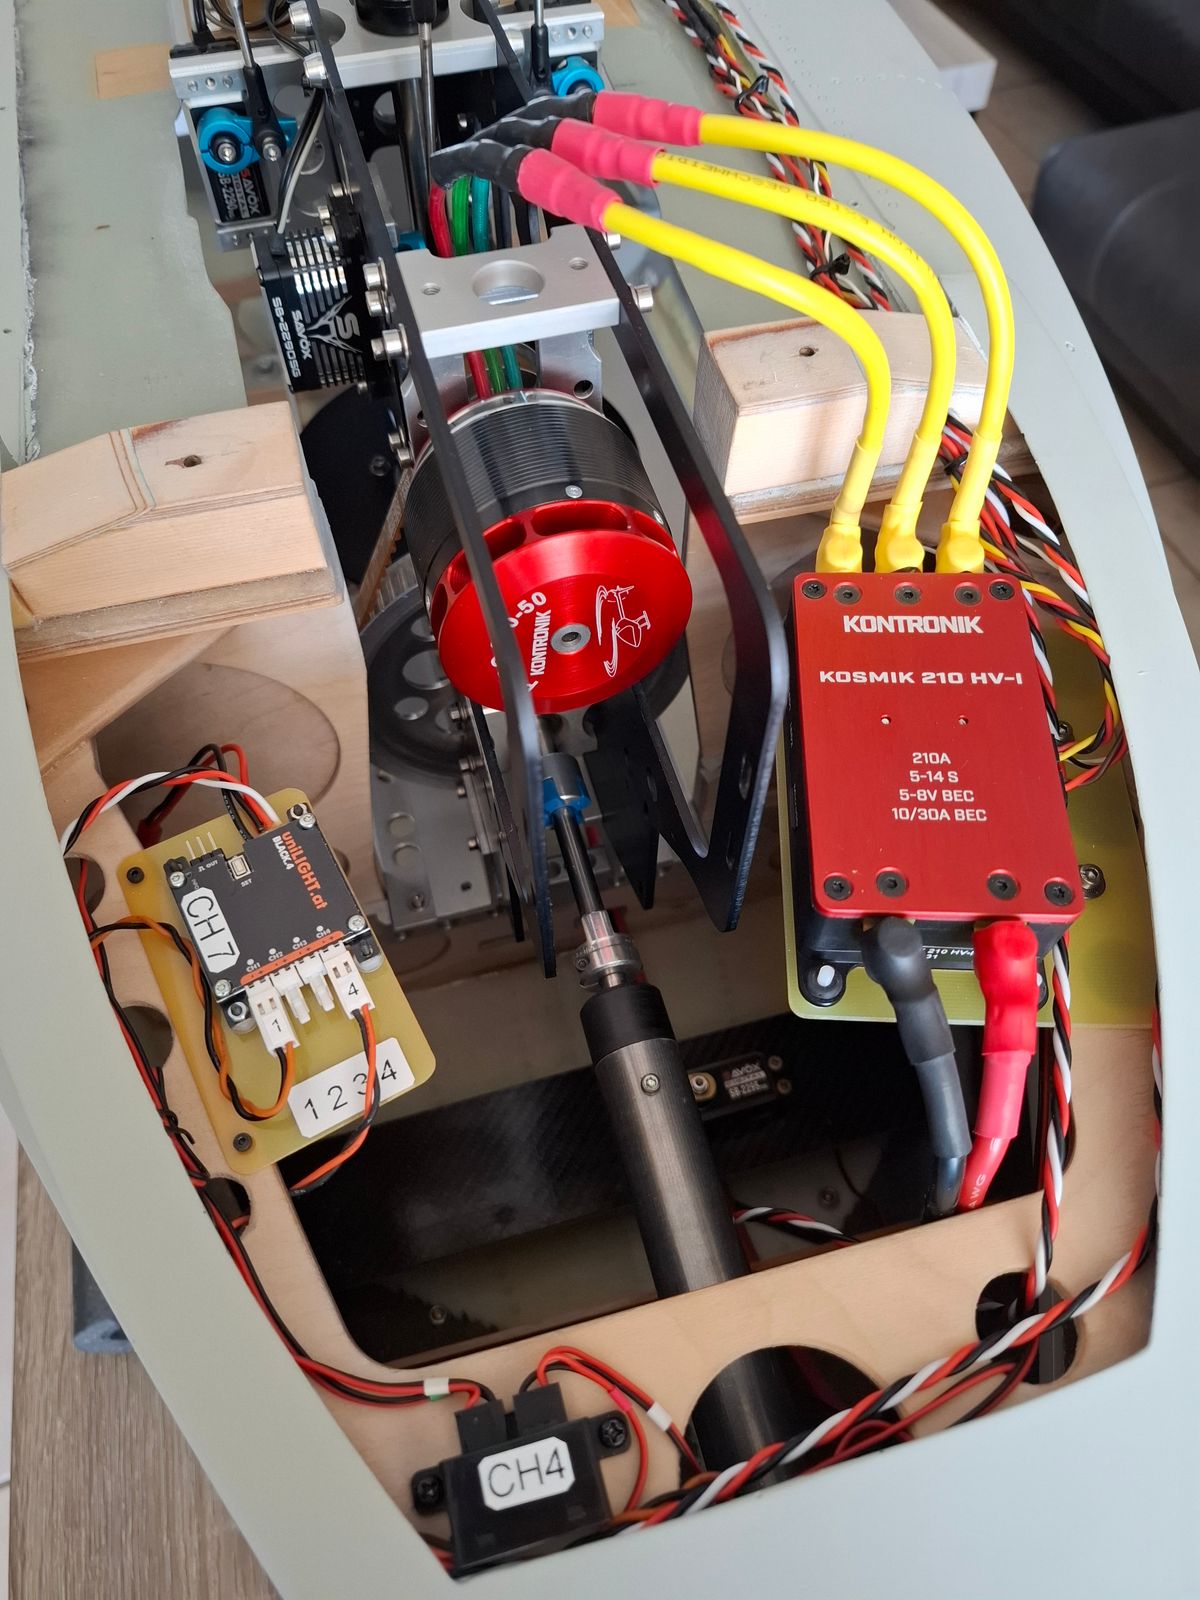
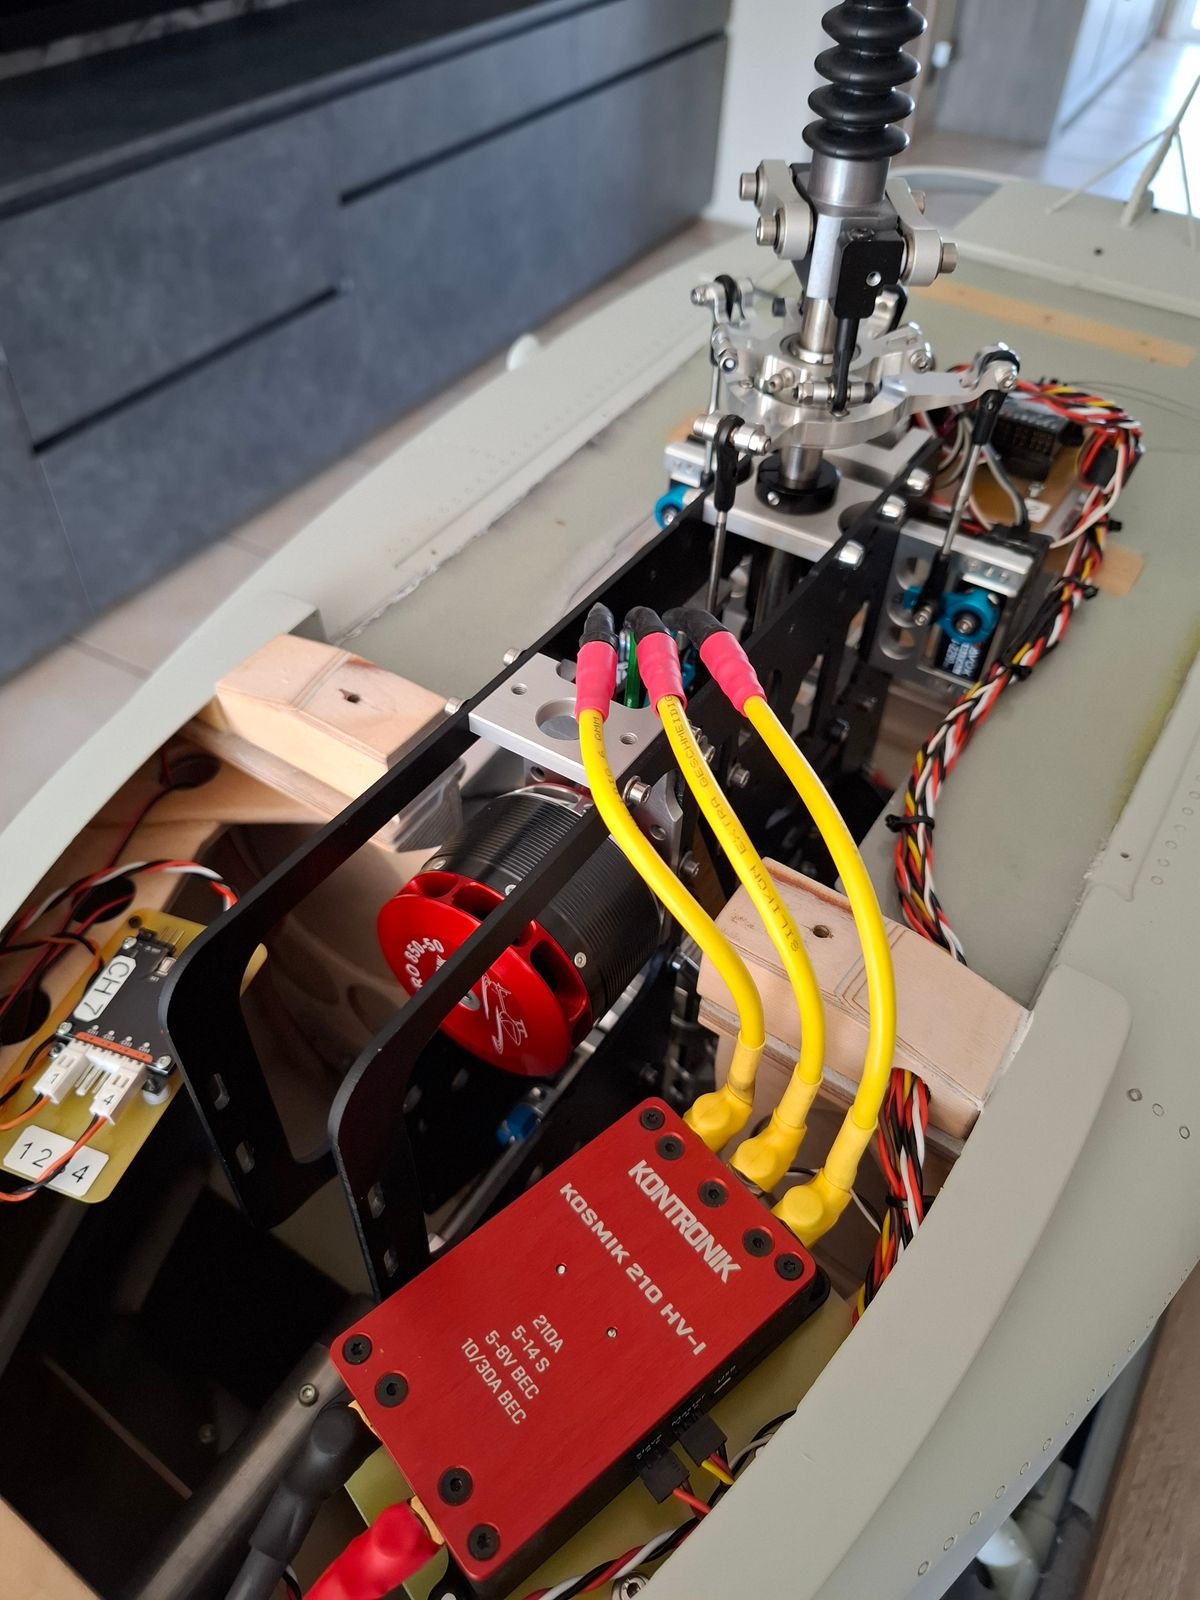
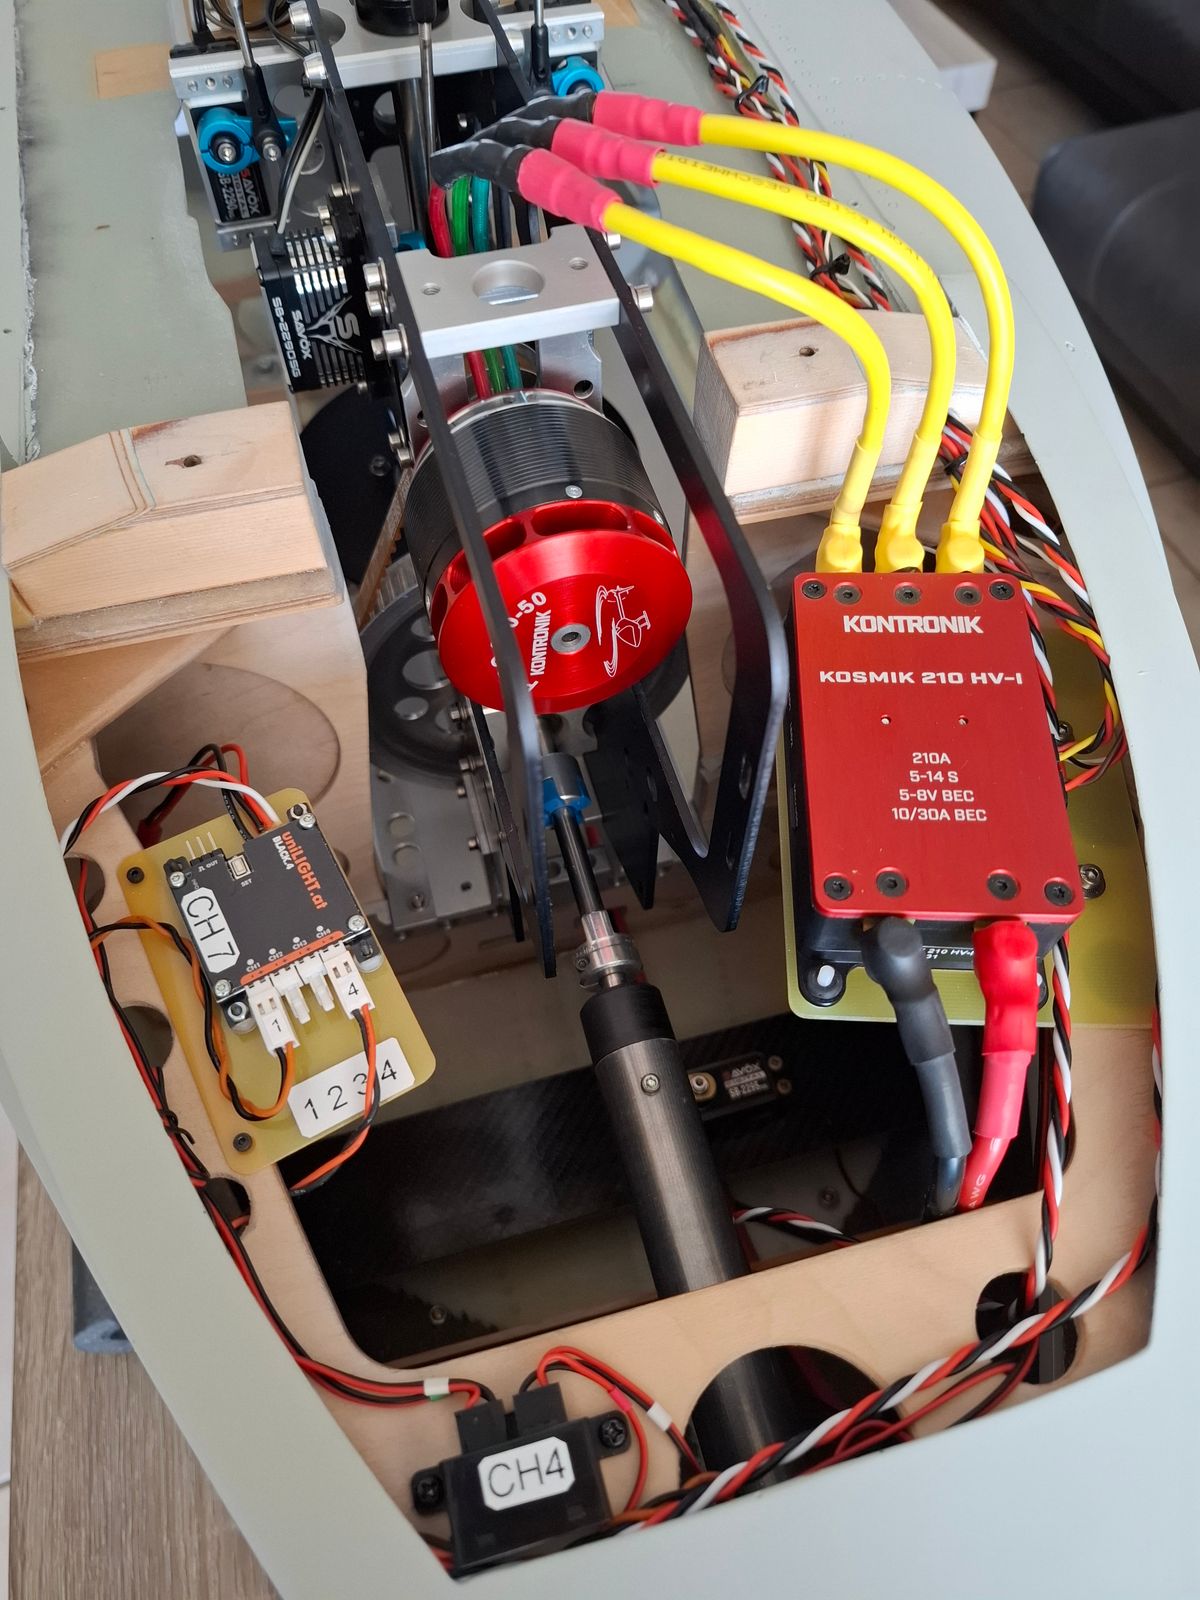
Wiring of the ESC / Telemetry connections
Dual RX setup connected to the Dual RX inputs of the Axon FBL system.
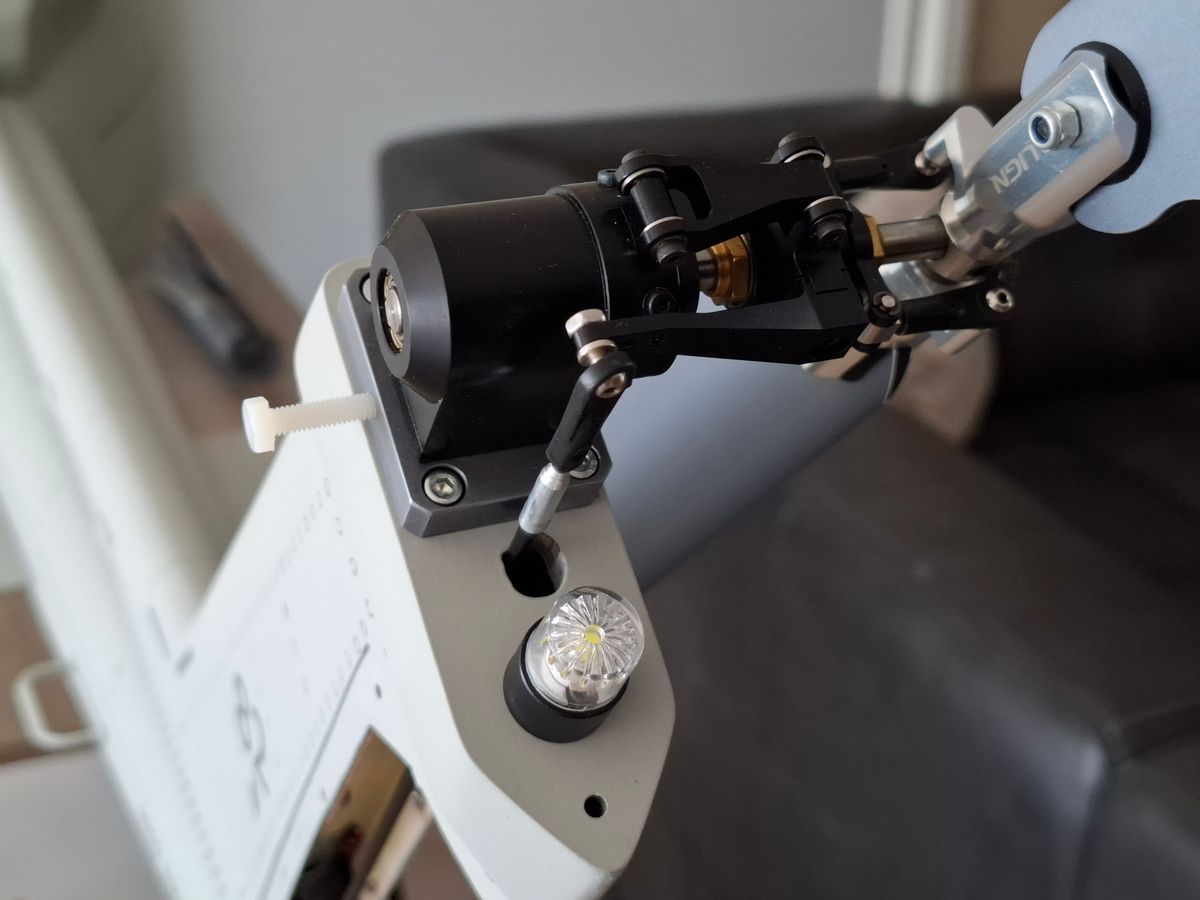
Unilight navigation lights wiring
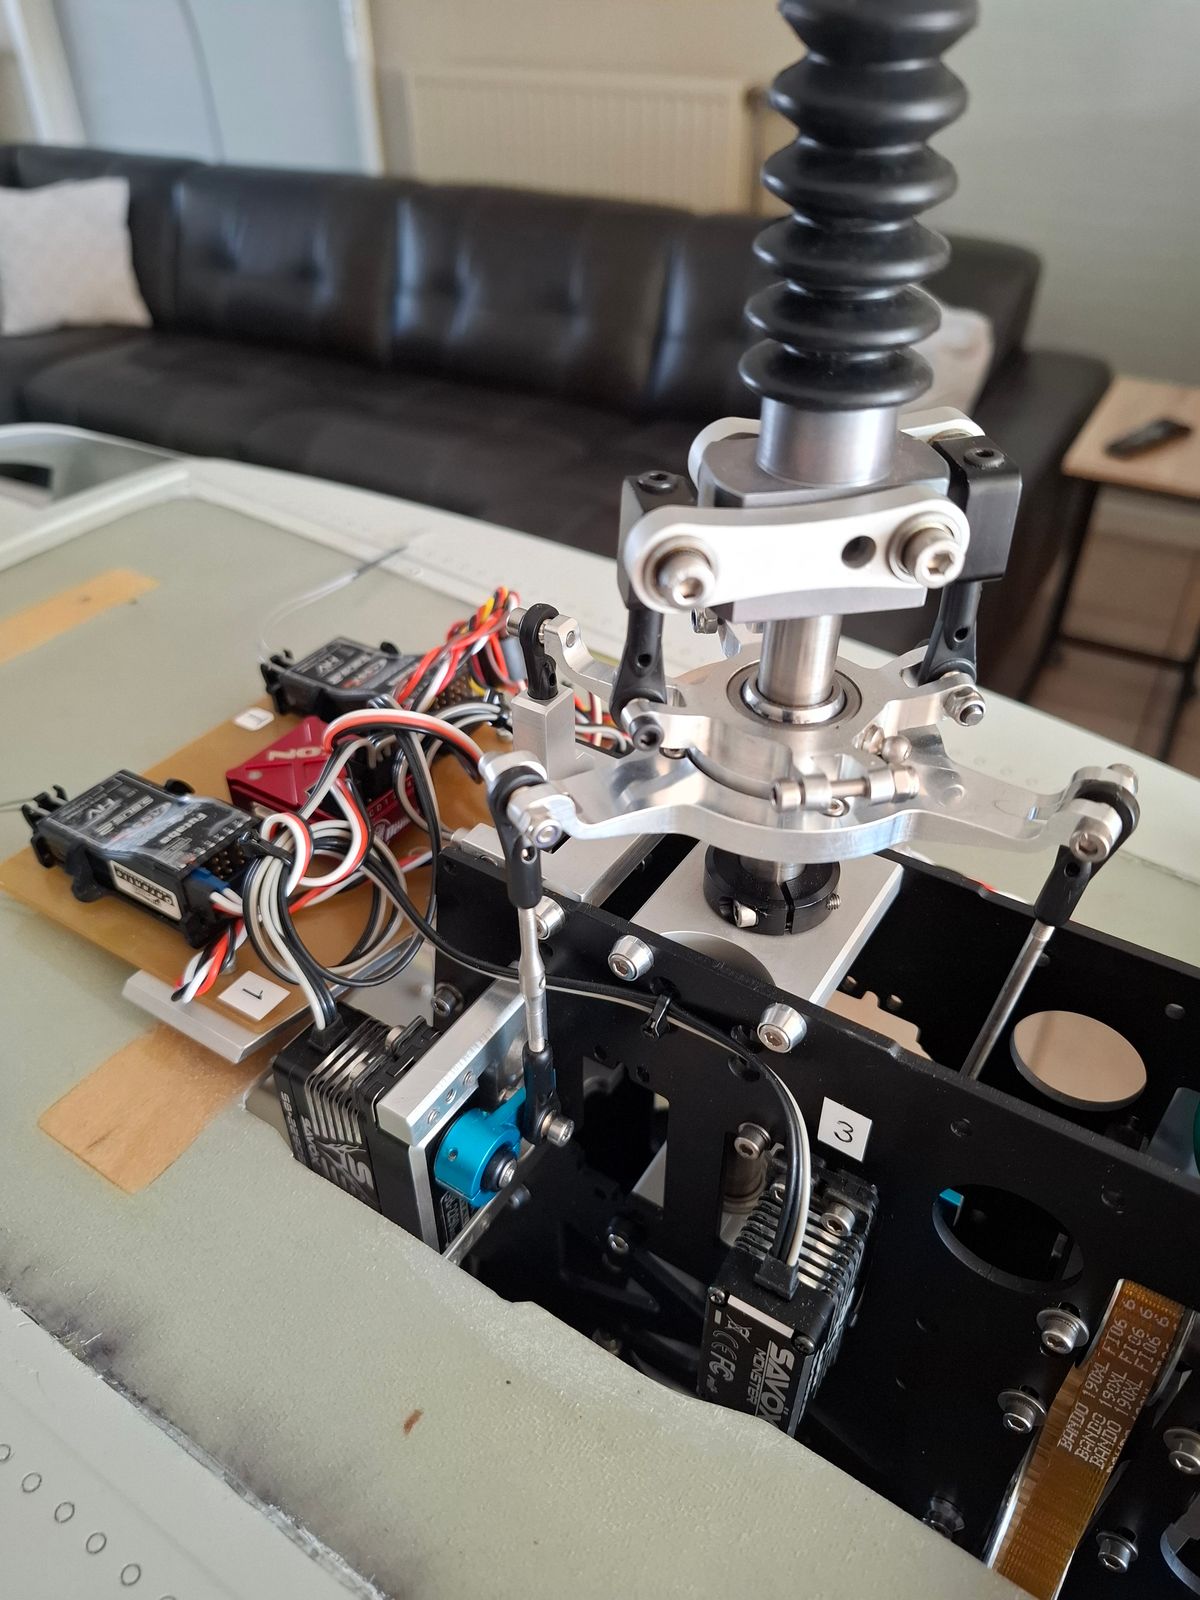
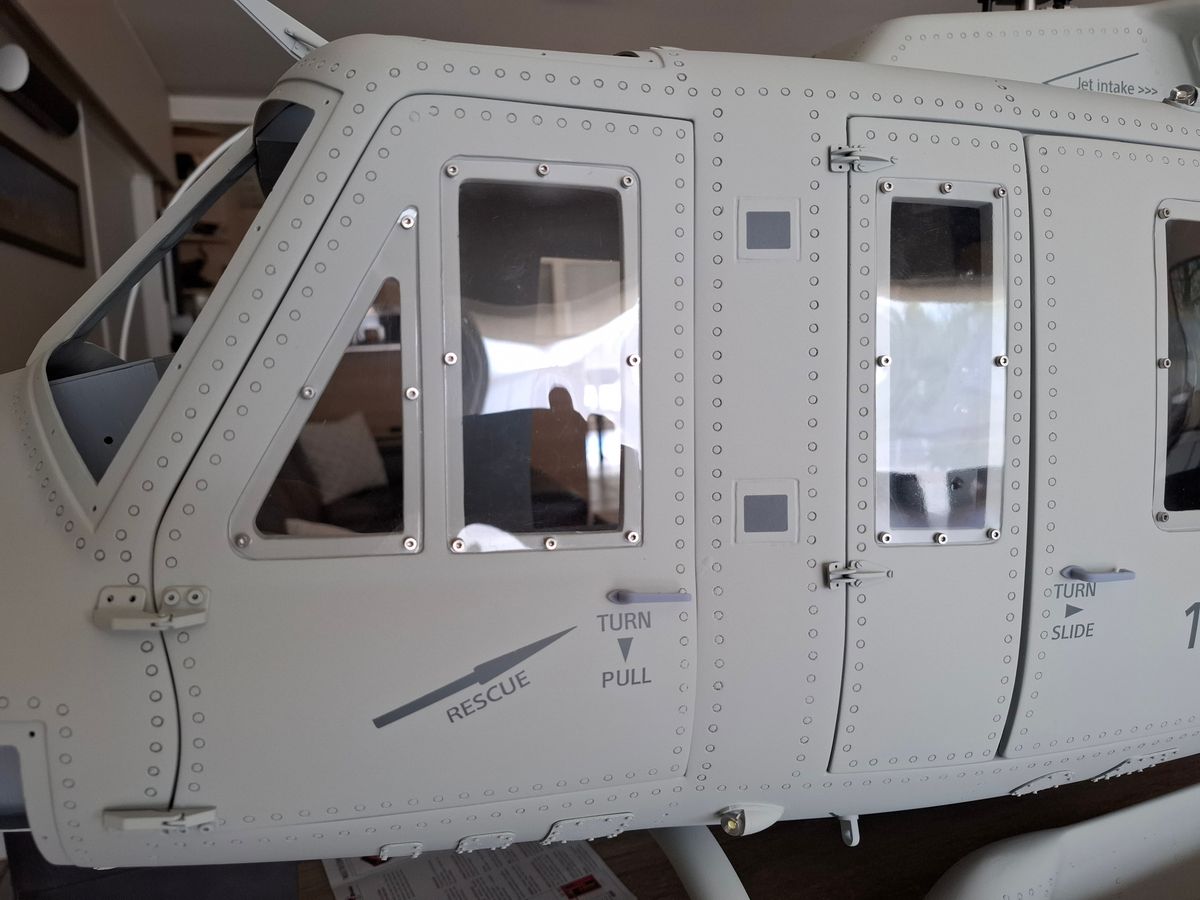
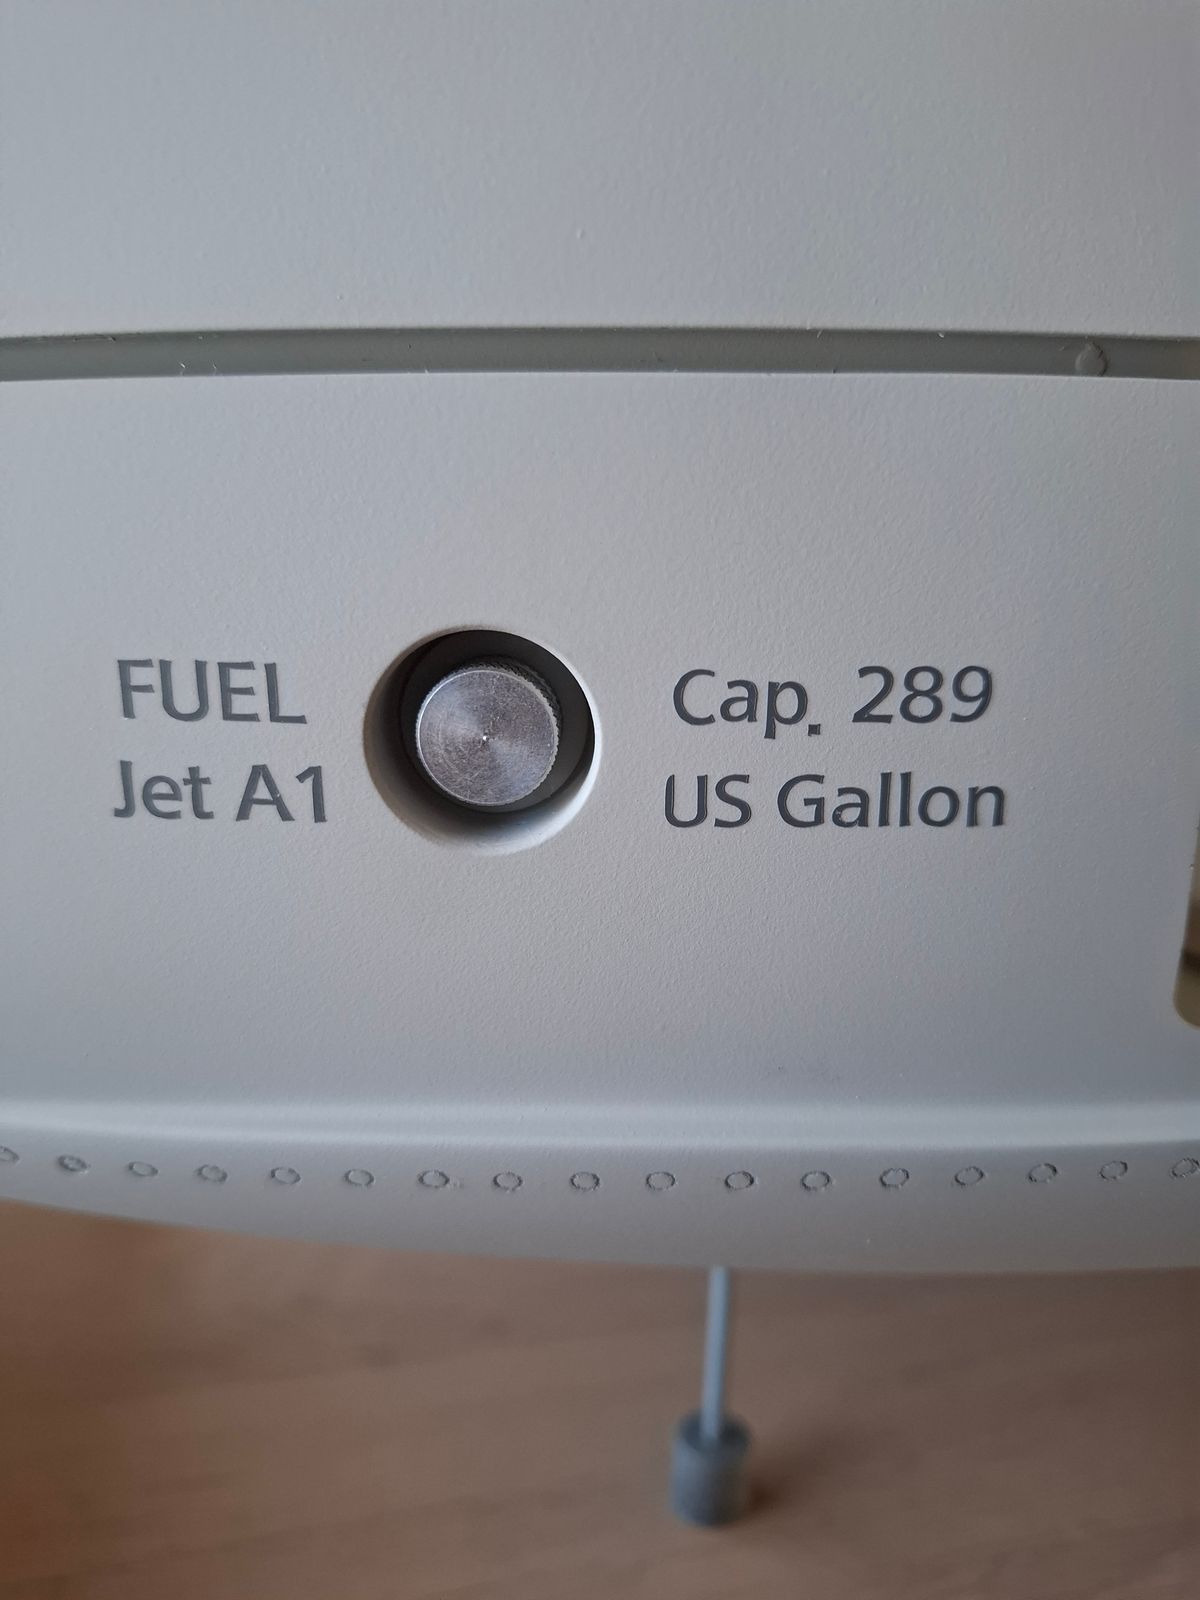
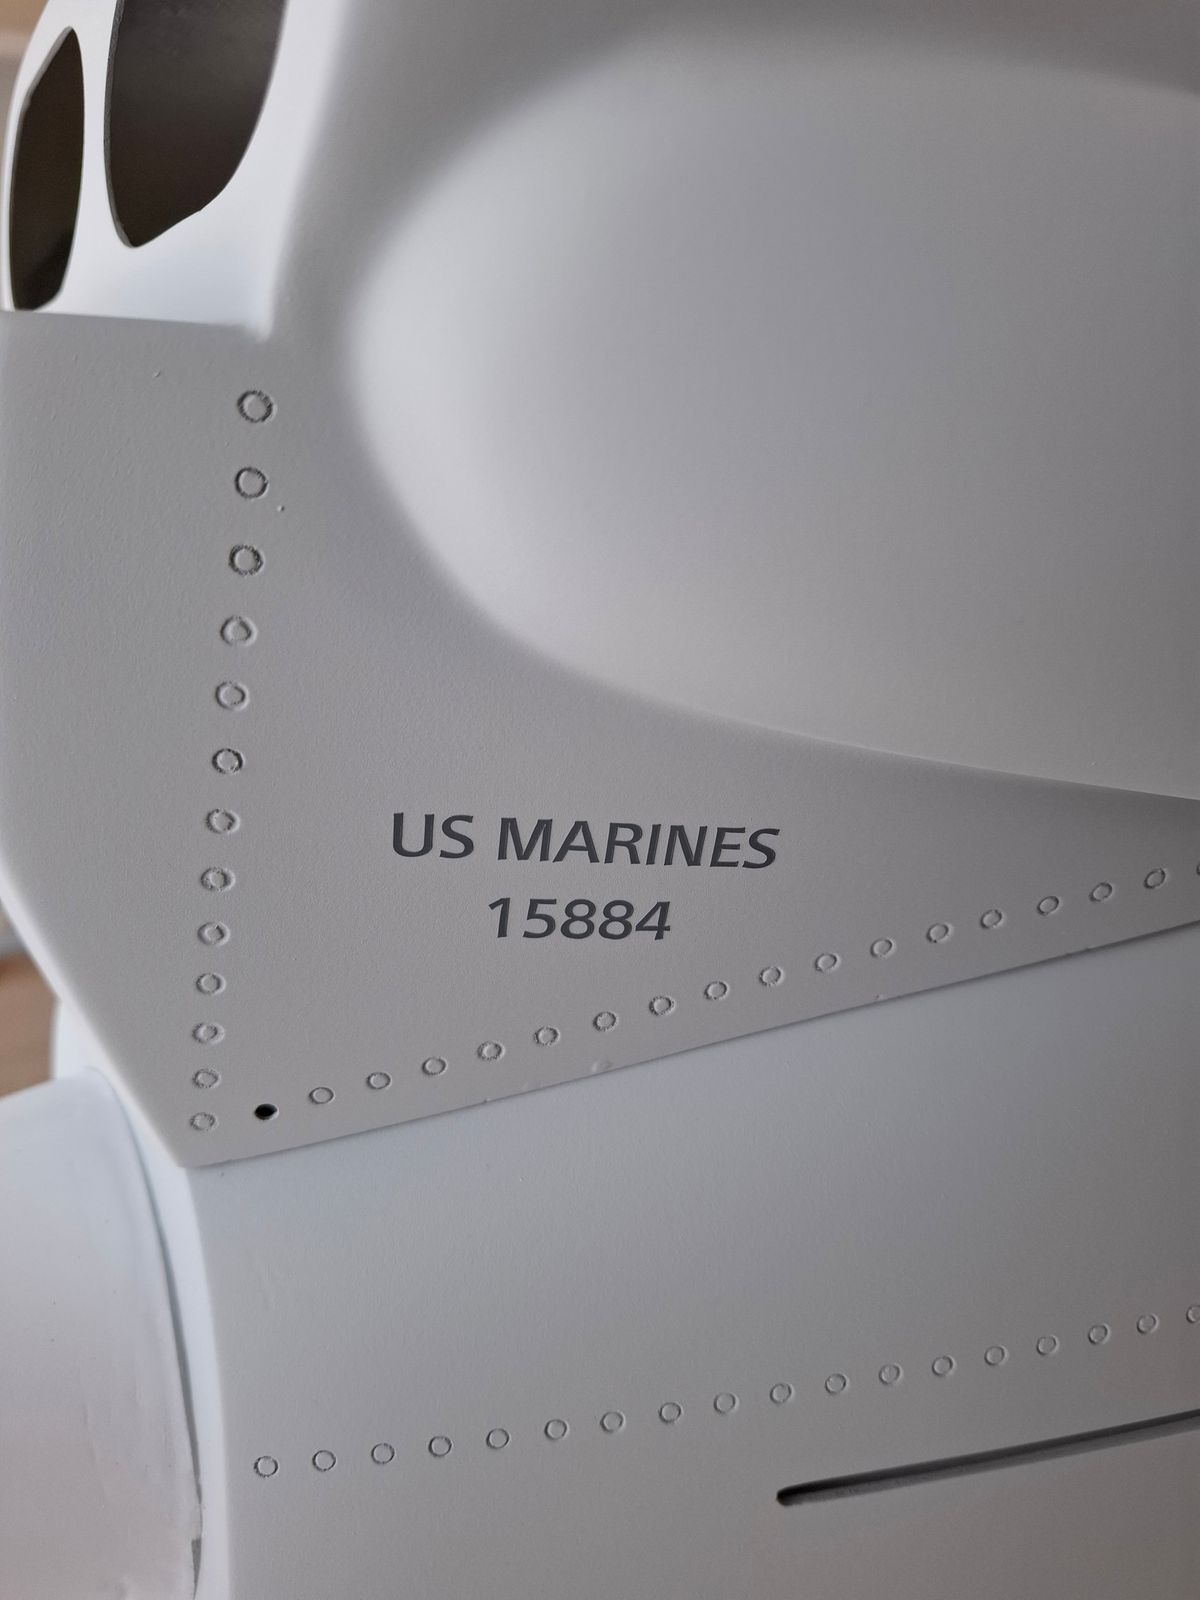
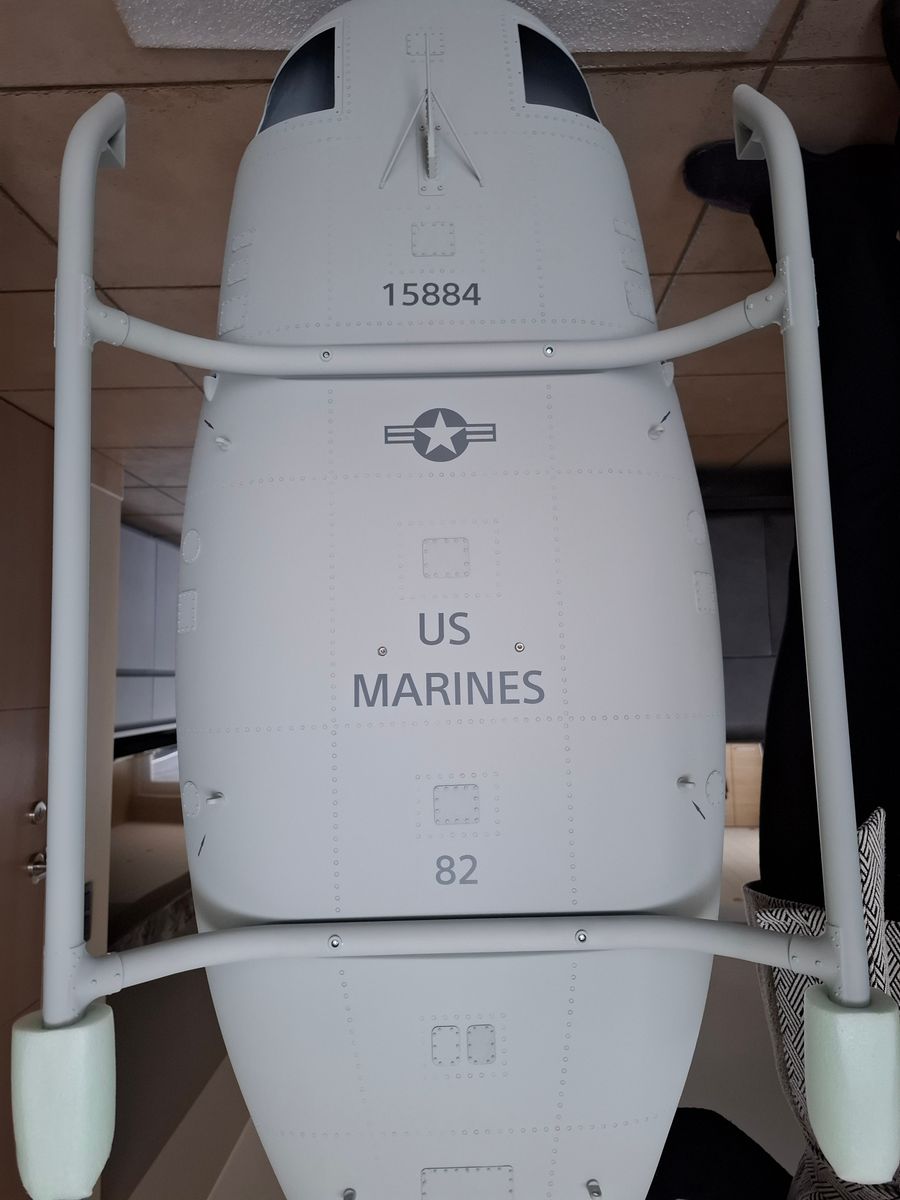
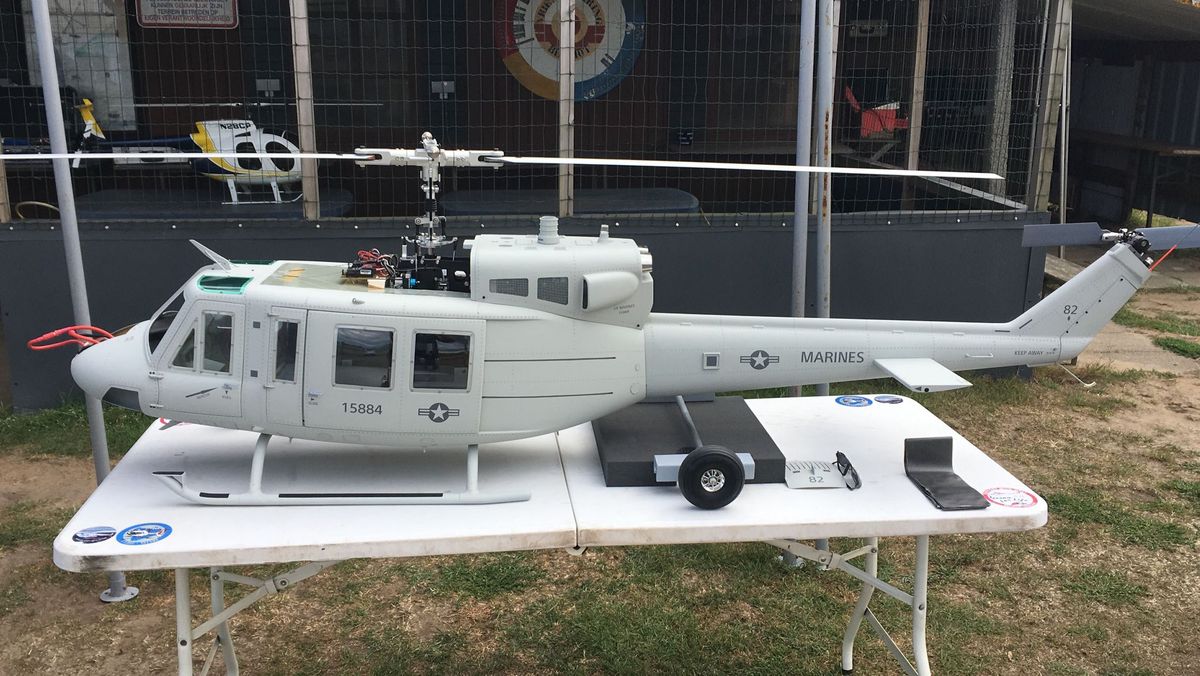
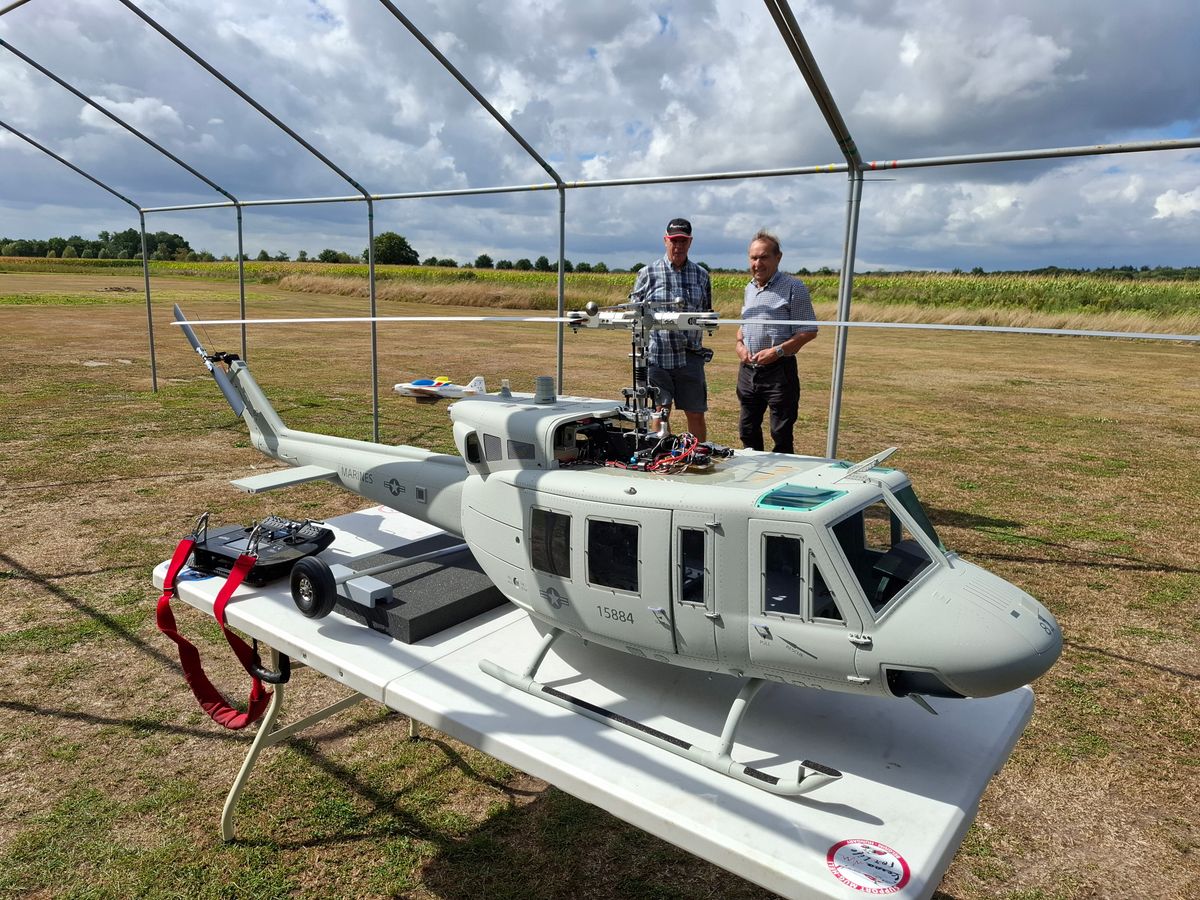
Painting and lettering details finished
Painting done, lettering finished.
Modified rudder pitch control linkage.
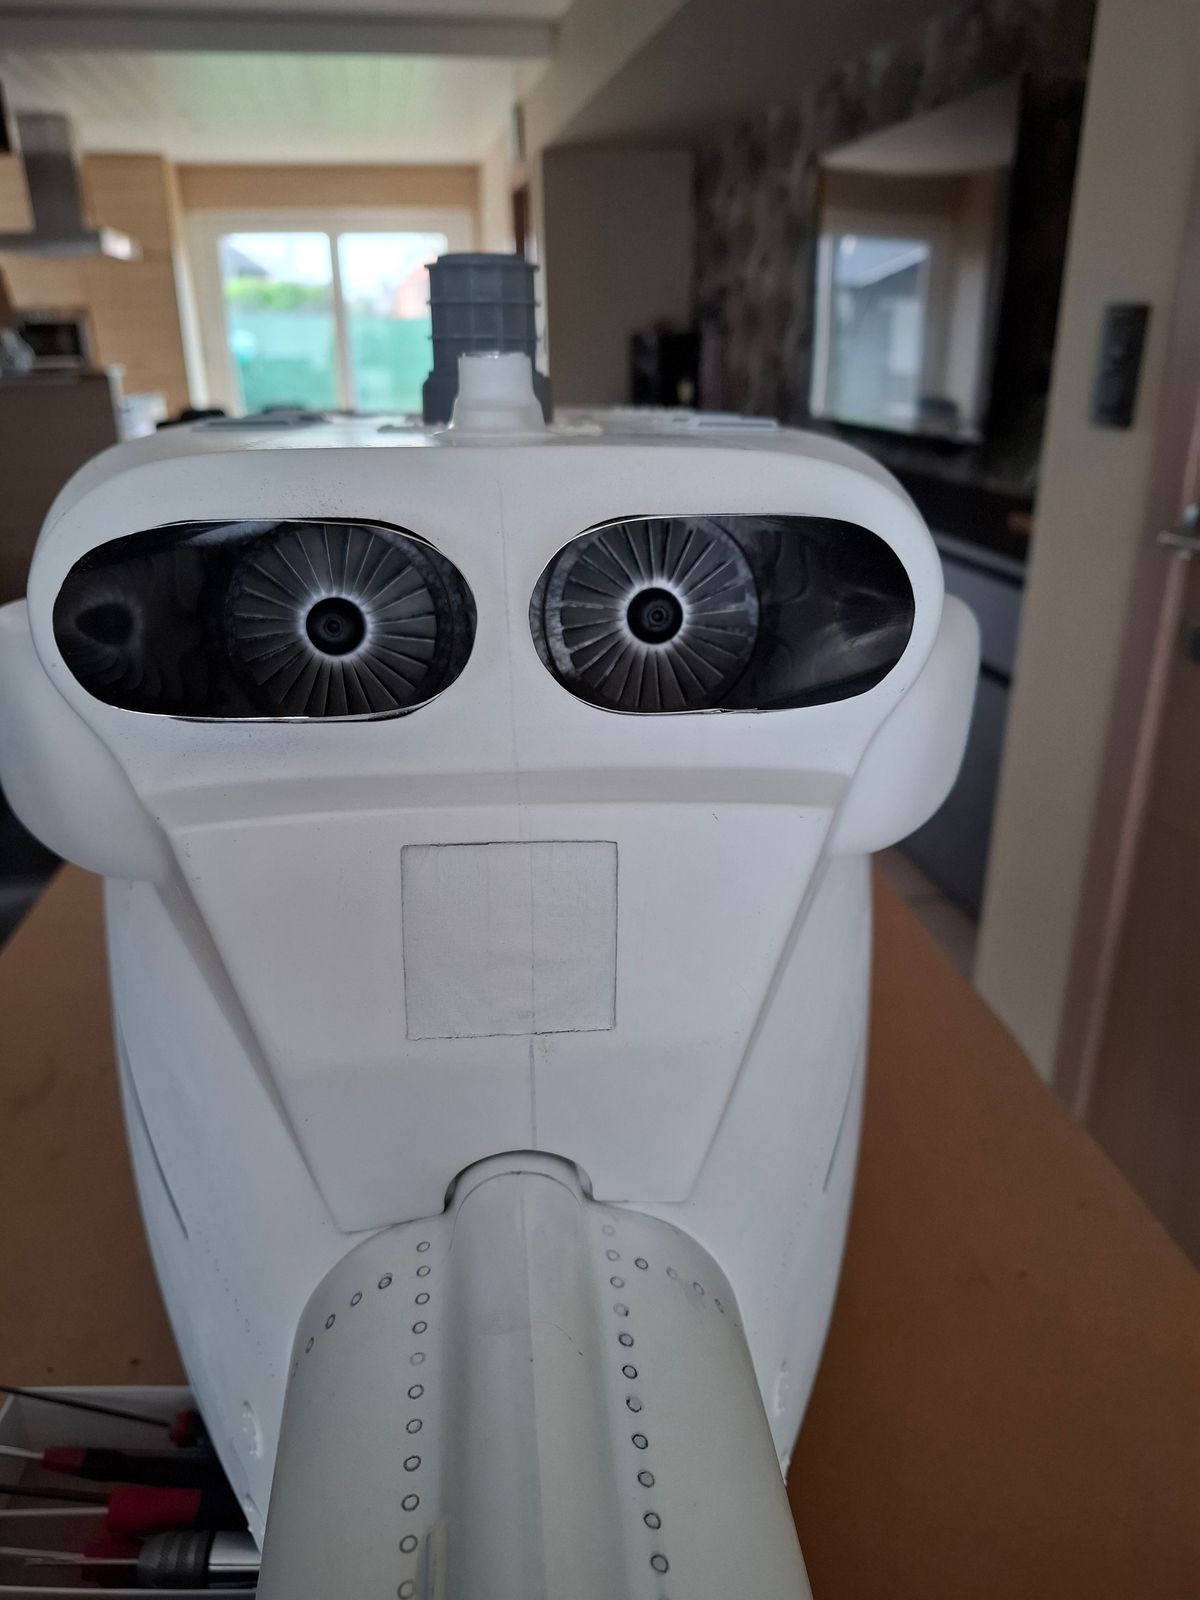
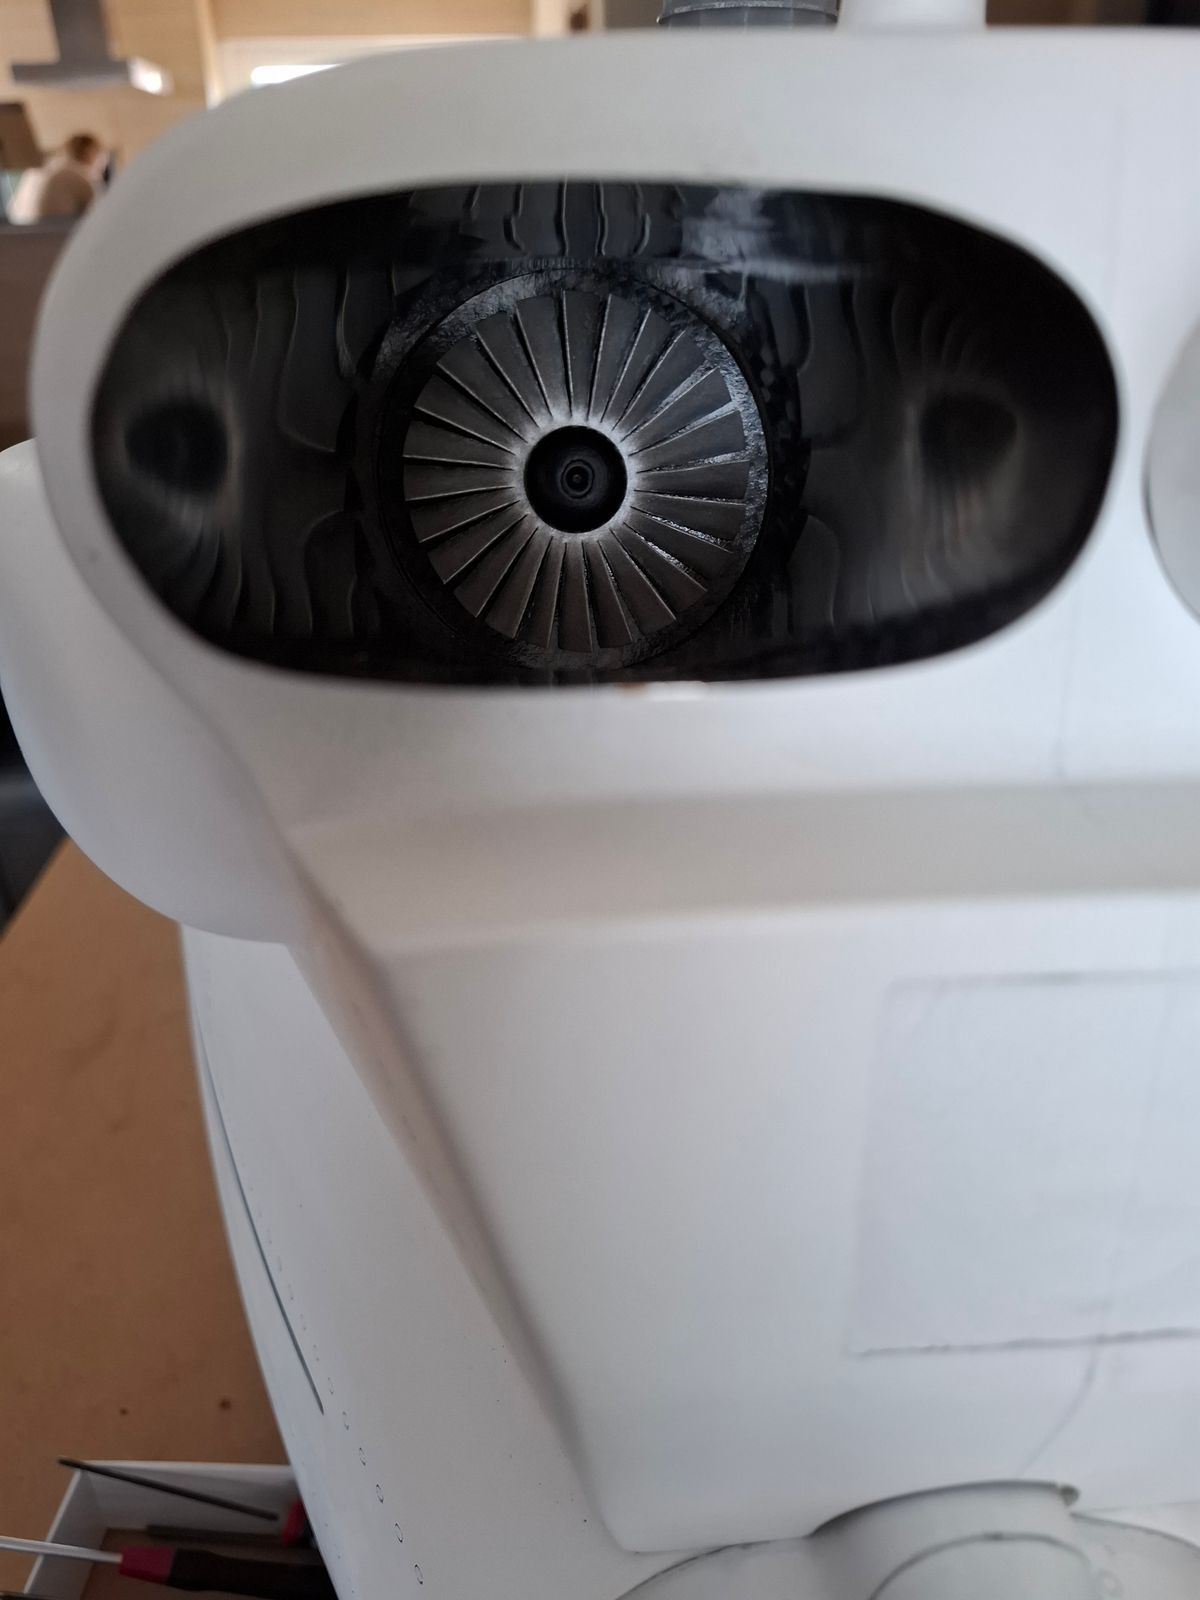
Turbine wheels installed.
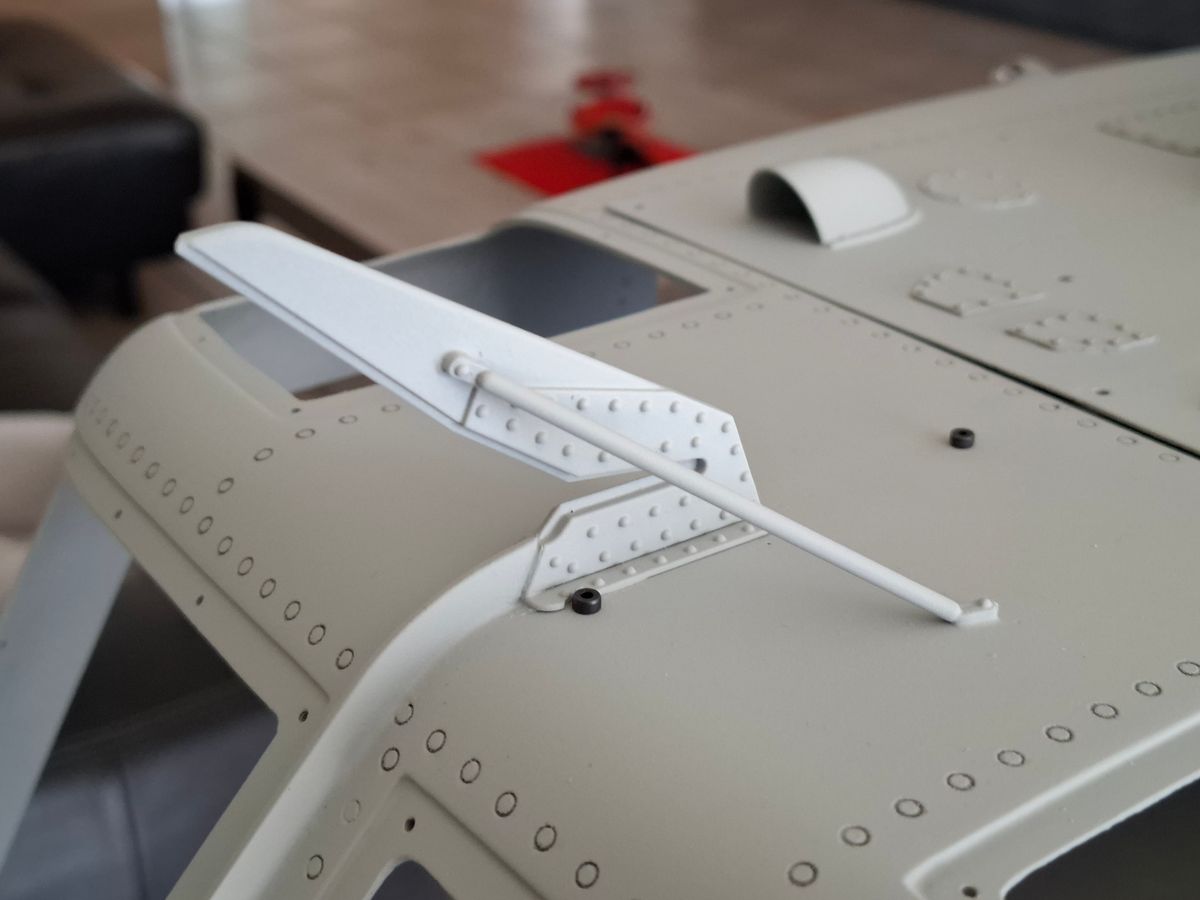
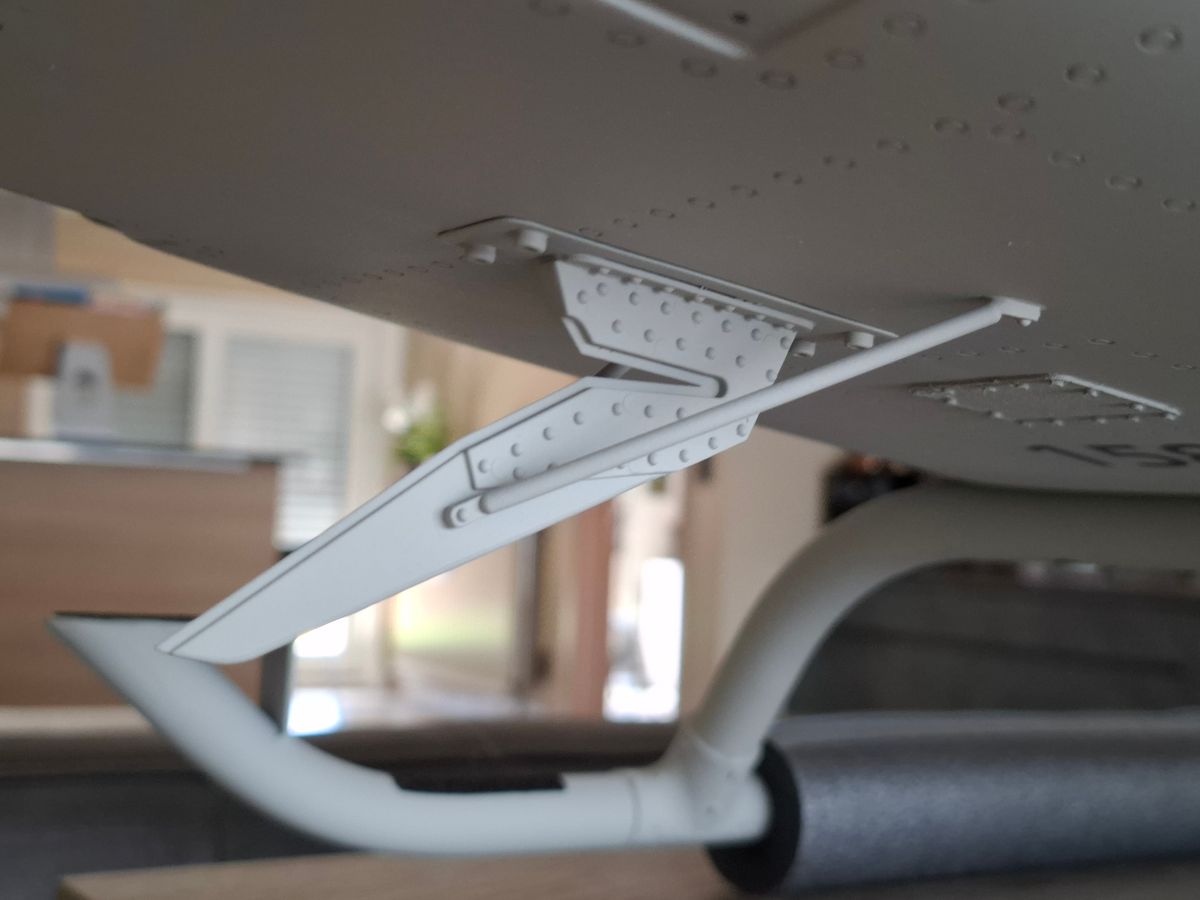
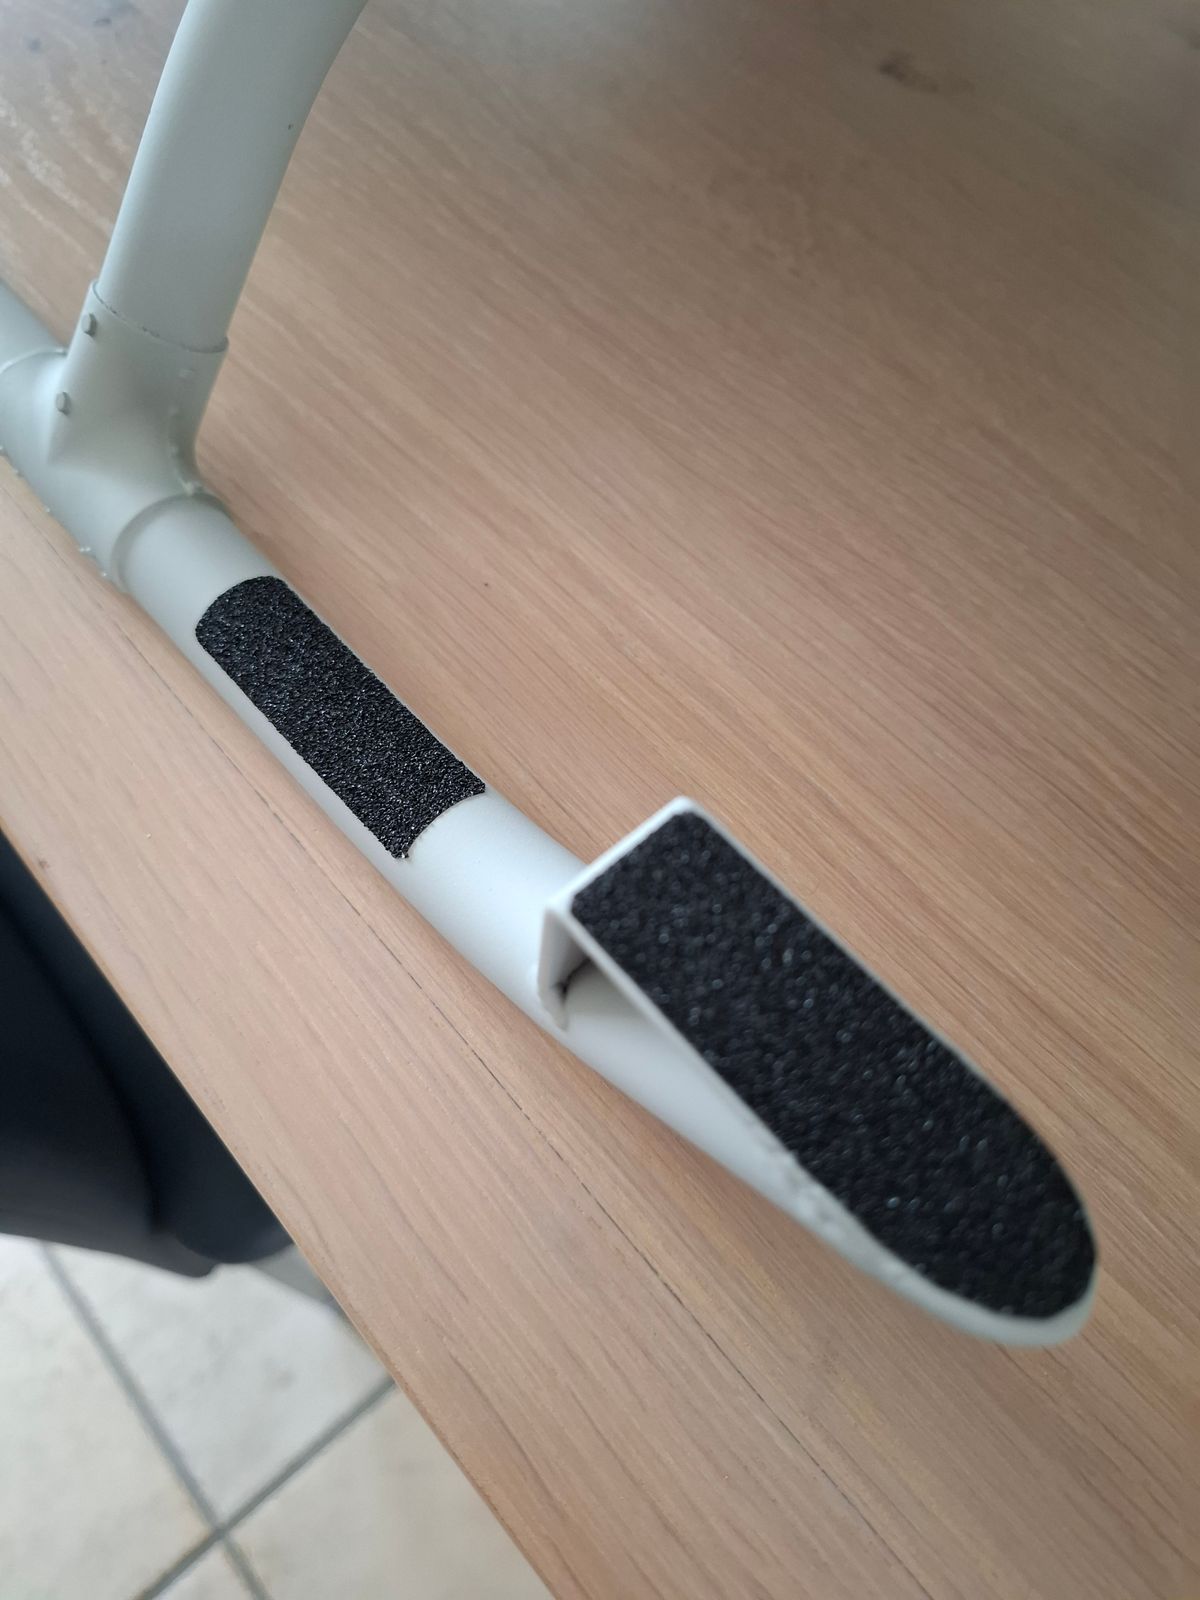
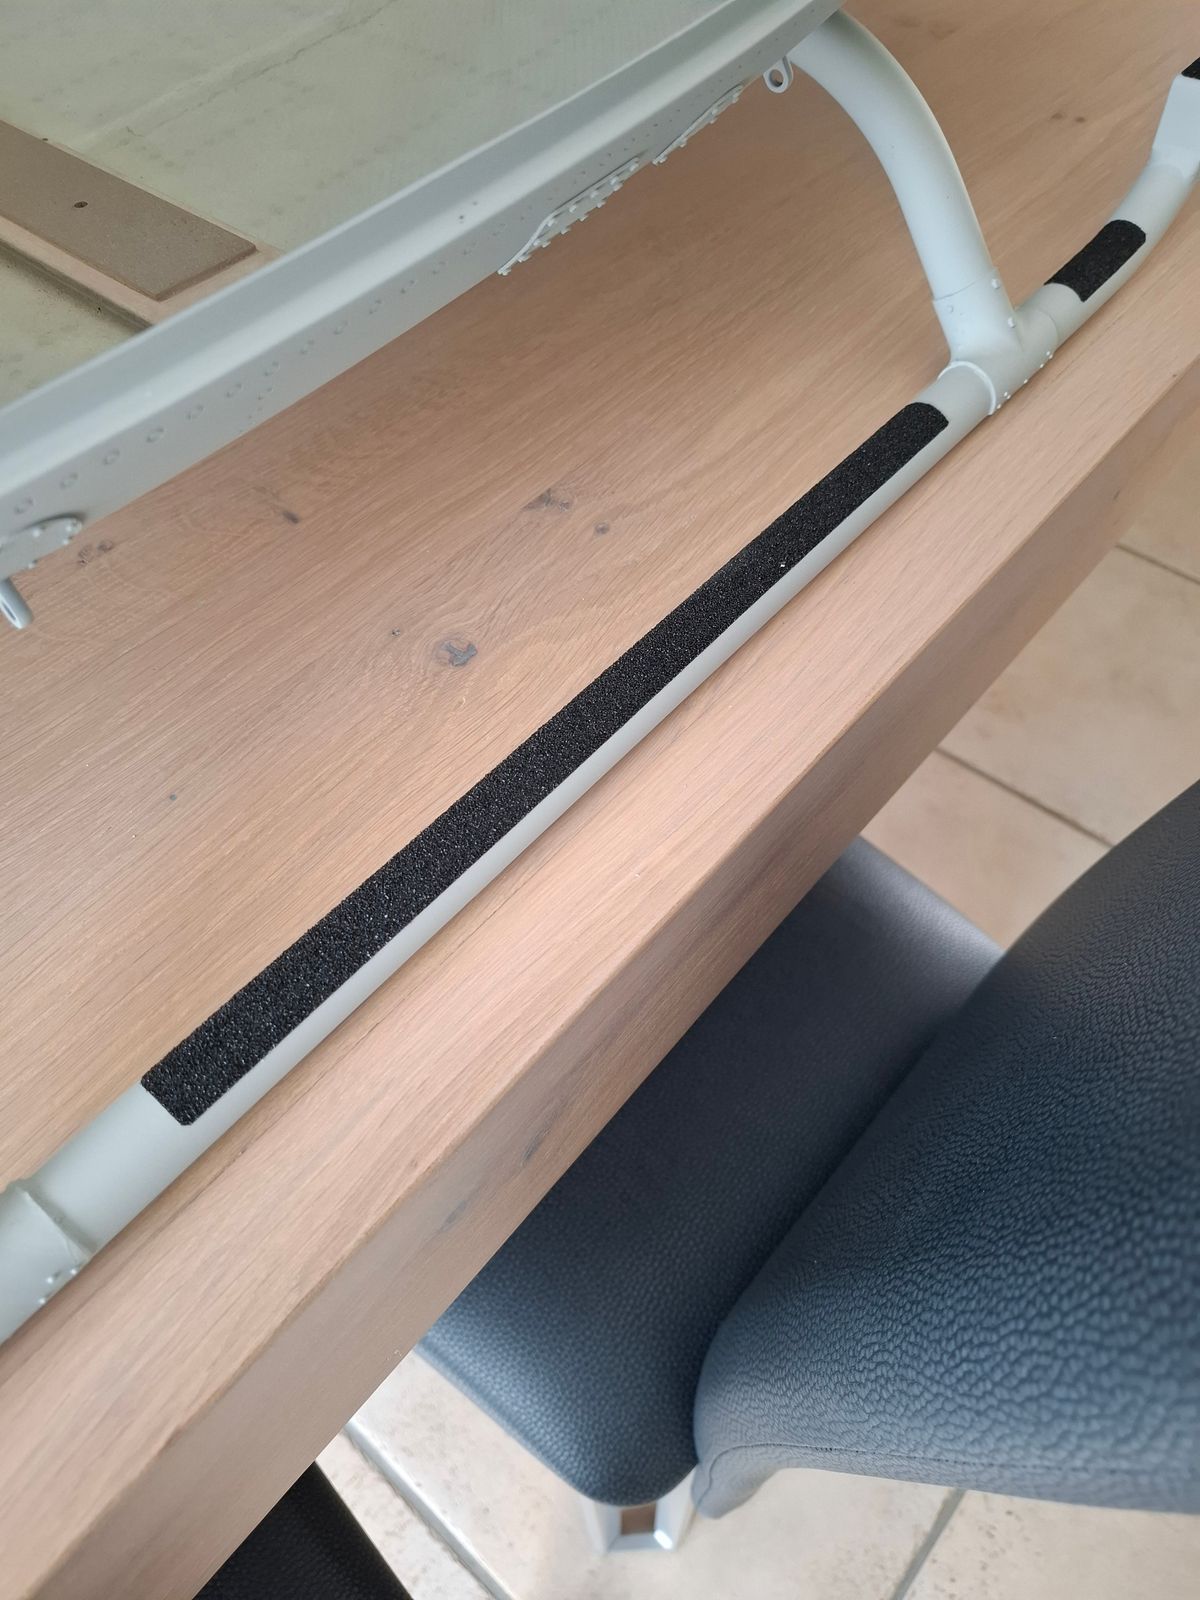
Anti slip strips on the skids
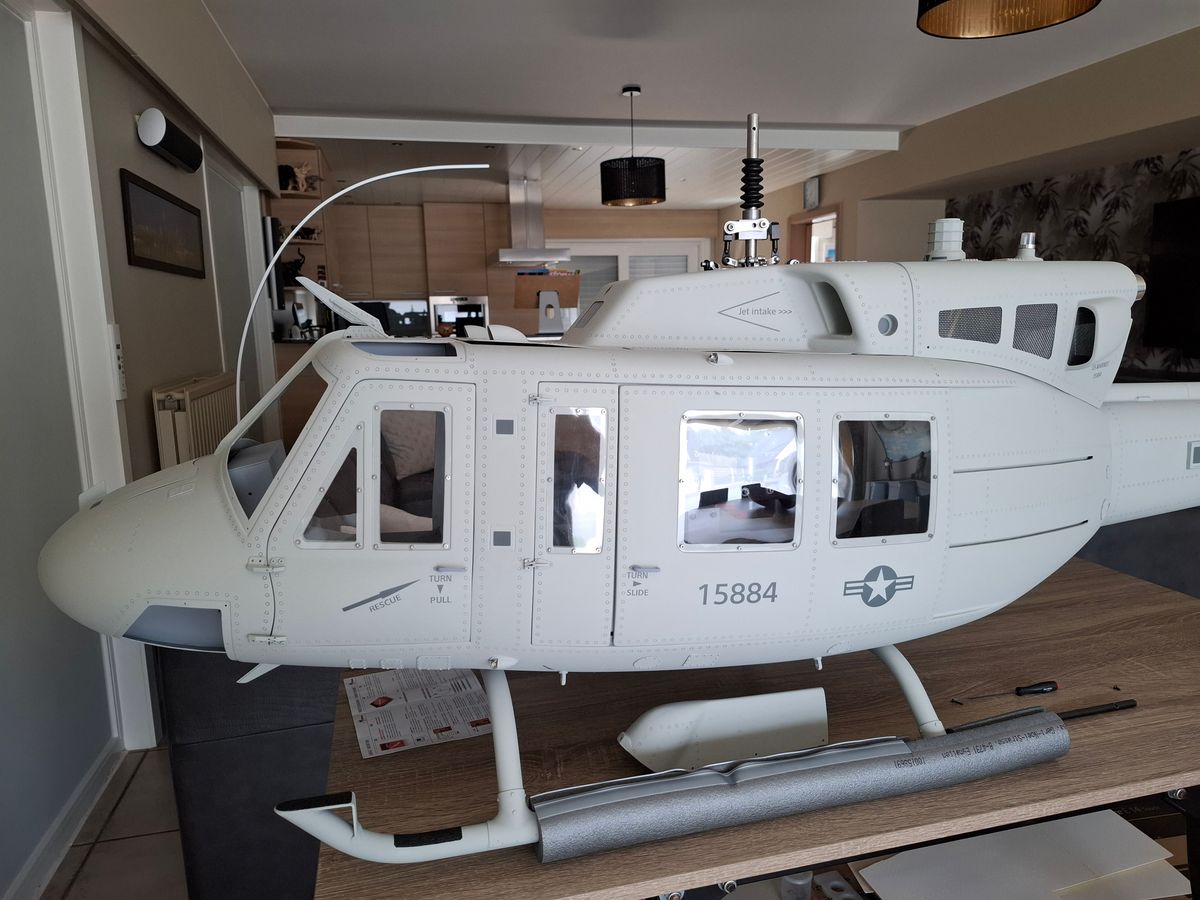
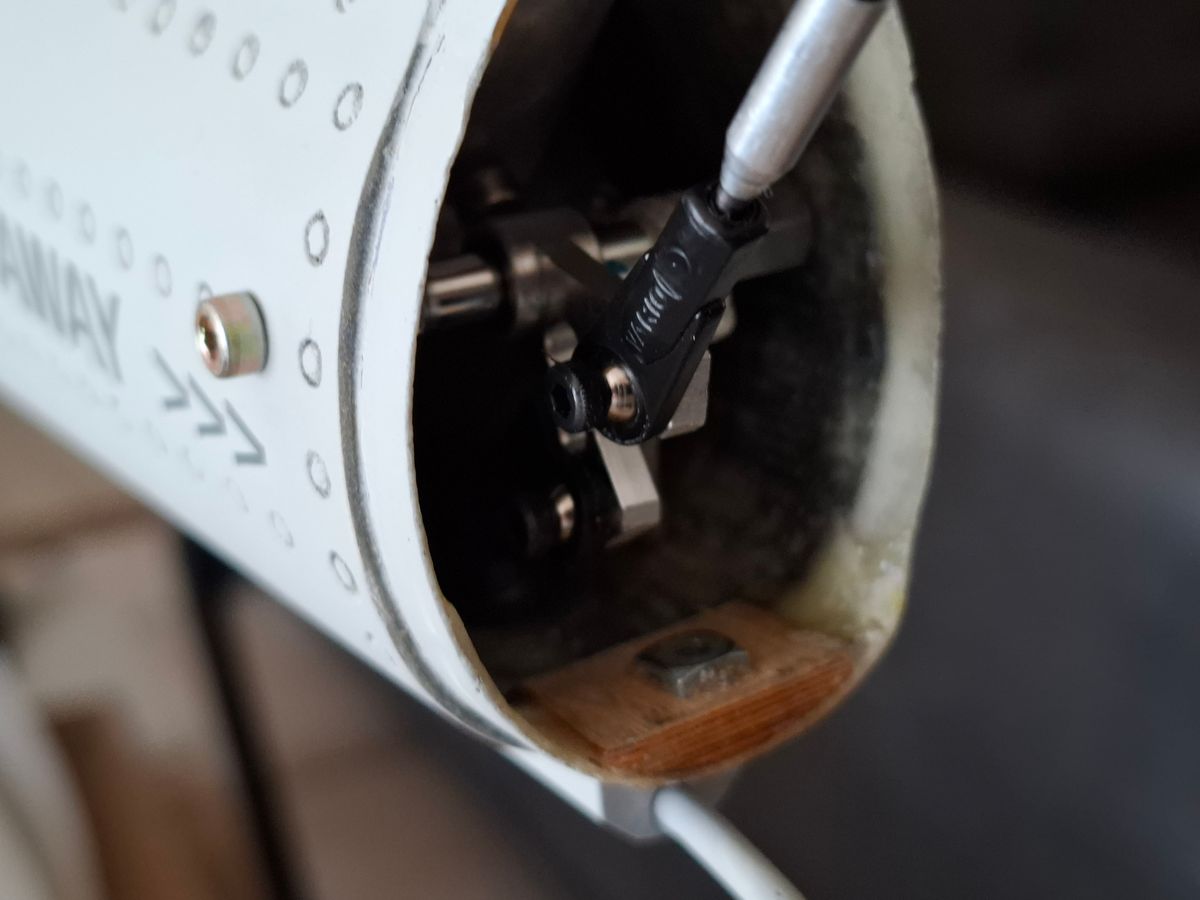
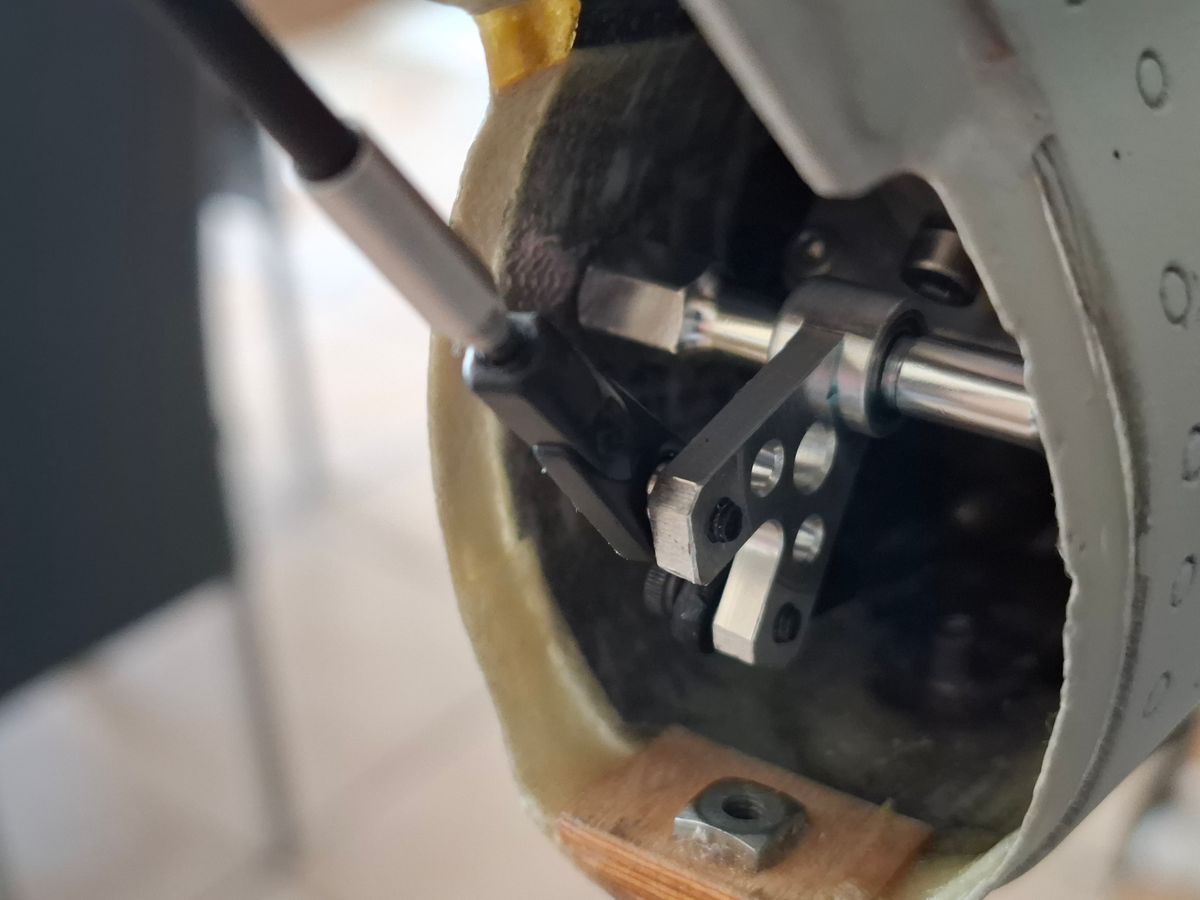
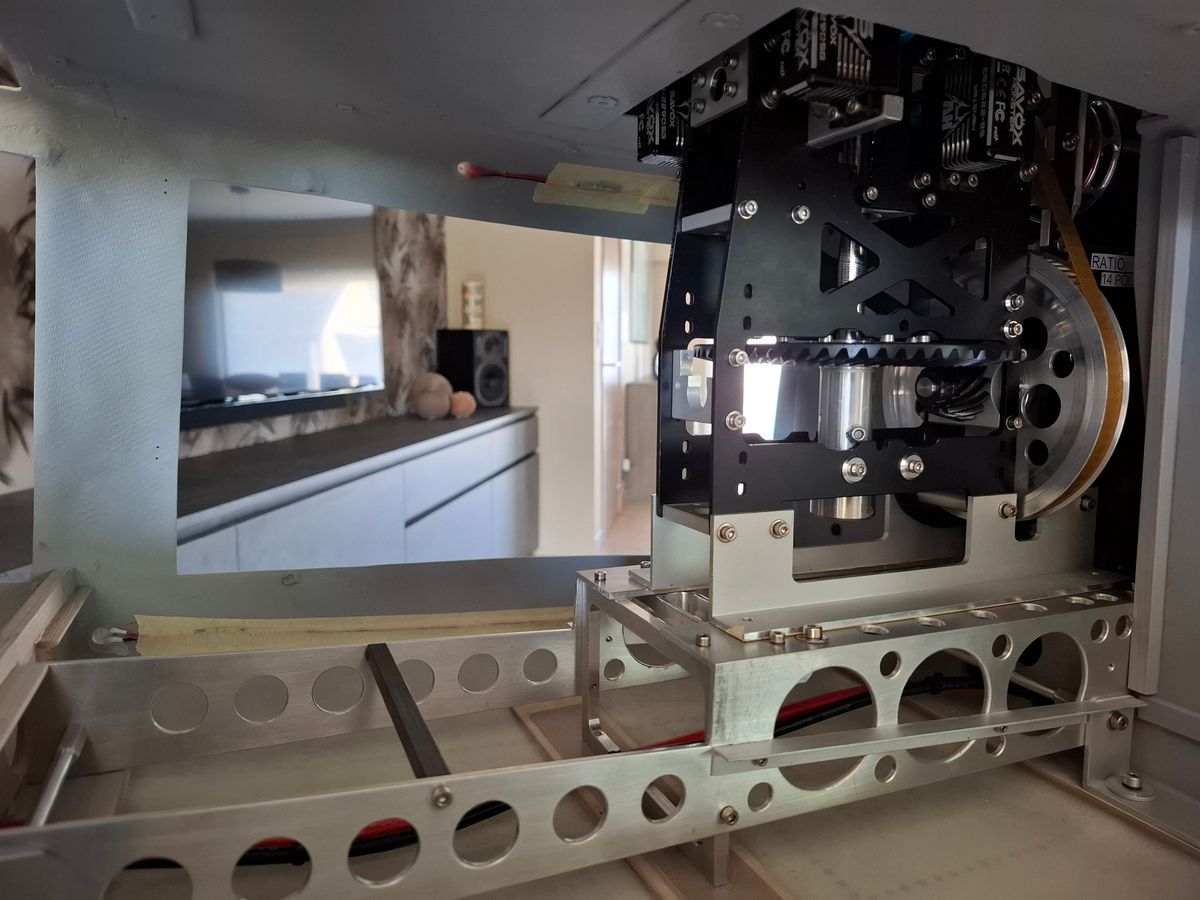
Mechanics installed
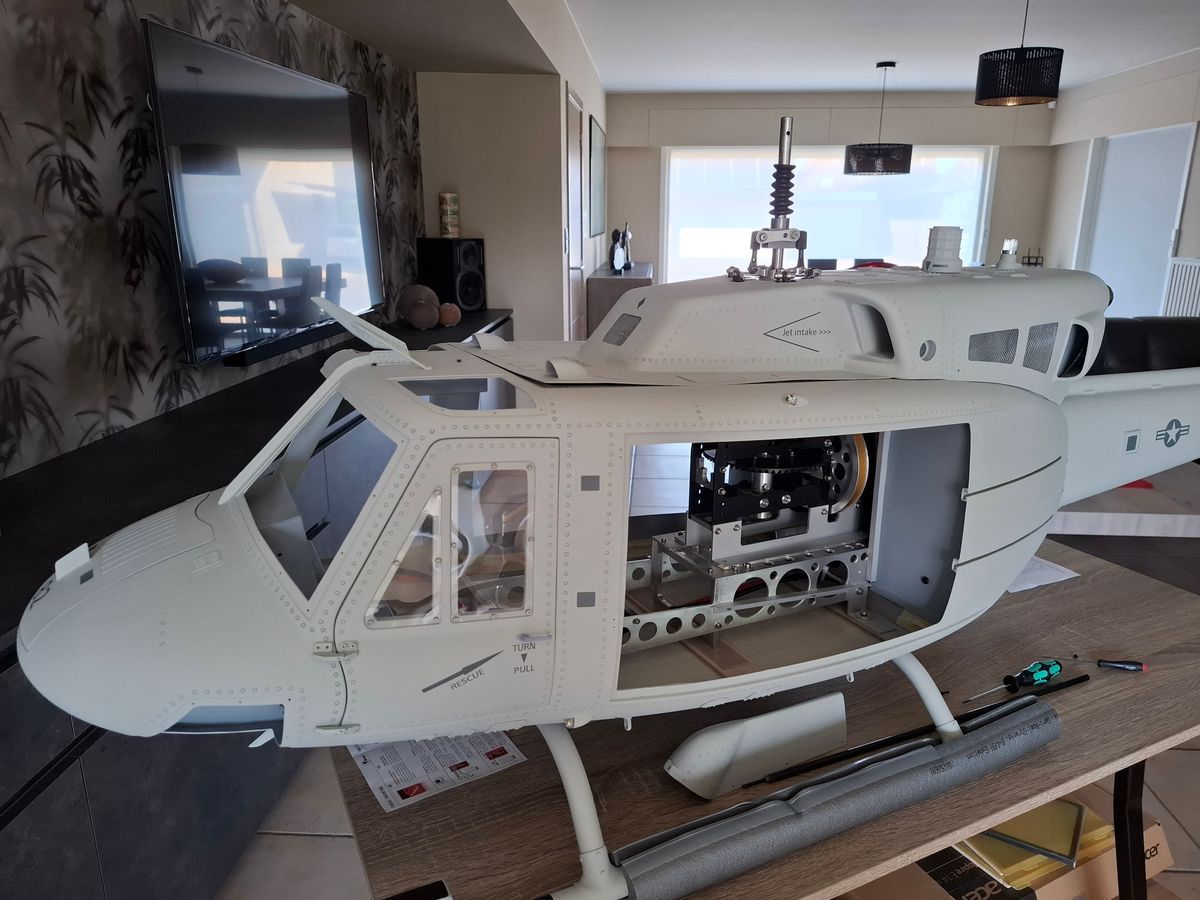
Mechanics final install and ESC - RX wiring.
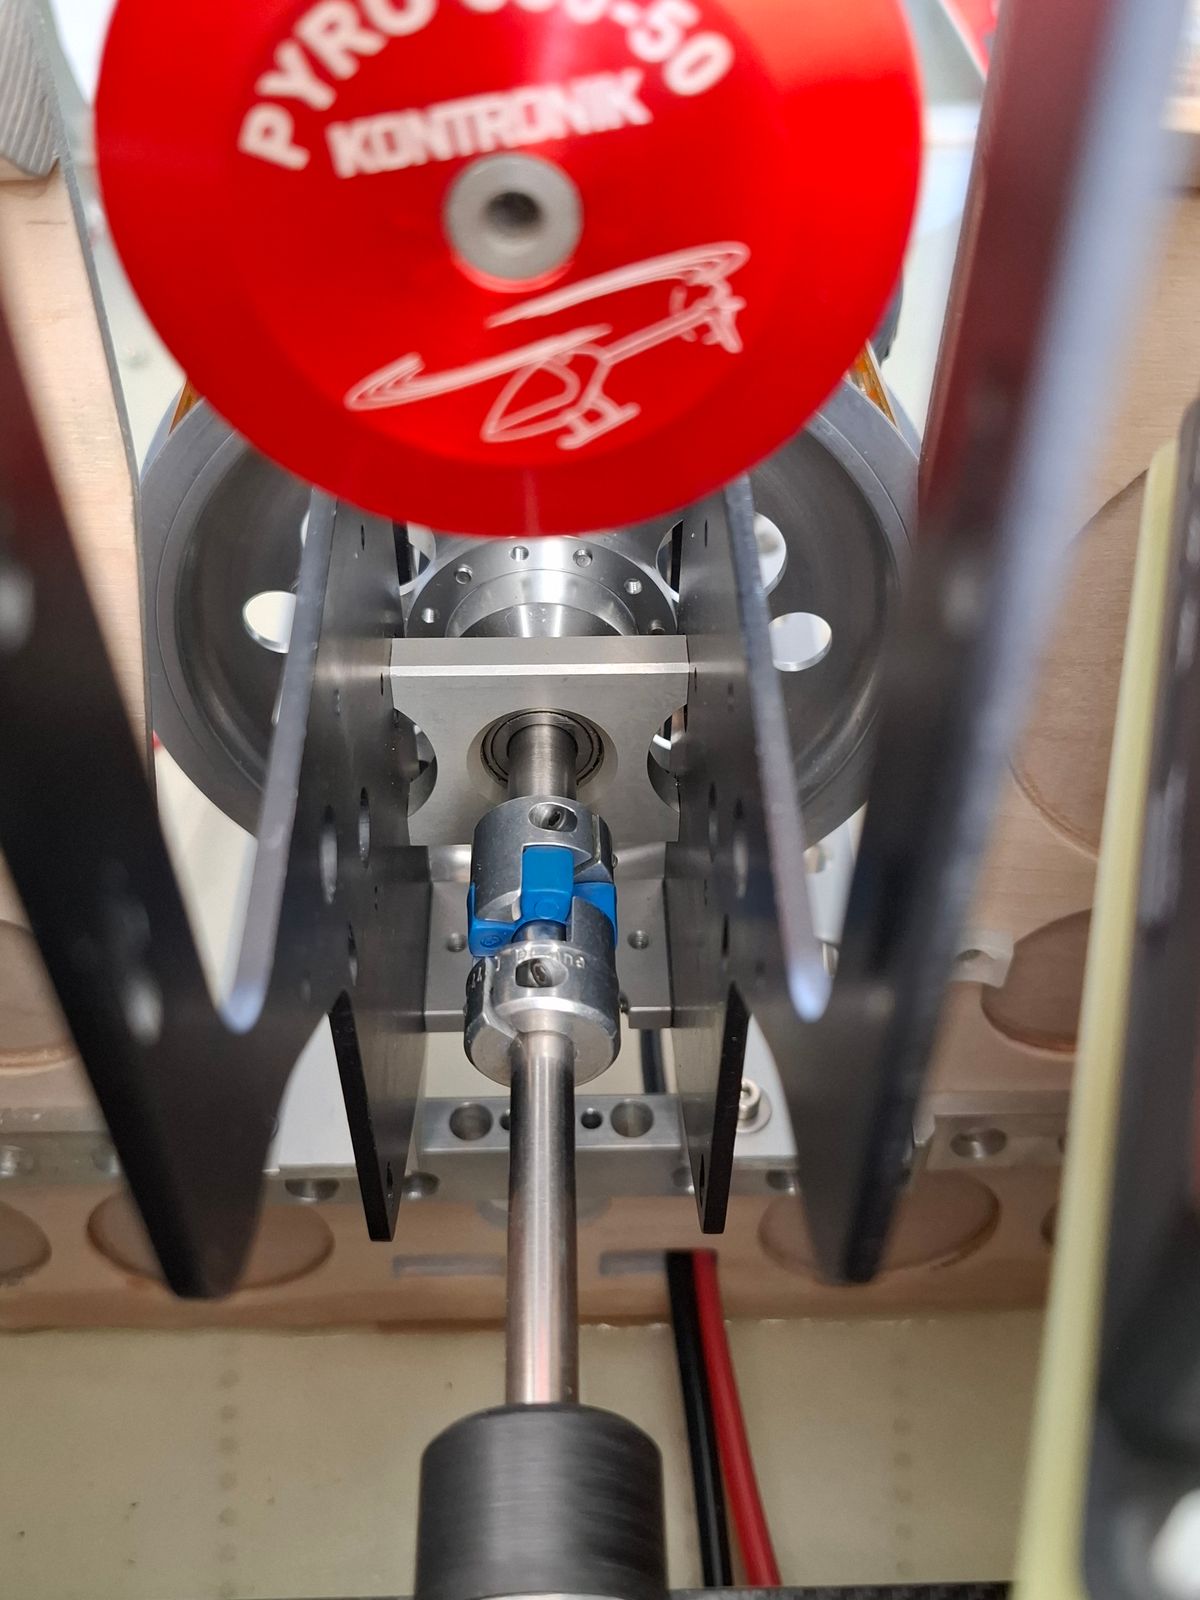
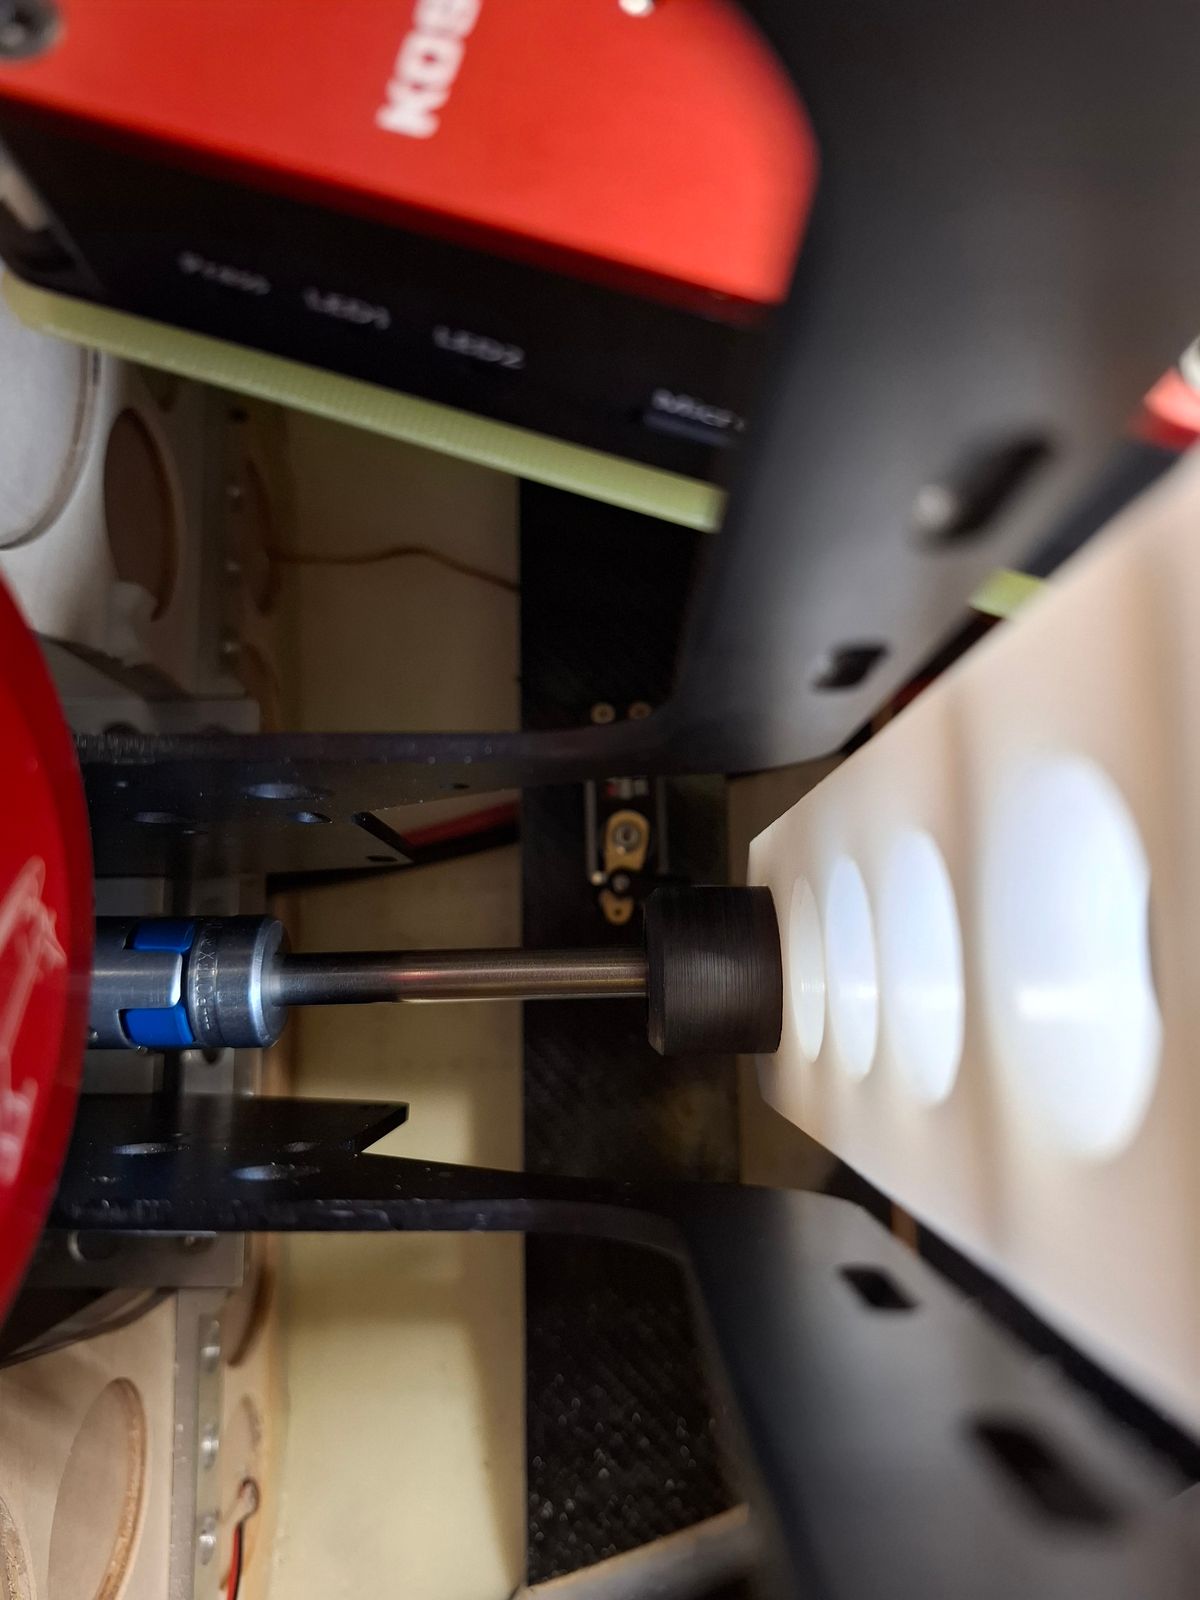
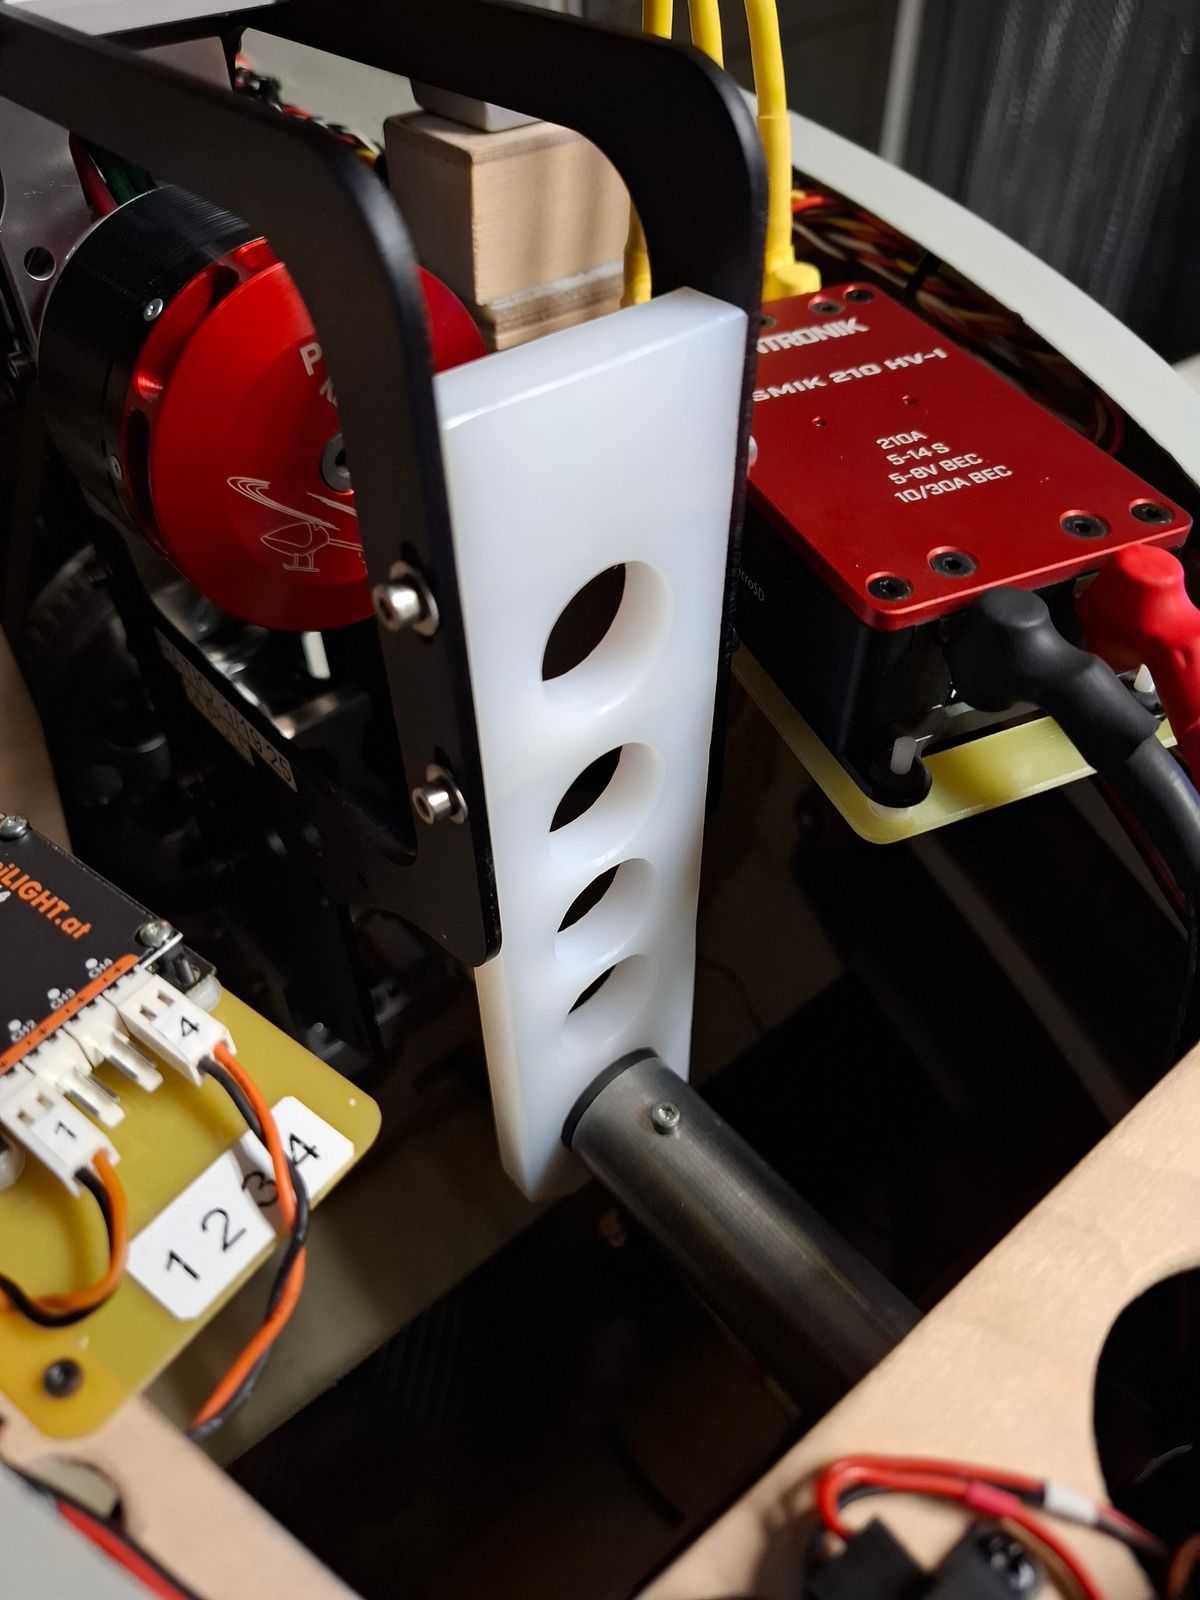
Tail boom (Ertalon) support and torque tube drive.
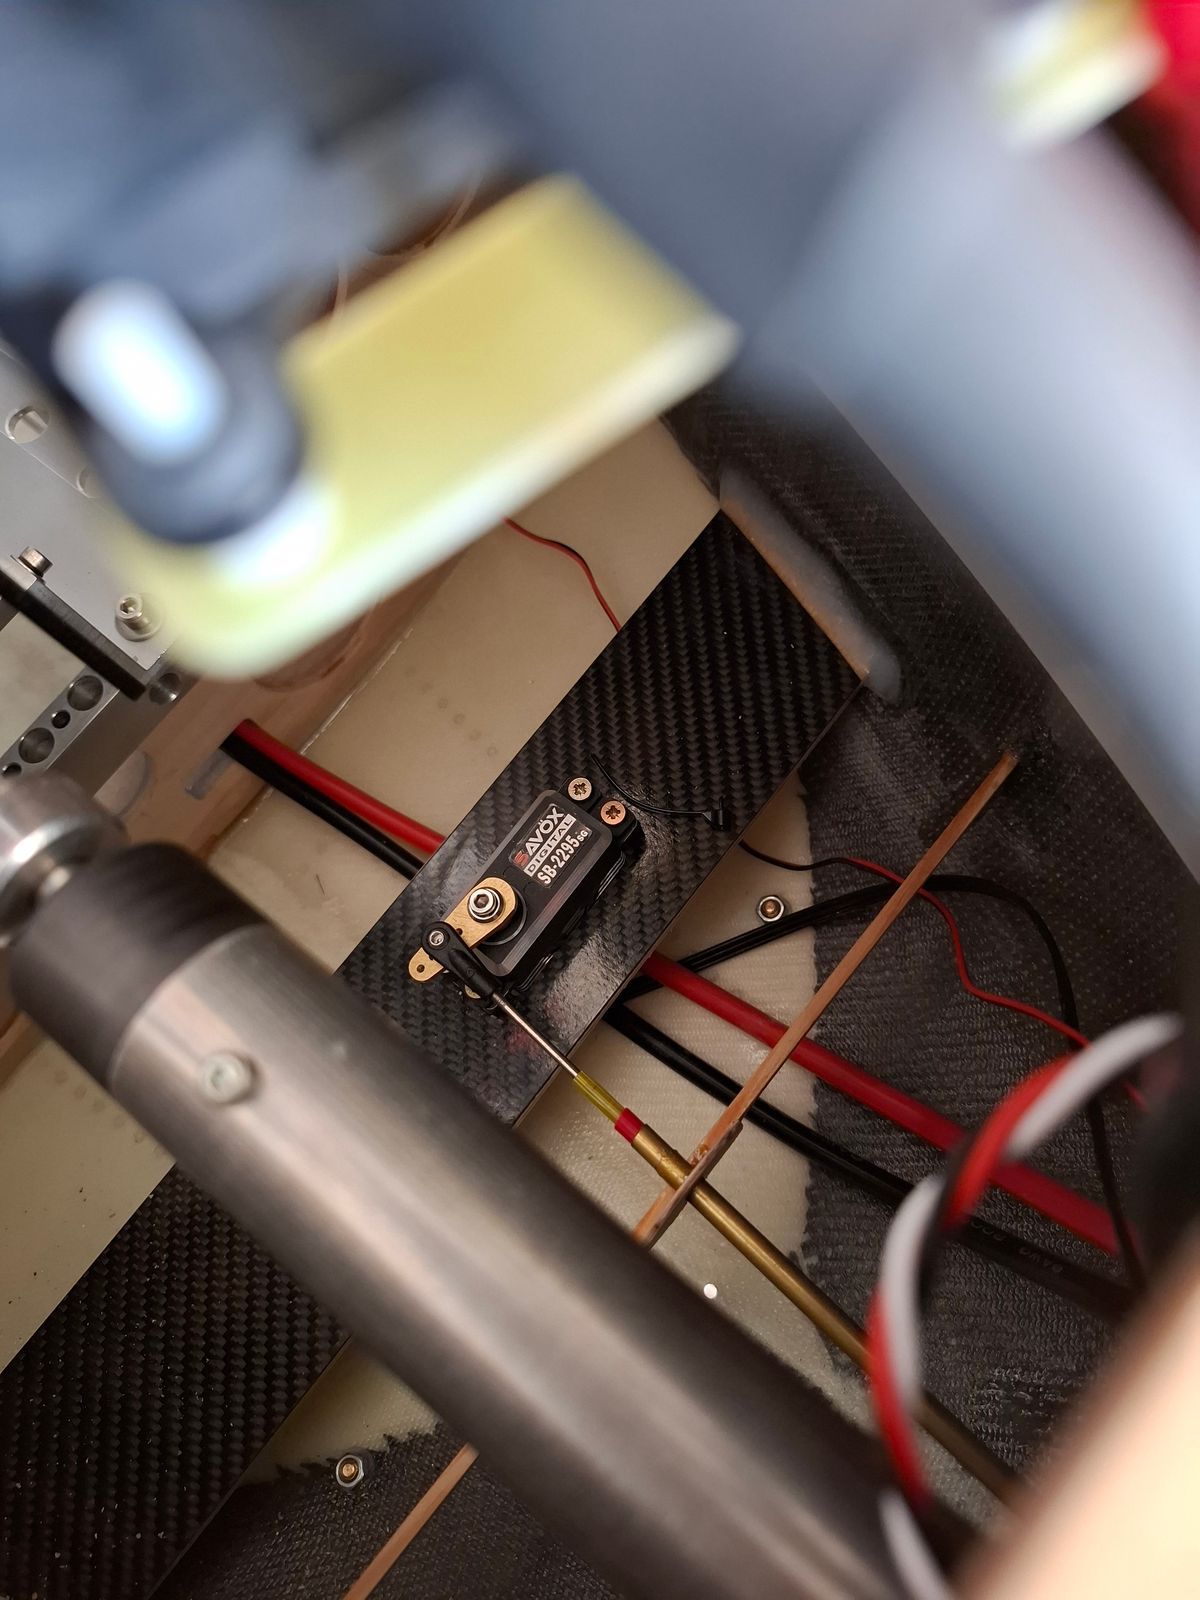
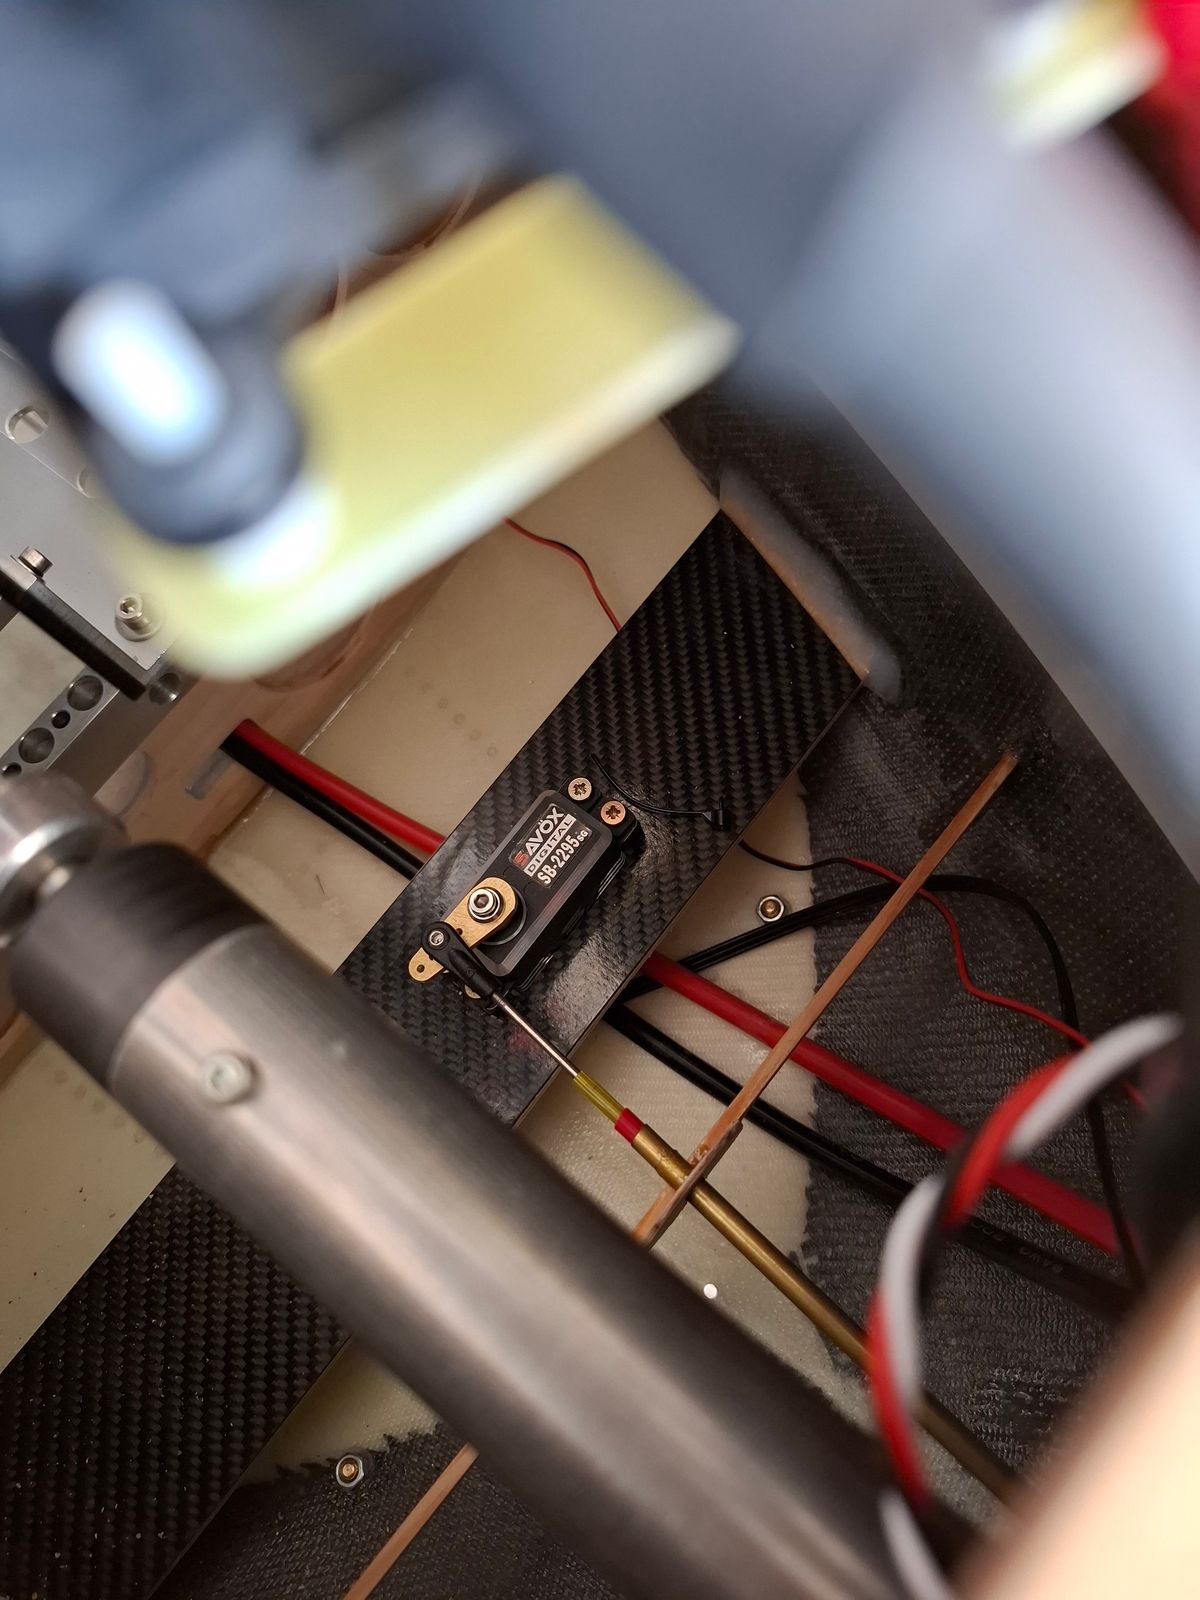
Rudder servo control.
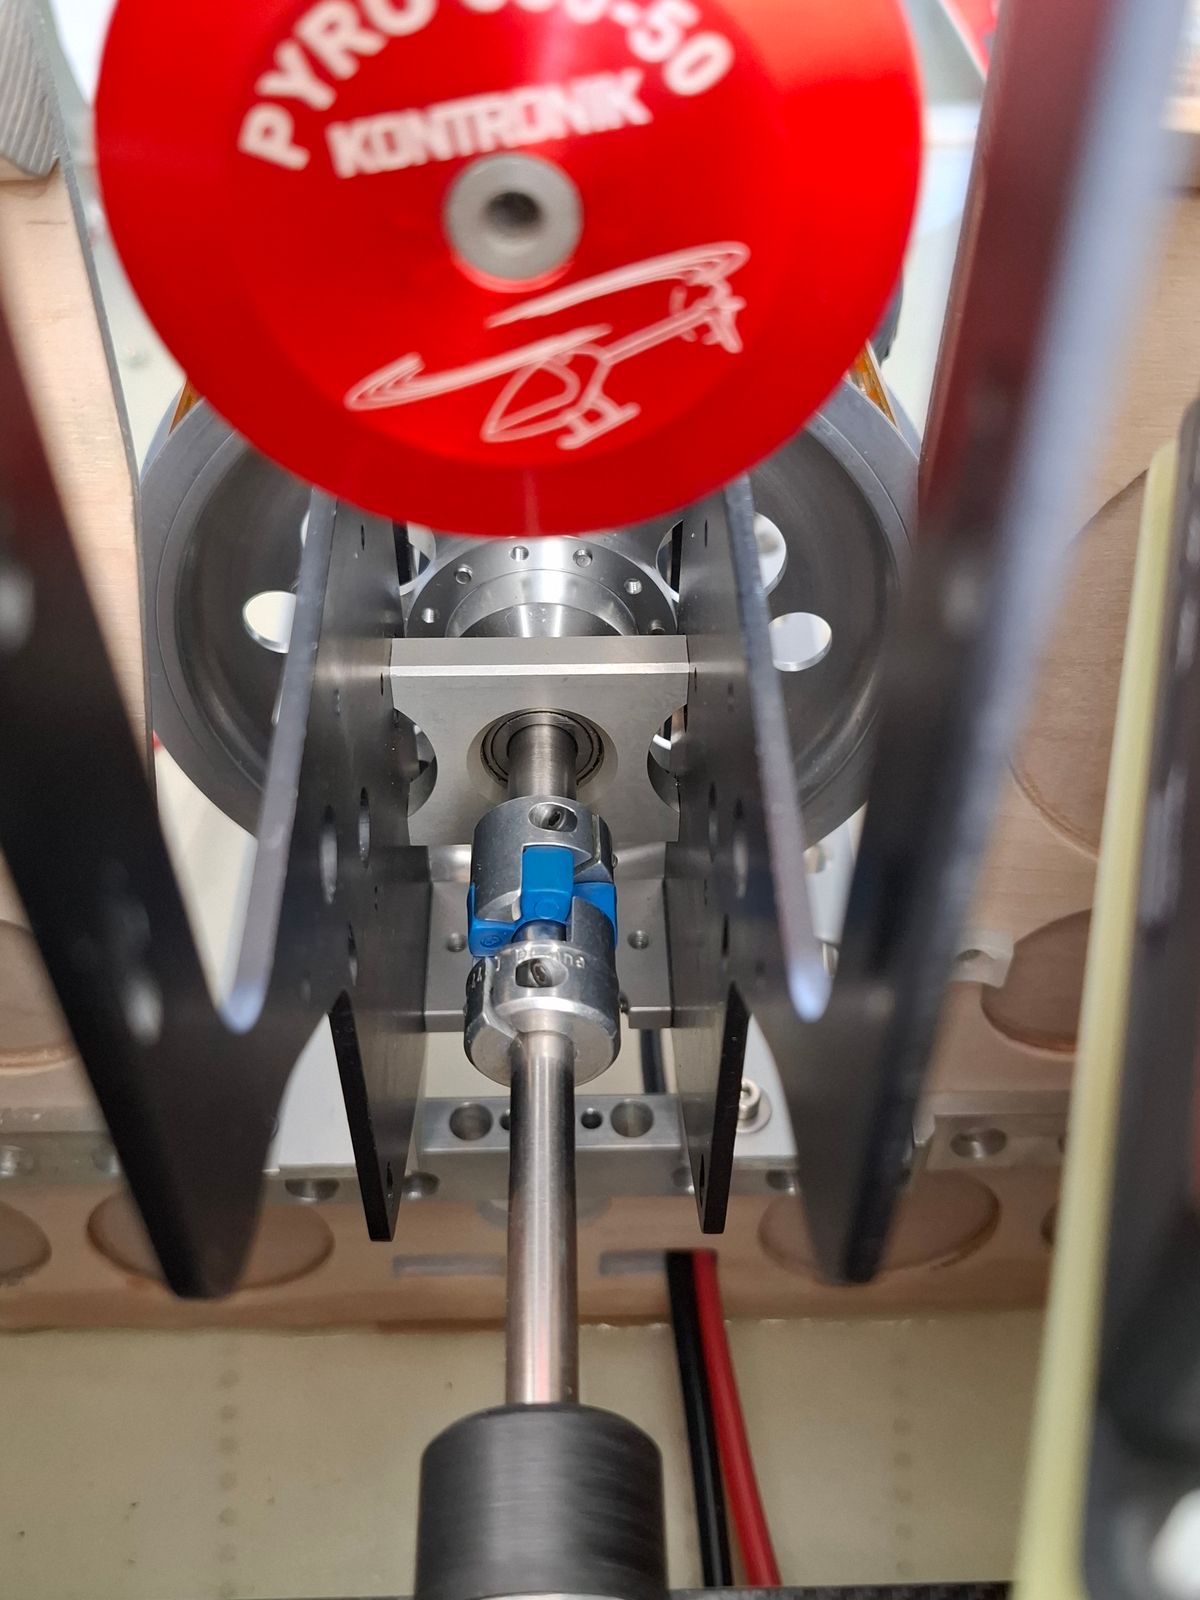
Rotex tail drive coupling.
Front cockpit module assembly
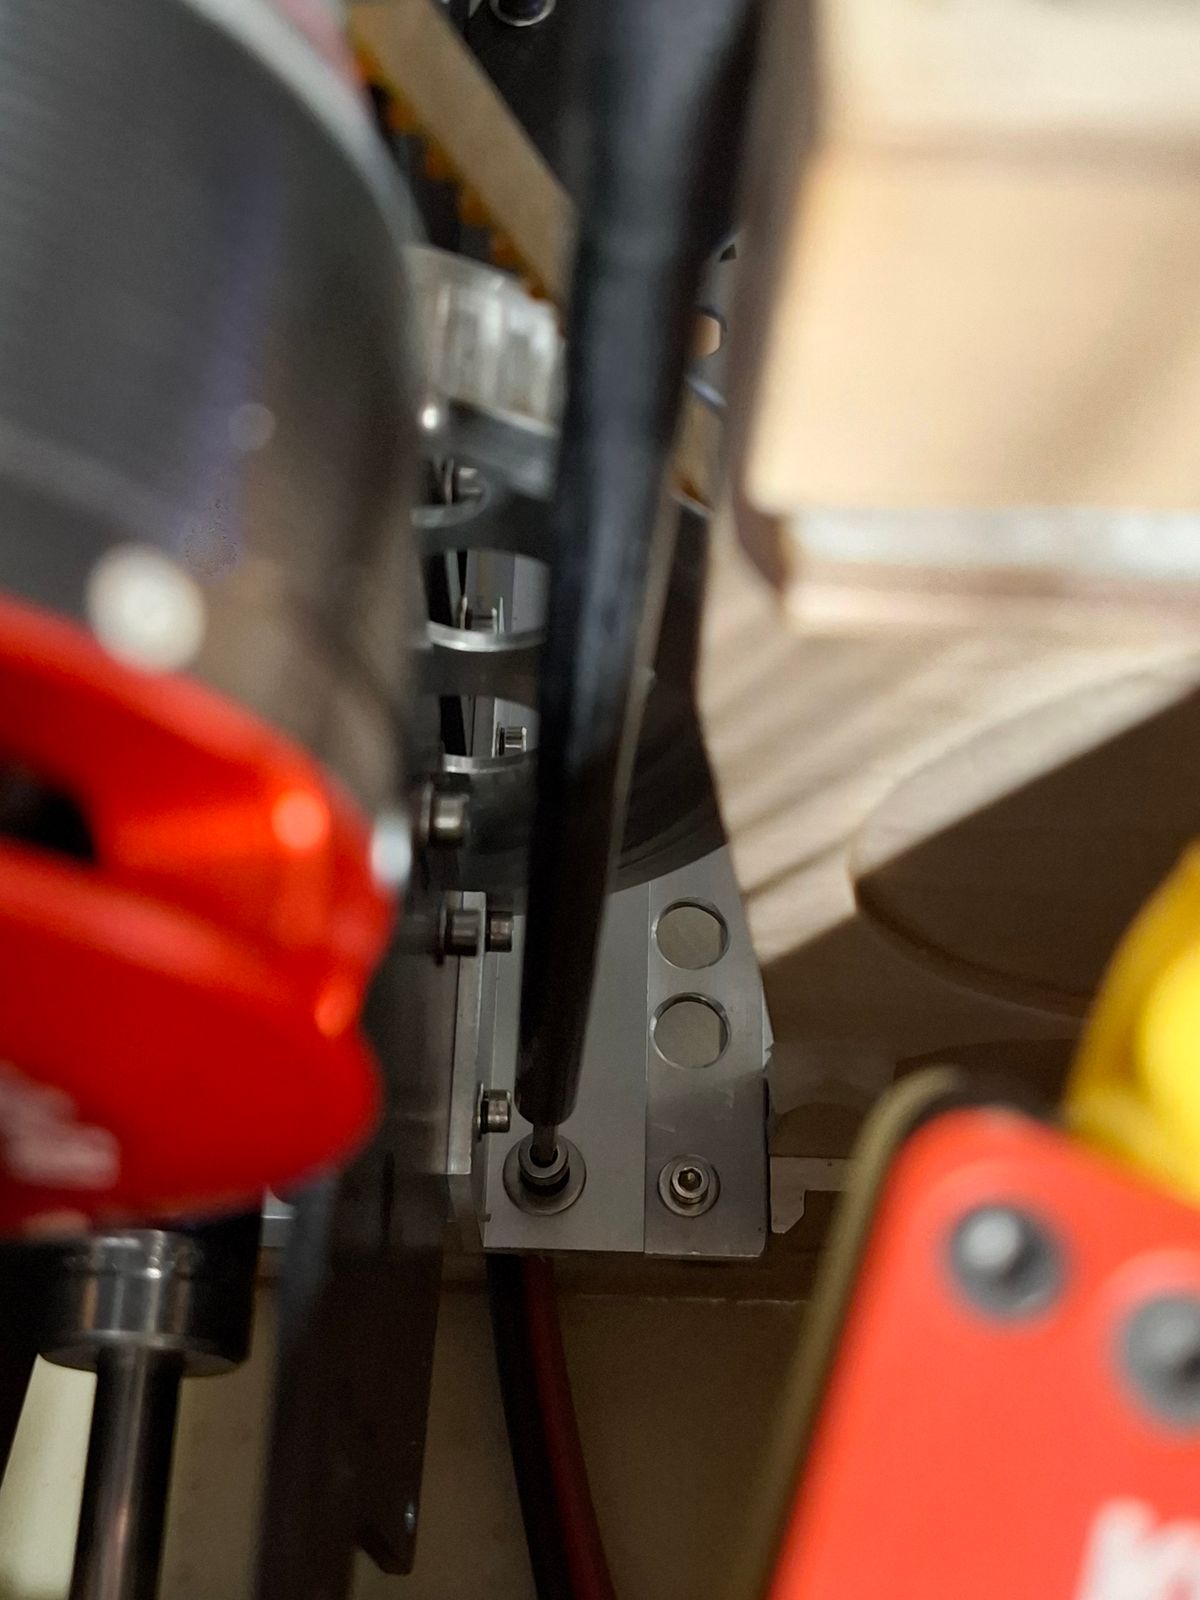
Special long hex drive tool
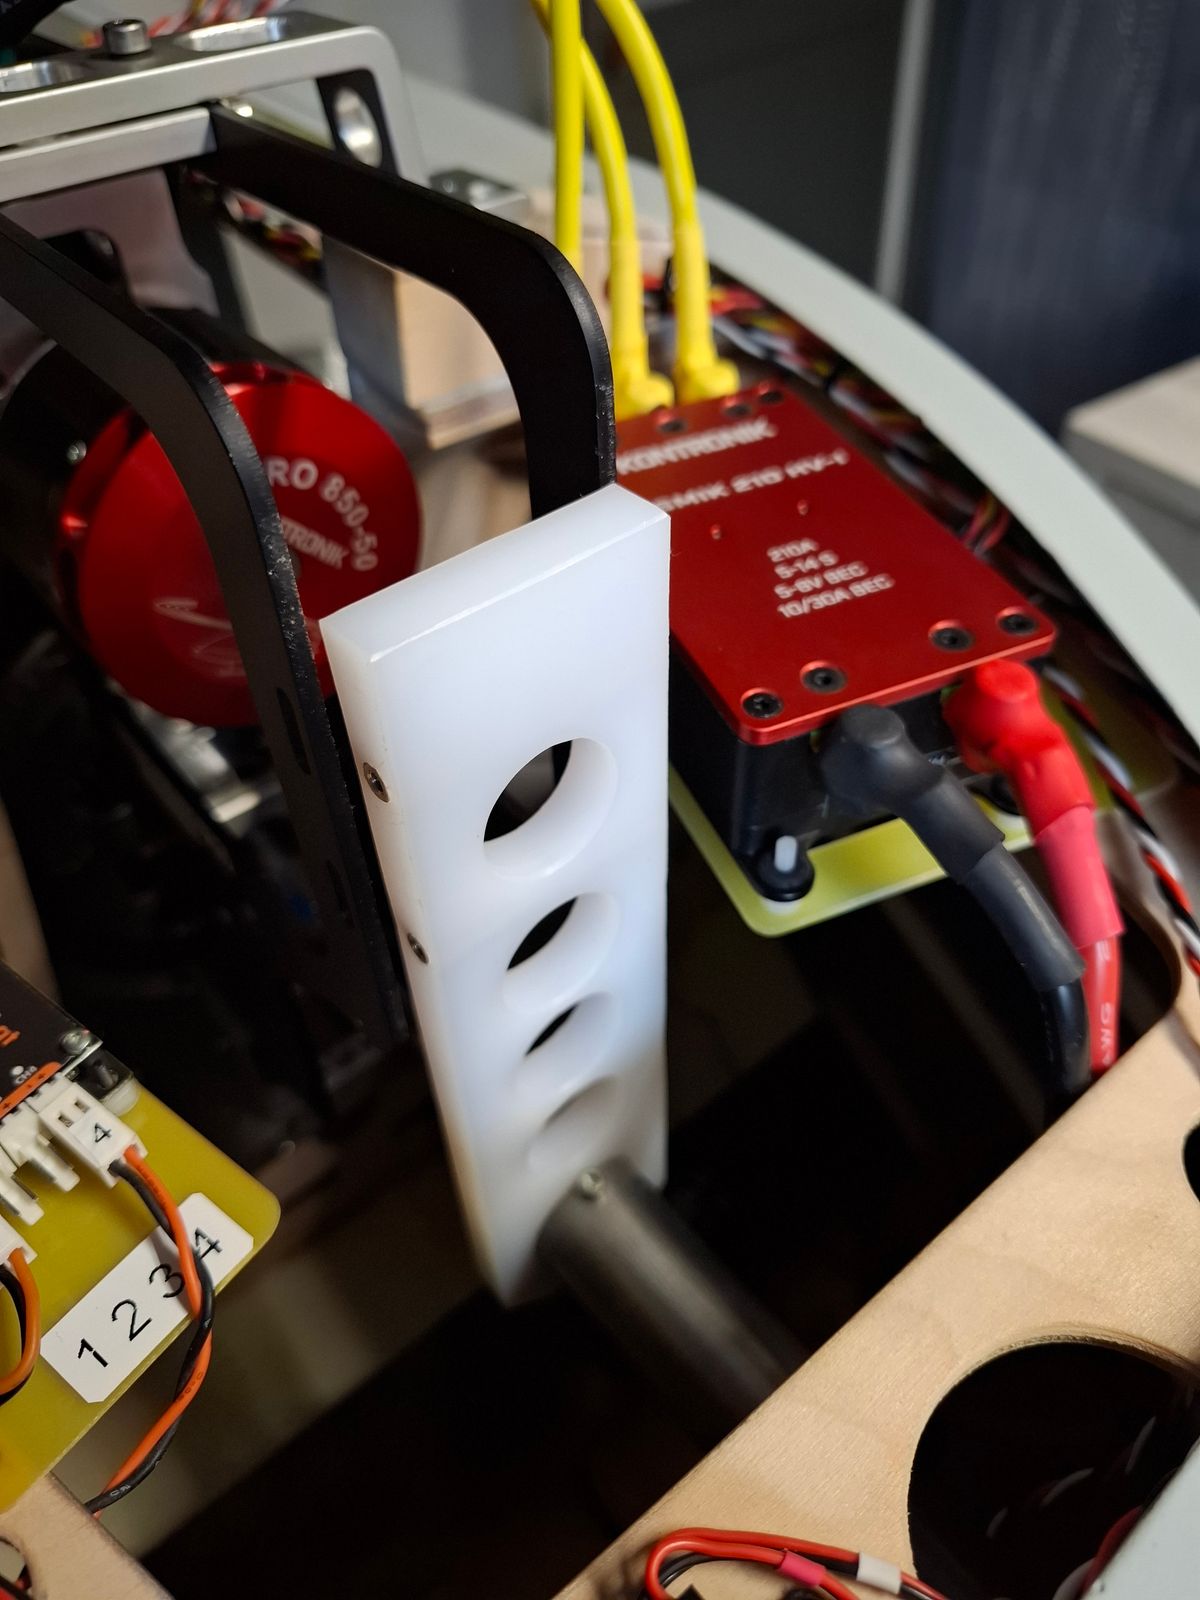
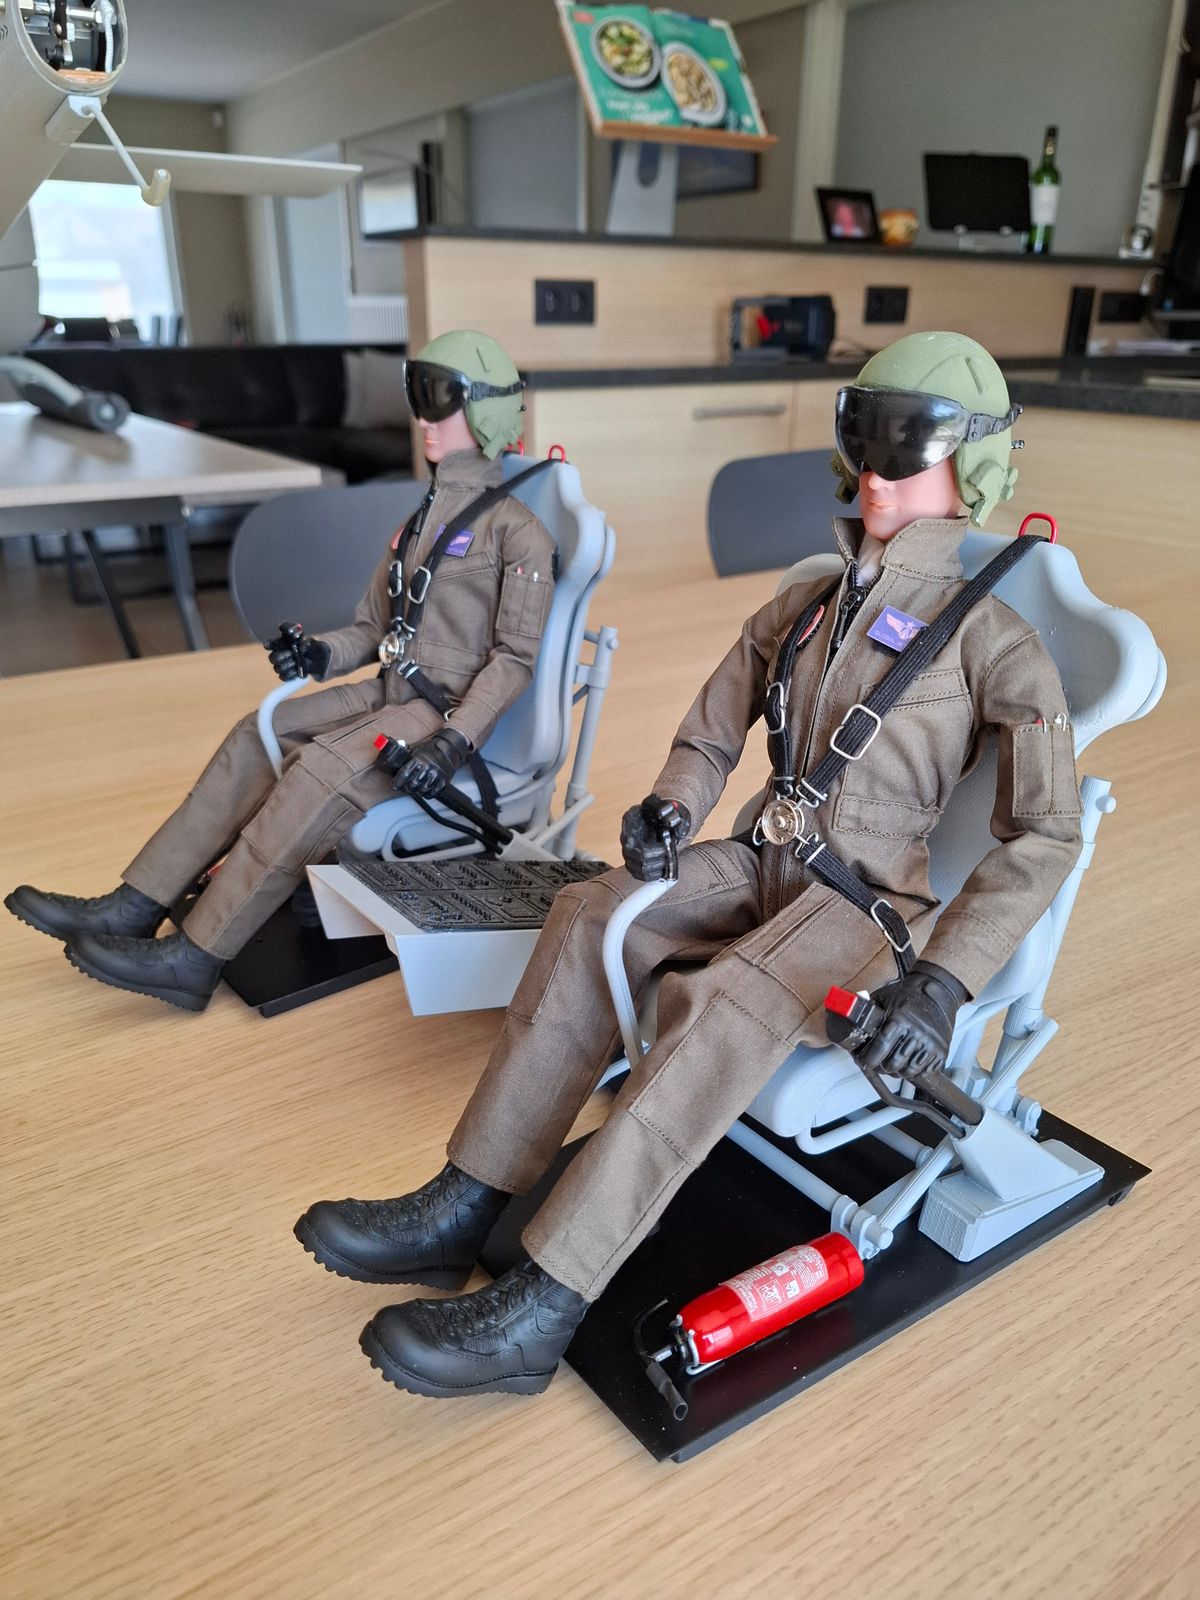
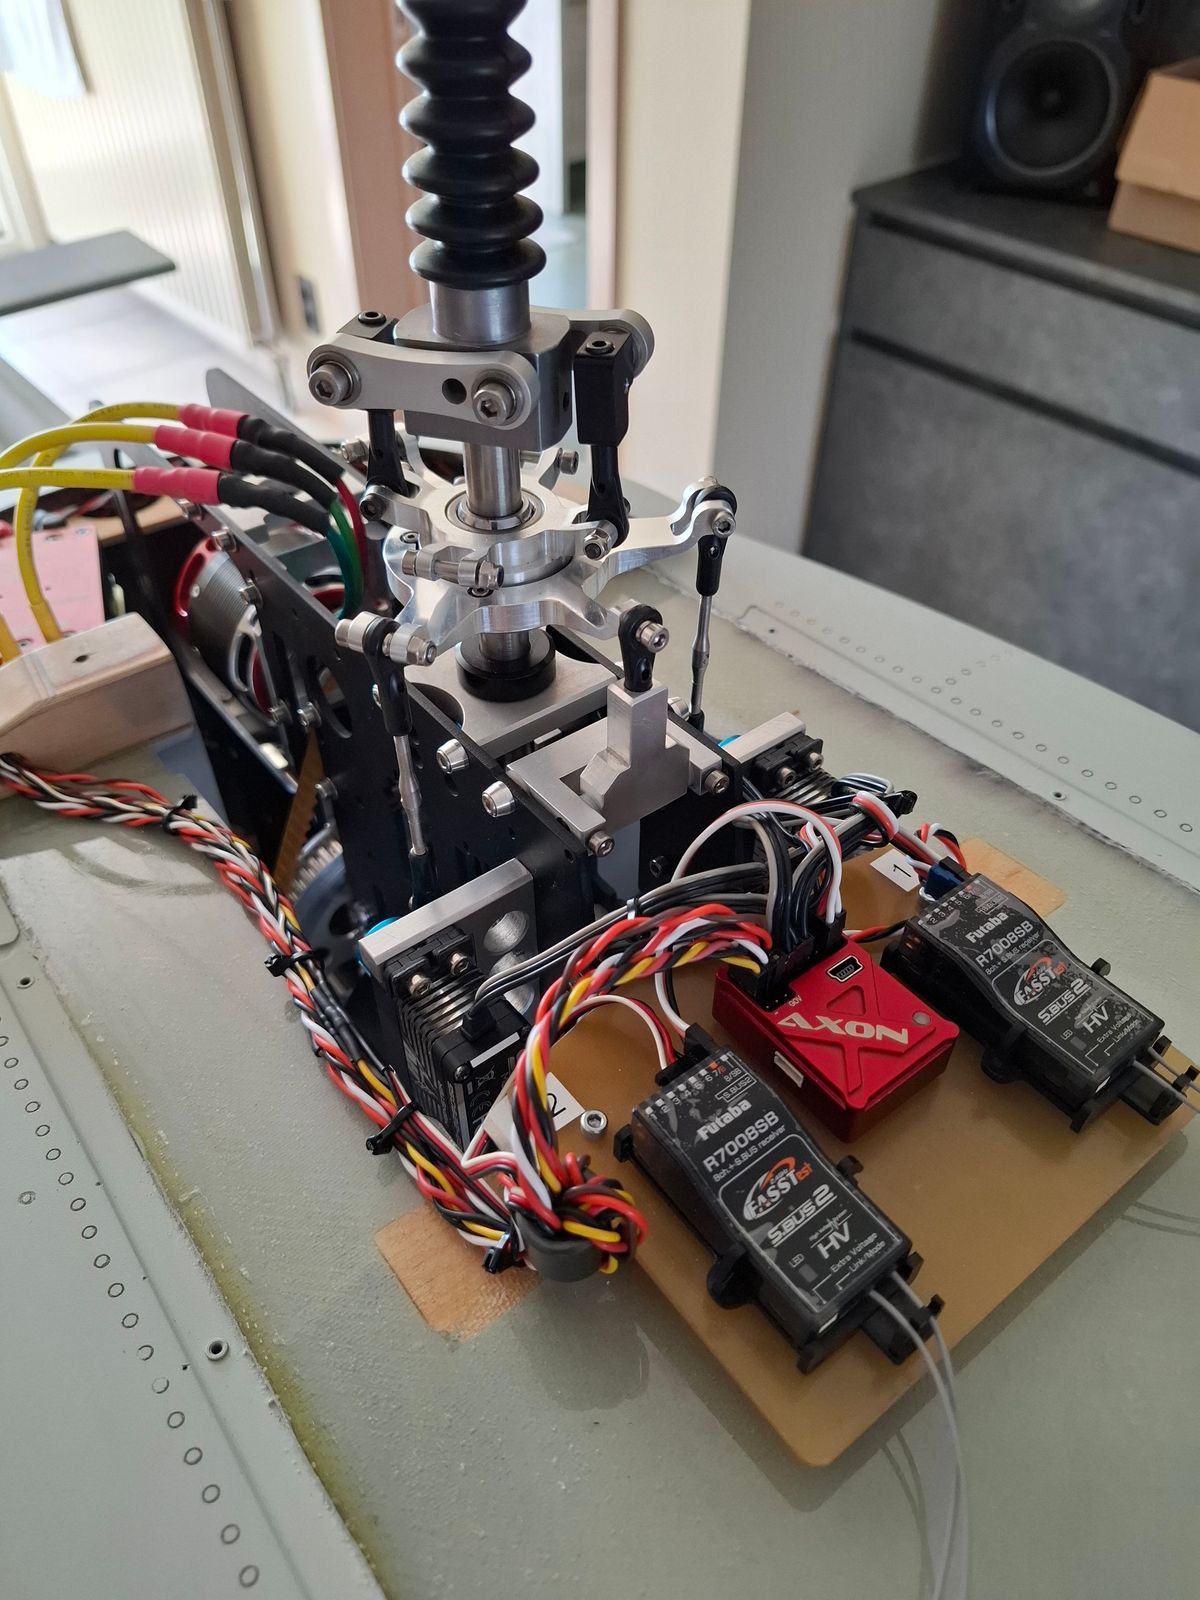
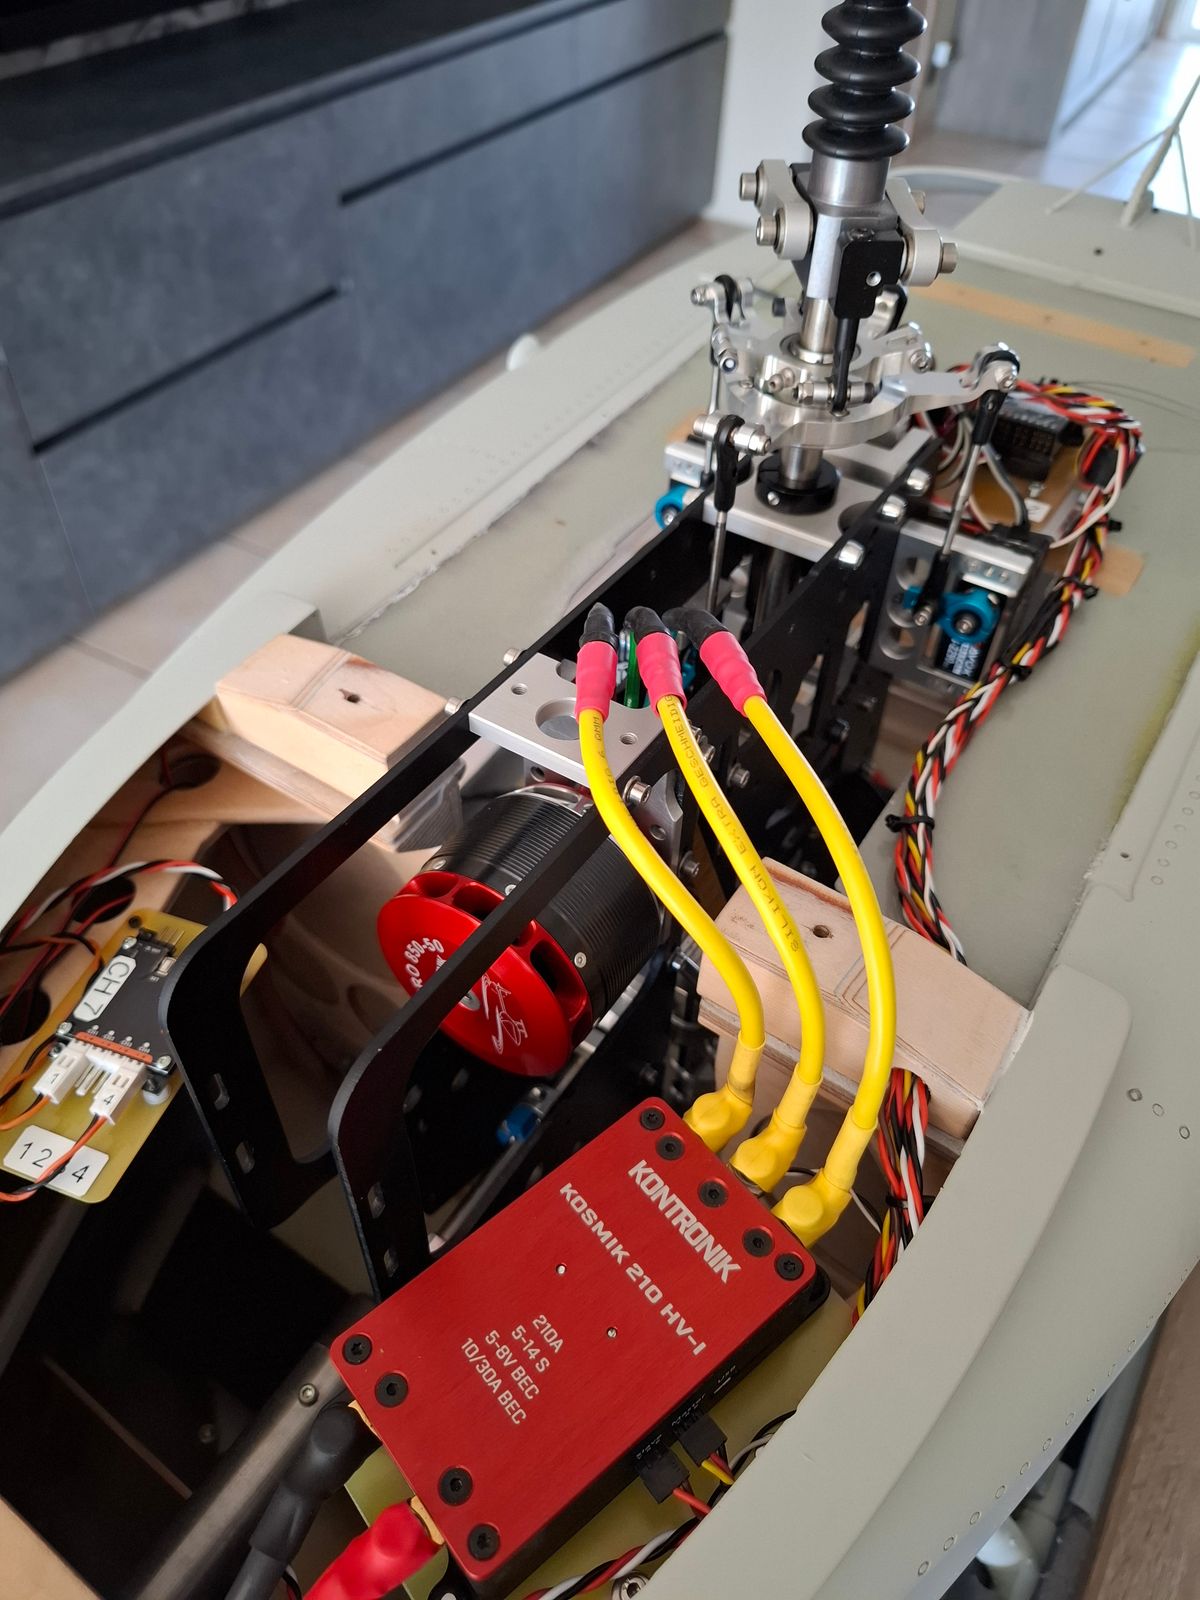
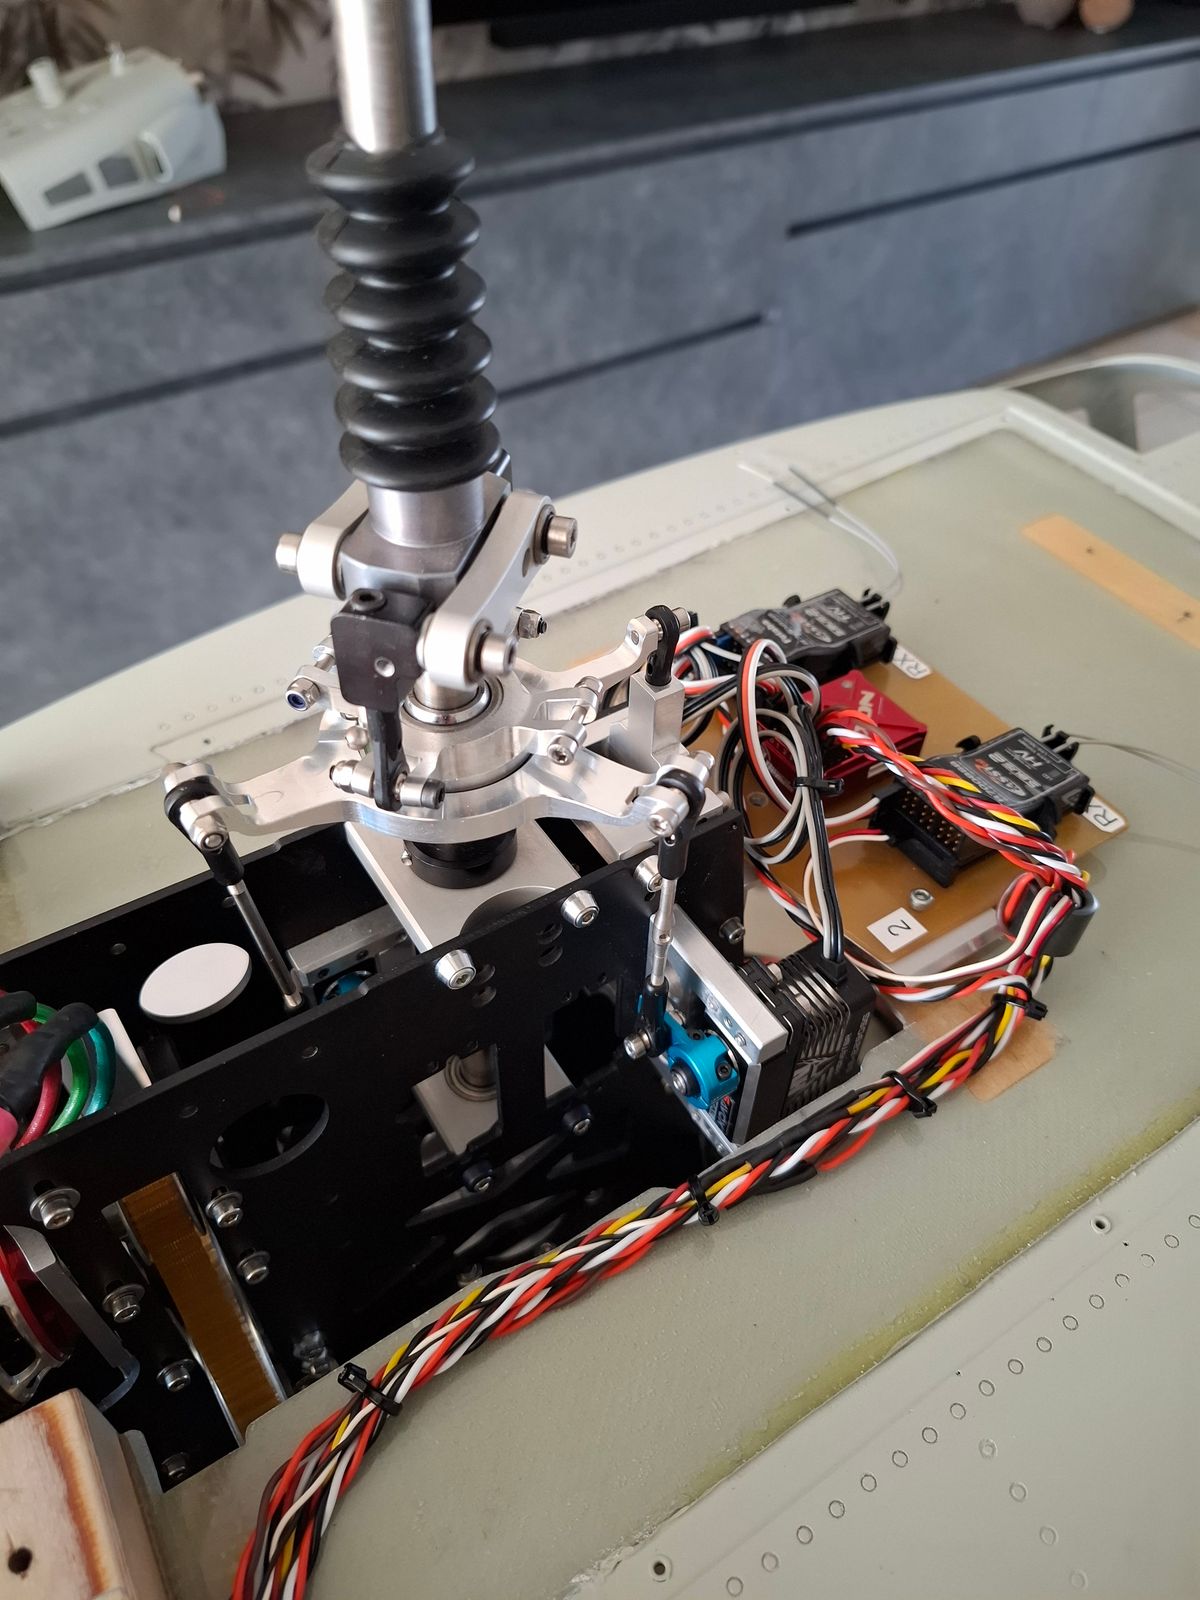
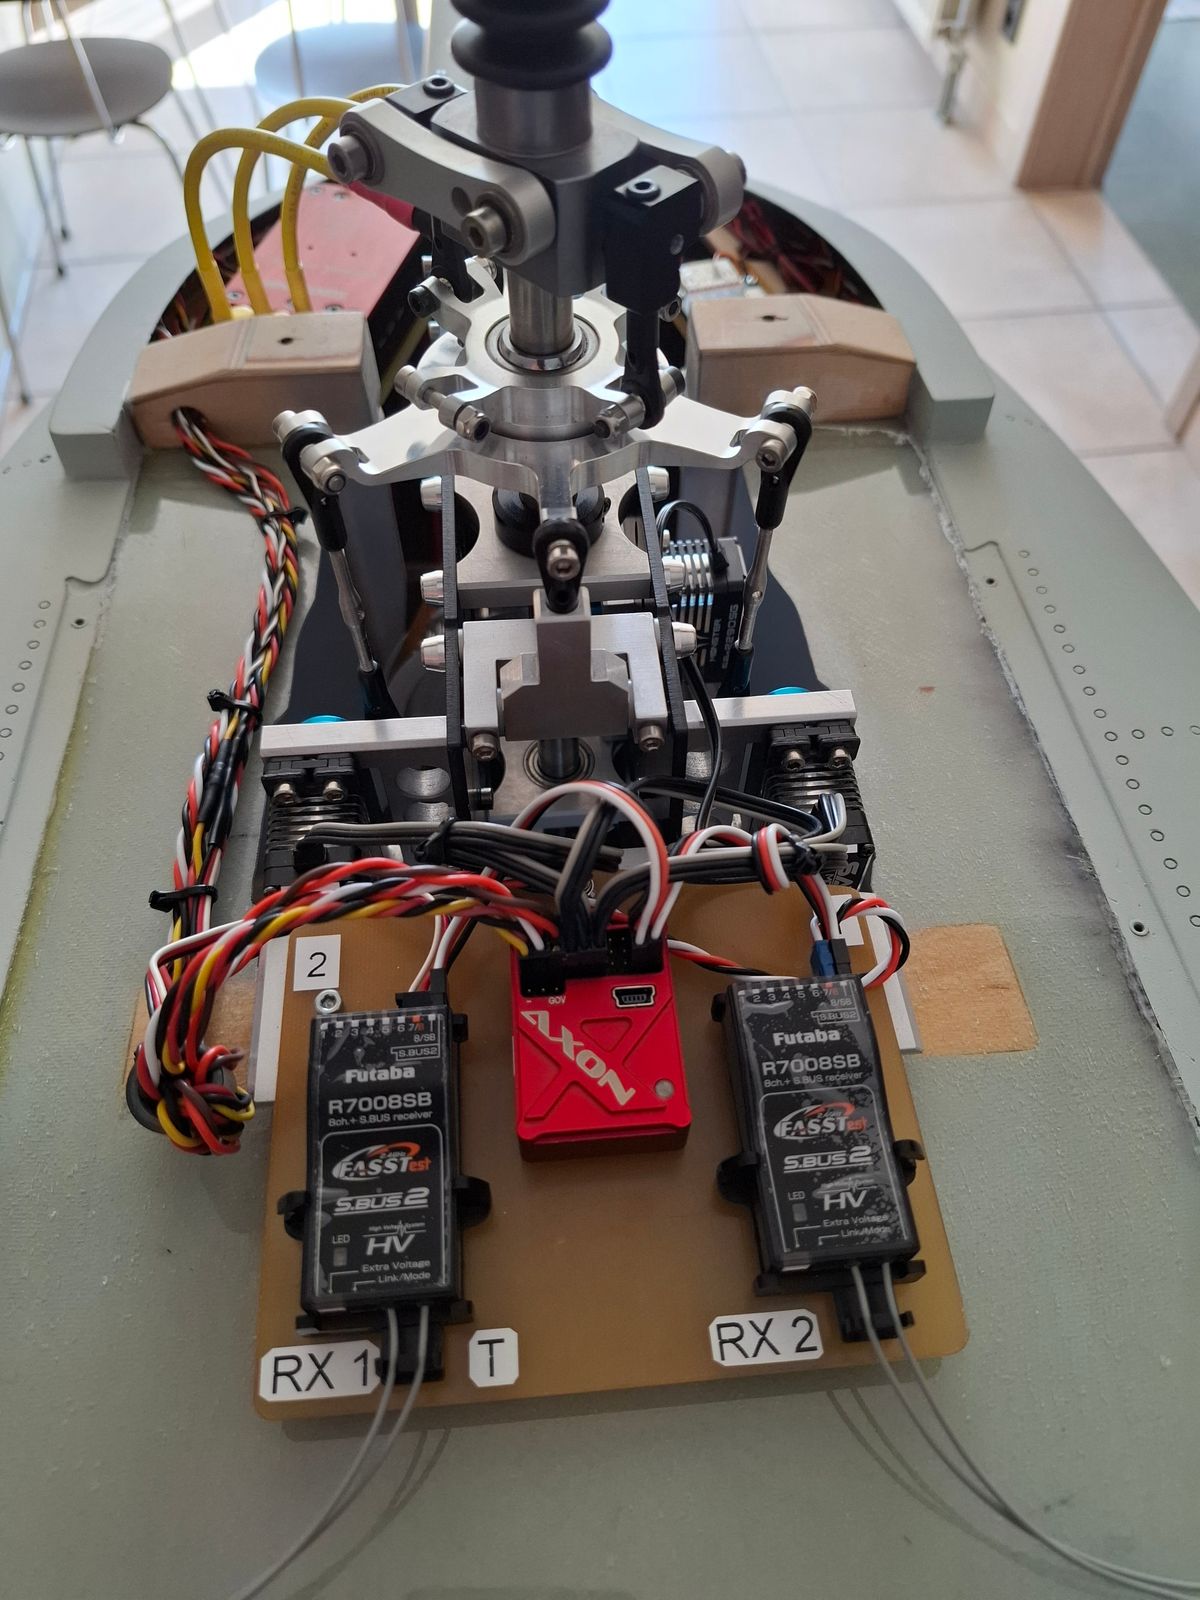
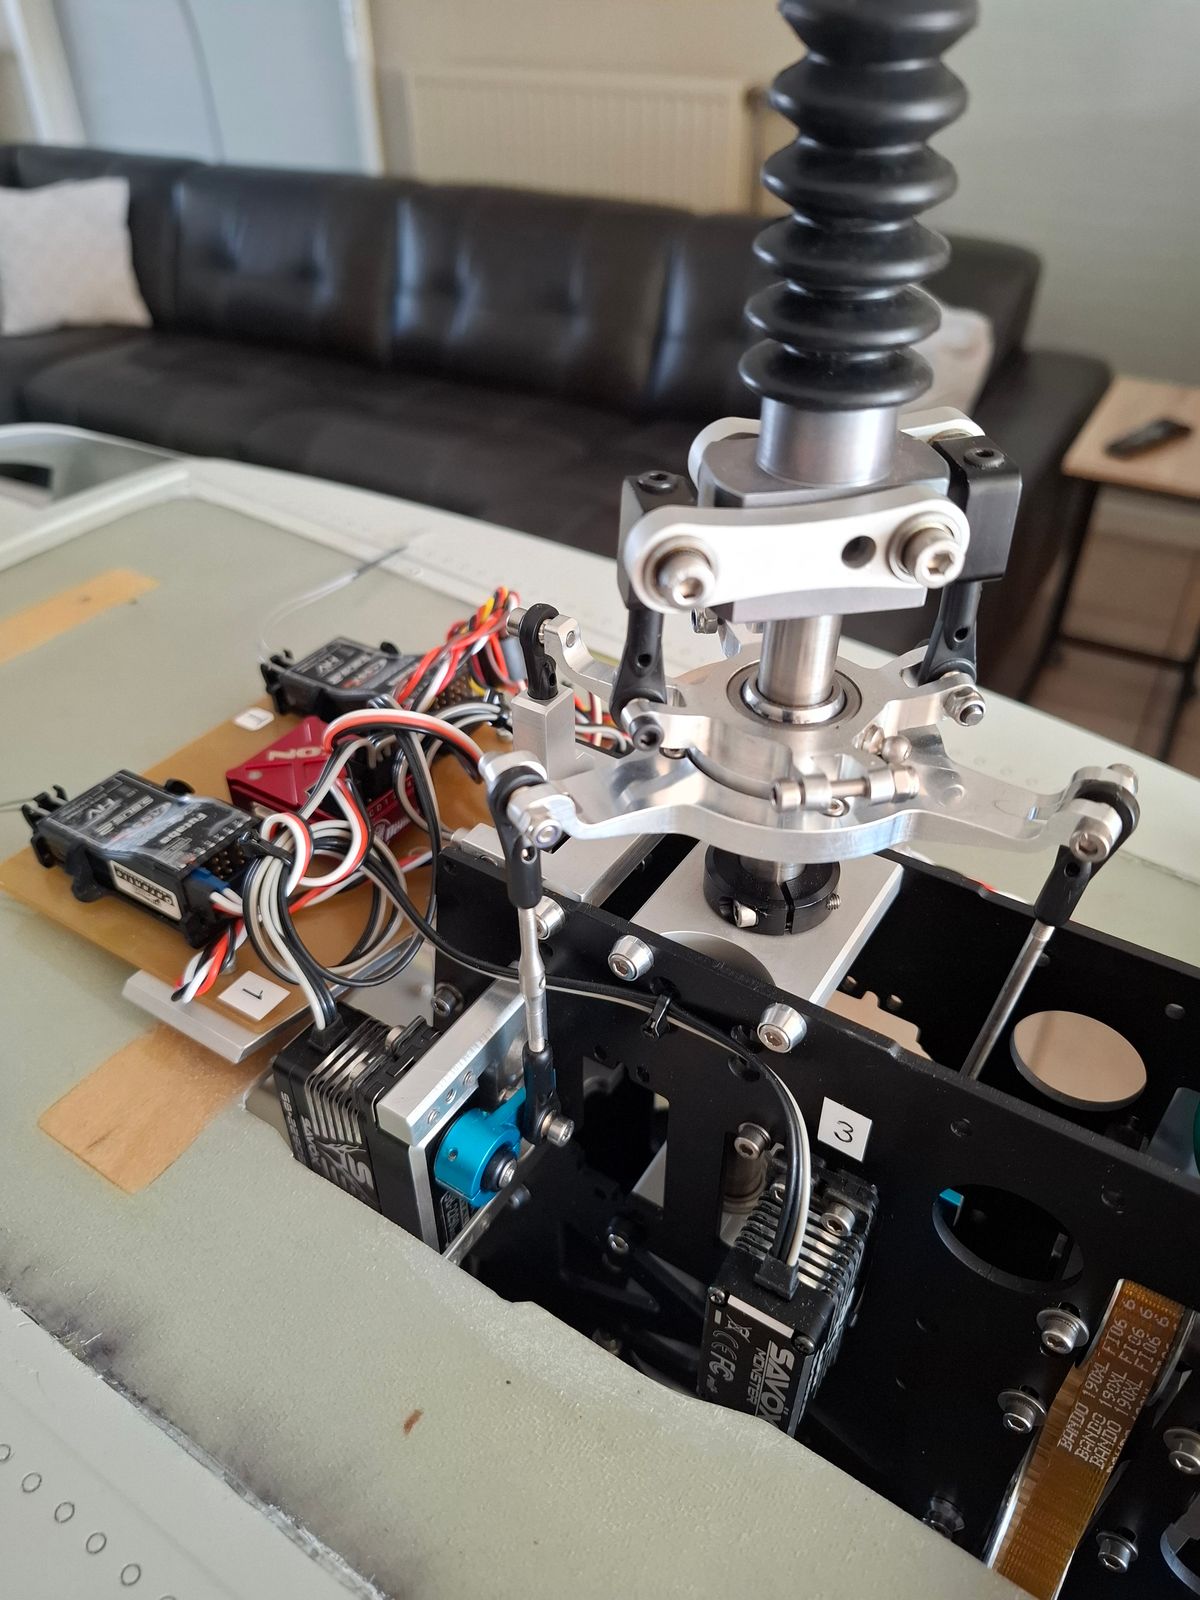
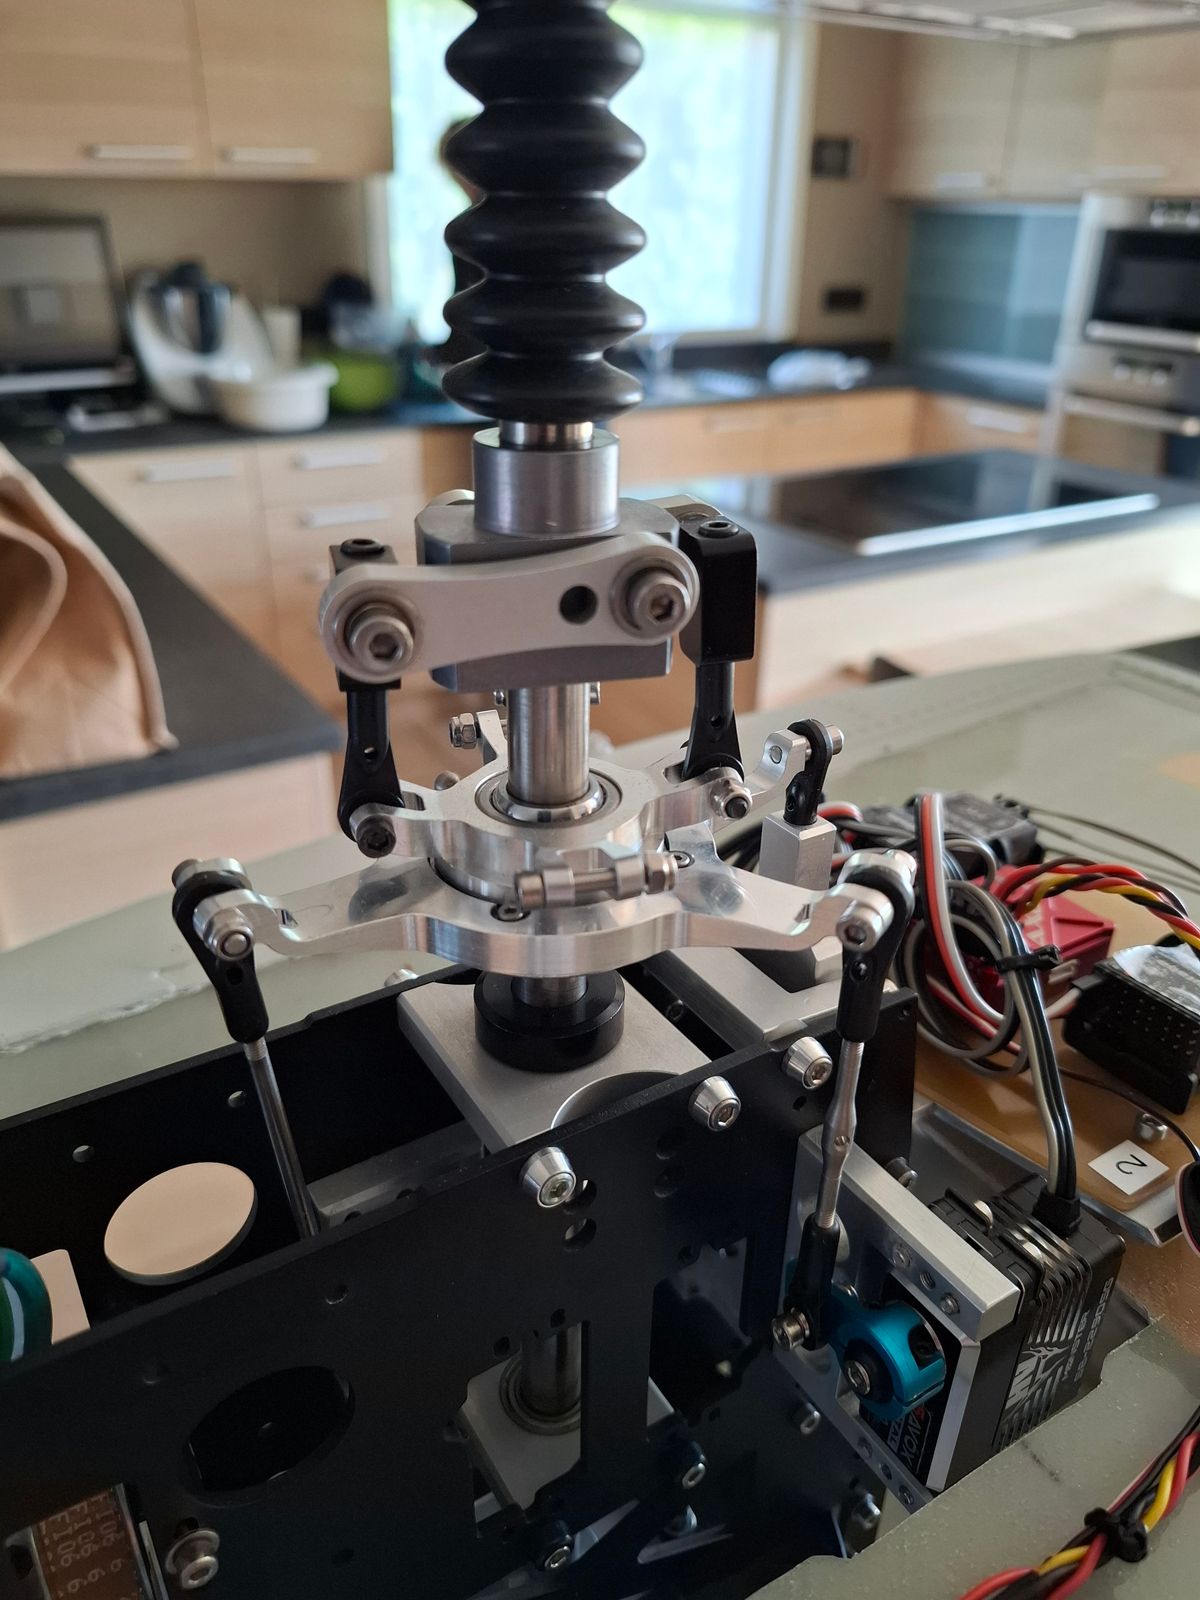
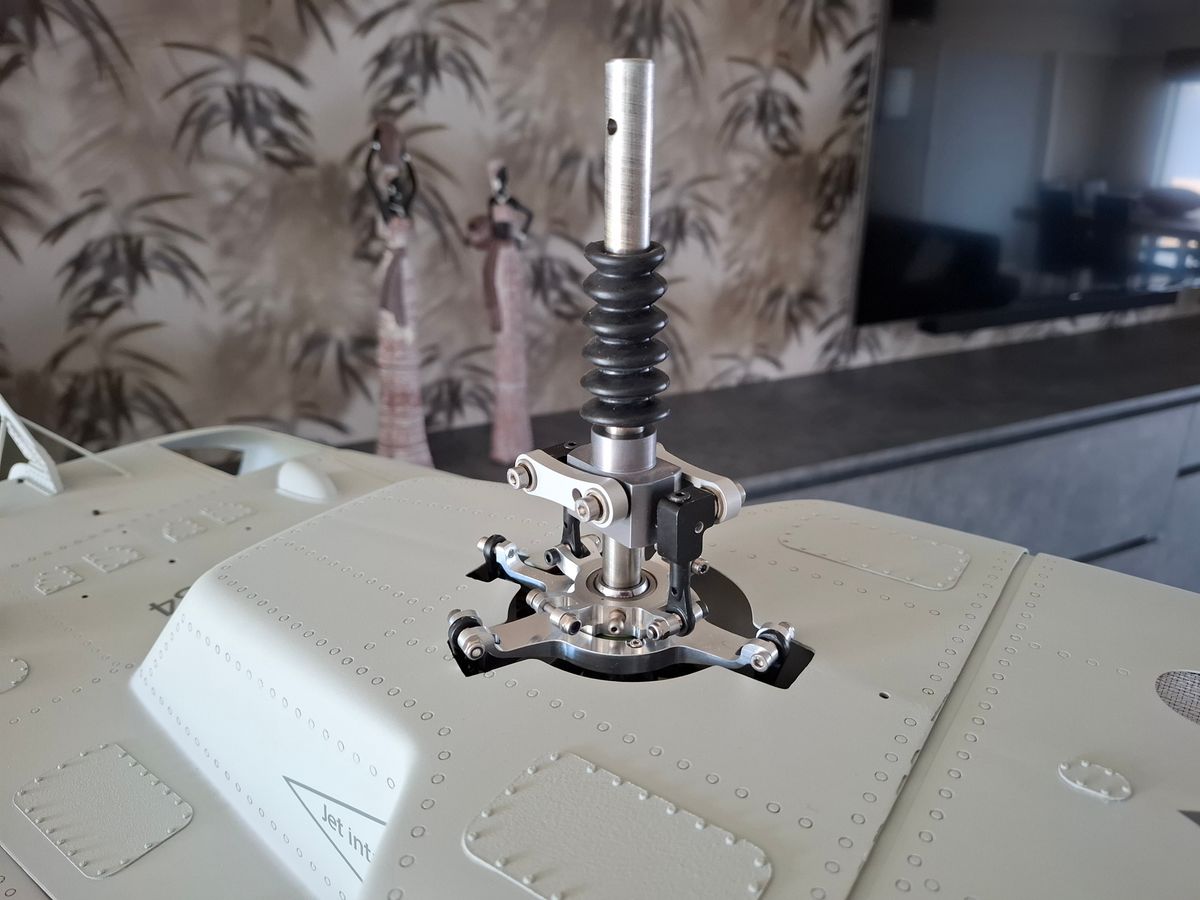
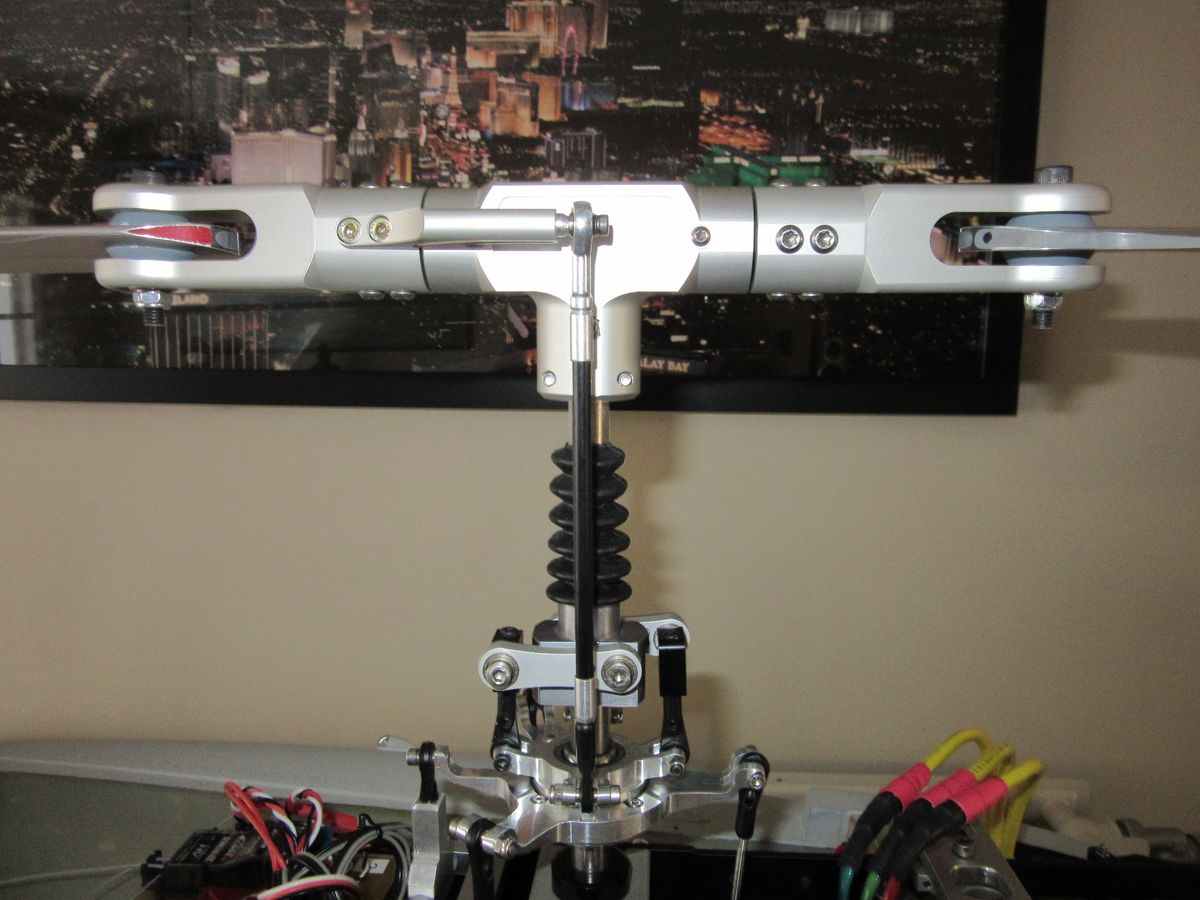
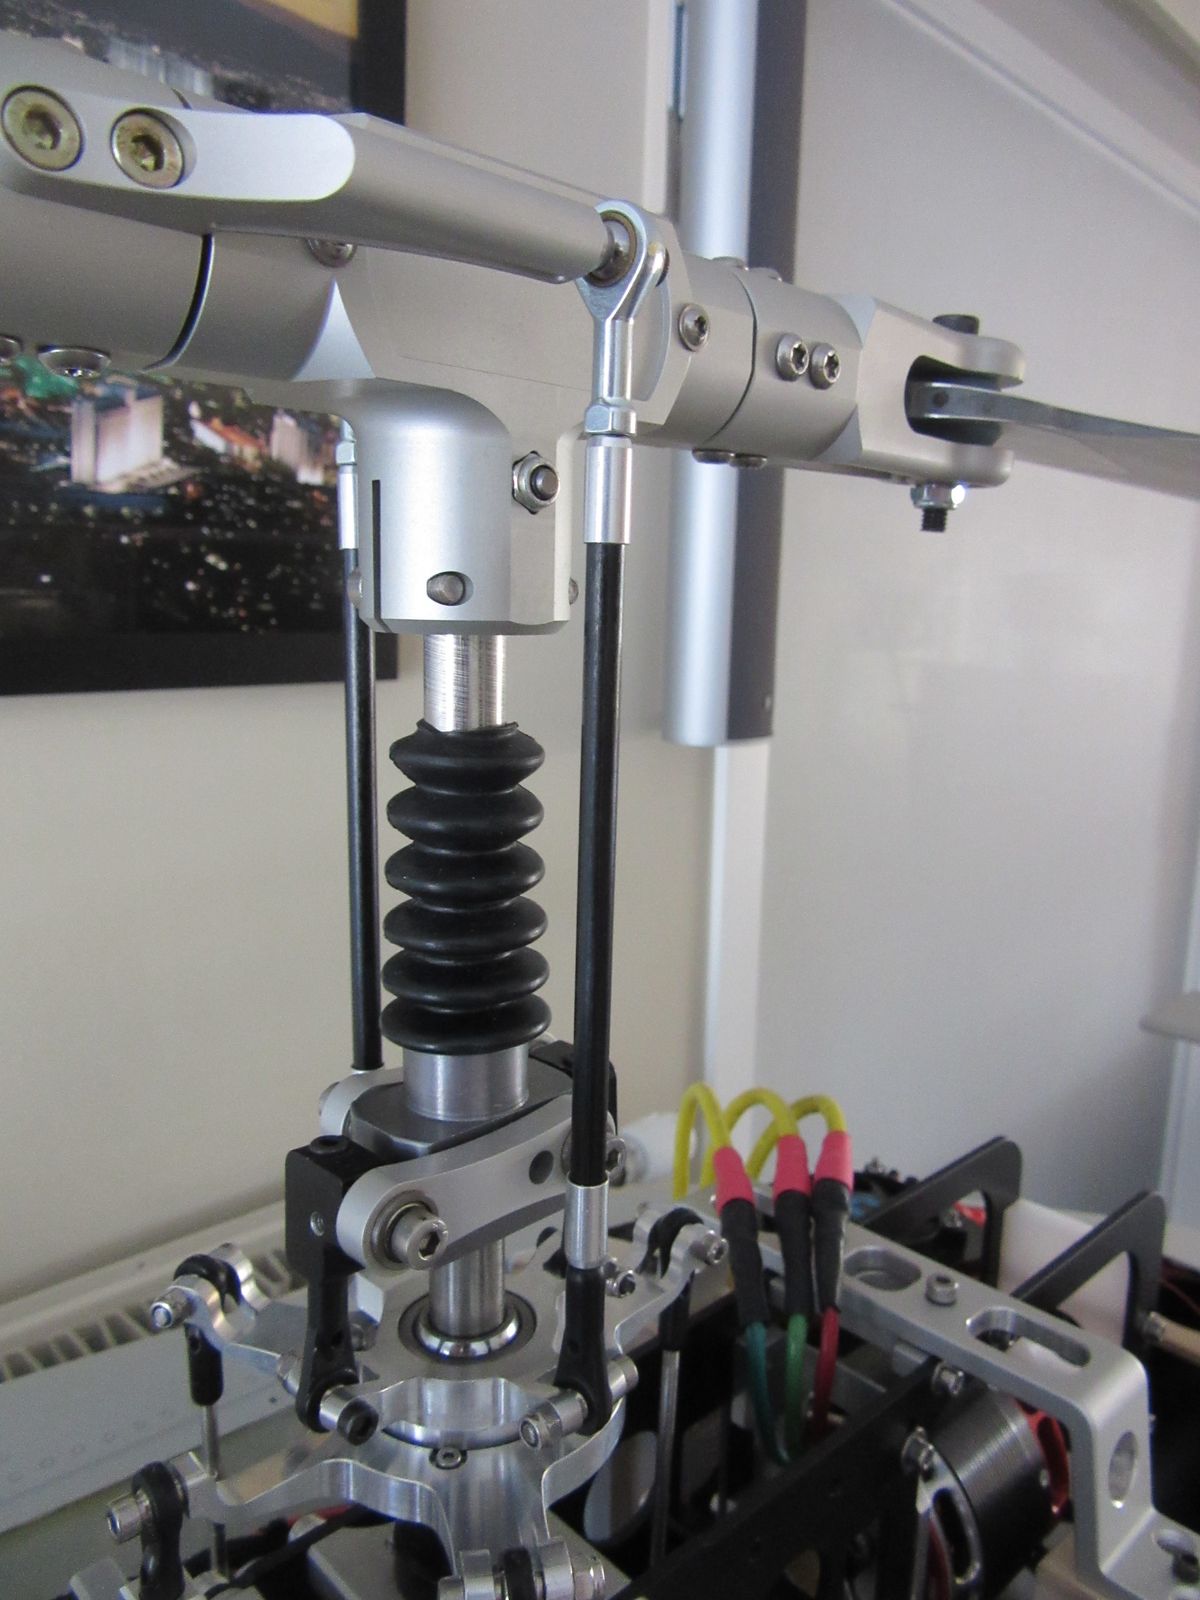
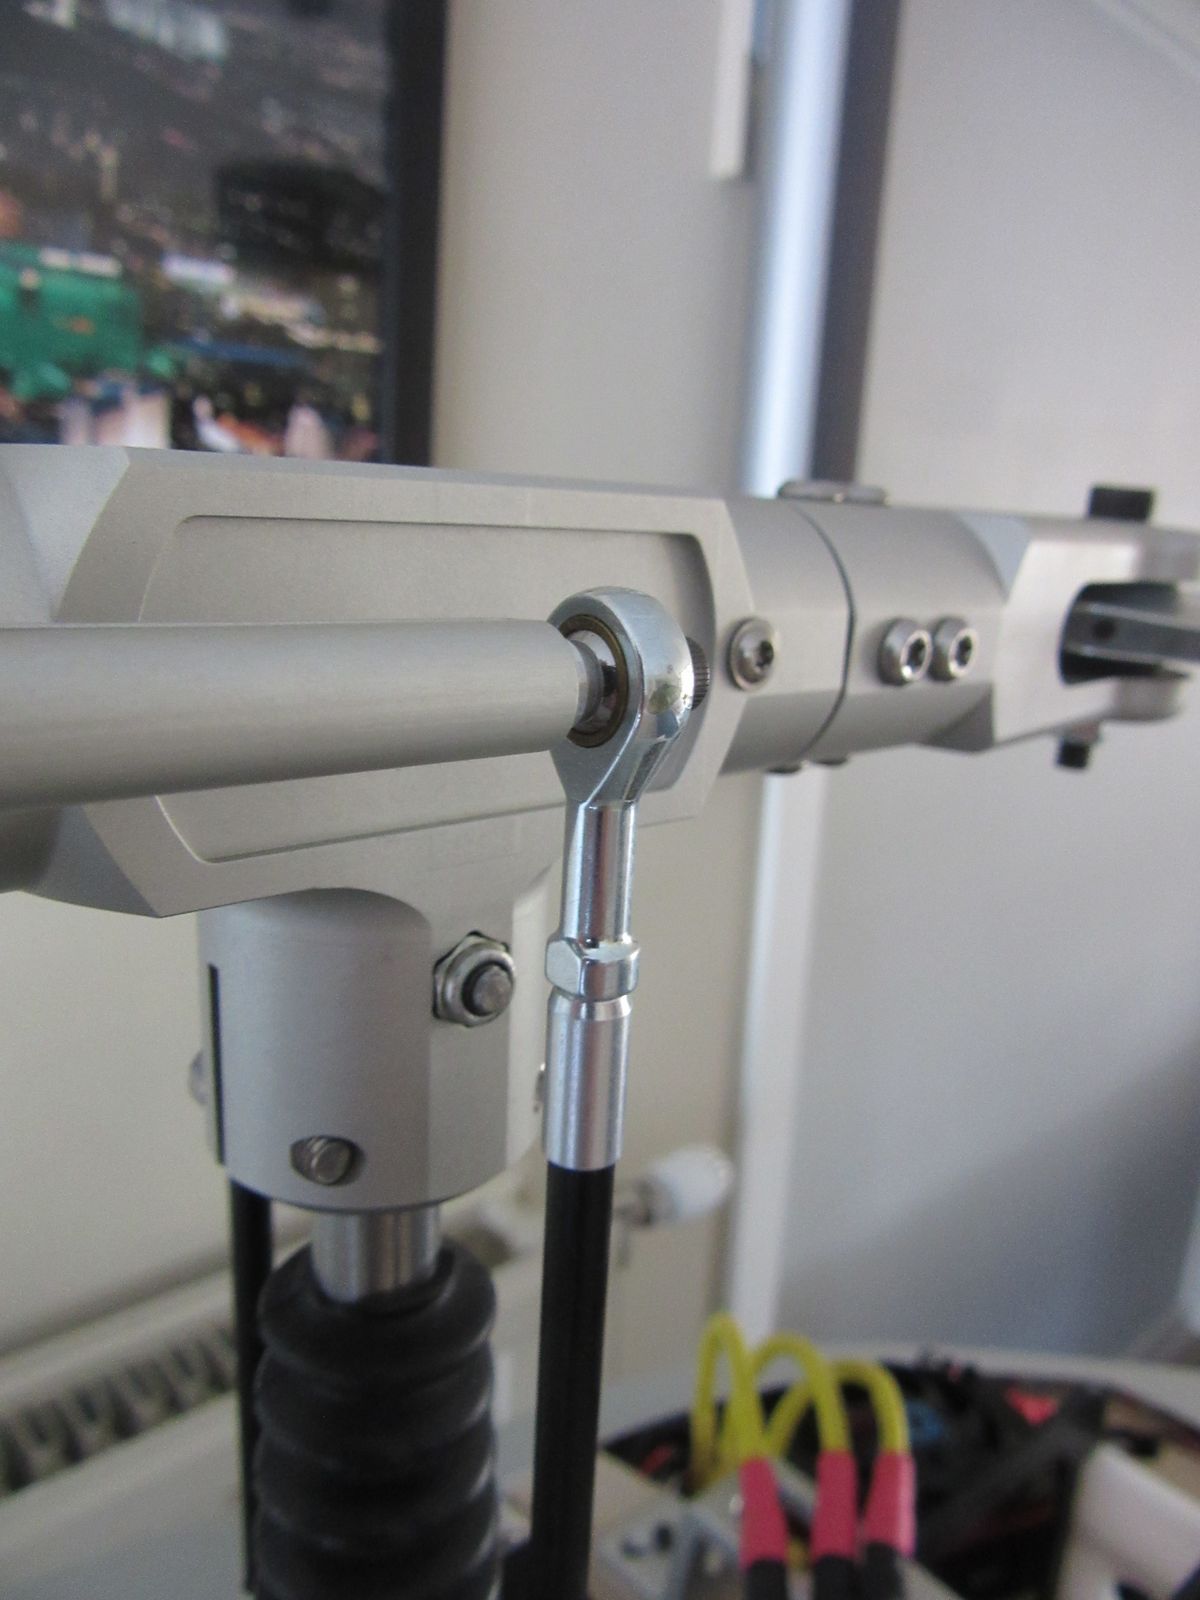
Rotorhead installed for test flight.
Temporary installation of the rotorhead for testflight.
RVS main pitch control rods with Carbon tube cover and alu tube end.
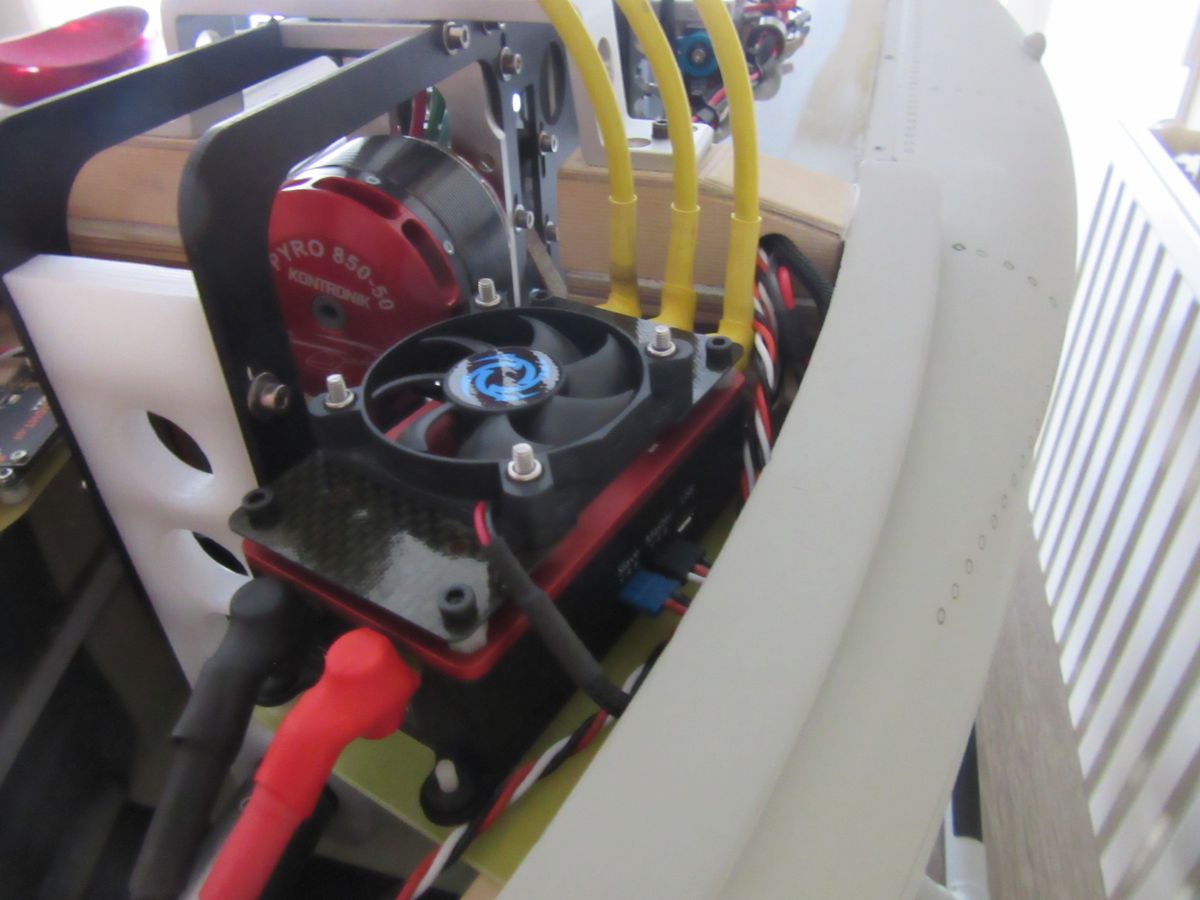
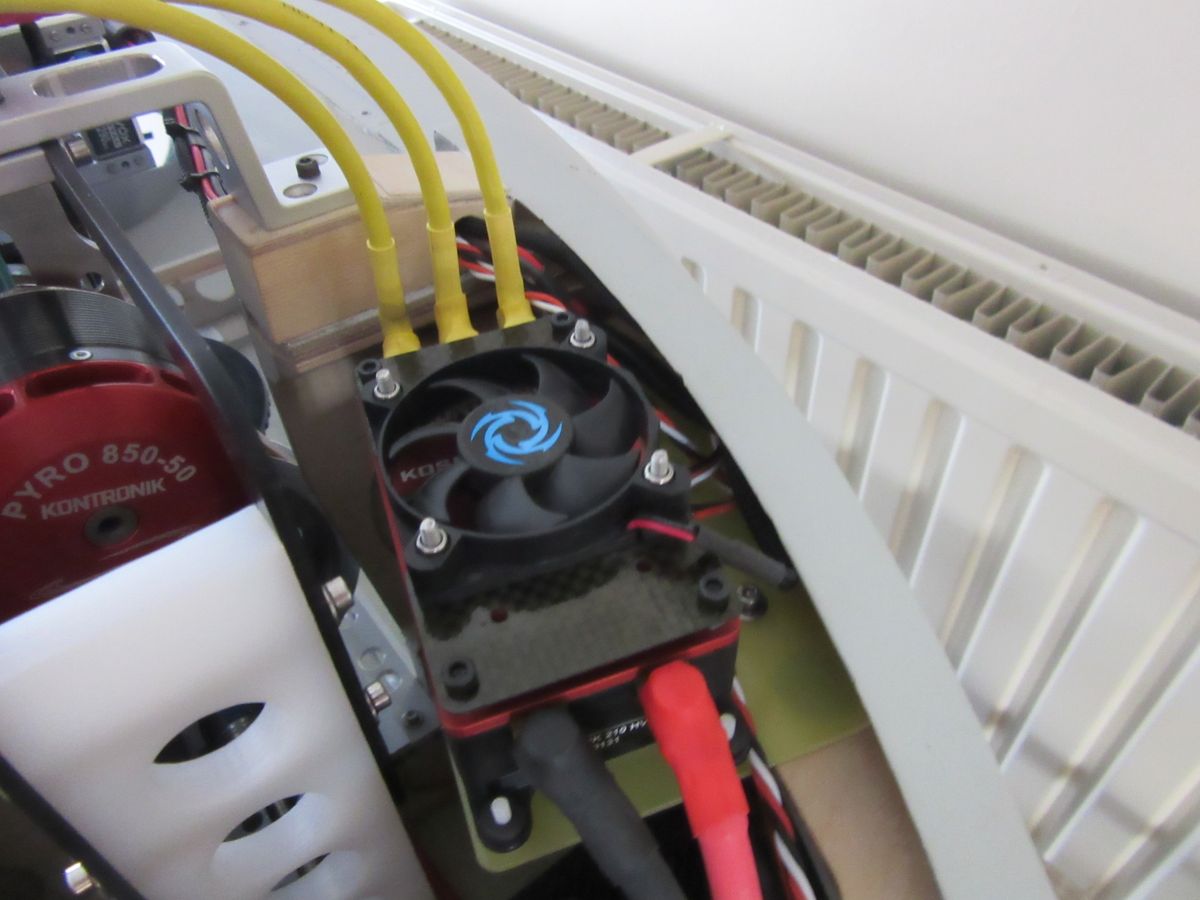
Fan installed on the Kosmik ESC, for cool operation in any condition.
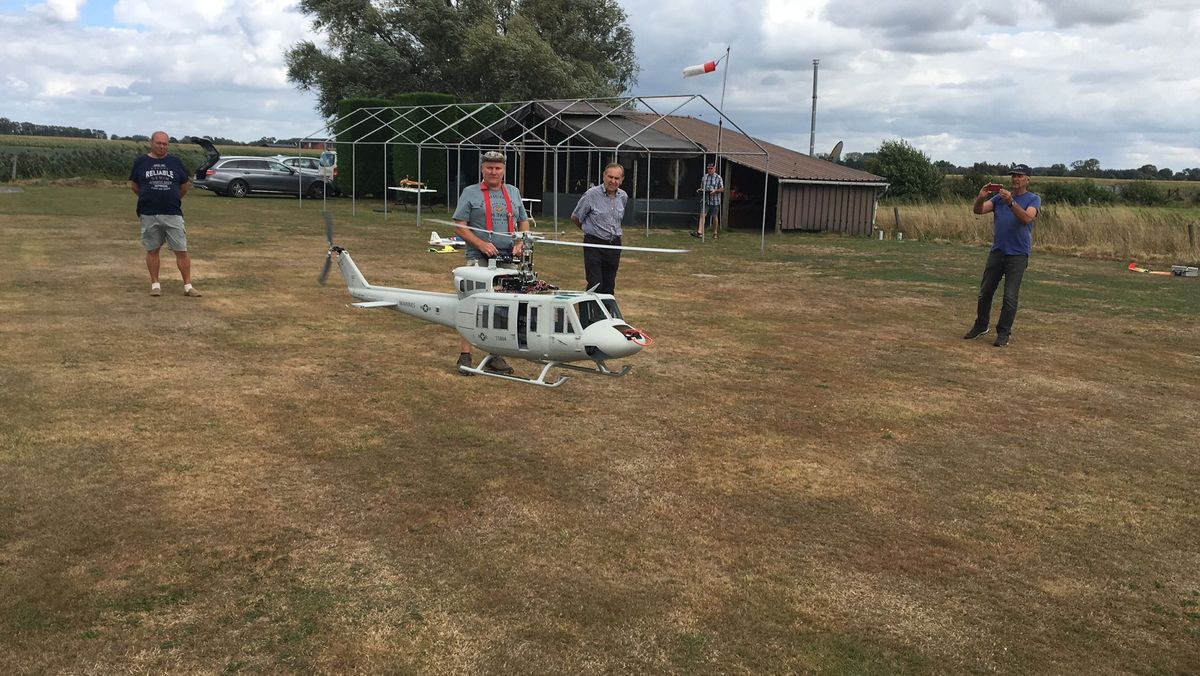
Maiden flight
Maiden flight, weather was not fine, lots of wind but could not wait....
950 Rpm 45Amps current draw @ 50 volt
13 Minute flight , 3000mAH left of the 10.000mAH in the lipo's
Weight approx 18 Kg
No major adjustments needed.
16 Comments
Danny amazing work... as always...
Thanks, we like to do it right.
Excellent!
Thanks pal !
Excellent work and detail. How did you add the rivets?
They were milled with a stainless steel tube in a handheld drilling machine. I will post some extra pictures .
This is the milling aid strip, so the distance of the rivets is consistent.
This is how it works.
Stainless steel tube 3 x 2 mm
The big advantage is that you can continue uninterrupted, no glue that has to cure.
good job 👍
Thank you, this working method has no depth reduction after painting
Hi Danny, I switched from blue to yellow cruciforms on the tail coupling. The yellows are more durable and less susceptible to deformation than the blues.
Thanks for your reply, i will keep it in mind.
Well done!
Great job Danny