

RC Van Build Series
 Michael K.
Introduction
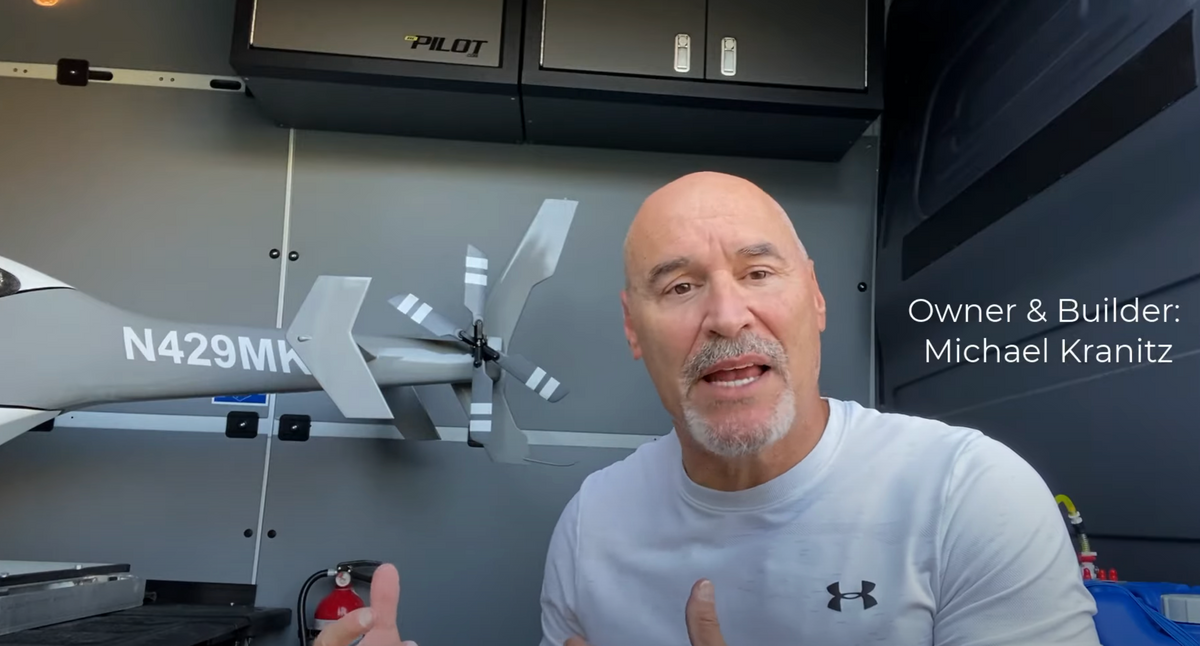
In this brief introduction video, you'll get a taste of our journey through the creation of an RC hauling van. We take a stock 2021 Mercedes-Benz 2500 Sprinter High Roof (144" WB) and turn it into a mouth-watering RC transport that any pilot would enjoy driving.
We will periodically release new episodes that take you through:
- The van itself, including off-road tires, wrap and options
- Finishing the ceiling and adding insulation
- Adding storage drawers and cabinets
- Adding side-by-side custom aircraft slides that make loading and unloading easier
- Adding a 600lb capacity upper deck with tie downs
- Adding solar panels and power system for charging
- Installing a fold down shelf
- And more...
TAKE A LOOK:
OUR VAN SERIES SPONSORS
Mercedes-Benz of Oklahoma City - https://mbokc.com
Horizon Hobby - https://horizonhobby.com
Slide Master - https://slide-master.com
RBComponents - https://rbcomponents.com
Why We Picked the 2500 Sprinter High Roof
In this episode, we will take a close look at the 2021 Mercedes-Benz 2500 High Roof Sprinter with 144" wheel base. We will also look at the custom satin wrap, custom wheels and a few other fun features. The commentary below supplements what we show in the video.
WHY WE PICKED THE 2500 144" WB
There are cargo trailer pilots, van pilots and RV pilots. I happen to be a guy who refuses to deal with a trailer even though they are less expensive than a van. I like everything packaged into ONE vehicle. Since I've already owned the RAM Promaster 1500 and very much dislike the cabin, I decided to invest in a 2021 Mercedez-Benz Sprinter van. It's top of the heap in my view. That said, Ford, Nissan and RAM all make affordable vans that will do the job; it's just personal preference at the end of the day.
I chose the HIGH ROOF but SHORT WHEELBASE cargo model for several reasons:
1. I dislike long, unwieldy vehicles
2. I like being able to stand inside the van (at my height, the low roof would have worked) AND have room above my models to store more stuff.
3. Why pay for seats and windows when you are not going to use them? In my case, the cargo van has ONE purpose only -- to serve the RC gods (and me).
WHY THE WRAP AND OFF-ROAD TIRES?
In a word -- FUN! There is no good reason to gussy up your van other than to satisfy your eyeballs every time you look at it. It also goes a long way toward dispelling the neighborhood rumor that you offer candy to kids from your white panel van. I modified the wheels and tires because there is NOTHING cool about van tires. They are just butt ugly.
POWER UPGRADE?
The Mercedes-Benz diesel engine uses turbo to achieve specified horsepower ranges. As a result, there is lag between mashing the pedal and actually accelerating. The RennTech tune we put on the van smooths out the acceleration curve and gives the van a bit more pep for passing. I won't be drag racing anyone, but they won't be calling me "granny" either.
Now watch the video!
Our sponsors and mentioned product links for this episode are:
Mercedes-Benz of Oklahoma City - https://mbokc.com
Horizon Hobby - https://horizonhobby.com
Slide Master - https://slide-master.com
RBComponents - https://rbcomponents.com
Owl Vans - https://owlvans.com
Ceiling Panels & Insulation
In this episode, we get busy readying the interior by installing ceiling insulation and panels, side insulation, and decorative sills. The heat and noise mitigation of these elements are key to creating a temperate environment for your models and equipment while minimizing road noise and rattling.
For the insulation, we used New Zealand all-natural wool. Natural wool insulation is the environmentally conscious, high-performance alternative to traditional insulation. It has zero smell and is incredibly effective at mitigating noise and thermal fluctuations. On the ceiling, we applied Noico "Red" insulation tiles. The tiles come in a tidy box and are easy to apply simply by peeling the backing from the tile and sticking it in place. We used most of the tiles on the metal van ceiling before attaching the insulation-backed ceiling liner. With the sun beating down on the roof of the van, these elements really help keep the interior of the van substantially cooler than you would experience without them.
The ceiling liner from Legend Fleet is part of their series of products that include pre-formed panels for the van sides and the ceiling. Since our Sprinter came with factory panels, we only needed the ceiling piece. What's nice about the ceiling panel is the reflective material on the non-visible side of the panel. This works well with the Noico tiles to keep heat out of the cargo area.
We insulated the walls and doors of the van in EVERY possible place. The payoff is immediately noticeable. The van rides quietly and stays habitable. When transporting fuel or models, keeping the temperature down is key.
NOICO Tile Dimensions:
Thickness: 150 mil=0.15 inches (4 mm)
Sheet size: 15.7 x 9.8 inches (40 x 25 cm)
Helicopter Slideouts & Decked Drawer Systems
In this episode, we look at the Decked drawer system and install the SlideMaster custom helicopter slide platforms. The Decked system installs quickly. The $1,400 system is well worth the money and has 5-star reviews from contractors, installers and hobbyists, alike. It just works. It's virtually indestructible too! Installation is fairly routine so we don't go through it in the episode. There are plenty of installation videos at Decked.com.
The centerpiece of this episode and the van, itself, is the pair of custom SlideMaster helicopter slide-outs. The slide units were custom ordered to be 22" x 52" so I could get two of them side-by-side on top of the Decked unit. Although SlideMaster does not recommend mounting these onto the Decked unit, we did it anyway knowing that maximum weight on each slide would not exceed 60 lbs. Even at 100 lbs. each, the slides are just fine -- they each have a 400 lb capacity.
On top of the slides, we attached 1/2" plywood decks. At 48" x 24" we were able to easily source the deck from a 4' x 8' sheet of plywood and have a leftover set for backup! Atop the plywood, we mounted (with glue and the bolts which hold the entire deck sandwich to the slide) 1/4" white masonite. We trimmed the edges with fancy Gorilla tape and mounted some tie-down loops to secure our precious cargo.
To attach the slides to the Decked unit, we drilled into the Decked unit and inserted Rivnuts. We only had one nut fail and were able to correct that with a larger Rivnut in that hole. From there, it's bolt-and-go.
This part of the project was the most rewarding and also the easiest. If you want an alternative to a standard single truck slide, take a look at https://slide-master.com and customize a solution that allows you to pull only one slide out at a time. This gives you better access and keeps the strain off of your back when loading and unloading aircraft of almost any size!
Our sponsors and mentioned product links for this episode are:
Mercedes-Benz of Oklahoma City - https://mbokc.com
Horizon Hobby - https://horizonhobby.com
Slide Master - https://slide-master.com
RBComponents - https://rbcomponents.com
Cabinets, Fold-Down Table & Upper Deck - Part 1
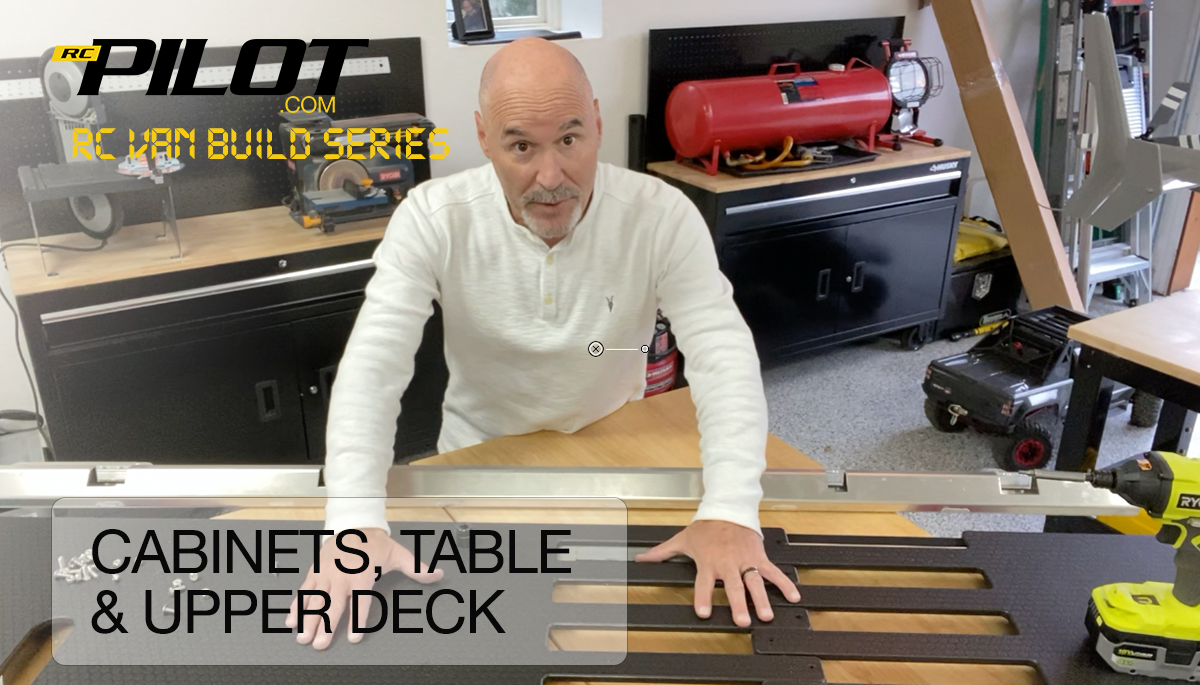
In this episode, we begin the final stages of the van -- upper cabinets, fold-down table and massive upper deck. We had to break this part of the build into two parts. Part 1 (this video) will cover the construction of the upper cabinets from RB Components. We left out the installation of the bracing that gets riveted into the van in order to support the cabinets but that's pretty boring anyway! The fold-down table from RB Components is super handy for charging batteries or doing light bench work.
The cabinets are very easy to install, but you need a bracing kit from RB Components to properly mount them. I had to scrap most of the bracing kit because I only had uppers in the front part of the driver's side. The kit they sell covers both sides because it's typically used for camper vans. Regardless, it was worth it. I riveted in the bracing and then drilled through that and the van so I could insert Rivnuts (the thickness of the bracing and the van wall made Rivnuts a useful way to mount the cabinets vs riveting the cabinets directly to the van).
The fold-down shelf was its own journey. The partition is not flat so getting the mounting brackets in the same plane required shimming. Not technically difficult, just a bit of trial and error using thick aluminum spacers. In the end, the table is MASSIVELY useful for putting my chargers and batteries on while at the field. I store the chargers in the front-most cabinet and just pop them onto the table when needed.
In Part 2, (the next chapter) we will take a detailed look at the installation of the upper deck.
Our sponsors and mentioned product links for this episode are:
Mercedes-Benz of Oklahoma City - https://mbokc.com
Horizon Hobby - https://horizonhobby.com
Slide Master - https://slide-master.com
RBComponents - https://rbcomponents.com
RCPilot.com RC Van Build Series - Episode 5: Cabinets, Table & Upper Deck (Part 2)
In this episode, we install the super-useful upper deck. This clever bit of engineering can support 600 pounds and be easily configured into one, two or three contiguous shelves. For me, the upper deck is where my 10x10 tent, folding chairs, and other miscellaneous equipment gets storied. But, with added L-Track, I could also use this deck to transport airplanes.
Our sponsors and mentioned product links for this episode are:
Mercedes-Benz of Oklahoma City - https://mbokc.com
Horizon Hobby - https://horizonhobby.com
Slide Master - https://slide-master.com
RBComponents - https://rbcomponents.com
6 Comments
That looks like it will be a pretty nice ride Michael. When you get it finished, you could put lots of models of full sized Van's aircraft in your van!! Then your van could be full of Van's!!
I like it!! I could also wear Van’s sneakers while loading Van’s airplanes into the van. It would be a vanity project.
Ha ha, that was good!!
In the next episode, we will be adding the cabinets, fold-down work table and cross-van upper platform.
This is really nice. Thanks for doing this series
Thanks Mark! Just don't make me build you one. 😳