

Vario Chinook XL
 Gonzalo M.

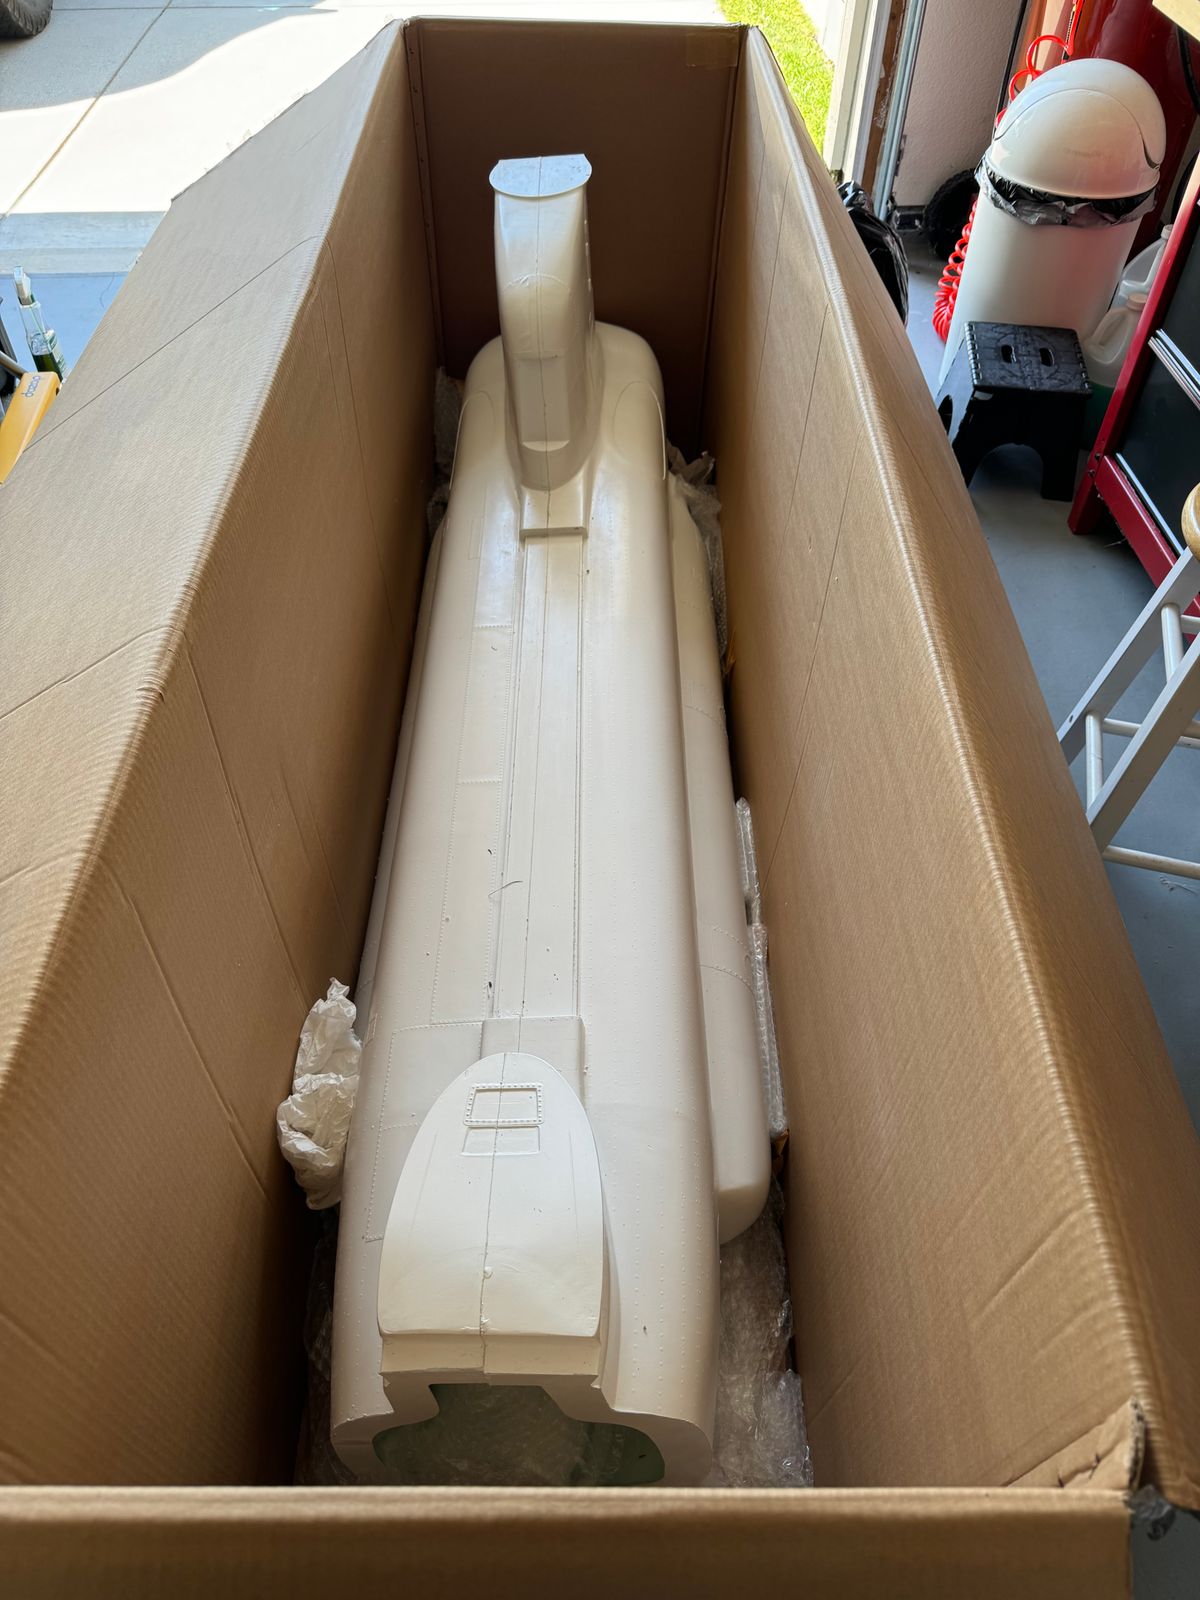
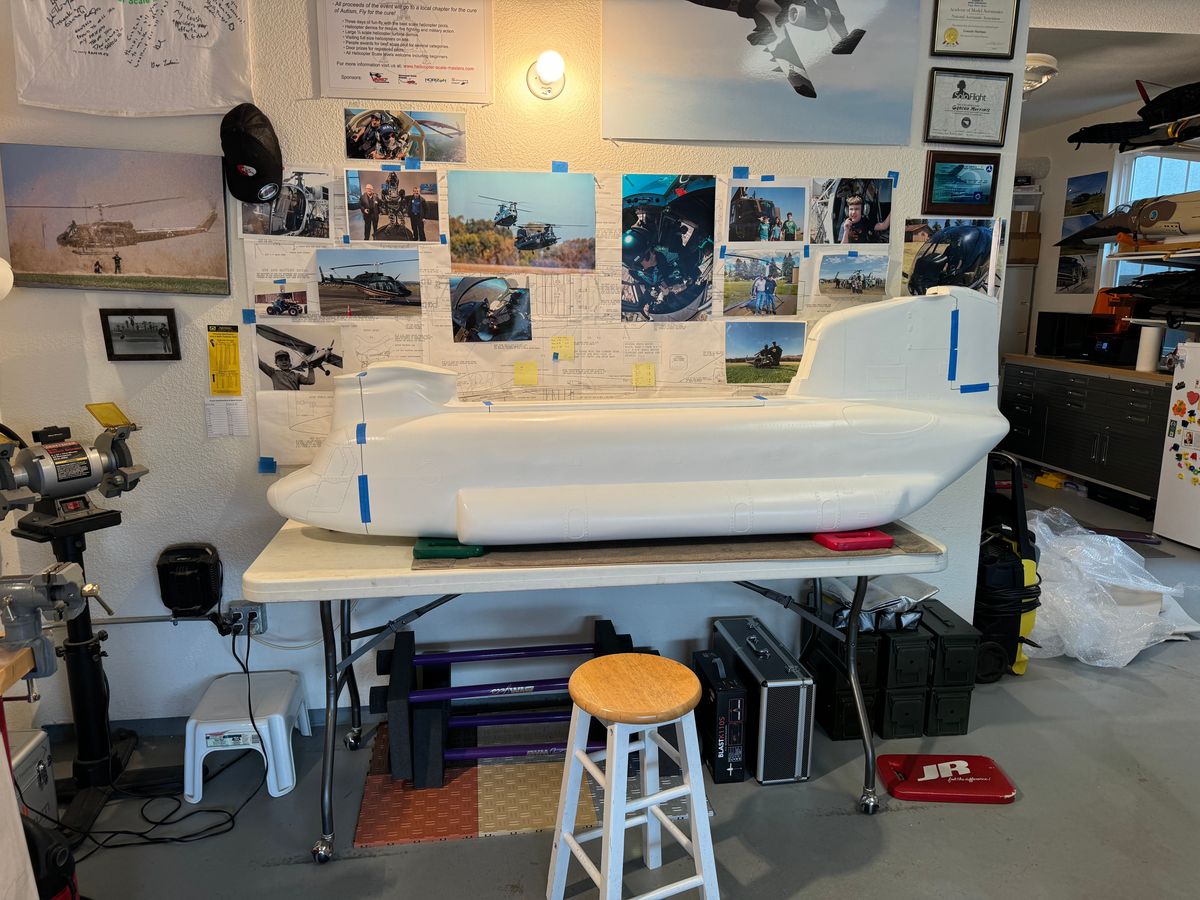
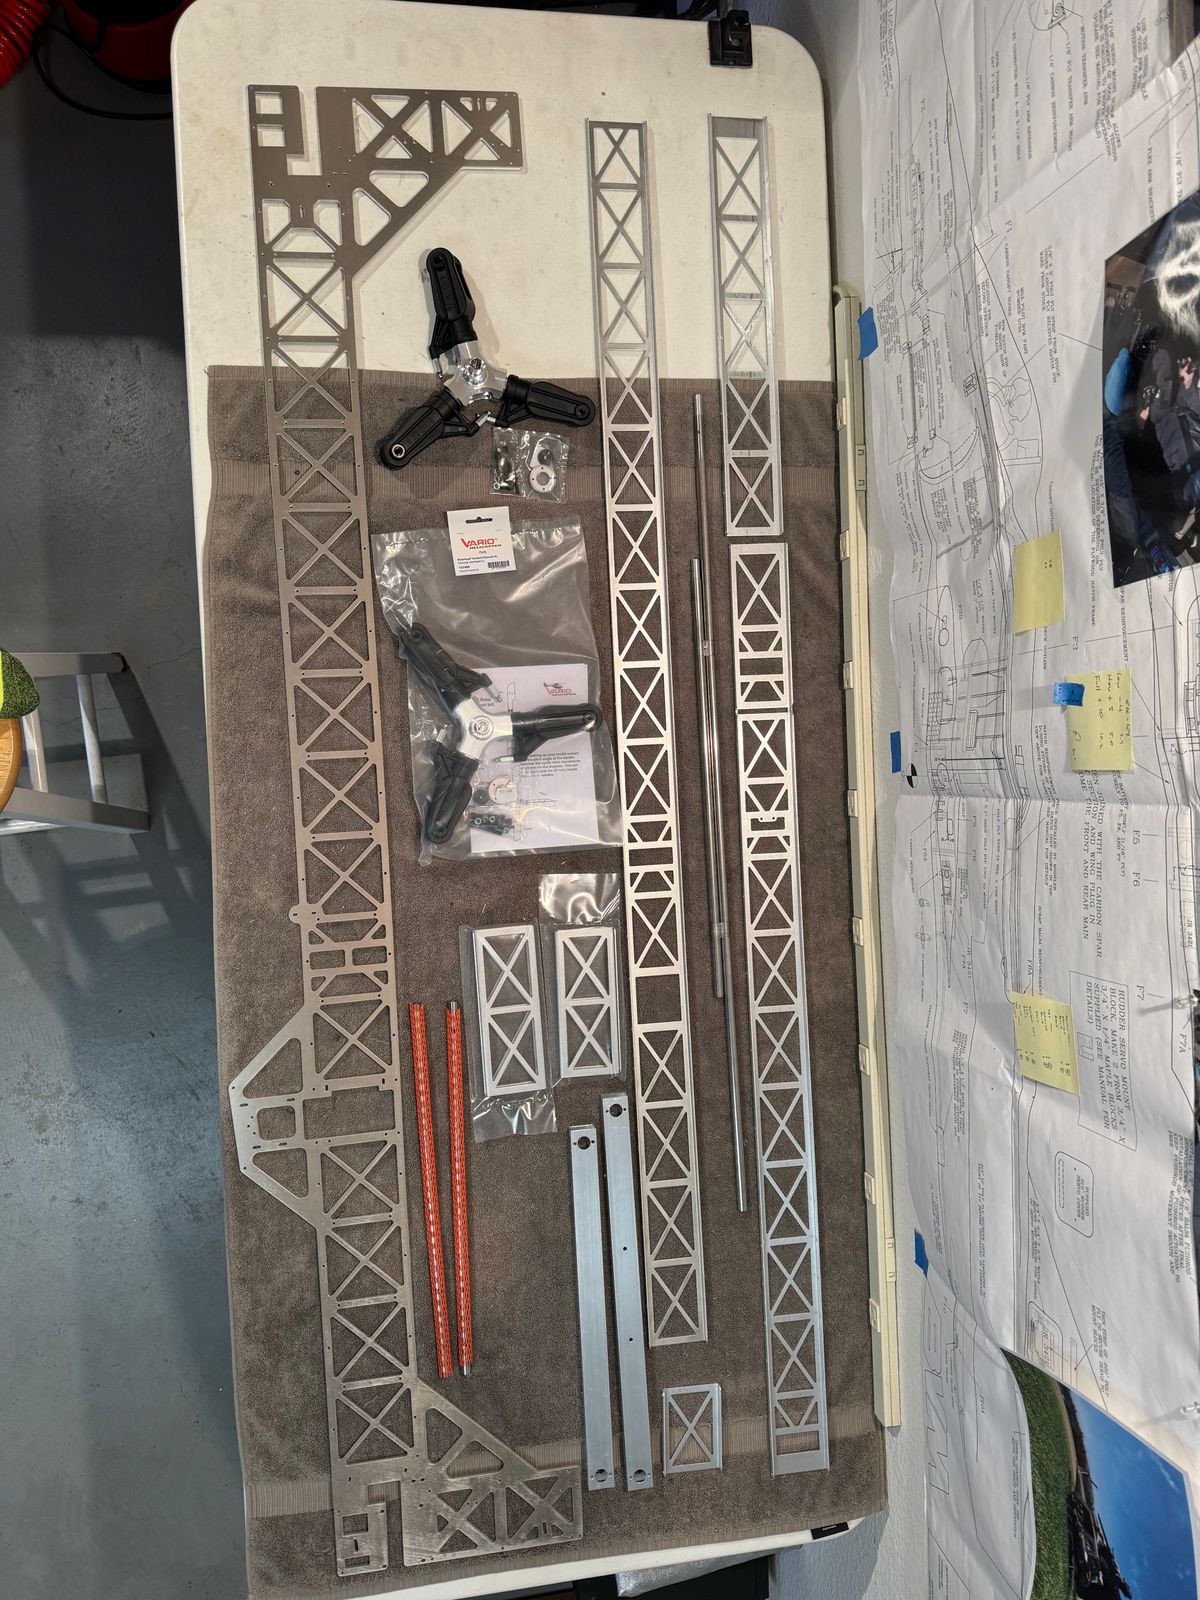
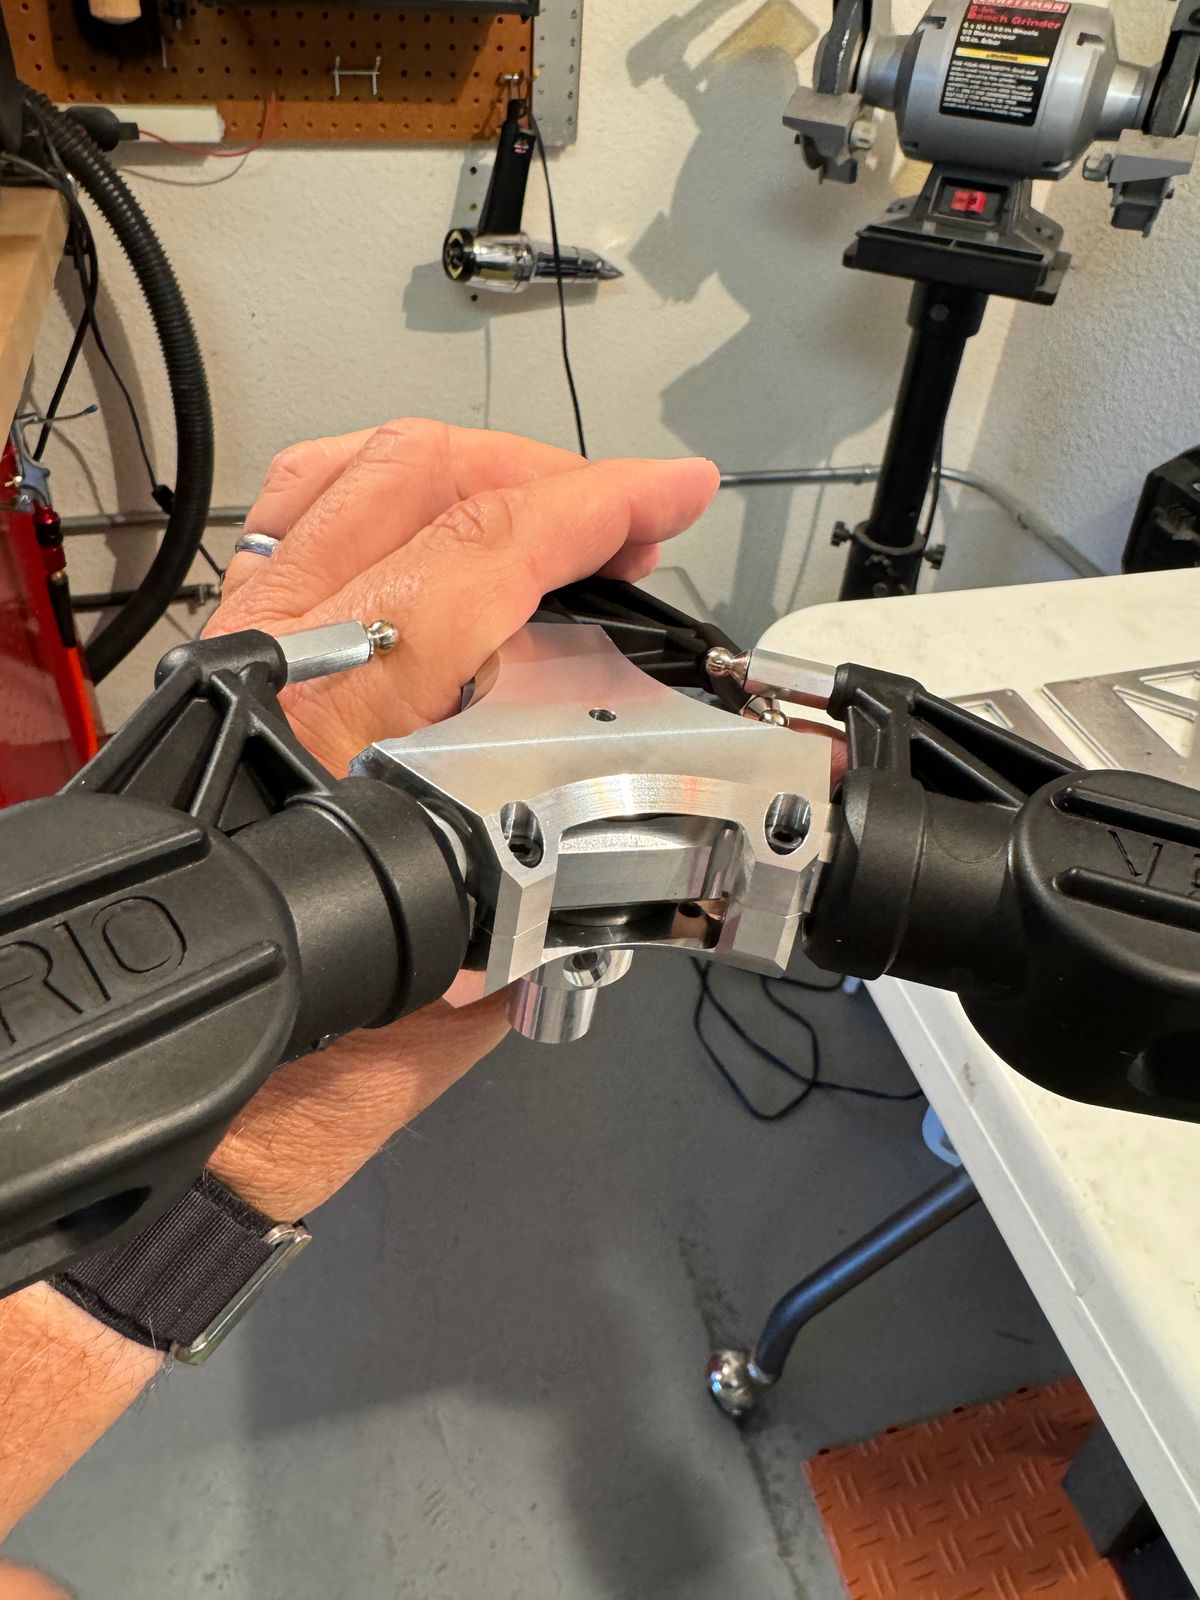
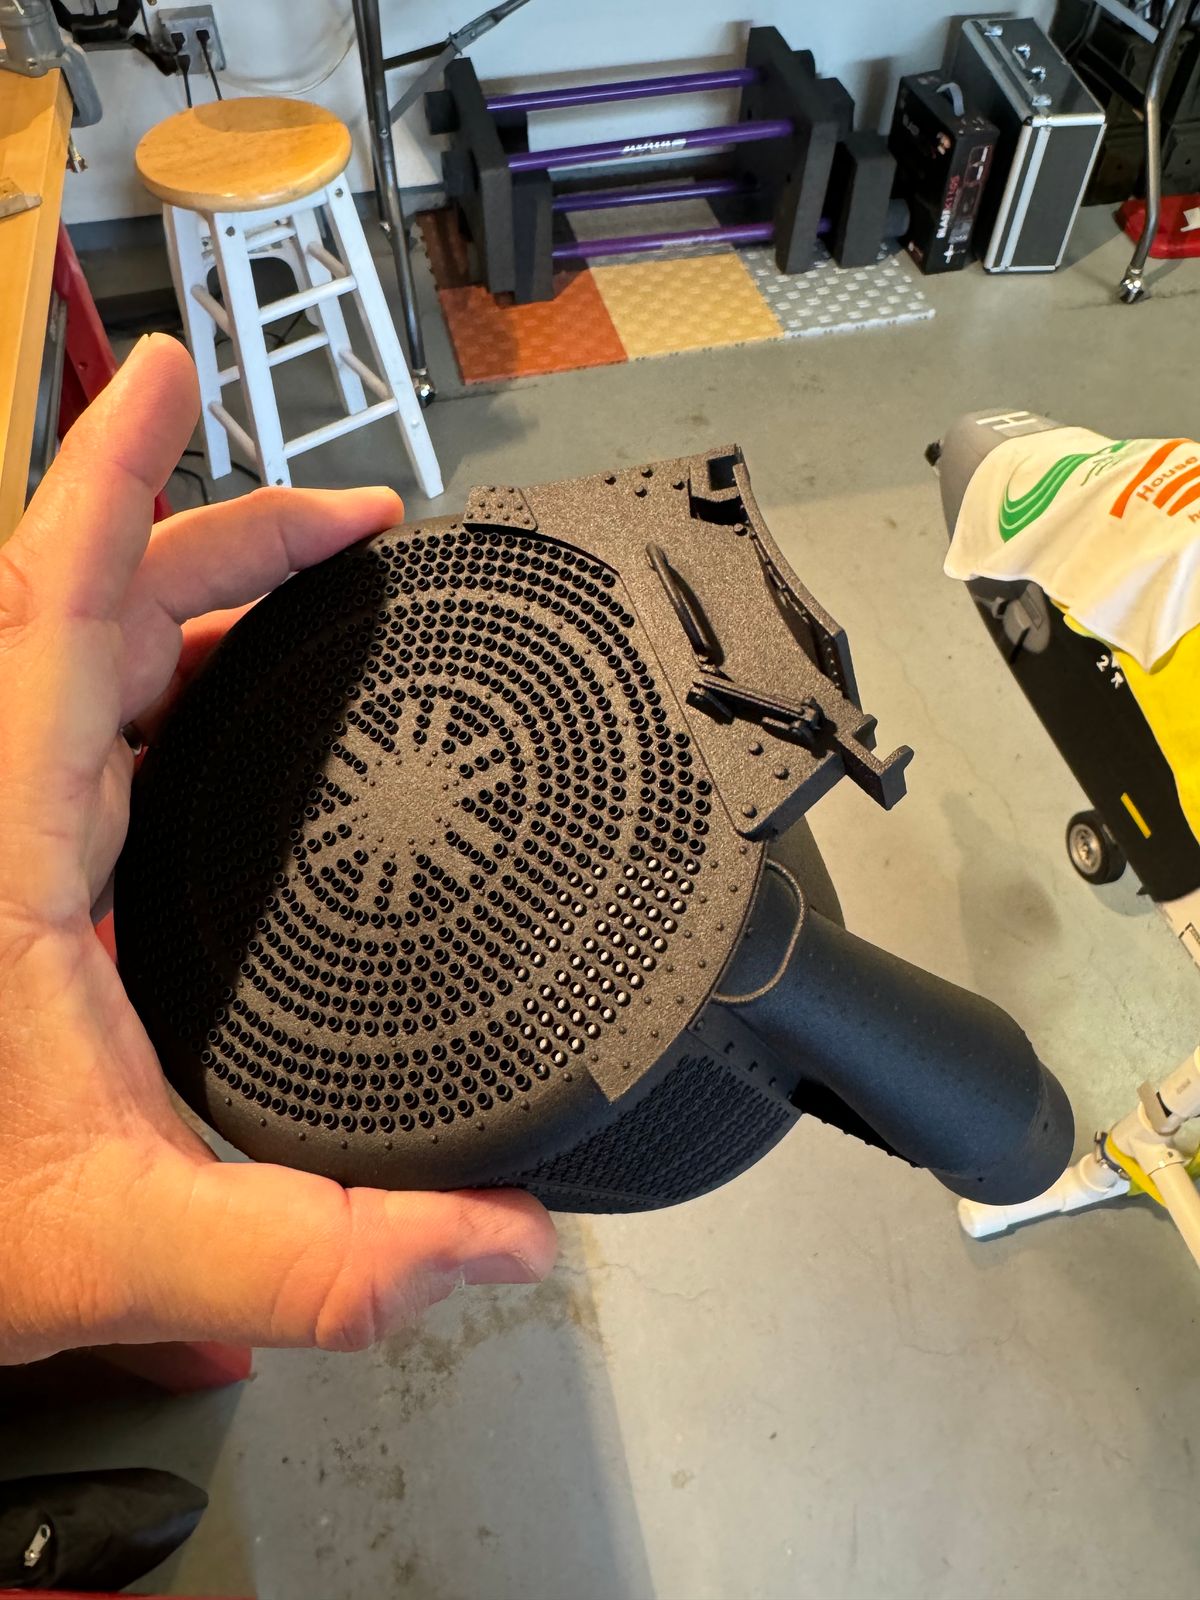
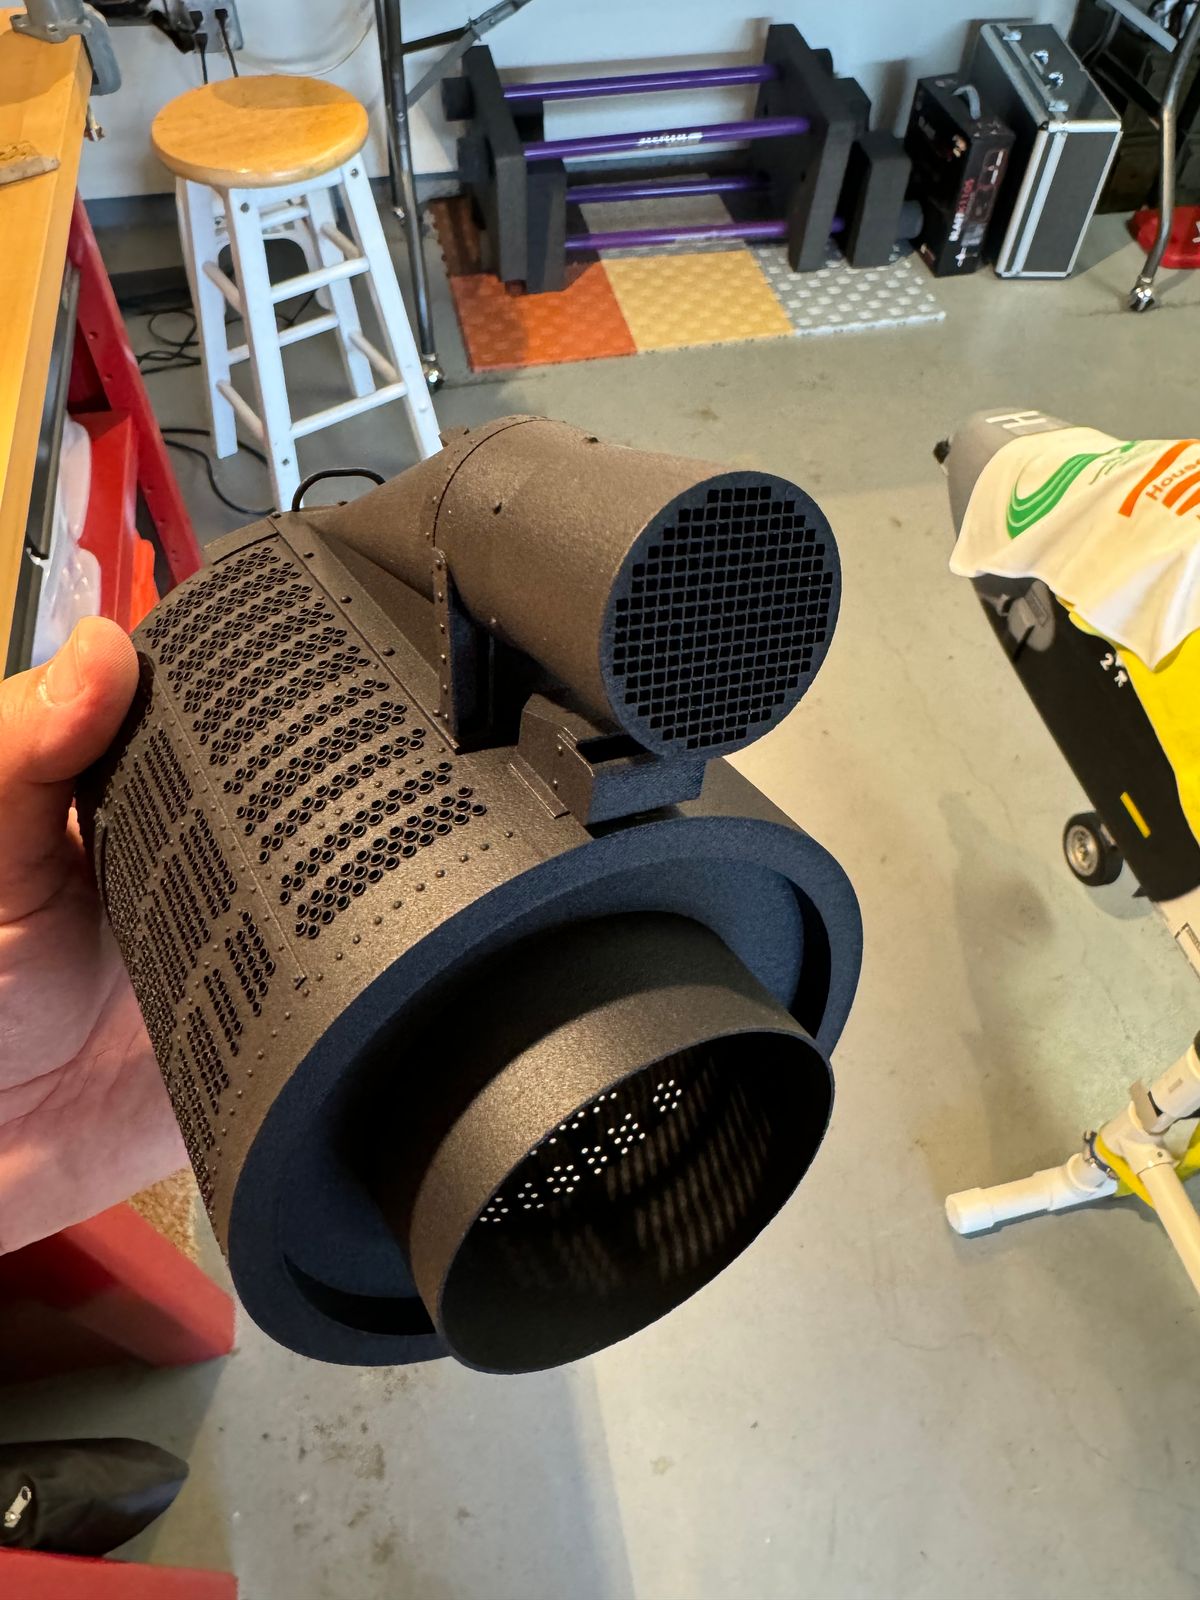
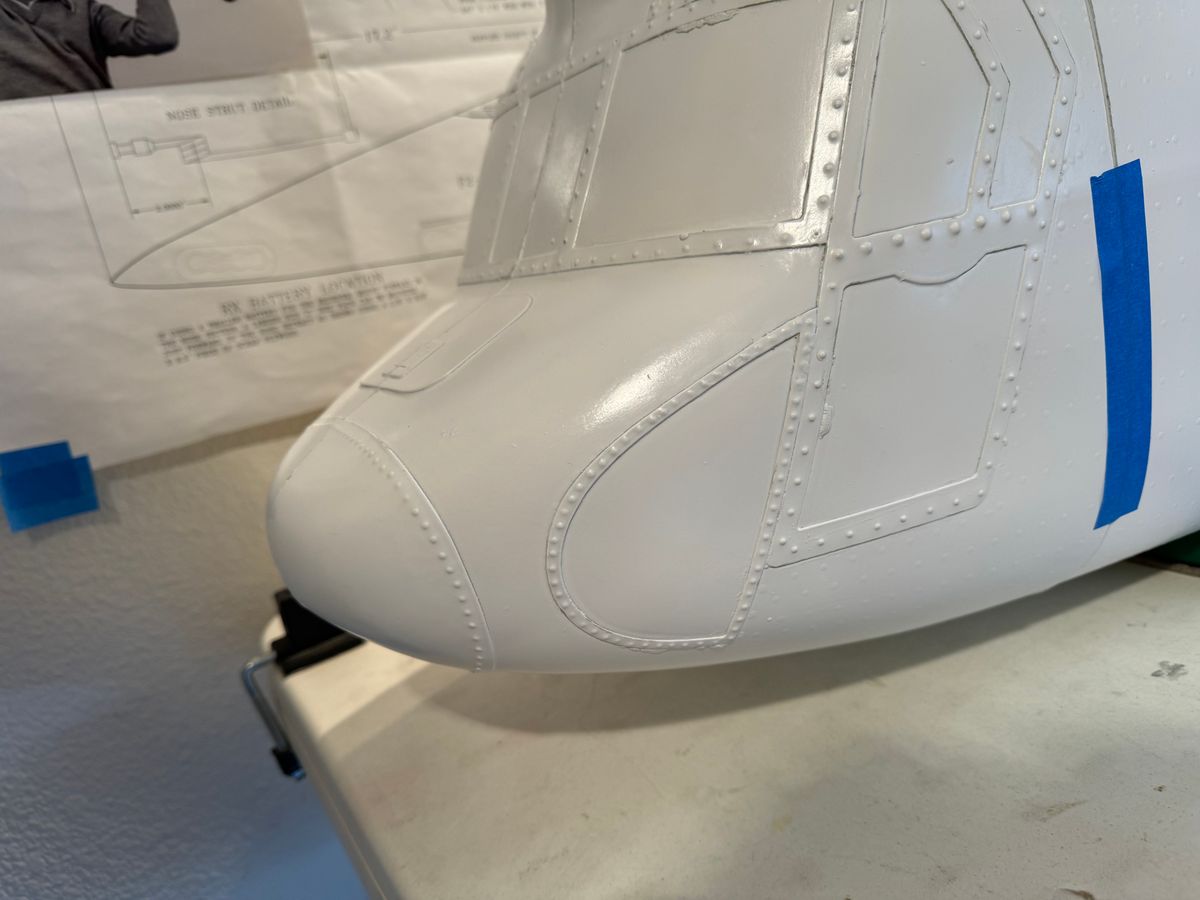
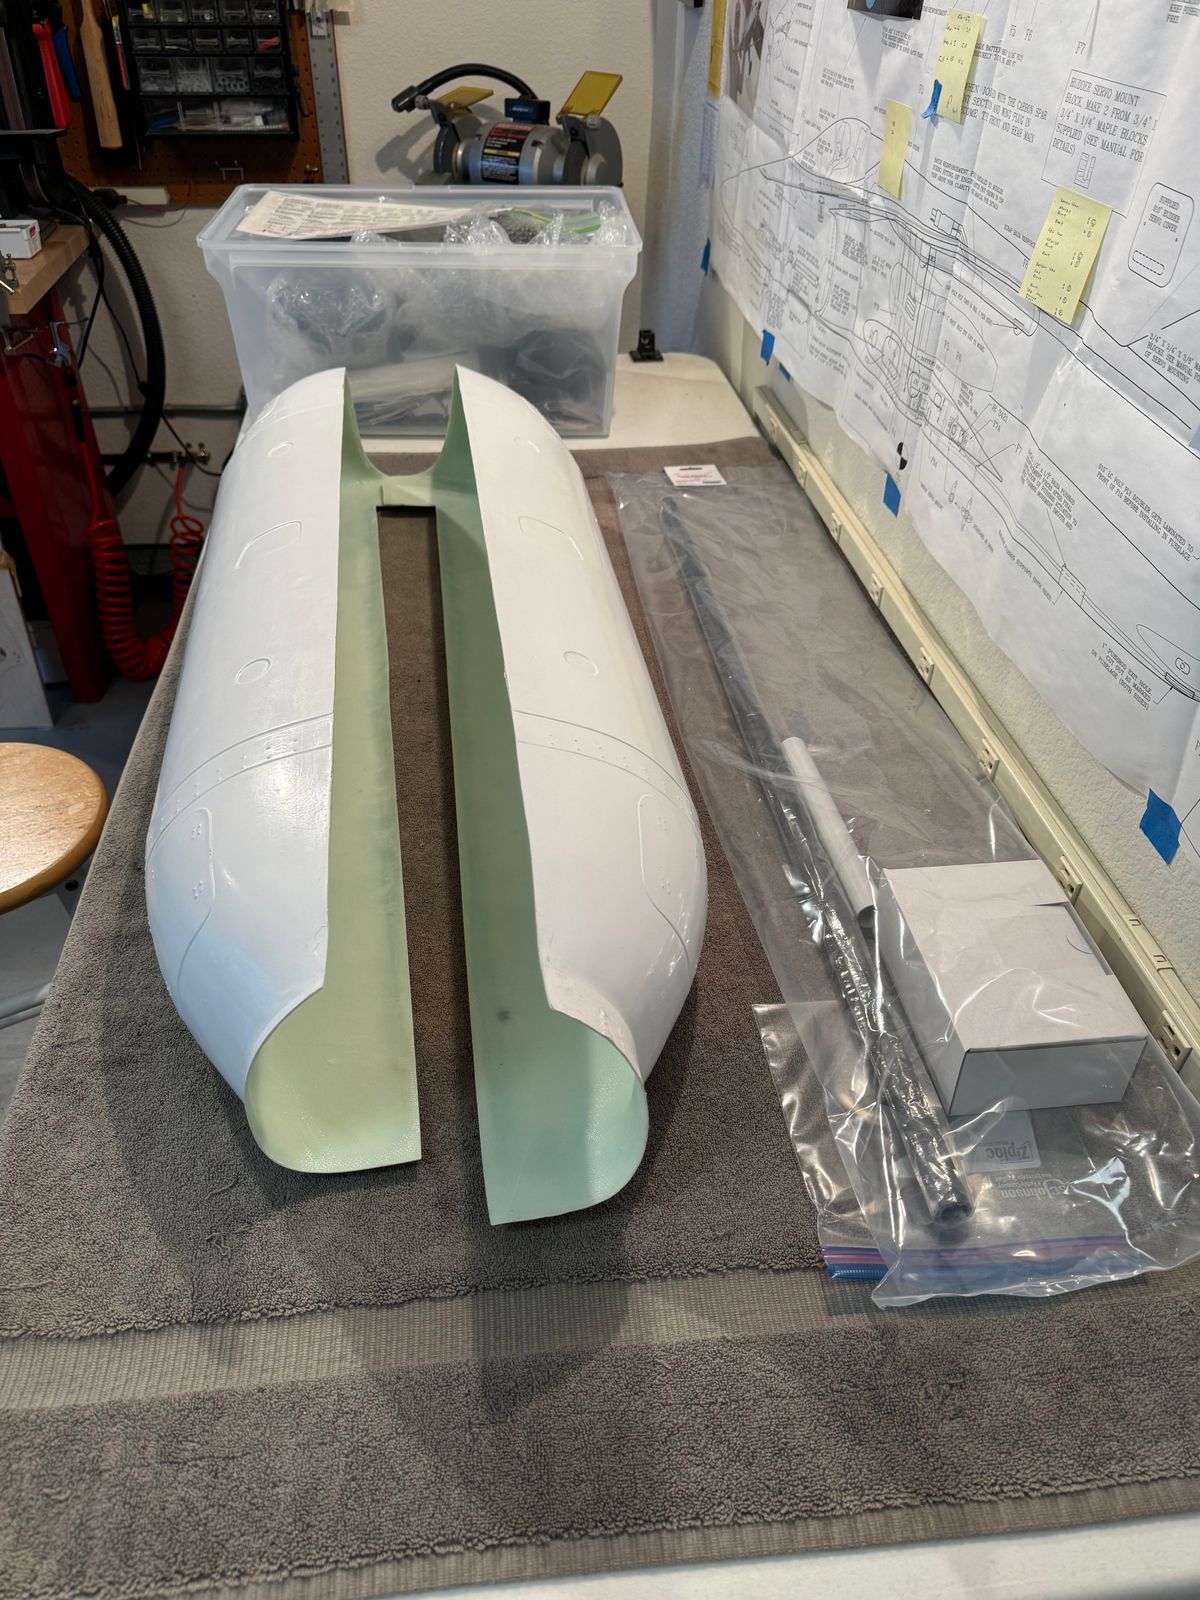
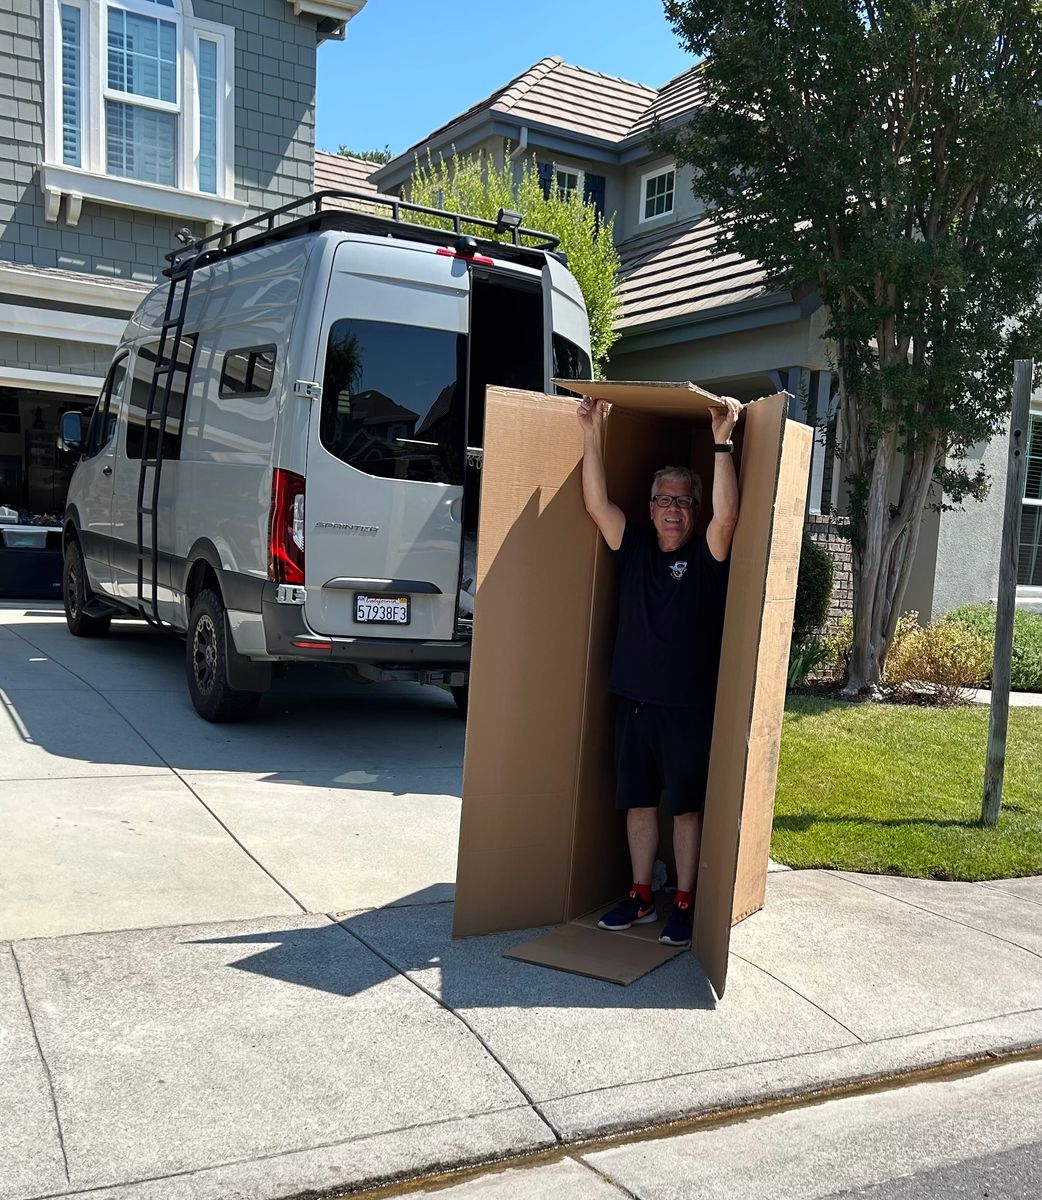
Vario Chinook XL out of the box
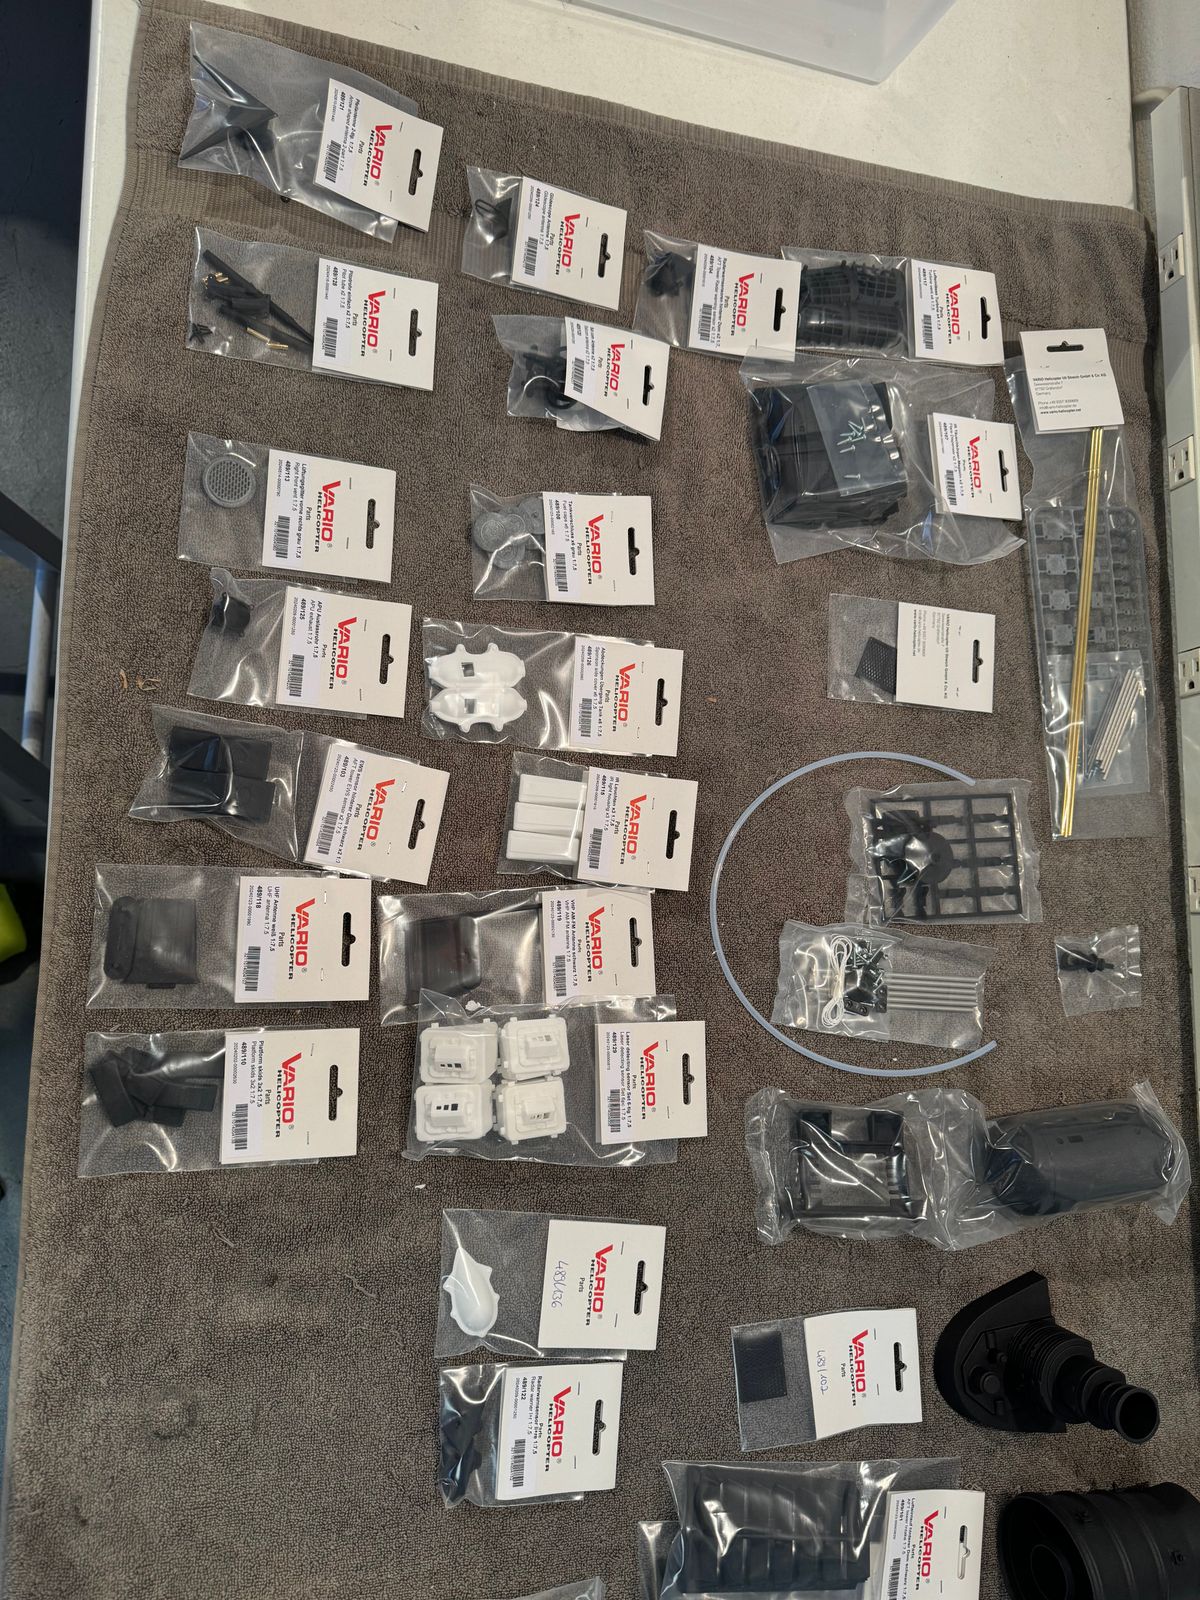
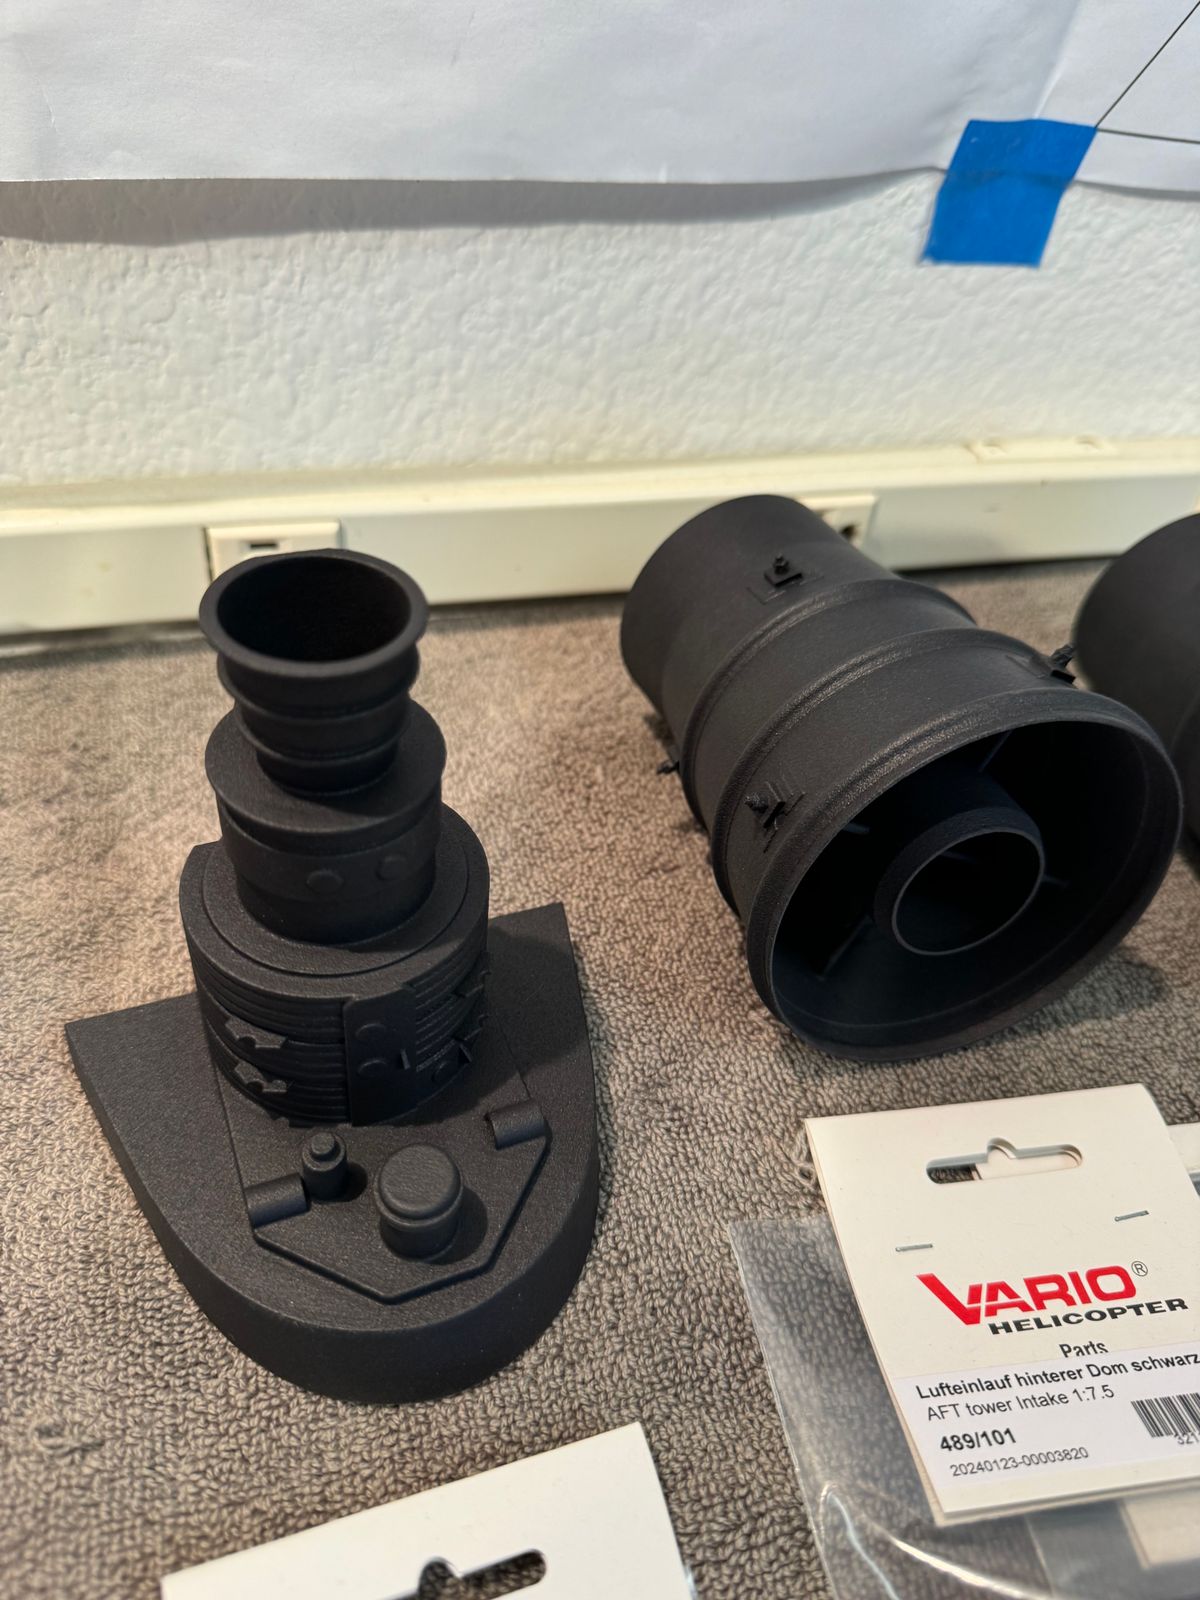
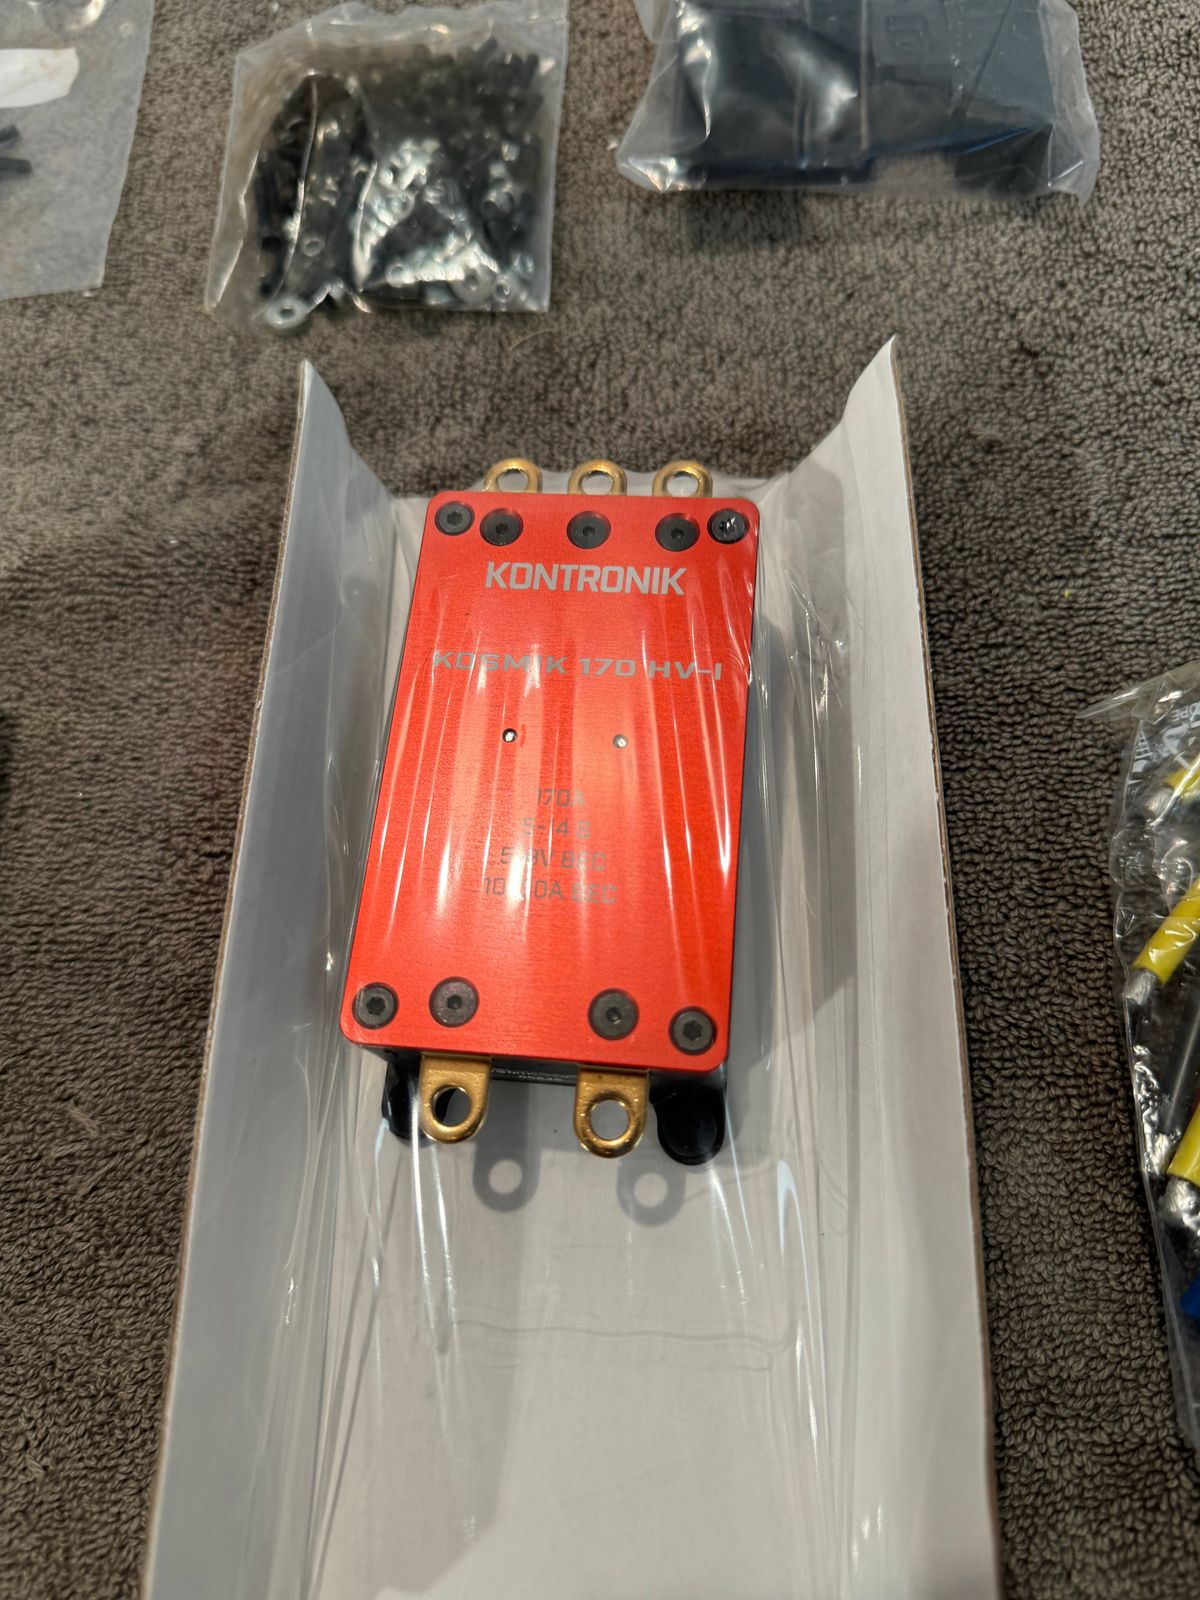
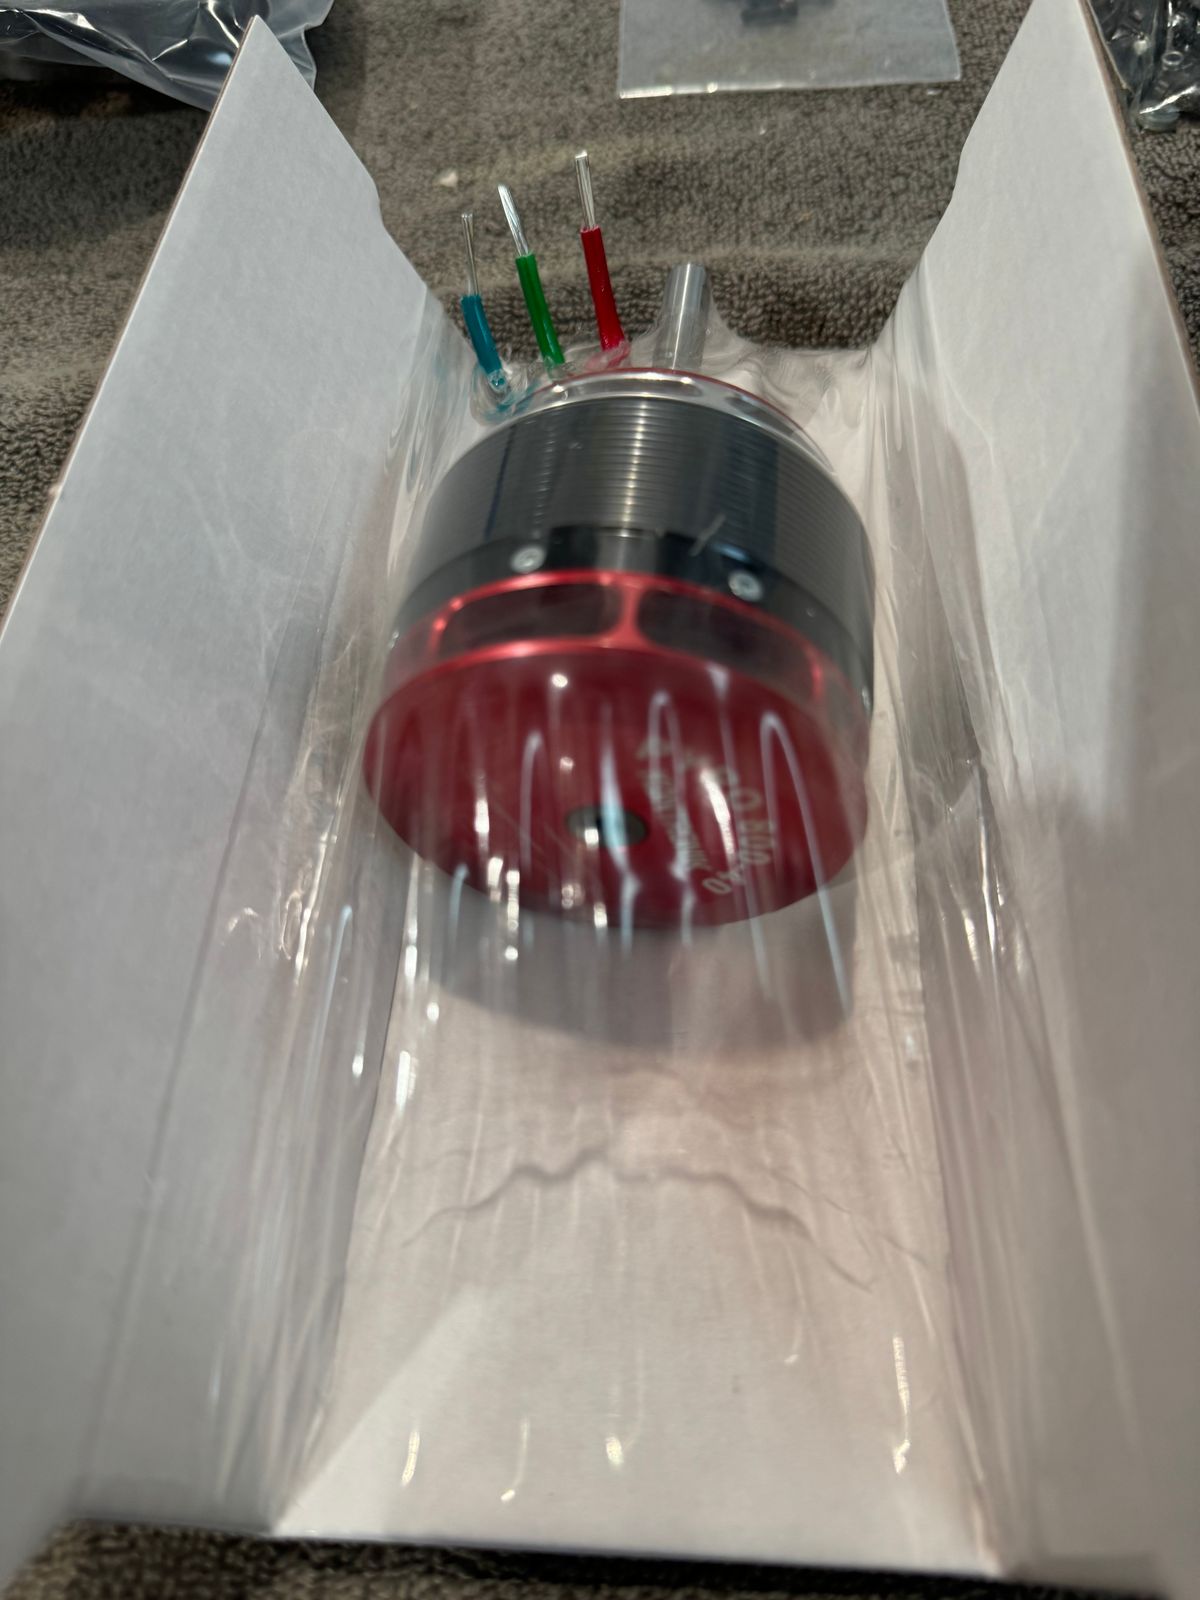
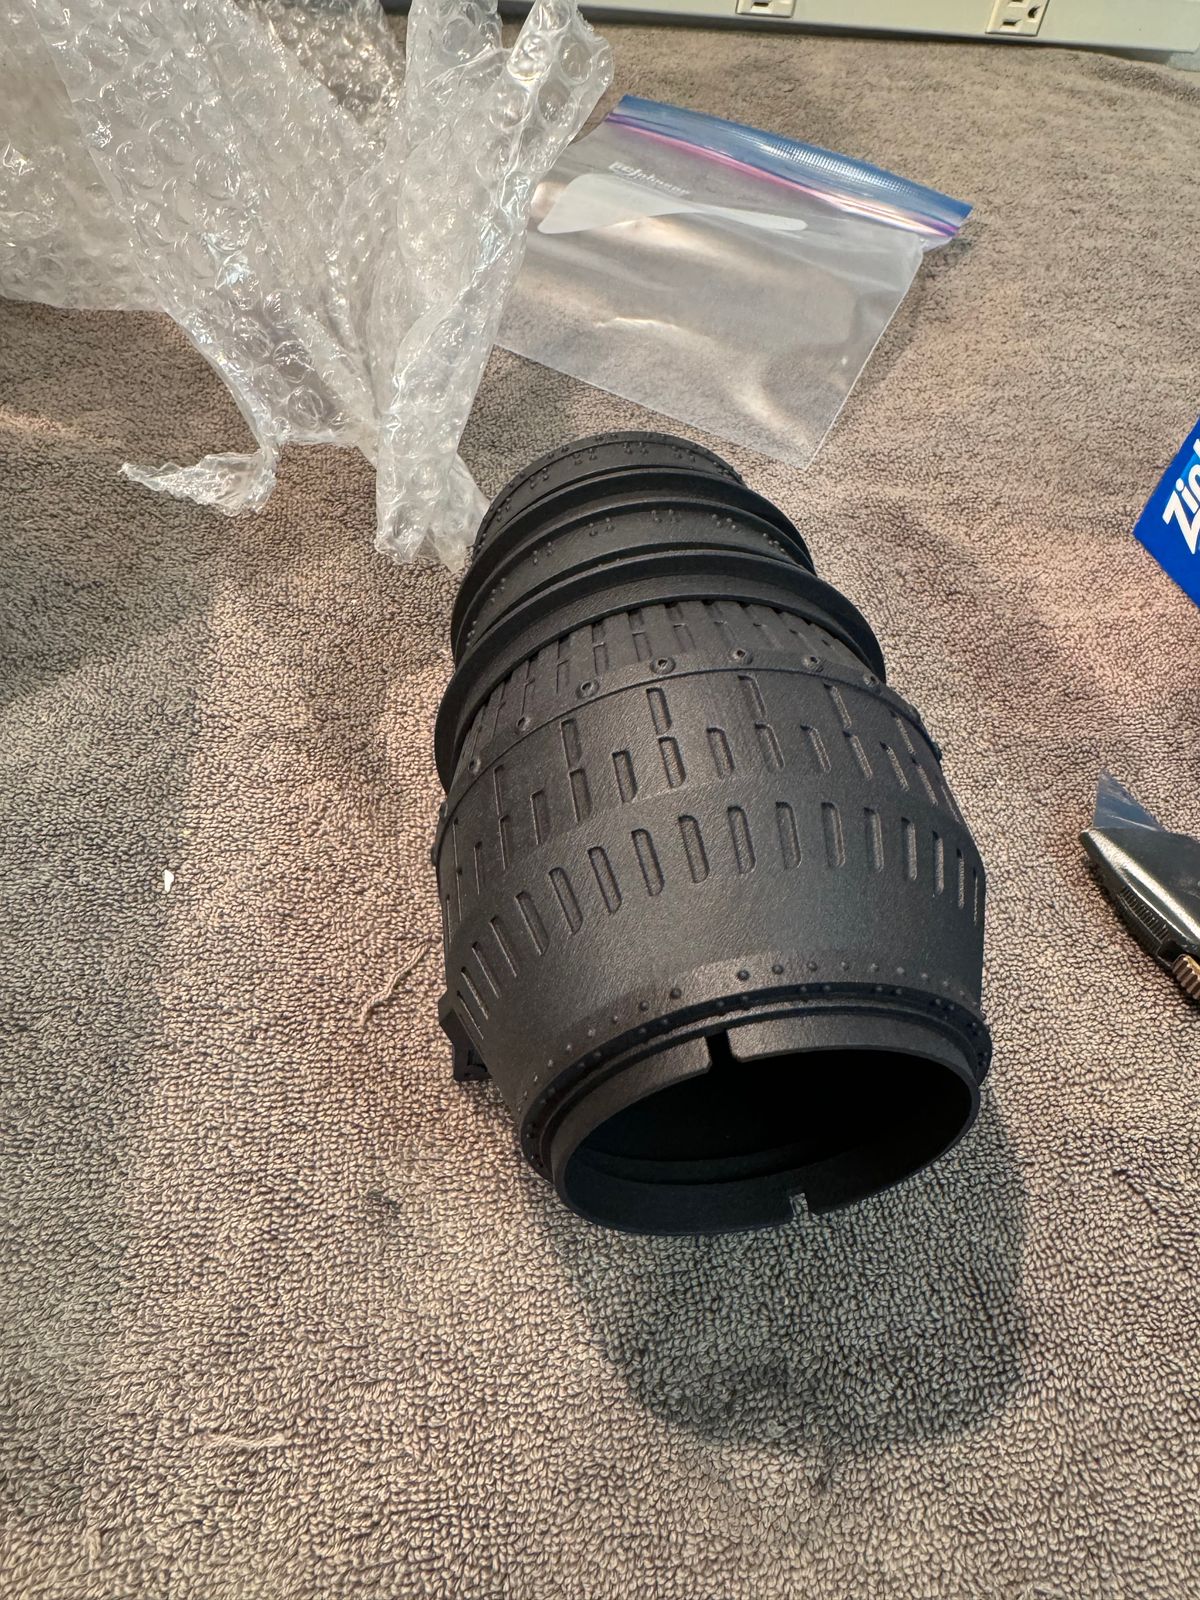
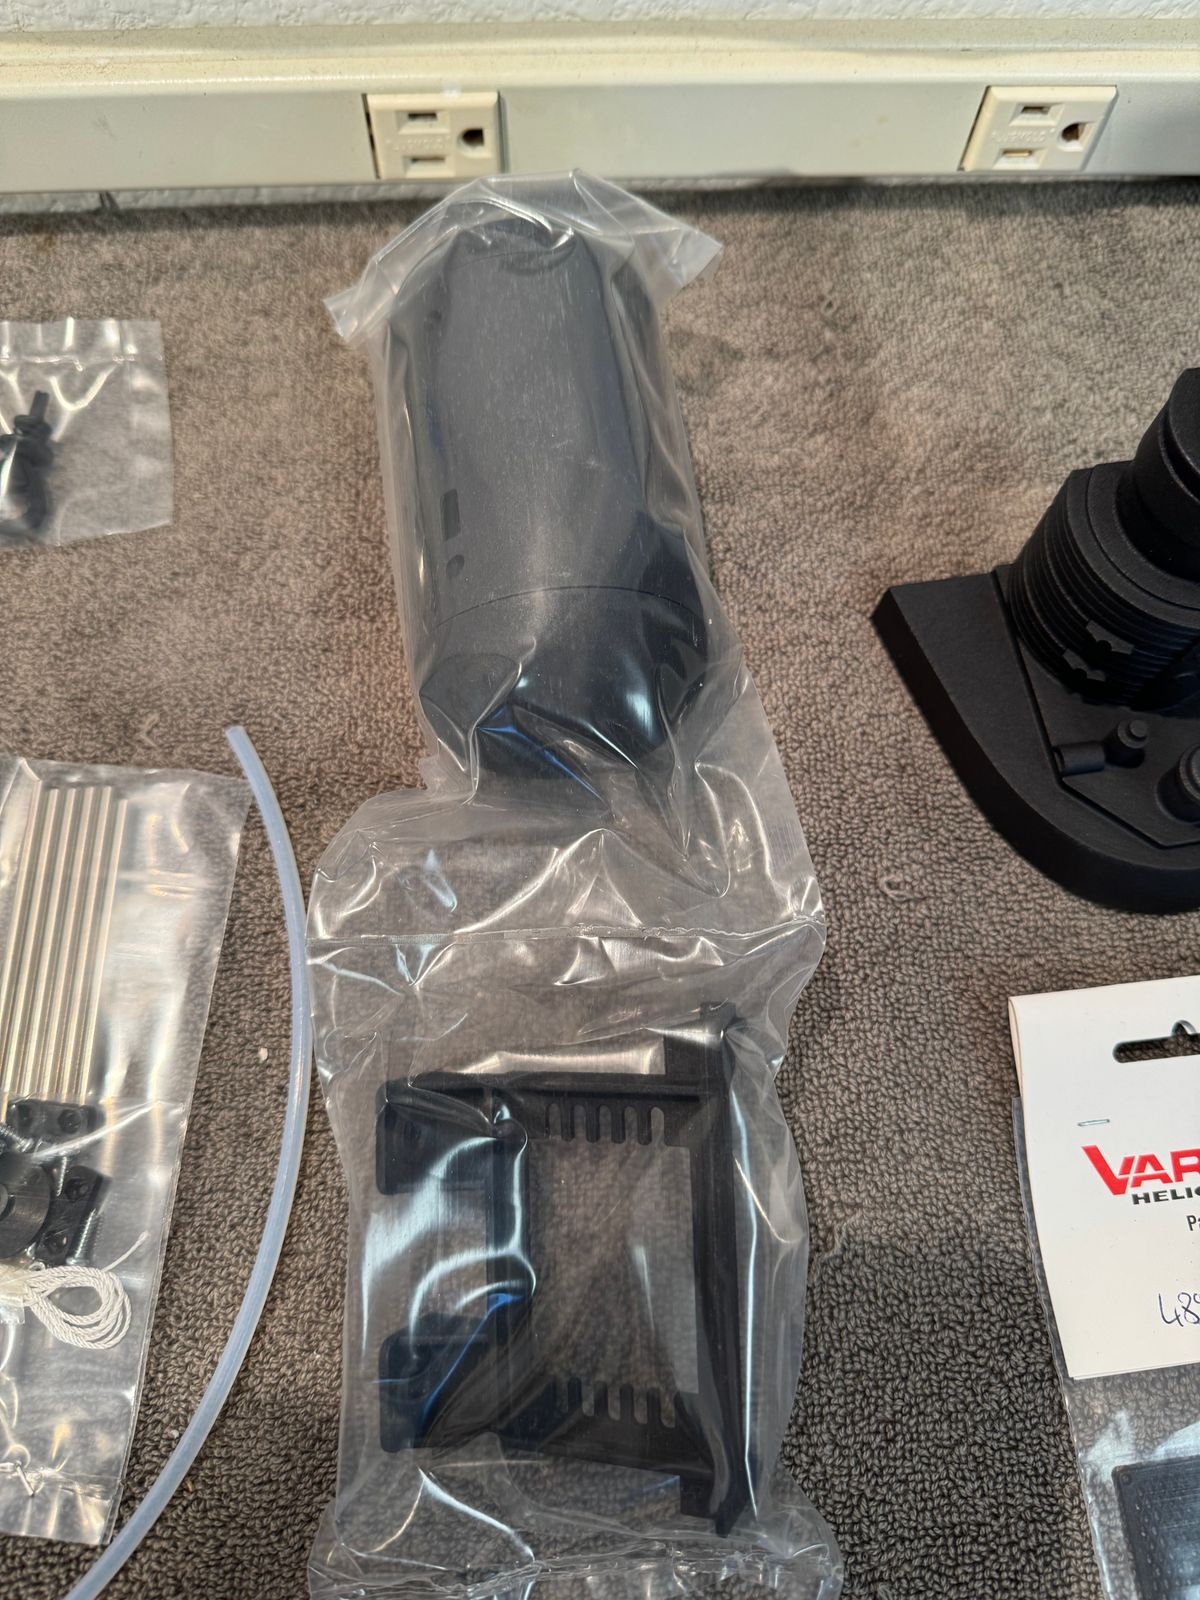
The new Vario Chinook XL, arrived in a large box with mechanics and some additional parts made by 3D laser powder sintering with excellent resolution.
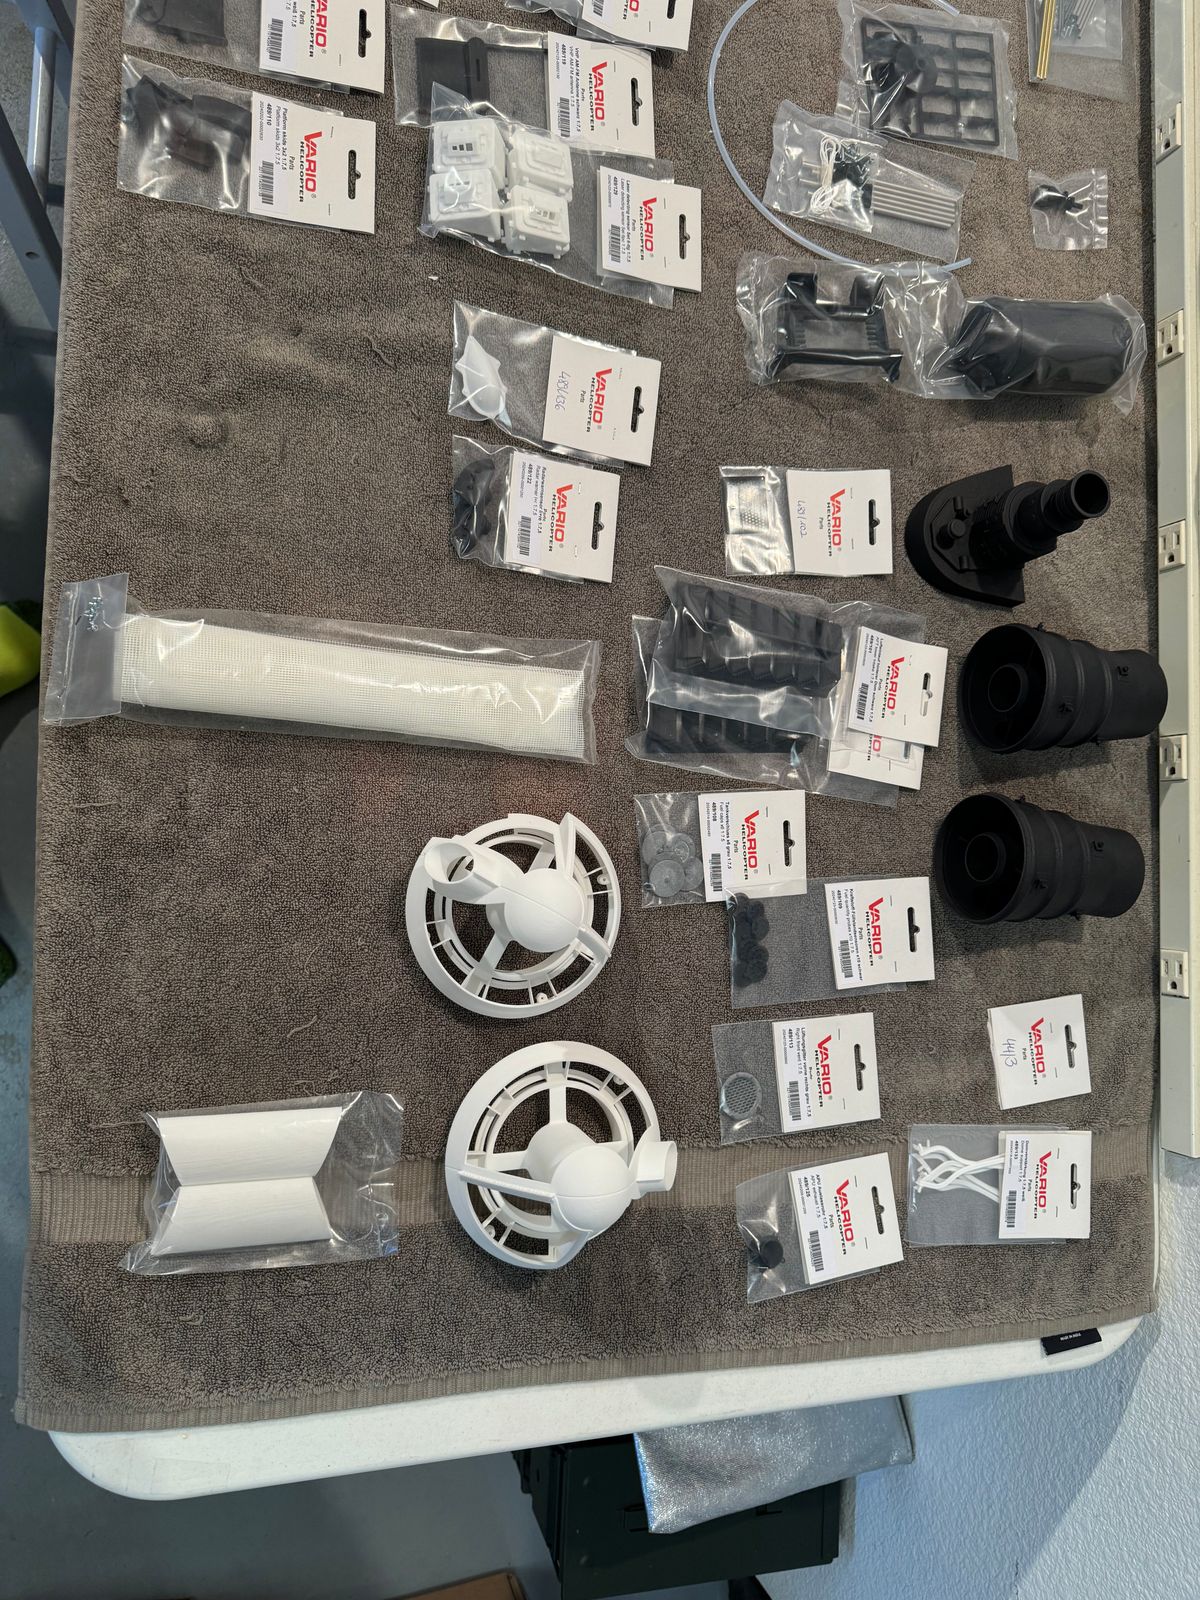
Mechanics assembly
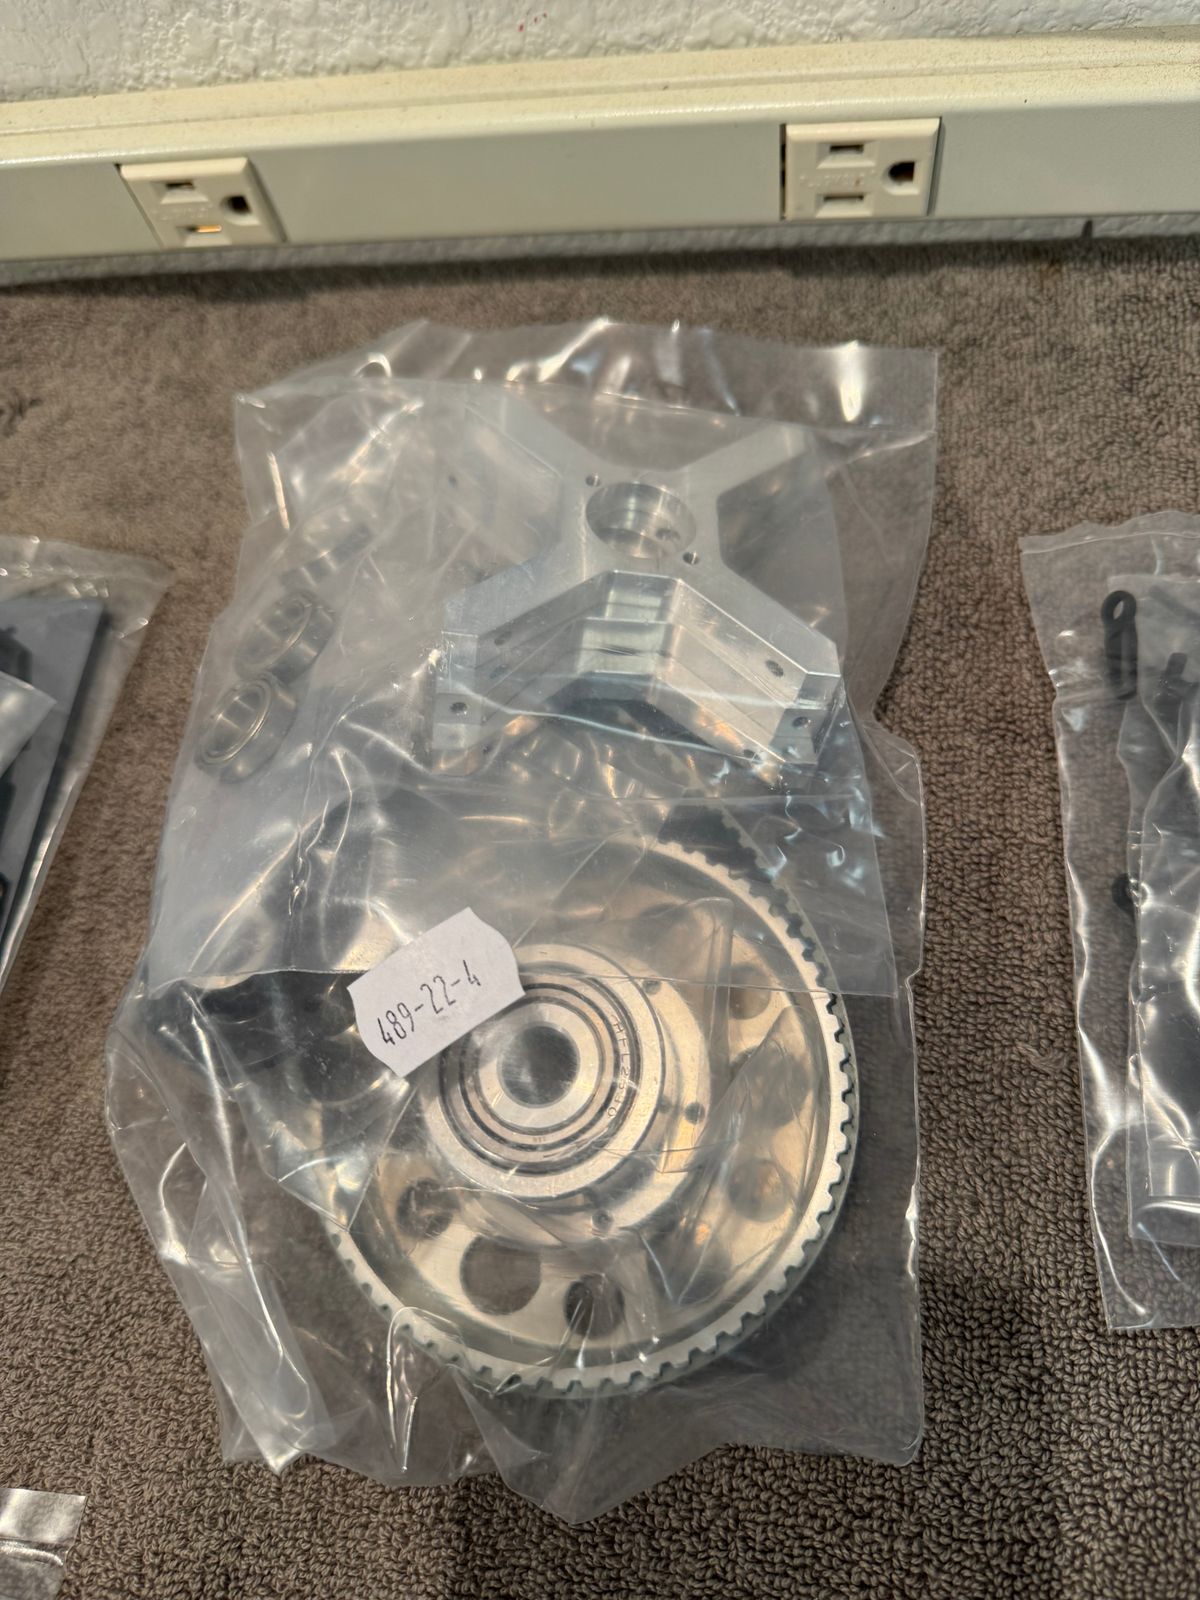
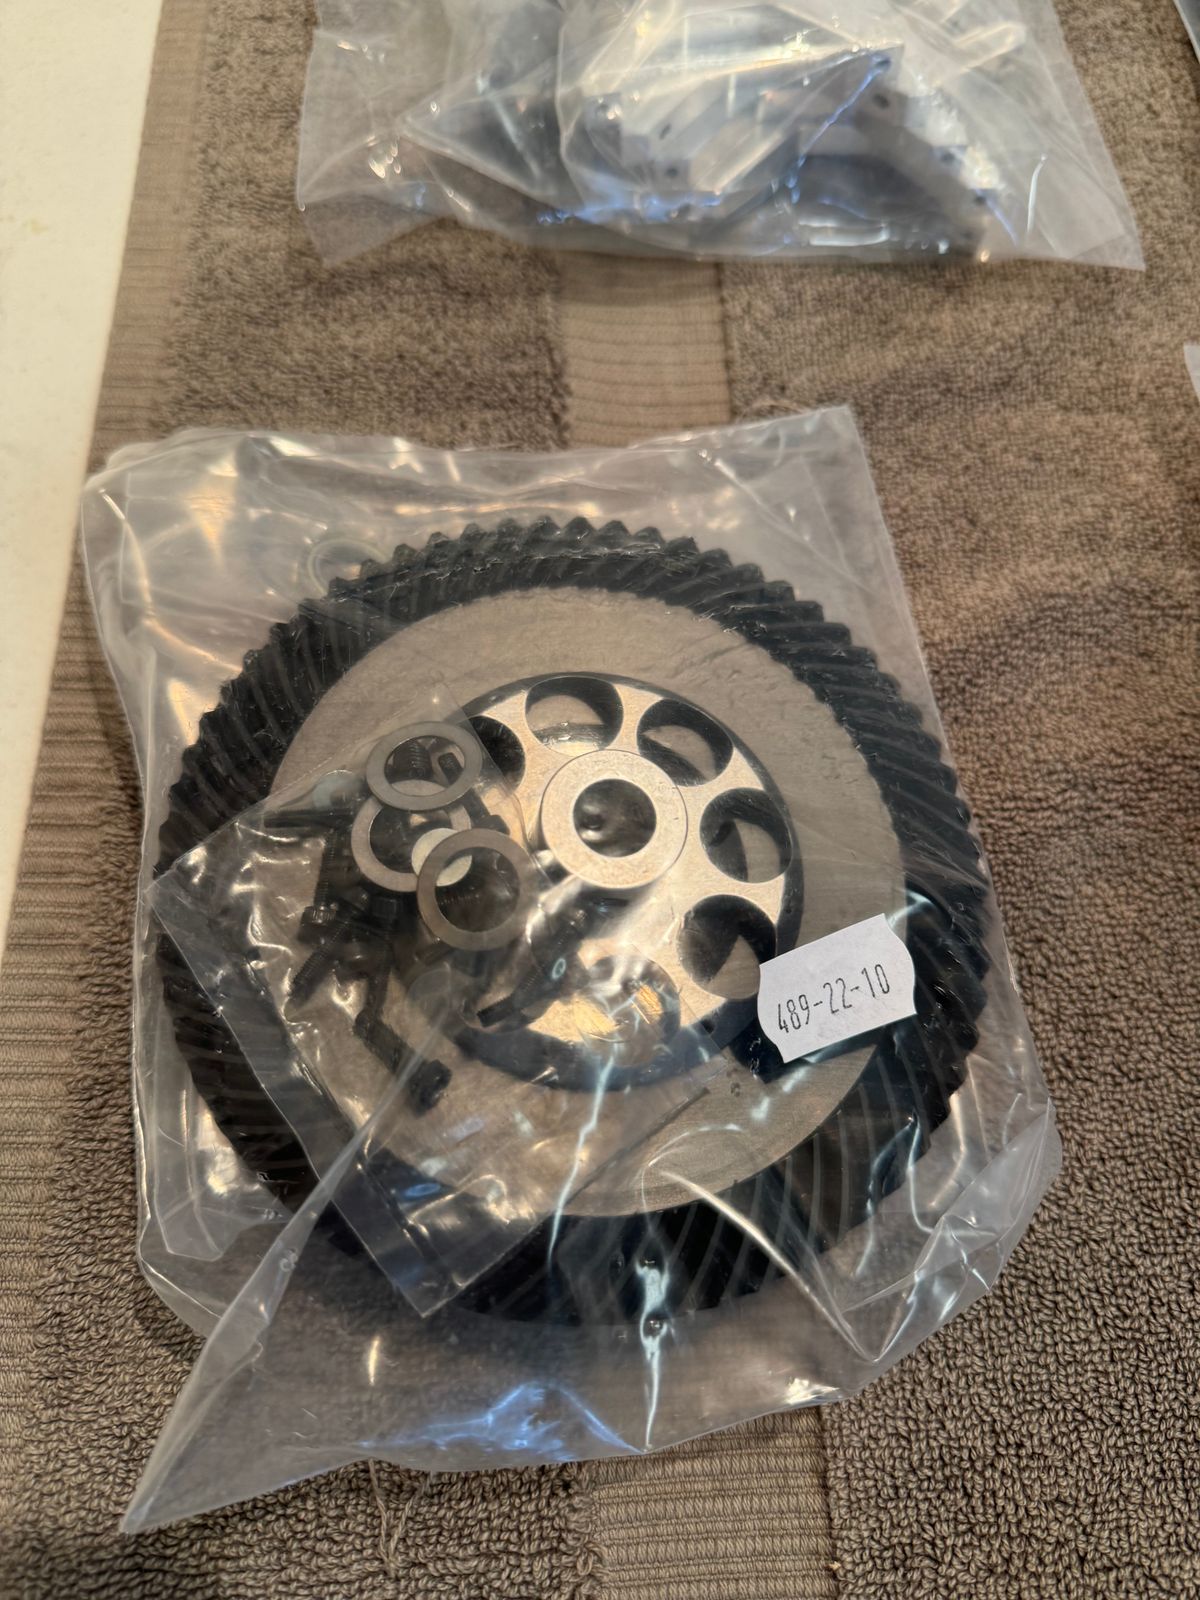
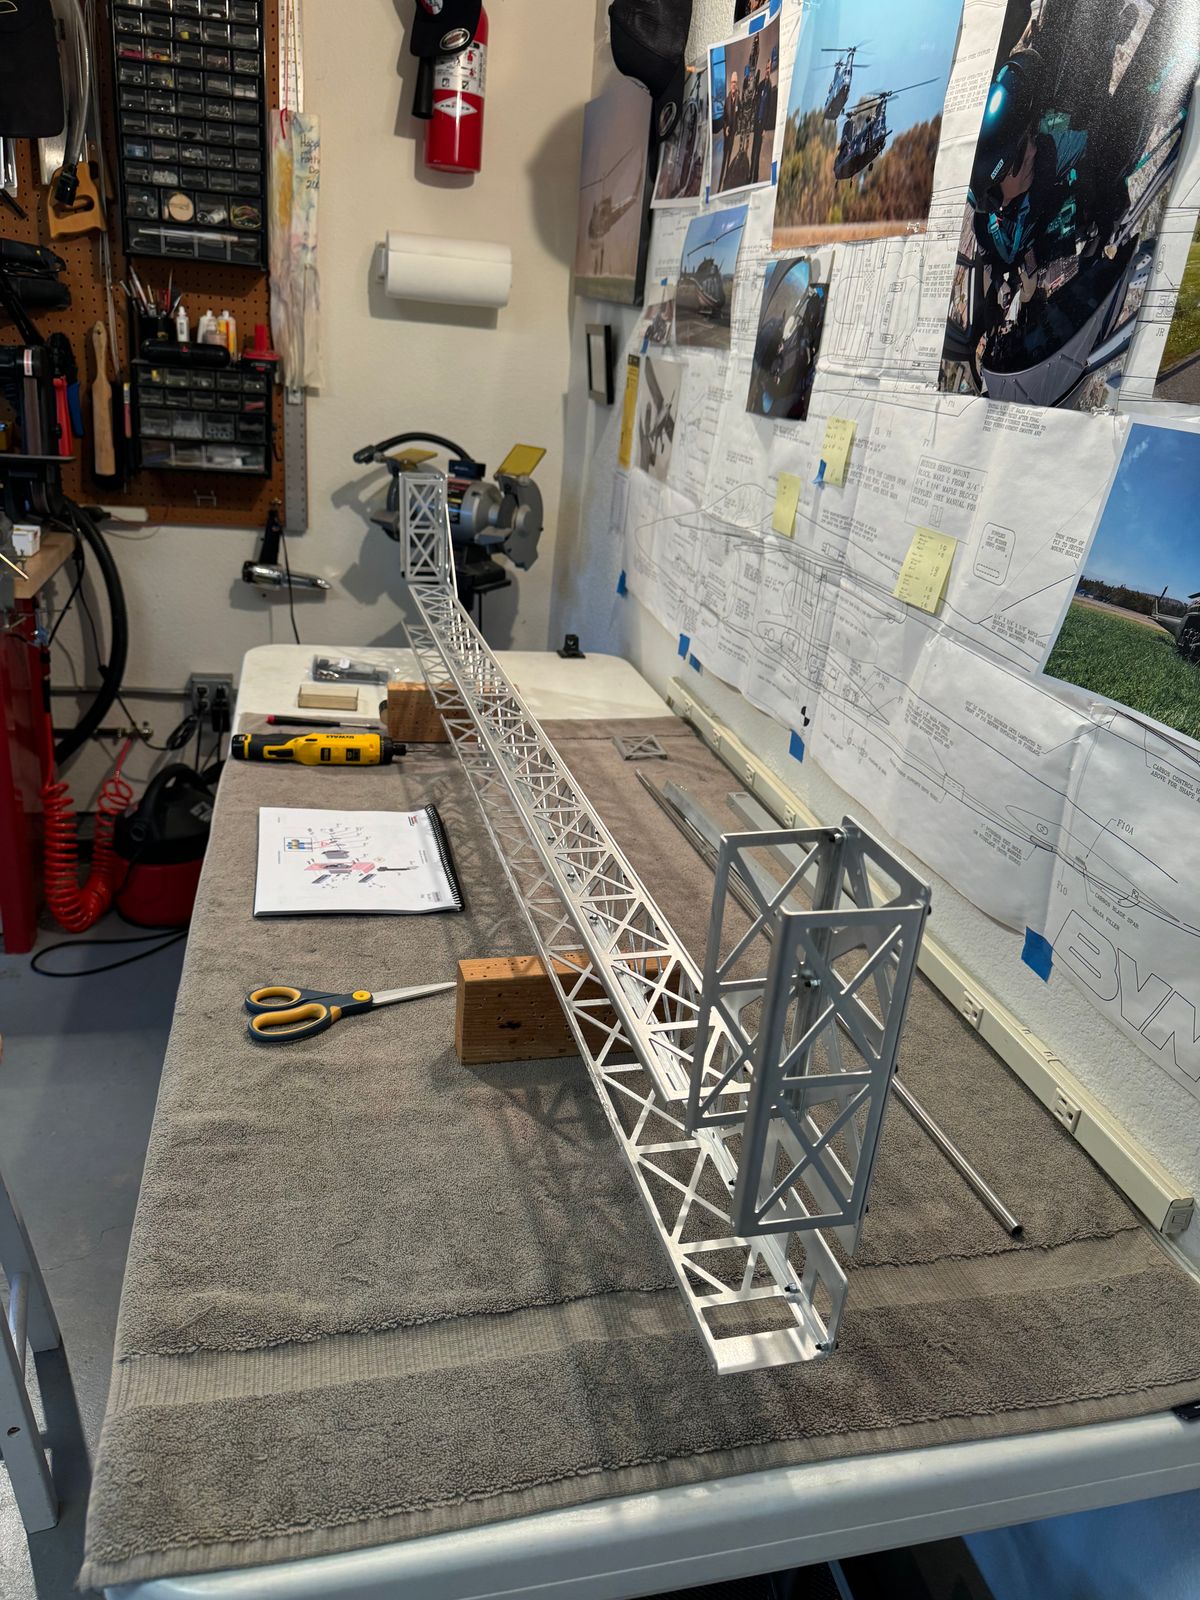
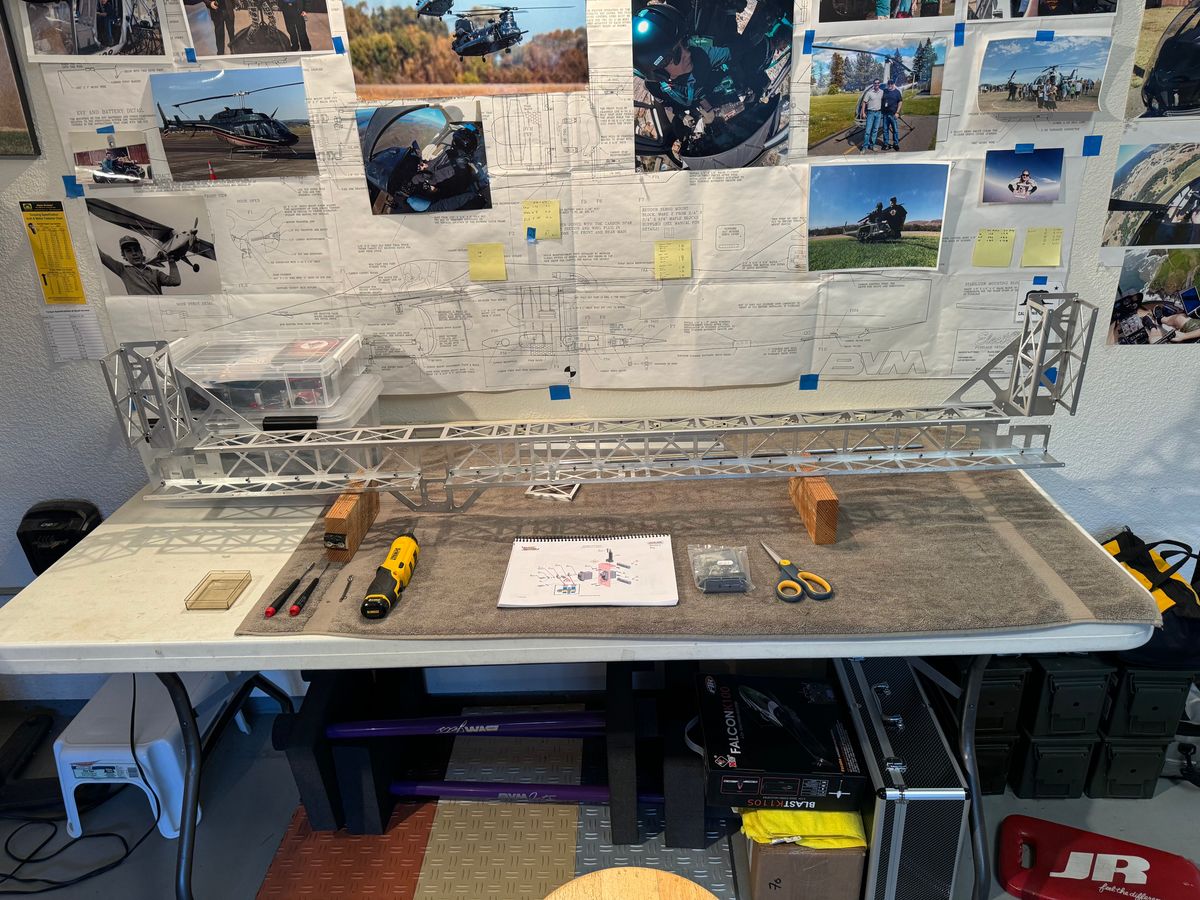
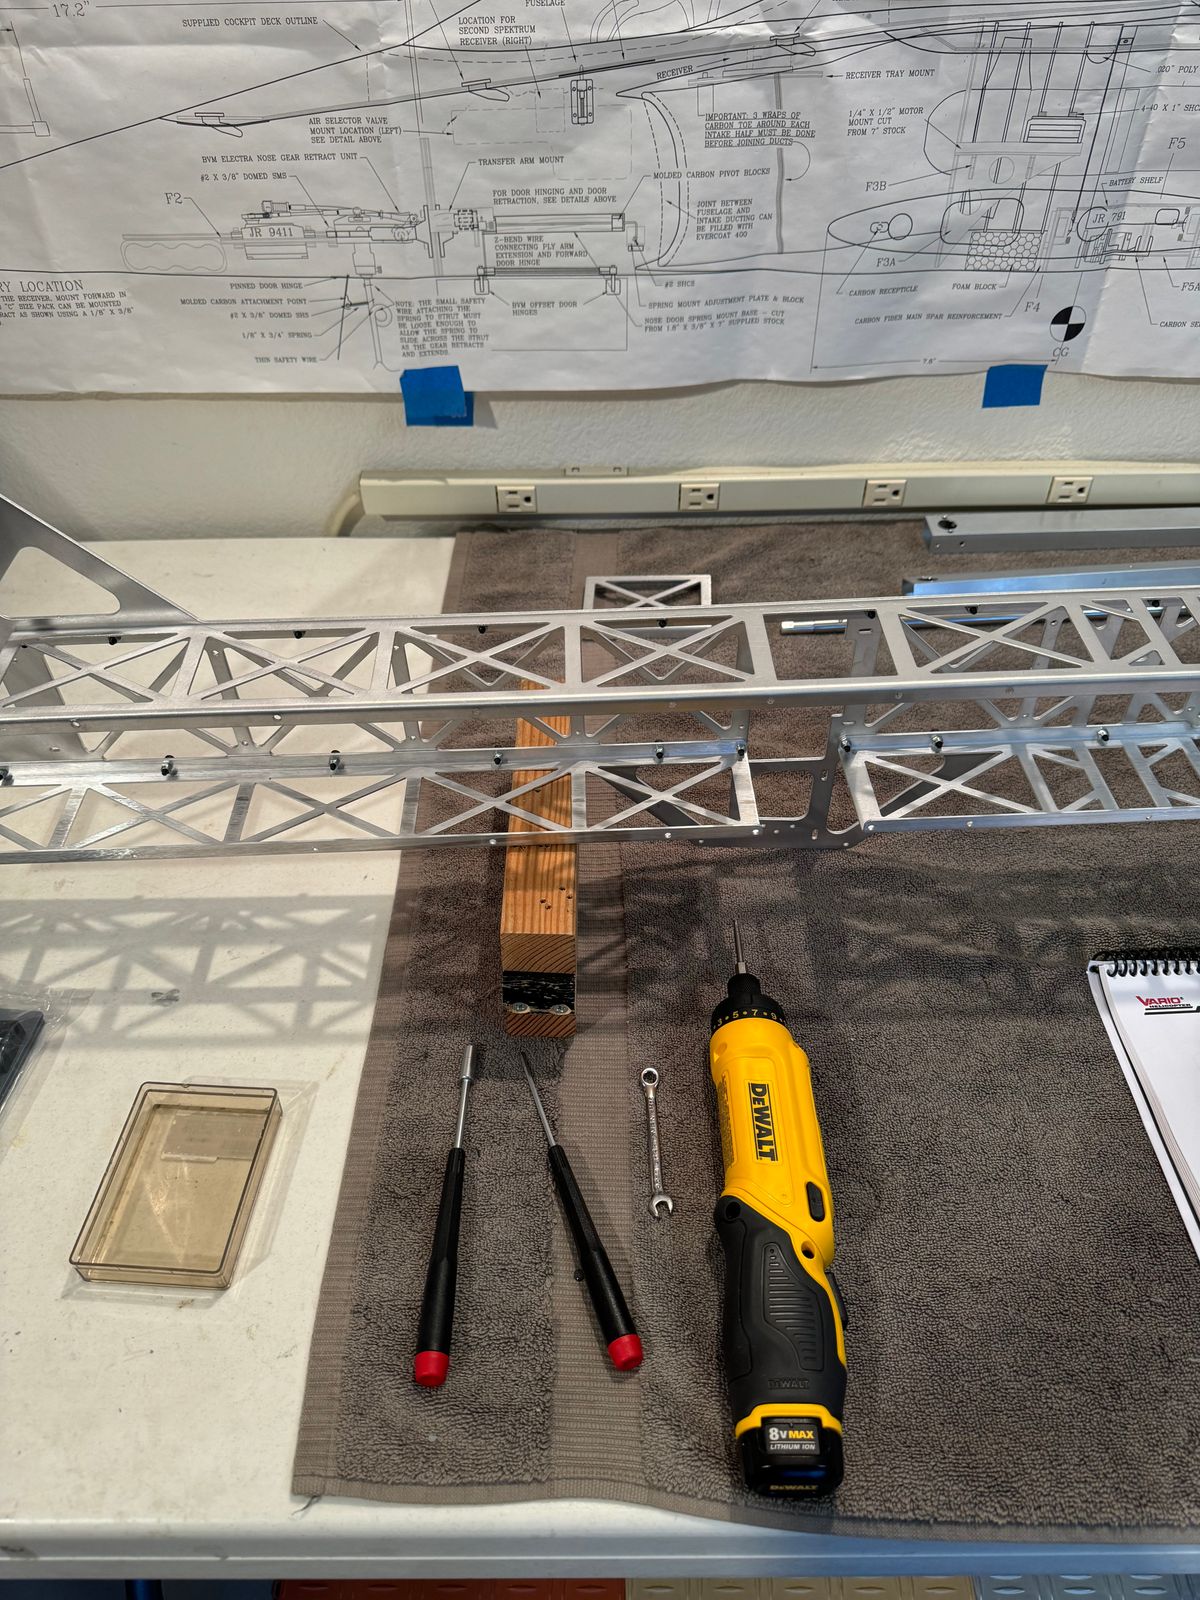
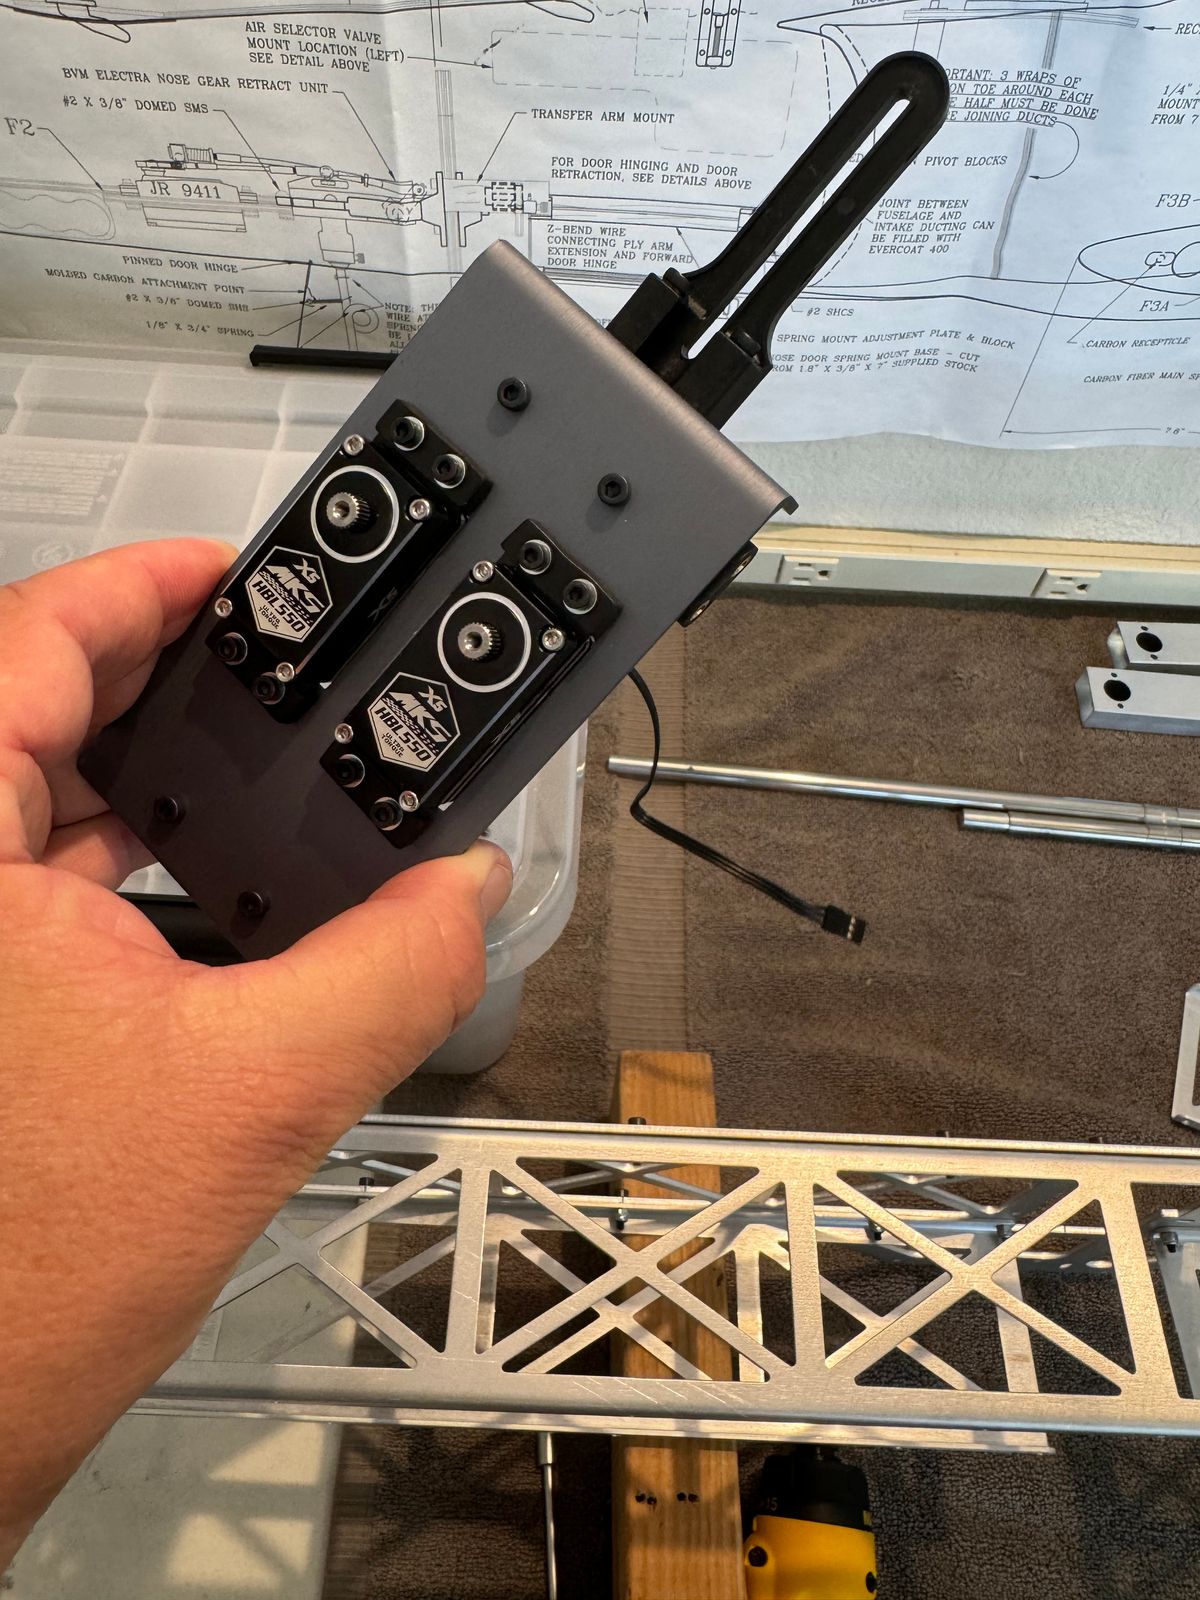
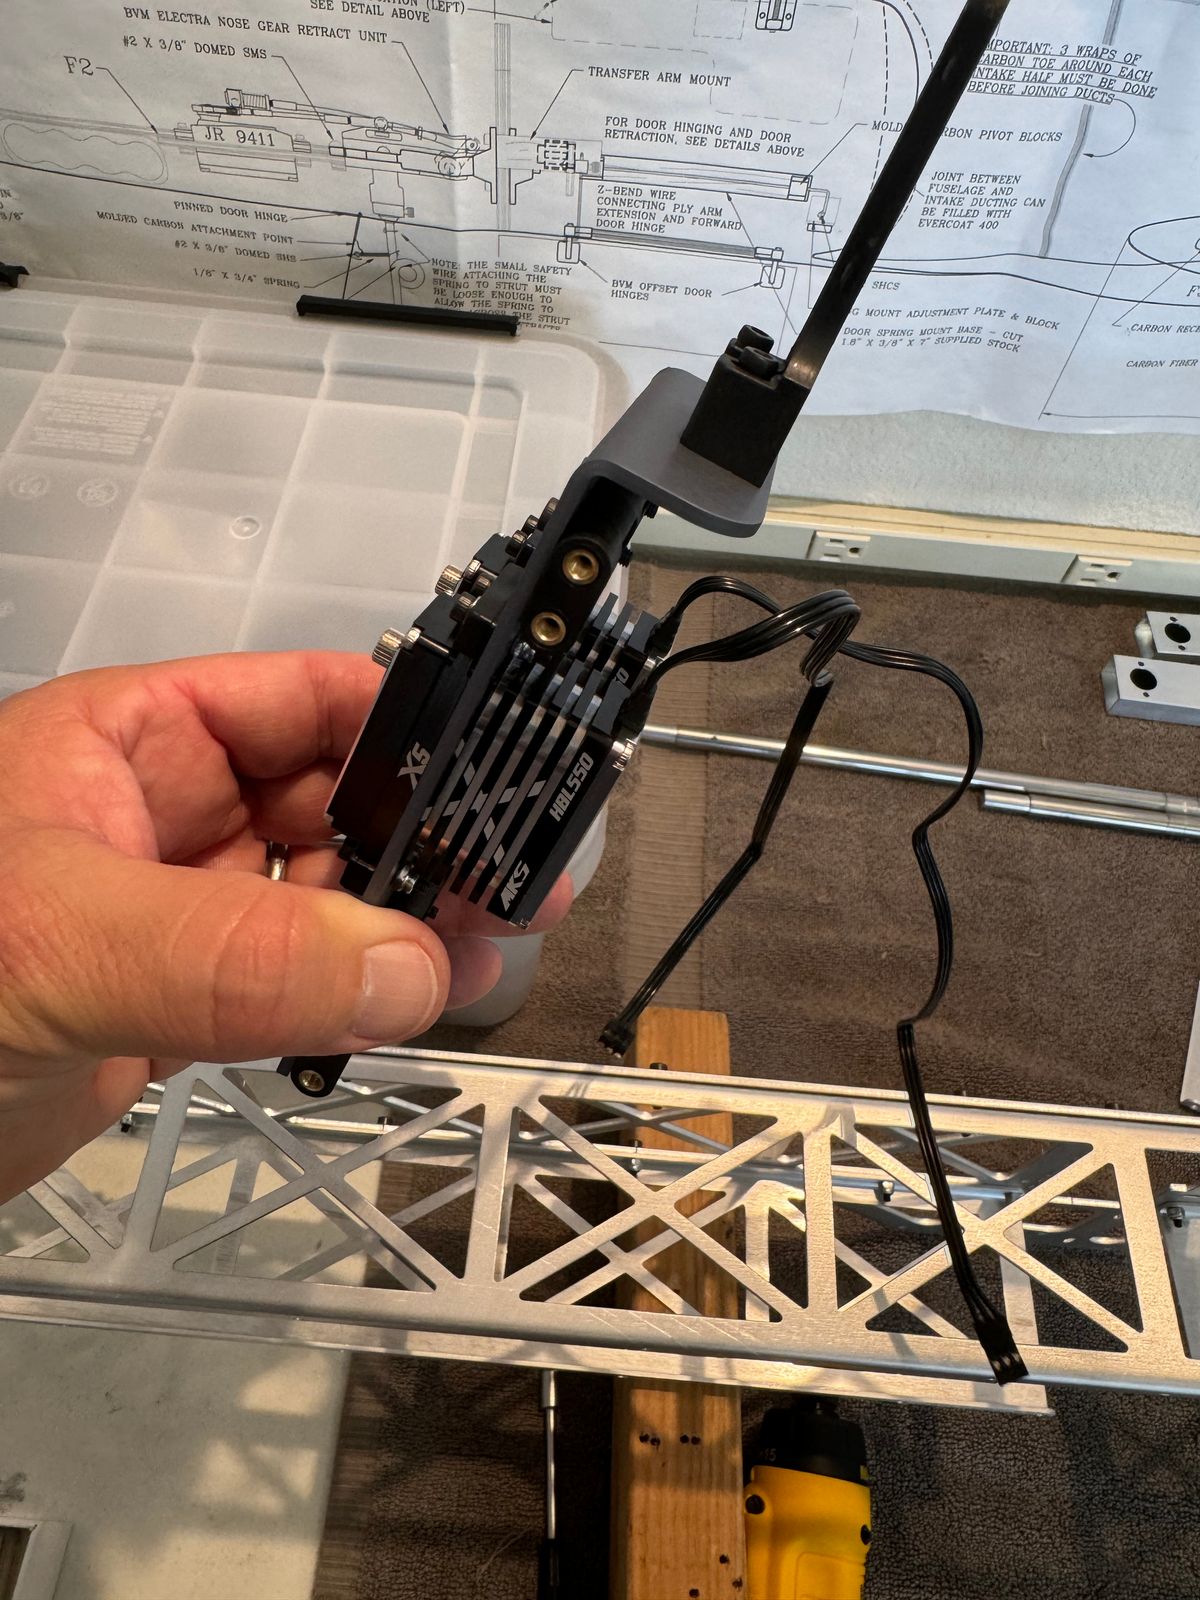
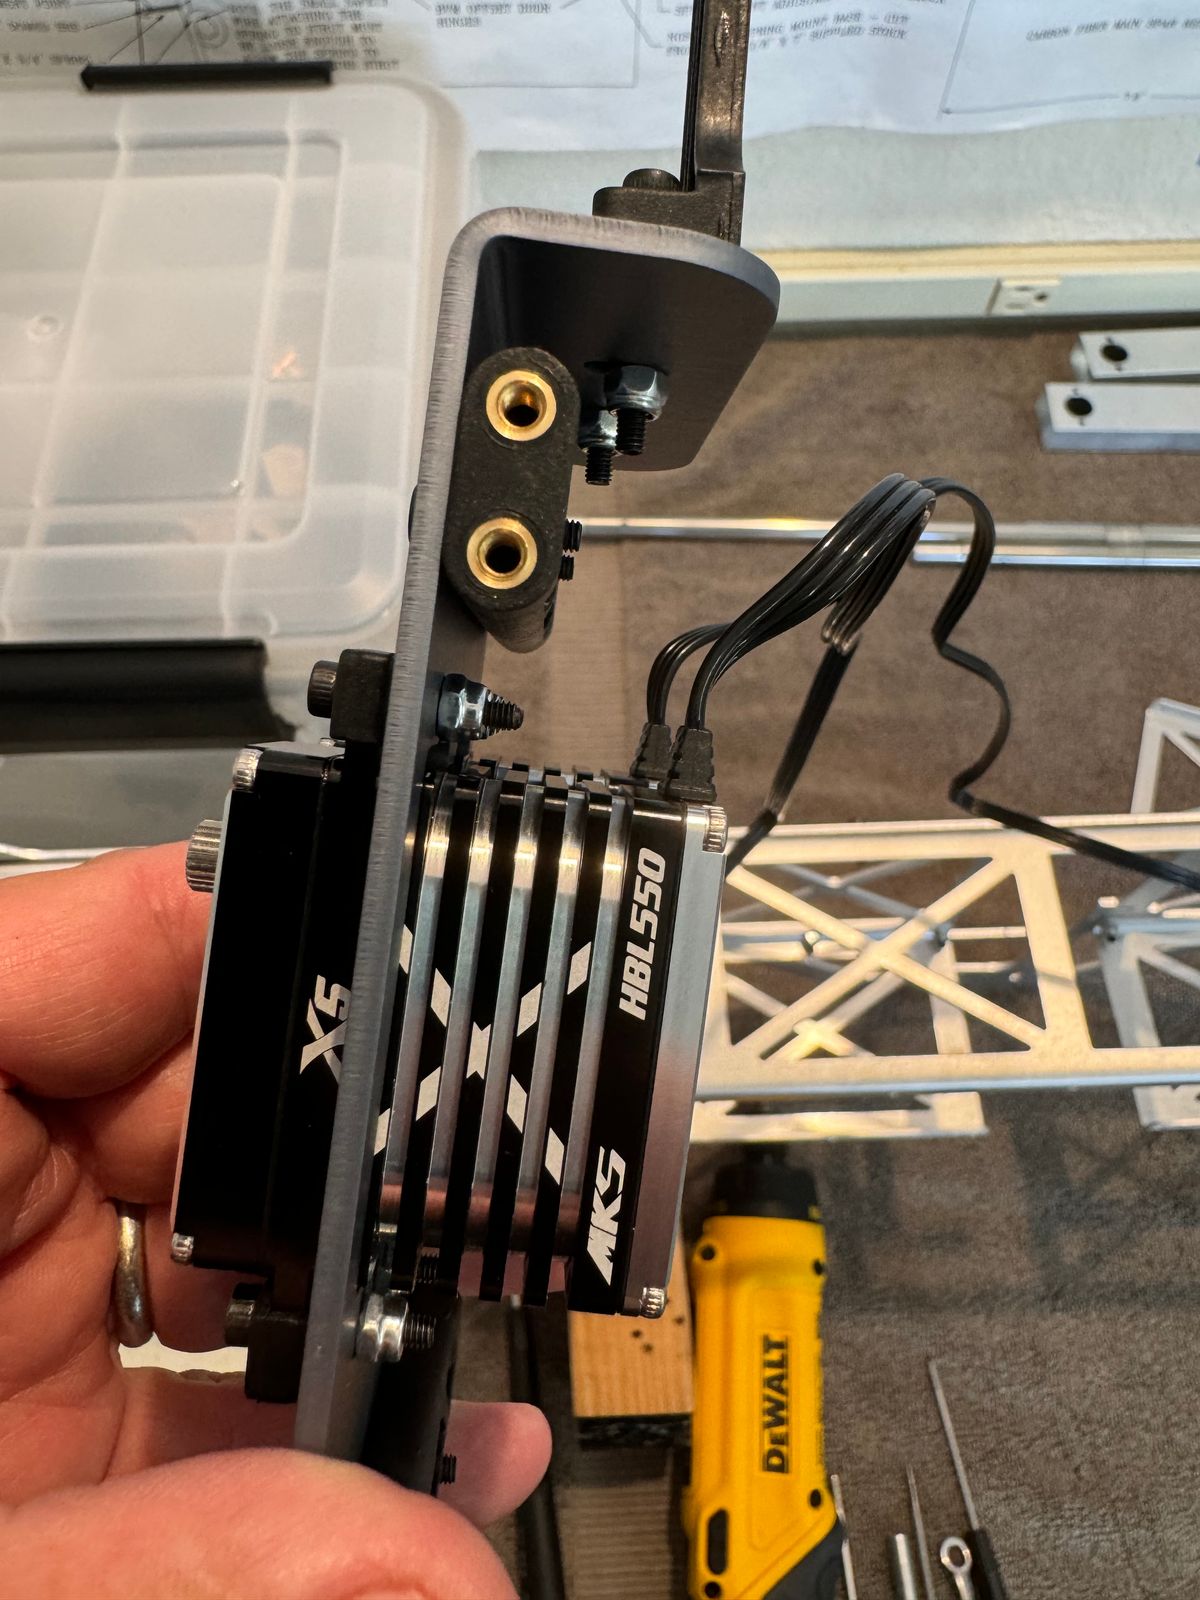
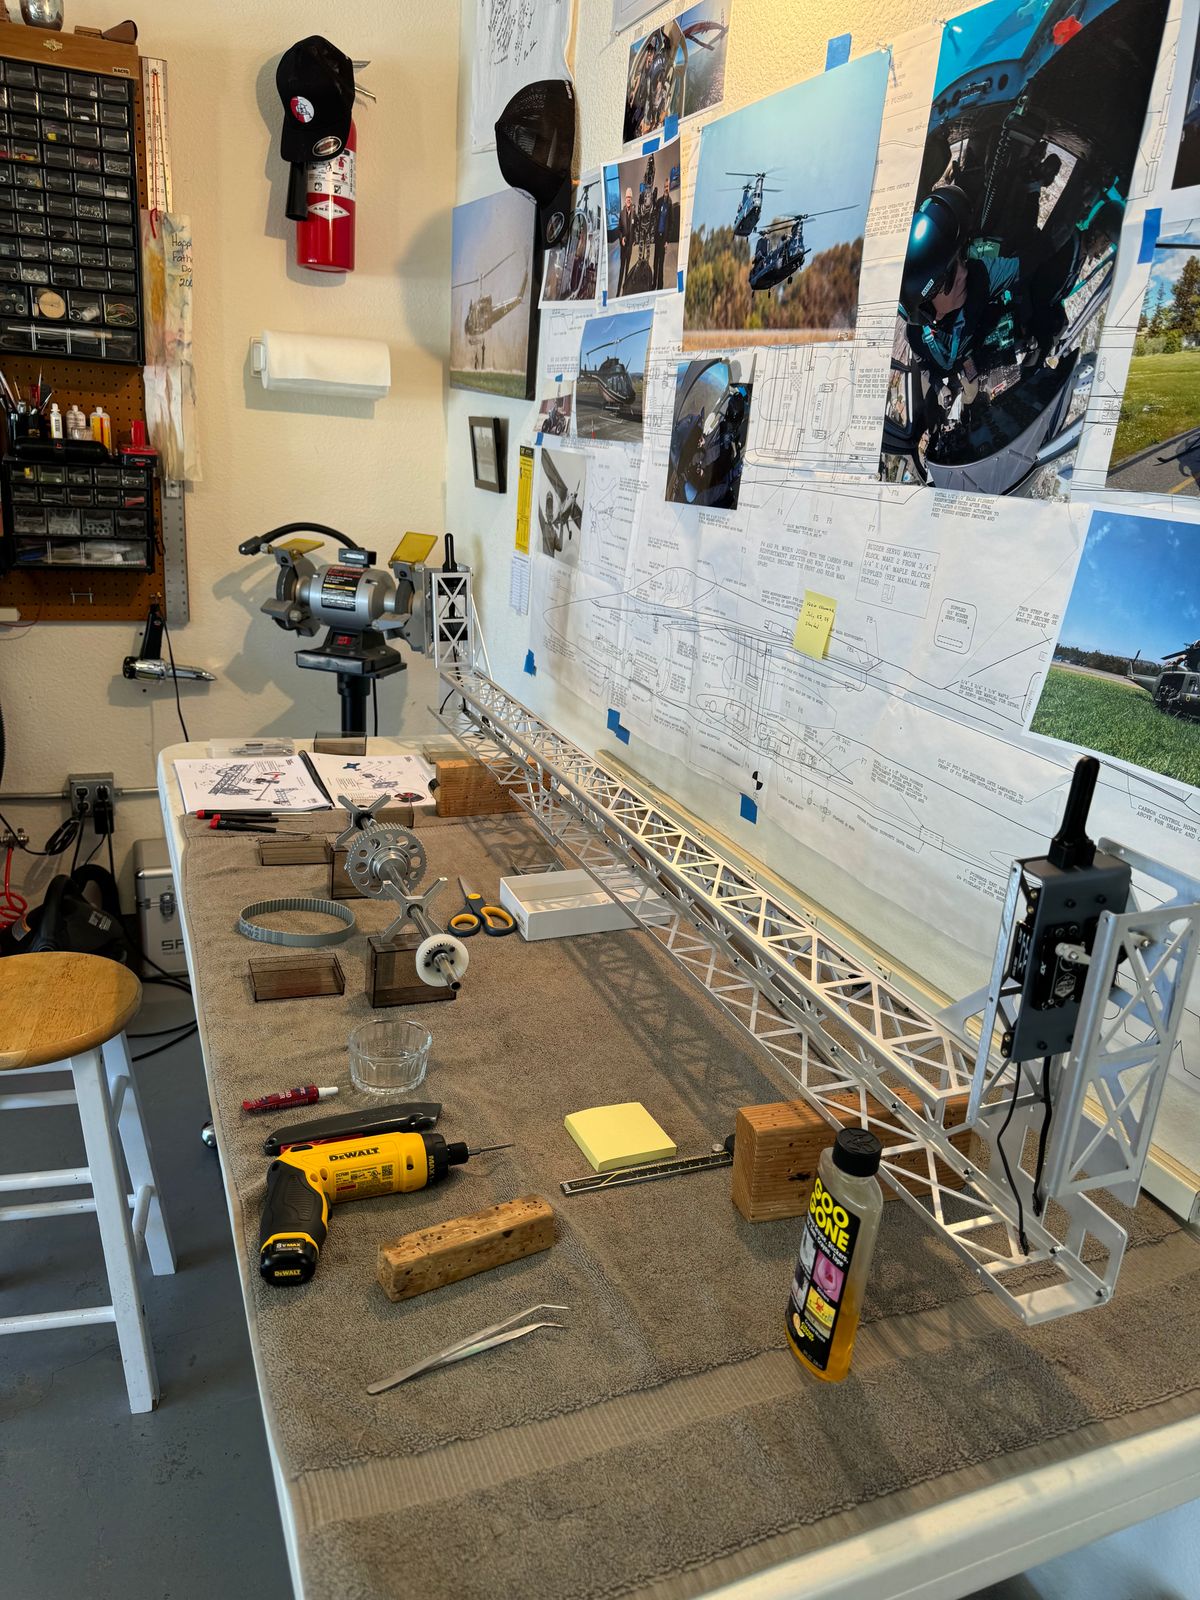
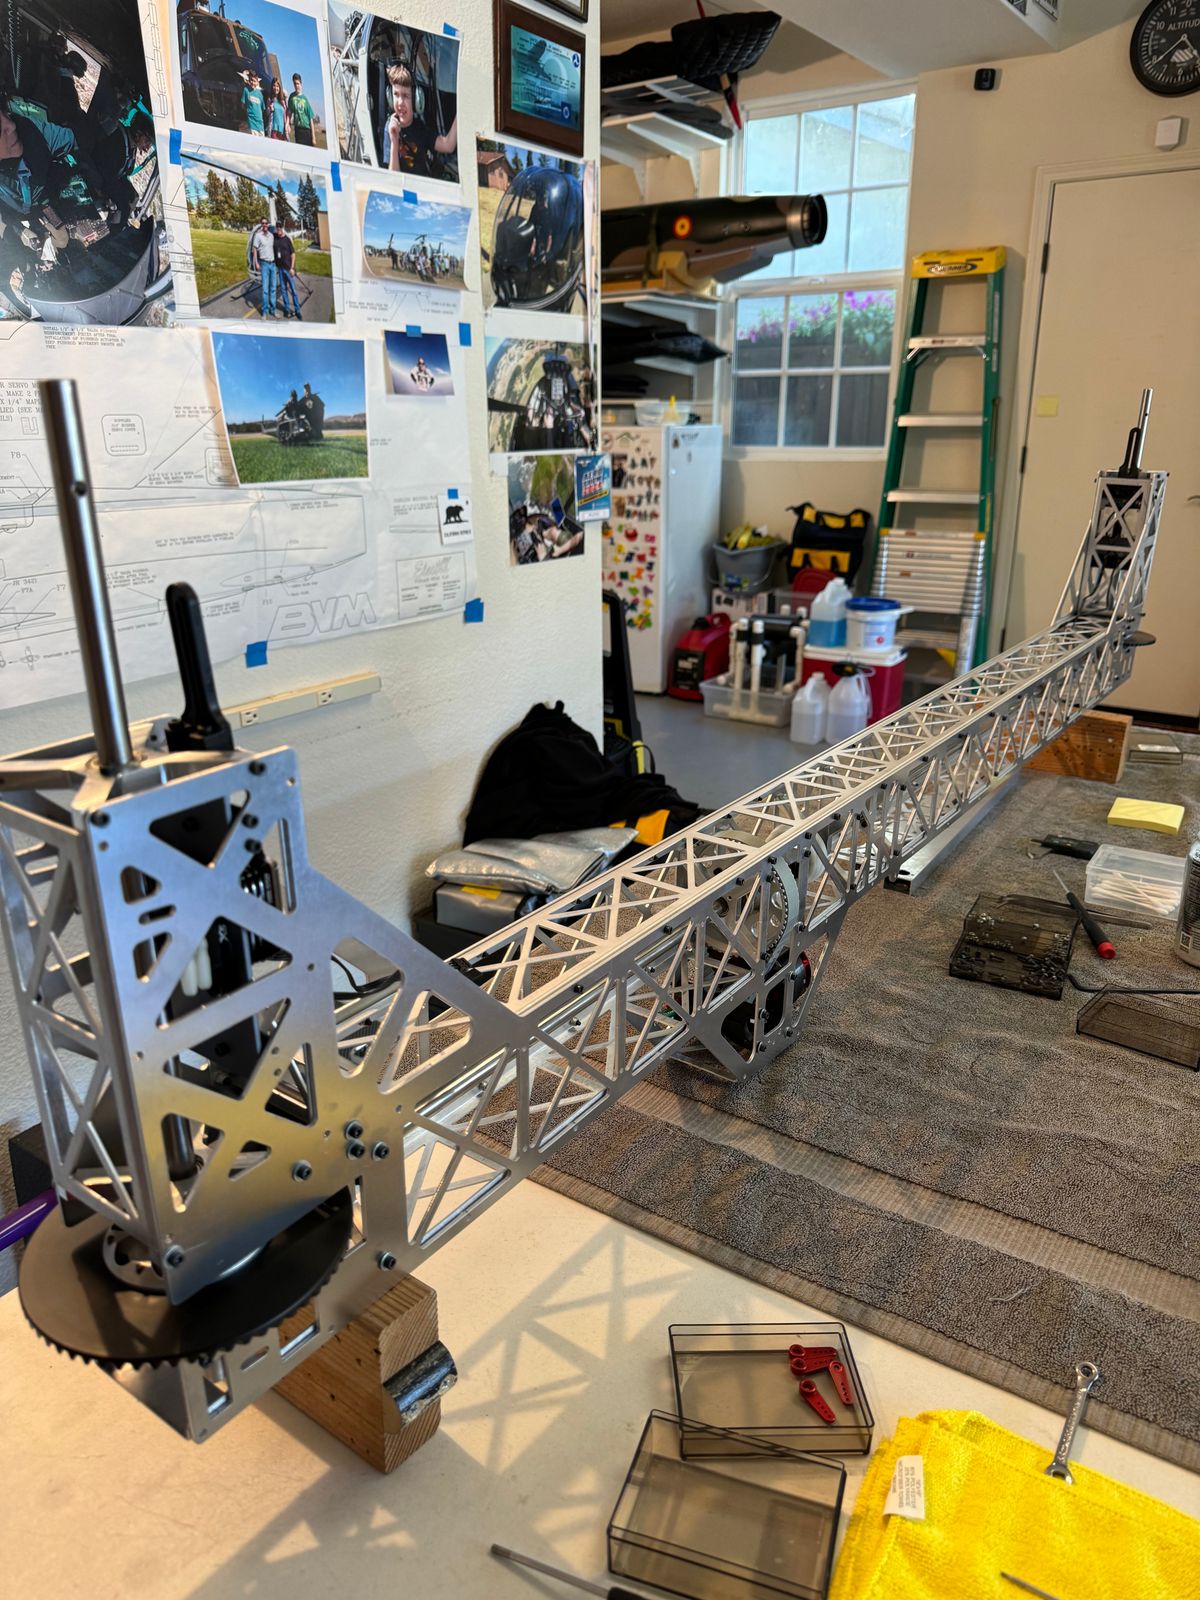
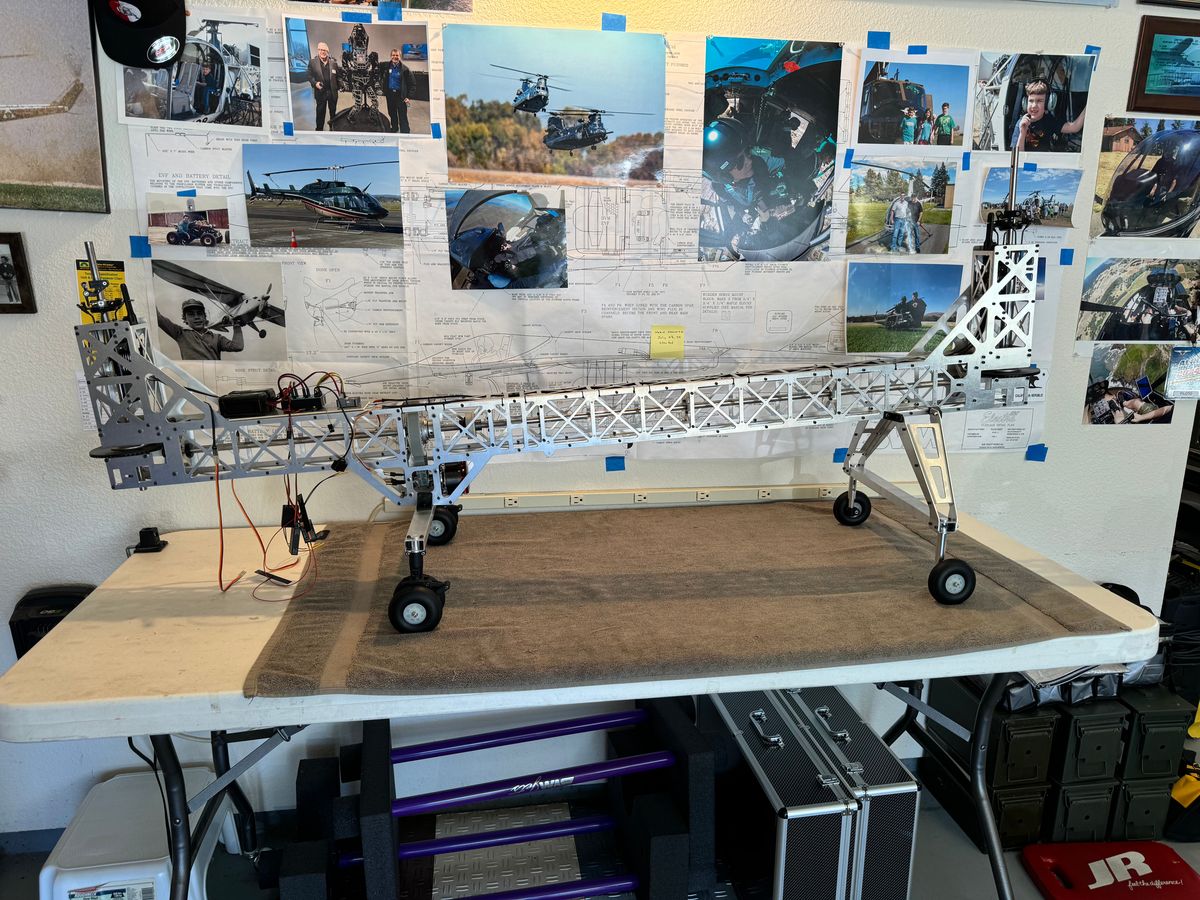
We started a few days ago with the mechanics and everything it's fitting in place very nicely. I'm also using my Dewalt electric screw driver with the right torque limit to screw so many screws.
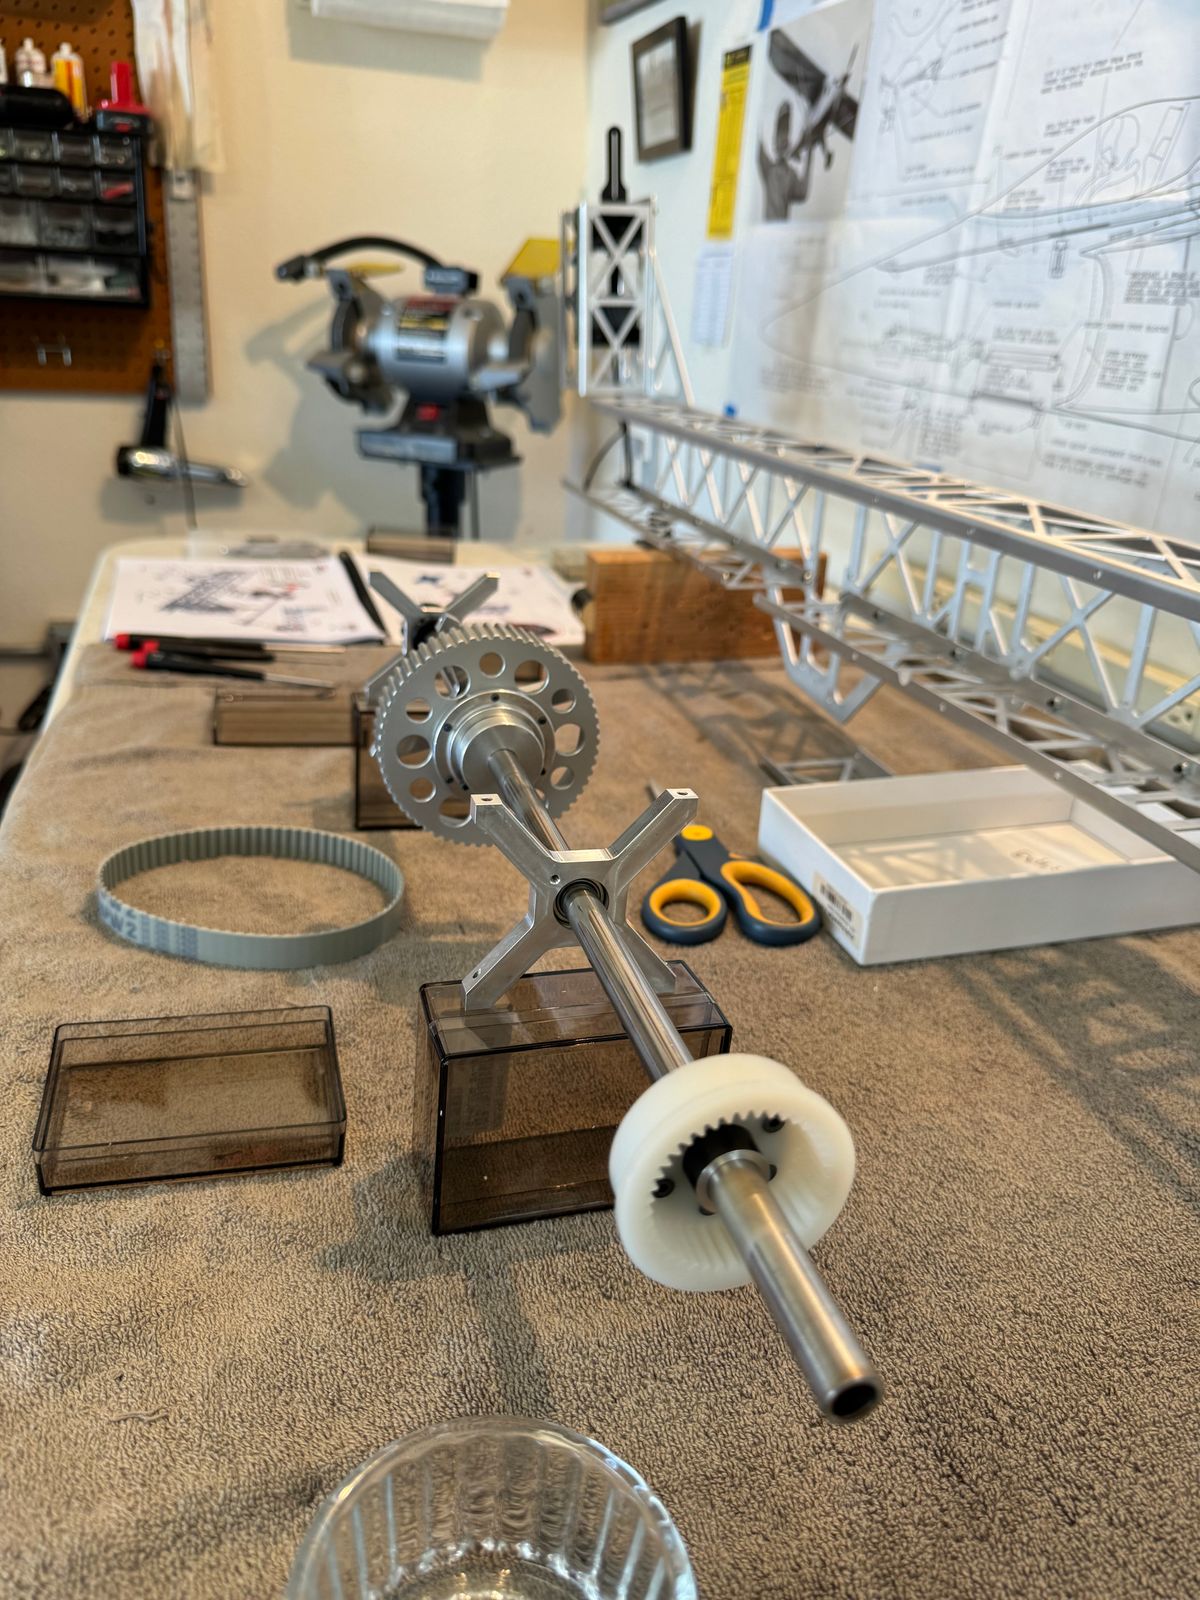
Propulsion
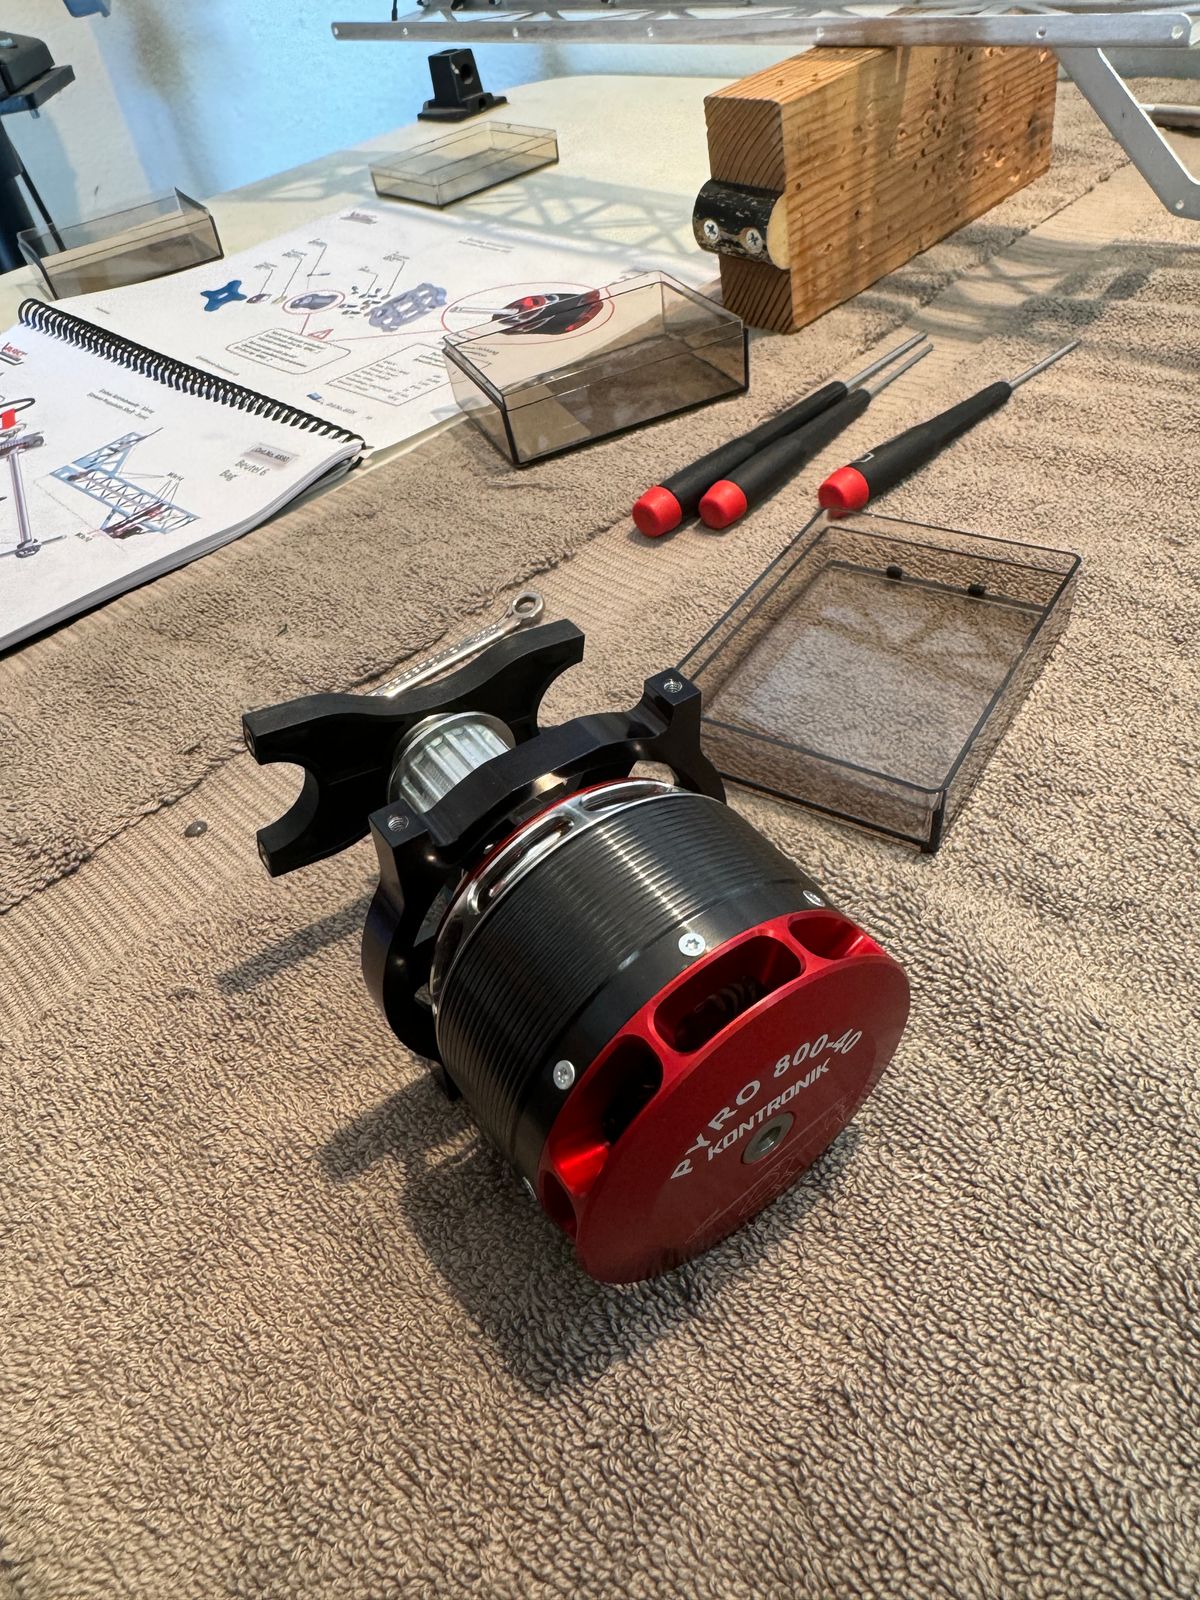
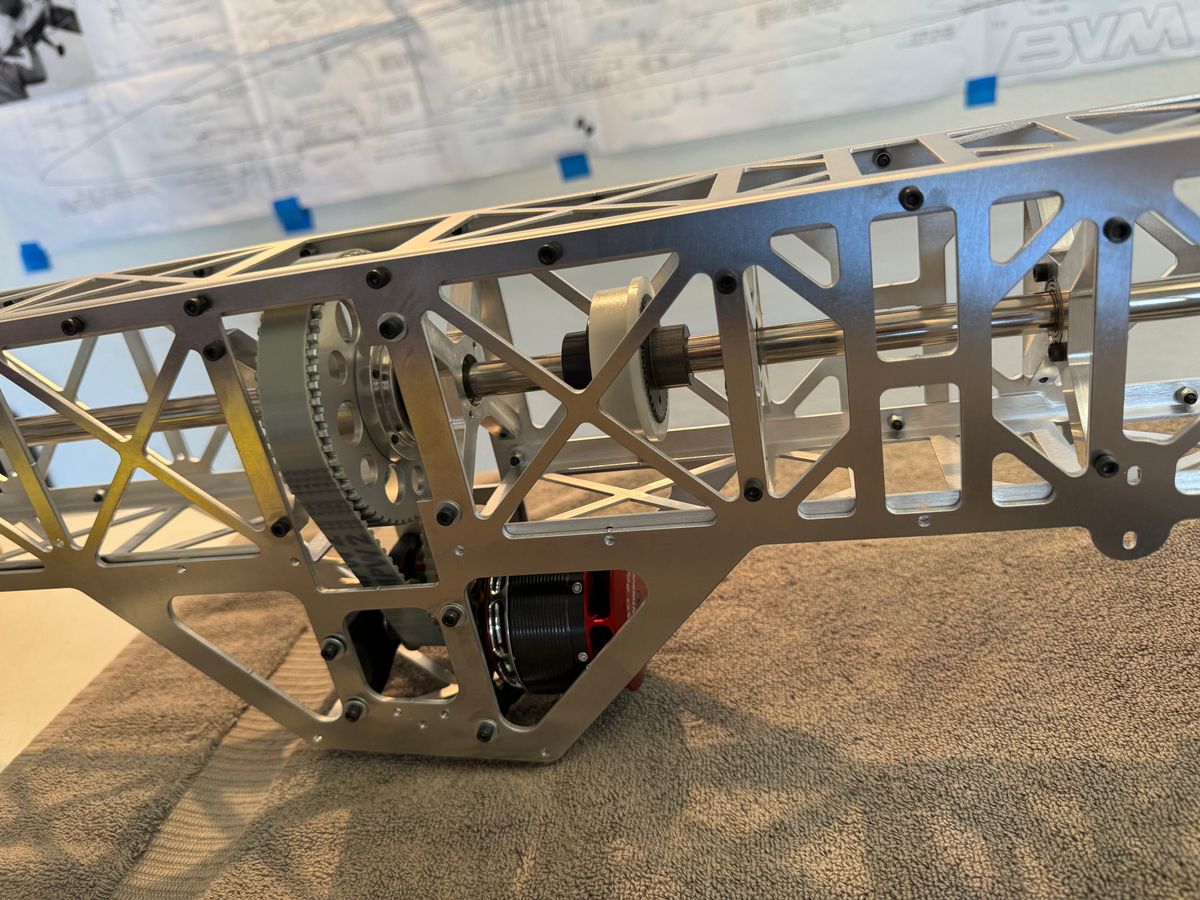
Propulsion installation. Massive Kontronik motor.
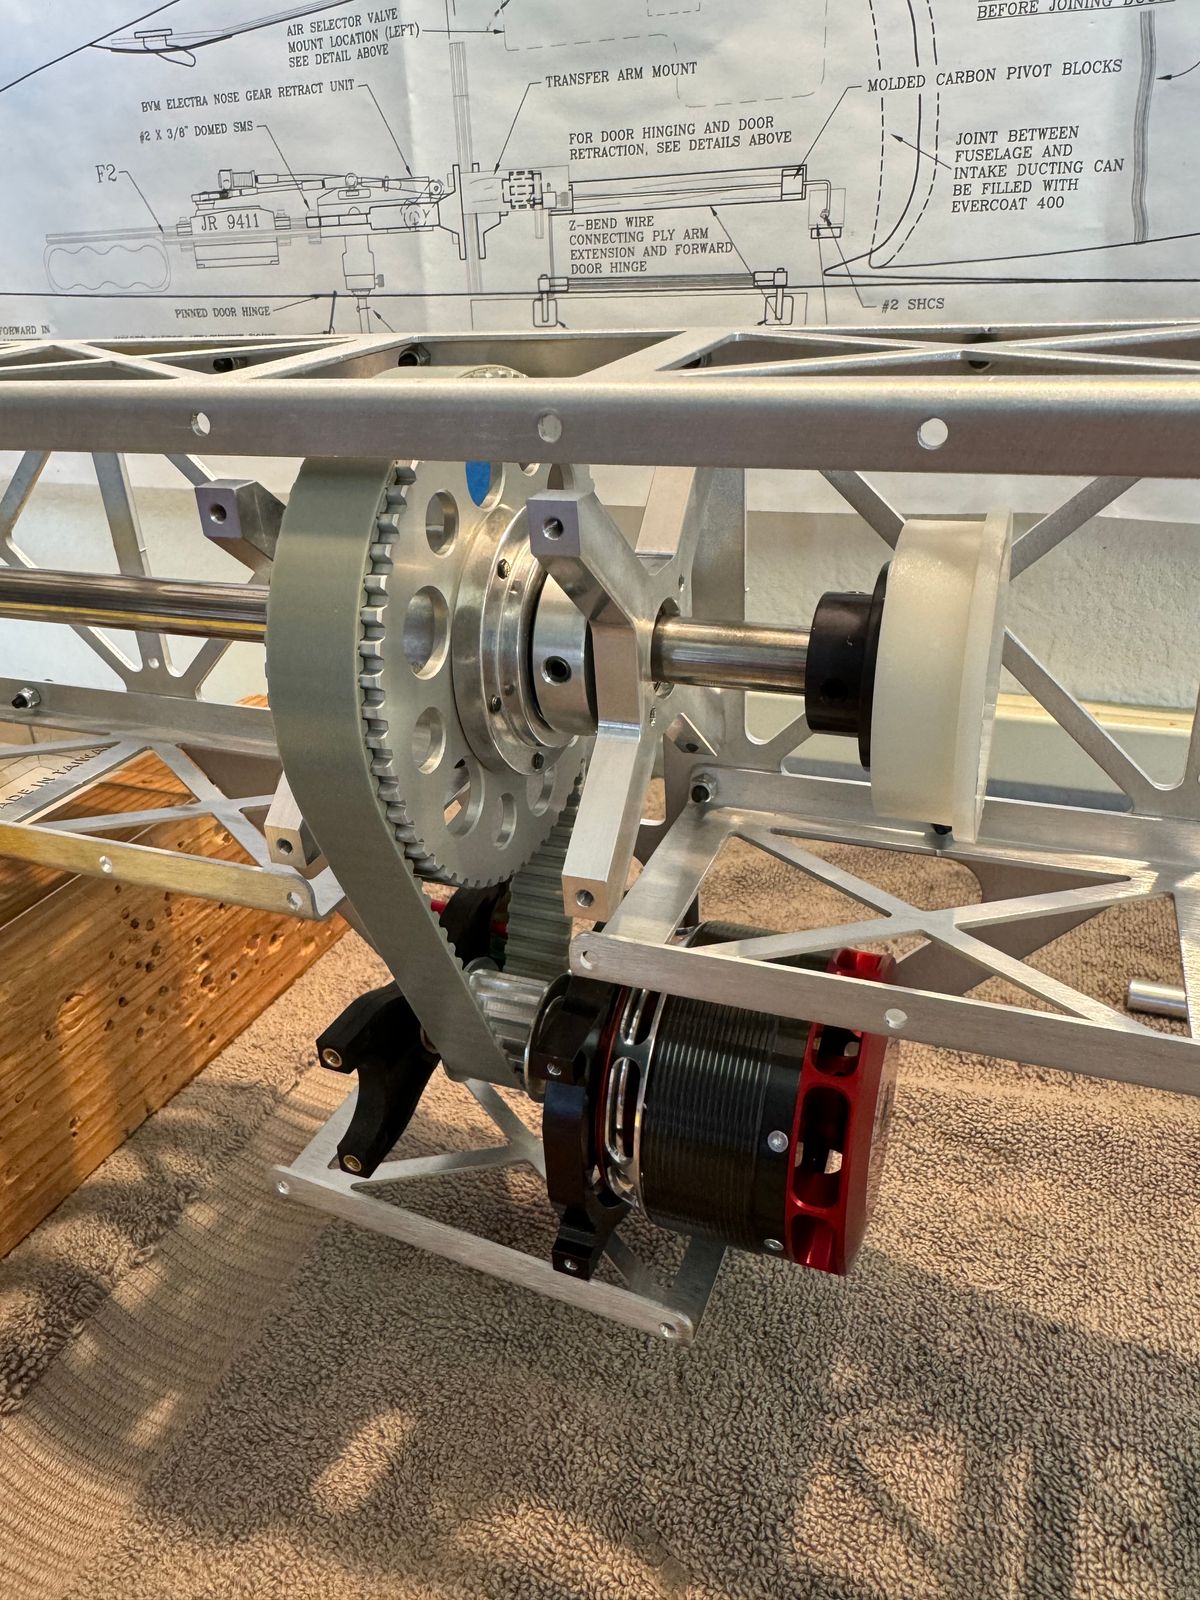
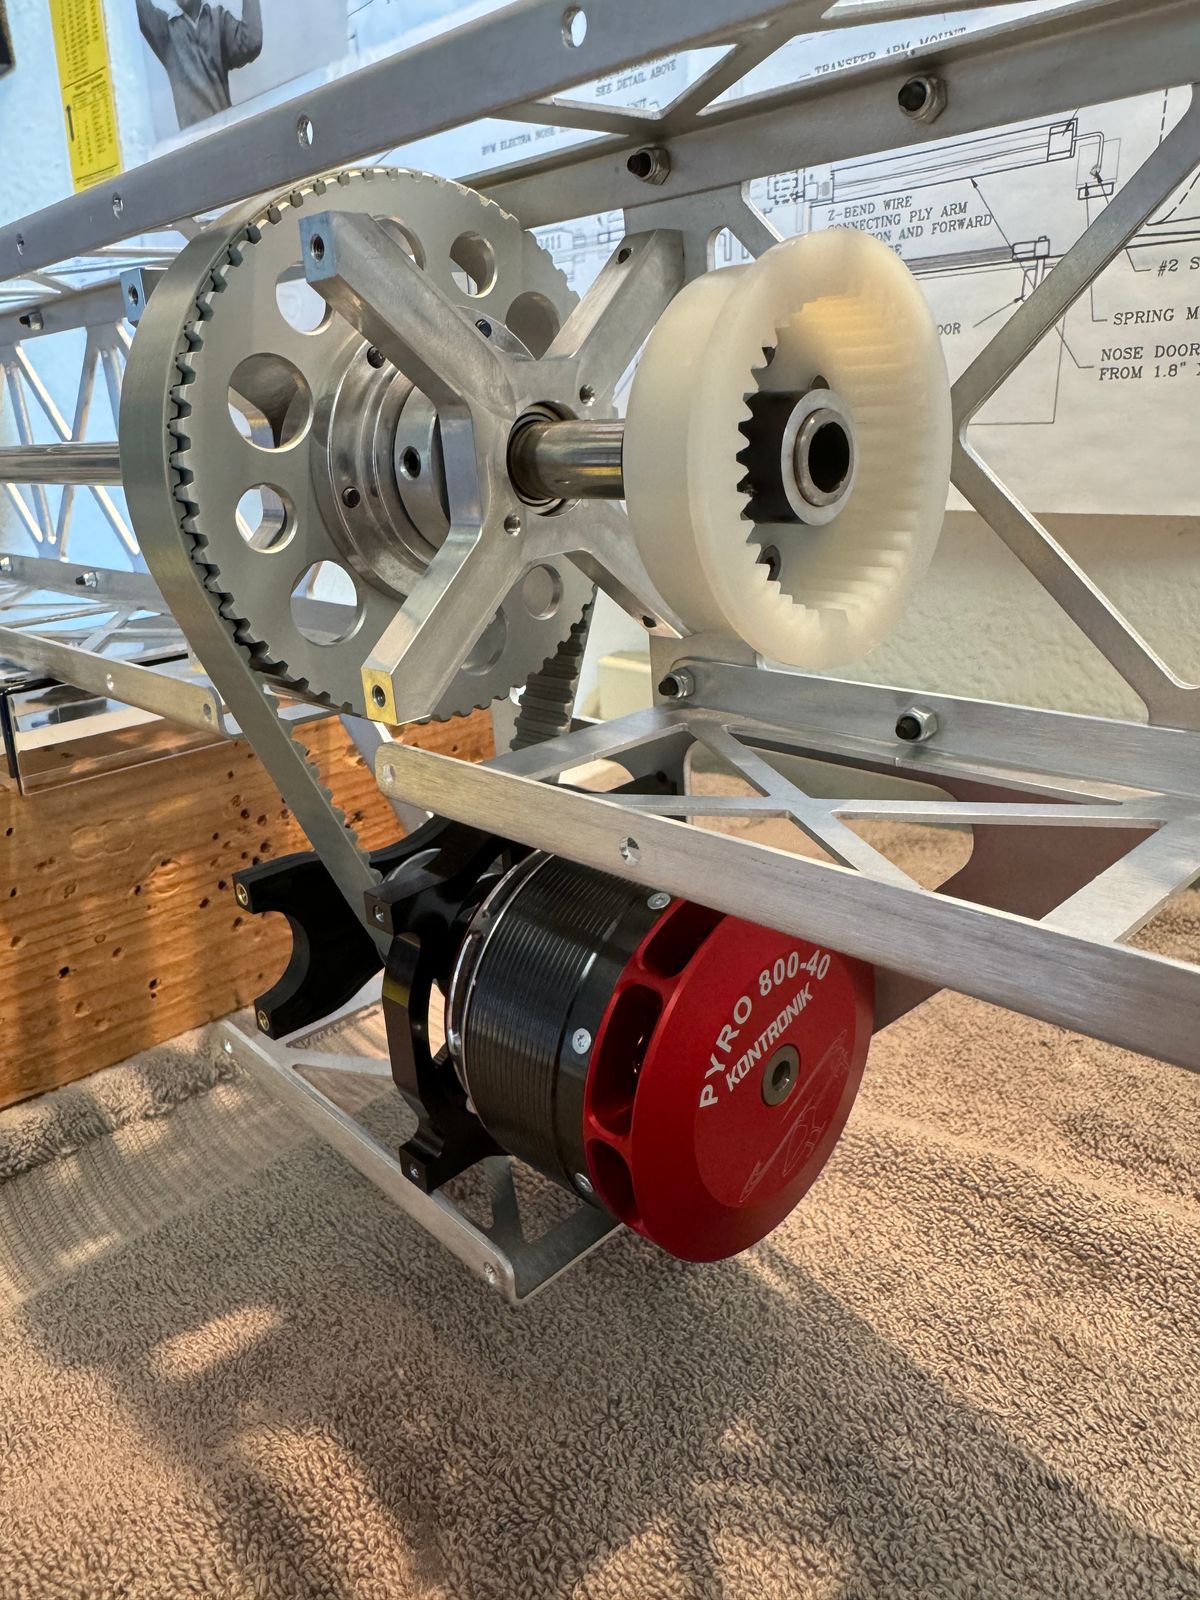
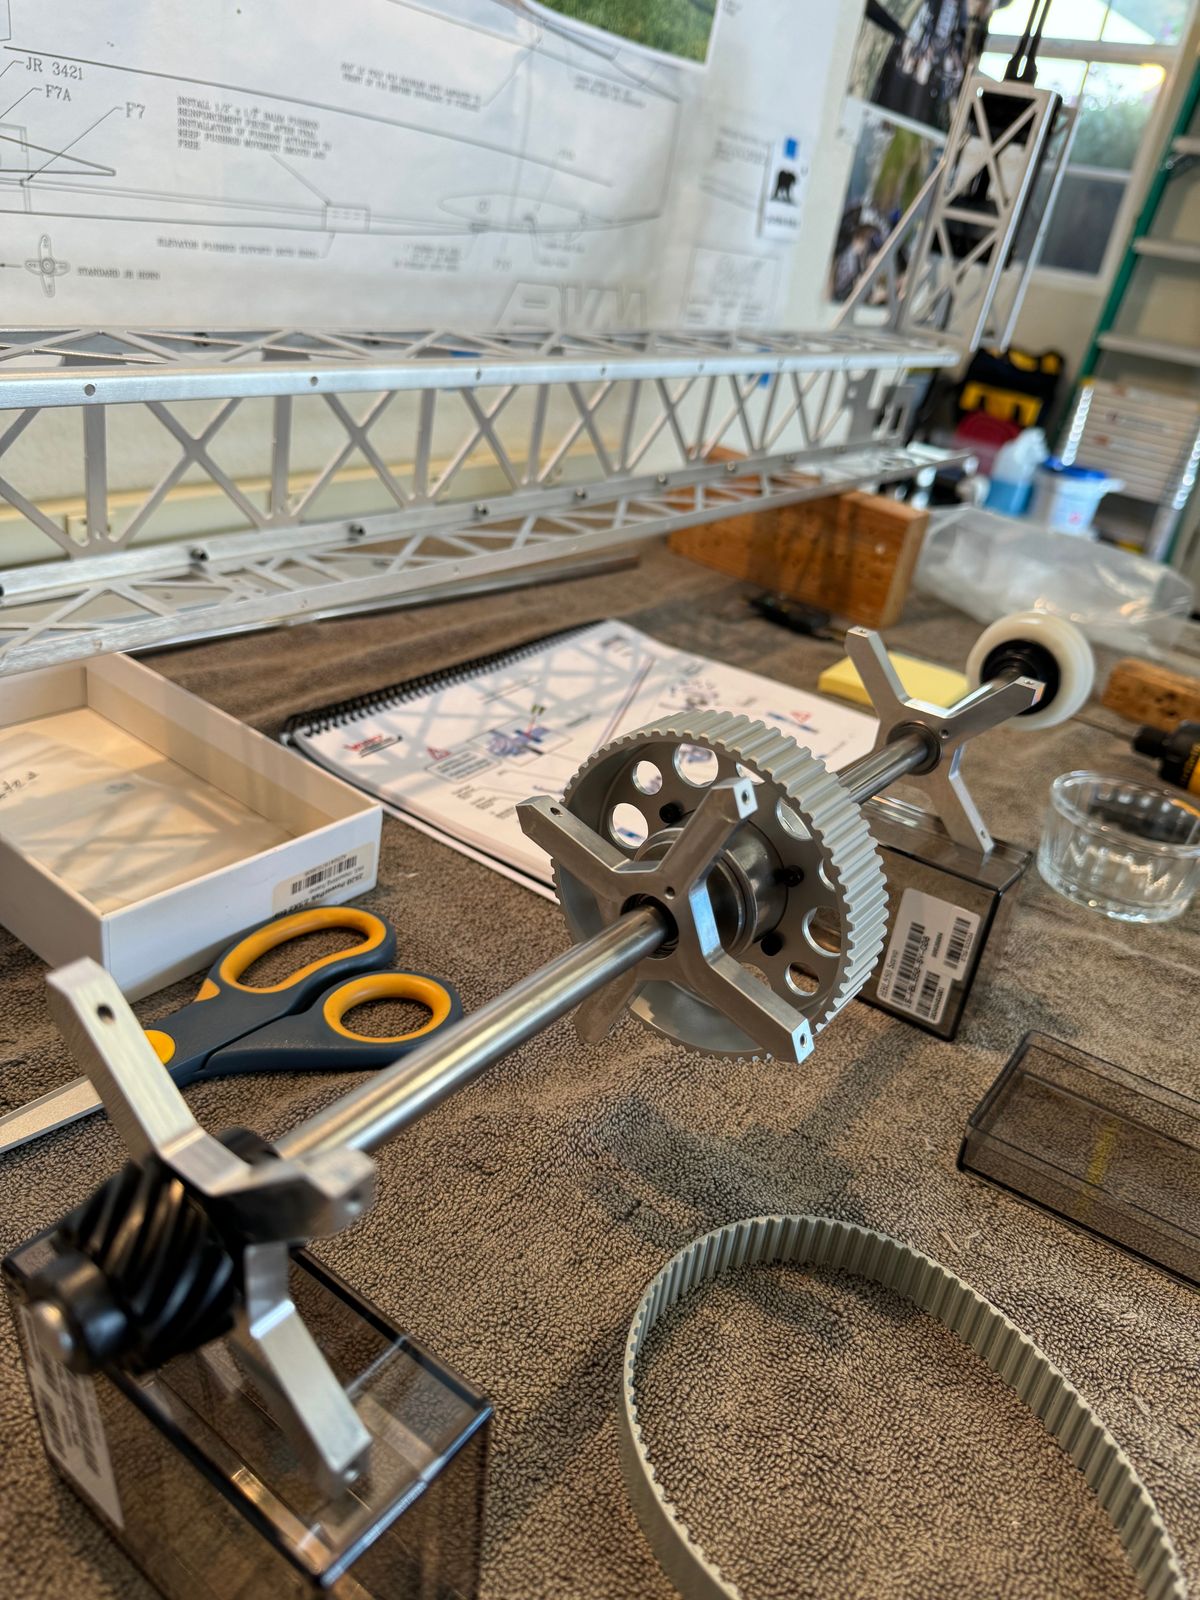
Main rotor shafts
Main rotor shaft installations. In addition the side plate started to add strength to the cage structure.
Swash plate setup
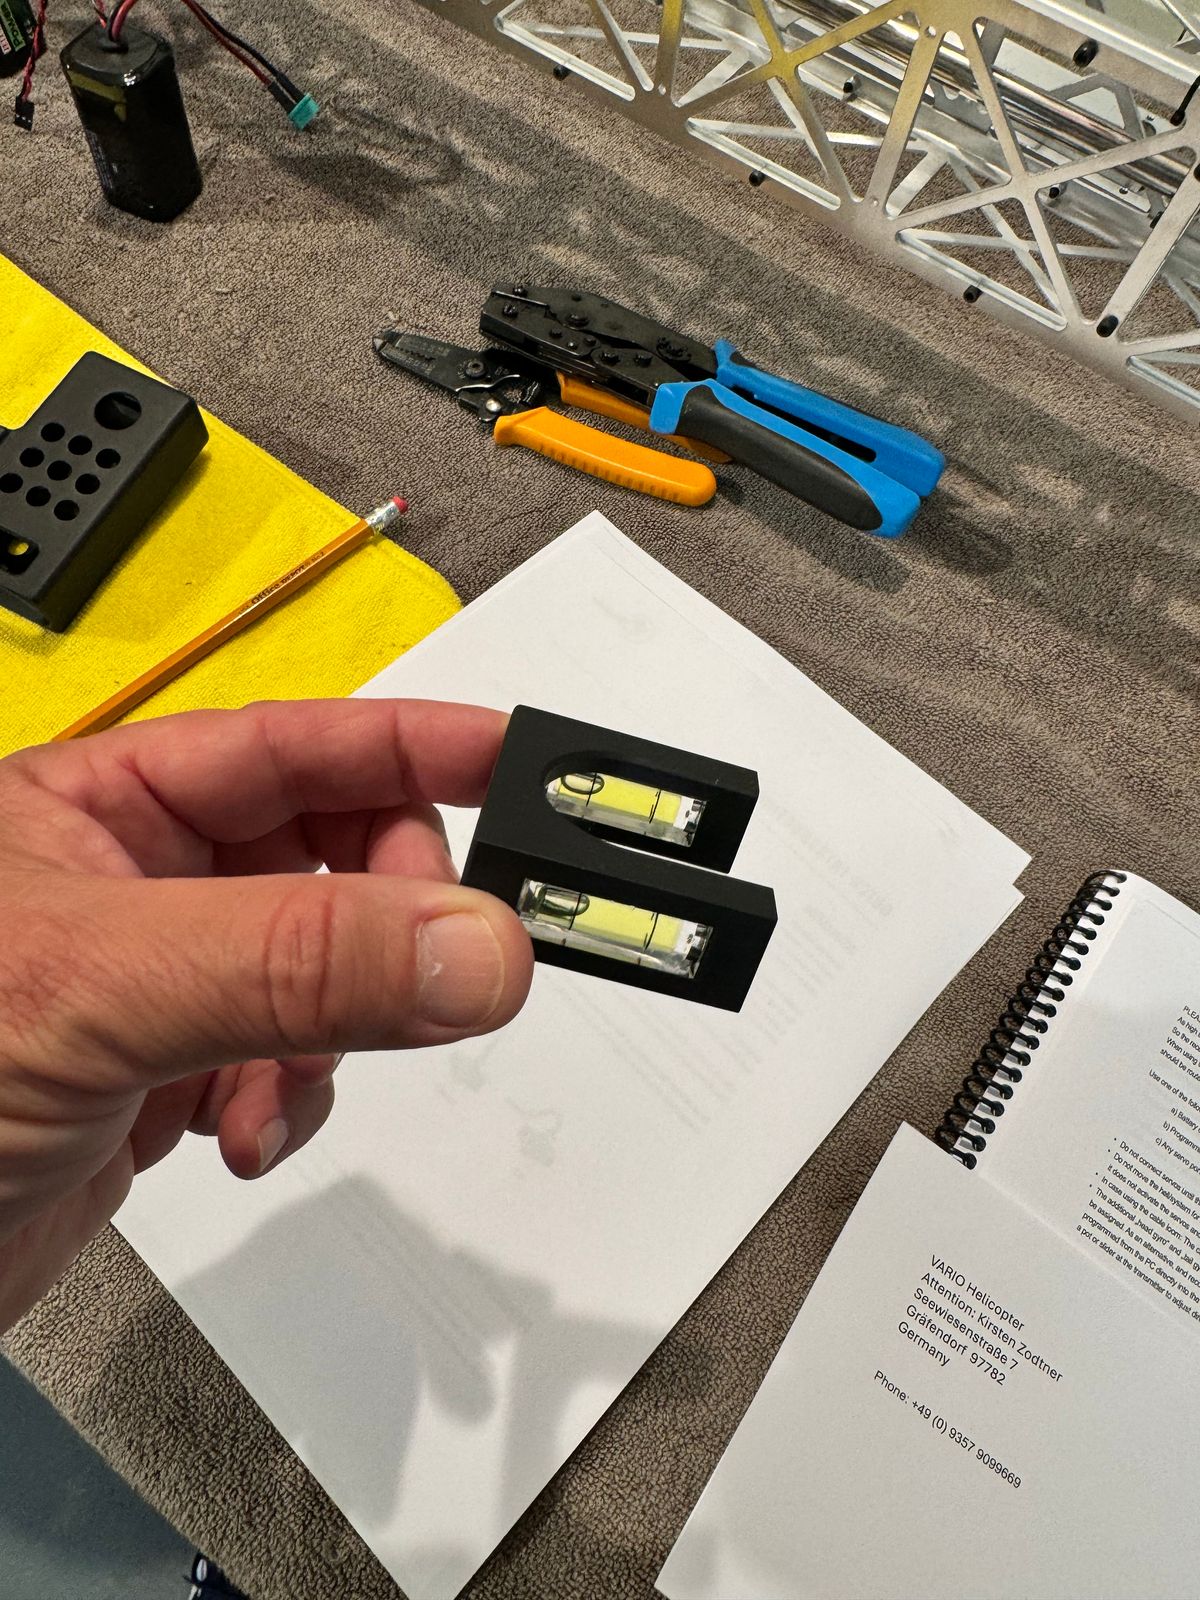
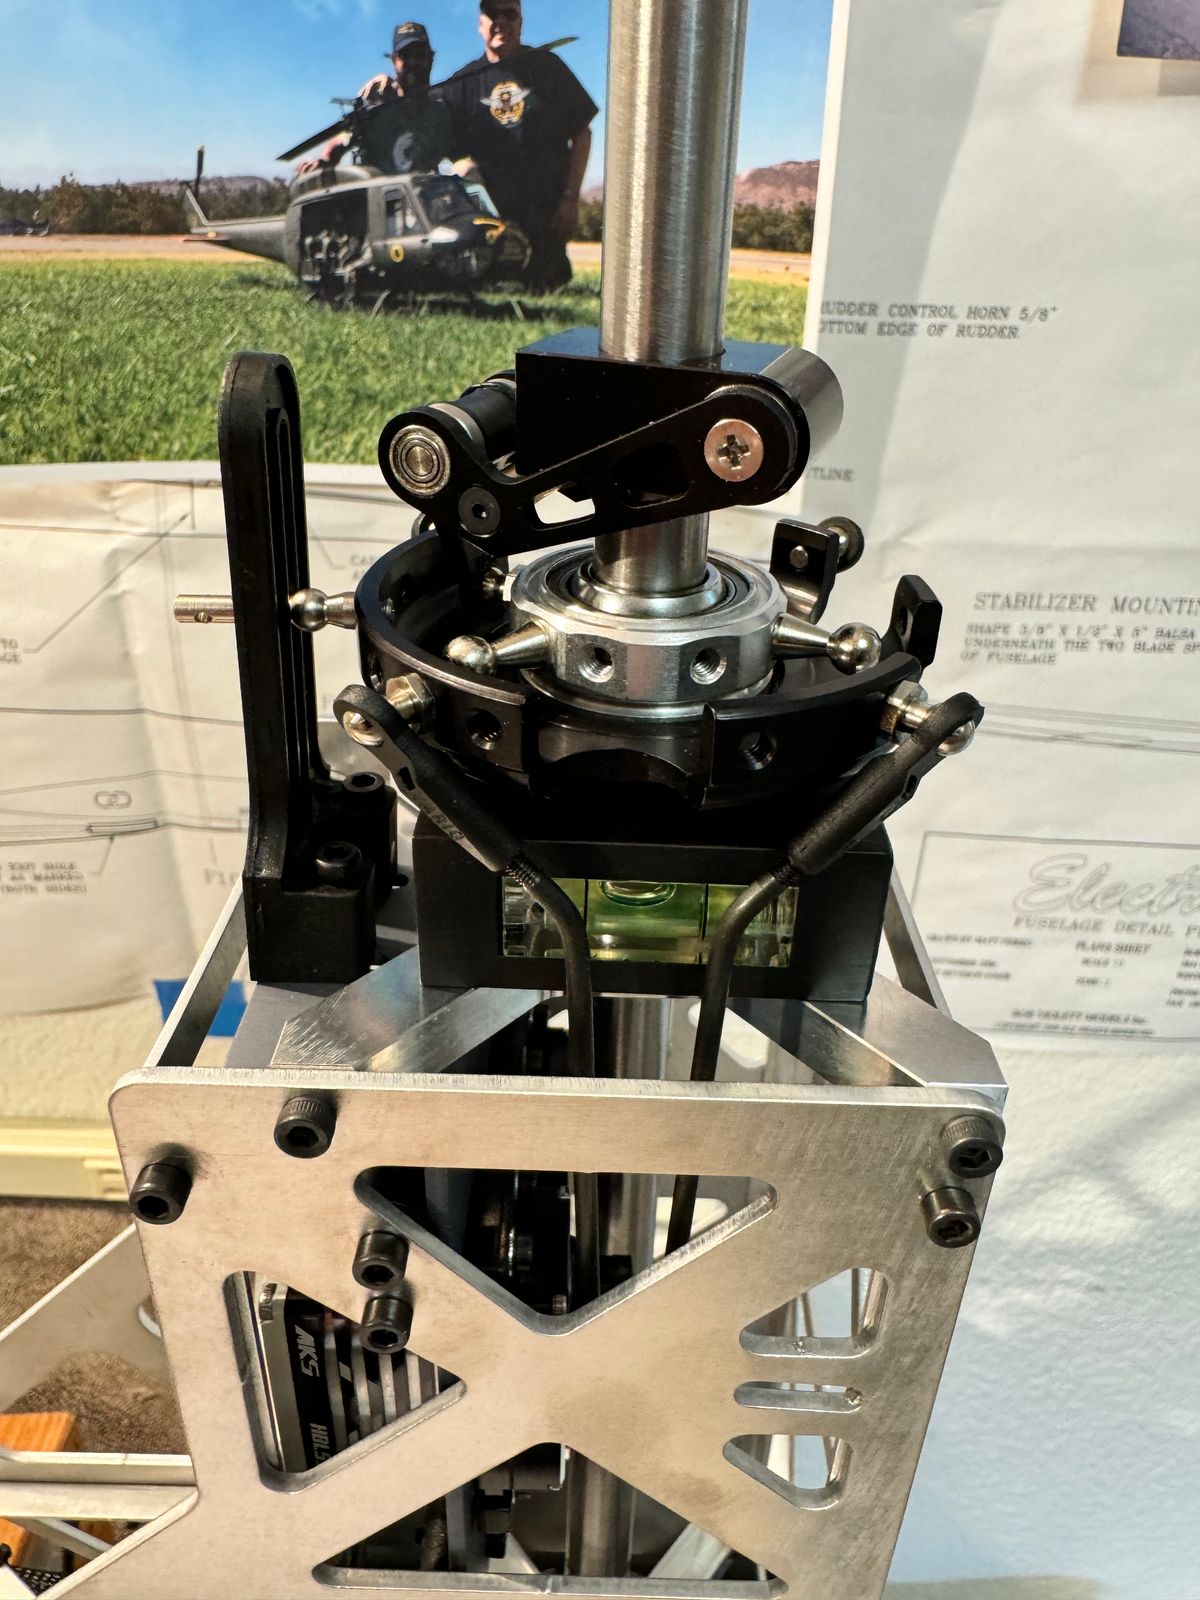
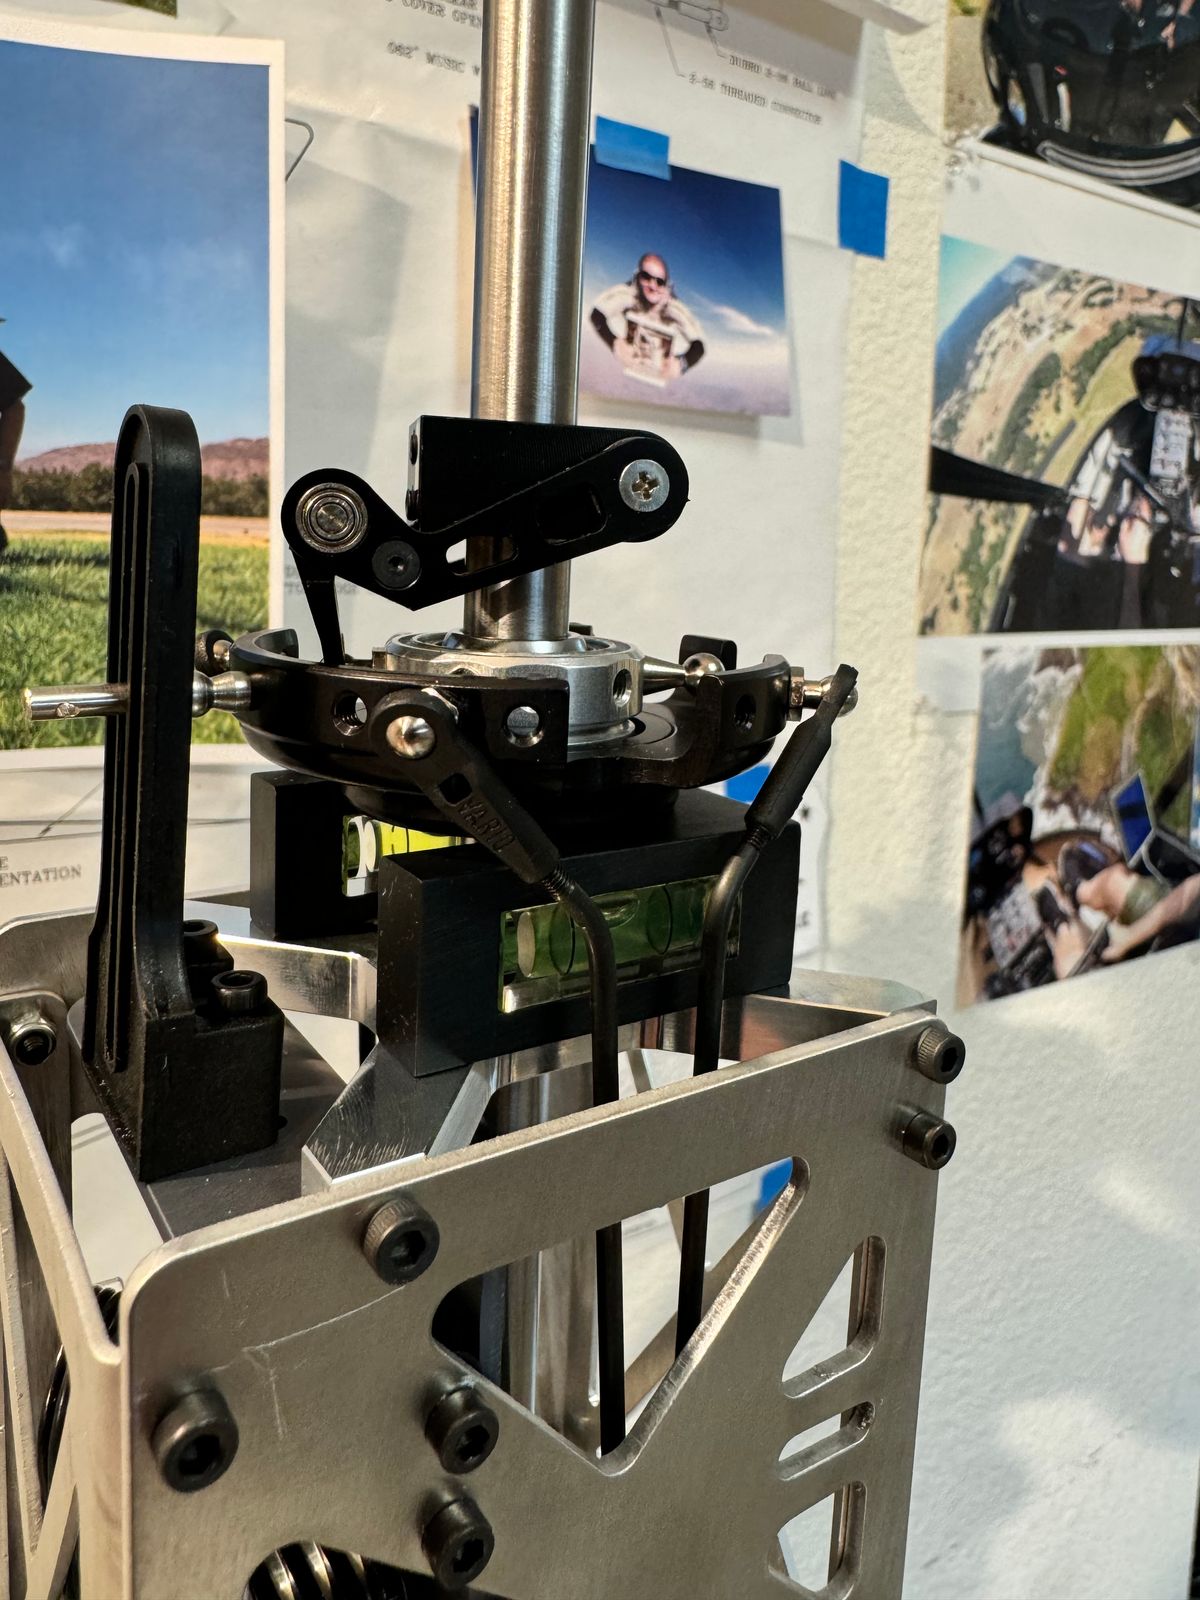
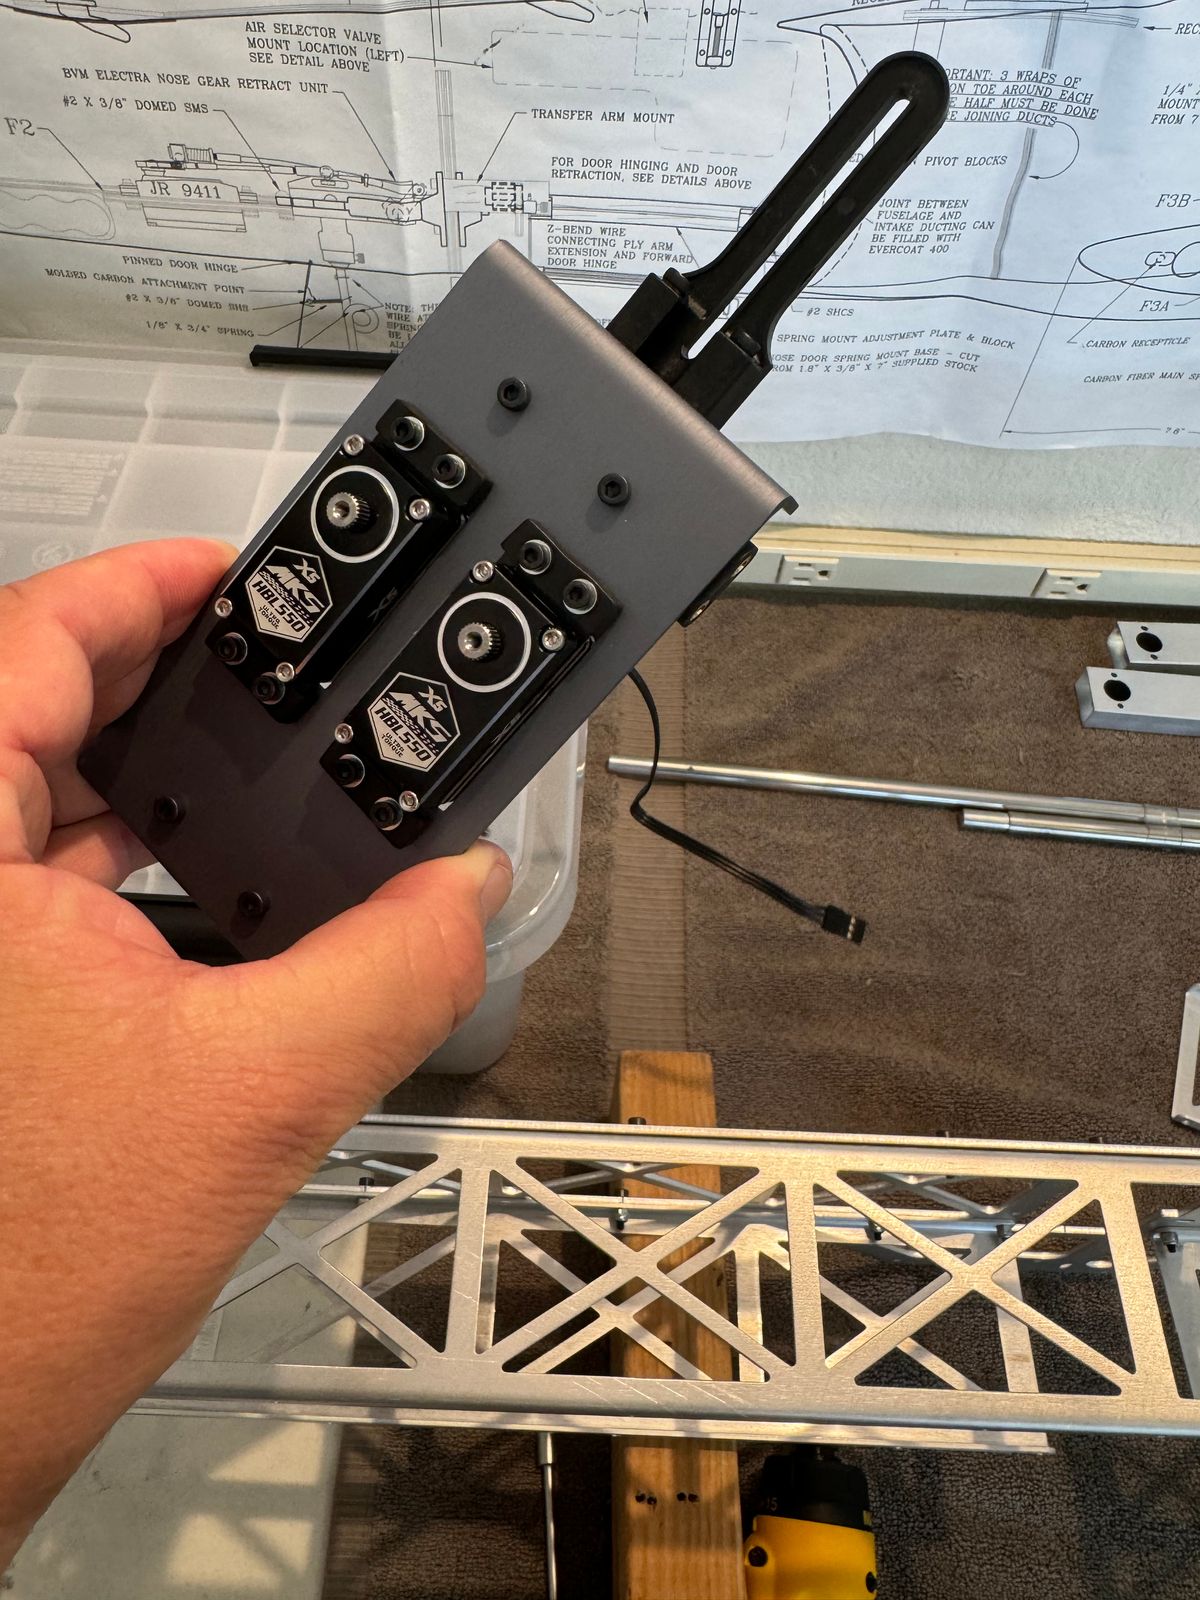
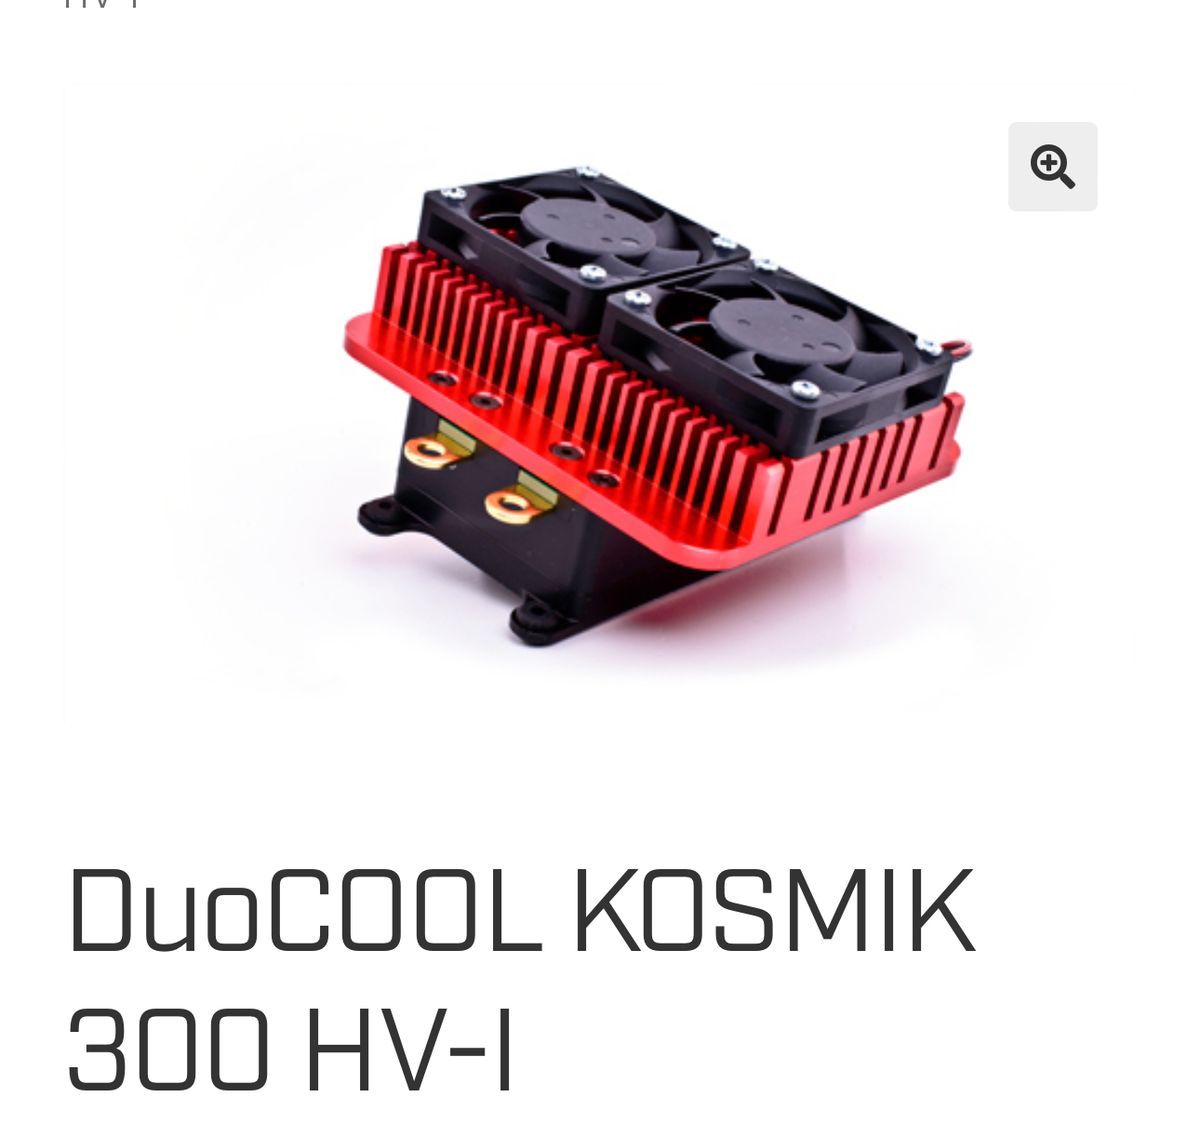
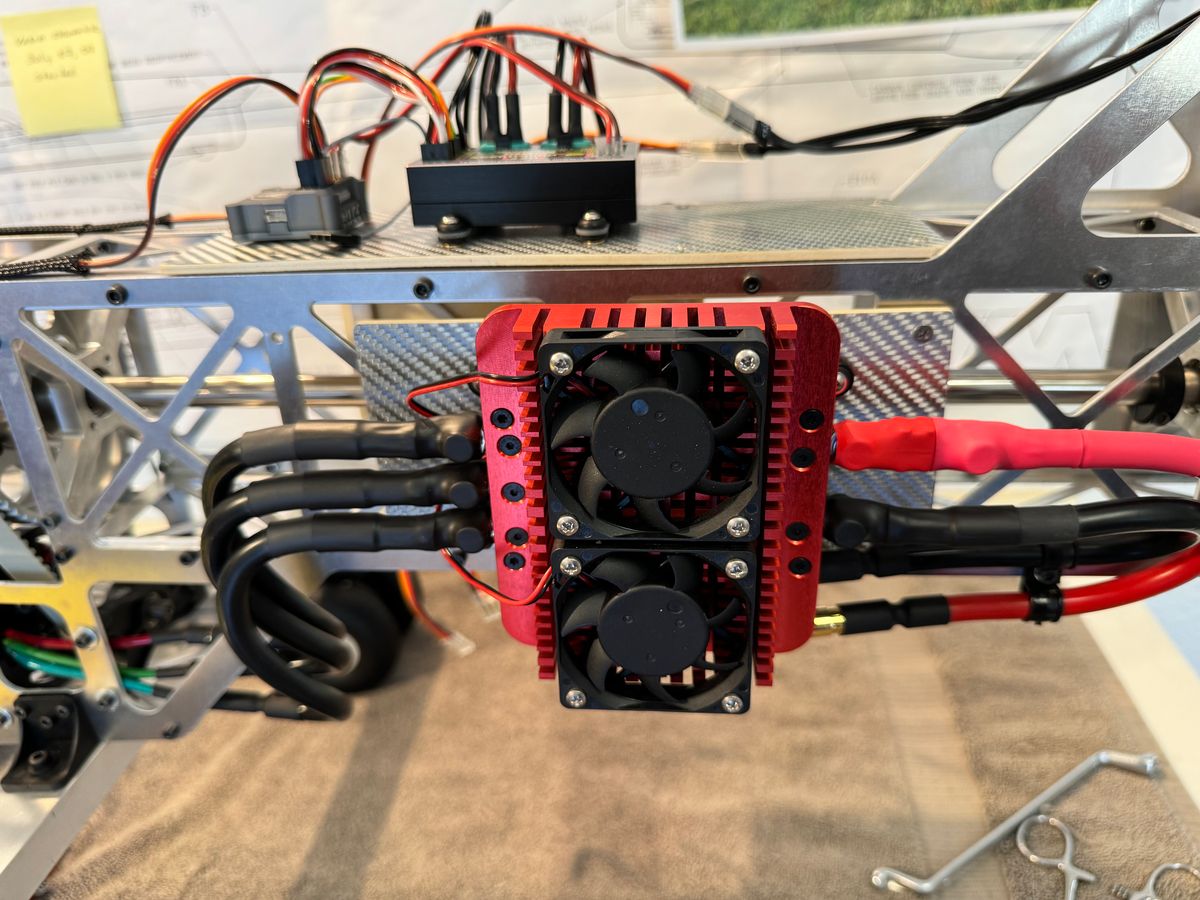
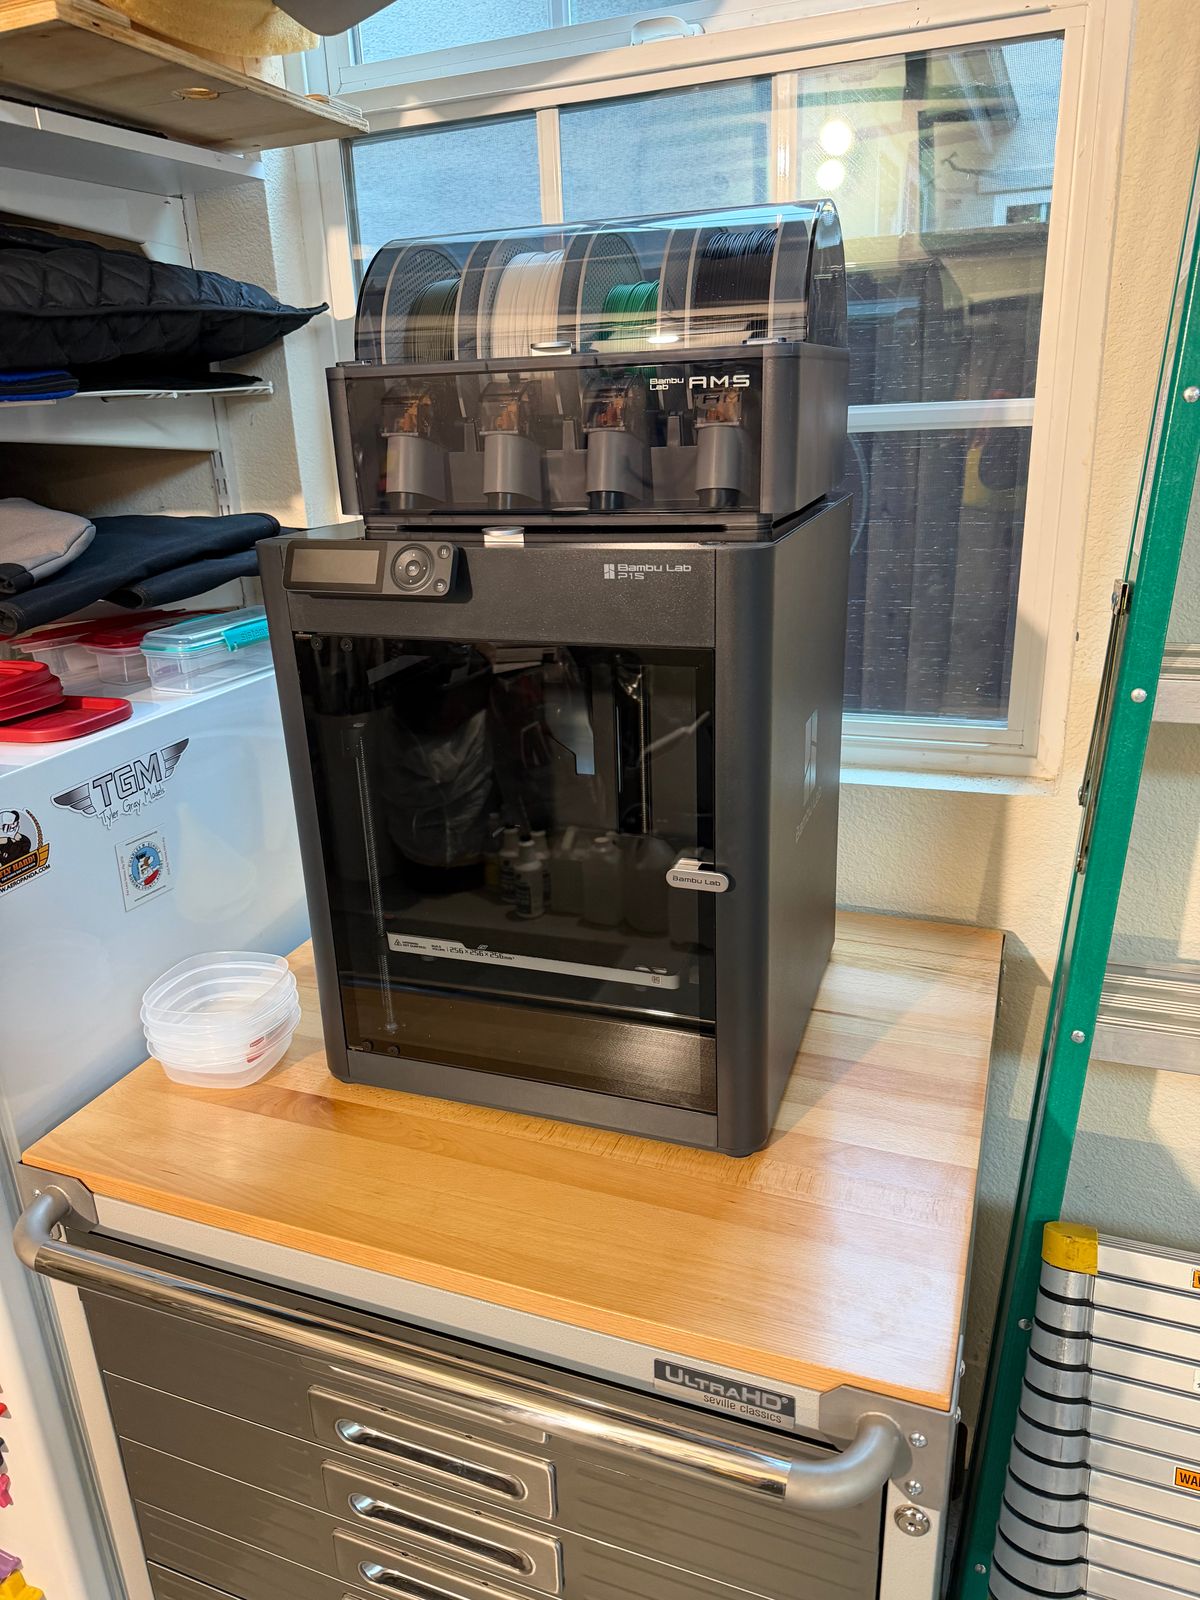
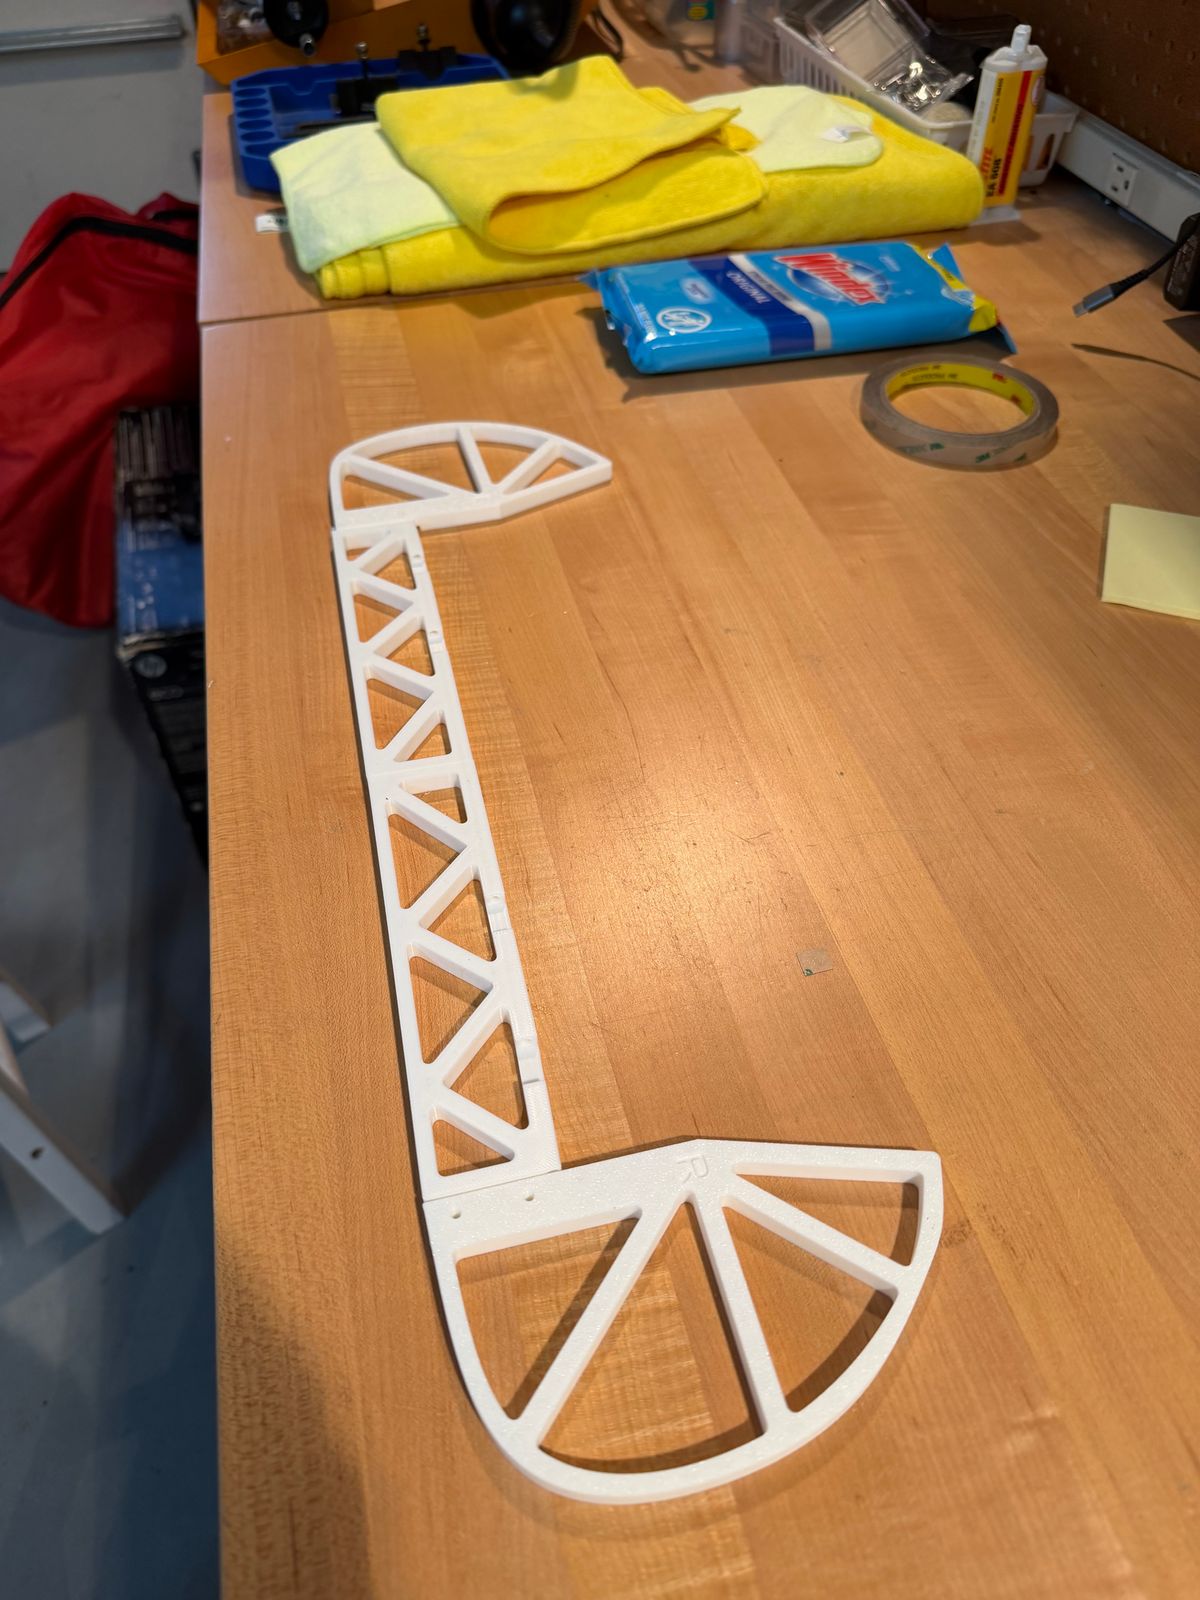
We started to program the BD 3SX and using some initial setup from Vario directly. I created a tool for ease the alignment of the swash plates plus a bubble level that will ease the final pitch adjustments. In addition we decided to go for another option on the Kontronik KOSMIK with dual fans as California summers are getting hotter.
Landing Gear
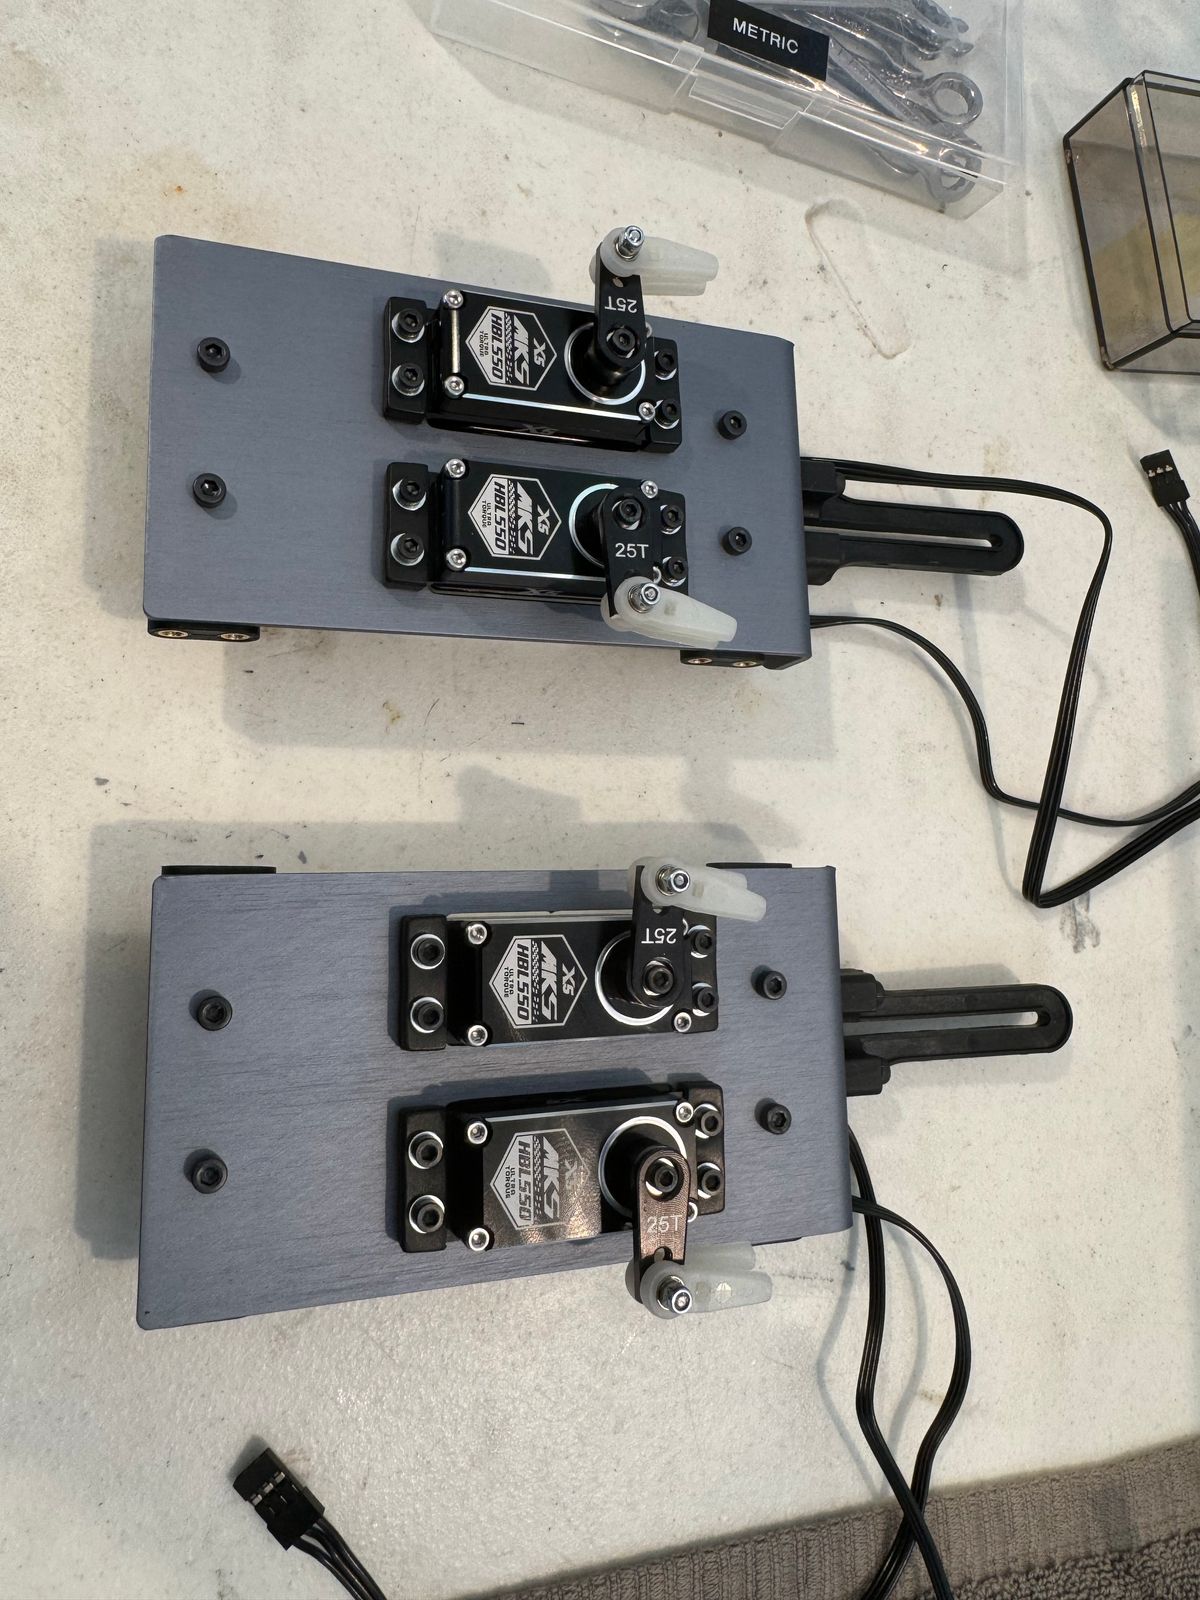
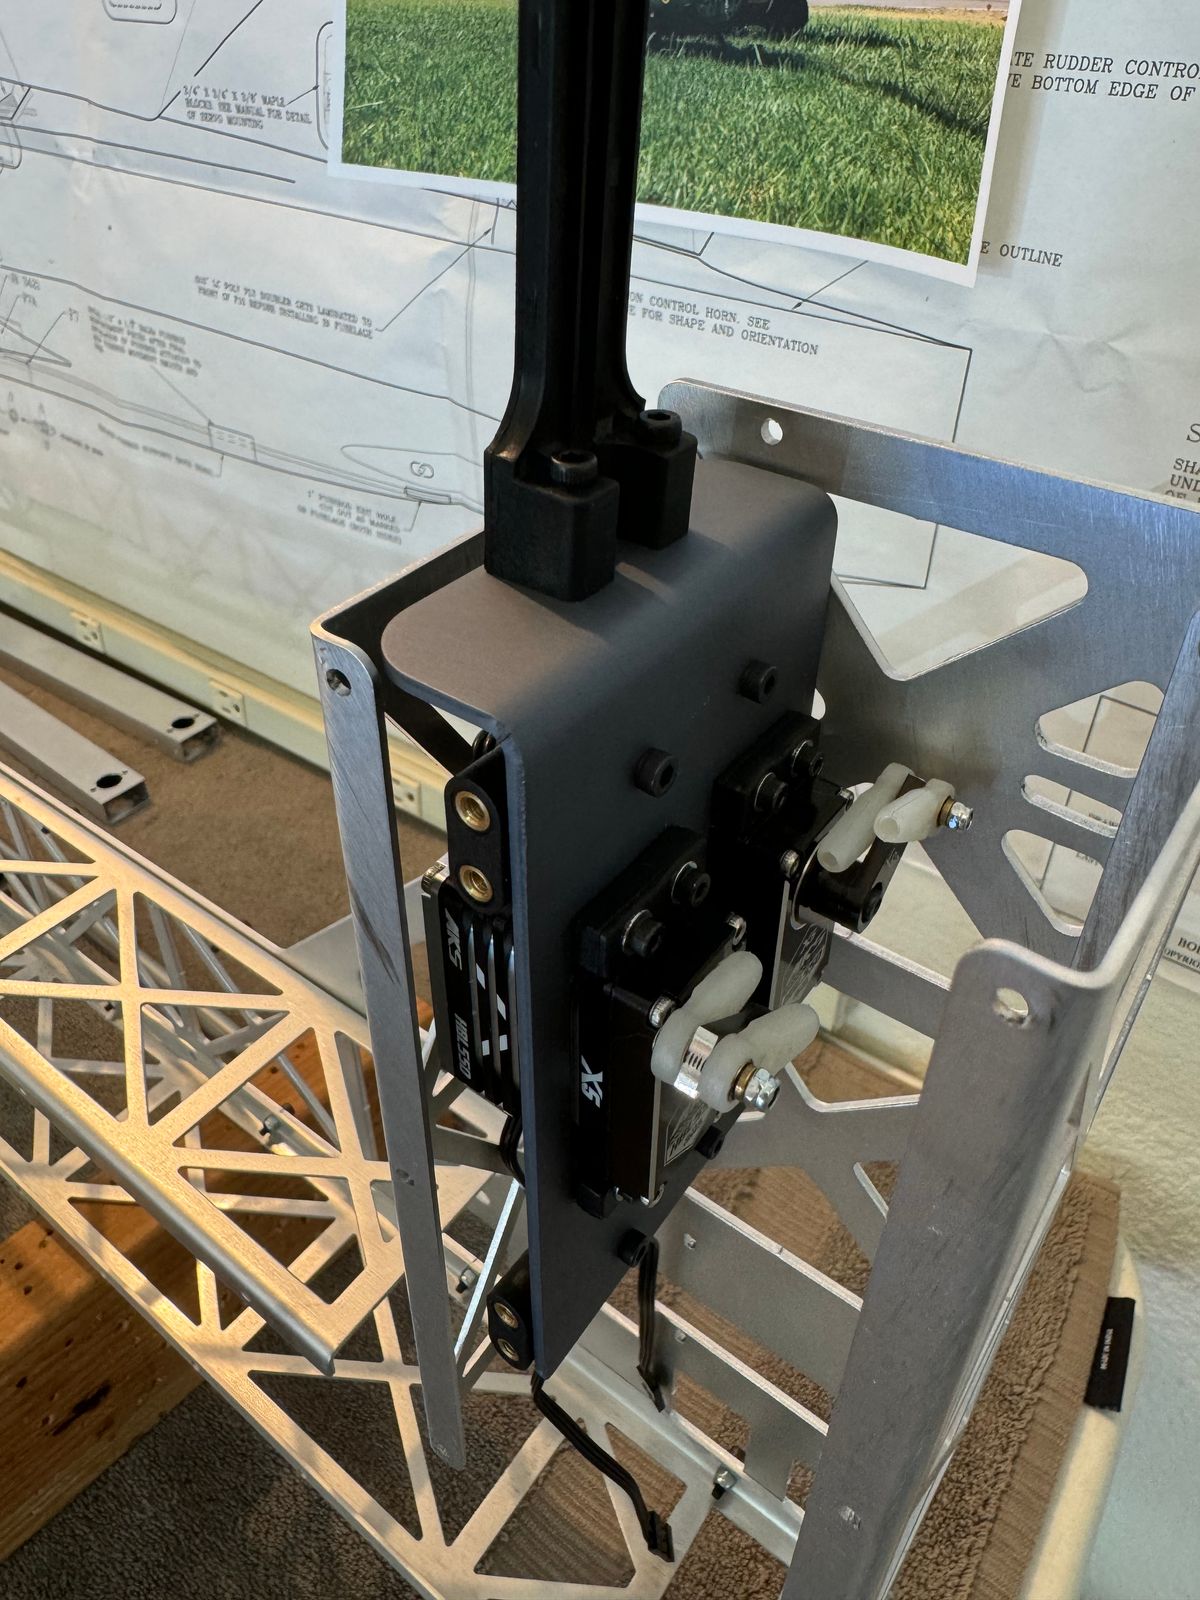
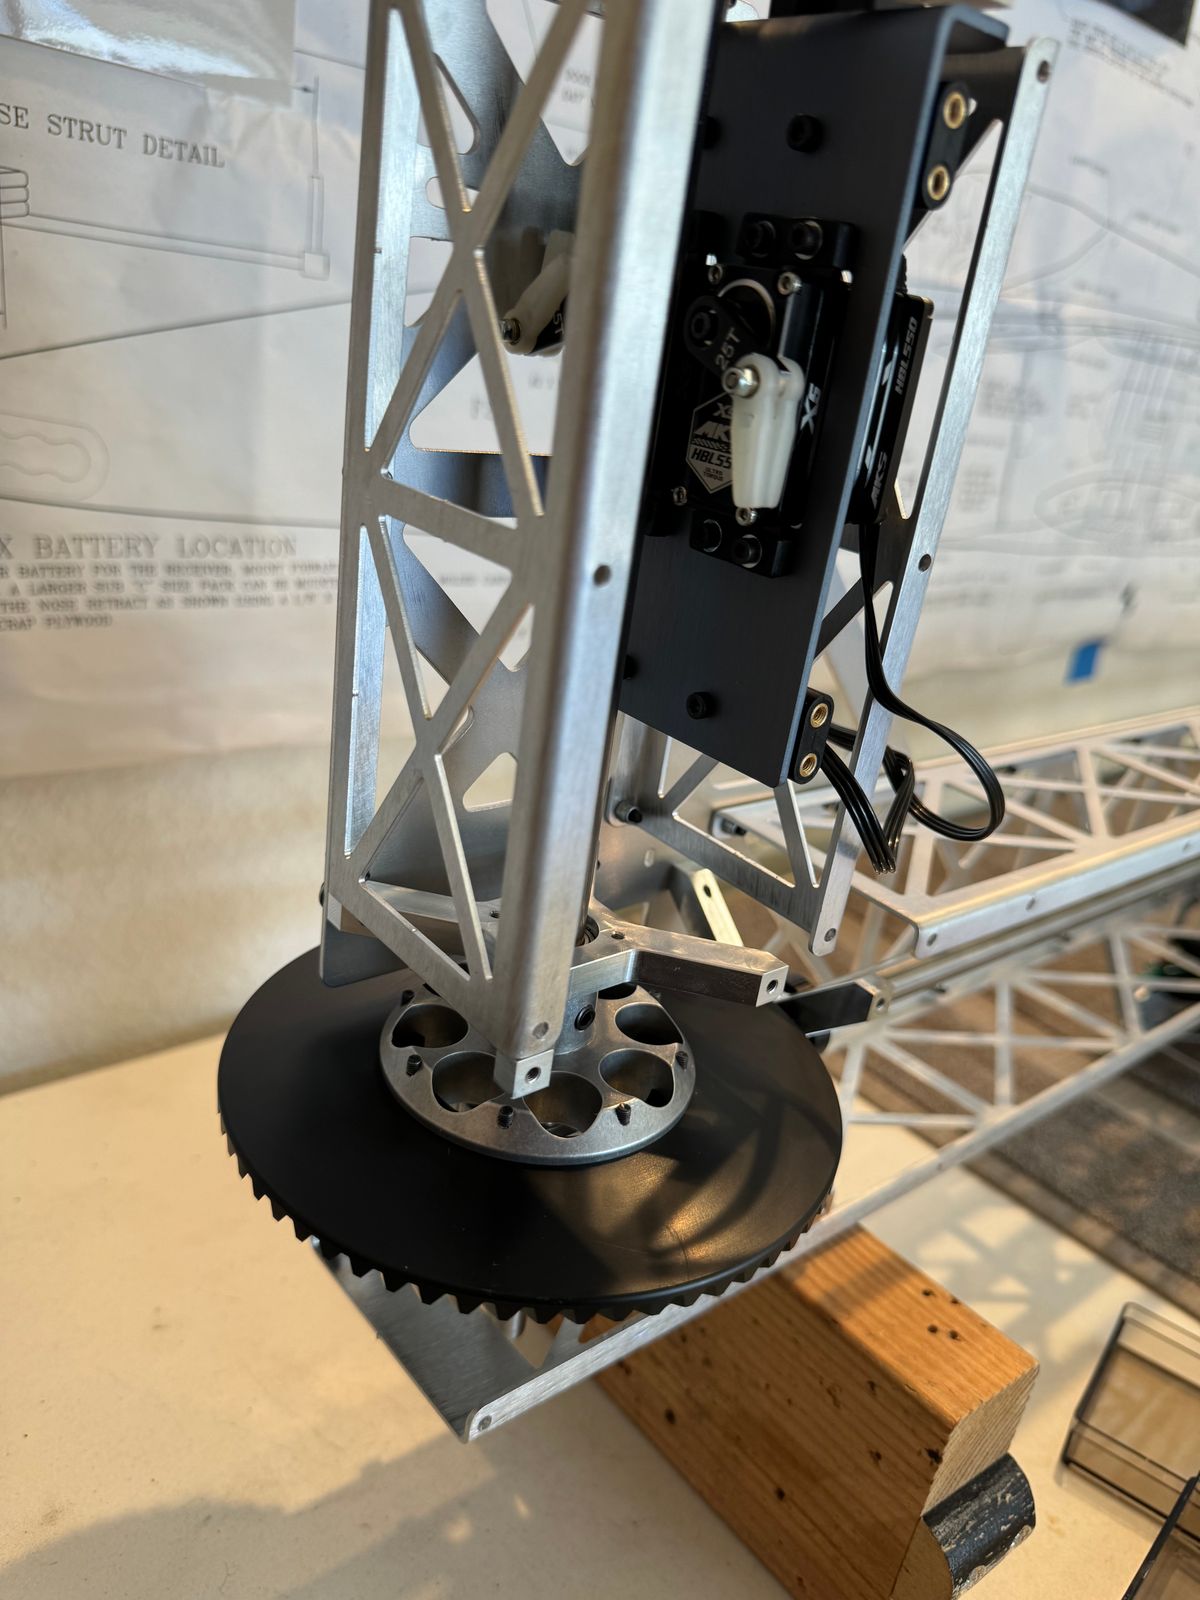
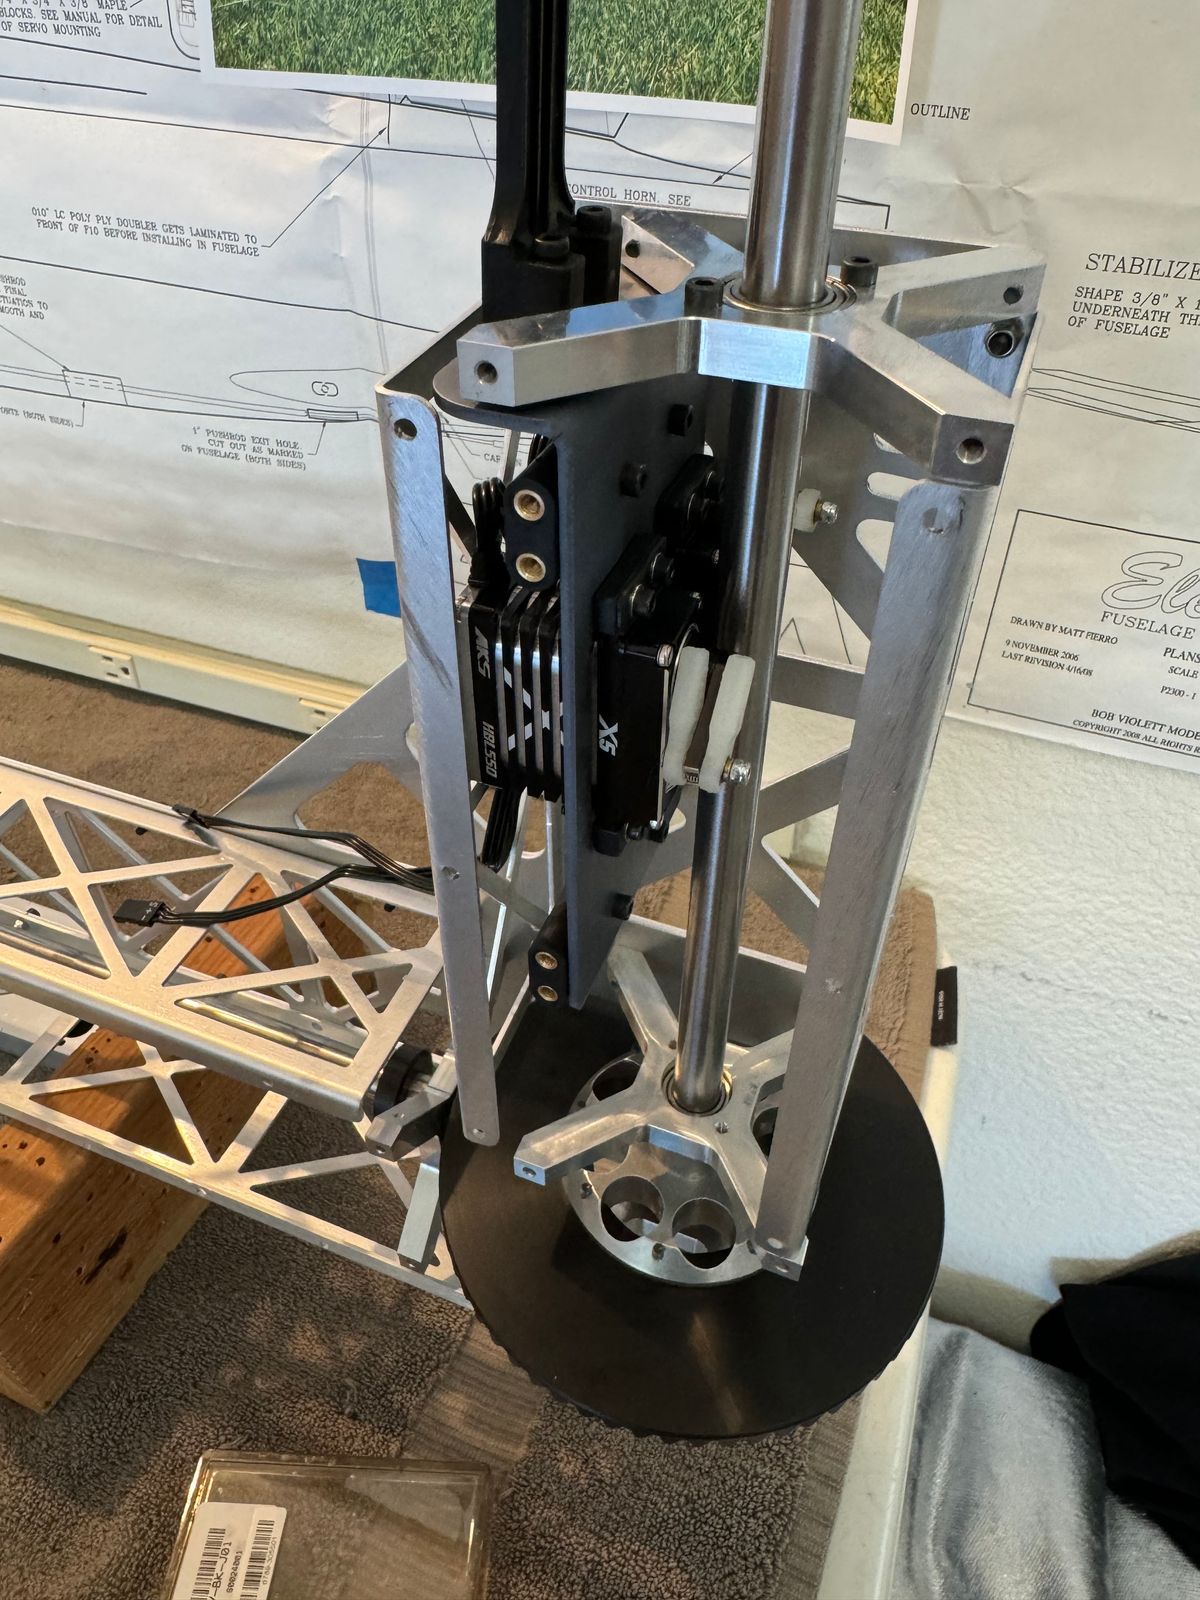
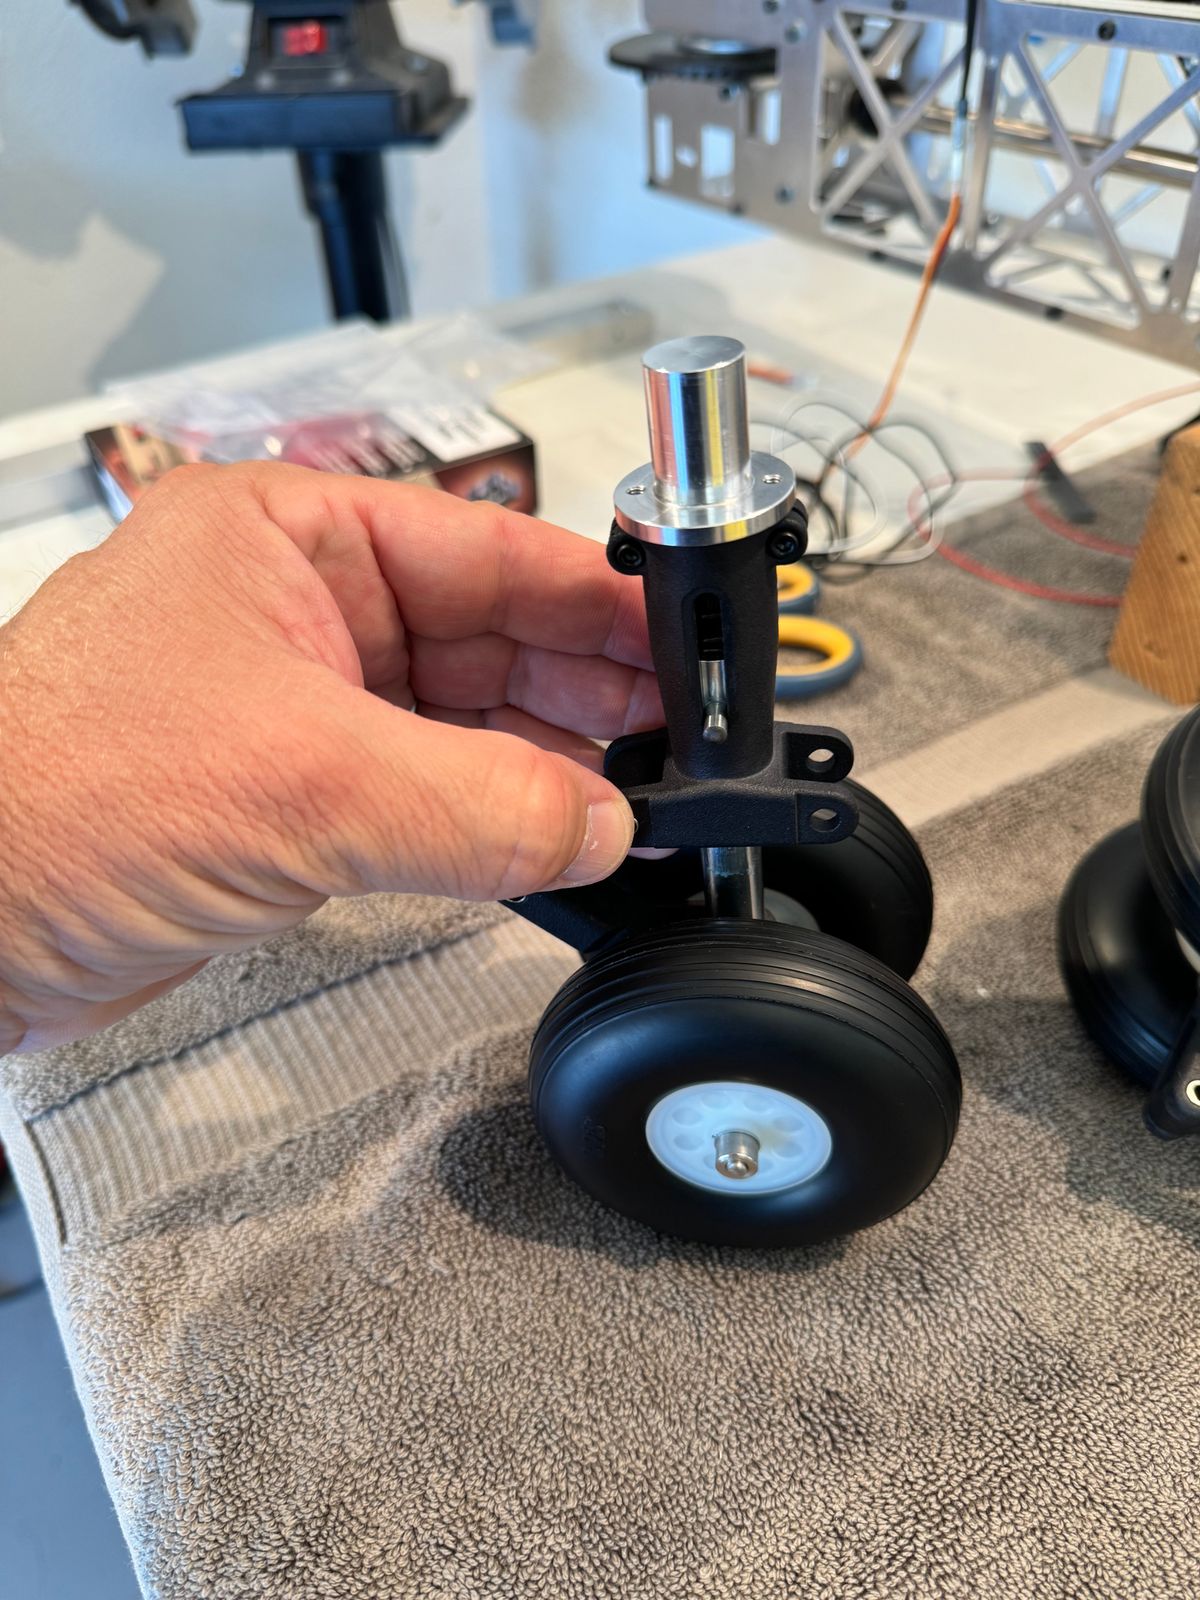
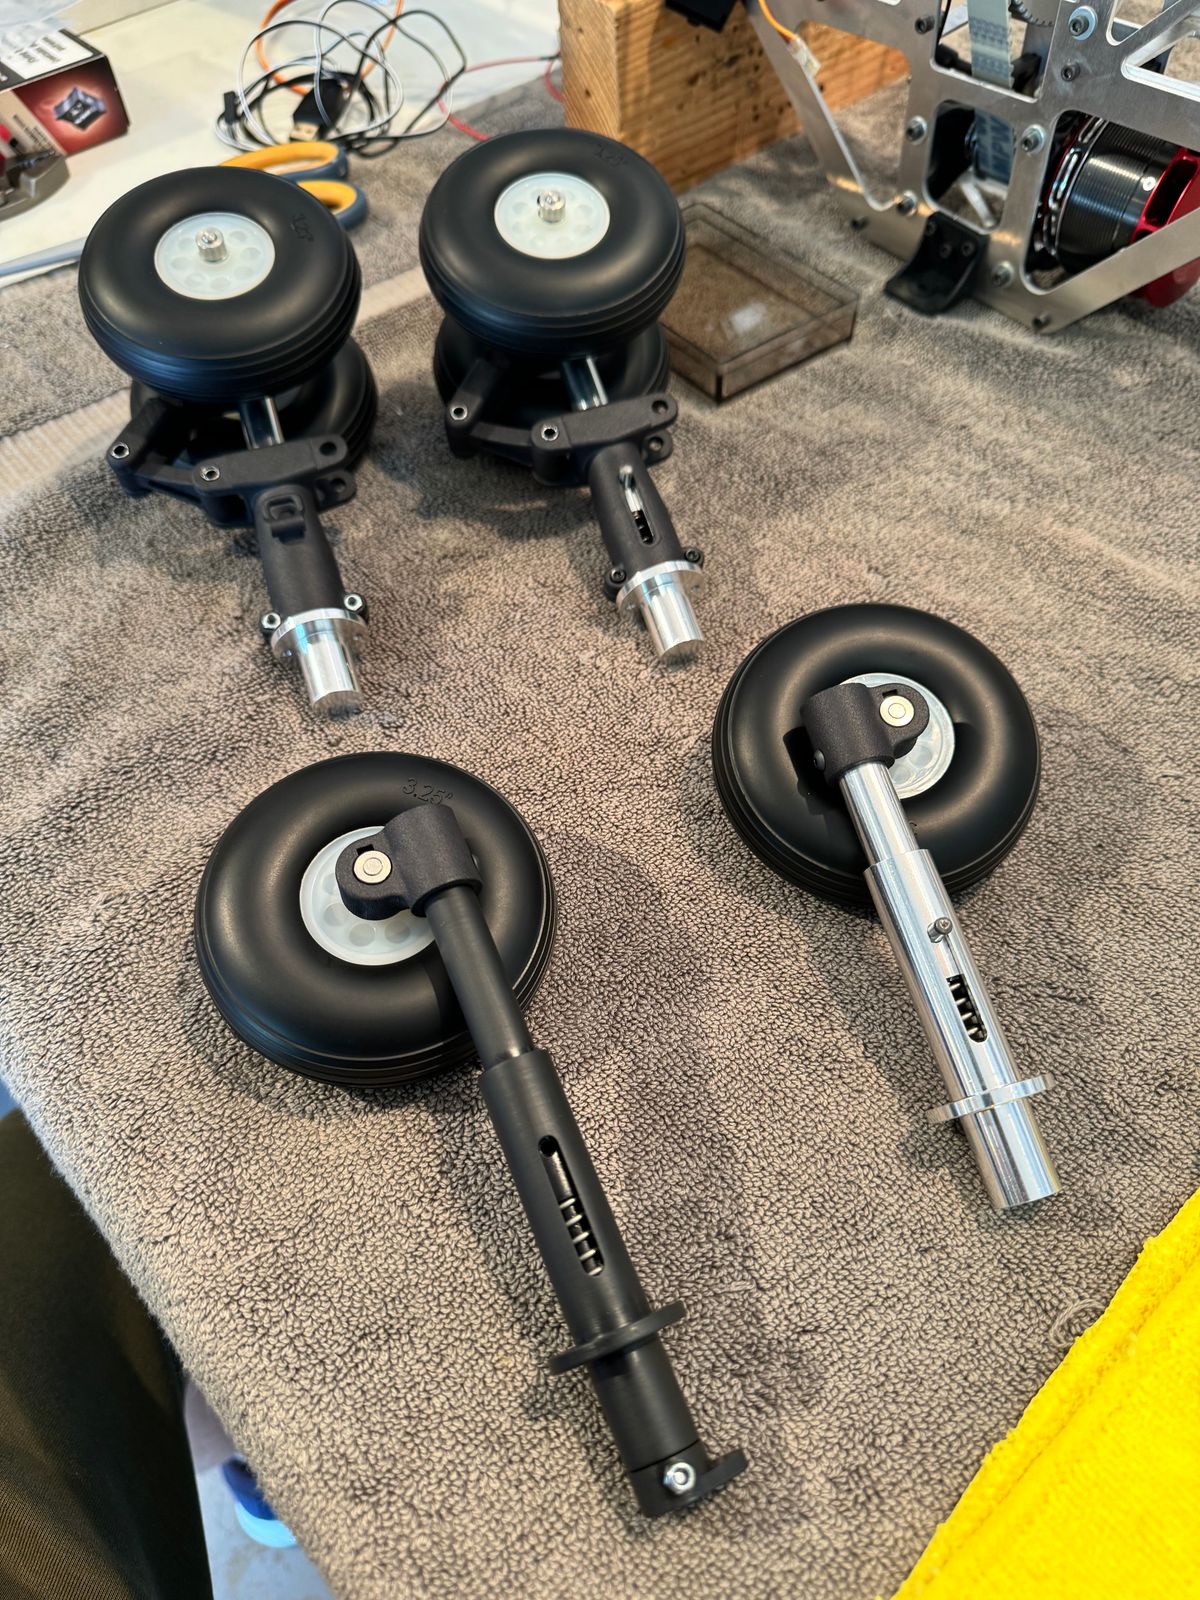
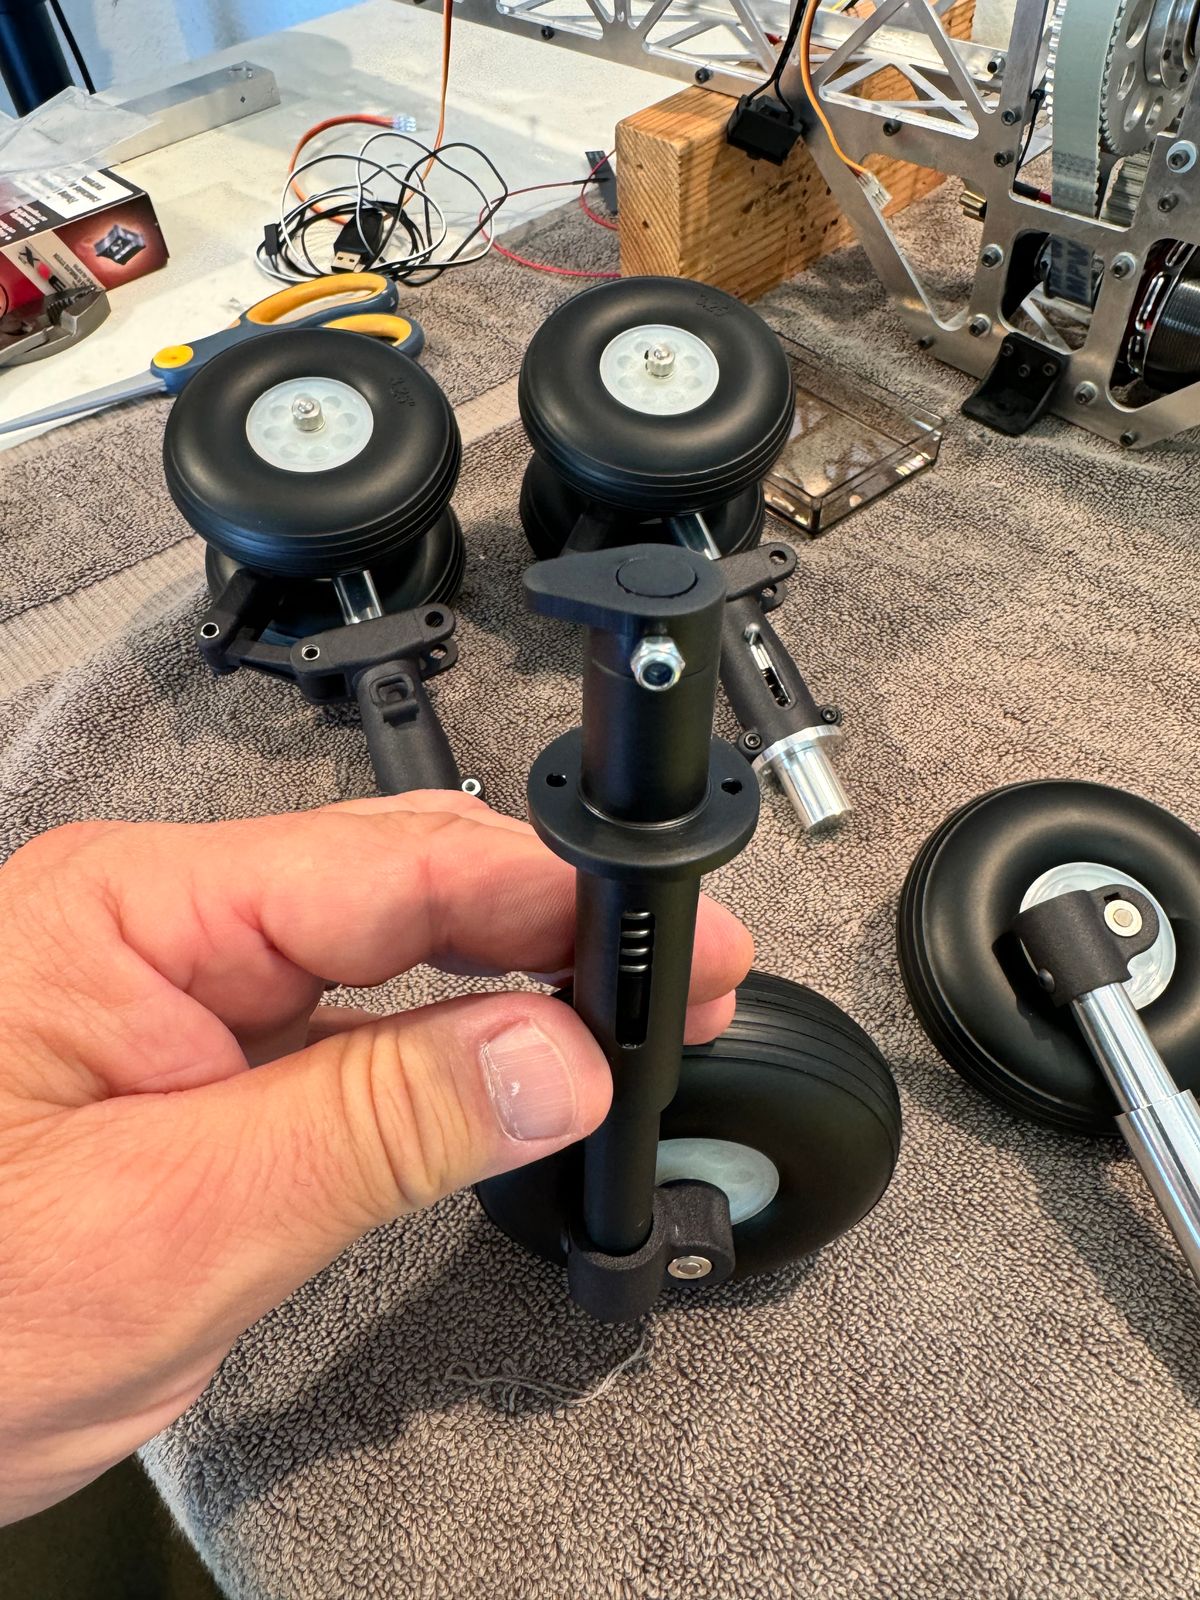
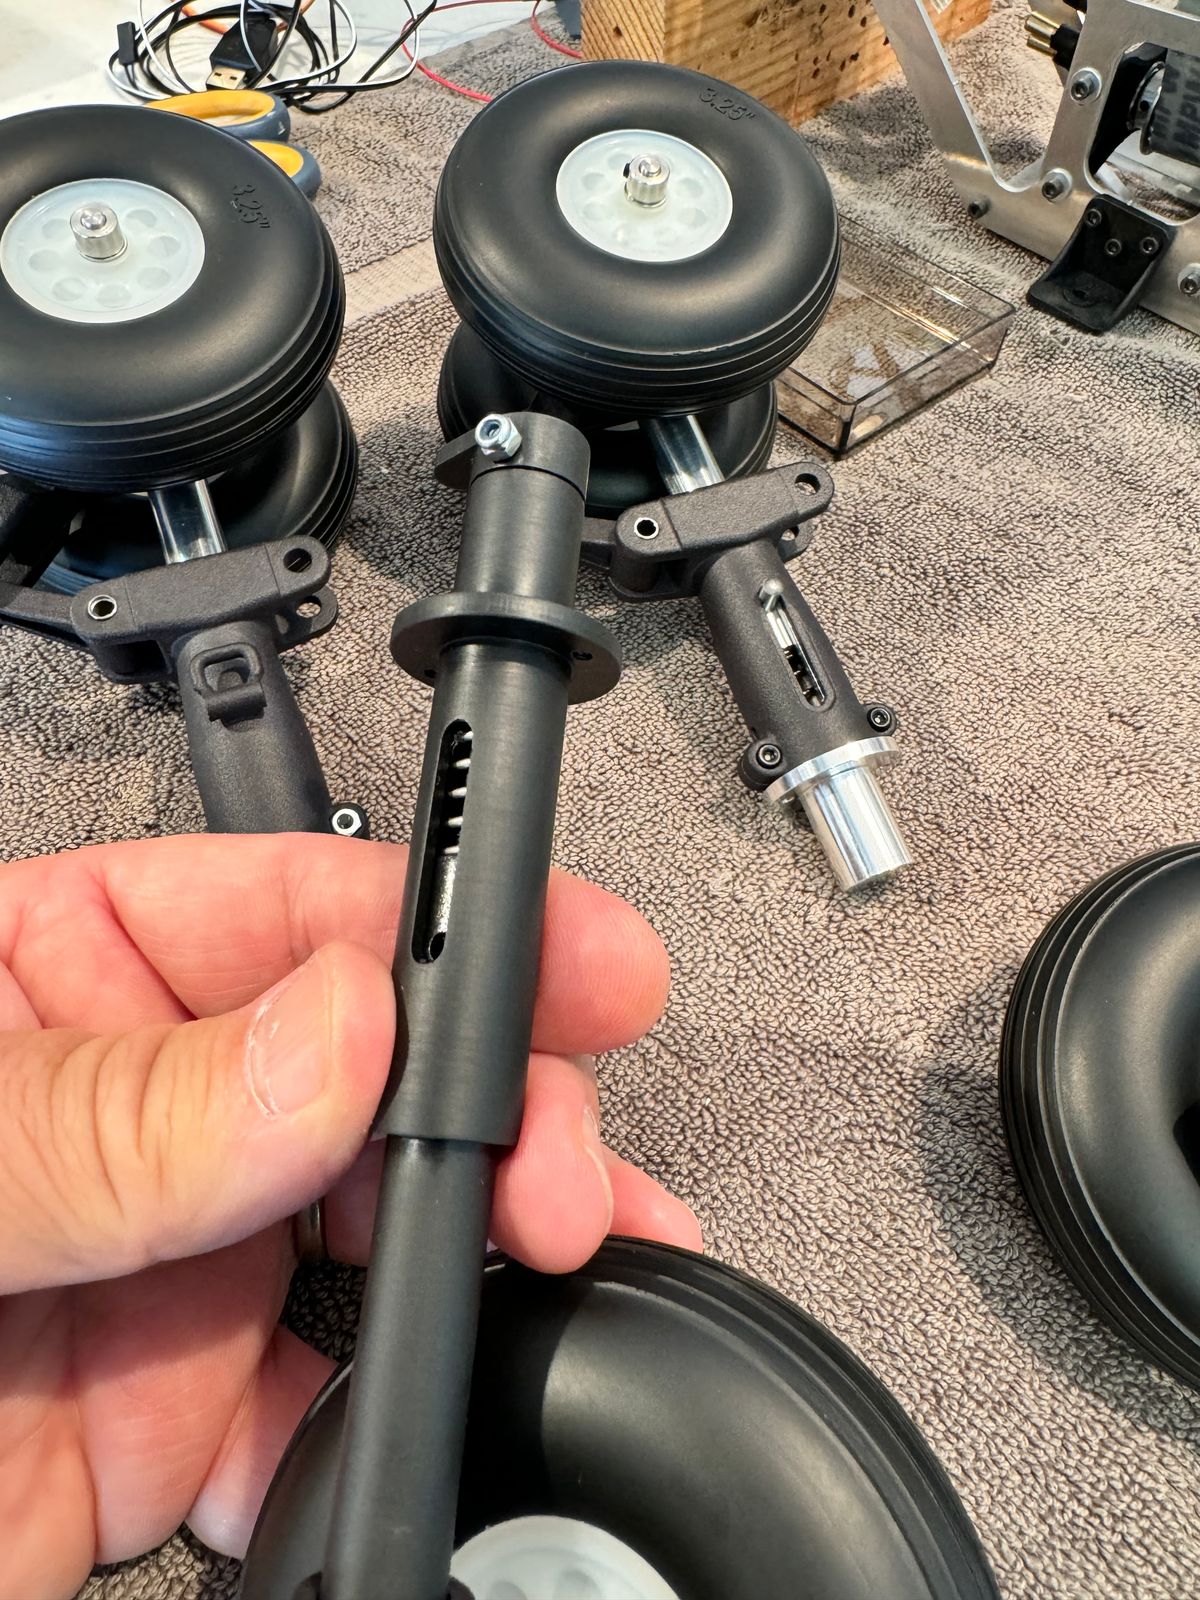
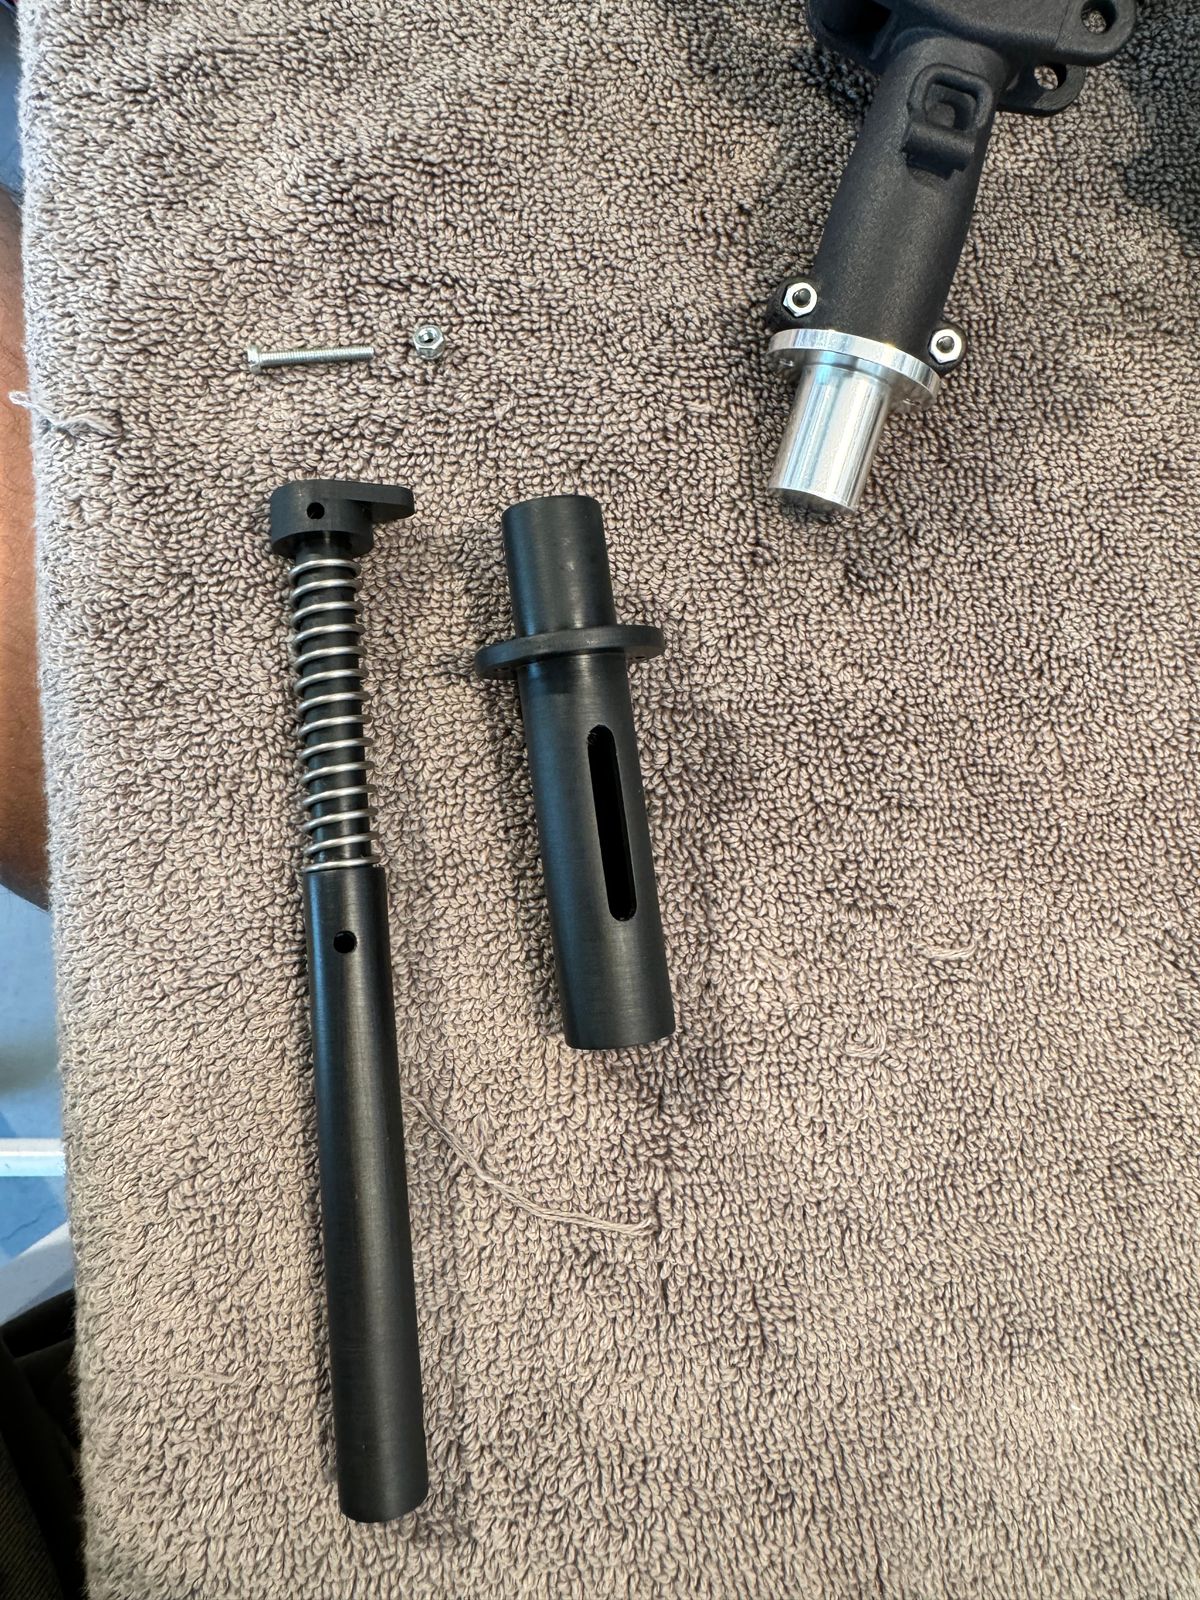
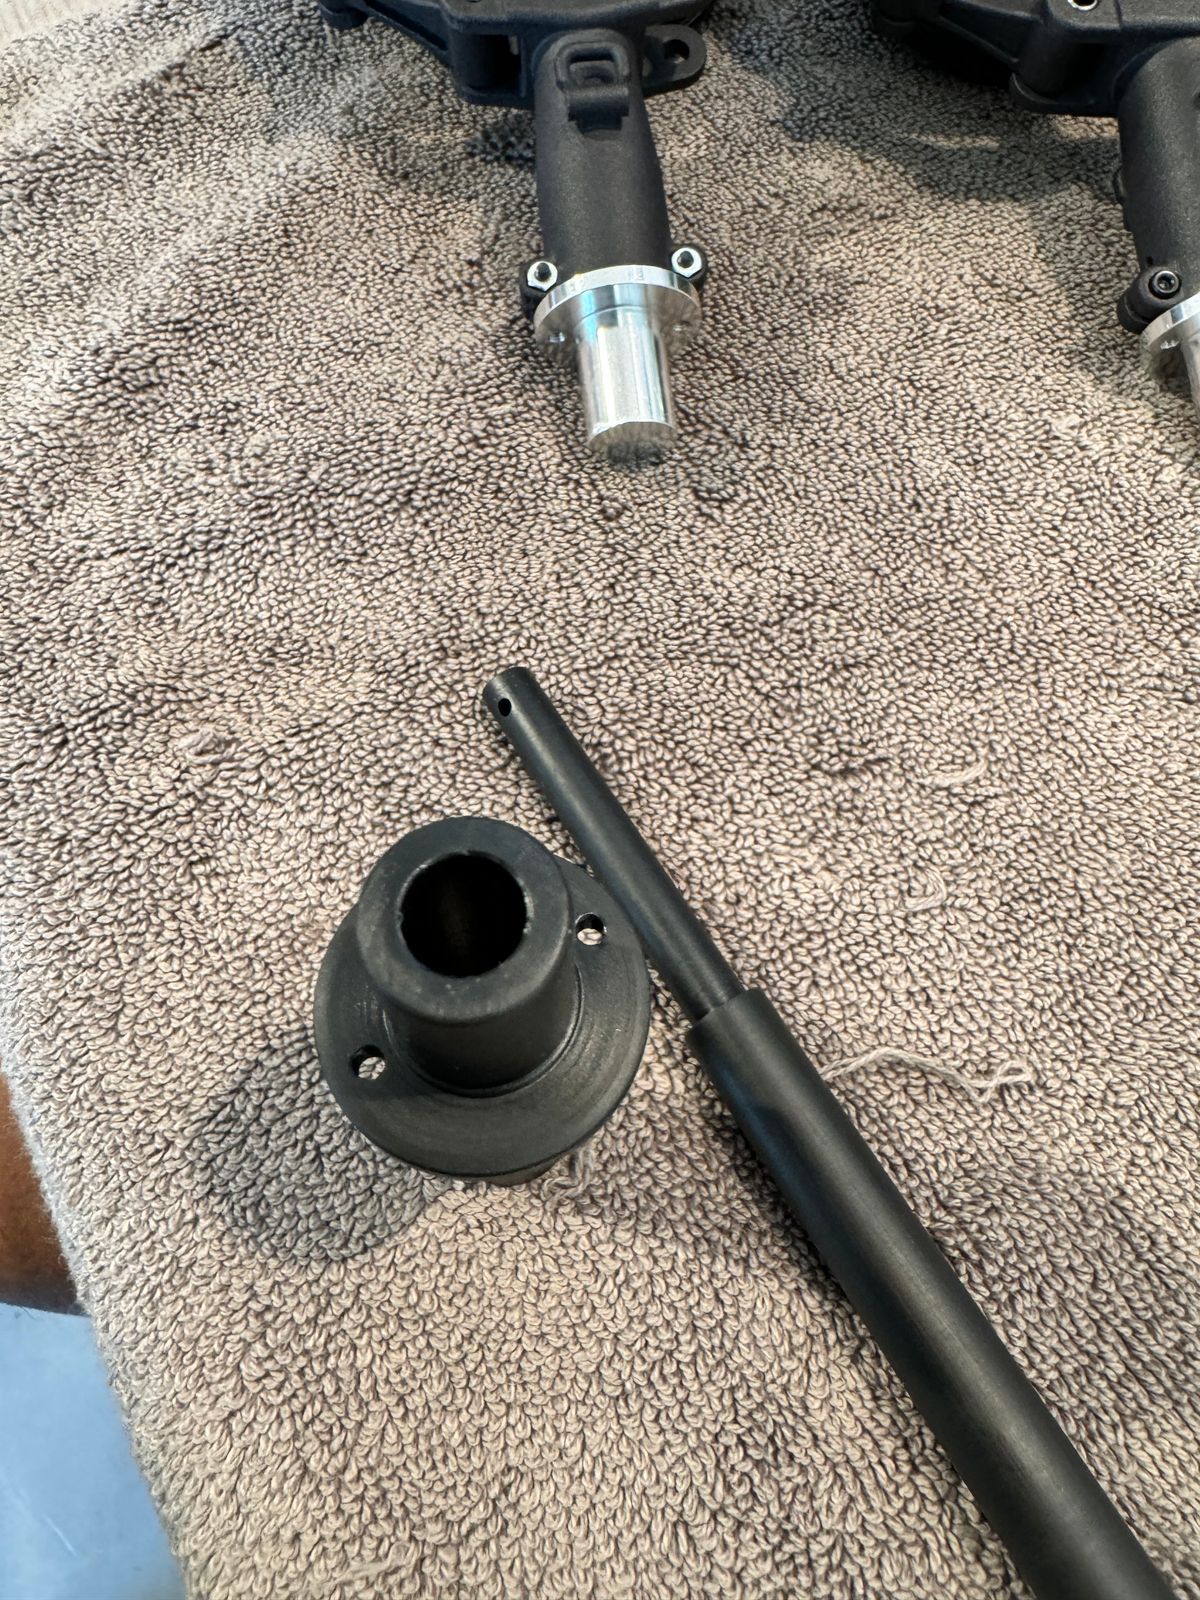
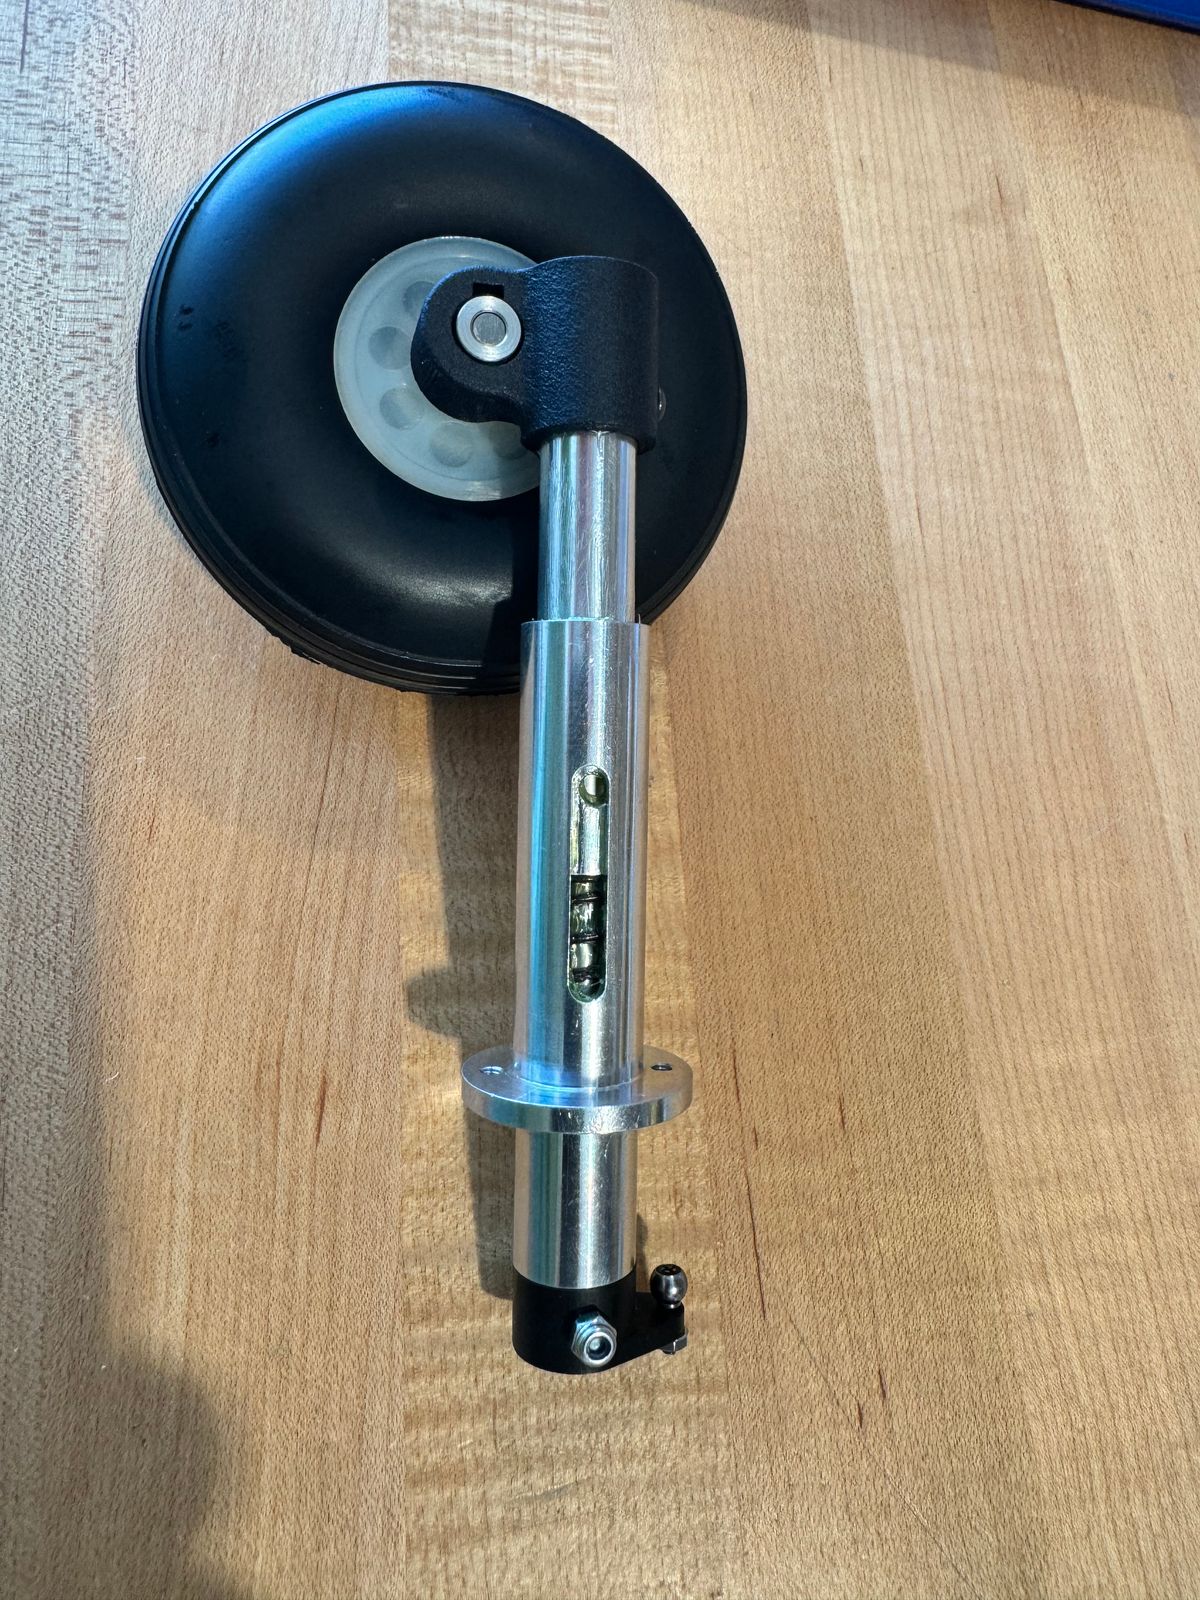
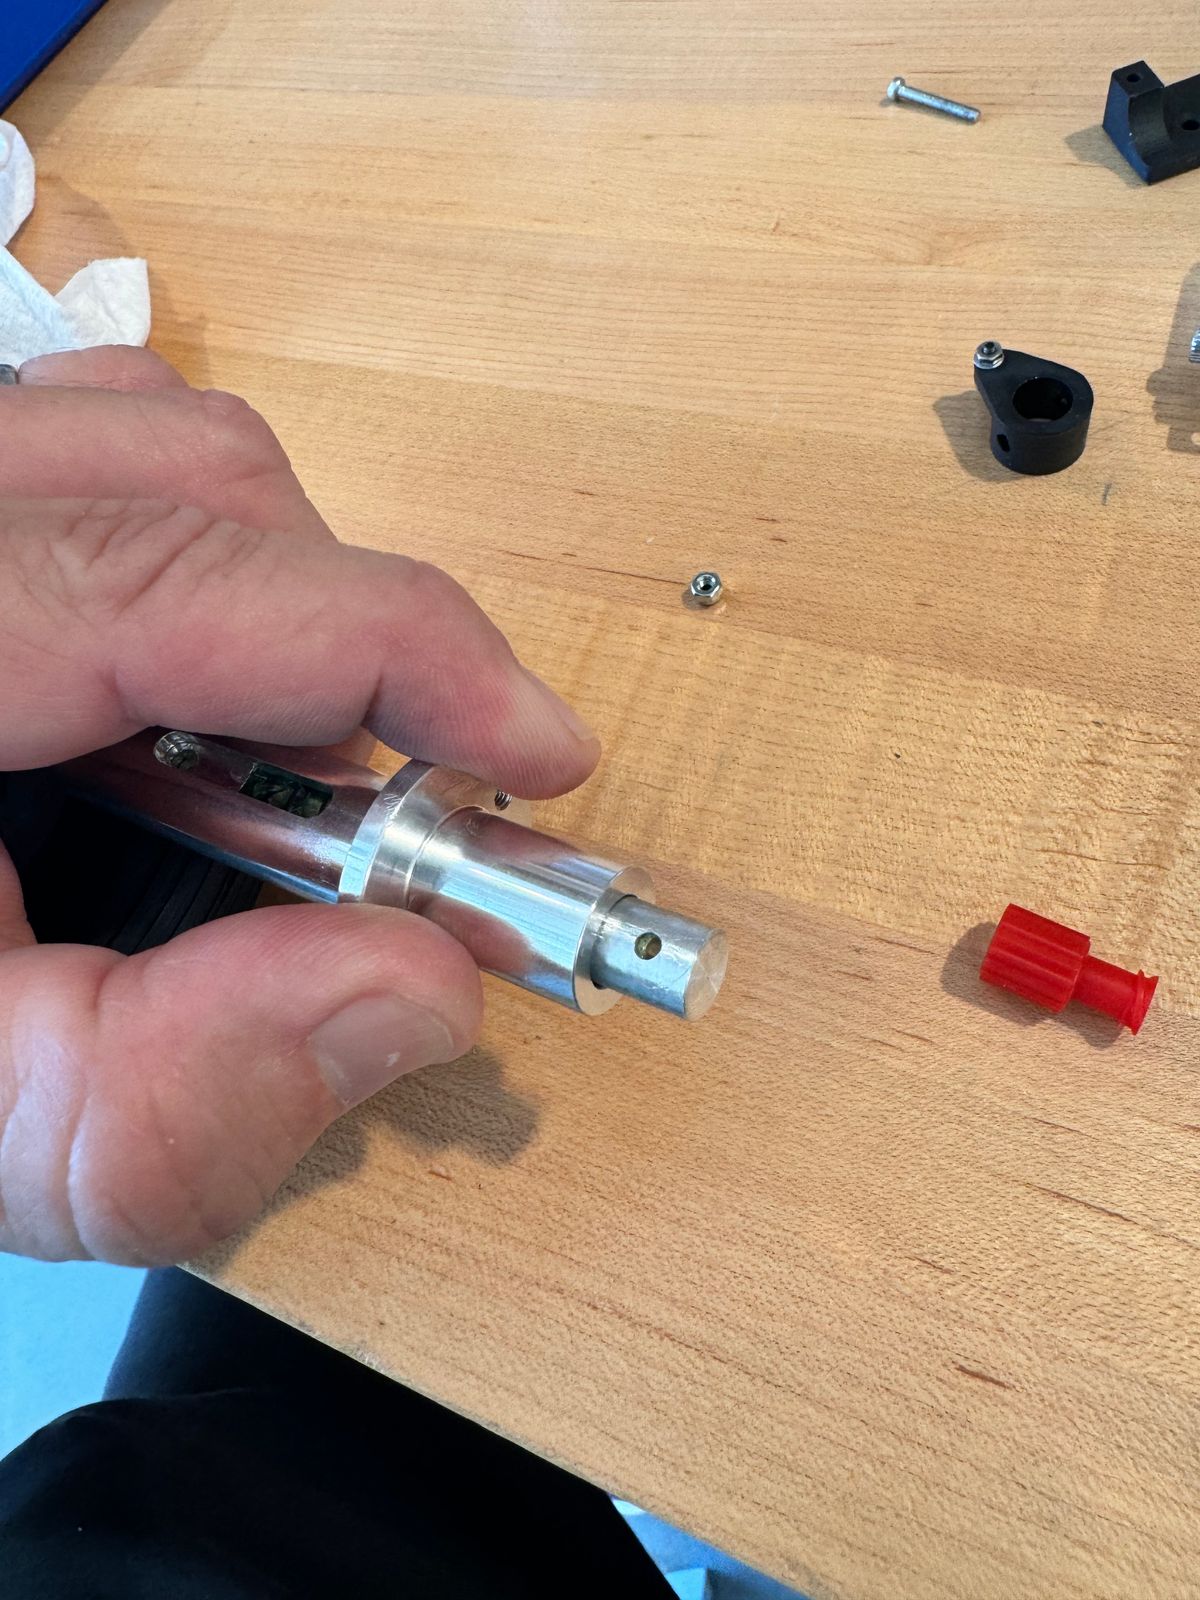
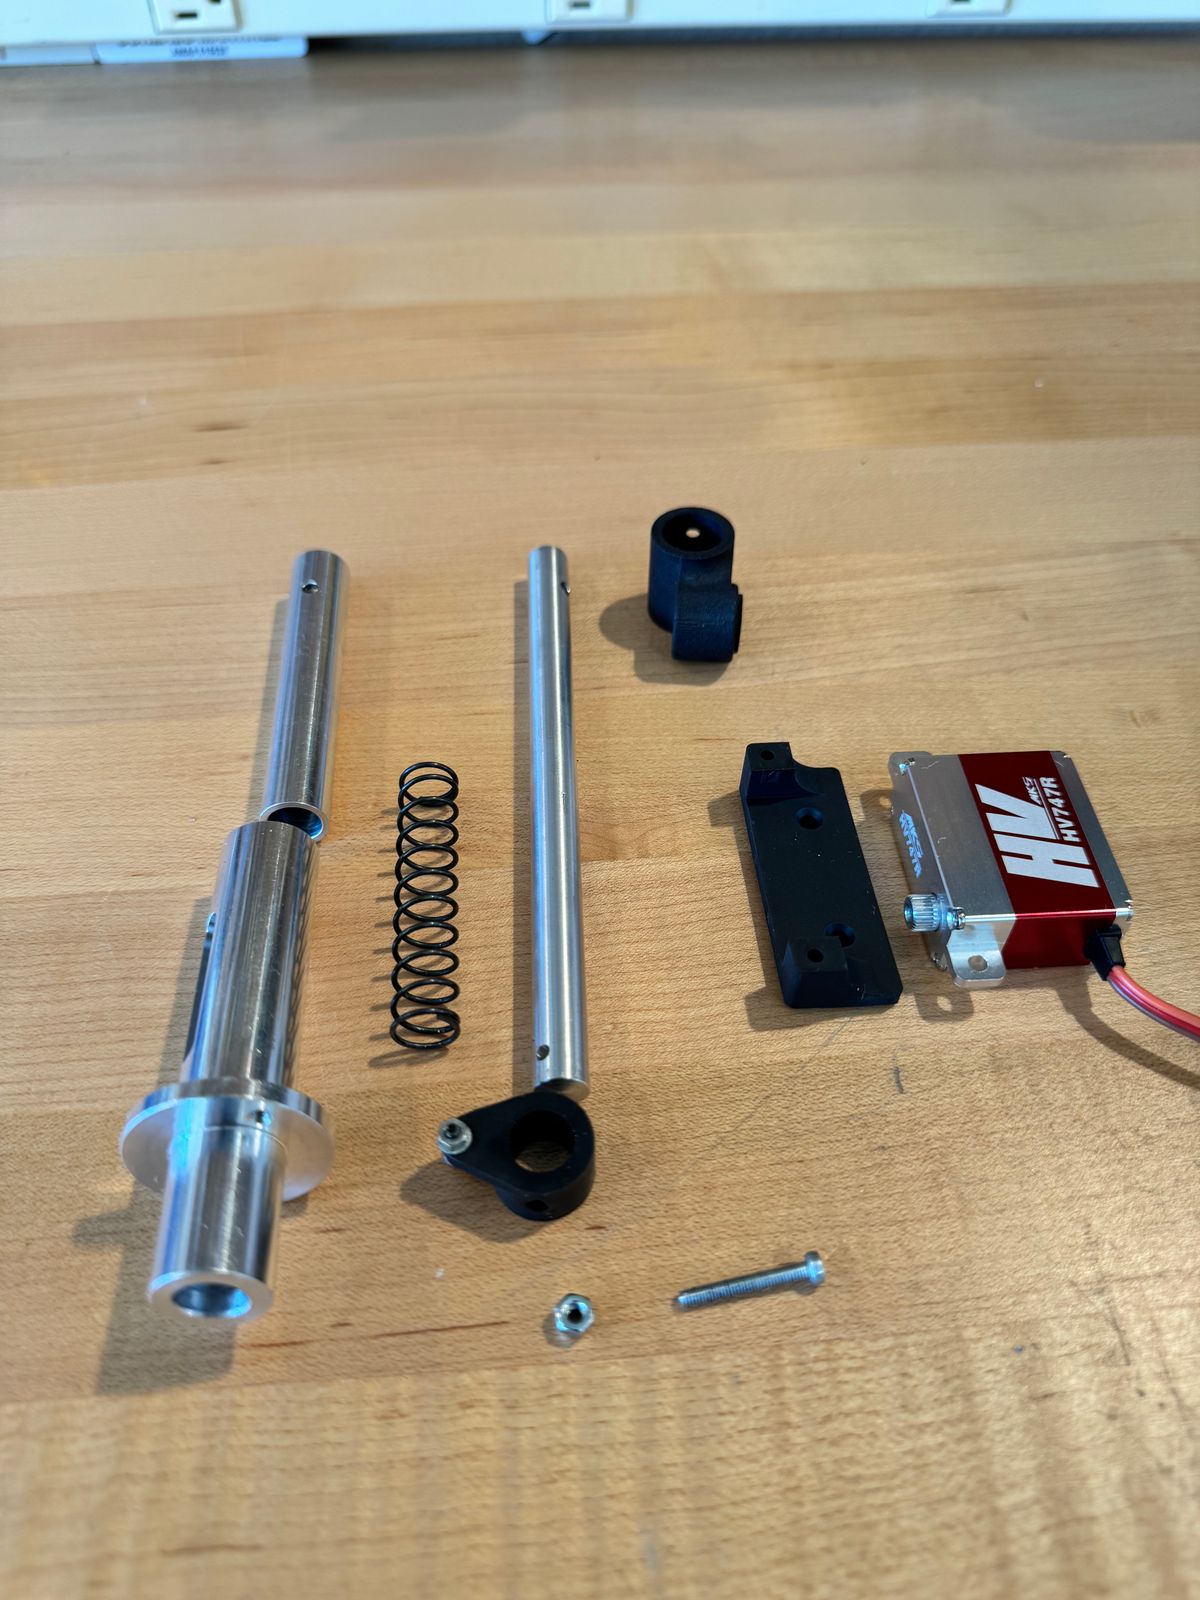
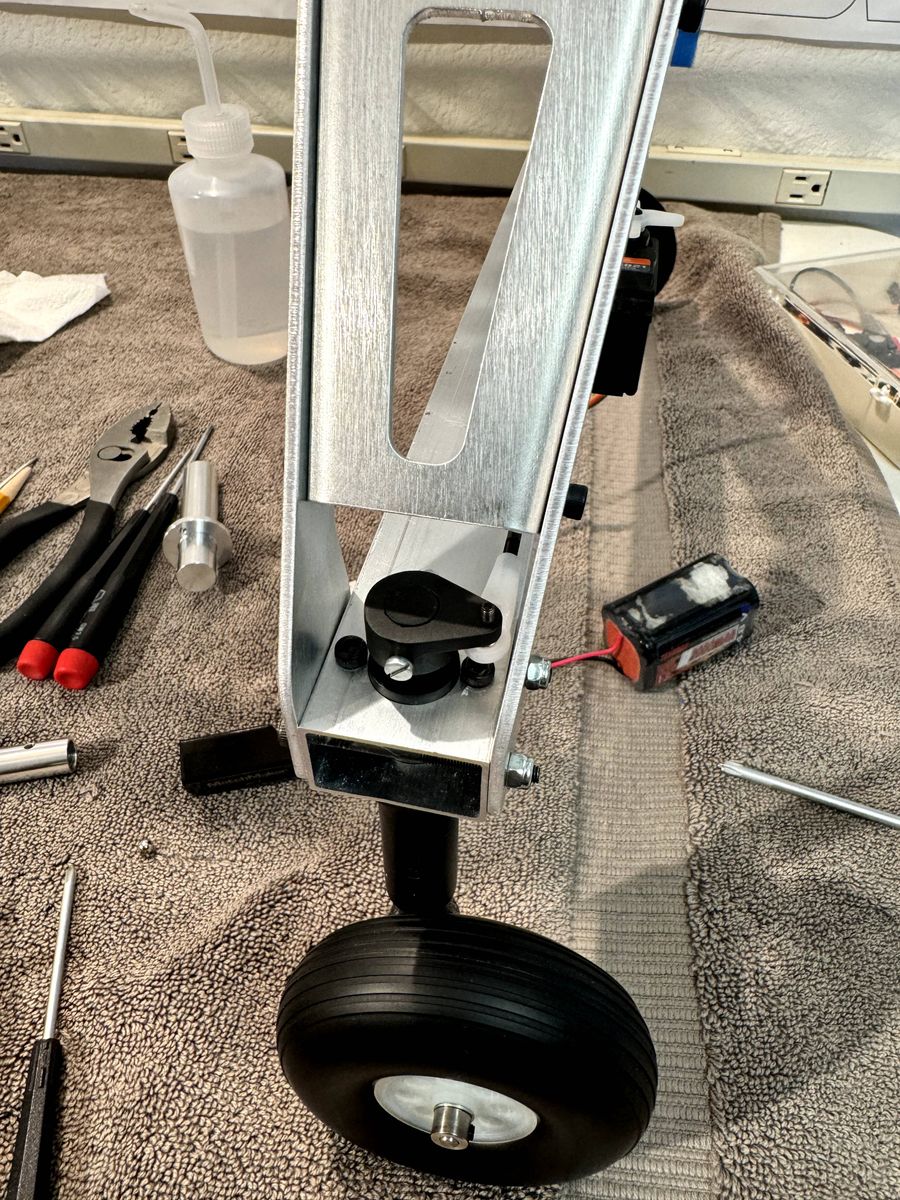
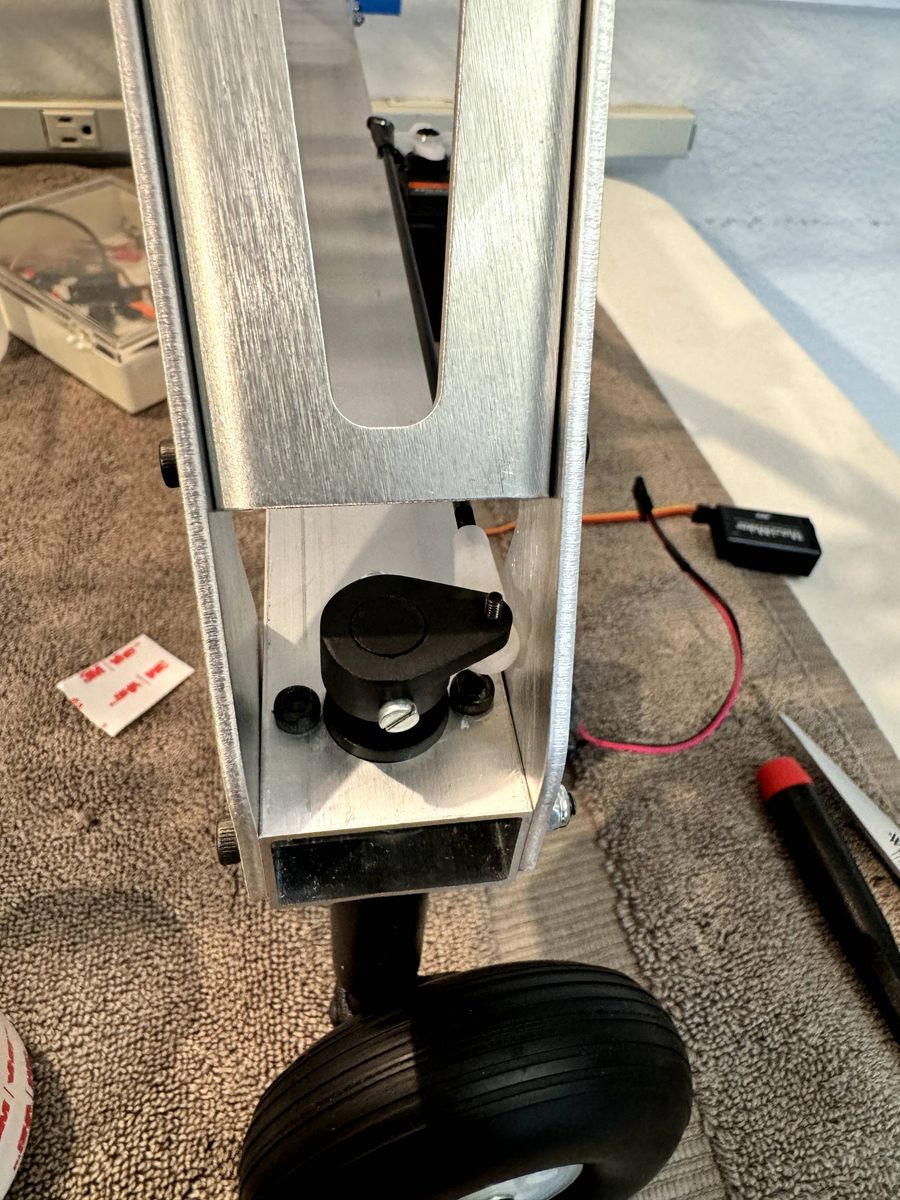
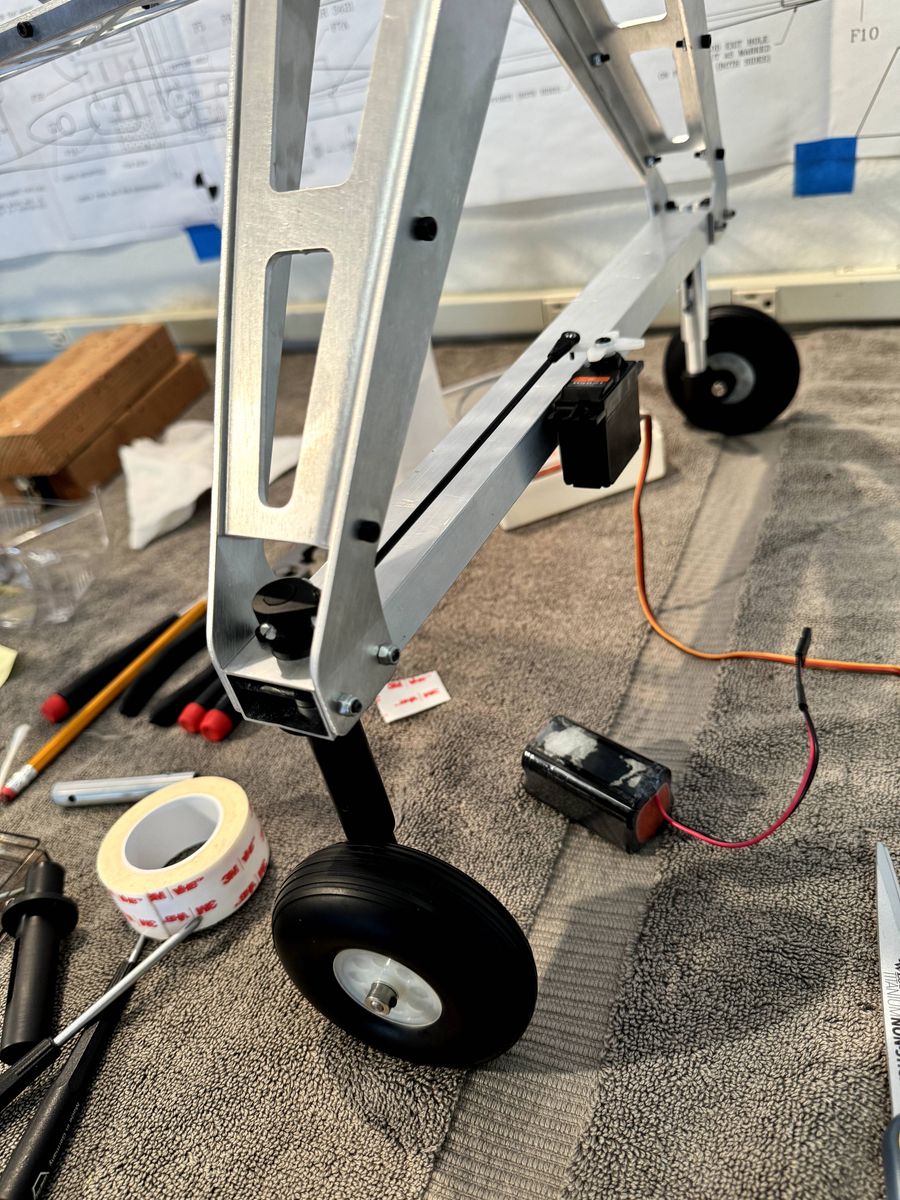
I was missing a part for the landing gear assembly bags, but Vario Germany quickly sent it back to me. While waiting, I began redesigning the rear wheel struts to include a steering option, similar to the full-size version. The prototype turned out well using my resin 3D printer. I still need to check the fitting and clearance, but once that's done, they'll be ready for machining. This addition will be a simple upgrade to the existing Vario gear.
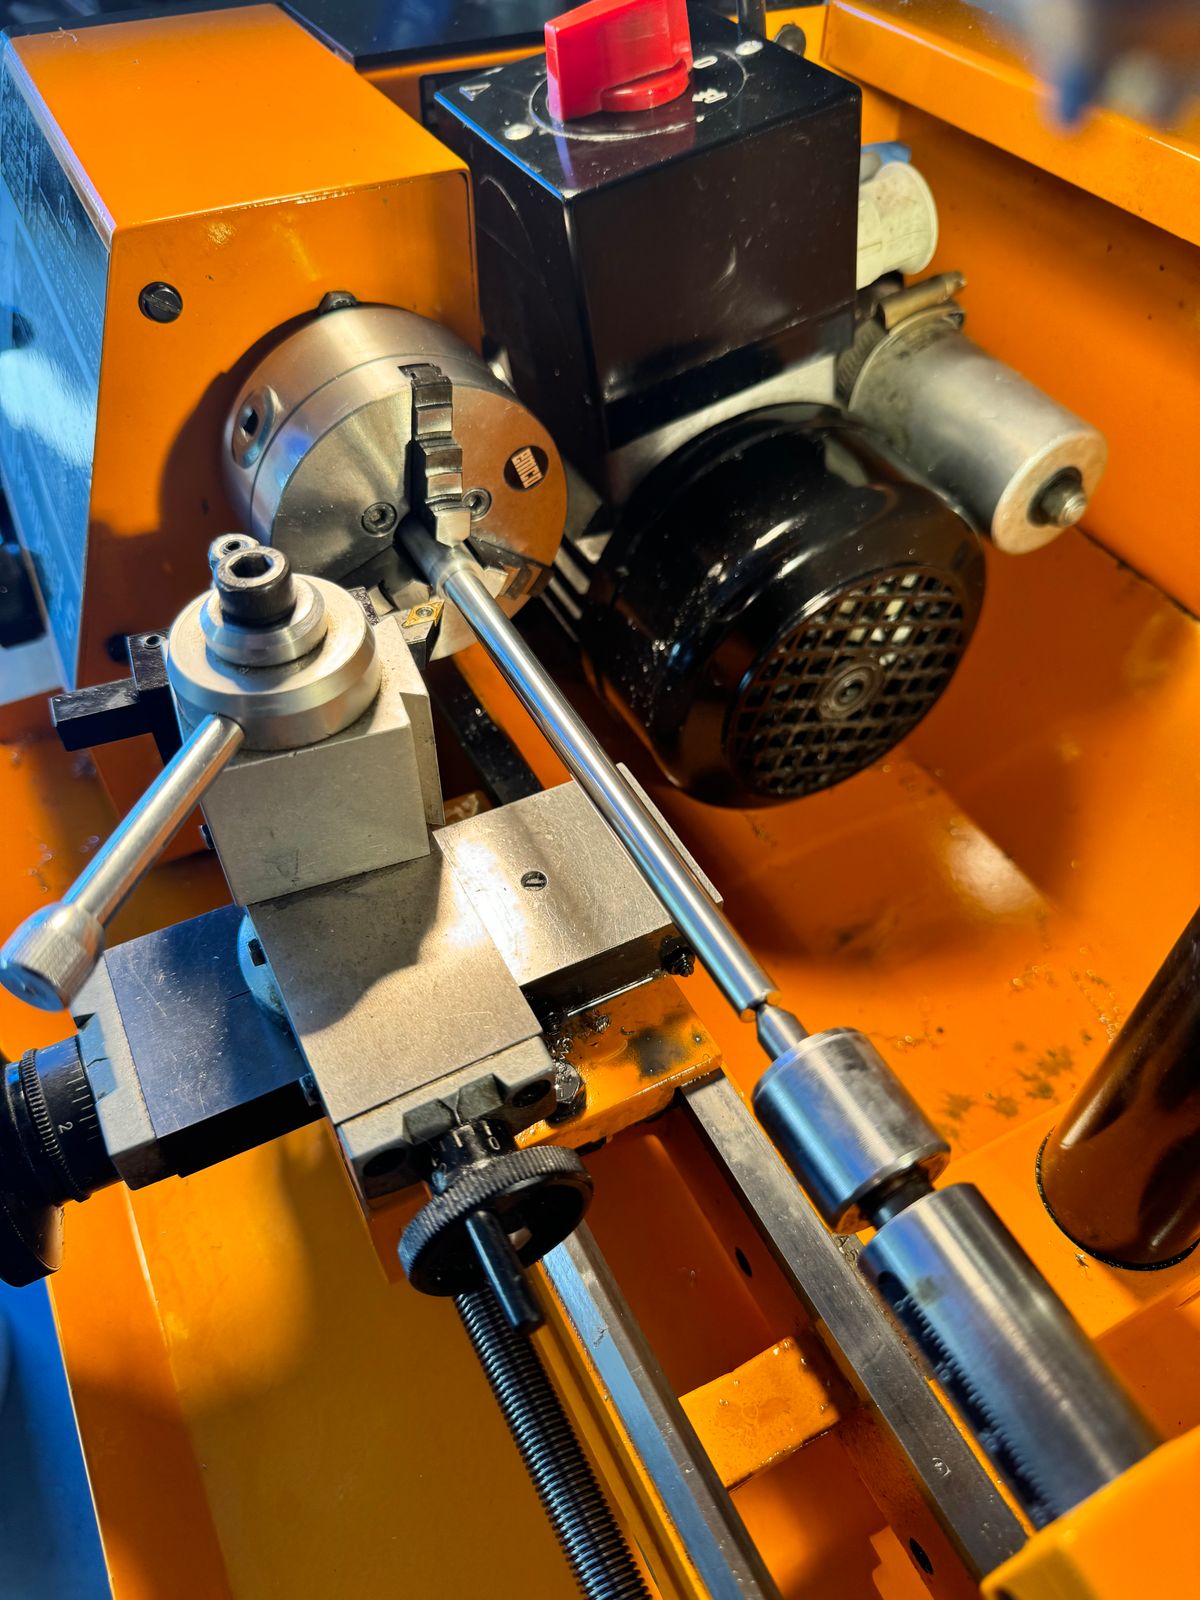
I just finished doing some machining and all components working per design.
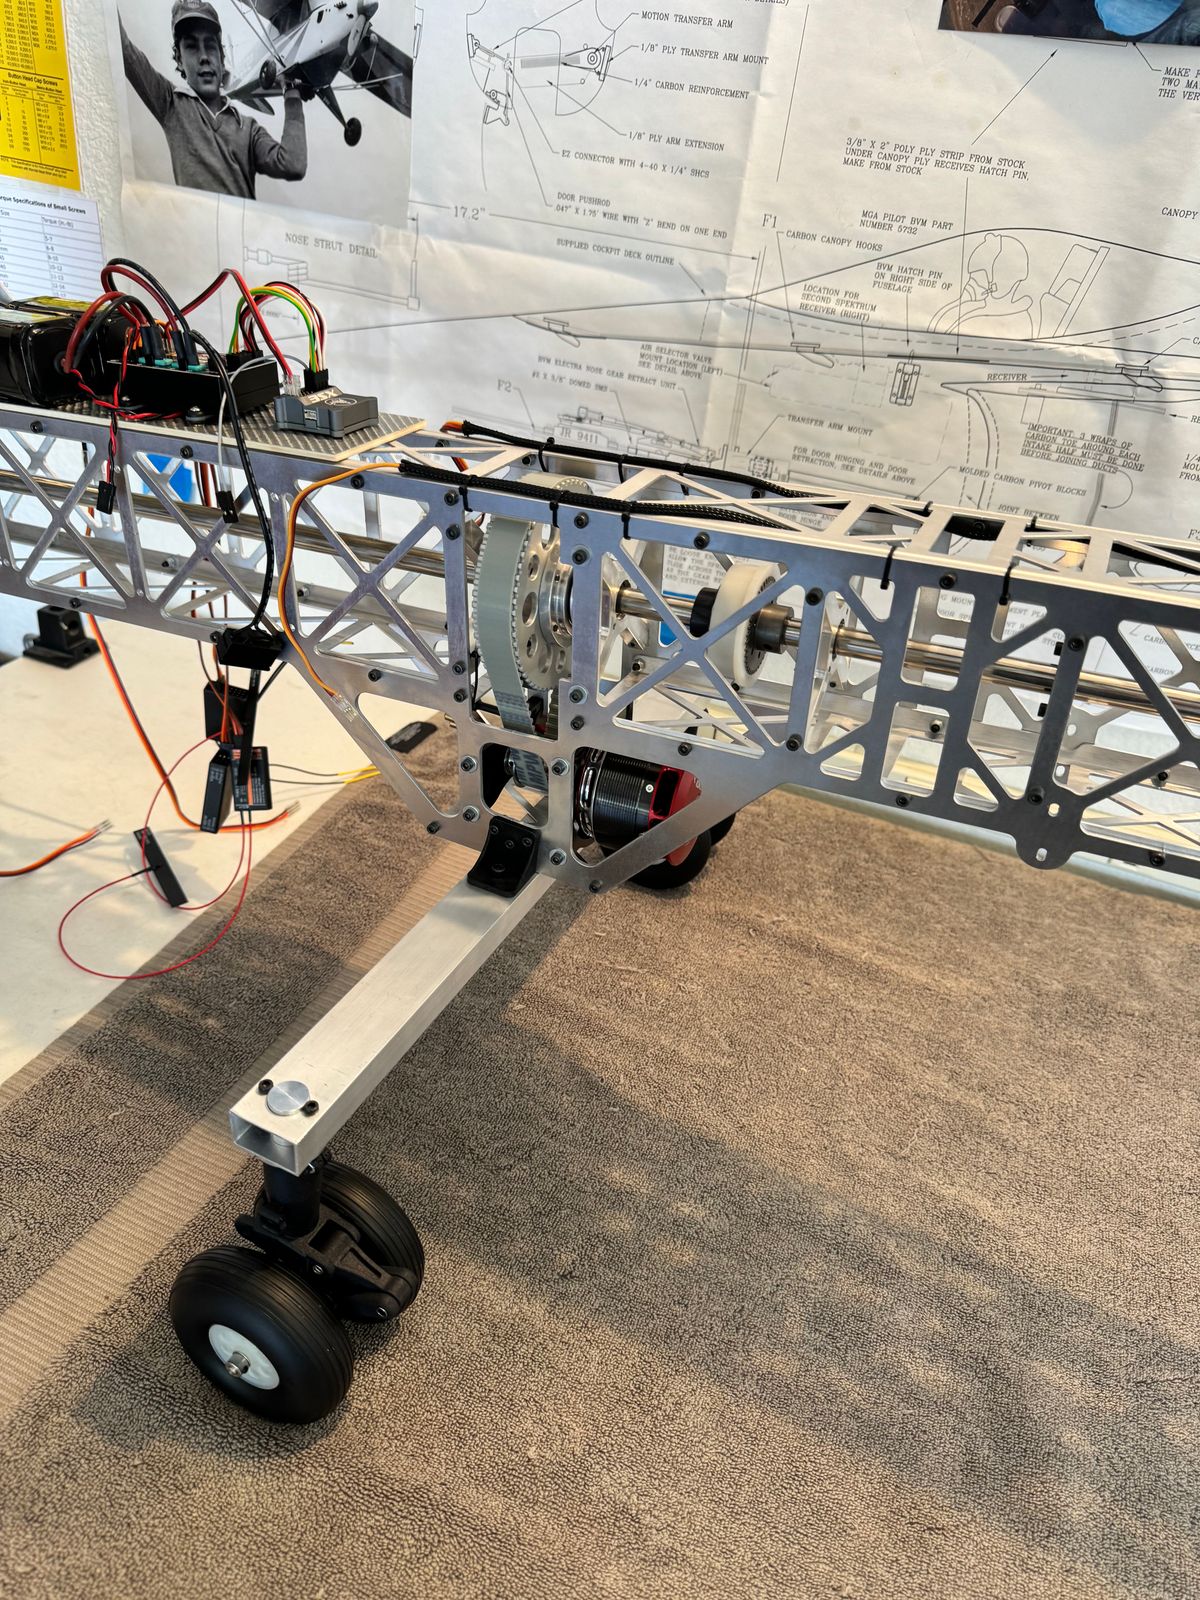
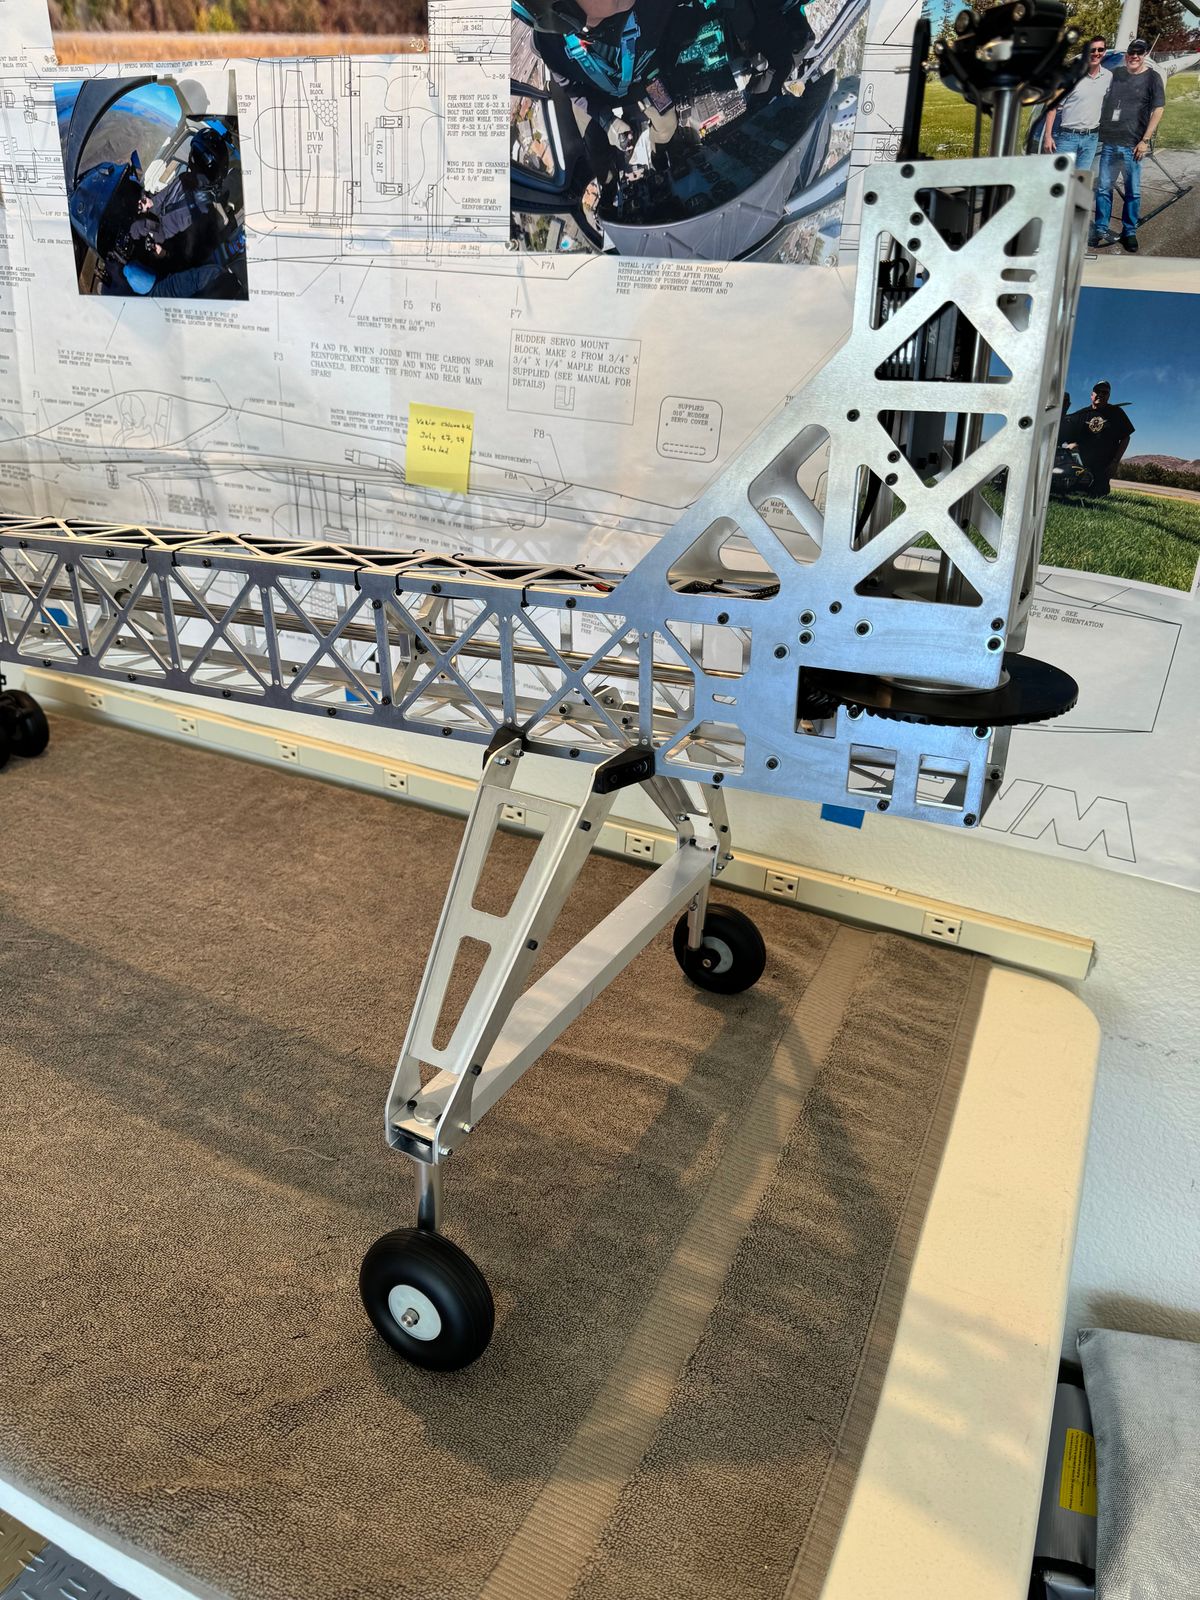
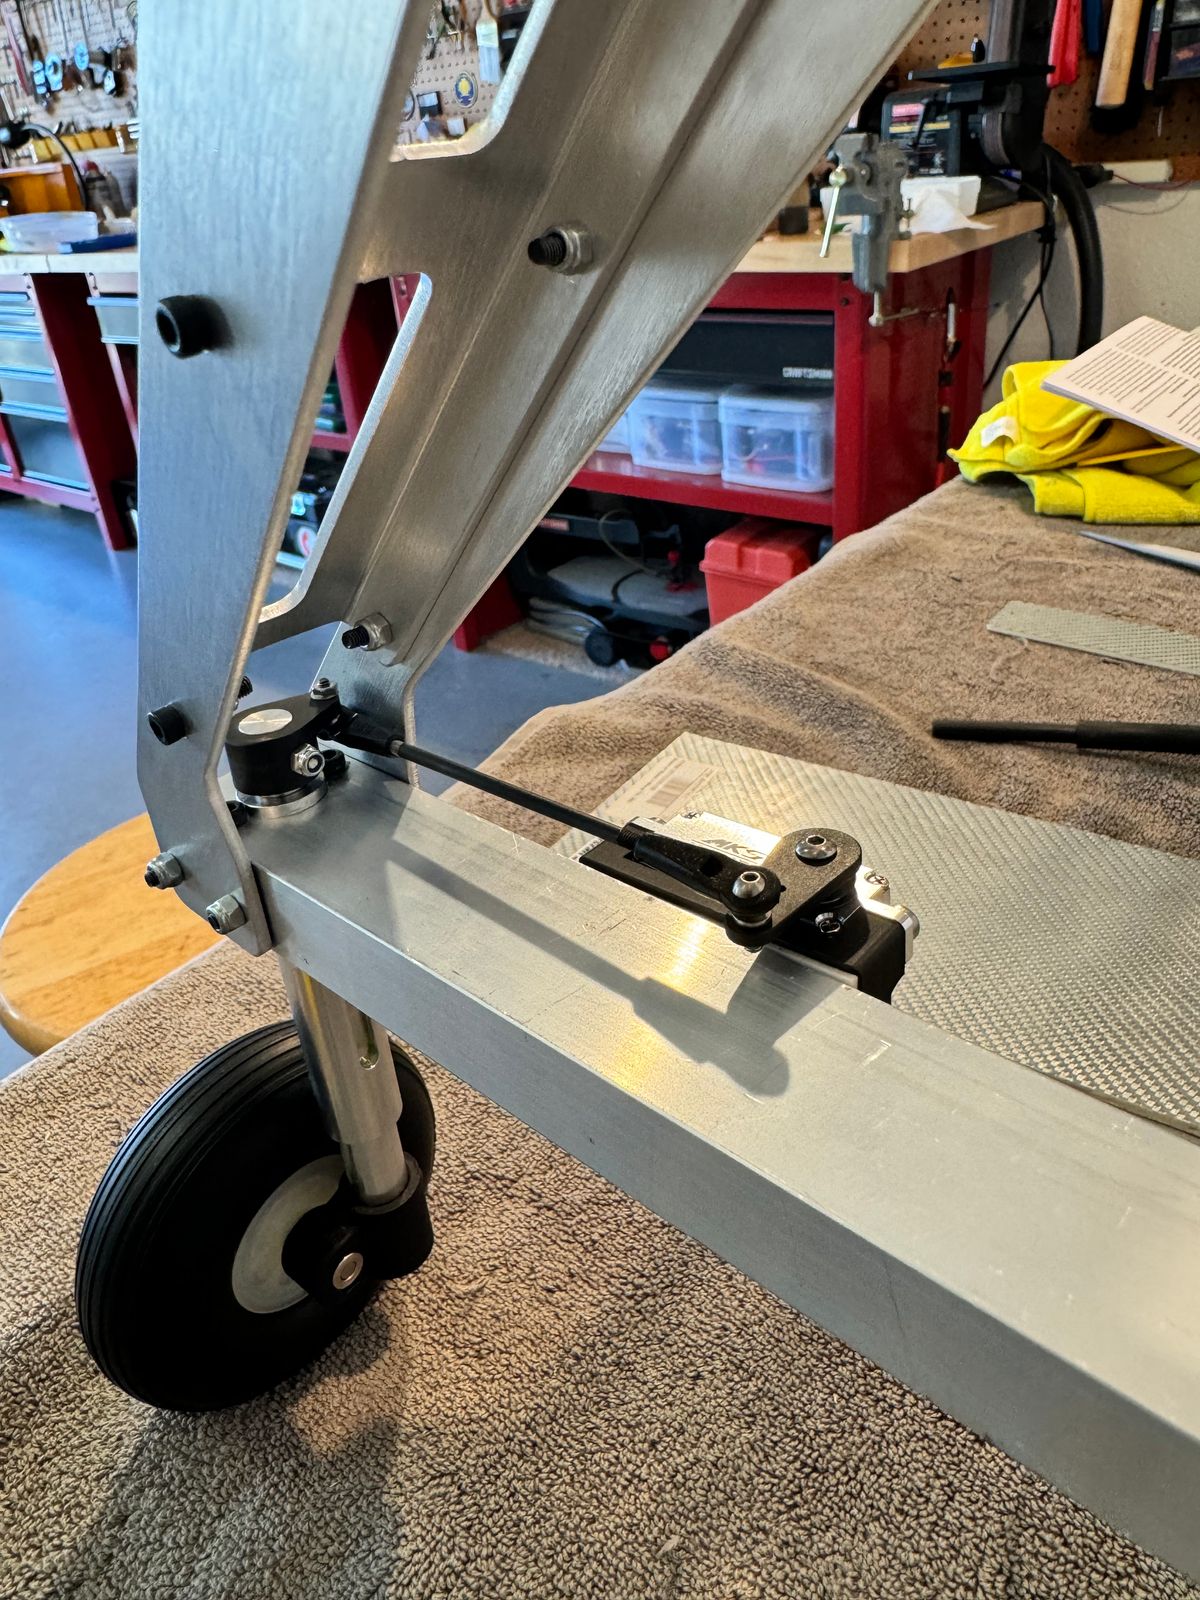
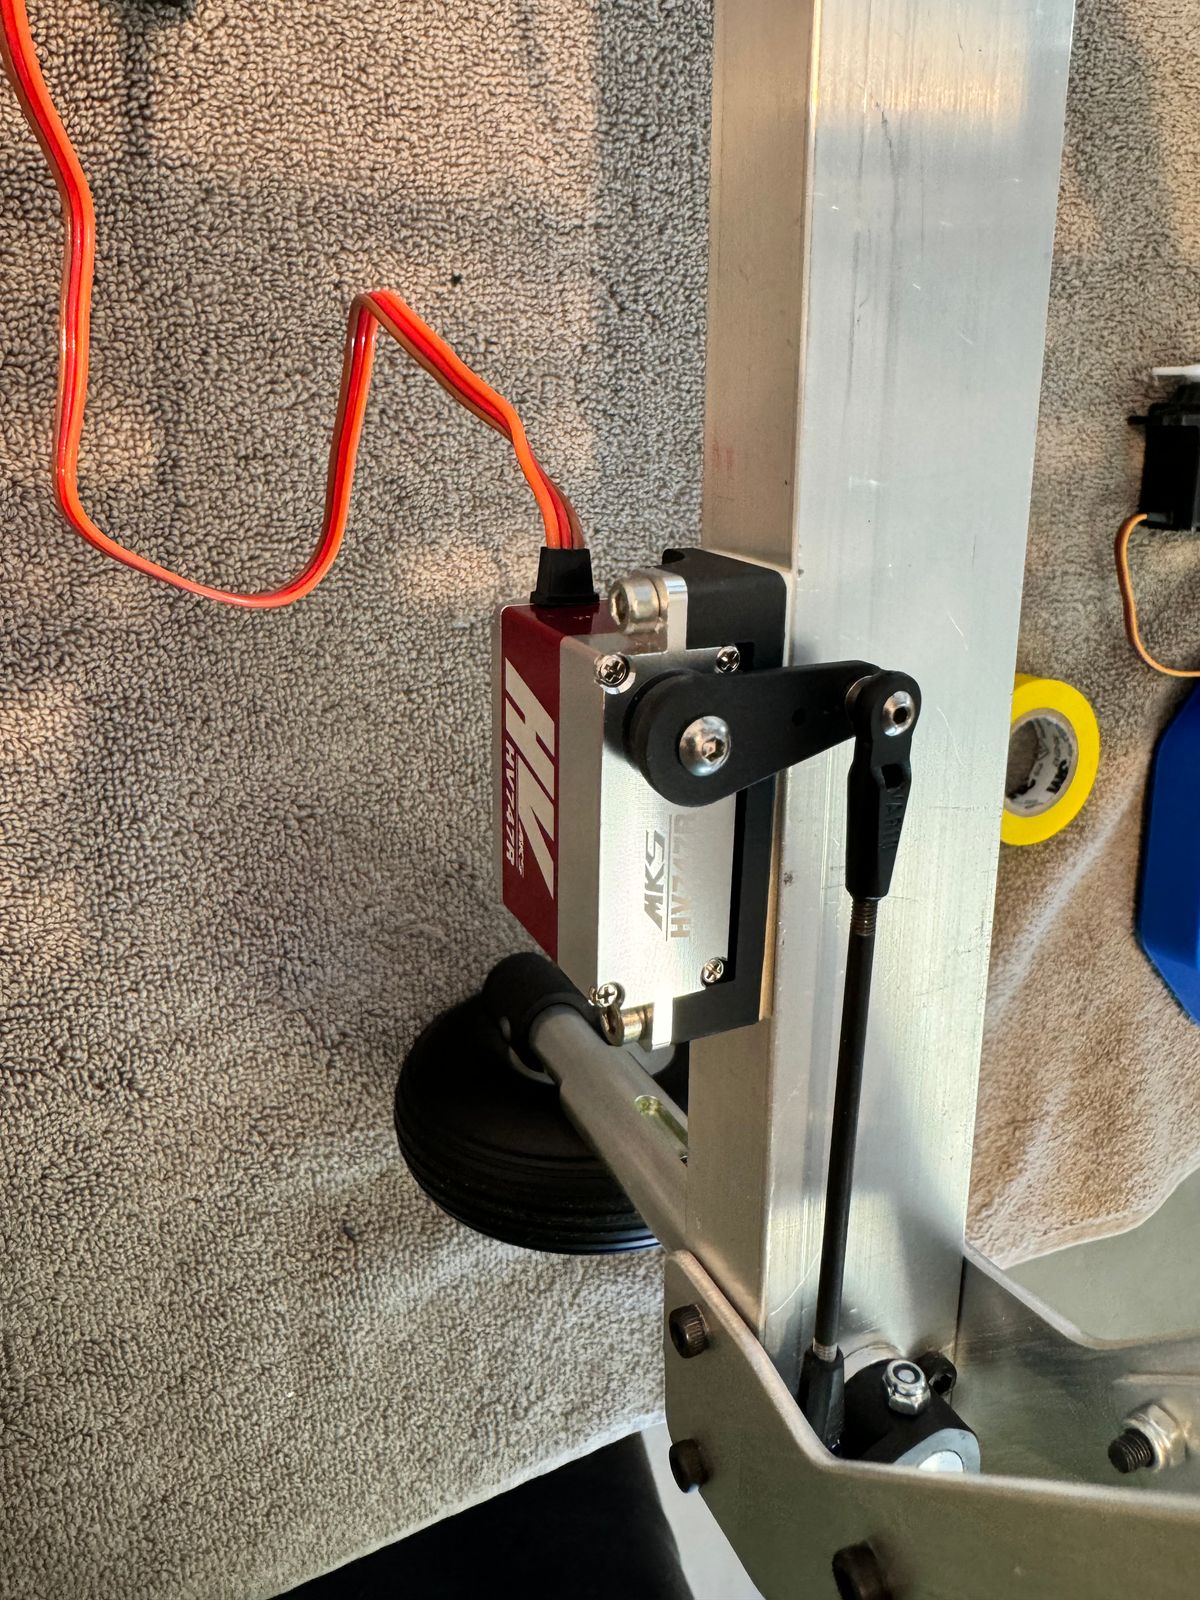
Active Steering
Prototype is working for rotation and compression! Servo placement will come later on this chapter.
ESC installation
We decided to go for a bigger ESC, as we fly in hotter conditions. This is the DuoCOOL KOSMIK 300 HV-I, 300 Amps.
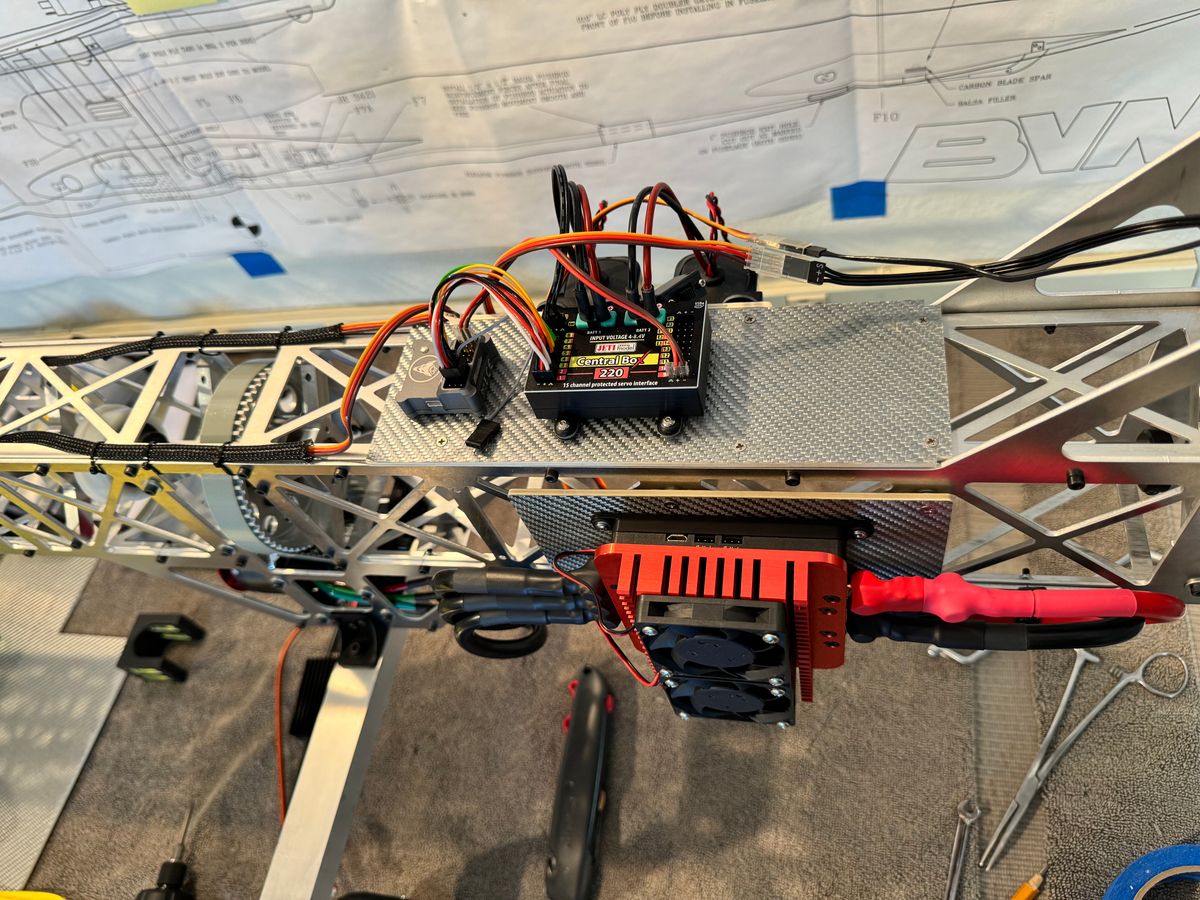
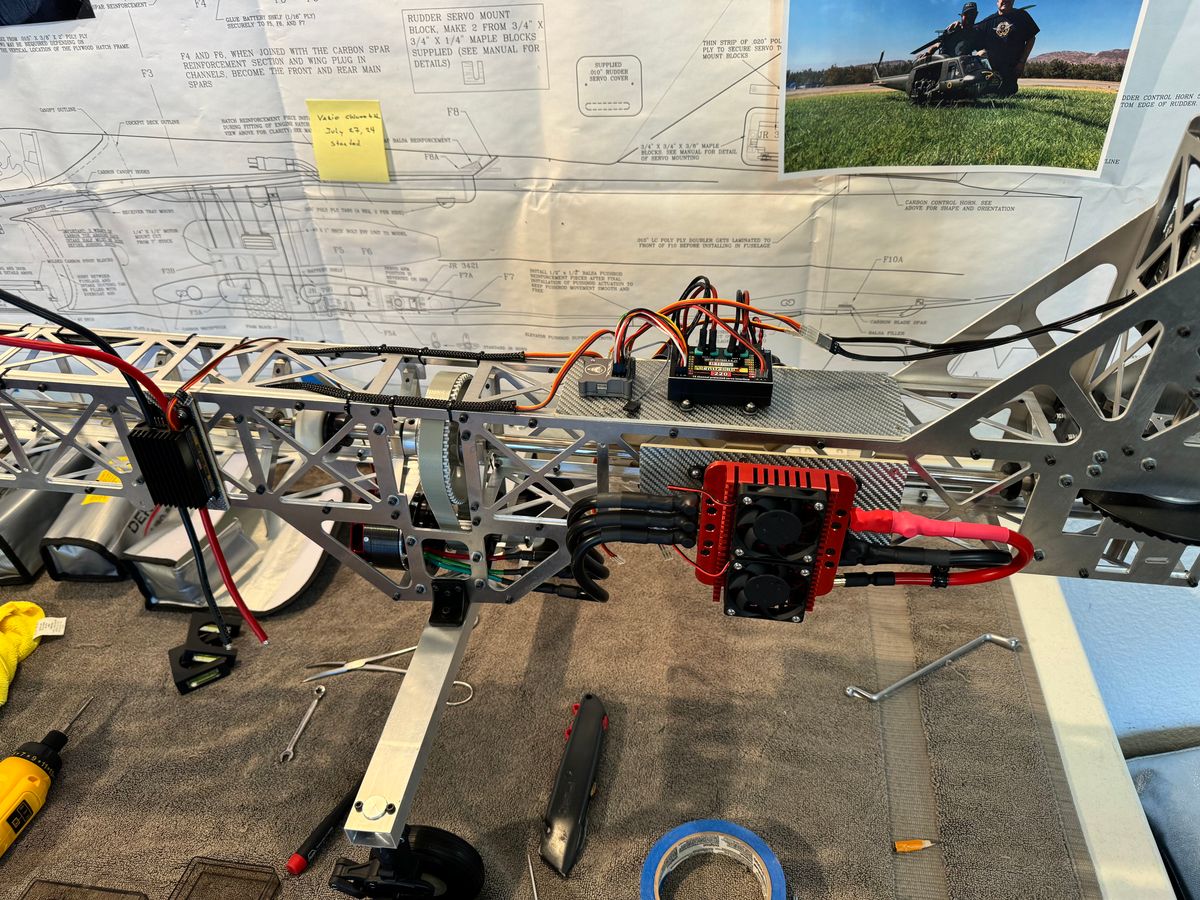
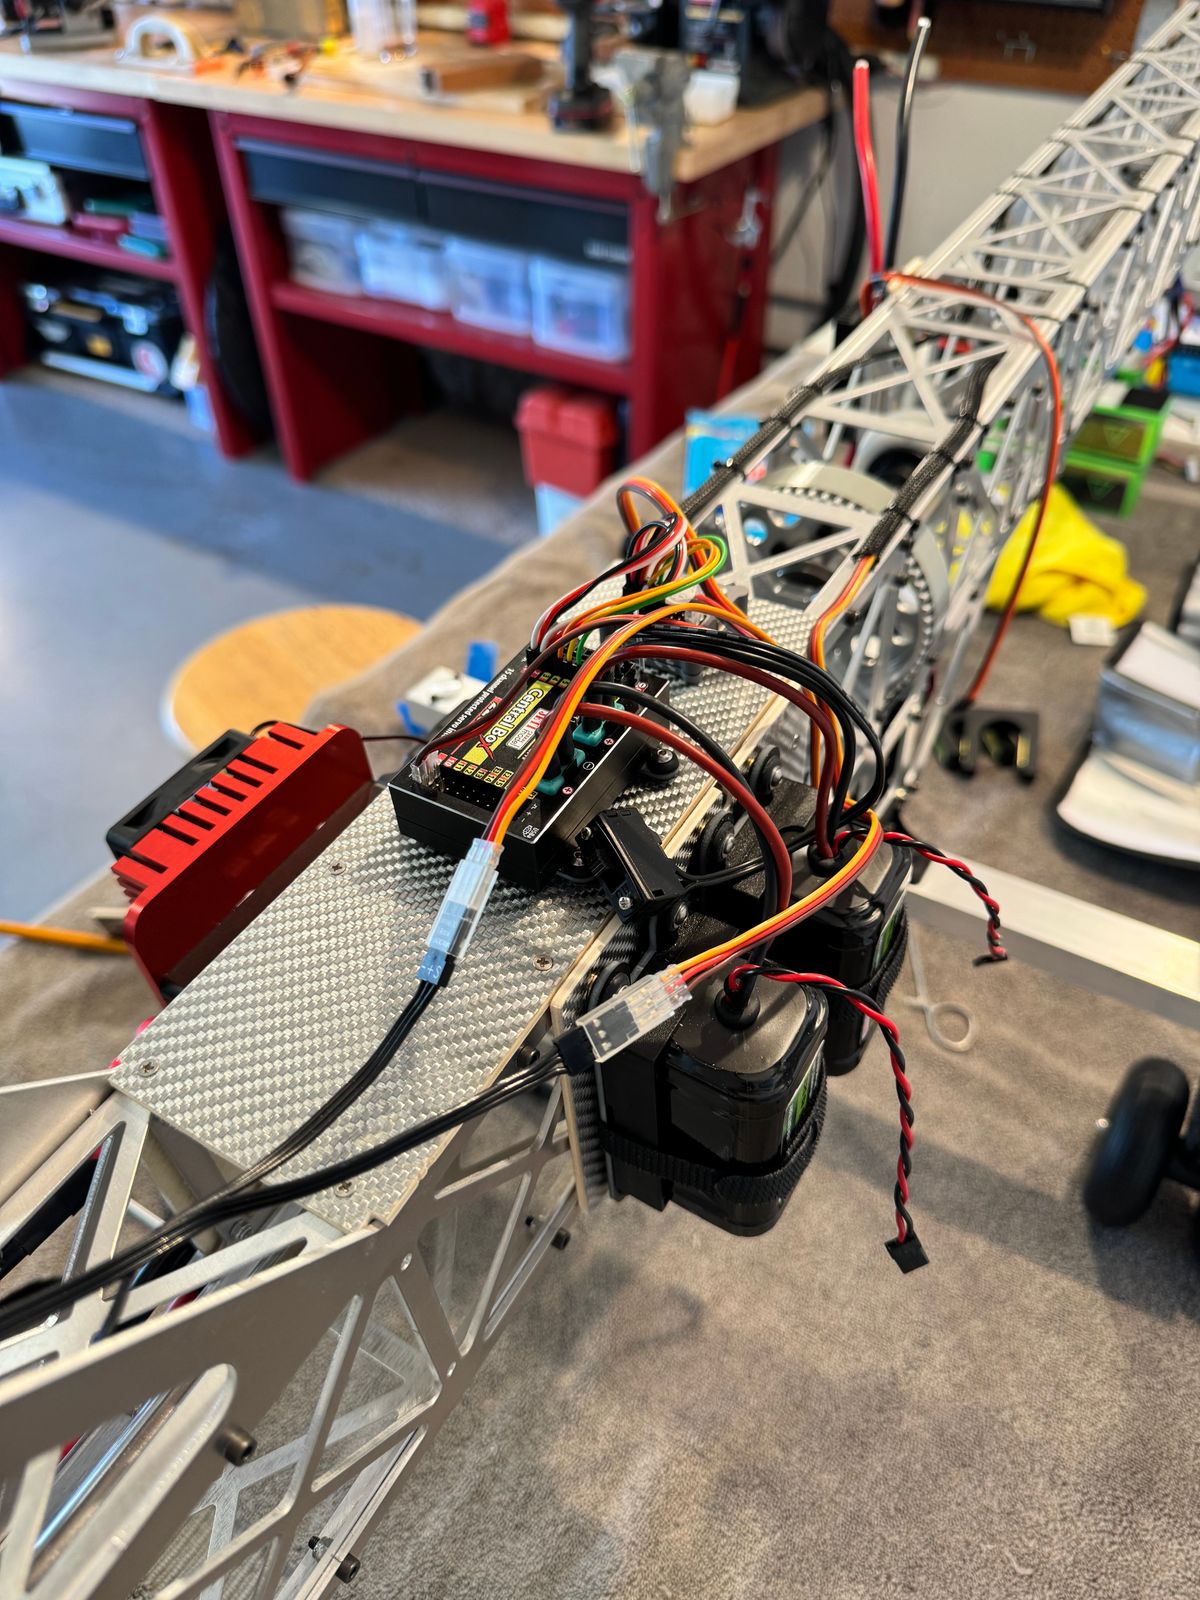
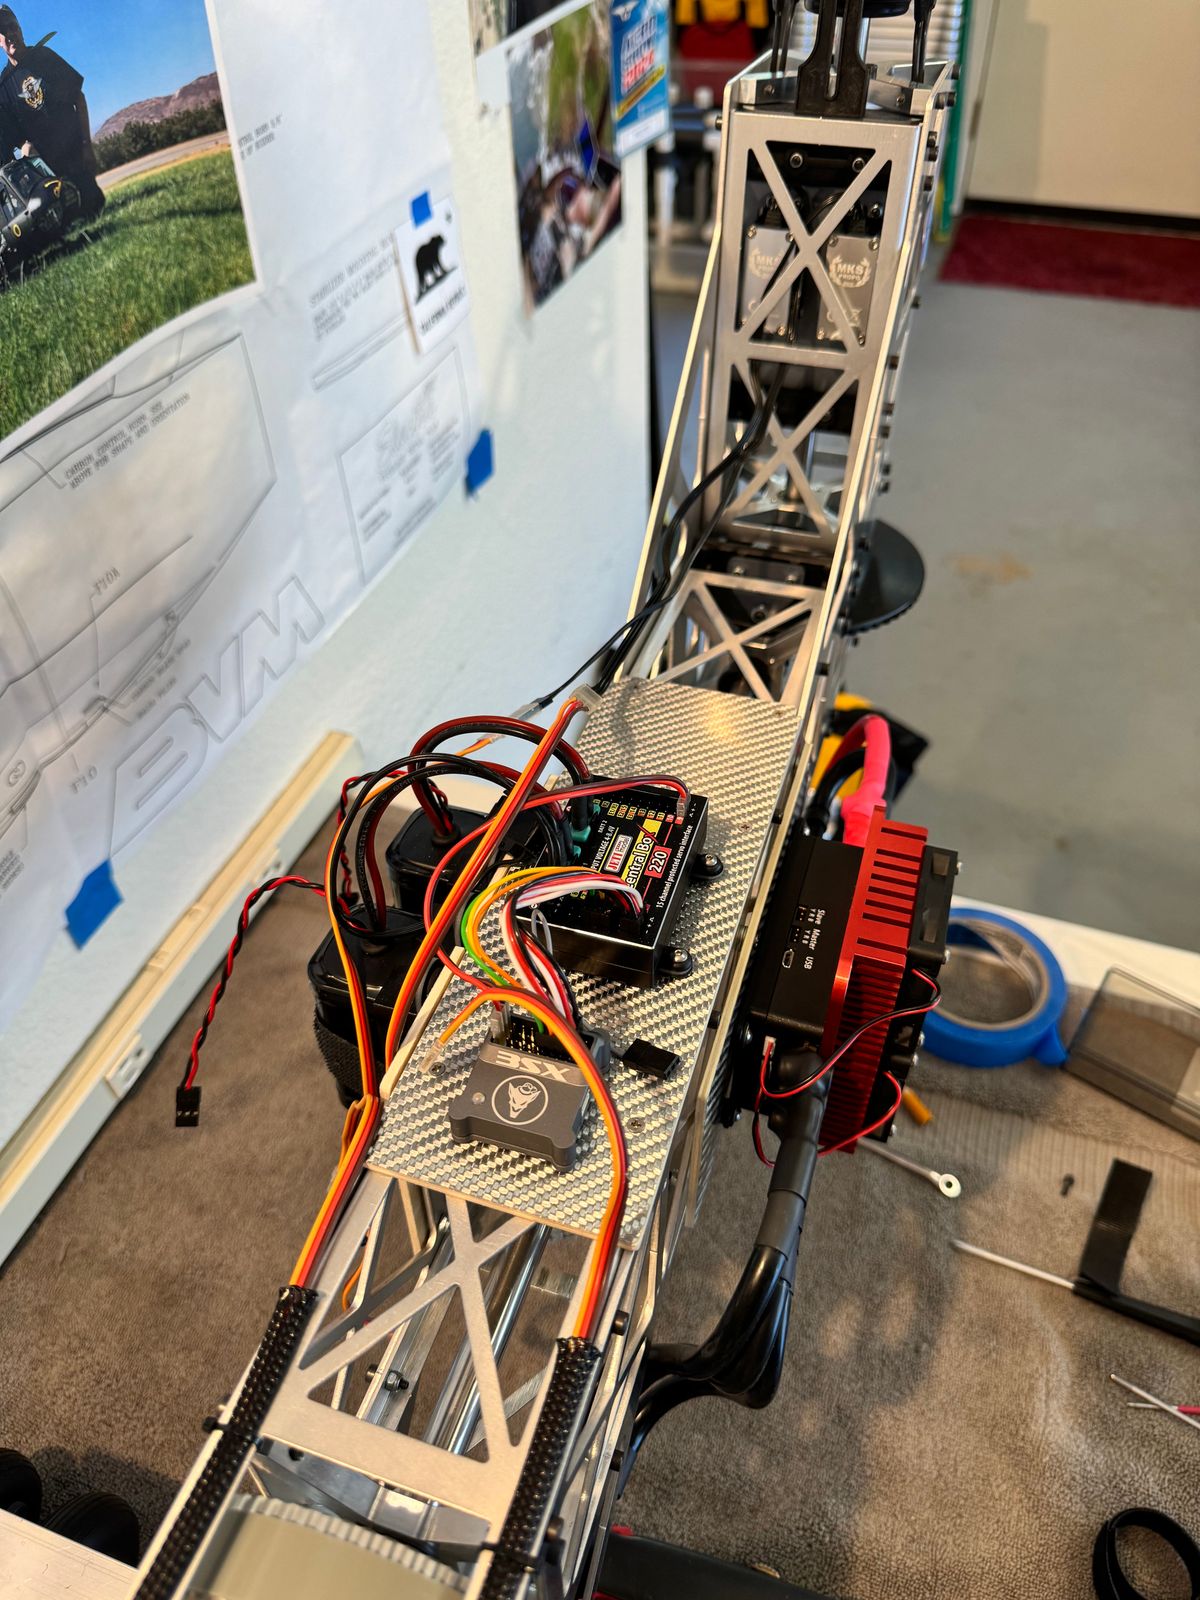
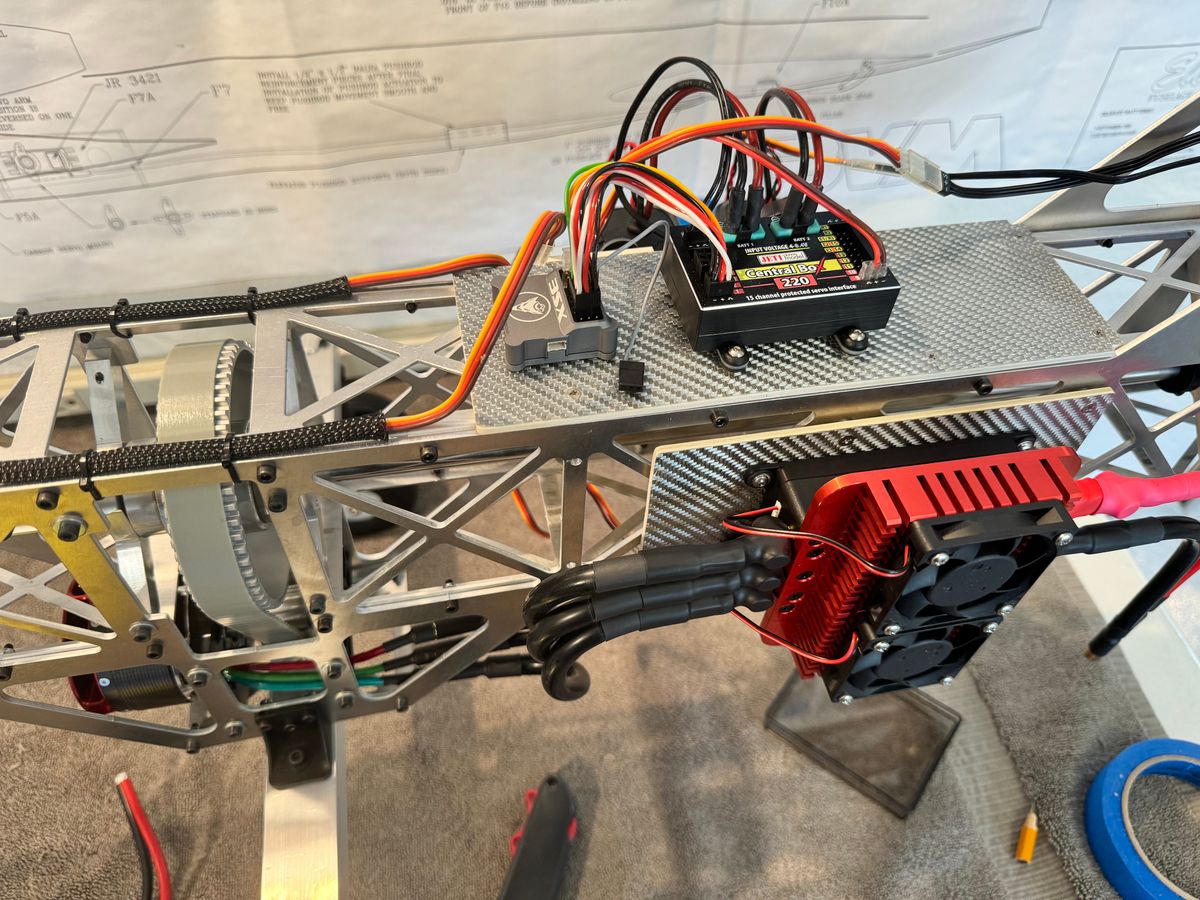
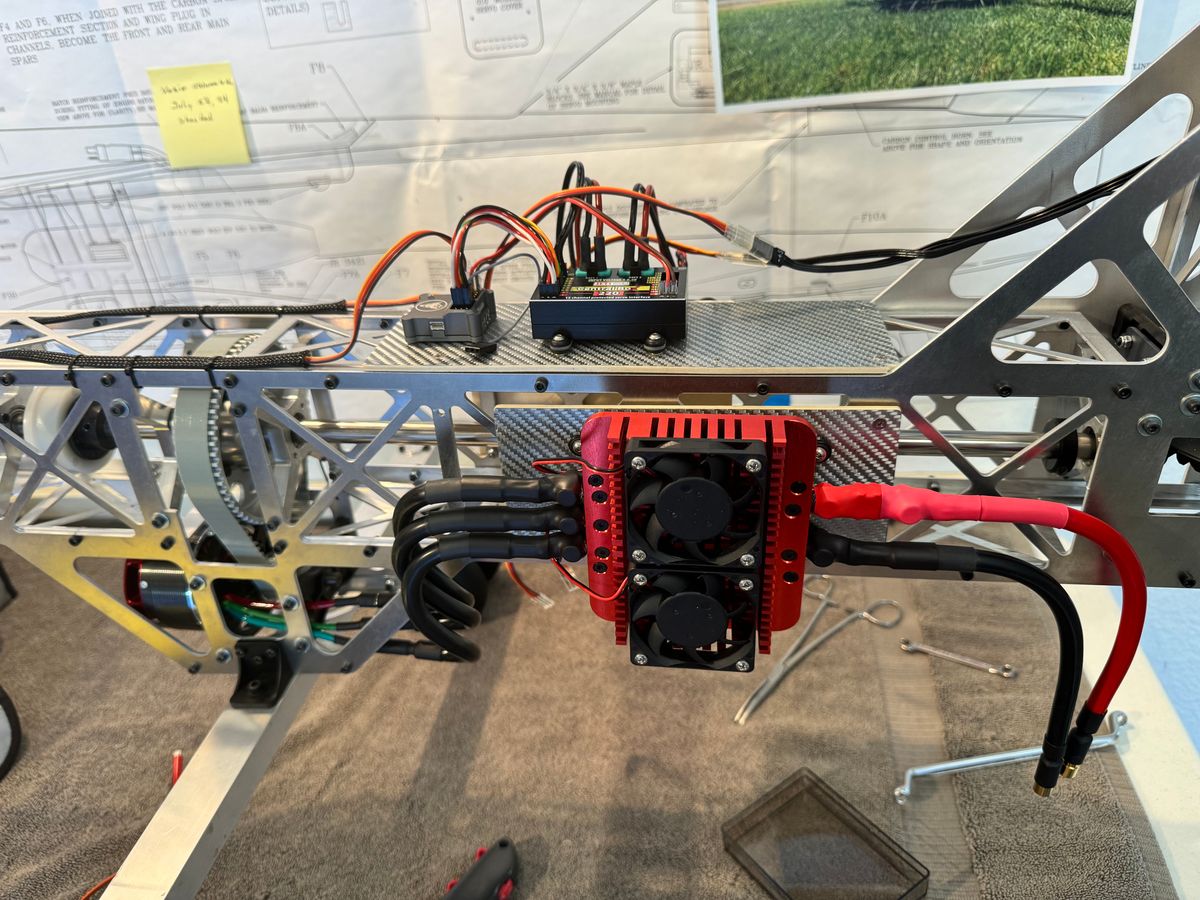
It's alive
Final test before I put the heads and I'm happy the ESC and Motor are working well. I'm also getting the telemetry active.
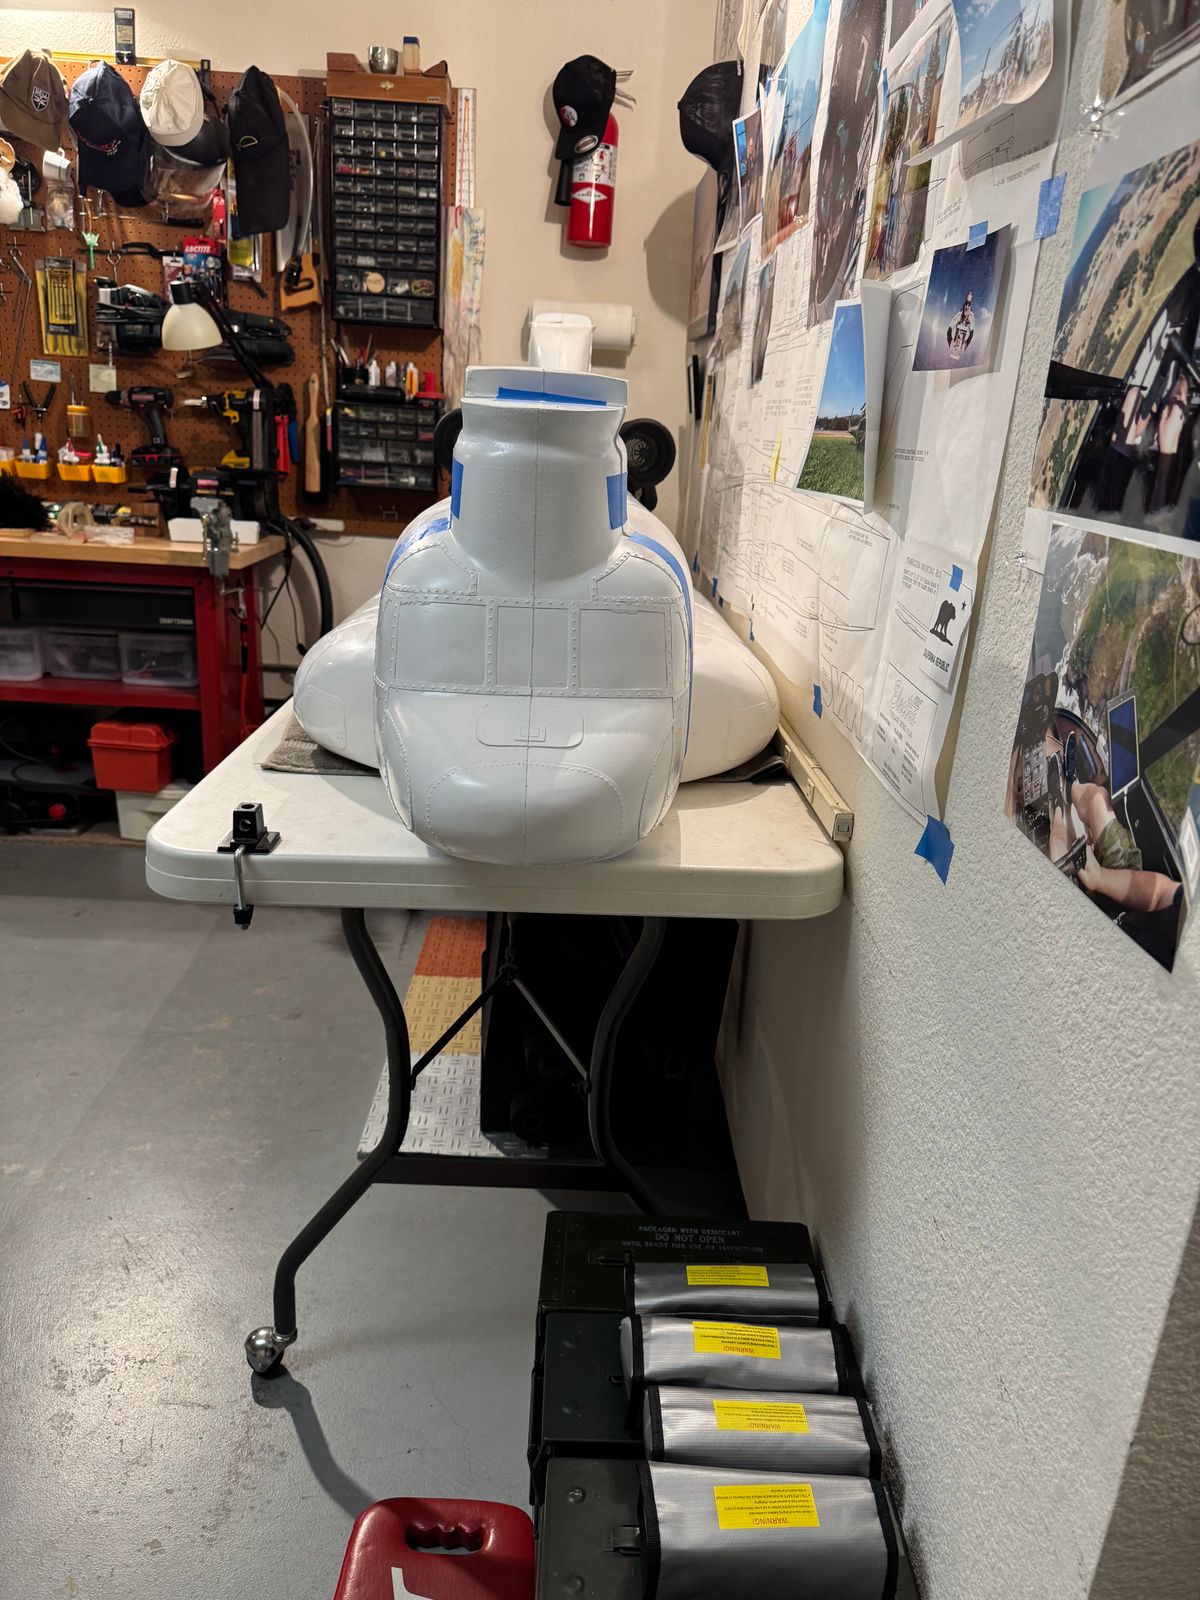
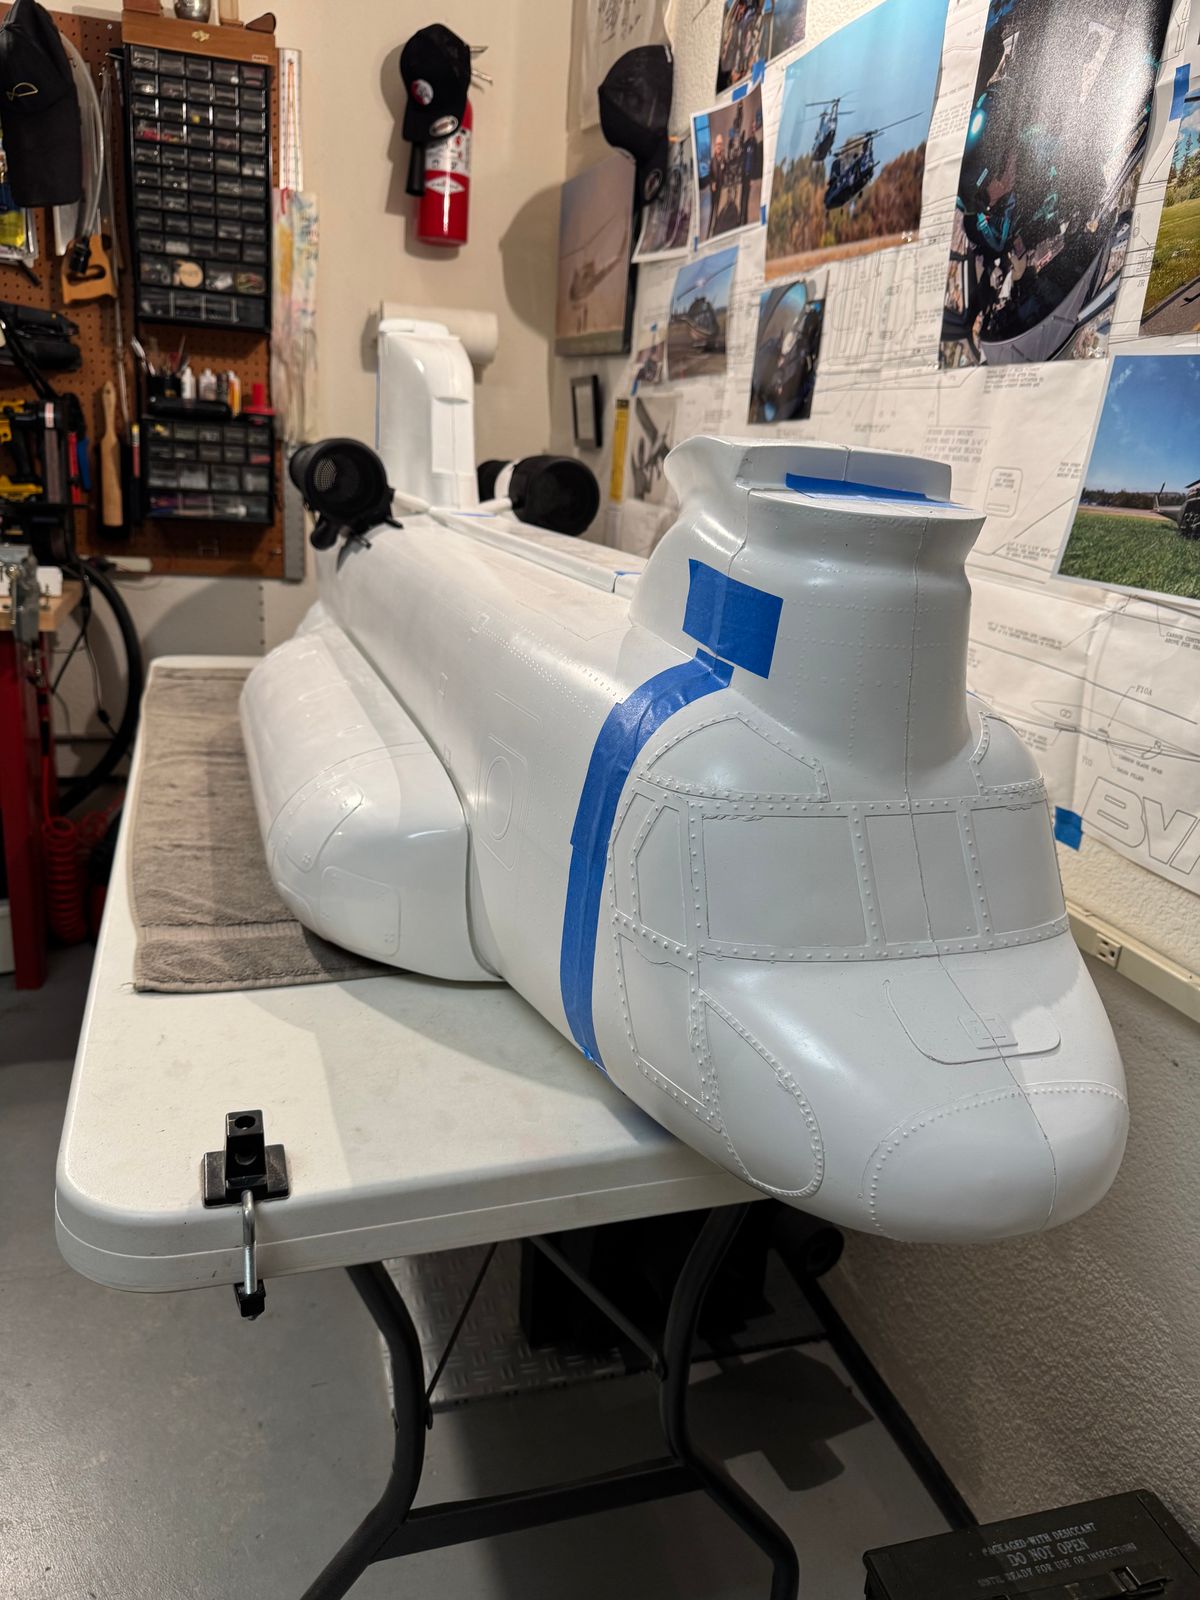
Fuselage and scale details
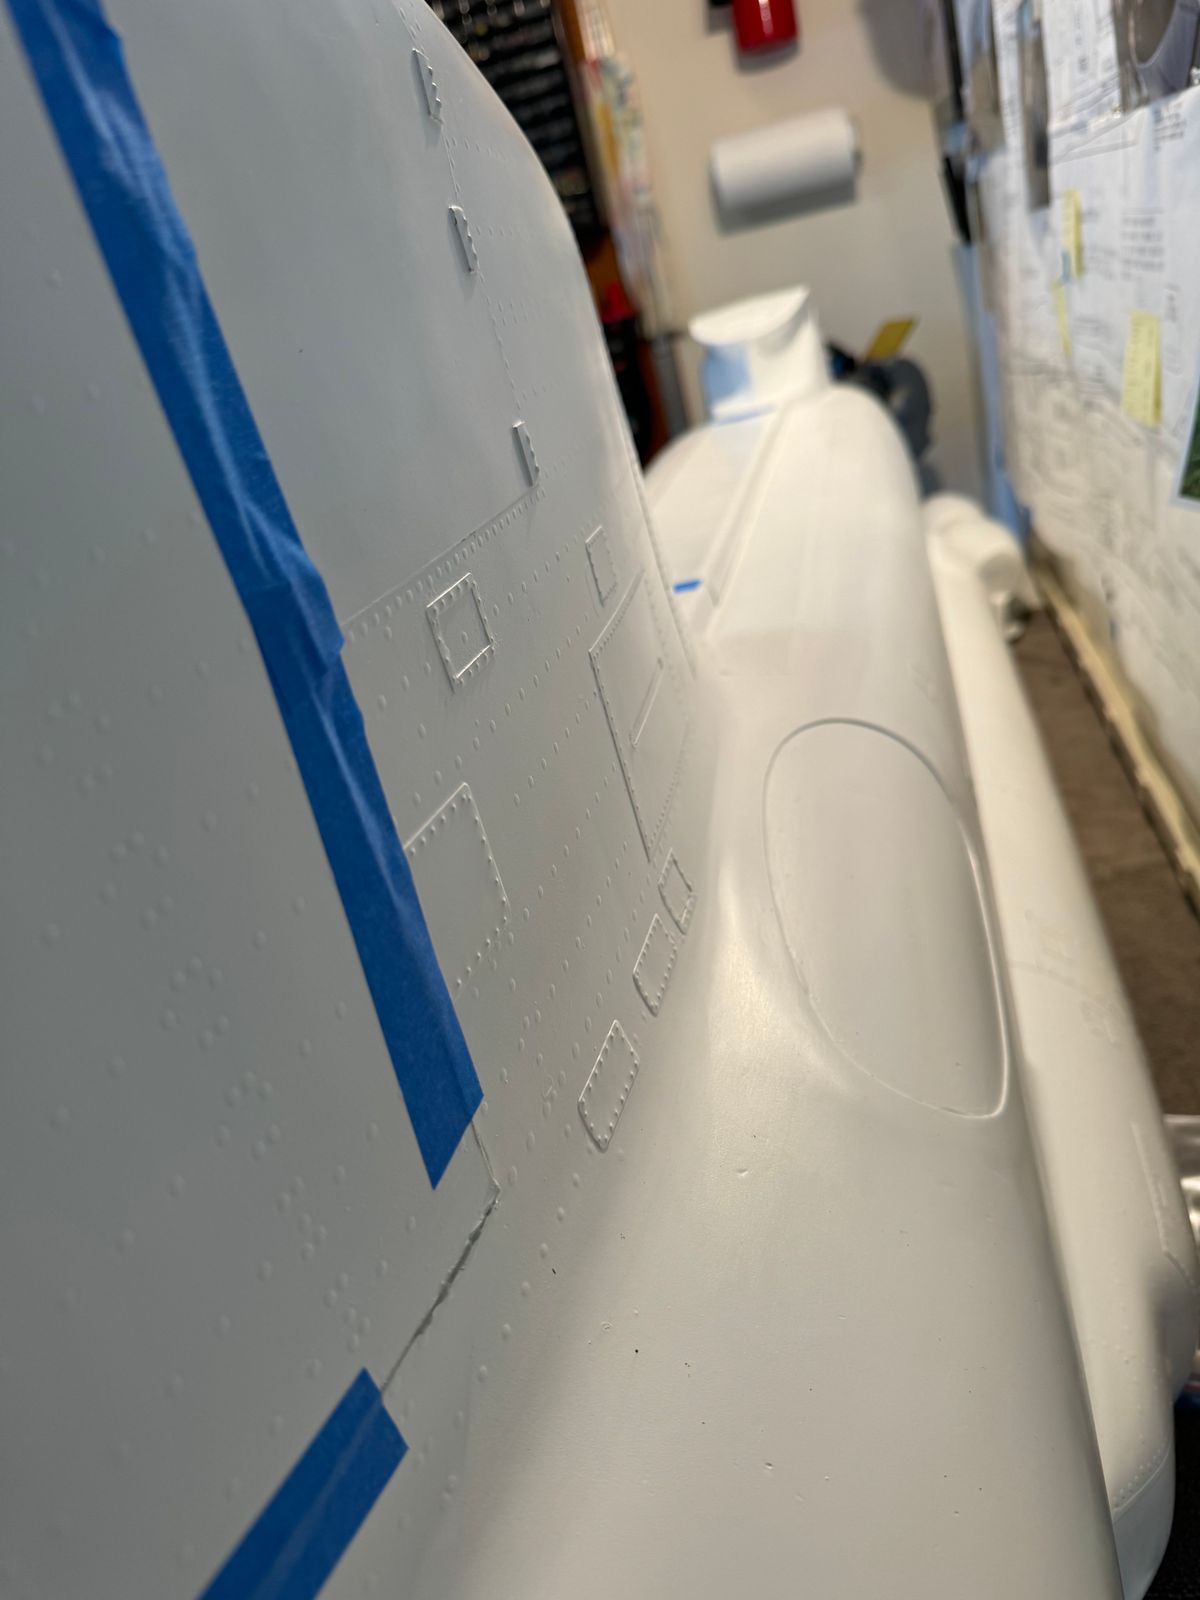
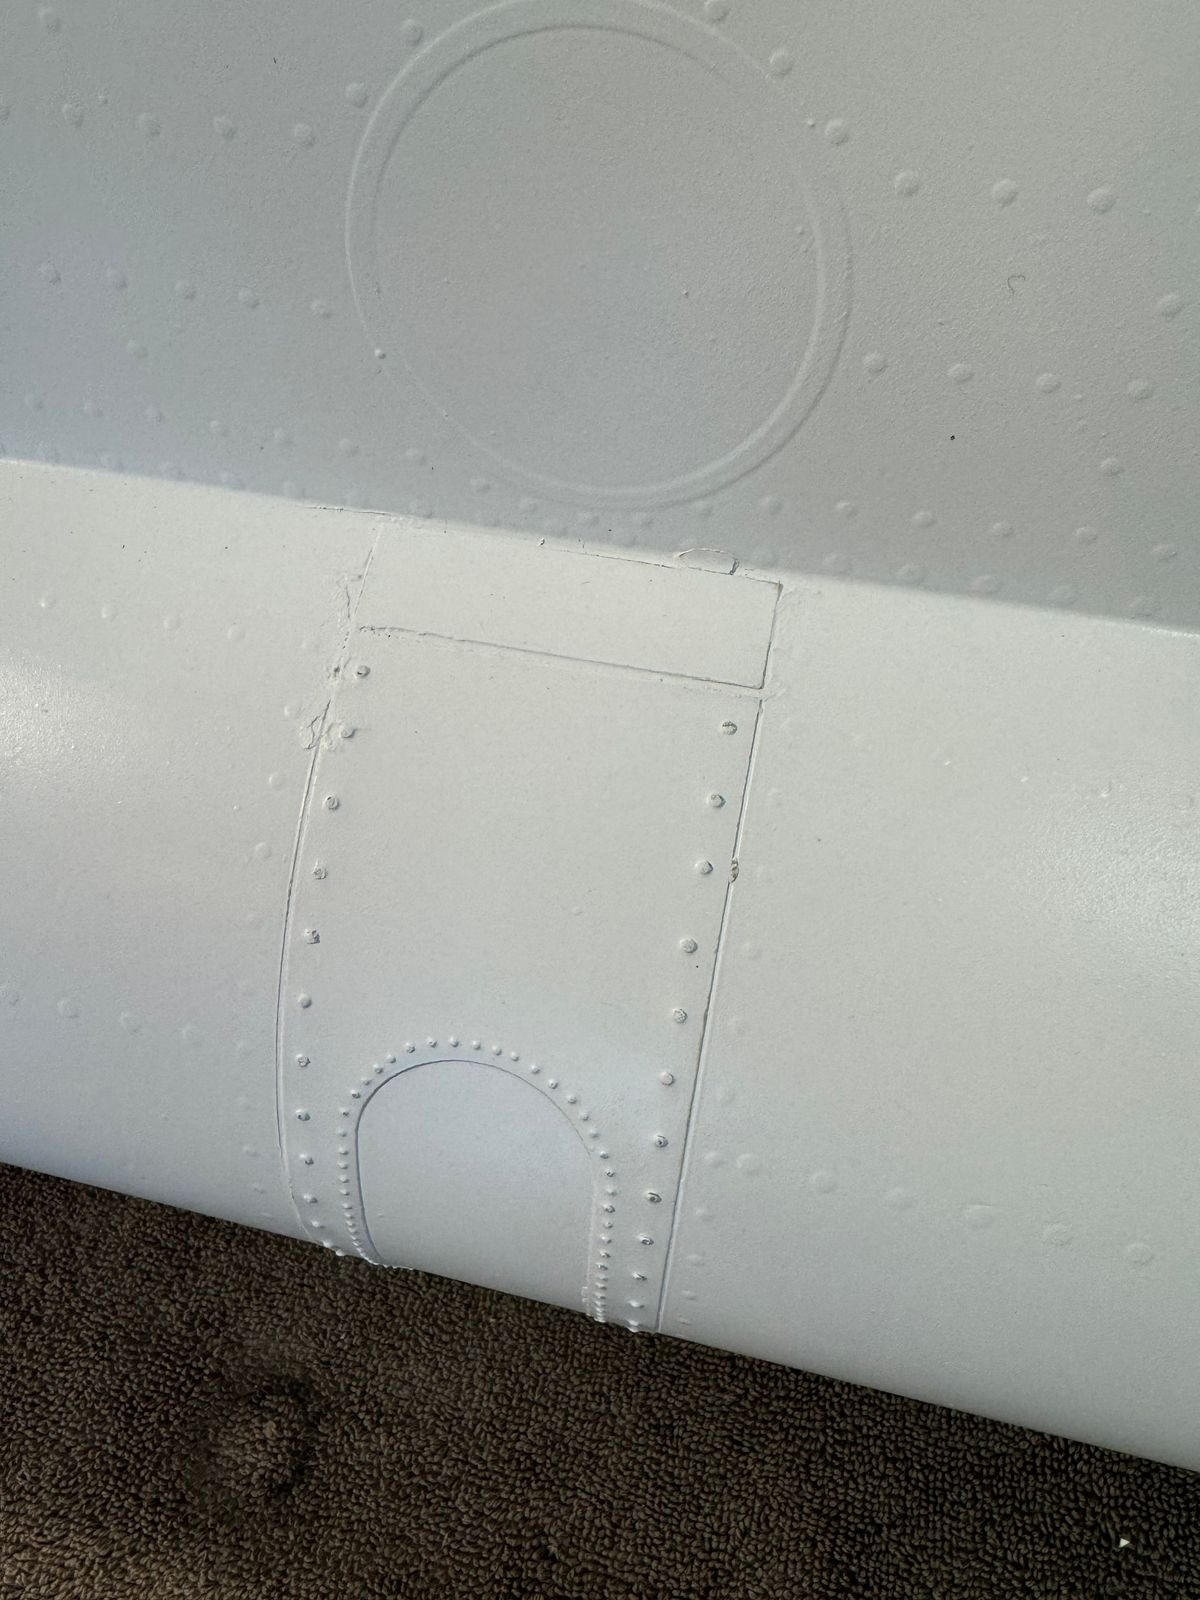
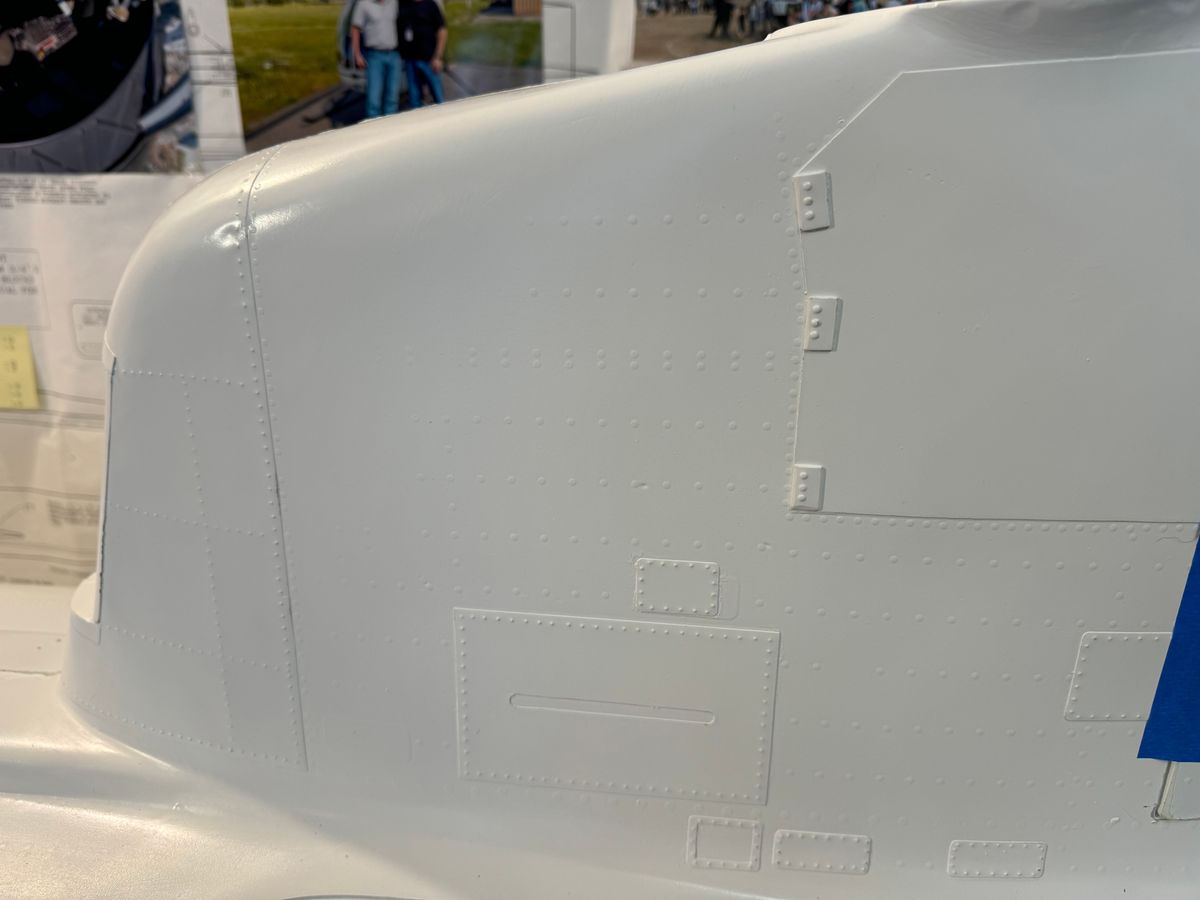
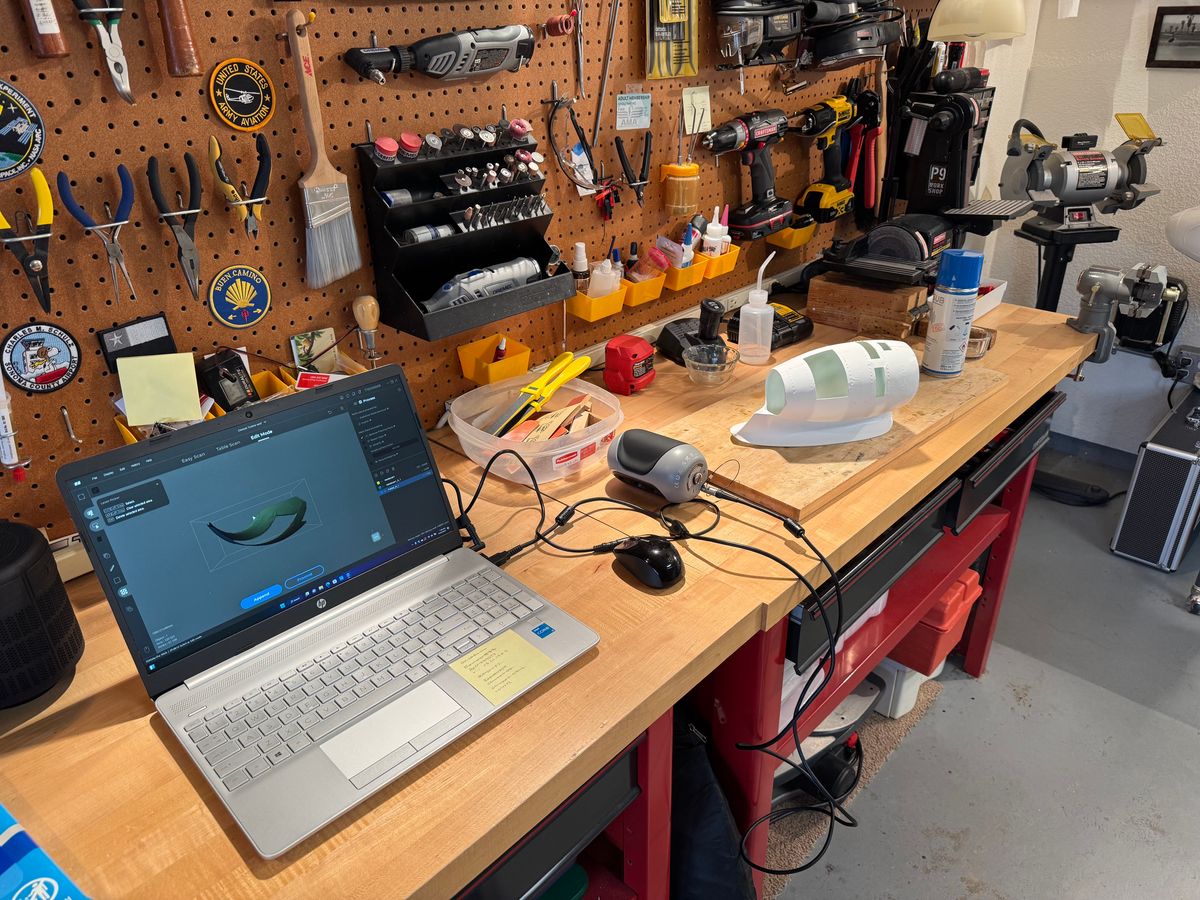
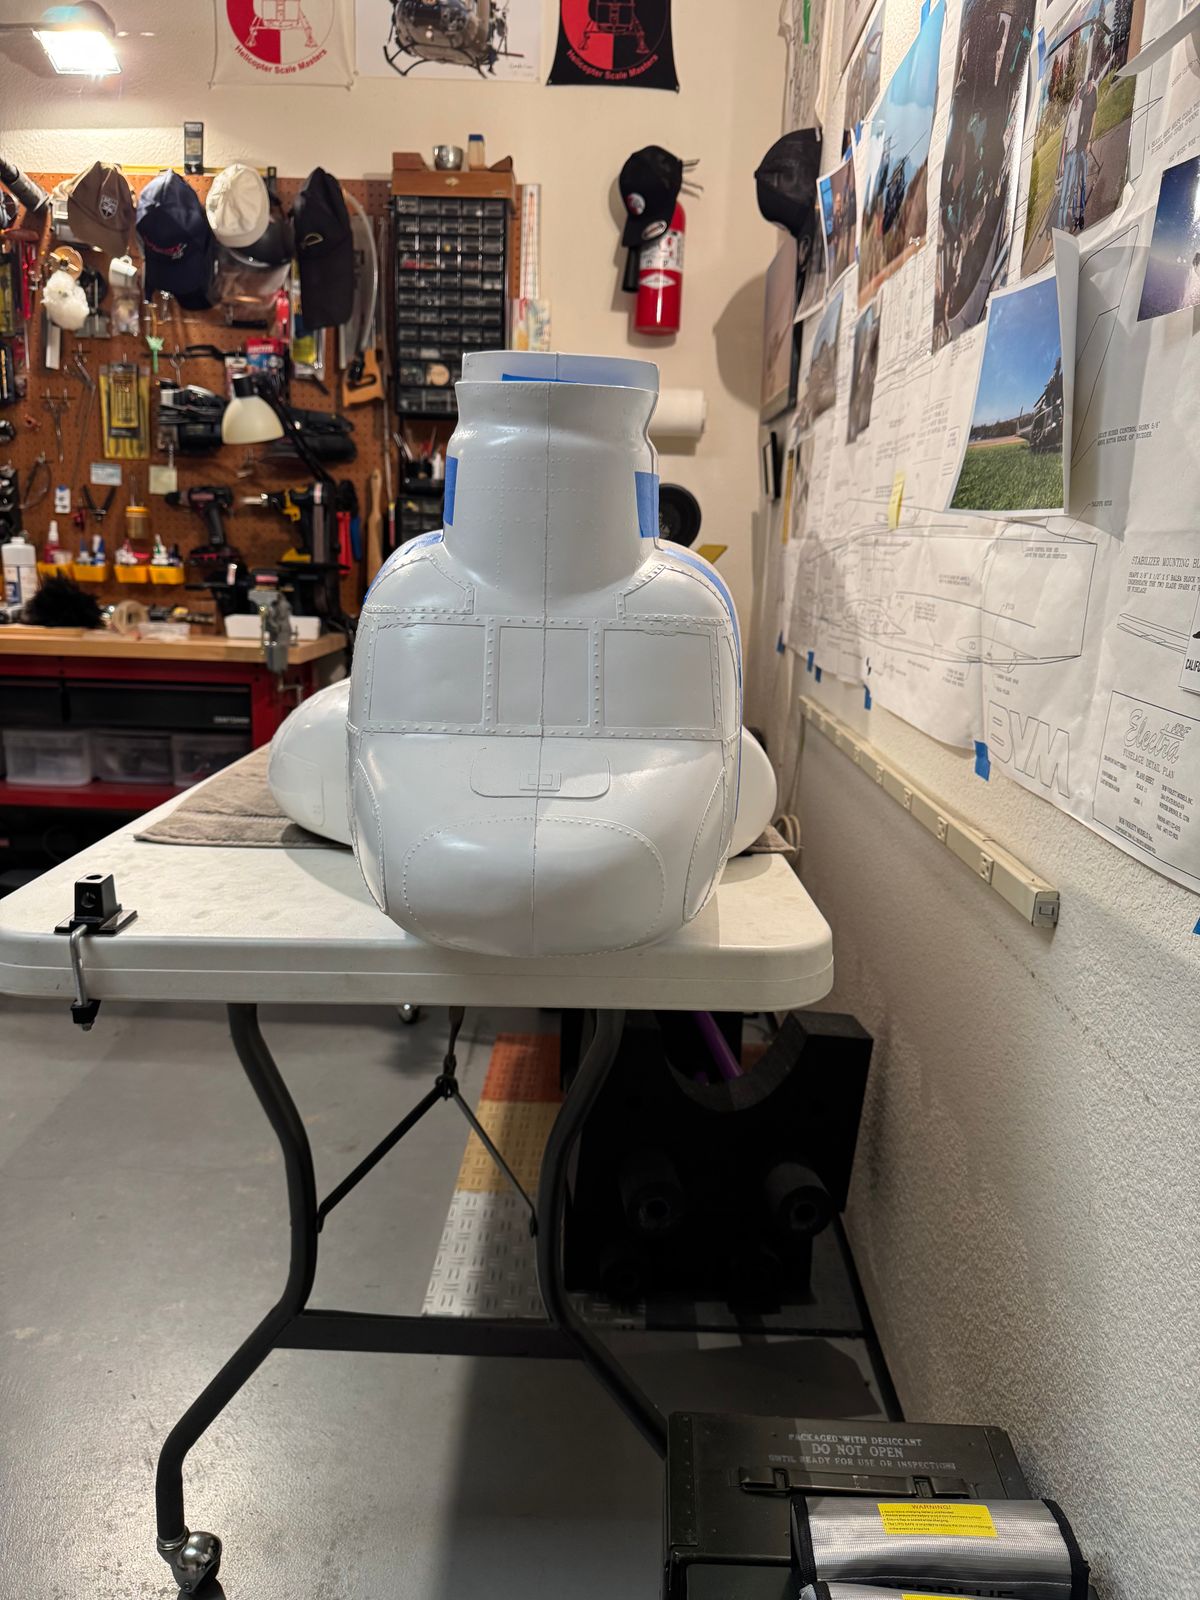
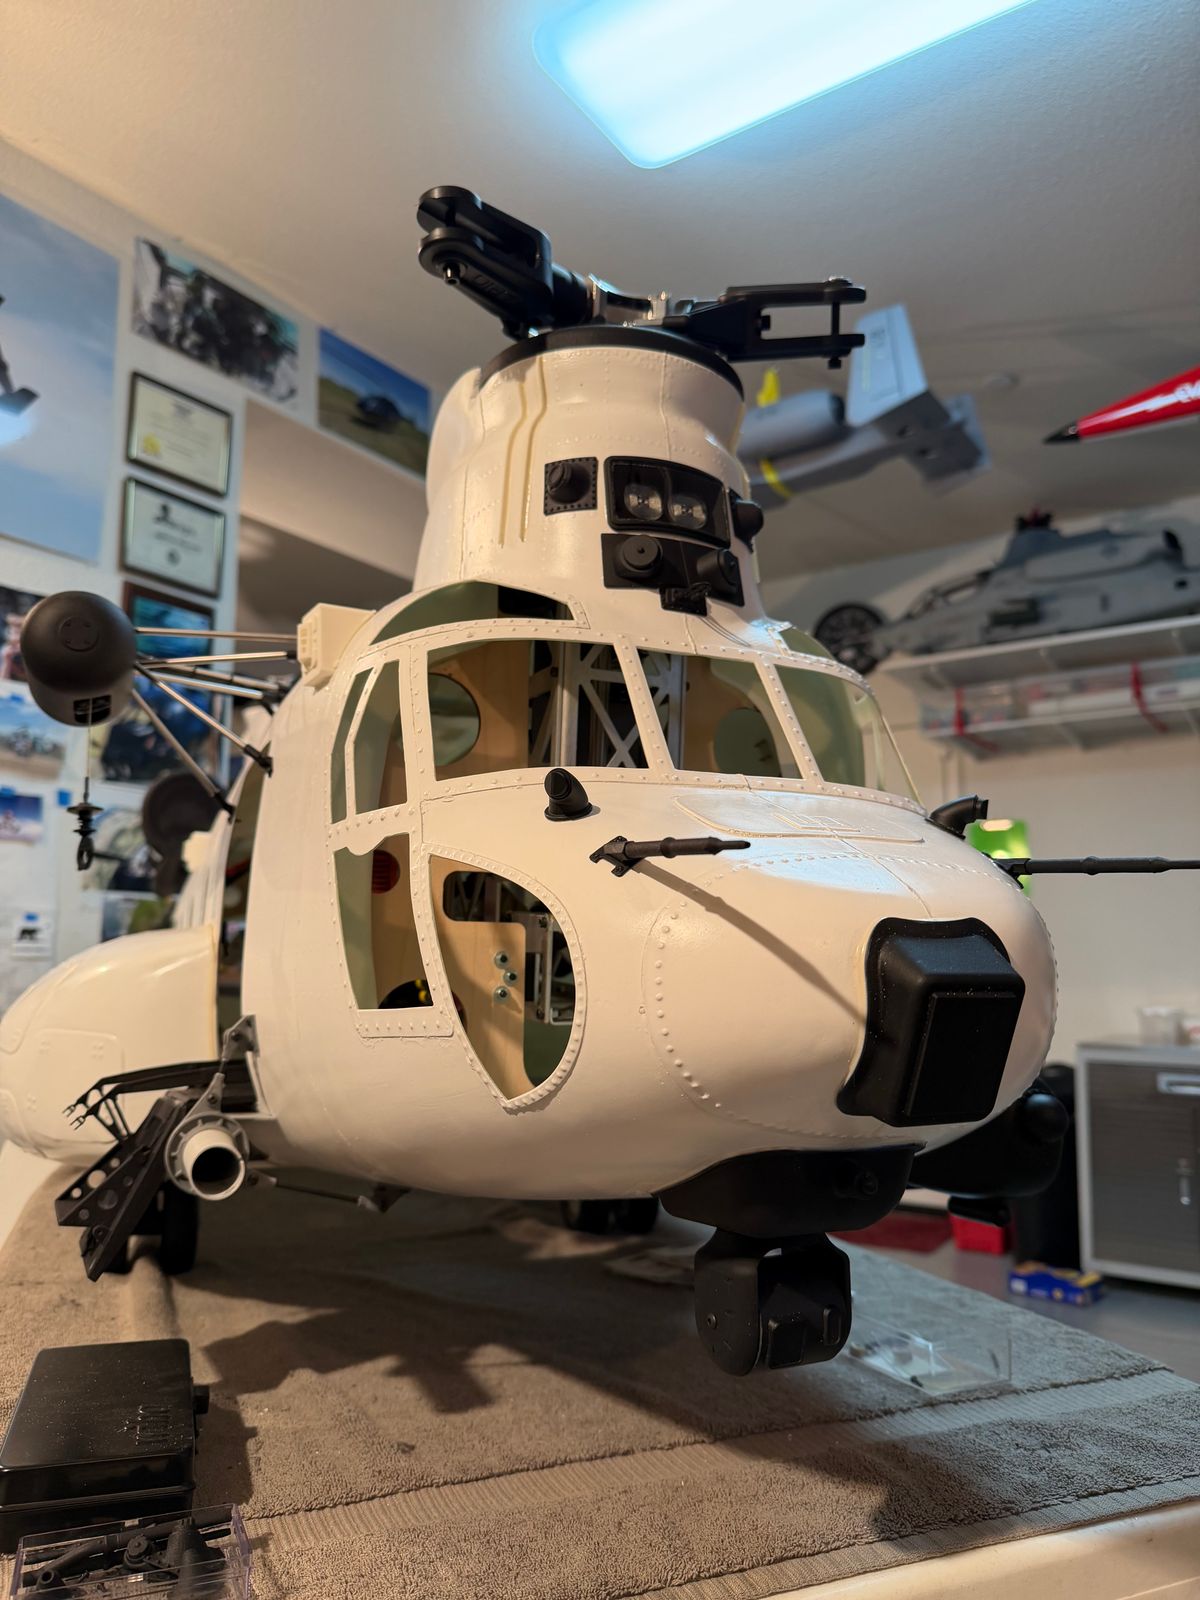
Development has commenced on the Vario Chinook XL fuselage! and in some cases we will 3D Scan to get some shapes to adapt to scale components.
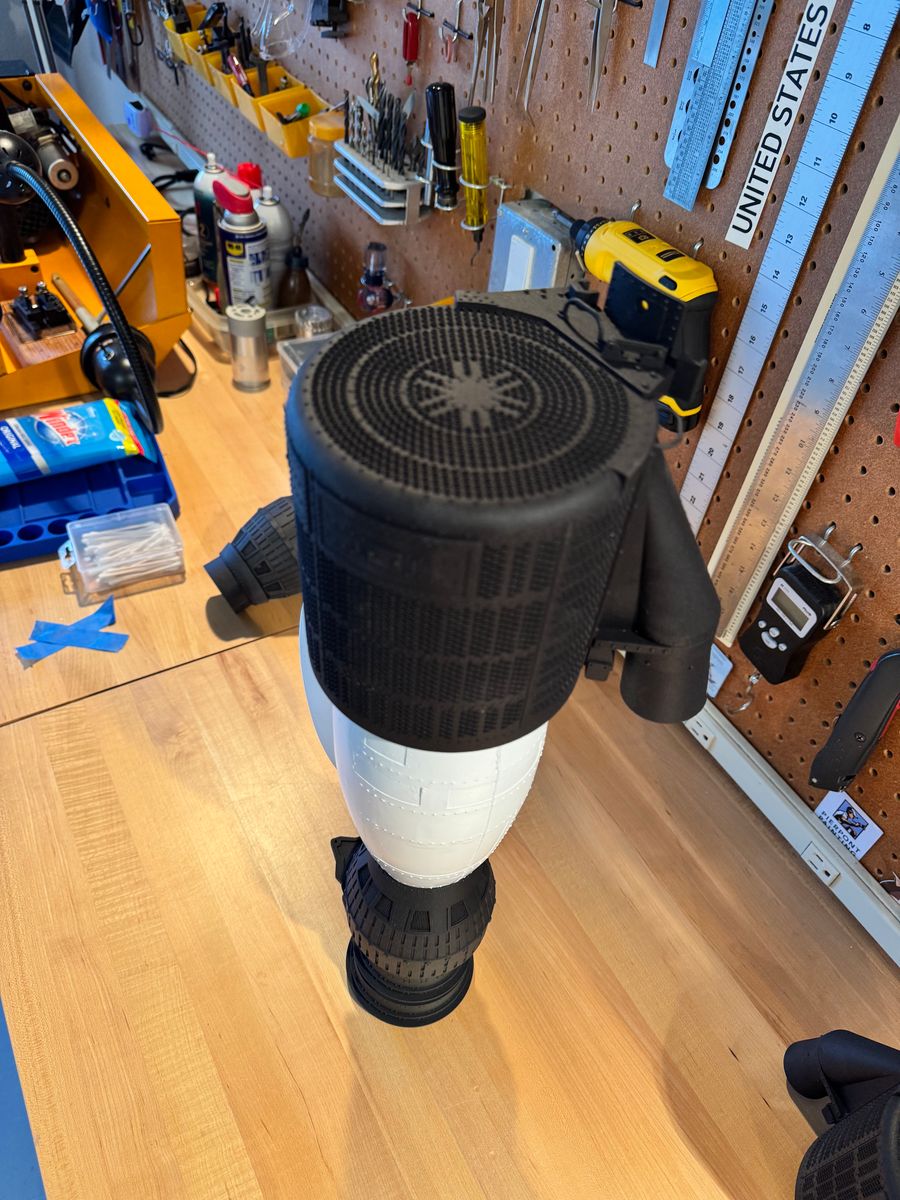
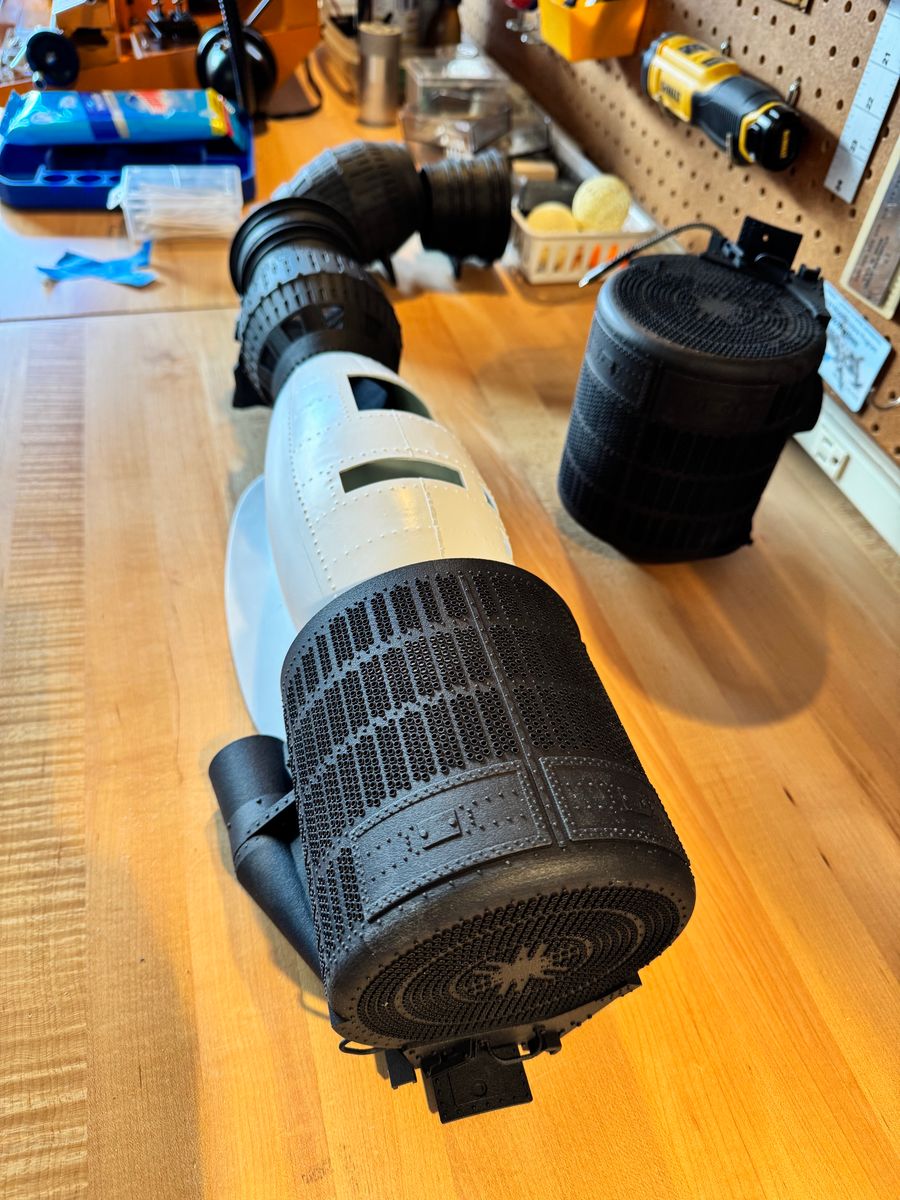
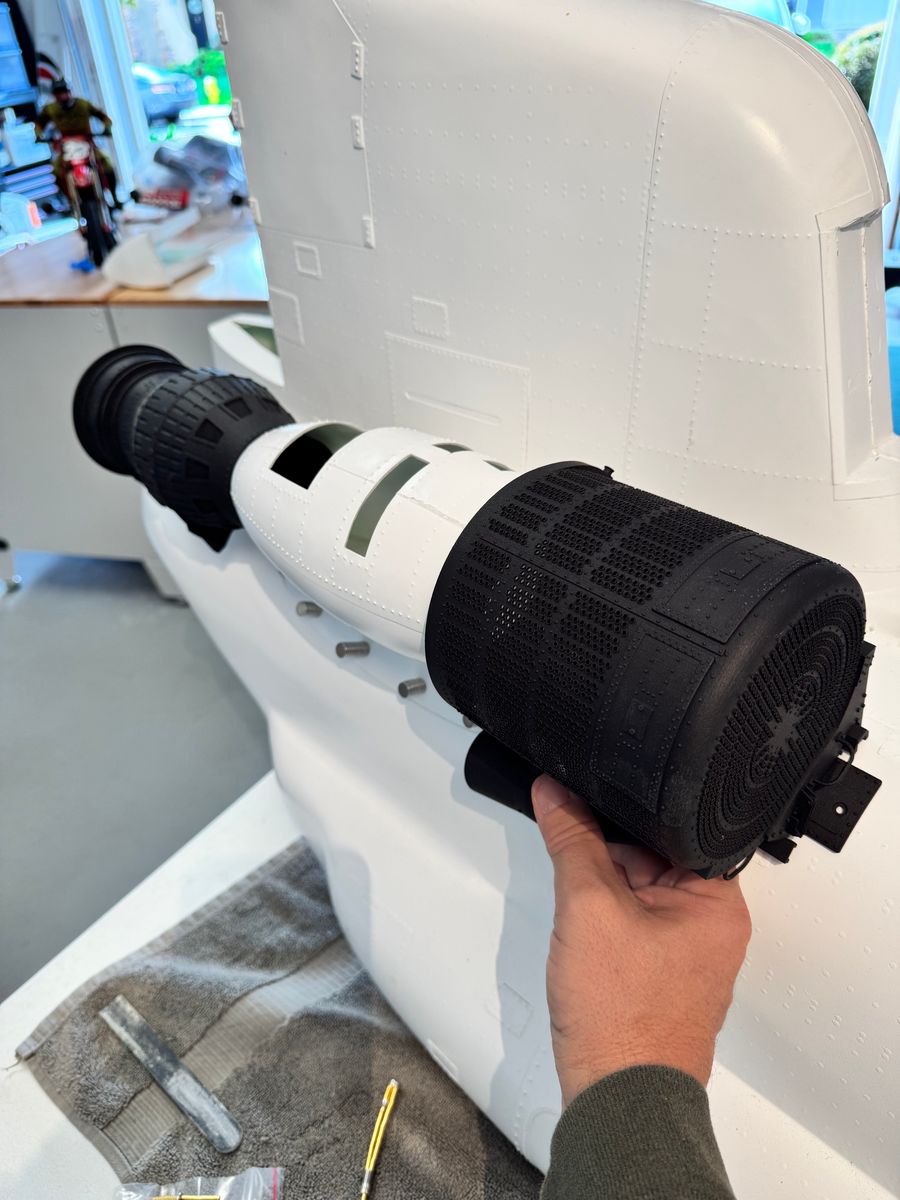
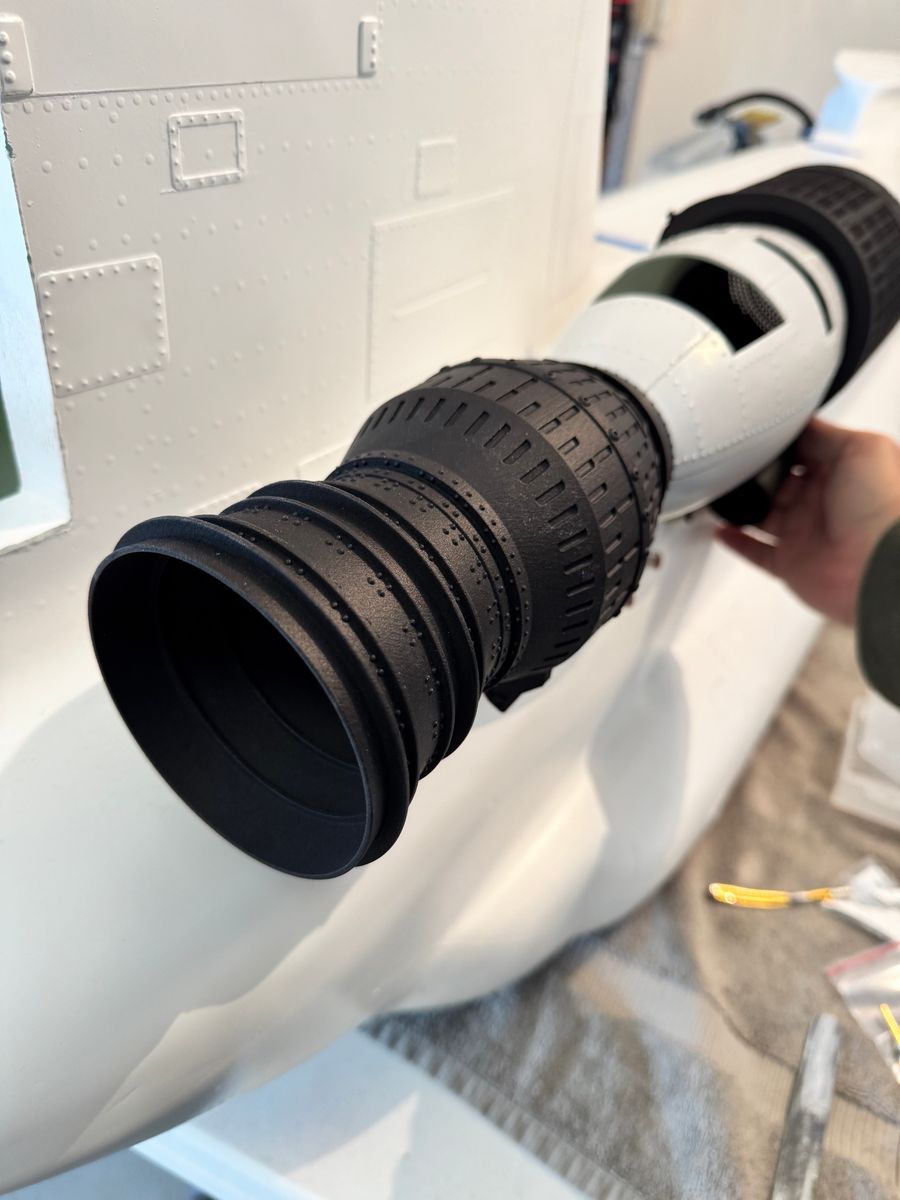
Turbine mounts and MH tanks
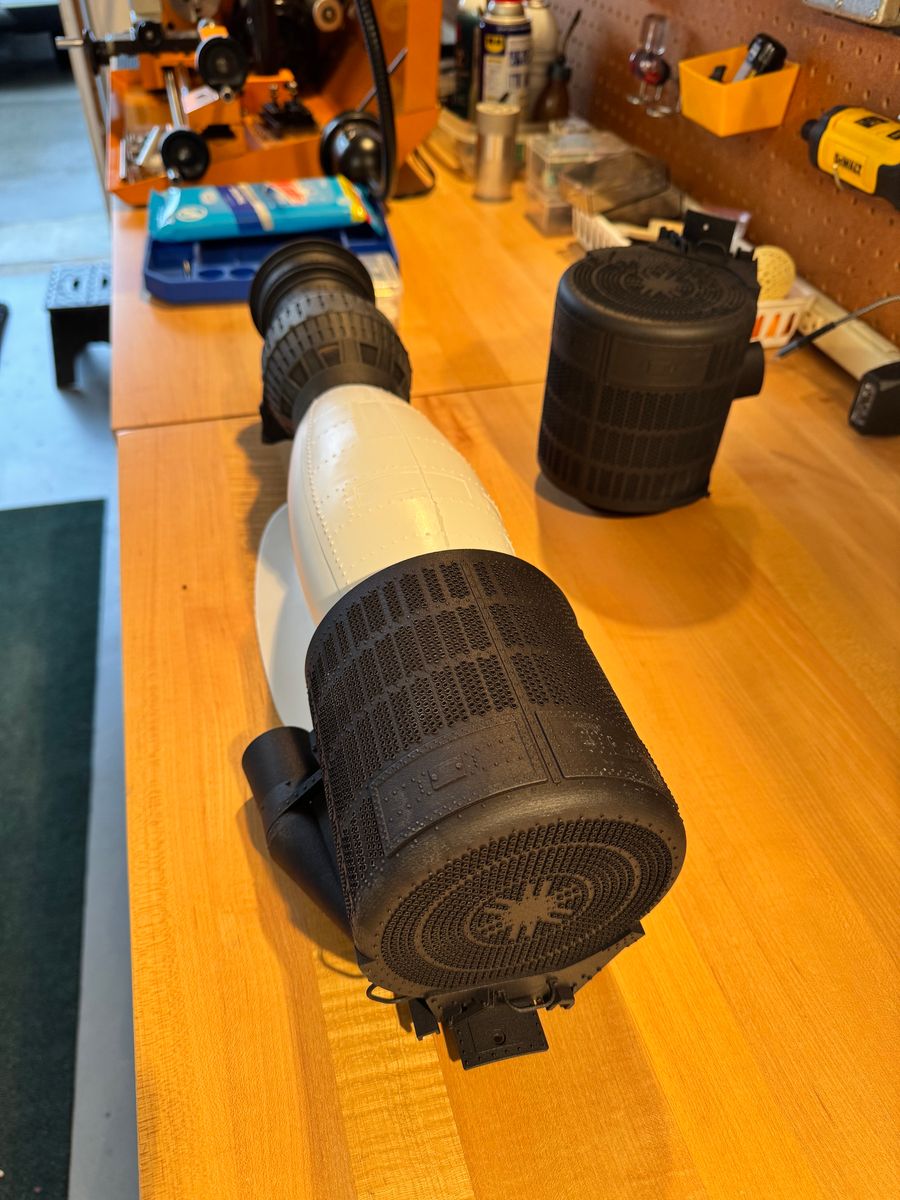
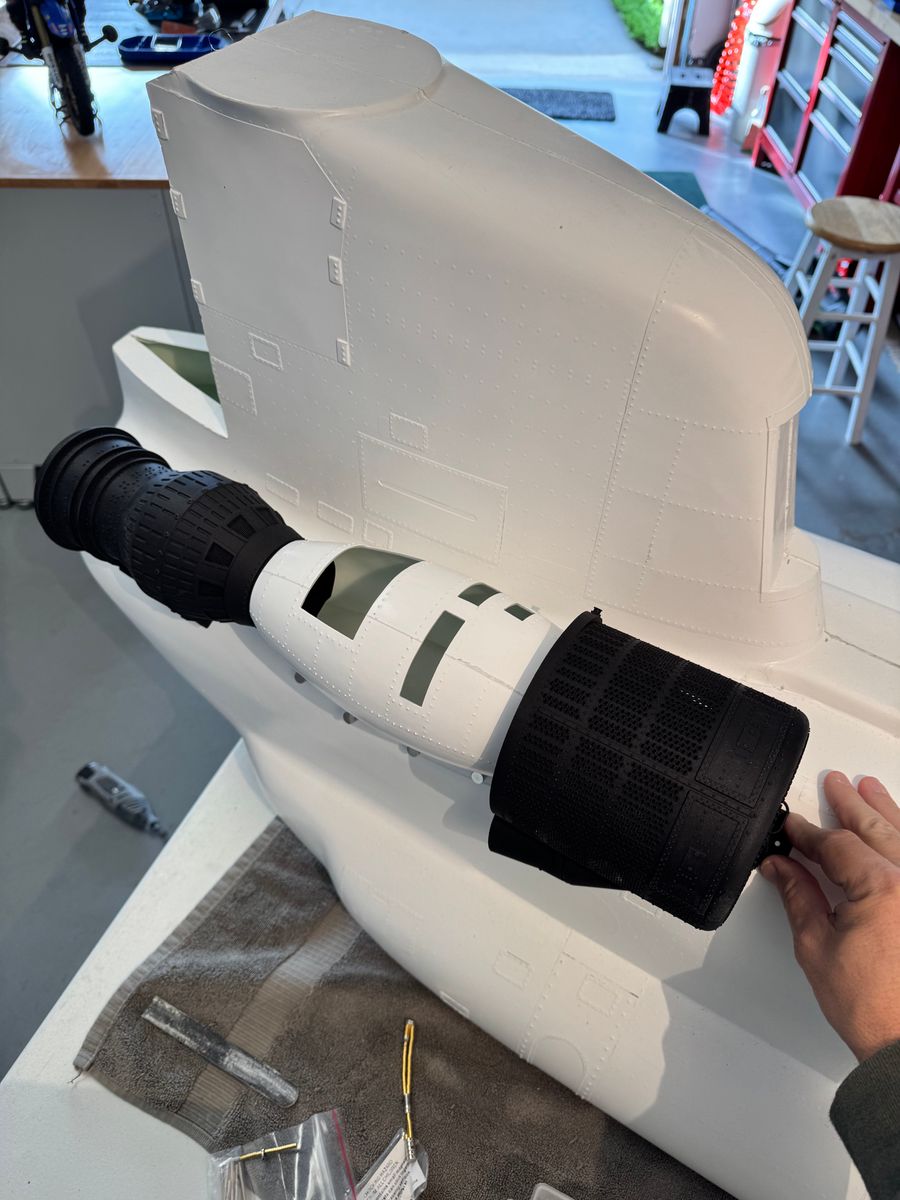
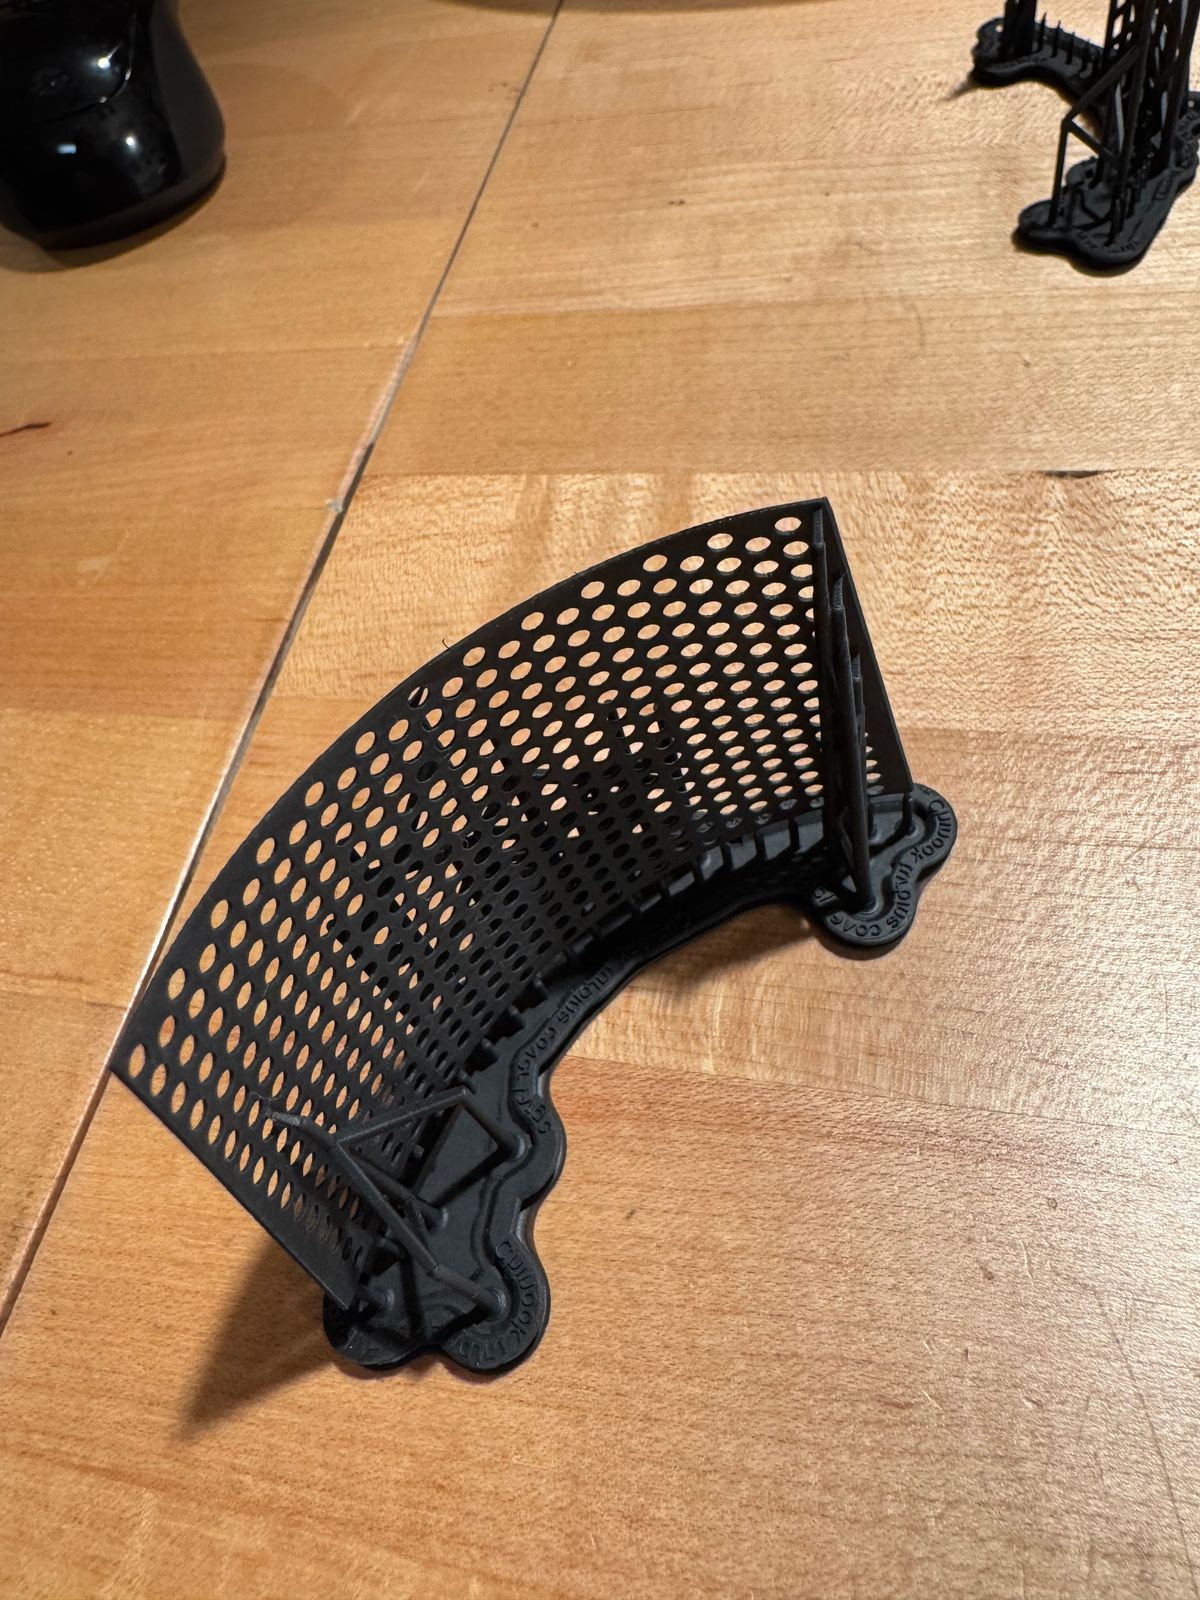
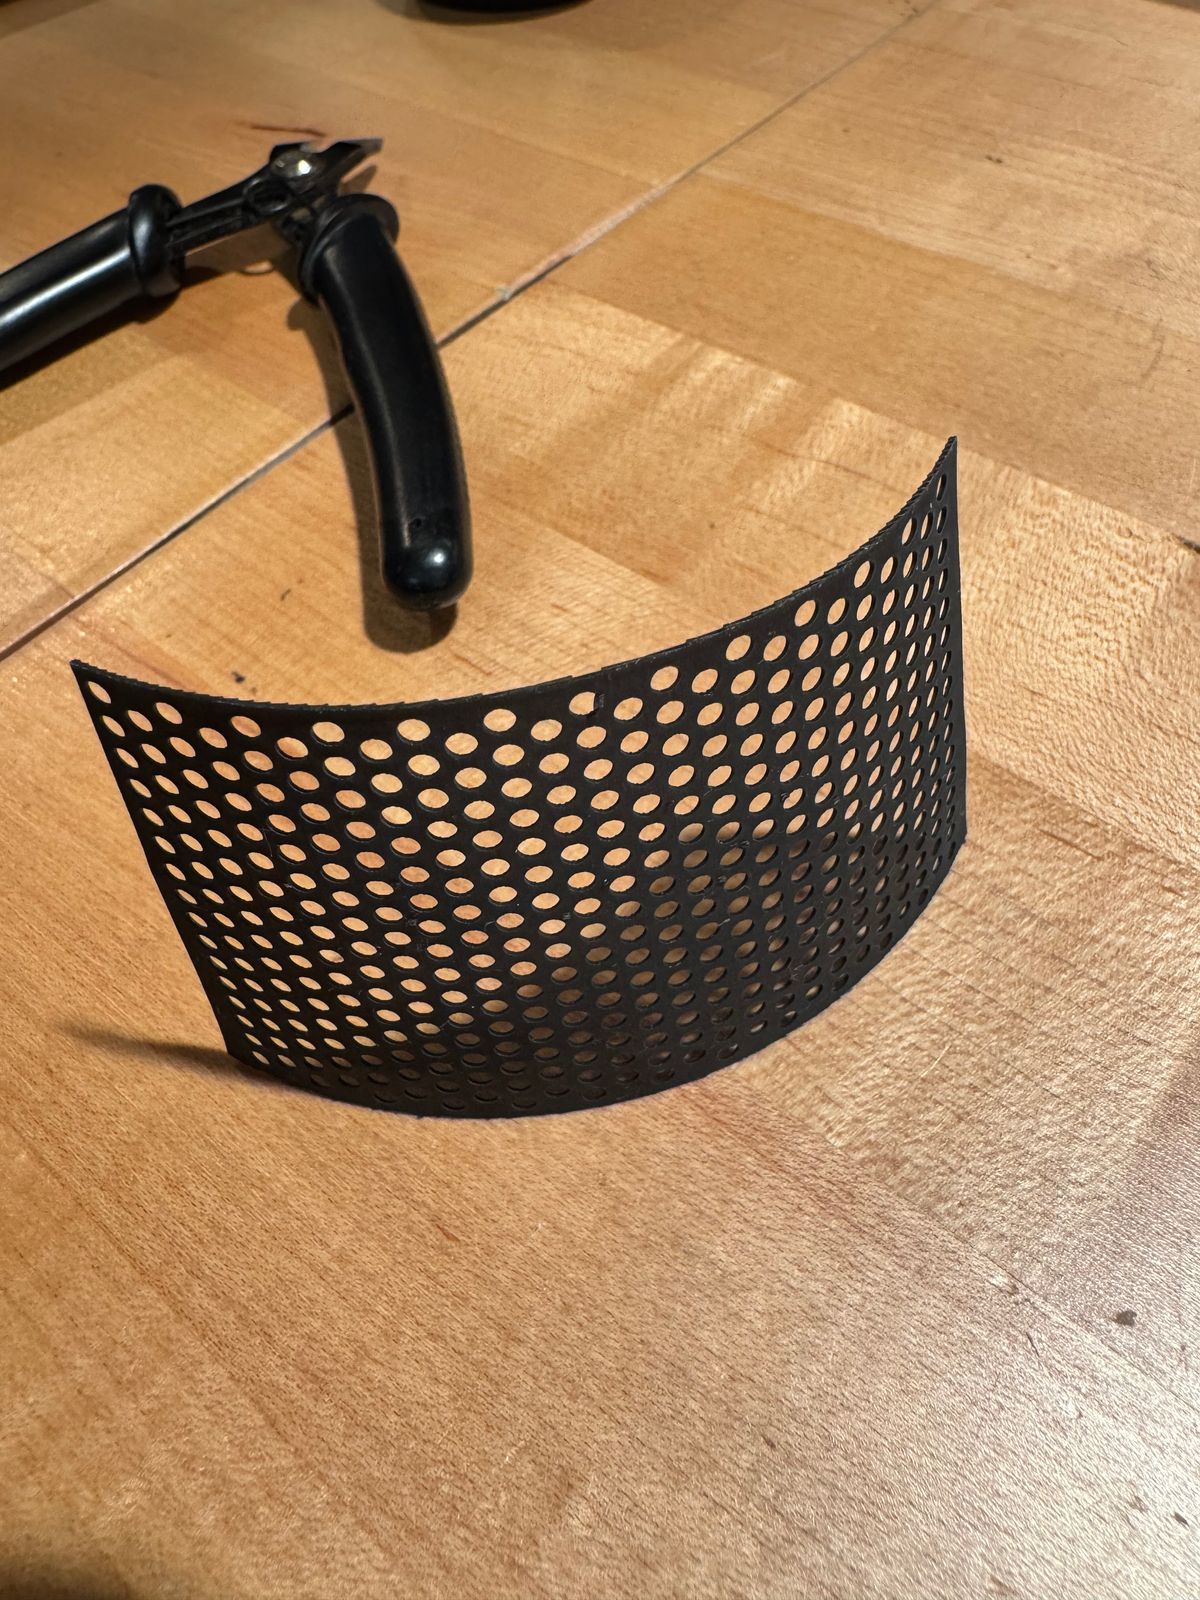
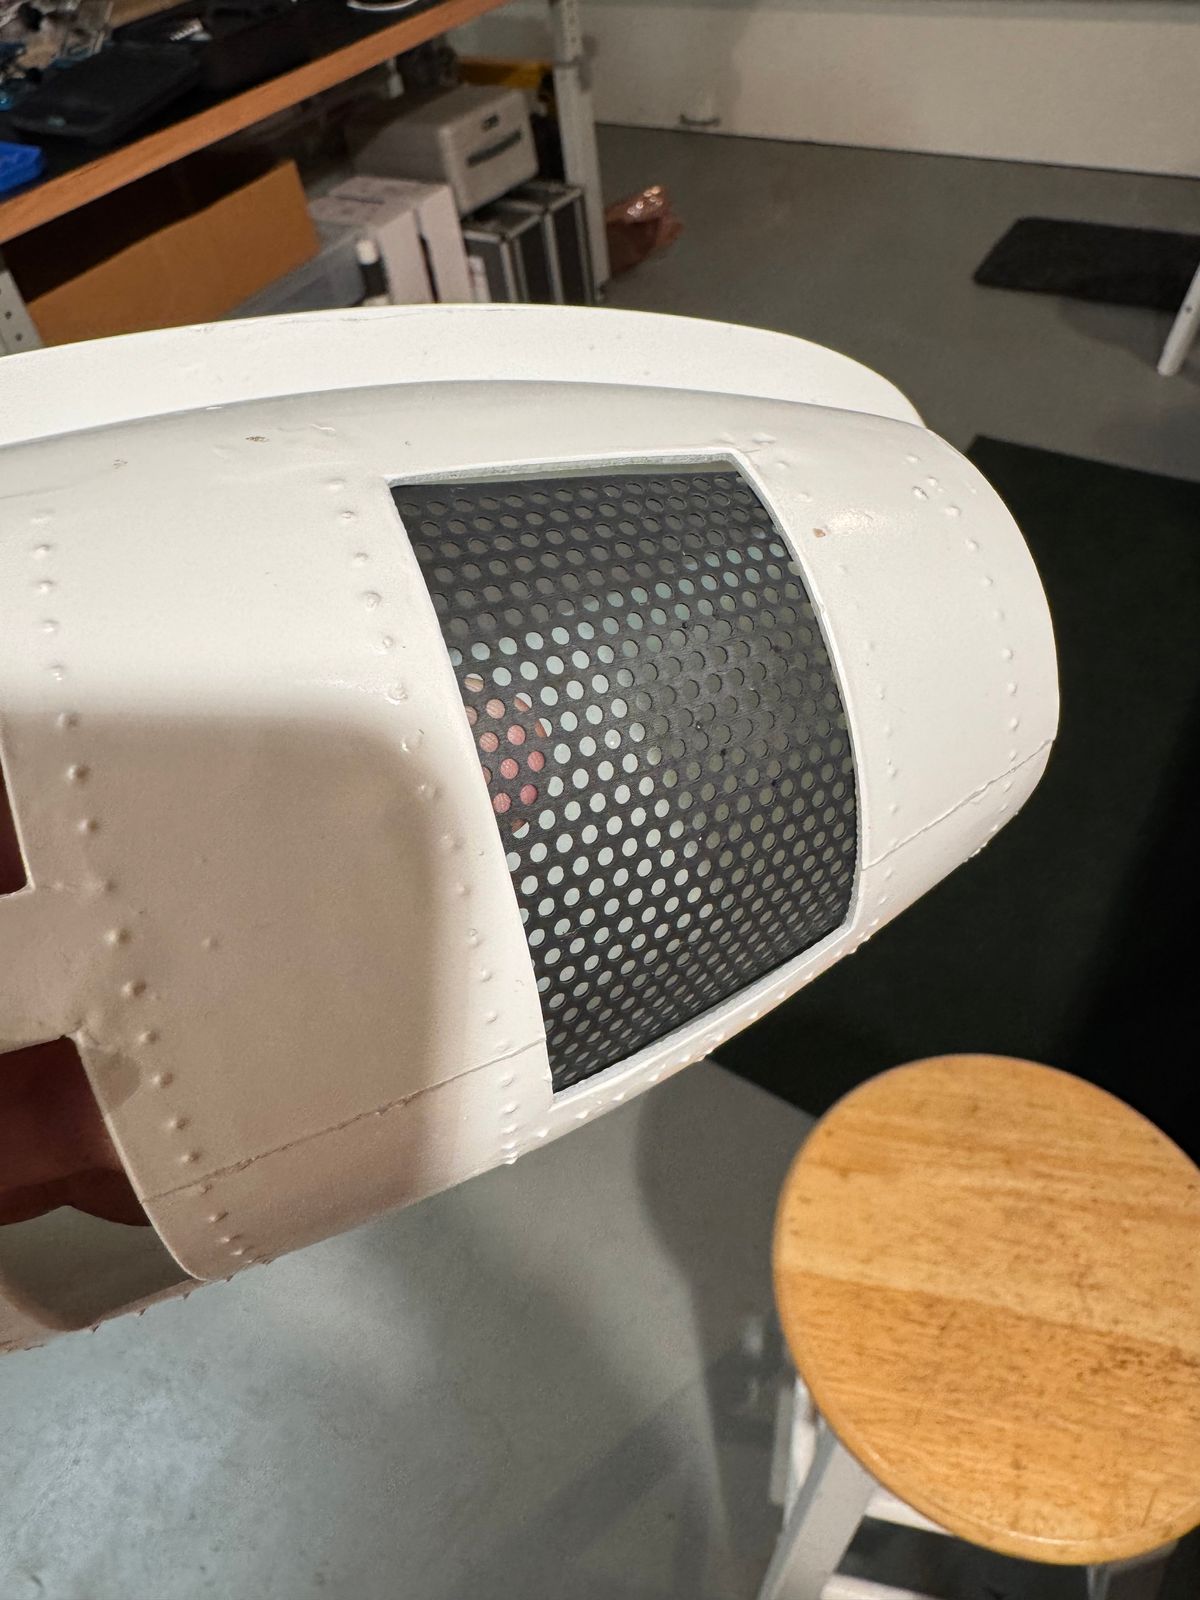
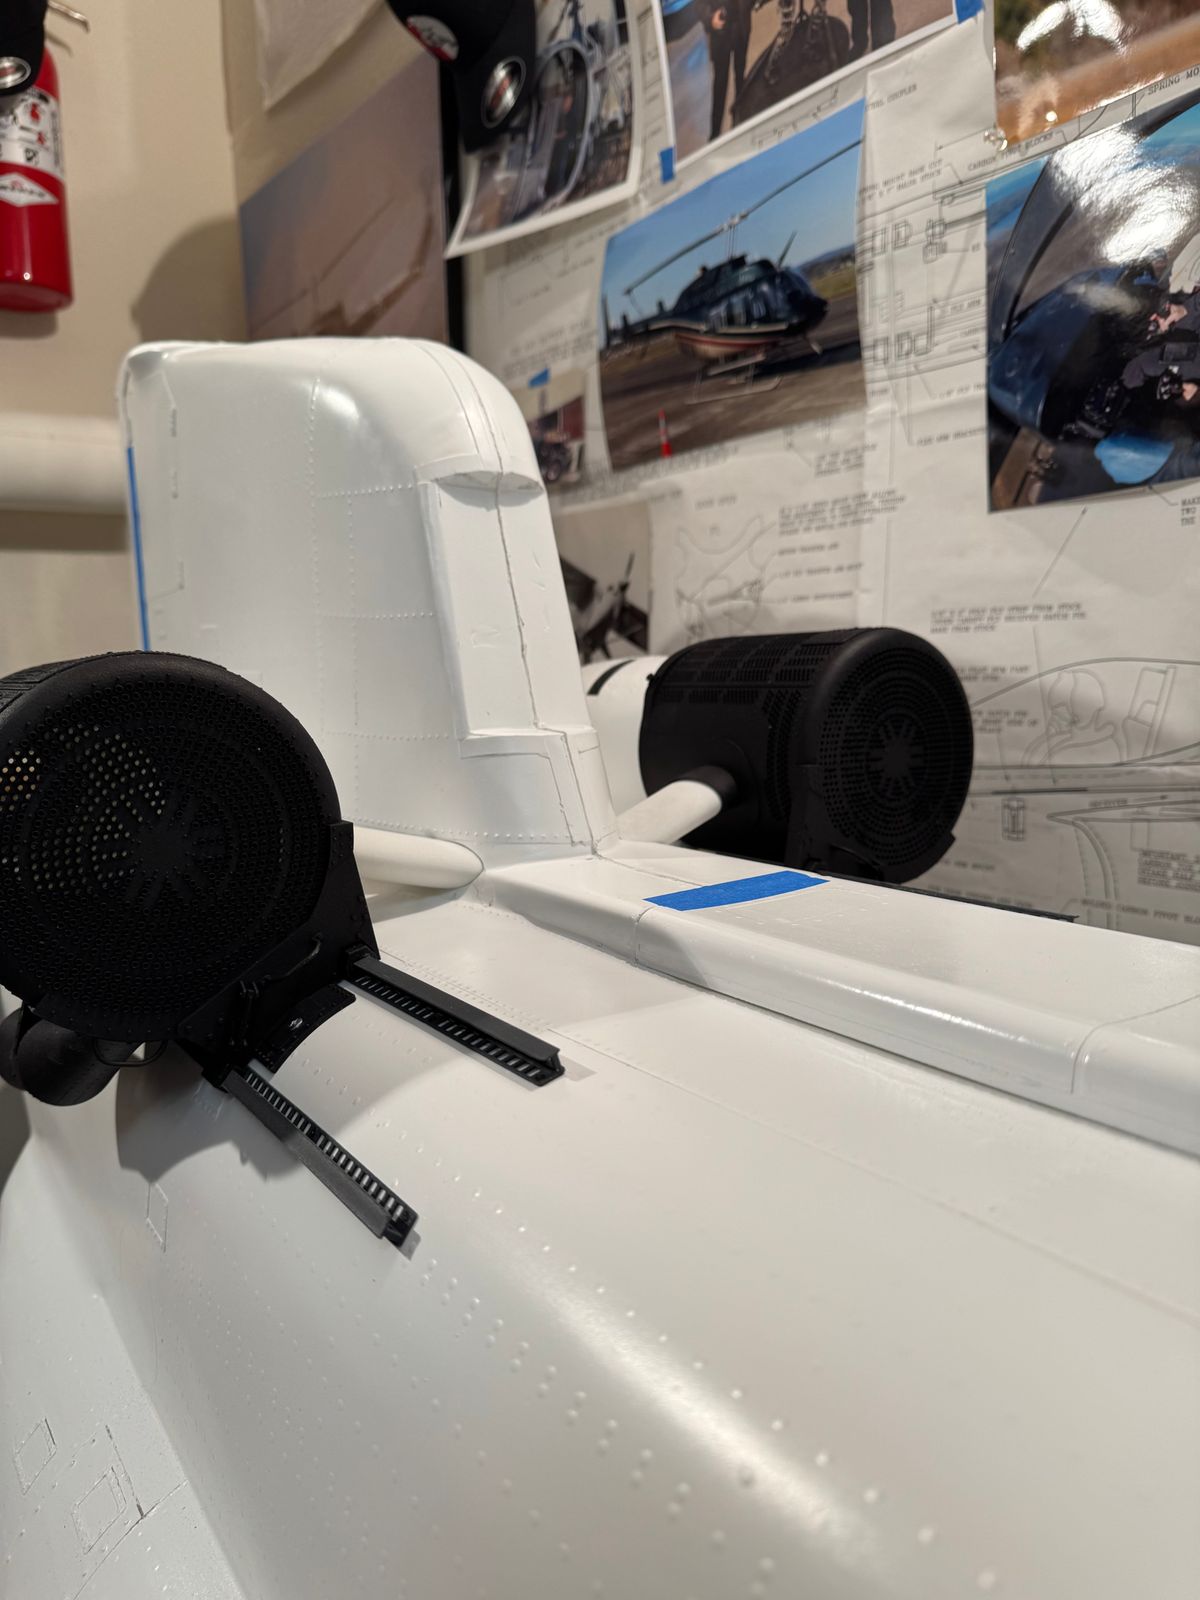
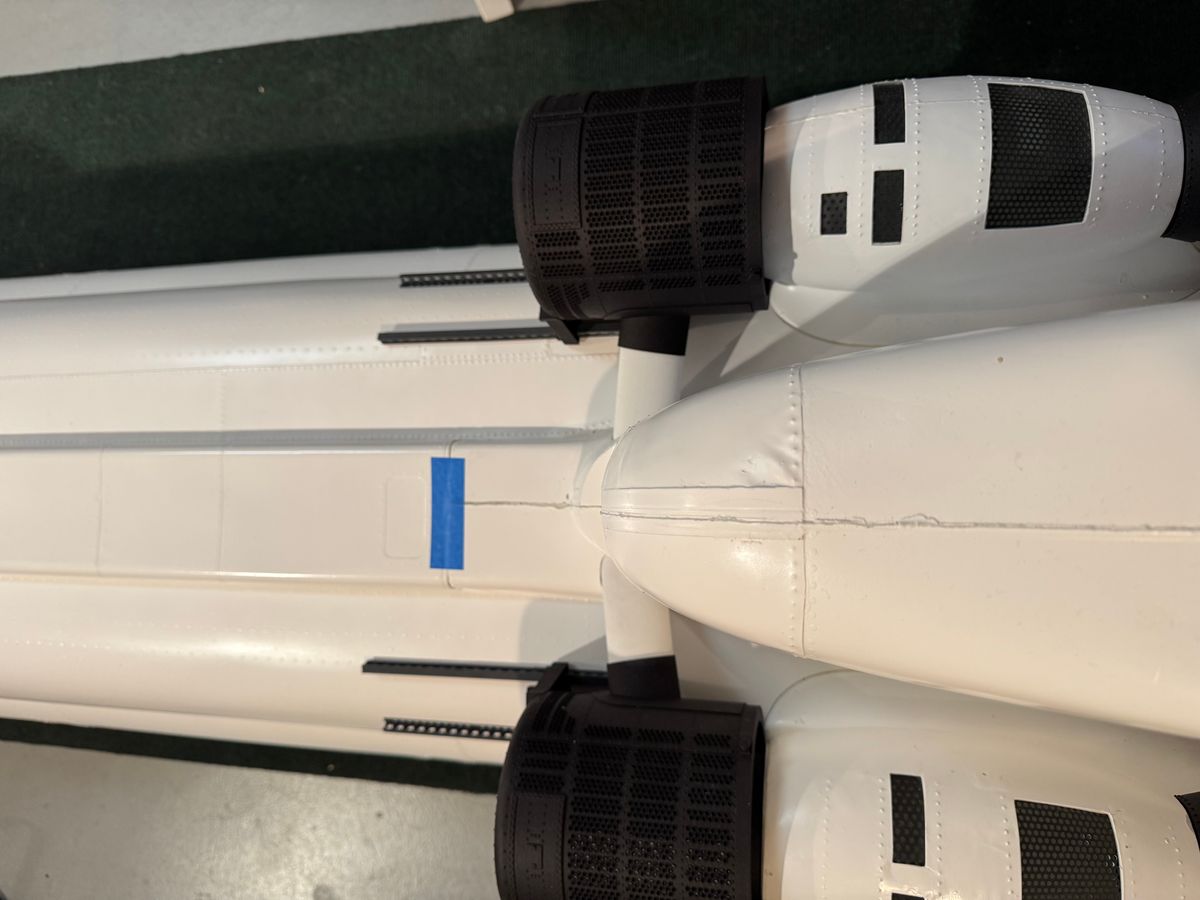
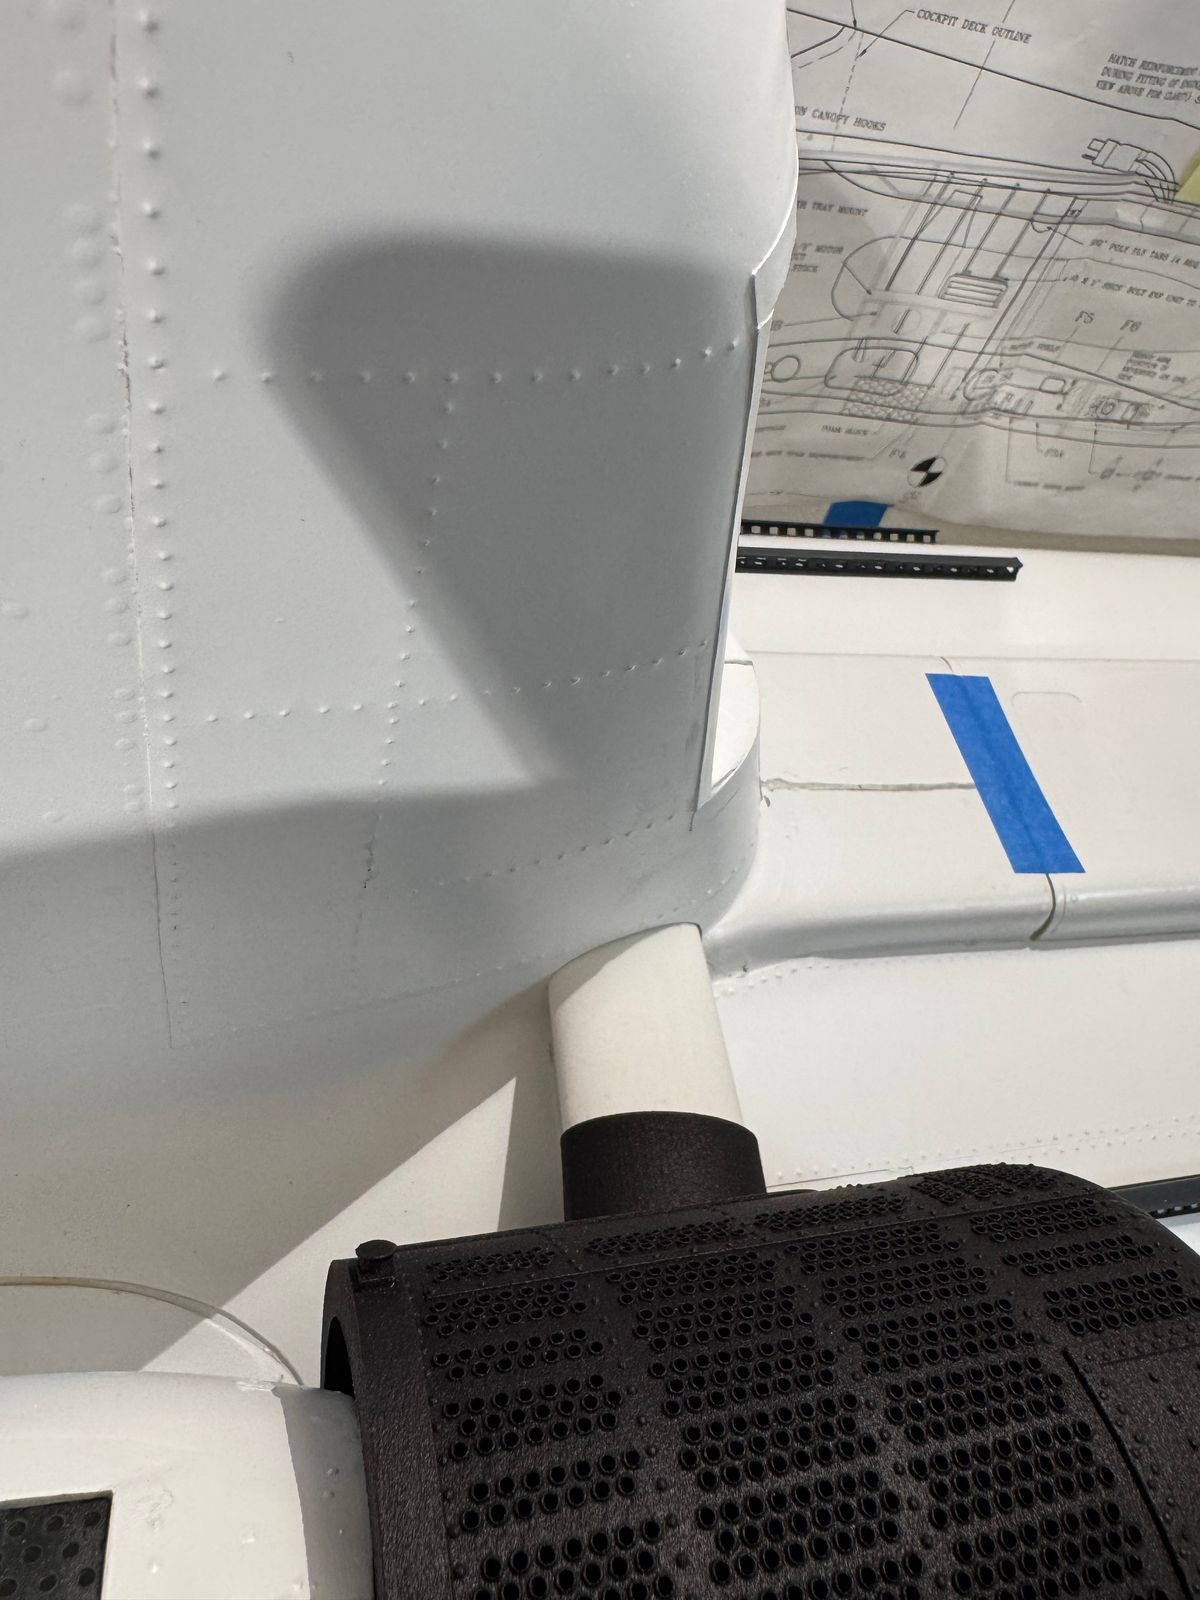
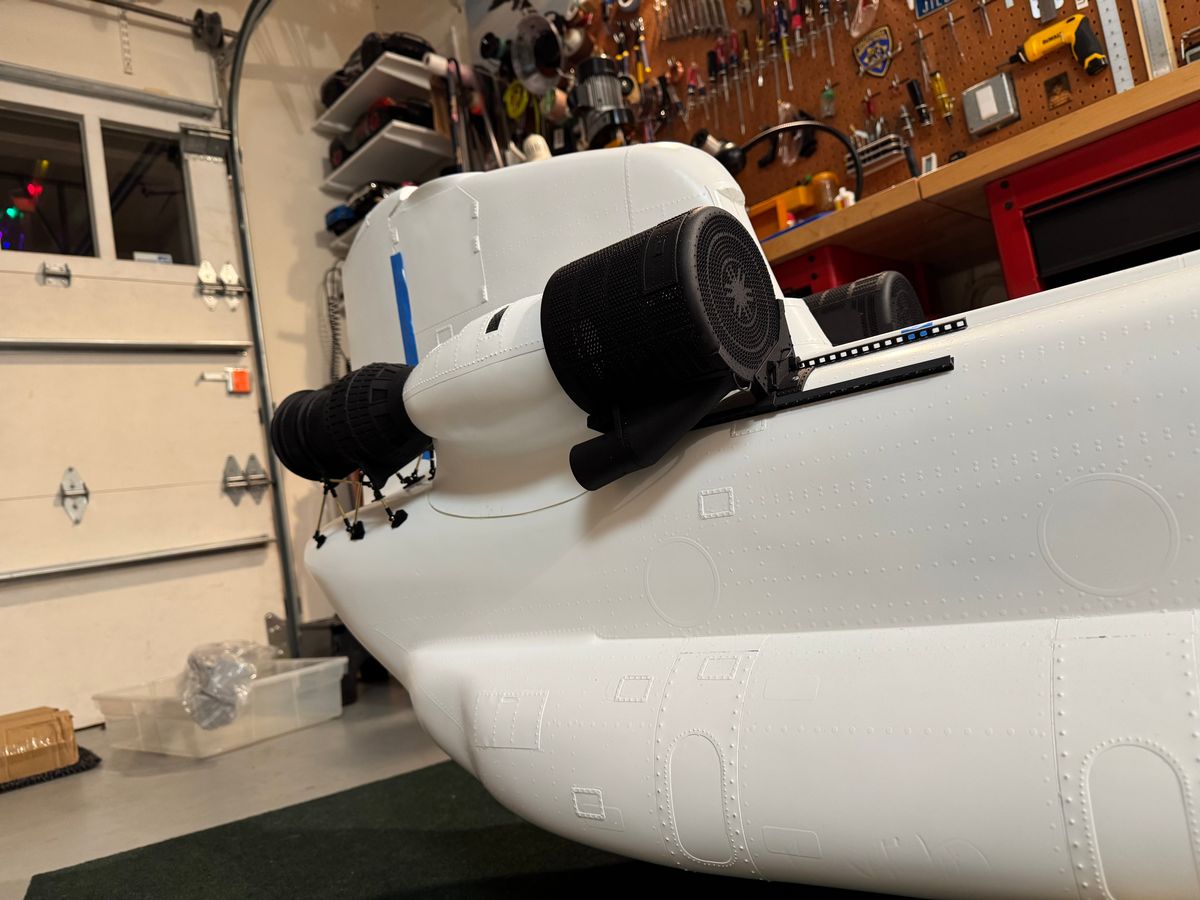
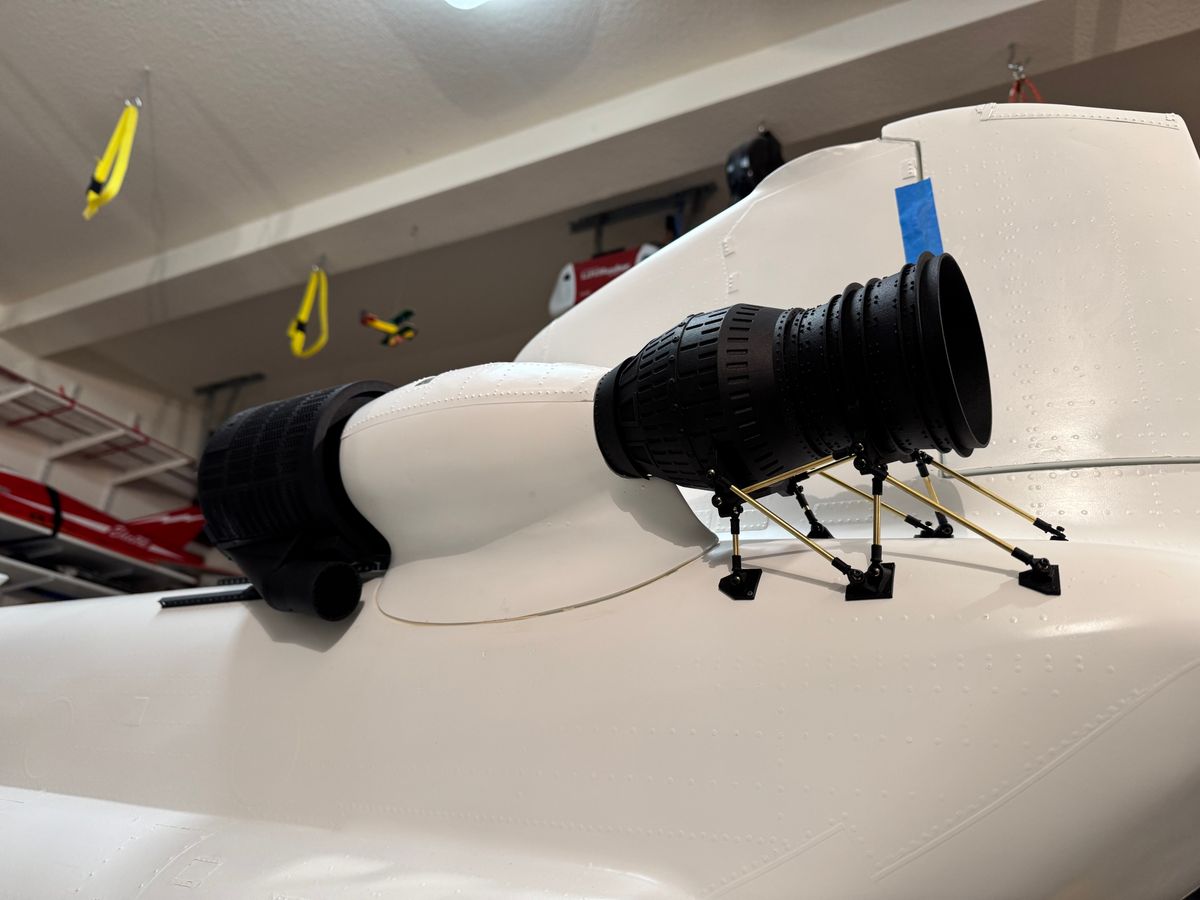
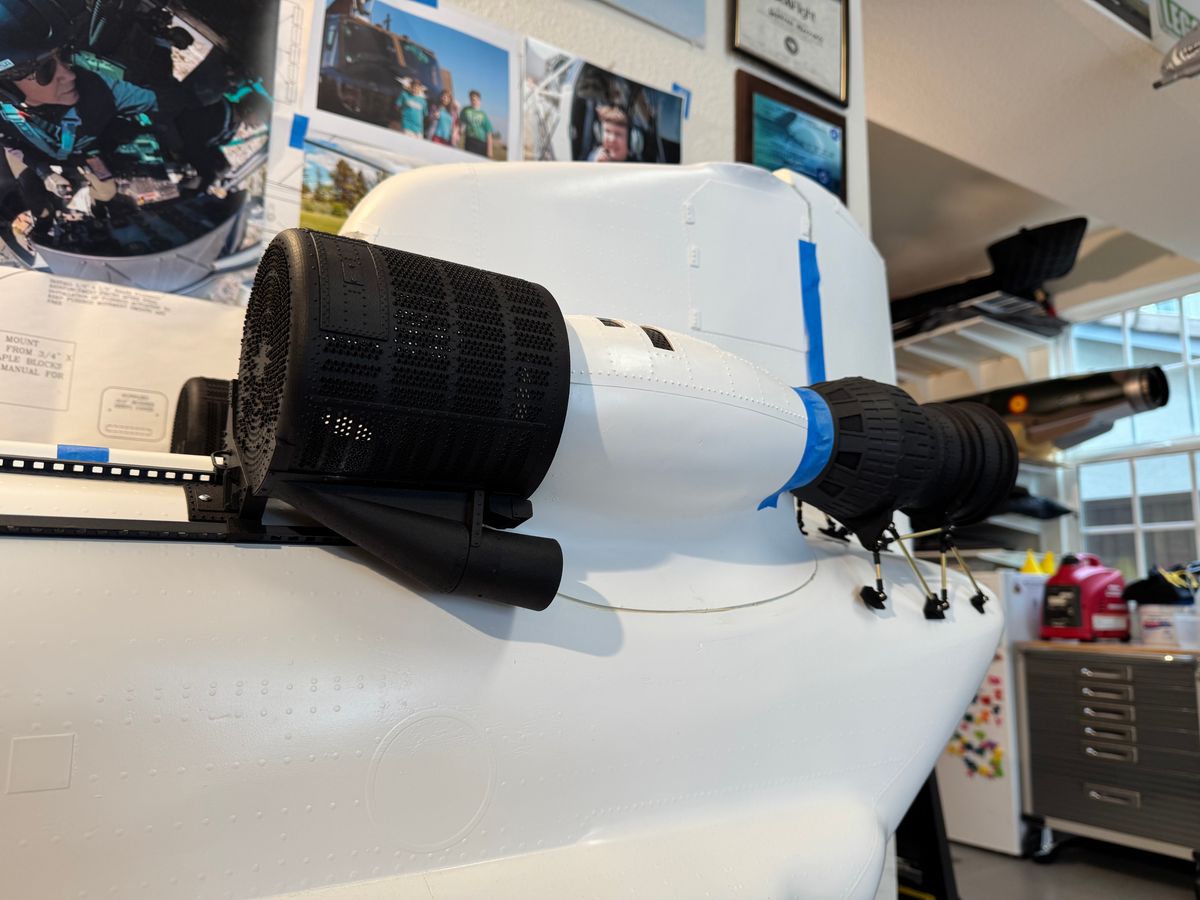
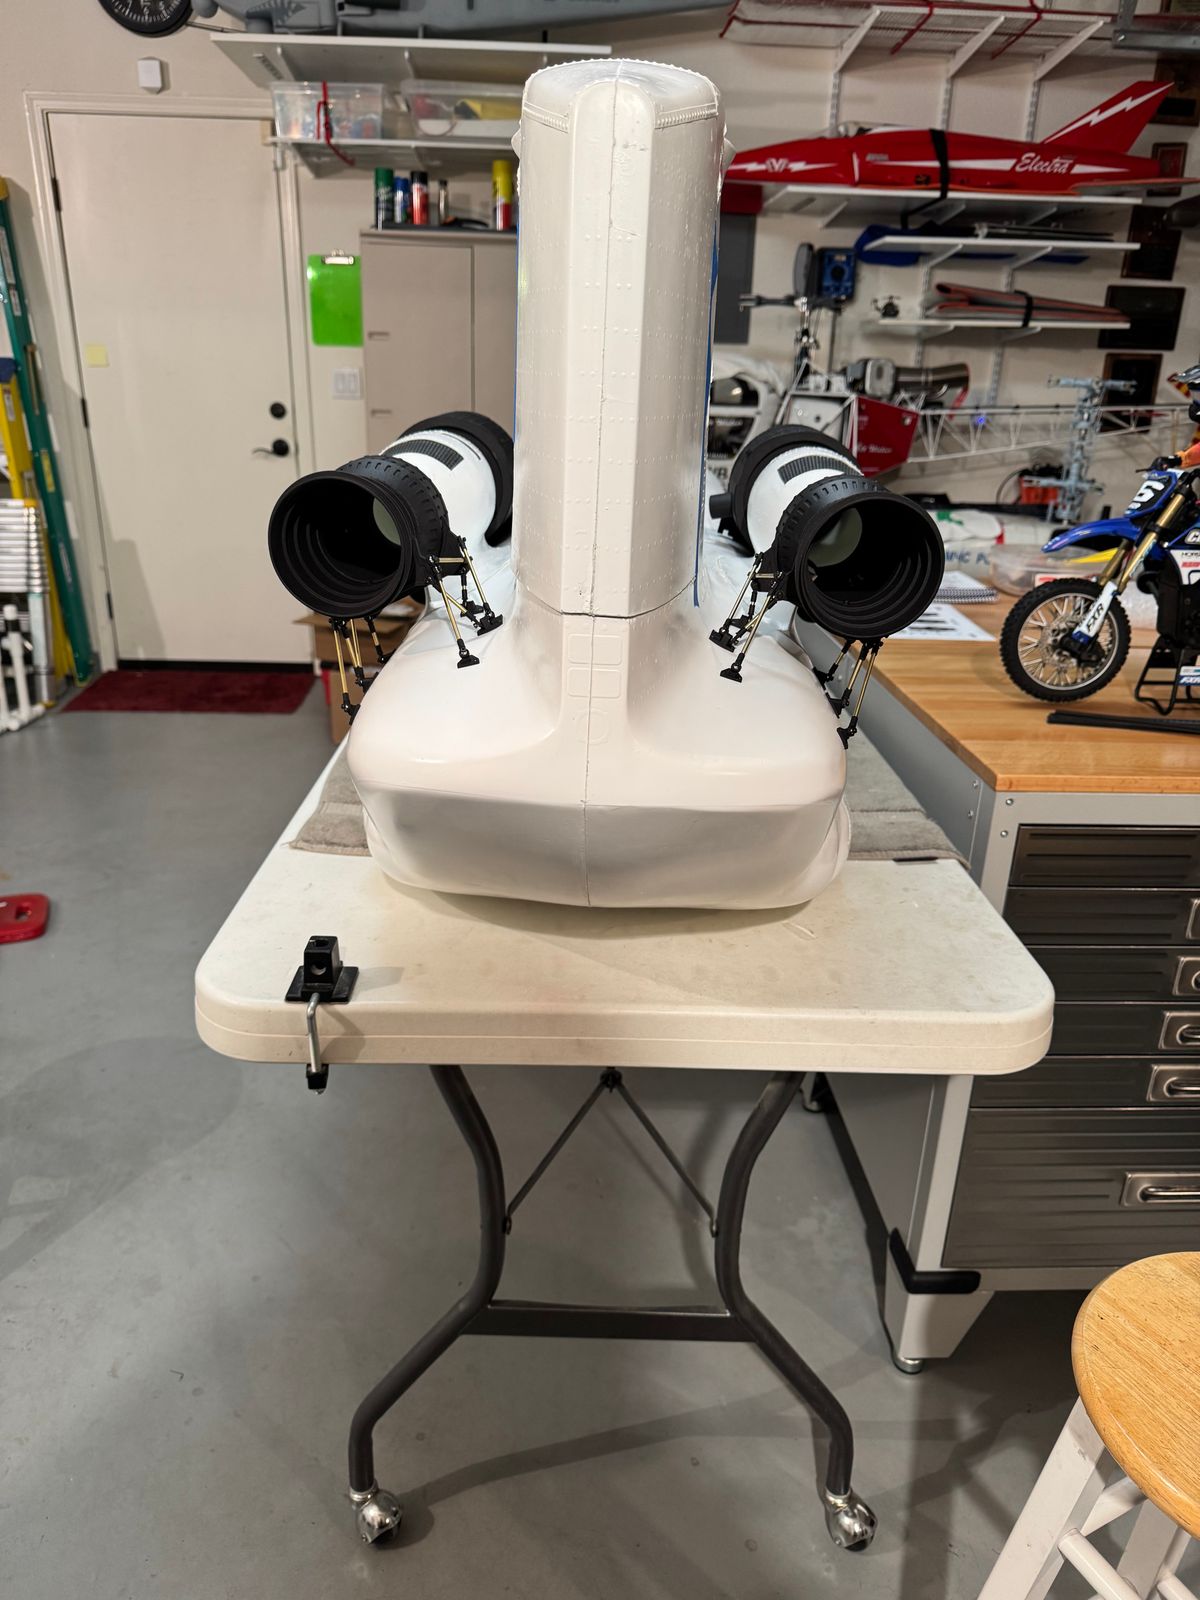
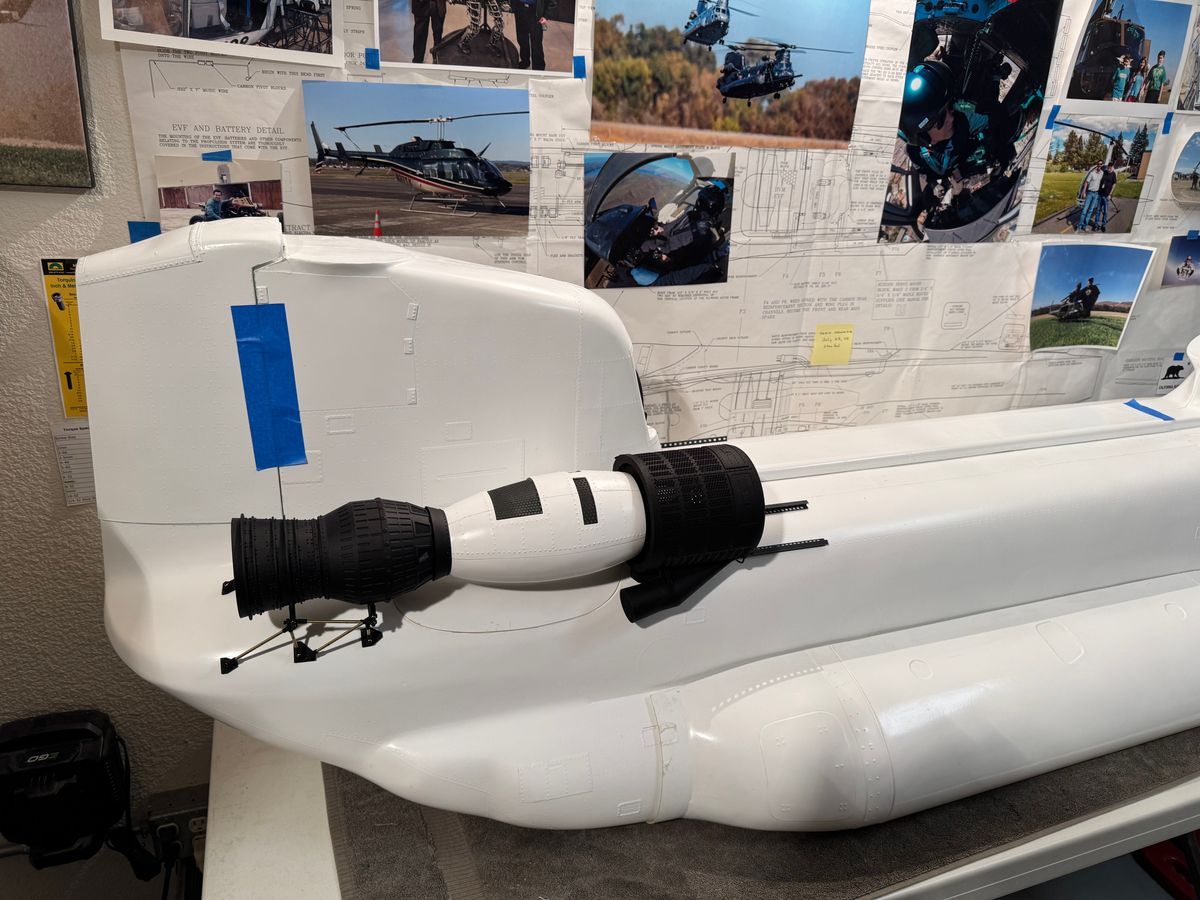
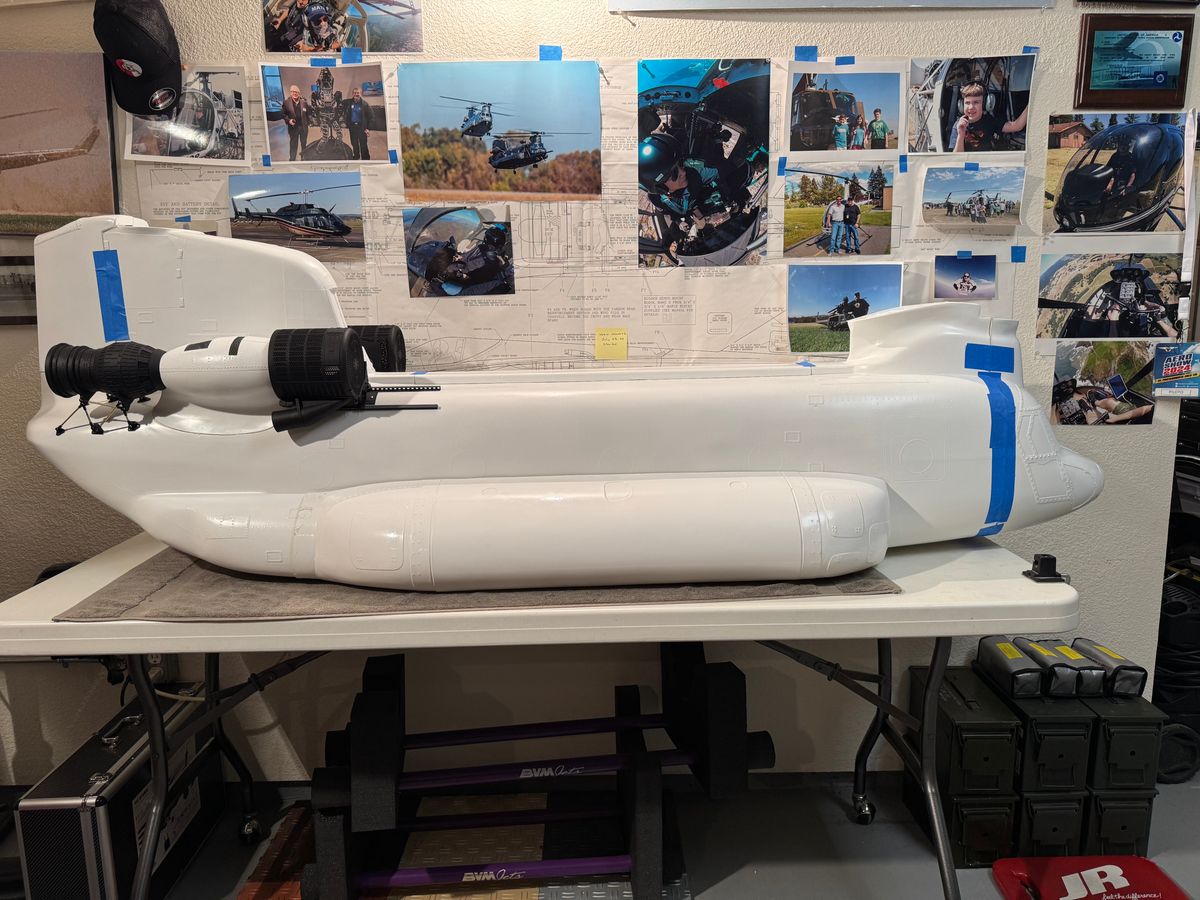
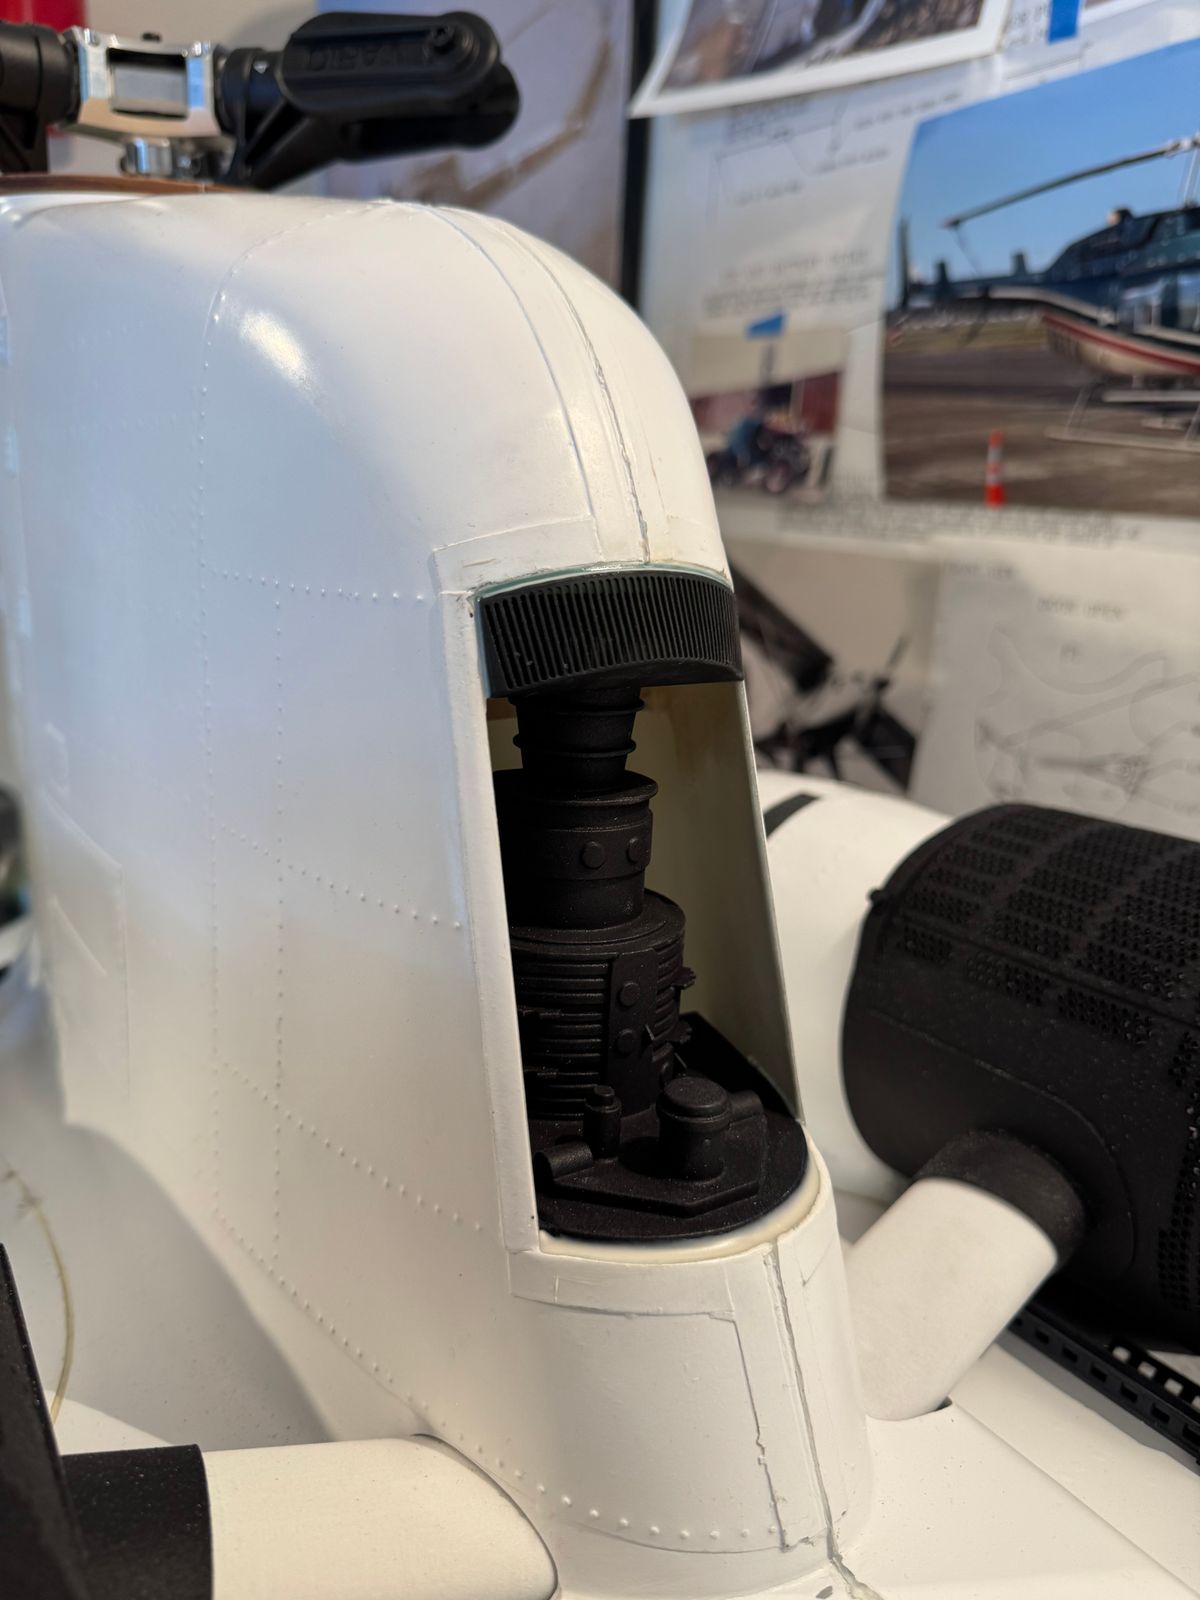
The scale turbines are in including the dust off filters for special operations and IR exhaust! Also trying the MH side tanks version.
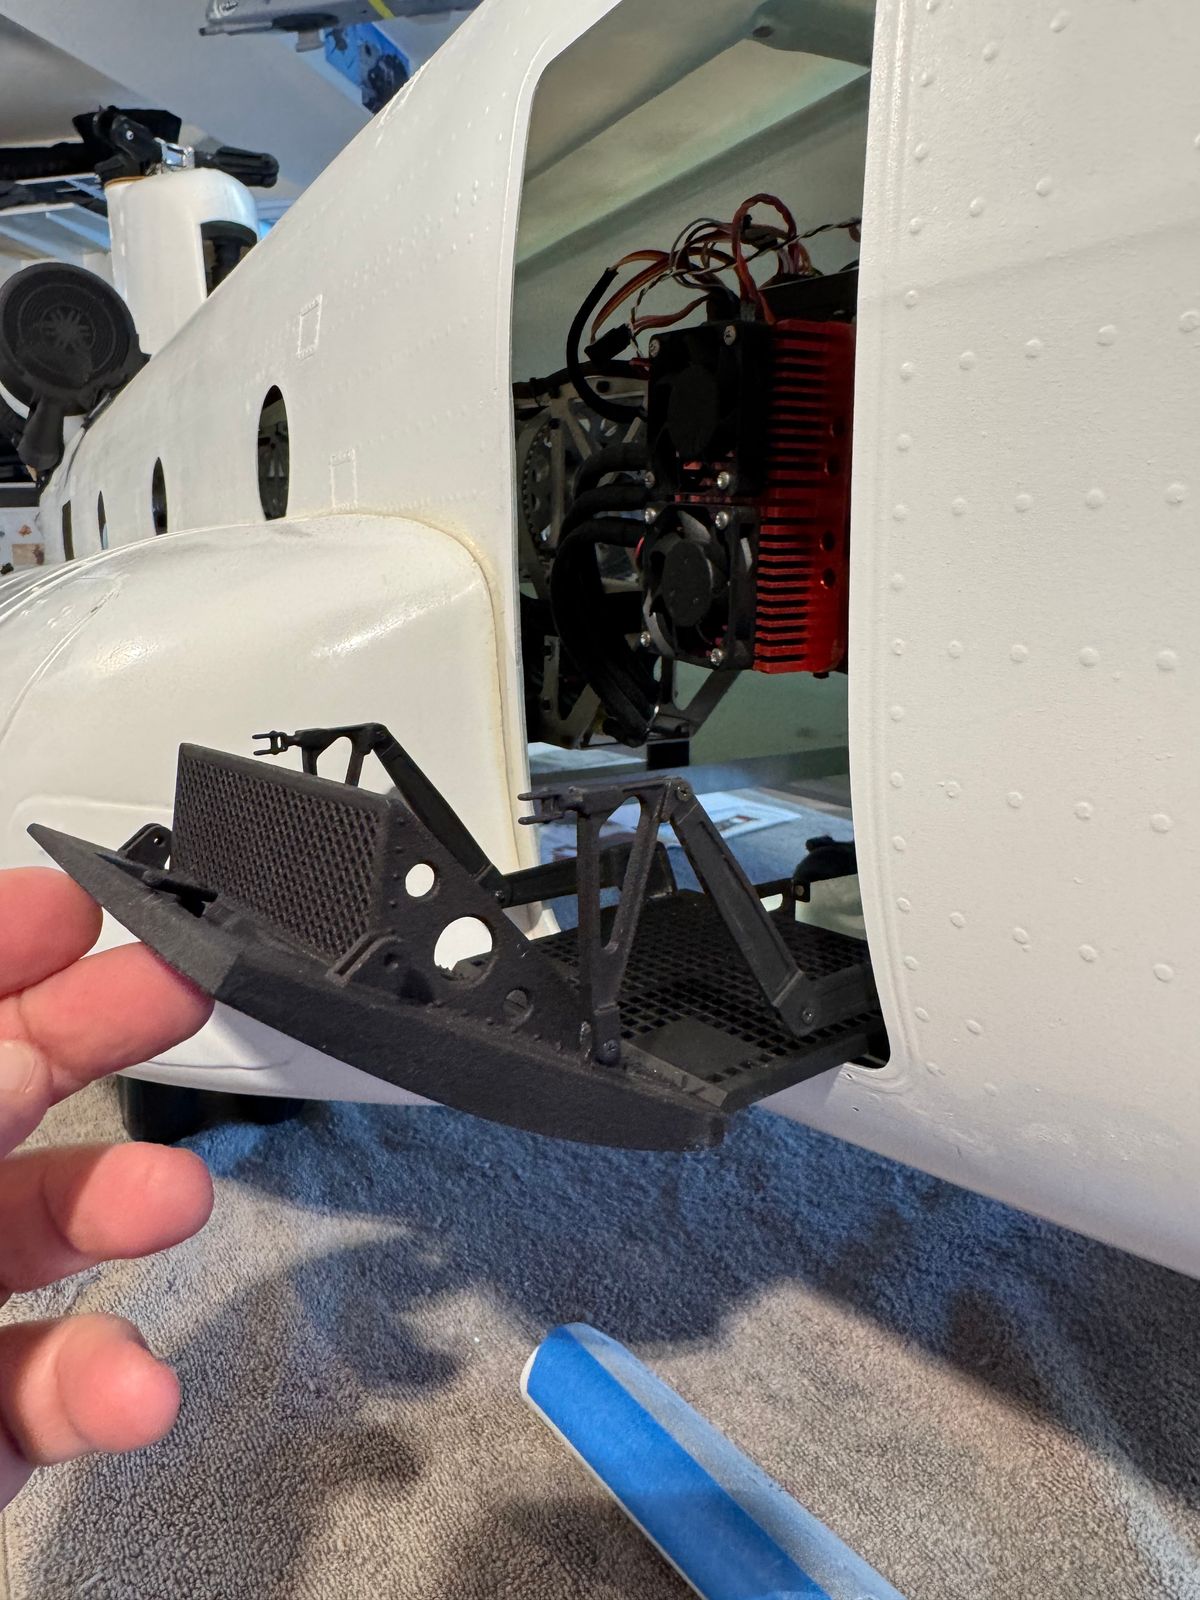
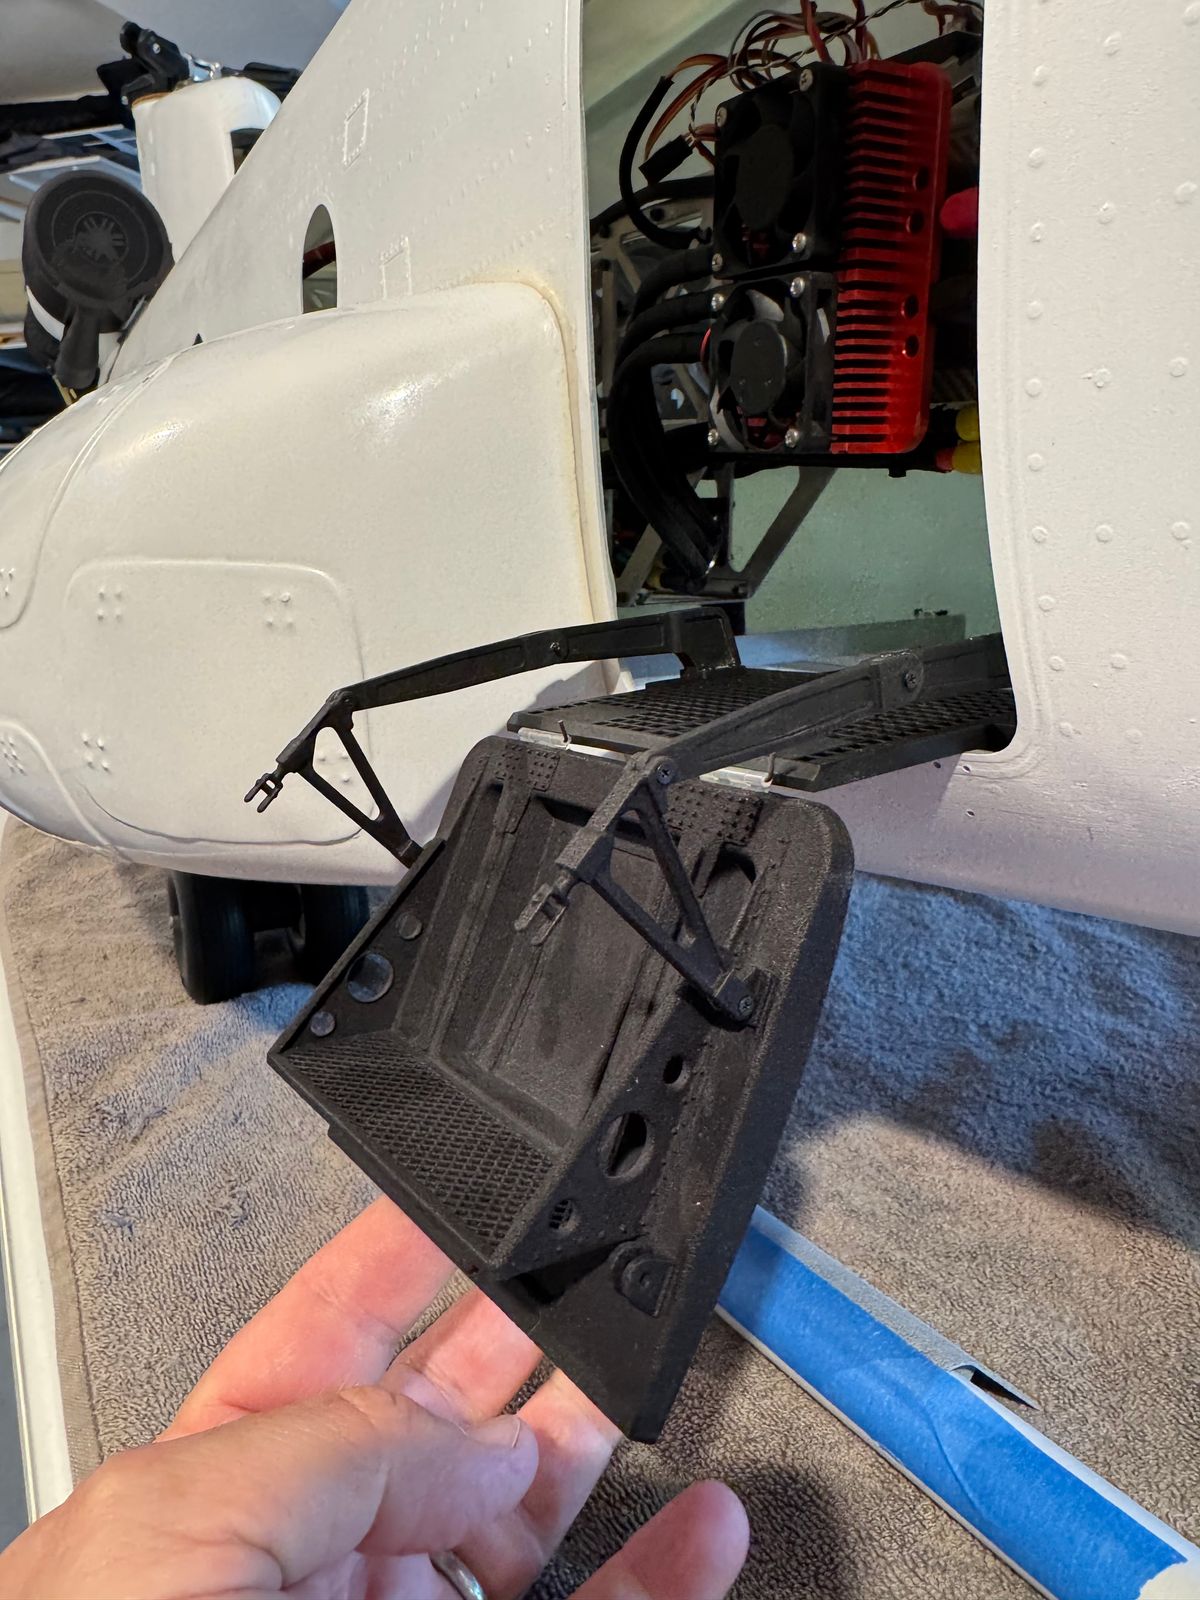
Side slide door
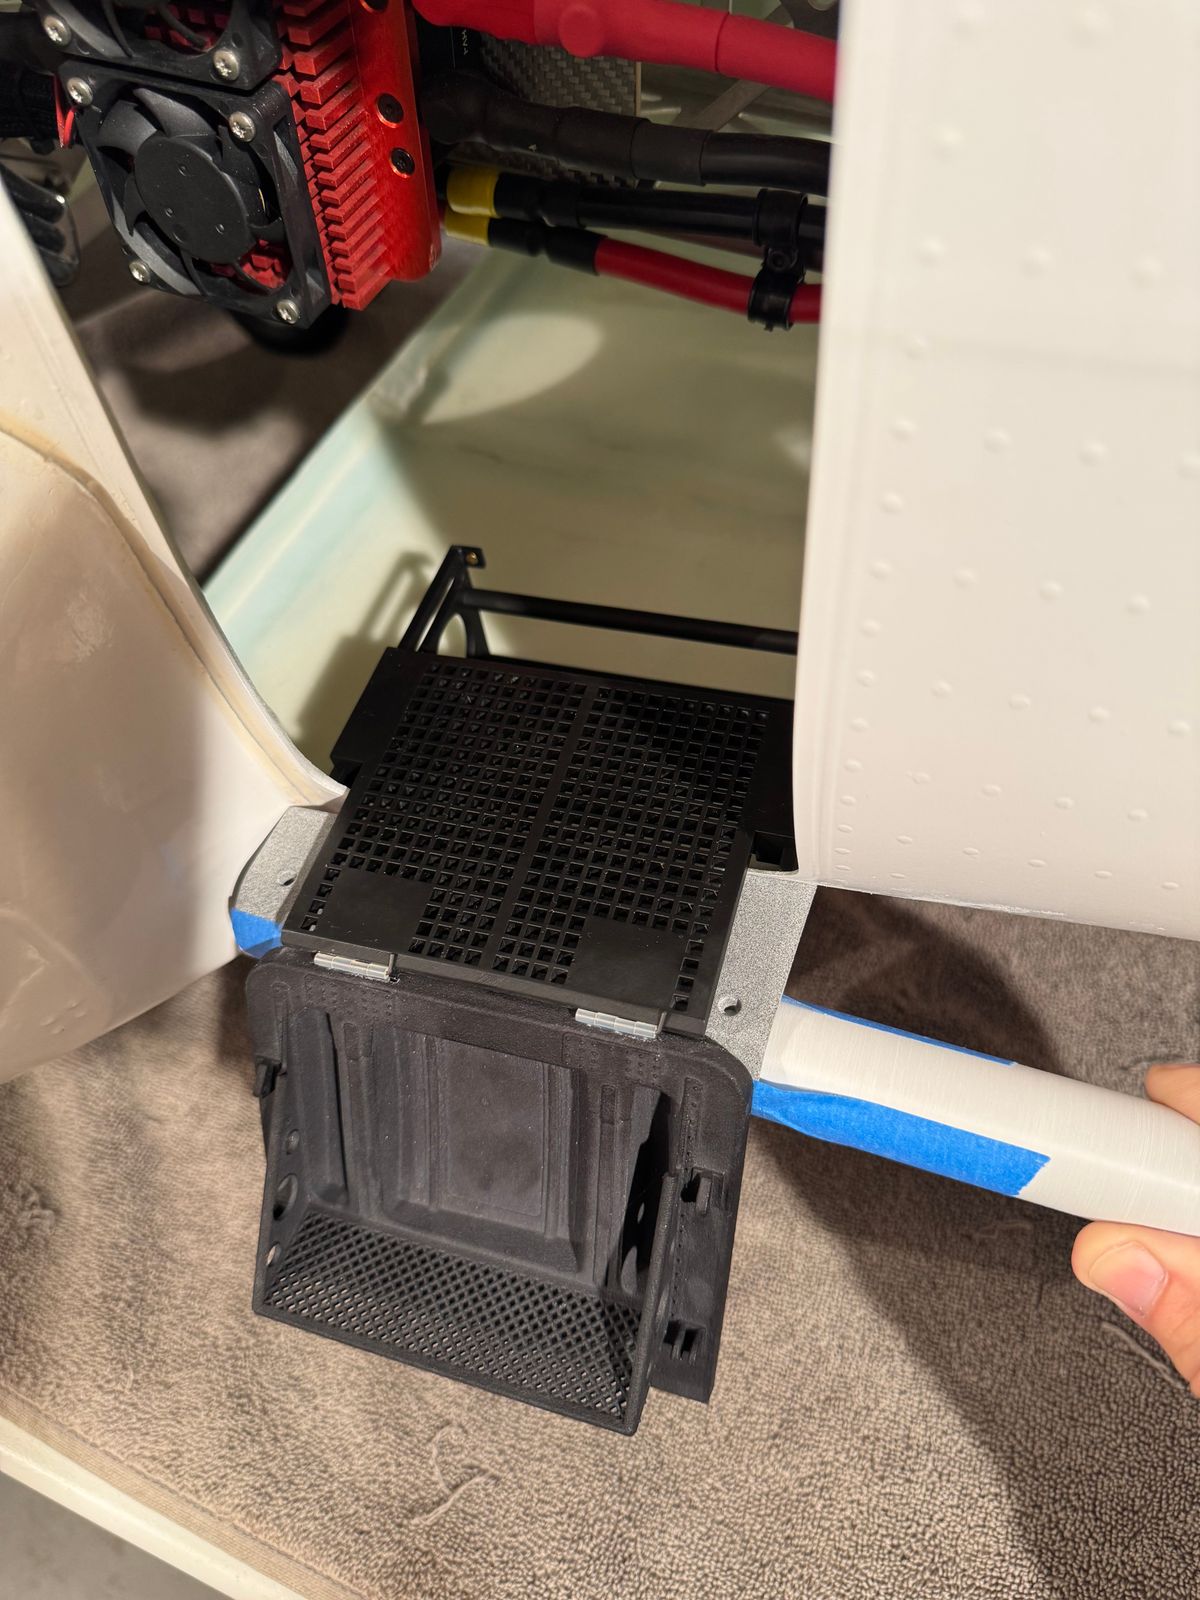
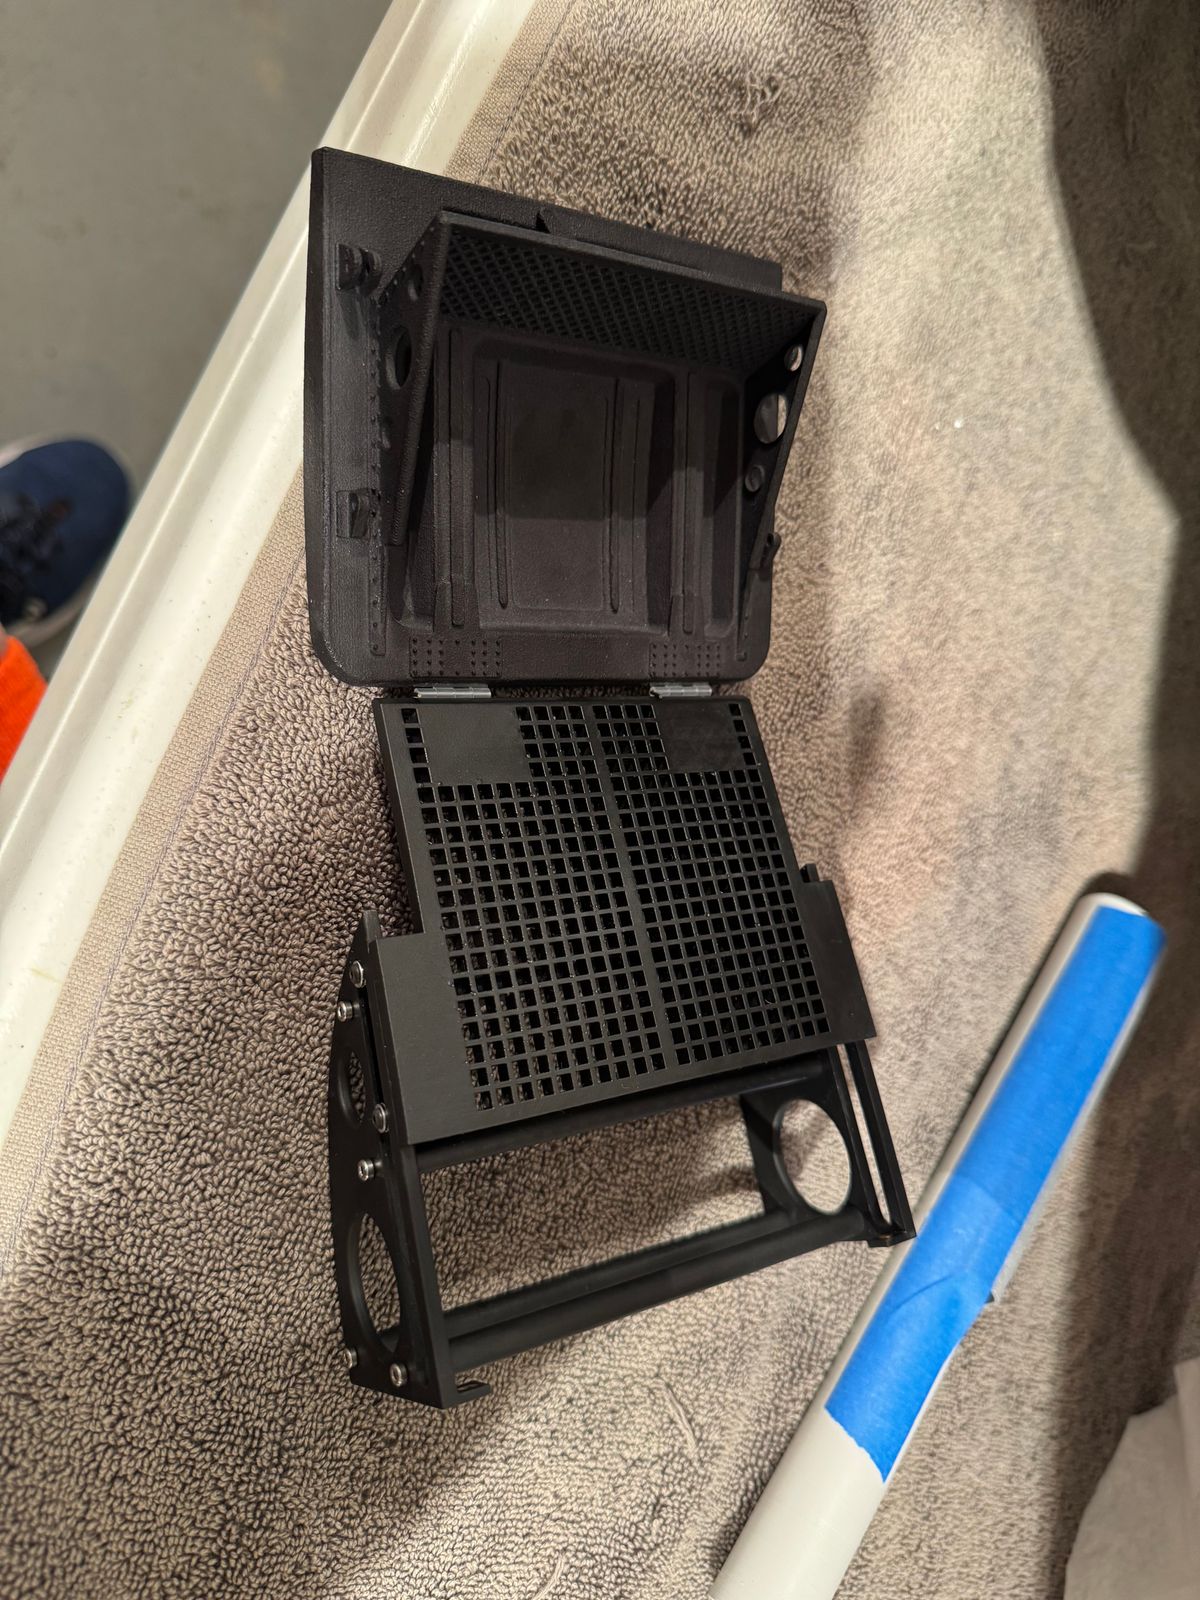
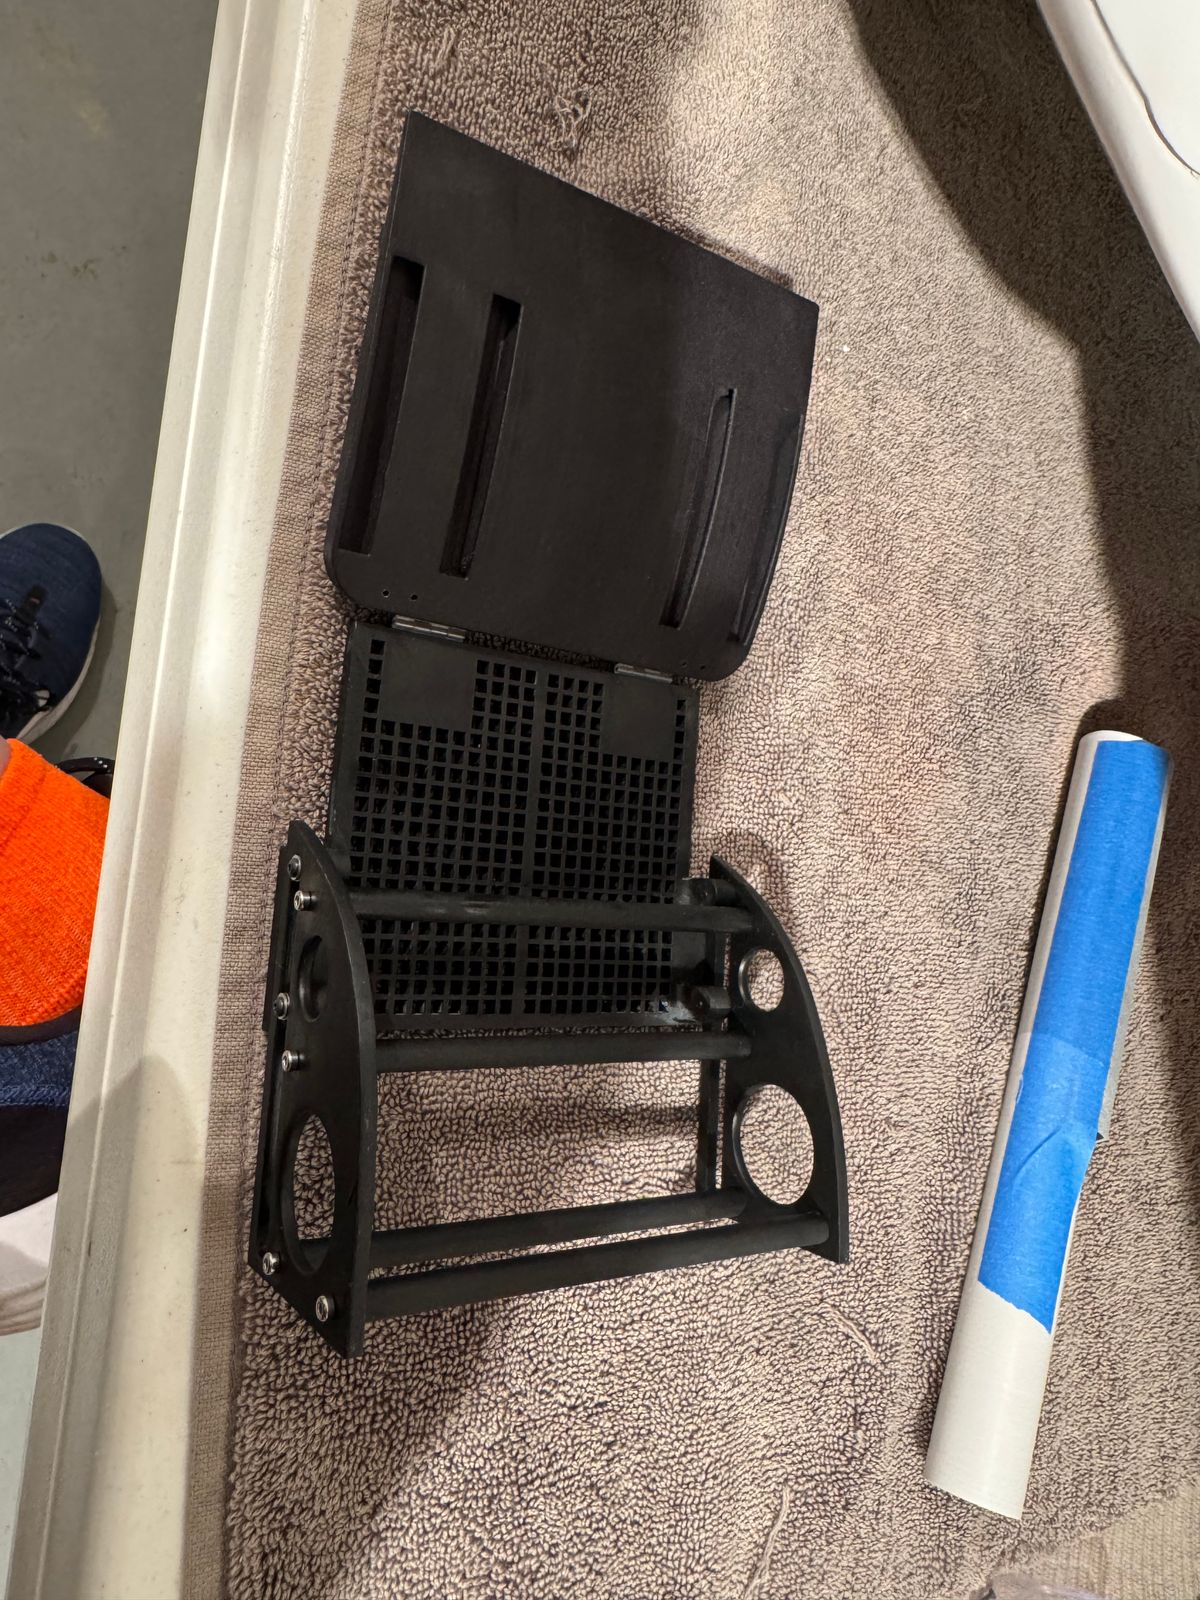
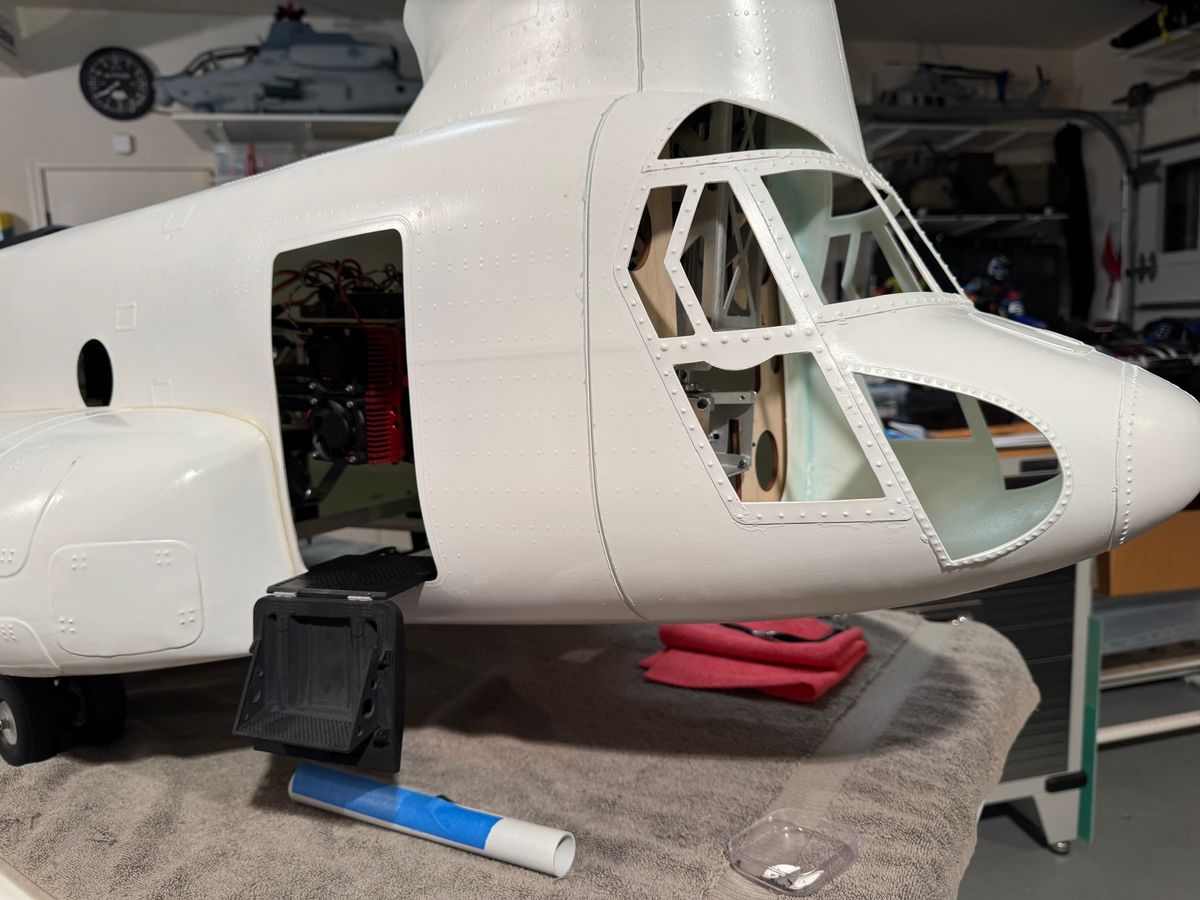
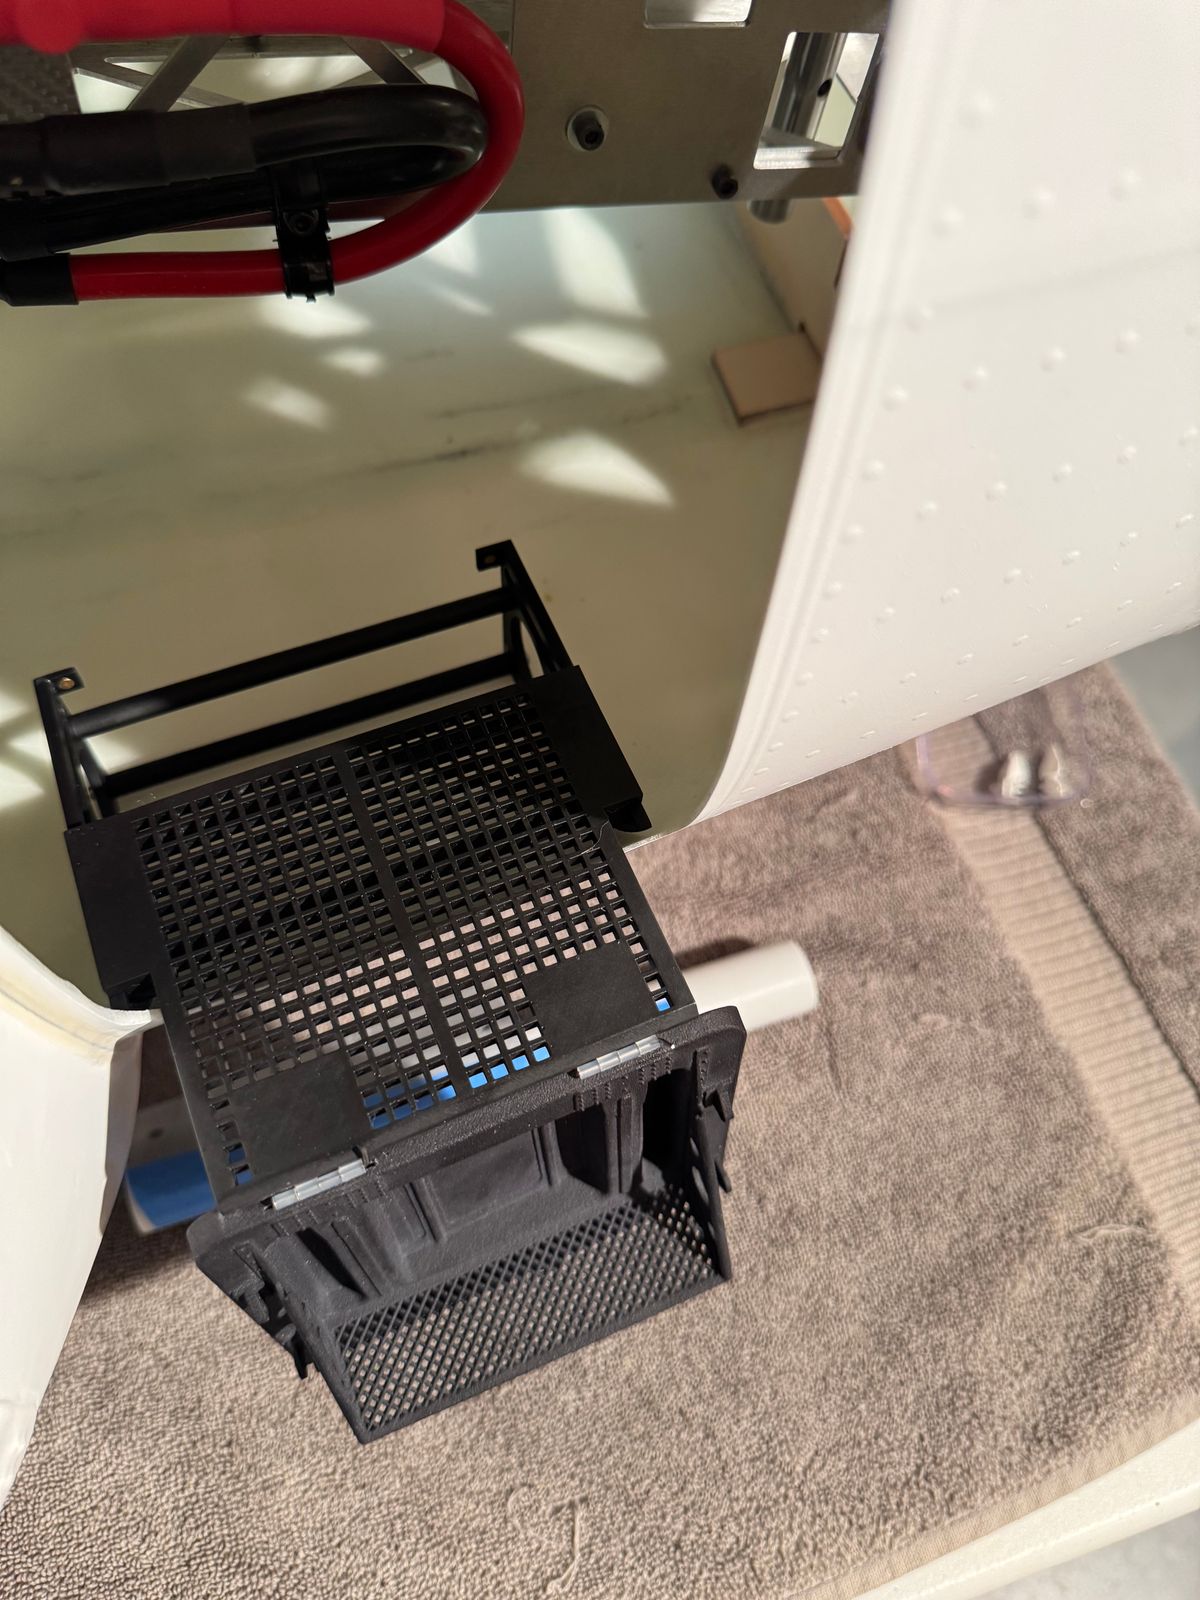
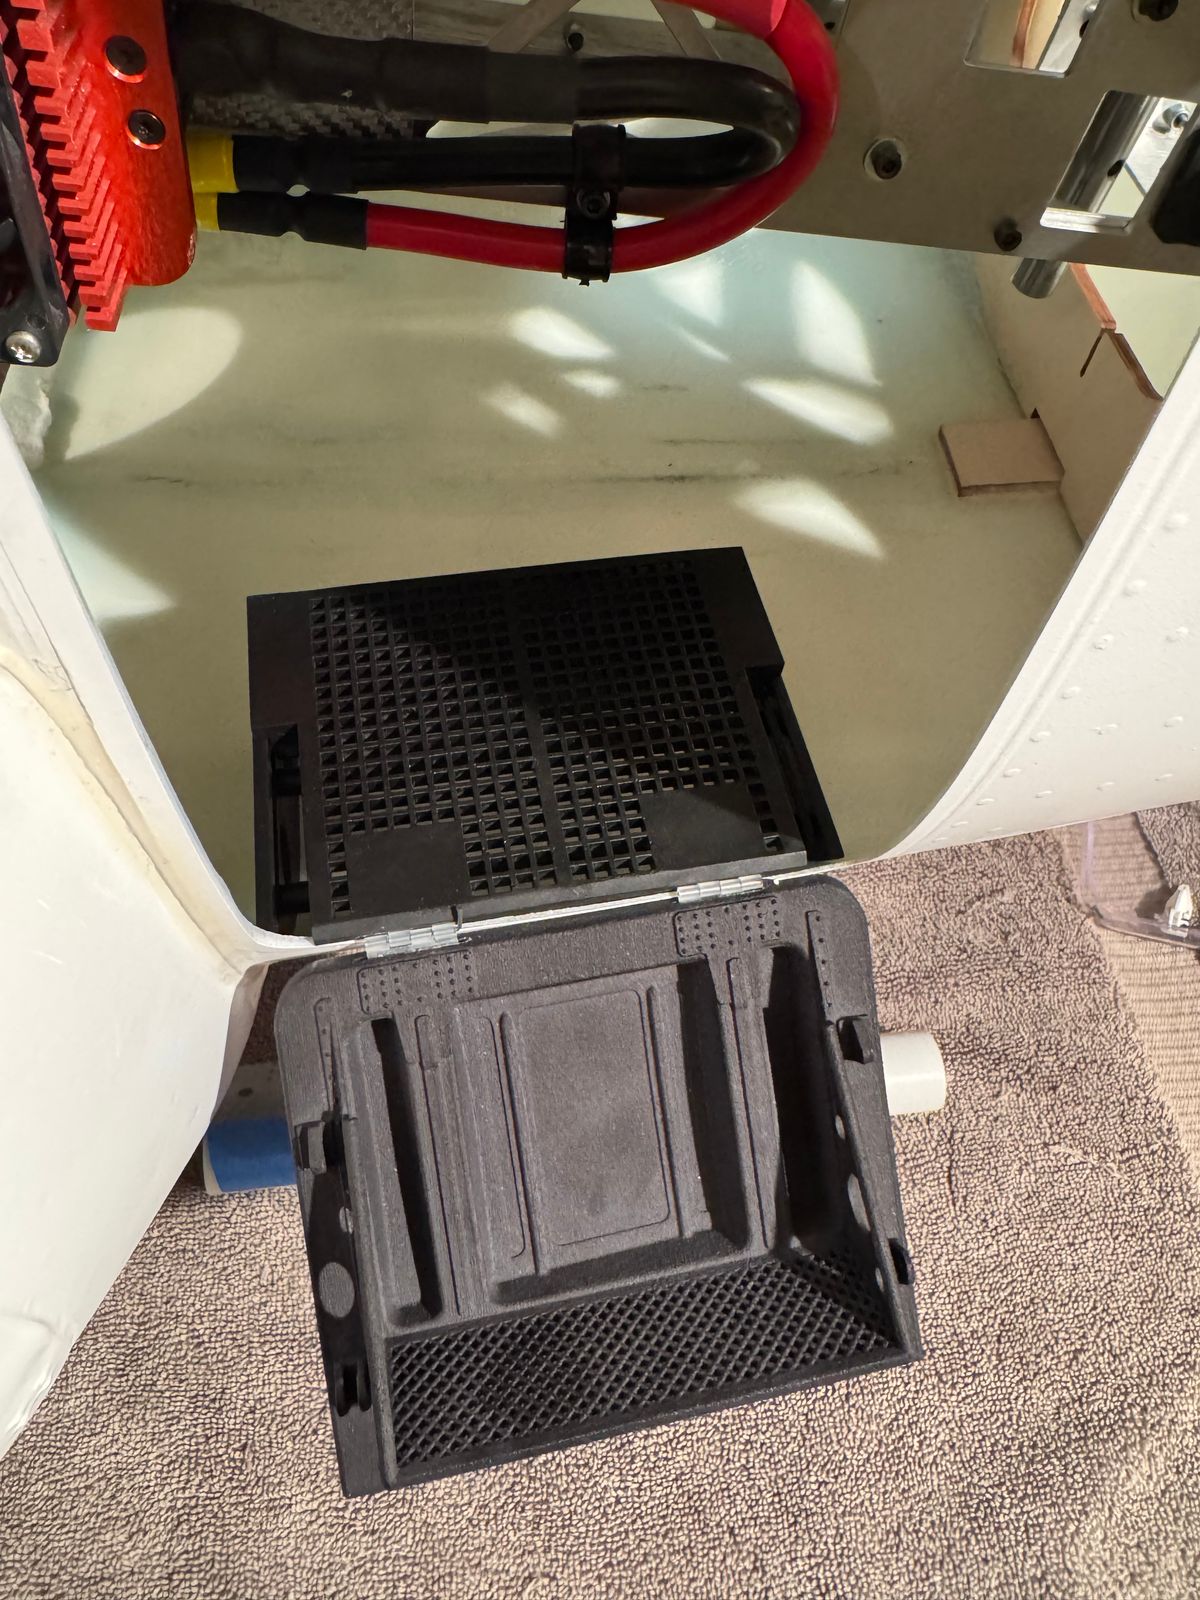
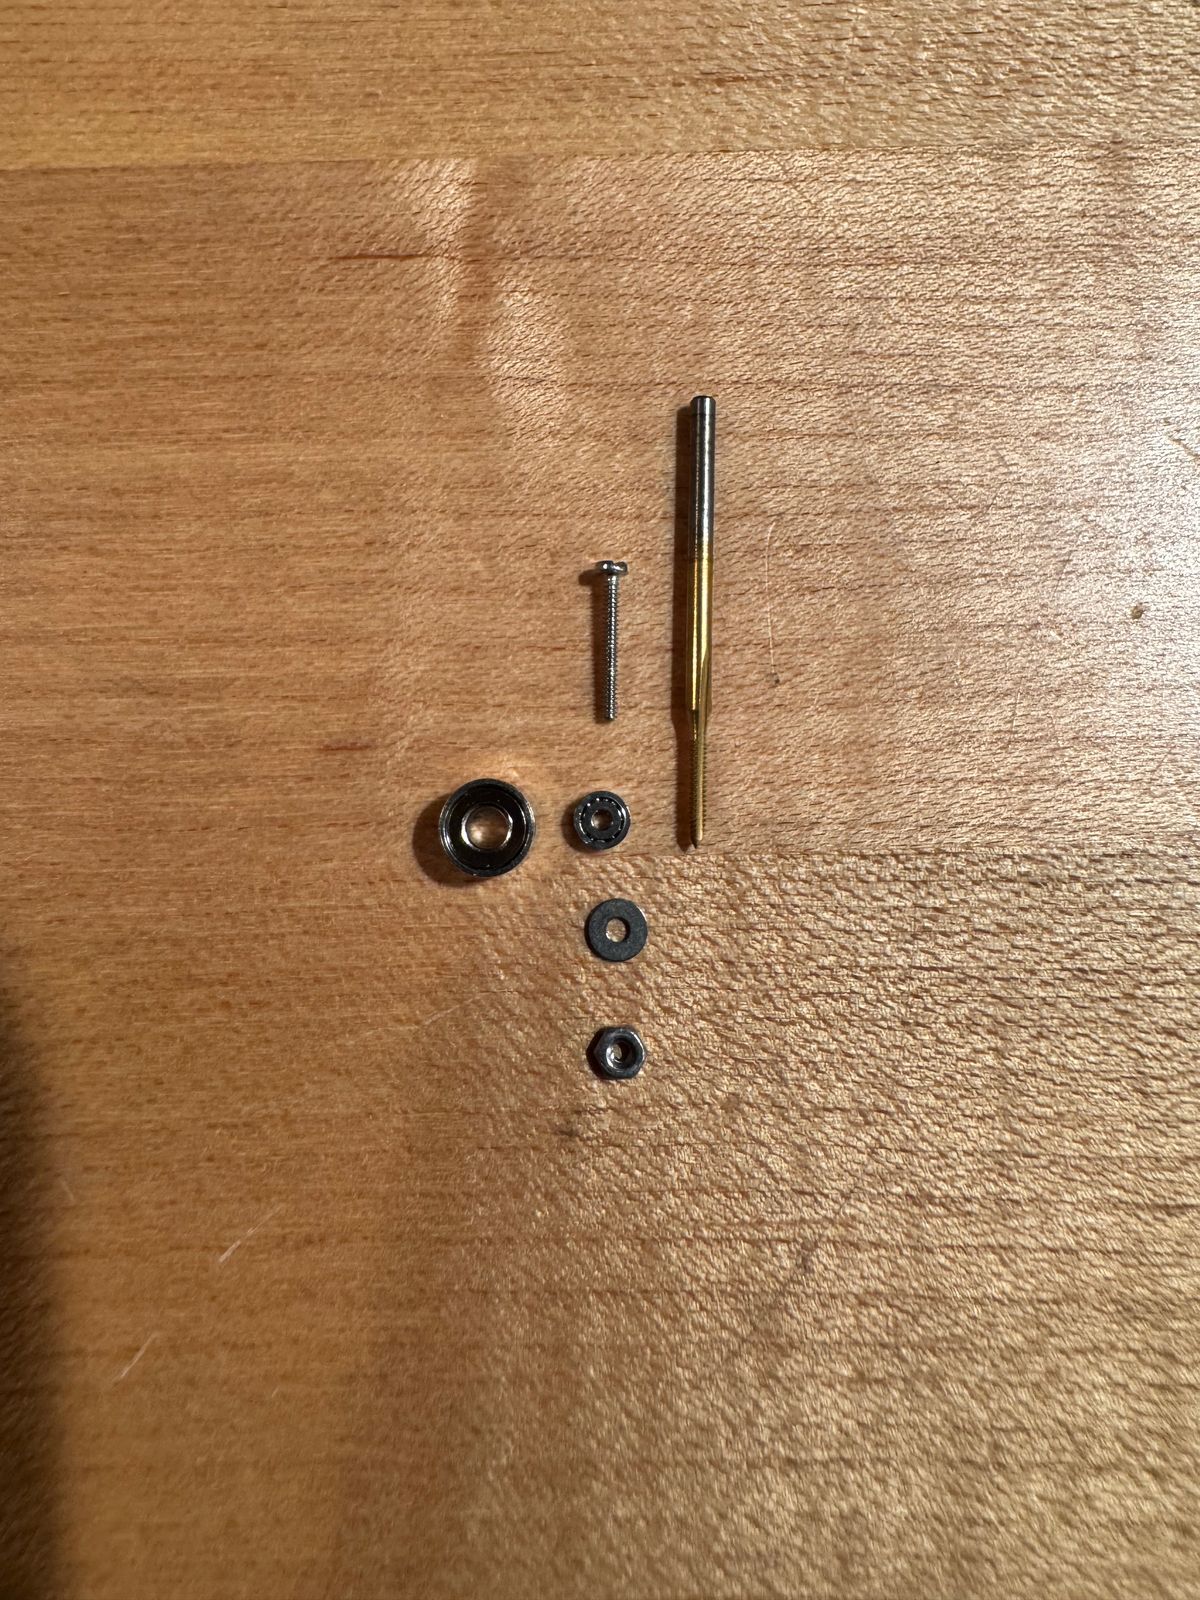
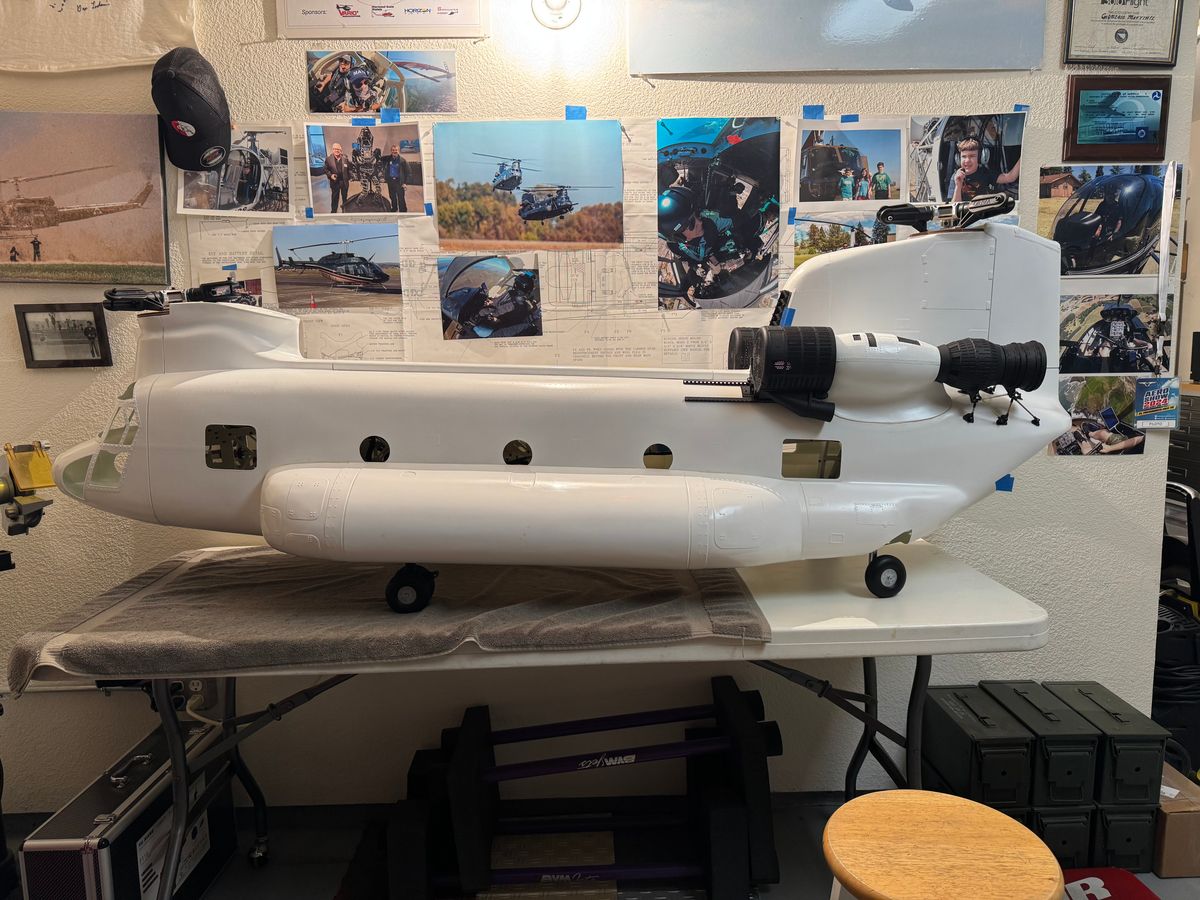
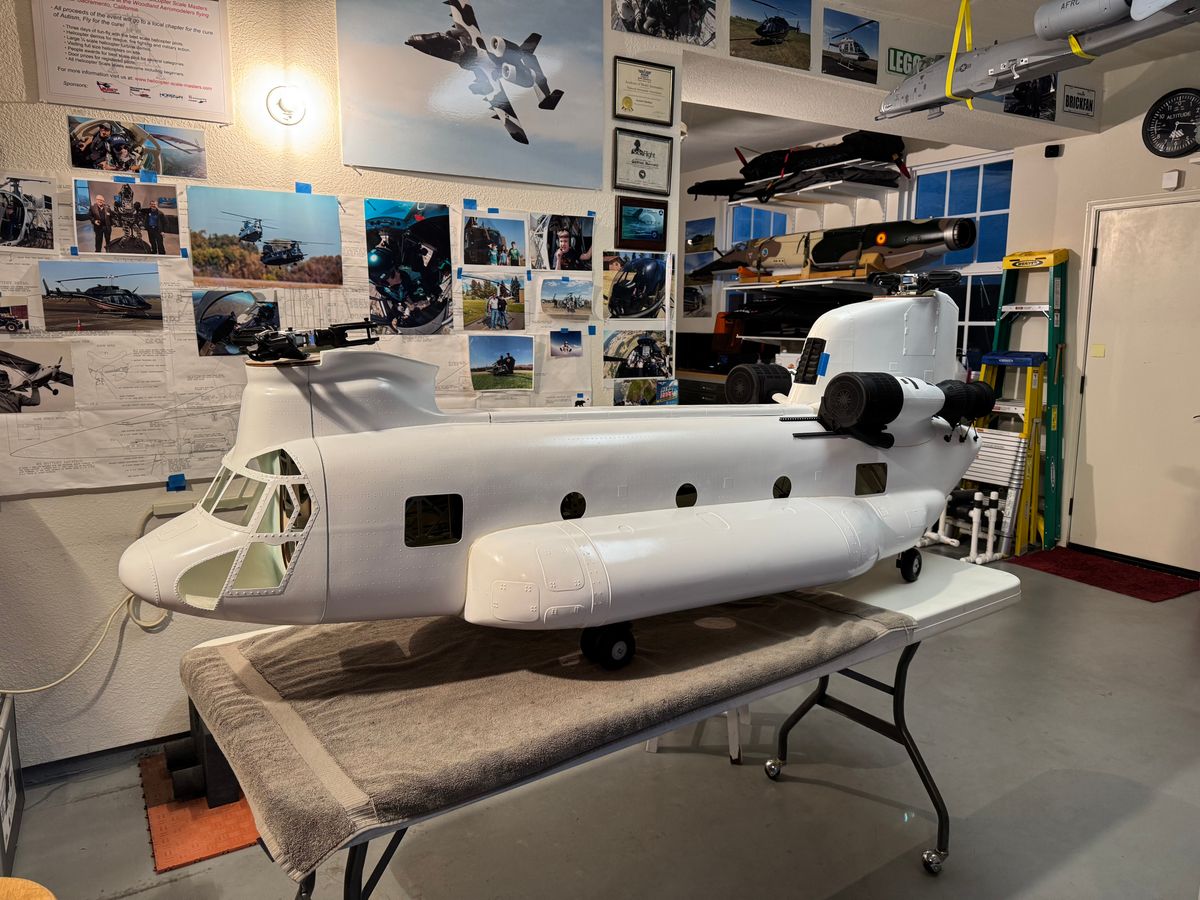
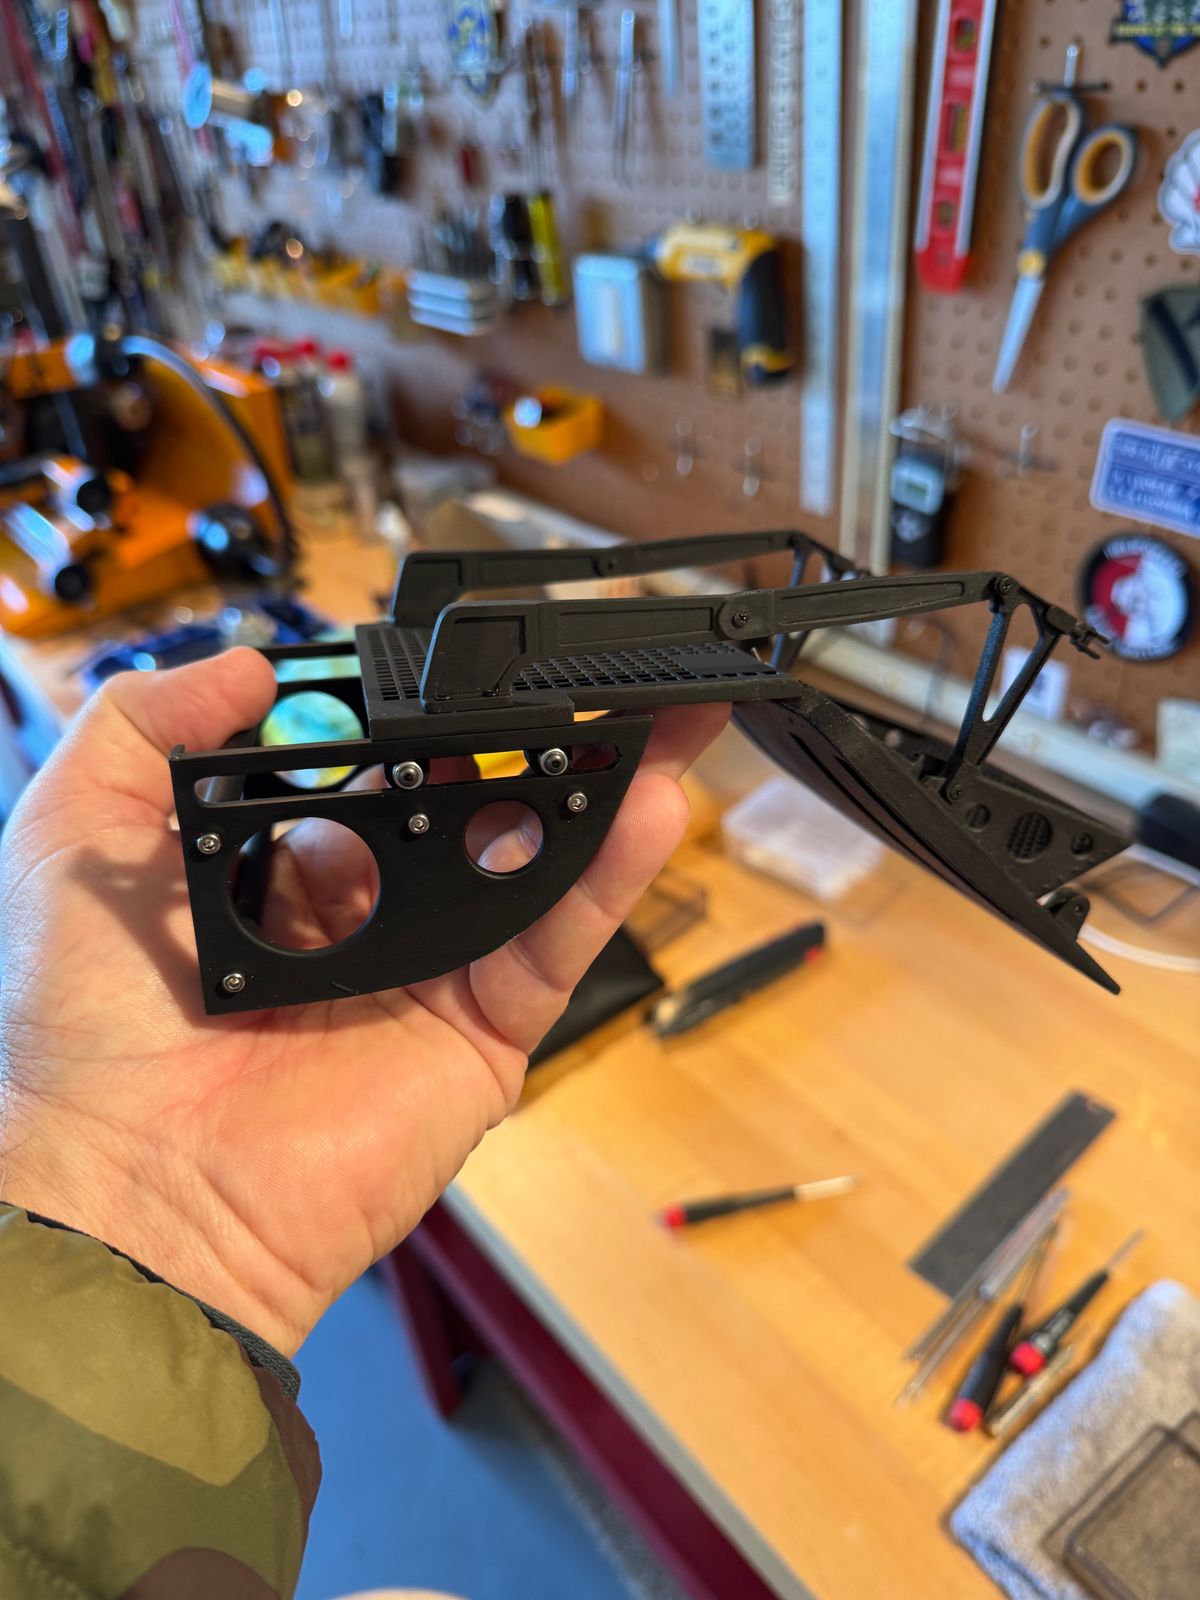
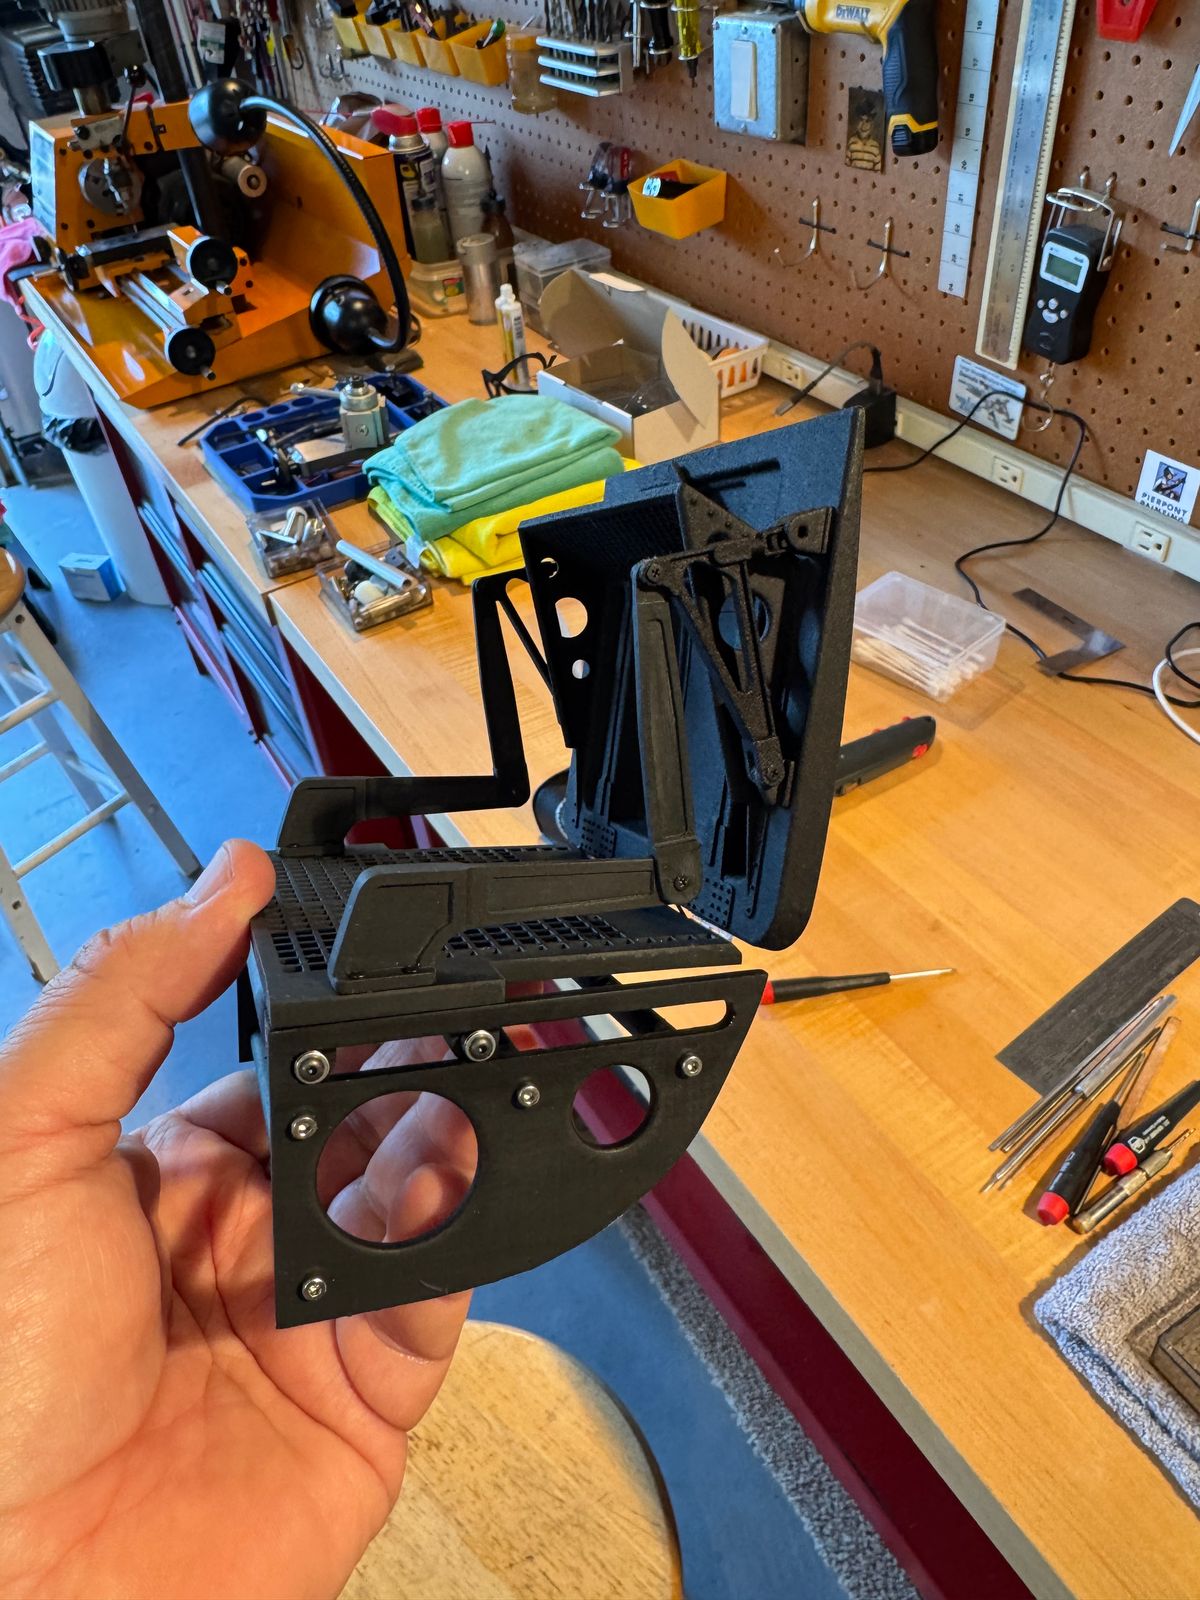
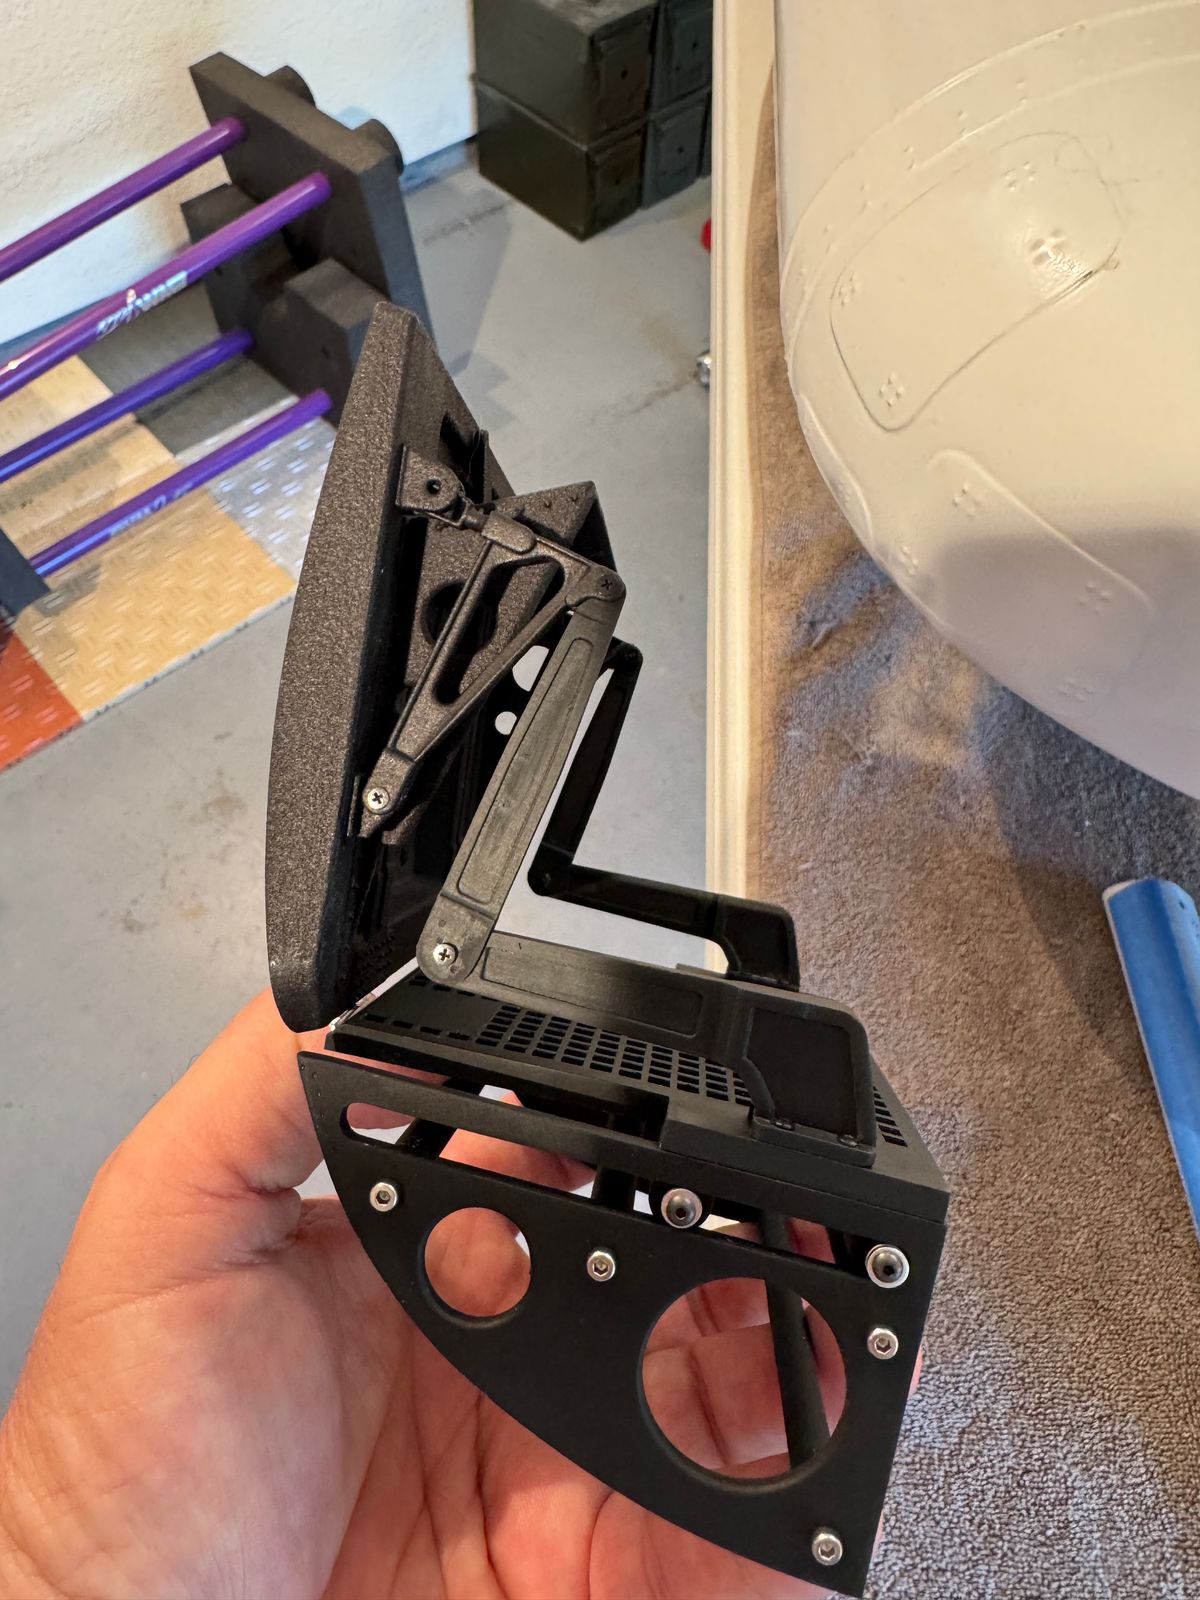
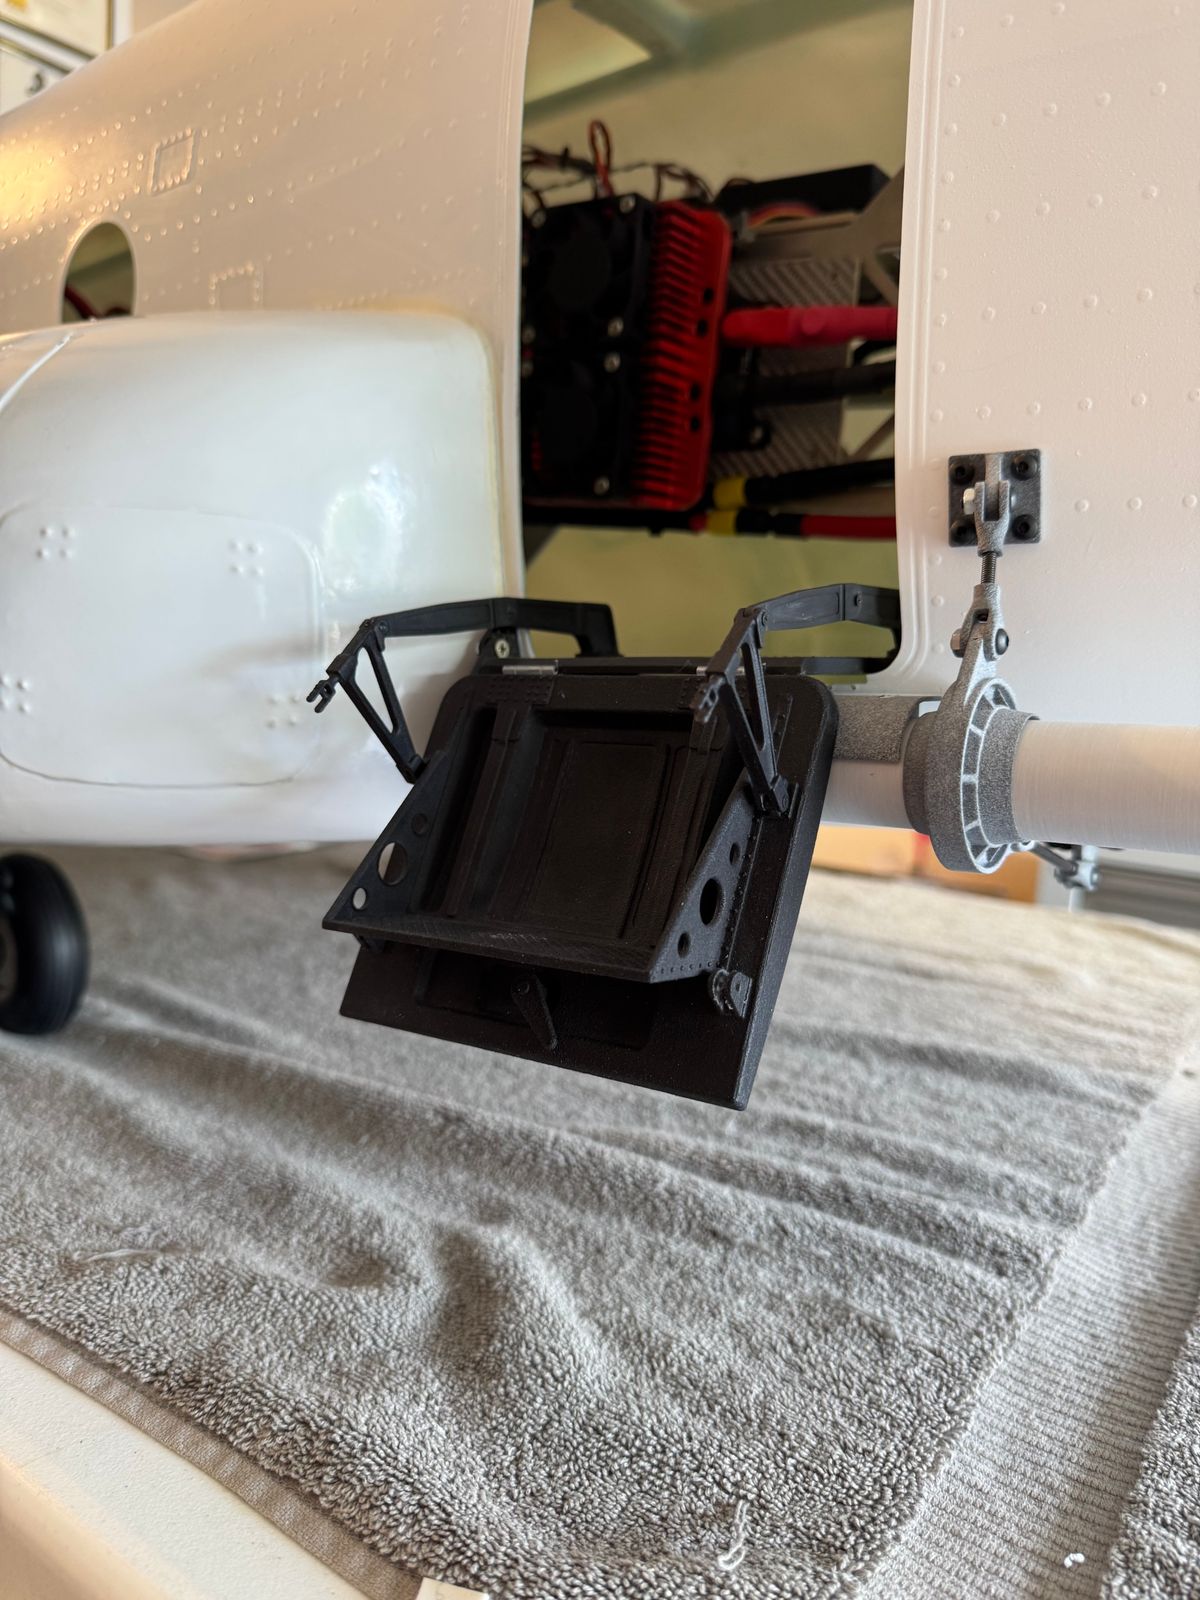
The slide platform project for the Chinook MH-47 has reached completion. A key aspect of the design is the side pax/crew door, which is required to slide in order to accommodate the fuel boom. This final iteration incorporates bearings. The search for compact bearings yielded impressive results, including the identification of exceptionally small bearings with a 1mm ID on Amazon, highlighting the advantages of leveraging design software for efficient and enjoyable prototyping is so freaking cool!
Fuel boom
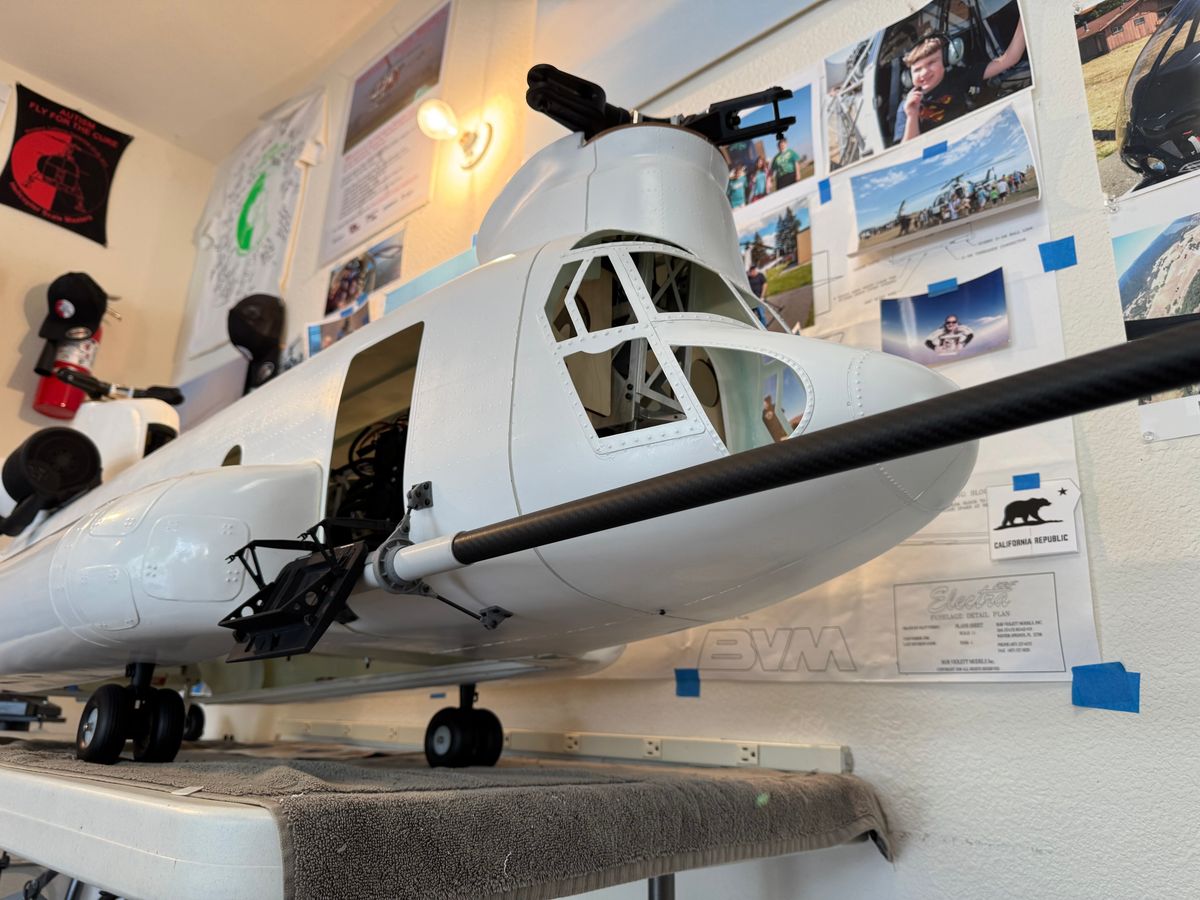
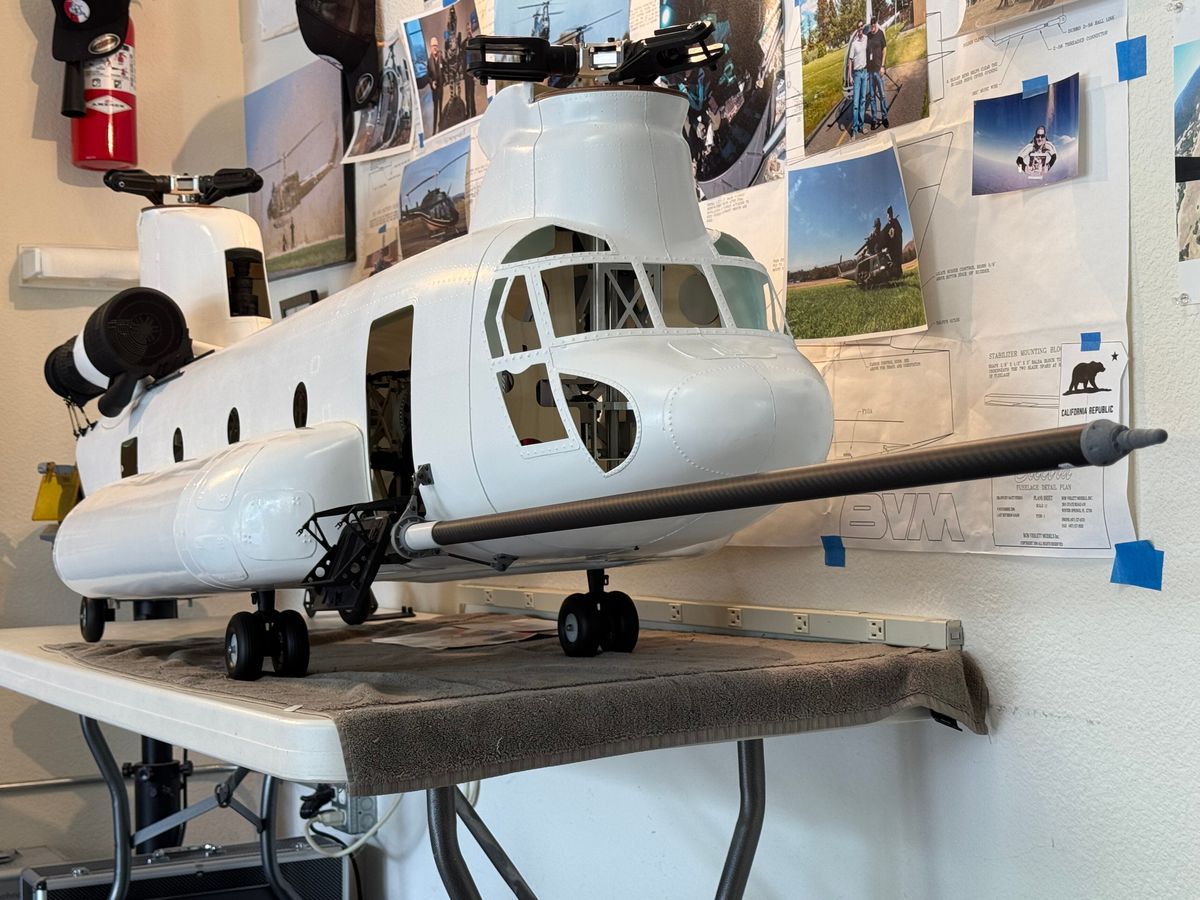
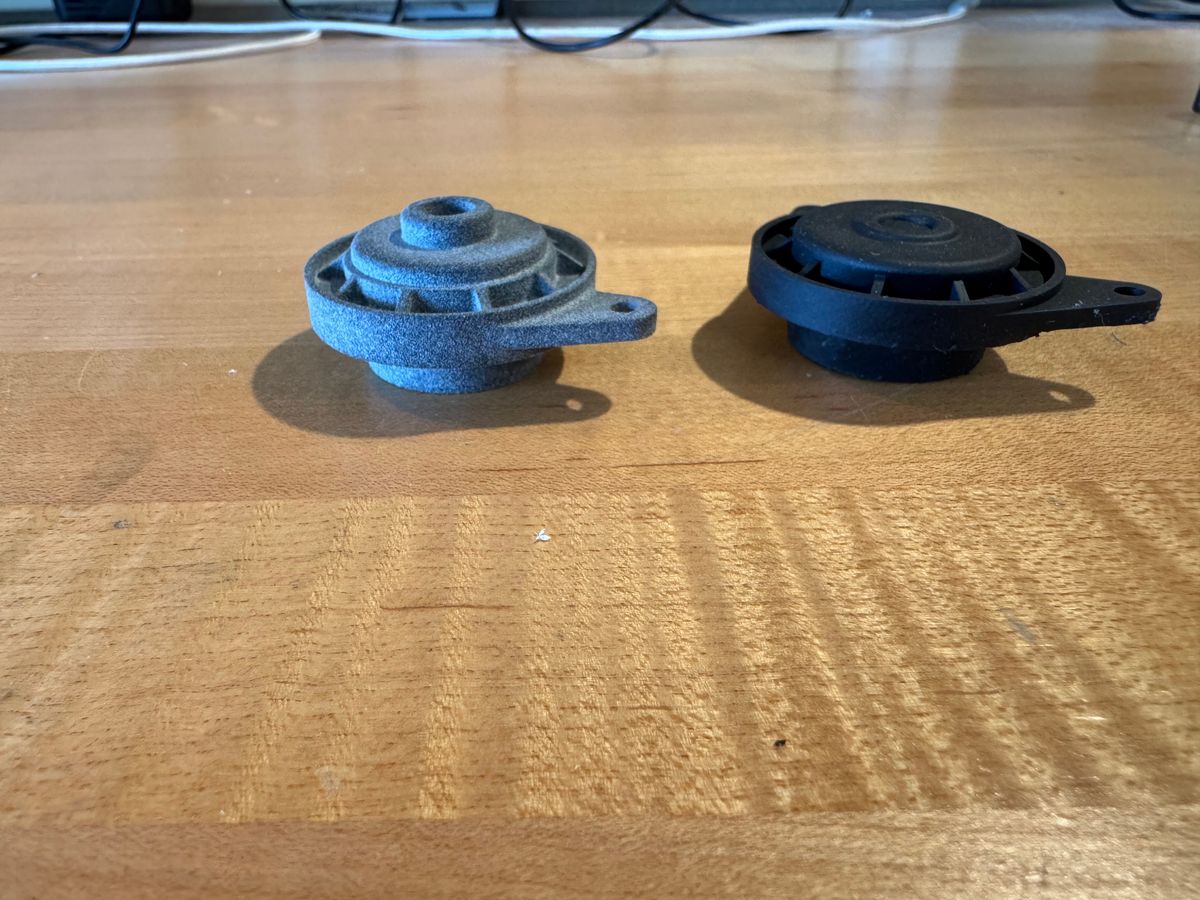
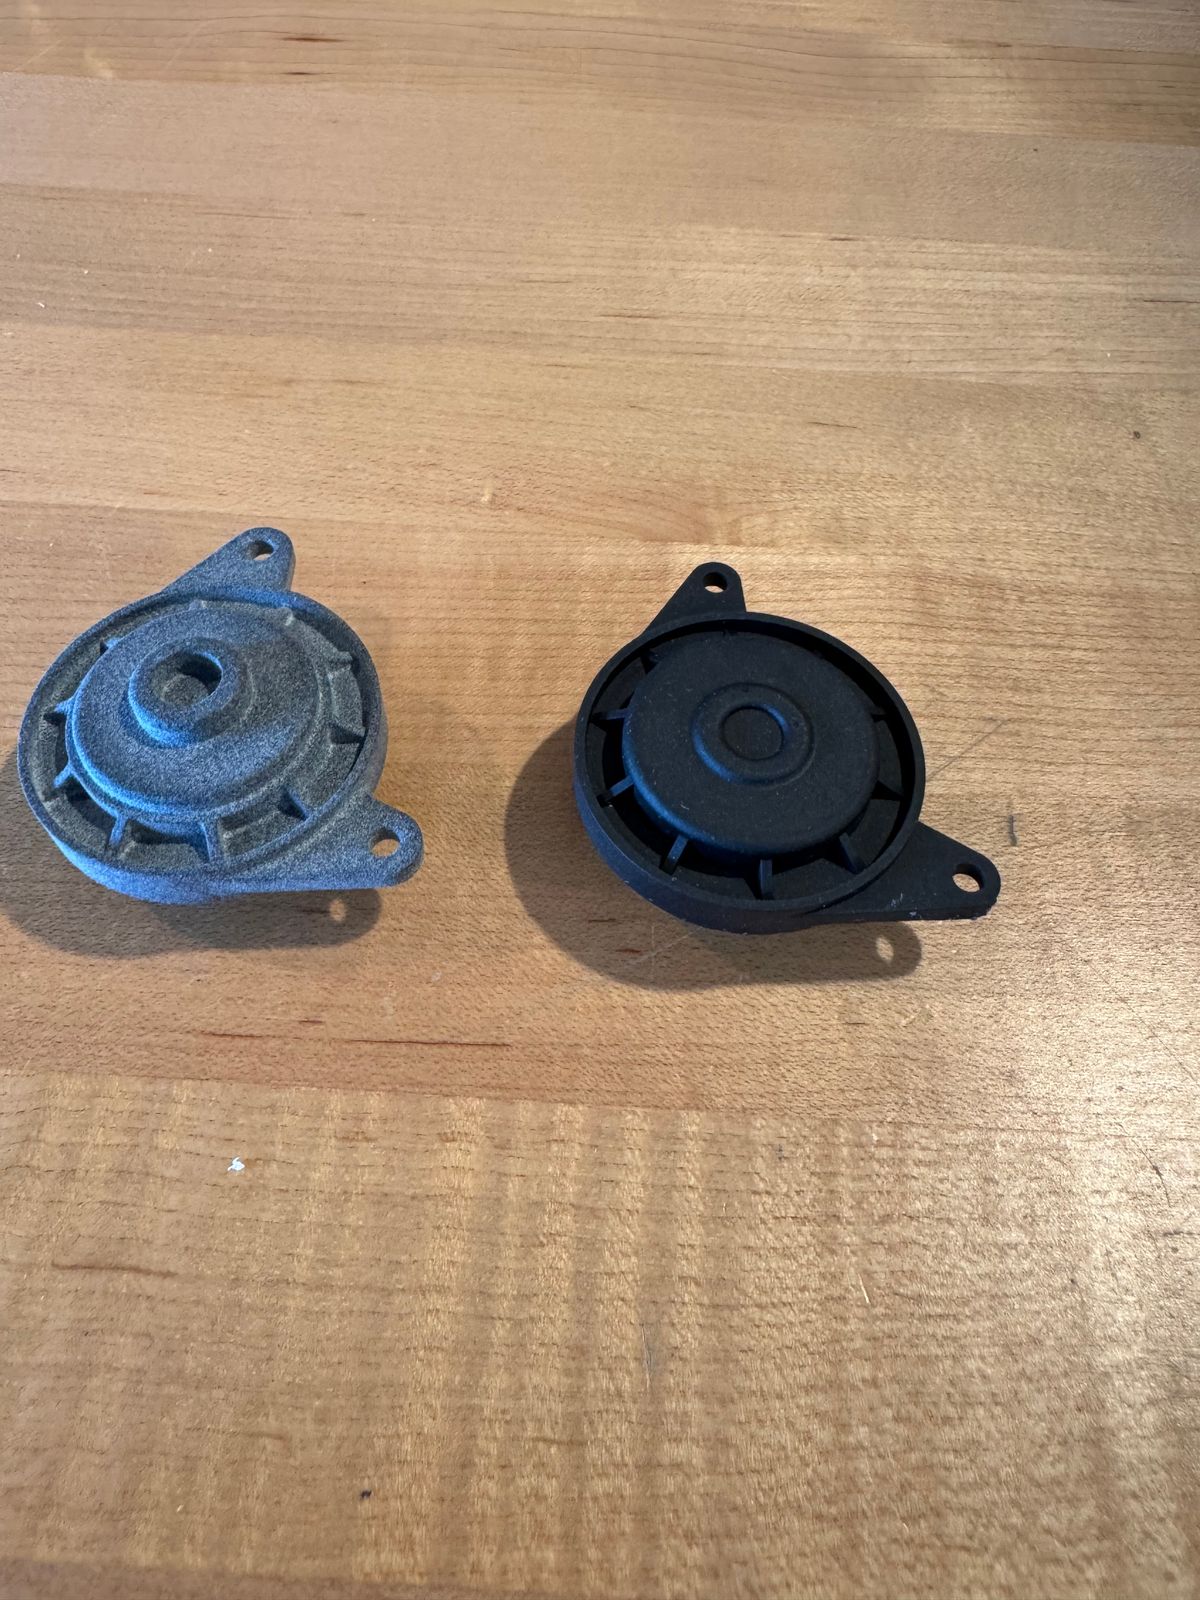
Fuel boom installed and required to do some modifications on one of the holders. Got my caliper to measured the original and redesigned on the CAD and a few hours later part was done on the resin printer. I also used my trusty laser for proper alligment.
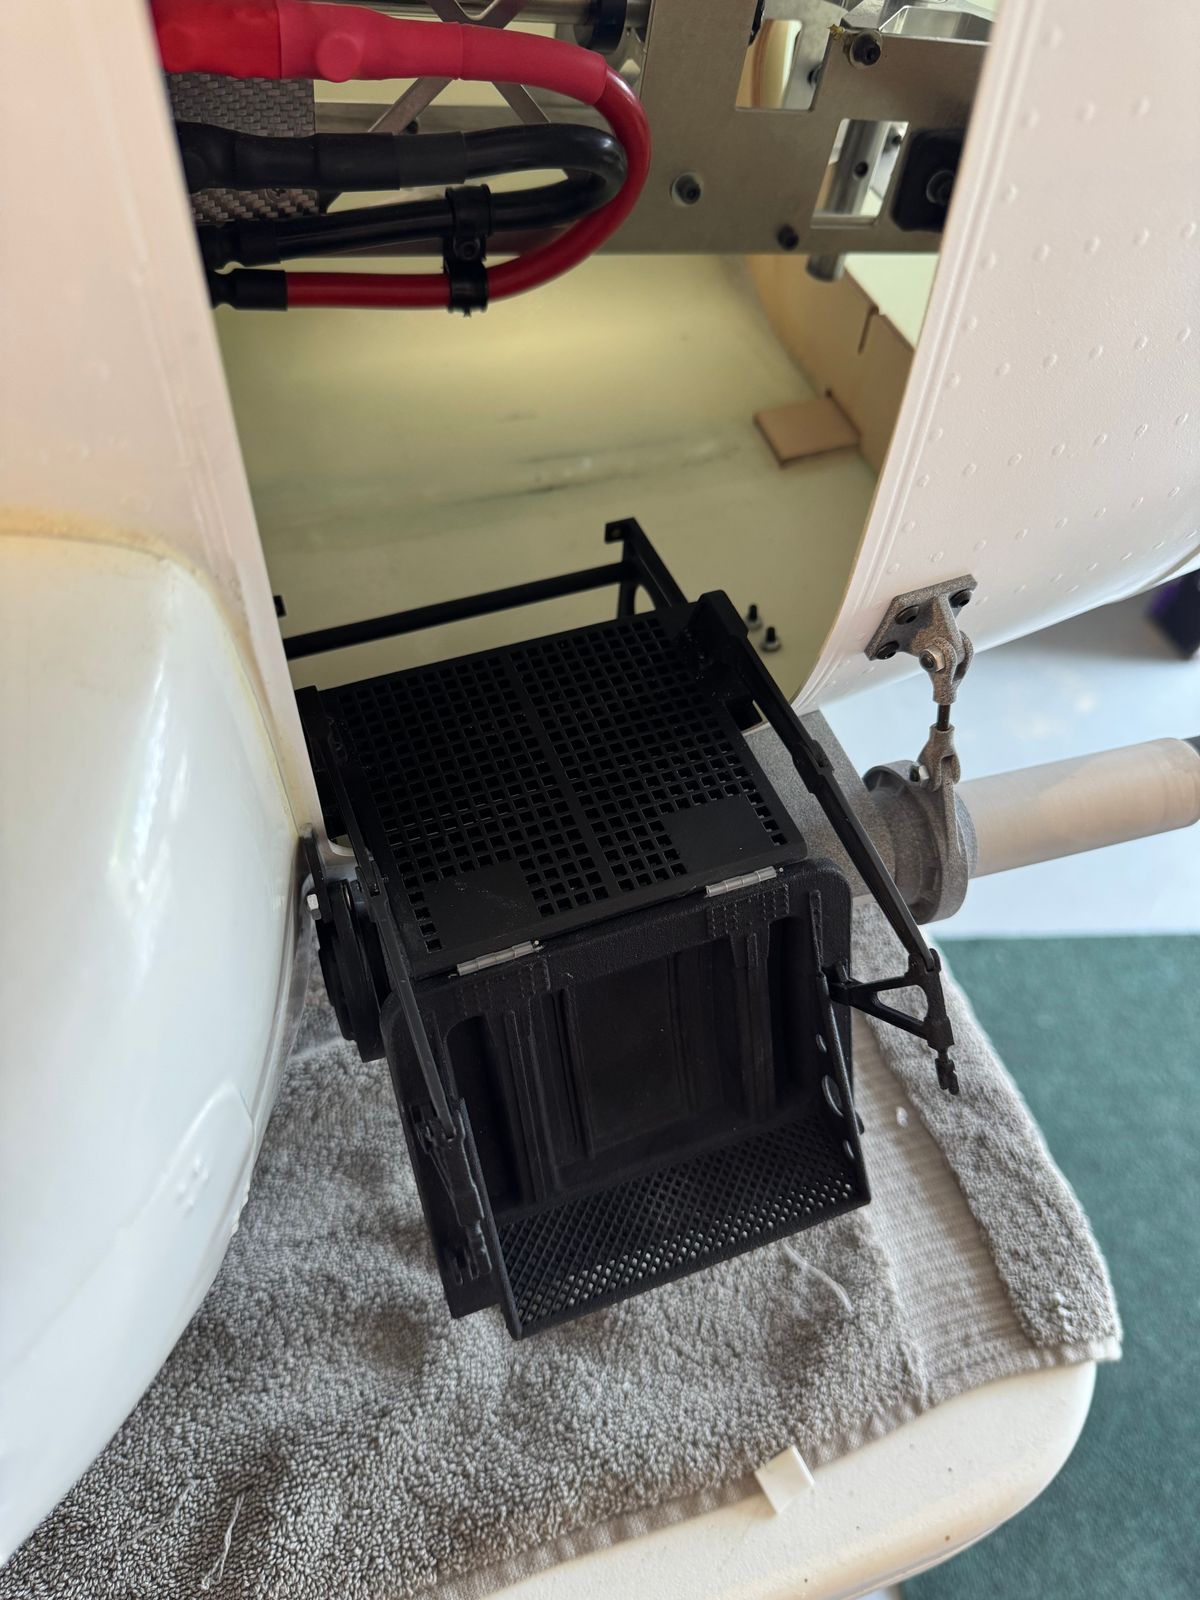
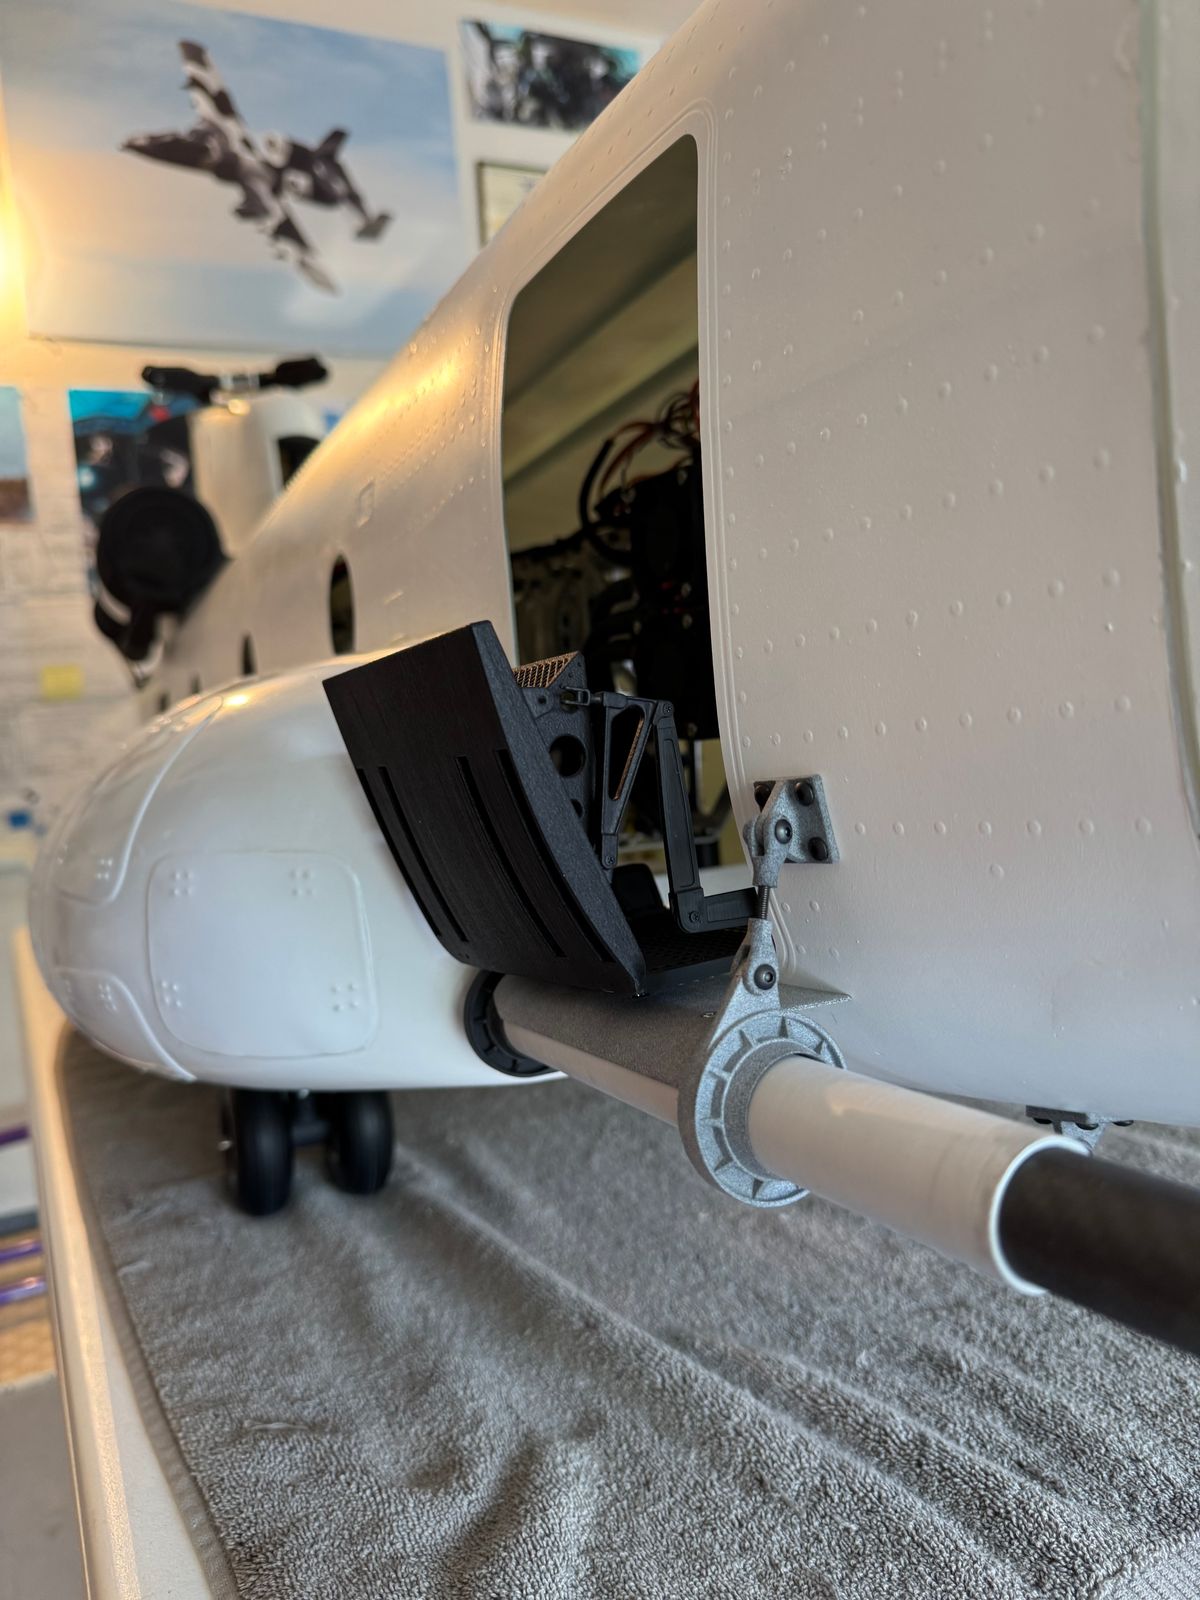
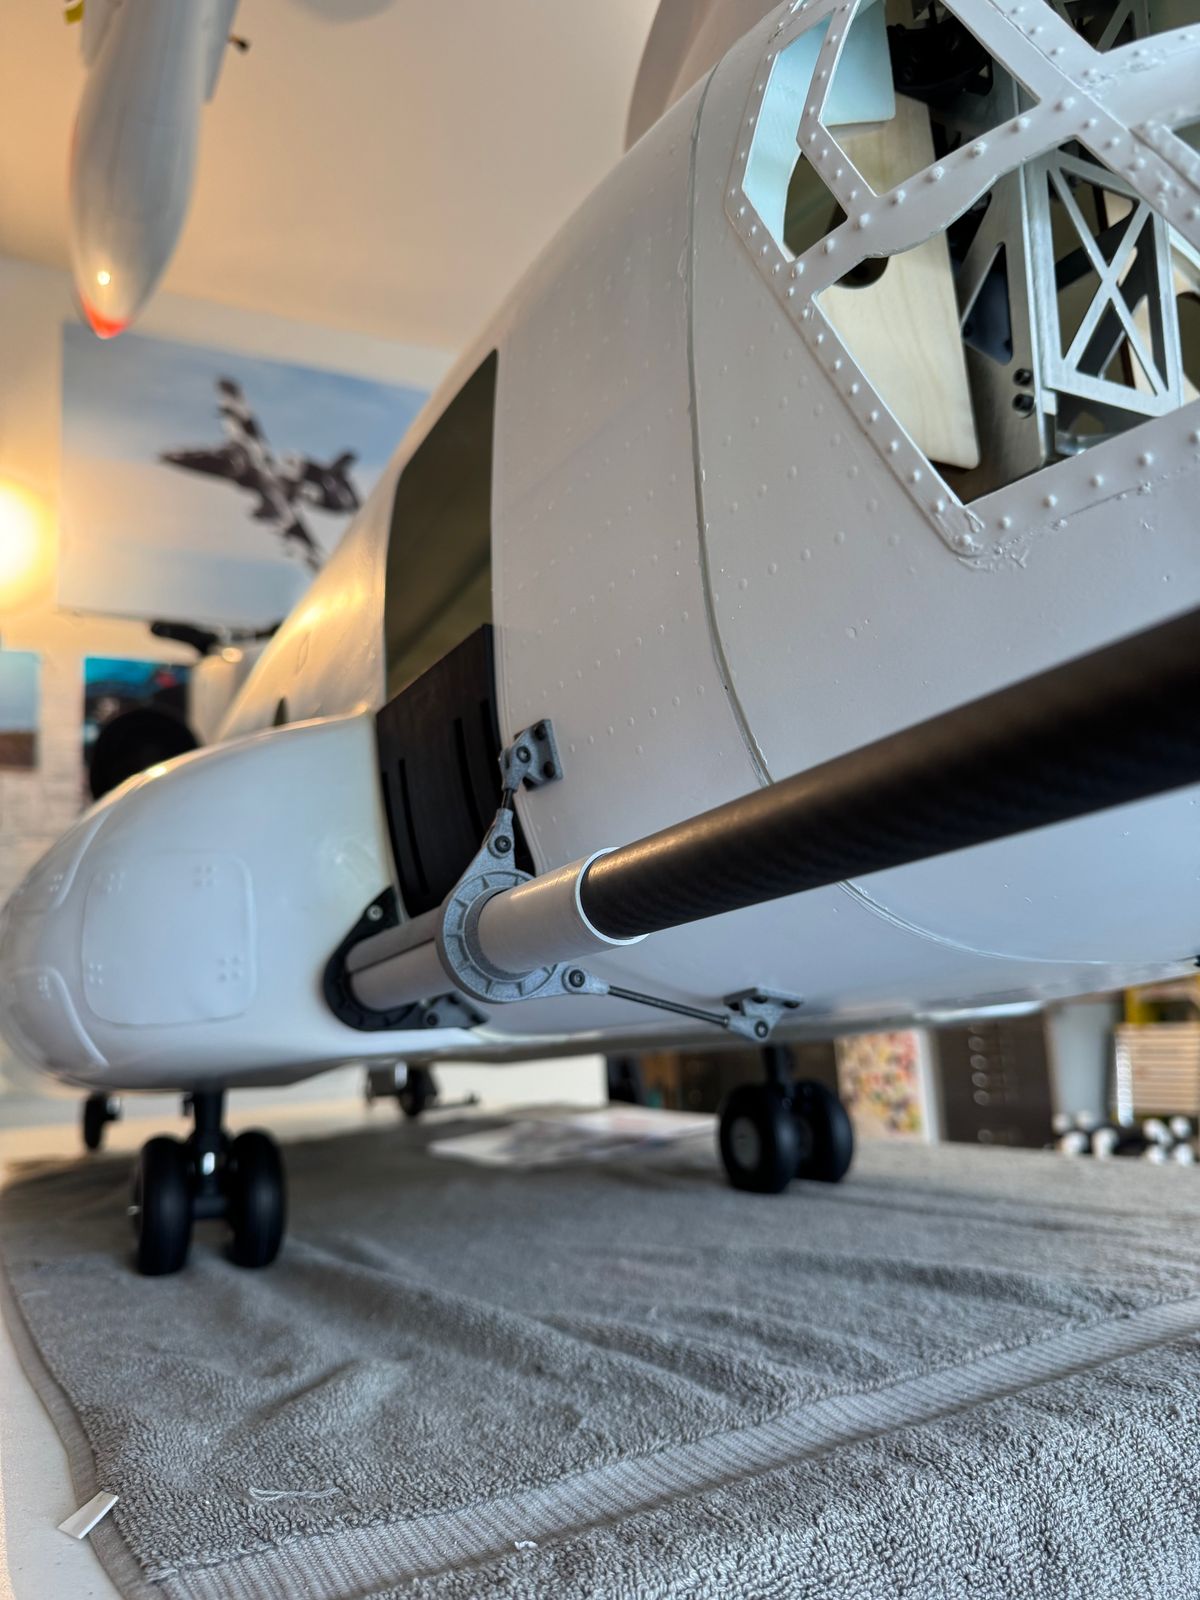
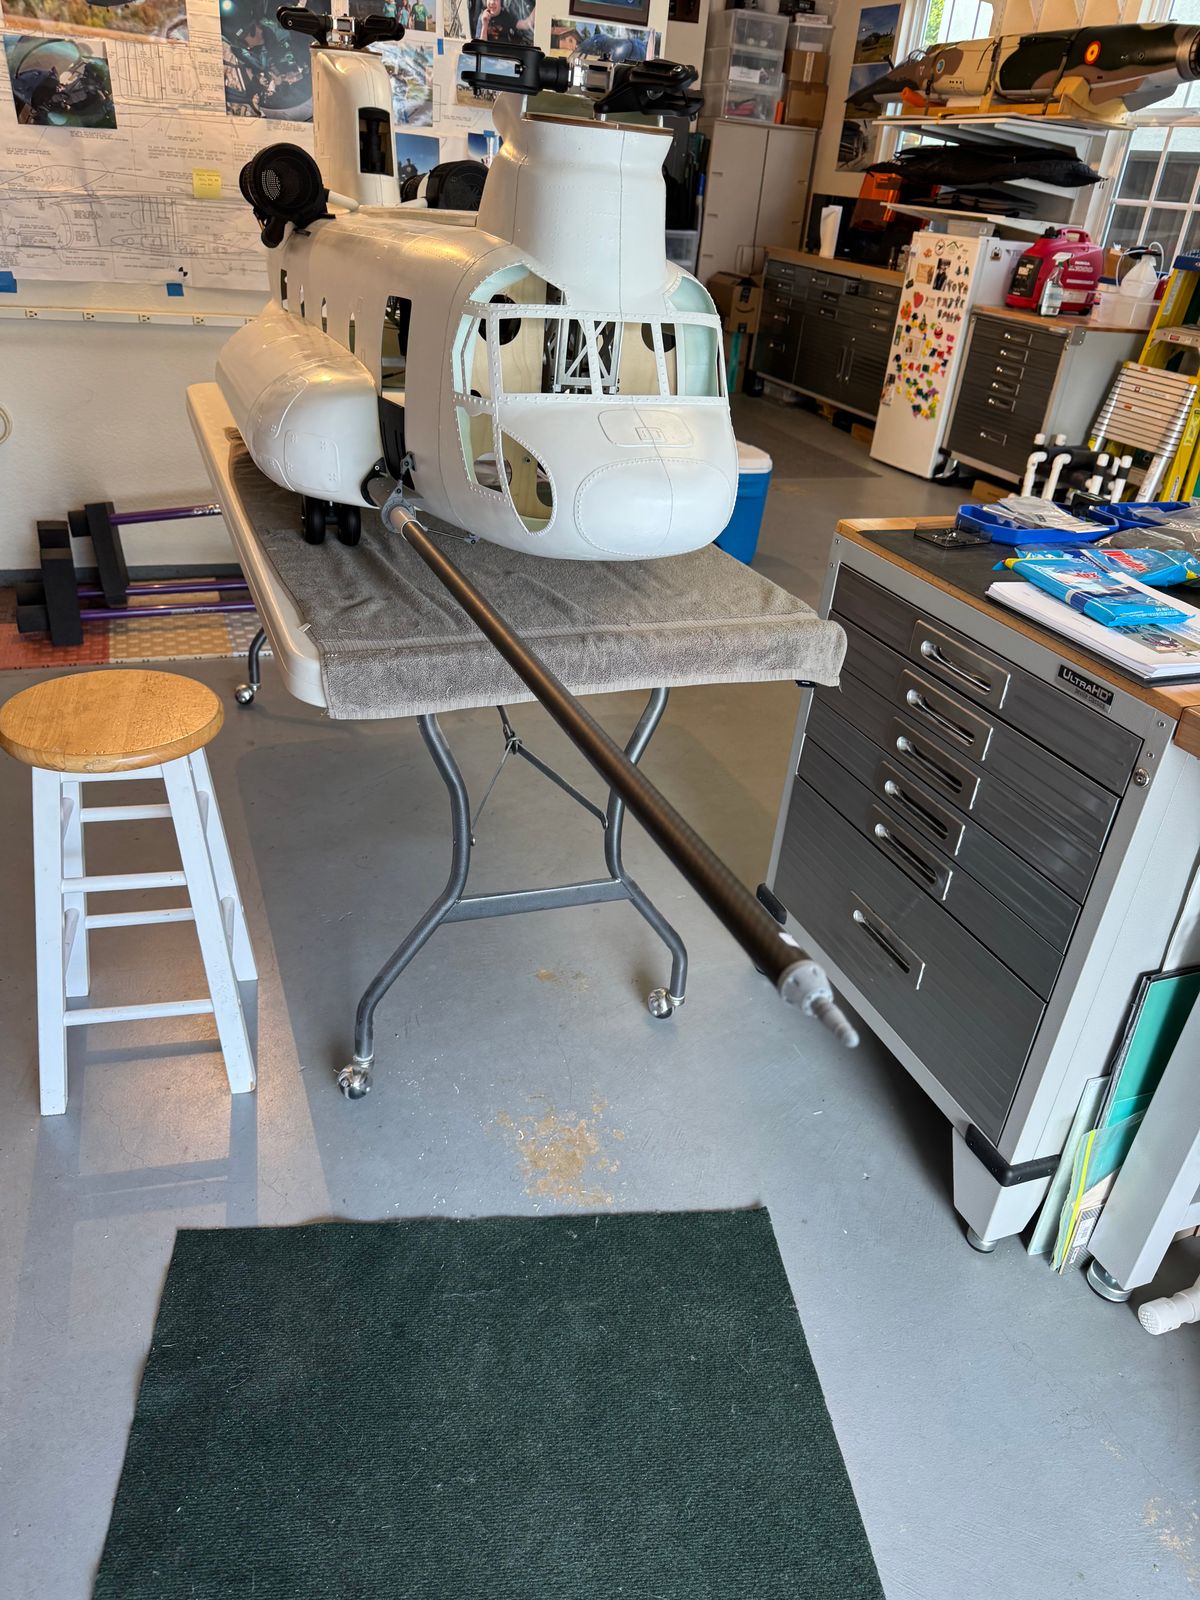
Winch and mini guns installation
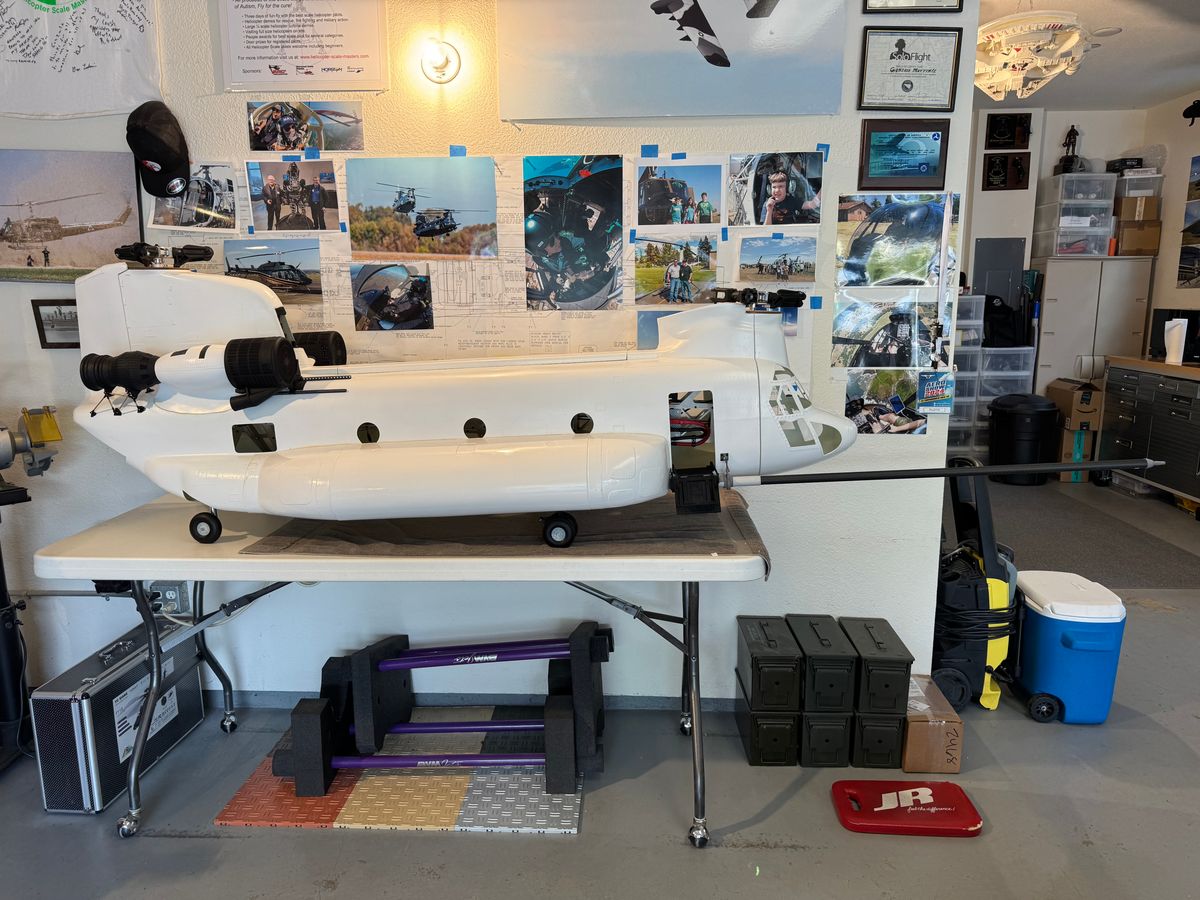
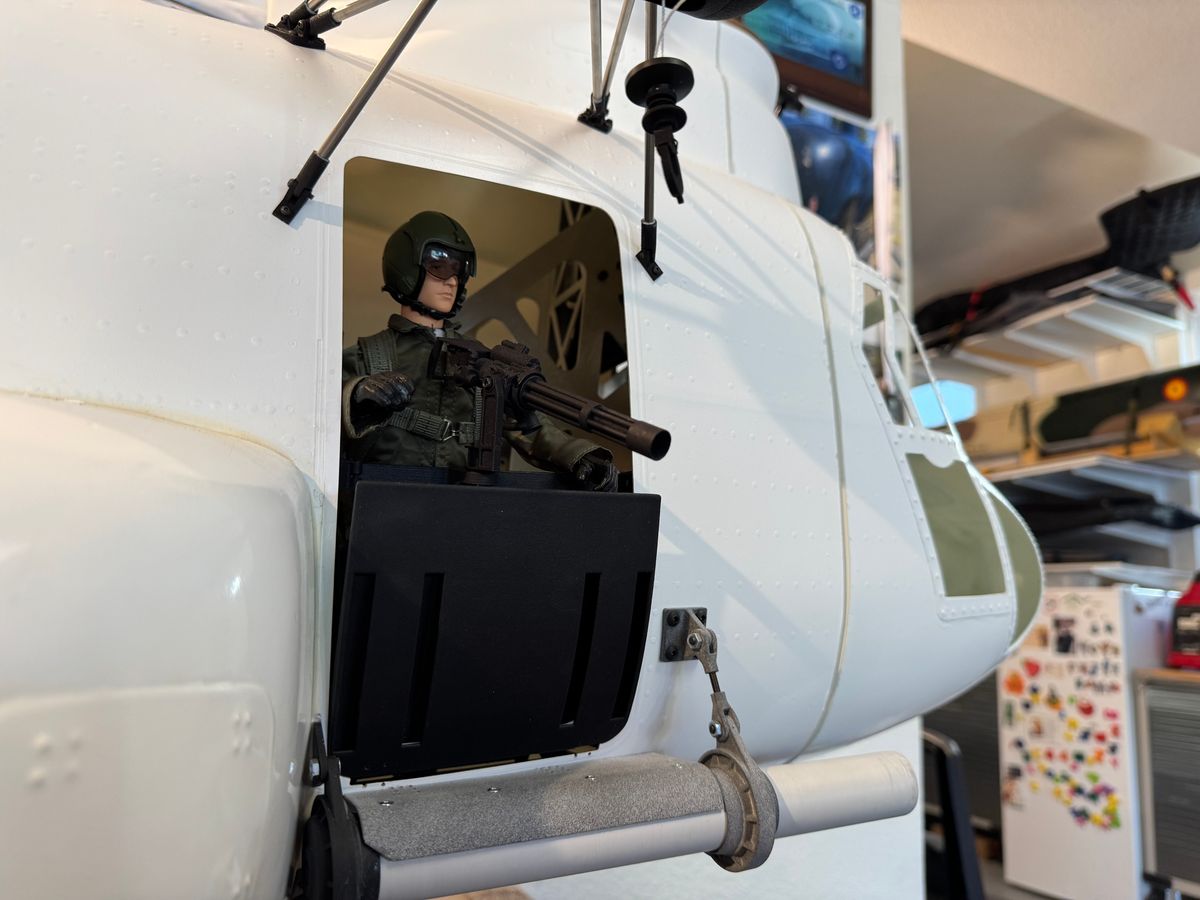
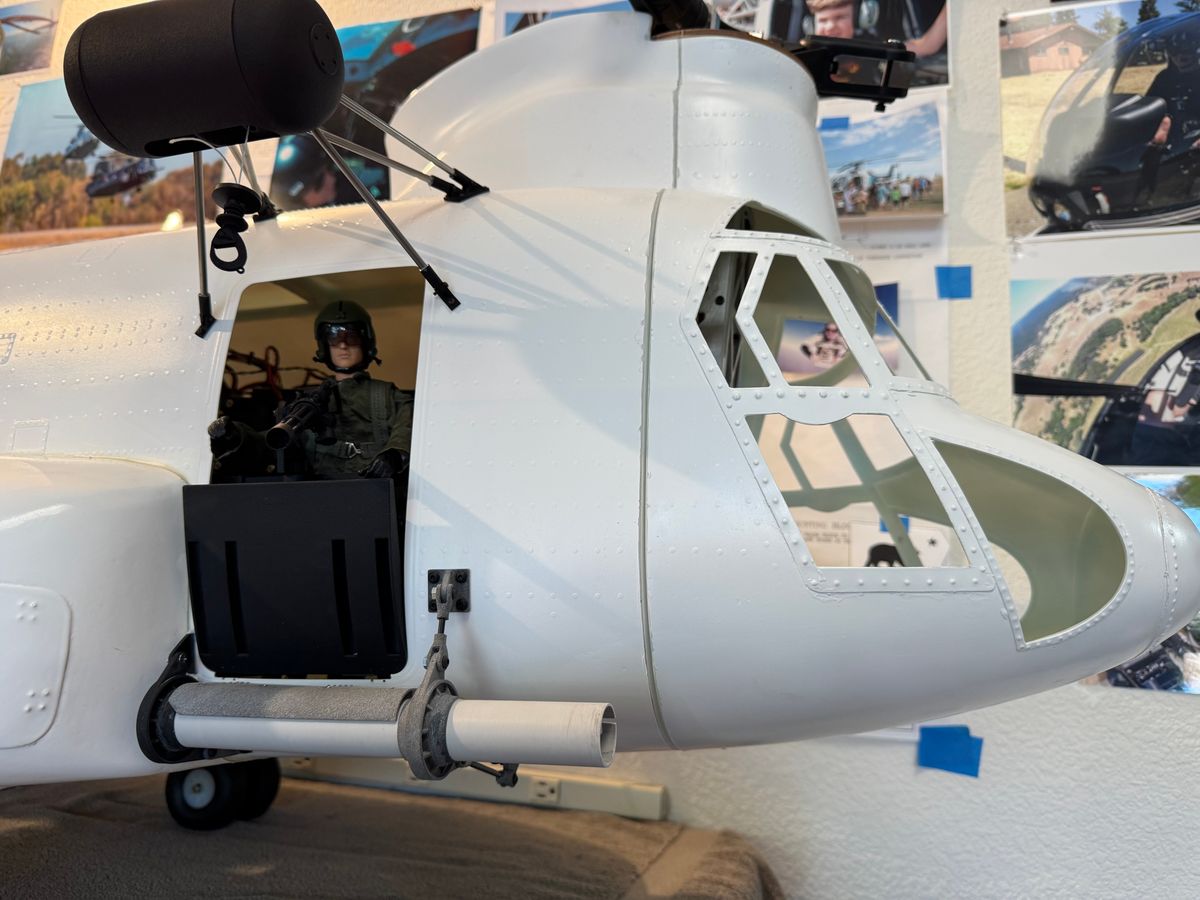
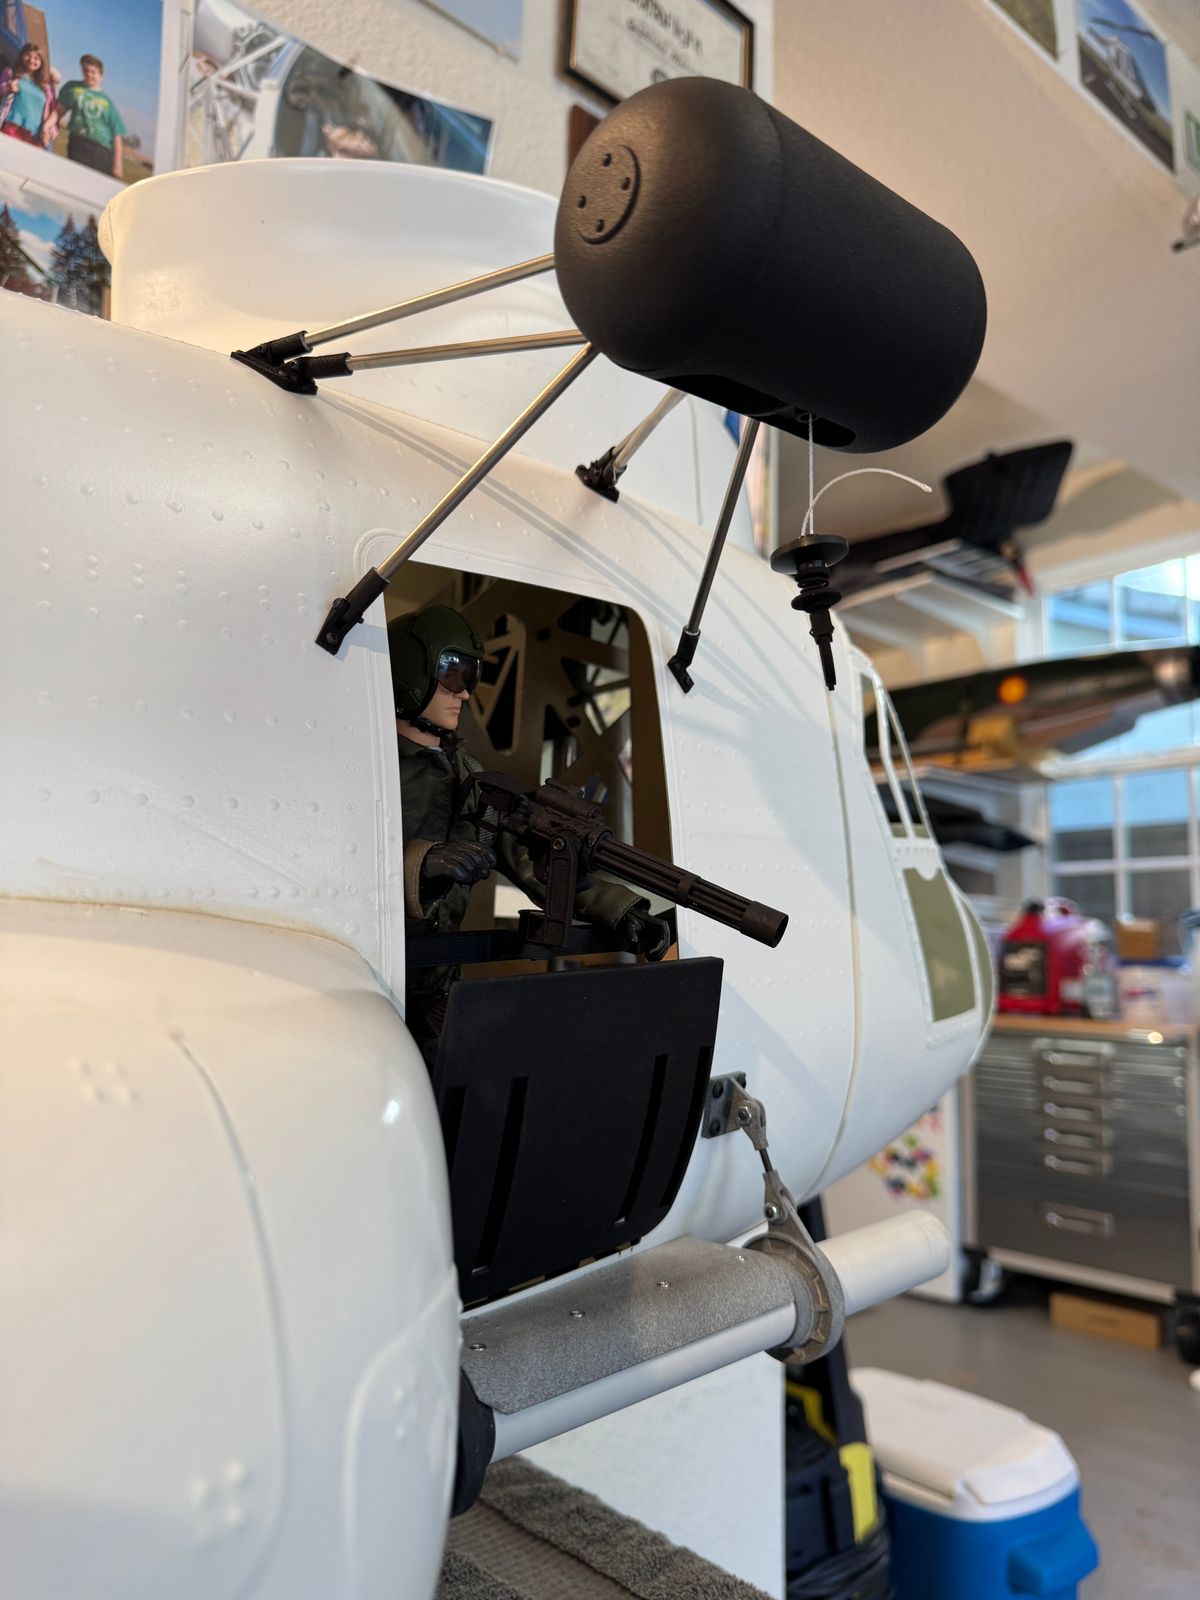
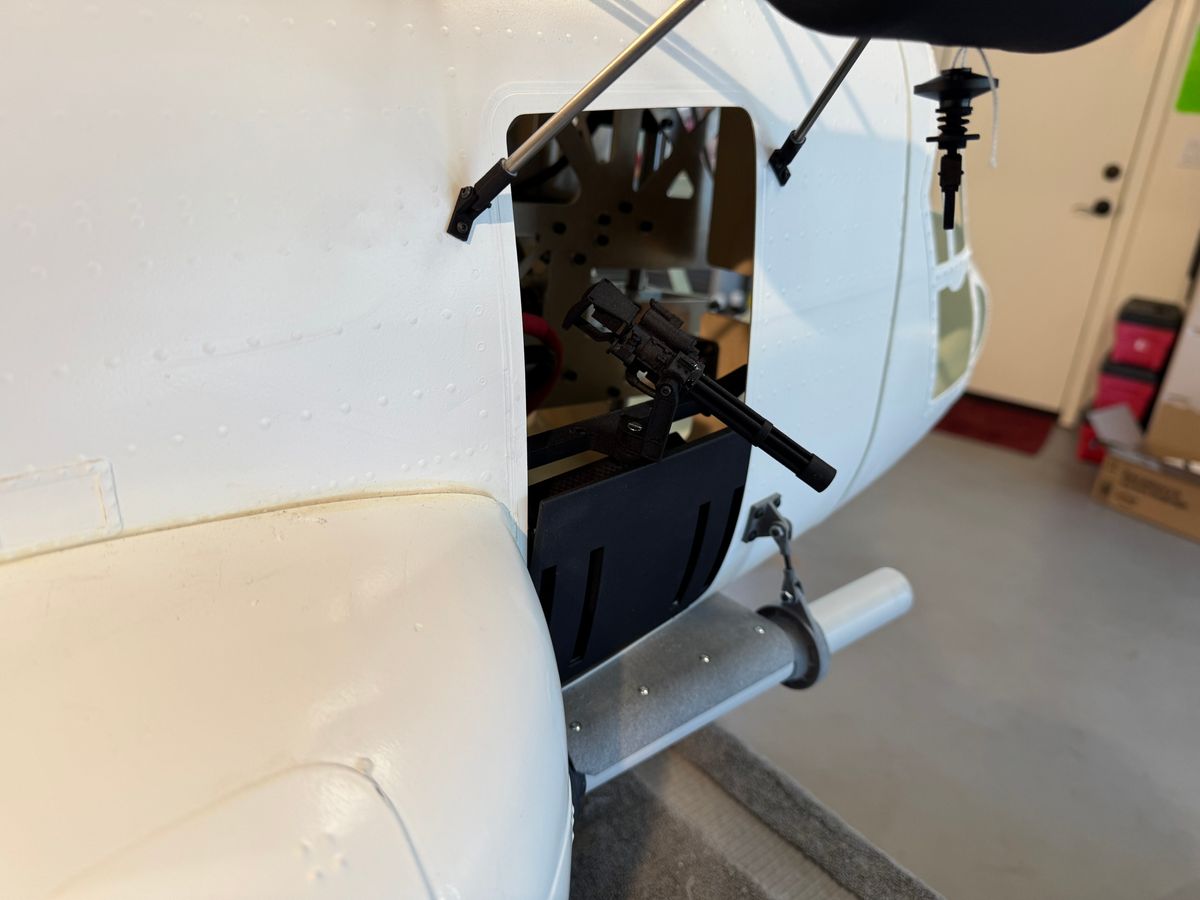
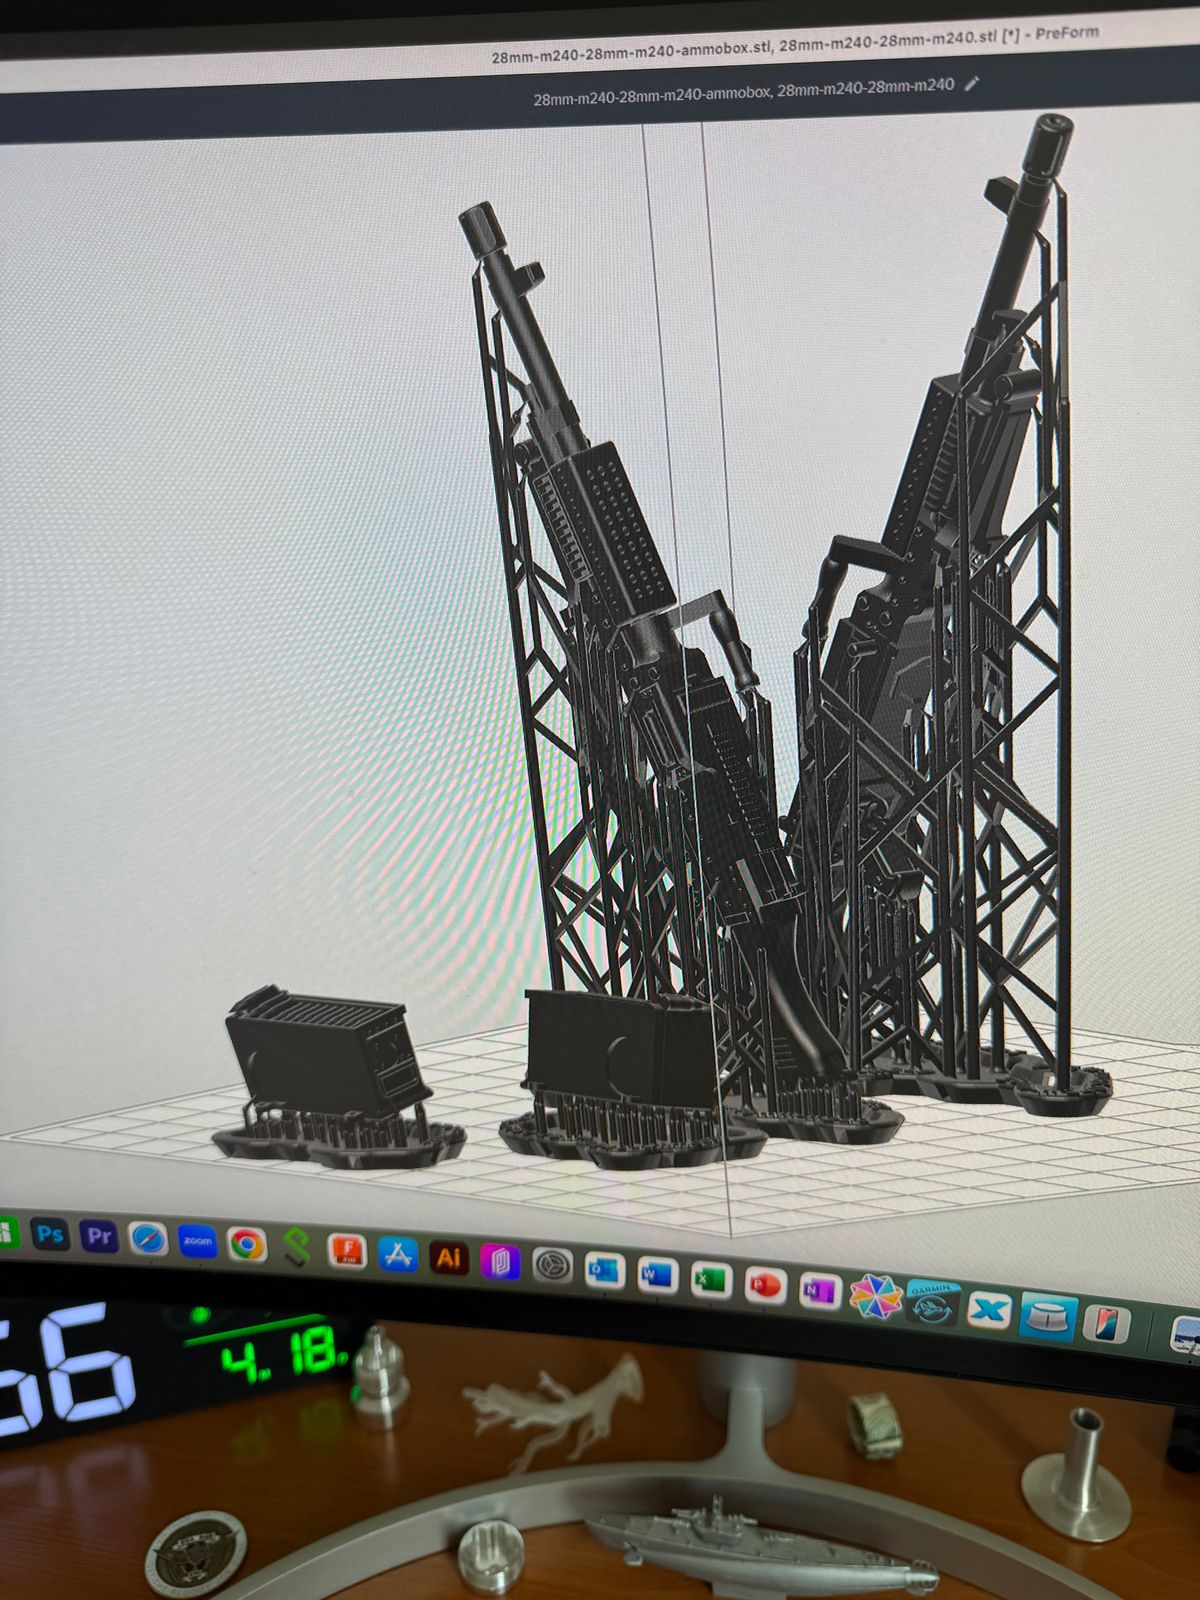
A winch has been installed on the MH-47 and will be operational. Vario did a great job enabling the housing to be ready for a winch servo. Also, the mini guns have been installed with the crew, and 3D-printed M240 Bravos have been installed on the side back openings based on information provided by one of my dear friends! Oh did I mentioned the crew has already some animatronics!
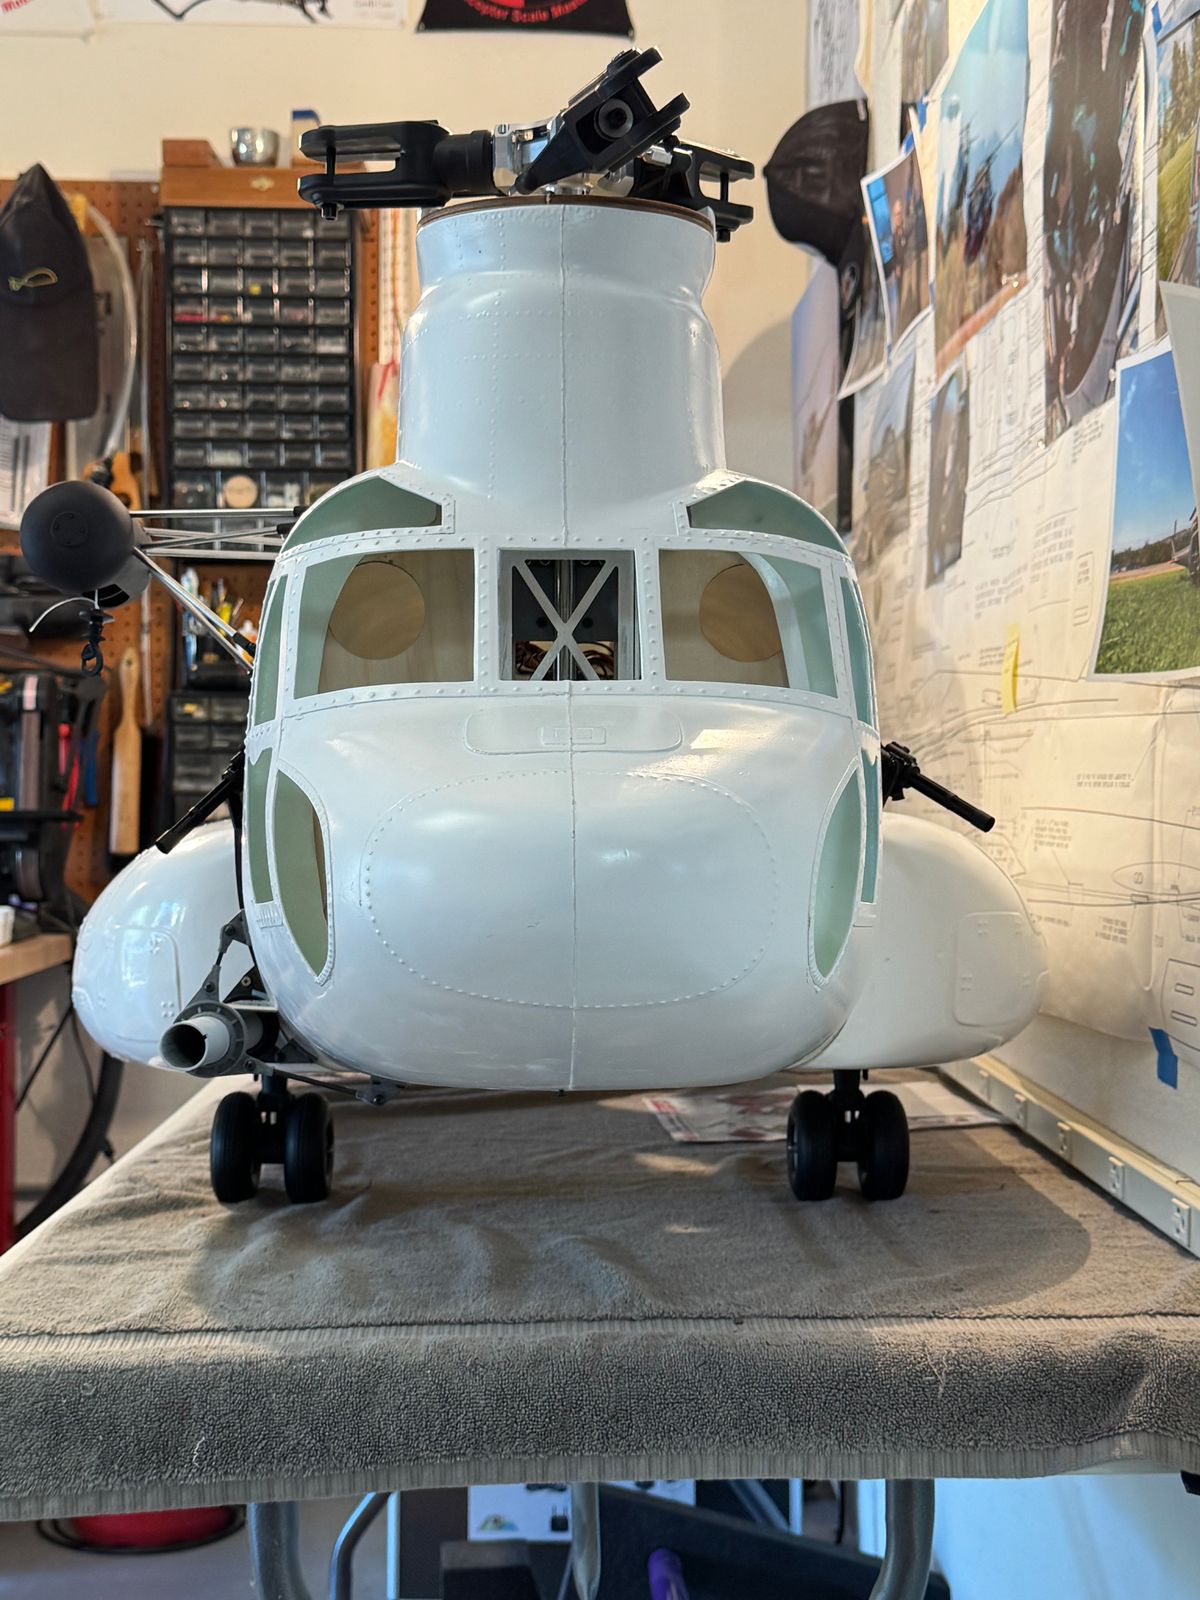
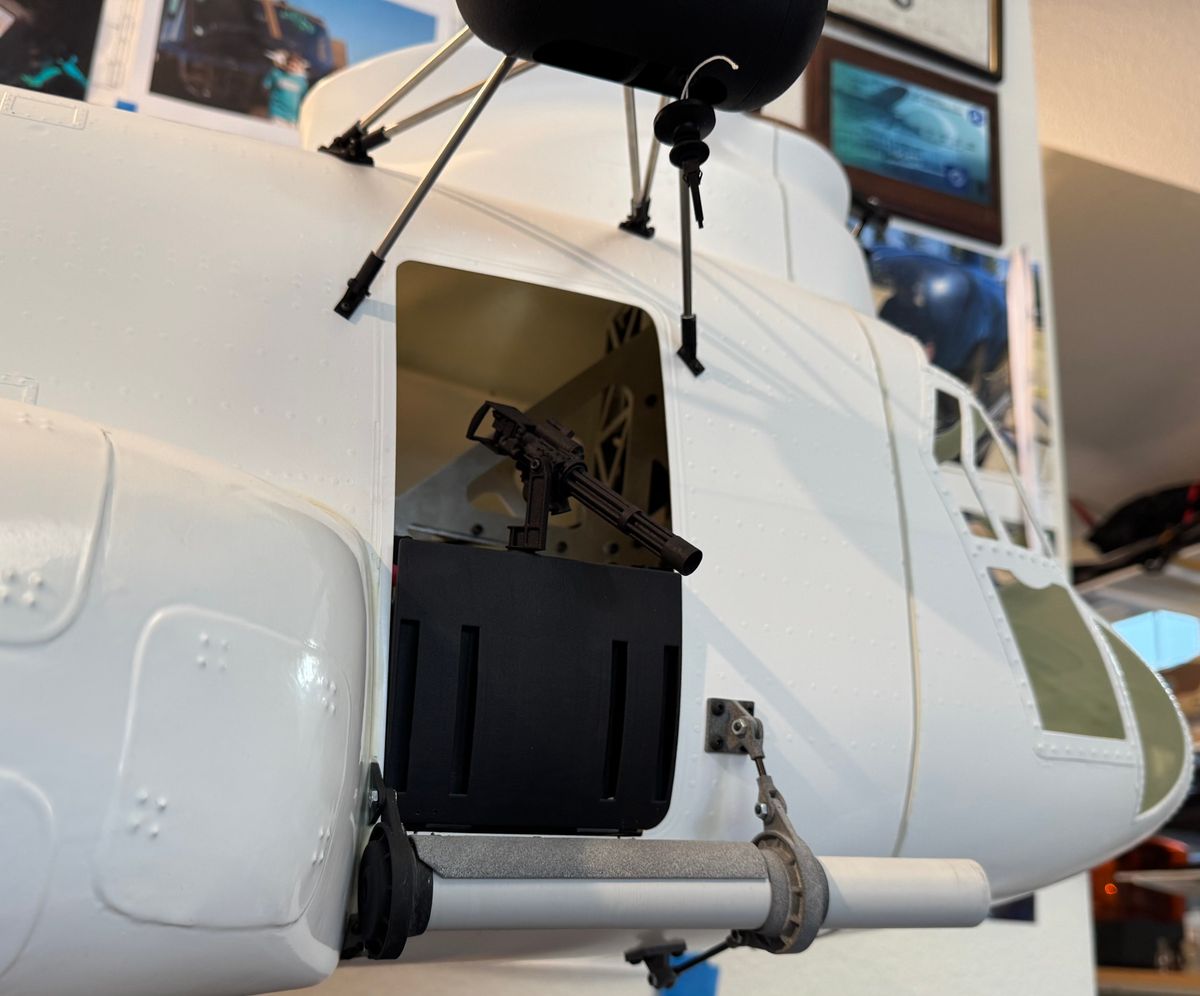
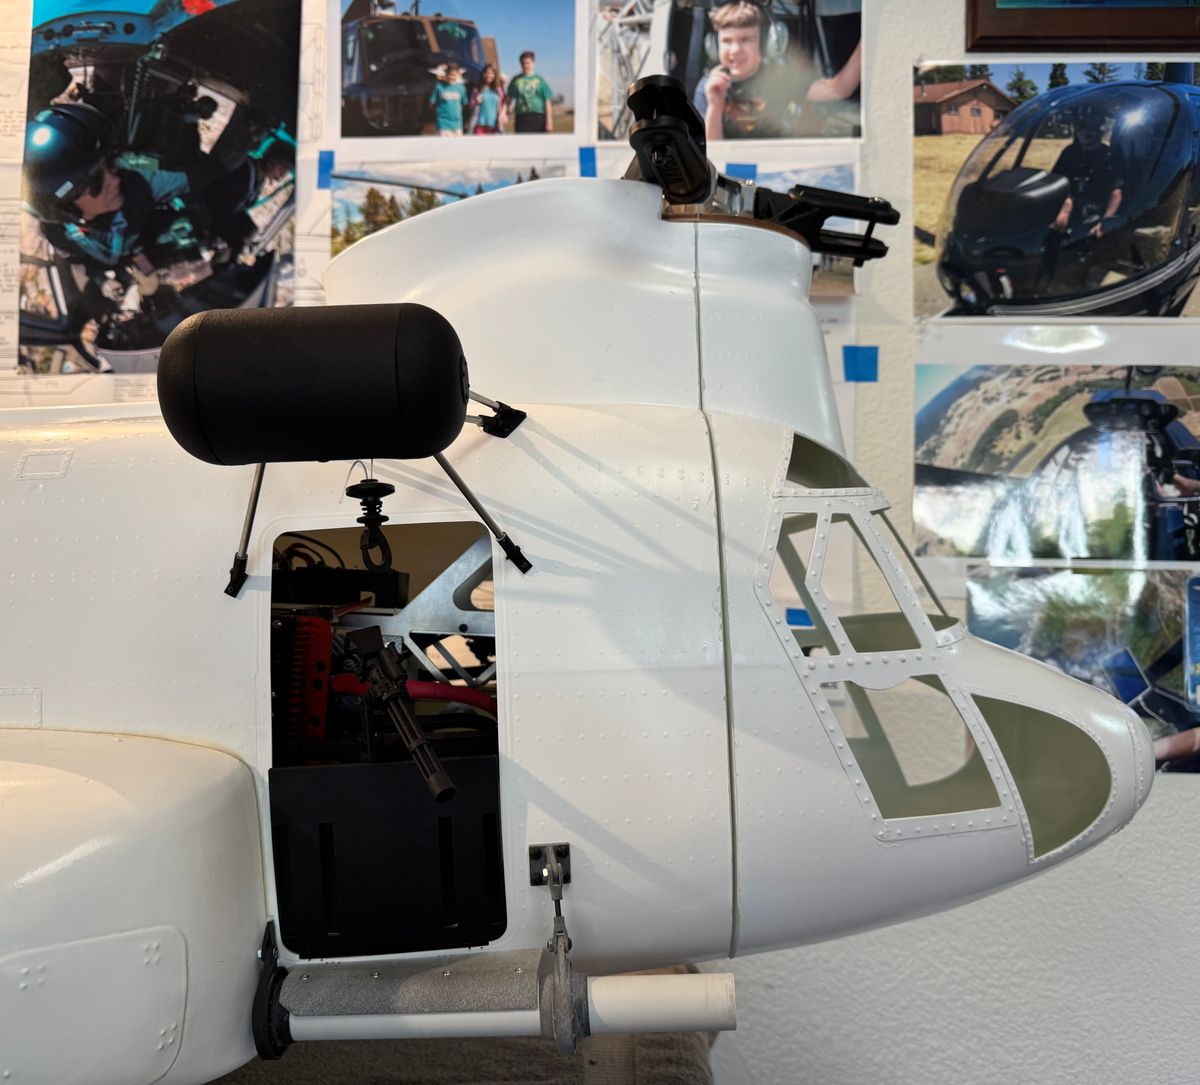
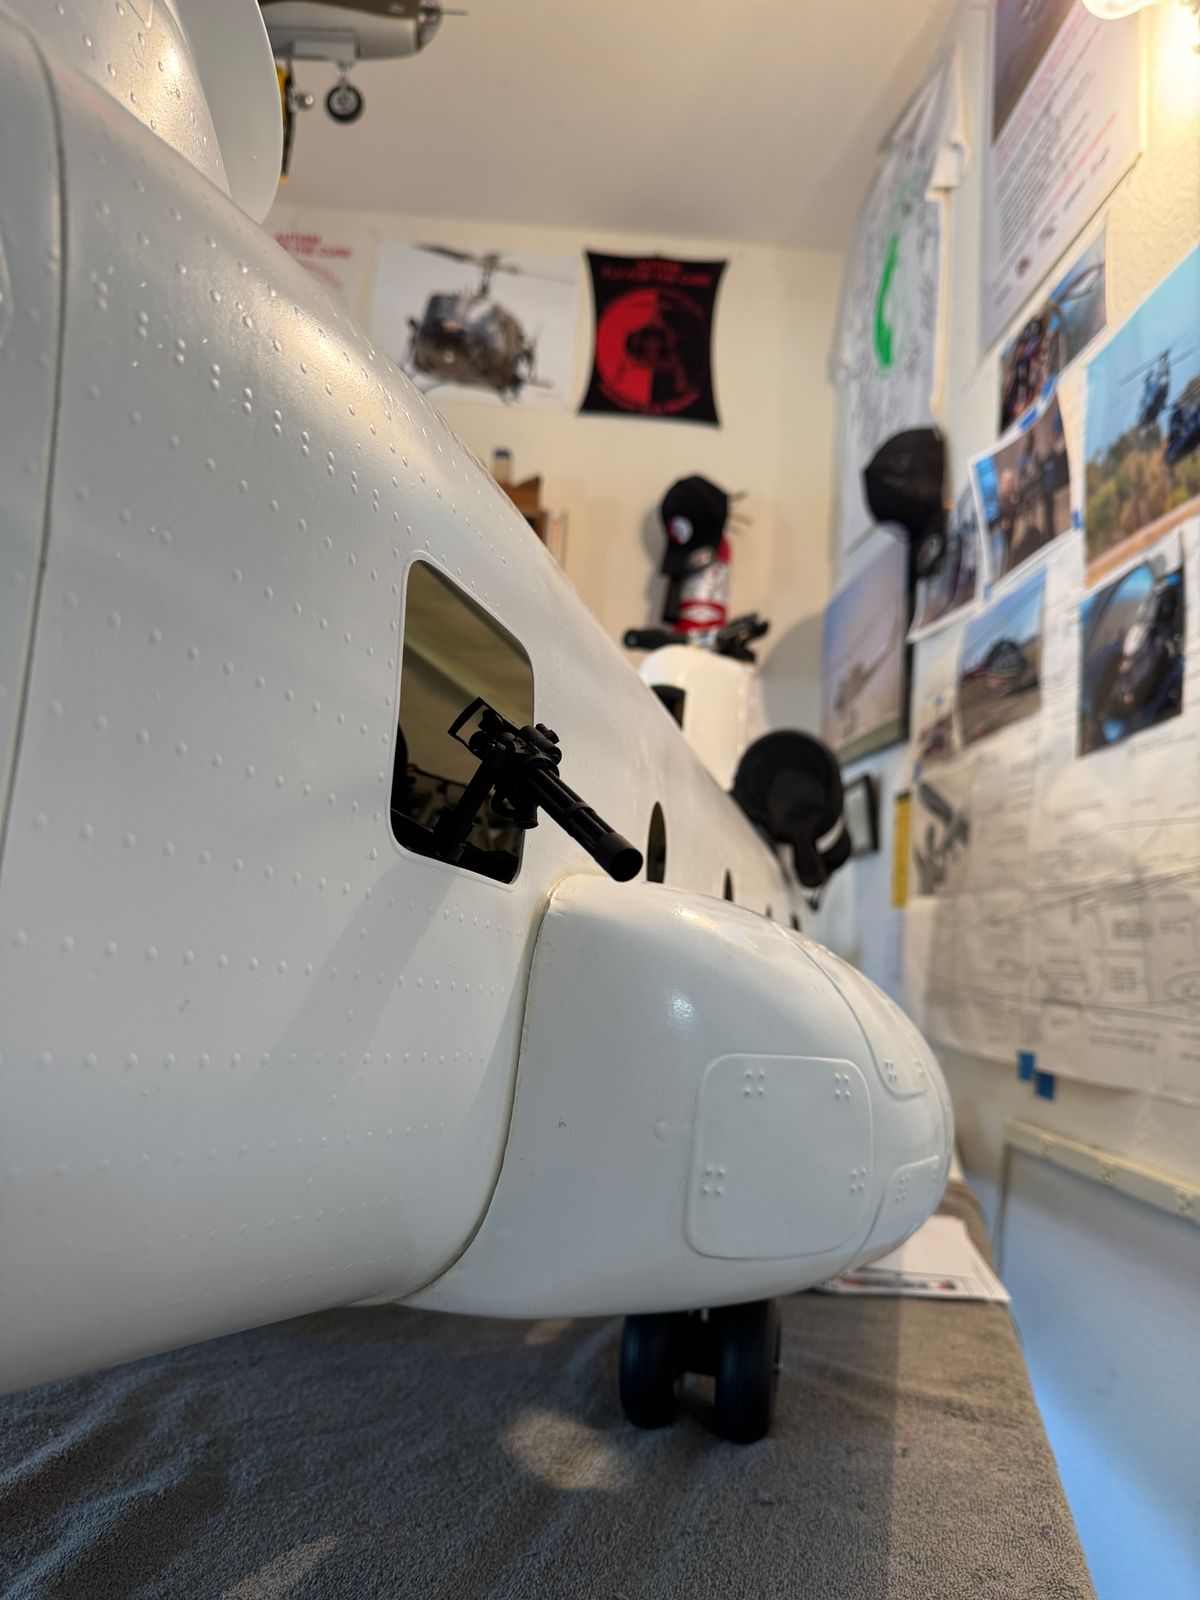
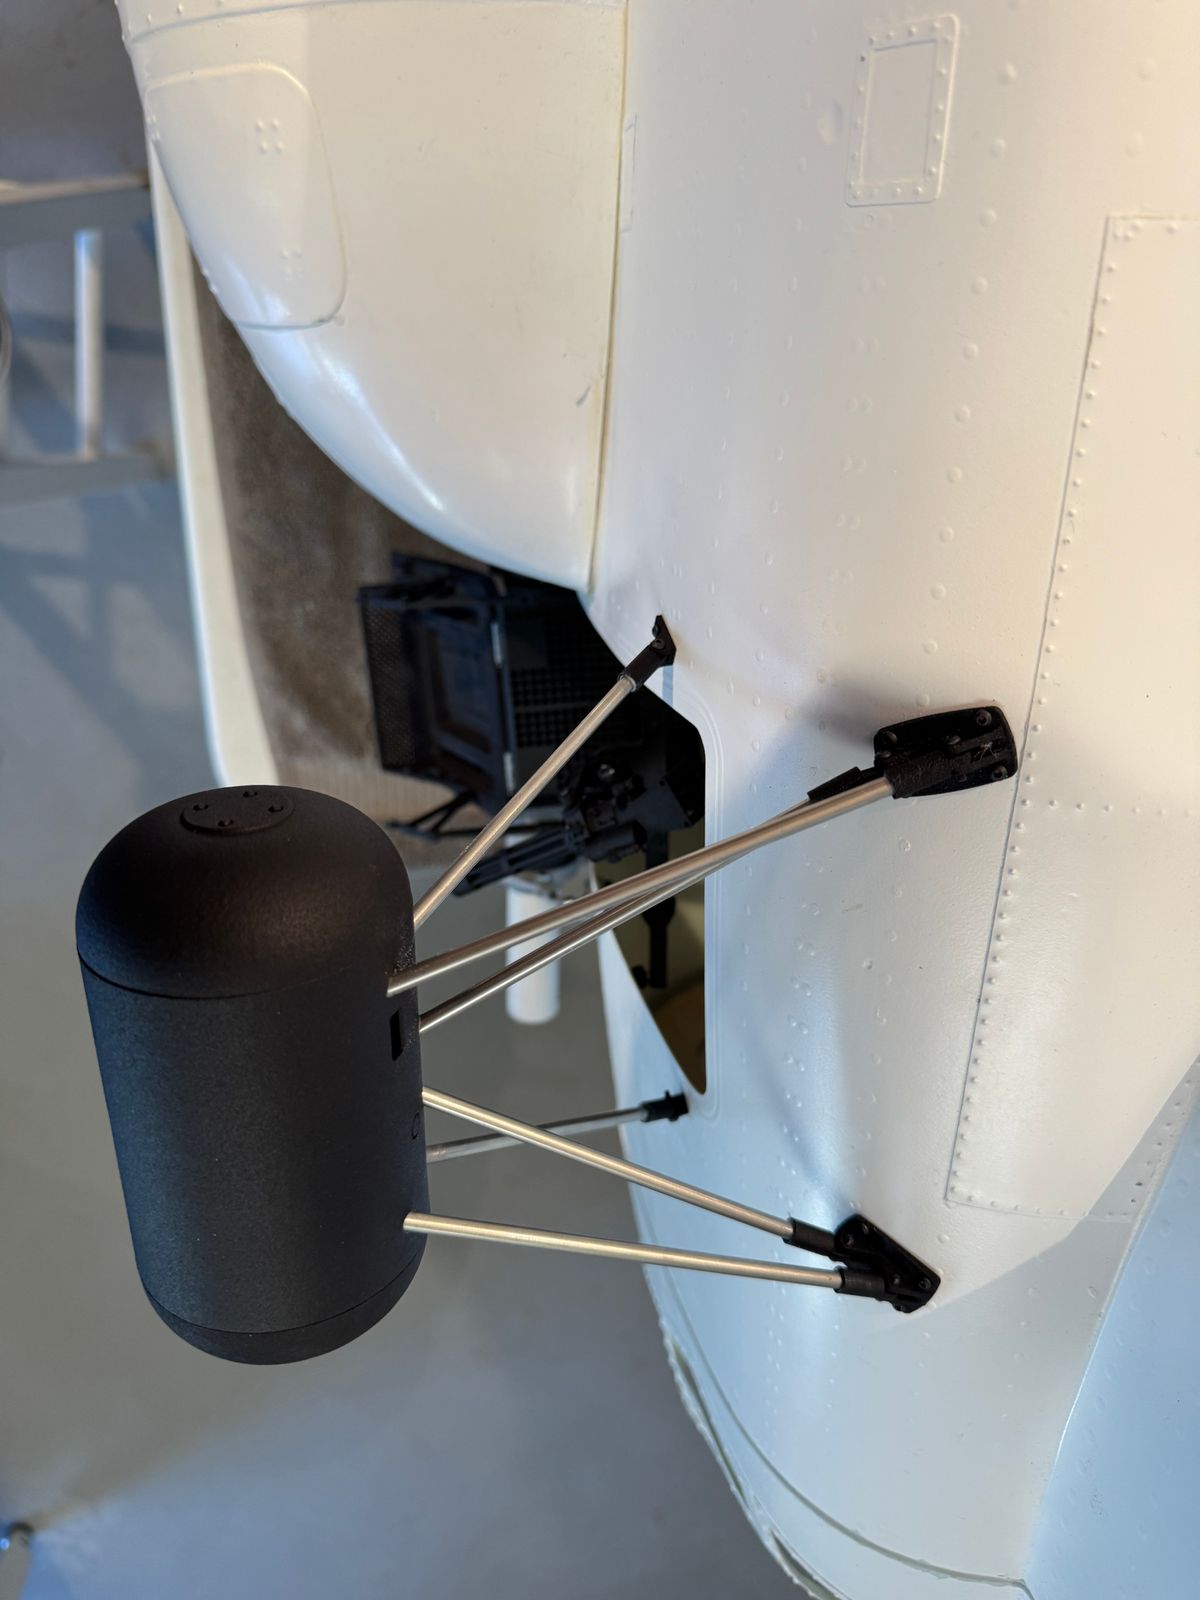
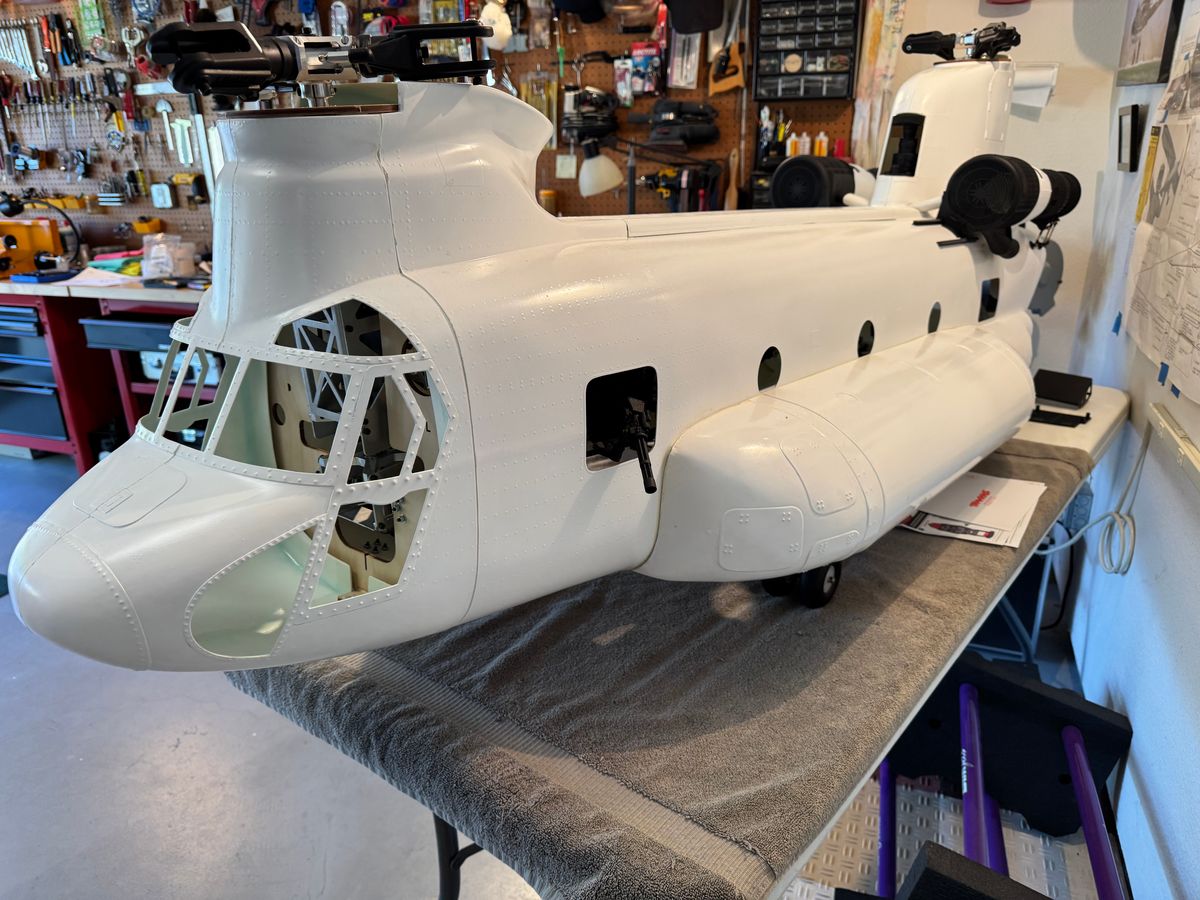
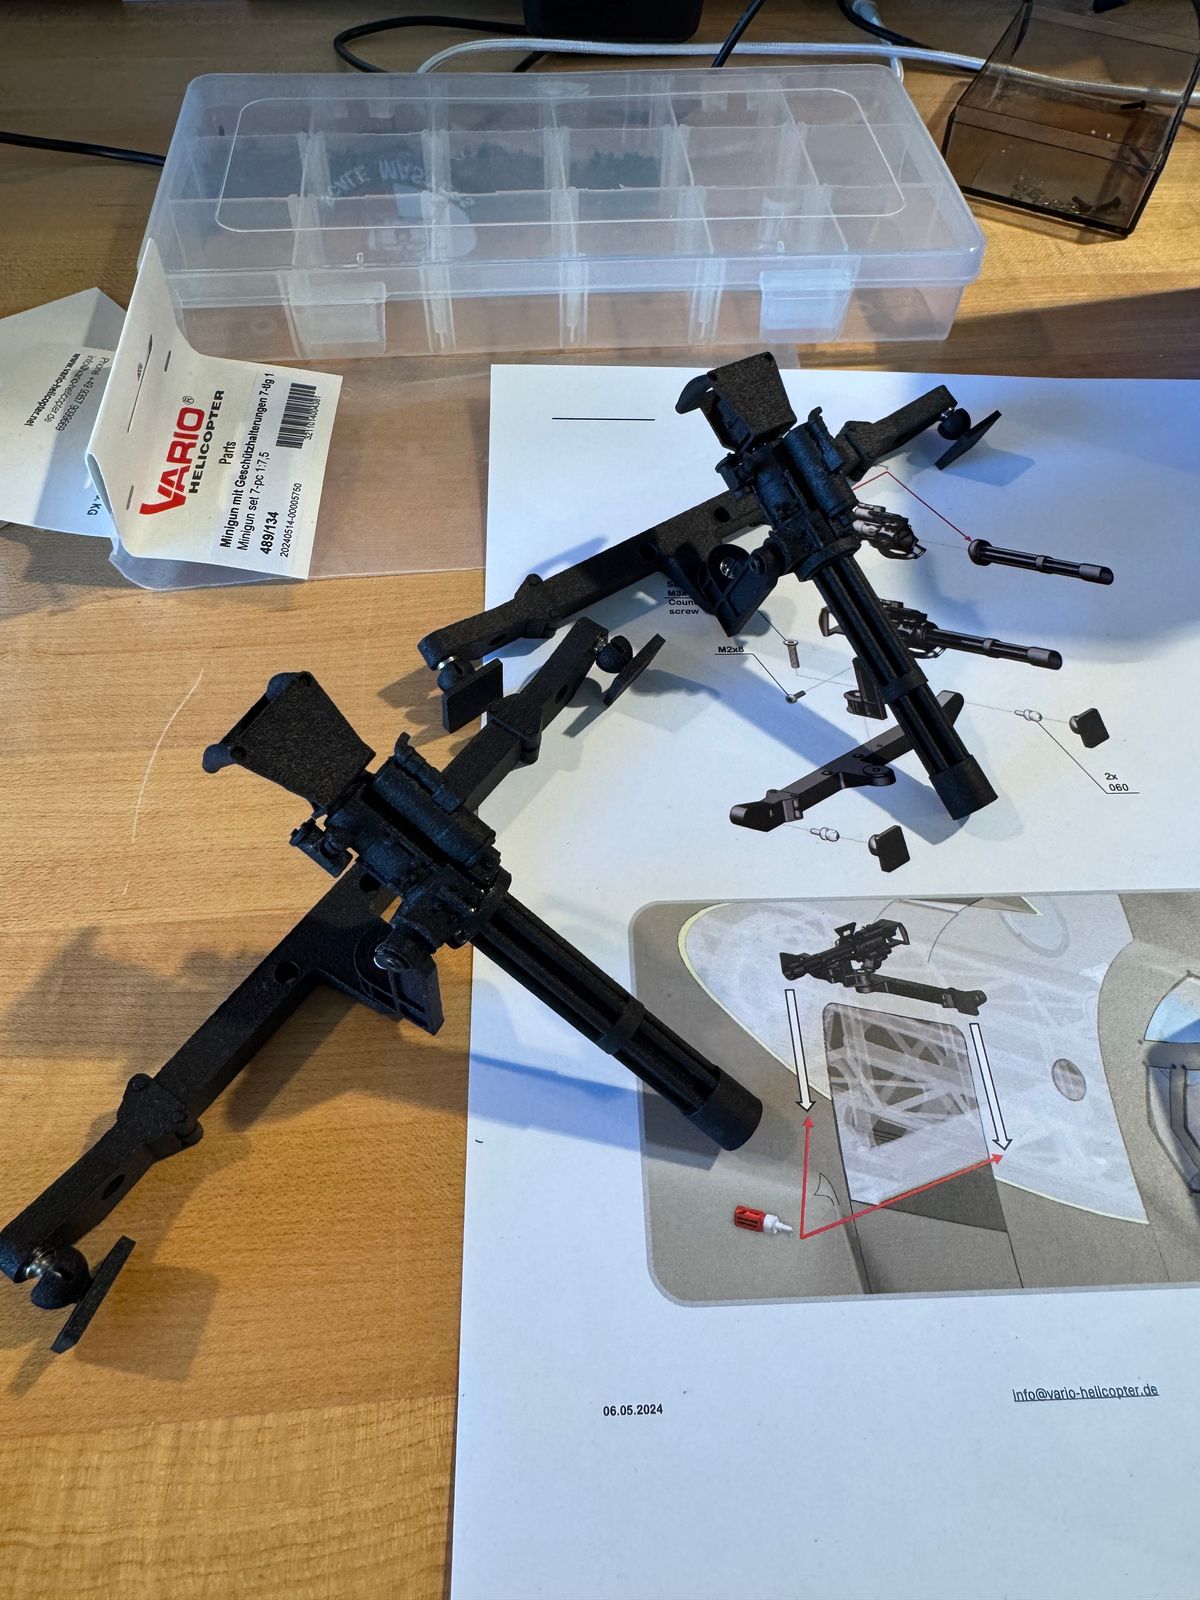
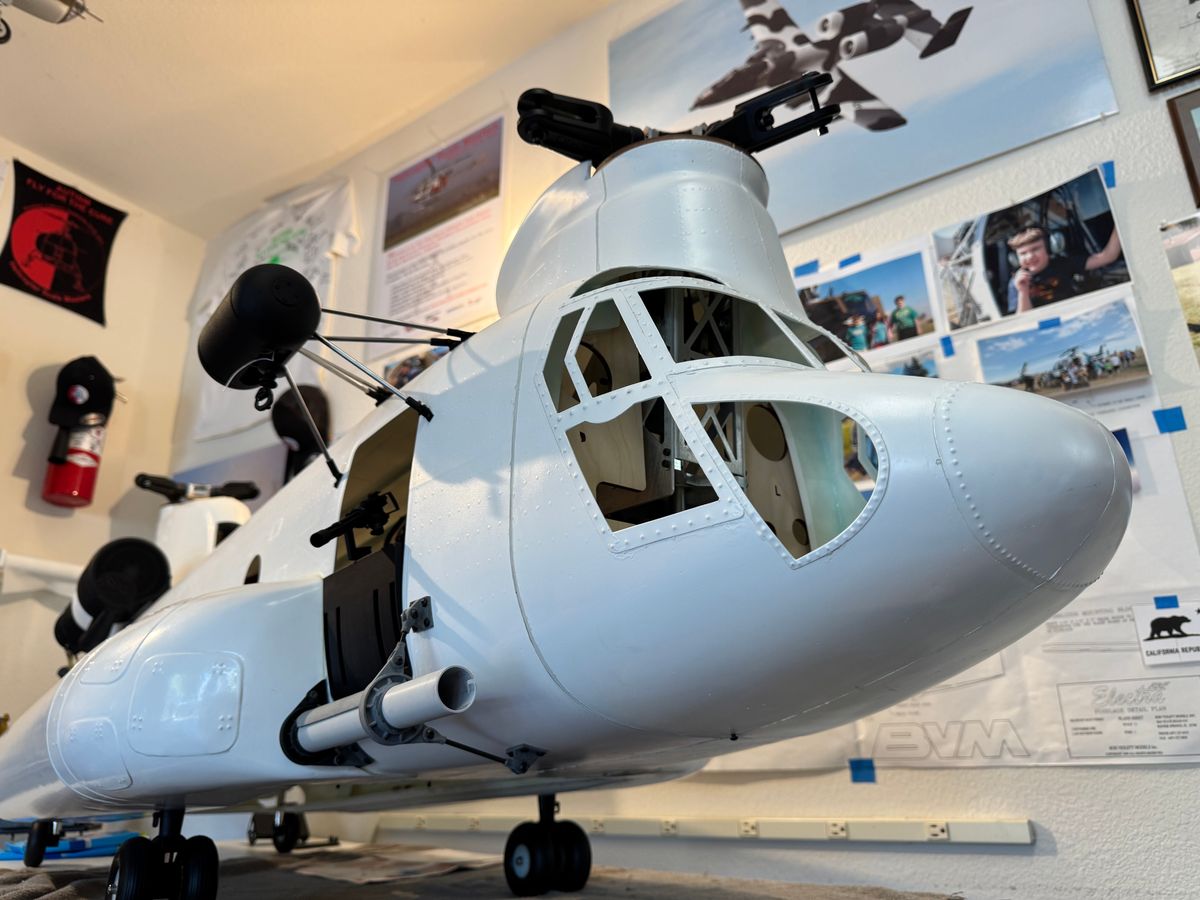
Front sensors and cameras
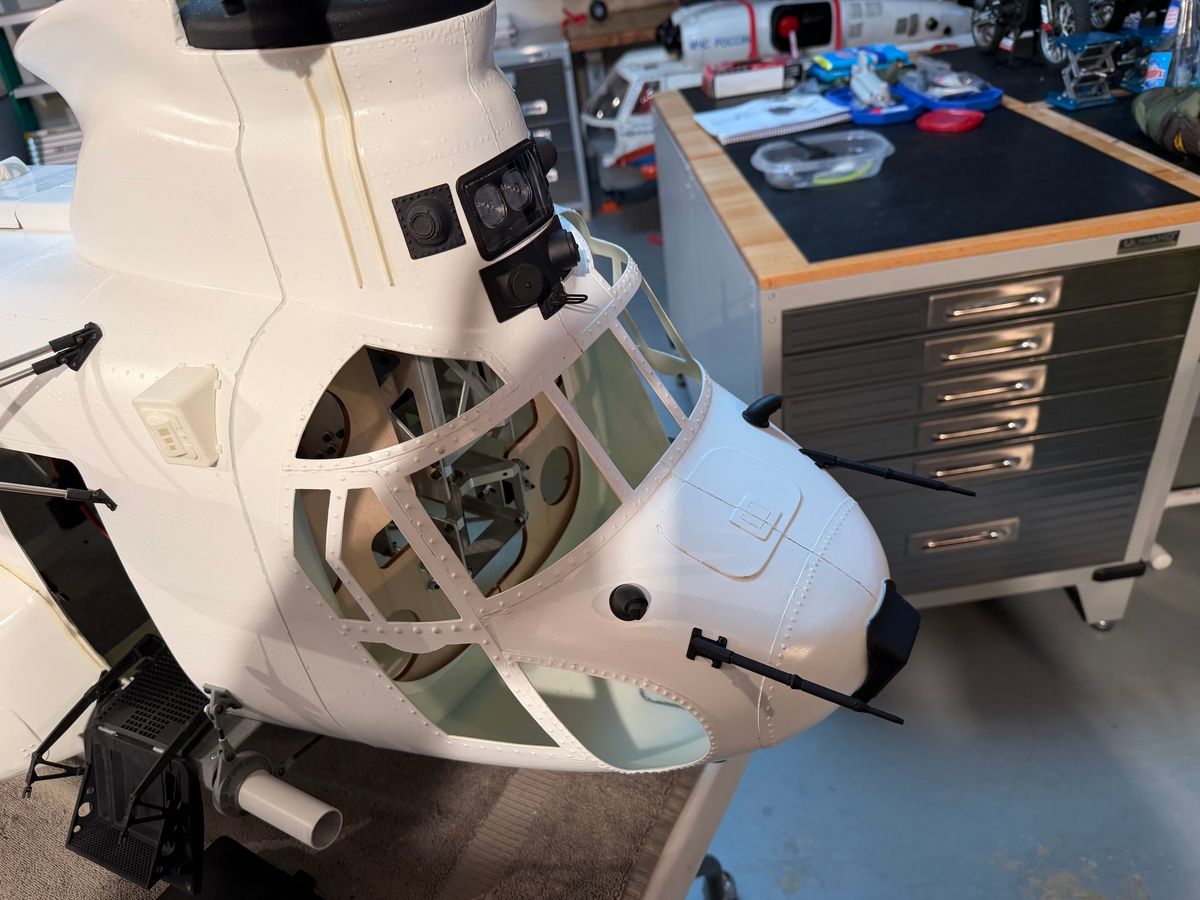
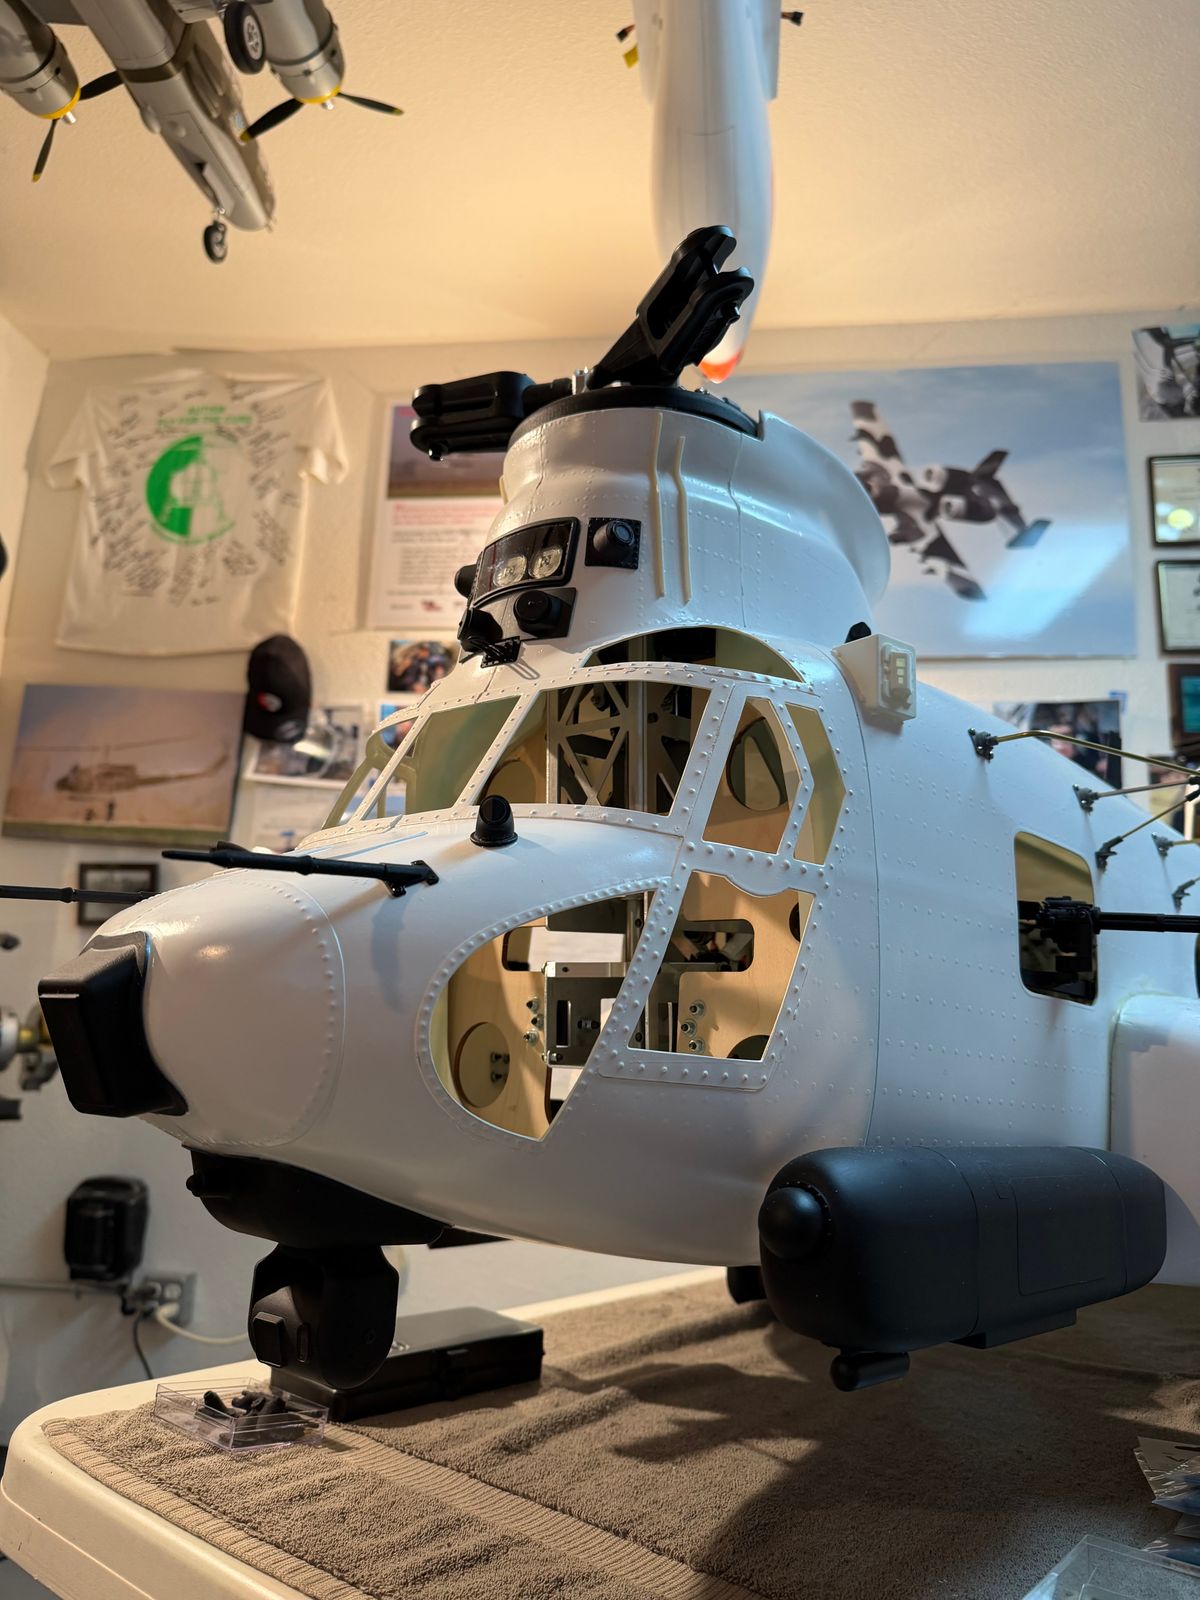
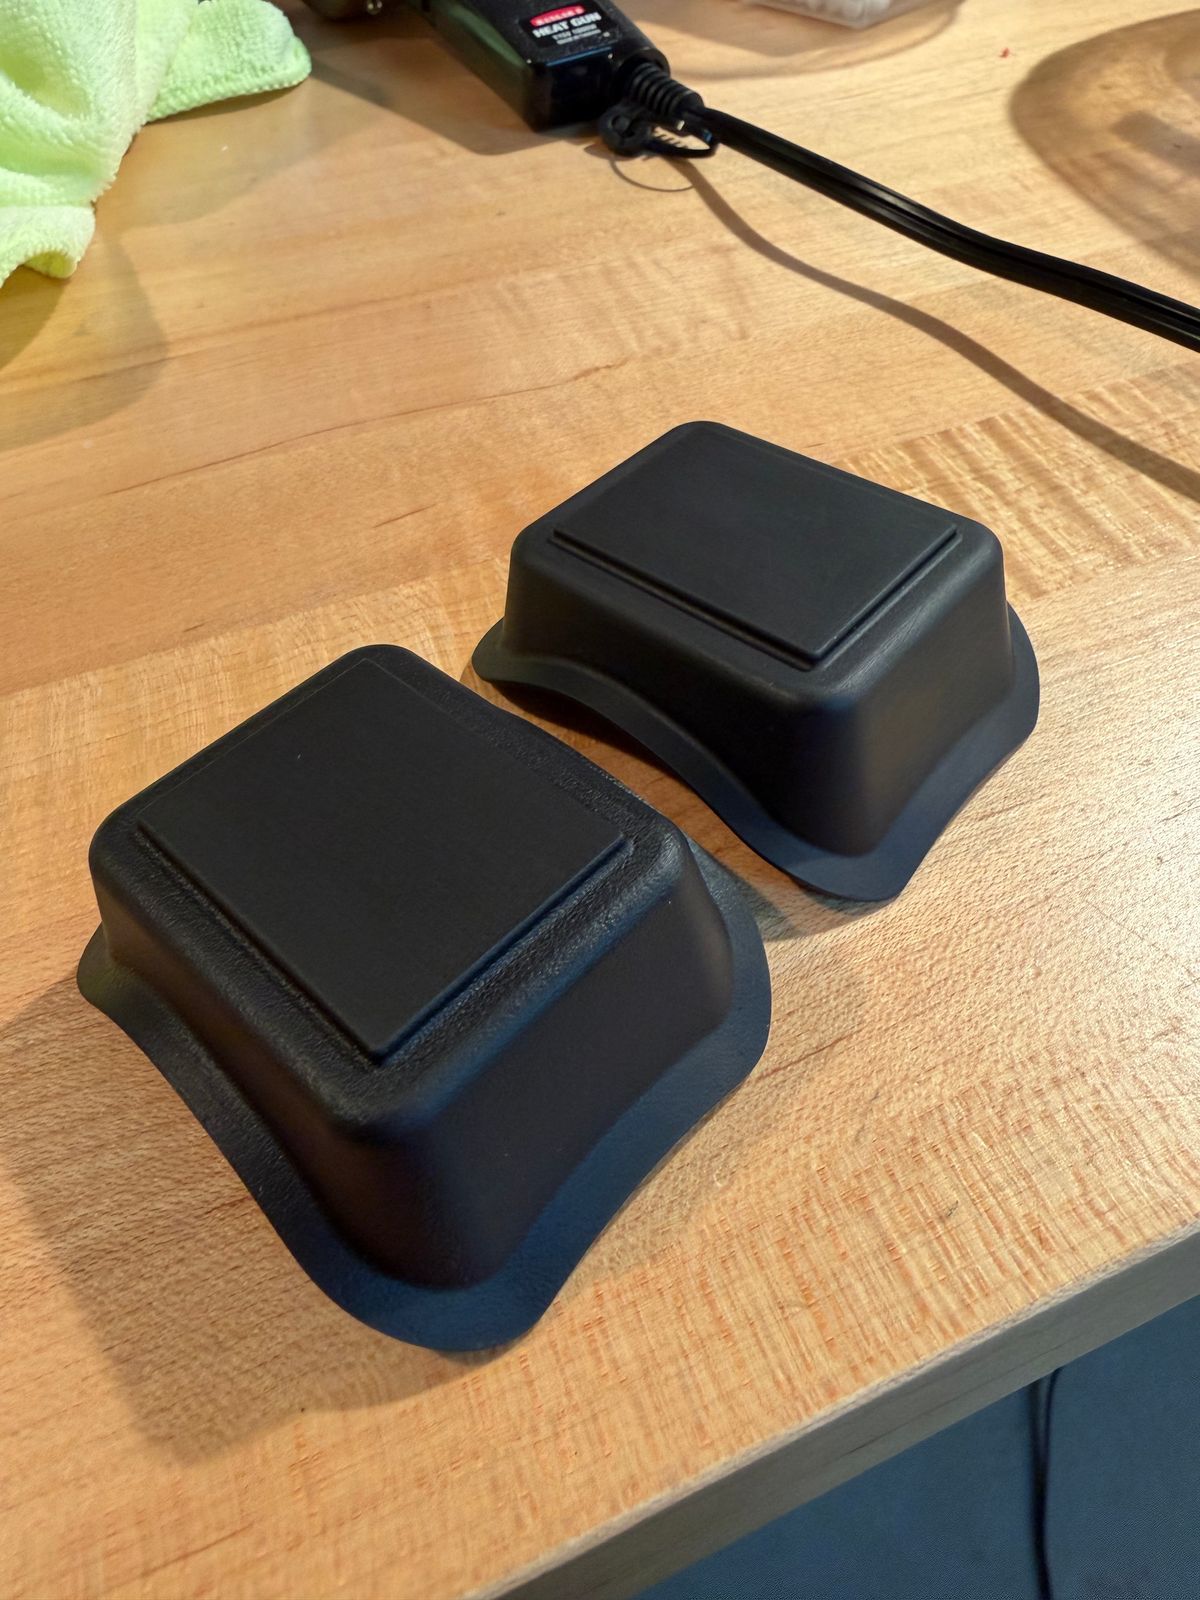
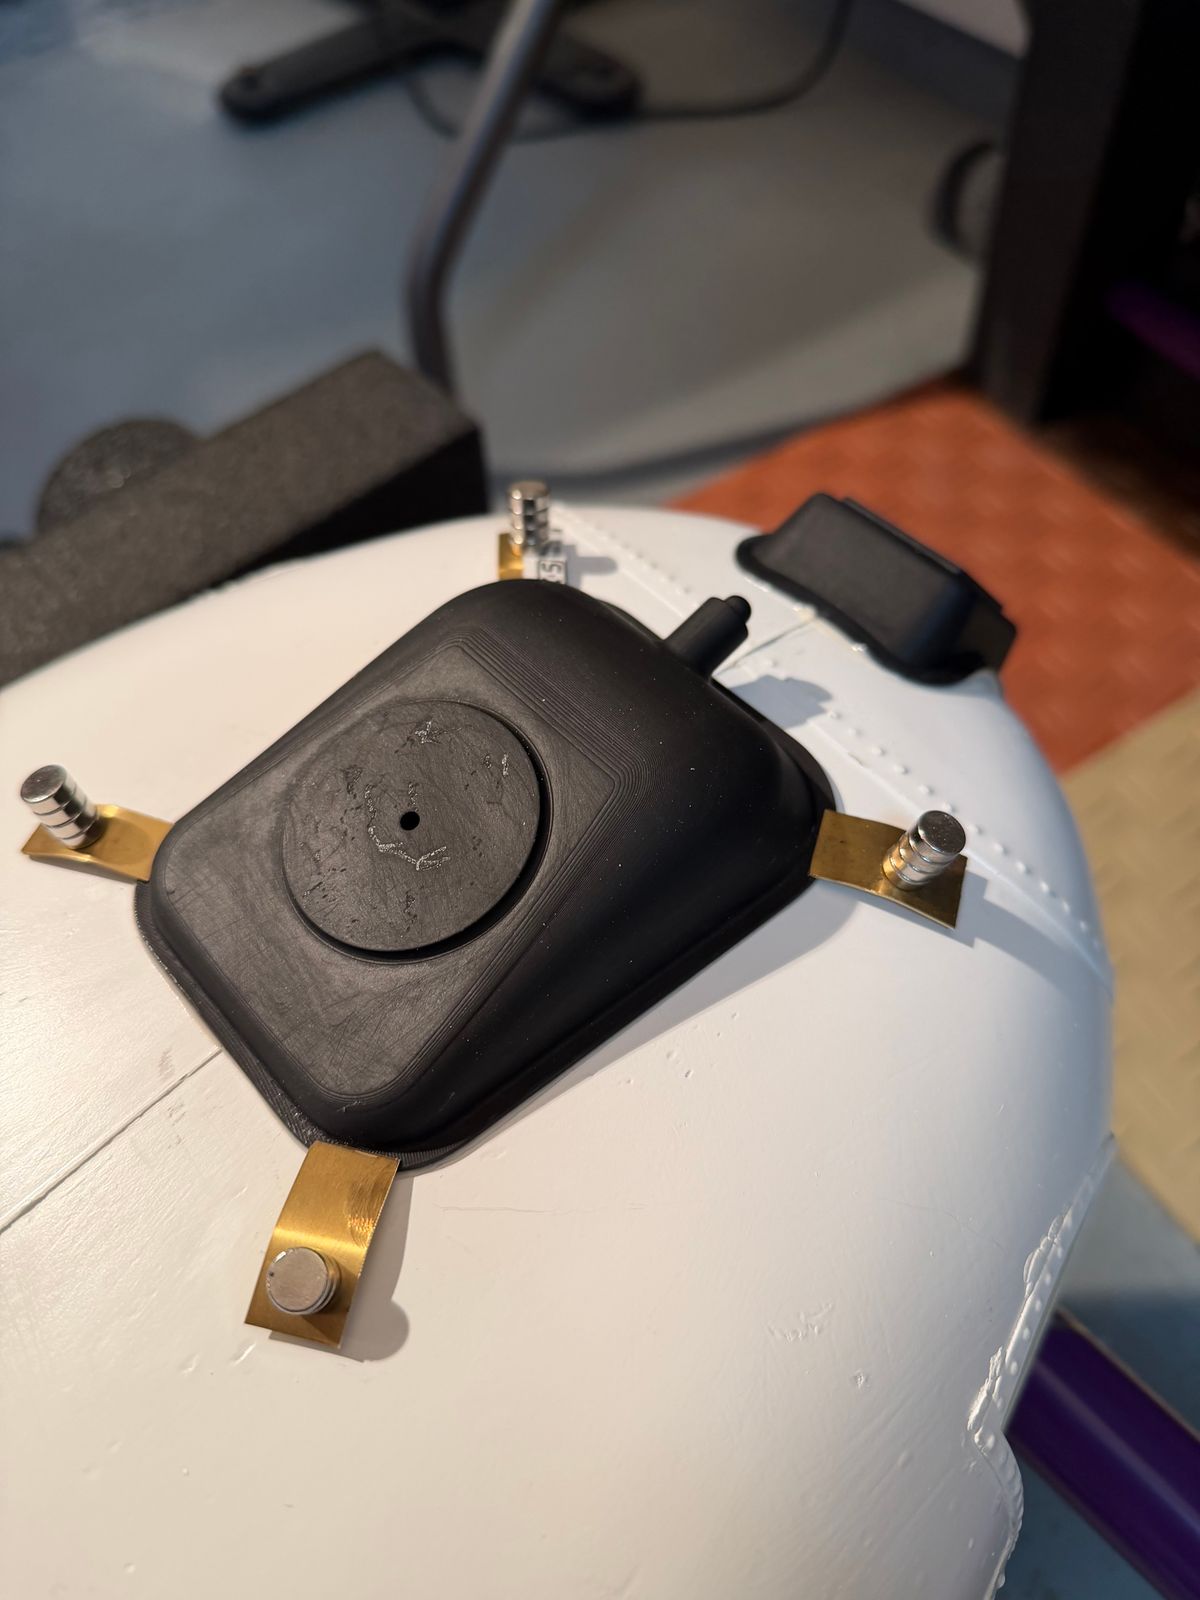
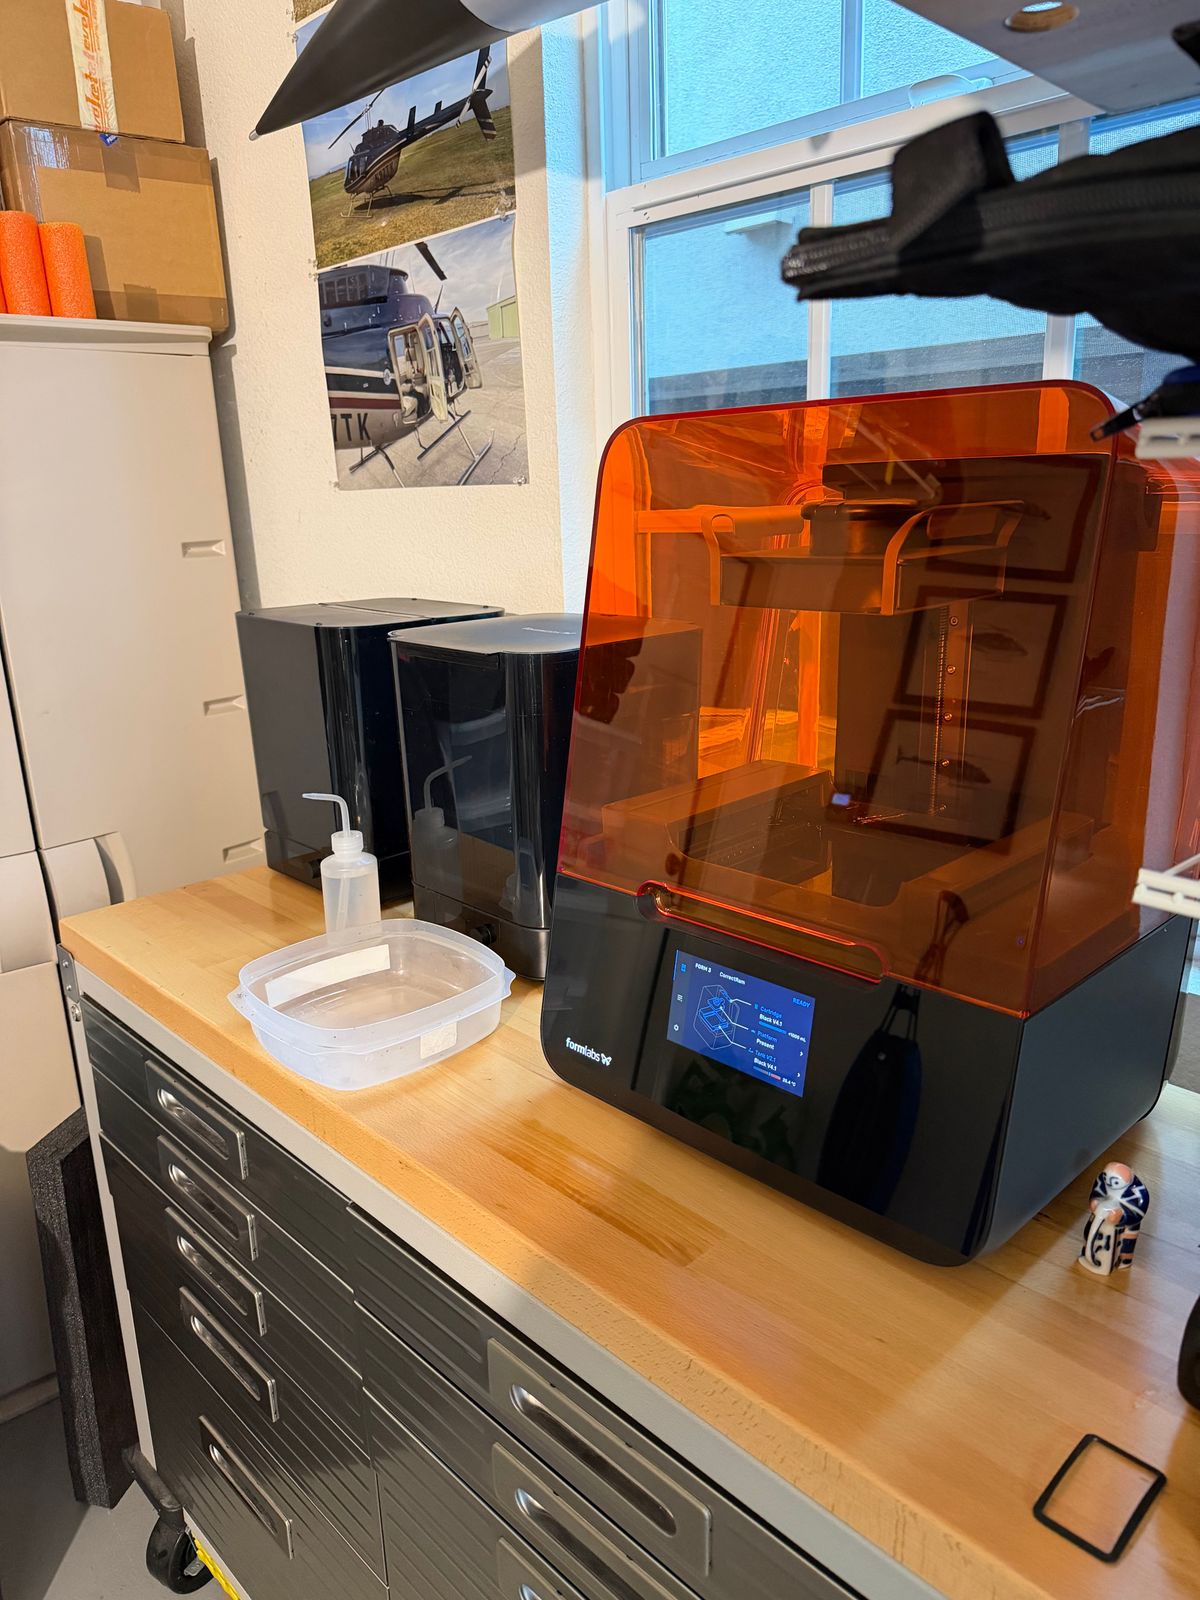
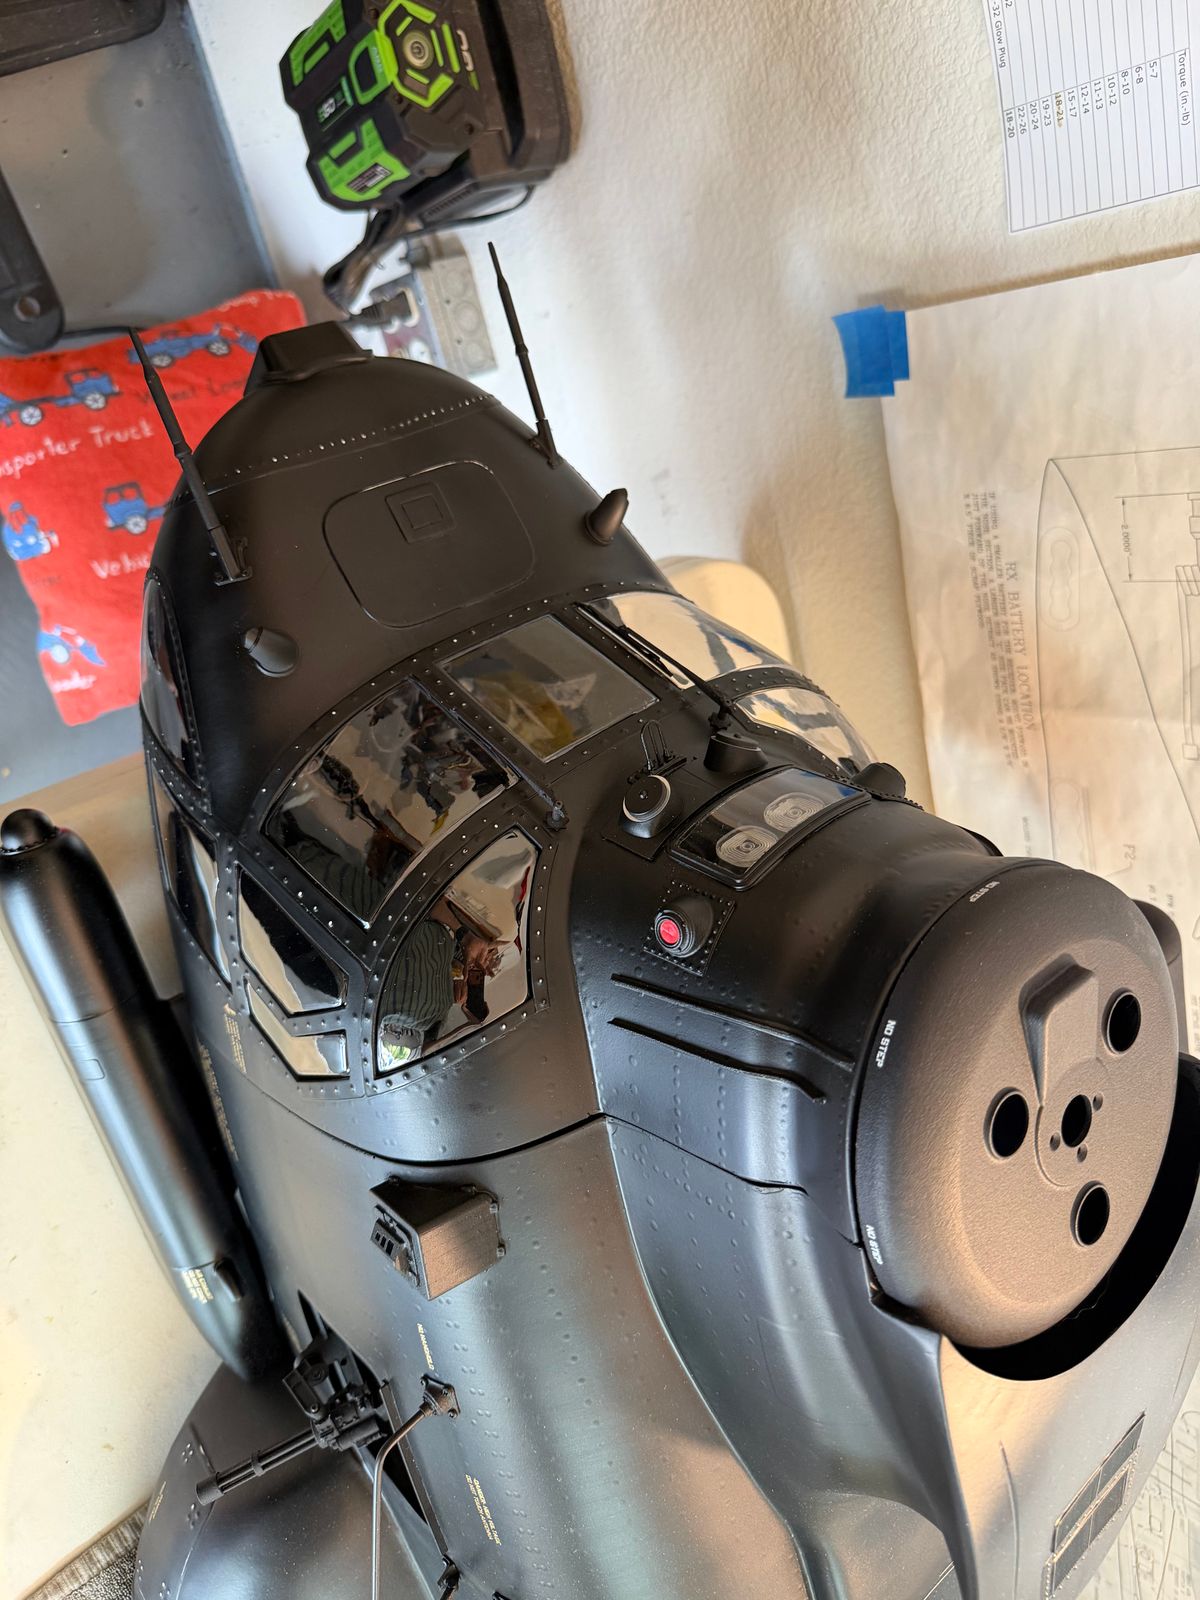
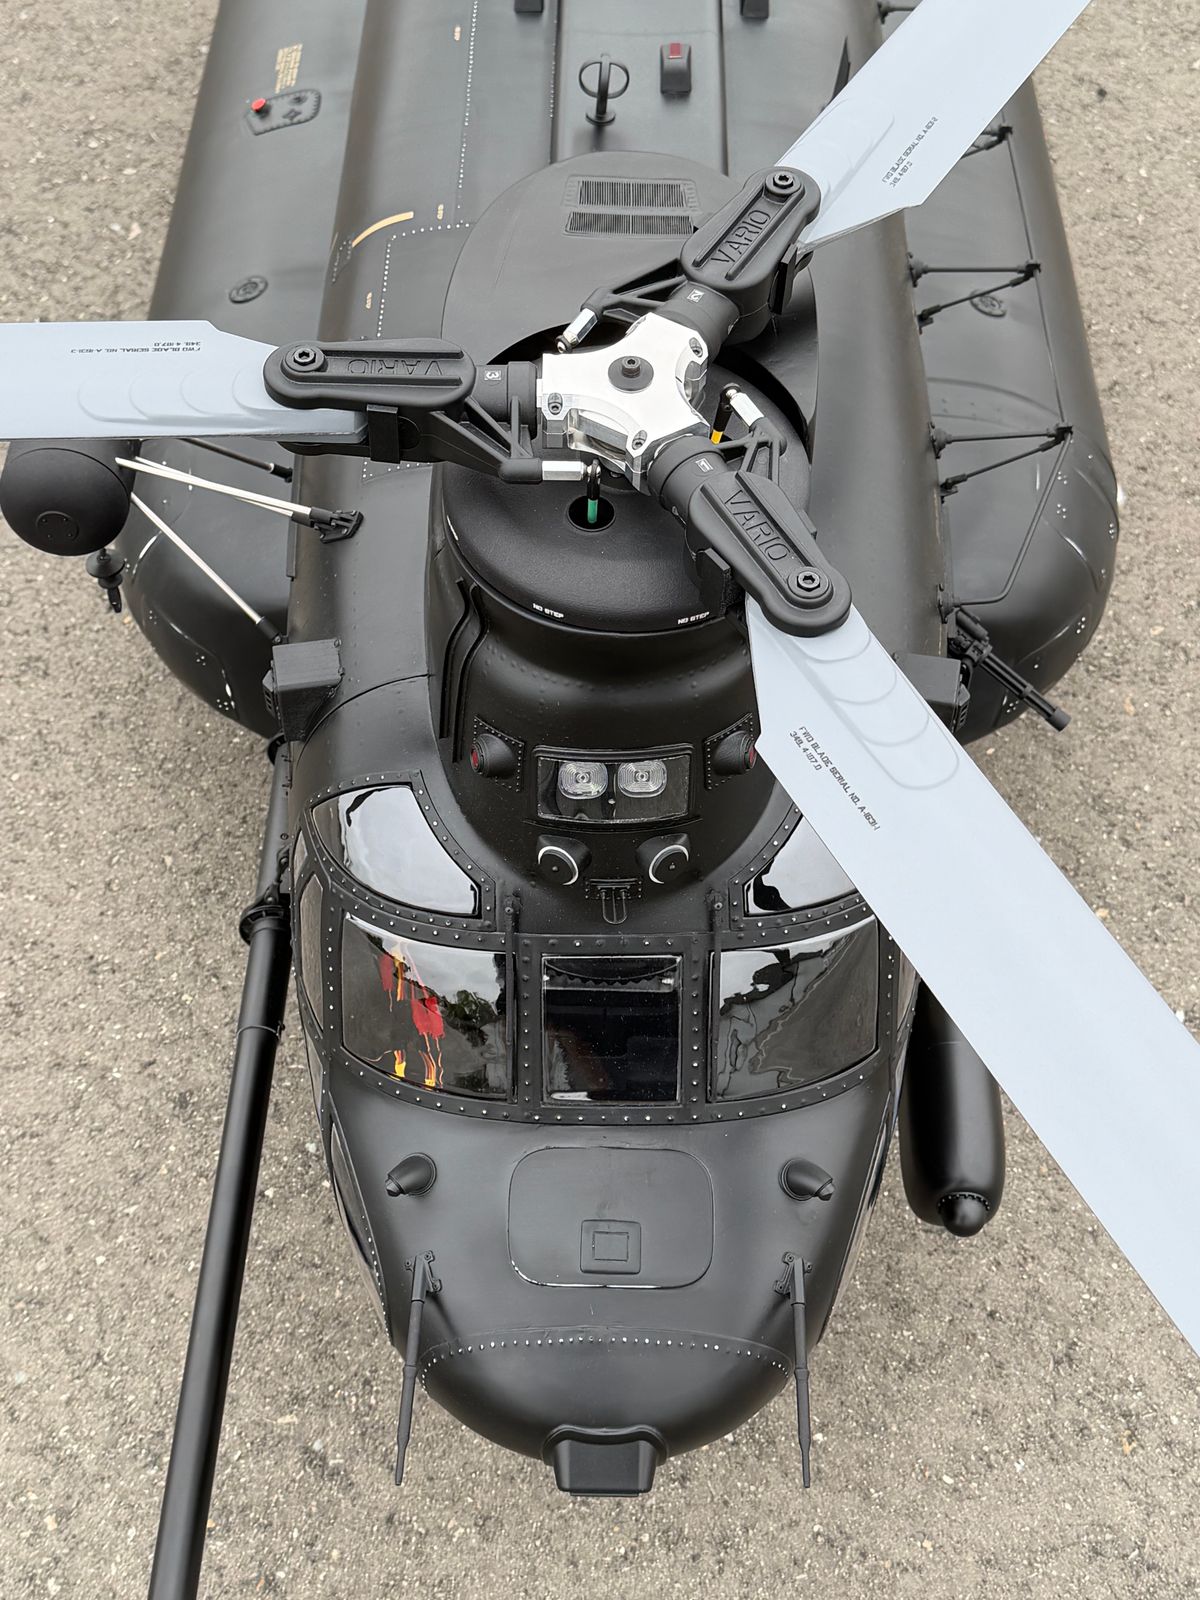
Tons of sensors and front cameras added to the MH-47. Also testing with the Formlabs printer having a sand cast finish directly at the front sensor. Got also a FDM printer for some section structures I need to do.
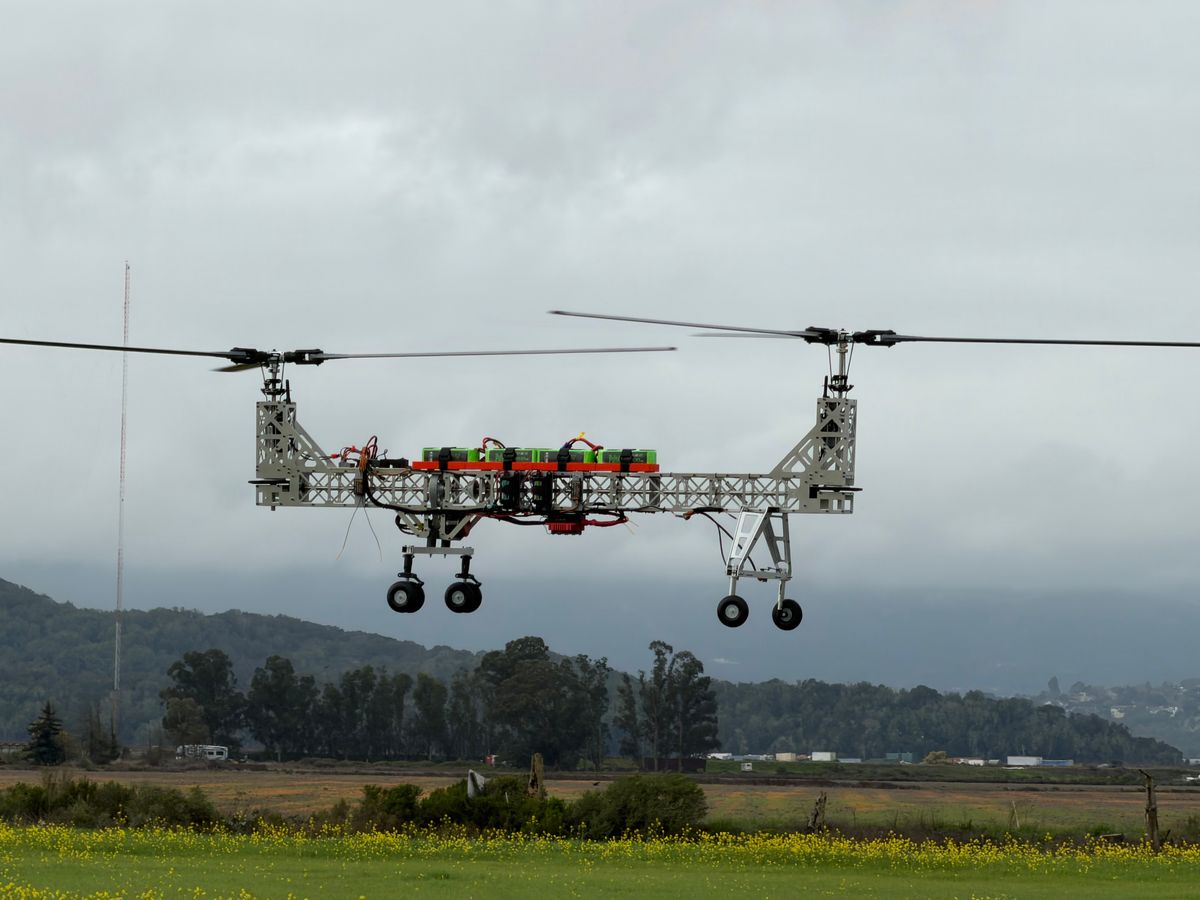
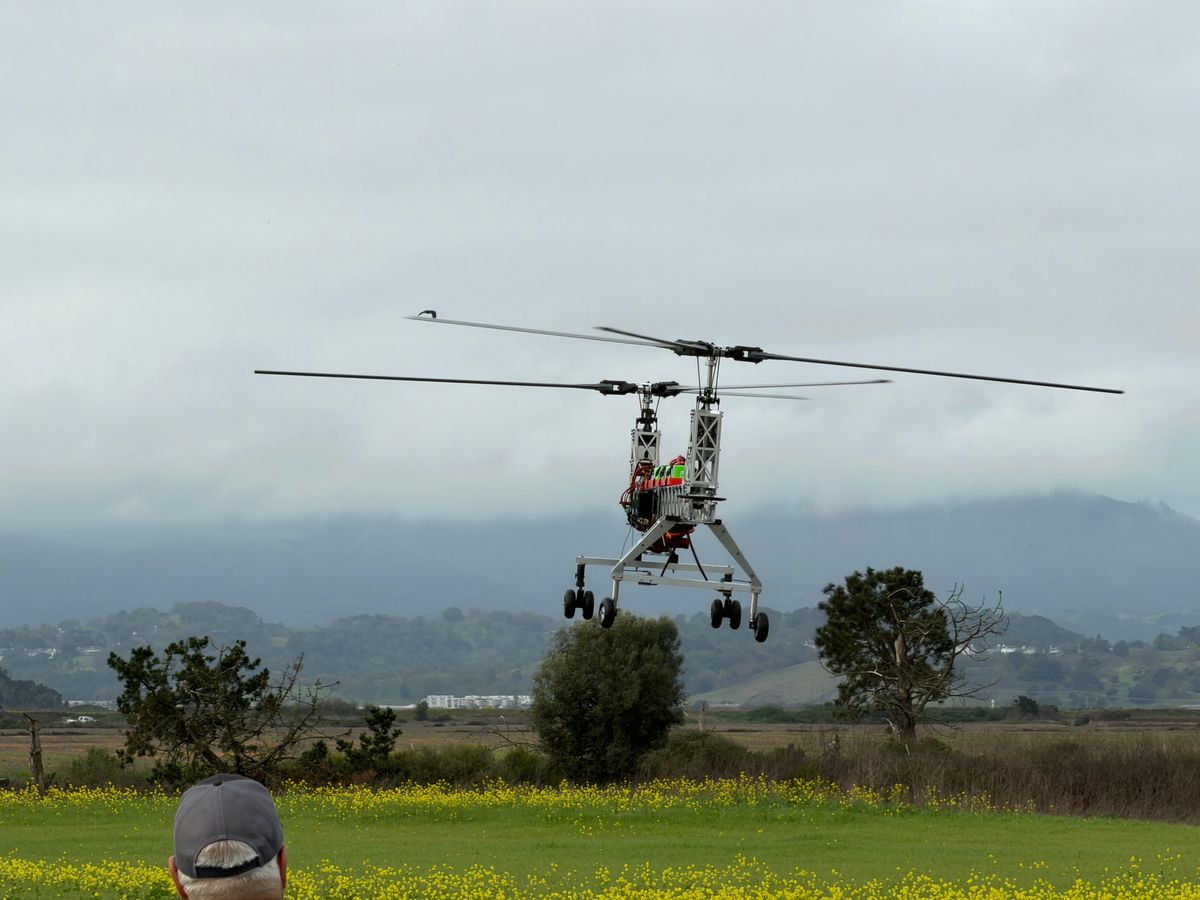
Mechanics Flight Test
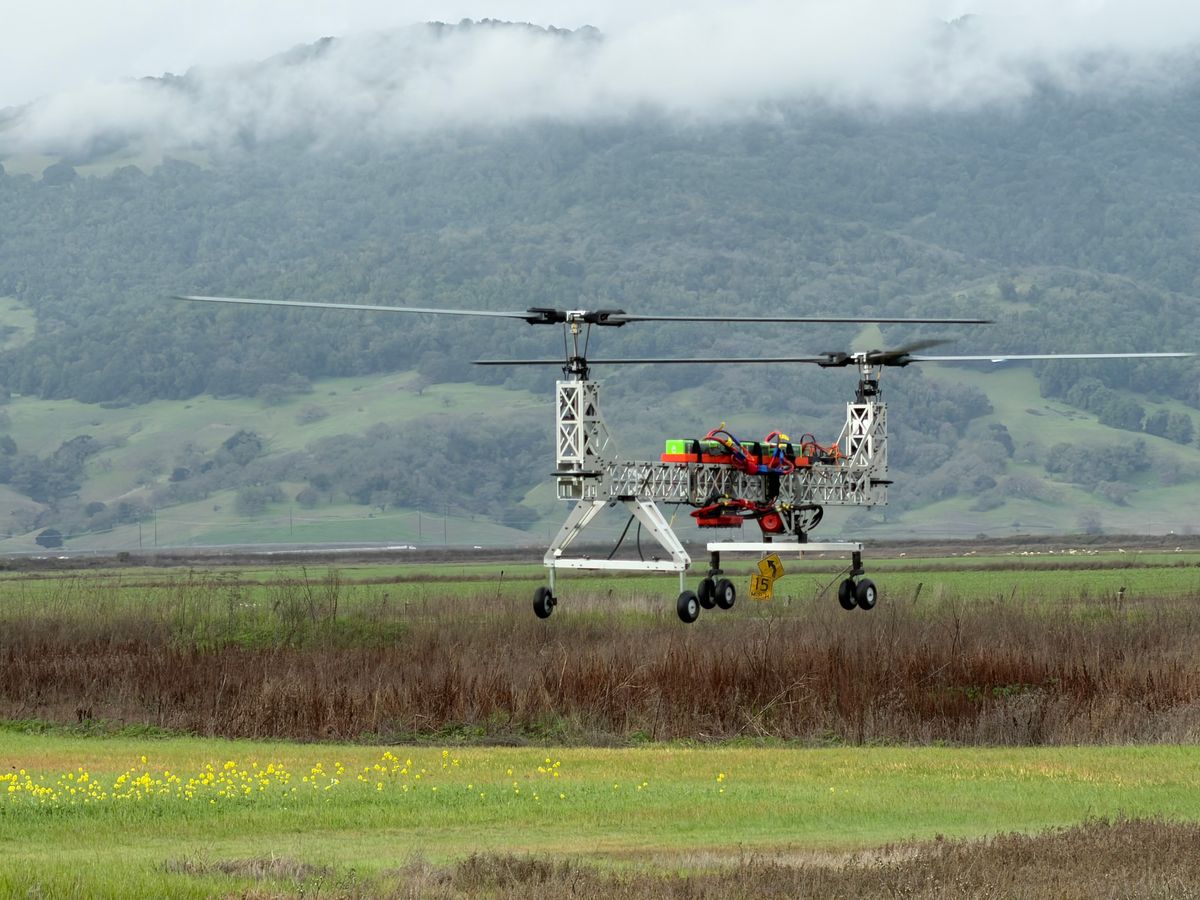
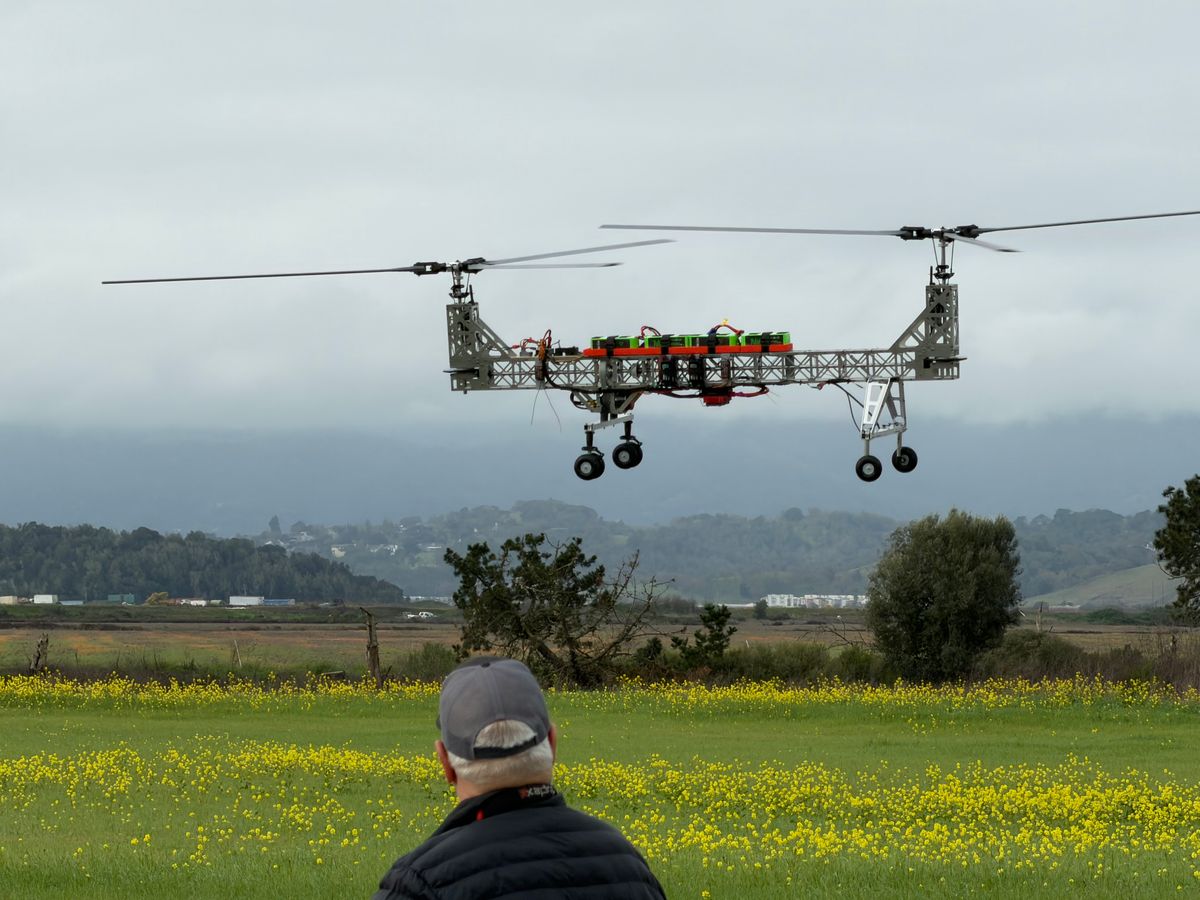
Our first test flight is officially in the books, and I couldn’t be happier with how smoothly everything performed. Huge thanks to Stefan Reusch for sharing the setup information and the BD 3SX parameters—much appreciated.
One of my favorite parts is diving into the incredible telemetry data from Jeti. Here are a few highlights:
Hover current: 59.2 A on the motor pulling
RPM: rock solid at 854 RPM
Kosmic ESC temperature: 23°C
Motor temperature: 59°C
Amps pulling by the servos about 1amp
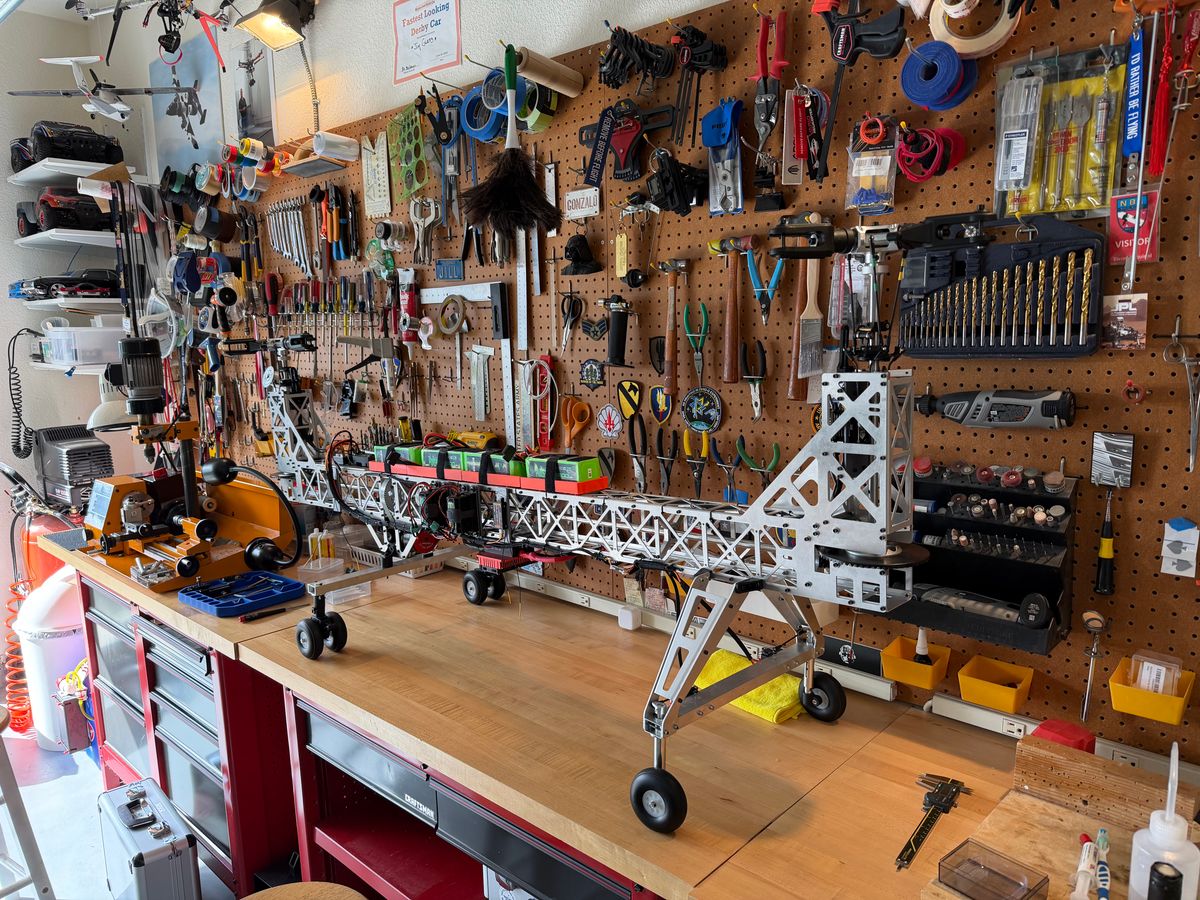
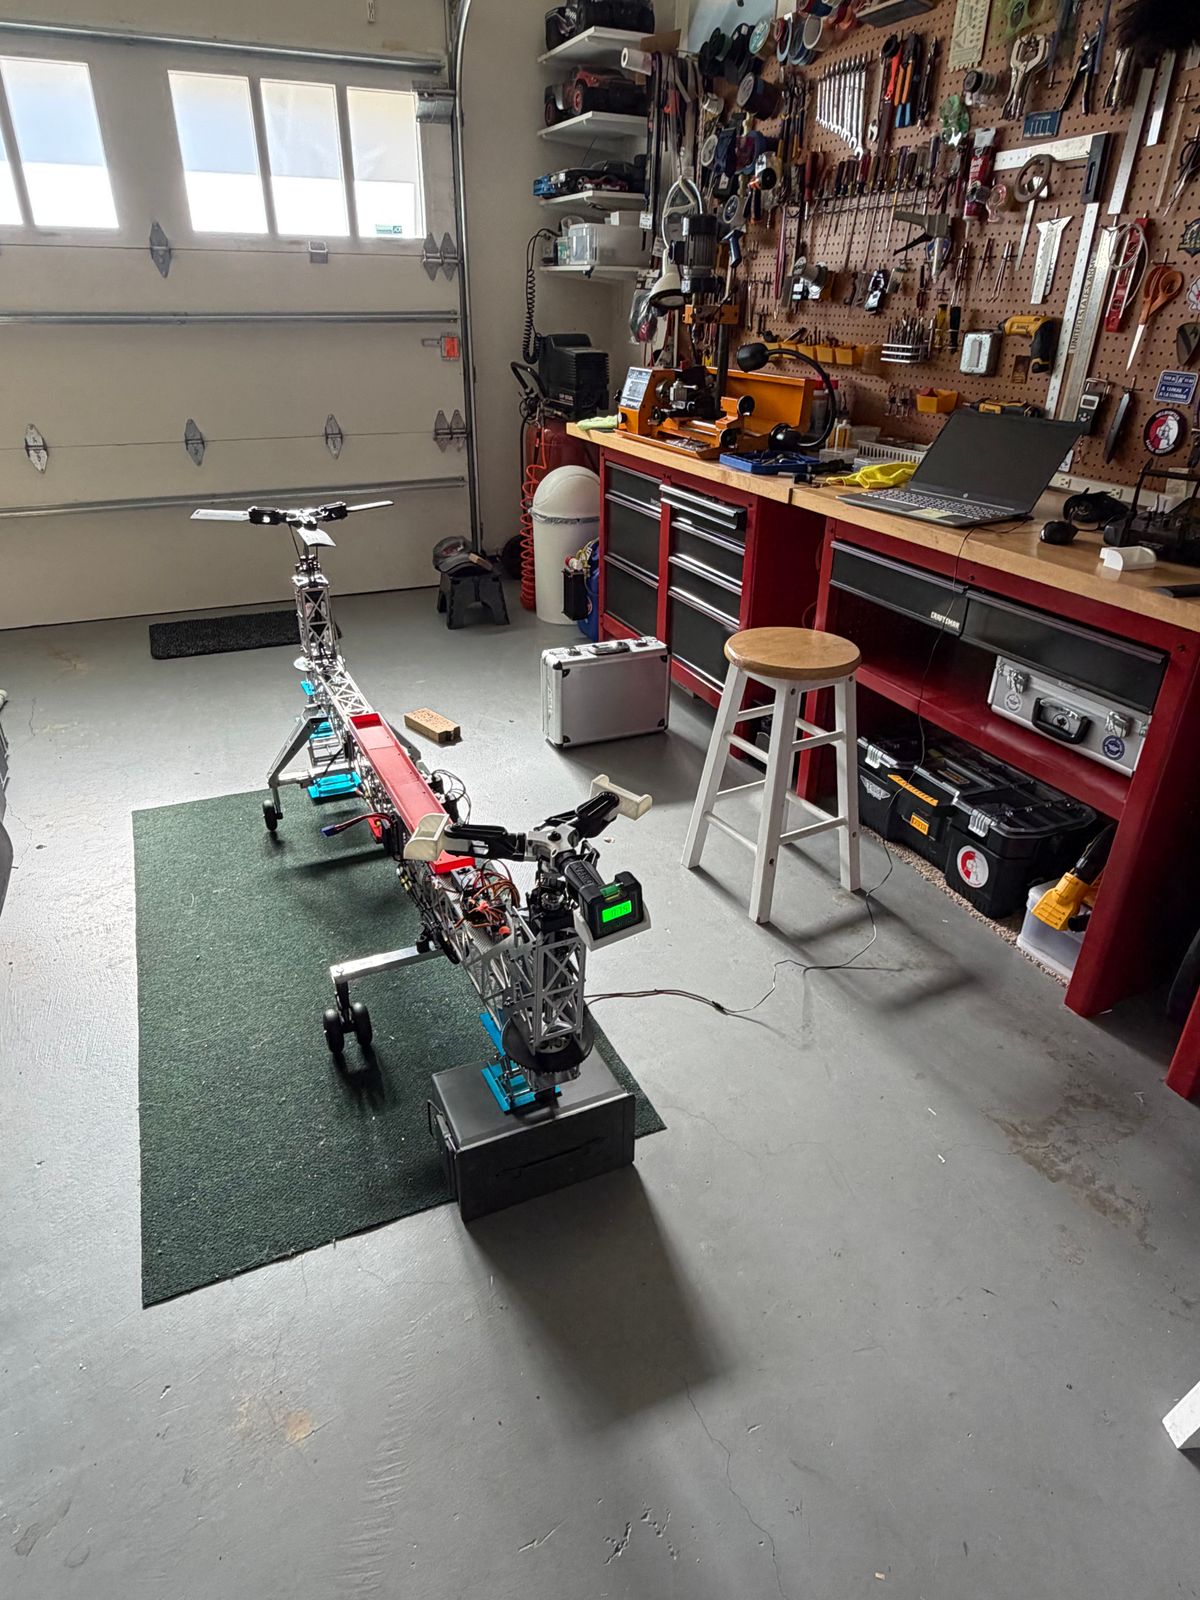
Tracking was absolutely perfect, thanks to some custom tooling I built.
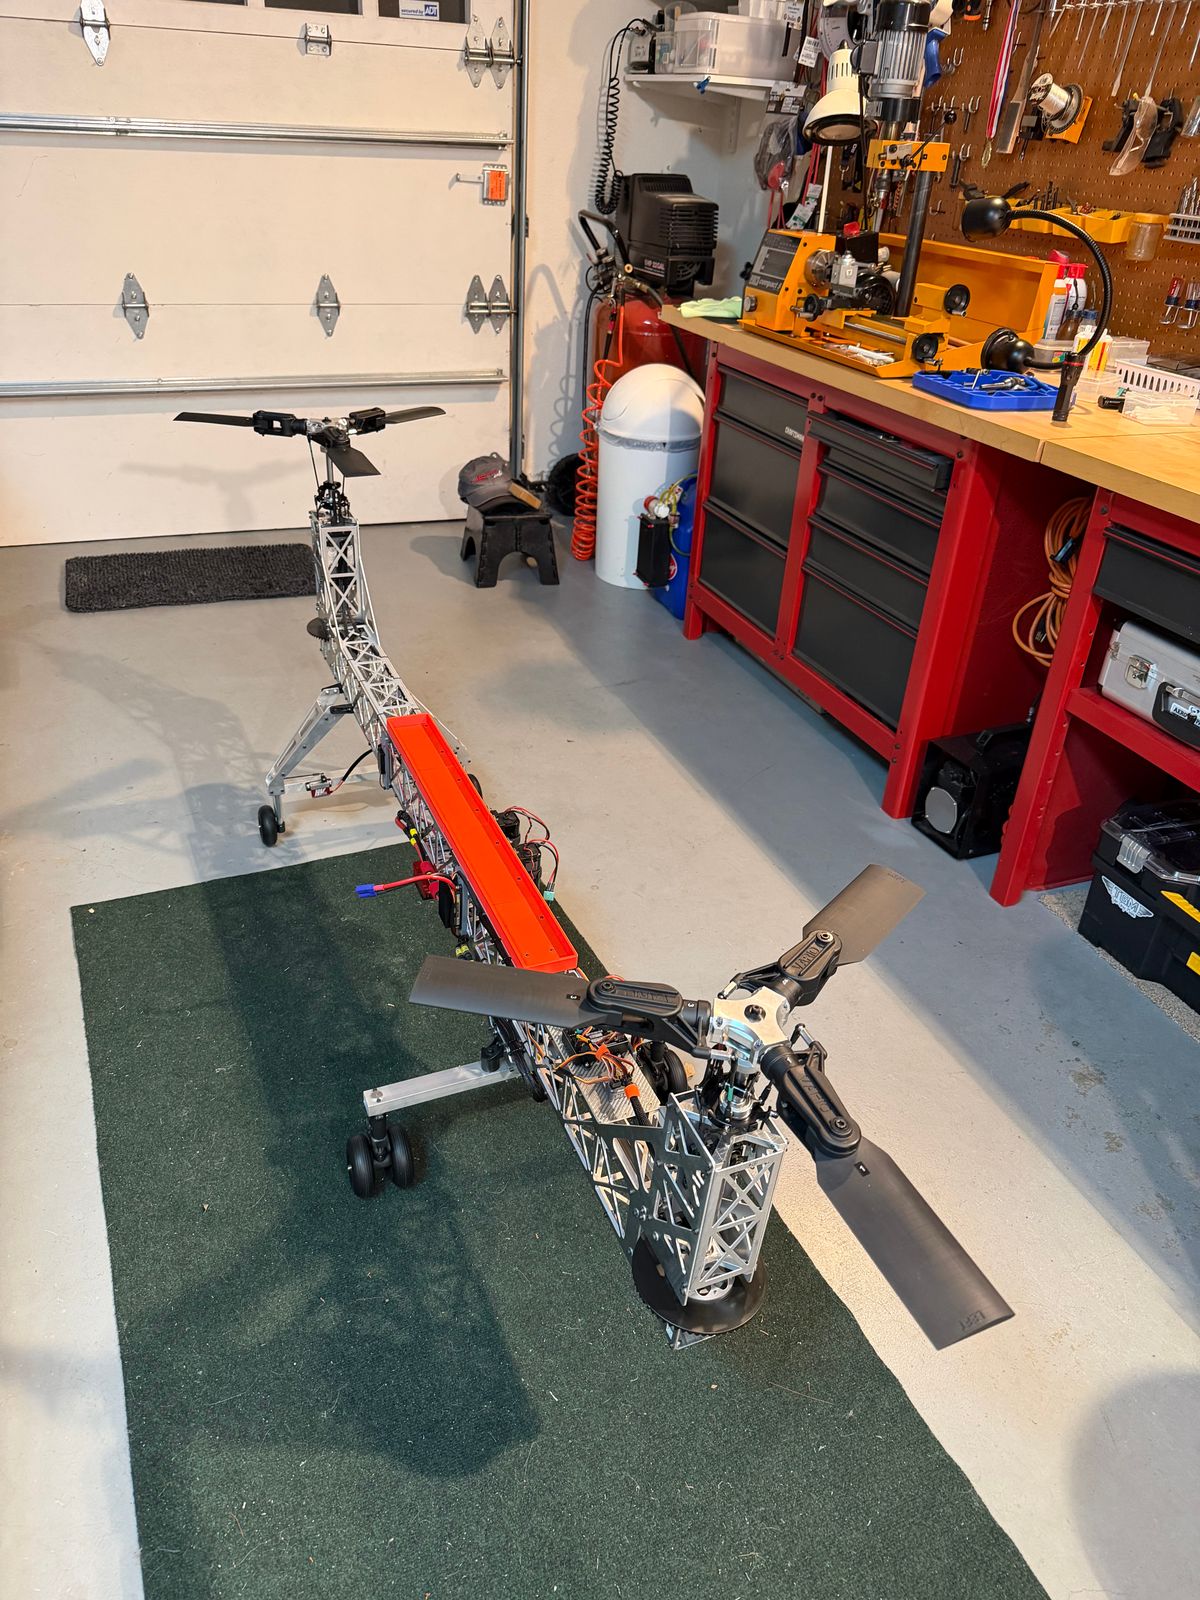
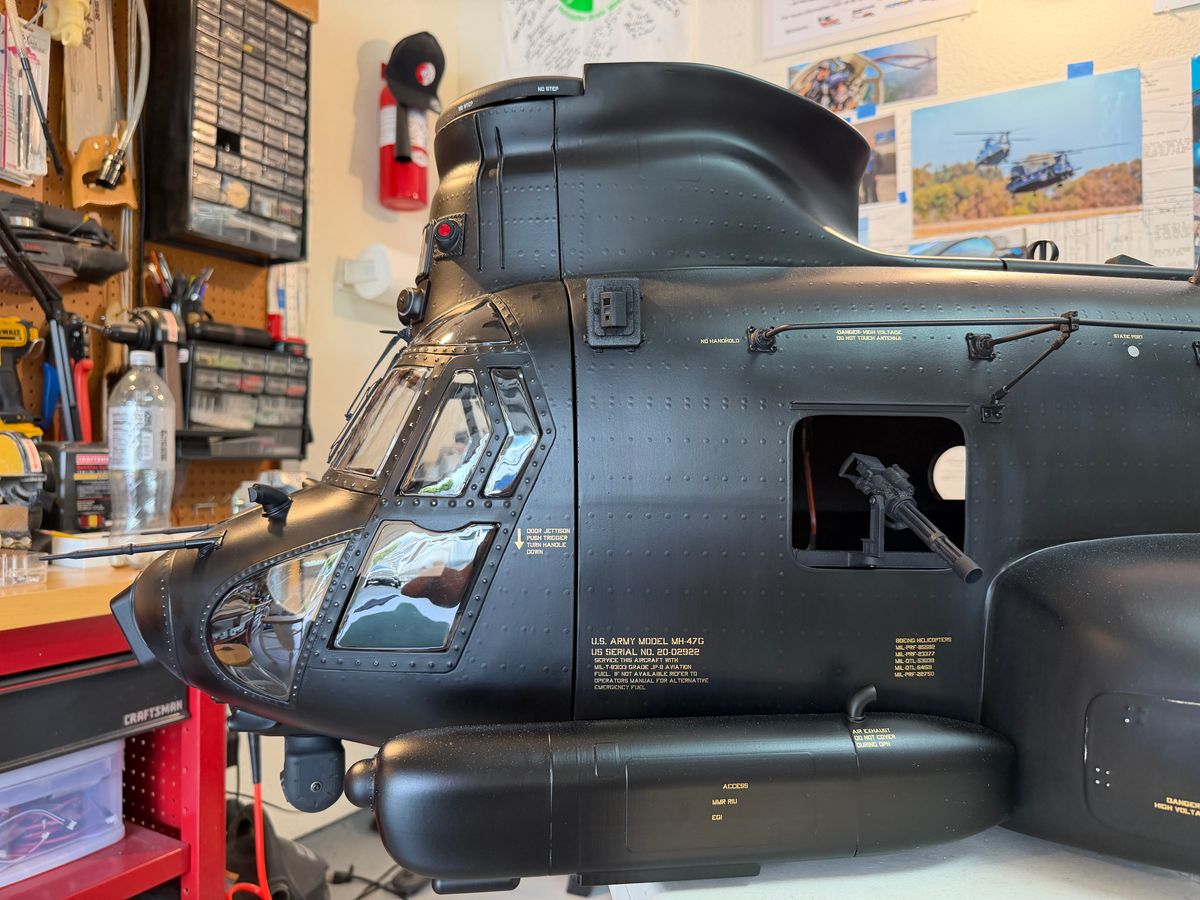
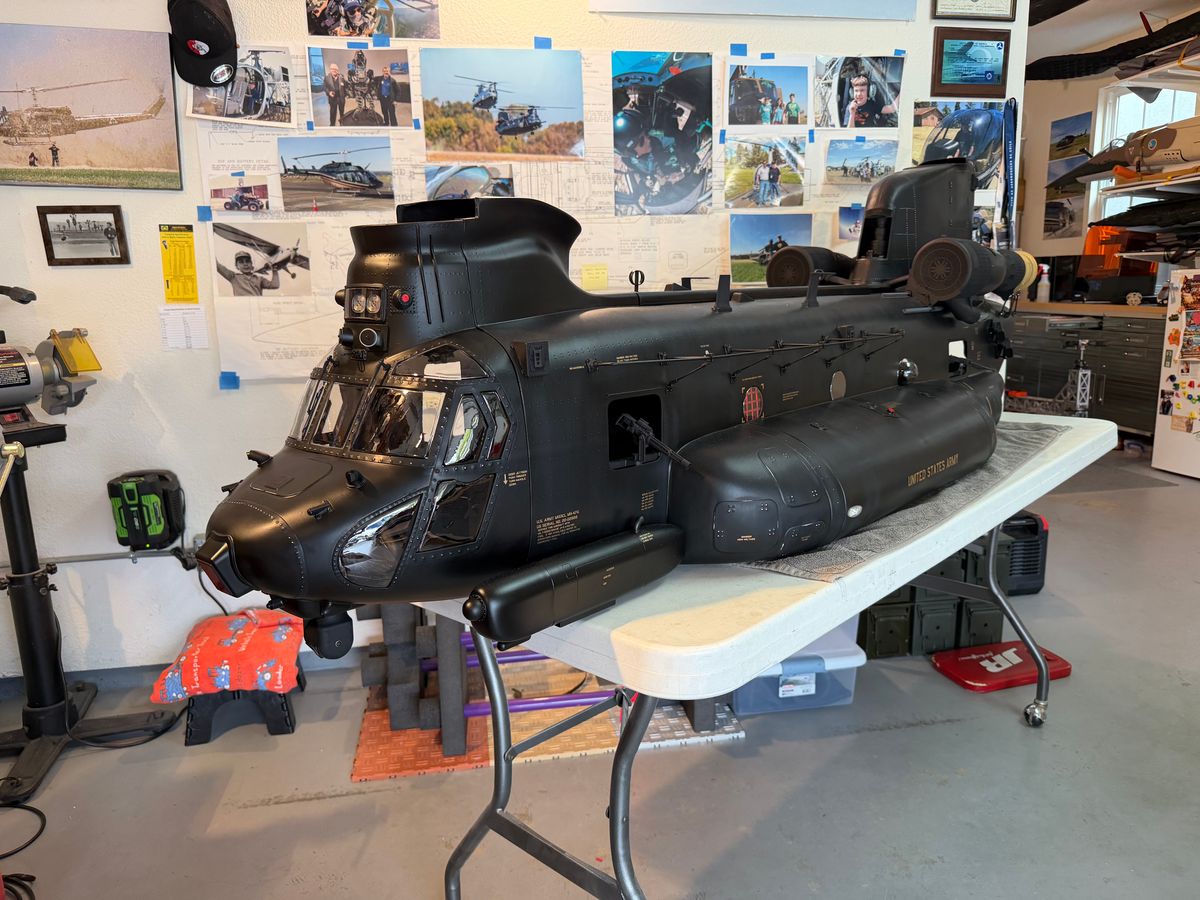
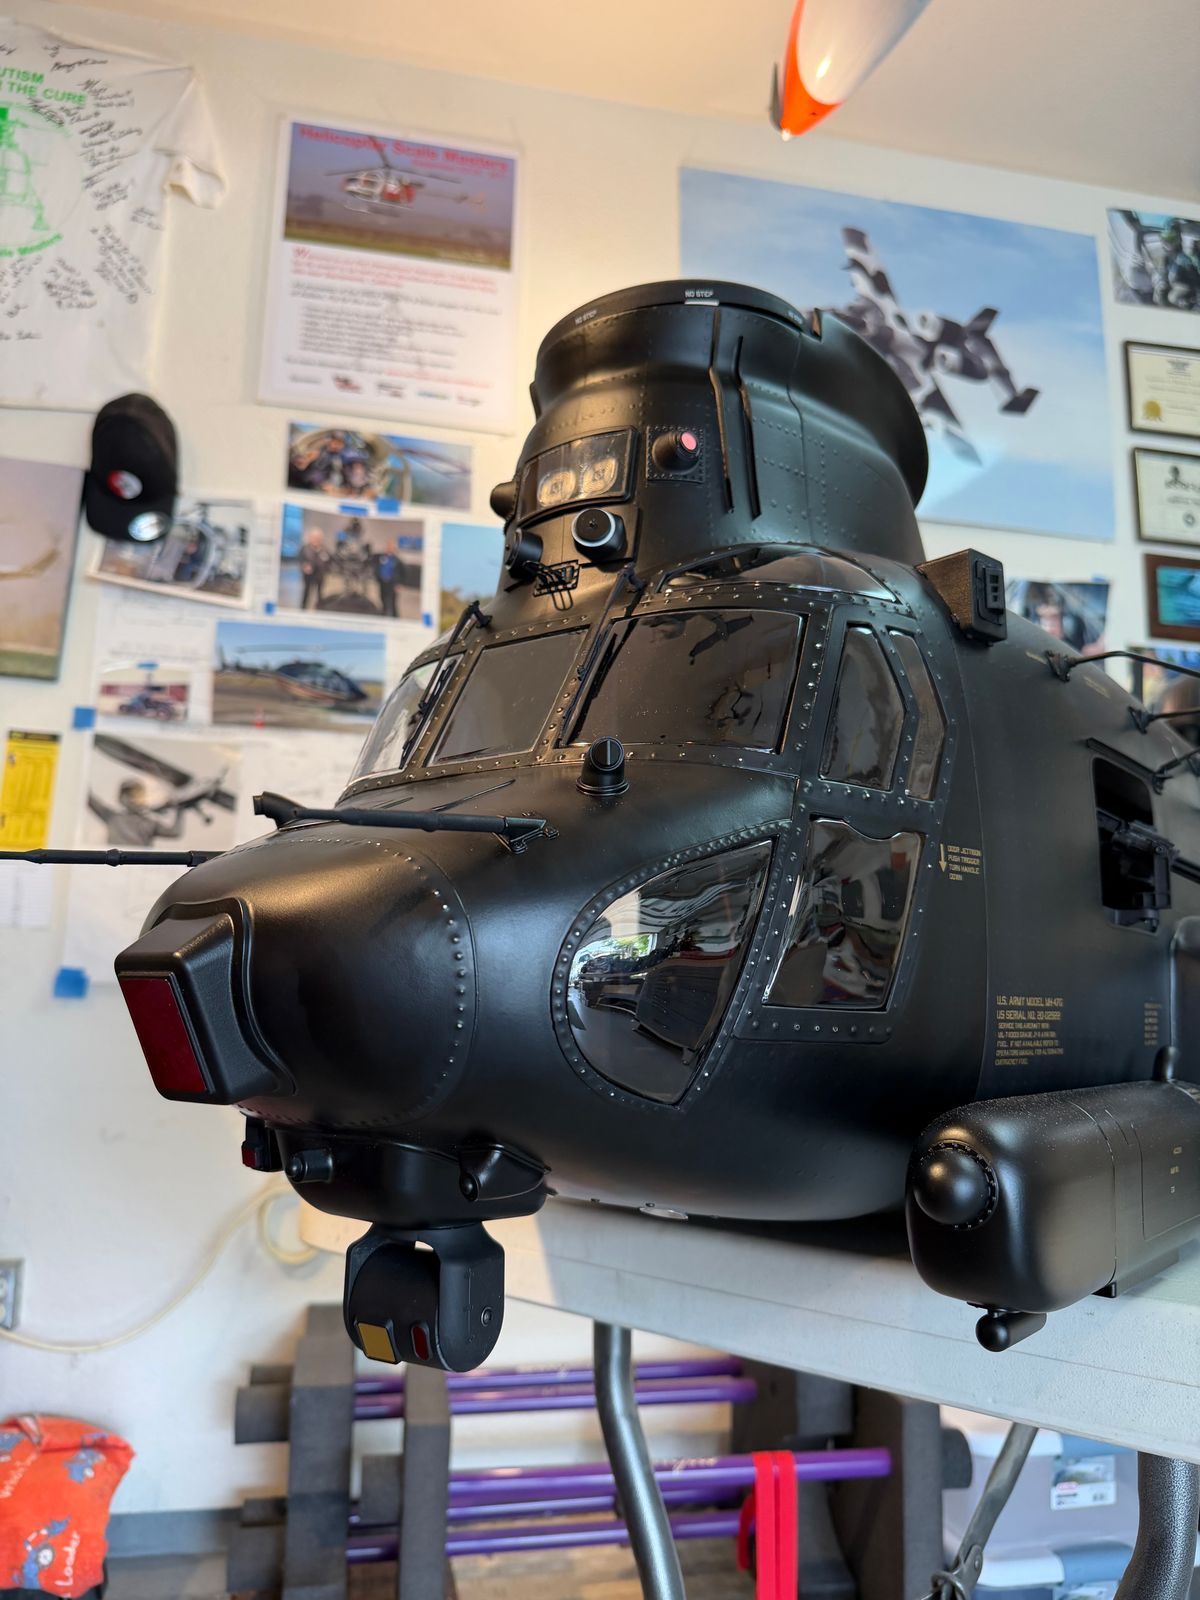
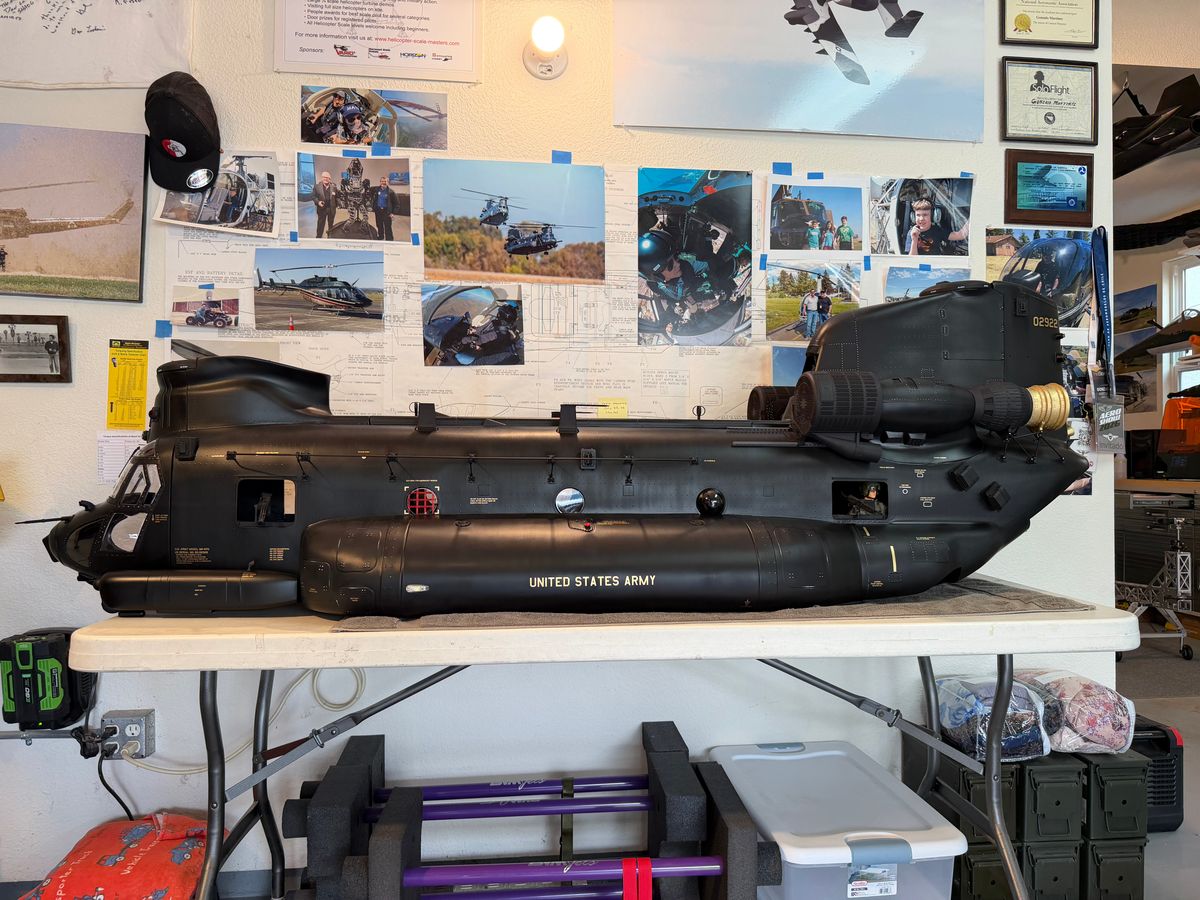
The fuselage is nearly complete with all the scale details. There are just a few more areas to finish up before it heads to the paint booth.
Painting, weathering and markings
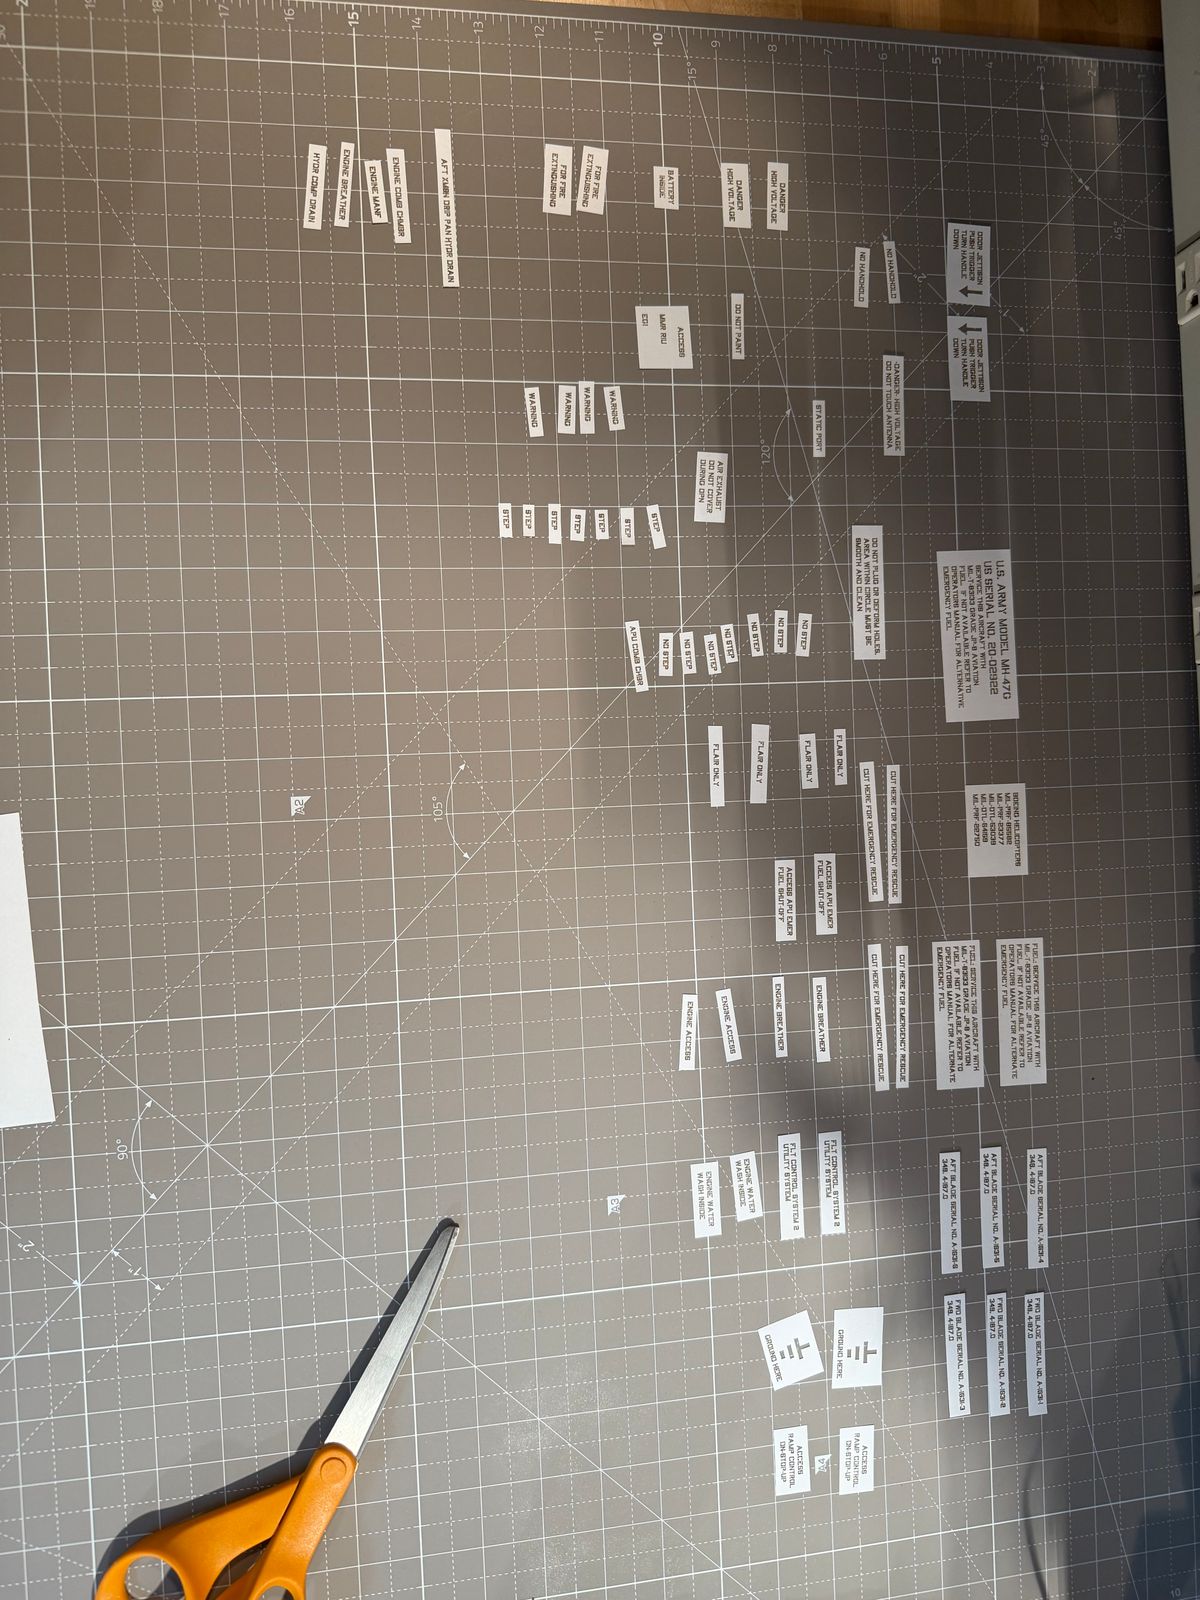
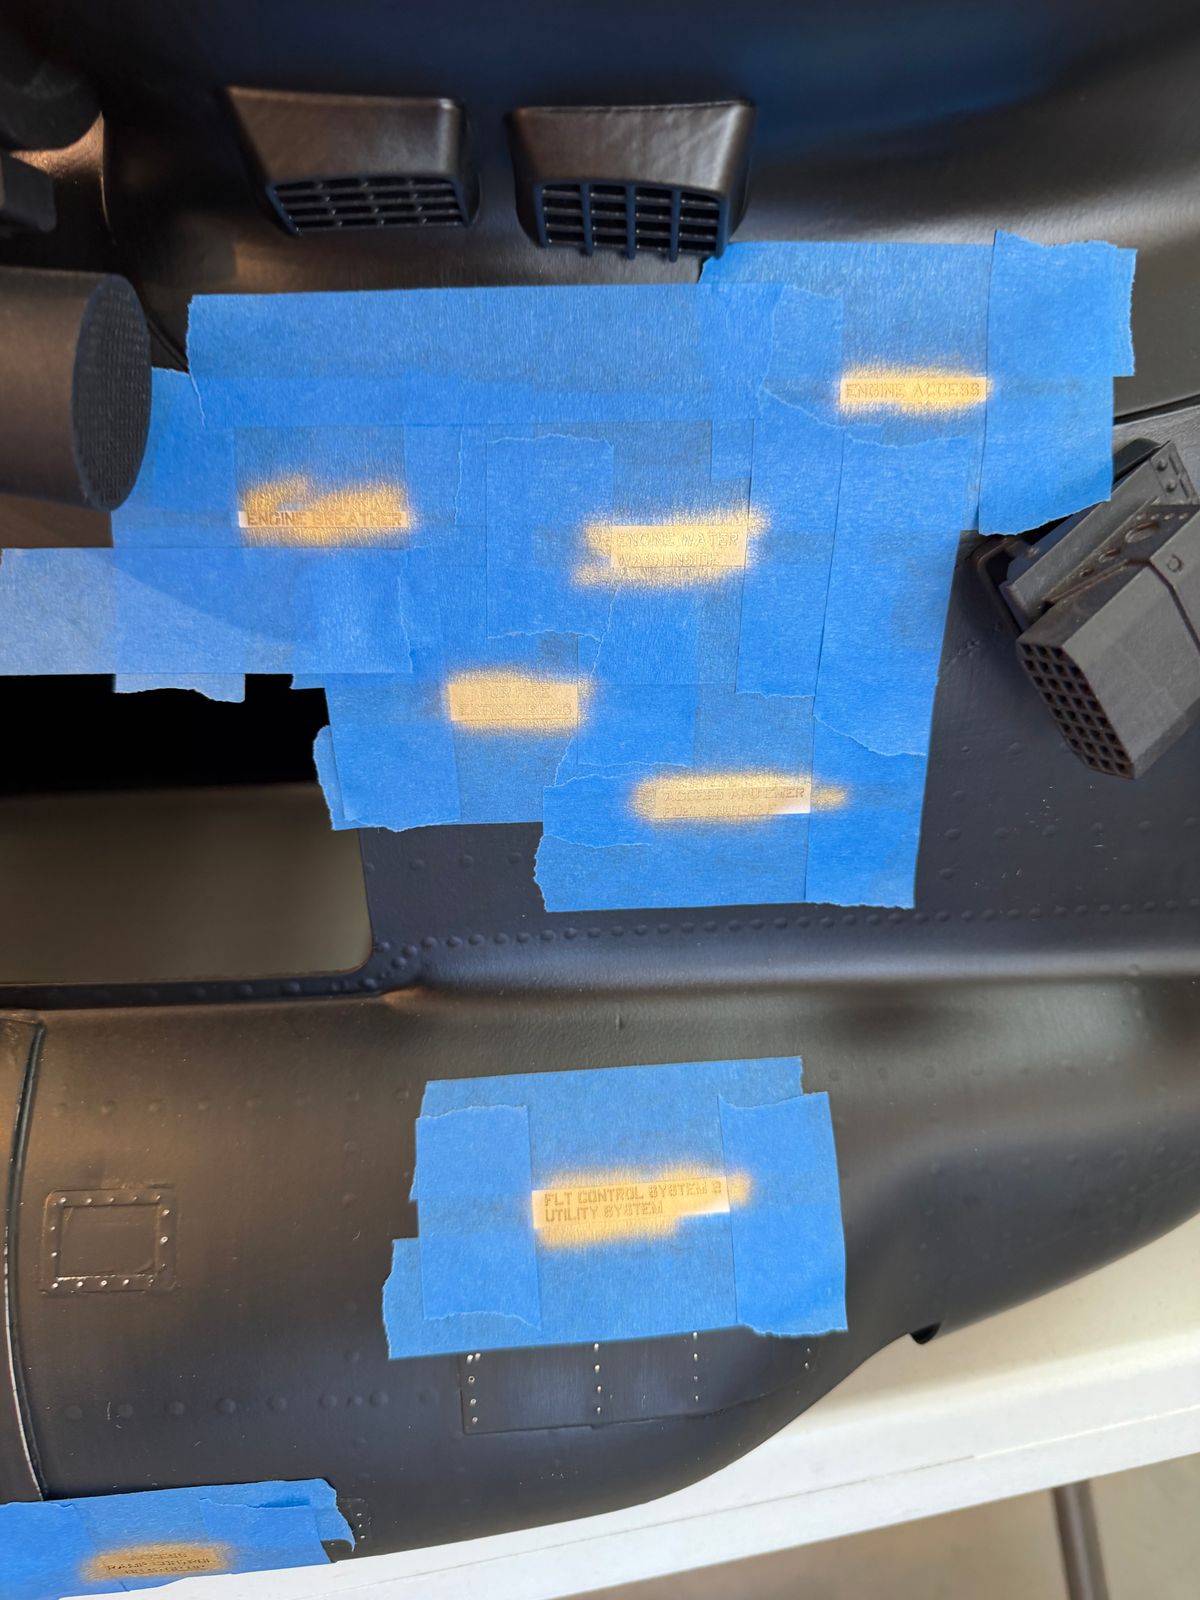
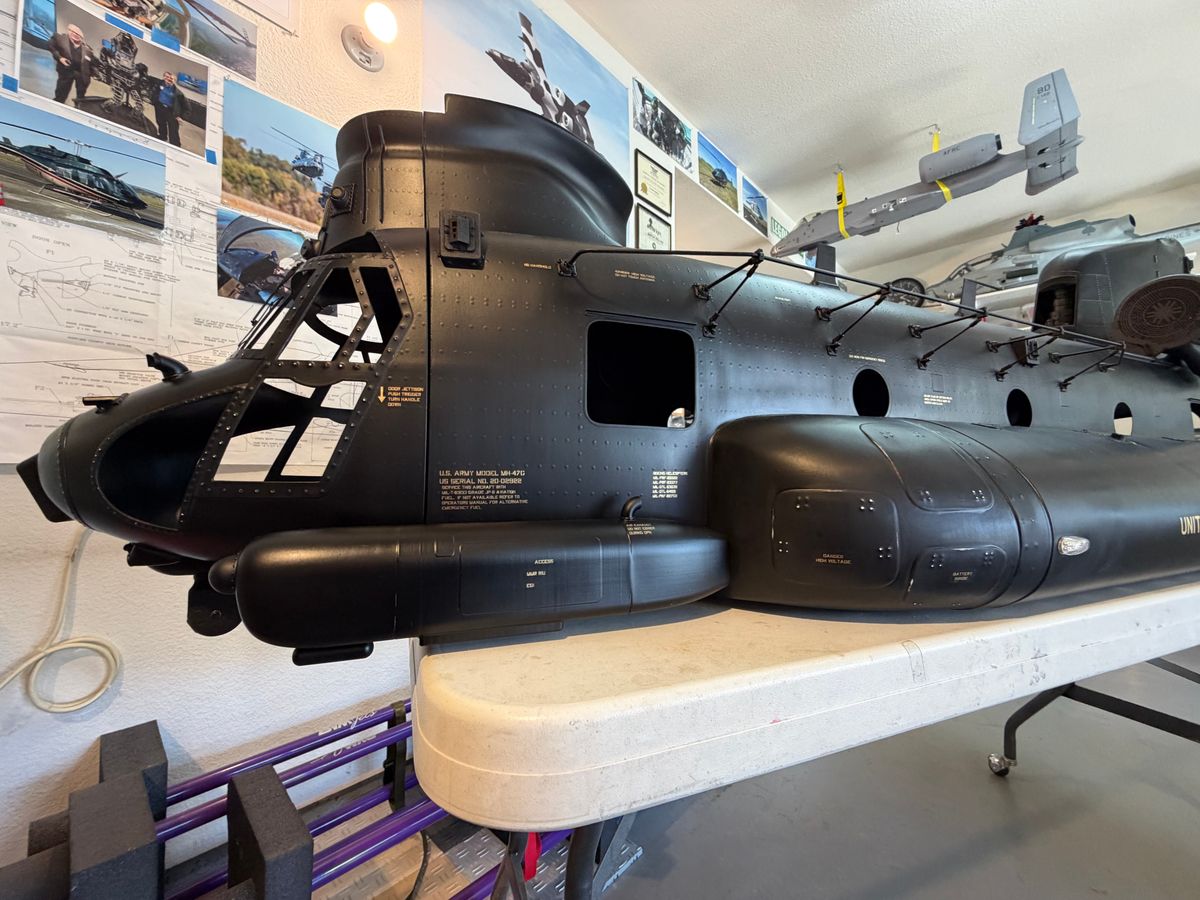
Time for painting, weathering and some stencil markings.
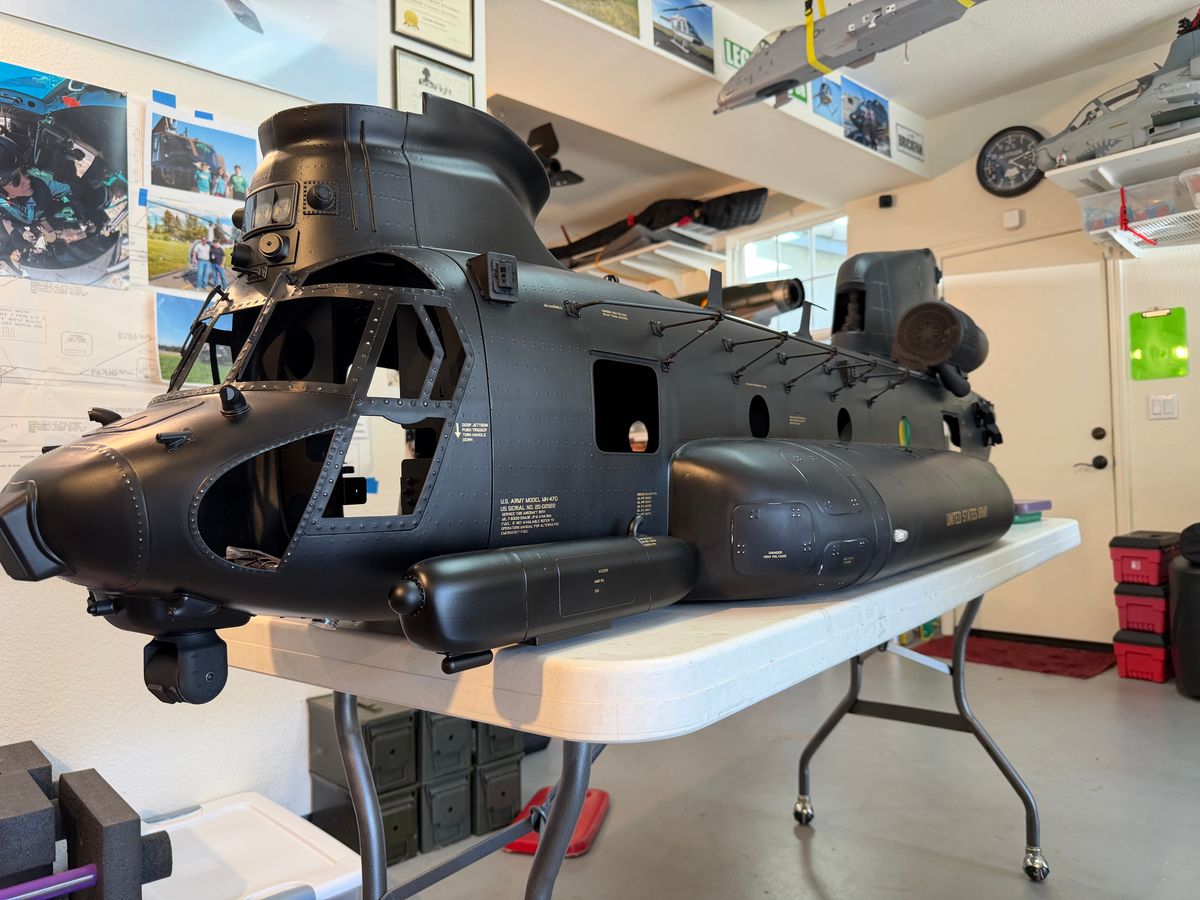
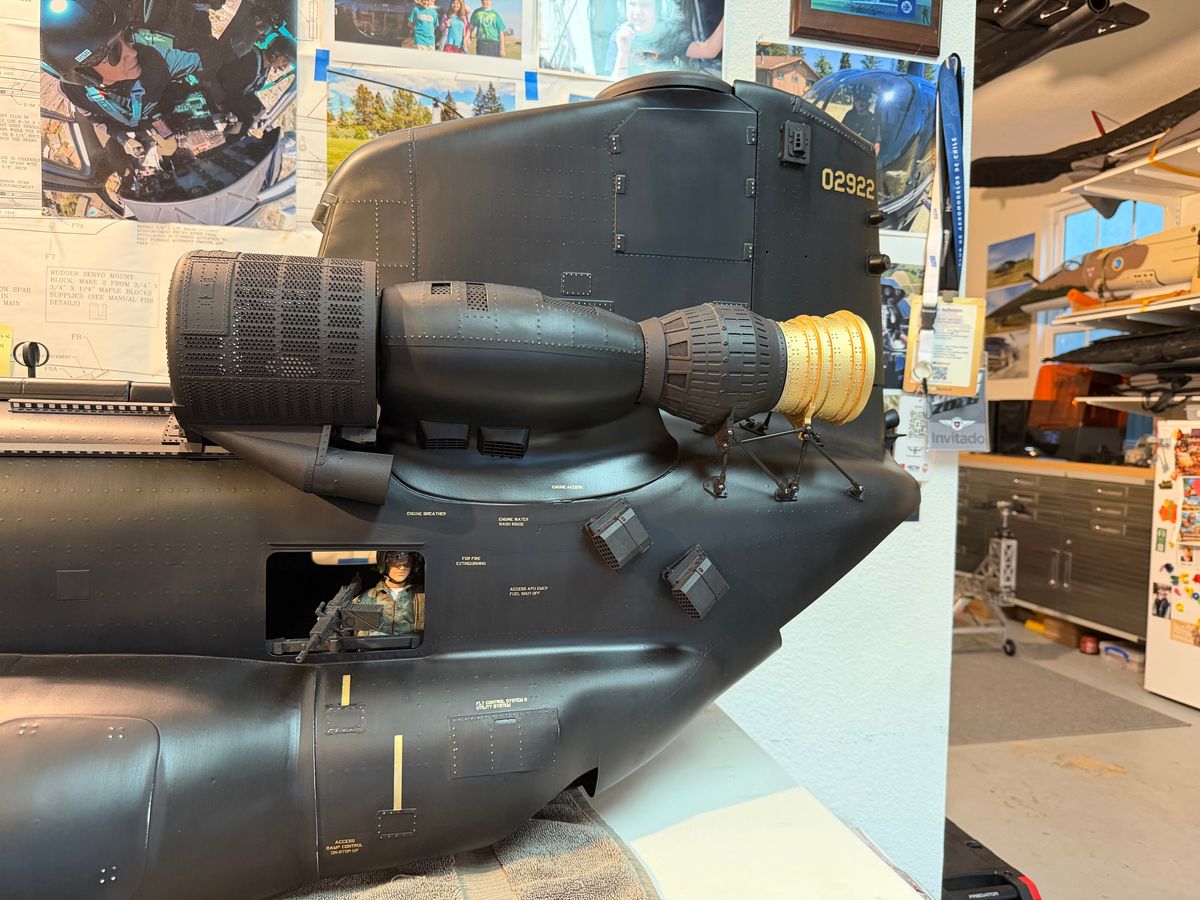
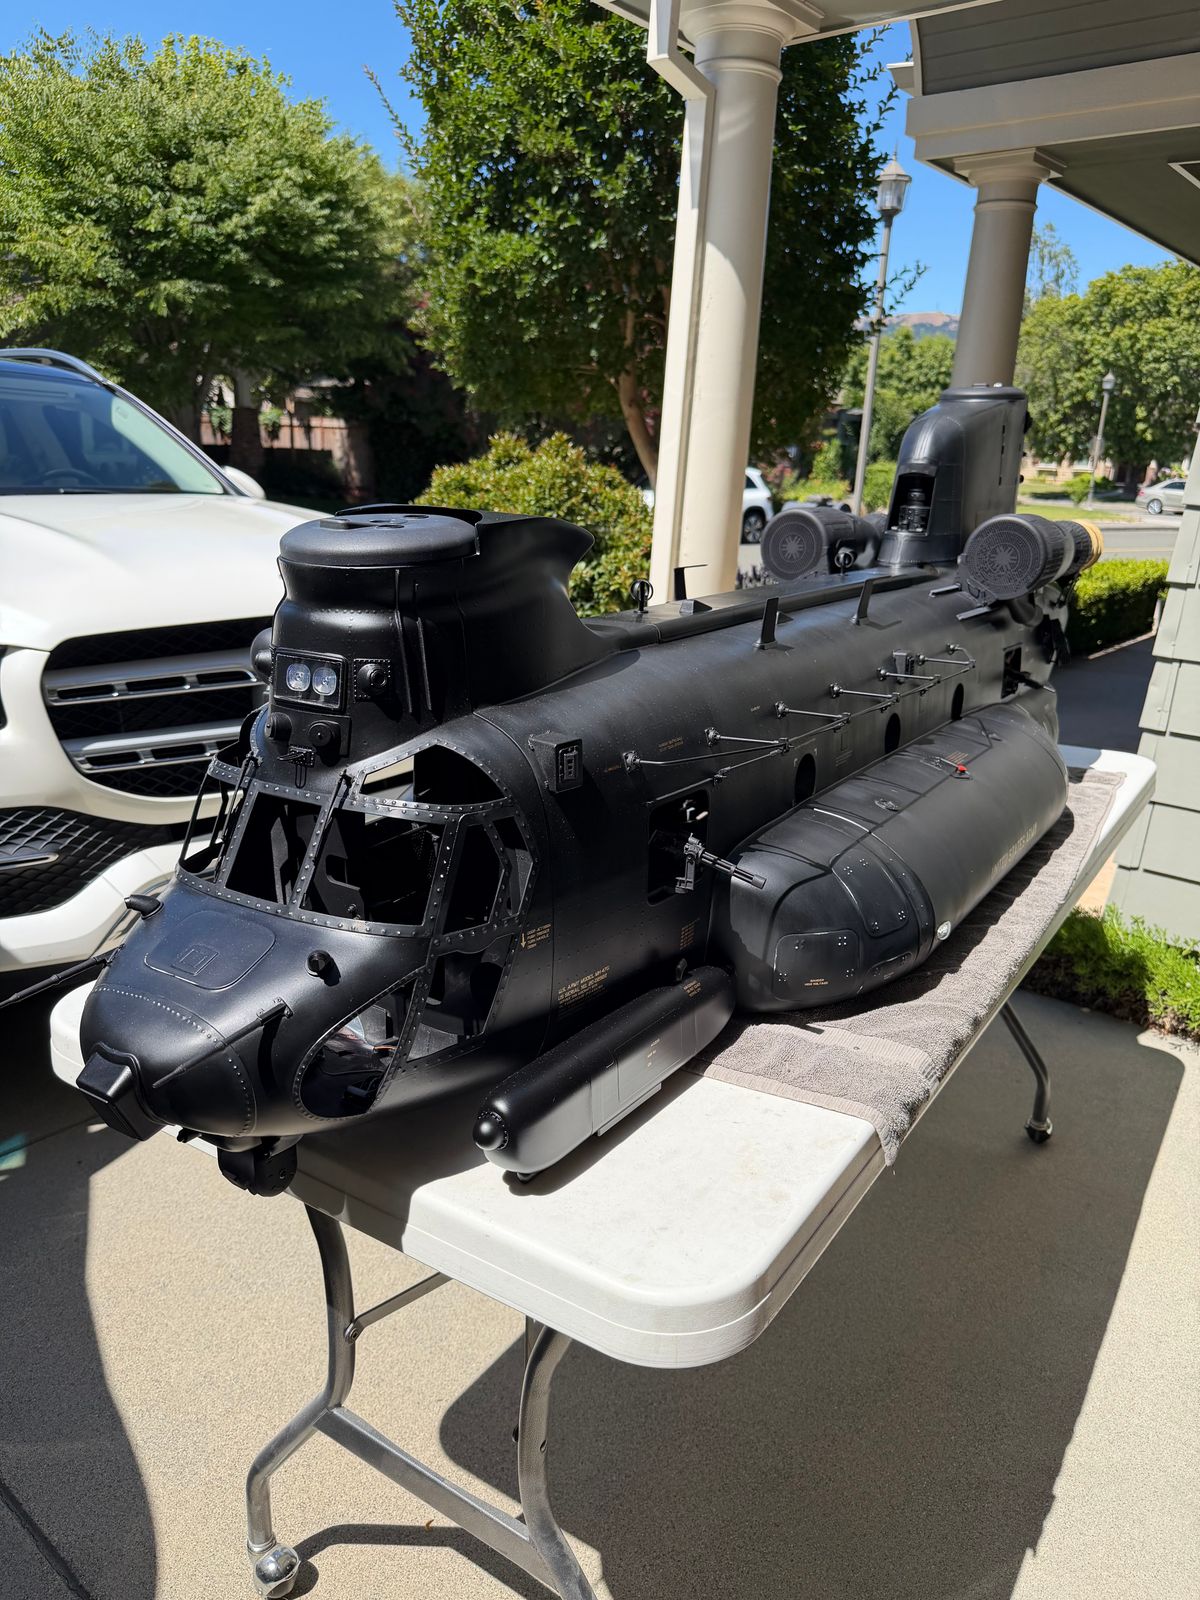
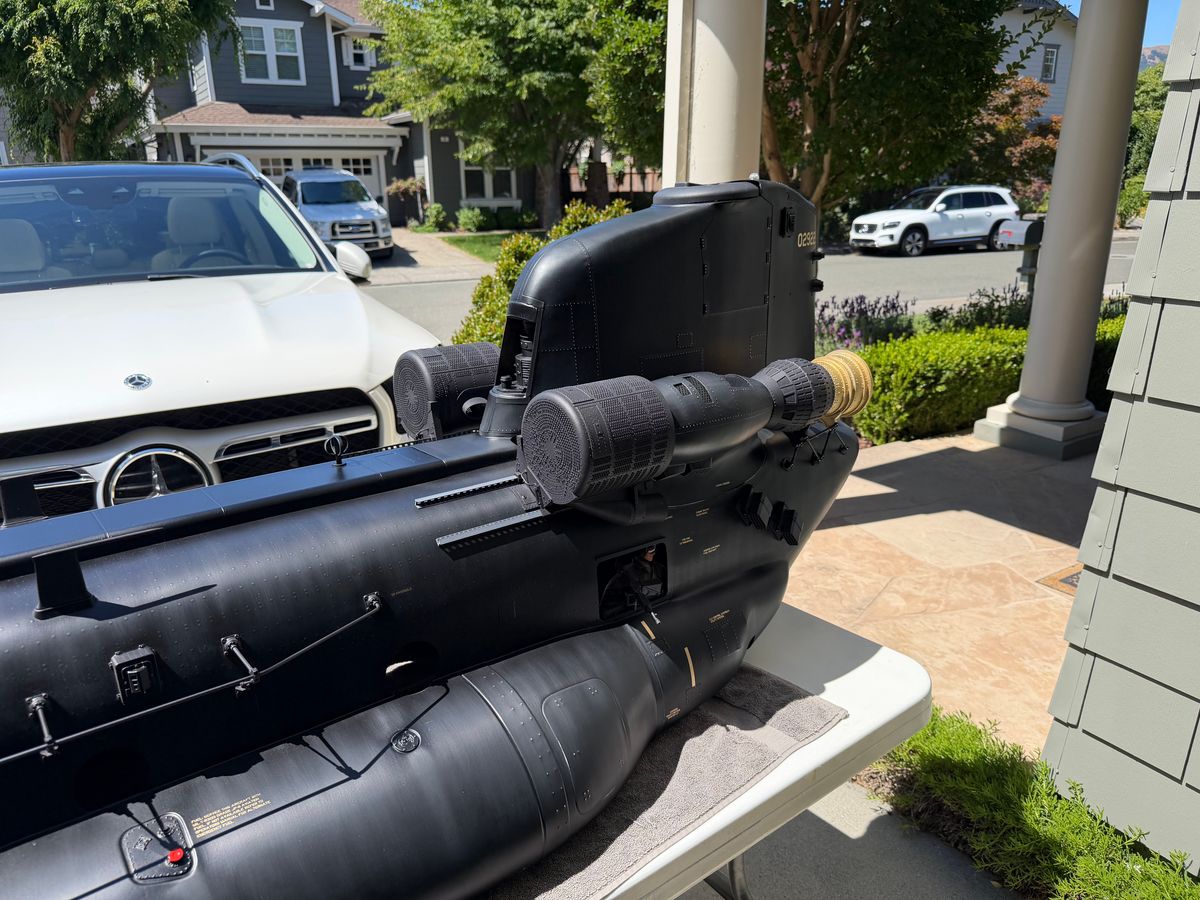
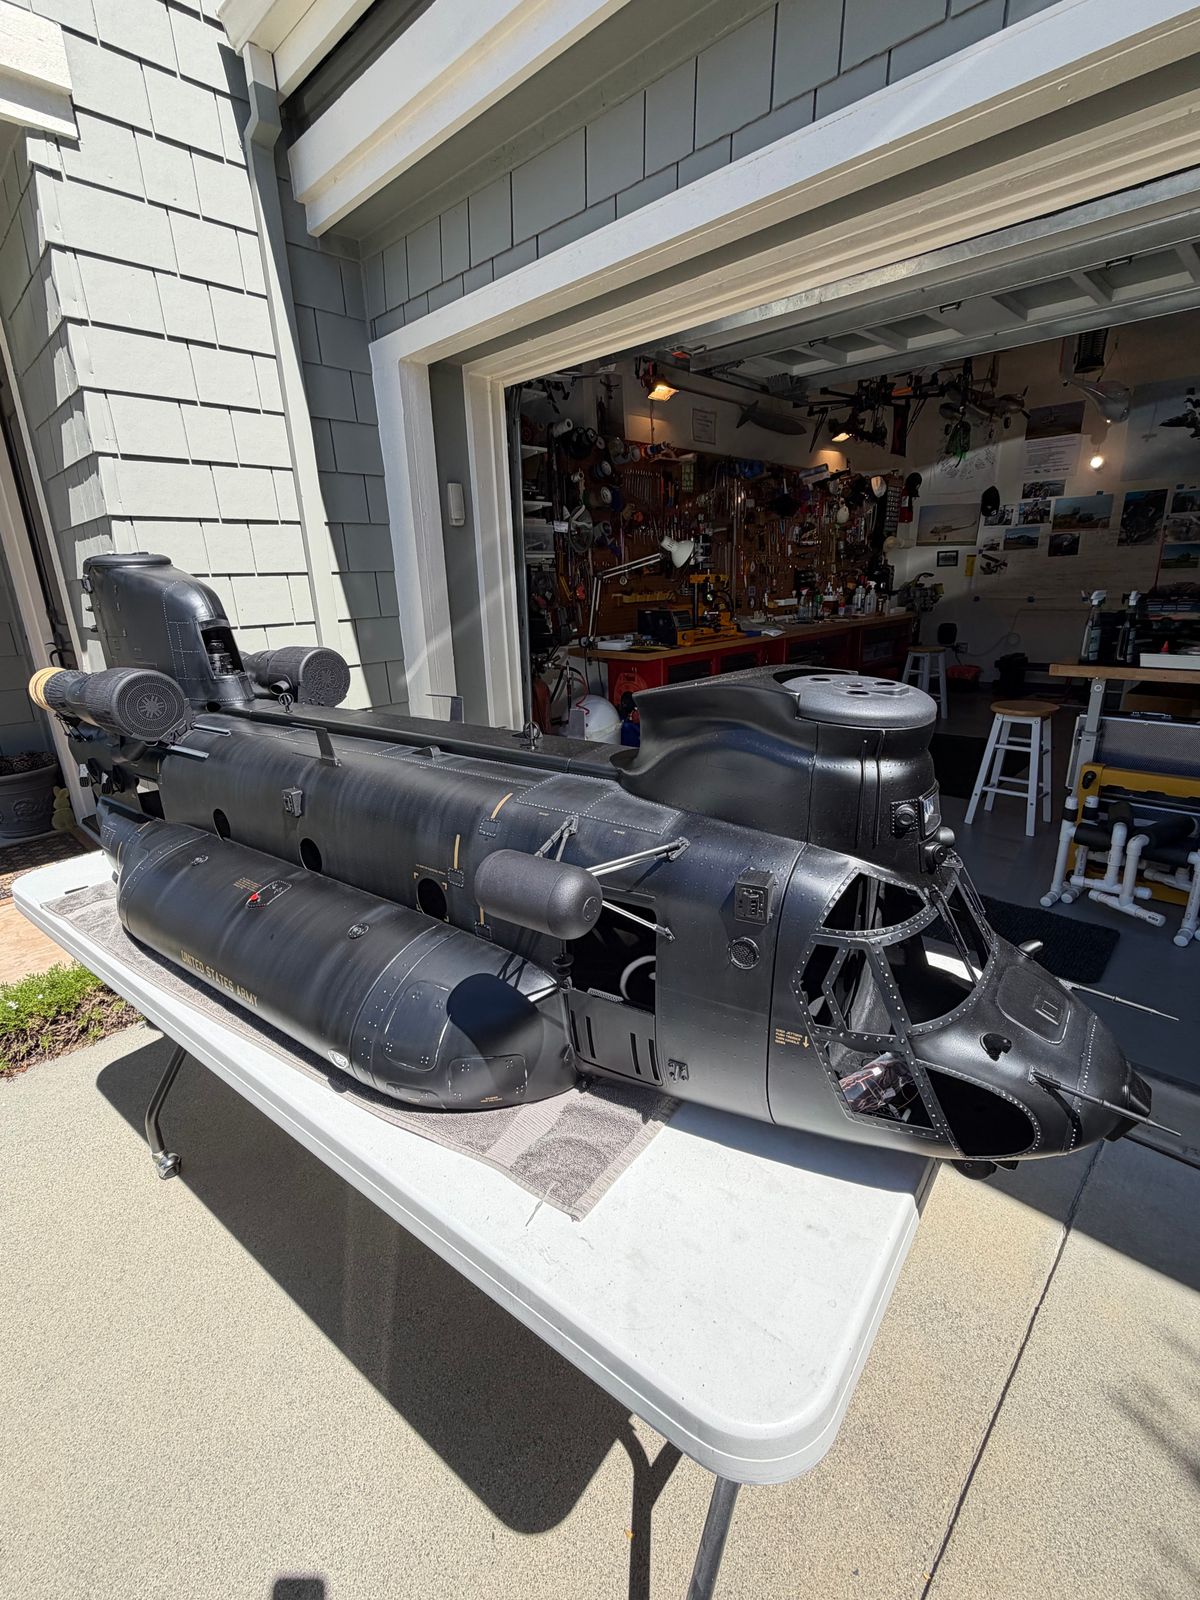
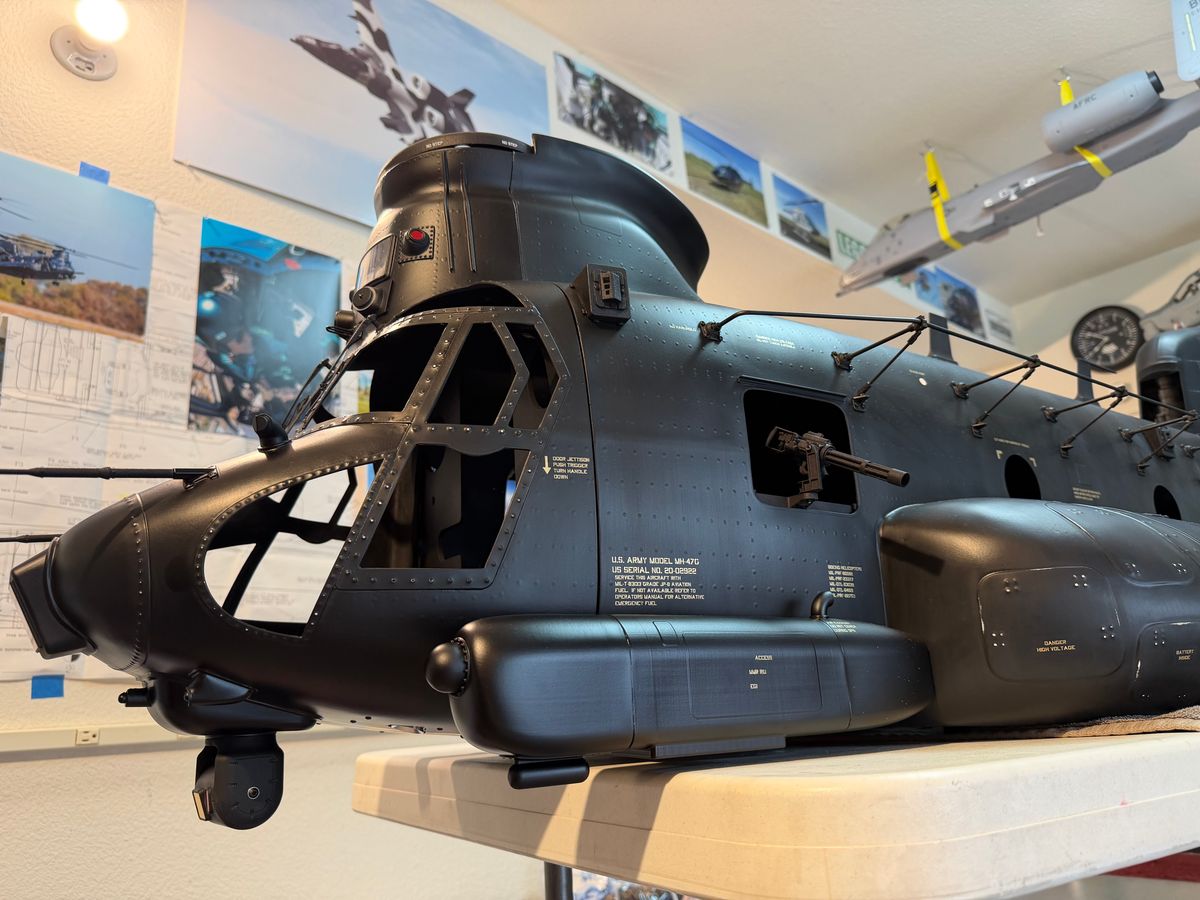
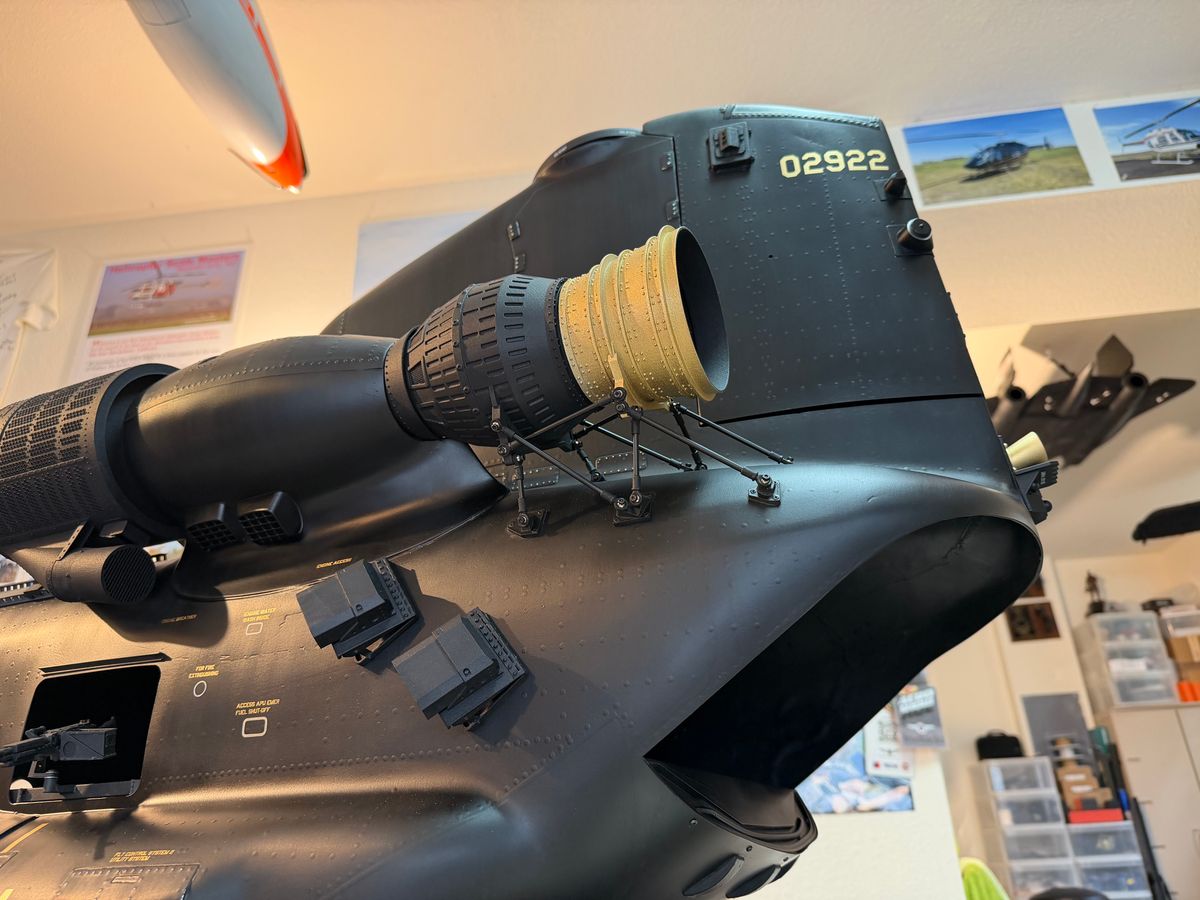
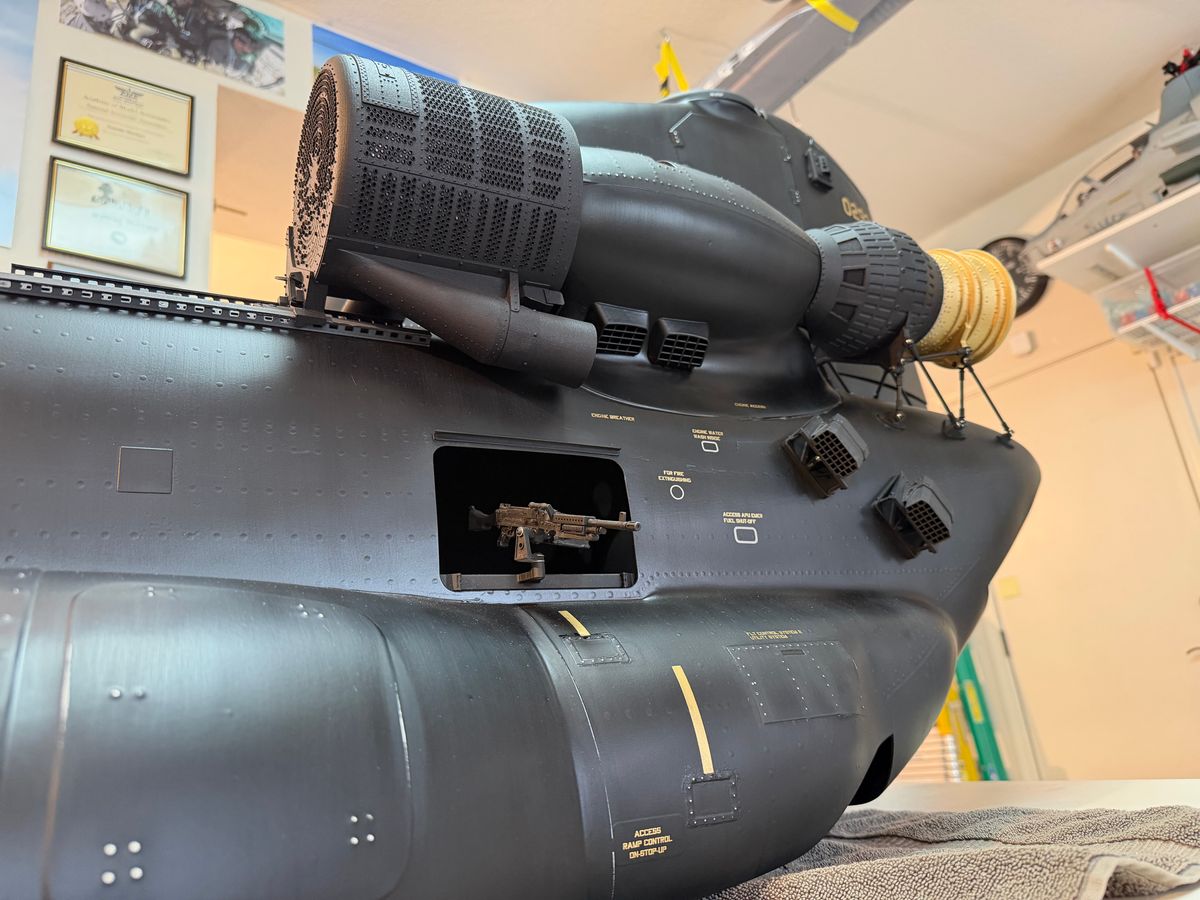
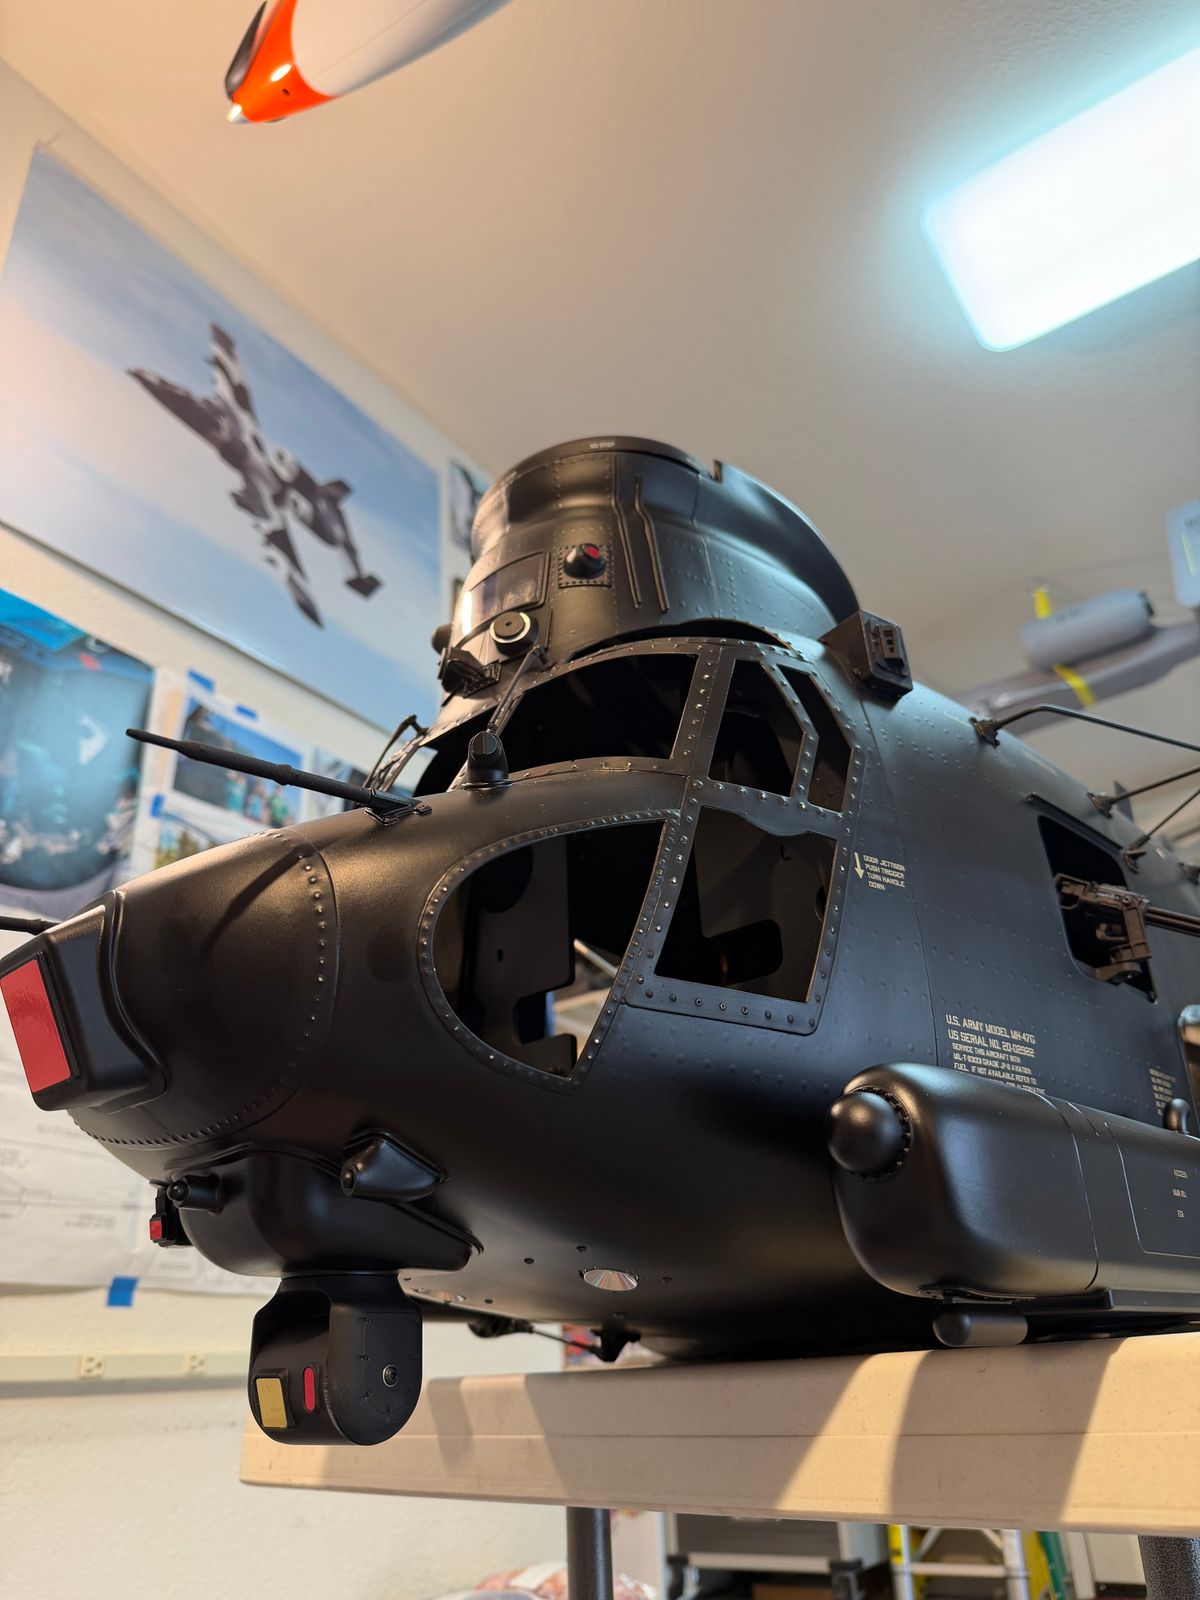
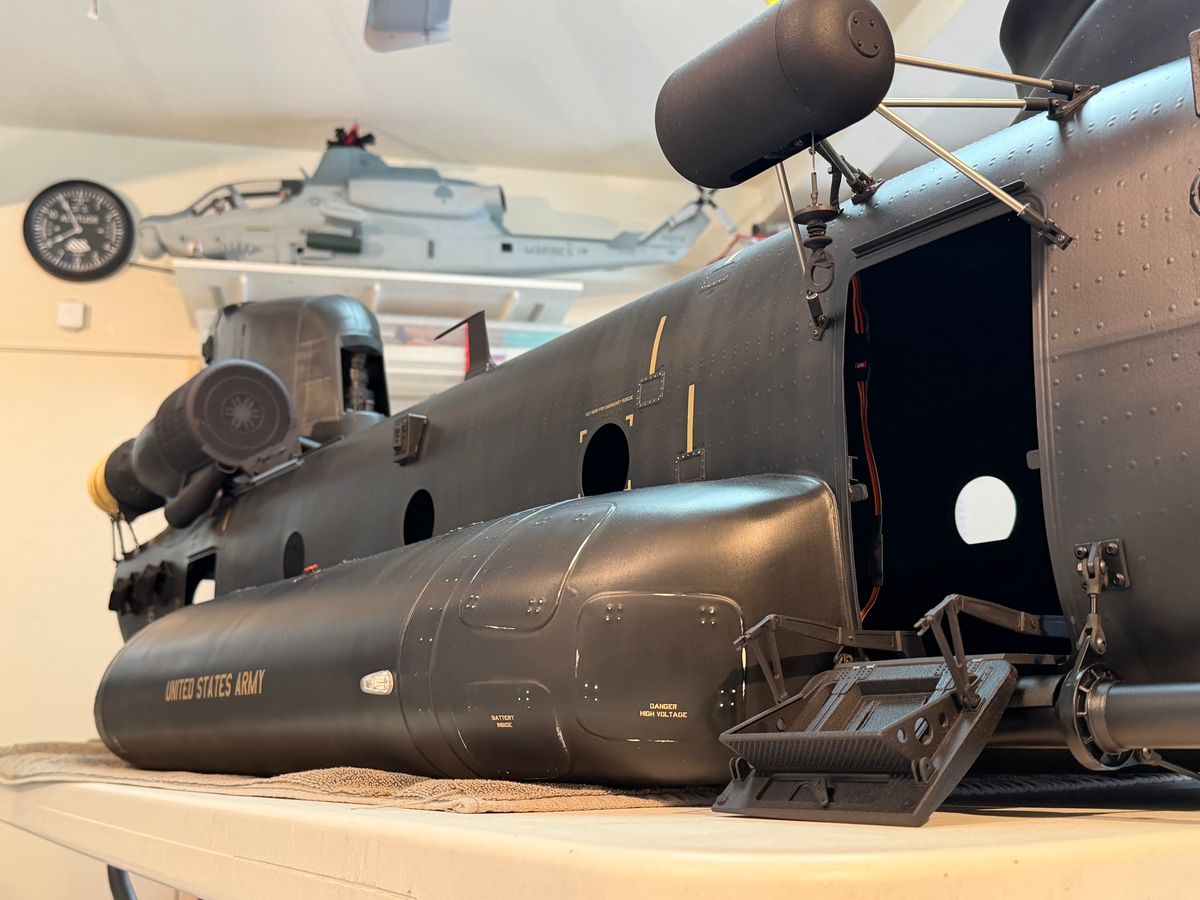
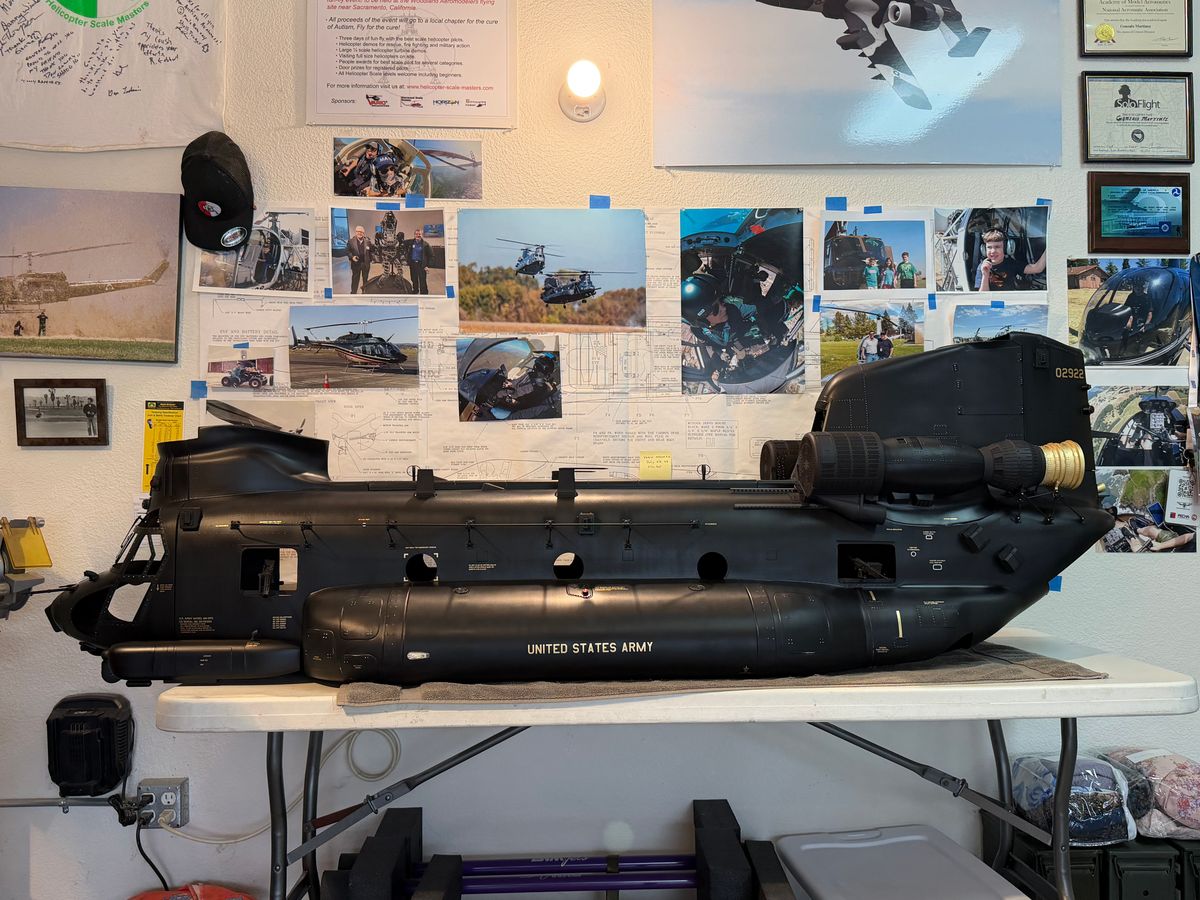
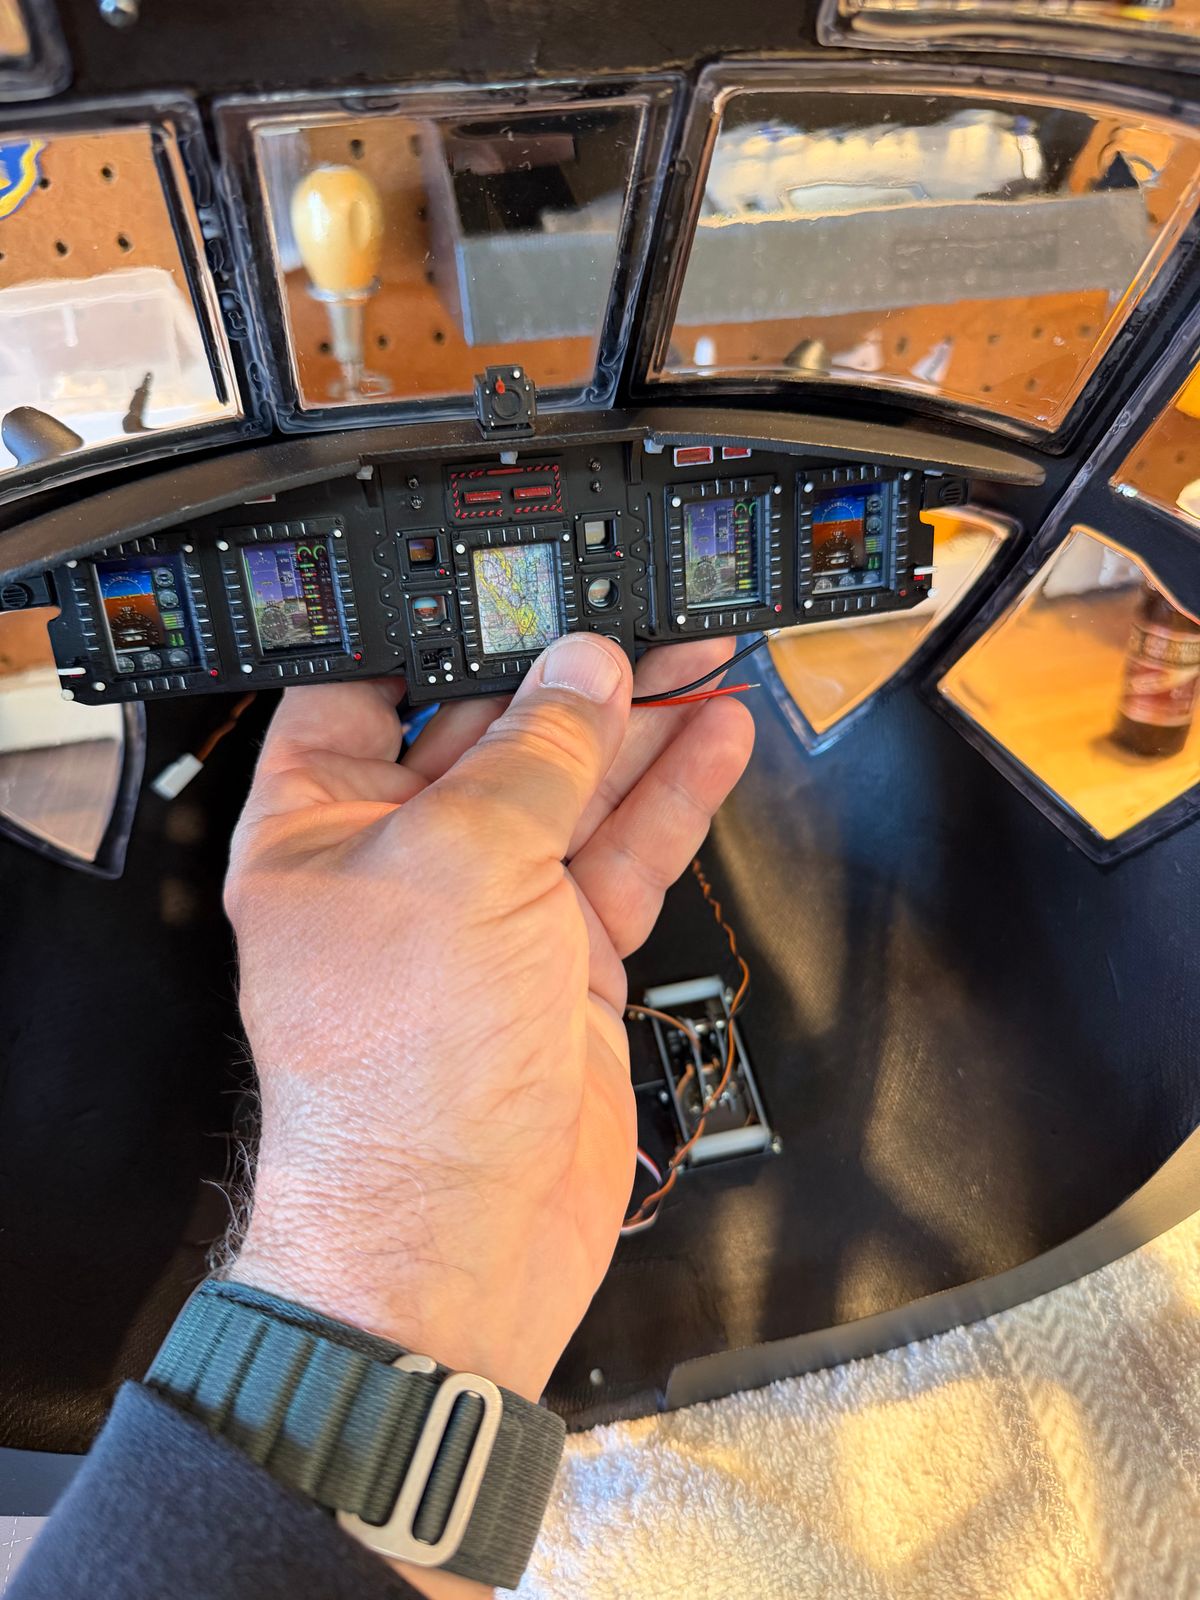
Windshields installed.
Windshields installed and setup of uni lights all done! Getting closer
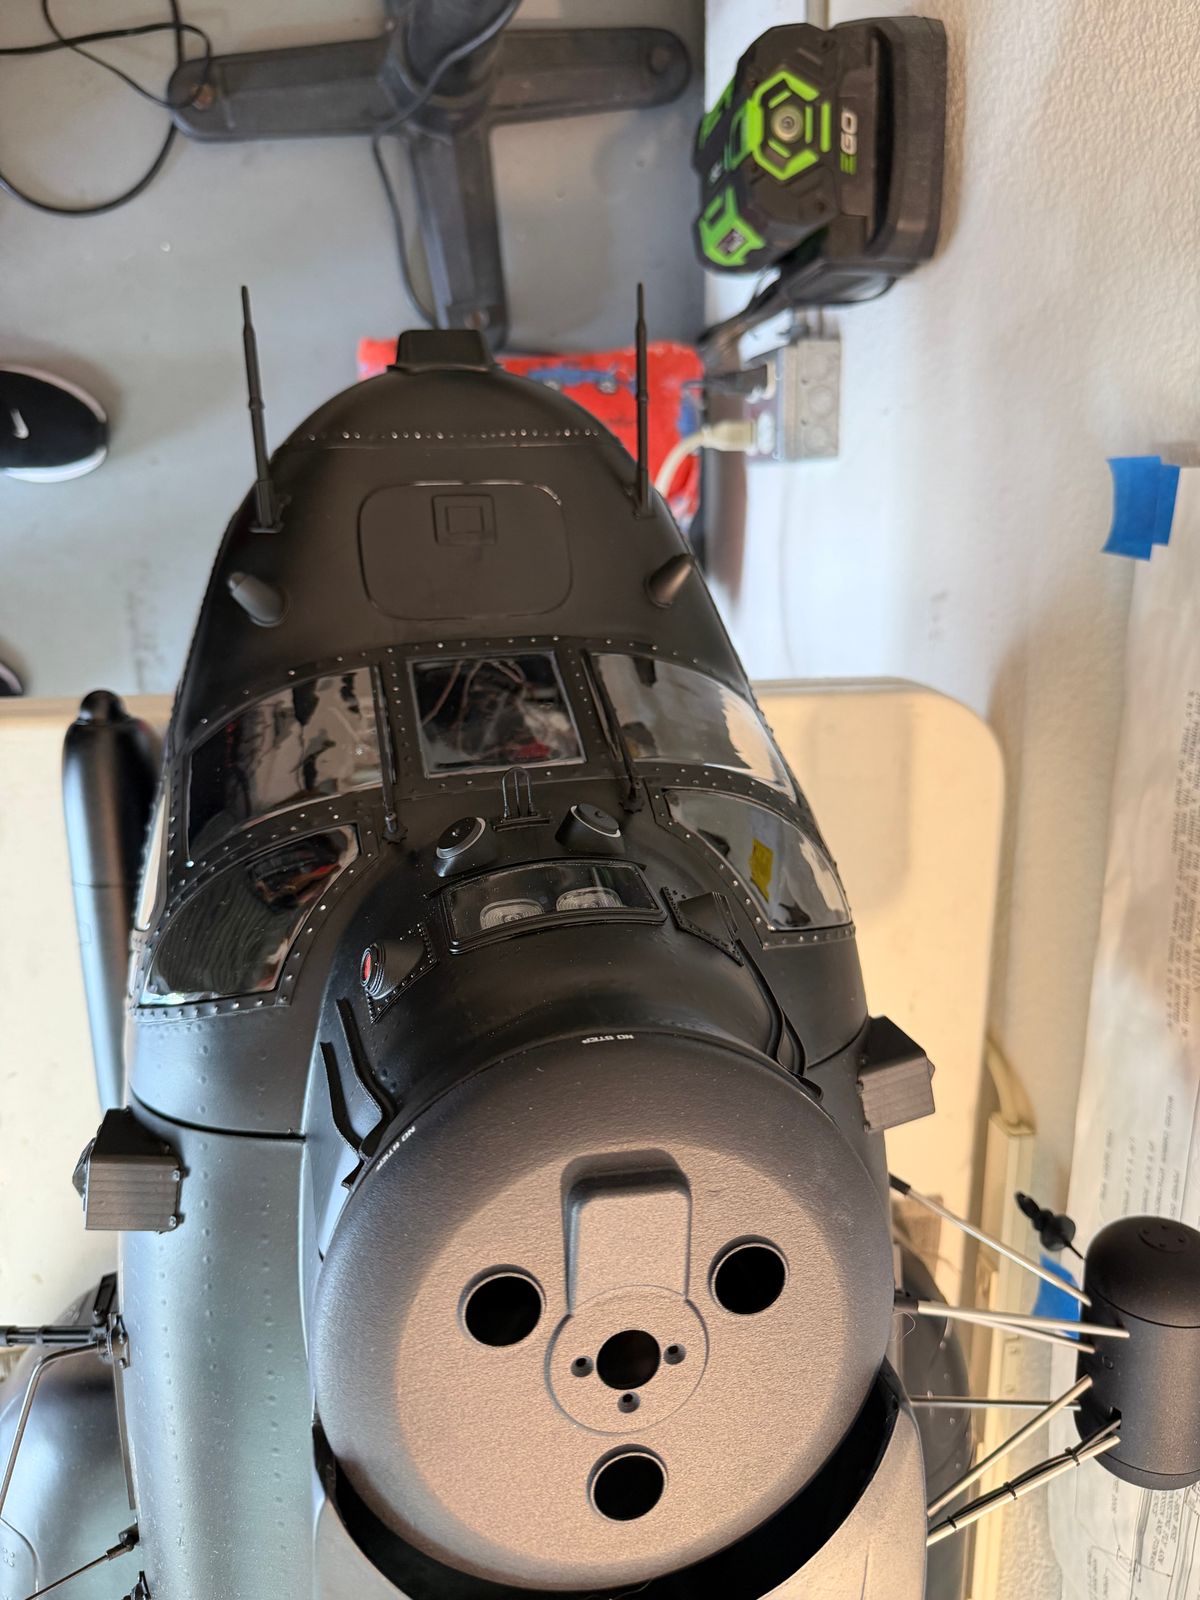
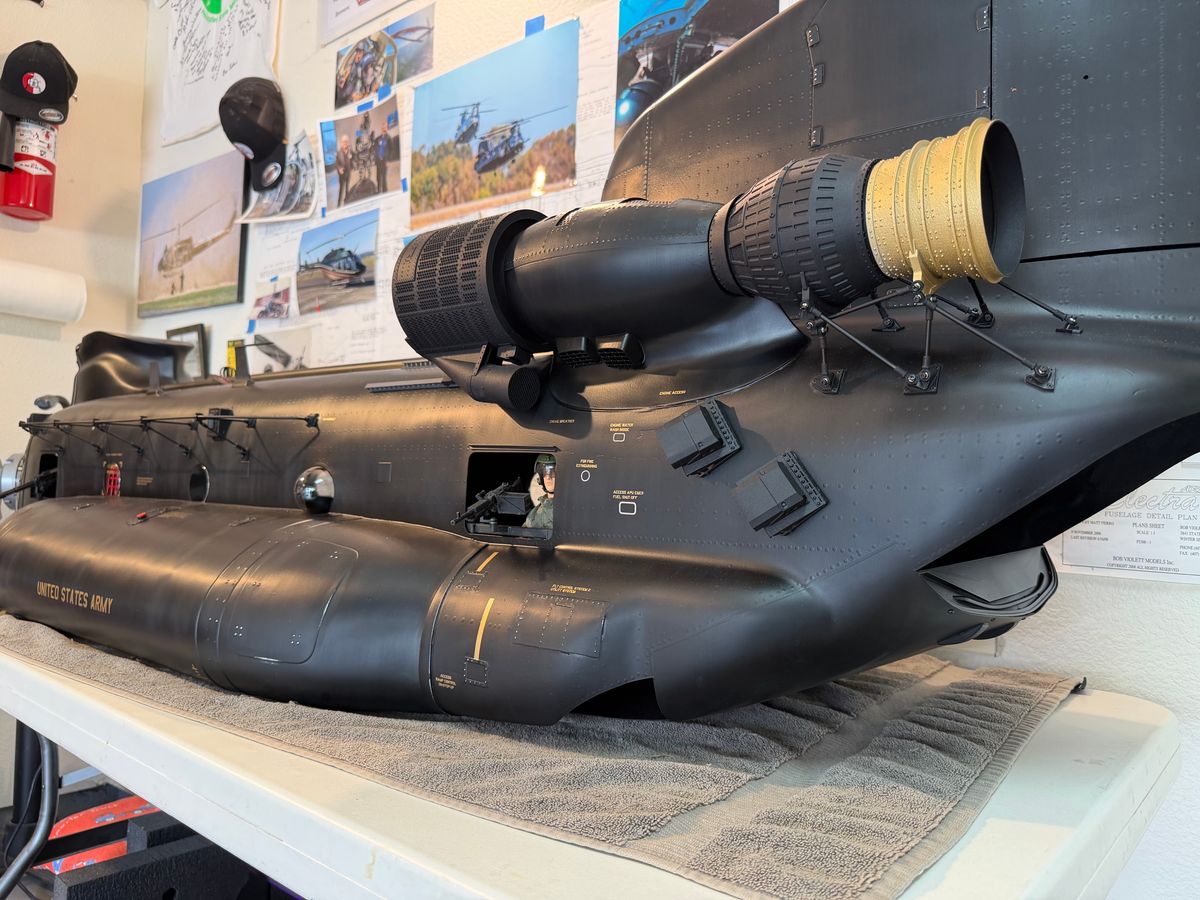
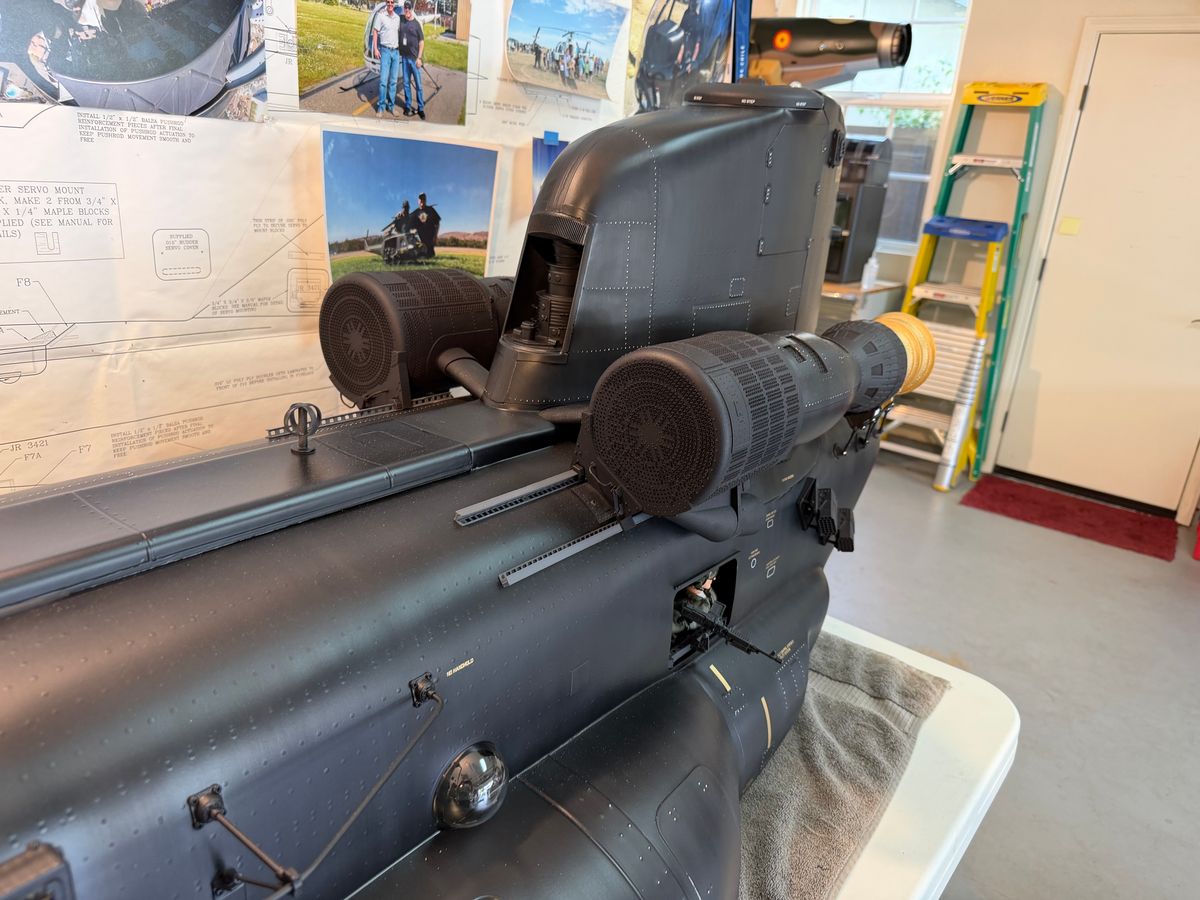
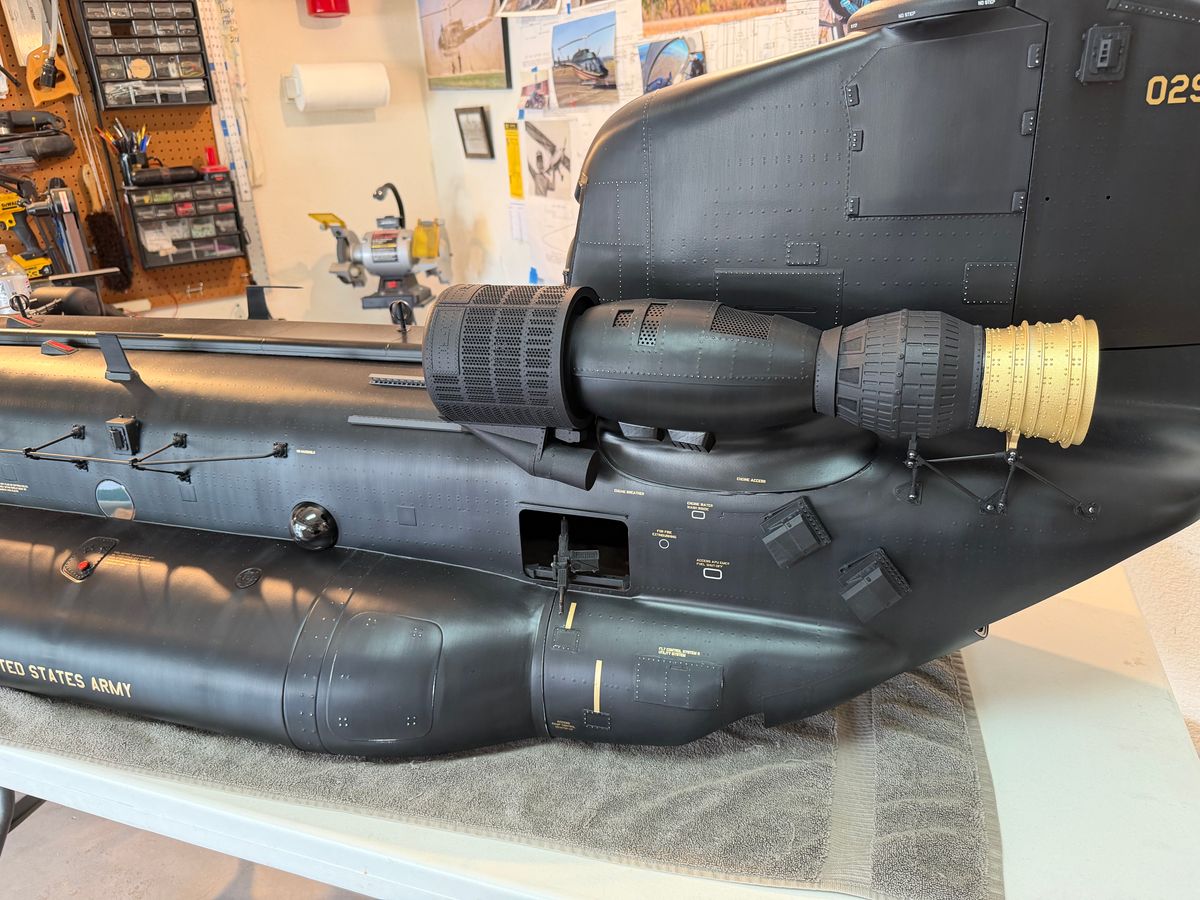
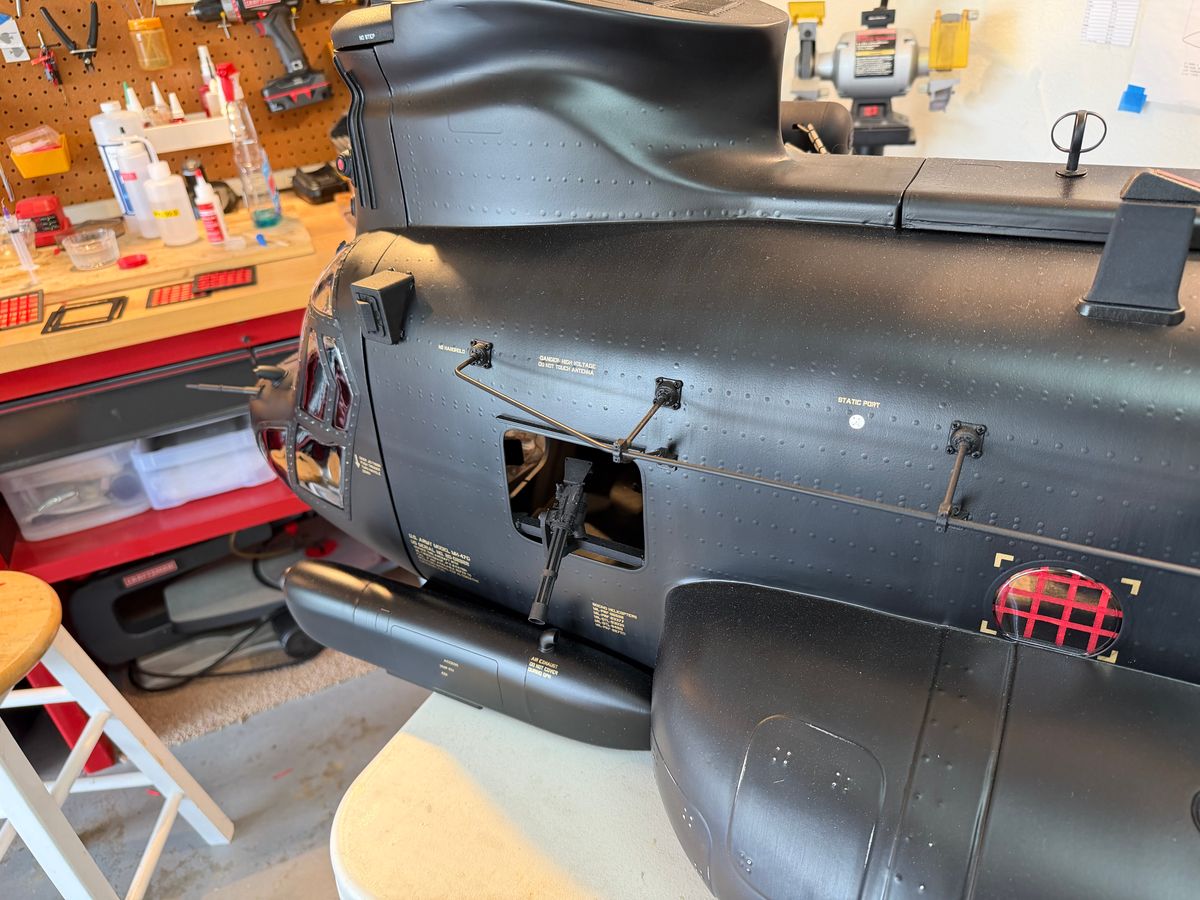
Maiden Flight
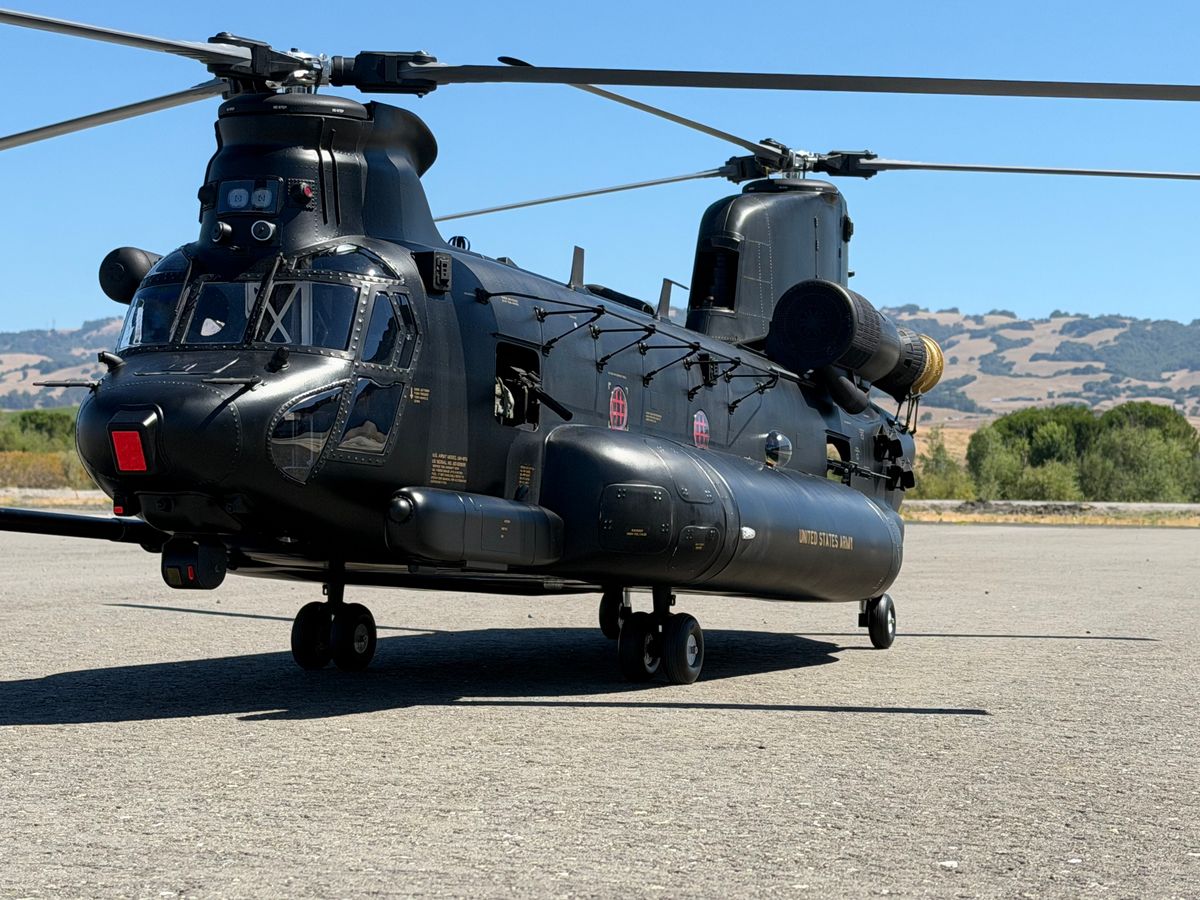
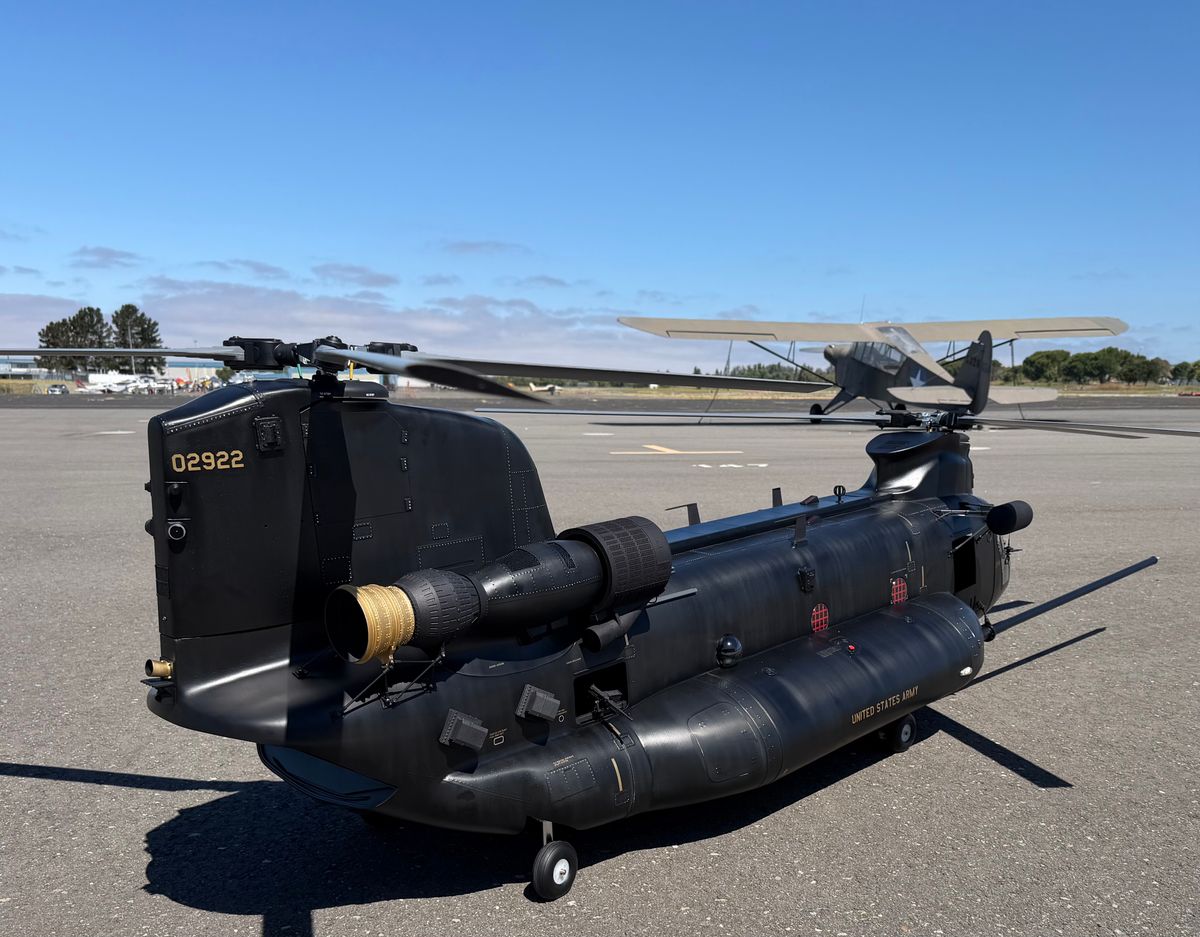
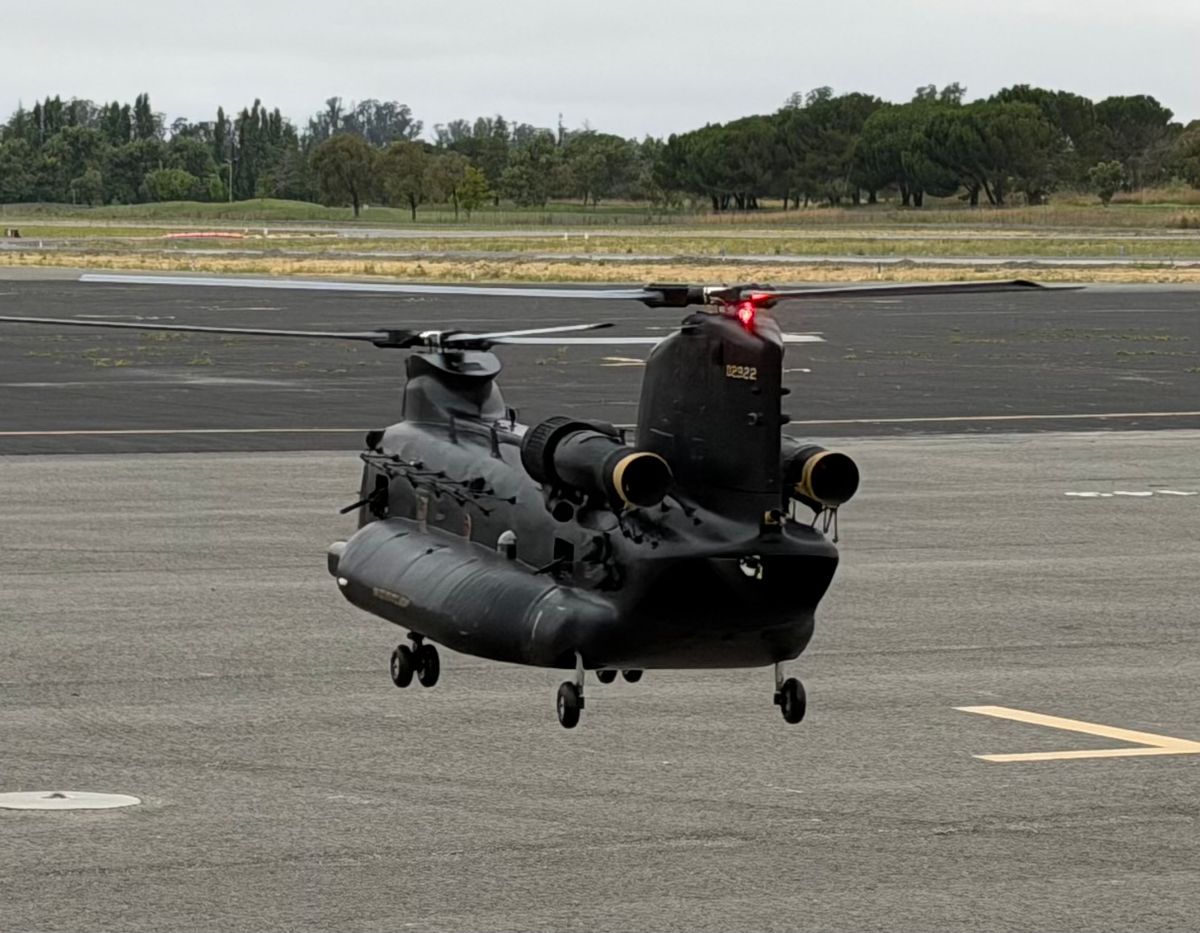
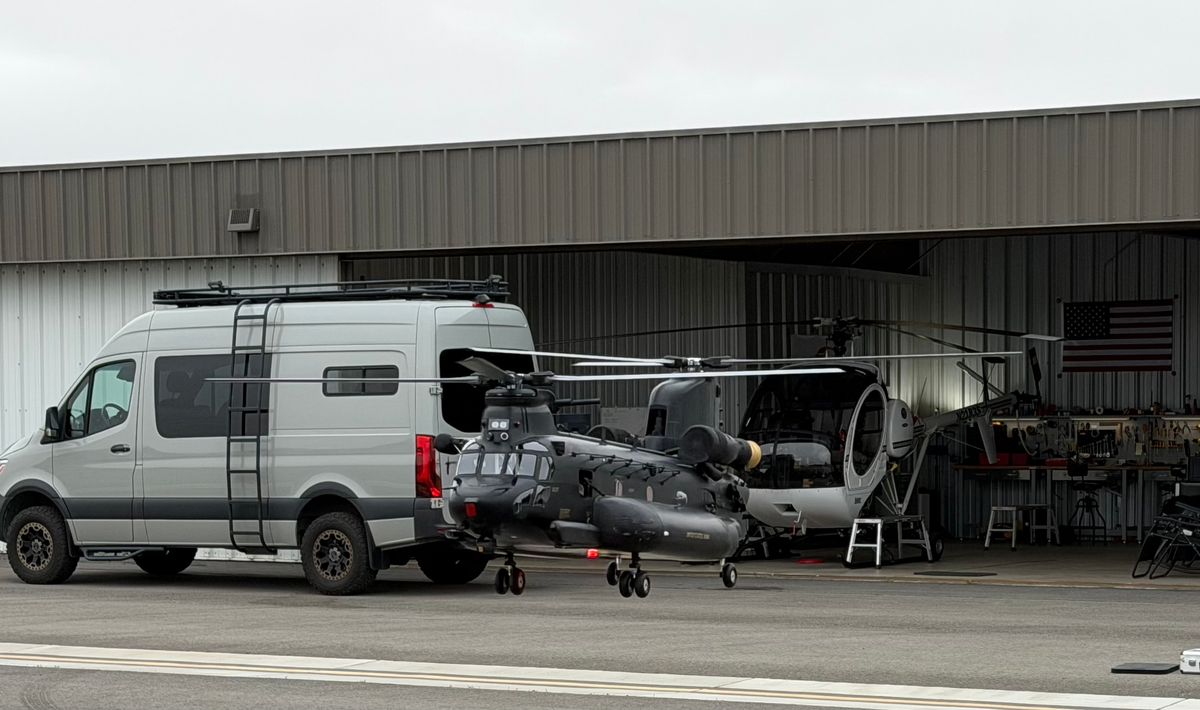
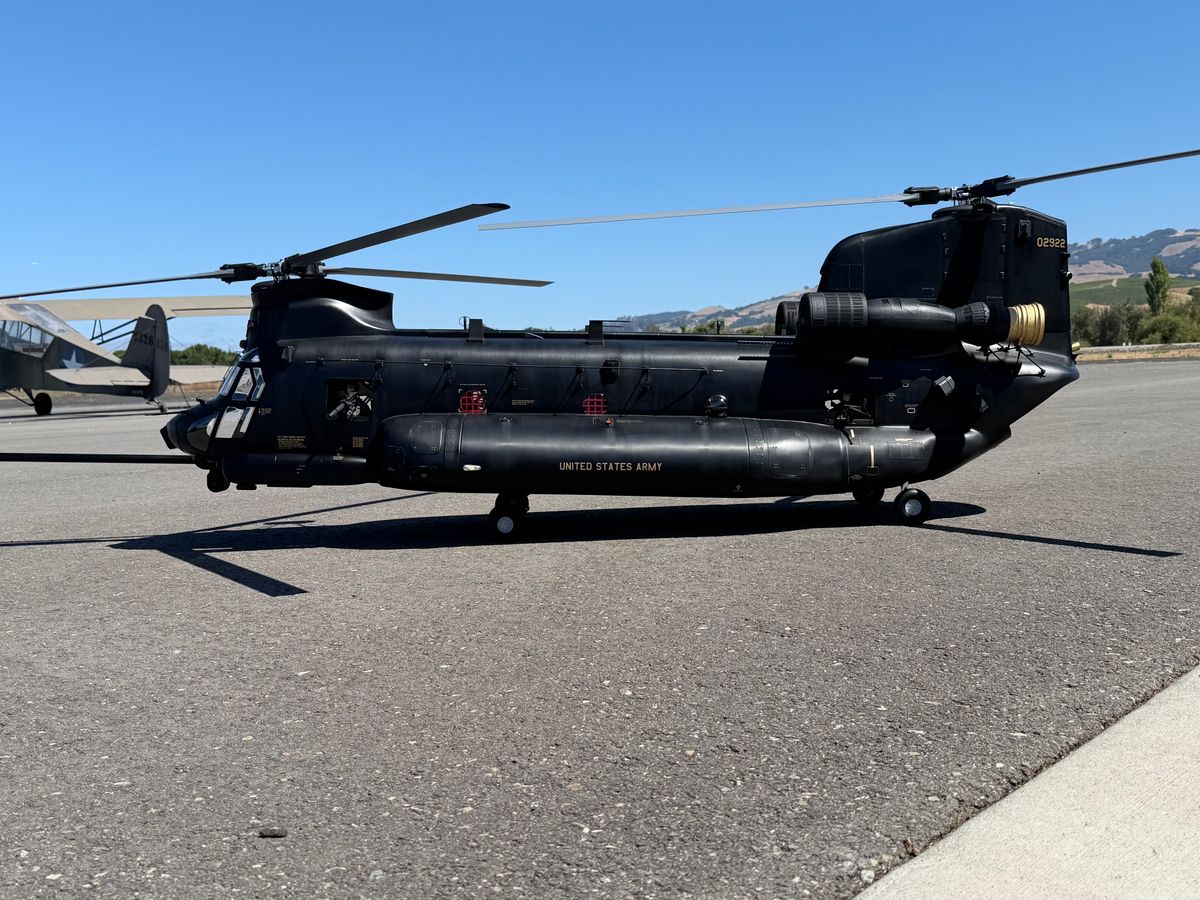
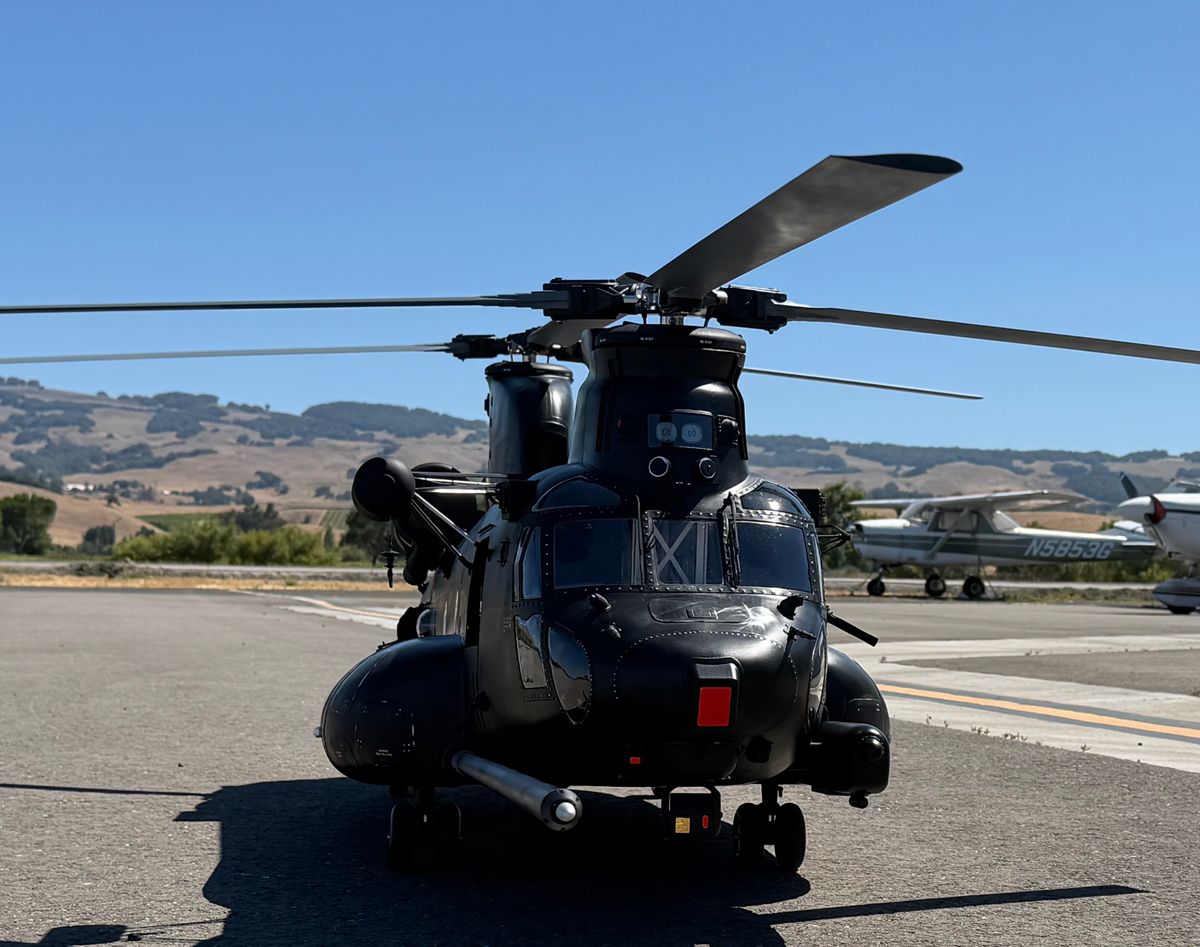
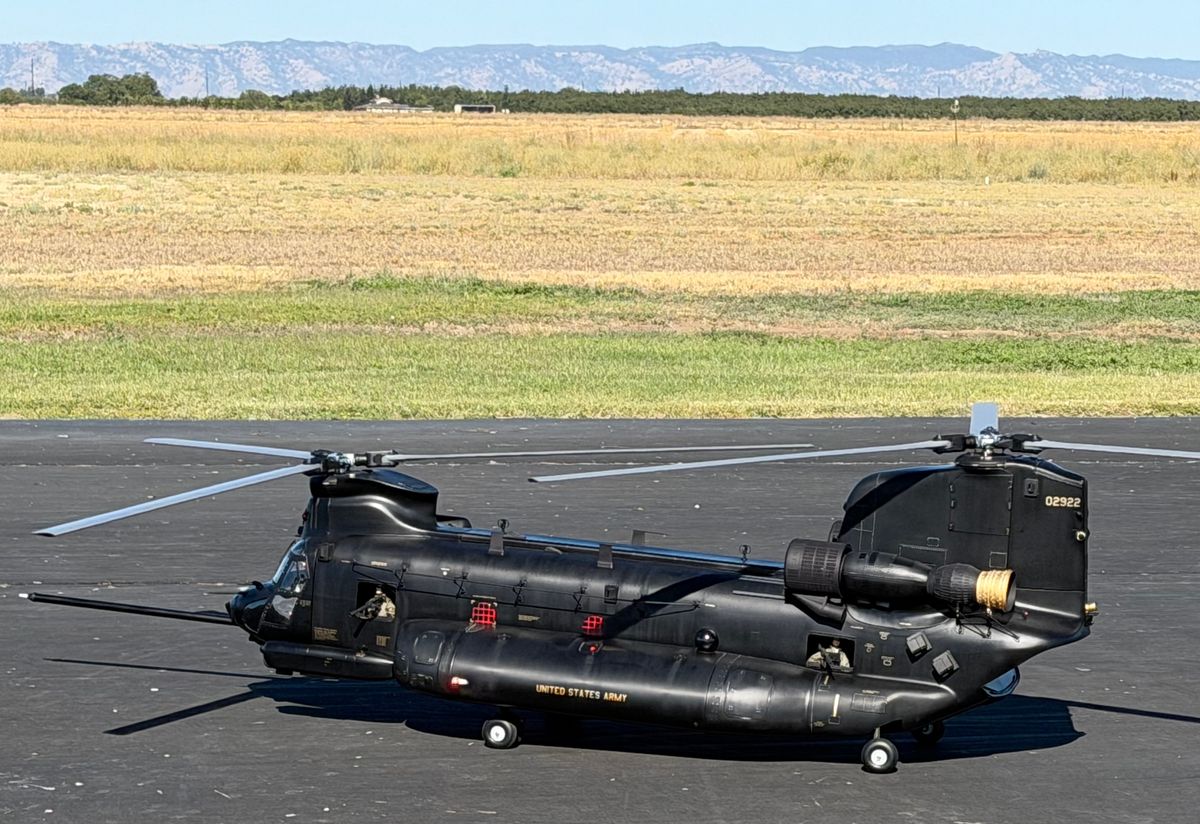
Test flight on the books! Post flight next to check everything before we take the MH-47 for some pattern work.
Flying
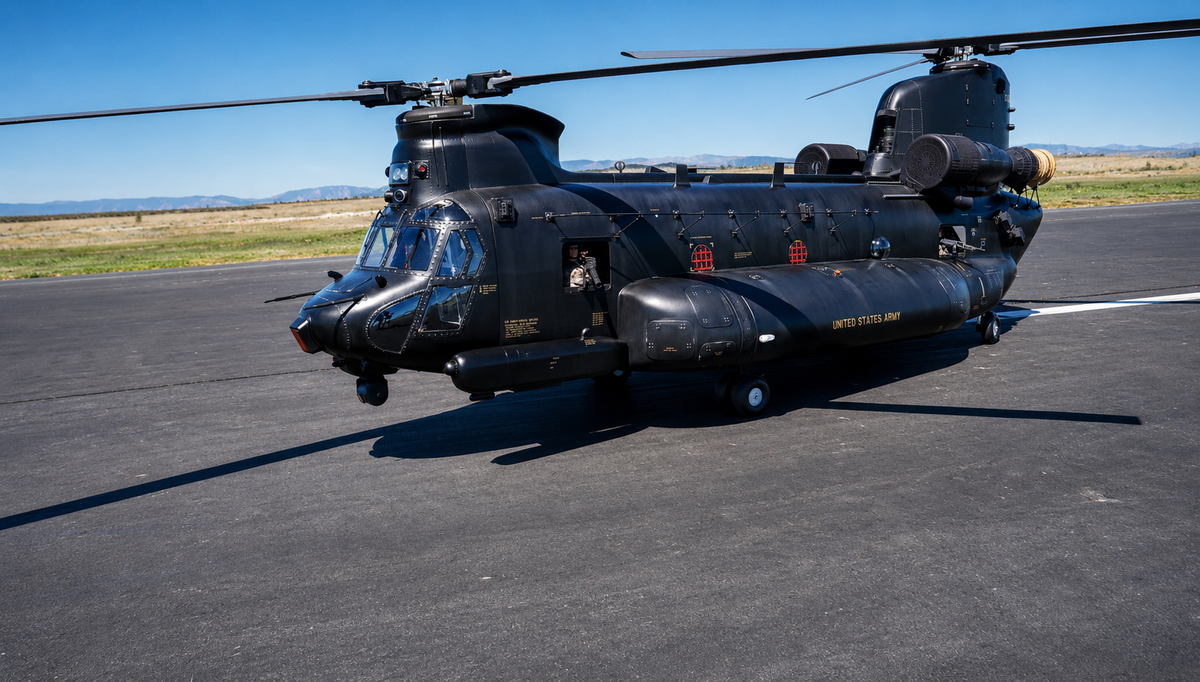
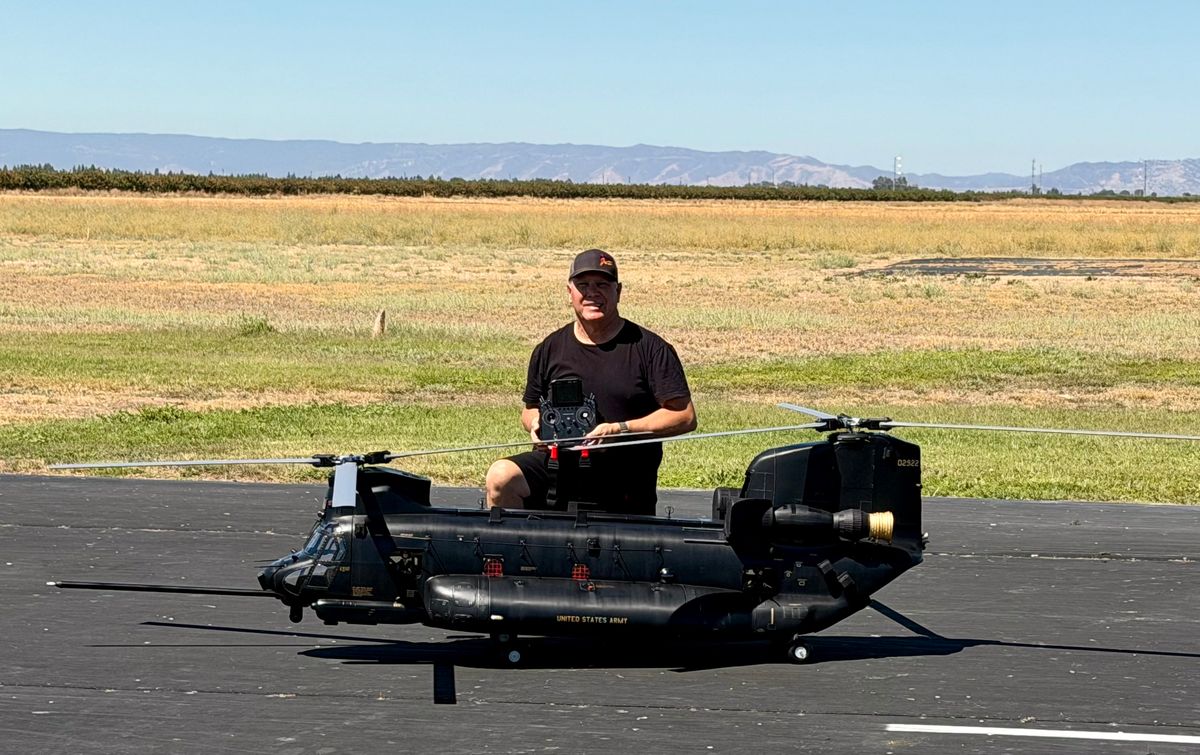
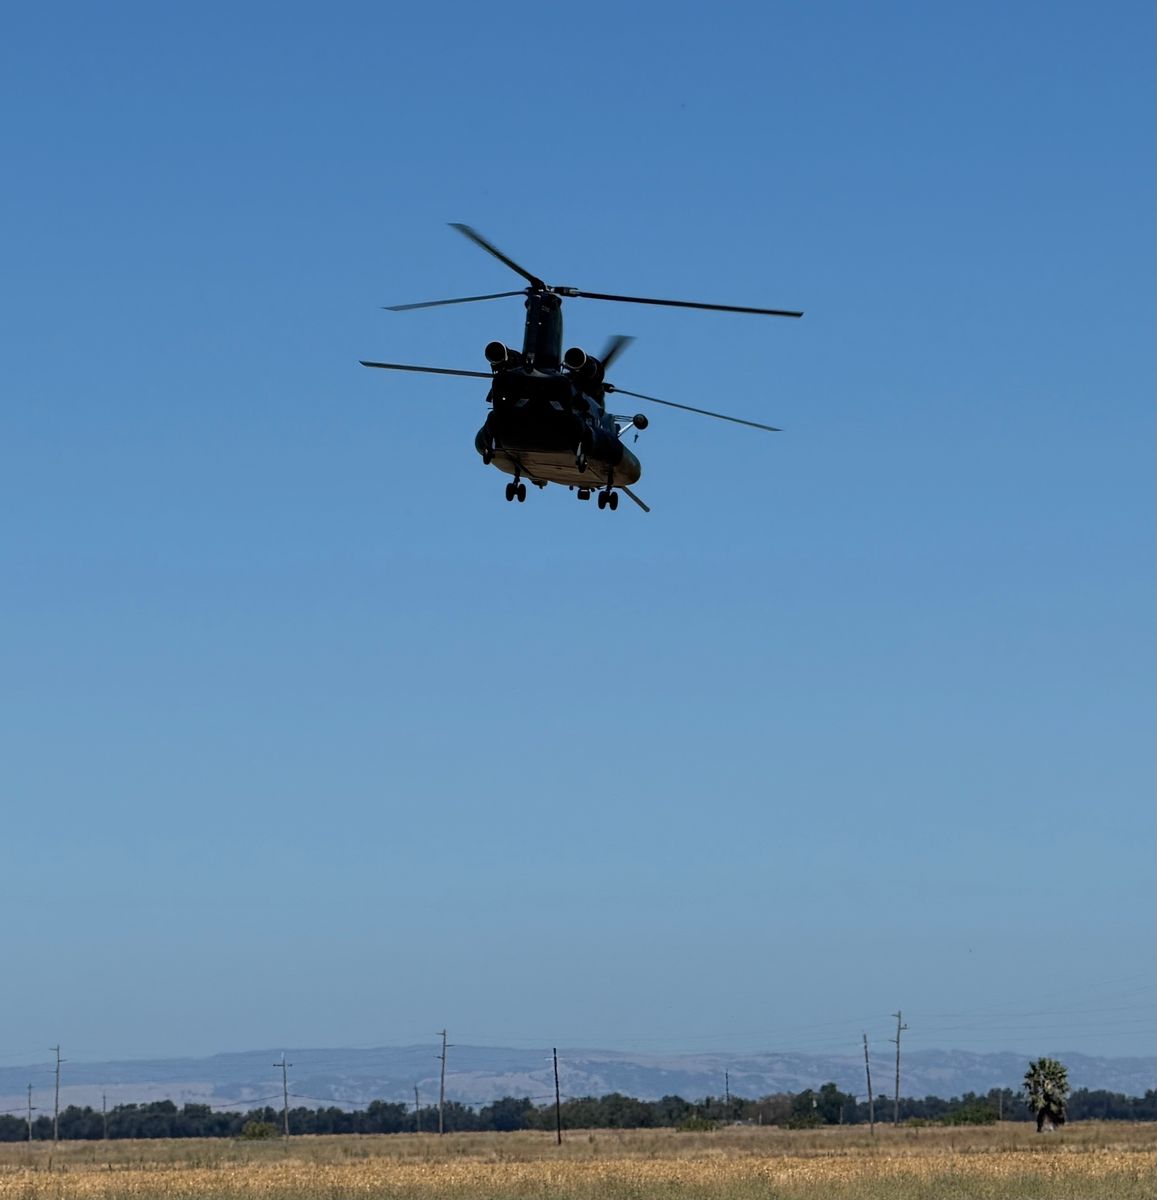
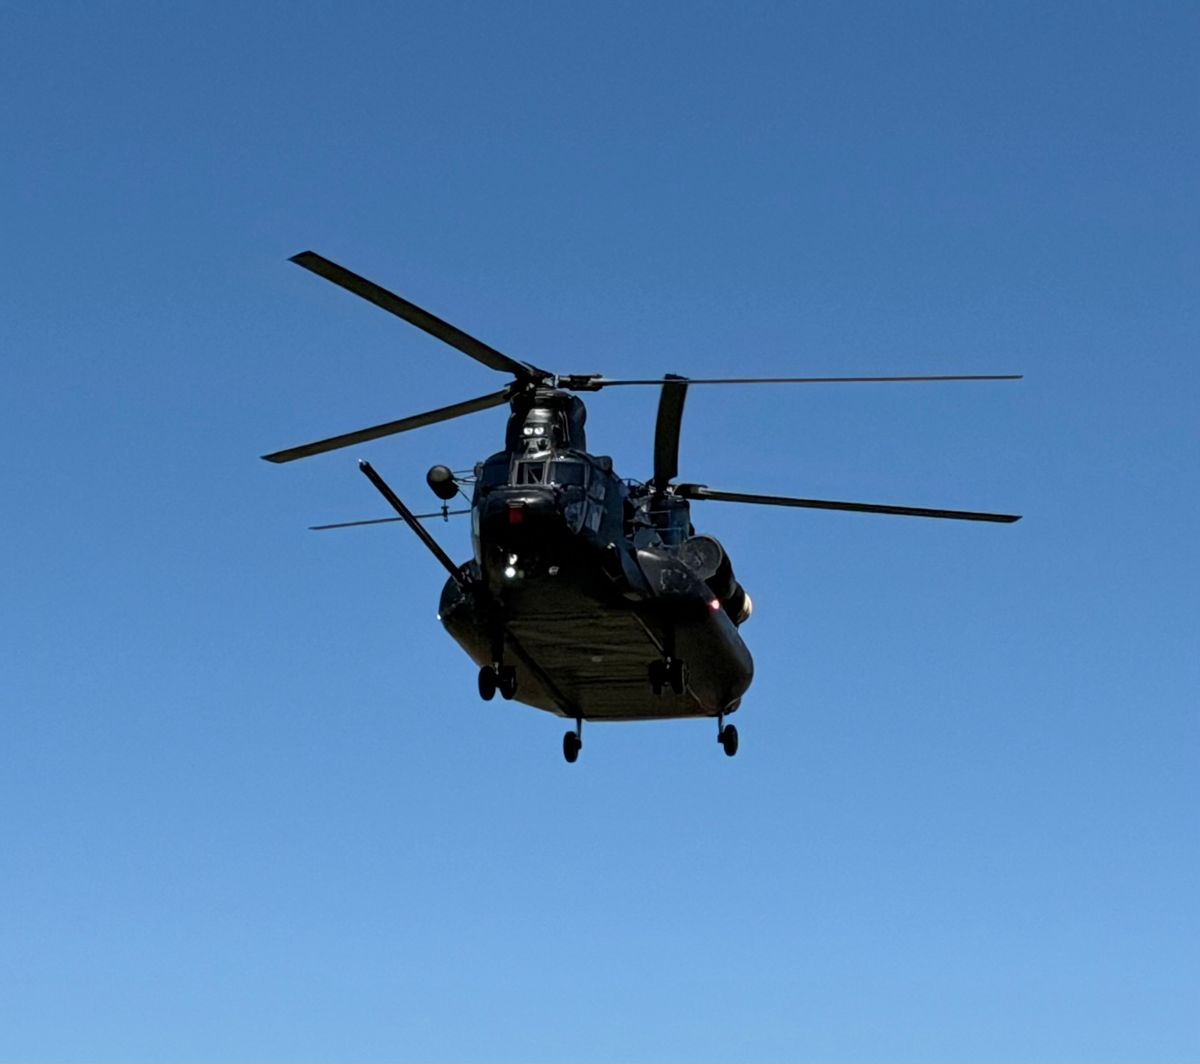
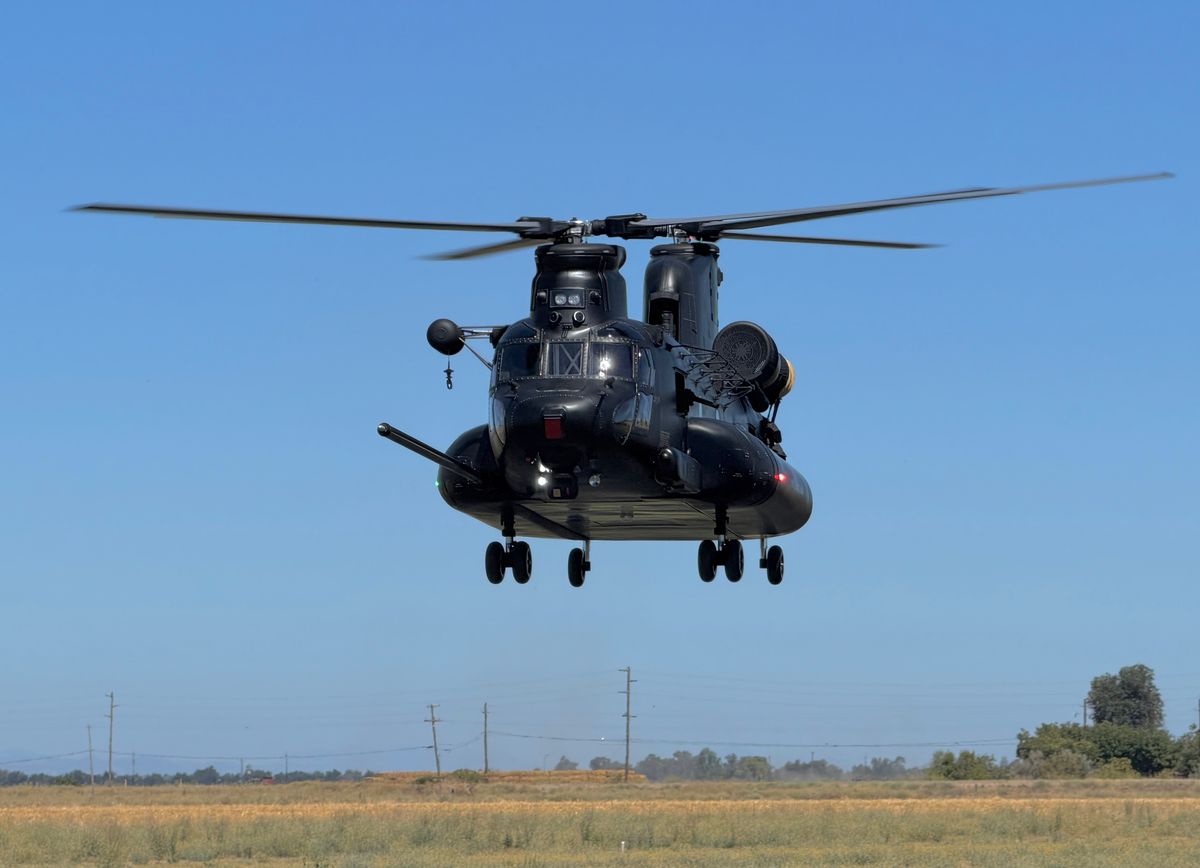
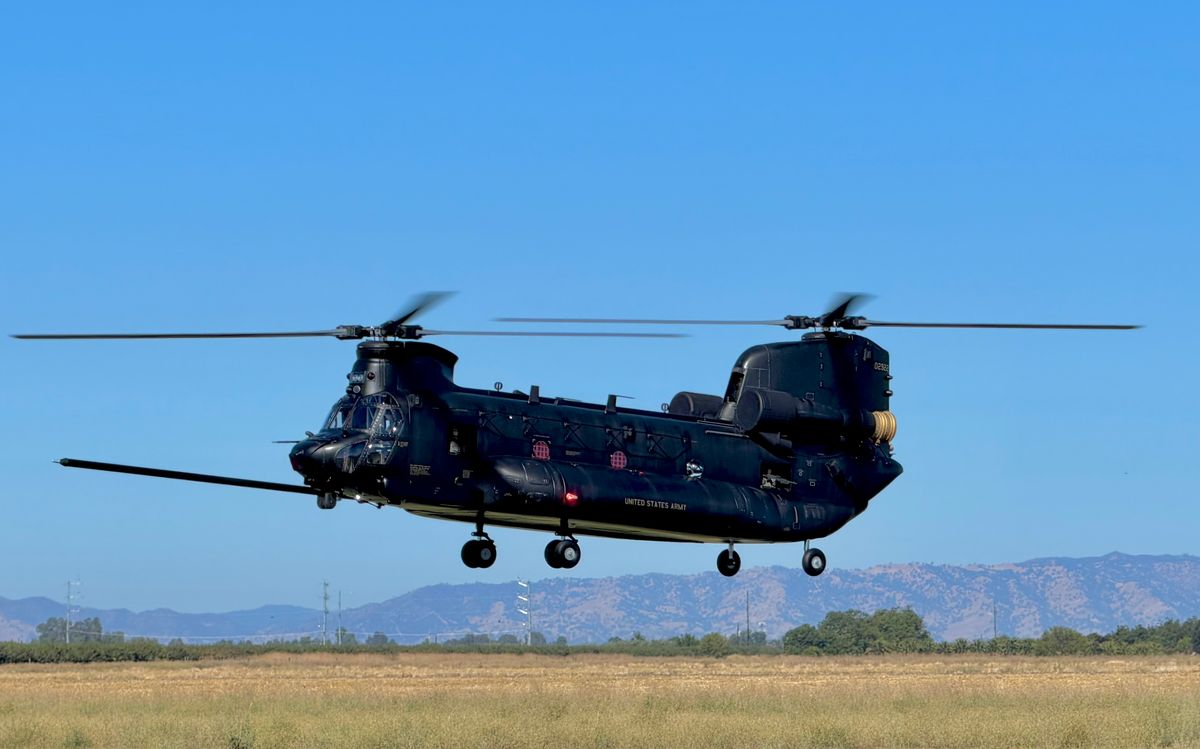
Yes, she is up in the air this 51 lbs beast and what a joy to fly.
Check this high quality flying video that was taken at our RC Field in California.
71 Comments
Theo sure made a fine scale fuselage...
Wow....
Outstanding, which model is this? looks like the MH version by the nose chin glass, not the F model
The plan is for an MH-47
My understanding is that fuselage fitment will be easier than on the 1:11 model, yes?
So far it looks like but I am far from that step at the moment.
Also wondering, given the quantity of bolts, whether you are applying thread lock as you go or after you are satisfied with the final assembly?
It all depends.... I do a lot of alignments before I apply thread lock. You always need to be a few steps in advance.
That is one bad mamma jamma 😳
Looking Good Gonzalo!👀
Gustave Eiffel would have loved this engineering 😄
That bridge can get airborne with a few Vario modifications
Looking like the smaller version but with bigger parts so old guys can see them!
I also like how you pull out the shafts to get the mechanics into the fuselage.... a lot more simple
I like the jig! I assume one of the main shafts is tilted so you would need to elevate the front to get it vertical before setting up the swash?
Oh, and I’m proud of you for keeping this build going here! Future Chinook builders will be able to use this as a resource (just as I used your 1:11 pictures to help me with mine)!
Those are nice looking gear, my friend! Do you like the tire quality?
Very nice tire quality!
That’s pretty cool, I’m sure you know this but on the real one only the left rear steers the right one castors .
Wow! I didn't know, thank you!
Very nice work !
What a beast that is, nice clean setup as usual
What are the specs on the ESC?
DuoCOOL KOSMIK 300 HV-I, 300 amps, probably is an overkill as it might be OK either the 170, but you need the heat sink and a fan if you are flying in hot conditions.
I would do the same for something that size and something that won’t auto!
Gonzalo, I see you are using the CB220... and a wire loom to connect the BD 3SX. Is there a reason for the wire loom and not just a single wire?
Asking as I will use a similar setup (CB200) and intend to use a single wire to connect the BD.
I used the loom as it that way I have more power coming to the 3SX plus I added an additional cable to provide sufficient power to drive the servos.
Nice…
Out of interest, will you use the vario rotor head or the one developed by XXL helicopters : https://www.facebook.com/groups/660409615620055/permalink/105789999...
Beautiful work!
Looks great!
Stunning!!
Grill just came out from the scanning, edited on Fusion 360 and to my printer!
Great work as always. This will be a stunning model. I would love one myself but it is just too big for me to move around as my workshop is upstairs in my house.
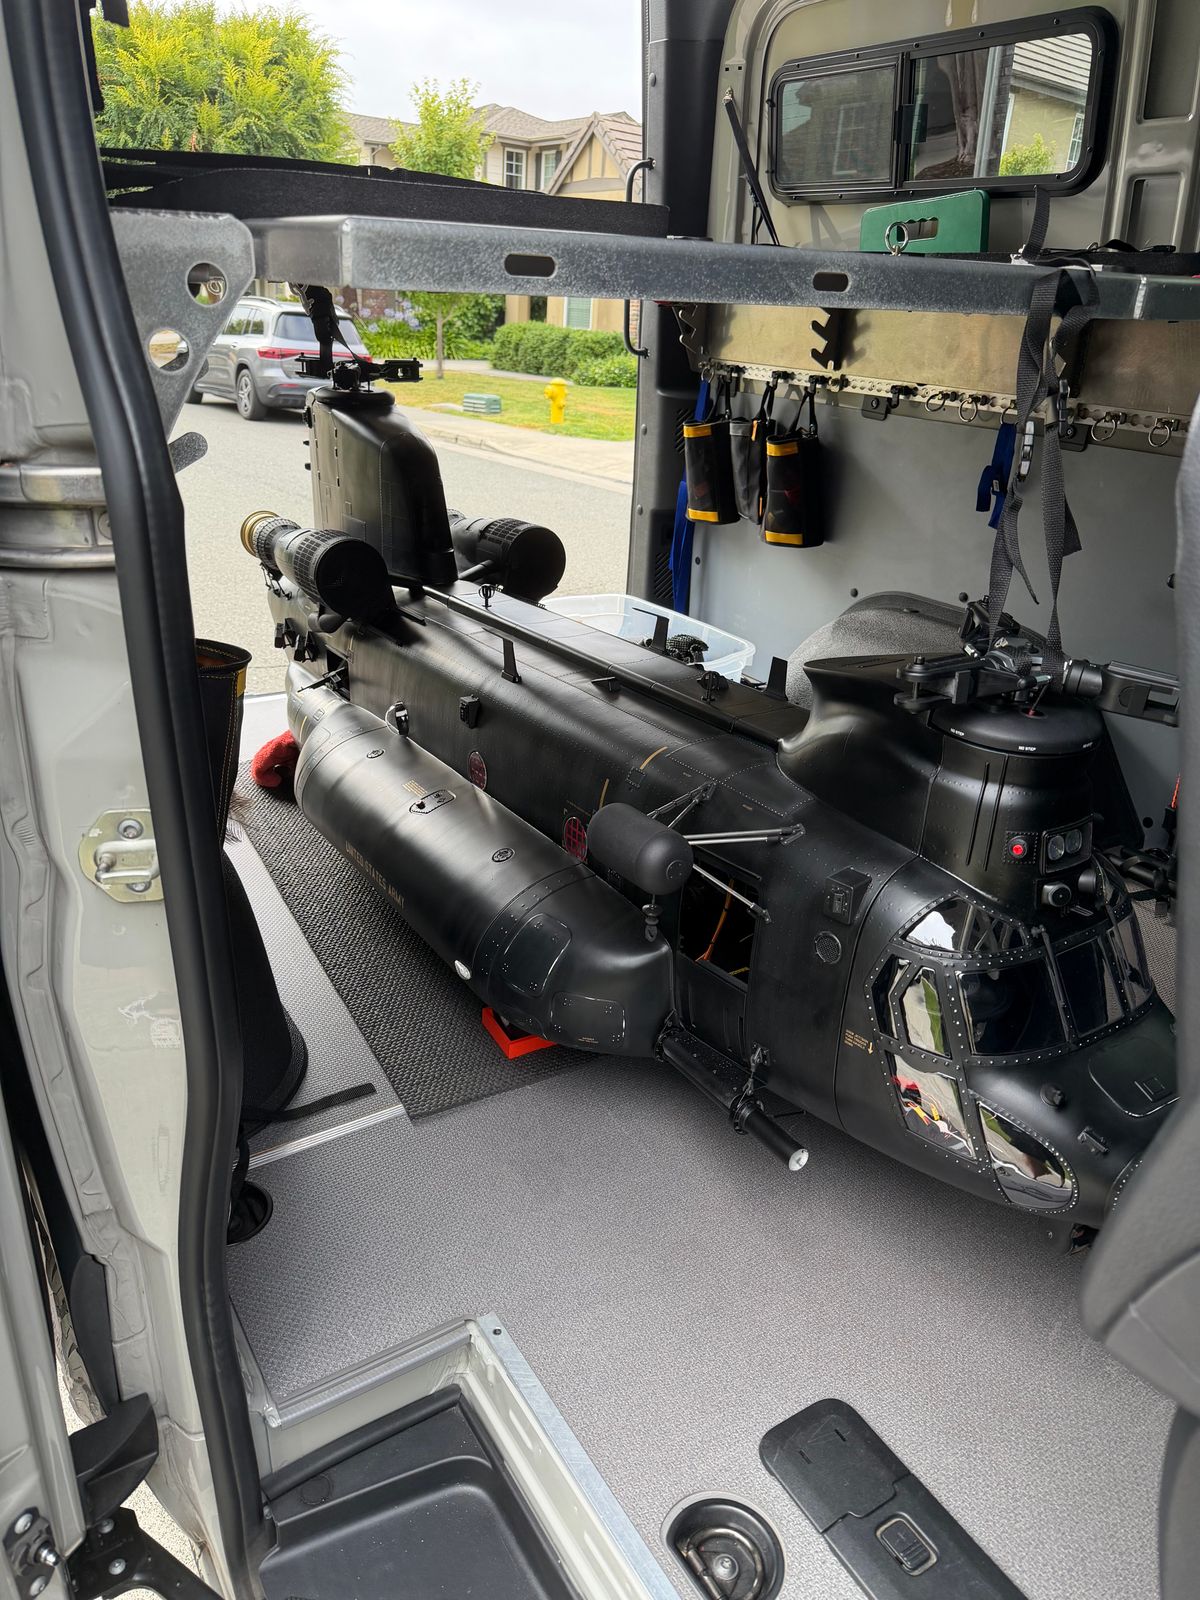
Thank you! Yes it's big and I will need my son to help me to move it into the van.
Impressive. What filament are you using?
Formlabs and is a resin based 3D printer
Loks great. How well do the 3D parts fit - I was considering doing this helicopter.
Really Awesome Gonzalo!
Amazing detail on the powerplants.
B
Very nice work, lots of details on the parts !
Impressive…again. What resin are you used for the FormLabs printing?
Black Resin V4.1
awesome... simply amazing...
Always Outstanding Gonzalo!!!
Nice details, stable support of the CF fuel boom. Great job!
That Looks Really Good Gonzalo!!!
Gonzalo where did you source the files for 240B's?
I love this kind of work and you did splendid on the smaller Chinook. I have no doubts that this one will be even more stunning. My quiestion is did you try spinning the mechanics with the refuelling probe installed? These tend to be vibration amplifiers if not done correctly....
Another great chapter, thank you!
Great work ! Very fine details.
Your work is always impressive Gonzalo!
Outstanding!
Insane (as usual)!
Incredible work. The FormLabs systems are amazing. Are you using BlackV5?
I'm using V4.1
just WOW!!!
Very nice work, look great even without fuselage.
Gonzalo, congratulations on a successful test flight. Q: how did you determine the motor temp via telemetry? Built in sensor?
Cool…Really Cool Gonzalo!
DANG!!!!
That is "OFF THE HOOK"
B
“WOW” Gonzalo…this so cool !!!
really nice....
Very nice work !
“SIMPLY BEAUTIFUL GONZALO!!!”
Looks awesome Gonzalo!!!
Absolutely AMAZING!!!
B
Congratulations on a successful maiden... it looks stunning
Gonzalo, this is a masterpiece! Now I MUST attend HSM next year!
Fantastic !!!
Beautiful…just Beautiful Gonzalo. Realistic flying too!!!
Congratulations!!!
Awesome!