

Sikorsky S-92. Book 2, “Polyphia”
 Butch W.
“First flight”
UIH,
Many of you have followed my “scratch Build S-92 oner the past months. It has been a long journey with a few hurdles however nothing that would stop any progress.
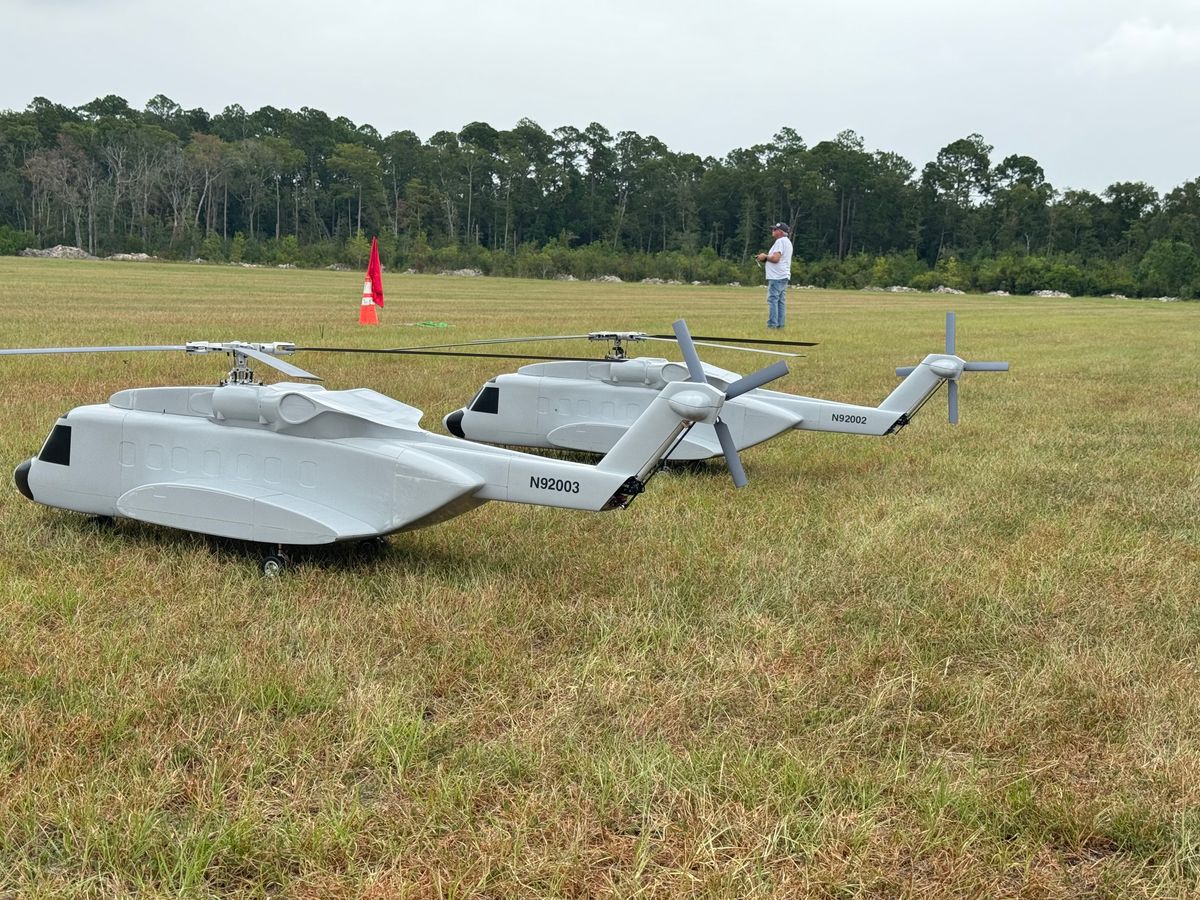
Yesterday S/N 002 lifted off for the first time. An uneventful event but non the less, somewhat stressful. Sandy accompanied me as he did with my S-67 for the first flight. Another set of eyes and input for this event.
After a short pilot brief the time had come to put this thing in the air. Once armed power was advanced to ground idle. There was a slight shake as the main rotor blades found their center. A flip of the switch to flight idle and we were ready for lift off. A quick flight control check then announced I was” coming up” and my S-92 was airborne.
It lifted off flawlessly, straight up to a 4 foot hover. Another quick control check and it felt great.
The Nr is currently at 800 which may be a little slow but it felt good however a little touchy. I made some adjustments yesterday afternoon and will fly again today after 003 has its maiden this morning followed by both aircraft in the air together.
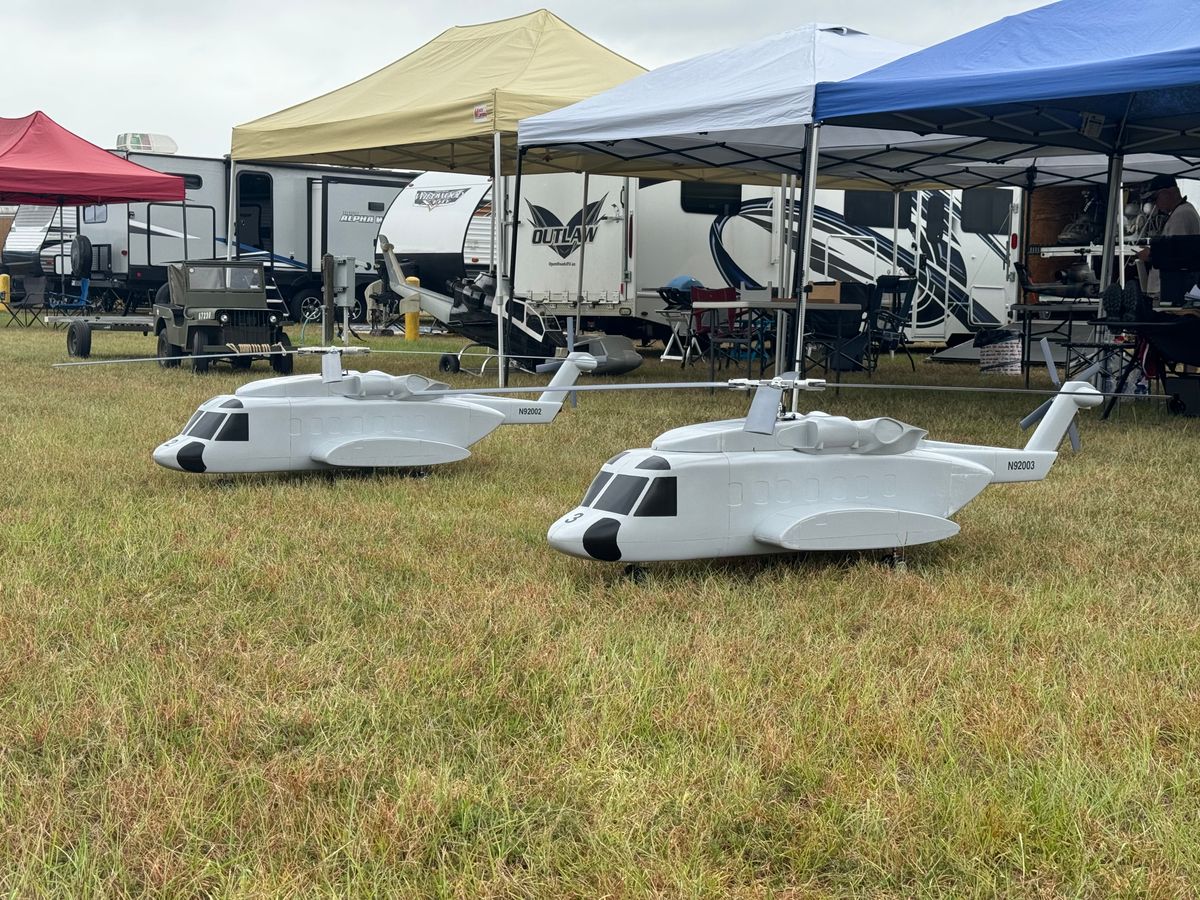
A few pica of 002 and 003 together and video of 002 first flight.
It was a great day to see this happen. Now we move to flight envelop expansion and the fun task of detail, cockpit and all the PITA stuff
Look for a couple more videos of 003 and both together in flight.
Thanks for dropping by,
Butch
“And Then There Were Two”
First flight of S/N 003.
Everything went as advertised.
“Just The Two Of Us.
UIH,
Things went perfectly yesterday. We were able to het a short video of both 002 and 003 in the air at tbe same time.
Here is the vid.
Thanks flr dropping by,
Butch.
VH-92 Patriot vs NXXXRG?
I got my Sikorsky S-92 out to the local field this past weekend for it's third flight. Everything went very well with the minor adjustments made since its maiden improving the stability and handling. The tail is not exactly where I want it in rate mode just yet but very close. I adjusted the head gain up 5 points that made a great improvement. I made some collective pitch adjustments at mid collective to bring the stick closer to where I like it in a hover.
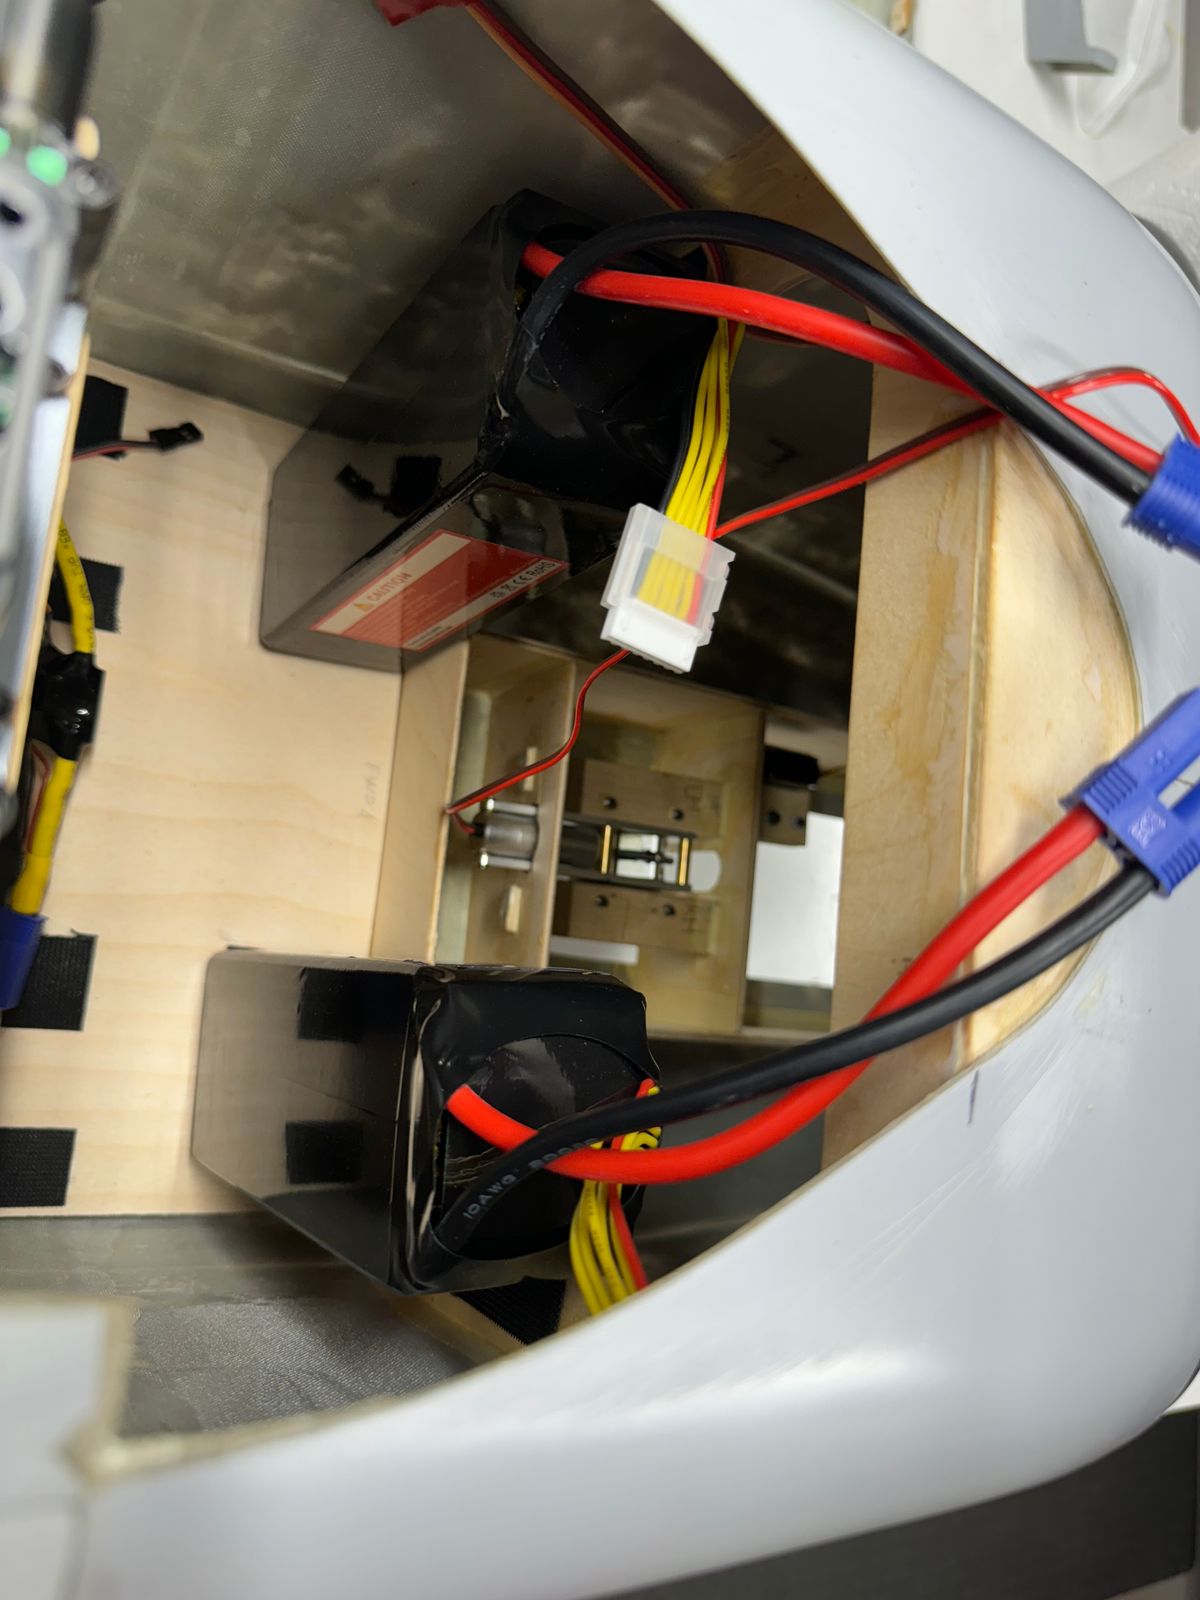
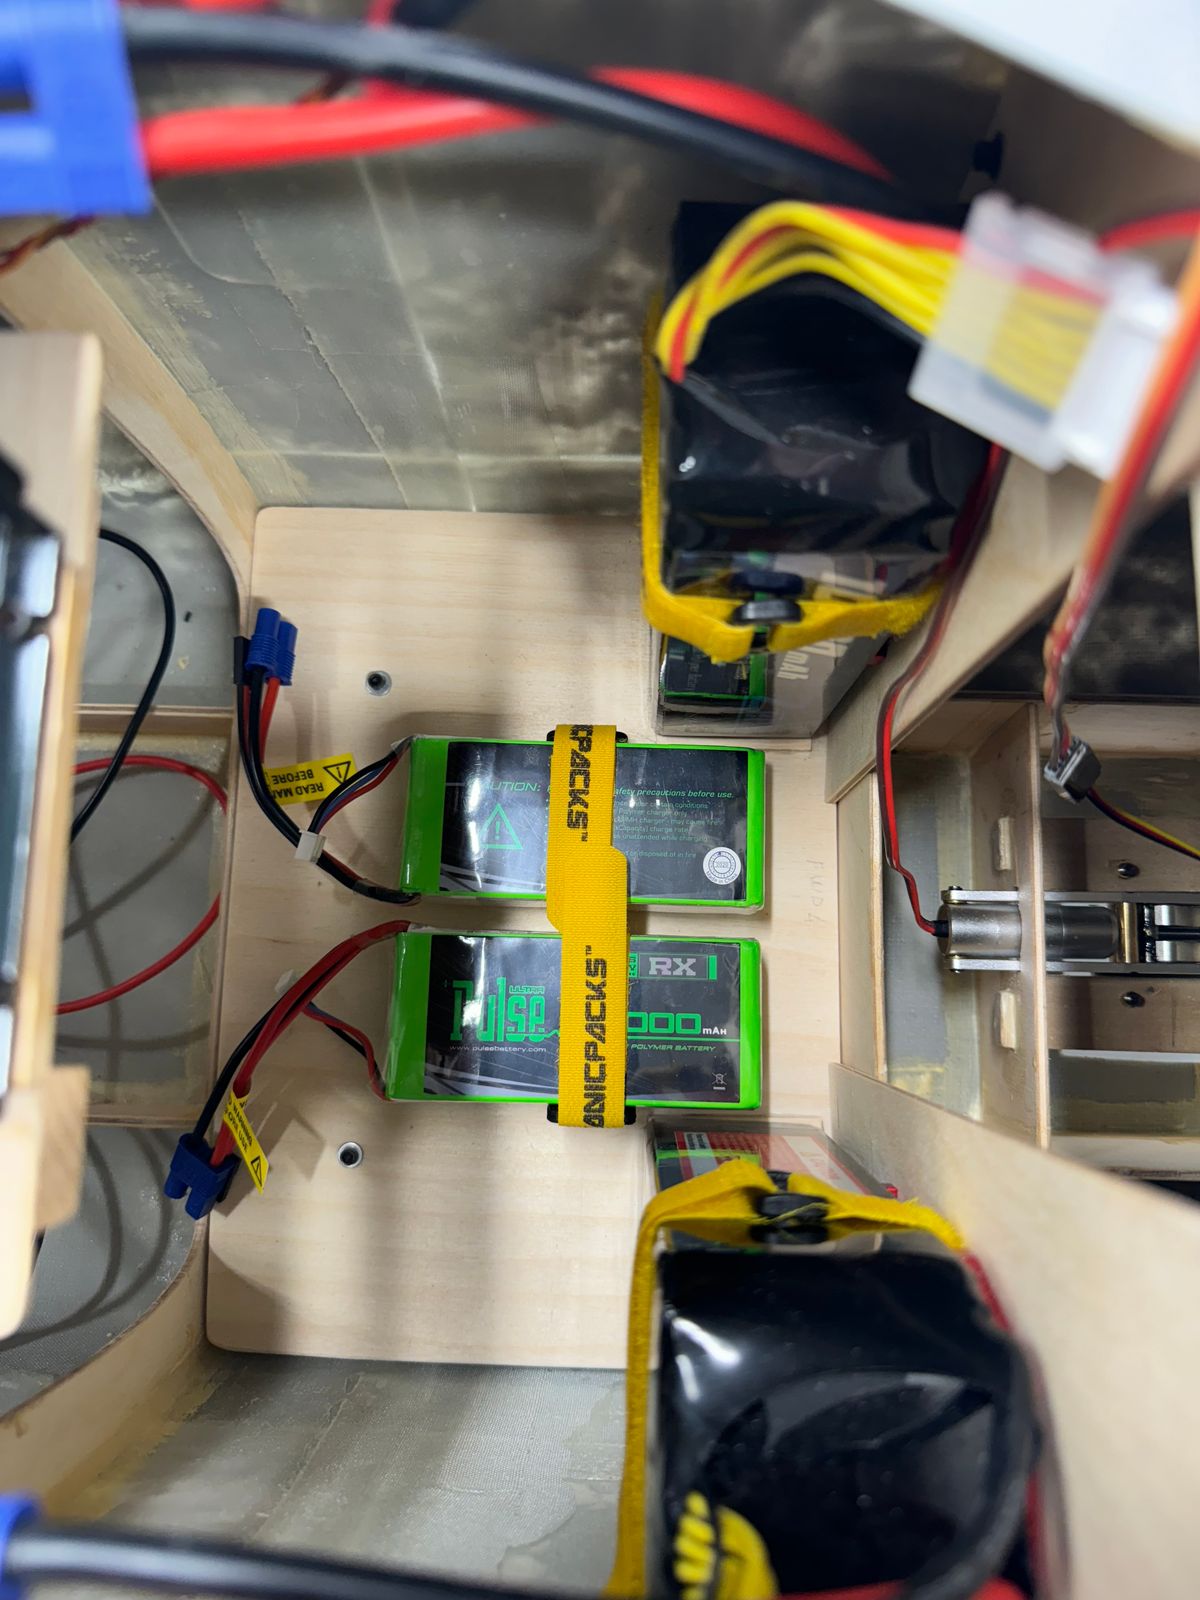
The heli weighs in at 34.84 lbs. 15.80 kg ready to fly. It has 2 each Pulse 10000ma 6S battery's that stand vertical just behind the cockpit to keep weight forward for motor power and 2 each 2500 mah 2S for flight controls and sub systems. I have a new set of Zeee 10K 6S battery's that are much lighter but waiting no the mount brackets to arrive hopefully today. I do have a little over 1.25 lb in the nose and will have to adjust that for the new Zeee batts.
Saturdays flight was right at 8 minutes. I pulled 5006 ma from the 10K battery's. The bats did show 40% remaining with cell voltage all around 3.8xx which I fell is amazing for a 35 pound aircraft. The Nr is 800 and responded very well to control inputs. My first thought was the head speed would be too low however it felt great. Once I push this thing, if not fast enough, we will find out.
The ESC data looked great as well at 800Nr. Ripple avg .24 max .54, current avg 31A max 55A, watts avg 1349 max 2405, temp 100.9F max 128.6F, rpm 802, power out 94.5% max 97.6. not too bad for a 35 lb. heli.
I plan to have the wheel brakes and the landing gear functional for flights this coming weekend. If all goes well I will fly this thing around the pattern.
Here is the video from this past Saturday. Thanks to Rob for the video. Nice Job Buddy.
Thanks for dropping by,
Butch
“Helicopter Mechanic, OFF DUTY”
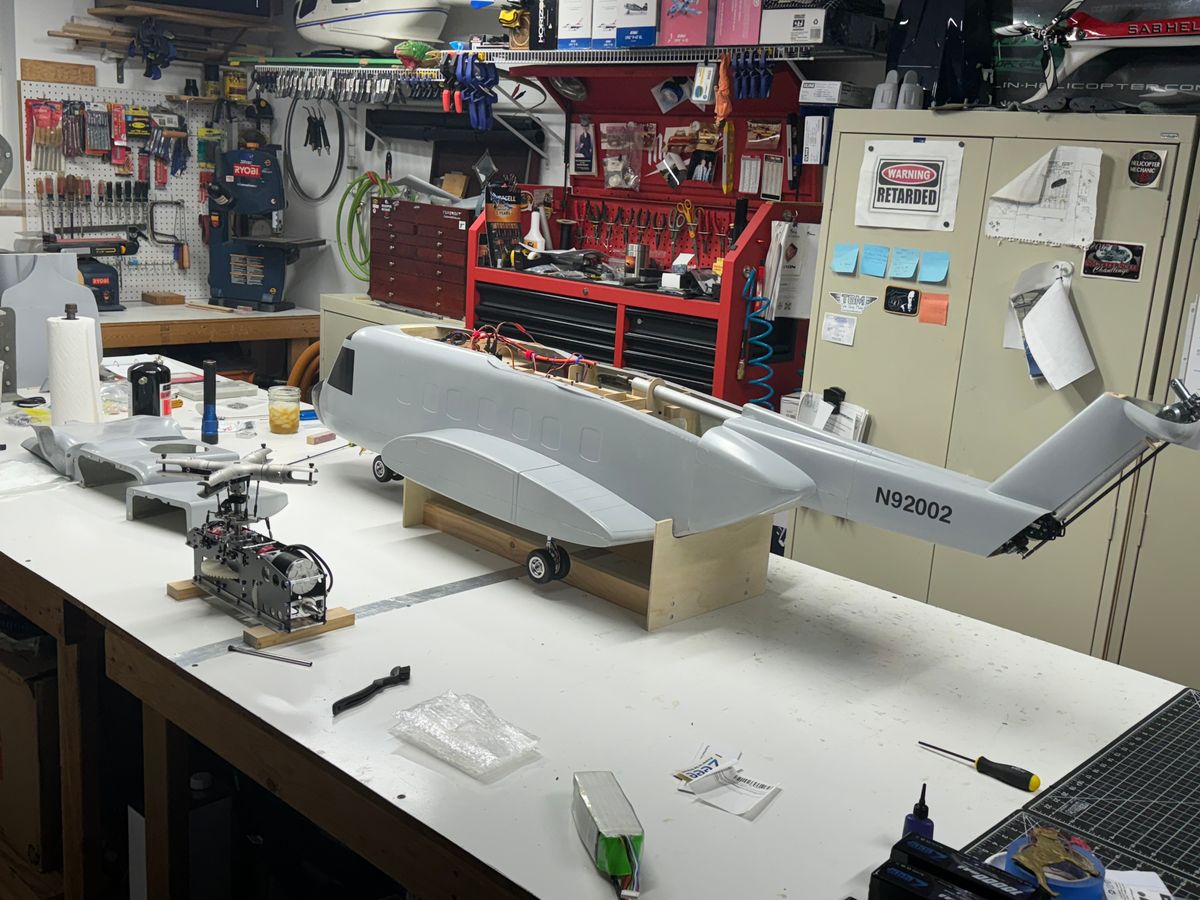
What does and model S-92 look like after 25 minutes of flight? I was wondering the same thing. Until a few days ago I had no friggen clue.
See photos below.
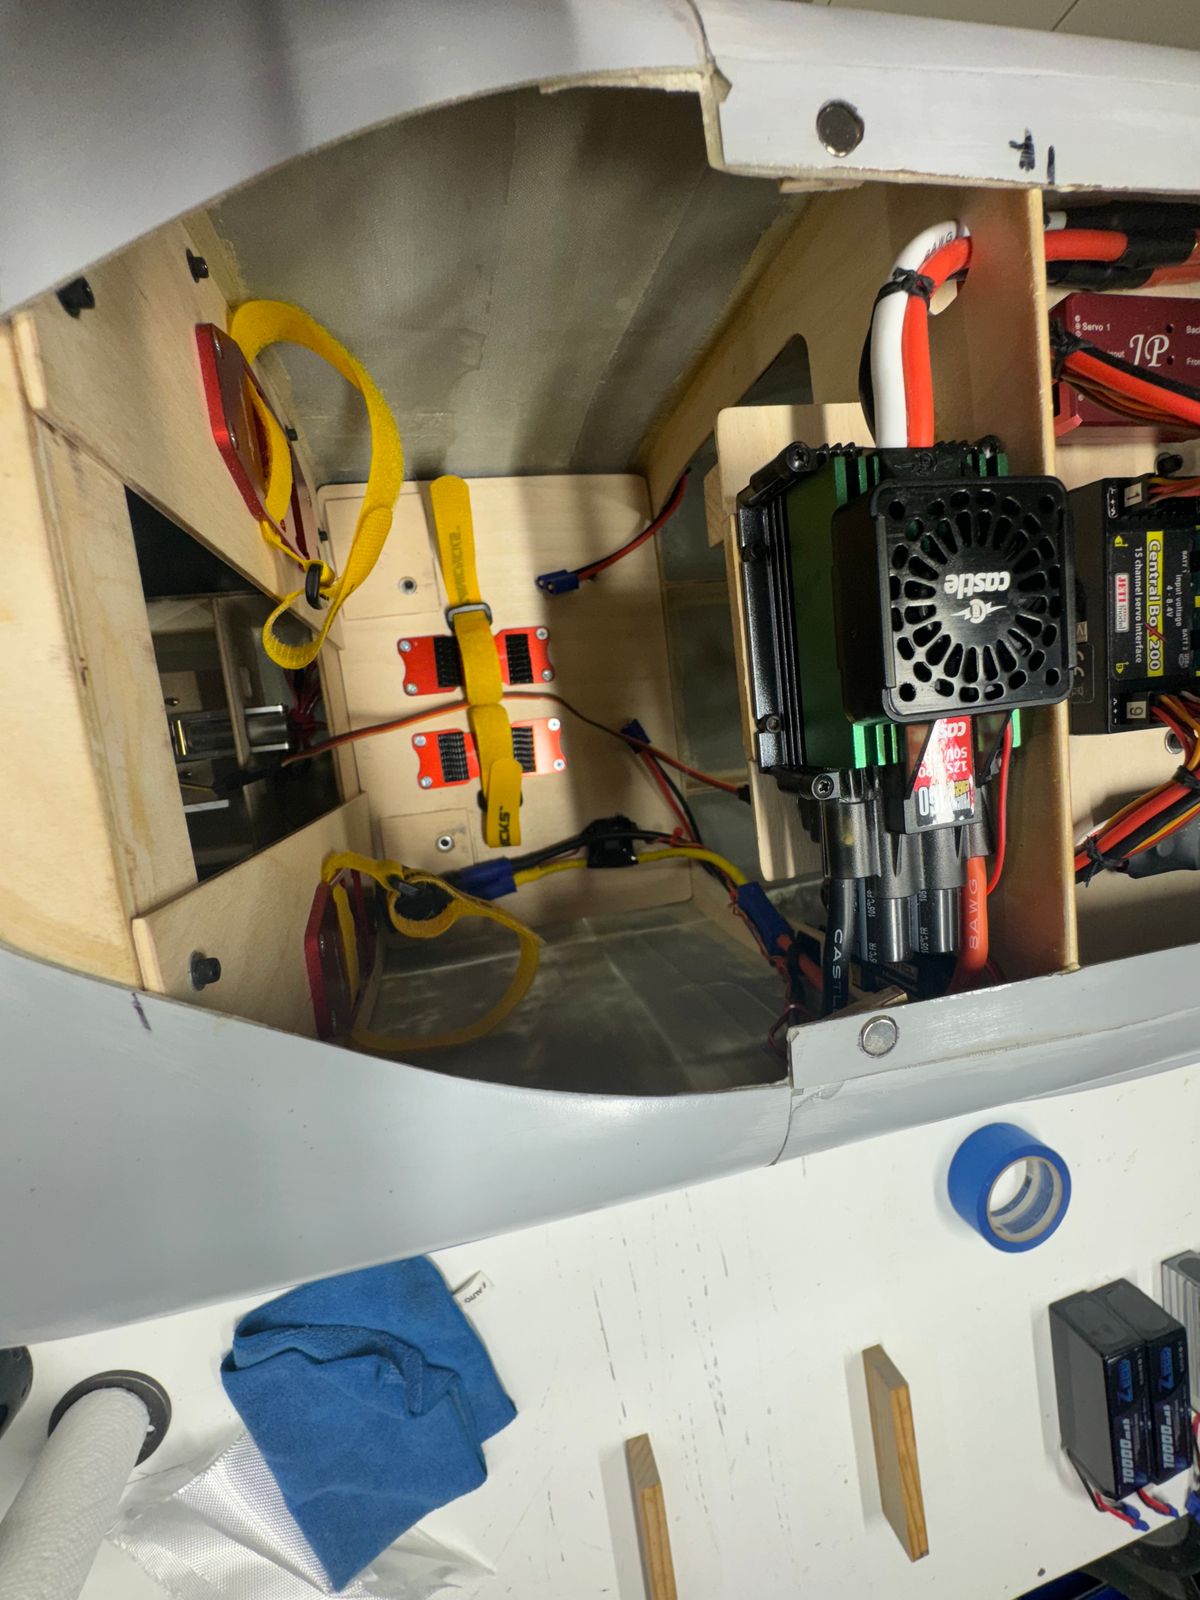
This was a good time to rip everything apart and make sure there were no issues with the powertrain after a few flights. I am happy to report everything look great. I installed the main wheel brake and retract controller. (Dammit Man, wheel brakes on a heli!!!) well yea, it has wheels. Ha.
Now I have to address the “rats nest” of wiring for brakes and retract and I have not even gotten to the lighting yet. Dang this is fun. Battery and controller mounts will be here tomorrow and can place systems and work out wiring from there.
Some other installations will be a cockpit floor and laying up the gear fairings which cover the main gear openings.
A few photos.
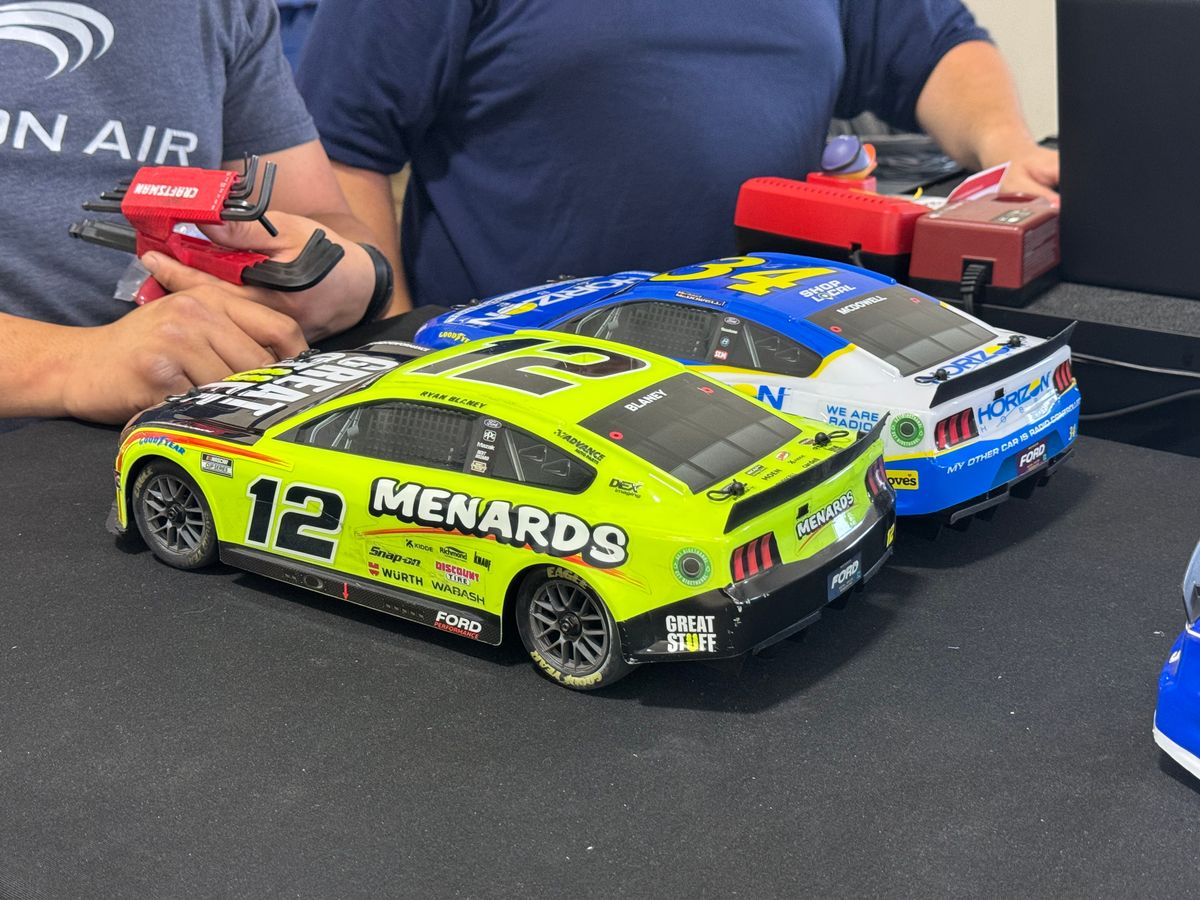
A side note: We have a little NASCAR race daily at work.
Thanks for stopping by,
B
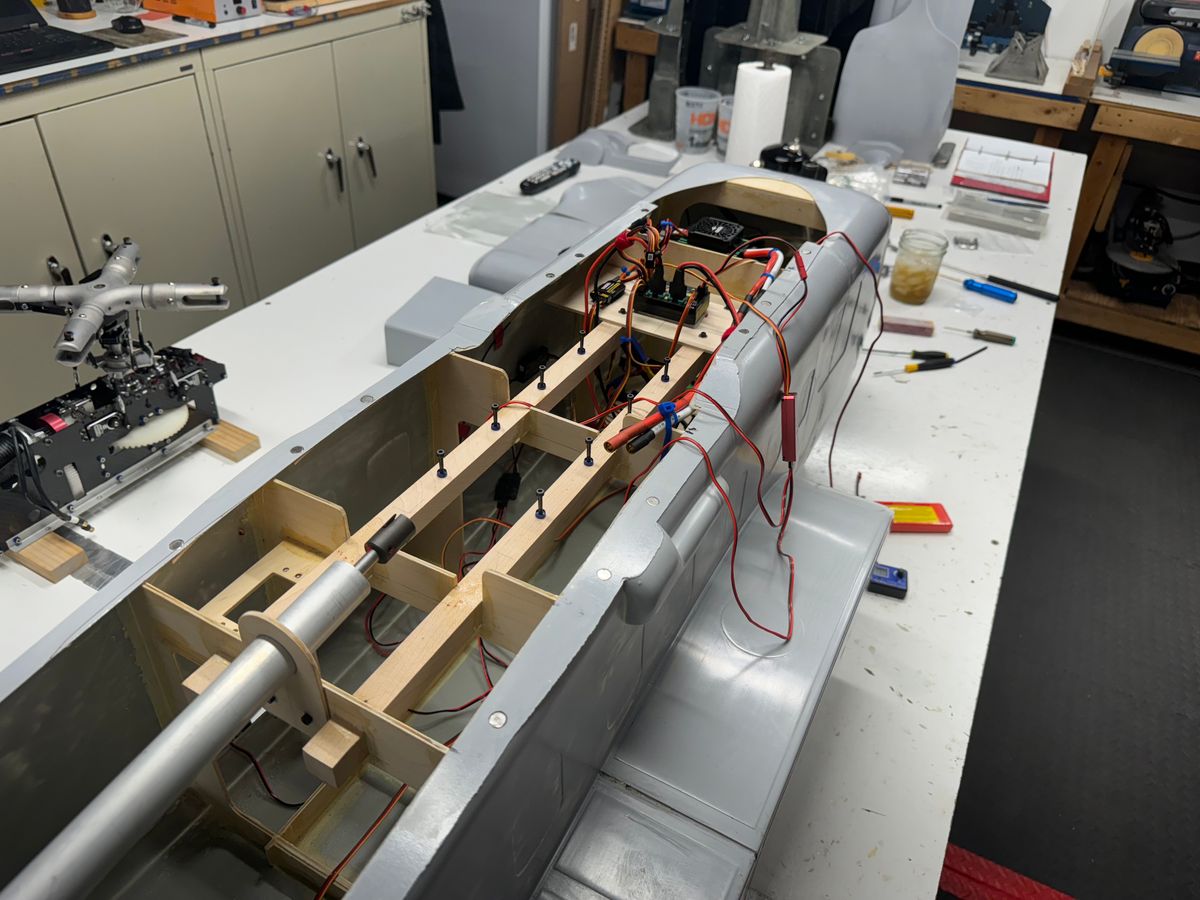
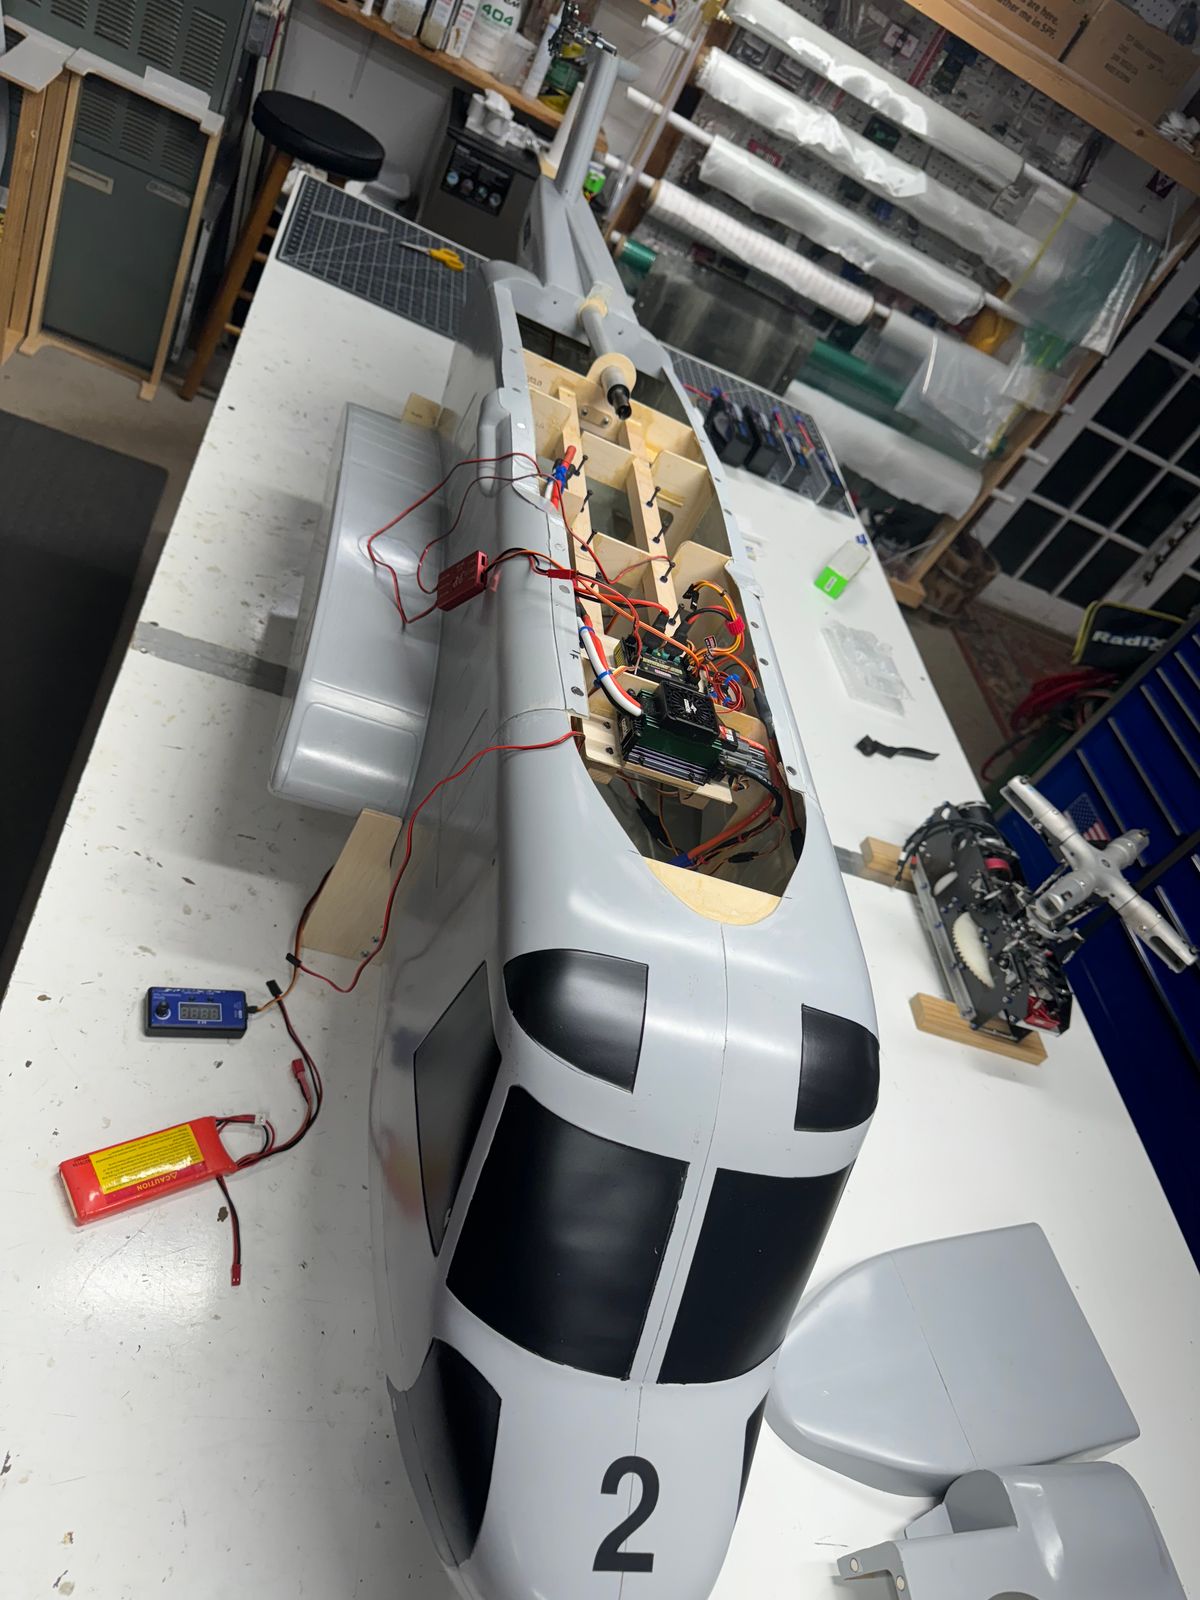
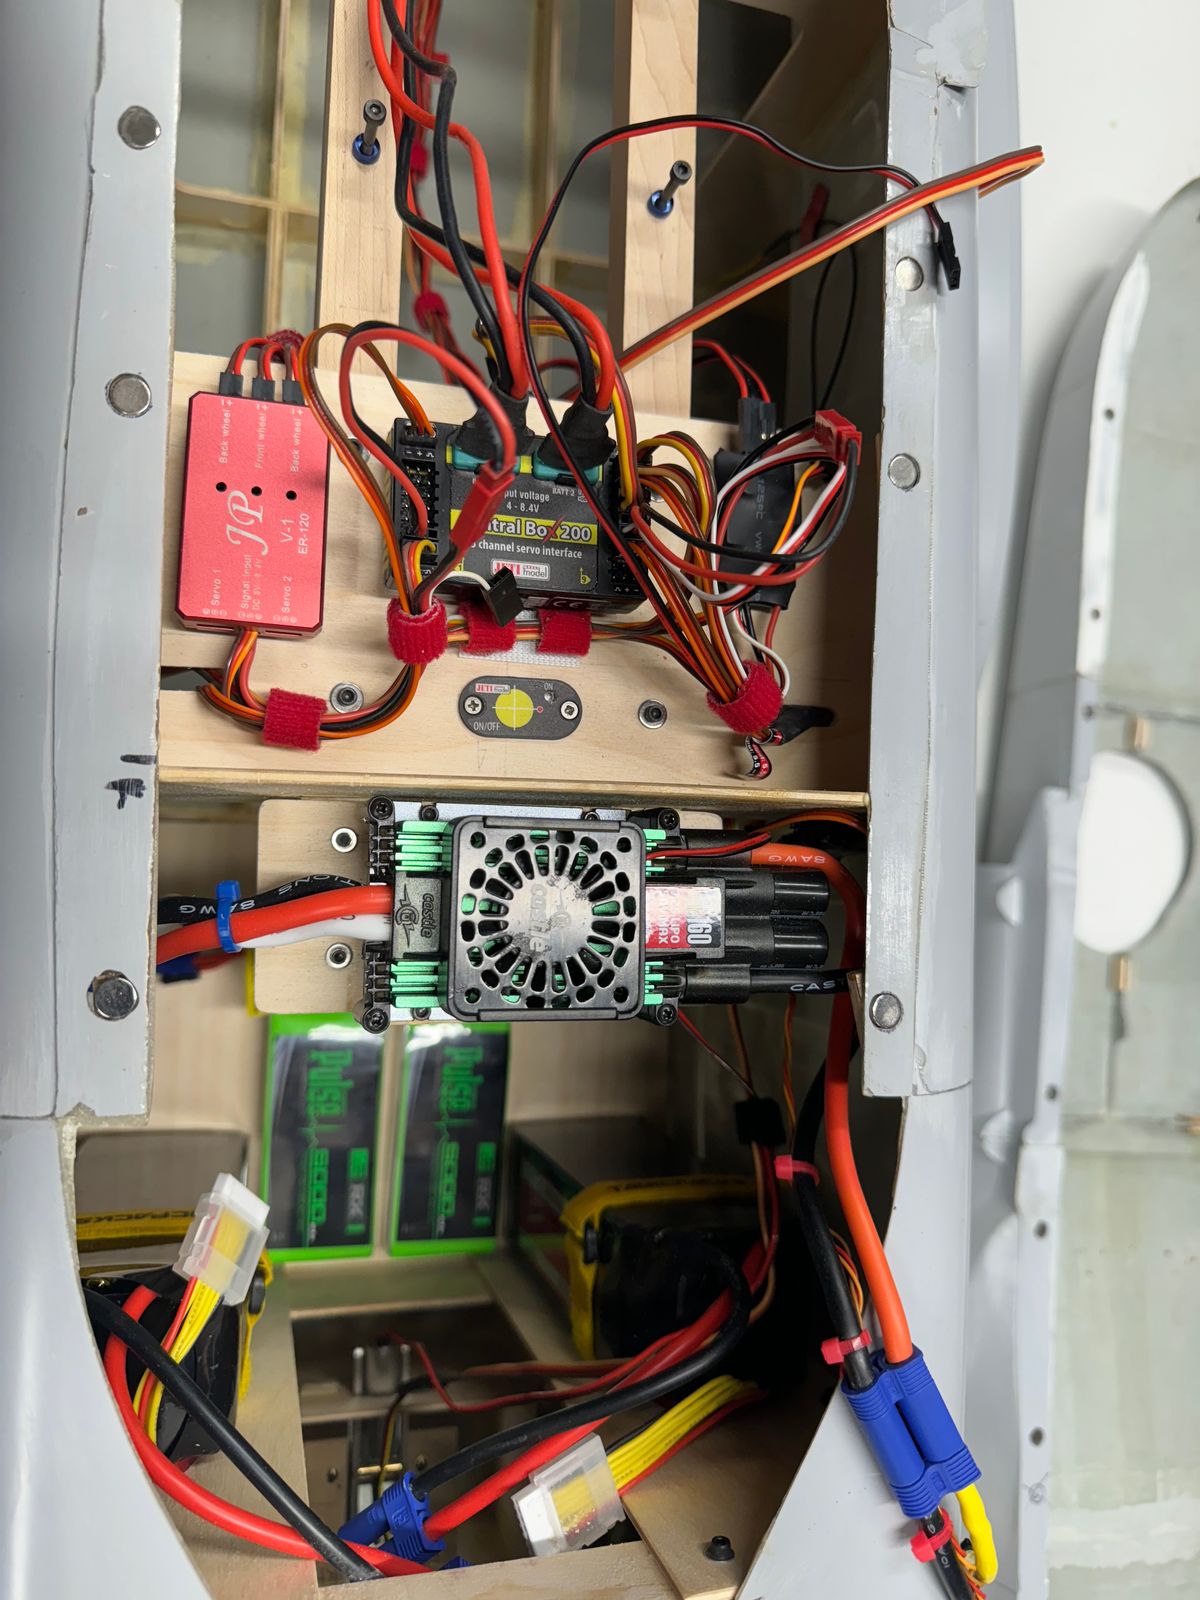
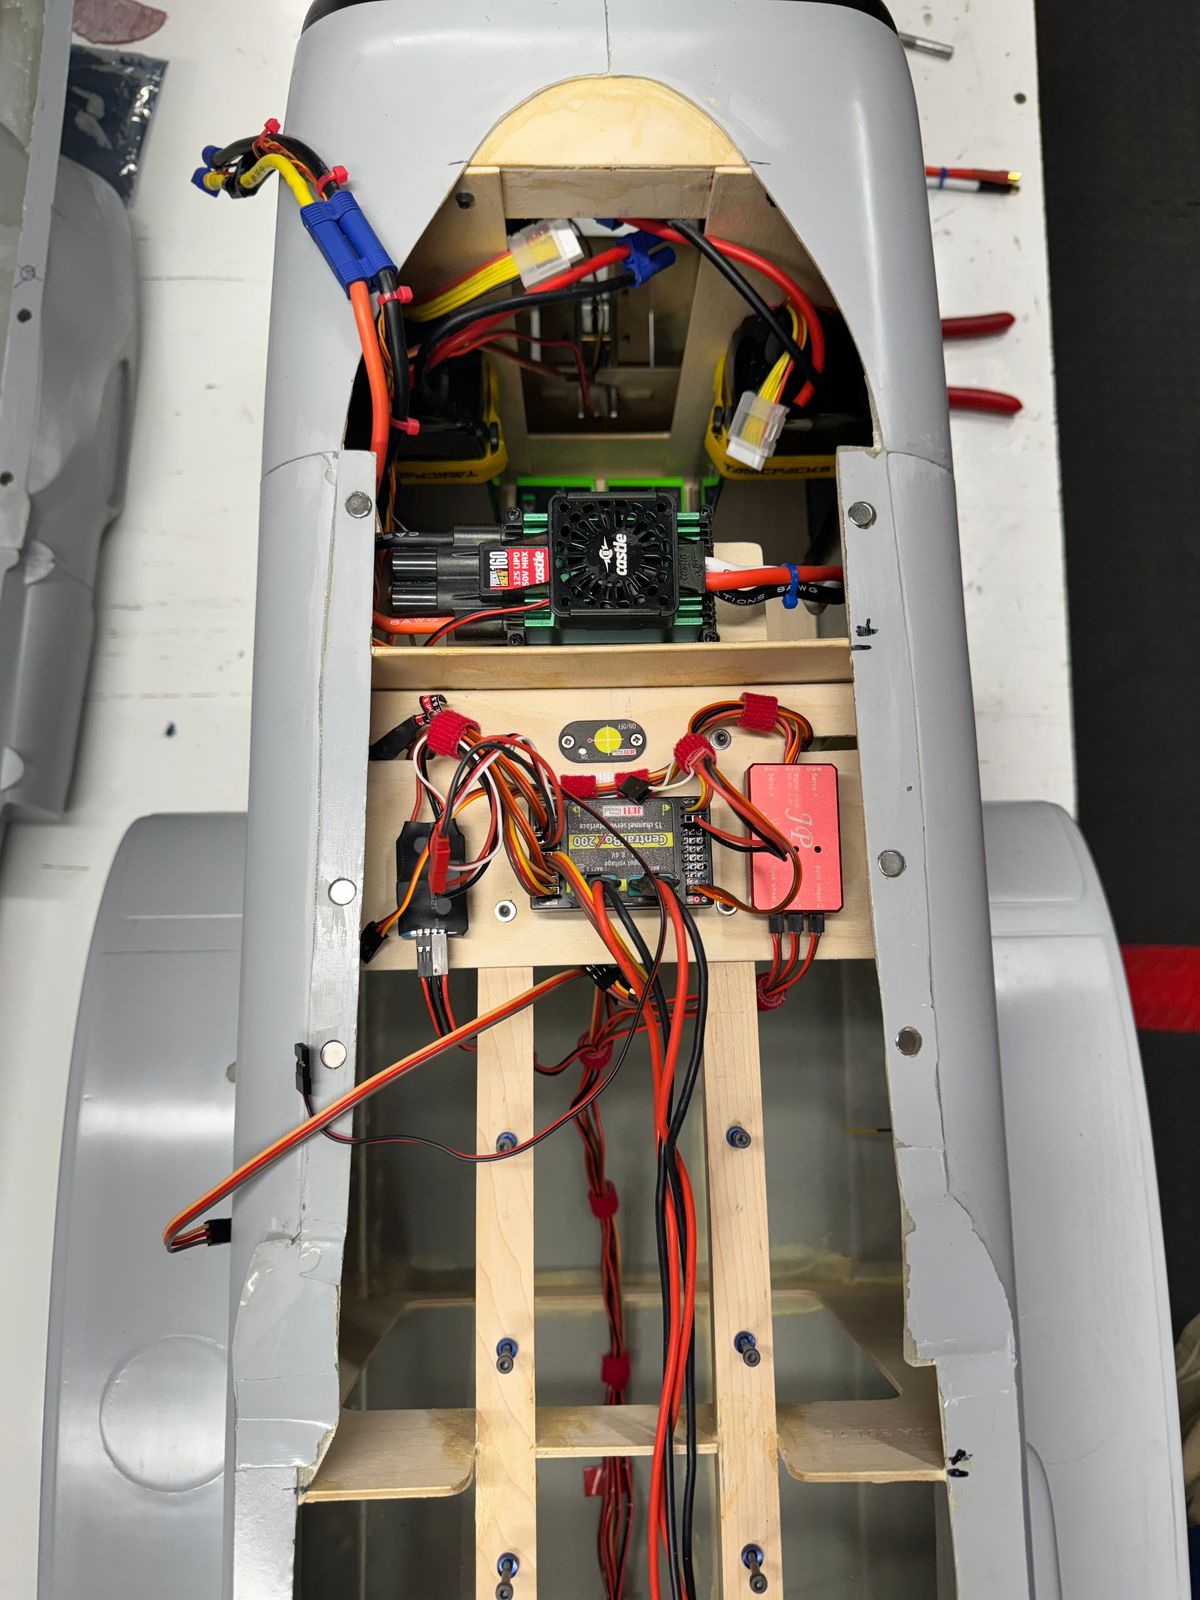
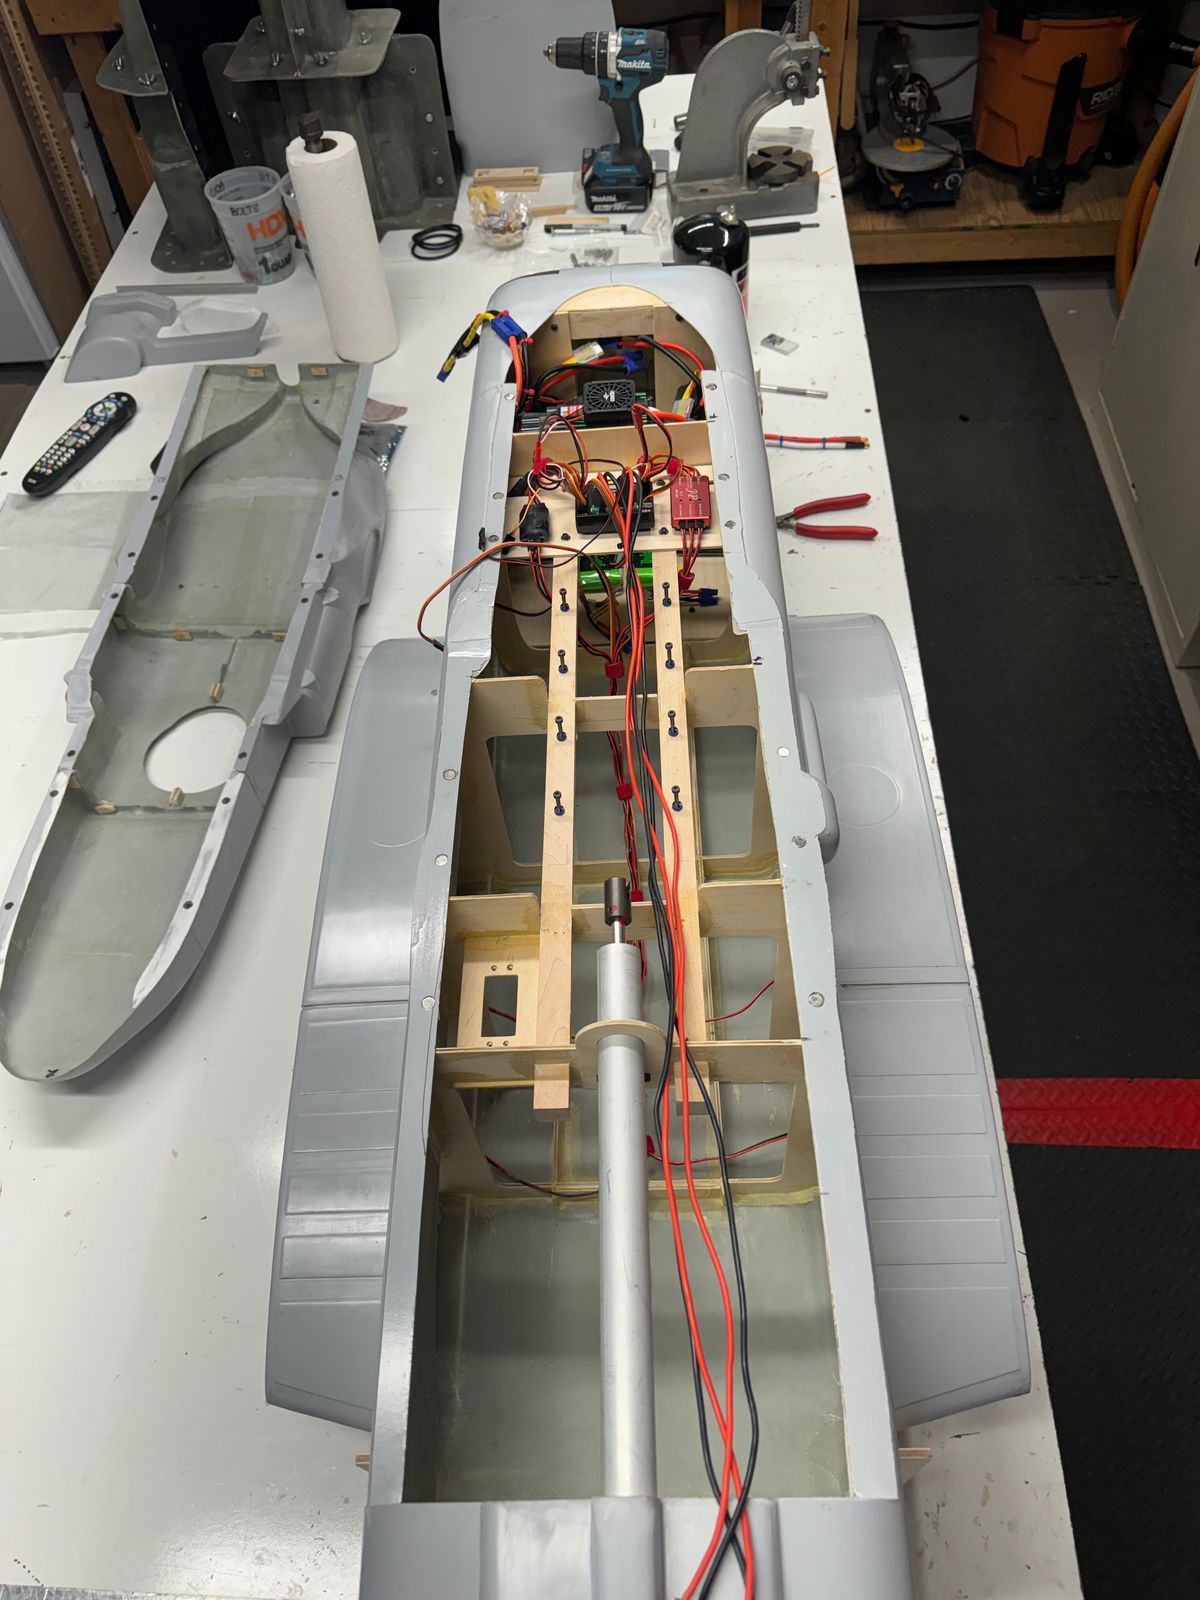
Avionics General Arrangement.
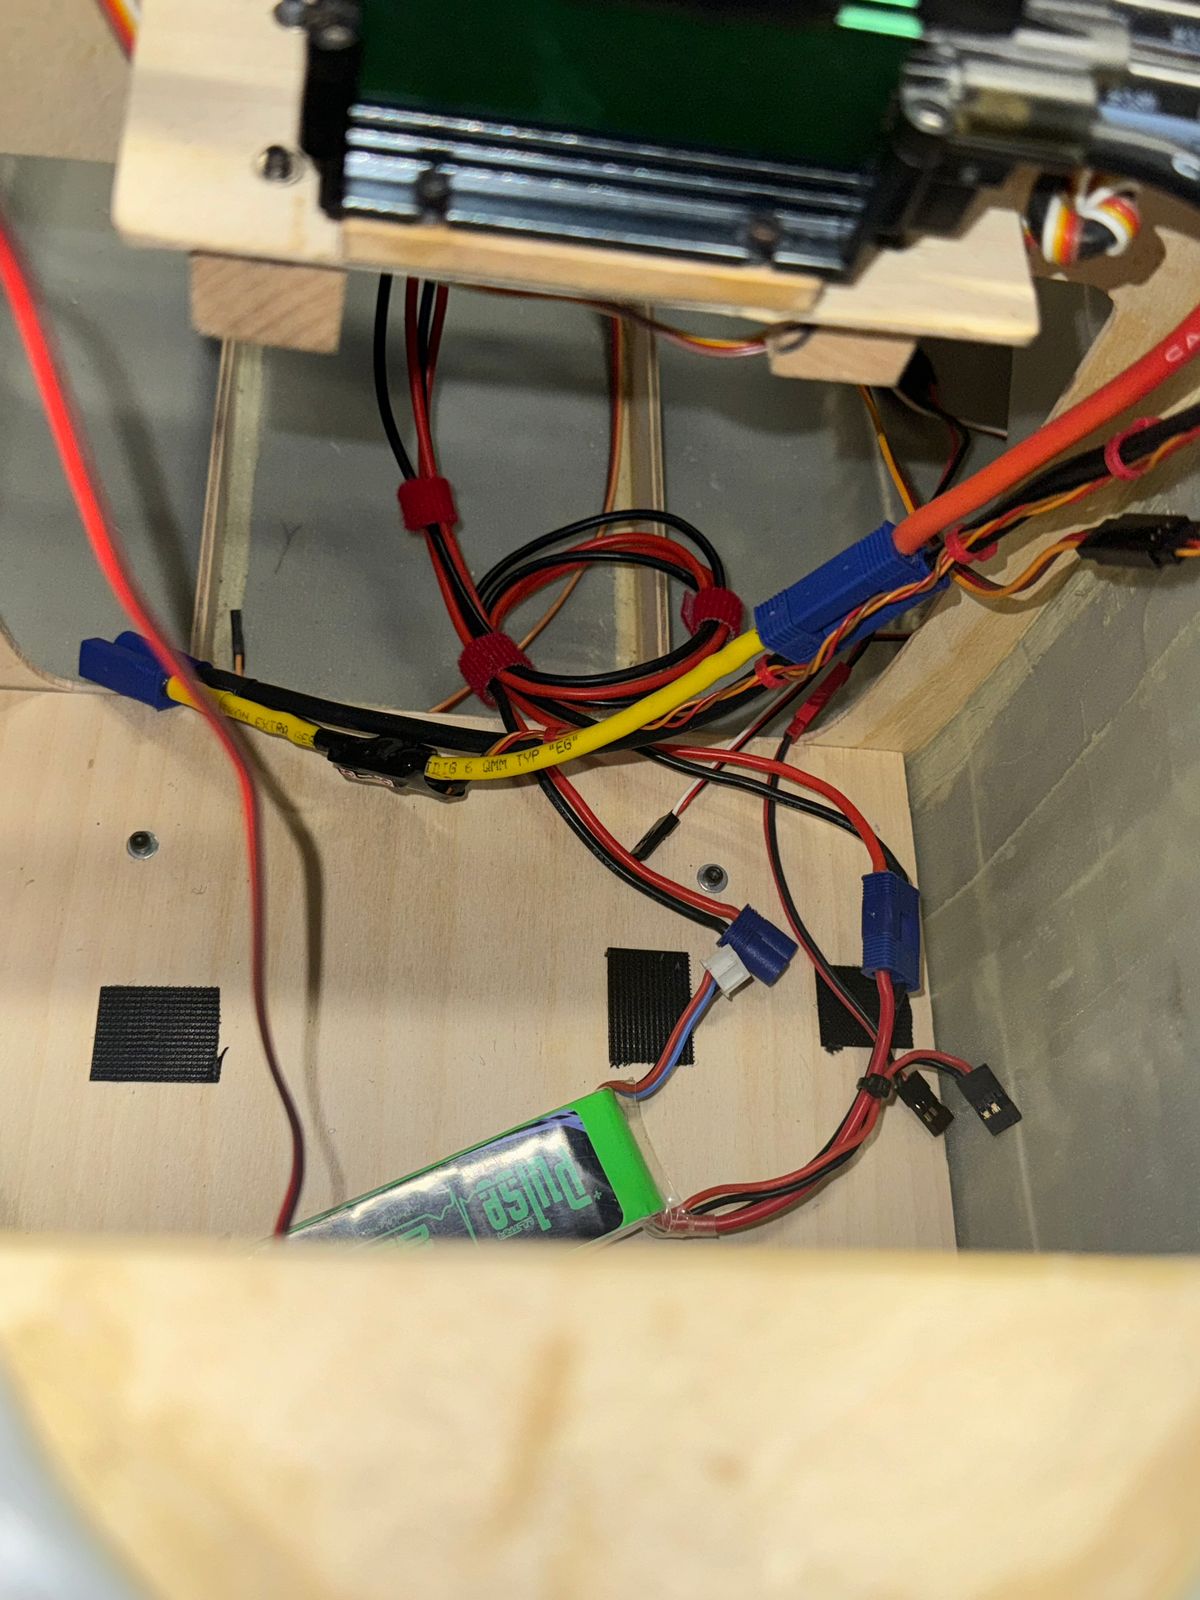
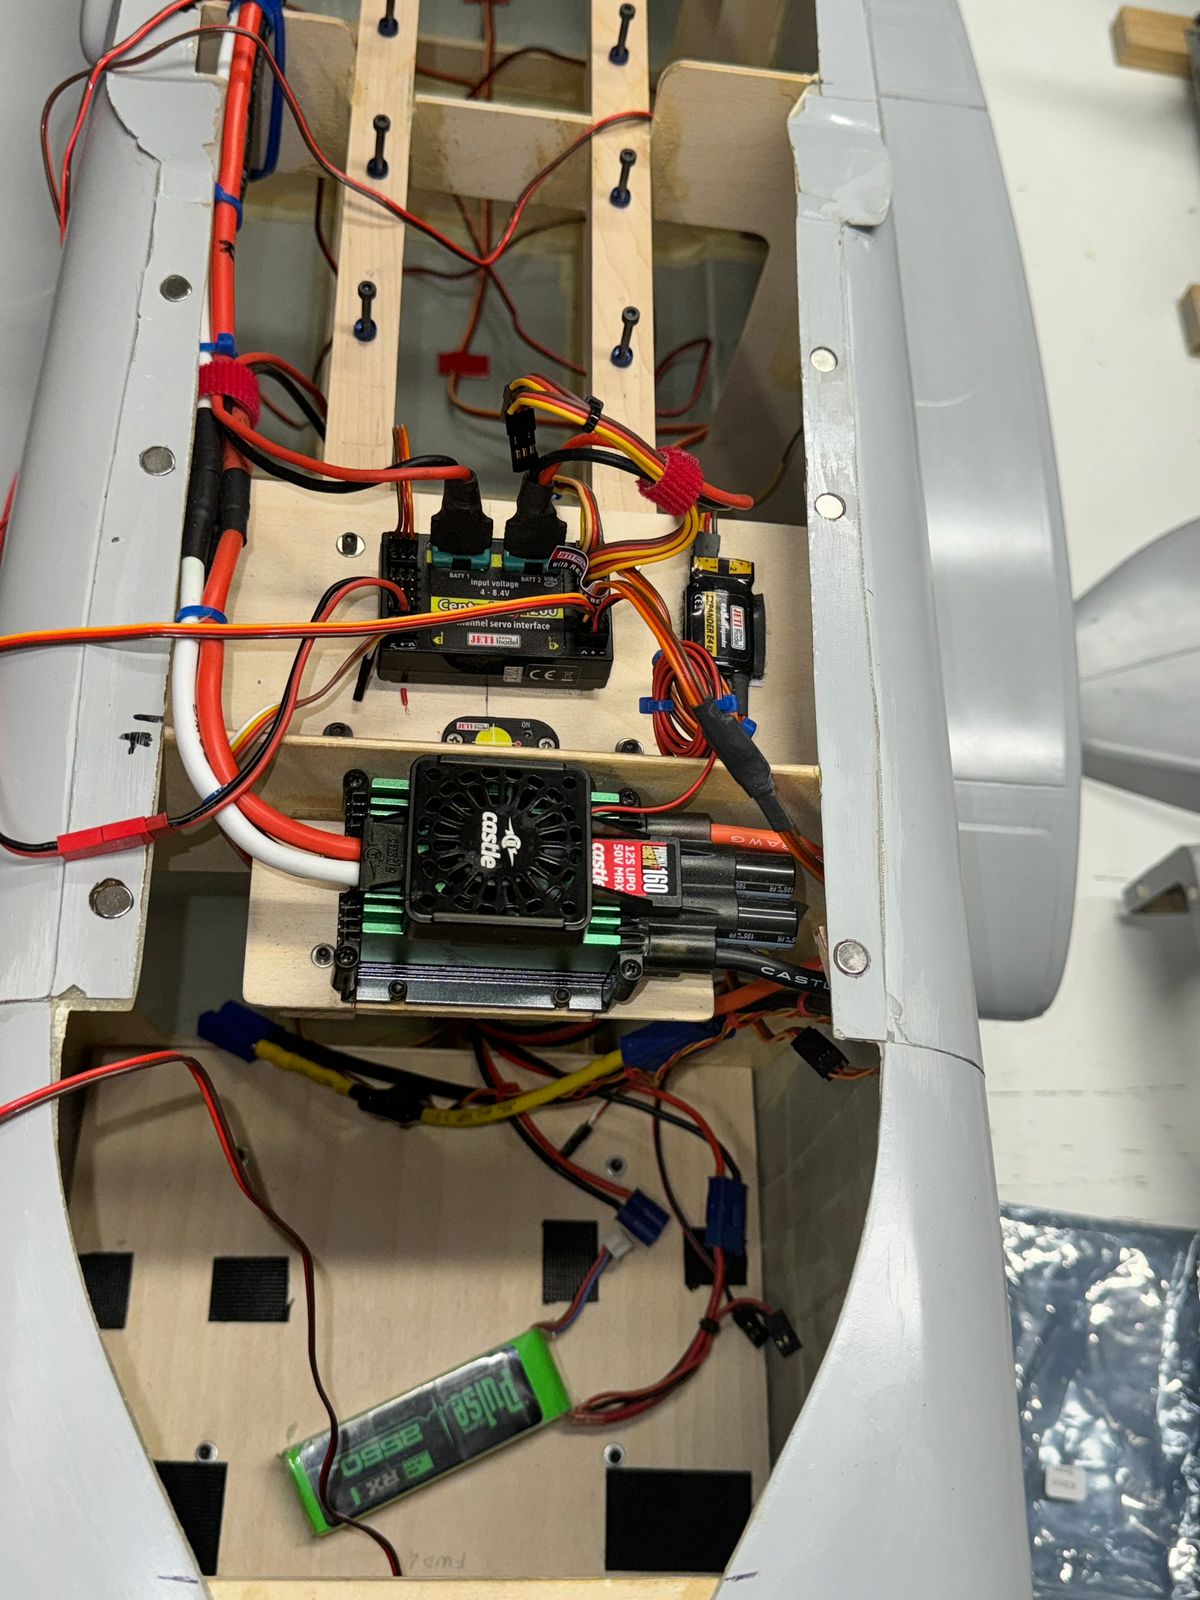
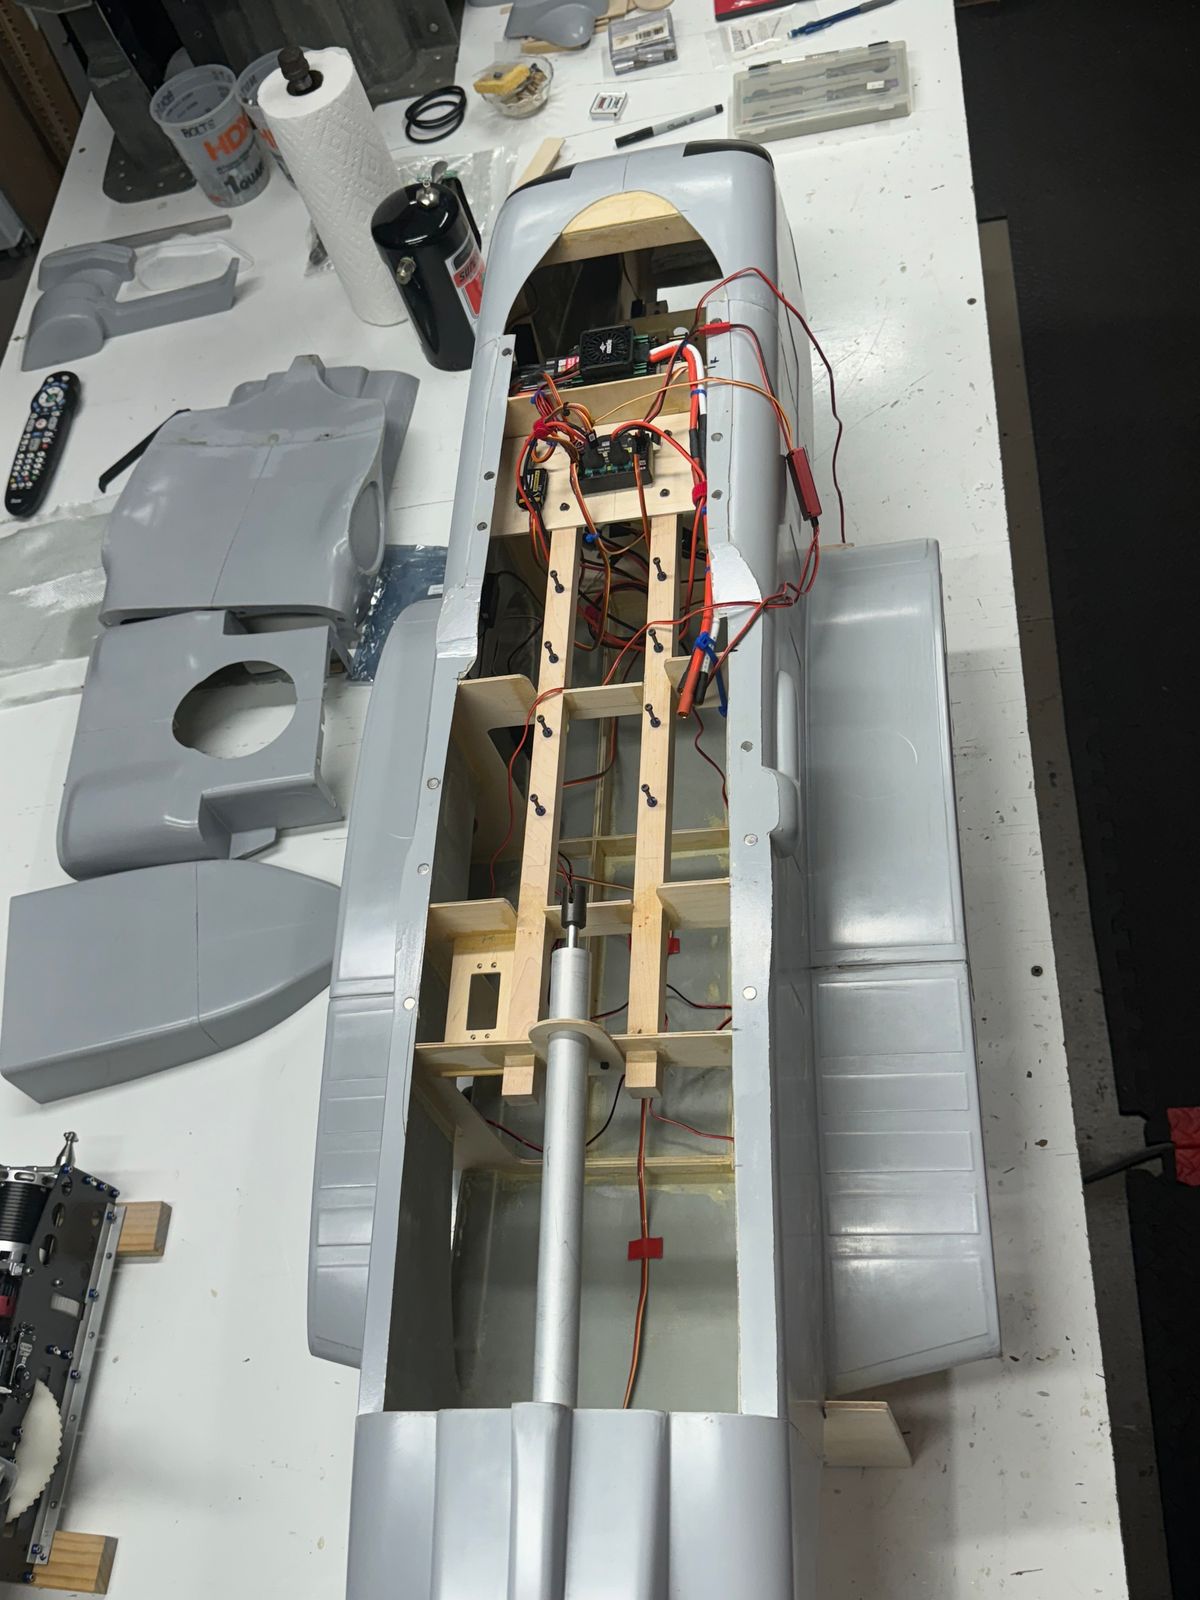
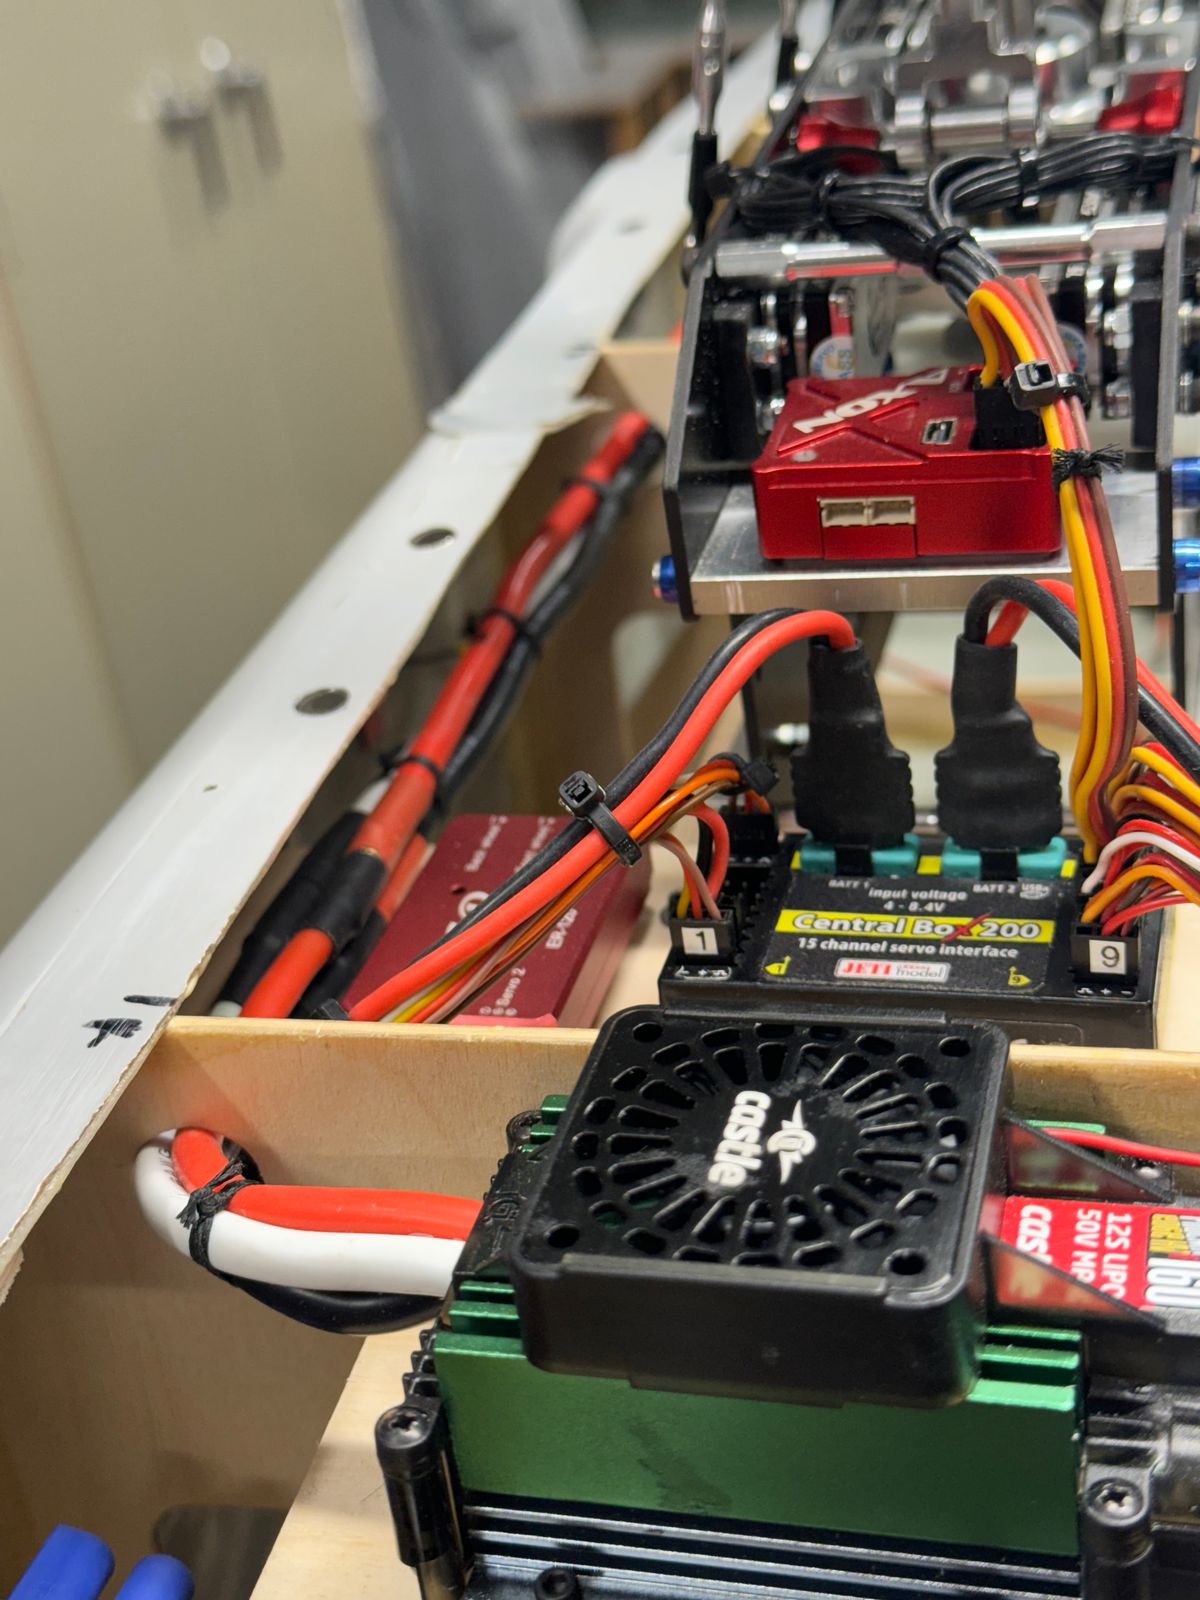
Something that is always troubling for me is the arrangement of the electrical systems. Wires are too short, too long, turn into a “rats nest” within seconds and there is never a great was to attach a long run of wiring from the nose to the tail.
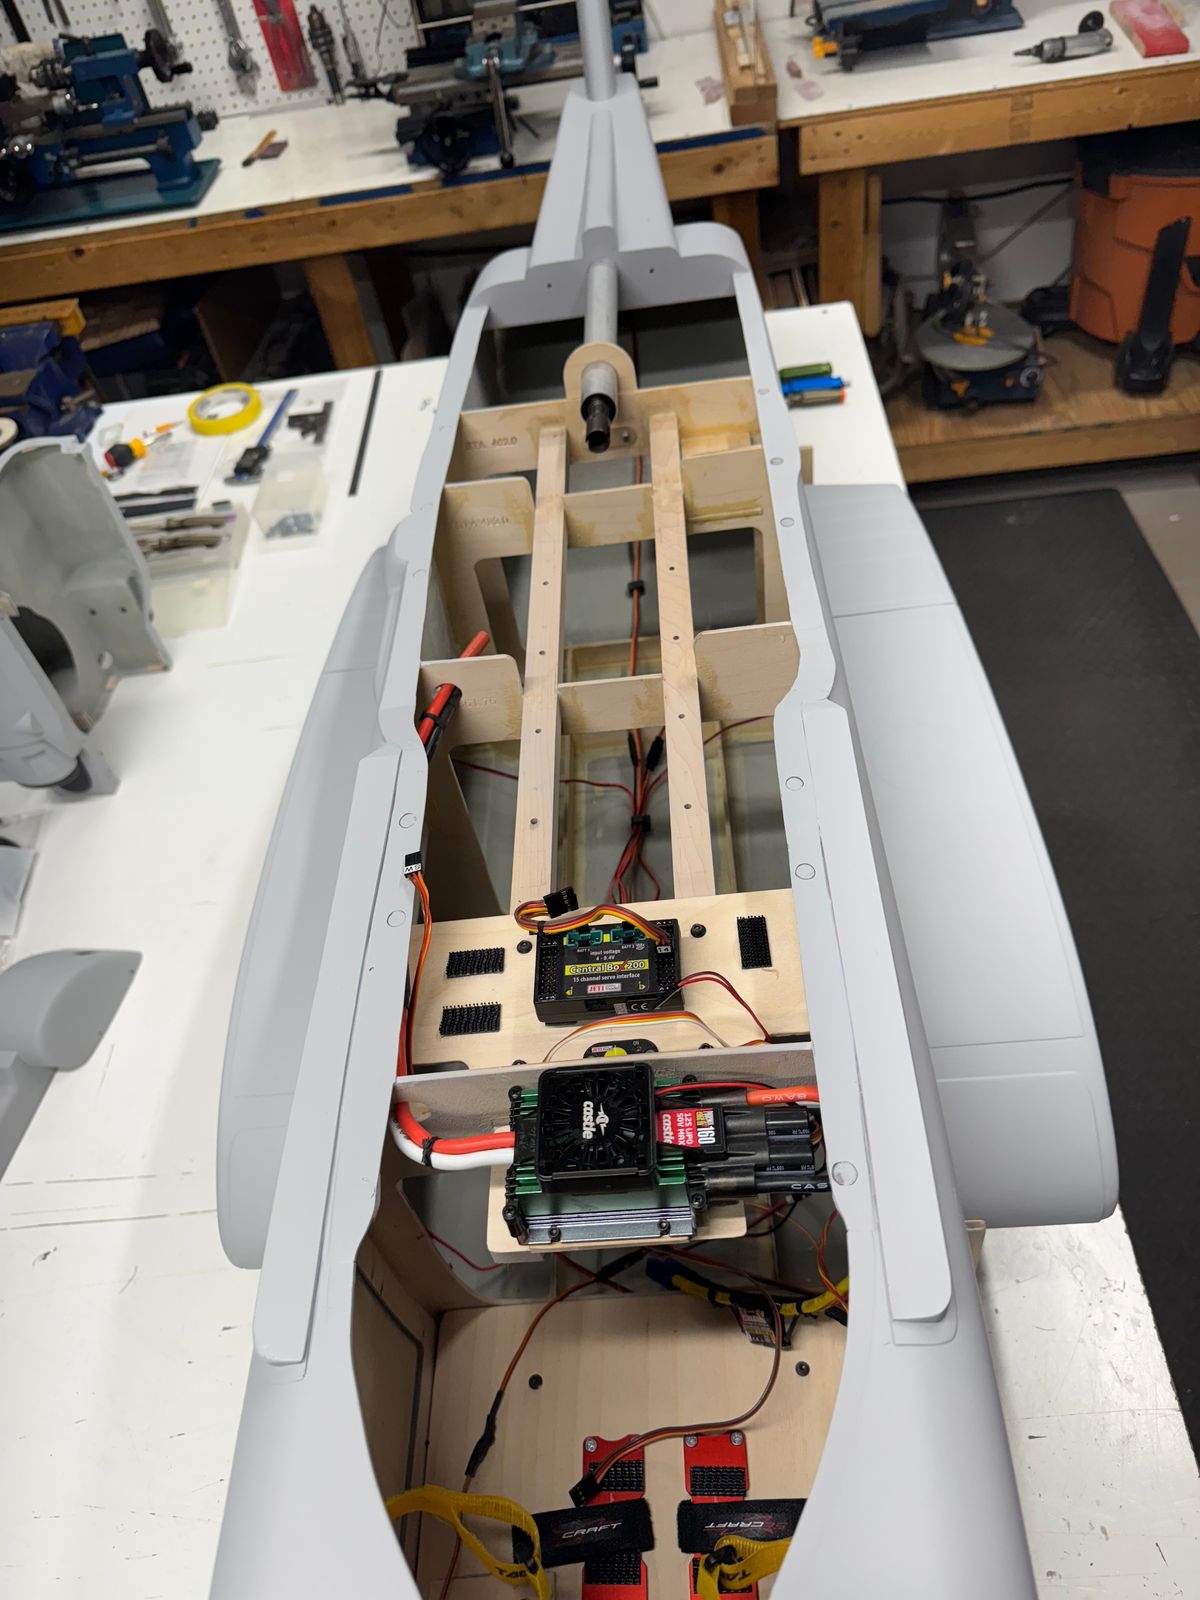
Just about every scale helicopter out there is tail heavy. I do work to get as much of the “useful weight” as far forward as possible. This model is no different. Even at 80”, you run out of room pretty fast with a couple “BAB’s” controller this and that, keeping weight forward. The equipment area is pretty big but fills up fast.
I have about 6 or 7 system wires that need to be shortened which will be the next task. The main battery's have the mounts installed. I have upped the flight control and sub system battery’s to 5000 mah. I still have some routing to do from the nose landing gear wheel well but hope to have a nice install by the weekend.
I have attached some pics and a short vid of 003 with the gear functioning.
Thanks for dropping by,
B
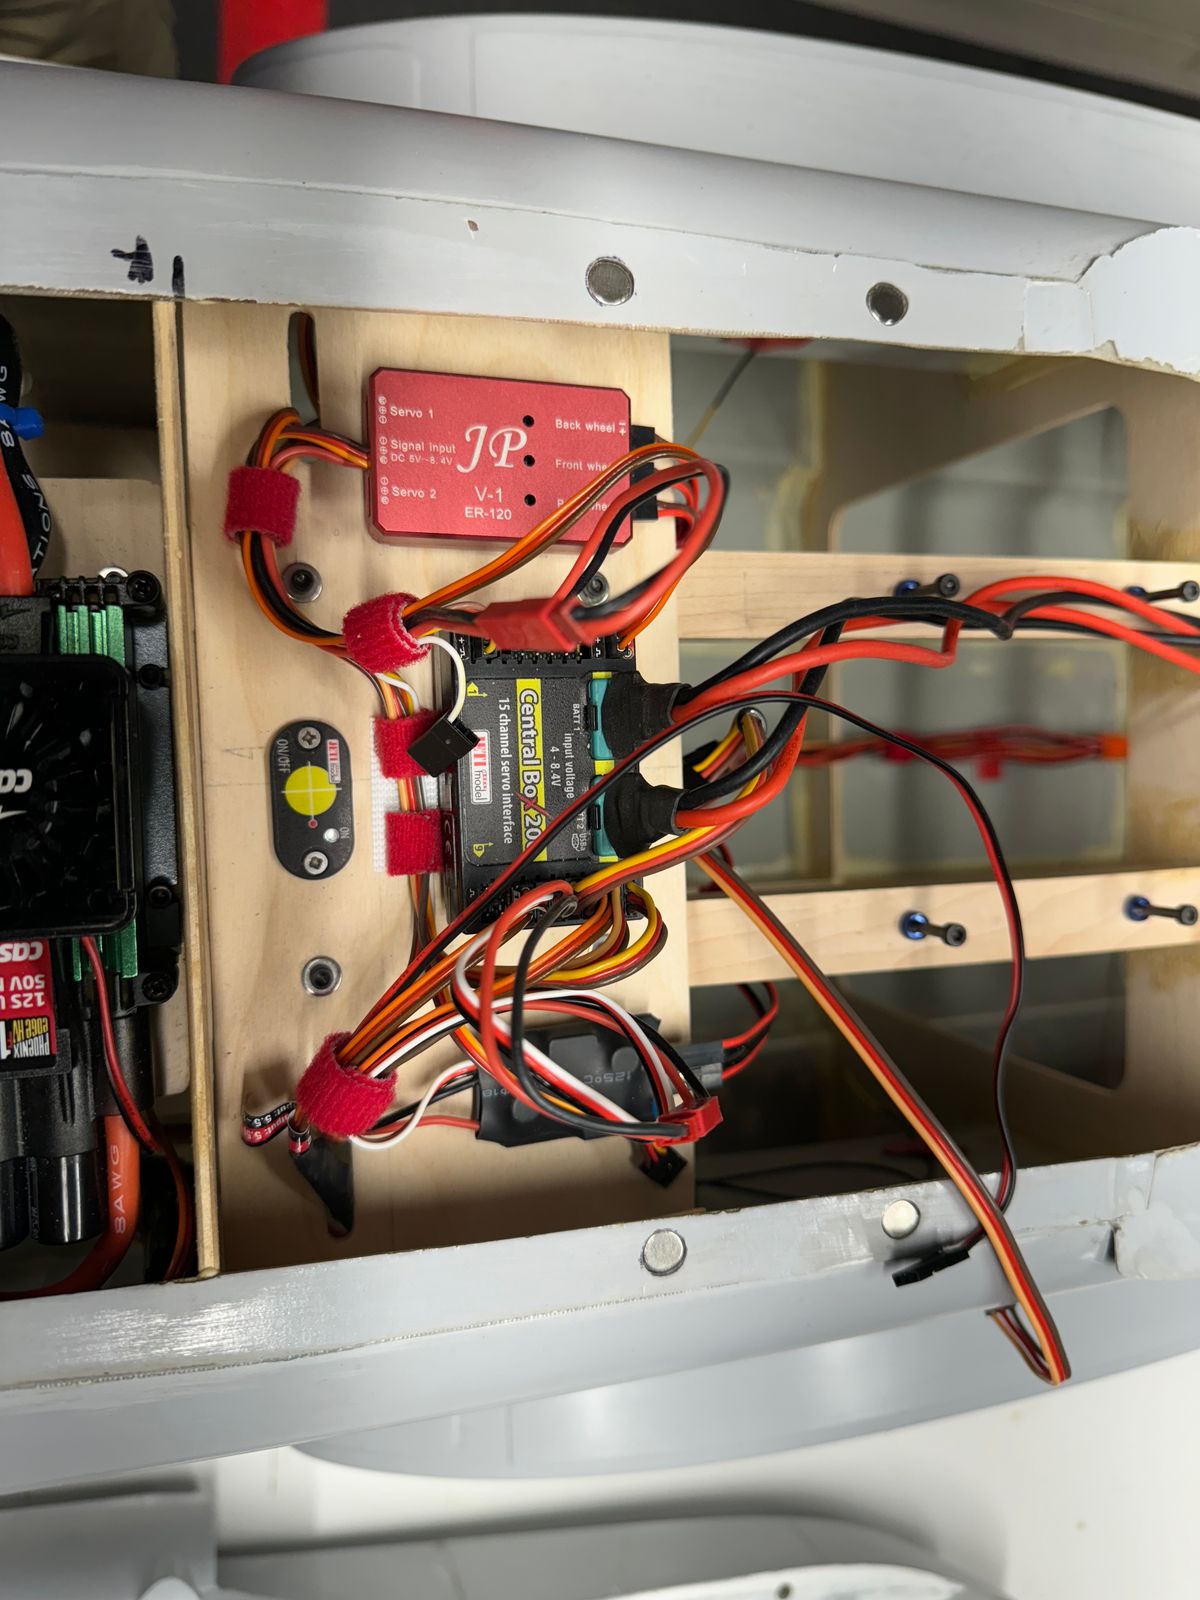
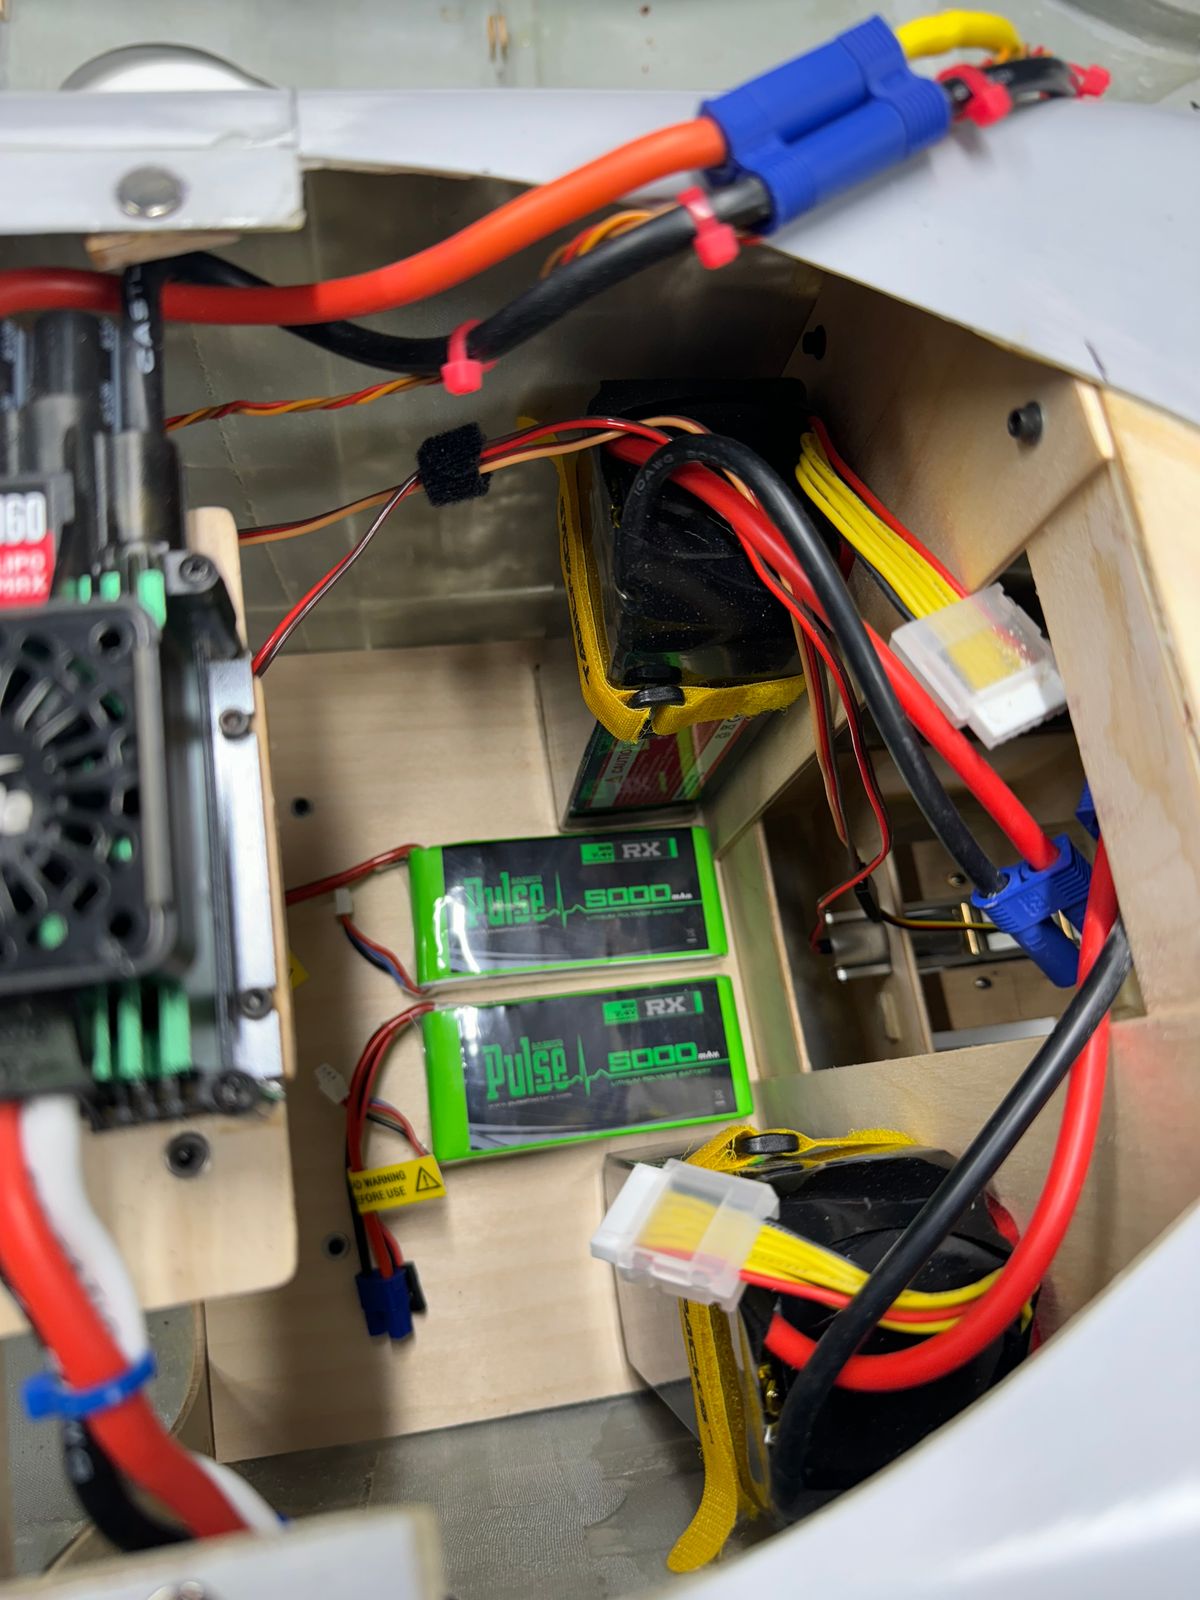
“Stars Collide”
UIH,
Another wonderful weather weekend here on Long Island Zoo York. Wind, rain, cooler, just not a weekend for flying. Ro and I spent the days in the shop. She was making Christmas ornaments and of course I was doing some heli schnizzle.
Working on wiring, a mod for the power wires, battery mounts, you know all normal stuff. I did add a couple pass-through holes in the frames for the motor wires. I did add the holes to the frame drawings so subs will have this mod added. Also made some main landing gear faring’s that will cover up a large part of the wheel well.
I am pretty happy with how things are coming out. Much cleaner now opposed to just getting both birds up to fly down at Hindsville.
Here are a few pics of the progress. I am hoping for a nice weekend next weekend to get this thing back in the air.
A few pics.
Thanks for dropping buy
Butch
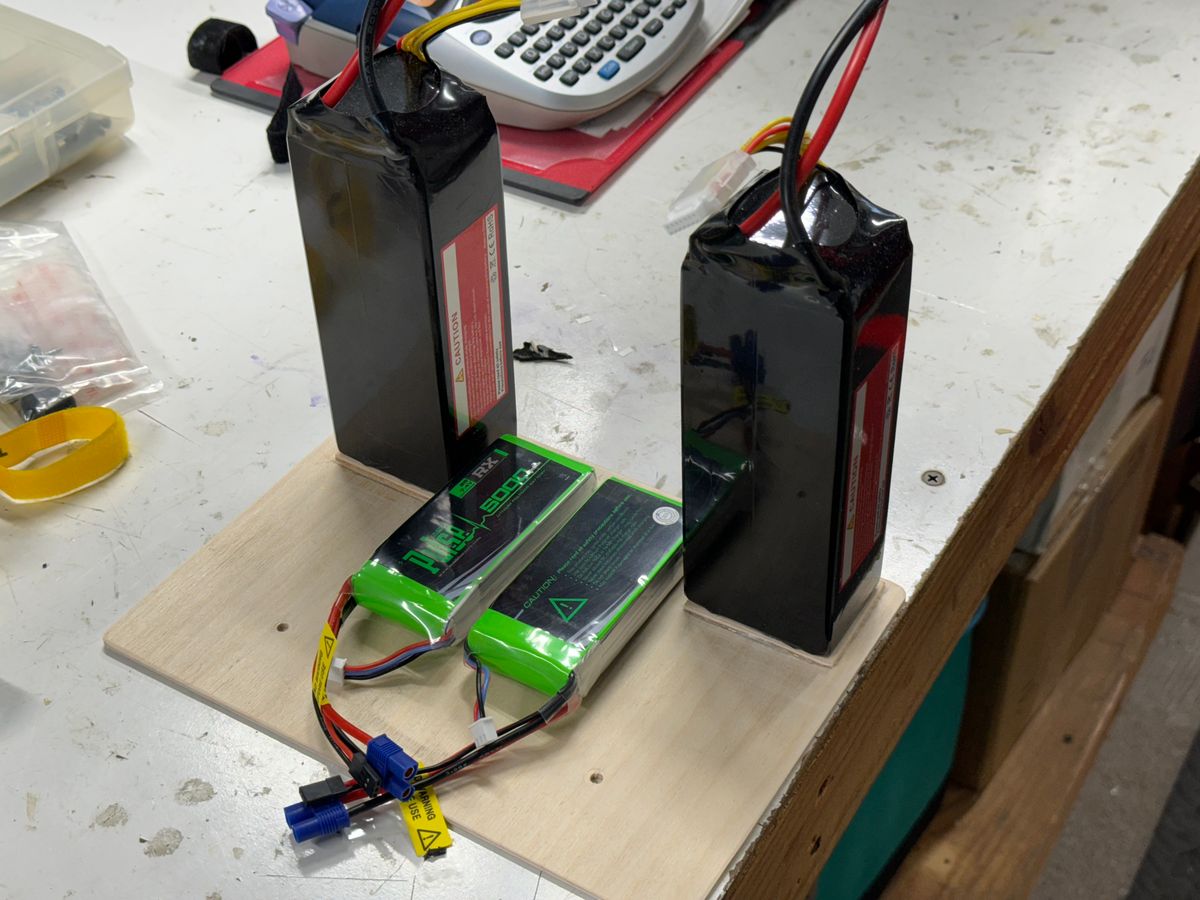
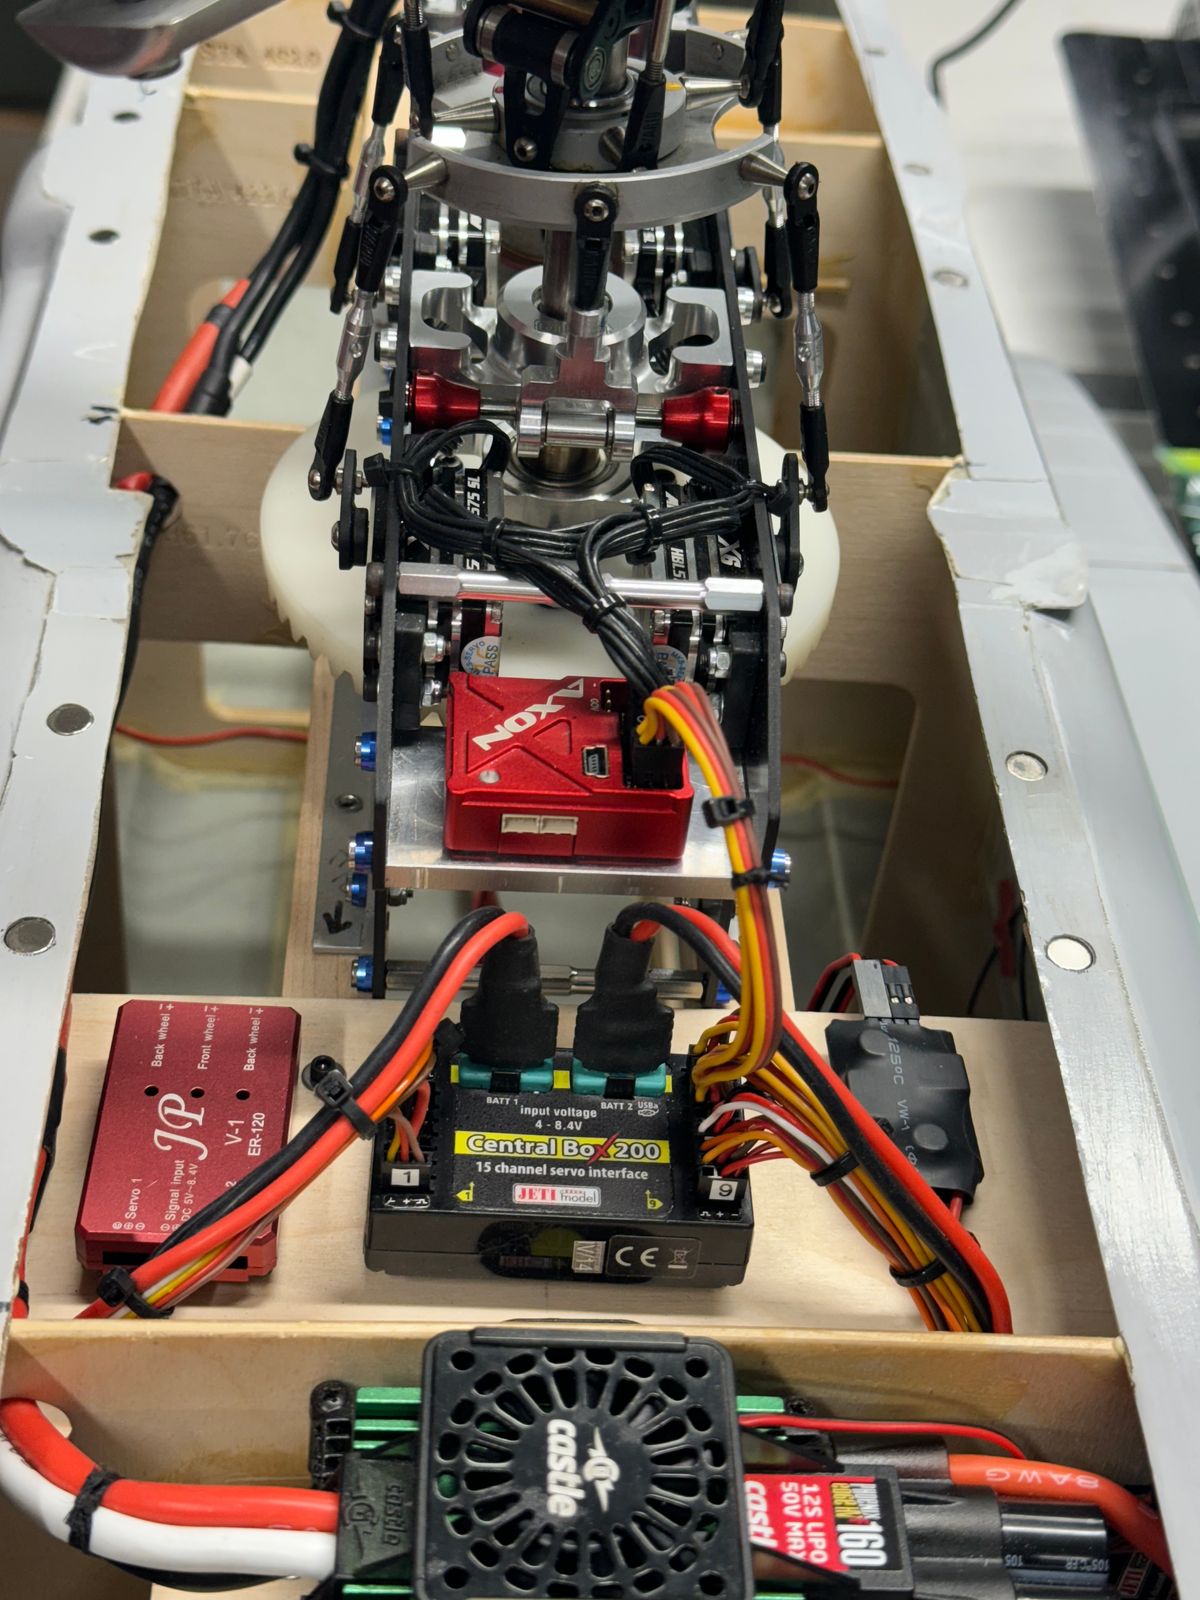
Moving along
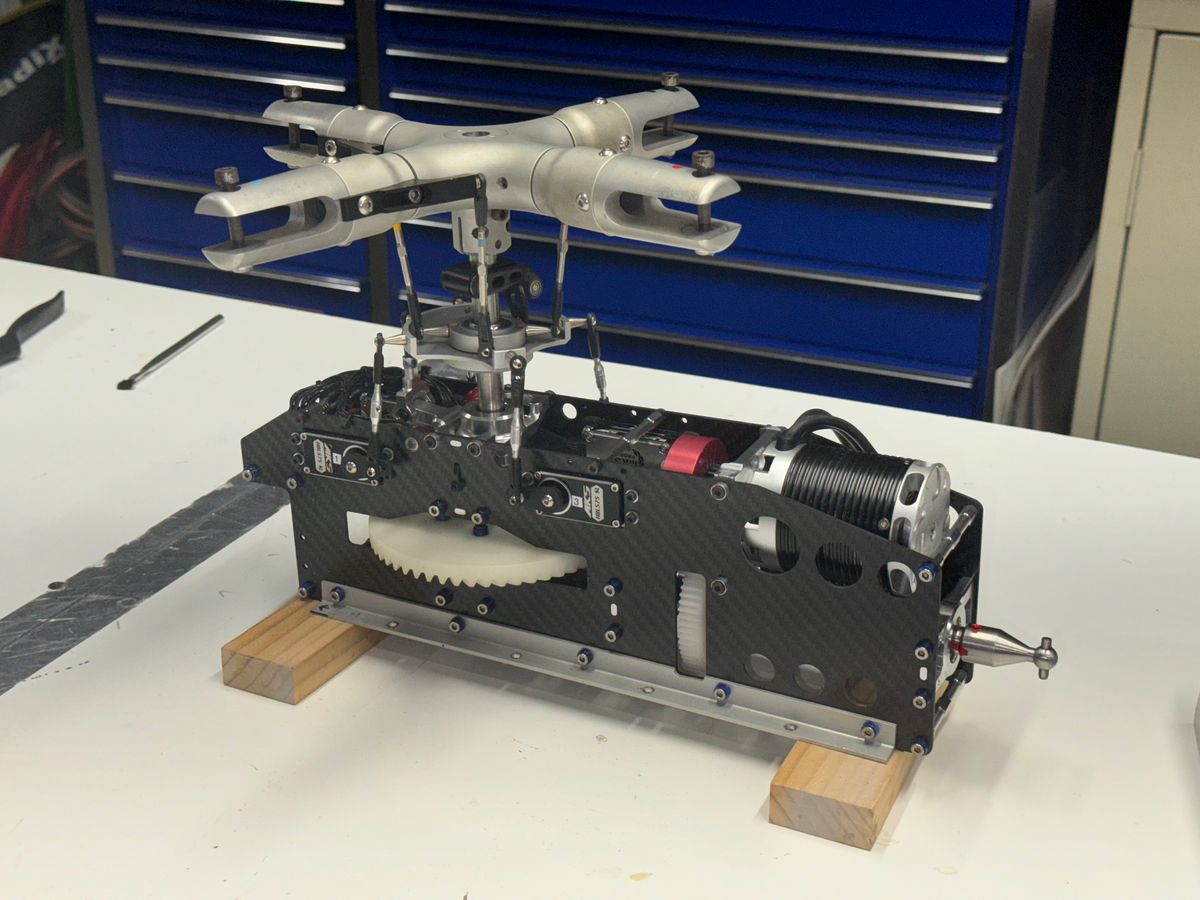
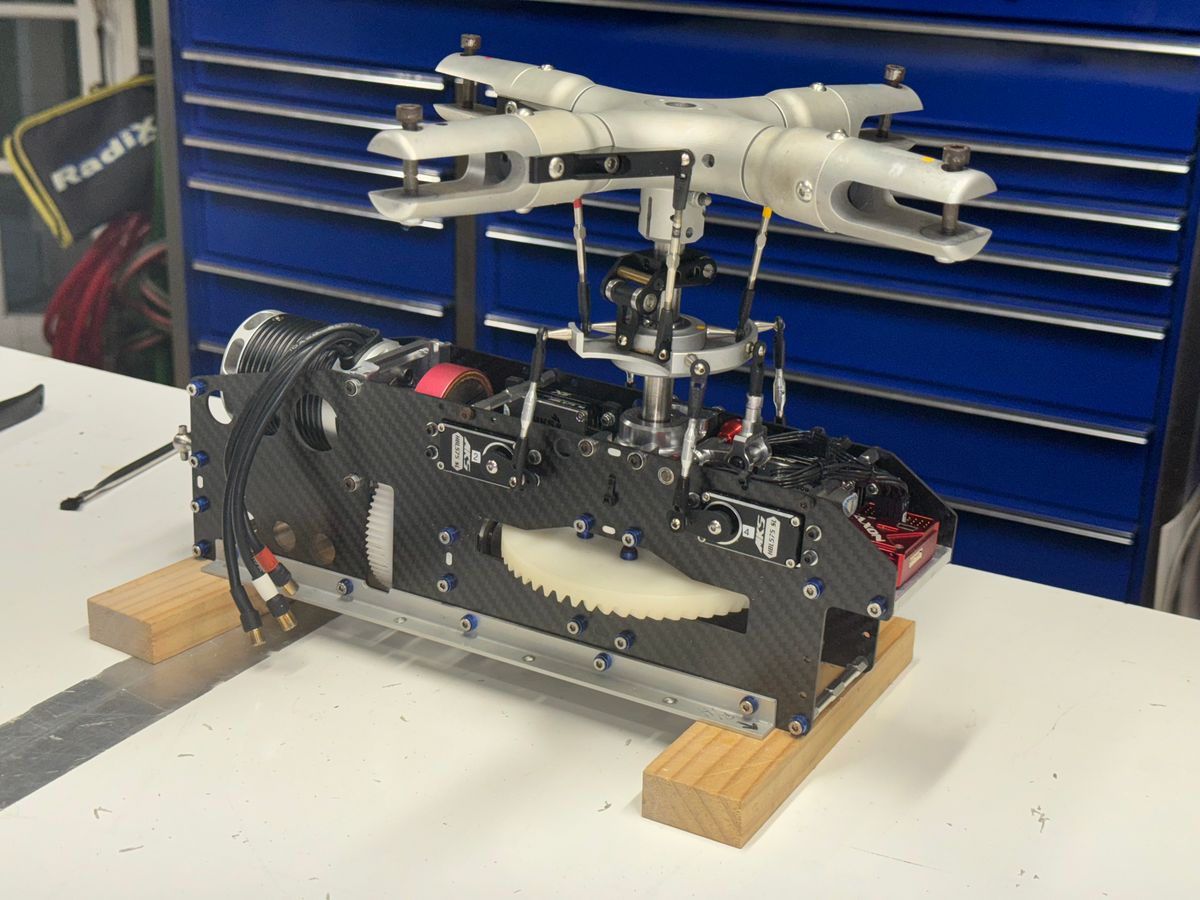
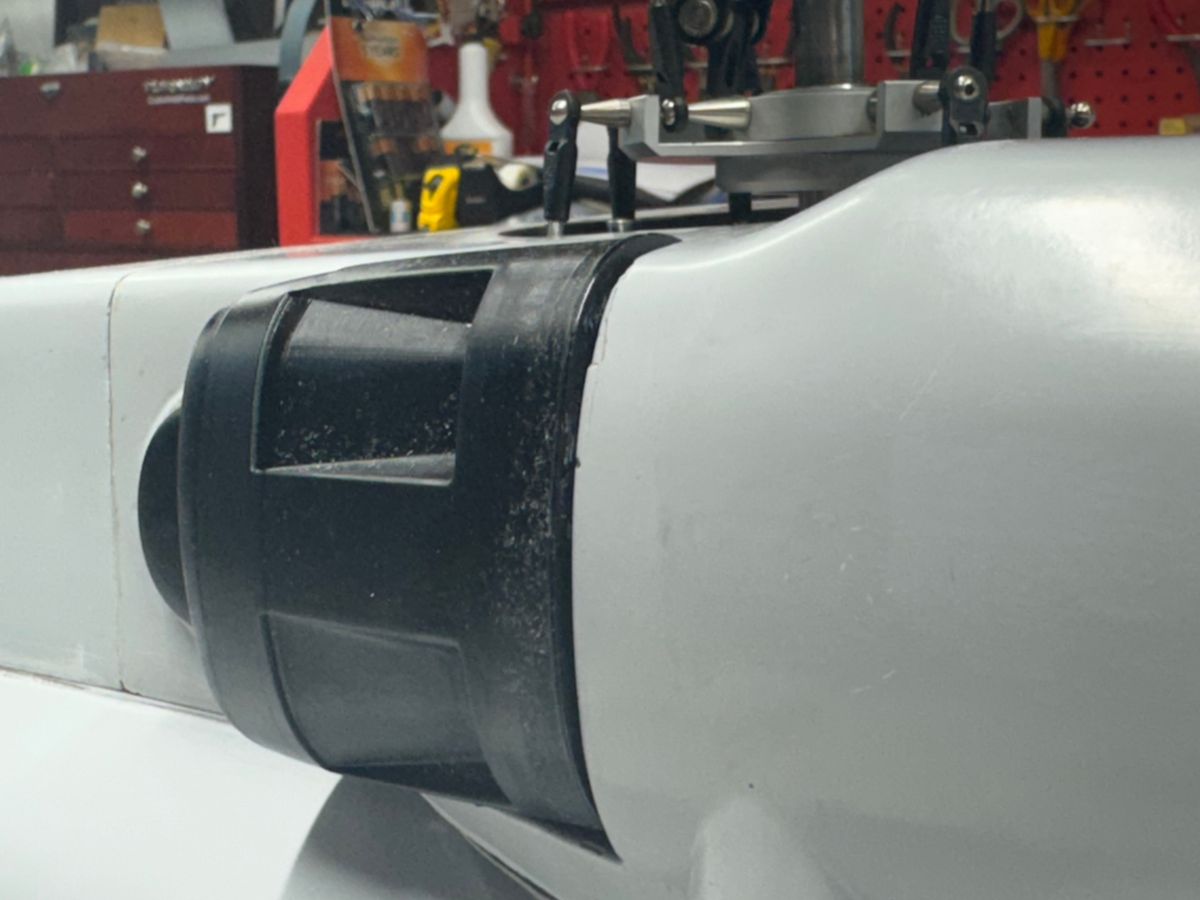
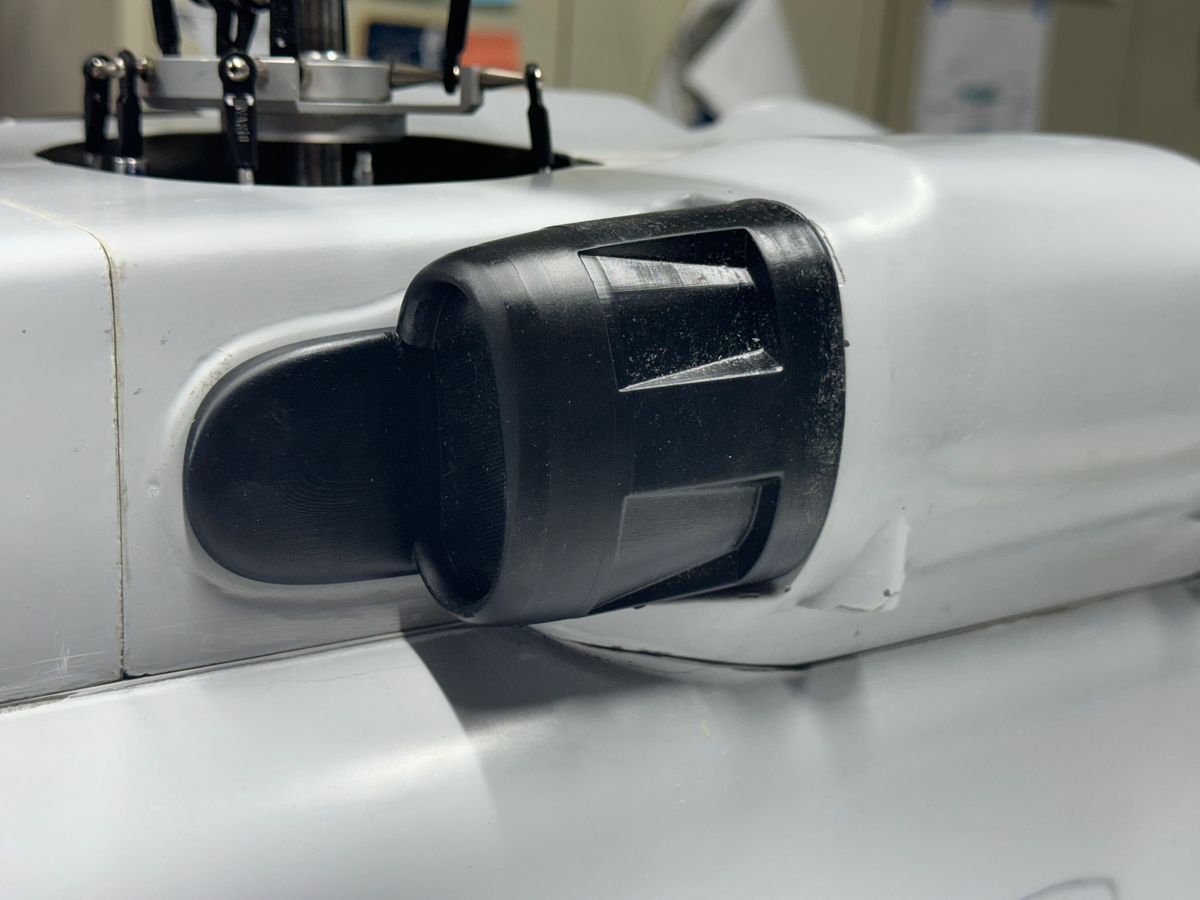
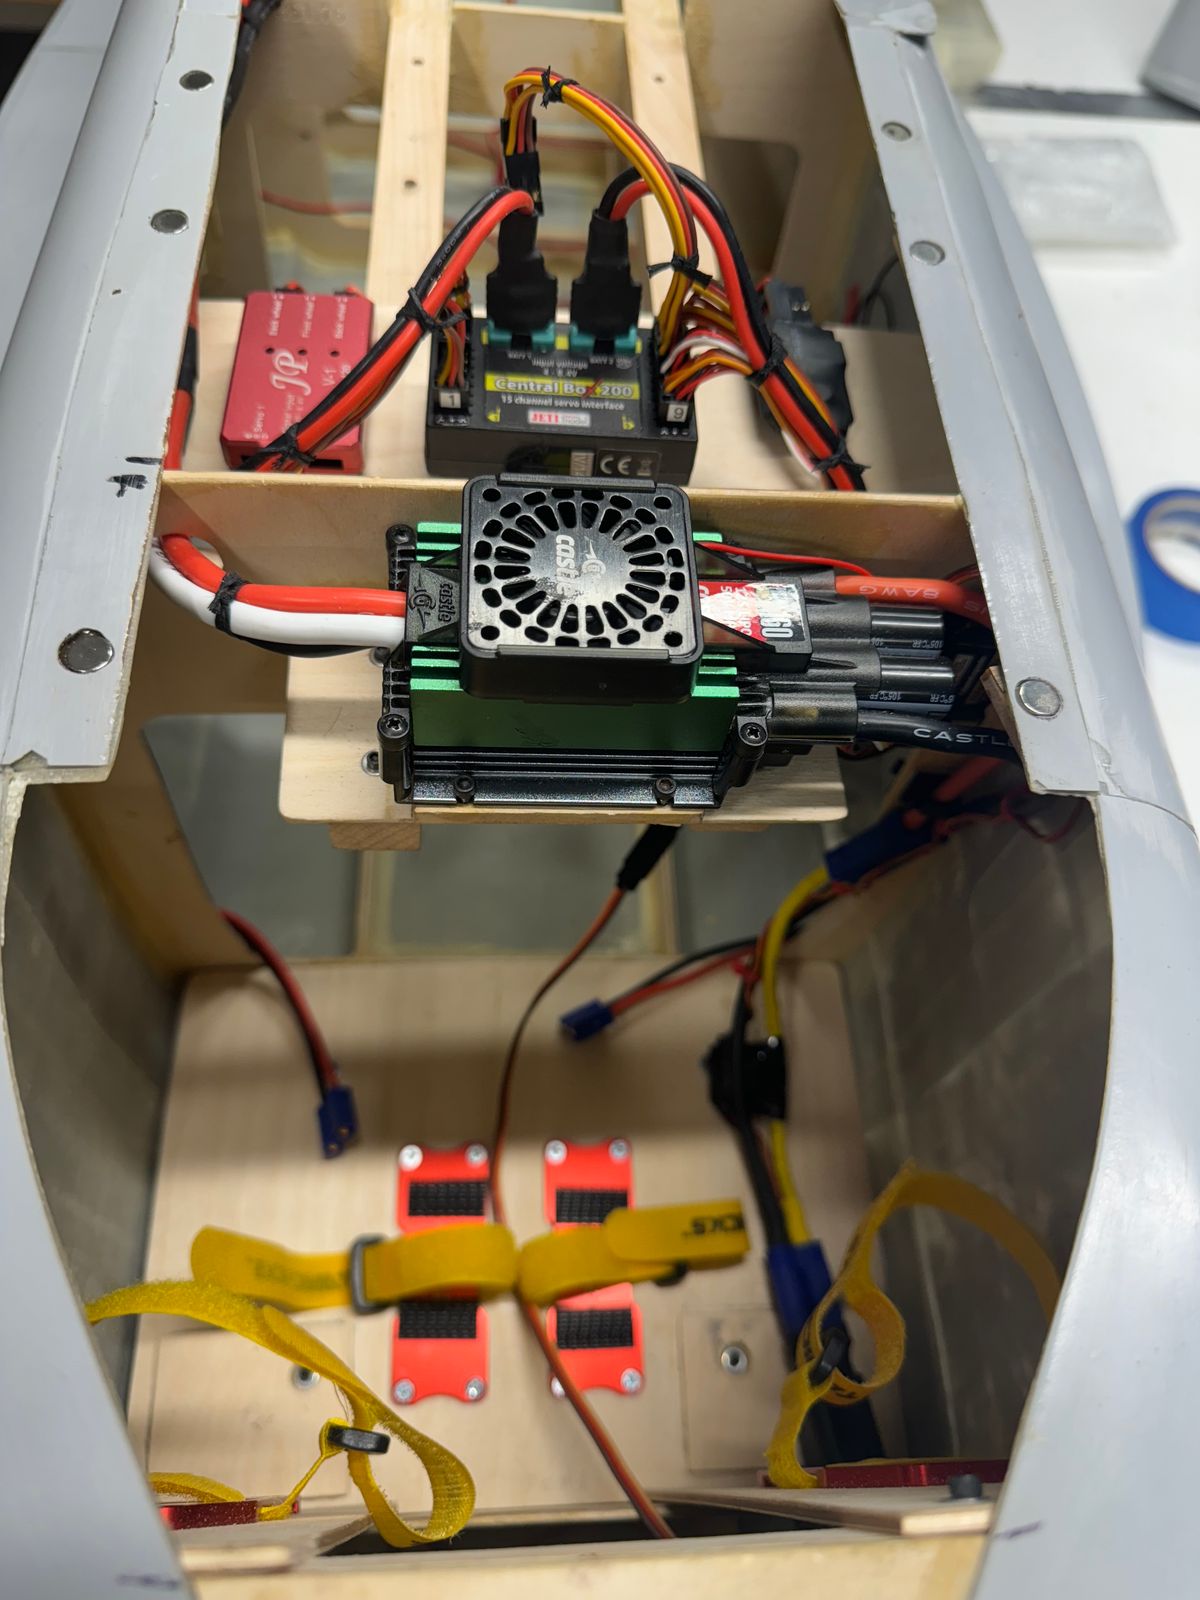
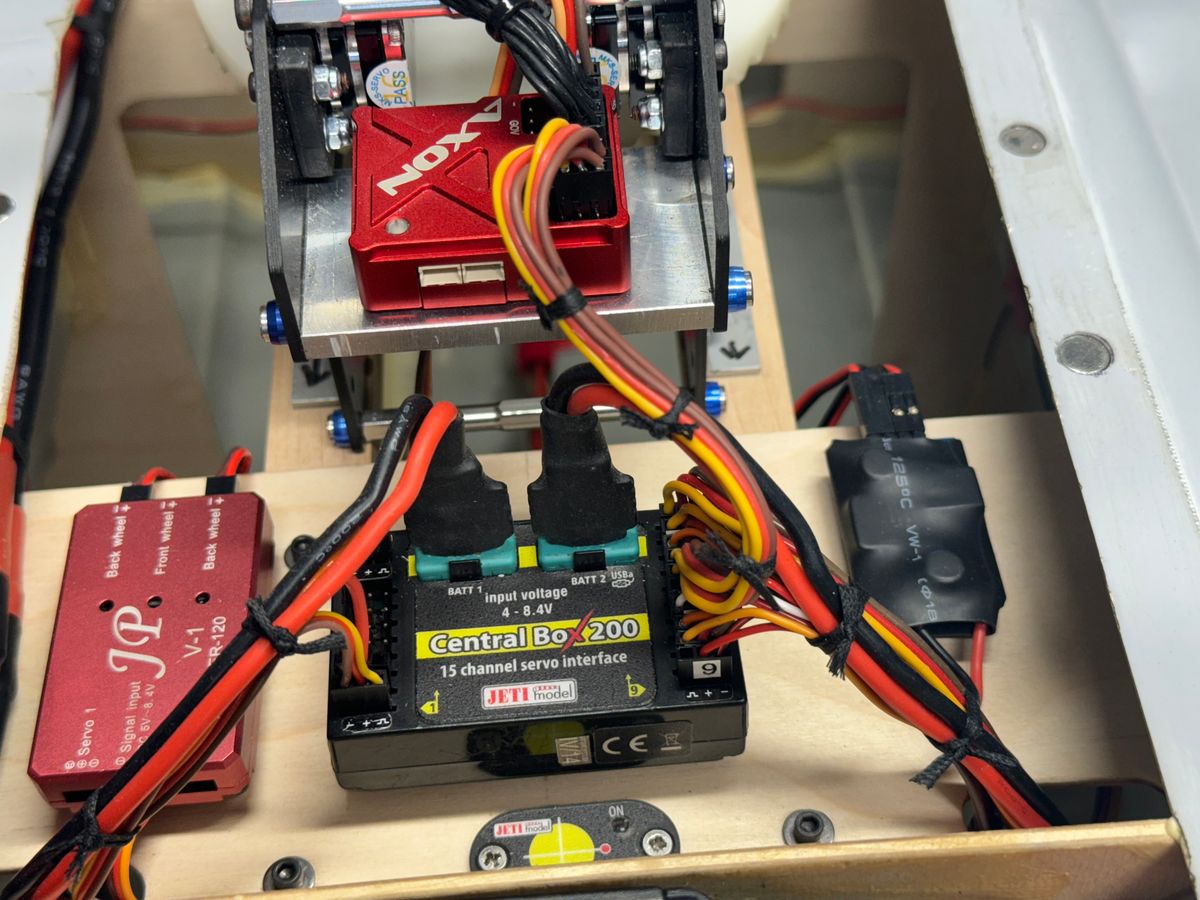
I got to the field yesterday morning for a flight on my S-92. Spent the past week getting the wiring sorted out, installing battery mounts then inspection the drive train since we have accumulated almost 20 minutes of flight time. The drive train is working perfectly. The first few flights I felt the clutch engaged a bit early. With each flight it appears to be loosening up a beginning to spool up as I had hoped. Both the IGB and TGB rotate about as smooth as silk as with the MDM. I could not be happier at this point.
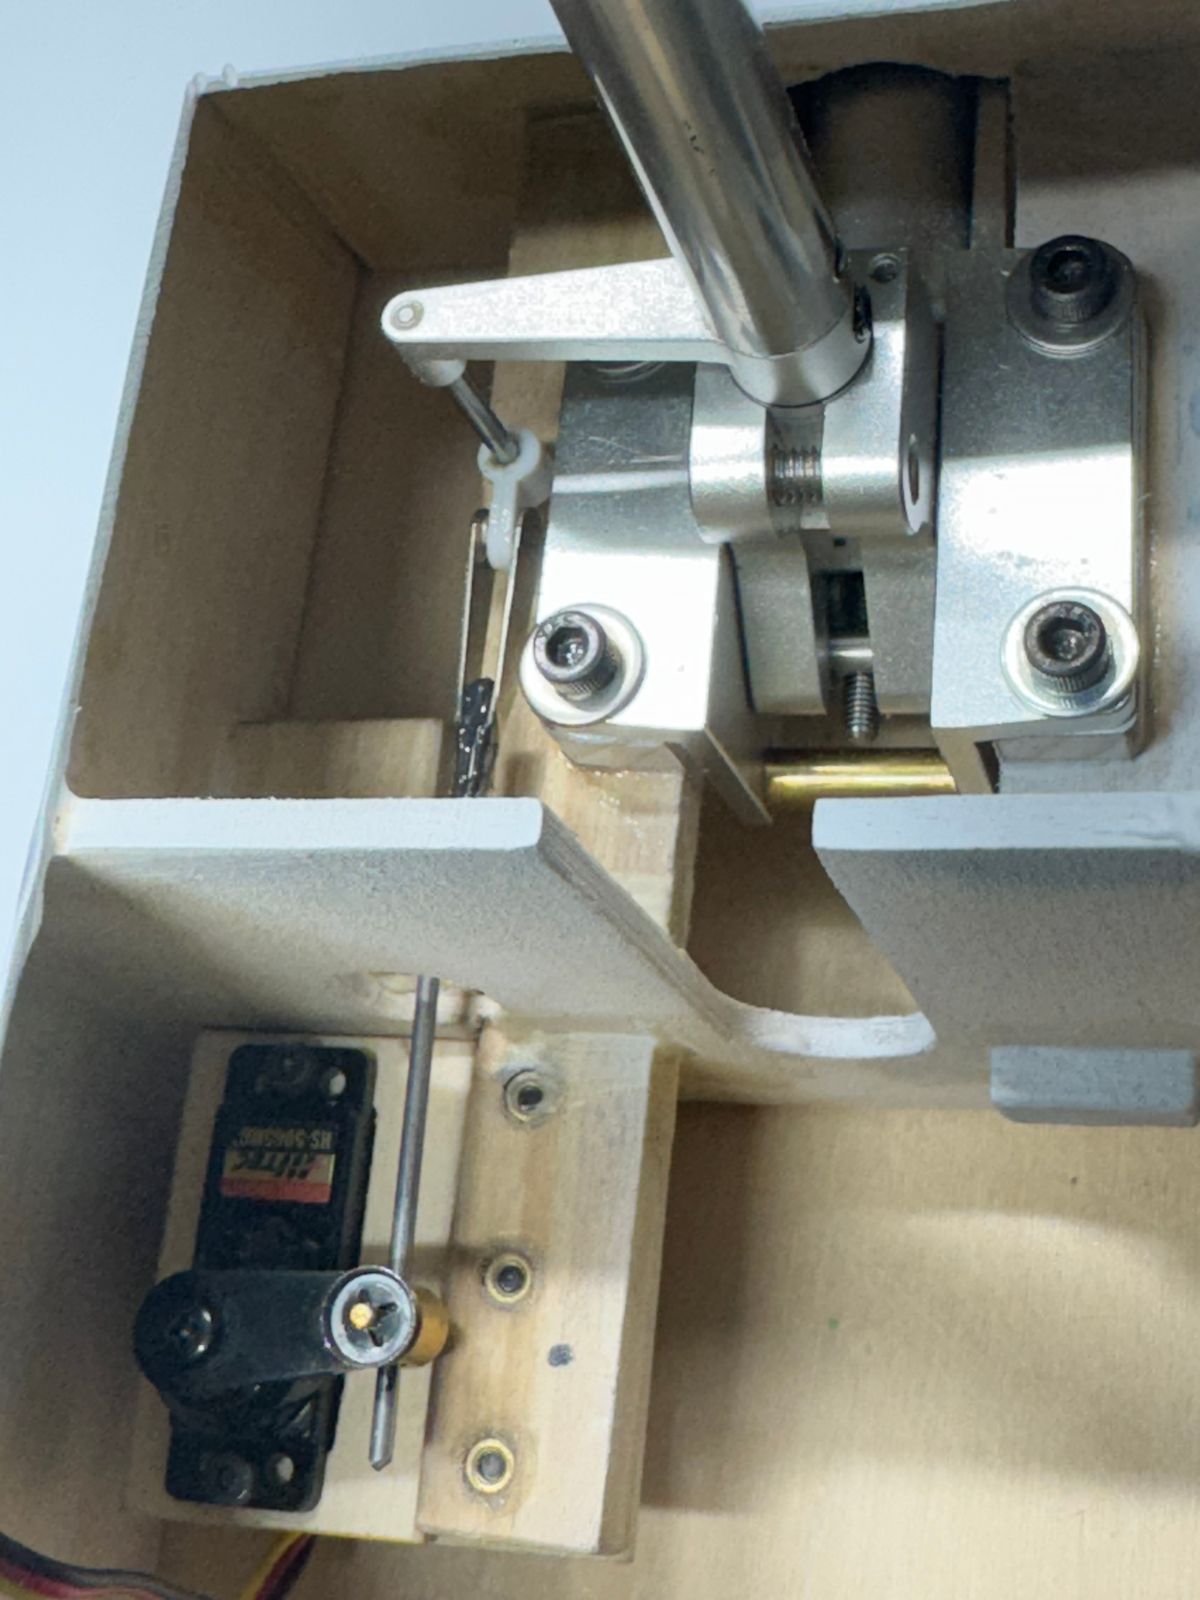
I had a slight issue with the nose gear. I am using electric retracts from JP Hobby. One of the gear retract assemblies sounded different than the others from the beginning. The servo began to stall about 75% travel with the strut and wheels installed. Eventually it would stall with no load, (strut and wheel removed). JP Hobby replaced the servo motor with a new one and now operates as designed.
The flight in the attached videos is all the same flight. This flight was 6 minutes. I am running 2 each 6S 10000 packs. After the flight, battery cell voltage was 3.9V + for each cell and indicated 64% per cell. I am running 800 Nr. For a rotor this size a 1000 Nr may be more appropriate. I was surprised how it performed during this flight. I did not have a chance to down load the data from the ESC after the flight yesterday. It performed great at 800 Nr. The short collective climb out at the end of the video should offer some interesting data.
Hope you enjoy the attached videos and pics.
As always thanks for dropping by,
Butch
19 OCT 2024
UIH,
Flew my 92 yesterday. a little big air flying (well maybe not "Big Air" but "bigger"). Thing fly's great. Very responsive even with the 800 Nr. It sounds cool too. Slowing down in the transitional approach sounds almost like the full scale. This flight was about 7 minutes. I used 38% of the 10k packs so appears to be working very efficiently. I will get a look at the ESC data after today's flights.
The plan for today is flights. Will retract the gear and maybe do some "glamour pics" hovering around with the gear up. Will do some slow hovering to get a feel of the handling qualities in hover and slow flight, maybe some quick stops or two, high power climb out you know the fun stuff.
Here is a video from today. Should get some more from today.
Thanks for dropping by,
Butch
“lespecial”
I could not hold off any longer. The weather up here in Zoo York has not favored flying lately. Cold, windy on days I am able to fly. My limit is about 45° sunny and a light breeze if any. The past few weekends have been 12-15 gust to 20 so that ain't happening.
Saturday I took the leap. I ripped my 92 apart. Good think it does go together pretty easily so if we get a nice weekend for flying in an evening it can be ready to go.
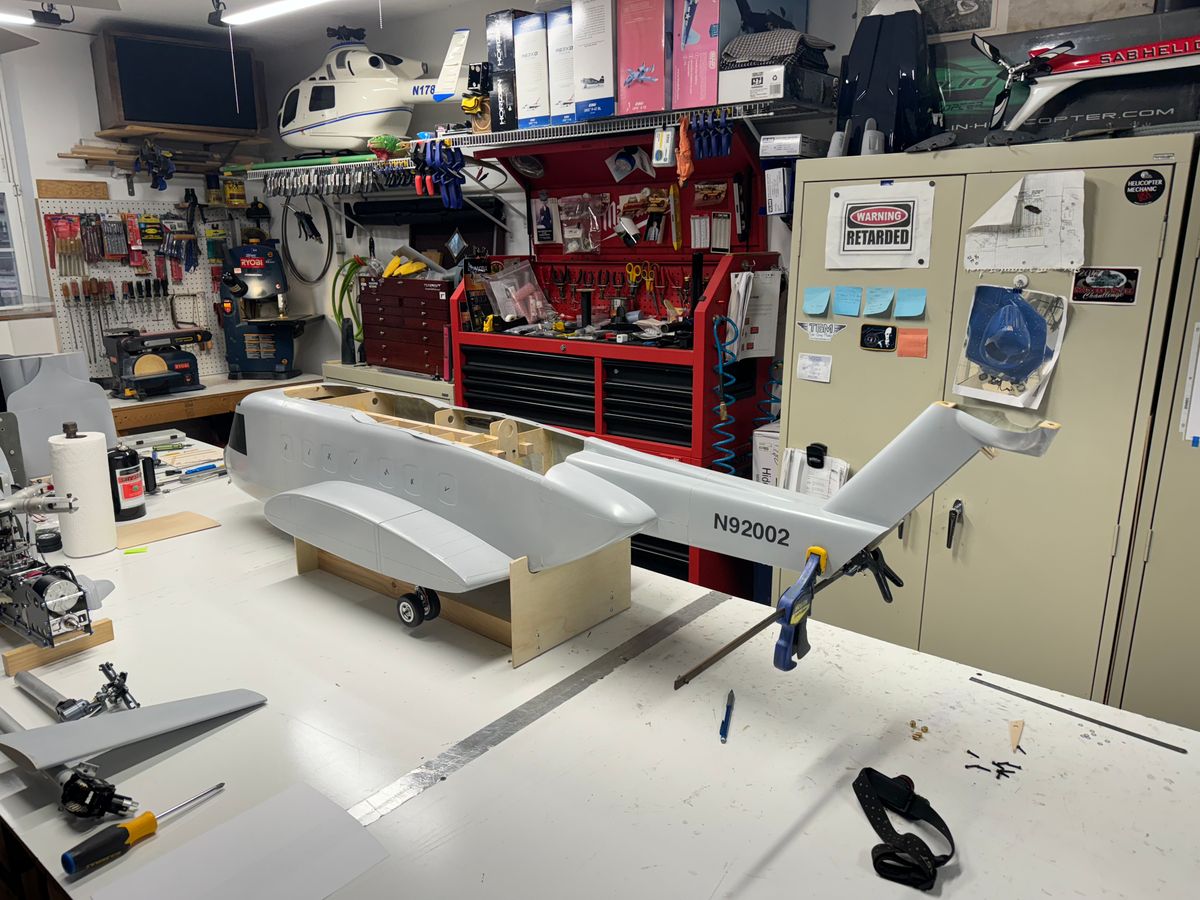
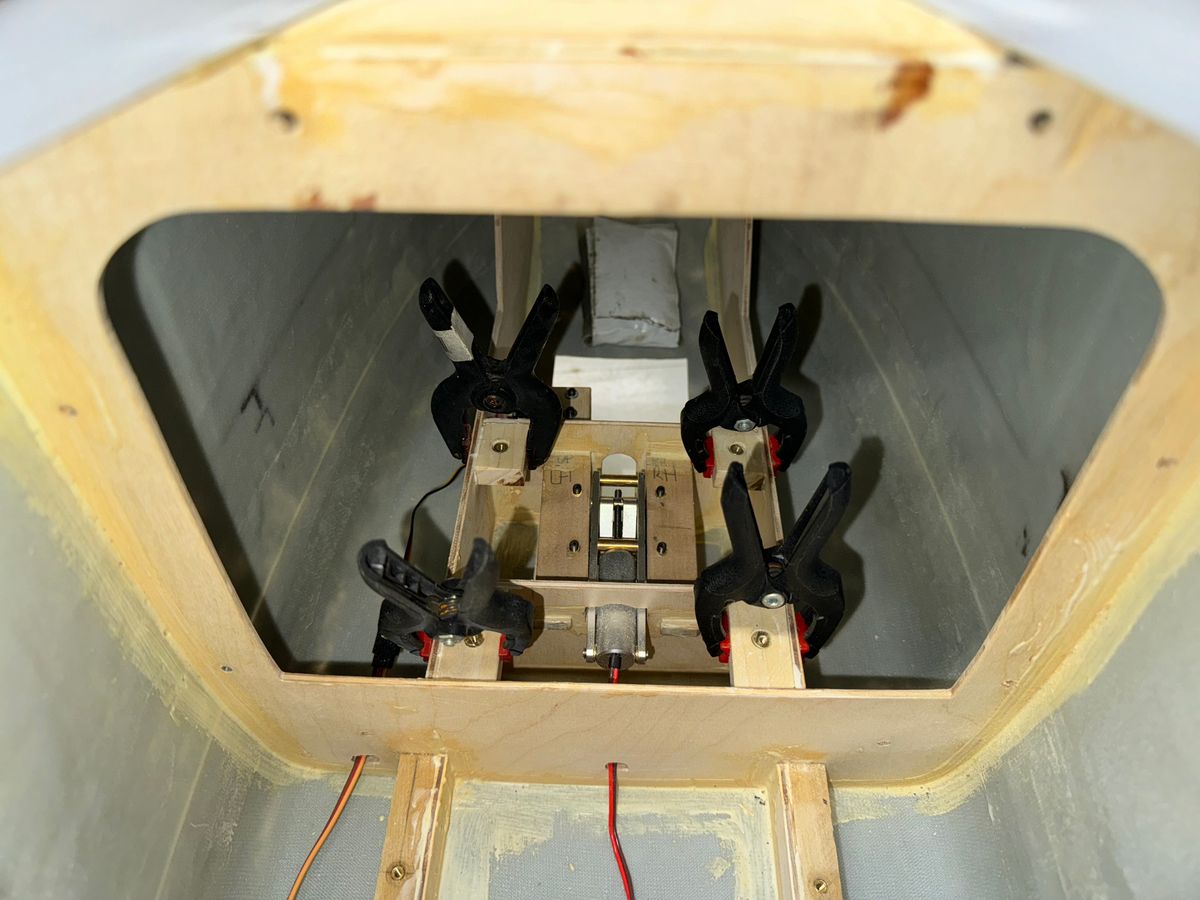
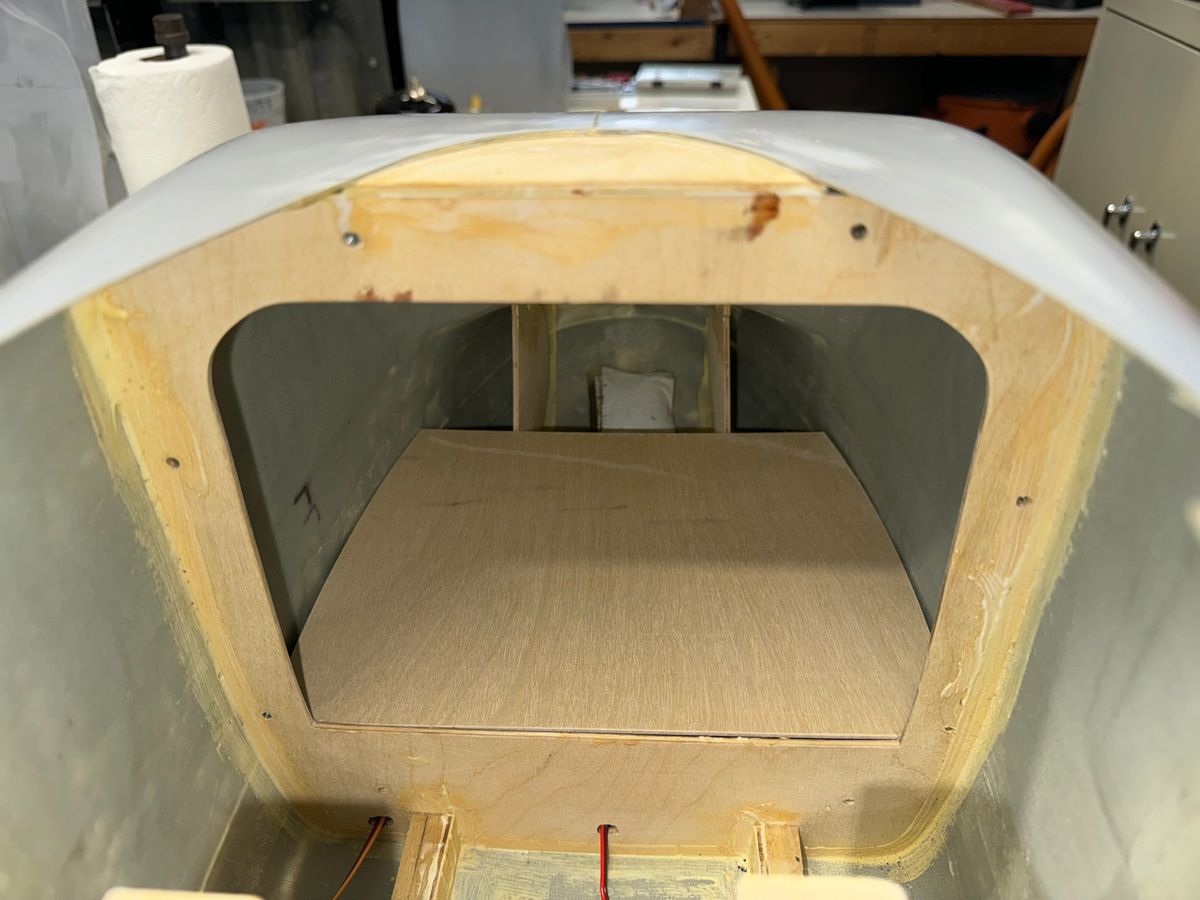
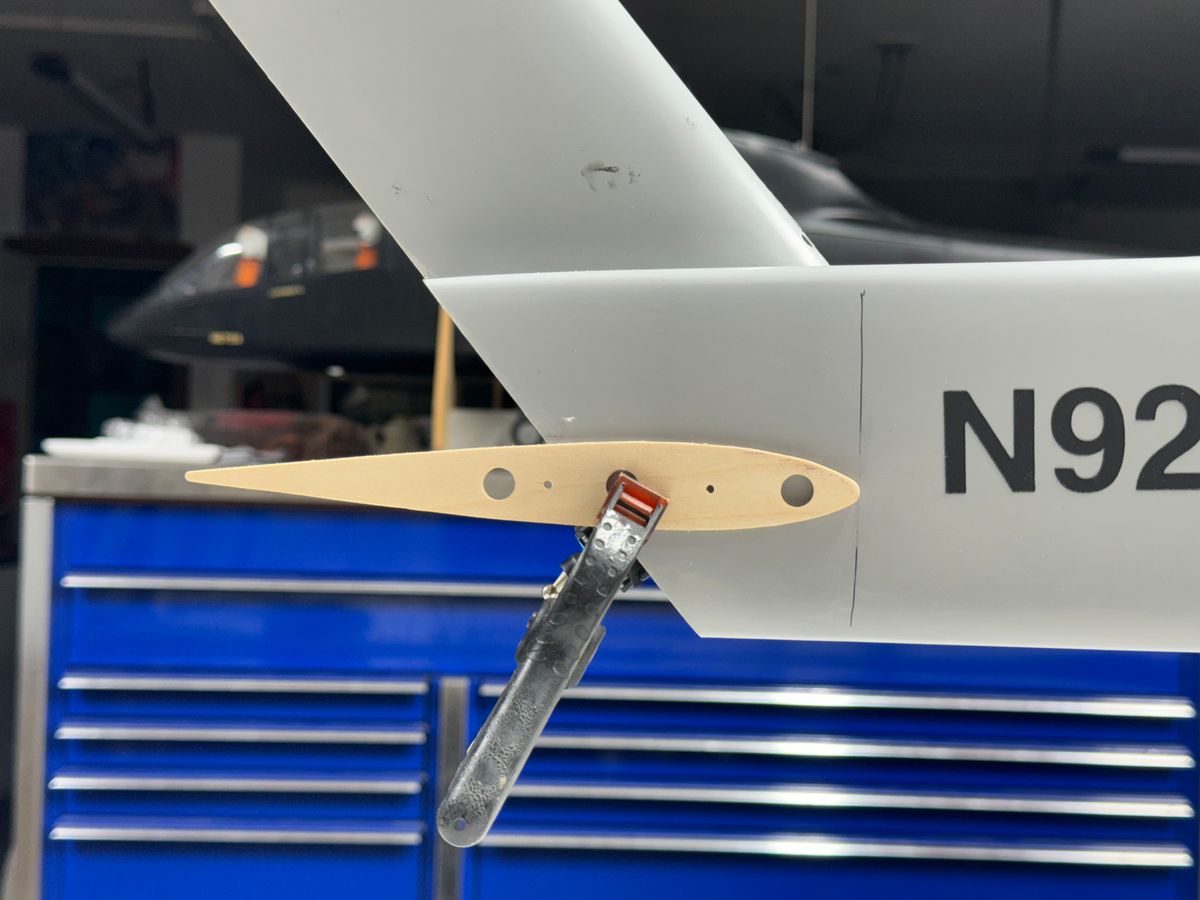
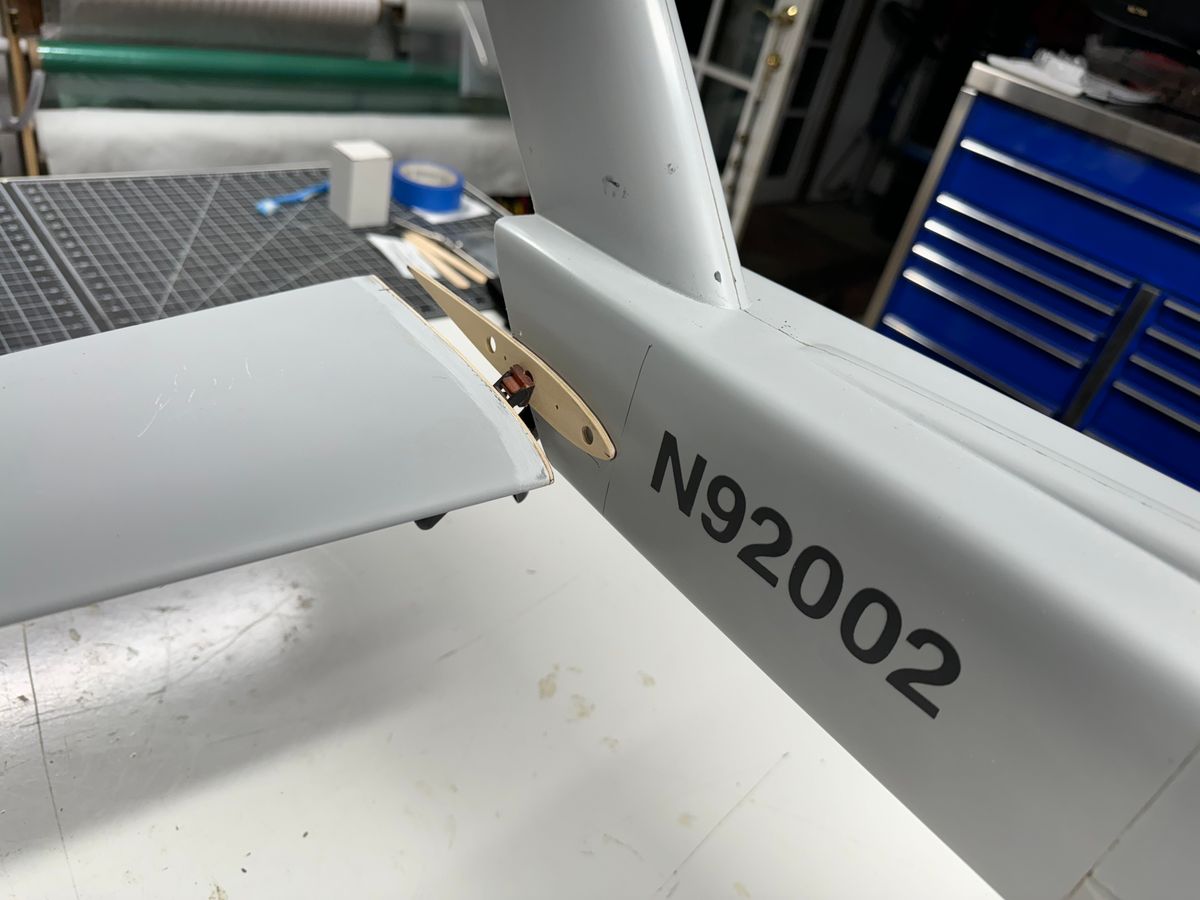
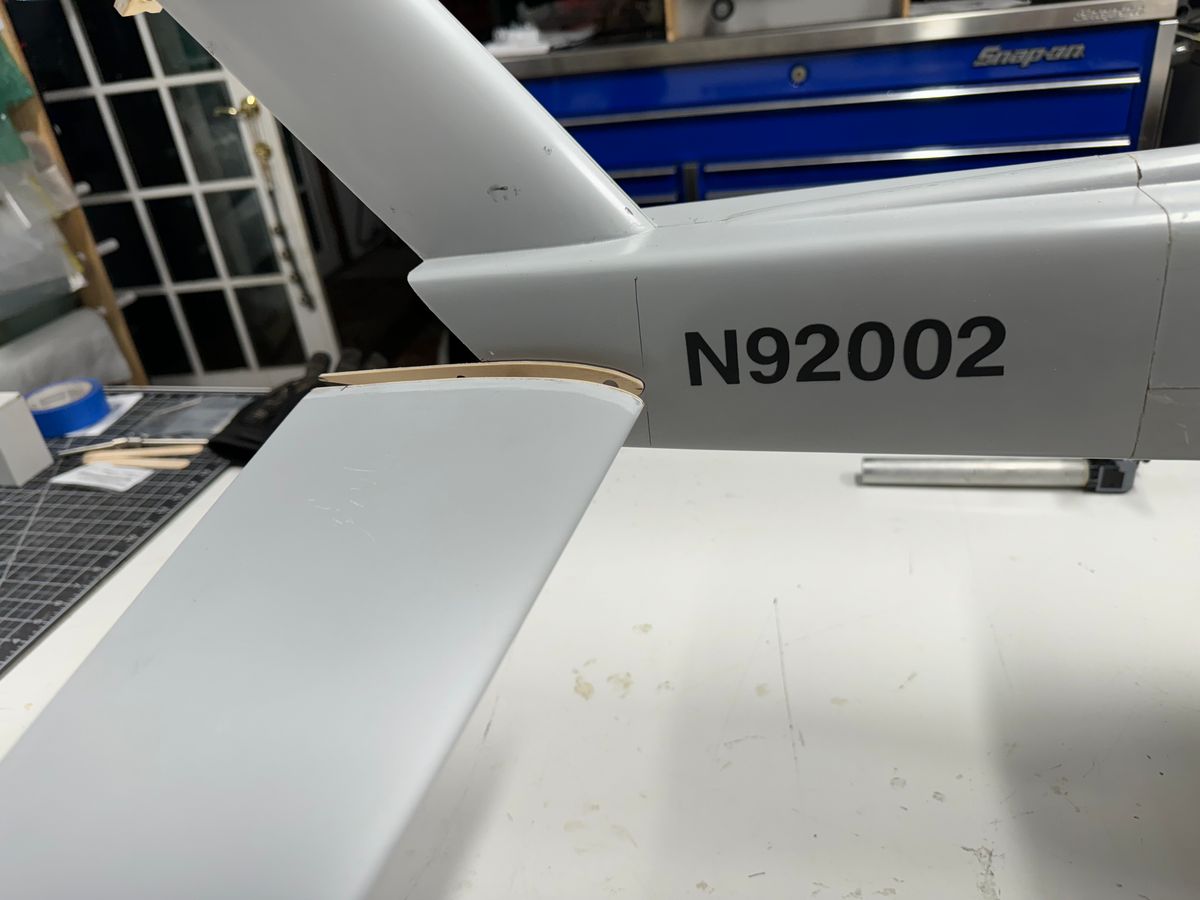
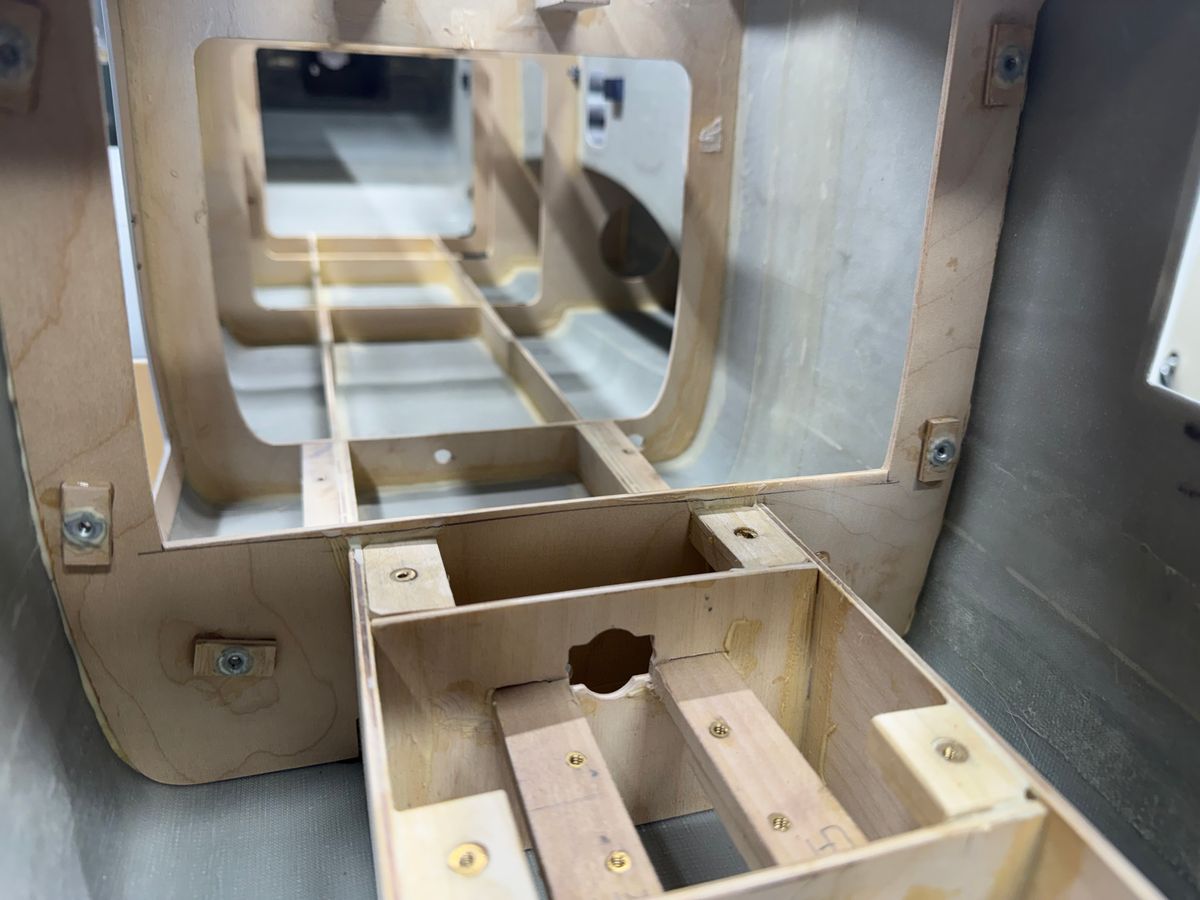
I worked on the cockpit floor mounting the blocks that hold the inserts and the stabilizer support. The floor took some work to get the size just right so it could be installed as one piece. It uses wood blocks with 4-40 threaded inserts installed for easy removal.
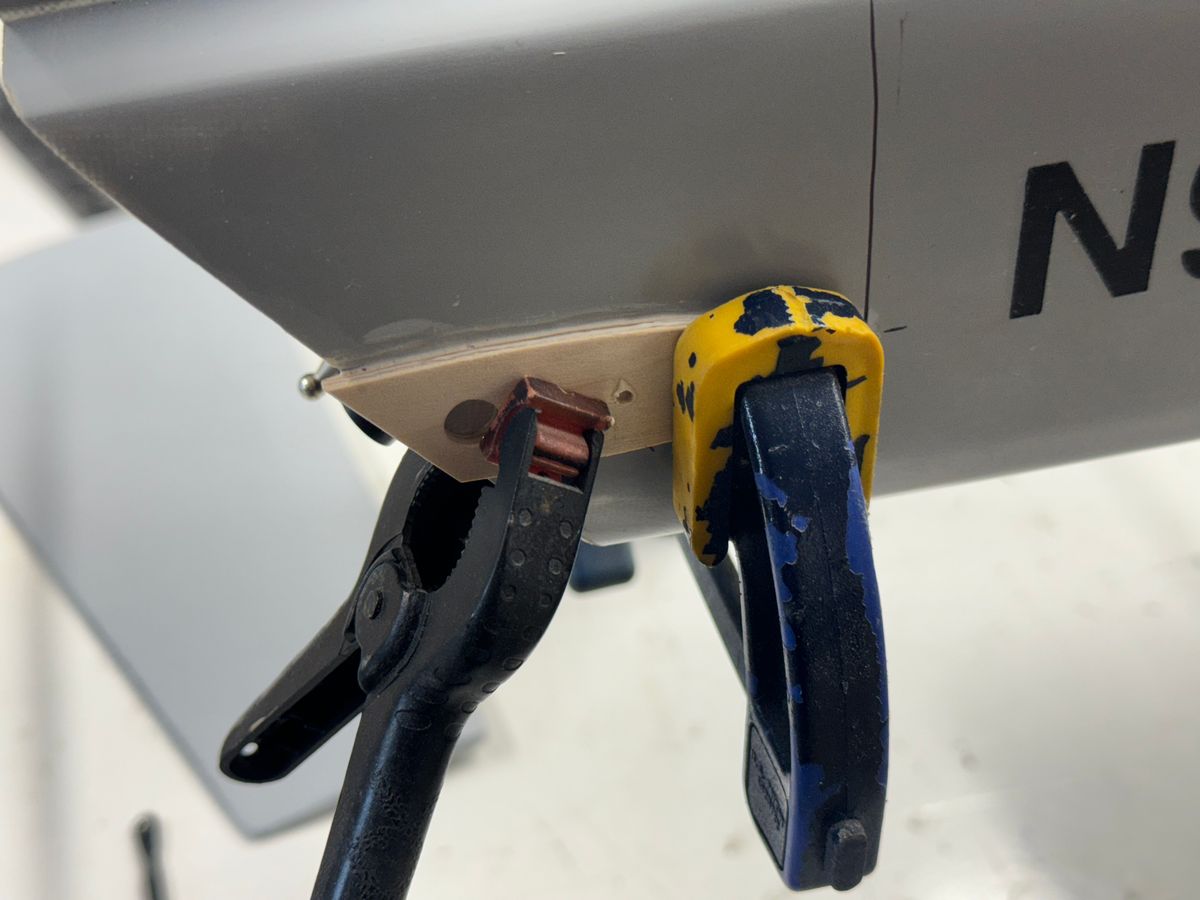
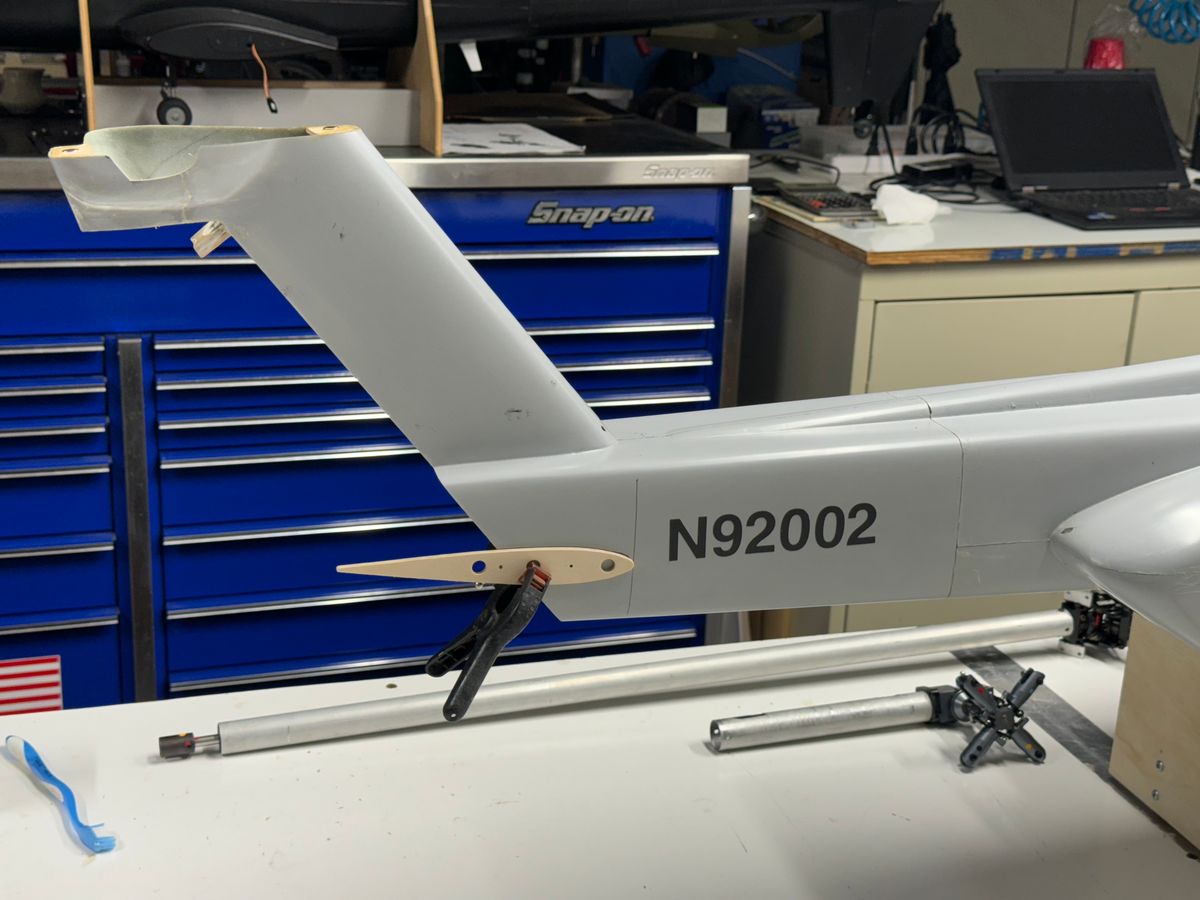
The stab will be held on with 3 magnets and 2 or 3 pins and the support strut. This has to be removable for transport because it is pretty big.
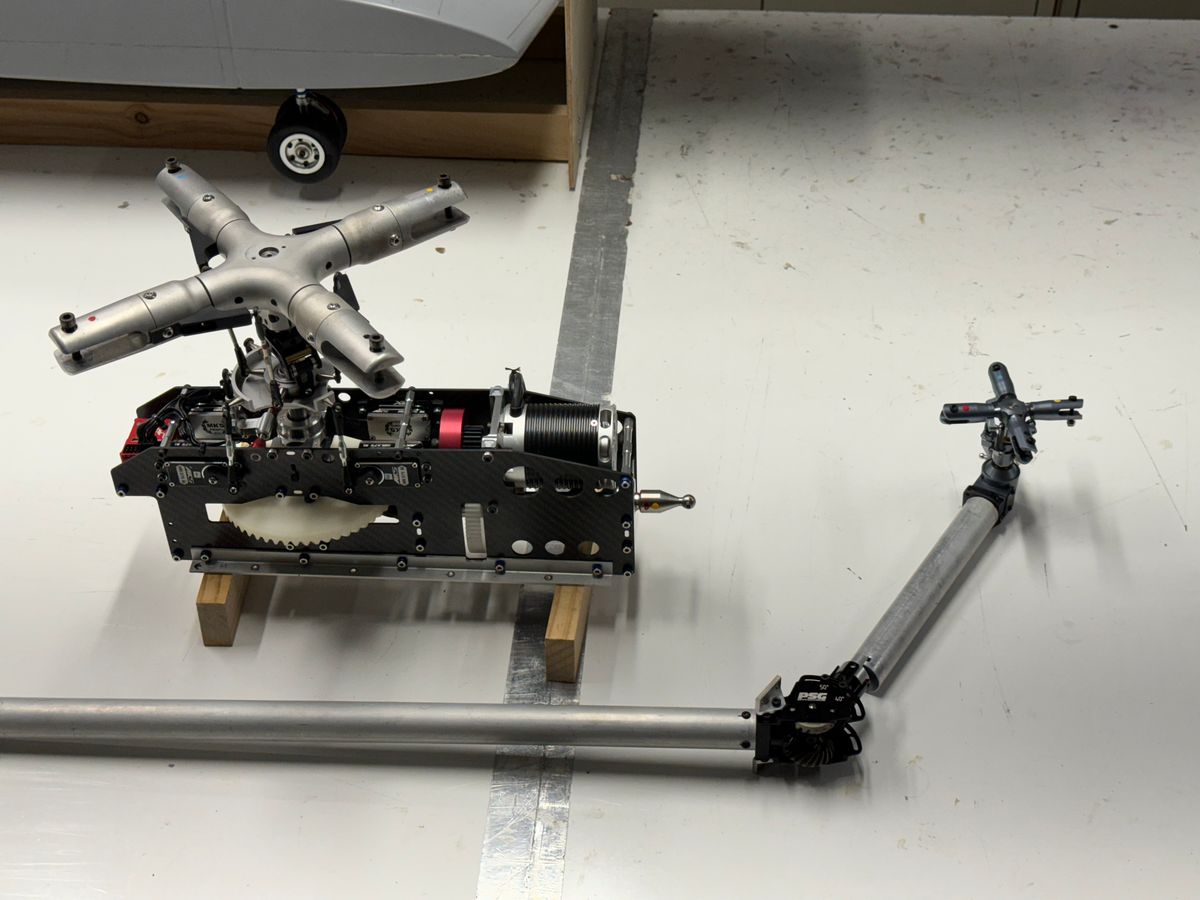
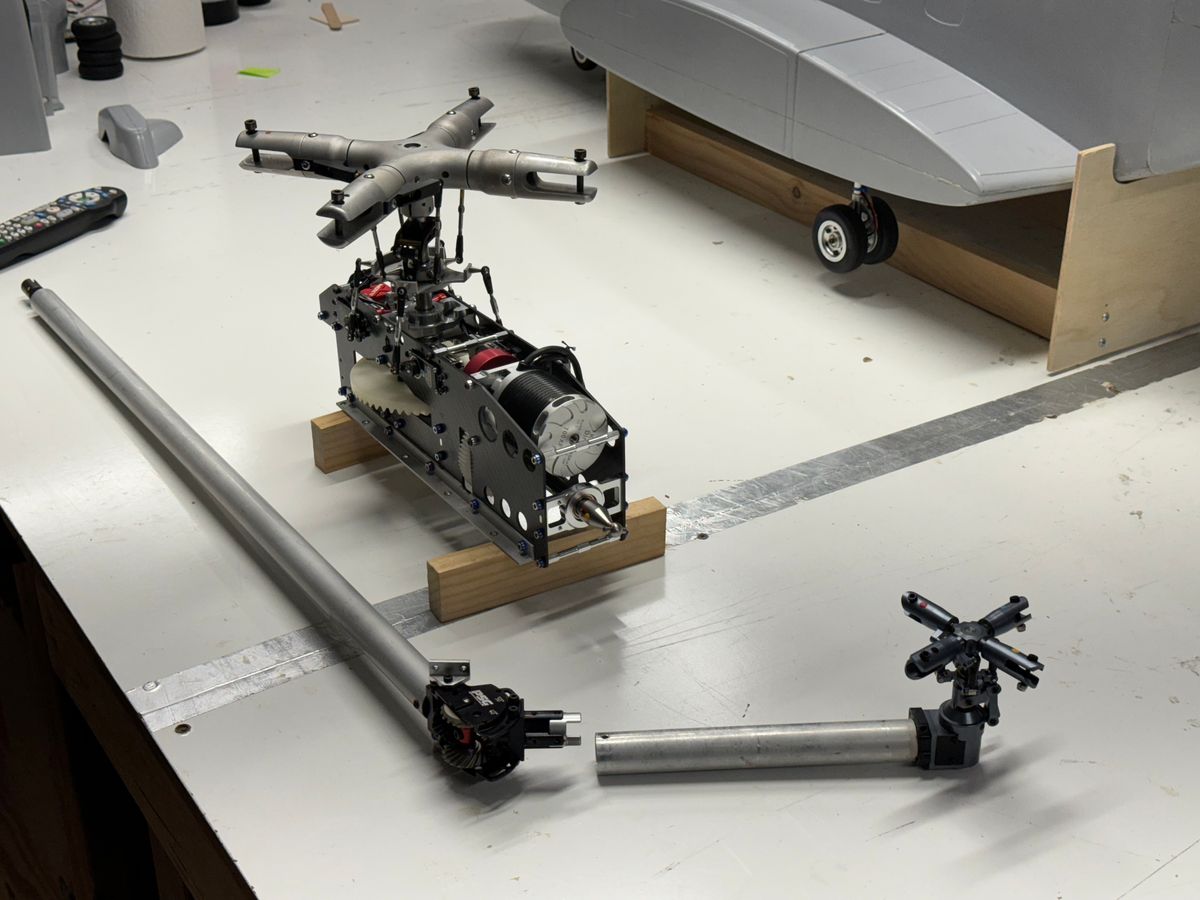
I have attached a few pictures of the work done this weekend and the 3 sections of the drive trail. It all slides in place very easy and takes moments to remove each section.
Thanks for dropping by,
UIH,
Butch.
The Wheels on the Bus
UIH!!!
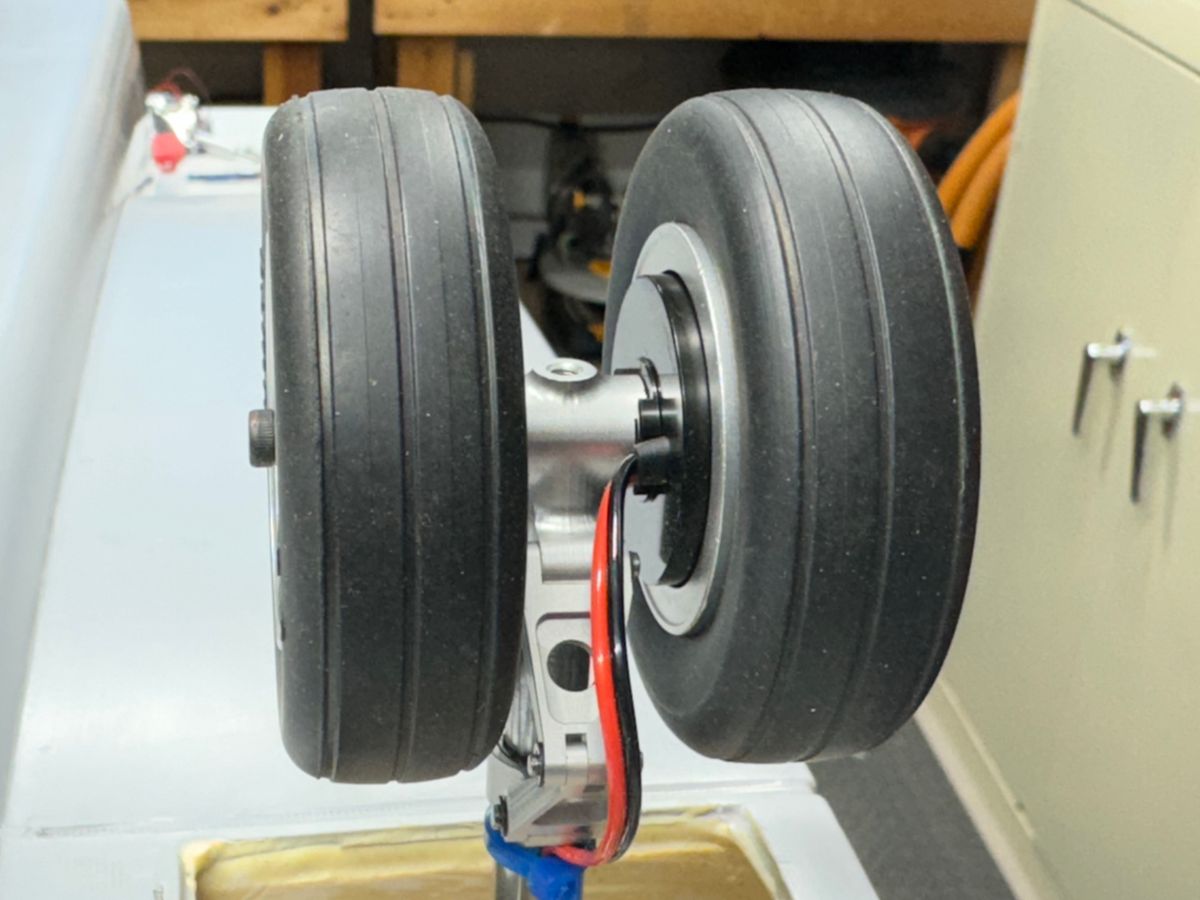
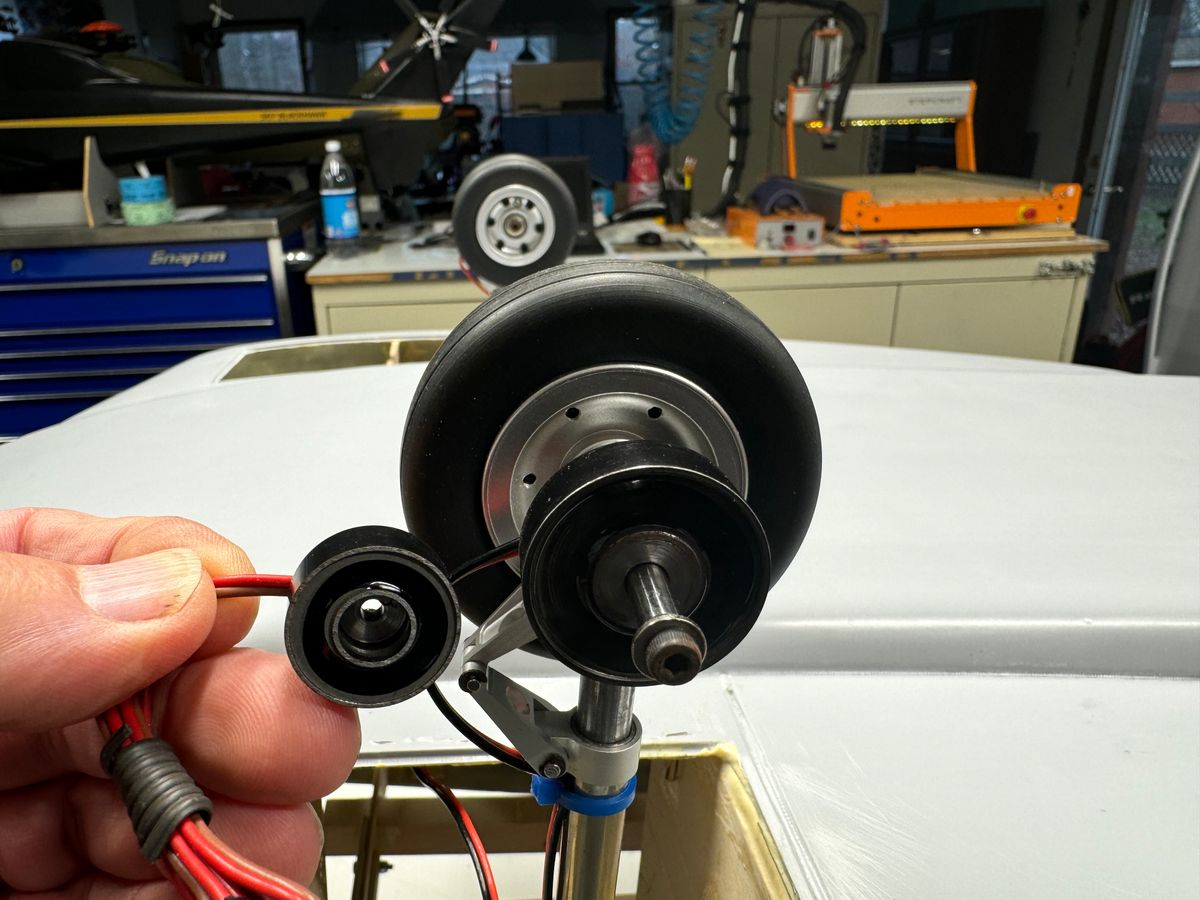
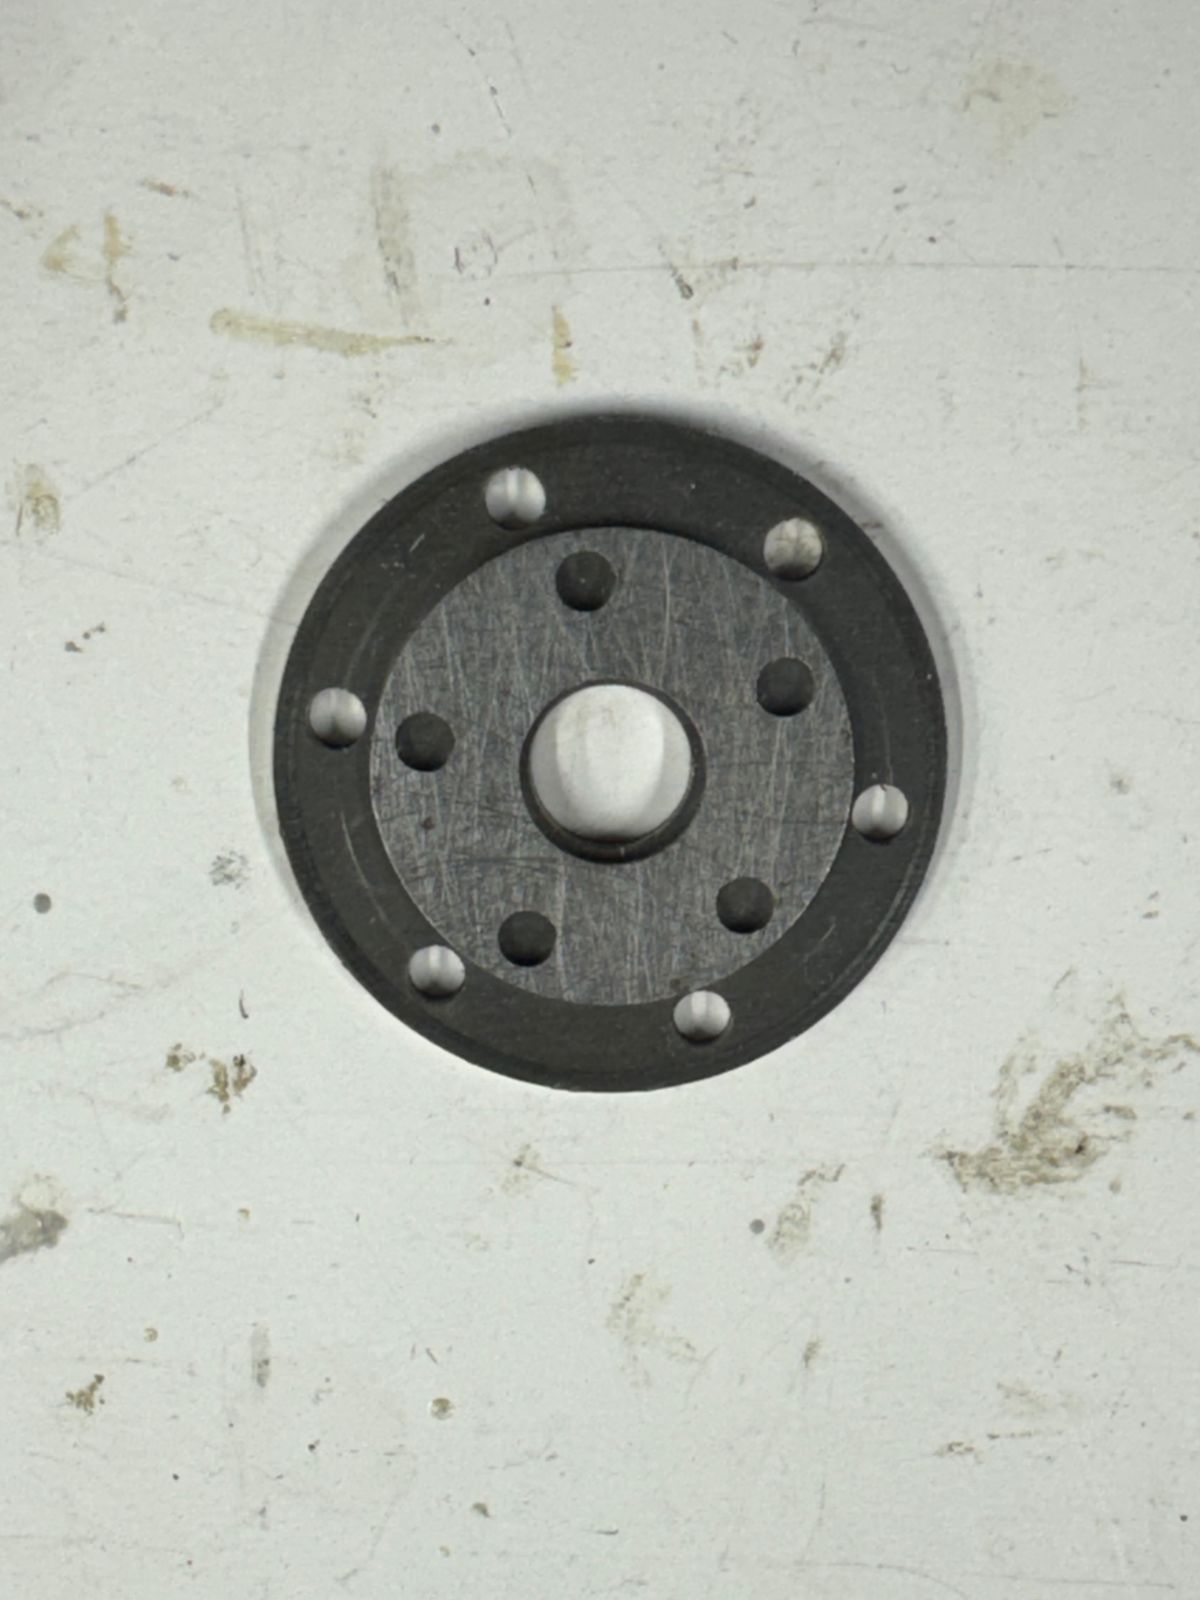
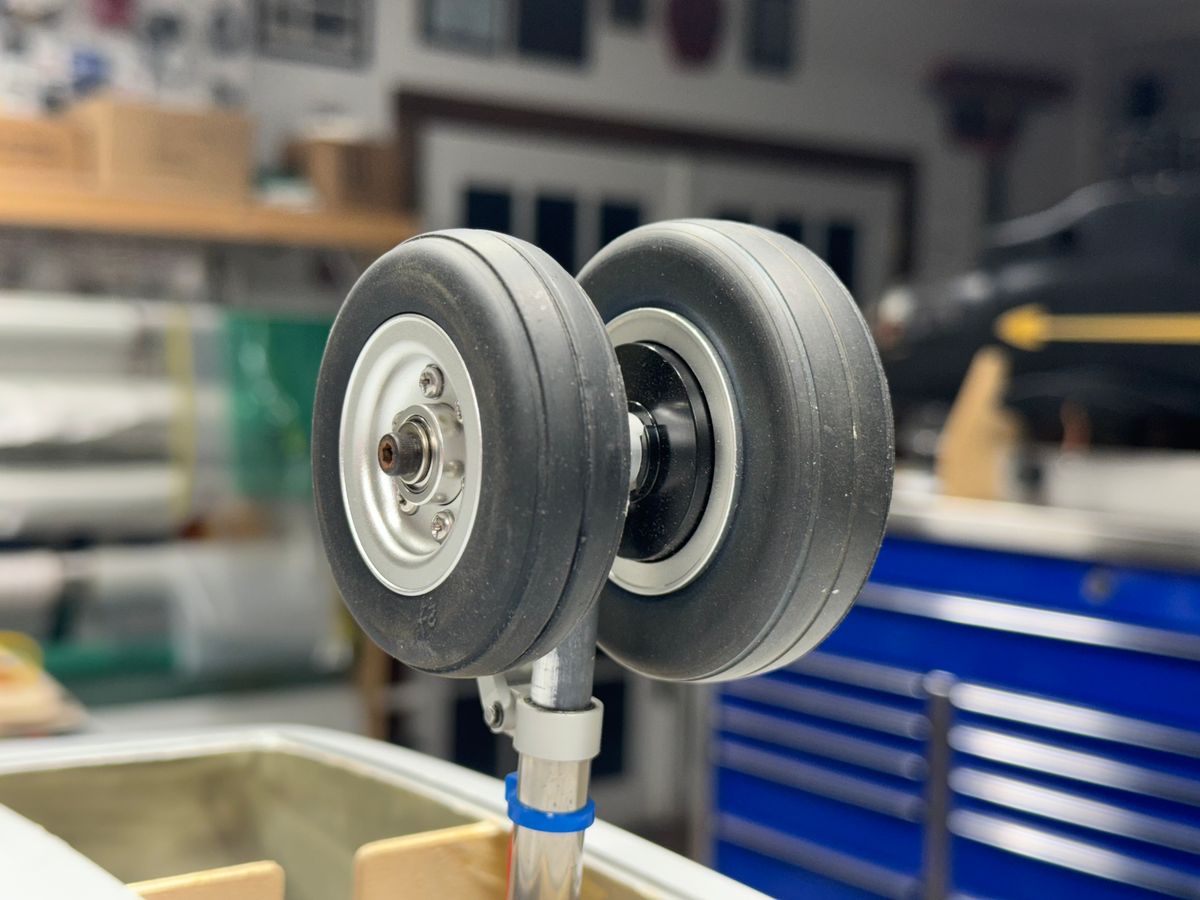
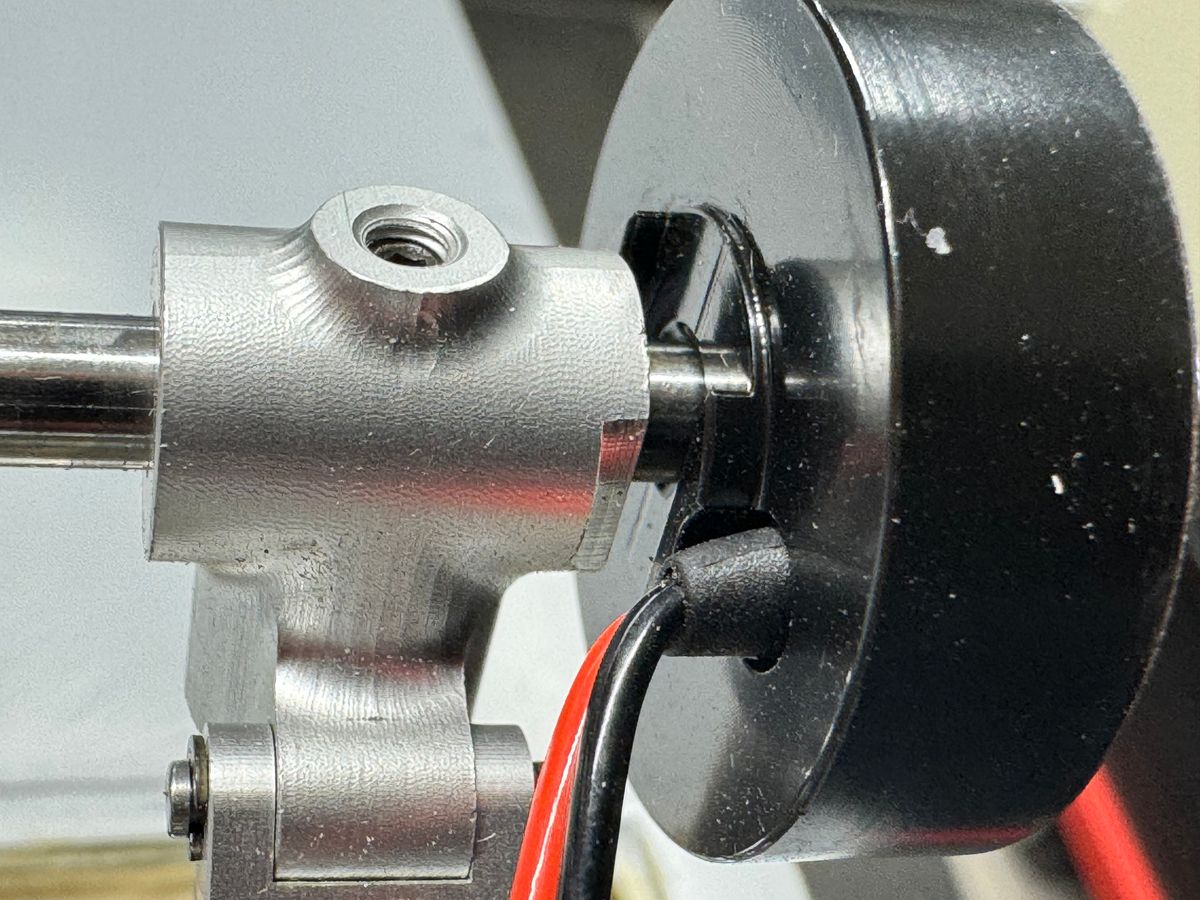
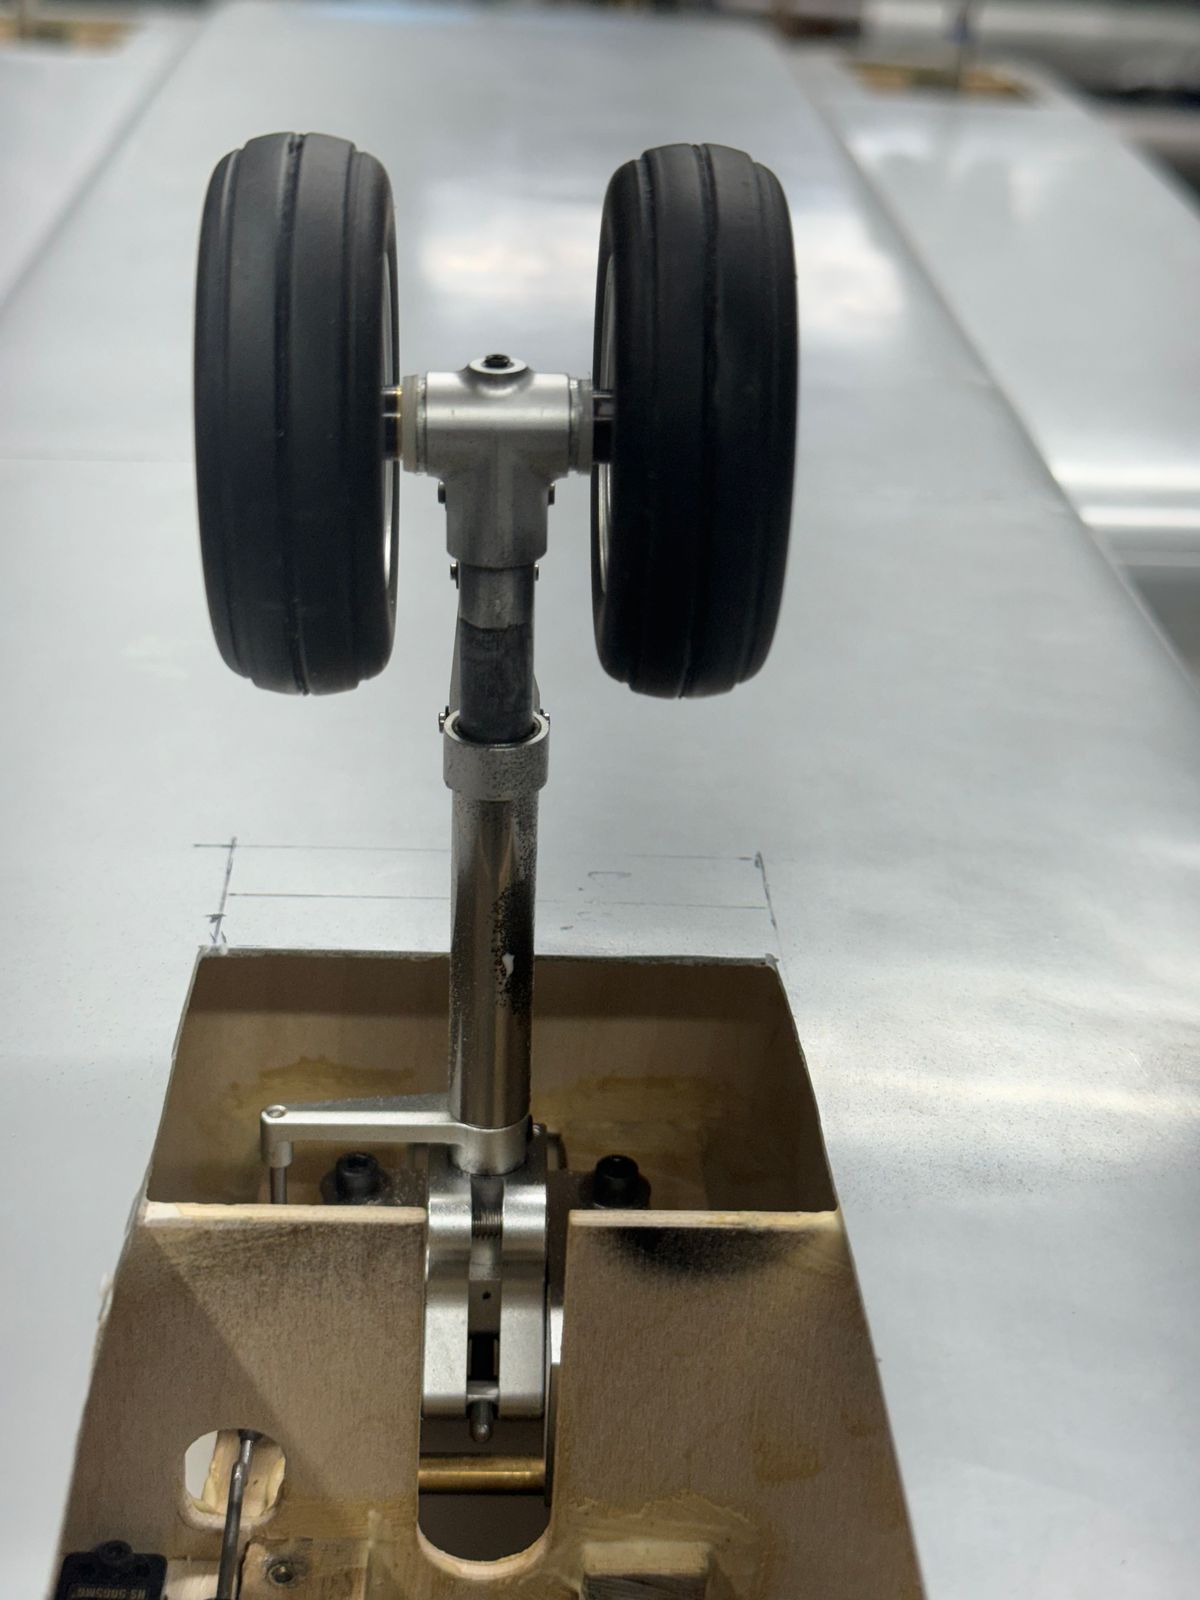
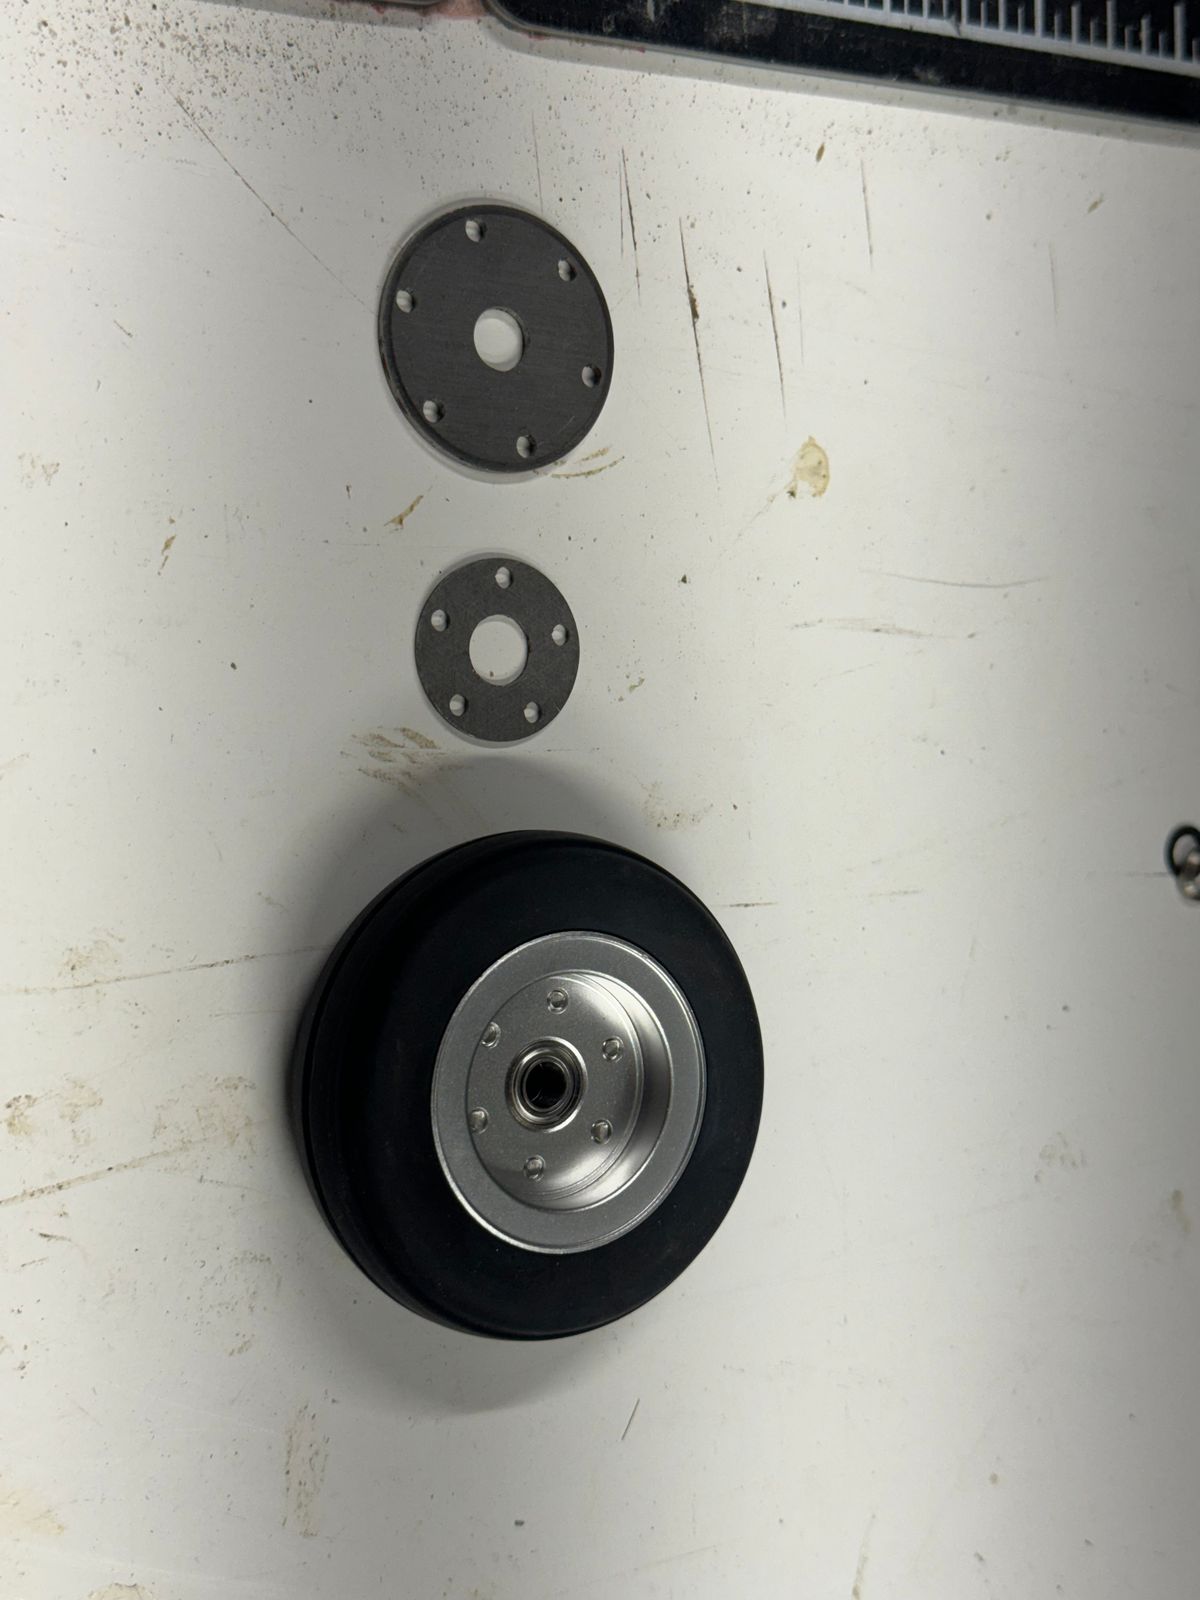
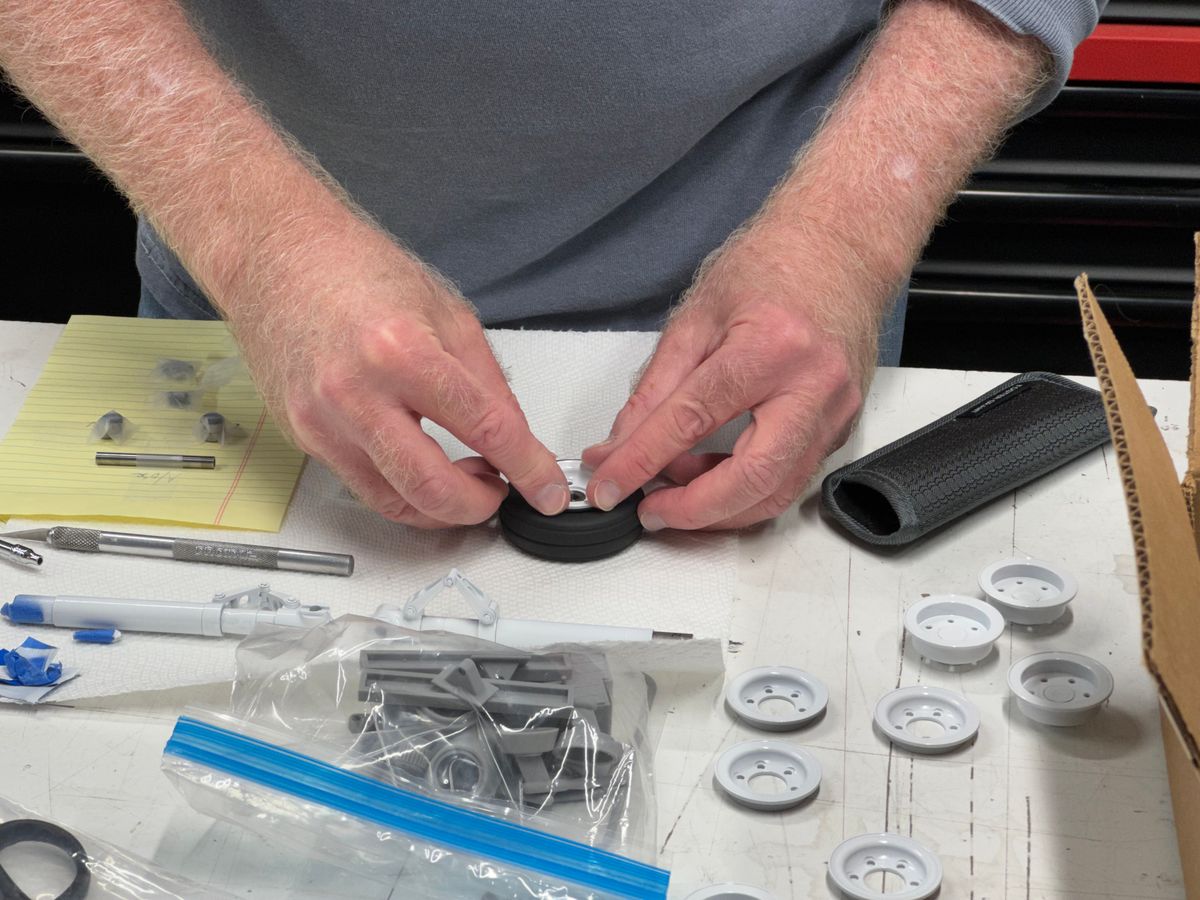
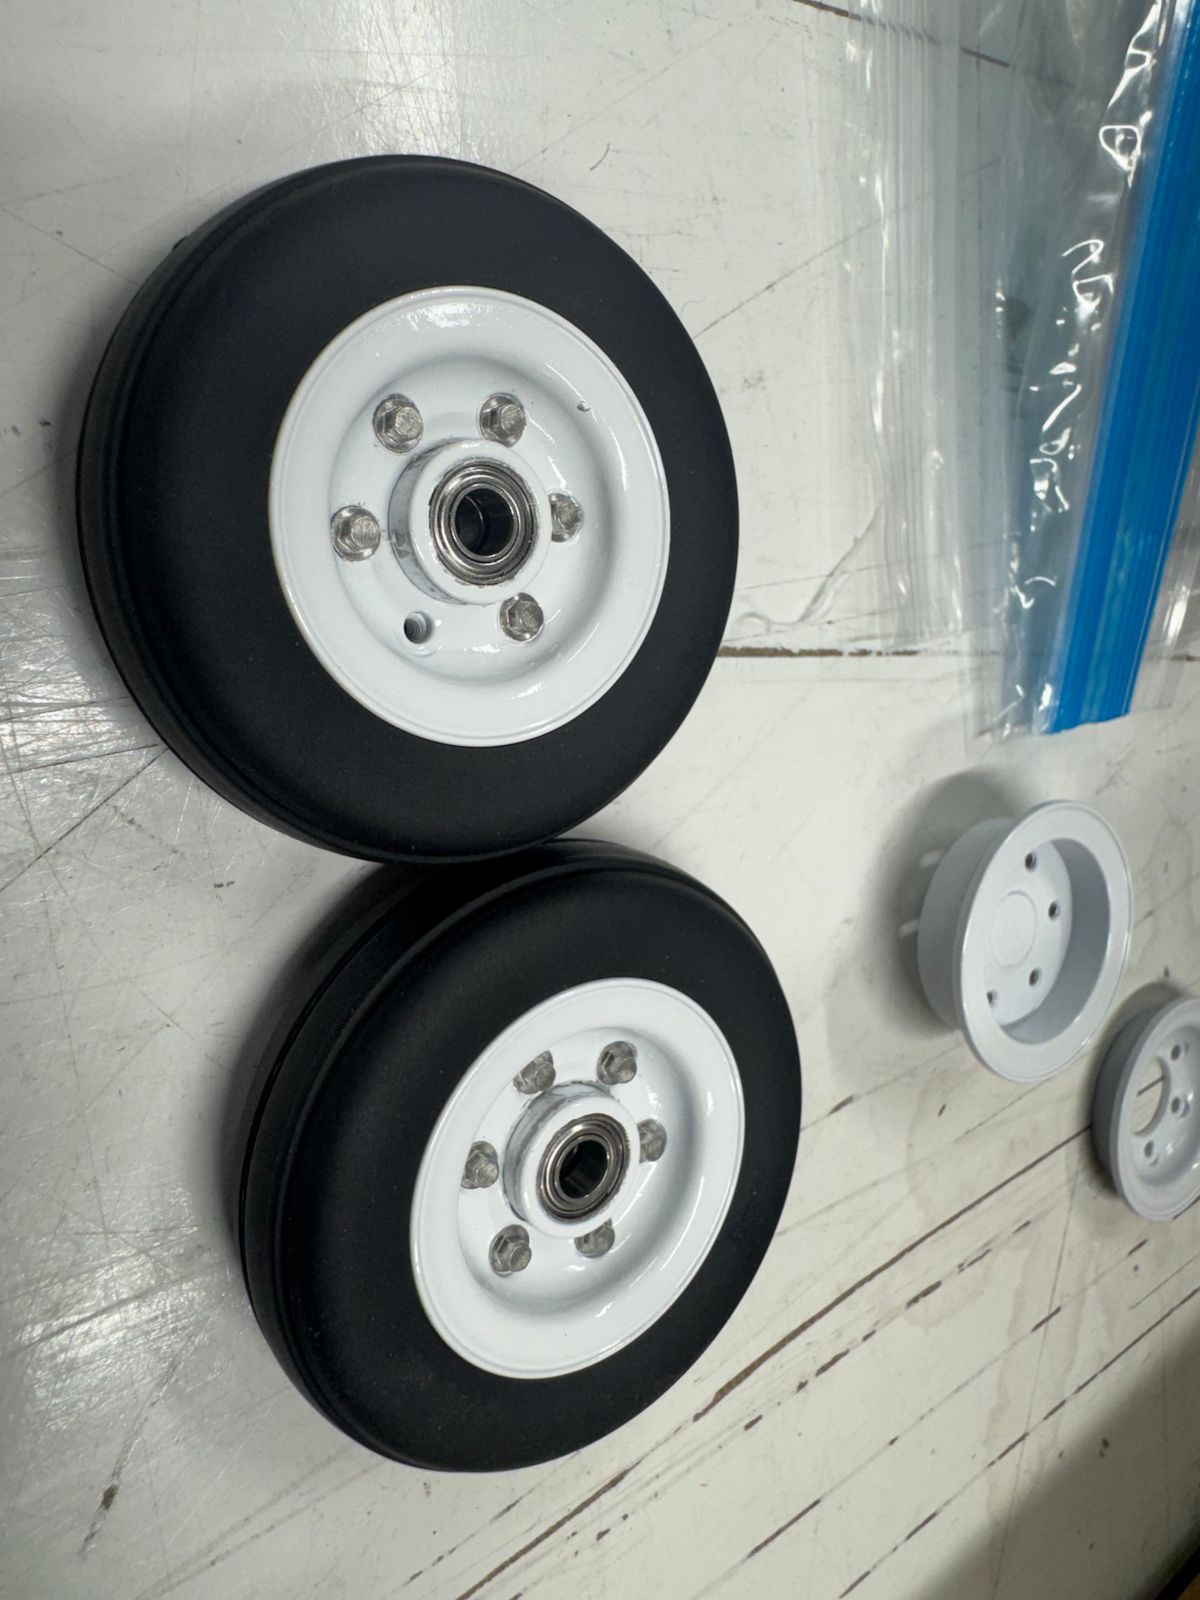
After deep thought and reflection, it has been decided the wheels are a touch to big for the correct look. The original wheel assemblies are 63 mm. The new assemblies are 58mm. The new assemblies will require some minor modifications to fit the new wheel brake assemblies and some spacers to get the correct spacing and track width of each mount.
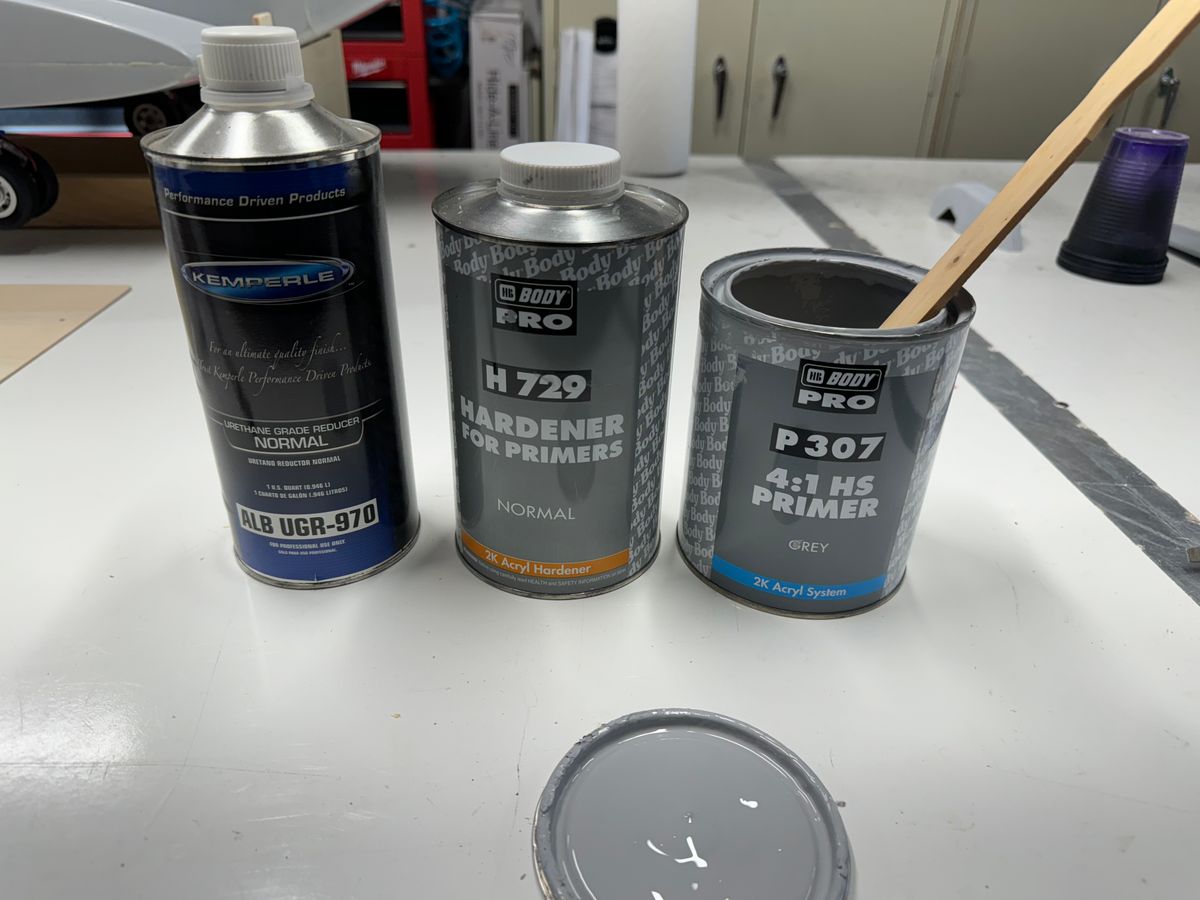
Since the weather has not been too favorable for flying on the weekends, I did have an opportunity to to prime the stab plug to finally make the mold for the stab so we can get the stabs laid up. I also got to put the first coats of primer on the race car, whale tail, and the upper TGB fairing.
I always have grand visions of over achievement every weekend however seam to fall short for one reason or another but I have High Hopes for the coming weekend.
Here are some photos.
Thanks for dropping by,
Butch.
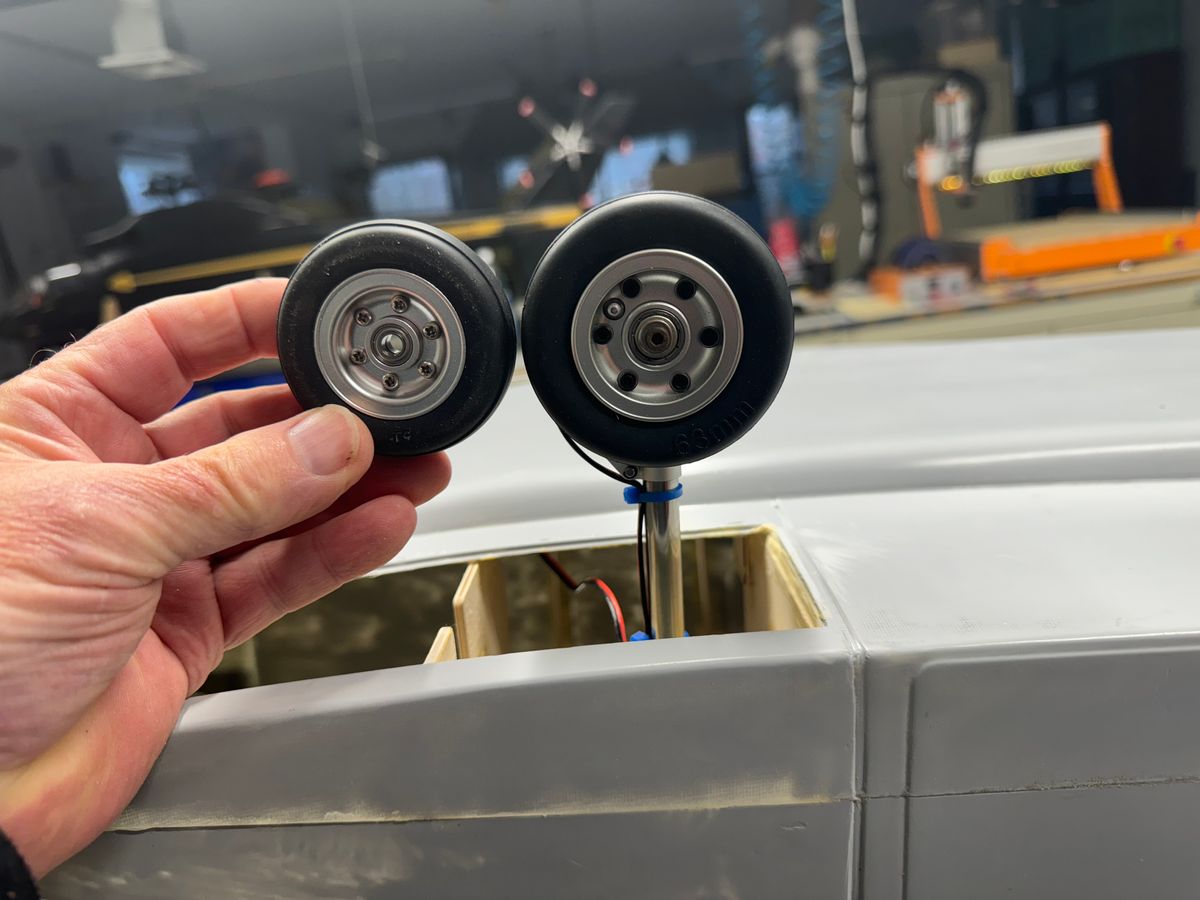
“Mokuba•
Hummm.
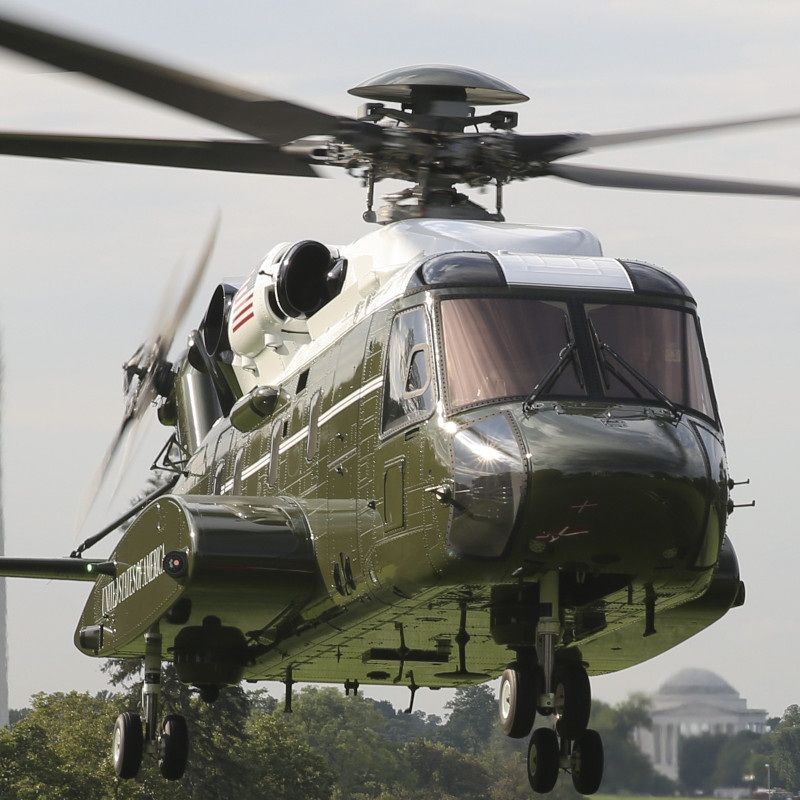
Now to make this, look like this.
“Slab-o-Stab”
UIH,
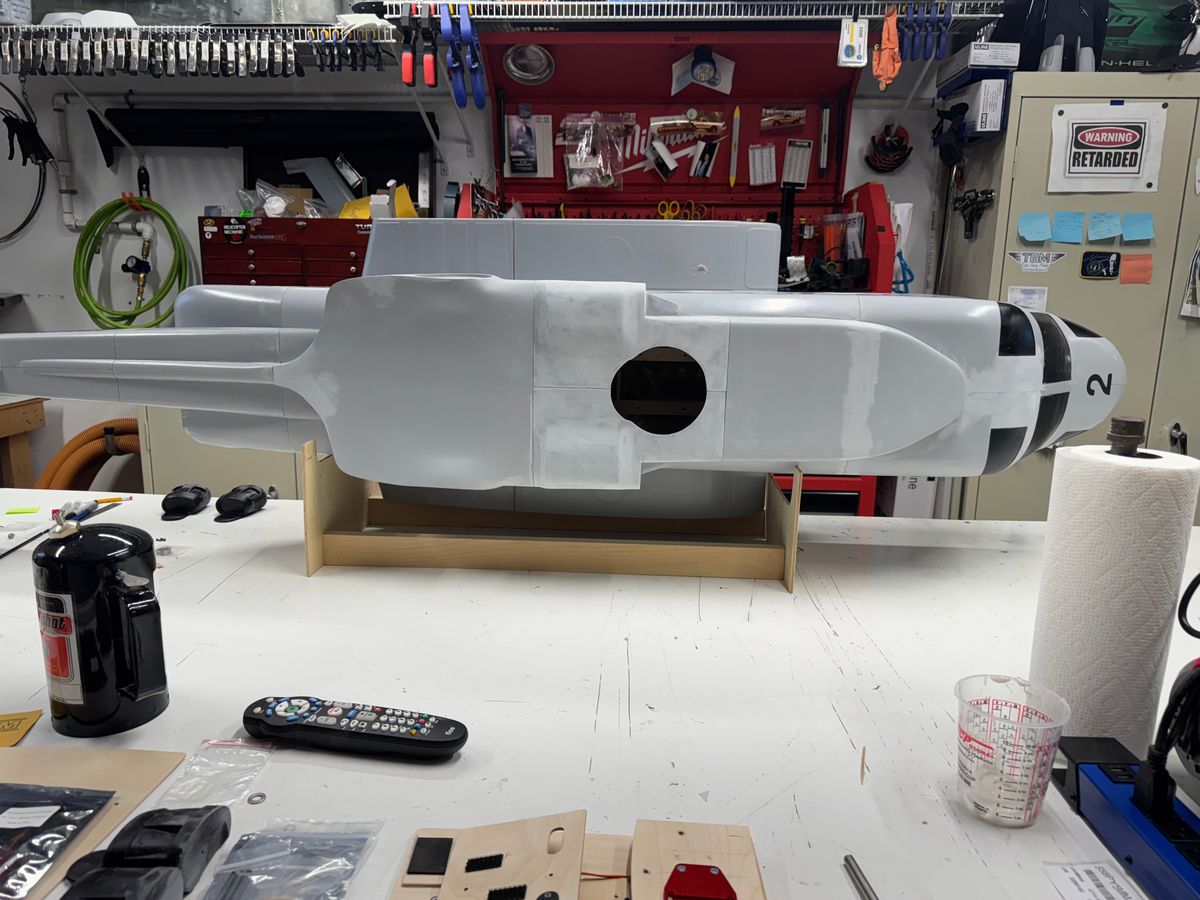
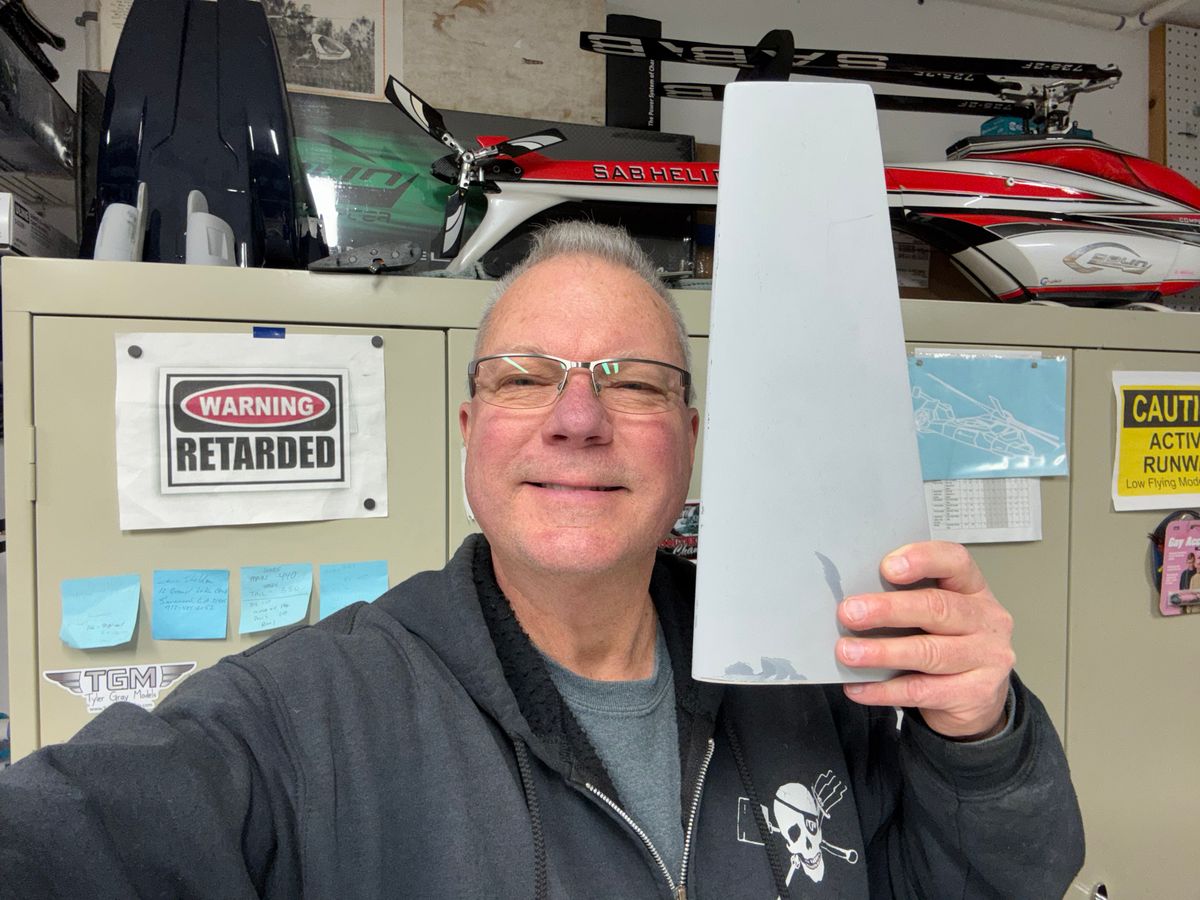
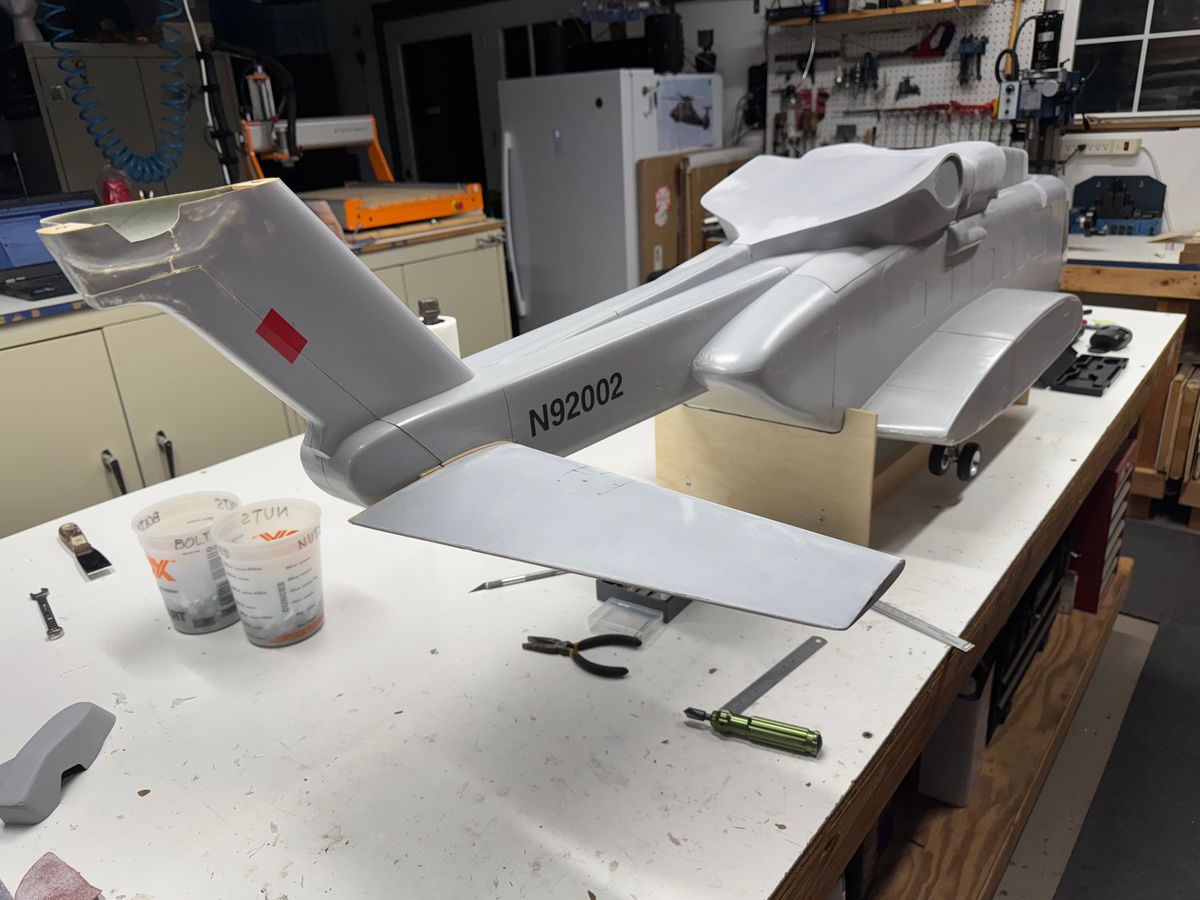
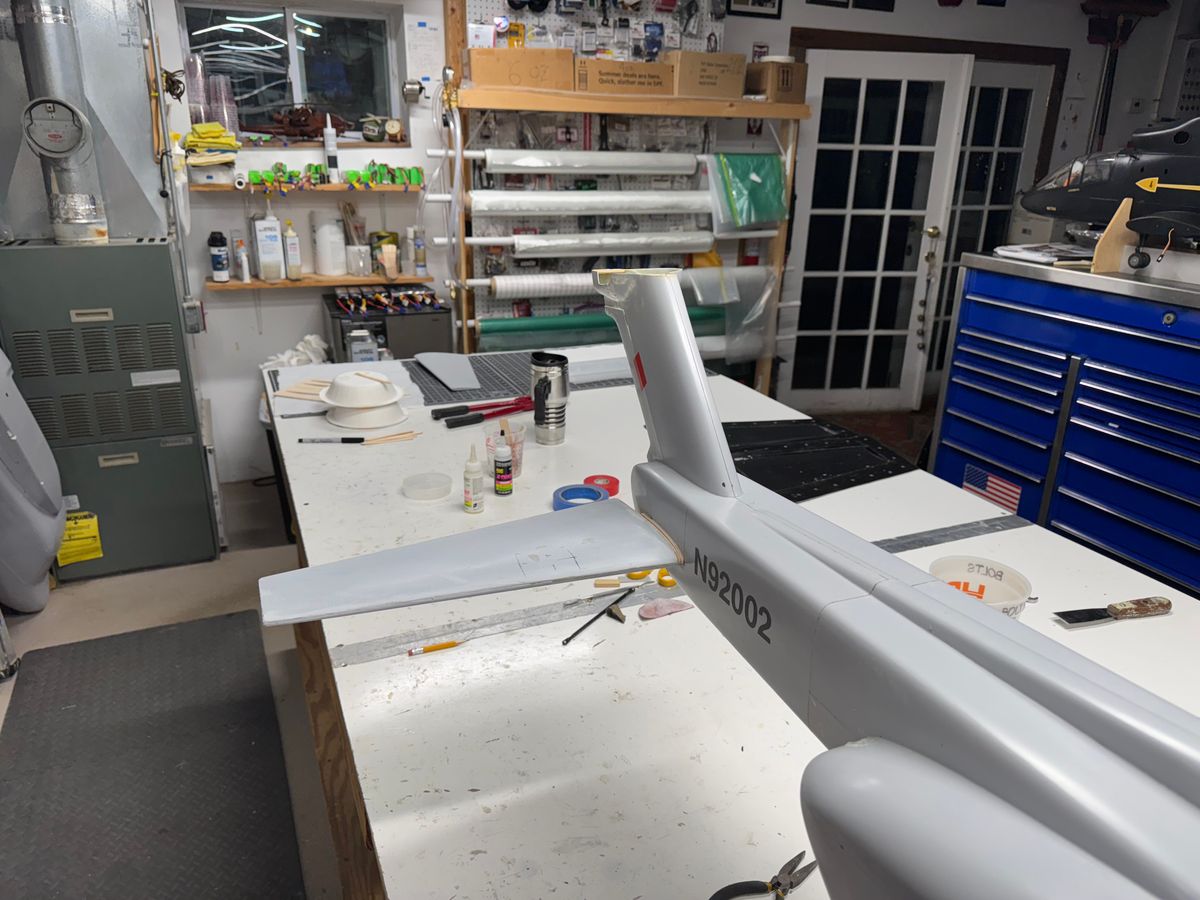
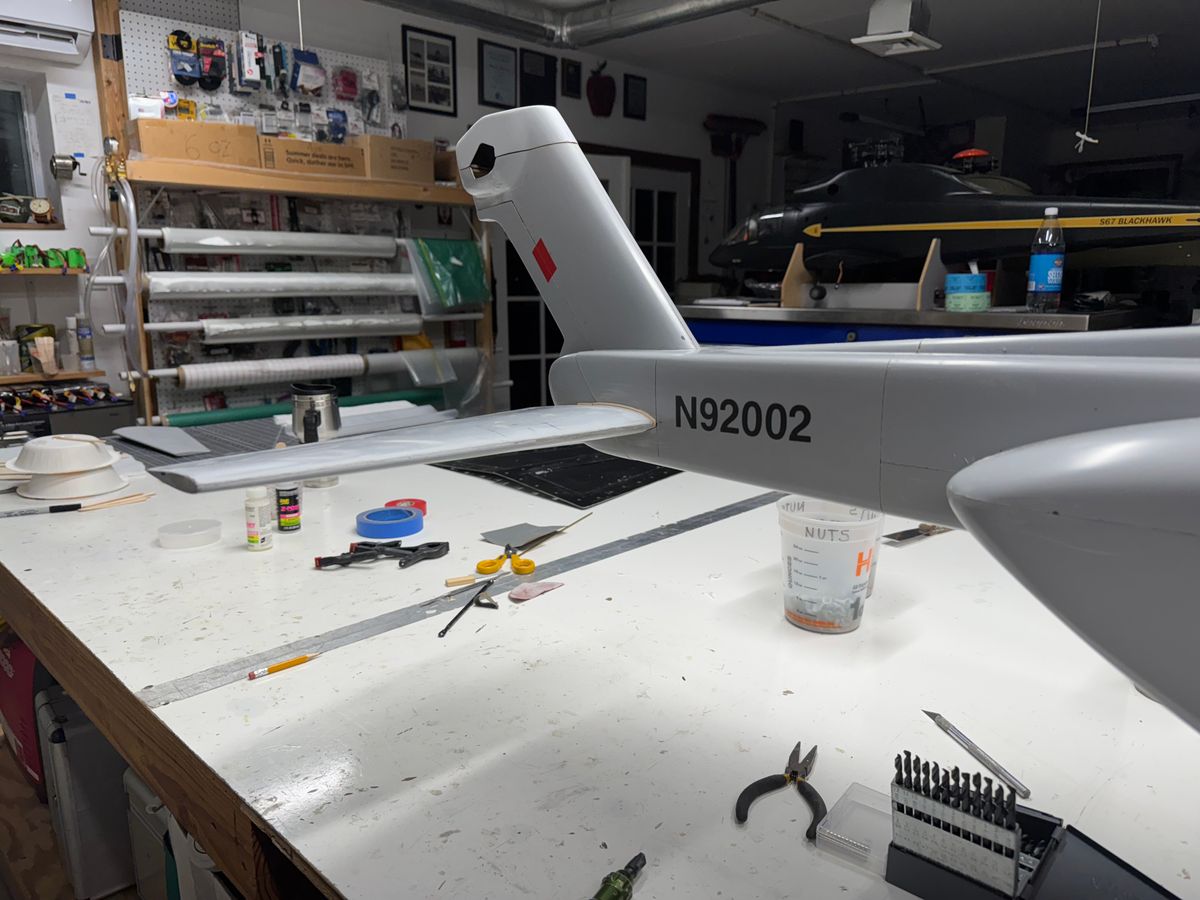
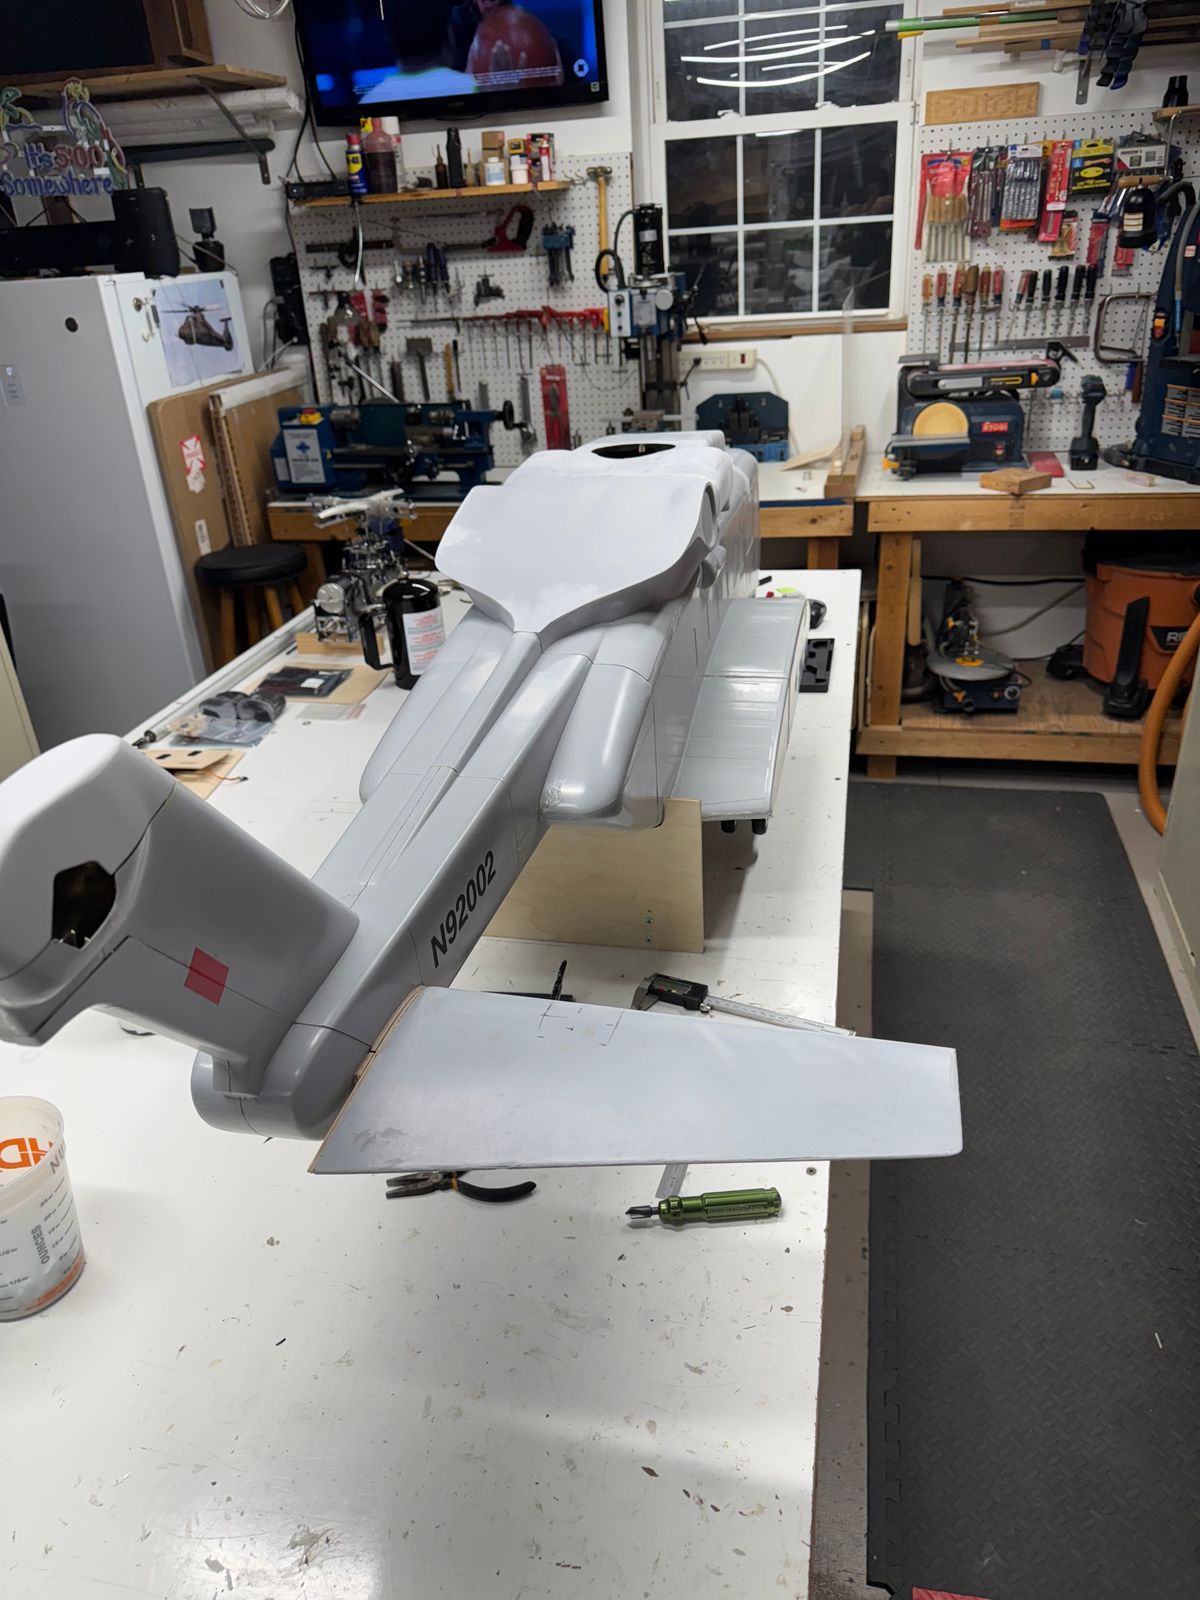
Worked the big ass stab install over the past few days. This thing is big, really big. This thing has to be removable for transport or it will get bumped or busted off in one way or another.
It is held in place with 3 magnets and a couple of brass guide pins. The strut will retain it from falling off during flight. I use the same process for the wings on my S-67 which works very well. The support structure is about 1.5 inches from the mating area to the tail. This keeps the mass close to the fuse. It is always a concern to have a “mass” of weight too far away and we know what that can cause.
Removal will be to remove the strut held in place by 2 each 2.5mm screws then slide the assembly off. May be able to just remove one of the screws but then there is a possibility to bust that off during transport as well.
So many things to think about.
Anyway, thanks for dropping by.
Some pics.
B
“Catbamboo”
With winter upon us it is time to shift gears.
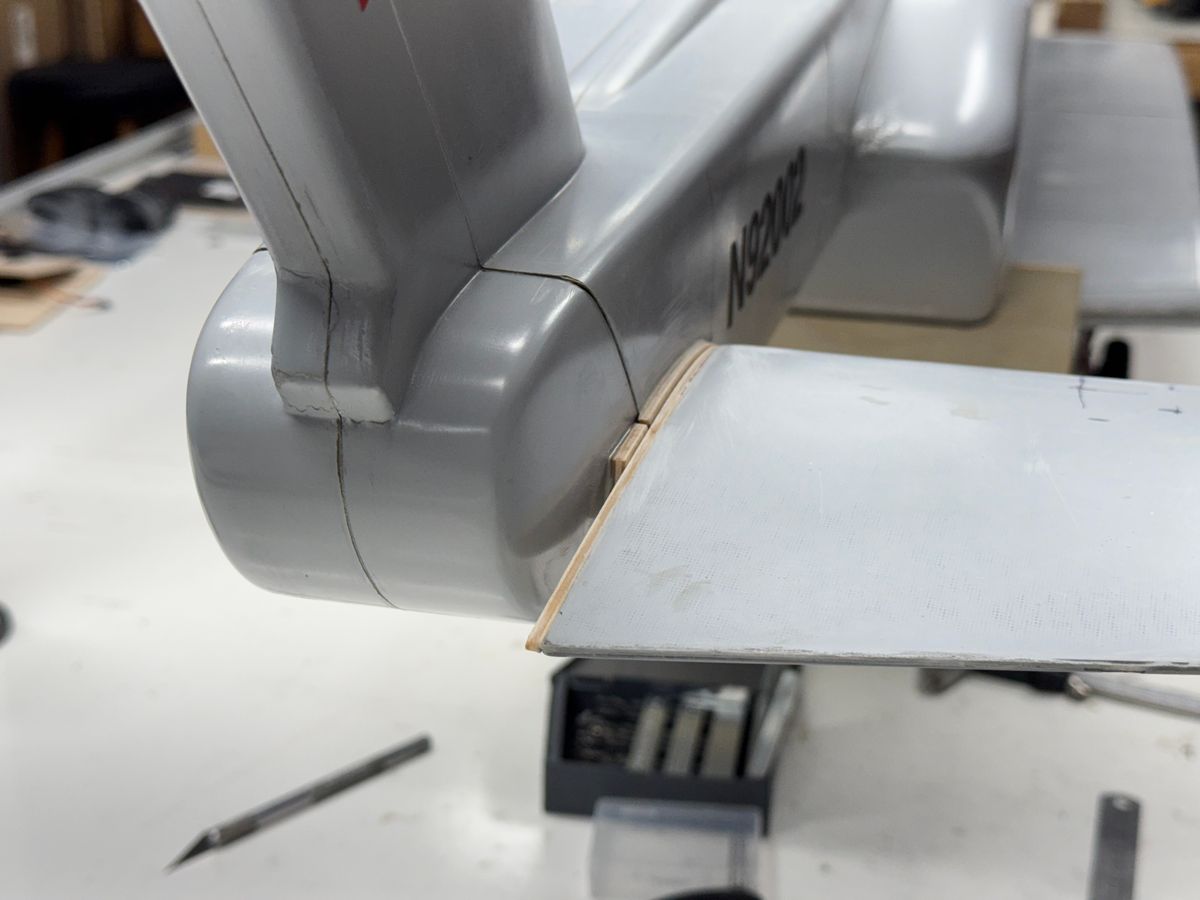
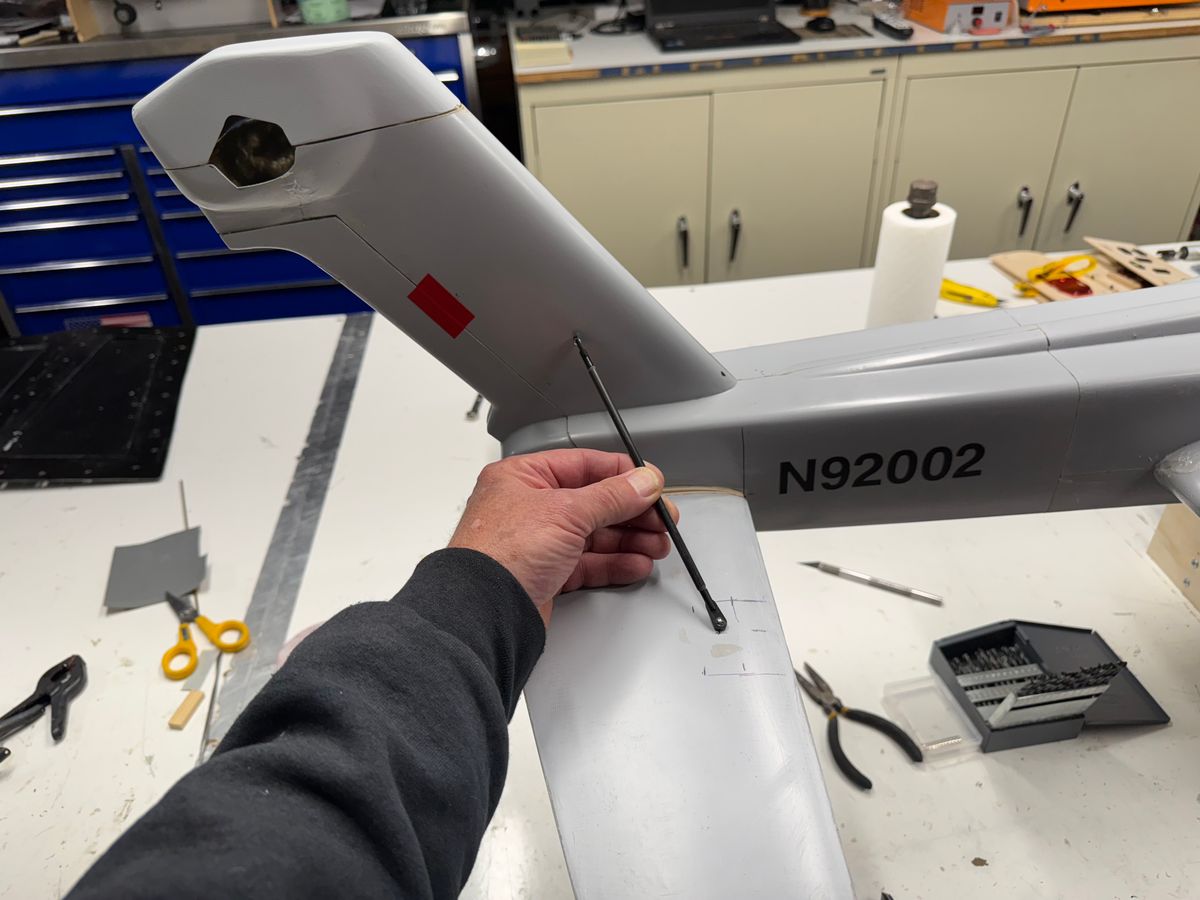
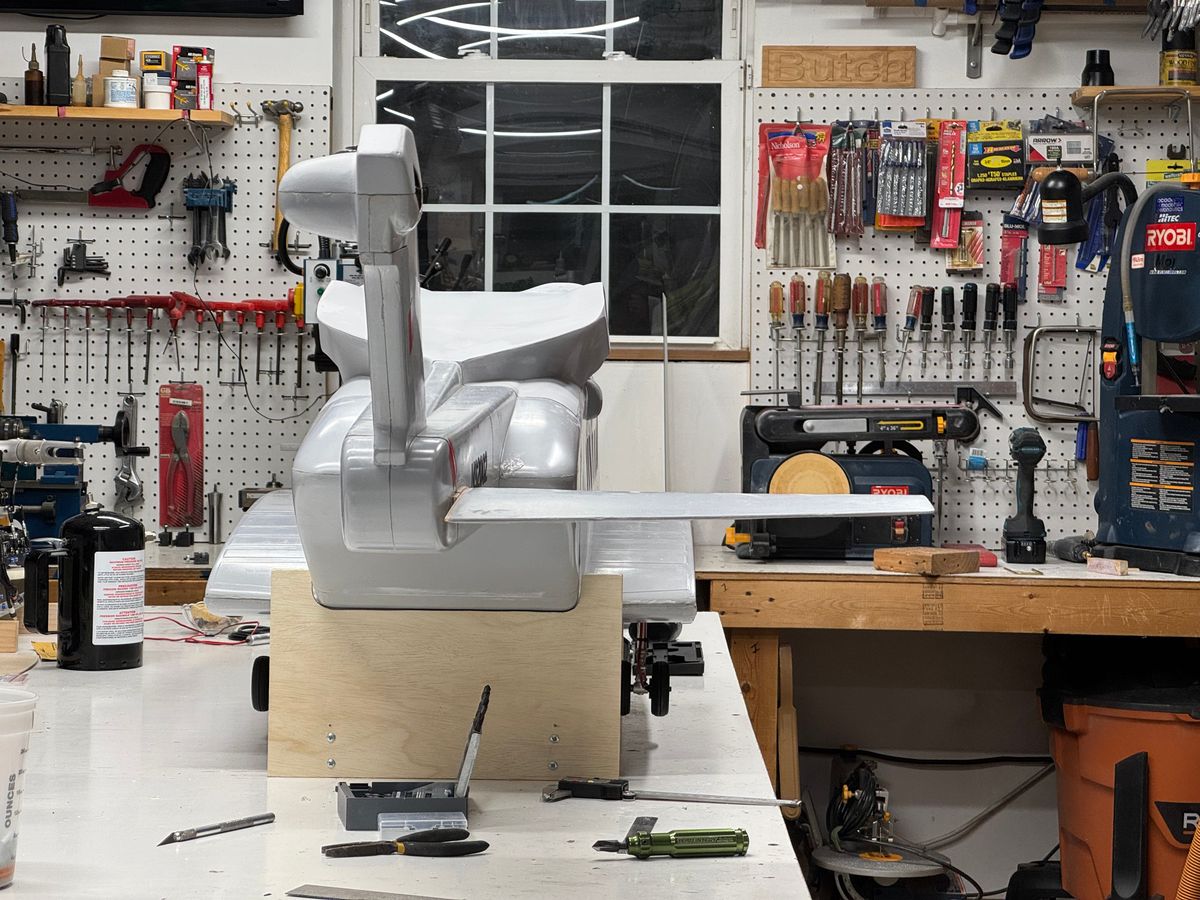
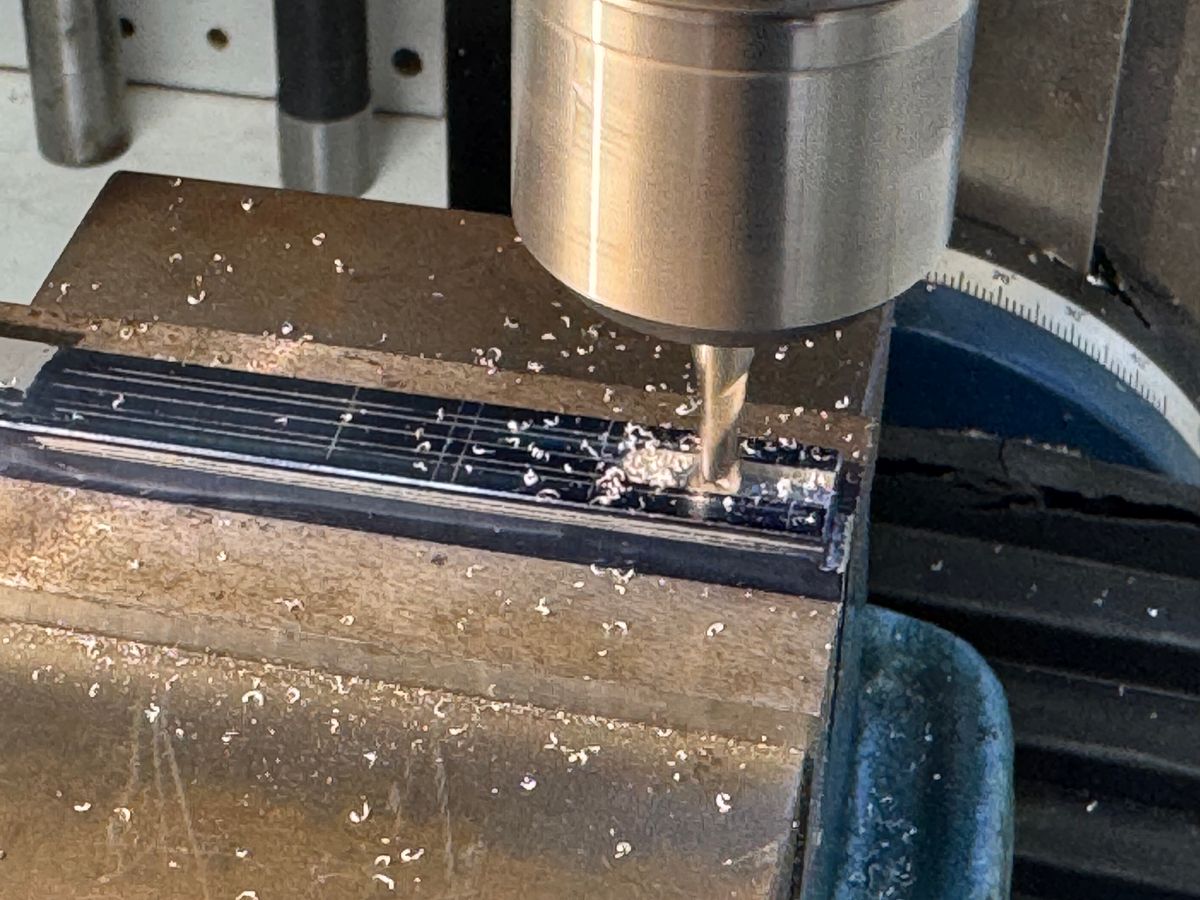
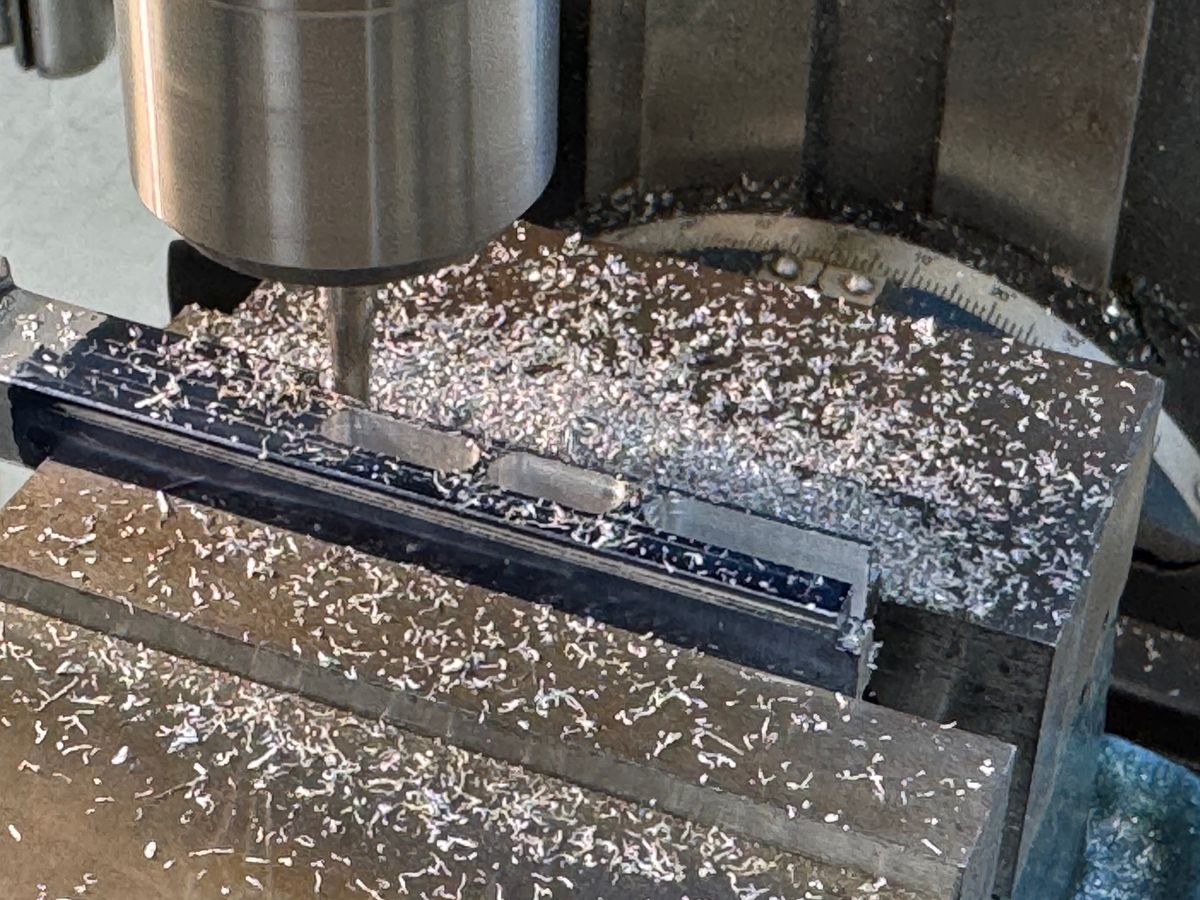
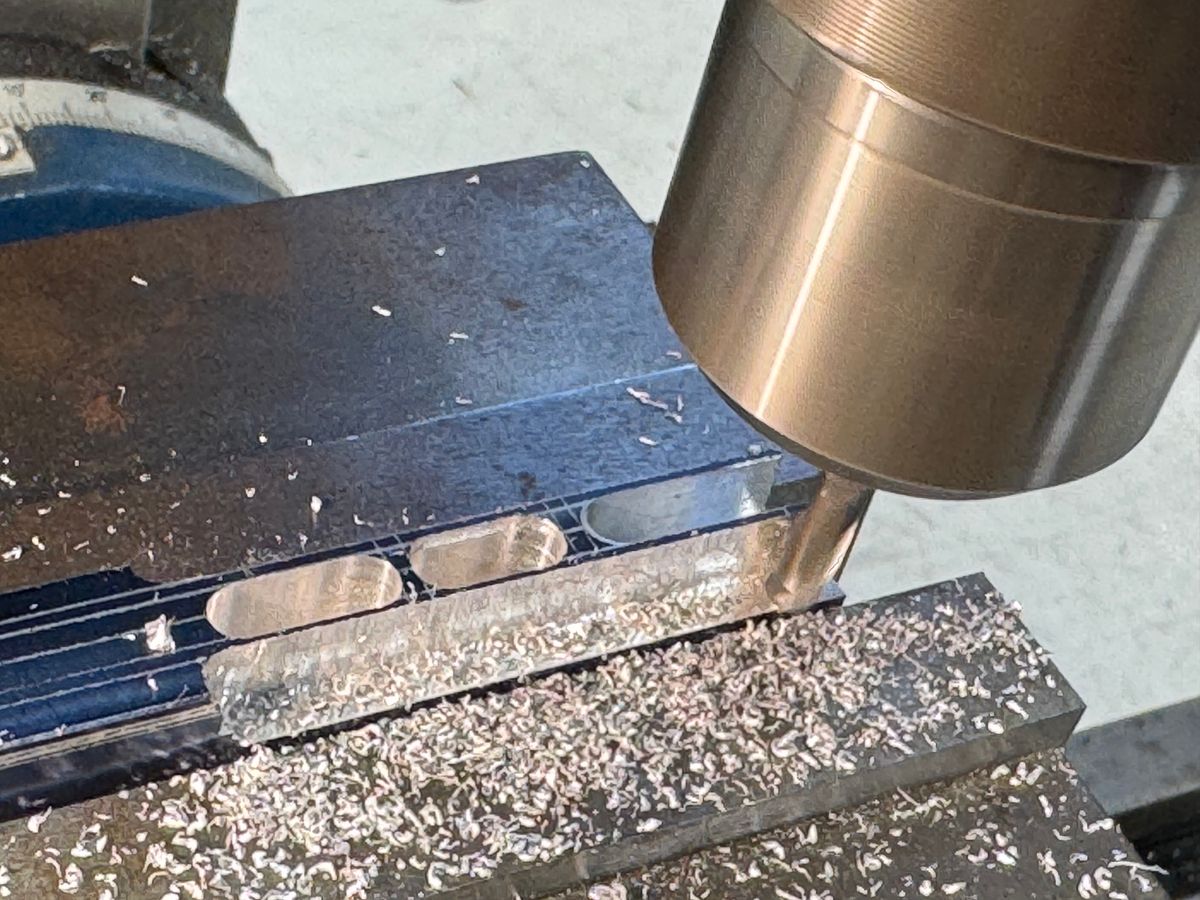
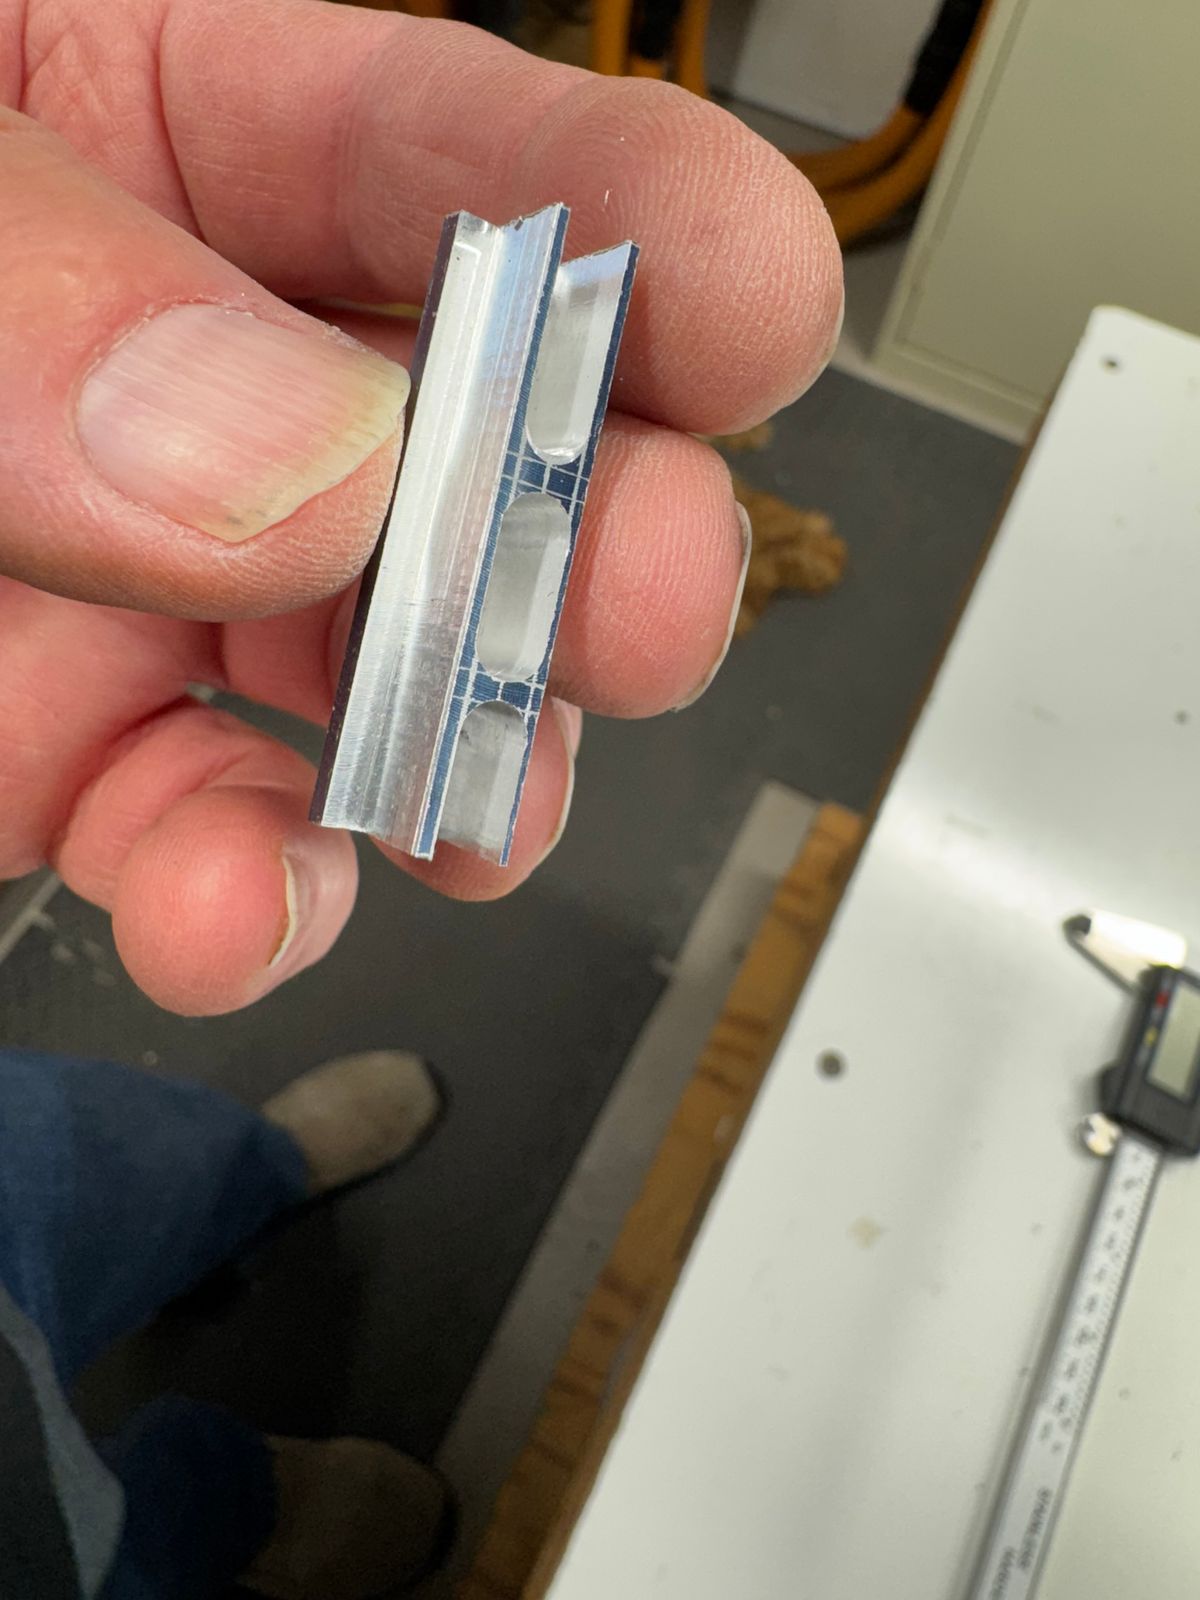
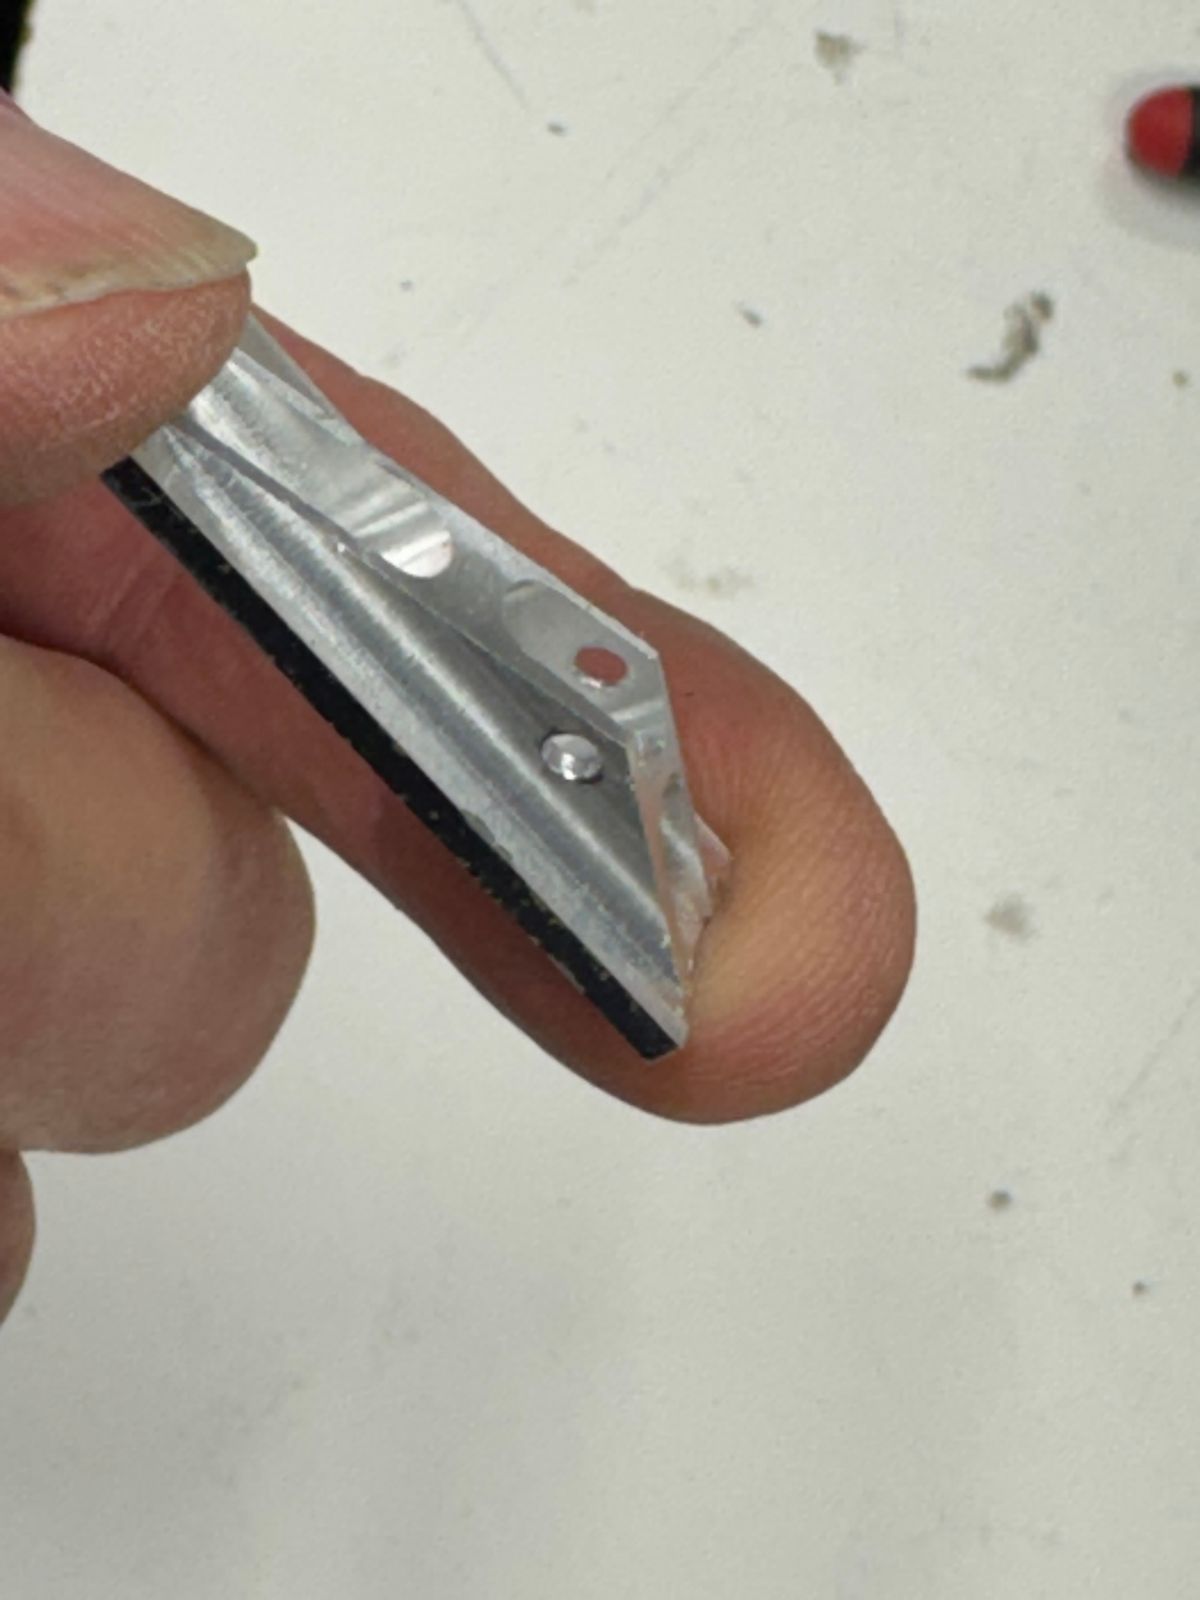
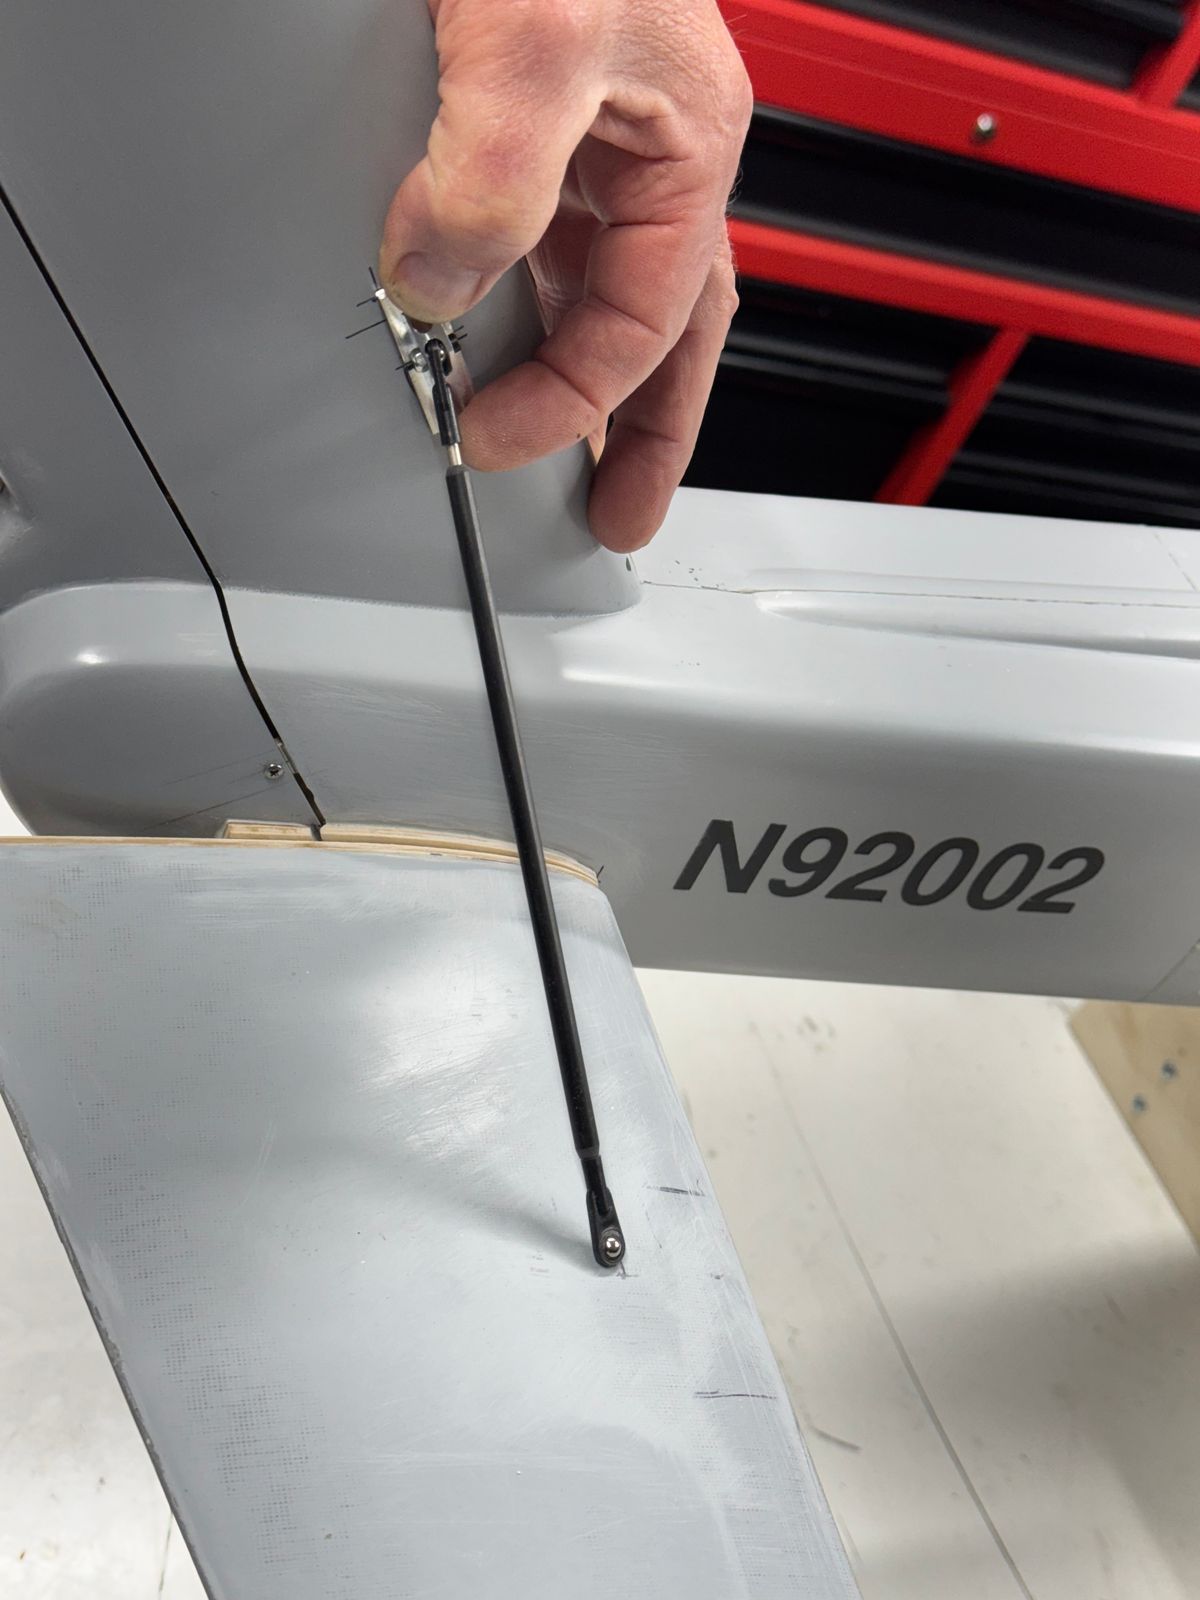
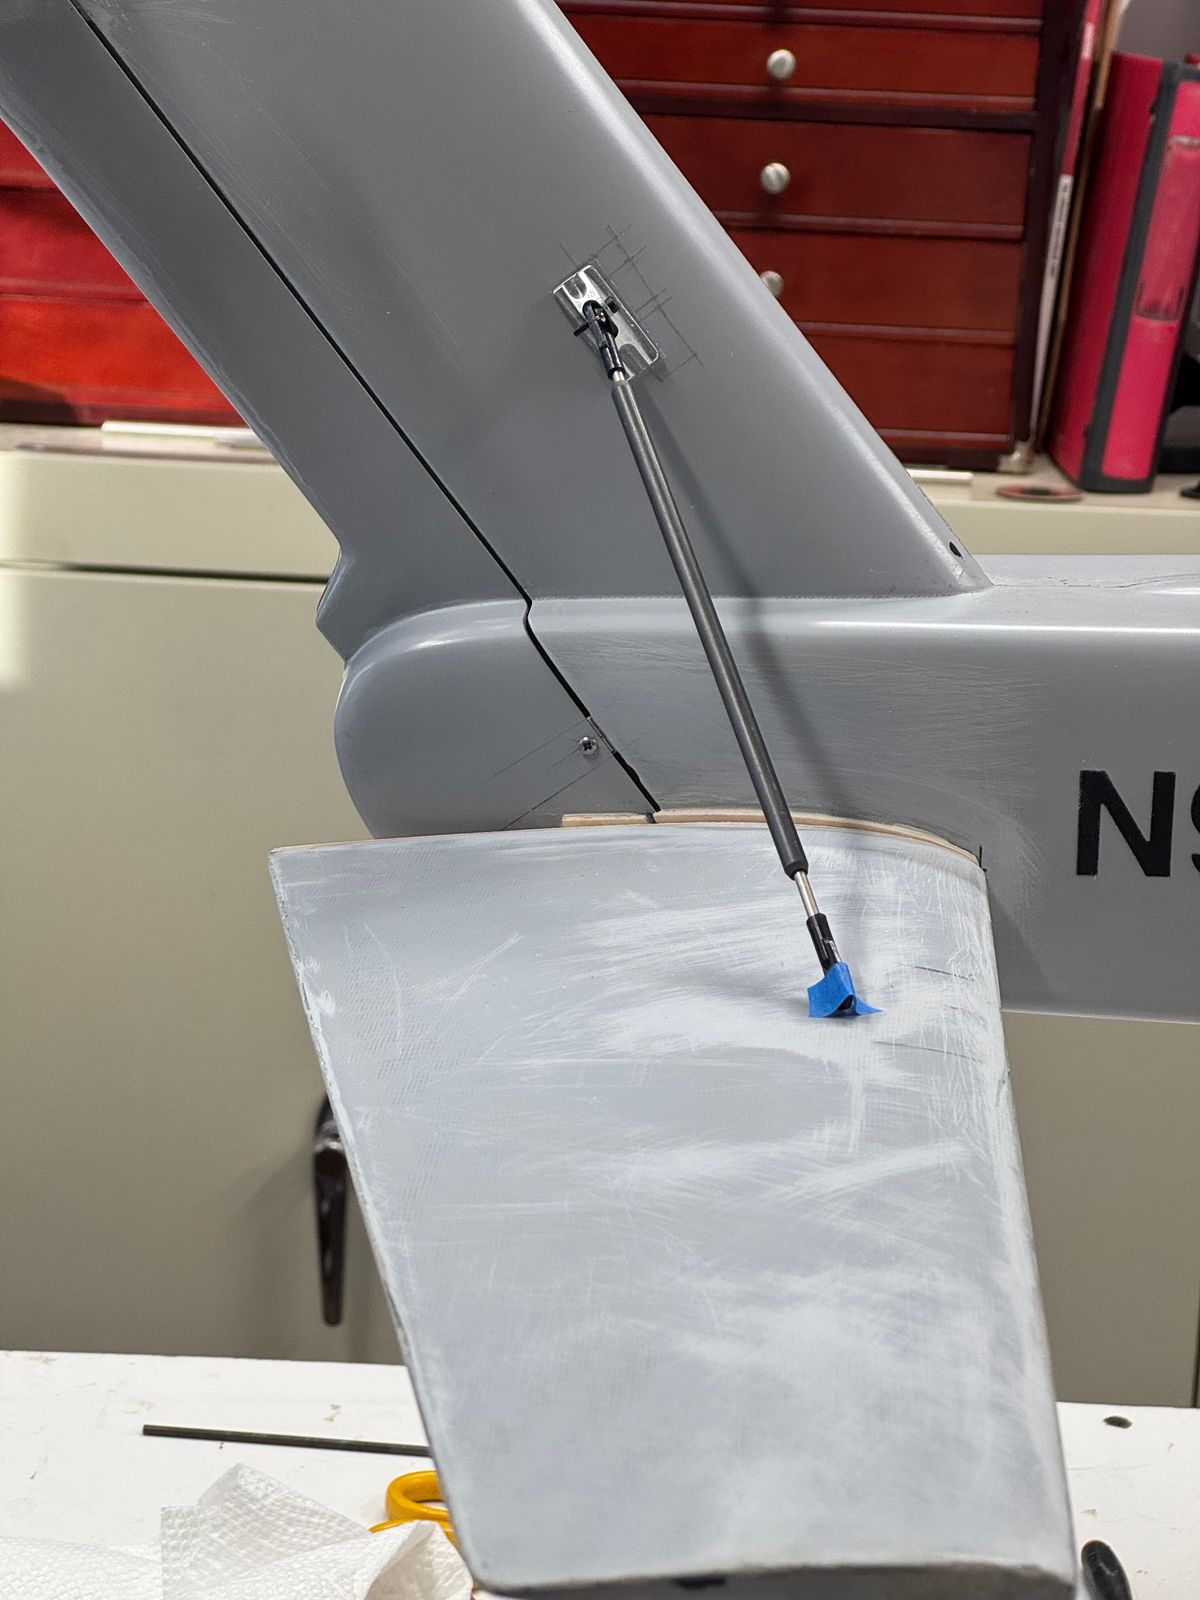
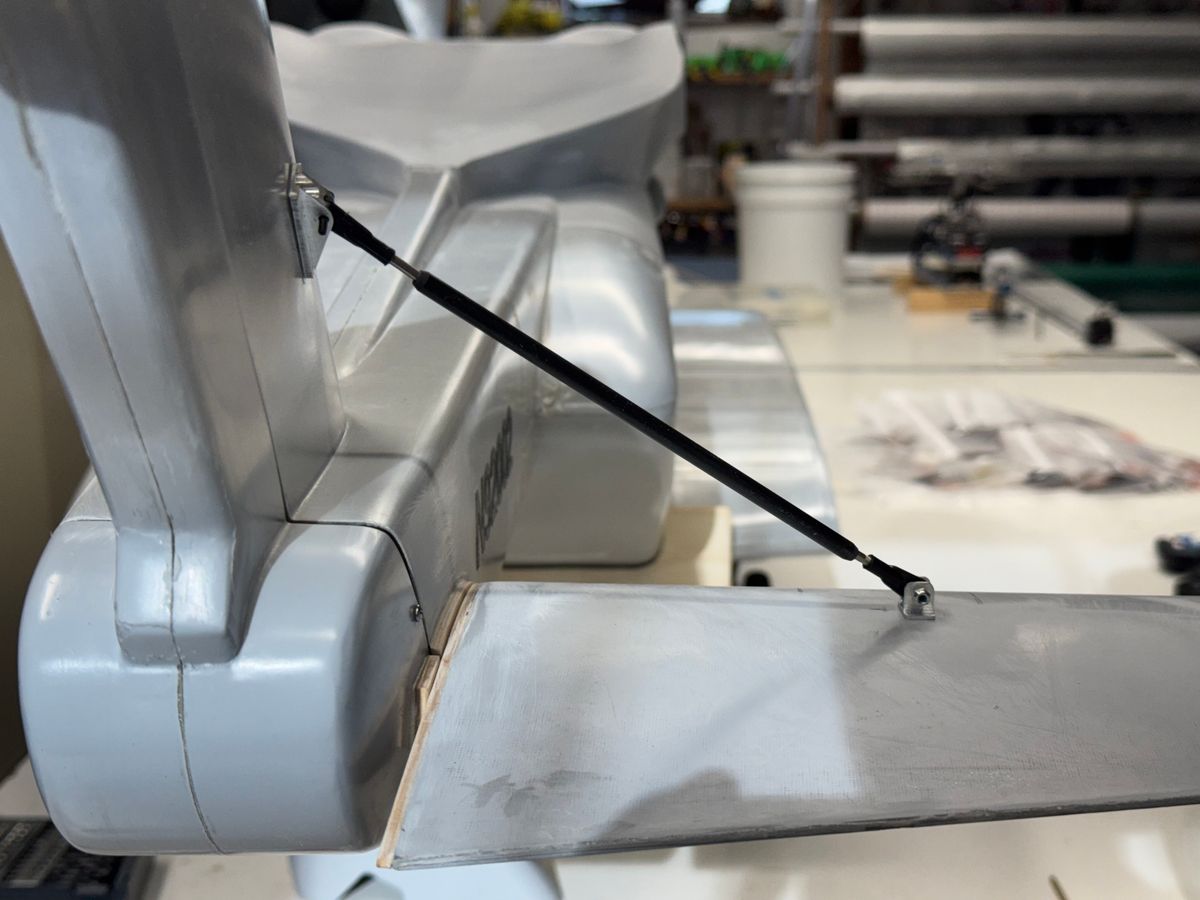
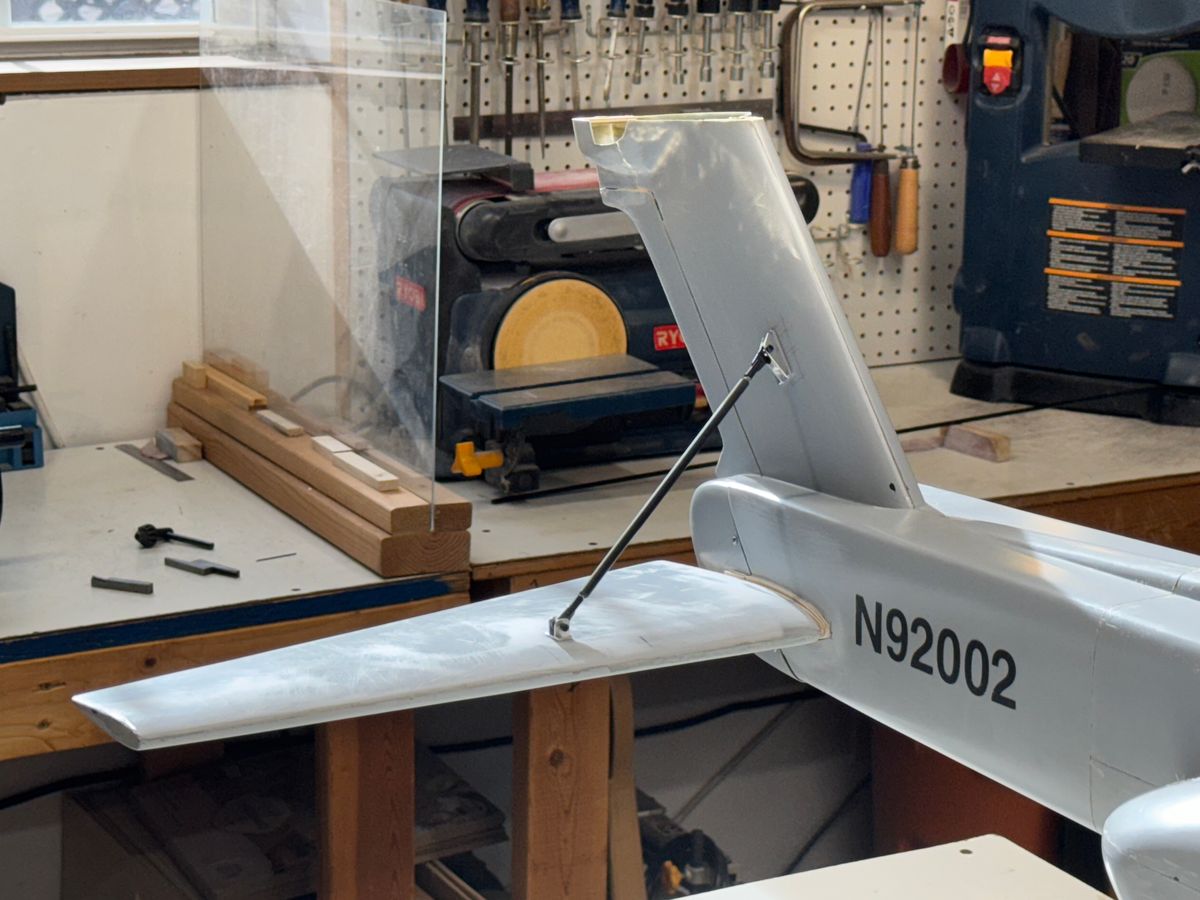
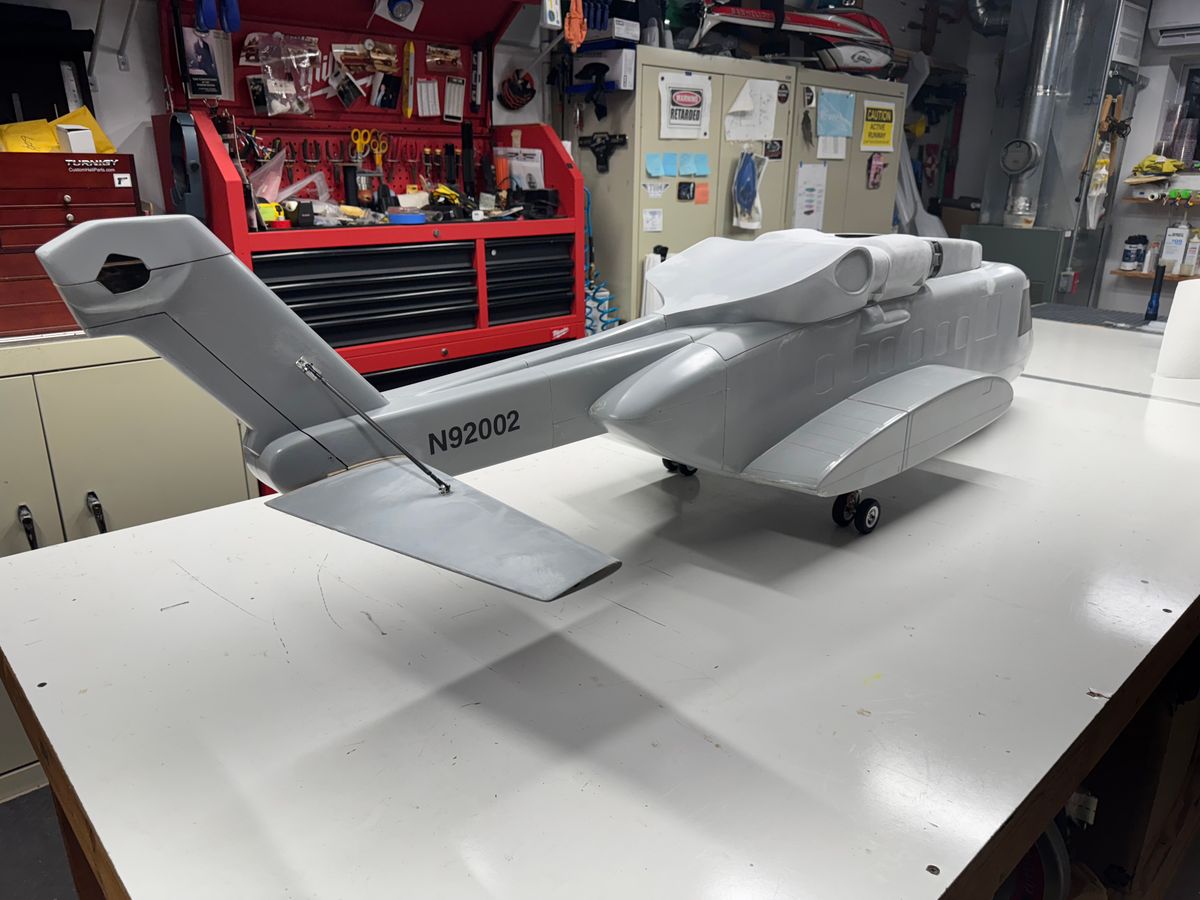
I did finish up the stab mount. I machined the strut attach mounts which came out pretty nice. The strut itself was made from a 4mm carbon fiber tube, some cut down 3mm link rods to fit the ID of the tube and some threaded rod ball ends. A touch of JB Weld and good to go.
The stab slides over two pins into tubes and it held on with 3 each 3mm X 8mm magnets. That along with the strut makes for a very solid mounting. The stab being 1 layer each of 2, 4, and 6oz cloth it is very light. The mechanics are silky smooth so vibration should not be an issue.
This puts this build in the position to start the fuse prep work for primer. I cleaned up my work bench and this weekend will start rough sanding bond joints on the fuse. I have sanded some of the upper cowls but now time to attack the main fuse.
Thanks for dropping by and hope all my friends have a Very Merry Christmas and Happy New Year.
Some progress pics.
B
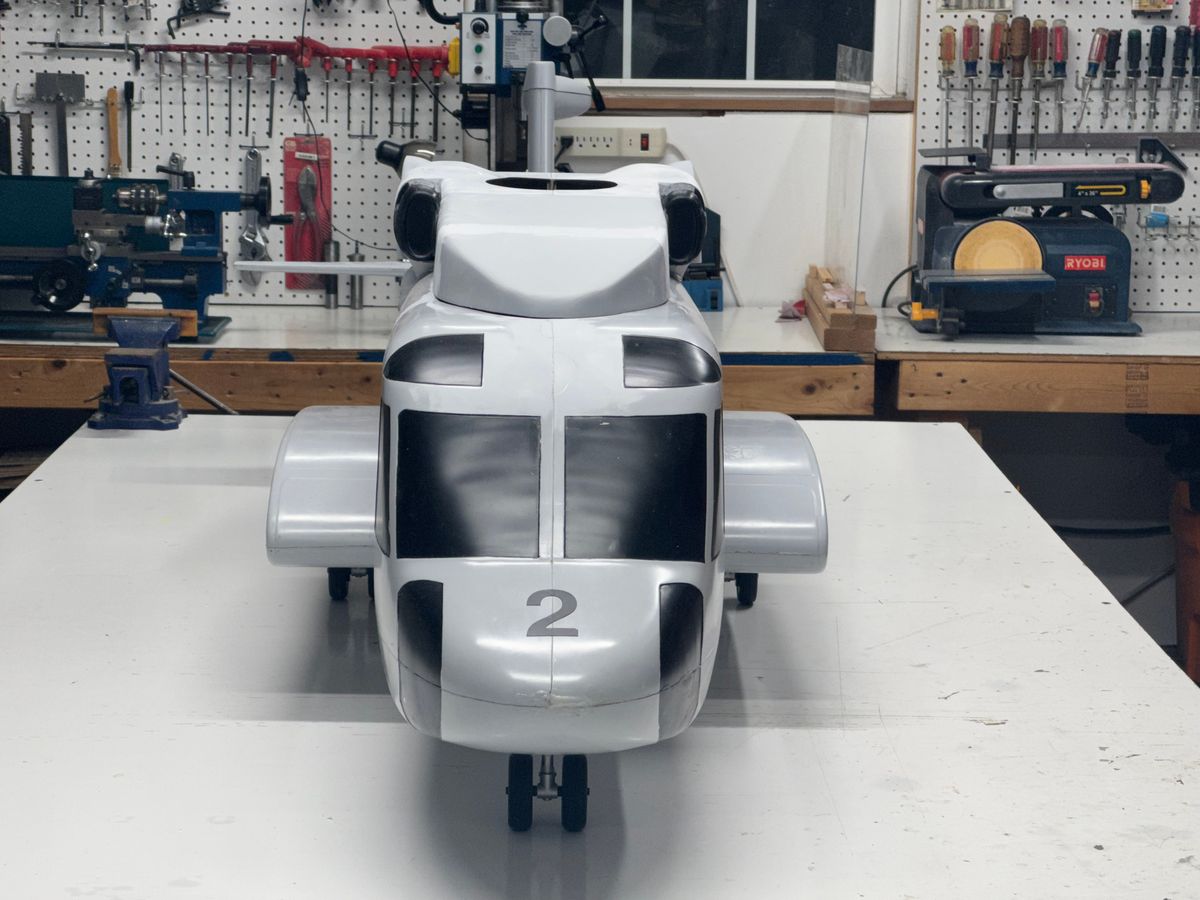
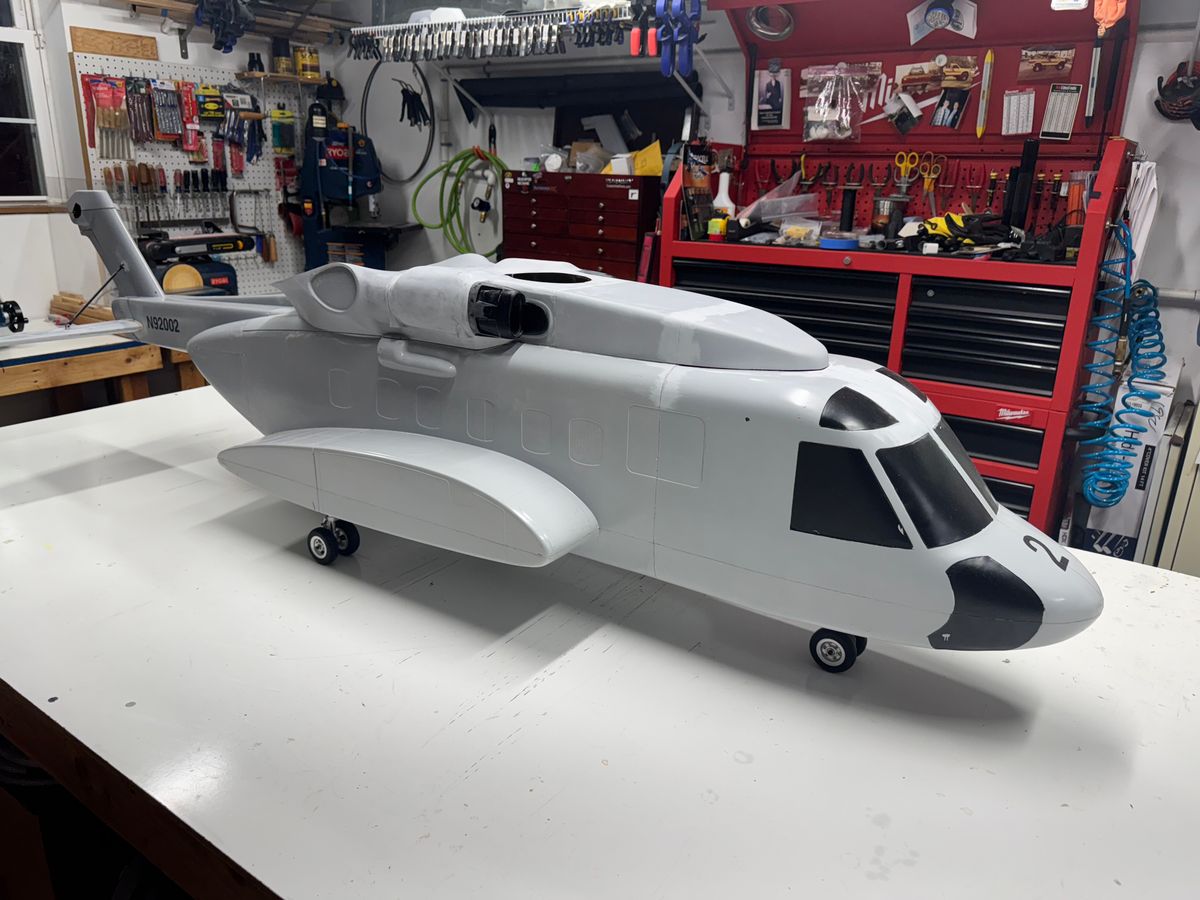
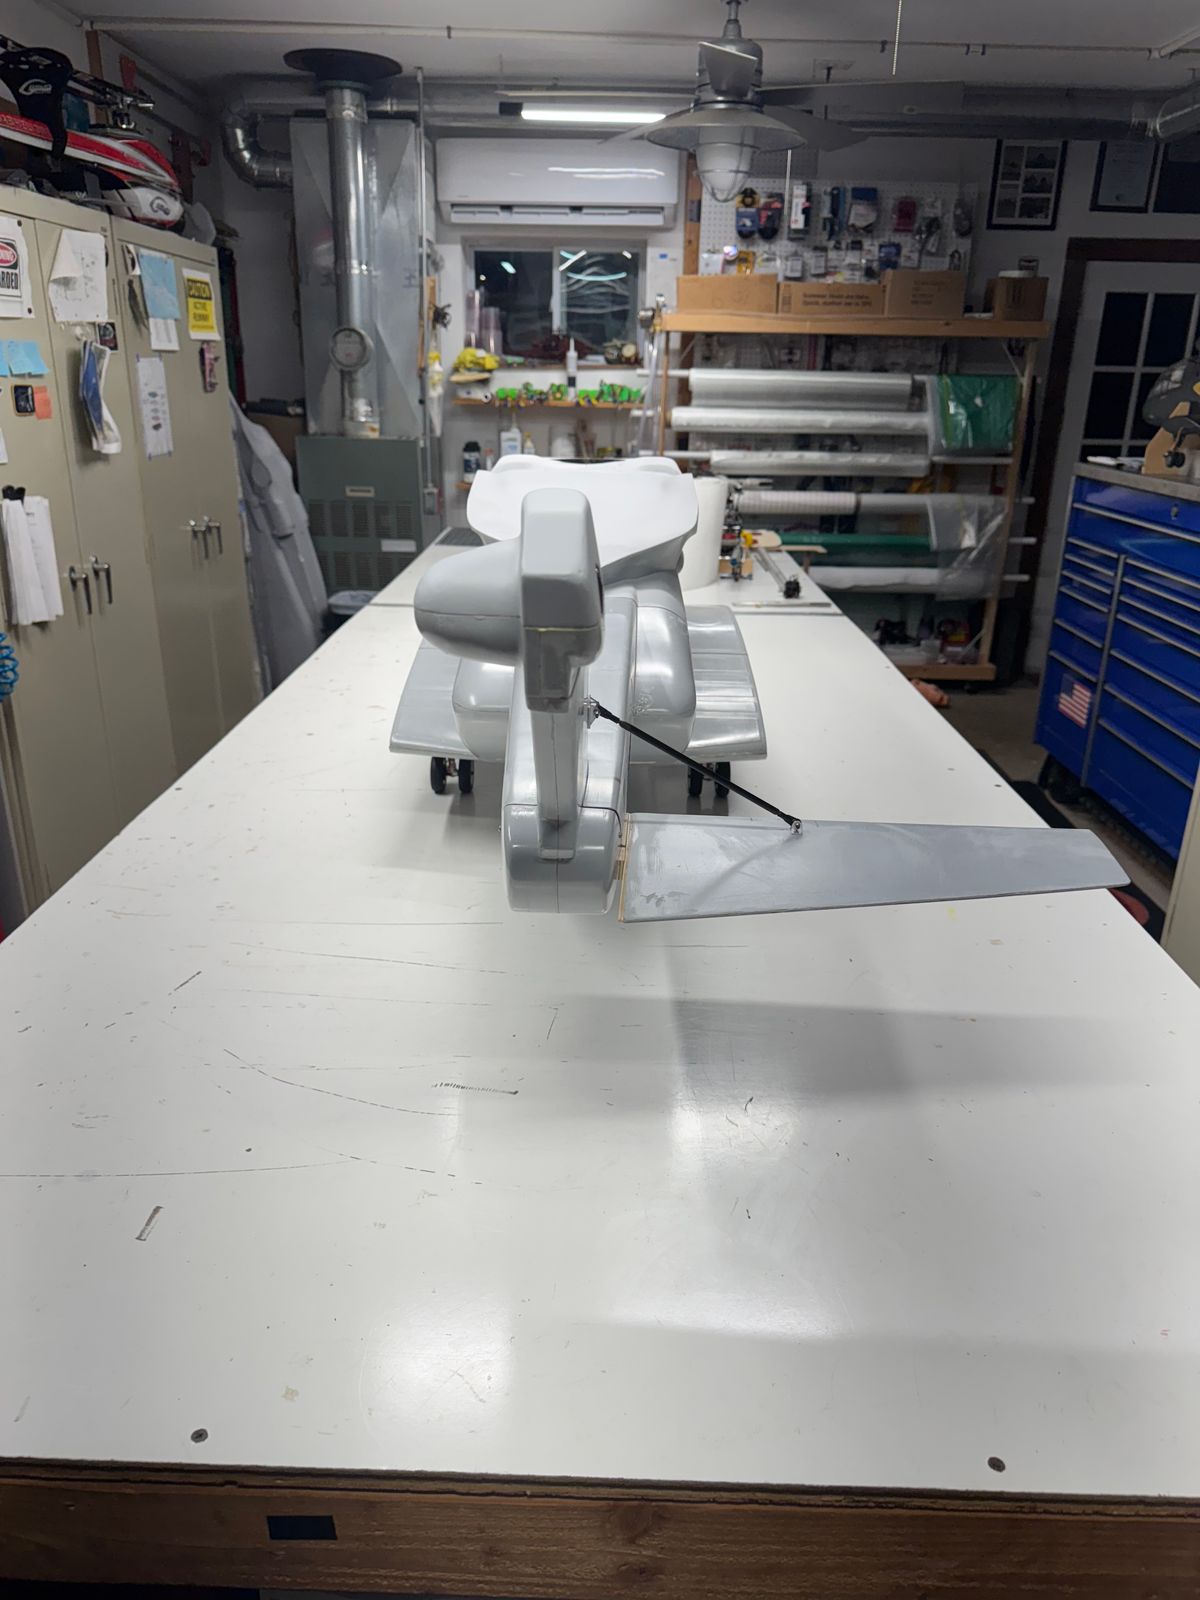
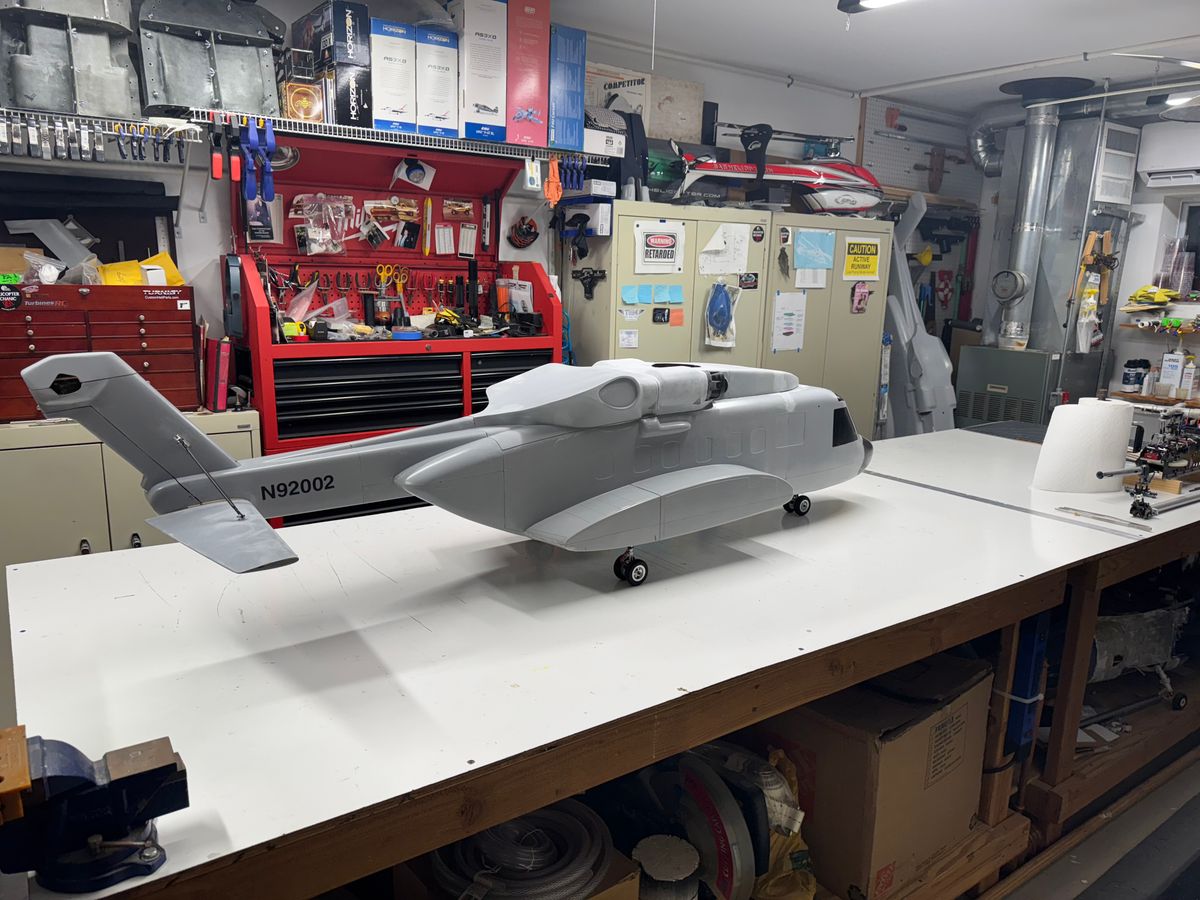
Umphrey’s McGee.
Happy new year my fellow modelers.
Holidays, lack of interest, you know
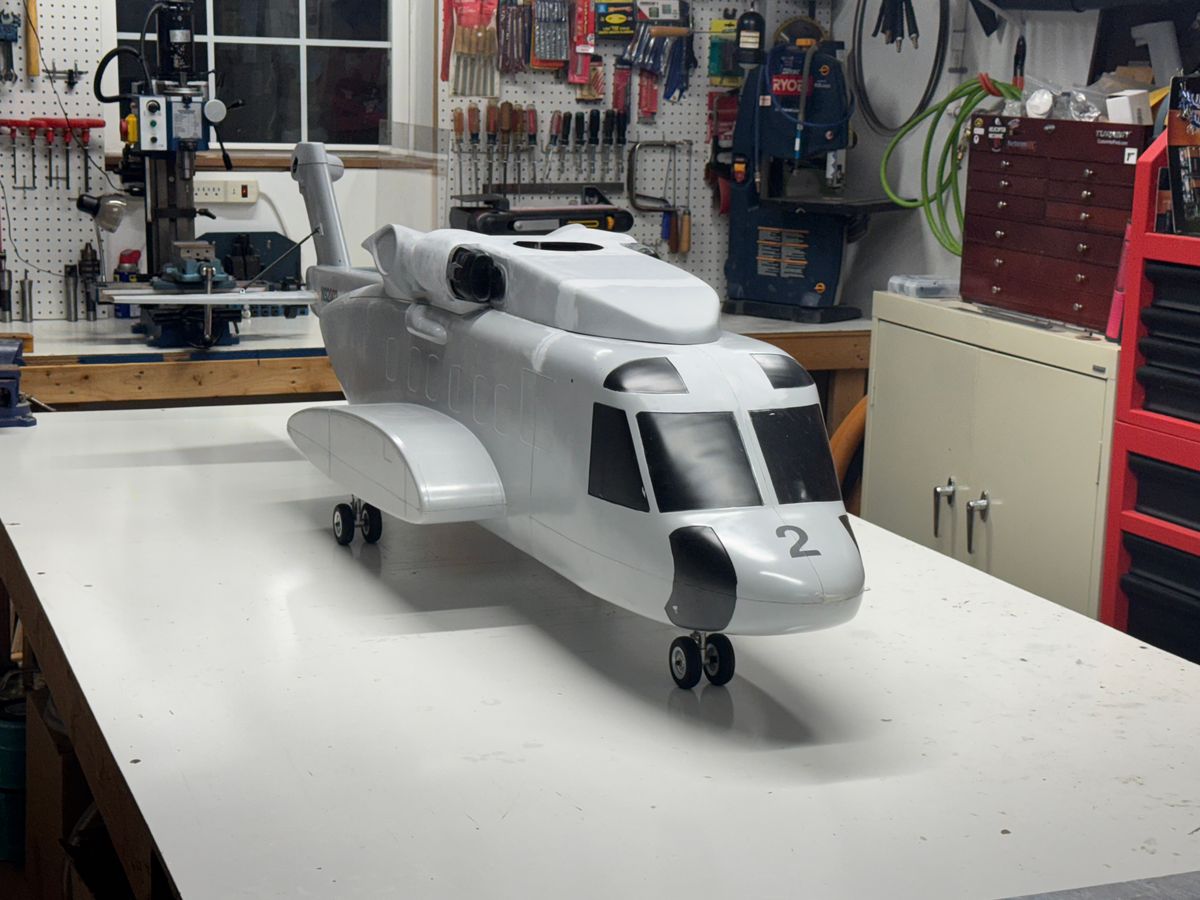
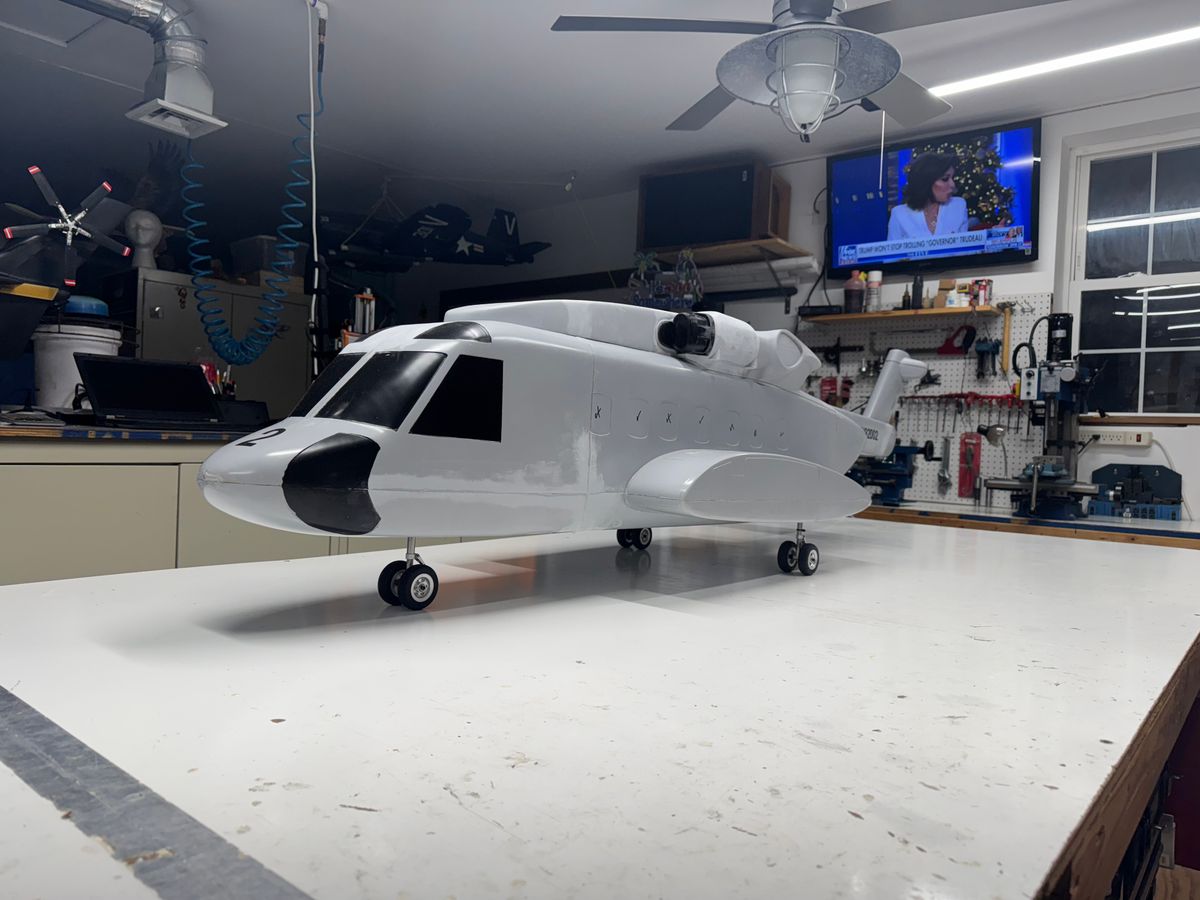
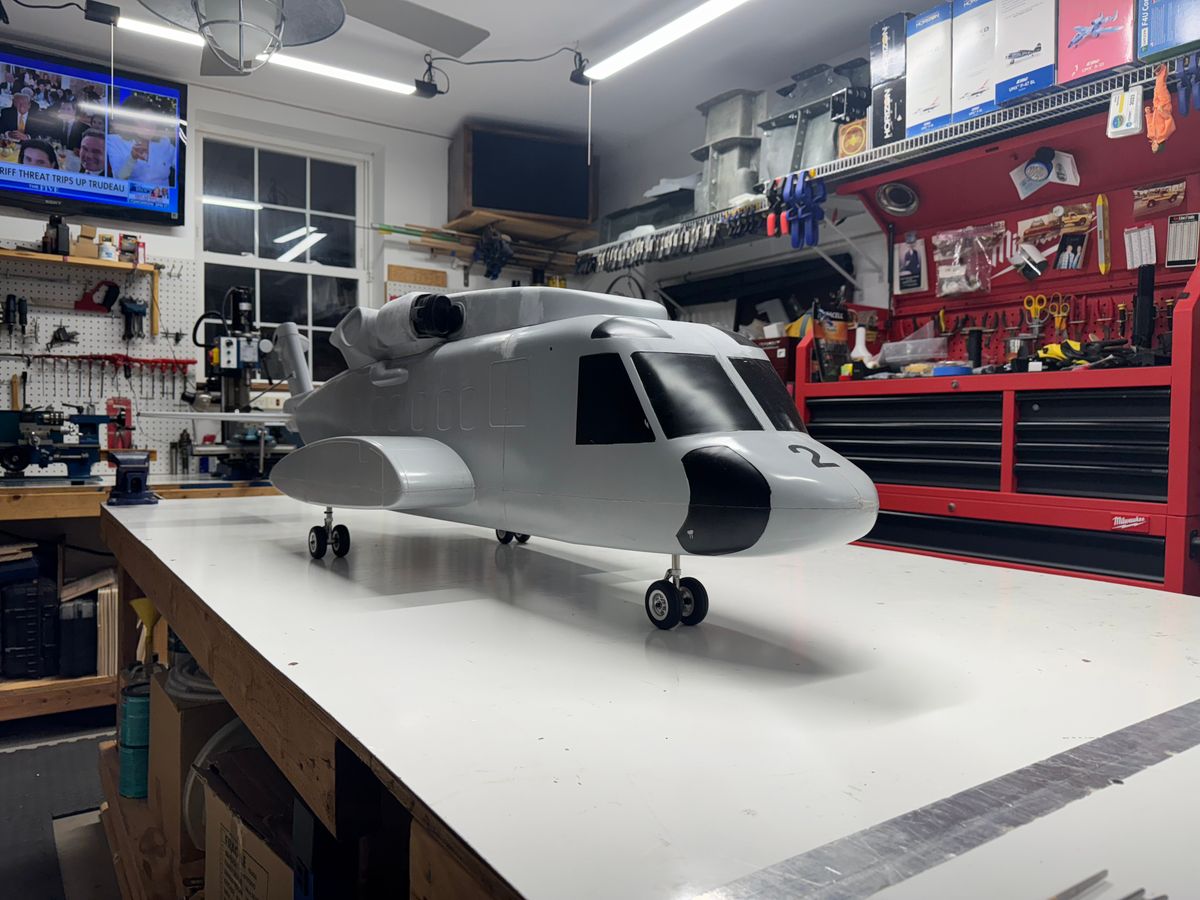
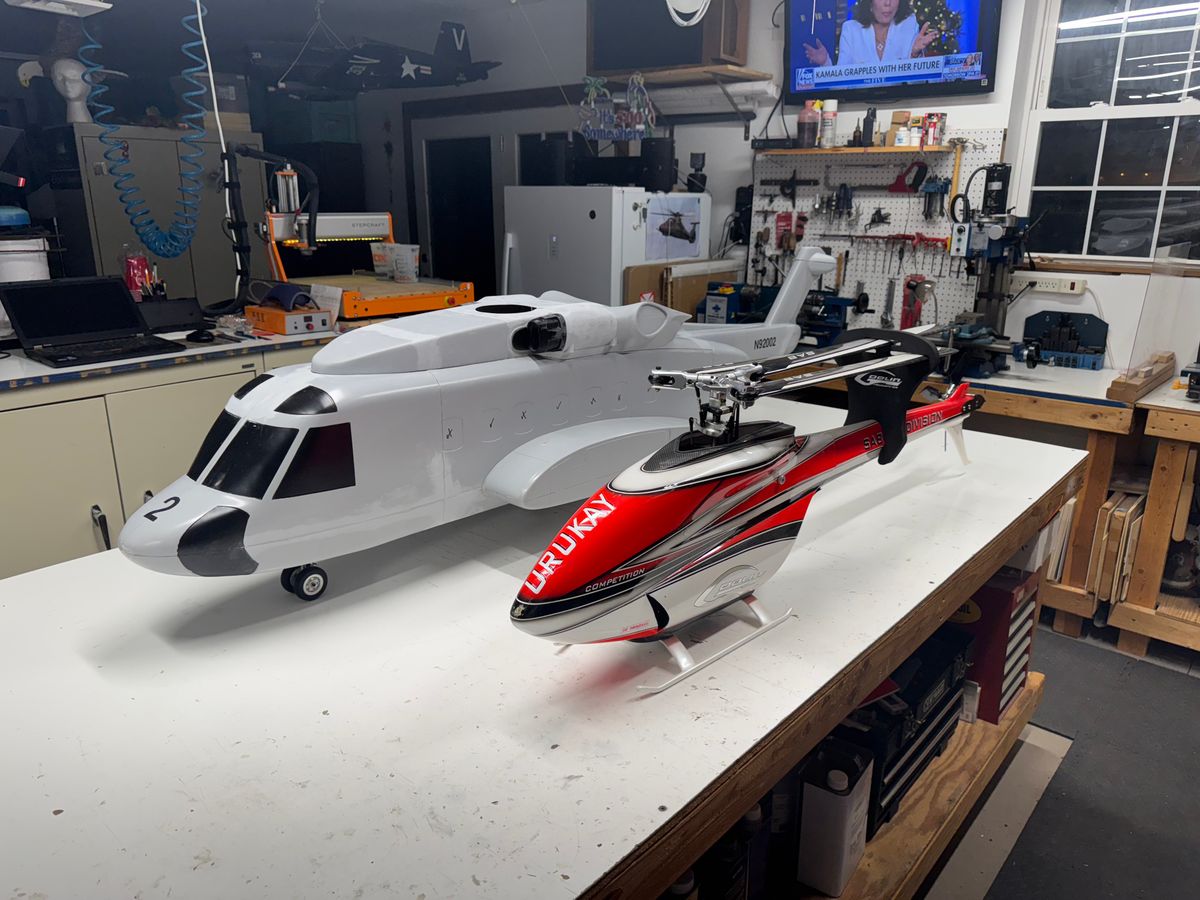
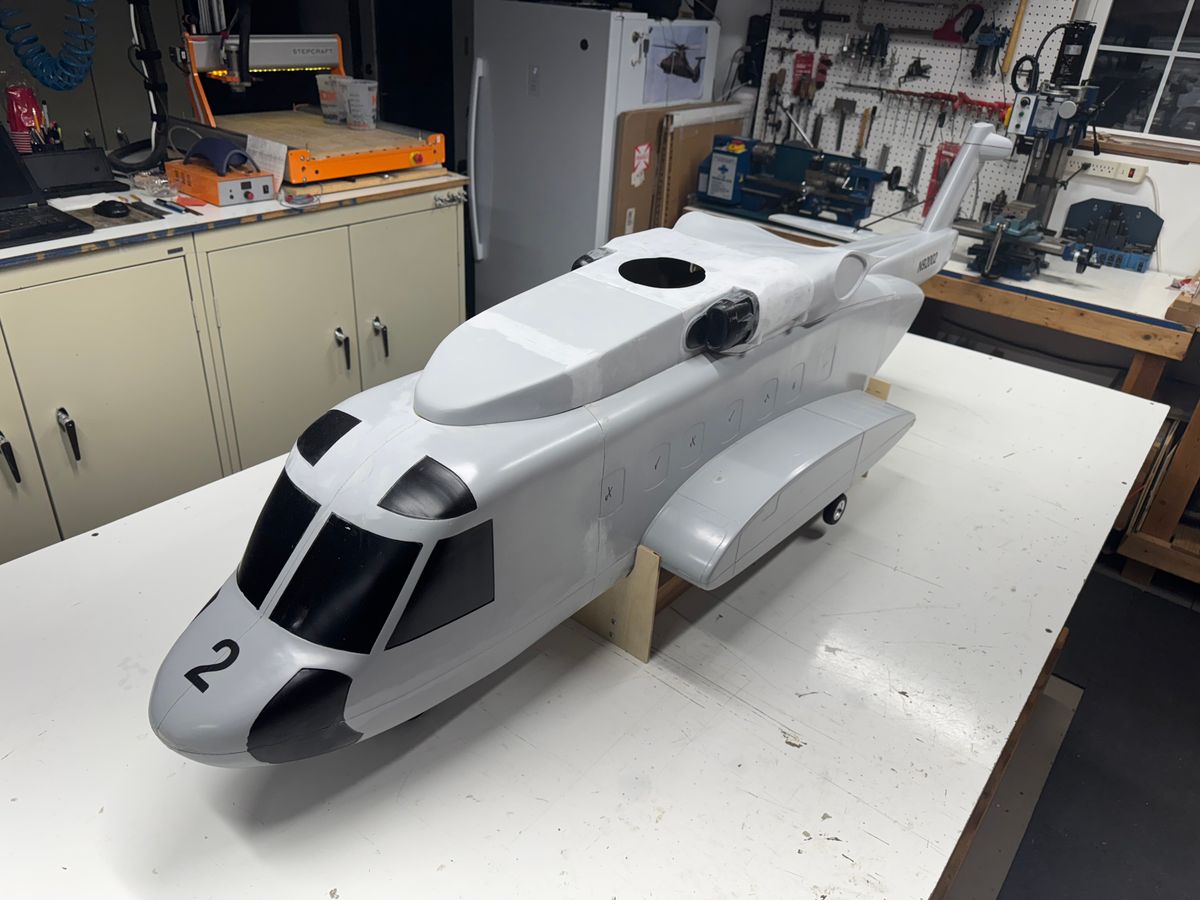
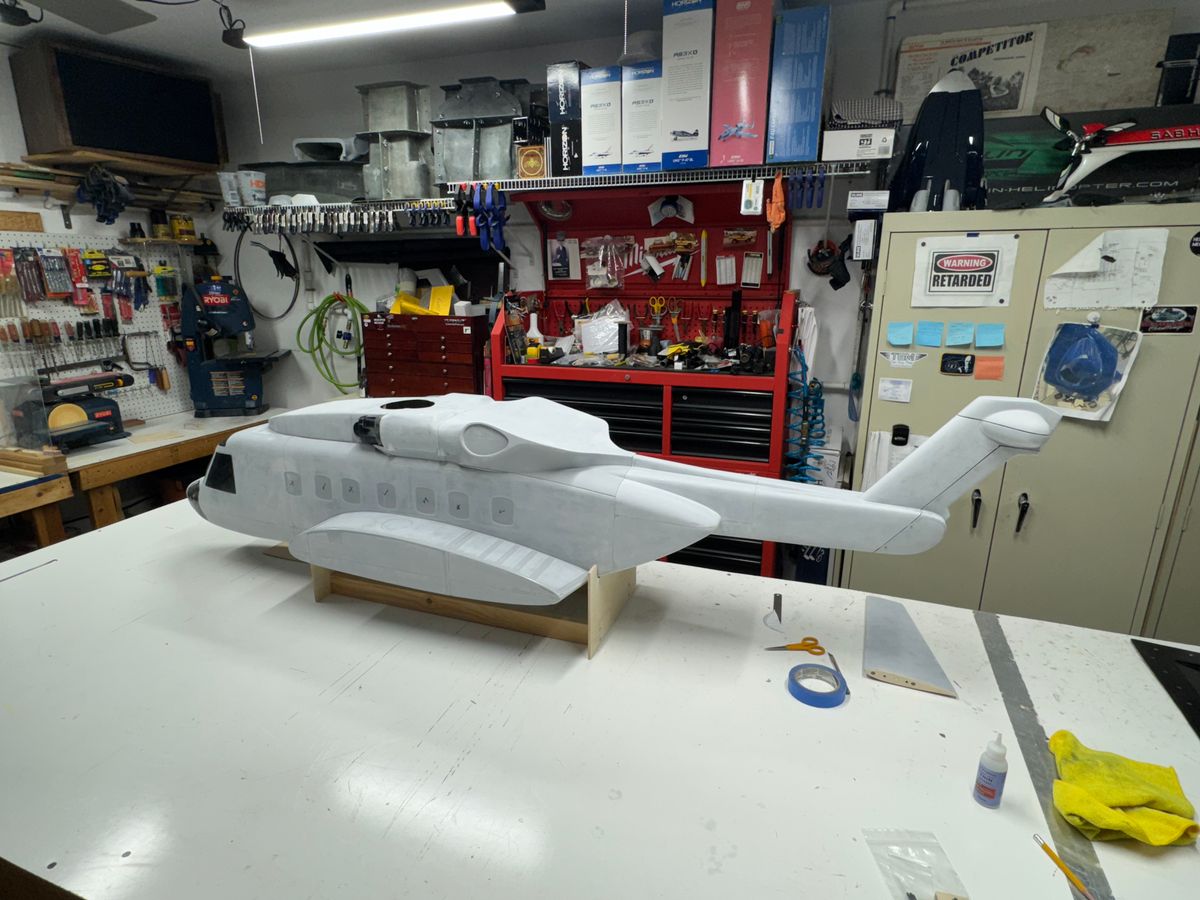
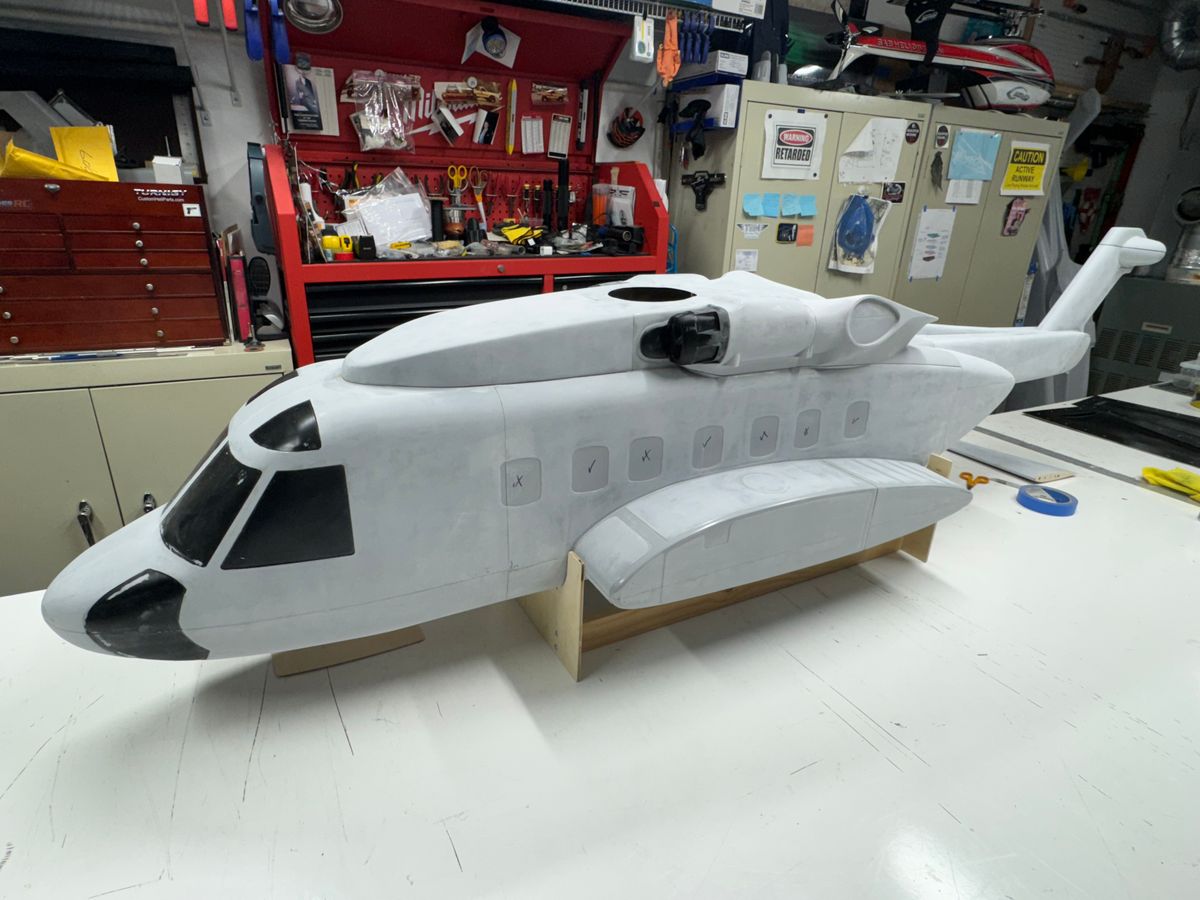
Working to get fuse in primer. Looking good thus far.
A few pics.
Who is Umphrey"s?
UIH,
B
“Omnific”
Hello my fellow modelers,
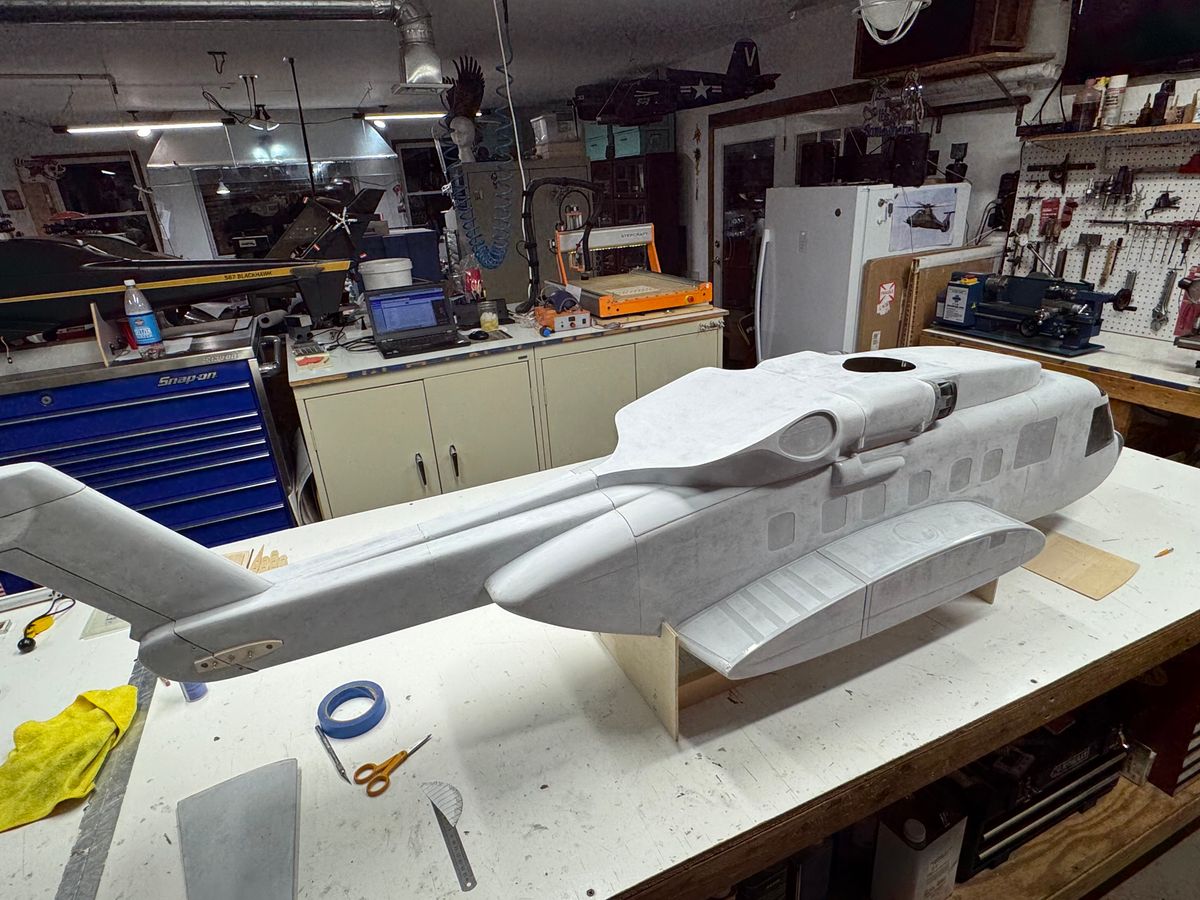
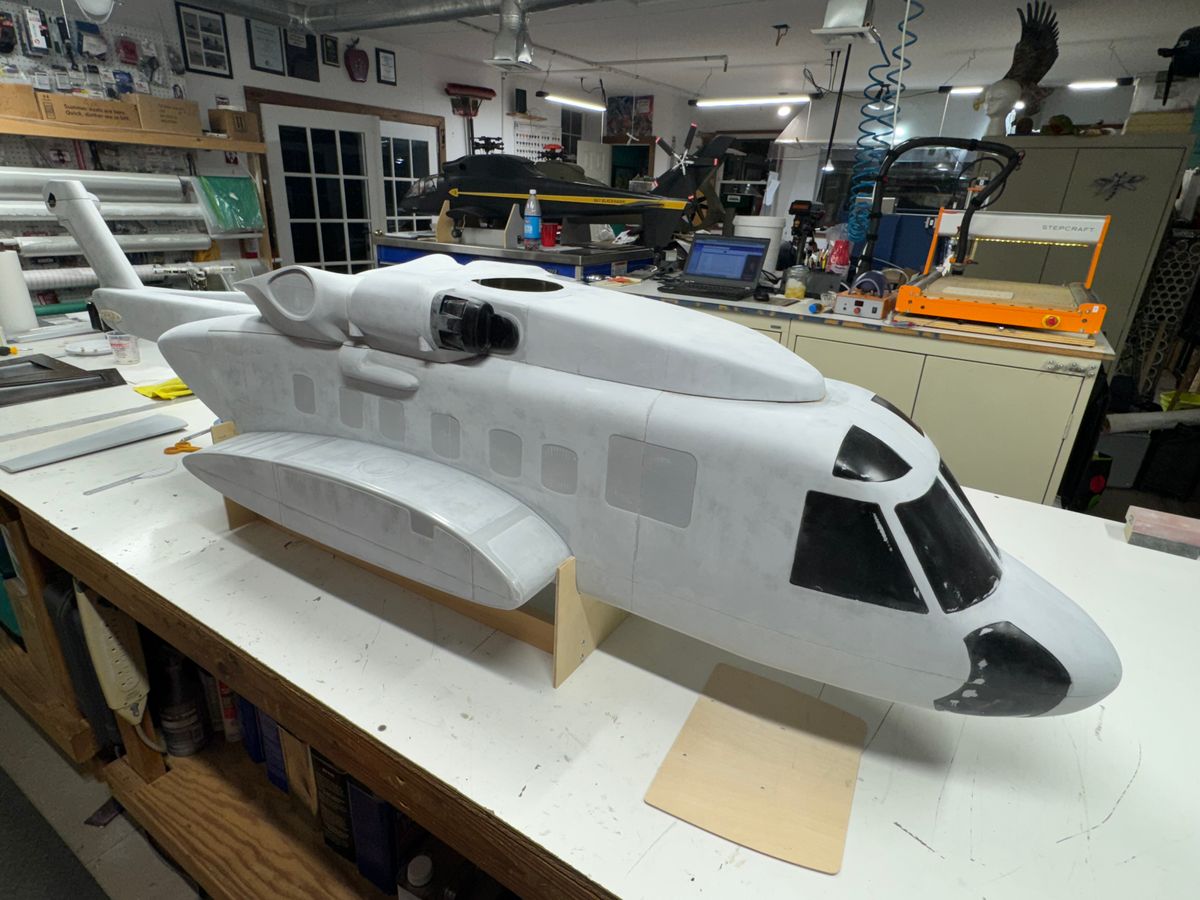
Winter is closing down here in Zoo York. LI in general. Not a lot of snow but some cold weather. No fly= shop time.
Been pressing on with minor detail work. Adding panels to the upper cowls, getting the stab supports machined and installed cutting hole where holes need to be and just making shitz keeping this project moving forward.
Here are a bunch of pics of where this project is to date. I will have it at HS along with my RAH-66 Comanche and S-67 Blackhawk for a great weeken of flying with old and new friends.
Some photos of the progress.
UIH
B.
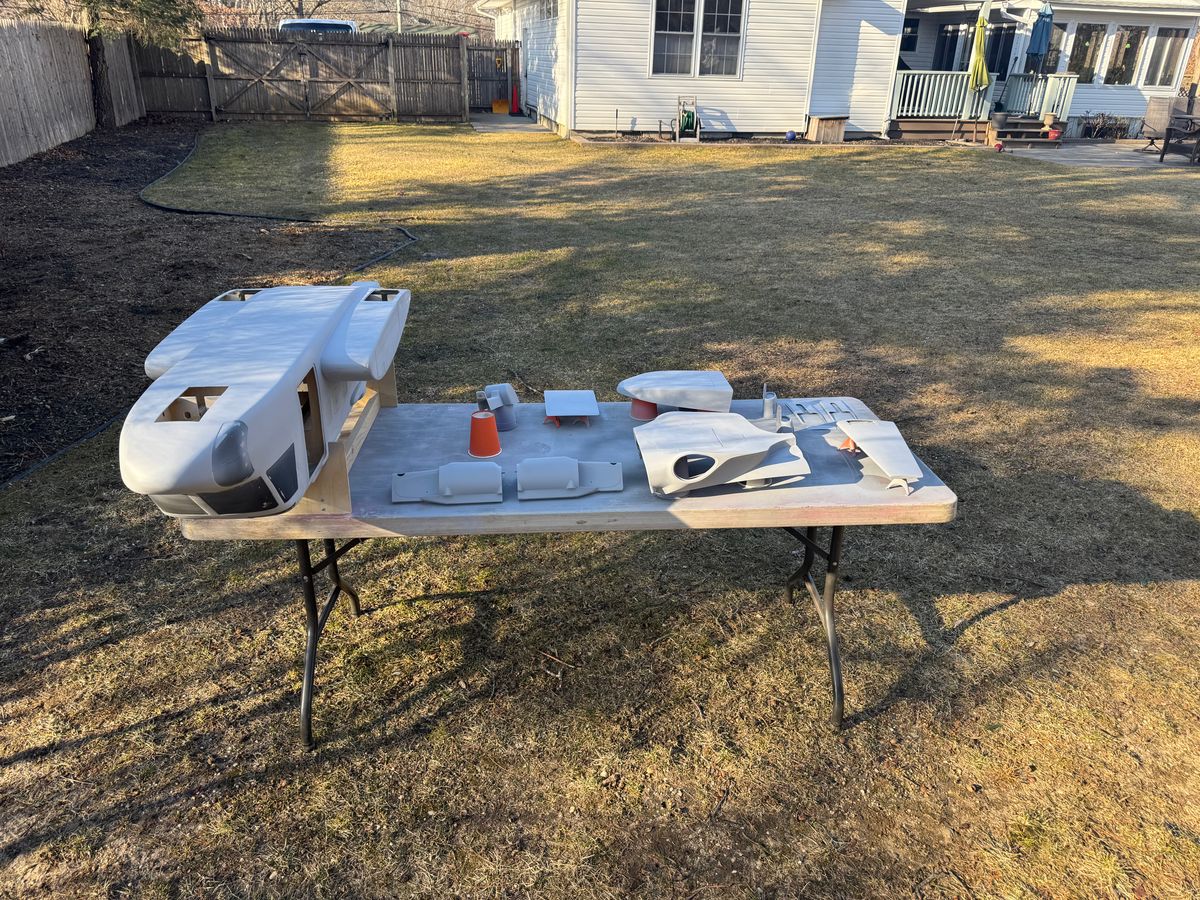
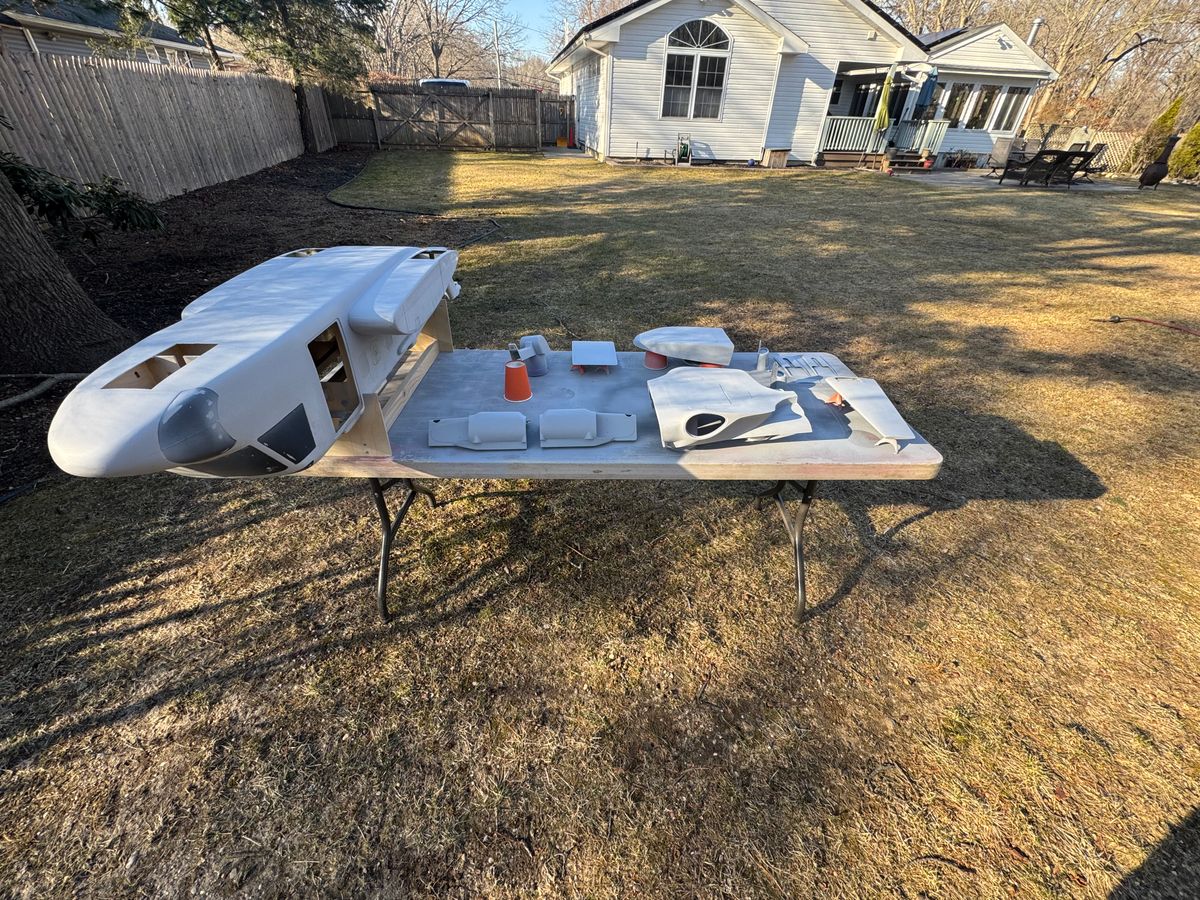
Finally a nice day
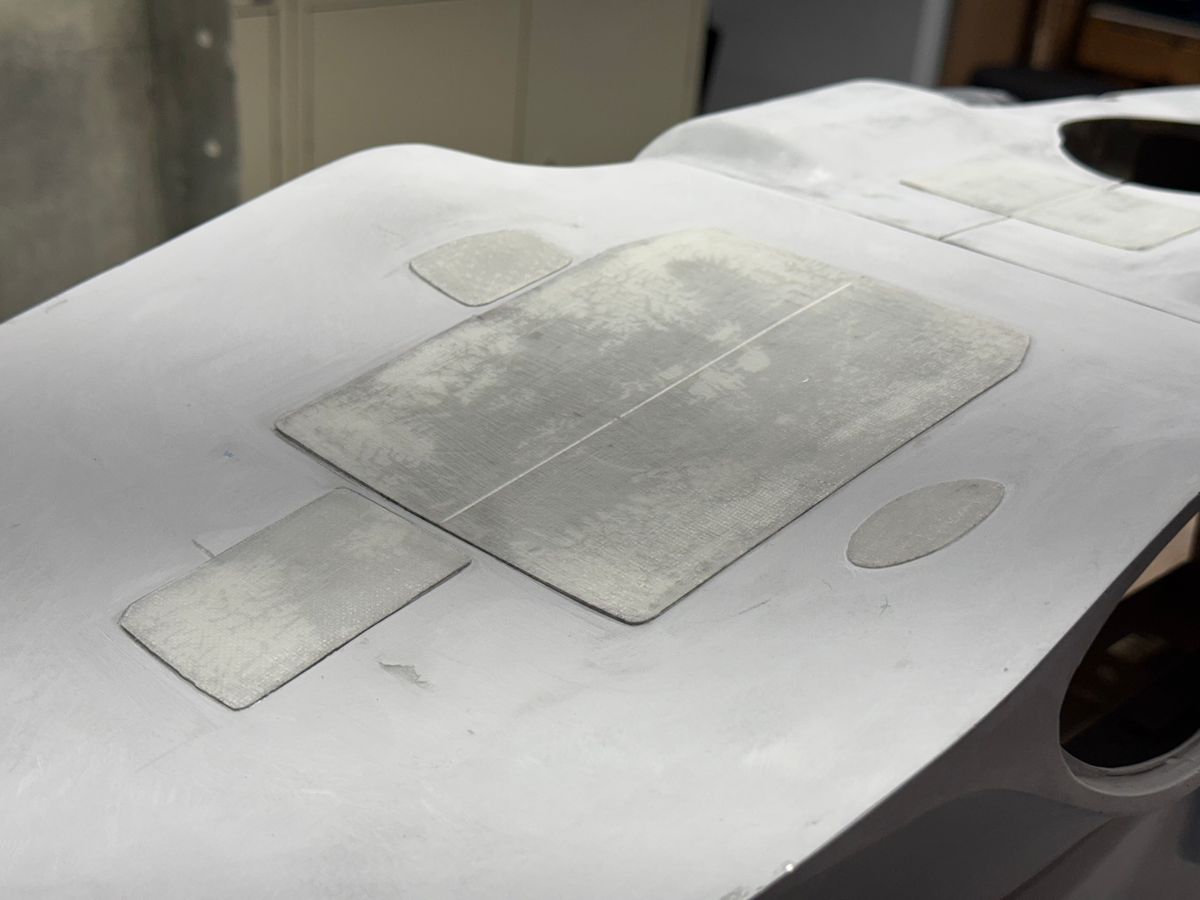
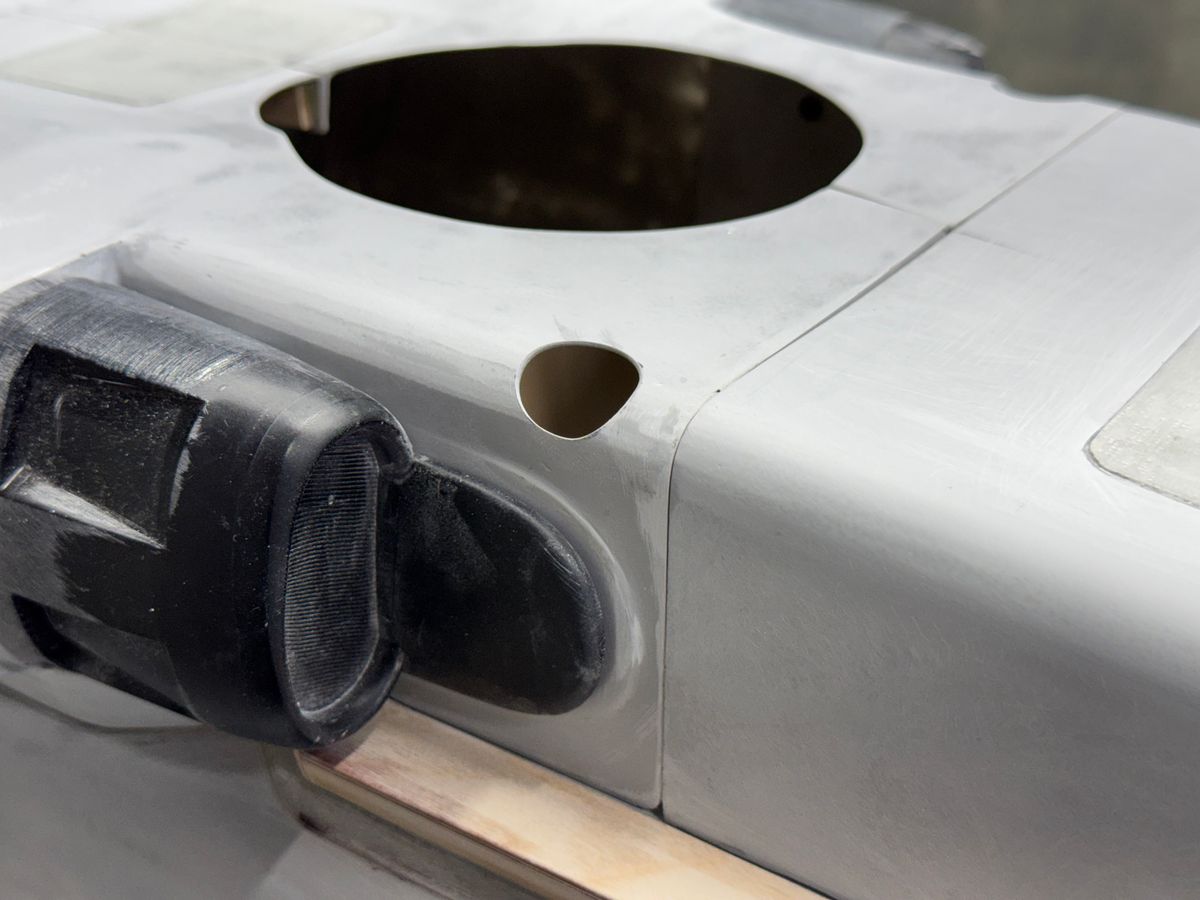
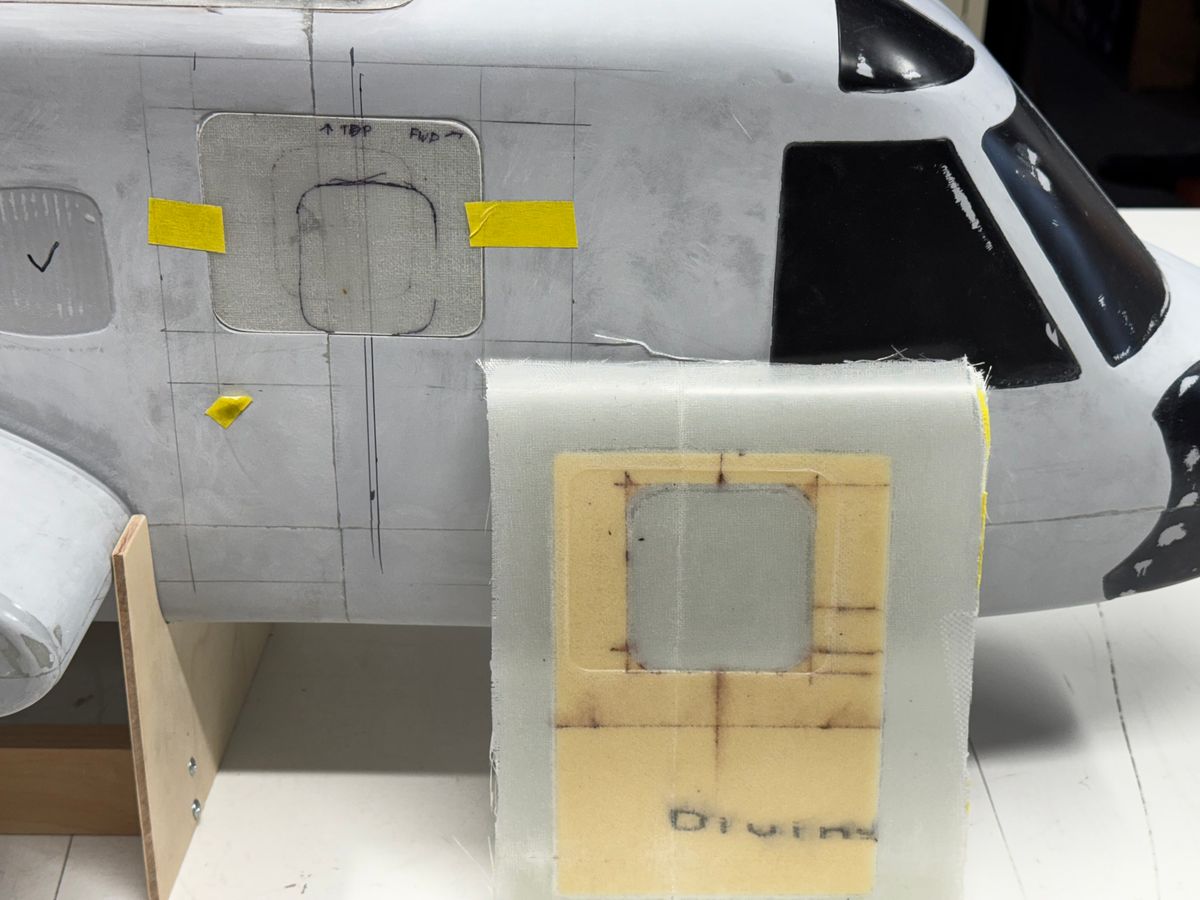
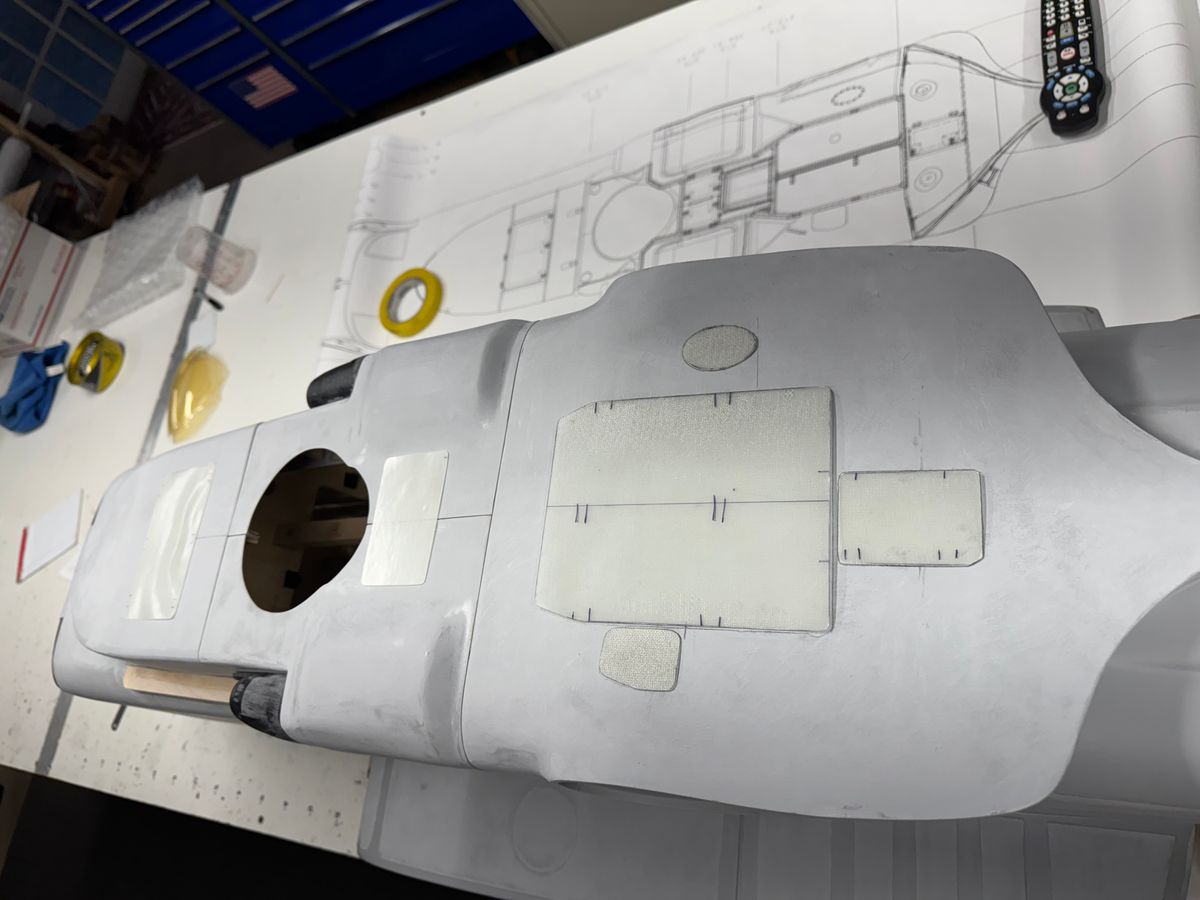
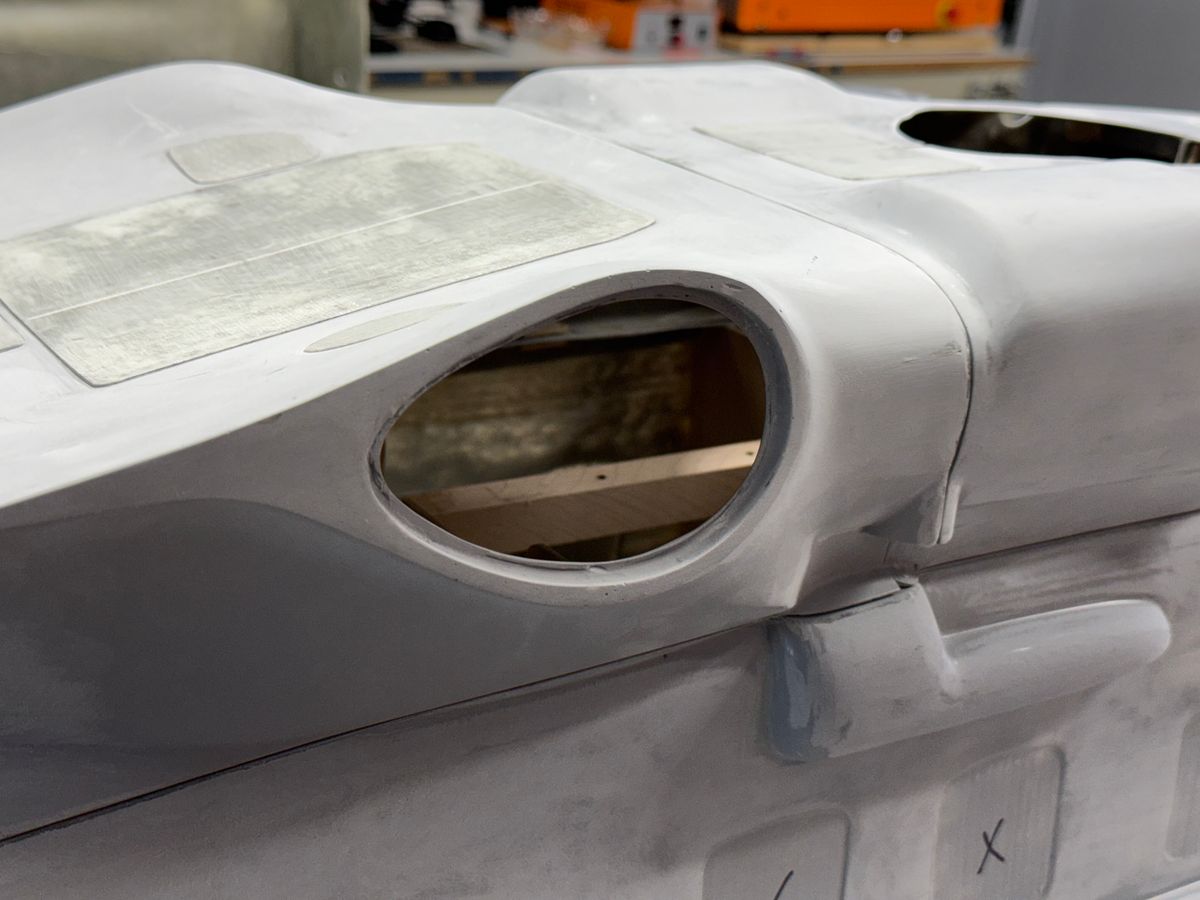
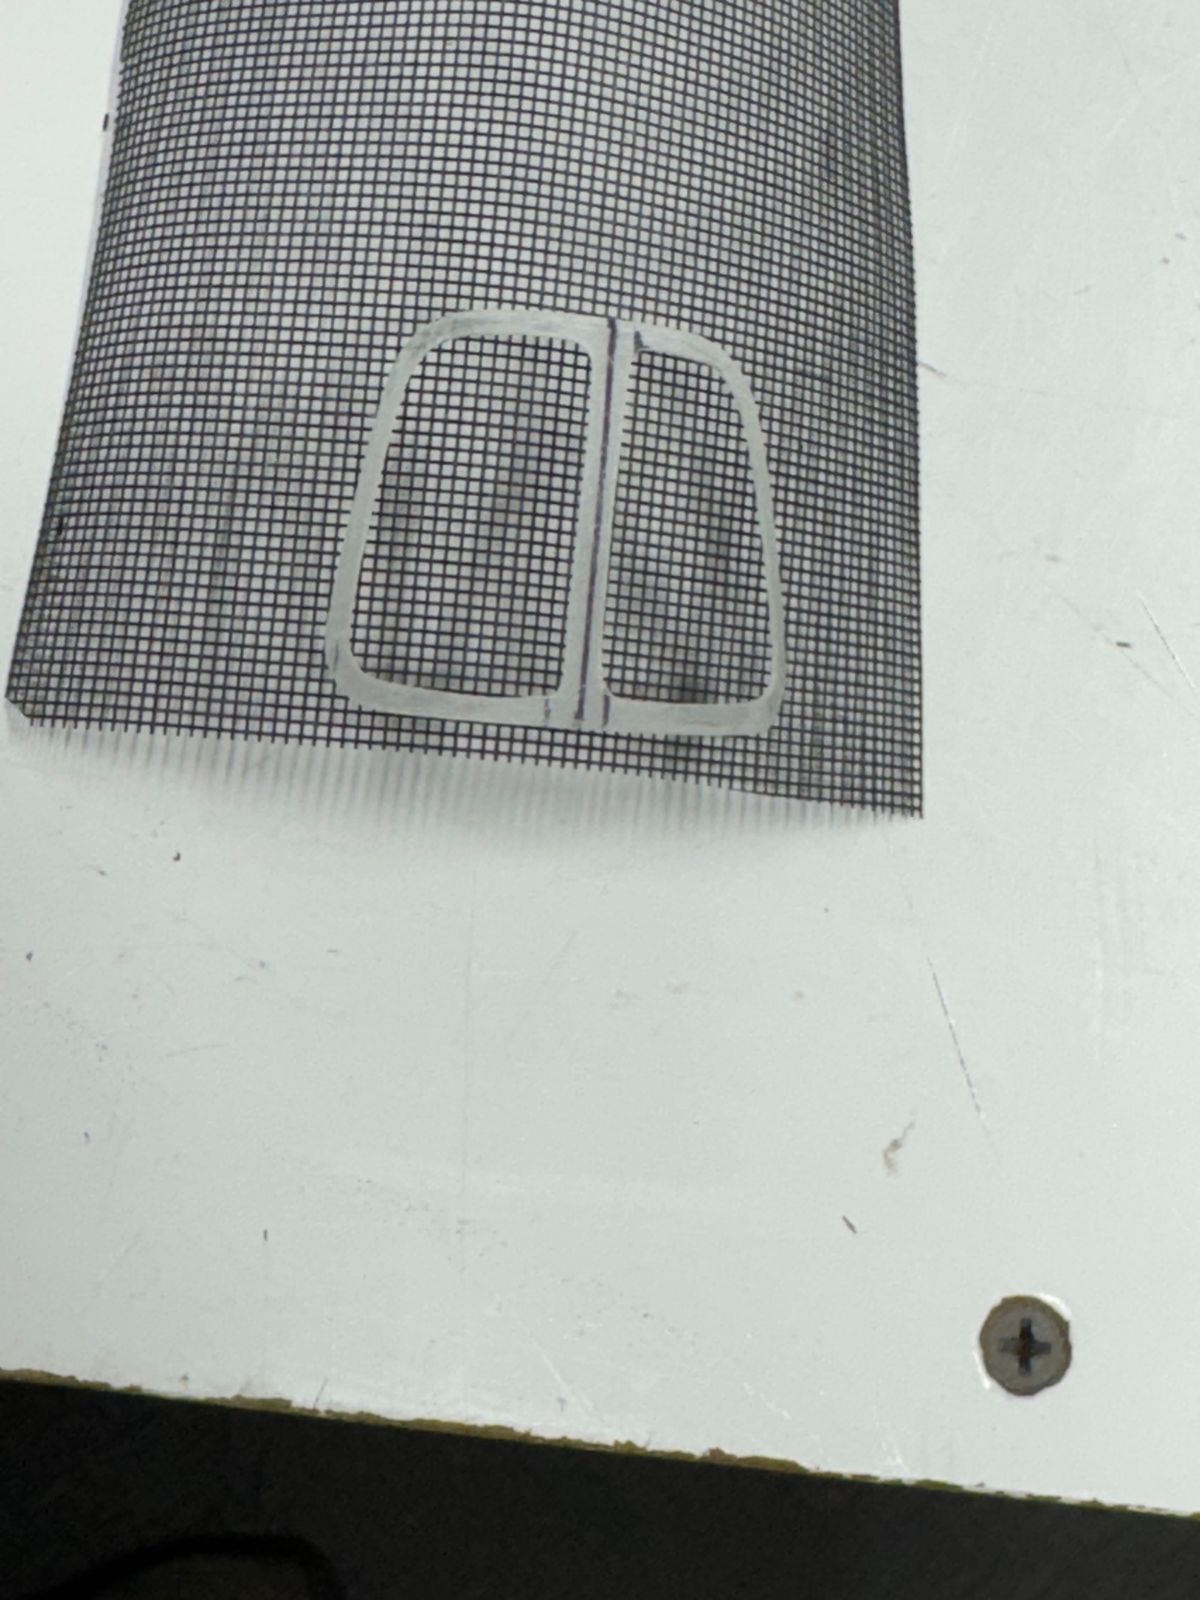
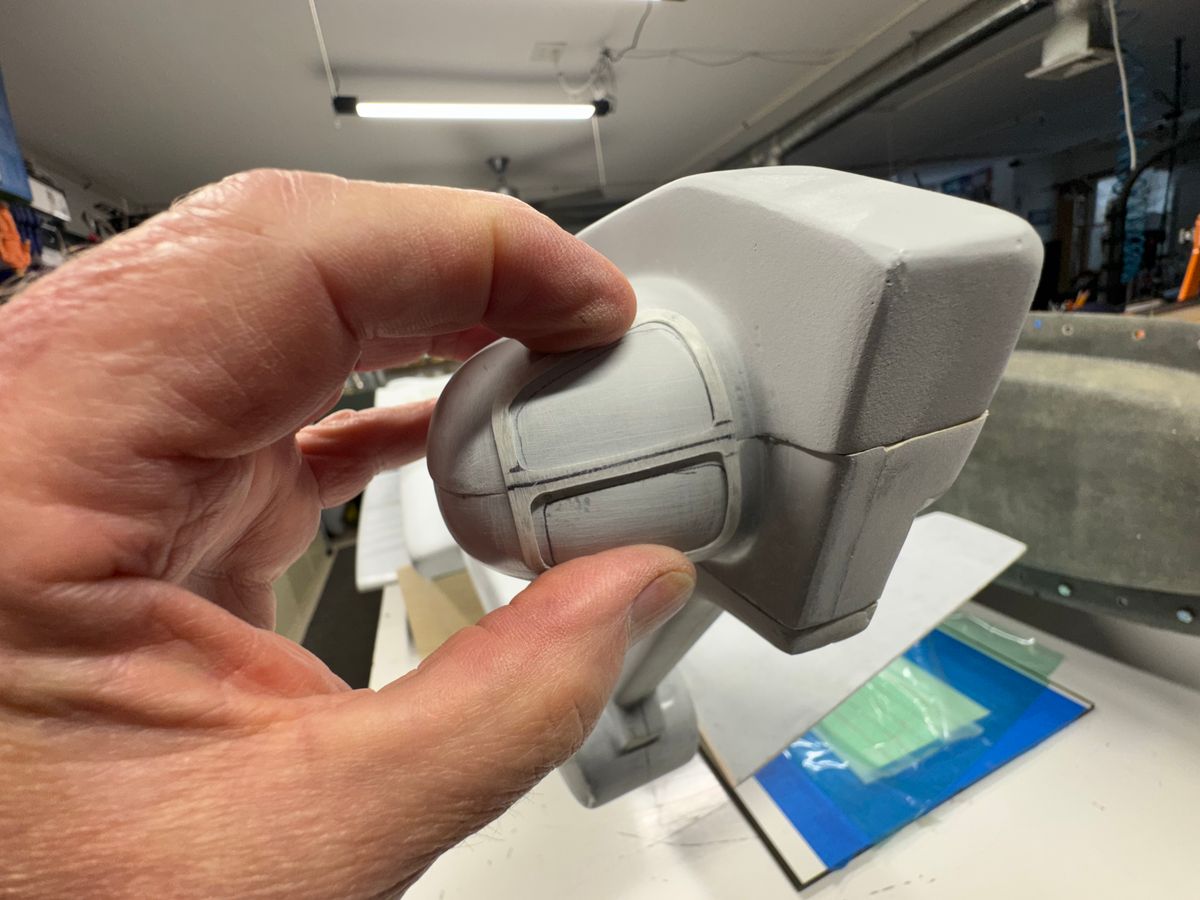
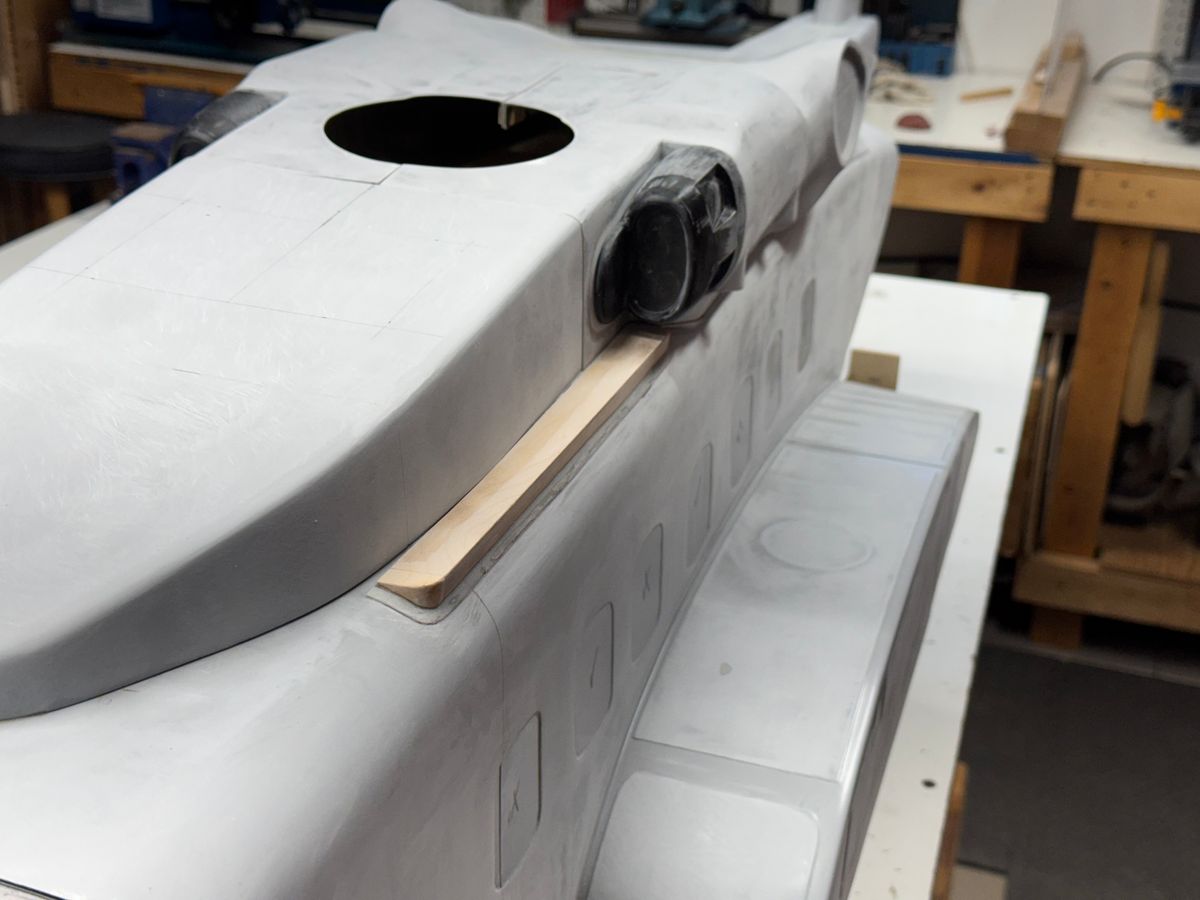
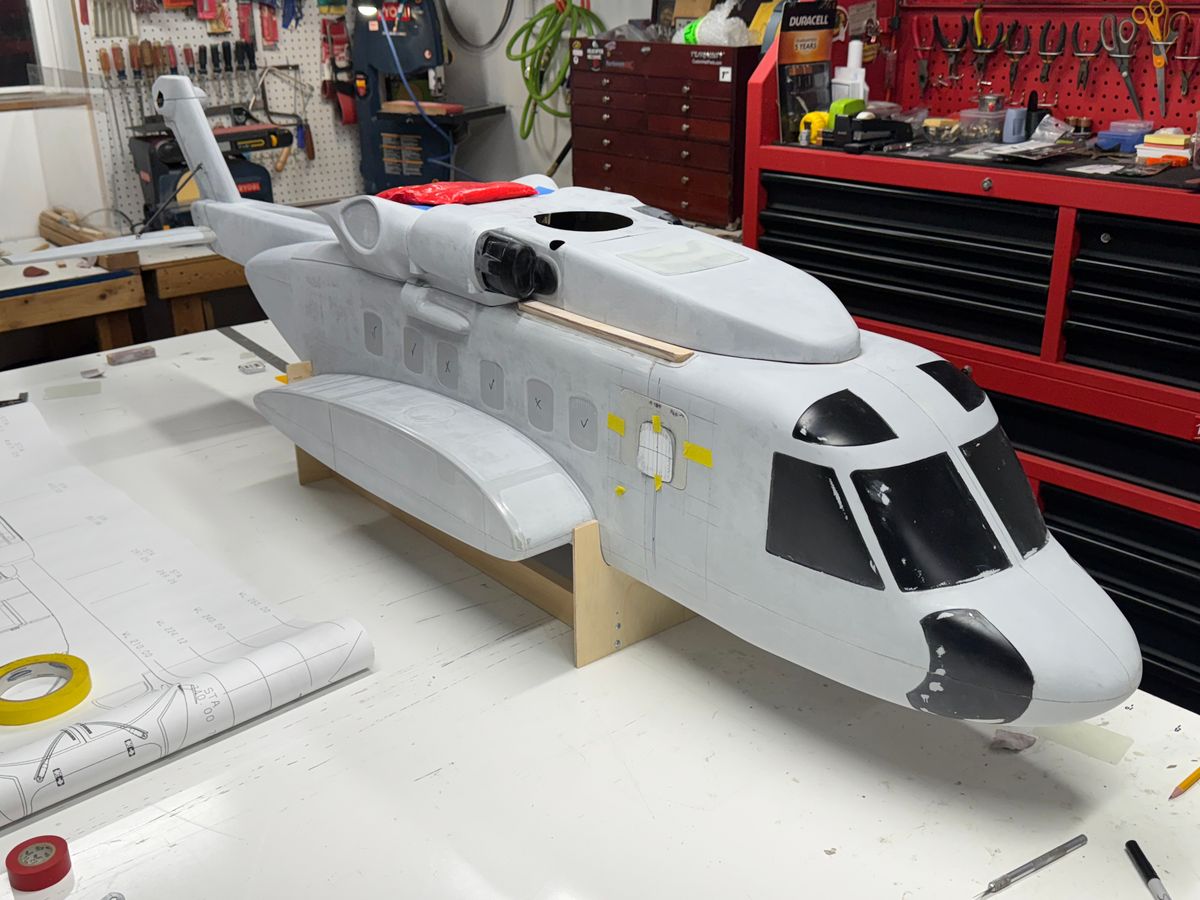
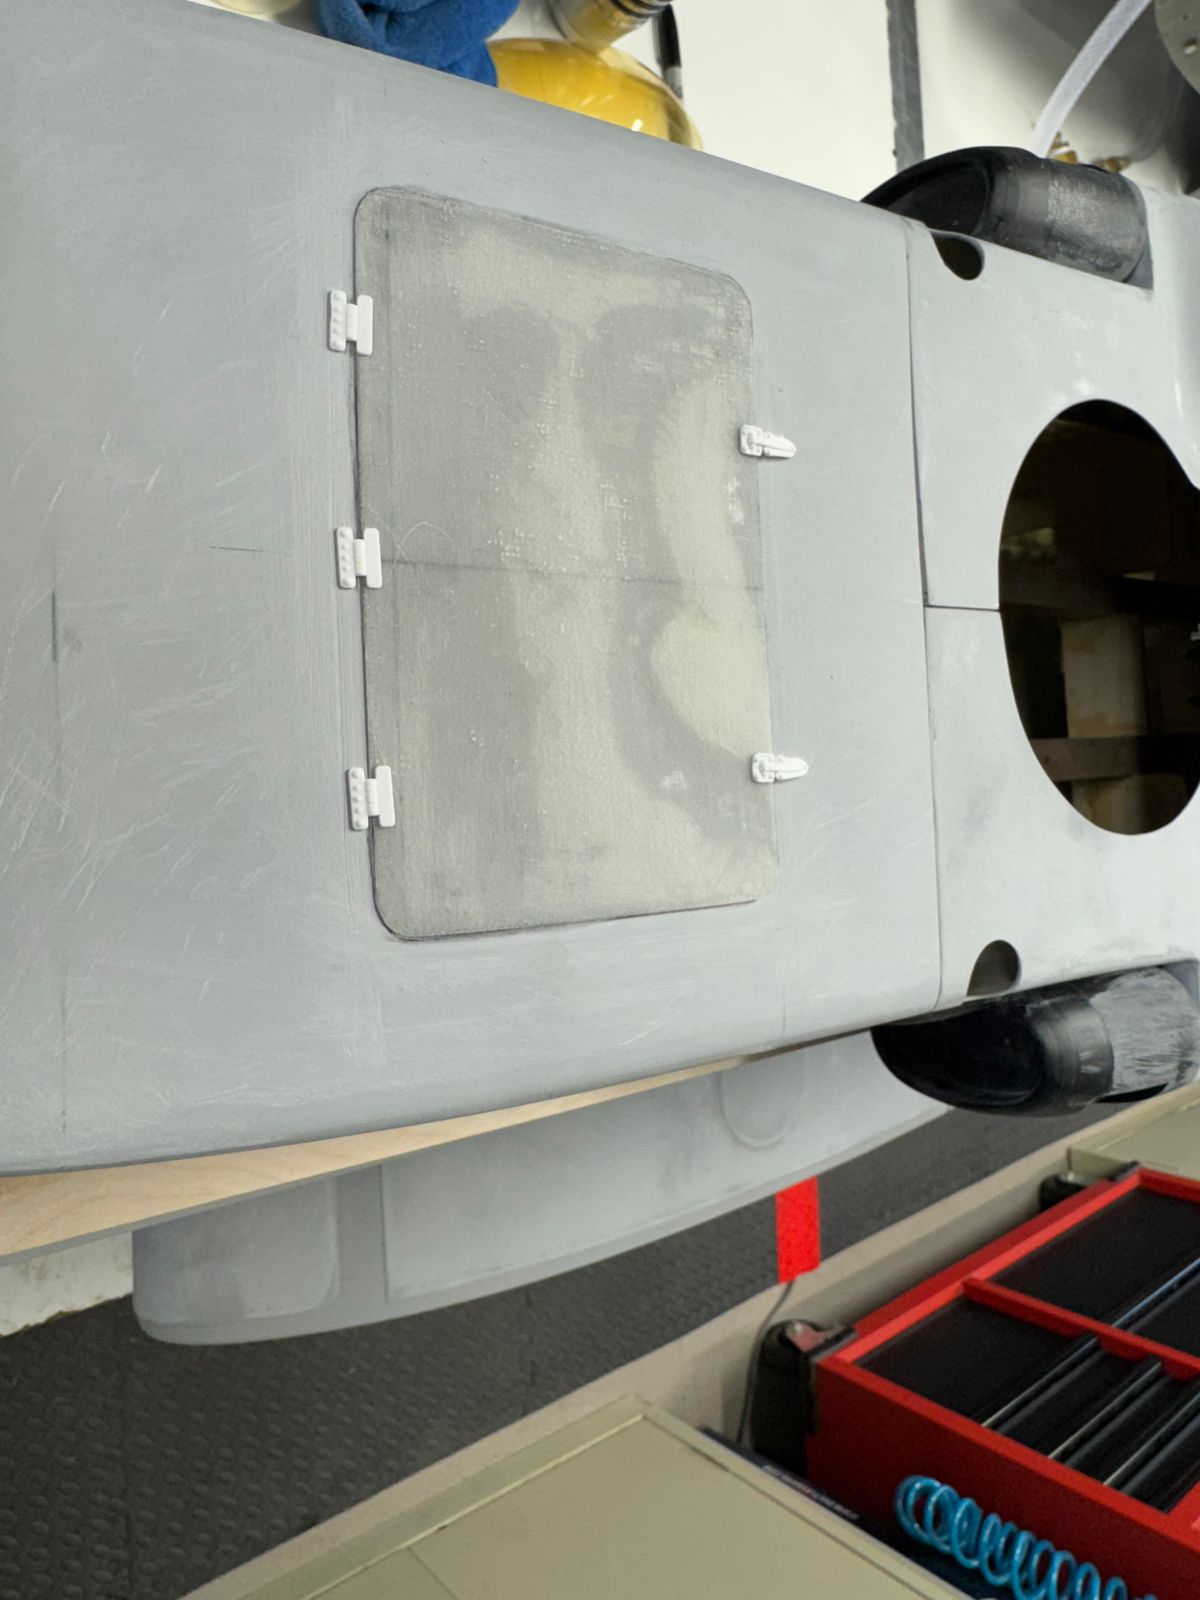
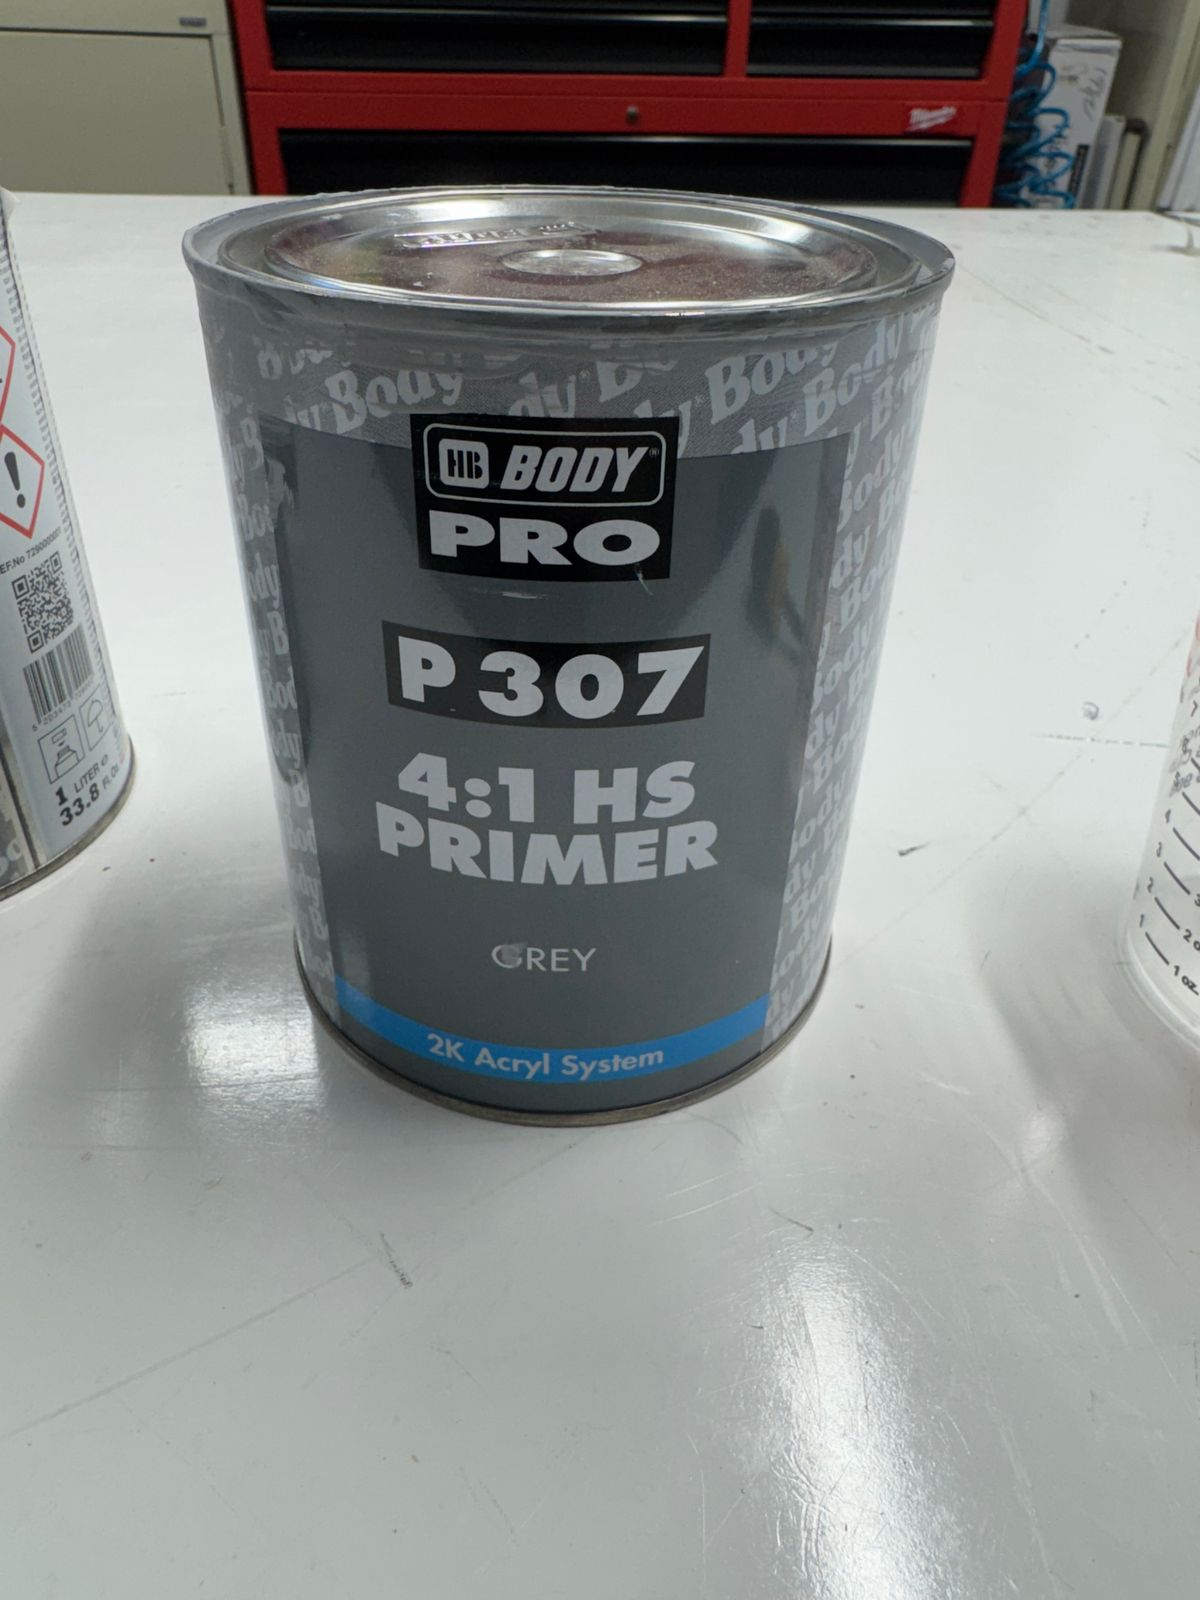
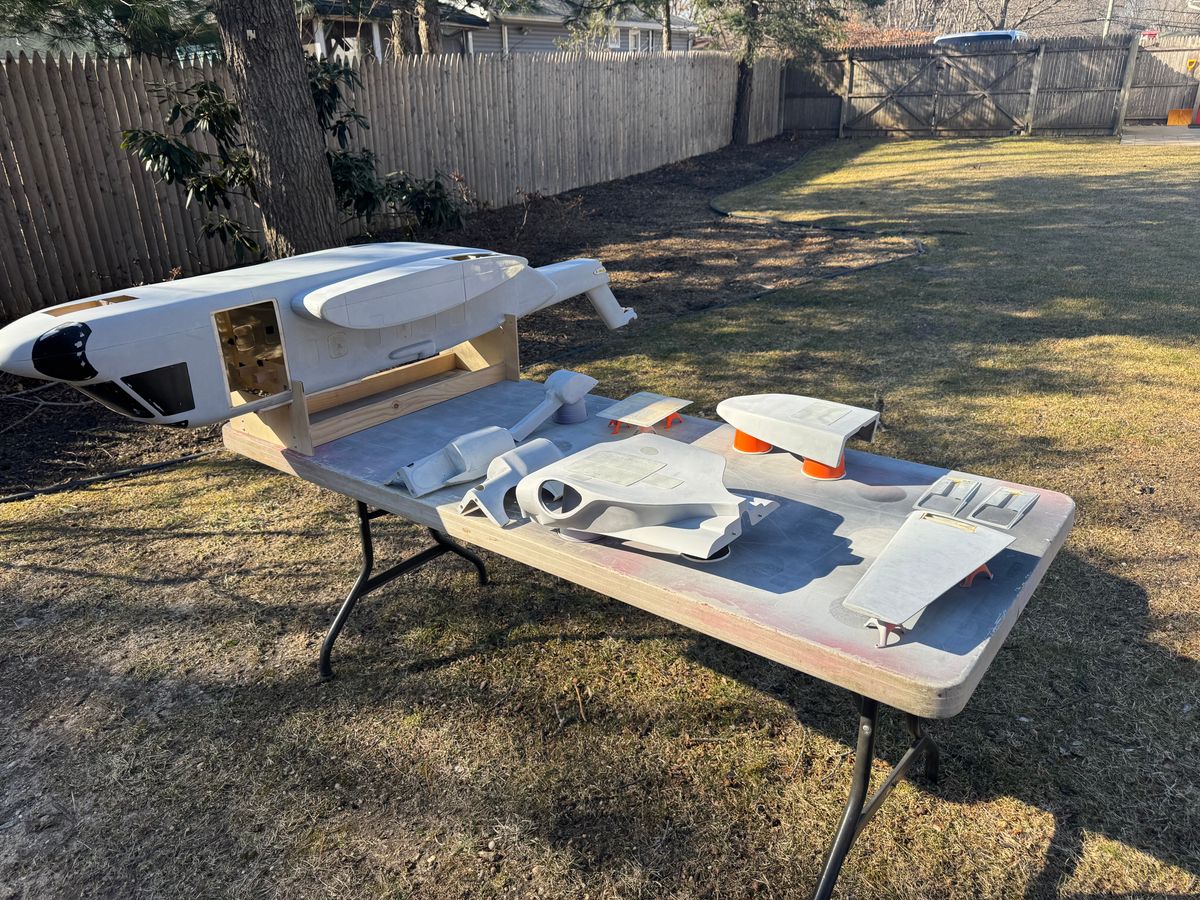
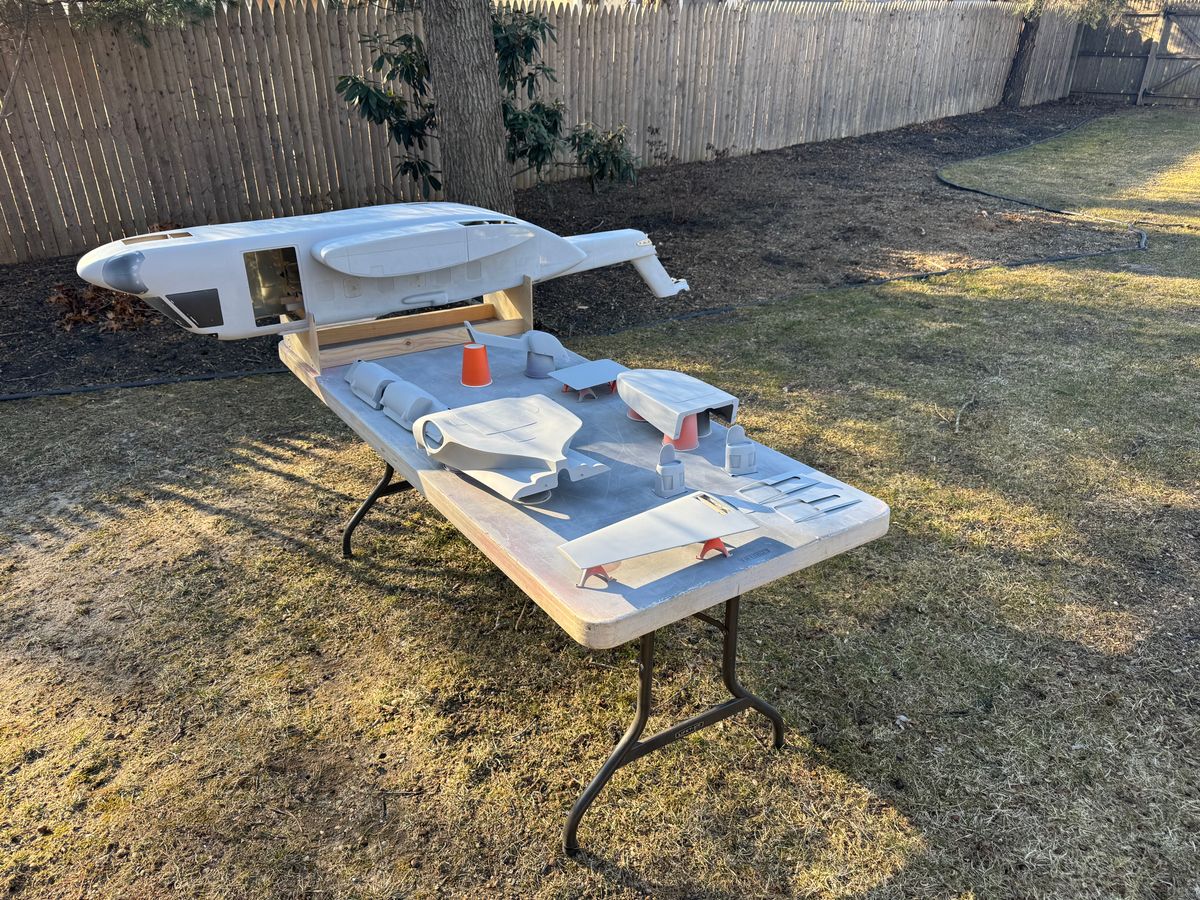
I have been working some minor detail over the winter. I did get the fuse and cowls in primer towards the end of the year however after sanding and working the detail it needed another coat of primer. Overall the fuse looks great. There are a few areas that will require some attention before paint which will happen later in the year. Been working to get the heli re-assembled and ready for the flying season. During this time more detail will be added but will keep the heli in flight status.
A few photos of a nice warme day to shoot some primer.
Thanks for dripping by.
B.
“Thing That Make You Go Humm”
UIH,
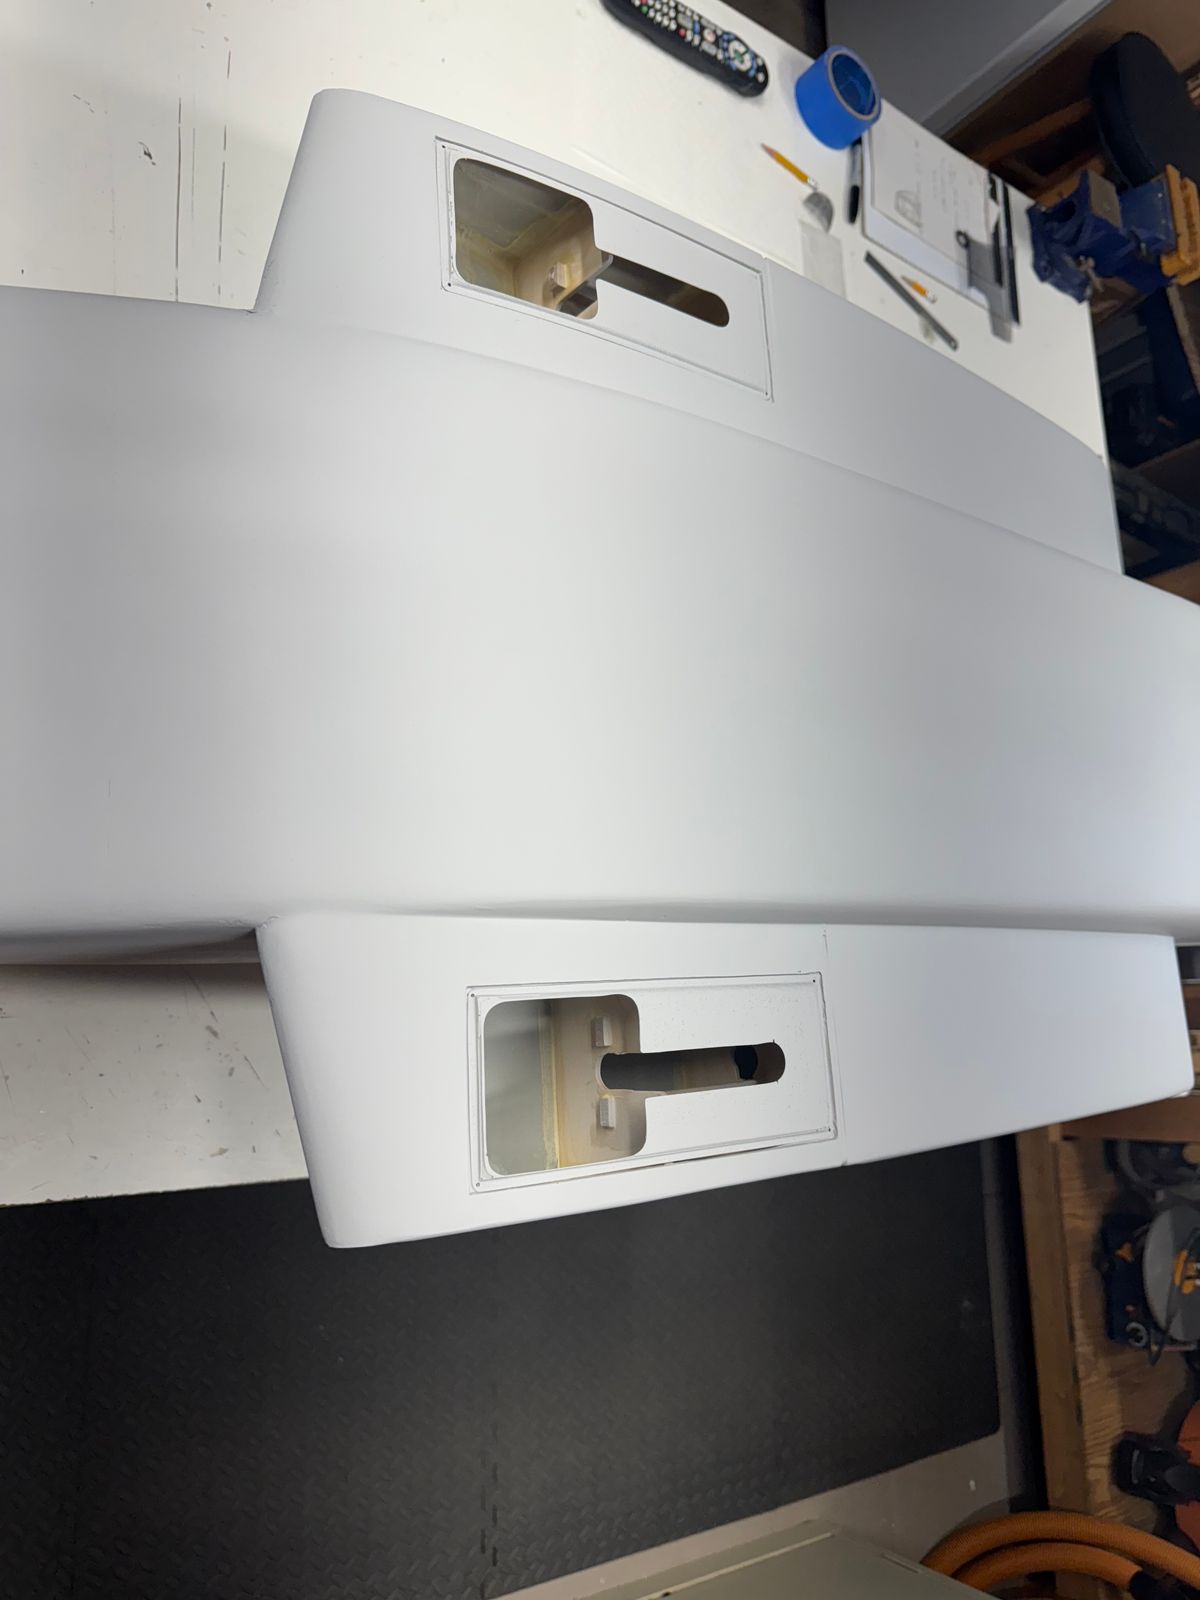
Things are moving along to get my VH-92 back into flight status. The plan is to add detail over the flying season keeping the aircraft flight ready. By the end of the season, most detail should be complete less rivets and maybe a few other minor details.
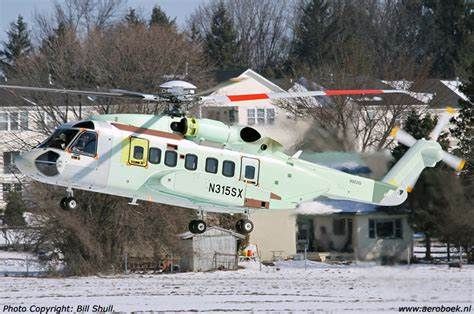
I am not sure what color to paint the inside for the fuse. The cockpit will be black but cant decide. My 67 is a zinc chromate color from Klass Kote. My 66 is black. I thought about gray but torn. Any suggestions?
I am really looking forward to get this thing back in the air.
Here are a few pics of the reassembly progress.
Thanks for dropping by,
B
VH-92 Back in flight status
The VH-92 Patriot is back in the air.
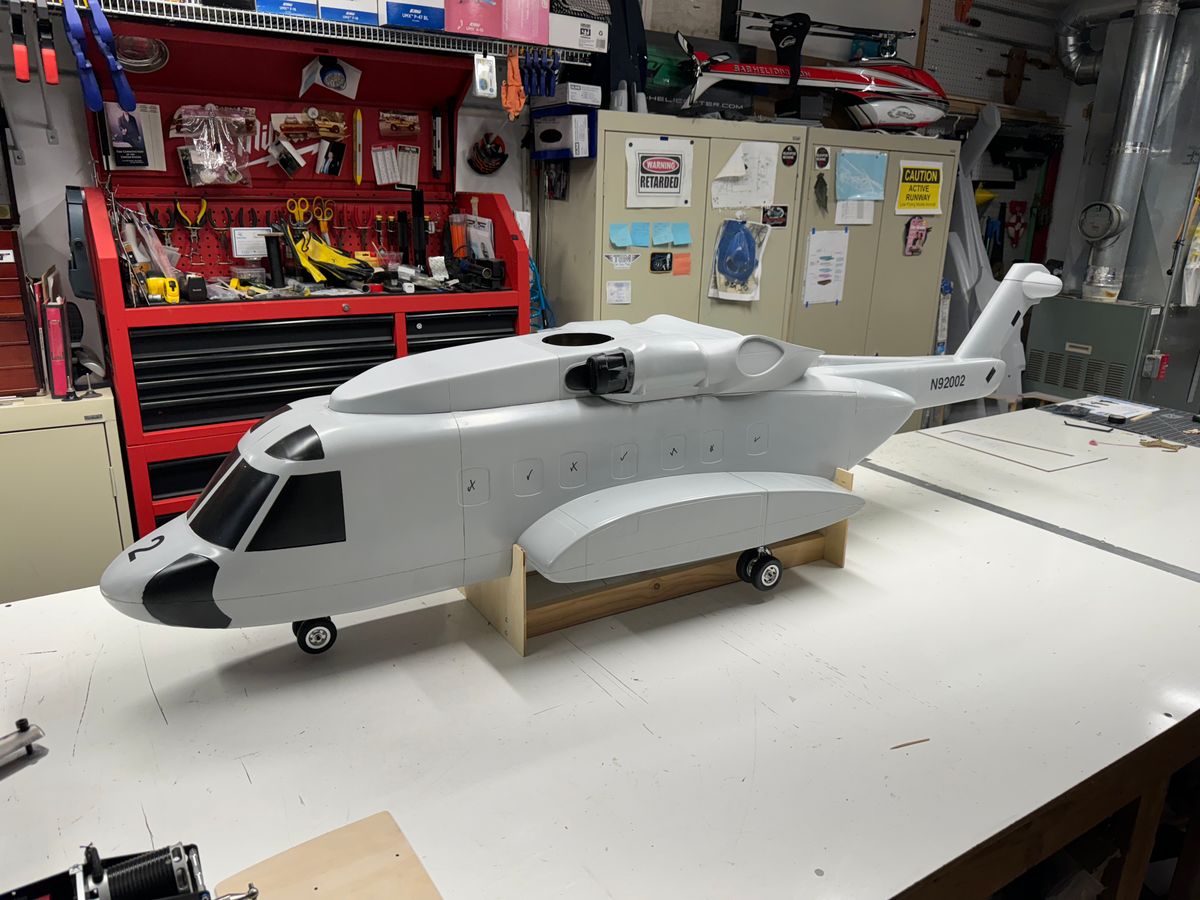
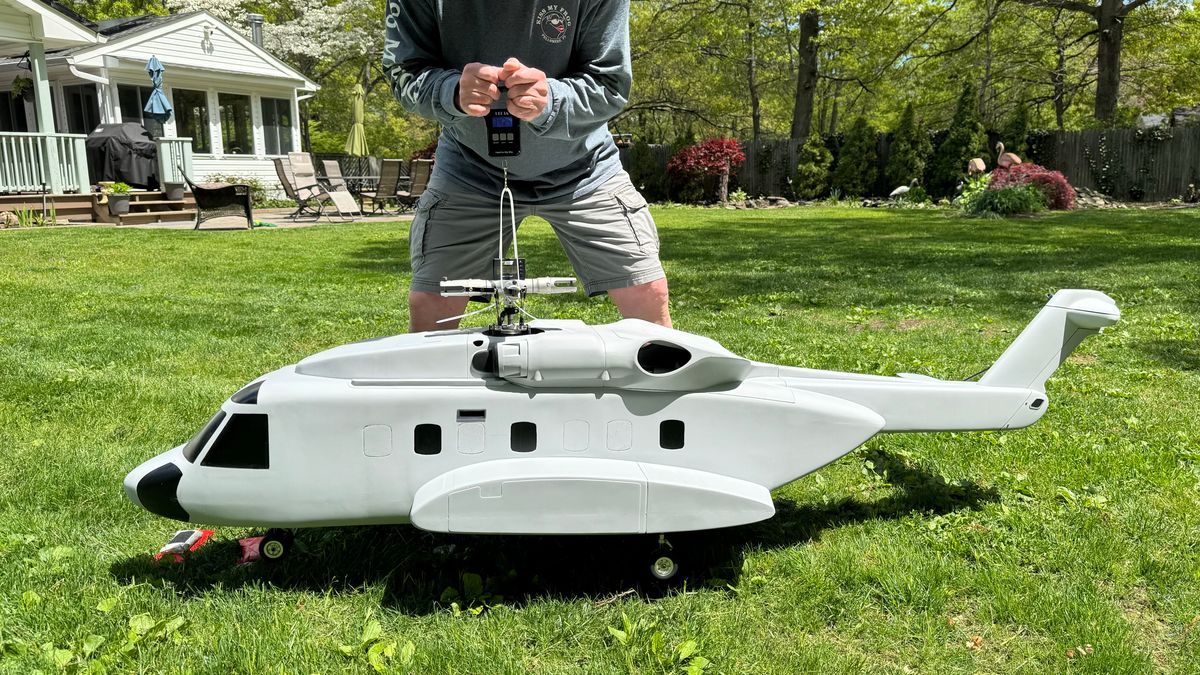
Over the winter, the power train was inspected, some detail was added, entry door made and installed, walk platforms built and installed around the race-car area, the windows not used on the VH had fillers installed, the stab and support installed, sanded, body worked, primed, cleaned up some wiring and re-assembled. Sean was up this weekend. We had Saturday in the shop getting ready for flight on Sunday. We weighed that aircraft, minus blades, it tips the scale and 34.34 lbs including 2.4 lbs in the nose to get the CG in the ball park. The 2.4 lbs will reduce as the full cockpit is installed however as more detail is added I am sure things will move around.
Sunday brought a beautiful day however with some gusty winds to 16 followed by a nice breeze 5 to 8. Spooled the machine up to ground idle at 600 Nr, did control check then hit the switch to flight idle at 800Nr, added some collective and lifted off perfectly. First thing noted, the 14 inch stab was rock solid. With a "Slab-O-Stab" that big it was great "NOT" to see and vids. We did note a blade was flying a touch low which will be addressed during post flight checks.
The machine flew great. It was pulling a touch under 40 amps during the flight. The flight lasted 6 minutes with nothing too aggressive and landed with roughly 50% of the battery power remaining. It is estimated a 9 minute flight is well within the flight envelope. This is a testament to the design, simplicity and efficiency for the mechanics all in a compact platform.
Here is a video of yesterdays first flight.
Thanks for dropping by,
Butch
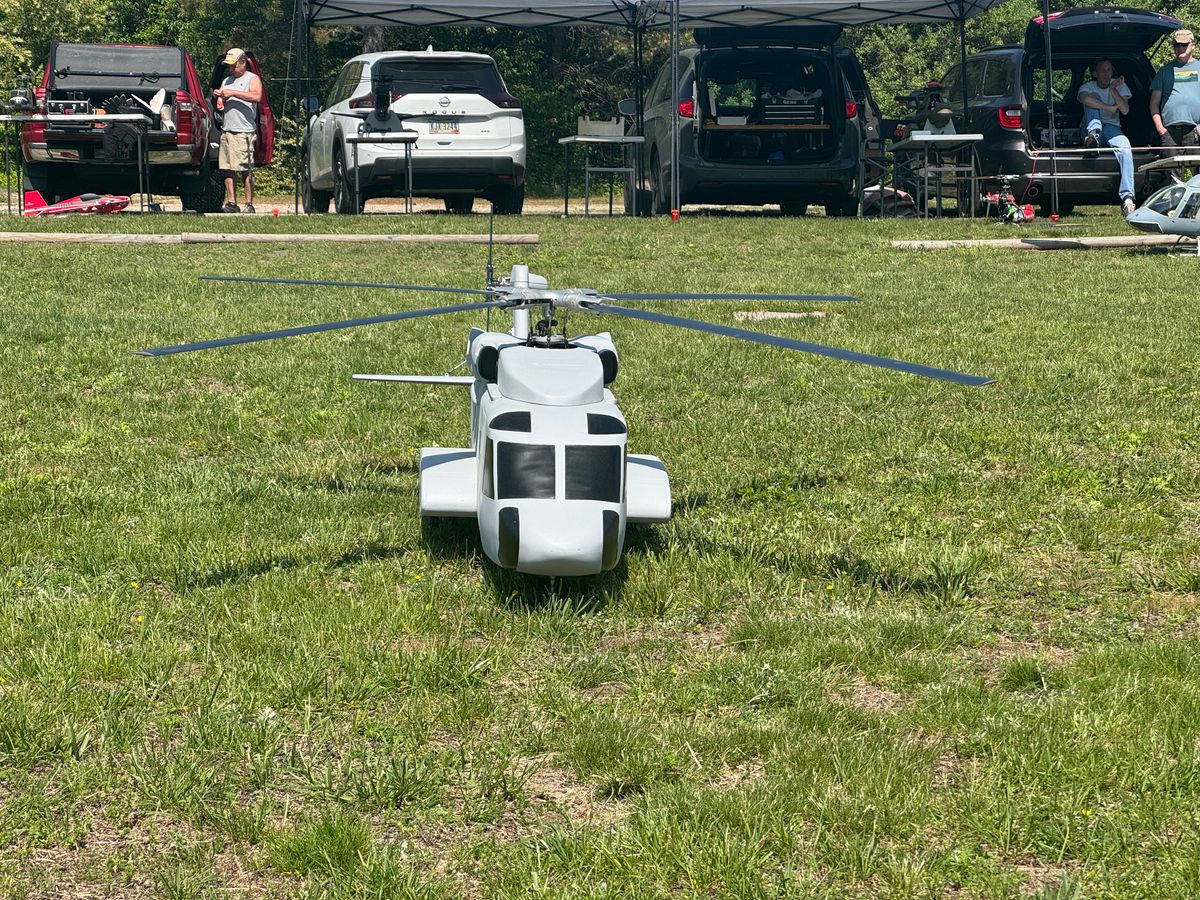
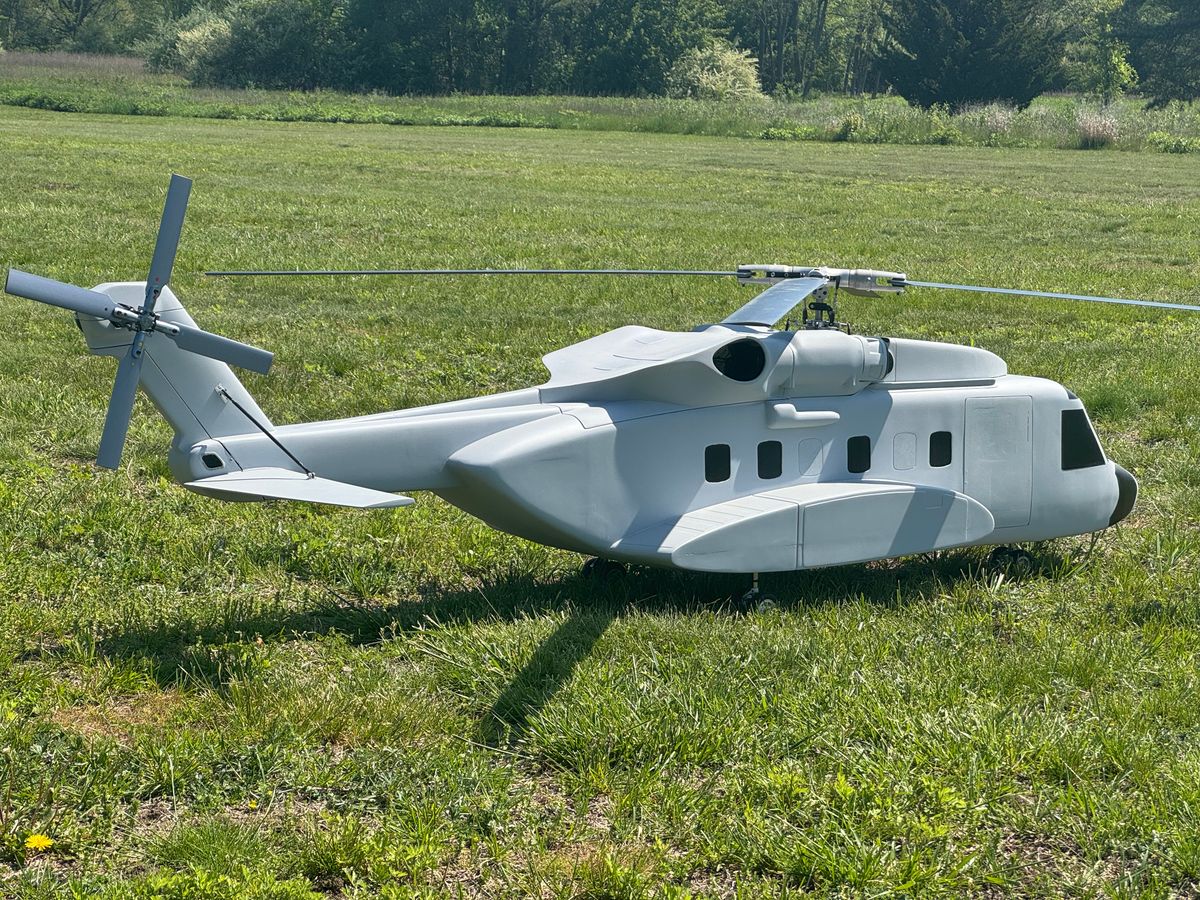
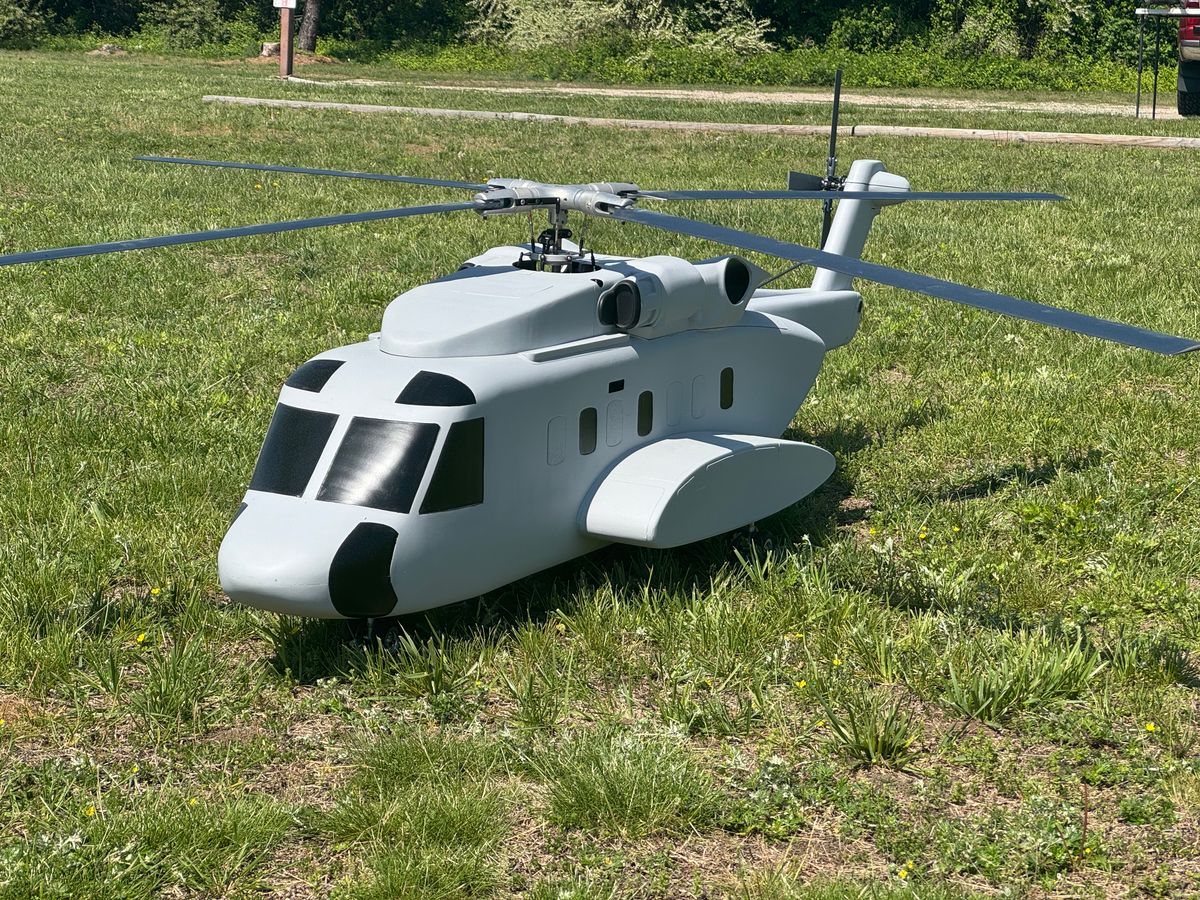
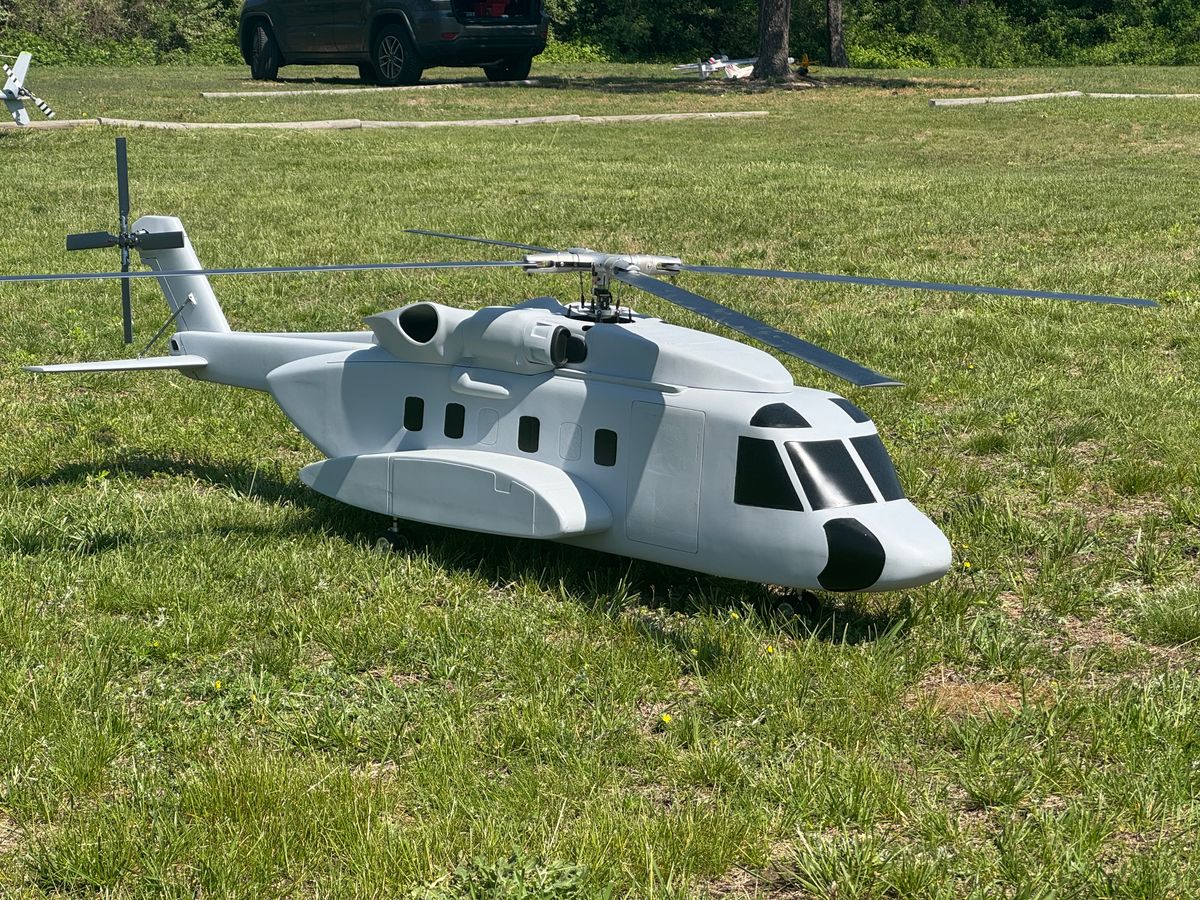
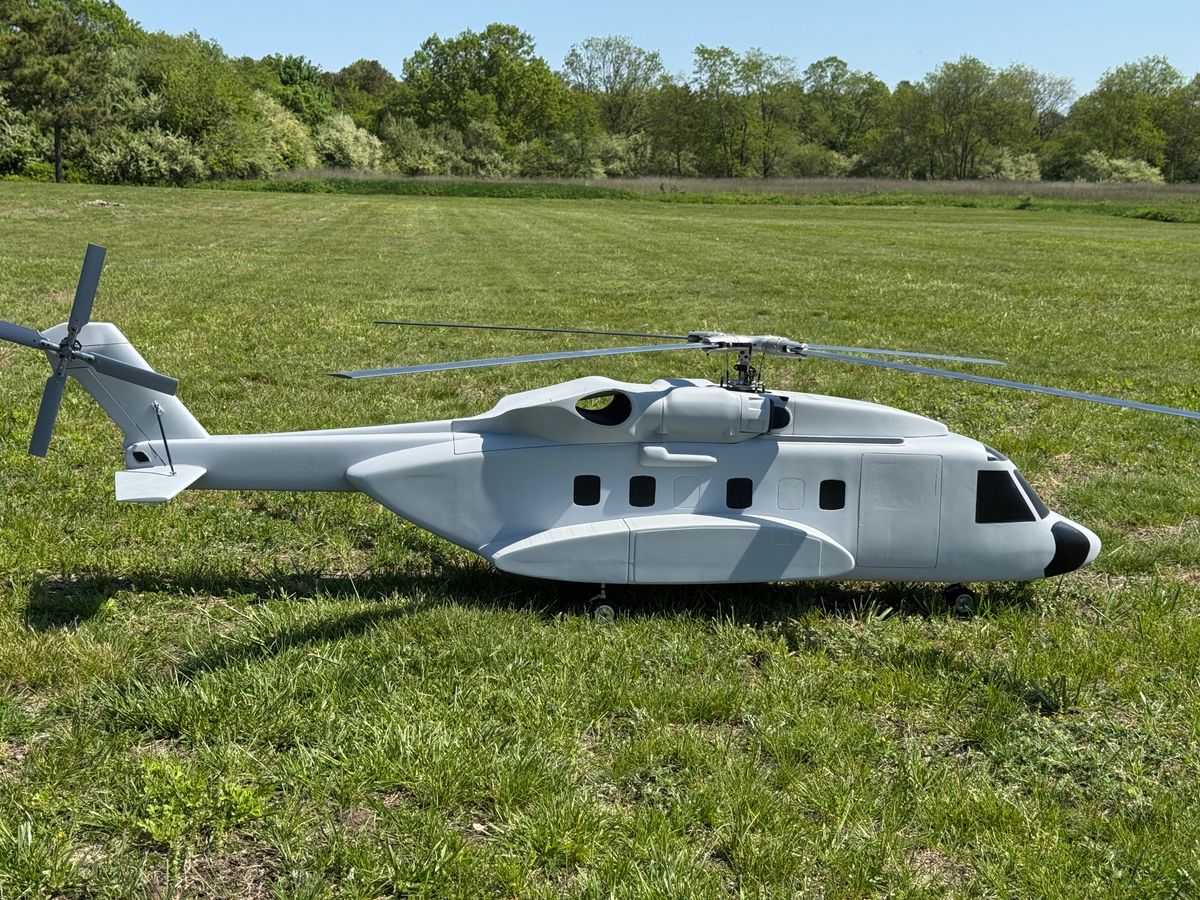
Some beauty shots.
UIH,
Some beauty shots before yesterday's flight.
S/N 004 construction is under way.
B
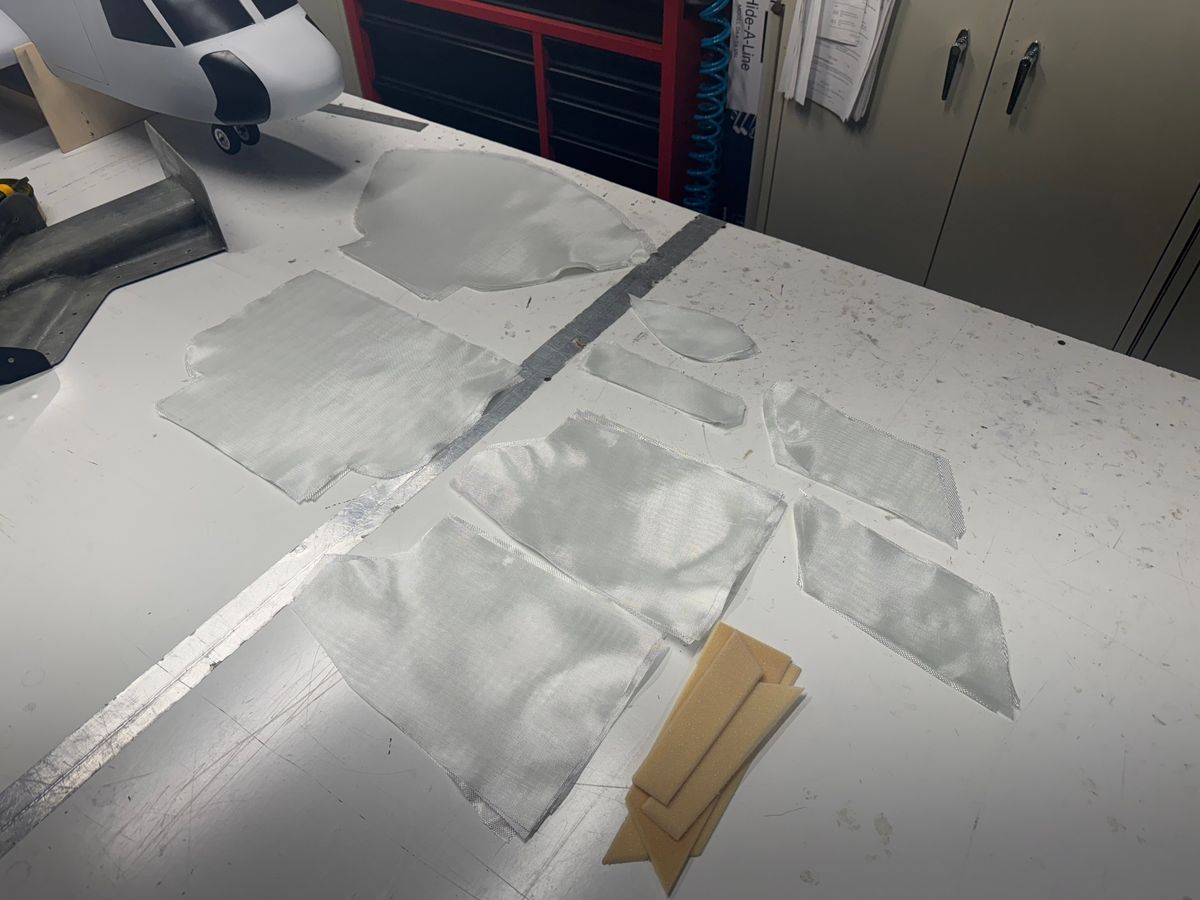
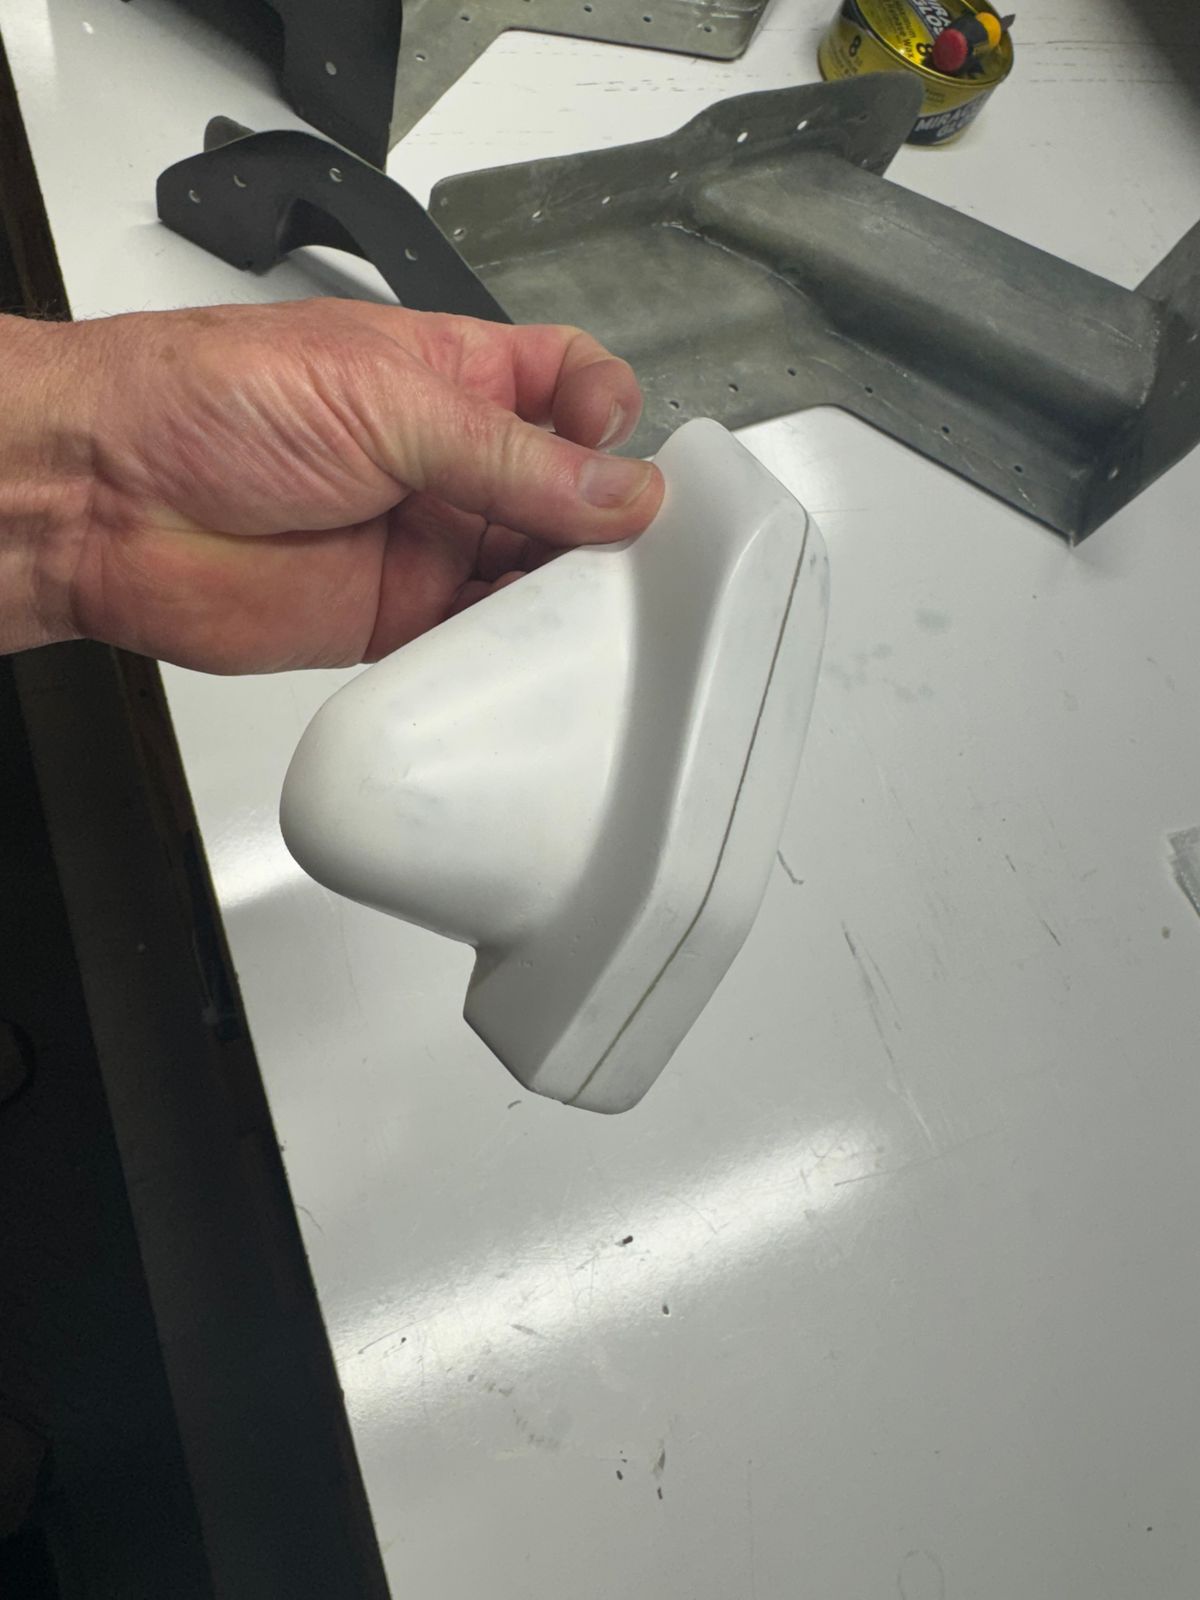
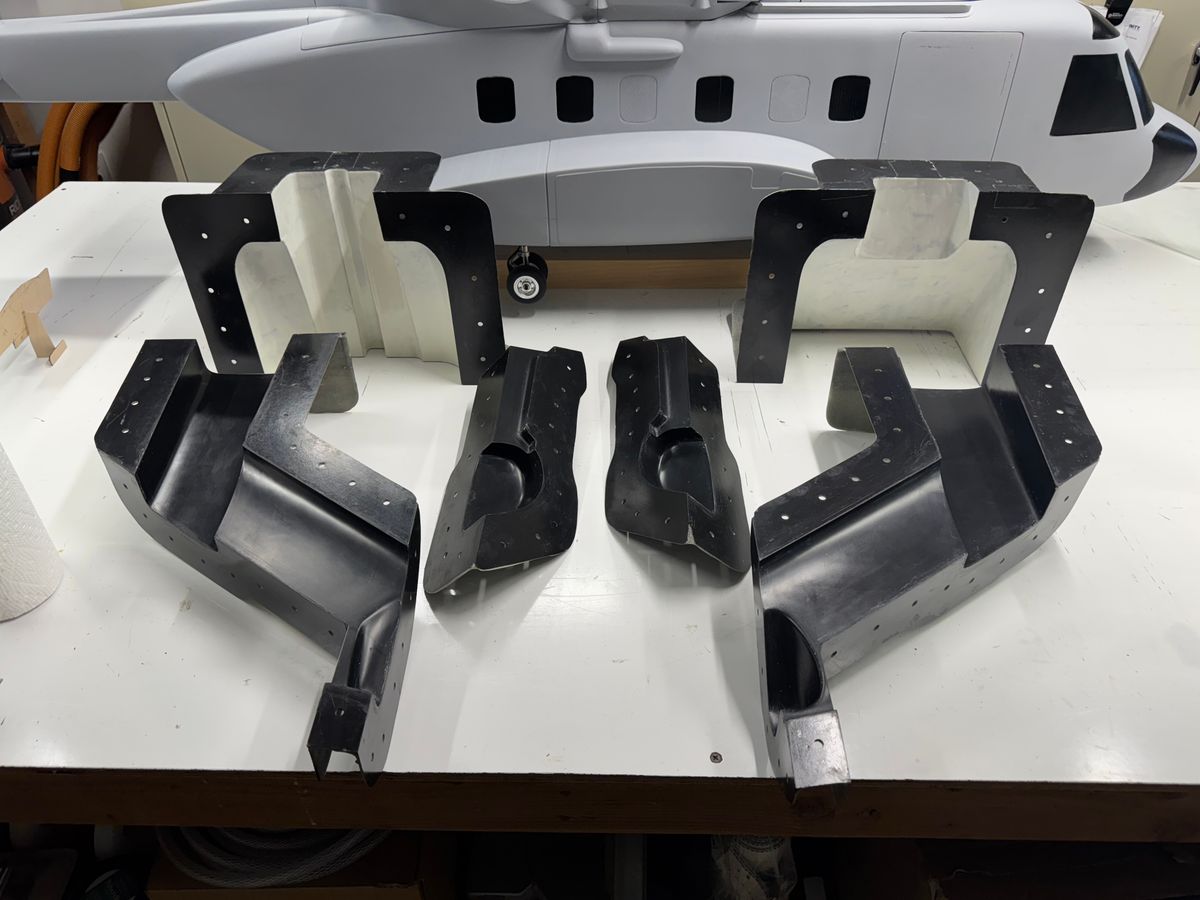
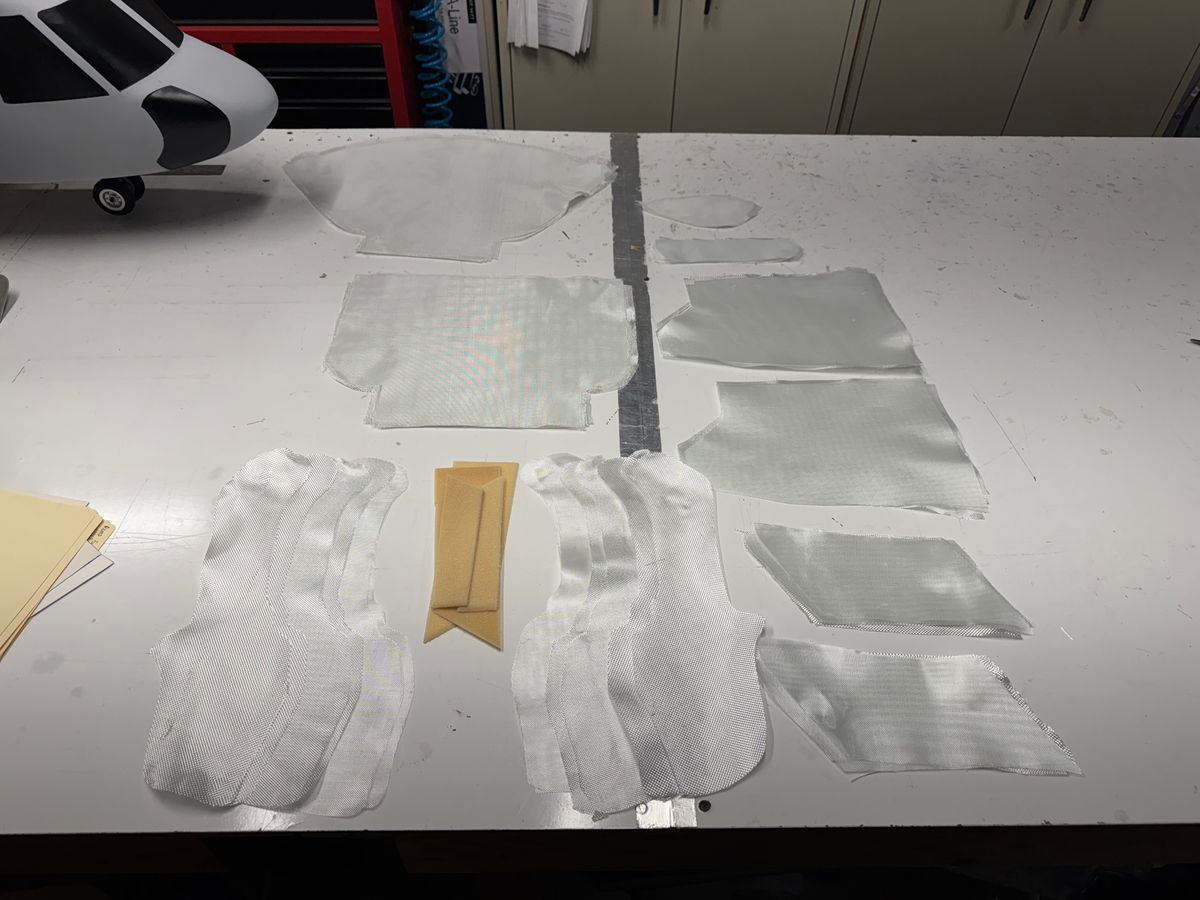
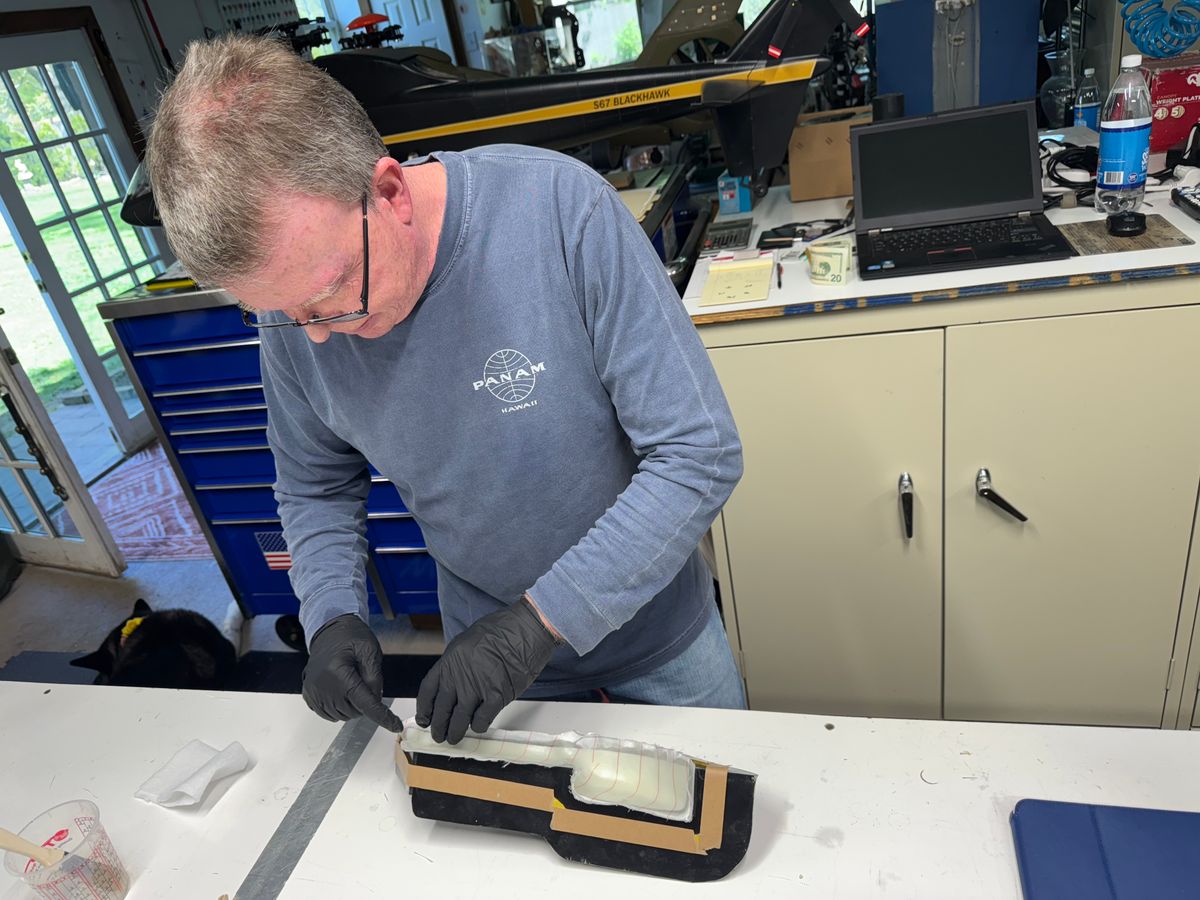
Time for a little adjustment.
UIH,
After recent events over the past 6 weeks with logging 17 flight it was time to check things over in detail, lube some bearings and make a adjustment to the gear mesh. Everything looks really good. The clutch was a bit tight in the beginning but has found its happy place. I did adjust the shimming for the gear mesh by .2mm. I have made some adjustments along the way to the Axon and the machine is feeling really nice. Heading to the field for a day of flying here in Zoo York.
A
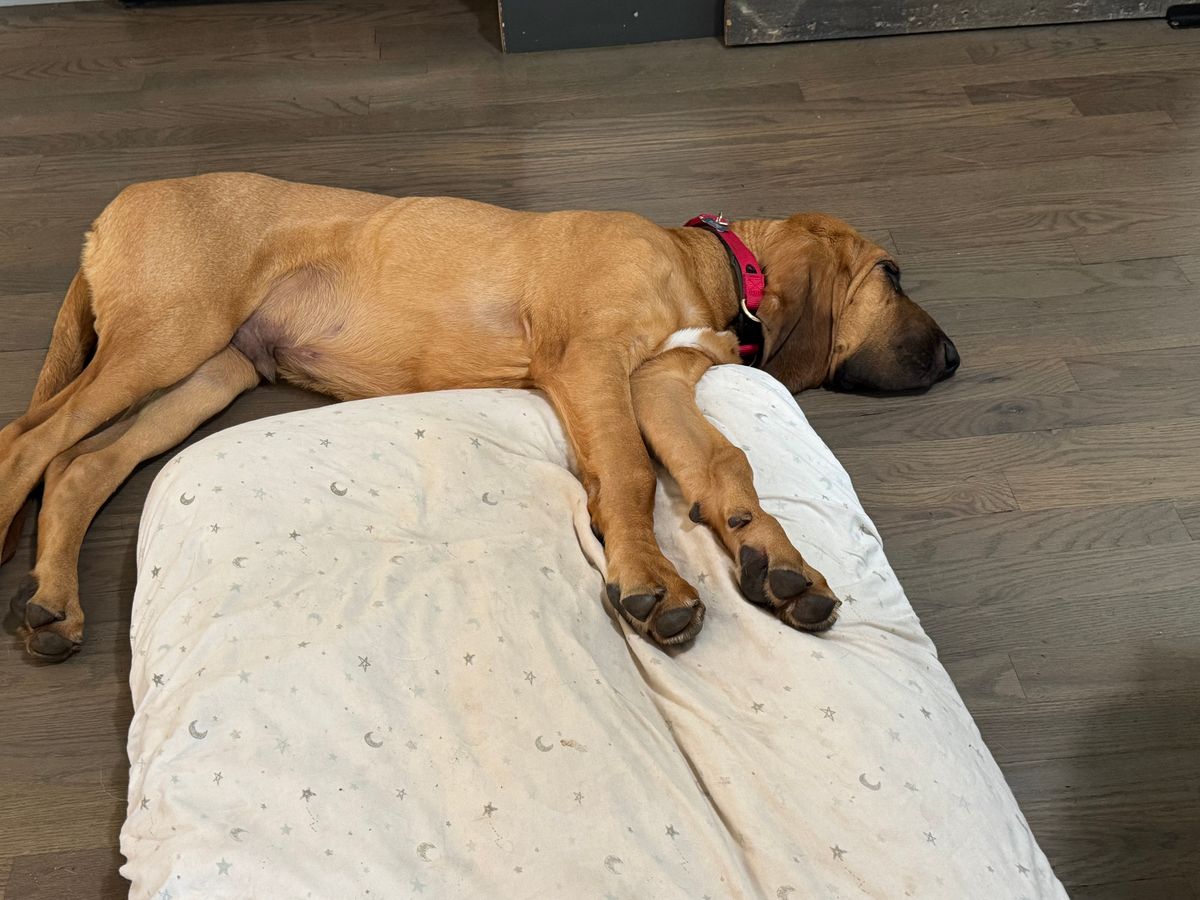
I threw in a pic of my new quality inspector Clifford. As you can see he is on the job. Just turned 5 months ild and pushing 60 lbs.
Thanks for dropping by.
Butch.
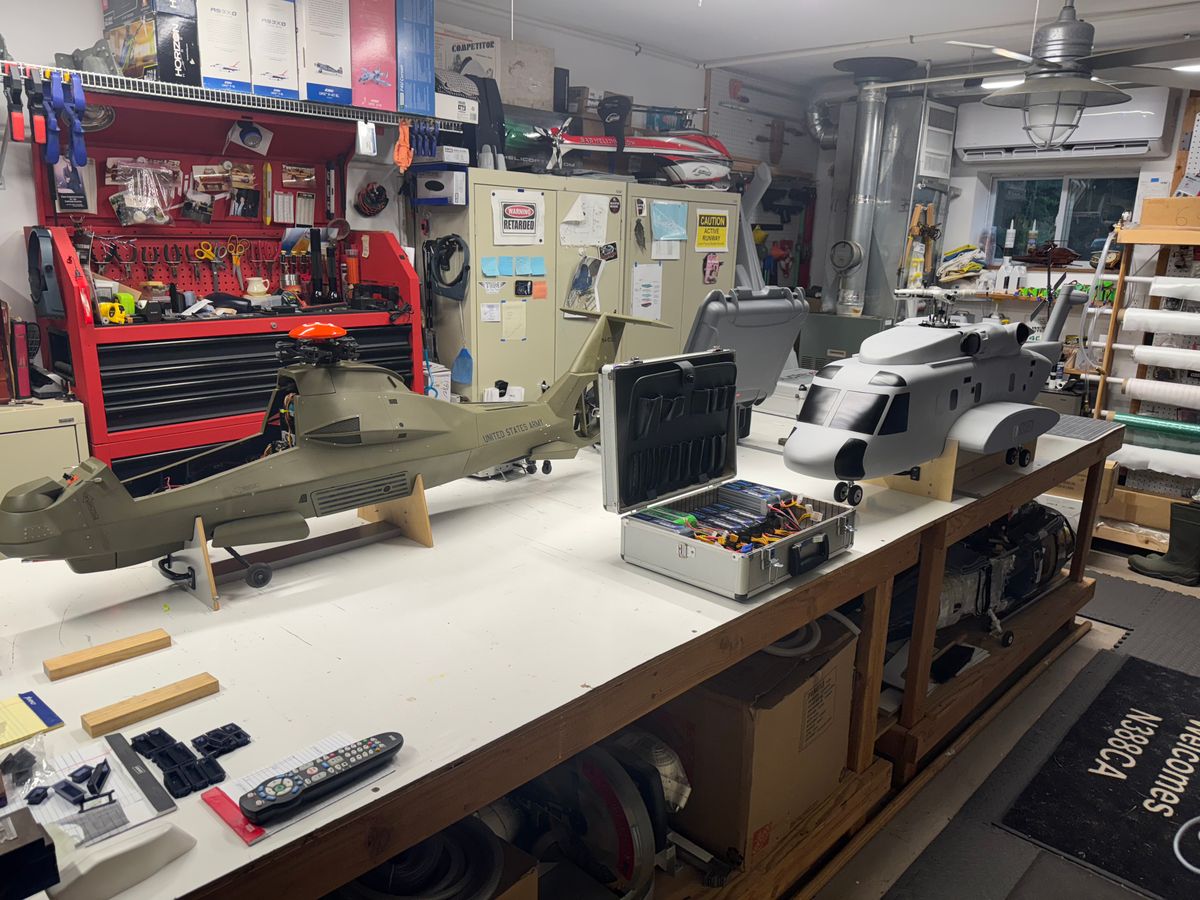
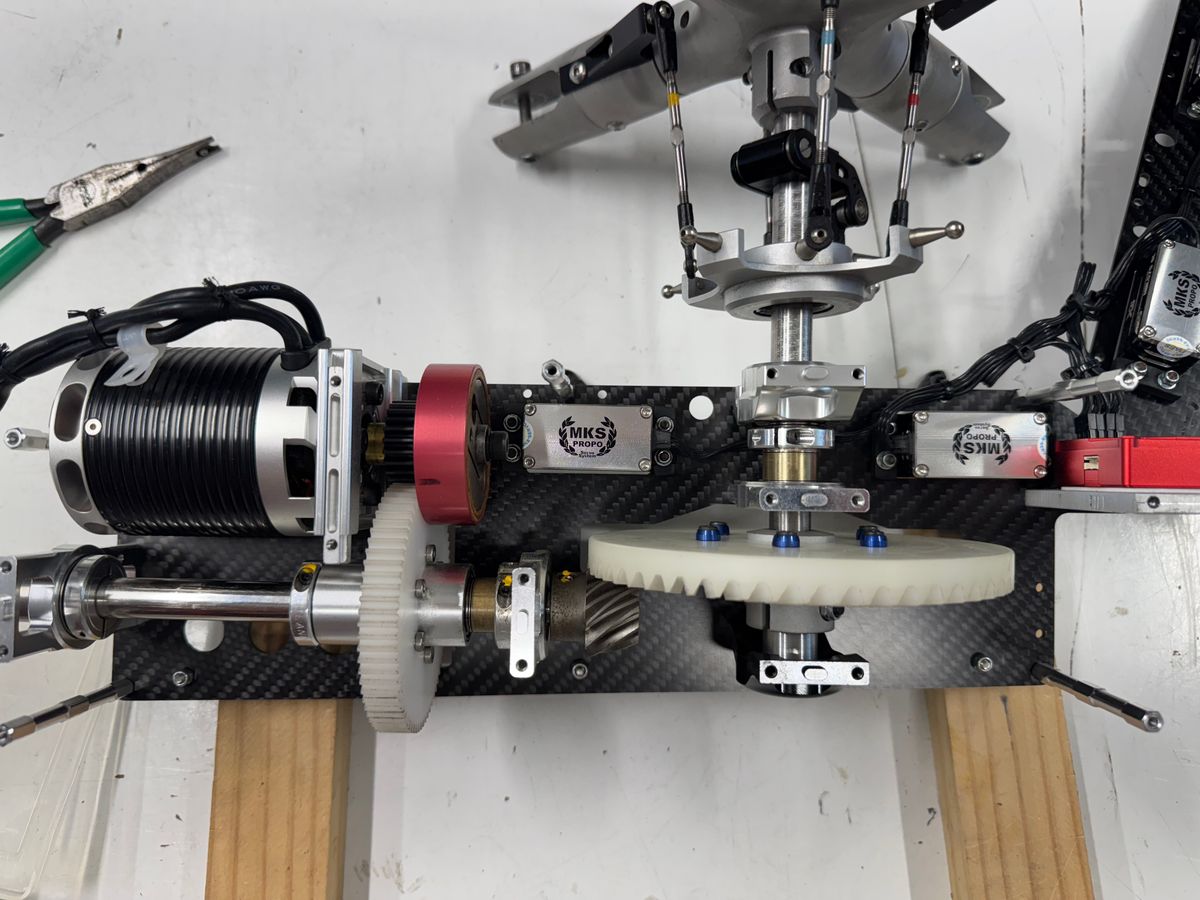
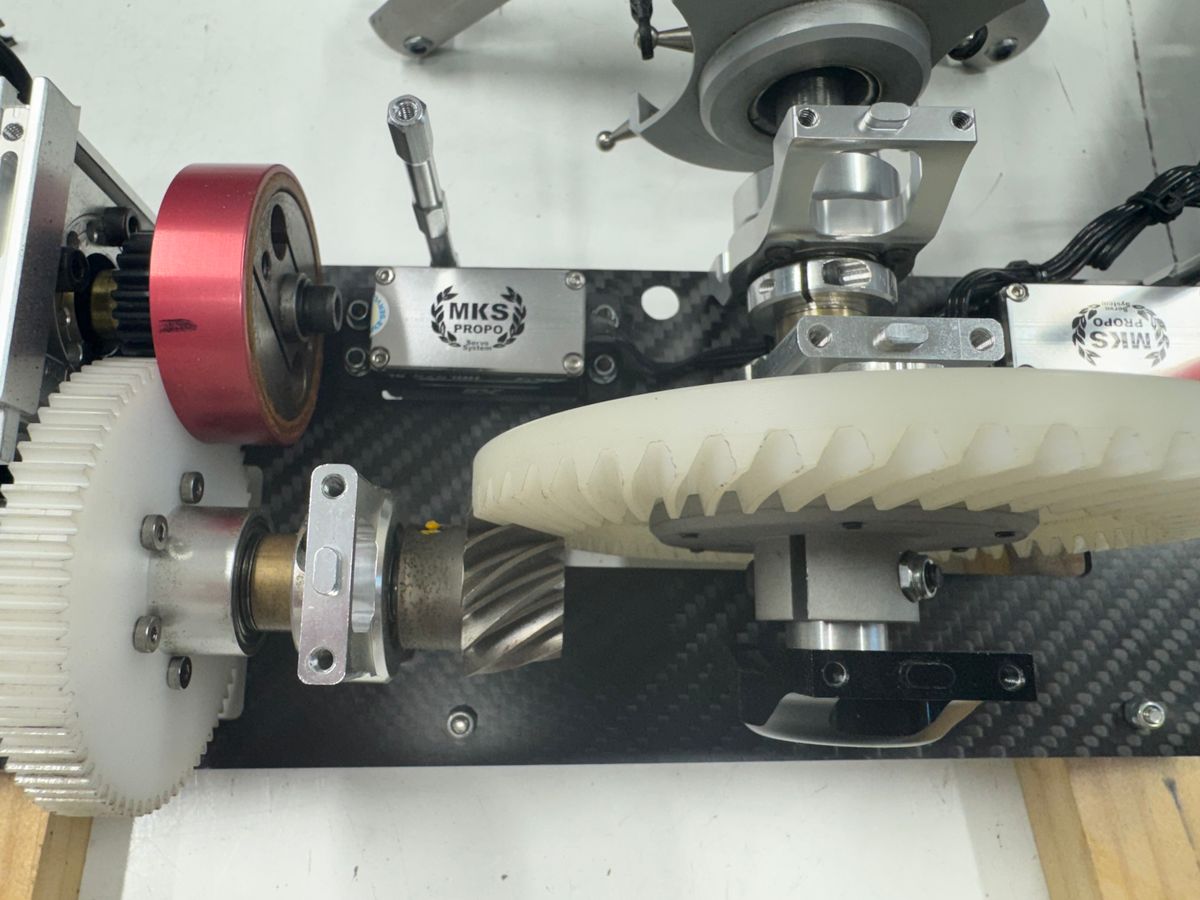
Back in the Saddle.
UIH,
All righty then, I had to step away from my projects for several weeks and finally getting back to some projects.
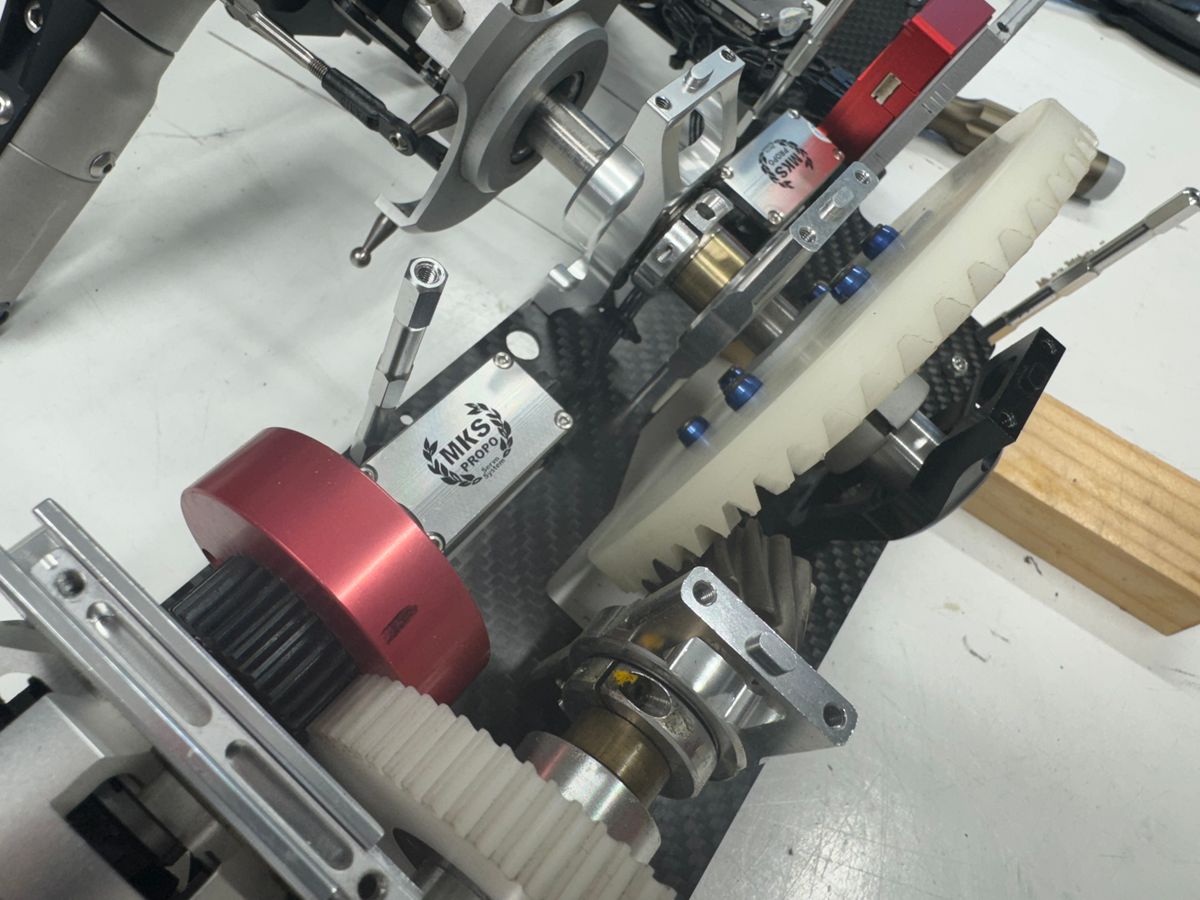
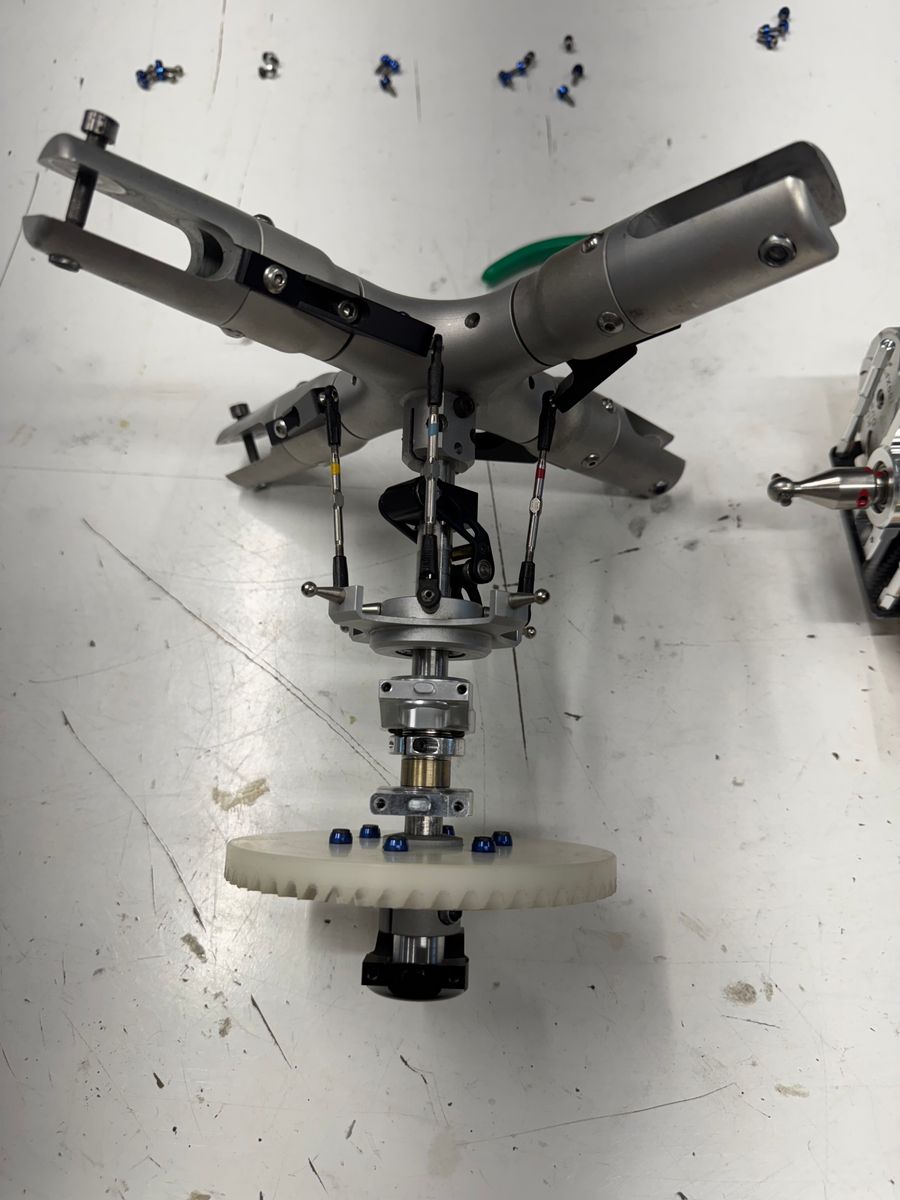
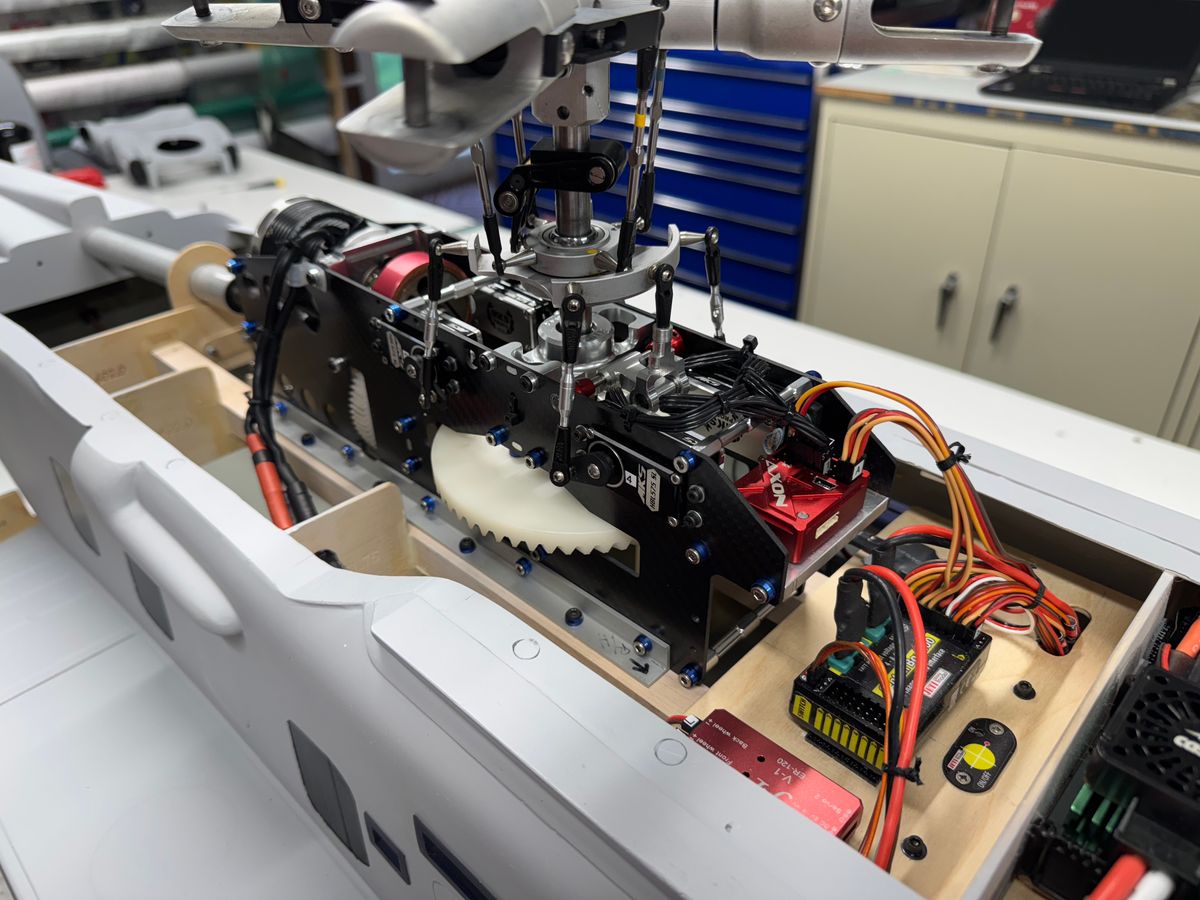
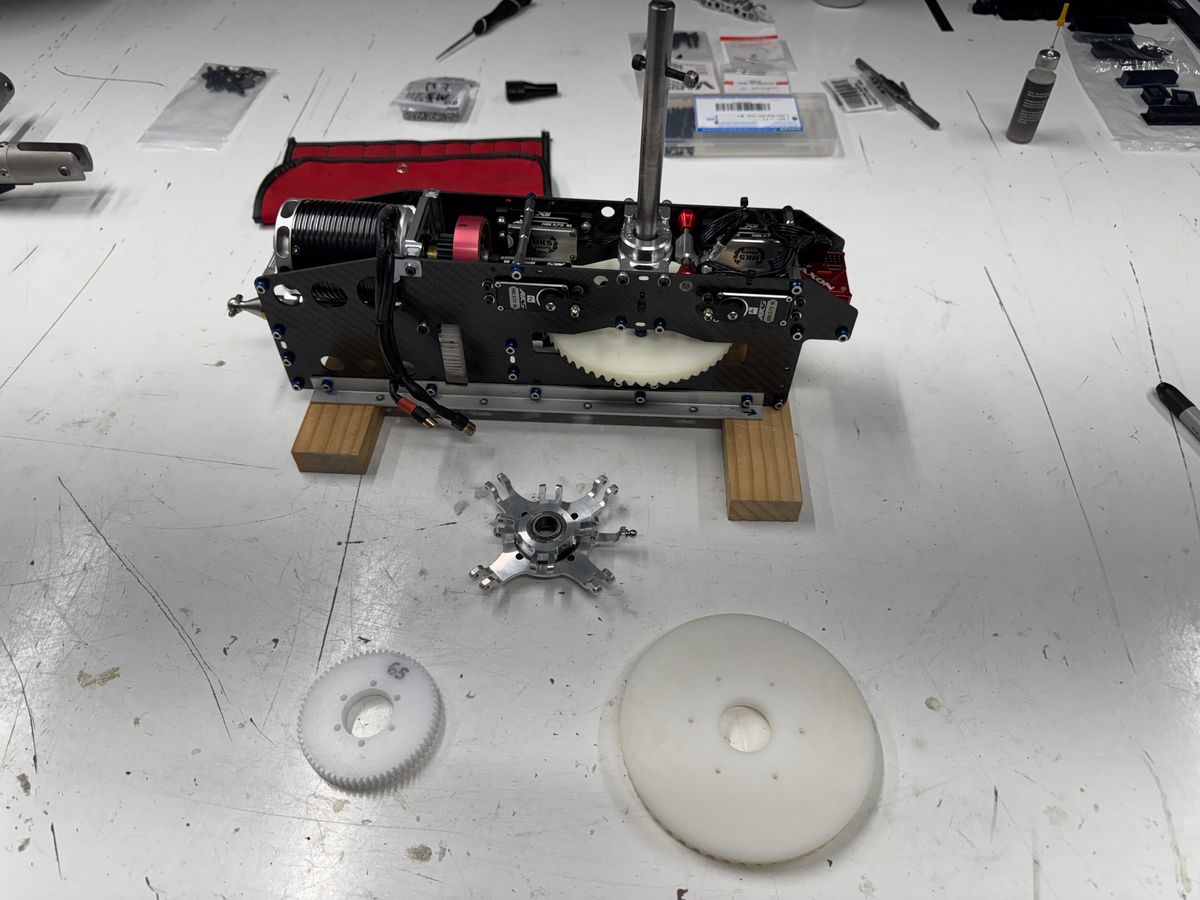
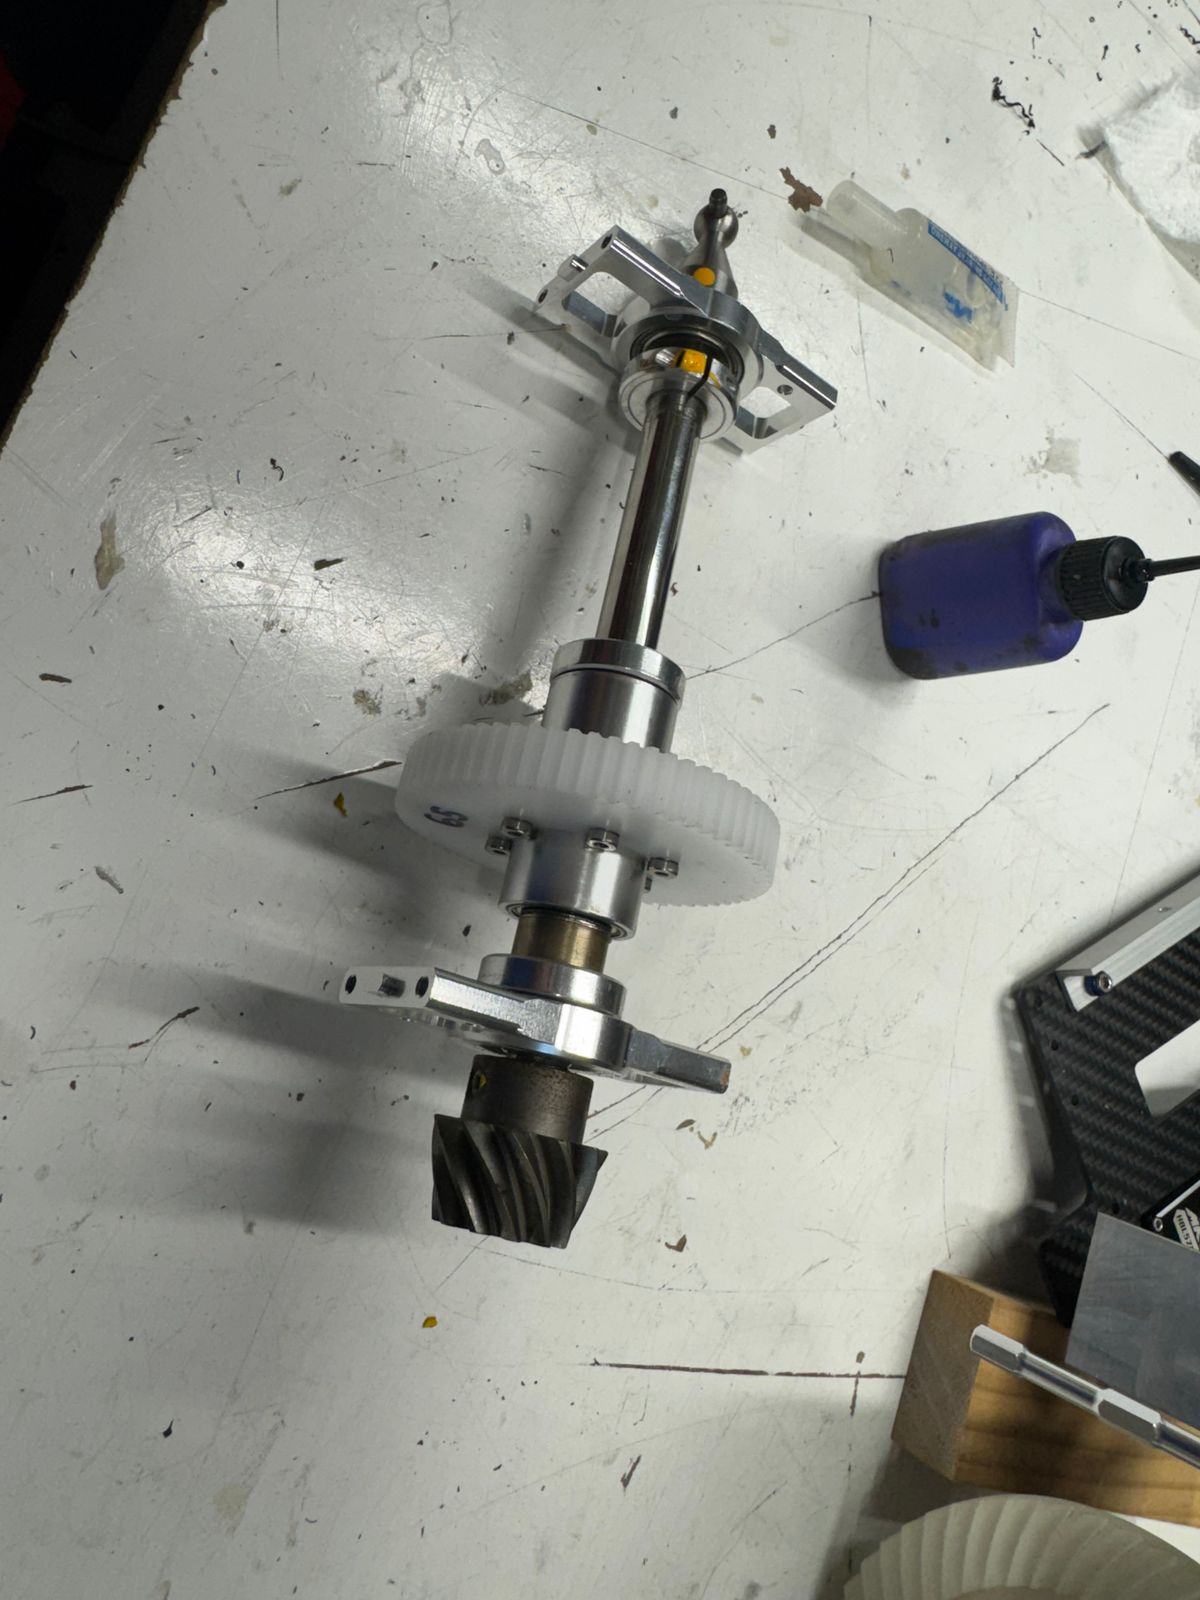
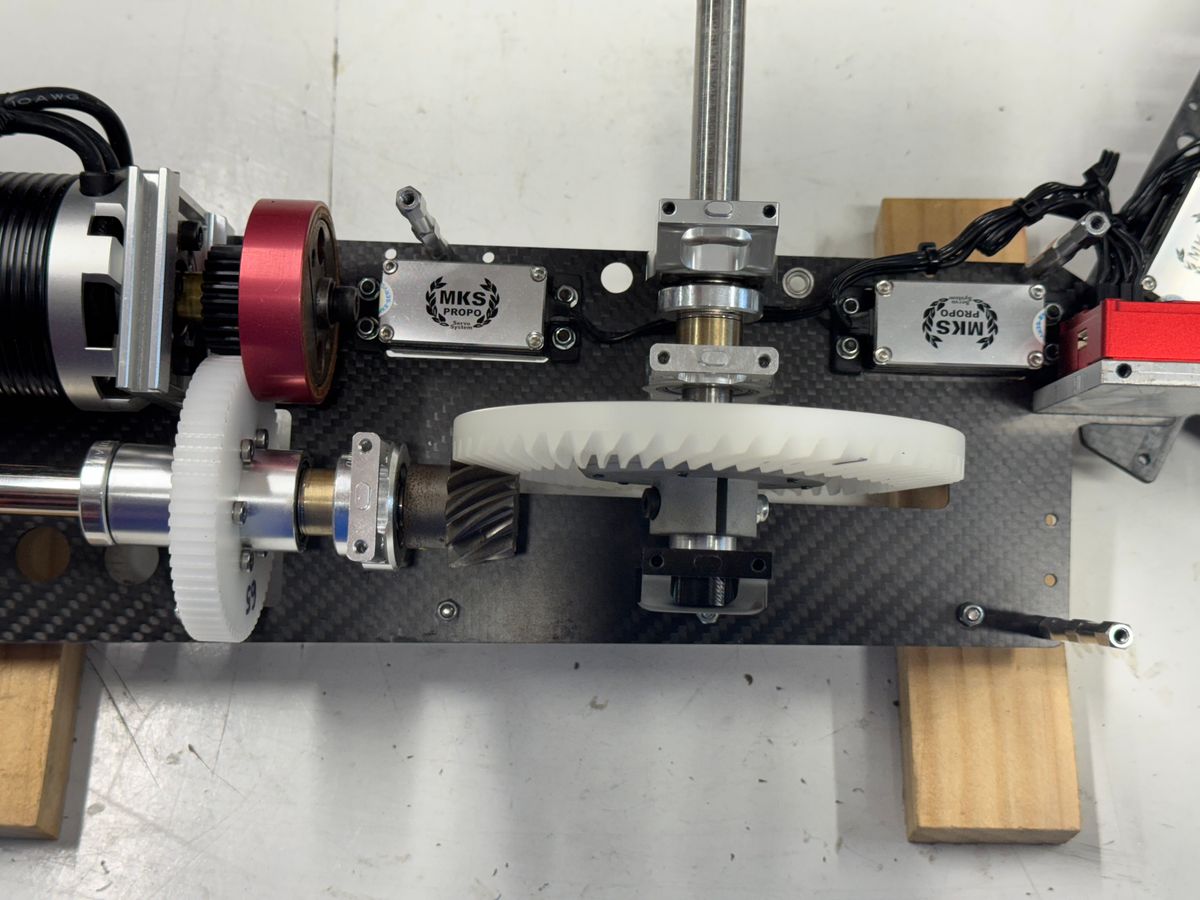
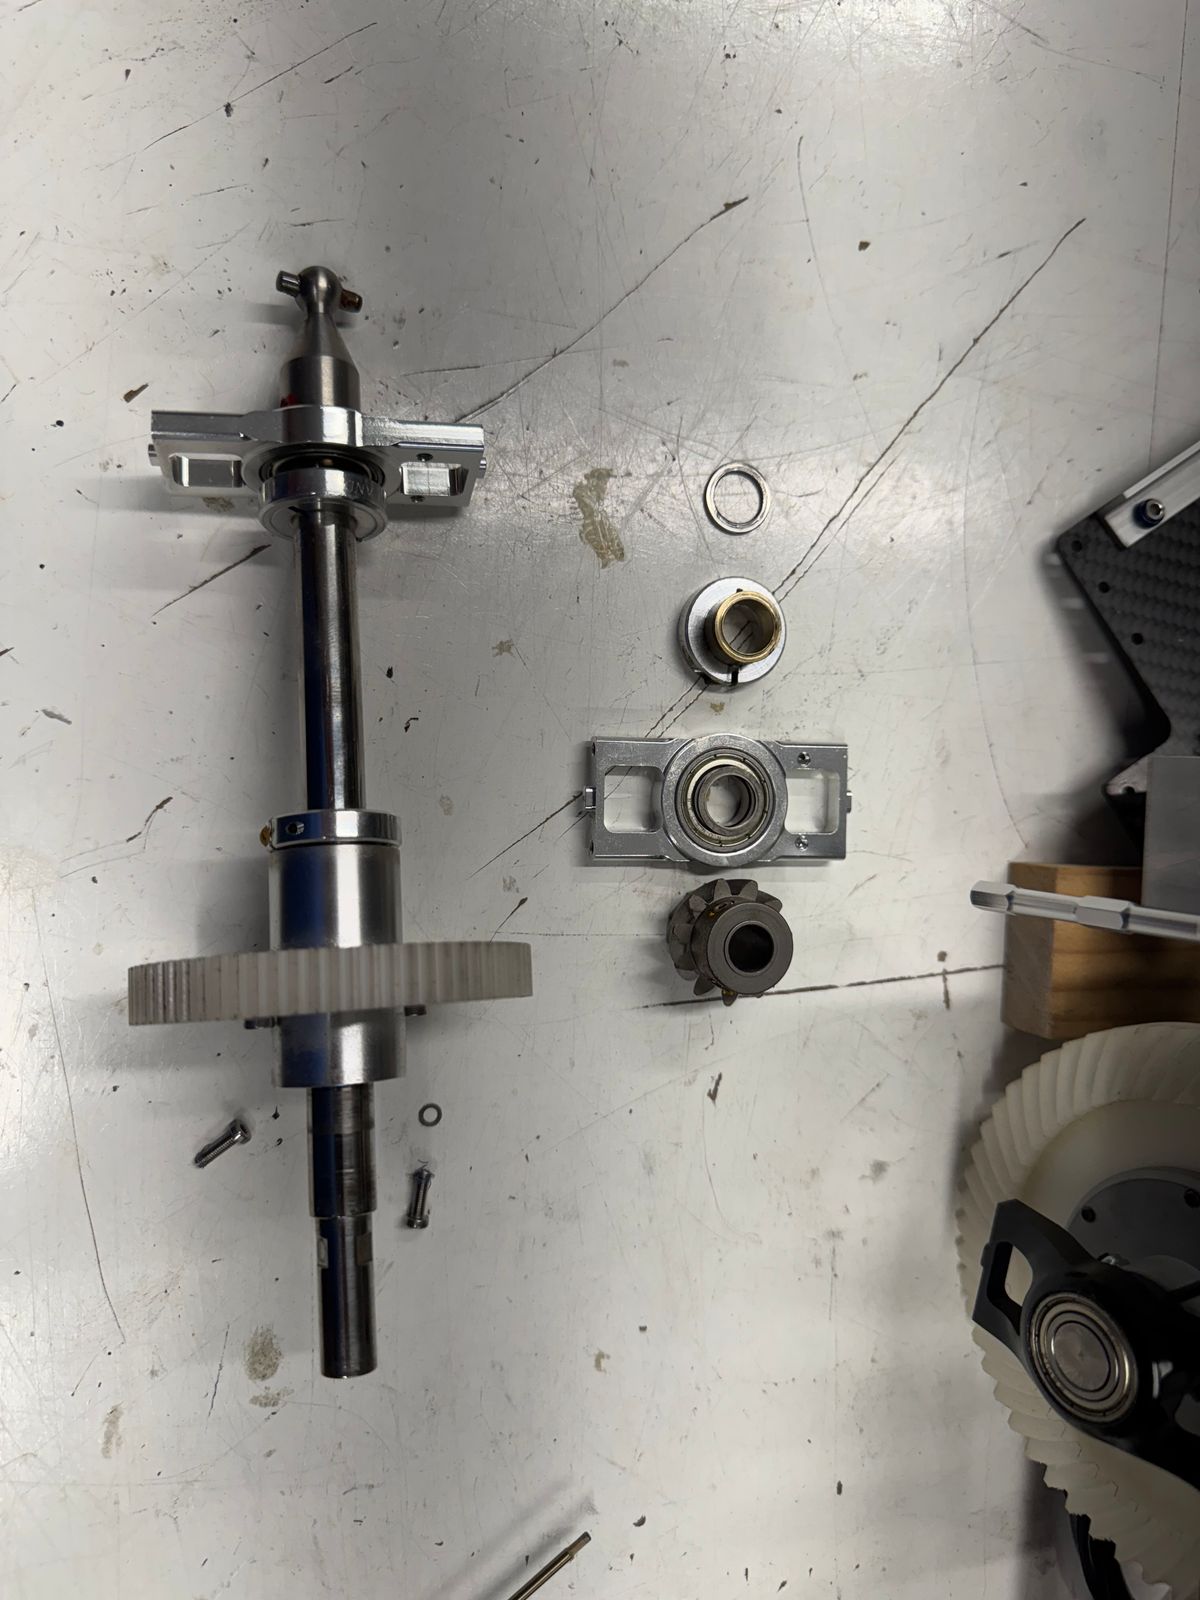
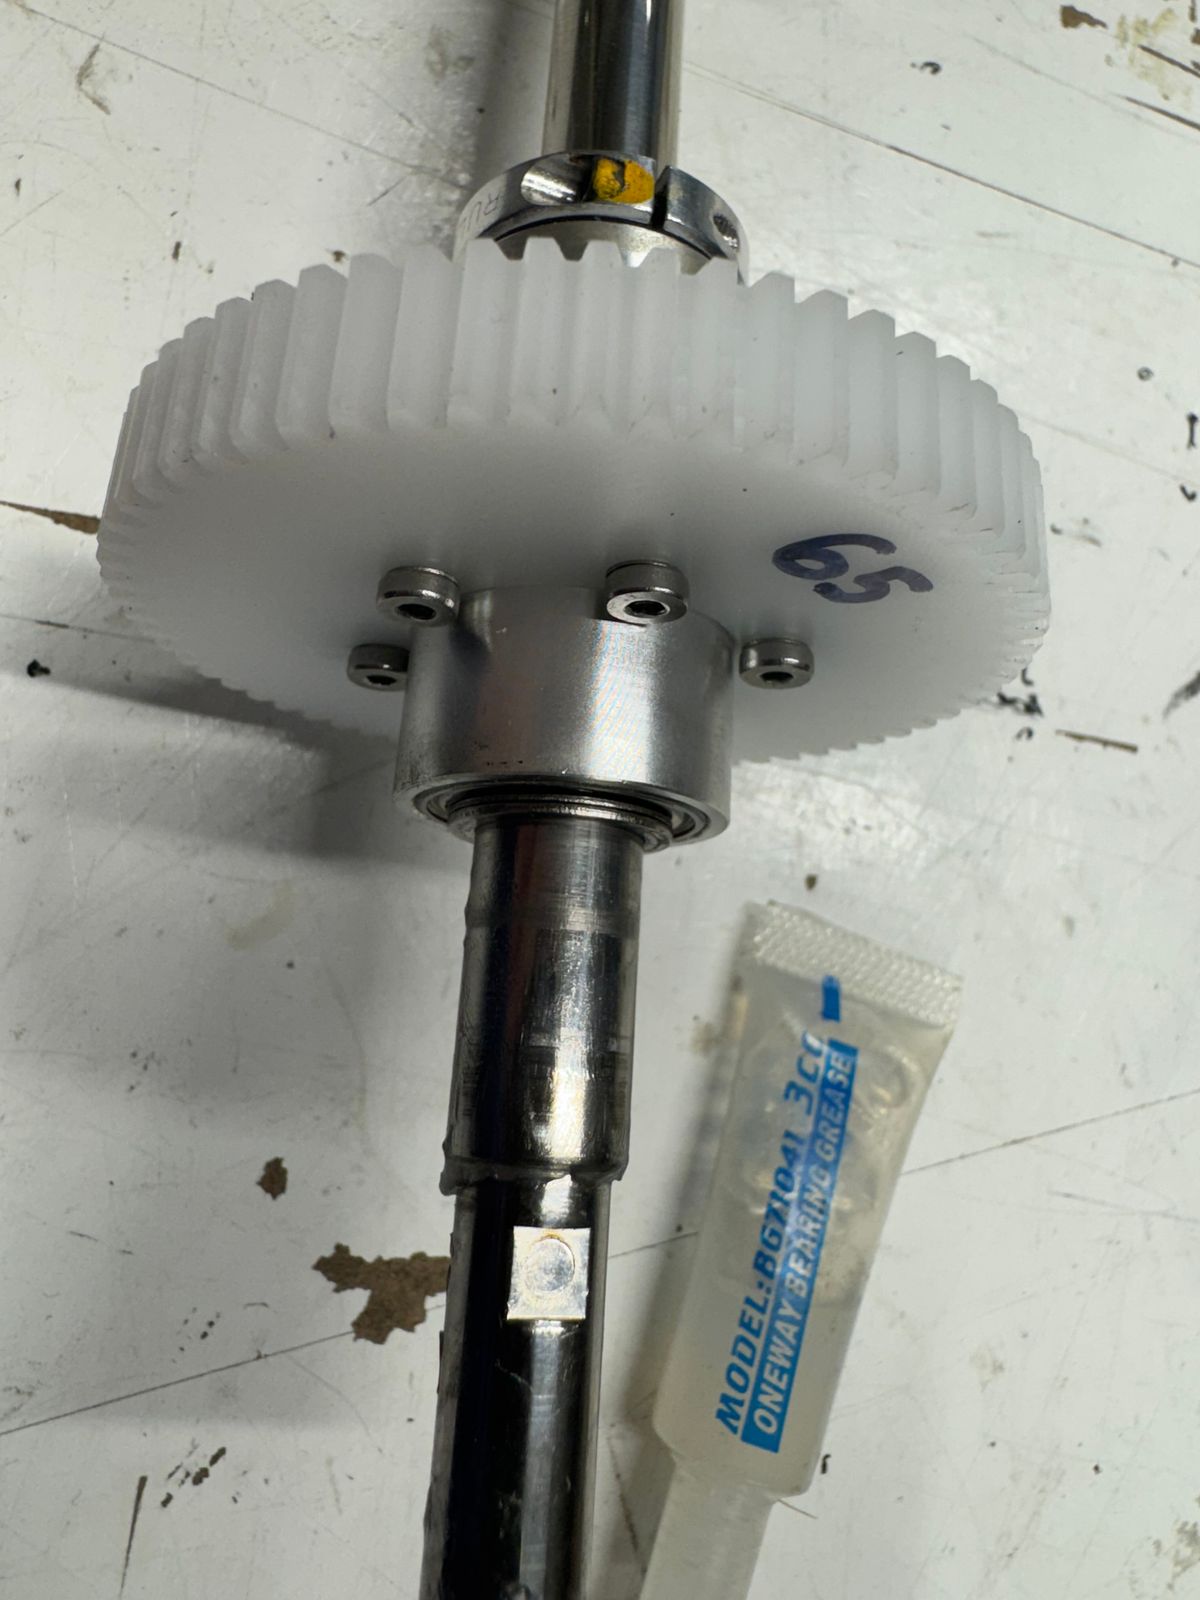
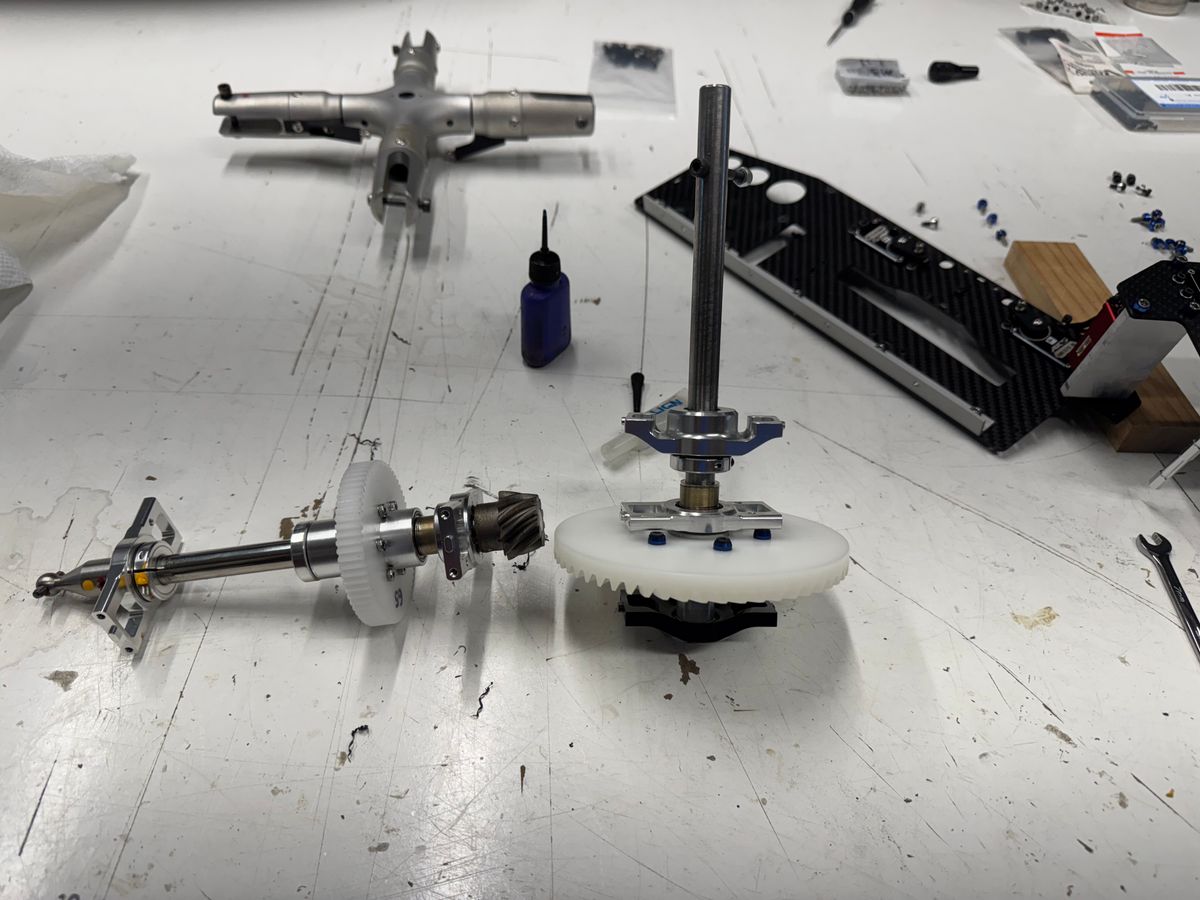
After the last flights the first week in July, I noticed some wear on the main gear. On that flight during approach to landing, the heli required more collective than usual. It appears something shifted to the tune of about 1 mm in the main shaft causing this wear. Upon disassembly the shim stack had a gap of .75 mm that compromised the gear mesh causing the abnormal wear. After looking everything over and checking that all locking collars remained secure, about the only thing I could come up with is the center bearing block bearing may not have been seated all the way and shifted during flight. I removed all the bearing blocks to double check all bearings were seated properly then re-assembled adding a .75 mm shim in the stack. I installed a new main gear and the drive train is moving as smooth as silk.
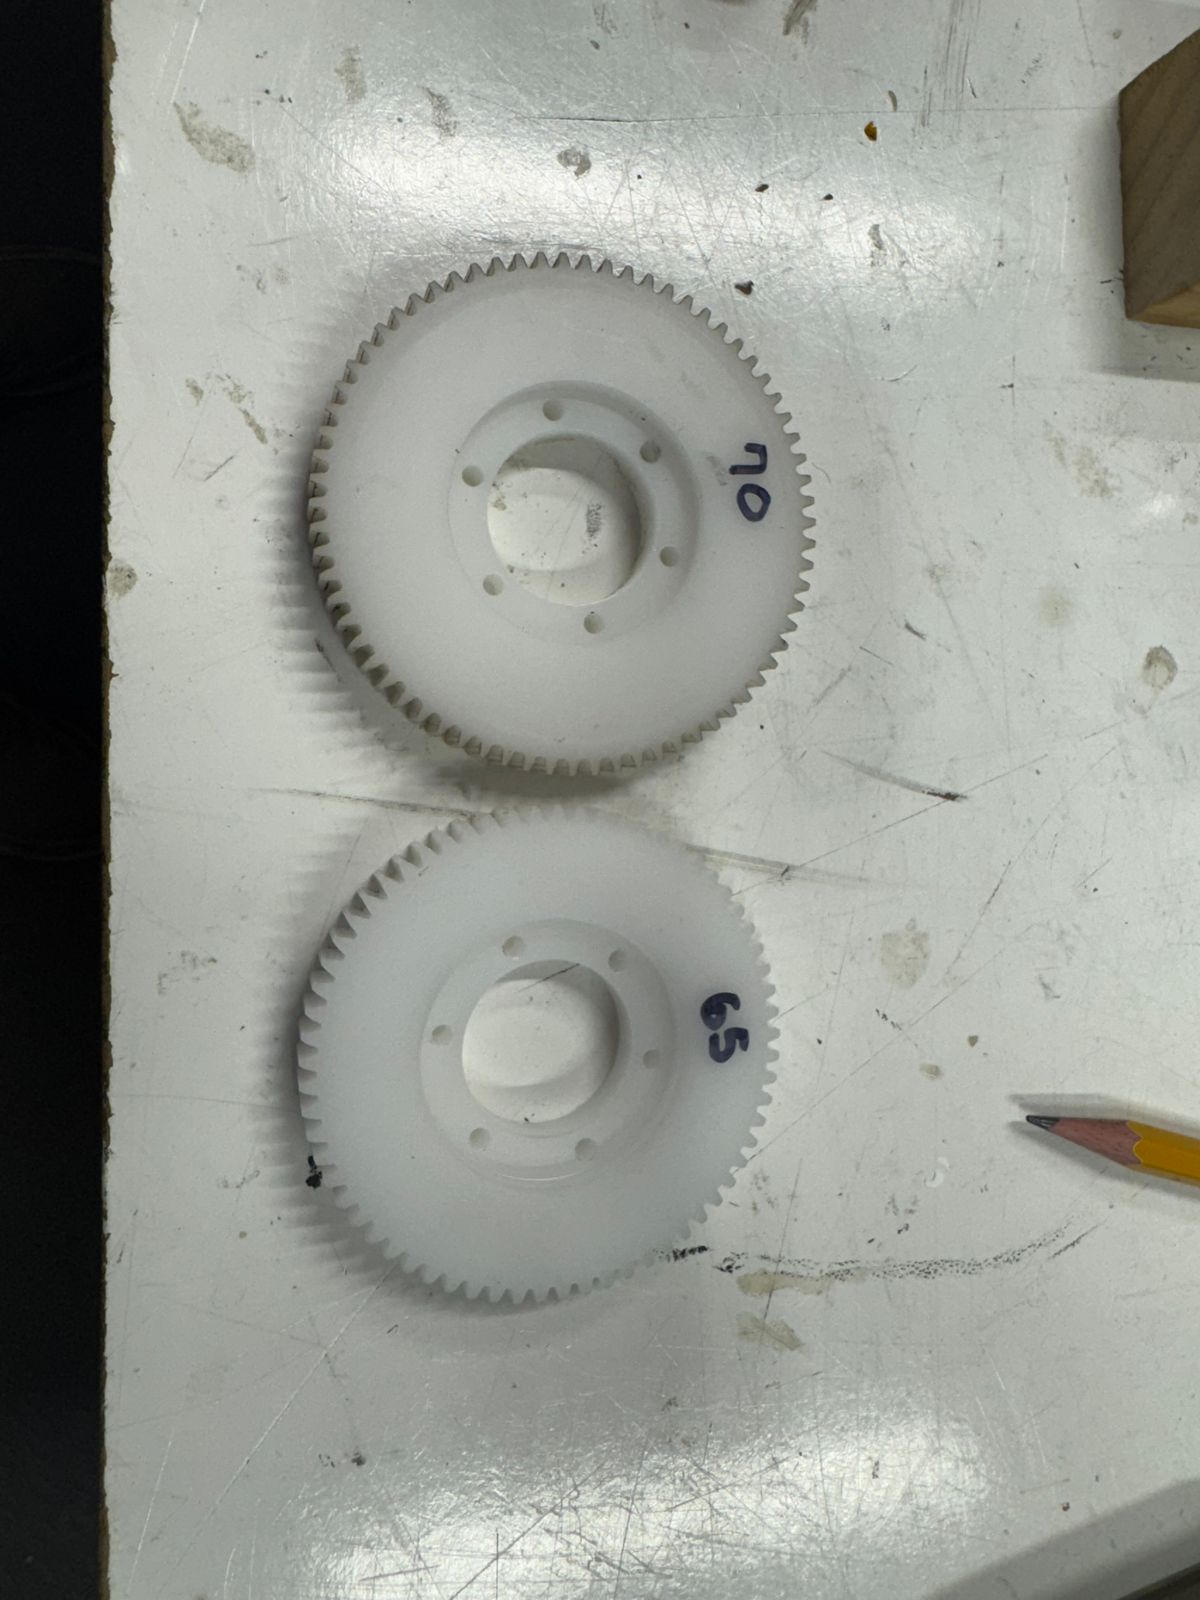
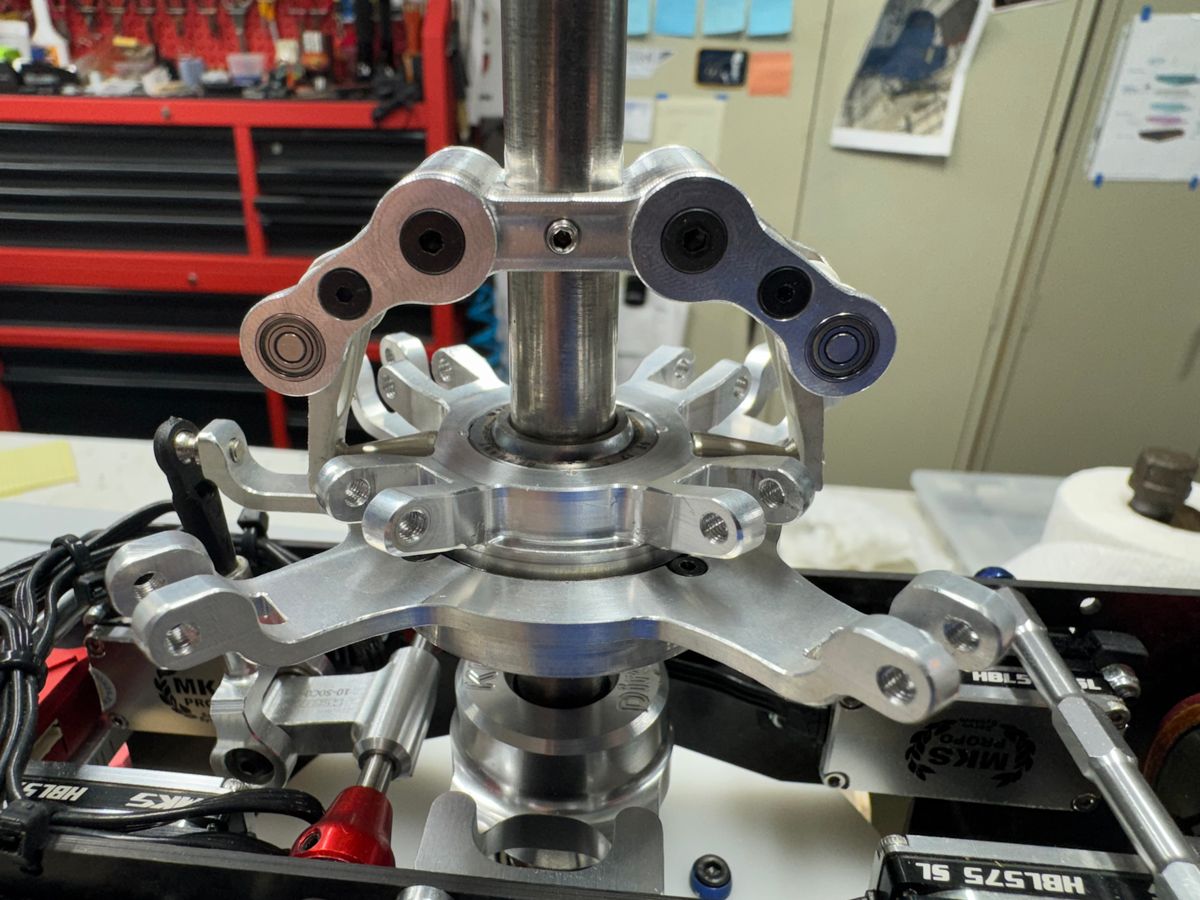
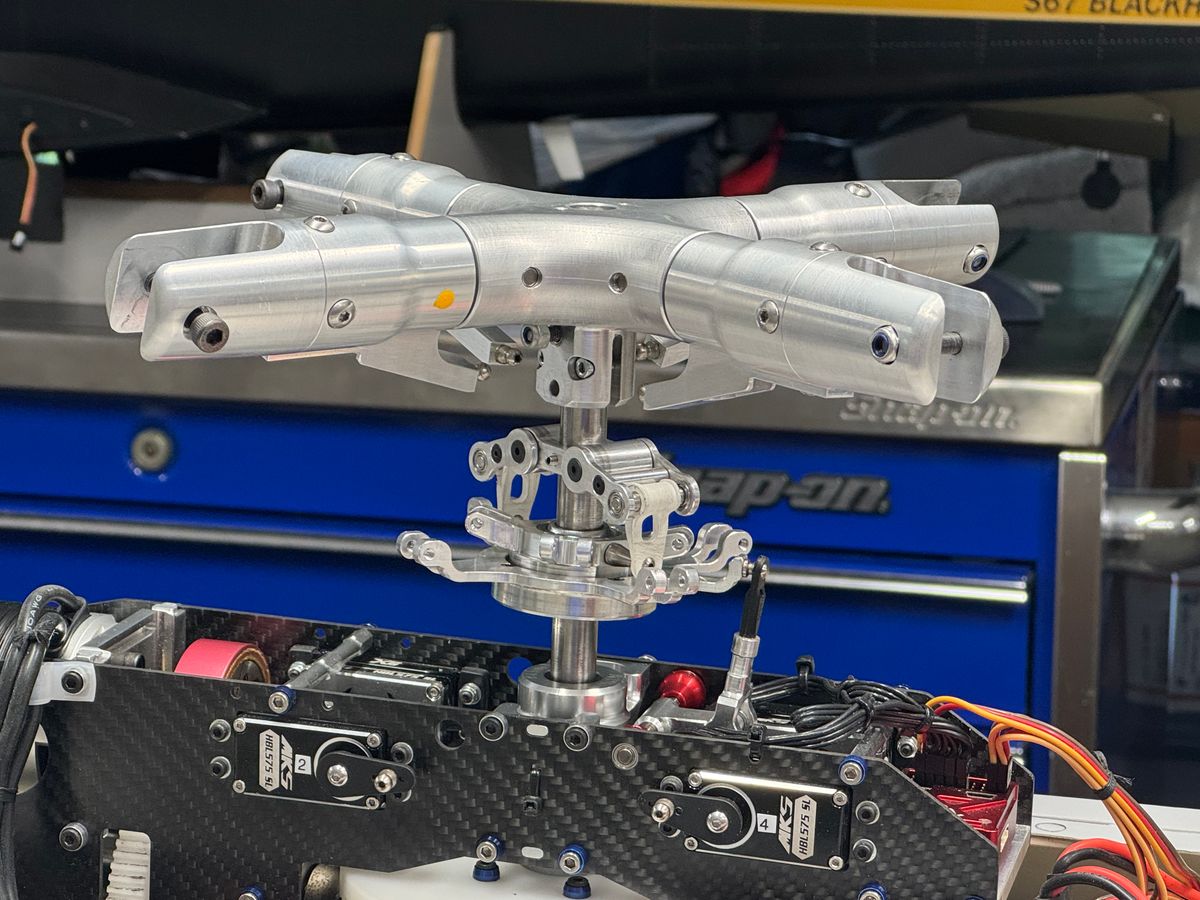
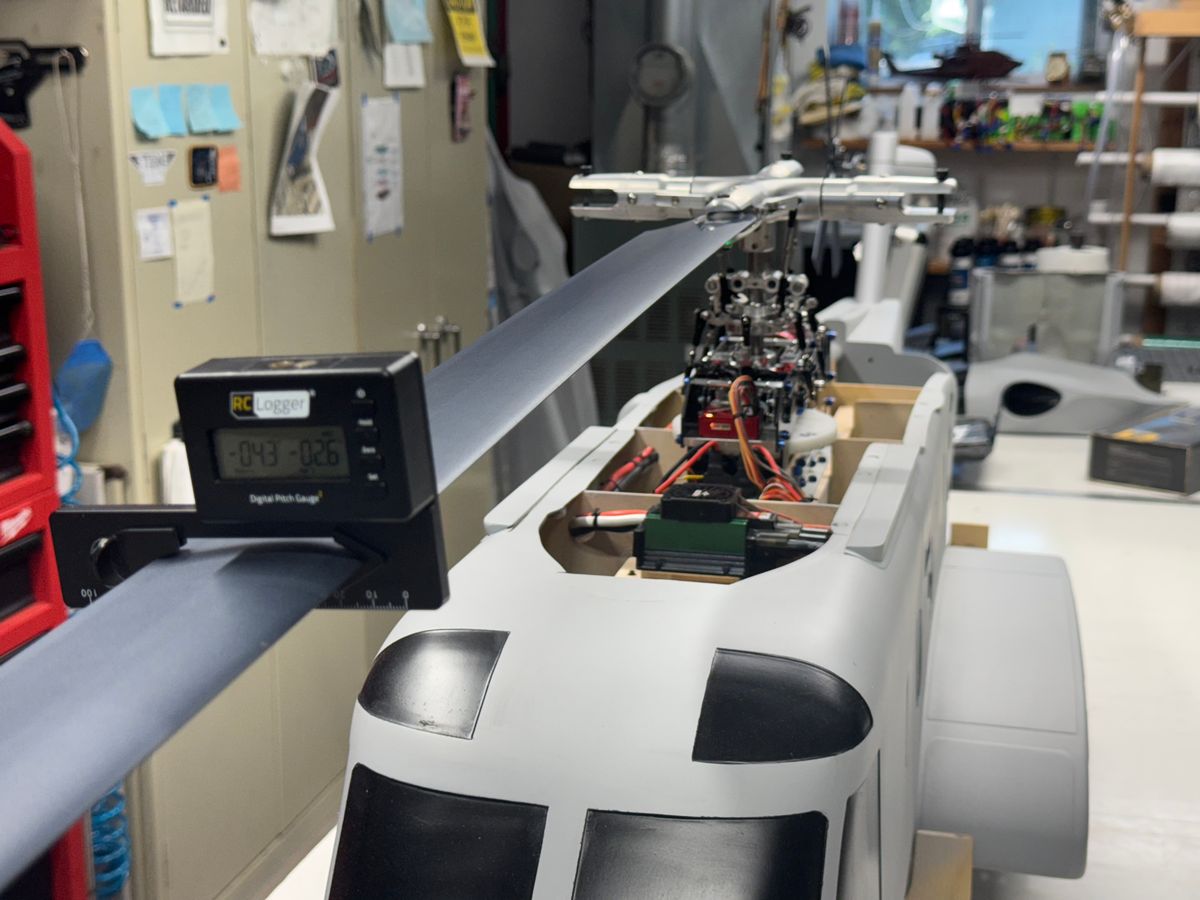
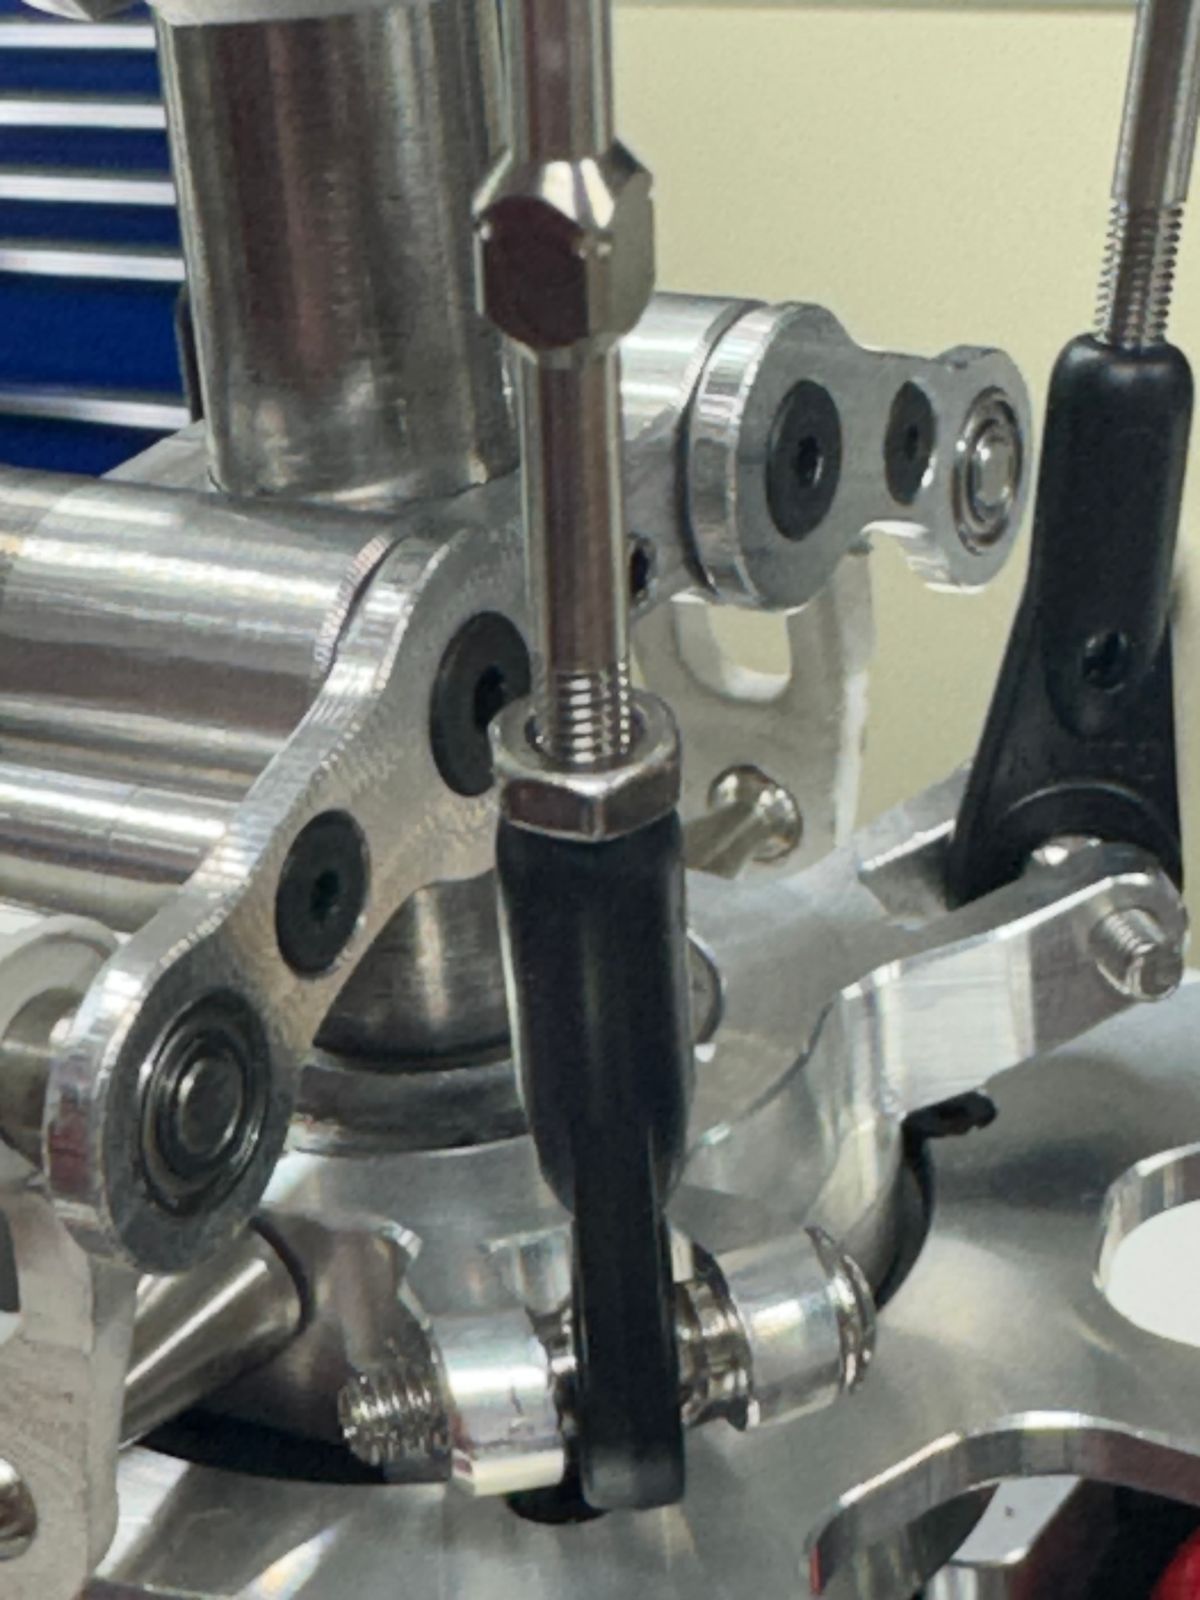
While down it was time for some upgrades. I replaced the swash plate and driver, installing a brand new head and changed the one way gear from 70t to a 65t. After many data flights, the power out was a touch high for my taste. I use the Castle 160. With the Nr I am running, it gives the warning 'too fast for proper governing'. I know its a scale machine and the 160 is very conservative on its calculations but the slight change will be a good thing overall.
Still have some things to finalize before flight but hopefully will get back to the field in a week or two
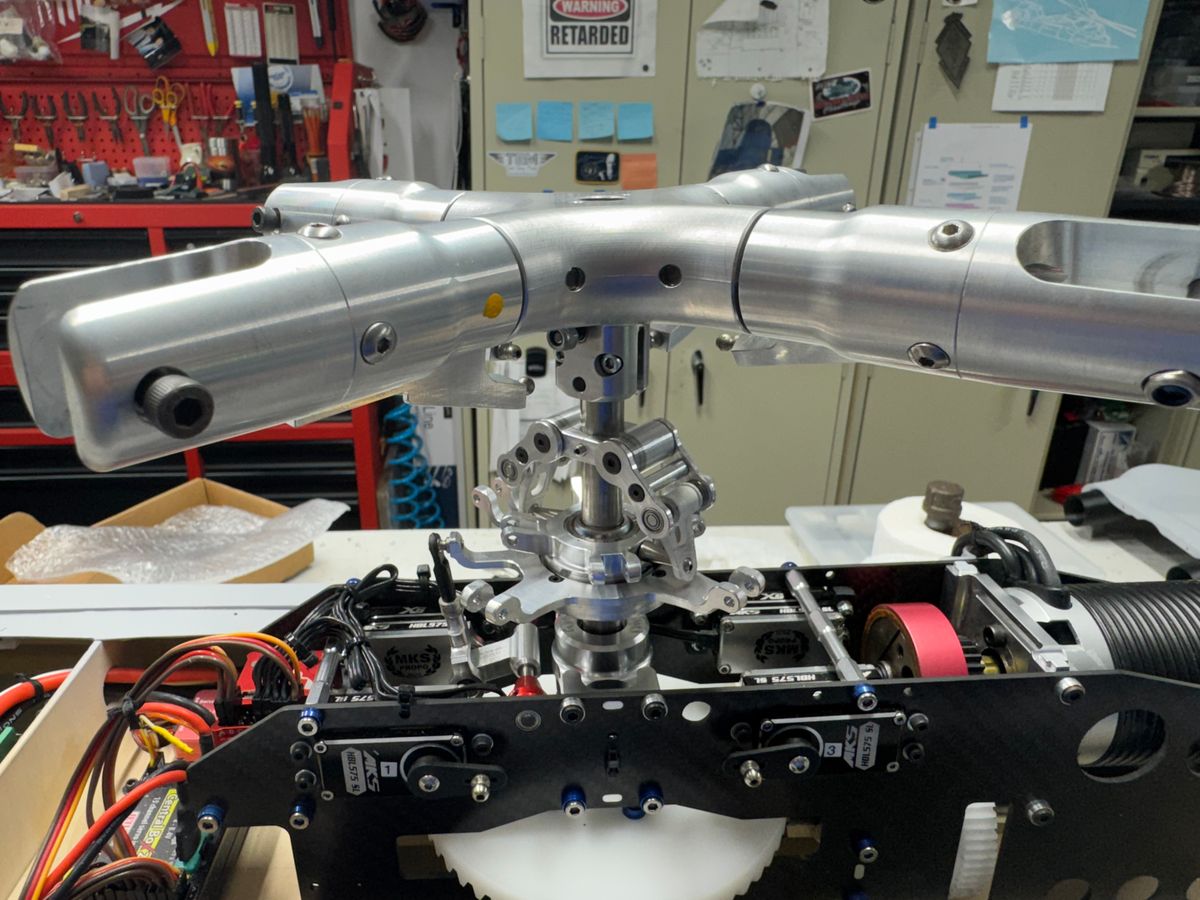
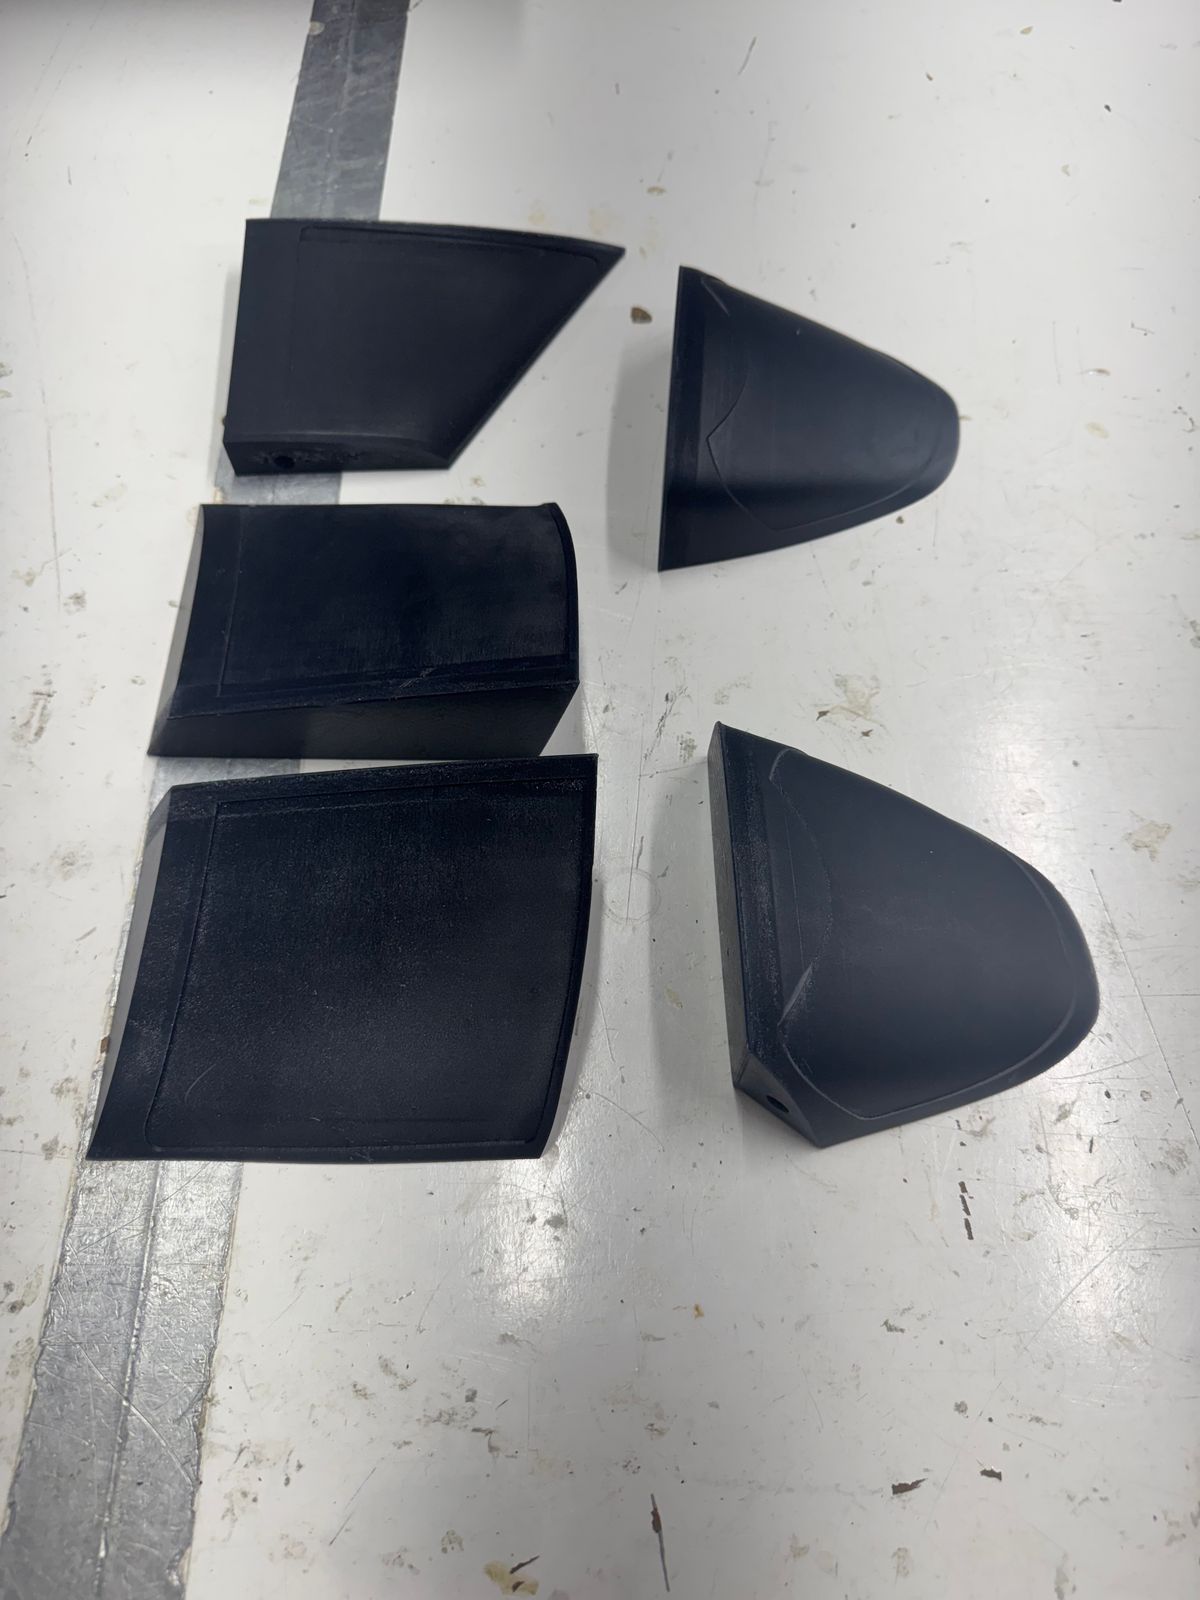
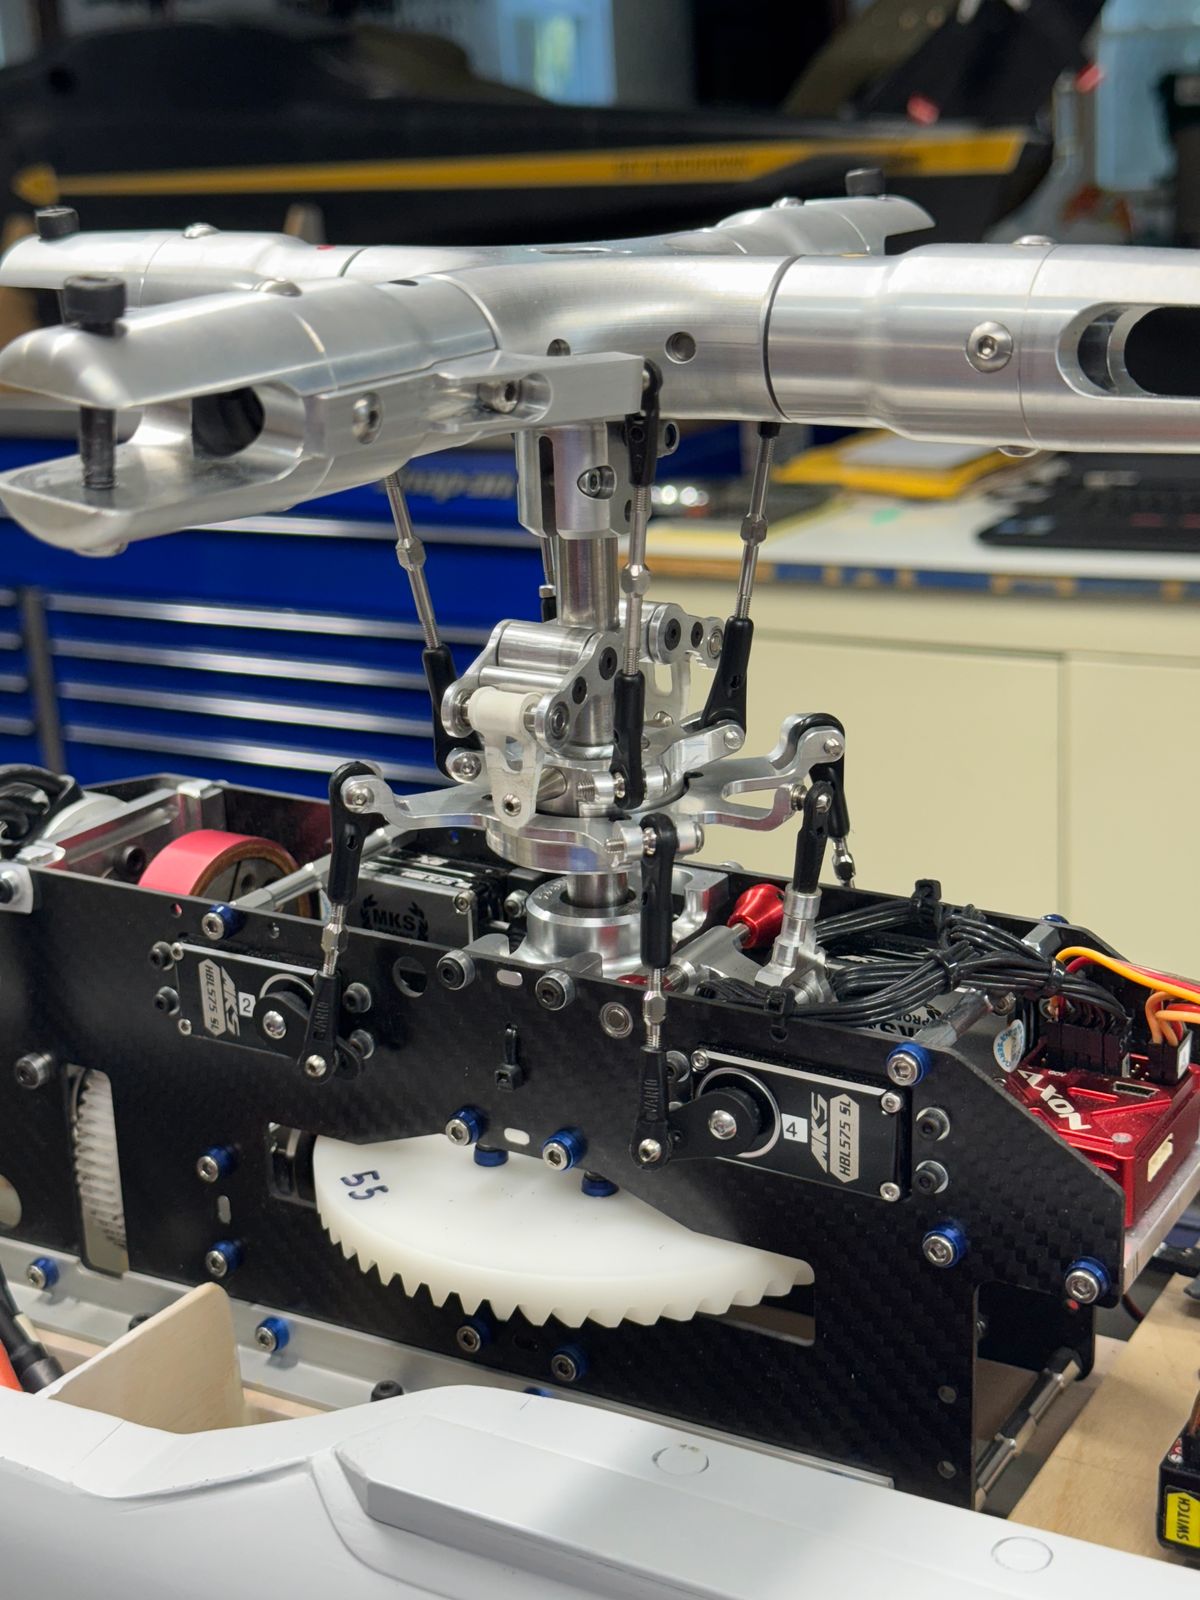
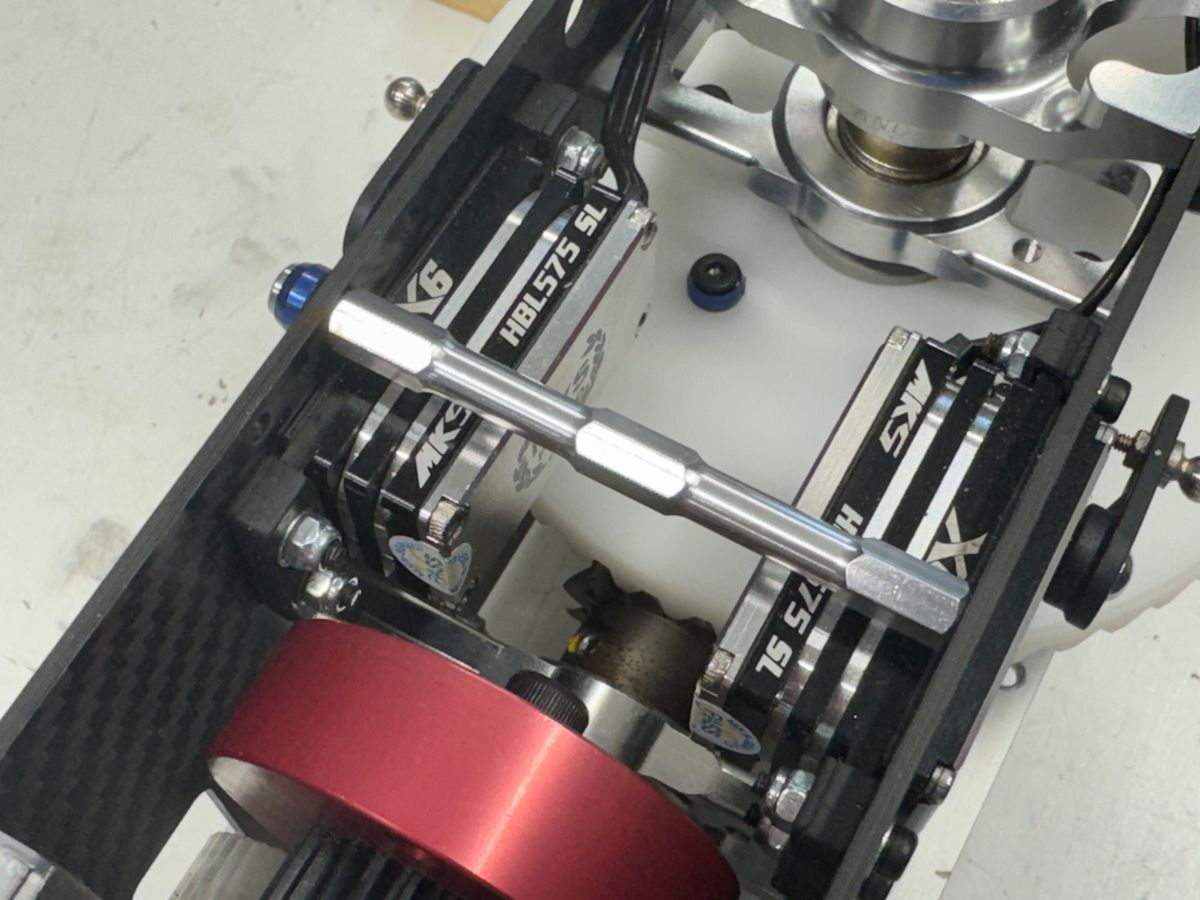
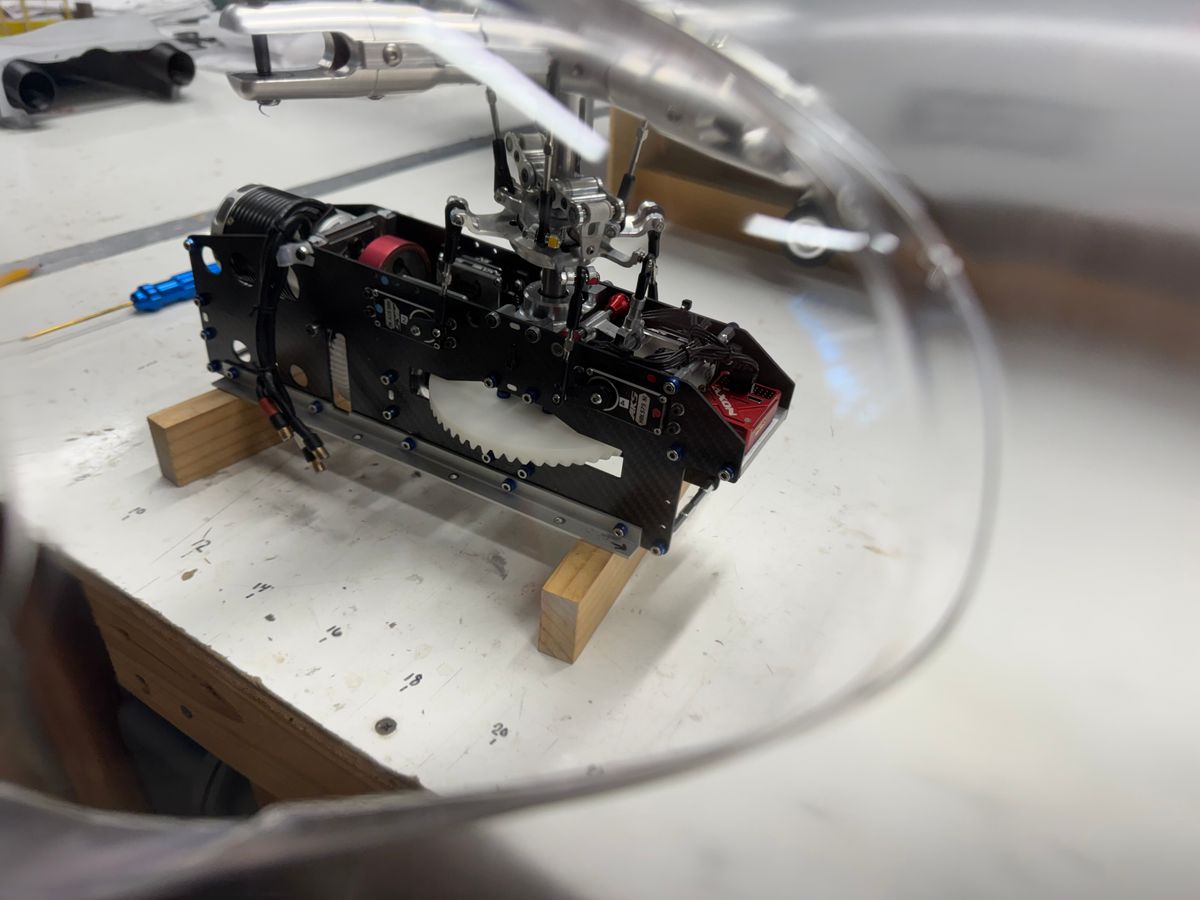
A foot note. I received the molds for the glazing from Evan a few days ago. They look great. I have a place local that can vacuum the glazing so I can get moving on the cockpit. I also dropped in a couple photos of the servo install. These MKS 575 low profile servos have been great. Powerful and fast.
A few pics.
Thanks for dropping buy,
B
IP has begun.
UIH,
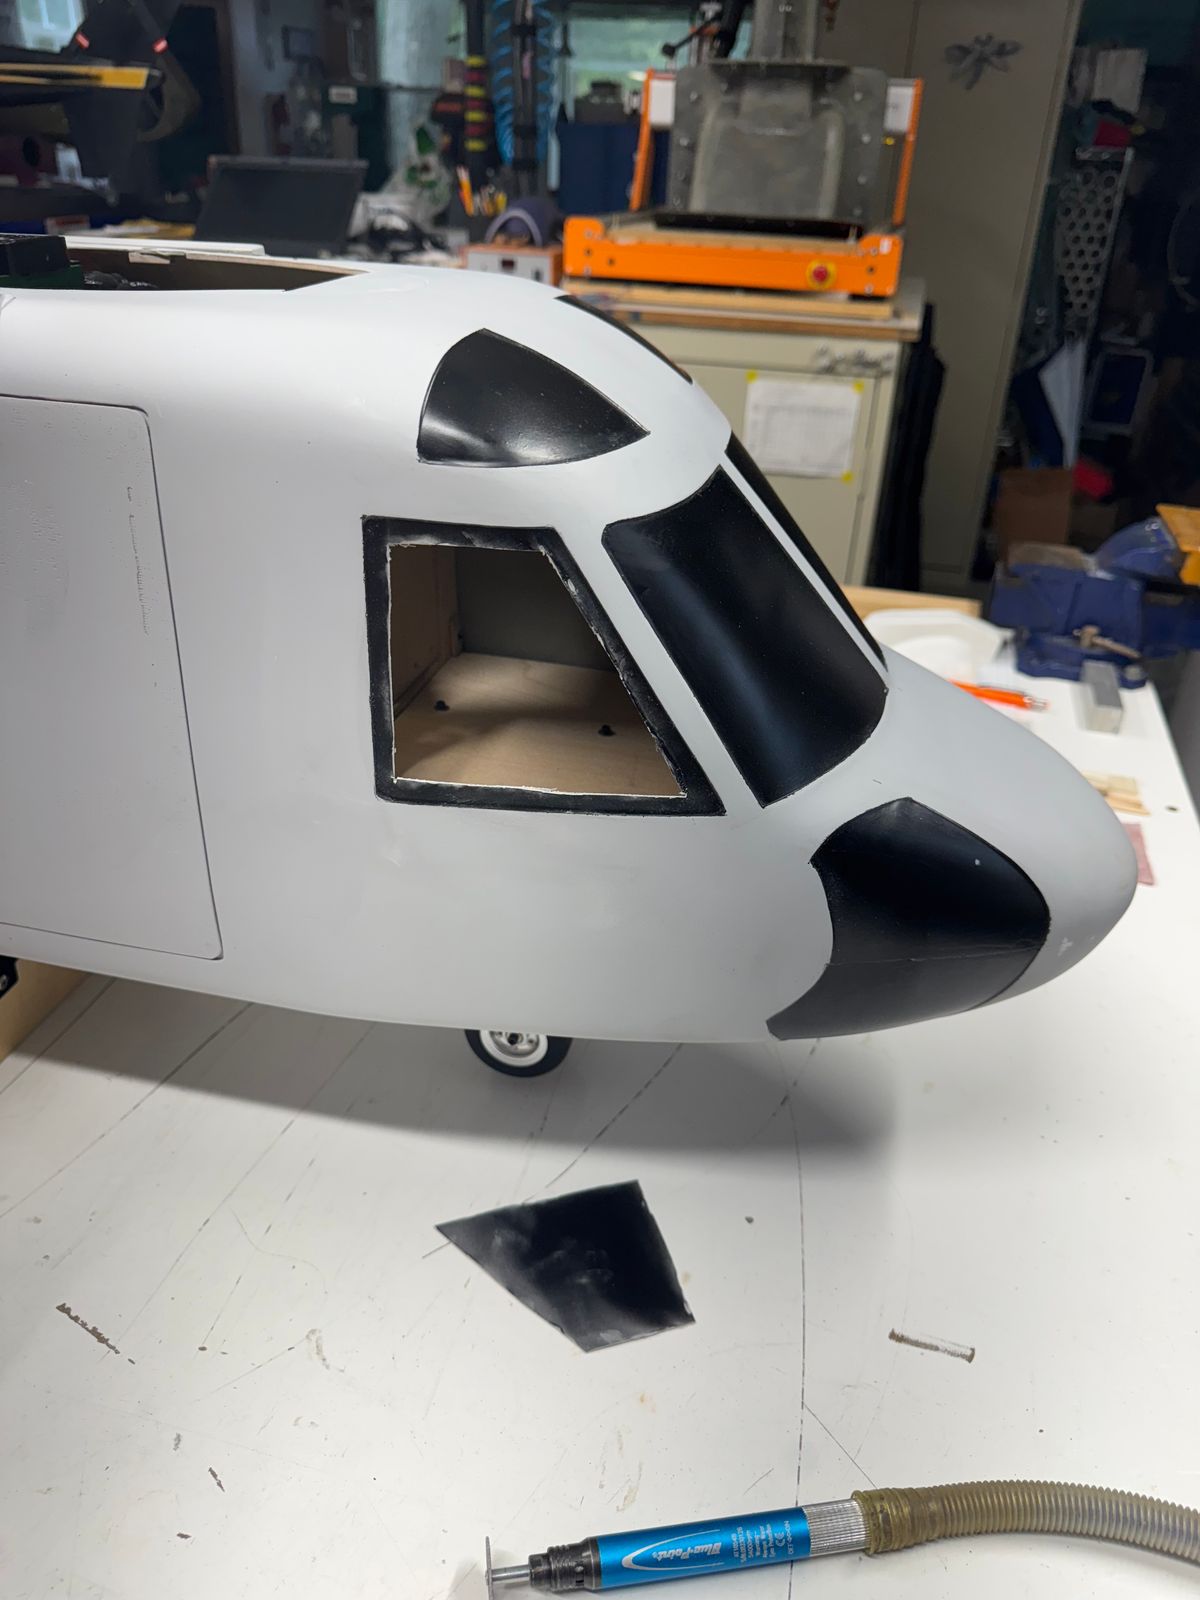
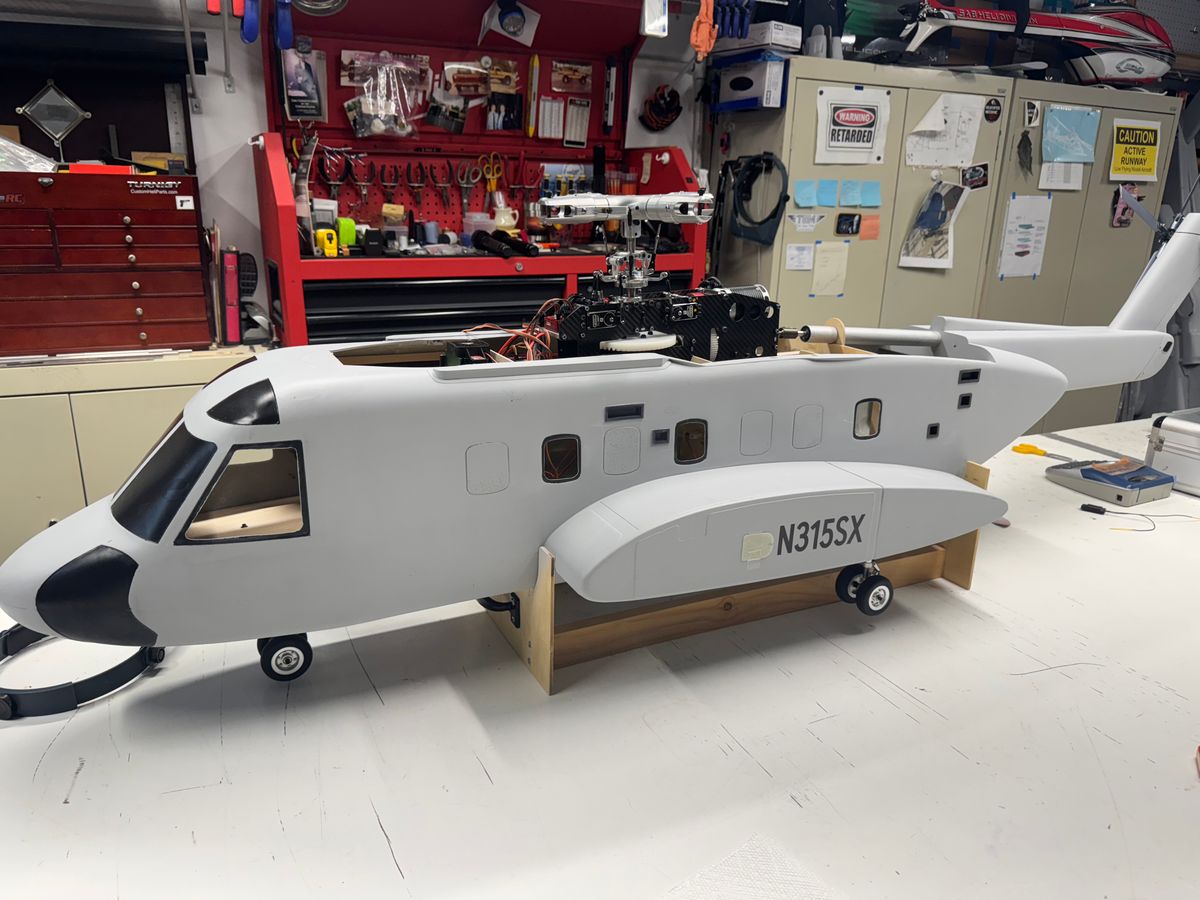
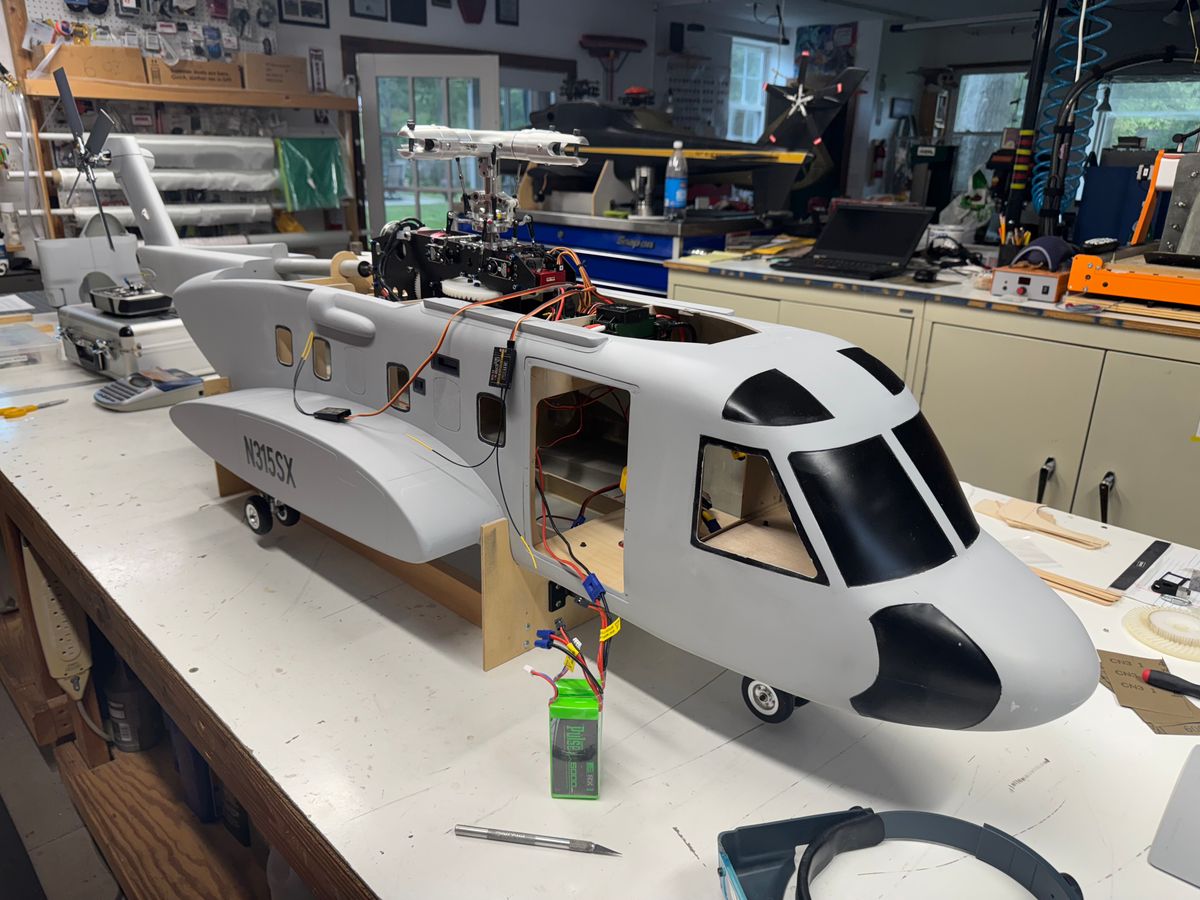
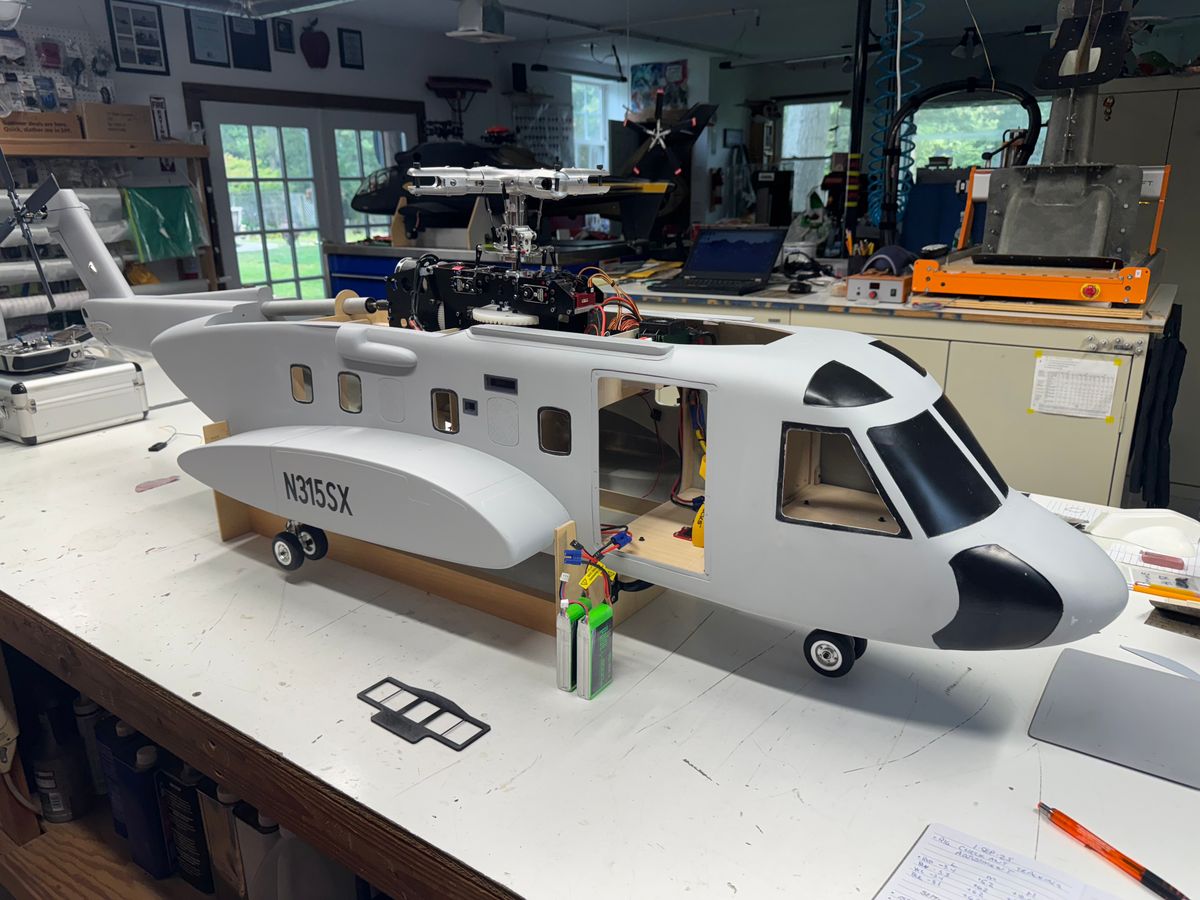
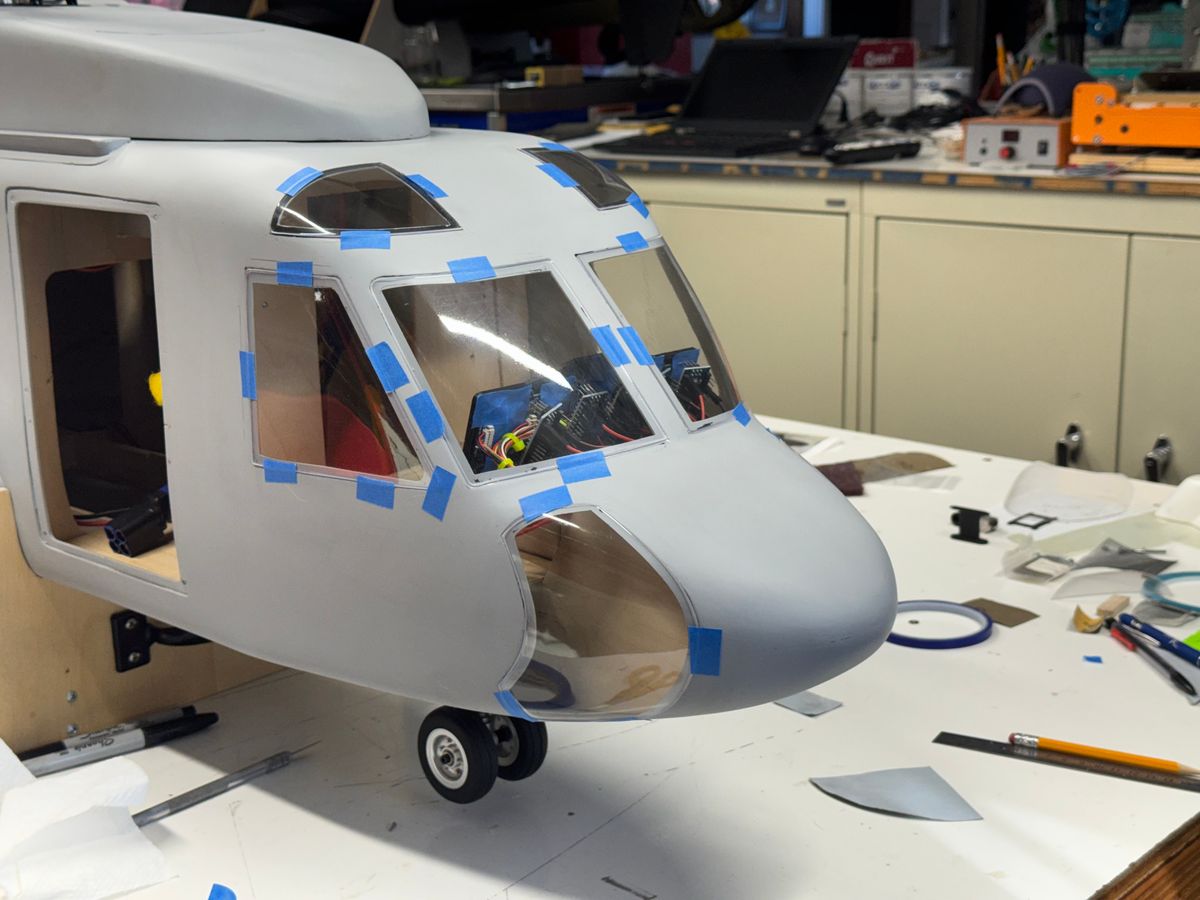
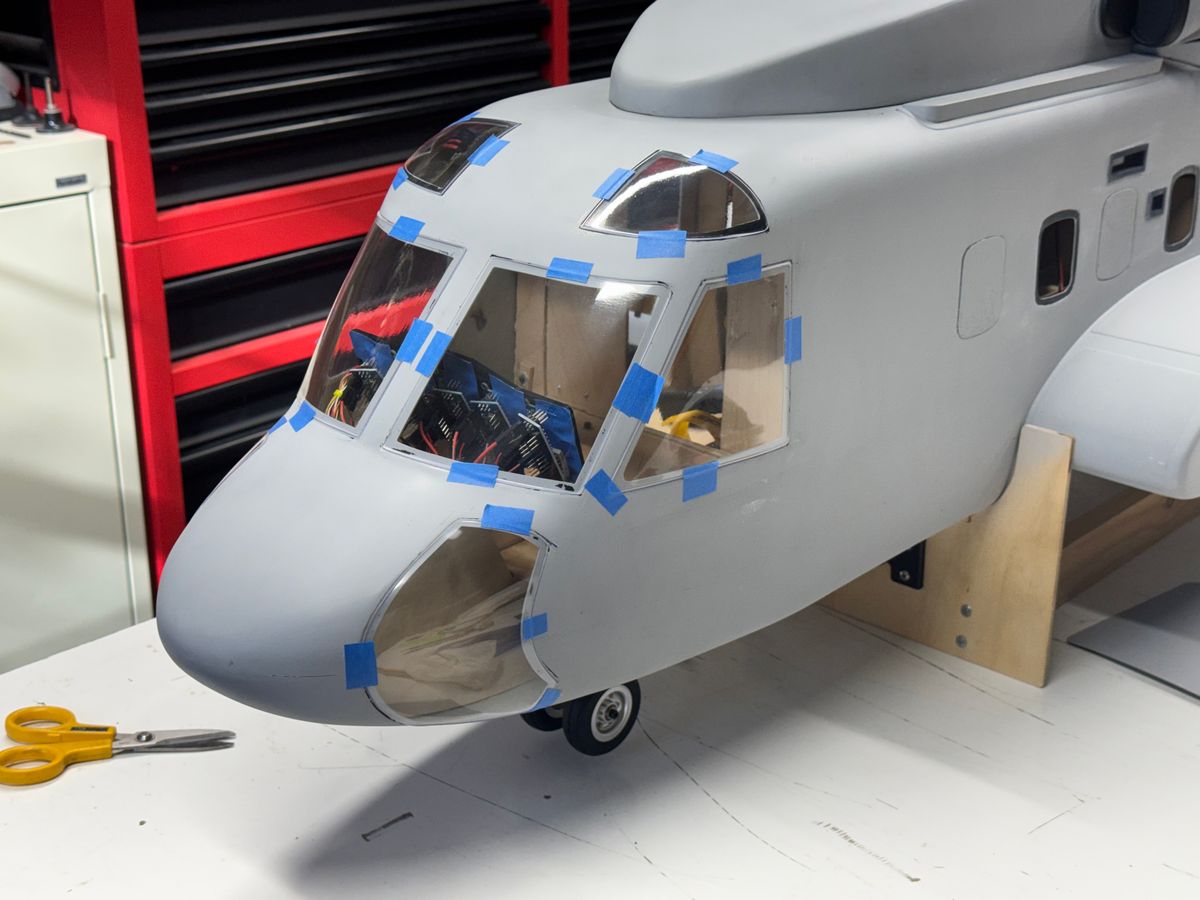
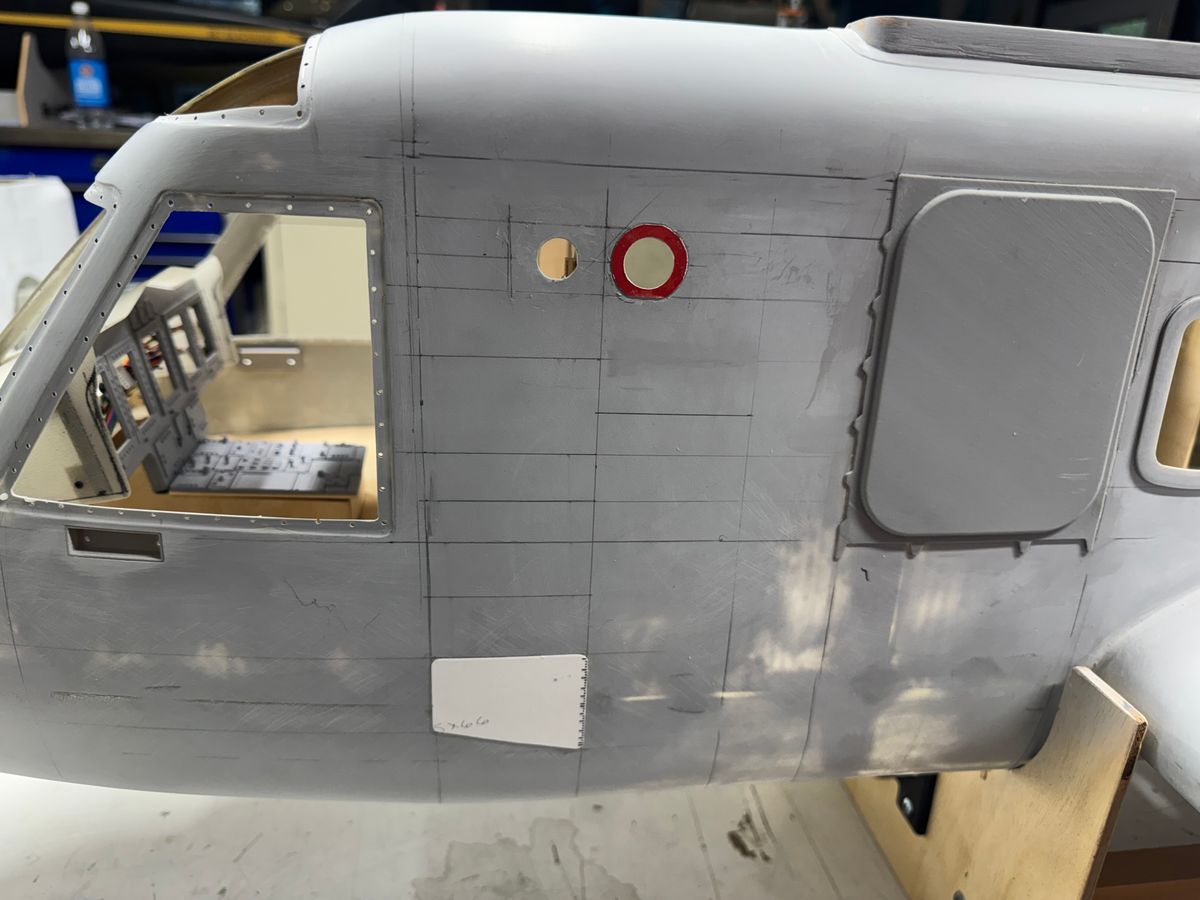
With wonderful weather across the area for the weekend, I pulled the “pneumatic cleaver” to cut out some windows. I did not remove the windshield, green house or chin windows so it would not put big azz holes where I really don't want them just yet.
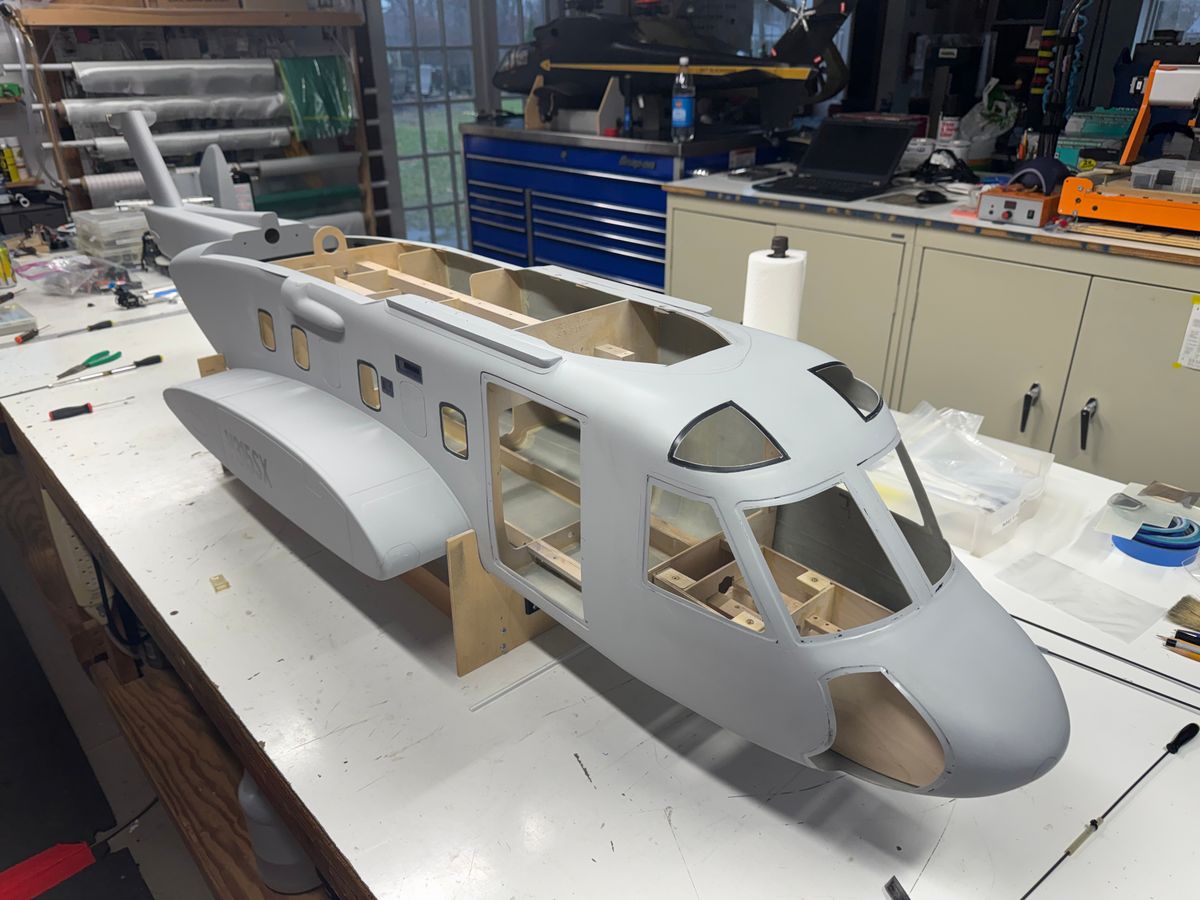
I cut the side fuse cabin windows along with the cockpit side windows that allow better access to the cockpit. As there are no “cockpit” doors, working through the windows offers the beast access. The window cutouts are rough and will need final trimming to the correct opening.
Most of the parts for the IP is “slave”. It is the correct size and shape to the final product but using tools to finalize fitment.
I was really hoping to fly this weekend to tweak the Axon after the first flight checks last weekend with the new head and swash however I am happy with shop days. They are always a plus.
Here are a few pics of where the VH sits today.
Thanks as always for dropping by.
Butch.
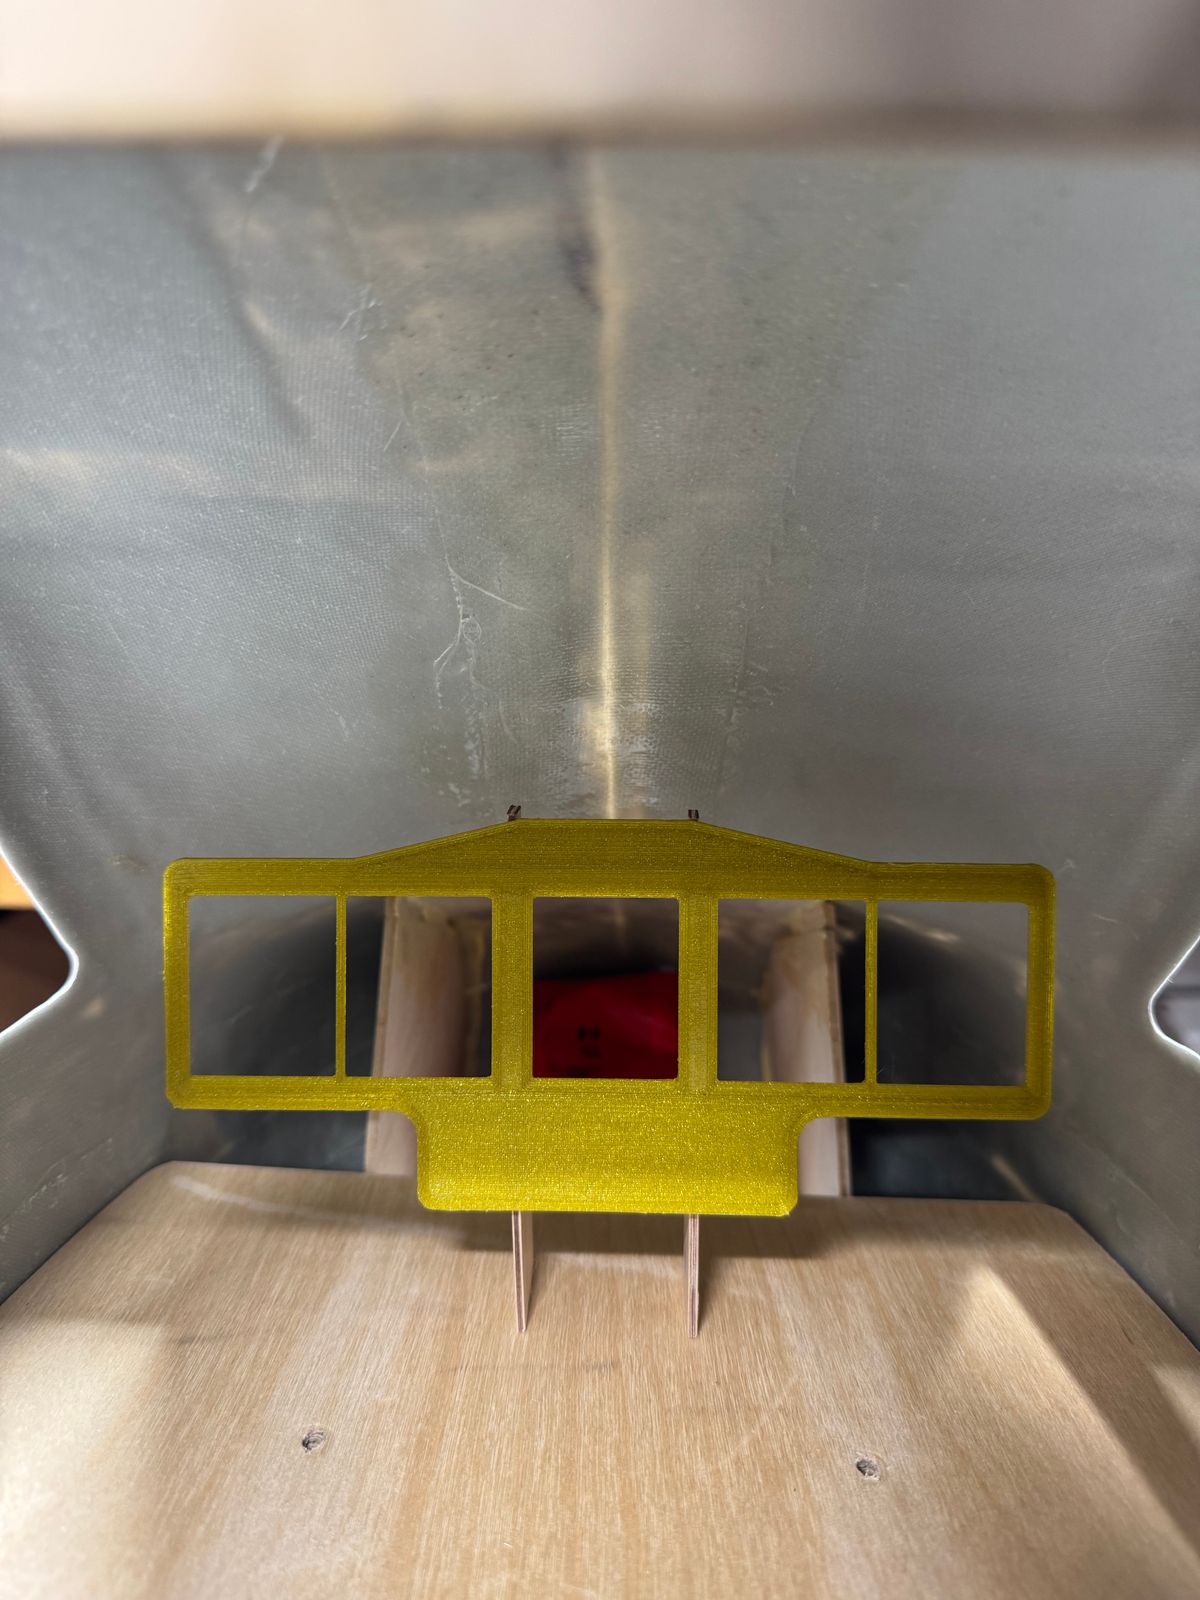
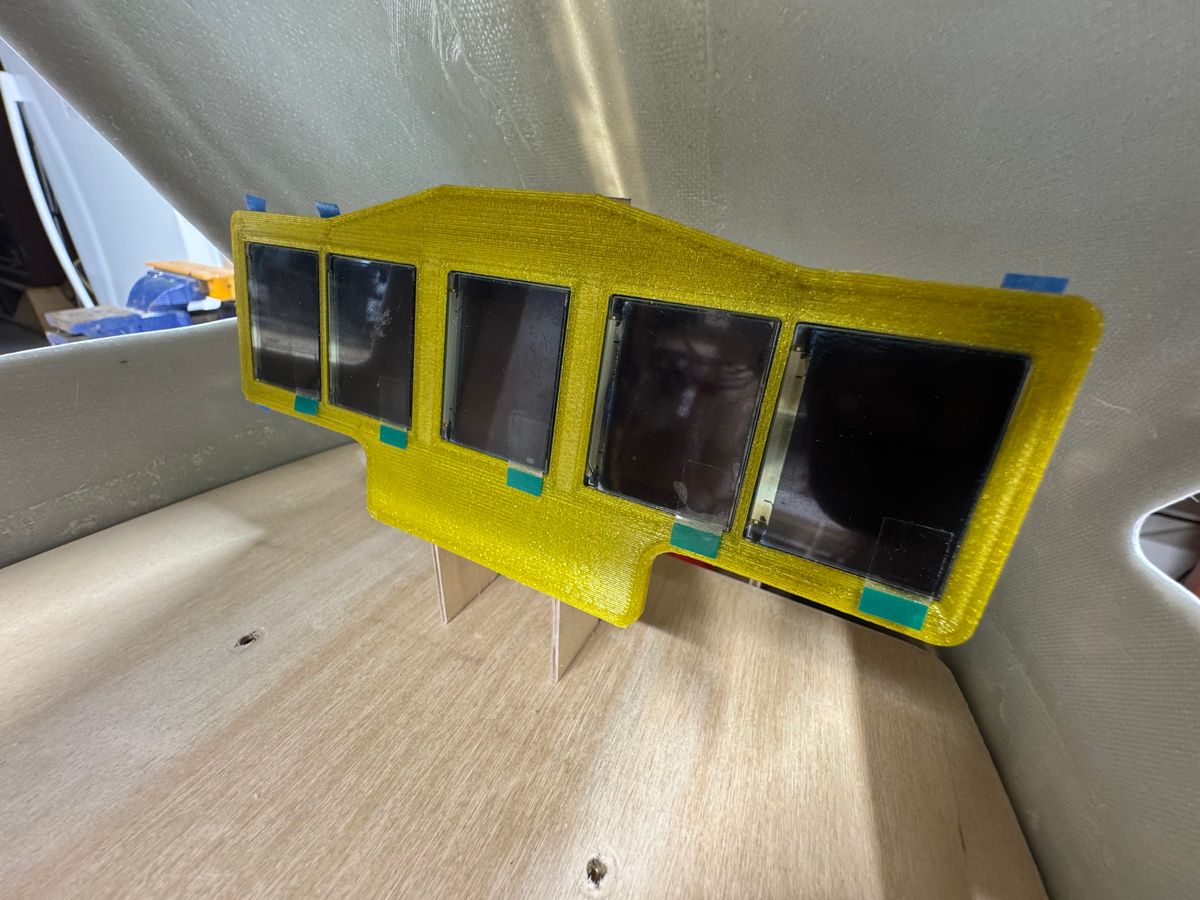
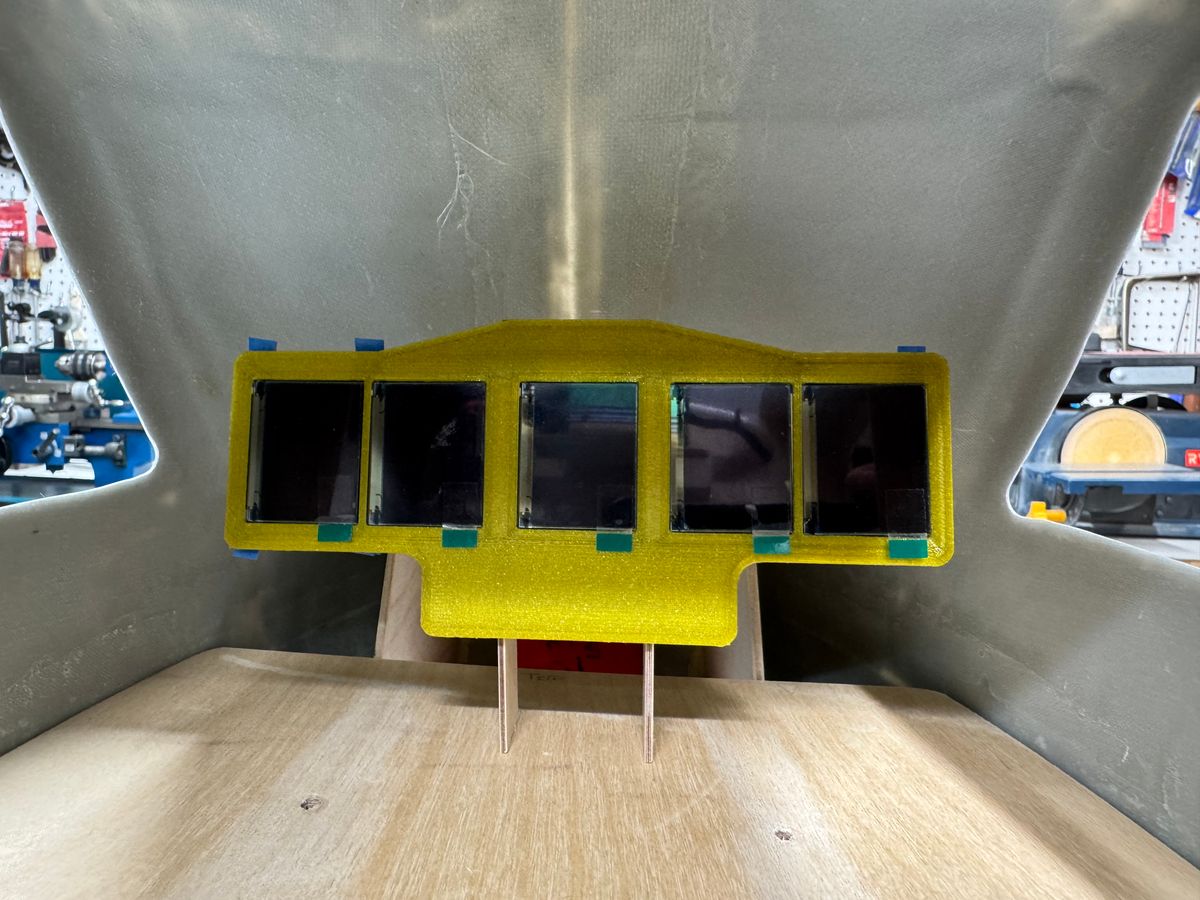
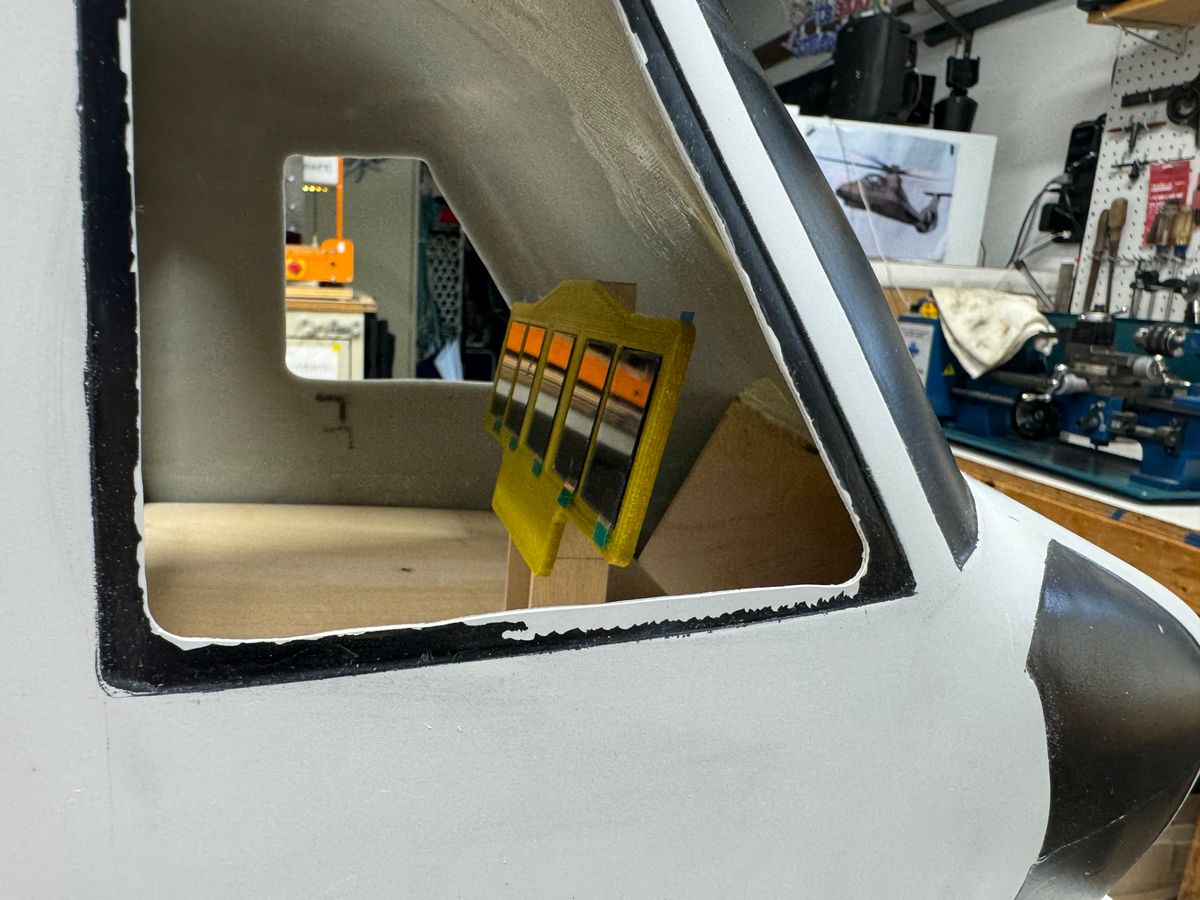
I can see clearly now.
uih,
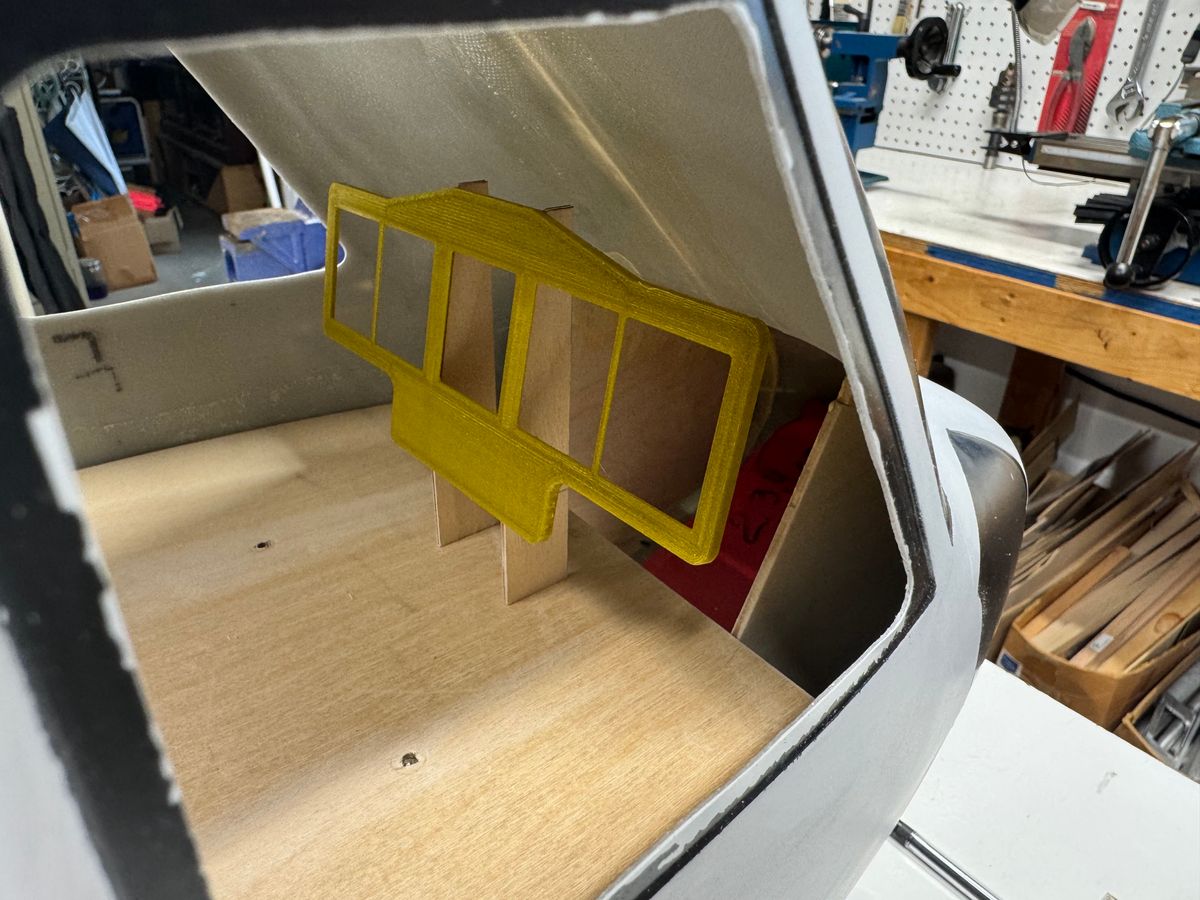
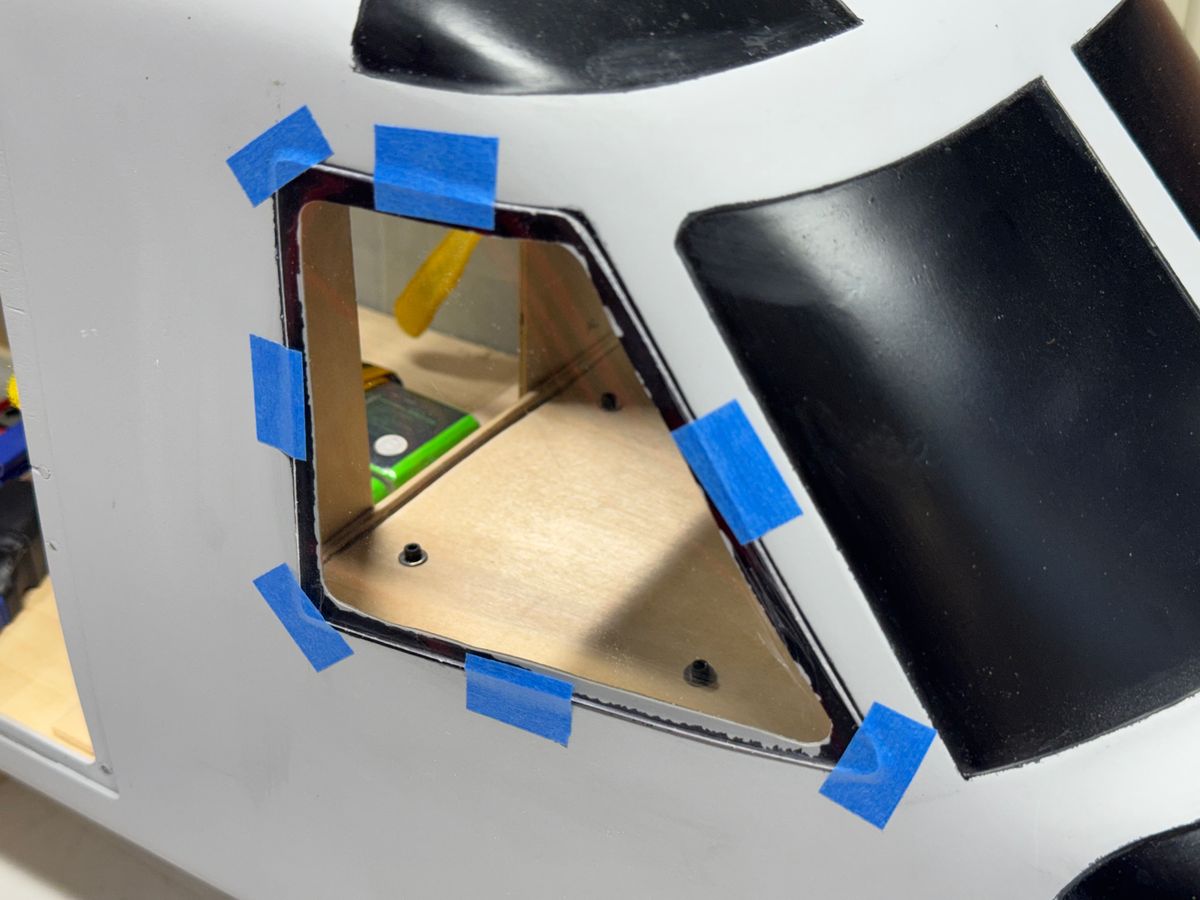
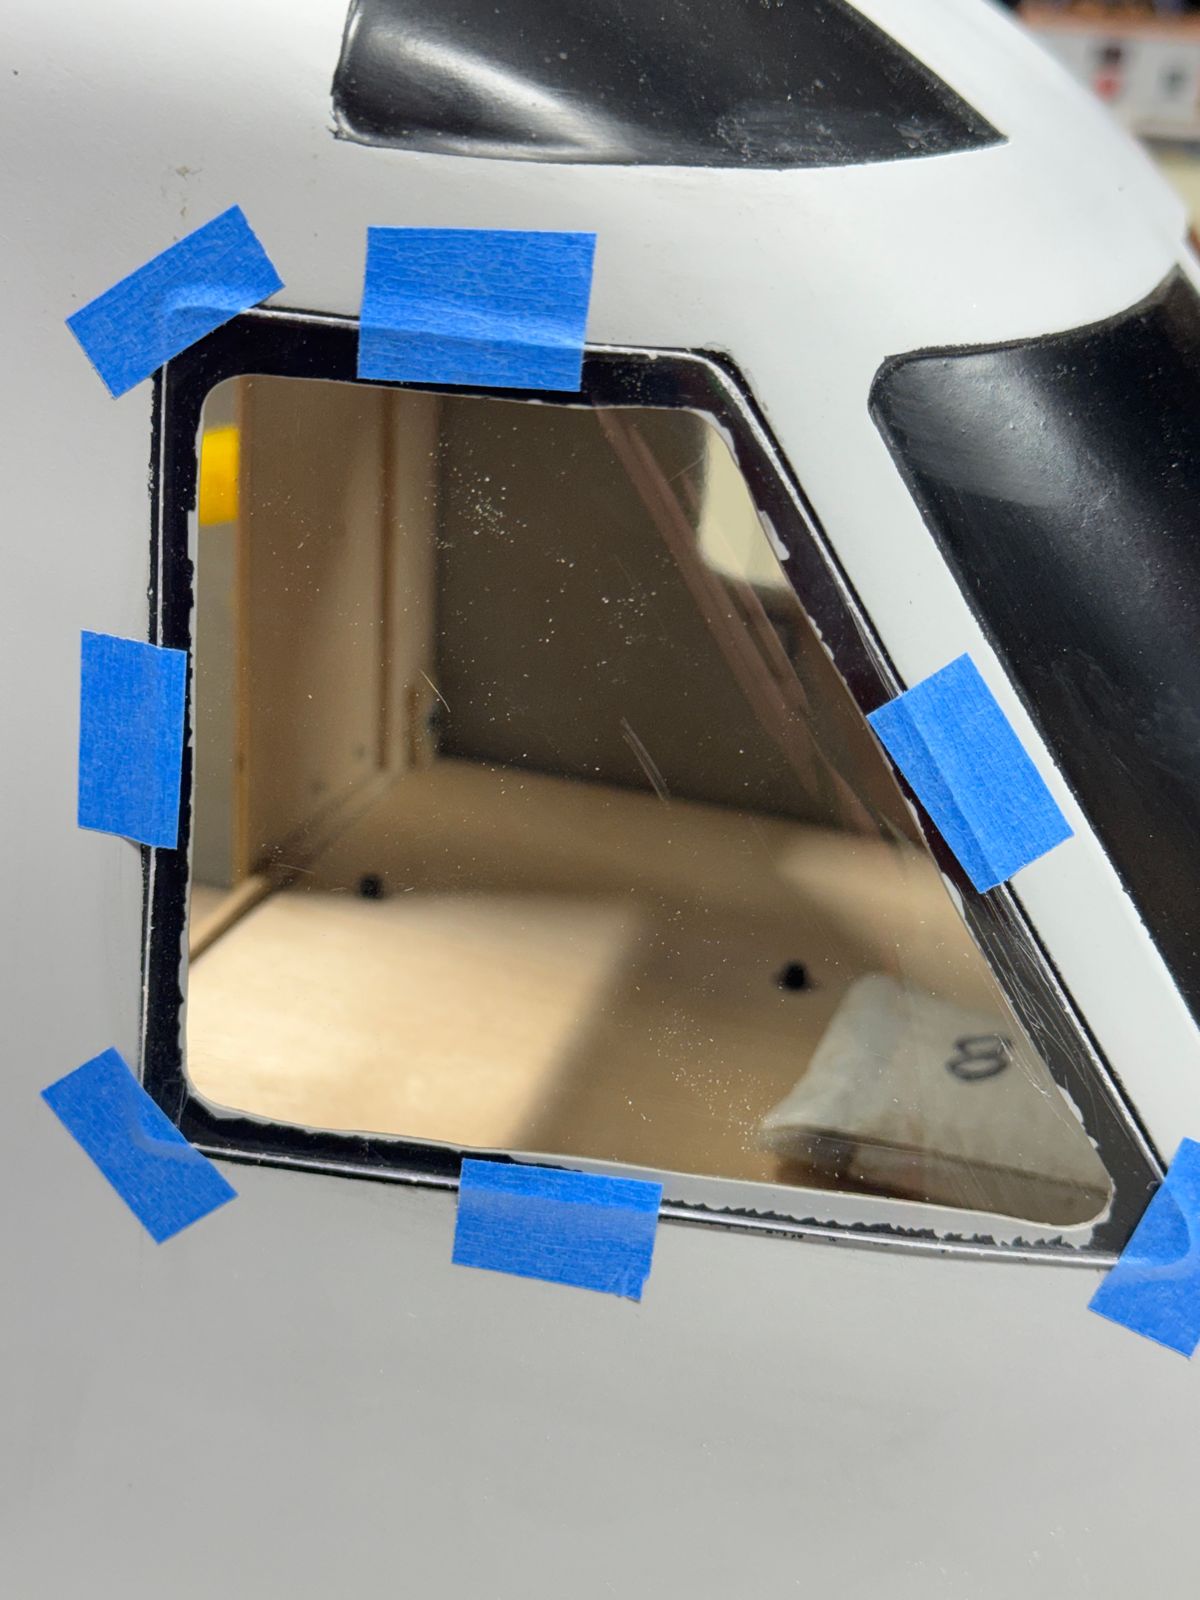
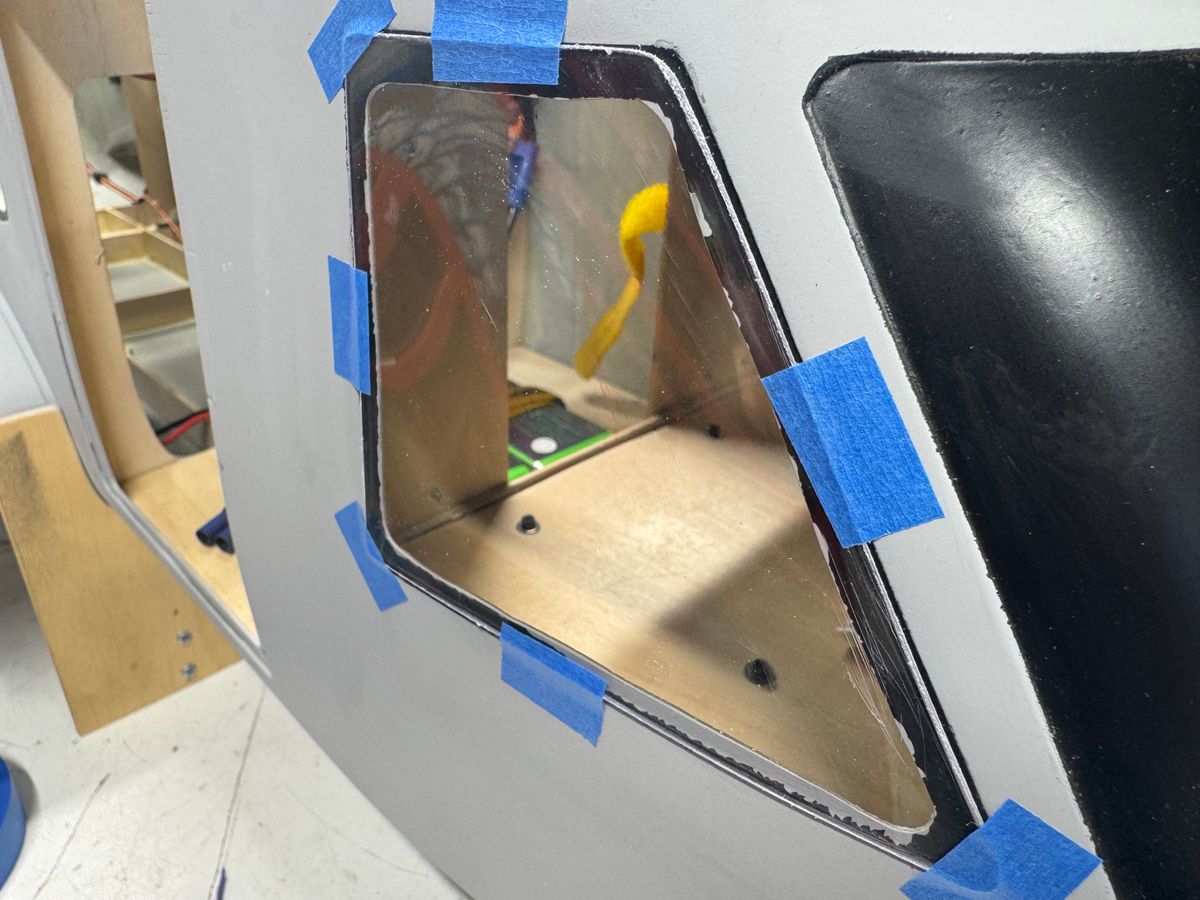
It has taken some time but I finally have the glazing for the VH-92. I am very happy with the outcome. Even better, the shop is local to me so I can drop the molds off and in a few days I have sets of glazing.
Because there are no cockpit doors, access was tough for fitting cockpit features and detail. Once the slave windows are cut and fit I can cut the openings and have much better access for working on the cockpit.
I blasted out a quick cockpit side window from one of the sets to check fit. The fit is real nice on the pilot side window. I will make a set of slave windows attached with a few screws then when the fuse is detailed and painted, will fit a finished set of windows in for the final product.
Because there are no cockpit doors, access to work on the IP and cockpit furnishing is tough. Having all the windows opened up soon will be a great help to make some progress on cockpit furnishings.
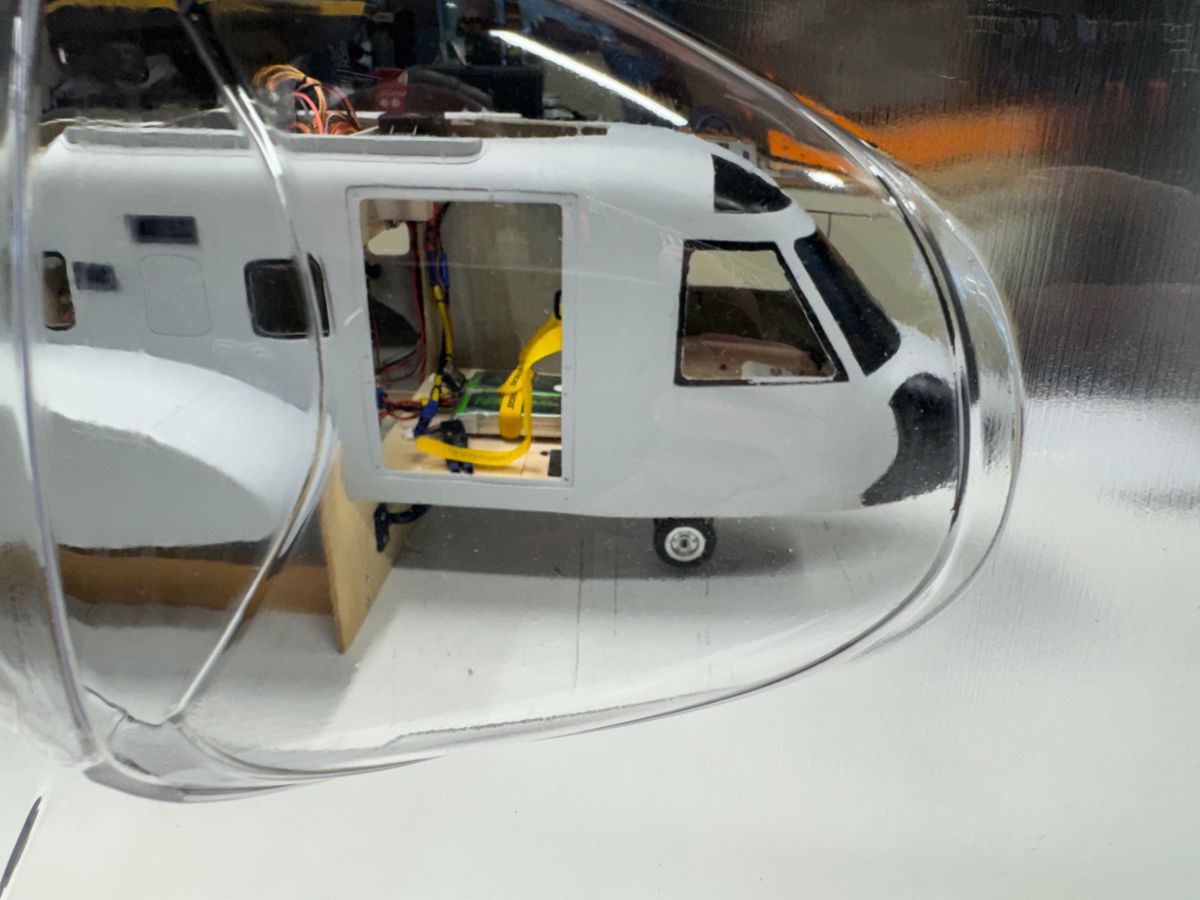
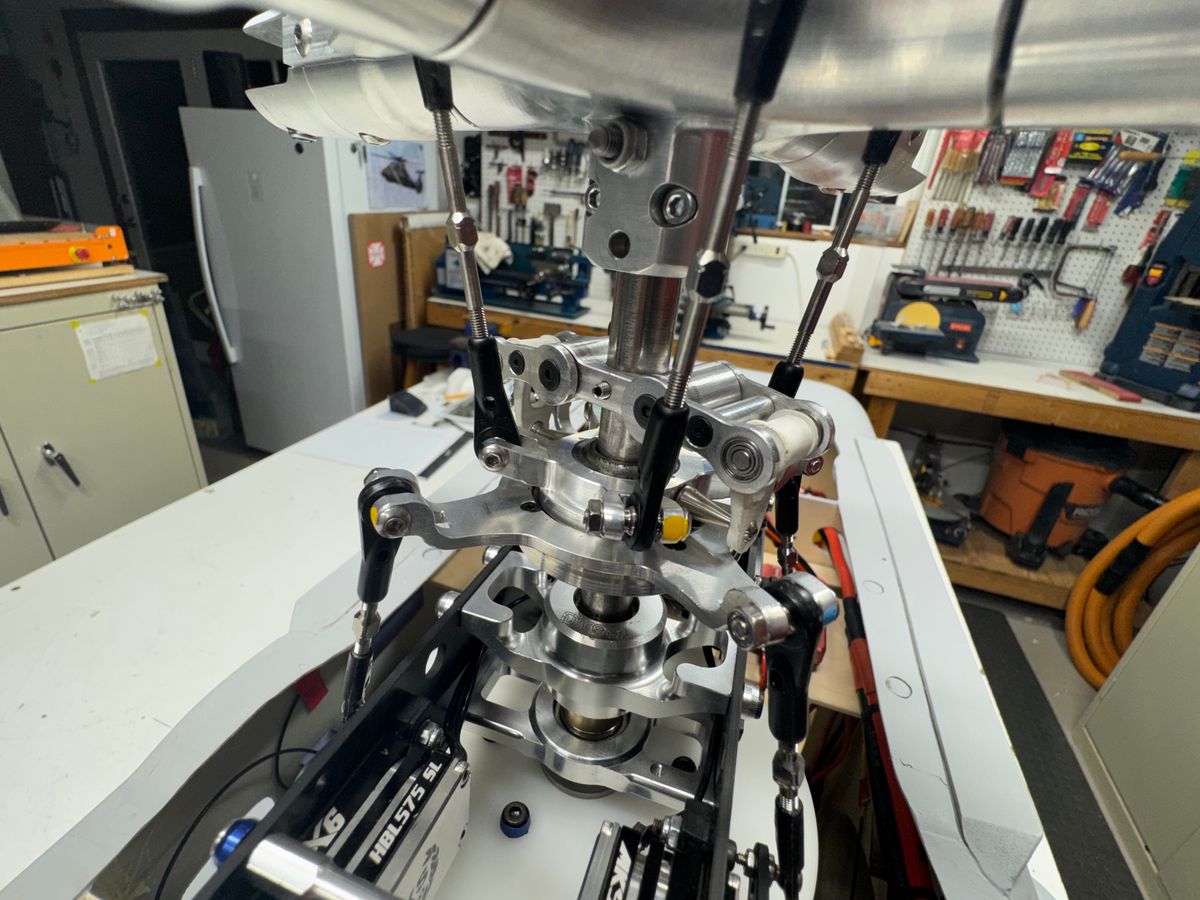
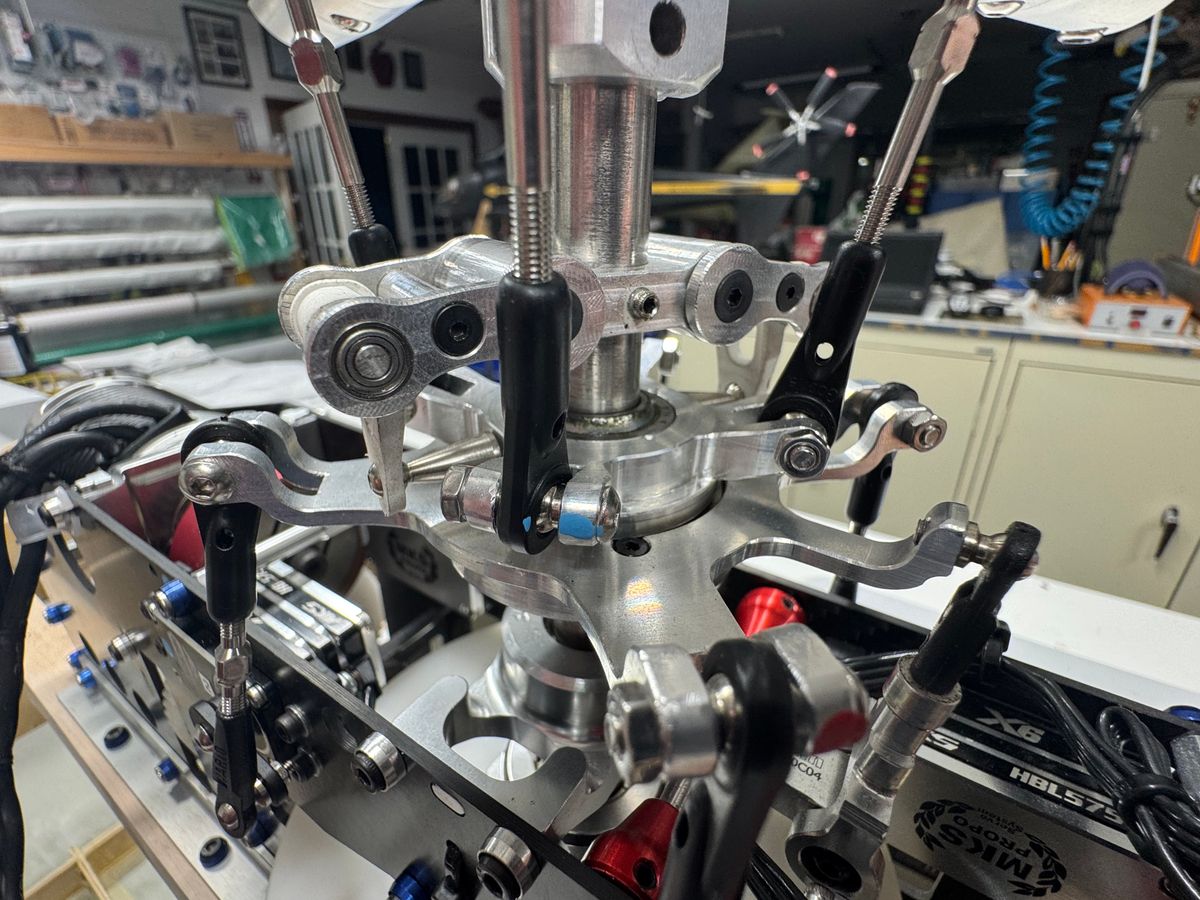
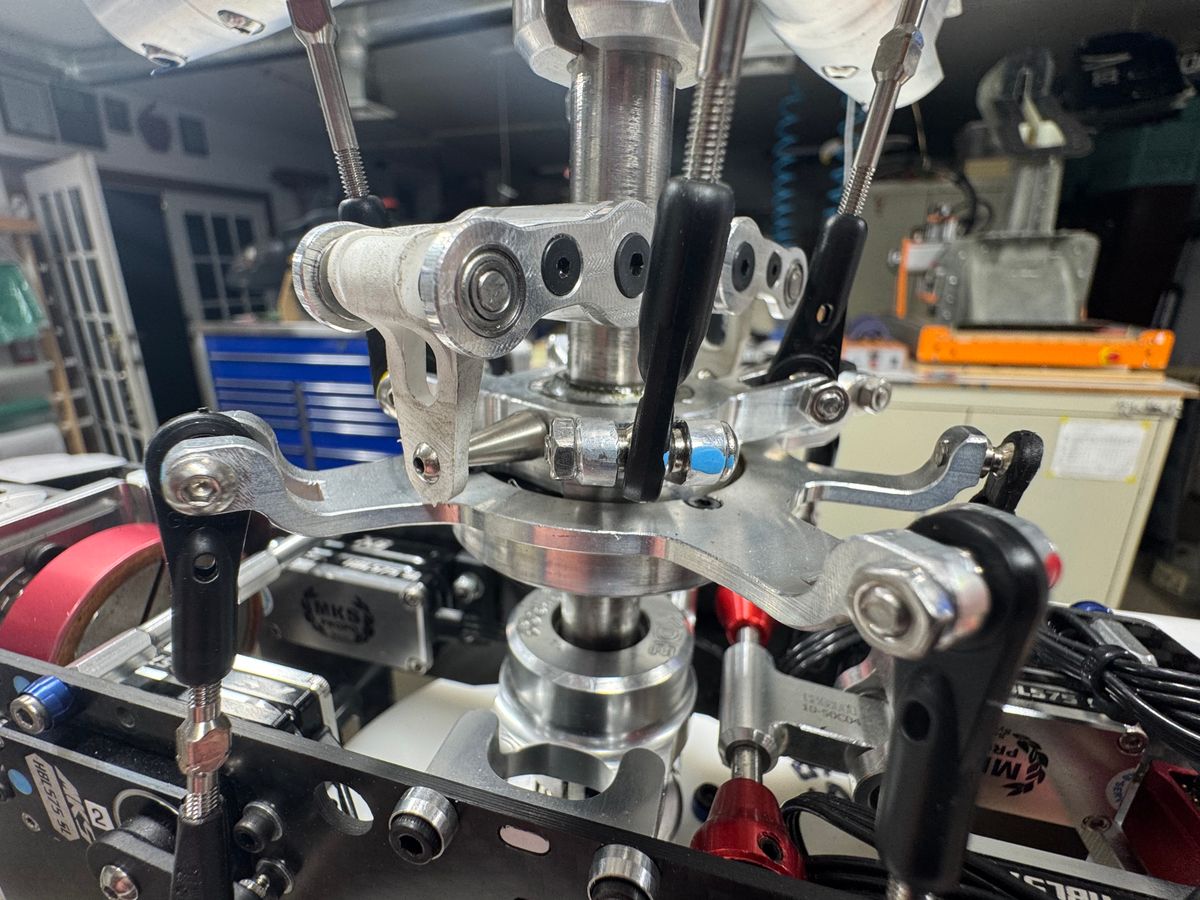
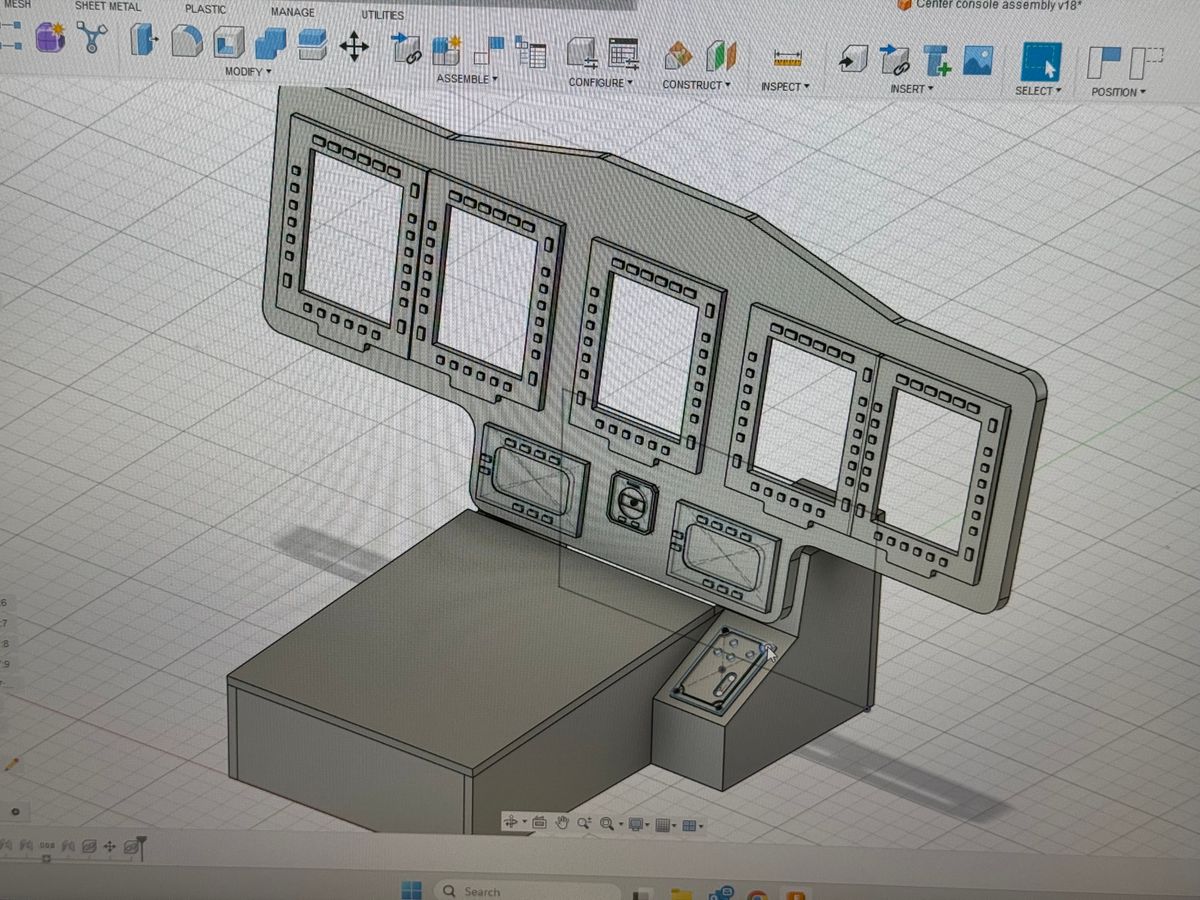
Took a few pics through the windows. As you can see they are very clear. Also took so pics of the new swash and head just because it looks so cool. Threw in some progress of the IP design too.
As always Thanks for dropping by,
Butch.
Take 2 glazing plus.
UIH,
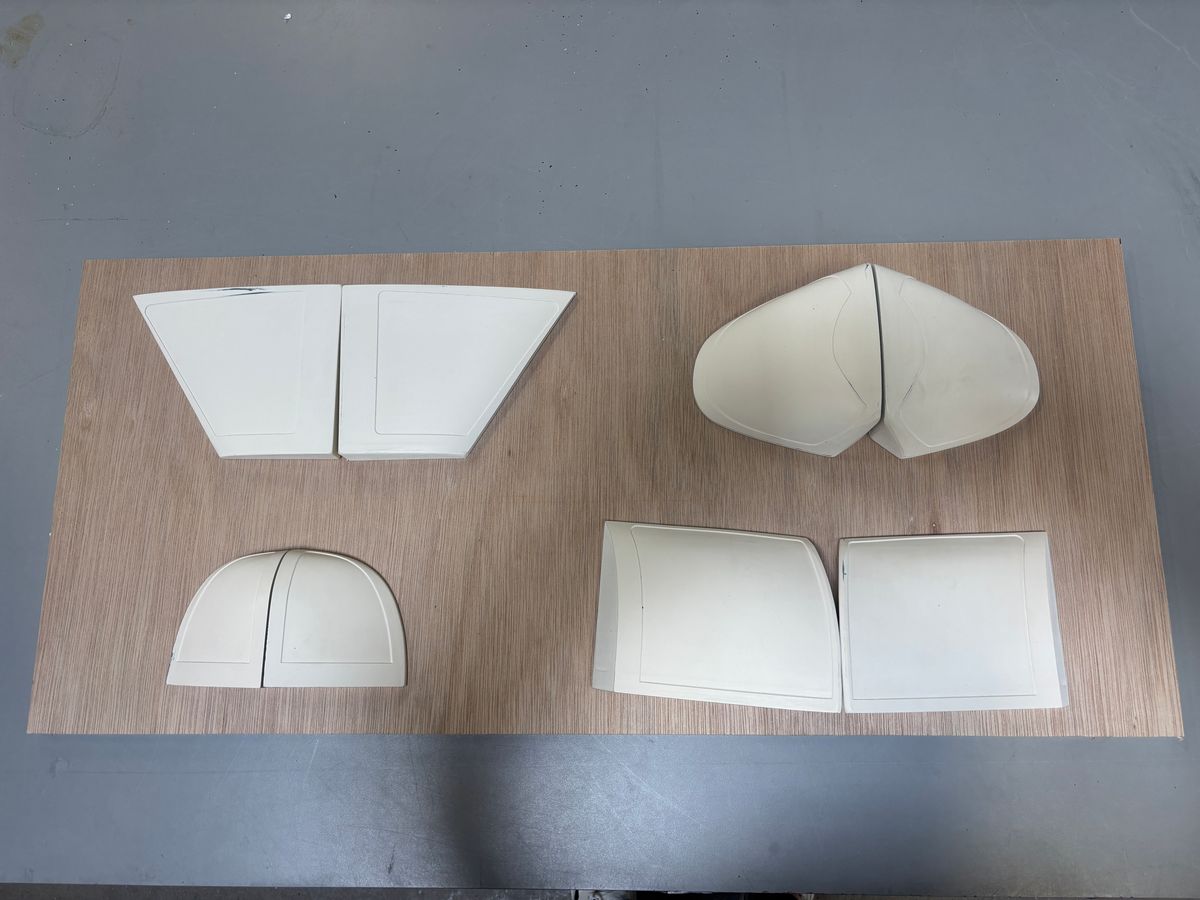
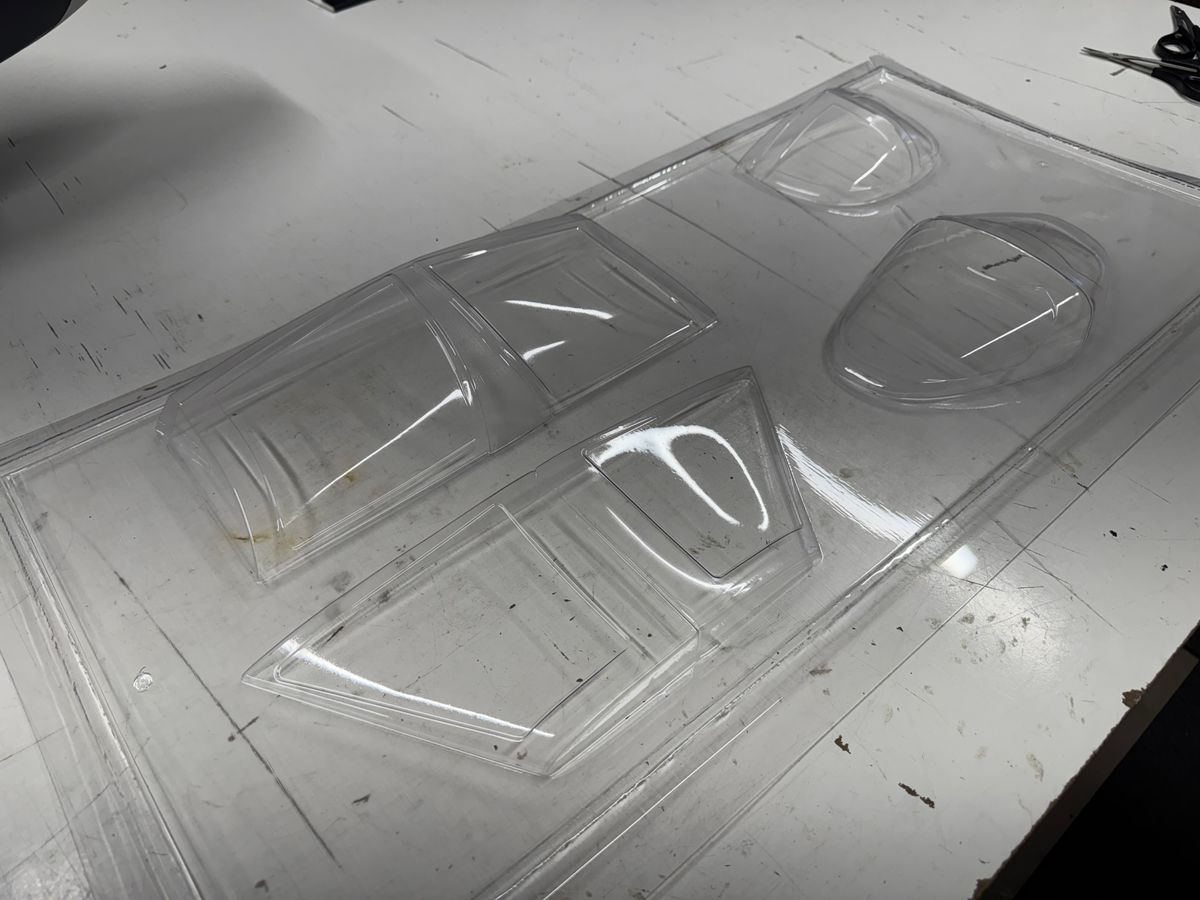
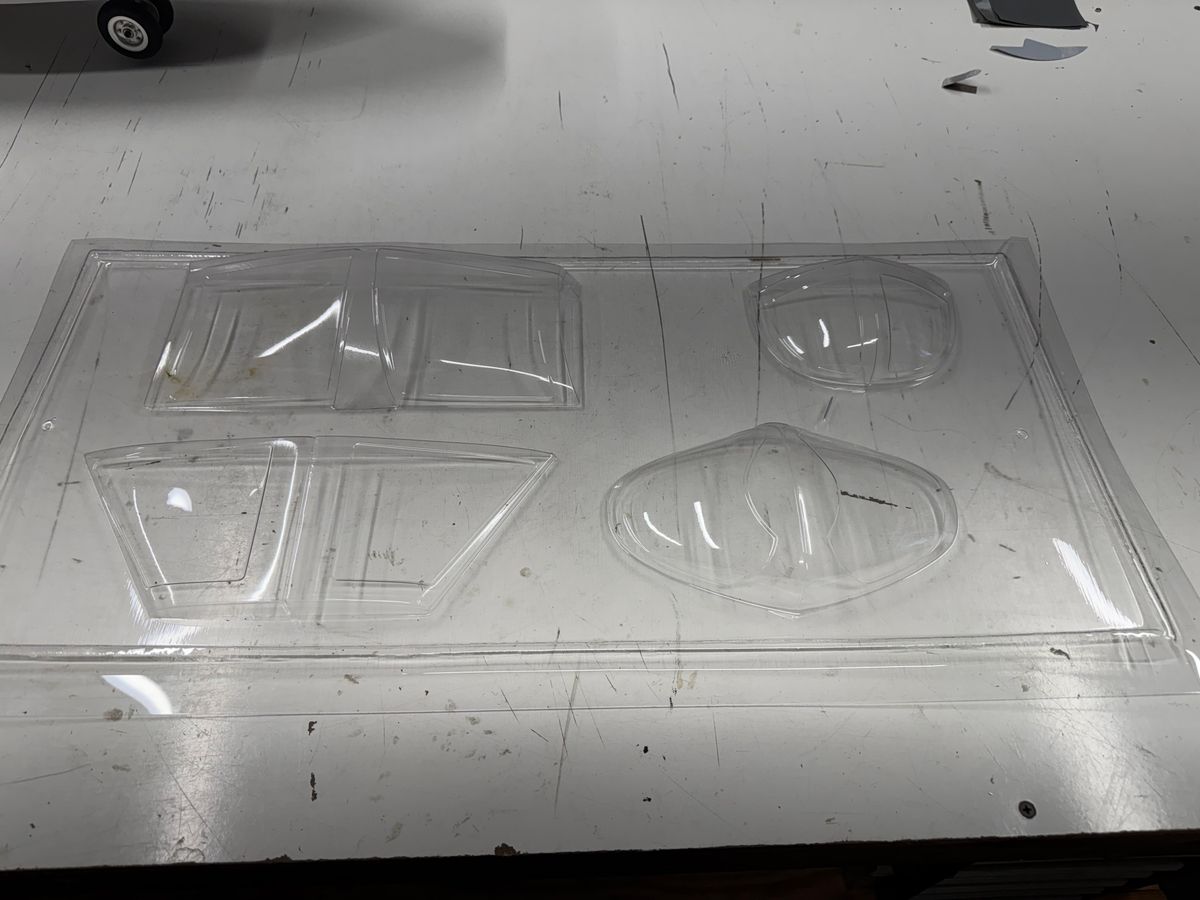
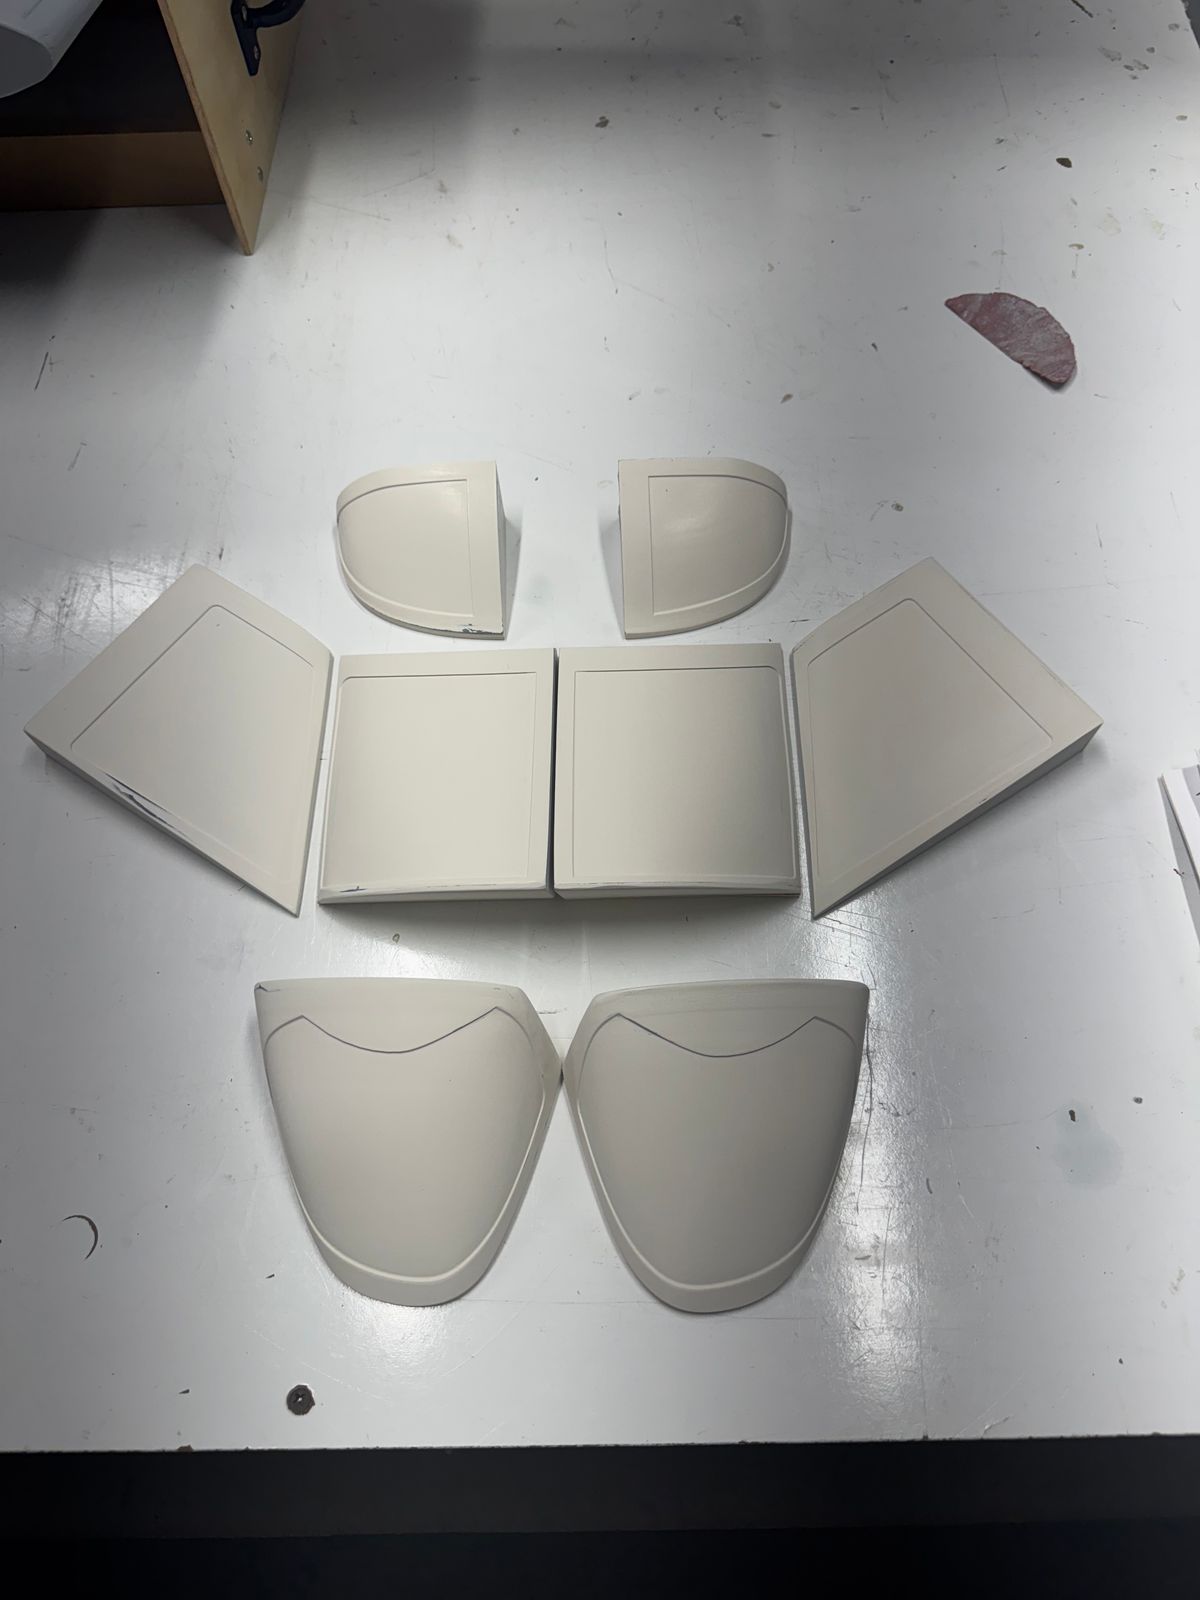
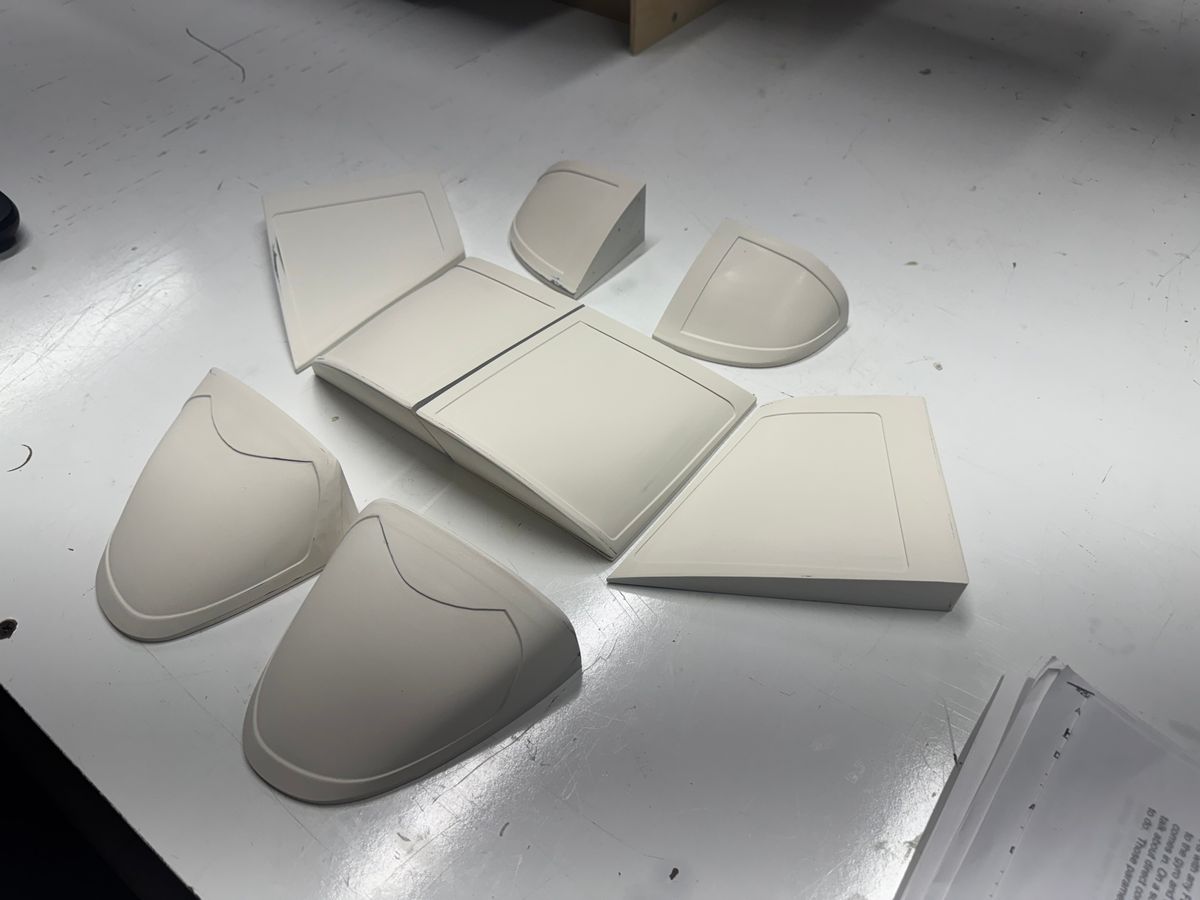
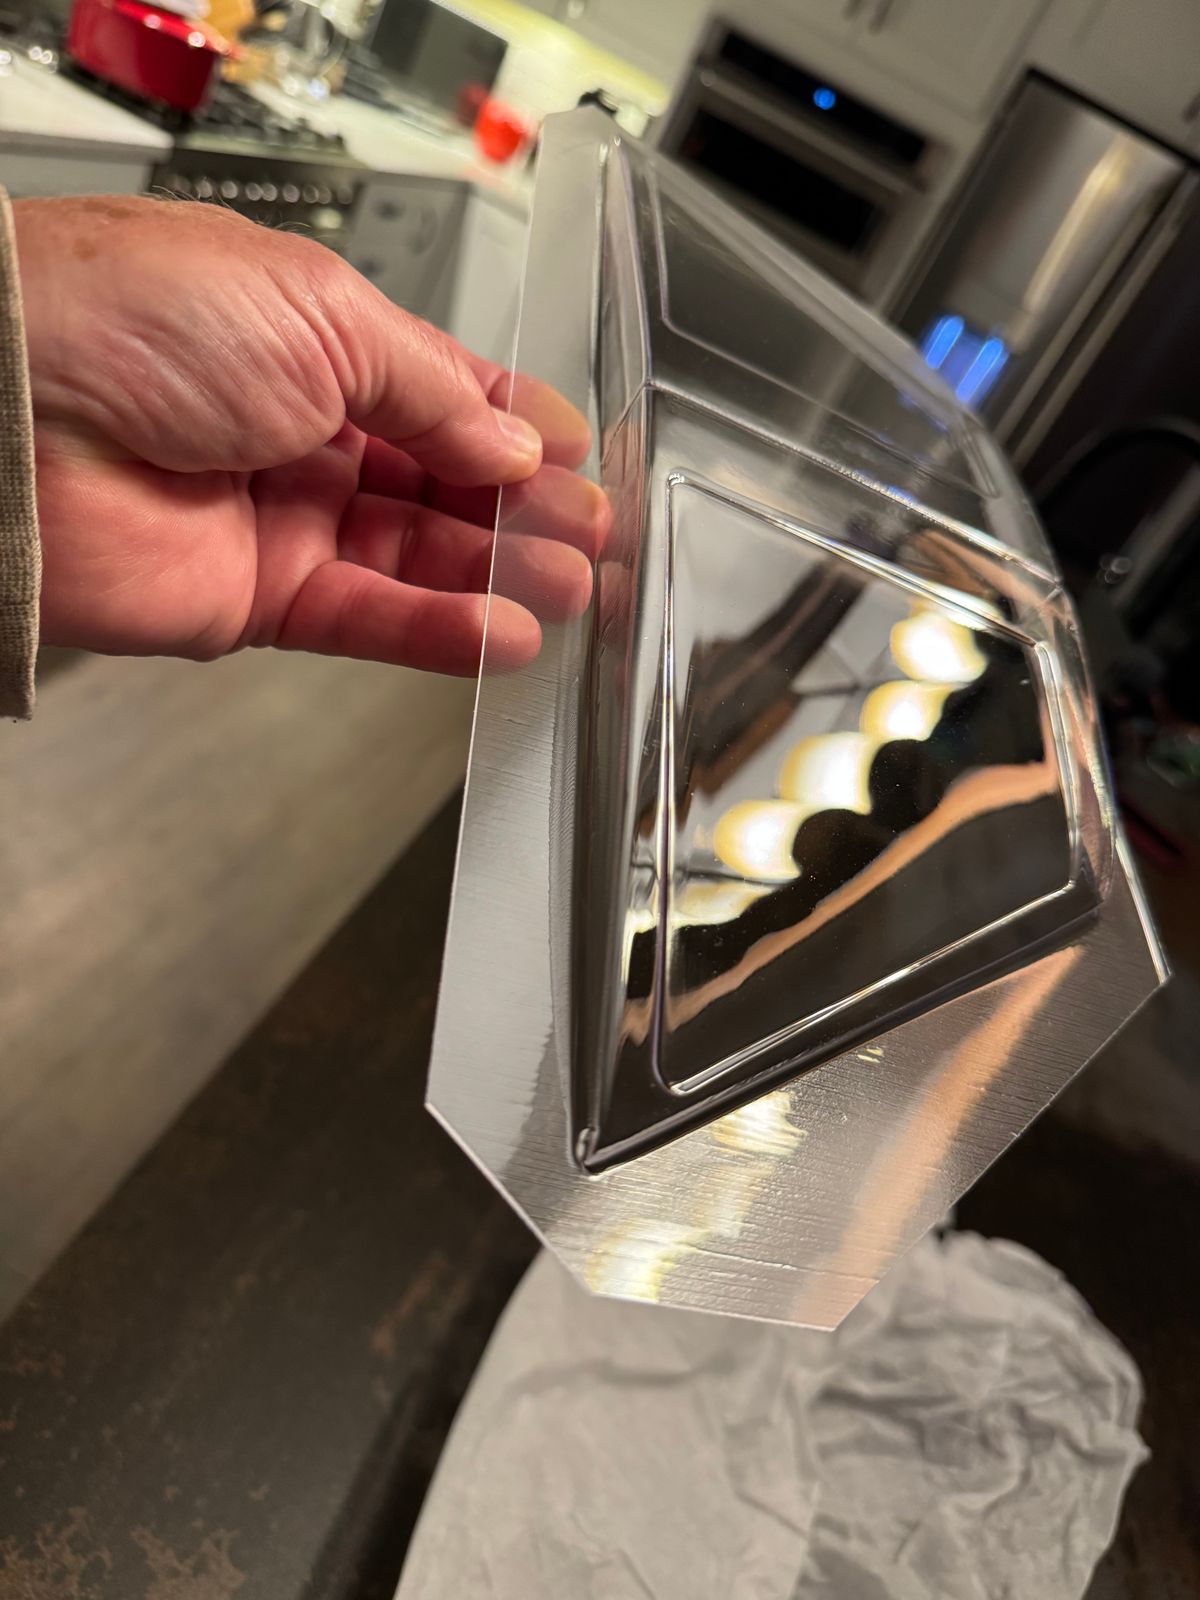
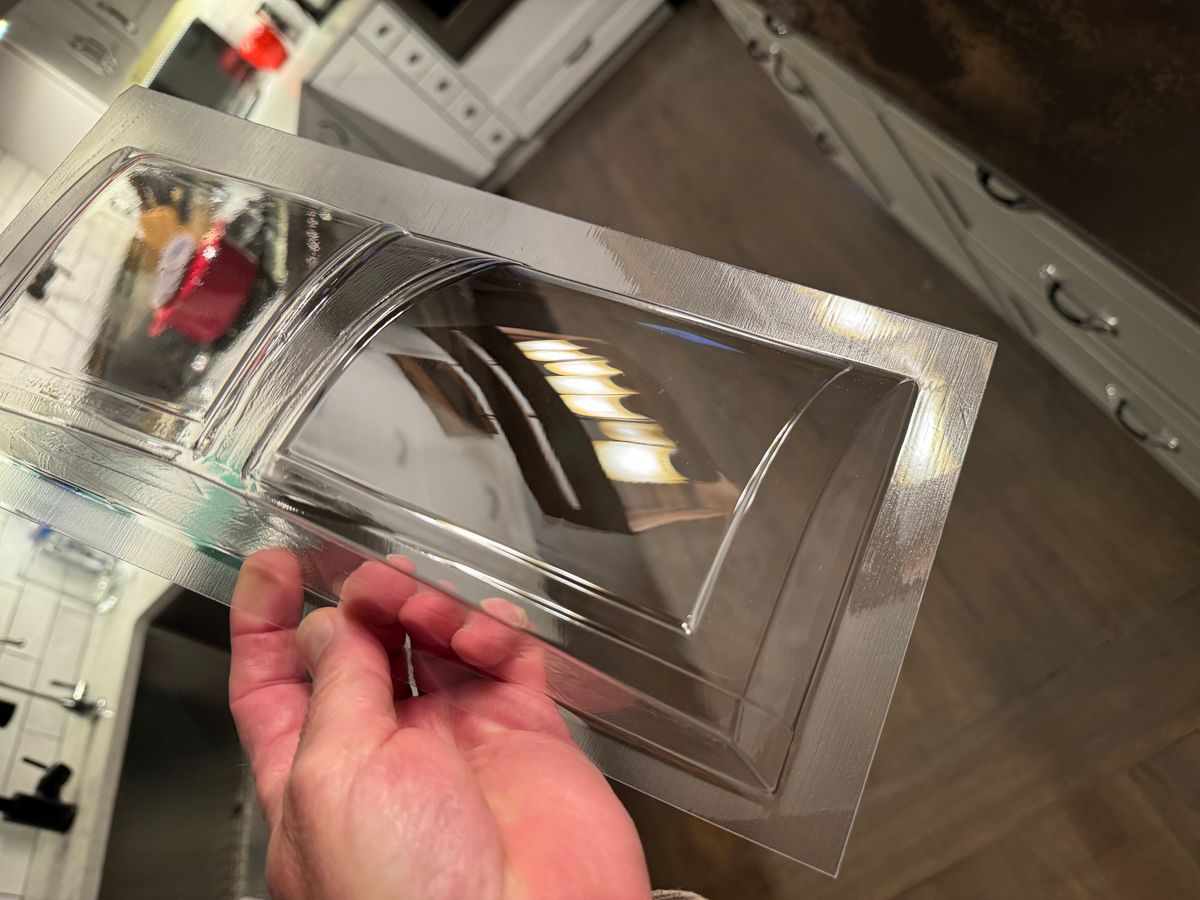
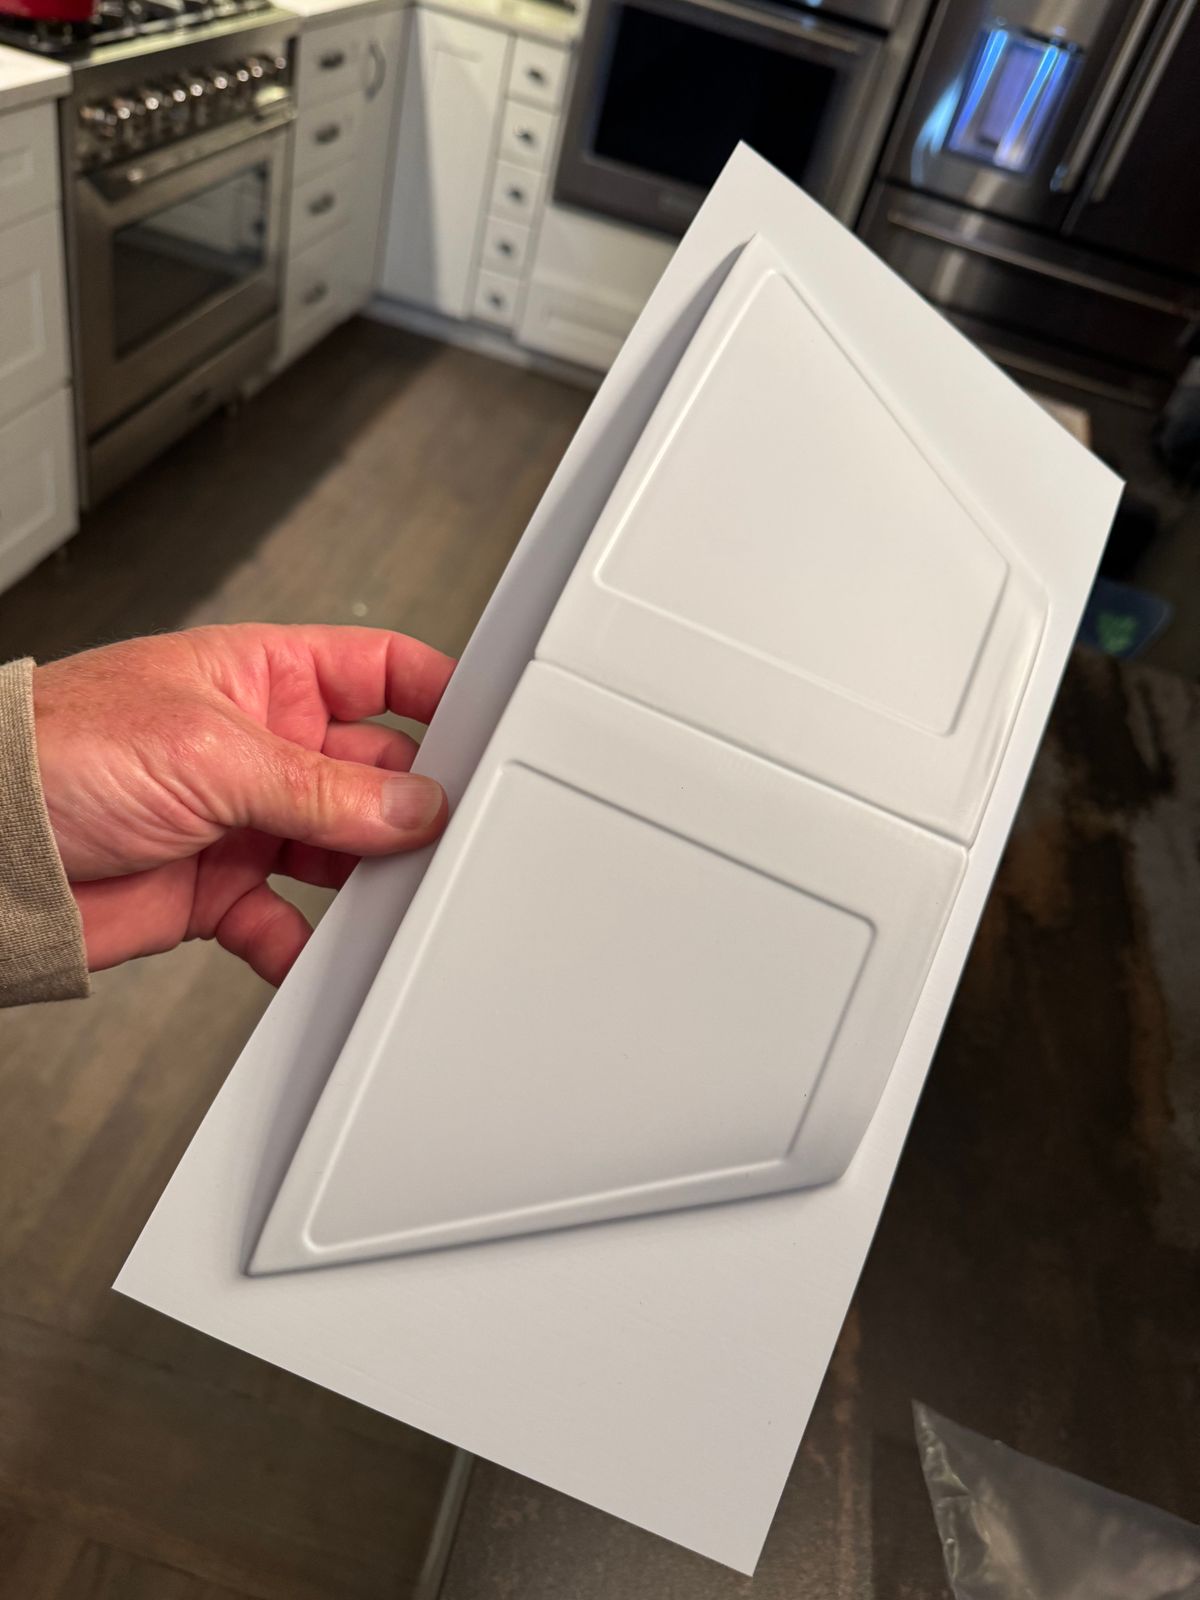
After the first round of glazing, we needed to make a couple changes. The changes produced a much better result. We also had them pull a thin white plastic from the mold to make window frames. This will be a tough job to cut and fit the frames but nothing ventured nothing gained.
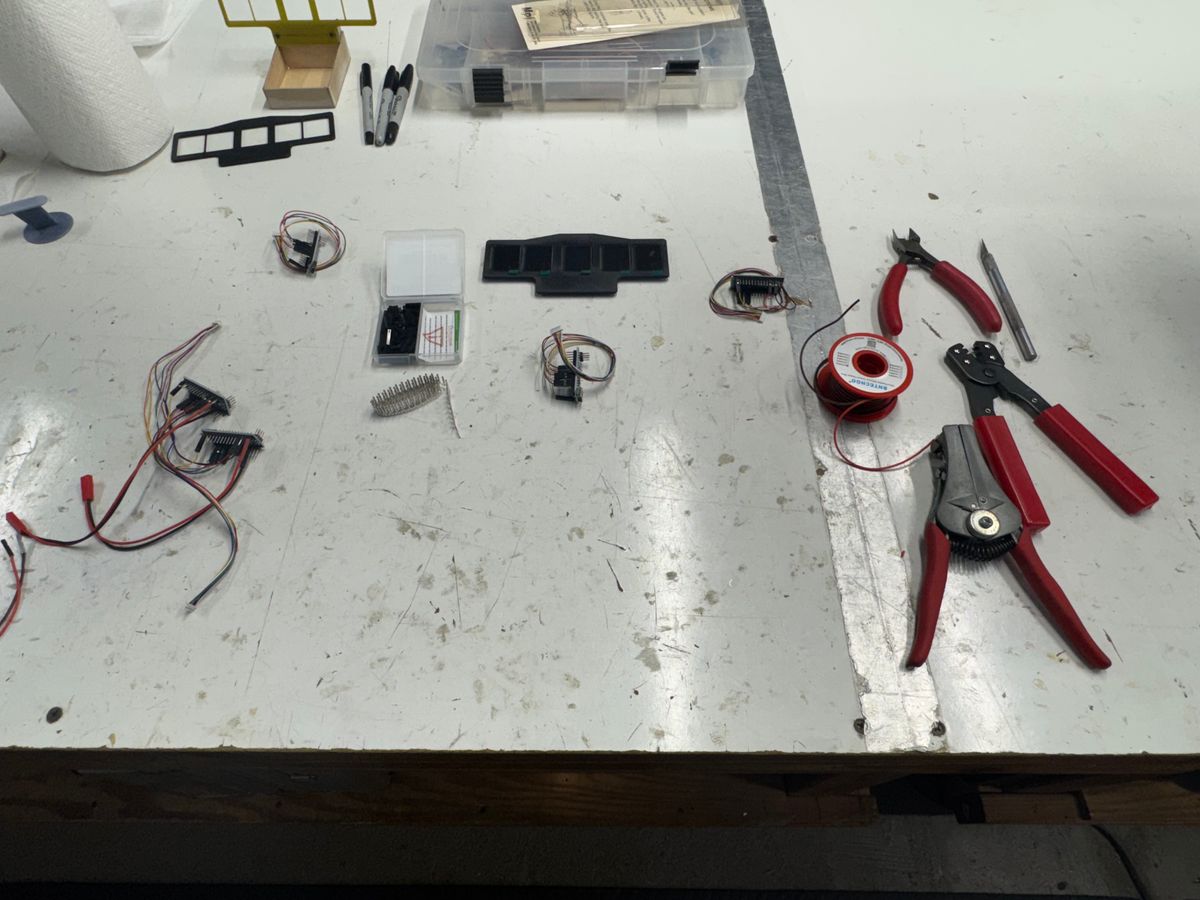
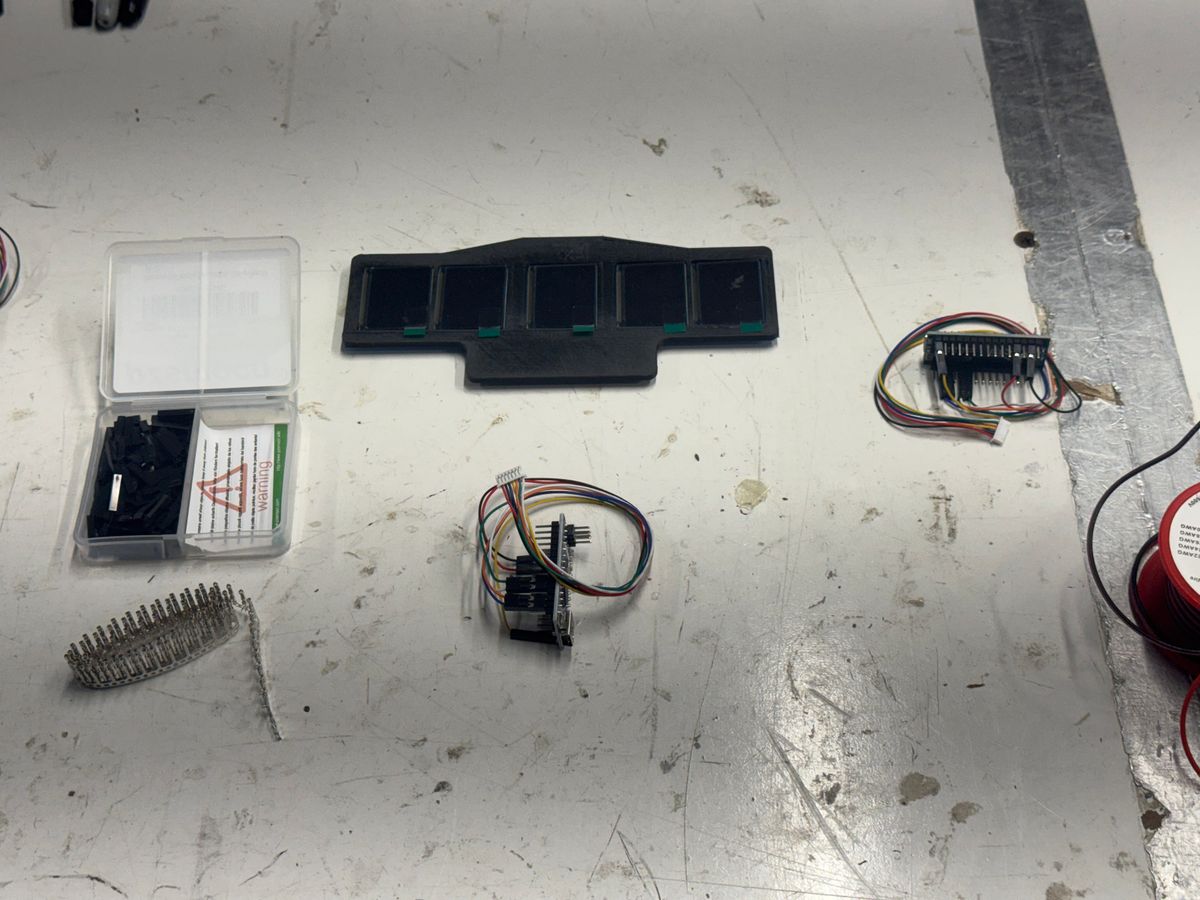
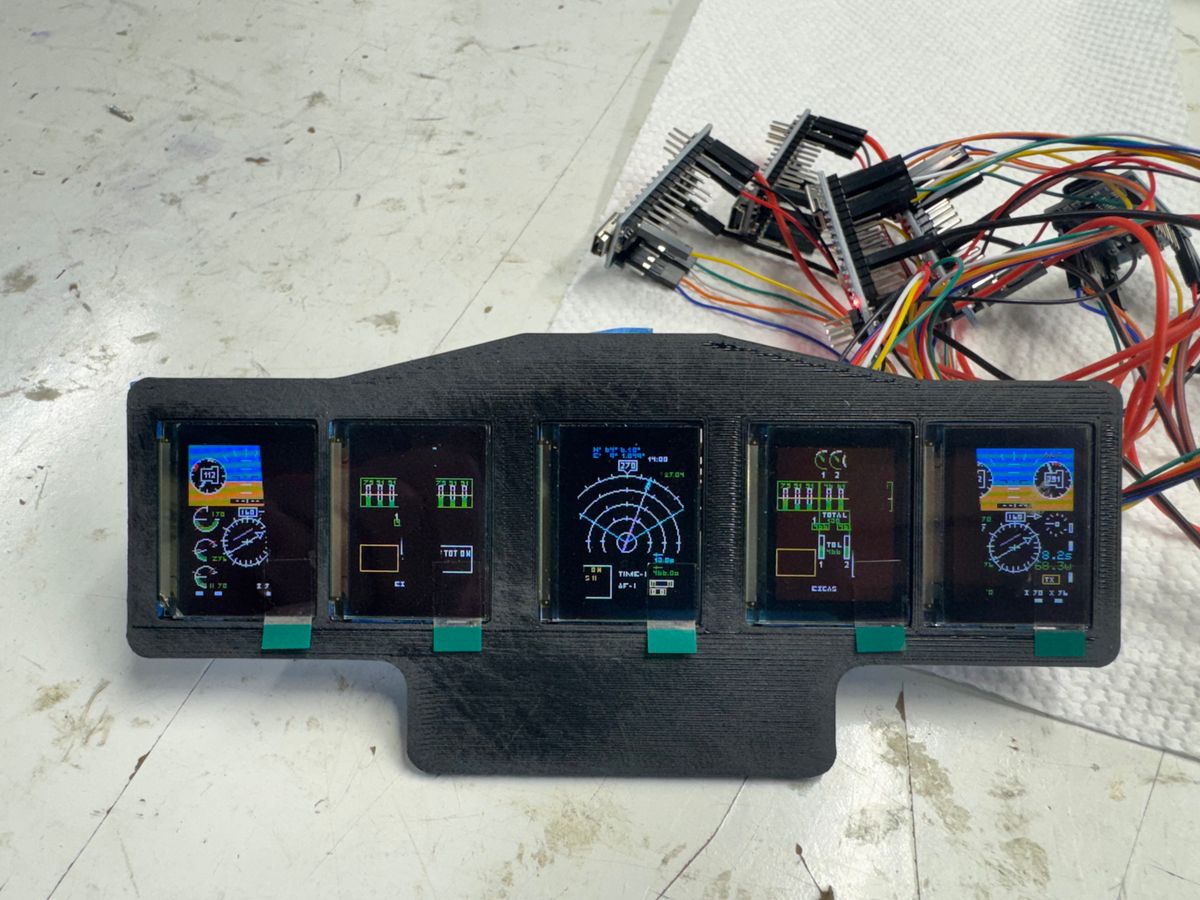
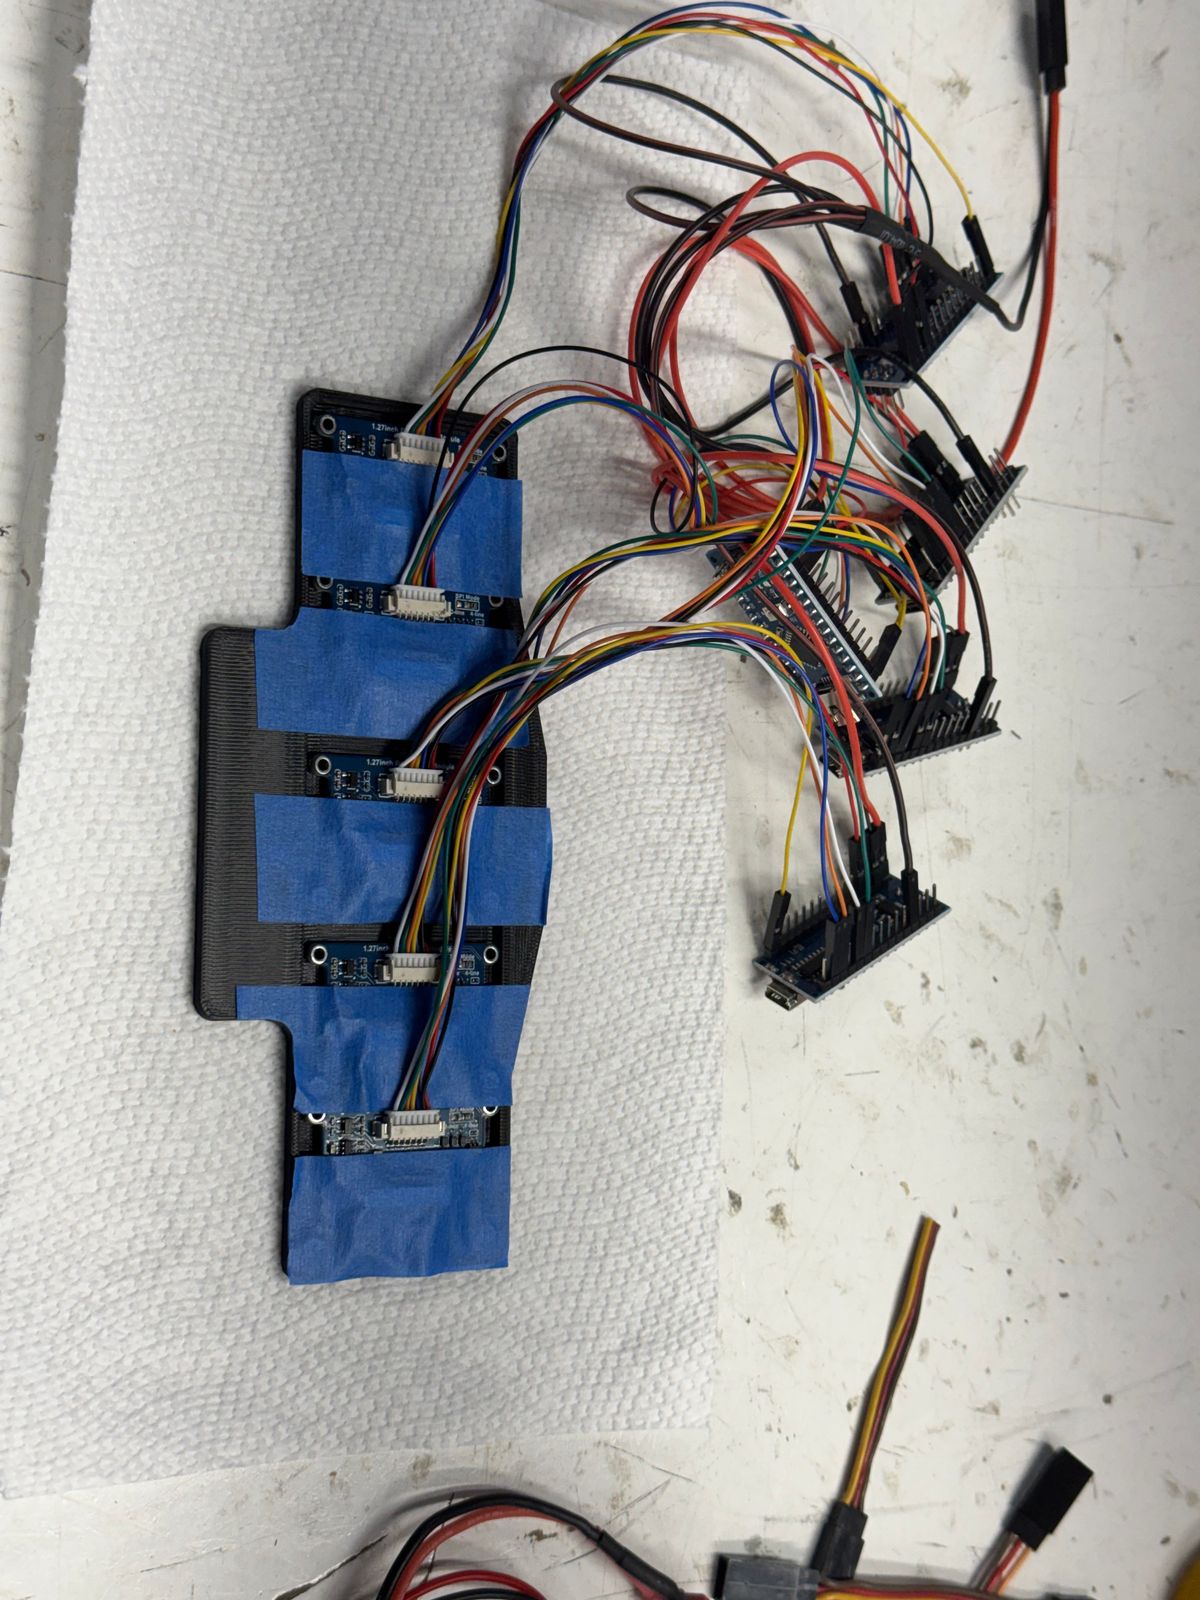
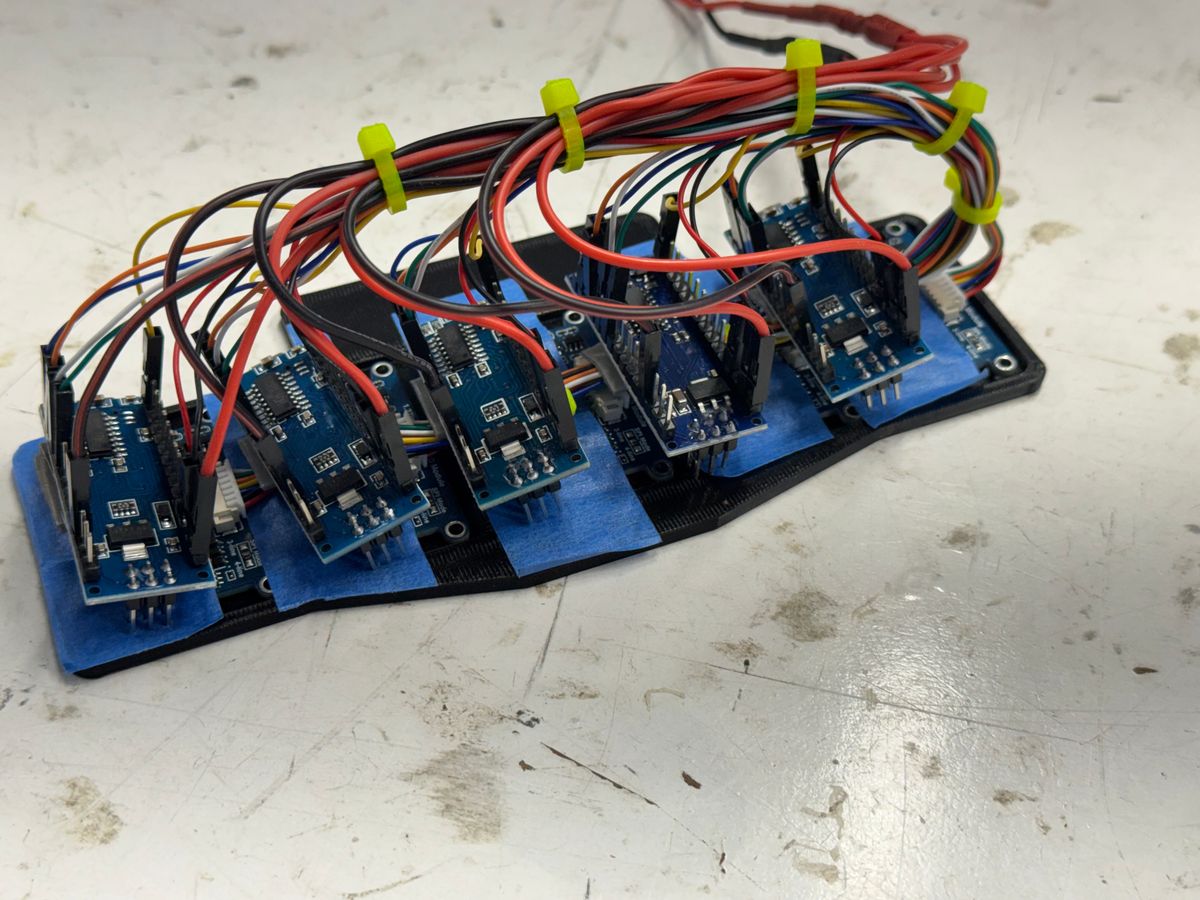
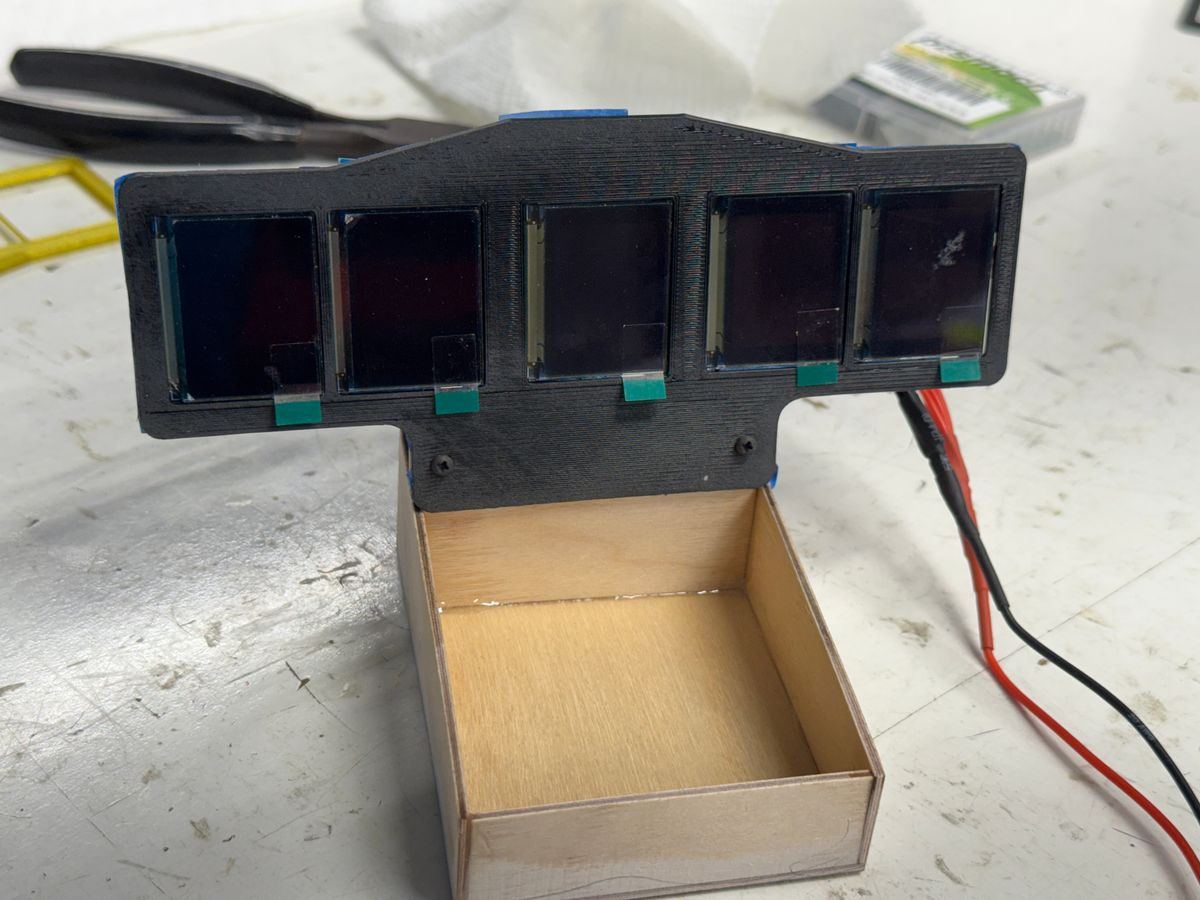
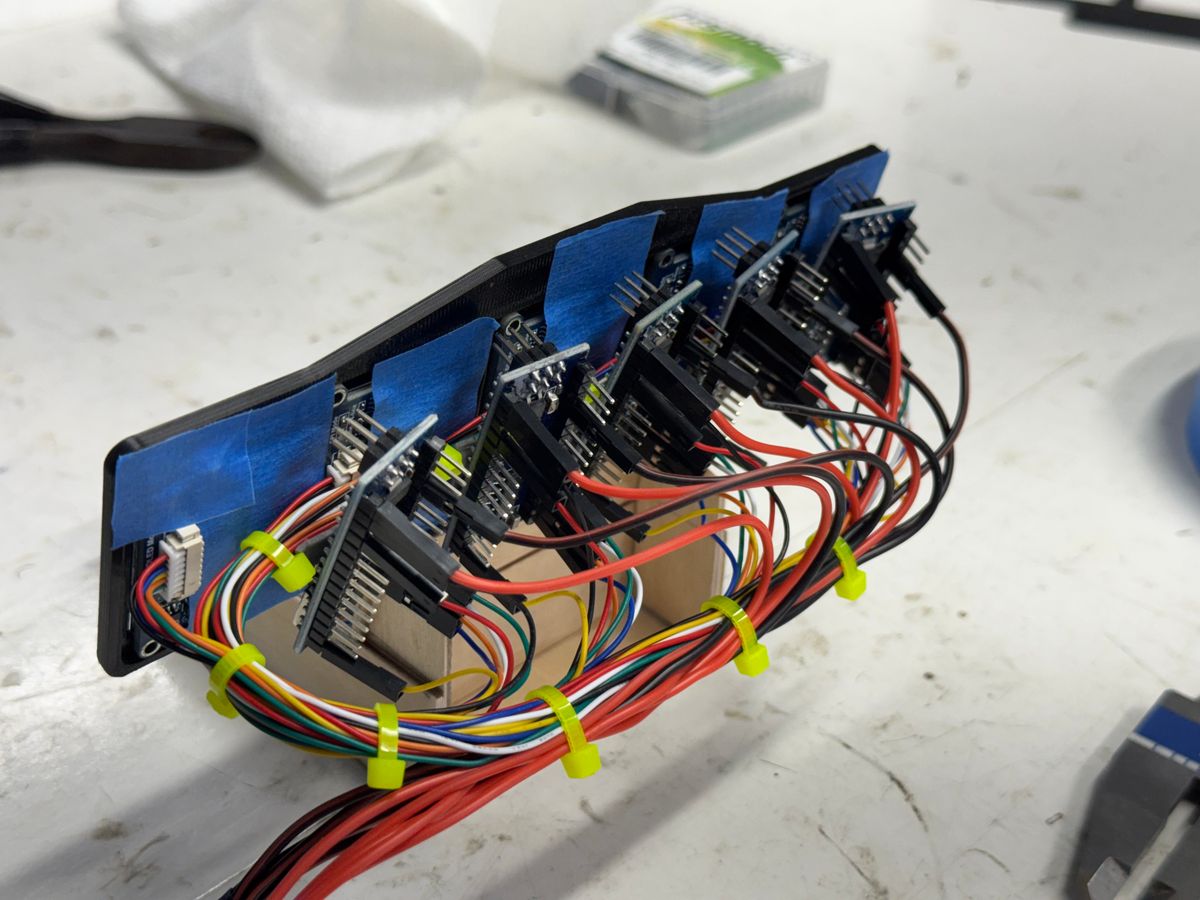
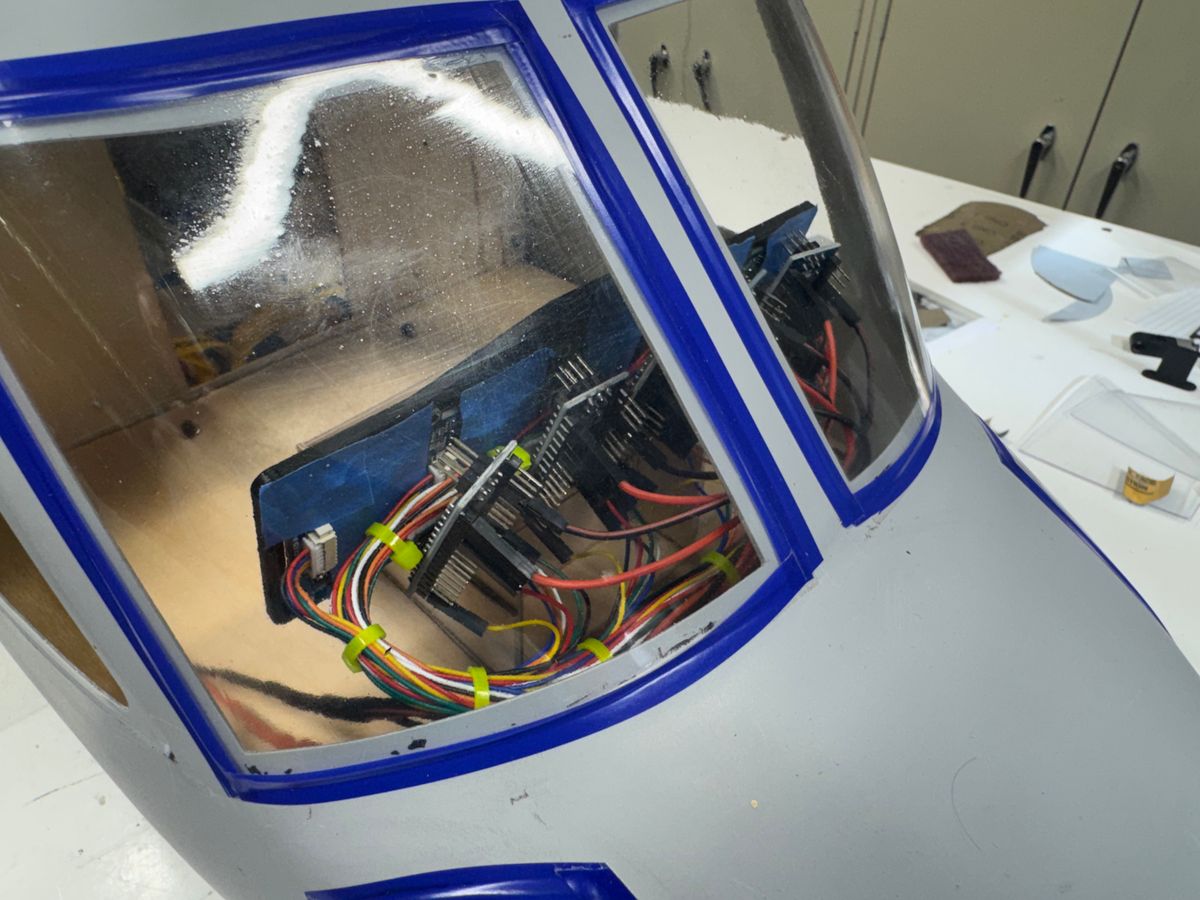
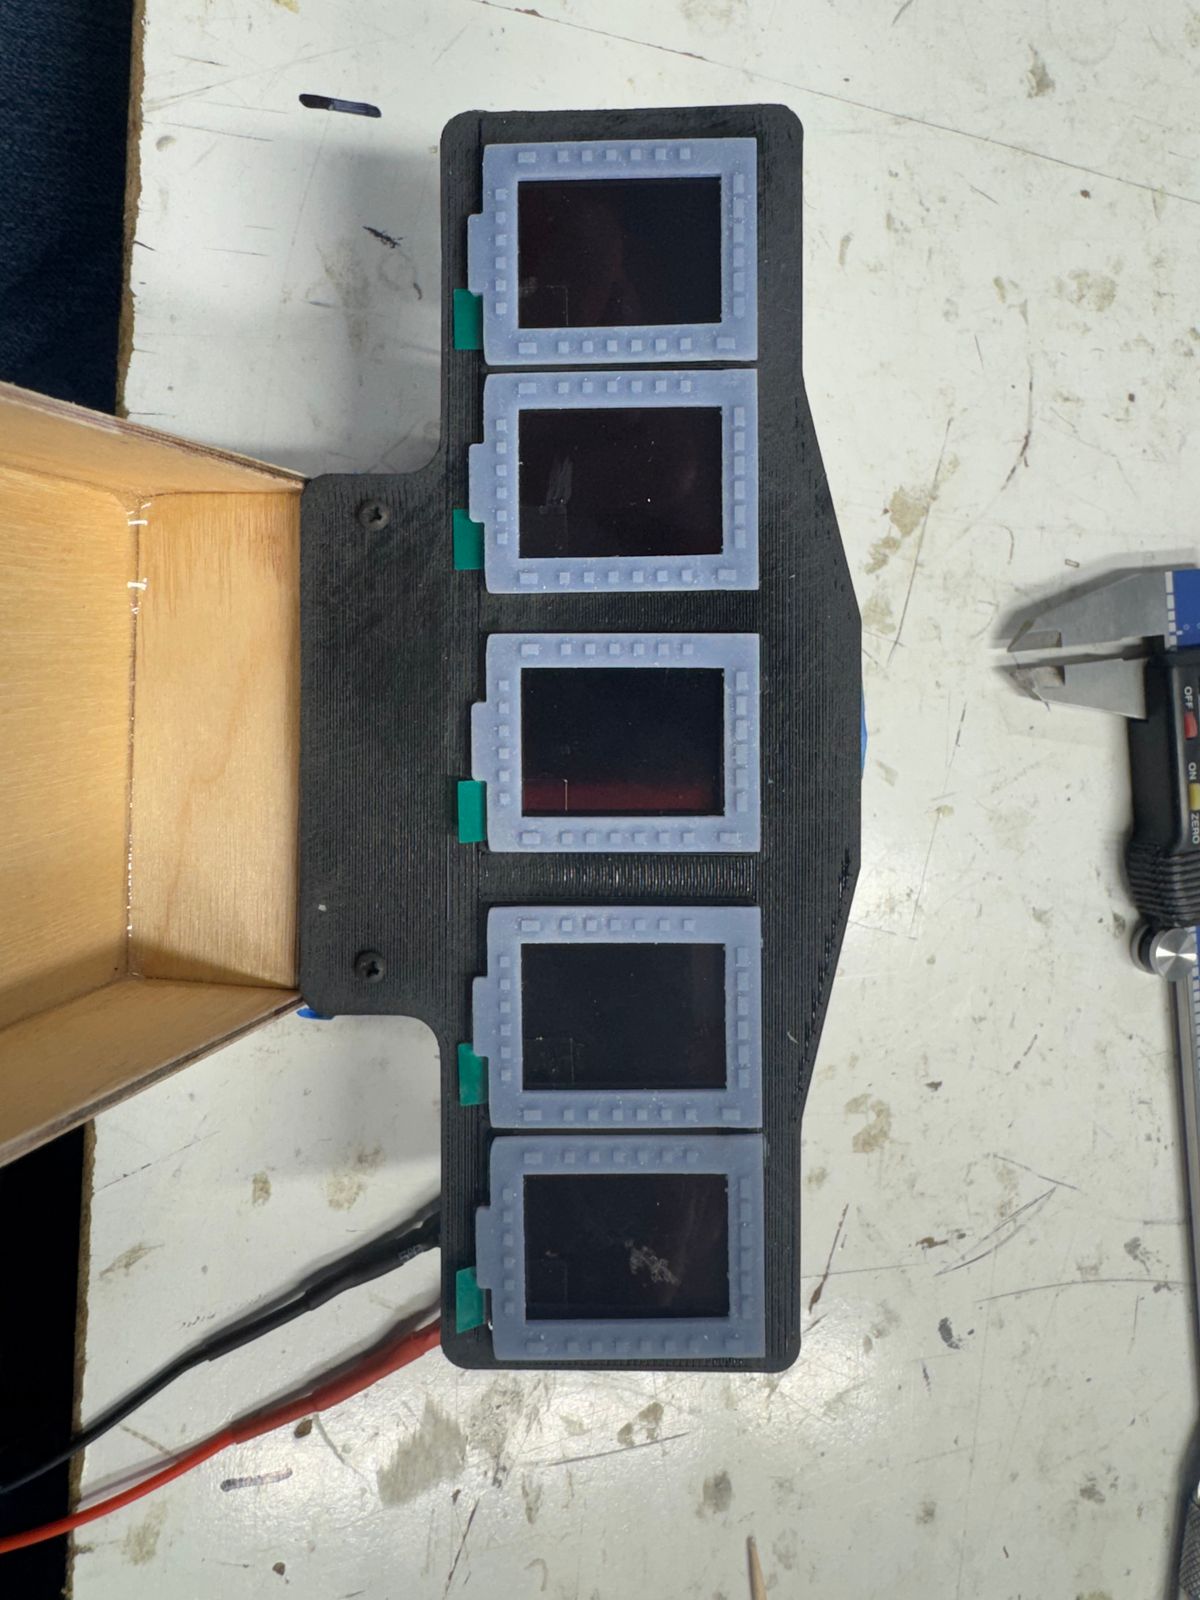
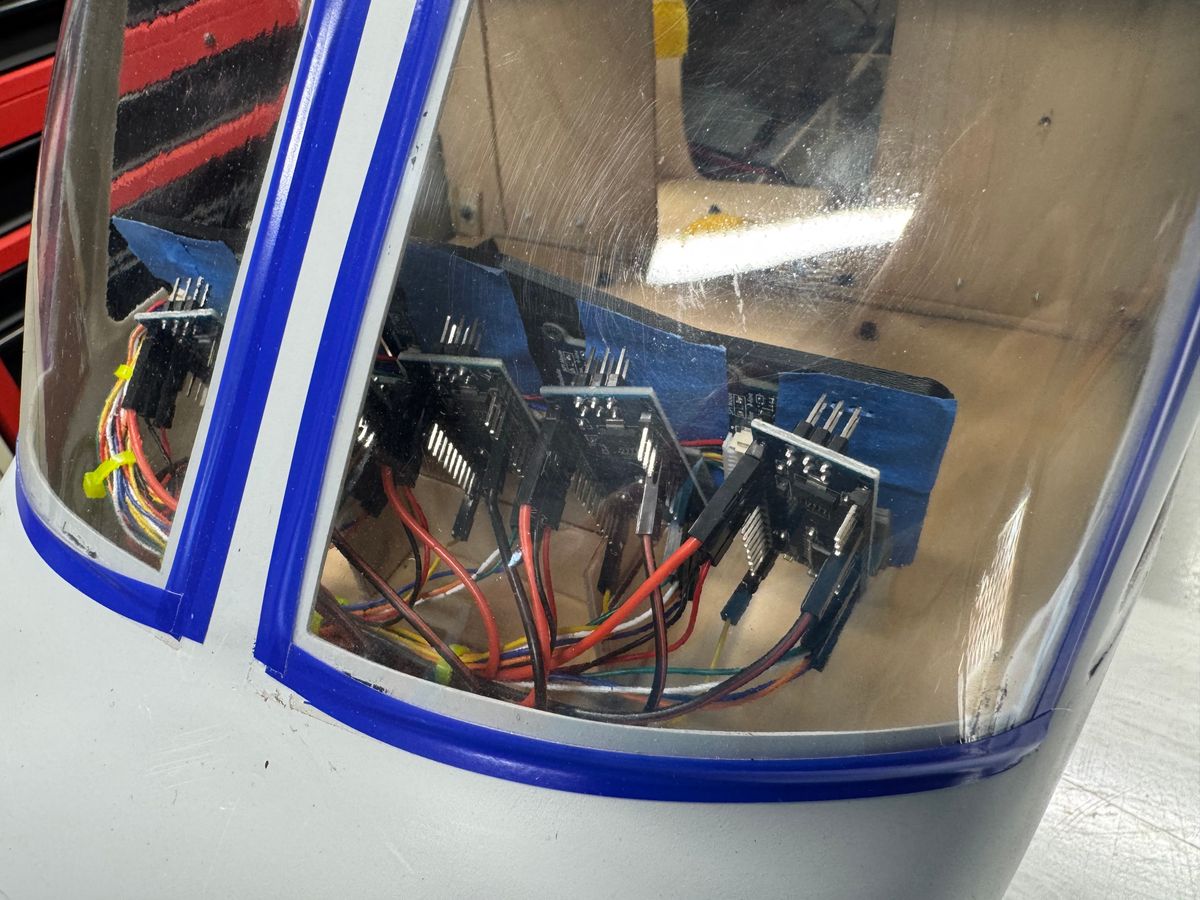
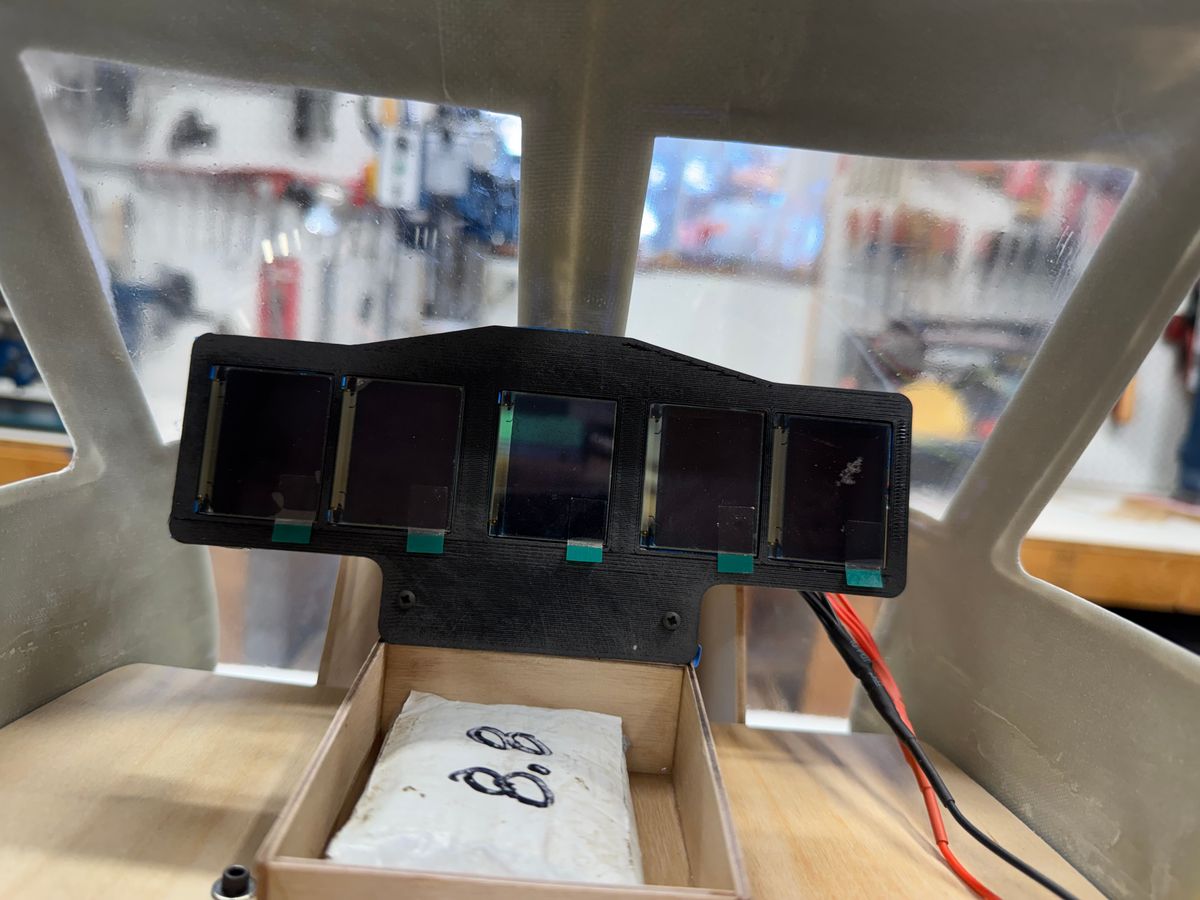
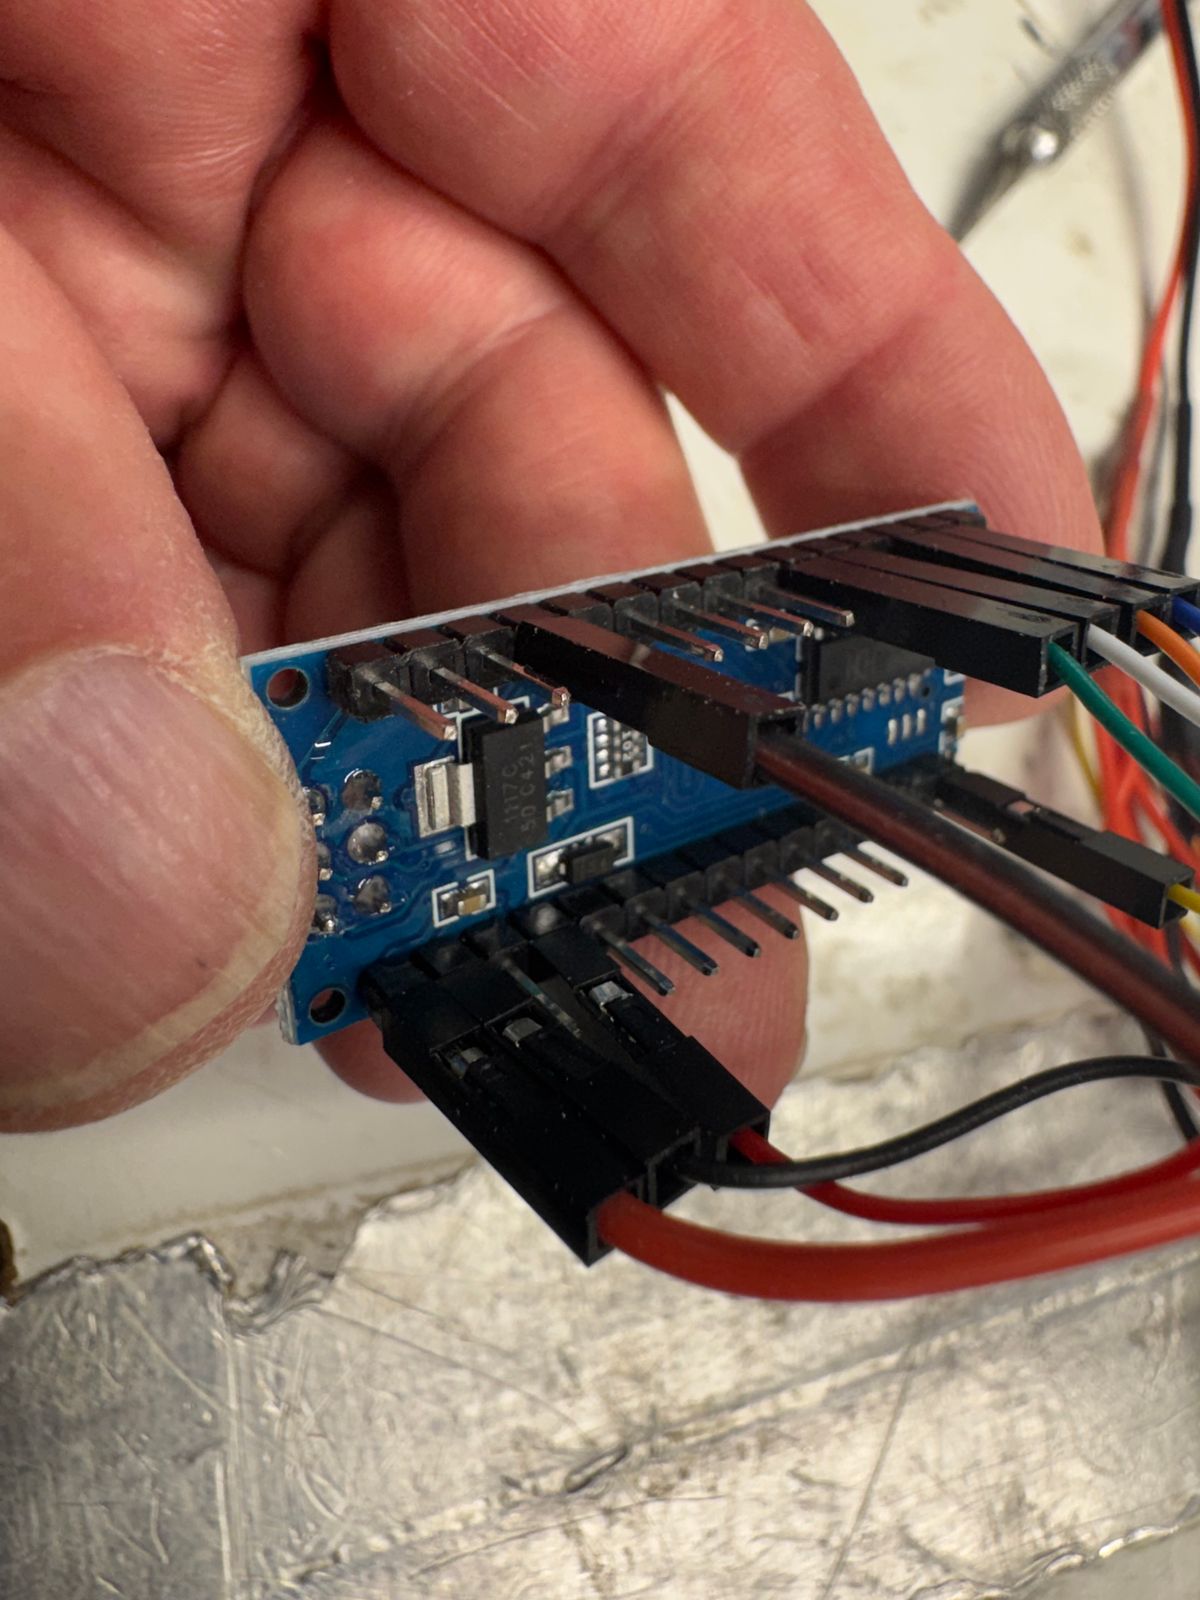
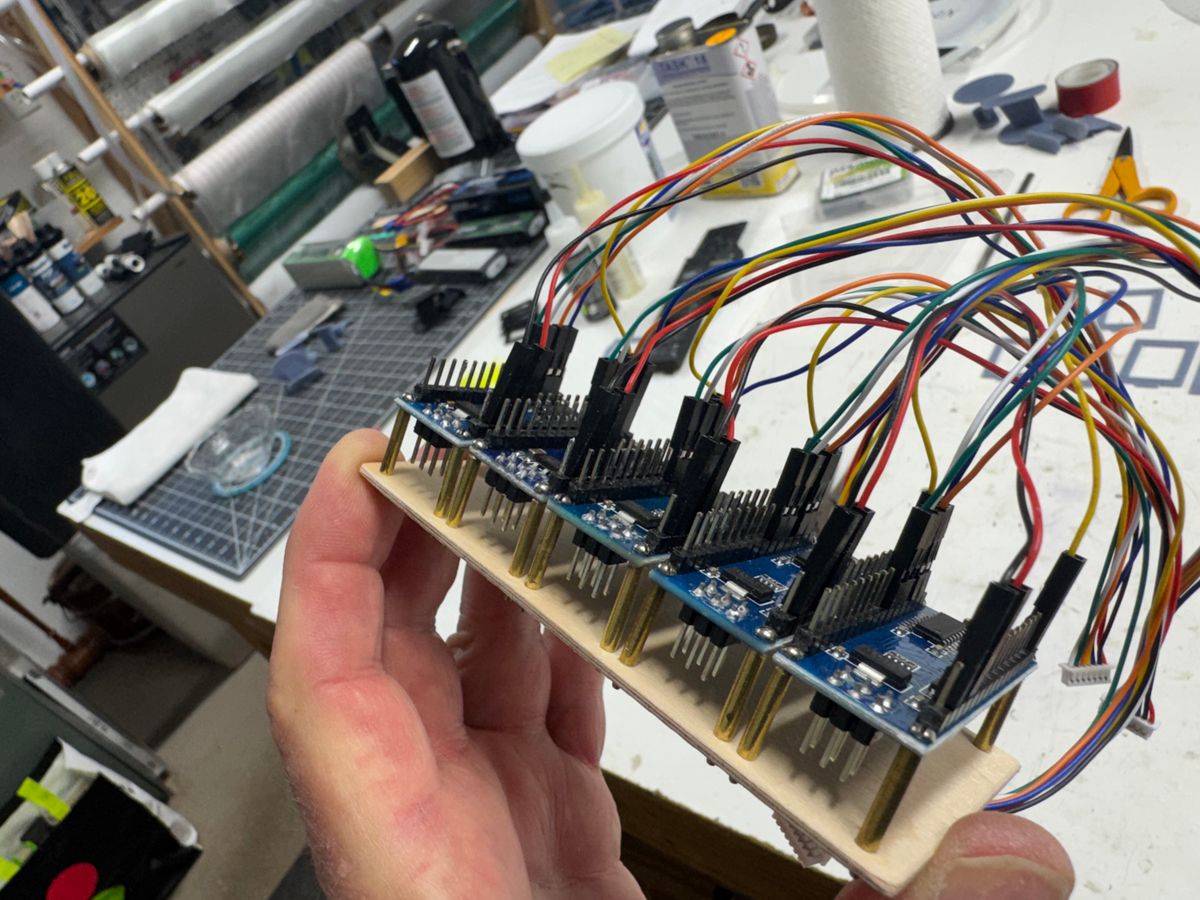
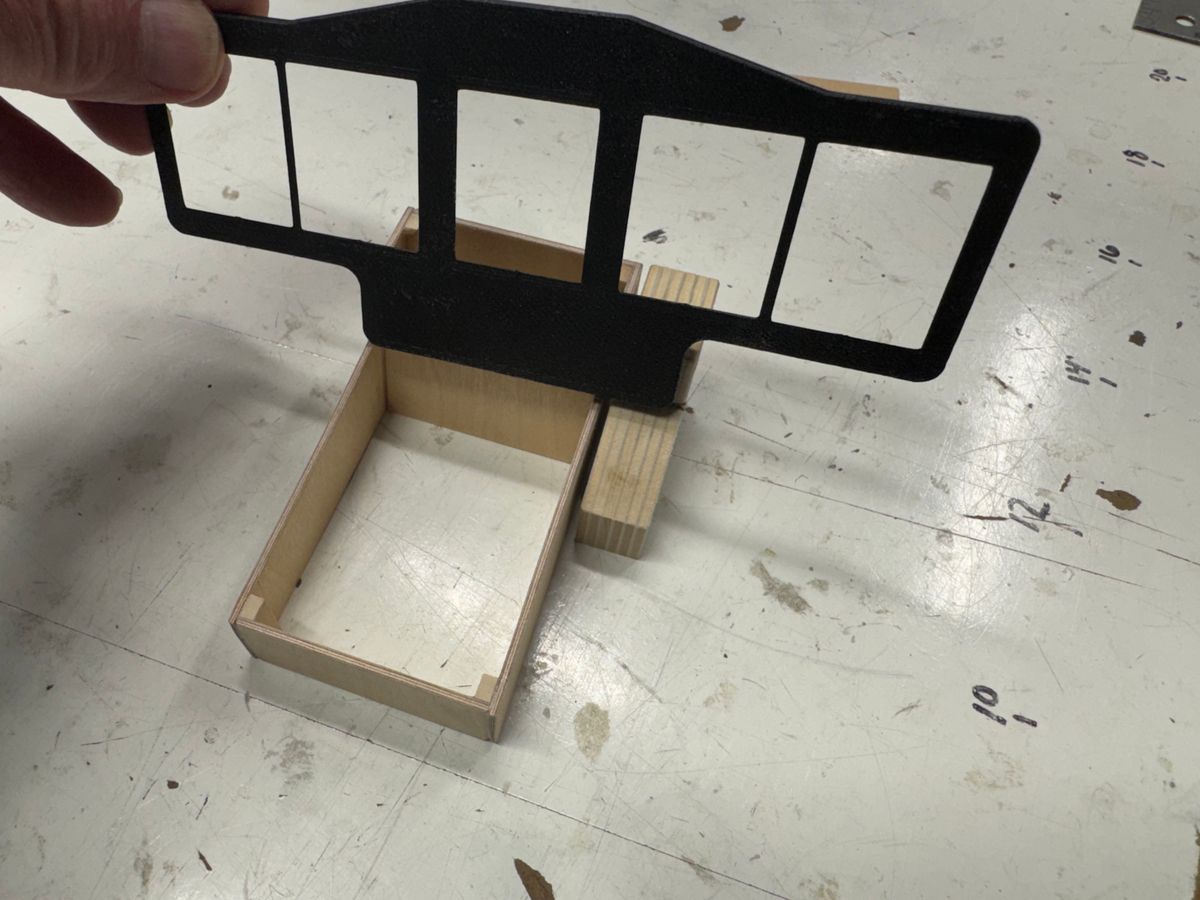
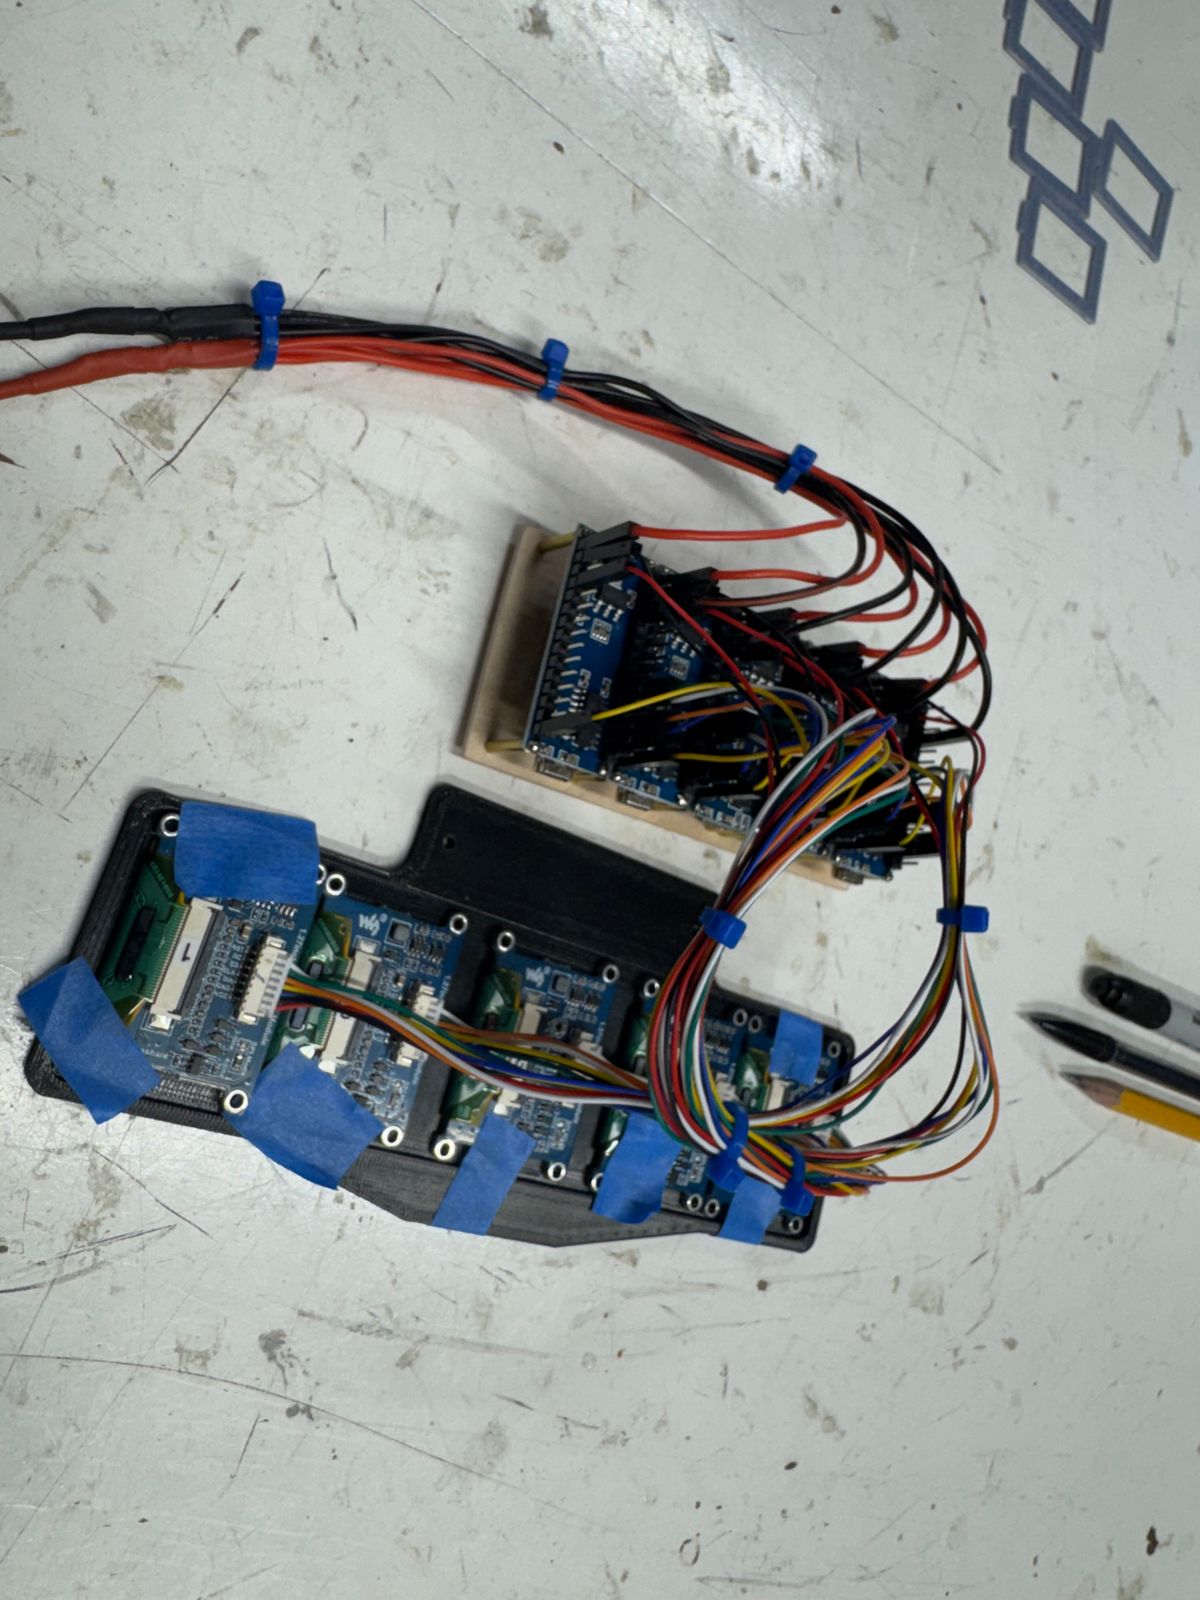
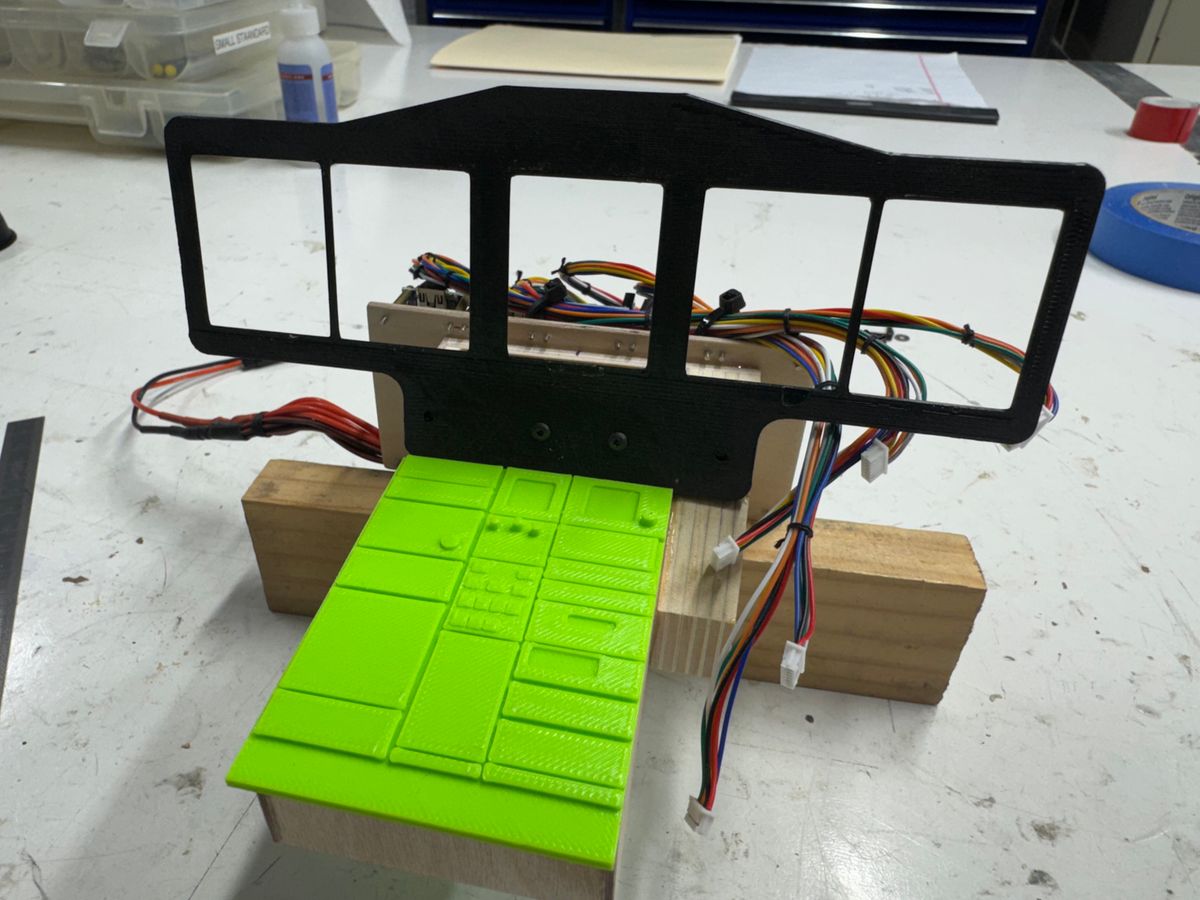
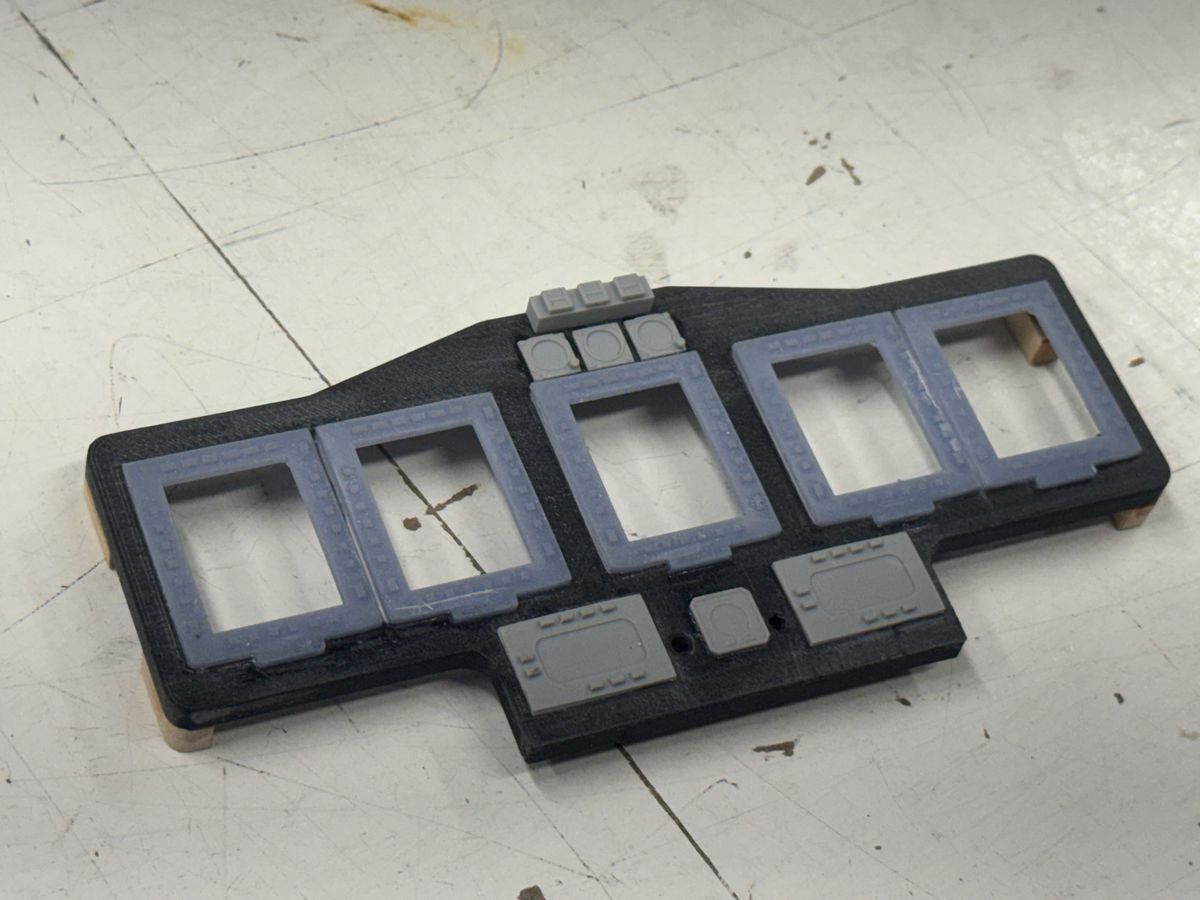
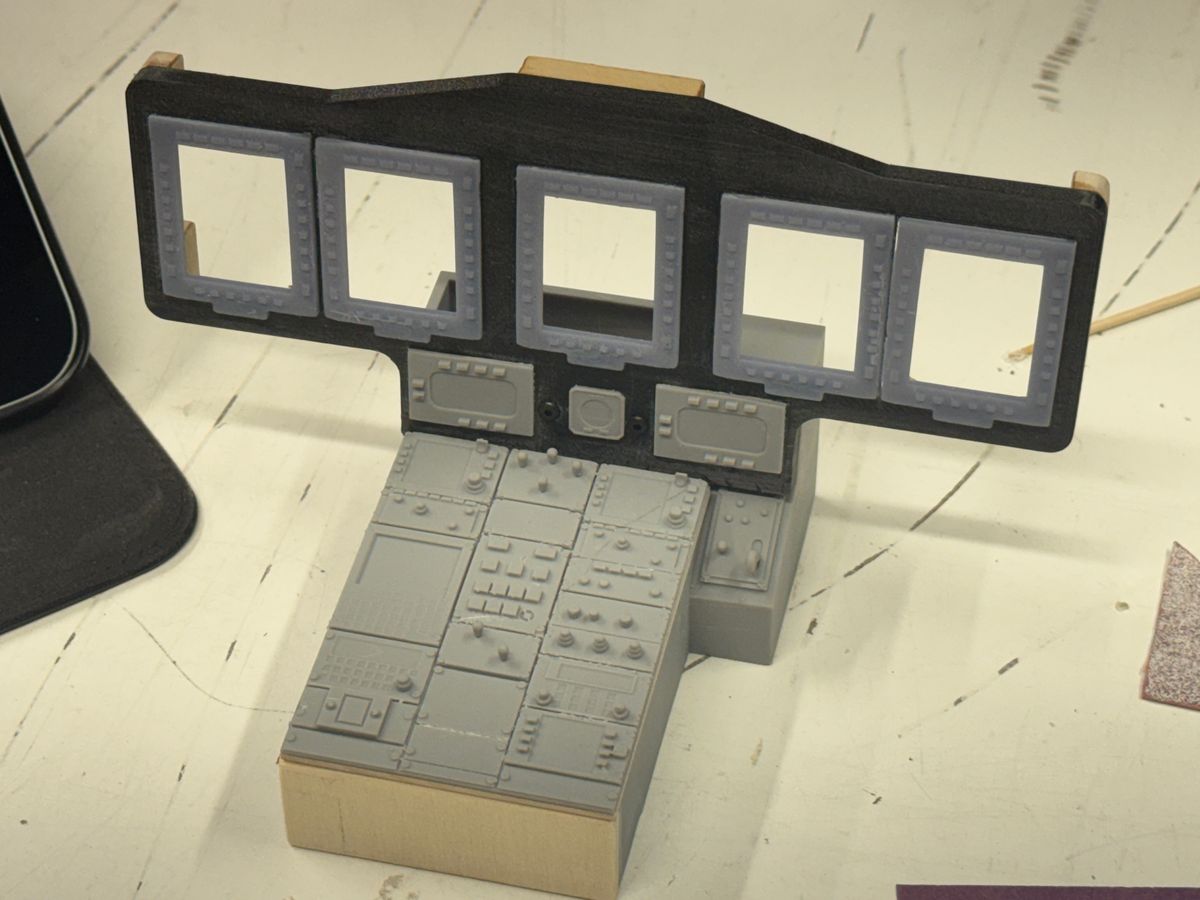
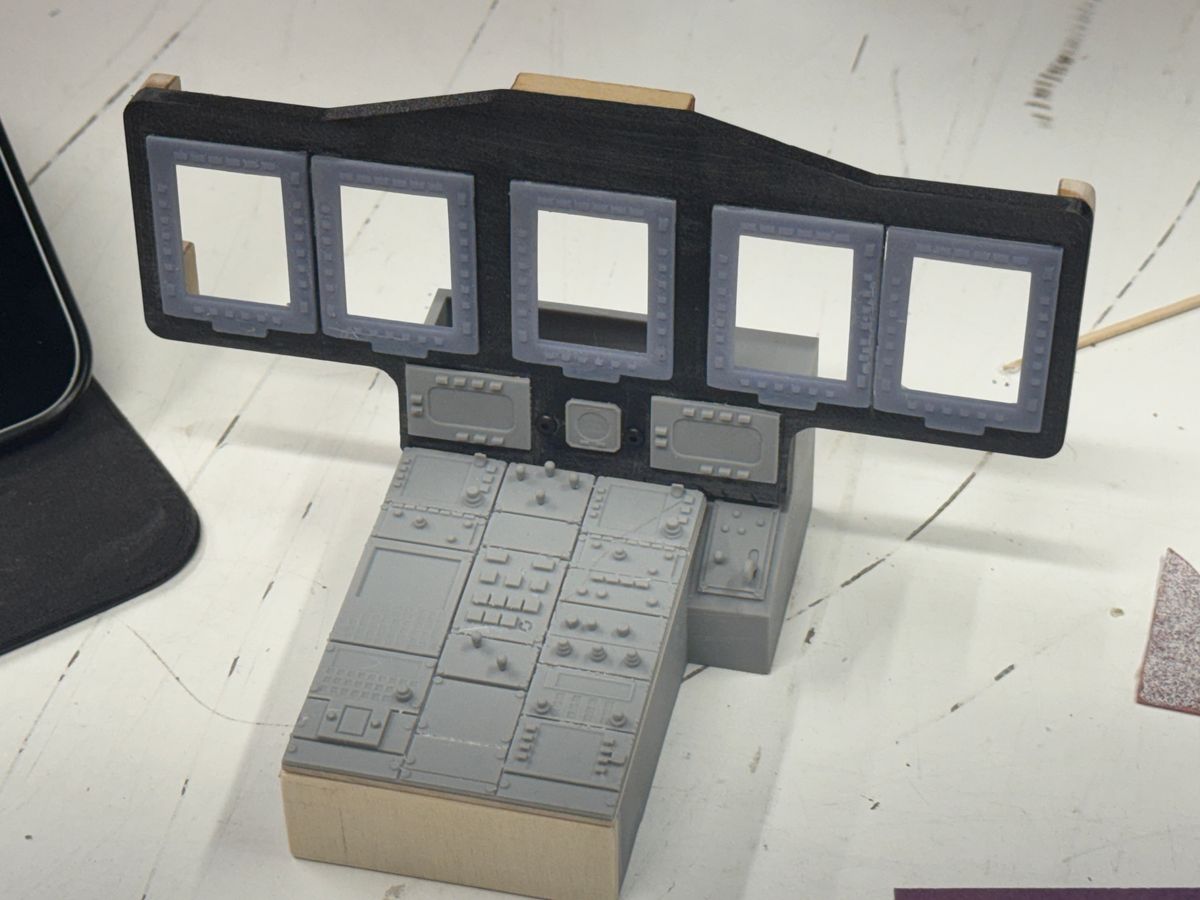
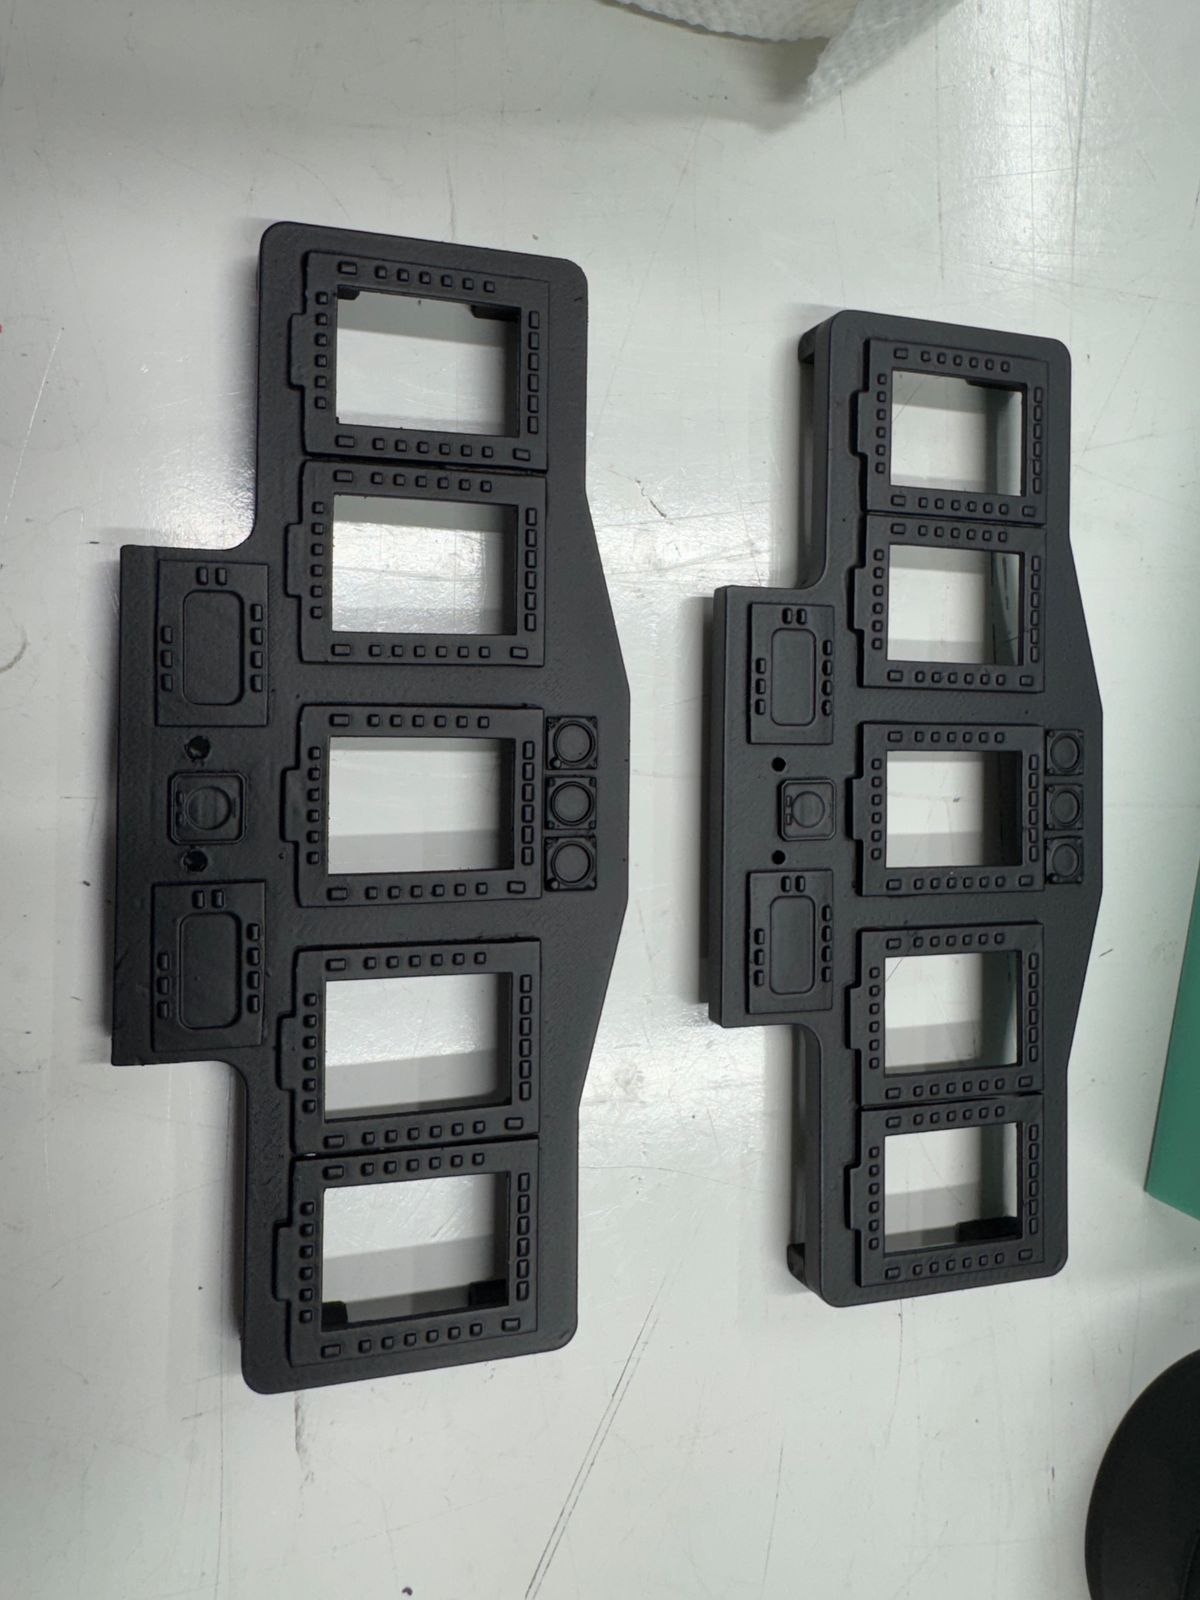
I had all the components in house to mock up the IP. The displays adrunio and associated wiring is a lot of schit to stuff in a fairly small space. I assembled a mock-up console and mount assembly to bold everything then off to the races. I did make a power harness to power the panel off the CB-200. The display bezels and just tacked in place but the overall concept looks to be pretty good. Now to work out all the fine details.
Thanks for dropping by,
Butch.
The beat goes on.
UIH,
Been out of the loop again for a few days but was back at it over the weekend. It was time to work on the center console and pedestal and move the panel from mock up to final design.
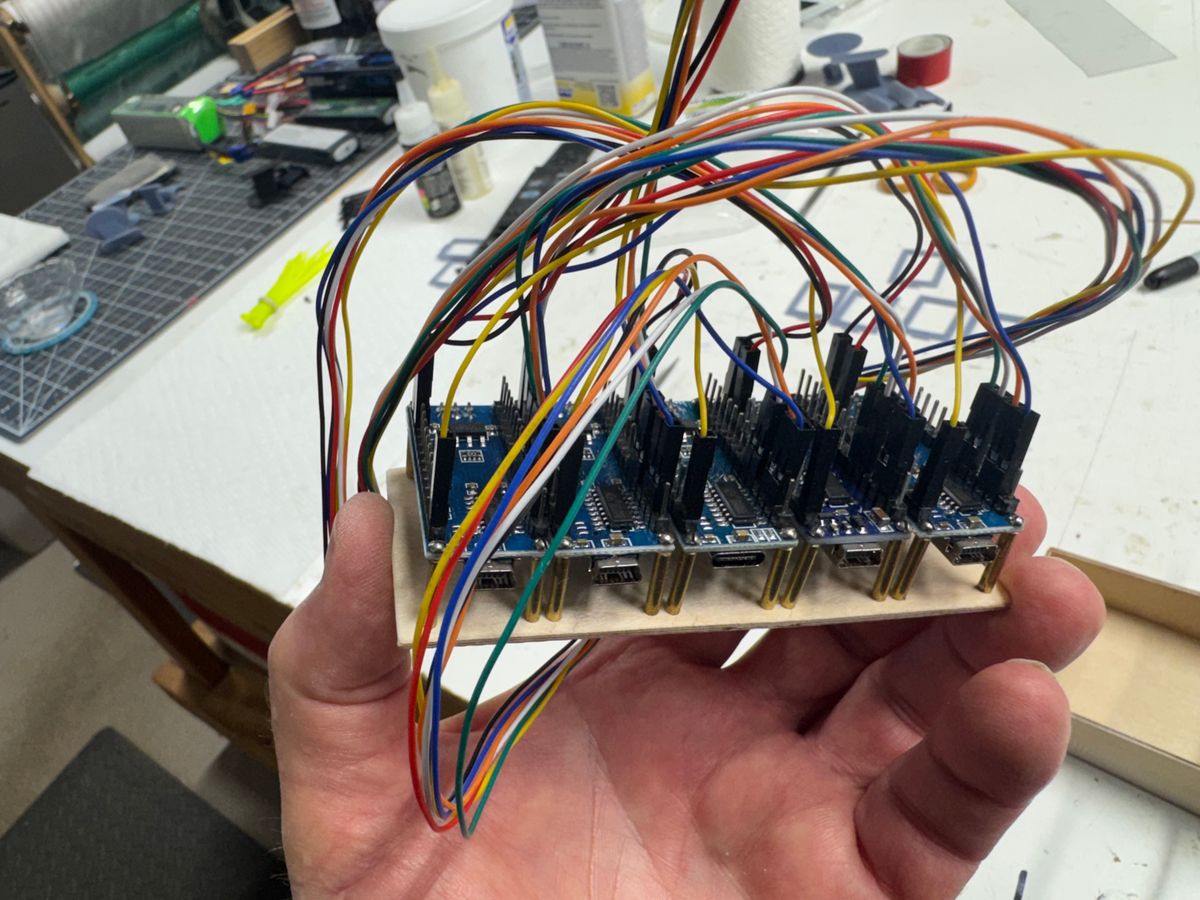
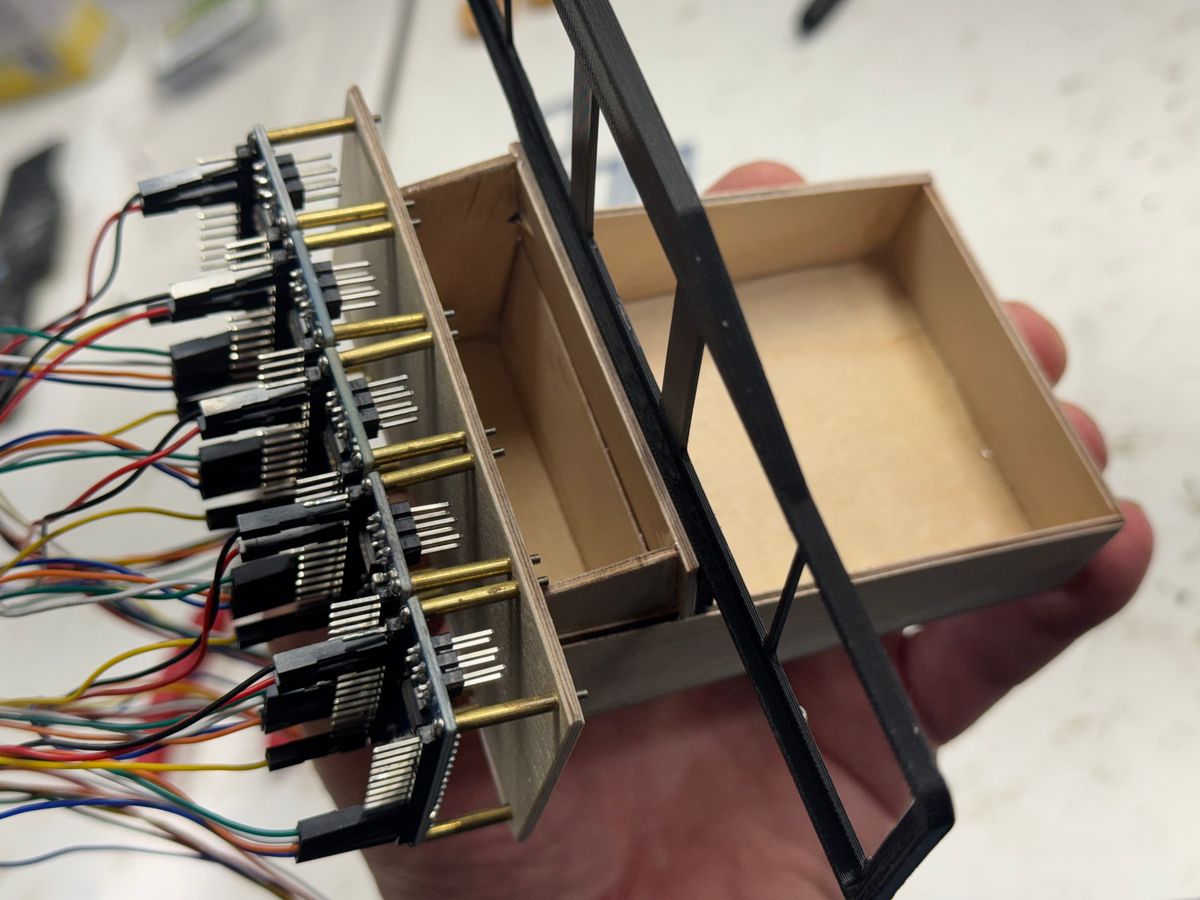
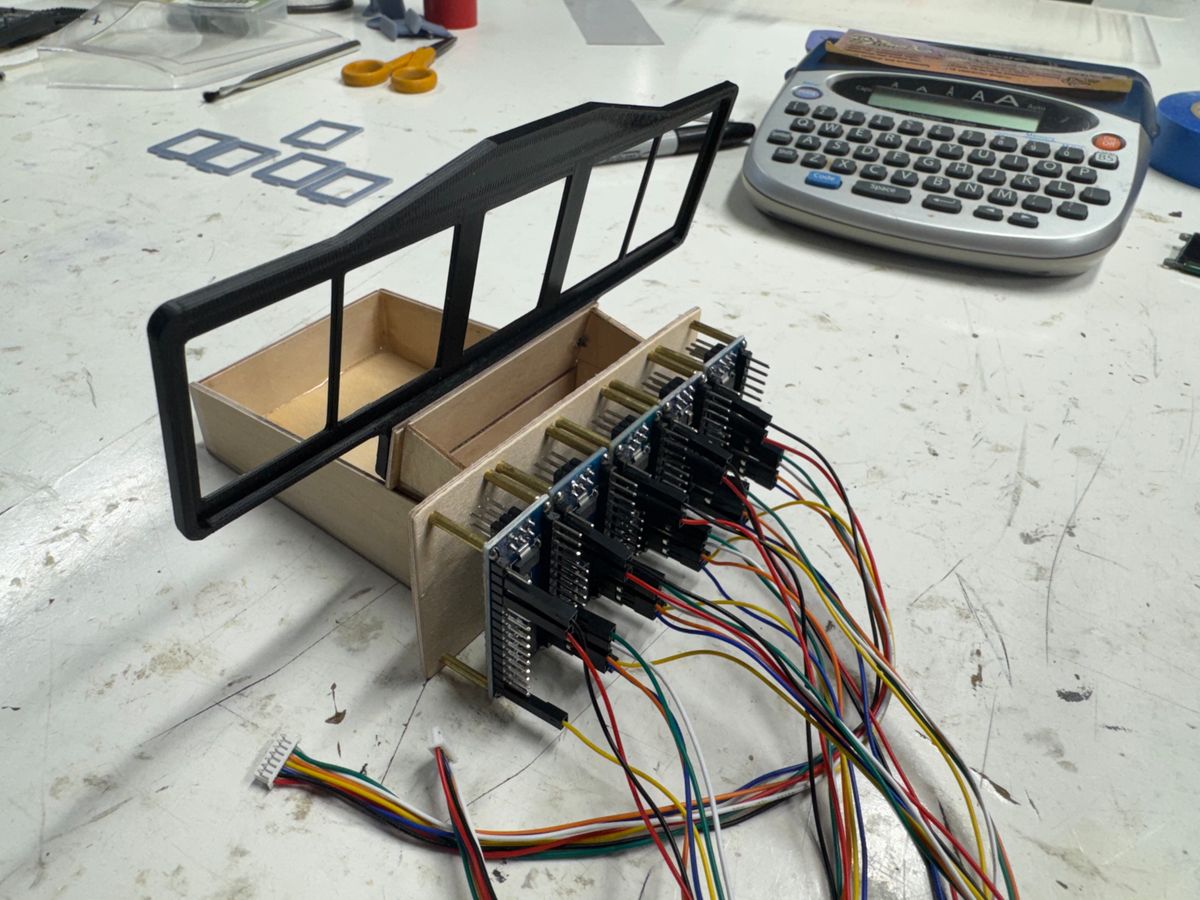
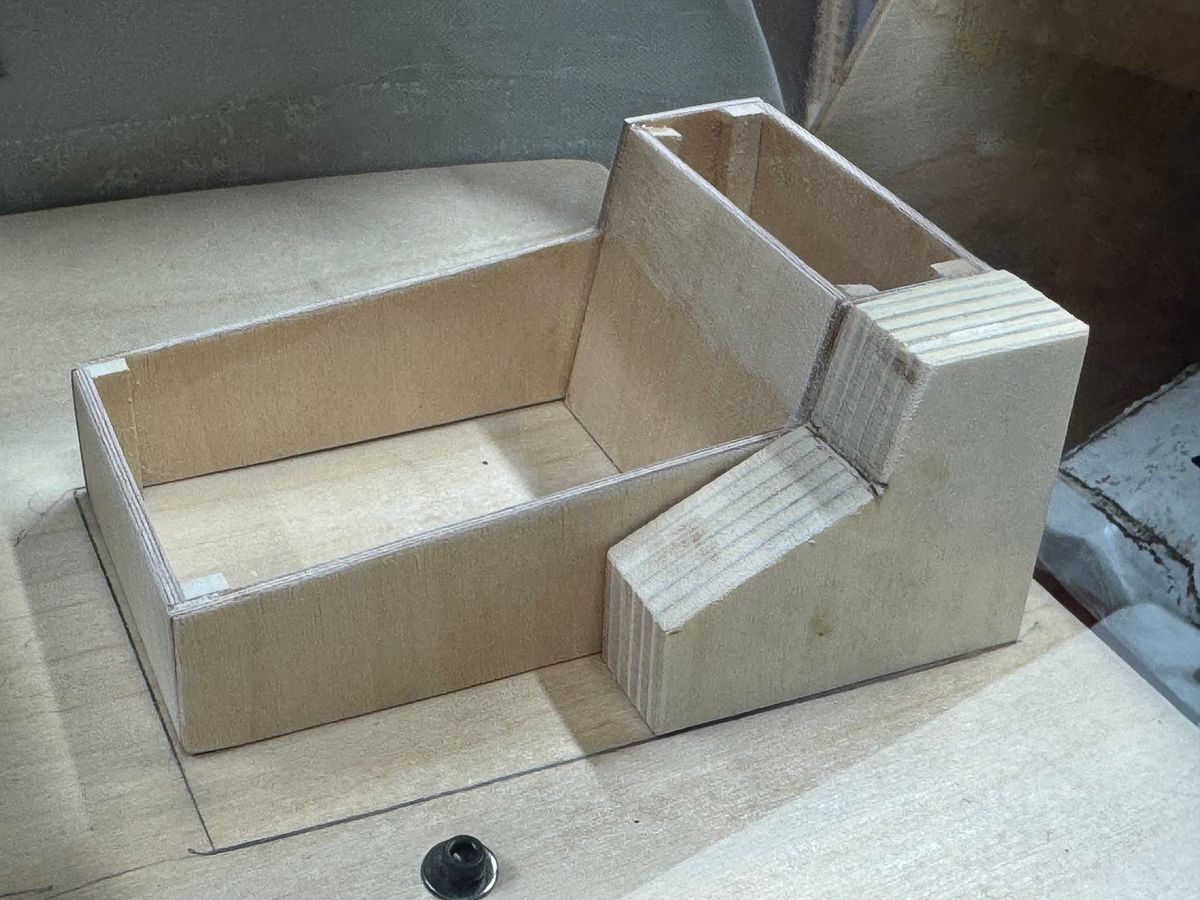
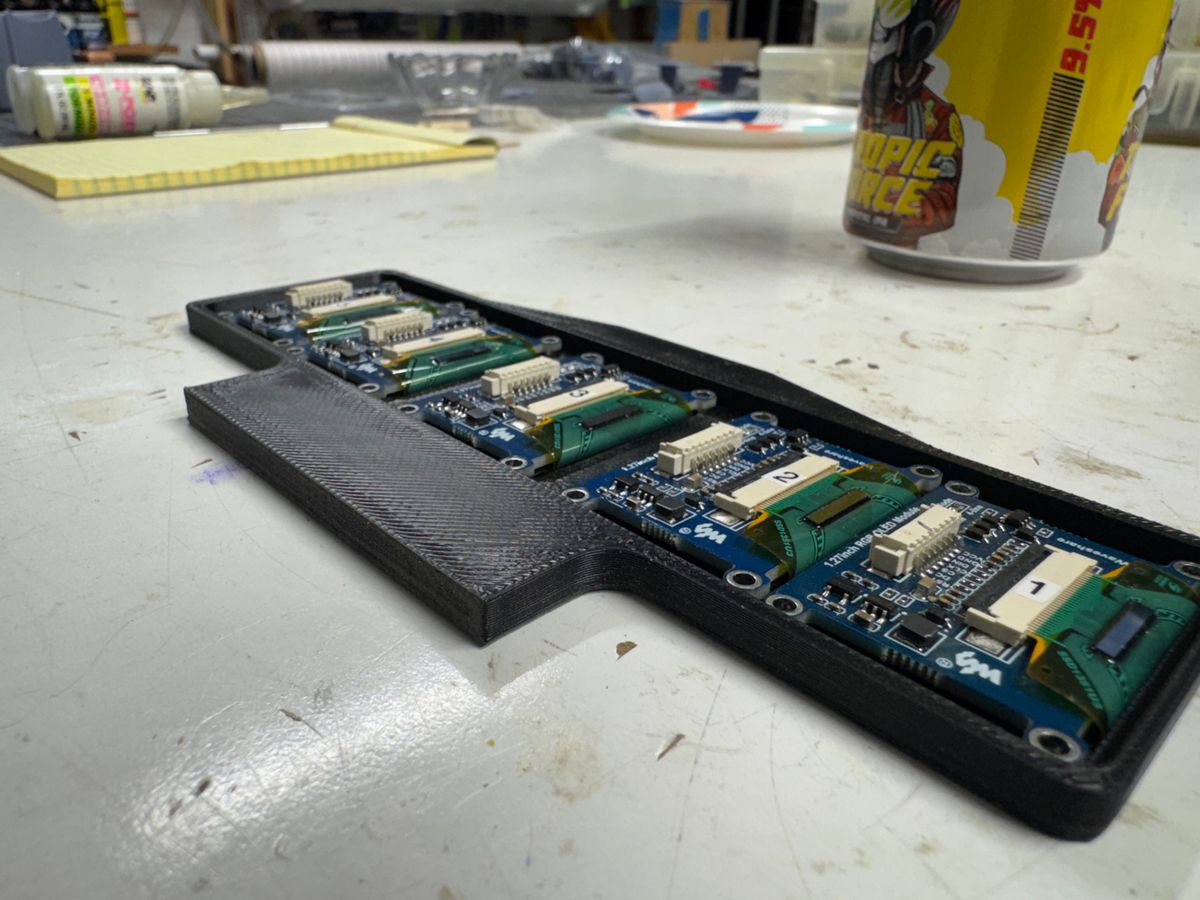
I made a power harness for the Arduino boards that control the 5 displays. I made a mount with spacers to hold the controllers that came out pretty nice. This mount will attach to the forward side of the center console pedestal. Once the panel with displays are mounted it will be attached to the pedestal as well. Then I can secure the wiring harness and clean up wire lengths for a cleaner install.
This will be one complete assembly and remove as one unit. I will have to remove one of the flight battery support walls to install or remove the assembly however the wall is installed with 4 screws and threaded inserts and easily removed. Not sure if I will use magnets and pins or screws to hold the assembly in place and will figure that out as I move along.
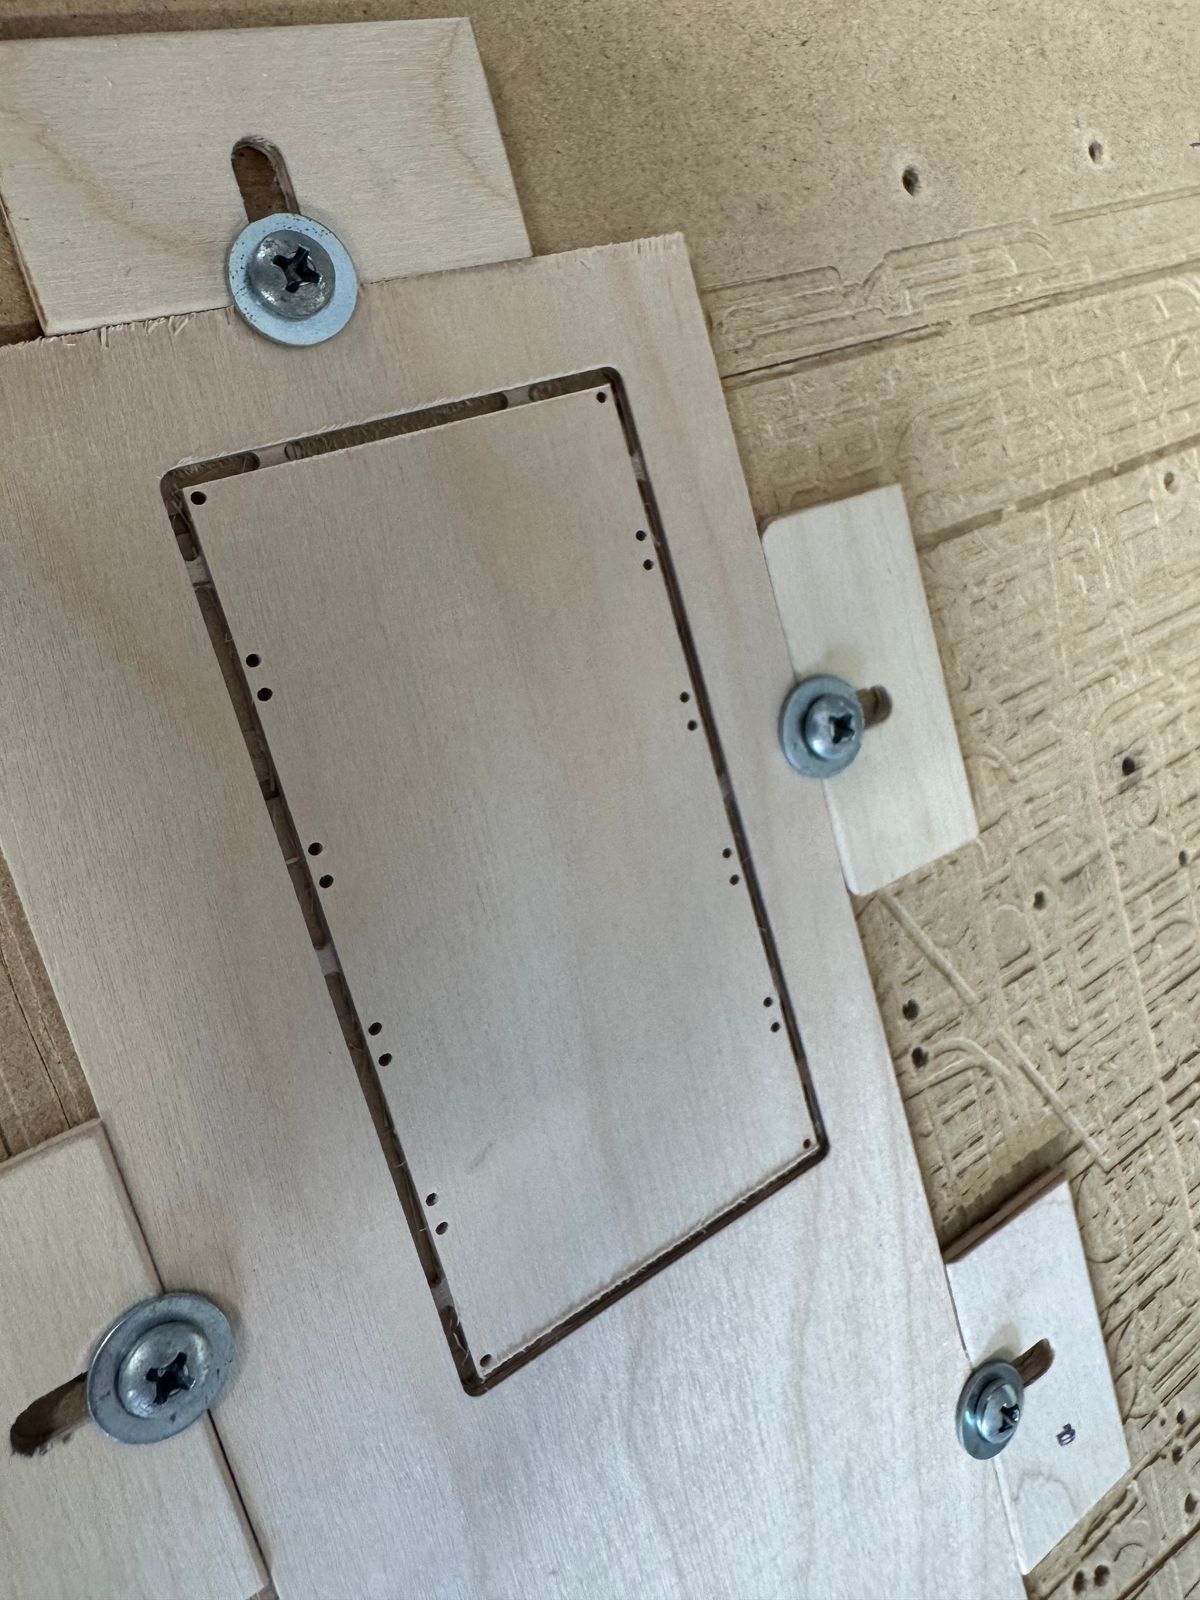
I cut another set of glazing out. They are much better now with the reworked molds. I have yet to commit drilling holes to attach the windows. There will be many screws attaching the glazing. If I have to replace a window(s) I do not wish to transfer drill the replacement window to match the holes in the window frames the first time out. Being 0-80 screws there is little to no room for error with the attachment hardware.
Weather here in Zoo York this weekend is not looking good at all plus the lifting restrictions I have at the moment does not allow me to move a 35 lb model around. I threw in a detail photo of the Zuse fastener on the center console control heads and close out panels.
A few photos of the recent progress.
Thanks for dropping by.
B
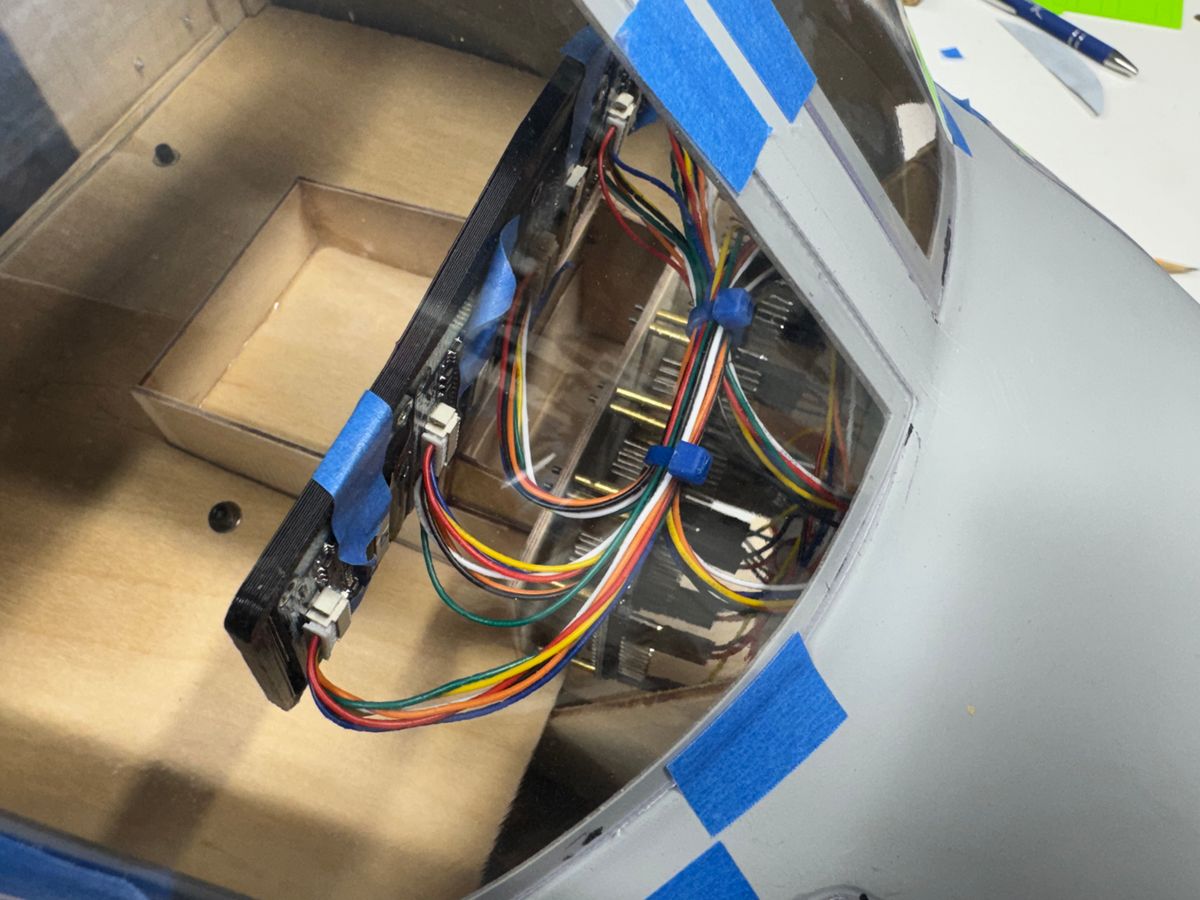
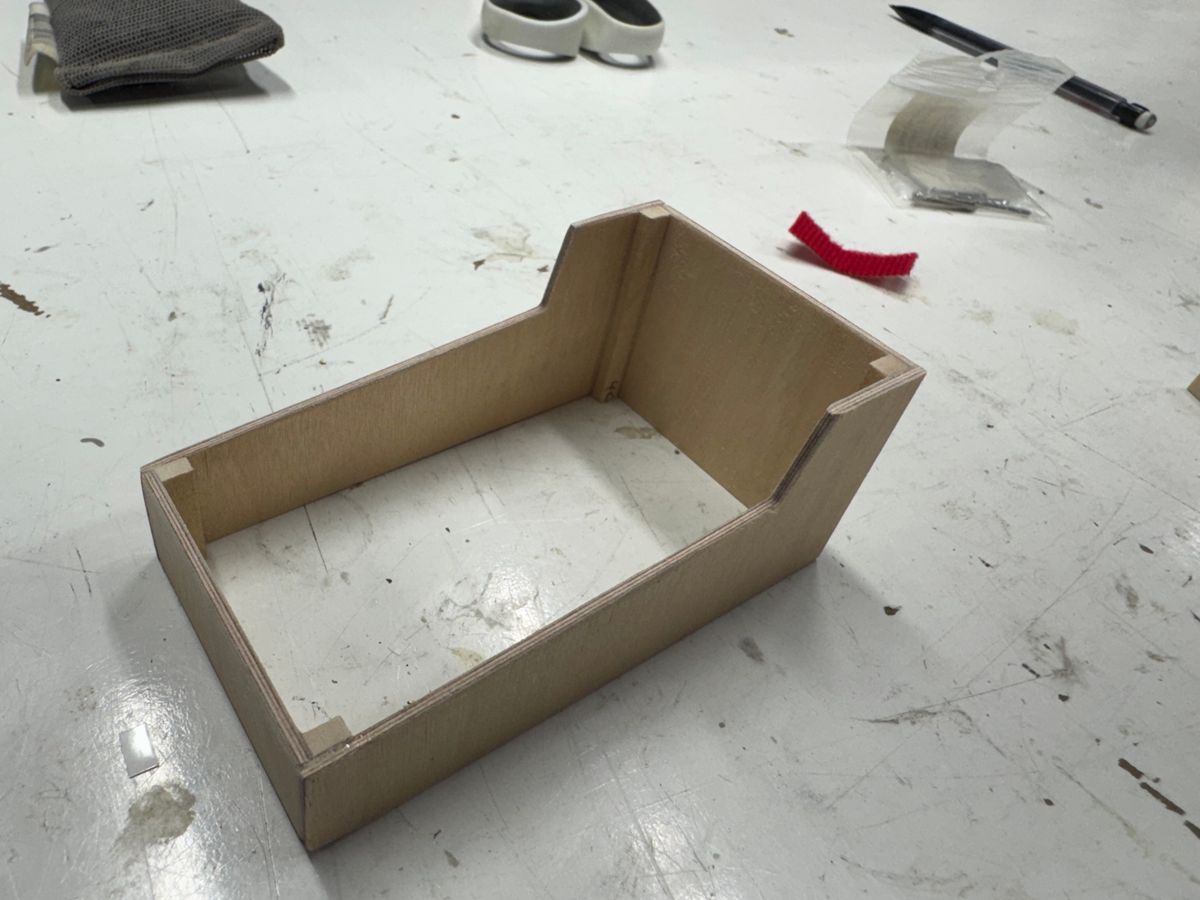
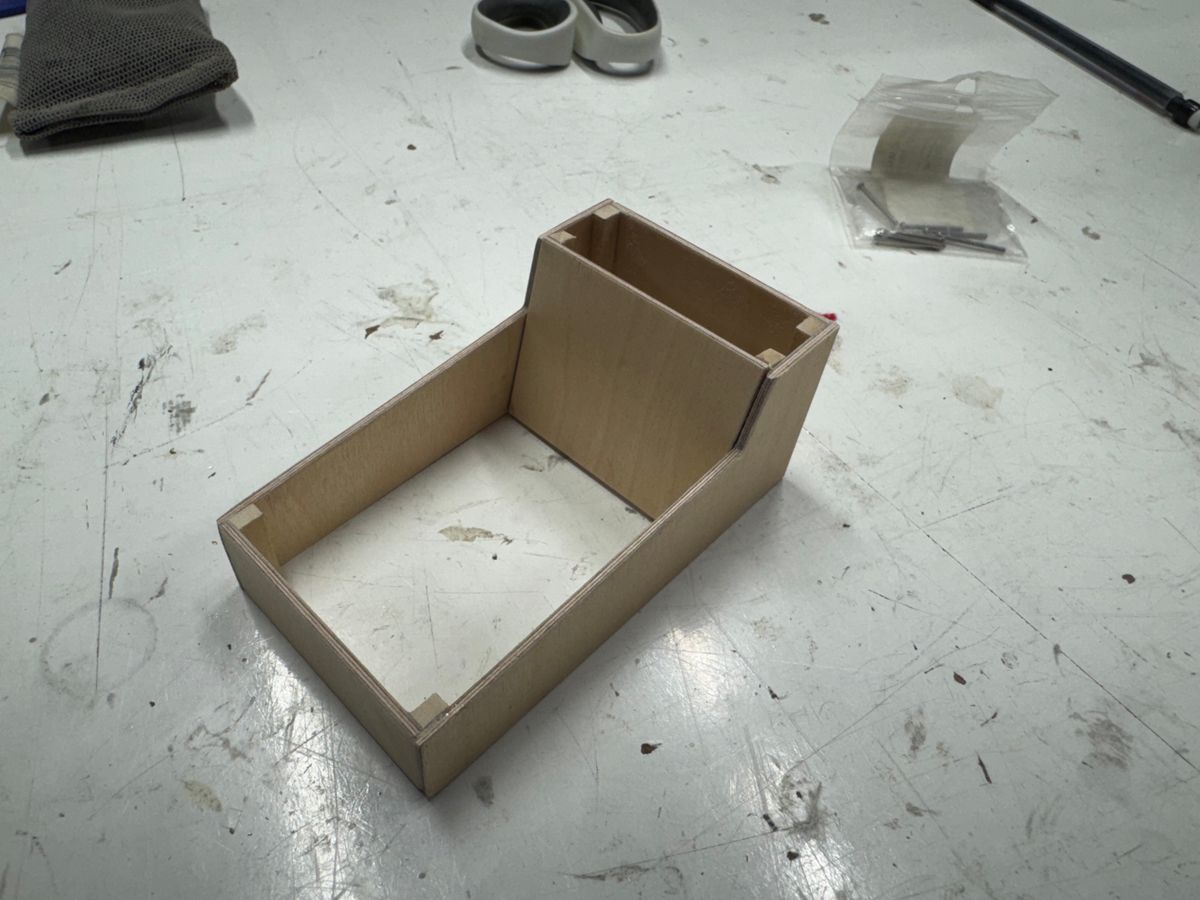
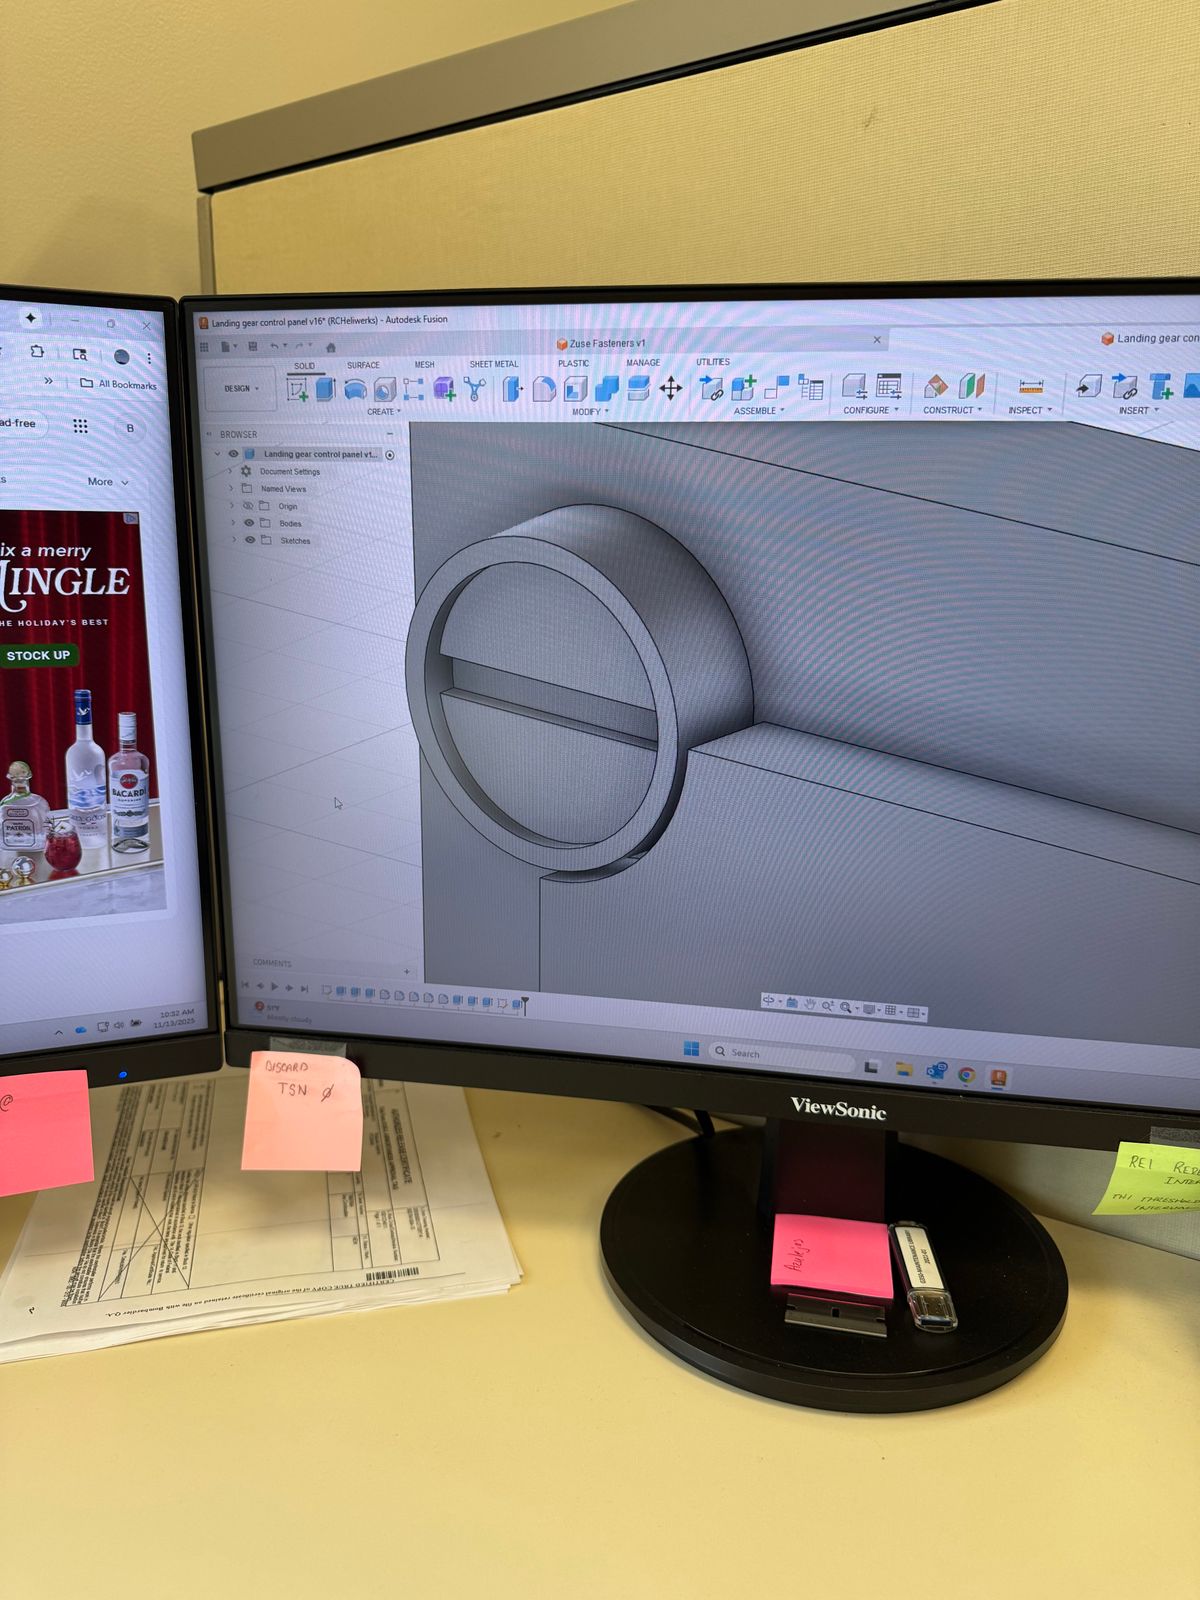
N315SX transforms to 169182
UIH,
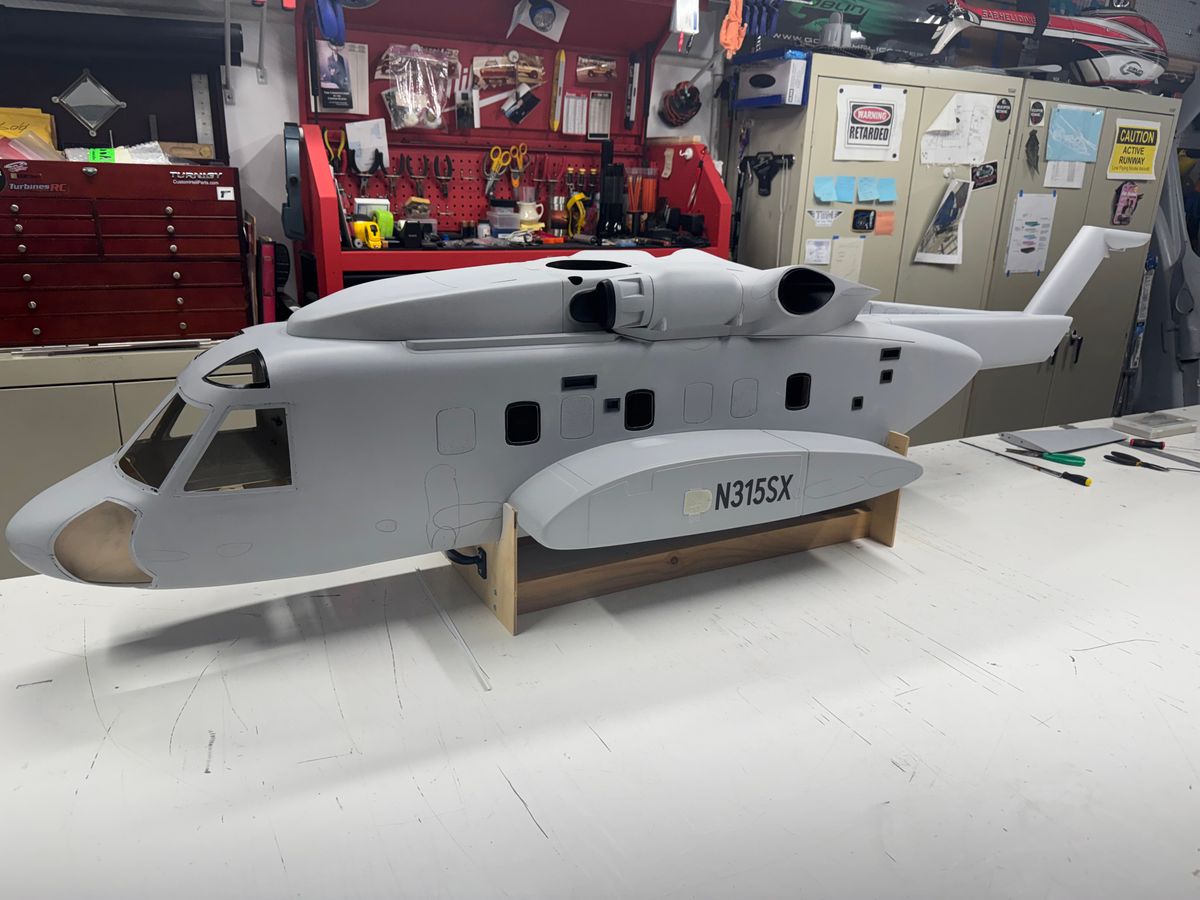
After hoping for some more flying days here in Zoo York, I have given up. For the most part it’s too cold for me to go stand at the flying site unless it is 50° perfectly sunny and little to no winds. Therefore the time has come to rip this thing apart and get working towards getting the prep work for the last coats of primer, addressing some minor finish issues, begin finger exercises for placing a bazillion rivets and a slew of antennas, some DIRCM pods, IR sensors, chaff and flair dispensers dis and dat, we all know the drill.
It took me about an hour to remove everything down to the bare fuse. Everything is bagged, tagged, placed in a box with big azz letters labeling it “VH-92A-169182” I can find the stuff again.
The fuse was primed over last winter for the current flying season. Its in pretty good shape but will get another coat or two of primer followed by a good sanding then laying out skin doublers followed by the rivet patterns. Not sure yet if all the detail attachments will be bonded on, magnetized, or screwed on. Leaning towards magnets or screws so when it gets busted off it easy to replace.
The cockpit IP is moving along. Been working the switch panels, side panels, CB panels all the little goodies that seam to take forever but getting there. I may begin another chaptered thread as I believe each book only allows 30 chapters but we will see.
A few pics of the weekends progress.
Thanks for dropping by,
UIH,
B
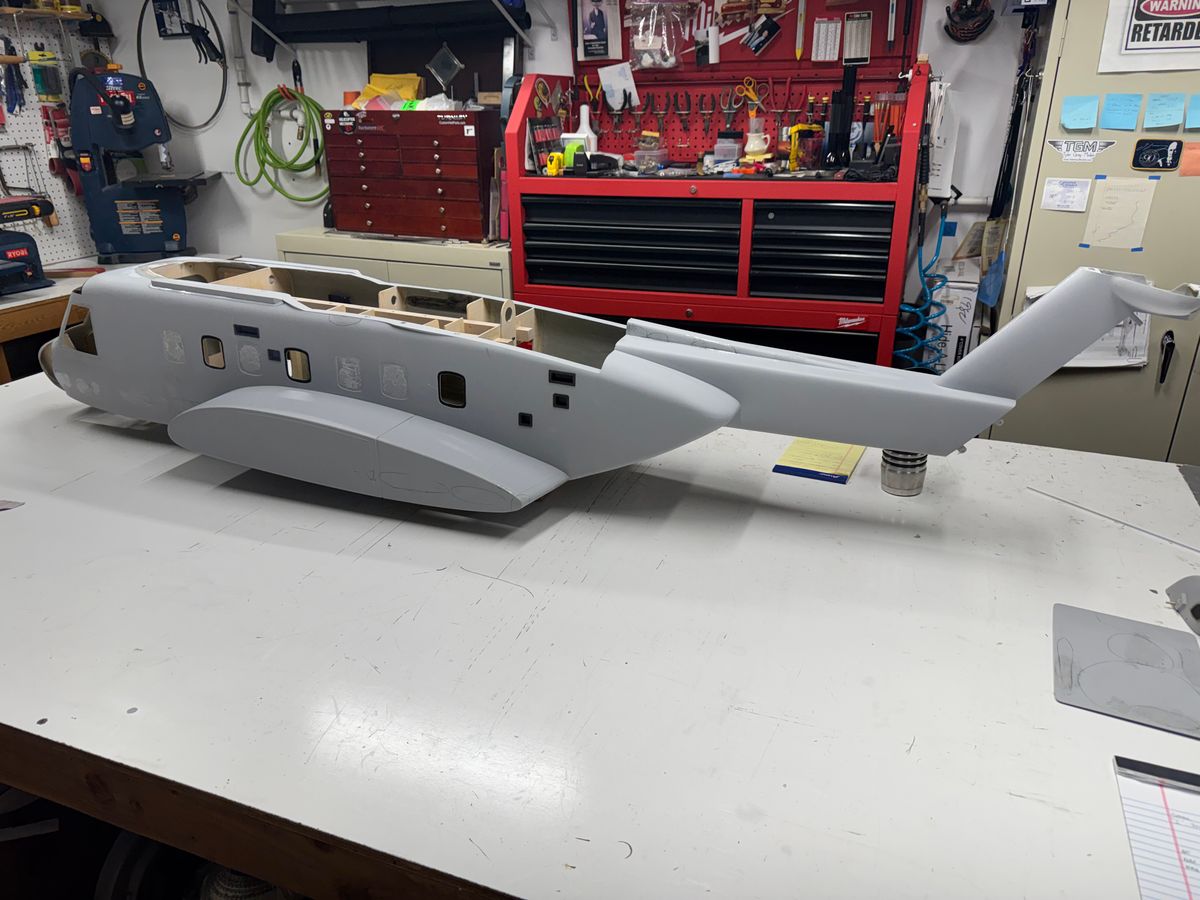
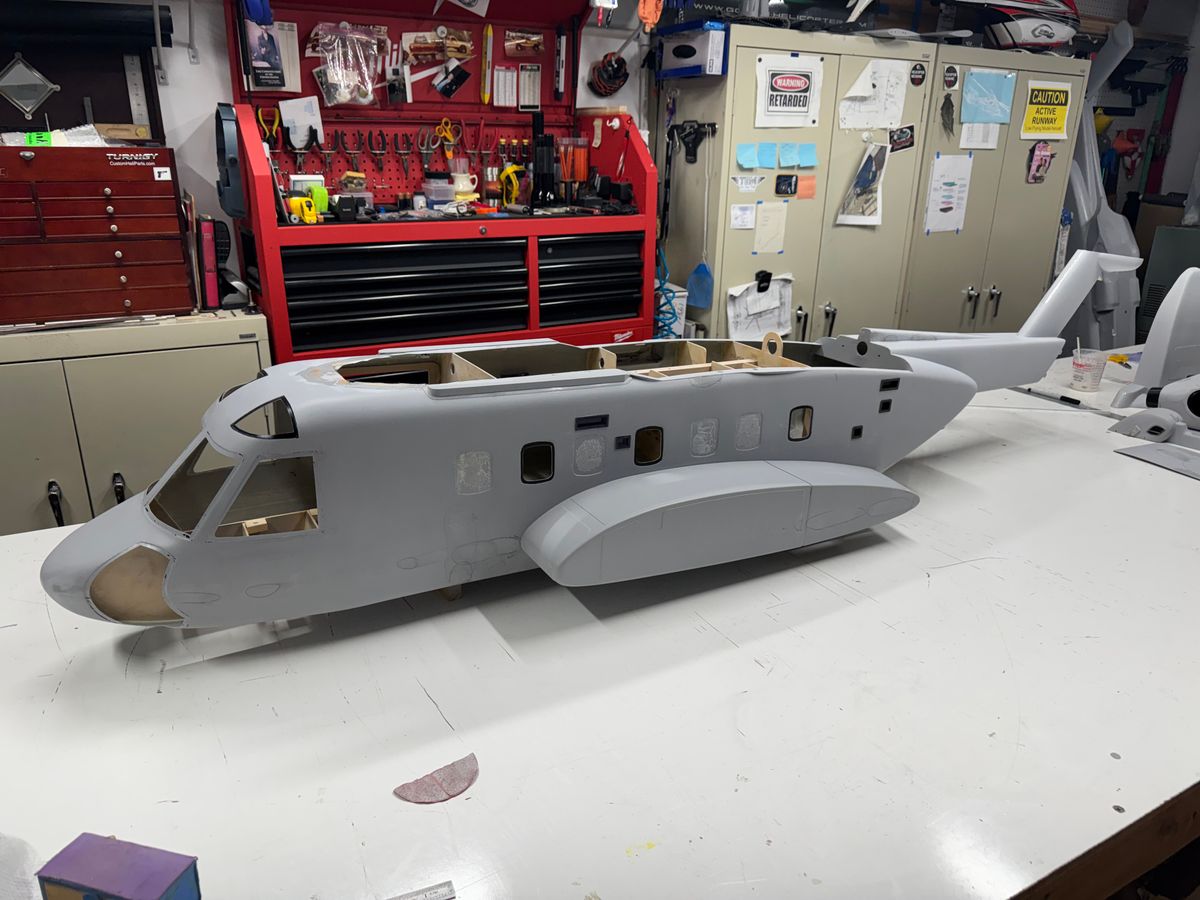
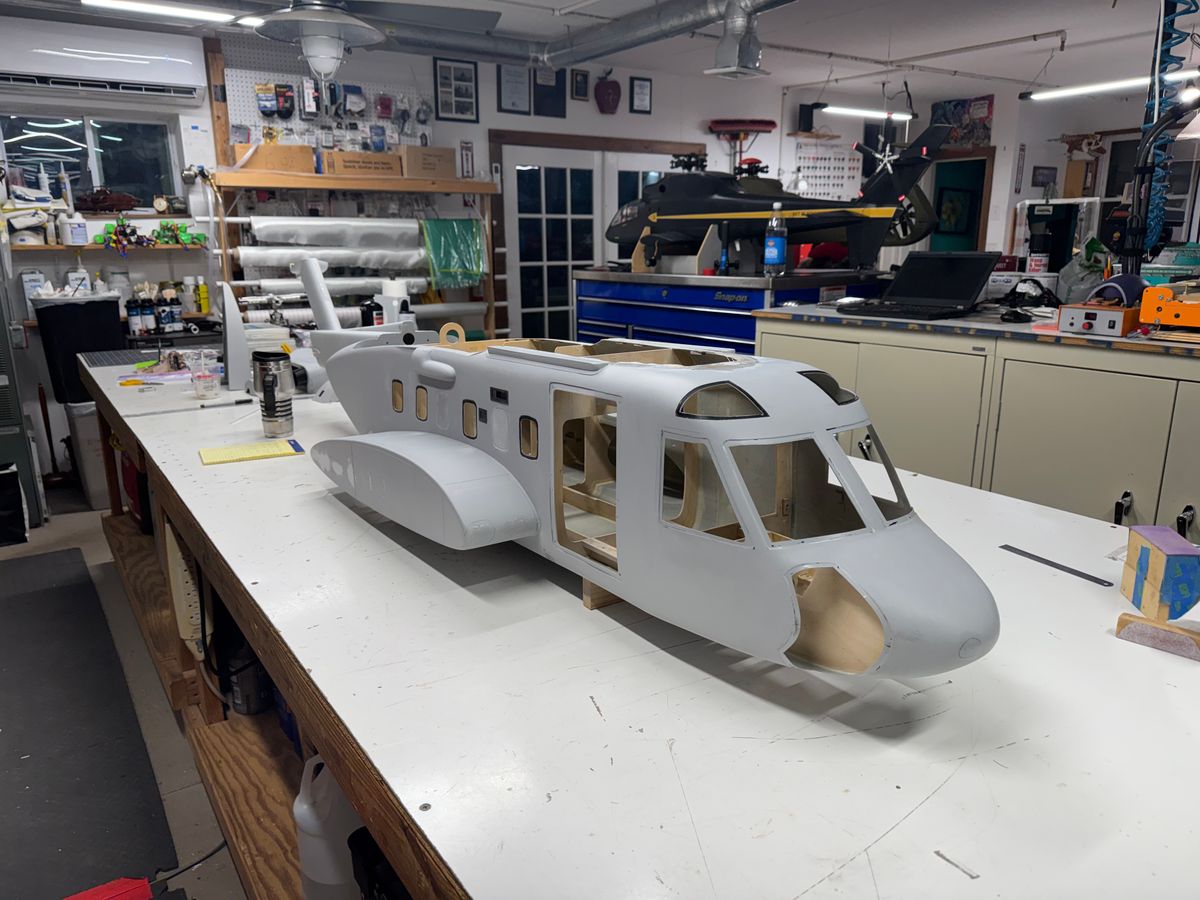
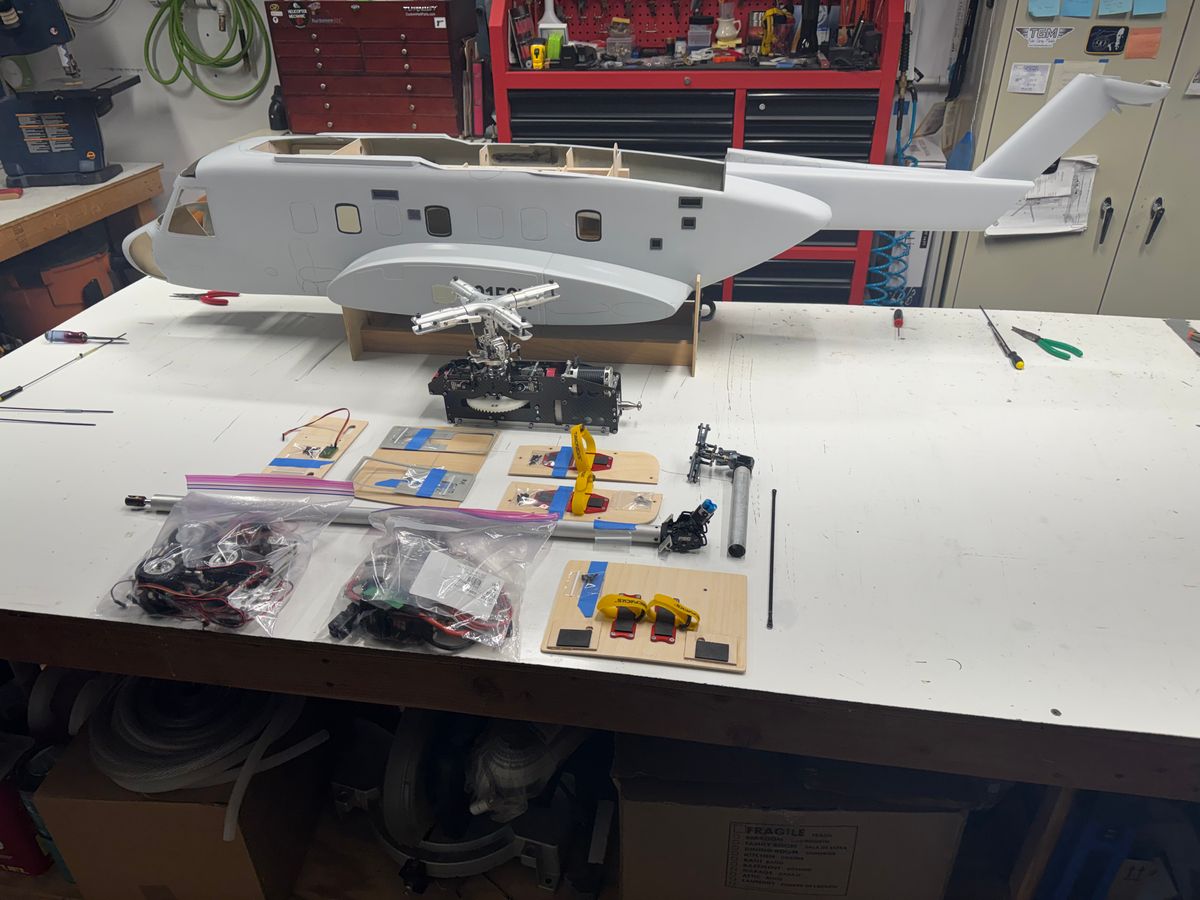
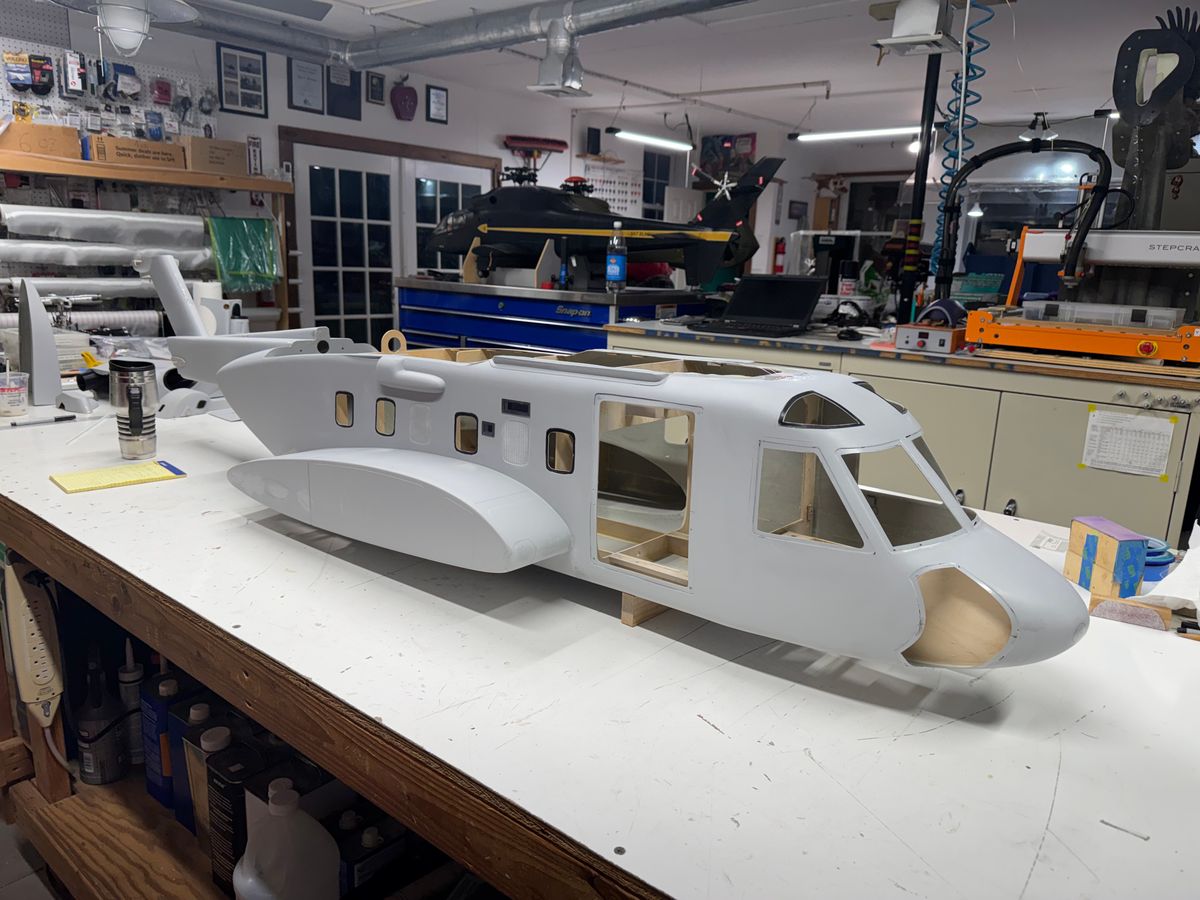
“Things that make you go Hummm”
UIH,
I hope everyone had a very Merry Christmas and wish the best to all for a Happy New Year.
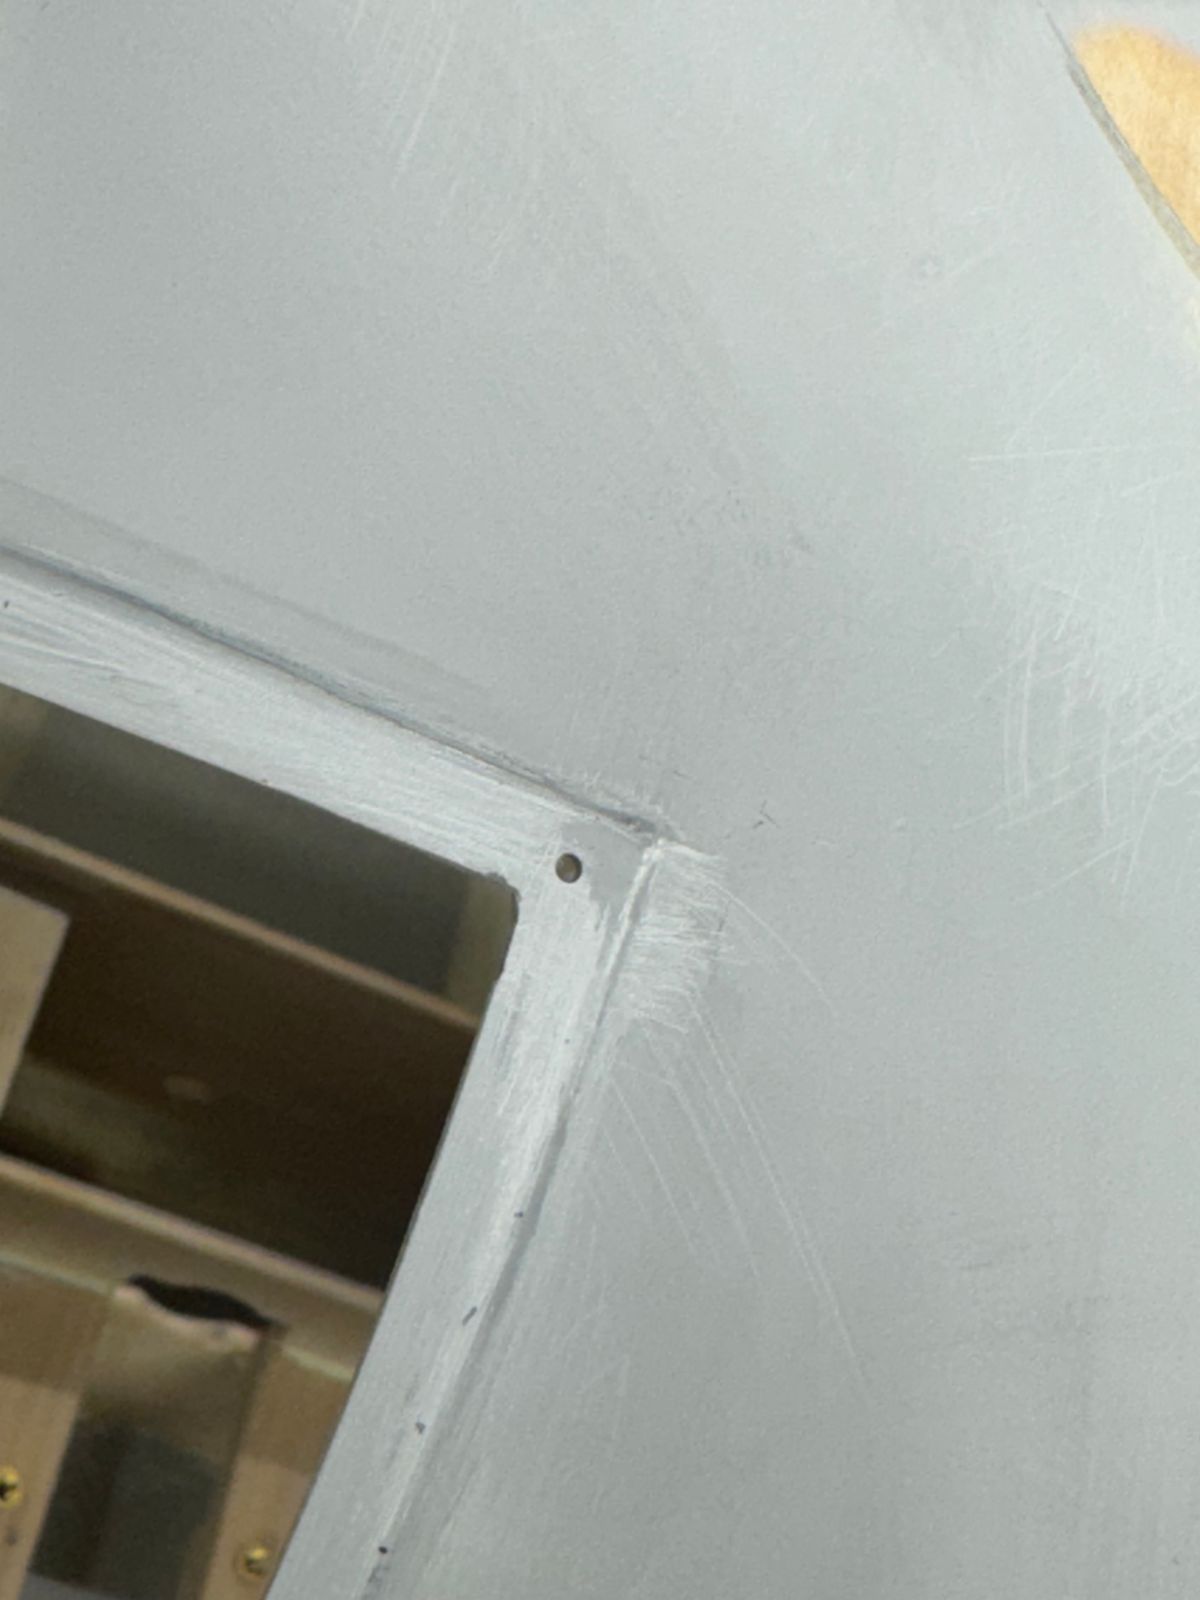
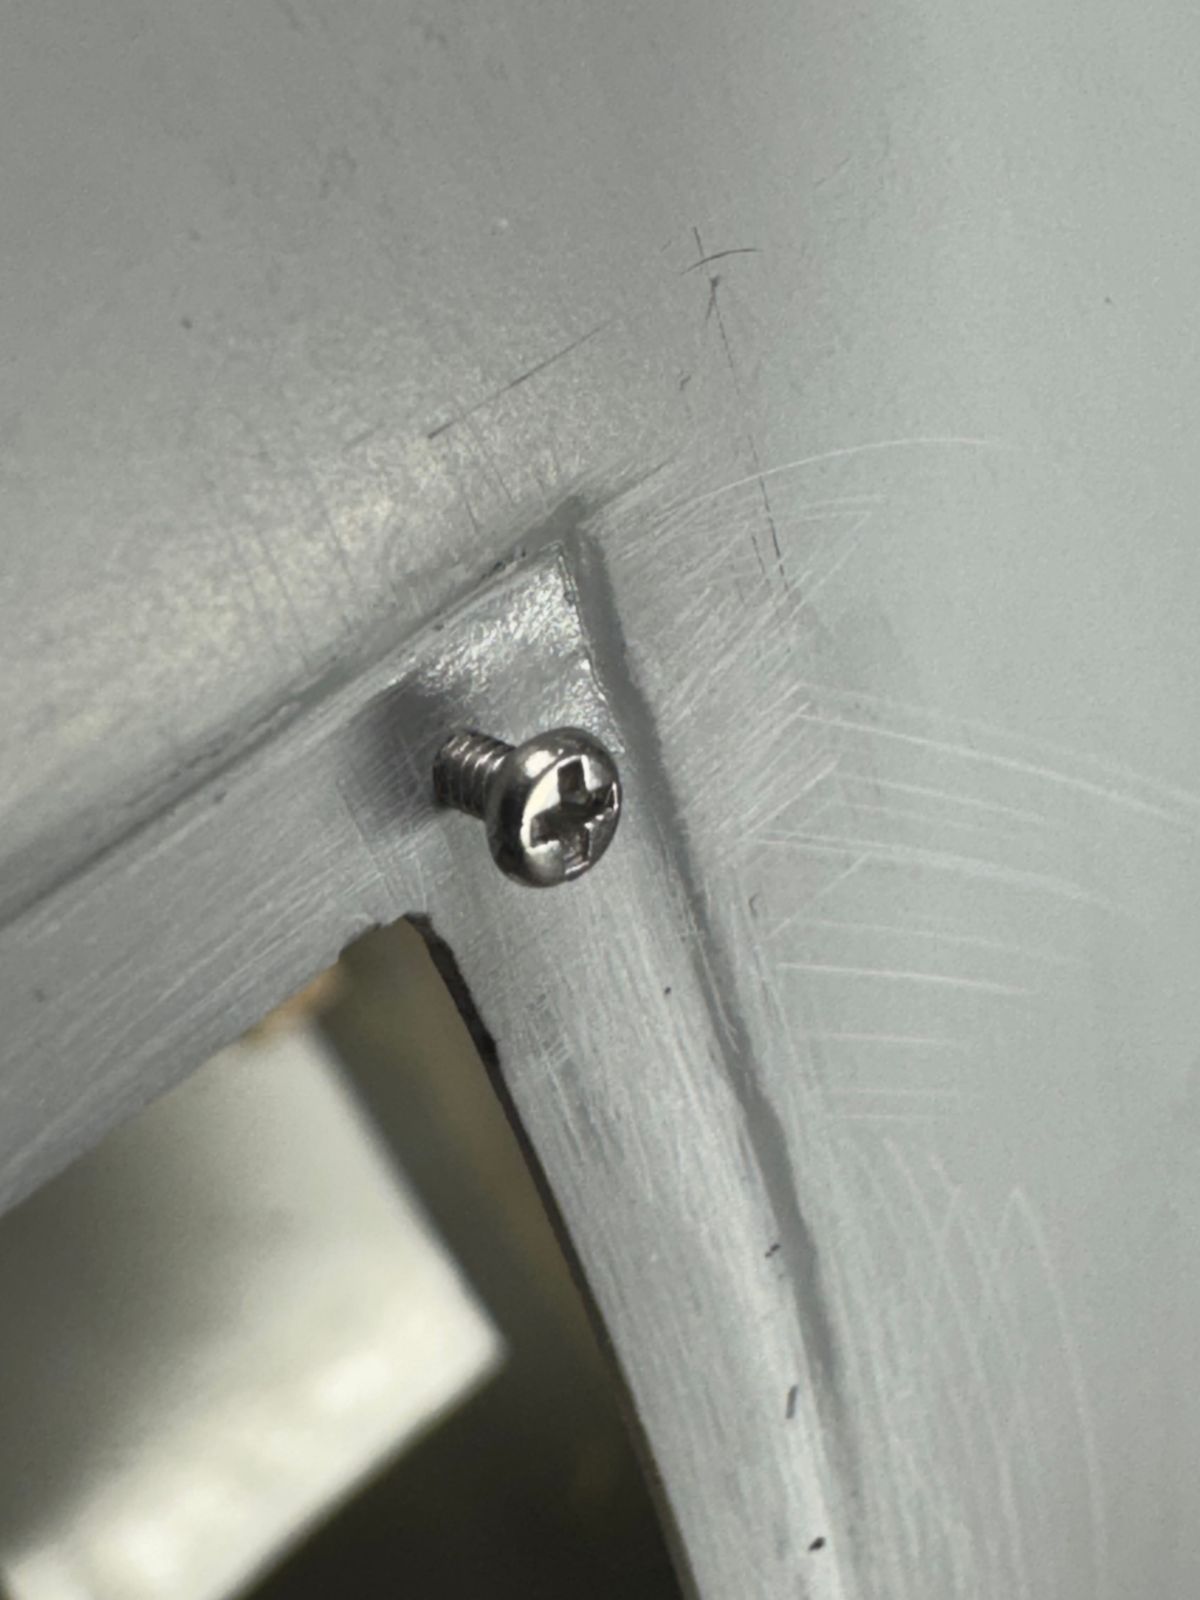
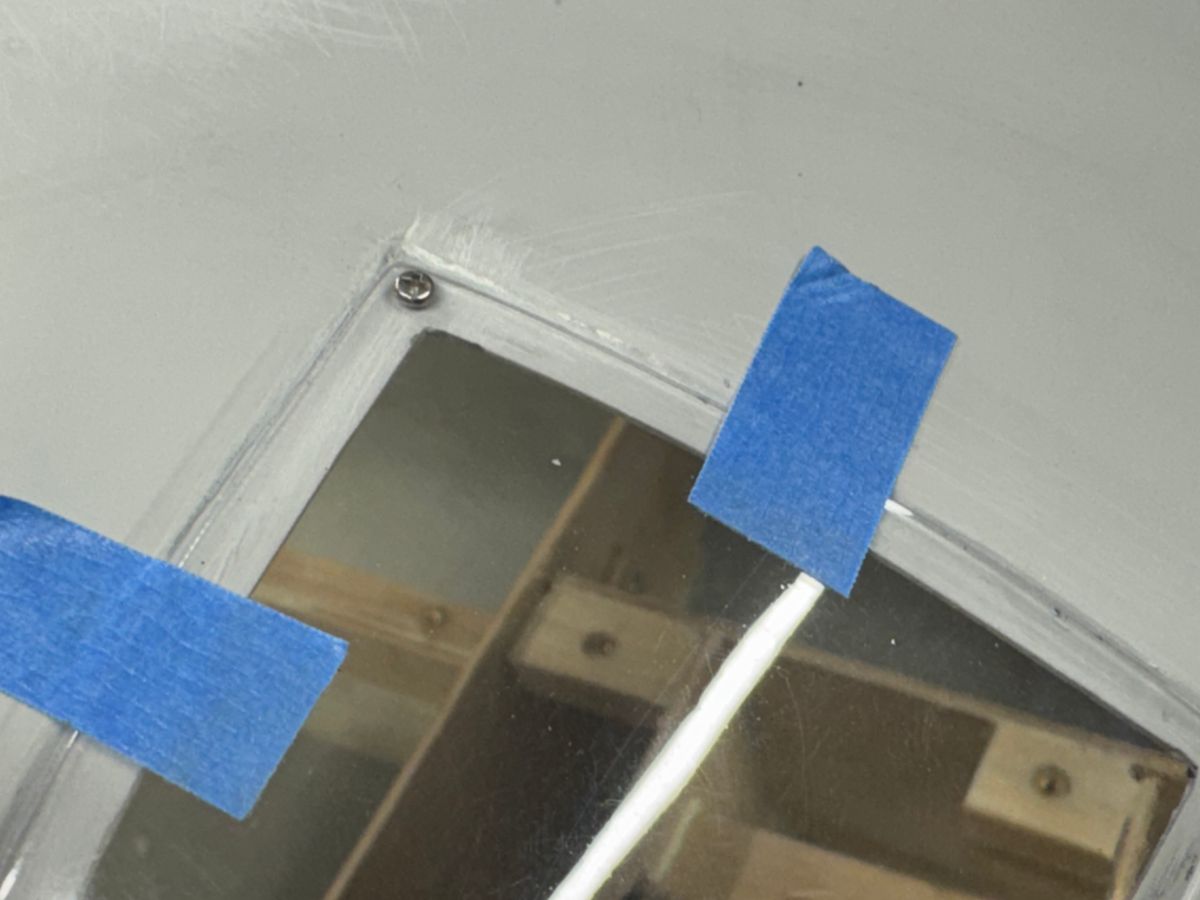
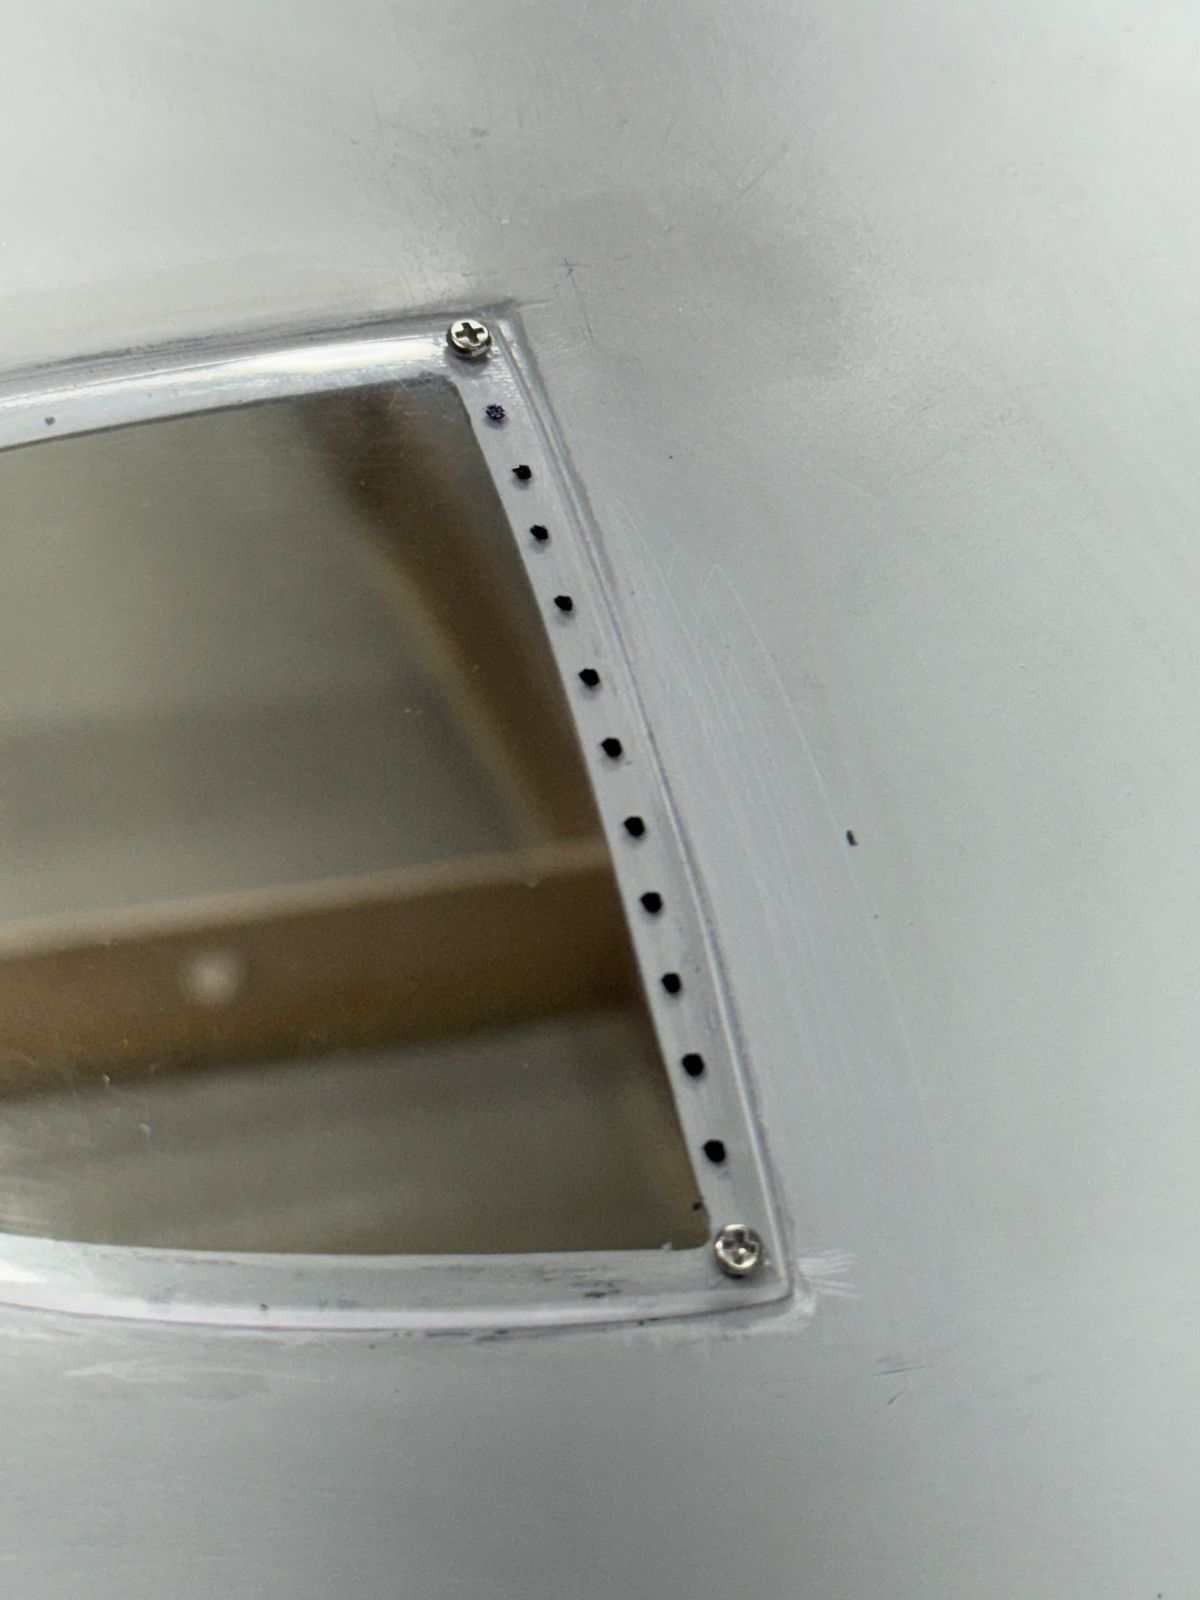
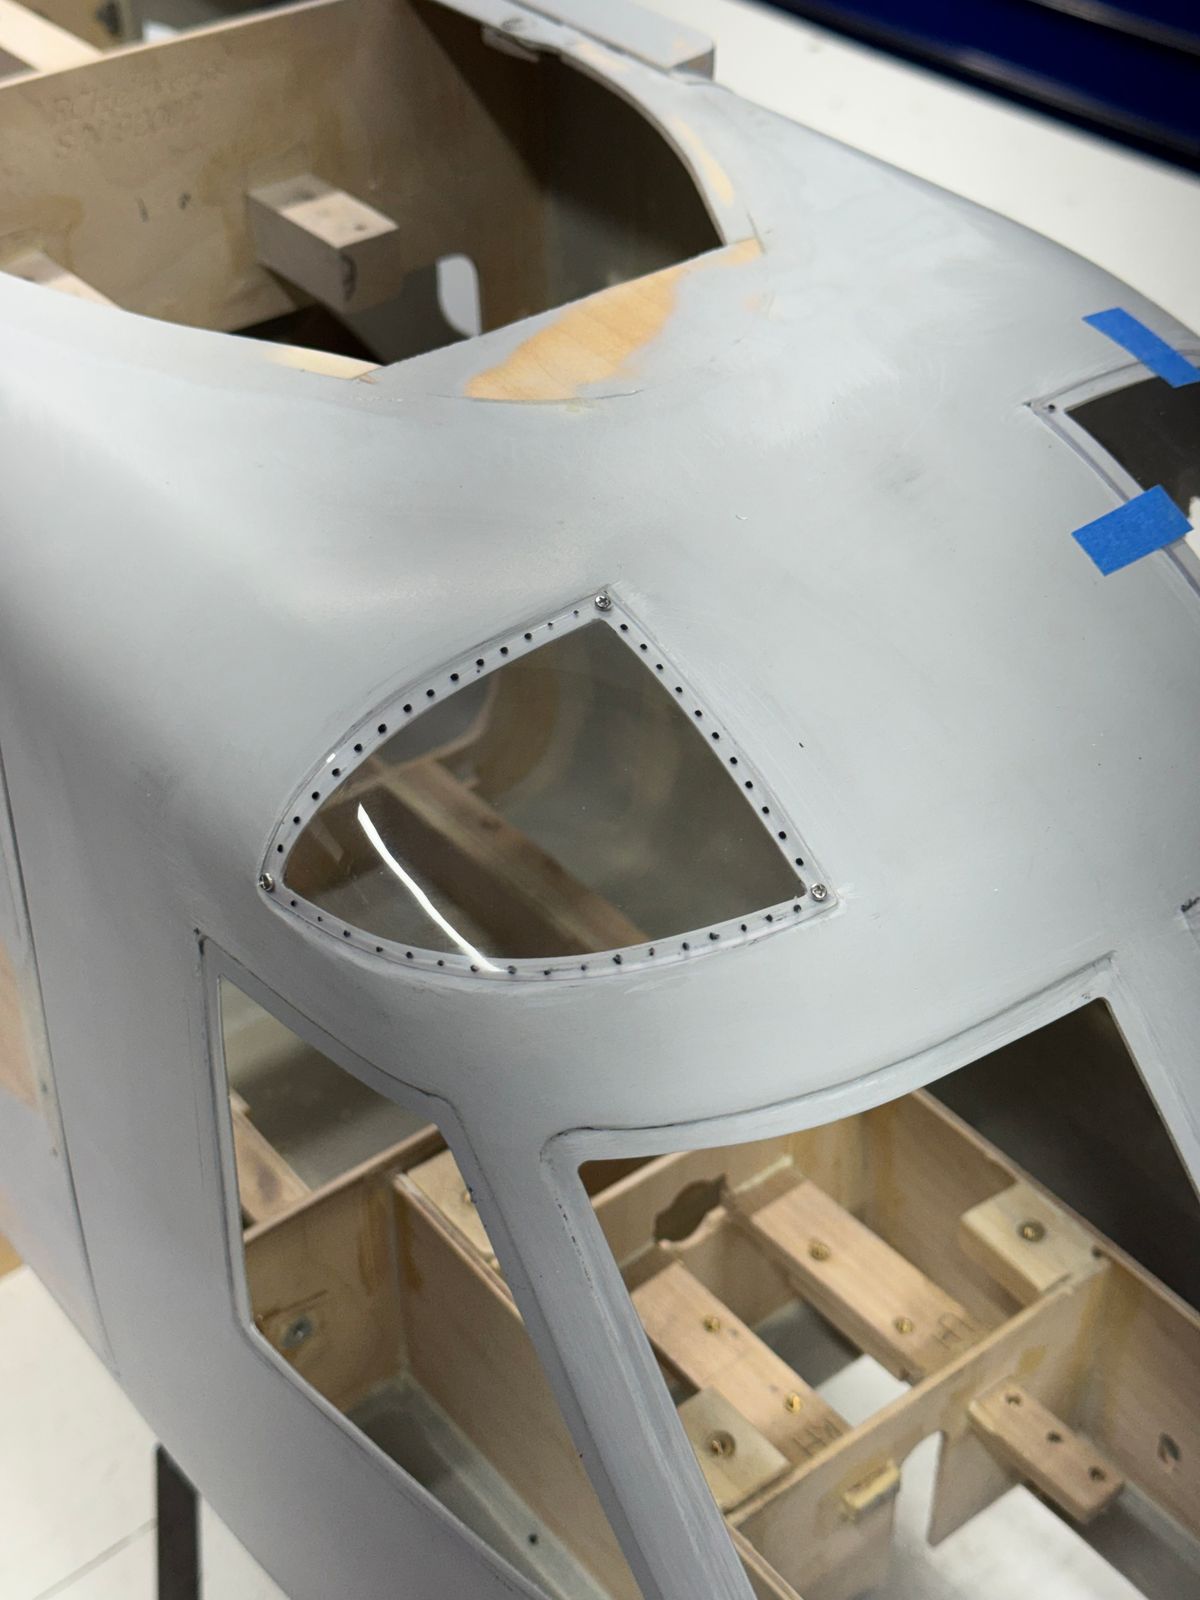
I finally took the time to begin addressing cockpit window installation. I started with the green house windows since they are fairly simple with a few short runs. I places the corner attach screws drilling an .050 hole through the window and the window frame. I opened the window holes to .057 for the 0-80 screw to pass through the window and thread into the window frame. The frame area is about 3 mm thick therefore the screws thread into the frame fairly easy.
I laid out a spacing with a sharpie of 5mm, stepped back and thought “hummm”. As with most of my builds, sometimes it has to go under my pillow so it can soak in to my head for a day or two before I jump. In this case I believe the spacing is too close for the 0-80 hardware. Good thing I have a big ass pillow.
Sometimes during a build some “artistic impression” may be required to achieve the look you may be looking for. May have to apply that in this case.
A few photos of the progress.
Happy New Year,
B
Damm Groundhog!!!
UIH.
I see it has been some time since I have posted any build progress on my VH-92 project. I have moved along in some areas however that vermet did take some wind out of the sails with 6 more weeks of winter.
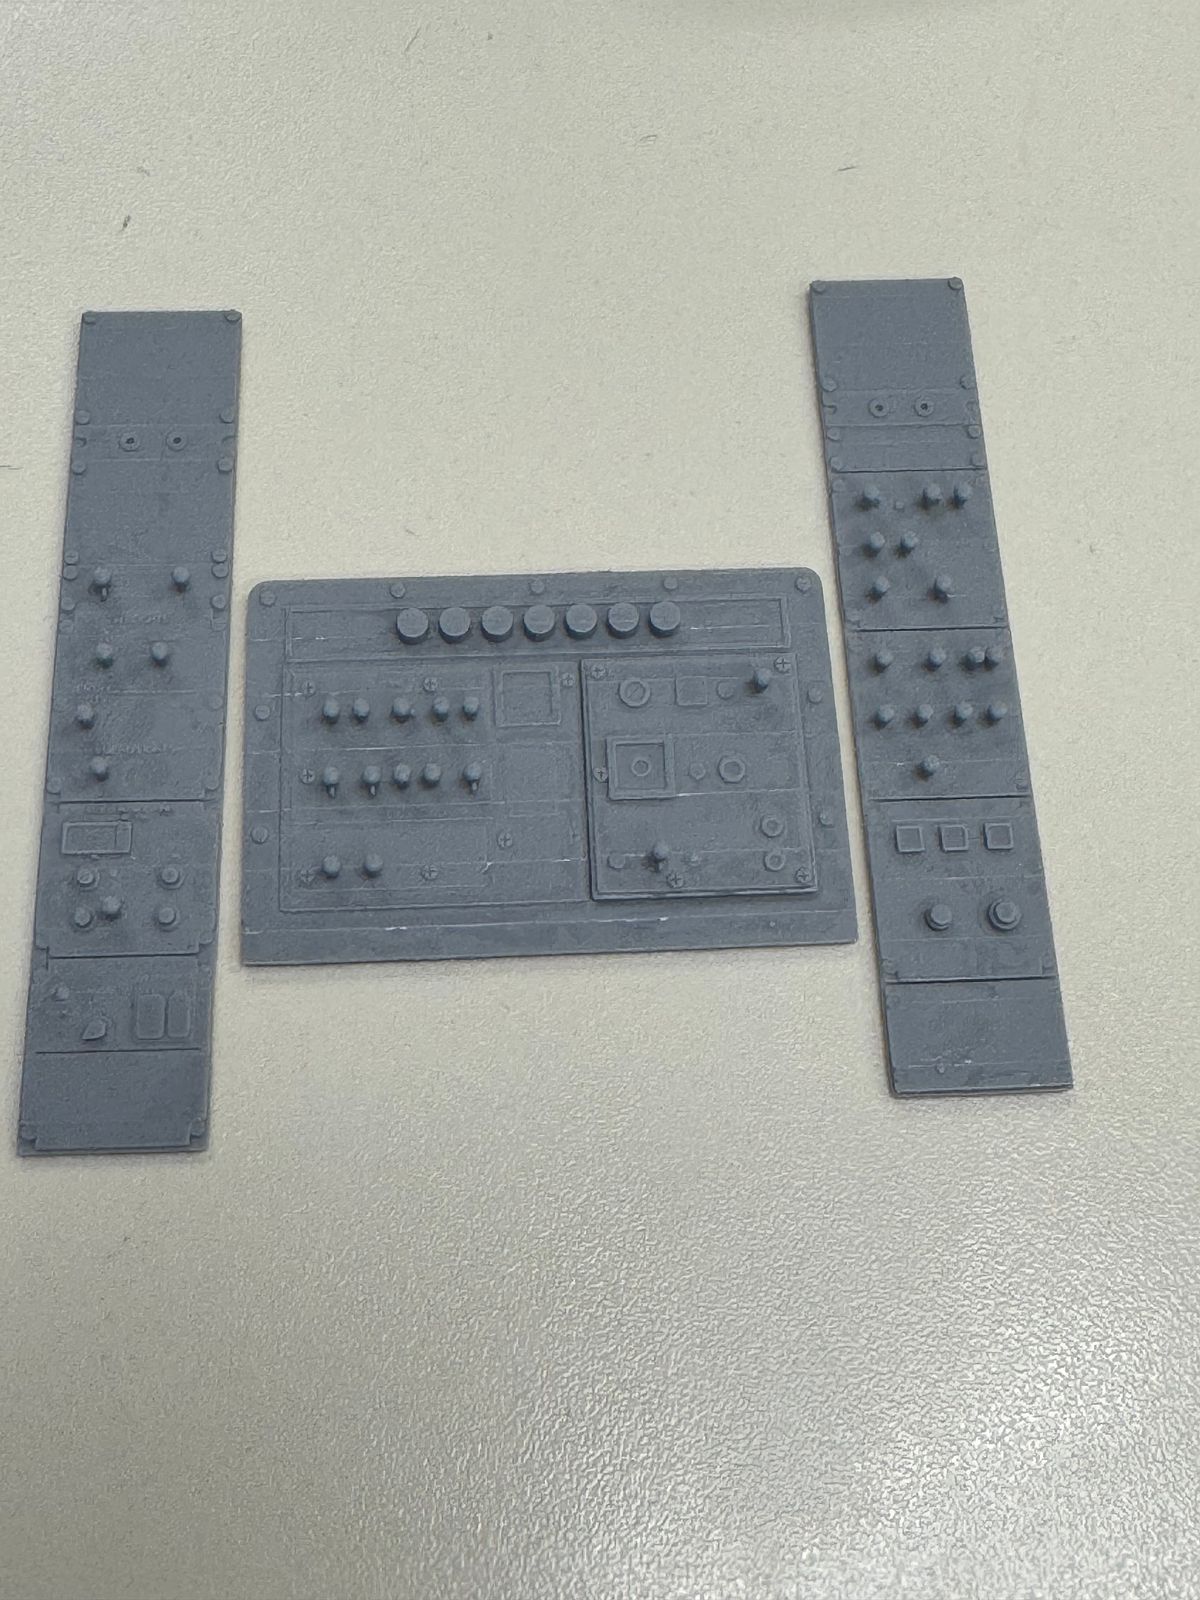
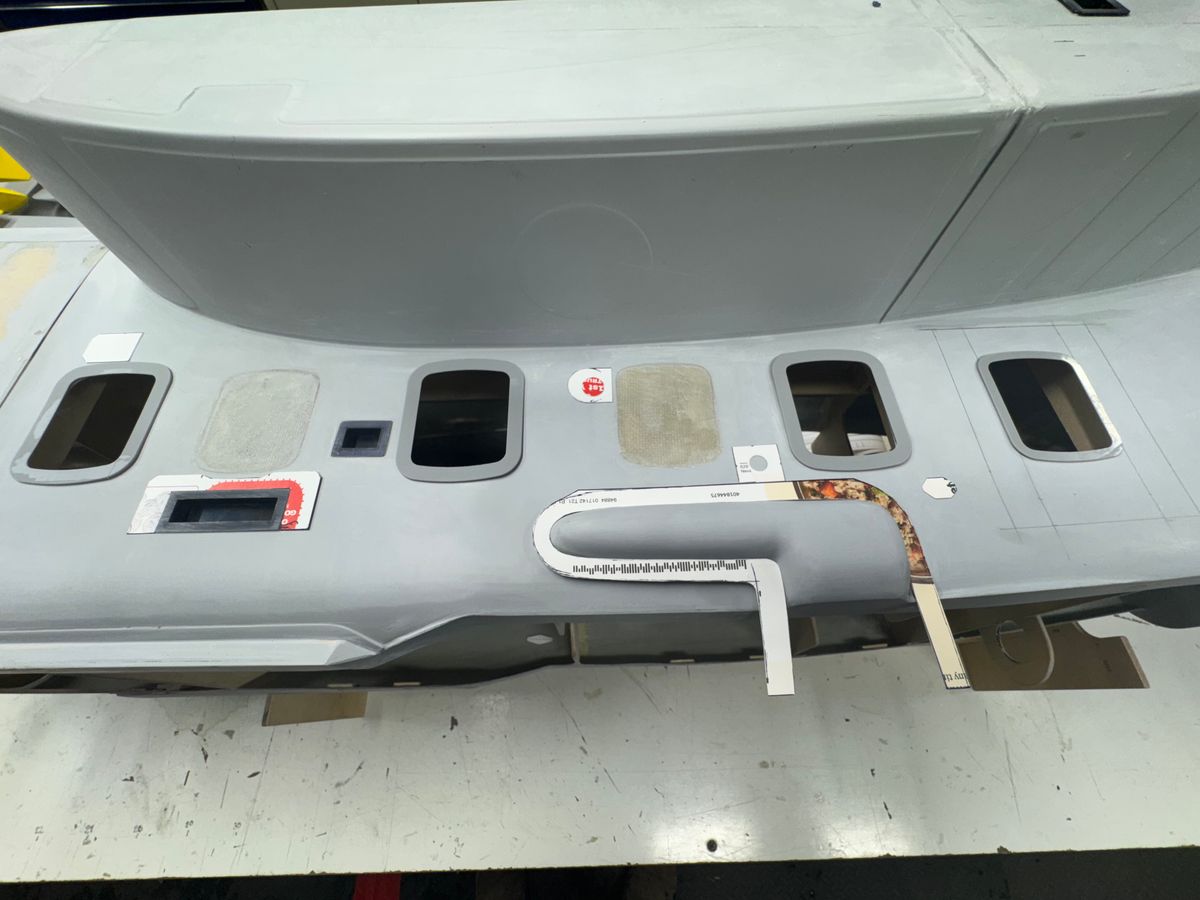
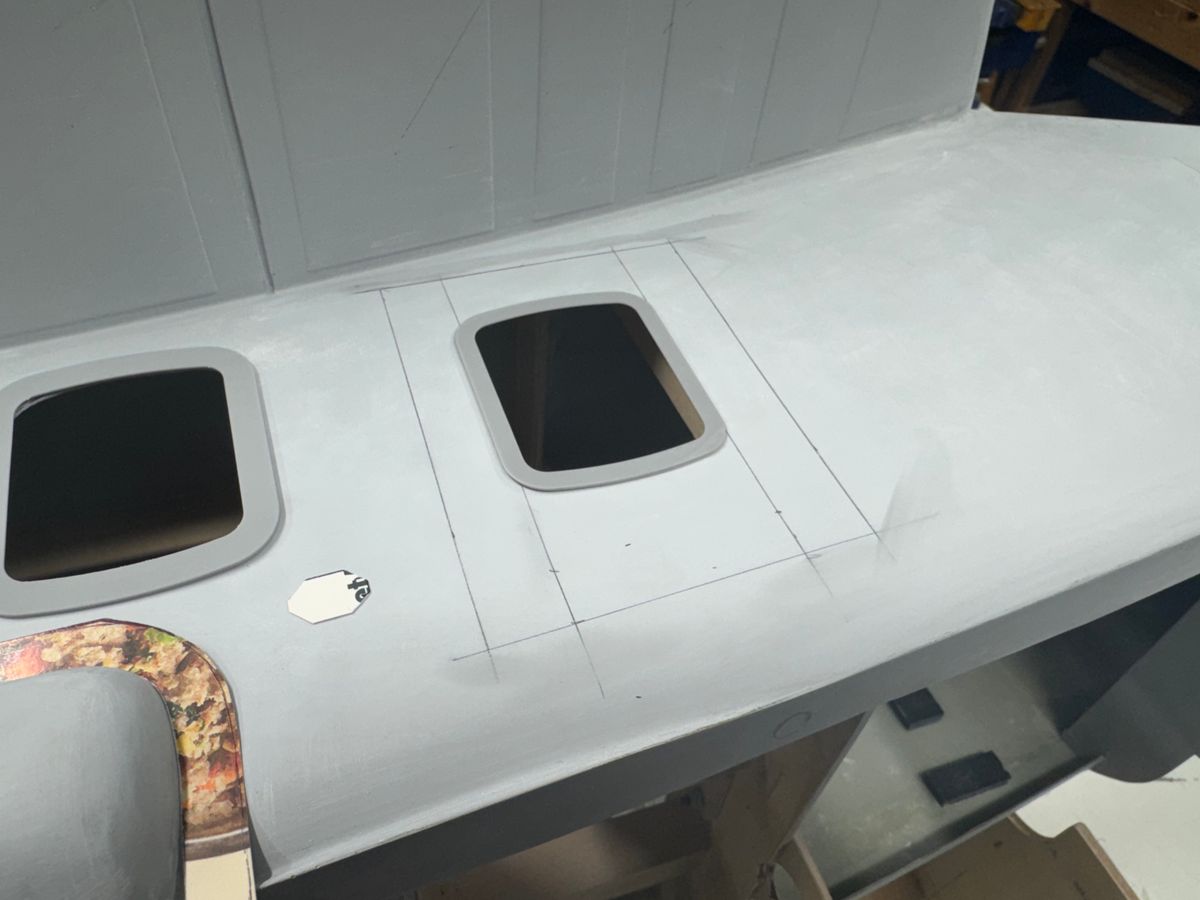
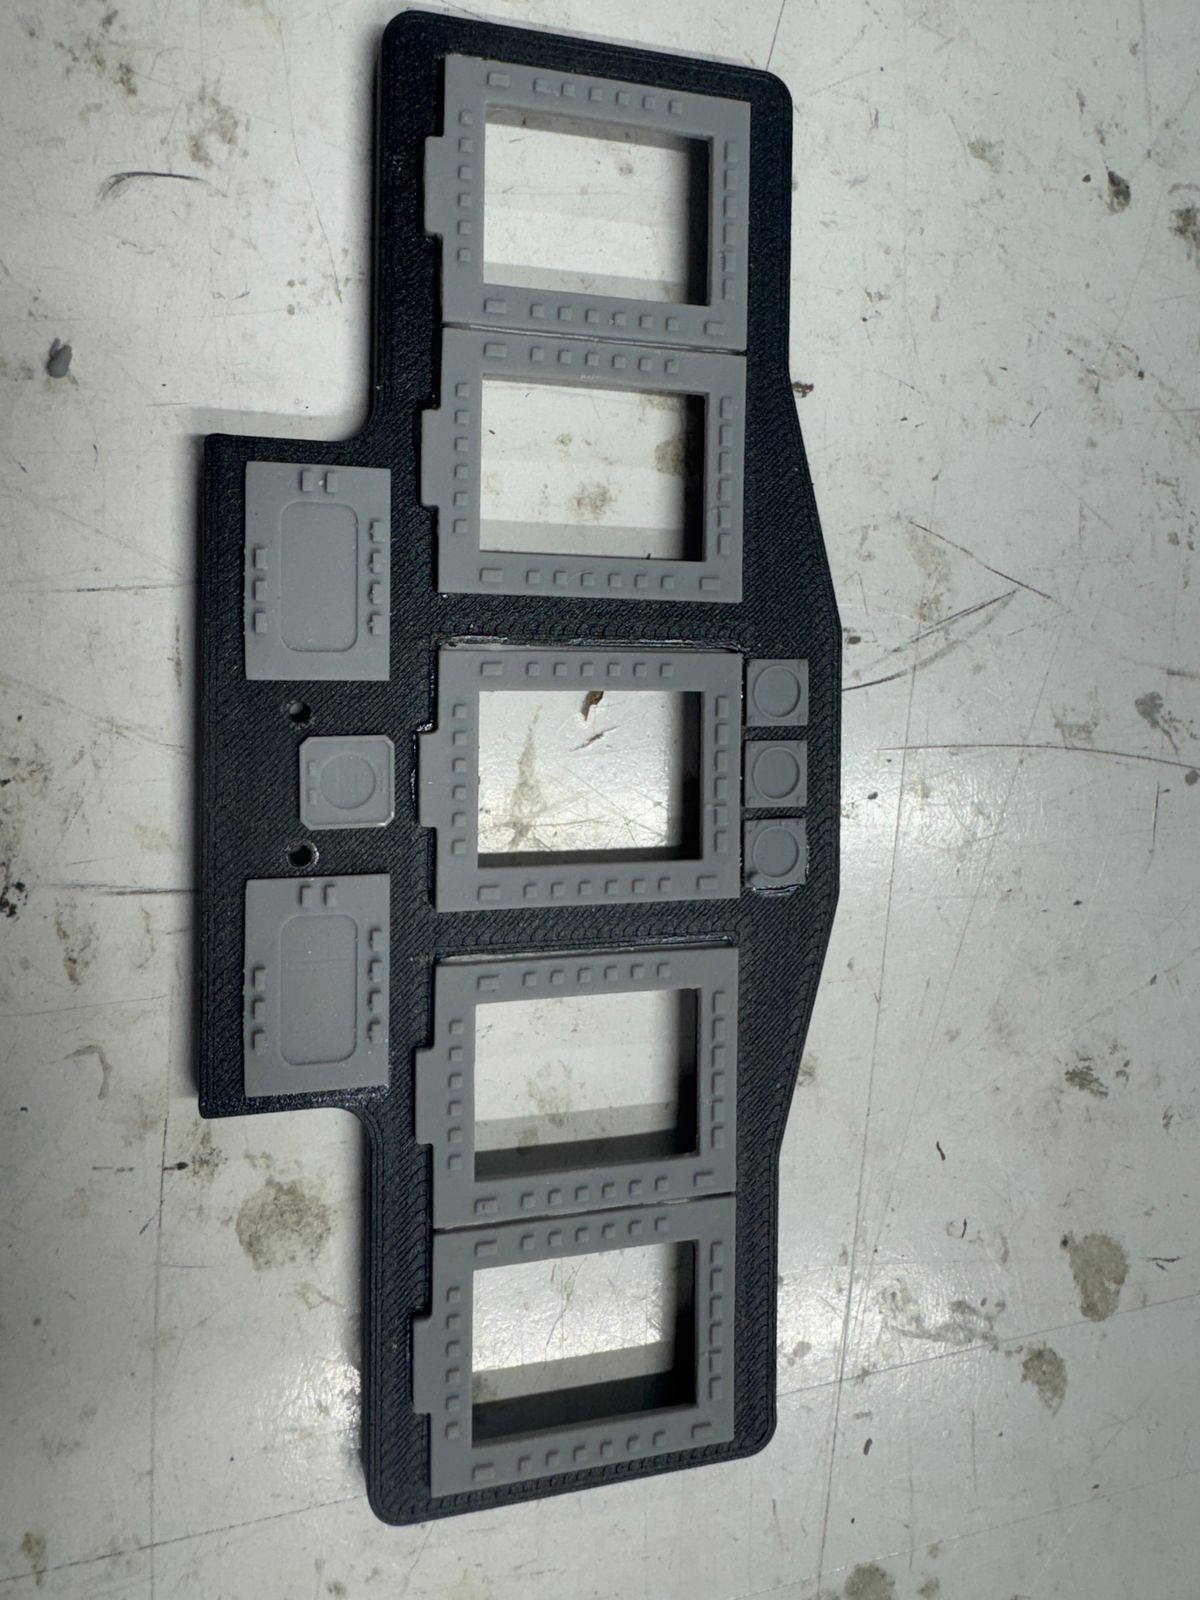
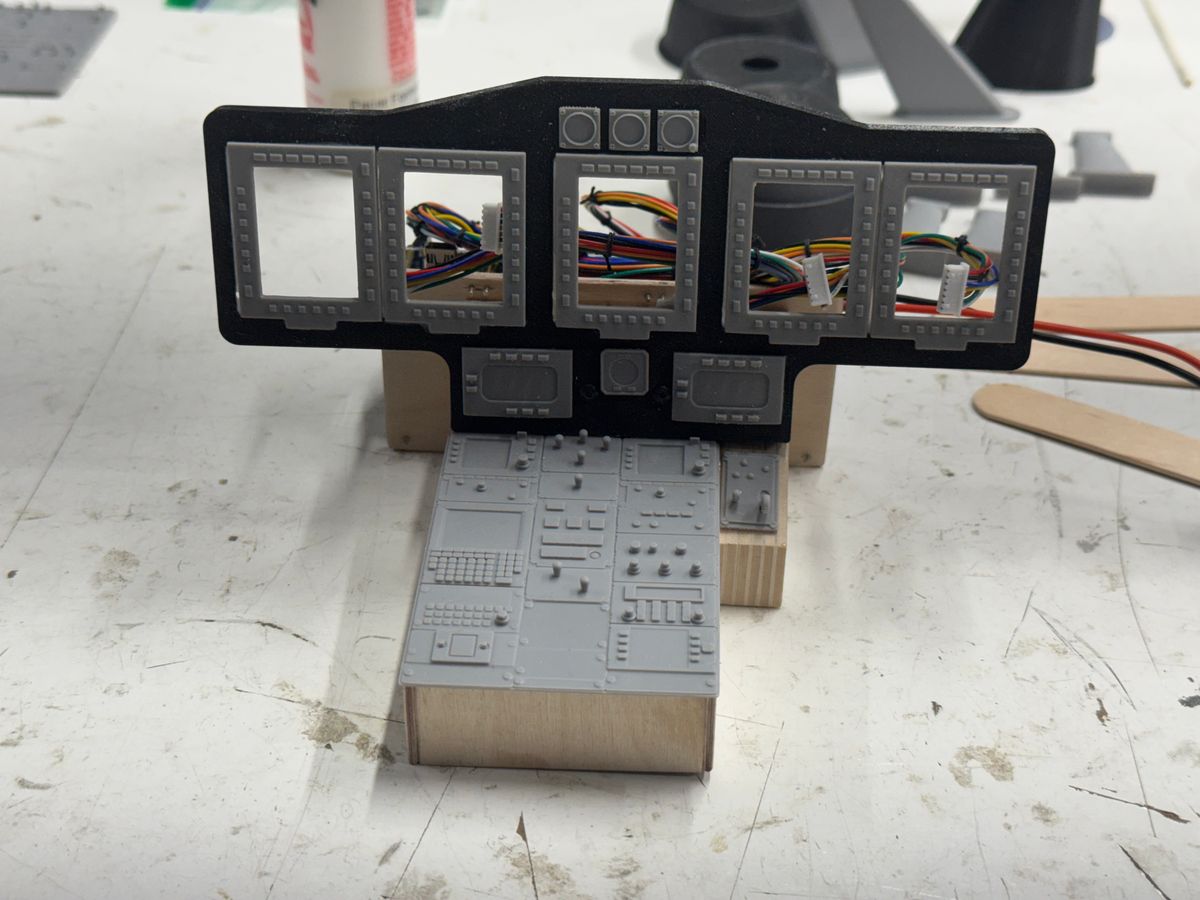
Anyway, I have been working on some exterior details and also finalizing the cockpit instrument panel, center console panel and overhead switch panel. Also got the cabin window bezels finalized and some structural detail around the work steps in place. All this prep is working towards a last coat of primer and final sanding then laying out the structural lines for the gazillion rivets required. Some of the exterior detail cannot be added until these lines are laid so the doublers are located correctly with the rivet layout.
Looks like rain maybe some snow again this weekend here in Zoo York so hopefully a full weekend of ahop time.
Here are some progress pics.
Thanks for dropping by.
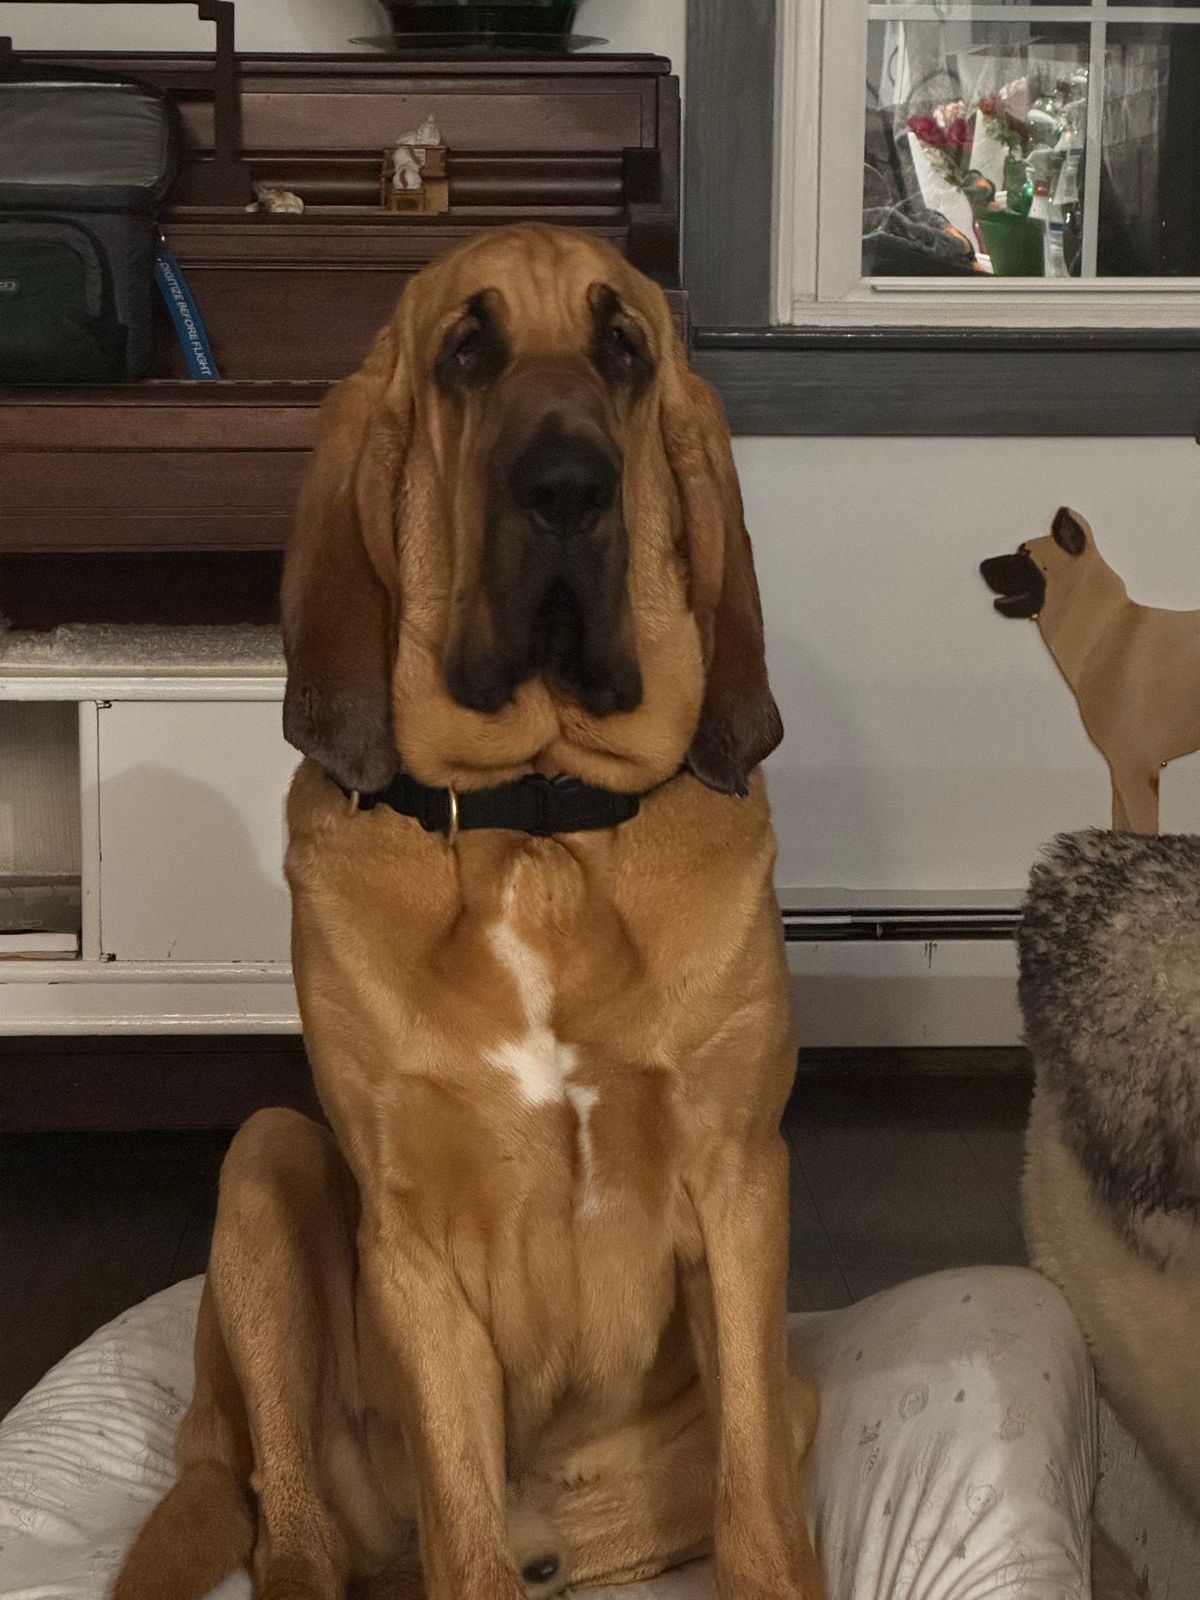
A nice pic of Clifford as well. 115 lbs just over a year old and still just like a puppy.
UIH,
B
VH-92 fuse detail.
UIH,
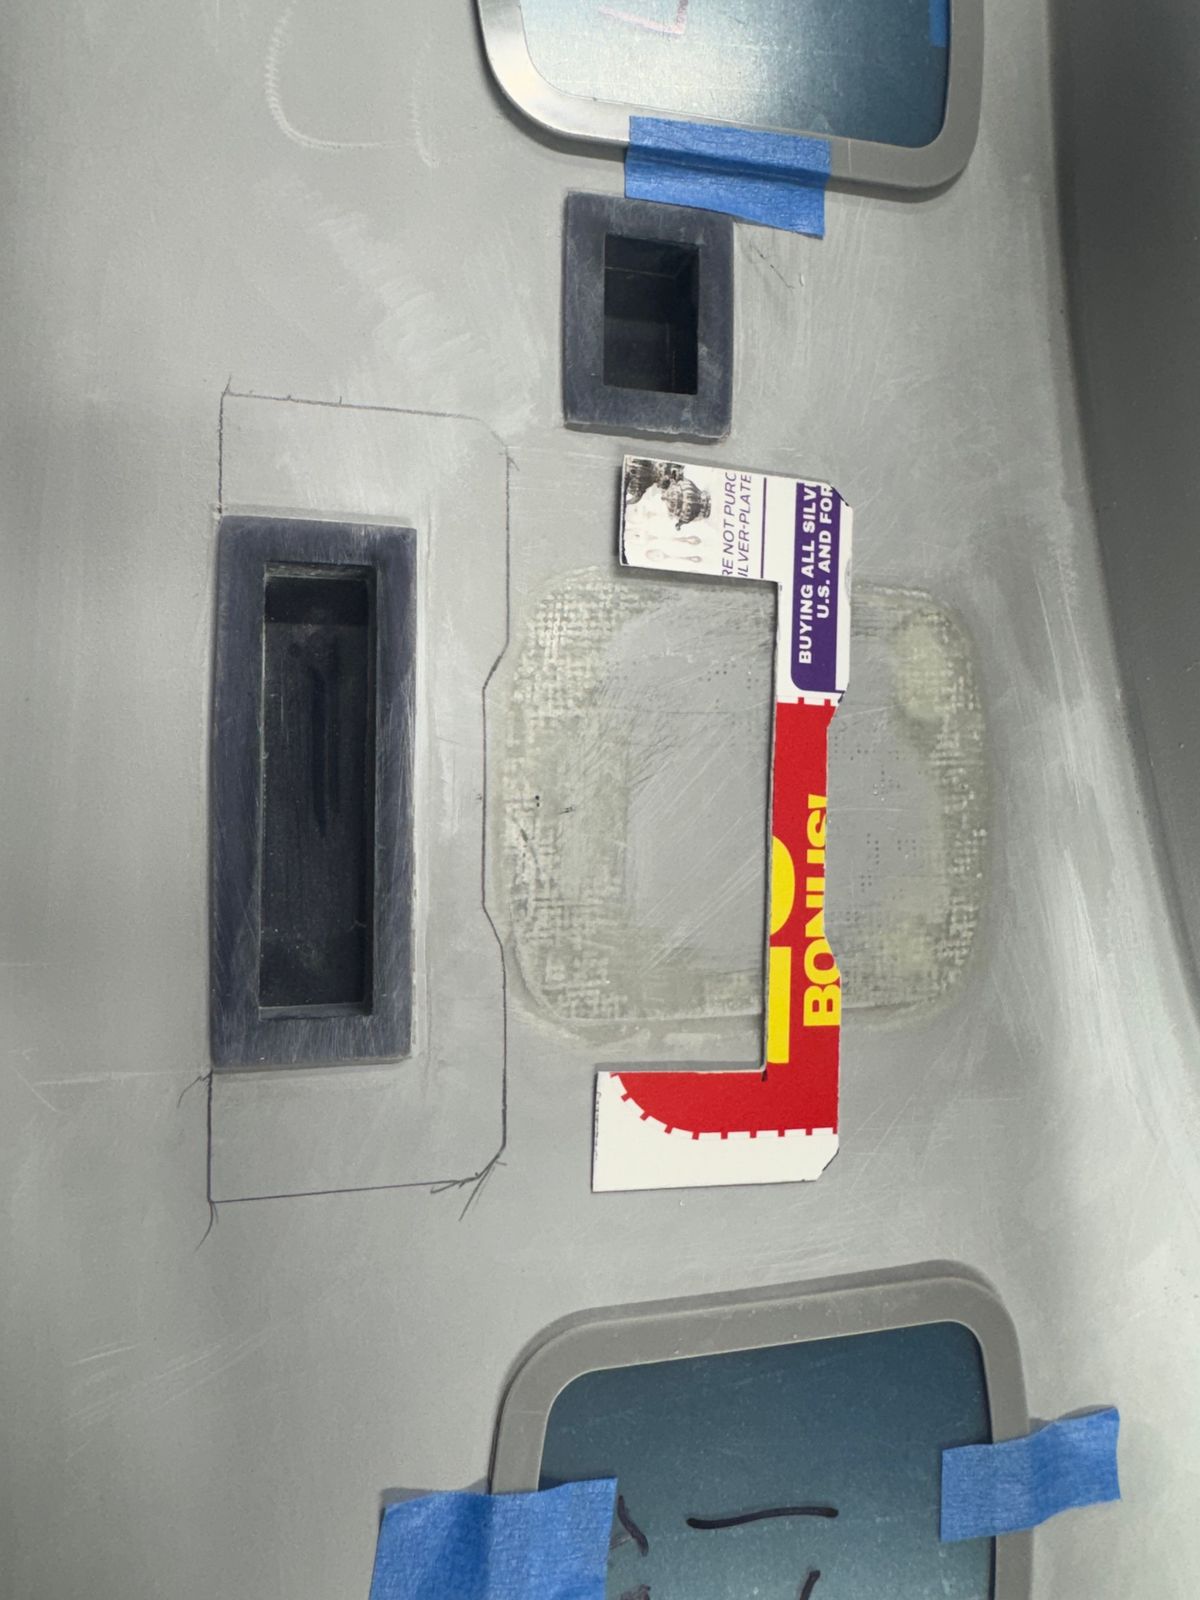
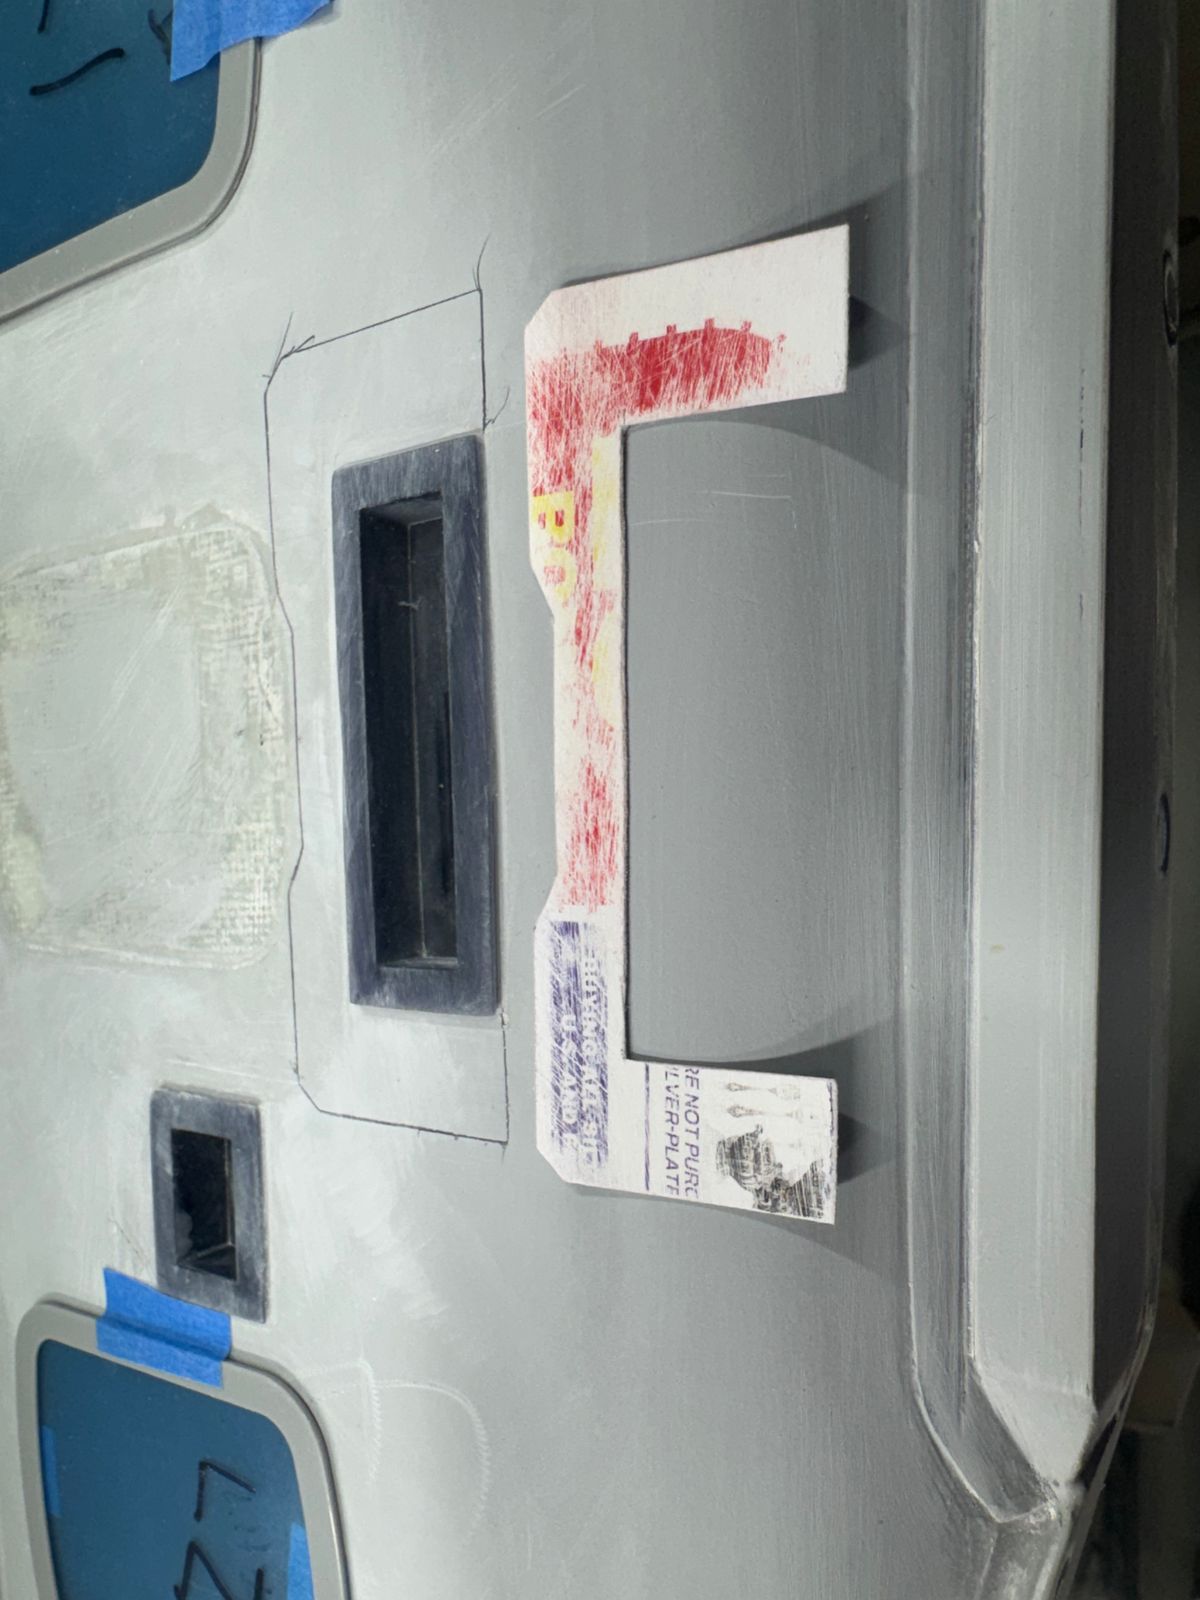
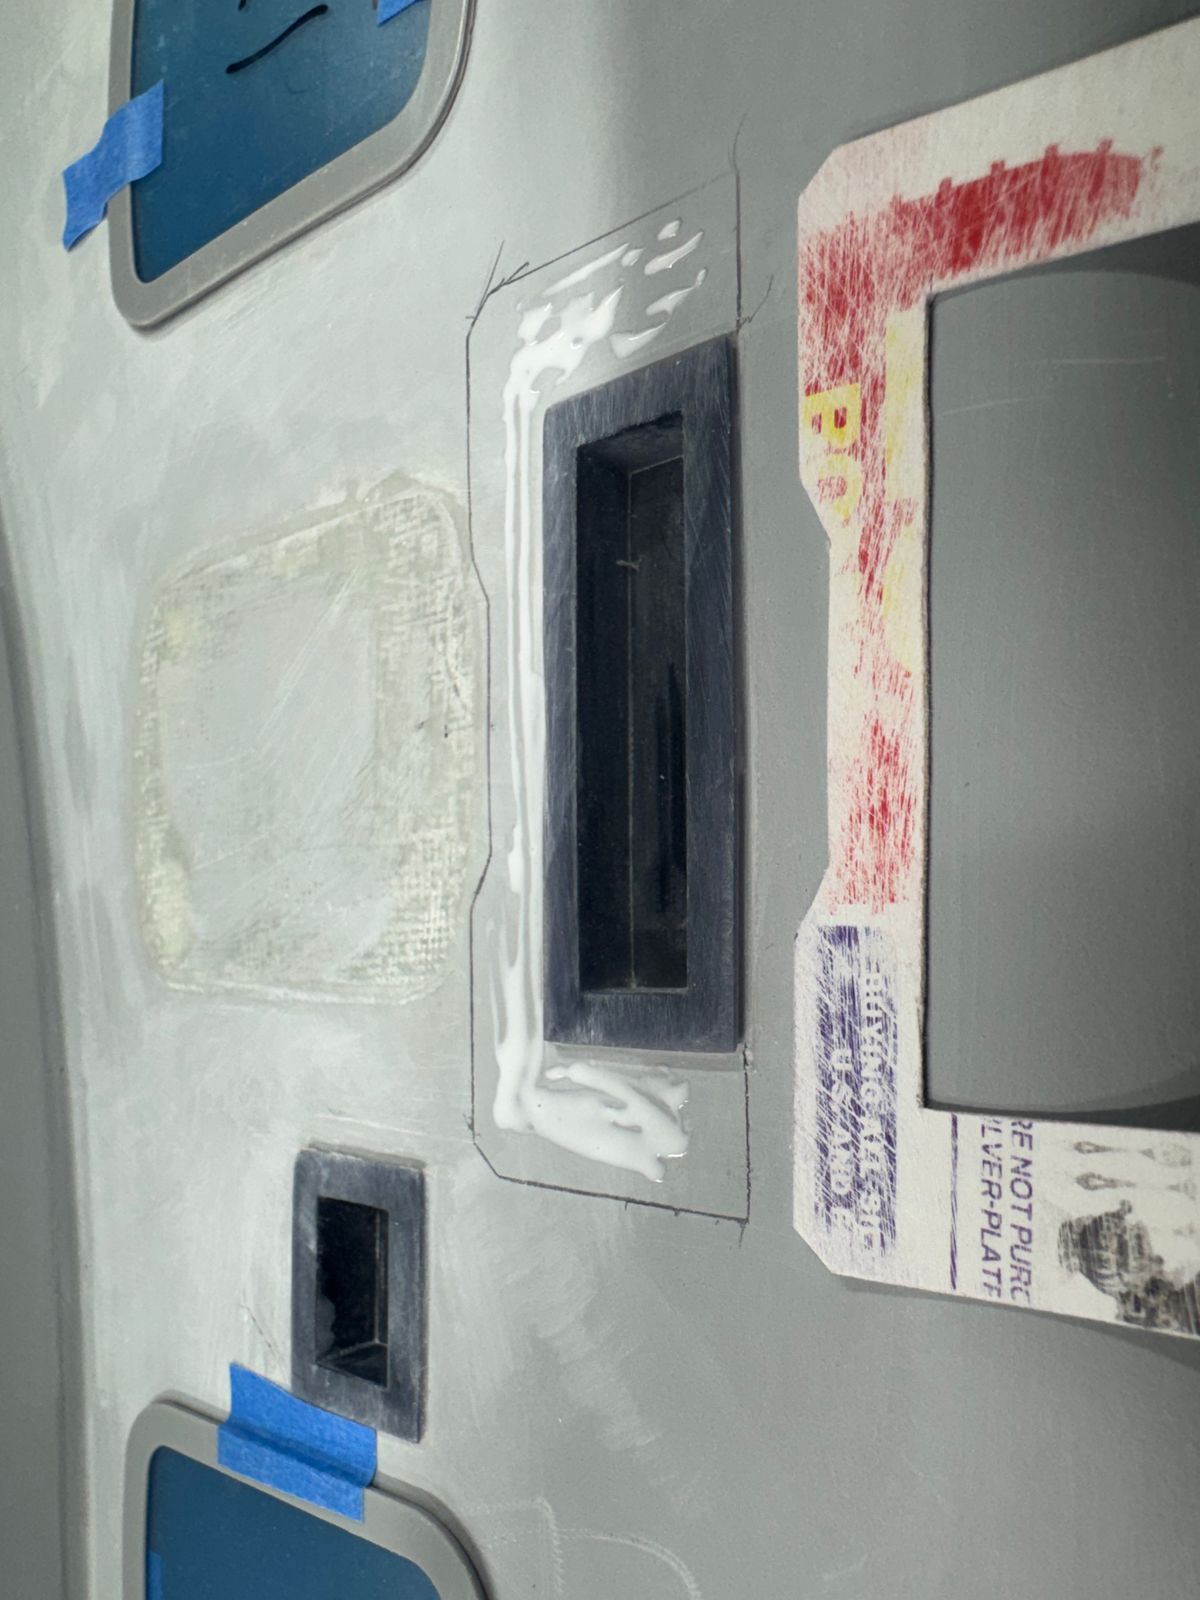
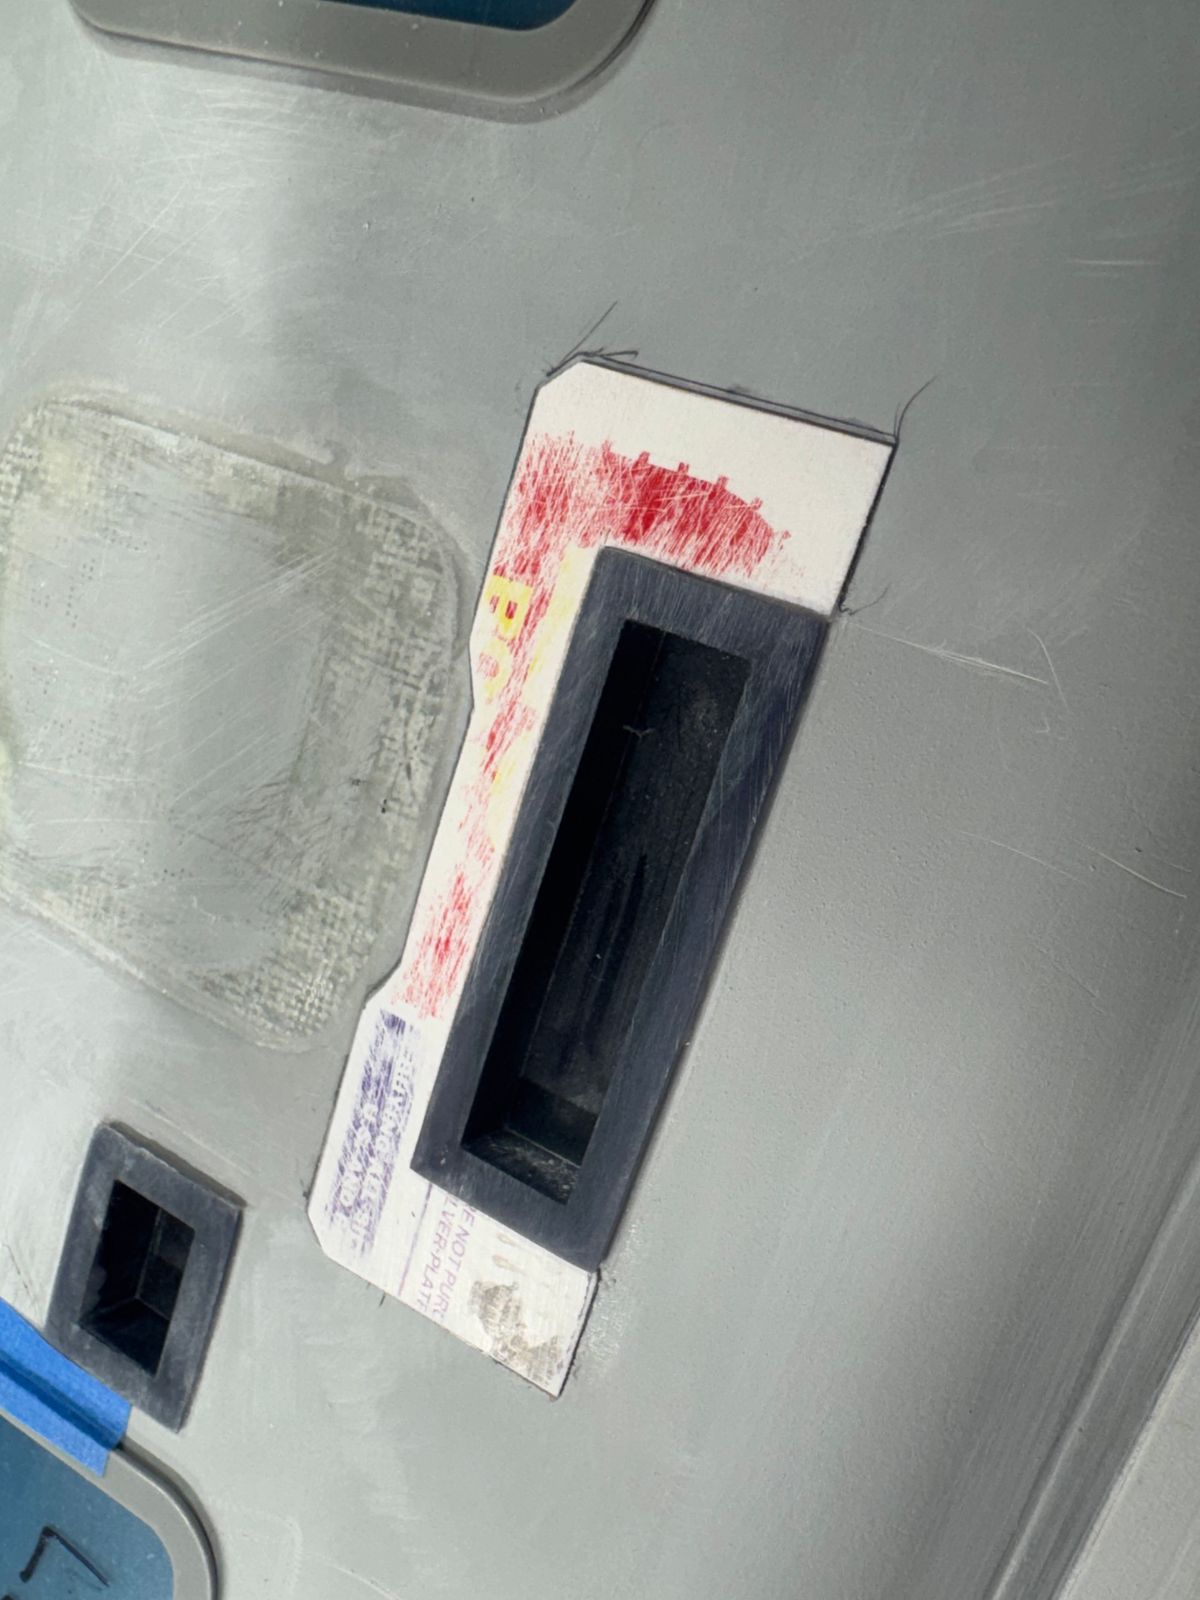
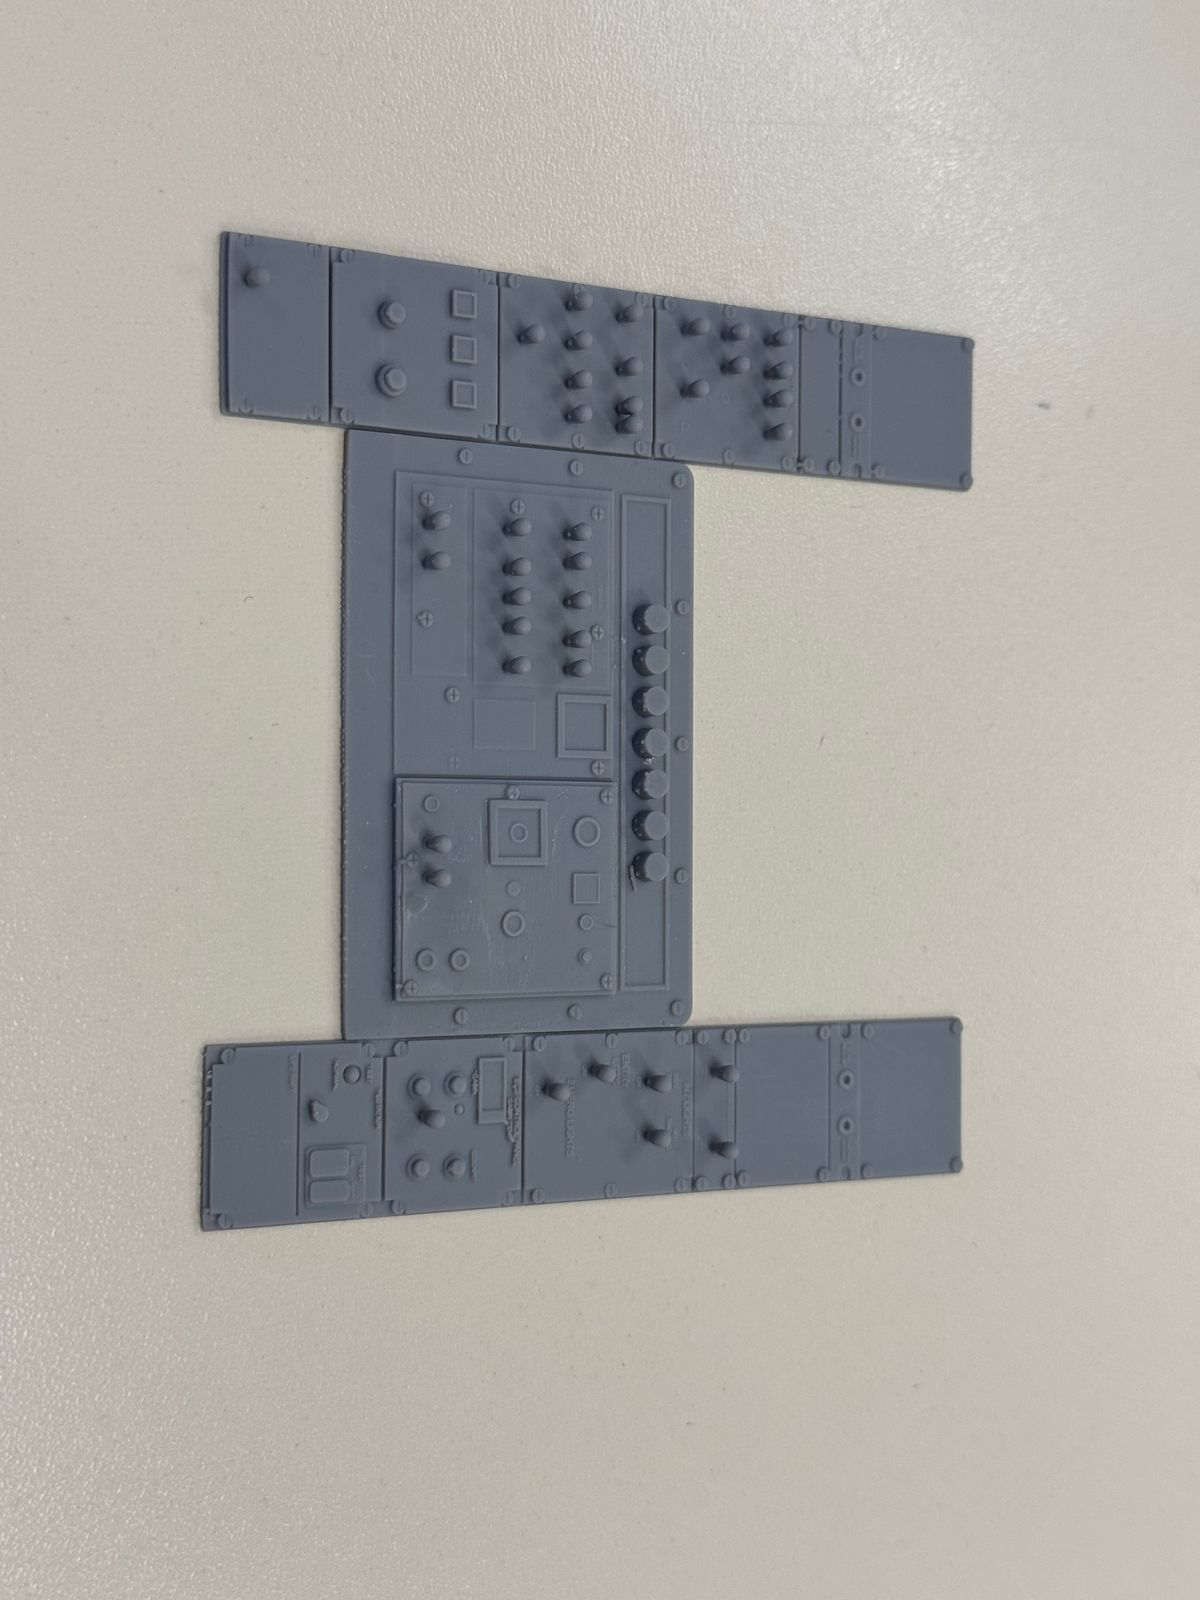
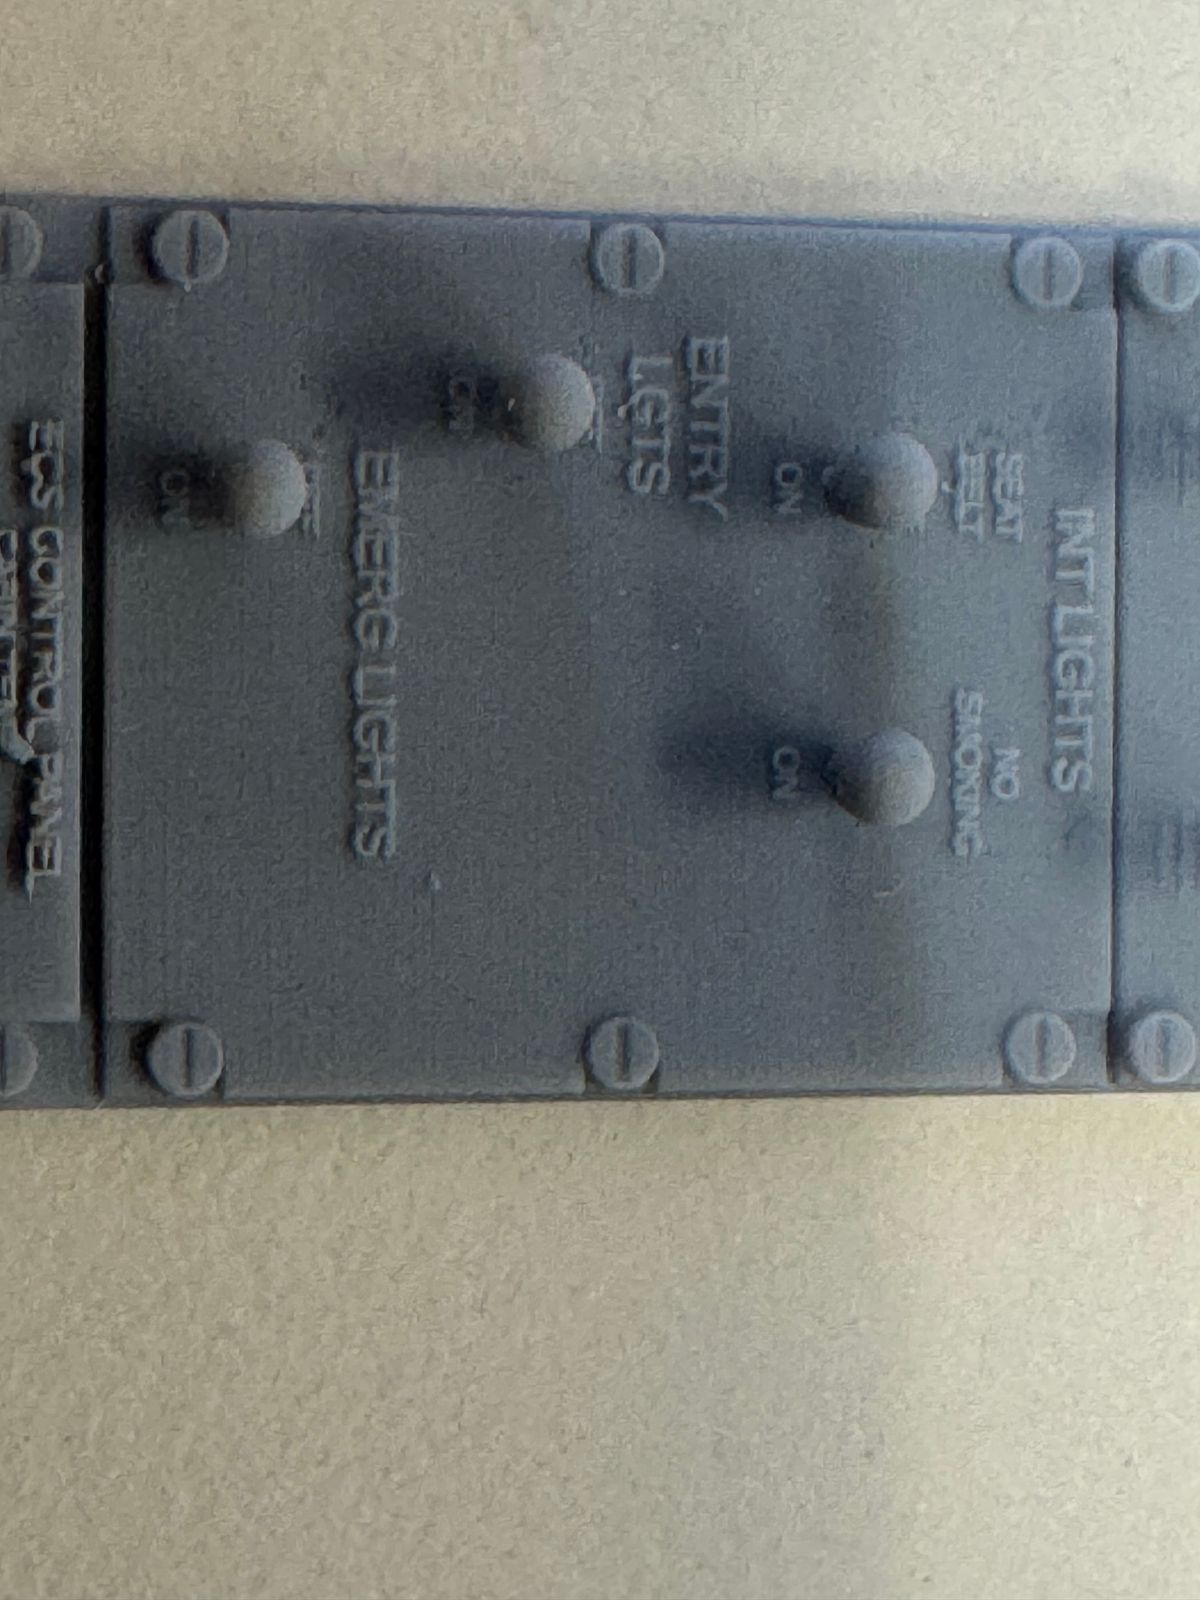
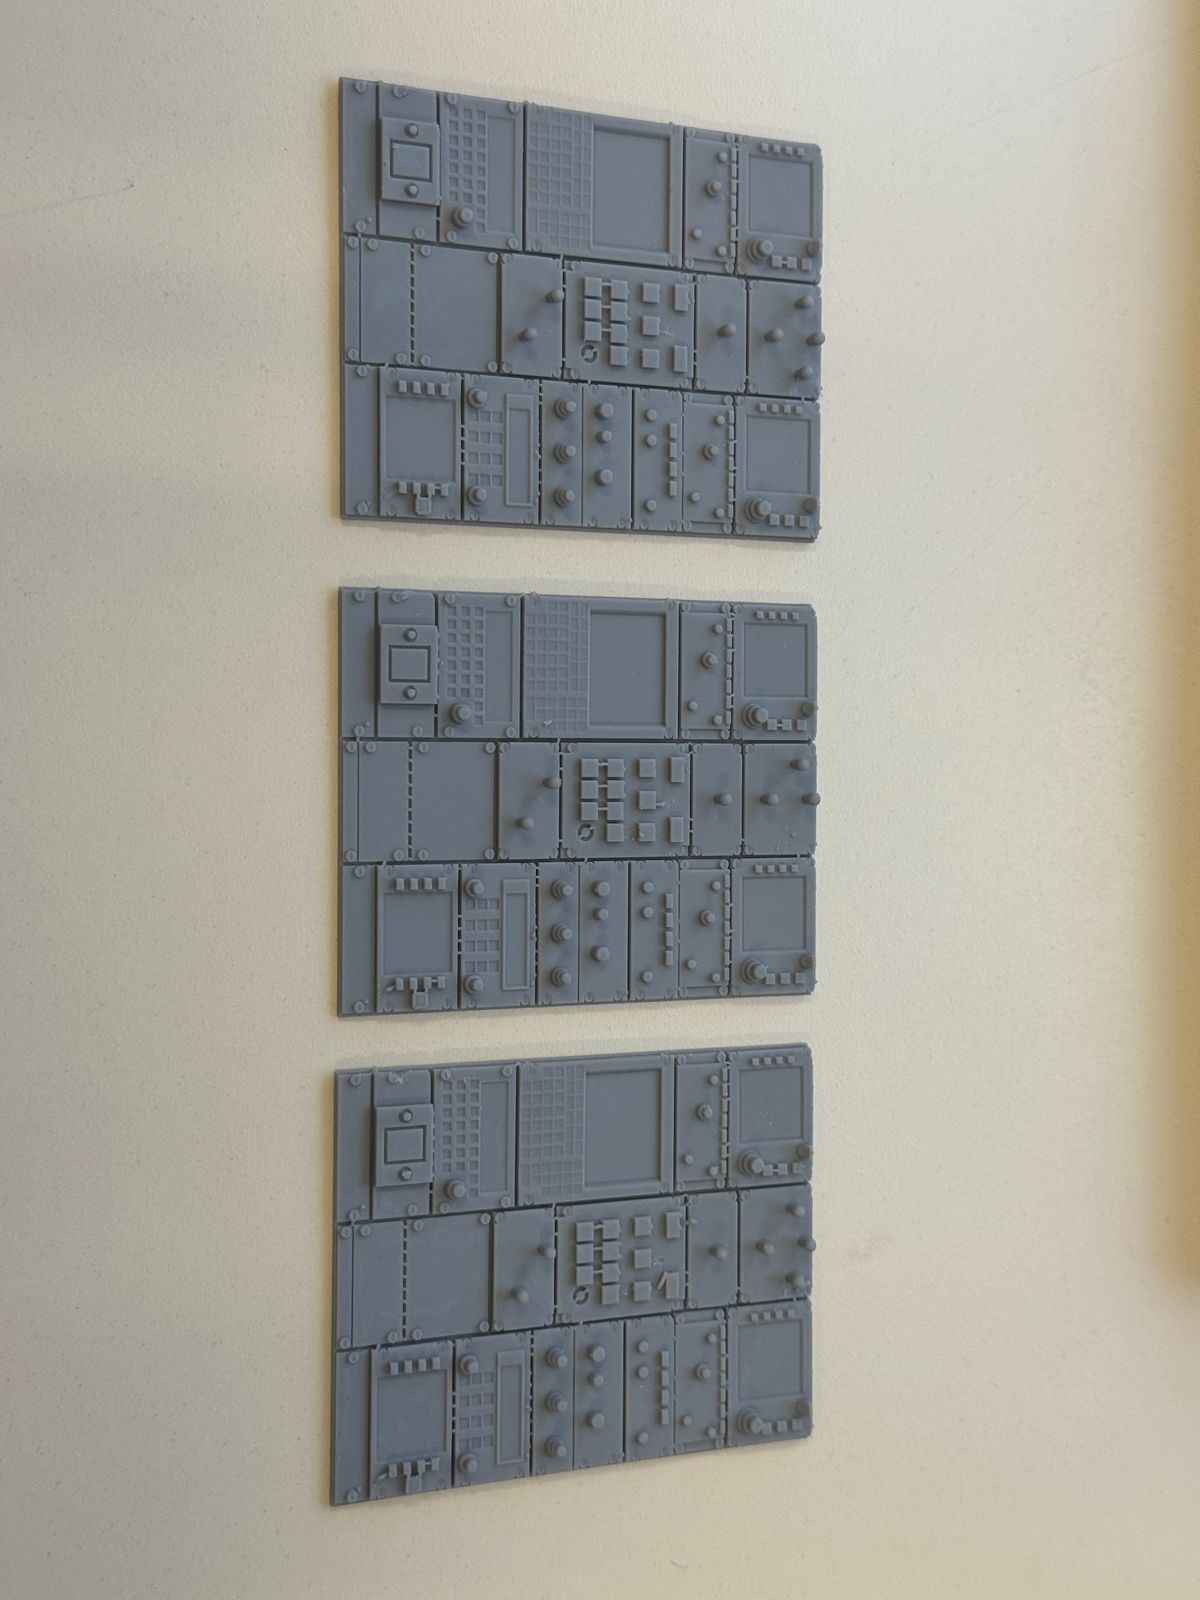
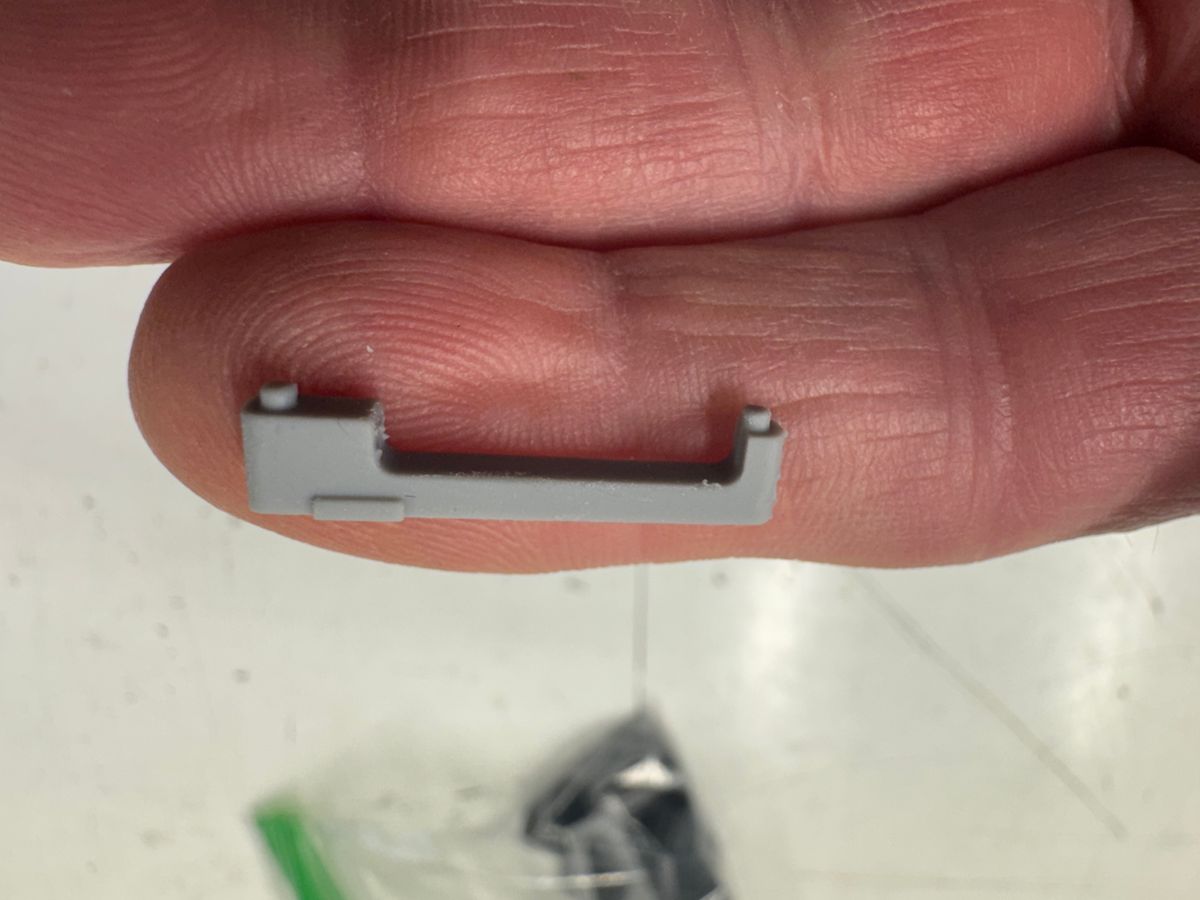
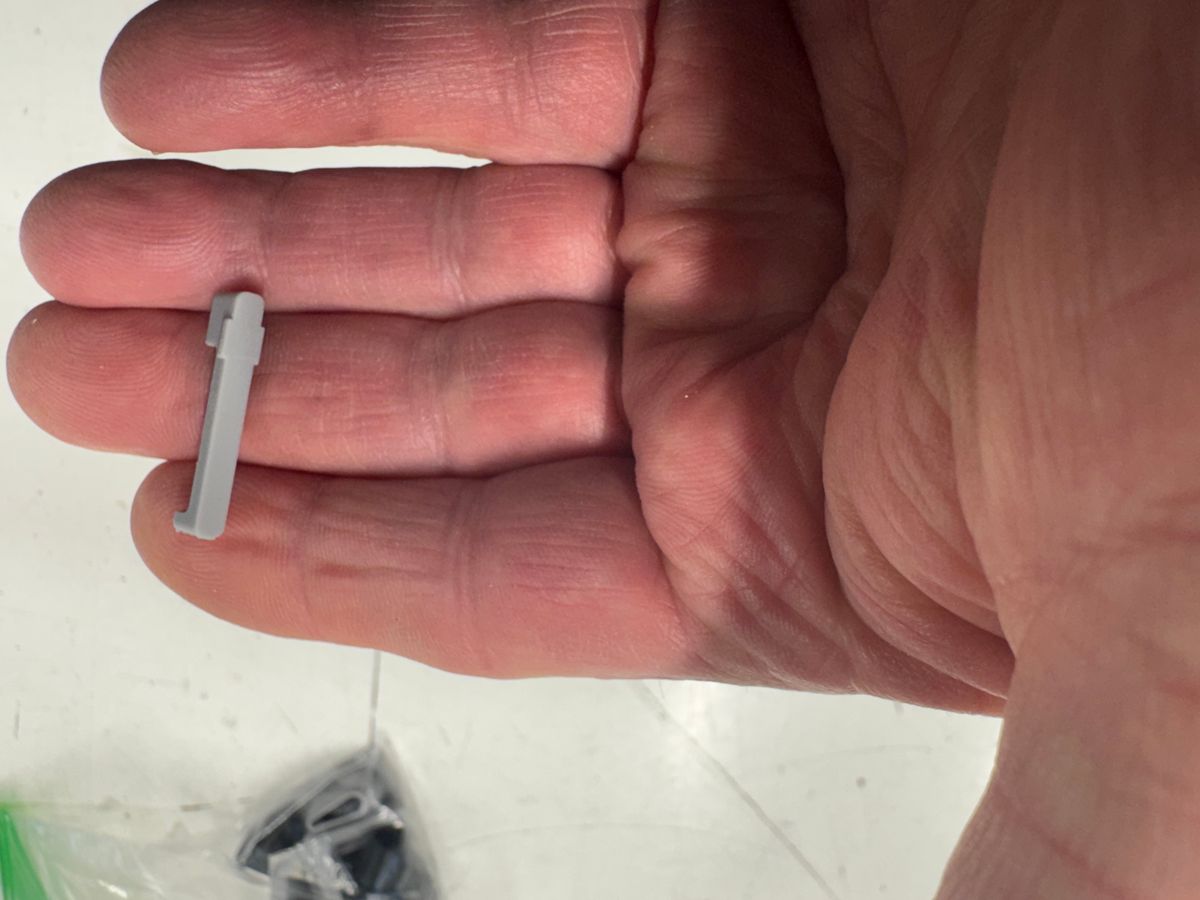
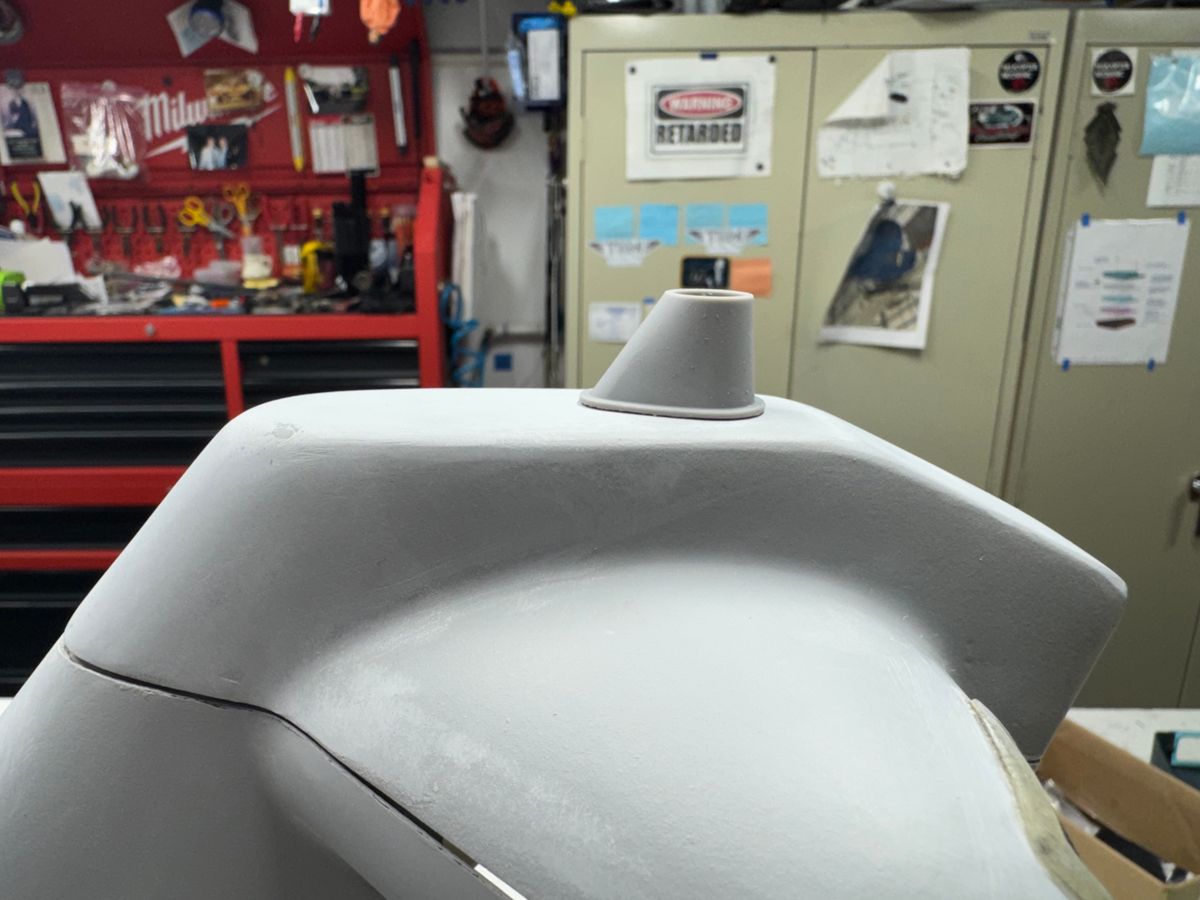
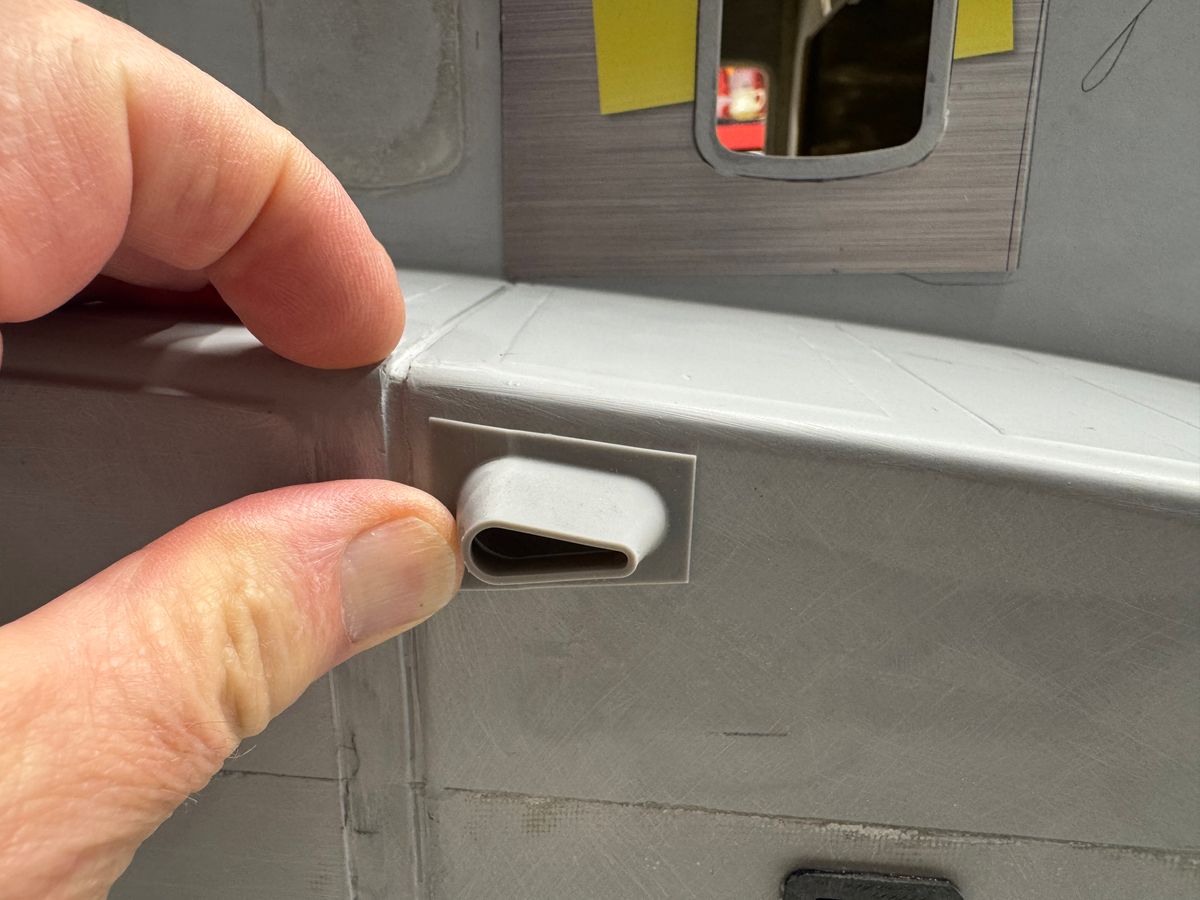
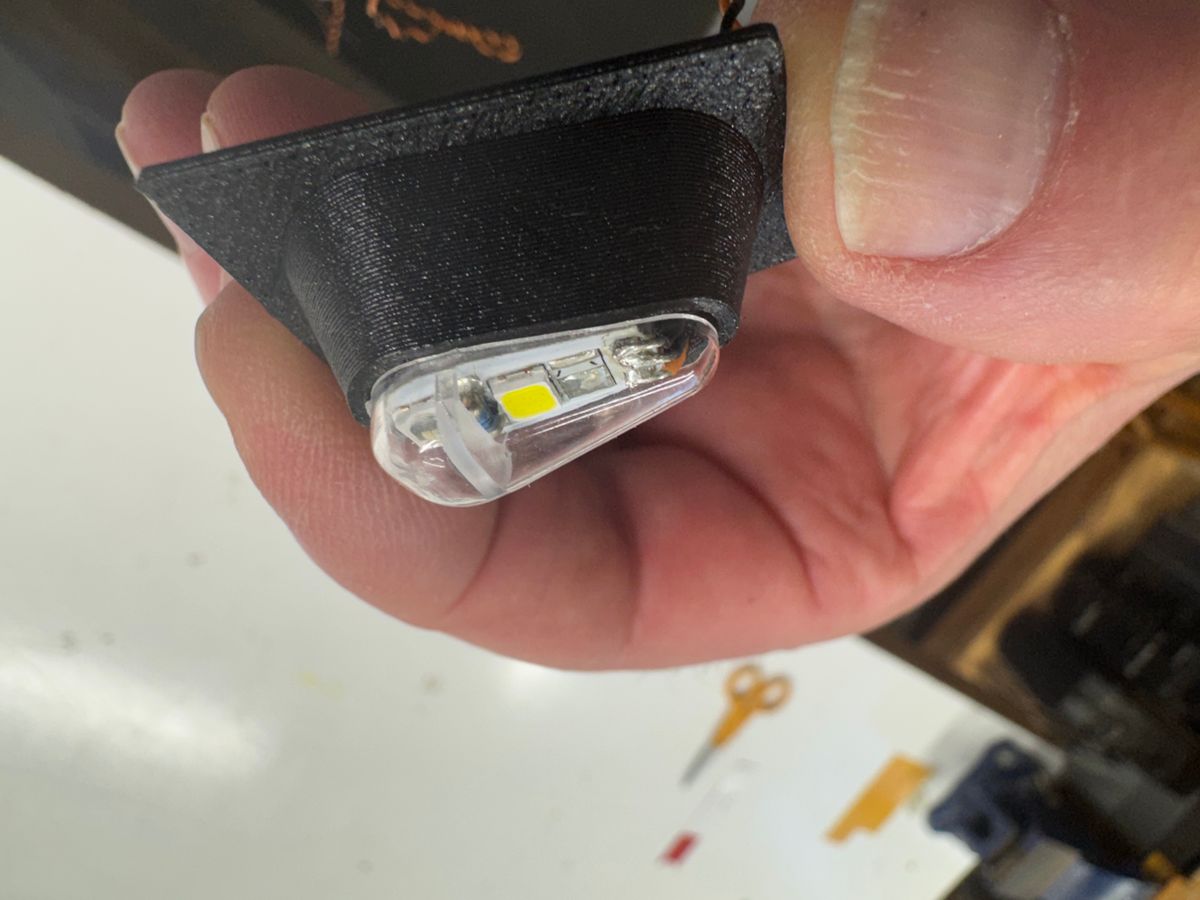
Did some scale detail last evening. Installed the cockpit window jettison handle on the pilot side. Will work on the co-pilot this evening. Printed up the beacon and position light bases as well to hold the Unilights from TGM. With all the unique devices installed externally on the VH variant of the 92, it will keep me busy drawing then having each printed for the finished produce. Some are test prints to verify fitment and some are the final part.
A few pics of the detail.
Thanks for dropping by.
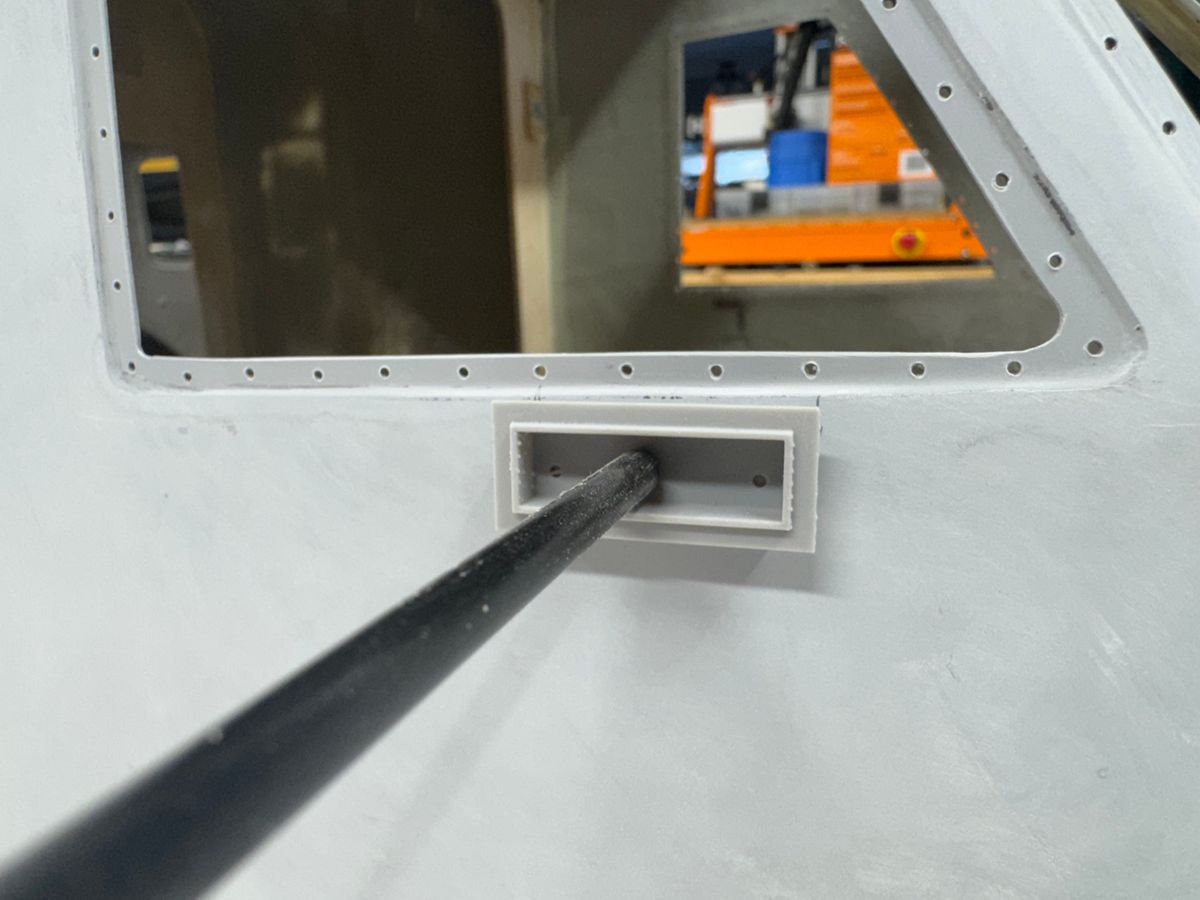
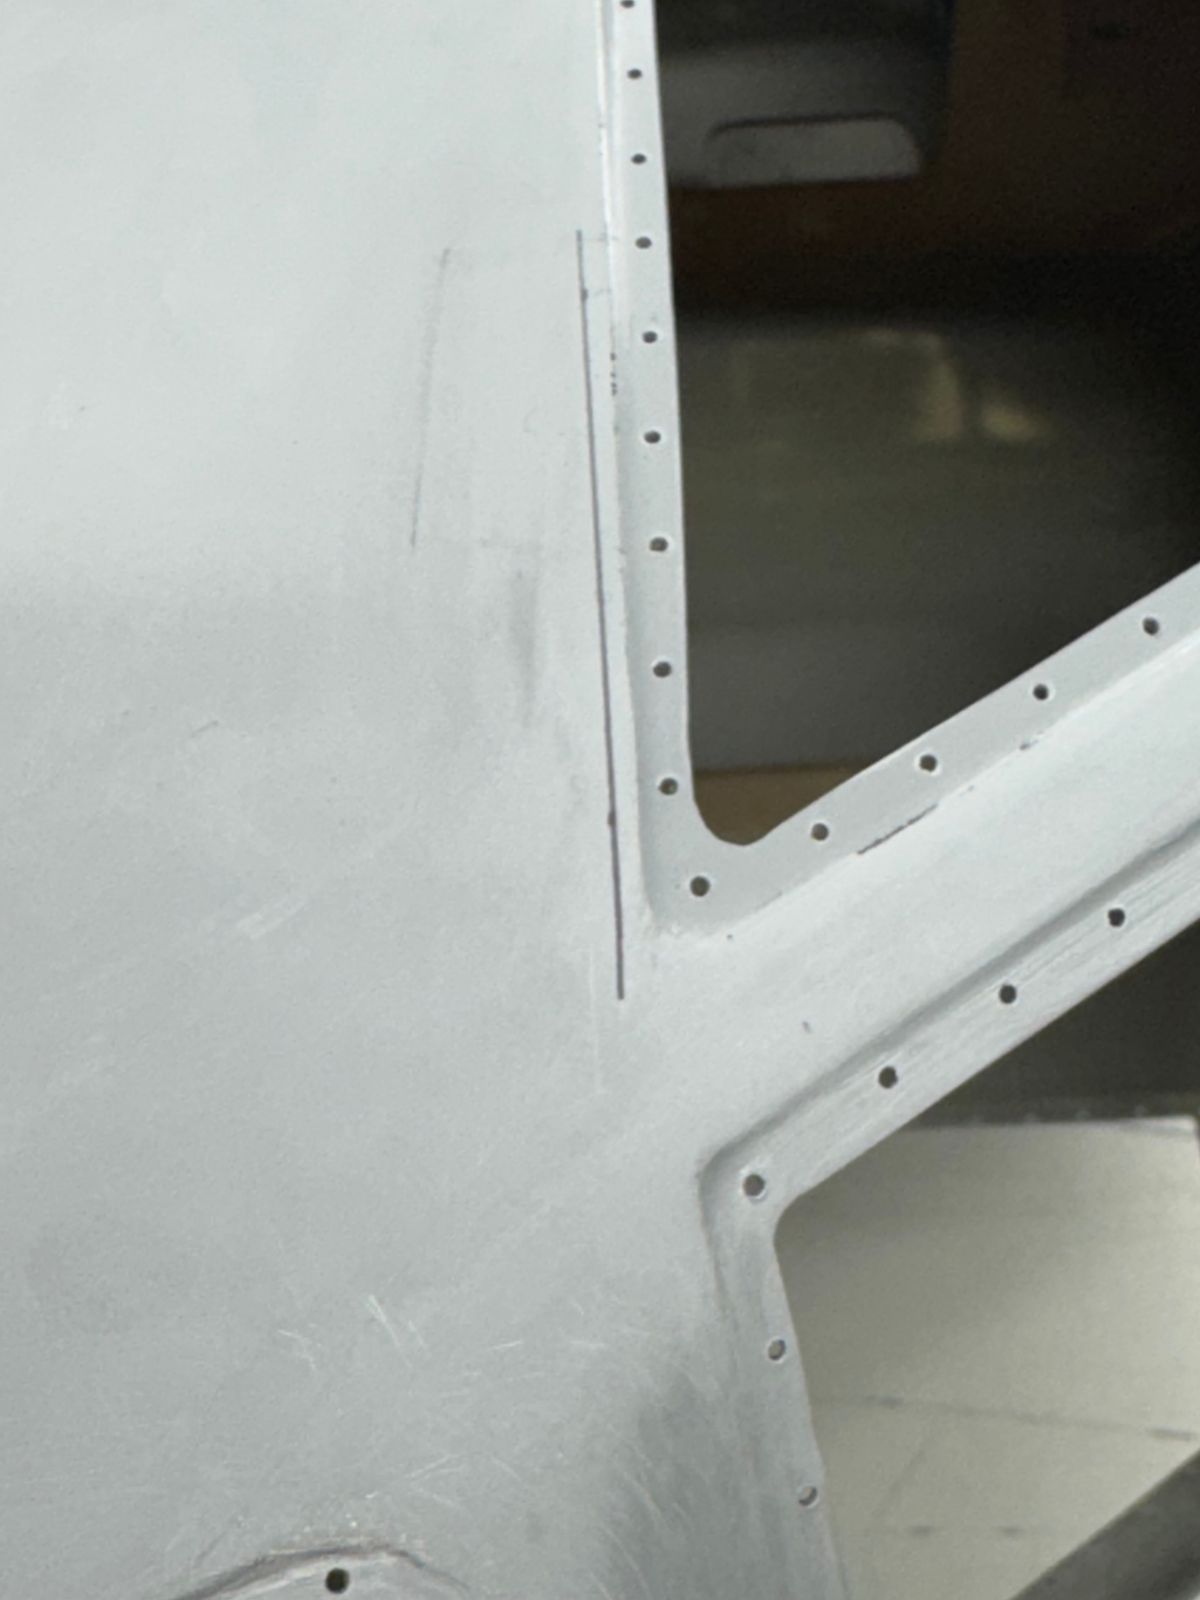
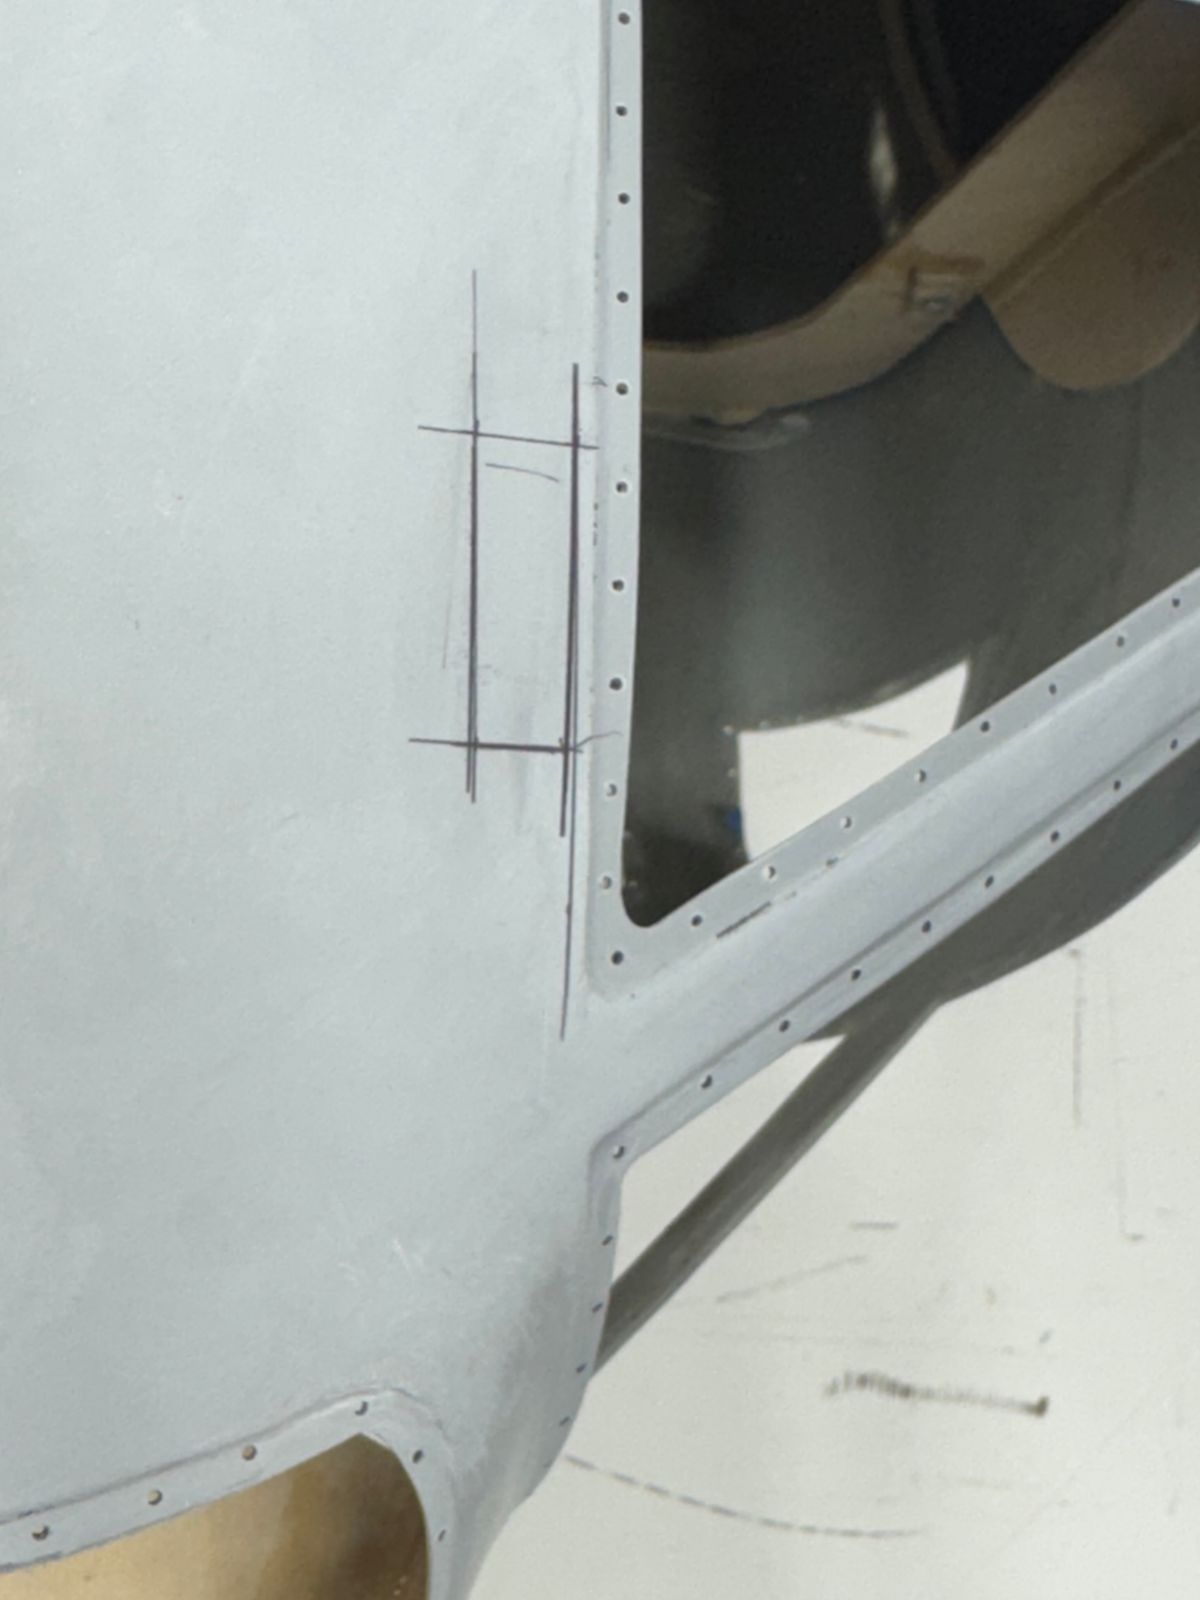
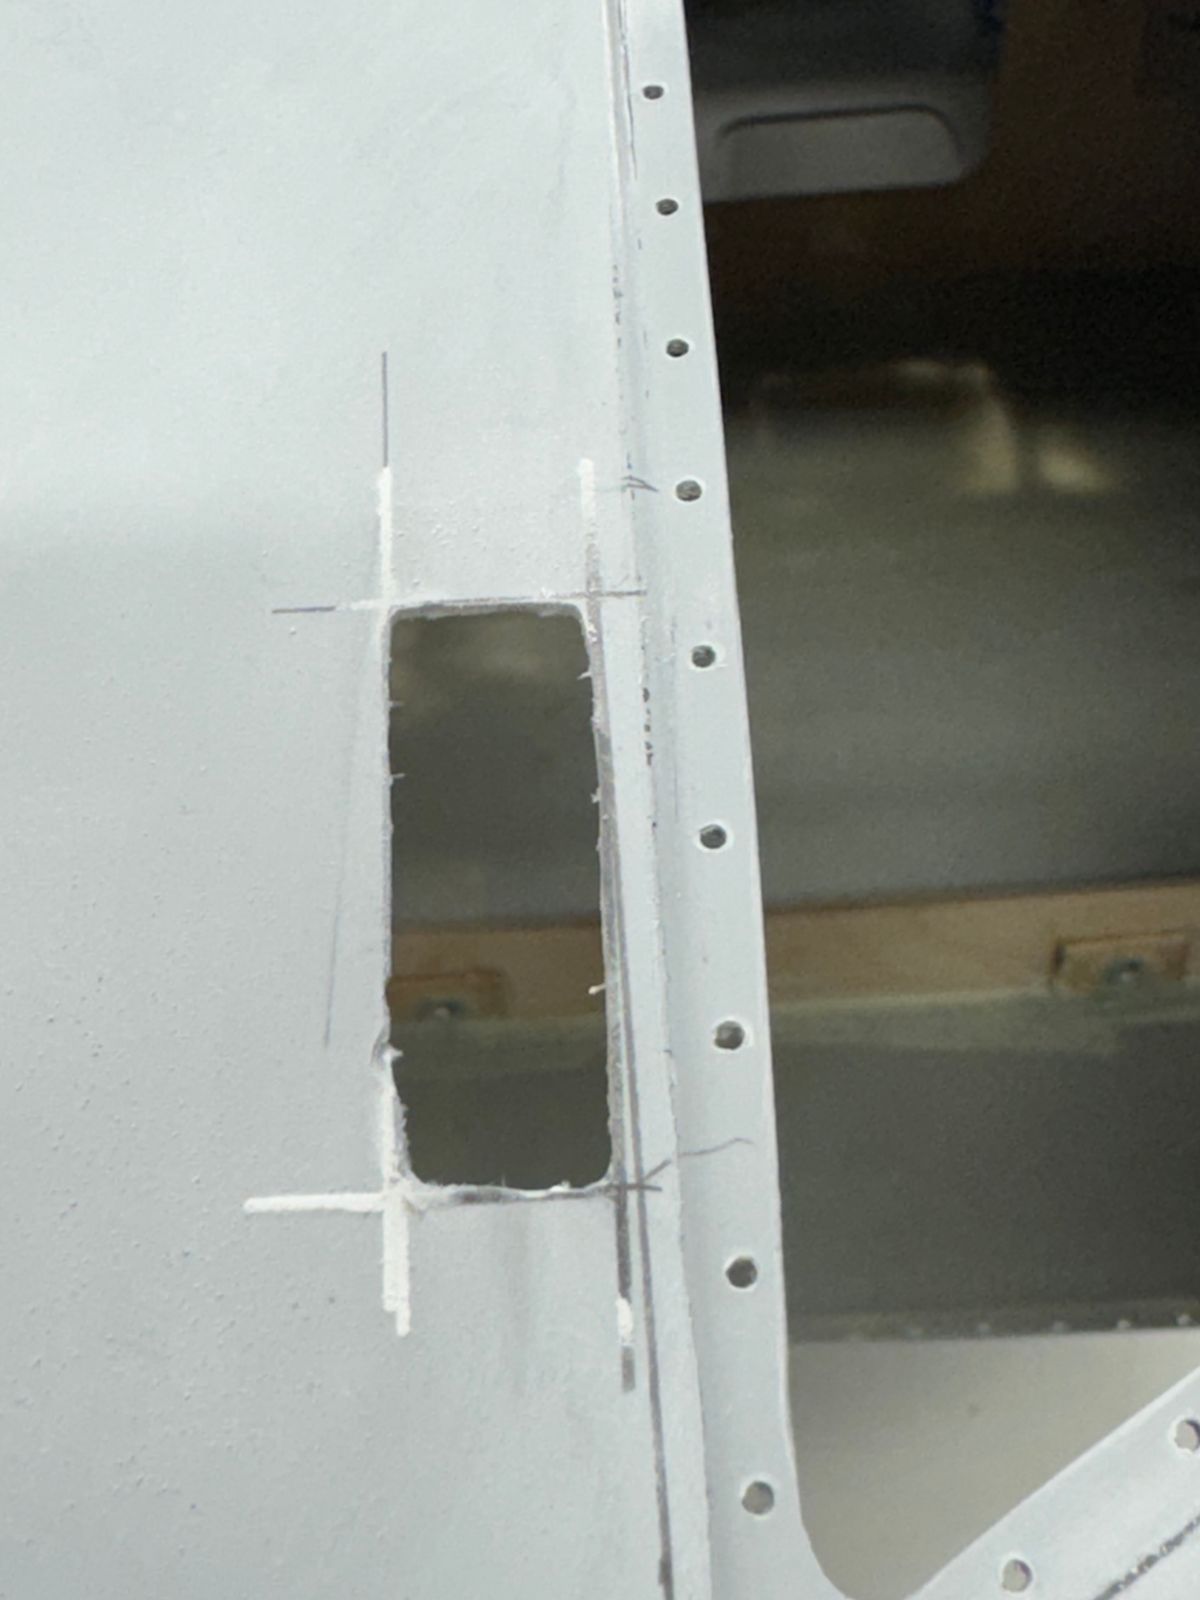
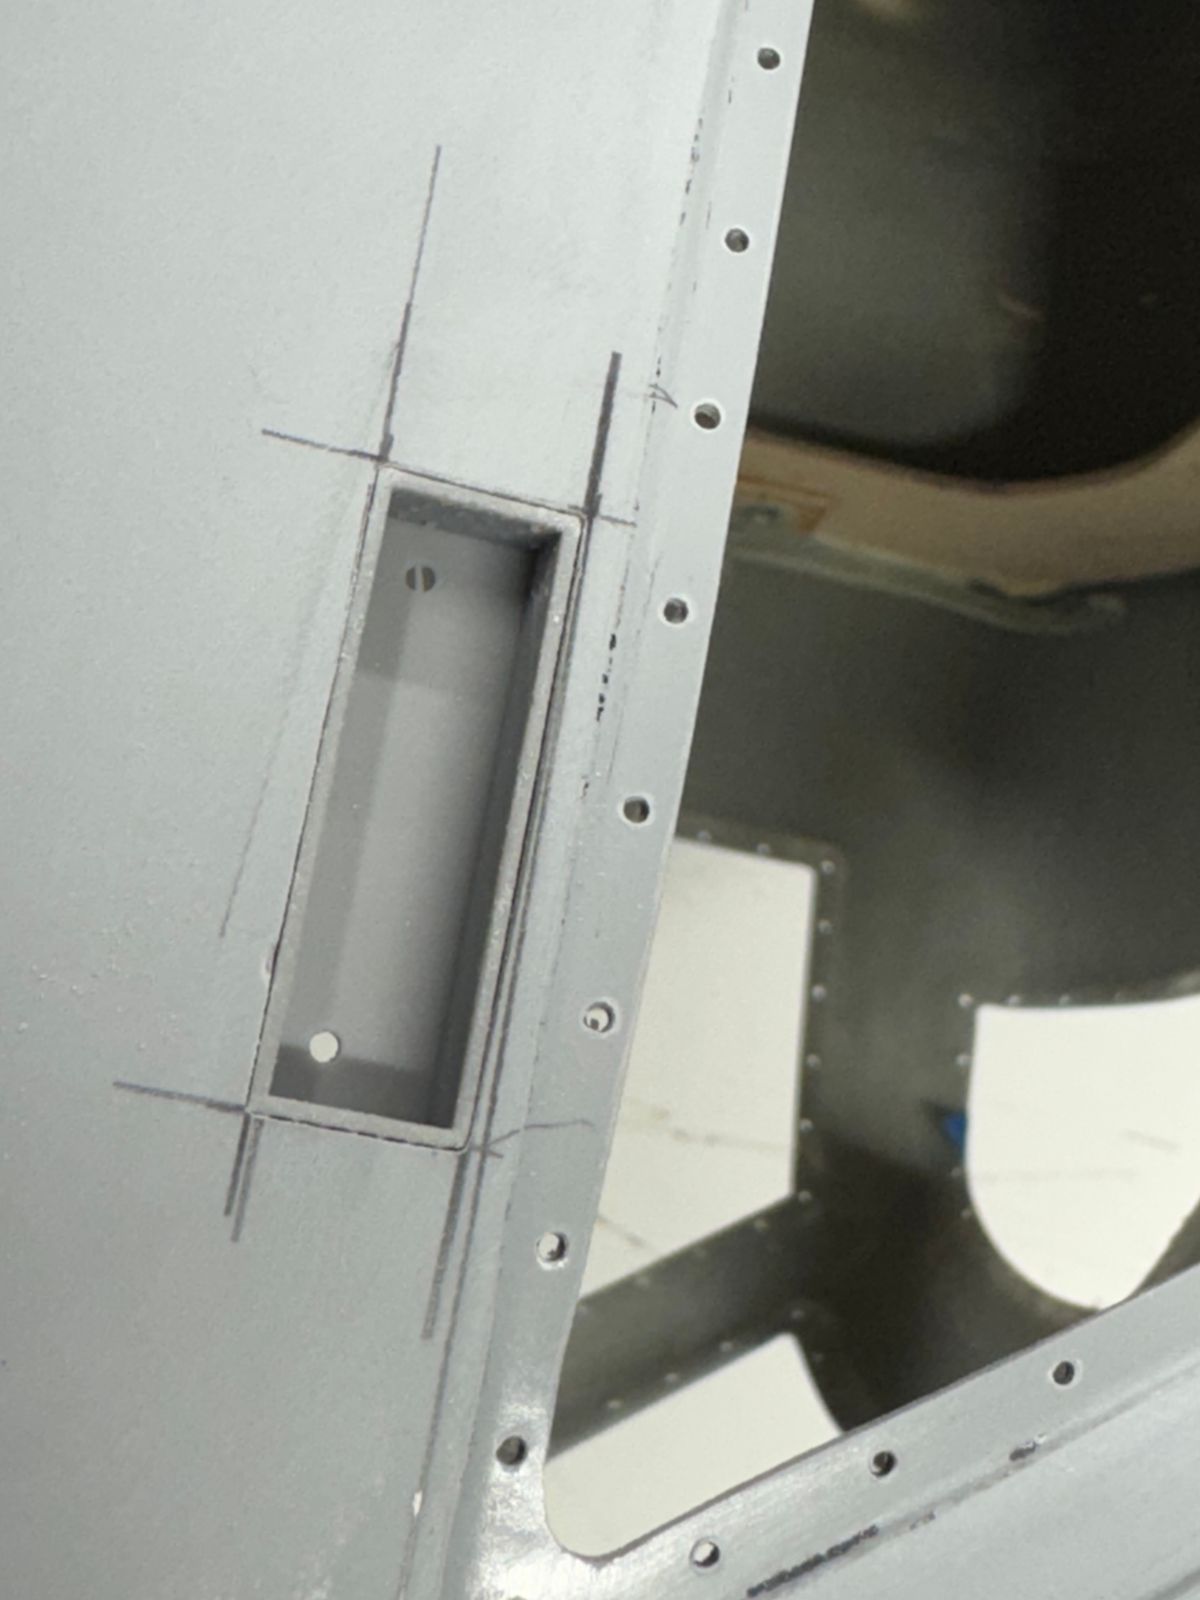
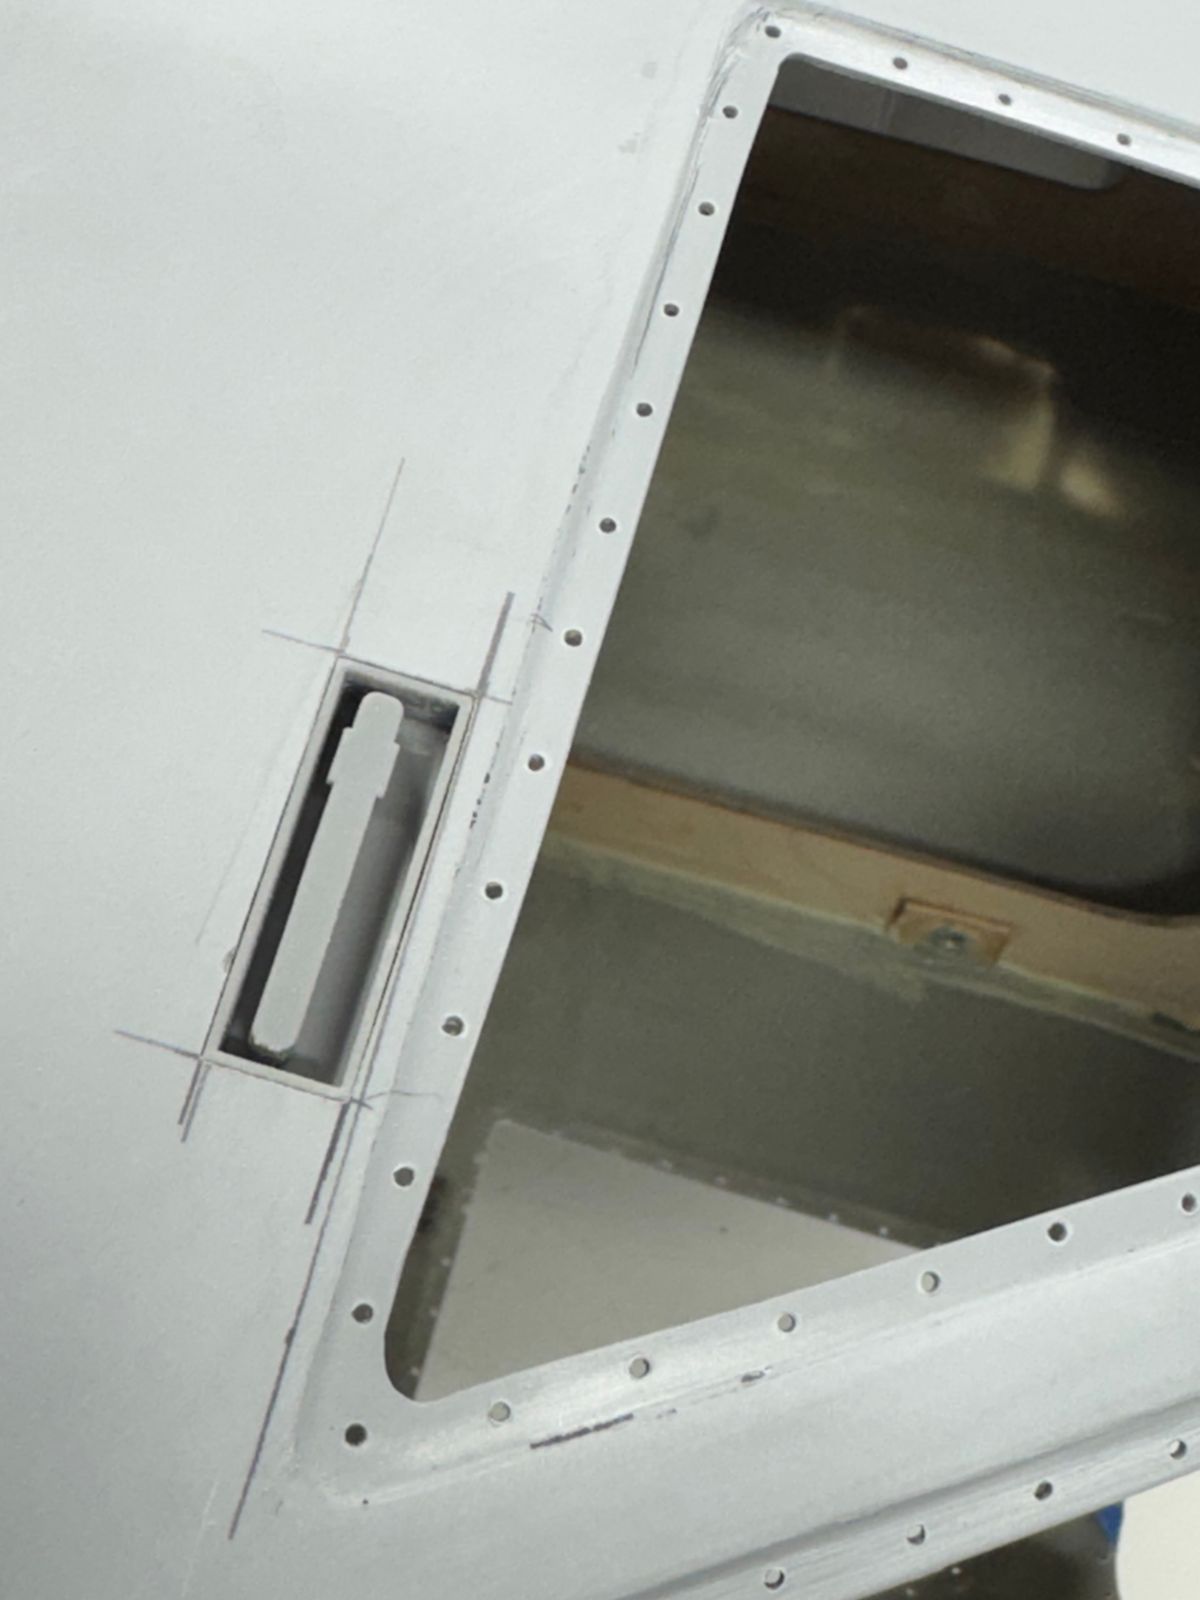
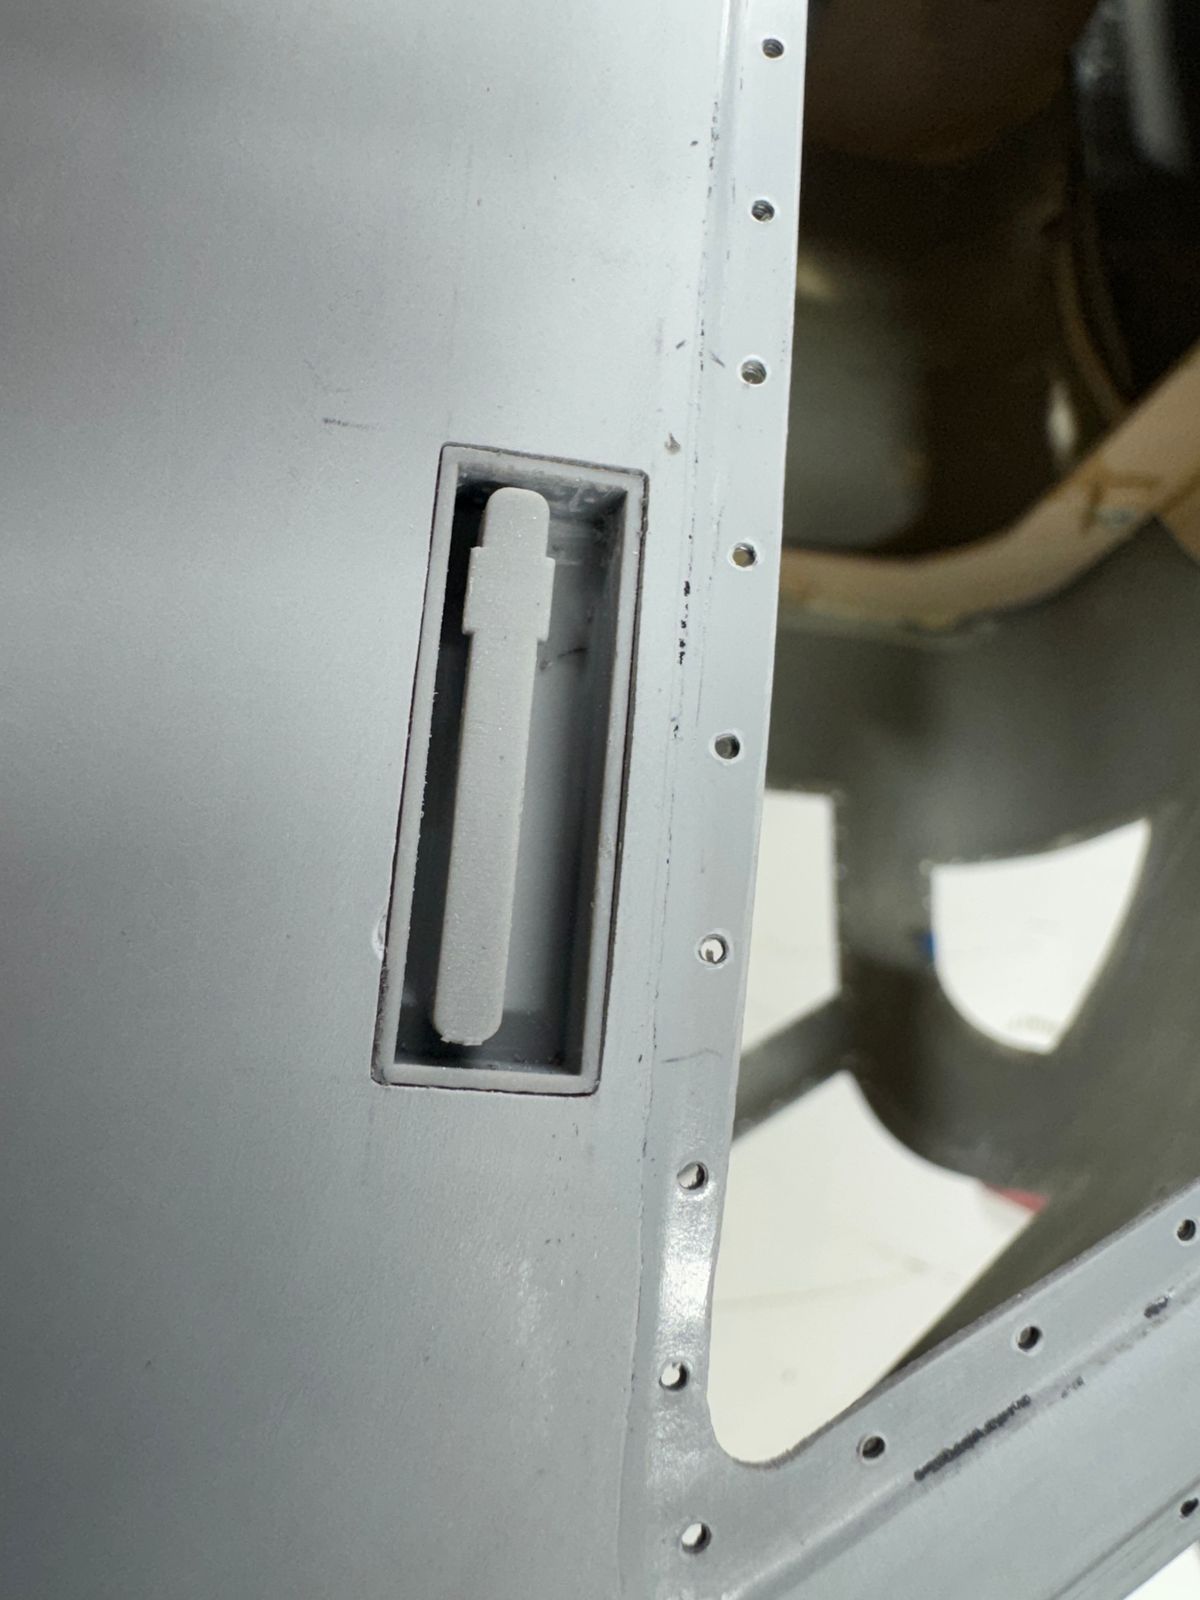
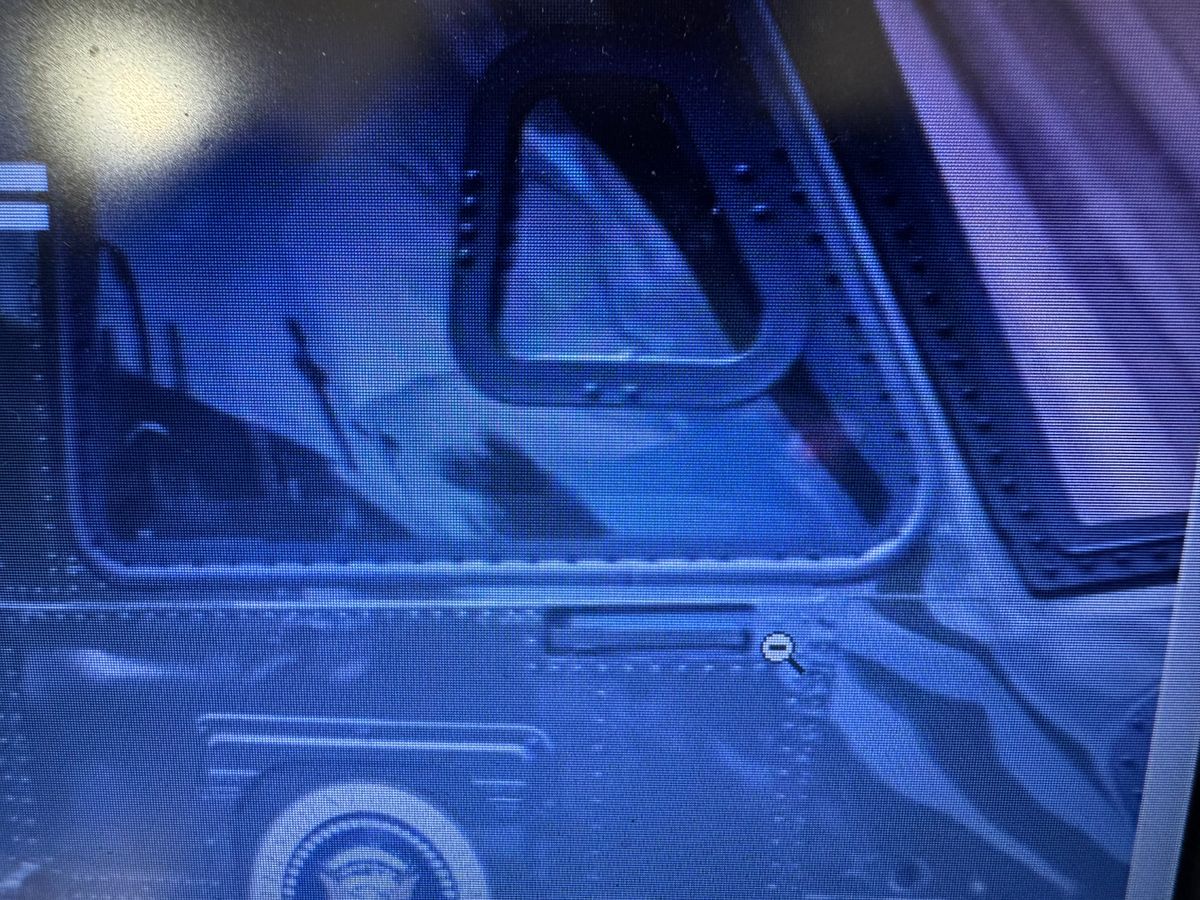
A riveting tale.
UIH,
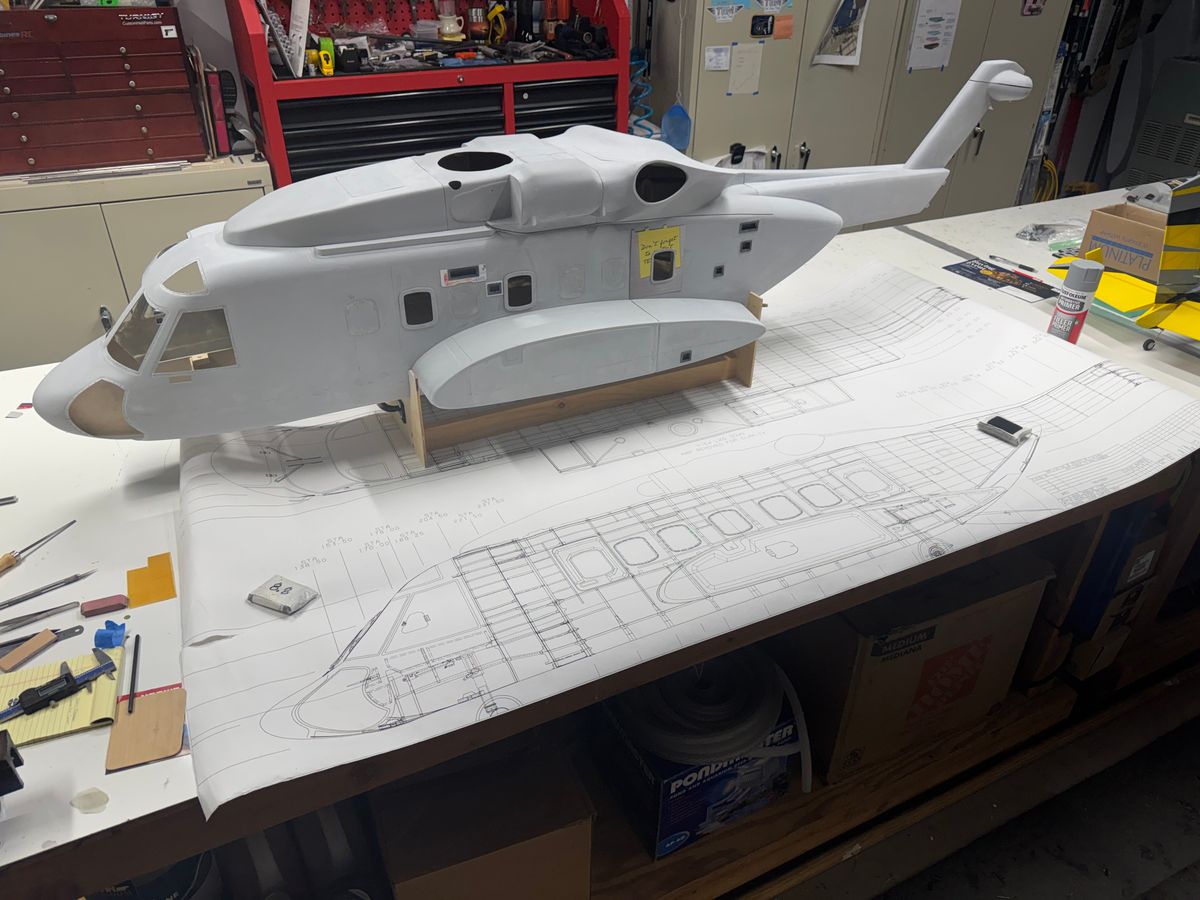
Over the past couple of months things have progressed slowly however not at a complete standstill. At this point of a build I find myself reviewing documentation, looking at the subject deciding how each component will be designed made and installed and the biggest task, where to start.
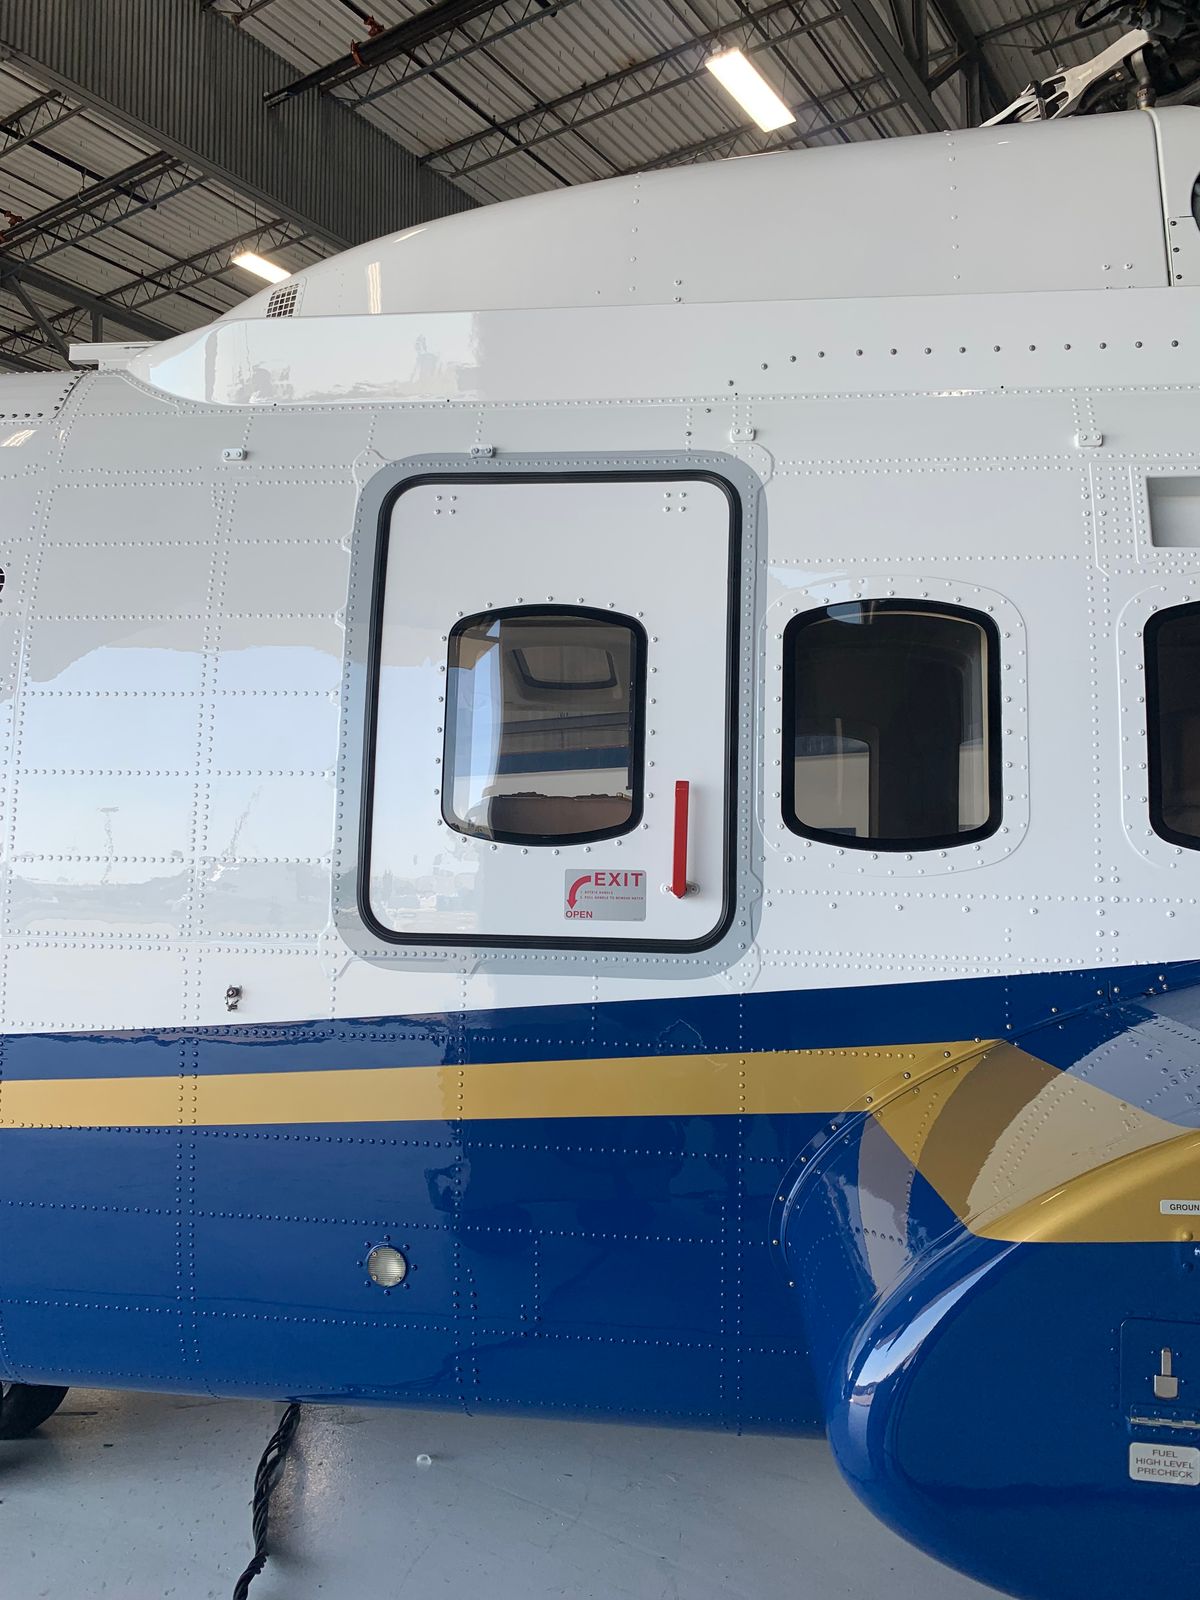
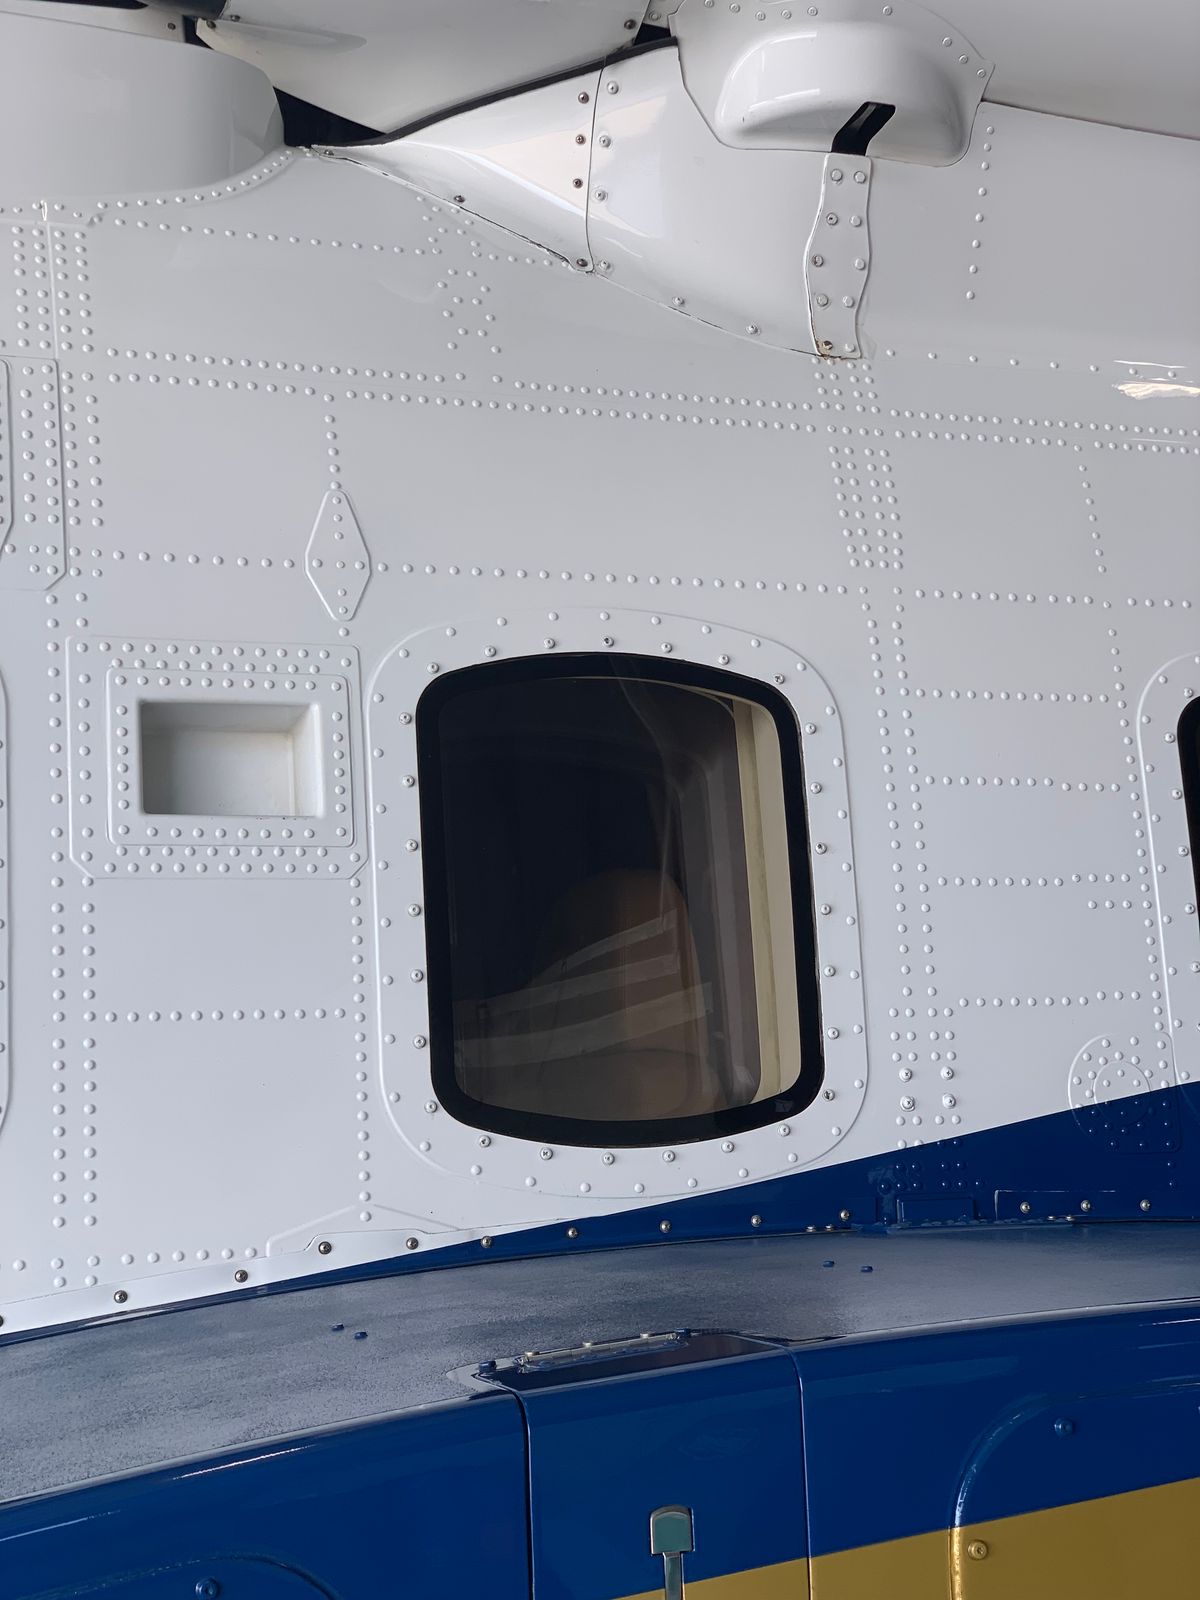
The VH does have some unique features. Some windows are blocked out, structural differences due to mission specific equipment internally installed plus, ,being a military aircraft, the civilian standards do not always apply.
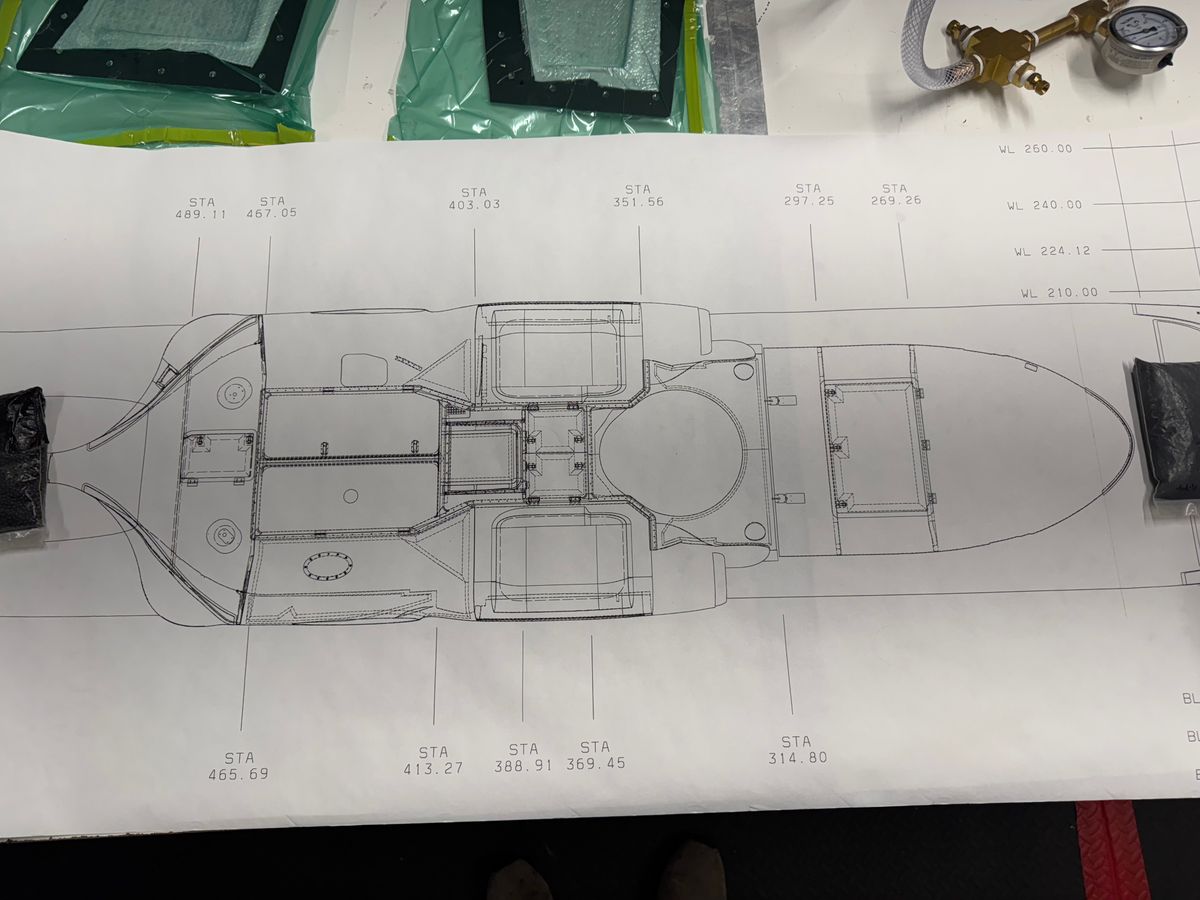
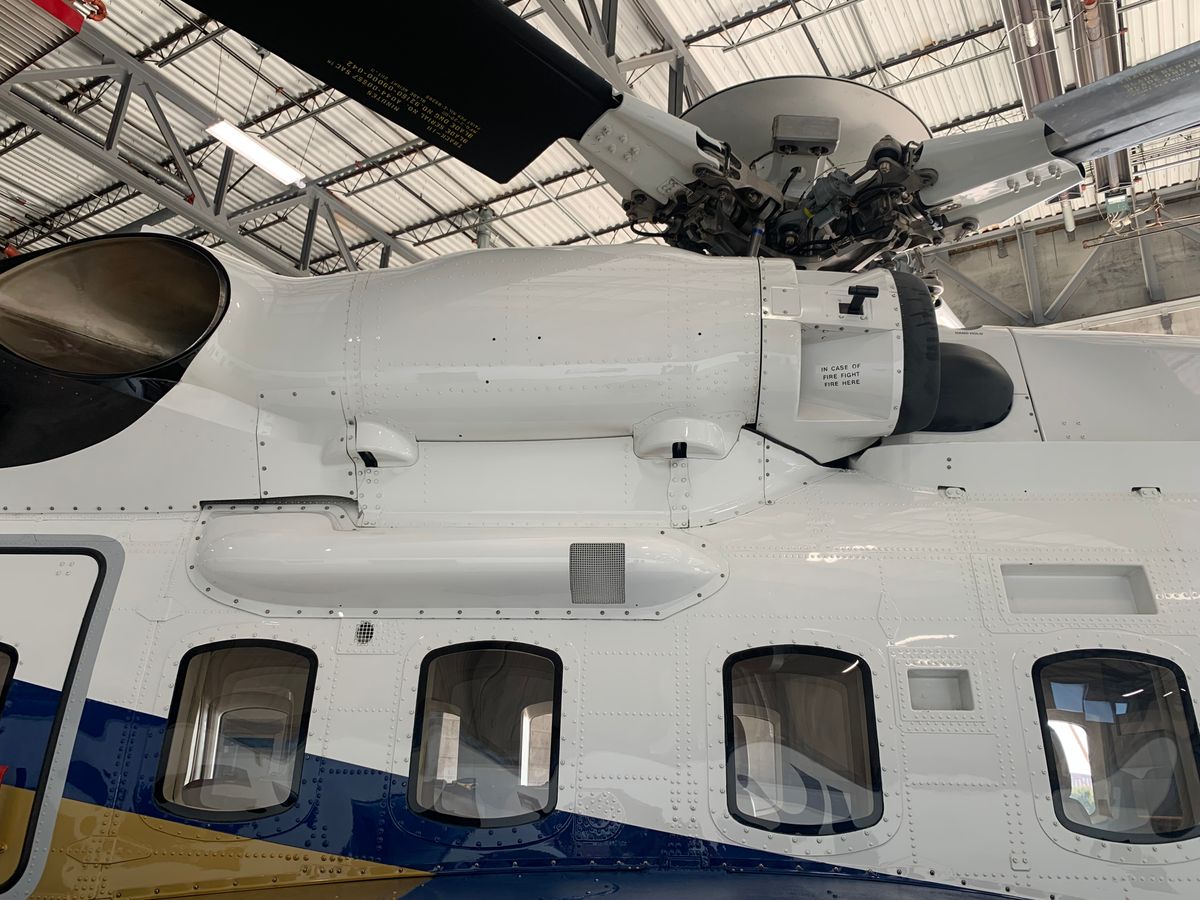
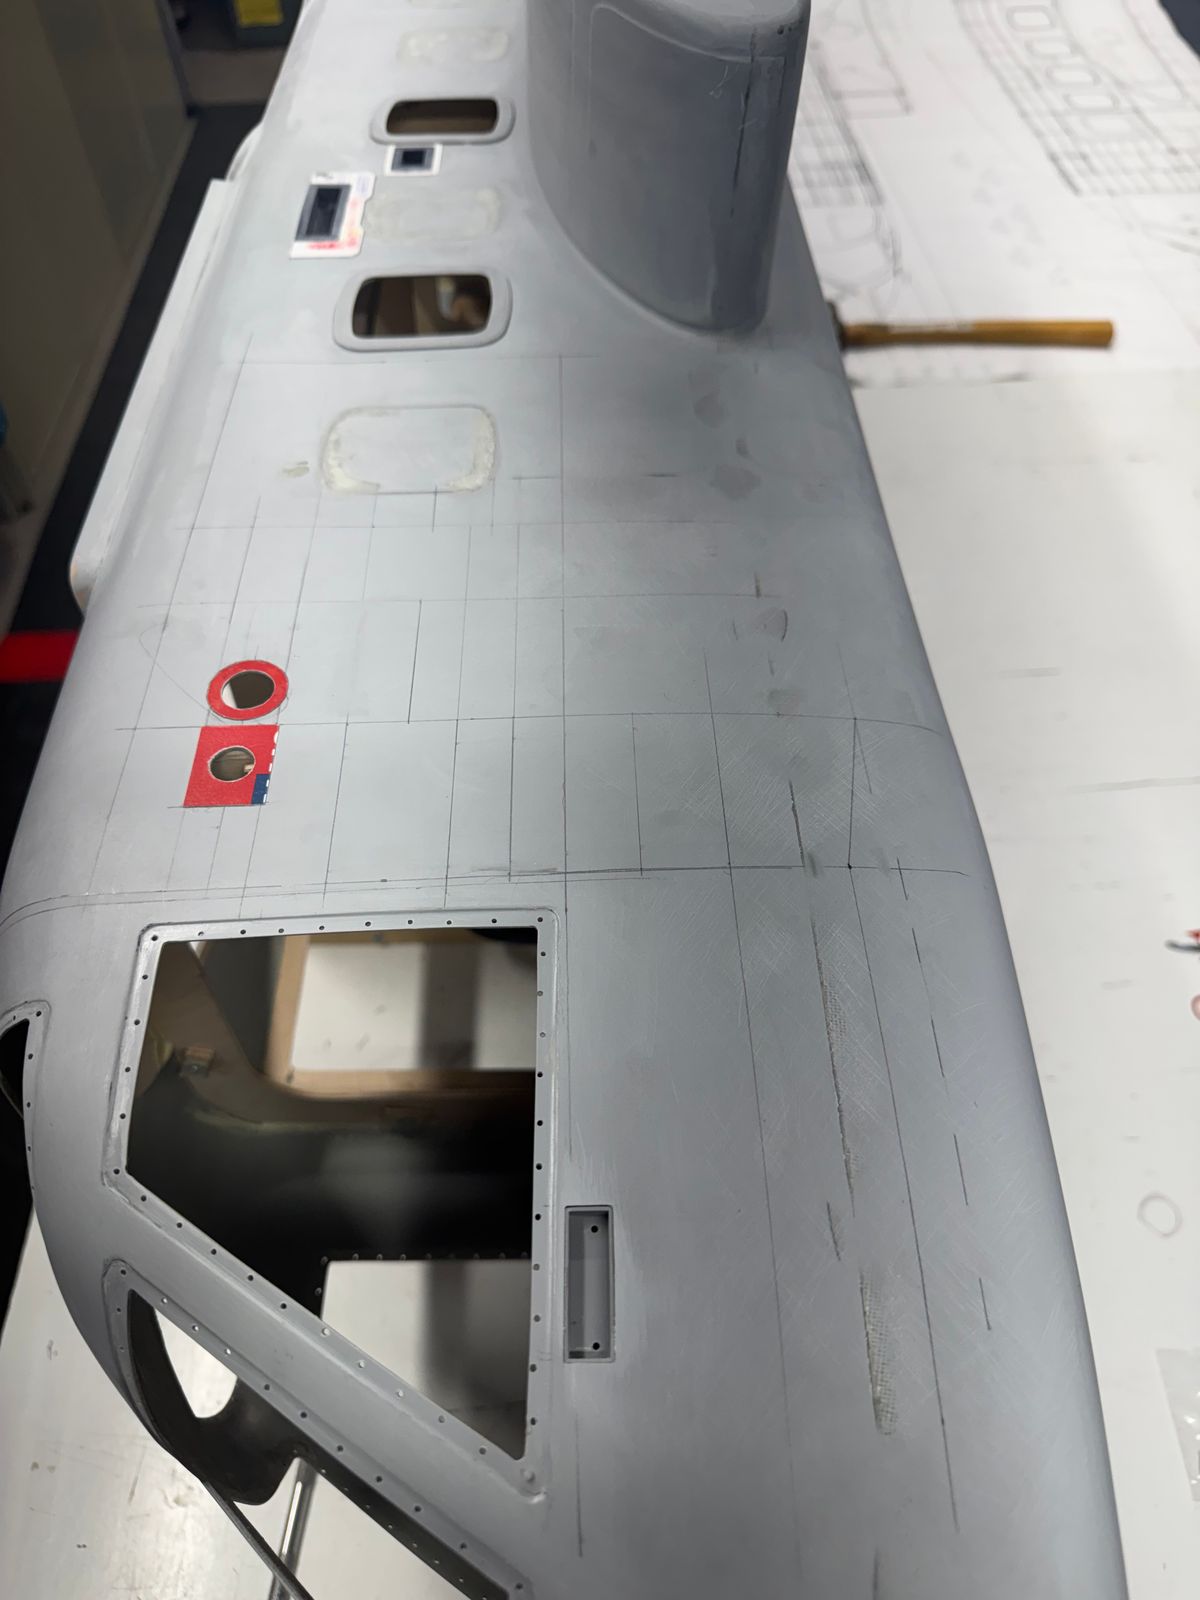
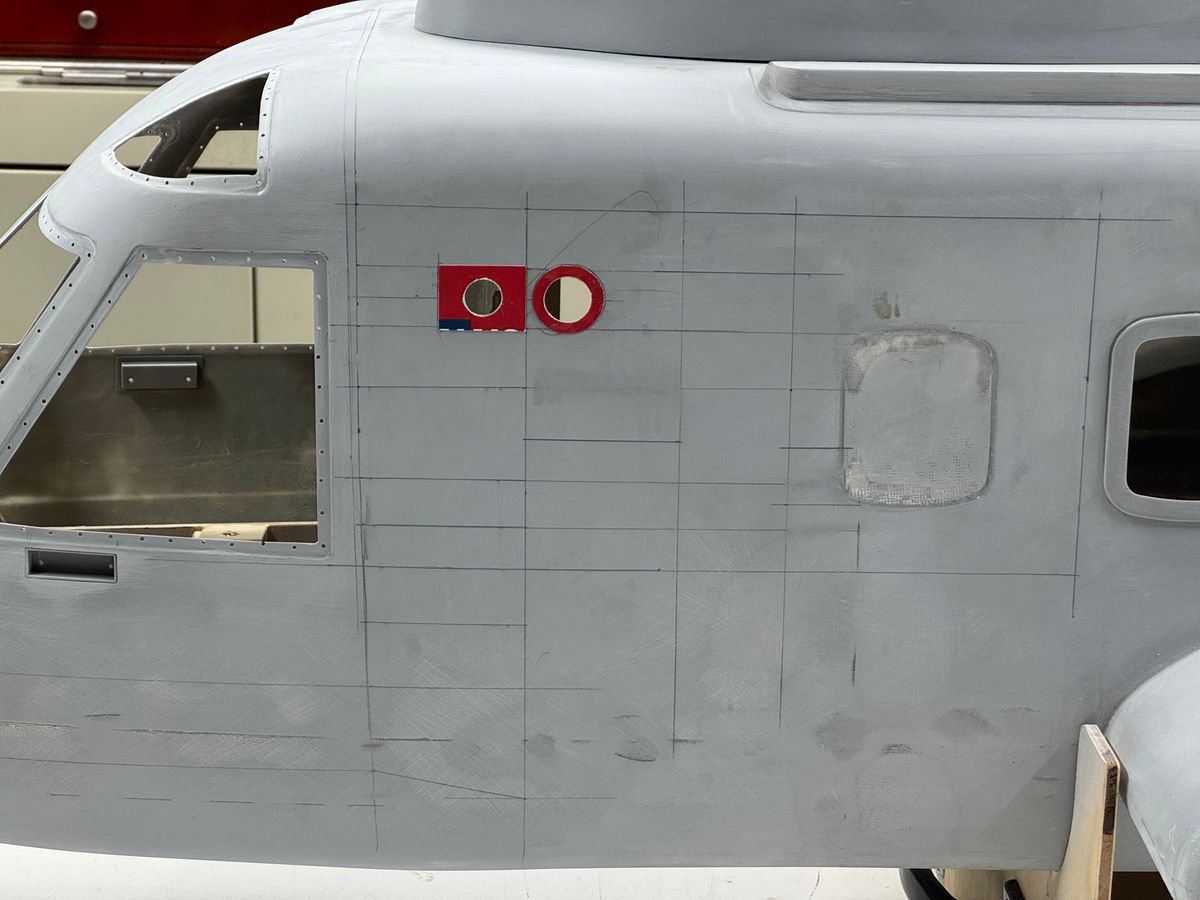
So where does one start. Plugging a window is not a big deal. But comparing the VH to the civilian version in photos can reveal some major differences. With this on mind, something needed is the structural layout so the specific features can be drawn up, printed and installed using the basic structural layout.
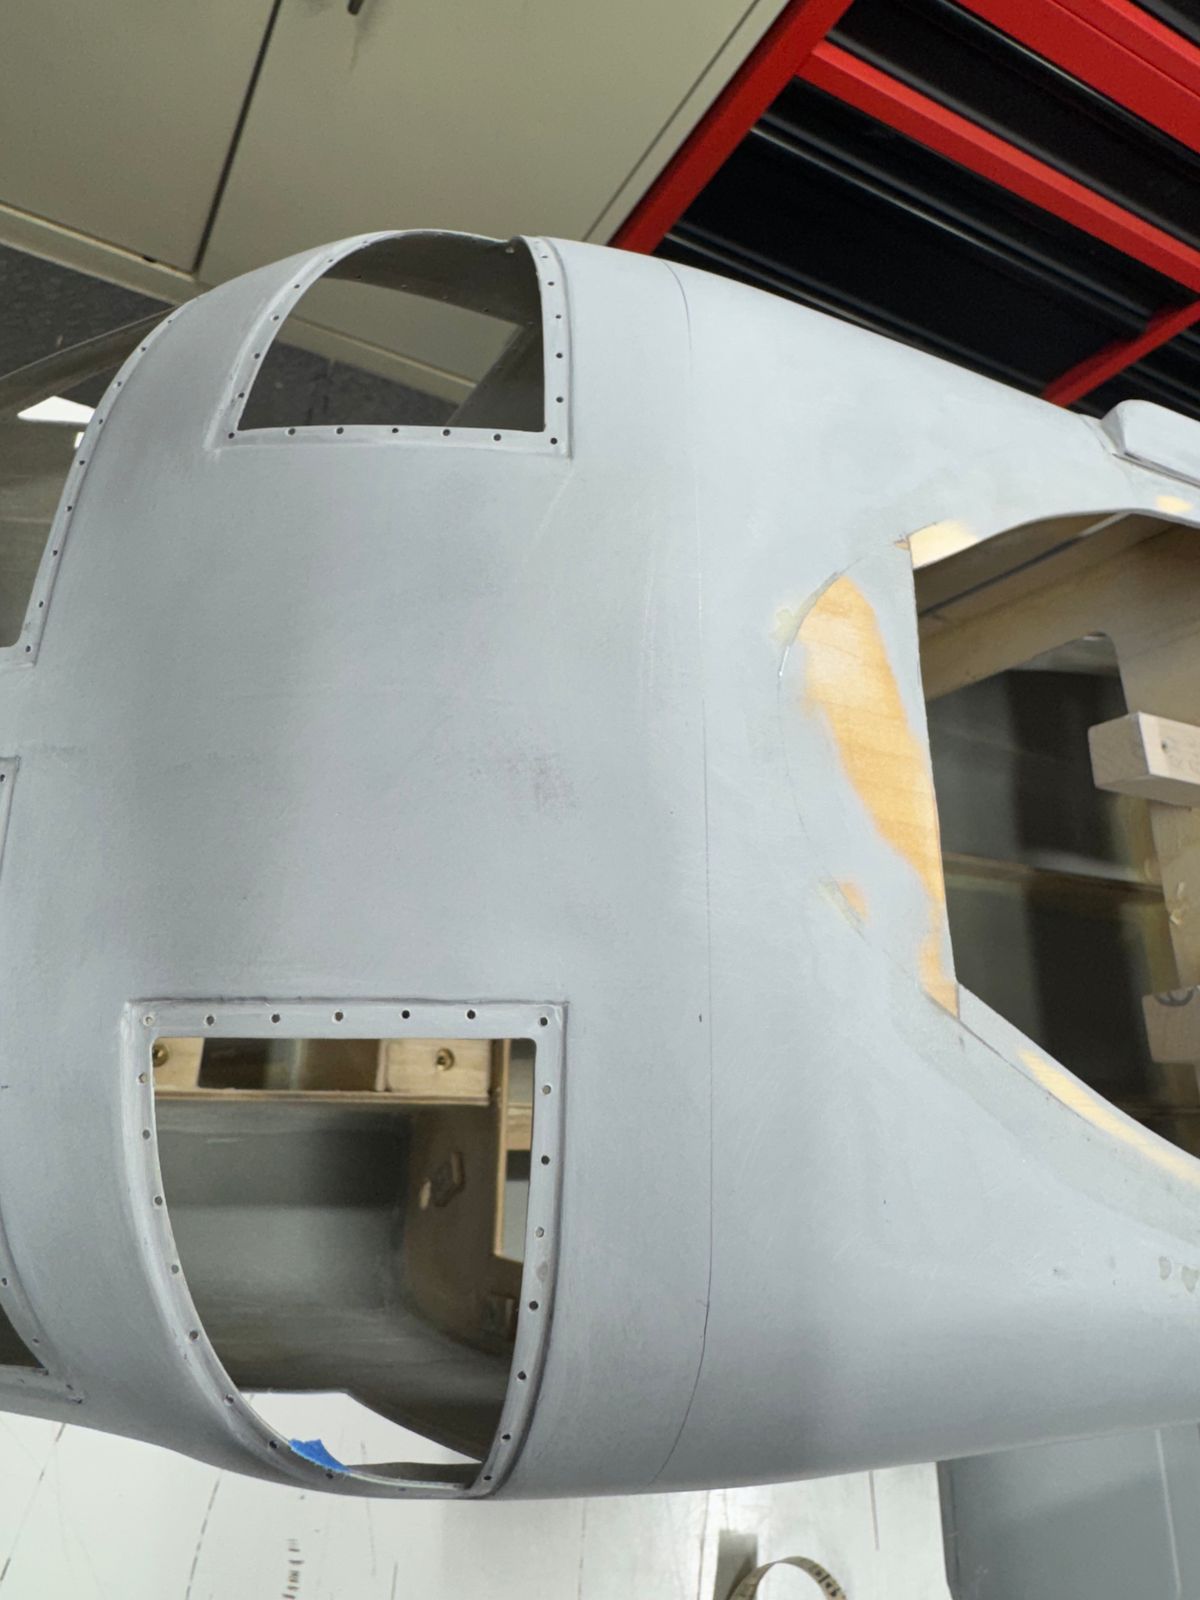
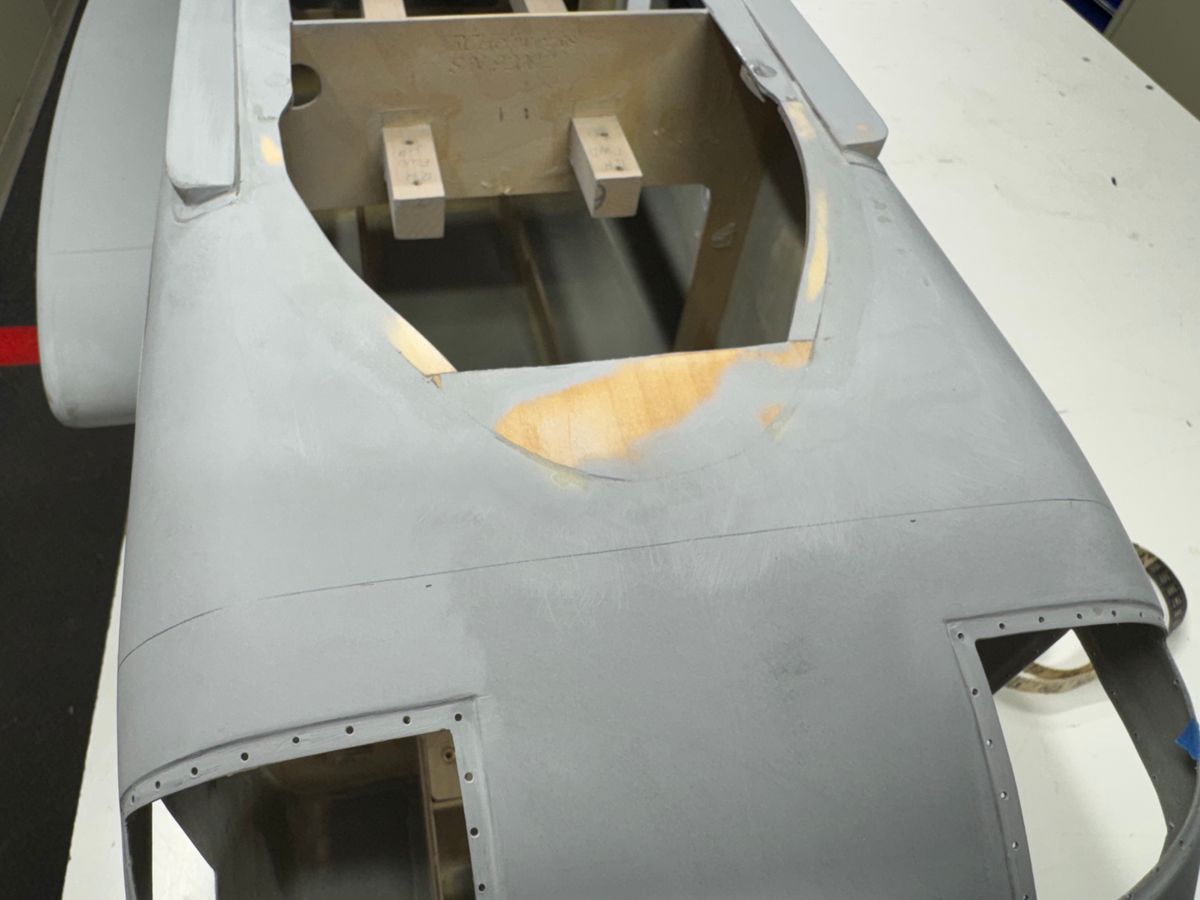
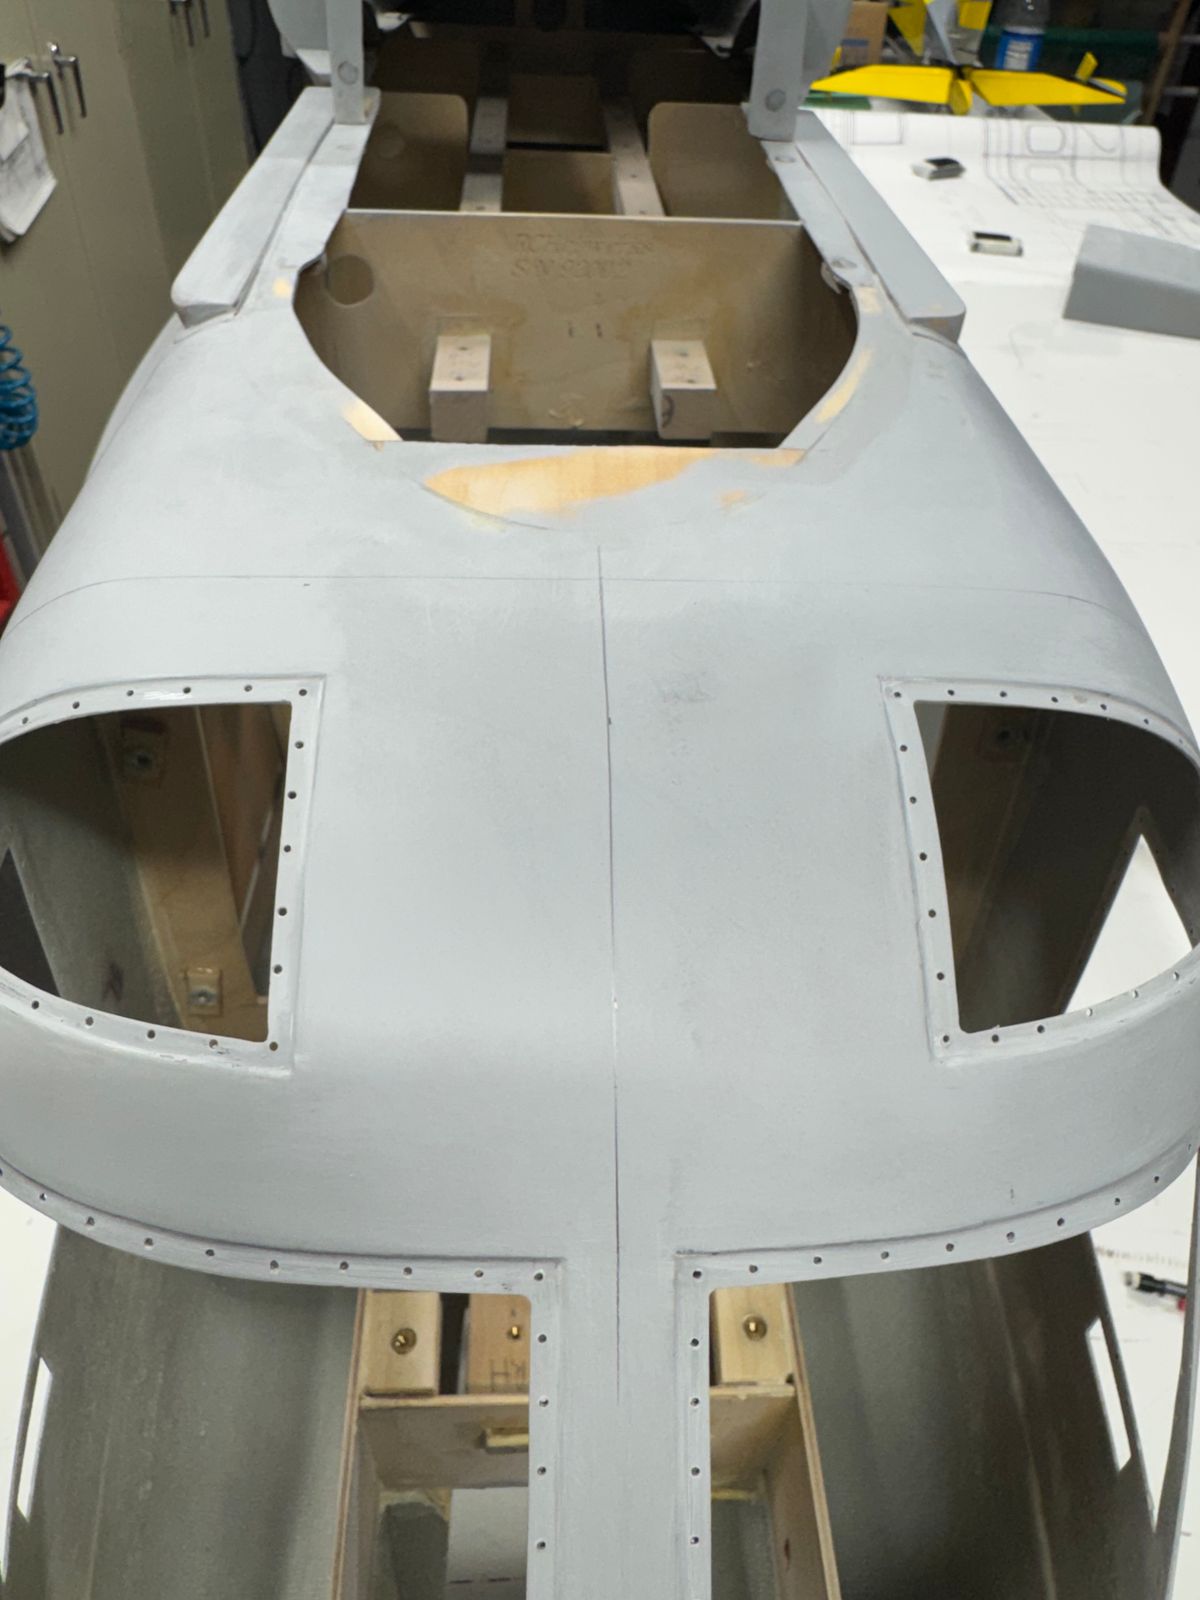
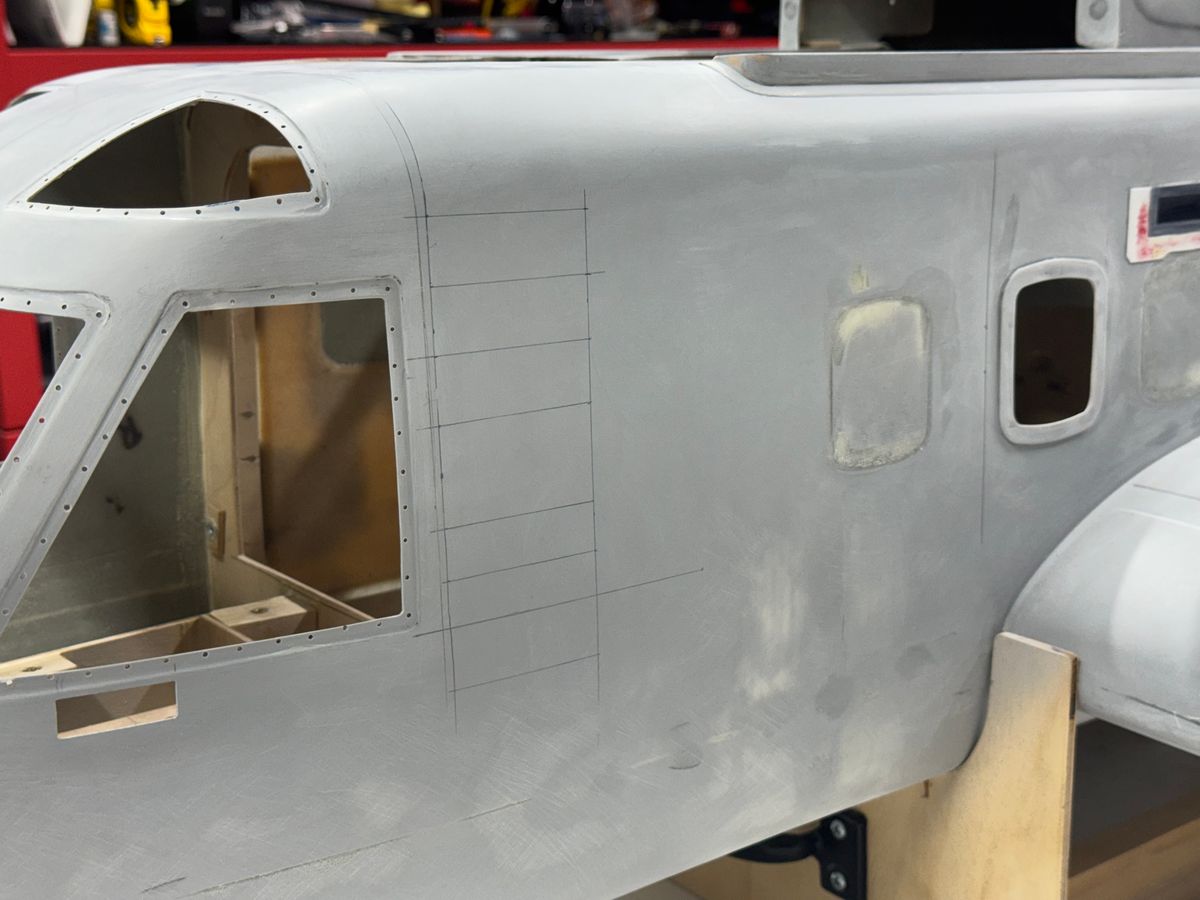
That being said, the time has come to lay out reference lines for the rivet pattern or at least place a starting point. Standing back after plotting a few lines i get the feeling my fingers will never be the same after detailing the structure on the VH. I wonder if I should count all the rivets?
A few pics.
Thanks for dropping by.
UIH
B.
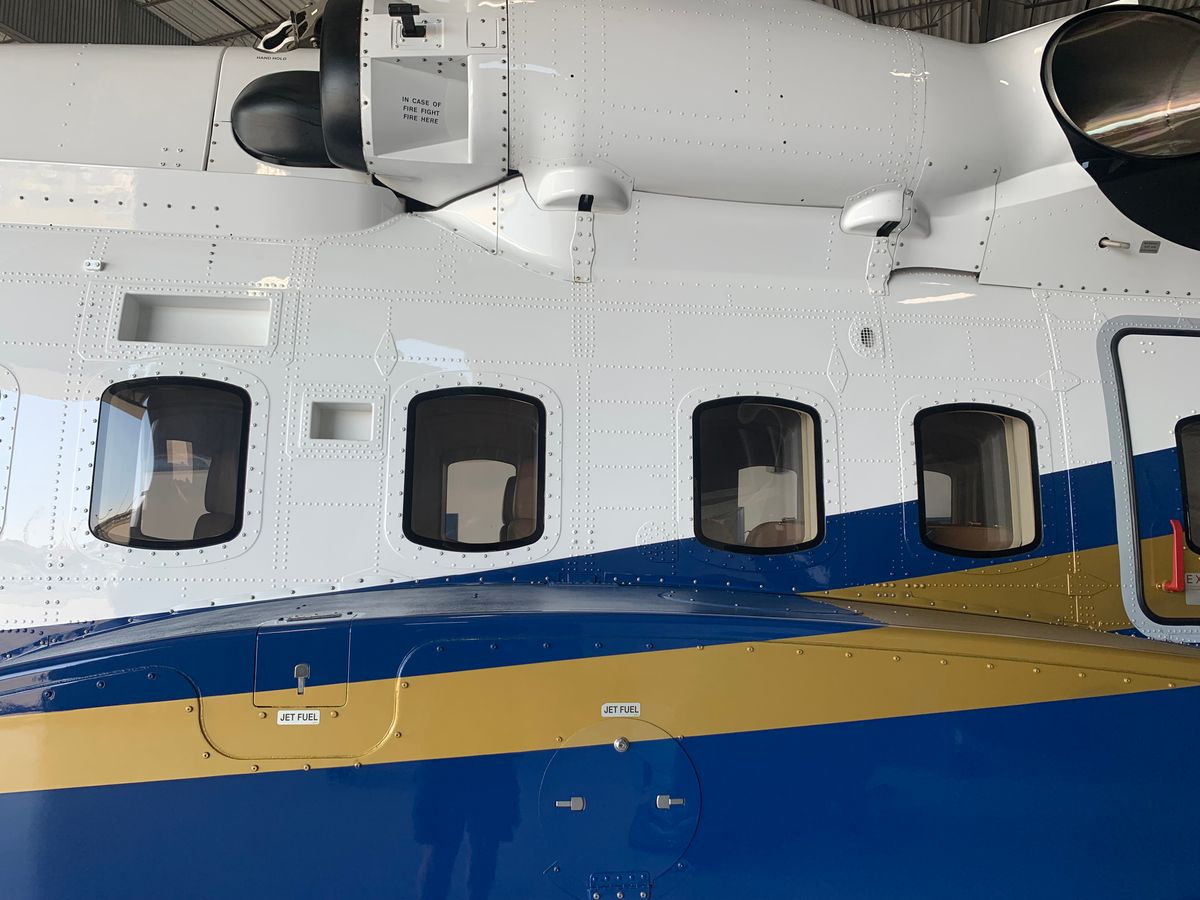
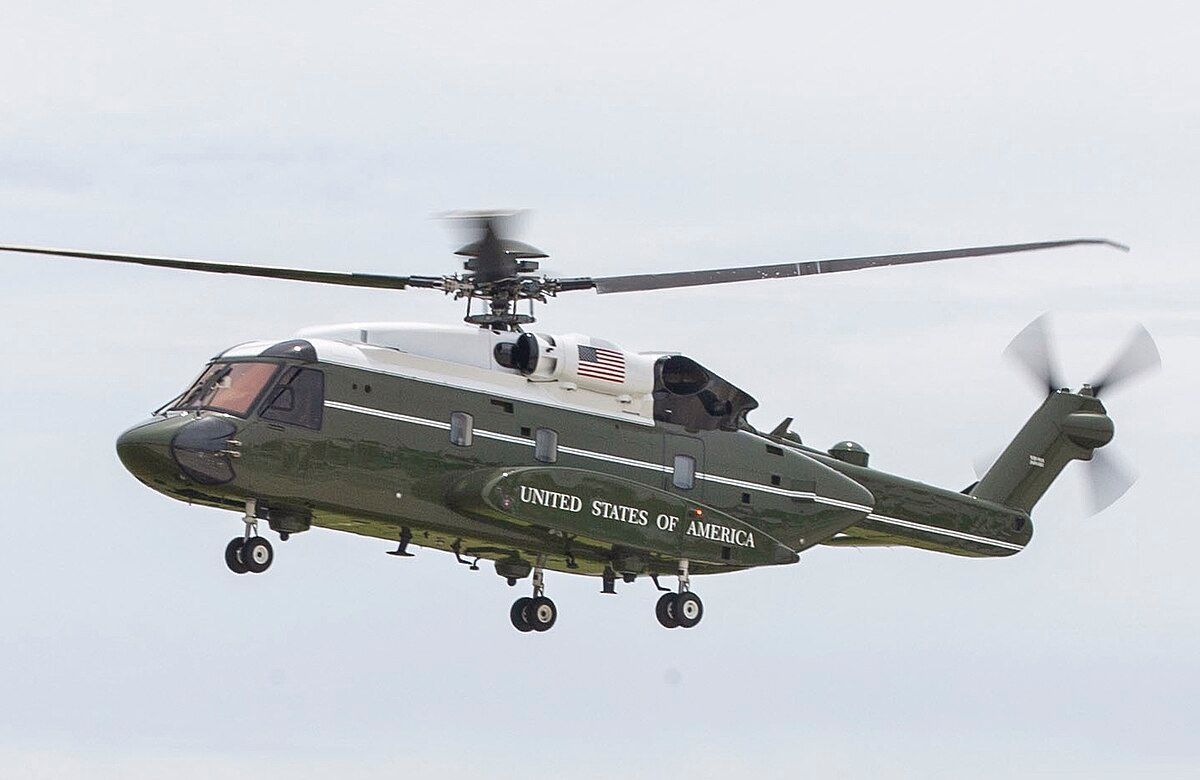
Busy weekend.
UIH,
This past weekend was pretty productive. Have the Unilight bases finalized and ready to print from resin. There is a slight recess that holds the light assembly in place securely. The structural detail continued adding a little more. There are so many little features I am working to capture however the photo documentation of the specific detail has been a little tough to find. There are many photos online of the VH, some are not very clear when zoomed in for detail but working through this slowly.
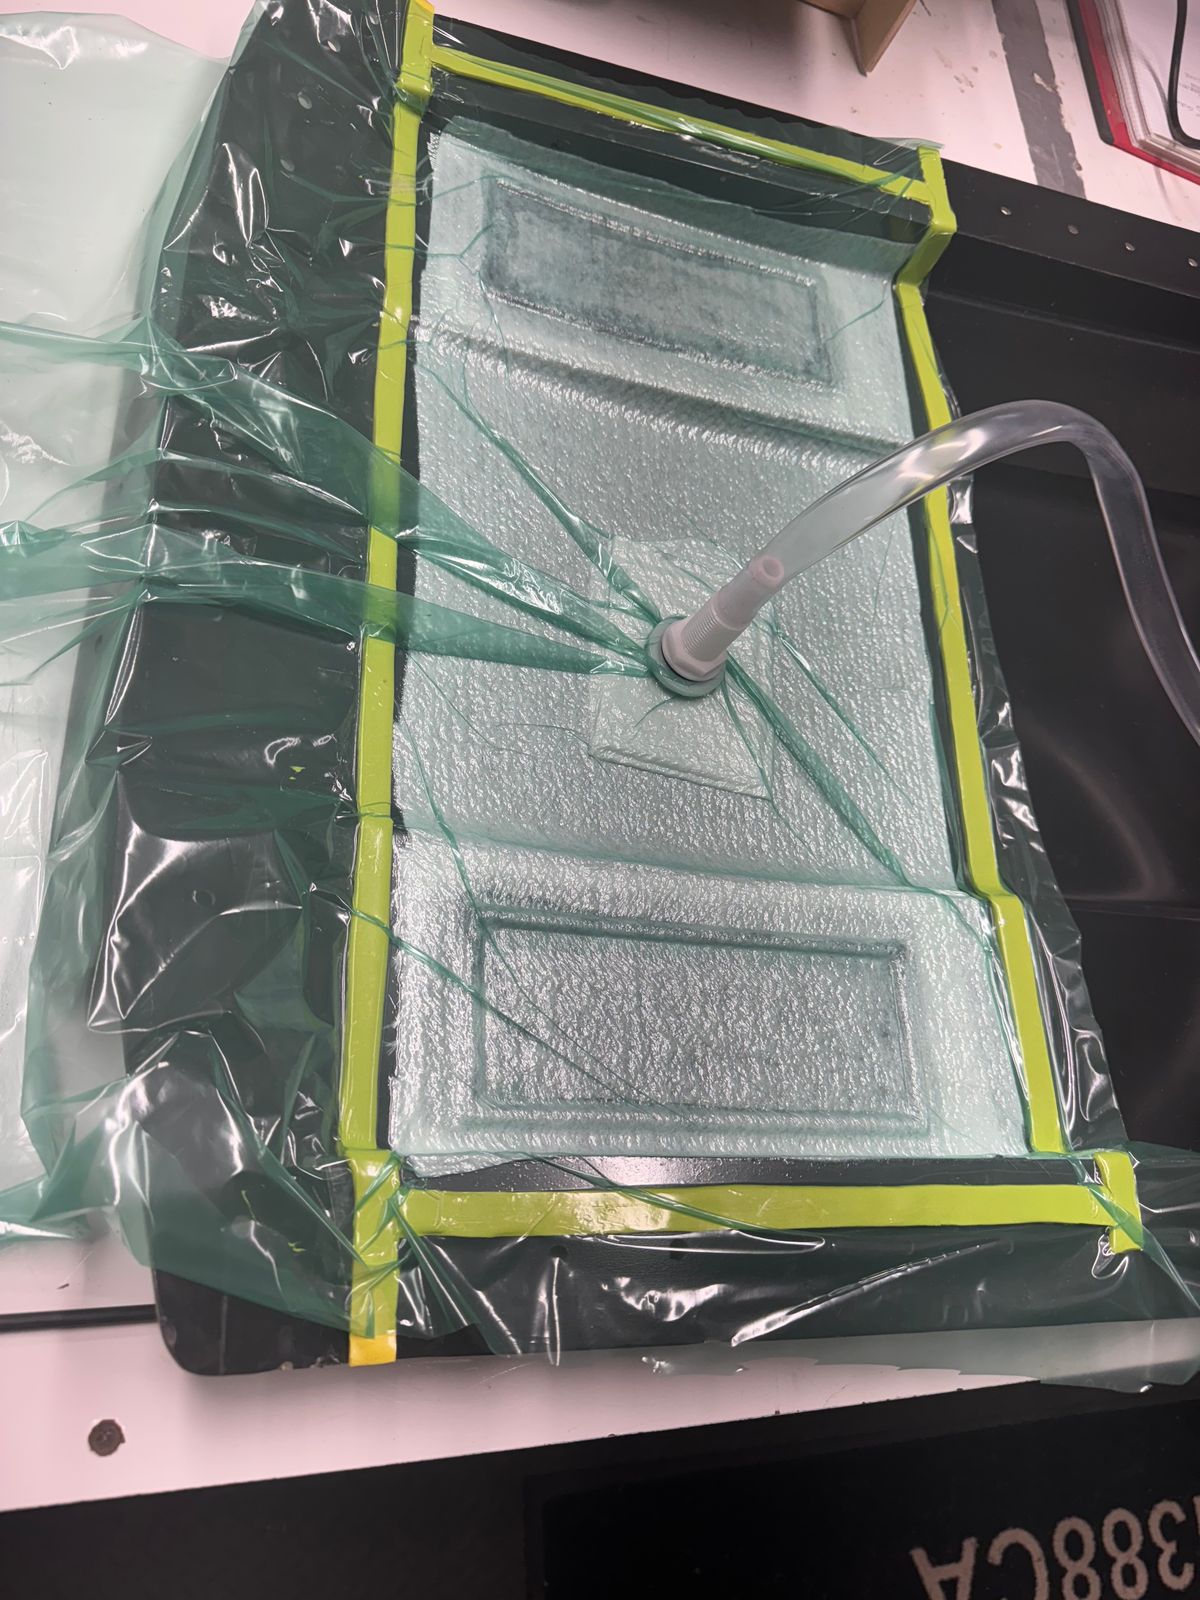
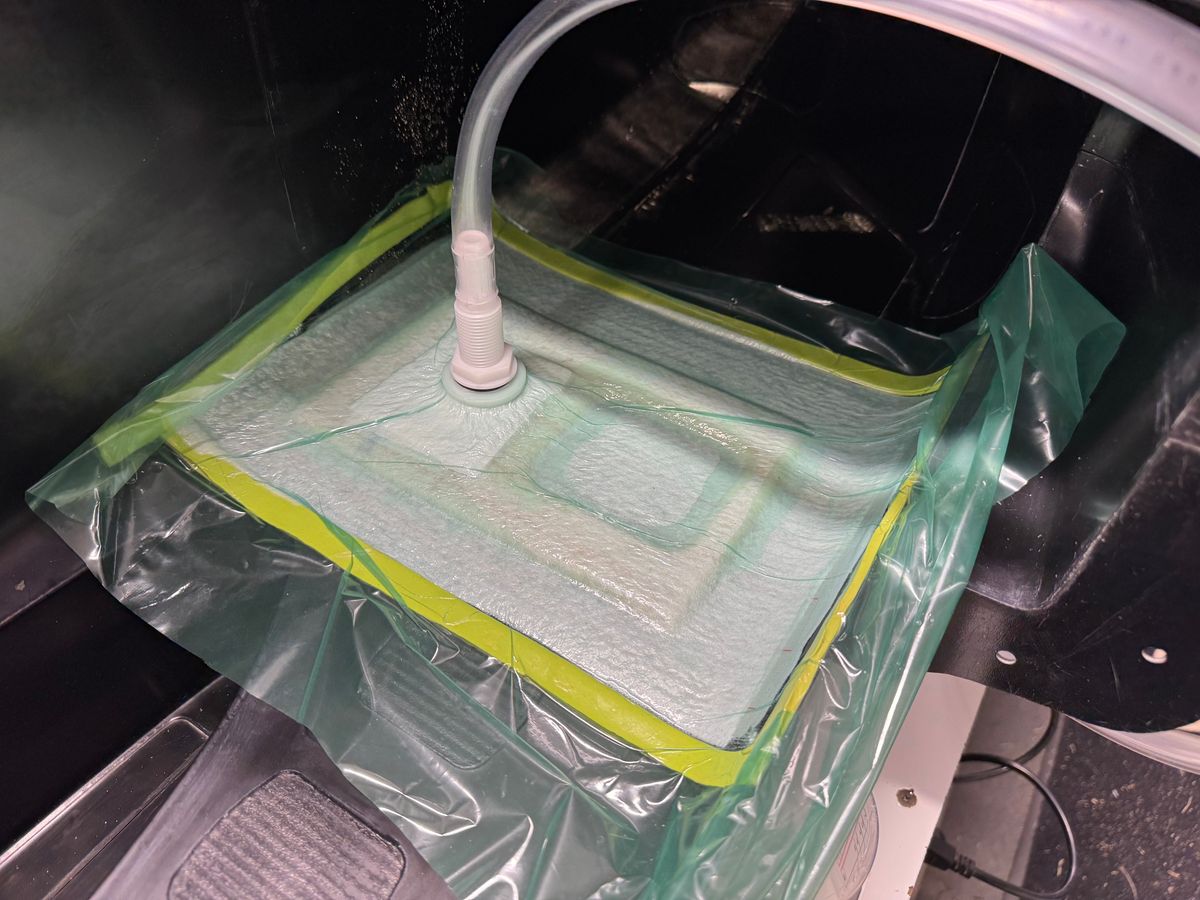
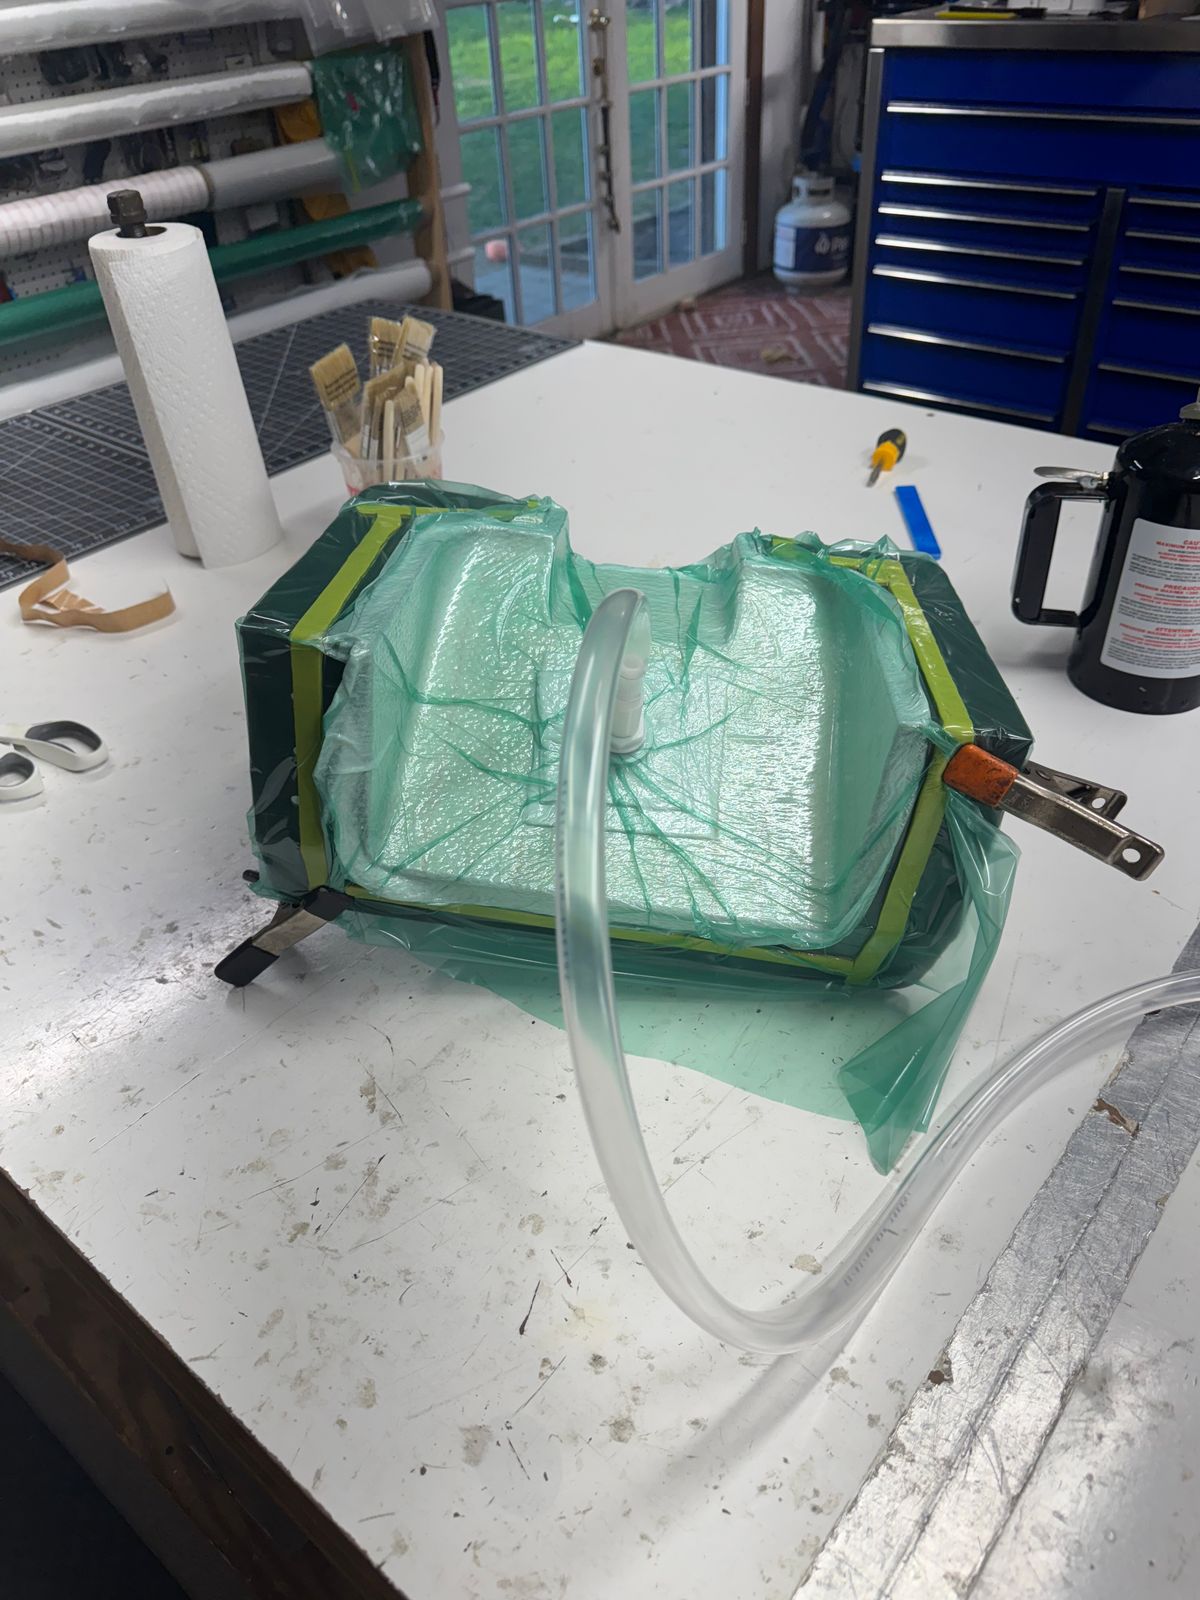
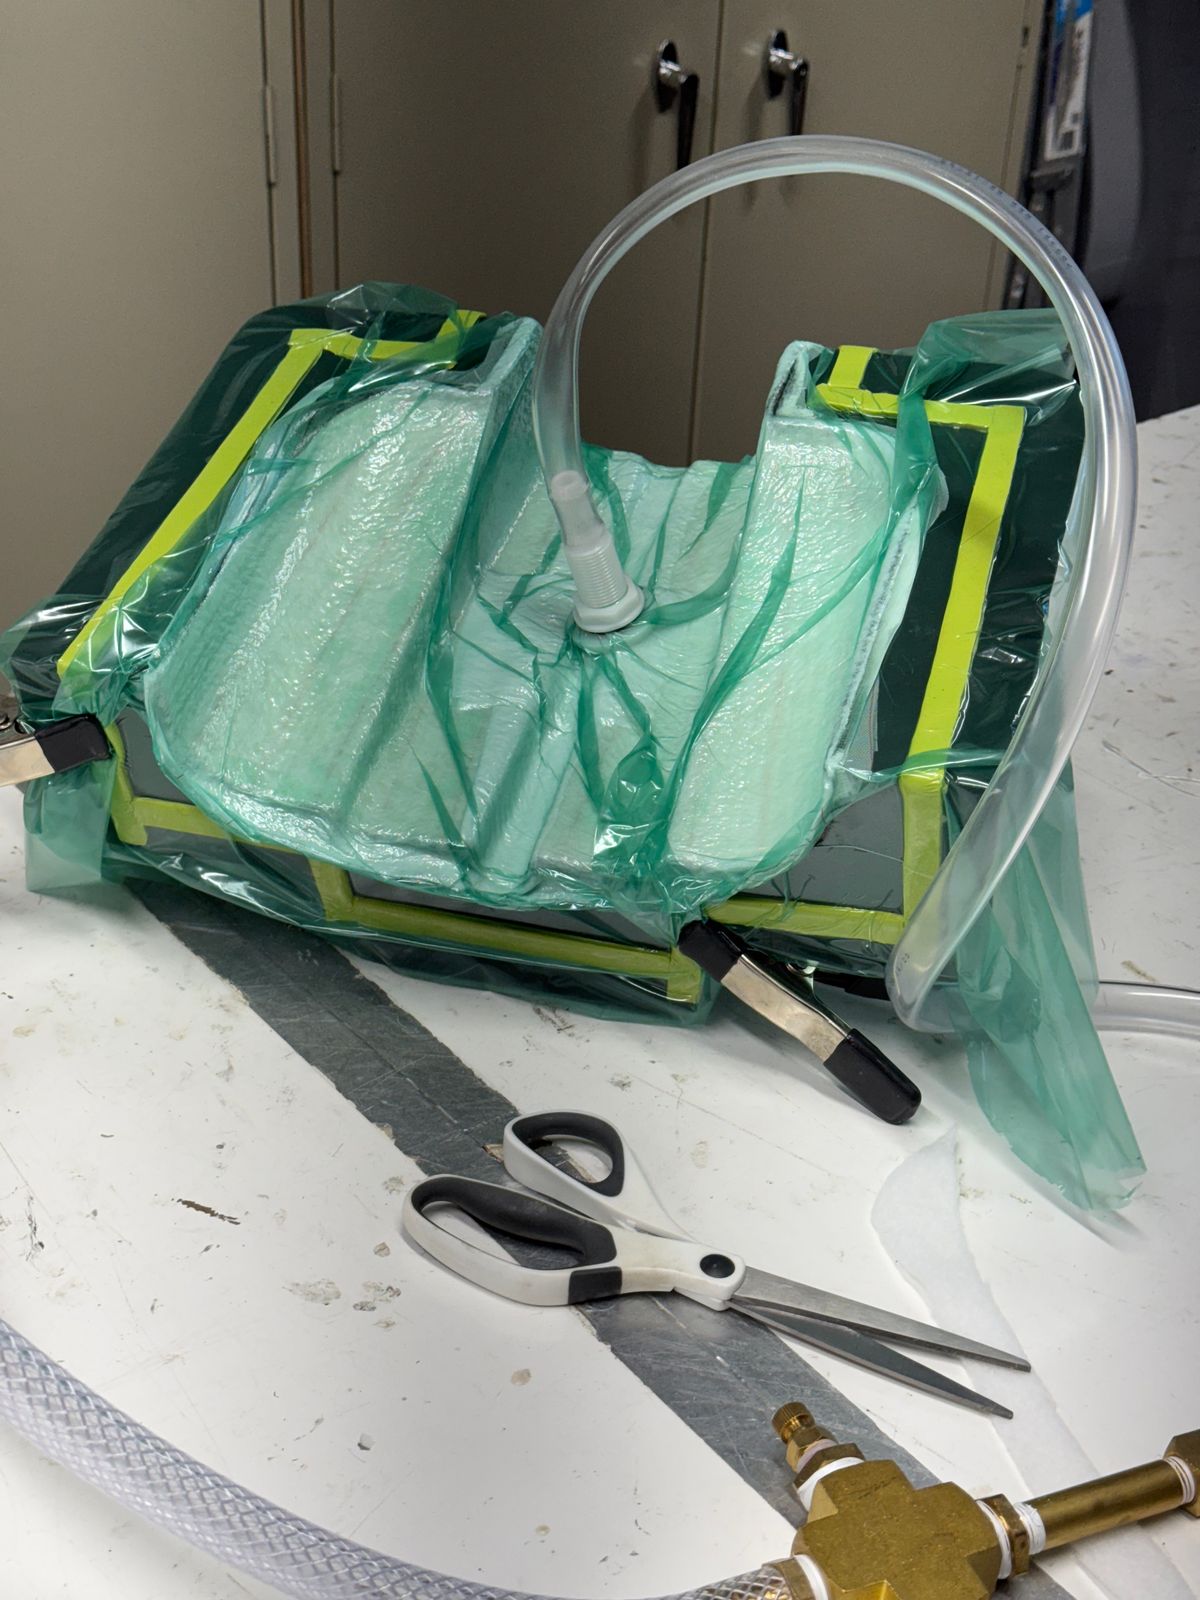
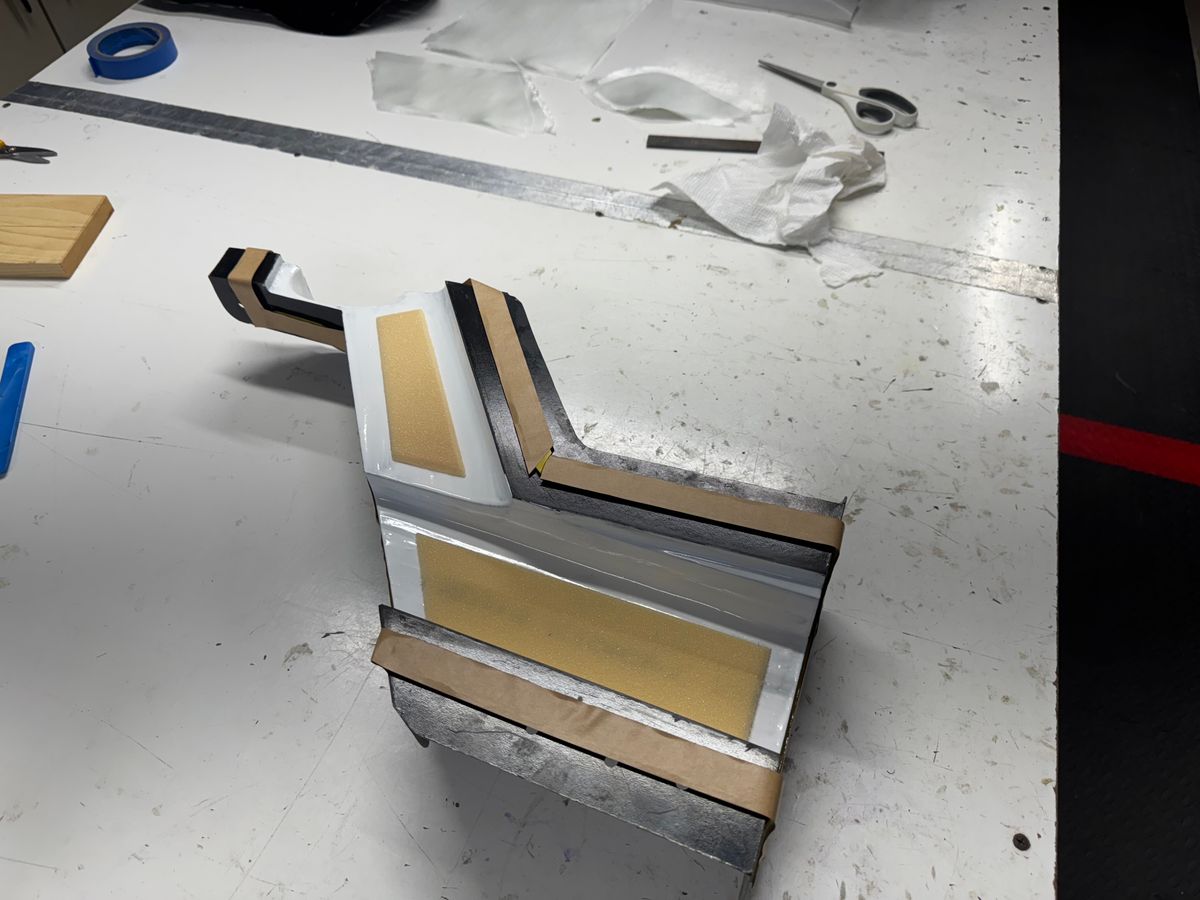
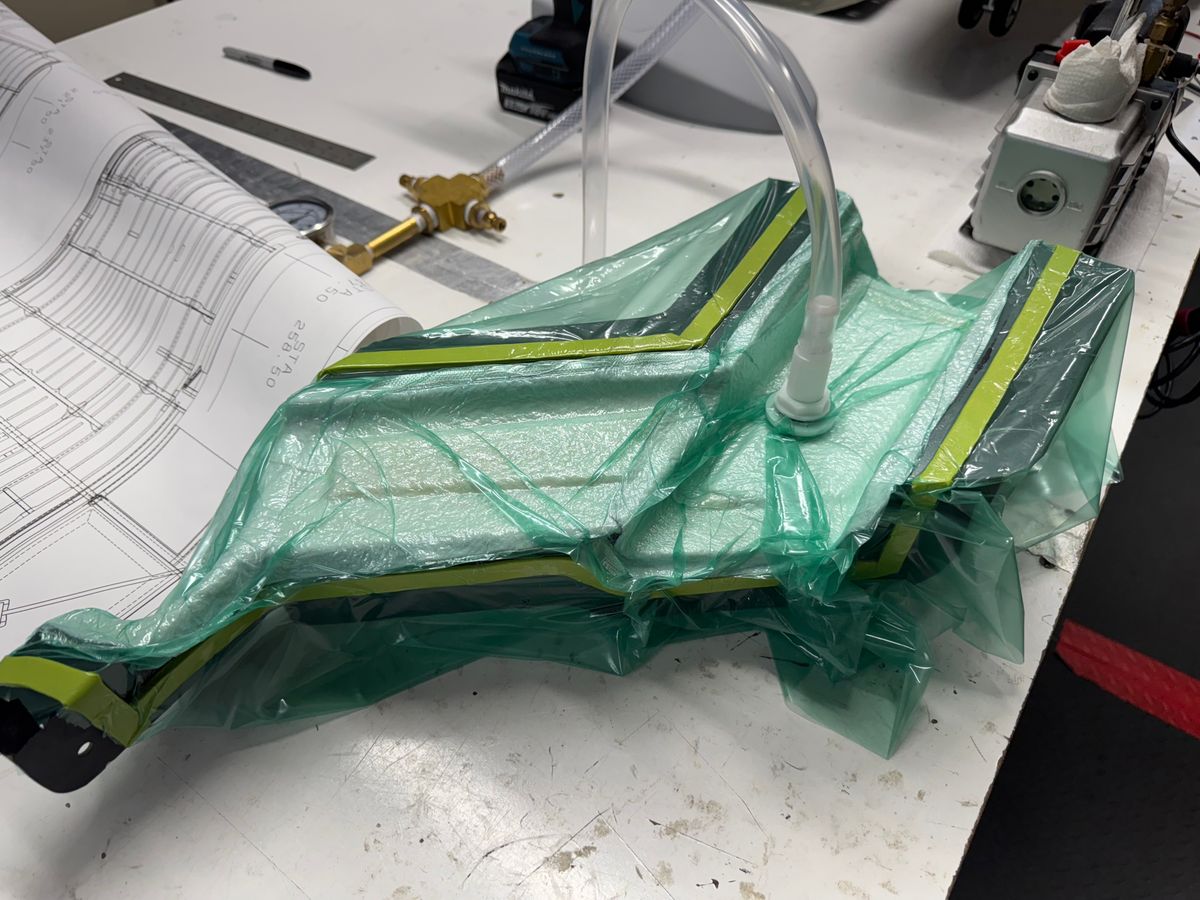
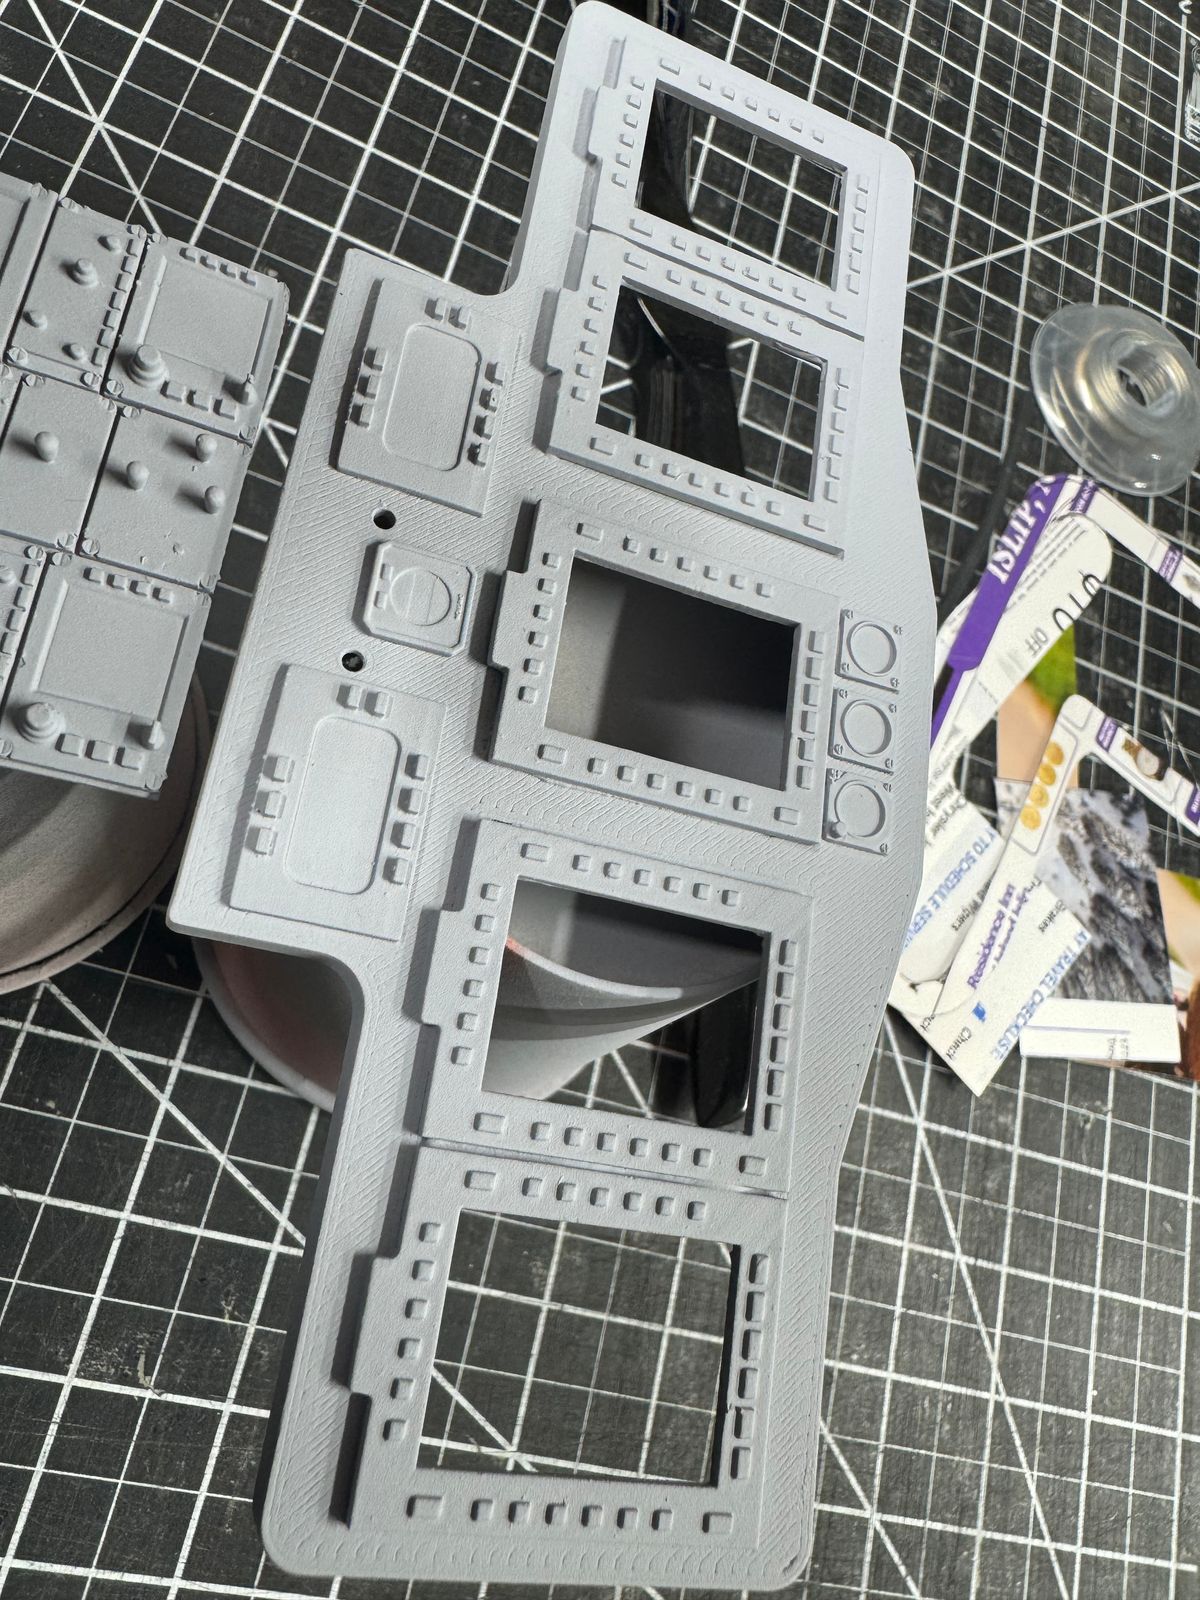
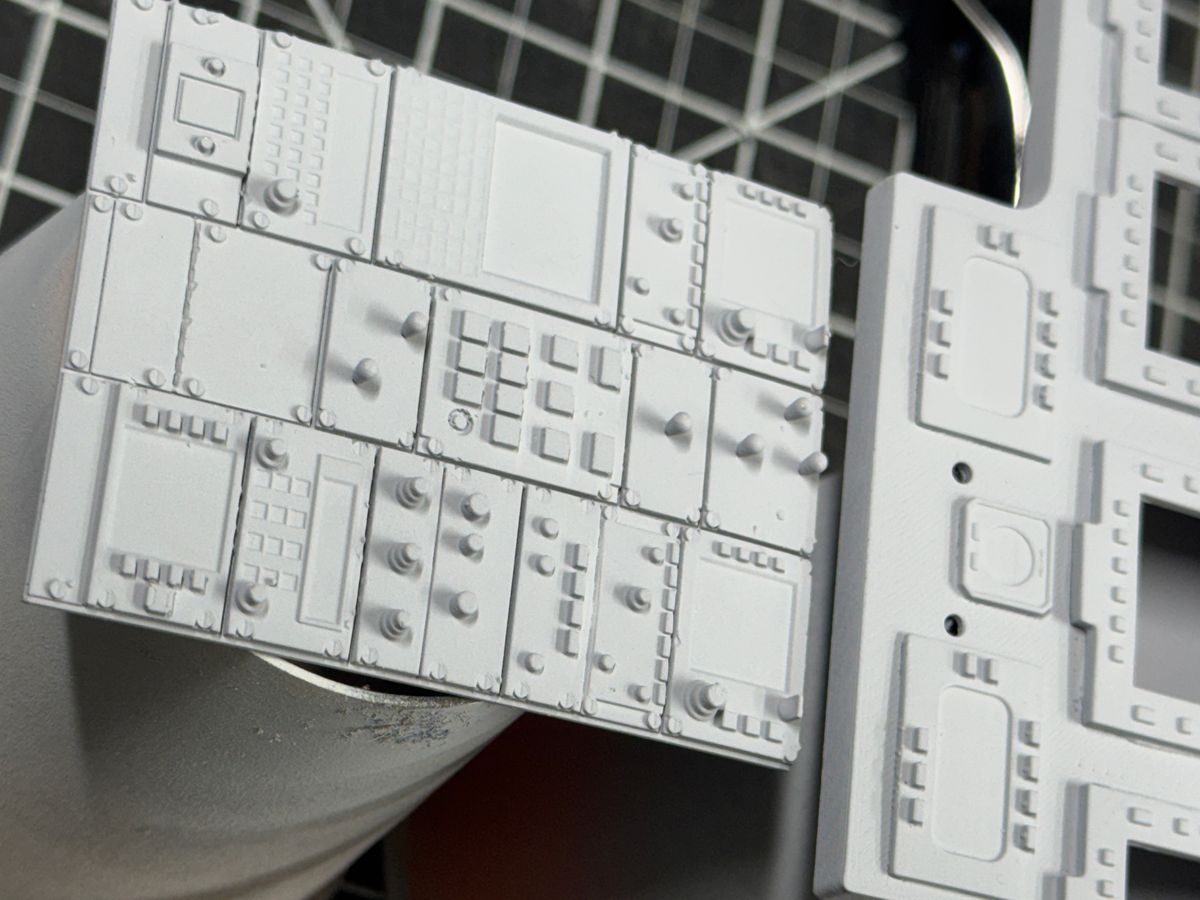
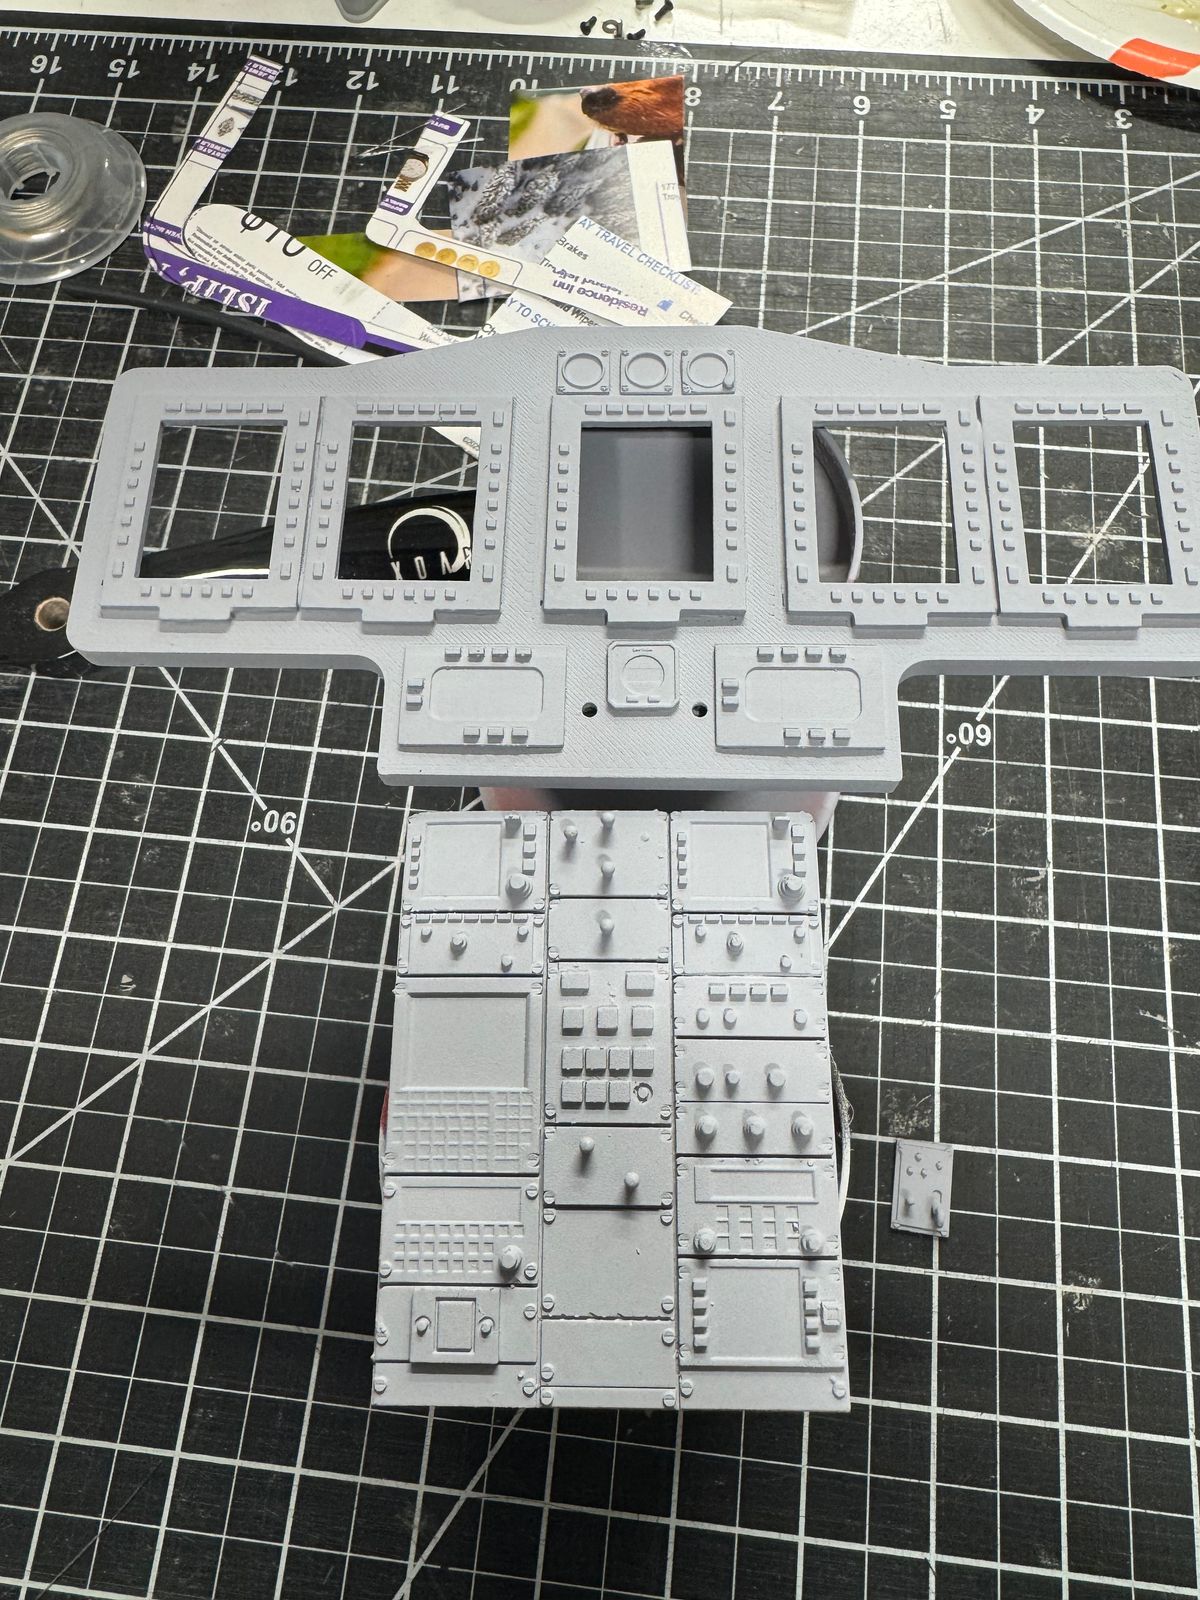
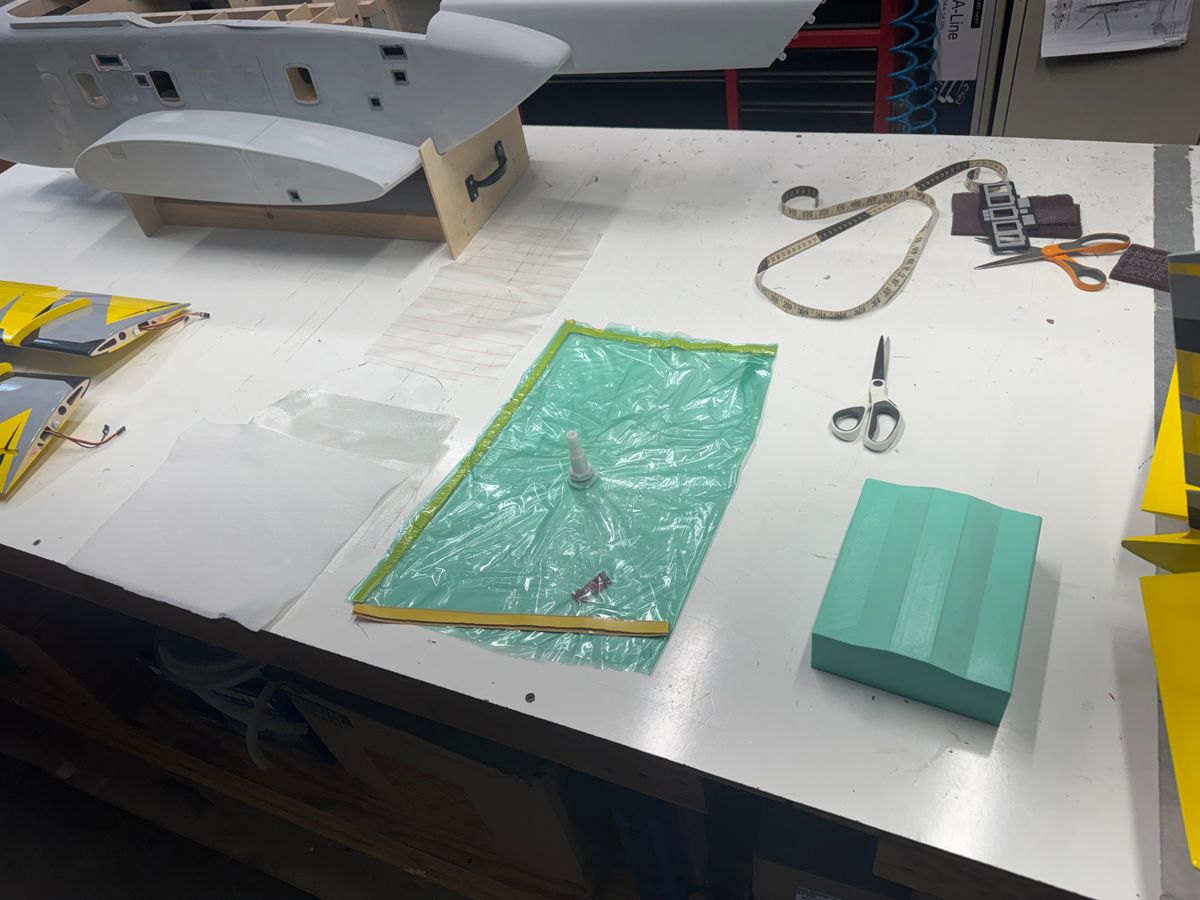
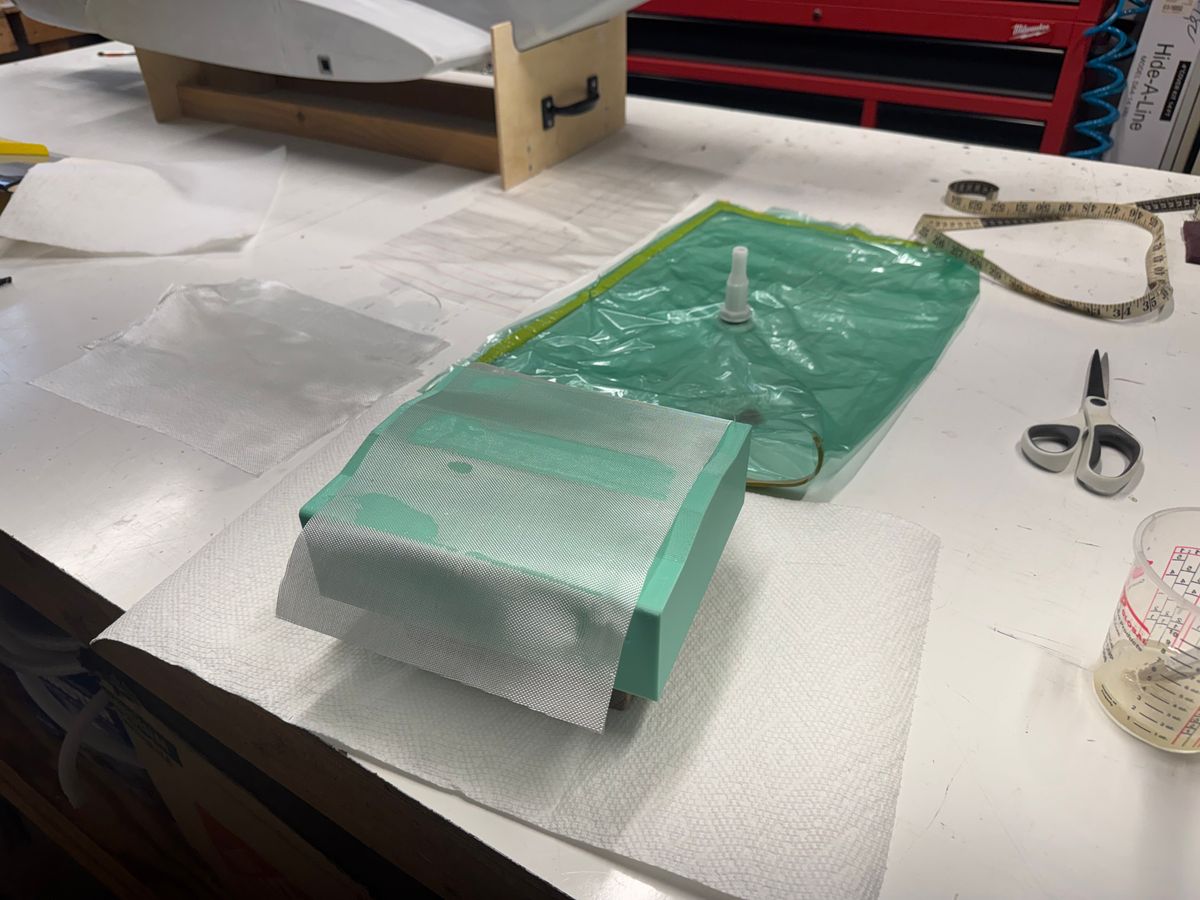
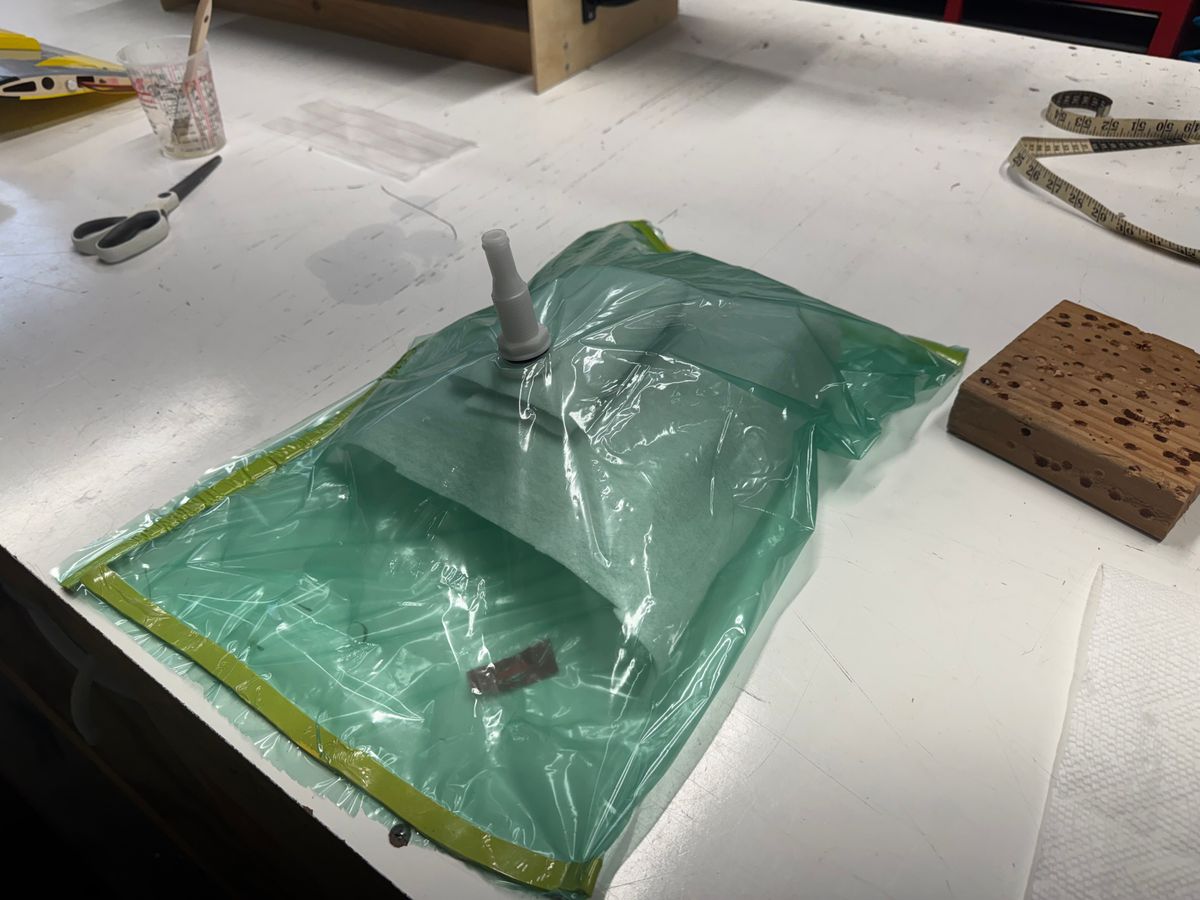
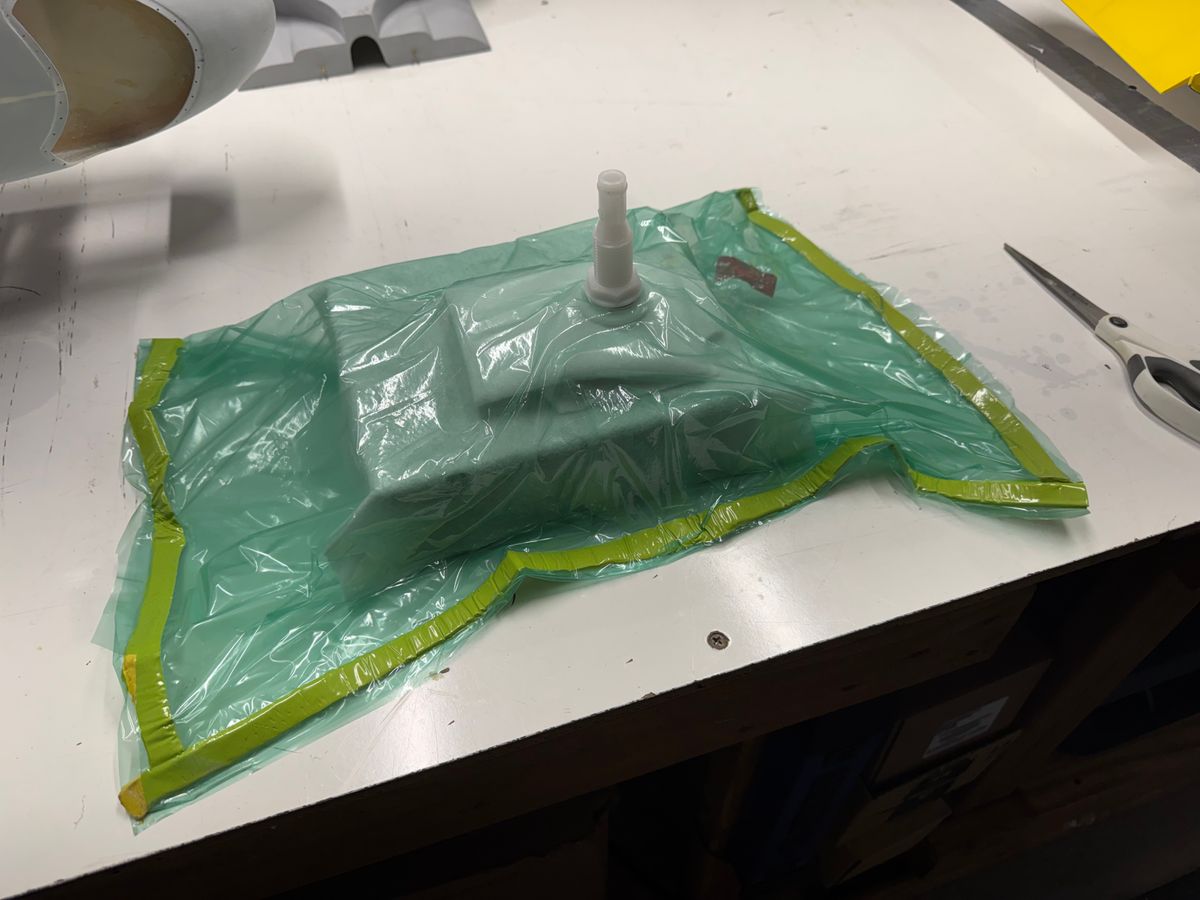
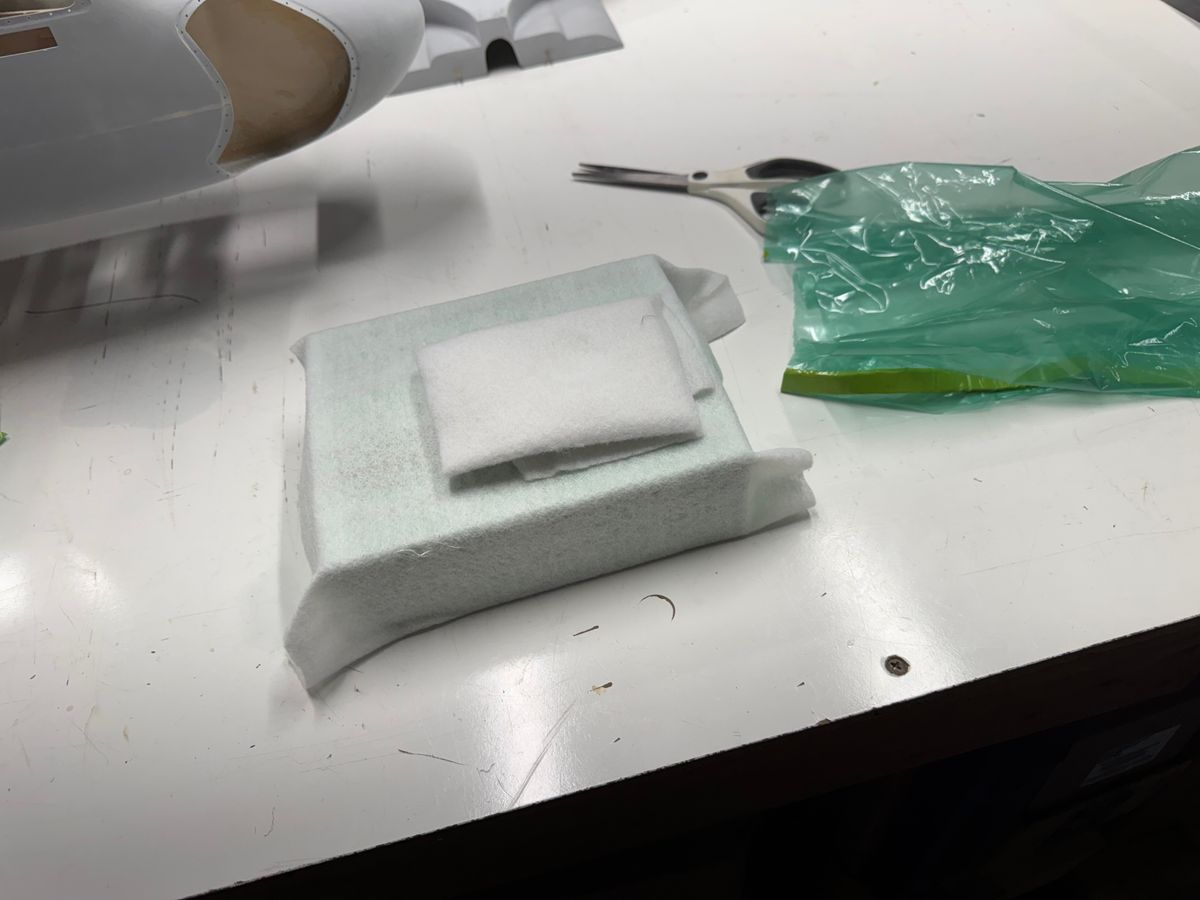
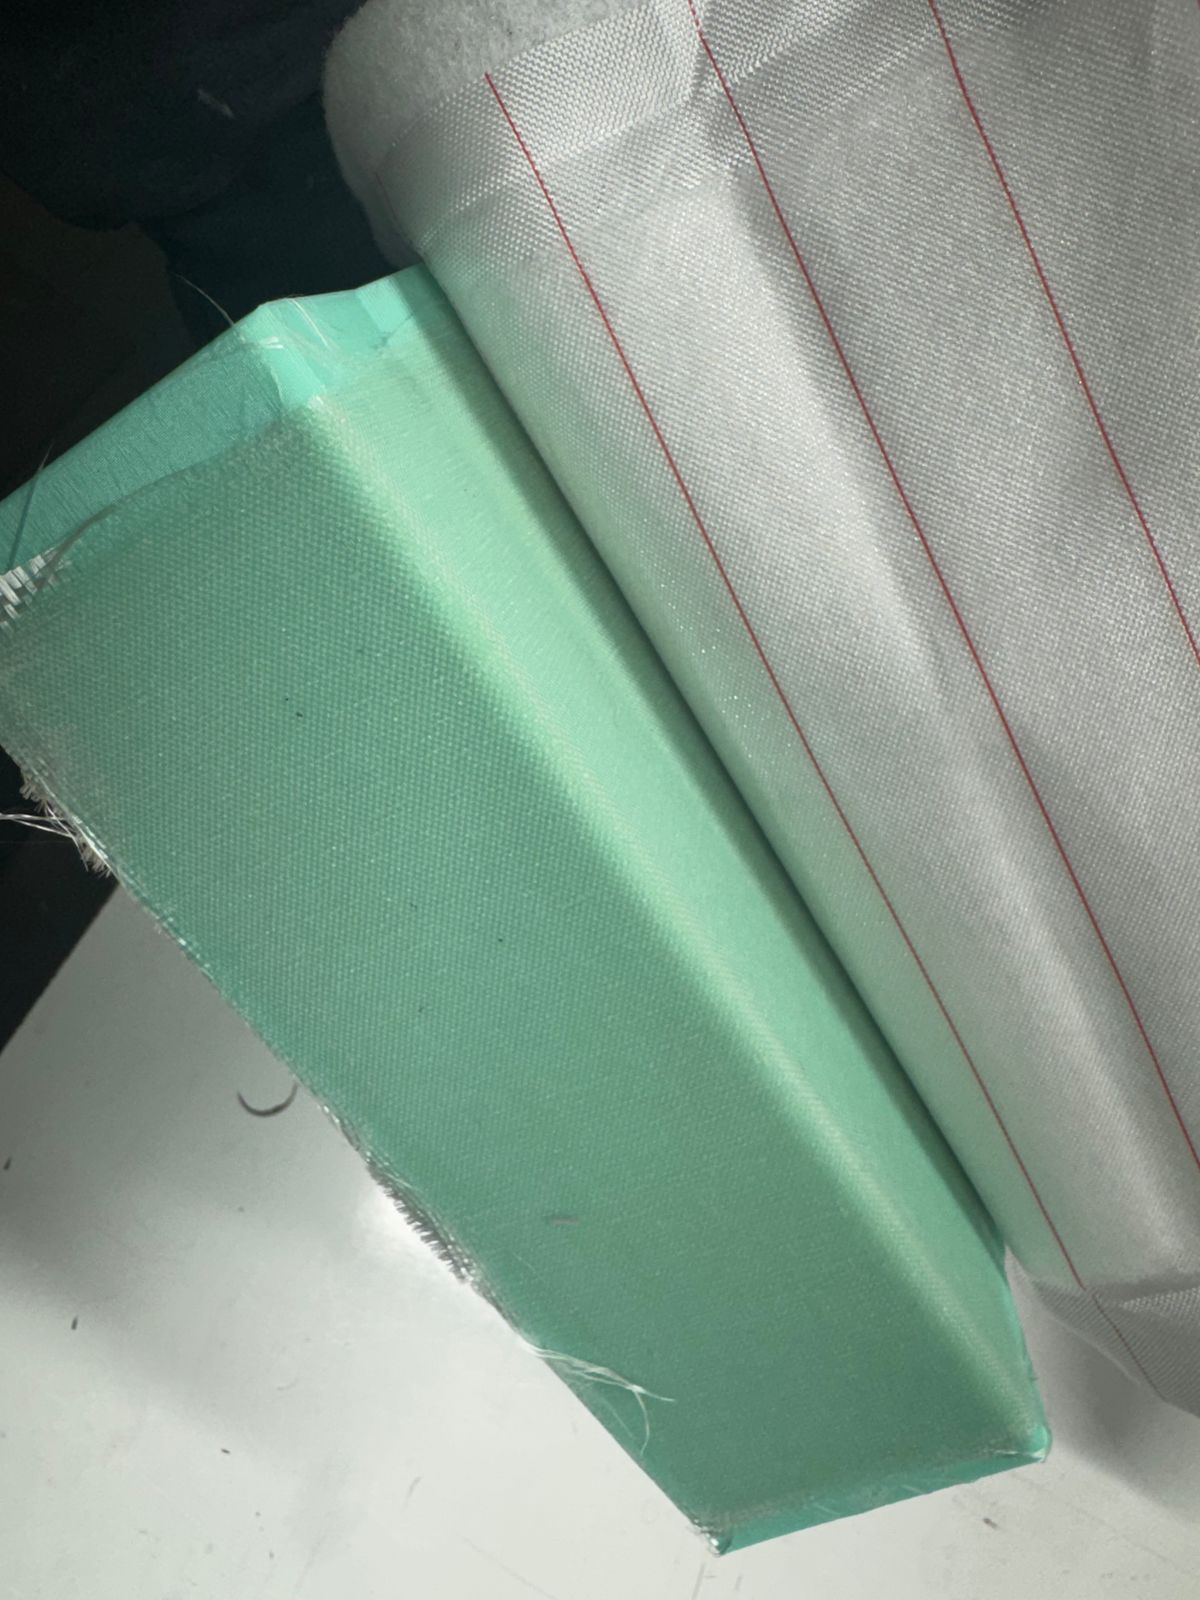
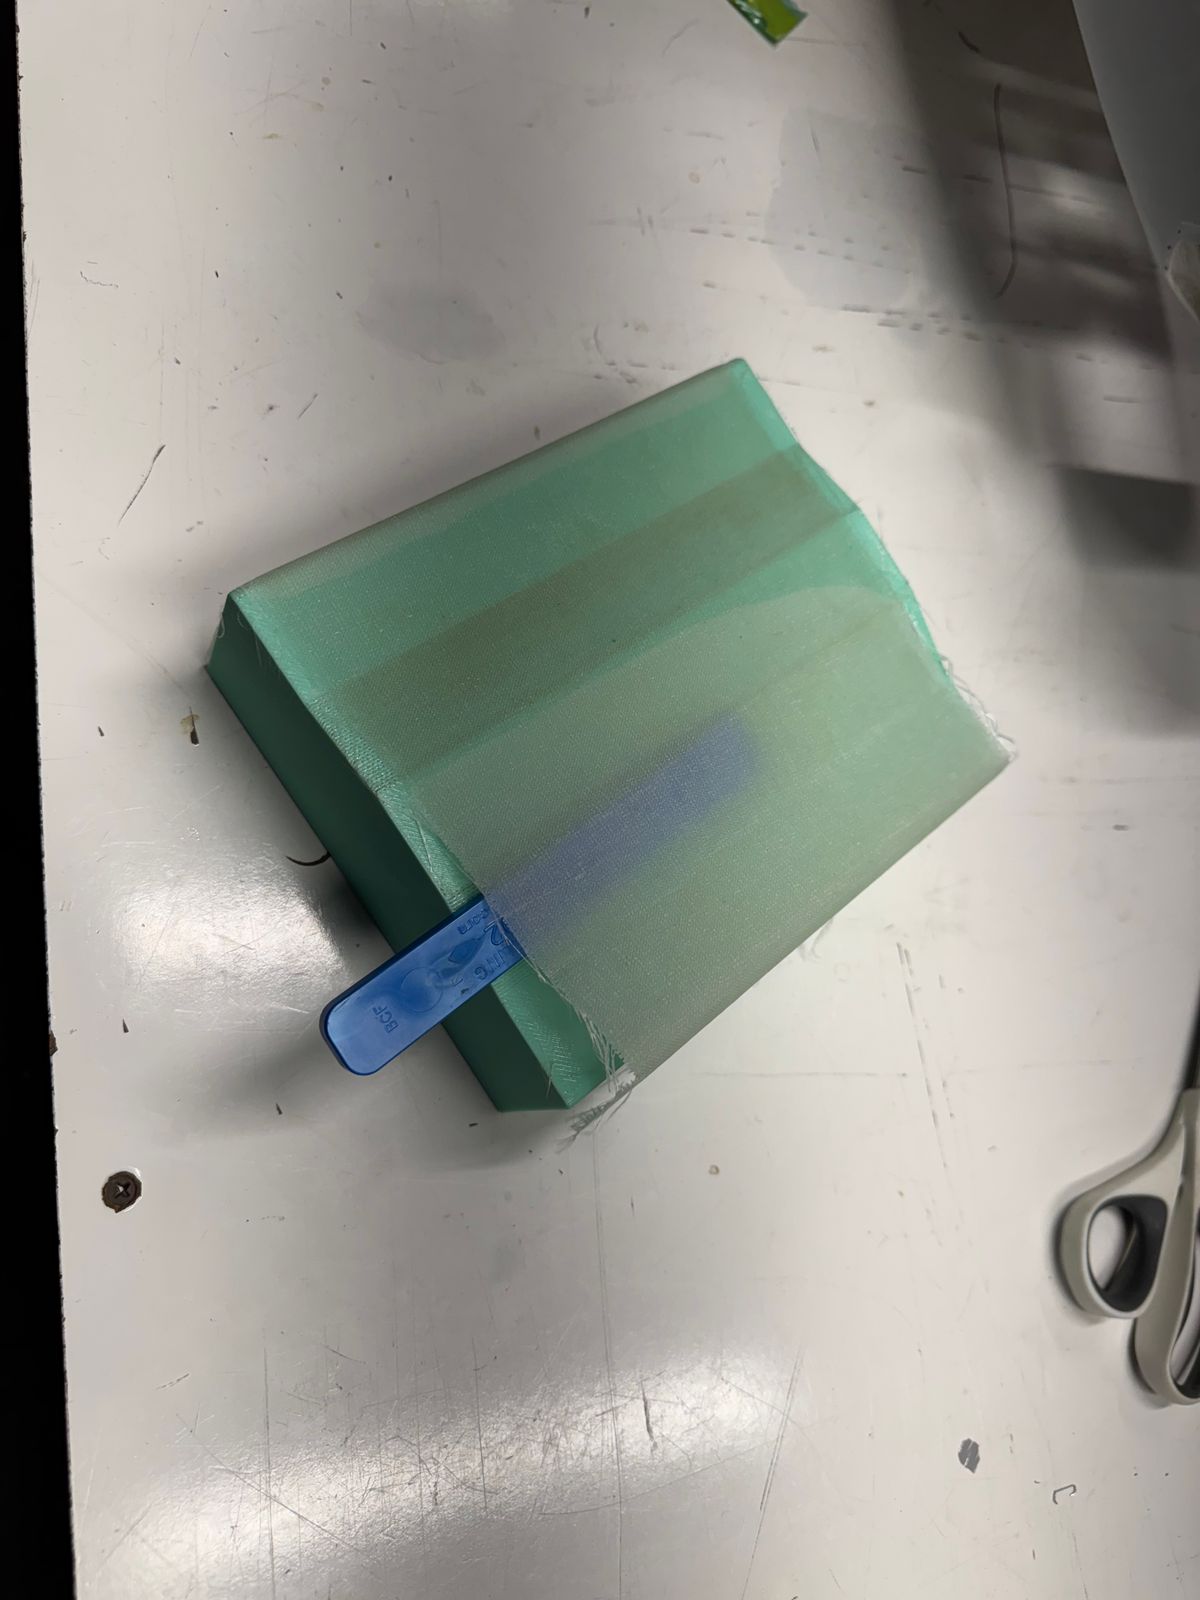
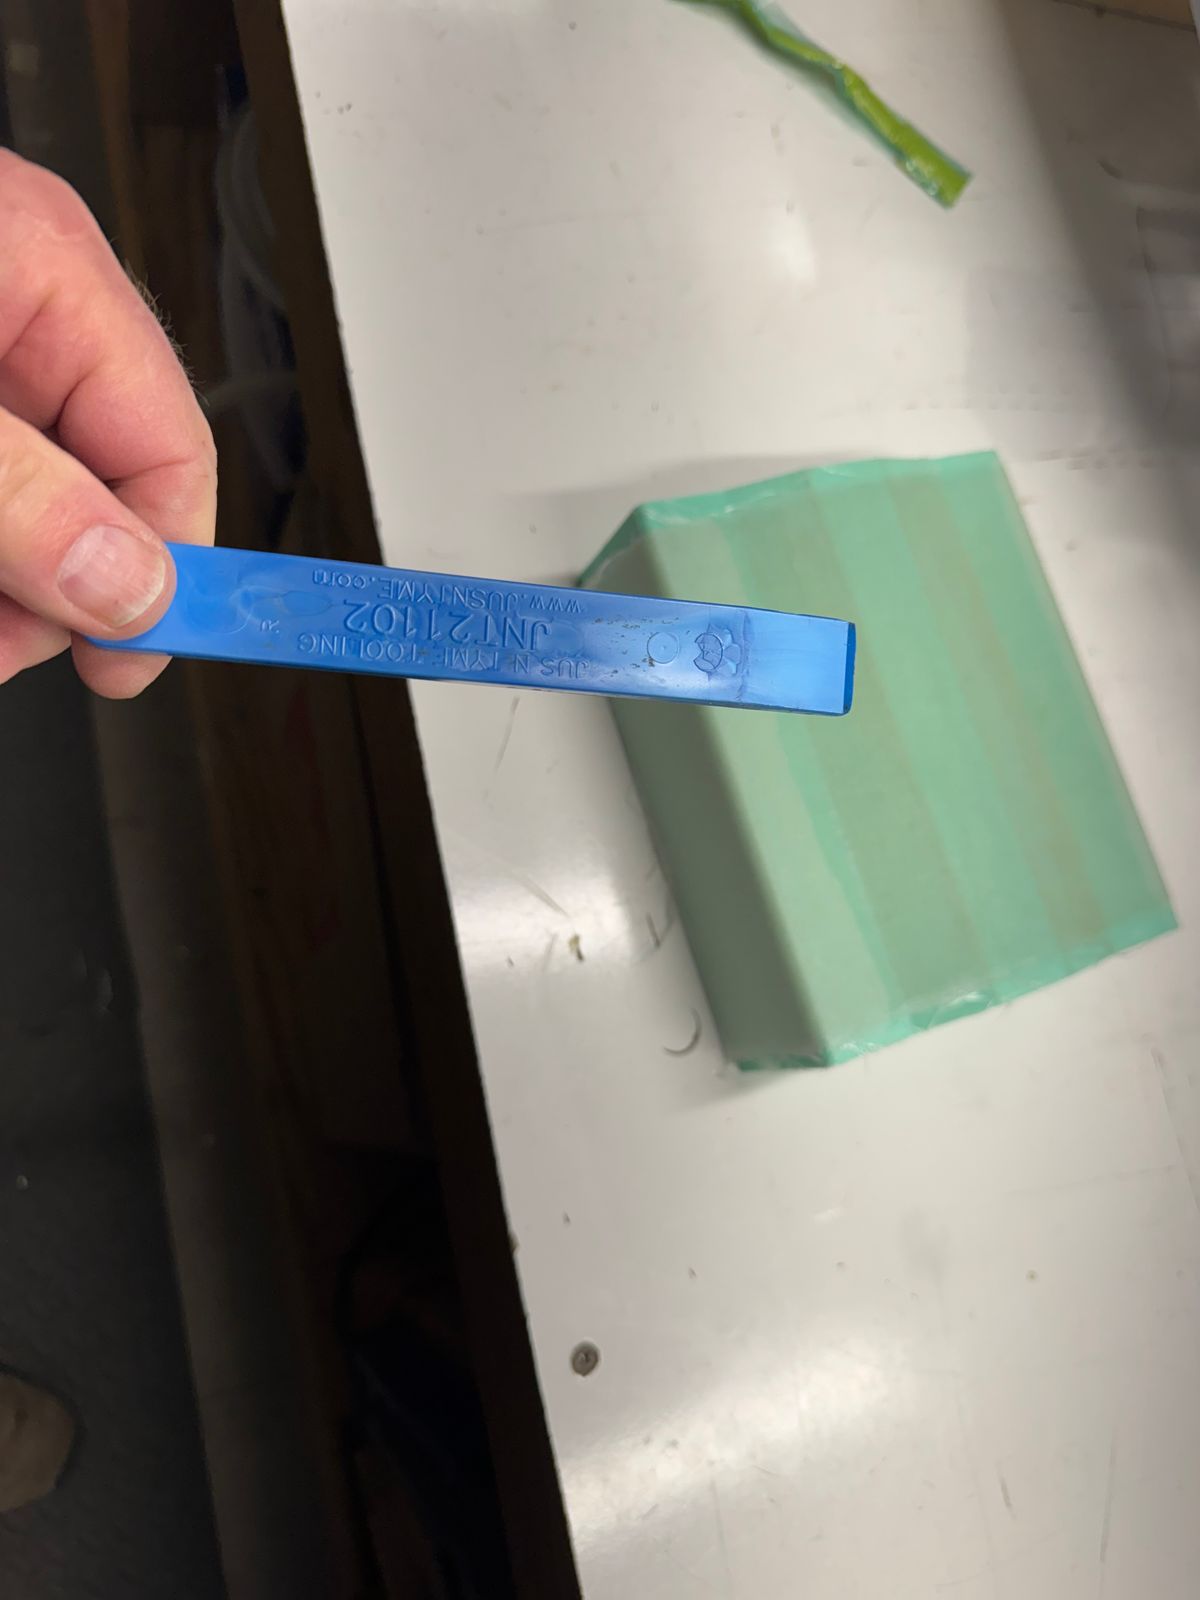
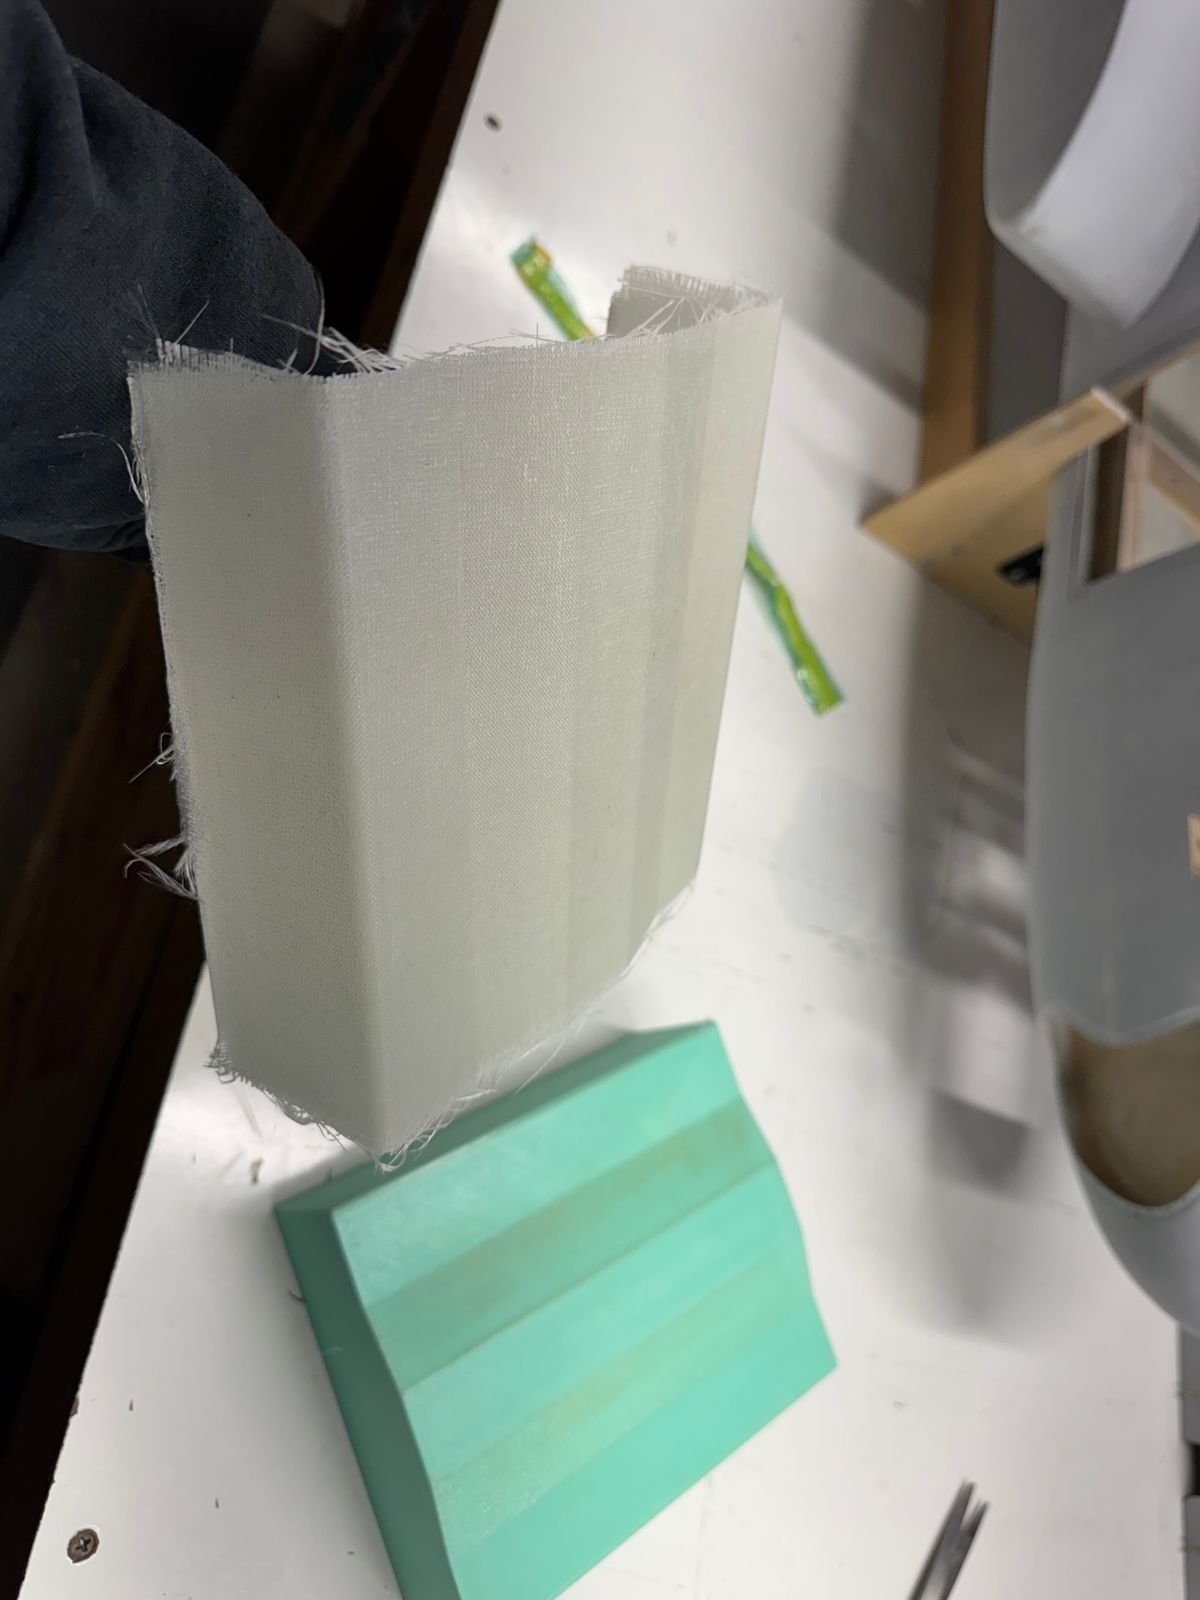
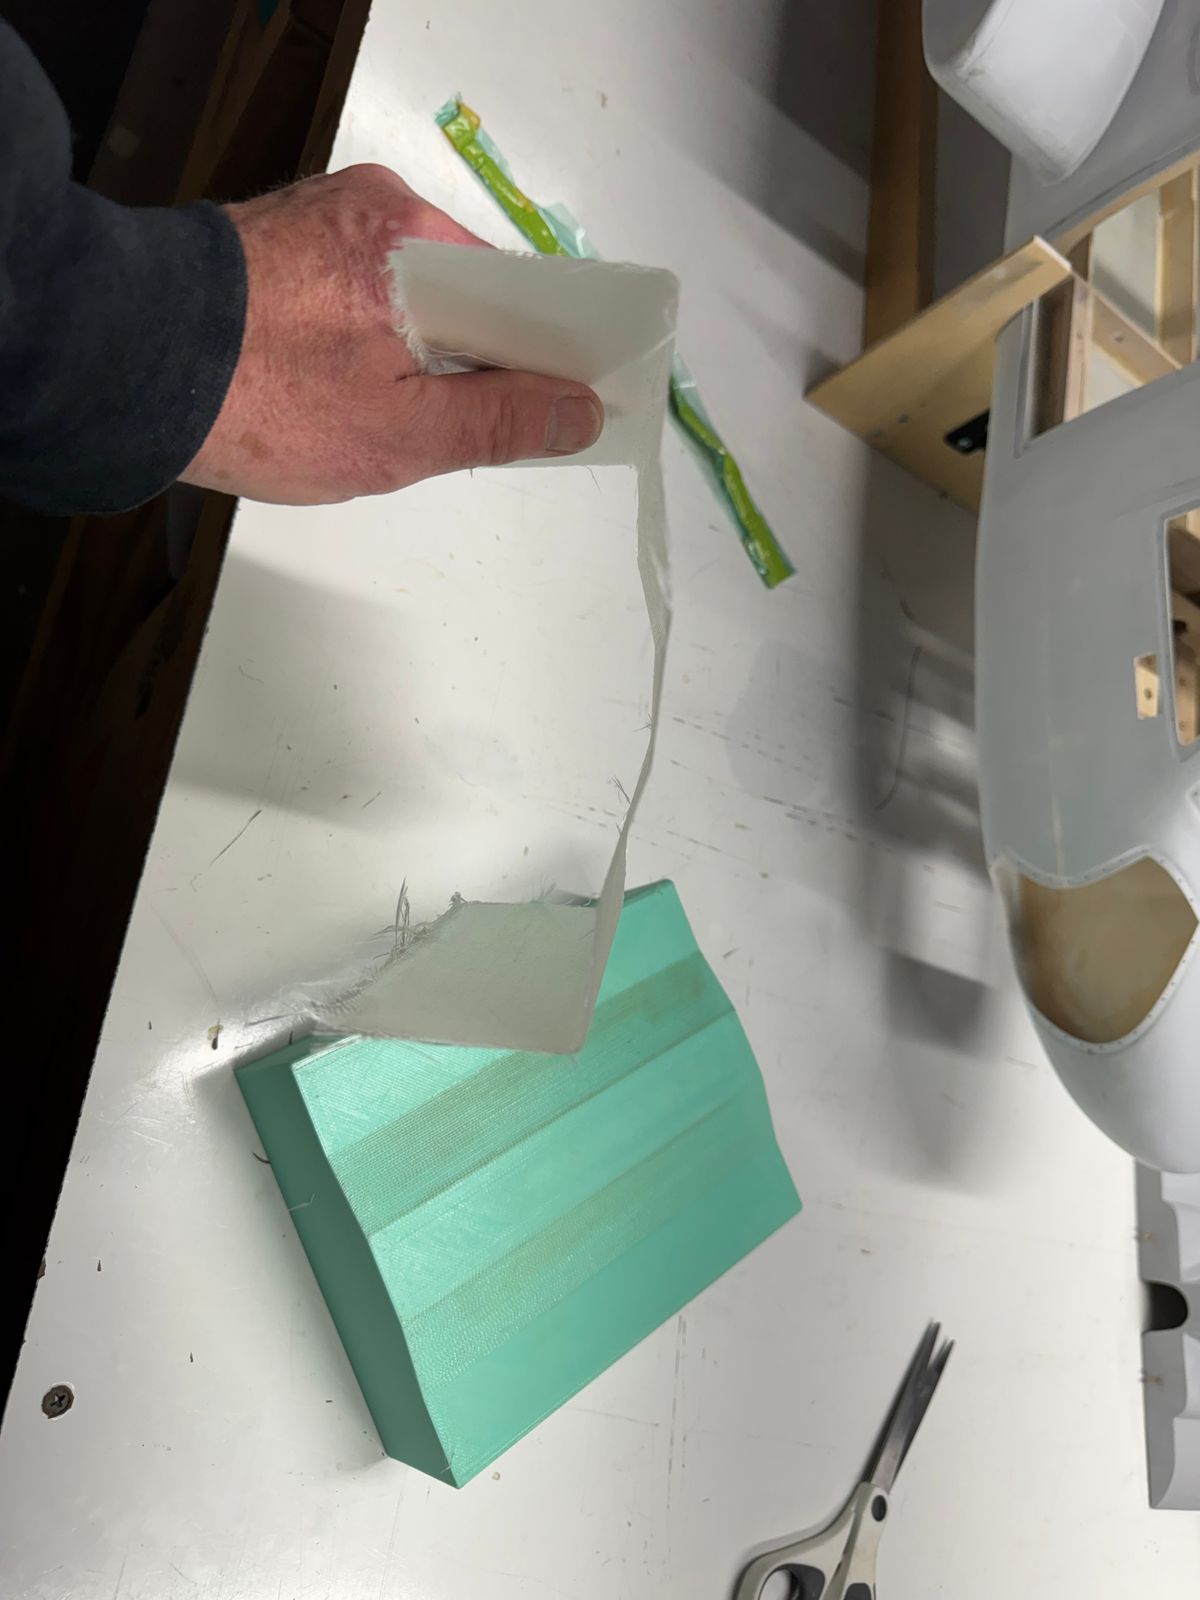
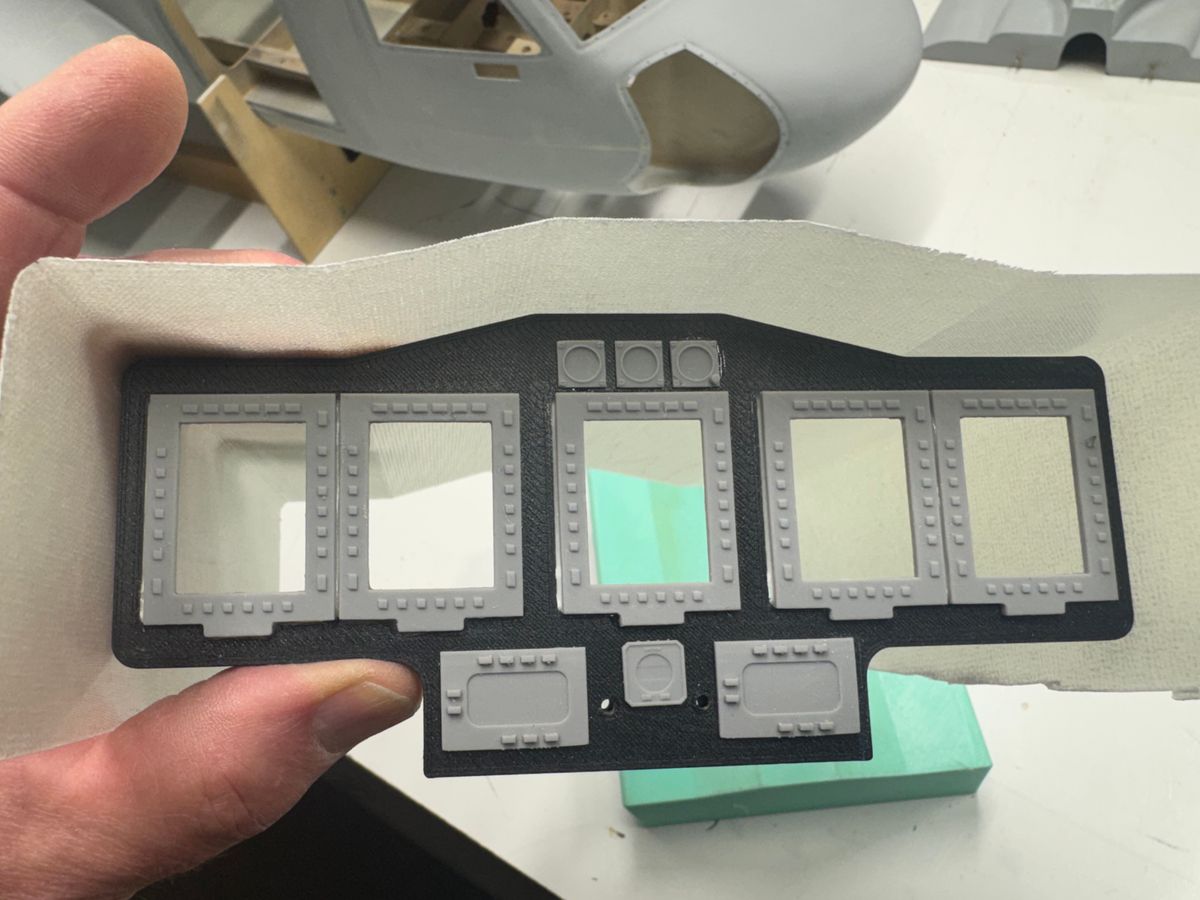
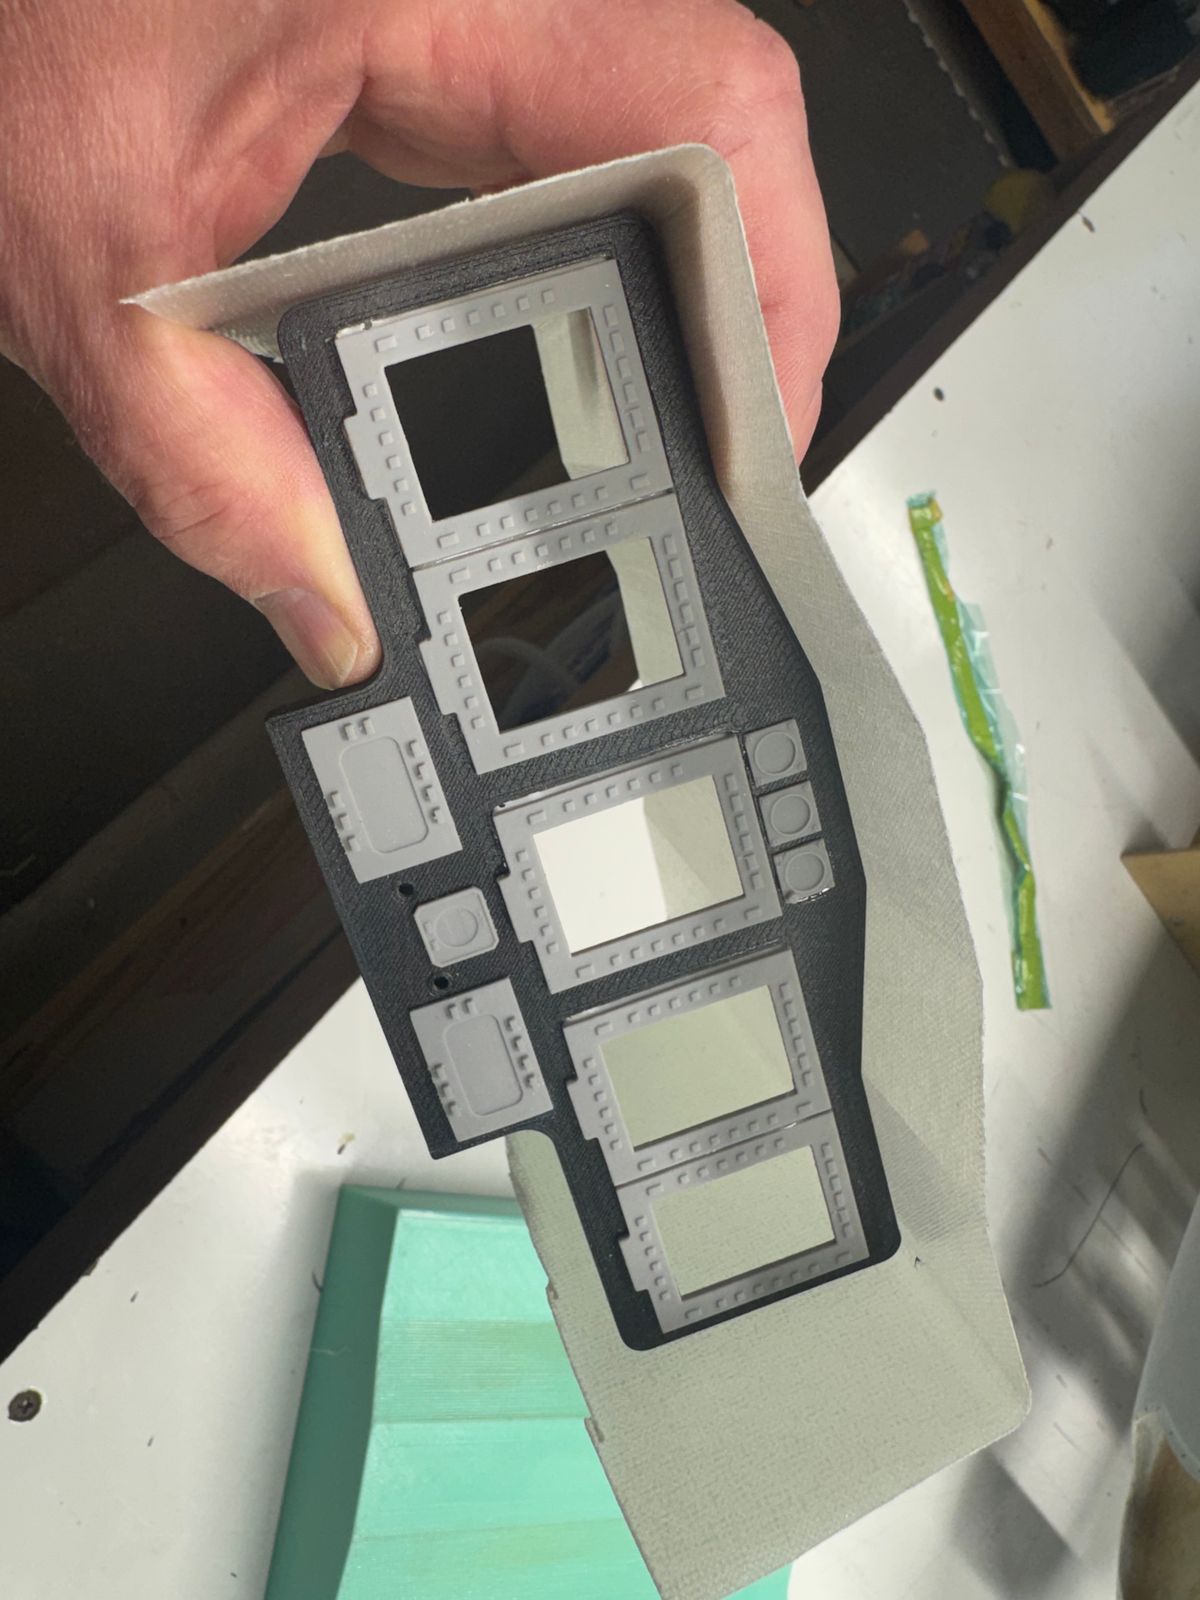
I got a little primer on the IP which brought out the detail in the panel. The end panel will be satin black then to add all the painted detail but there is plenty of time for that. Made a glare shield/bust cover from a printed mold. Used a few layers of 2oz, 4 oz and 6oz fabric, then vacuum bagged it for a nice finish. Came out pretty nice.
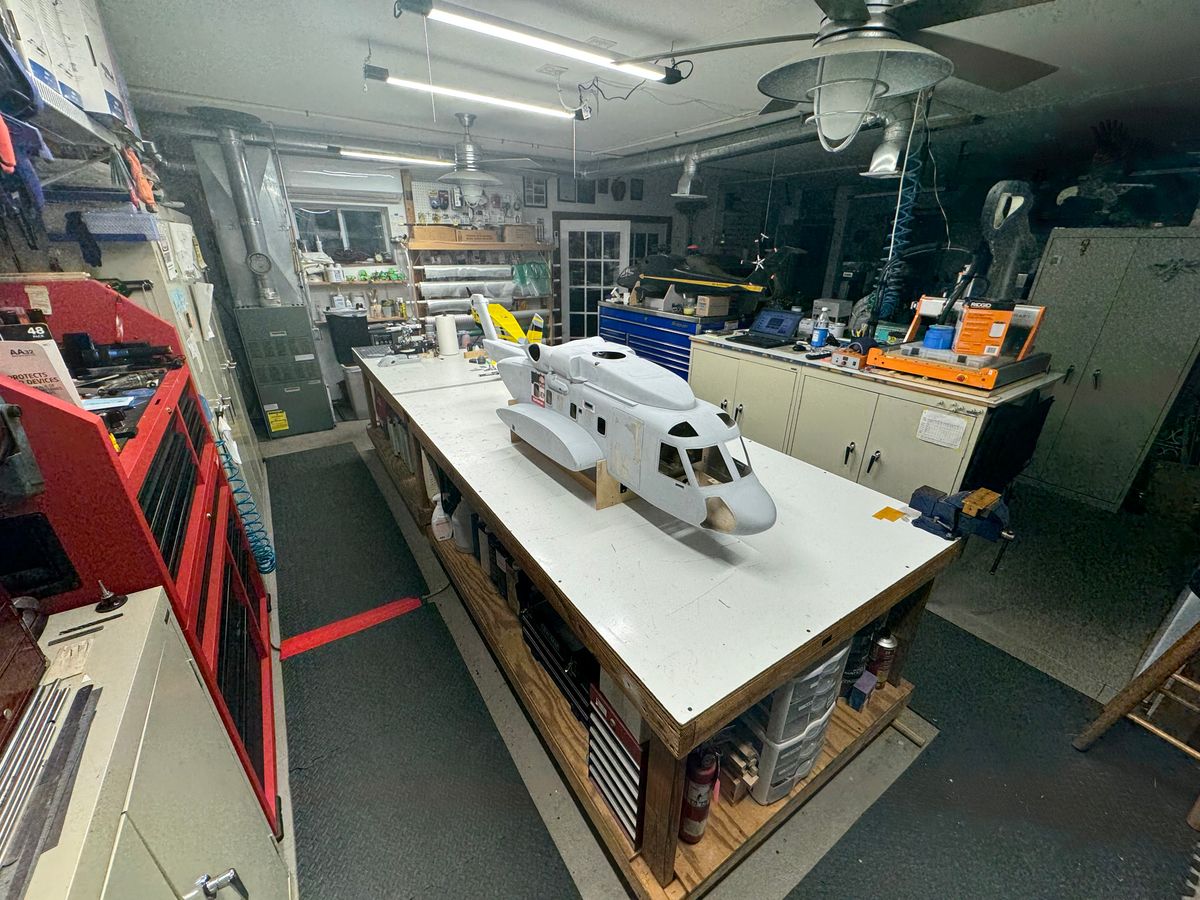
After all this Monday was a “clean the shop day”. I always work with a “clean as you go” process. That does make it much easier after a busy work weekend.
Some photos.
Thanks for dropping by,
UIH,
B.
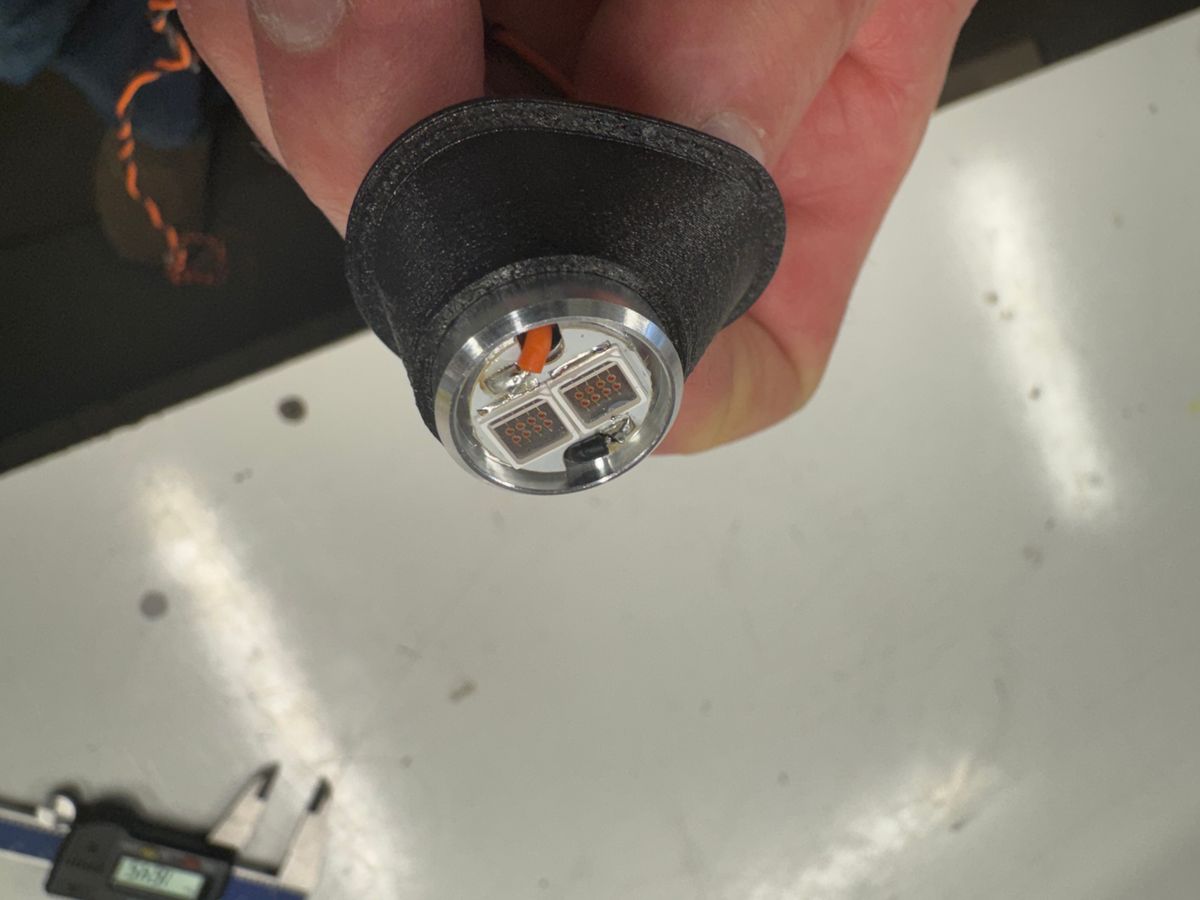
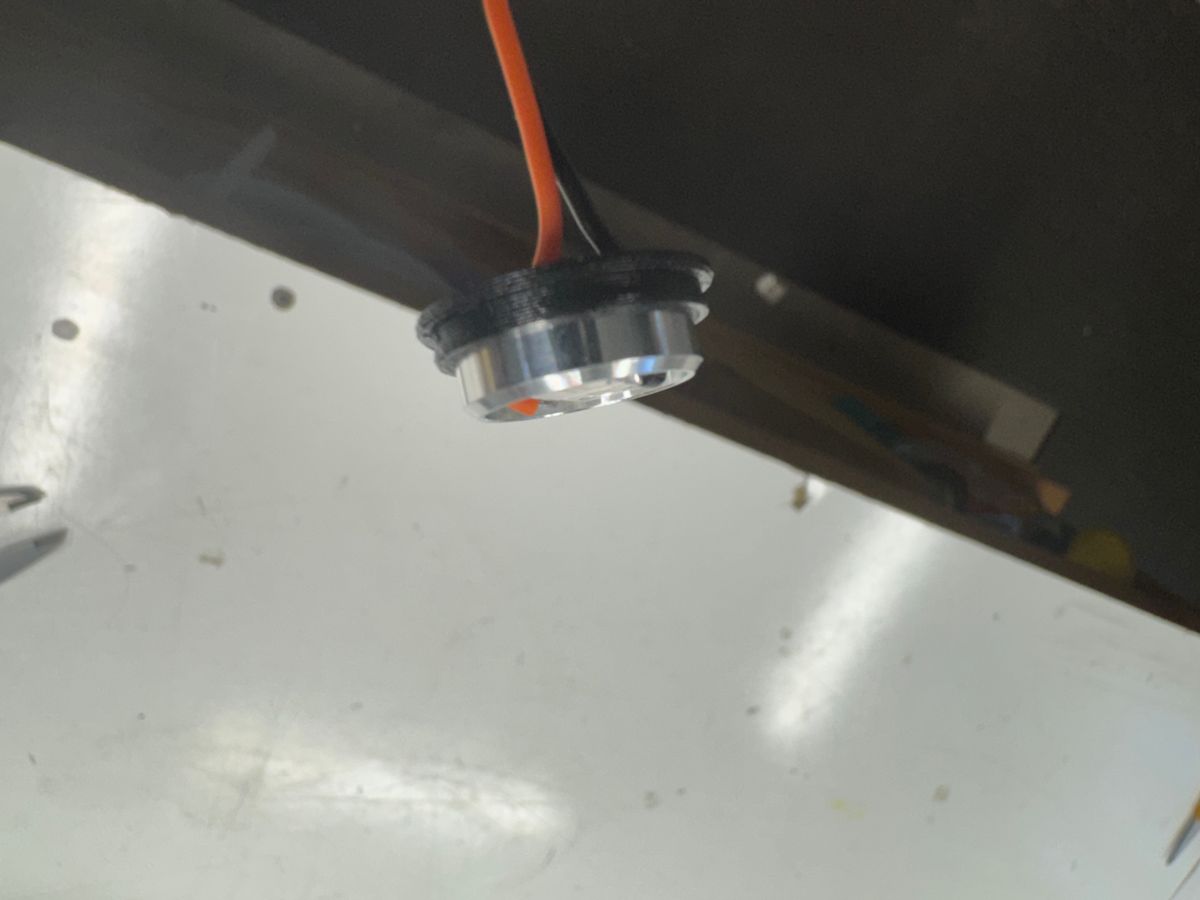
“Jerry Was a Race car driver”
Yea but recently "Jerry" has been moving a little slow.
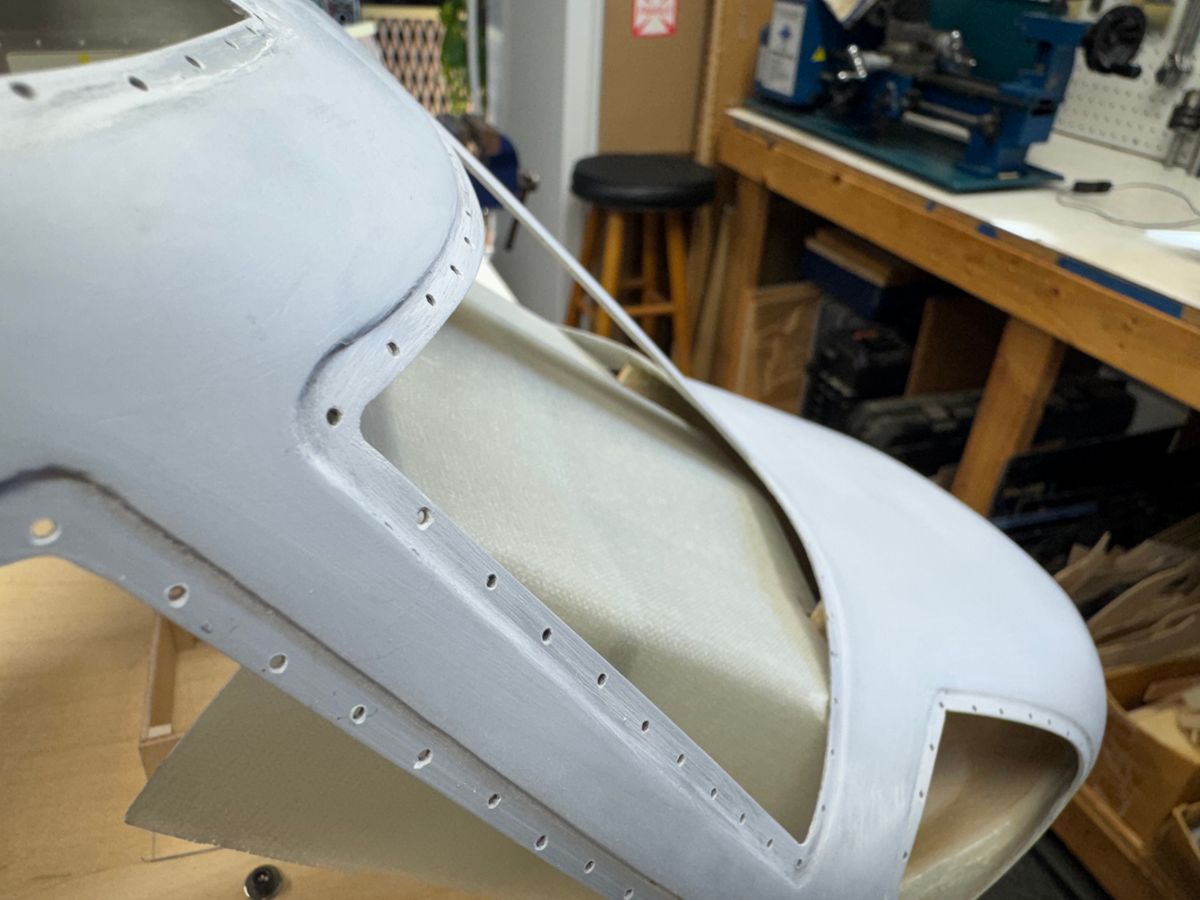
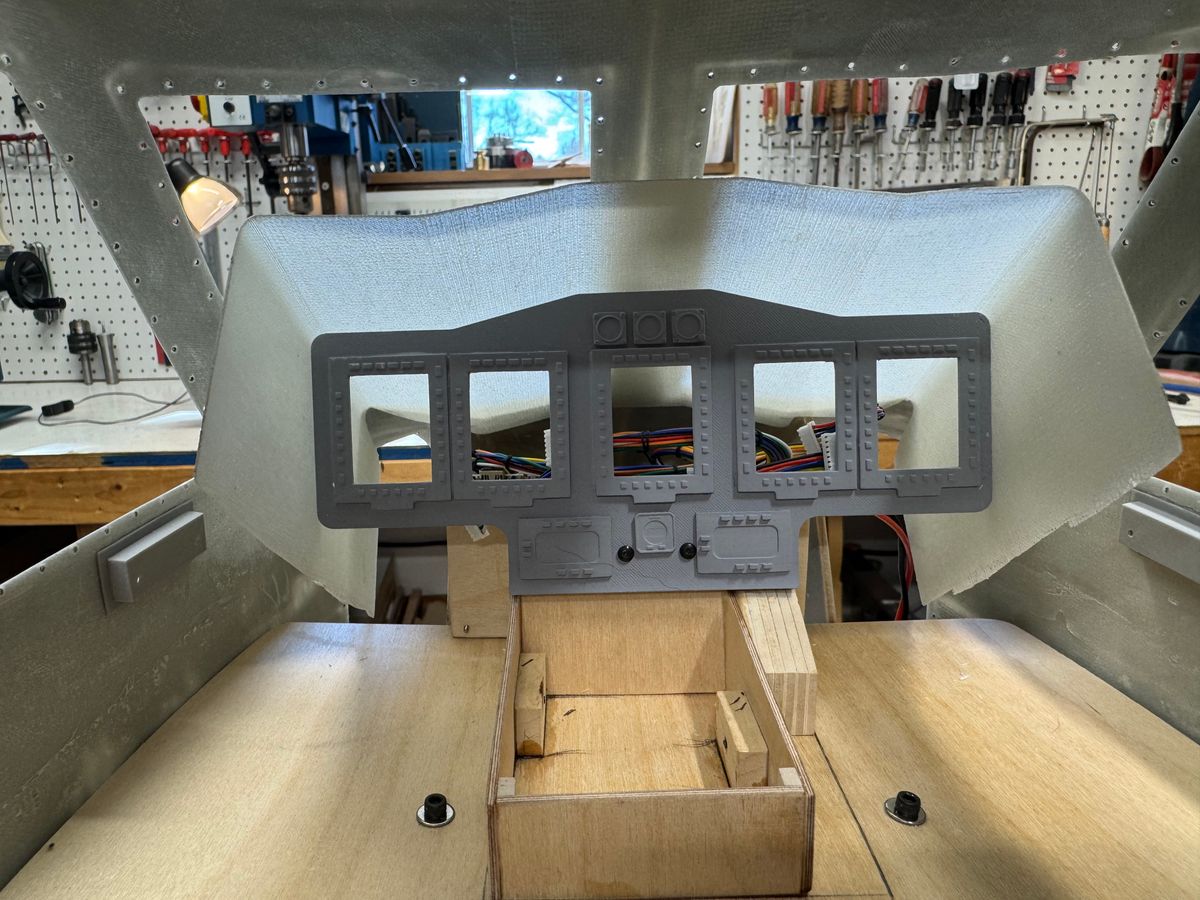
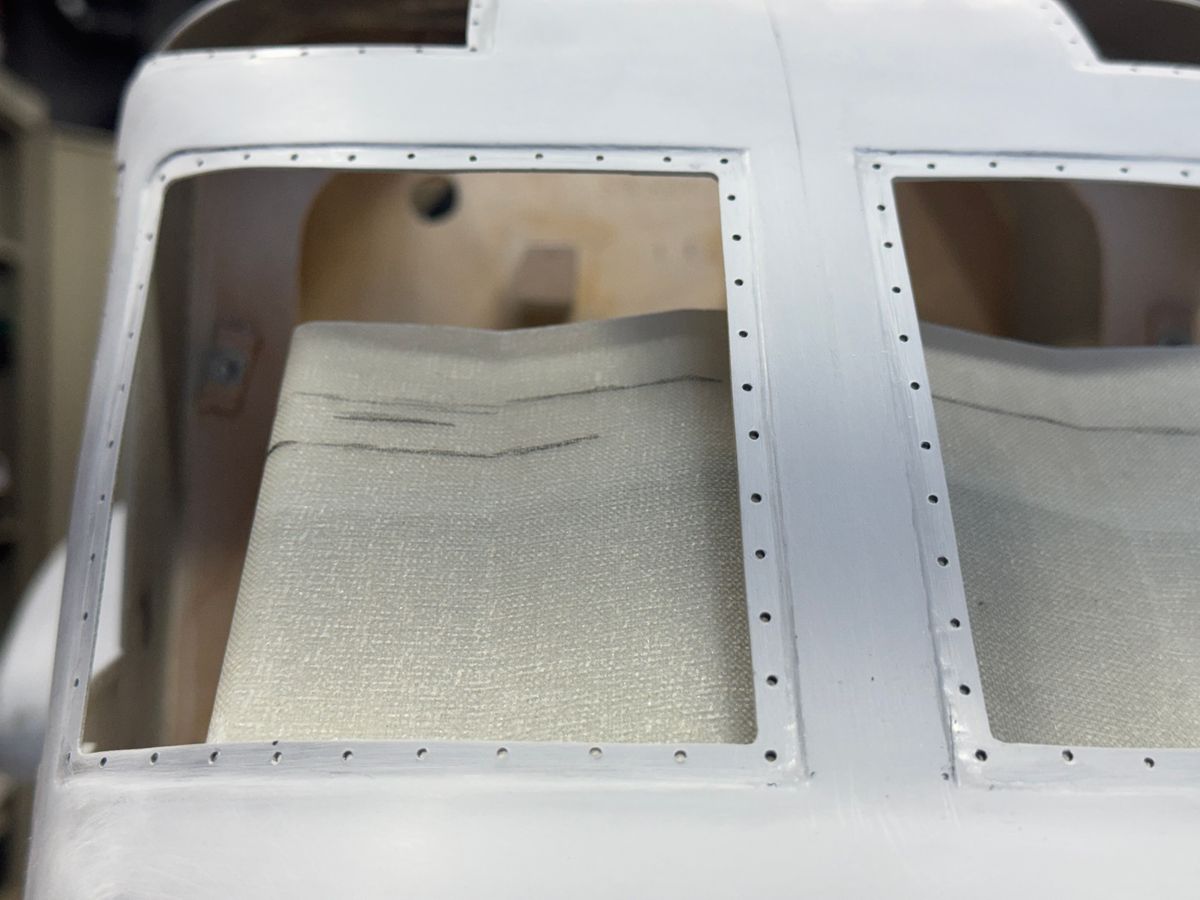
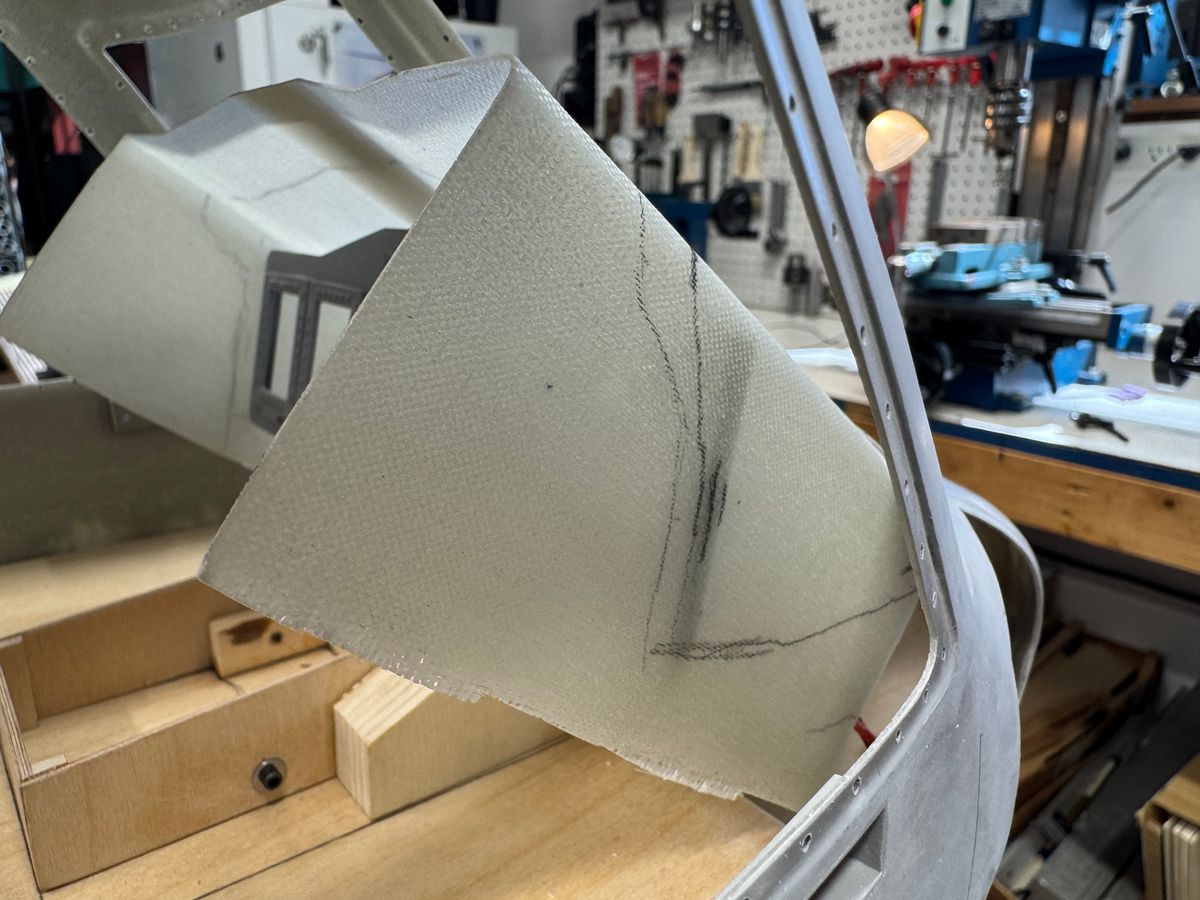
I find when building something from scratch, many times there is more “thought” that goes into a specific task than “action”. The reasons are numerous but mainly to insure your thoughts on completing the task with little to no “rework”. I really do not like doing my own rework. Case in point, the cockpit glare shield.
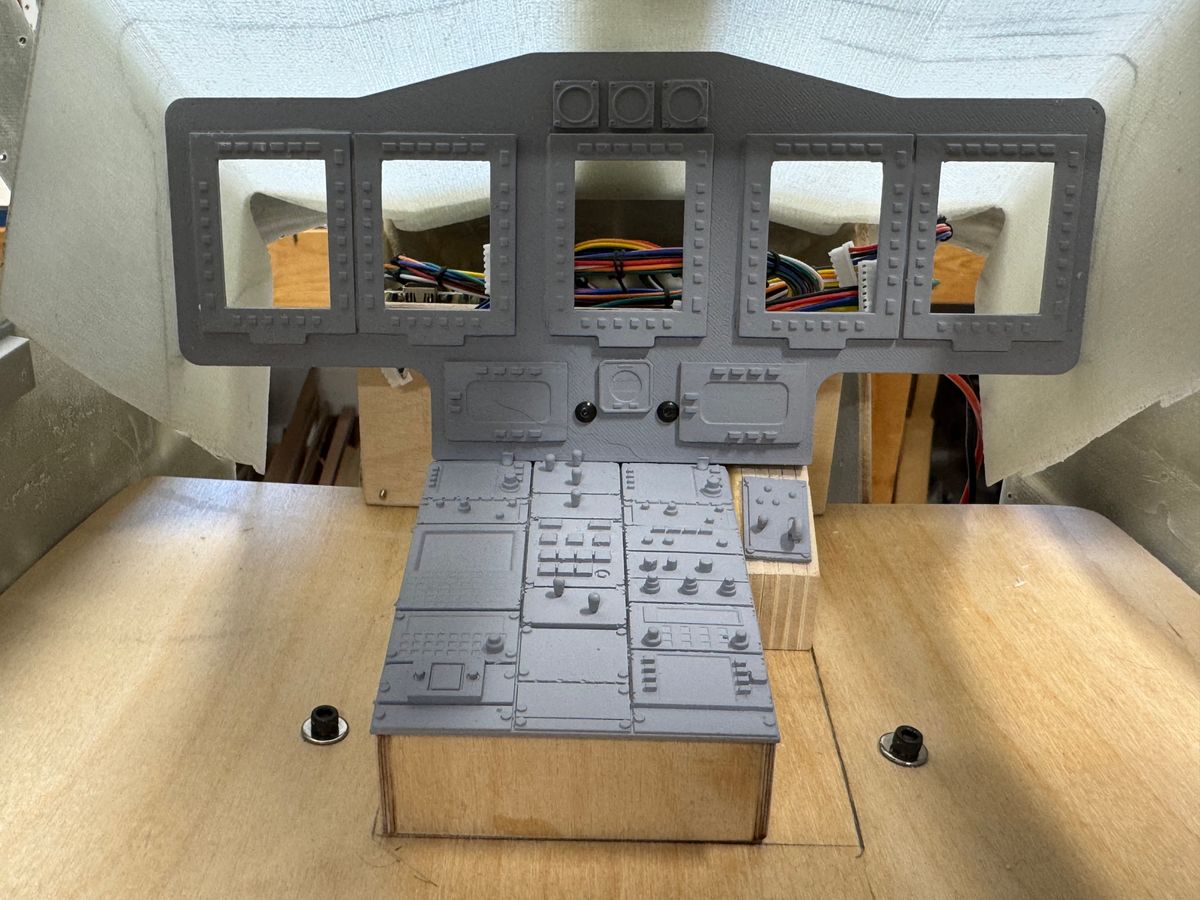
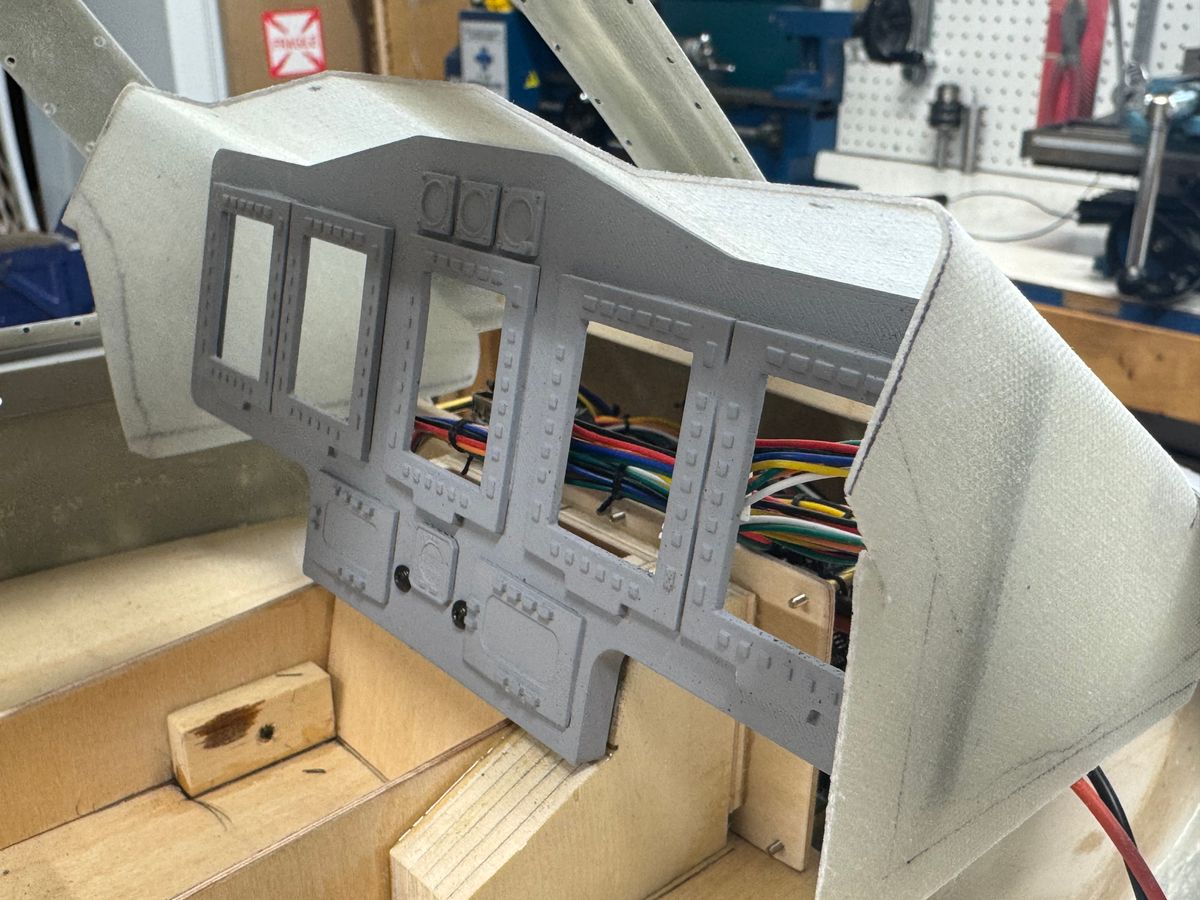
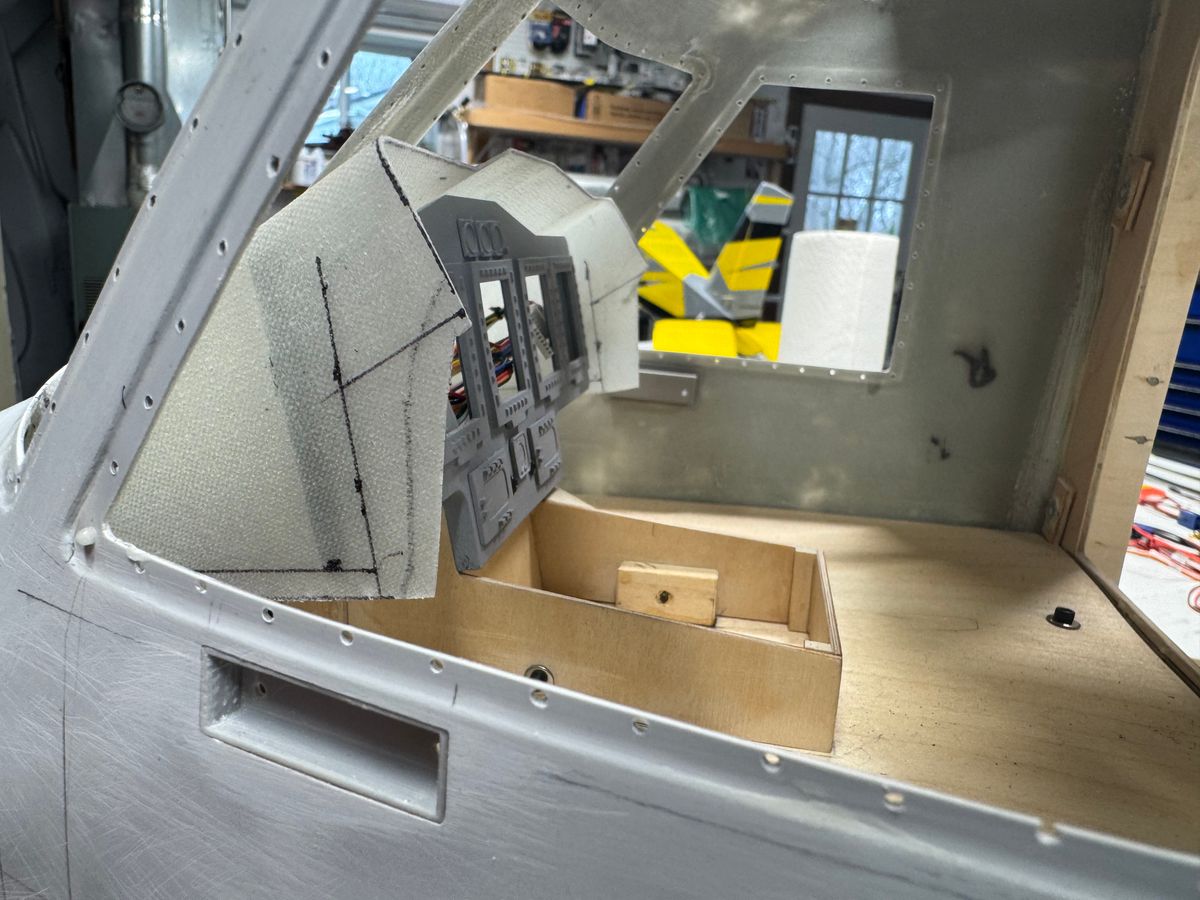
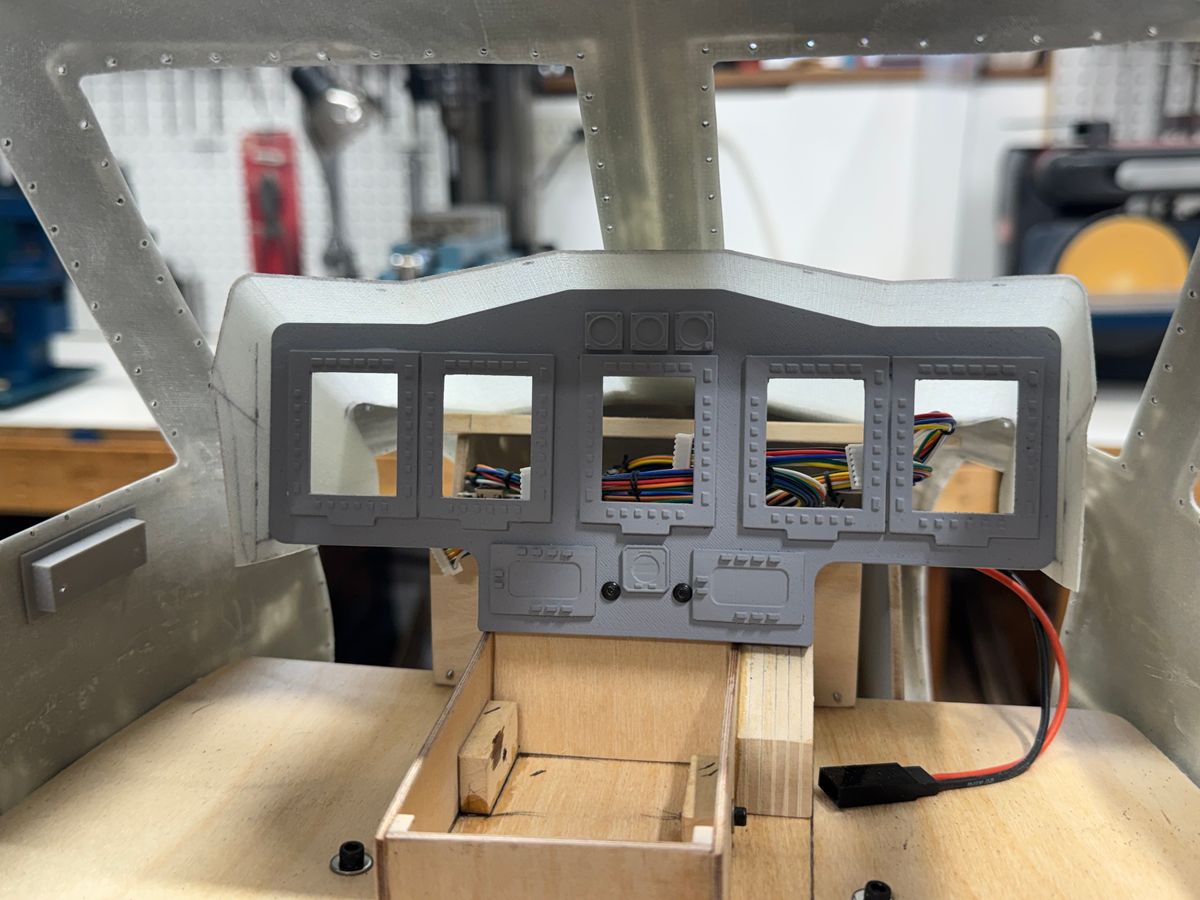
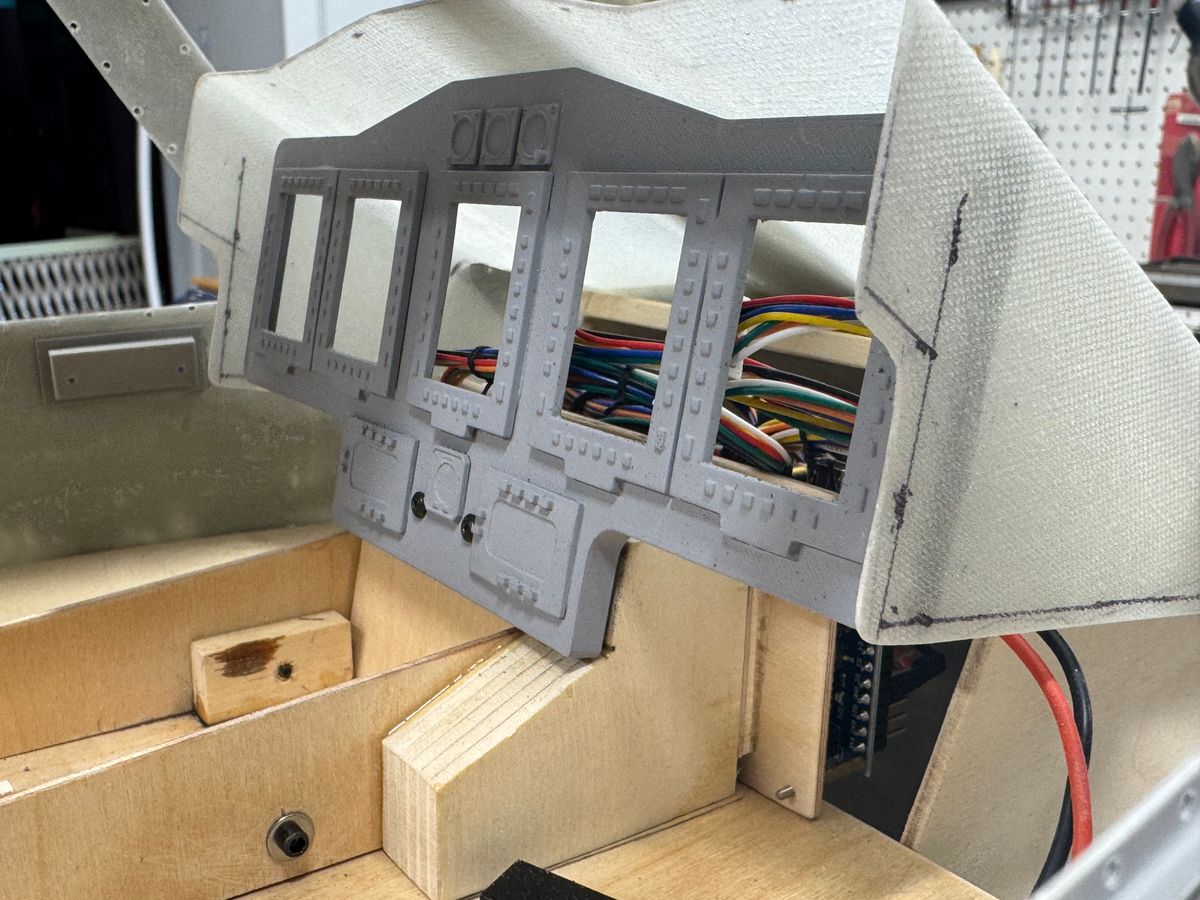
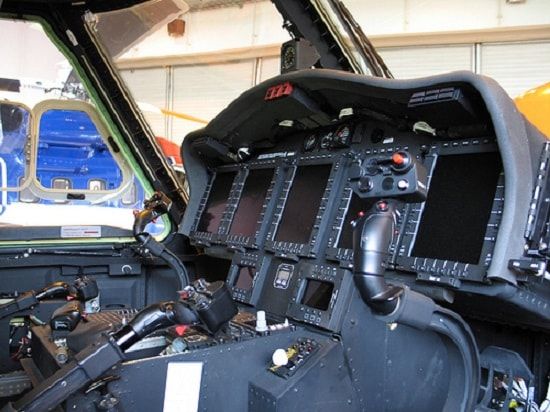
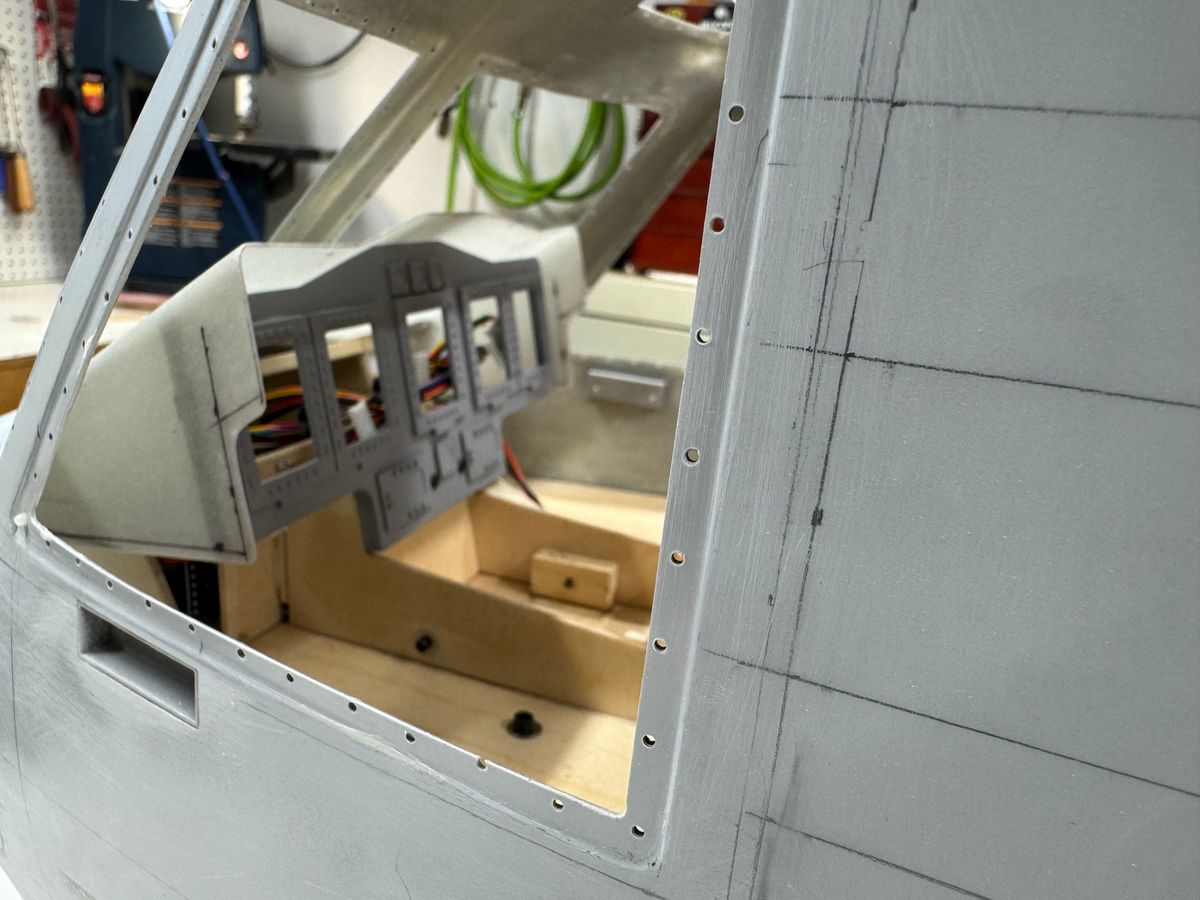
Getting the displays positioned correctly in the IP, the correct mounting of the displays with the drivers, making removal and installation fairly easy, making a blank glare shield then fitting it together in one comprehensive unit, can be a bit trying.
This past weekend, I began fitting my scatter-brain thoughts into one “loosely gathered thought” and went for it. To my “chagrin” things fit together fairly well. A little trim here, a little trim there and we are in the ball park.
I let this sit for a bit checking to see if the little animals appeared at night to continue the process. It would seam they are on extended holiday. I will be back at it this weekend in between Easter Festivities.
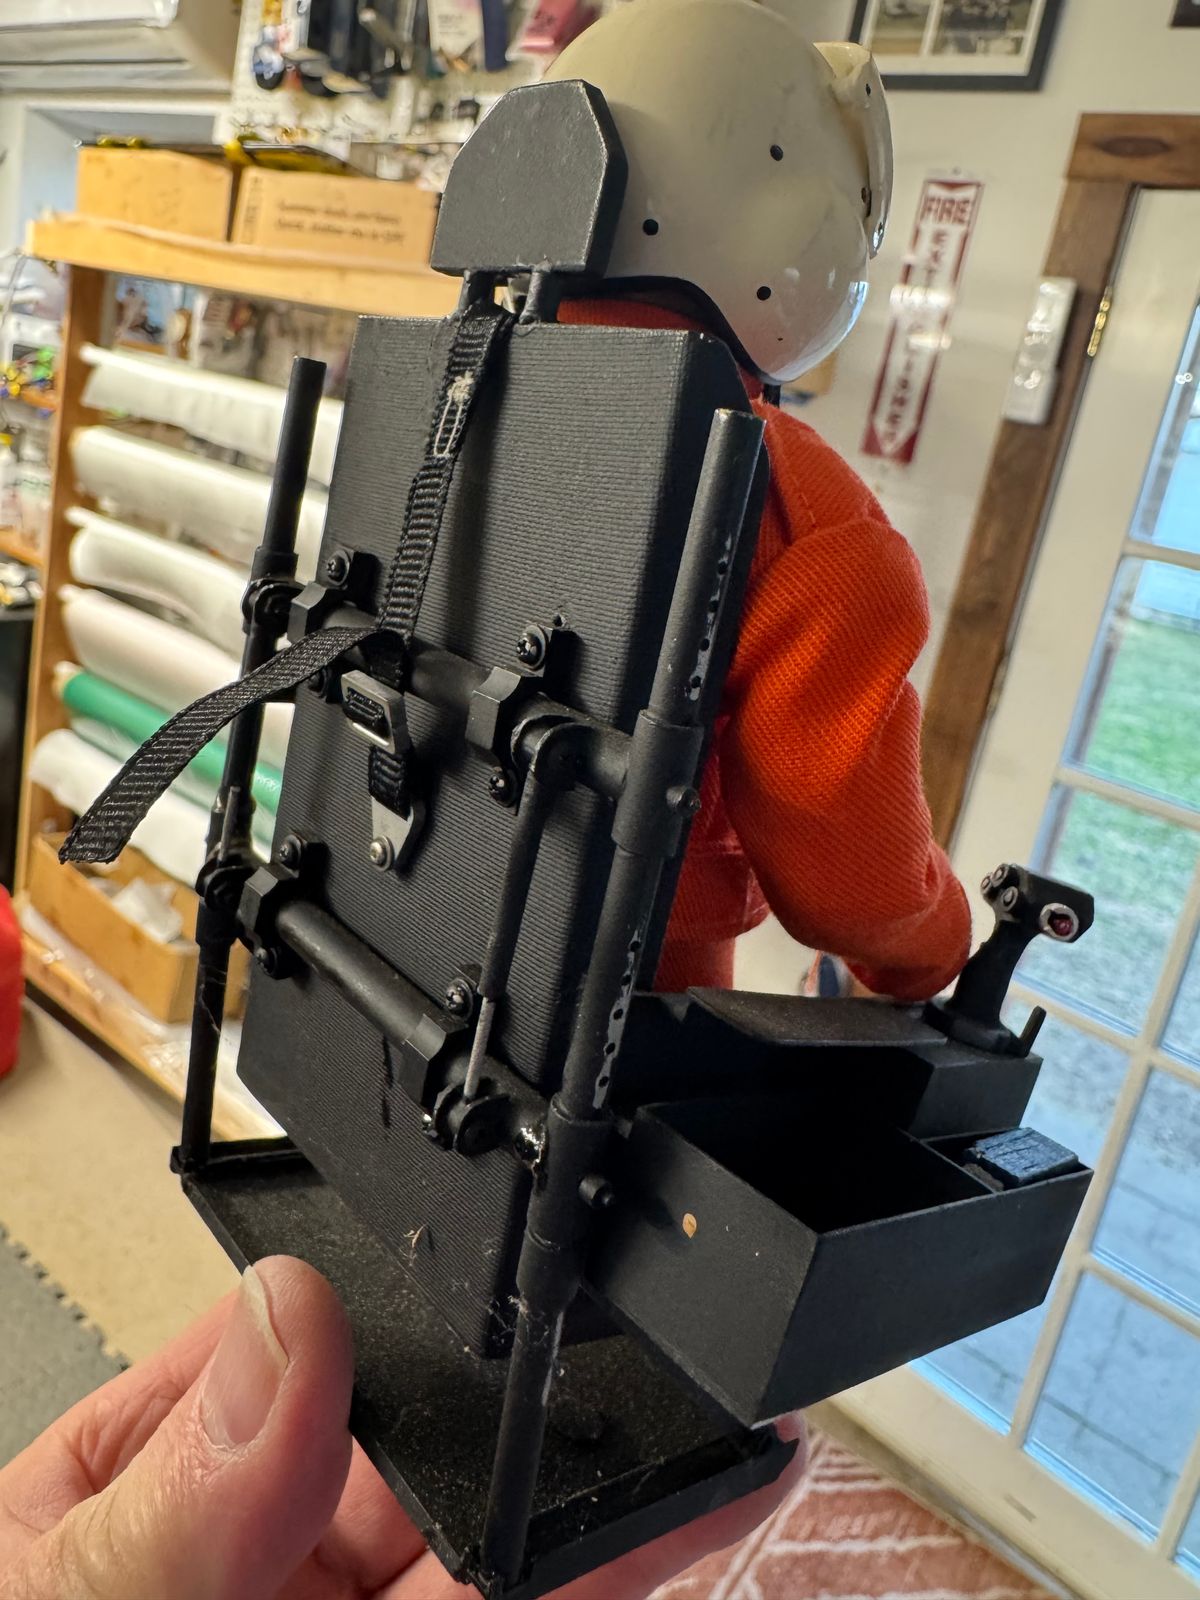
I threw in one of my Comanche seats and pilots for sizing. I have the same pilots for 92 which will need some adjustments. The s Martin Baker seats are a work in progress.
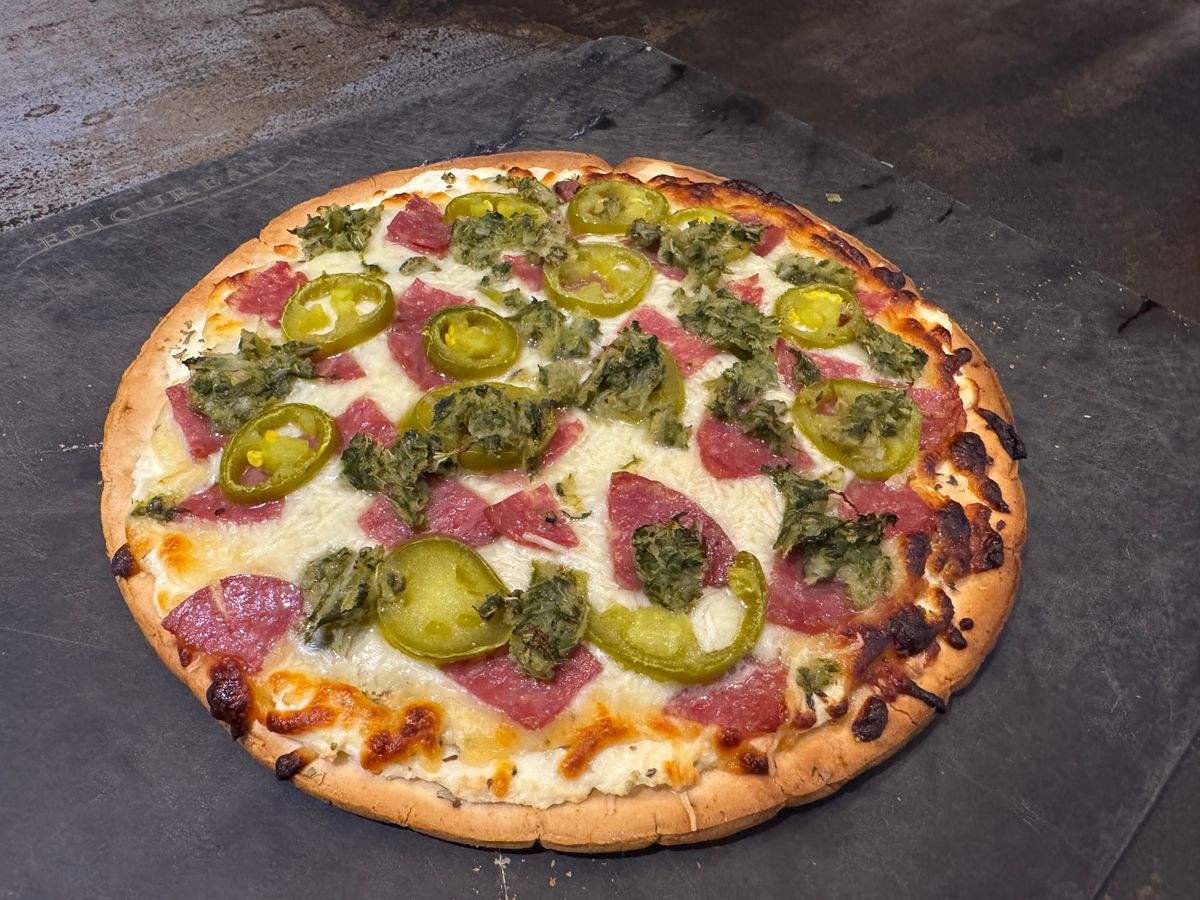
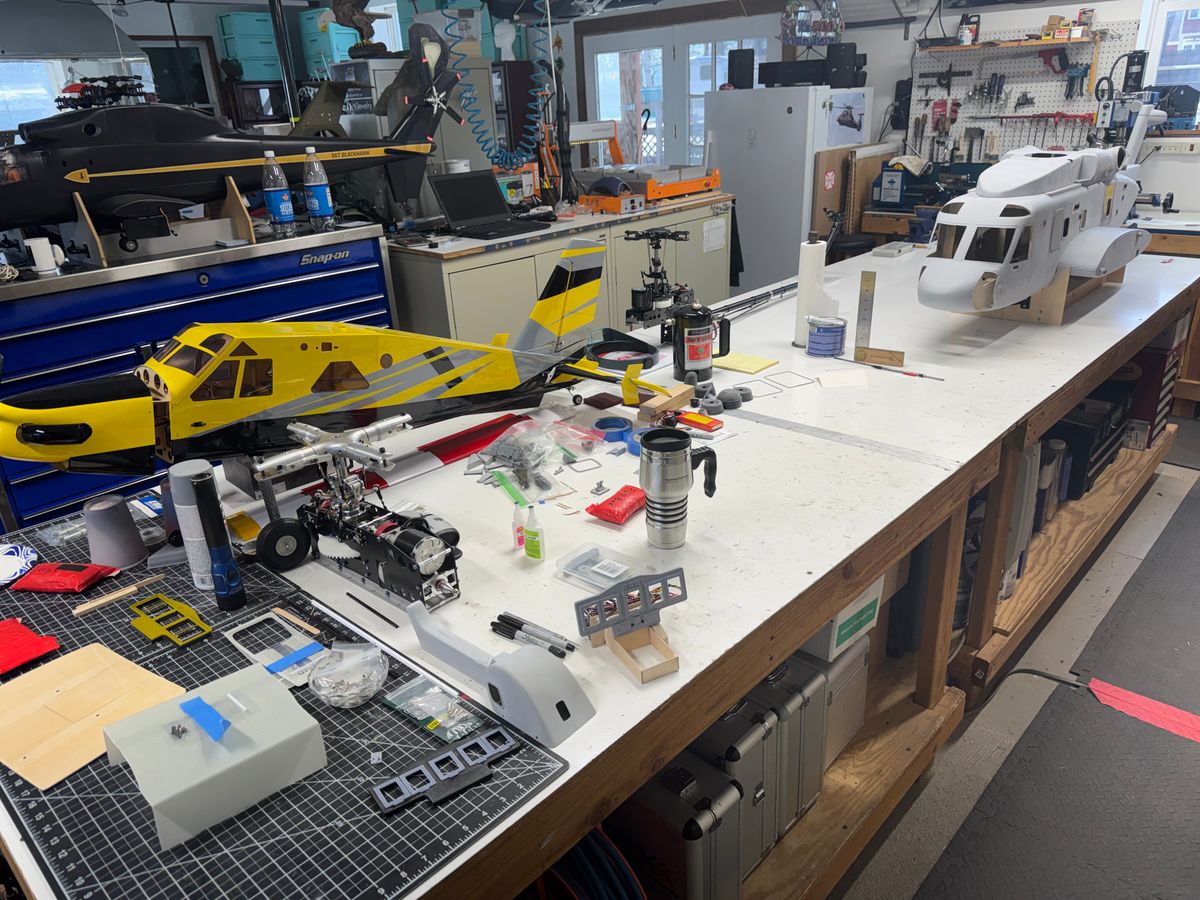
A few pics. Also a few pics of how the exterior detail is moving along and a house made pizza.
PTL
Thanks for dropping by.
UIH
B
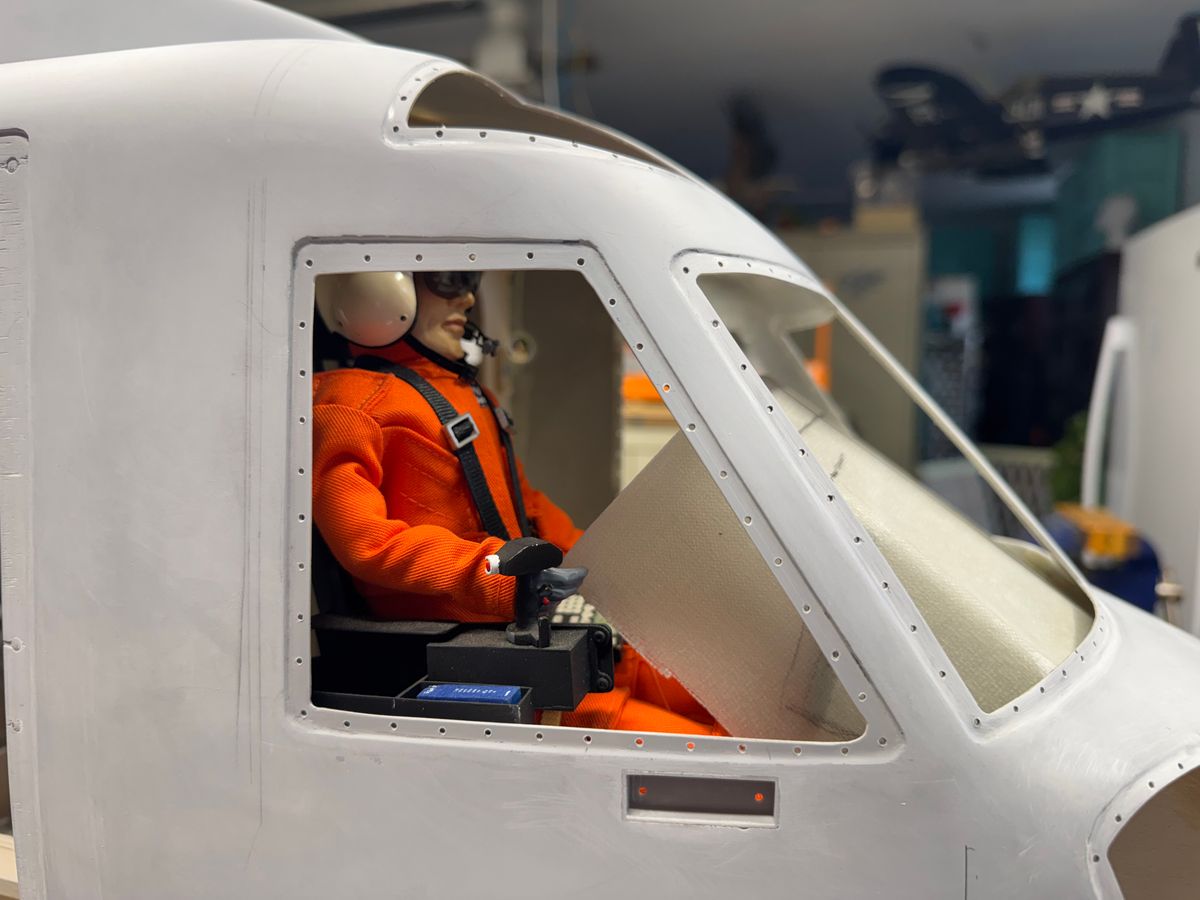
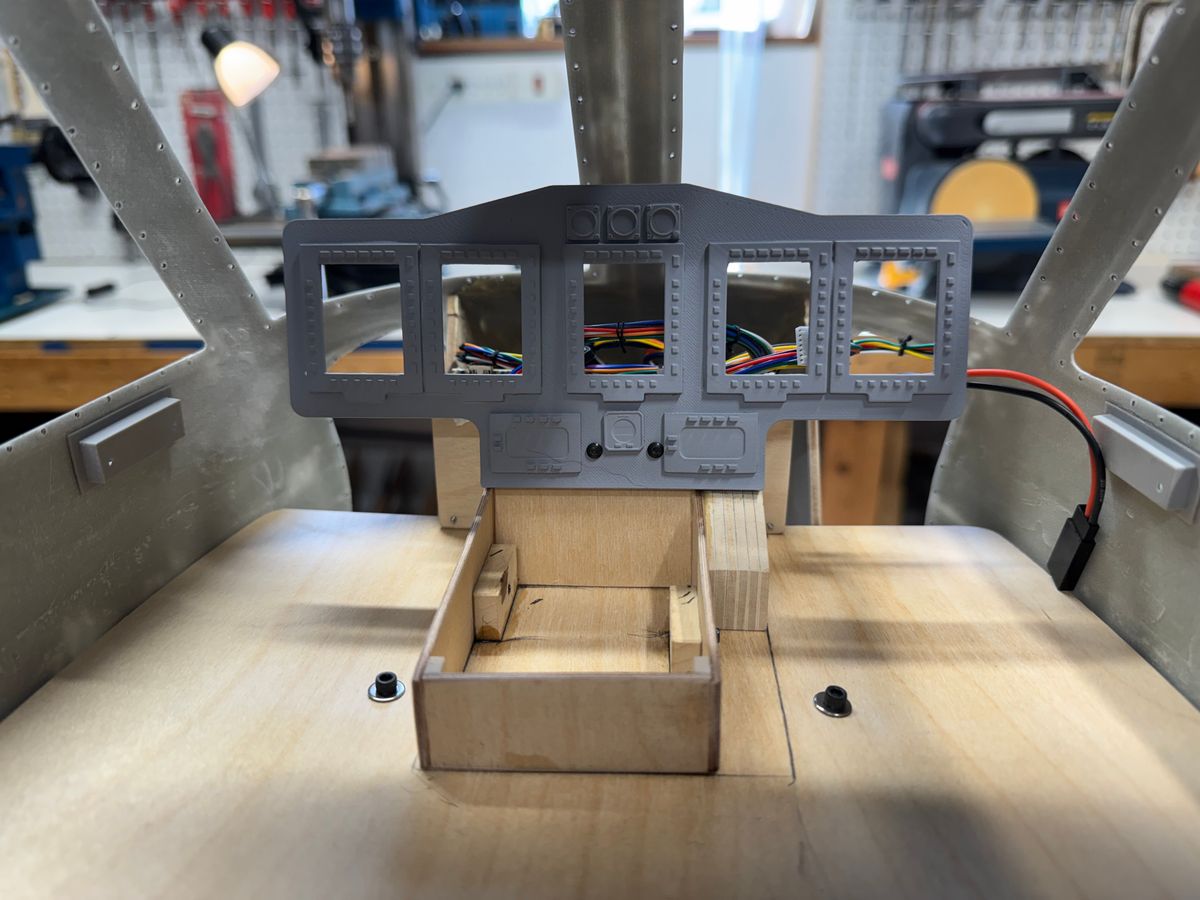
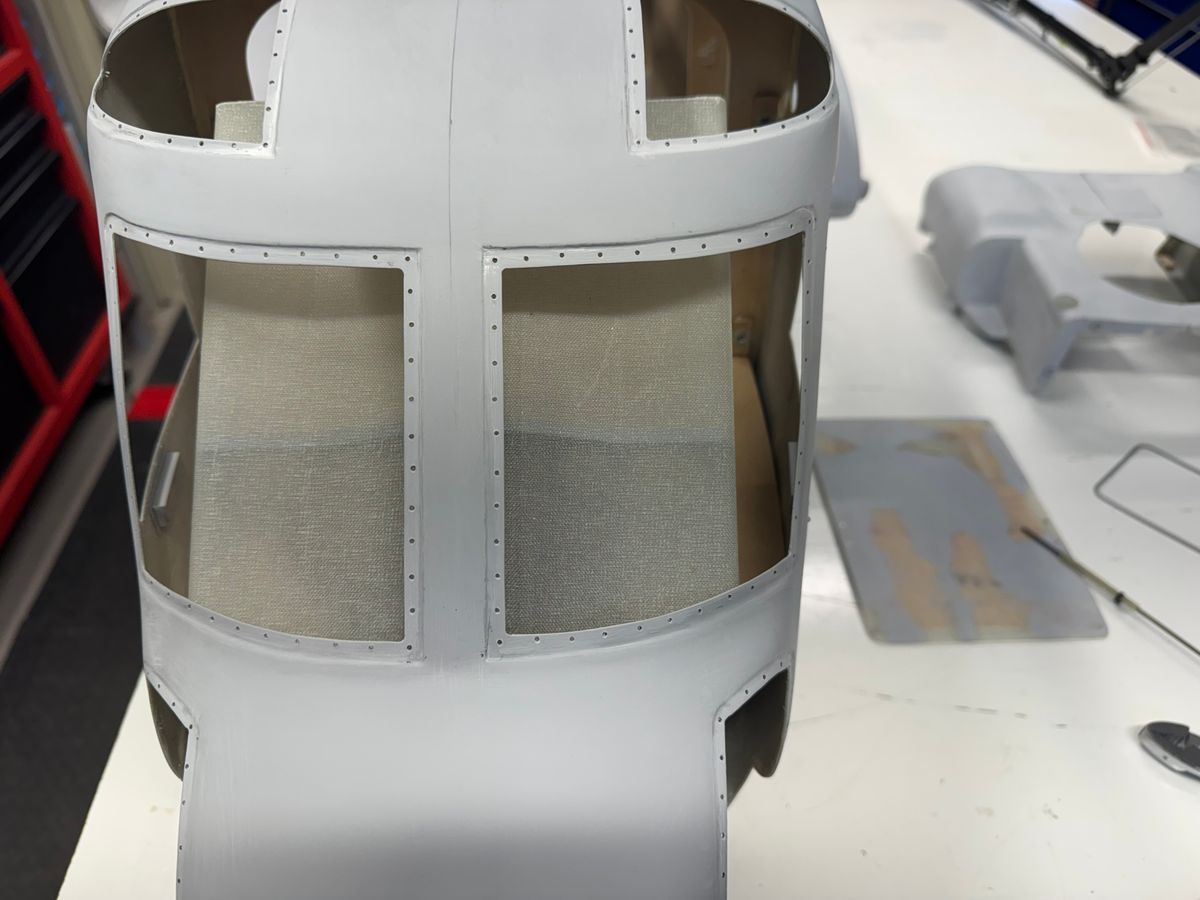
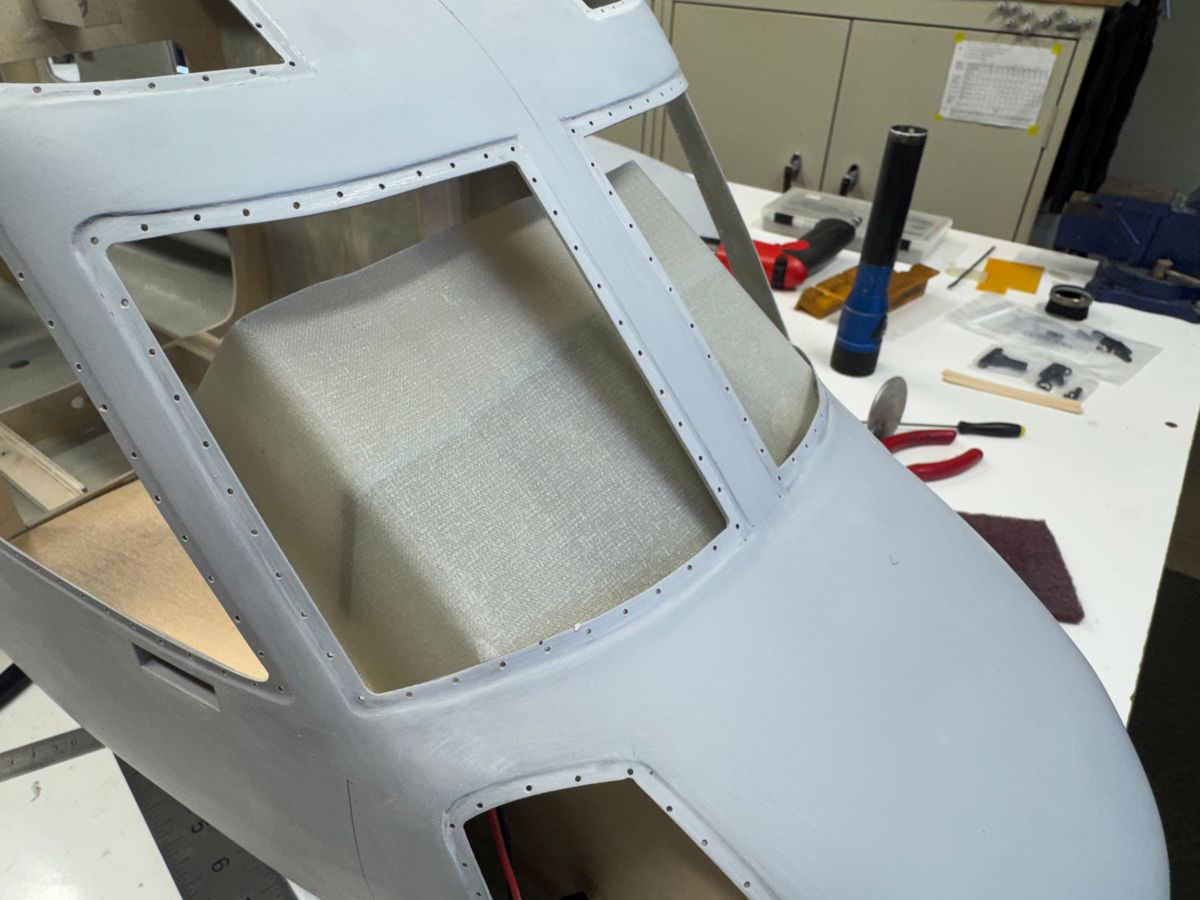
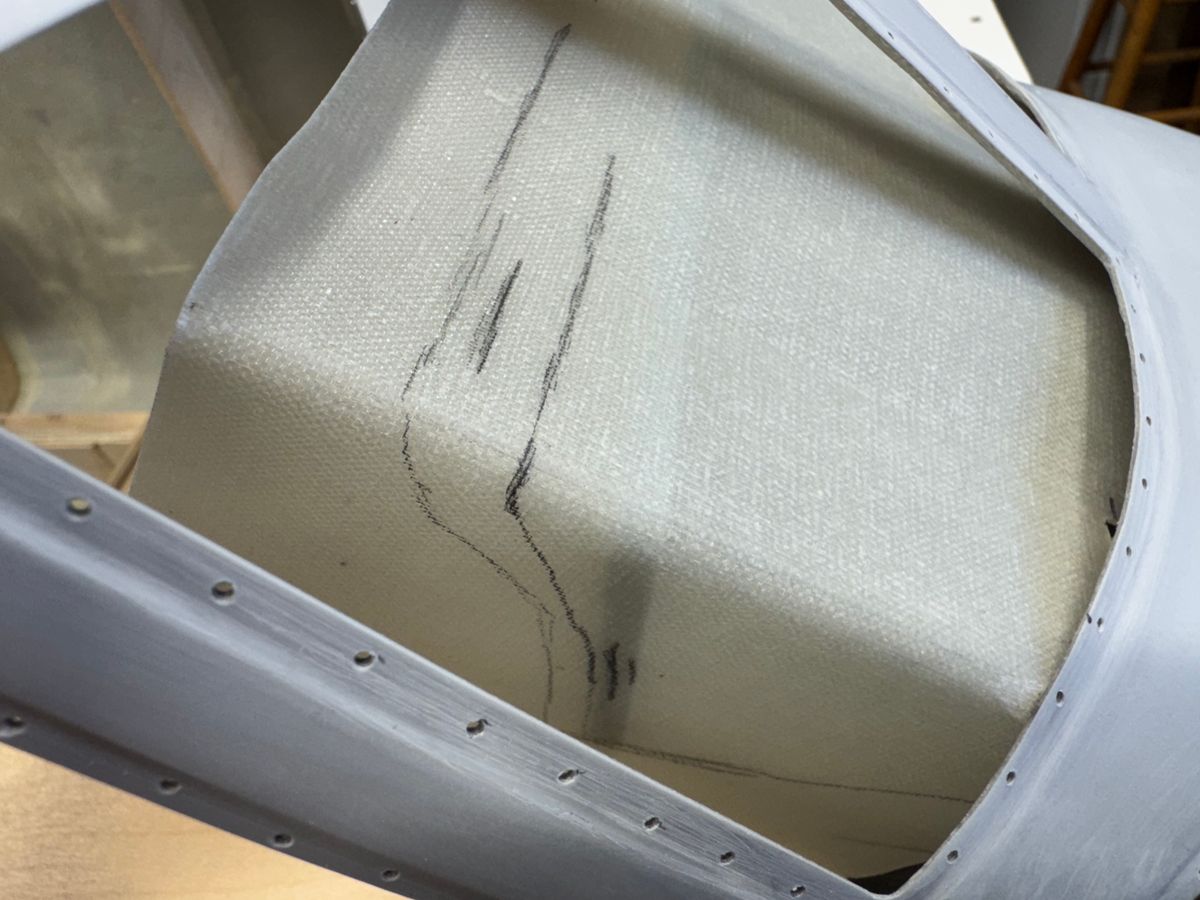
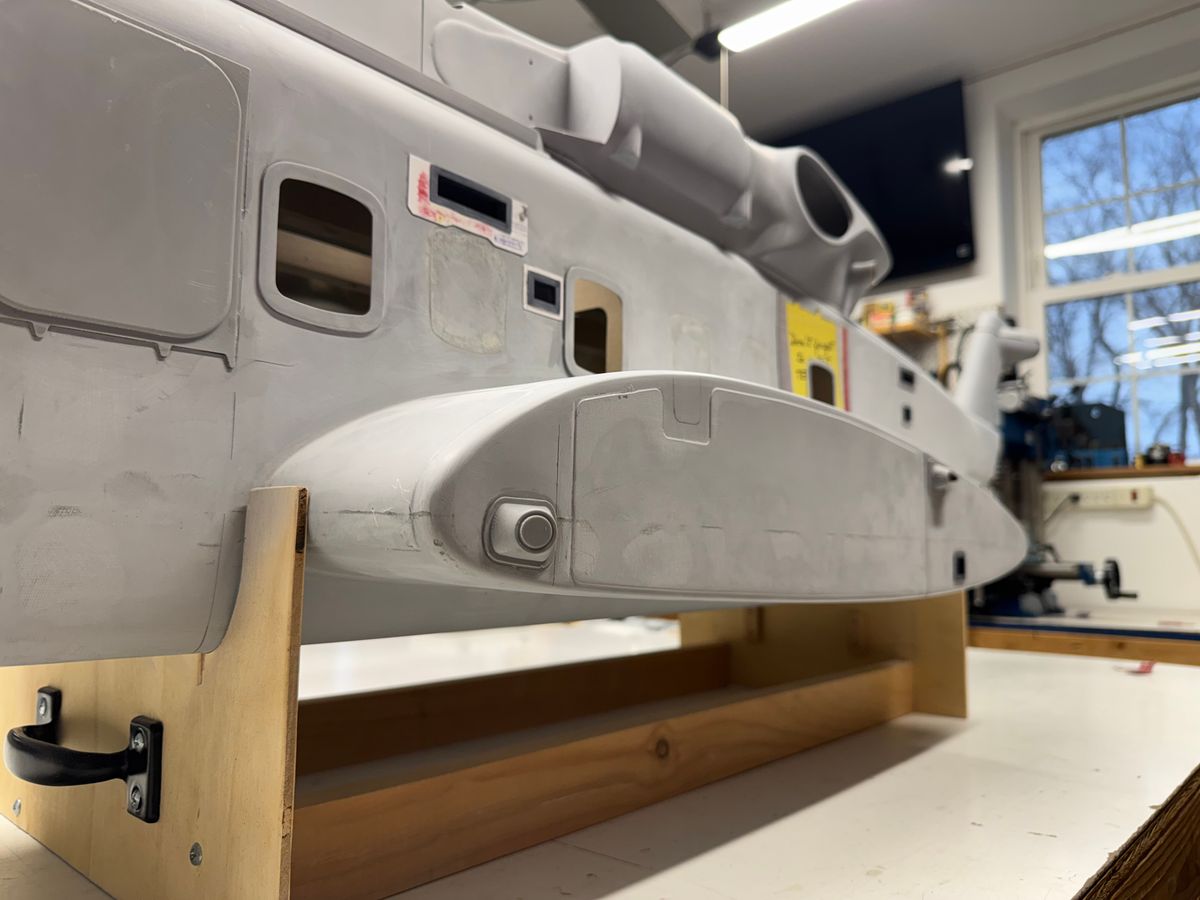
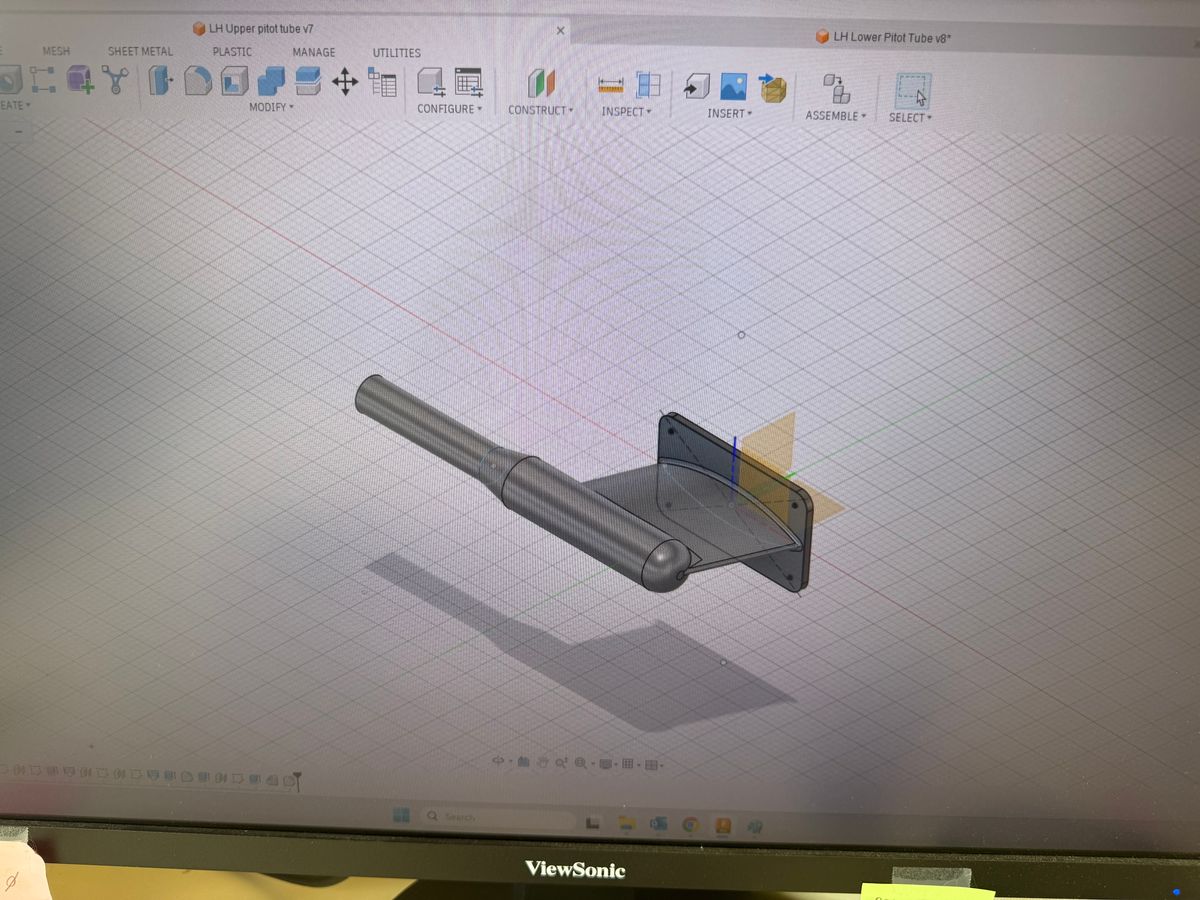
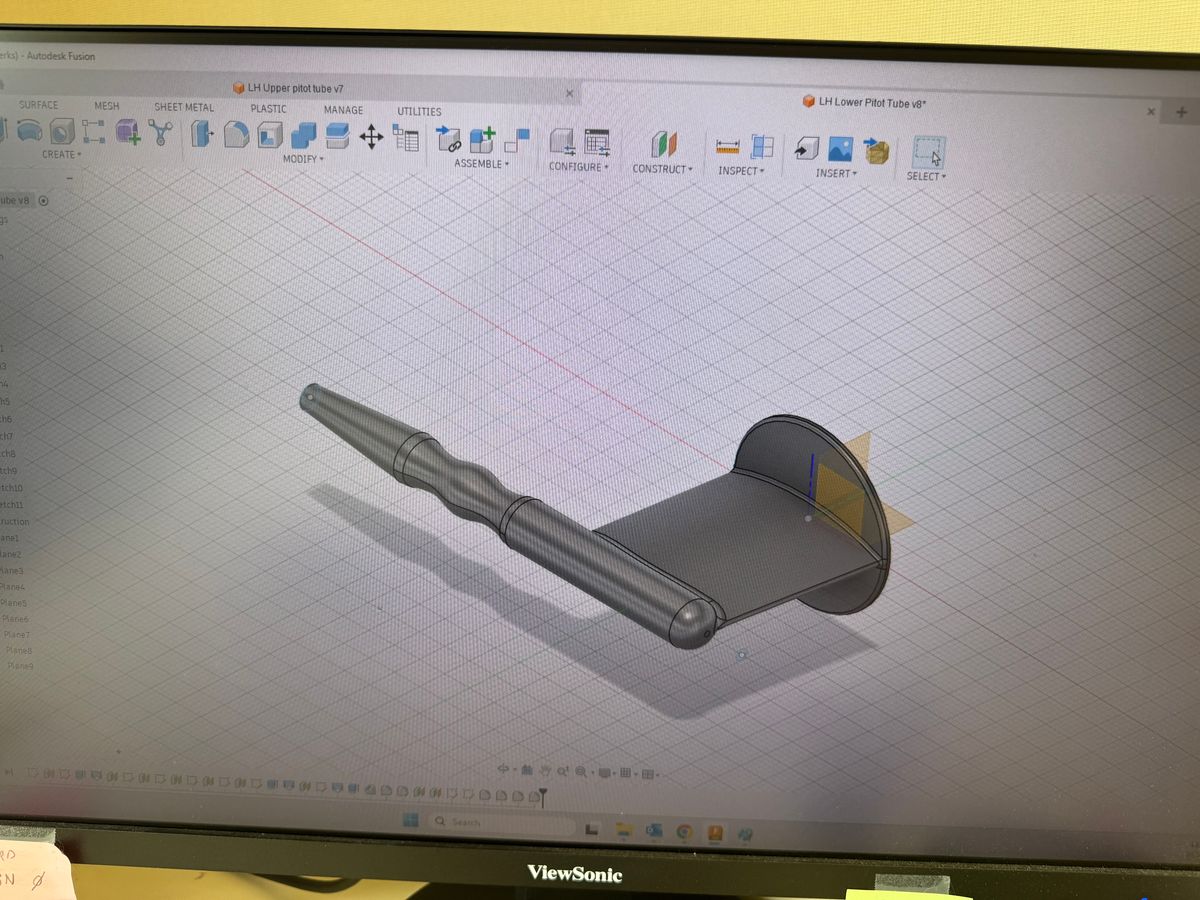
A “Glaring” improvement.
UIH,
Happy Easter Gents.
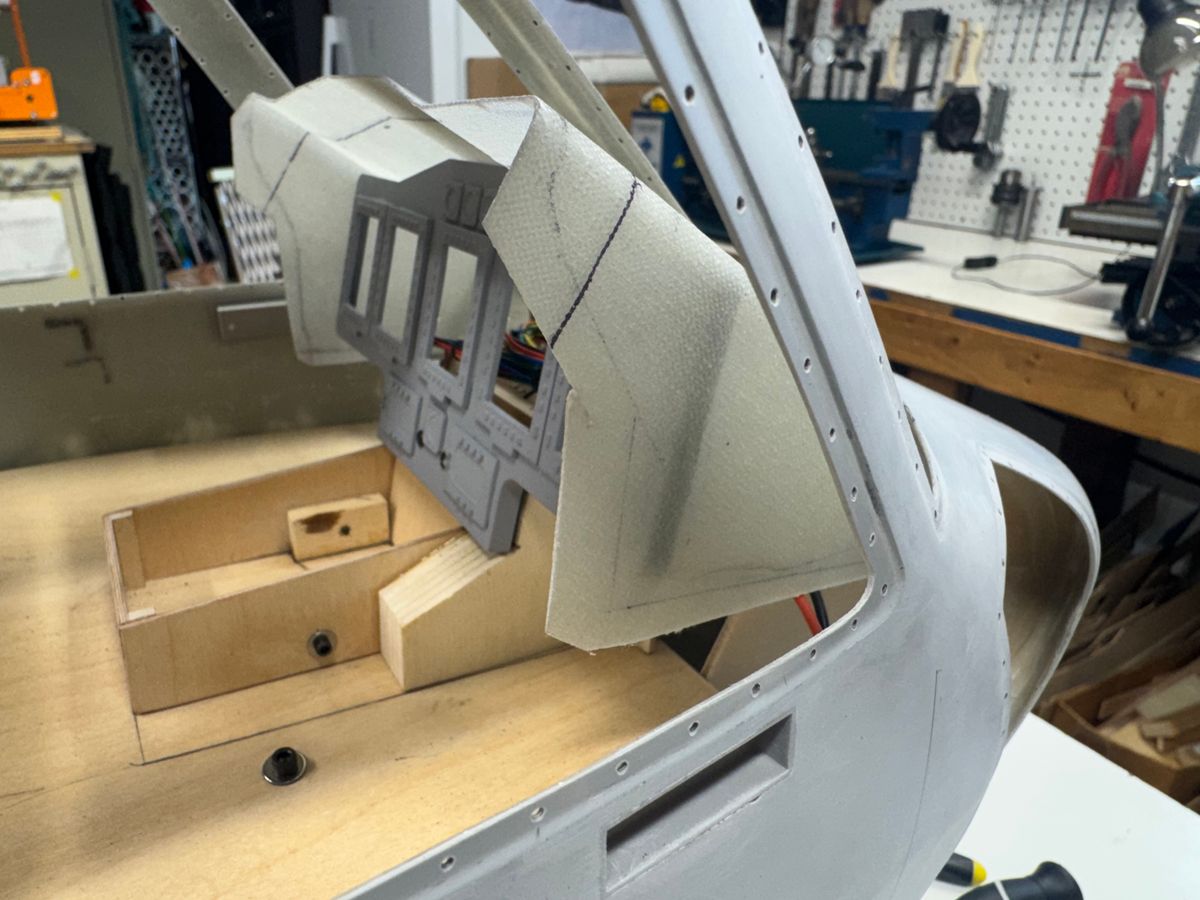
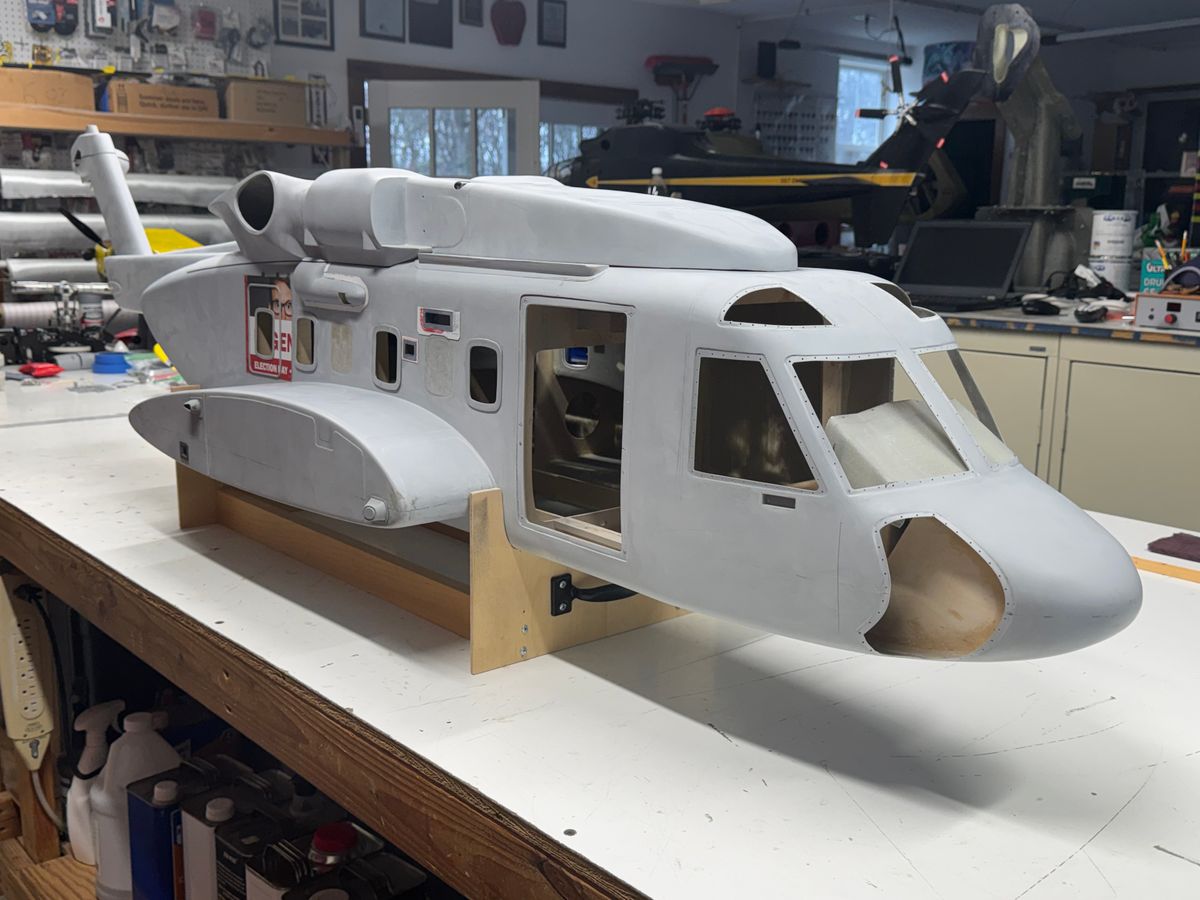
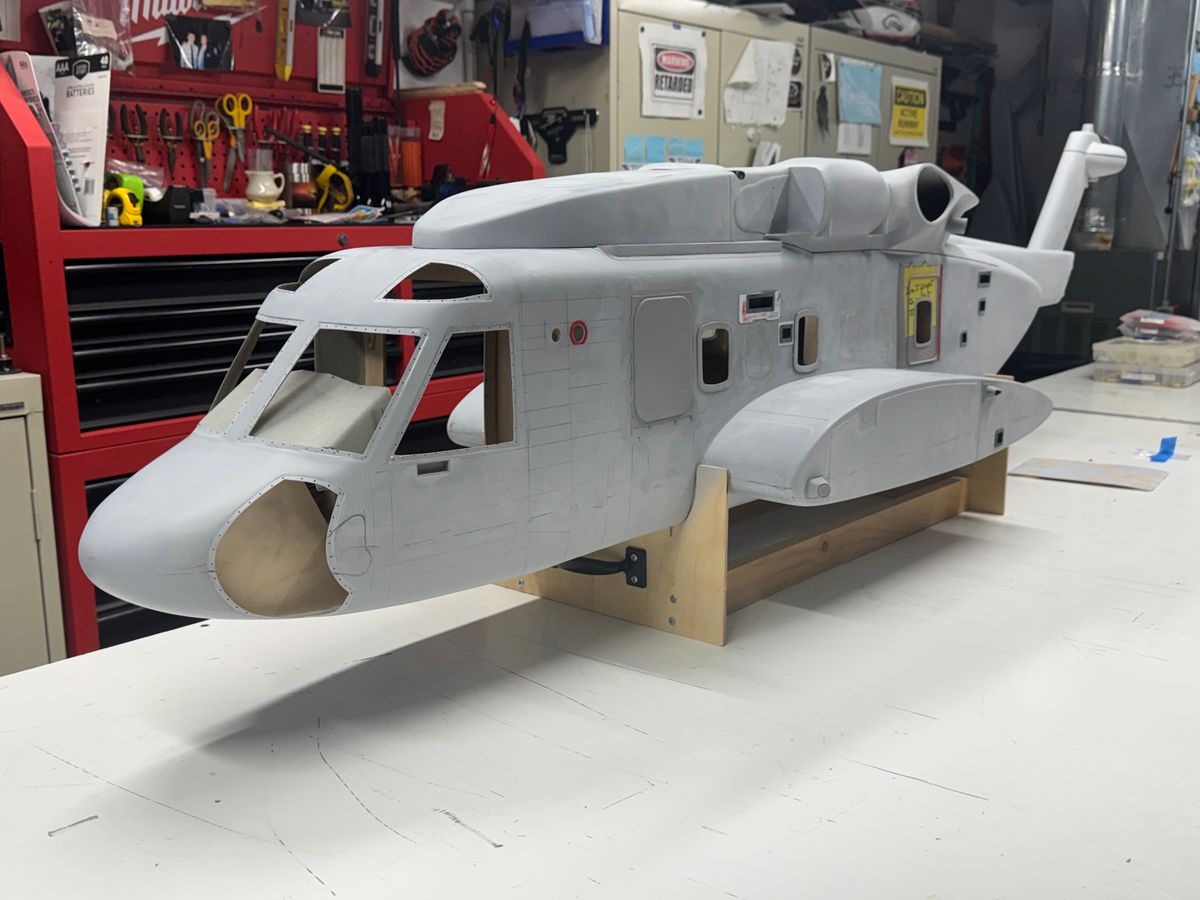
Chipping away at the IP glare shield. Not quite there just yet but easing into it little by little. It still need to be shortened a touch and the side skirts are not complete however the overall fit came out really nice. A lot of thought has gone into the cockpit area. To see it beginning to come together is pretty cool.
A few pics.
Thanks for dropping by.
Hope everyone had a great Easter,
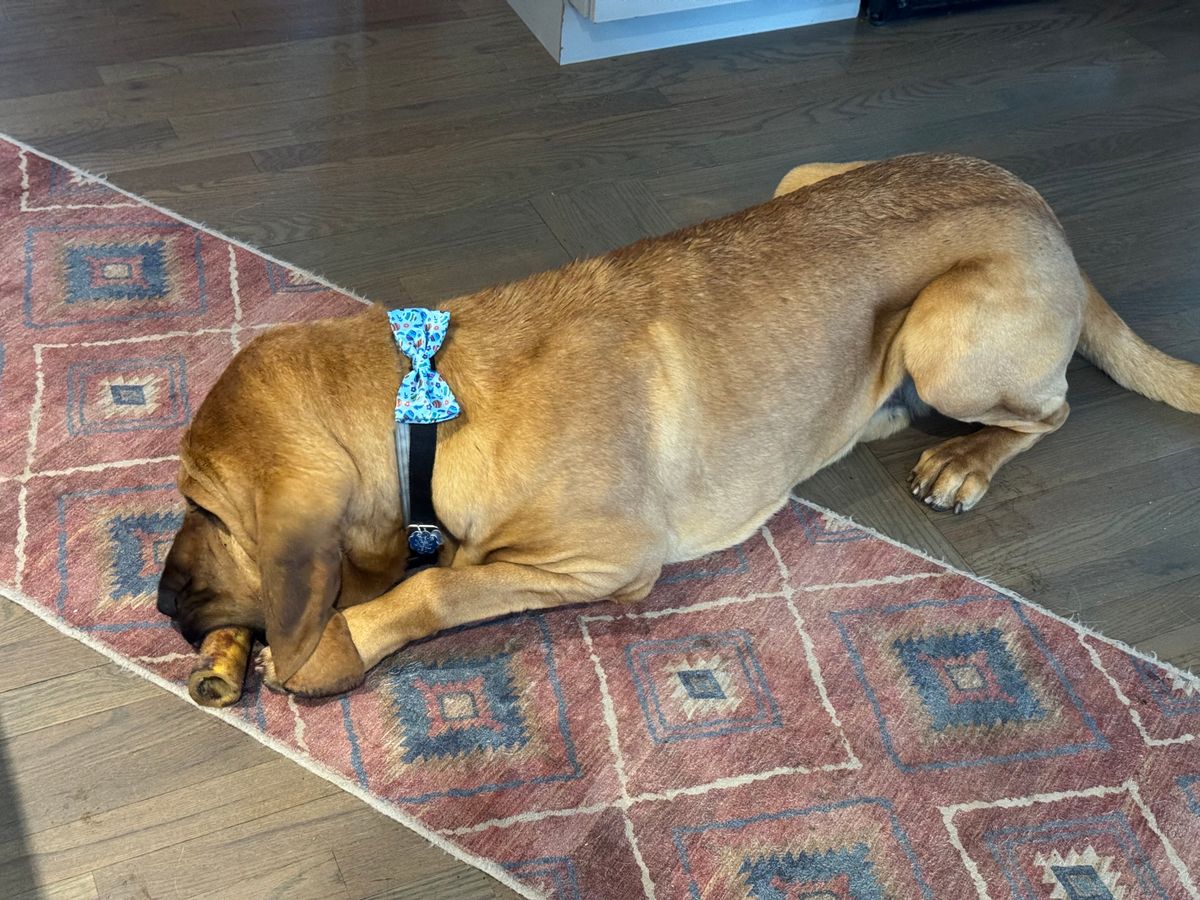
And we cant forget Clifford all dressed up for Easter Diner in his Bow Tie.
Ha.
B
32 Things.
UIH,
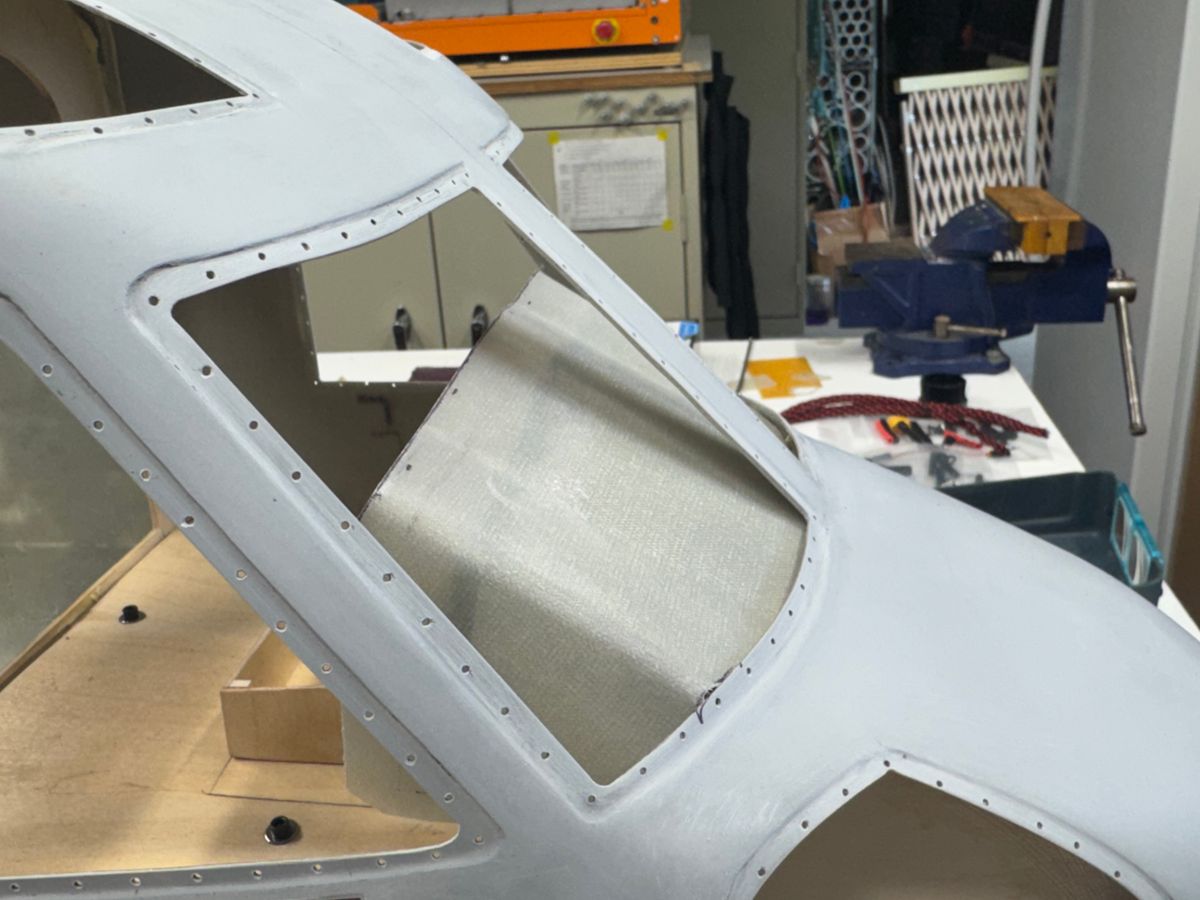
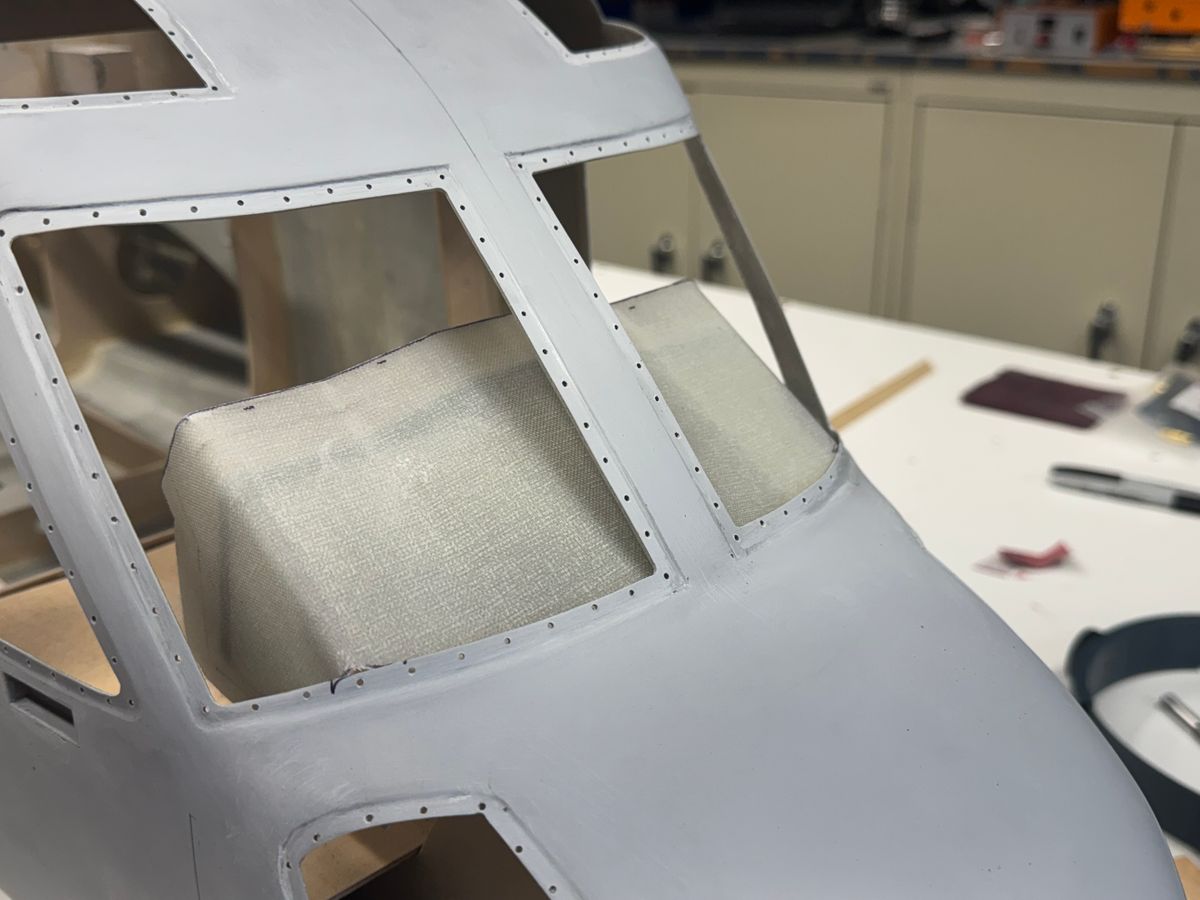
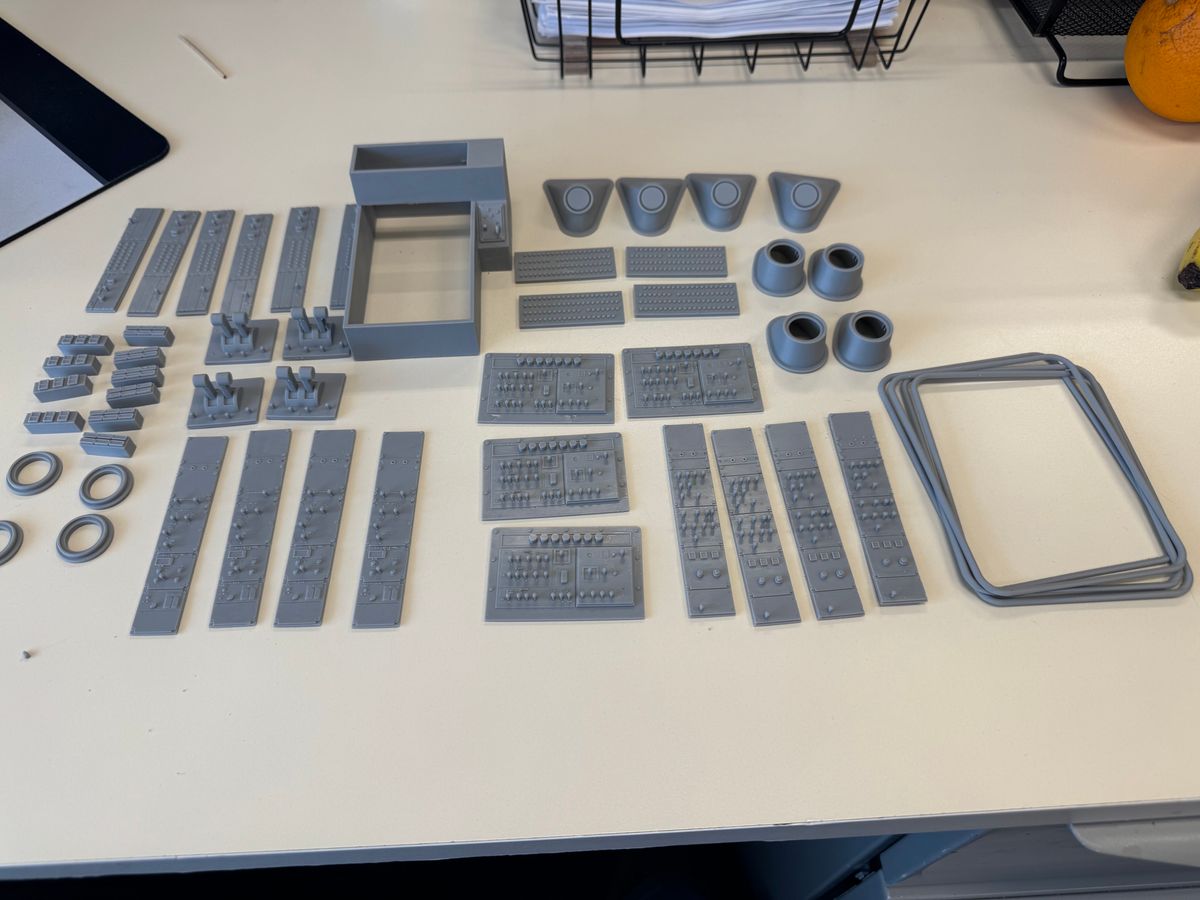
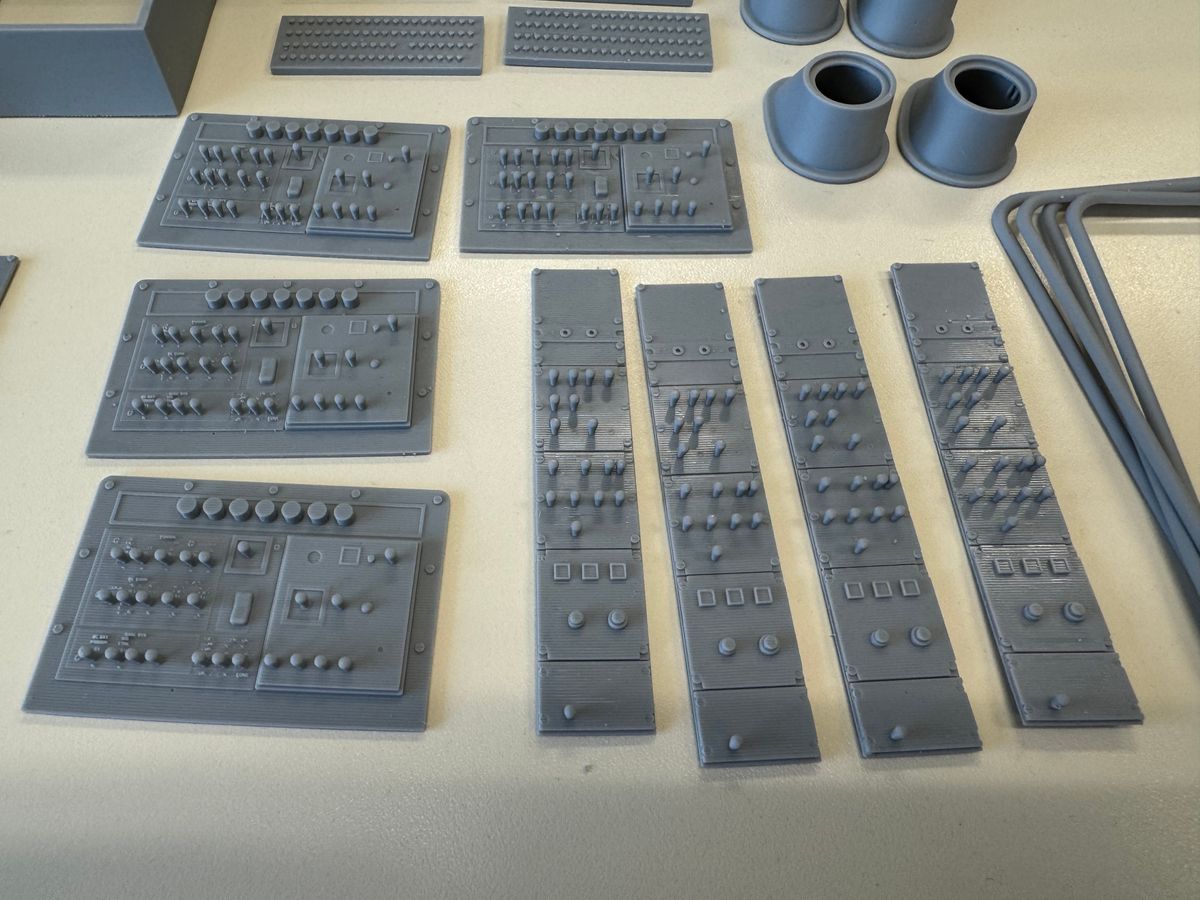
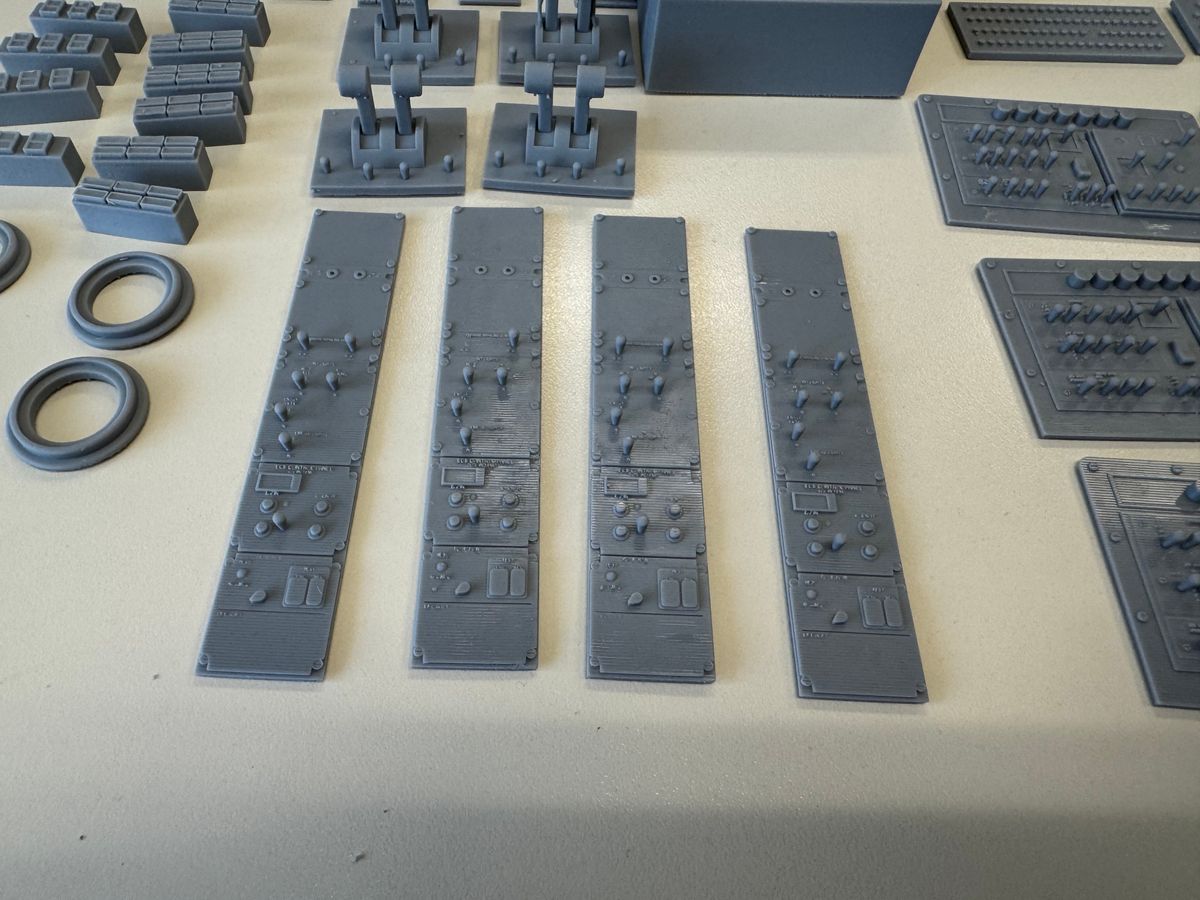
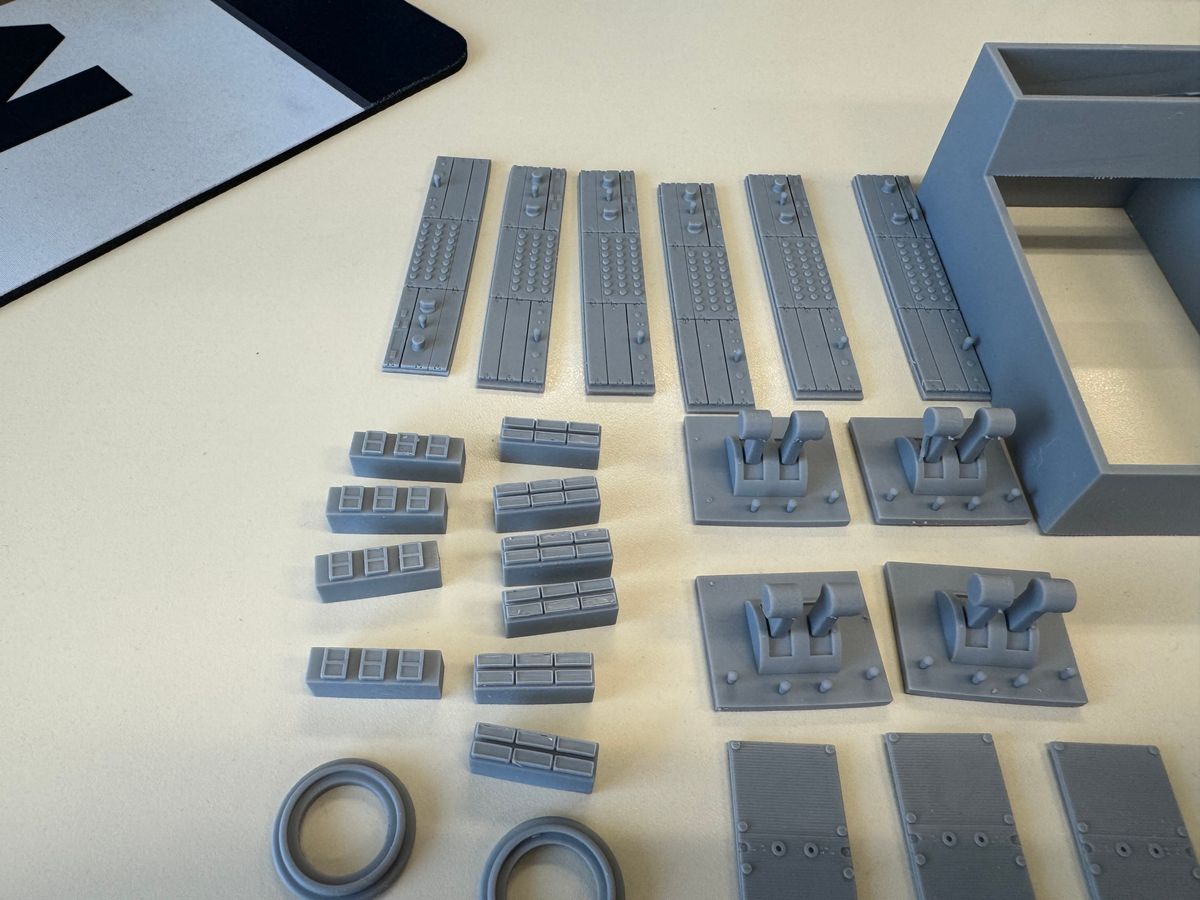
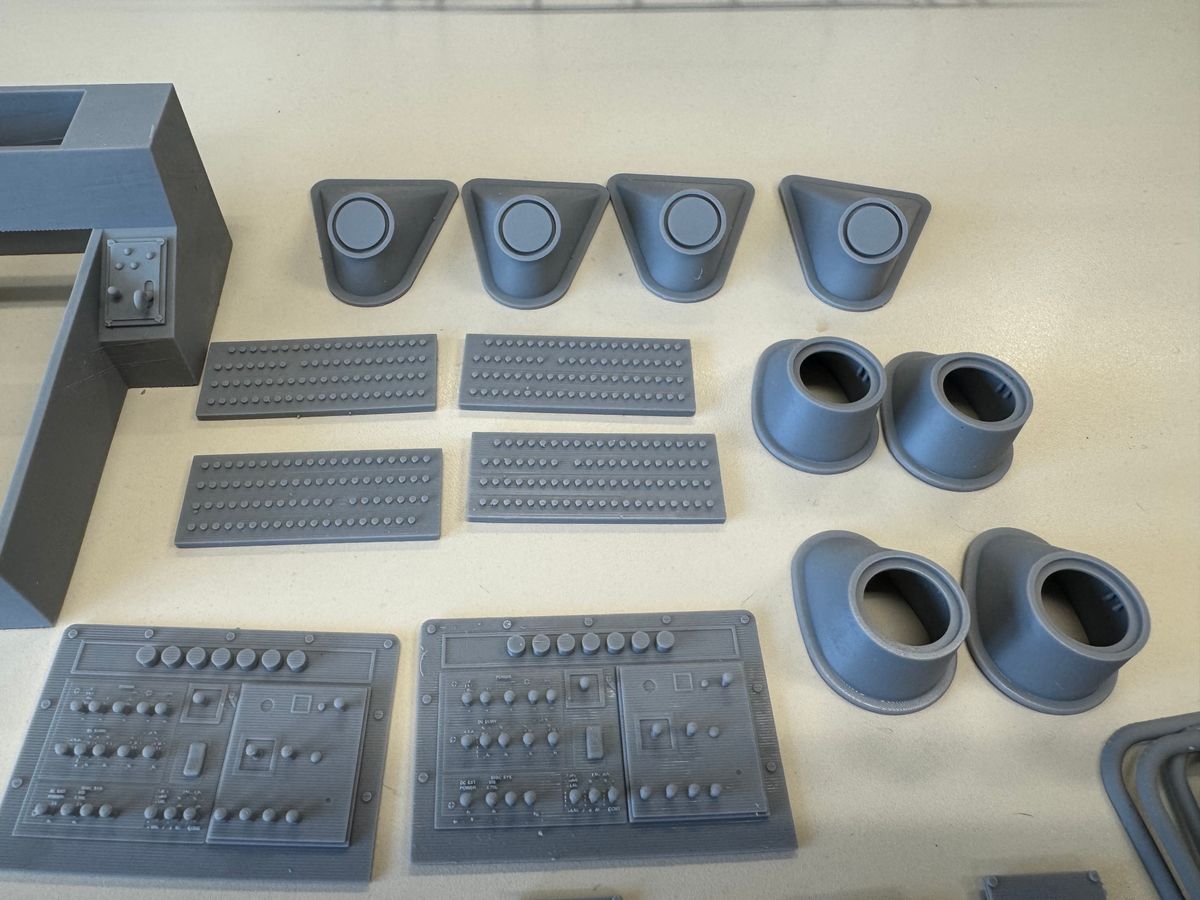
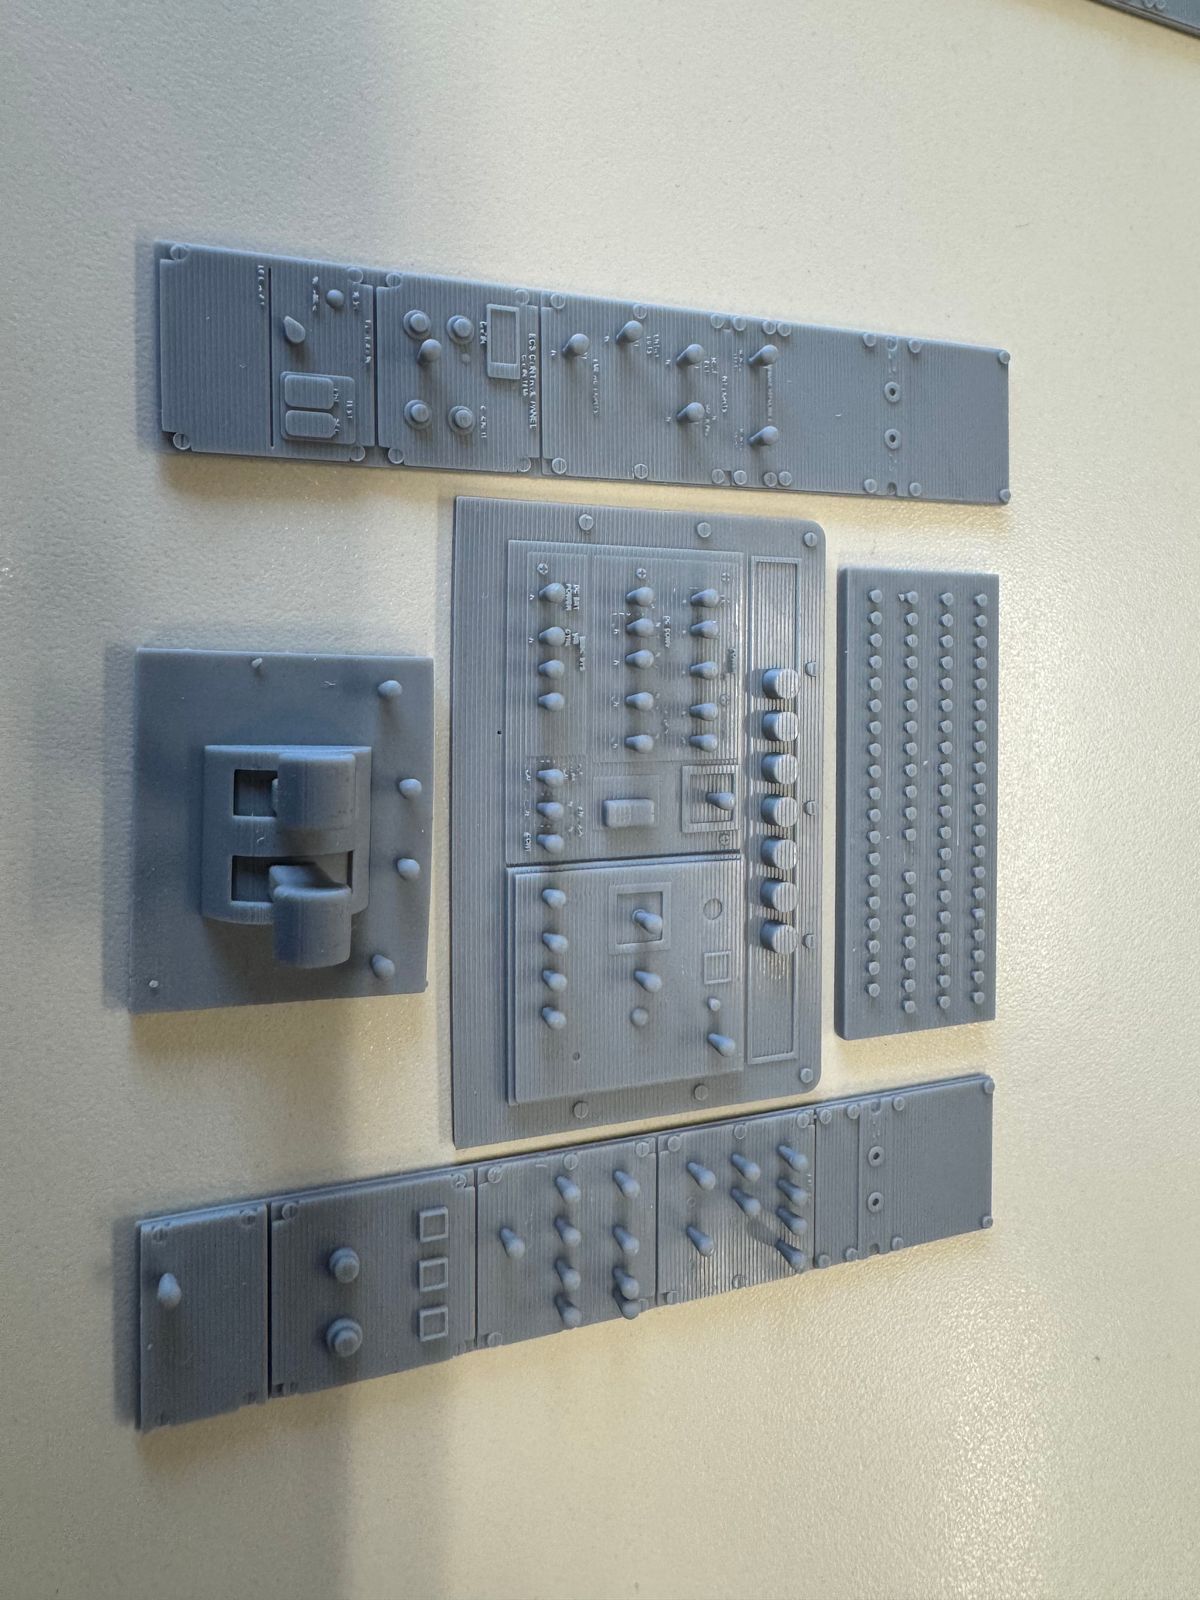
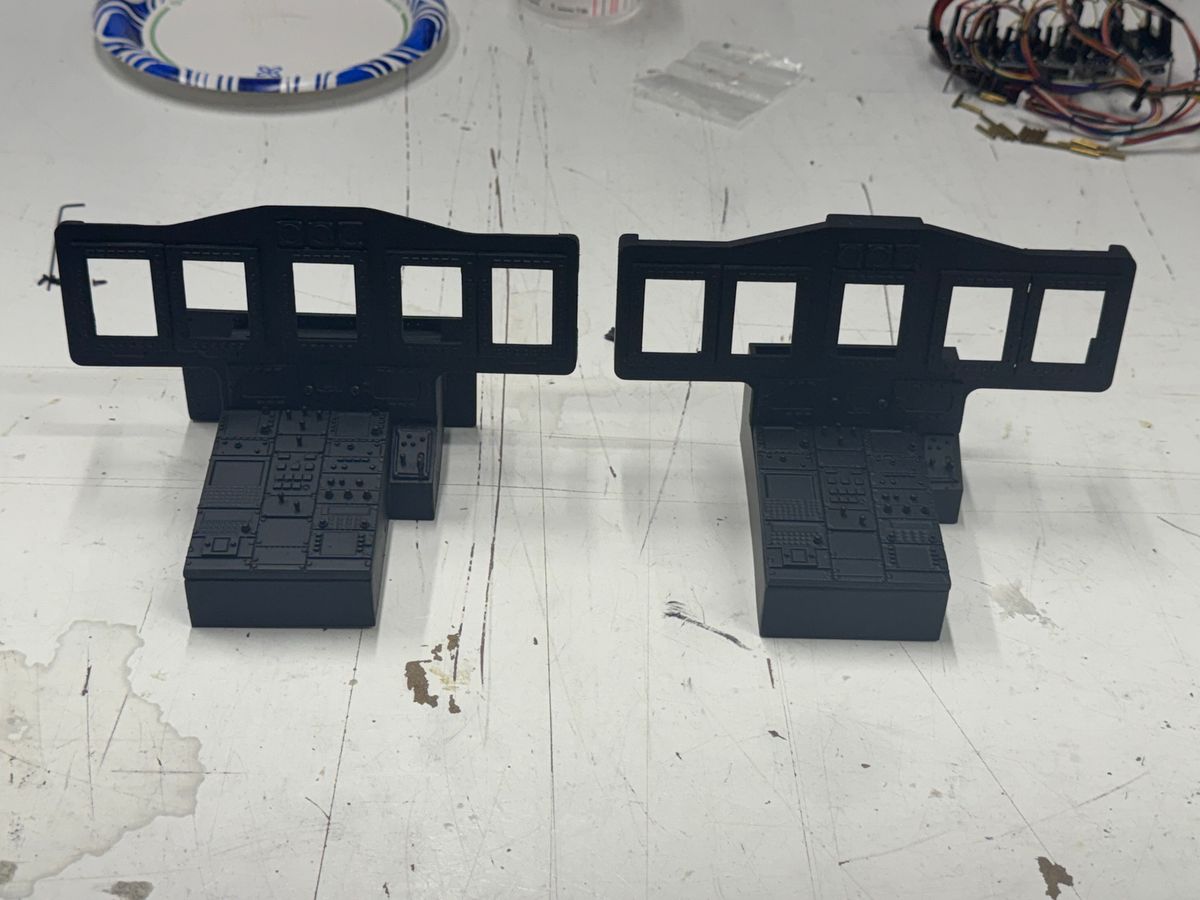
Between working an assembly of a Roban LA Fire 412 for a friend, getting my S-67 and RAH-66 ready for the flying season not much work on my 92 however most all of the printed cockpit panels and some more external parts are finished up. At this point I can assemble the overhead panel, pilot and co-pilot side panels which will be a huge step forward getting the cockpit mocked up. . Once most of these parts are in position, I can start drawing the Martin-Baker cockpit seats. I did have the center console assembly resin printed and very happy with the results. Looking forward to a shop weekend again since the weather forecast for the weekend is rain again.
A few pics of the nice bag of goodies that will keep me busy over the weekend.
Thanks for dropping by,
UIH,
Butch.
To Legit to Quit.
UIH,
As most know, I have issues, many issues. Todays issue, I was hoping for nice weather however Muther Nature had a different plan BUT, All Was Not Lost. With the rain it gave the “always” time needed to get schnitz done.
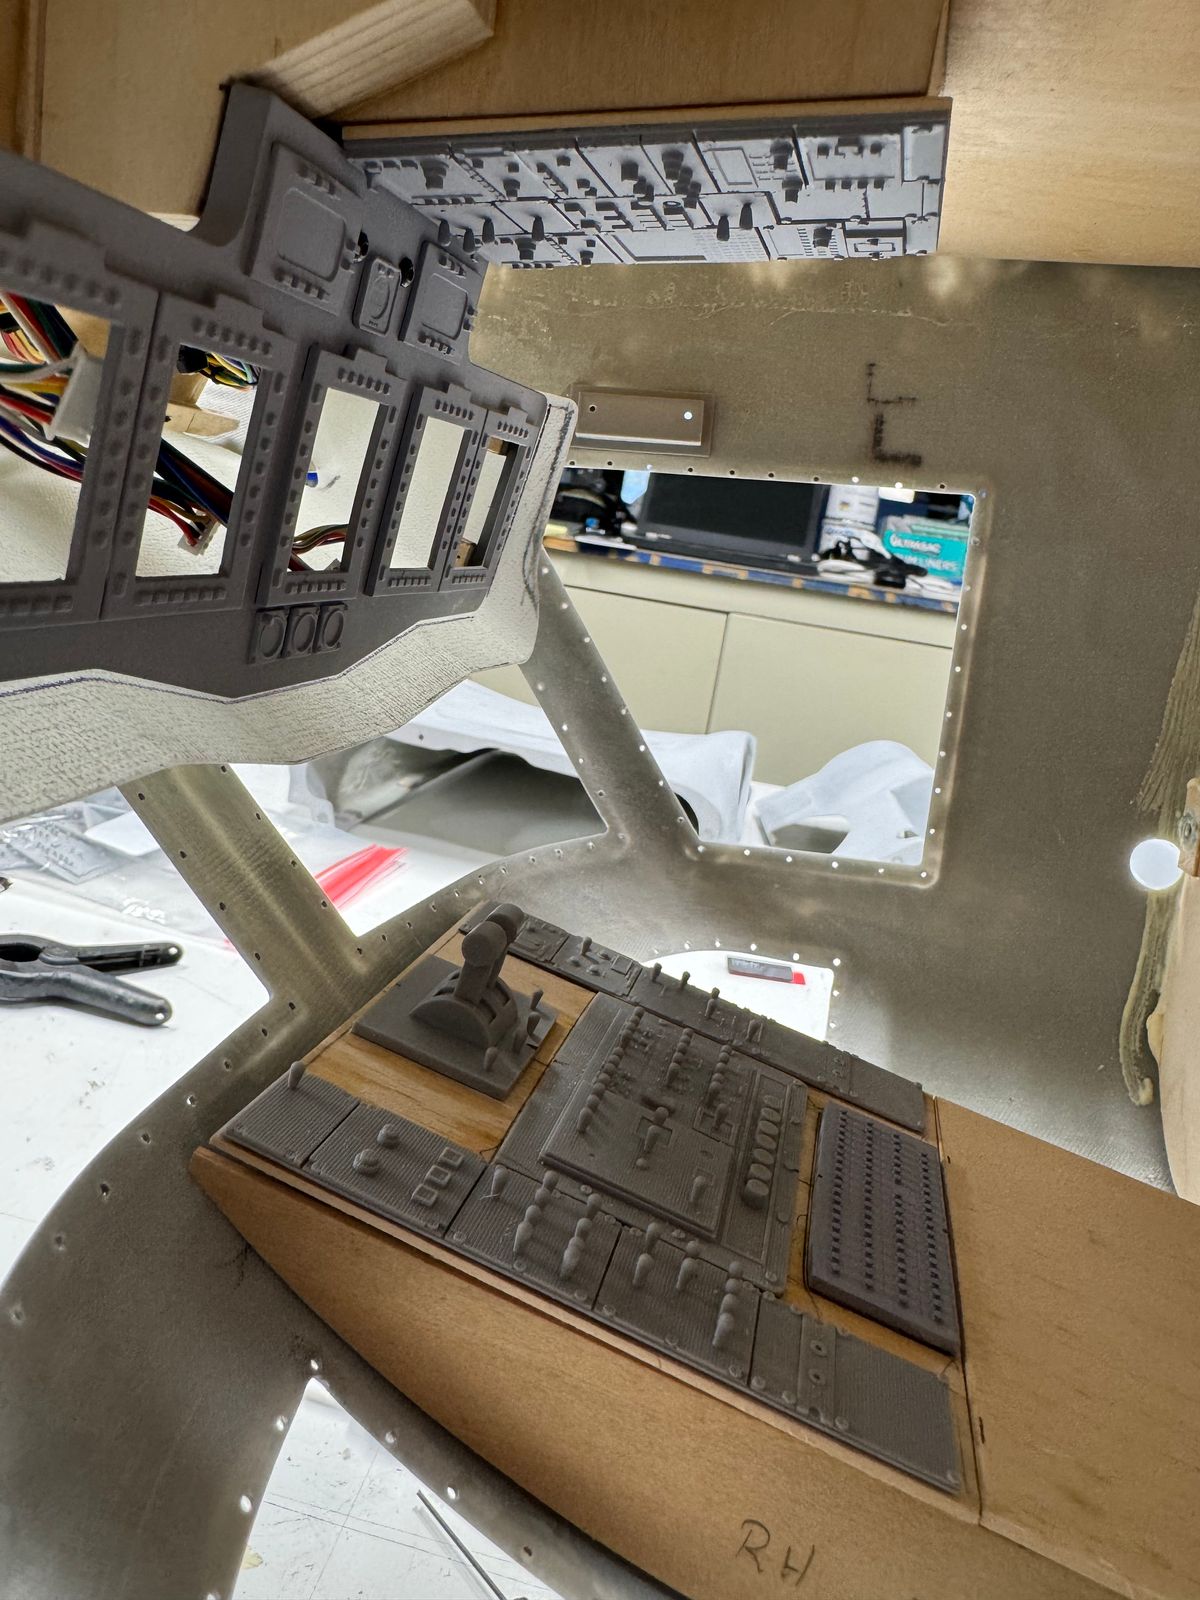
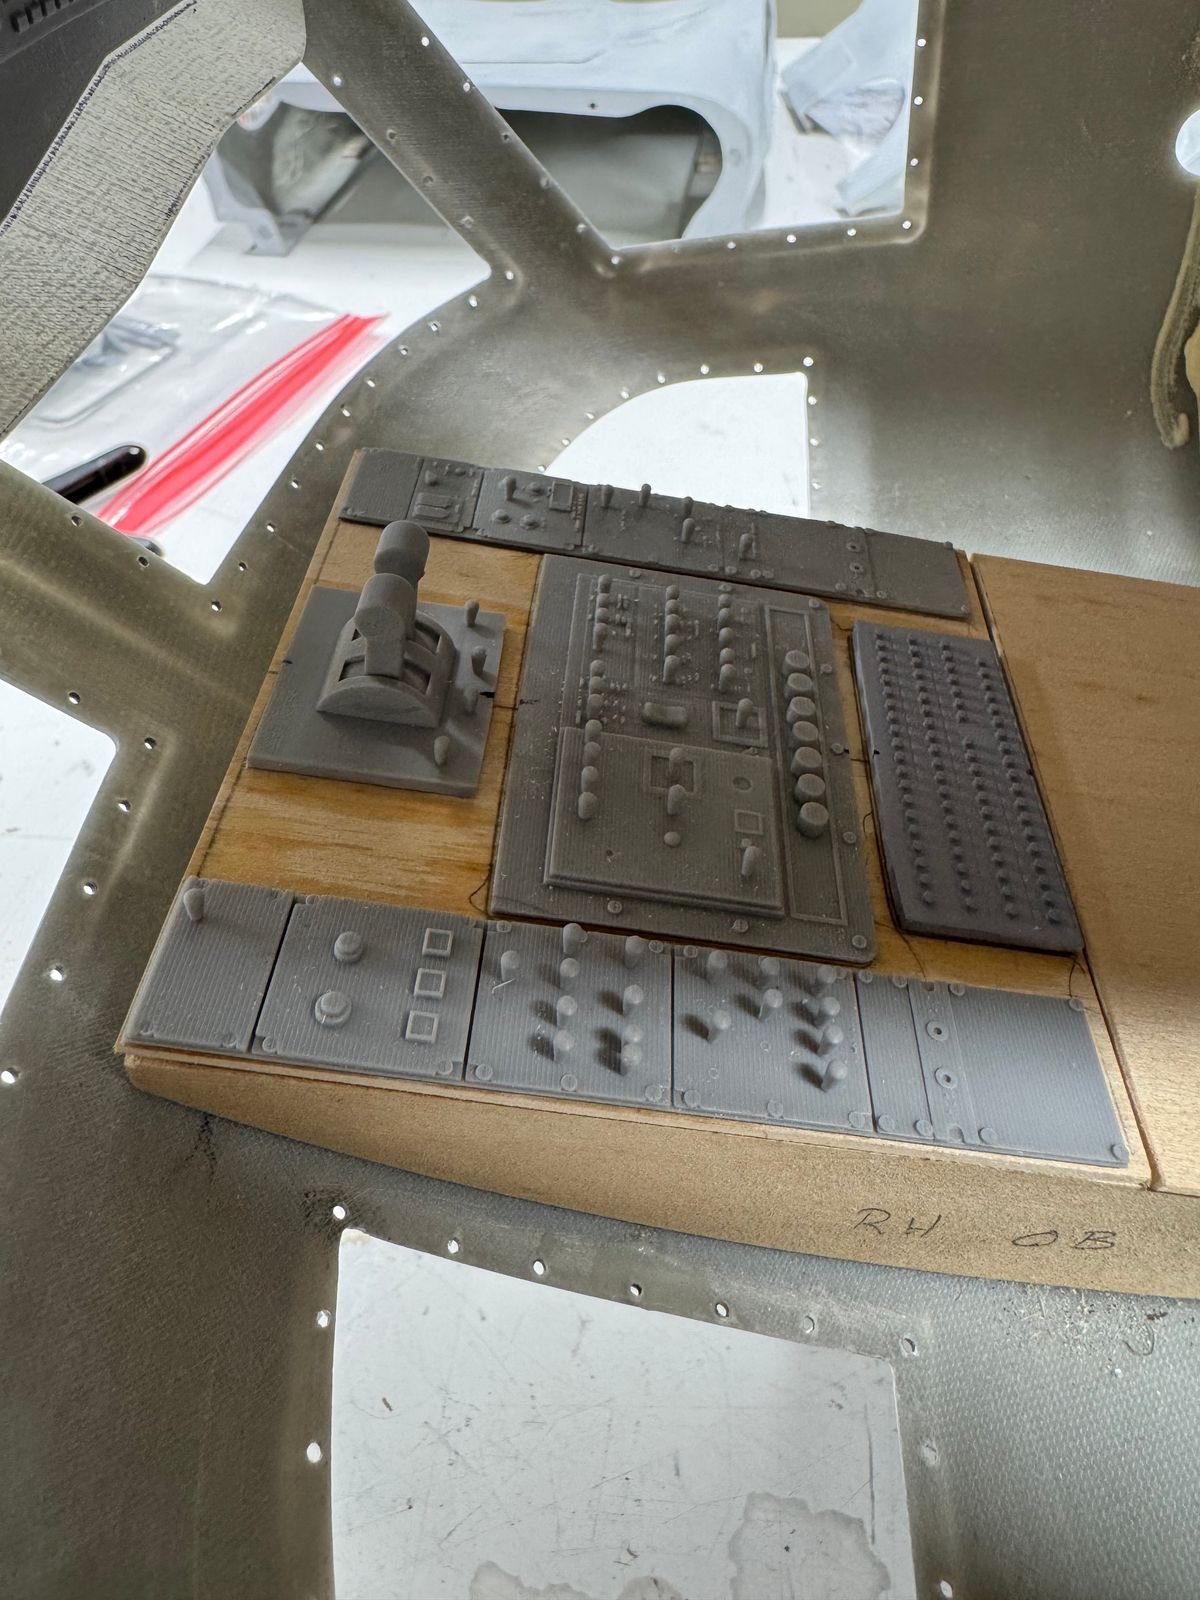
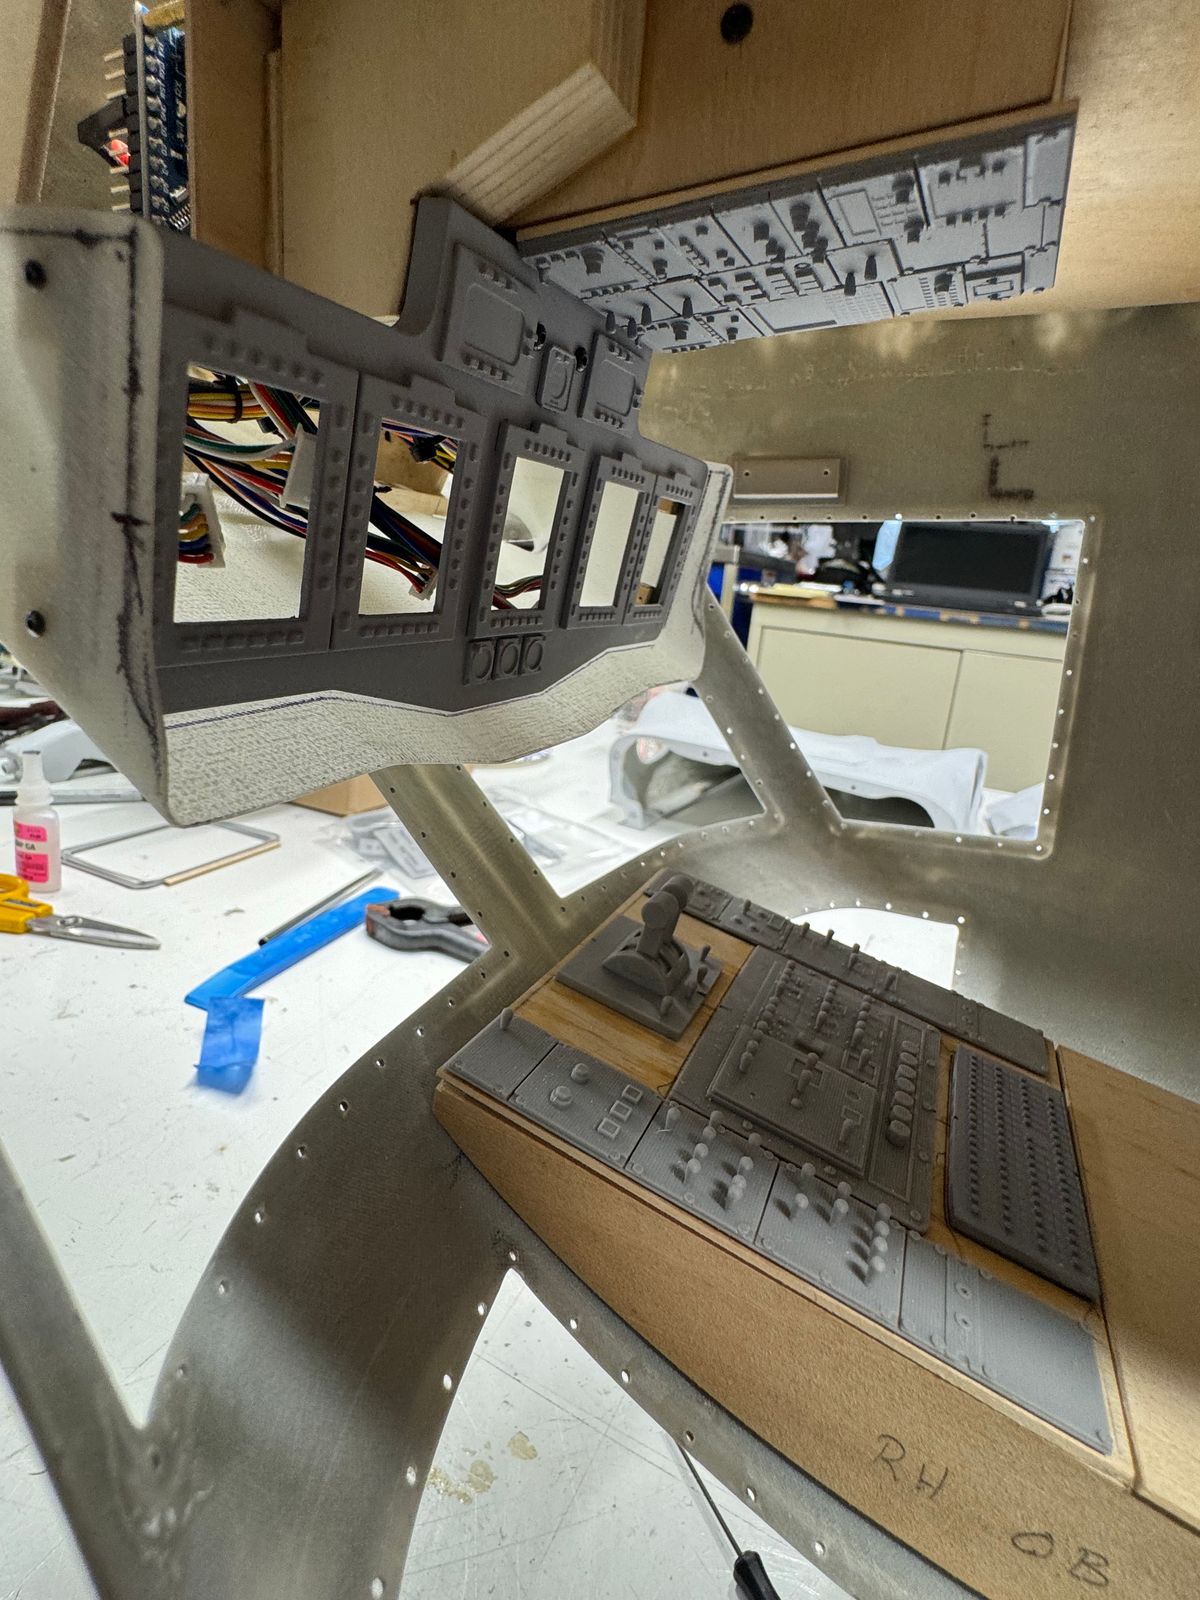
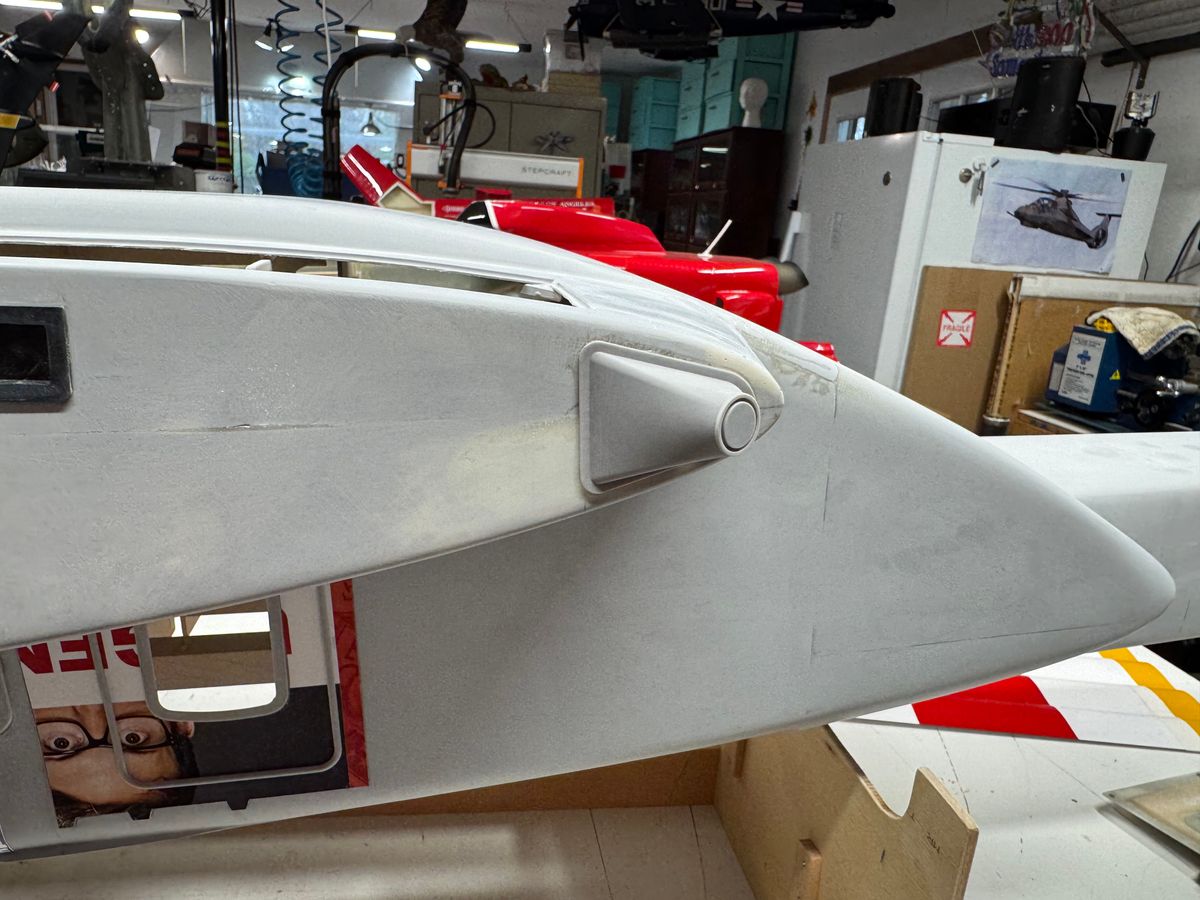
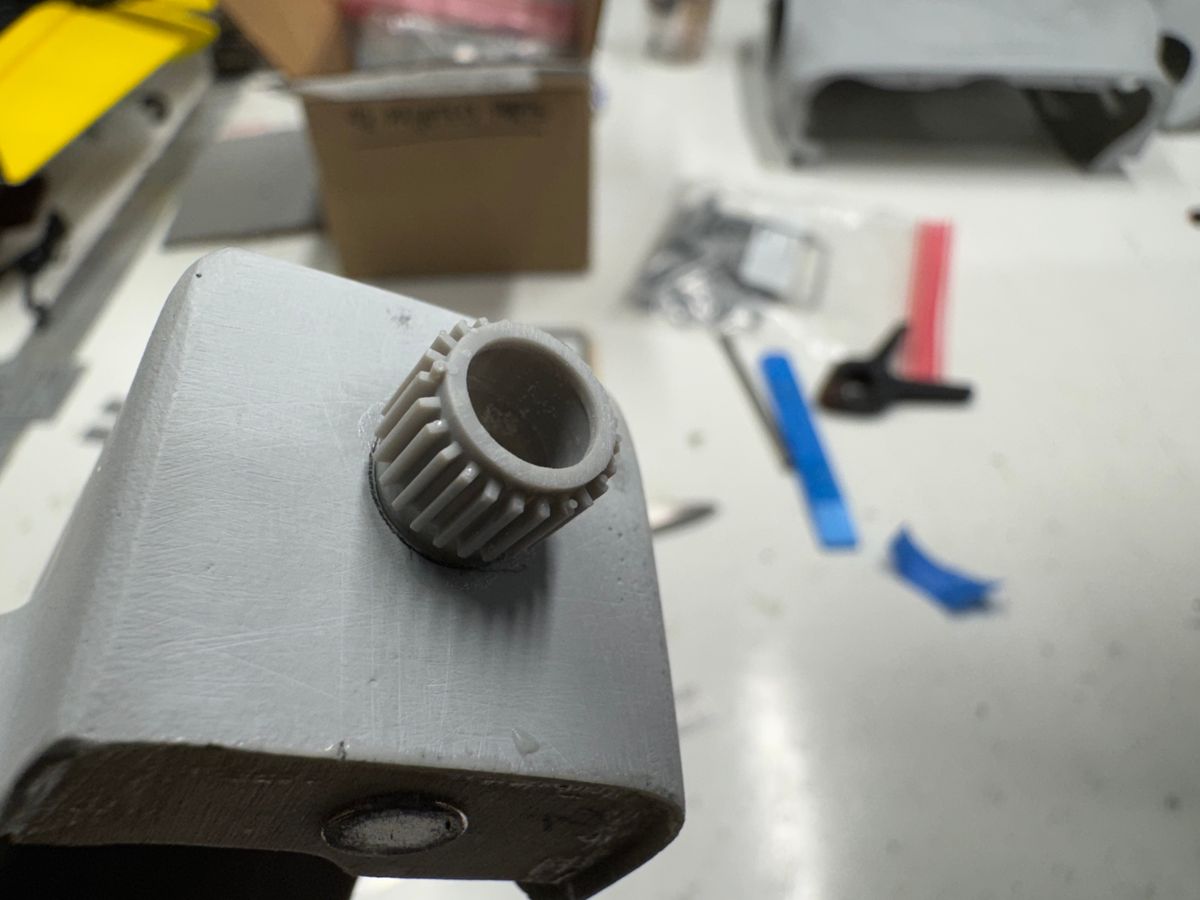
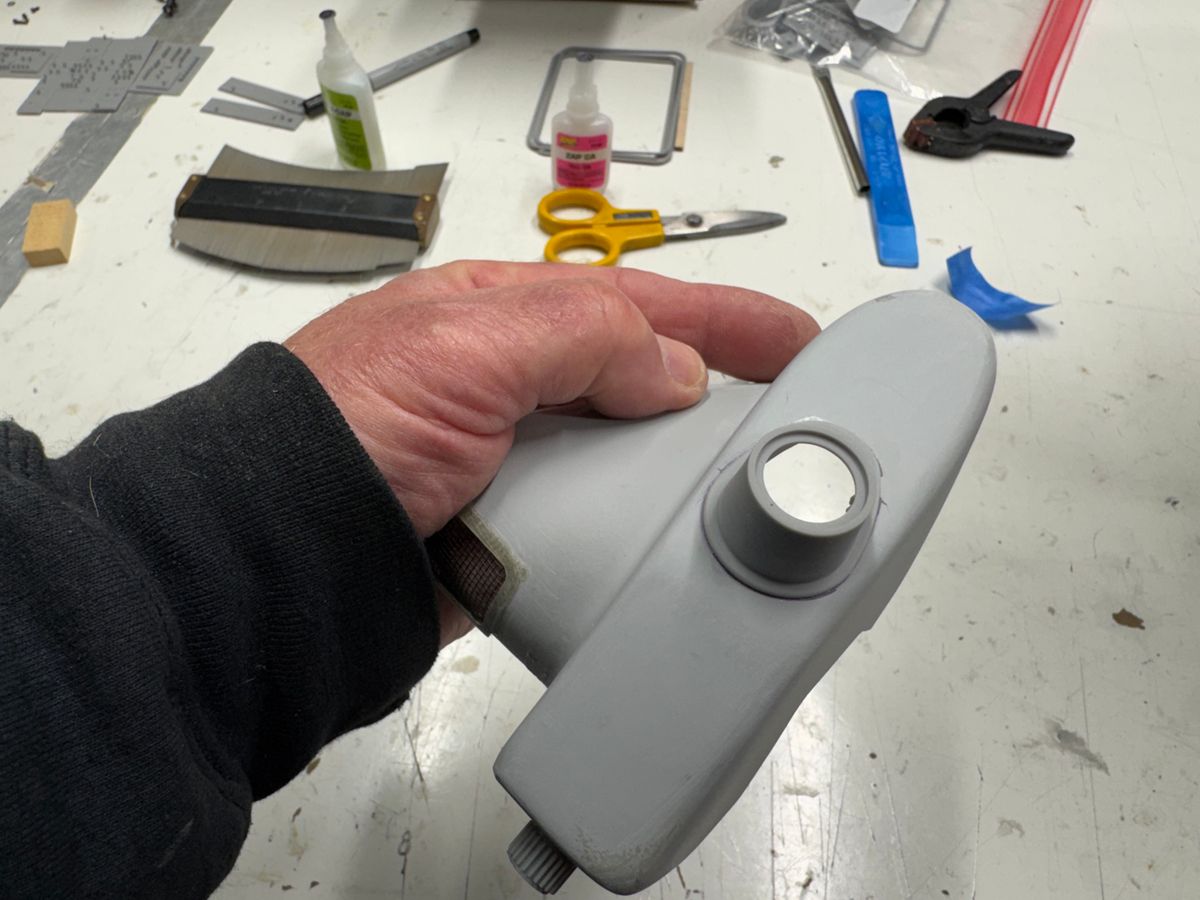
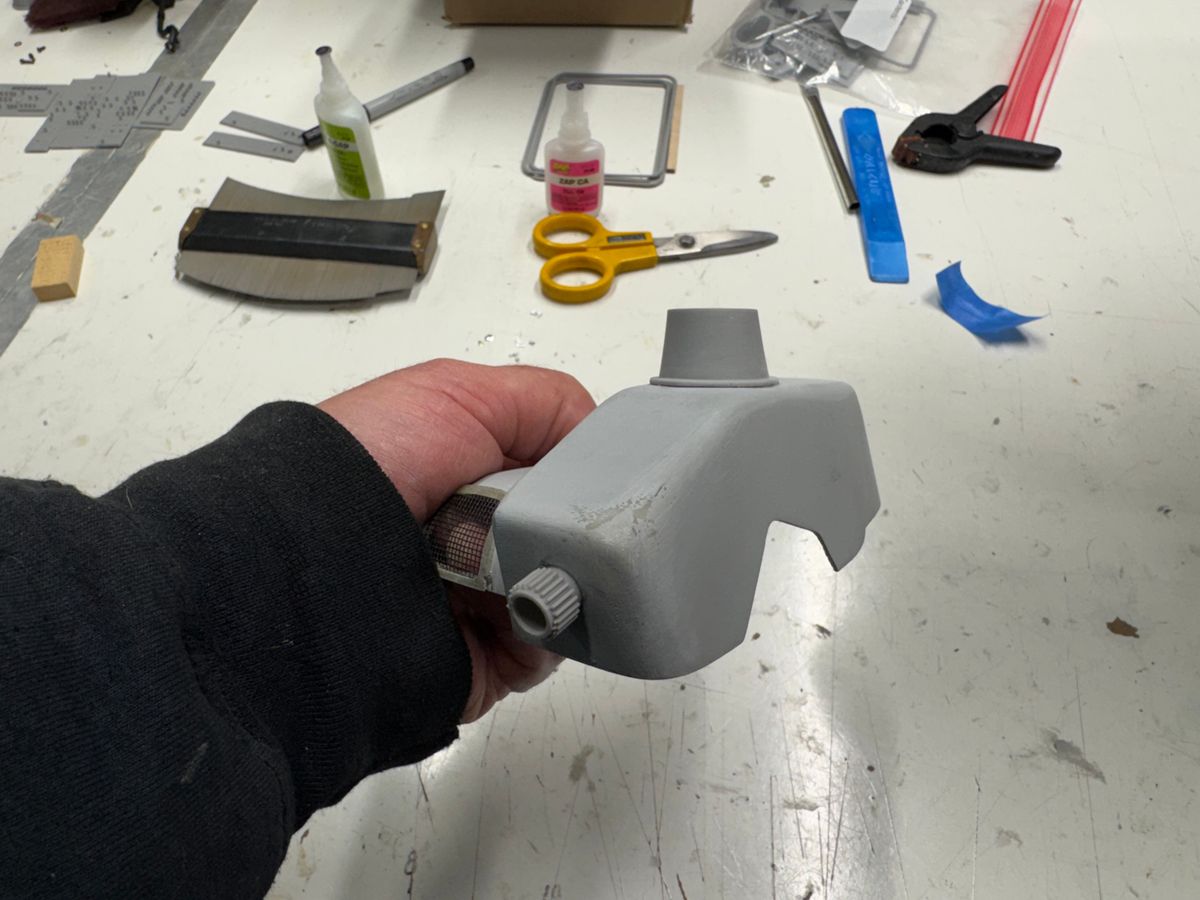
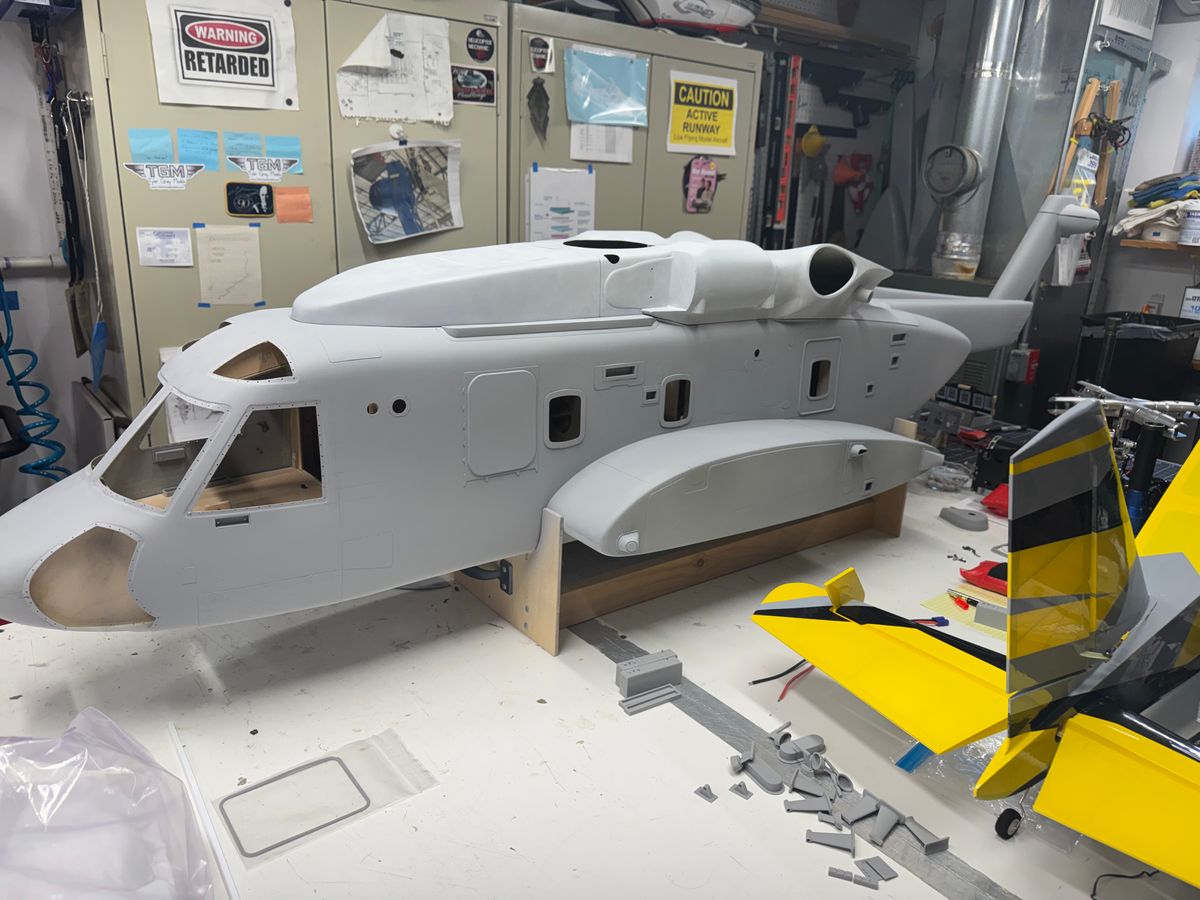
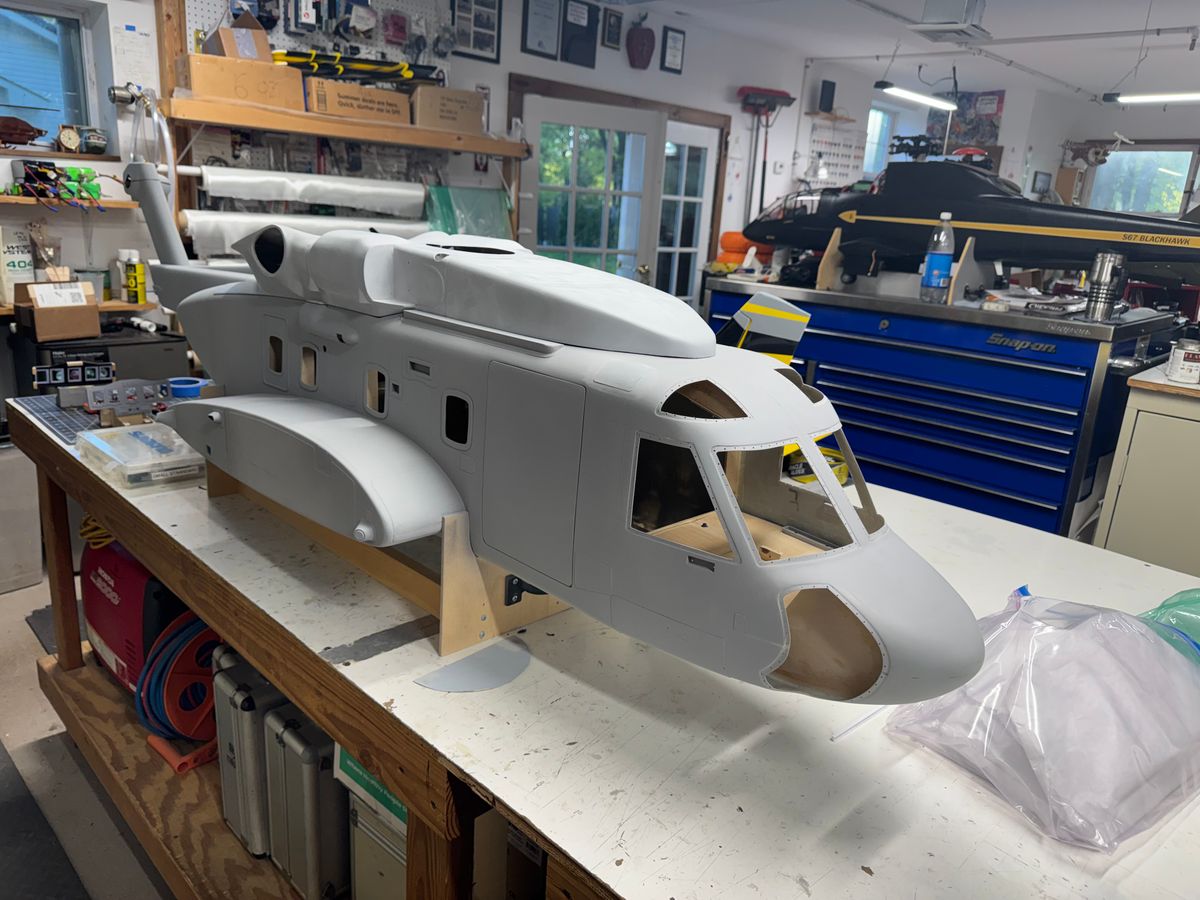
With all the cool little pieces that were finished up it was time to install some stuff. I bonded on the top and bottom beacon light bases, the white tail position base, the aft DIRCM sensor pods then got to work on the cockpit IP.
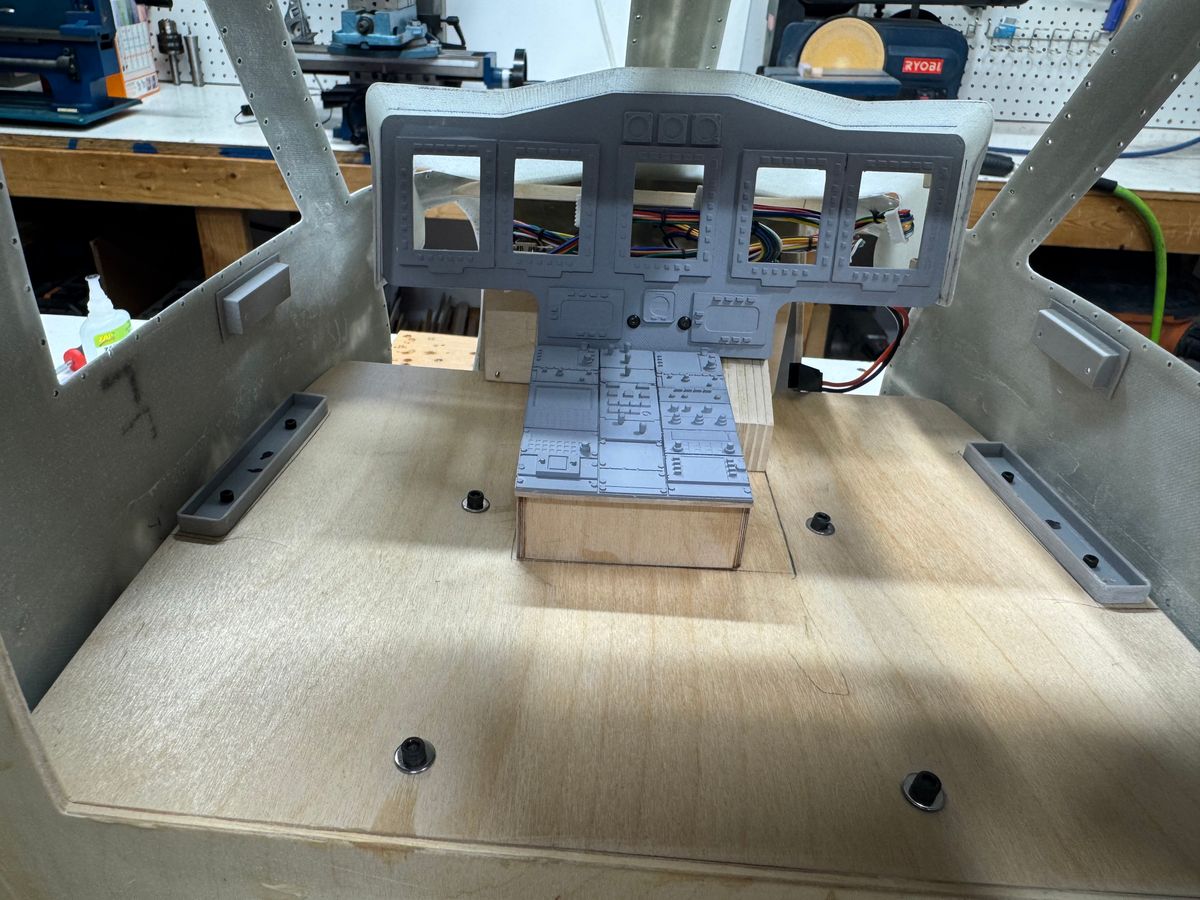
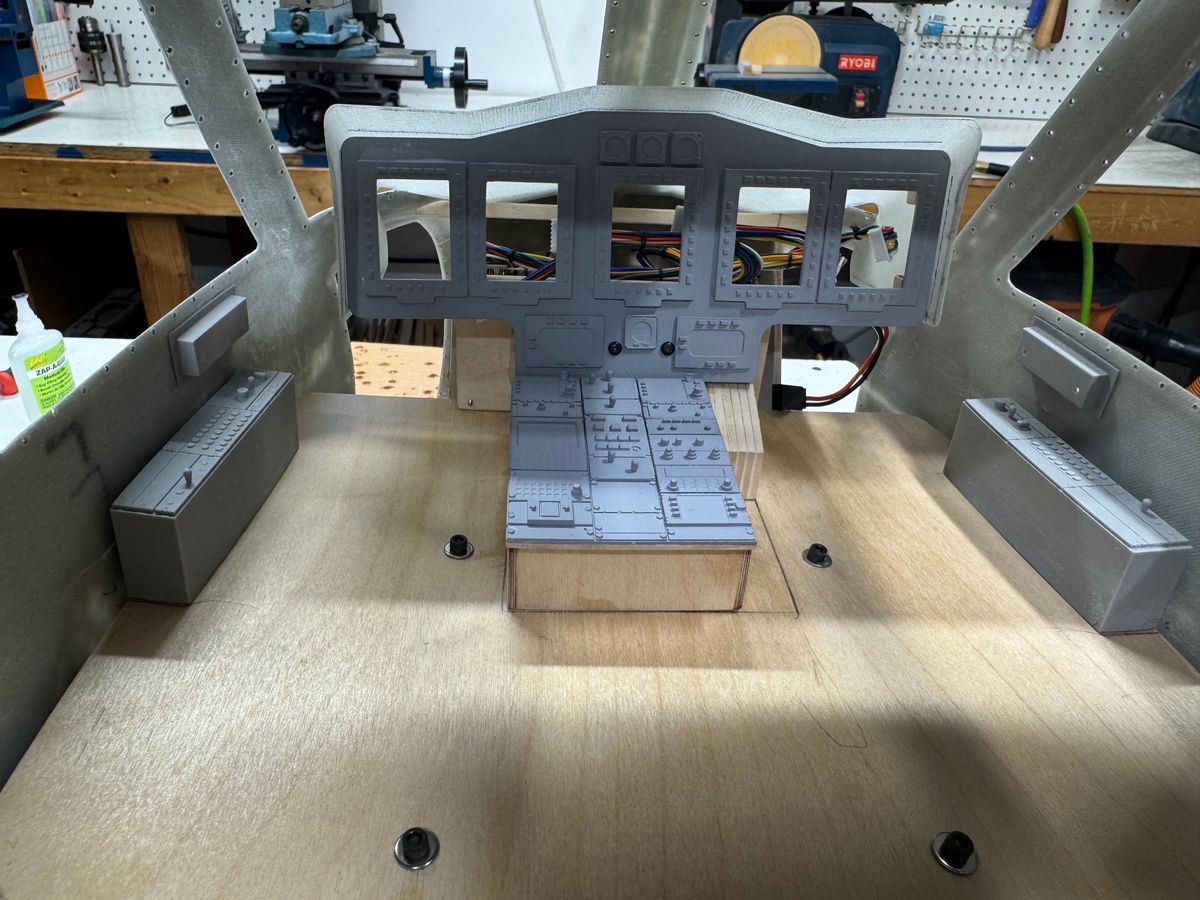
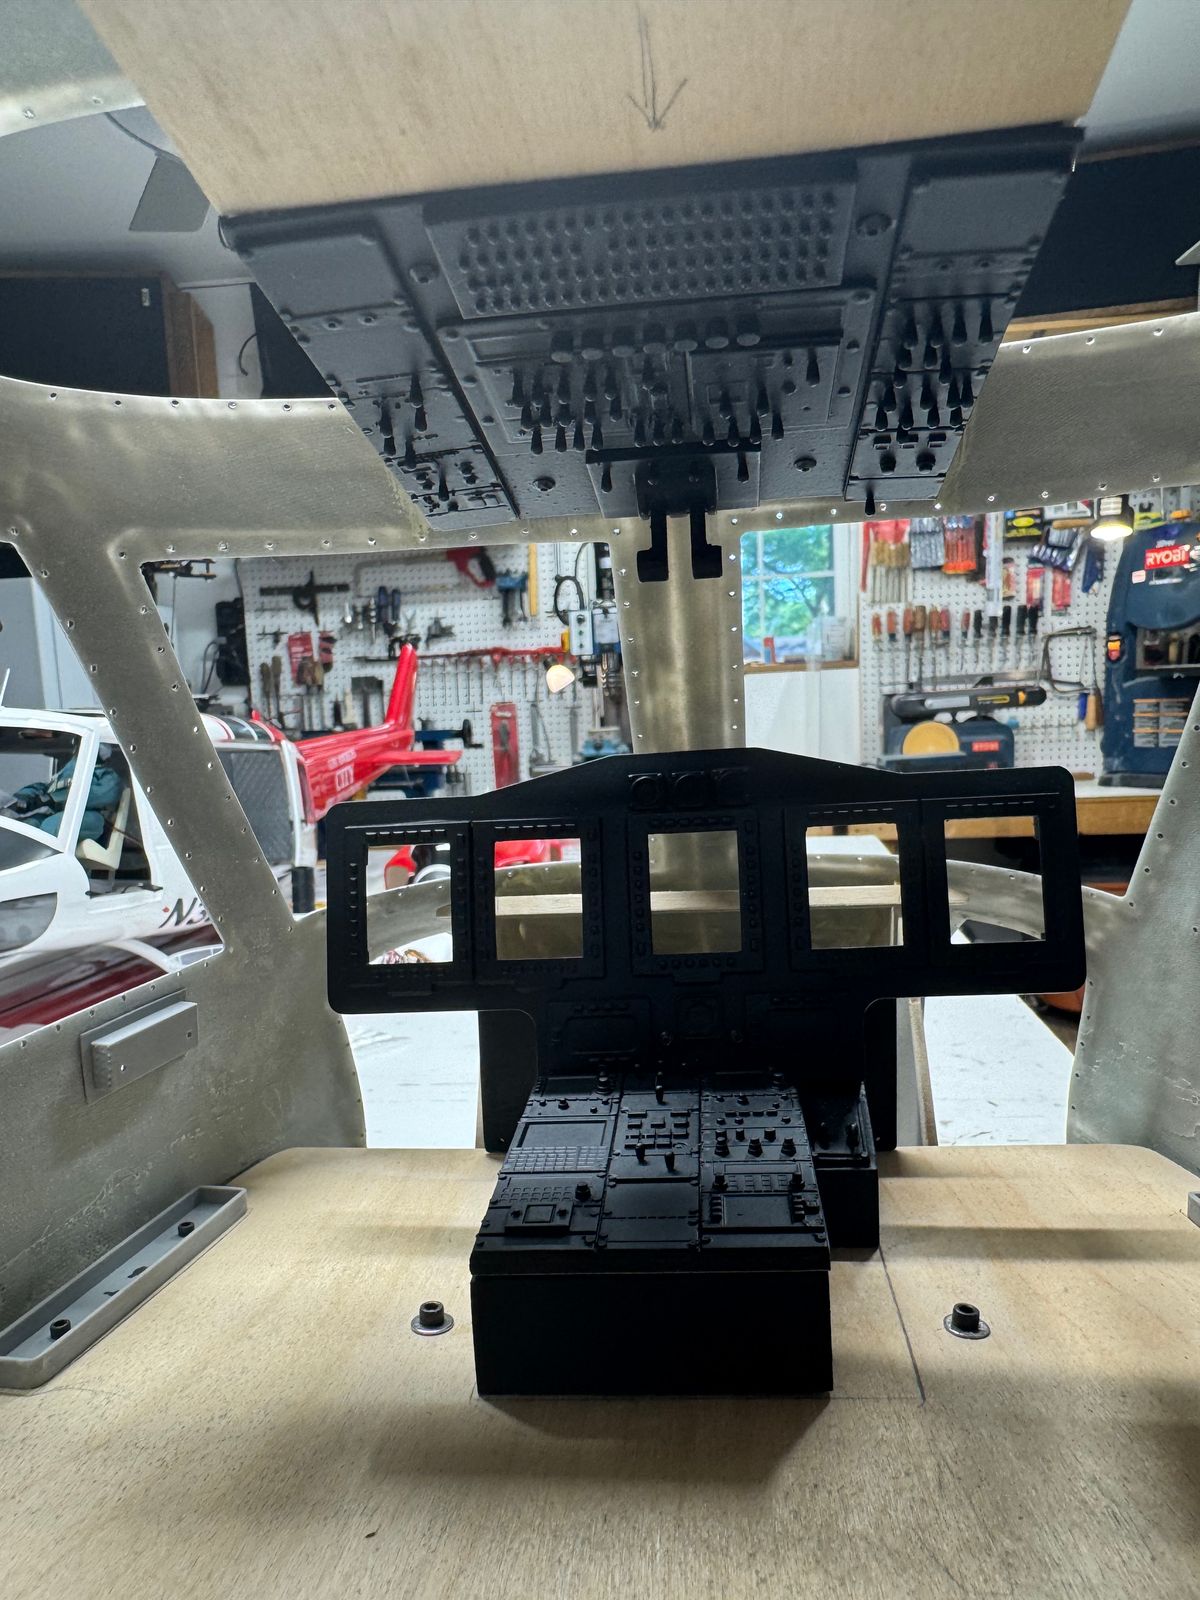
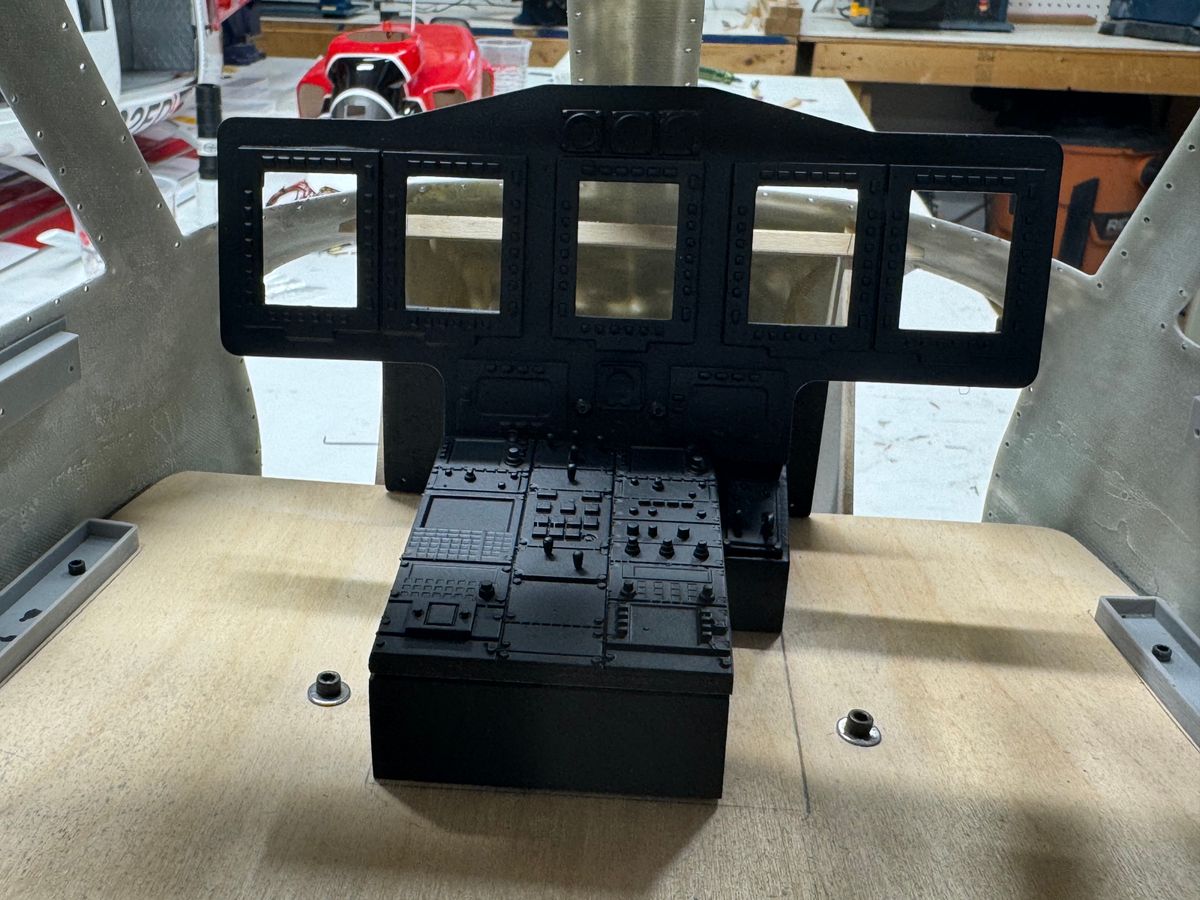
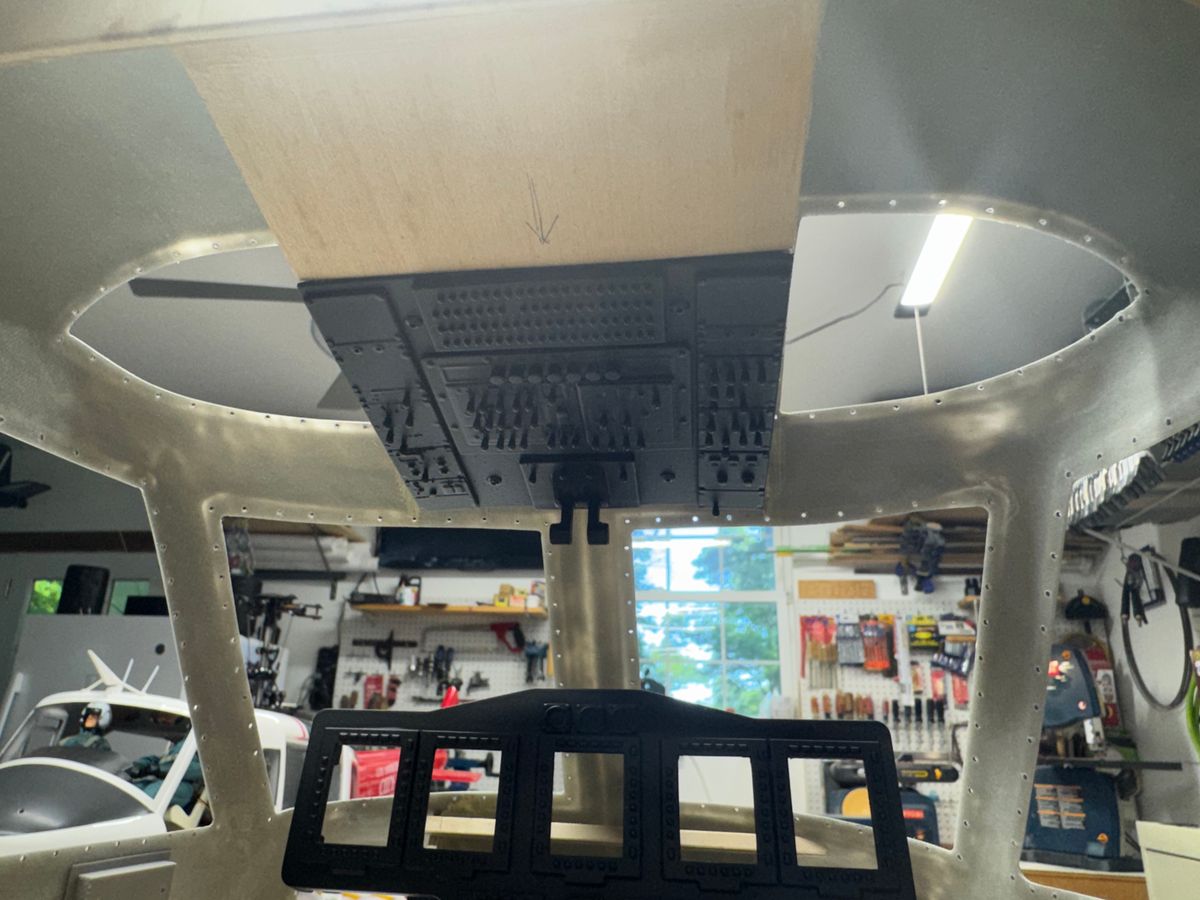
I installed magnets on the center console base to hold the display on. Bonded the over head panel instruments to a piece of 1.5 mm light ply and assembled the base that will be bonded to the cockpit celling. The over head panel will be held to the base with 4 each .050 socket head screws.
I am very happy with the way the cockpit of my VH-92 A is coming together. There has been a lot of thought and time spent to build a highly detailed cockpit for this project.
It looks like tomorrow will be another shop day.
Attached are a few pics.
Thanks for cursing by,
UIH
Butch
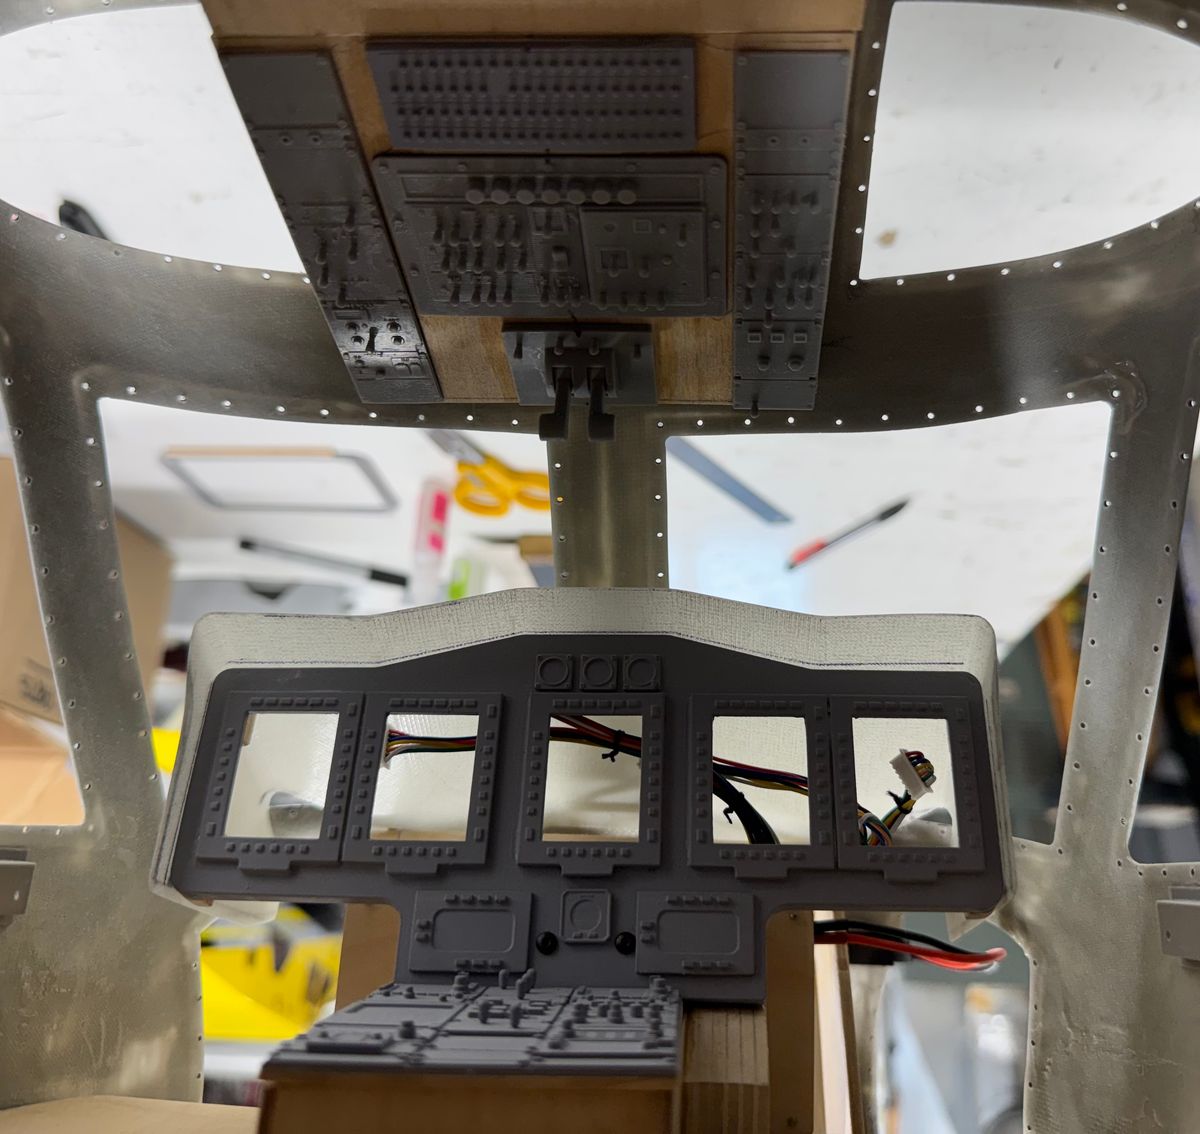
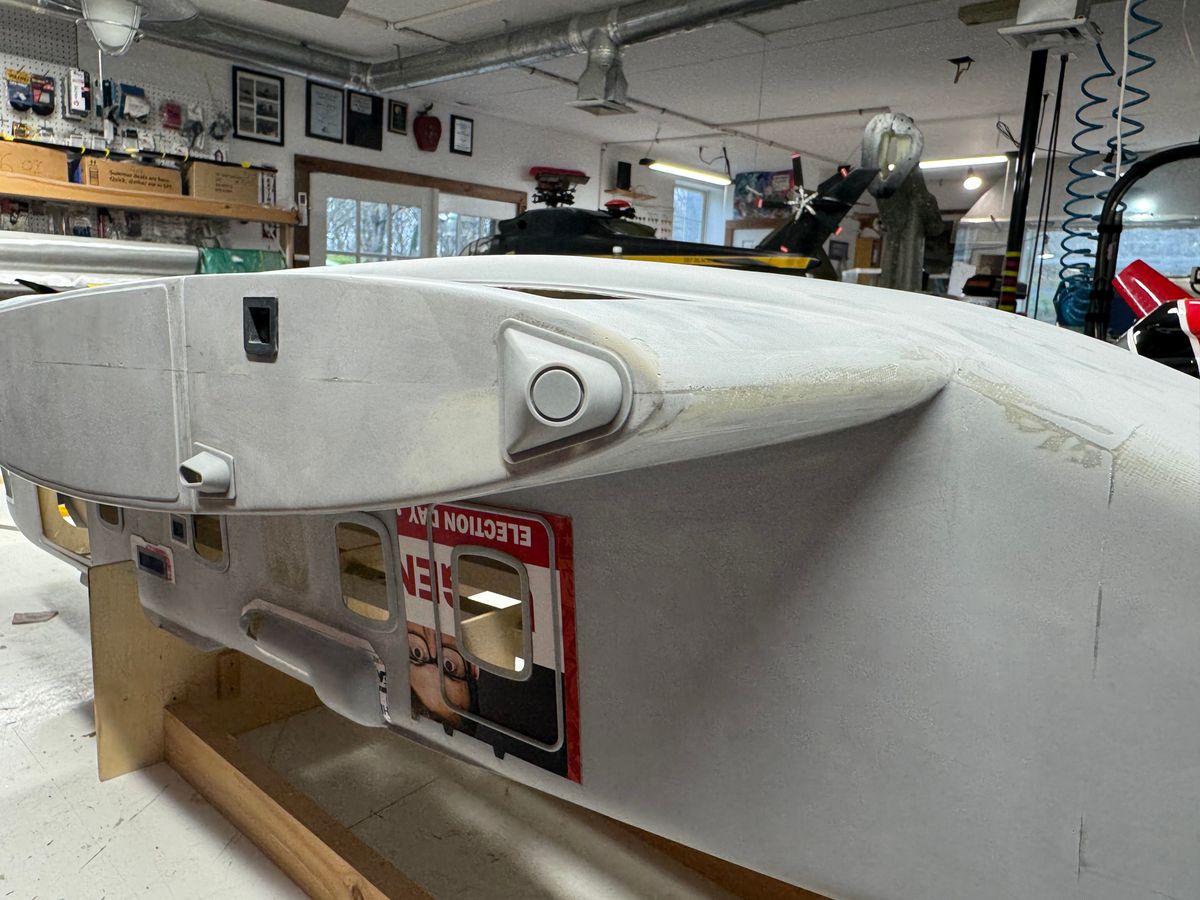
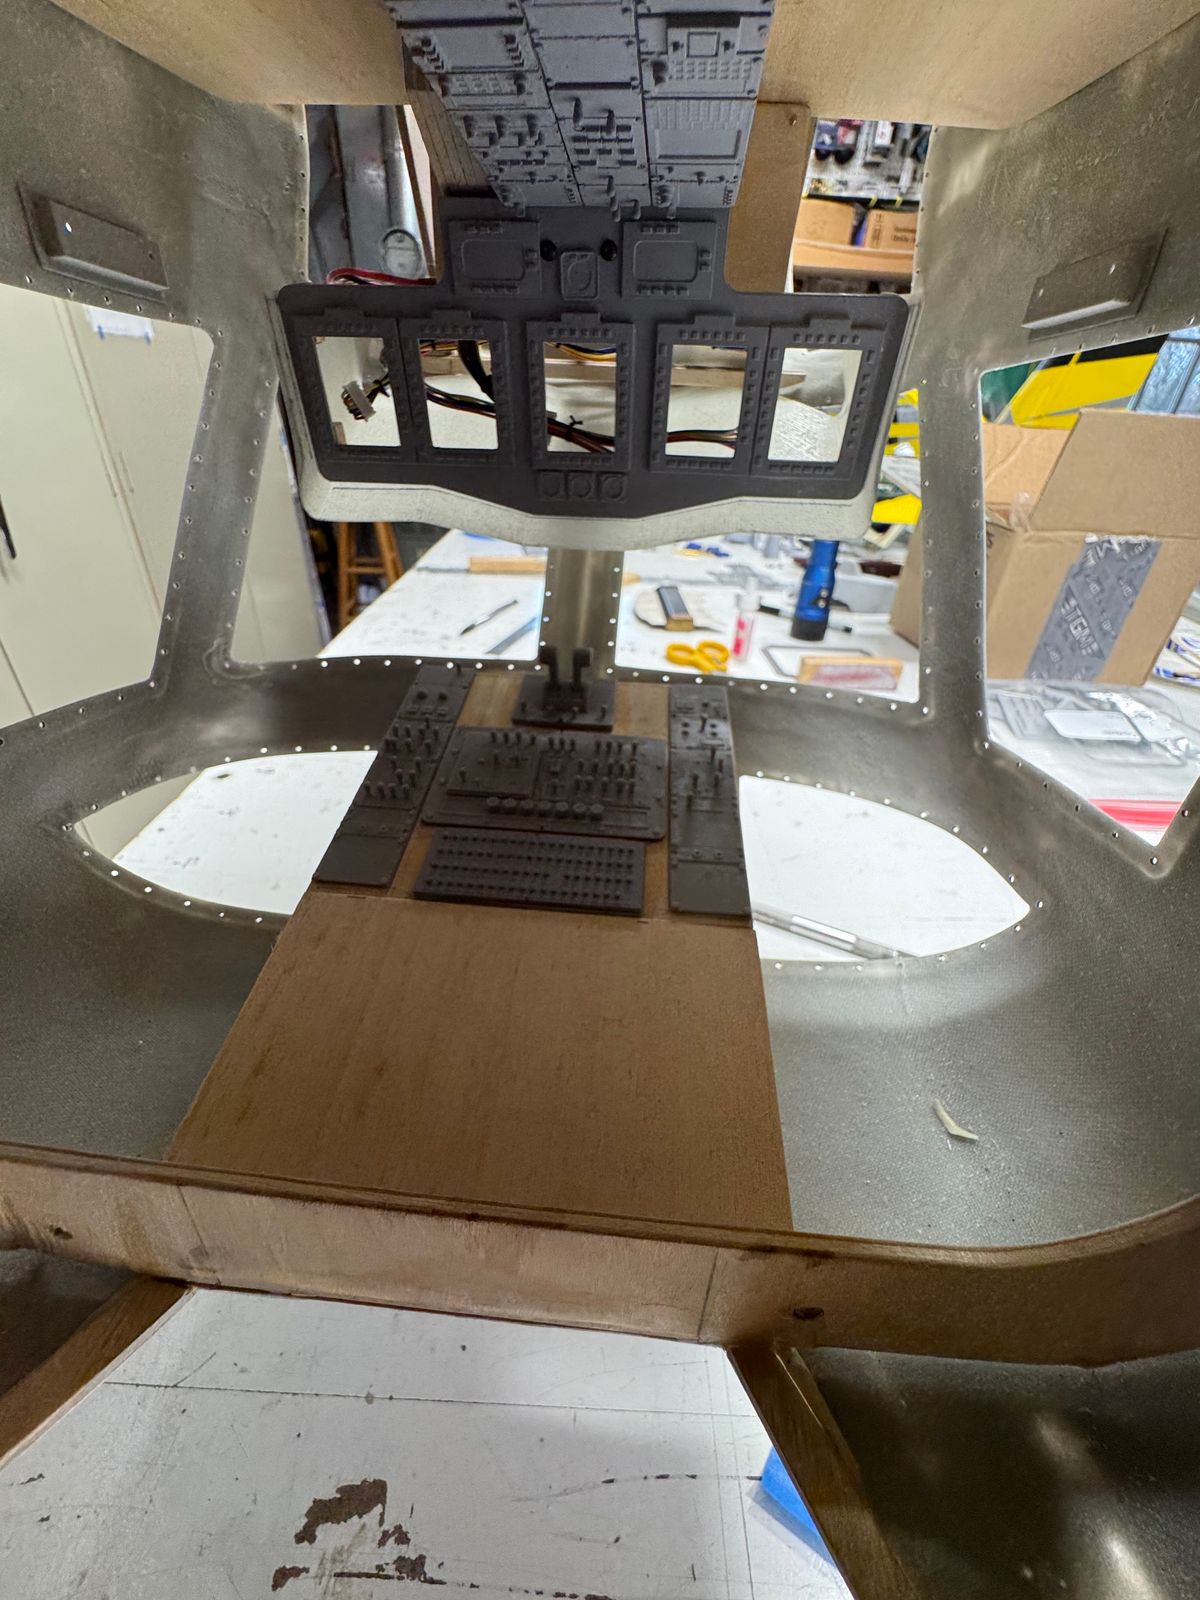
“Let Me Tell ya Something”
UIH,
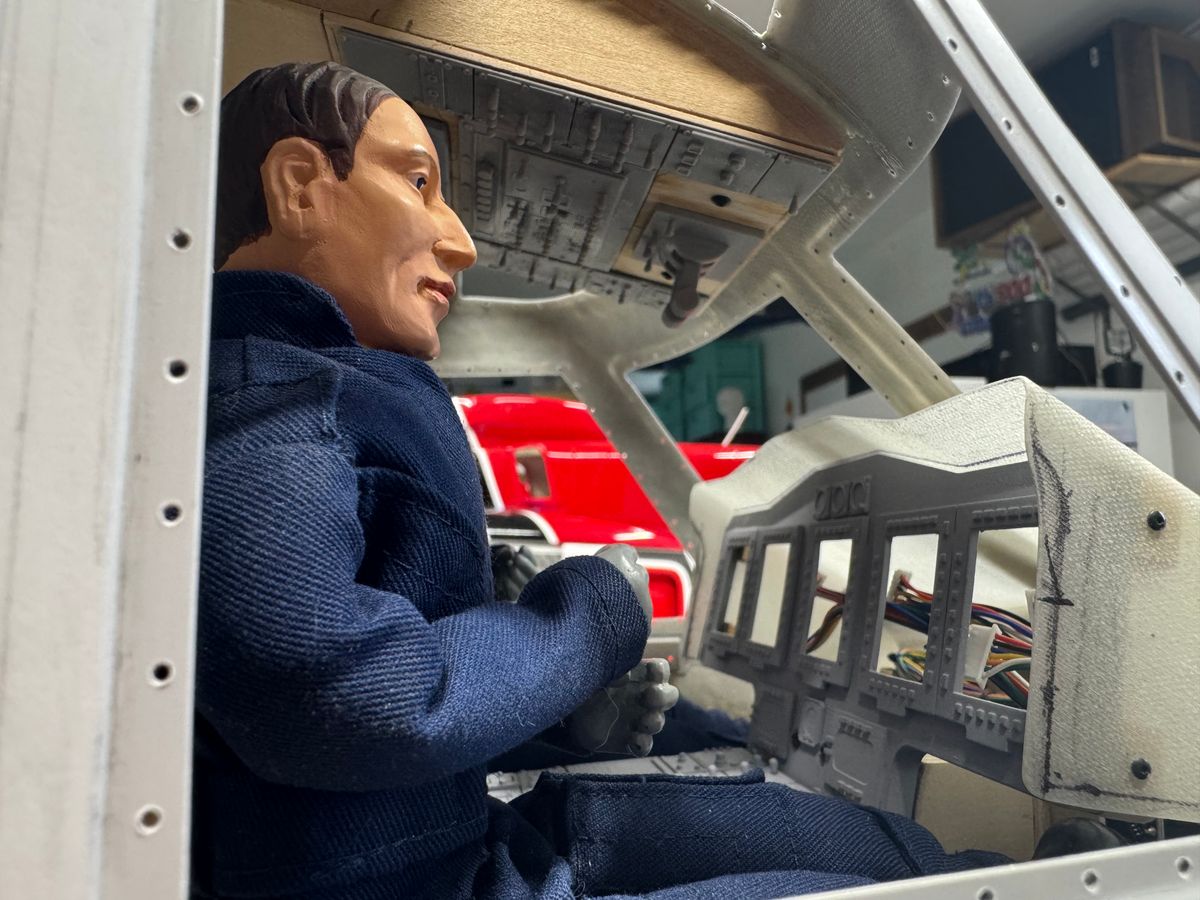
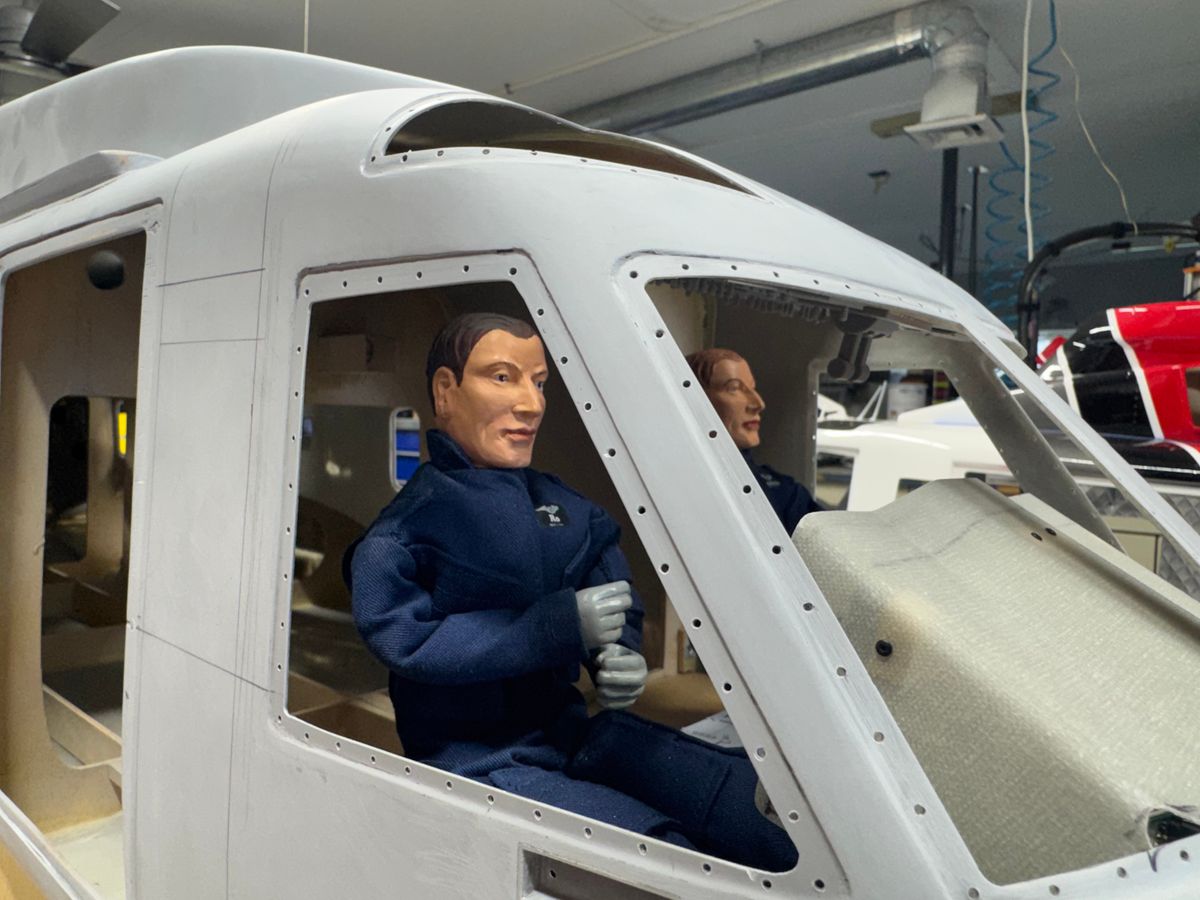
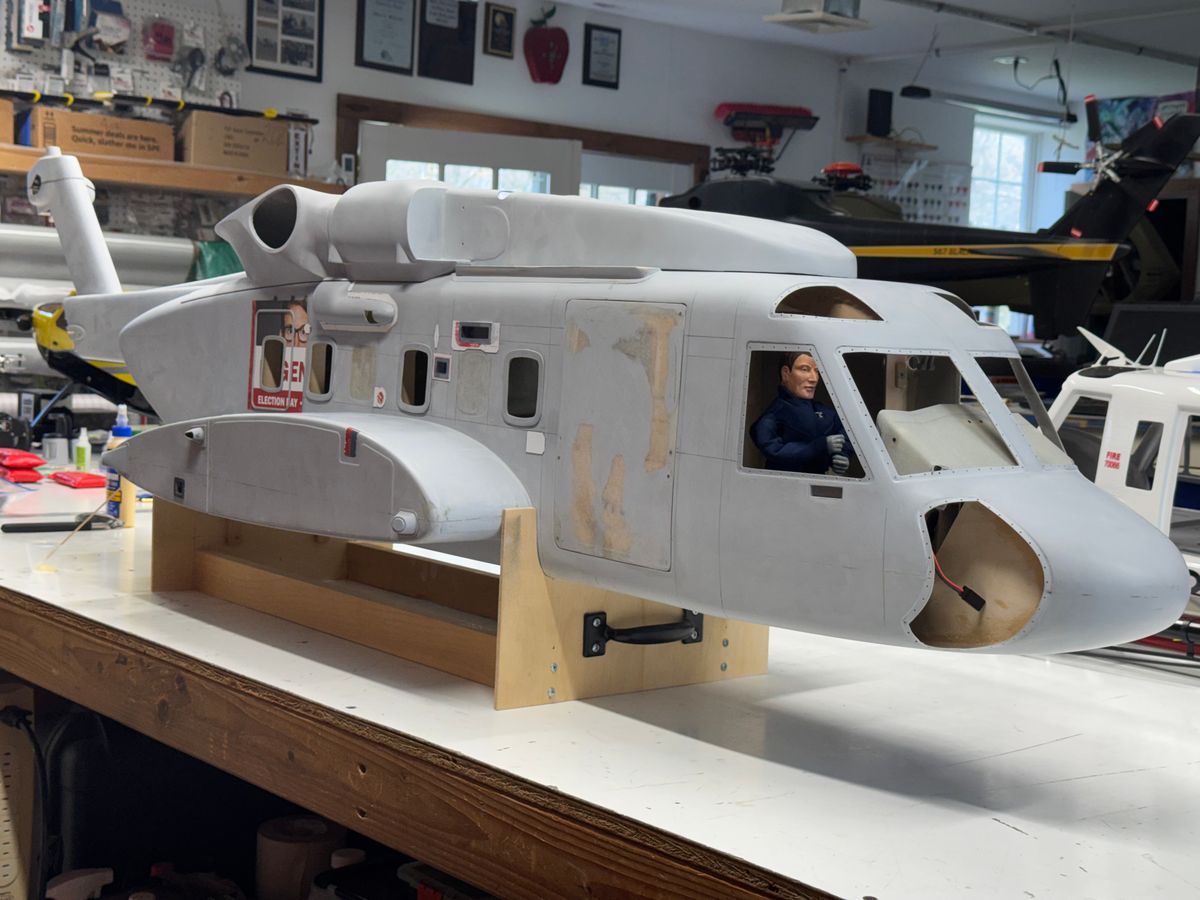
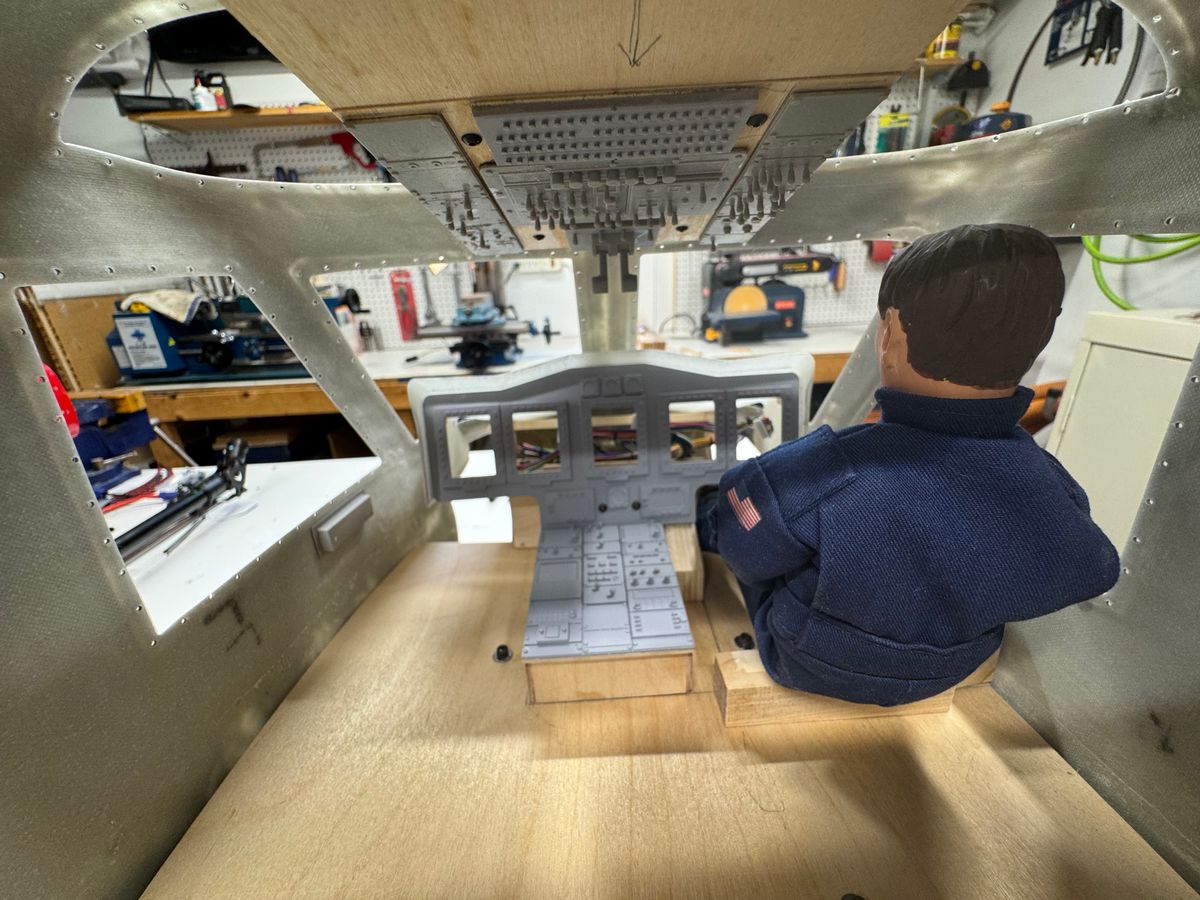
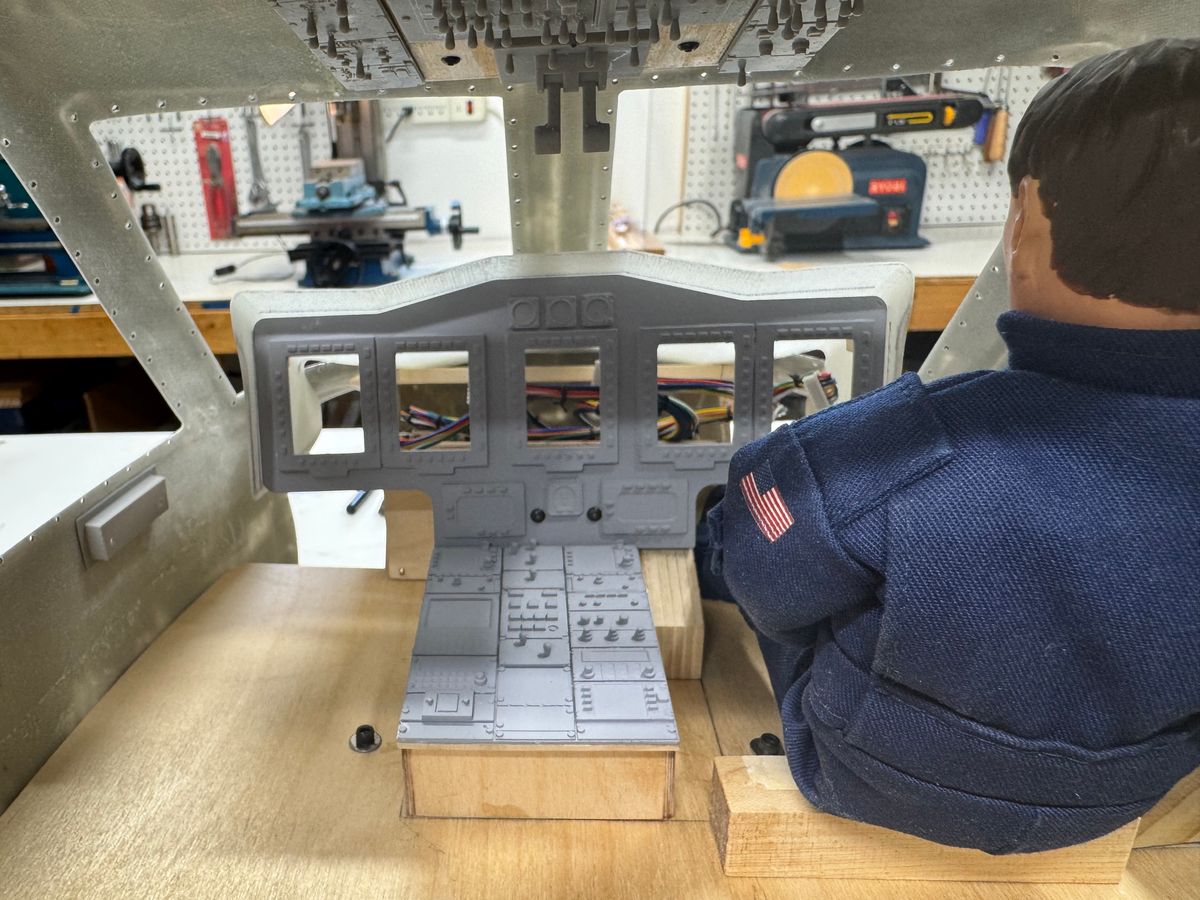
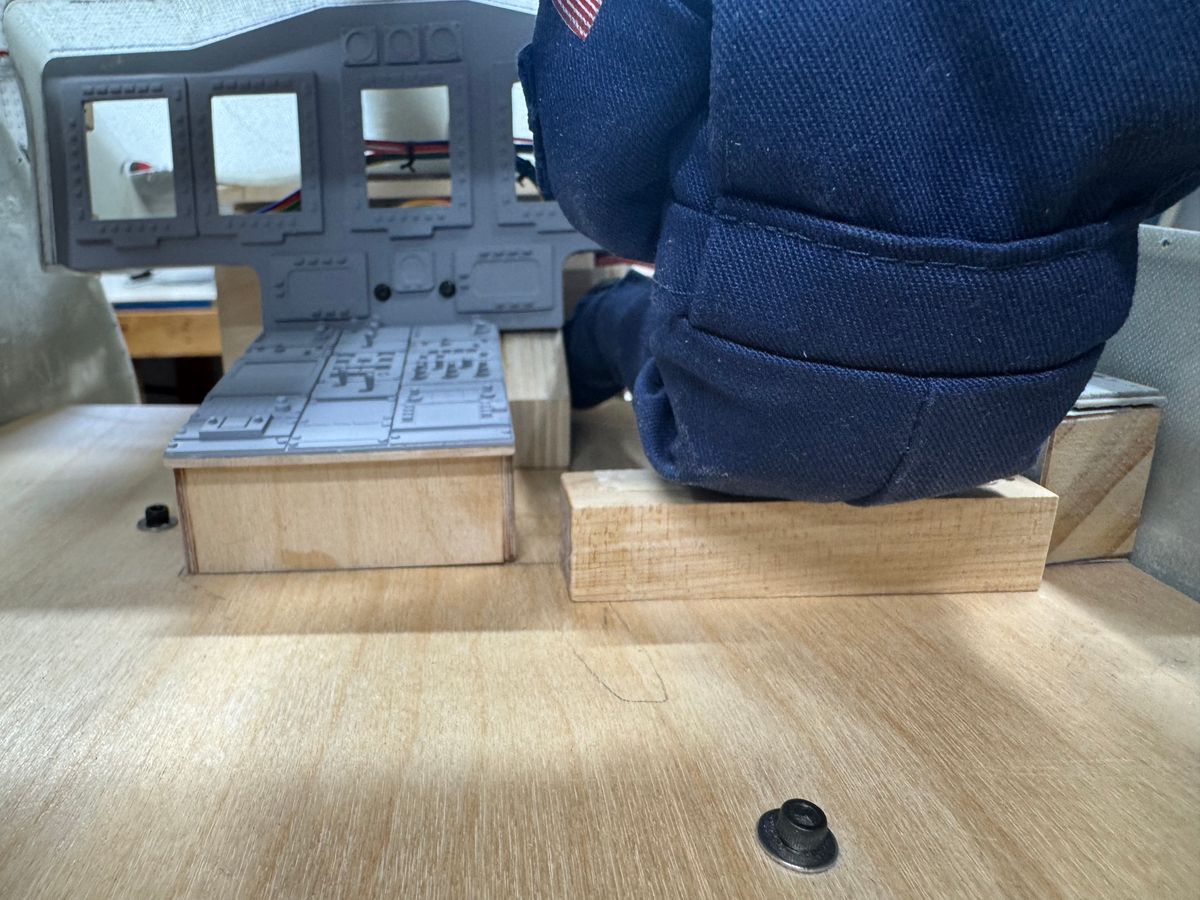
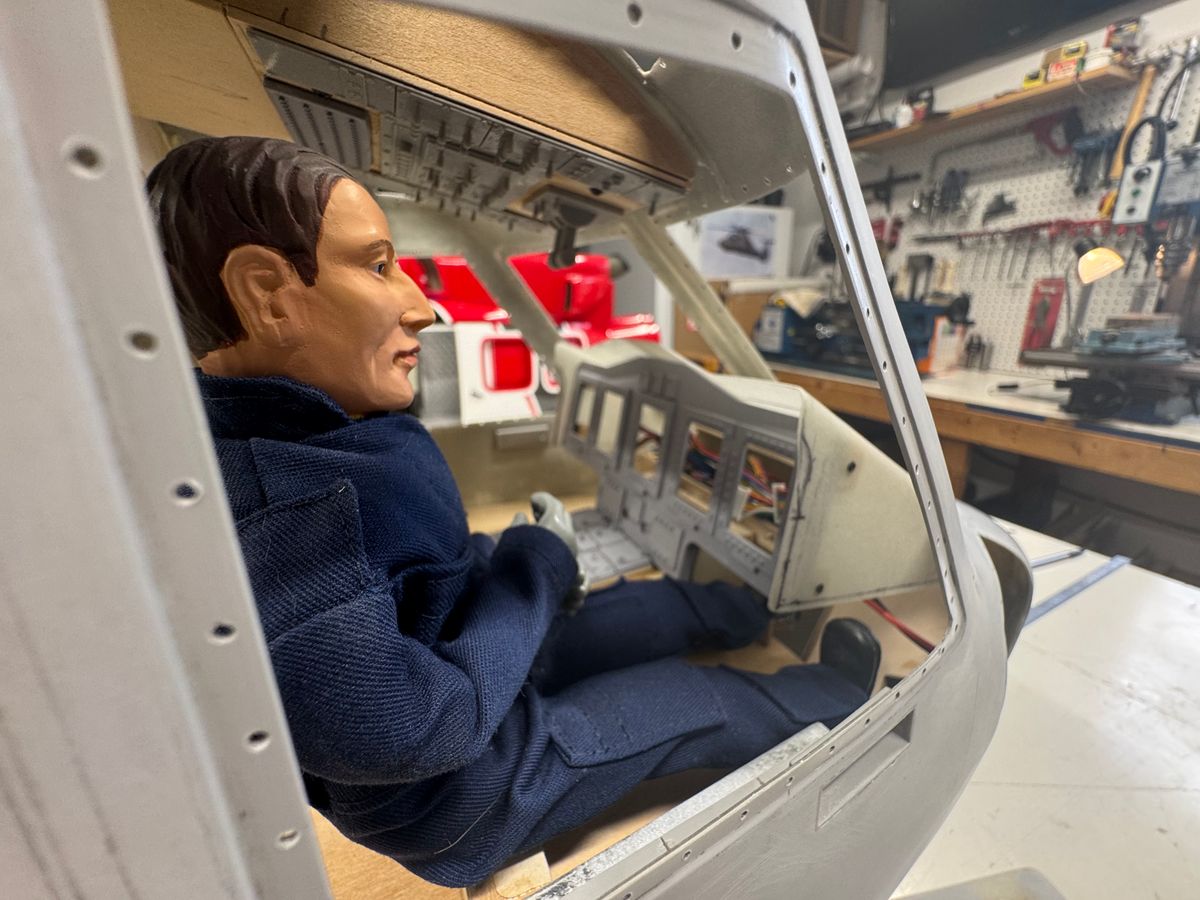
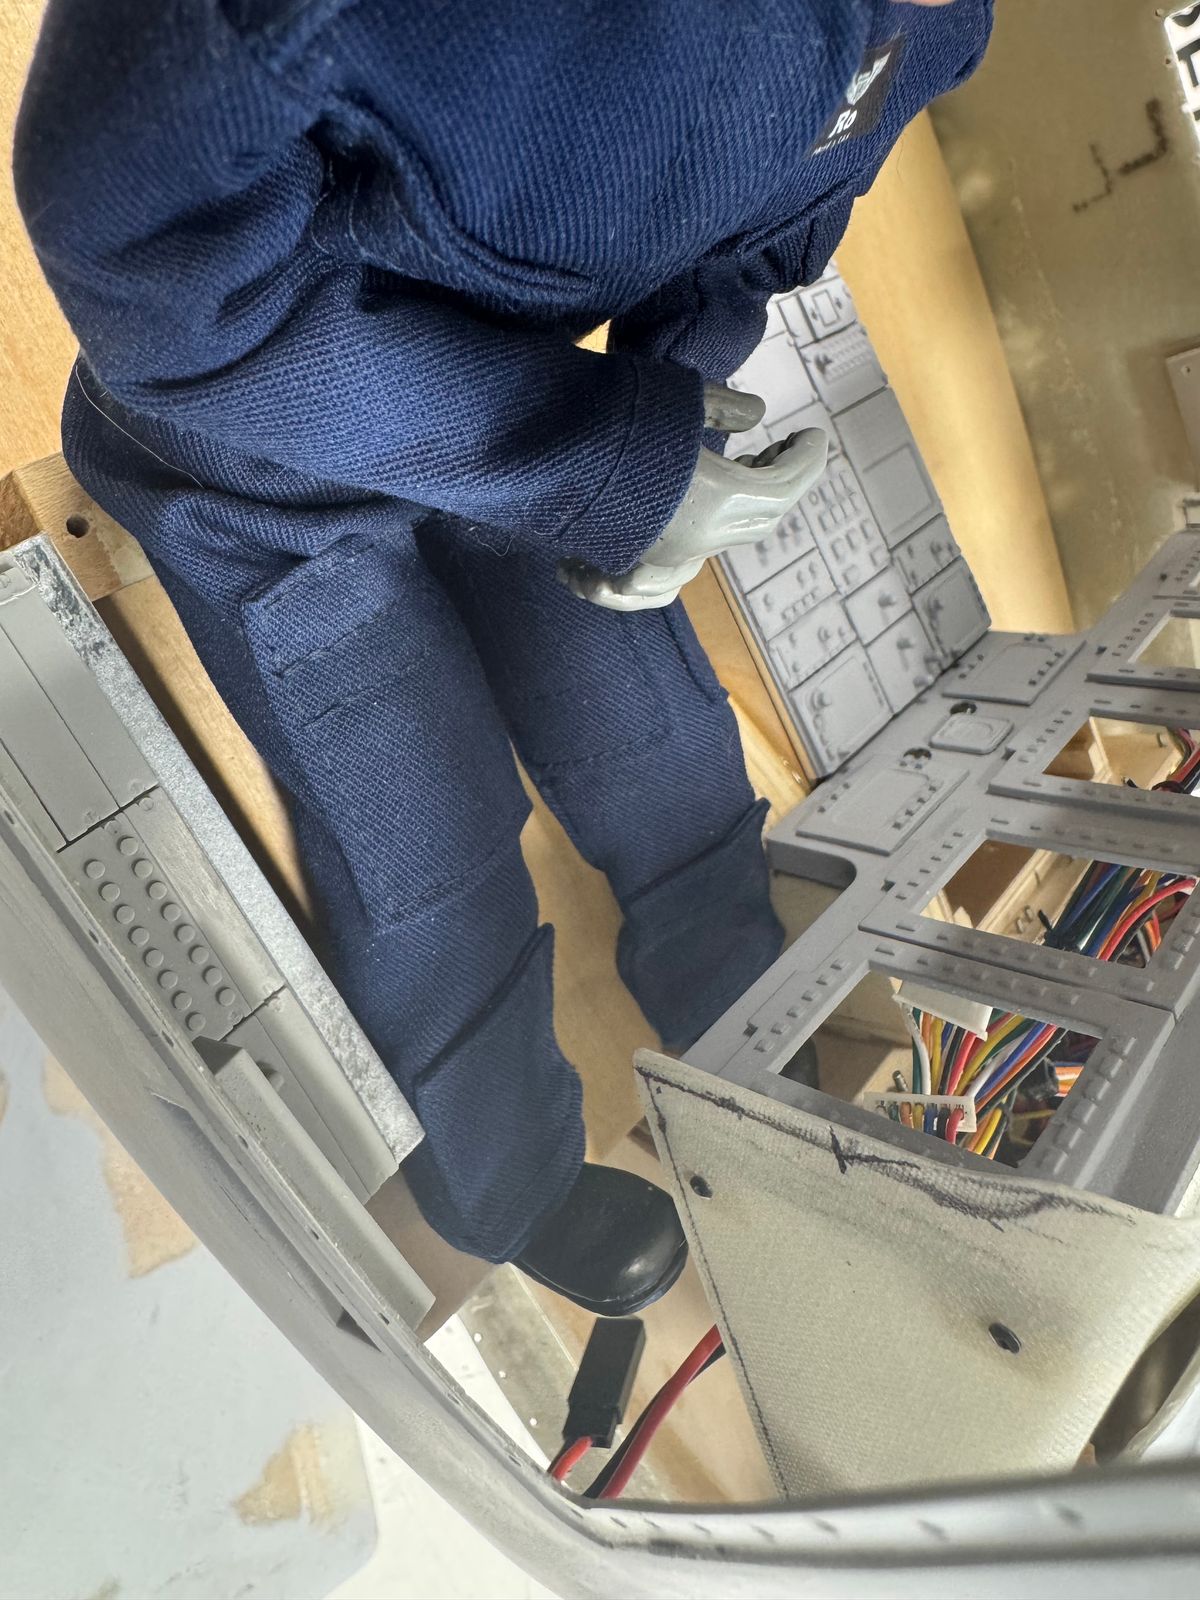
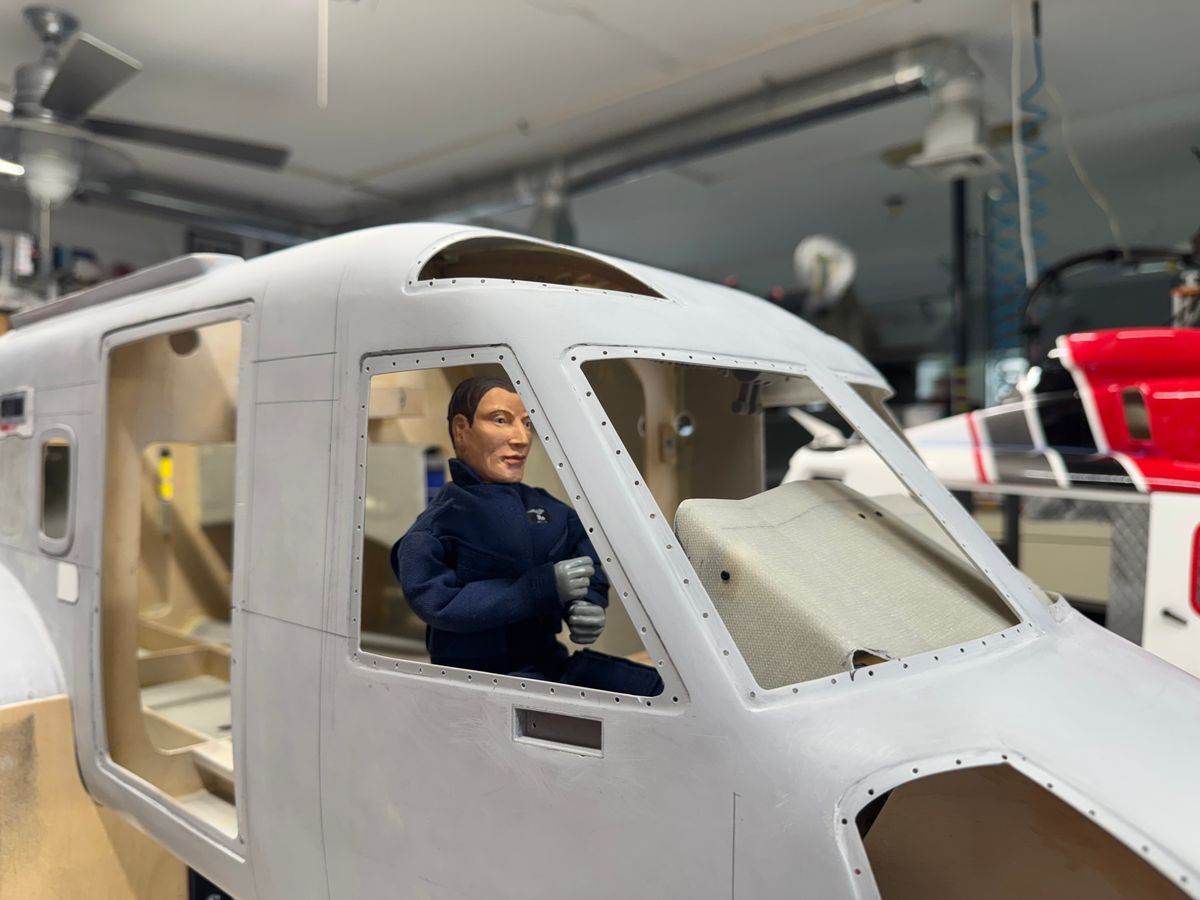
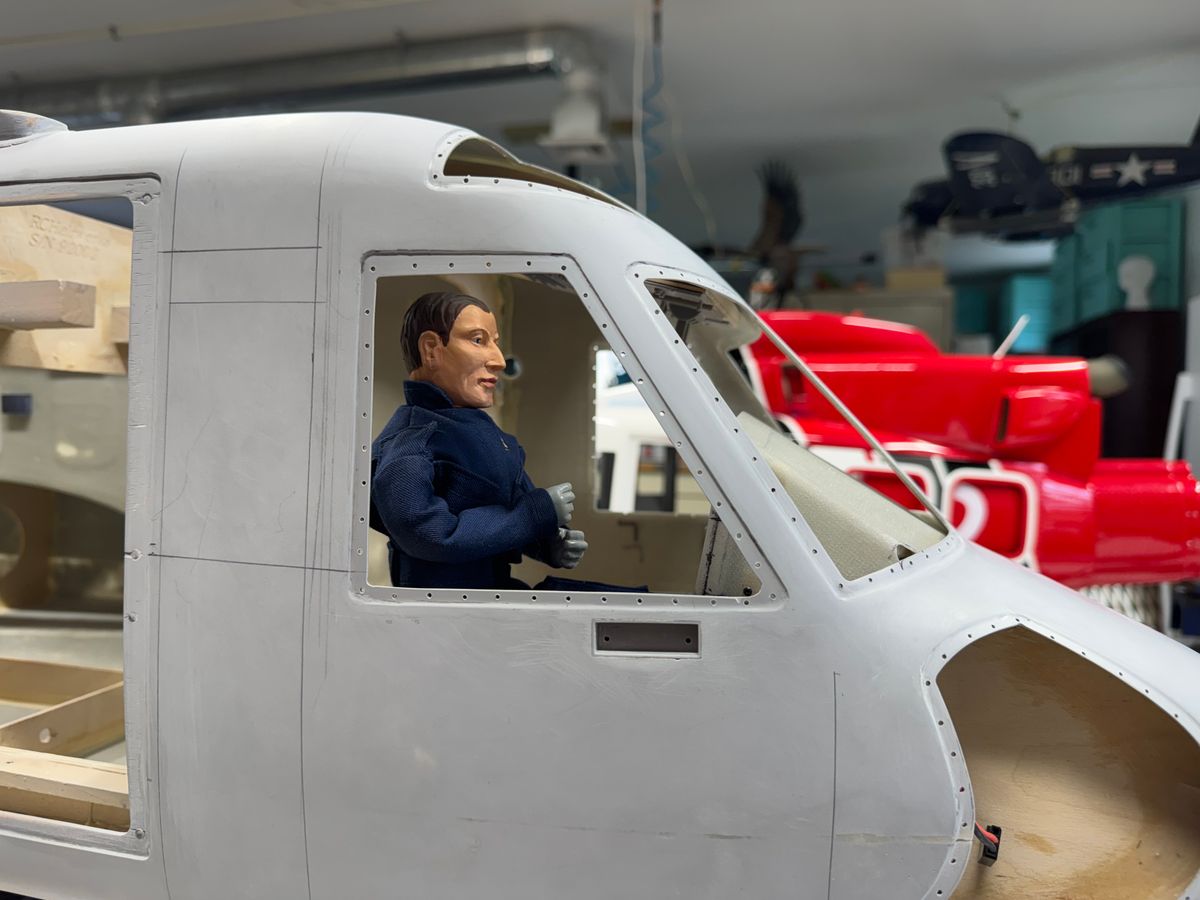
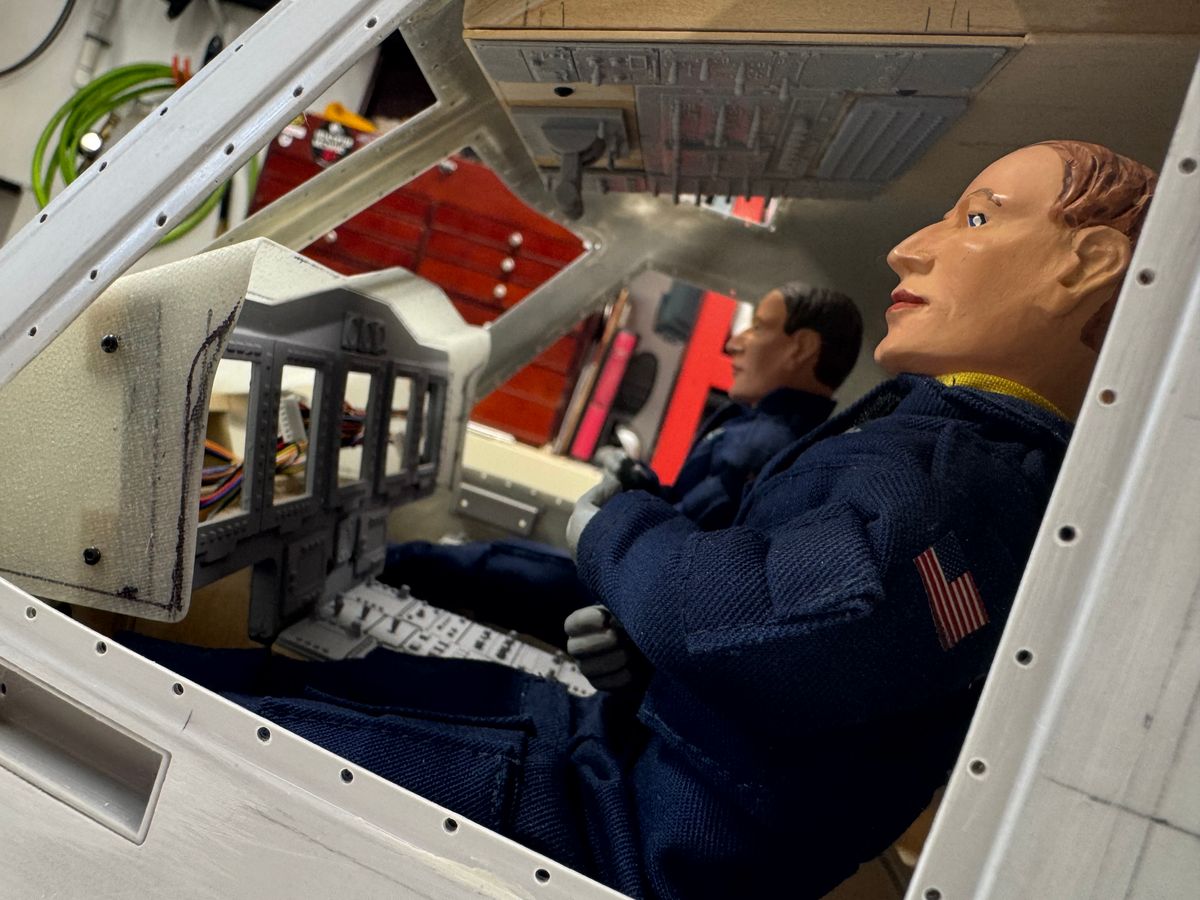
Nice to see plans come together. Rain SAT and SUN = shop days. Happy with where the cockpit is going.
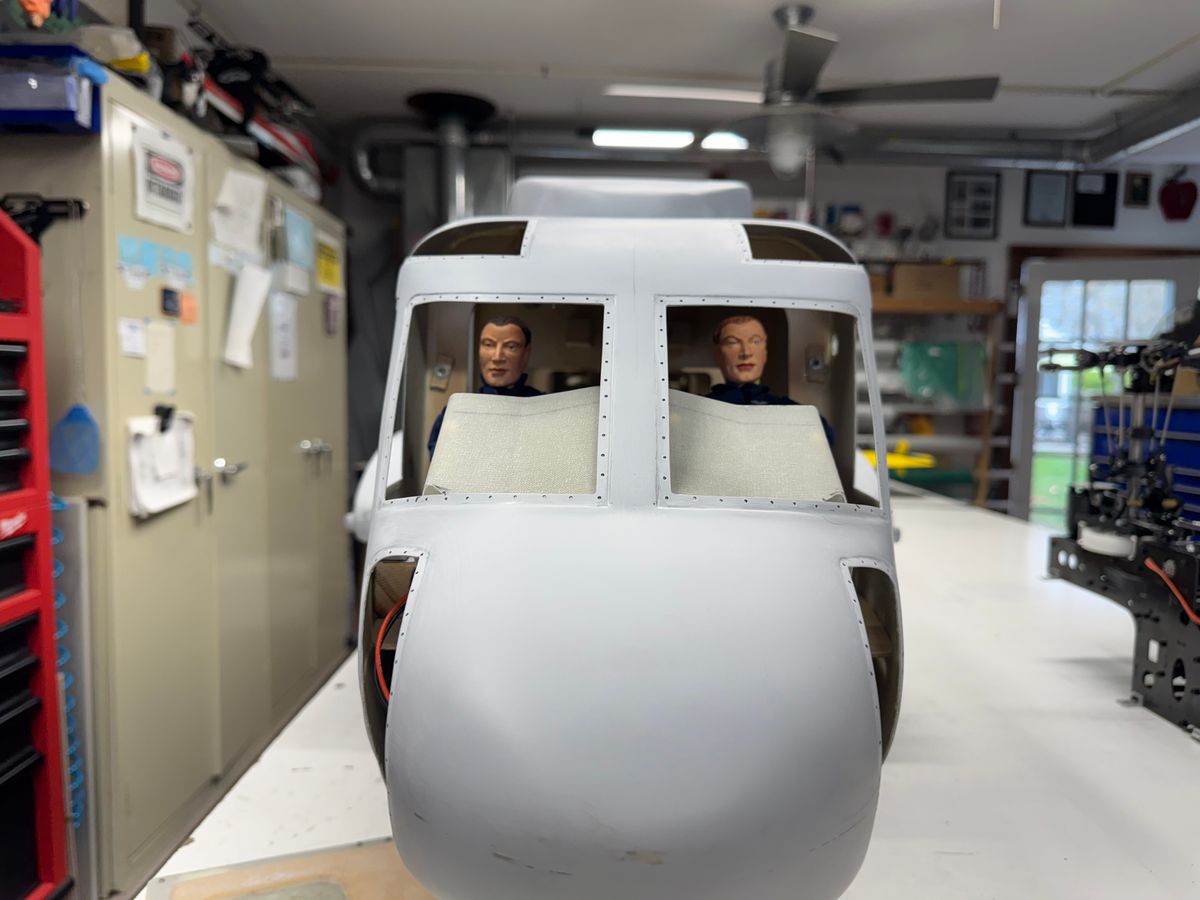
A few pics. I know my pilot heads are “funny”. They have meds for that.
Thanks for checking things out.
UIH,
B
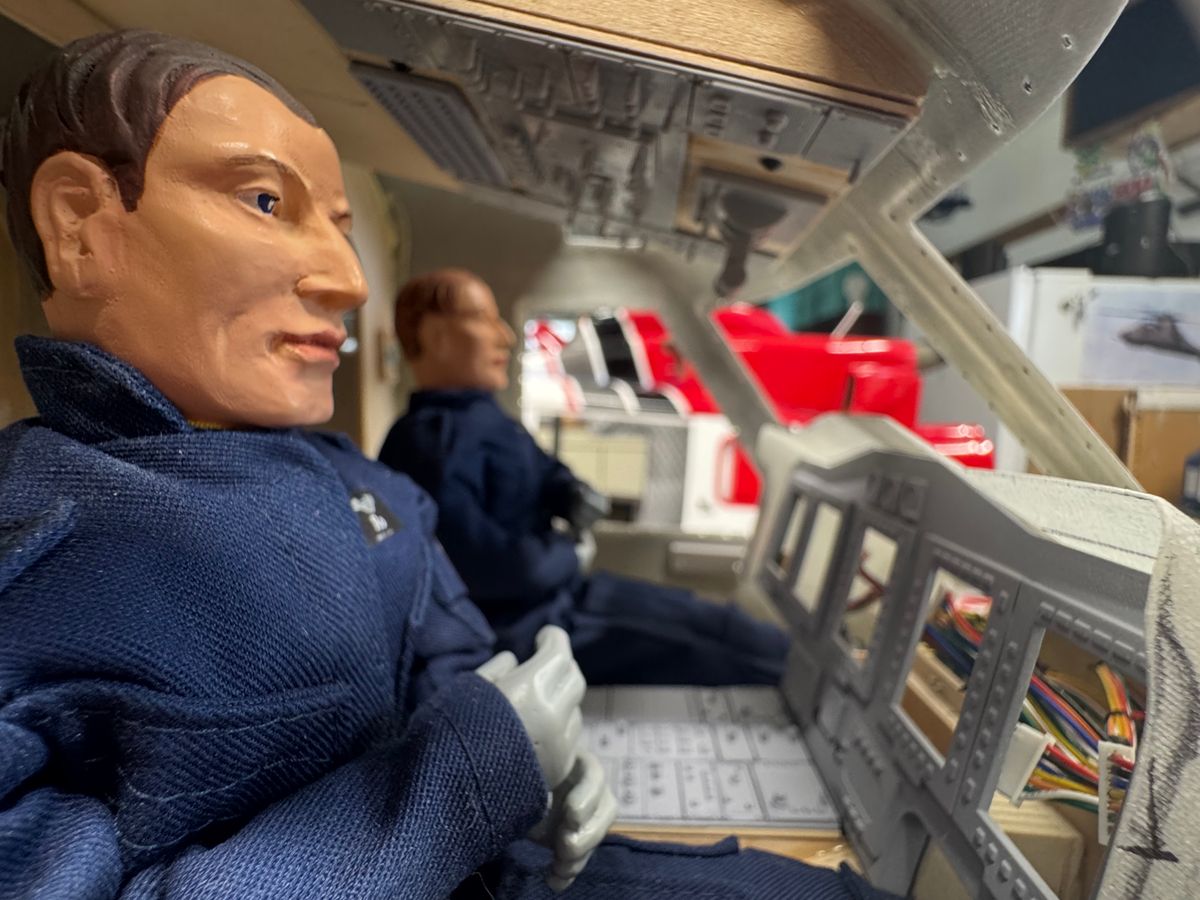
“Burlap sack and Pumps”
UIH,
As much as I really want to get to the field and get some flying in, this weekend turned into another productive weekend for my VH.
I will be putting the VH back together for the flying season. There are some items I will work to get “ roughed in” to keep the process going while being in flight status for more stick time. This will move the paint schedule back until after the flying season.
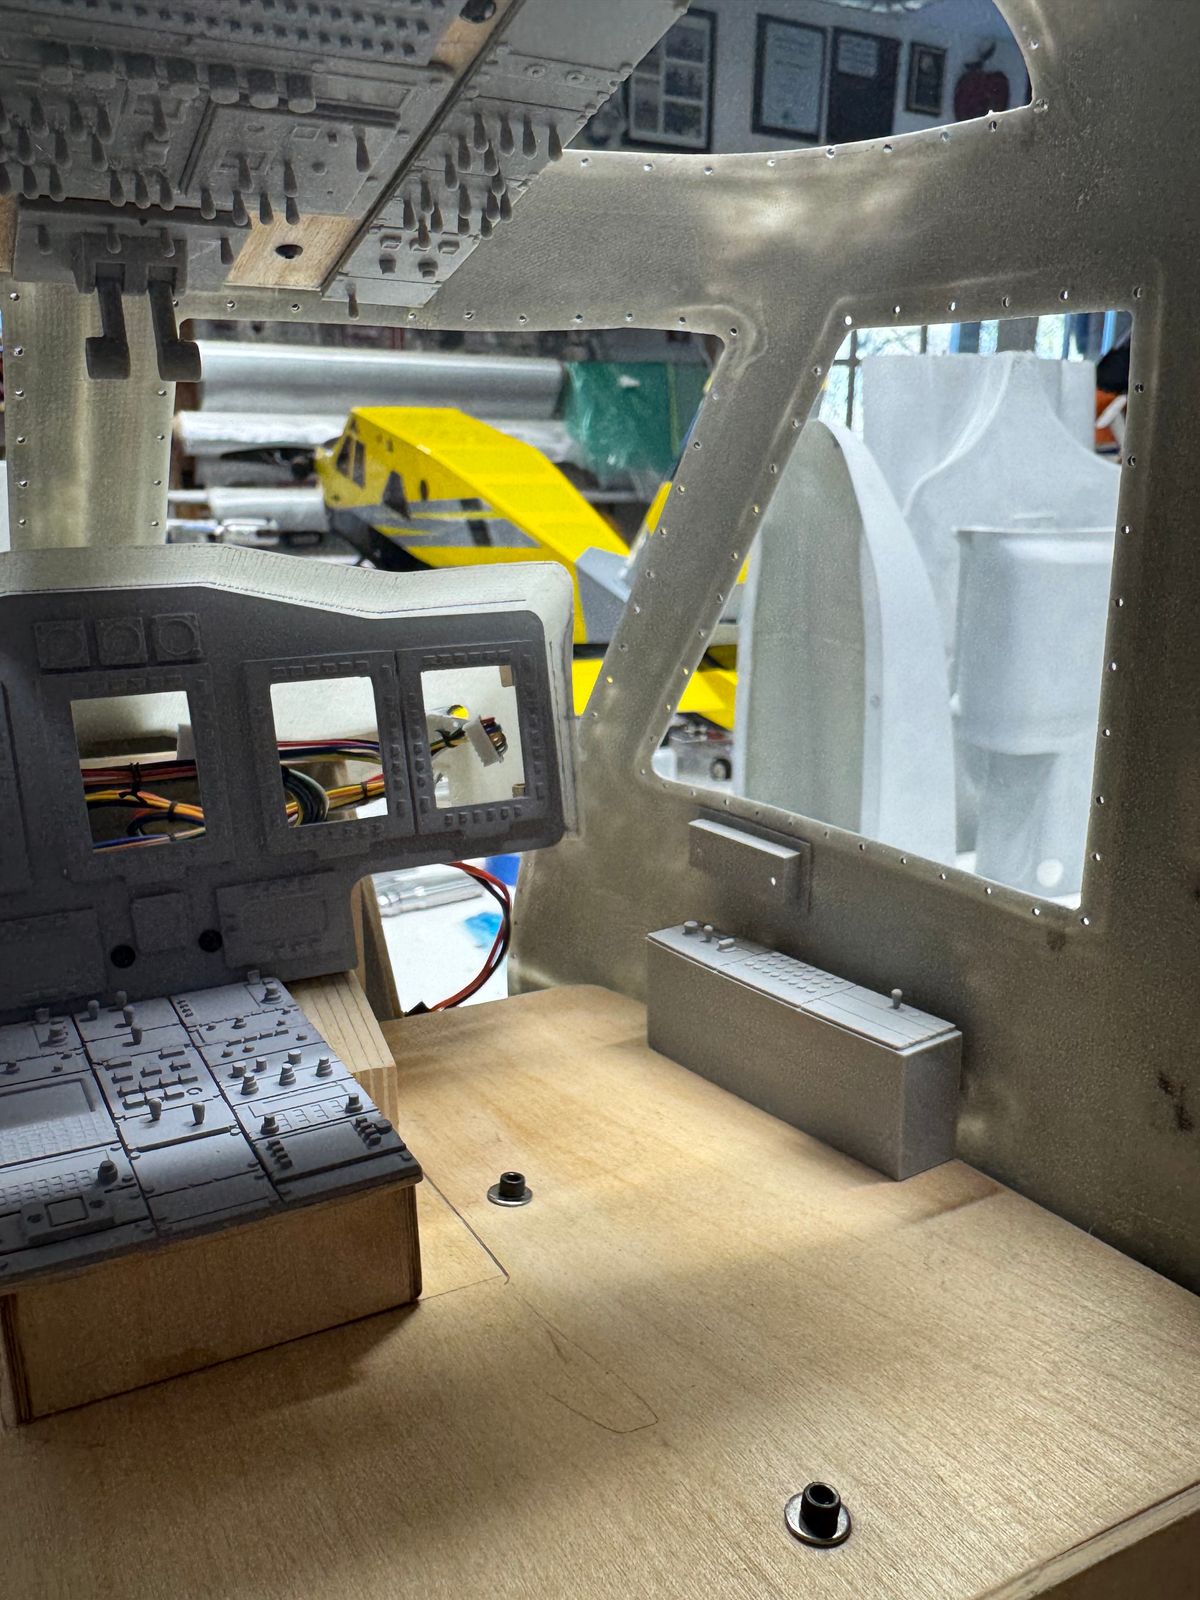
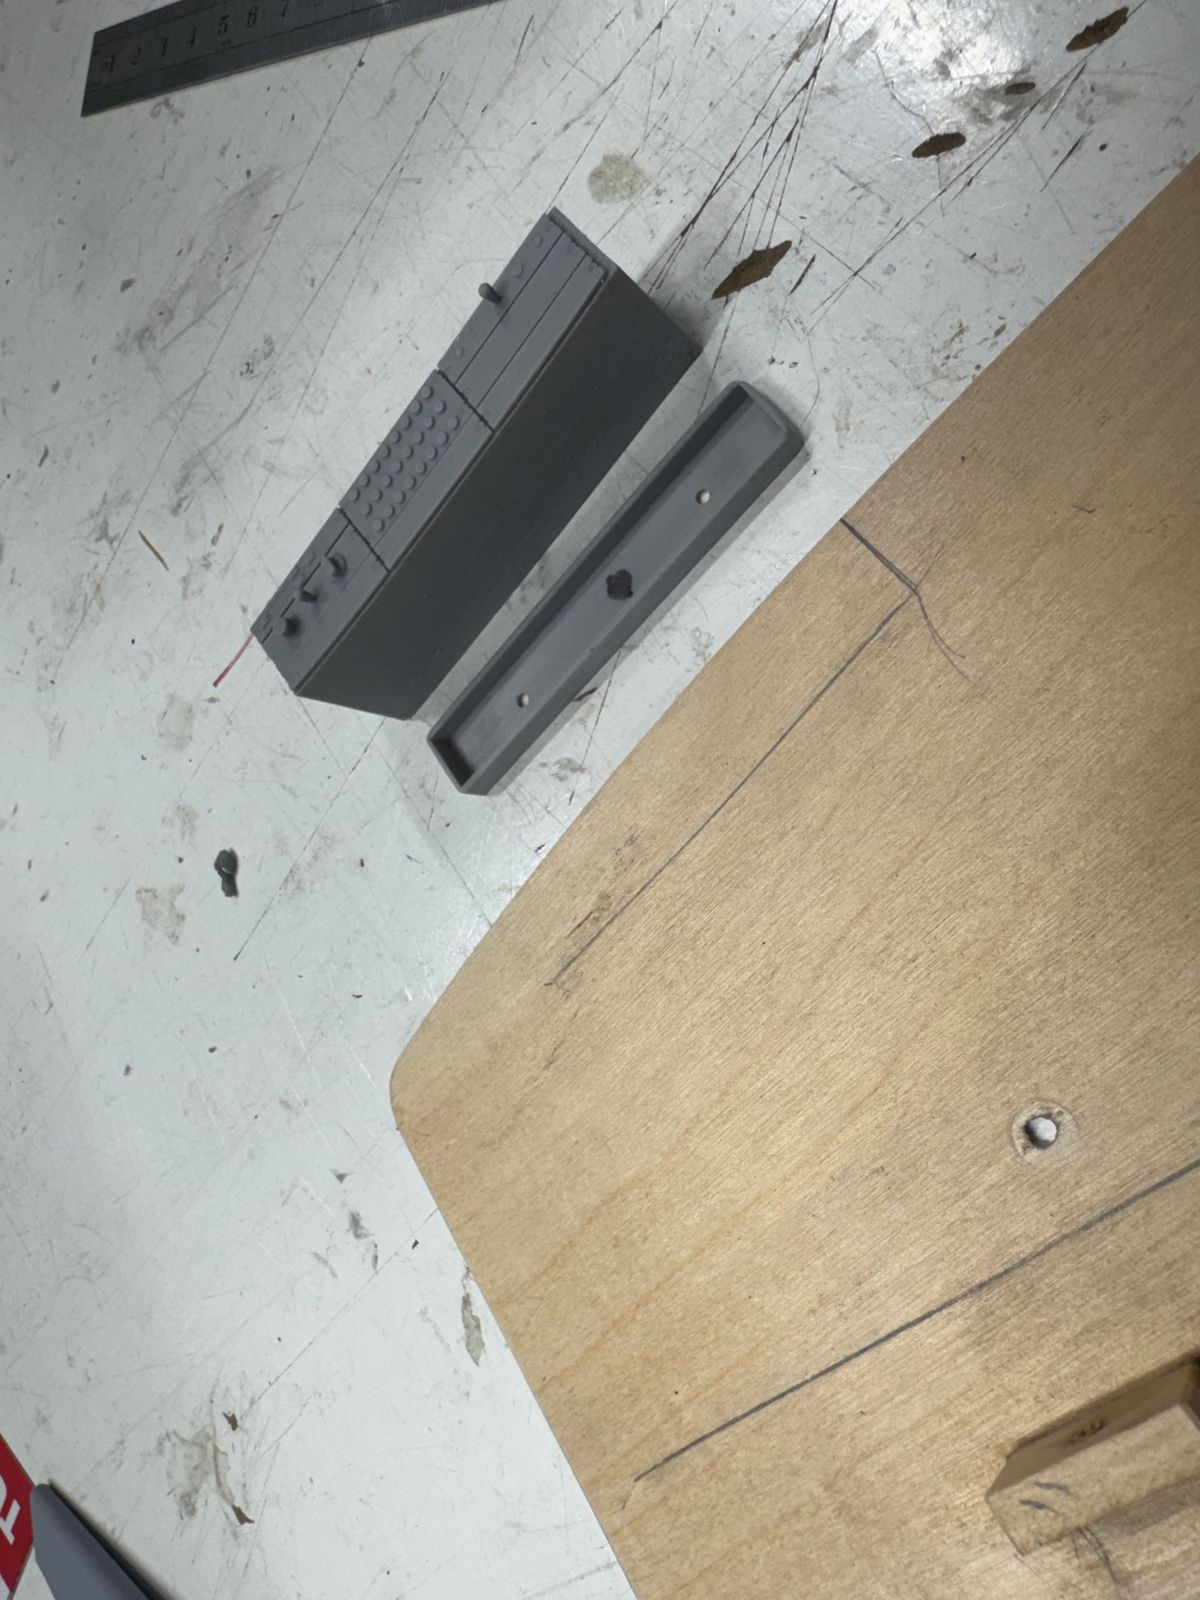
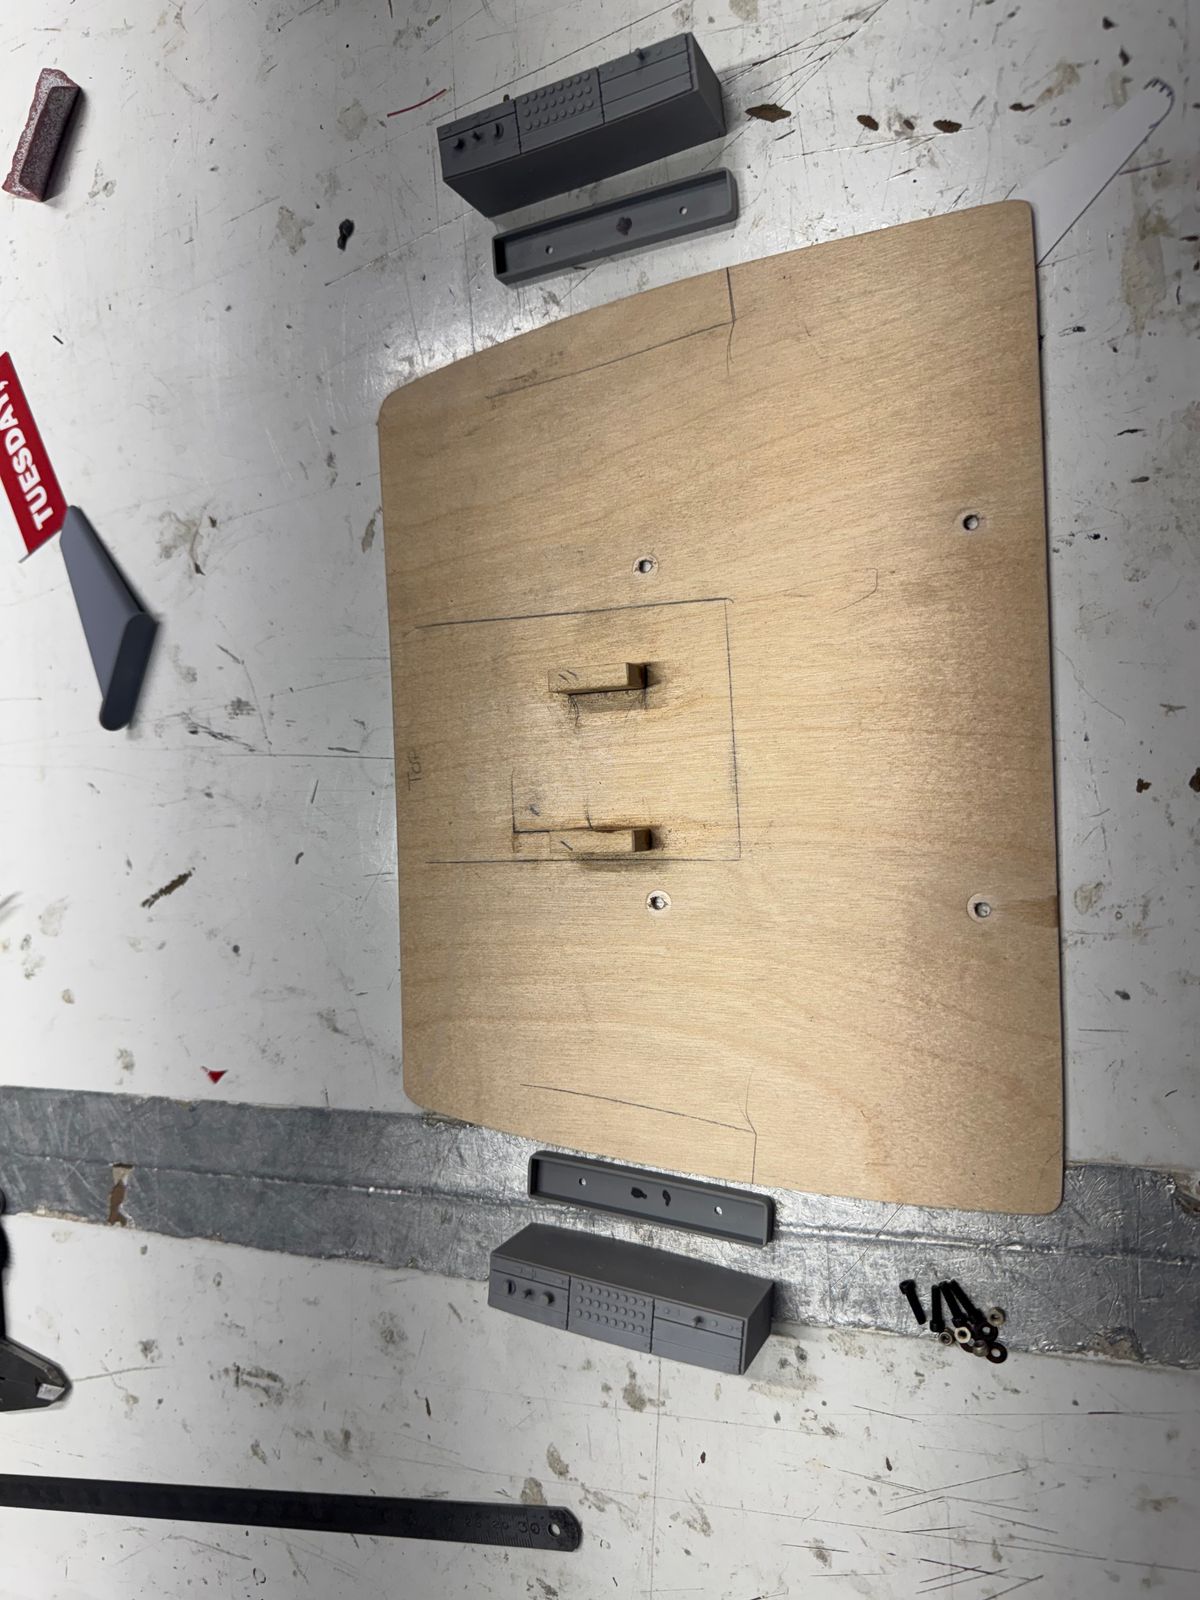
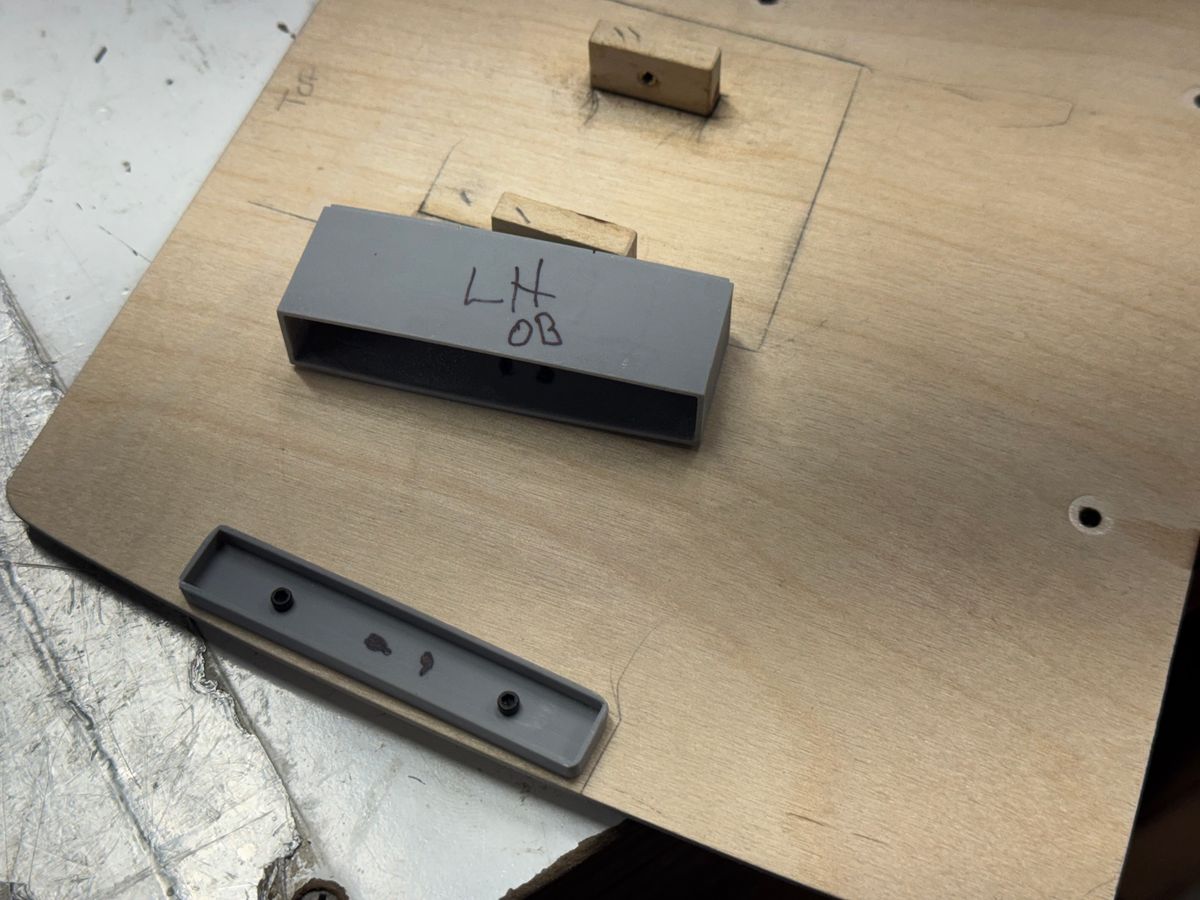
I always try to make things “maintenance” friendly. I work to have drive train “modules” which are easily removed for access or maintenance and do the same for the cockpit.
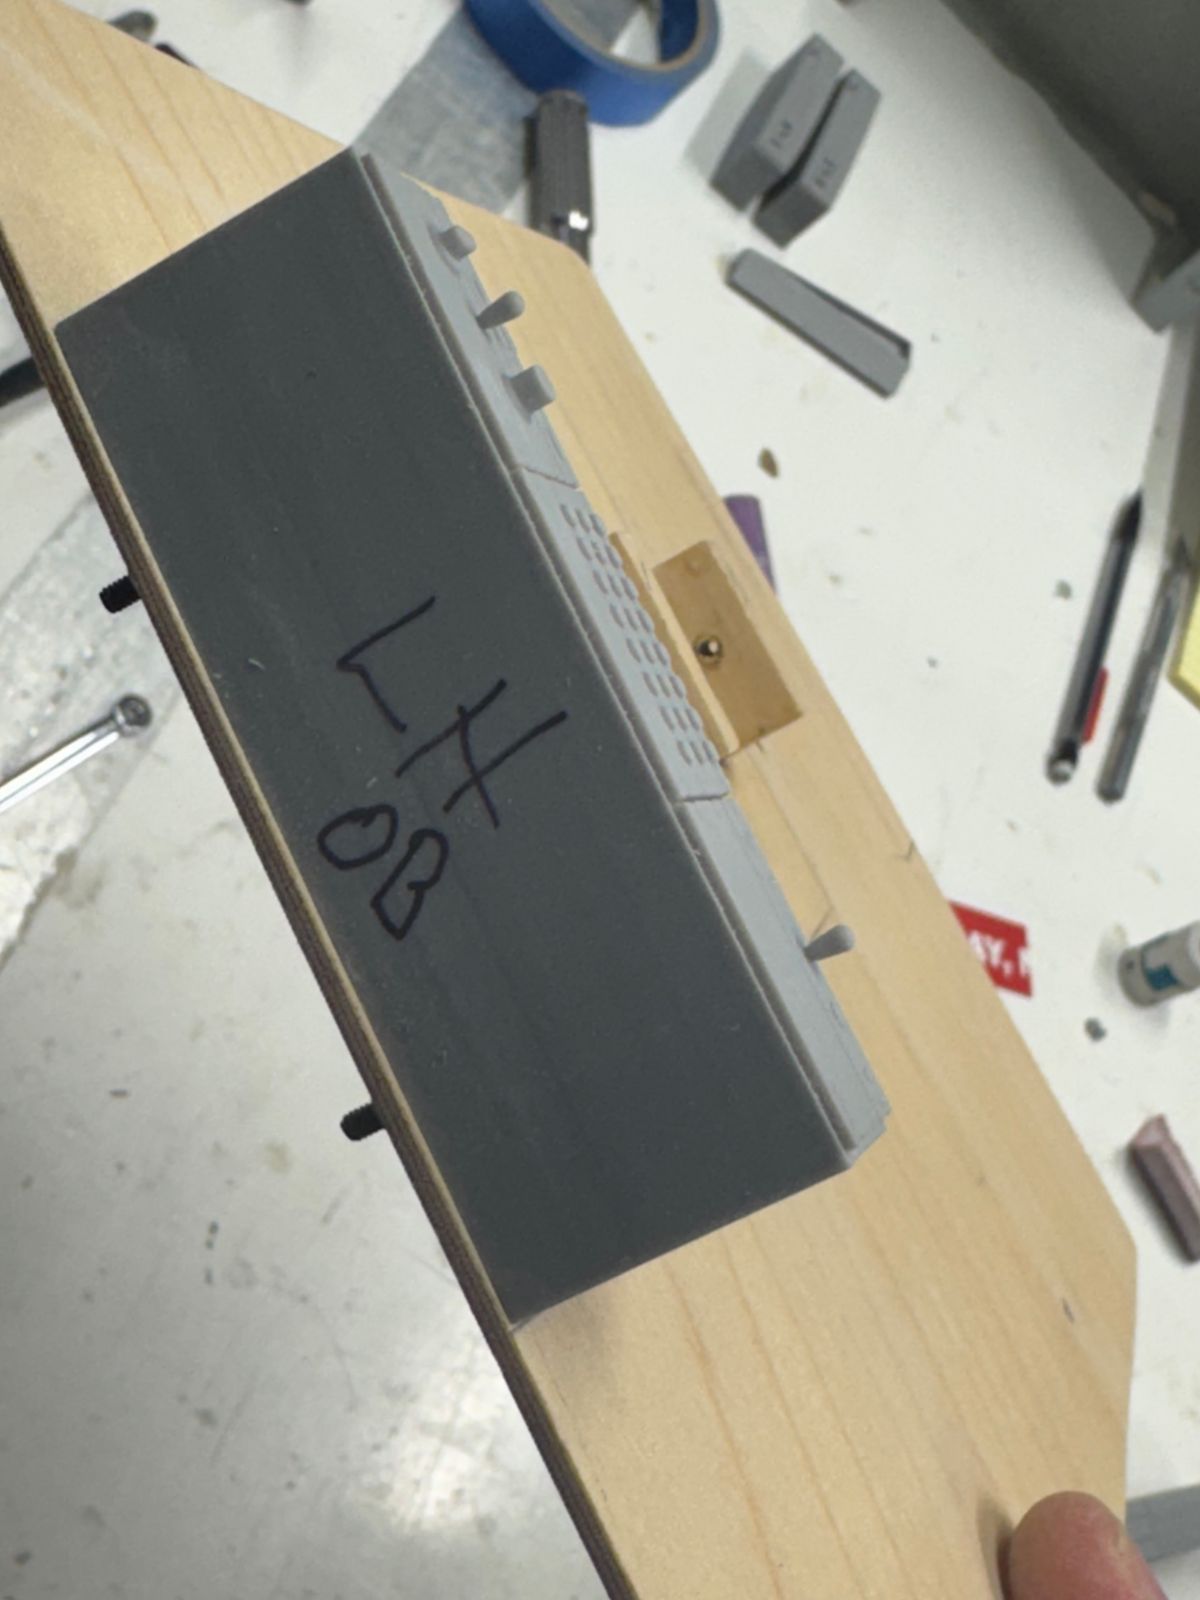
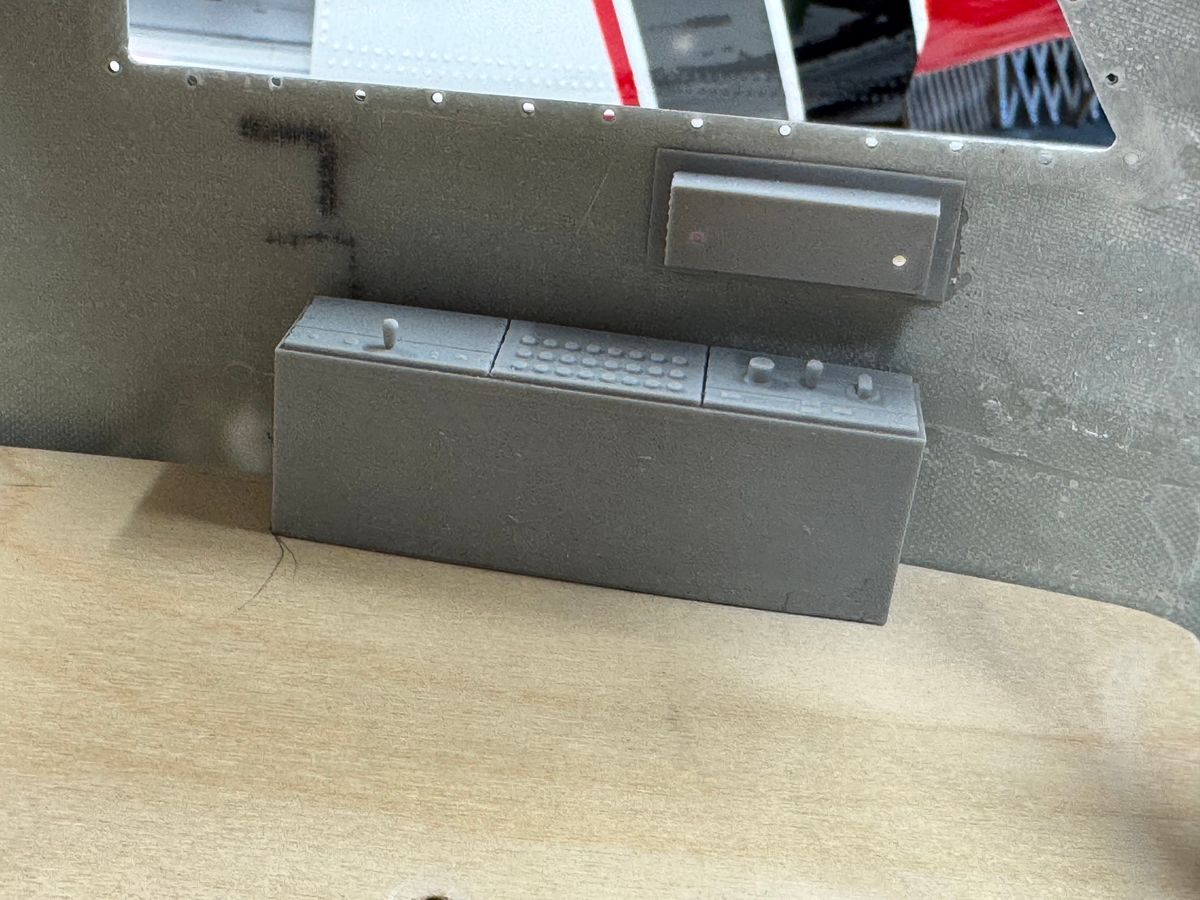
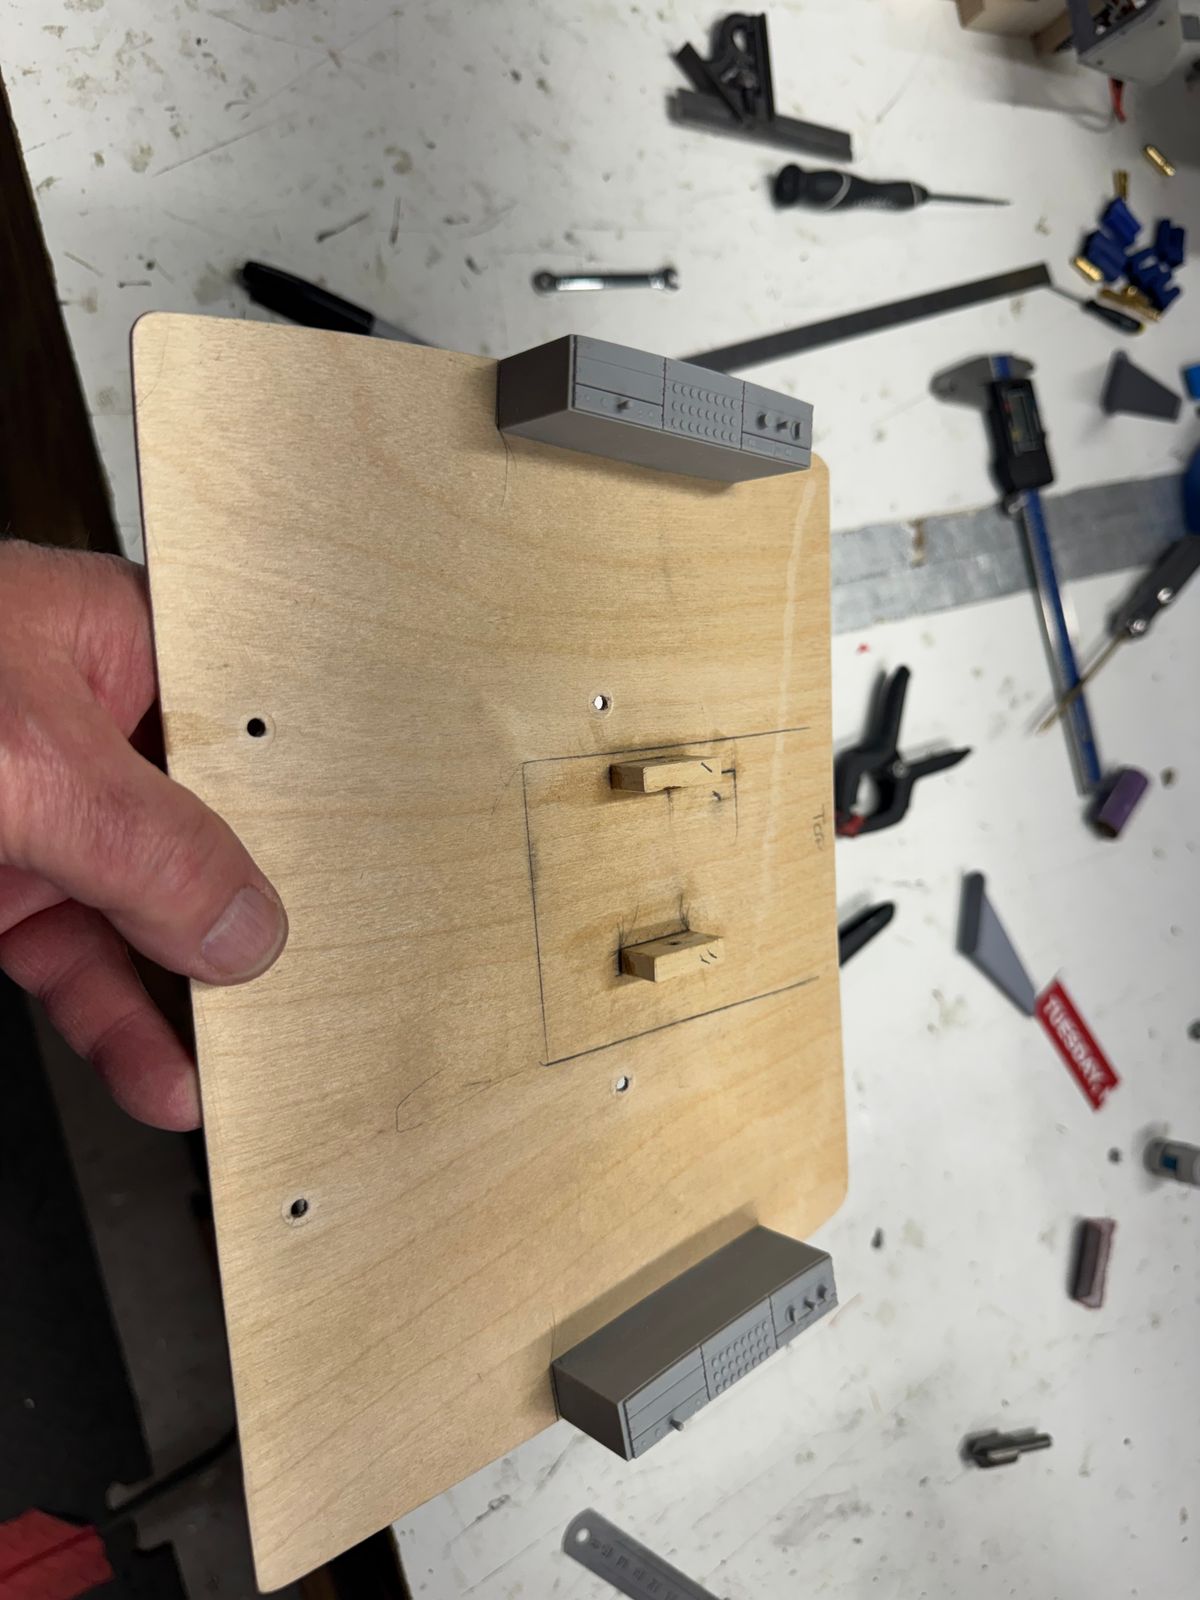
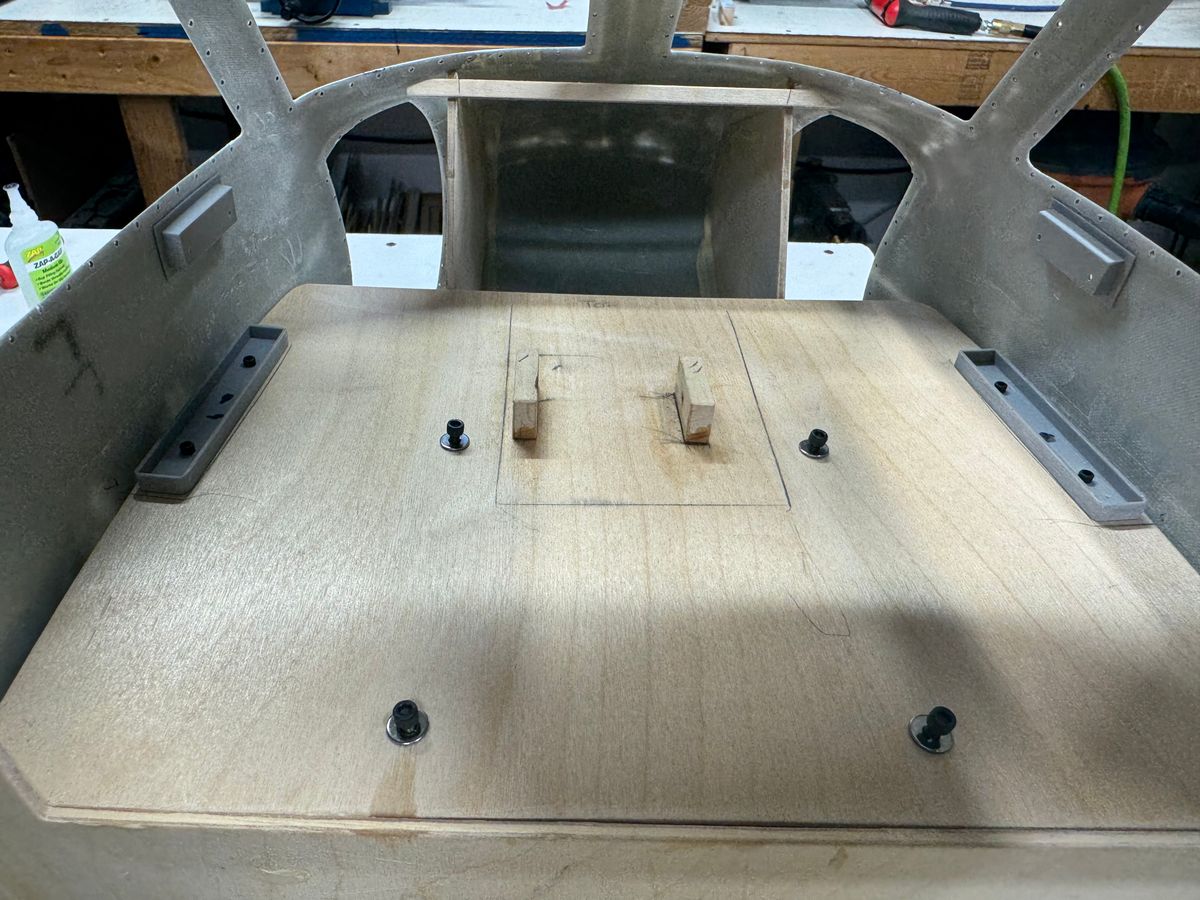
Seats held in with magnets, the complete IP and console held in place with 2 screws, and for this aircraft the pilot and co-pilot side panels are installed with an “interference fit” mounting a base to the cockpit floor and pushing the side panels on to the base for a nice snug fit and easily removable.
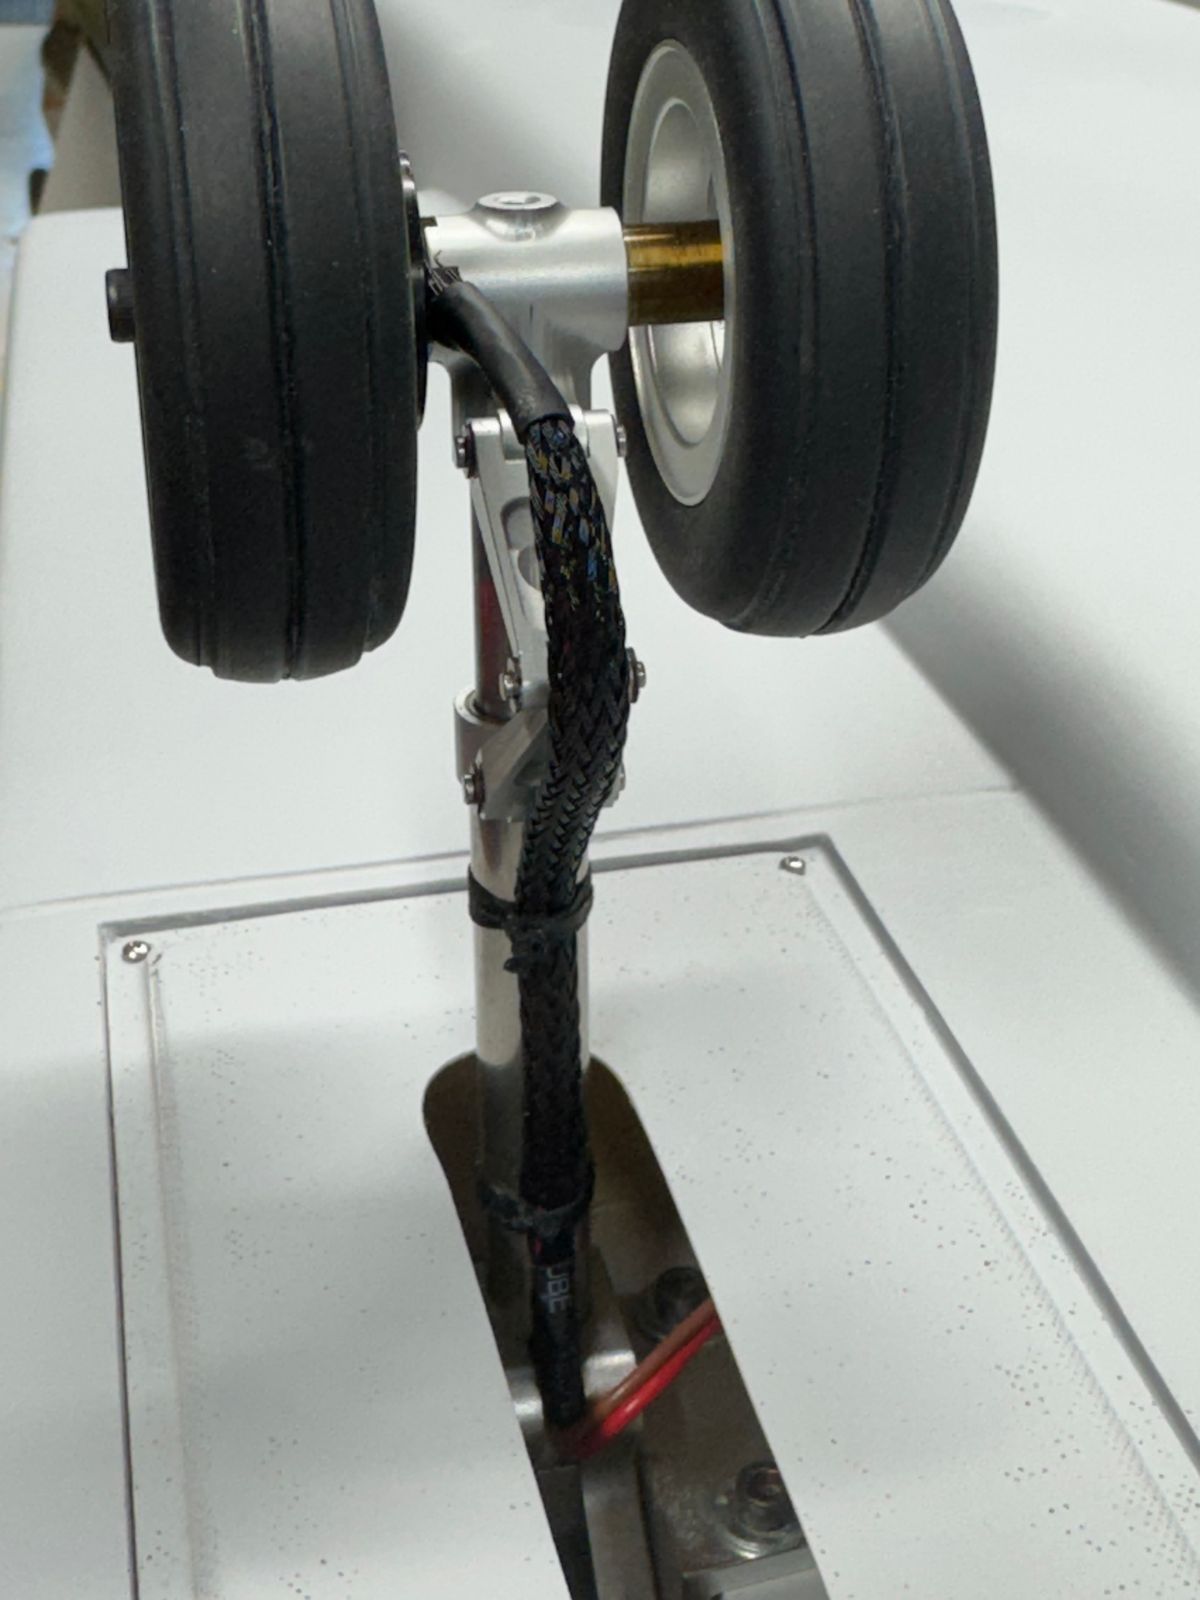
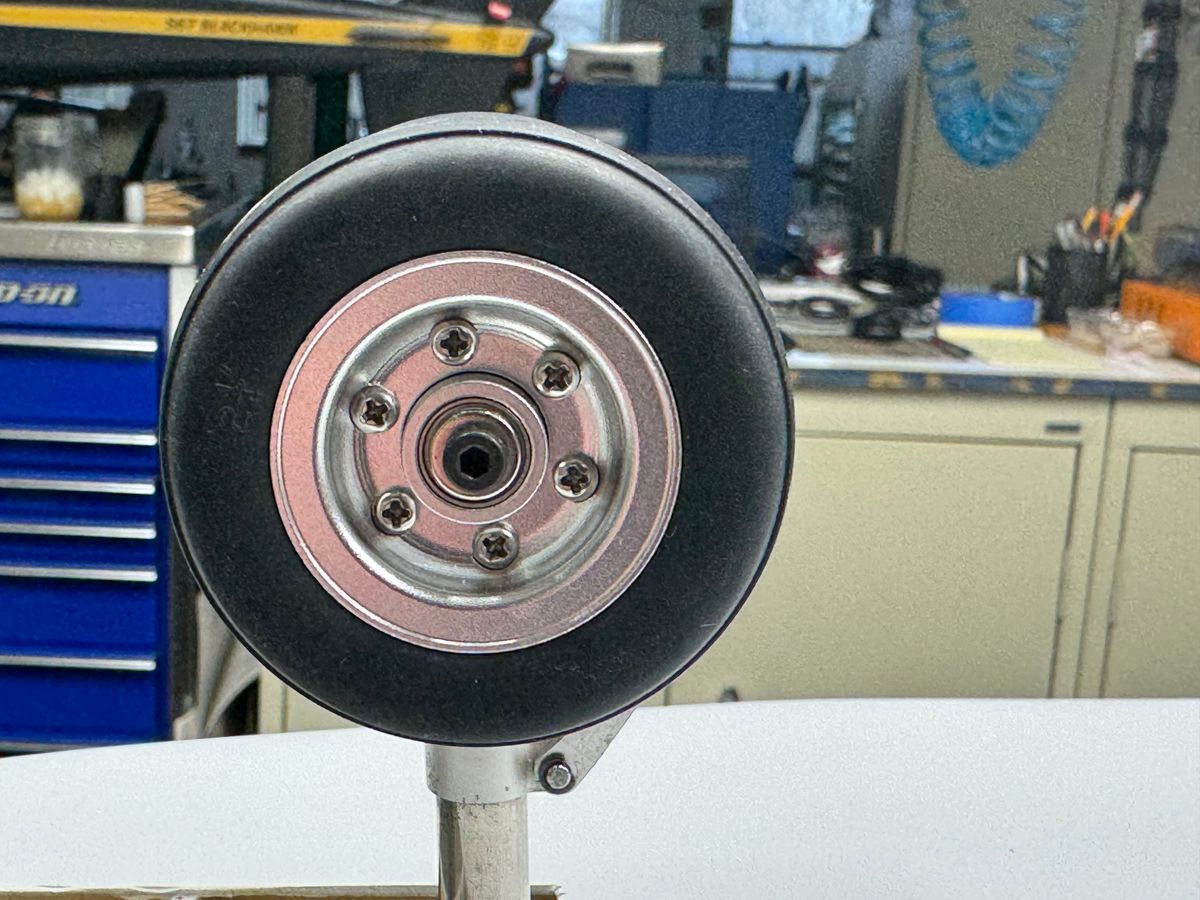
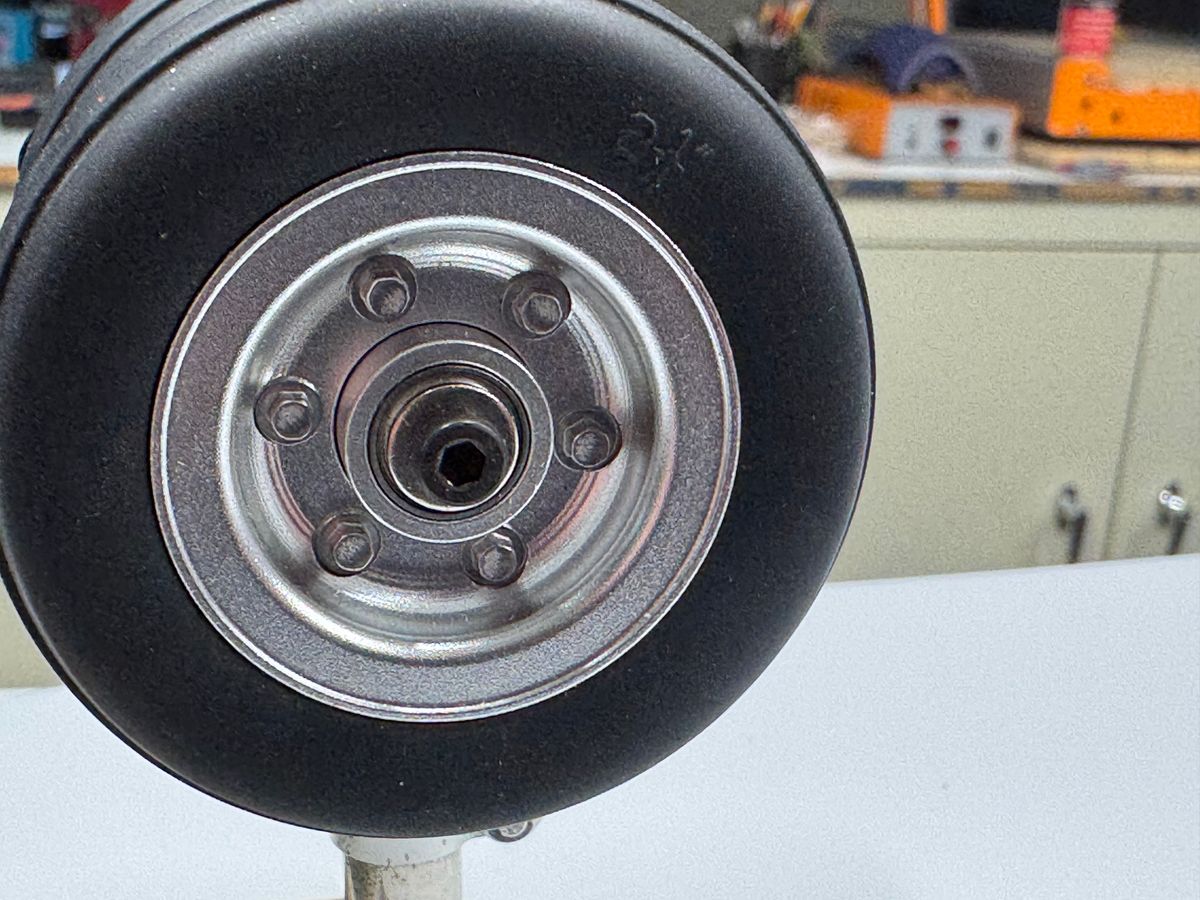
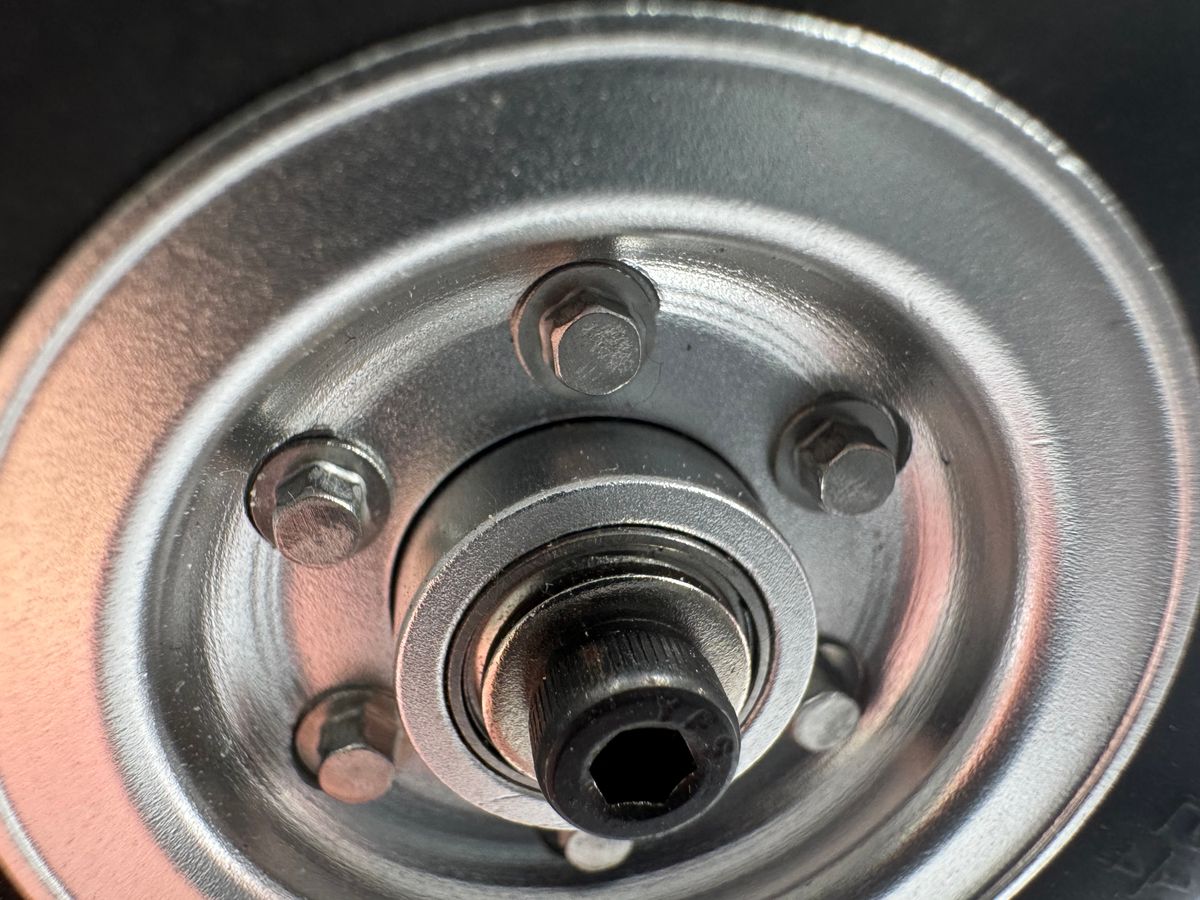
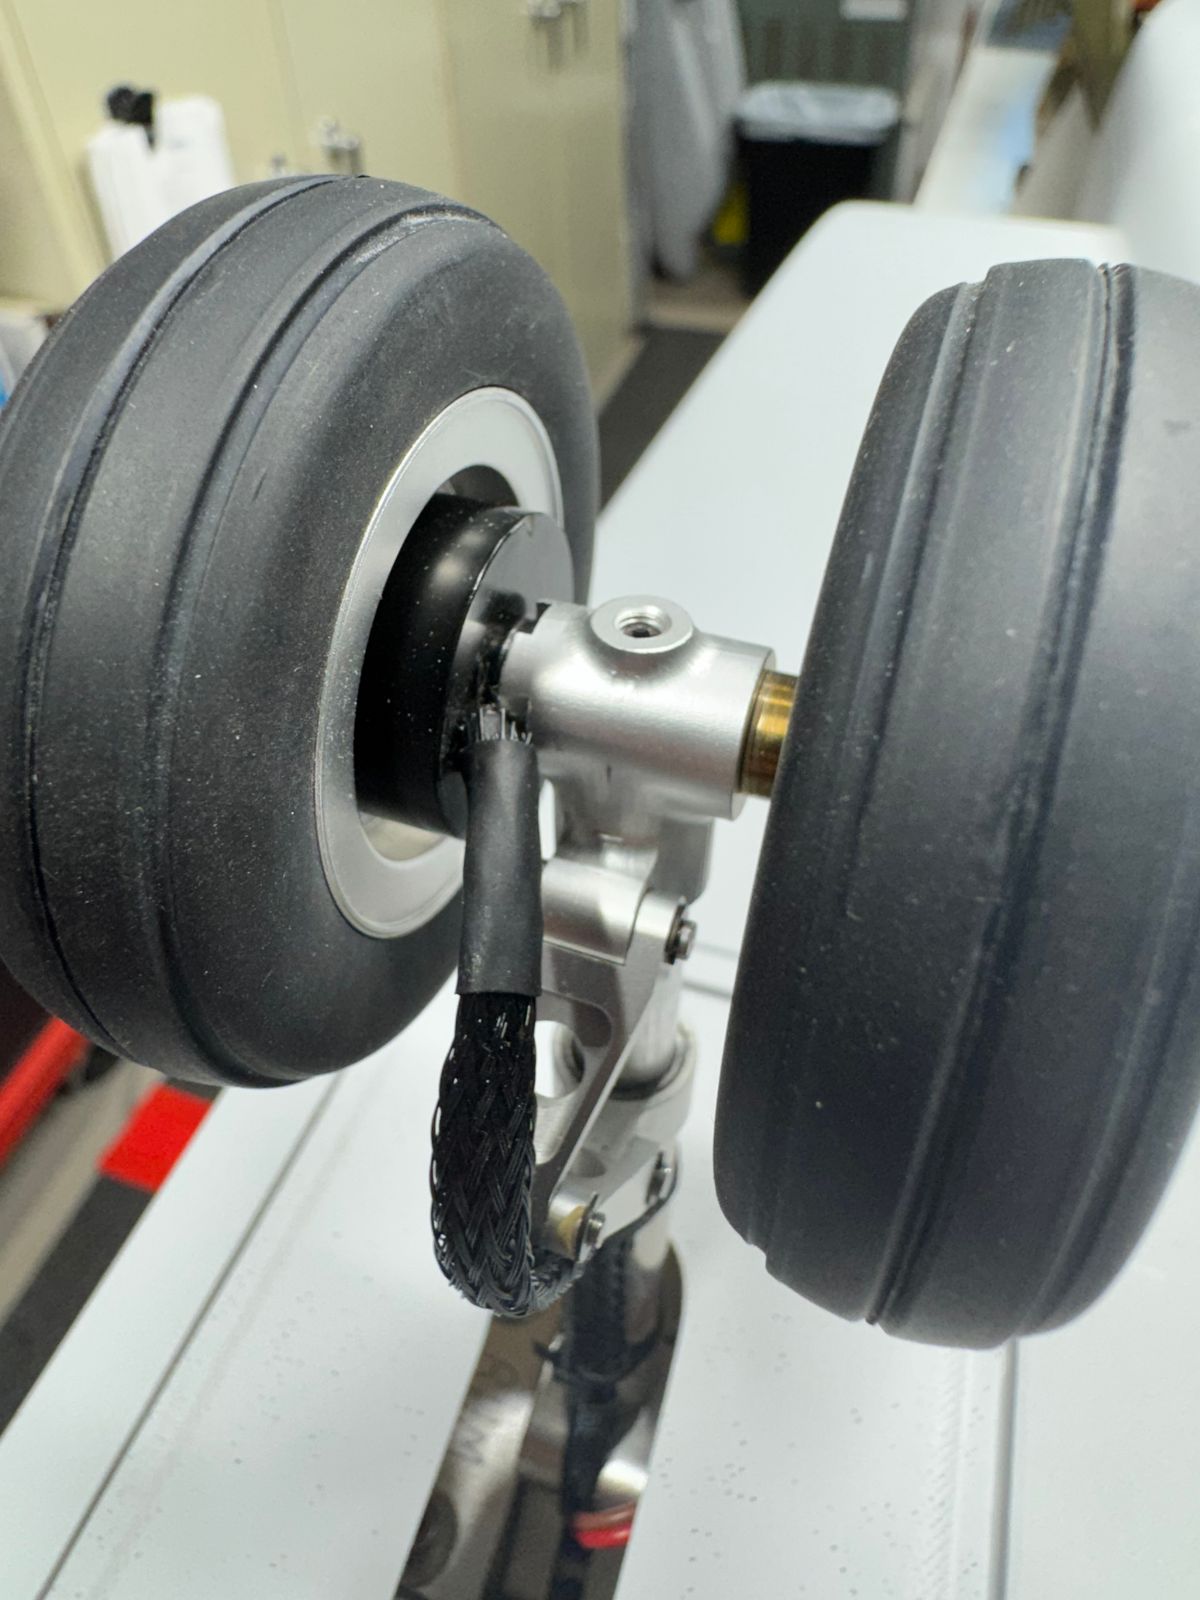
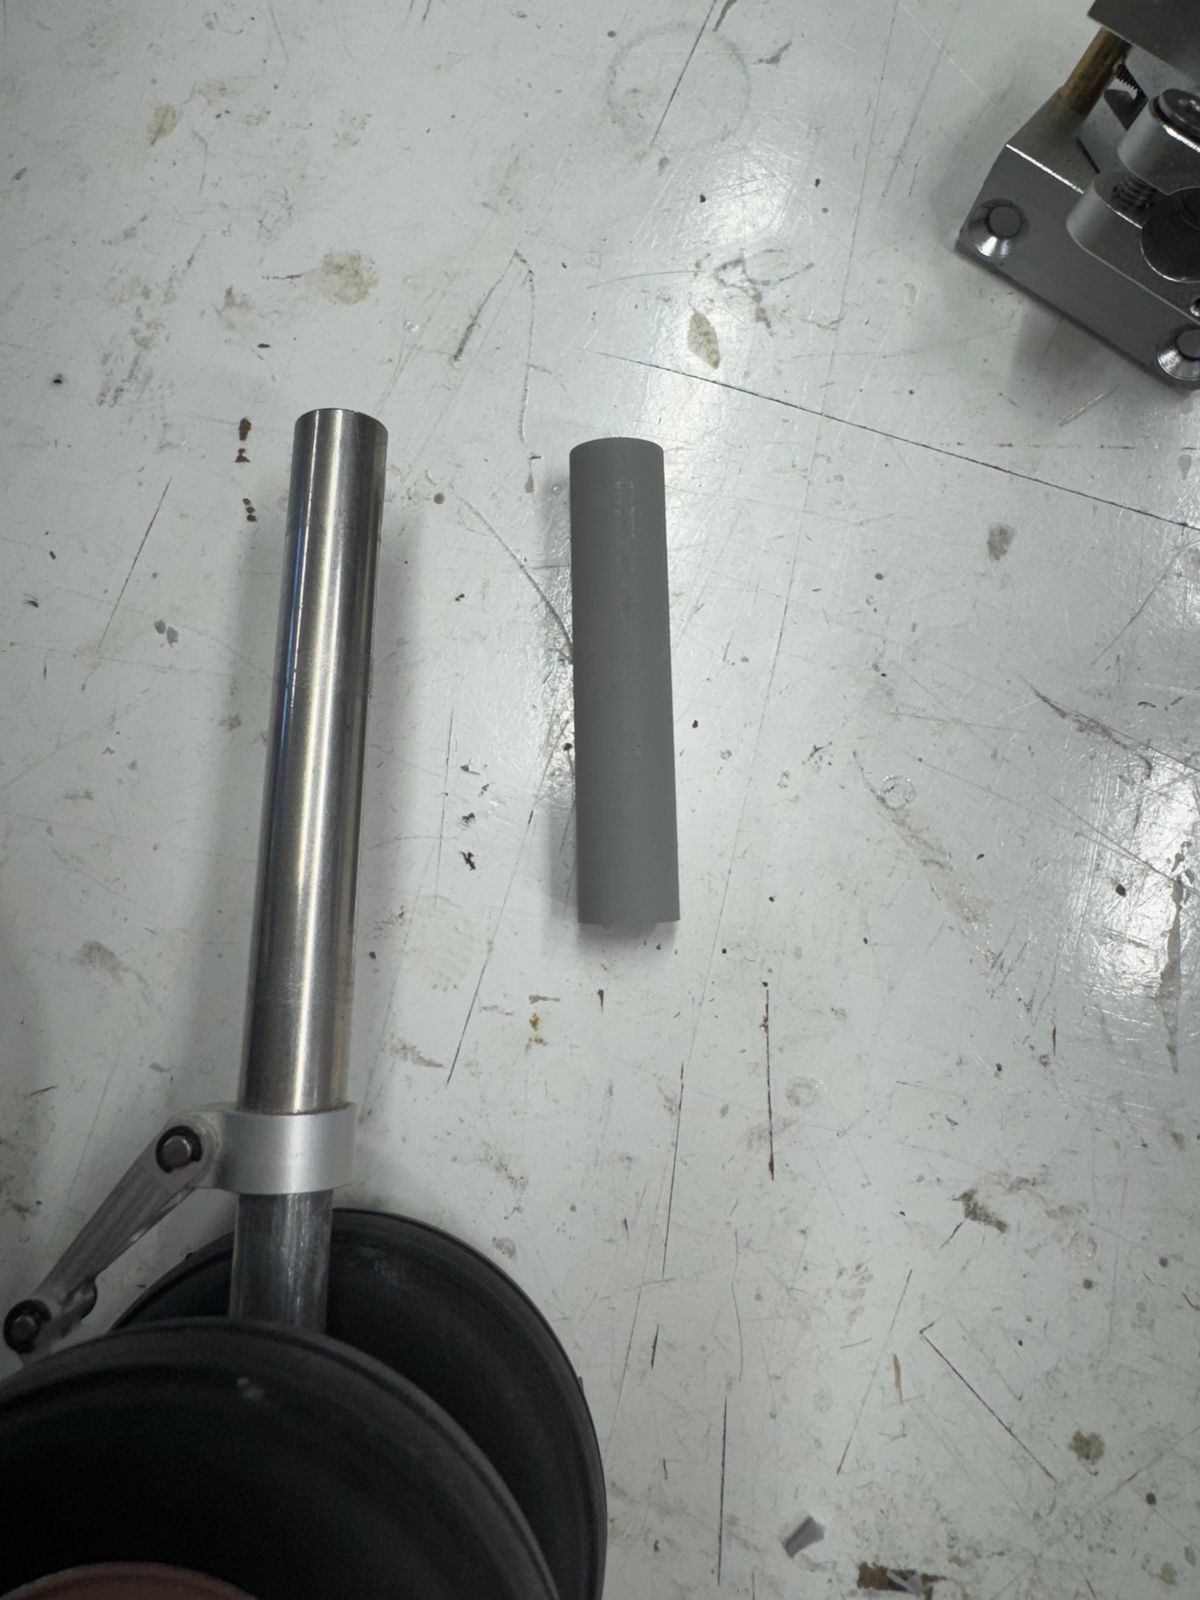
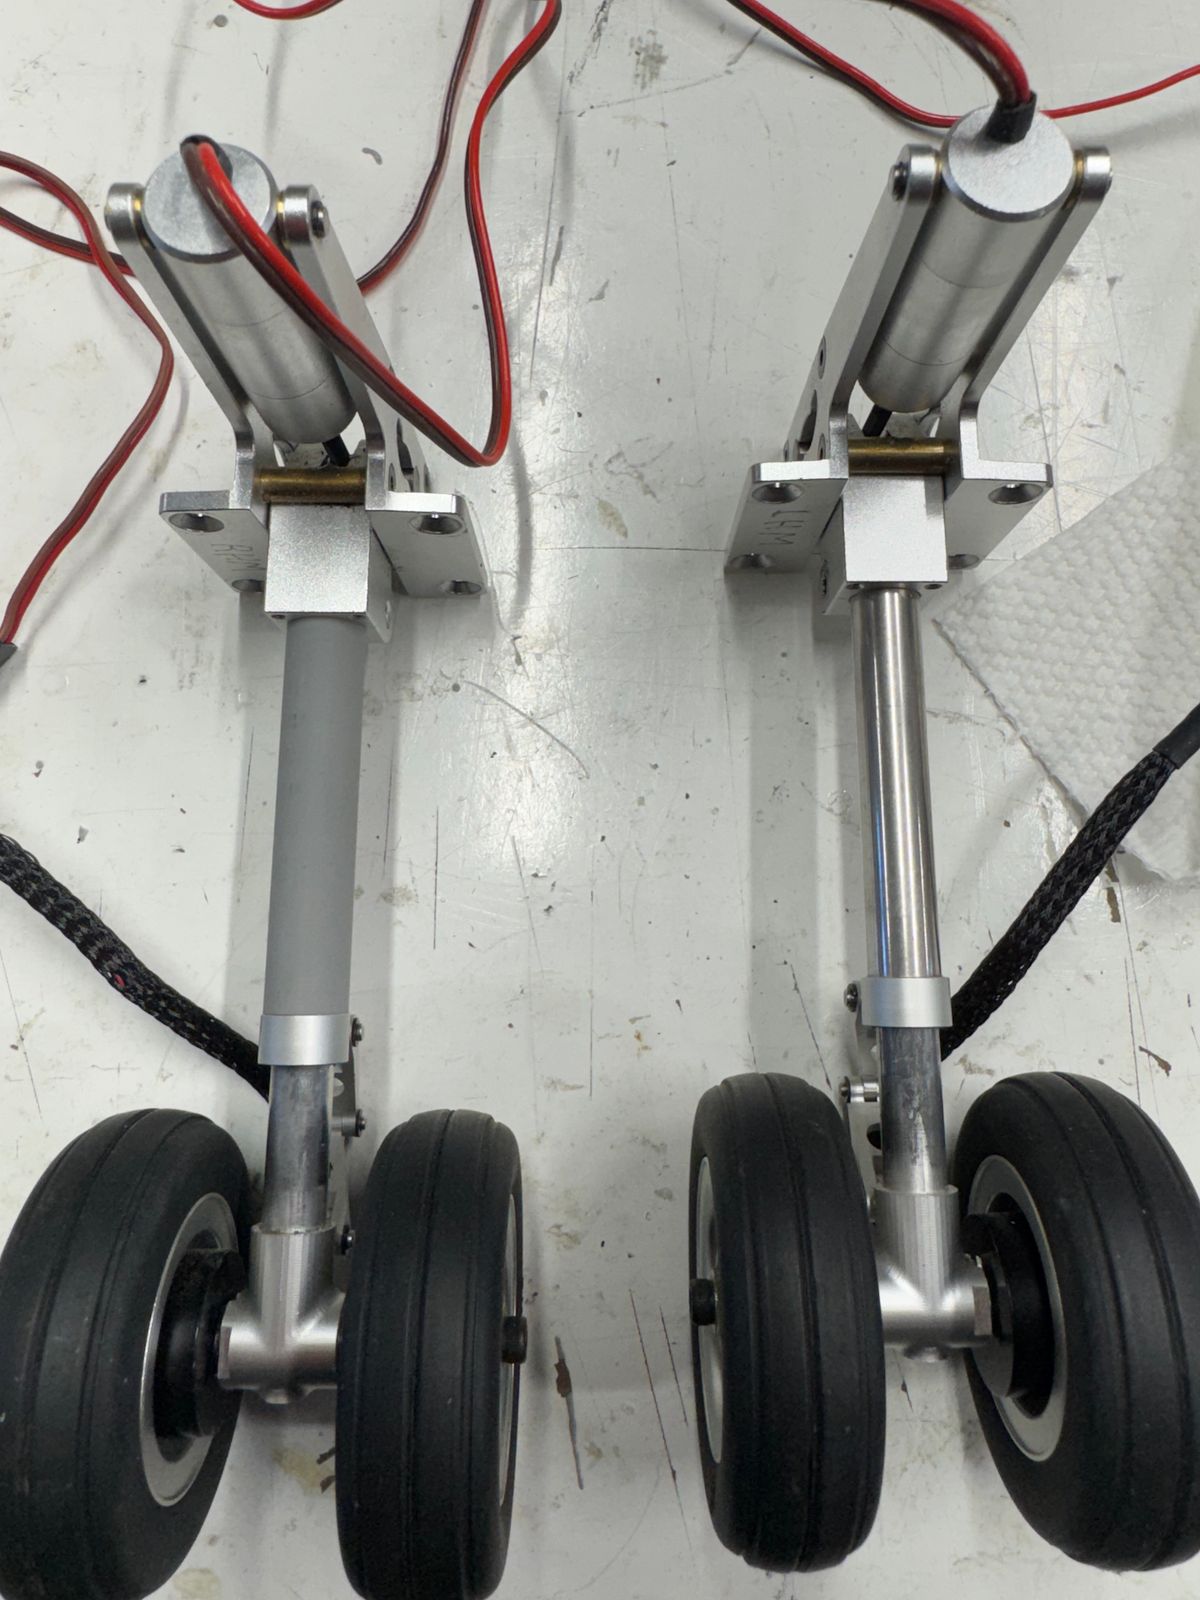
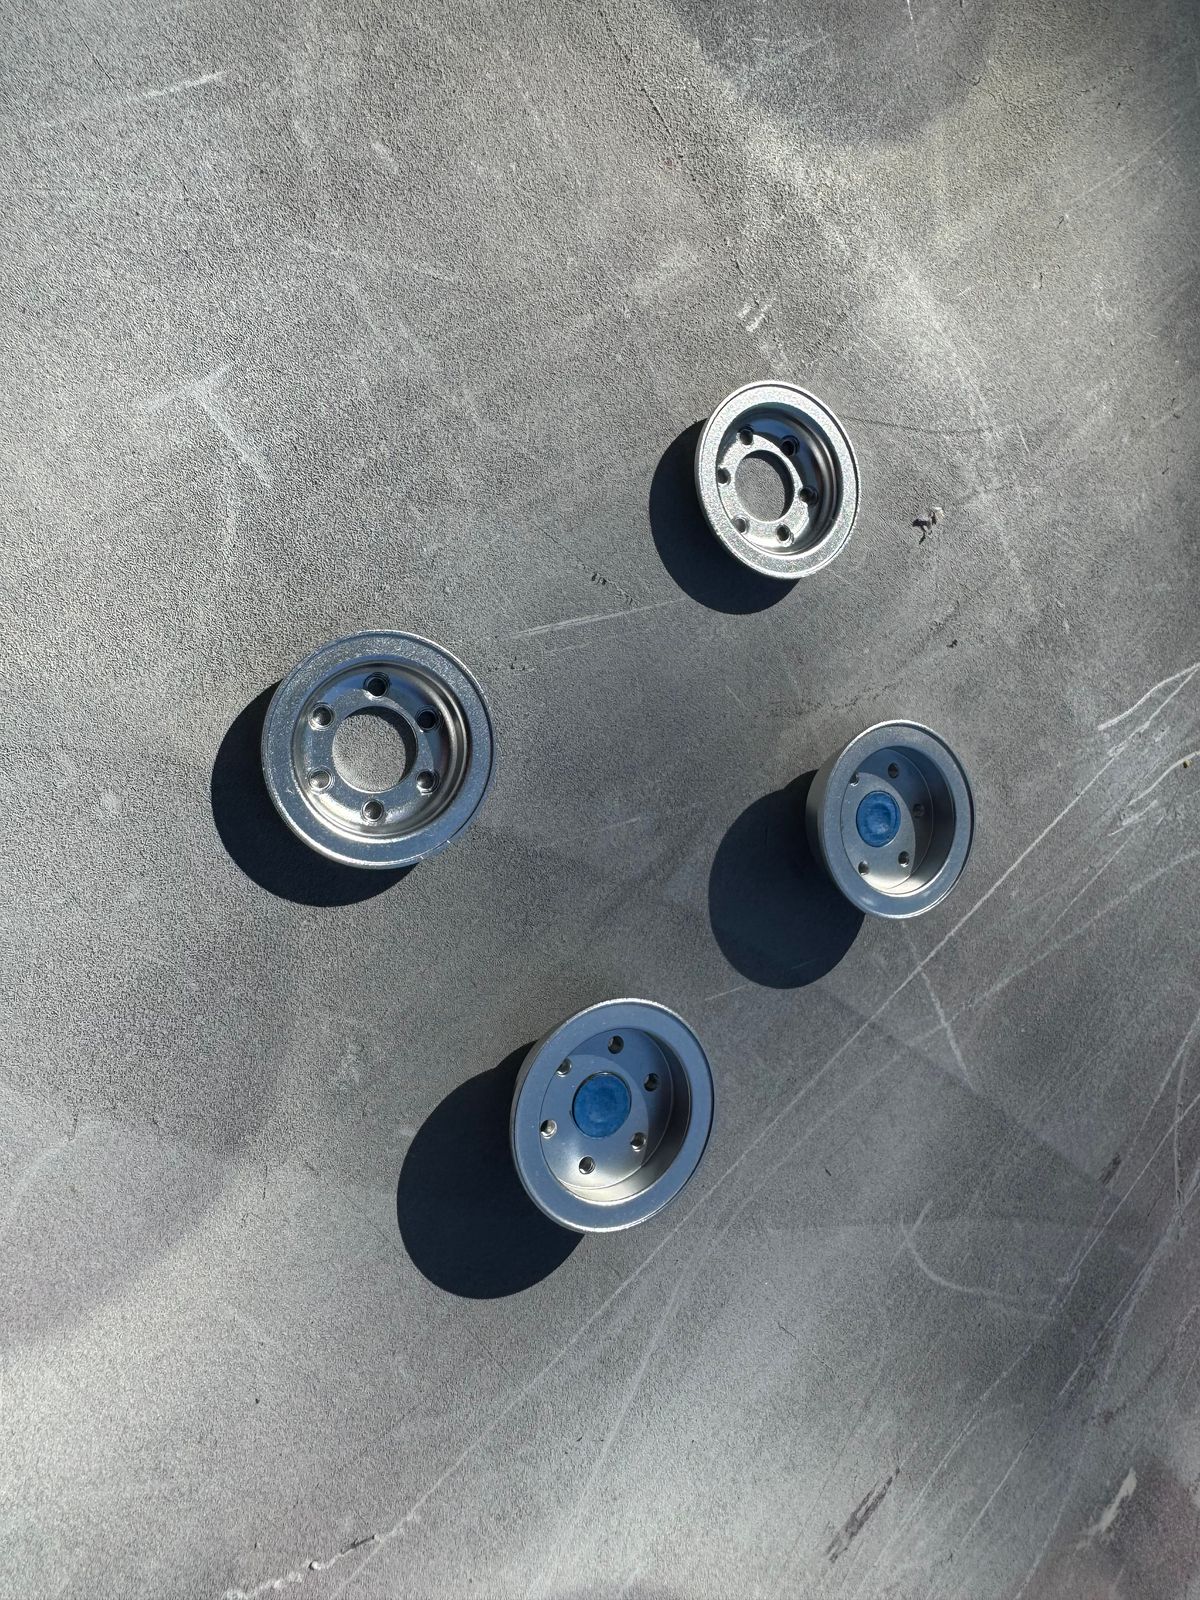
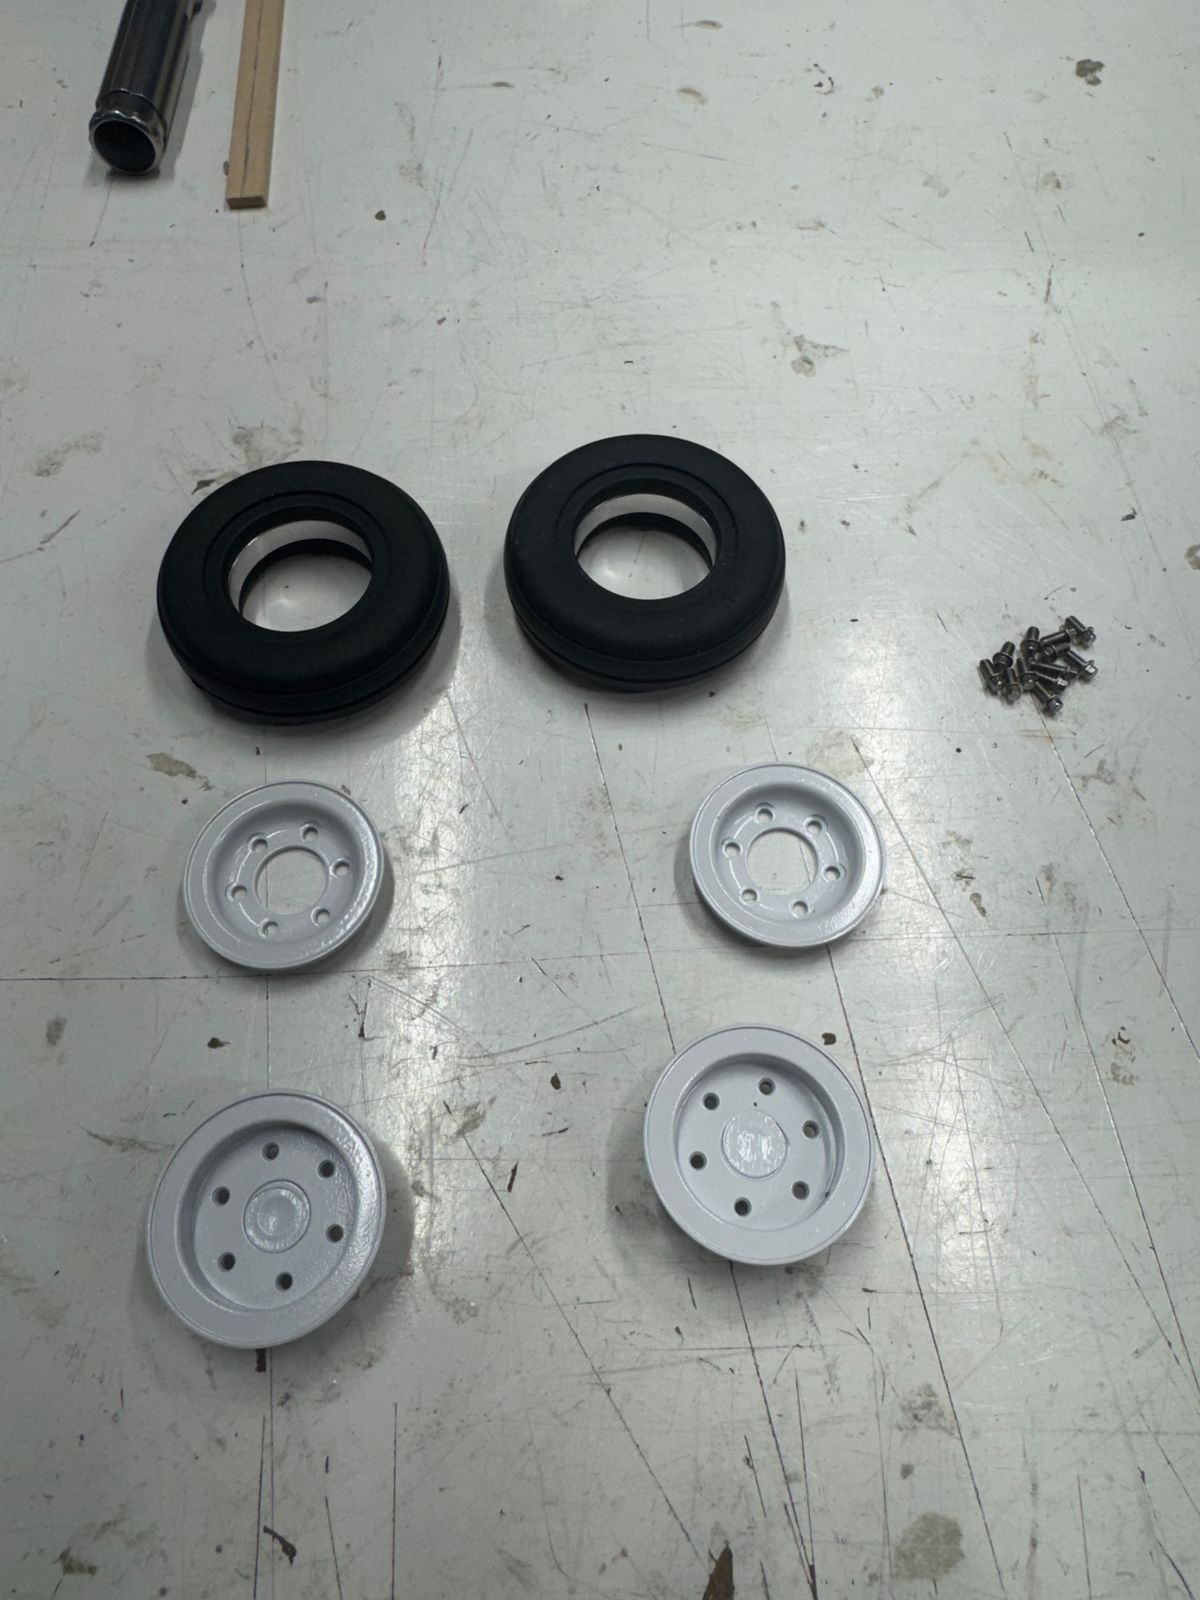
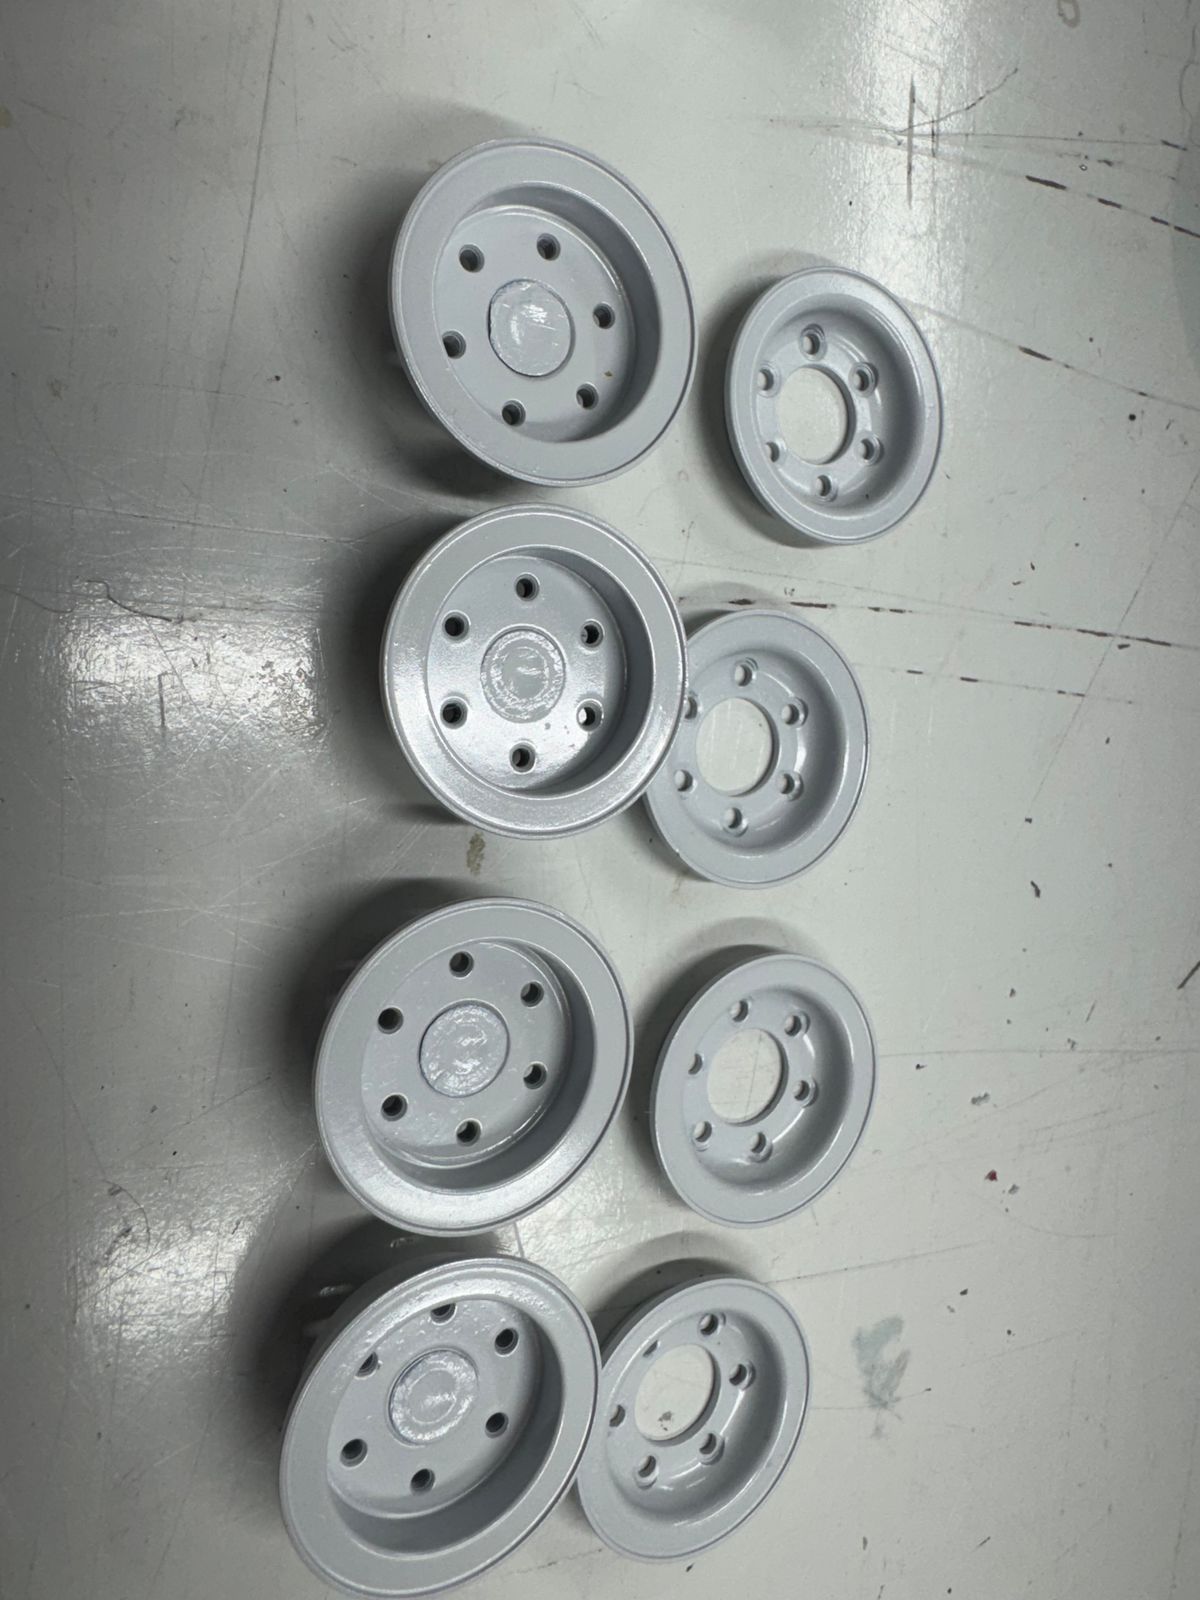
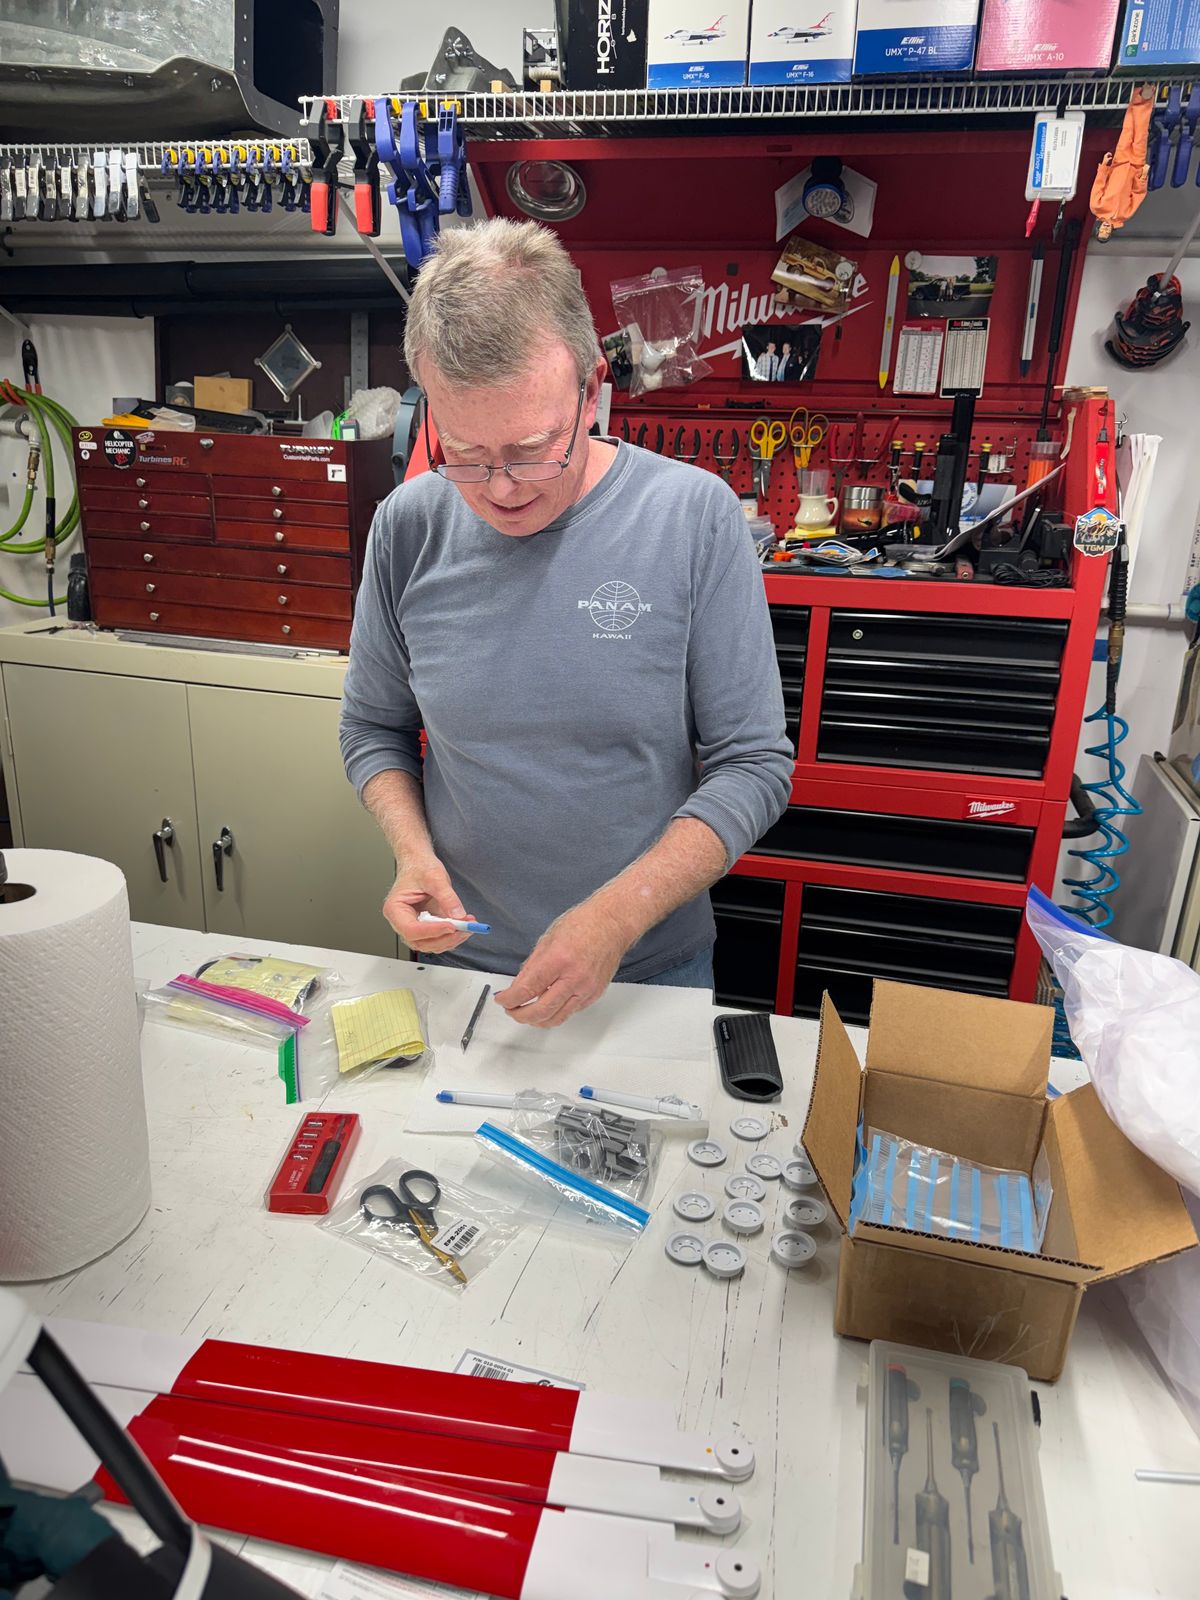
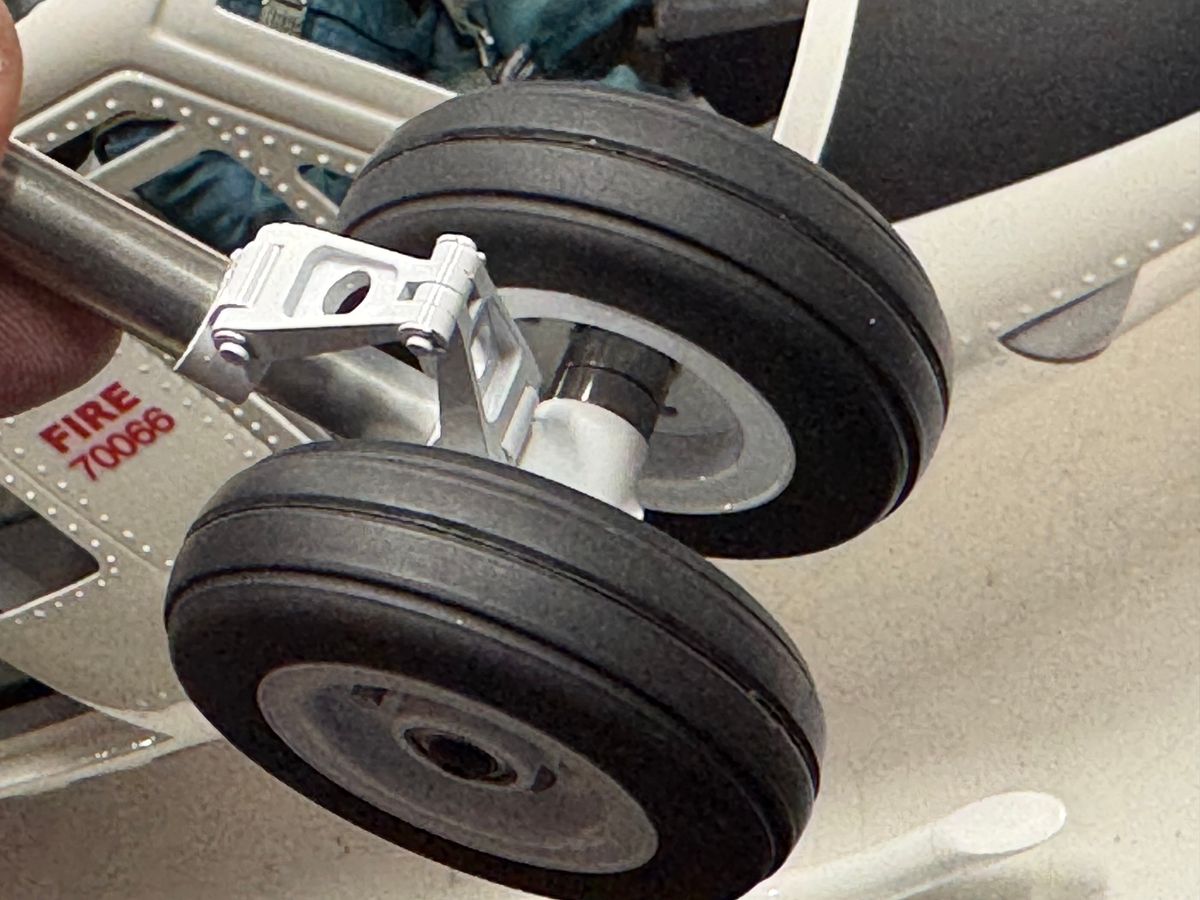
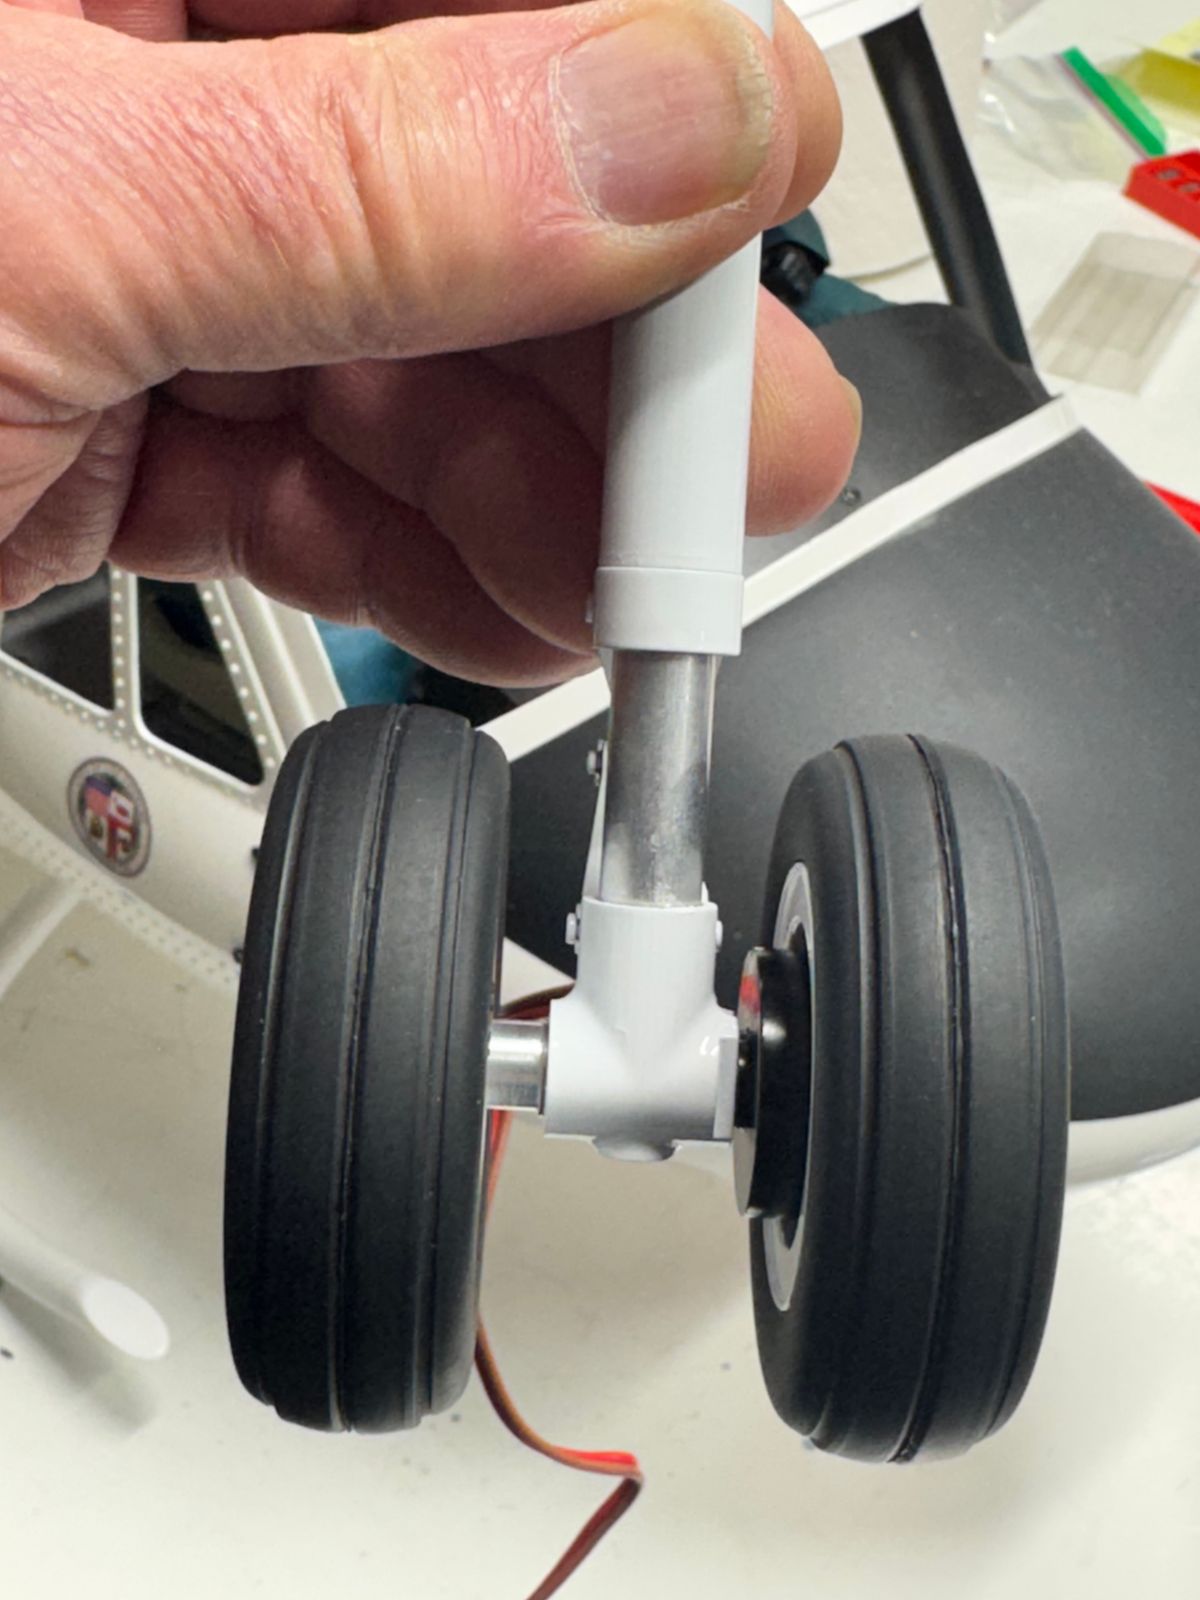
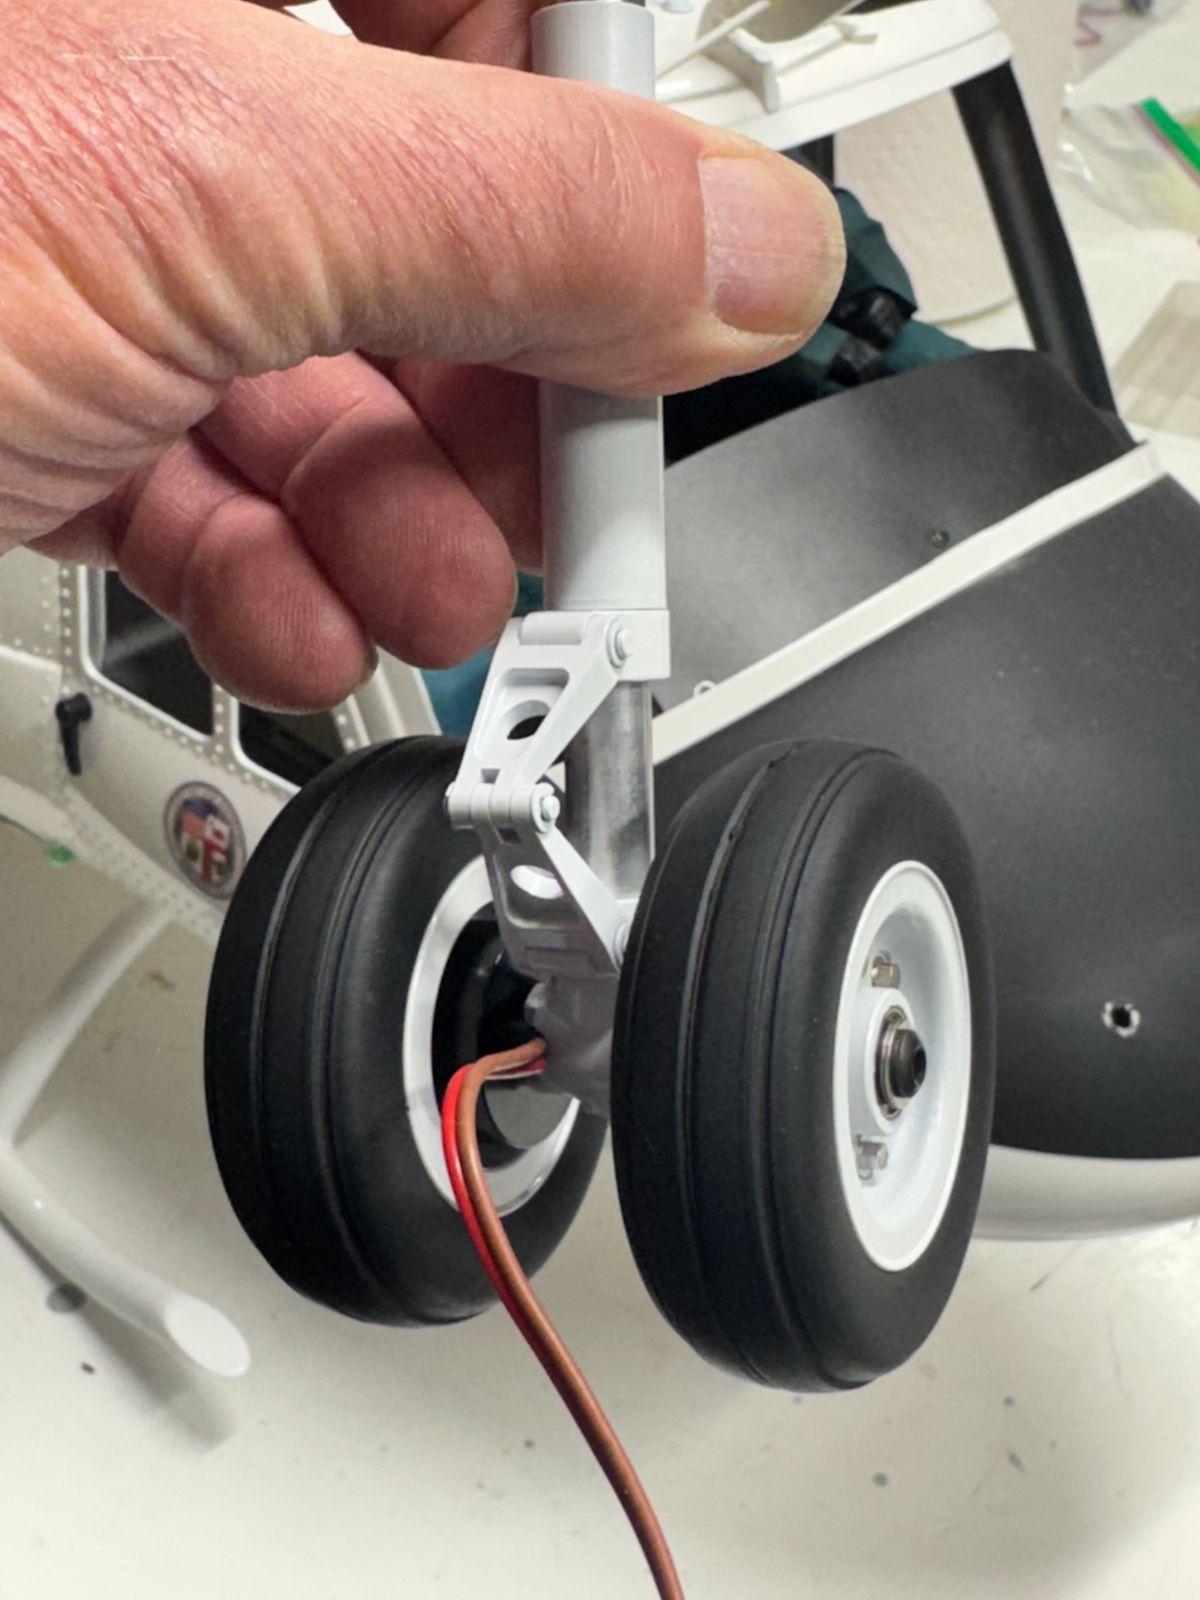
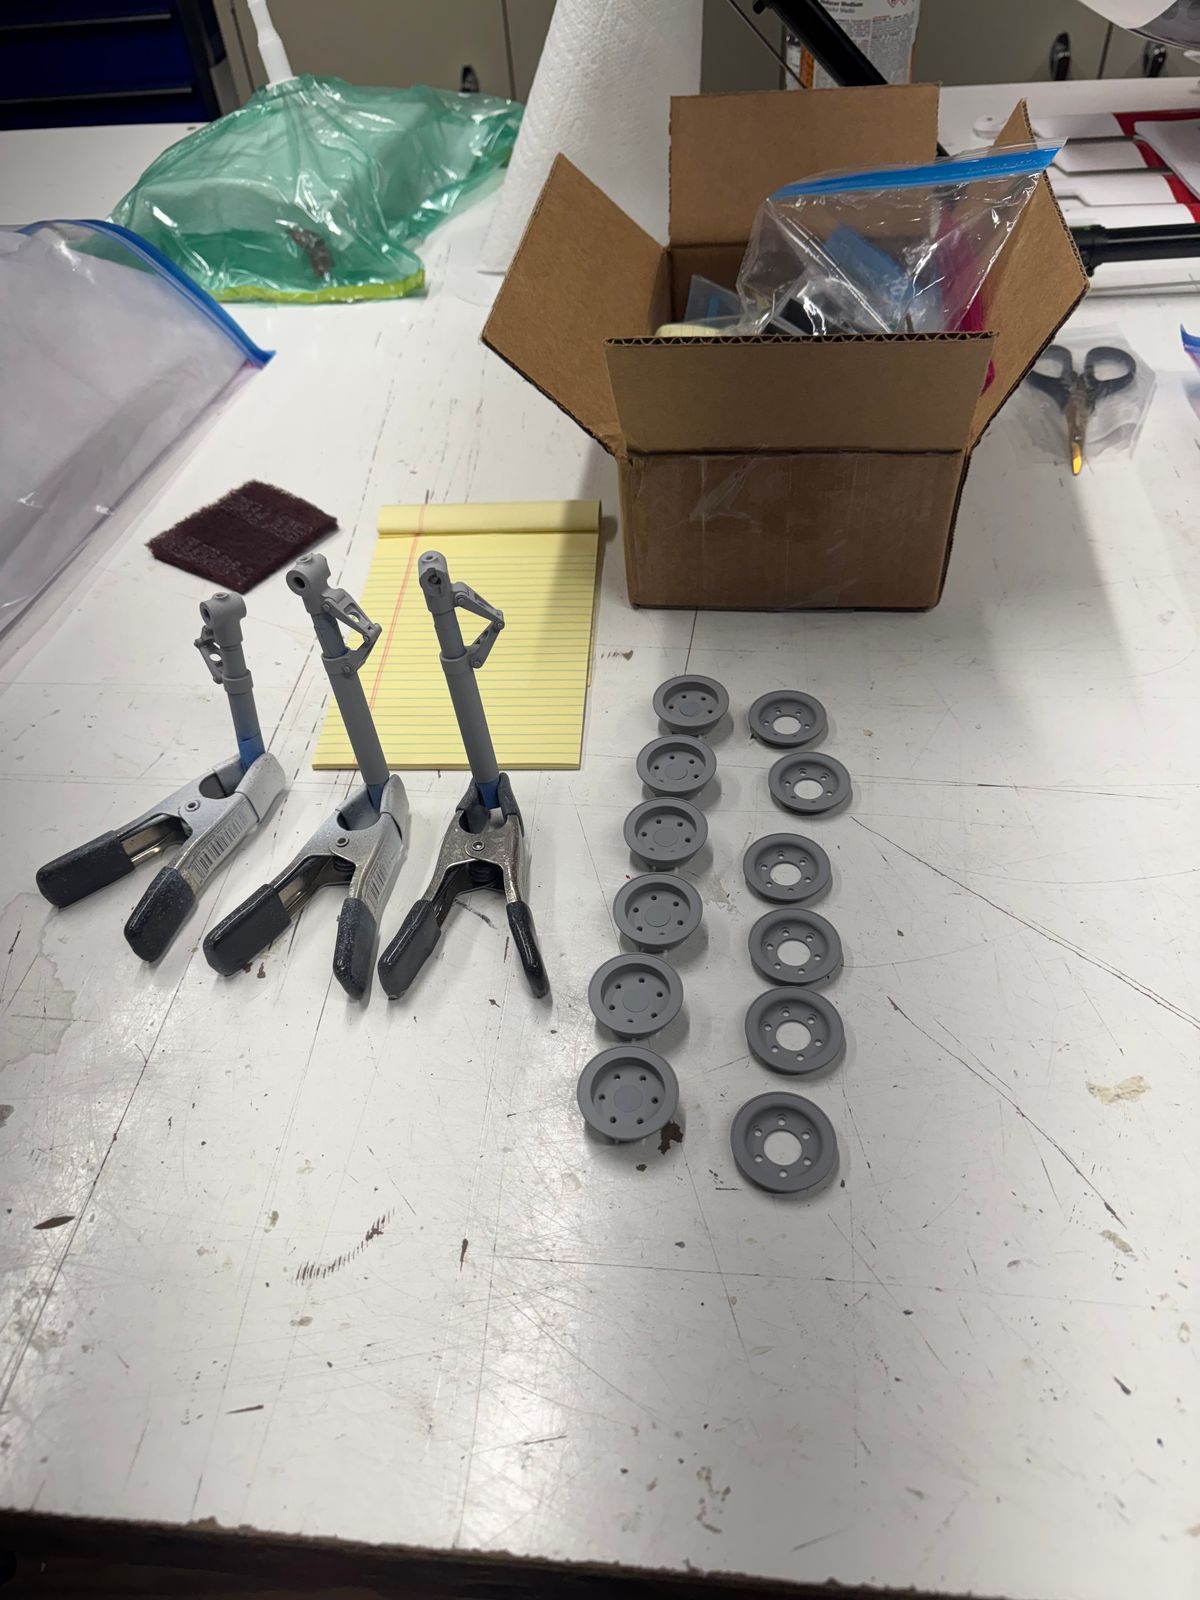
During a build, somethings may not be noticed. Over time looking at different areas, things may stick out that look a little “funny”. Something brought to my attention, the gear cylinders appeared to be a touch on the small side. Easy enough fix. Printed up some tubes to slide over the gear strut cylinders to add a little “beef” to their appearance. While doing so decided it would be a good time to go ahead and paint each gear legs and wheels painted before reassembly.
Here are a few pics of the progress over the weekend.
As always thanks for dropping.
UIH,
B
Airspeed, 60 knts, Positive rate of Climb, Gear Up.
UIH,
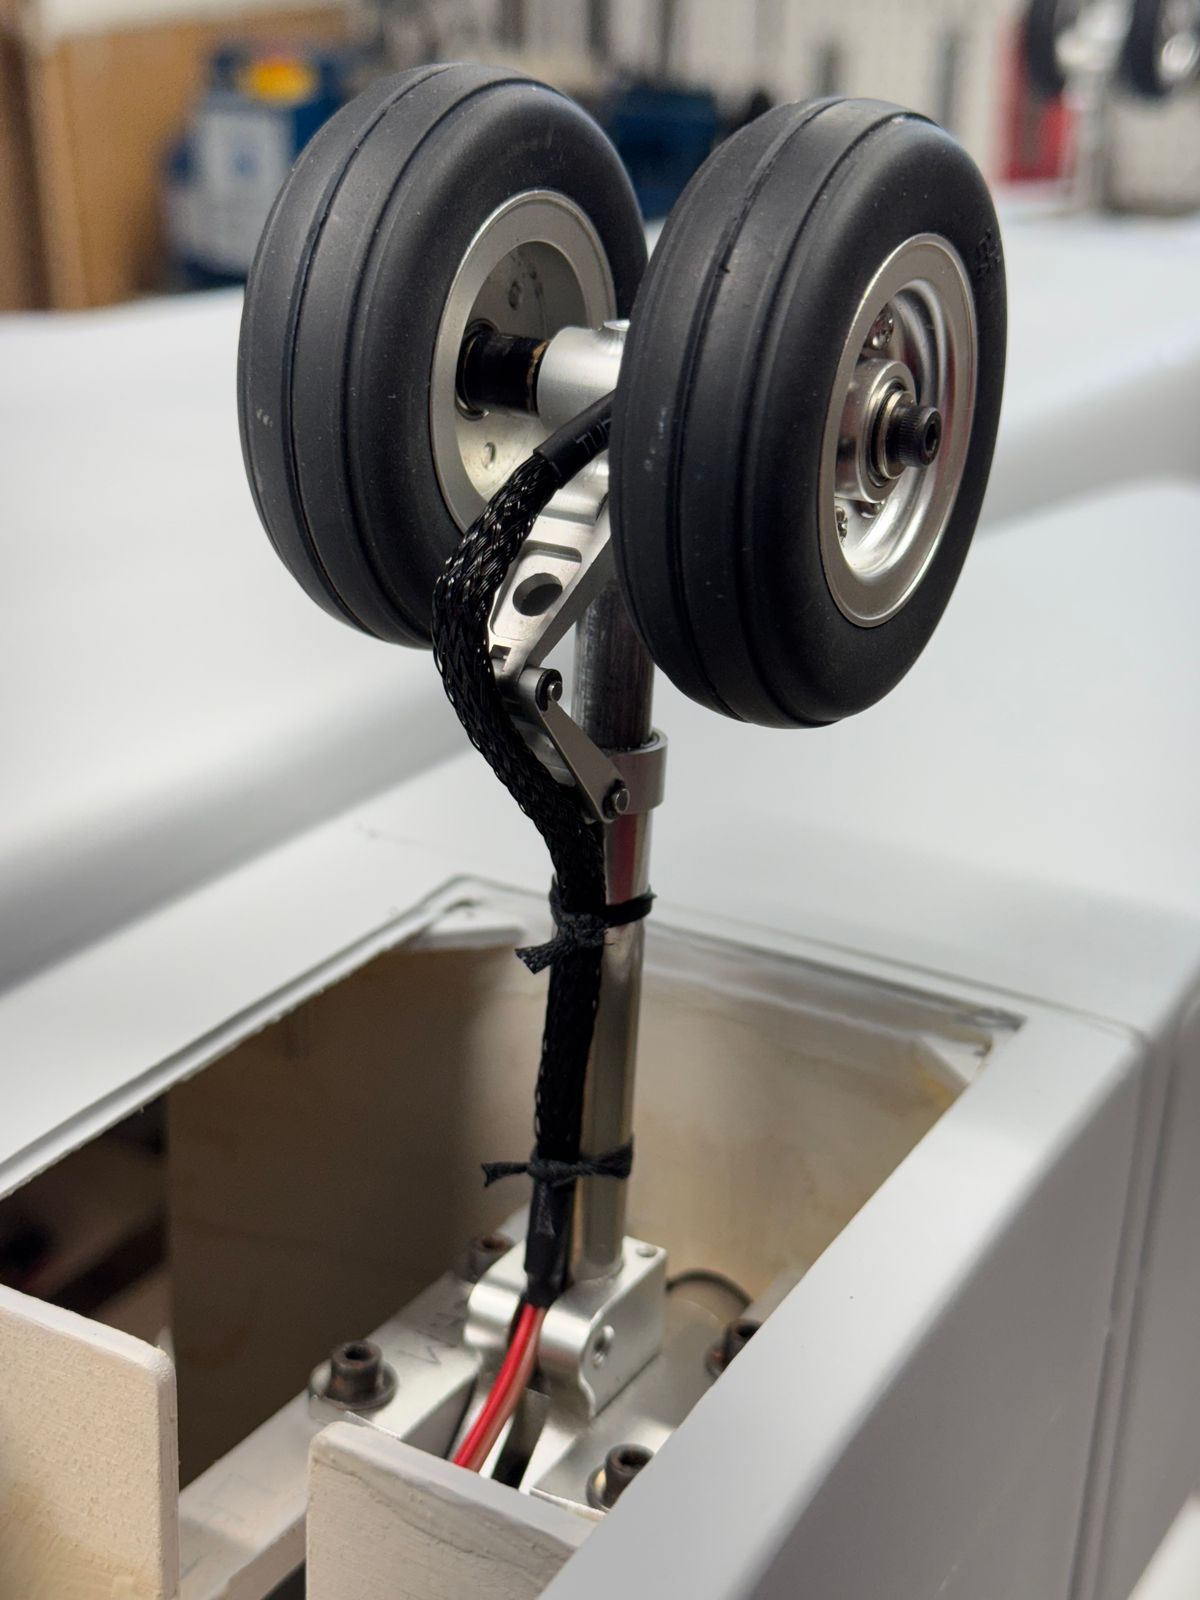
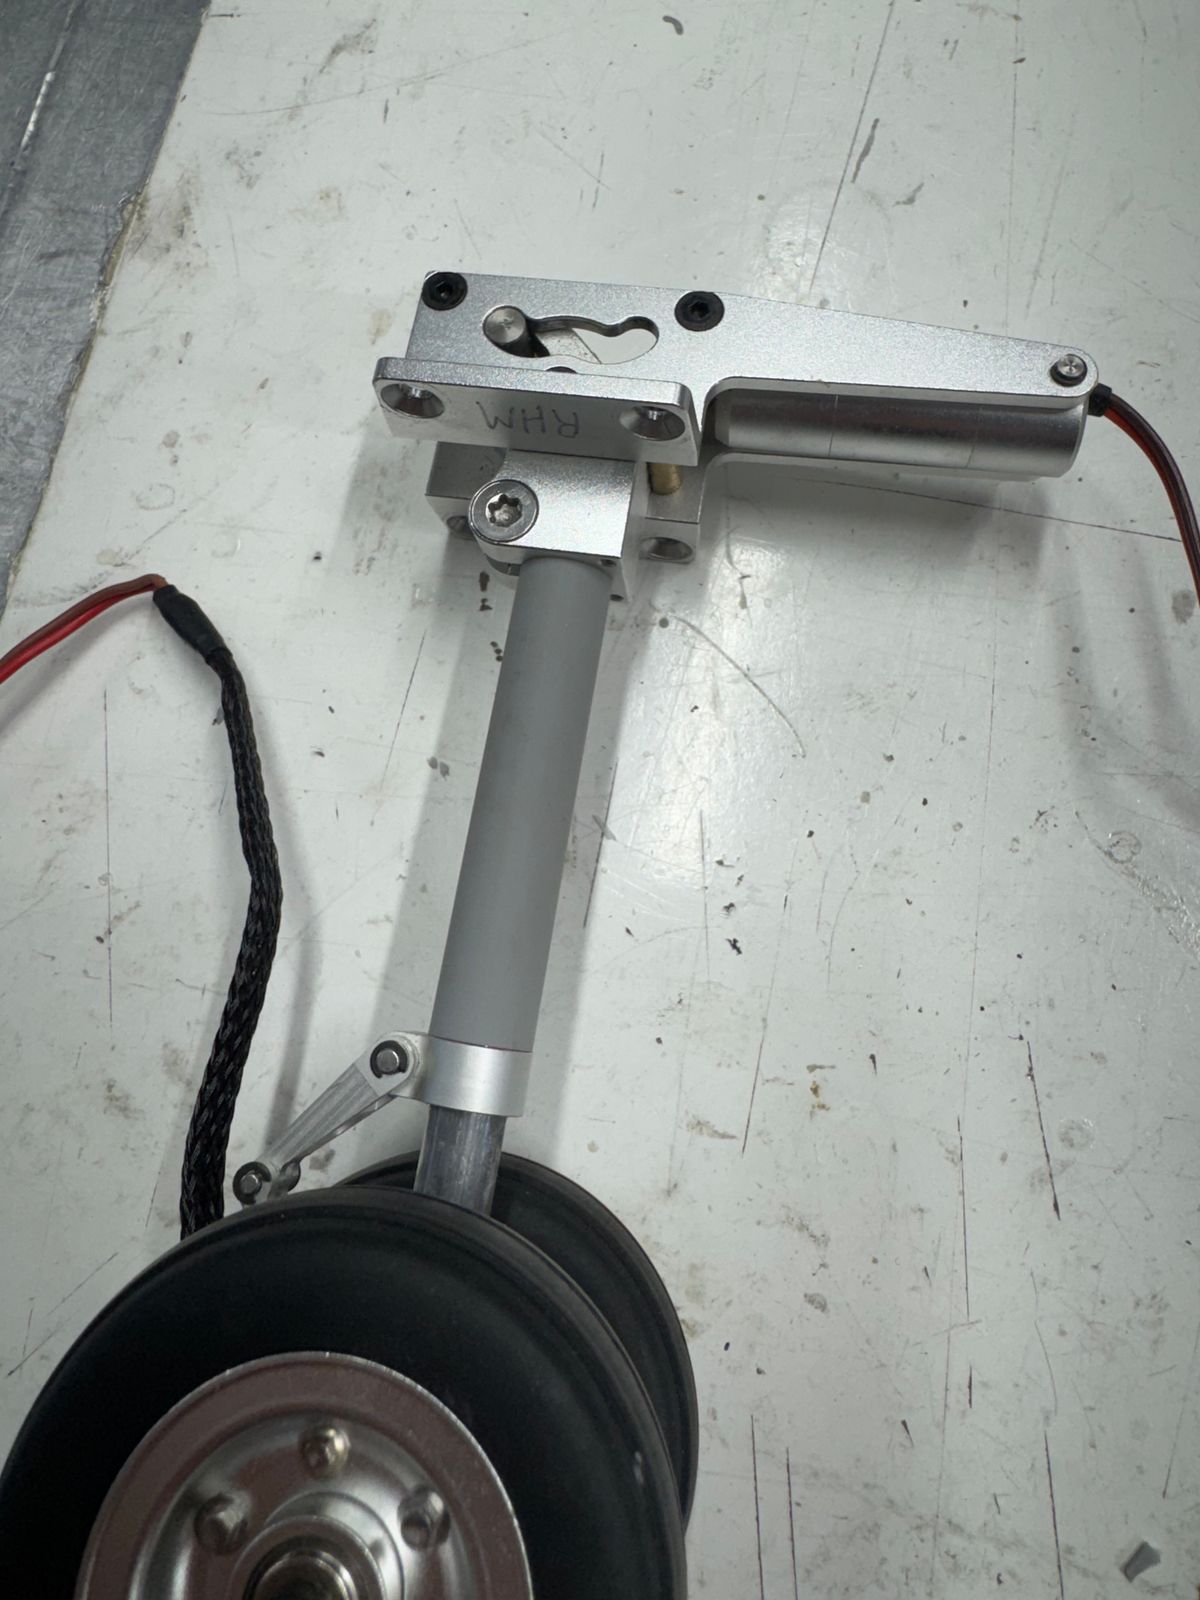
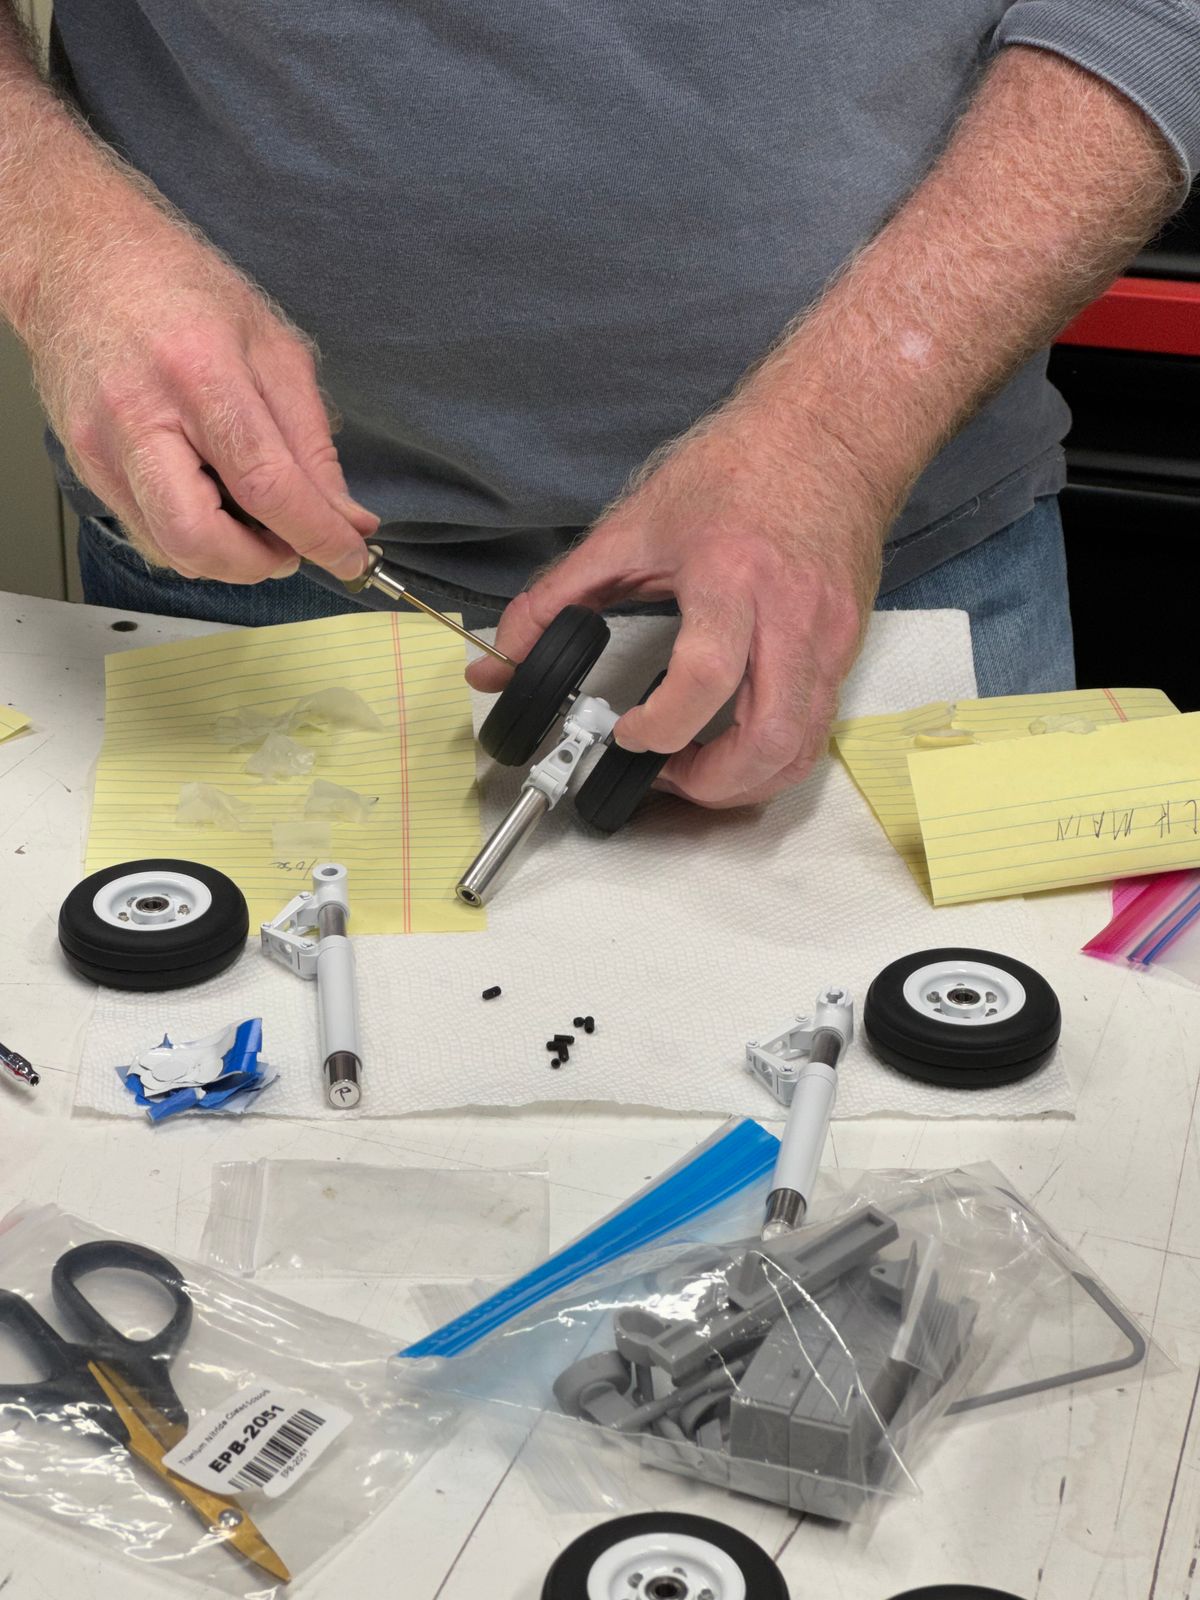
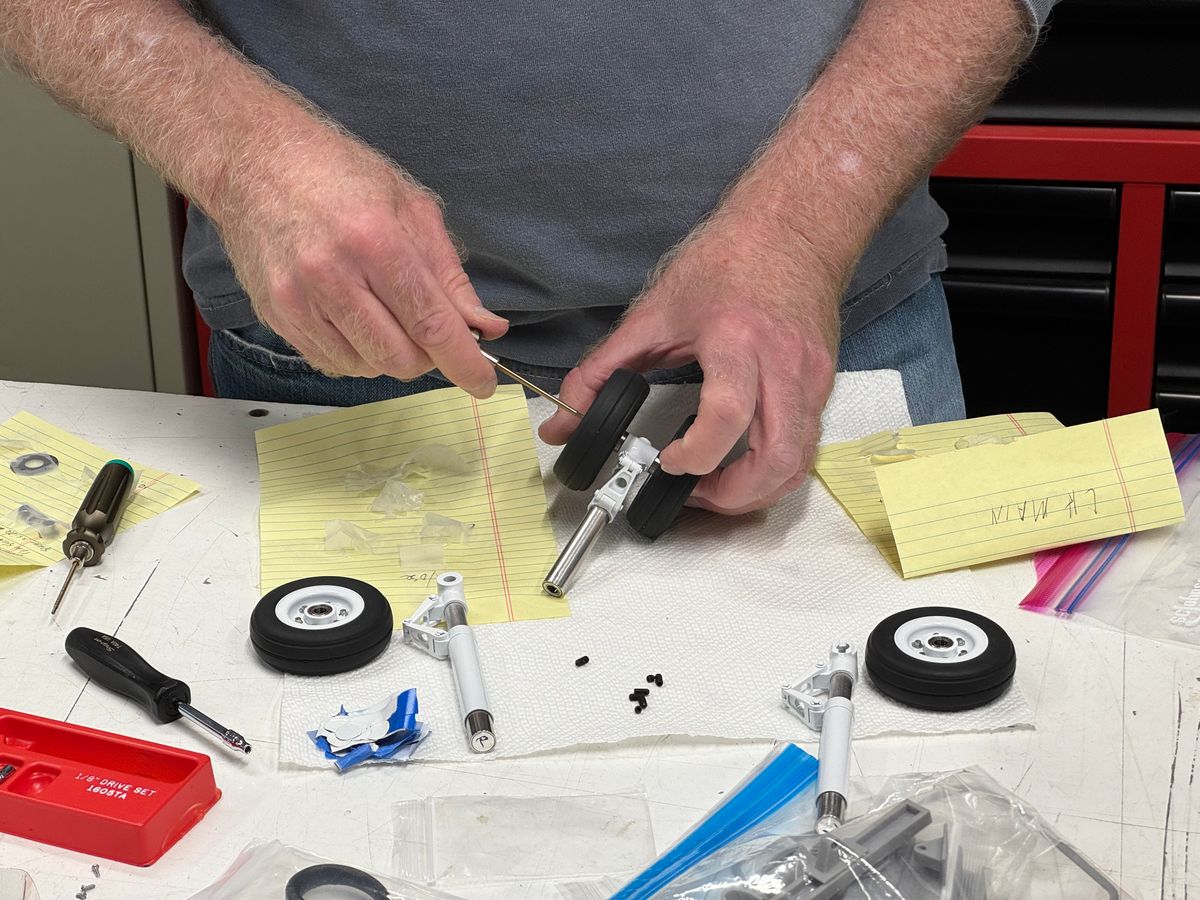
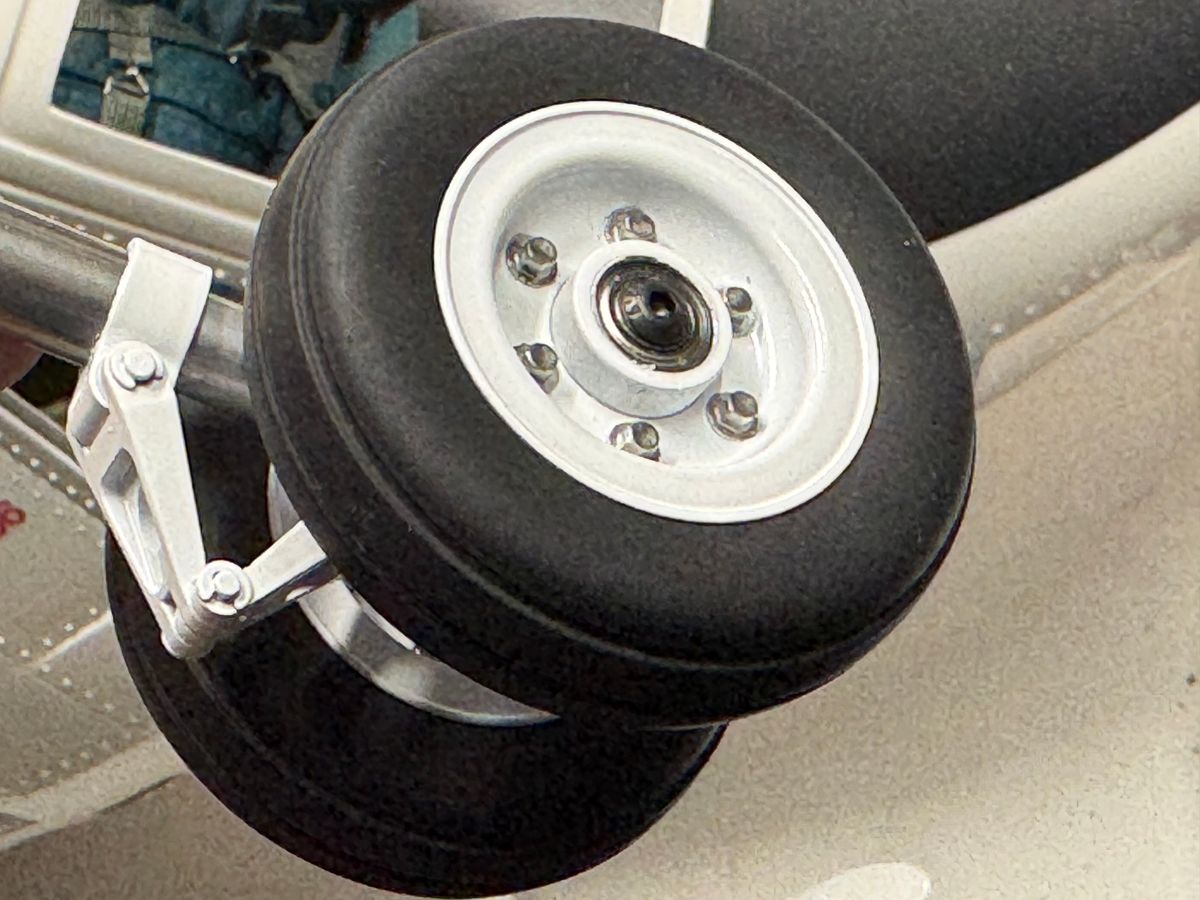
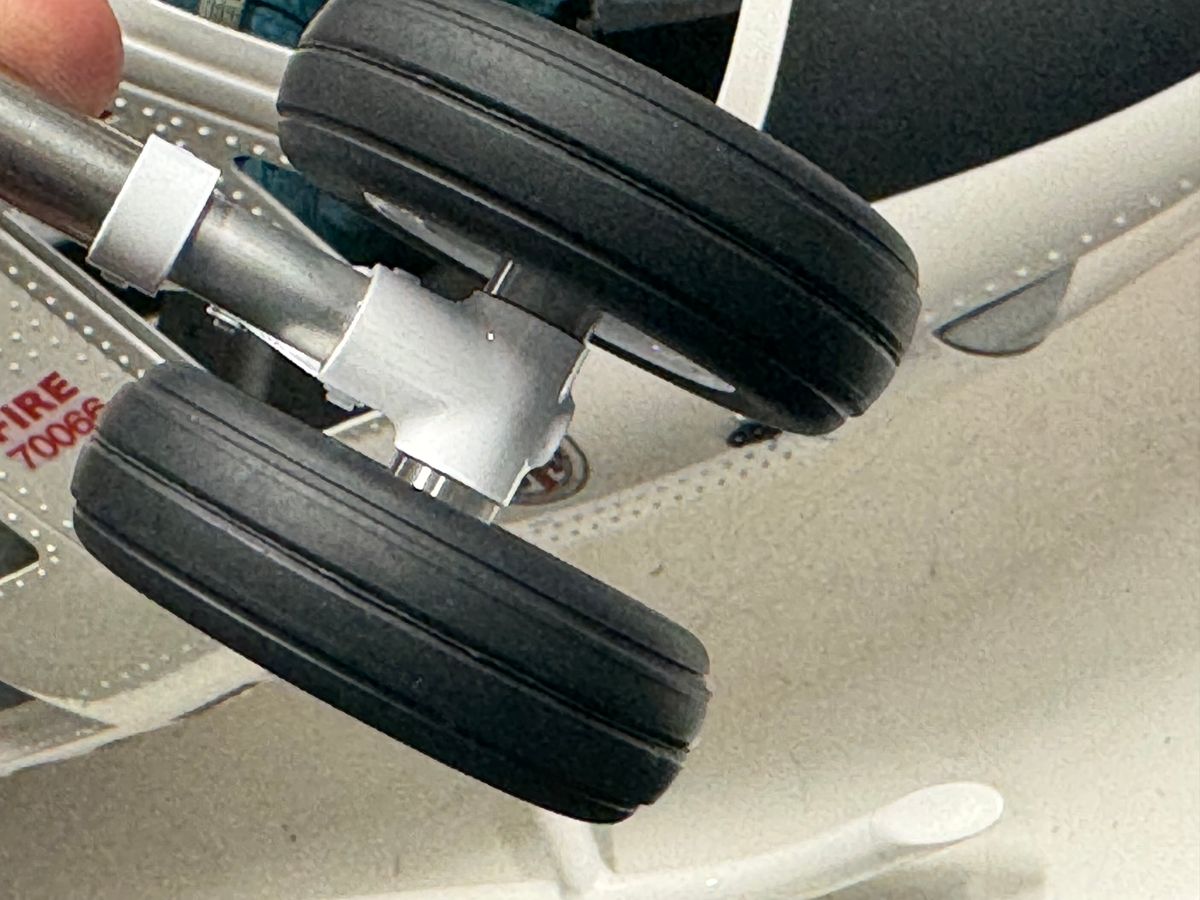
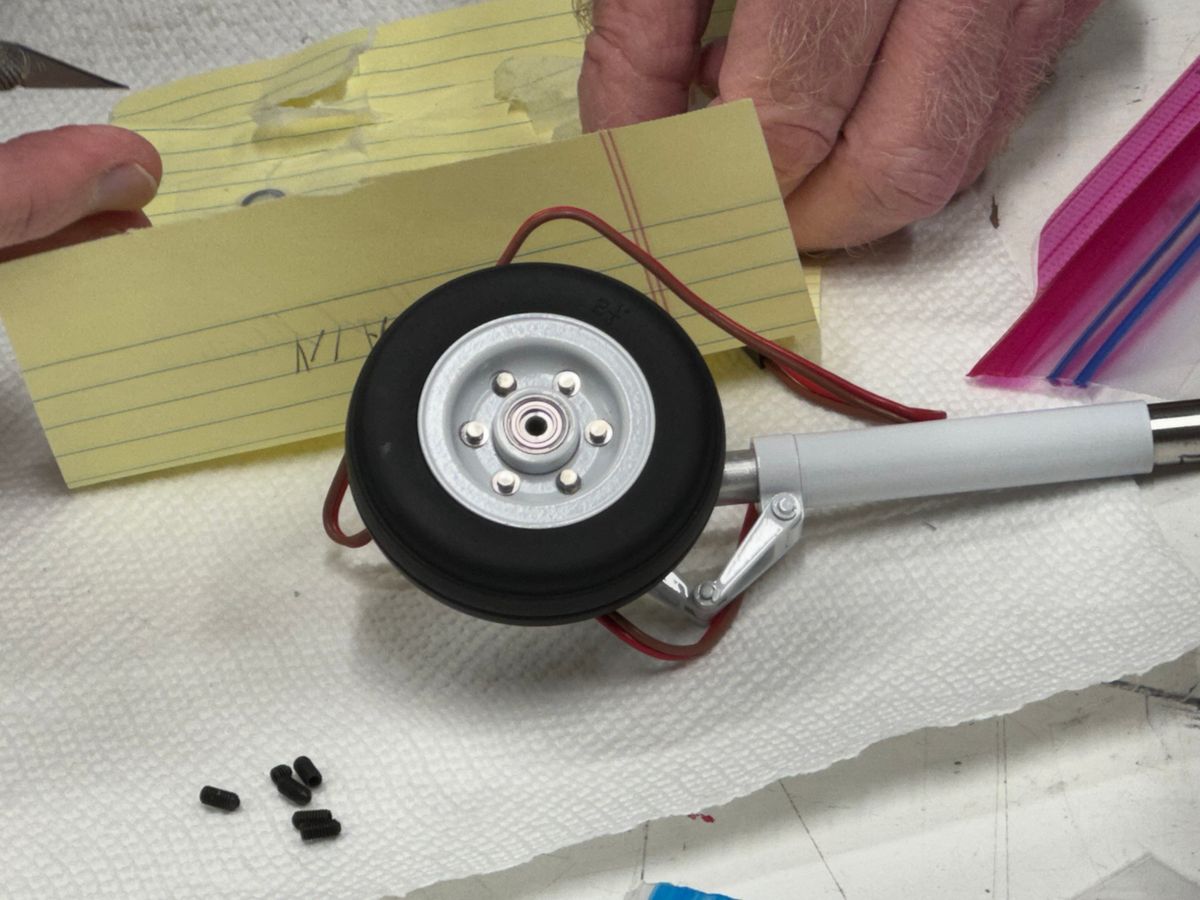
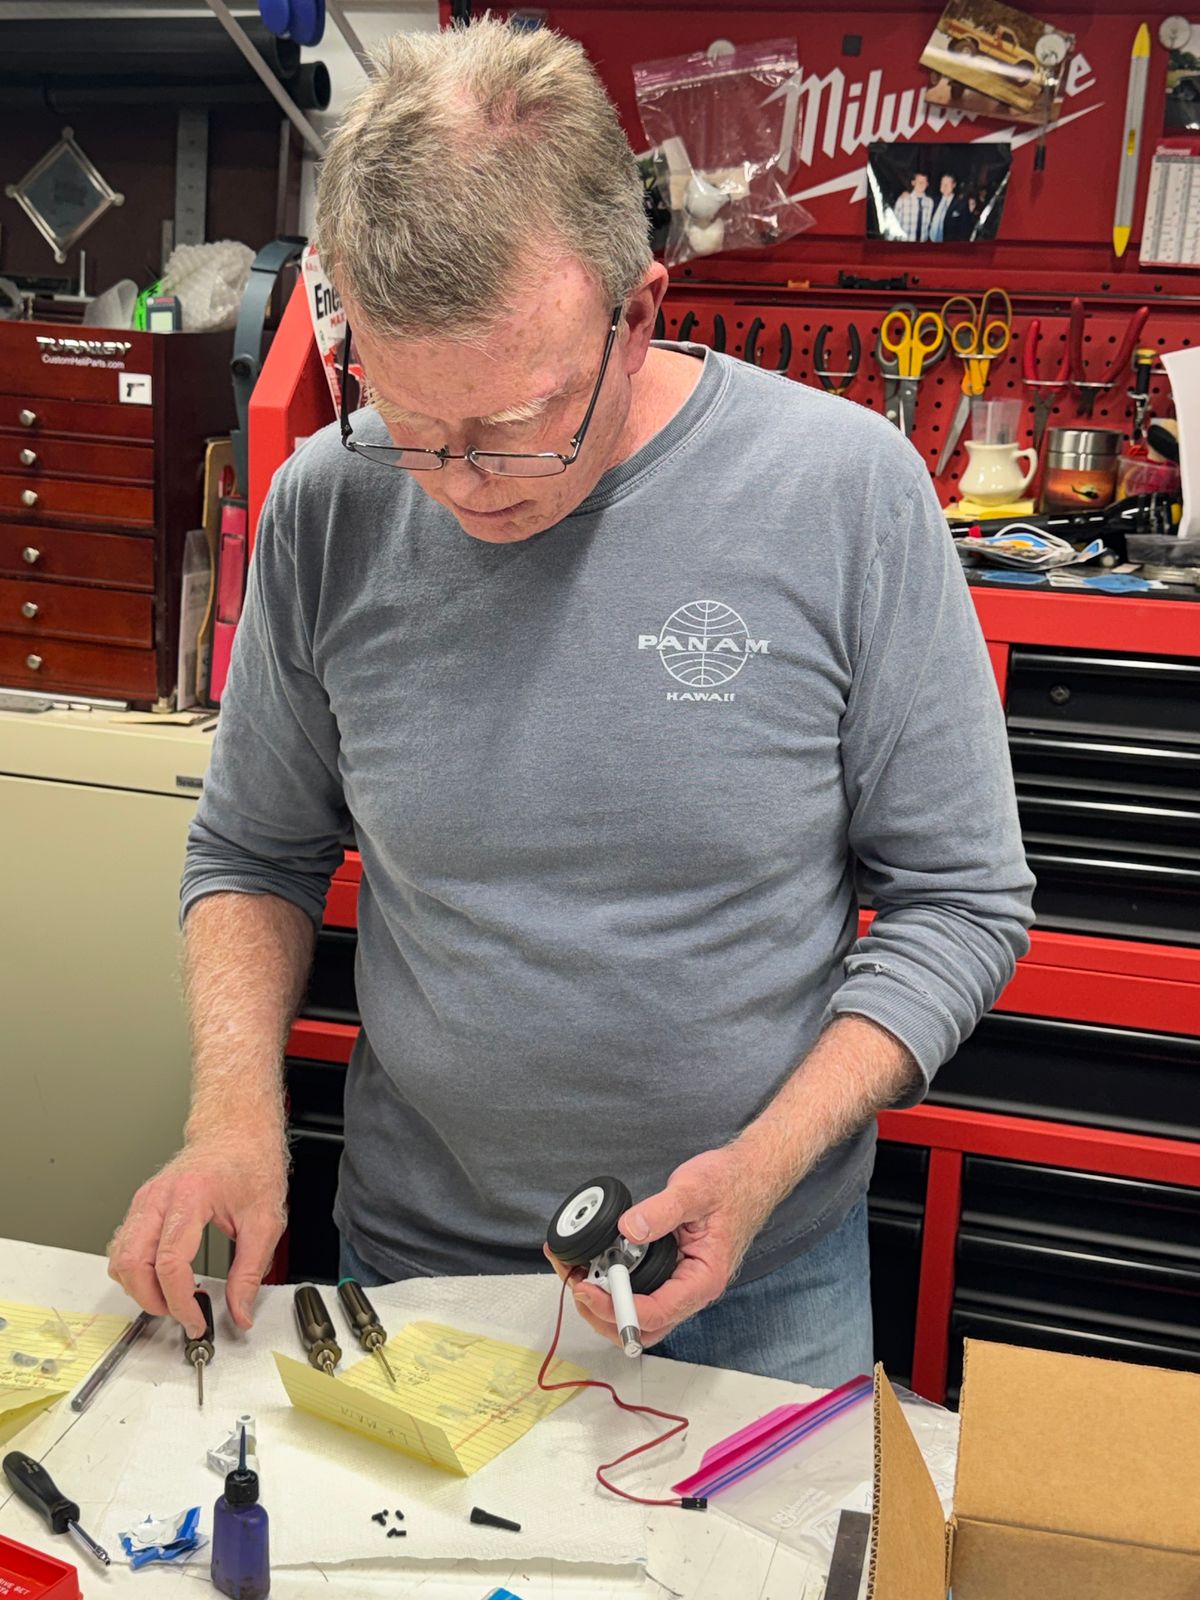
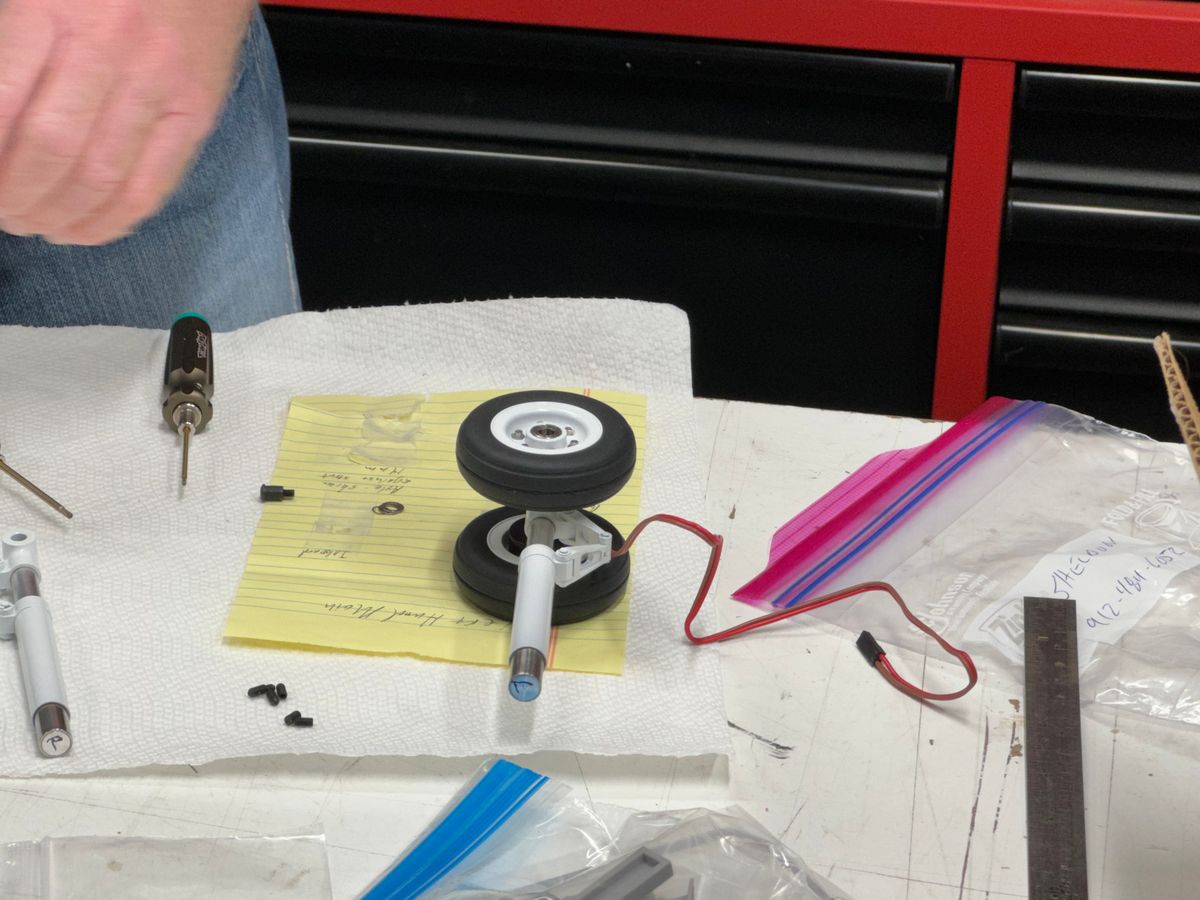
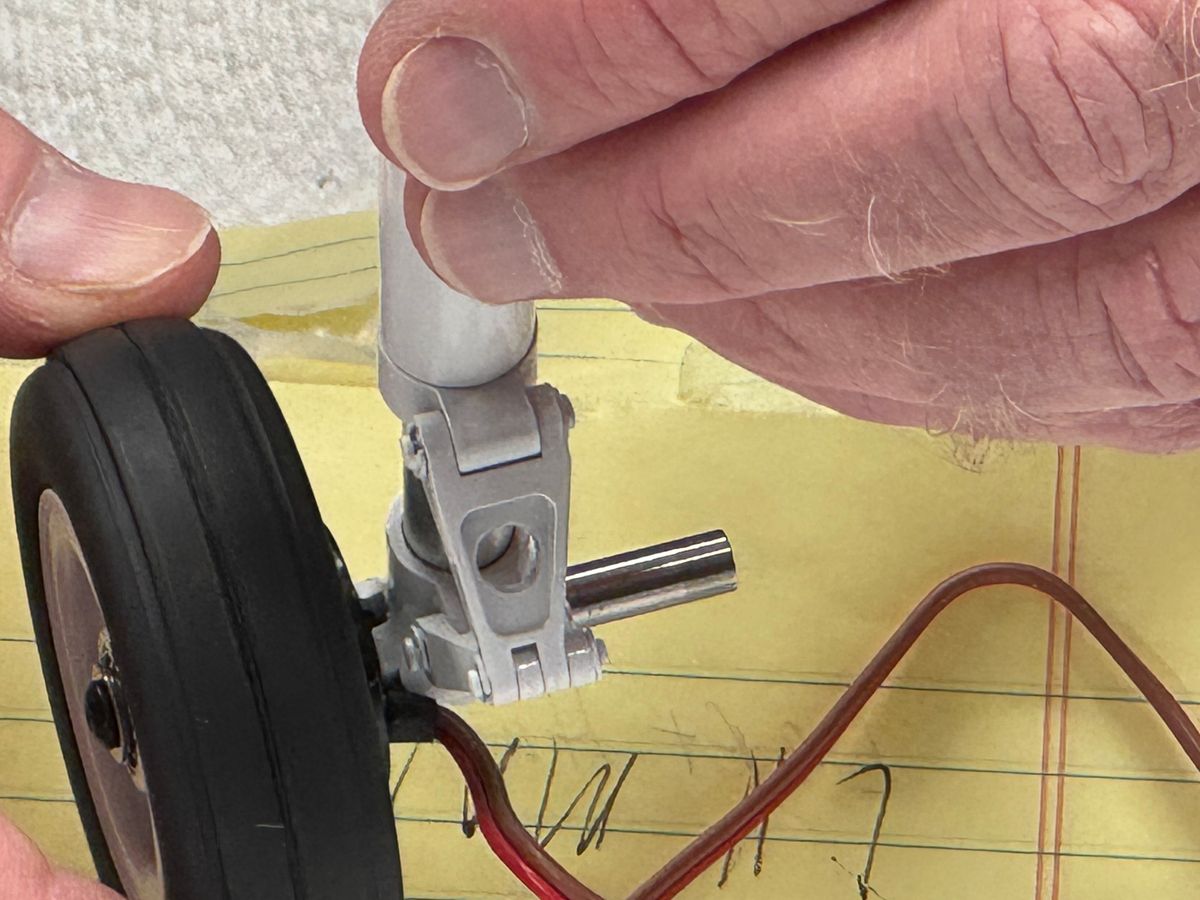
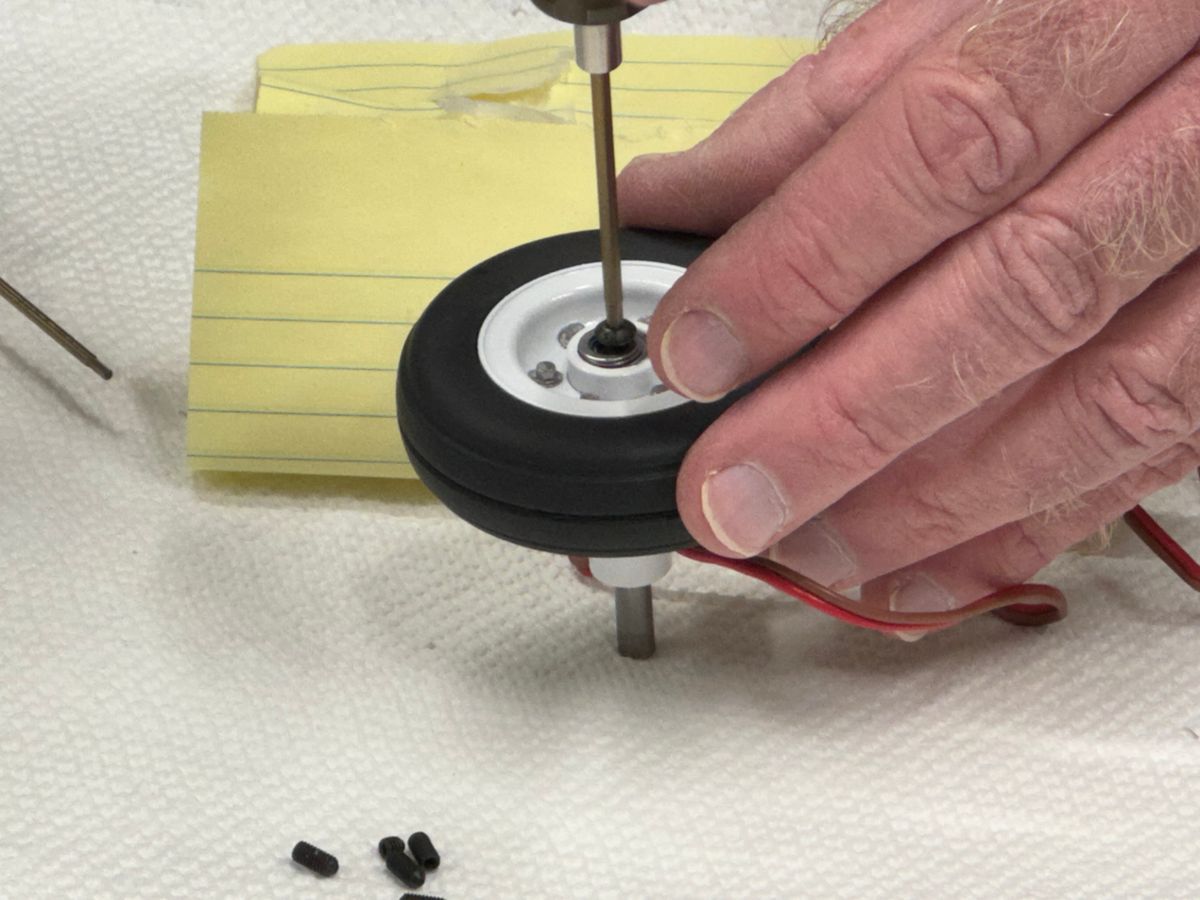
I have been working the gear legs over the past few days. All the wheels (6 each) and struts needed disassembly, sanding primer and paint. The struts springs Nd scissor links re-lubed and re-assembled and secure the brake wiring to the struts. Yes, my 92 has wheel brakes. Everything came out great and looking real nice.
As mentioned in past post, the gear retract actuators assemblies are from JP Hobby. The struts are from Horizon Hobby and are an upgrade for the 120 F4U which were shortened and new springs installed. The nose uses the same strut just a bit shorter due to the nose wheel steering.
Much of the exterior structural detain is finished up however there are a few more details that need to be added before some primer goes on. Not going to worry about rivets until after the flying season.
The goal is to have my VH back in the air for our scale event the end of June.
Looks like I may finally get a chance to fly this weekend. My S-67 Blackhawk may get some love Sunday.
Here are some progress photos.
Thanks for dropping by,
UIH!!!
B
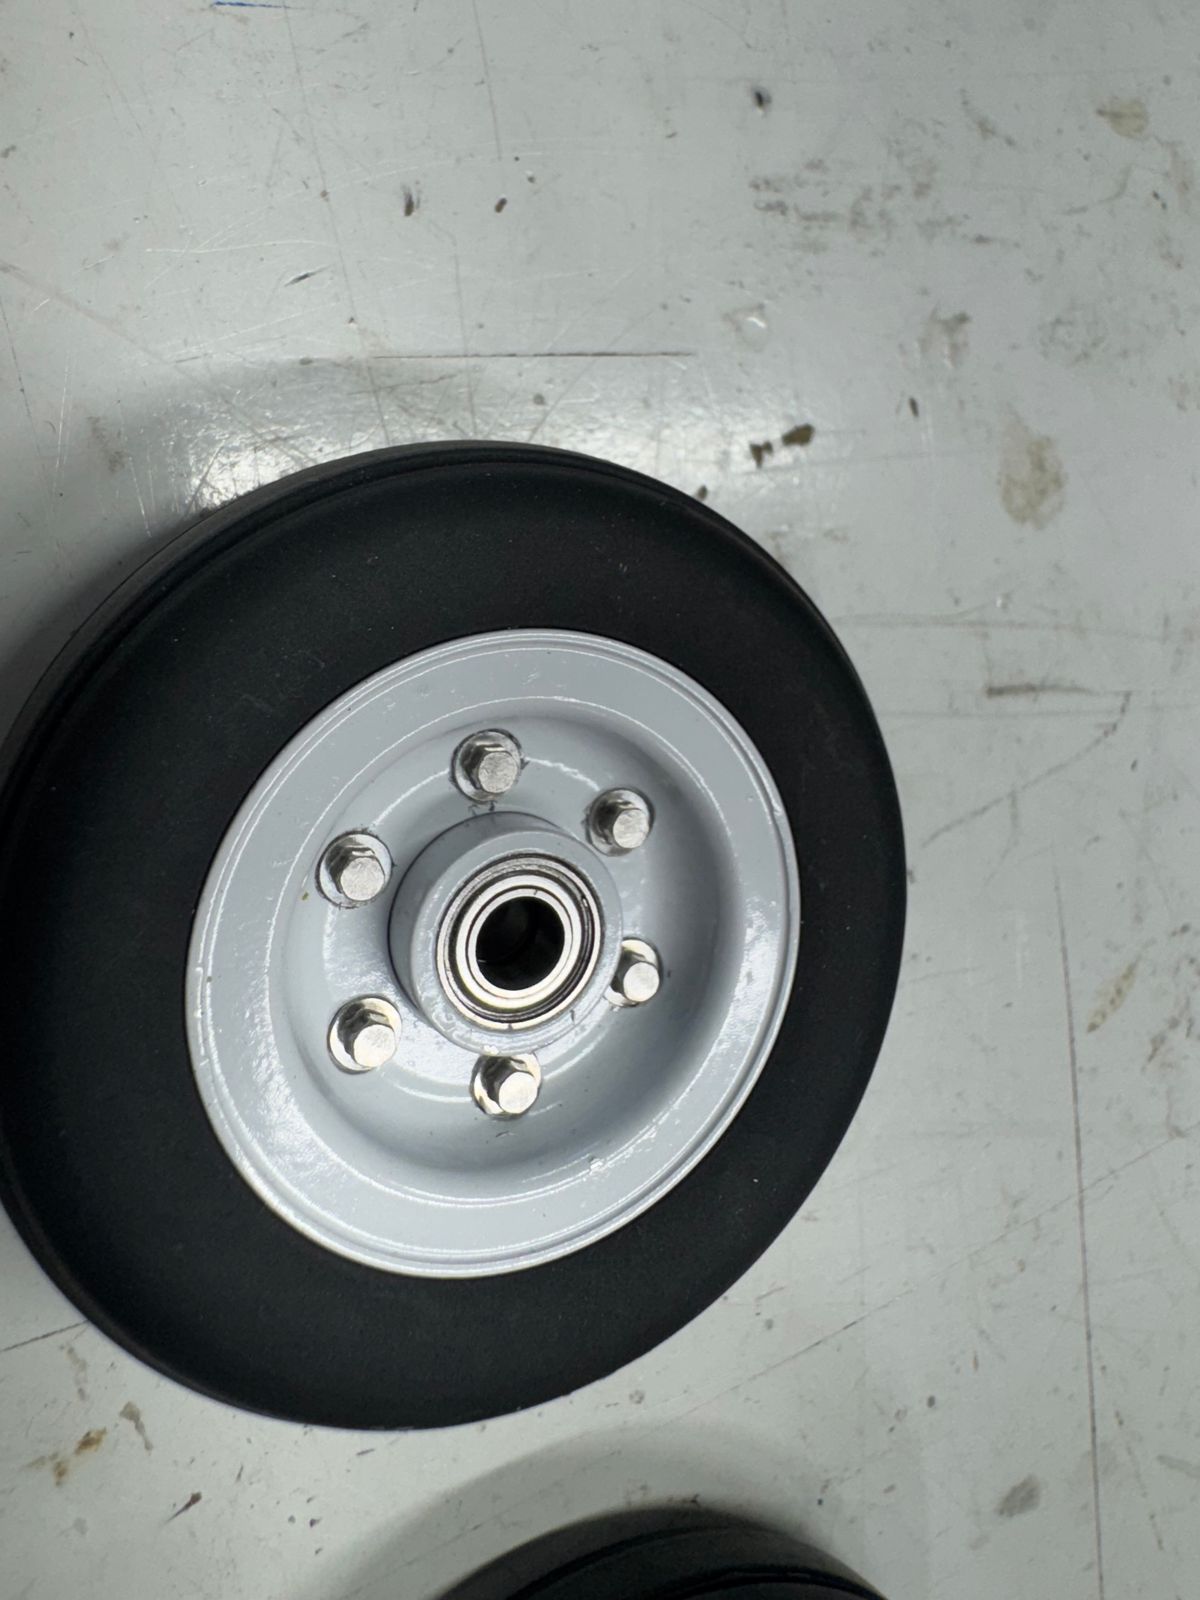
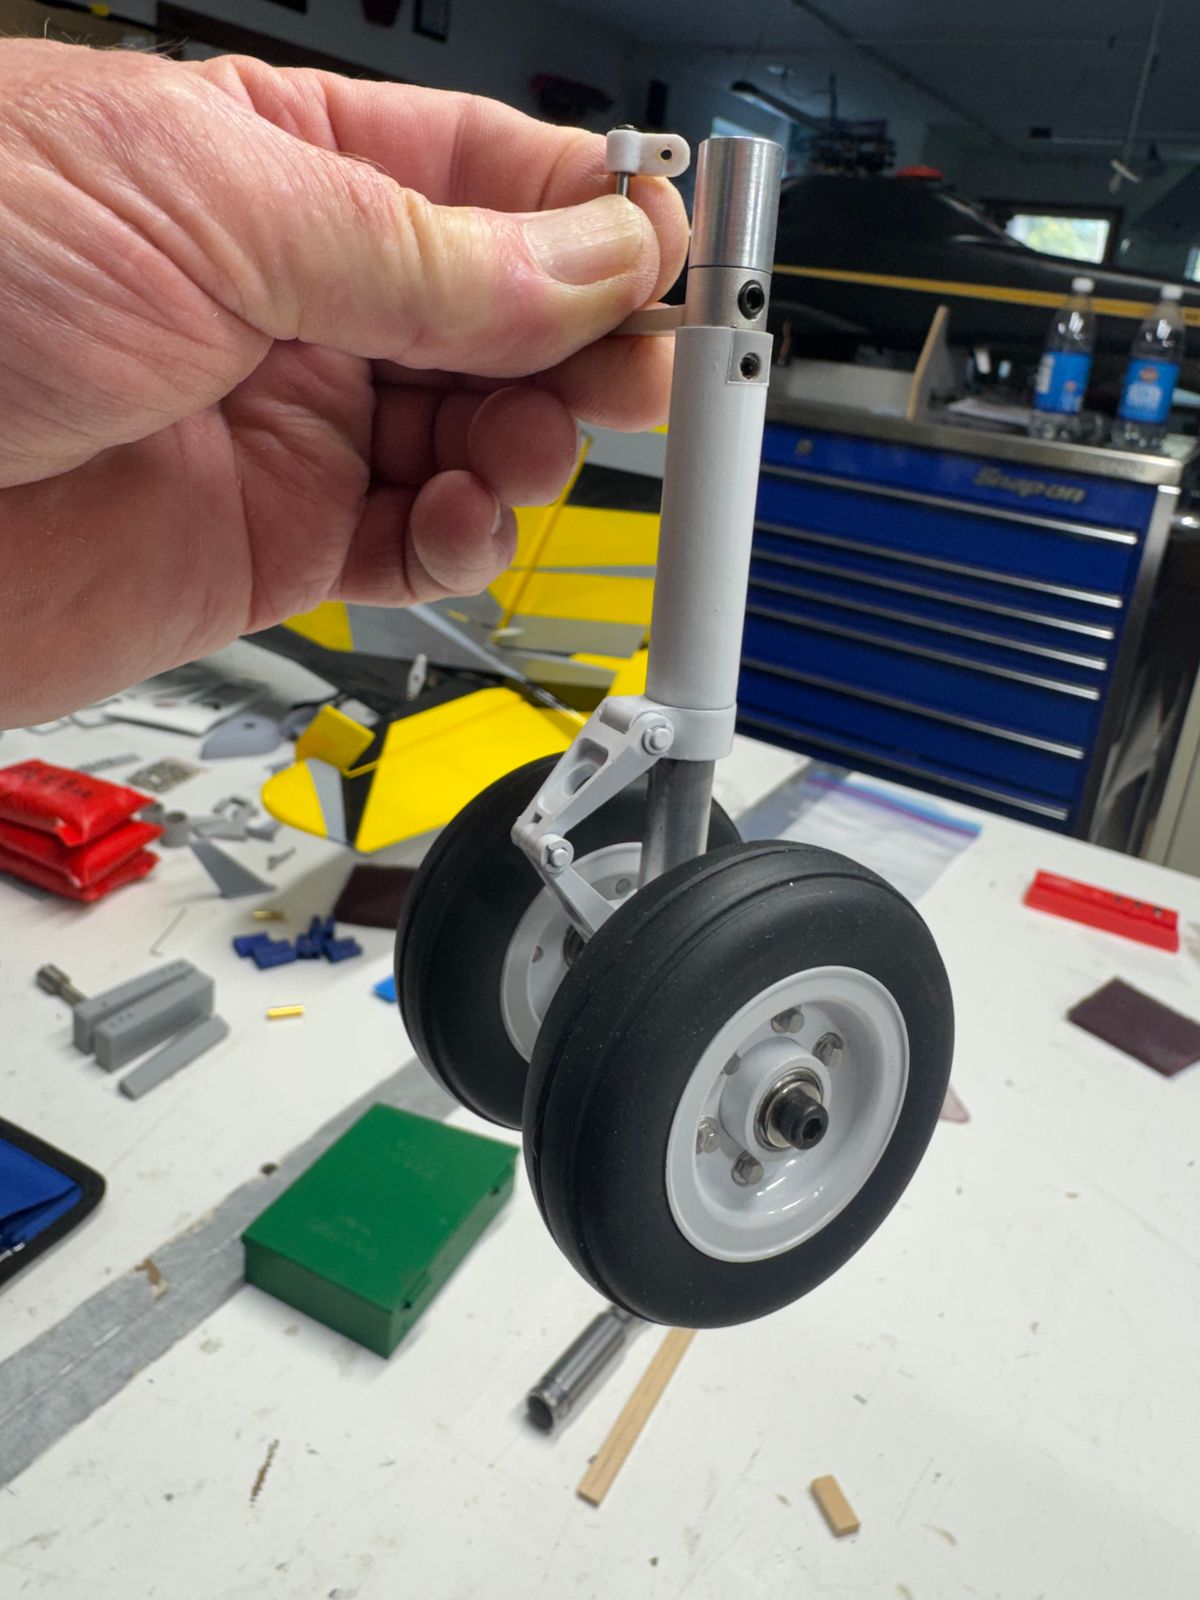
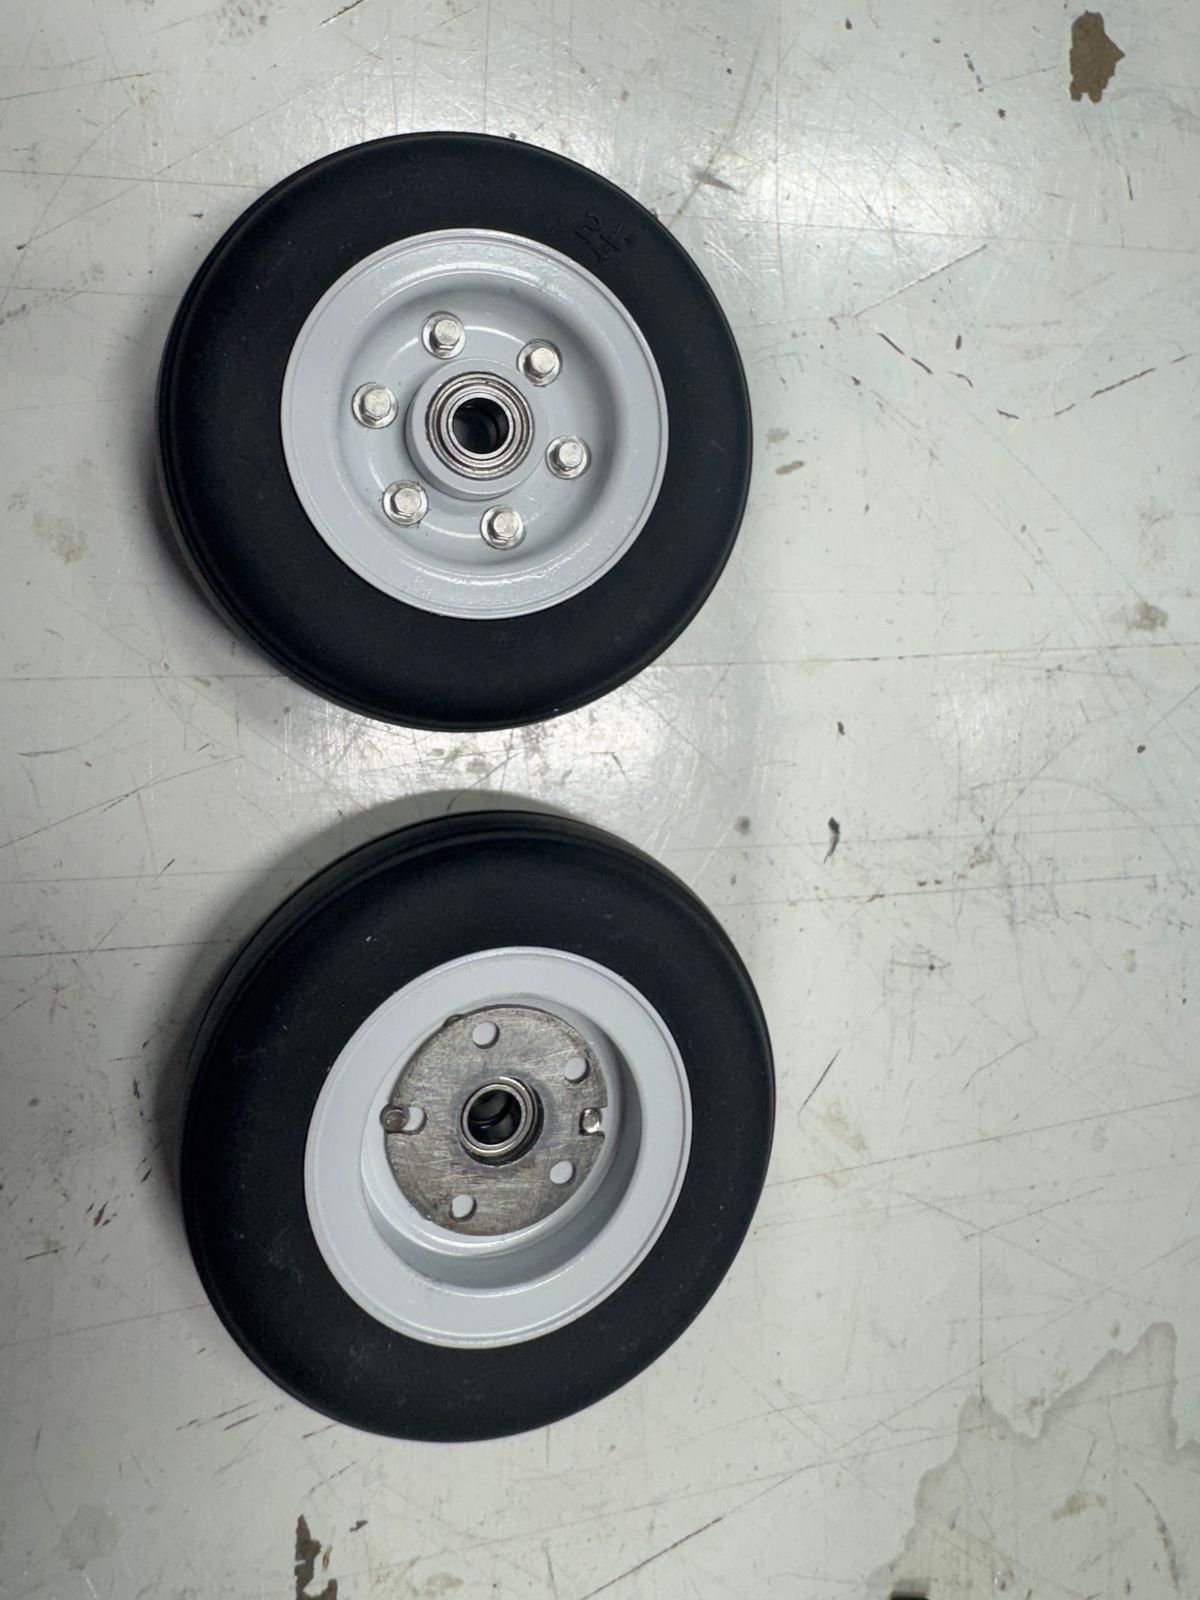
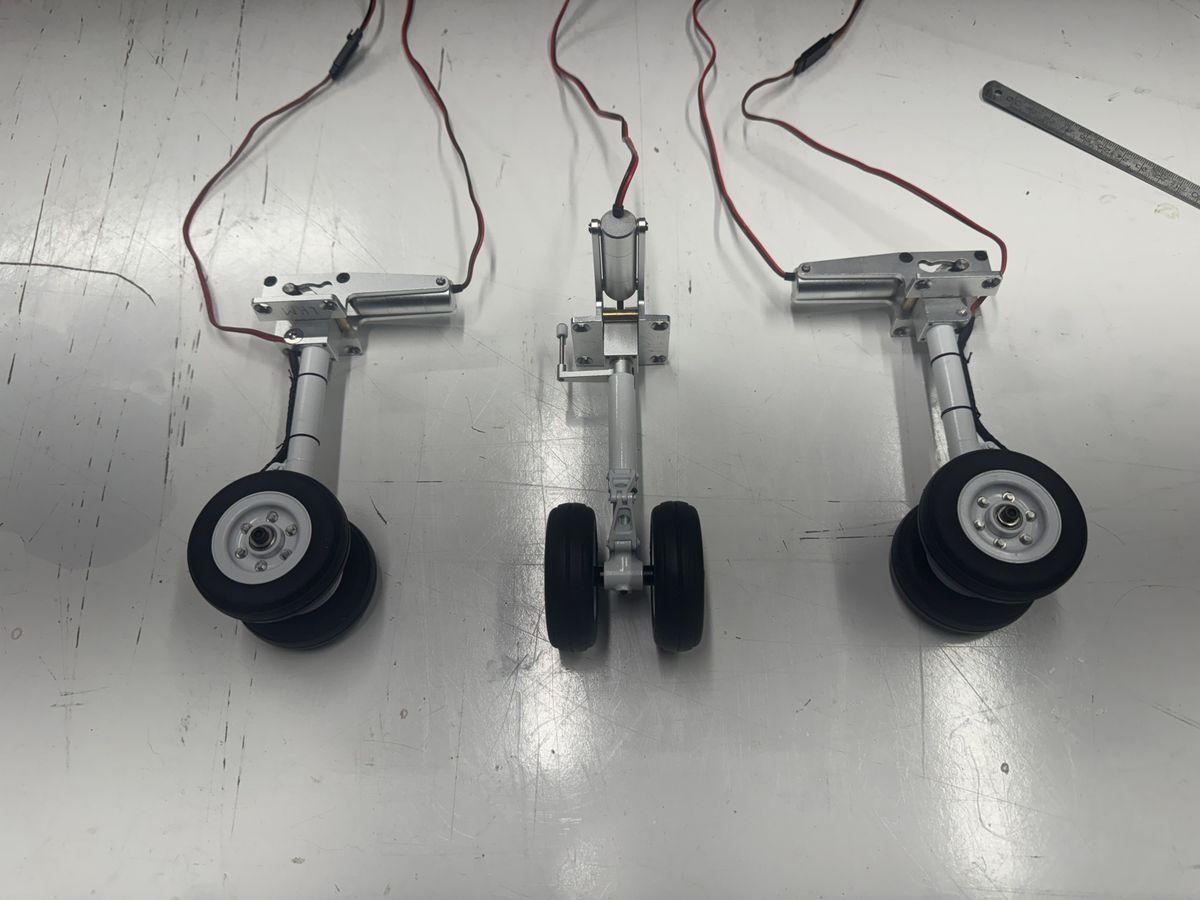
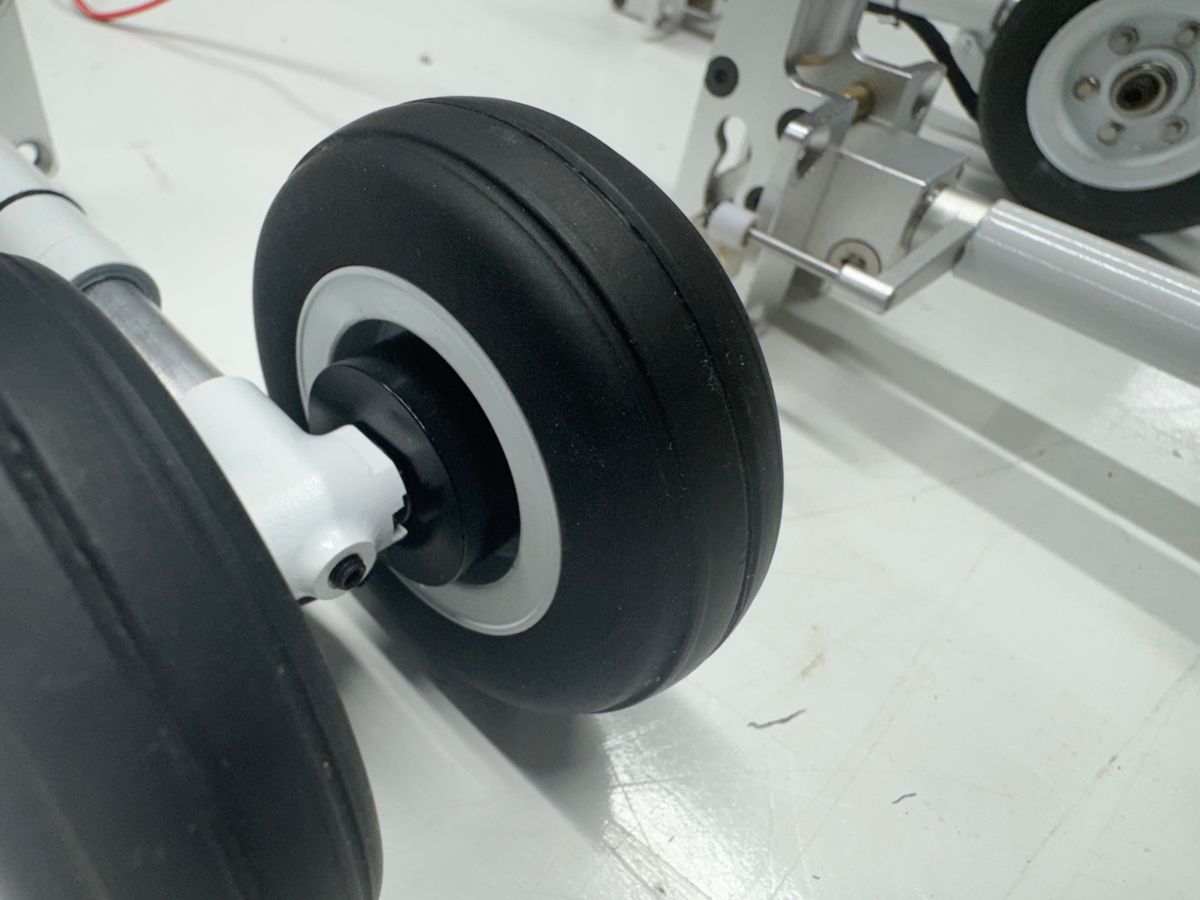
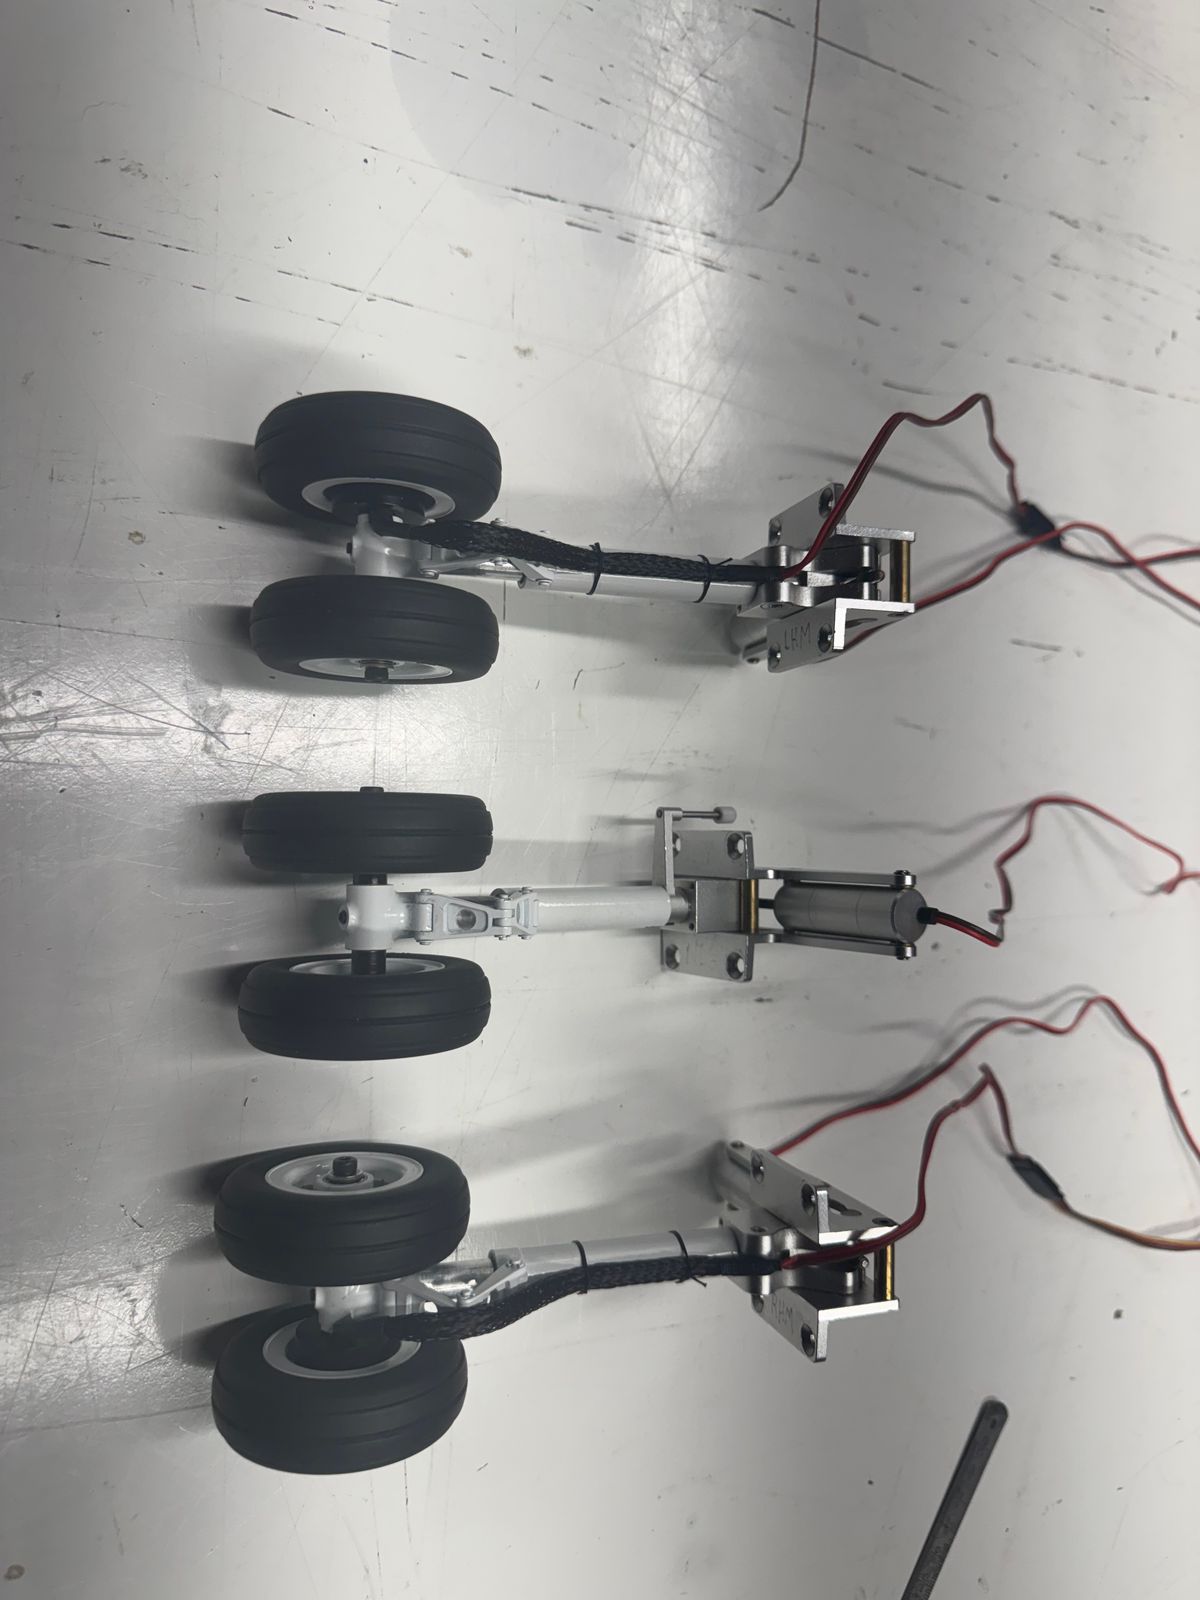
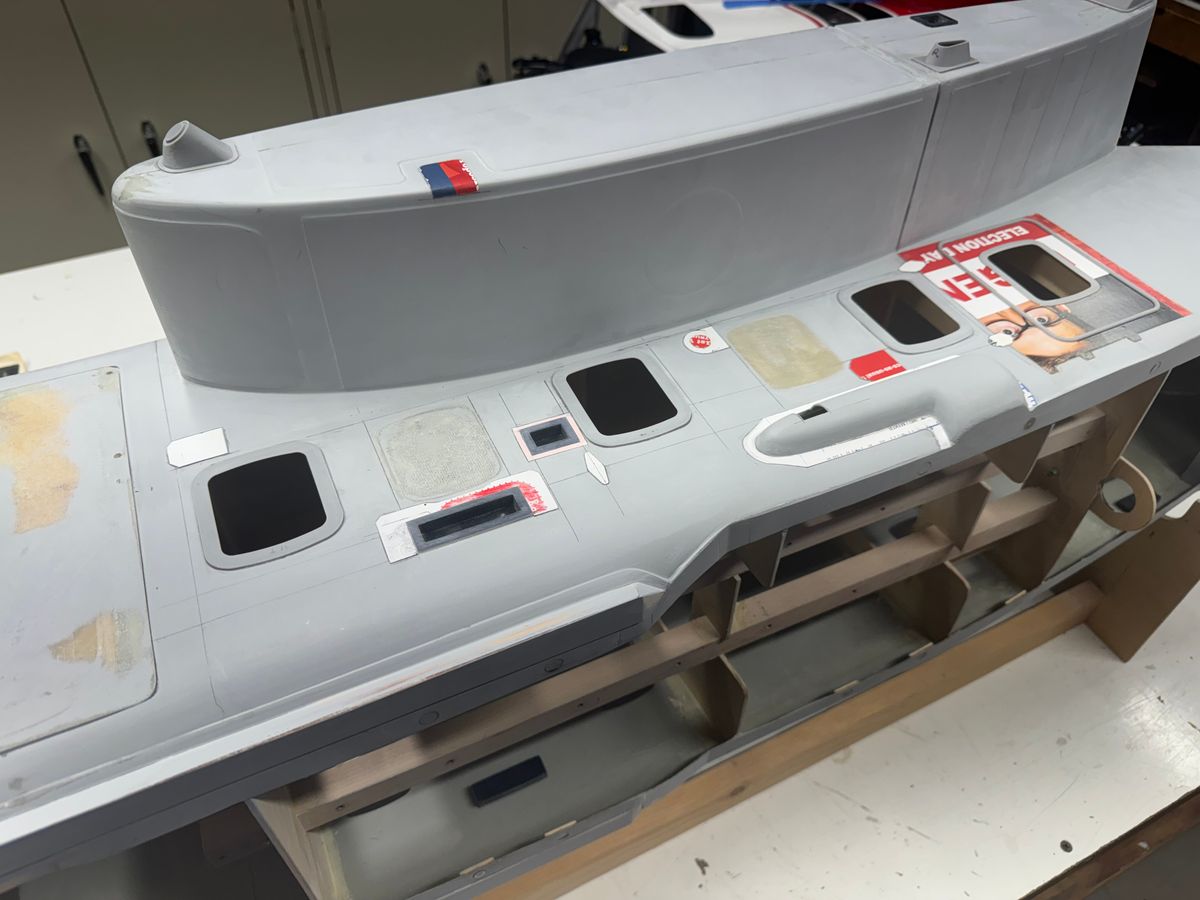
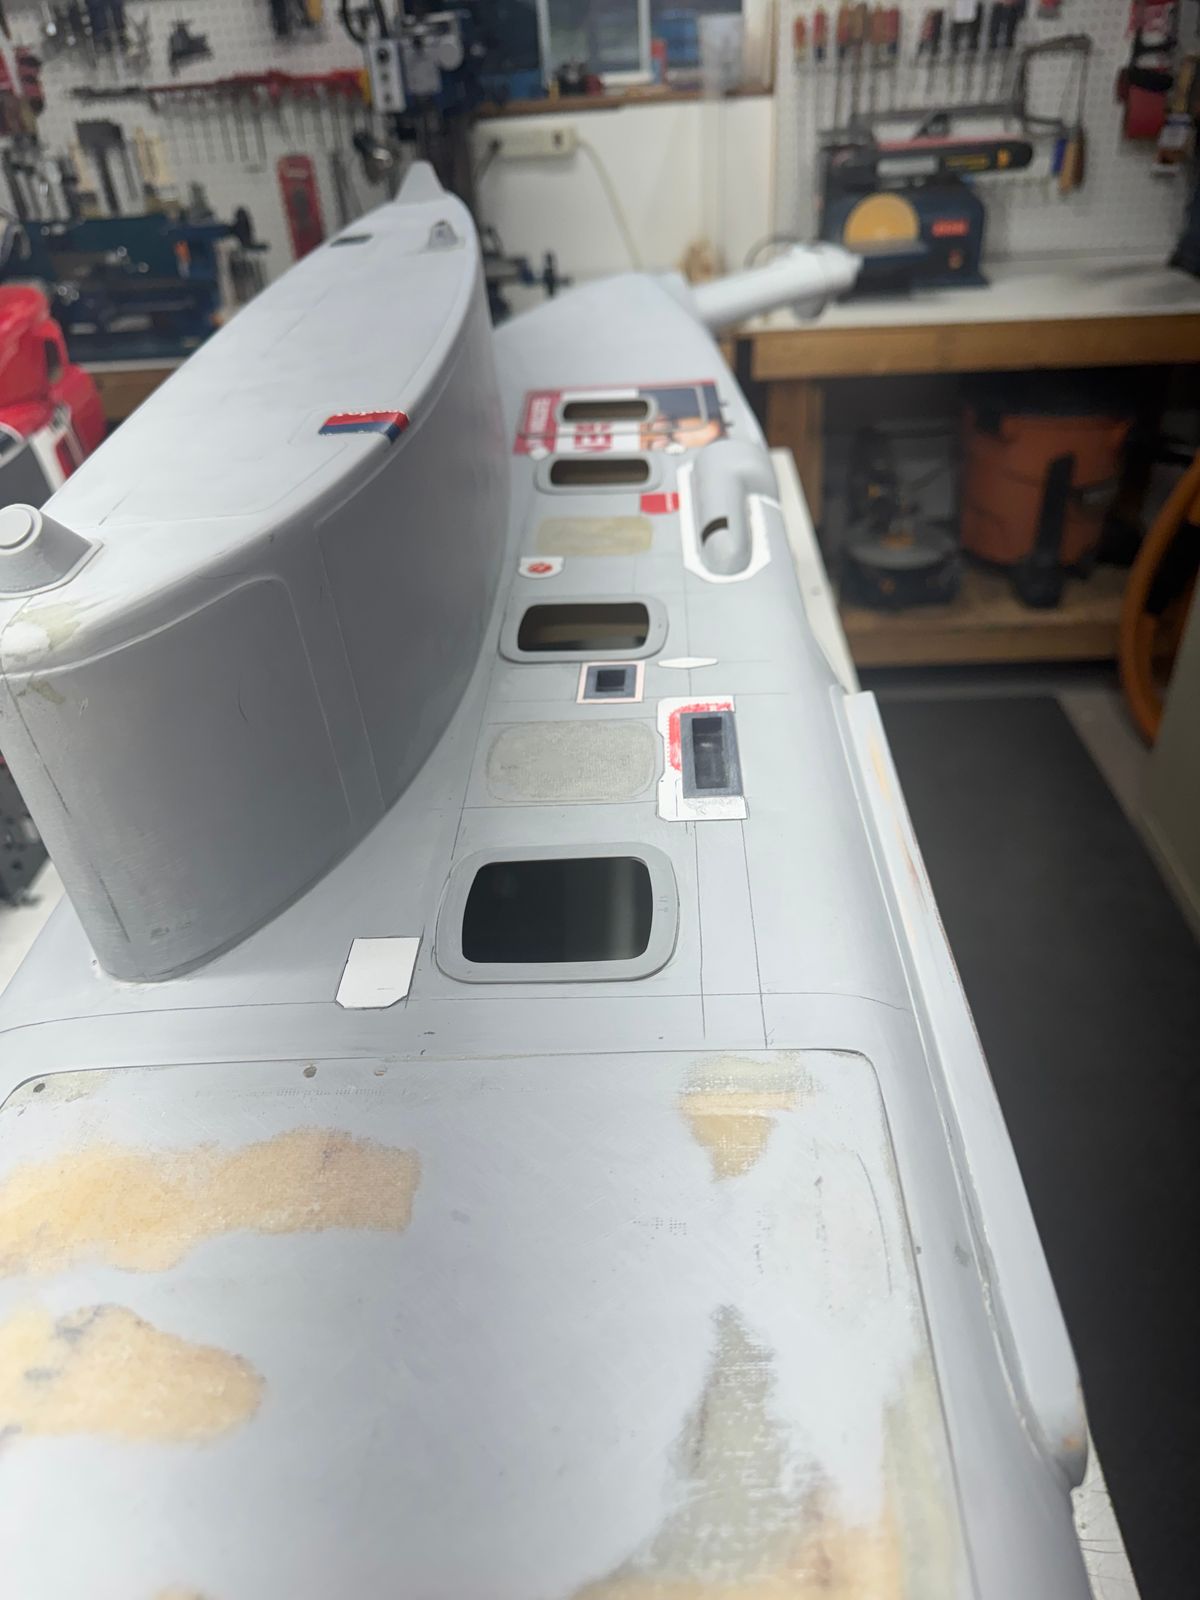
“Skids are For Kids”. It a joke ok.
UIH,
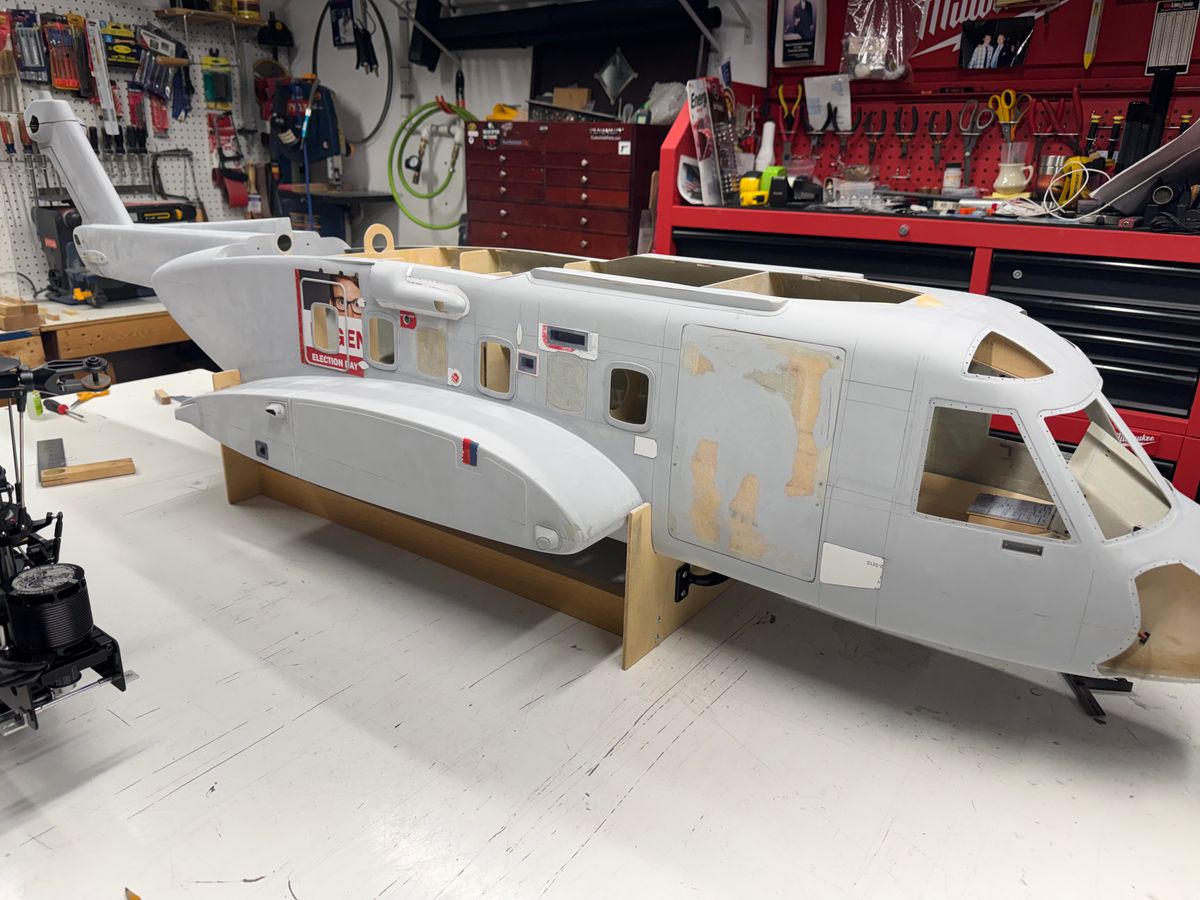
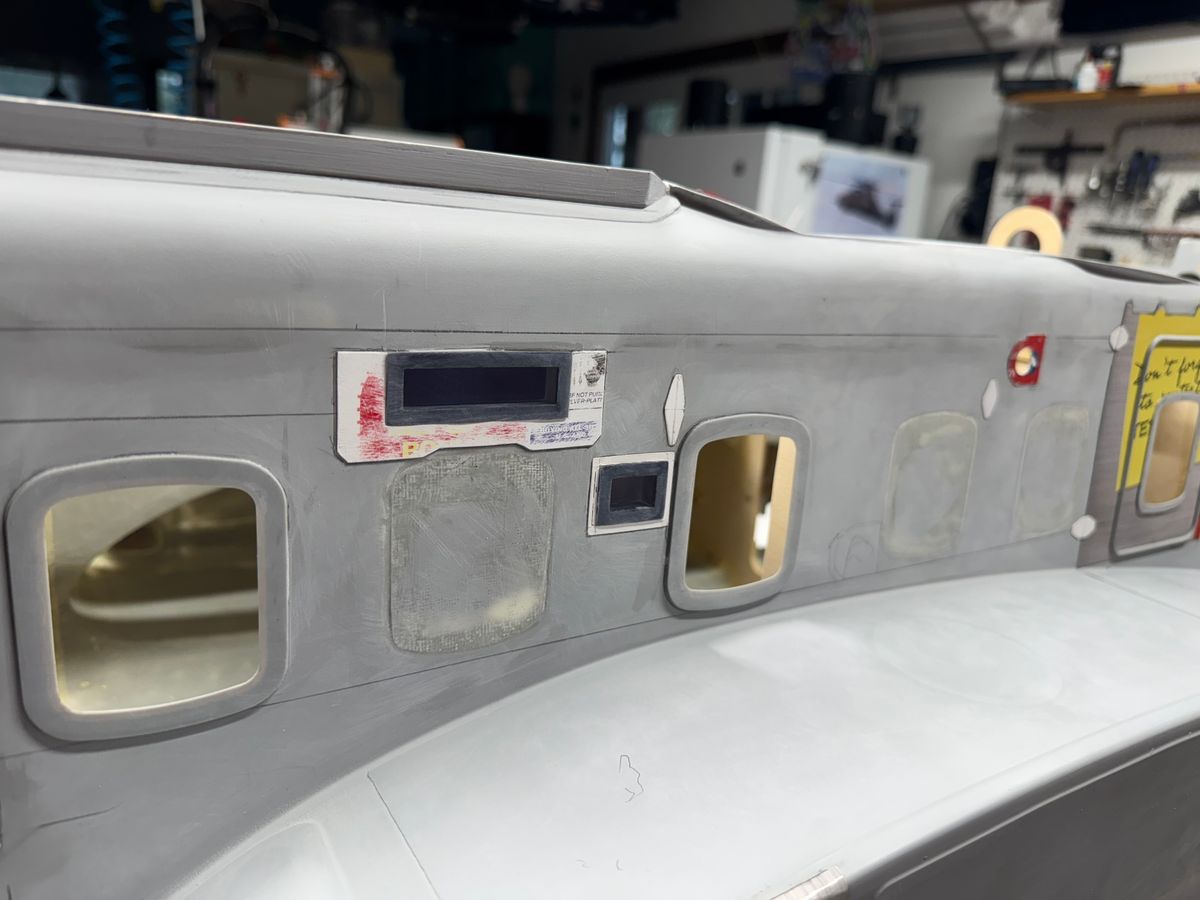
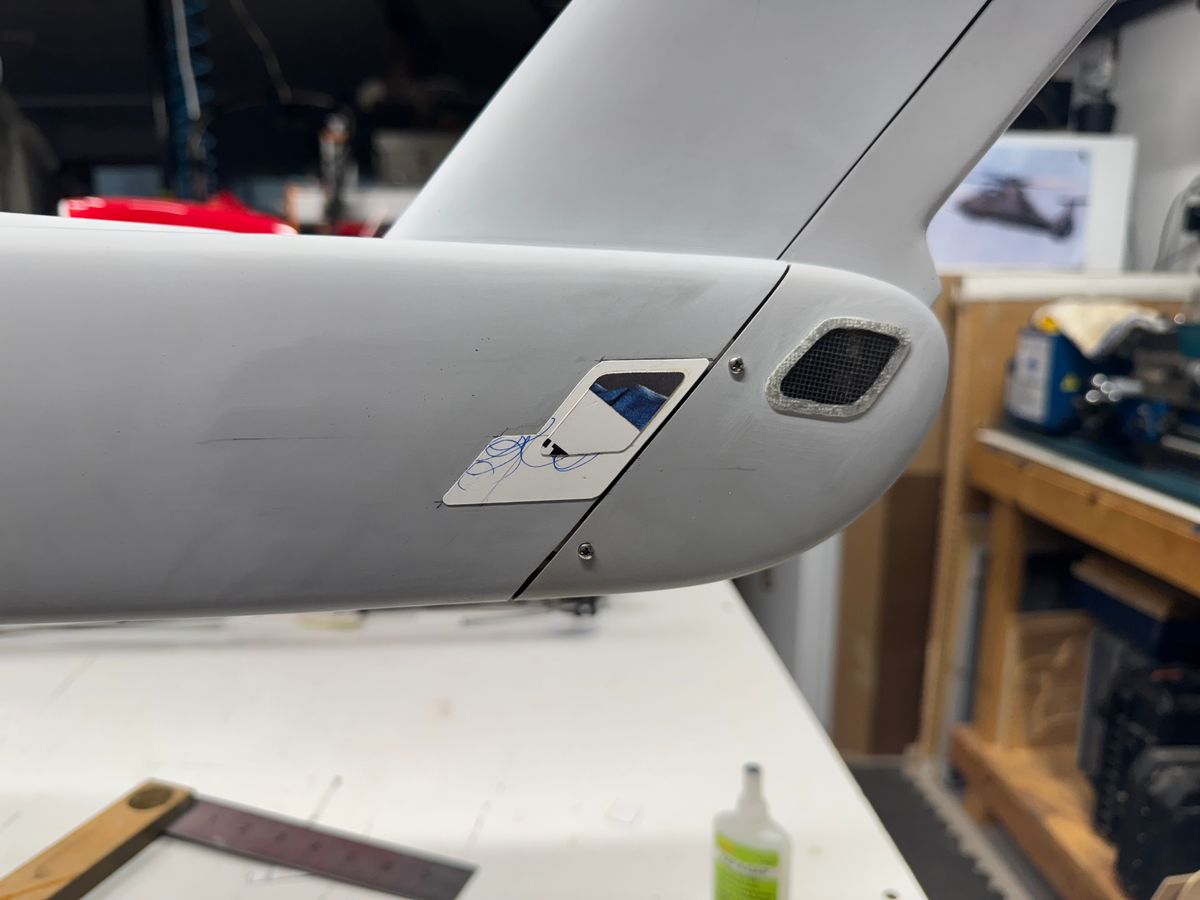
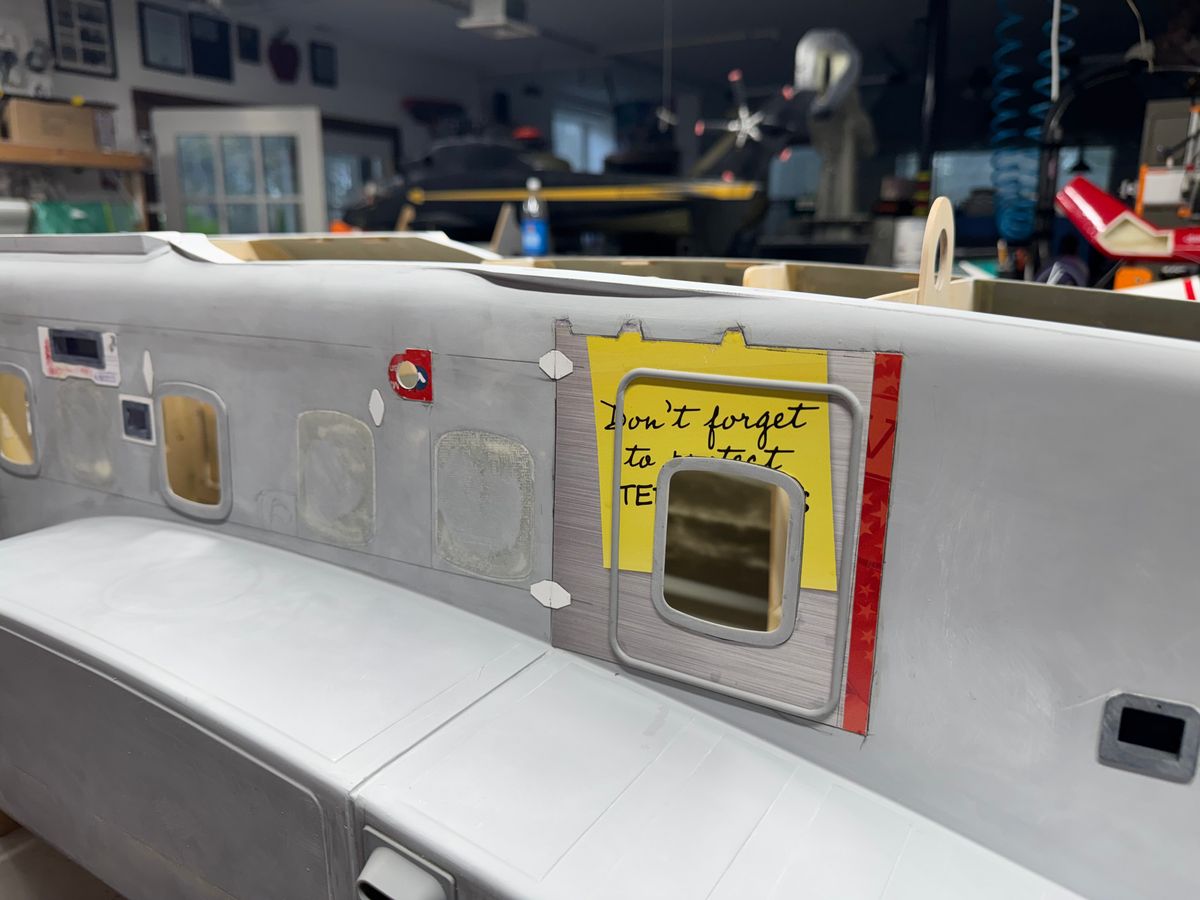
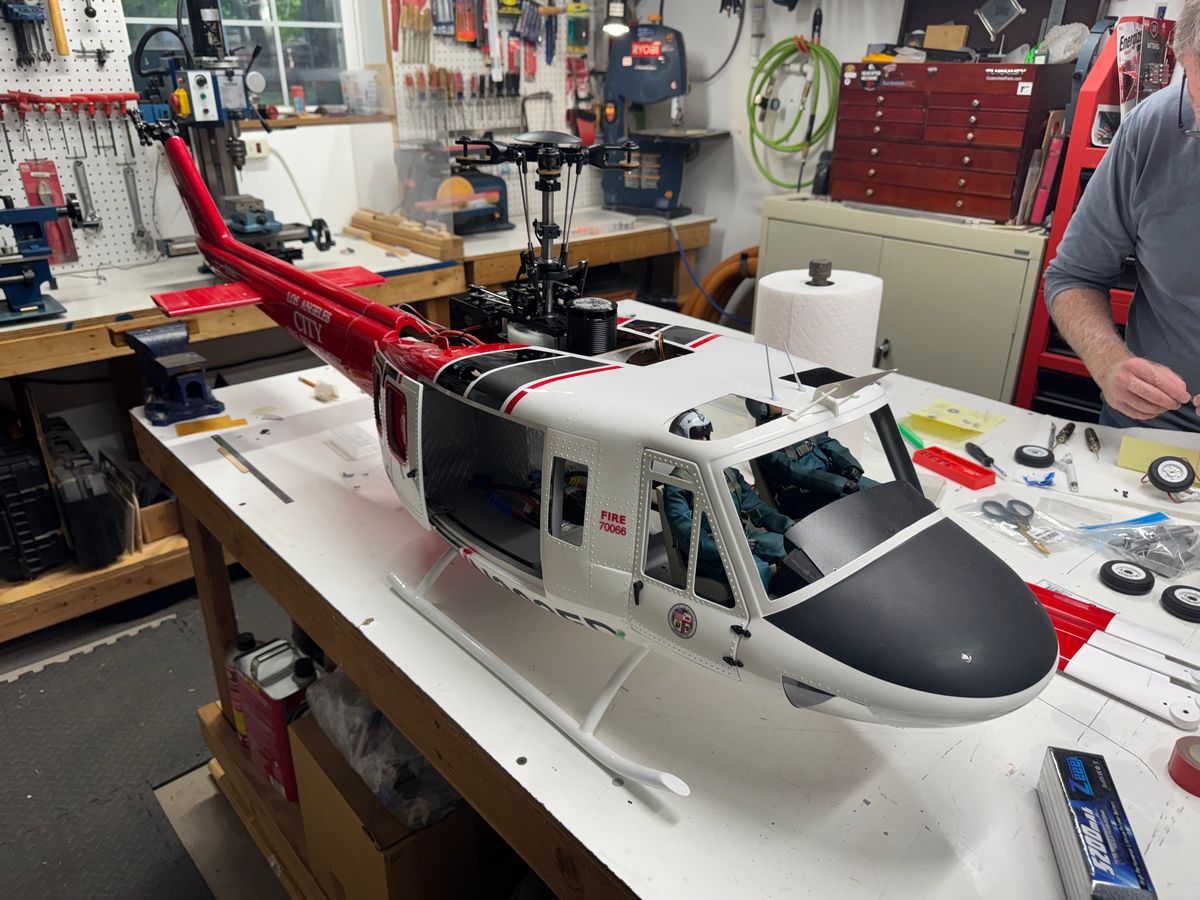
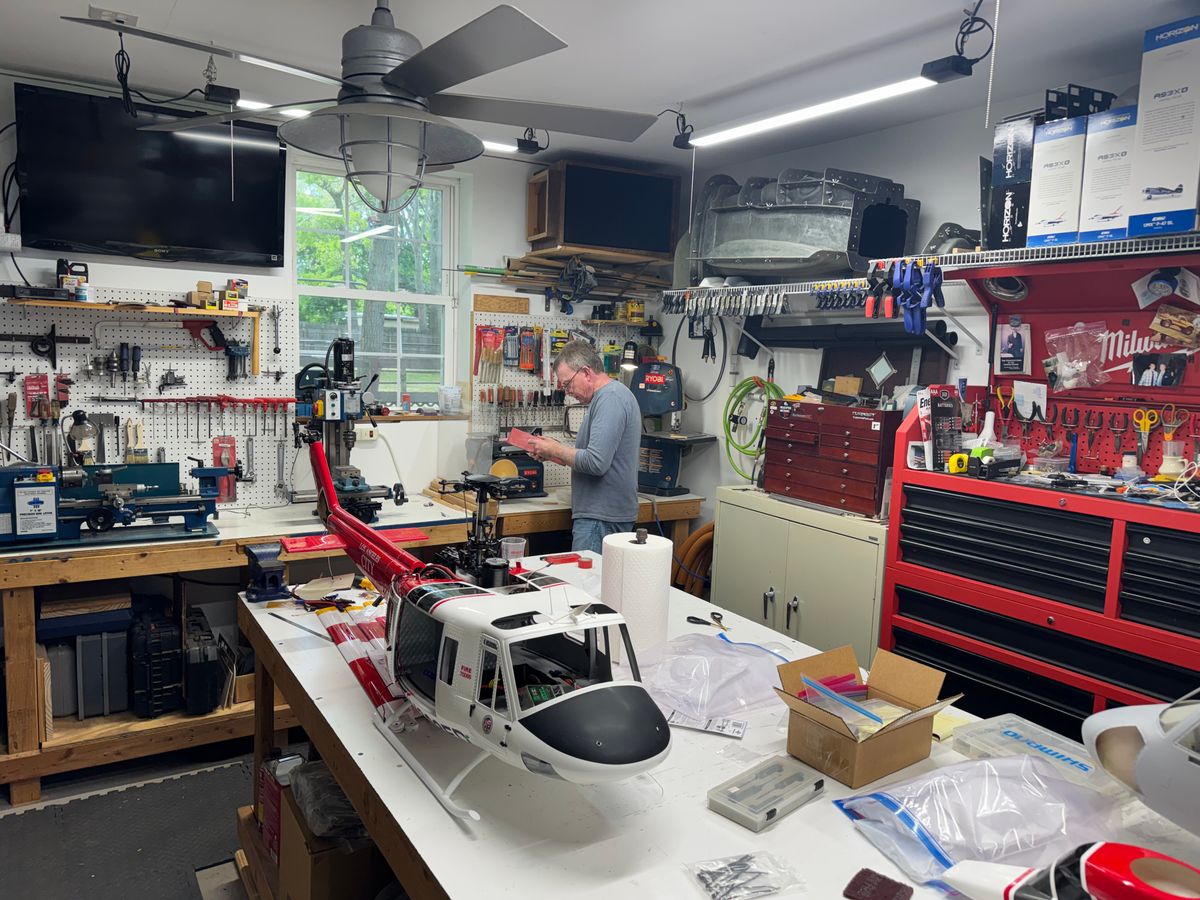
Had a visitor to the shop over the weekend. Sean was in the area for a day or two so had some help with stuff and did some paint and assembly work on the landing gear for 003. While laying down some primer on the gear parts mixed up enough primer to lay some down on my fuse 002 to cover some of the detail i have added over the past couple months. Painted and reassembled with wheel brakes and all. They looked great
Being on a roll, once the IP for 003 base was finished up shot some paint on both IP’s. We even got in a bit of flying on Saturday even though winds were 15. It does beat up my S-67 with the stores wings and the big a$$ stab but was some nice flights.
The shop days did give me the time to prep the Roban 412 LA Fire I am finishing up for a customer to maiden this coming weekend. If the weather cooperates. Long tern not looking to go but its still early.
Here are a few pics from the weekend.
Thanks for stopping by,
UIH,
B
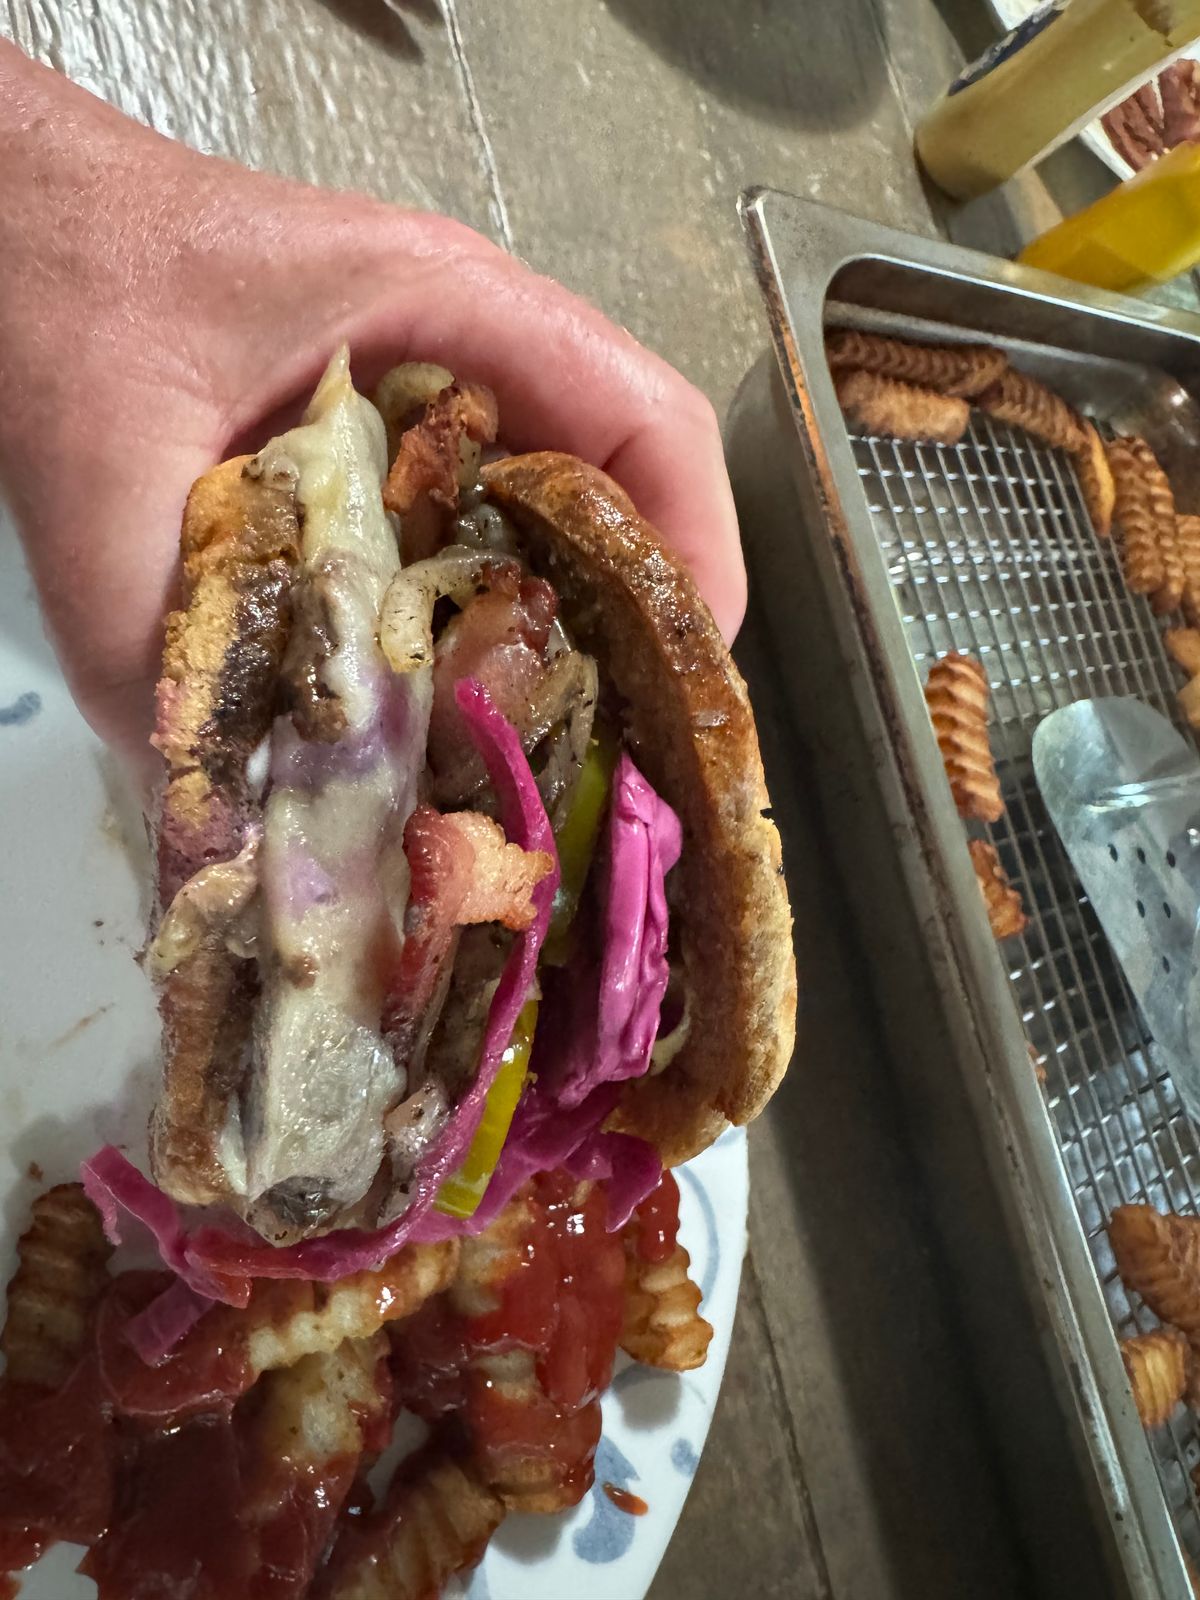
There is always food involved as well.
168 Comments
Congratulations on the Maiden, amazing accomplishment!
That's fantastic! 👏
Awesome. Congratulations.
👏🏻👏🏻👏🏻👏🏻👏🏻👏🏻 nice job
Awesome. It is soo cool to see this in the air...
And that my friends is how it is DONE!!!!
Congratulations!
Cool 😎 great job
Nice job Sean, good video butch👍🏼👍🏼👍🏼
So nice!
Congratulations Butch!!
Amazing, Butch. That was a great video and achievement of this awesome project 👏 👍👍👍👍👍
Awesome Butch!
They look great! "Nice job boys!"
The spool up sound really nice , nice job
Great videoing Ro!
So C😎😎L.. 👍👍
Wow great job Butch!!
Just in case you all don't know this.... Not only is this 2 scratch builds done at the same time, but to have a double maiden.....
Butch you are a true definition of "THE GOAT"
Great job! I enjoyed meeting you both at the event. I was very impressed with the quality and attention to detail that you have put into these machines.
Niceeeeeeeee👍🏼
Very impressive!!!!
Nice work man! Looking forward to my next test flights!
Excellent Butch
Igor would be proud! 🤣 👍
Very nice!
The fuse looks calm and neutral which is great news.
Can see little tendency to find its horizon slighty tilted on the left. Don't think its related to wind as doing this in different situations during whole flight. Have you noticed the same? I would eventually revisit main shaft angle for actual configuration (CW rotation, AC side and rotation).
I'm raising this because I'm looking after an Ecureuil AS350 1:4 and he ´s neutral position is slightly tilted on the right for many videos I've seen. Not realistic for me when hovering or to land on a trailer.
Appreciate clarification from anyone to understand this behavior and what is the setup to mitigate. I should know already but didn't encounter this with my helis, like the Bell 212 turbine (gas exhaust is an additional factor for pushing around axis, we can deal with thru adjustments, eg CG balance, to look same as real one).
https://youtu.be/5LsPX-TpLYk?si=FDQROxLfdIAurbLC
Gents,
Thanks for the very kind words about this build. It has been fun and will be working towards a finished project.
Remy, A great question.
Most Sikorsky helicopters have about a 5 degree longitudinal tilt and little to no tilt laterally built in to the MGB. I have built all my Sikorsky models with a 2 degree forward tile which looks pretty scale like for the size models. Most Sikorsky are counter clockwise rotation so hover left wheel low
When a helicopter hovers with its left side low, it is often due to a phenomenon known as "translational lift" and the effects of rotor dynamics. Helicopters have a main rotor that spins in one direction, creating torque that wants to rotate the helicopter in the opposite direction. To counteract this torque, pilots typically apply right cyclic input, which can cause the helicopter to tilt slightly to the left. Other factors would be control input as stated, weight distribution, wind conditions and ground effect can contribute to this as well.
Since the AS350 is a clockwise rotation, naturally it would hover right skid low as you mentioned.
Hope that helps.
Thanks for dropping by,
Butch
Amasing work man ! Respect for the impressive work.
Thanks Butch for your time, much appreciated. Another factor is maybe on which side is the AC. Mine is CCW with Baumann AC metal gearbox on the right side (spinning CCW) = also more weight on the right!
Done this as I wanted to have it same side as the real, contrary to build manual.. This setup does maybe also contribute to my no noticeable lateral tilting.
Thanks again Butch !
Looking good
Hi Butch. For wire management I have gotten some nylon cable clamps from Amazon and just use a small pan-head wood screws to mount them. Cable Clamp 200 Pcs Black Nylon Plastic R-Type Cable Clamps 3/16" 1/4" 3/8" 1/2" 3/4" 1" Clips Fasteners Assortment for Cable Conduit https://a.co/d/cPyXA6I
Hey Joe,
Thanks for the tip on the clamps. I hope to get this cleaned up this weekend. The Velcro straps will go away once things are finalized. As much as I like the look of the black Ty-string I will most likely use the little tiny black ty-wraps.
Once it's all done, then the real test comes, Can I remove everything leaving the harness in tact? Hope so. Ha
Thanks again,
B
Super clean!
The speed of the retracts is very close to the real one, around 4-5secs. Great!
https://youtu.be/xeWt8o8YOhg?si=TzMNDzgXXf-_nZtR
I use a lot these, they are very handy to install also afterwards as we can open them. Material is not just basic plastic and is heat resistant. I use a lighter to stabilize the tips when I cut them. Excellent product.
https://www.hebu-shop.ch/?s=gewebe&post_type=product&dgwt_w...
Remy,
Thanks for the tip. I do have something very similar I have thought about using. I did work on this last evening shortening connections but still have a way to go.
Thanks again,
B
Hummmm.
Hand tie or zip tie???
I thing that just looks cool.
UIH.
B
Cable lacing is well used in aerospace. Find very interesting article:
https://www.kitplanes.com/wire-bundle-lacing/
String-Ty 👍
Oh the waxed string brings back memories from the wrenching days lol
Angels among us ! Both do beautiful work
Yea. I am thinking the String Ty once everything is finalized. Just looks friggen cool.
UIH,
B
Well done
Fantastic !!!!!
Thanks Gents,
I downloaded the ESC data. Looks pretty darn good. Now its time to start pushing this thing.
B
I see inlets! They look great! Did you print them? Also the String-Ty is the bomb!
Thanks Joe,
Evan printed them. They are just taped on and need some slight adjustments but look great. I am glad I went with the String Ty. It is a nice cleaner look. I still have to do the wiring on the mechanics but there plenty of time for that.
Thanks again,
Butch
Yes indeed!
Great flights Butch!
Fantastic Butch!!! Congratulations!!
Nice flying!
Looking good! Just wondering what your head gain is at for this flight on the 3x? I want to compare to what I settled on with the 550 size heli with 4 blade head going into the MQ-8?
Hey Joe,
I am using the Axon however it is very similar to the 3X. Currently my head gain is set to 80. Keep in mind "80" is just a number. There are many factors that will or can affect this number. My 92 Nr is 800, it weights 35 lbs and flying flat bottom metal blades. Your MQ-8 will and can be much different. Today in fast forward flight, it began to show its true colors. Not bad but need some work.
Don't be afraid for main or tail rotor gain. It will tell you if its too high. Back down 3- 5 points and in most cases you will be golden.
B
What a master piece !!!!! Awesome job Butch...
Great flying Butch!
FULL SPEED AHEAD CAPTIAN!!!!
👍🏼👍🏼👍🏼👍🏼
Very nice work!
Sounds and look incredible!
Nice work Butch!
Thanks Gents,
B
Great work Butch!!!
Looks great Butch!
Only a perfectionist would notice 5mm Butch!! Good for you!! Looking great
Very nice work
Remember that red wiring can be very visible! (your gears will be out sometime)
Remy,
Thanks for the reminder.
We are a long way from being finished here. In the end, any visible wiring will be covered with TechNet or some sort covering to disguise as much as possible. Detail Master has a lot of goodies for this kind of stuff.
B
I know one guy that can make that happen, YOU !....
You are way too kind.
I am a ways away from the detail stuff however it is never too soon to begin thinking about the process. Living in Zoo York I spend a lot of time on the on the highway. Traffic here can be daunting so gives me time to think oppose to running some ass clown over .
Will be very interested in the progress.
The furnace in your shop reminded me I am due to have mine cleaned... Awesome work as always! 👍
Great work Butch!
Impressive build ! Nice work.
One tip for such piece is NOT to be air tight: internal pressure must ideally equalize with ambiant. All depends how mounted, rigidity, volume and internal struts if any.
Mines started to inflate after returning from a meeting located at different altitude. Drill a tiny hole afterwards, if needed (e.g., if stab directly glued to tail and air can't circulate btw).
Remy,
I recall you mentioned this on a post awhile back. For V1, there is a access panel on the bottom side of the stab. That will not be there on subsequent stabs. The support pins are mounted to the fuse side. The pins slide into brass tubes on the stab side. When the stab is removed it will be open to ambient.
Butch
Nice piece of milling.
Thanks Thomas,
Old school. No DRO or CNC. Just a frugal bench top mill. Set up watch the dials and go.
B
Beautiful !!!
Very nice, rock solid !
I hate to be the one to point out that you only have one stab on that heli. Geez, Butch... ; )
Yea, It was too much work to put one on the other side plus I was losing interest.
Ha,
B
Looking good. 👍
Hey Joe,
I wonder how many rivets are on the S-92? Any chance you could get a quick count for me?
That pretty funny.
B
Nice mill work wild man!
I'm not sure, but with all the mods, there is a lot of new ones. It was definitely a good program for structure work. I have heard that HMX-1 has all 23 now.
Looking great Butch!
Cool. Your a master!
That's such nice work. A lot to be said about patience.
Before you cut the window on the personnel door, keep in mind there isn't one on the VH 😜
Thanks Joe,
When the plug was printed I should have addresses the big window. I chose not to fill the plug before molding and made a plug to fill the recess.
Maybe you can answer this question.
Are the deleted windows on the VH simply covers over the window cutout or does the aircraft skin cover the cutouts?
Thanks,
B
Great work wild man!
Hey Butch,
The deleted windows are composite plugs from the inside that used the original rivet pattern for the window. The plugs have a relief that fills the window opening with a flange to rivet in place from the inside, if that makes sense. The second cabin window aft on the port side is a "special" window that is known as the Presidents Window
Thanks Joe,
I did a little searching and found a photo of #315/16982 during flight test at Coatesville in 2018. All the windows are installed so this helped.
Look at all those rivets and doublers.
They are going to be fun I am sure.
B
Amazing!
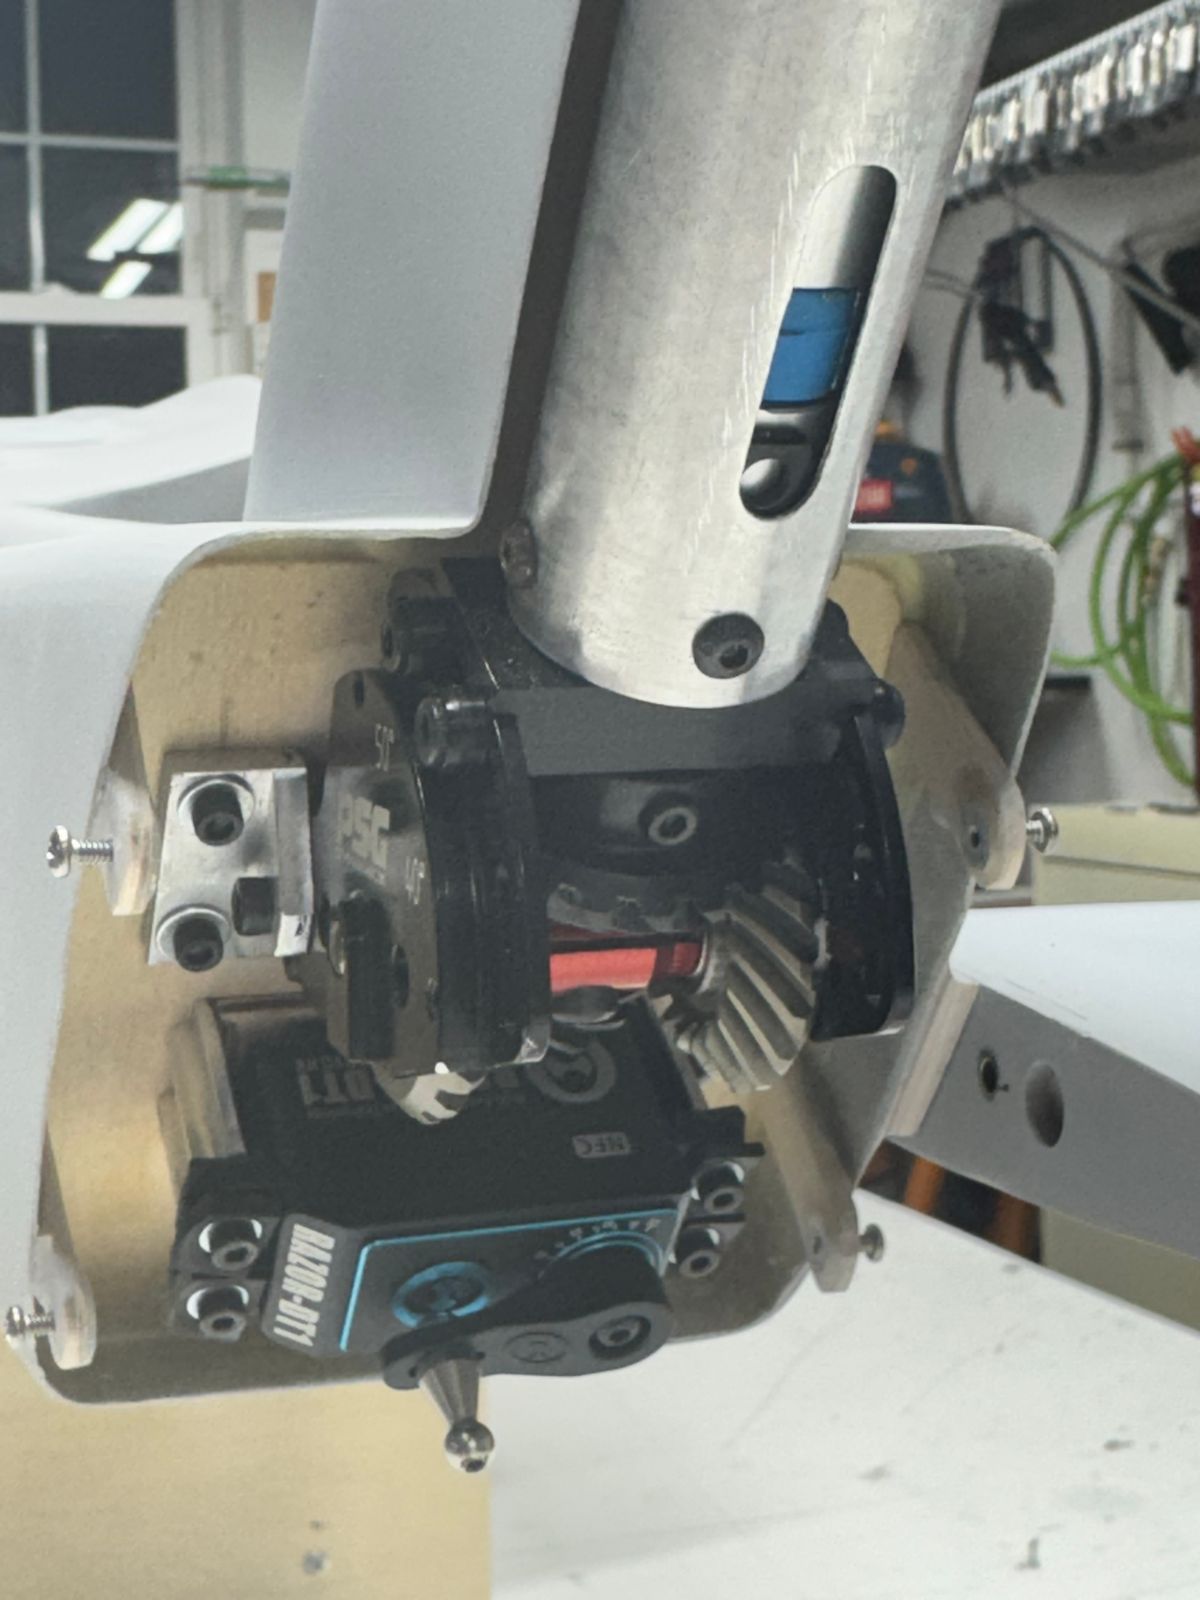
PSG adjustable angular gearbox is perfect, the best there is ! Very nice clean work, respect !
amazing... as usual
So cool 😎 Project
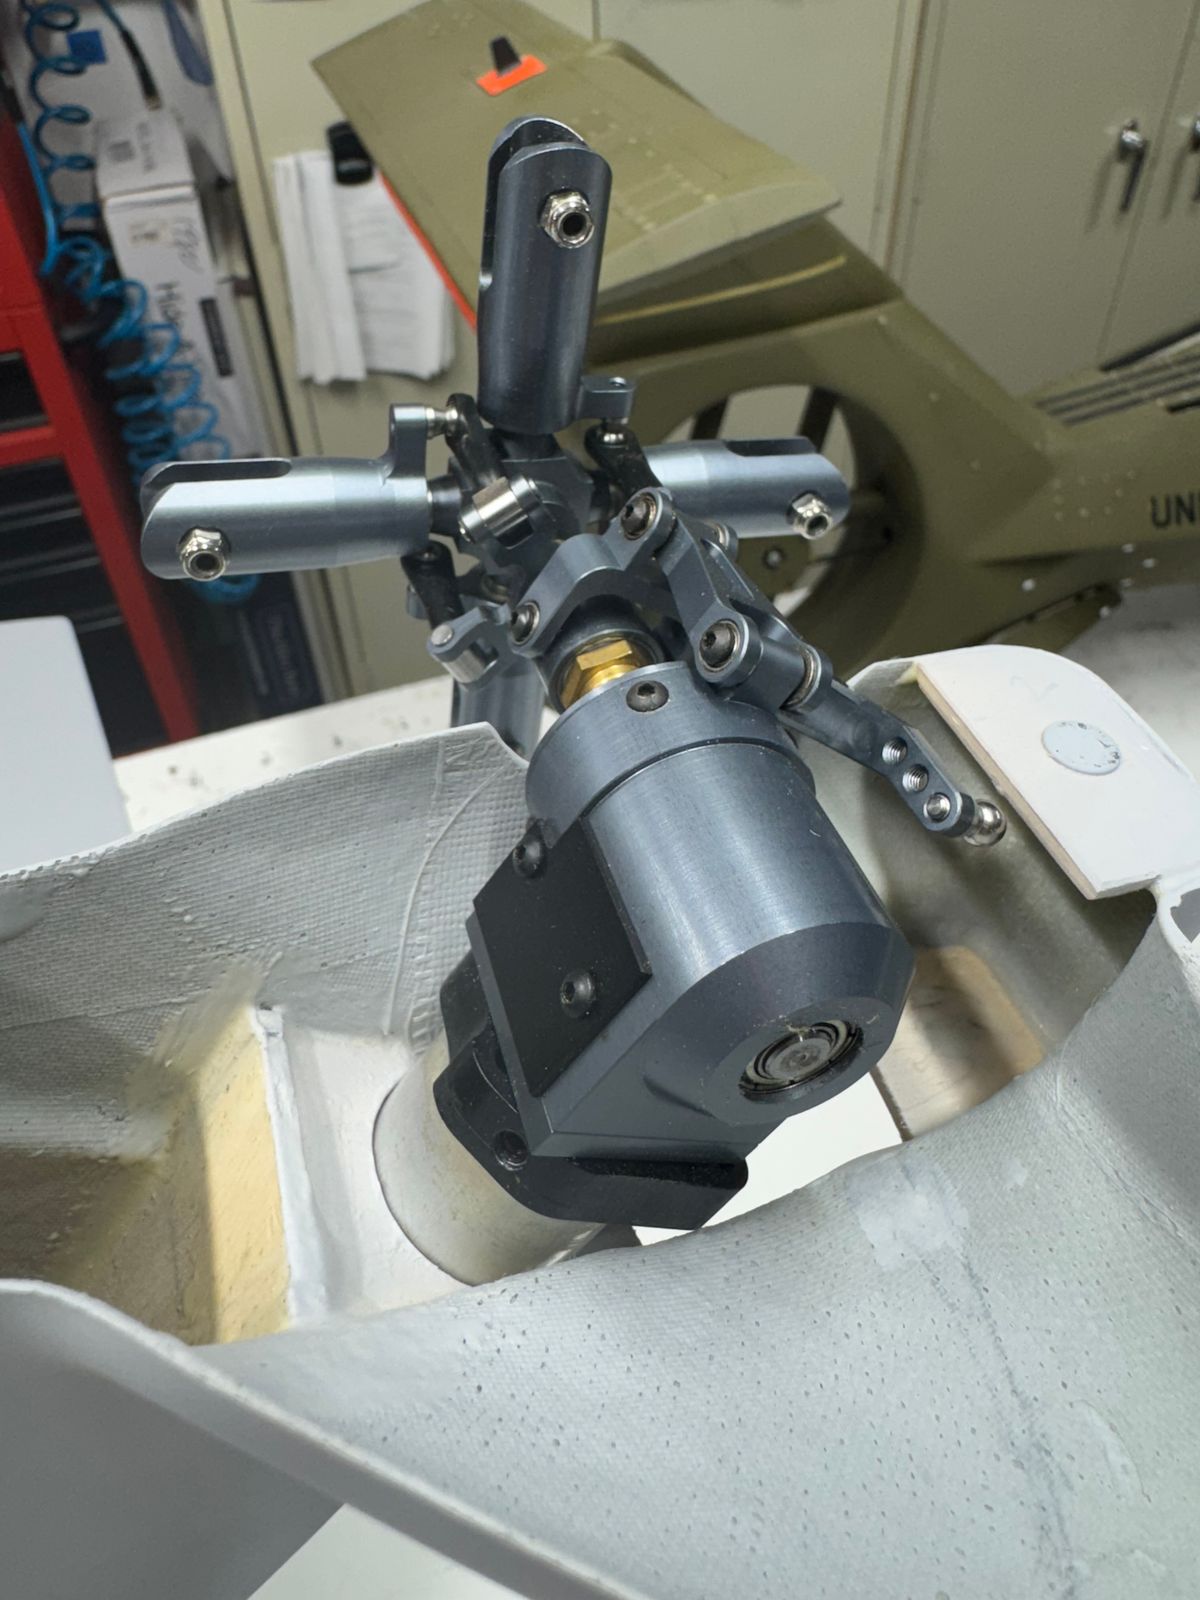
E have a question about the tail rotor, 🤔 the original is not 90° to the tail 🤔 have the same in auer project?
I don't can see i the pictures
Impressive machine, looks very good in flight. Nice work Butch!
Thanks Danny,
Its been a long journey but well worth it.
B
WoW
Well done!
Great test work Butch!
Great shop work too!
Magnificent Butch!! I am in awe😊
I want one, looking great Butch
I will be happy to put a fuse together for you.
B
Impresses Butch…Outstanding!
Very nice! Love that smooth slow start, and looks great in the air!
Wow great 👌
Really nice
That's looking good! Can't wait to see it painted!
Starting #4! Where do you find the time? I've had to put modeling aside for now. Just too much going on.
Butch, could you elaborate as to what your Axon changes were?
Hey Thomas,
My 92 has always felt good however there were a few things I just never took the time to really address. The end of last year and up until maybe 3 or 4 weeks ago, it was always windy when I had the chance to fly. Making adjustments in 12-15+ winds with gust just didn't make much sense to me. Once we got some calm weather I noted how the thing was flying and began making some adjustments. Where I noticed the biggest changes were in Direct Control, Decay rate and Elevator filter. I was running each of these towards the higher side. I lowered each listed above maybe 2-3 points, went for a flight. To me and my flying style, it felt much better. Working with Agility and ALT Hold settings along with expo in the TX its coming together nicely. Its hard for me to notice changes with a single point adjustment. I made 2-4 point changes on the smaller scale, and larger adjustments maybe 4-6 points to the larger scale adjustments. Did it that make it better or worse? Then worked from there.
I will add, my S-67 has wings and a big stabilize and a big vertical fin. The settings are quit different for that machine.
I referenced the great articles By Mr. Fehlmann, Mr. McFadyen, and Mr. Kranitz to keep my head on straight.
I hope this helps.
Butch
Absolutely helps. Thanks you for taking the time to explain. I have read those articles and they were most helpful. It’s good to hear of others experiences
Very nice and compact mechanics, massive gears !
That’s some good heavy maintenance and upgrades there Butch!
Very nice...
Thanks Massimo. There is a very long way to go here however moving in the right direction.
B
The IP is going to be very cool!
Looks great Butch!
Thanks guys. If it finishes up as I hope, it should look pretty cool.
UIH,
B
UIH!!!
The pieces are coming together. We have all the glazing molds ready for a test pull. There is a local shop dealing in scale war bird plans and supply's that has vacuum form abilities. We will see where things go after the first pull.
B.
Love to see the progress
Evan,
Should have windows tomorrow.
Will post pics.
Thanks,
B
Very very nice Butch.
Looking great Butch!
Real nice Butch!
Looking great Butch!
Thanks,
More progress over the weekend.
Not sure why the video is not in the added photos.
B
Amazing work Butch ! A very animated cockpit.
Fantastic !!!!
Amazing Butch…As usual 😊
That's awesome 👍
Nice Butch... Are you programming the Arduino's ?
Butch, FWIW, I used a metal template to space screws in the Lama’s glazing. Perhaps you already have this or another method. Tedious work and I don’t envy your task ahead. Your build story is enjoyable to see. https://helistorm.com/discussions/f543cf13-f91c-480c-95a7-a62e1d4f1.... Chapter 14
Thomas,
Thanks for your input. I have something similar from a thin piece of metal that works great on the relatively straight areas. In the past I have used or made a tool for the straight areas but "free handed" the more complex curved sections. They have always come out great so far. This machine has a lot of screws attaching the windows. I will have to sleep with this under my pillow for a day or two so it will soak in.
Thanks for the suggestion.
B
I wonder if a flexible 3D filament (like TPU/Bambu filament ) printed in a strip/long template with spaced holes would work. Screws inserted into drilled holes as they are drilled thru the template spaced guide holes, glazing and body, then the template flexed and bent as you go. Maybe two screws thru the template and body then bend and drill the next one. I’ve used the TPU with success and it is tough stuff. Just a thought.
Looking great Butch!!!!
The arrangement of the displays looks fantastic. I'm excited to see the final result.
“…. so when it gets busted off it easy to replace….” Ha!
Looking good.
Amazing Butch!
Very clean build, woodwork very solid. Very good accessibility.
Amazing work Butch !
Thanks Folks,
One photo shows the most forward bulkhead which was only glued on the aft side. The outboard sides of the stringers in the nose section were not glued either. There was no access until I cut out the cockpit windows. This has been addressed which makes me happy. I have yet to decide on the fuse interior color. I always hope things will come to me when I am wondering around behind the little animals however, that has yet to happen. My 67 has a zinc chromate interior finish that works well with the matt black finish. The VH in HMX-1 livery, not sure that will be the best choice.. Maybe a trip to HD to the color chart wall is in order.
Thanks for dropping by,
B
315- that was acft 23 if I remember correctly. The end (supposedly) of VH support at Sikorsky.
Looking good as always.
Clean work, Butch!!
Thanks Mang,
I believe I like the 10 mm spacing better.
Hummm
B
Looks great Butch , as always!
love the supervisor....
That's Clifford. He just turned a year and is pushing 120lbs. He keeps an eye on things.
Ha
It all looks so nice. I cannot guess at the man-hours for those panels alone!
I wont guess either. I believe I work for about $.01 per hour but maybe a little less. UIH,
The small details require a lot of attention, but ultimately they greatly enhance the realism. Keep it up, it will pay off in the end.
You are correct Uwe. The kind of stuff that "makes" the model takes most of the time. I actually enjoy this part of a build. Seeing the "thought" or "idea" come together in a component then installed on the fuse is rewarding.
UIH,
B
“.. i get the feeling my fingers will never be the same after detailiing…”…HA! No doubt…. It continues to looks amazing.
Ohhh, I gotta say that vacuum bag process is most interesting! I need to review this pics again and again. Are those clay strips used to seal the plastic layers?
Thomas,
Thanks for the reply.
The yellow strip is a double sided tape about .125" thick to seal up the bag. I have purchased it from Fiber Glast and also from Amazon. The lay up was 5 total layers. A 2 oz then a 4 oz then a 6 oz another 4 oz and another 2 oz. Each layer was biased 45 degrees. A layer of peel ply followed by a 4 oz breather/bleeder to soak up any extra resin. I use the Stretchlon bagging film as it is very thin and flexible to get into the tight spots. I pull about .2 kPa or about .5 in Hg while curing.
I went with bagging every part on this model. With the complex shape of several of the parts especially around the fuel sponsons, engine and exhaust cowls it was a little more troublesome to get things set up for the vacuum process but the outcome of the finished part out weights the setup time.
B
Ha…nice pizza (and awesome work too)
😊 A nice white pie with ricotta, mozzarella, pecorino romano, dried soppressata some jalapenos and sauteed escroll all on a caulipower crust, topped off with a splash of "Franks Red Hot, I put that S**T on everything".
And thanks, the heli is coming along nicely.
UIH,
HA
Awesome work indeed 👍
Pilot seating well ?
Remy,
Thanks for the comment.
You are correct. The seat and pilot are from Comanche and too tall for this model. I have roughly the same size pilot for the VH however the seat will be much different. The drivers will not be wearing helmets but Bose Headsets which should give a "smaller" overall appearance. I am sure the pilots will need some sort of leg and arm plasty.
Ha
UIH,
B
WoW!!!!! I can't wait to see all those parts put together.
You and me both. Lol.
I ASSUME that beast will be ready for HeliStorm at IRCHA! 😏
Is that a YES?
VH-92A BuNo 169182 "will be in flight status but not in livery.
Today's news About Heli Storm was great news. Thank's for your work to keep it alive
I had not planned on IRCHA or the NAT's this year however, I am trading in a 5 day work week and 2 day weekend, for a 2 day work week and 5 day weekend the end of June.
This is NOT out of the question. Plus I have other schit to fly.
The competition stuff will be fun for sure.
B
Yes, coming along extremely well.
What did people do before 3D printing! I am reminded as I read that “Butch is a very patient man”. I always enjoy the updates too.
Thanks Thomas.
Glad you enjoy the updates. I hope they are informative and with a little humor.
Thanks again,
B