

Roban 800 UH-1D Huey build thread
 matthew S.
Installing the cockpit and some scale details.
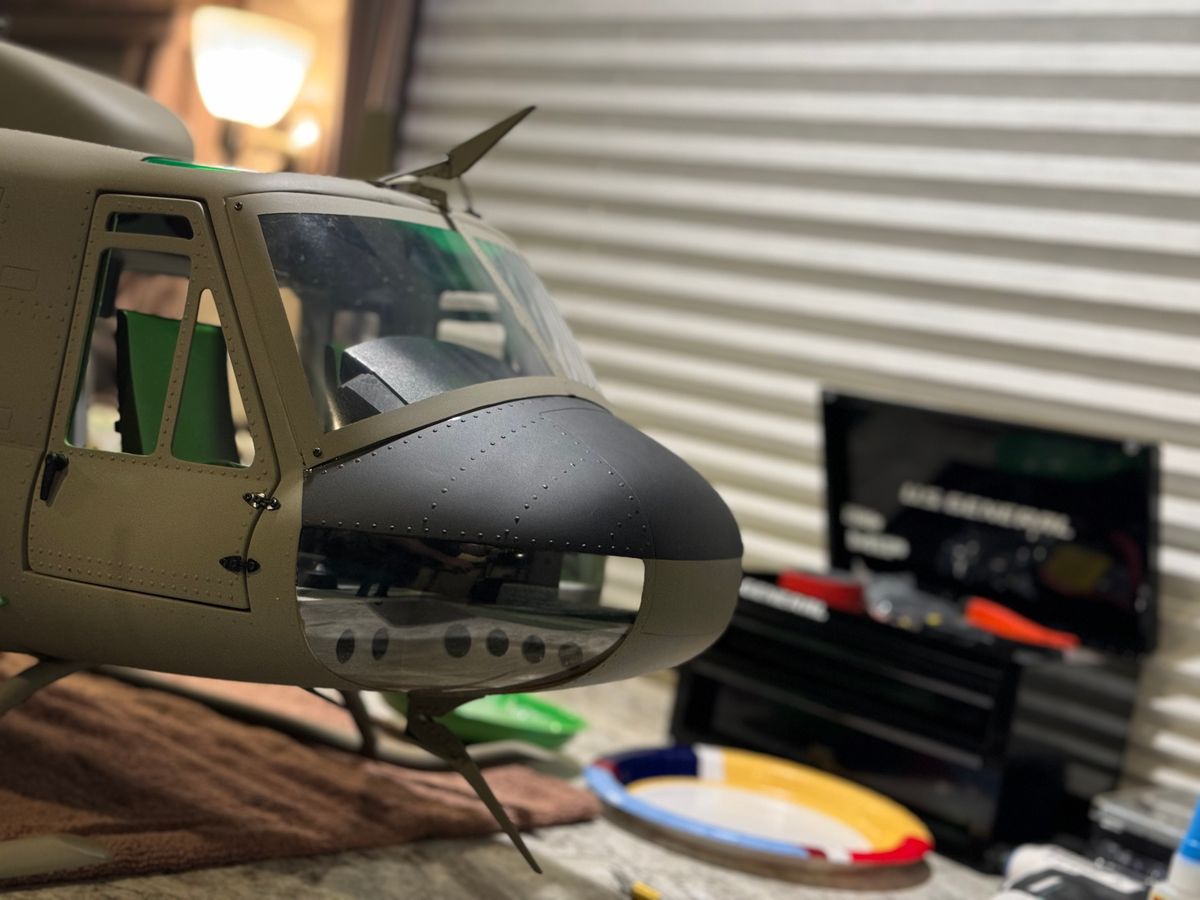
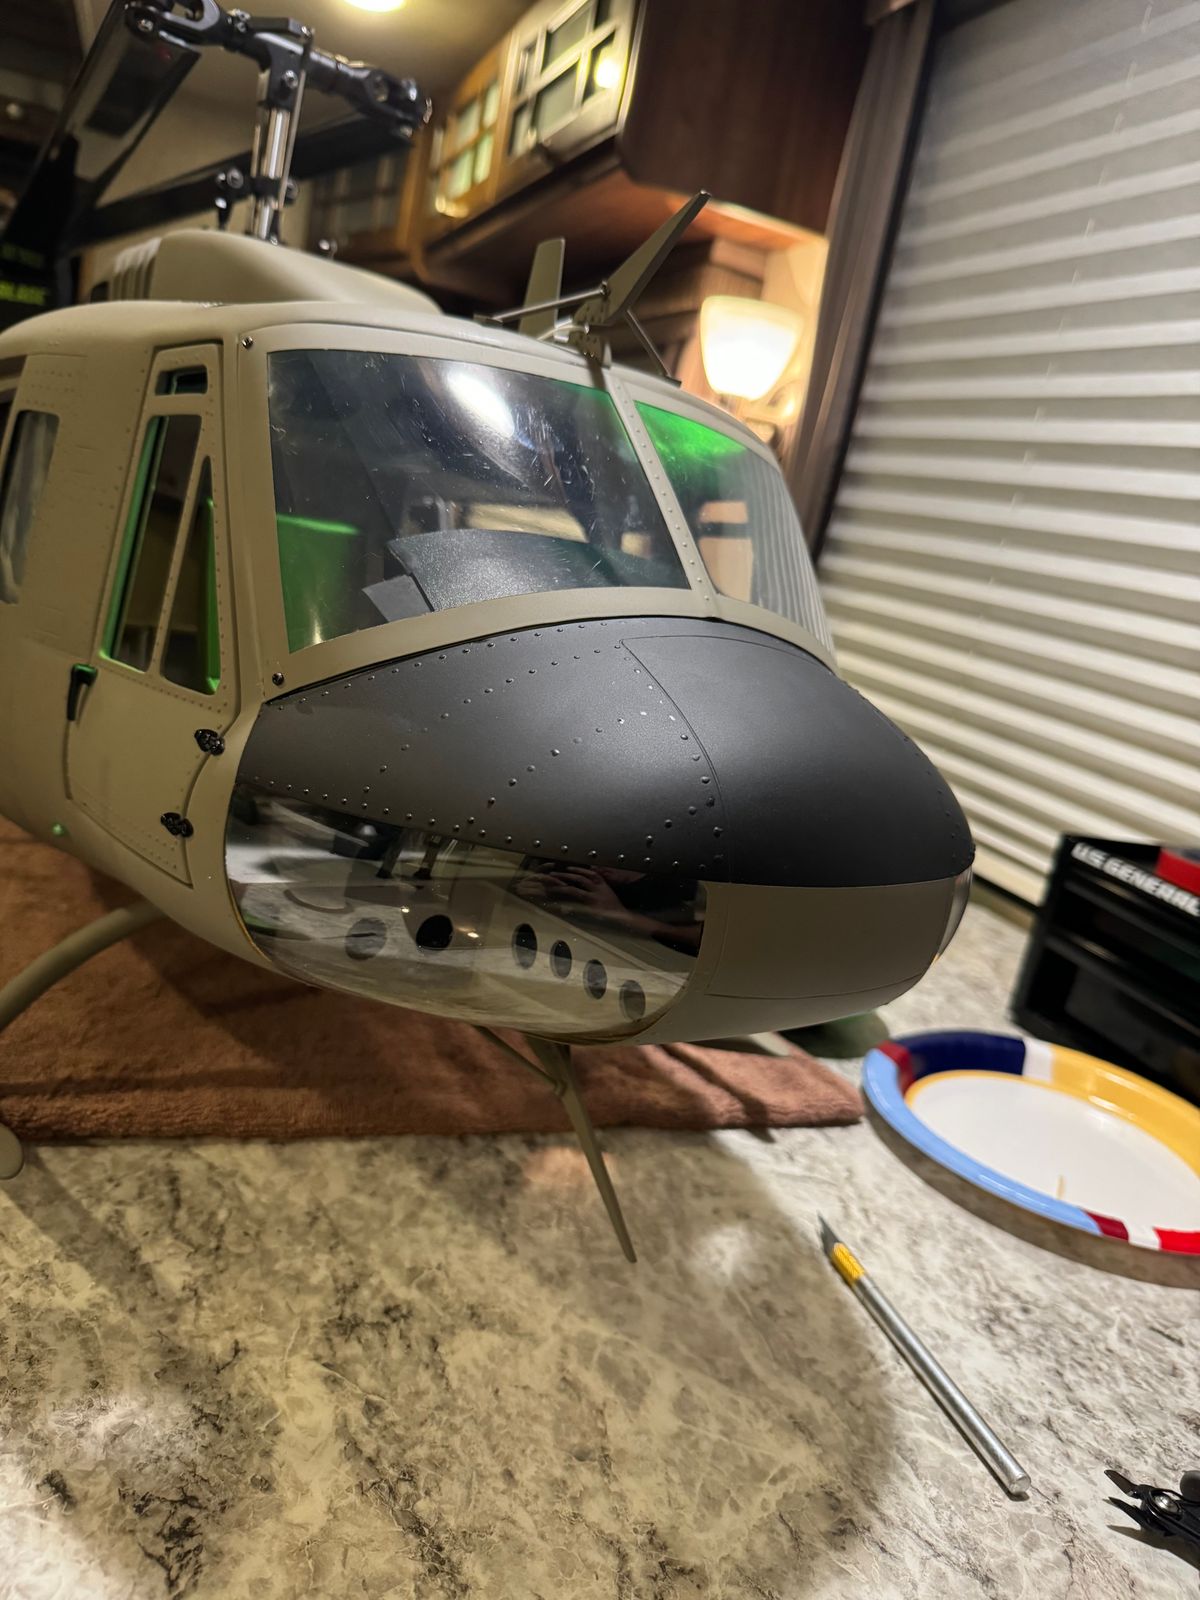
Now it’s time for the fun stuff: adding the scale details!
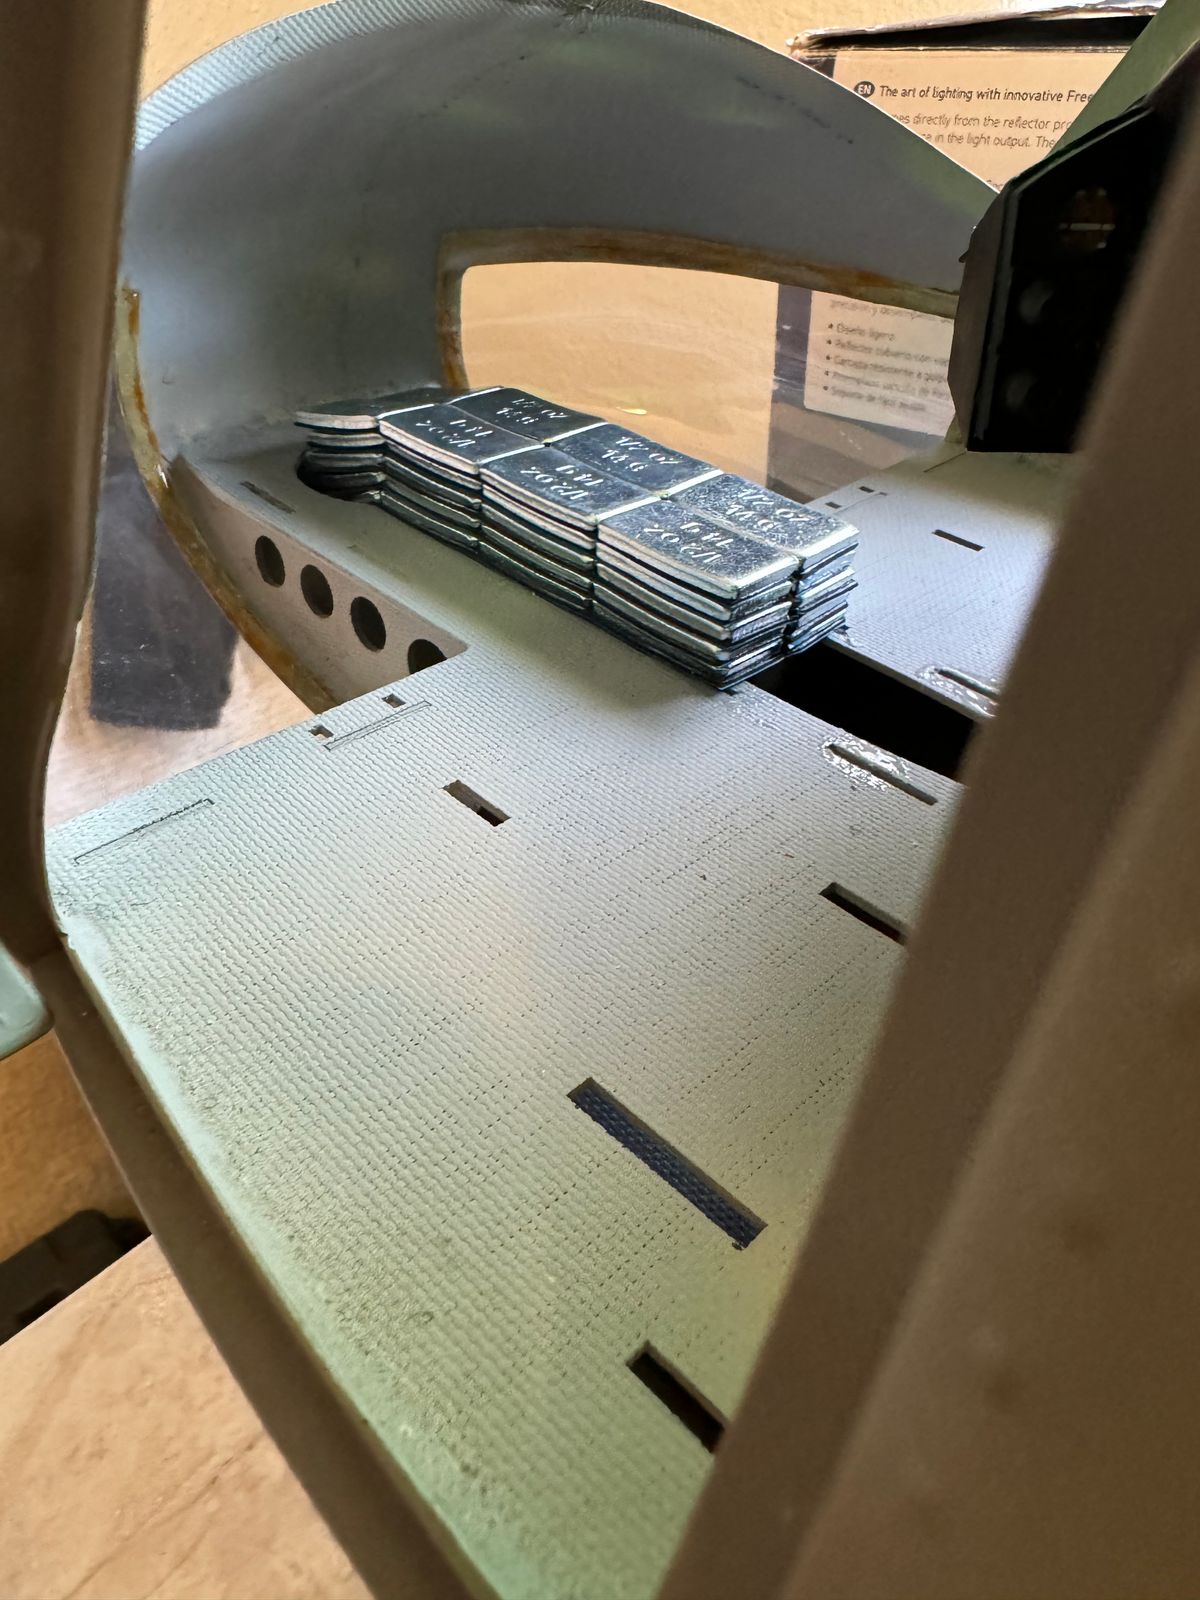
The first thing I had to do before gluing the cockpit in is add nose weight. To get the proper balance I had to add about 17oz of weight to the nose… ouch.
I eventually want to order all the items from Tyler Gray Models for the 800 Huey and add them to my model. For now, though, it will remain complete box stock. Once I get everything dialed in mechanically how I like, I’ll start slowly adding scale details.
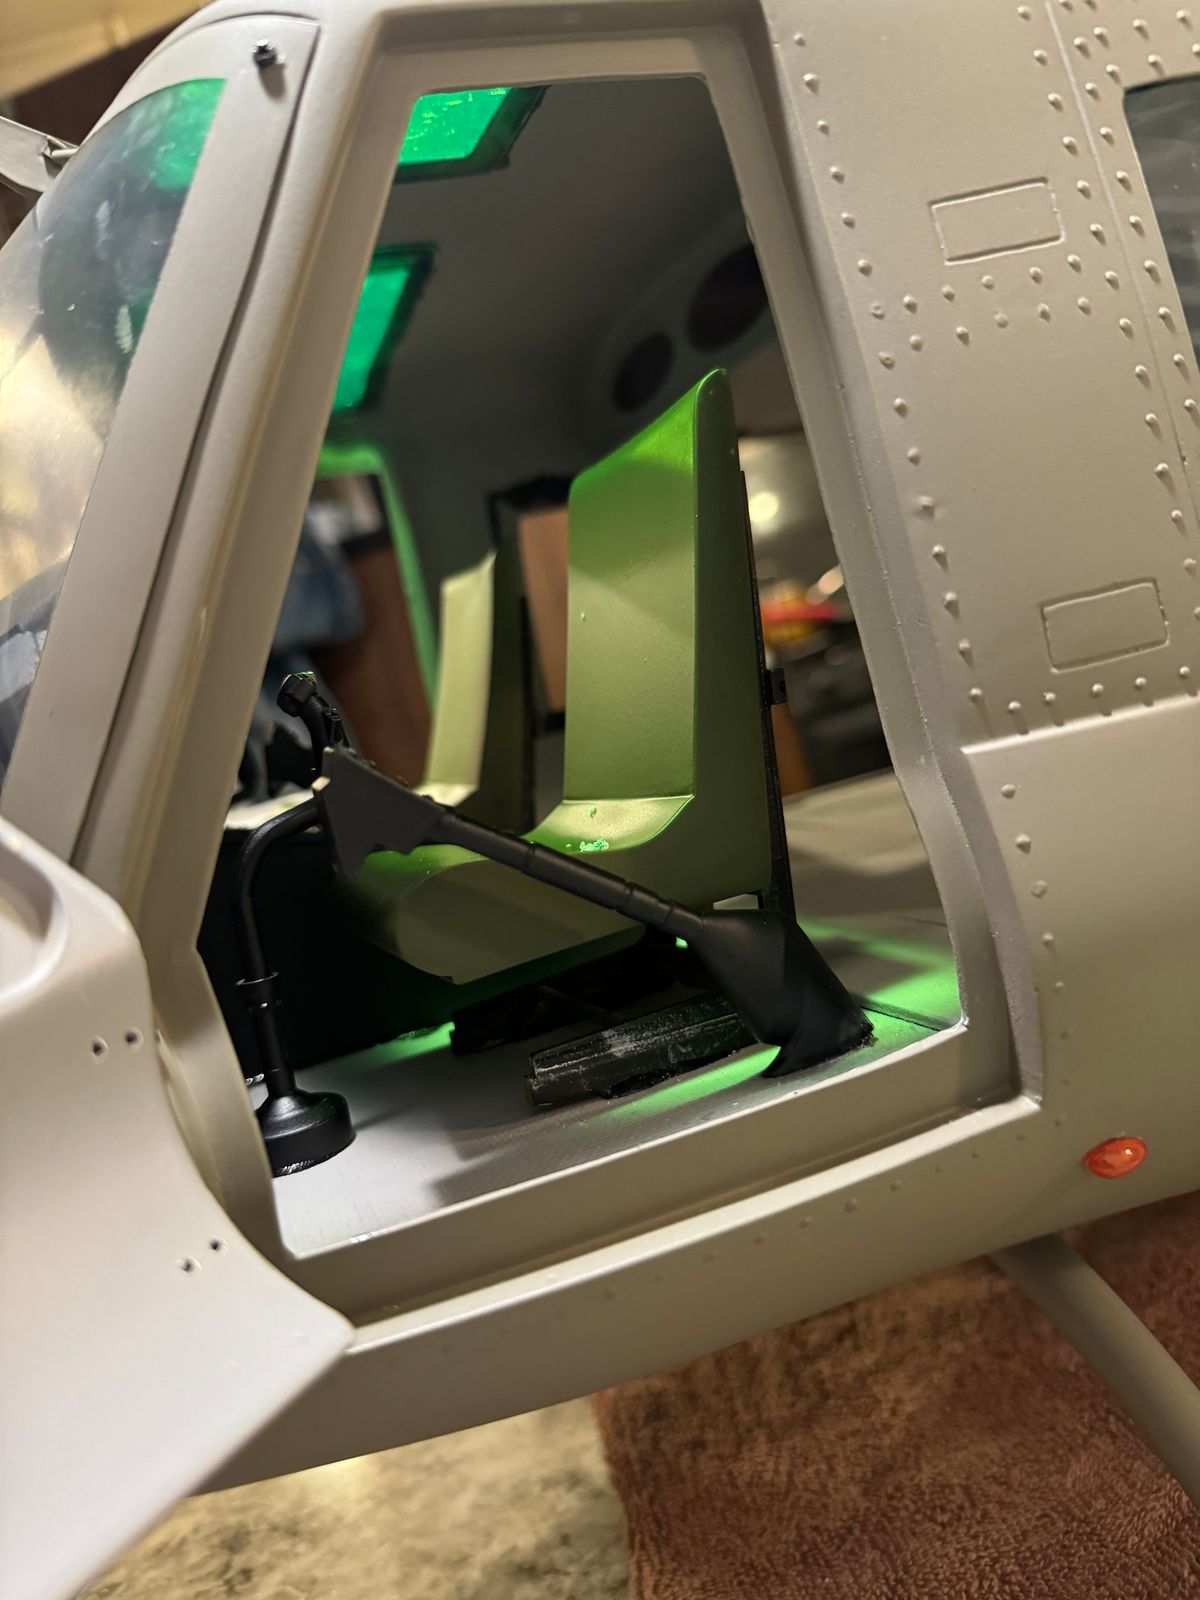
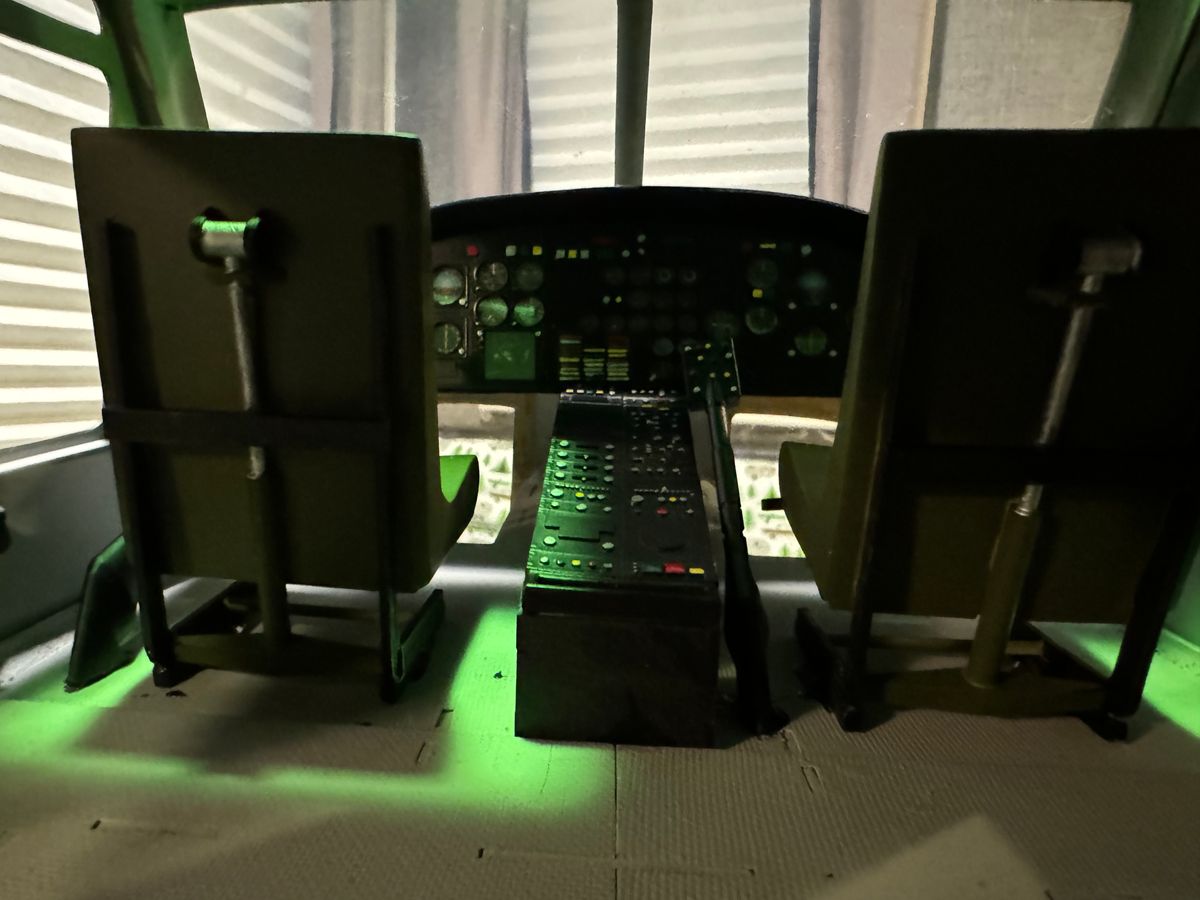
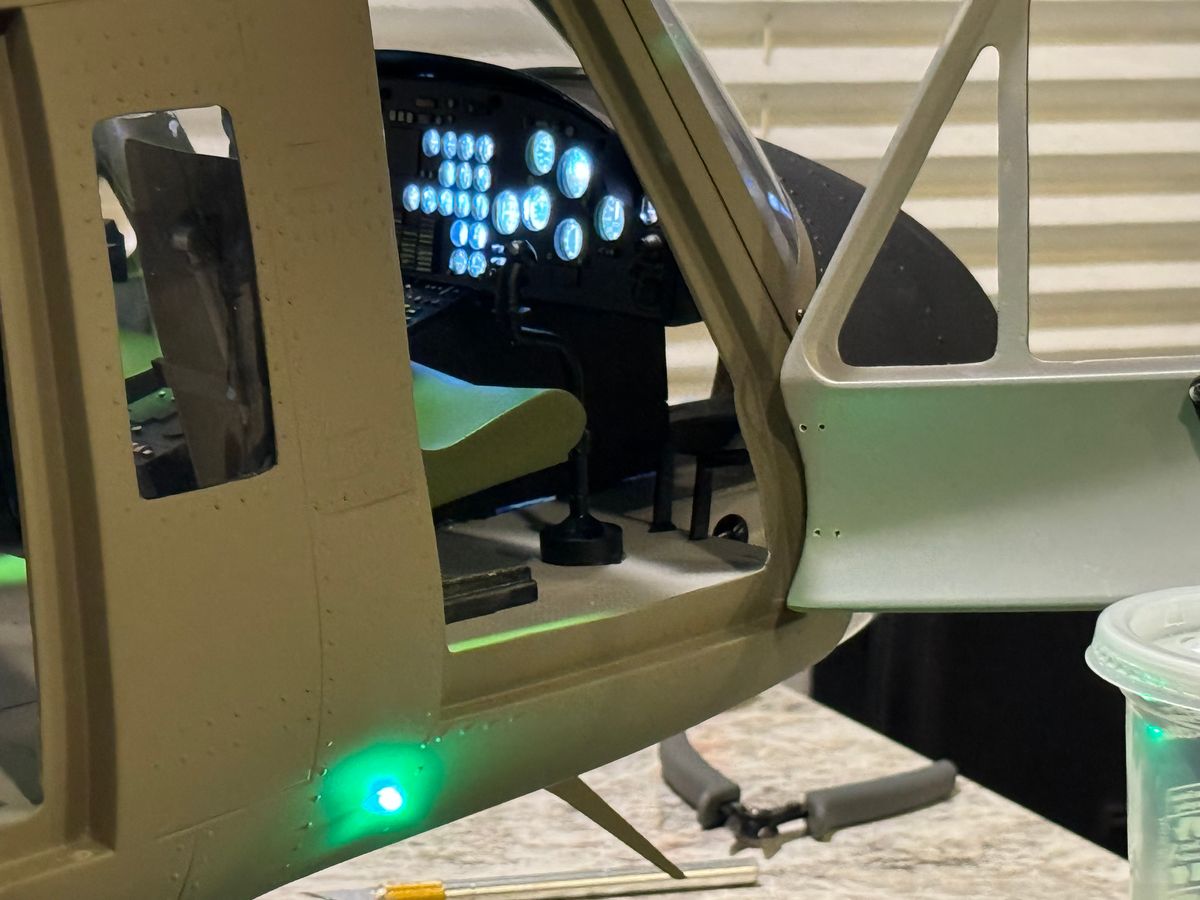
For what it is, the cockpit is pretty nice. Everything is pre-painted and detailed. The only thing not painted are the seats. They are a tan/white color and look like they might be 3D printed or resin-cast. I painted them olive drab with Tamiya TS-28 paint. I painted the seat rails with Tamiya XF-1 flat black and then did a light dry brushing with Tamiya X-11 chrome silver.
The cockpit has blue/white LEDs that light up. They don’t look quite right in low light or indoors, but during the daytime, it’s a nice touch that helps the instruments pop a little.
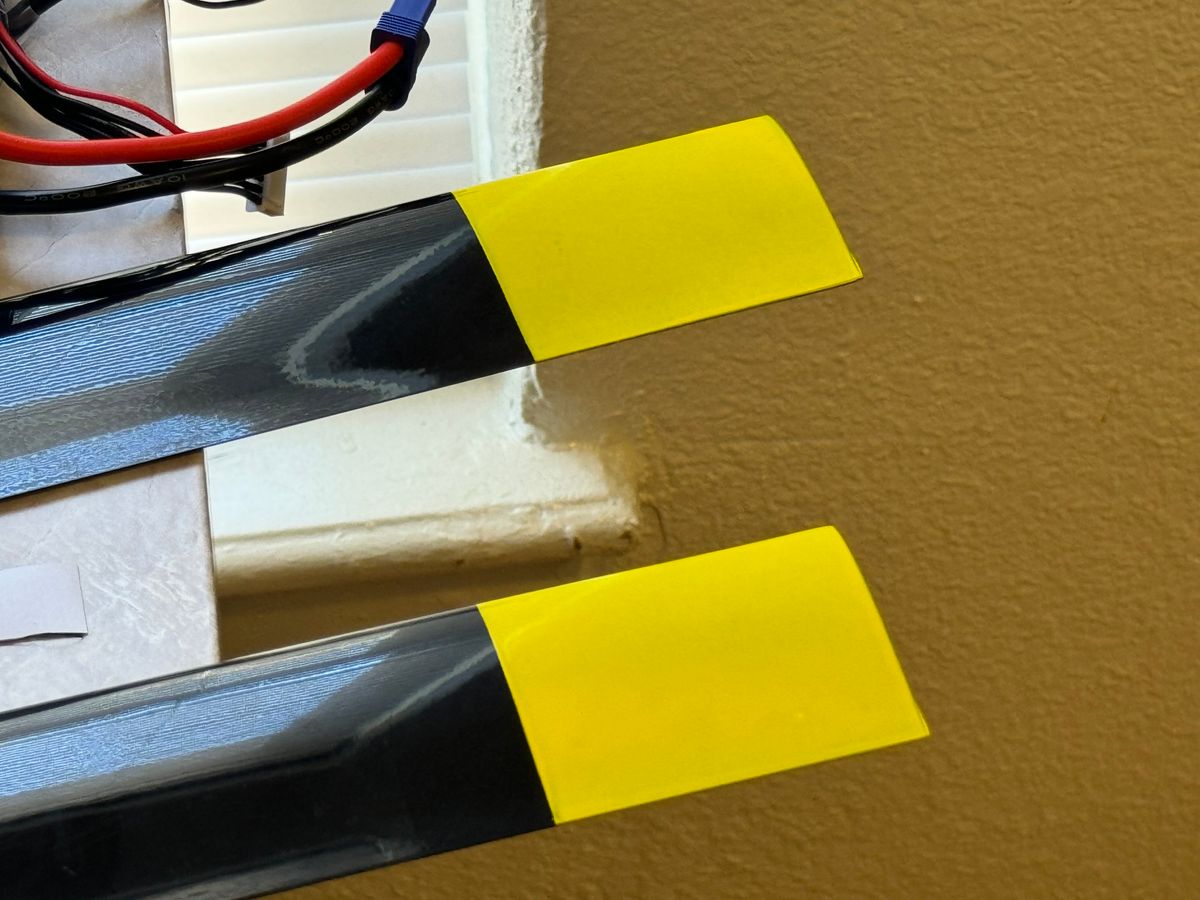
Lastly, I painted the tips of the rotor blades with Tamiya TS-16 yellow, then CG’d and balanced them. I like having the yellow on the blades mainly for safety, and I think it creates a cool effect. I’ve also seen it on a real one and thought it was a nice touch.
6 Comments
Great start! For future chapters, you can create them here first and then just share them on FB anywhere to save time.
Welcome, and thanks for sharing your background. I was in the Army as a UH-1 crew chief and then went the Warrant Officer route and flew Huey’s. I am excited to watch your build progress.
Emile Sheriff is one of the best scale builders I know and he lives there in Enterprise as well.
thank you, and thank you for your service!! I know Emile he is a great person, I plan on collaborating with him to pin the torque tube on the huey.
Yikes!! Life shouldn't be that hard but sometimes these models call for that level of perseverance.
I ran into an issue with the tail gears binding up and could not figure it out so I kept having to take the mechanics out. Wasn’t hard though.
Ended up finding the torque tube was pushing on the 45 degree gears too hard so I needed to extend the tube from the transmission about 1mm that gave it the right clearance.
Tedious but worthwhile work!