

Lama Refurbishment Journey
 Michael K.
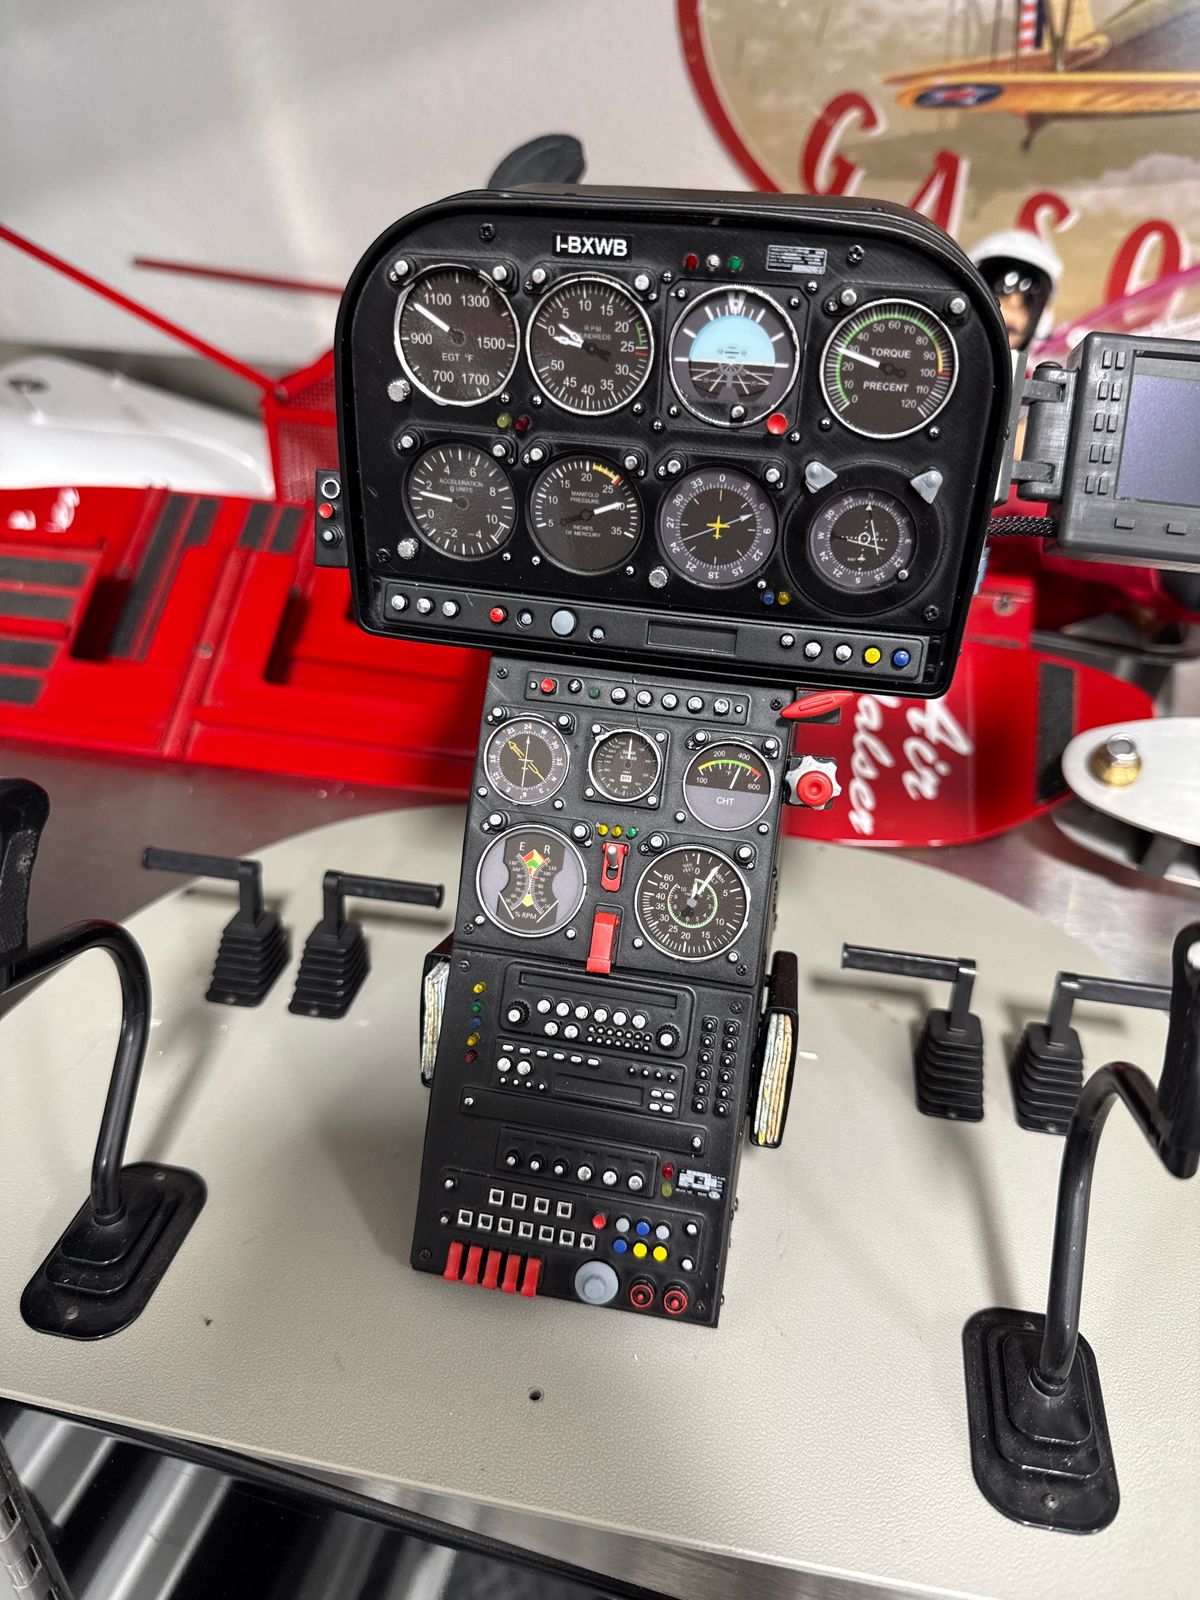
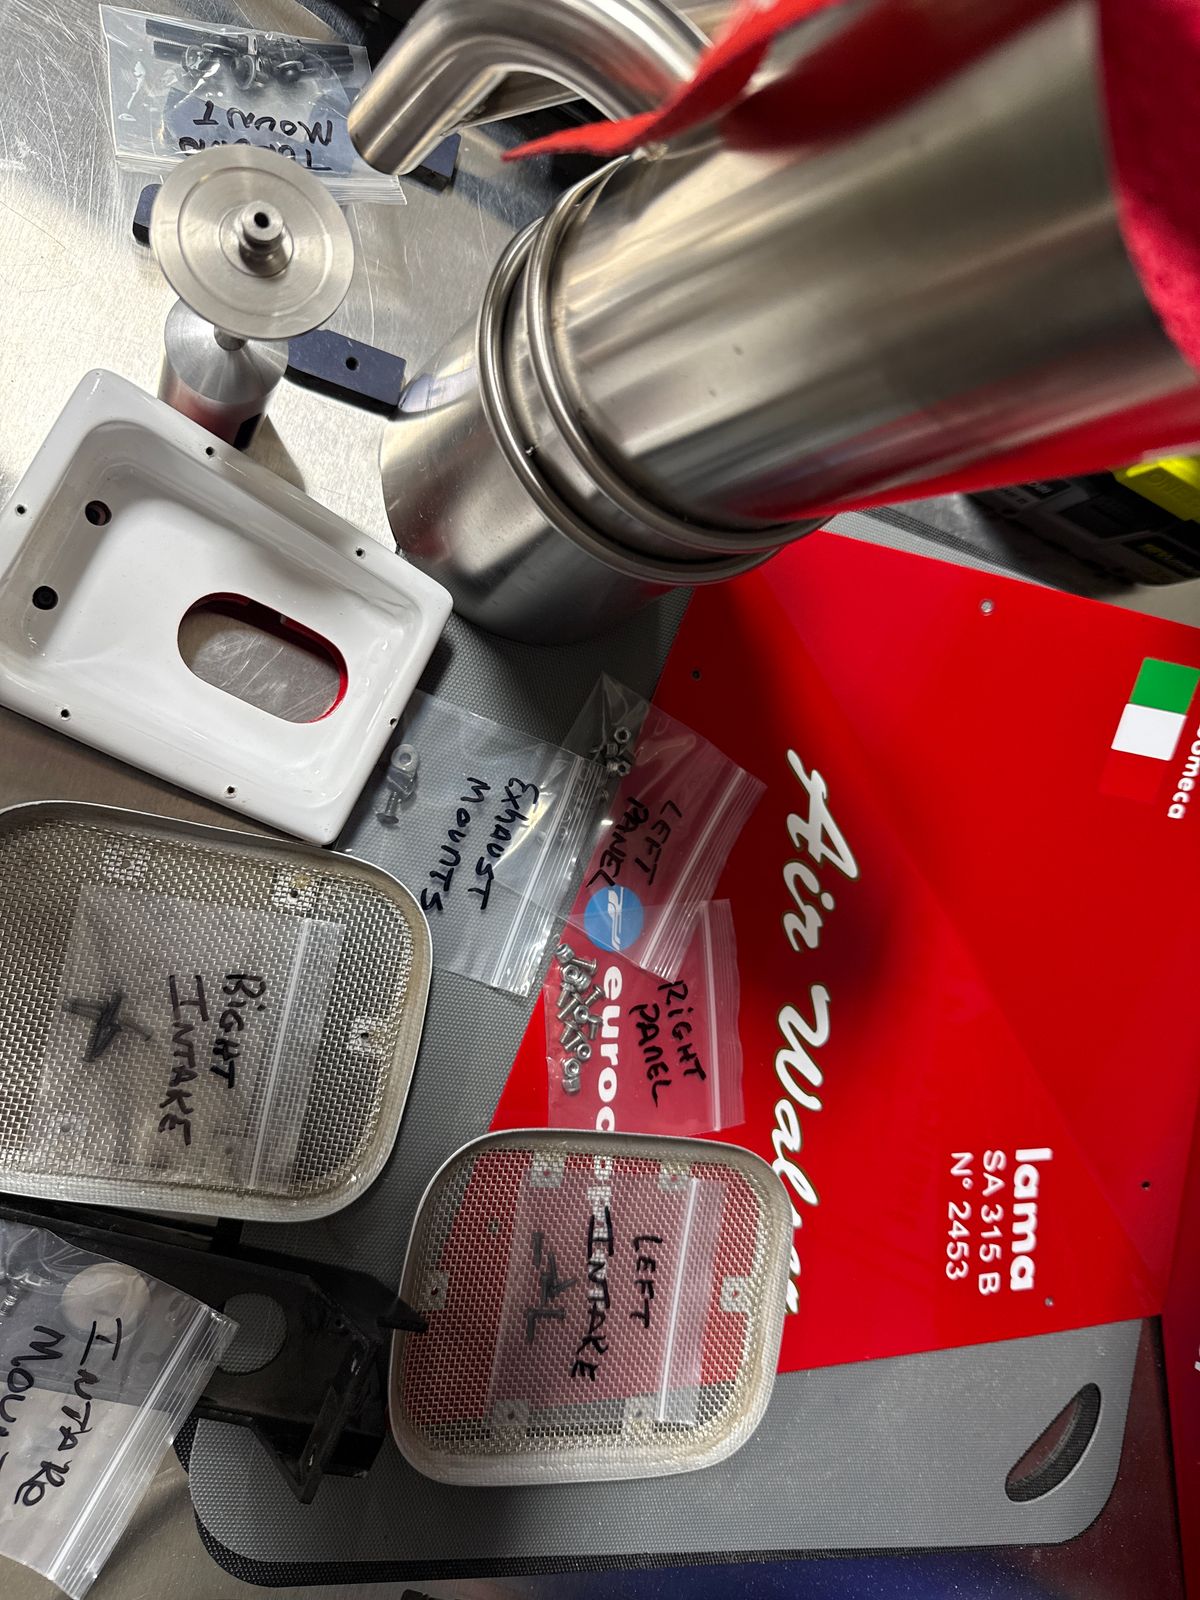
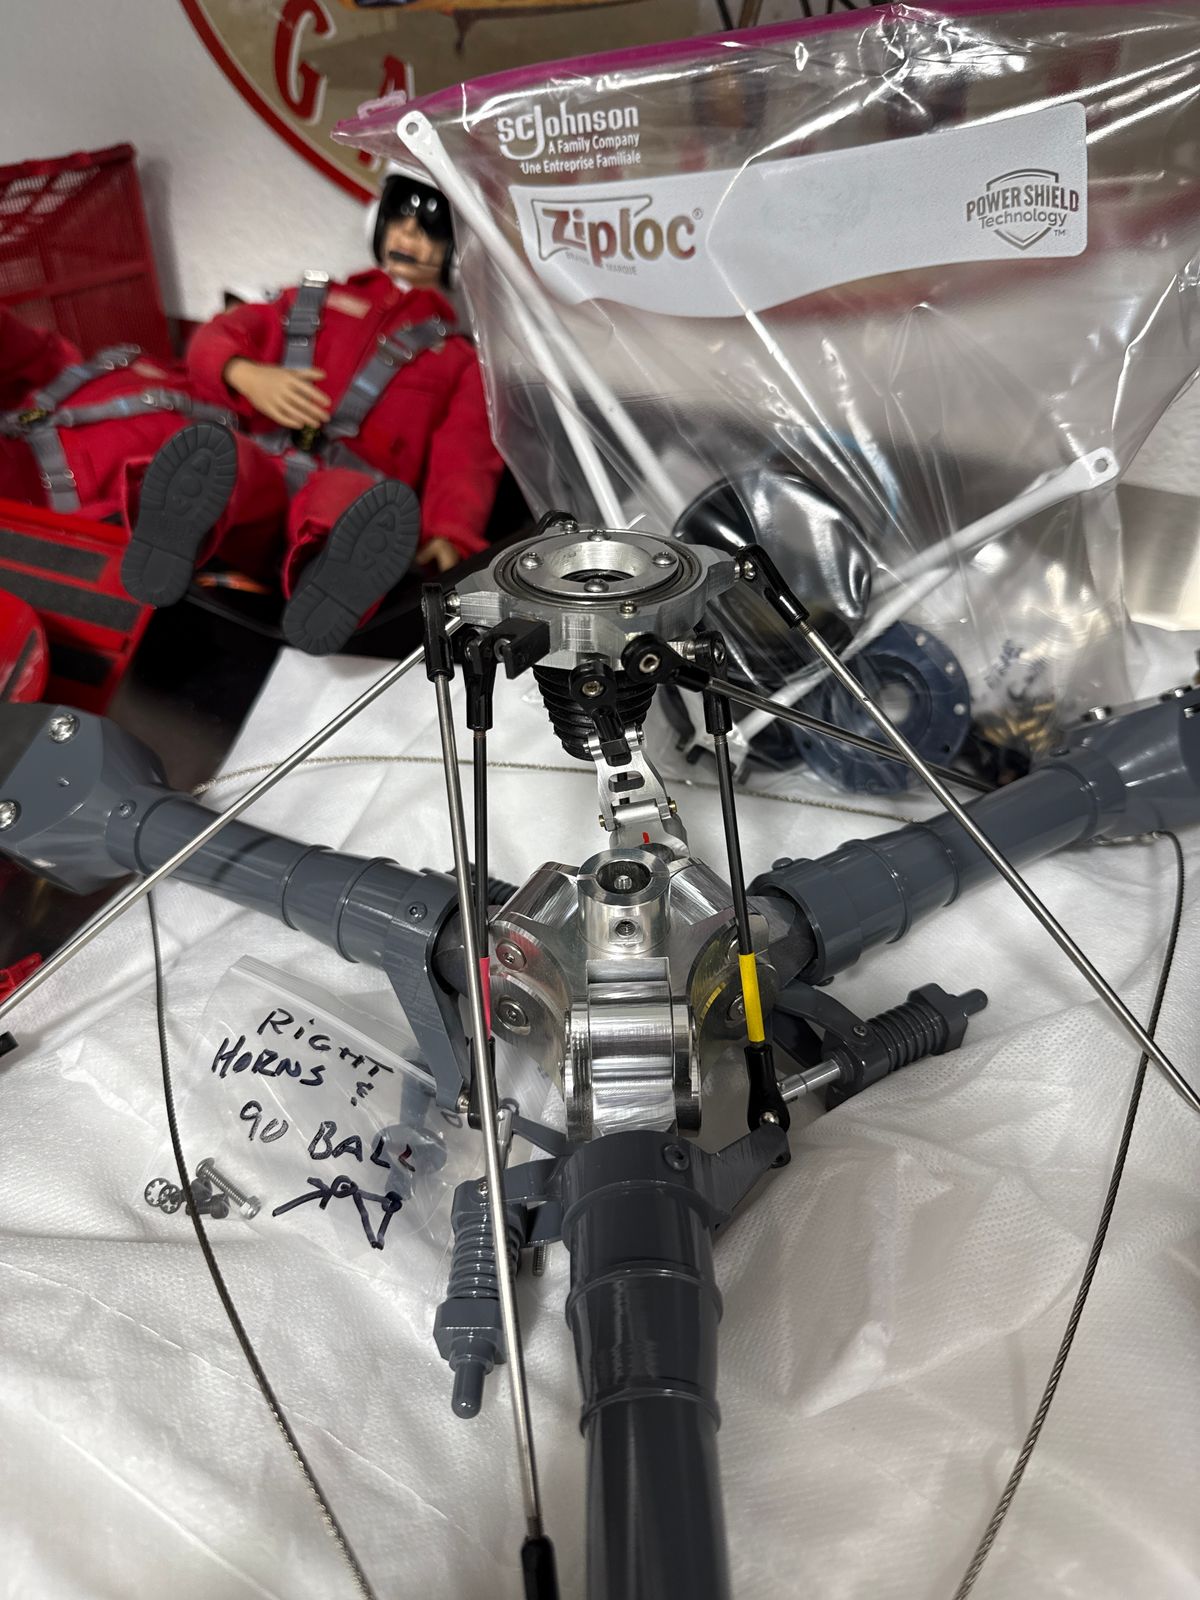
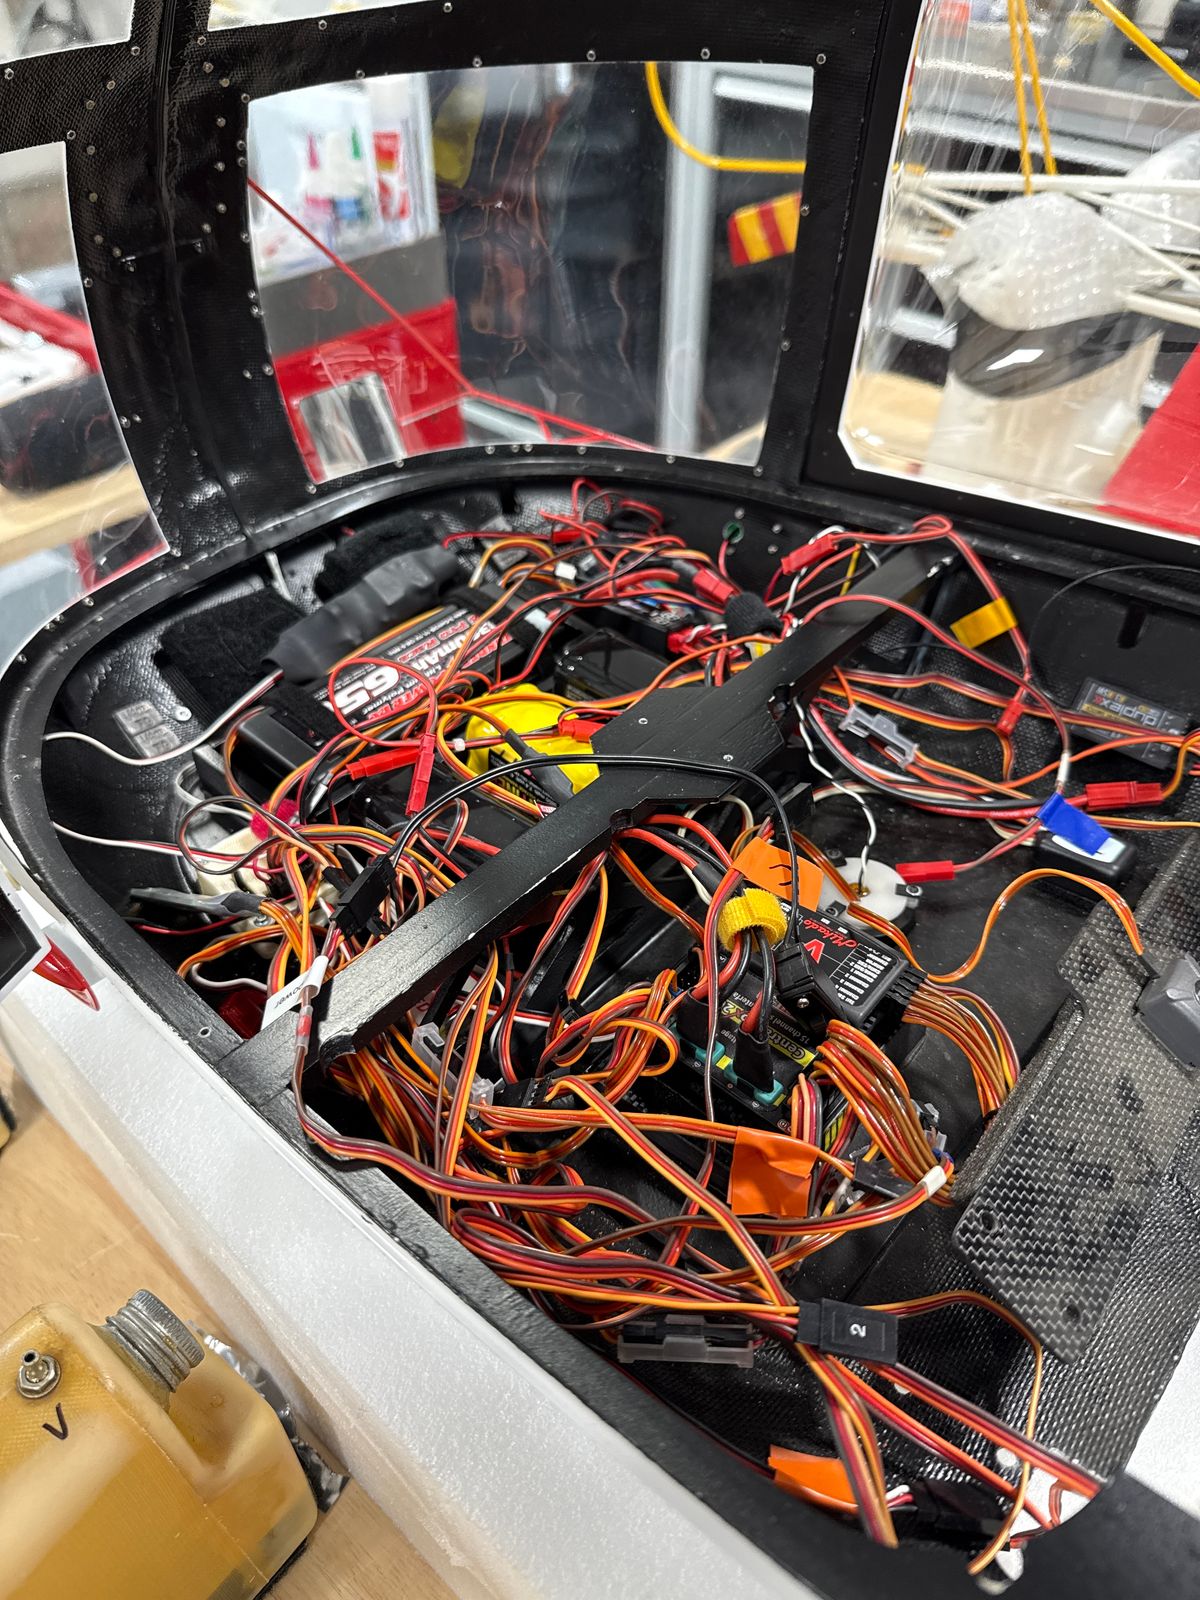
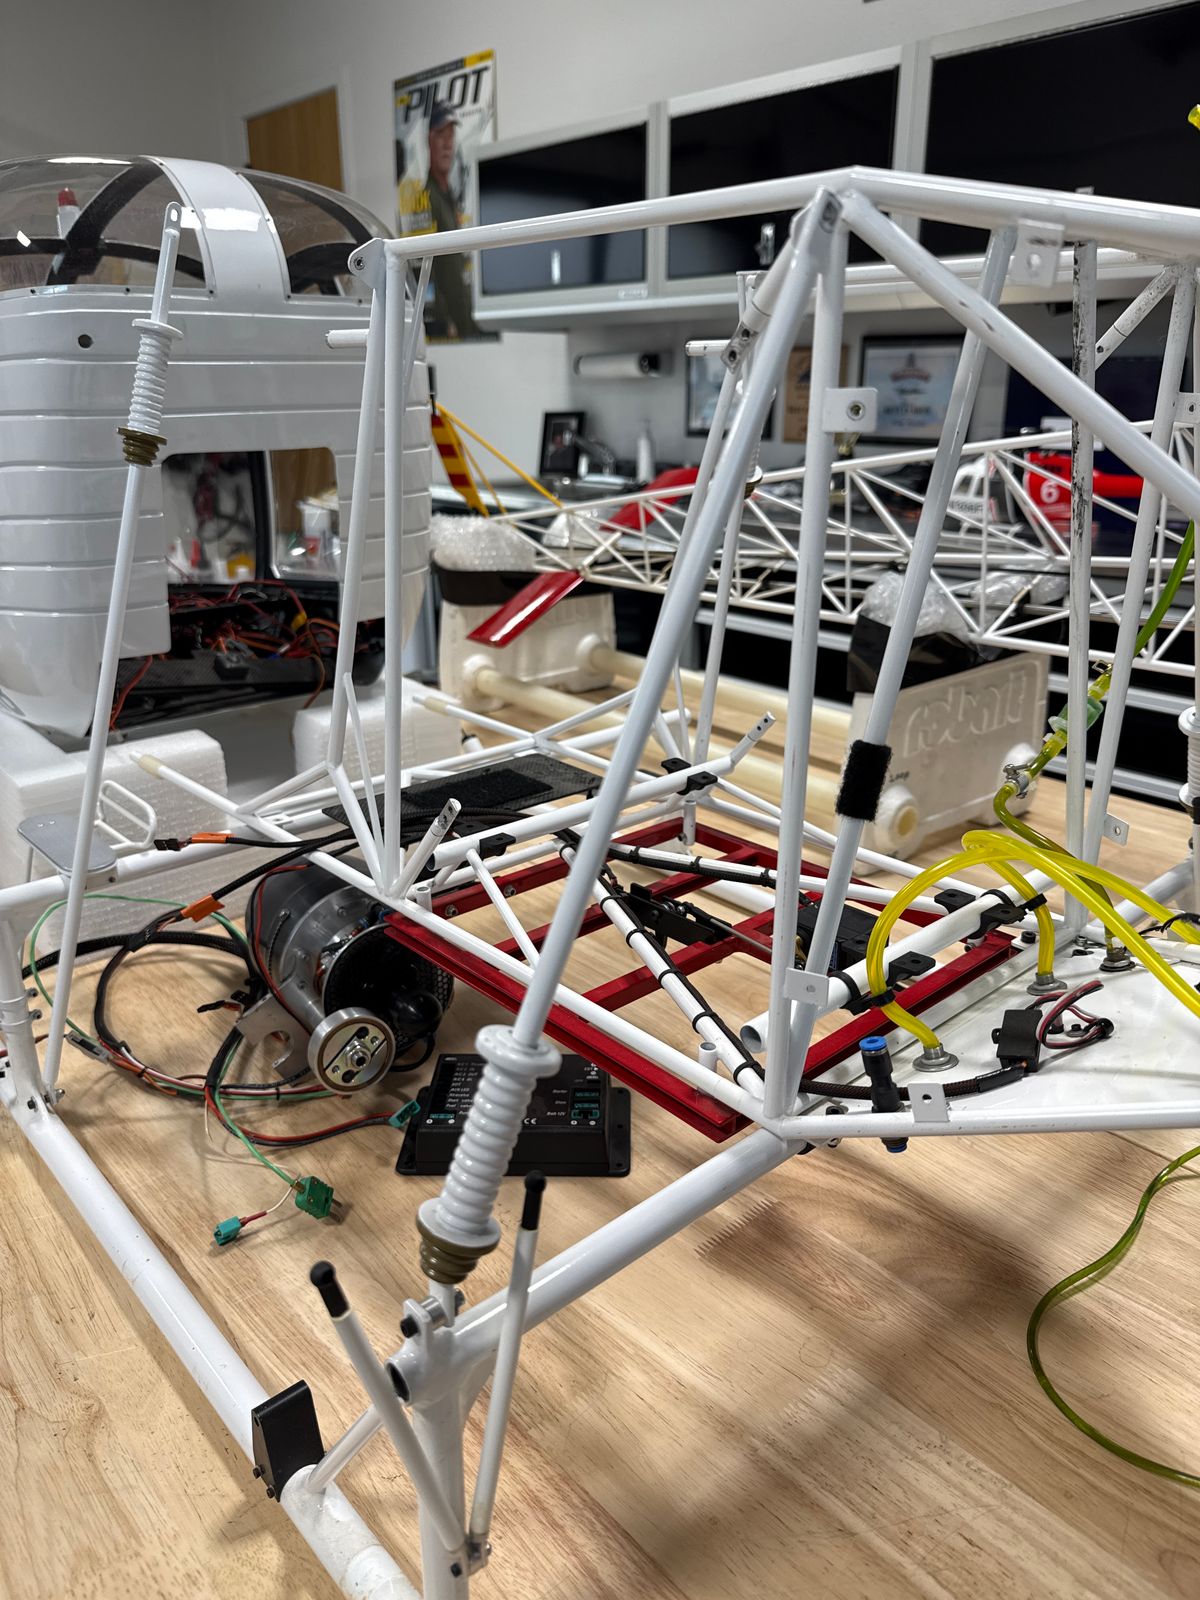
Parts is Parts
At HeliStorm this year, I made a trade with Gonzalo Martinez for his exquisite 1/4 scale Vario Lama. Gonzalo had ordered all new mechanics, main shaft, servos and a few other bits before the trade so those will now come my way so I can rebuild this beautiful model. I’ve seen some amazing models in my travels, but this one is over the top in terms of the attention to detail all over. From bolts to powder coating, this Lama has all the scale detail I could ever want and now it will get new bones and a brand new Jako Pro 7000!
Let the games begin!
Progress Update
Almost ready to get after it. Here is the plan.
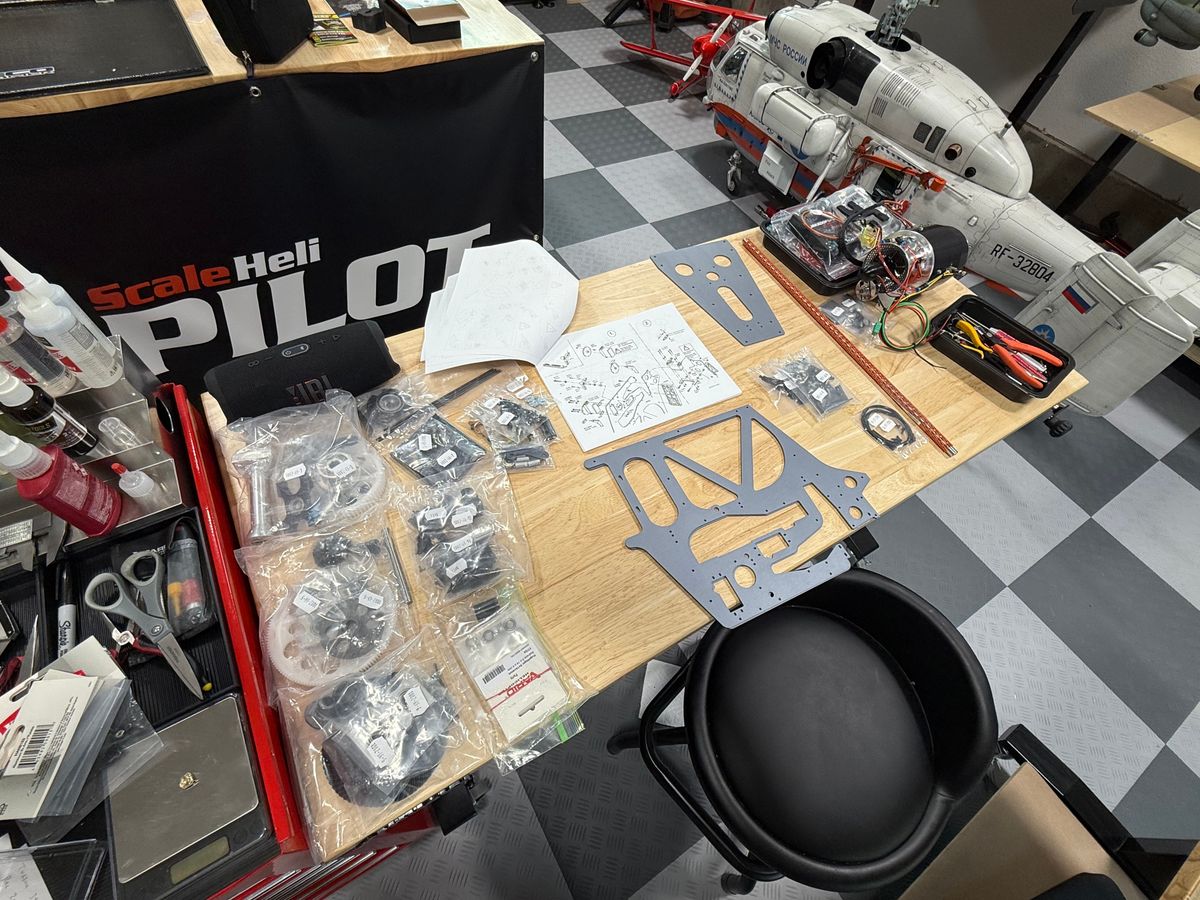
Can There Be a More Exciting Sight?
There is nothing like the start of a mechanics build! This may be the neatest my work table will be for awhile
A Neat Shop = Building Joy
In this light update, I cover shop layout and servo psychosis.
Go Back Jack and Do It Again!
This chapter looks at servo fitment, gear mesh and turbine clutch tolerances!
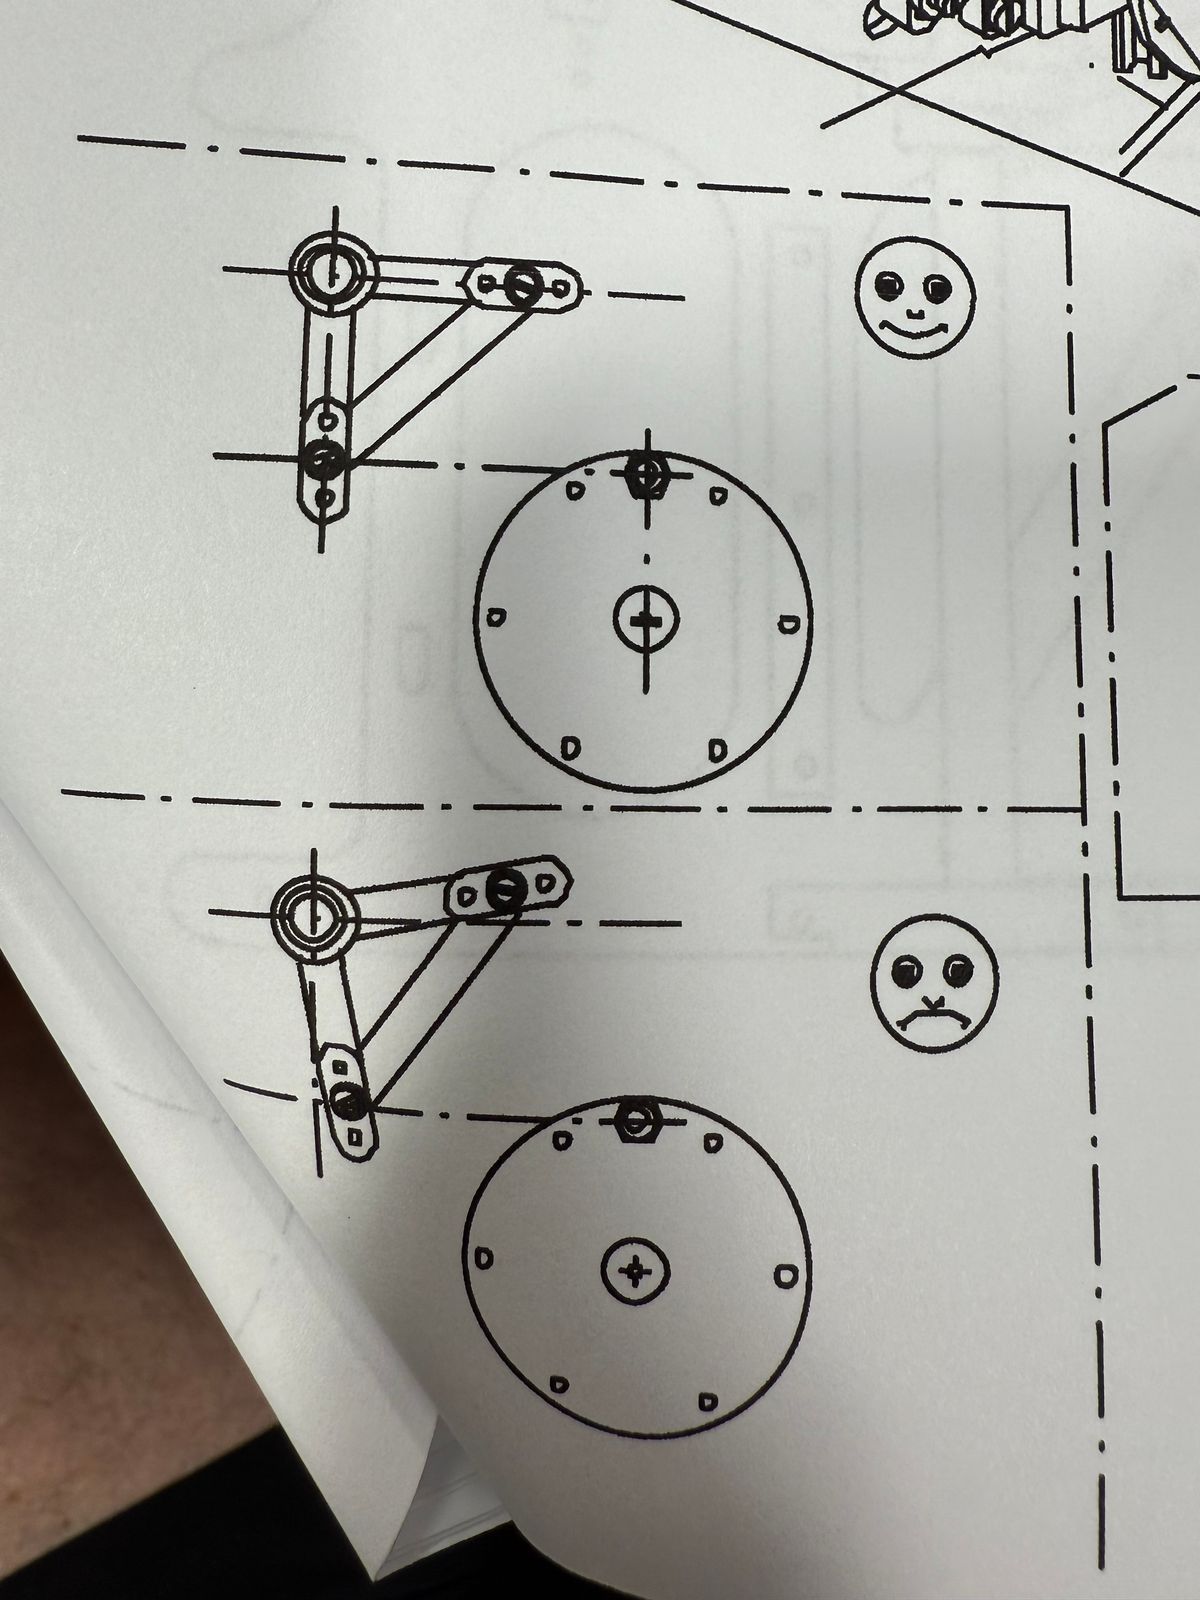
Servo Setup
Getting your servos squared away early helps with a perfect setup later on. As the manual notes, having your linkages askew gives you a sad face. Even getting them perfect gives the German face a neutral sort of, “what, you think we are going to smile just because you did it the proper way?!”
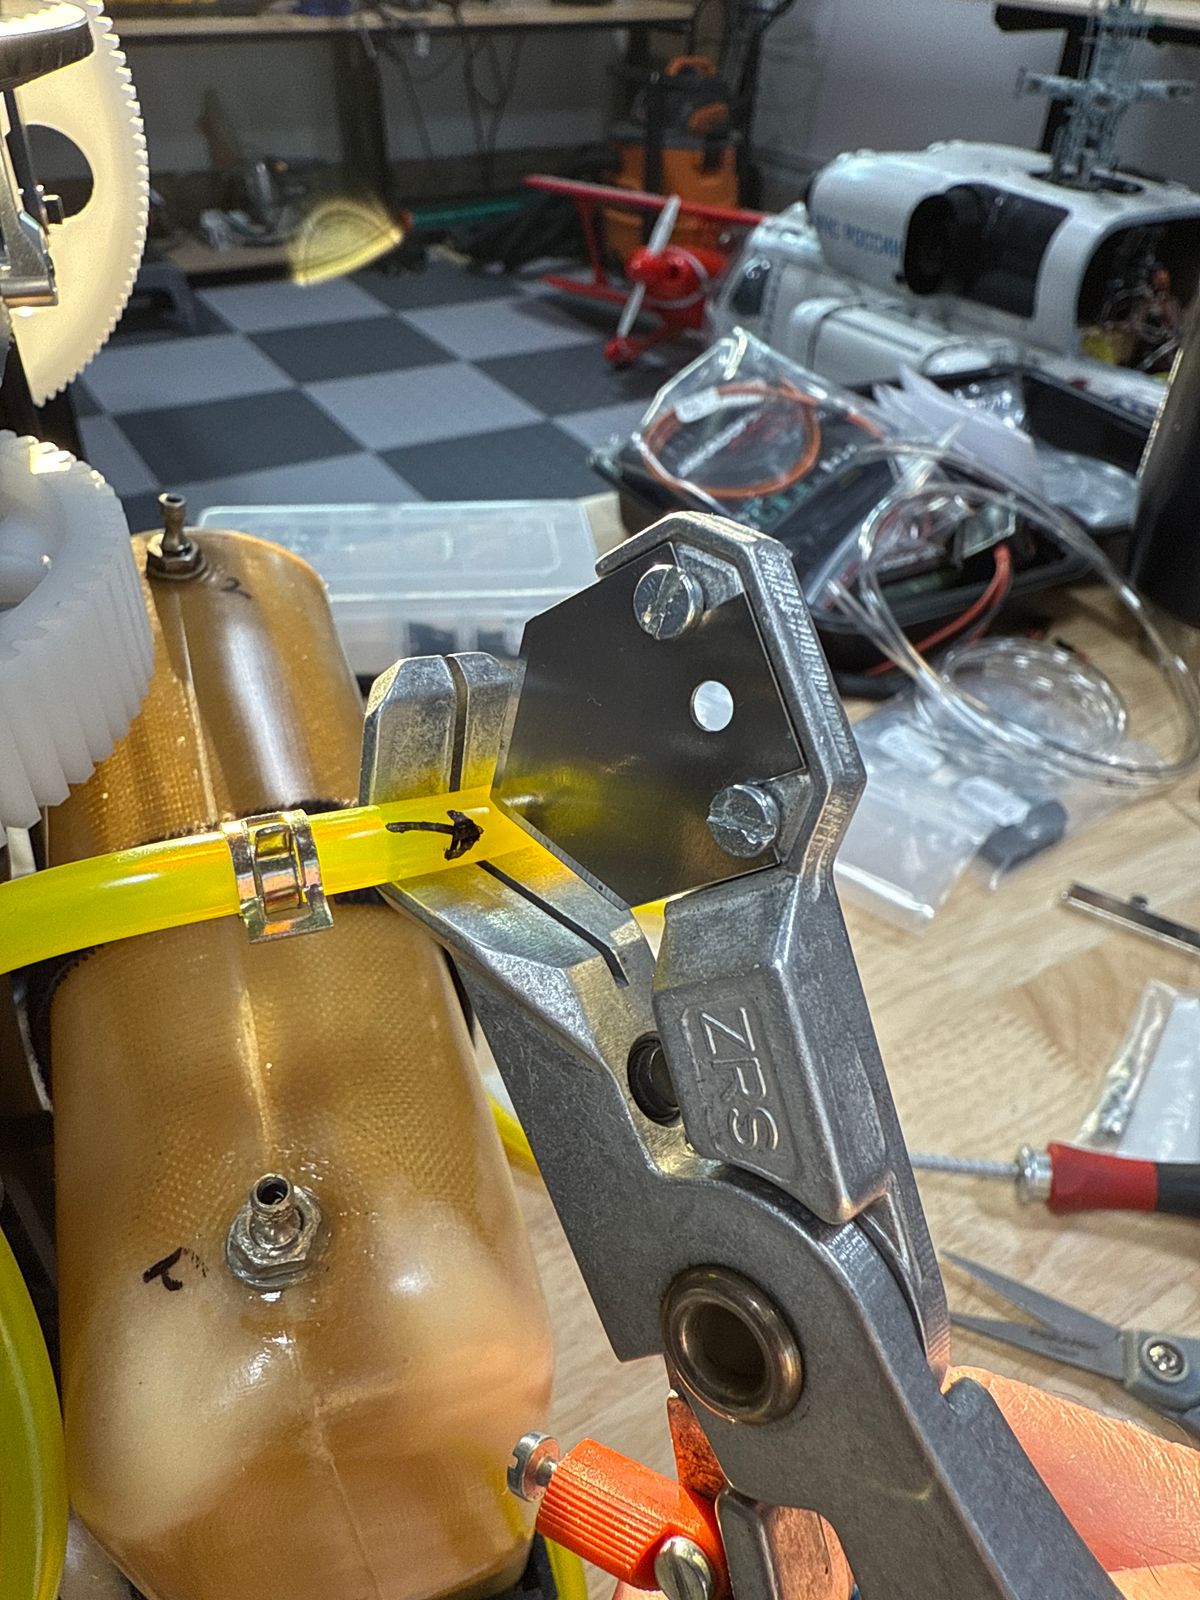
Fuel for Thought
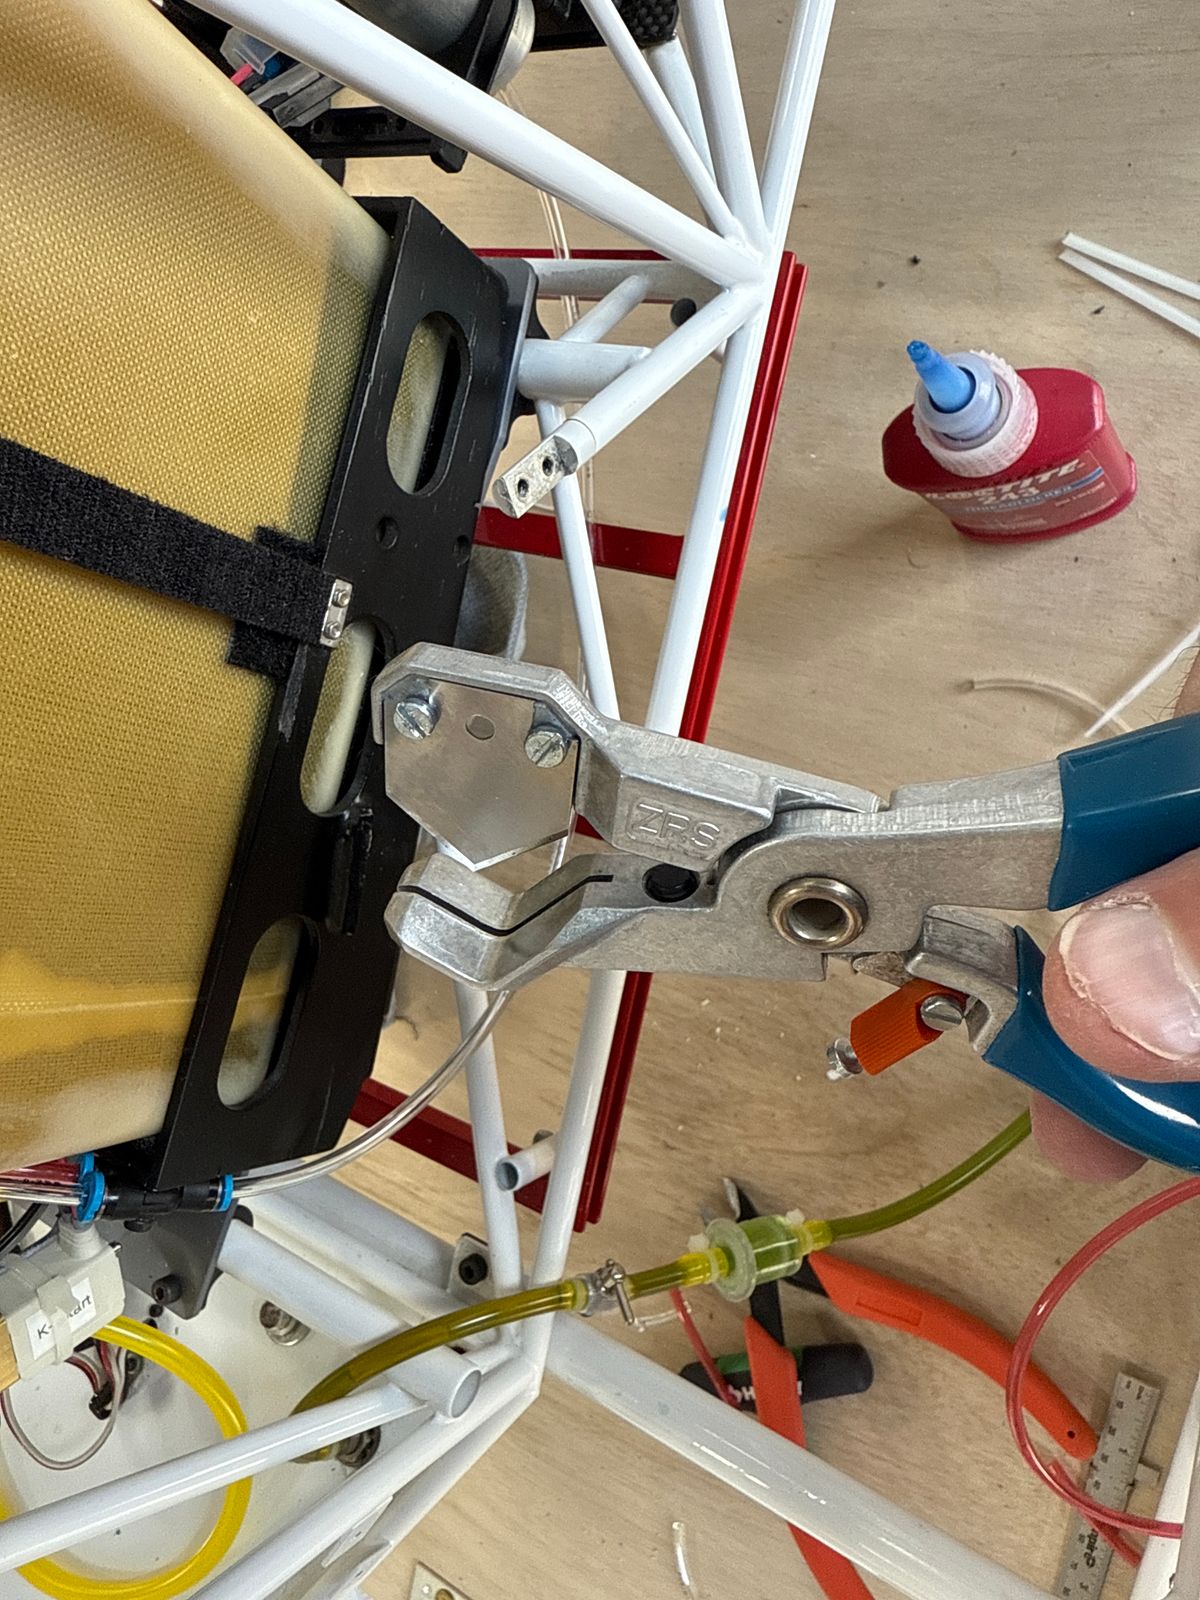
This video reviews fuel tank setup. I highly recommend using the Festo tube cutter to ensure accurate cuts every time. After the video, I trimmed excess tubing from the setup.
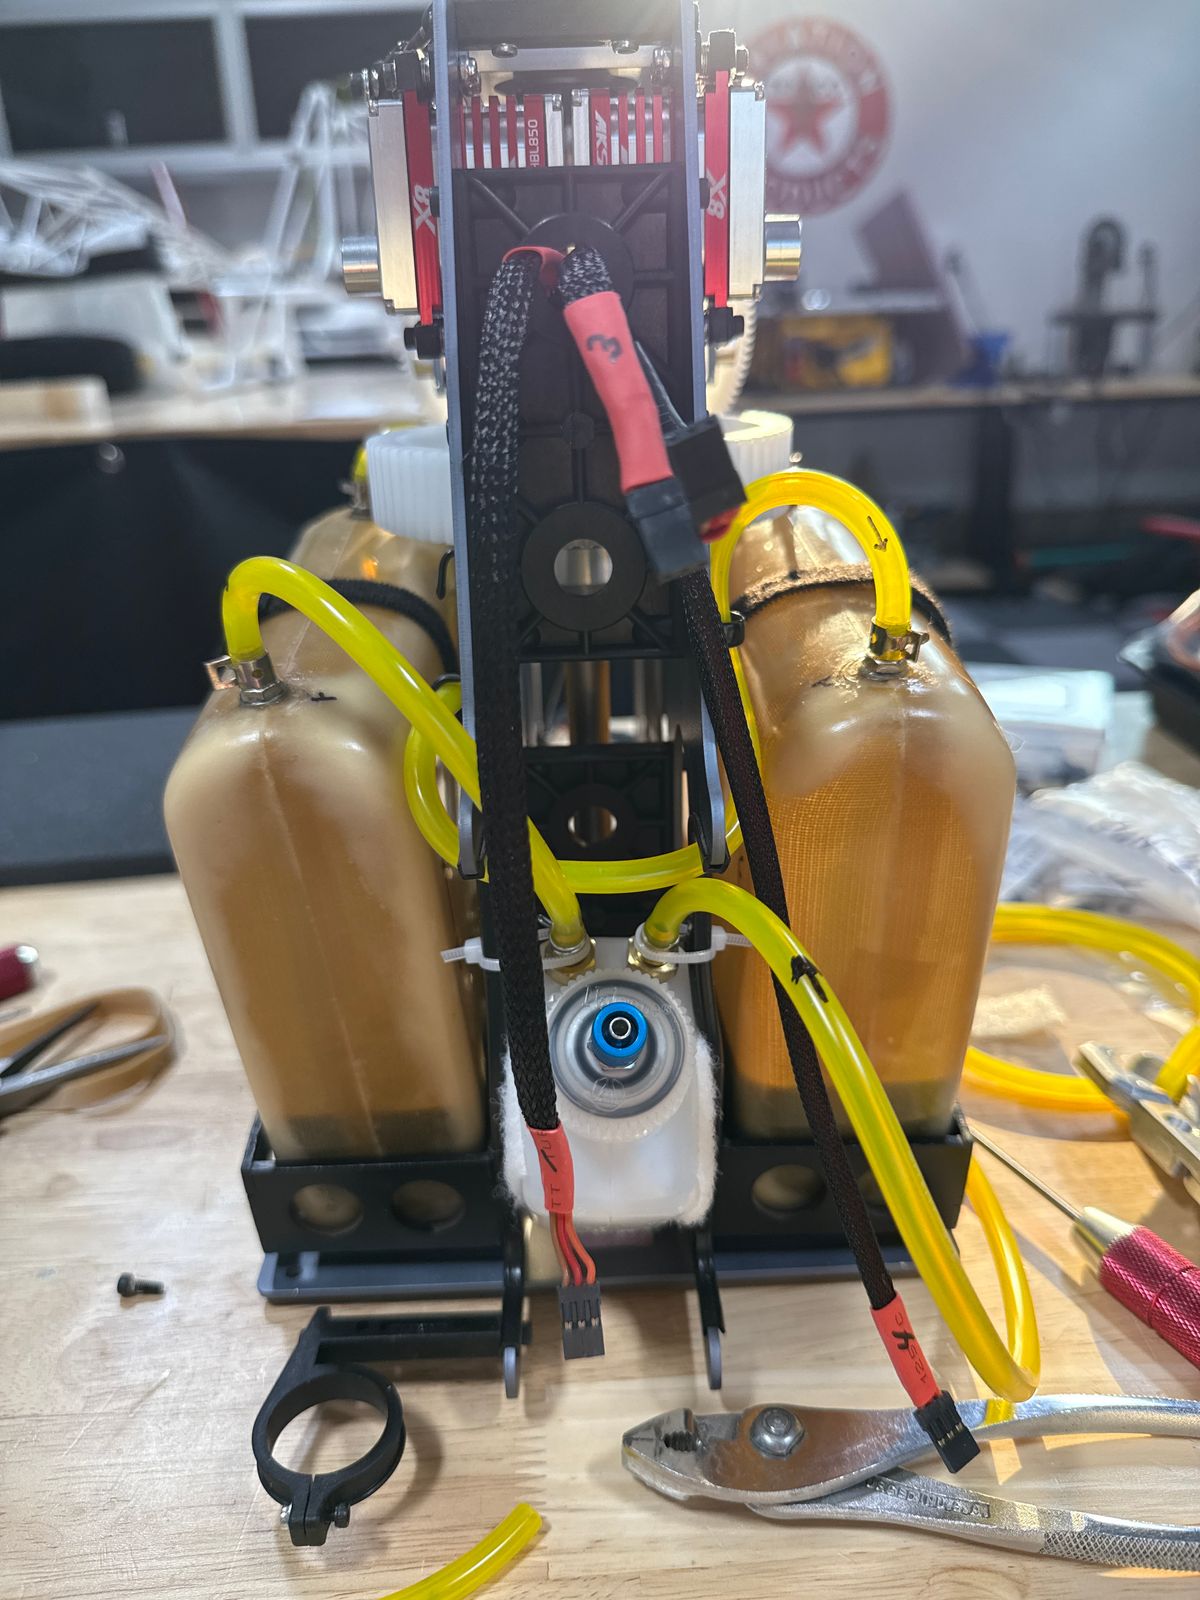
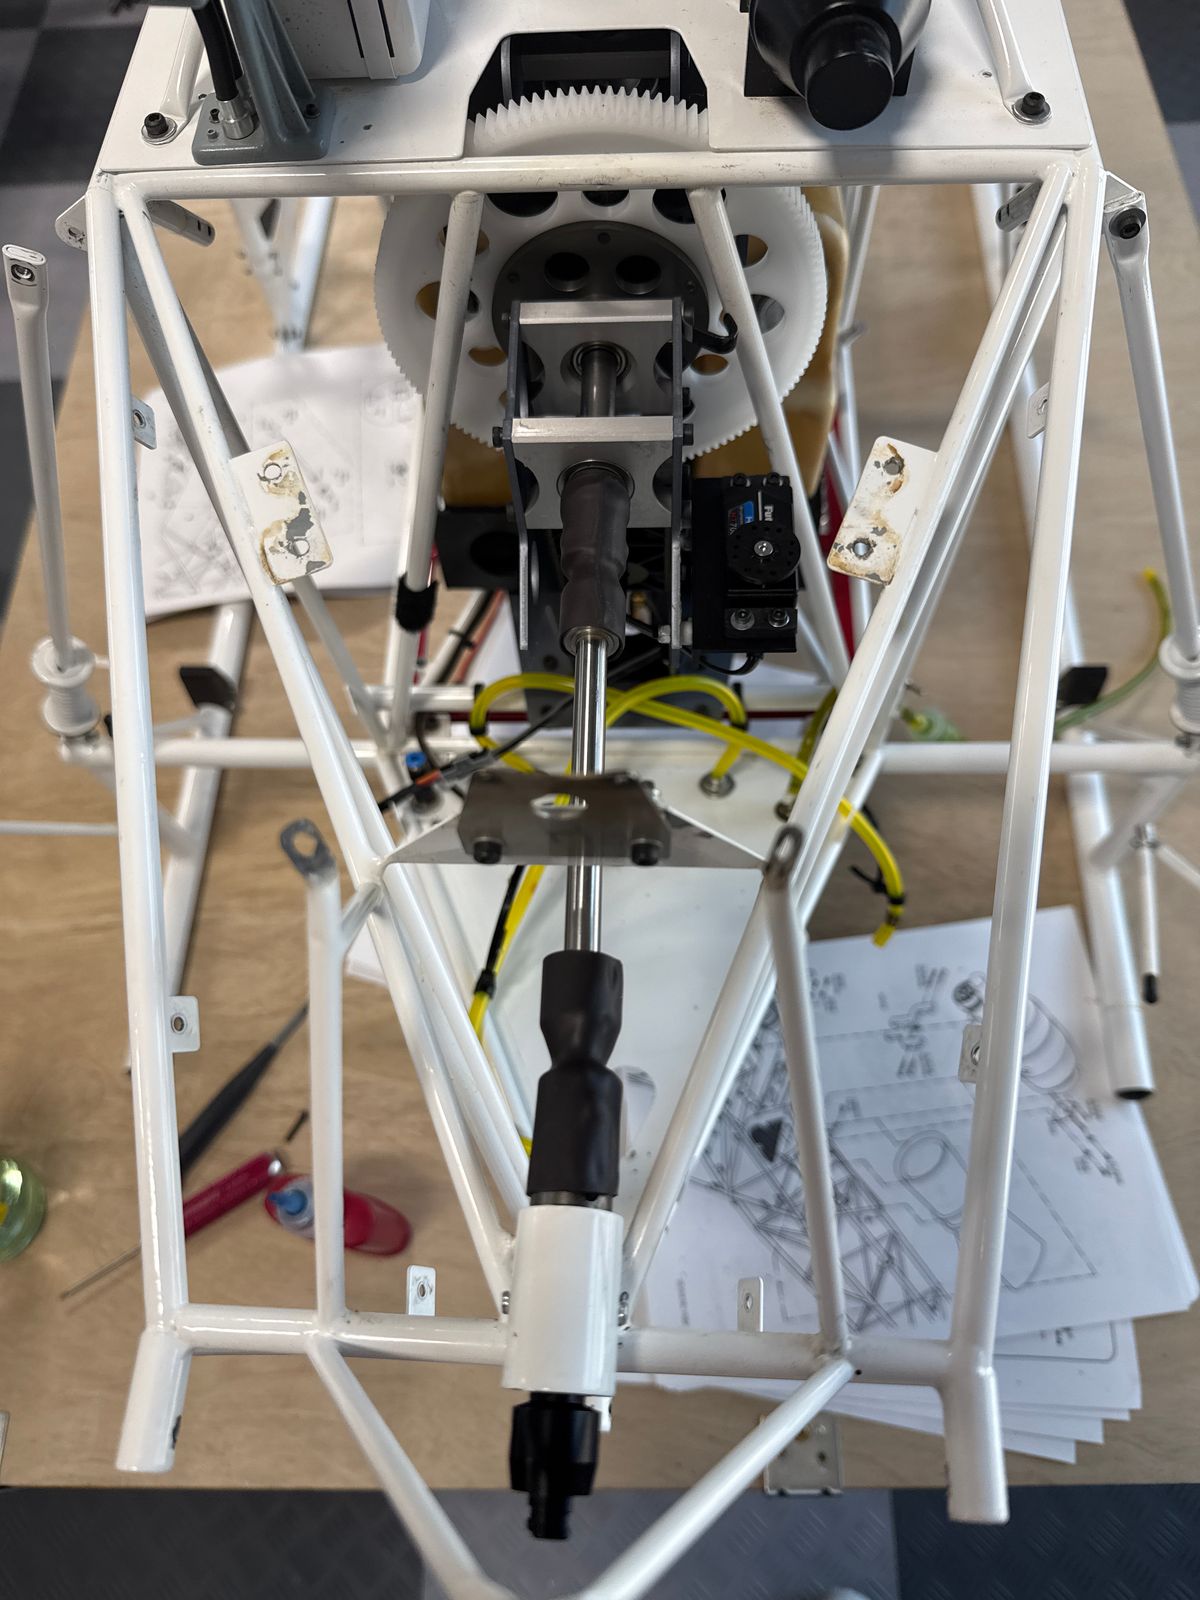
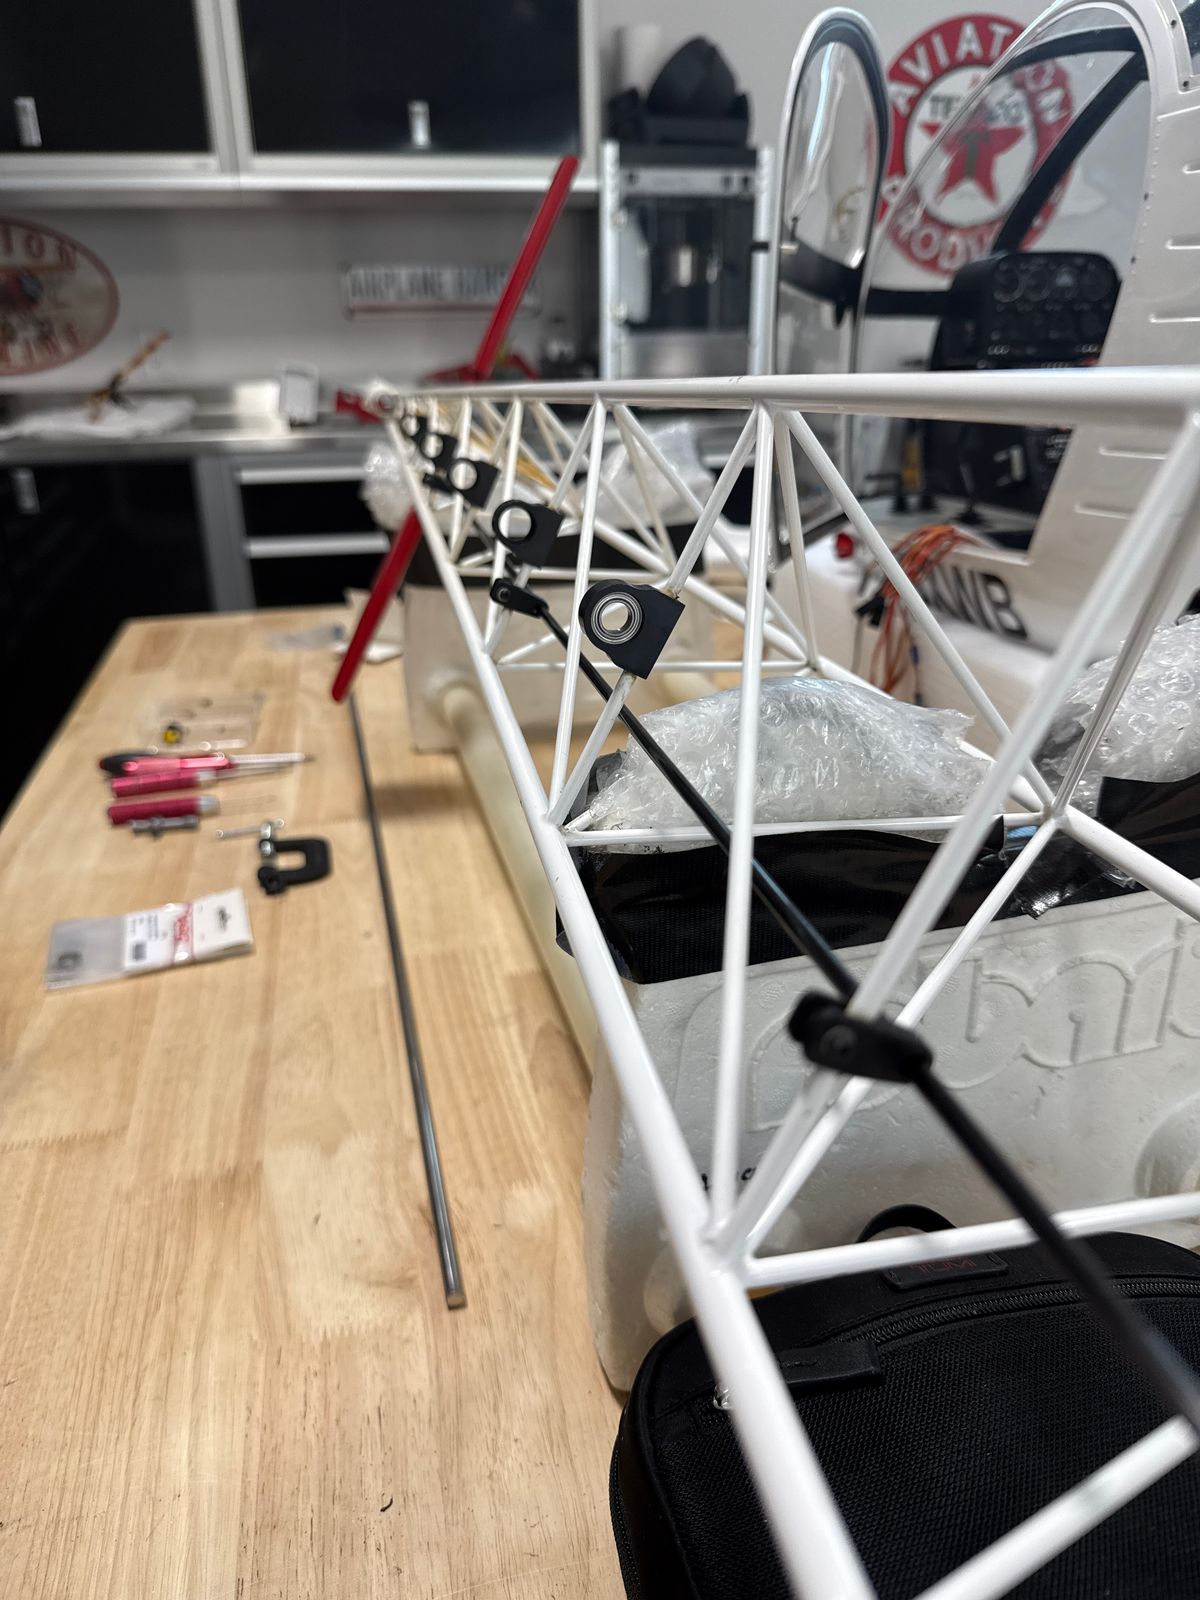
Chasing the Tail
In this update, I review the tail drive system, tail bearings and next steps!
Grubby Little $&#%#er!
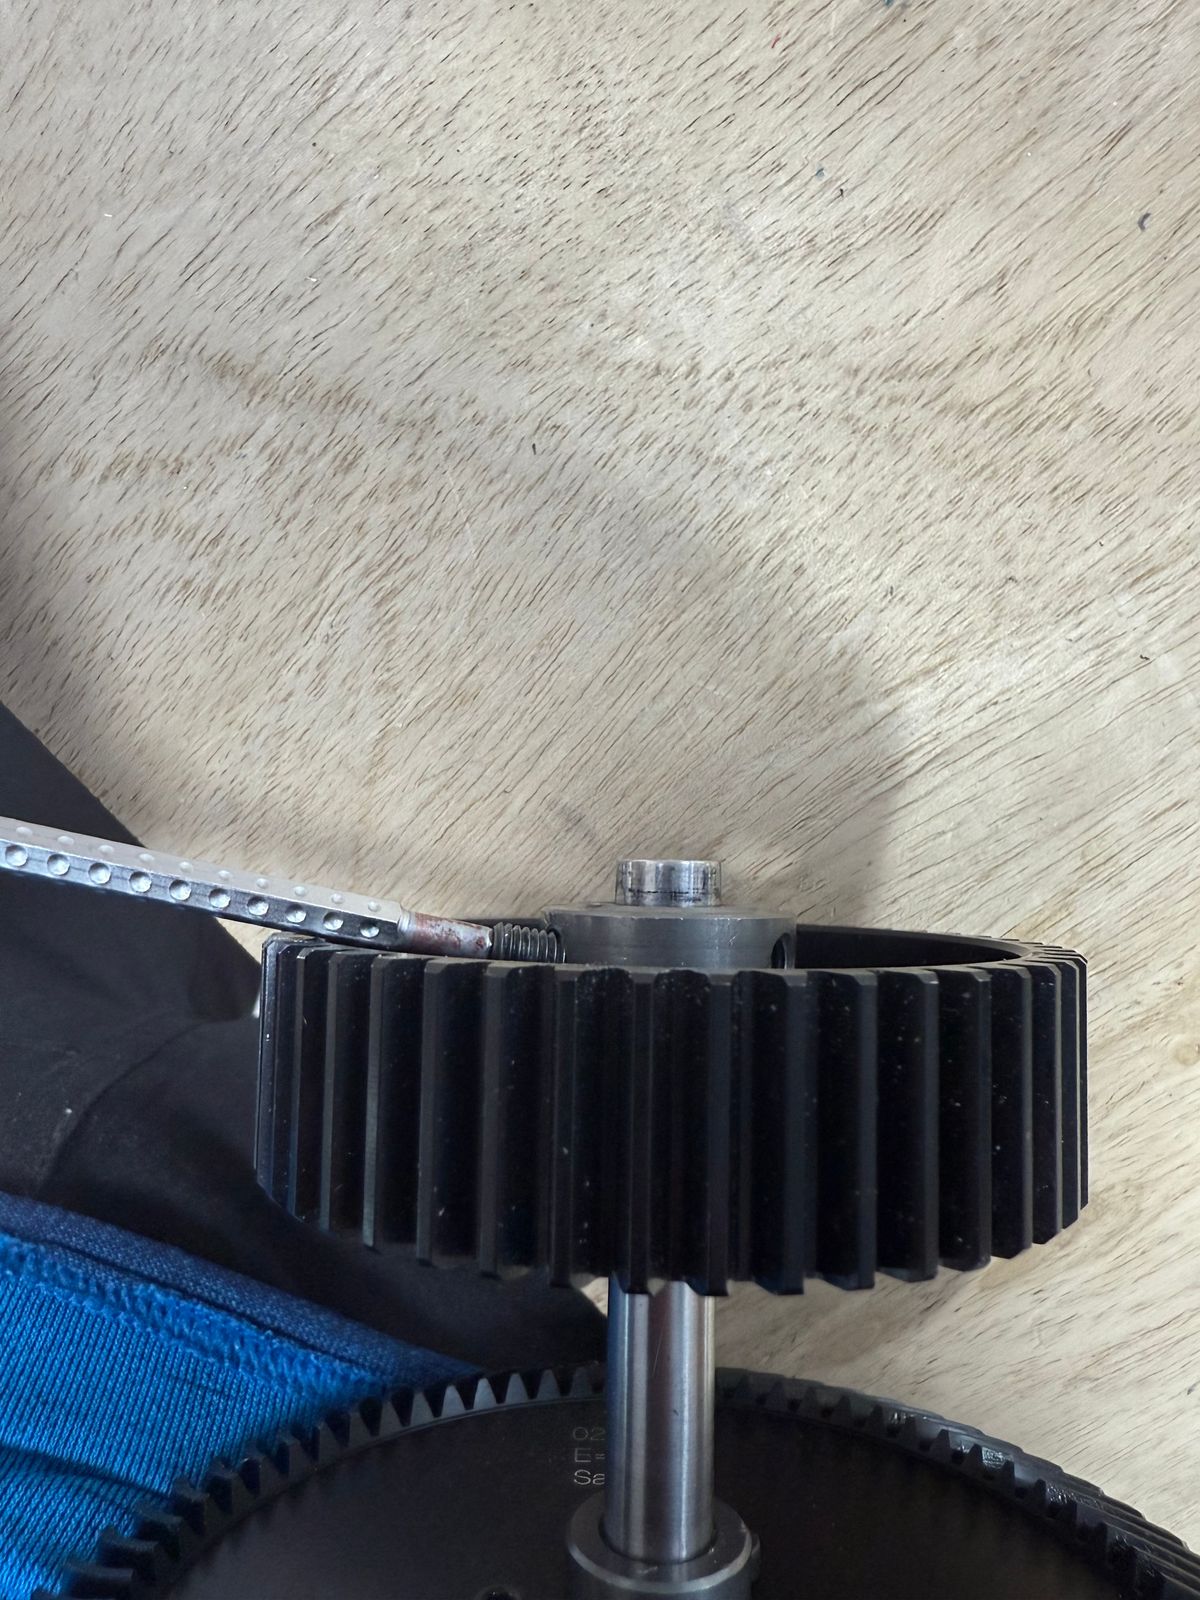
Sometimes bad design really screws you—or, in this case—makes it impossible to screw. If you are building the Lama, I recommend that you seat the grubs before installing the gear stack. Use a toothpick so wick in some thread lock. Or, you can trial fit the stack and then pull it and thread lock the lower gear grubs.
Almost There!
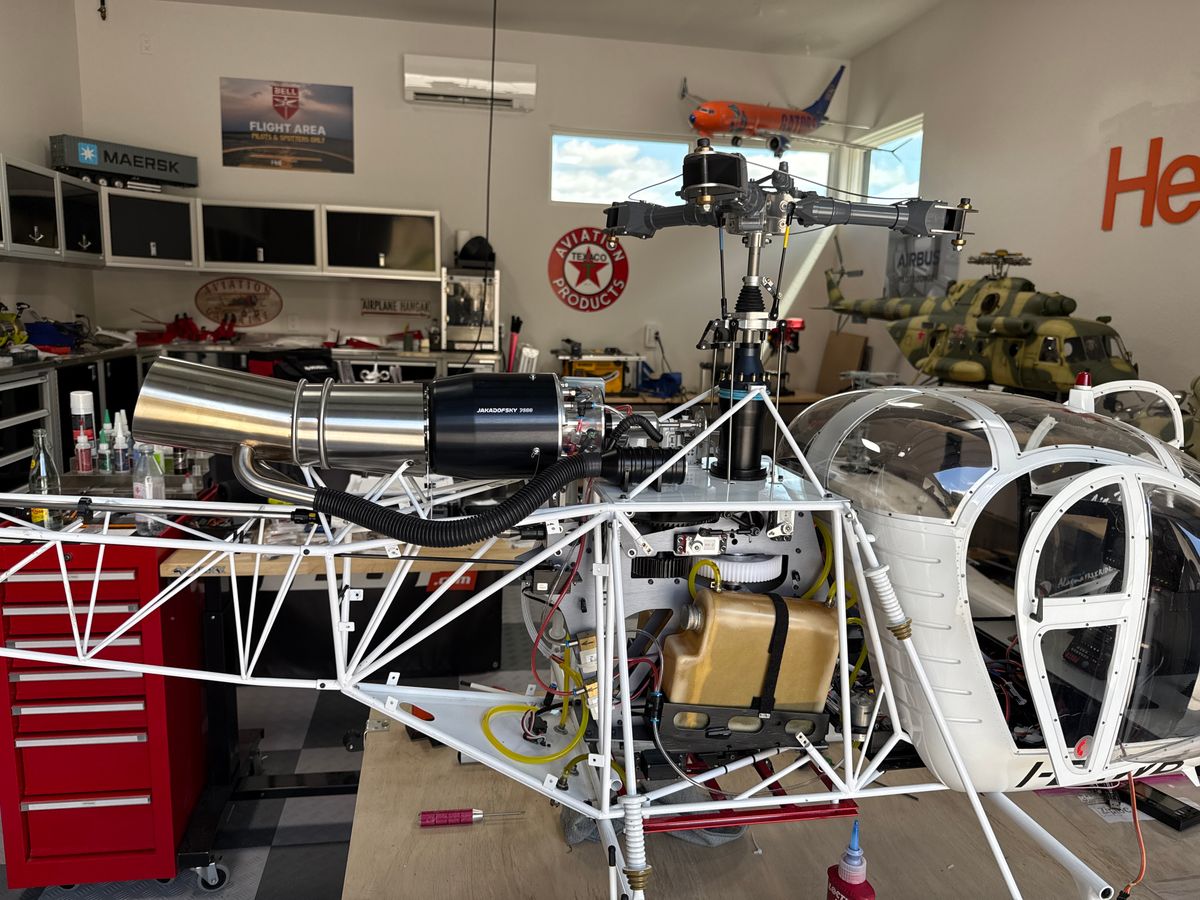
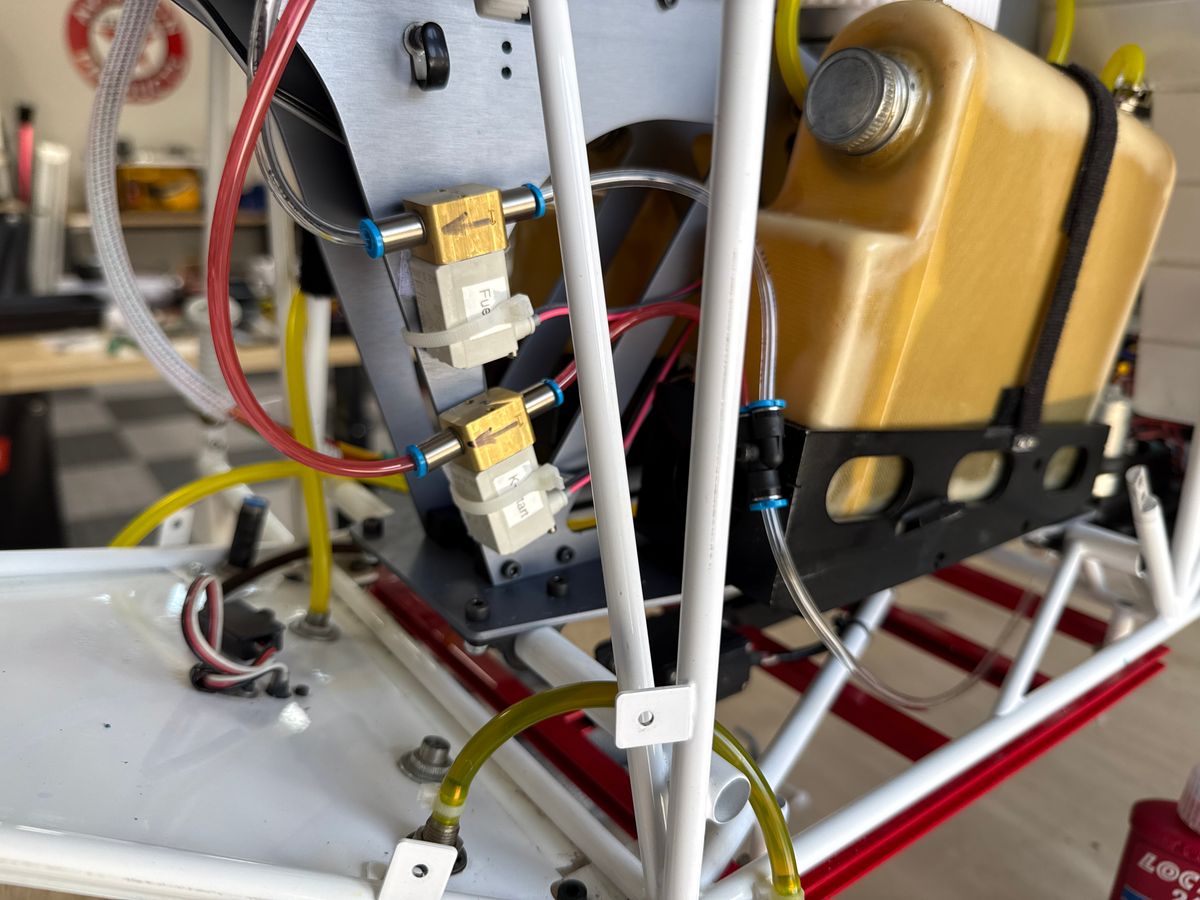
Here I look at wiring, tail drive system and fuel line connections.
Step Back and Spin Around
Epic mind battle on plumbing this bird.
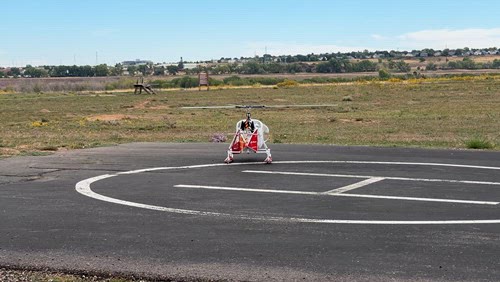
Ready to Fly!!
The last walk around before she takes to the sky! The following post describes the first and second flights:
 helistorm.comMichael Kranitz posted on HeliStorm Community : Let This Resonate With YouI was lazy today and was almost too embarrassed to post this, but I concluded that my cautionary tale was more important to share than protecting my ego. Last week, I took the 1/4 Lama out for a maid
36 Comments
Looks like a fun project, can’t wait to see it in person.
Nice project, looks fine, detailed cockpit. We follow
To me, the hard part is done. The finishing (e.g. paint and glass) is always the most challenging to me. This is all mechanical and electronic -- my fun zone!
which mechanics will you replace it with? The same kind or something different?
Updated everything. This was built 17 years ago!
17 years... and it still looks like new...
Oh noooo my baby is in pieces! Well it will be better than ever! And powerful!
Hey Michael I’ll be following this journey of yours.
That’s more wires than your typical reactor control panel ! Lol
Have fun with the assembly, love it.
You need a second work table 🤷
It’s right behind me 🤣
Or is this better?
Good now?
Awesome video! And I love the approach for higher altitude flying! The bearings on the lattice for the T/R shaft might need to fabricate something to pull them out from the blocks.
A custom bearing puller?
Well organized! BTW…Nice rant….couldn’t agree more.
Hugely annoying with Futaba
Great video! I am green with envy on your shop! Not so much on the servos.
MKS. Good choice
B
As always! Love the videos! Love the shop and Wow with Futaba! I just went with a trick on the 32MZ how to create a warning in case you have your retract toggle switch up when arming the system on the KA-52 that has retracts..... what a pain in the neck. I'm so switching this helo to Jeti in the near future!
Good move!!!
Sound logical installation techniques. I like the directional arrows.
Hi Michael,
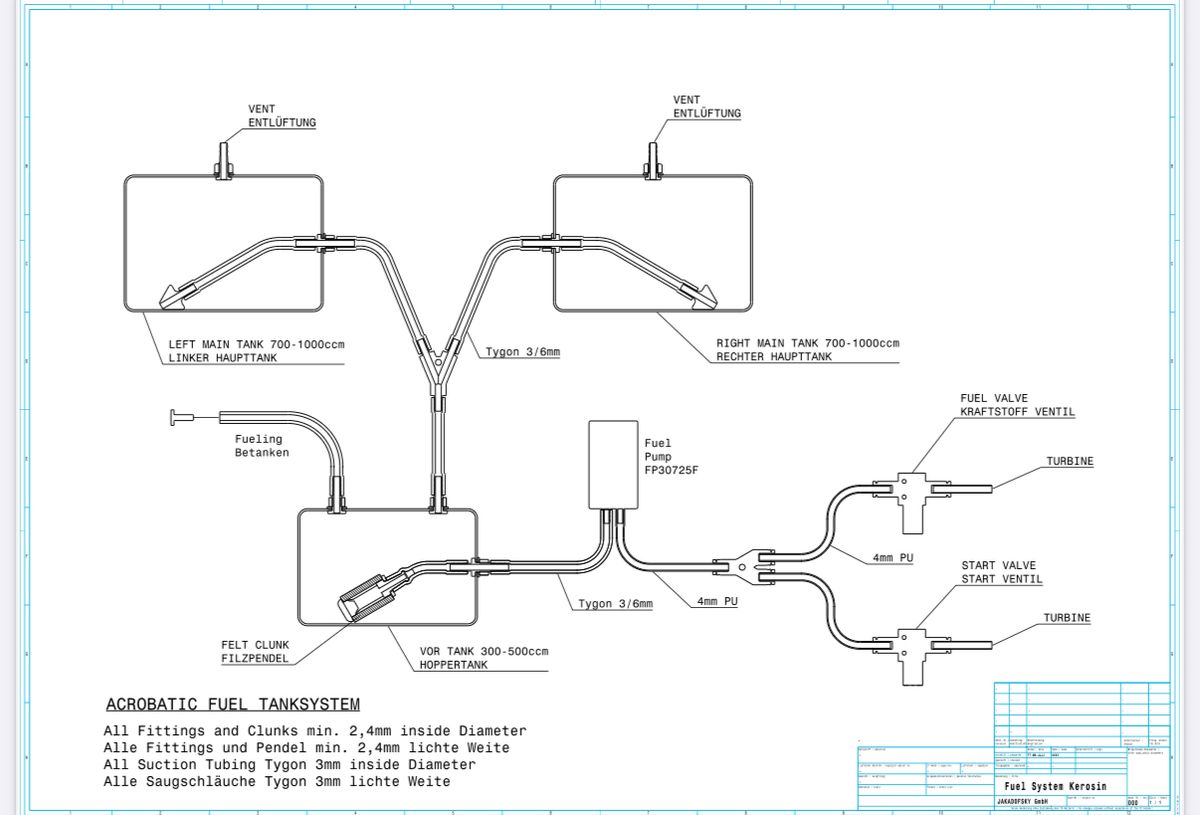
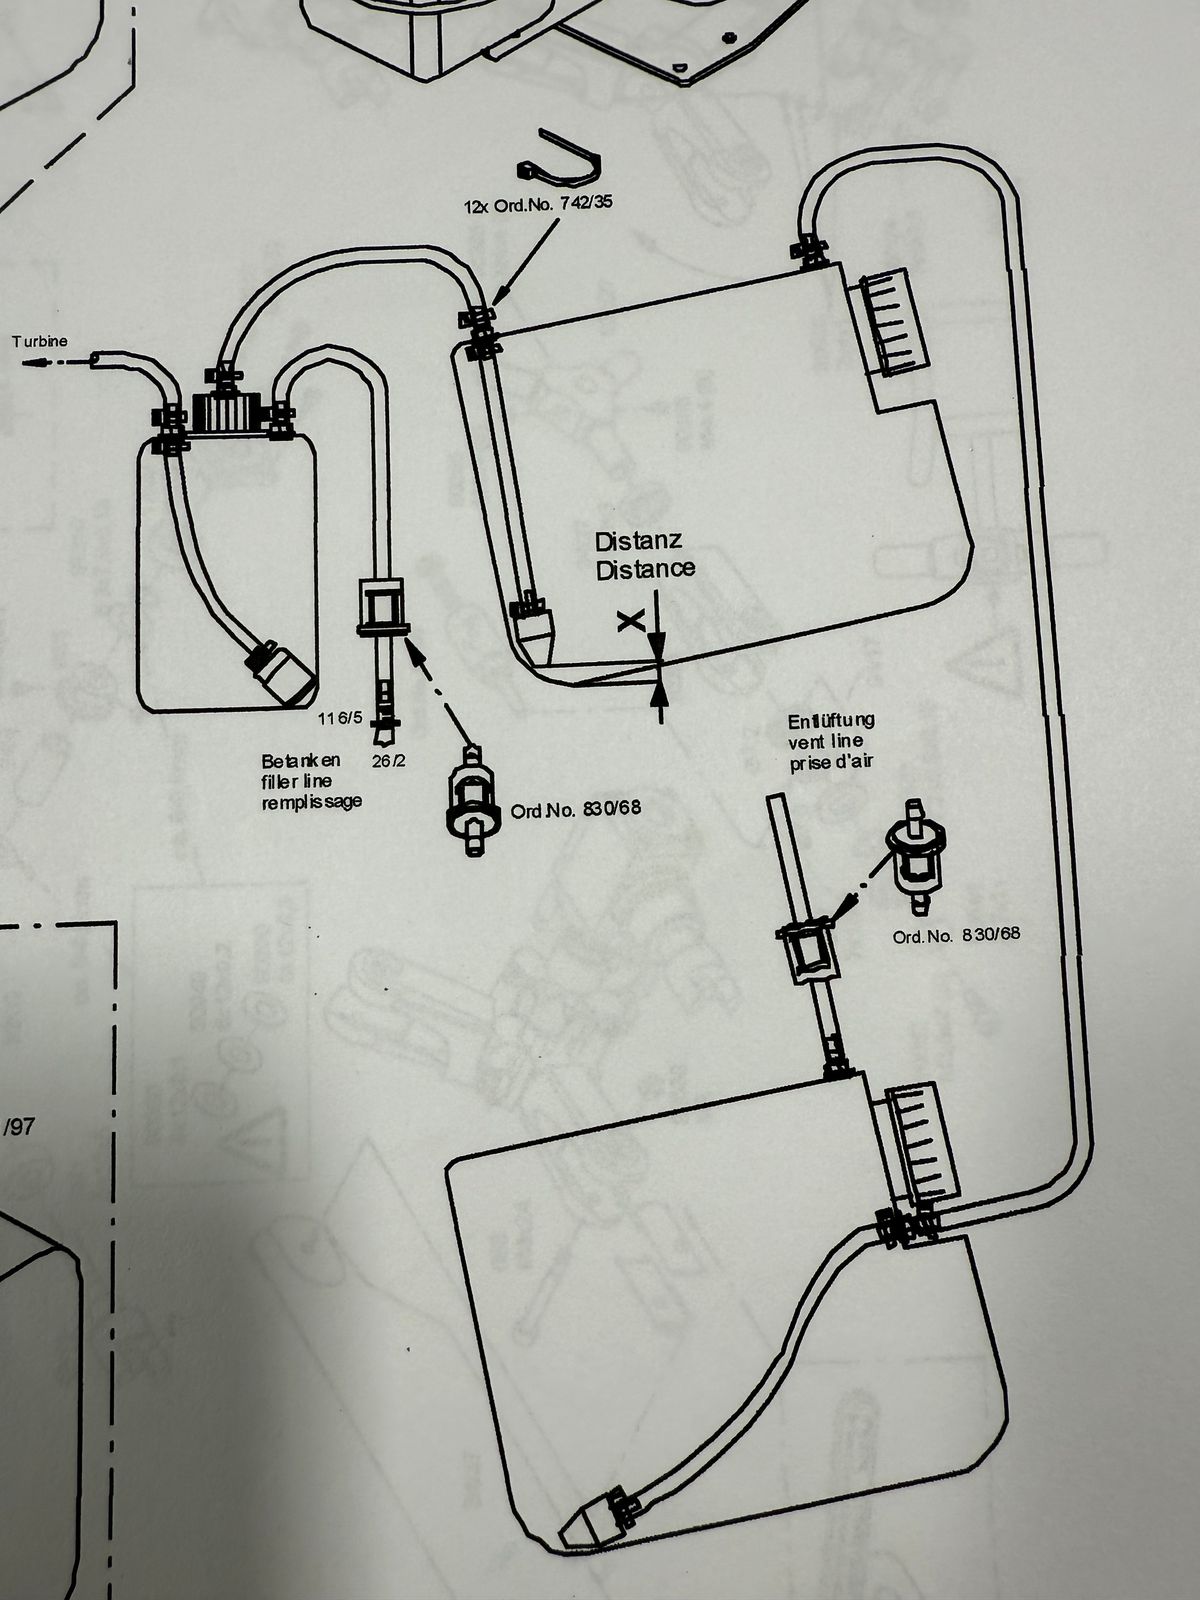
might you be so kind and please sketch a drawing with your fuel 2 tank and header tank connections? (Too fast in the videos for me.) Where is filled? How are the three tanks connected (with directions)? Where to the turbine pump? Where are air intake?
Thanks and best regards,
Werner
The fuel diagram is in the Lama manual here: https://helistorm.com/file-posts/8f594a8b-e5c6-4095-8c2c-a7ed86edc716
The turbine routing will be in the Jakadofsky manual and might slightly vary if you are using a different engine. The concepts are the same though: fuel from the fuel pump > splitter > fuel solenoid + starter solenoid > respective inlets on the engine. : )
Hi Michael,
thank you for the fast answer. Unfortunately the manual only shows how to mount the tanks, but not the connections of the fuel tubes which would interest me. (And without header tank...)
Thanks and best regards,
Werner
I will post that page
Take a look at Chapter 7. I've uploaded a diagram.
Maybe something like this would help?
I made a couple of those and I could not get a full rotation in order to seat the grub. When the side frame is in place, it's damn near impossible to get it done. I even used a piece of Tygon tubing and threaded the grub in it to make a "flexible shaft" driver at least for the first turn, but that didn't work either. In the end, disassembling the top, turbine and side frame enough to extract the stack was what I needed and even with the gear free on the bench I needed to use a tweezers to stabilize the grub and get it horizontal. If the hub were just 5 mm longer to expose the grub, all would be fine.
Mike these work great for those areas
Ball on the tip if you zoom in
Oh I have these too and tried them. Ball slid in too far. 🤪
Got ya. I know them things like this can be a pain. Glad you got it
worked out .
Here is a diagram of the plumbing setup.
It will be fun to watch…hope to meet you out should our schedules align.