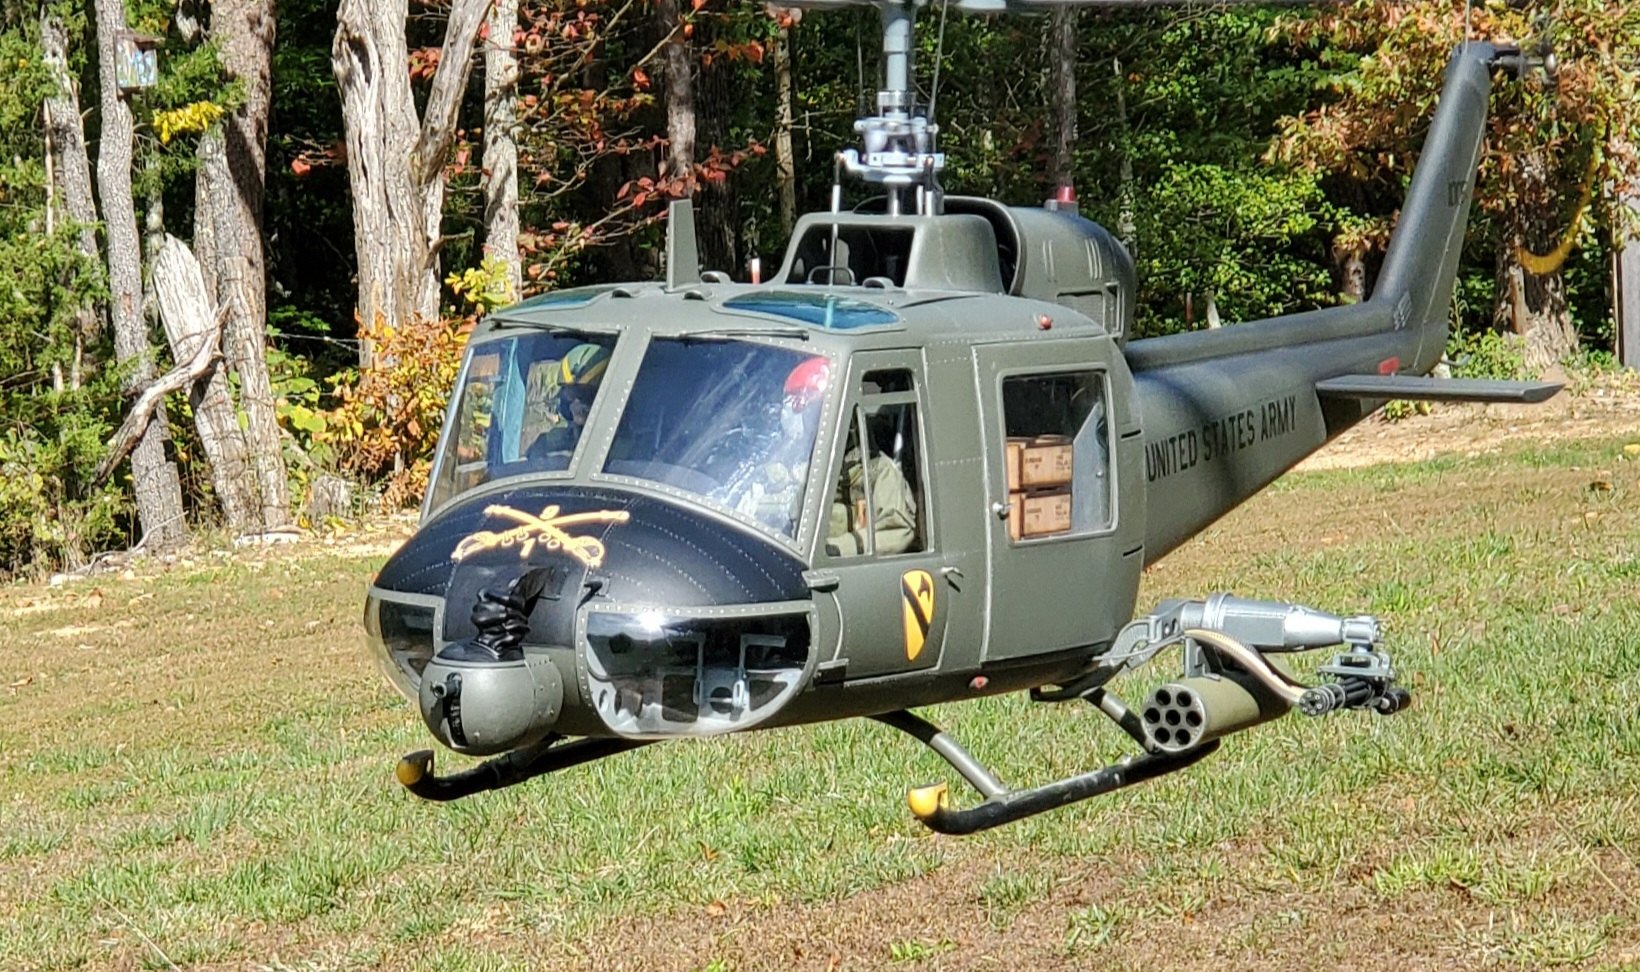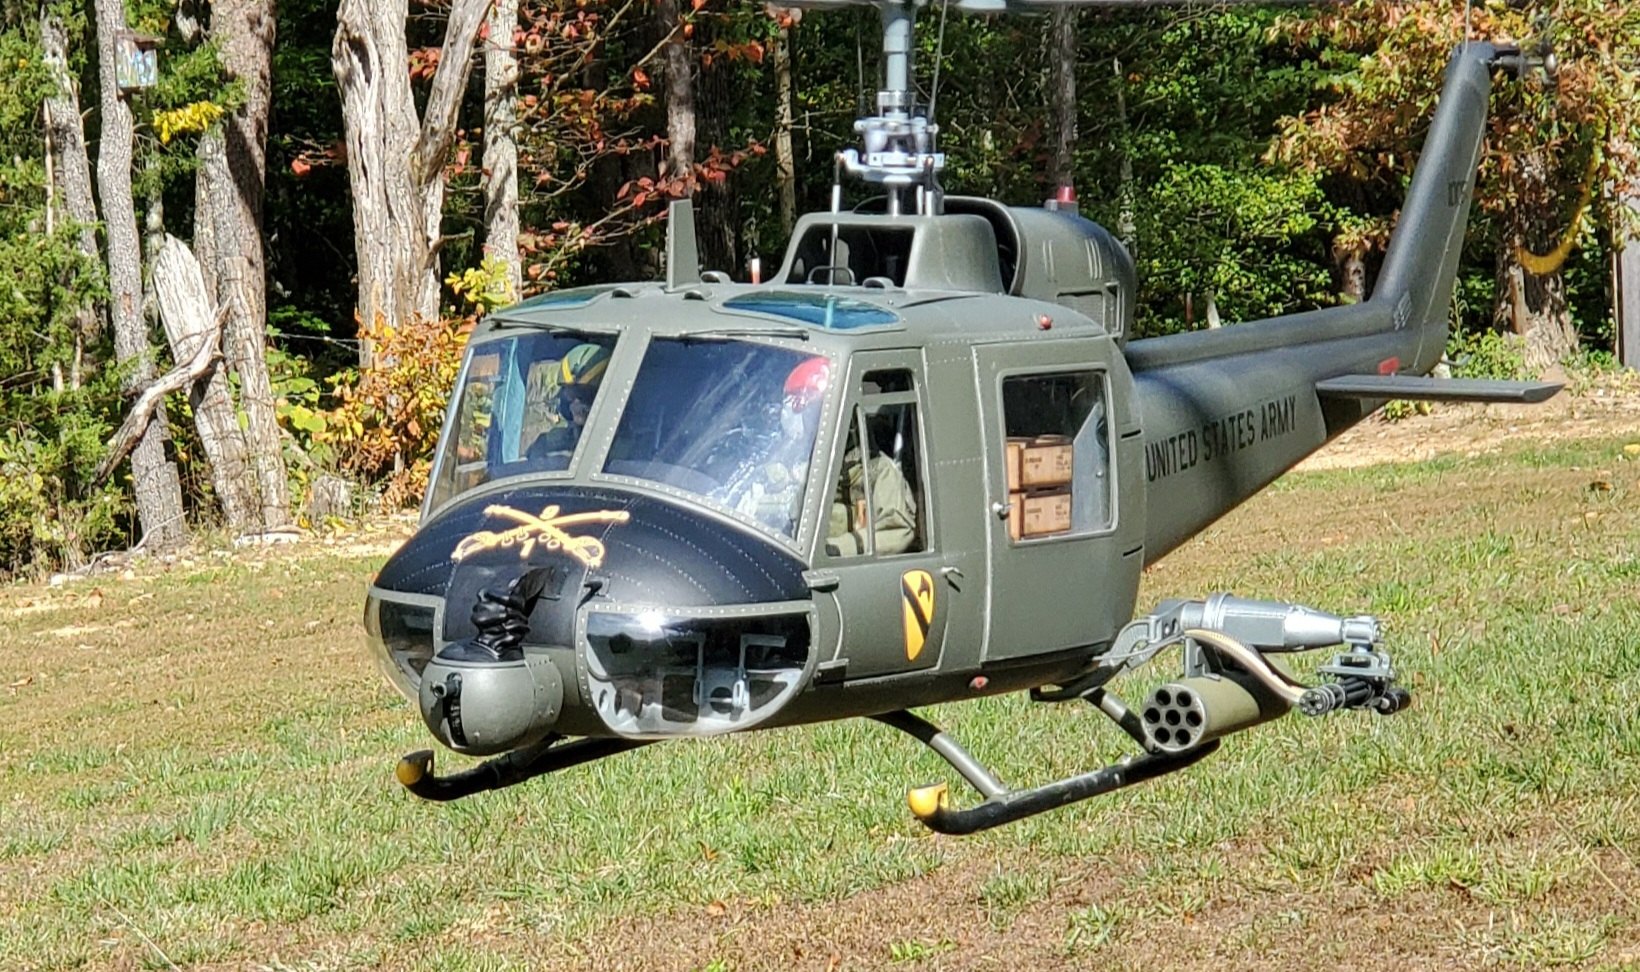
1/7th Vario UH-1B
Sport Scale Gunship
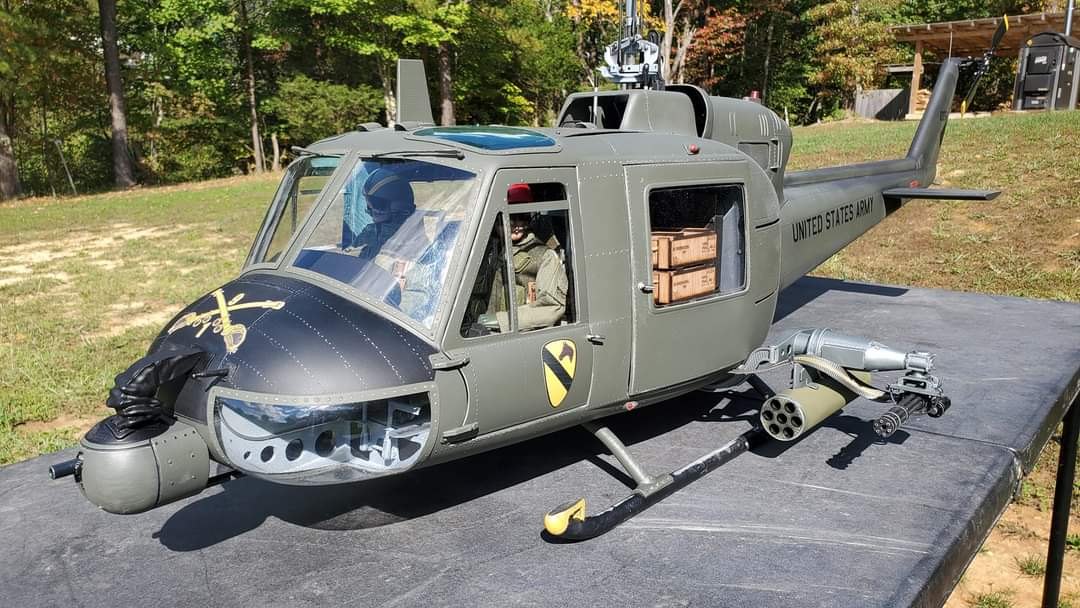
Finally retiring in 2010 from a 35 year career in helicopter aviation I wanted to return to building scale helicopters to get my "helicopter fix" lol. With a couple of Roban models behind me in 2013 I was ready to build something besides an ARF model. It had been a few years since I had built a scale model from a fuselage kit. I chose to build the Vario 1/7th scale "B" model into a Vietnam era version. I was not concerned with gathering a lot of documentation as this was going to be an every day flyer and nothing requiring proof of anything except keeping me happy and reaching a "goal" of a nice looking "armed Huey".
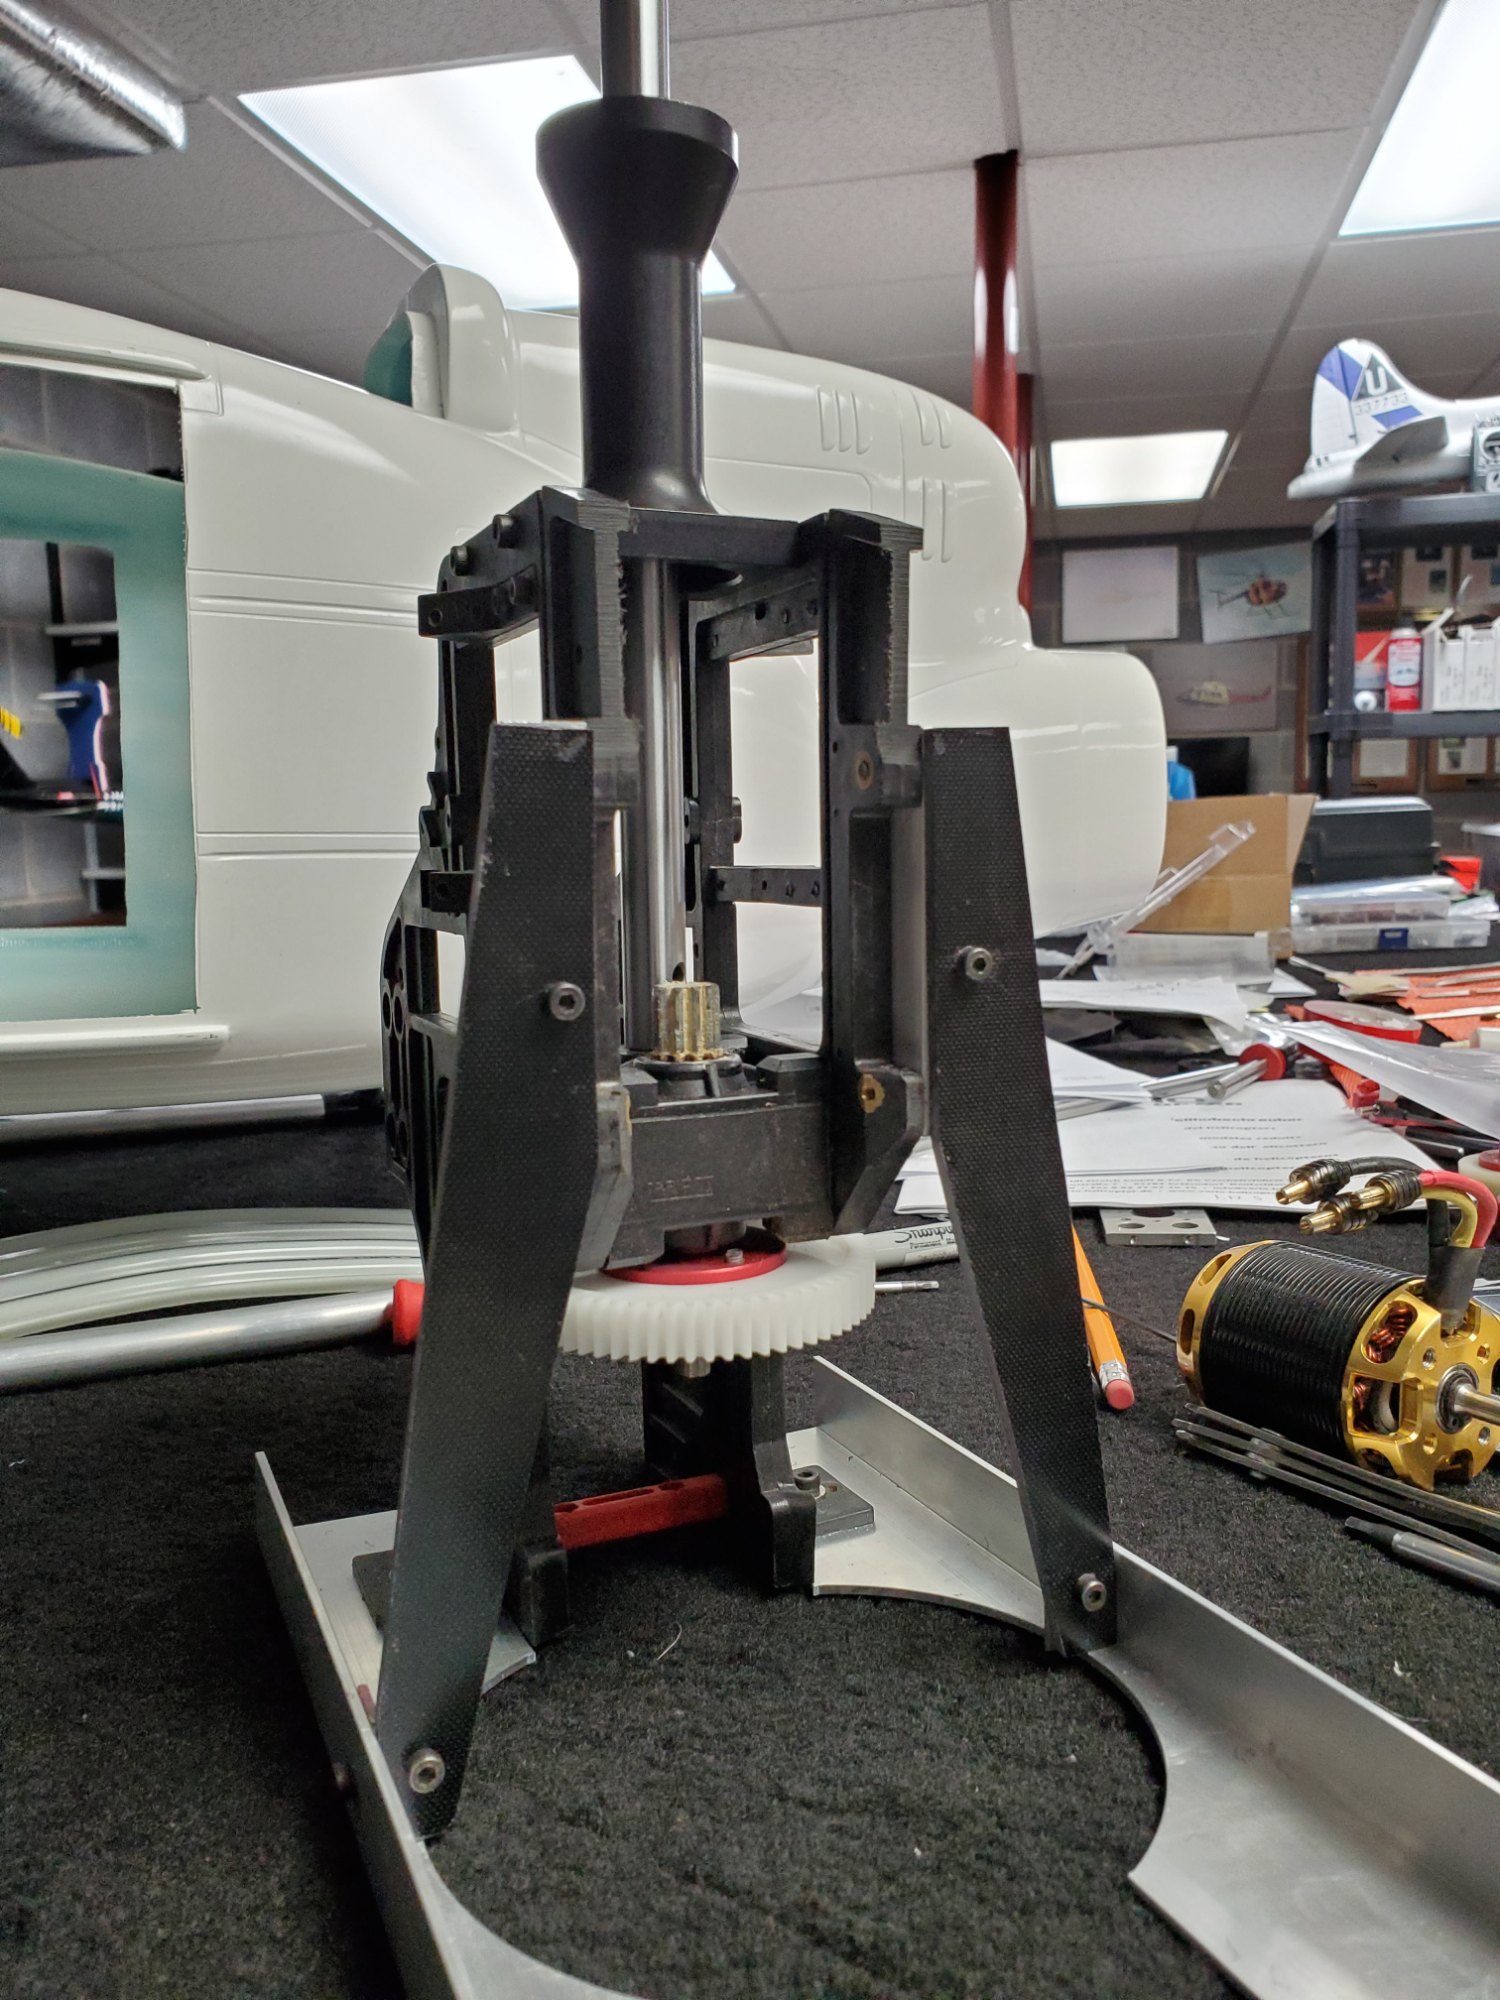
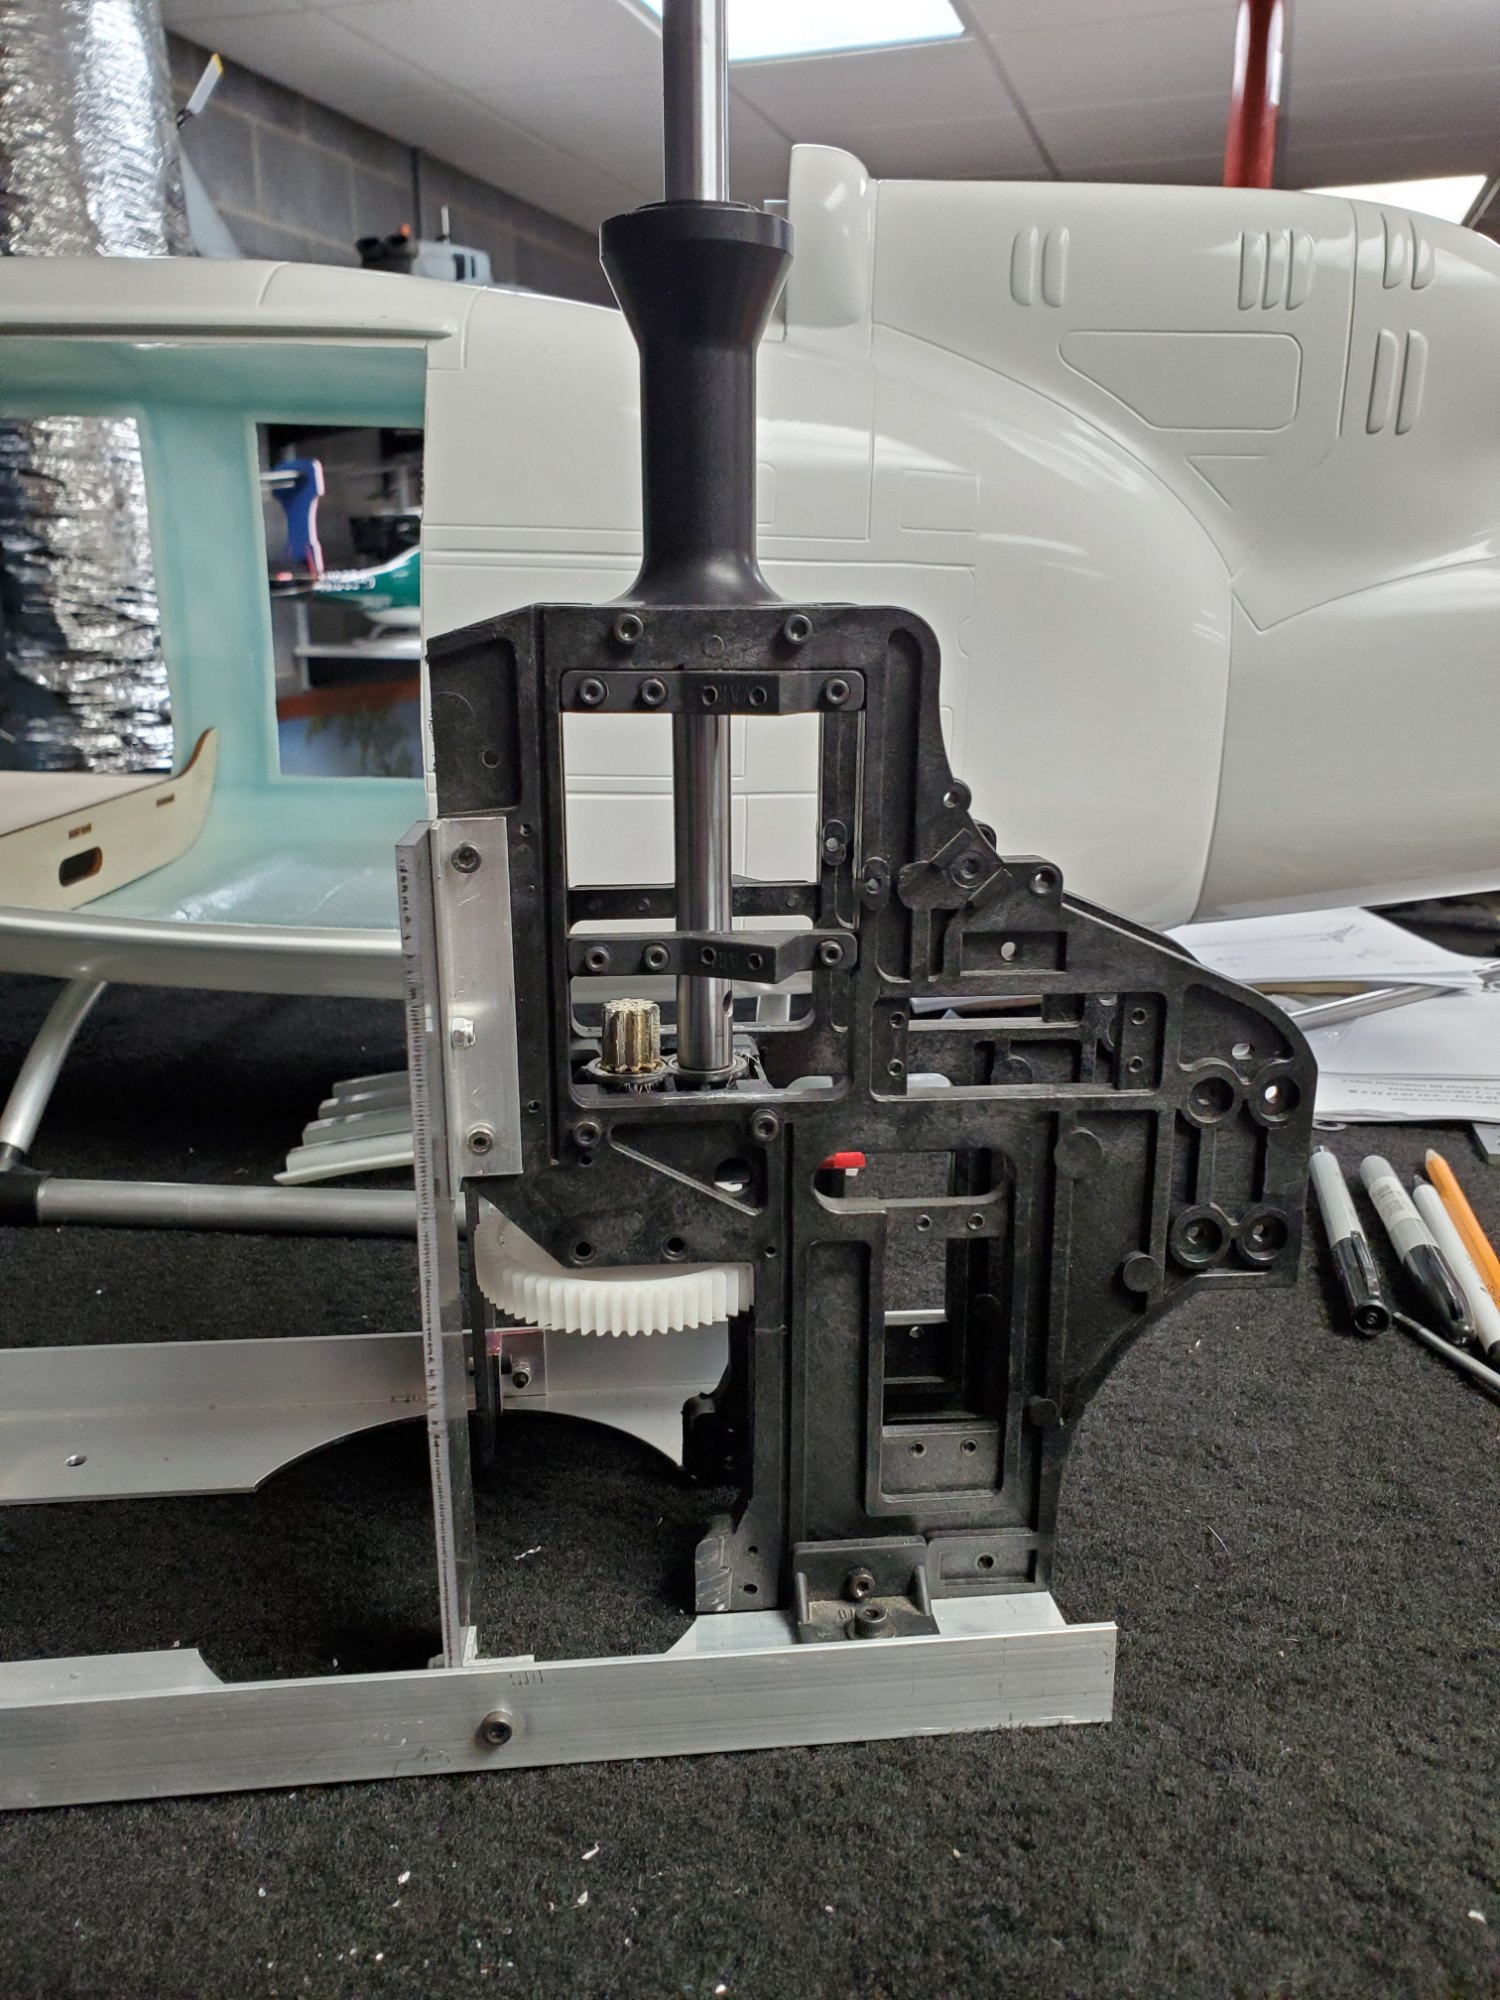
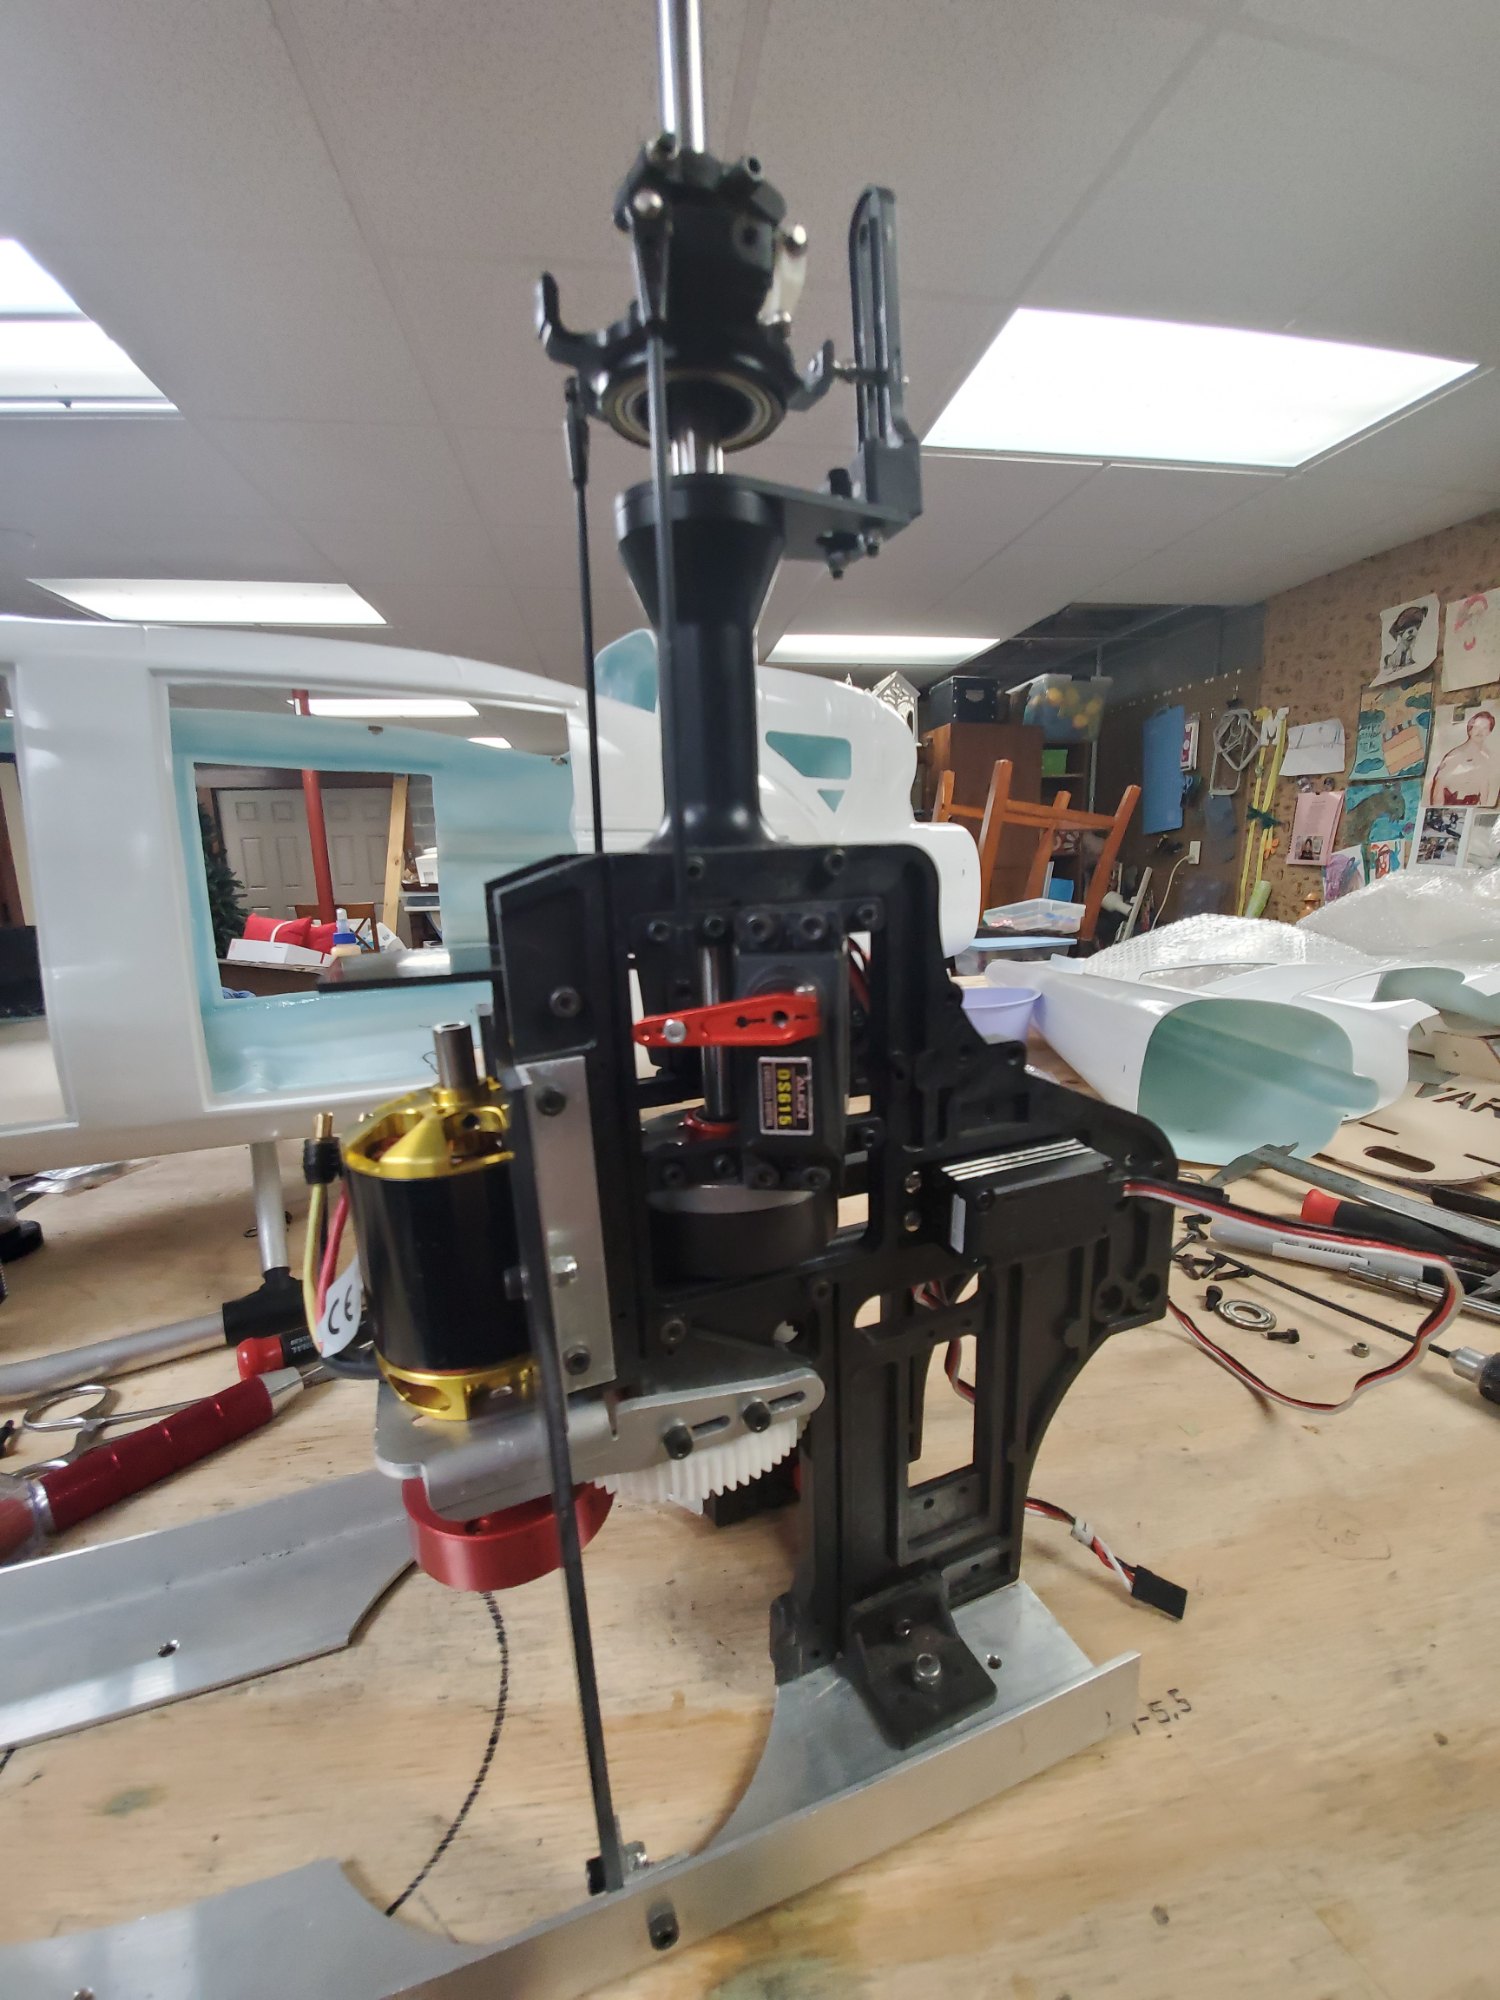
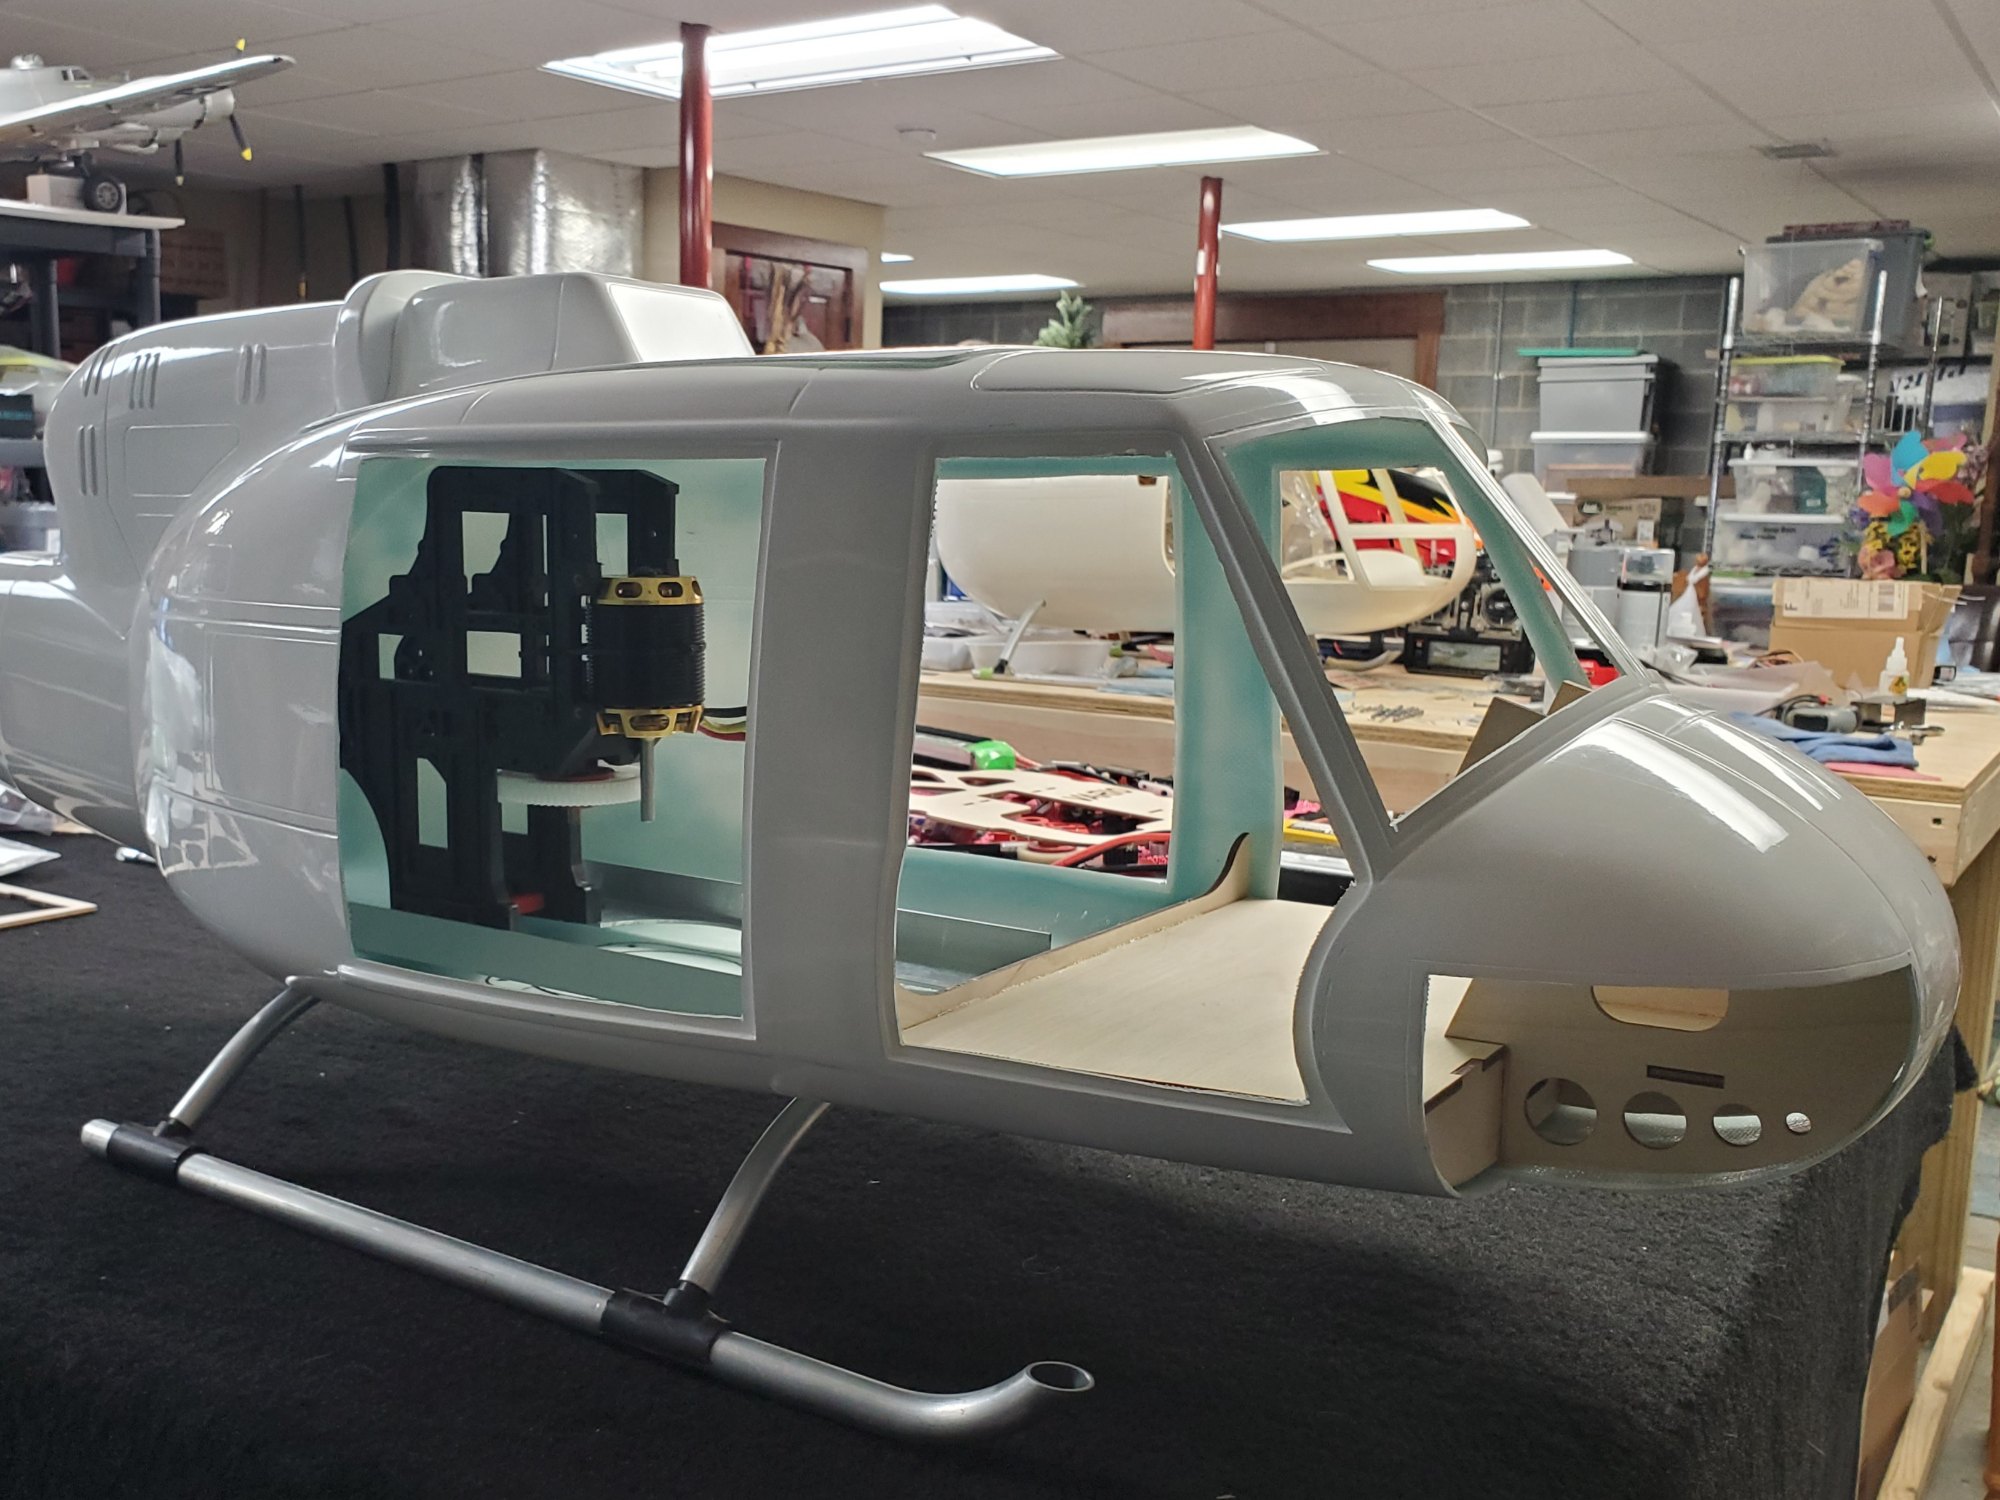
I had an old nitro powered SkyFox "pod & boom" and wanted to convert them to electric and try and retain the nitro clutch. Removing the nitro engine and converting to an electric motor would allow the removal of the nitro cooling shroud and leave plenty of room for a full cockpit. Doing this would require a little ingenuity as the clutch would require an 8mm motor shaft threaded on the inside at the end to mount the clutch and all the motors in the size required had 6mm shafts. After disassembly of a Scorpion 4035 I found the motor shaft WAS 8mm but tapered to 6mm. Using a 8mm Vario rotor head Spindle Shaft that was threaded on the end would work PERFECT ( I have since done this modification on other Scorpion motors and NEVER a problem ). I am currently using this setup on a 407. Once the mechanics were configured it was on to the fuselage.
Cockpit
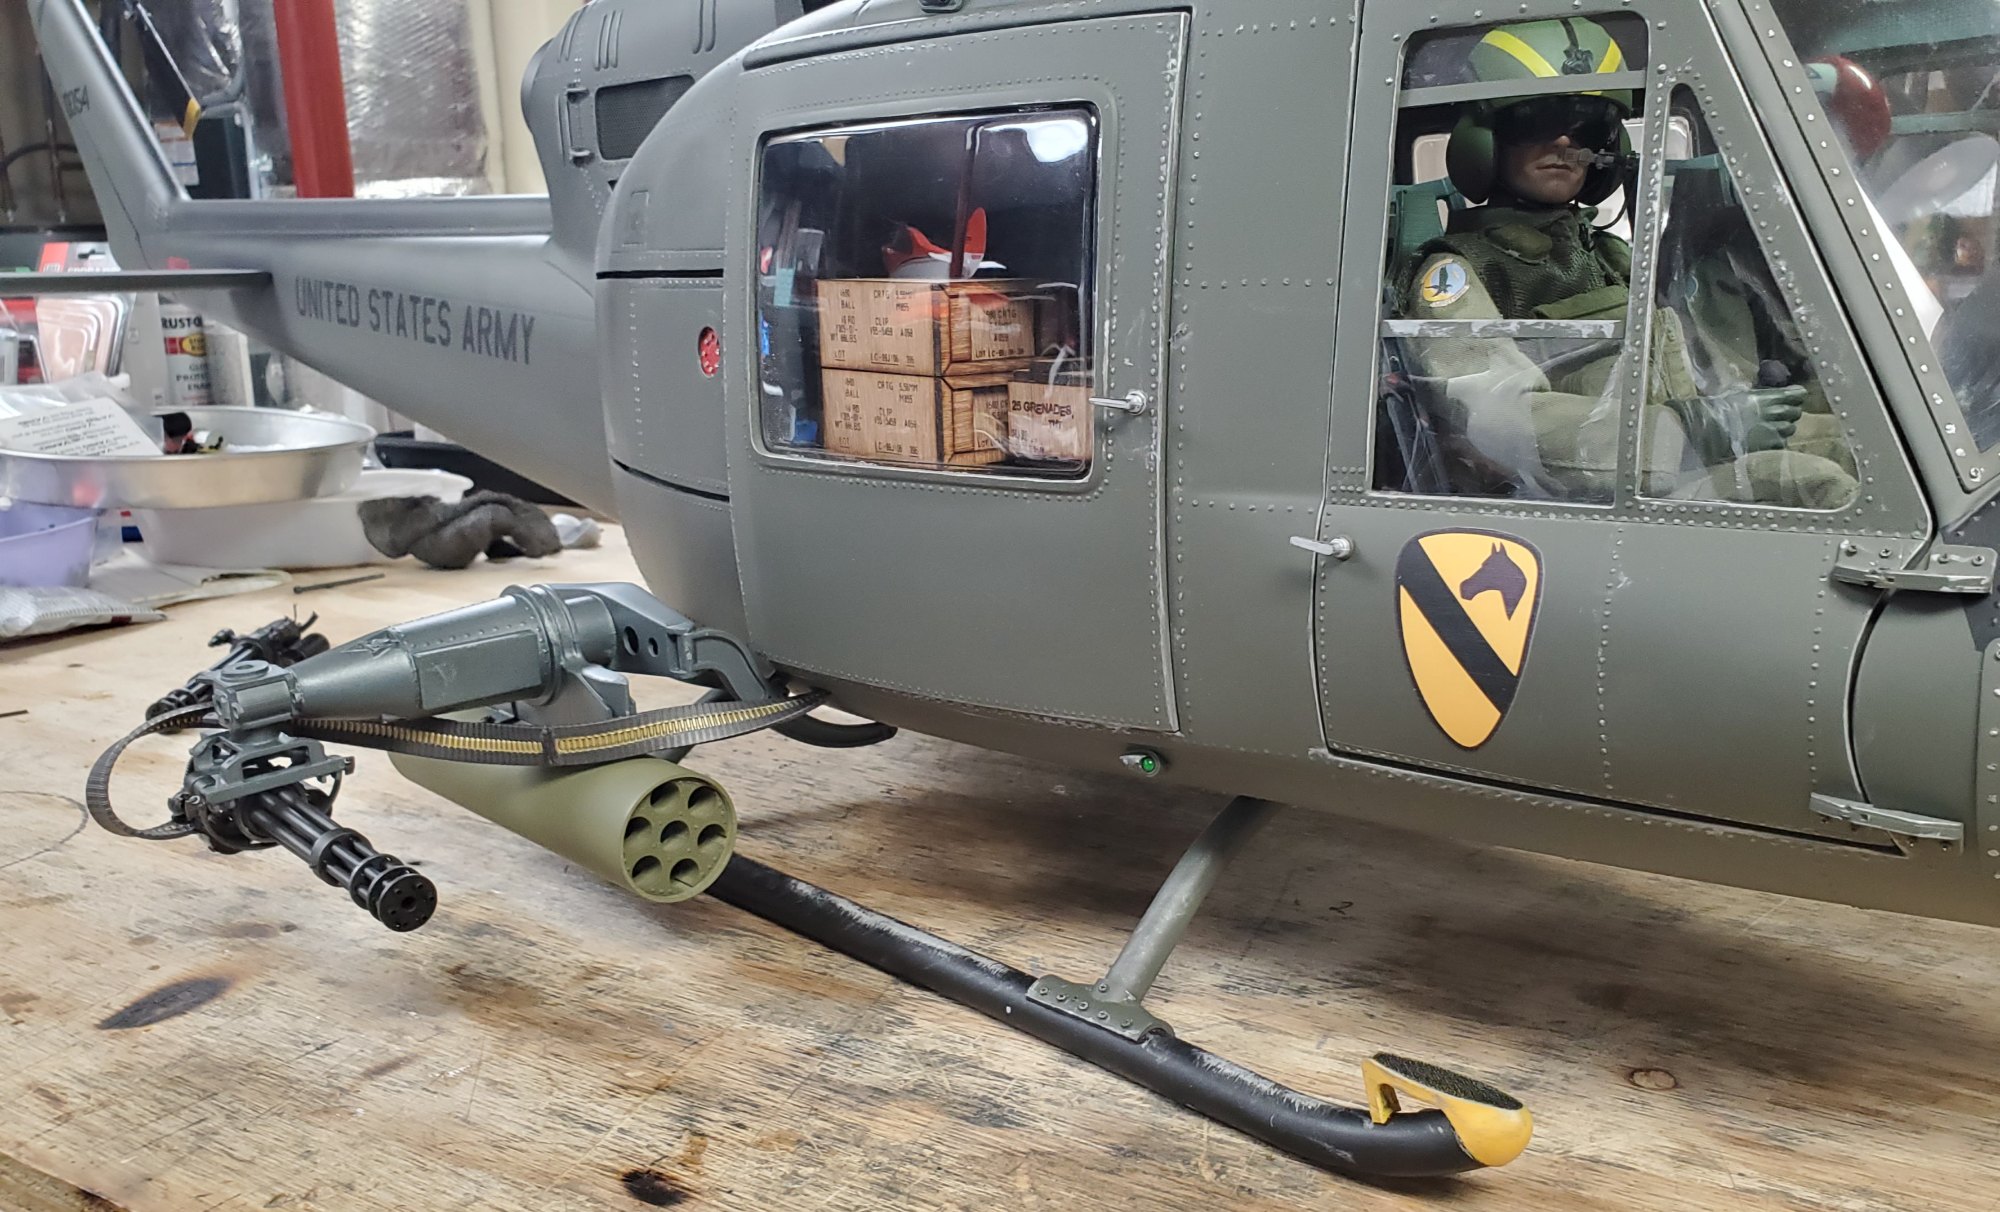
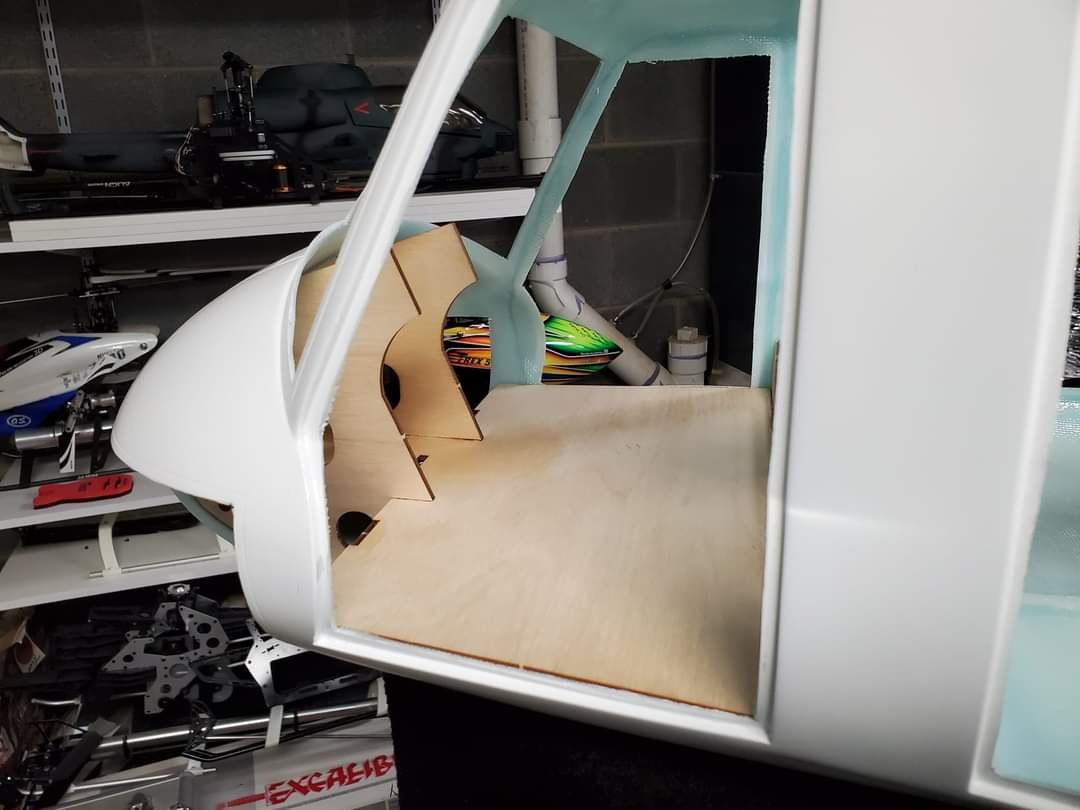
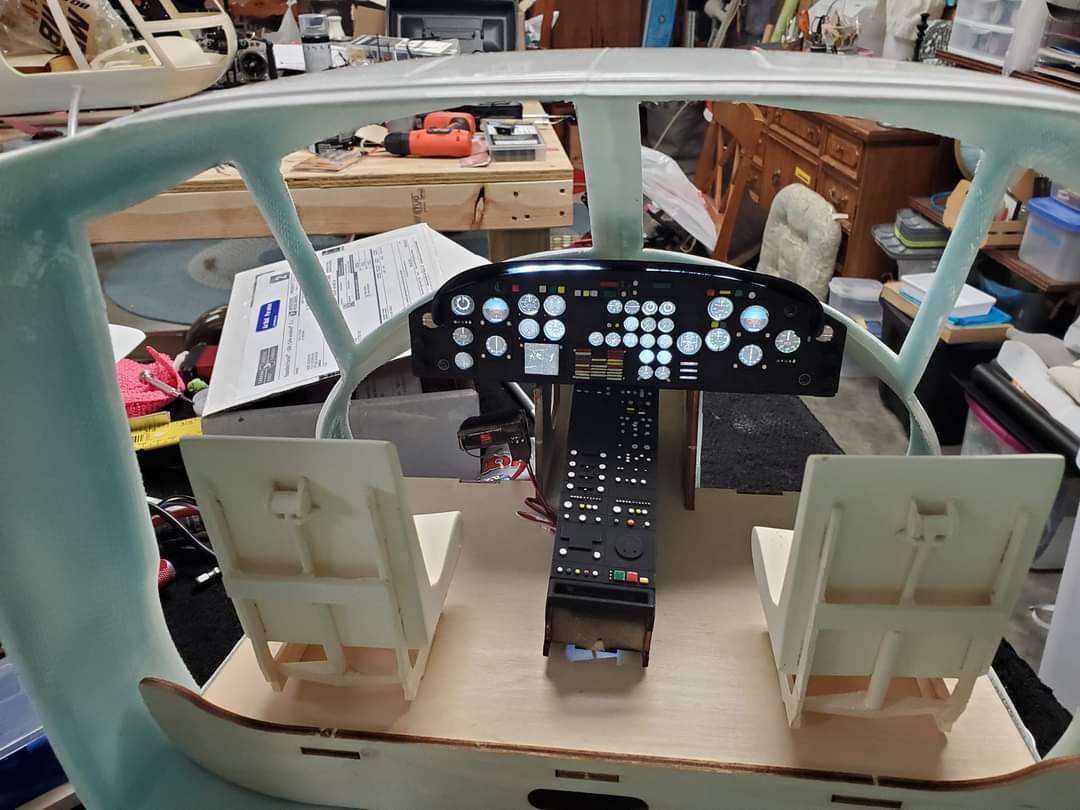
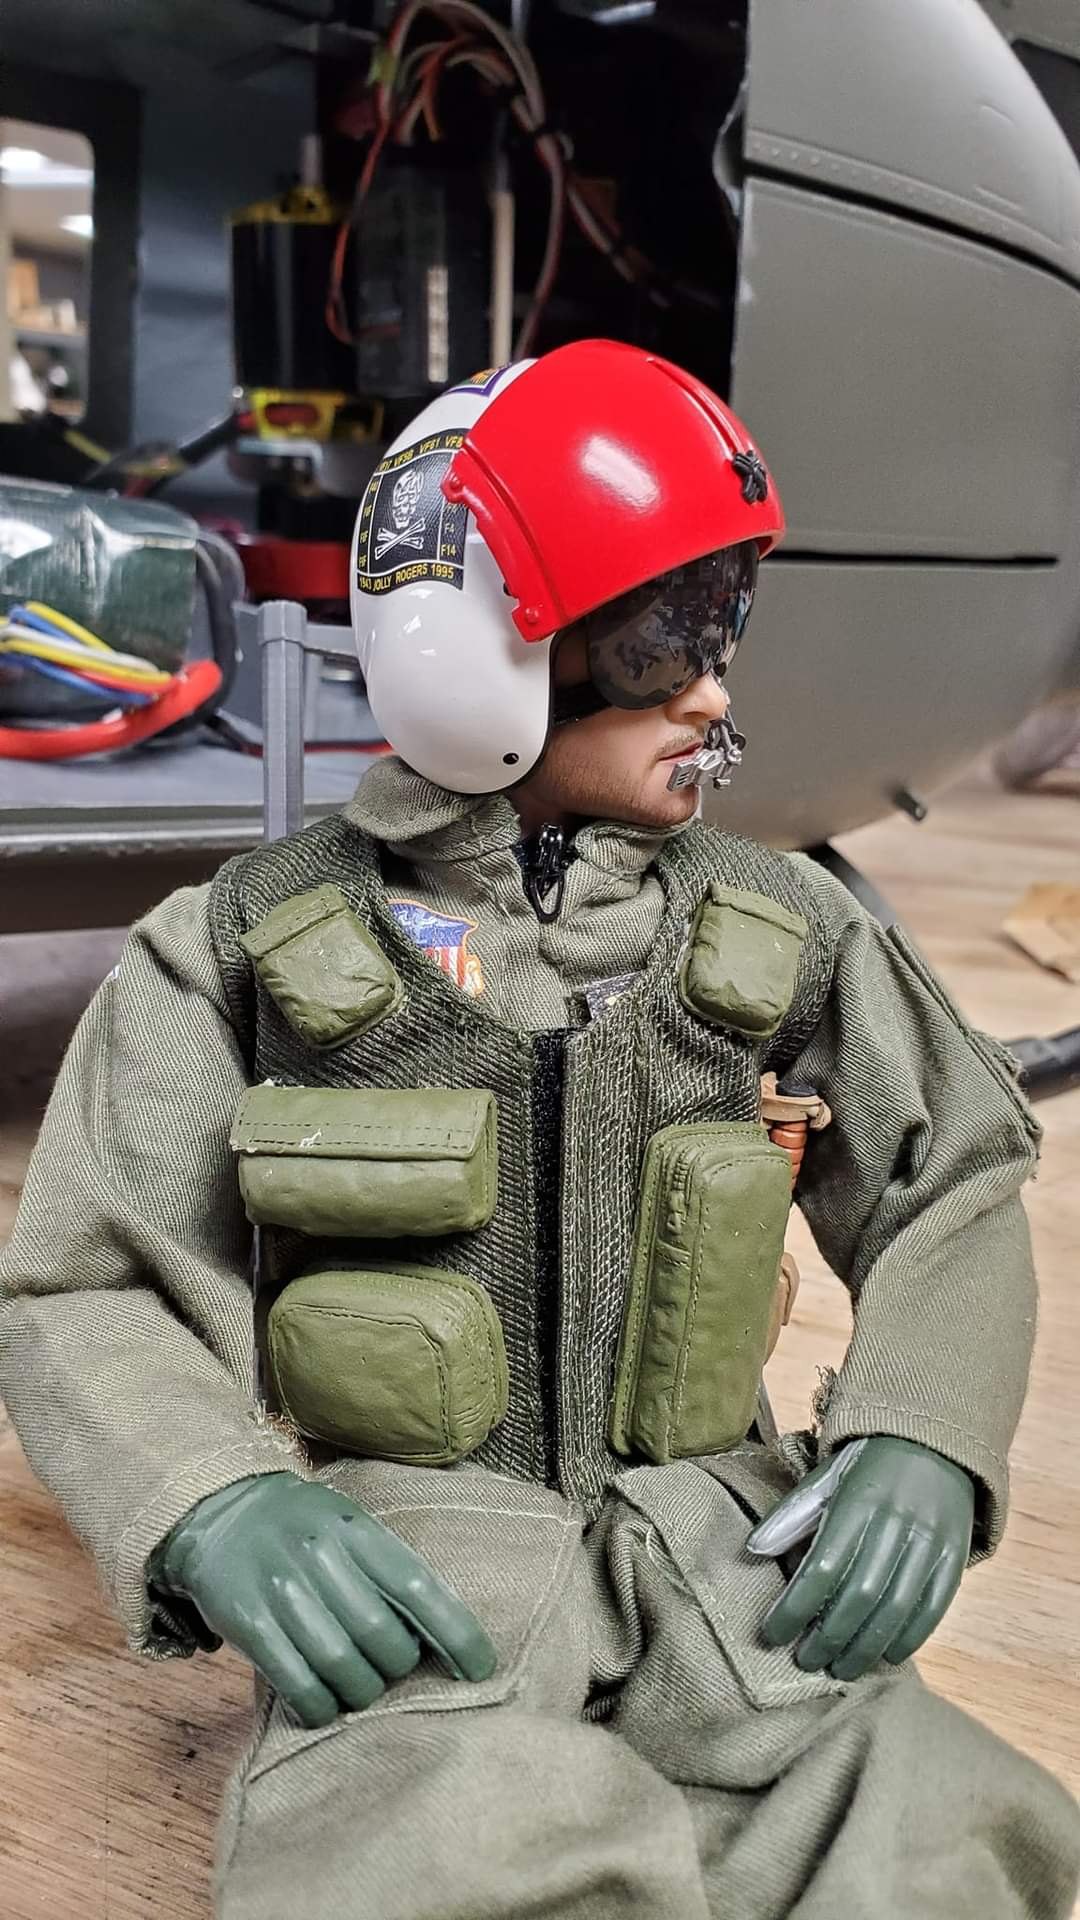
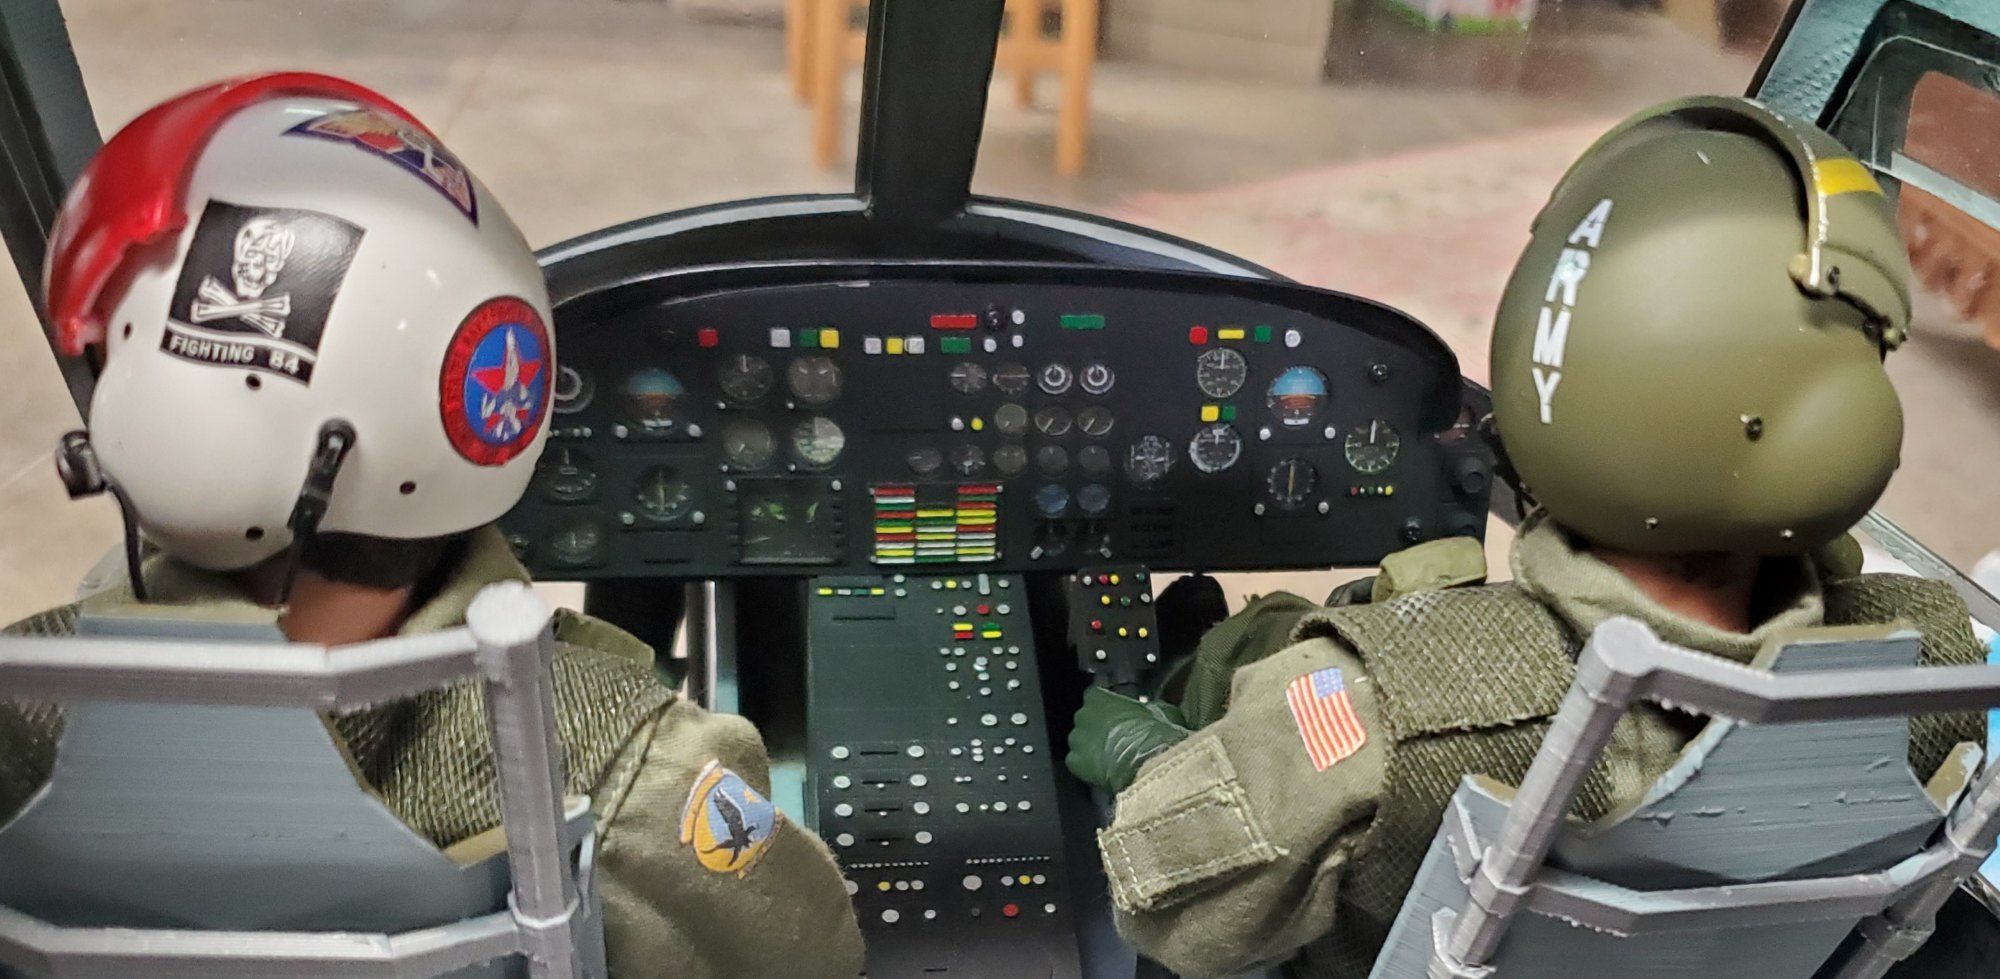
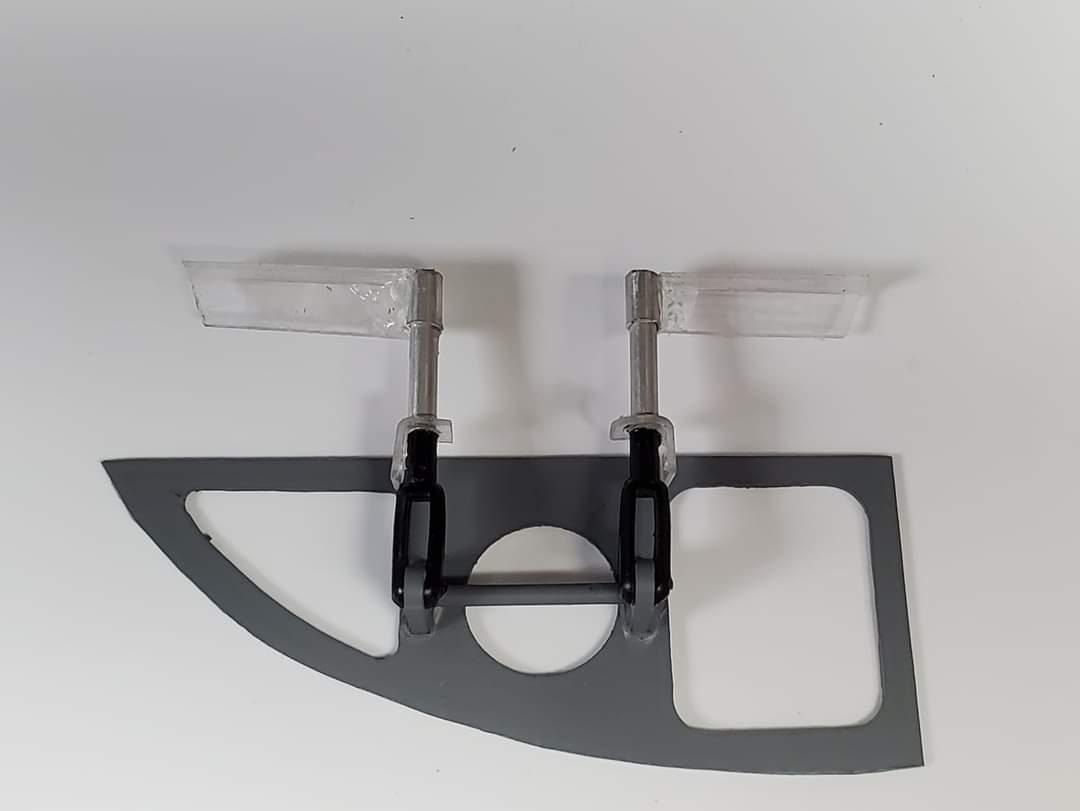
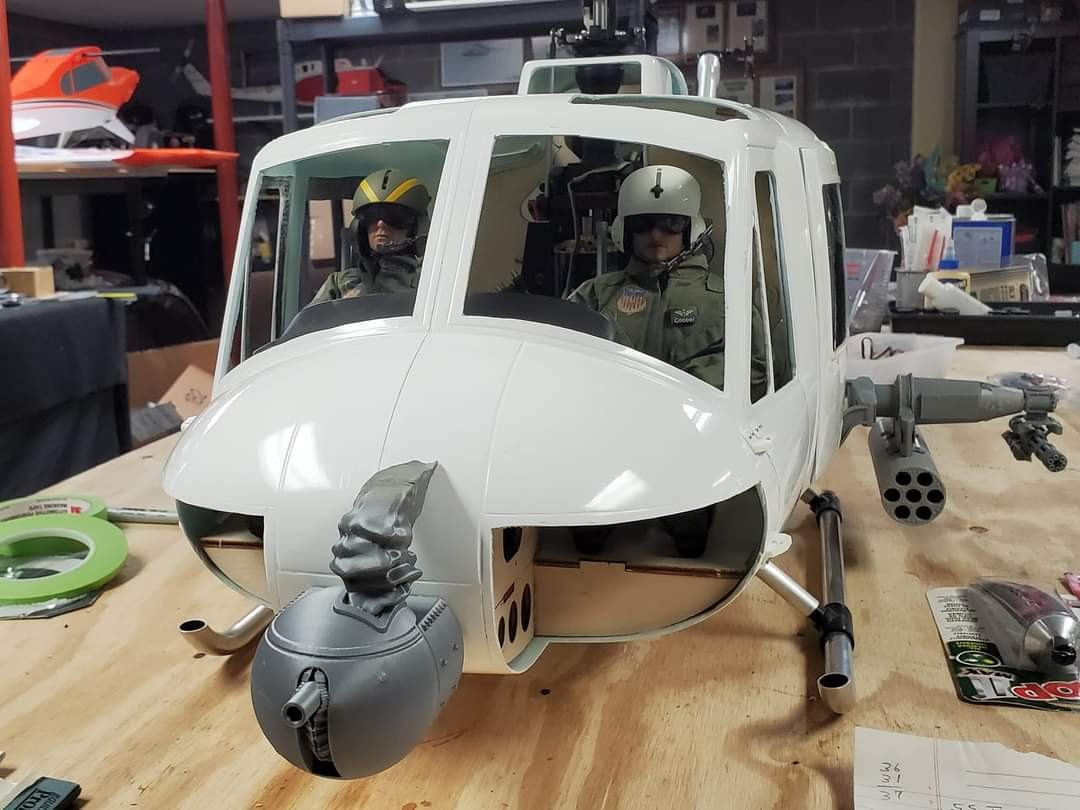
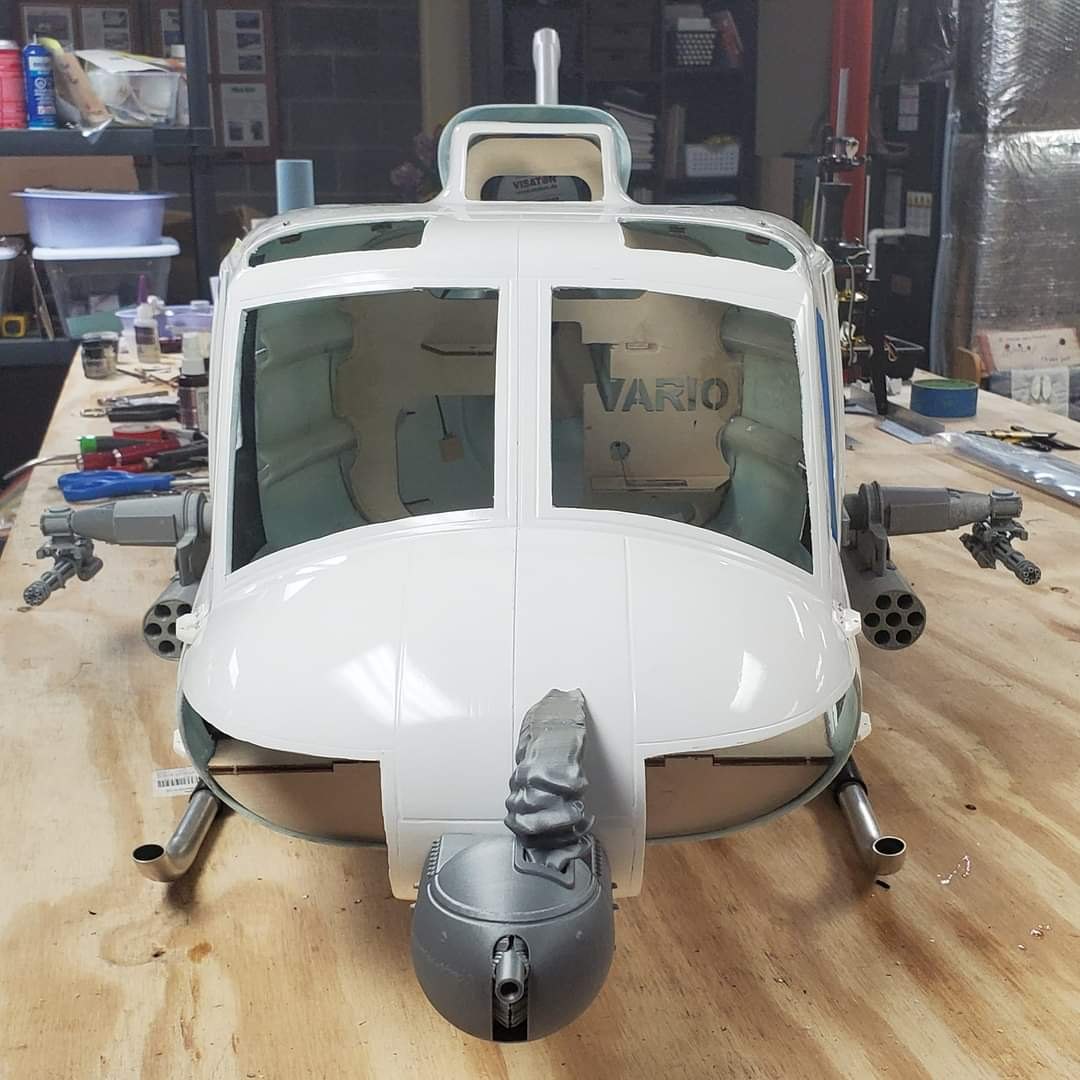
I started with the cockpit and pilots. Using 1/8th inch light-ply i made the cockpit floor and instrument panel pedestal. This was not going to be a highly detailed cockpit BUT I wanted enough detail to make it look good. I scratch-built tail rotor pedals and controls, used the seats and Instrument panel from a Roban Huey. The pilots were pieced together from BlackOpsToys and Ebay. I was getting quite happy with this "Sport Scale" Huey, lol
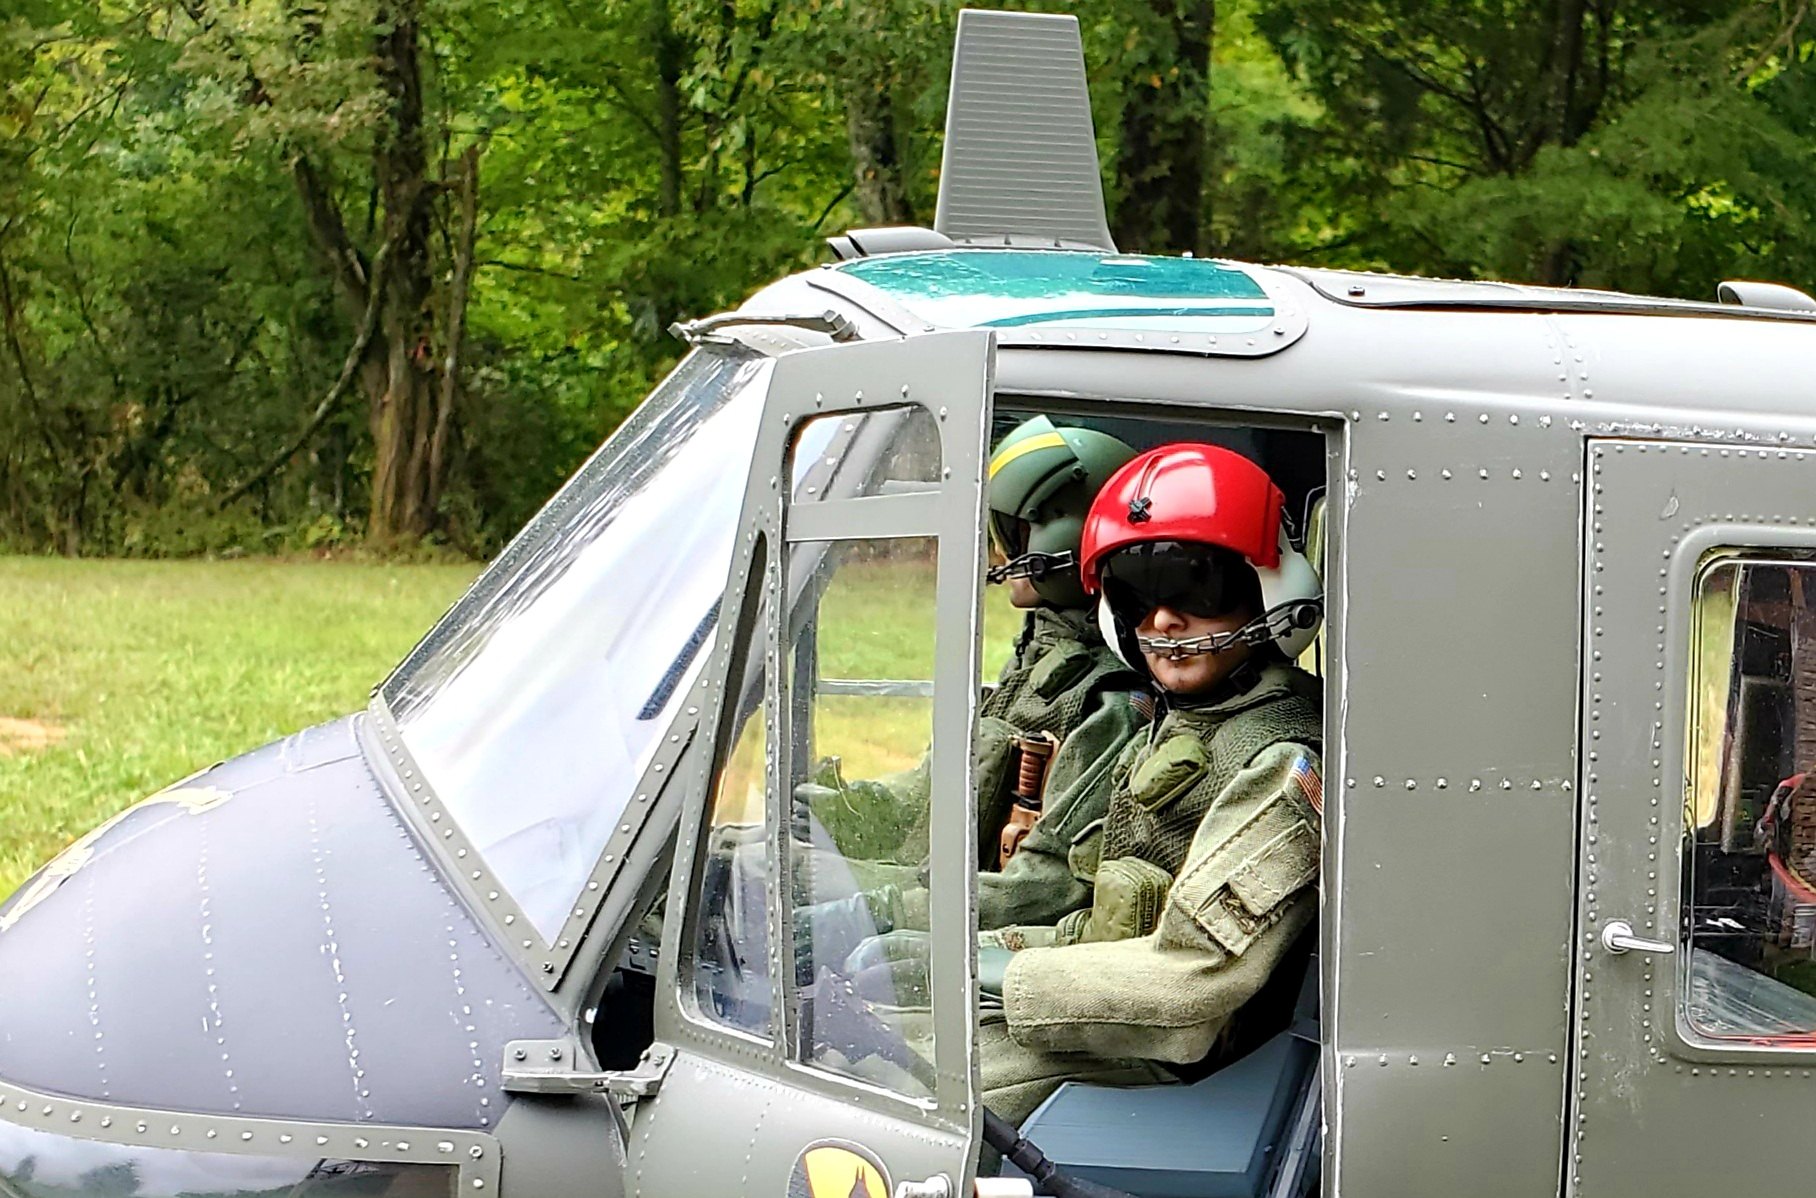
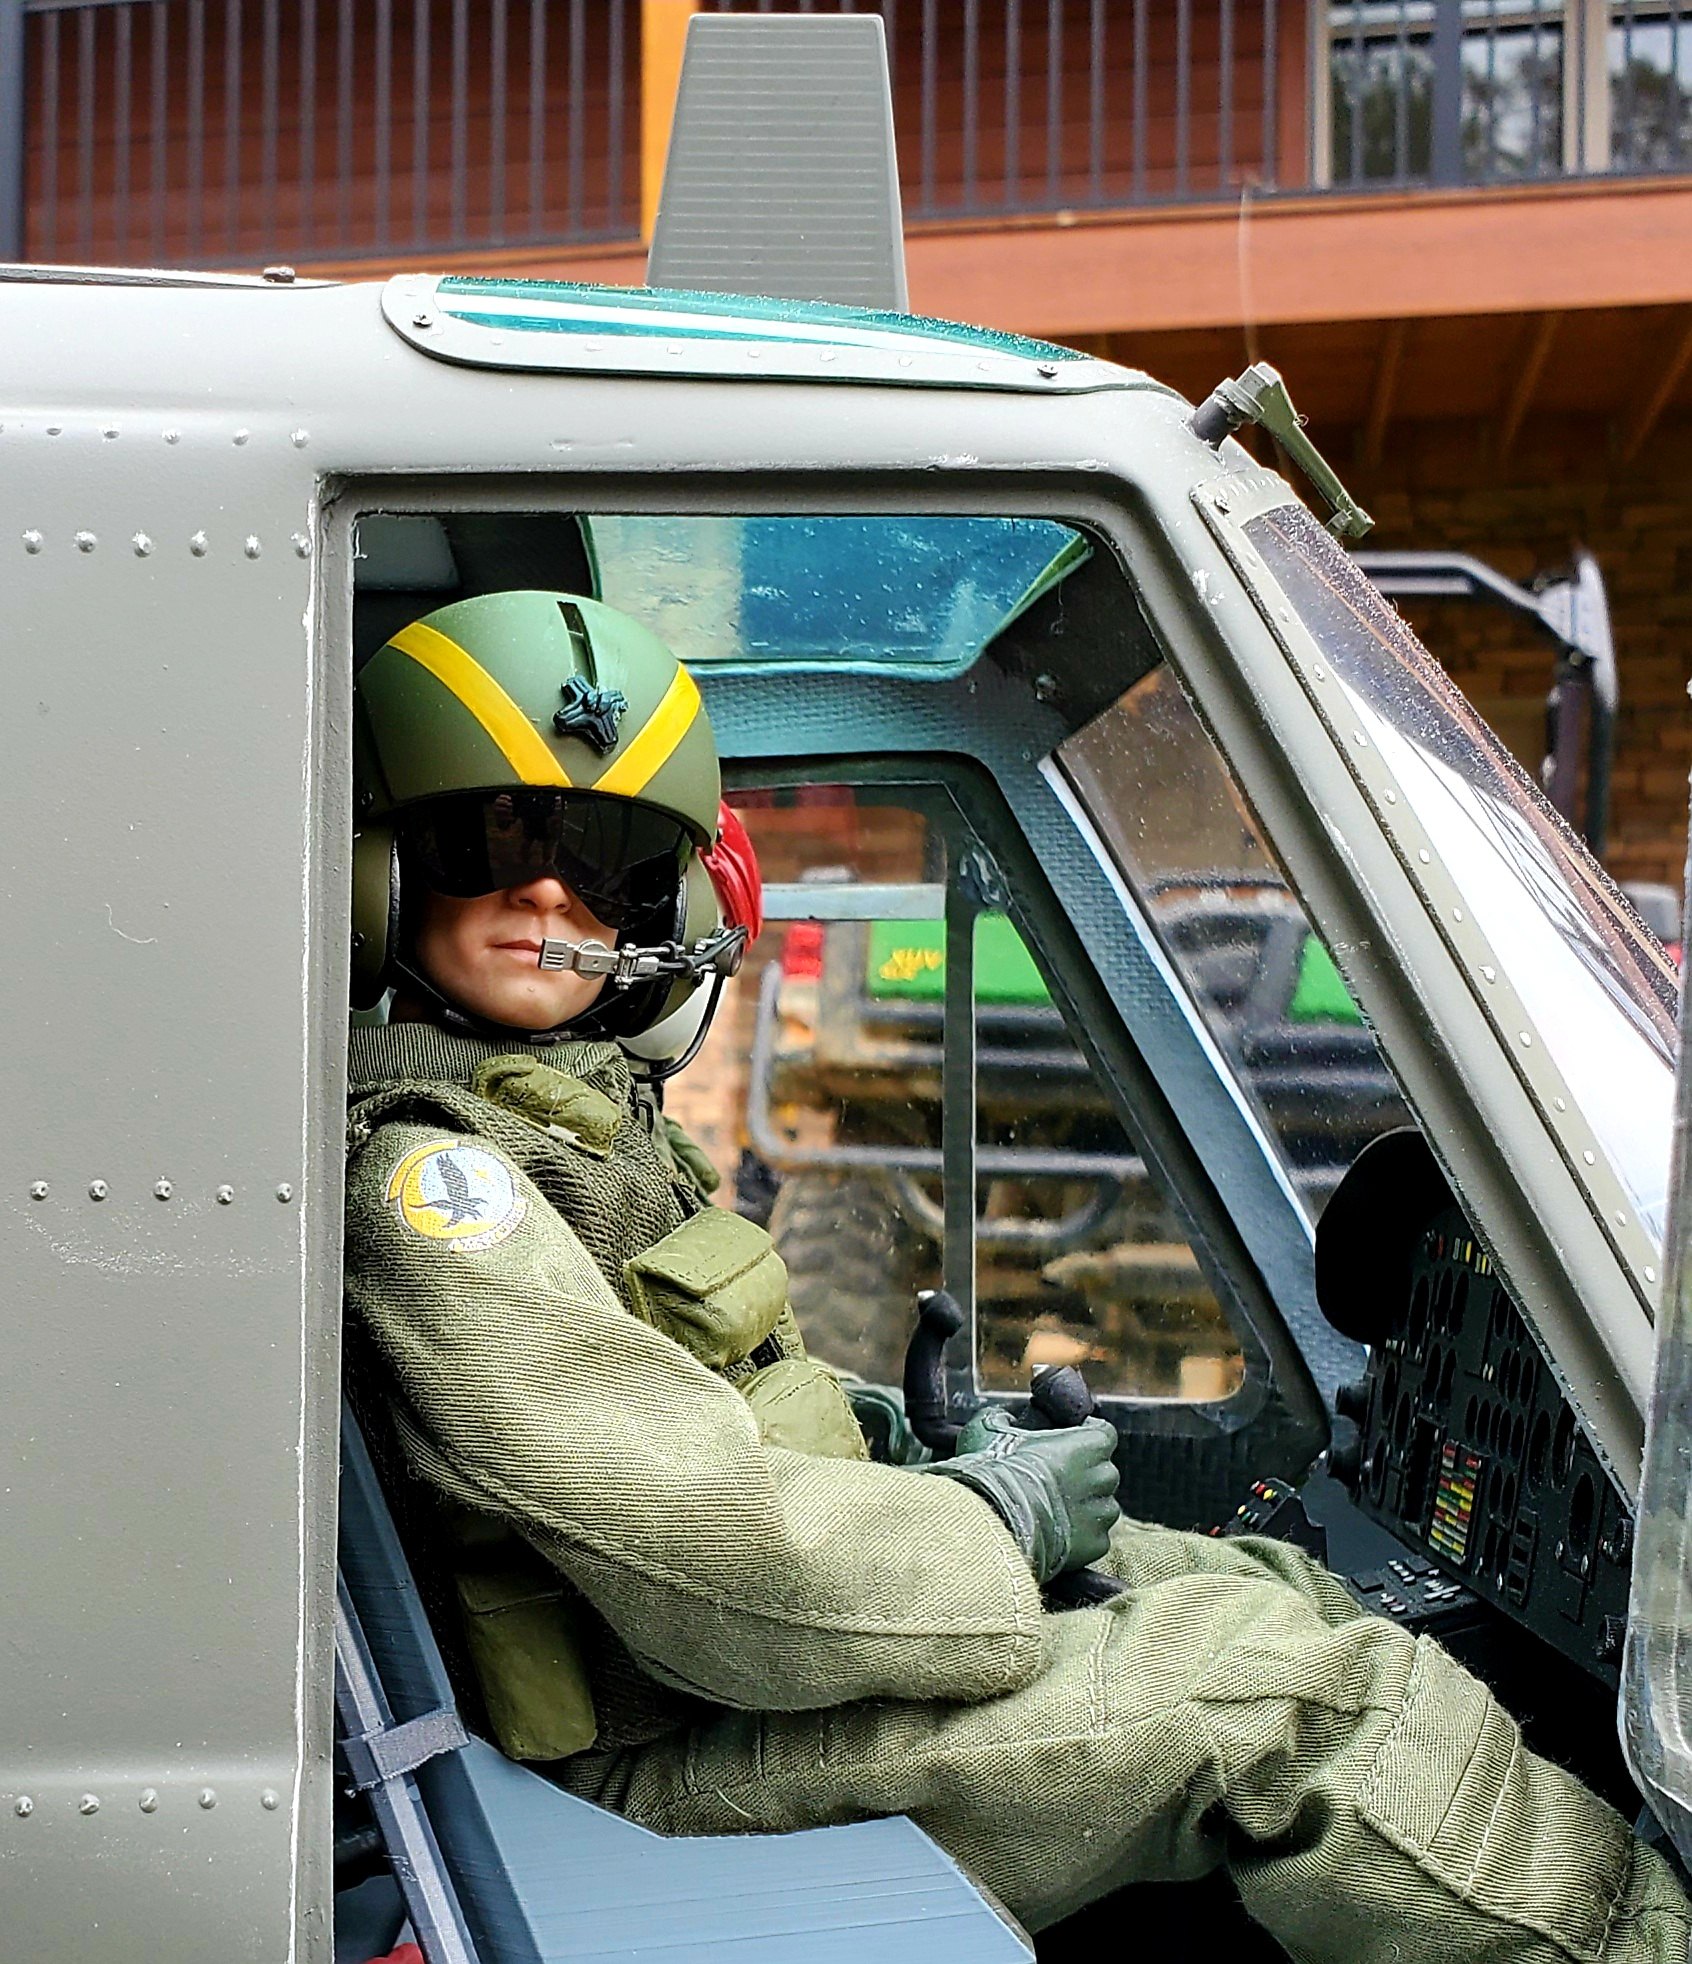
Fuselage and Weapons
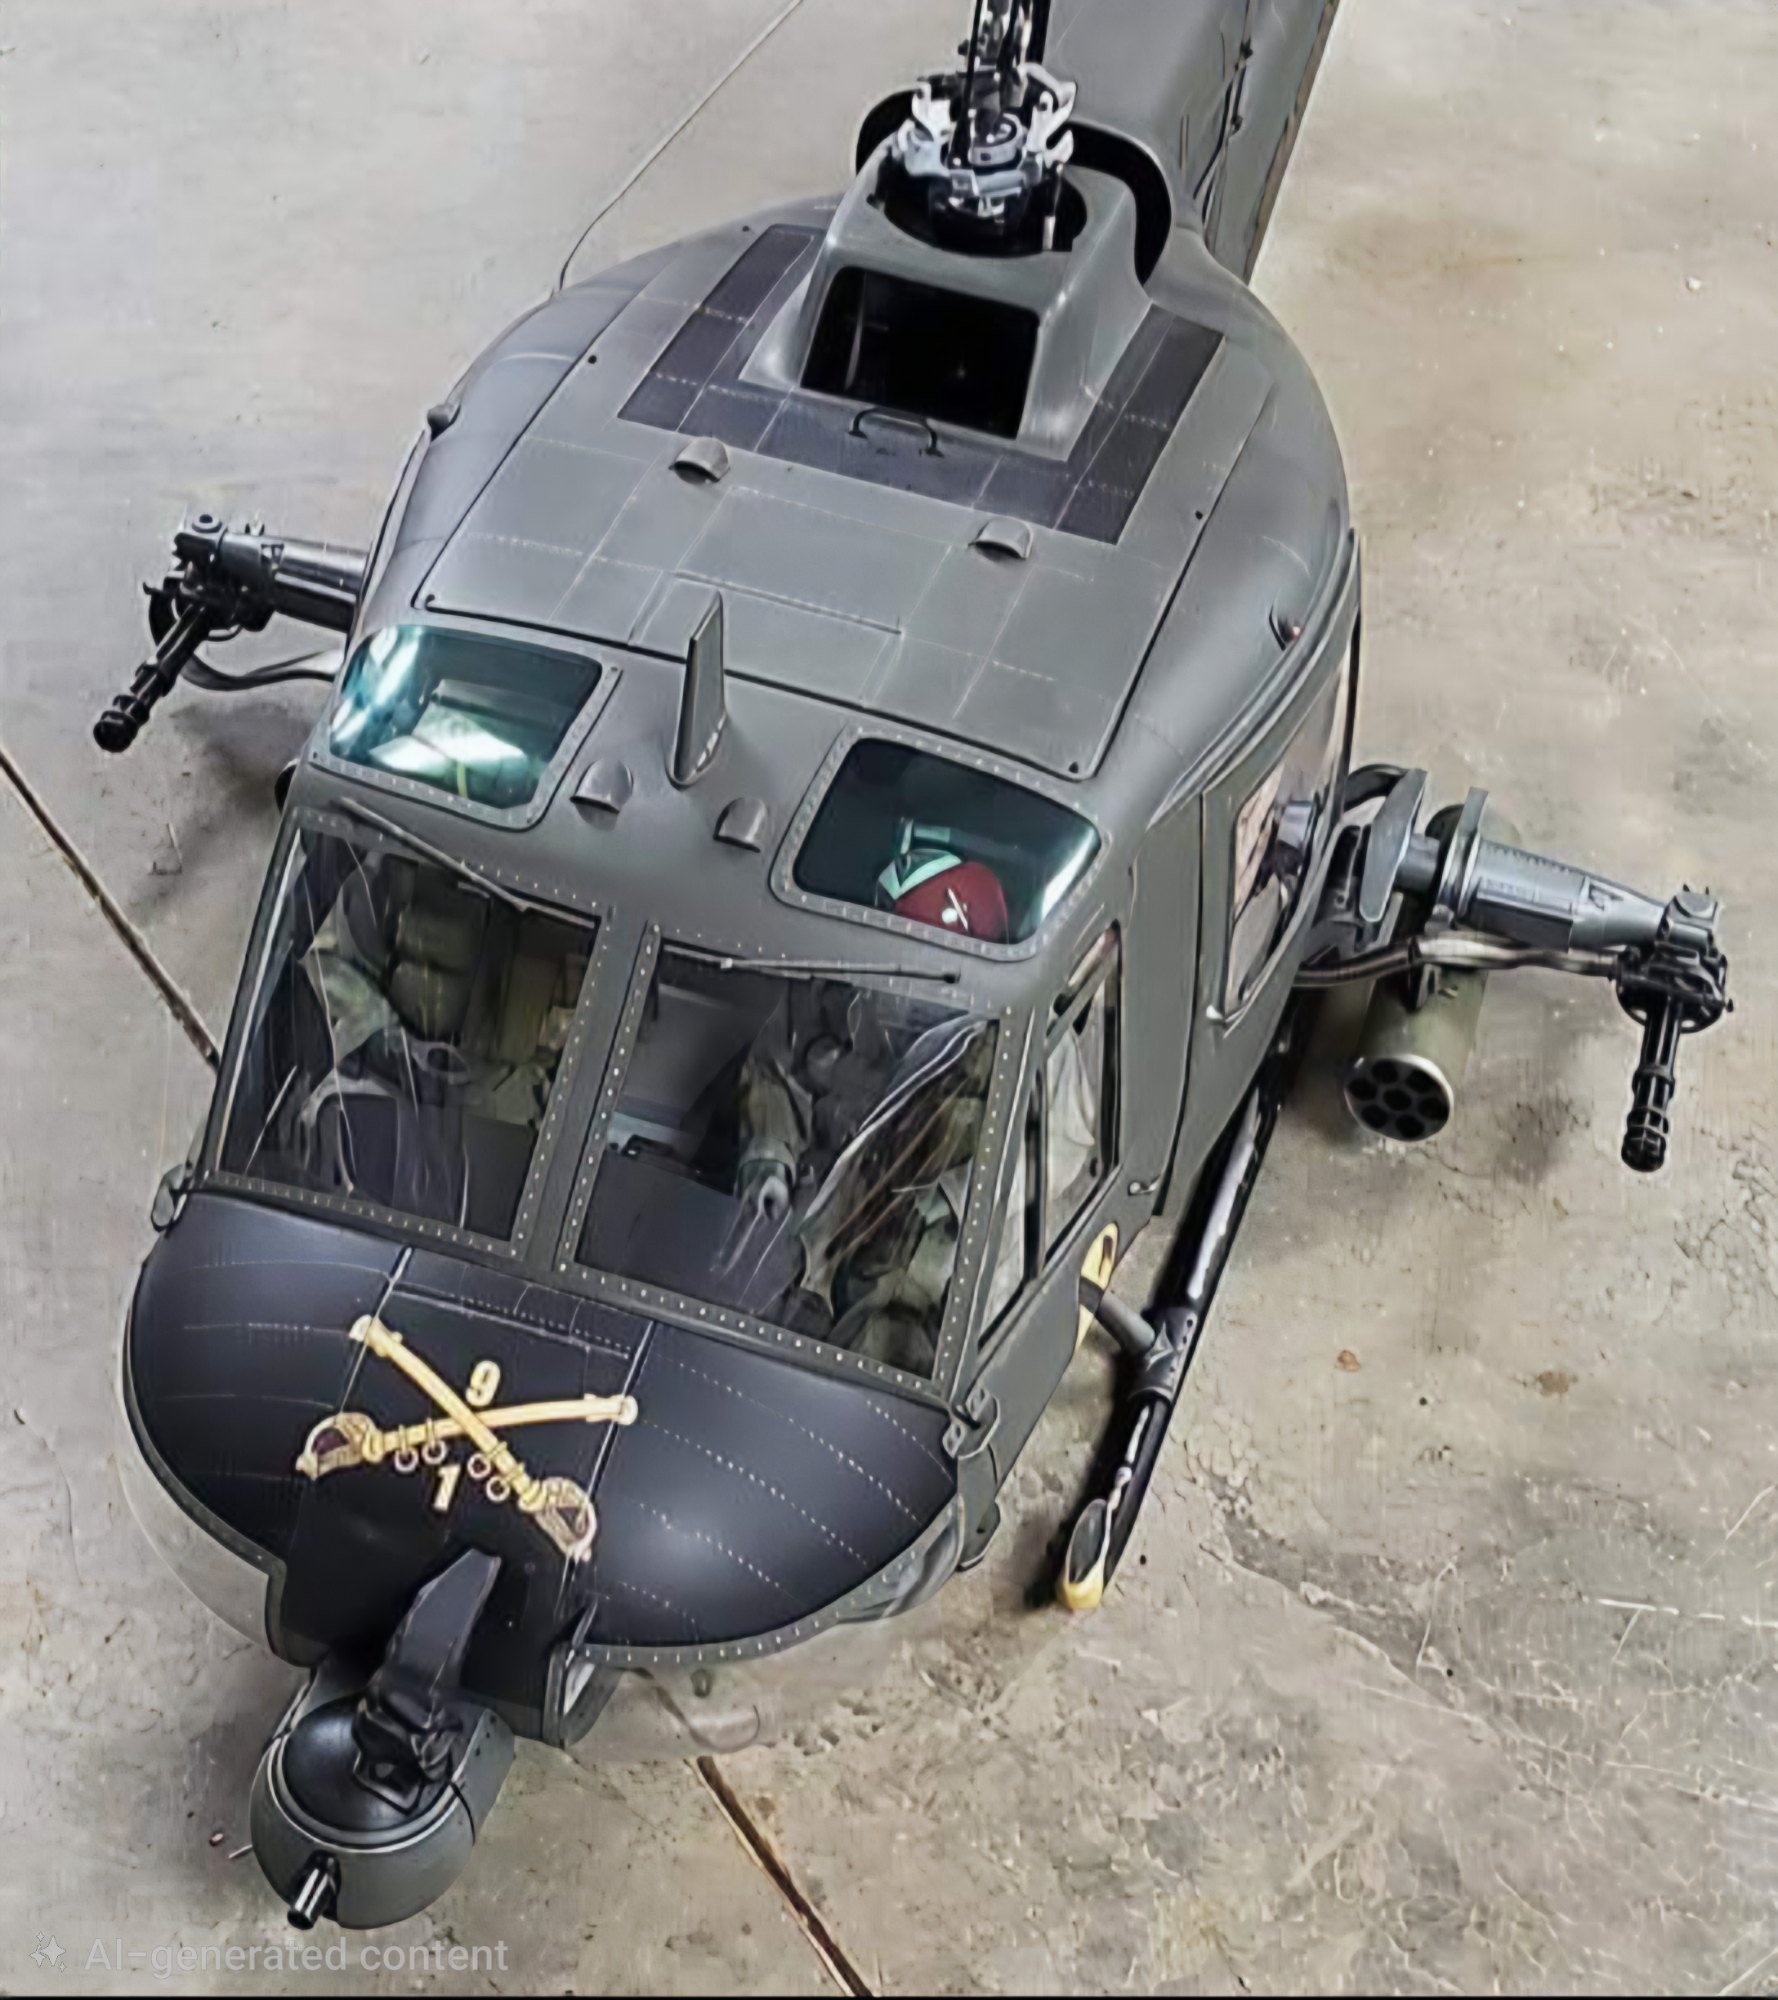
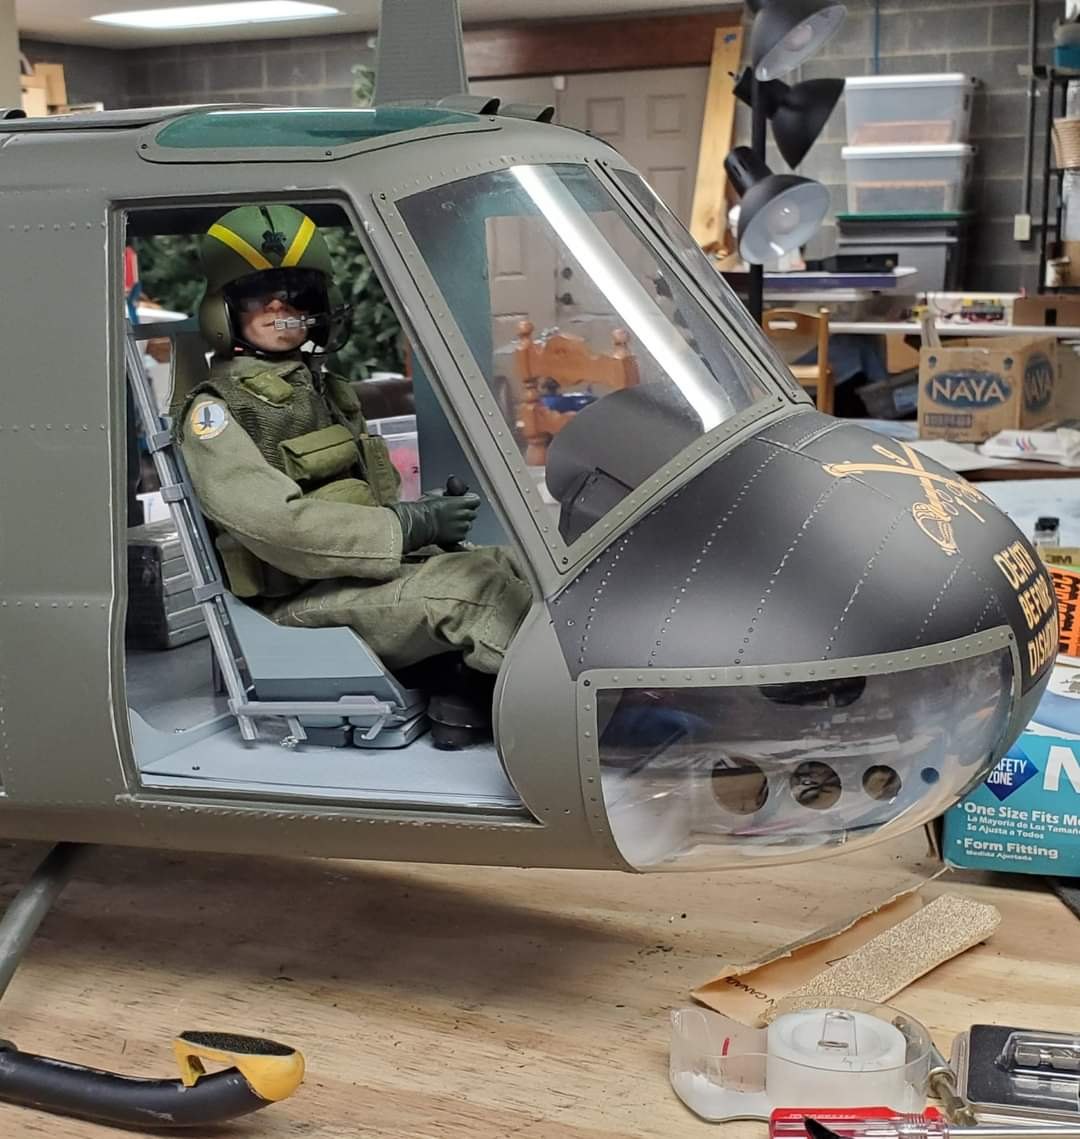
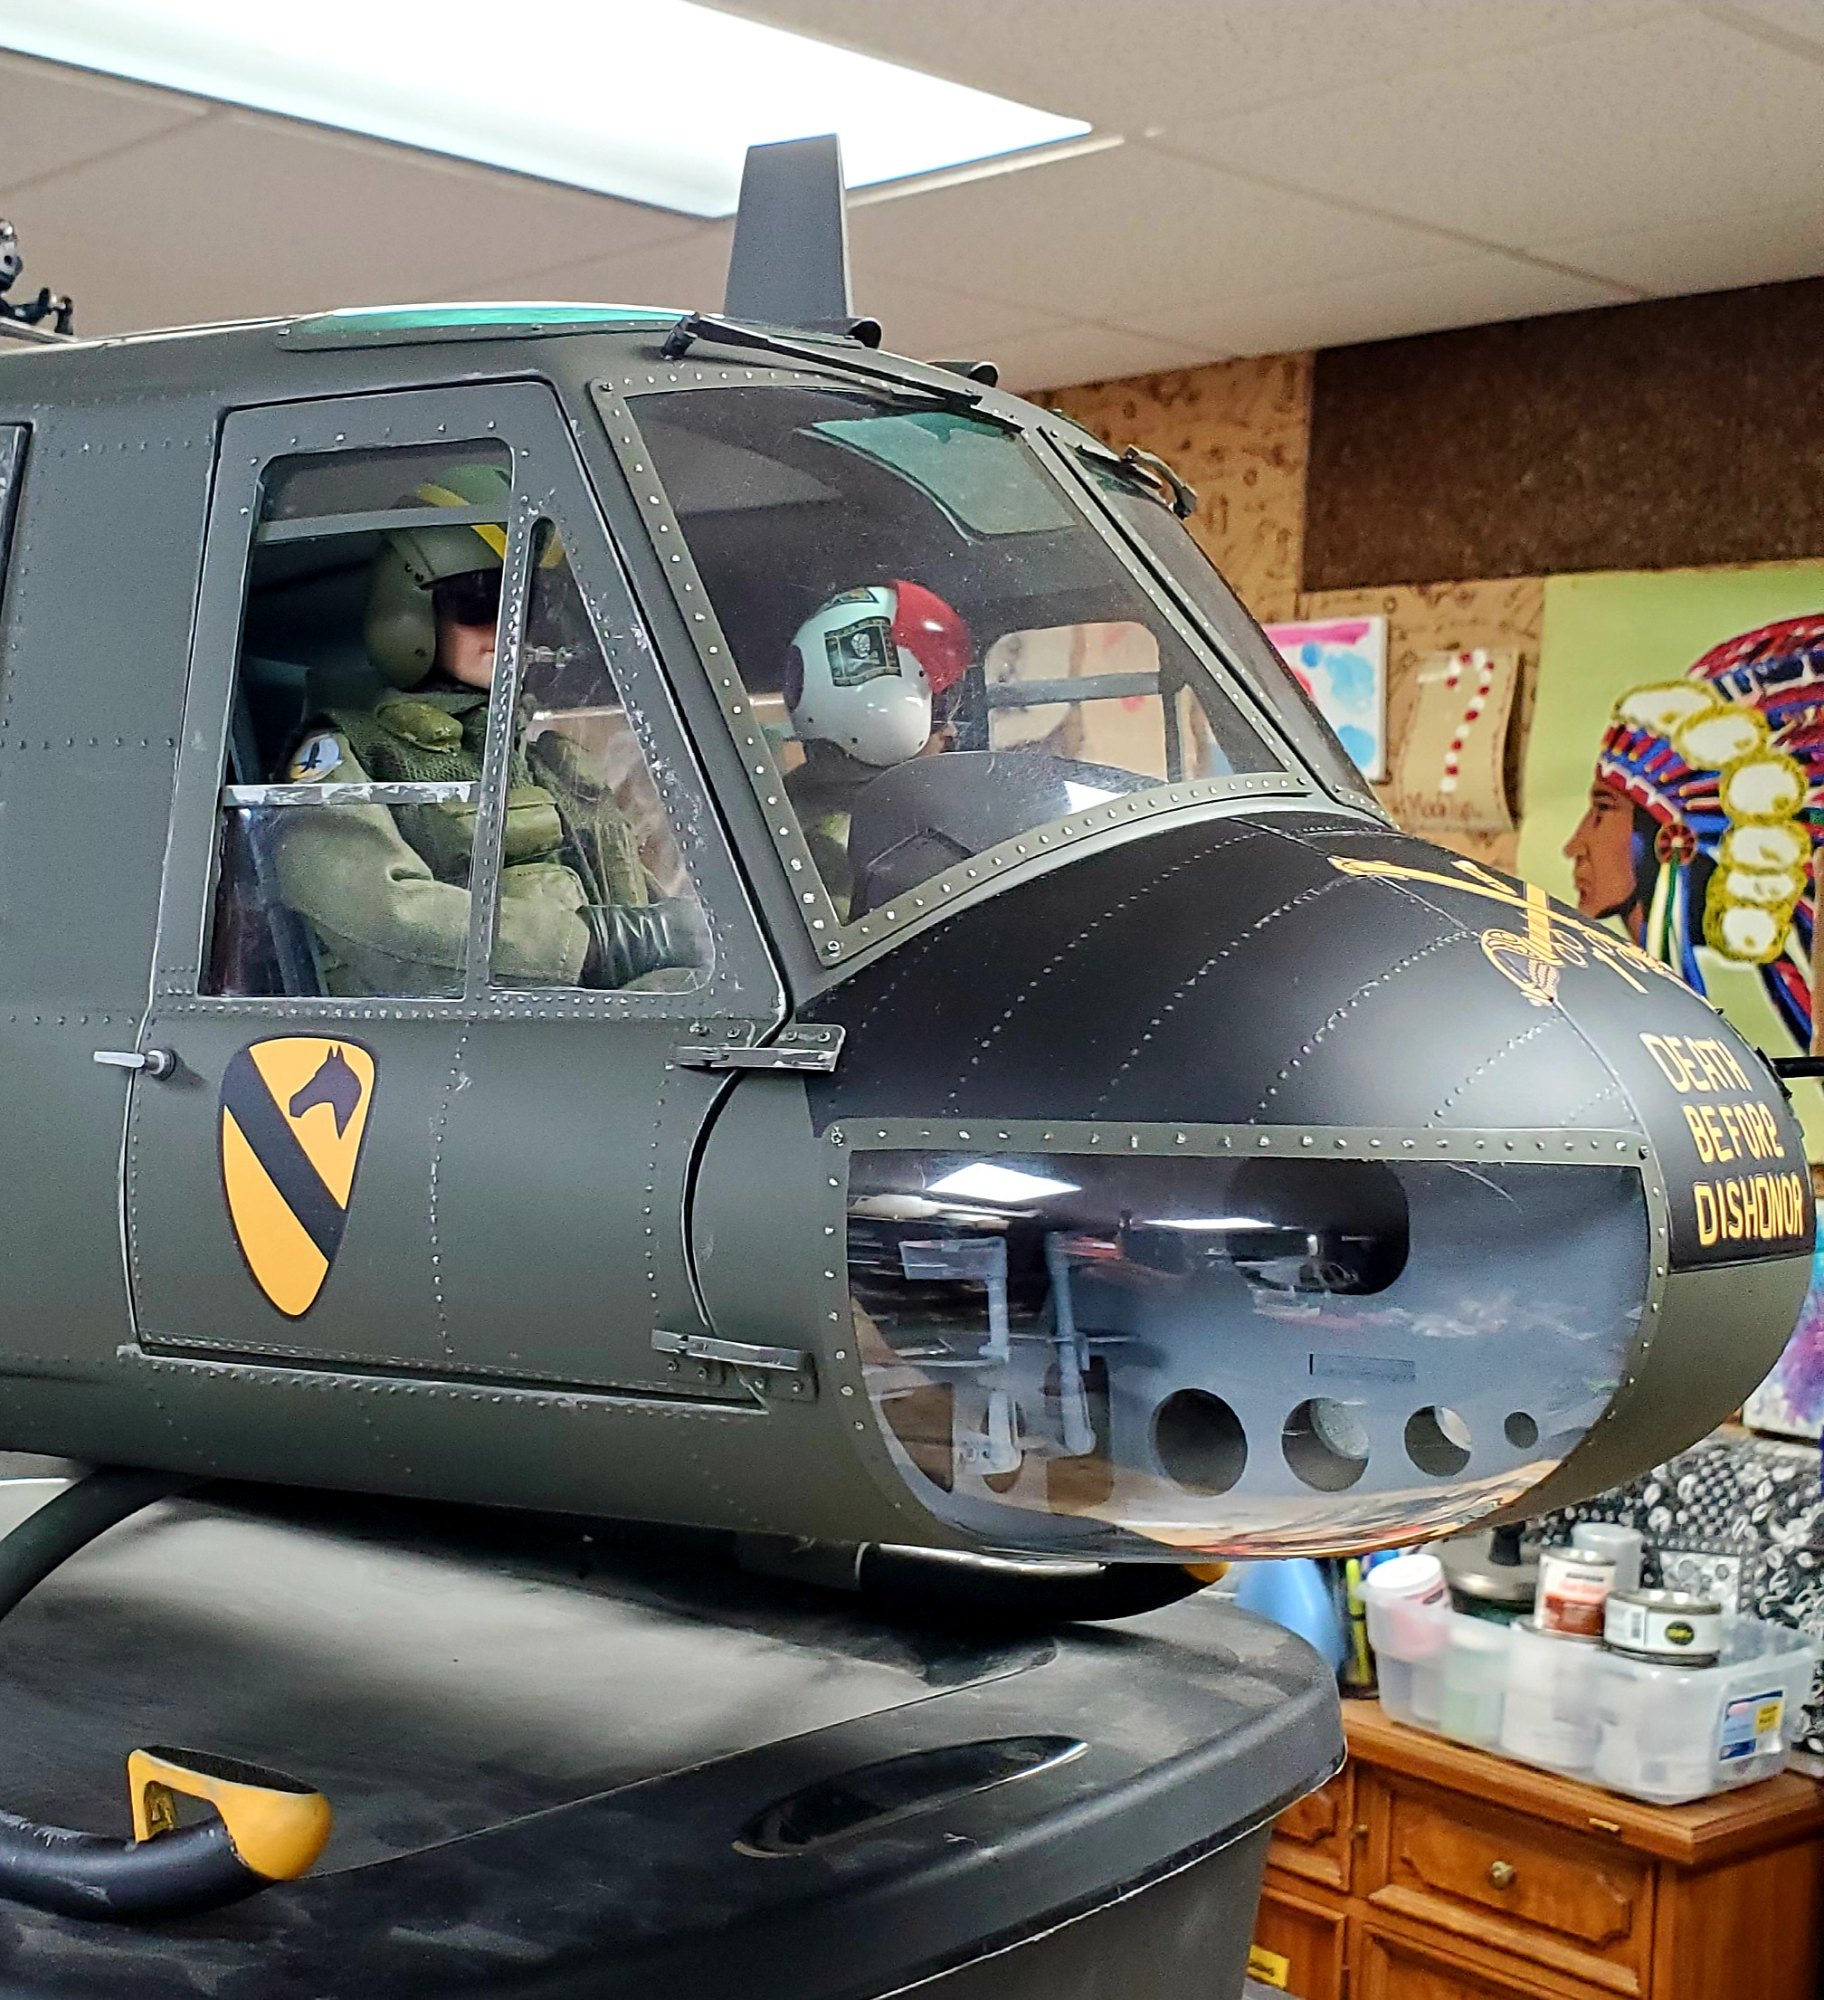
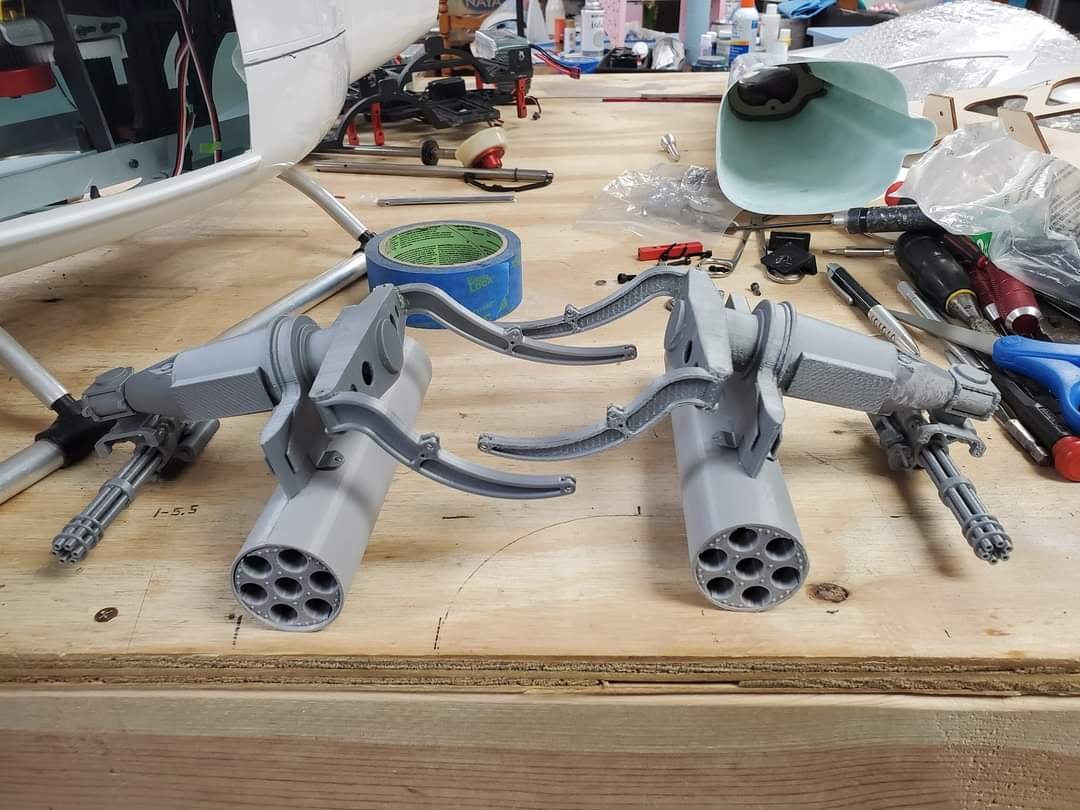
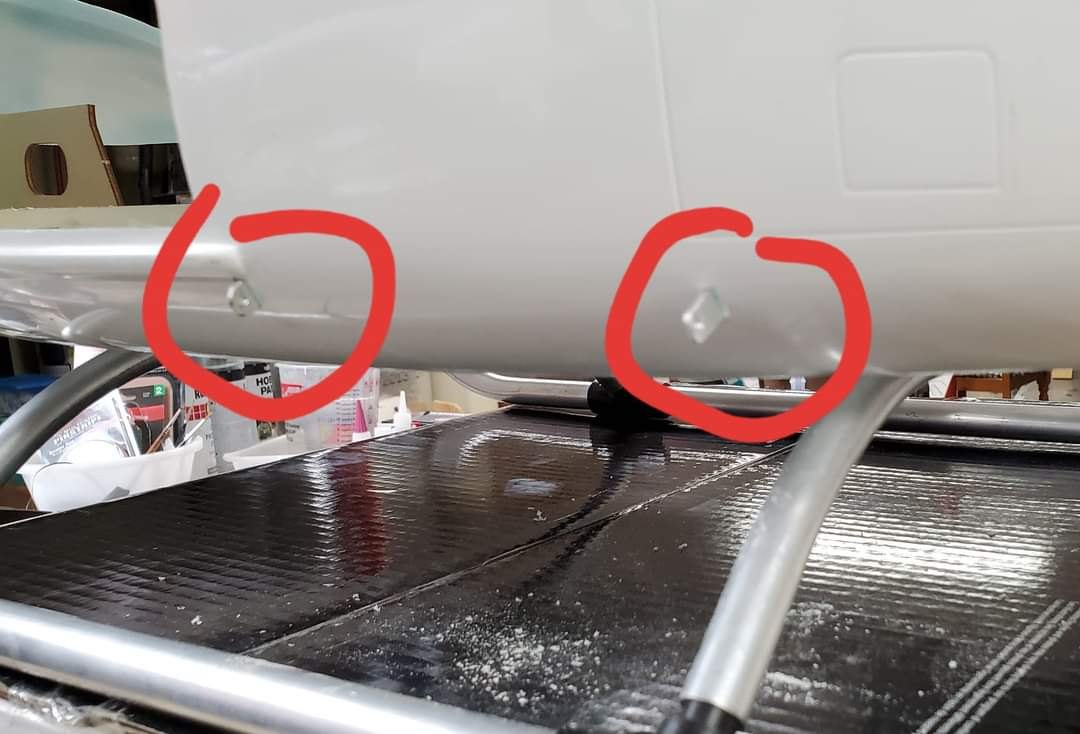
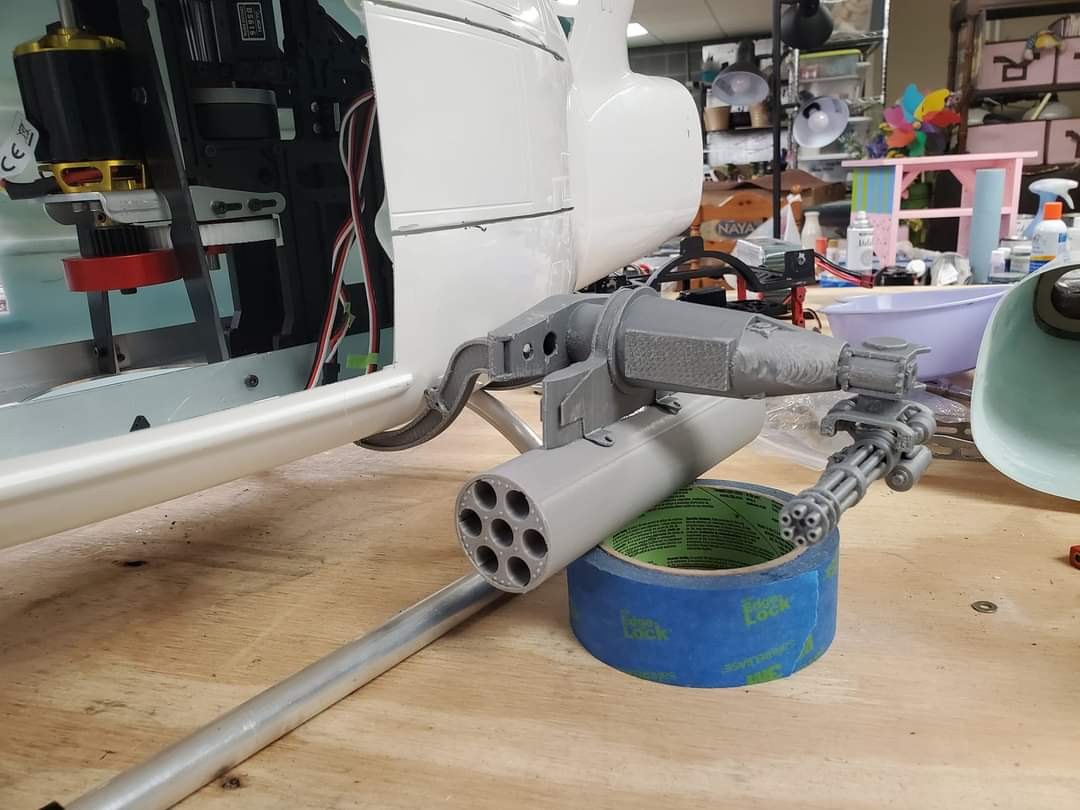
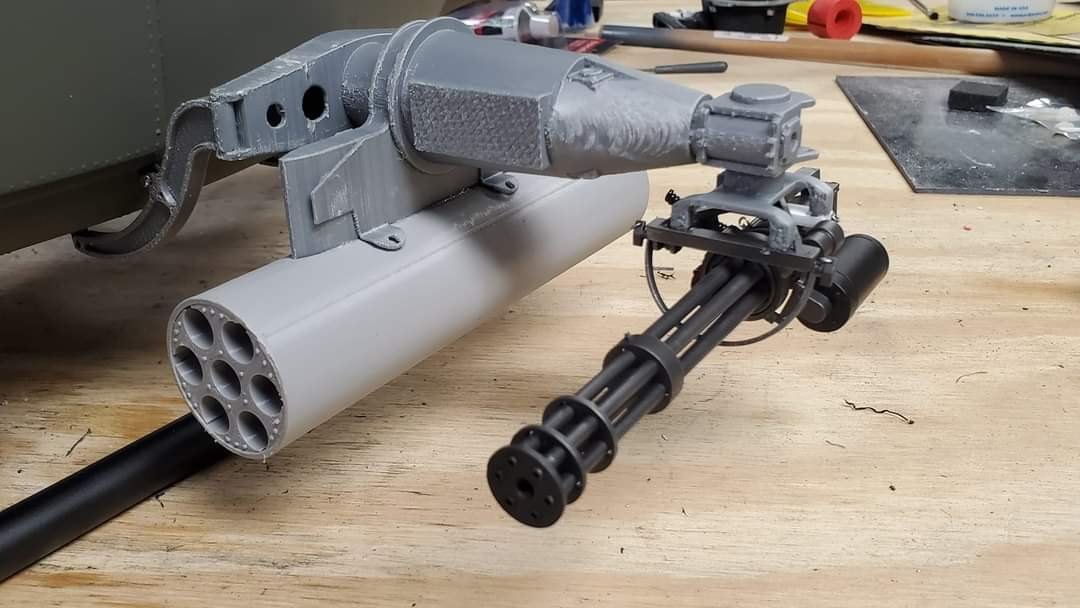
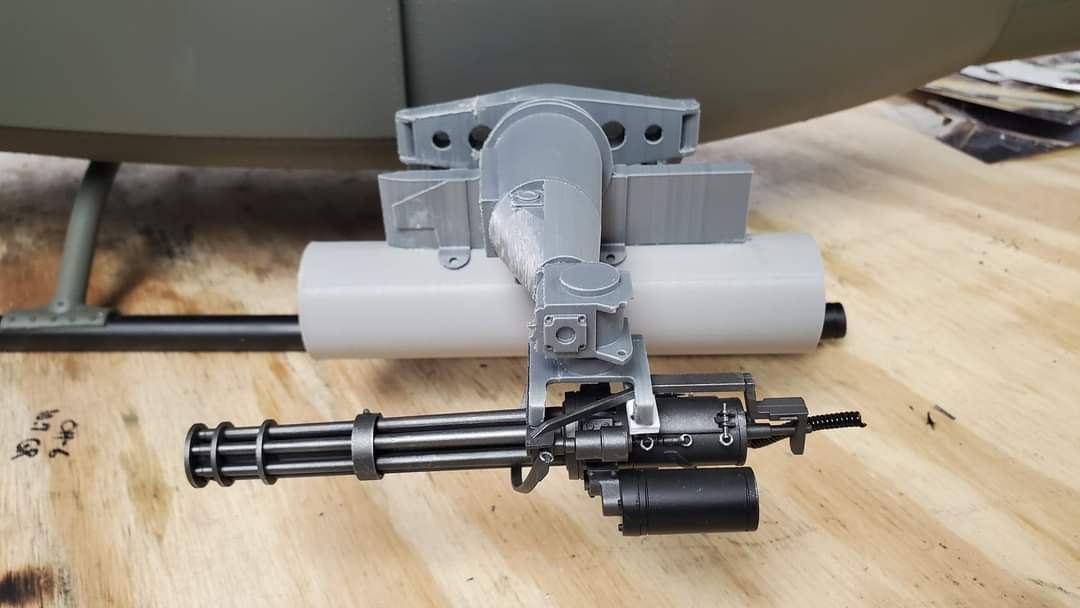
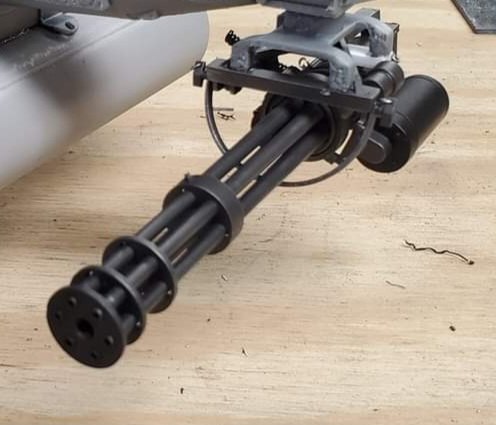
Again using 1/8th lite-ply I installed the woodwork to mount the mechanics and installed the 40 degree gearbox for the tail drive. Next thing was to prep this "slick white" fuselage ( no rivets or detailing and white gelcoat ) Sanded the seam smooth and then the entire fuselage with 320 grit sandpaper to give that gelcoat something for the primer to stick to. Sprayed a good coat of gray primer, sanded again with 400 grit and got ready for rivets and other necessary details. I always use the old glue/syringe/needle method and after drawing lines started applying the glue. I knew what style armament I wanted but remember this was around 2011 and 3D printing was just hitting the modeling community. George Baker at Tired Iron Aviation offered to print the mounts, rocket launchers and nose granade launchers, the miniguns came from Ebay. I had to fabricate some aluminum tabs for the armament mounts and install them in the fuselage.
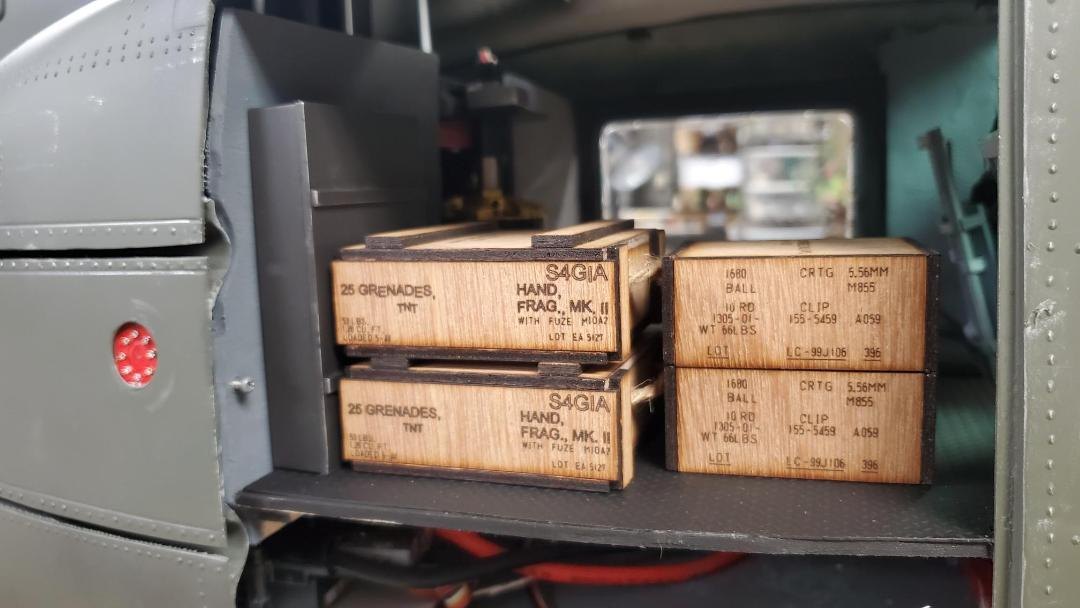
I had found a picture of the "nose art" I wanted and placed my first order with CallieGrapics. I went to the local hardware store and found a suitable OD Green for this Army Huey along with flat black for the nose. I added some crates in the rear cabin to hide the mechanics which worked out very well.
Finished and Flying
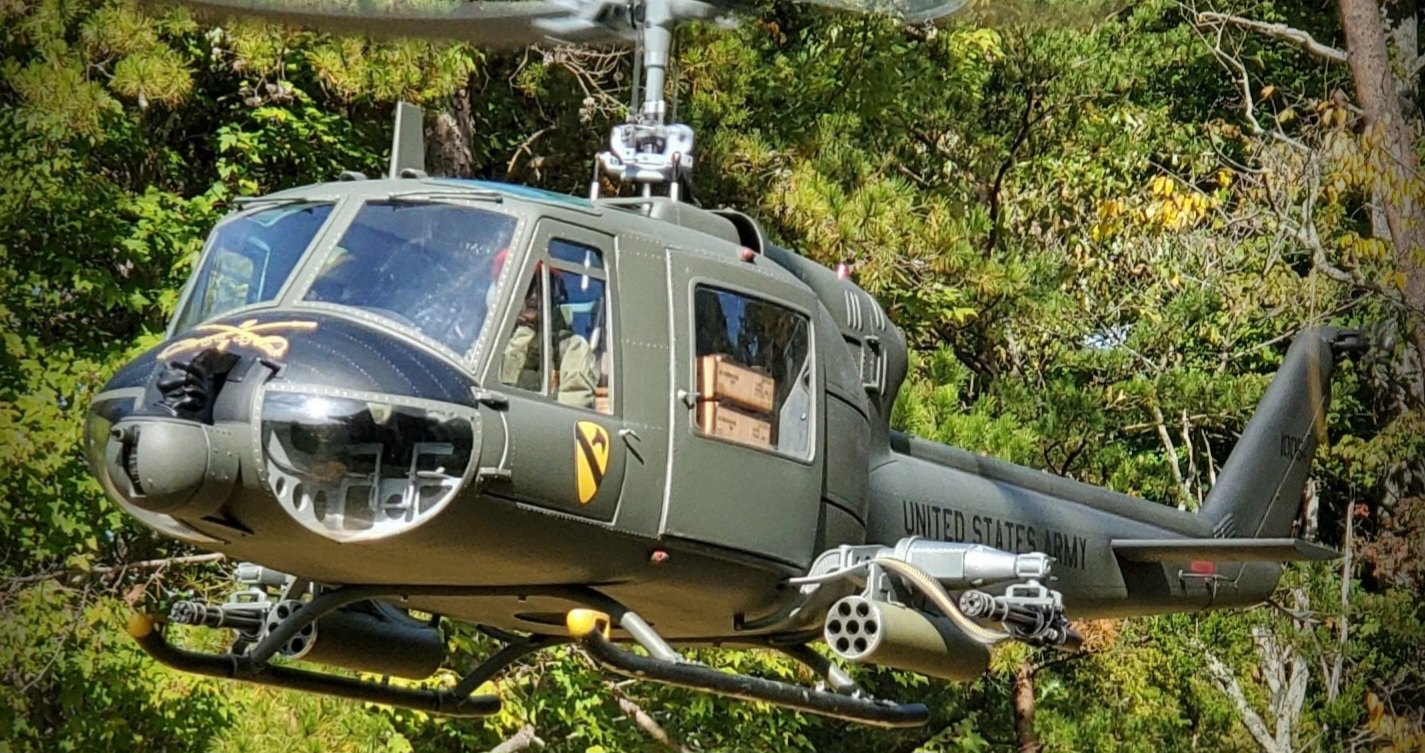
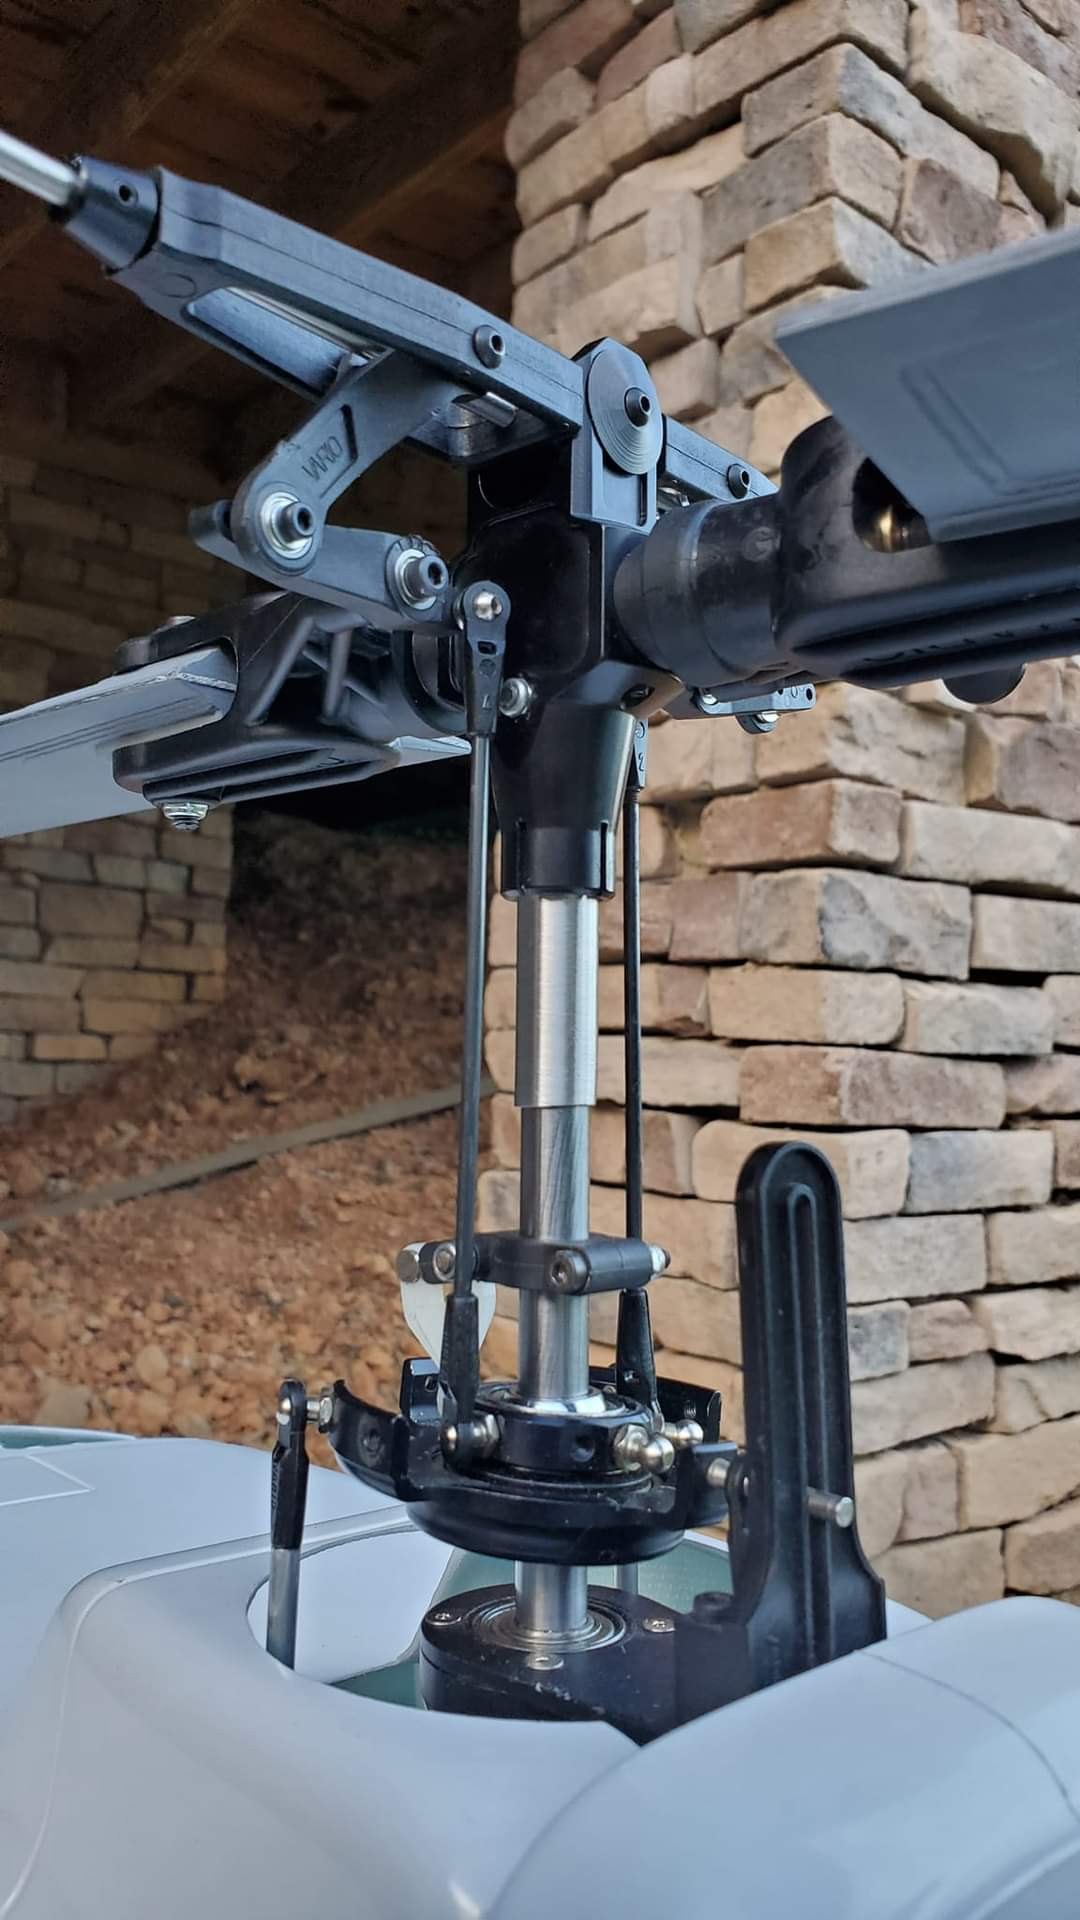
After putting it all together and adding the necessary weathering this " well worn Combat Huey" met my intended goal. The modified mechanics allowed for a nice cockpit, the crates covered the mechanics, the modified Scorpion 4035 worked flawlessly. I added the Vario Scale head which has a "dummy" stabilizer bar making it a flybarless head and I added a newly introduced Bavarian 3X controller and after a few learning "tweaks" to the 3X the model flew perfectly.