

Building Scale Landing Gear
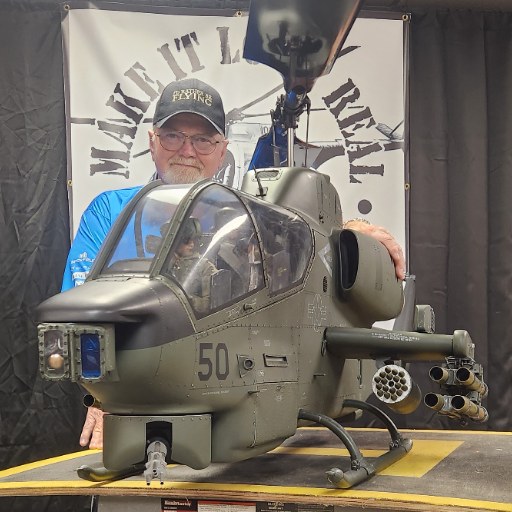 Jon E.

This little bit of detailing will be important to those of you that are like me and don't have the equipment to weld metal and aluminum or do not want the expense of having it custom made (professional welders ARE NOT cheap and from my past experience do not like welding very smale projects). You can find custom built skid gear but I prefer "doing it myself".
I actually saw this method in a Vario kit but added one step that I thought was needed, adding the small pin at the bottom of the crosstube so the J-B Weld would encapsulate the crosstube and elimate any chance of it pulling out. I have used this method for years on several models weighing up to 37 pounds without EVER a failure. The cost is very minimal and will vary if you are modifying your existing gear or using new aluminum tubing or aluminum rod. I have found that using solid rod is a little harder to bend to shape but when using rod you don't need a tubing bender to reduce the chances of the "tubing" to deform at the bend. If wanting new tubing or rod my first places to look are Aircraft Spruce or Amazon. I sometimes use the existing crosstubes as a template for bending the new crosstubes (if needed). If the shape ot the existing crosstubes are not acceptable I use one inch plywood cut to the currect shape and bend the tubing around that. You will need J-B Weld, some plastic tubing ( Plastruct, Evergreen Plastics, both can be found at Amazon ) 1/4 inch round file and handheld metal saw (hacksaw) or band saw, body filler, small screws, high build primer and paint.
It is at this point you should decide if you want "low gear", "high gear", or "floatation gear". The flotation gear will require much longer skids. Look closely at your pictures of the full size helicopter skid gear and you will see that most "crosstubes" are smaller in diameter than the skids, this makes a big difference in the scale appearance in your model when finished. I go with the correct diameter even if it means having to purchase new crosstubes.
If satisfied with the stock gear and only want the correct angles and more scale looking attachments and the crosstubes and skids are welded cut as close to the skids as possible as shown in the picture then file the rest to smooth the skid tube. If using gear that use the plastic fittings you can set them aside for another project as I have never been able to heat and form them to the correct angles. There are two ways that I have simulated making the scale looking skid connectors, taping off the correct shape and spraying several coats of "high build" primer OR using plastic tubing and boddy filler ( your choice ).
Once you have measured the correct distance between the front and rear crosstubes drill the holes in the skids slightly oversize to allow for the small pin you will add to the bottom of each crosstube which I feel is a critical addition to the process making it a permanent and secure connection between crosstube and skid. Taking the eight small pieces of foam push them into the skids in front and behind of each hole that you have drilled for the crosstubes. This foam creates a plug to keep the J-B Weld in place while curing. At this point I cut small pieces that will slide on each crosstube that when completed will give you a very realistic looking skid connector ( I prefer to slide these plastic pieces up on the crosstube and out of the way while the J-B Weld cures). Drill and insert the pin at each crosstube near the bottom (refer to drawing) leaving about 1/32 inch sticking out of the crosstube. I use a 2mm screw and cut off the head. This pin allows the J-B Weld to encapsulate the crosstube and pin and eliminates any chance of the crosstube pulling out of the skid. Apply enough J-B Weld to completely fill the hole and push the crosstube into the skid. The J-B Weld will push out around the crosstube but that is perfectly acceptable as about halfway through it's curing you will shape it to the correct contour and finish with the round file (This the reason I chose J-B Weld as it has a 24 hour cure time giving plenty of time to make sure the skid gear is square and the angles are correct.)
When everything cures using the round file smooth each connection and slide the small plastic tubes down to the connection and taking plastic tubing for the correct diameter of the skids cut into pieces shown and place them on the skids and secure all the plastic tubing with CA. I use automotive Bondo as a filler to complete the connection and sand to the correct shape. Prime with "high build" primer and once satisfied with the finish you can use very small screws (found at Amazon) and after painting you will have the most realistic looking skid gear possible. Use your pictures as reference and you will be very happy with the results.
MAKE IT LOOK REAL !!!


0 Comments