Roban 800 EC135 Red Bull Flying Bulls 1st Forray Into Scale Build Thread
What Am I Doing?
Hi All.. Michael convinced me to start a thread over here documenting the build. But I want to preface it first. I have no idea what I'm doing. I've flown 3D helicopters for years, and also host a popular podcast on the subject (Rotor Revolution RC Podcast). But I've only ever build one scale helicopter, and that was just a matter of throwing a 3D heli inside a pre-painted fuselage and calling it done. This build is a massive departure from that. So take nothing I do in this thread as advice, even if I'm confident in it. LOL. Just know I'm a raw beginner in the scale world and I tip my hat to all the top shelf builders in this community and enjoy learning from you all.
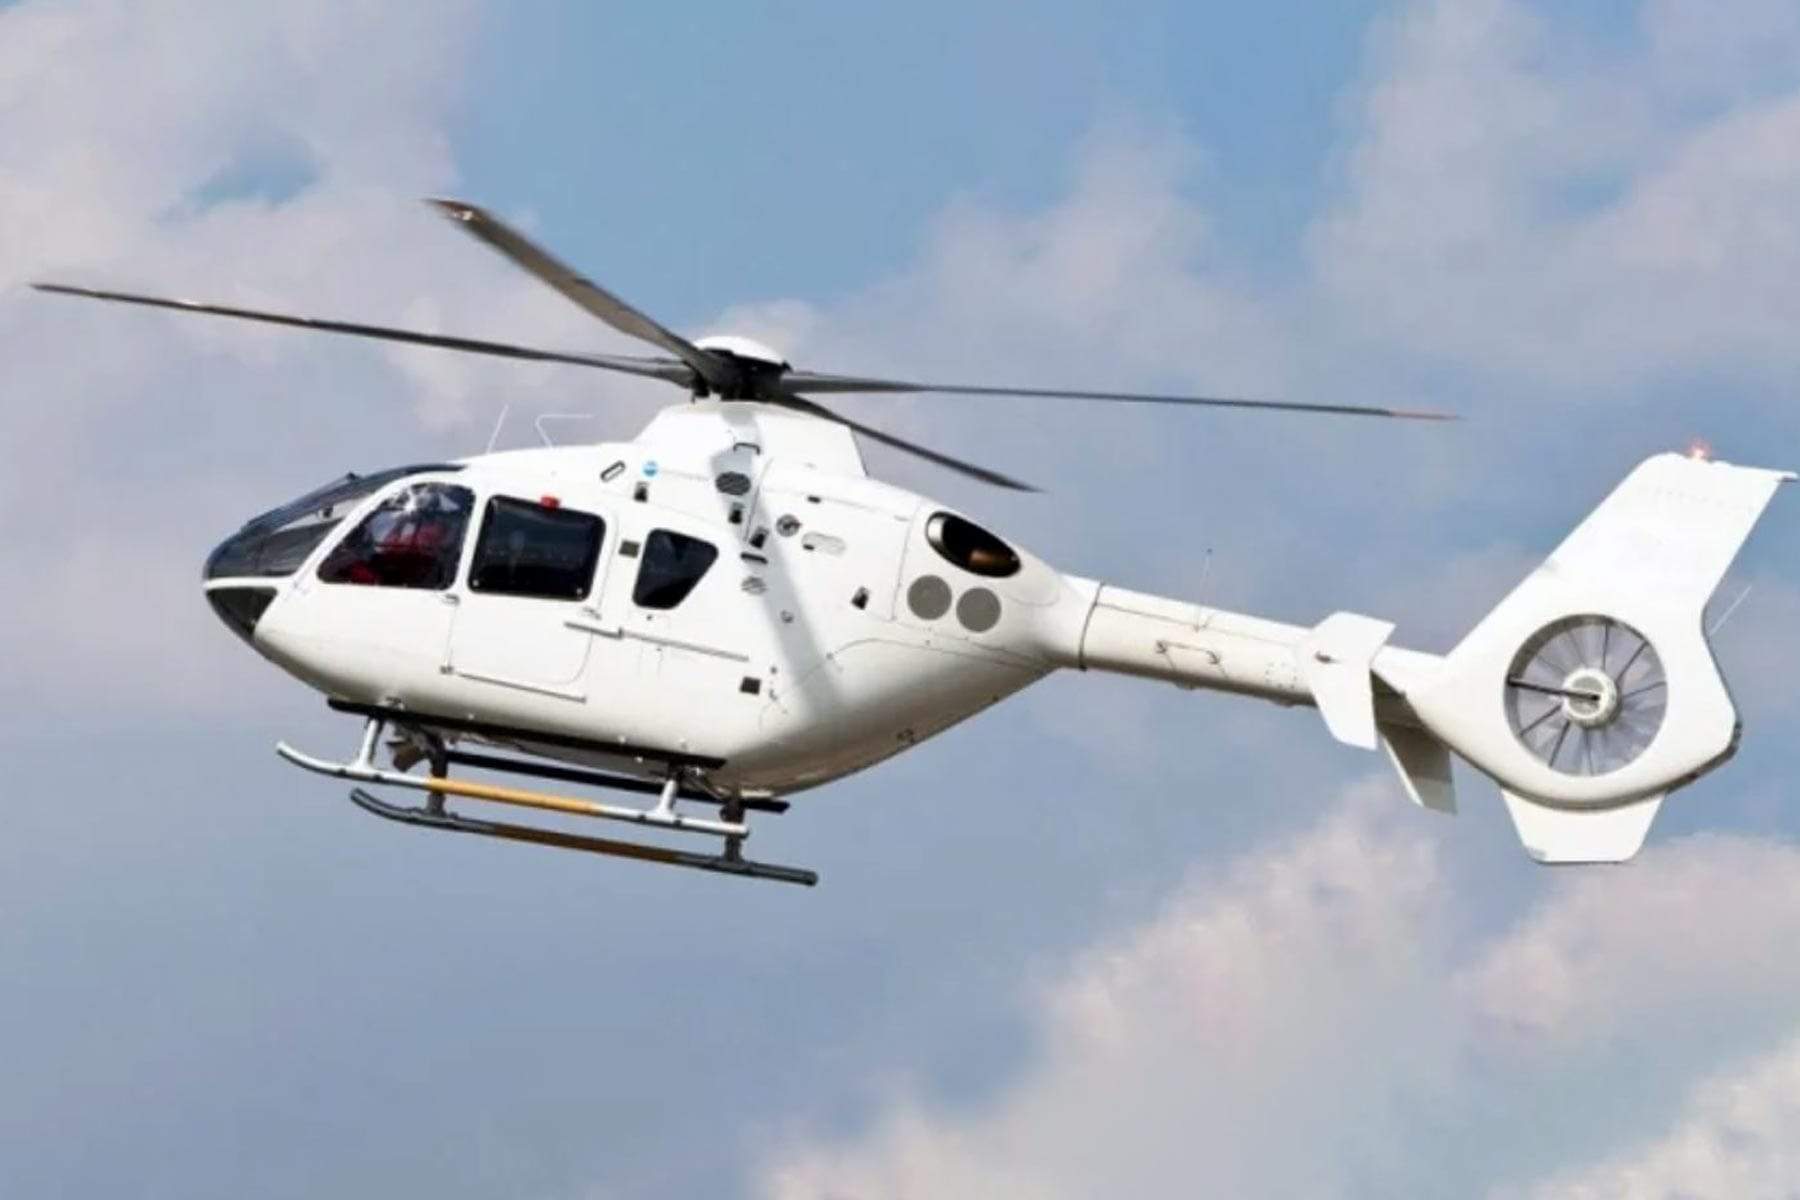
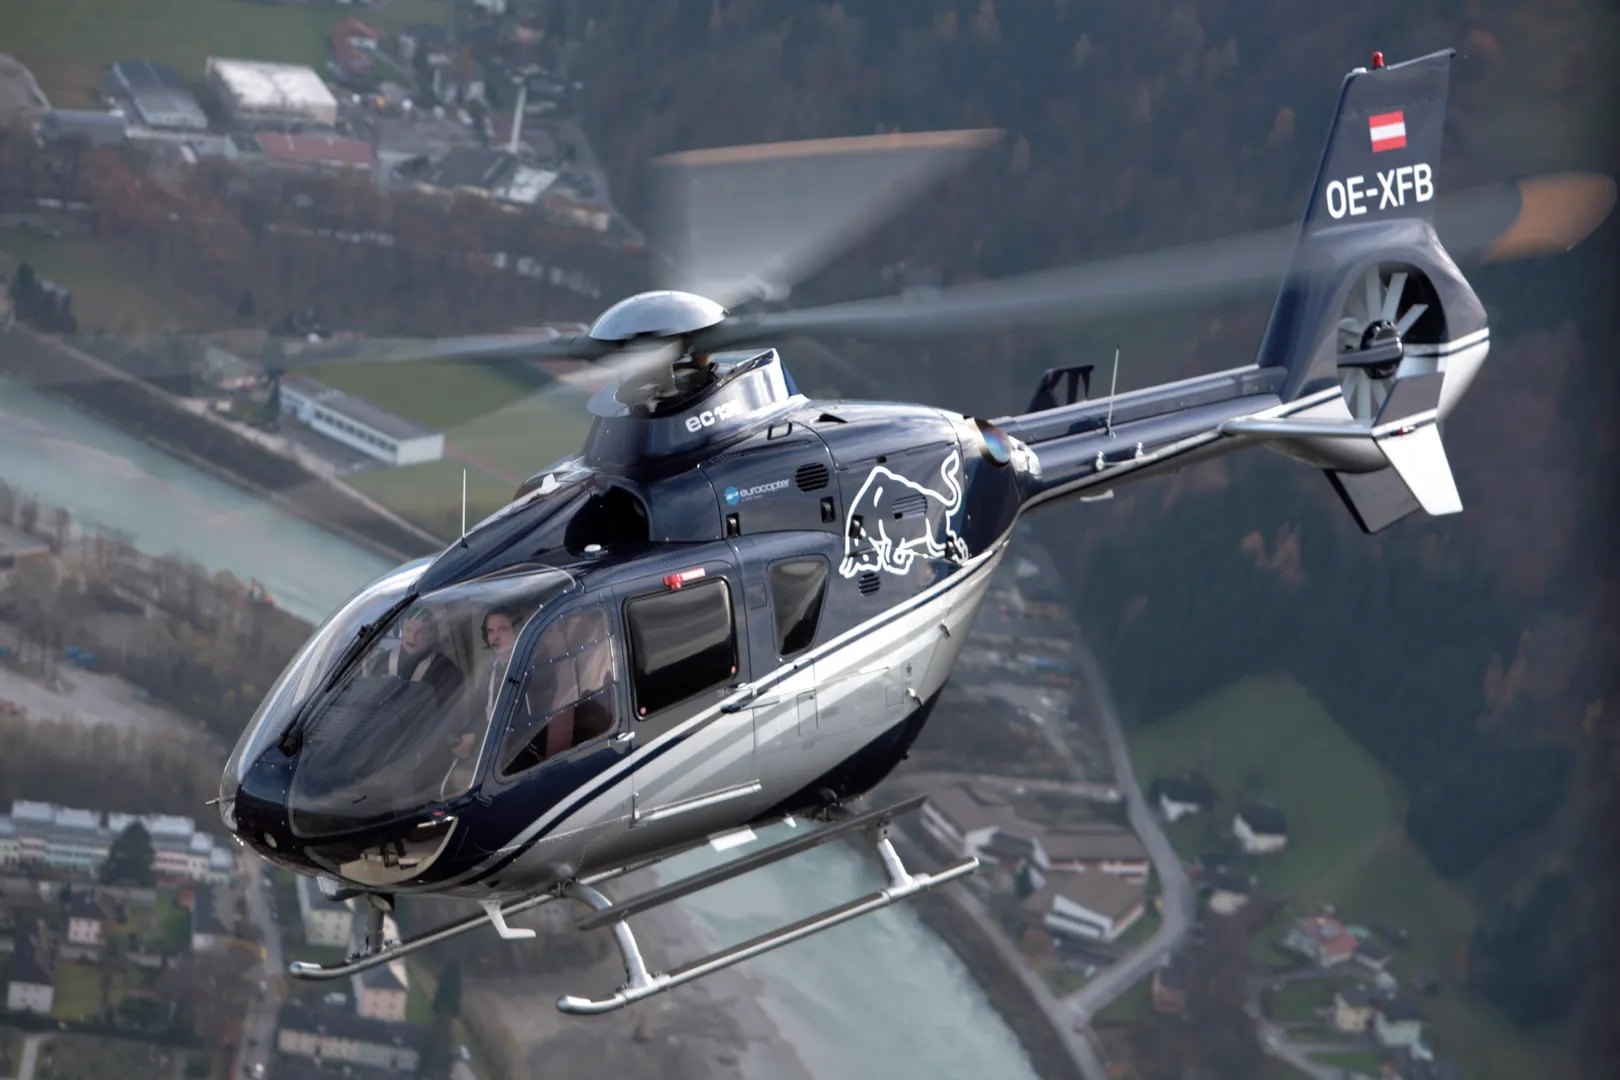
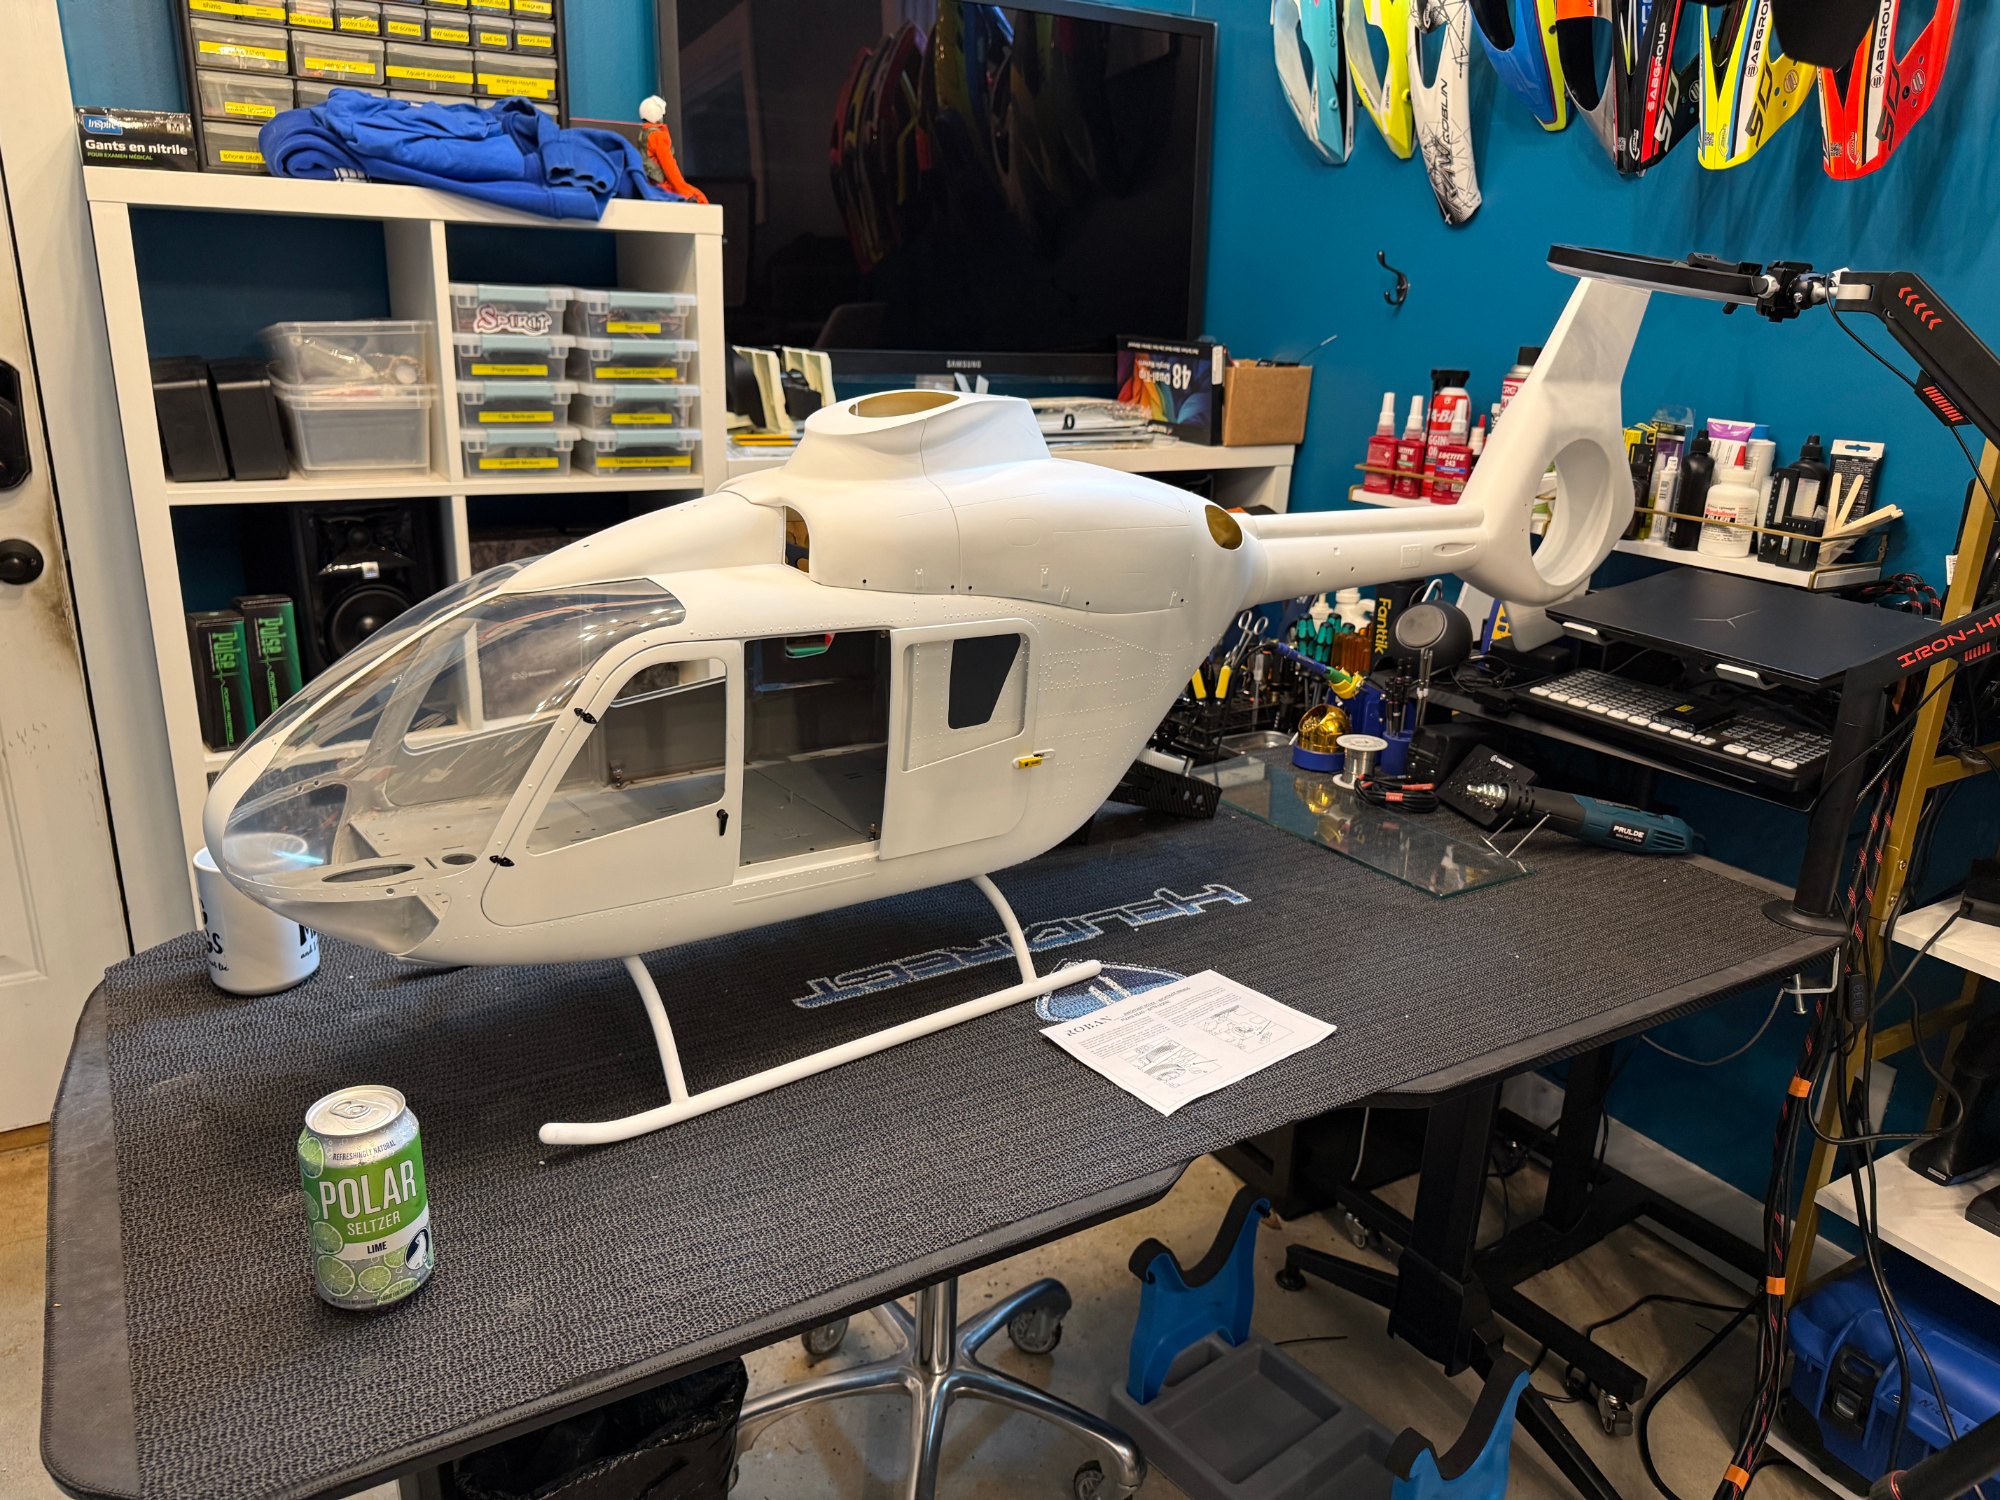
The Build: You can see a photo of what I'm hoping to achieve attached to this post. I hope to make this build as detailed as I can and may even attempt to compete at NATs with it for the fun of it if it goes well. But that's a longshot. I just want something to make me smile and challenge me in a new way. I'm starting with the Roban 800 size EC135 white painted fuselage kit with mechanics. I have ordered a ton of 3D printed scale accessories to add to it, a much better lighting system from unilight, and will be outfitting it with an Egodrift motor (I fly for team egodrift), a Spirit FBL with their Wave radio system (I'm on the Spirit team too), a Hobbywing ESC, Pulse Capacitor Backup, Unilight BEC system, running on 12S 5300 and trying some new servos which are high torque and run on a 12Volts. But I may change my mind on the servos.
For now I'm slowly working my way through the mechanics and electronics and getting close to being able to maiden the mechanics on a test sled in a week or so.
Hope this thread gives someone the confidence to jump in with two feet while clueless, or at least gives you all something to laugh about!
-Nick
Dry Fitting the Fuselage
As soon as you open the box... you HAVE to dry fit the fuselage together and just be in awe of how big the thing is! And then you start feeling really really intimidated!
Flipping the Servo Bellcranks
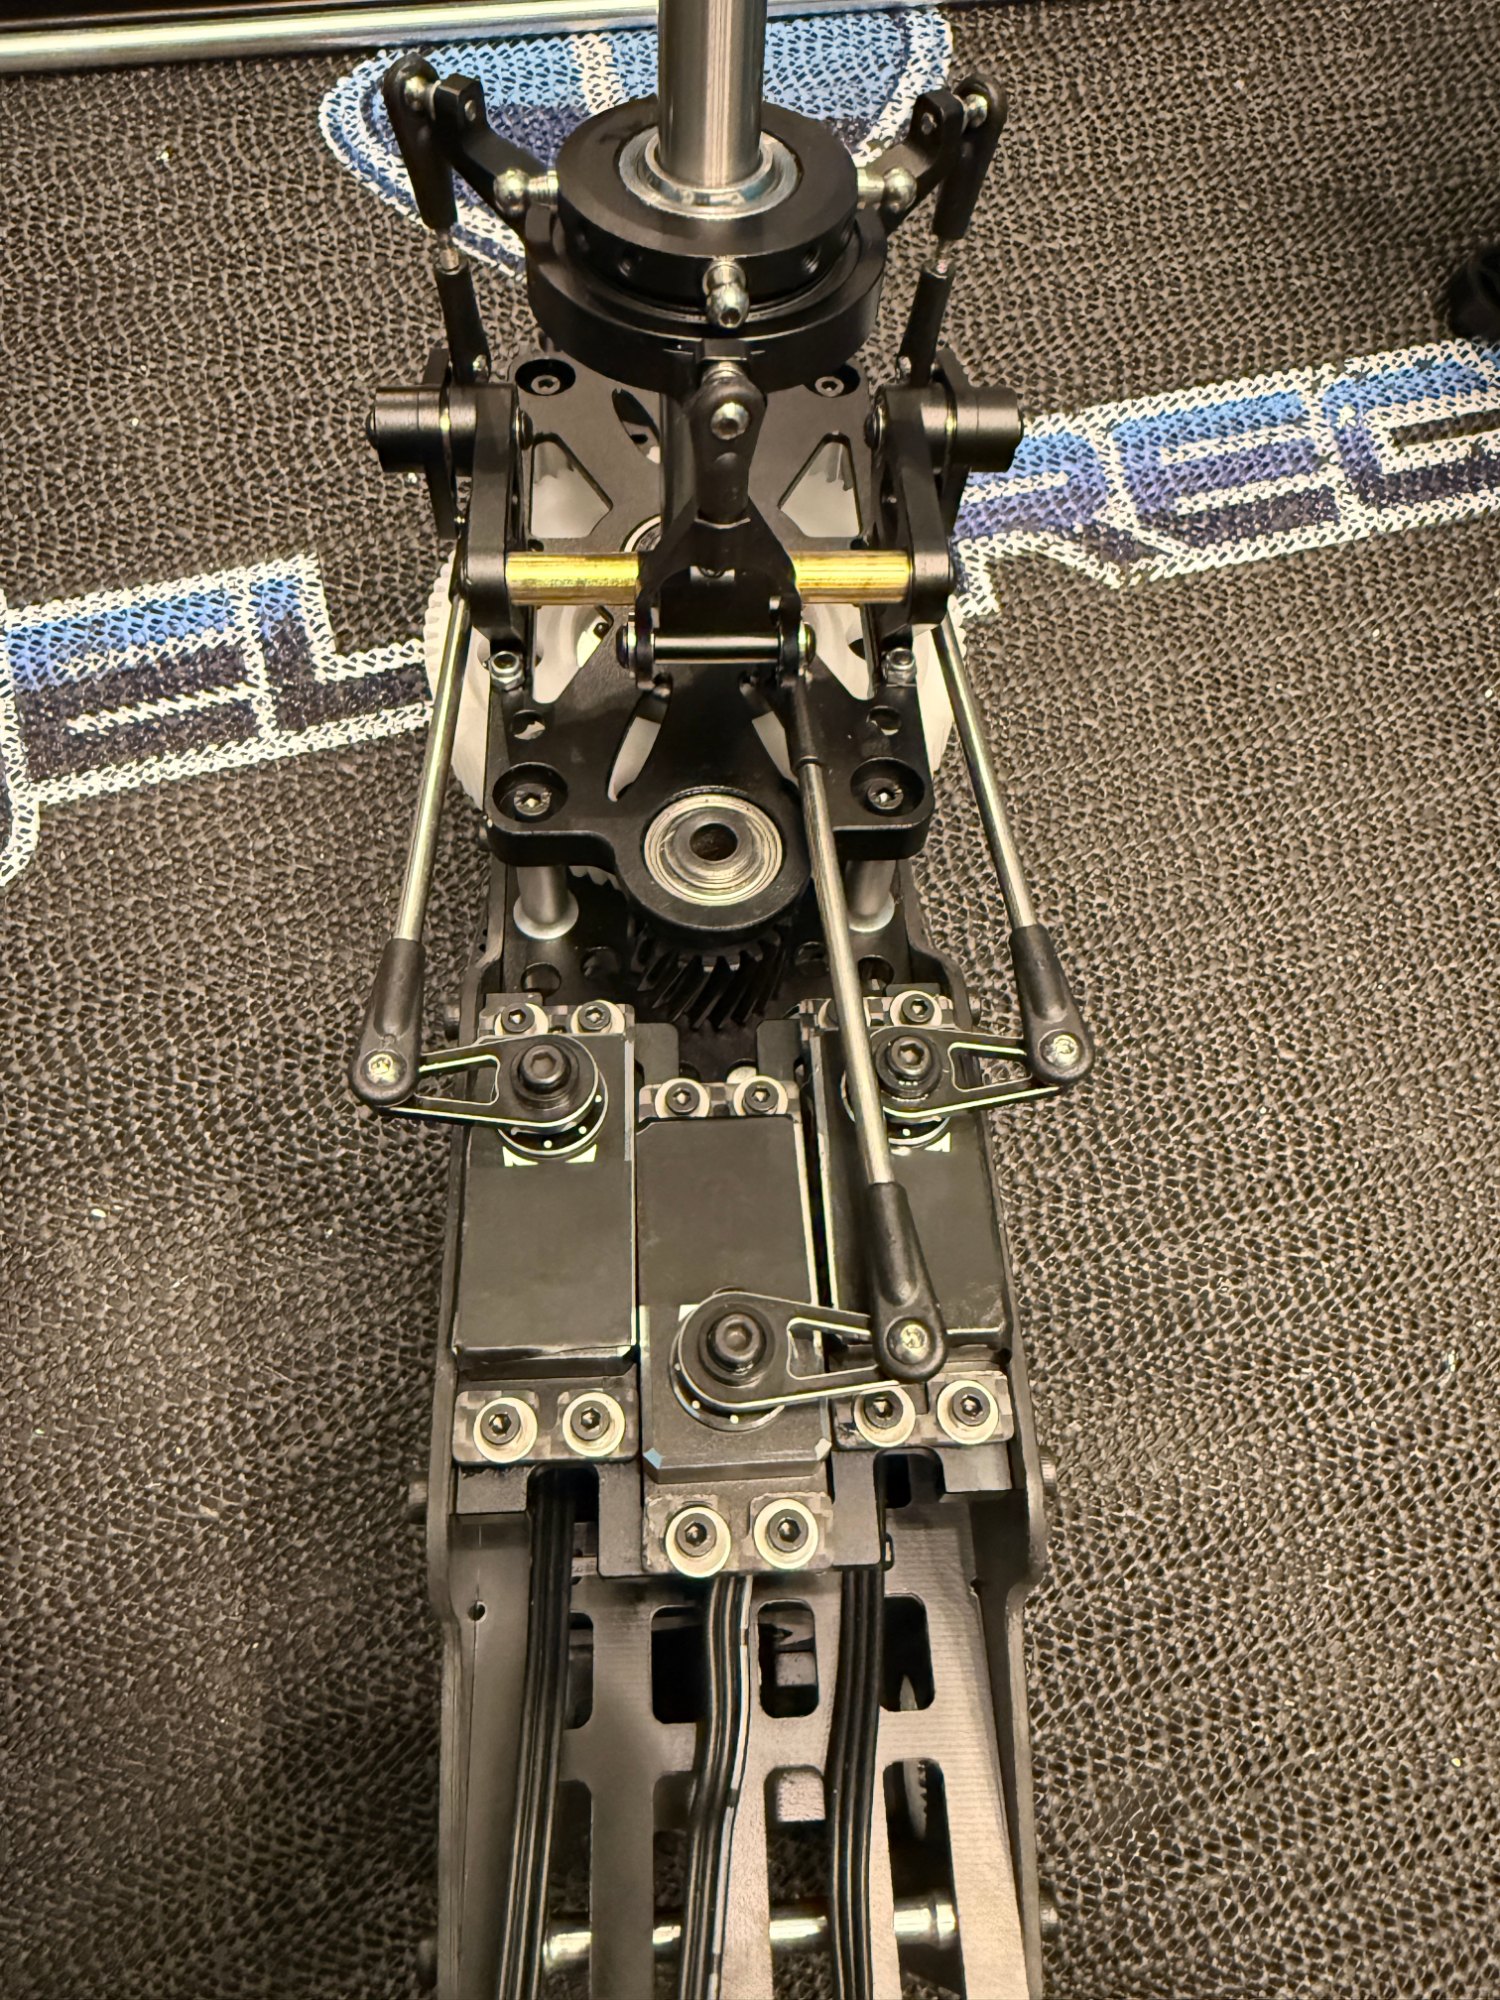
First thing I did was to change the geometry of the servo linkages. They would certainly work stock, but I prefer straighter connections and I have the room, so I flipped the outer servo bellcranks to the outside of the frame and I'm much happier with this linkage layout for my needs and OCD.
Choosing the Electronics
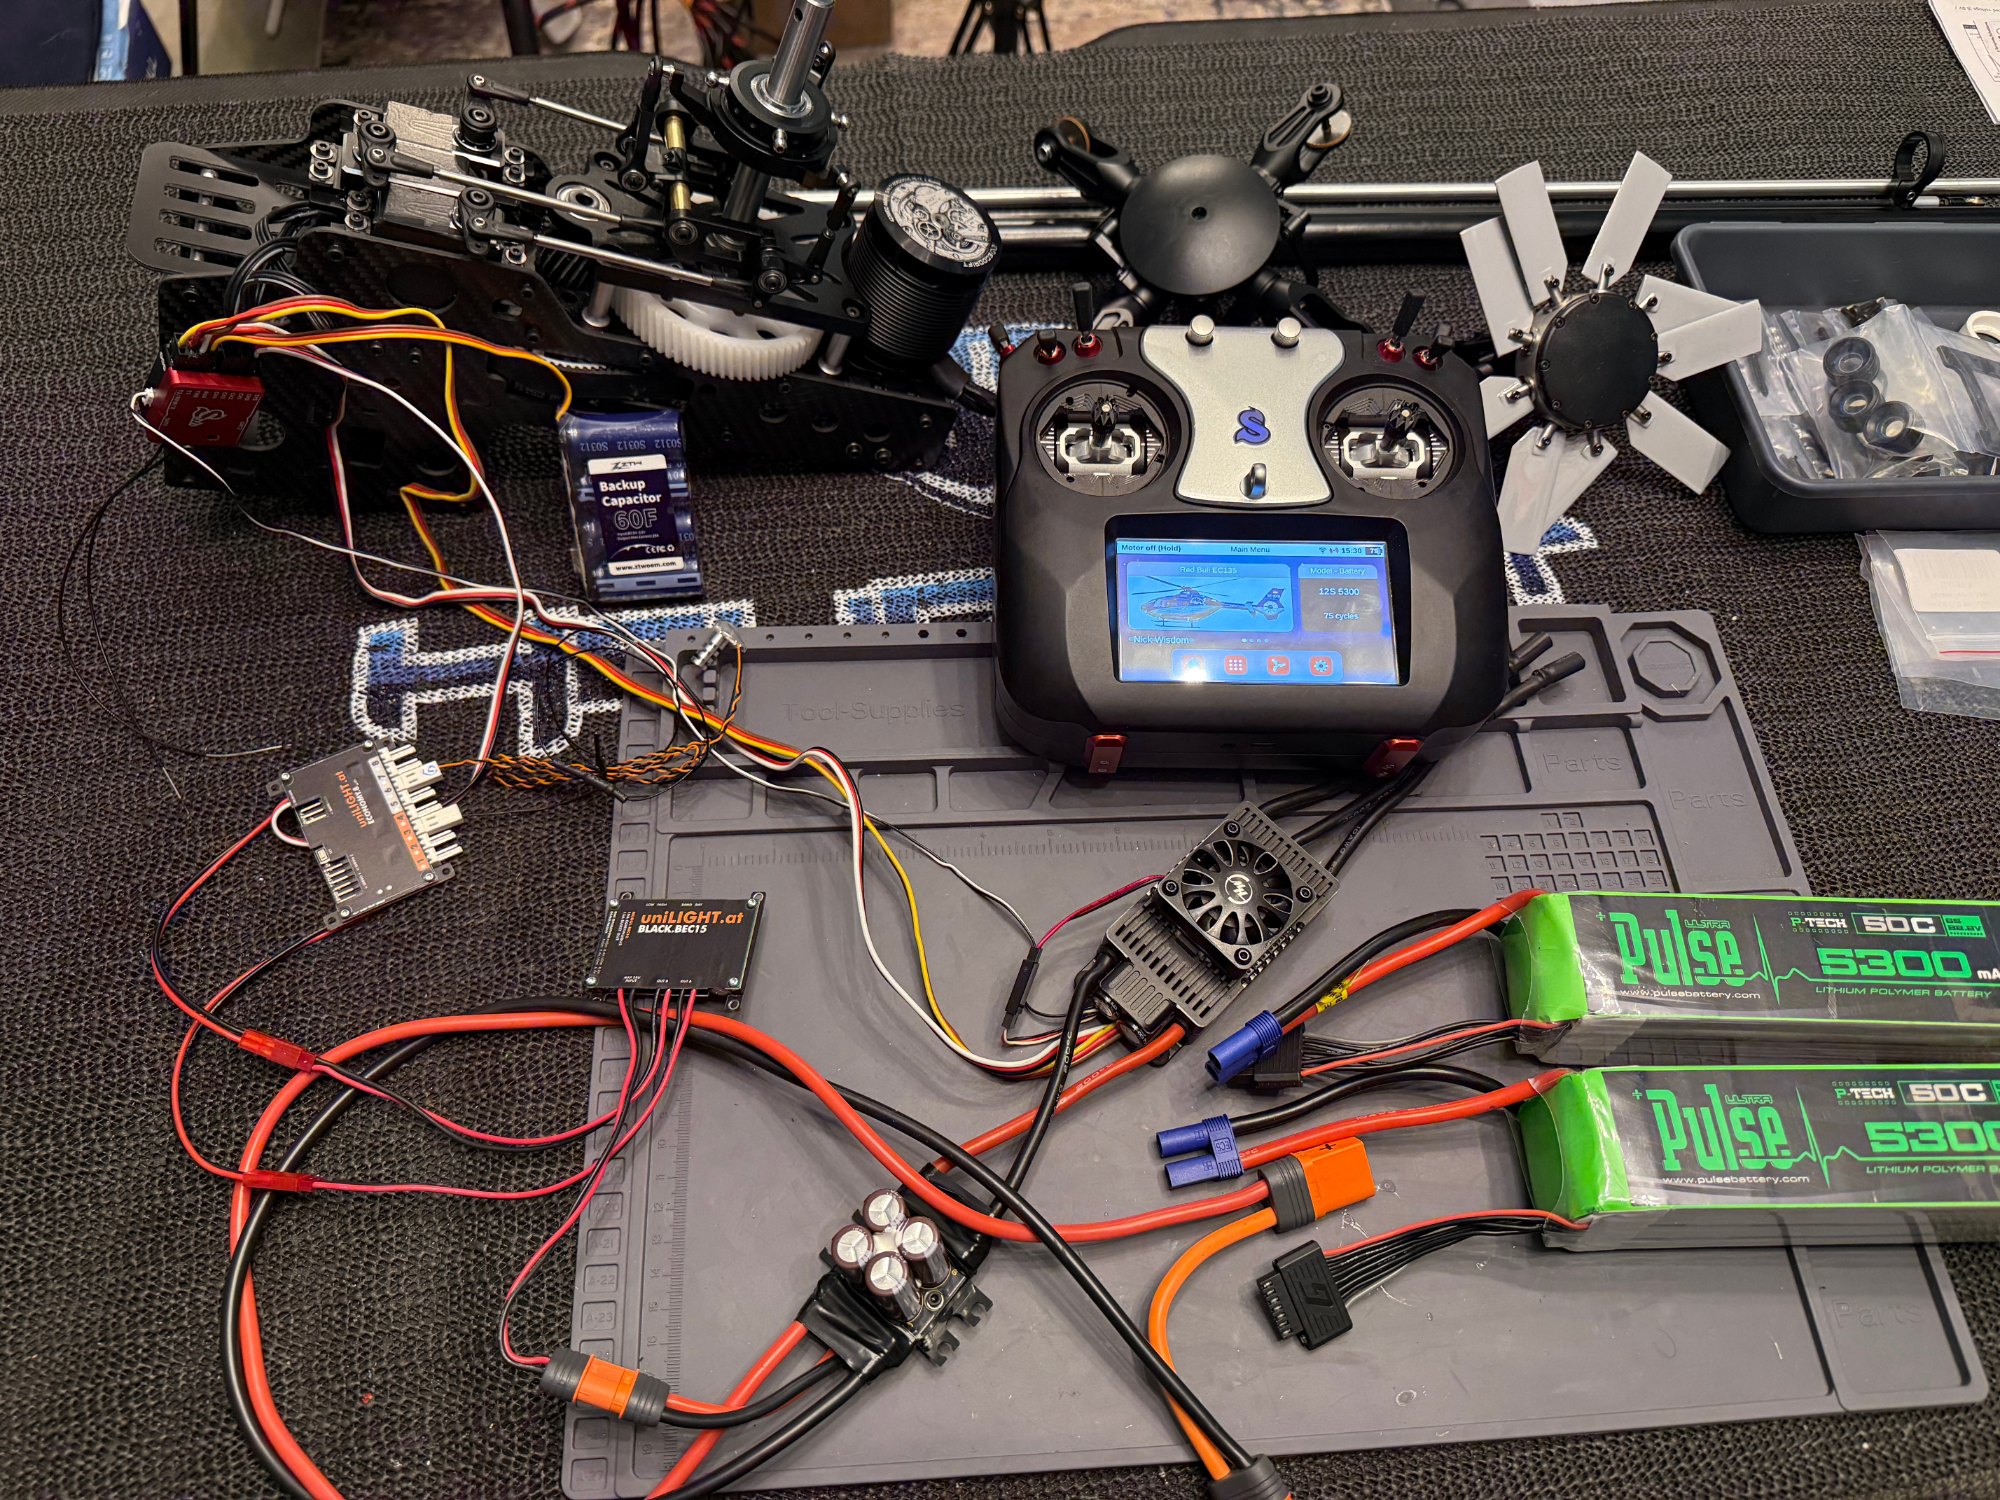
I've spent hours and hours and hours researching electronics for this build. For now this is what I decided on:
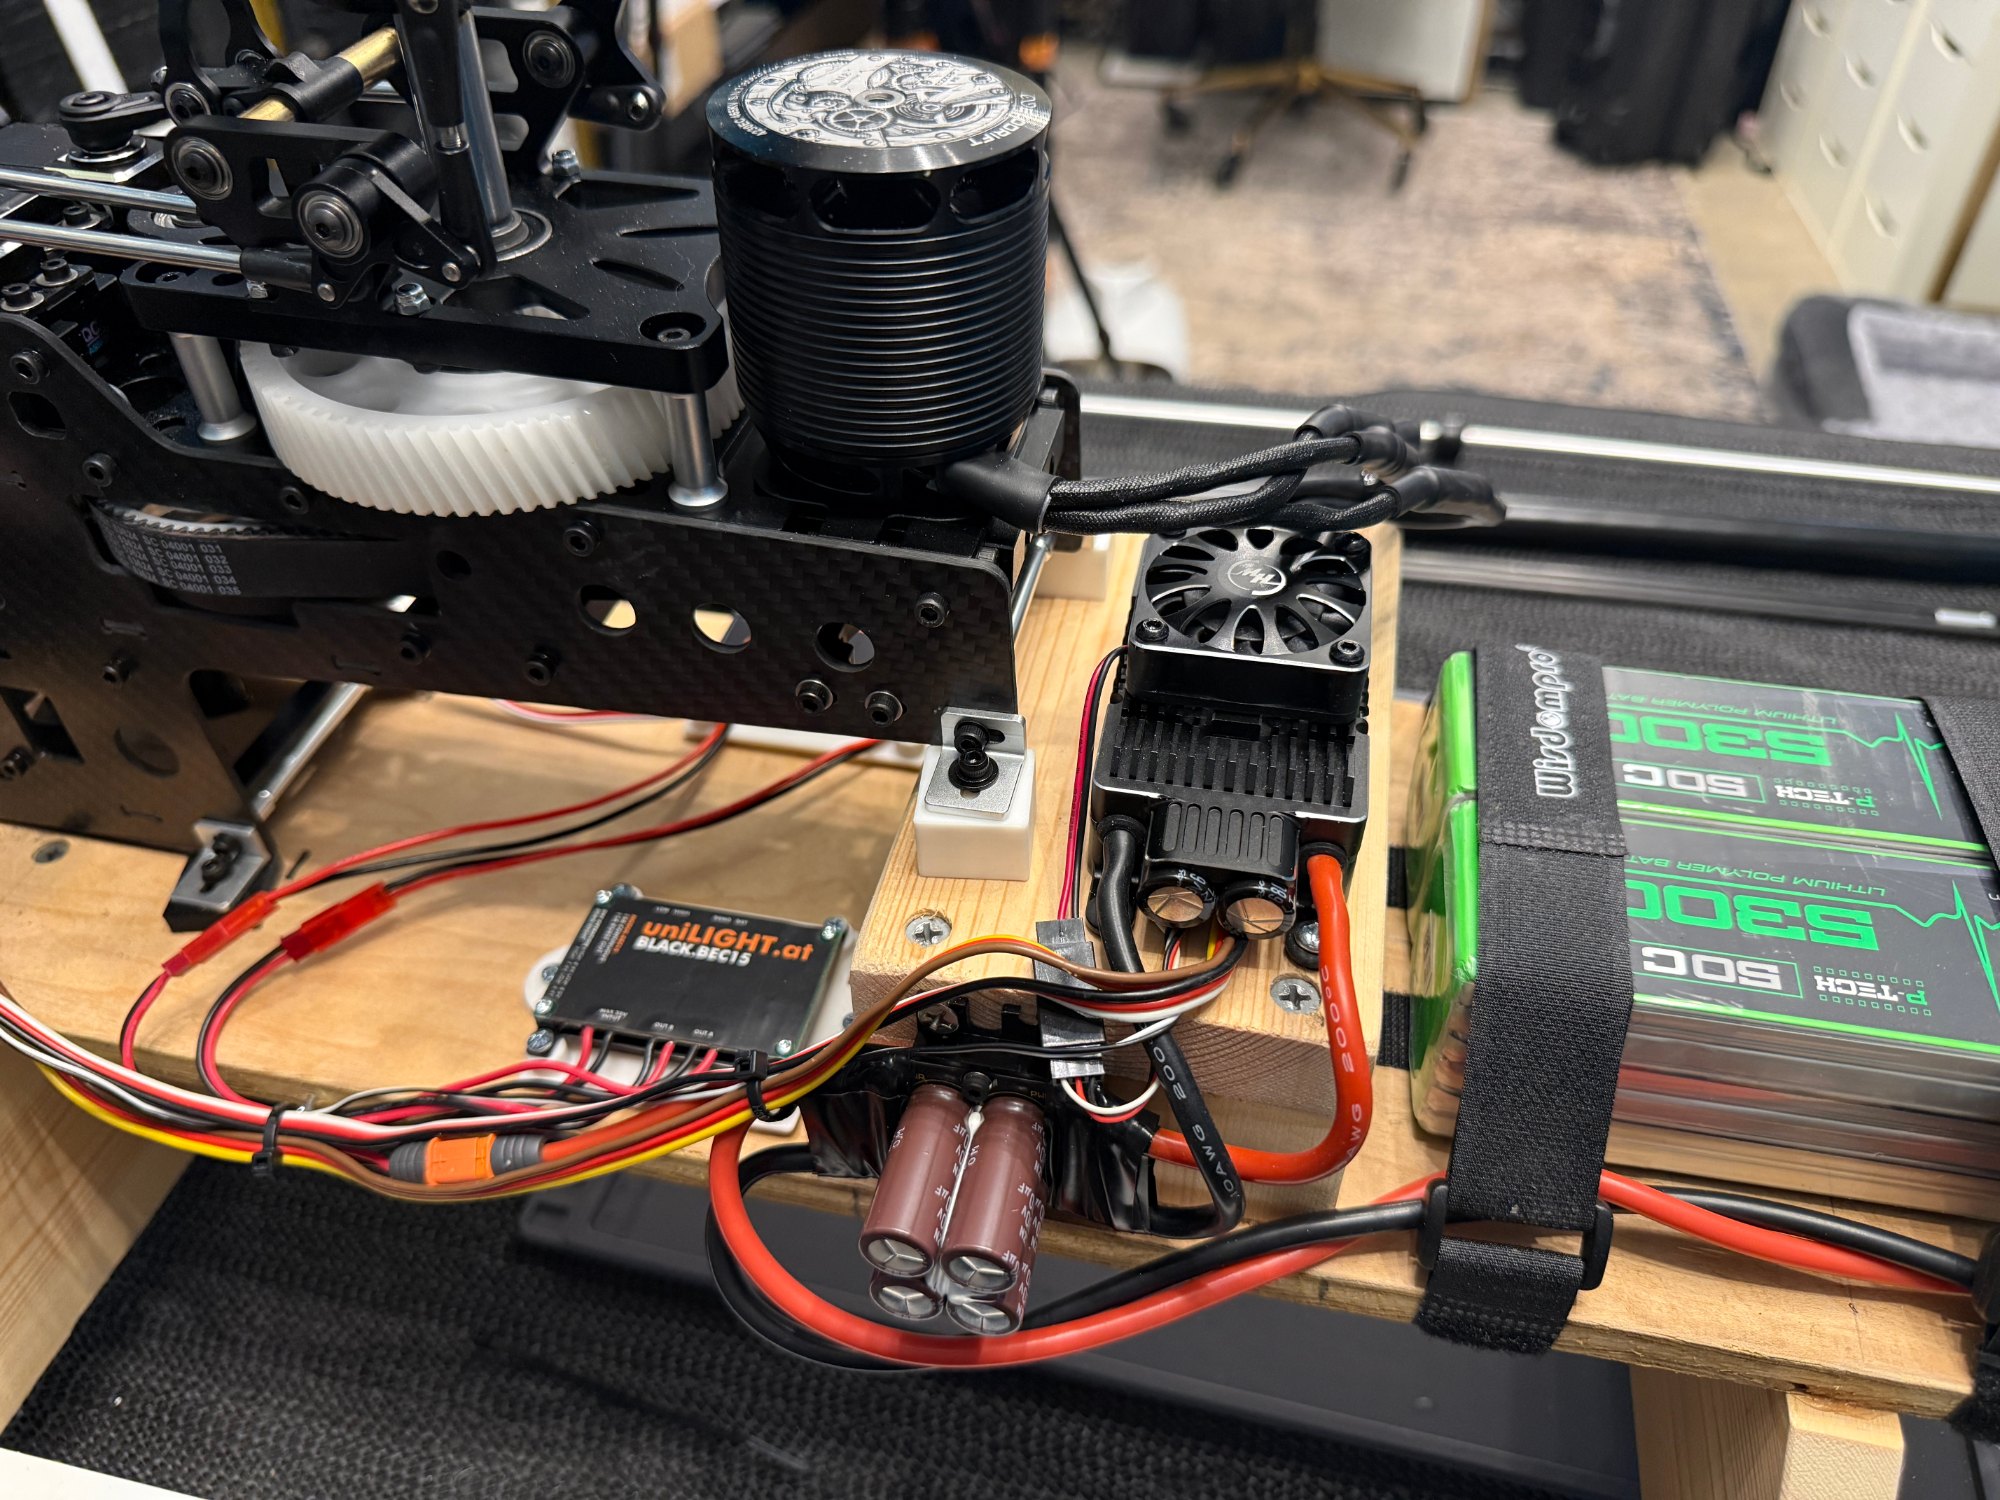
Hobbywing 180Amp ESC - has a 12volt BEC, I have 6 of them already that perform fantastically, and they just plain work.
Scopion 80V Capacitor inline with a very long battery lead. I really want to put the ESC in the doghouse where there is lots of airflow. Using this Capacitor inline allows me to extend the battery leads without concern for damage from ripple voltage.
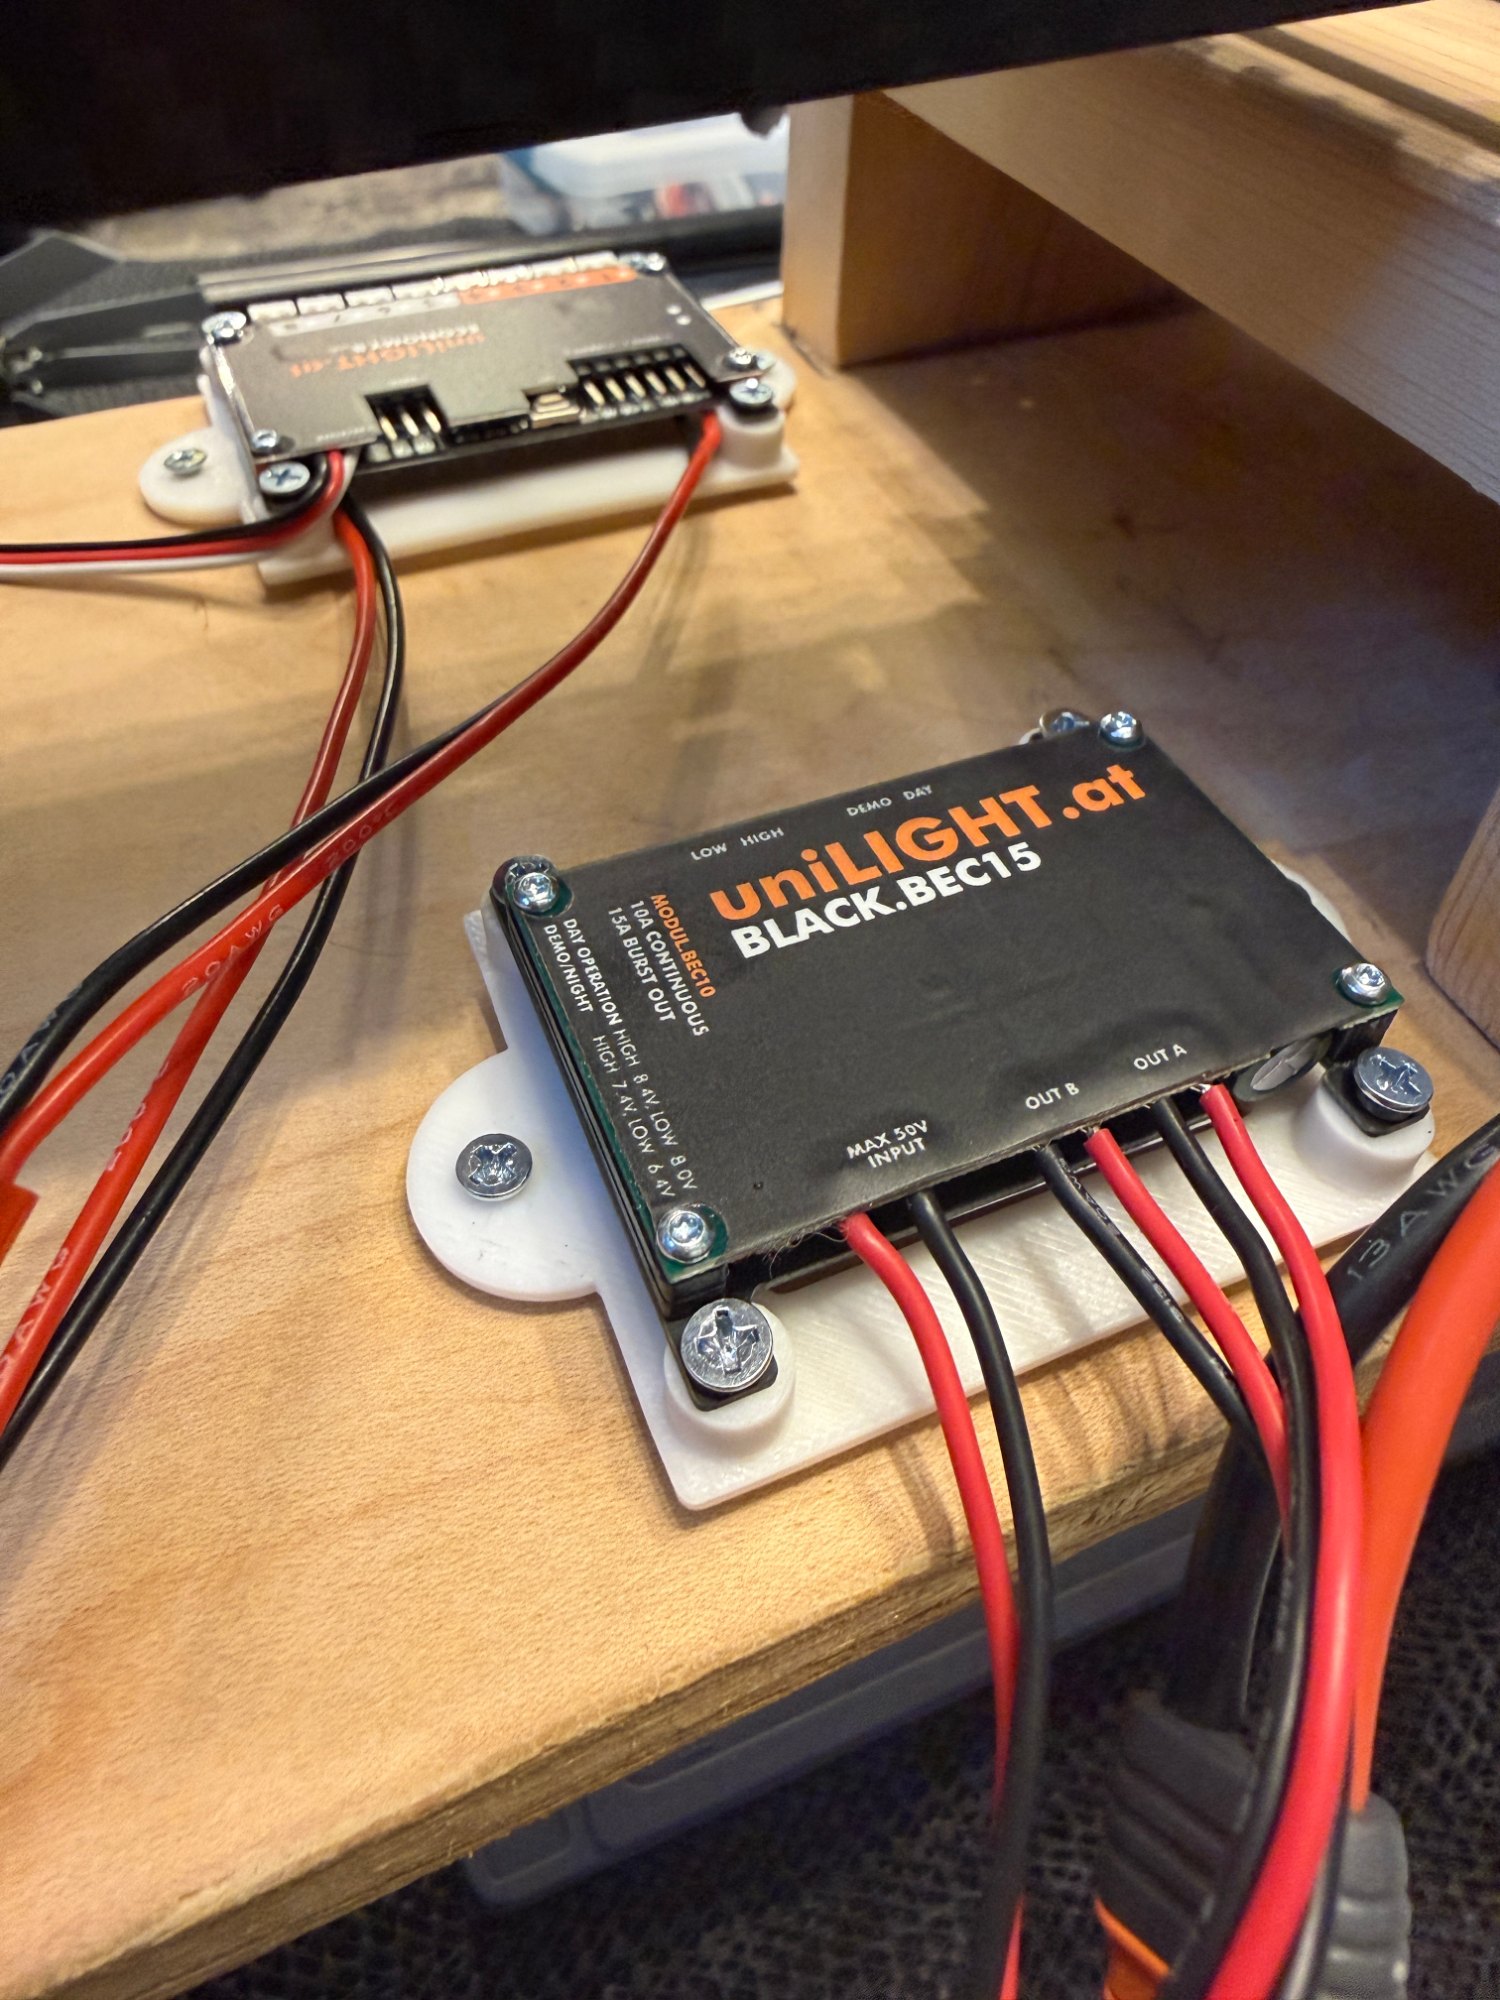
Unlight 15 BEC. My plan is to use the main flight pack to power all of the lighting in the helicopter, and the ESC Bec to power just the servos. Hobbywing BEC perform flawlessly in my 3D birds. I just didn't want to tax the ESC BEC with the lighting as well. I also didn't want to deal with multiple batteries. I'm fine with losing a bit of flight time to power the lights, and my Spirit FBL will call out battery capacity via telemetry so no issue there.
Figuring all this out, programming it, and getting everything working with the lighting control on a tx switch has taken some time and a lot of reaseach, but it's been fun. Picture below of wiring spaghetti as I test it all.
Checking the Mechanics and Fenestron
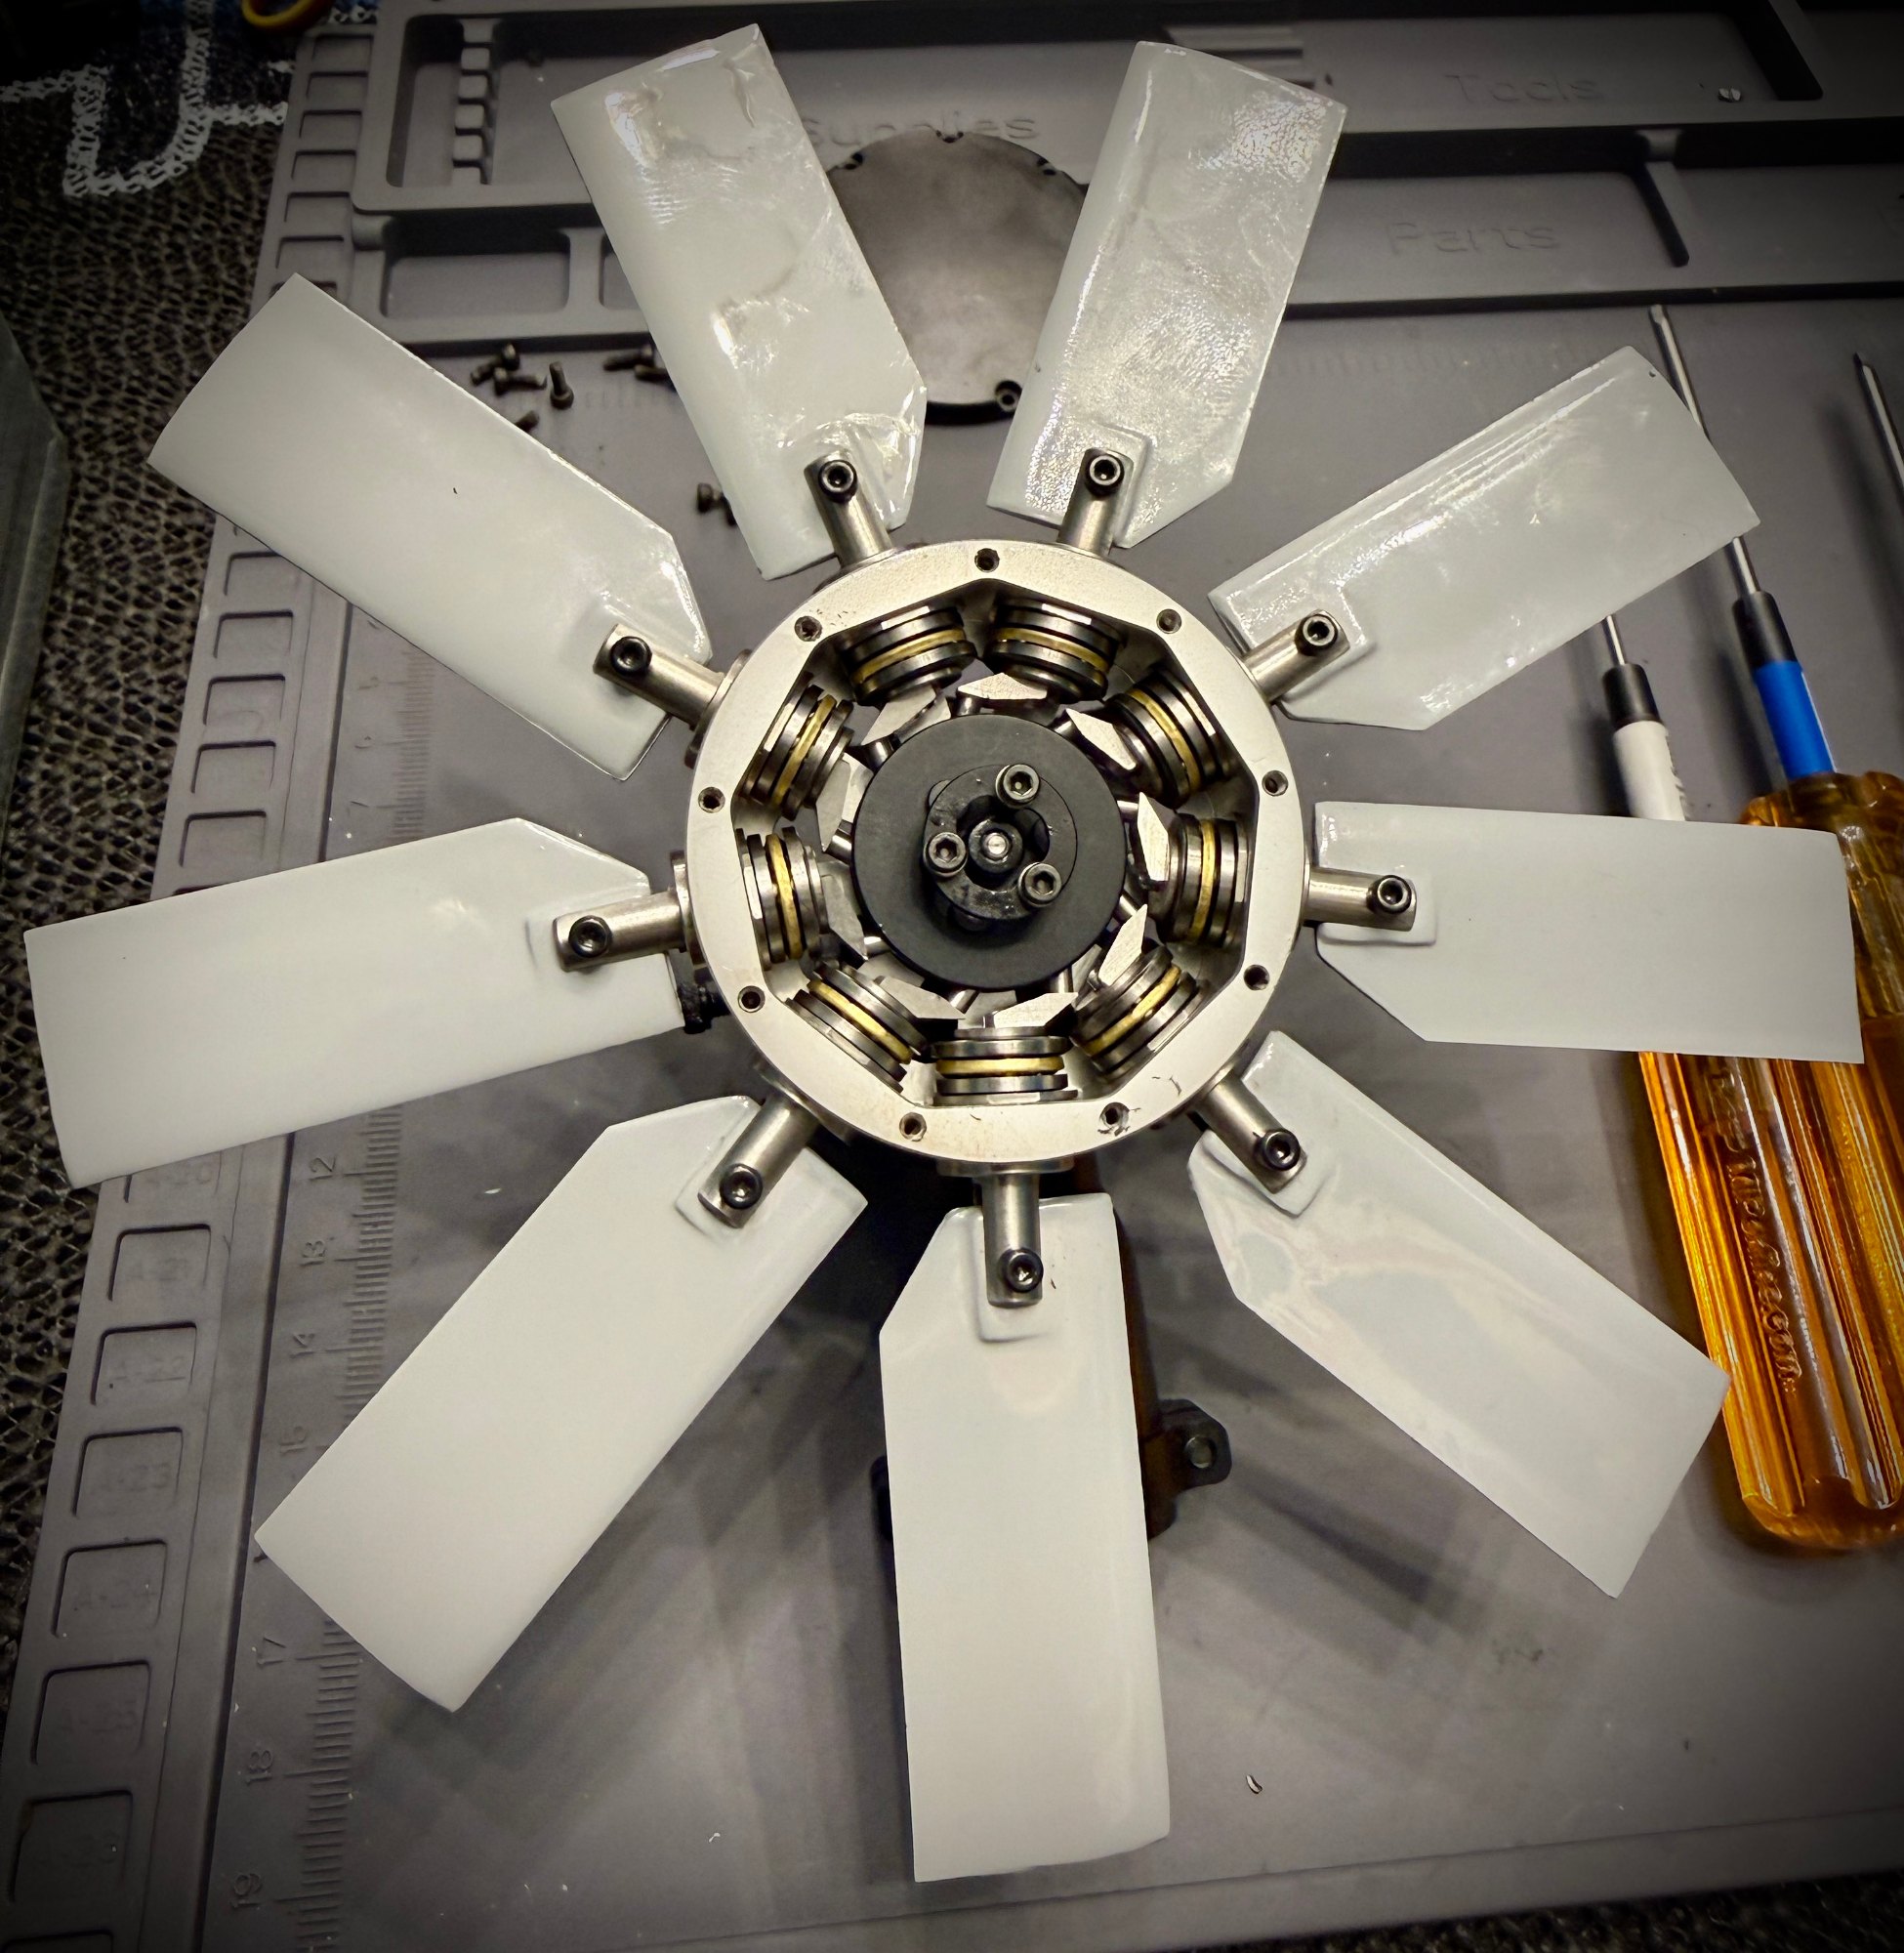
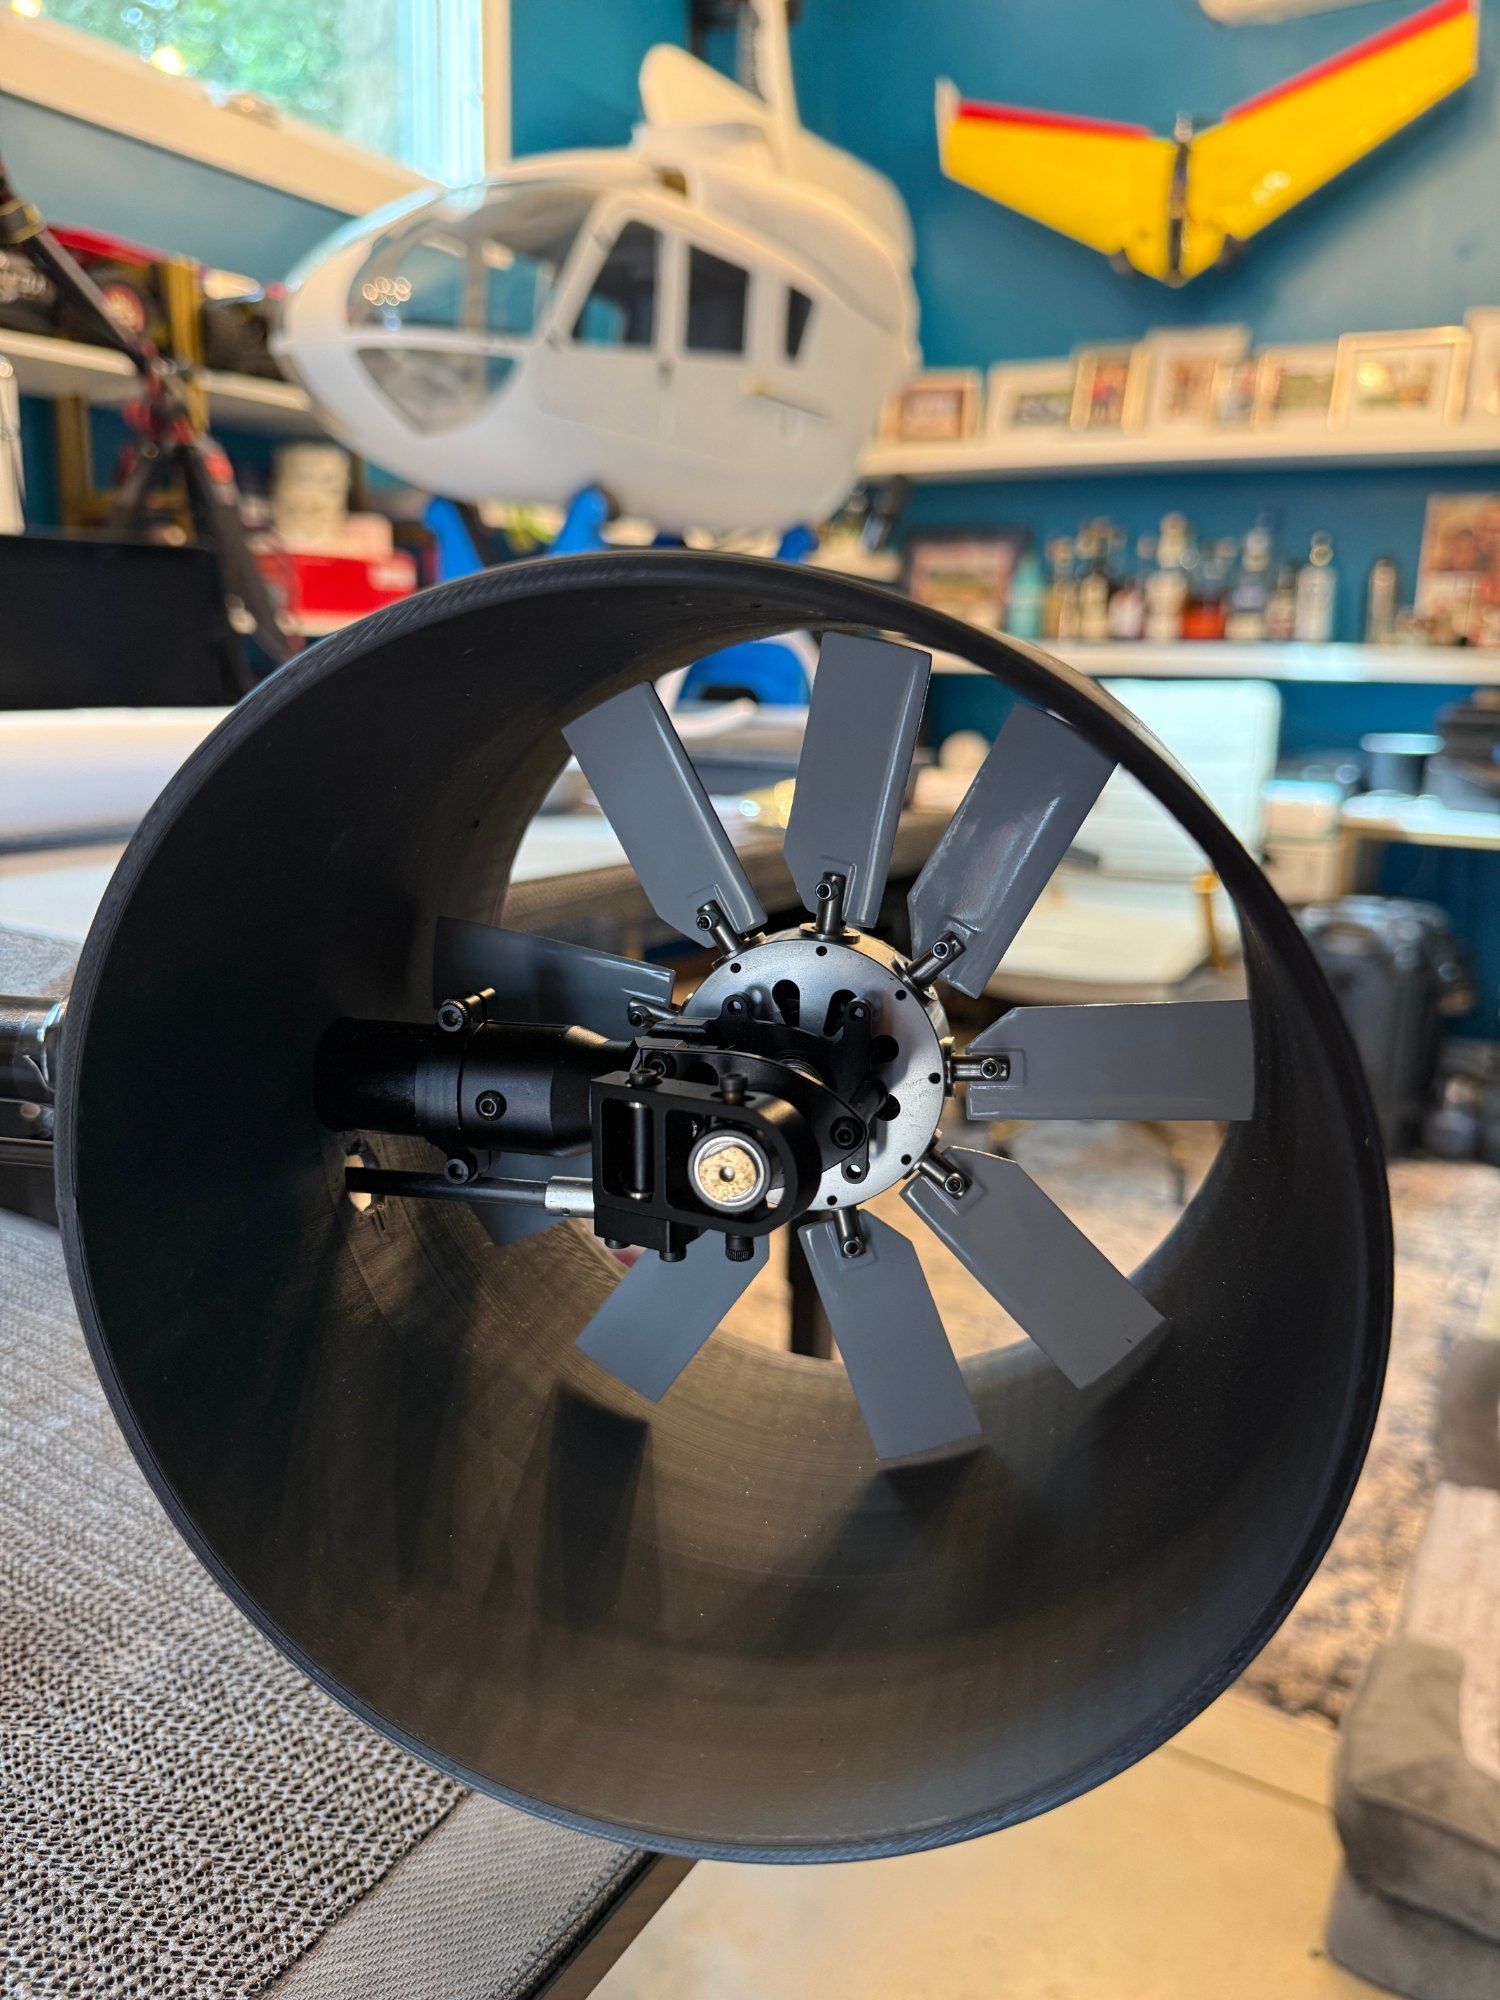
Now digging into the mechanics. Checking to make sure things are lubricated properly, everything is loctited properly etc. The inside of the fenestron is pretty amazing to me. Simple and effective. Much has been written on the Roban fenestrons... I've read it all, and doing what I can to make sure things will run as smooth as possible. But am always open to more advice!
1 Comment on Chapter 5
 Michael K.

Hey Nick, this is great content! You spaced these chapters out nicely and it's easy to follow your progress!
The Sled
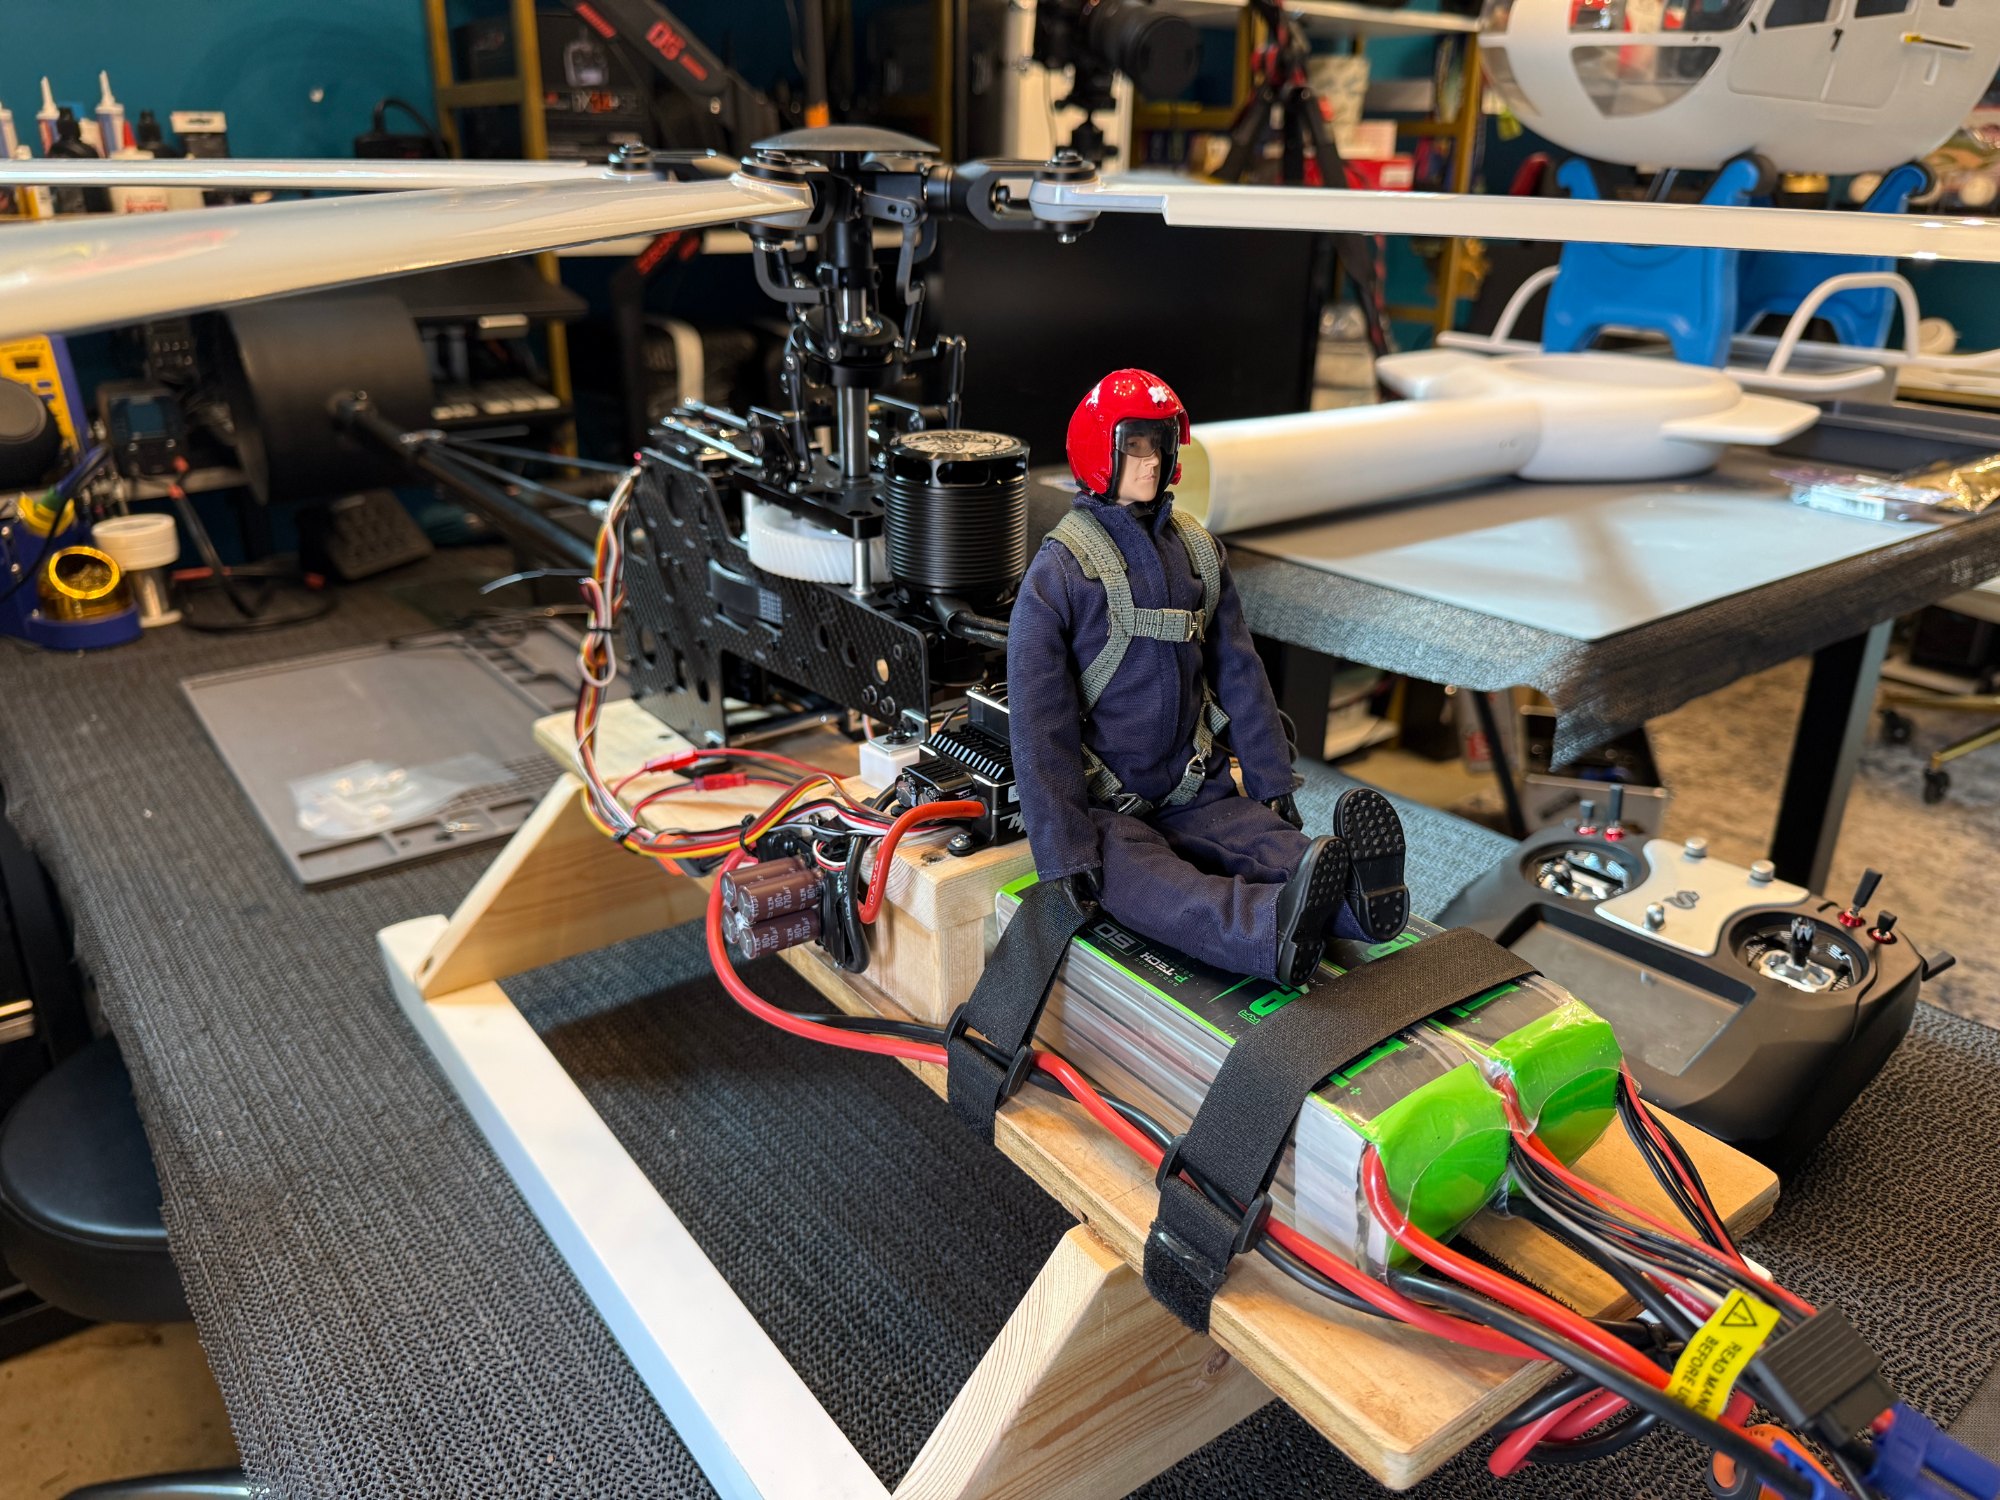
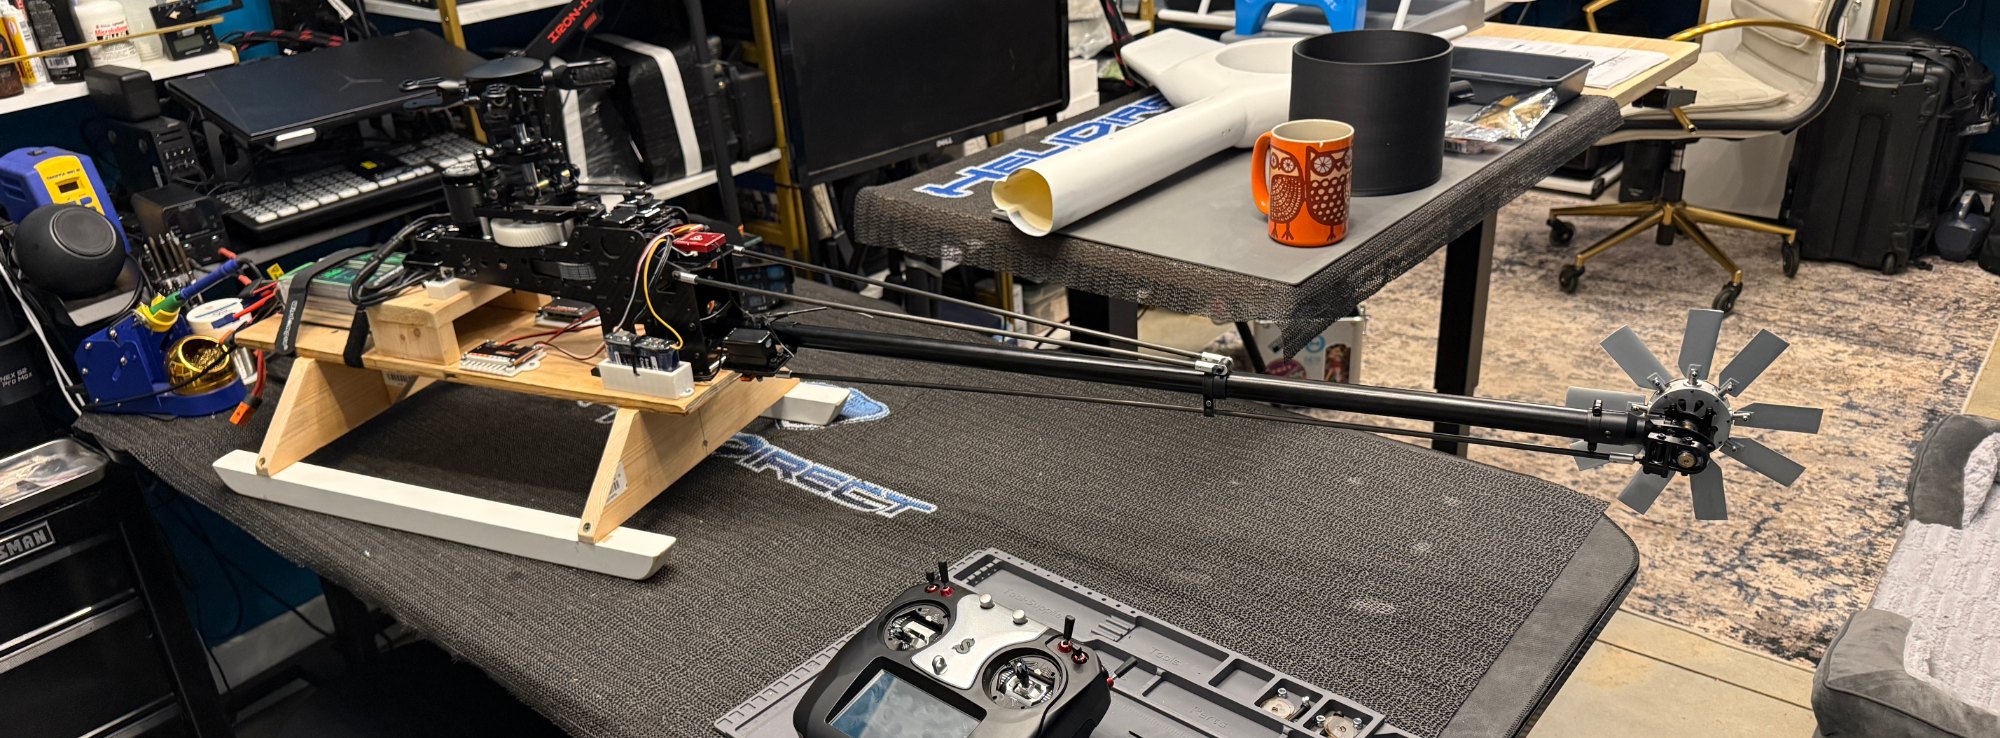
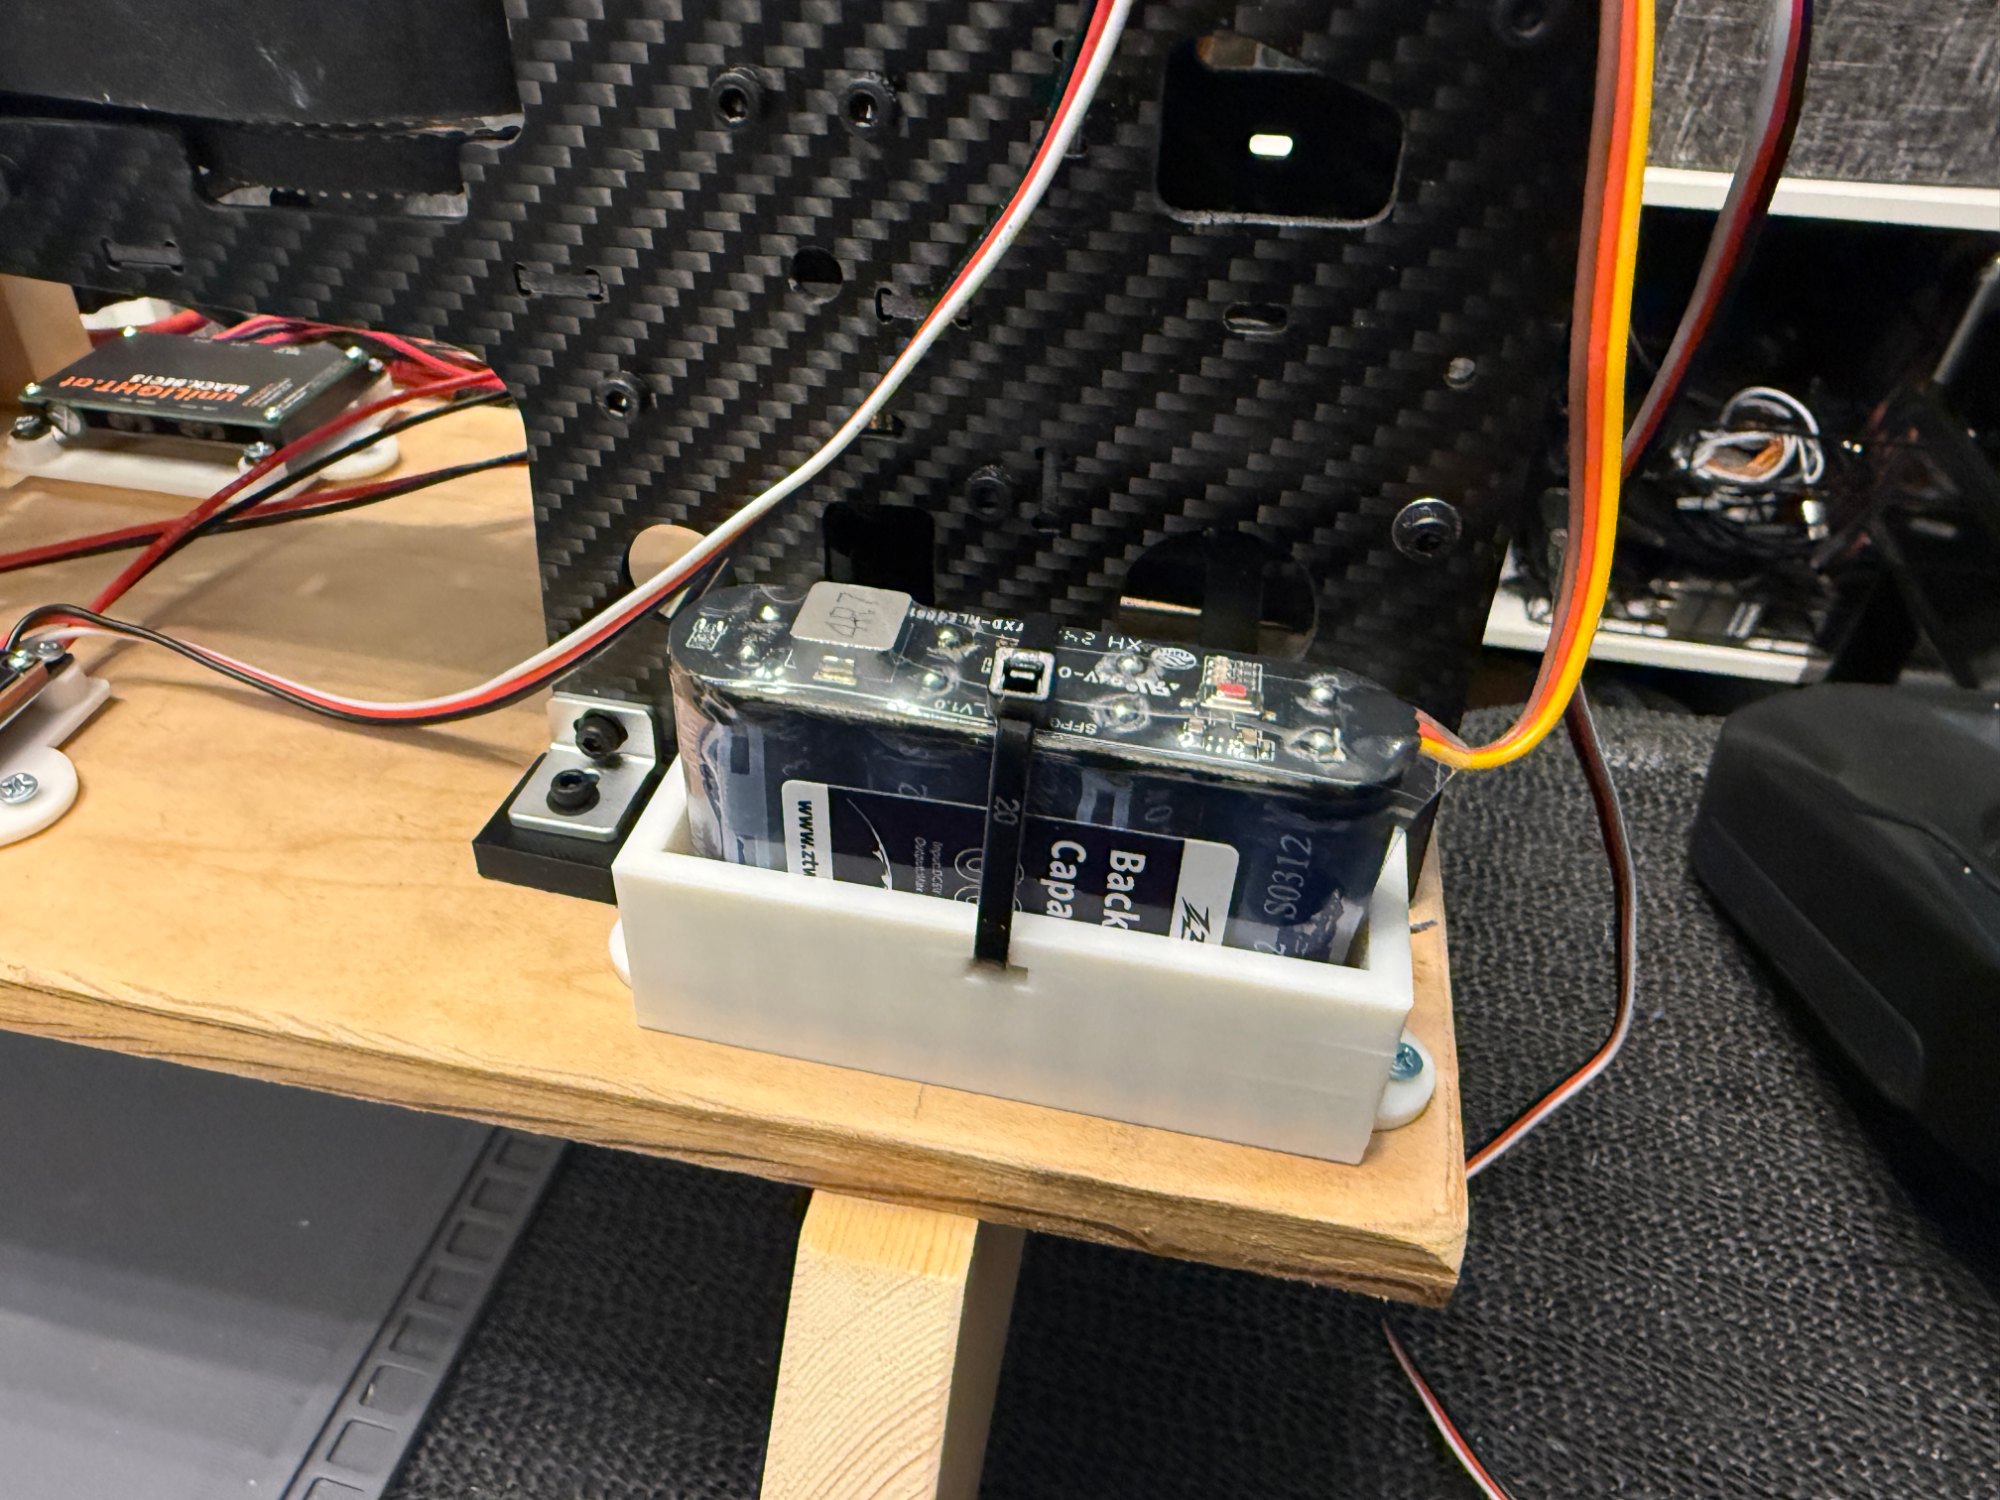
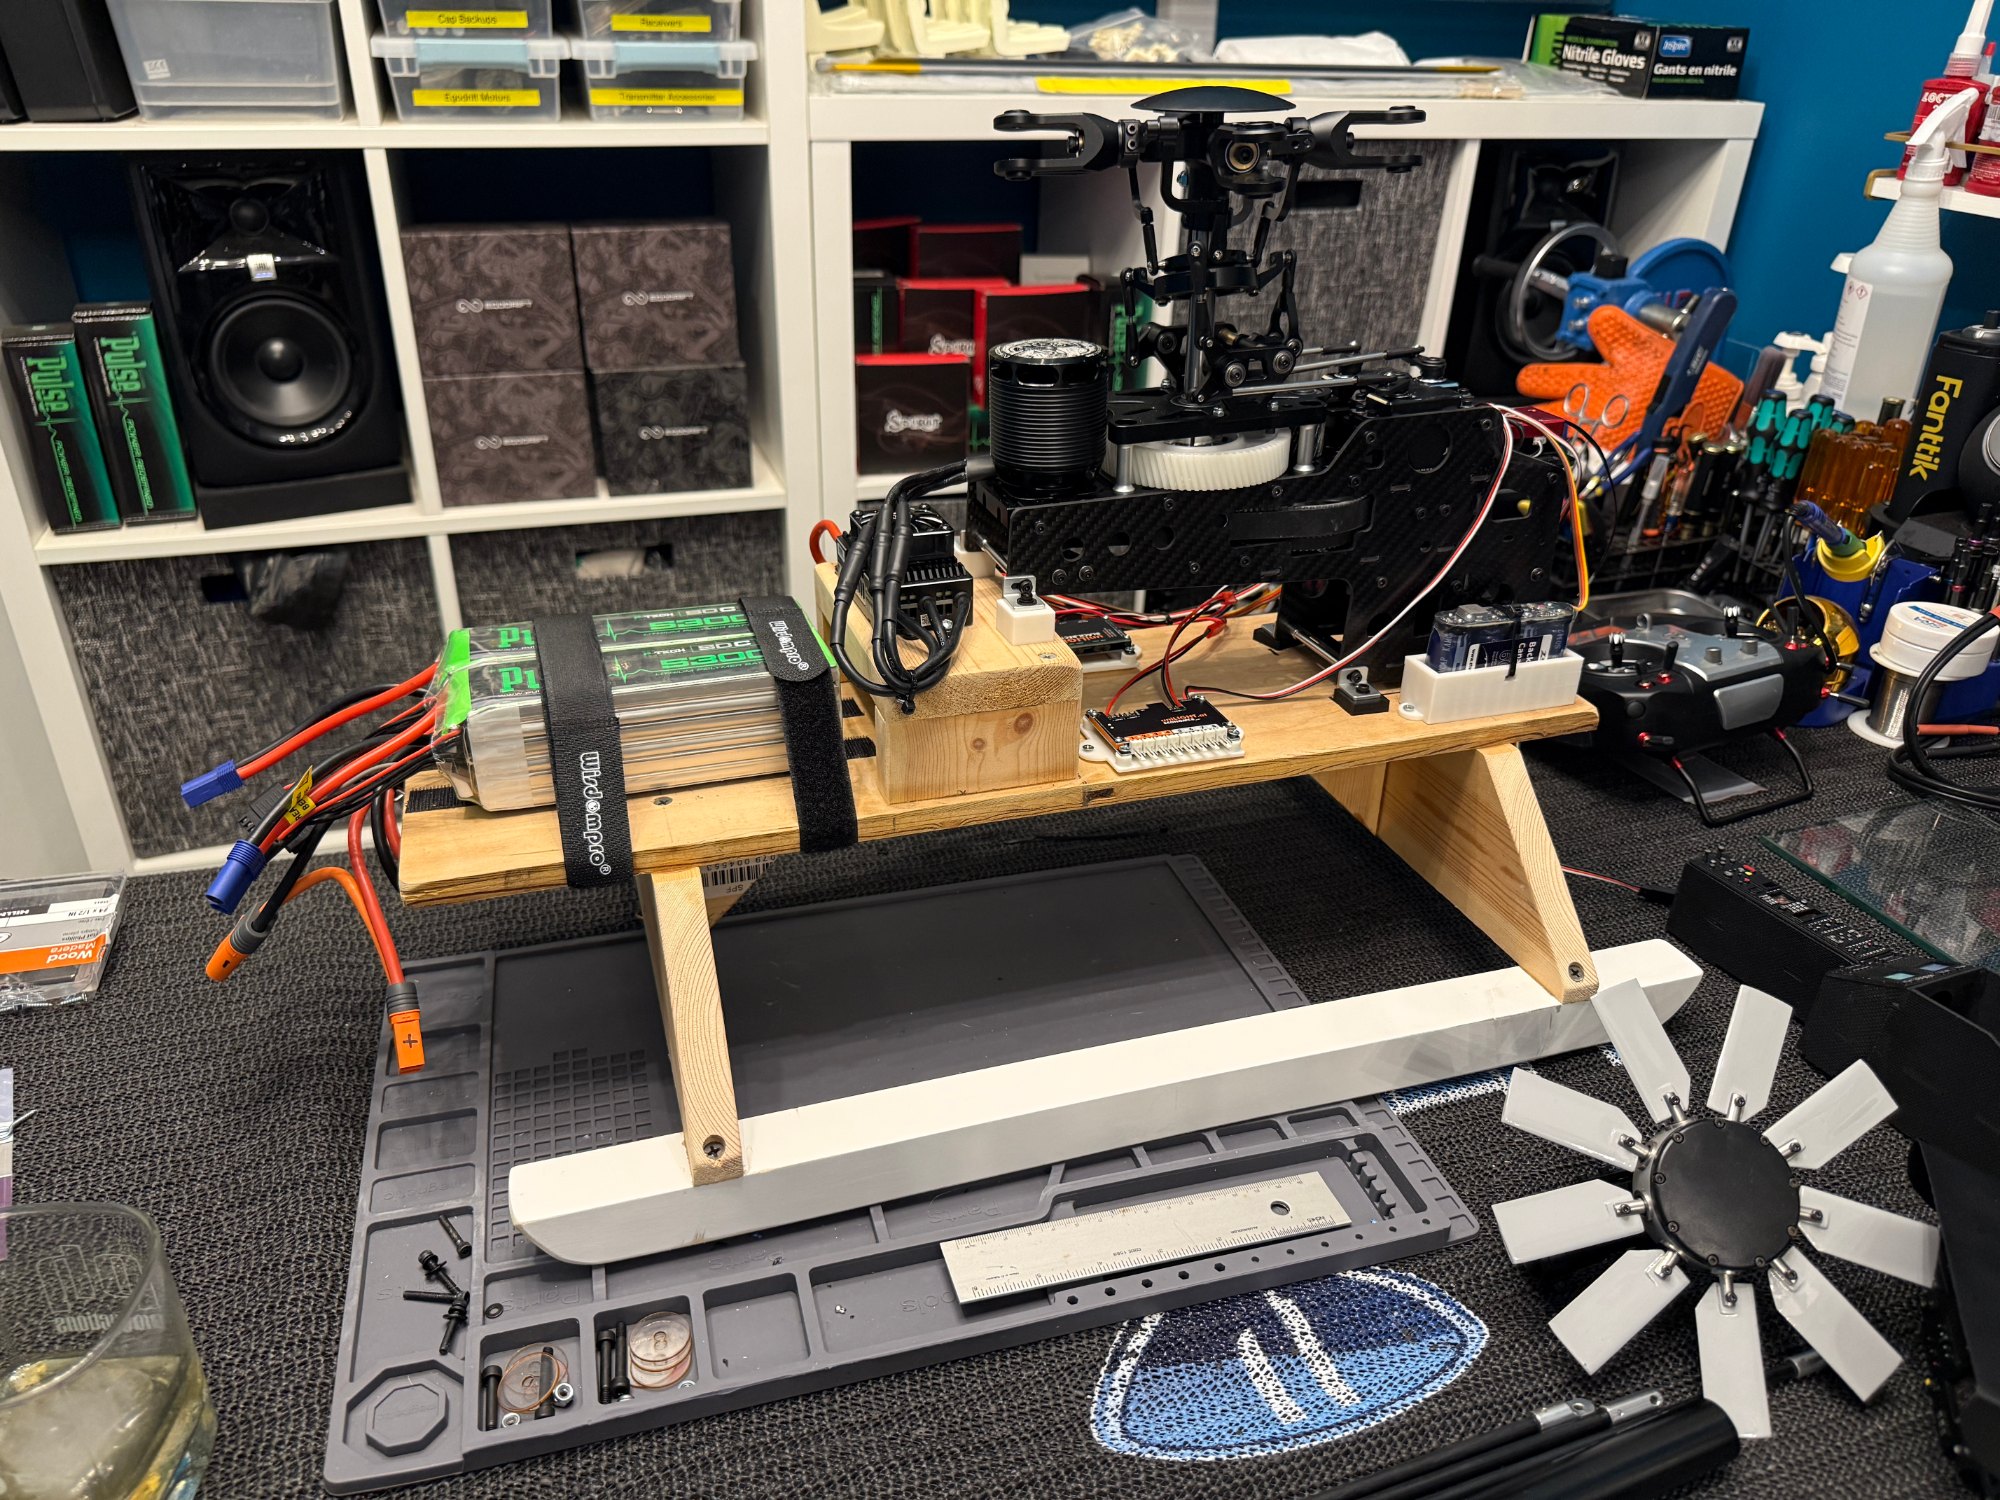
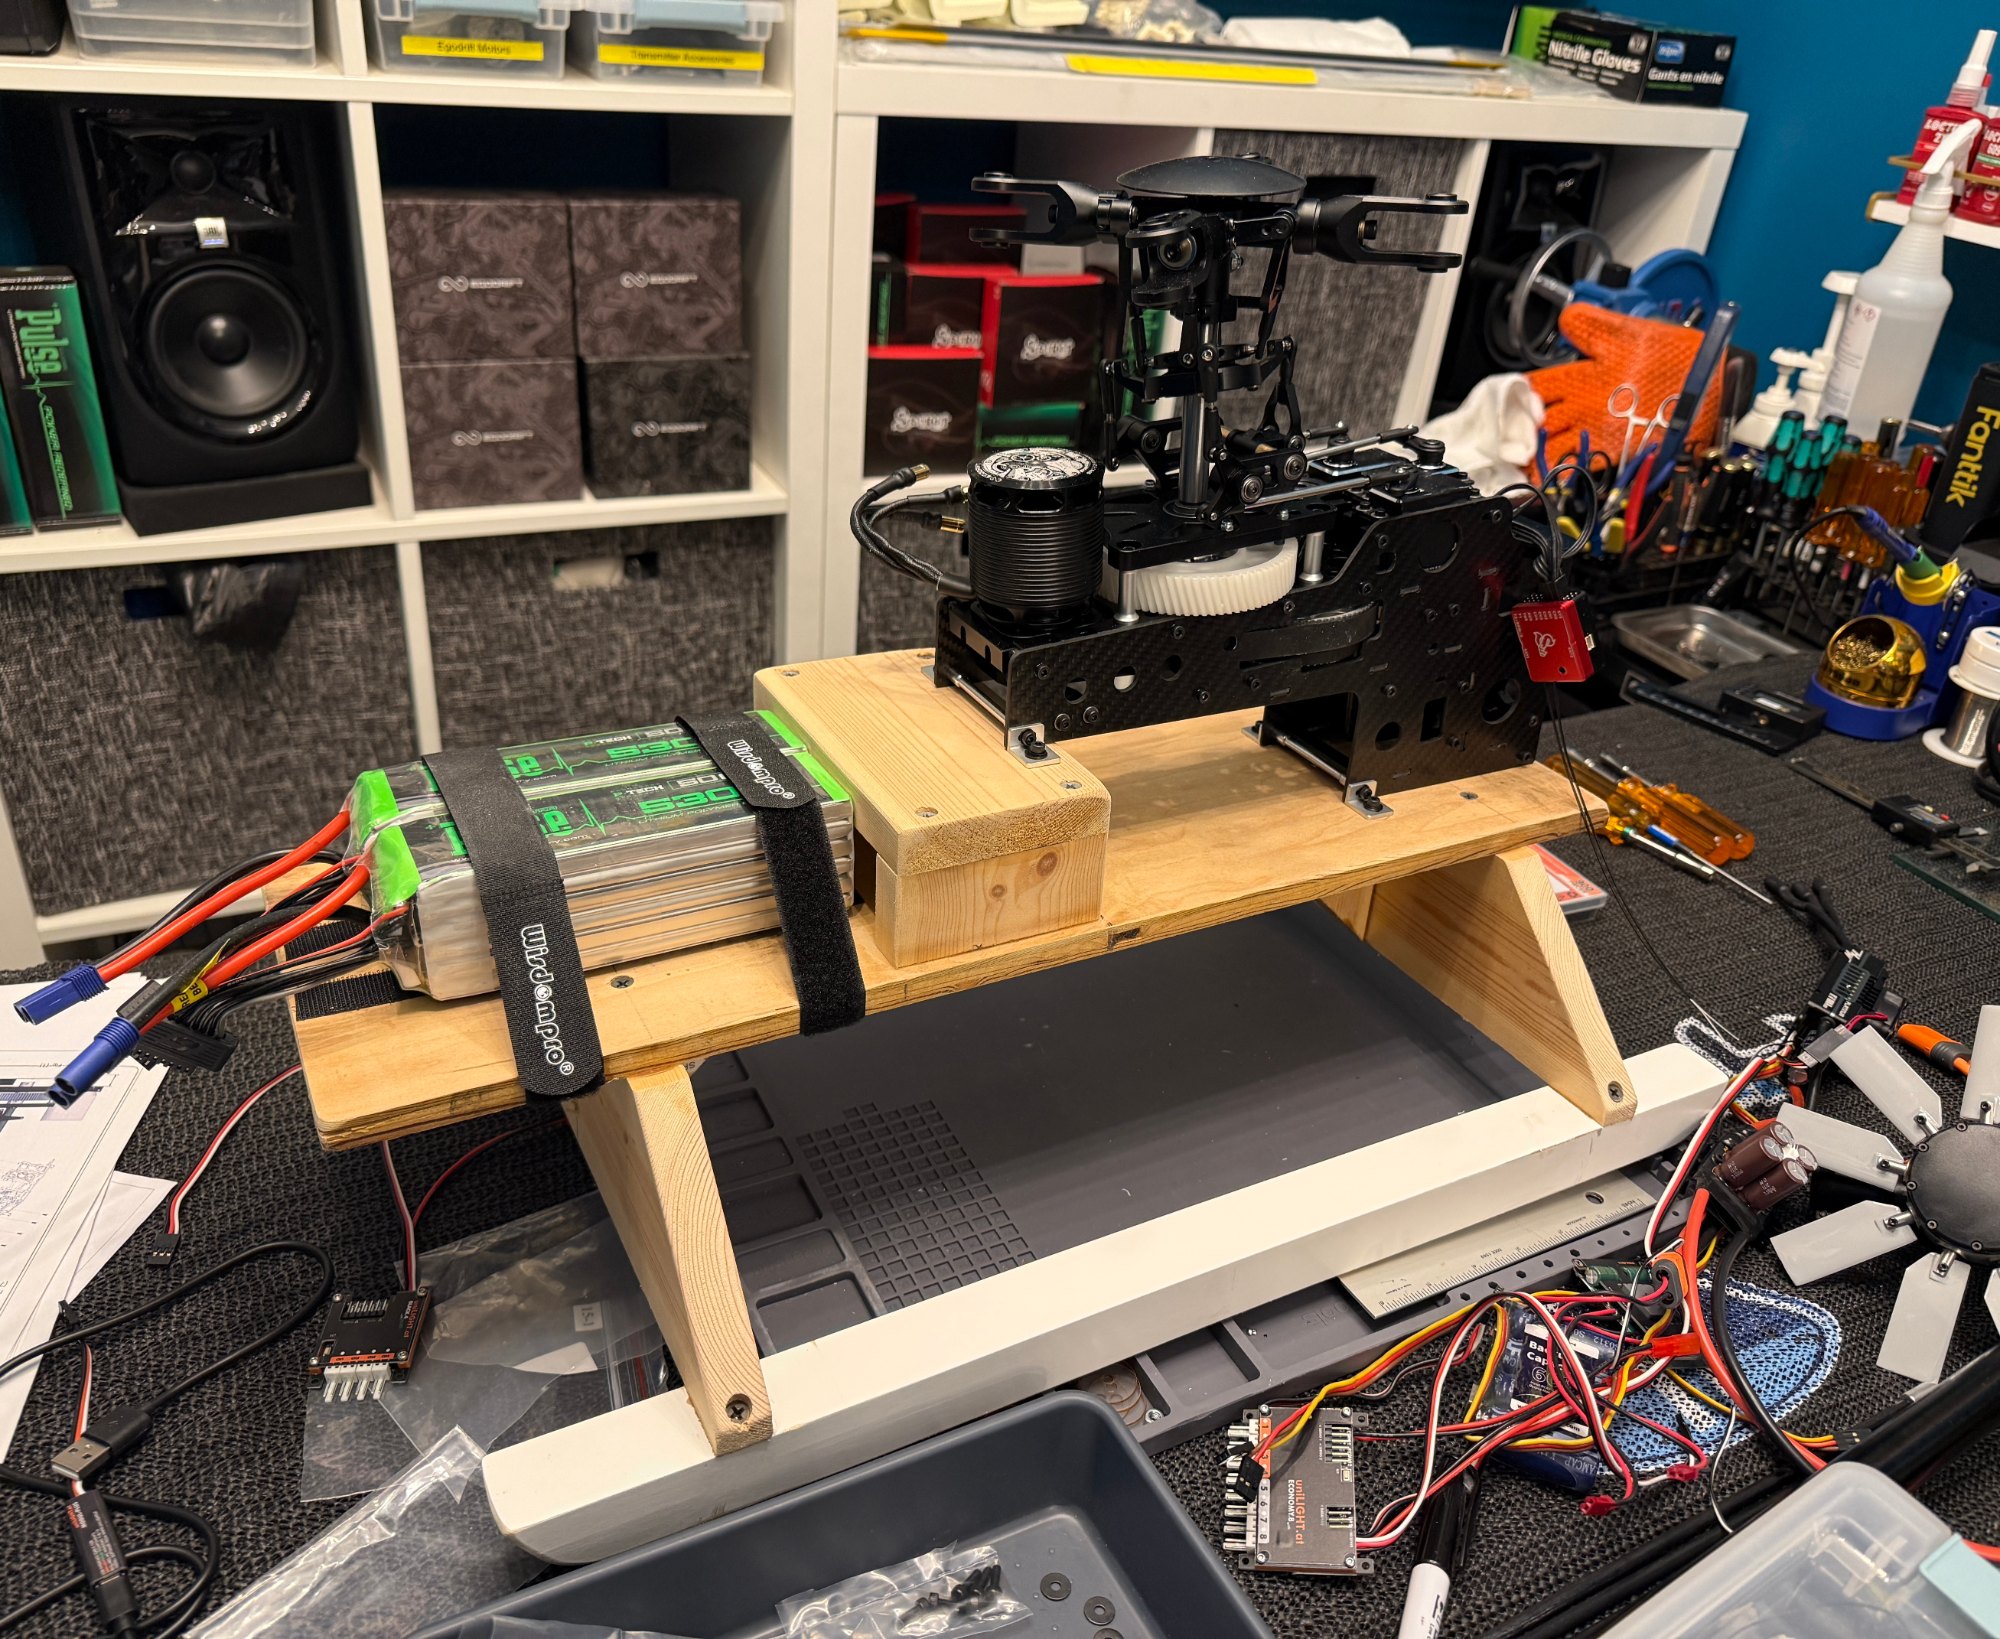
The next step was to build a simple wooden sled to test the mechanics on. Since this is one of my first scale builds I wanted to test fly the mechanics outside of the fuselage. I wanted to add the lighting system, the audio system (once it become available), BEC, and everything else and work out all of the kinks while everything is easy to get to. Super impressed with the Unilight lighting system. Very bright, and easy to use, with some very easy programming software. Easy to get the landing light on a switch and be able to easily power up / down the lights when needed. Evan Sayres was kind enough to send me an STL file to print a shroud for the Fenestron to help replicate the tail behavior better. I also 3D printed some simple mounts for the BEC and lighting system components to allow airflow around them and make it easier to attach them. I also designed a basic holder for the capacitor backup system as well.
Once all of that was programmed and worked out it was time to setup the pitch and everythign else in the radio and fbl. That went very smoothly. Since the rotorhead is not terribly adjustable I spent a LONG time making sure the mechanics were as perfect as possible and the swash was very very very level. This paid off later. I added battery straps to the front of the sled, checked the CG, and triple checked gyro and control directions. I fliped the blade grips to allow for leading edge control as I felt like the geometry allowed more positive pitch in that direction. In the end I went with +11 and -3 degrees of pitch. (spoiler alert, I think I chose well).
Next up... the maiden of the mechanics.
Video of Maiden
Quick video showing the maiden of the mechanics.
Sand, Fill, Prime, Repeat
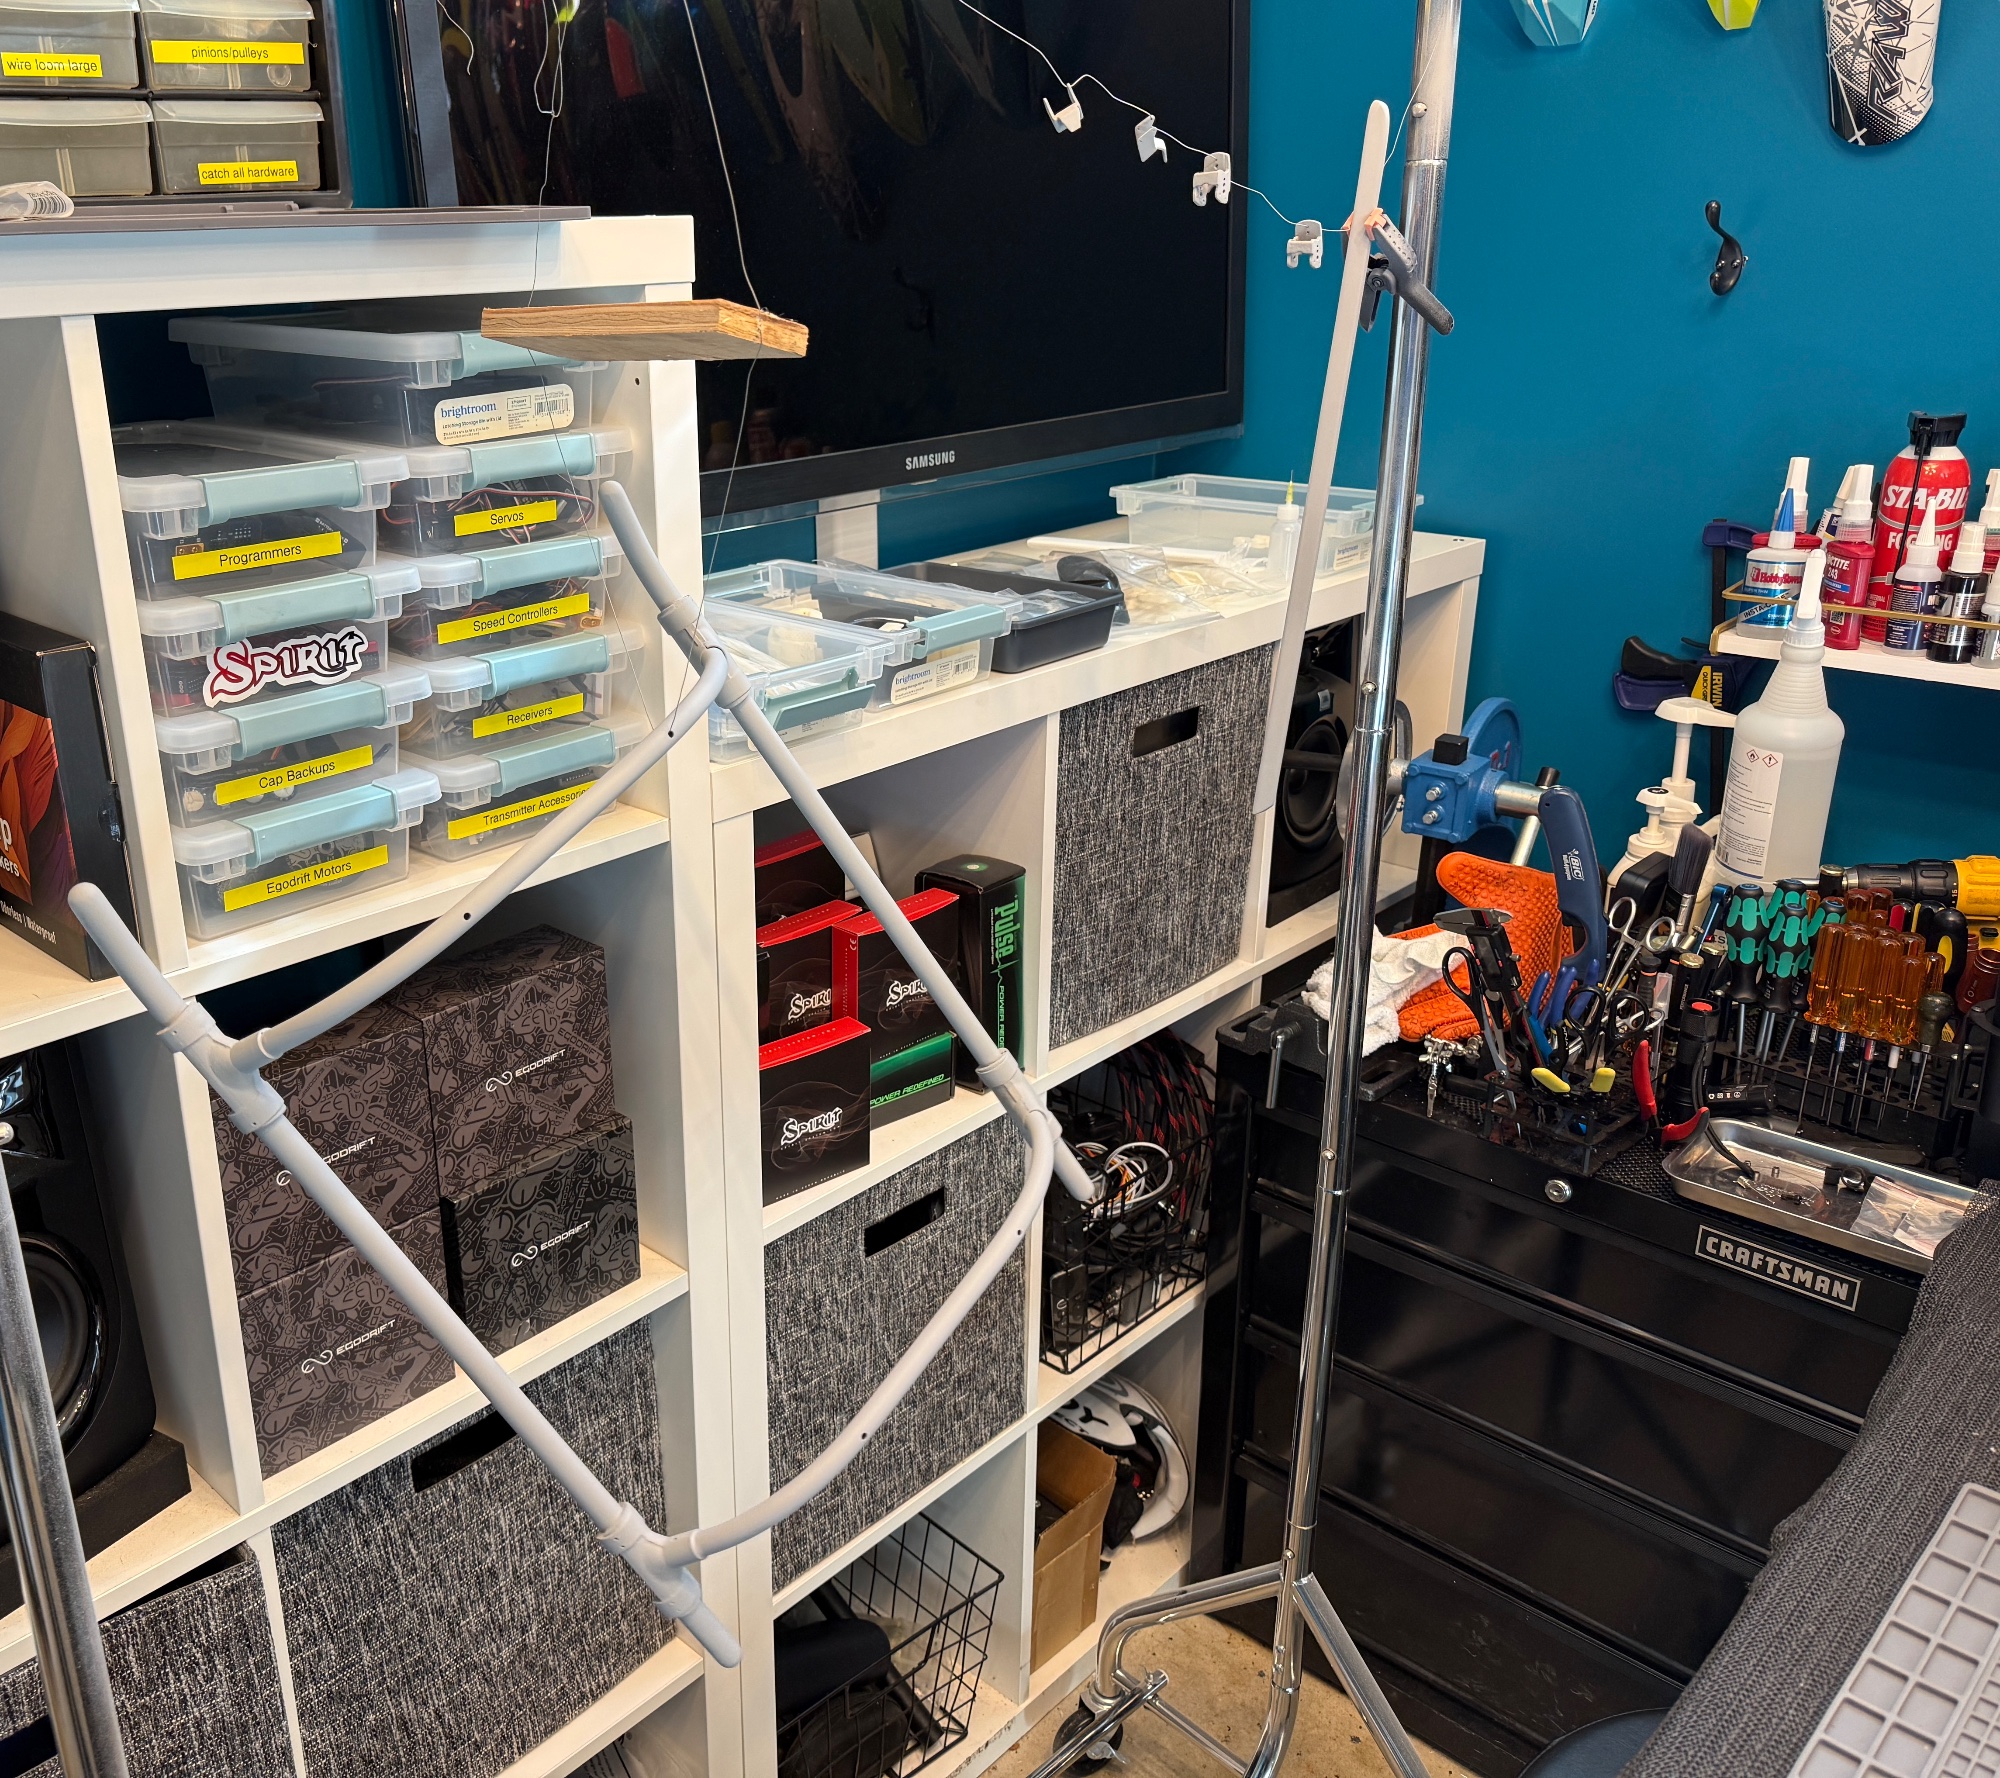
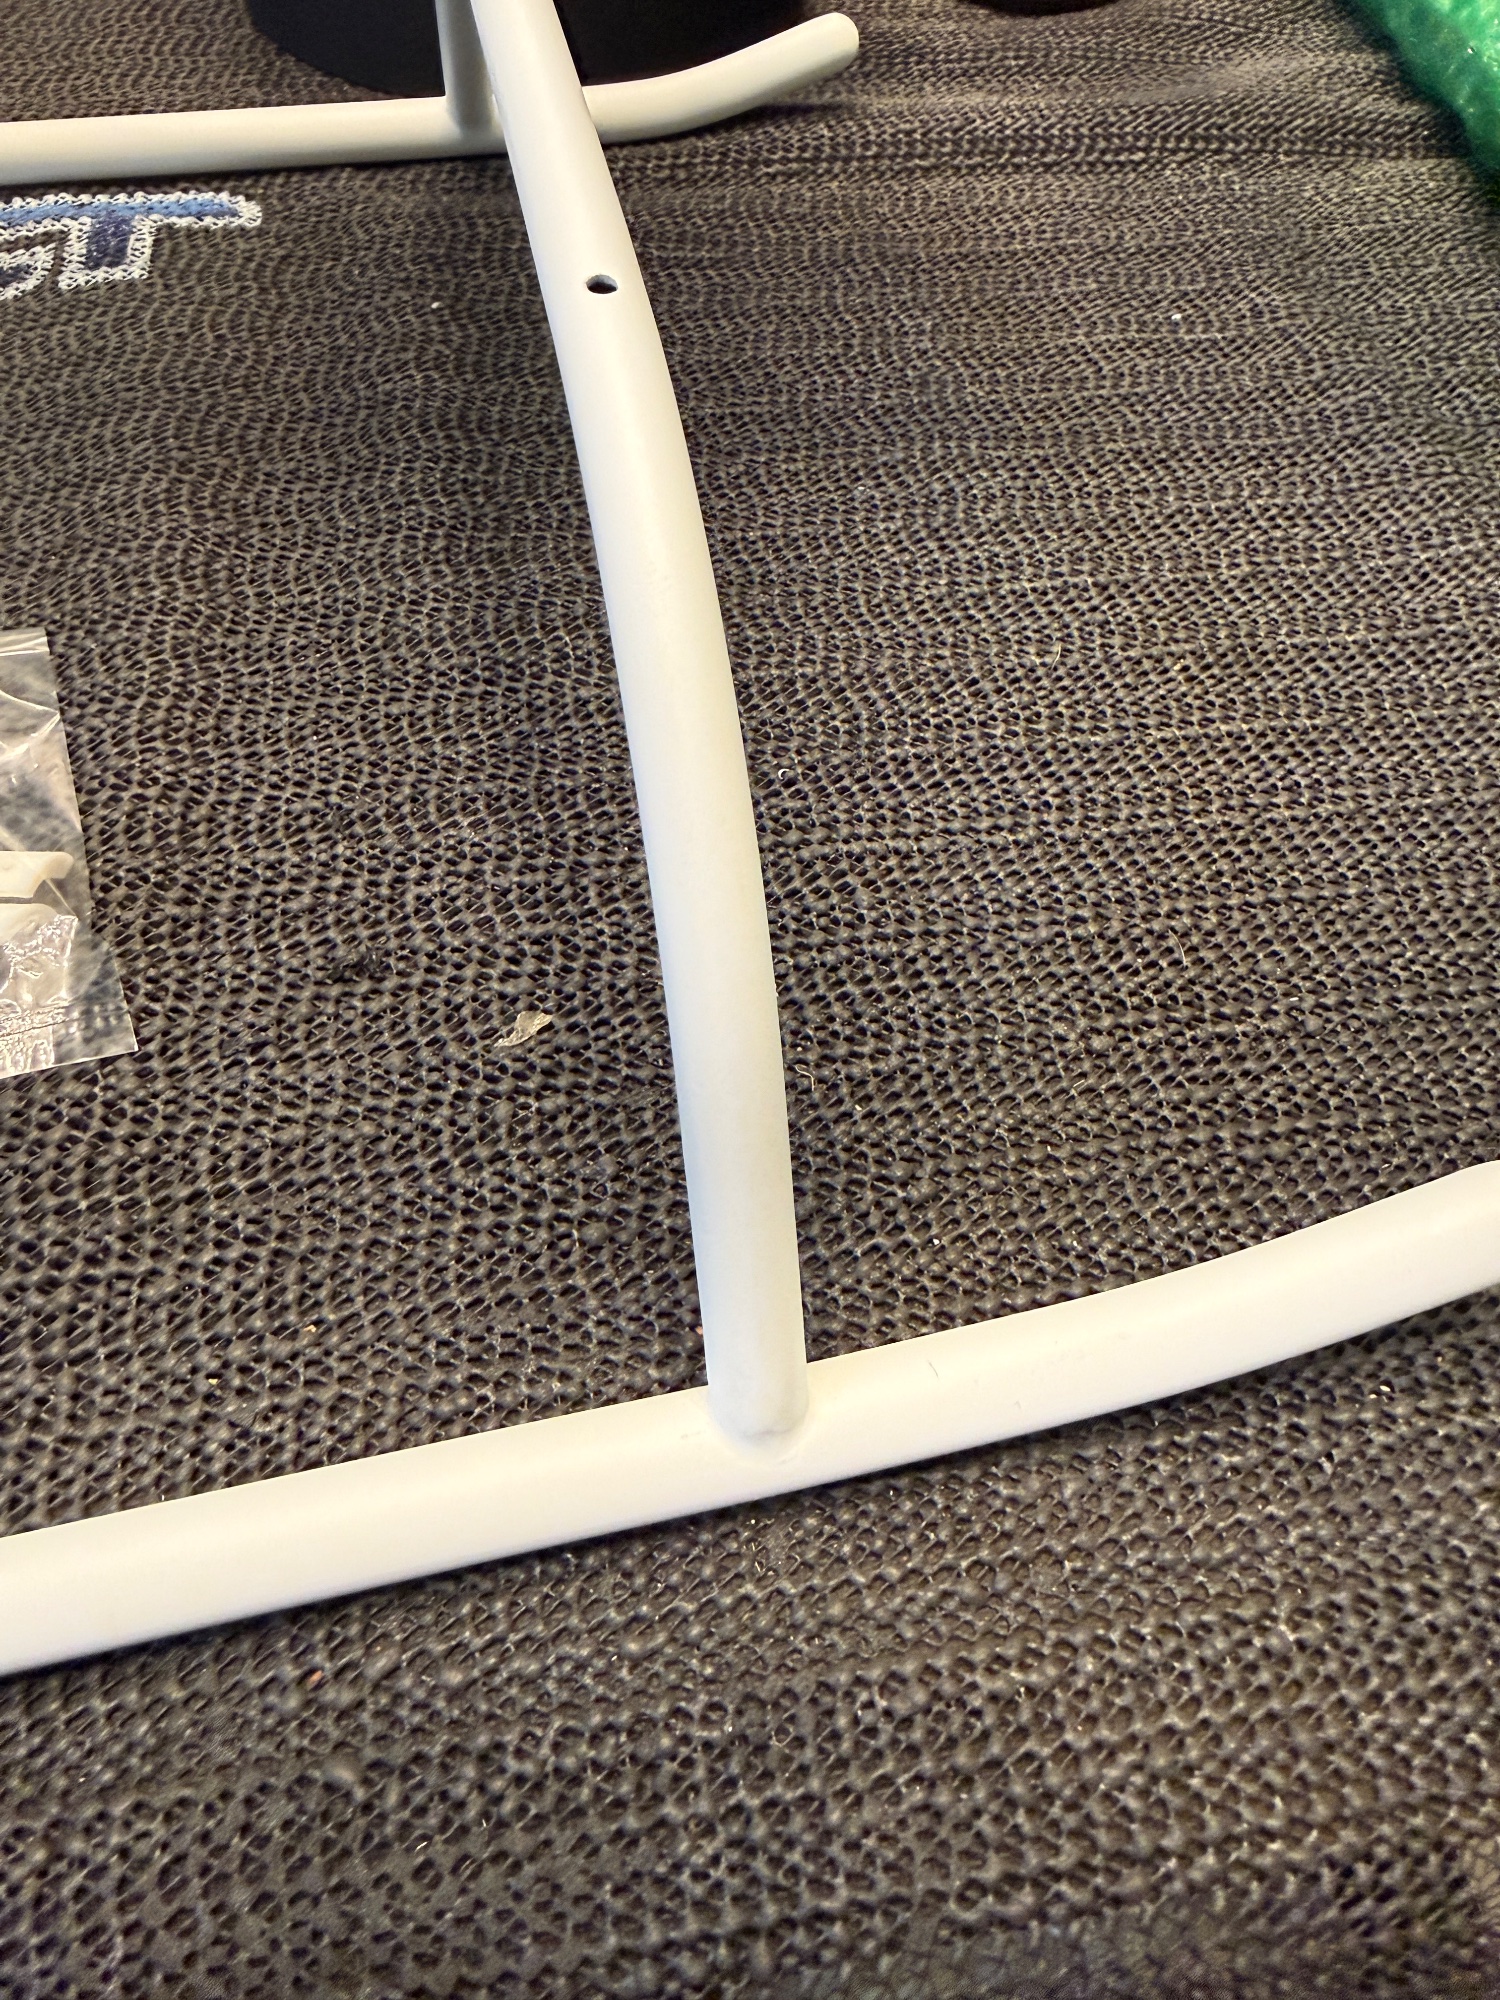
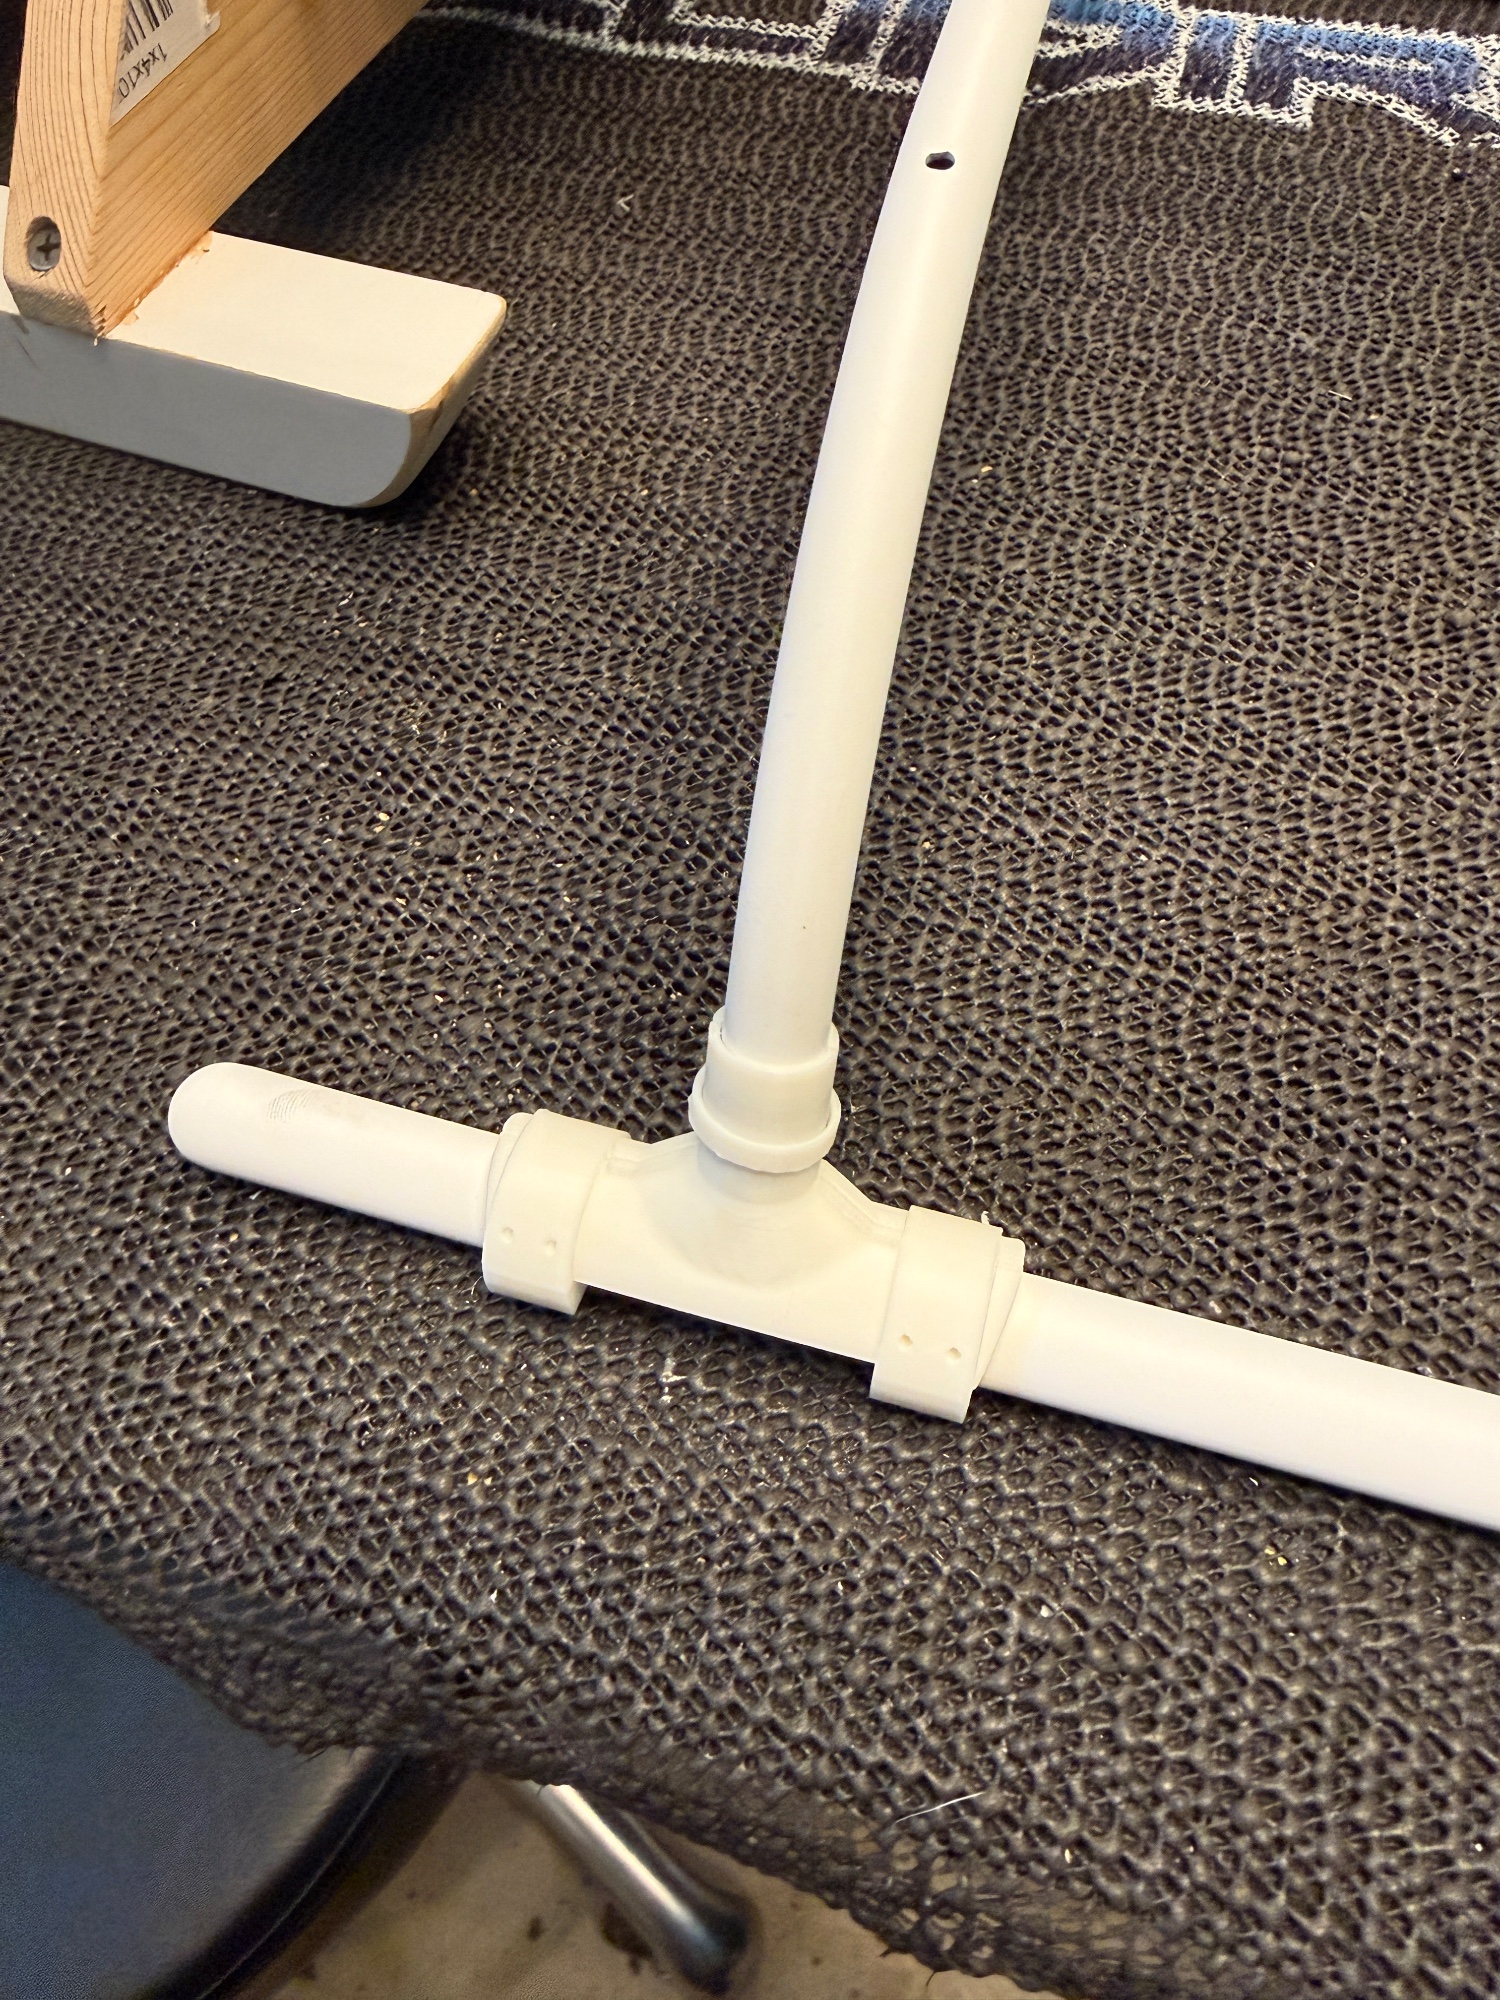
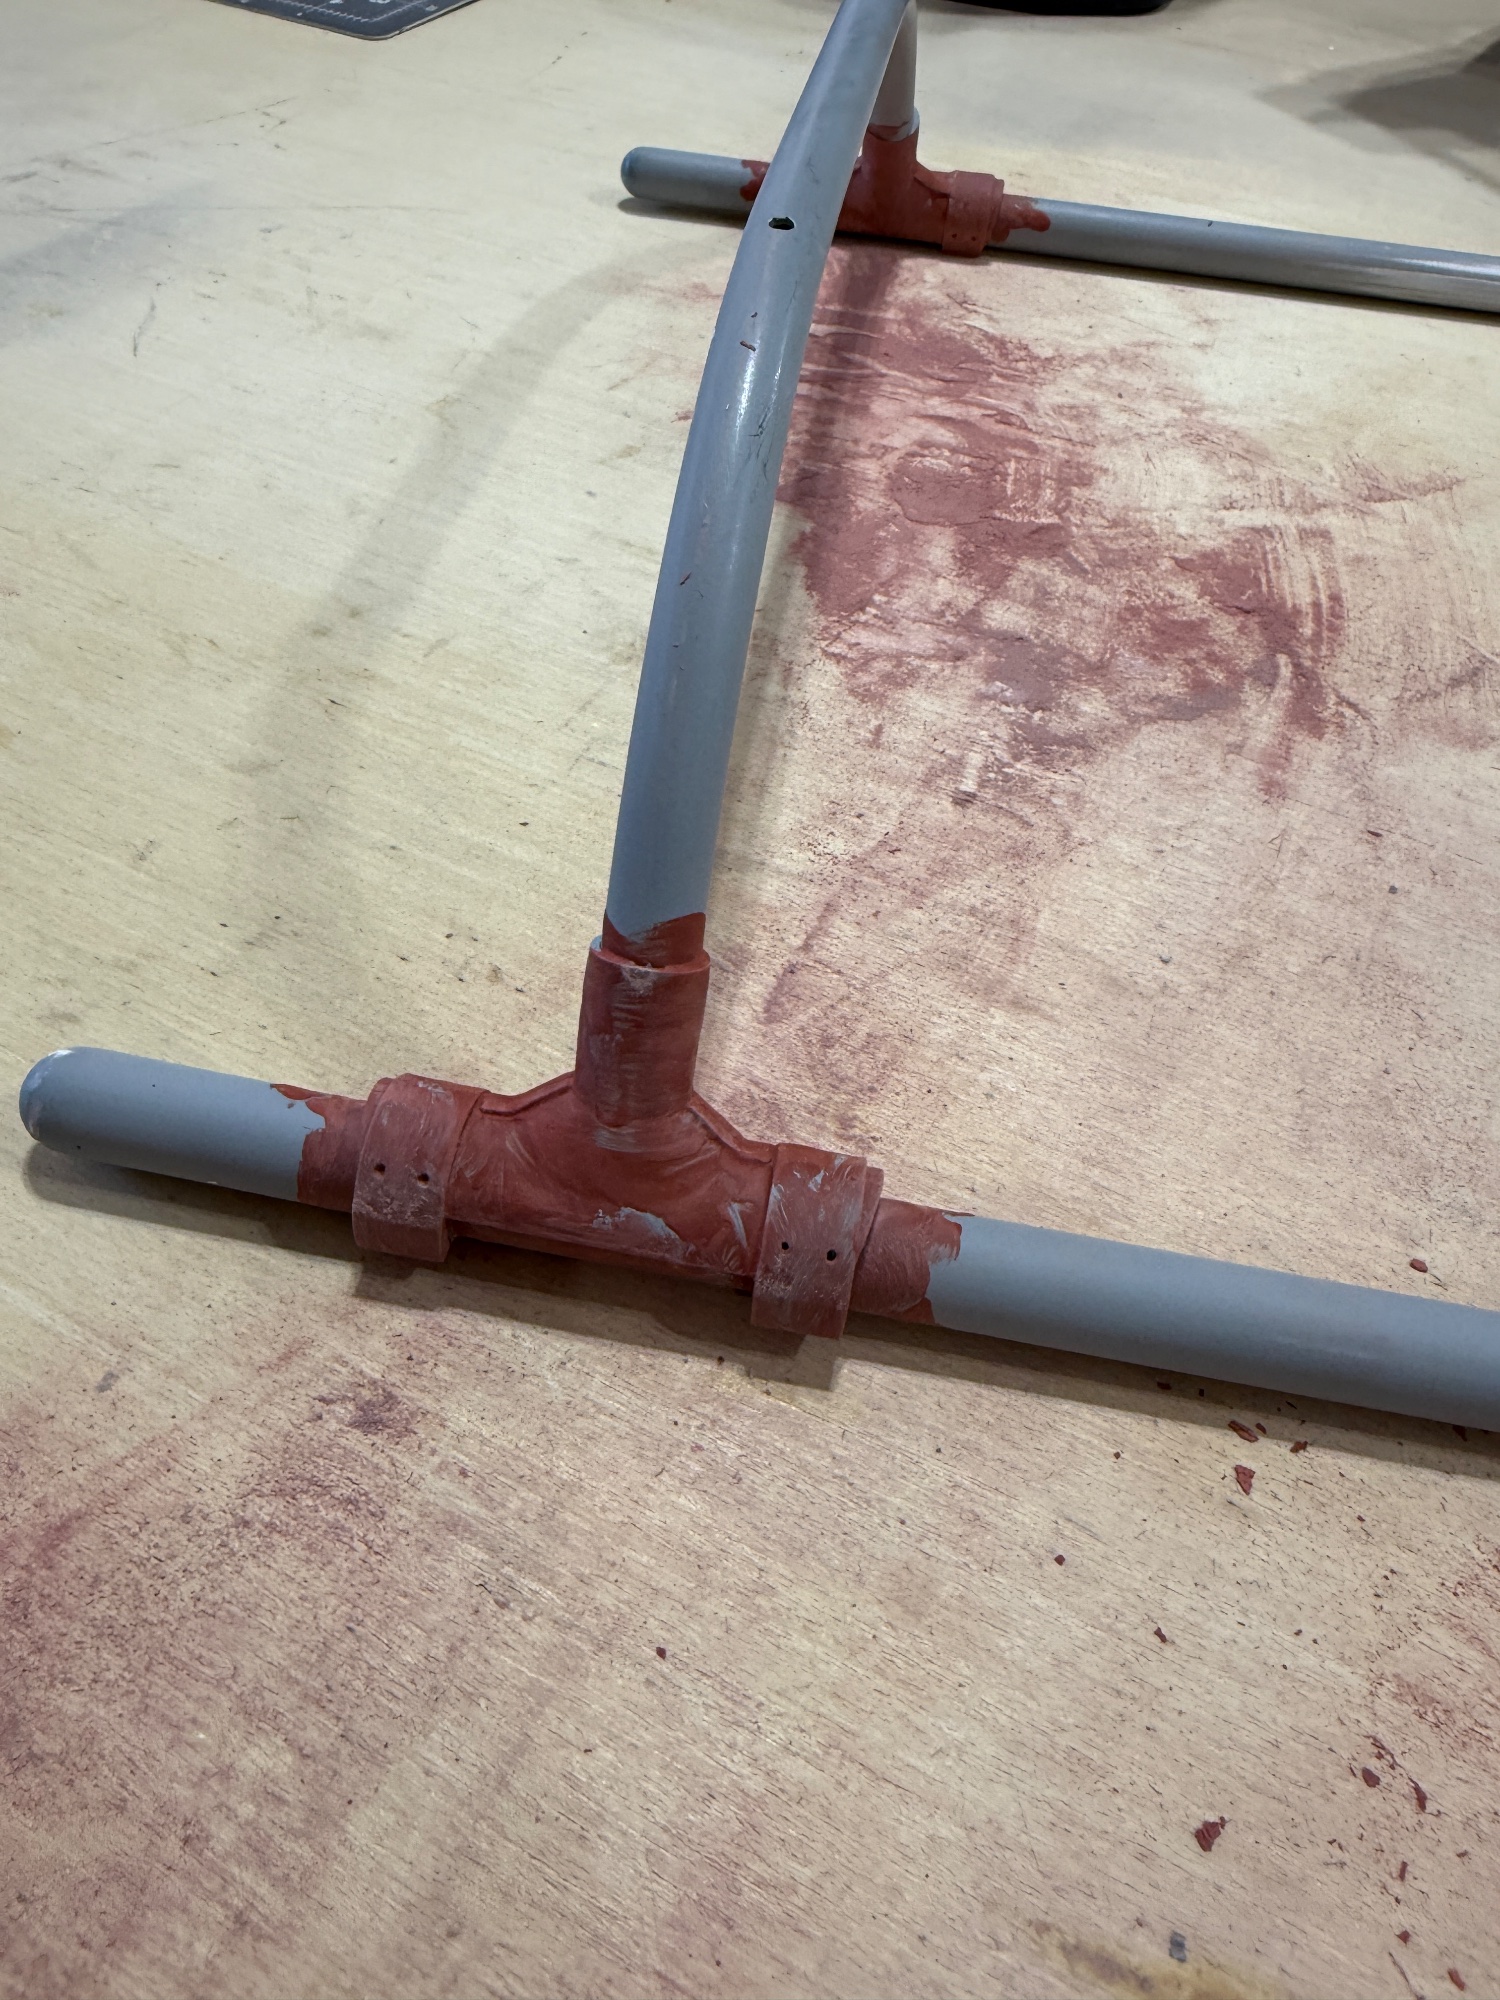
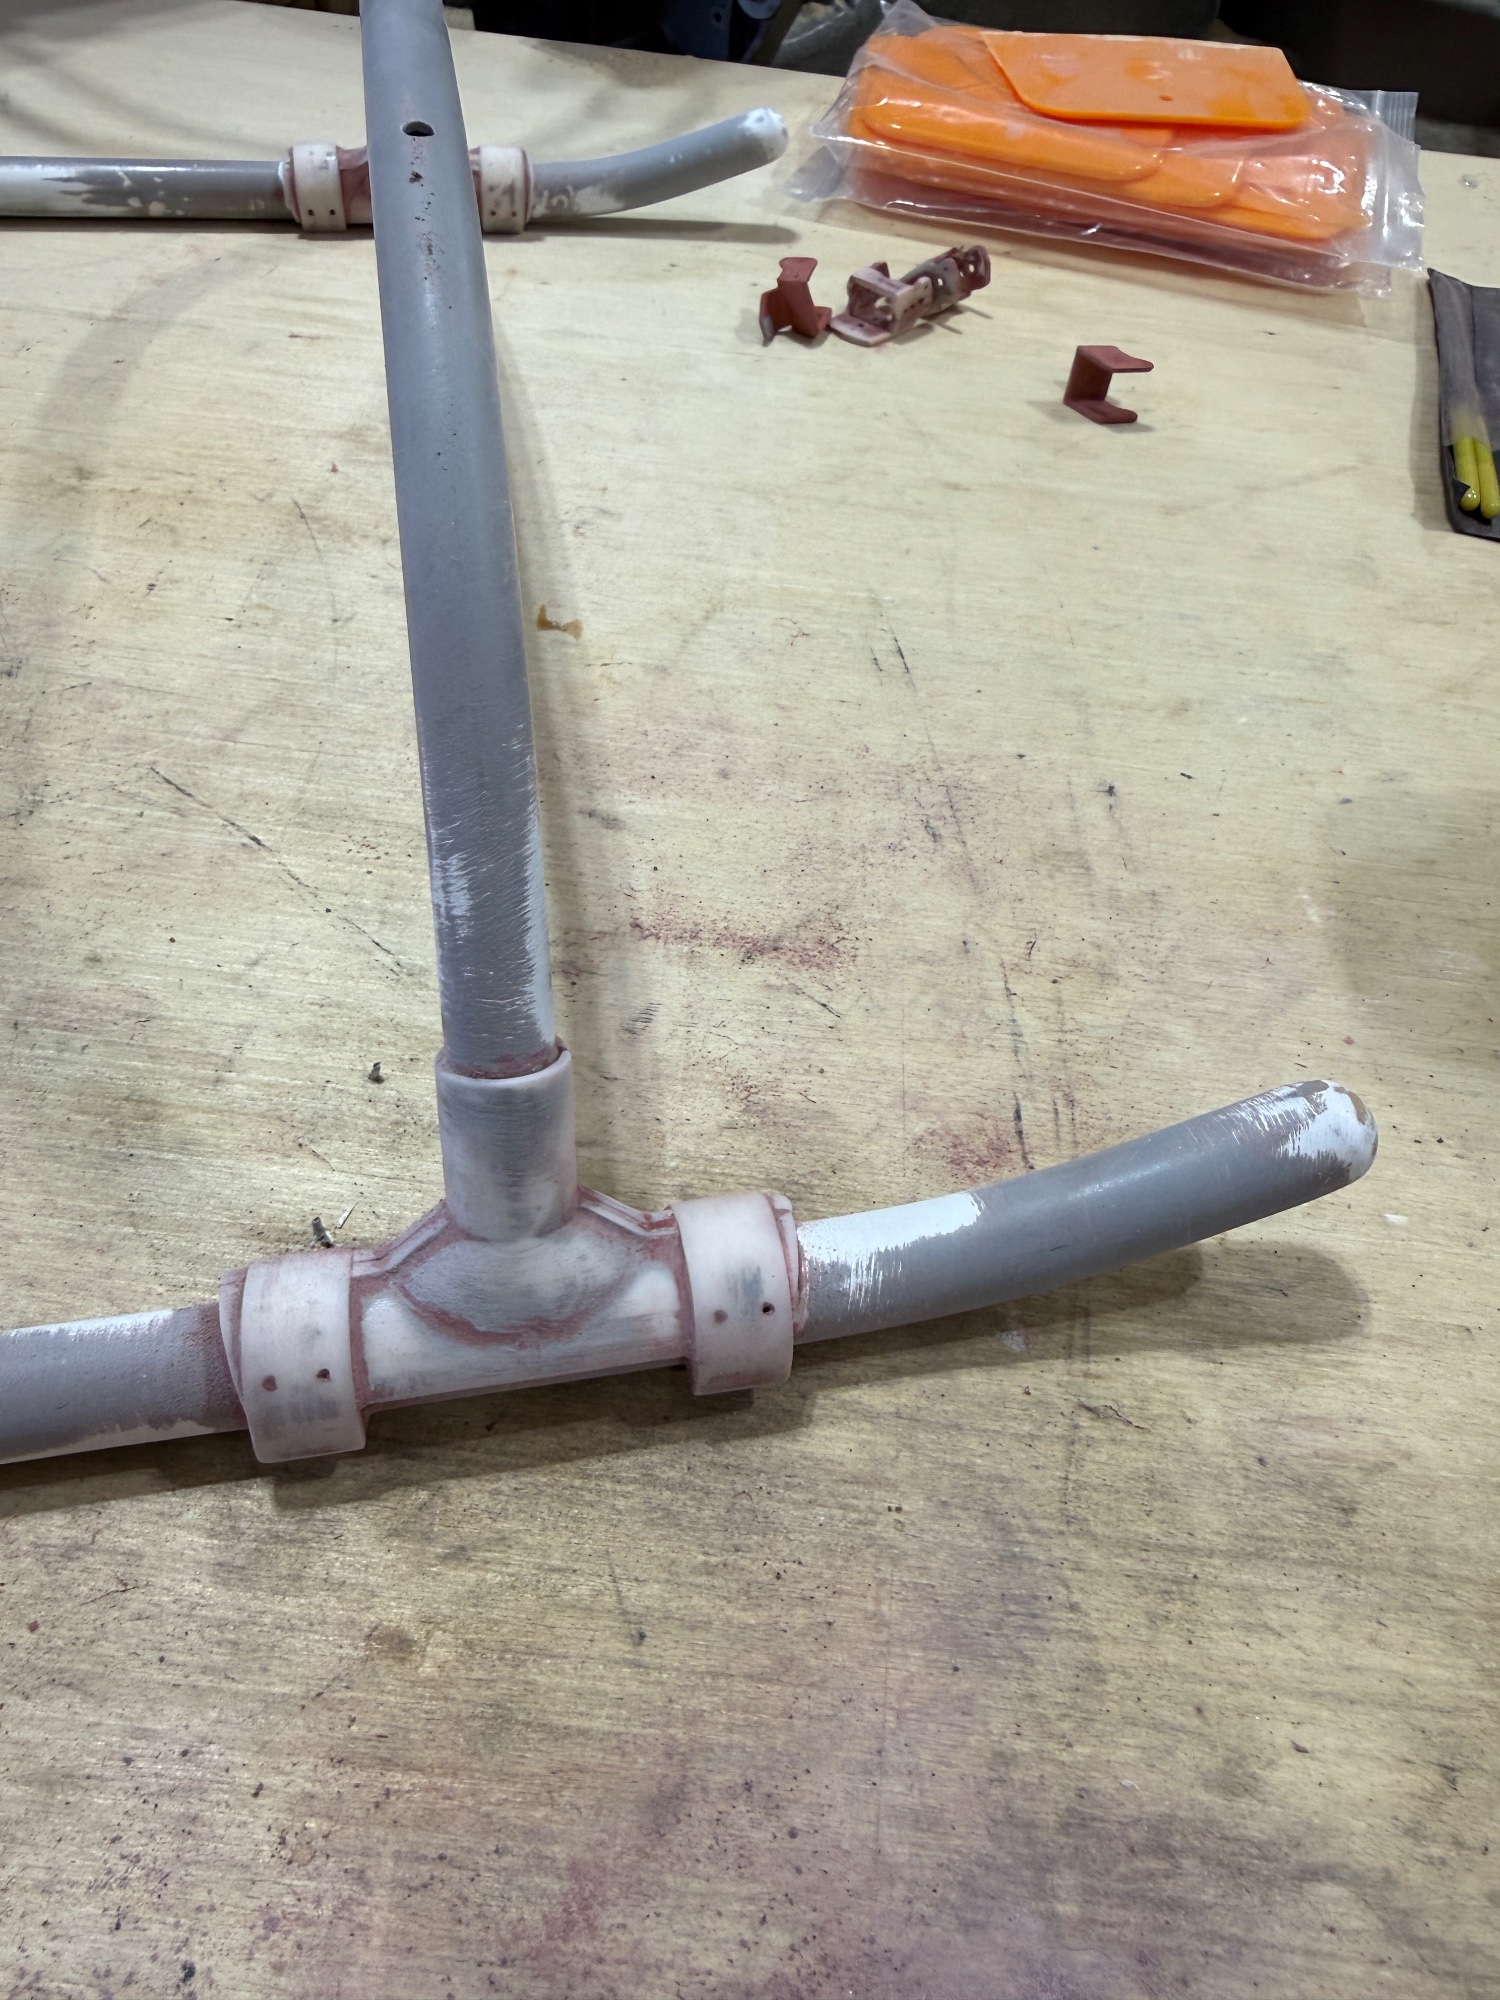
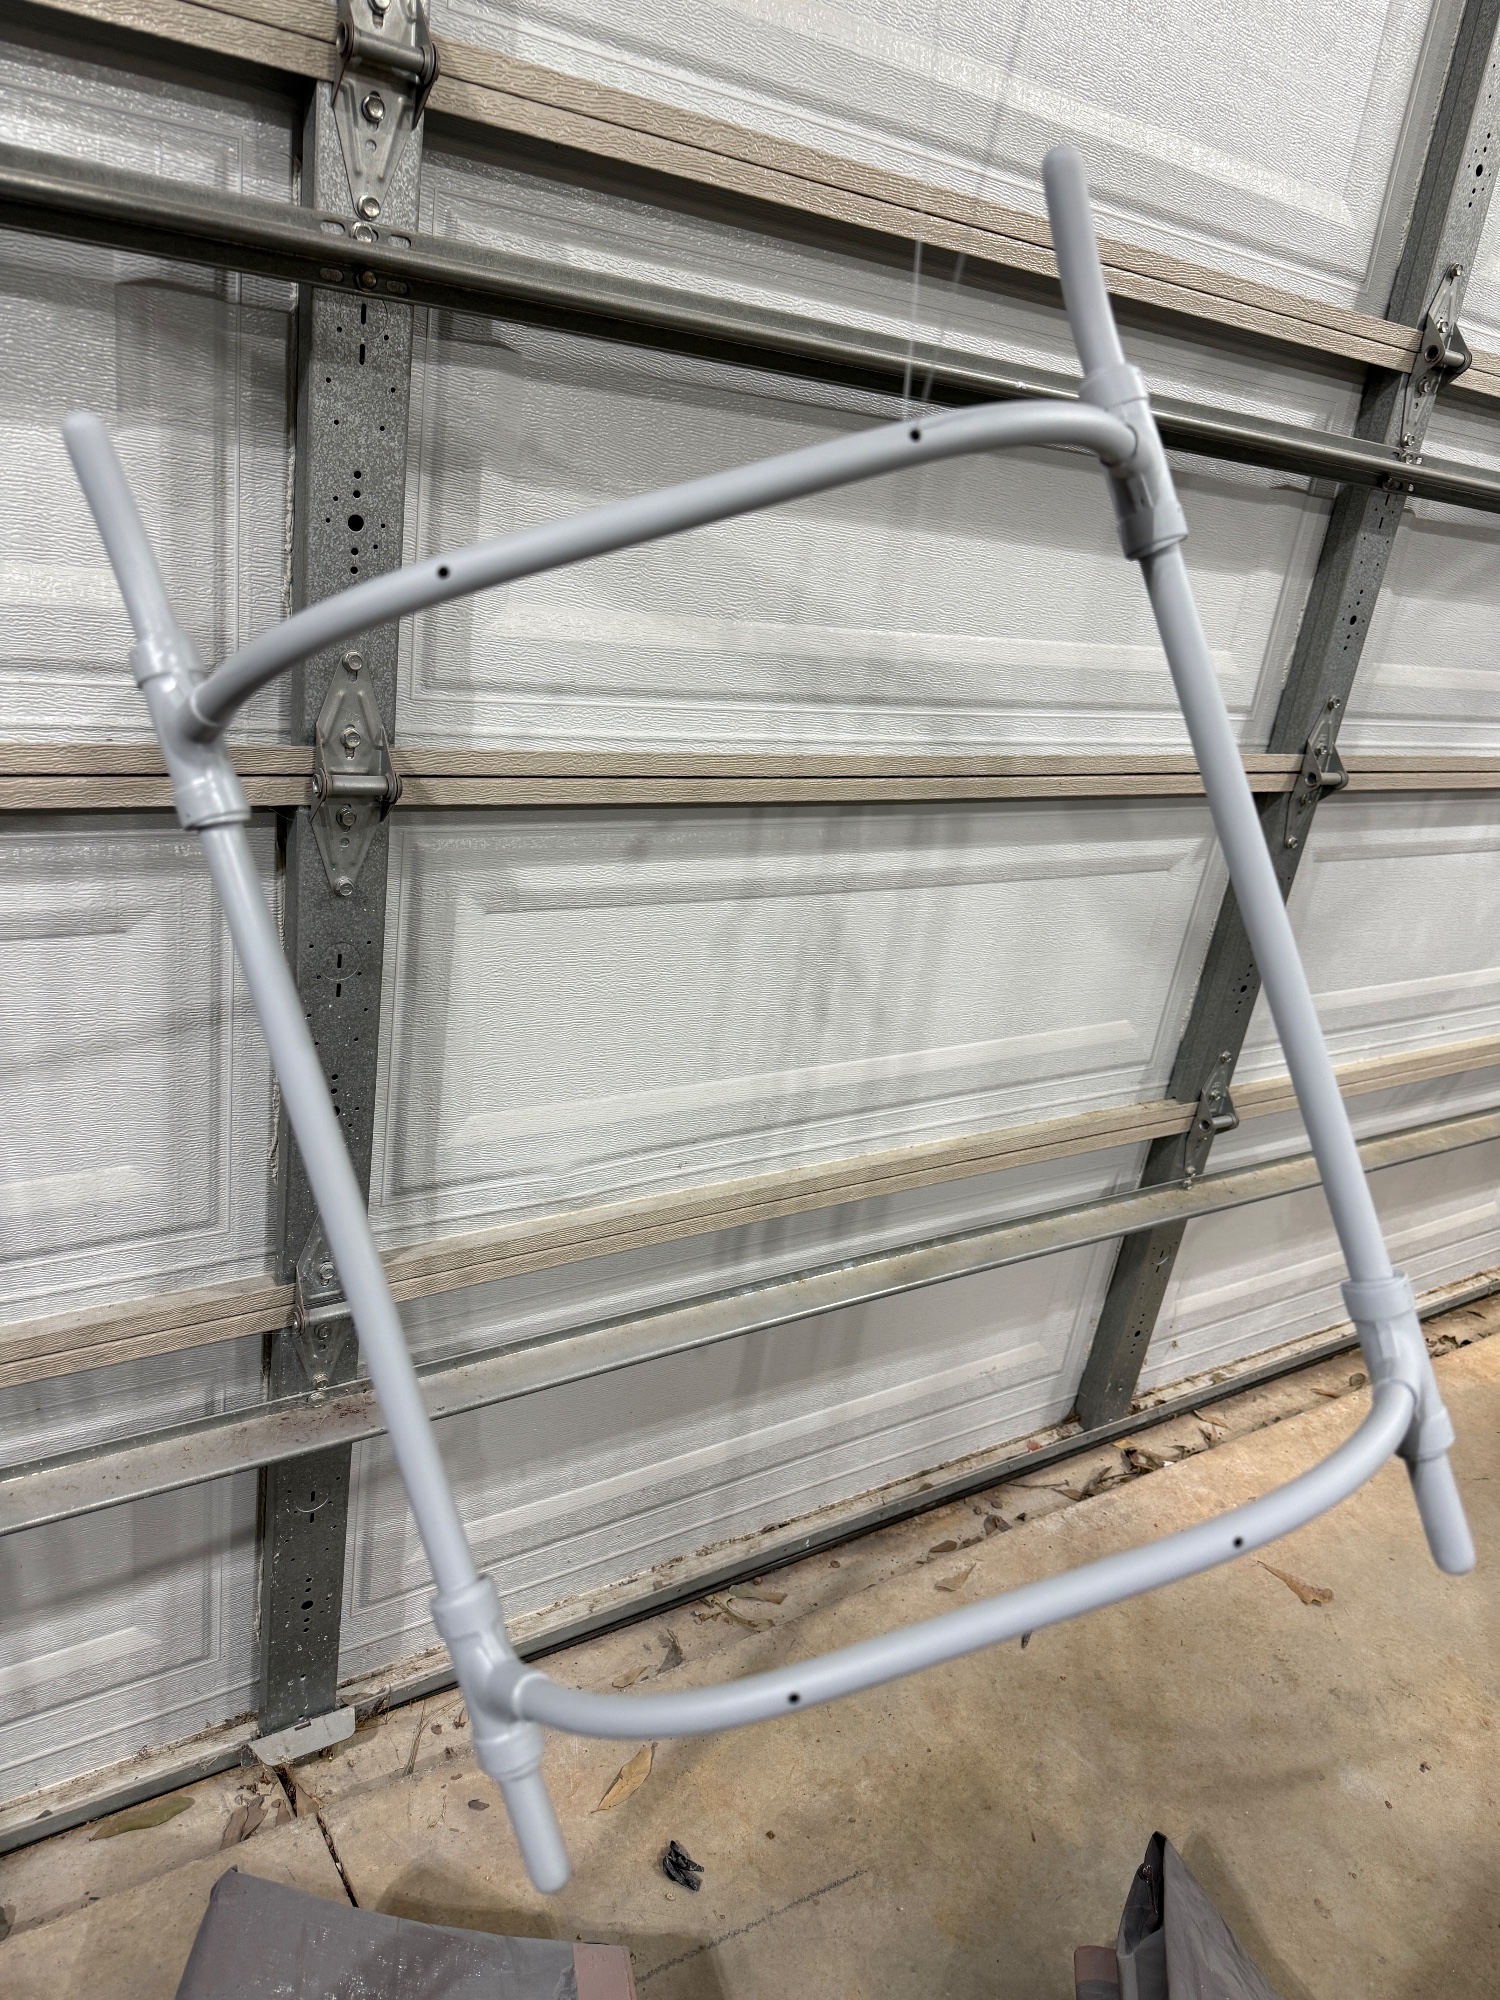
First forray into scale helicopters. Decided to start the scale detailing with the skids. I’ve spent more time reading about sanding, filling, prepping for paint and priming than one man should. But the effort is paying off. Added skid supports from fine scale modela which look great. But lots of inperfections to smooth out. Working with bondo spot putty. Works well. Almost have the skids ready for final paint. Just one more round of sanding, filling a couple small spots and touching up the primer to go. Slow and steady progress.