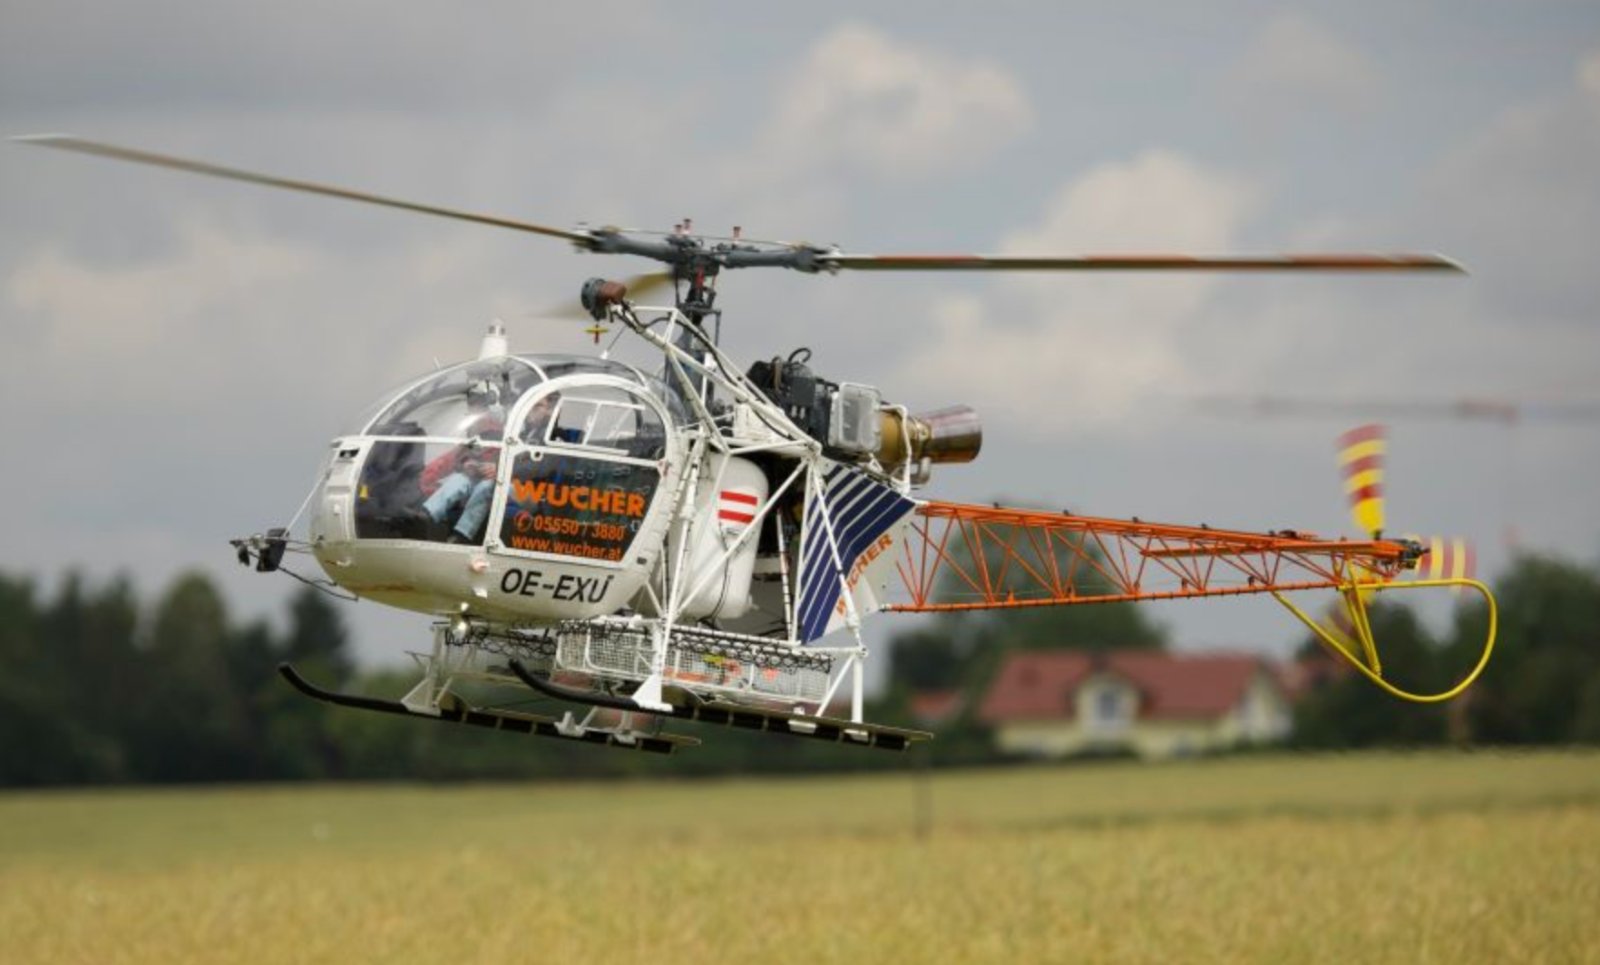
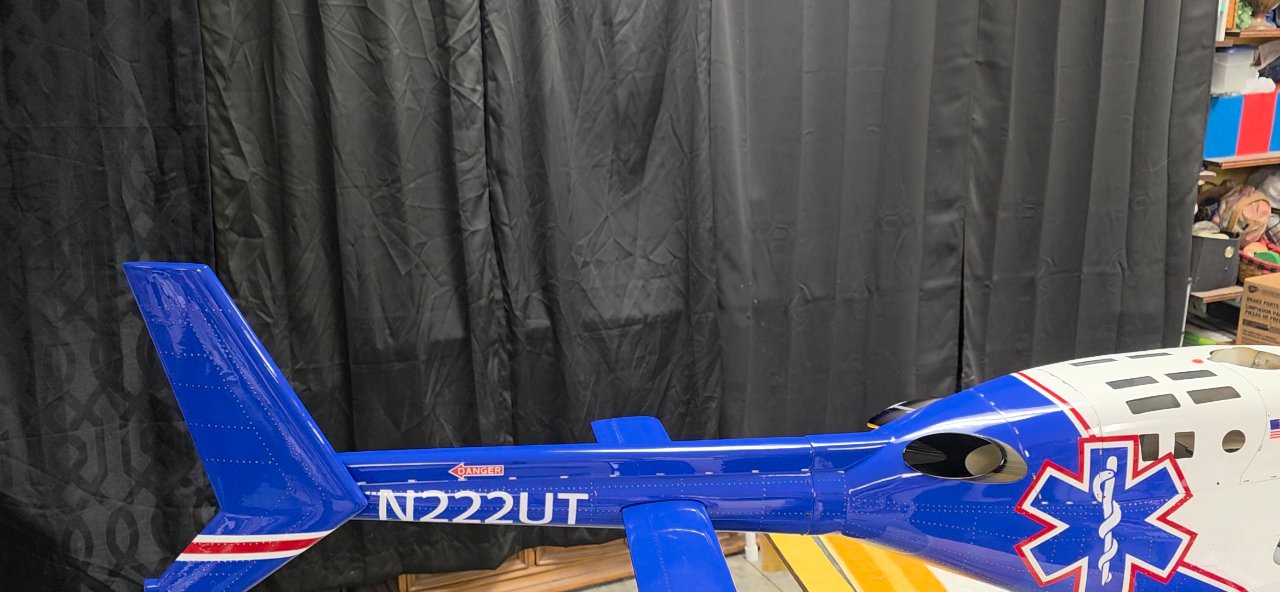
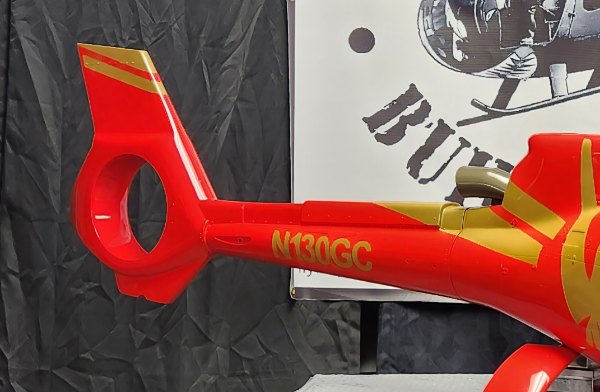
This my friends is one of the most noticeable things you will do to add a realistic and authentic touch to your beautiful model. Nothing else will make the "impact" more than a little exhaust soot. Keep in mind you only want to add this to your scale models with a "top mounted" turbine where you will see the accumulation of soot on top of the tail boom and stabilizers. Don't forget to add little...
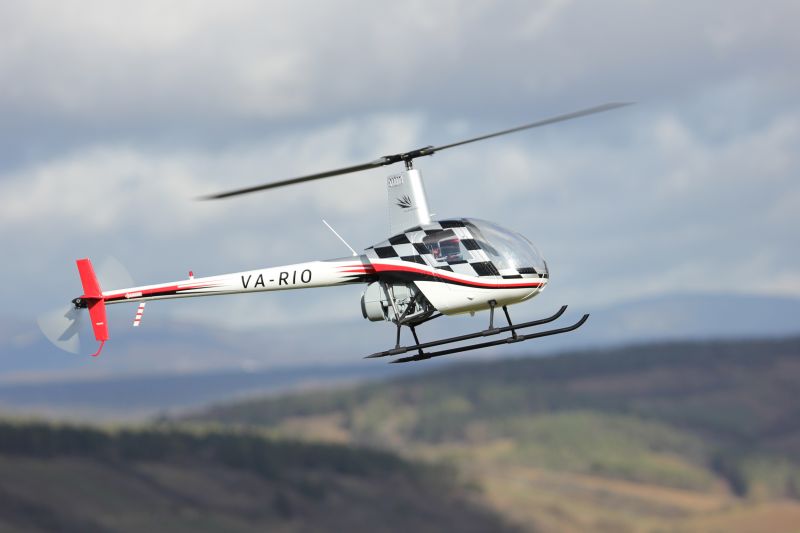
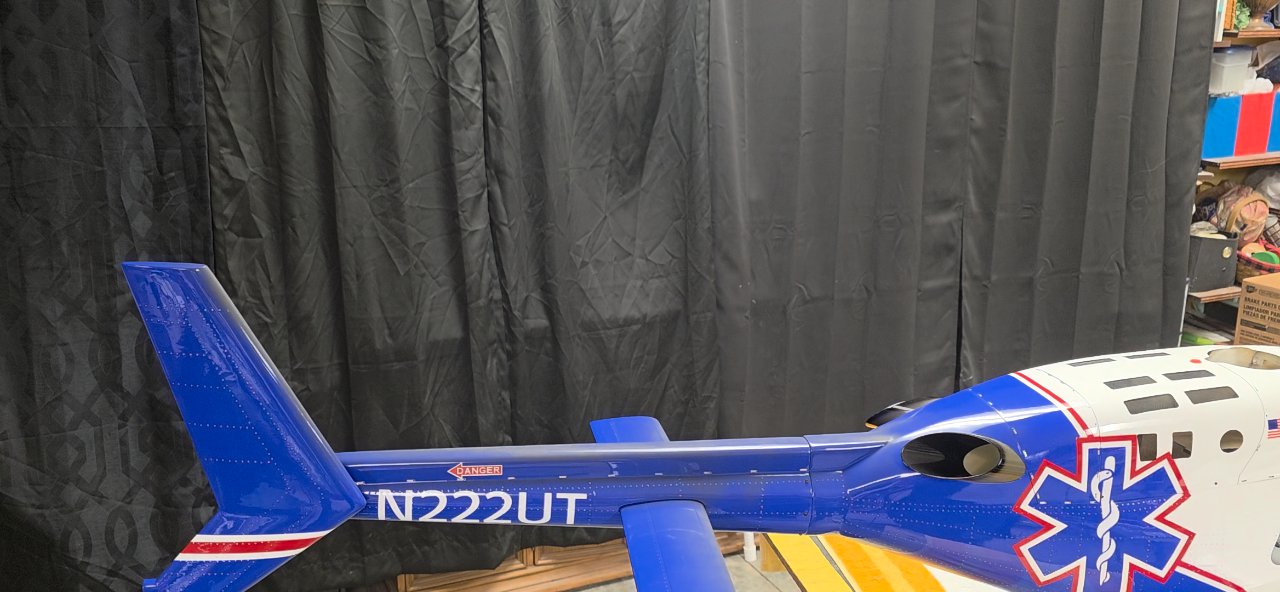
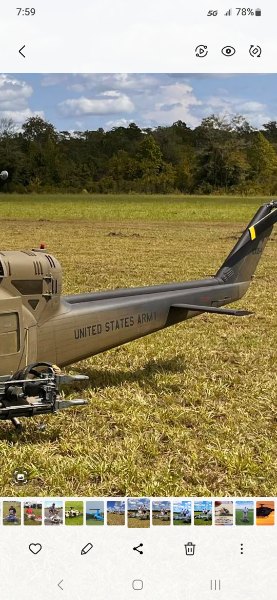
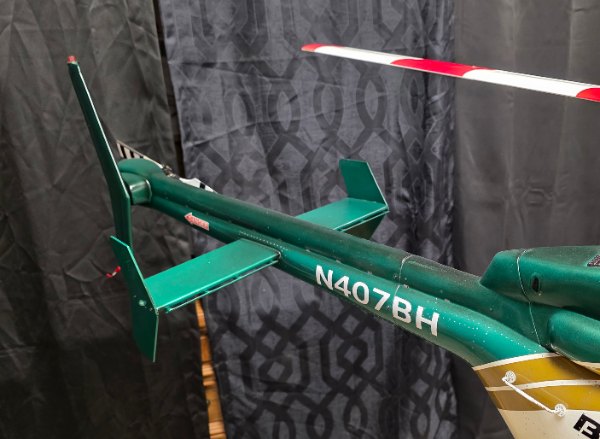
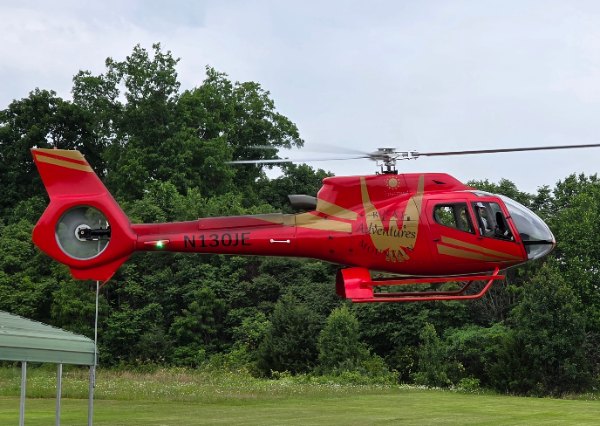
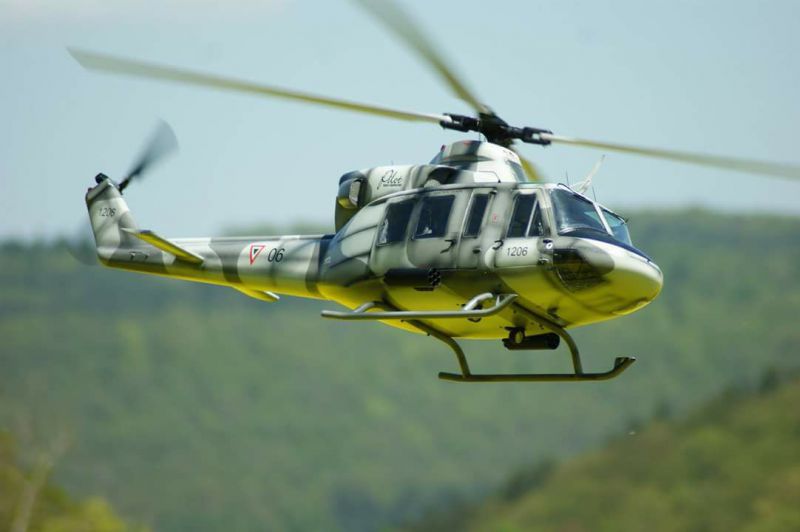
This my friends is one of the most noticeable things you will do to add a realistic and authentic touch to your beautiful model. Nothing else will make the "impact" more than a little exhaust soot. Keep in mind you only want to add this to your scale models with a "top mounted" turbine where you will see the accumulation of soot on top of the tail boom and stabilizers. Don't forget to add little soot to the leading edge of the tail rotor blades. The models such as the Hughes 500 series with a bottom mounted turbine will not leave but a slight amount of soot. The reason being: the exhaust from a top mounted turbine will accumulate more on top and in the middle of the tail boom due to air flow and rotor wash. The soot from a 500 series with a bottom mounted turbine will be mostly dissipated before reaching the verticle stabilizer and only a slight amount will accumulate near the bottom from the tail boom down. I like the results from using the Rust-oleum "High Heat 2000 Degree Ceramic Coating" for the best results that suit my goal. I spray the Rust-oleum into a cup and transfer it to my airbrush because the airbrush "atomizes" the paint into a very fine spray. I have used "flat black" paint and it works well but to me is a little "too black" when shot heavy, your choice. Apply the soot compared to your full size pictures. Most Military models accumulate a lot of soot because in a combat environment they are washed only "when water is avalible", lol. When I was flying full size on a long day of flying as you see in the picture of the ENG 206 it would get quite dirty. Just a little soot will enhance the realistic look of your model. If you have a model with a "black" tail boom you need only to add a little dusting of Testors DullCoat right from the can to simulate the soot and deglossing the tail boom. You can see my use of DullCoat in the video. The use of DullCoat is because after many washings the gloss coat will loose it's high shine. The decision to make is "do you want a big beautiful model" or do you want a "big beautiful model that looks REAL".
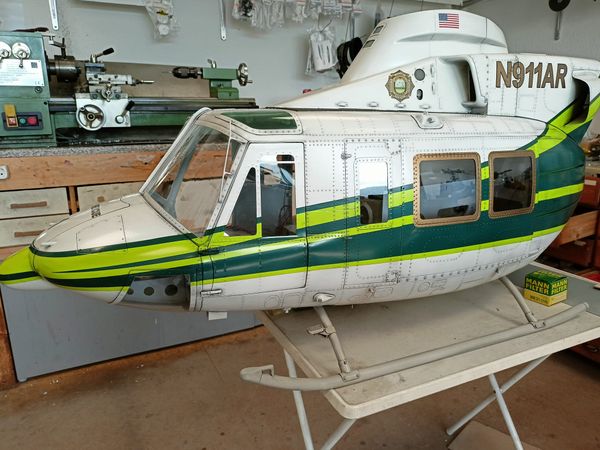
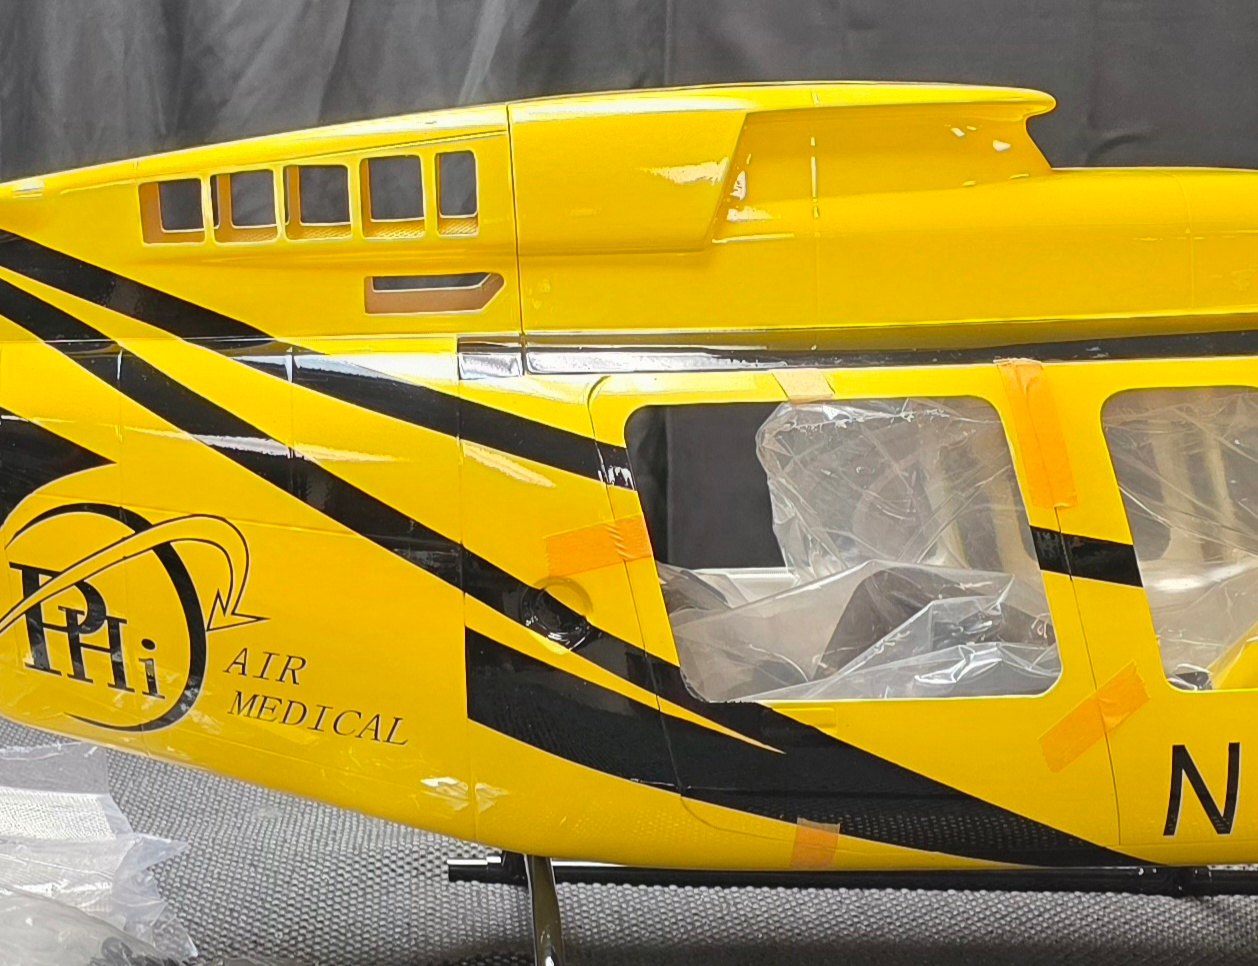
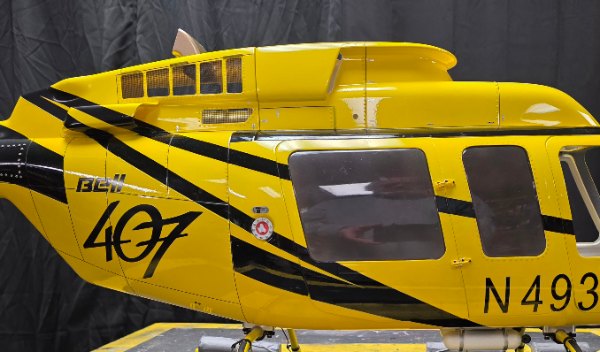
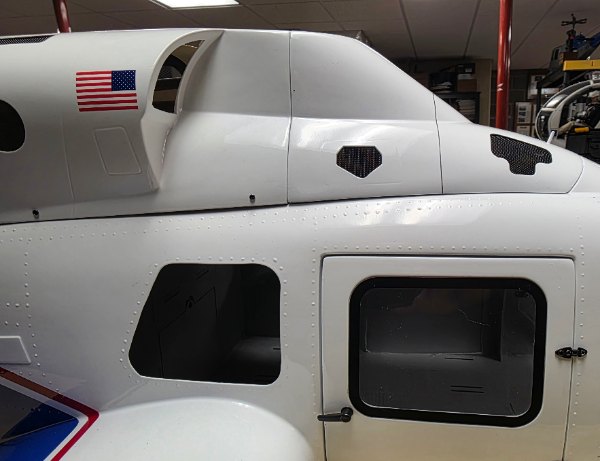
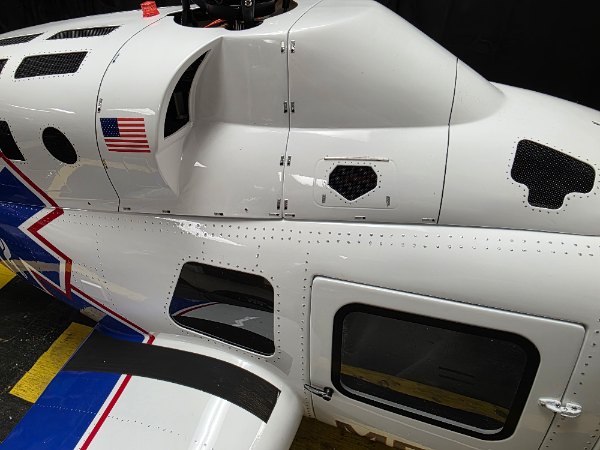
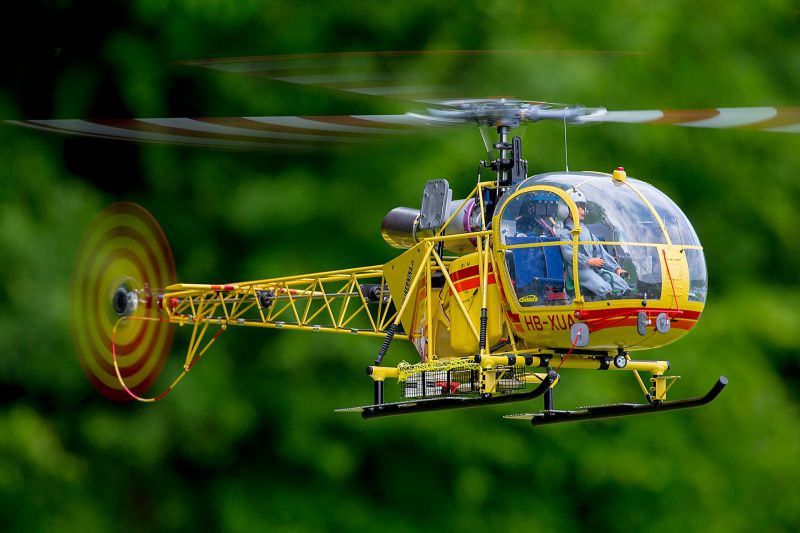
Most prepainted models from Roban, Funkey, Marvelcraft and others come with very nice paint but not a lot of detail. It is VERY easy to increase the realistic appearance of a prepainted fuselage by adding highlights to the rivets, adding panel lines, hinges and latches with nothing more than a little paint, brushs, 1/64th Graphic Tape and different colors of fine point permanent markers. I...
Most prepainted models from Roban, Funkey, Marvelcraft and others come with very nice paint but not a lot of detail. It is VERY easy to increase the realistic appearance of a prepainted fuselage by adding highlights to the rivets, adding panel lines, hinges and latches with nothing more than a little paint, brushs, 1/64th Graphic Tape and different colors of fine point permanent markers. I highlights the rivets with silver or aluminum permanent markers and "dry brushing", add or highlight panel lines with 1/64 Graphic Tape, simulate latches with small pieces of Monokote trim. I add exhaust soot with a cheap airbrush, if you have a black tail boom as on my yellow and black 407 I simply sprayed a light coat of Testors DullCoat on top of the tail boom and the leading edges of the horizontal and vertical stabilizers along with the leading edge of the tail rotor blades. You can judge by the "before and after" photos to see what a difference this little bit of detailing can accomplish to add a more realistic appearance to your prepainted model.
My goal for many years has been to make my models look as realistic as possible. I am in a small group and there is "absolutely" nothing wrong with having a beautiful "pristine" model but that is not my goal. I spent over thirty years in helicopter aviation and I seldom got the opportunity to fly a "pristine" helicopter. Most all my experience was in well worn and heavily used helicopters and I...
My goal for many years has been to make my models look as realistic as possible. I am in a small group and there is "absolutely" nothing wrong with having a beautiful "pristine" model but that is not my goal. I spent over thirty years in helicopter aviation and I seldom got the opportunity to fly a "pristine" helicopter. Most all my experience was in well worn and heavily used helicopters and I guess it left an impression, lol. Unless you are modeling a Medical helicopter, Executive transport or factory new or Air Force One lol, then there is going to be some wear. Even in ENG ( Electronic News Gathering ) and the Offshore industry ( where I retired ) we had to wash our helicopters daily and even then after hundreds of washings they began to show wear and loose their shine. I can certainly relate to you guys that want a "beautiful" and "brand new" looking helicopter but my goal is a "used" helicopter. I truly know the hesitation in "scuffing up" a new glossy paint job with "0000 steel wool" and "DullCoat" paint but to me it is just adding "realism" to give that authentic look. I "weather and wear" even my pre-painted models. Just adding a little "exhaust soot" can give your model a more realistic look. We love them all, weathered or not, BUT if you want to join the "next level" in modeling look at the pictures and determine if that might be your next goal. Just to show you how dedicated I am to this goal I am giving away an authentic SPH4 helicopter flight helmet as an award to the "most realistic and weathered" model at my Fun-Fly next year.
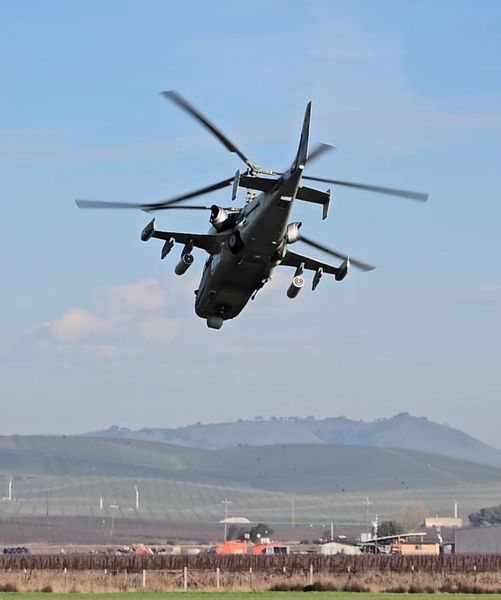
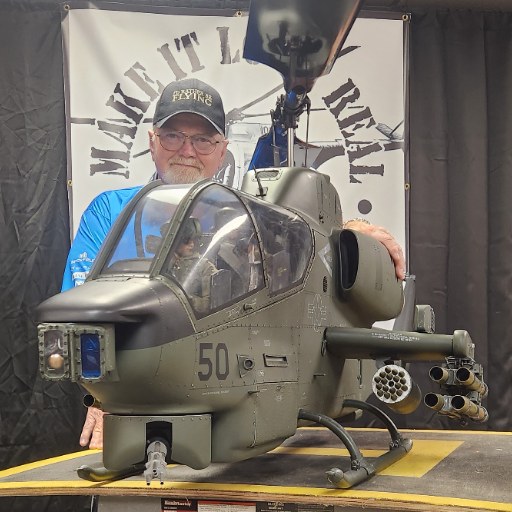
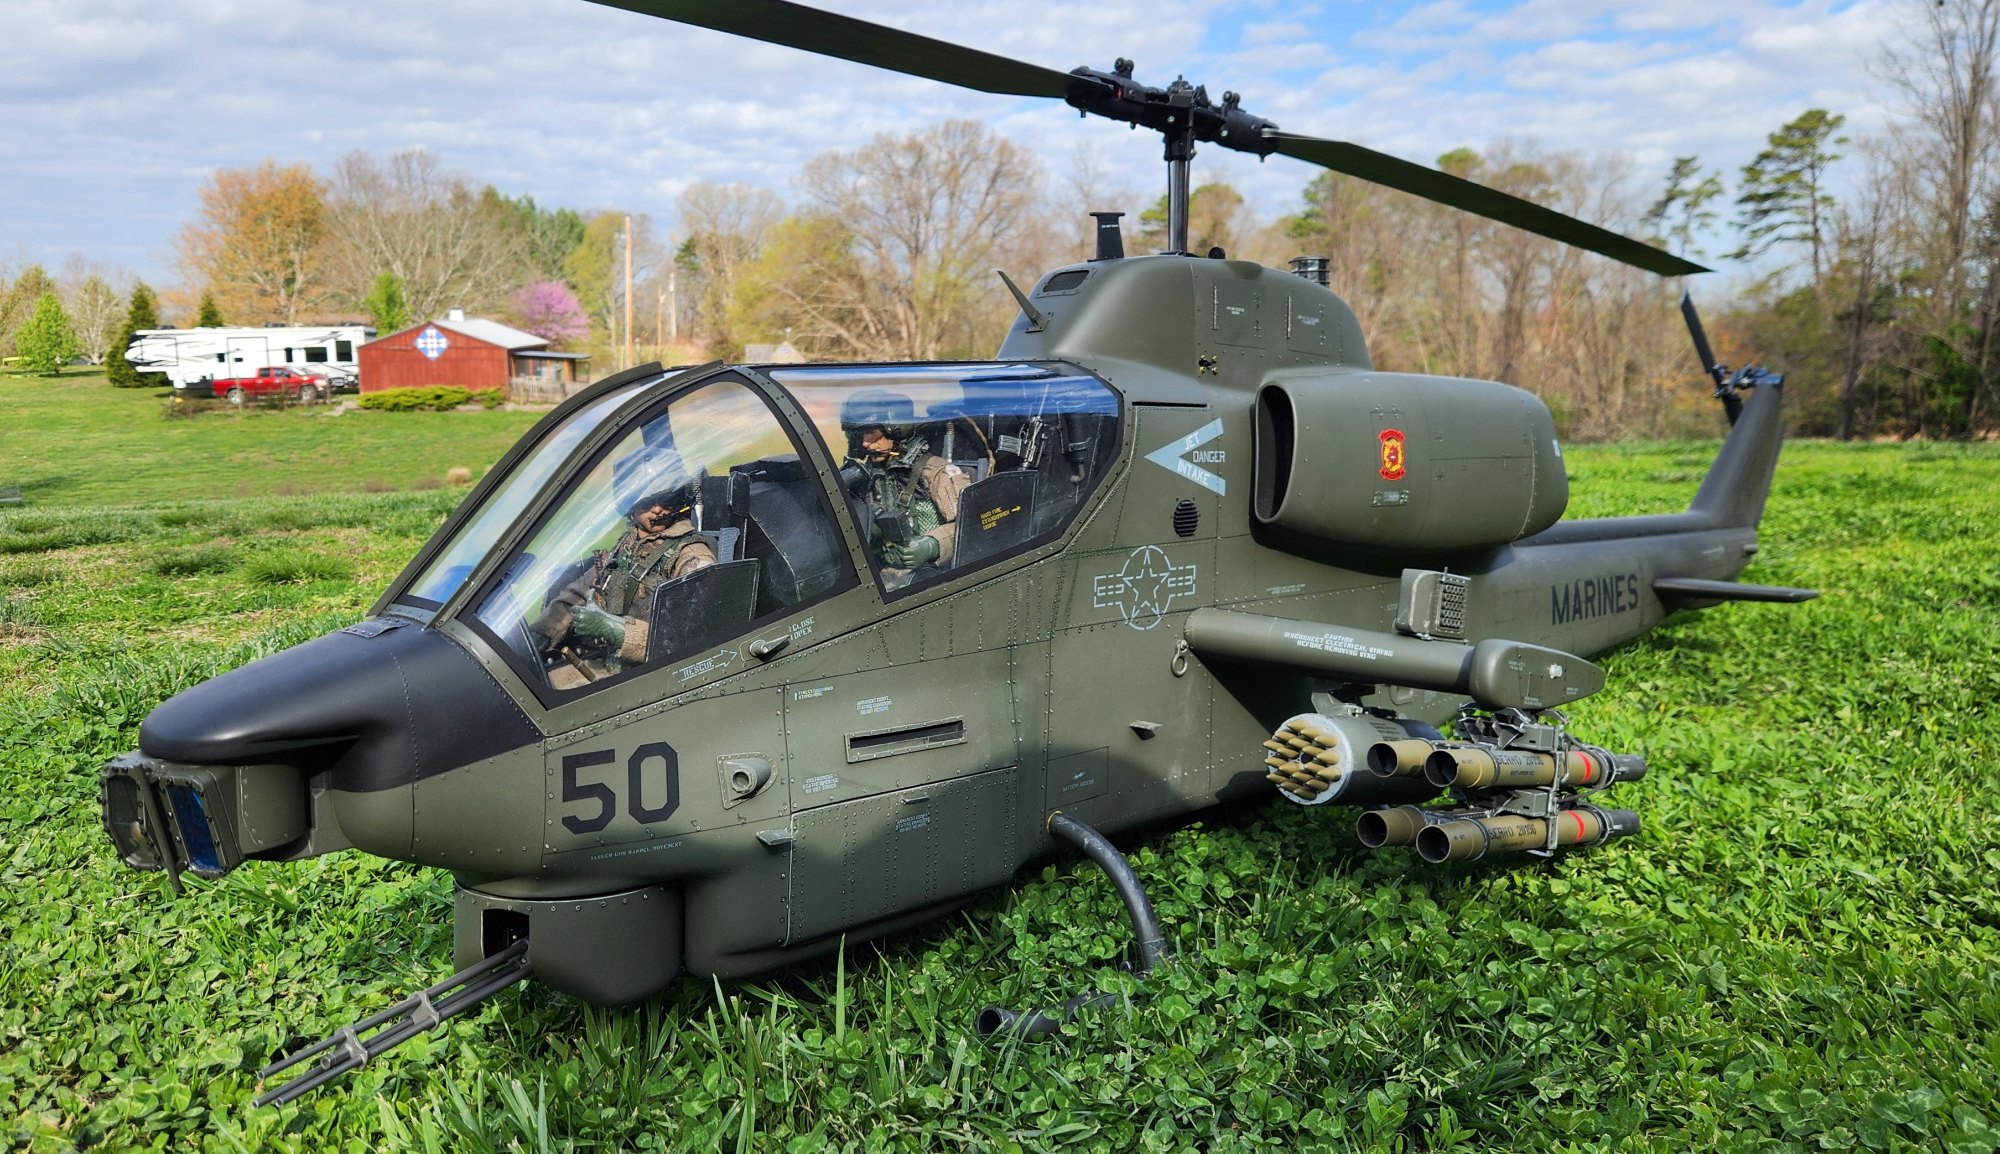
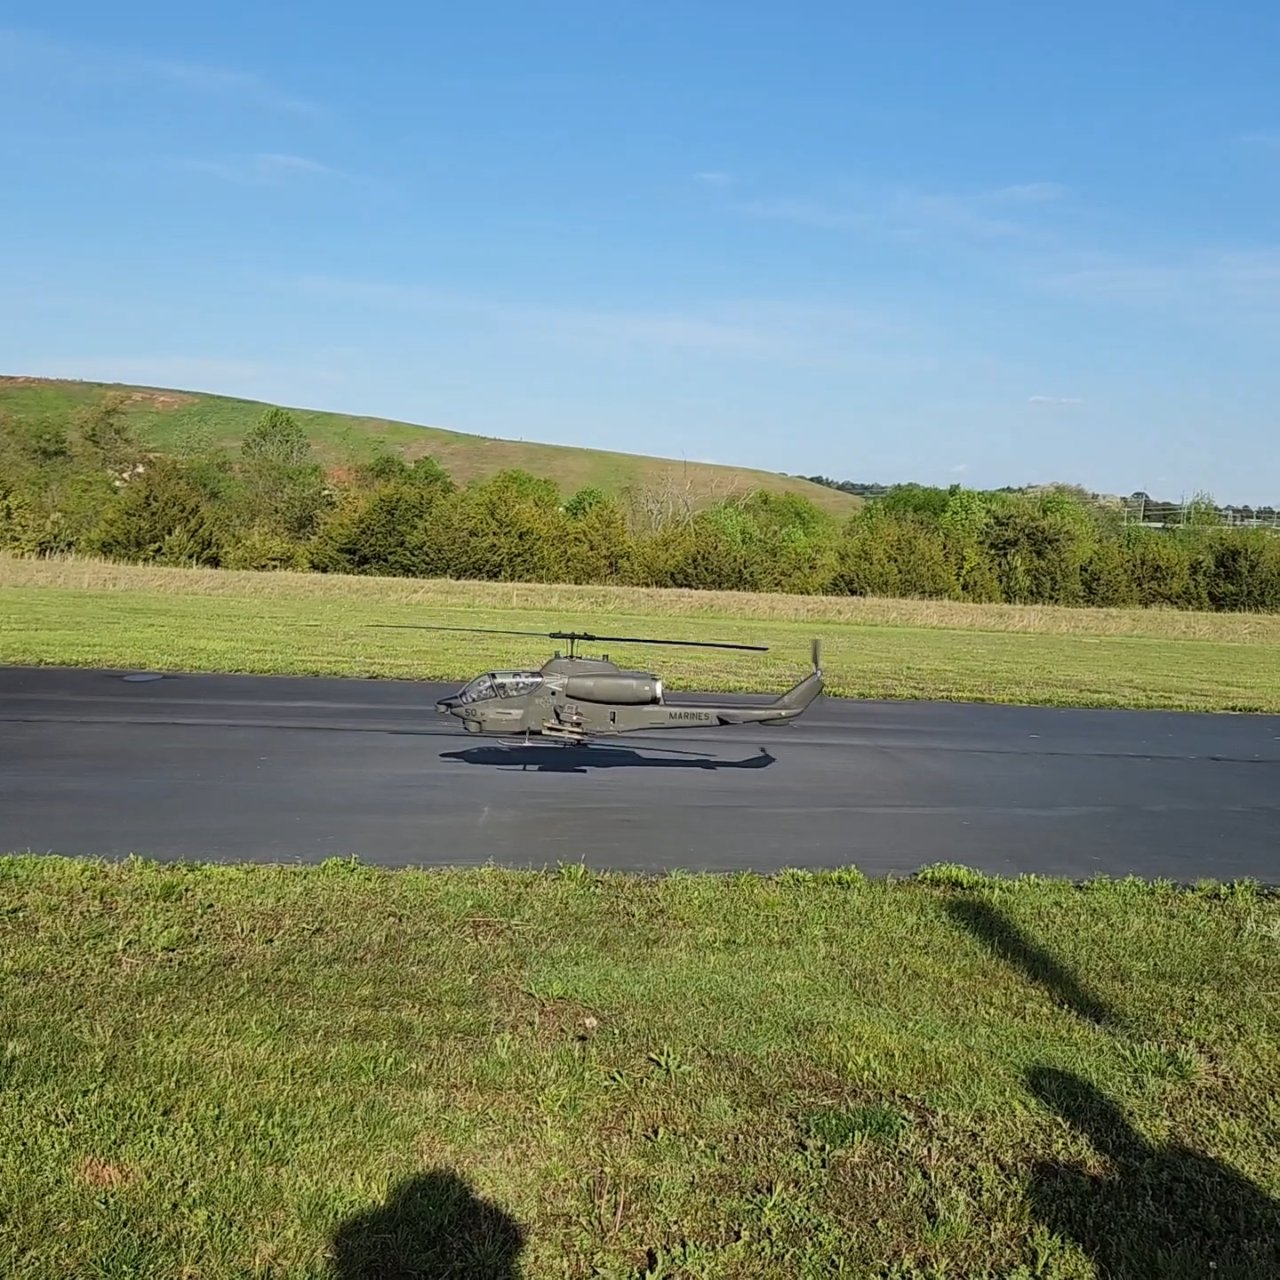
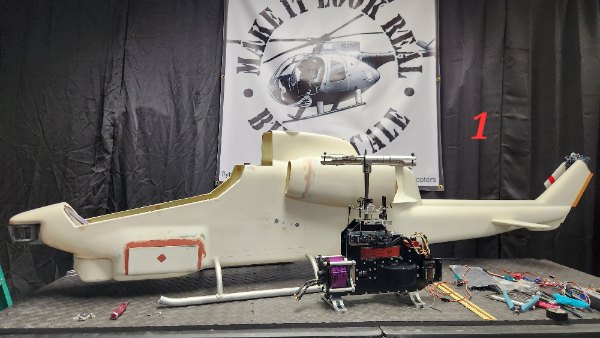
I purchased this model in 2023 in the"white" and only test flown. It has HELI-FACTORY mechanics with Hacker Q80 for power, Kontronik 200 on 12S, Bavarian 3X, ModelSoundsInc sound system ans Unilight lighting. It was a "slick" fuselage with no exterior detailing. I added the rivets, panel lines and all exterior detailing. The cockpit was scratch-built, pilots were purchased from BlackOpsToys...
I purchased this model in 2023 in the"white" and only test flown. It has HELI-FACTORY mechanics with Hacker Q80 for power, Kontronik 200 on 12S, Bavarian 3X, ModelSoundsInc sound system ans Unilight lighting. It was a "slick" fuselage with no exterior detailing. I added the rivets, panel lines and all exterior detailing. The cockpit was scratch-built, pilots were purchased from BlackOpsToys and pieced together with different heads and bodies ( the Frankenstein method ) along with assorted pilot accessories. The armament is a combination of 3D printed parts from SCALE-PRINT and 9MINIMATRONIX. Most Super Cobras are painted some form of Navy gray or camouflage. I did a lot of research and found that the USMC used the Sea Cobra in Opperation Urgent Fury and most of their helicopters were Deep Forest Green and even with this being a different version of the Cobra I chose this color, not building for competition but for personal preference. I did modify the skid gear for the proper angles and stance. As with all my HELI-FACTORY models everything fit perfectly and flys GREAT This model is now owned by Owen Battle and I am begging him to bring it down to Tennessee for me to once again fly.
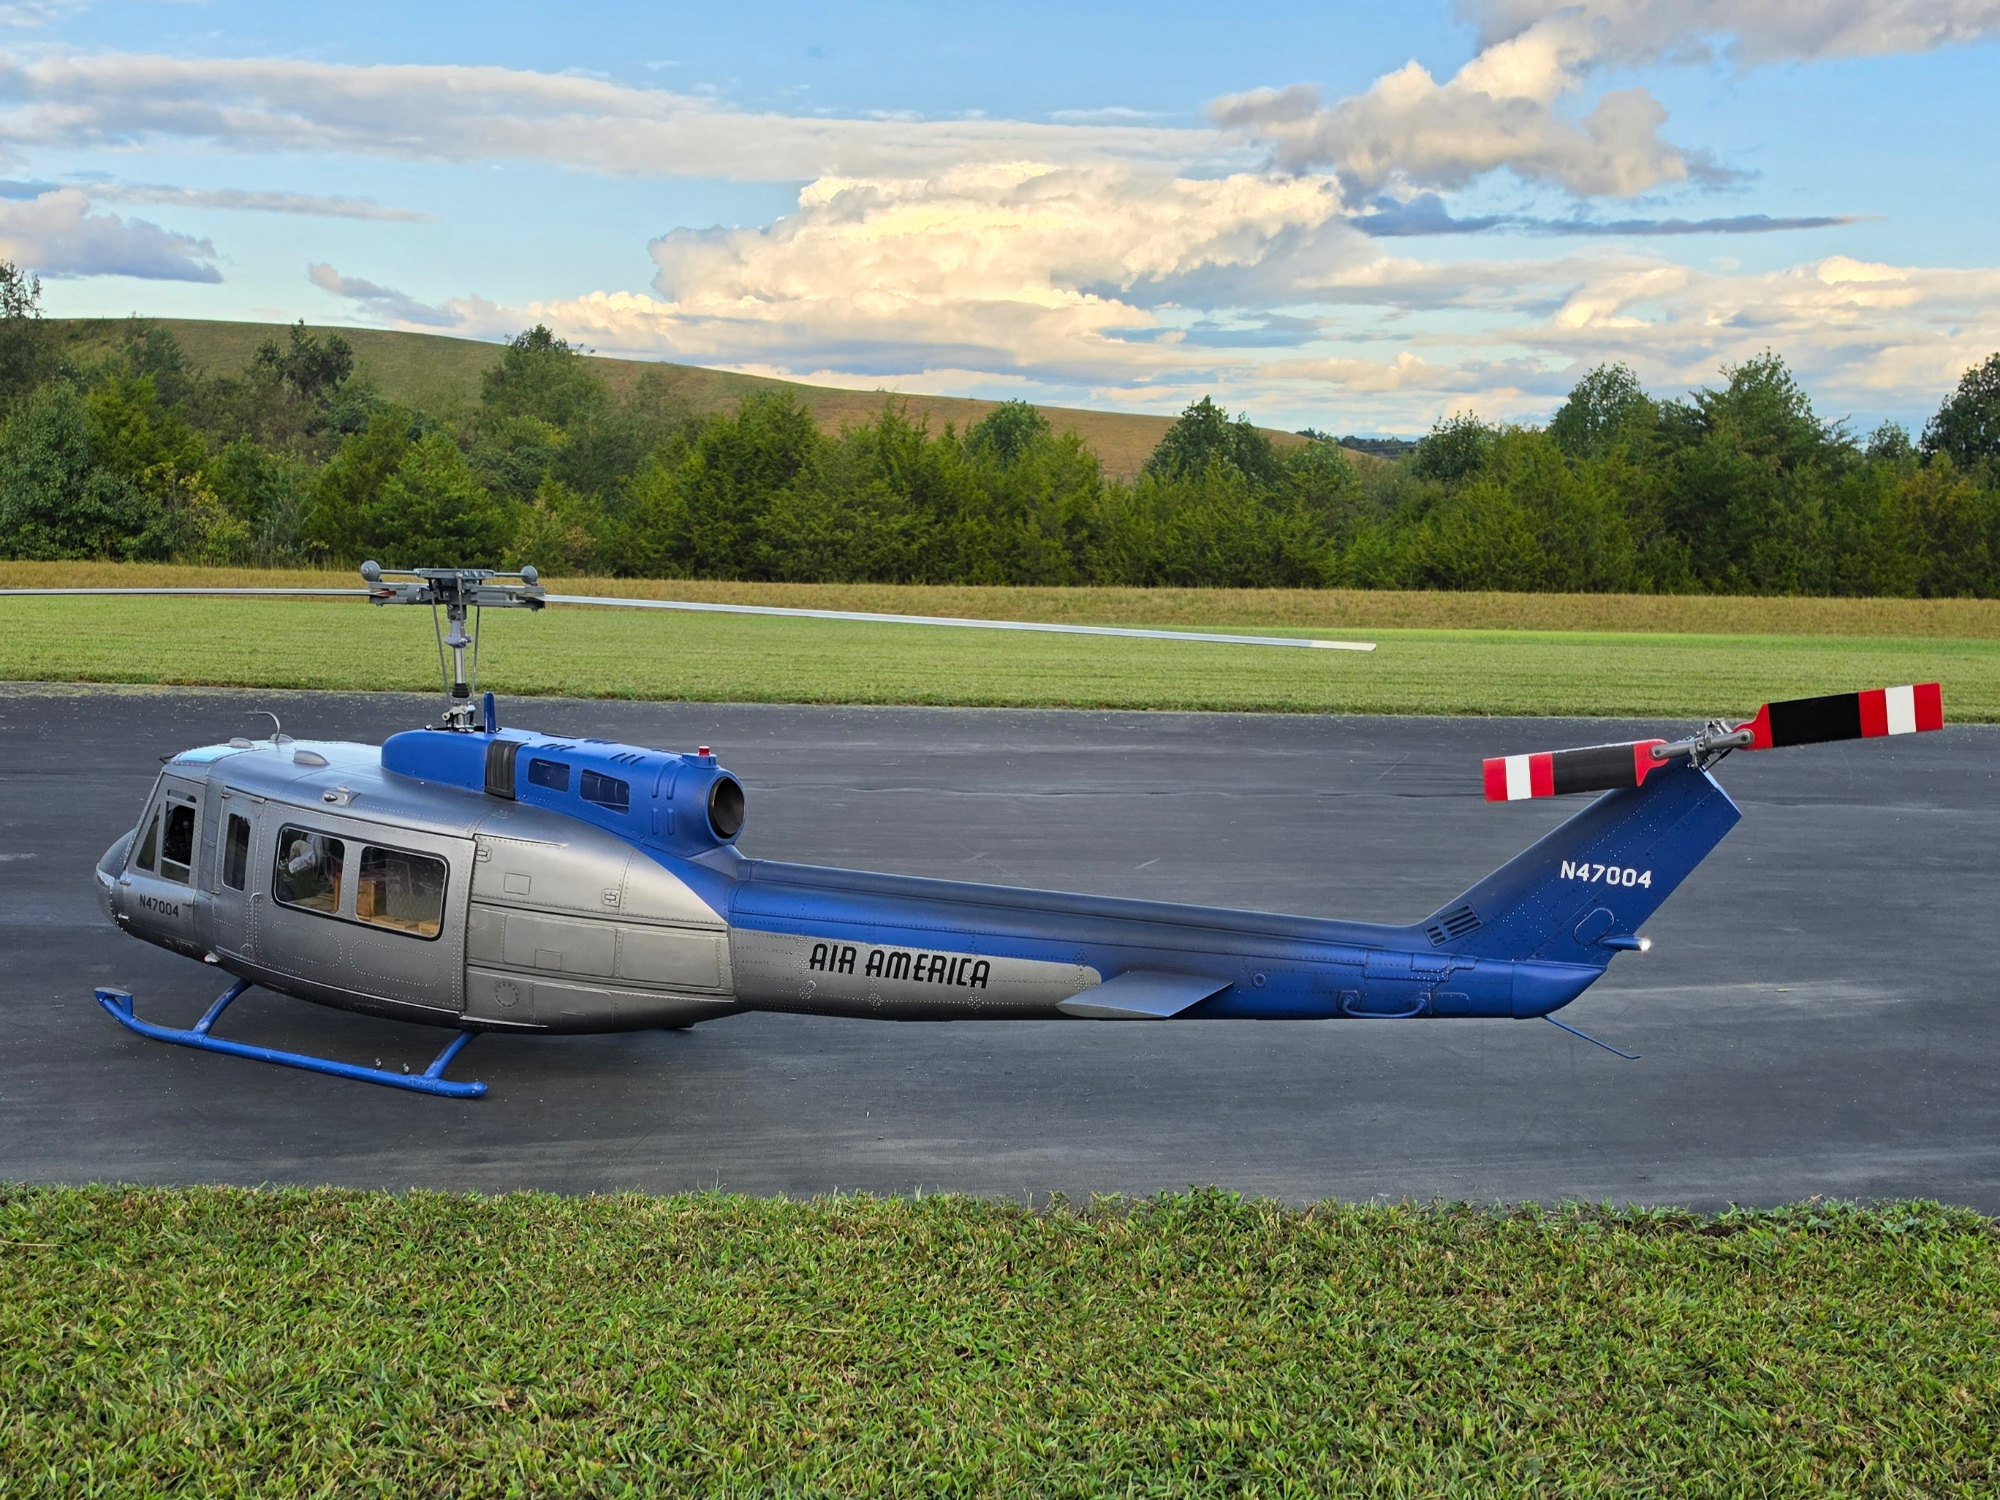
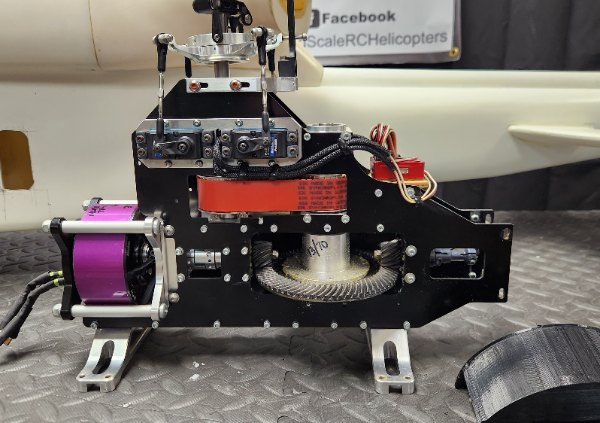
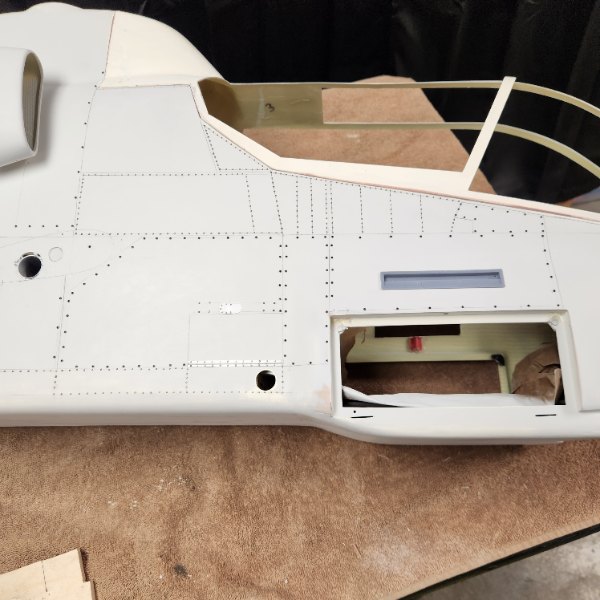
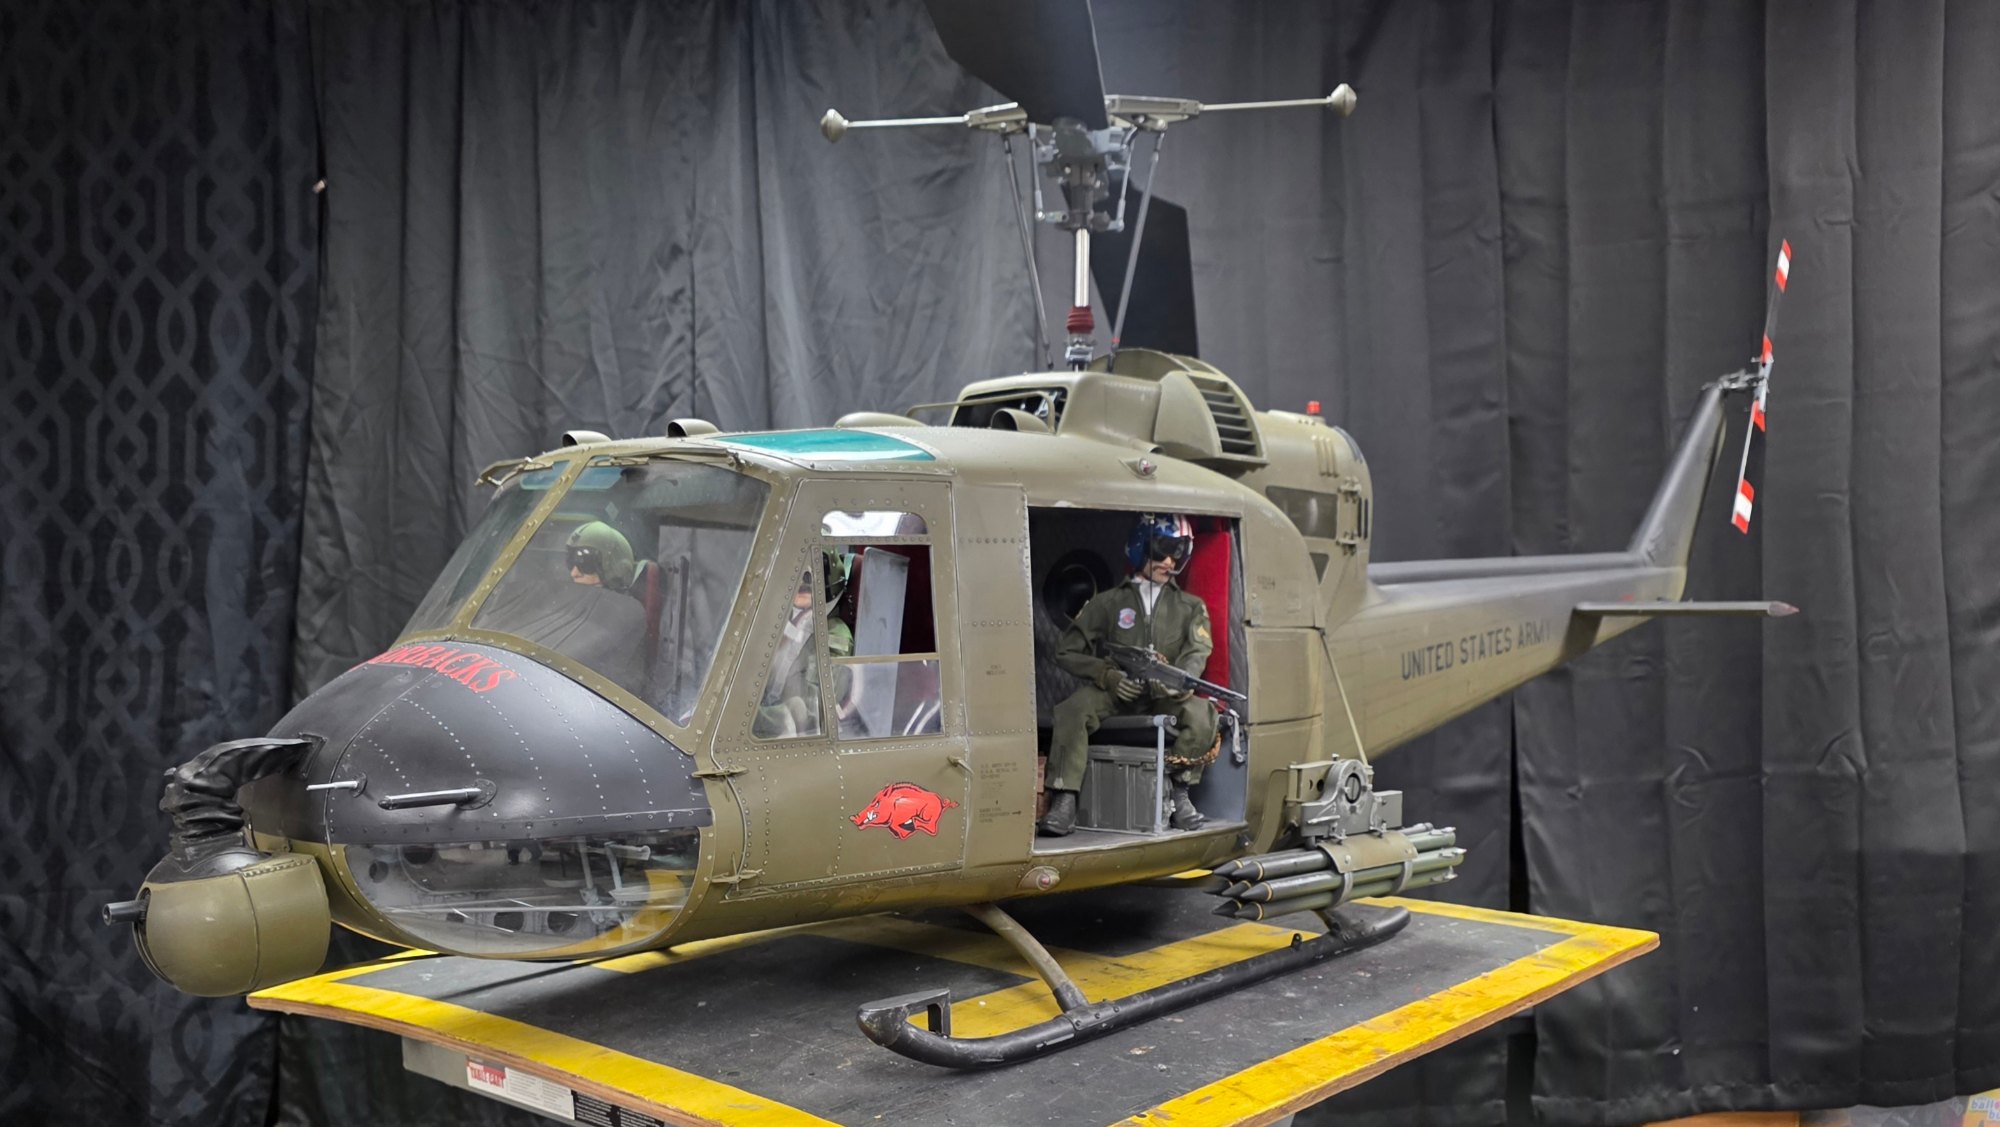
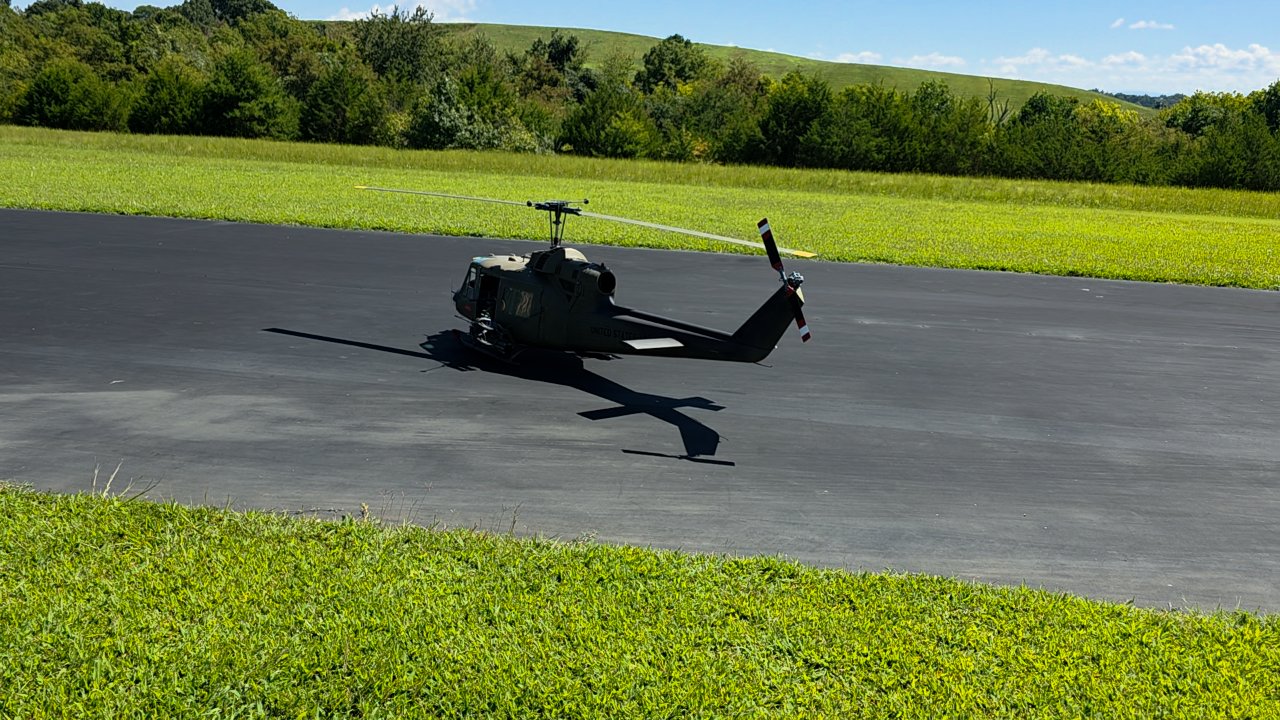
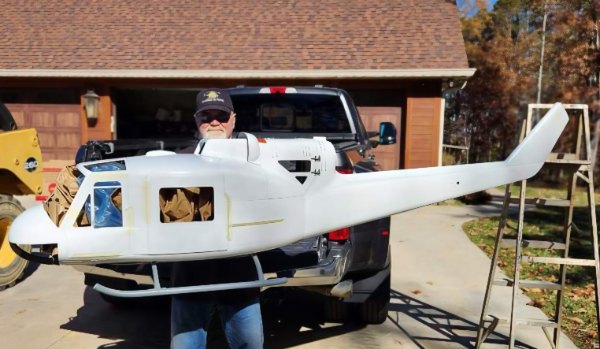
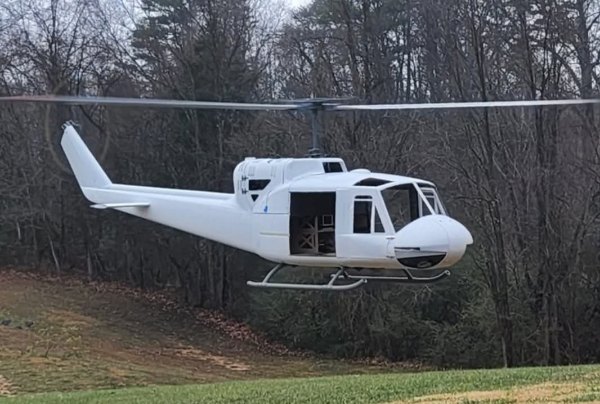
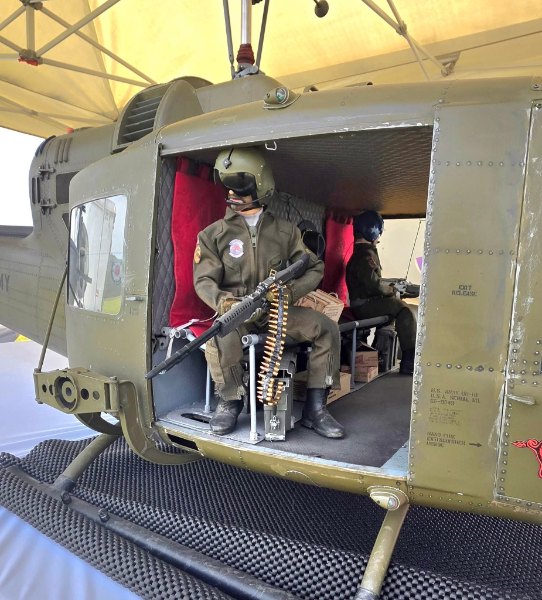
I have built many Hueys, from the Hirobo 30 size to the big gas powered Hirobo but this 1/4.8 scale Huey is the largest at around 98 inches. The first picture is how it came out of the box. I had read many things about the HELI-FACTORY models and the detail and quality was much more than expected. This is one of their "Super Scale" models with rivets and raised panels, panel lines and many other...
I have built many Hueys, from the Hirobo 30 size to the big gas powered Hirobo but this 1/4.8 scale Huey is the largest at around 98 inches. The first picture is how it came out of the box. I had read many things about the HELI-FACTORY models and the detail and quality was much more than expected. This is one of their "Super Scale" models with rivets and raised panels, panel lines and many other exterior details created during the manufacturing of the fuselage. HELI-FACTORY cuts out all opening panels and doors/windows and pre-installed all the woodword ready for the mechanics to be installed. The mechanics were assembled and ready for the installation of my Spektrum electronics, Kontronik 1000 and Kontronik 200 ESC. I installed a sound system for a very realistic start-up and shutdown. The rotor head is the most realistic Huey head I have seen in a model. The cockpit and armament are a product of SCALE-PRINT. The pilots and gunners are from TailoredPilots. I had the model flying within a couple of weeks "in the white" to get it airworty before disassembly for paint, personal detailing and weathering. I chose to build this Huey to represent a "C" model flown by the "Razorbacks" gunship platoon in Vietnam. The dummy turbine engine and M40 nose mounted granade launcher were 3D printed by Russell Rohan. I prefer my models to look well used and this one is highly weathered. Everything fit perfectly and flys GREAT !!!
I've been thinking about a working miniature paint stencil. A 3D printer is the key to this. However, it needs to be printed very thinly, about 0.2mm. I then applied a spray adhesive to the back so that the paint doesn't bleed through it later.

 Jon E.

 Michael K.






 Uwe B.






 Michael H.


 Pascal P.