

Vario Bell 47G3 1/4 scale
 Jon E.

Detailing and Final Assembly
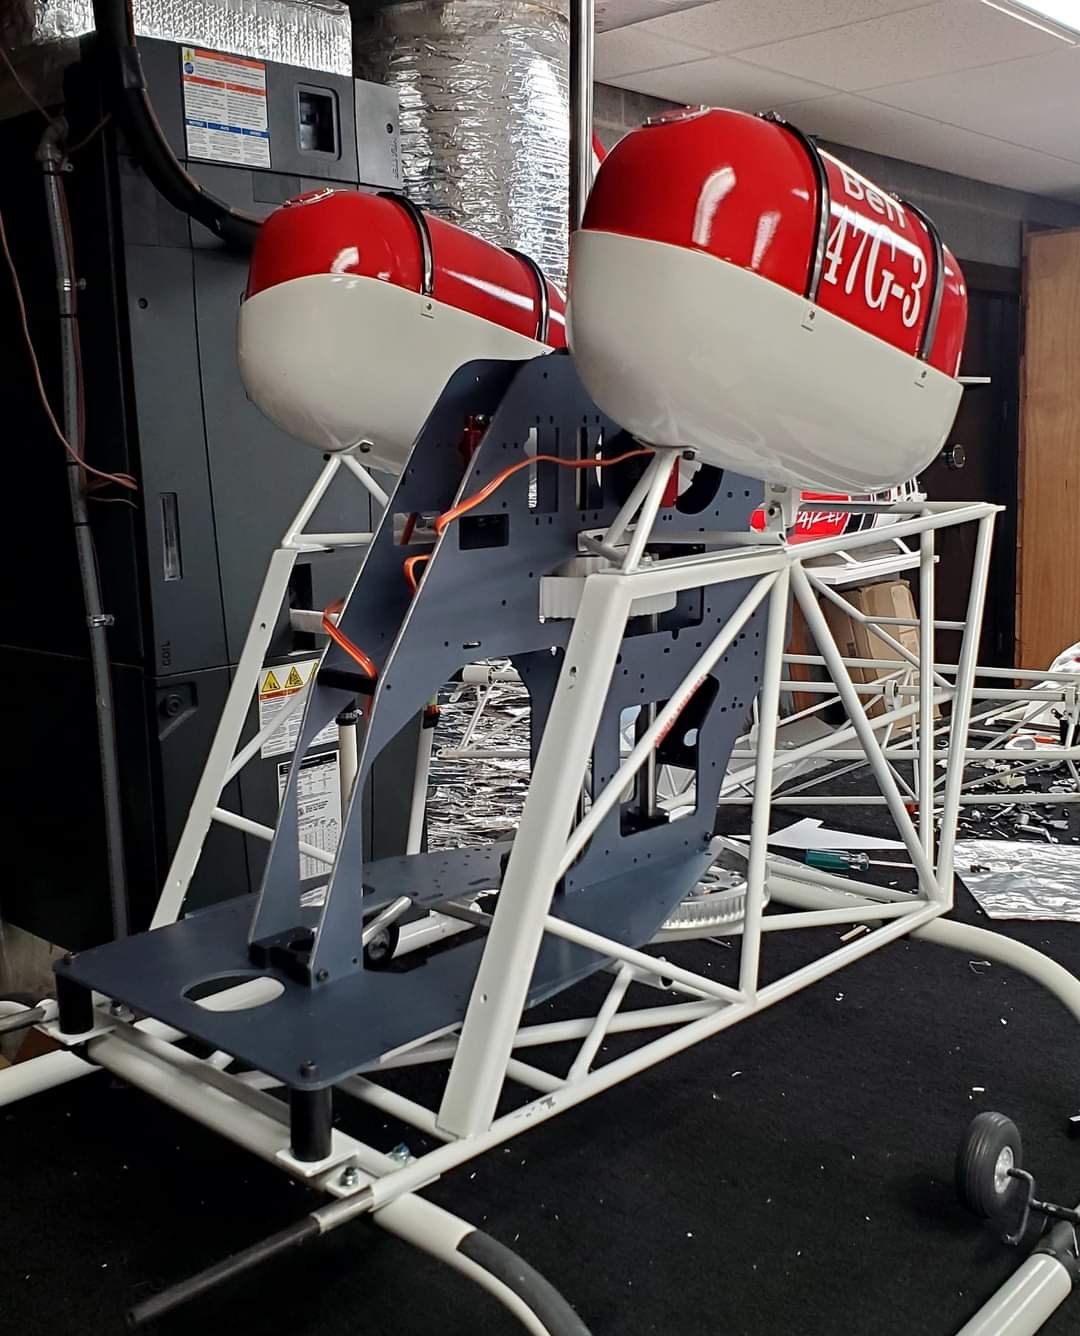
I'll not bore you with installing mechanics. I used the Vario recommended mechanics along with the standard flybared head (which would be changed at a later date). I chose a Kontronik 800 for power using a Vario clutch with the Heliworkshop Clutch Adapter, Castle 160 ESC on 12S, Bavarian 3X, ModelSoundsInc sound system with the Lycoming sound.
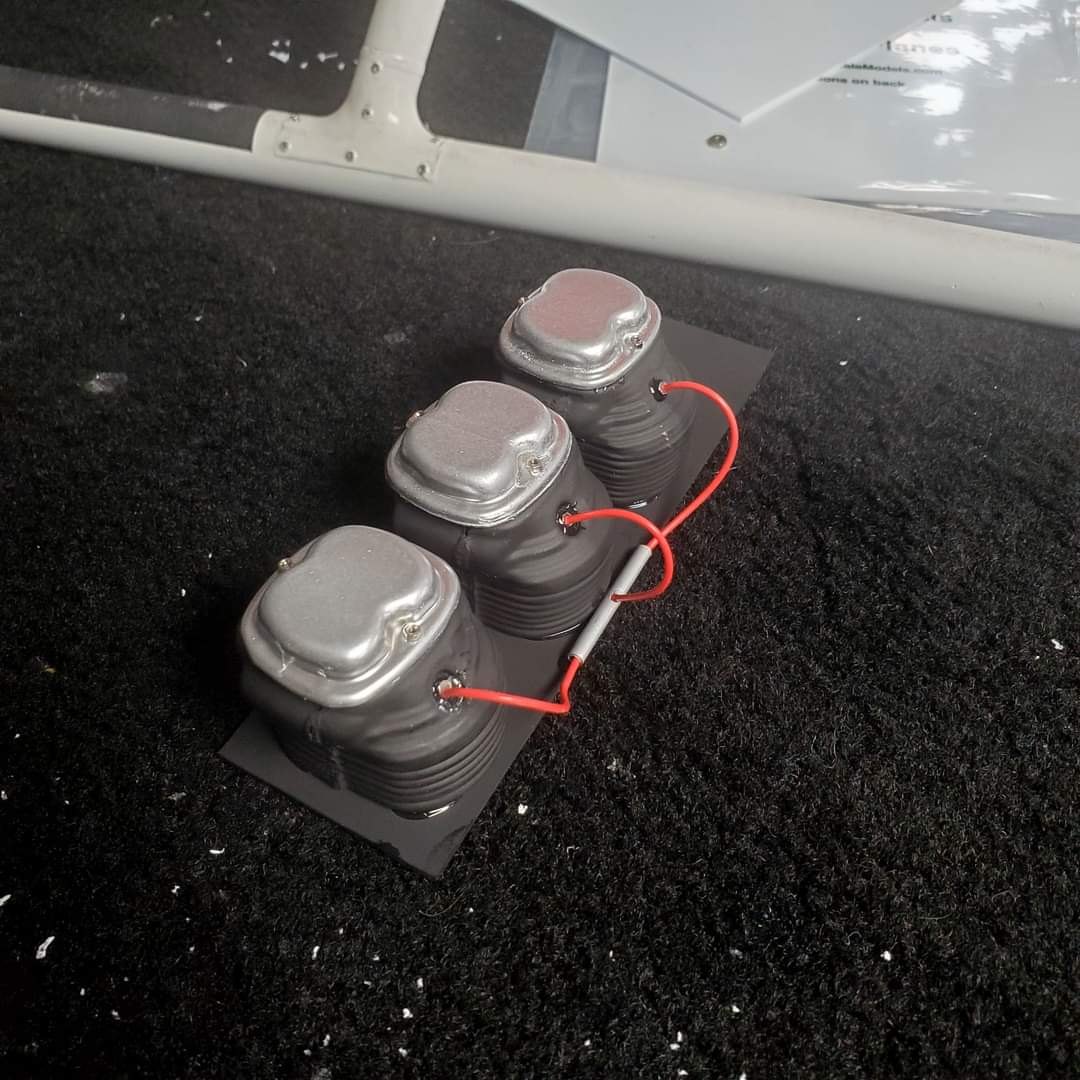
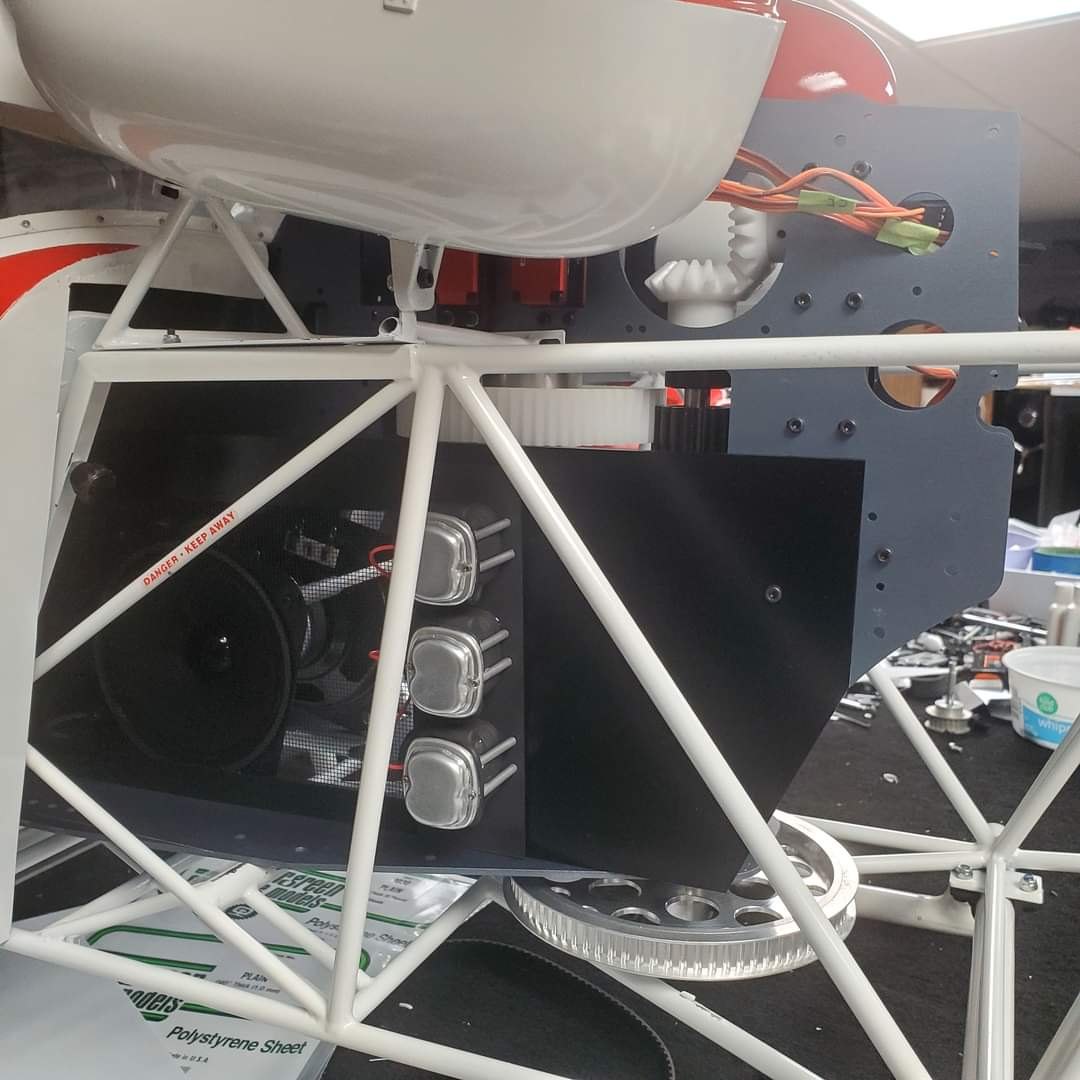
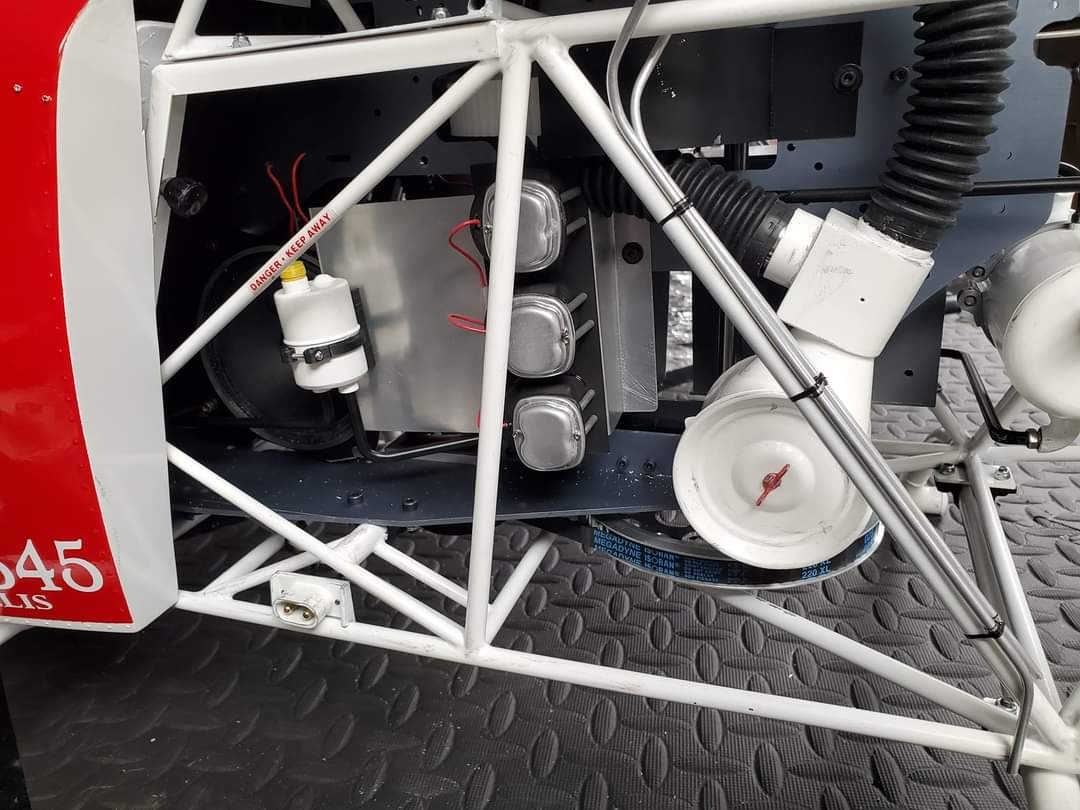
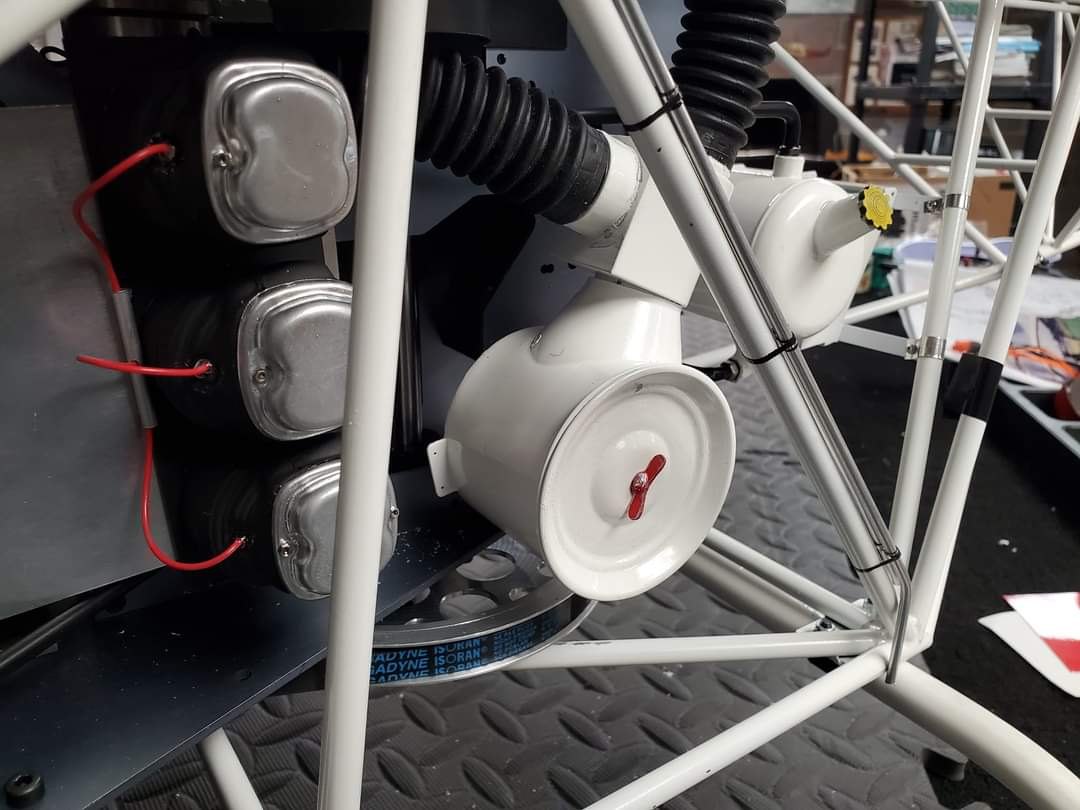
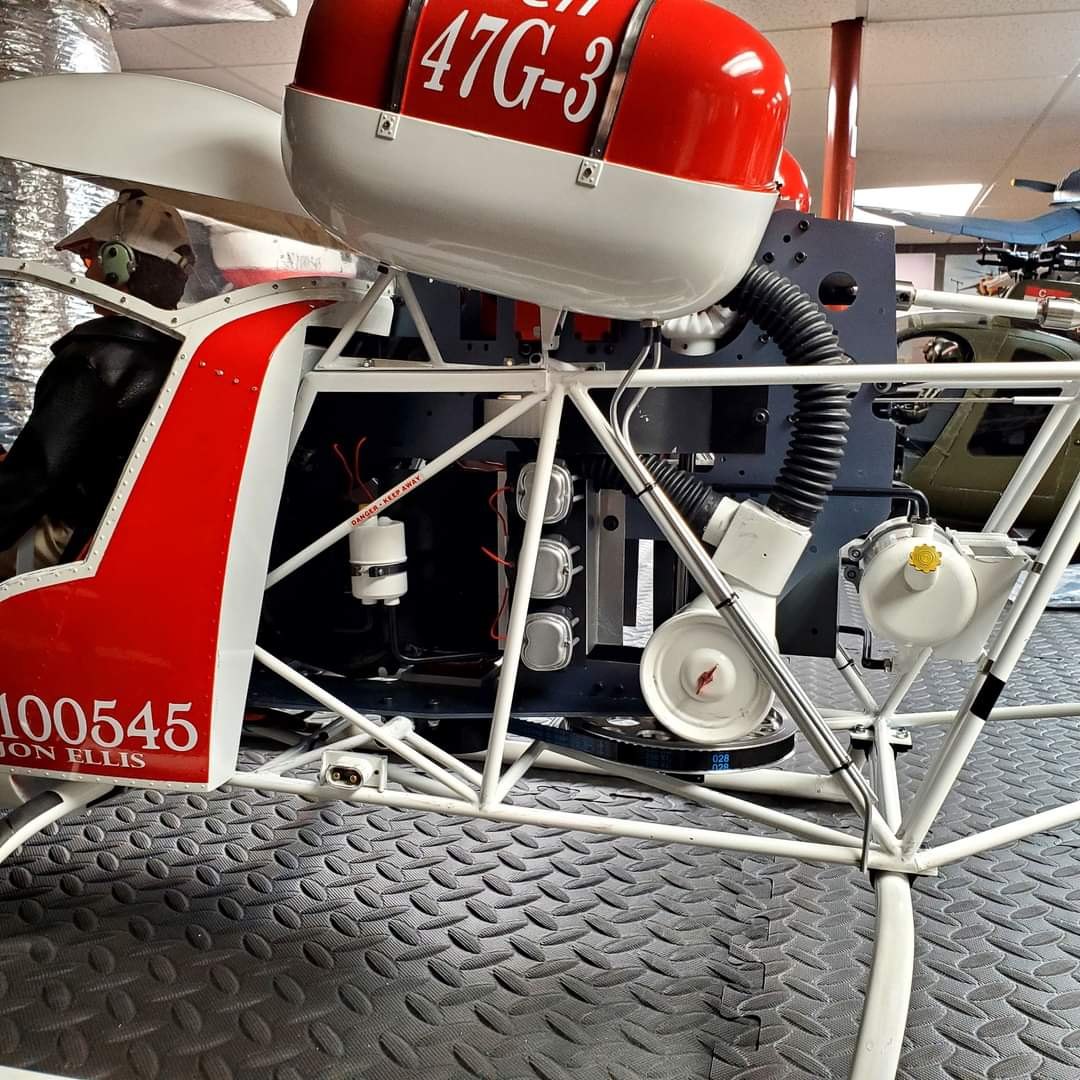
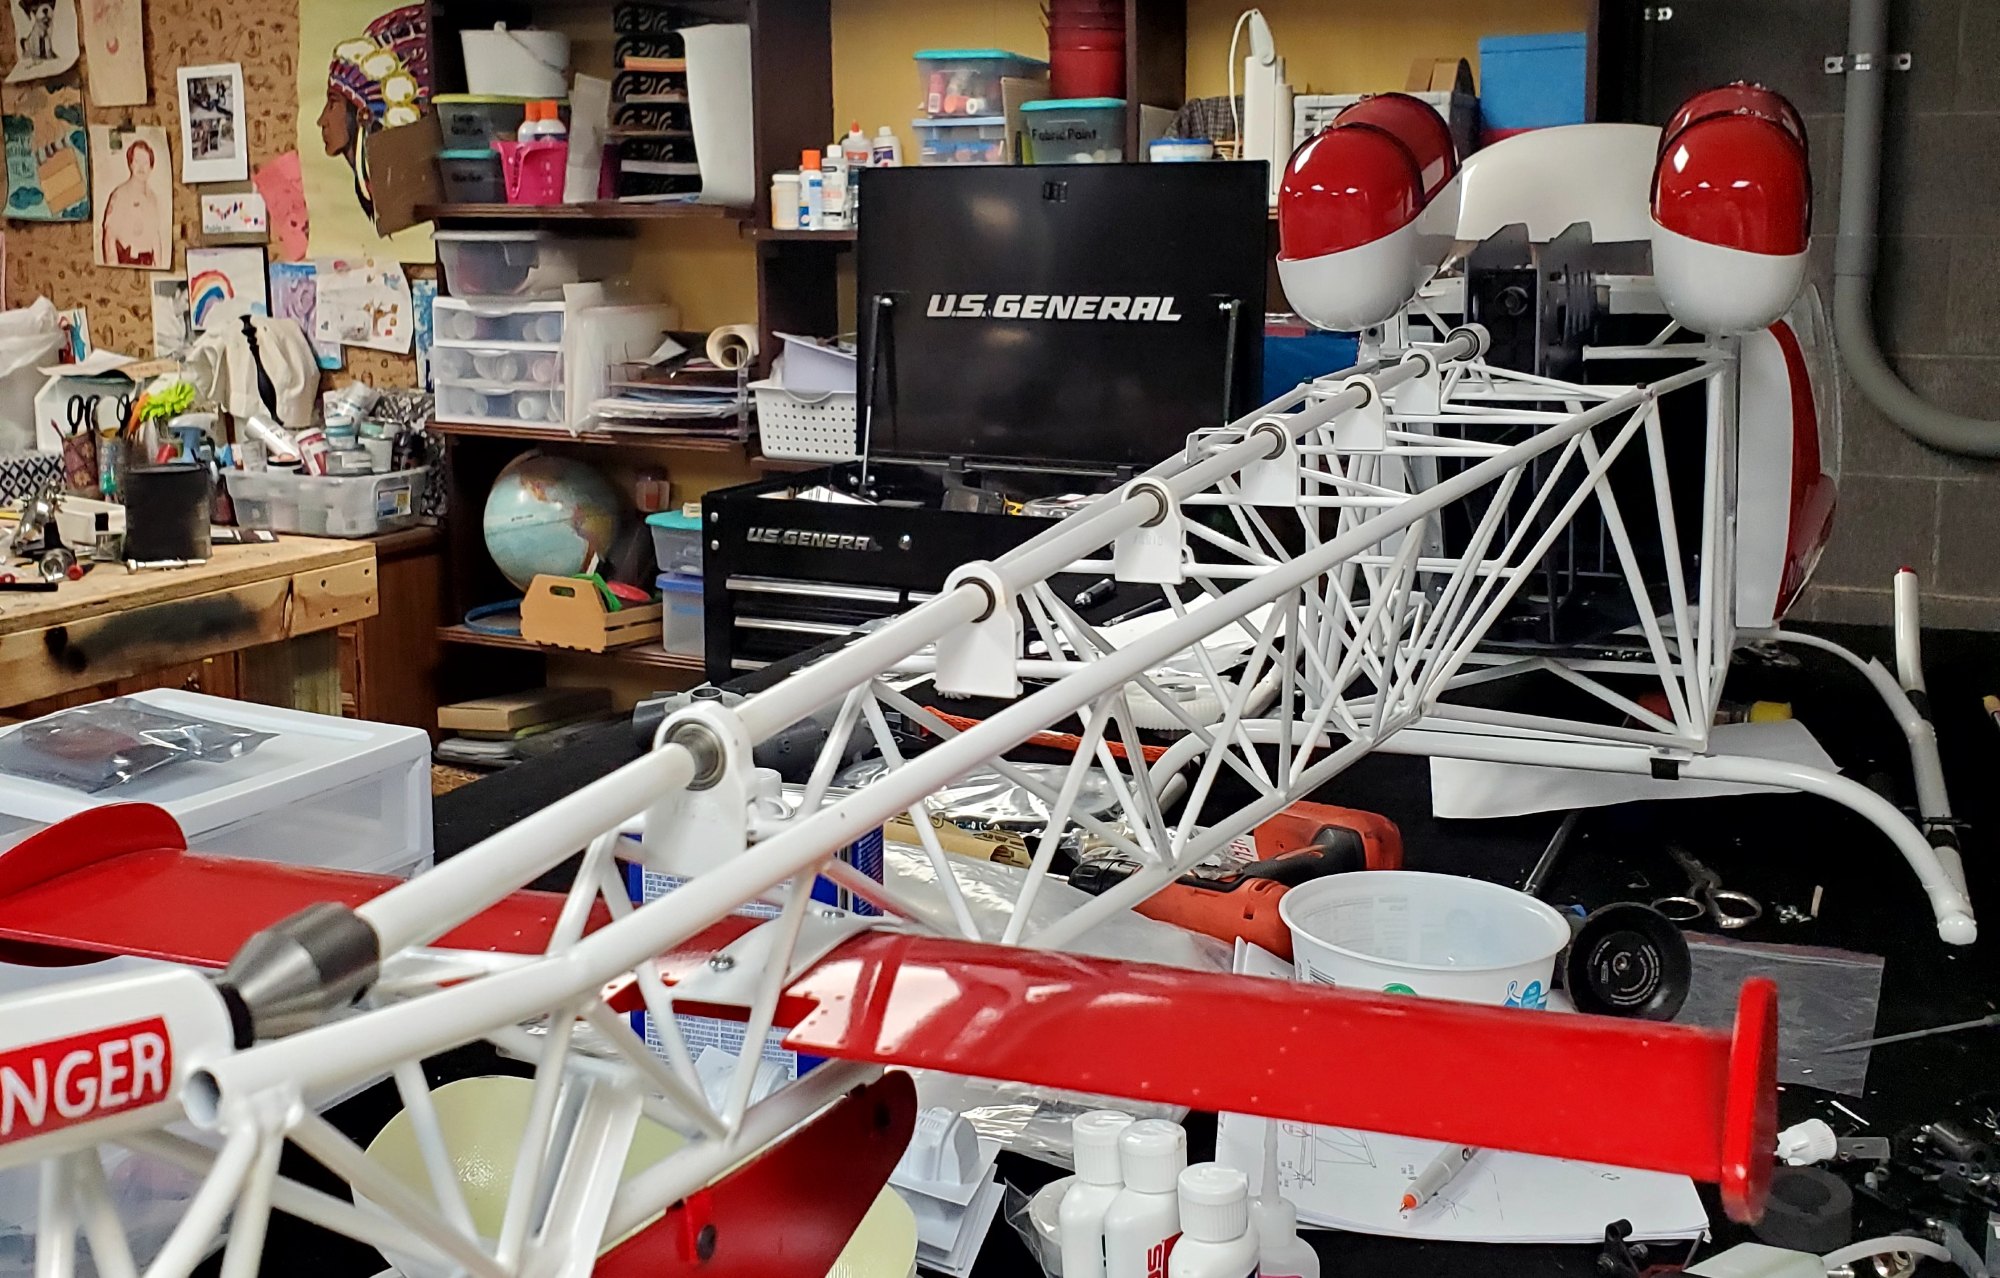
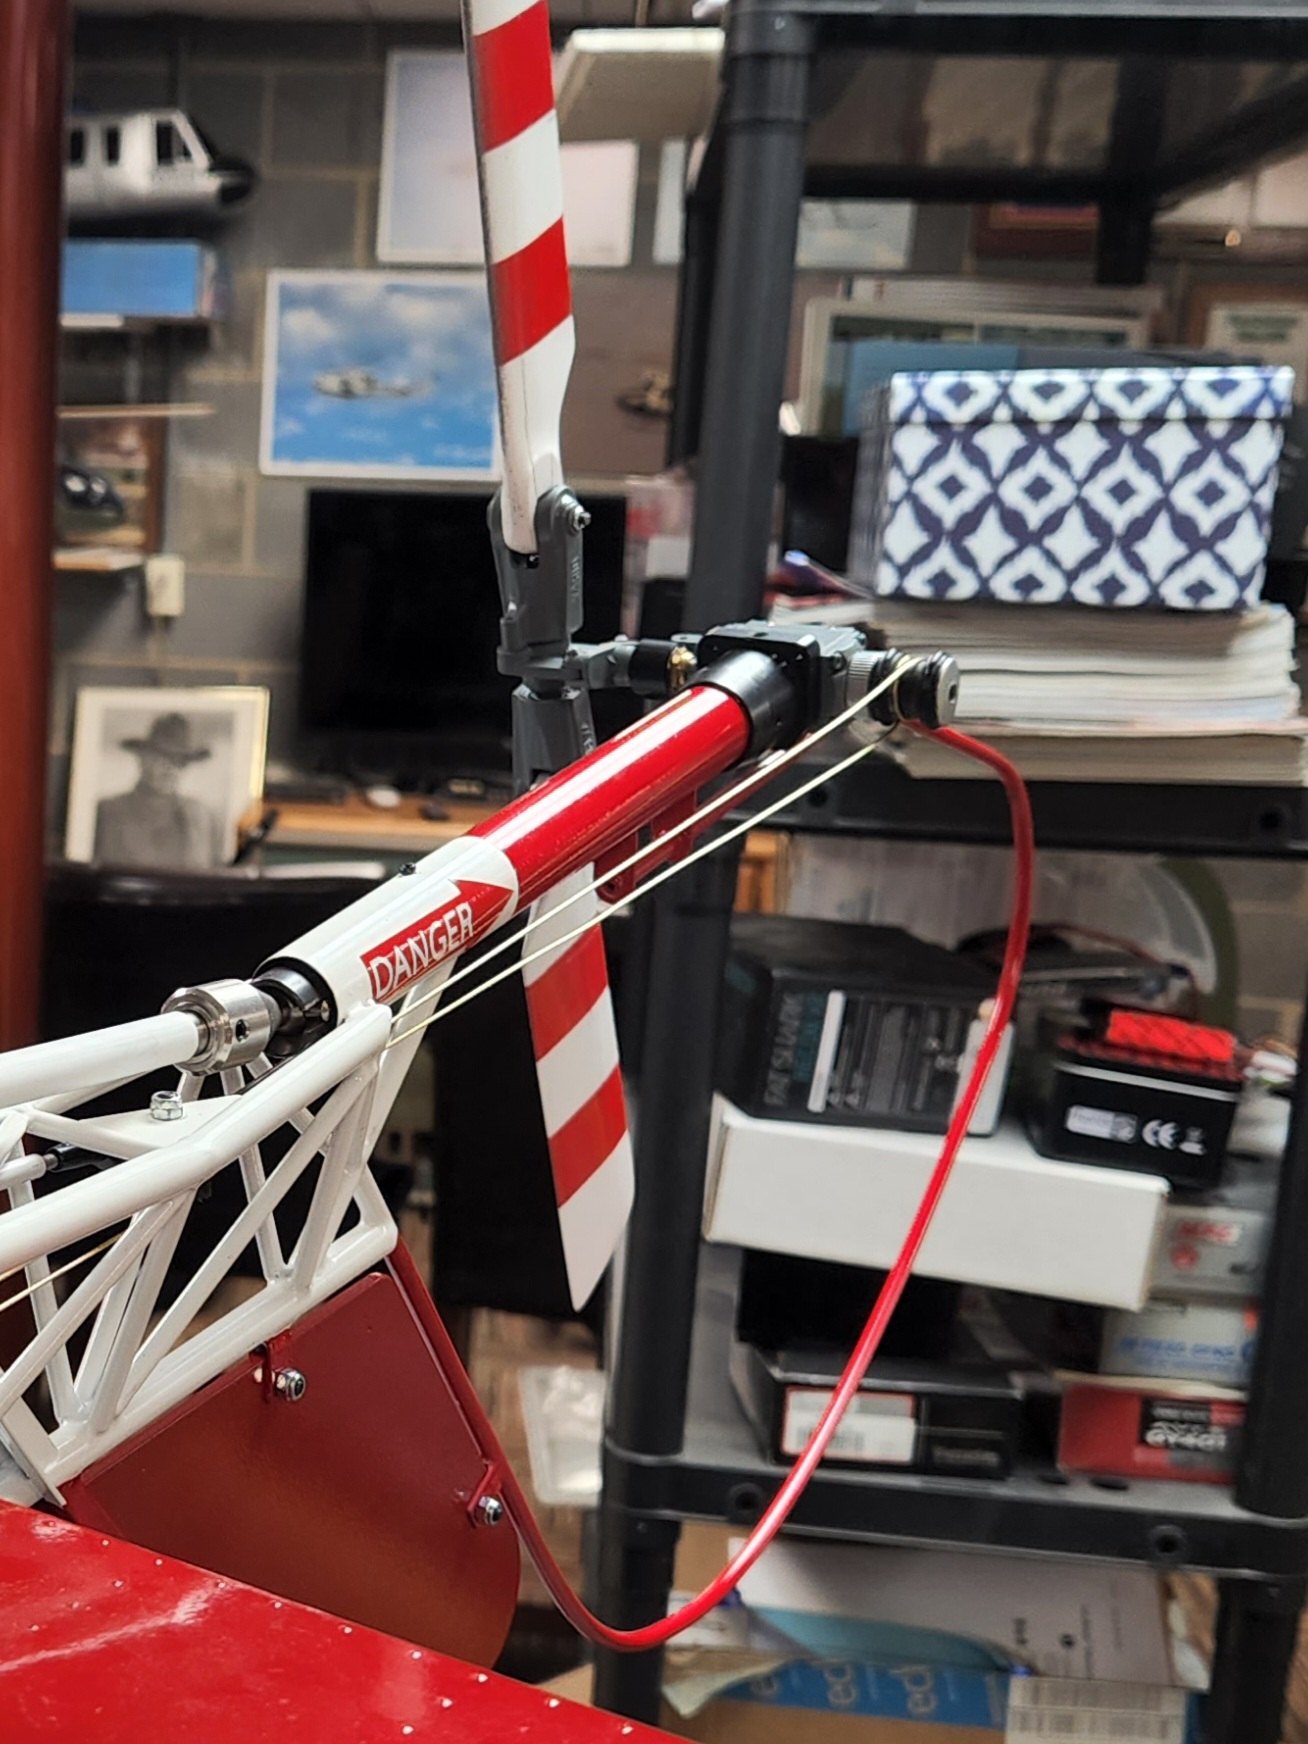
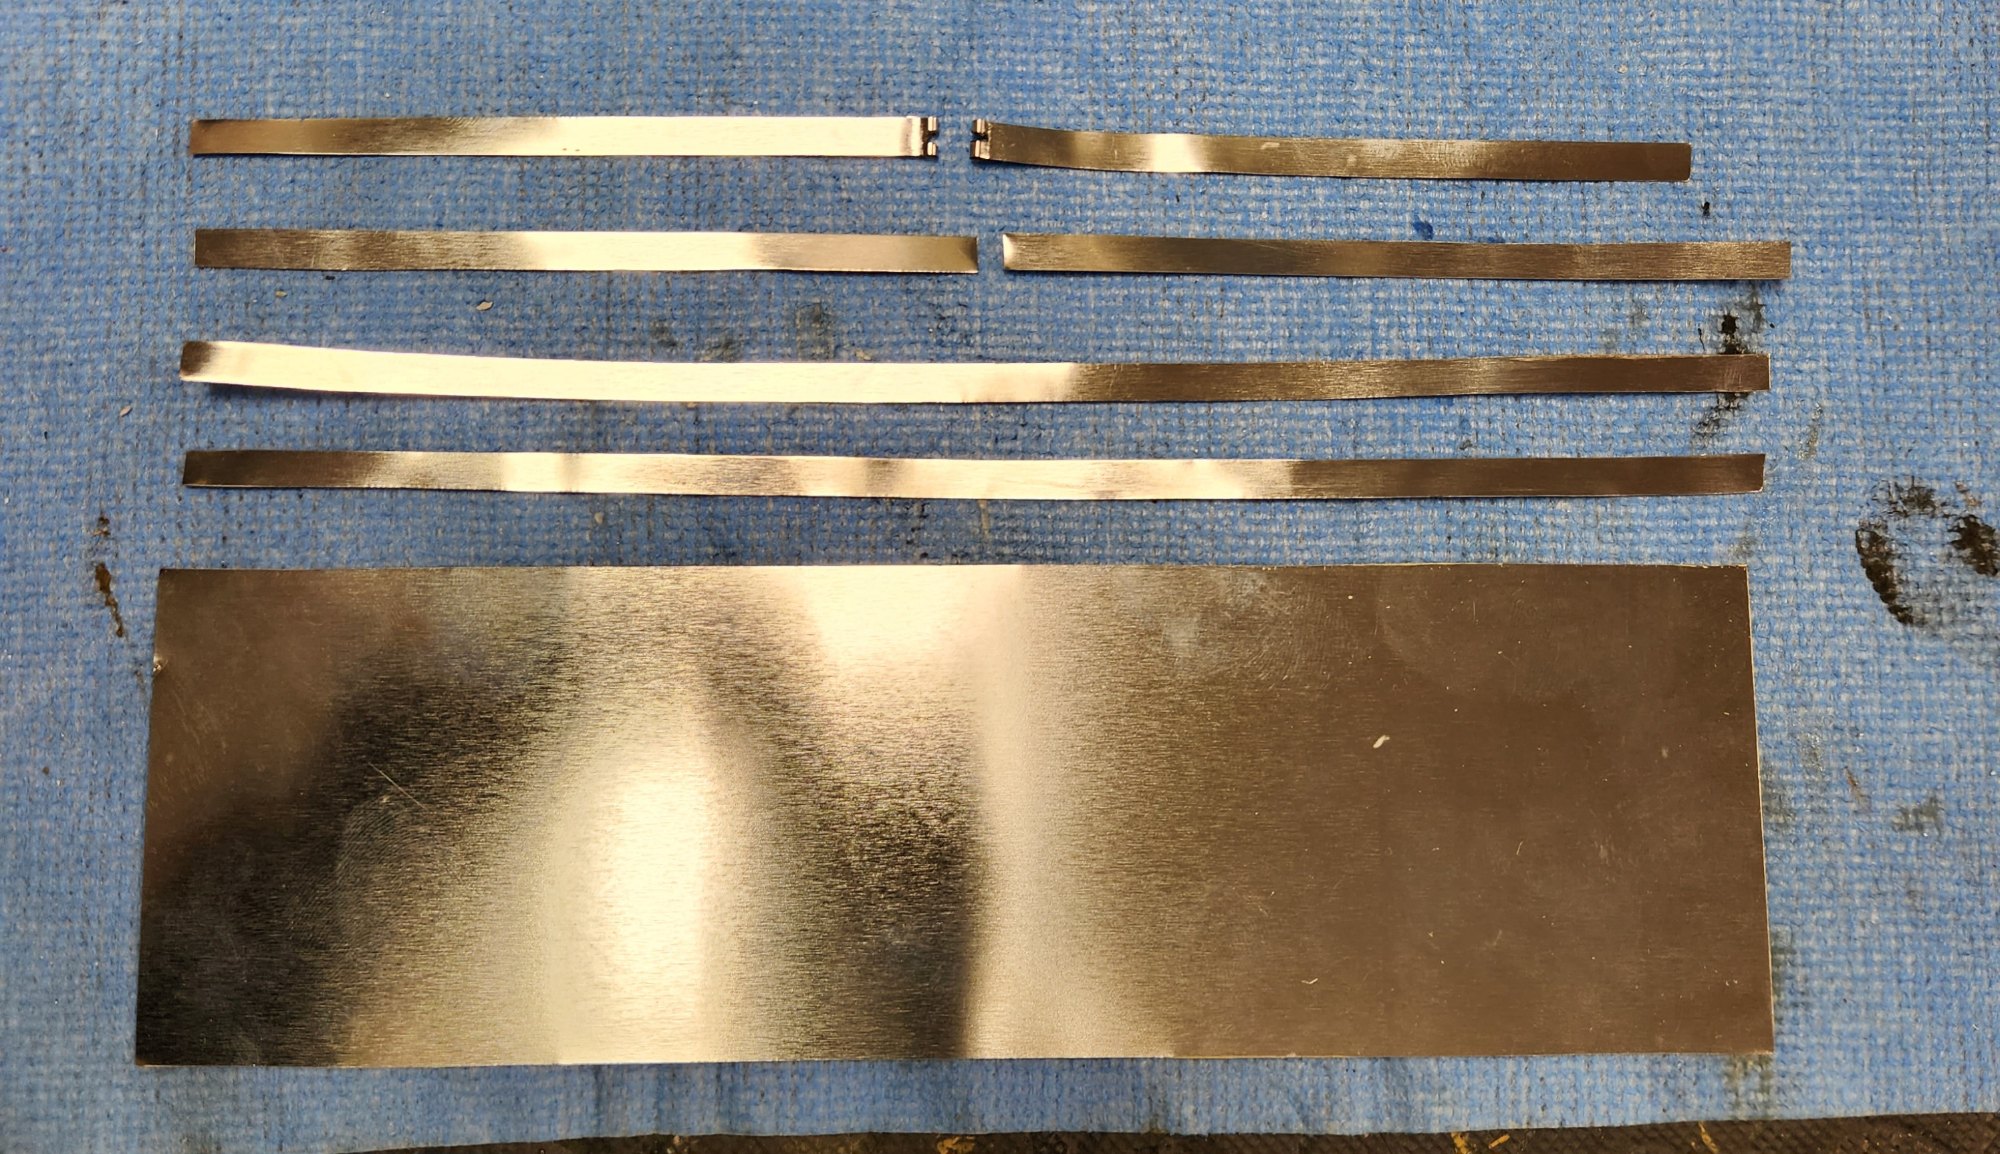
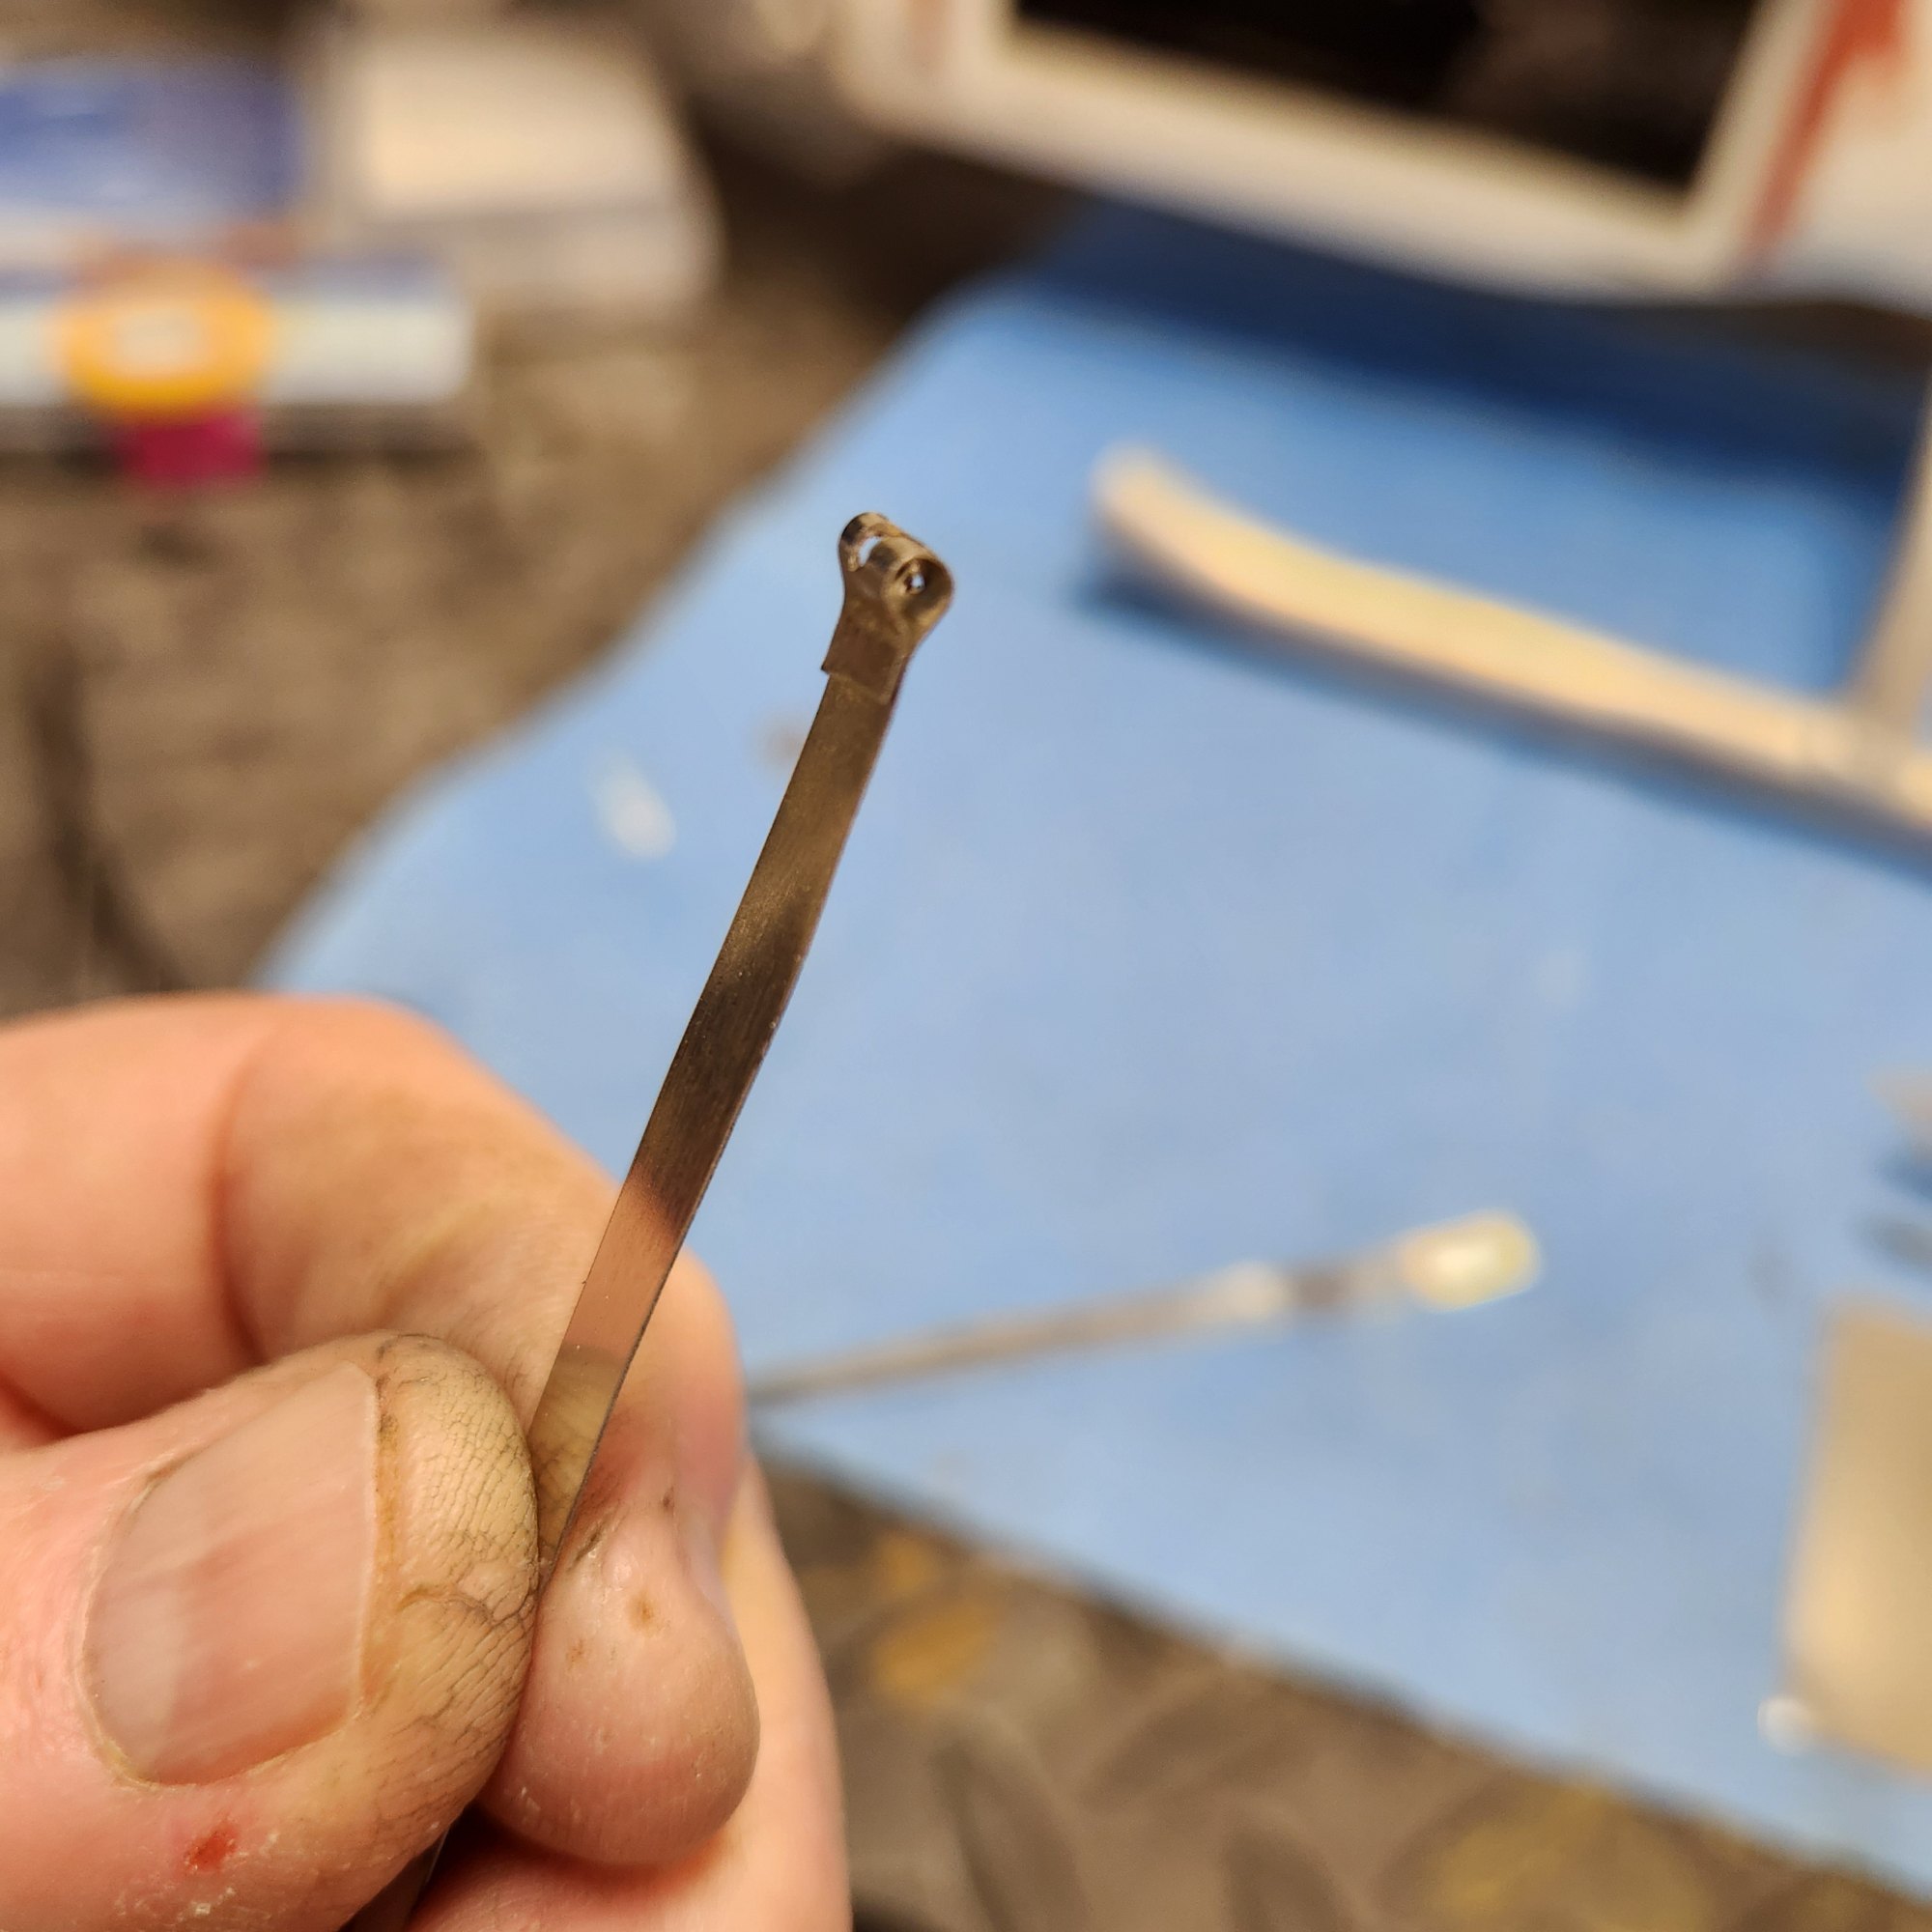
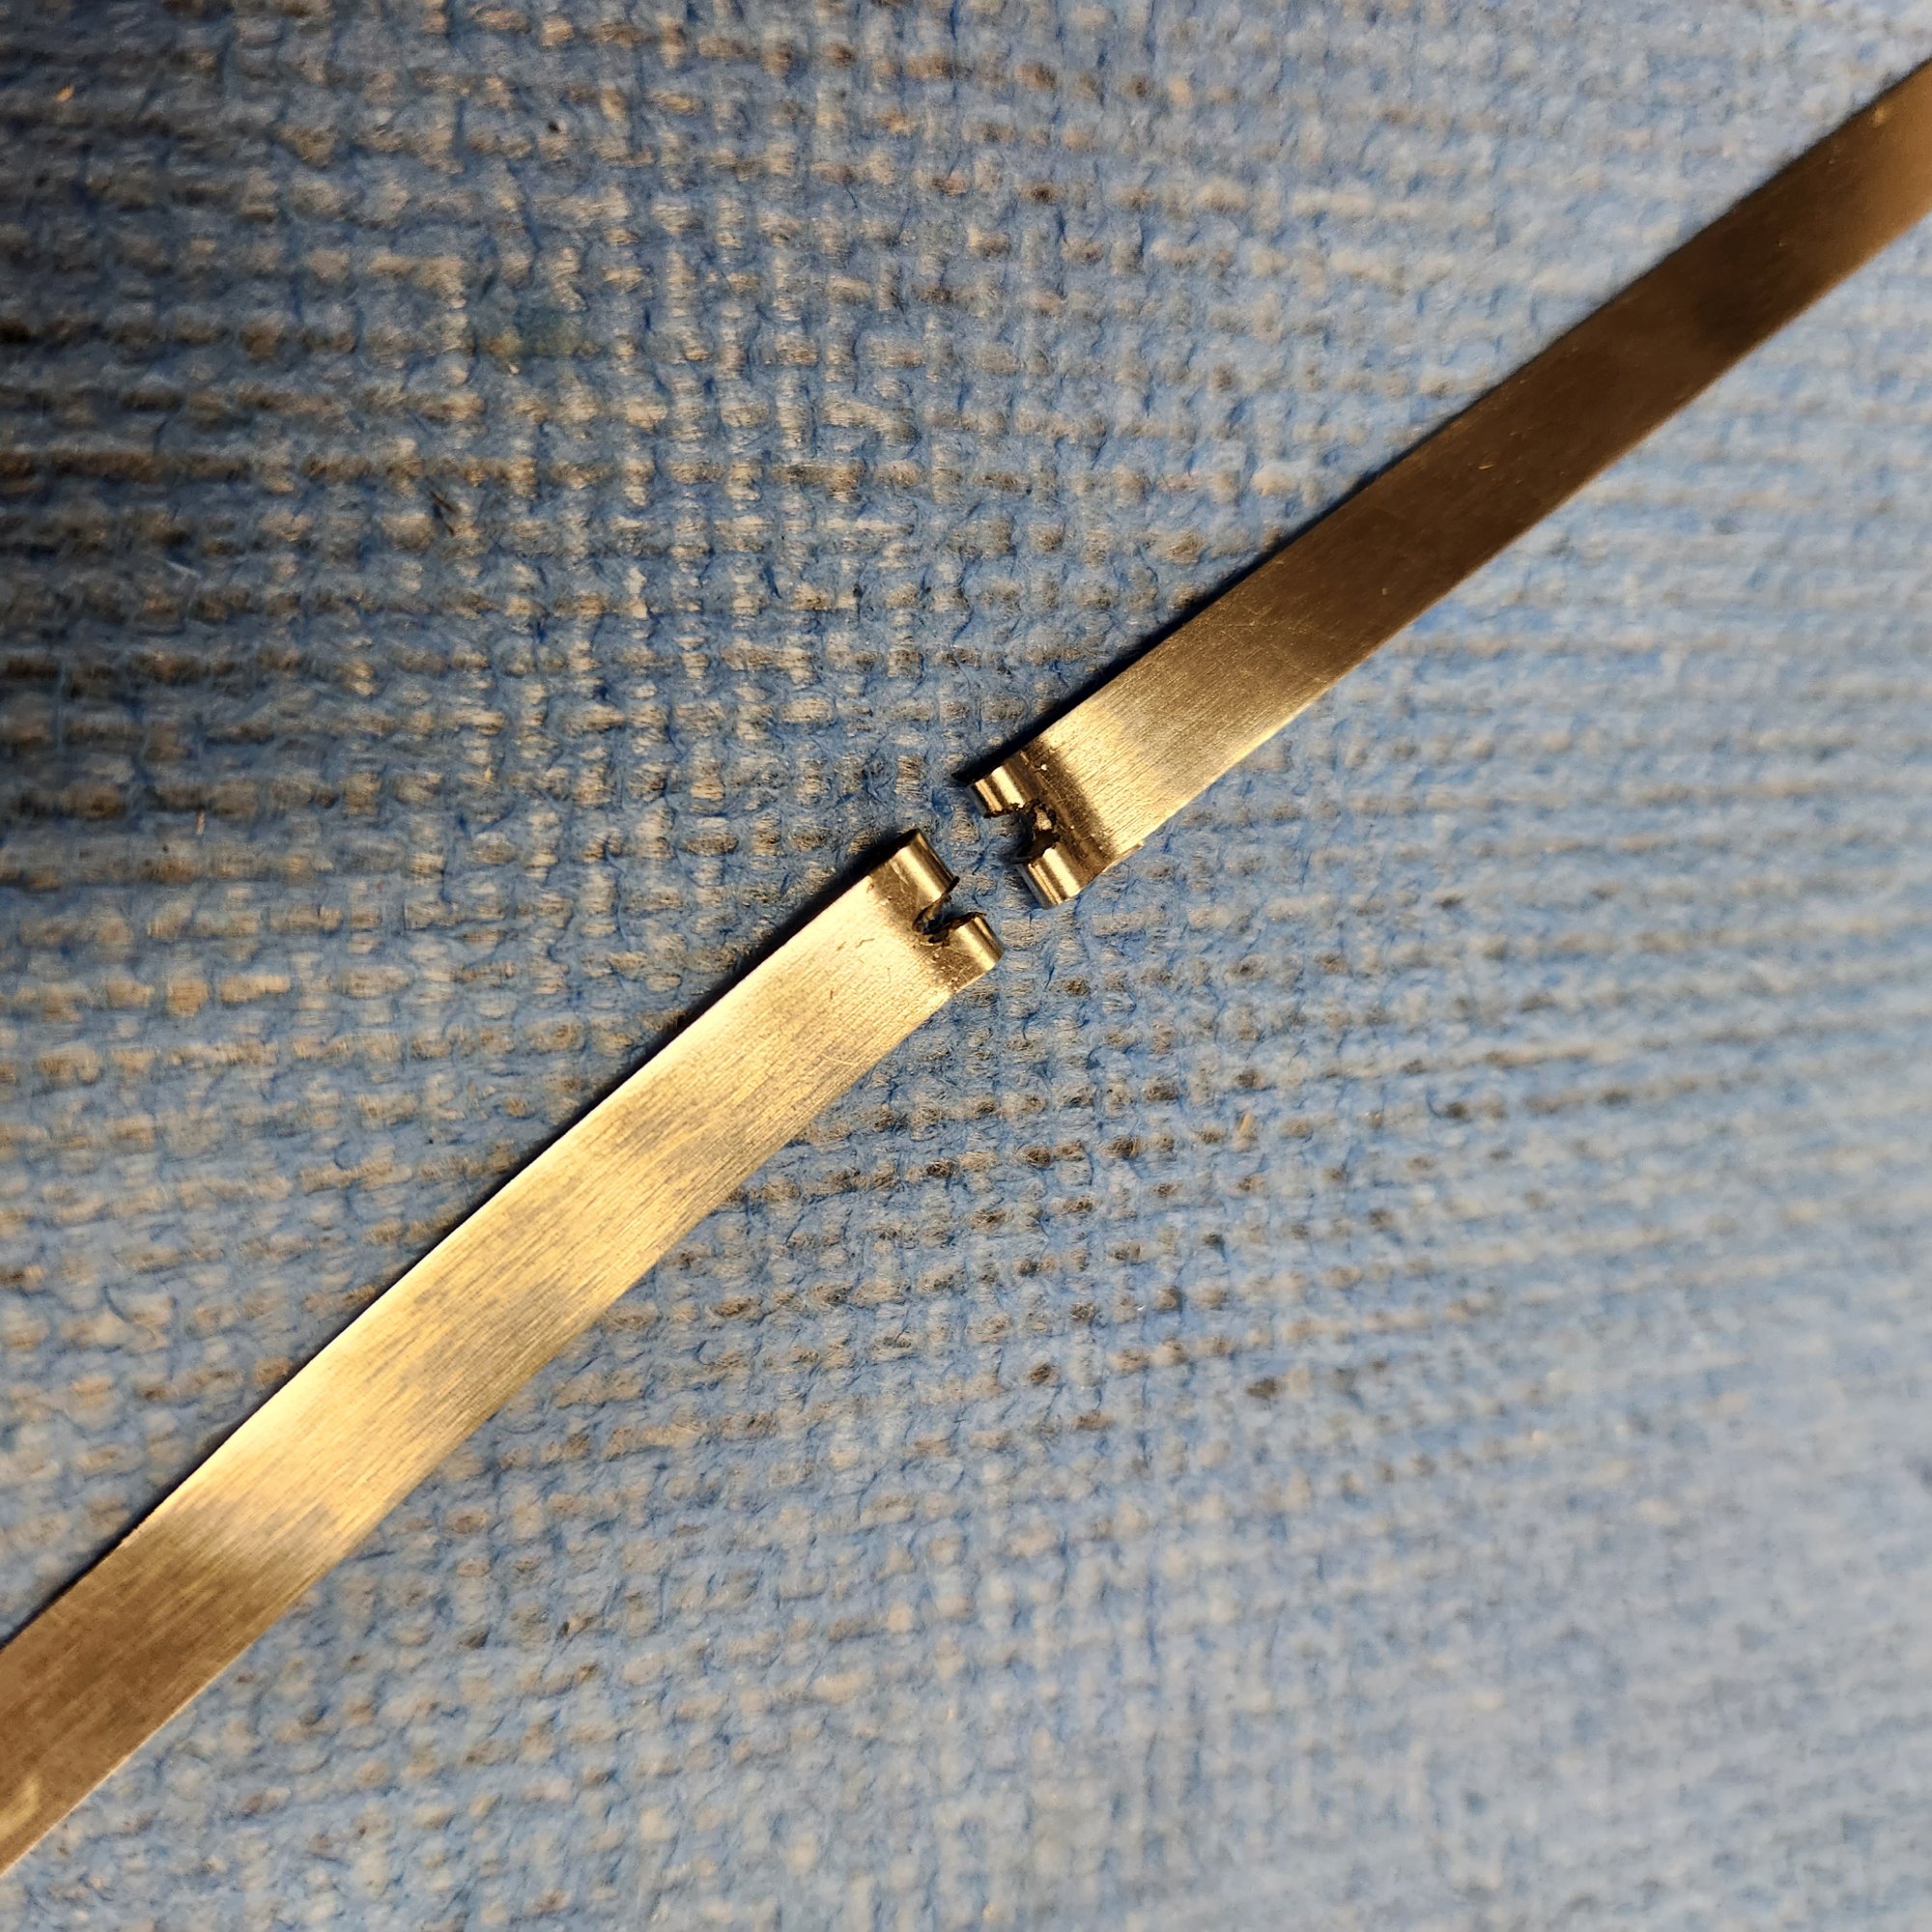
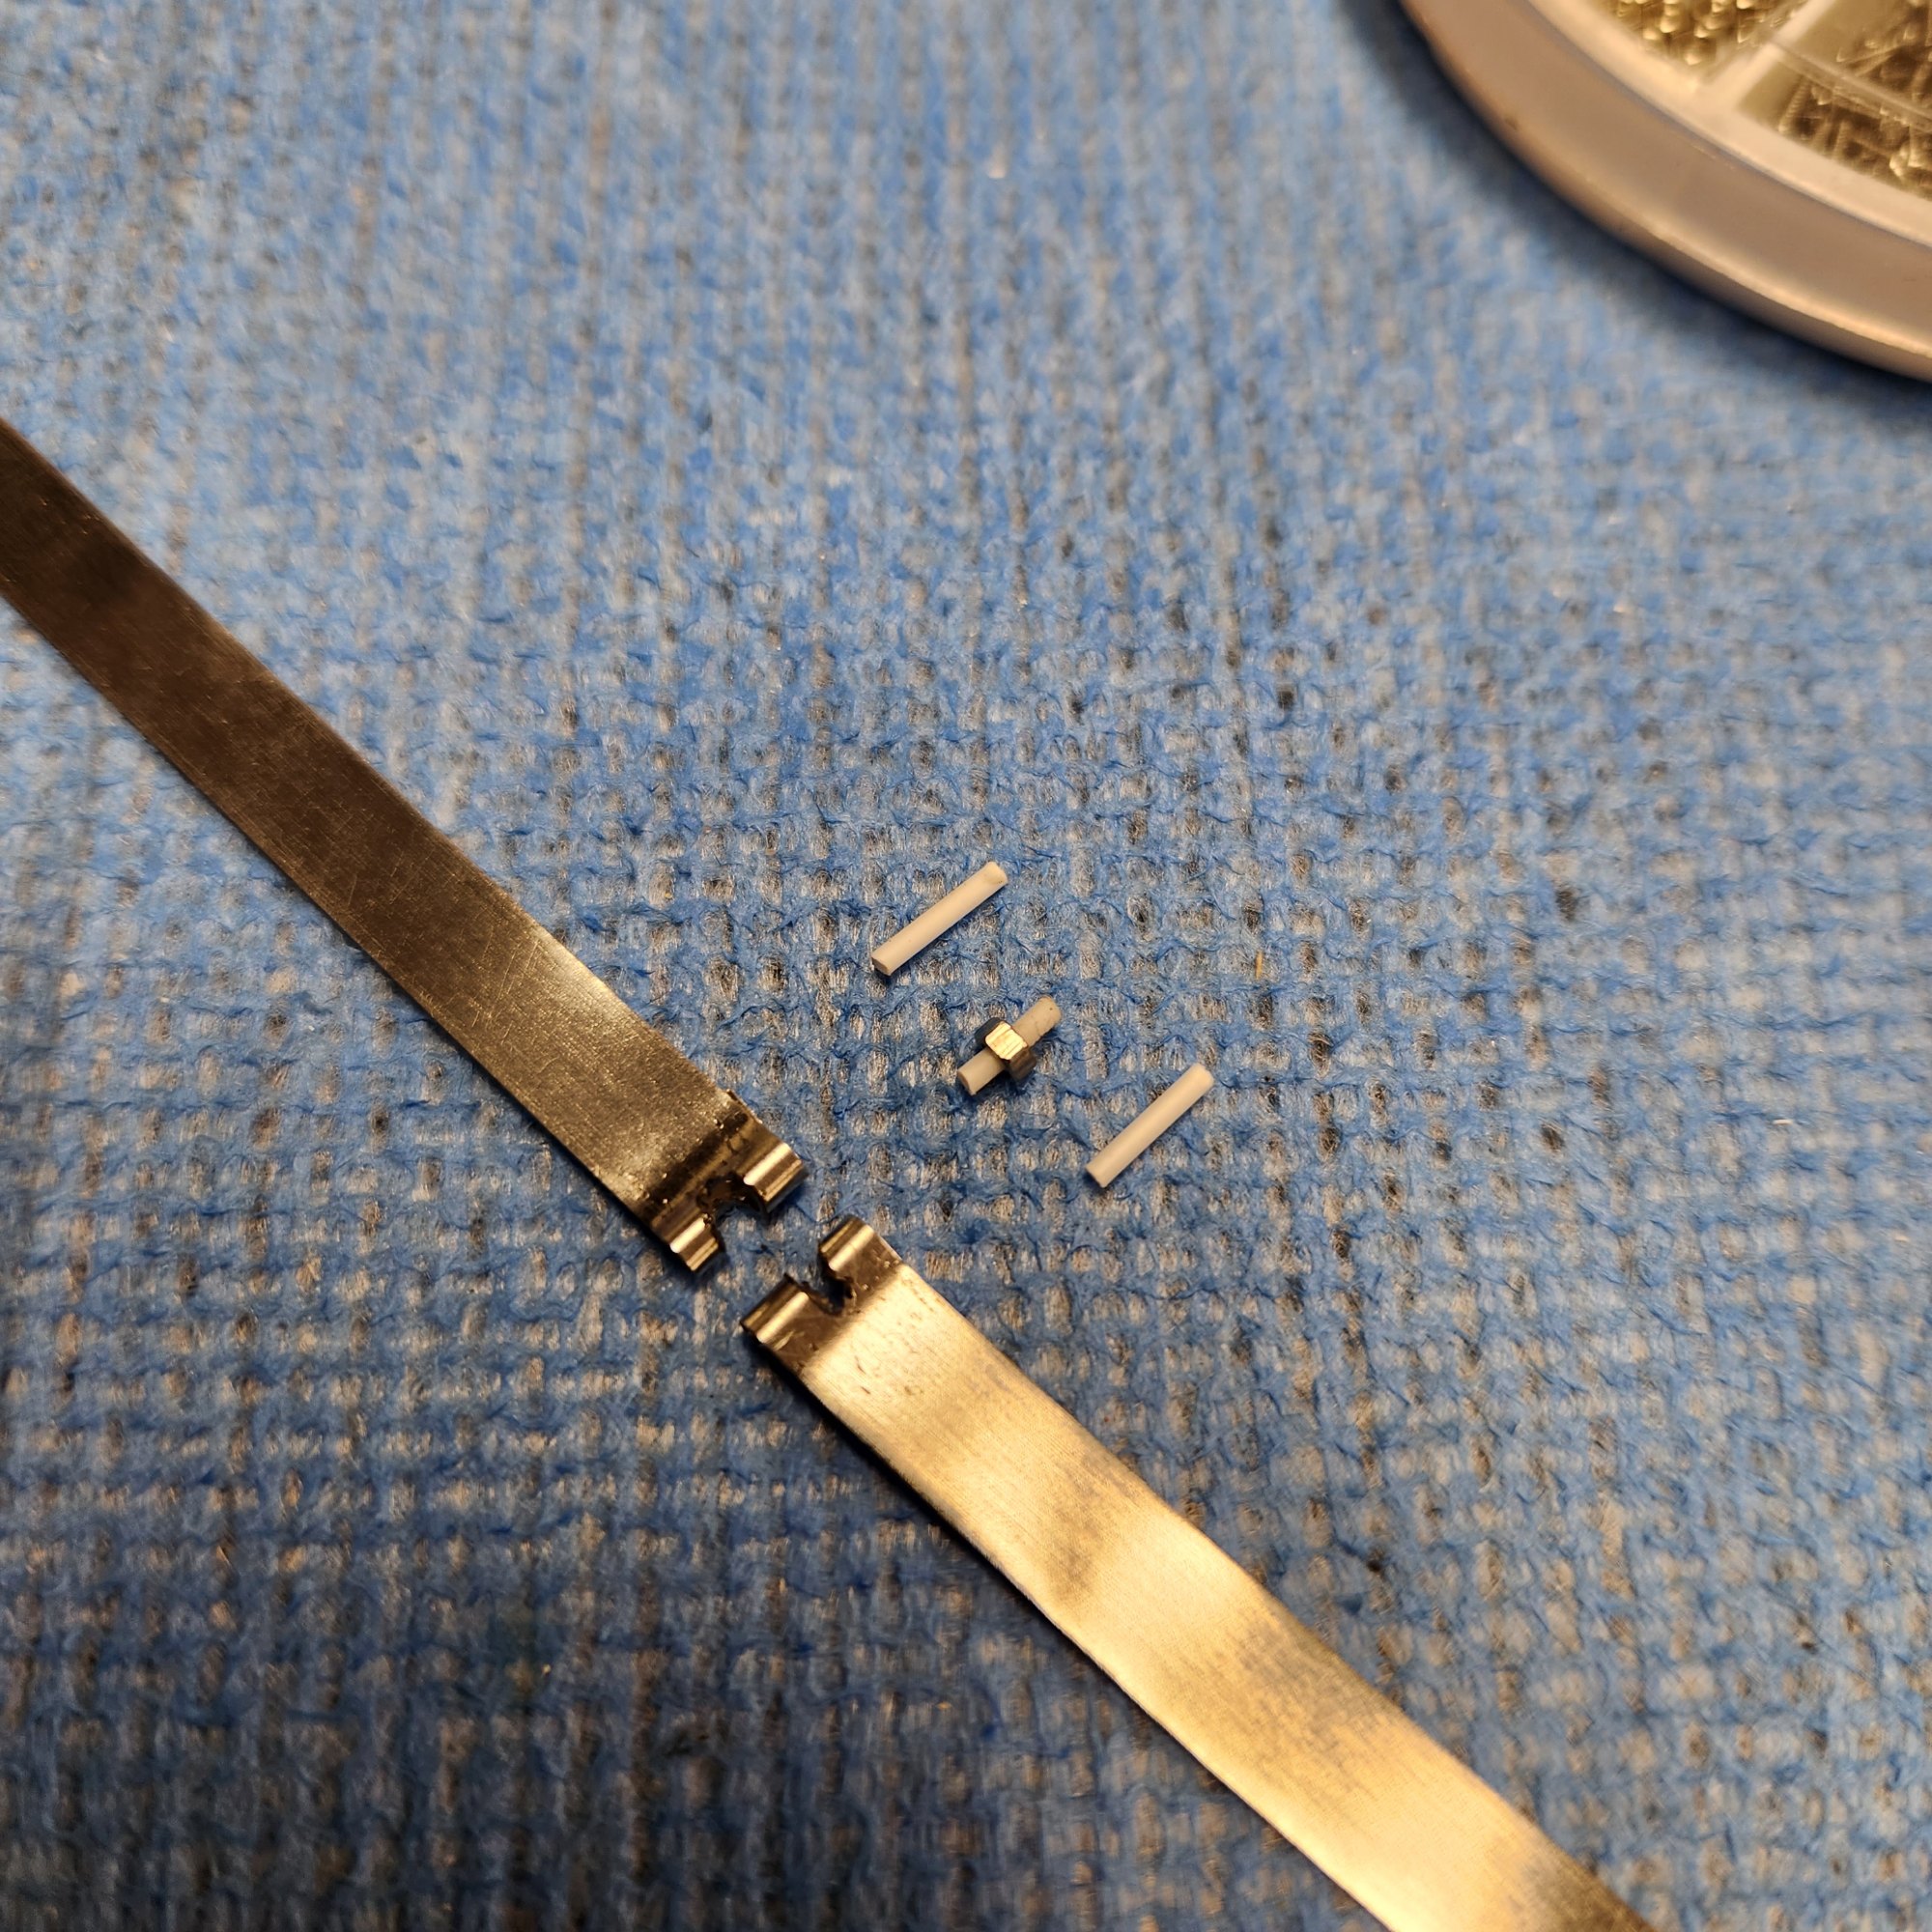
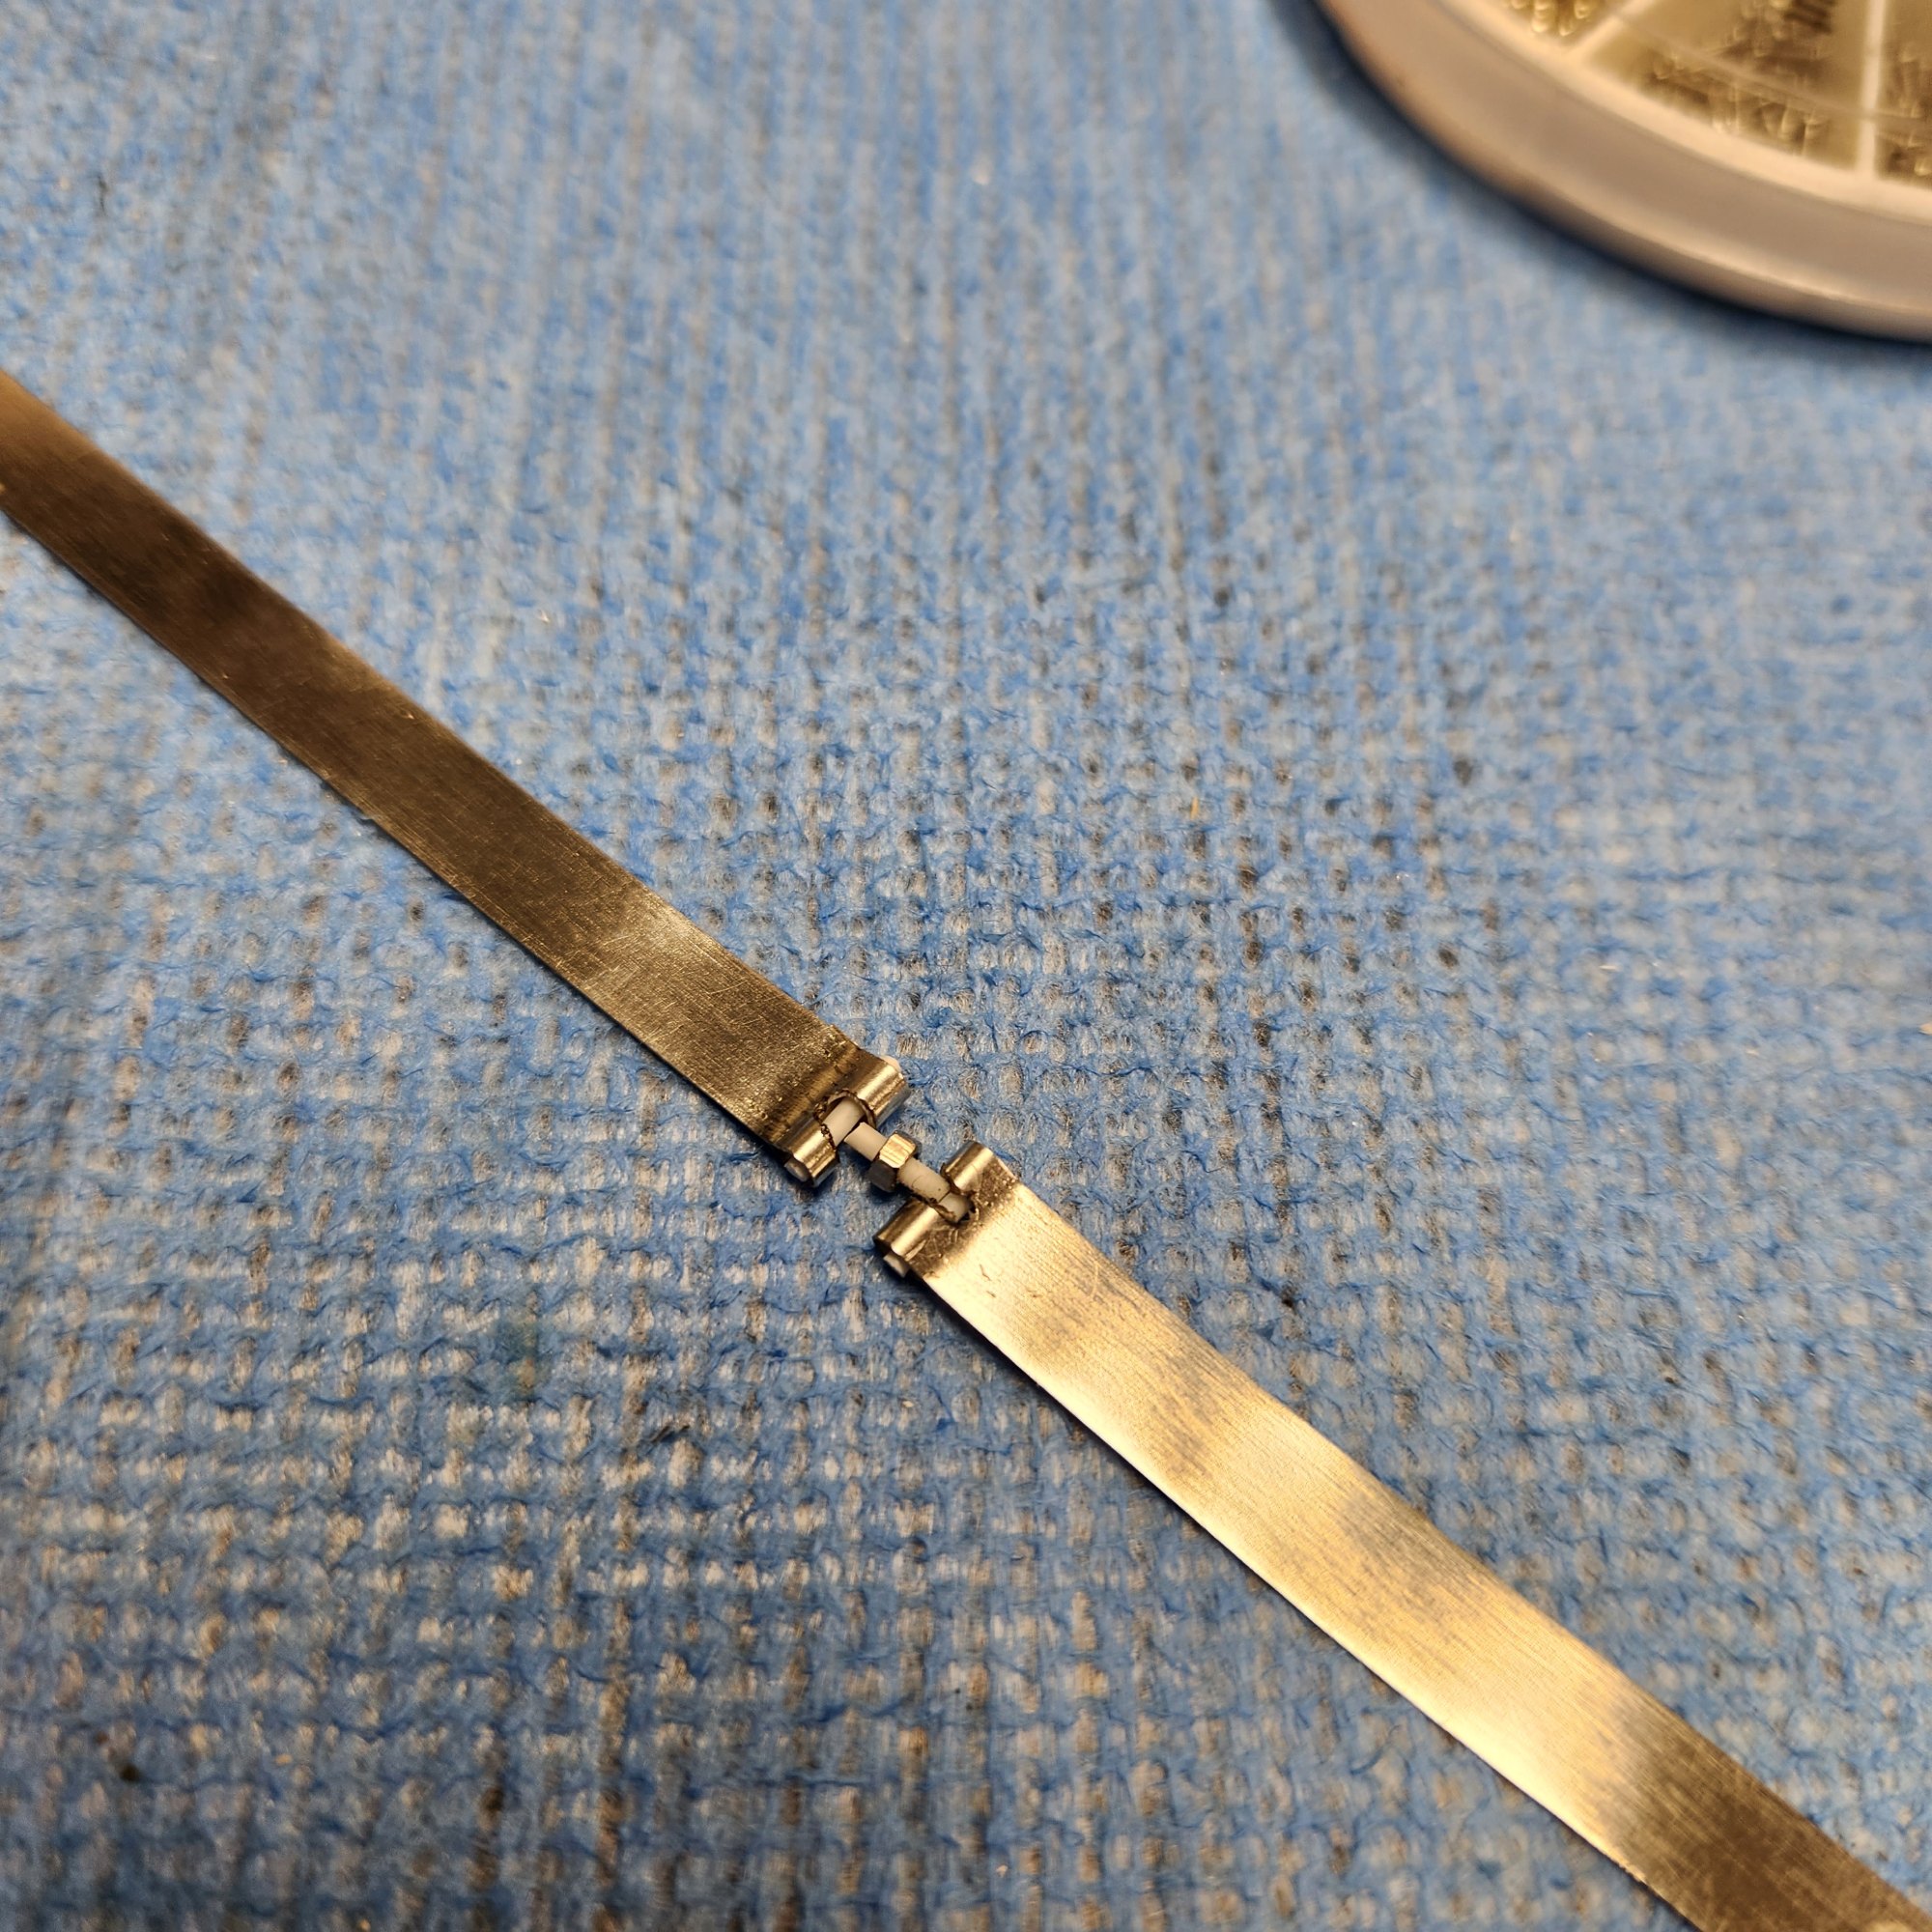
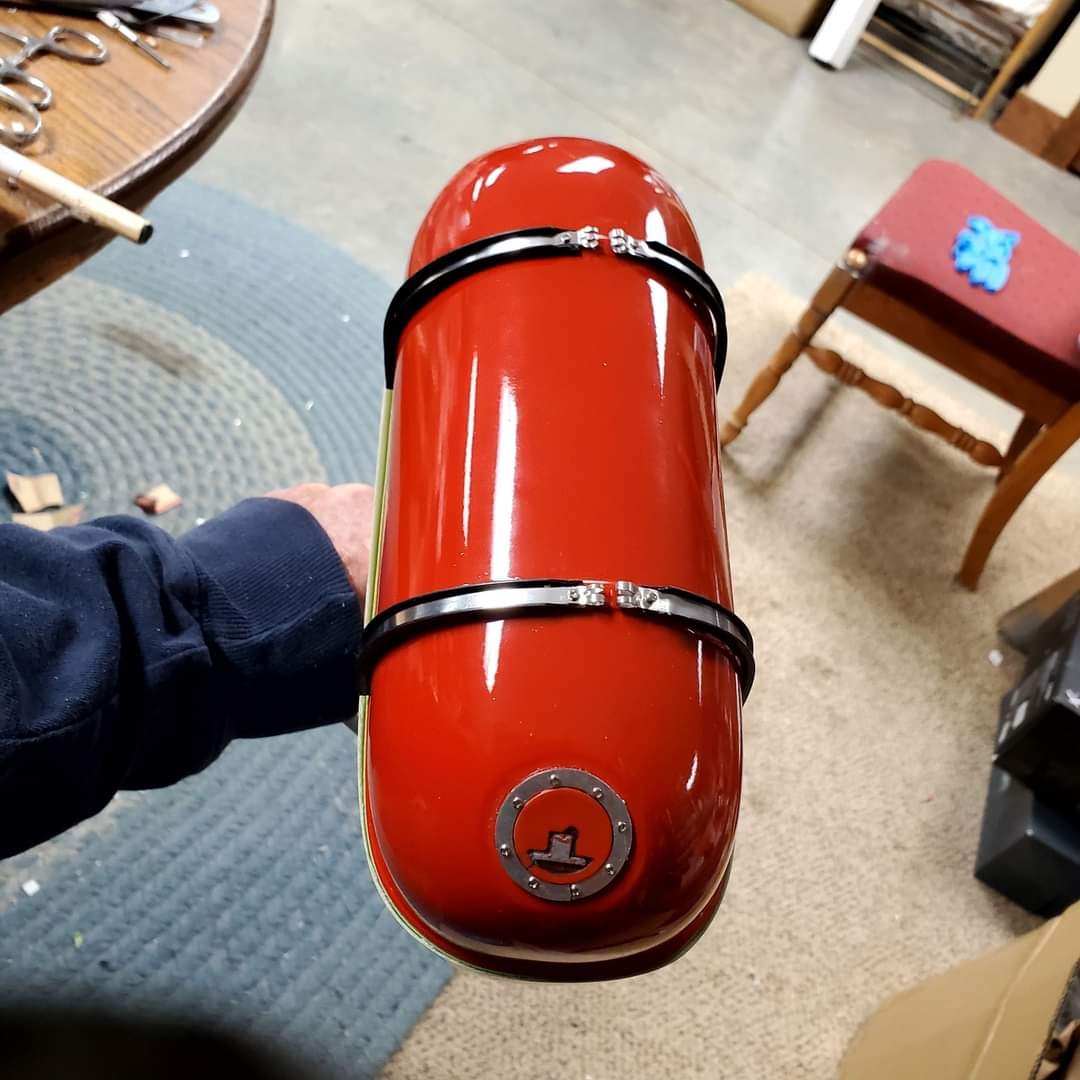
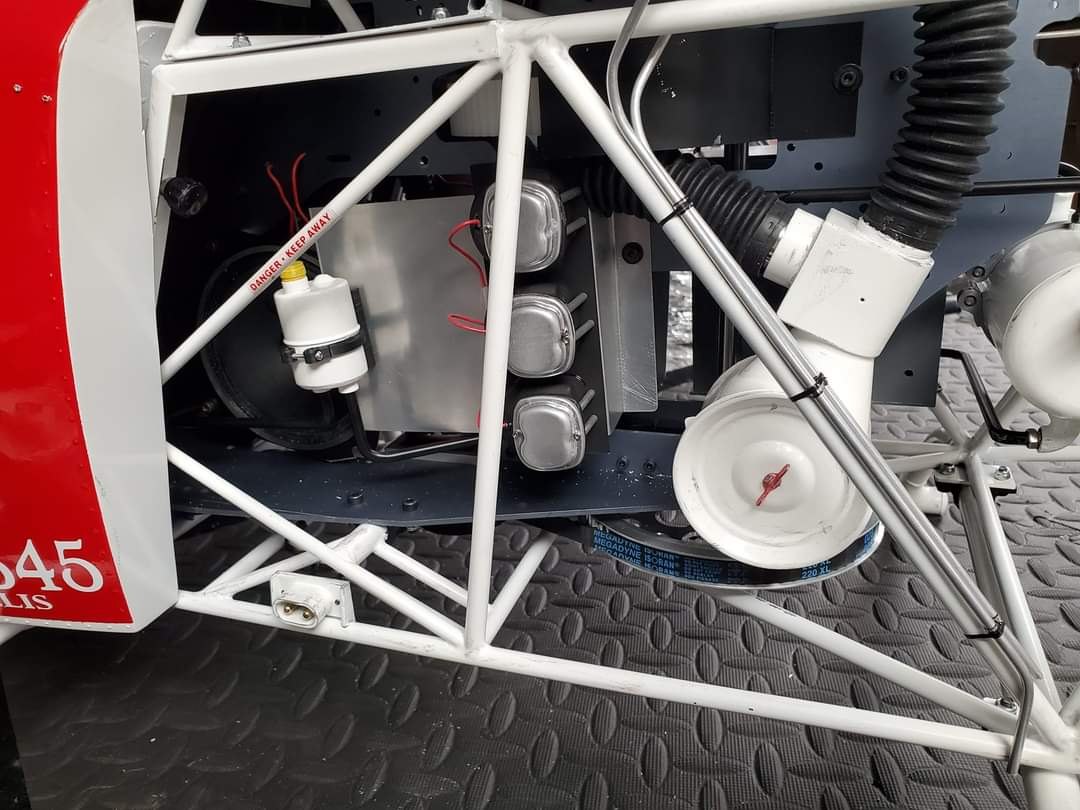
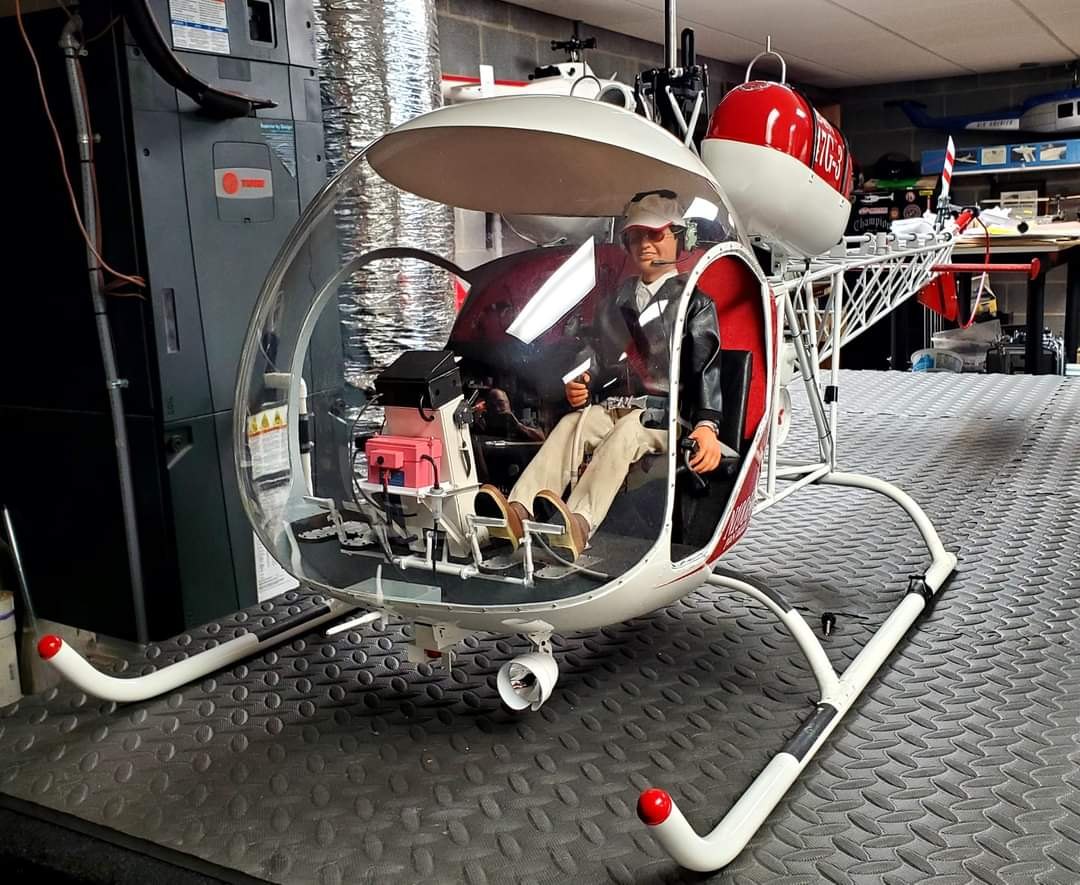
The kit came with three support bearings for the tail drive tube, I added three more for a more realistic look. All the tail drive tubes I have seen on full size Bell 47 helicopters had painted drives. Not possible to paint the supplied stainless drive tube as the bearings needed installed and If painted afterwards would require a lot of taping. I chose to install white heat shrink tubing between the bearings and once assembled apply heat to shrink the tubing, worked perfectly. I purchased plastic Lycoming cylinder heads, added detailing and mounted to the mechanics. All the other 3D printed engine accessories came from my good friend Carlos Cugino, owner of Vario Argentina. Carlos designed these highly detailed parts and created STL files for printing. I feel these parts around the engine compartment are what made this model so realistic looking. I added non-operational tail rotor control wires for added detail. Knowing how hot it got sitting inside that big plastic bubble on a hot Tennessee day I wanted to add a bit of detail by adding the white paint to the top of the bubble, It not only shaded you from the bright sun it cooled the interior several degrees. I needed more detail in the "saddle tanks" and using thin stainless sheet cut strips and shaped them into realistic tank straps adding great detail, it's all the little things that truly make the difference. Lot's of extra detailing went into this model. Next we will fly !!
0 Comments