

Build Story
Vario Starwood Lama Project Build
 Thomas D.
Chapter 5 of 20
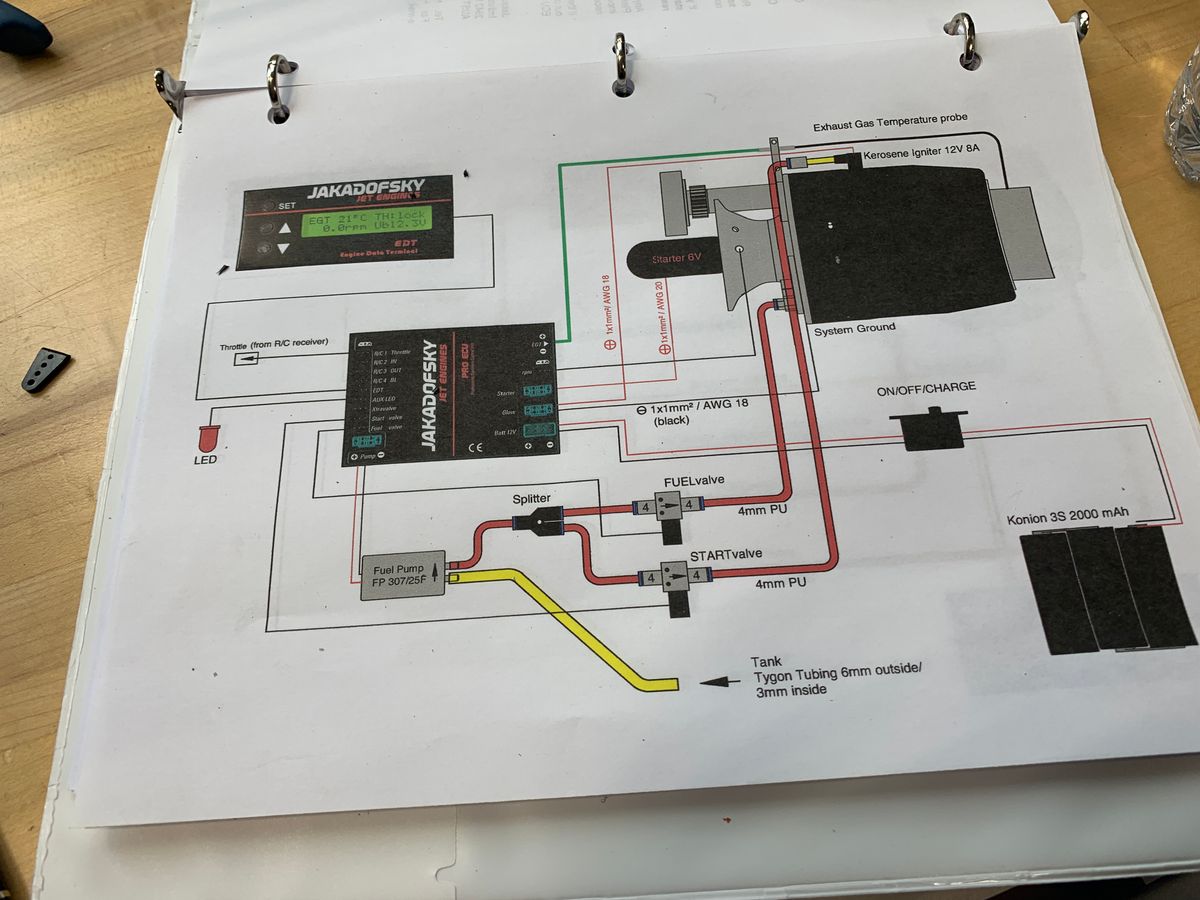
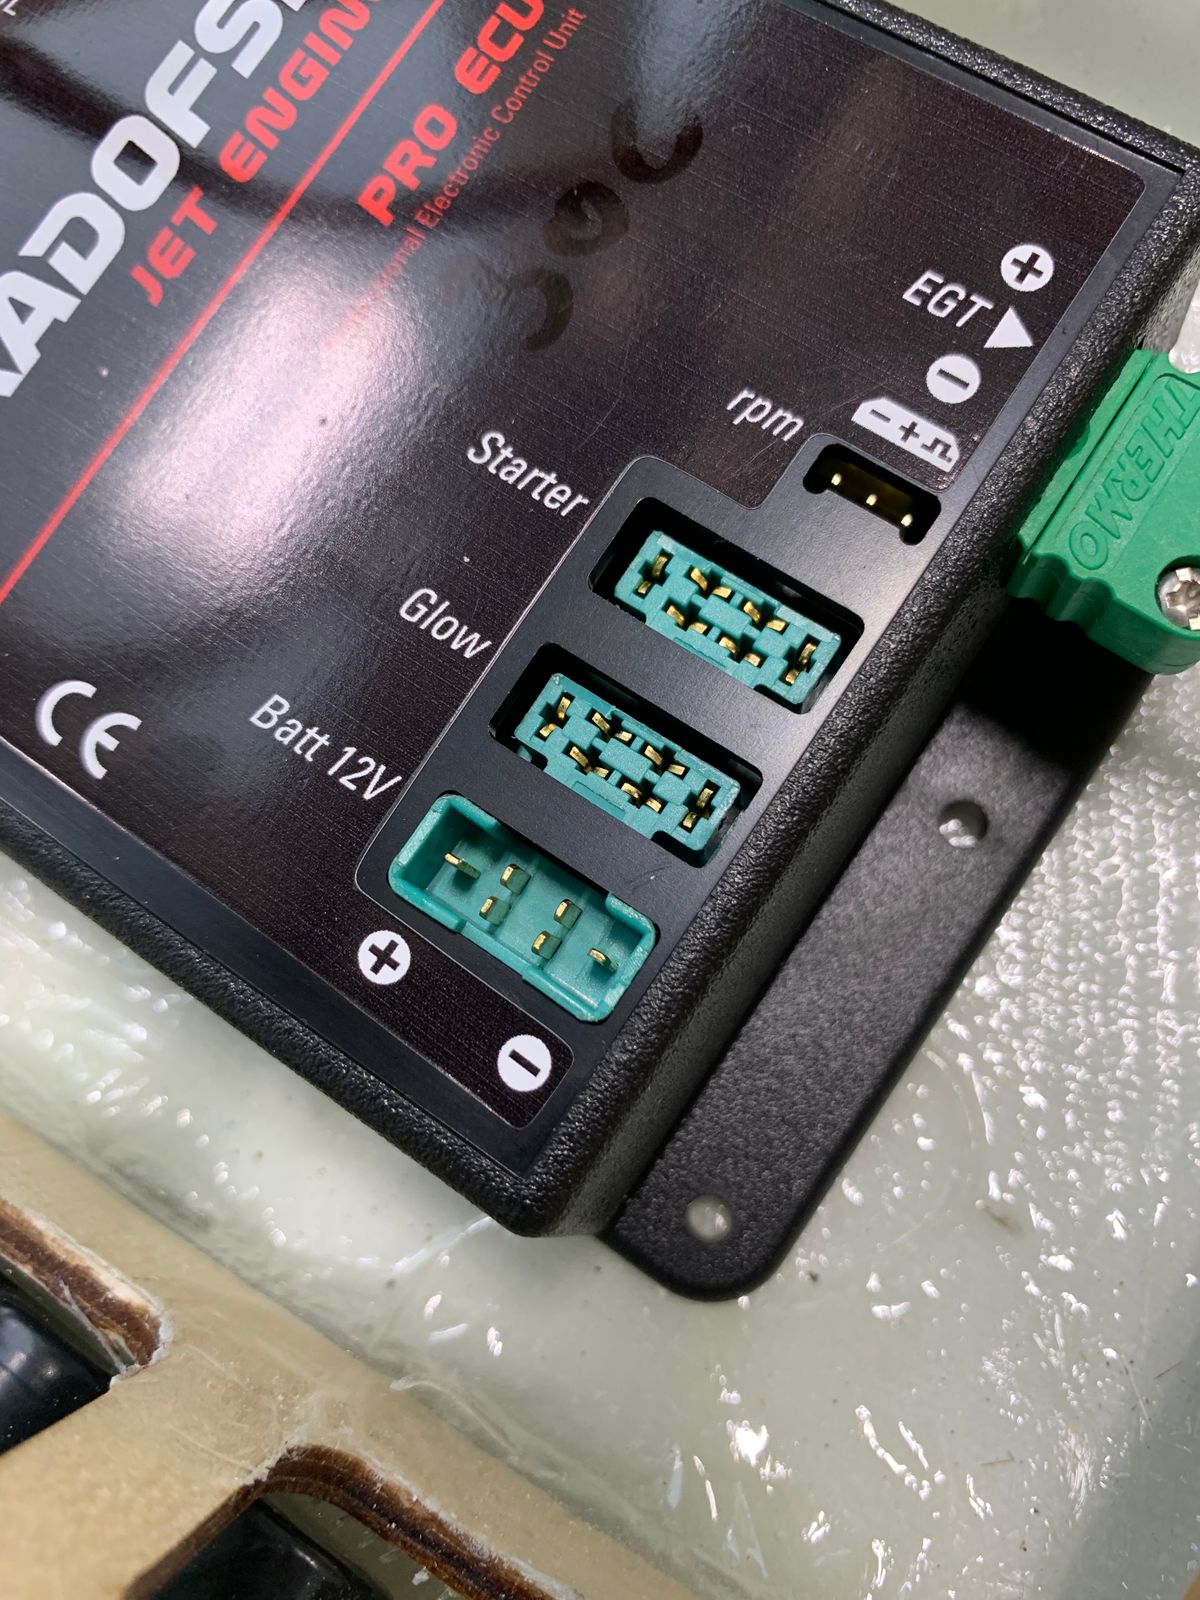
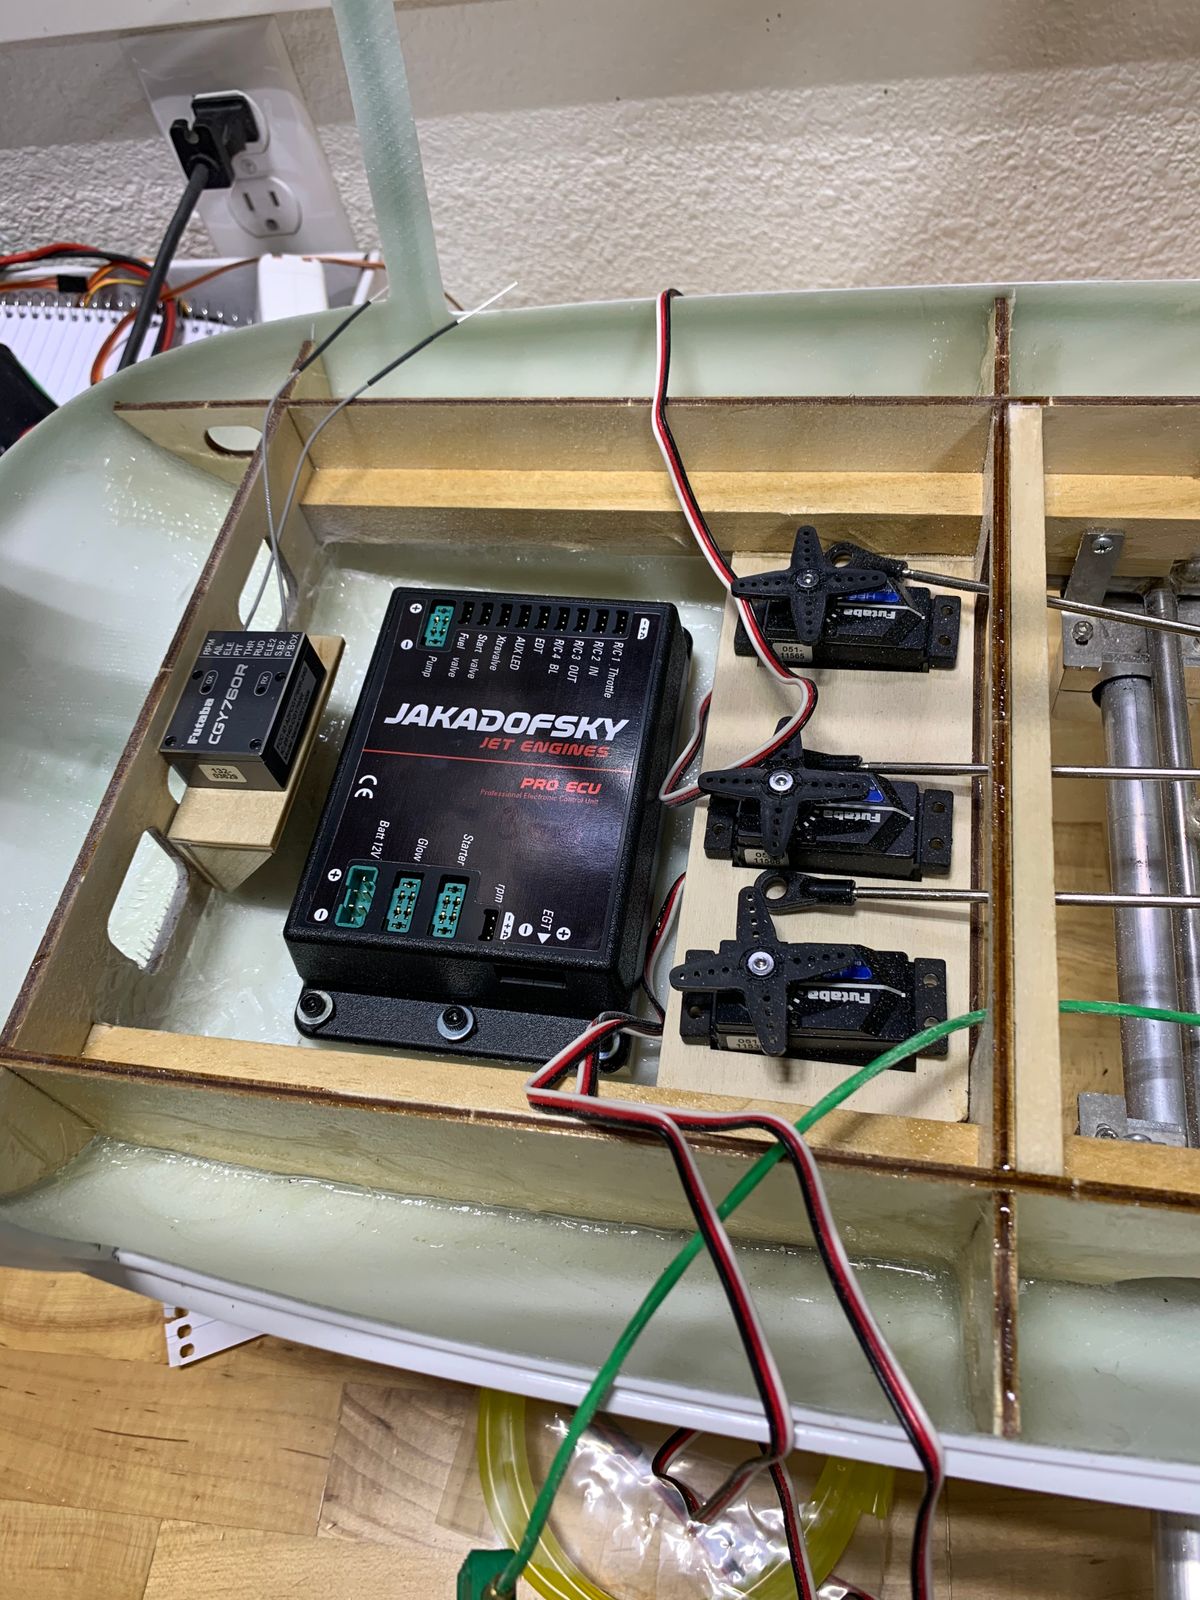
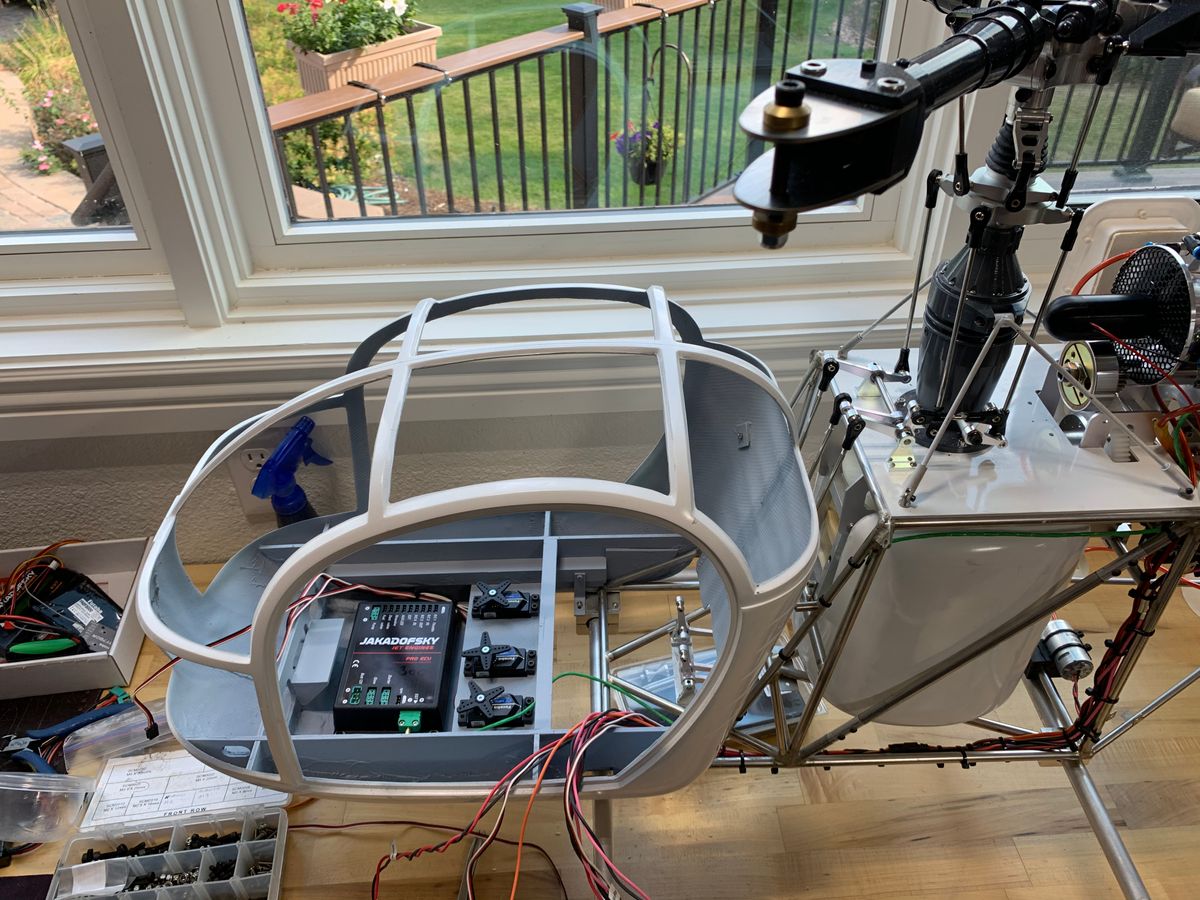
Turbine ECU, pumps and other accessory layout.
May 4, 2022
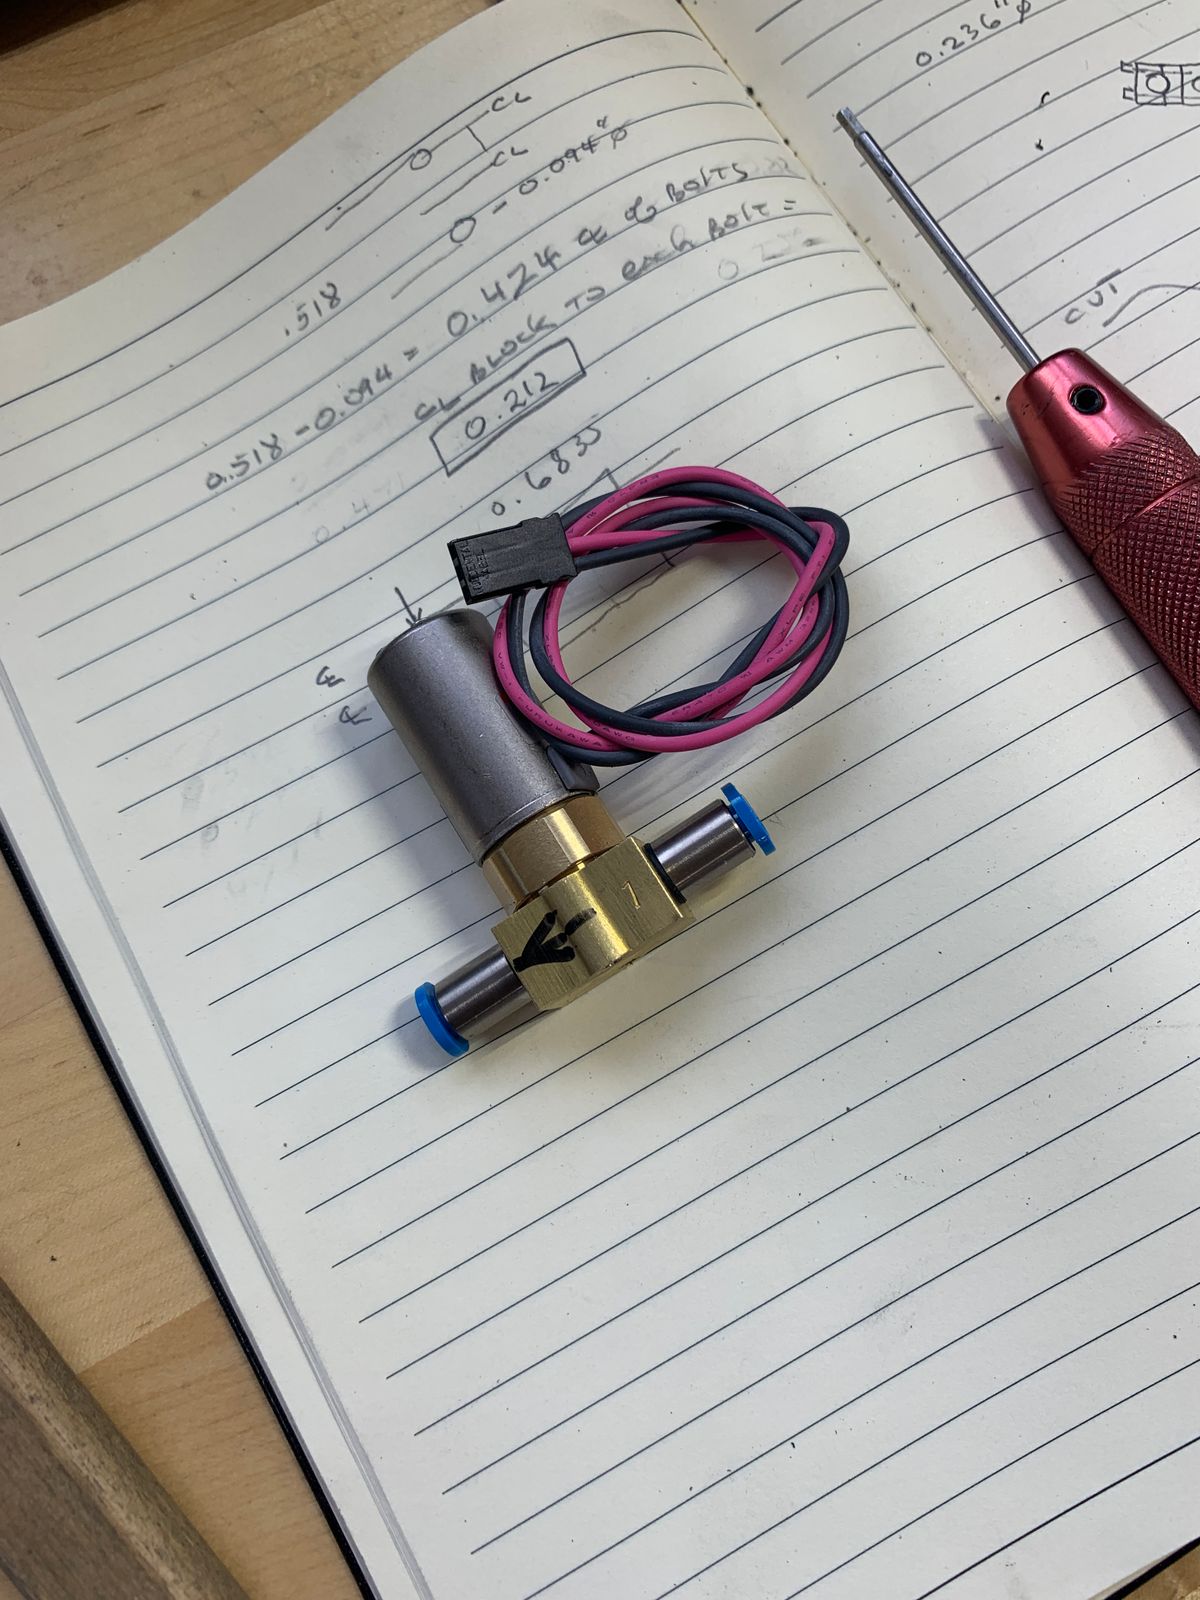
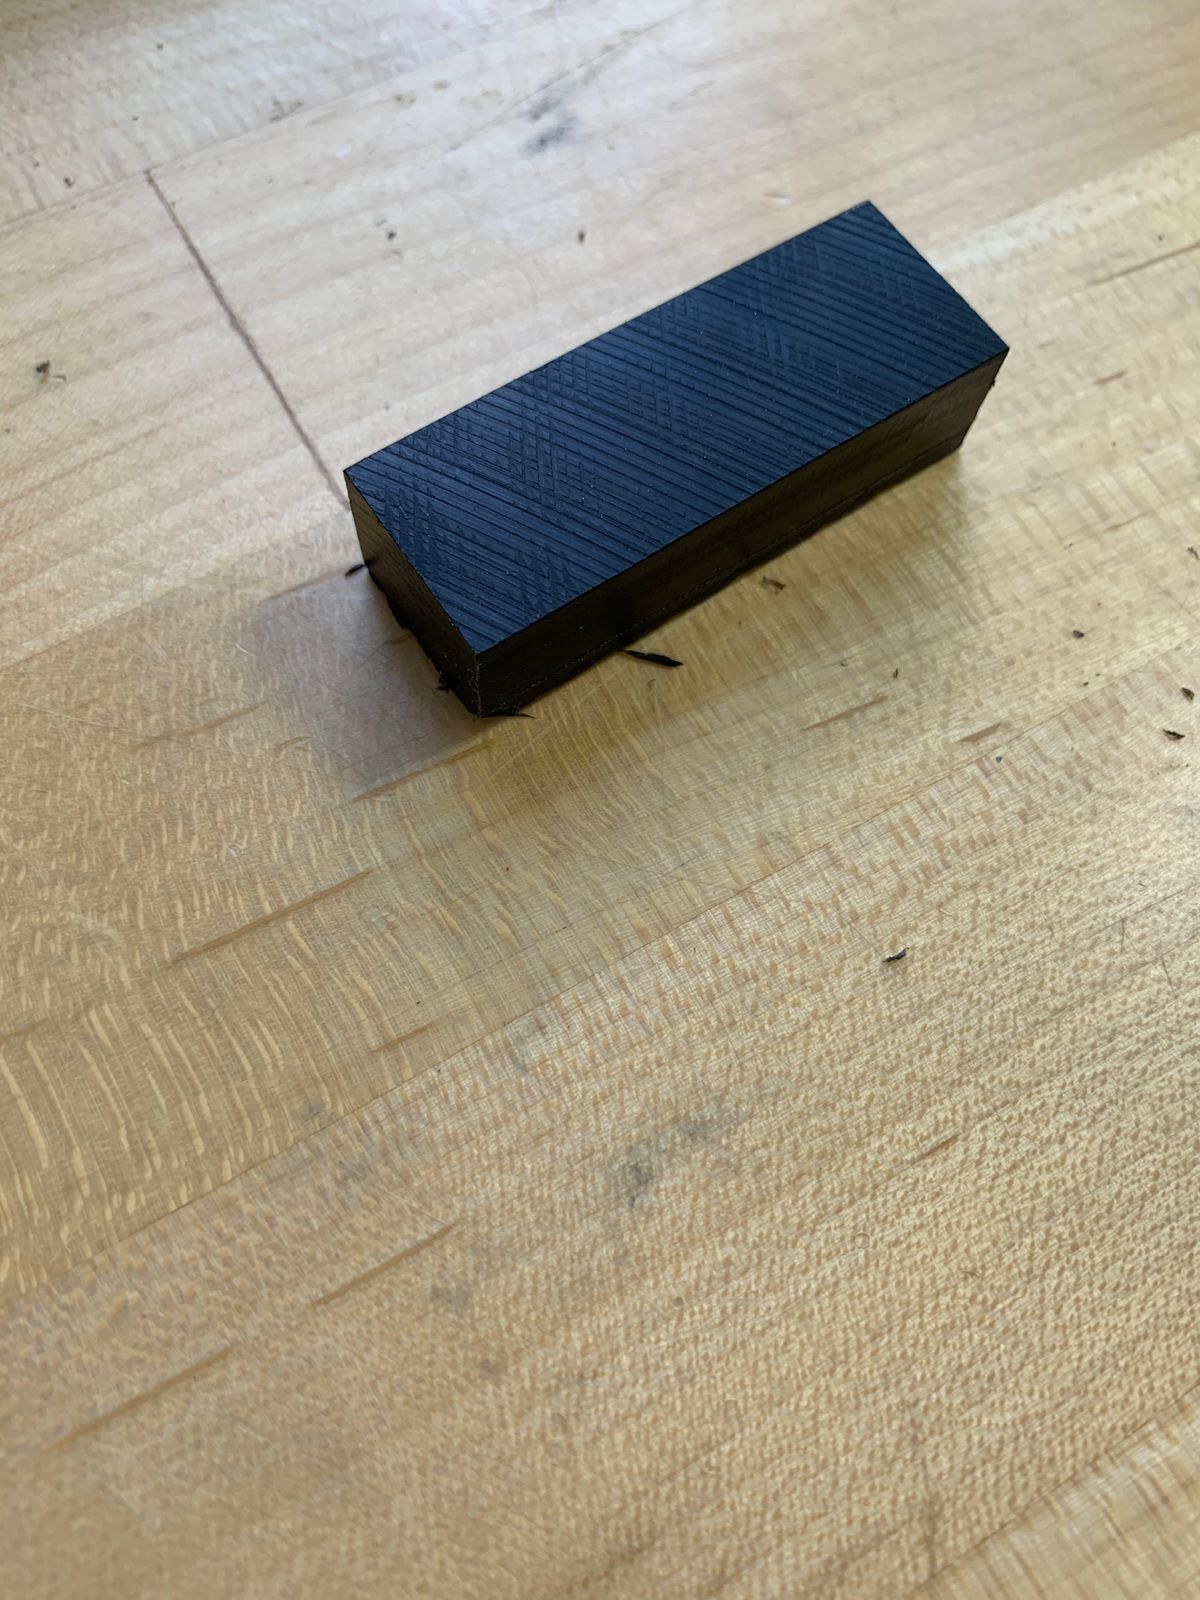
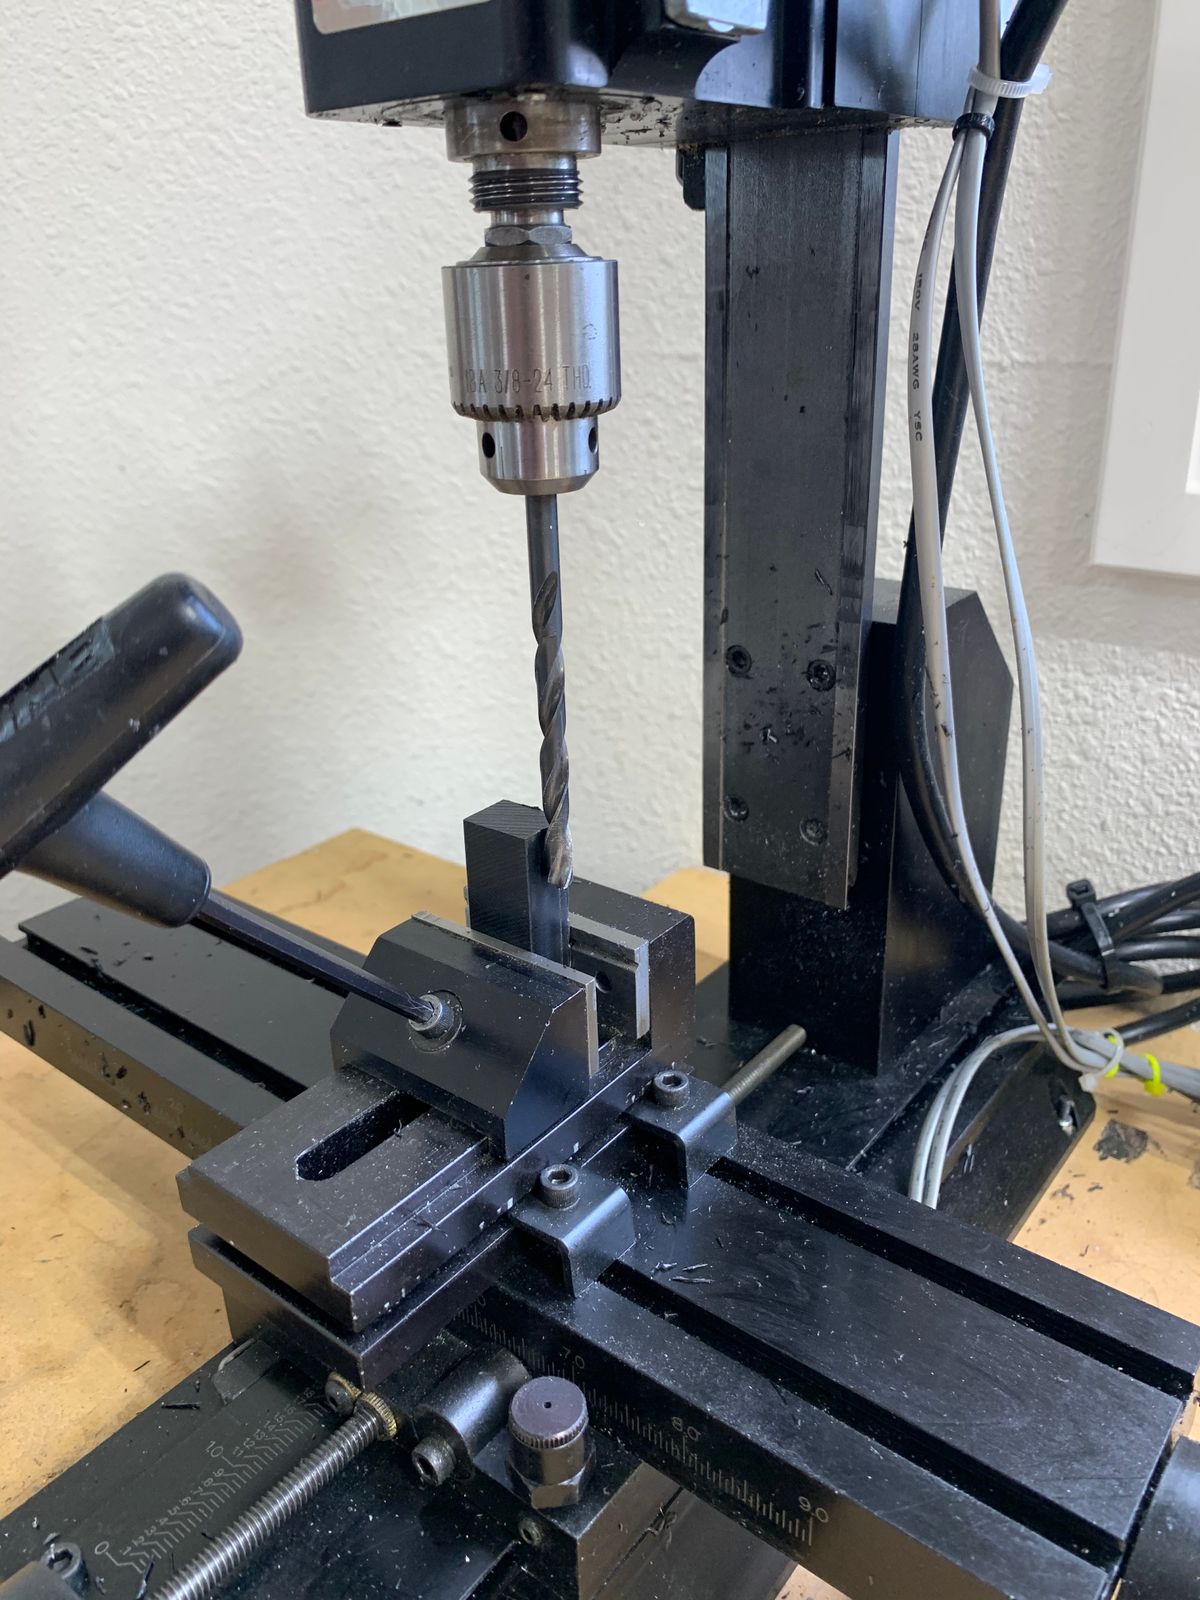
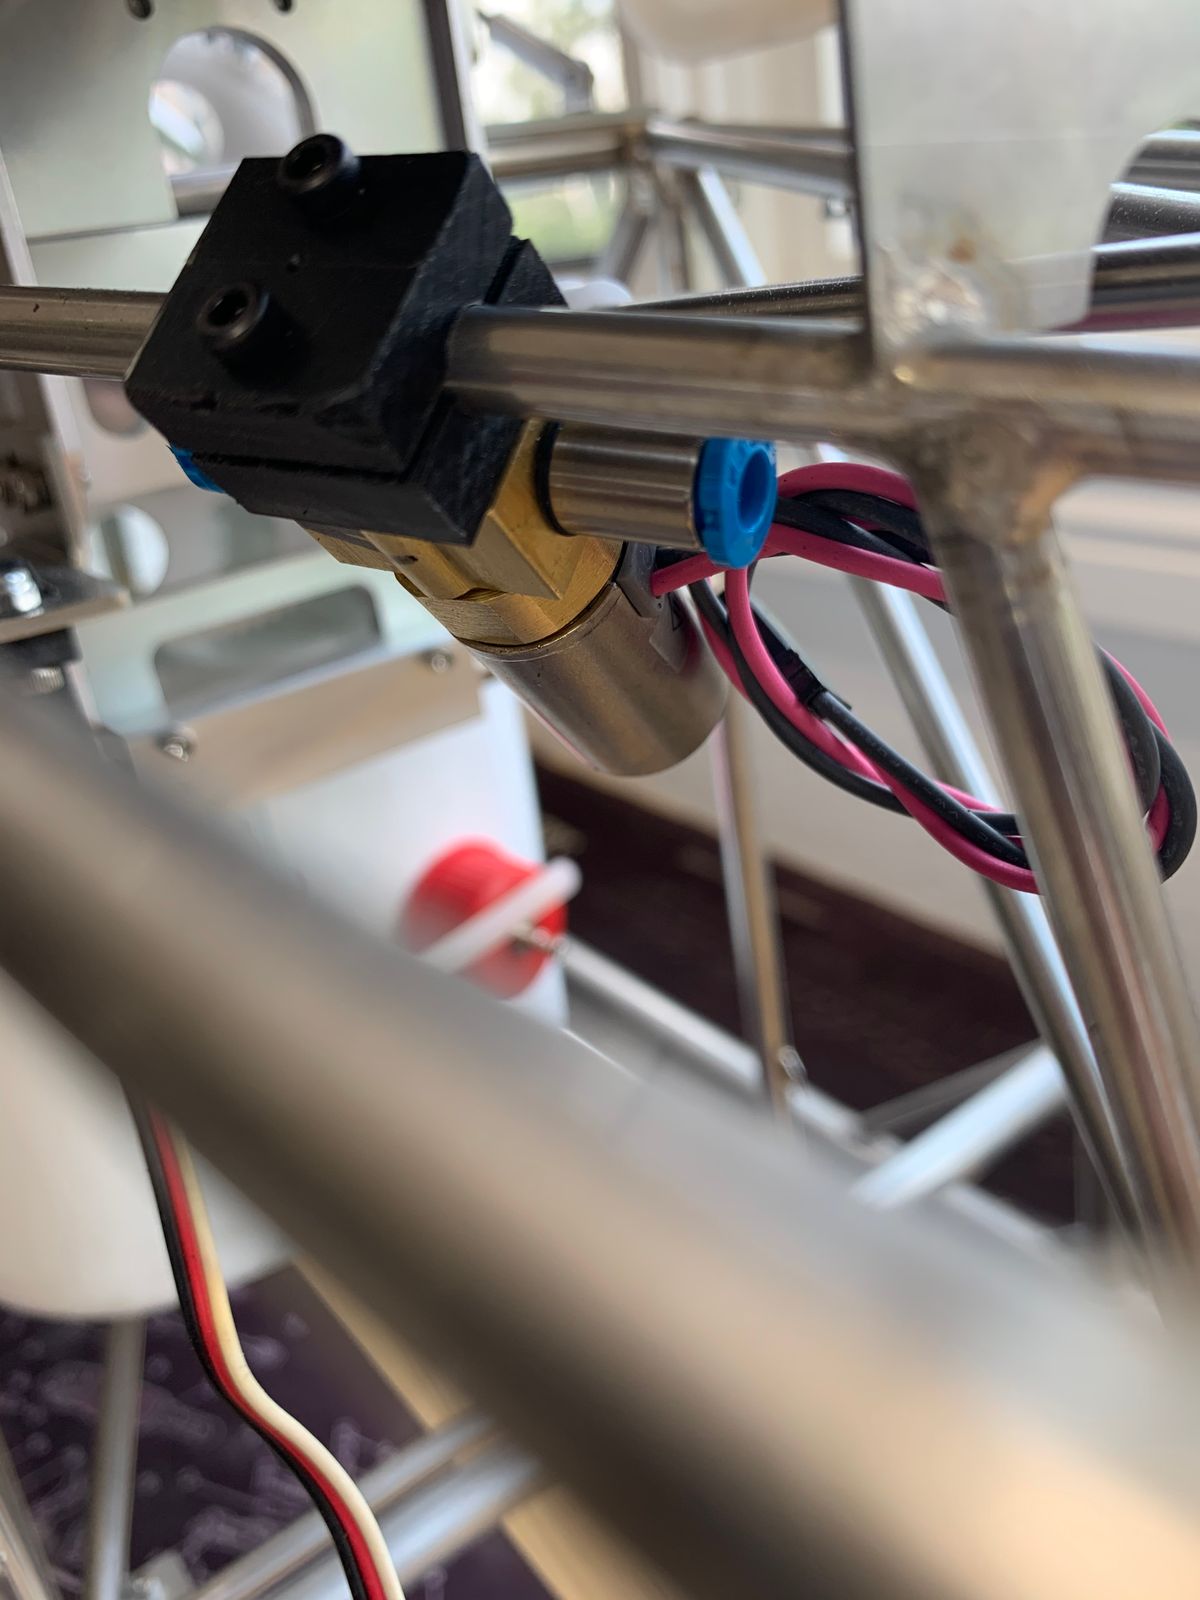
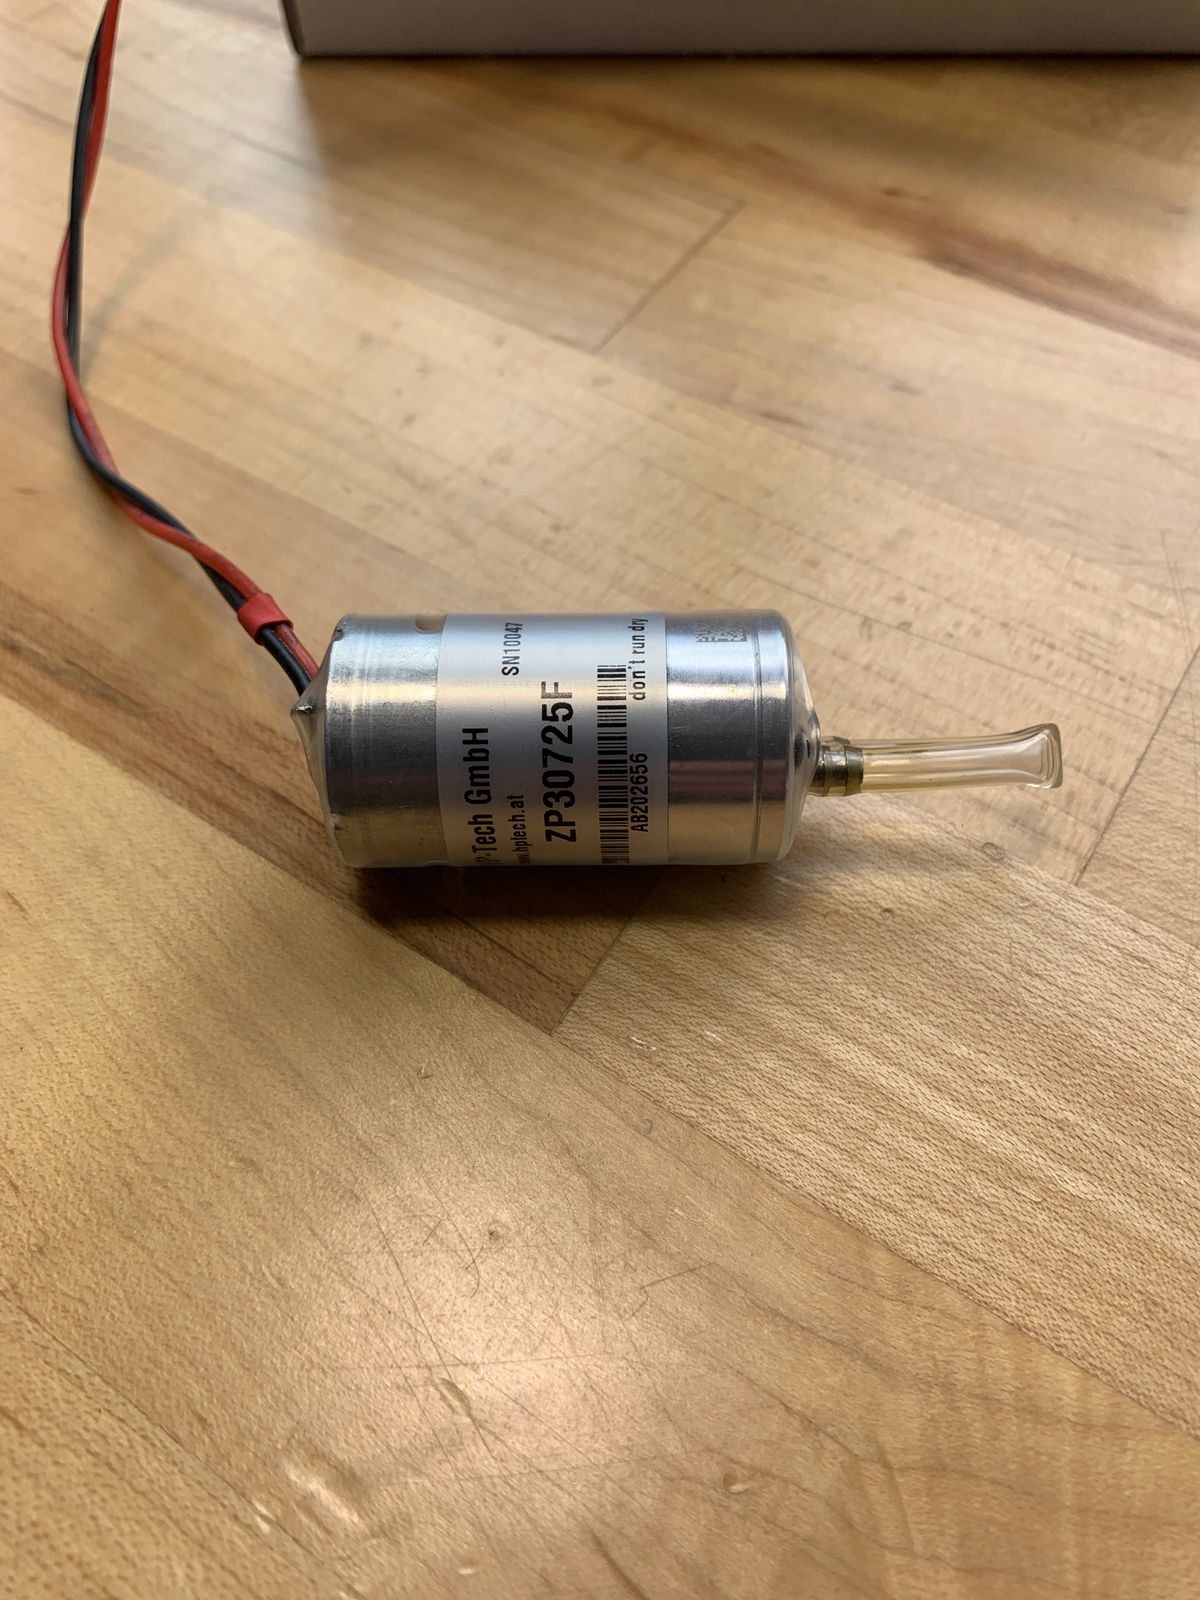
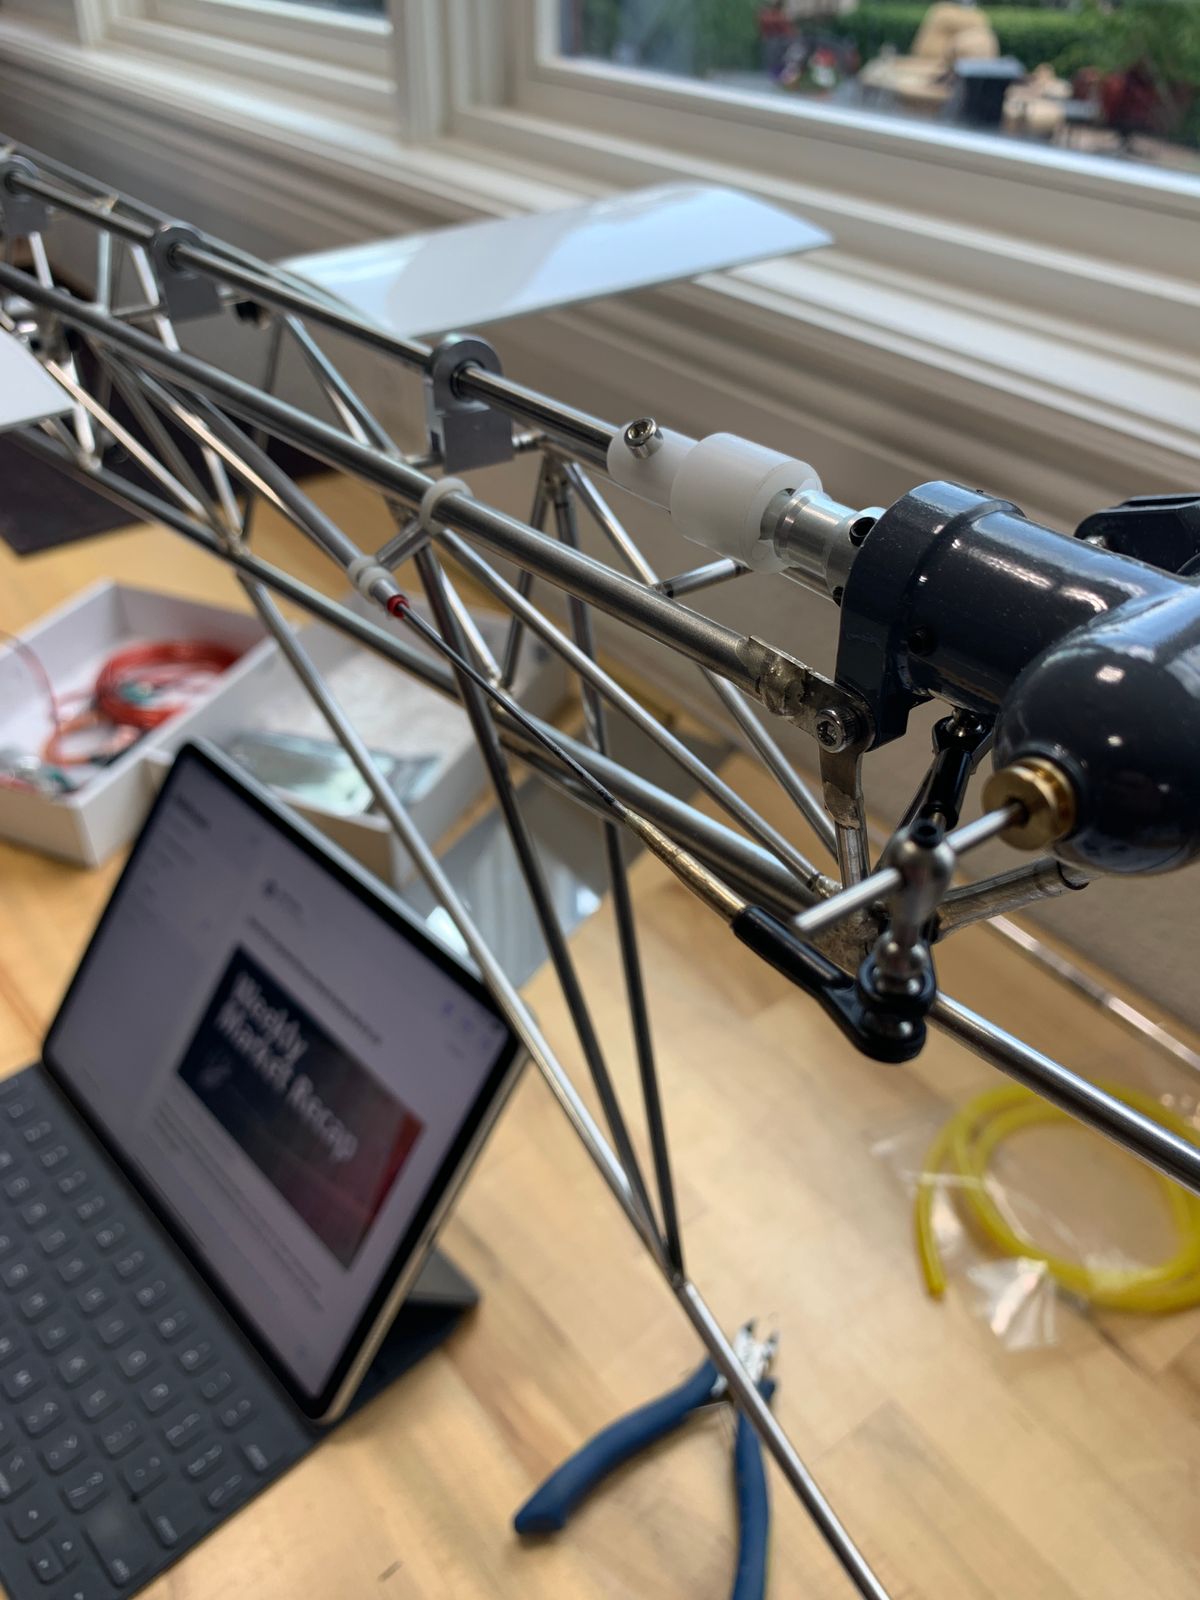
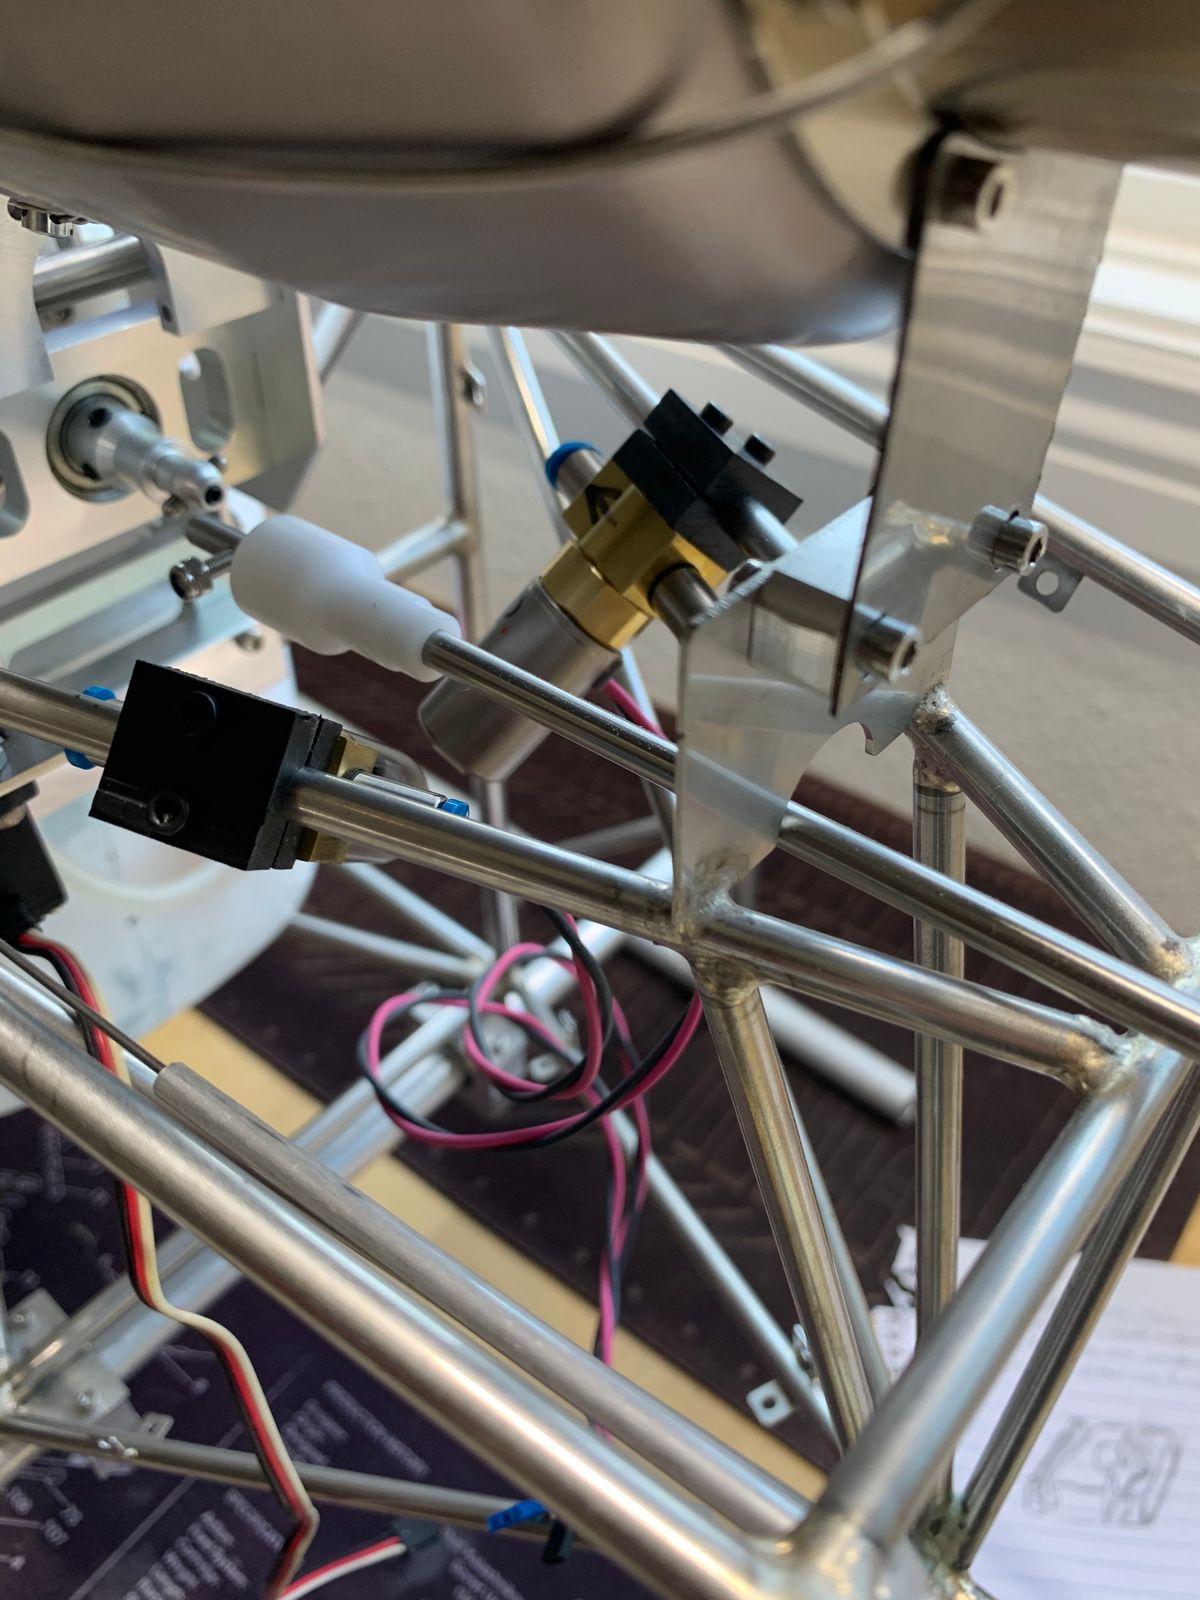
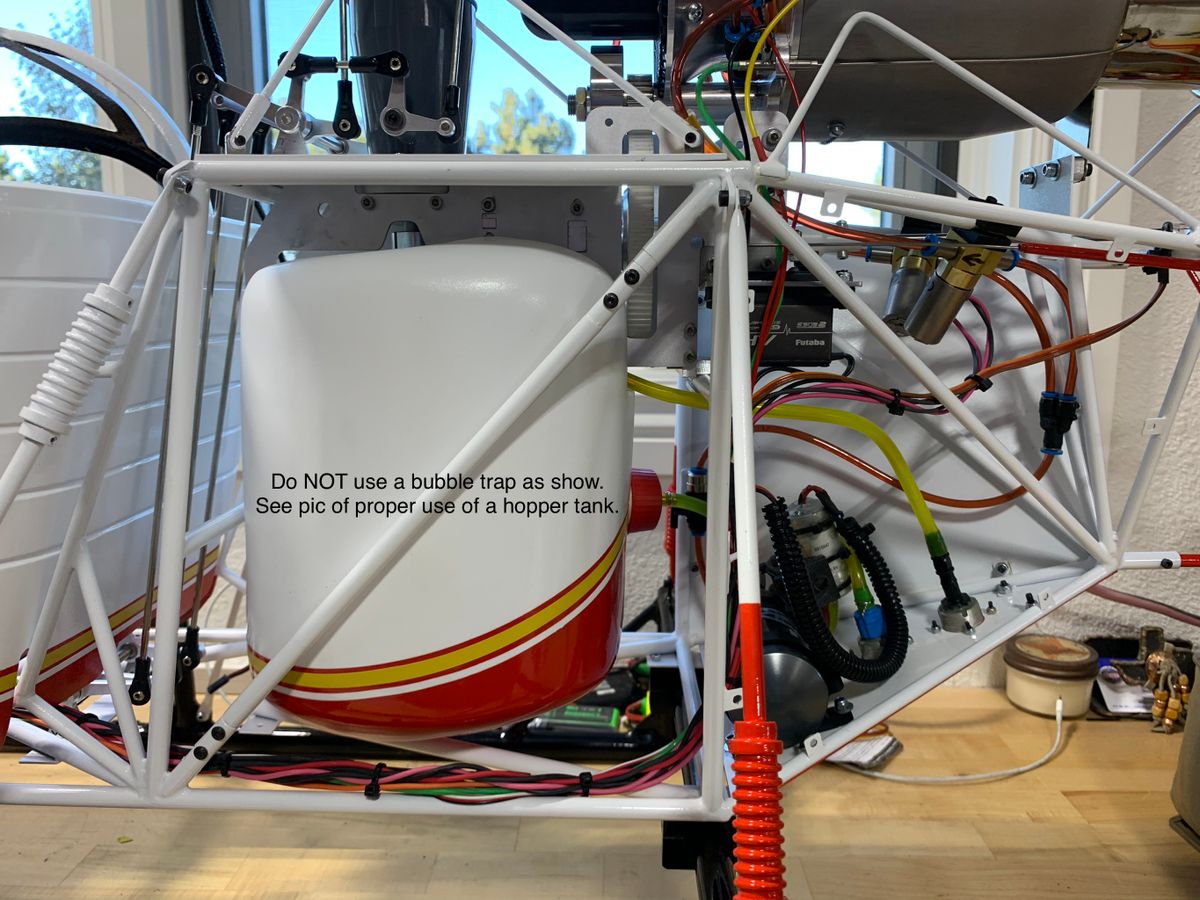
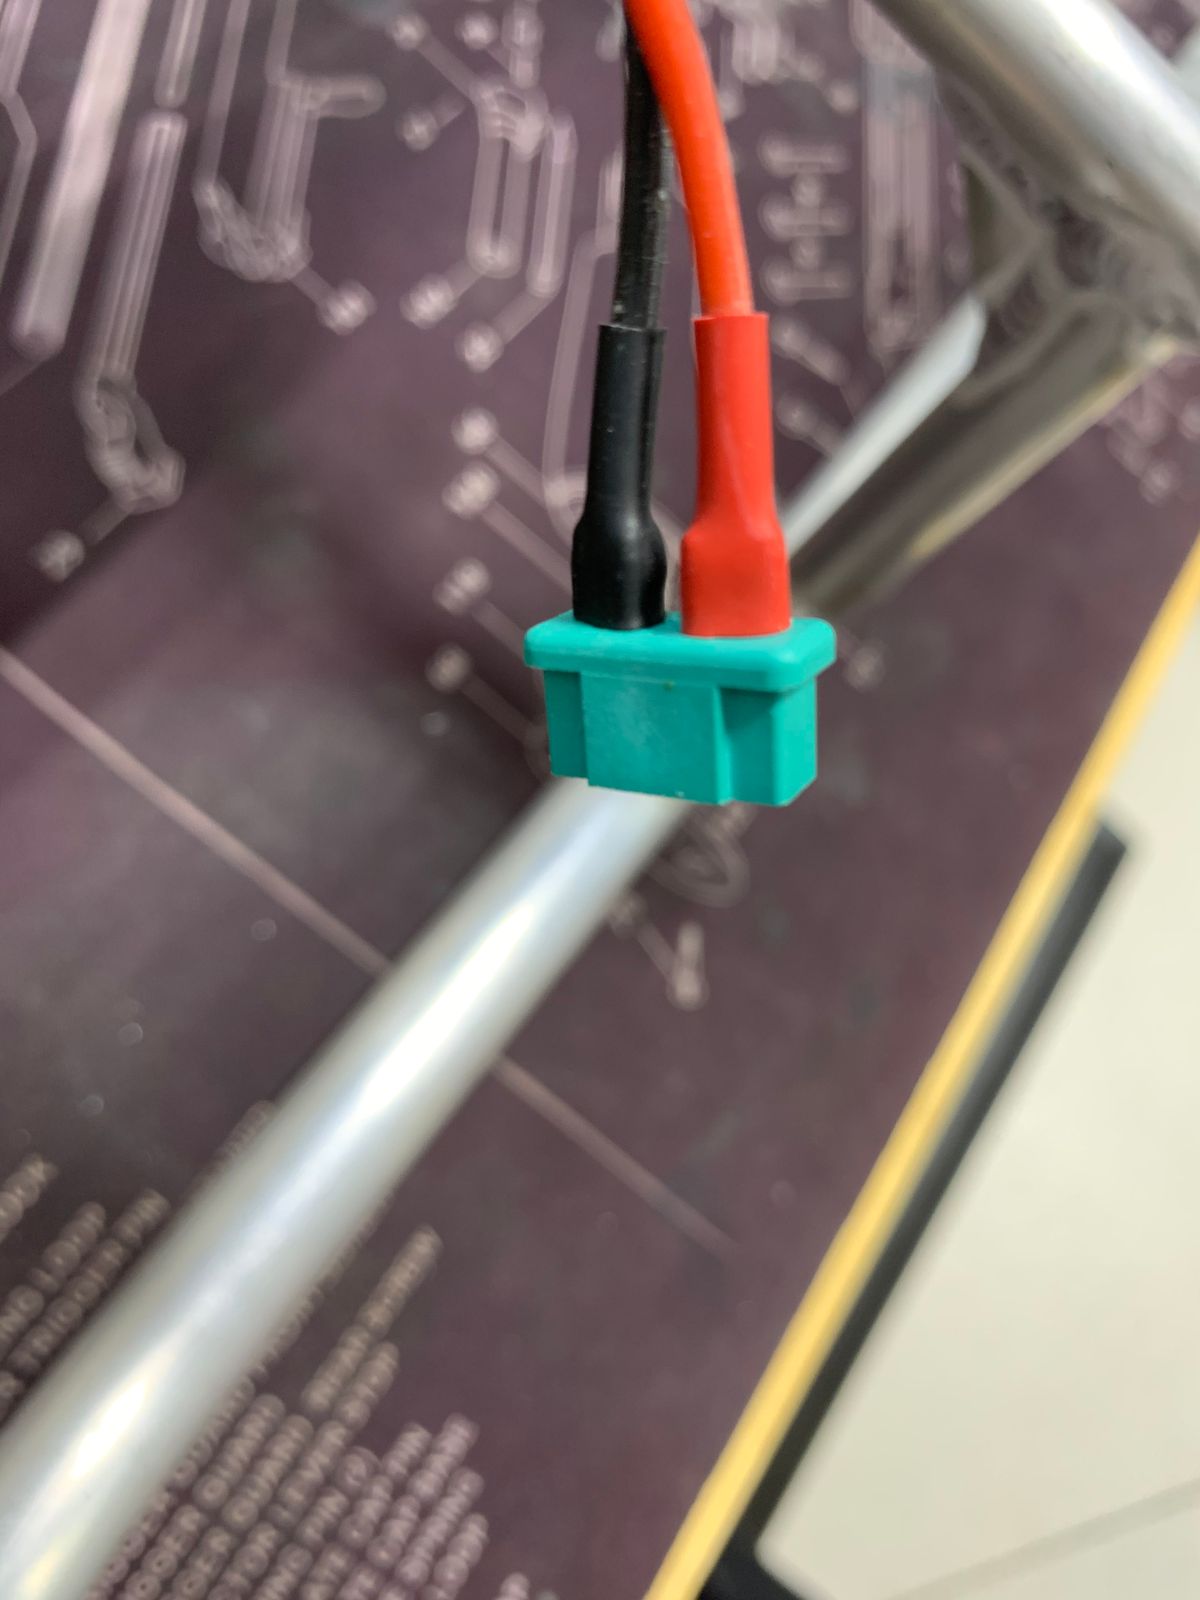
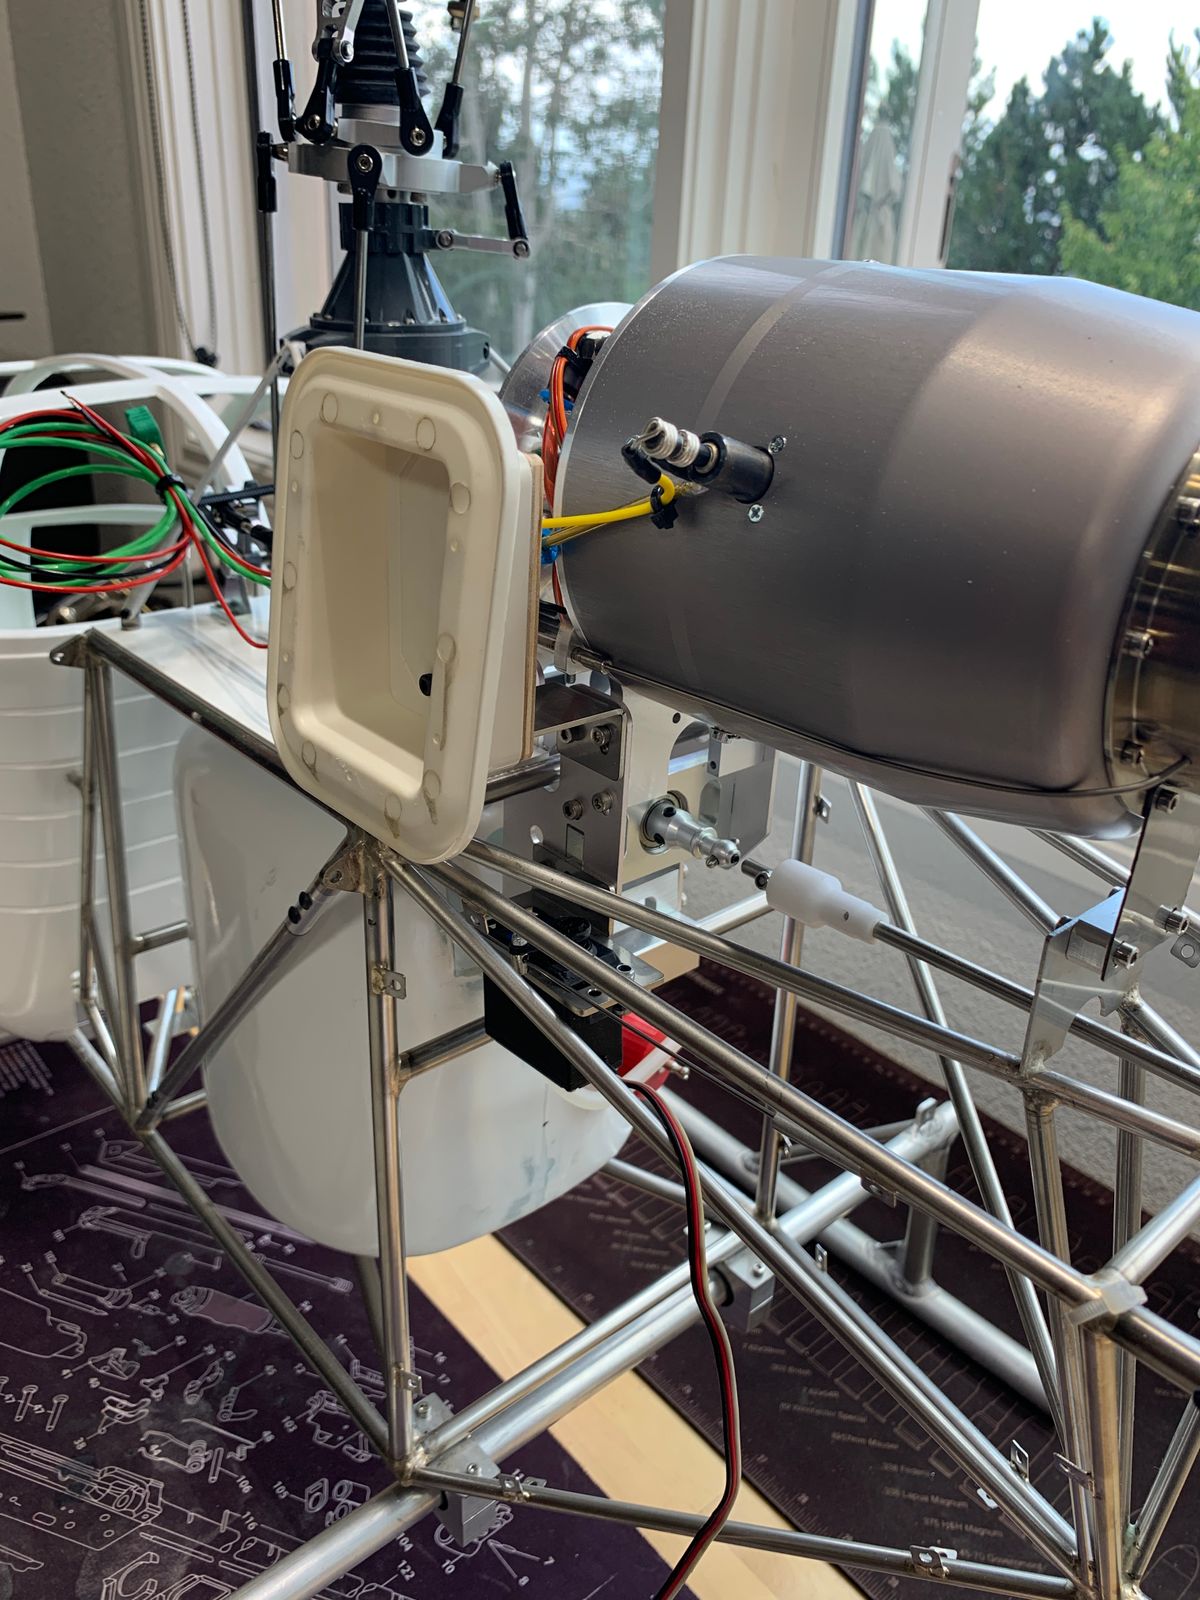
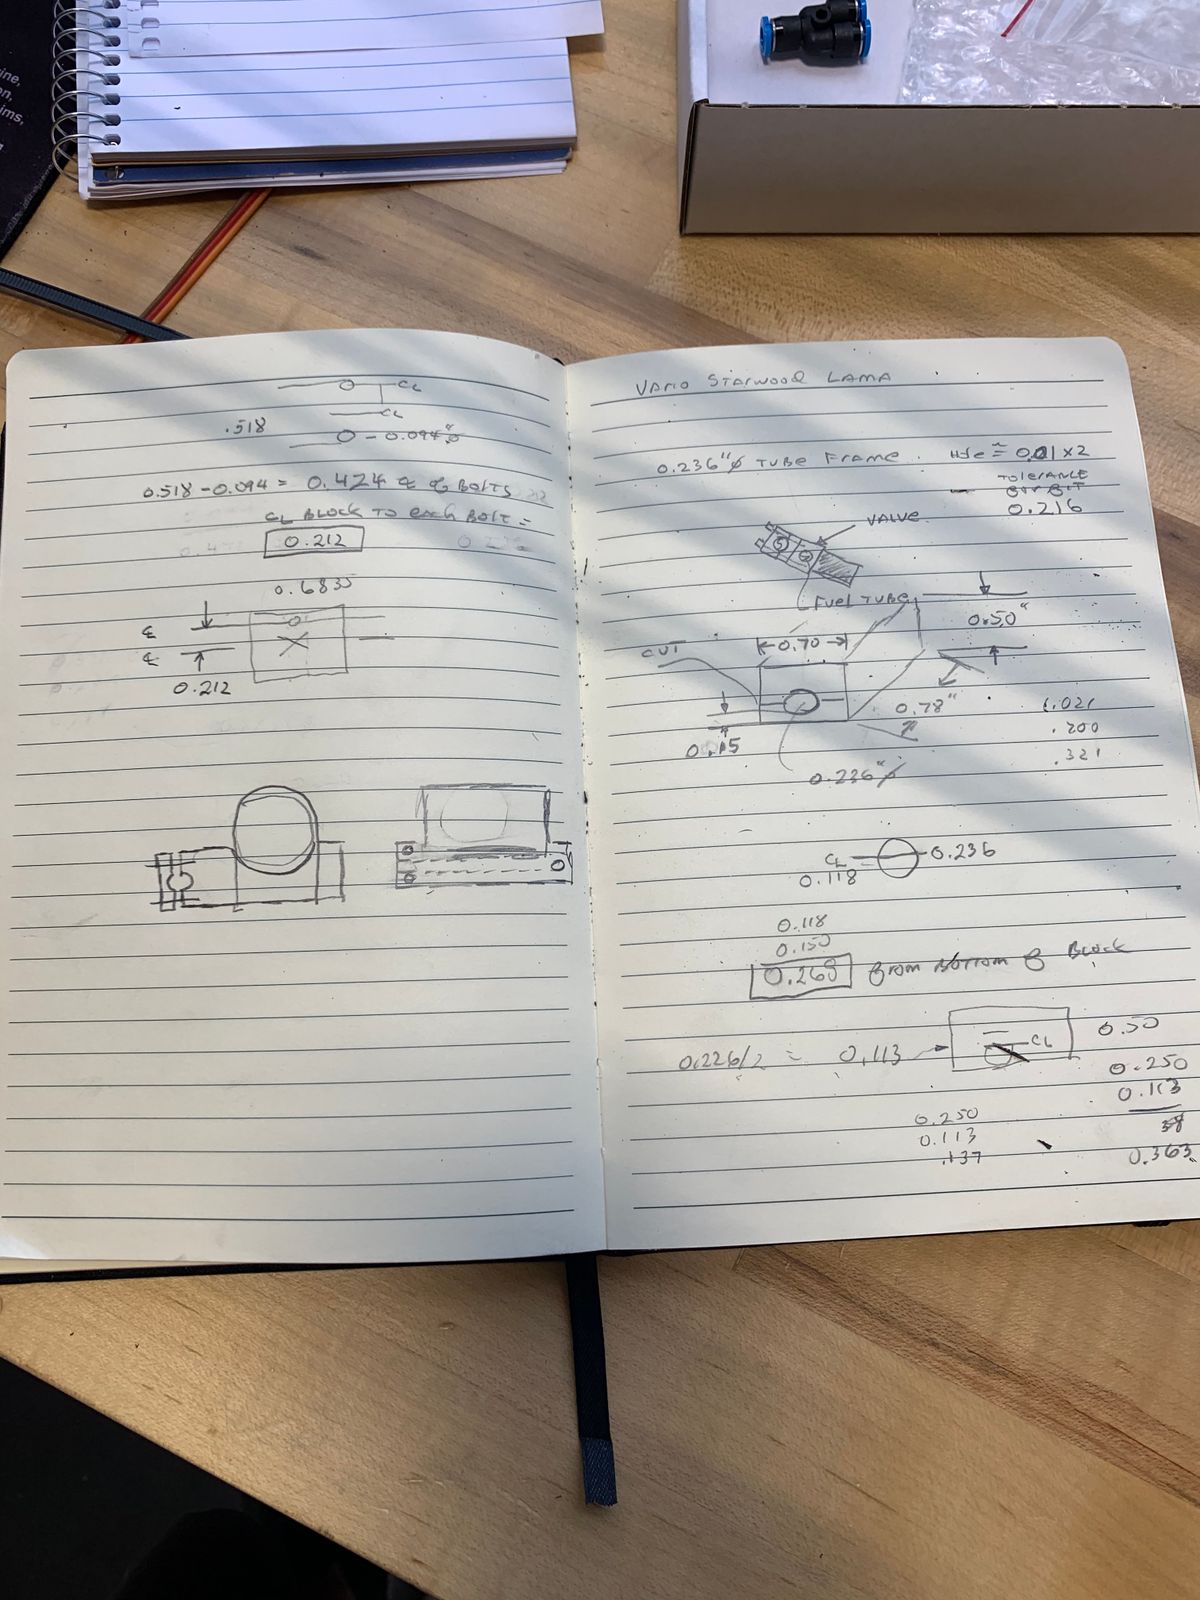
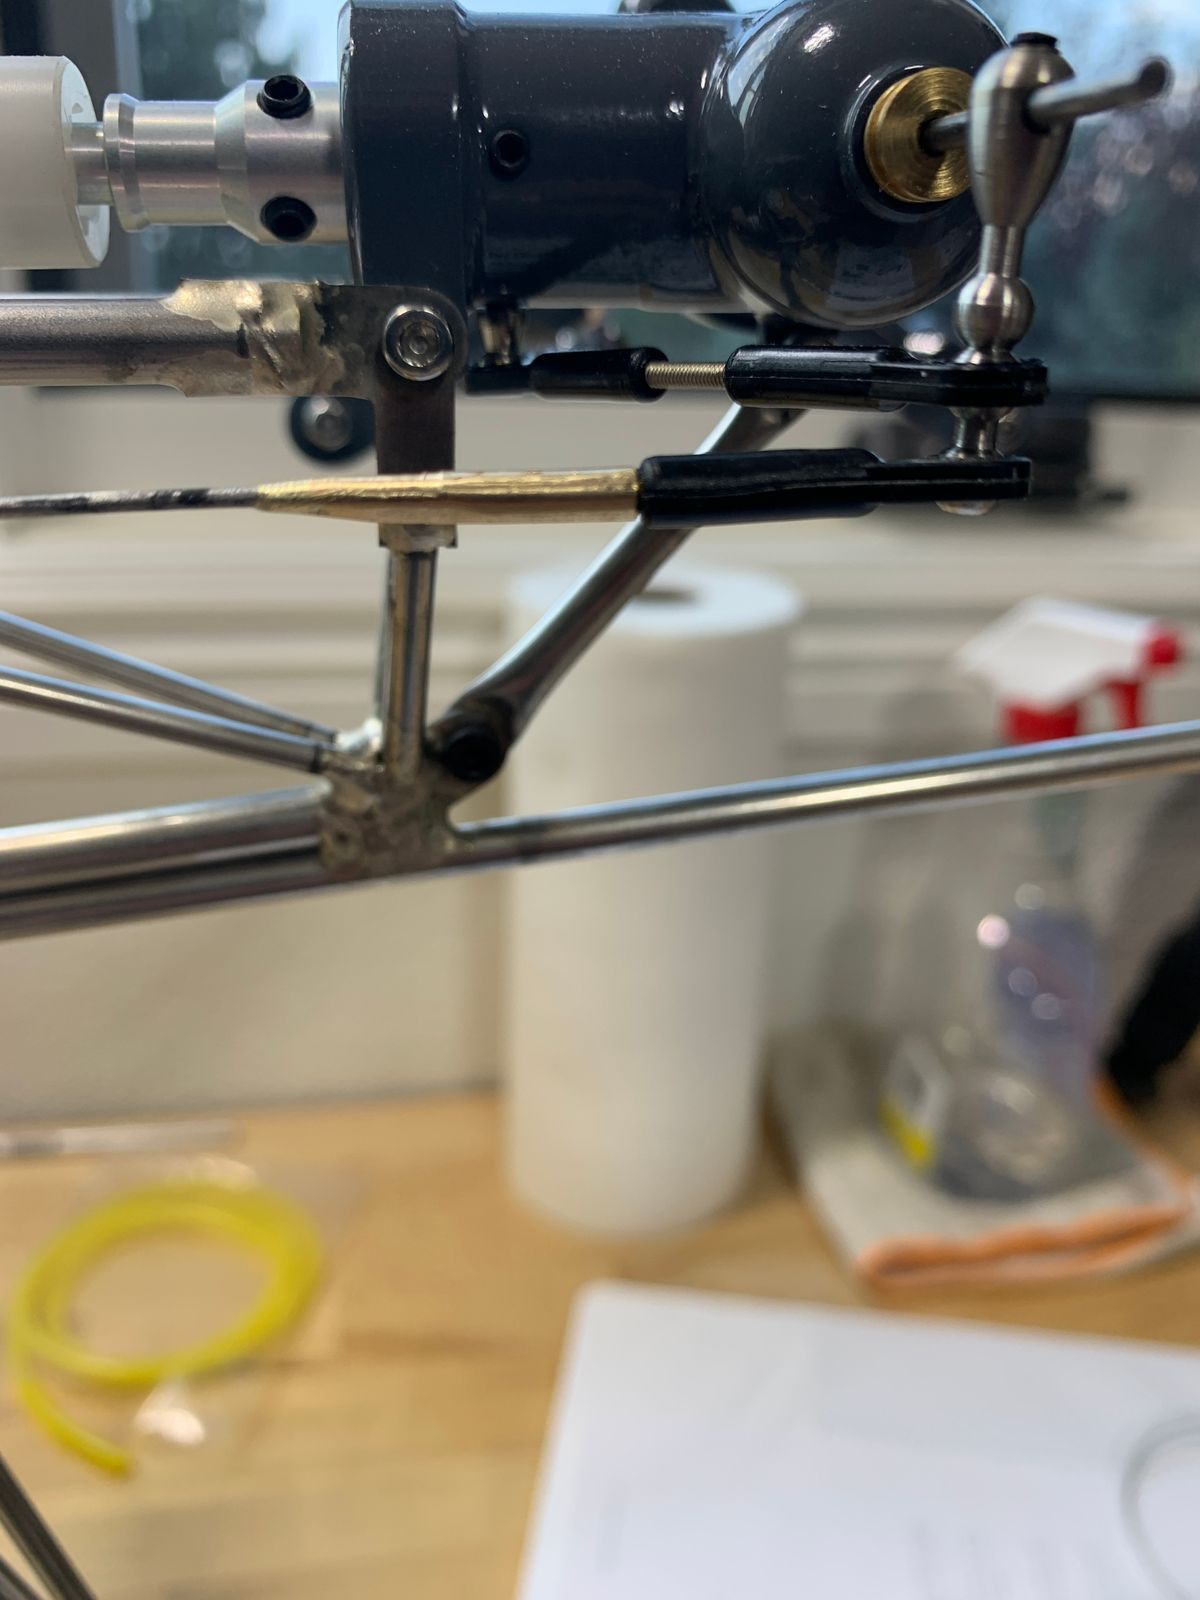
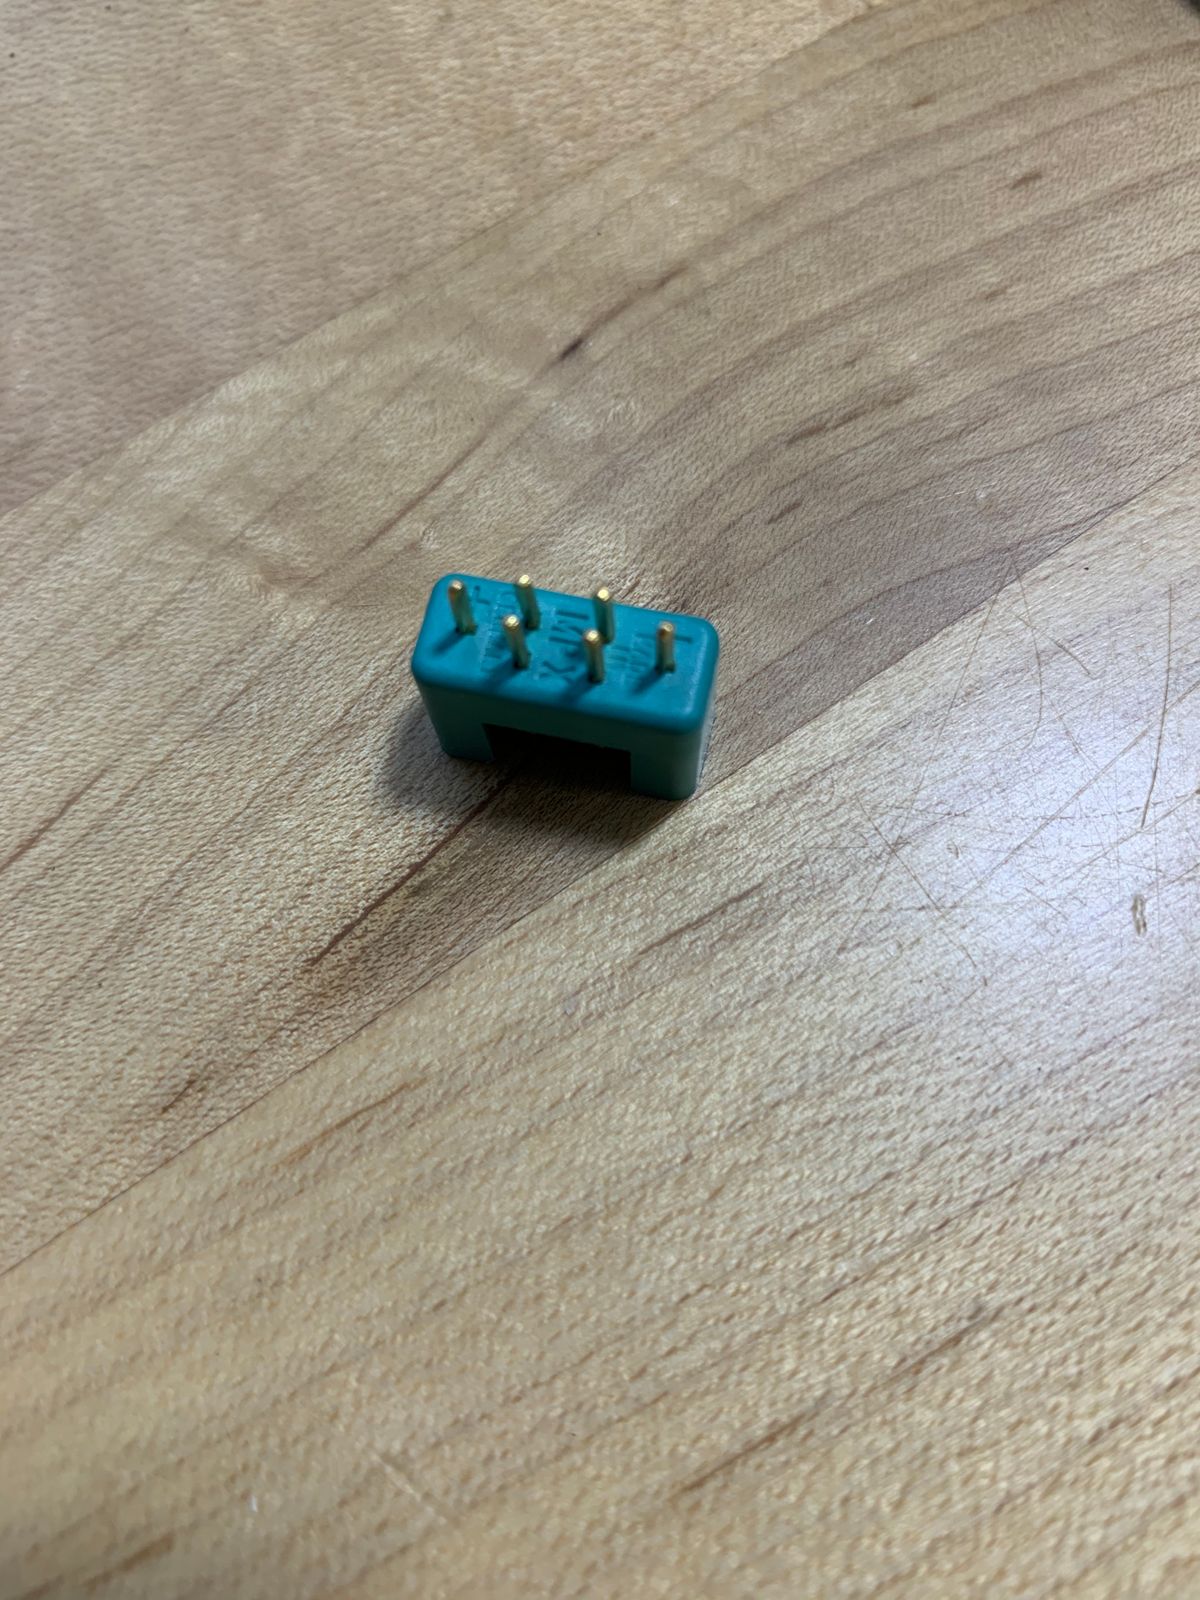
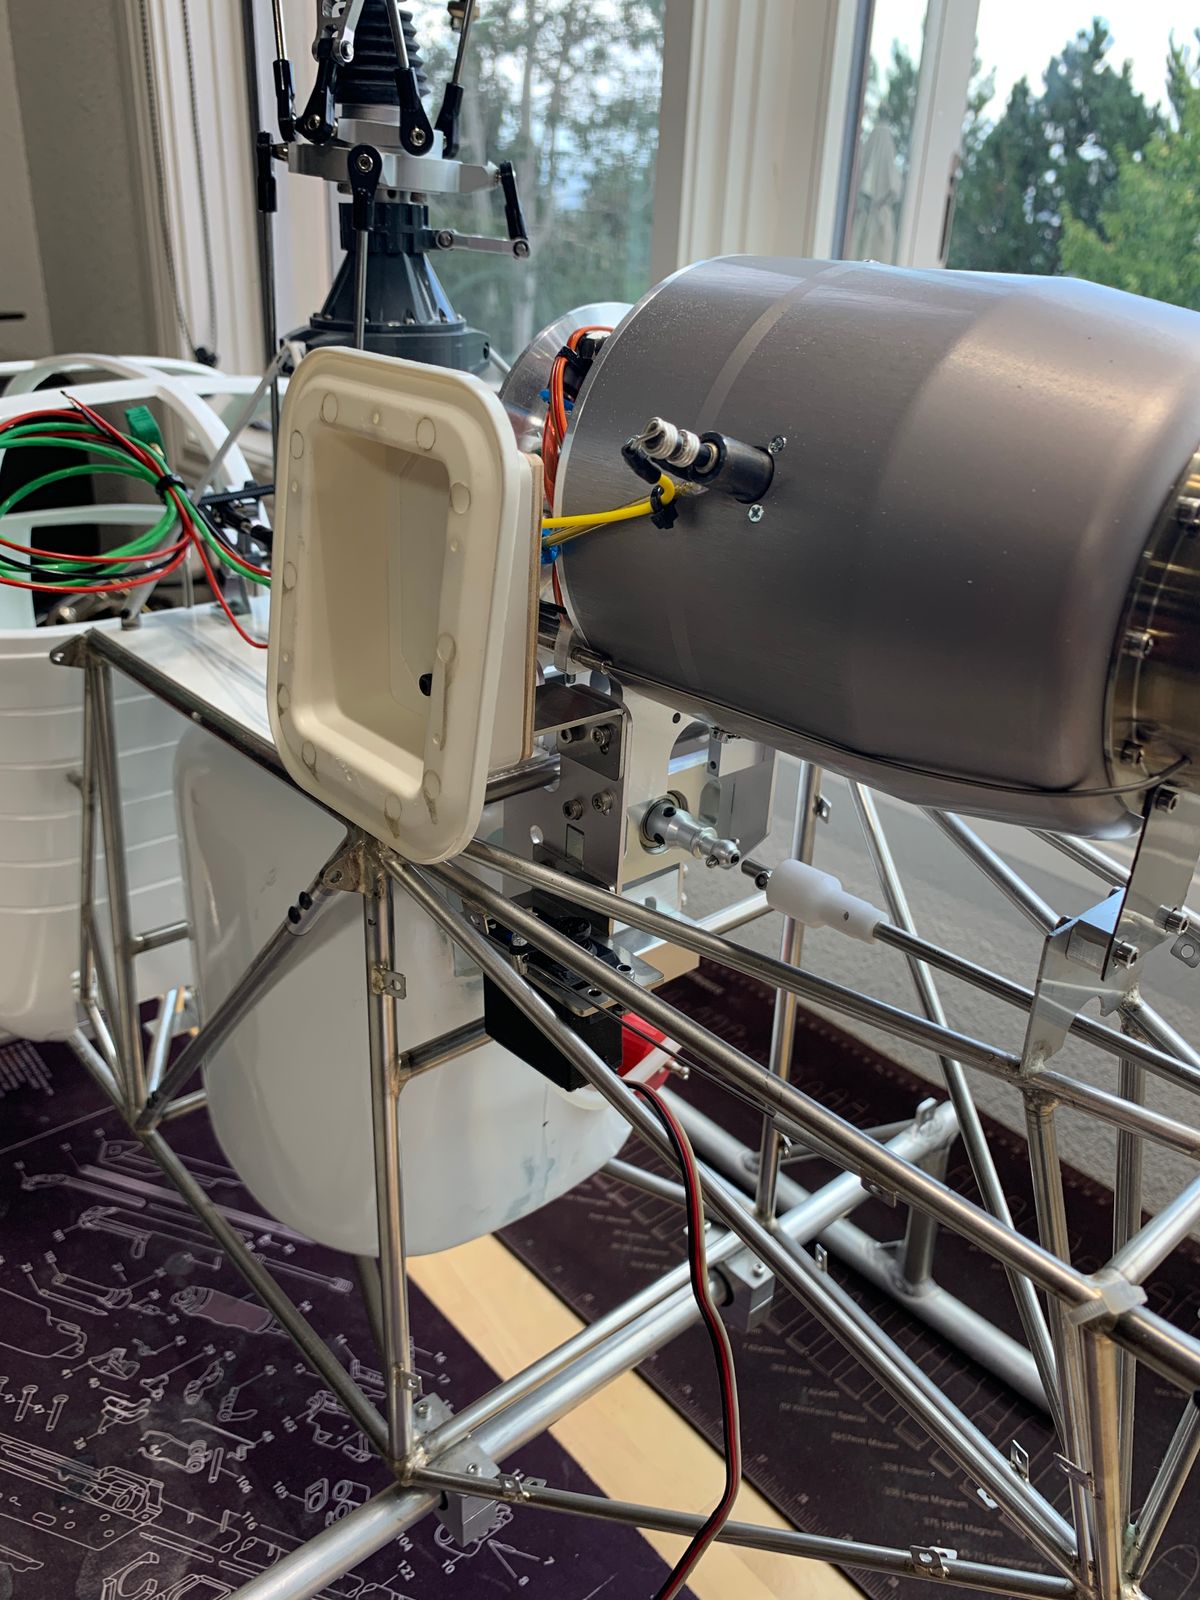
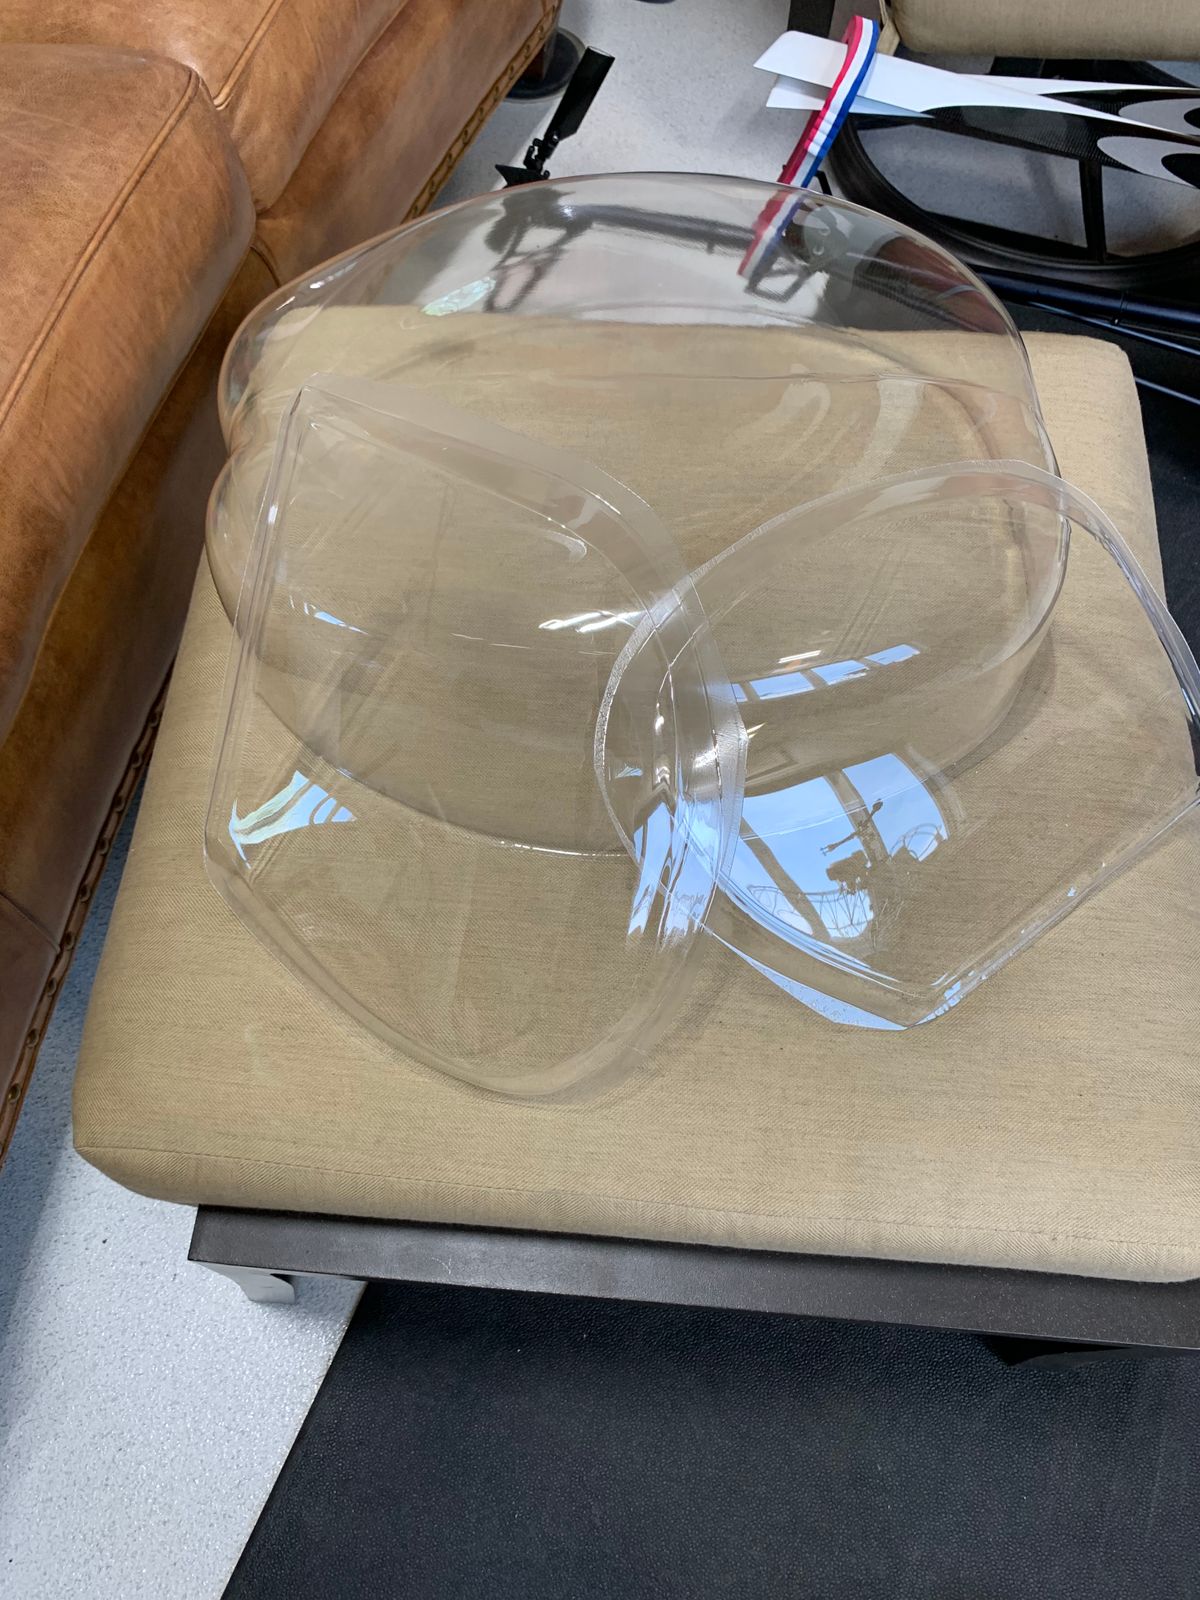
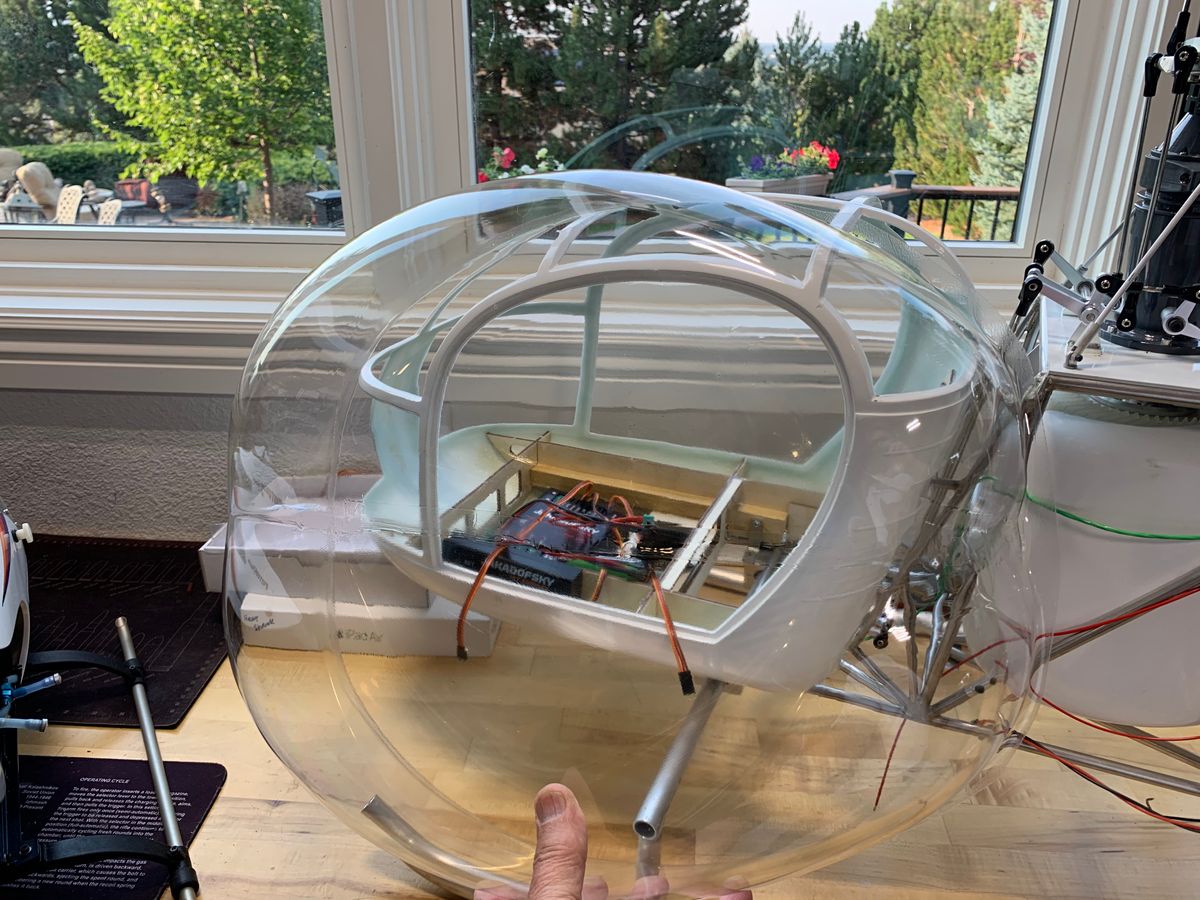
Pics show methods to mount the turbine start and run valves. My initial install of the pump was horizontal. This was incorrect. It should be mounted vertically with the hose connections down. This ensures any fuel leaks will not enter the pump motor. Another initial mistake was installation of a bubble tank. This created what we believed were too much flow restrictions (more details if you want). A hopper tank was installed as per the diagram. This assured flawless turbine run reliability. The ECU, receiver and servos will be mounted in the sub floor of the canopy. I also start sorting out the glazing. Oh the Lama canopy...........this was a work in patience.
25 Comments
The Starwood kit is very nice until you get to the 4,000 little screws for the canopy! 😆😆😆
OMGoodness, so true, that chapter is coming…
Good chapter! The Jako is my go-to turbine!
I am still asking myself what is gratifying about cutting fiberglass!! I wish Vario would pre-cut this stuff. Pending that, I've had good results using a cut wheel that I get about 1/4" to where it needs to be. After that, I use a grinding bit. Then, it's all sanding blocks with a mask and vacuum during ALL PHASES! 😉
This reciprocating saw makes it a lot easier, but agree, lots of sanding regardless.
That's fascinating! I never imagined using a jigsaw on glass! I'm guessing it's a very fine tooth blade plus the tape has to help prevent fractures.
The bearing blocks for the tail drive are METAL! The ones that come with the larger 1/4 scale Vario Lama are PLASTIC. I've already had to replace one.
This is one of the most thorough build threads I've seen ANYWHERE!
I love clean wiring!
A hot knife will slice through the fiberglass easily without making any dust. There are electric powered hot knives that look like soldering iron handles with an X-Acto blade on the end. Another alternative that works really well is a butane powered handheld pencil torch with a blade attachment on the end of it. The butane powered torch is now my favorite way to do this.
OMG, I soooo need this cool kit! Shit, now I have to retract my request to Kirsten to pre-cut all their fuselages! Joel, you may have to do an original post with a video of this doing its magic!
I never knew…thanks! I’ll check it out for sure.
https://www.amazon.com/LEXIVON-Multi-Function-Self-Igniting-Adjusta...
Also look into perma-grit tools, I use them every day for composites, shaping glazing, and anything wood. Still have two sanding blocks that are over 10 years old and still as good as the day I bought them. https://www.tylergraymodels.com/Perma-Grit-_c_47.html
Manufacturer precutting windows will make the fuse weak, making it susceptible to shipping damage. Hot knife is the ticket, ask Ben Cheng, he is the master of making openings in fiberglass.
Outstanding work!
Thank you Rene!
Tommy, did you run tanks in parallel or series?
Tanks are in series.
Lama fest!!!
I have gone through all 20 chapters and have enjoyed every bit of it! Excellent job!
Thank you, really appreciate that.
Thank you for sharing. My Starwood 315 kit has been purchased for 2 years, and I have no time or energy to assemble it. Your article has taught me many skills. Maybe, I will assemble it next year.
Toms, I hope you do finish it and best wishes.
Thomas Dean, Thanks
来自中国的读者,看完了20章,很棒👍🏻