 Massimo C.

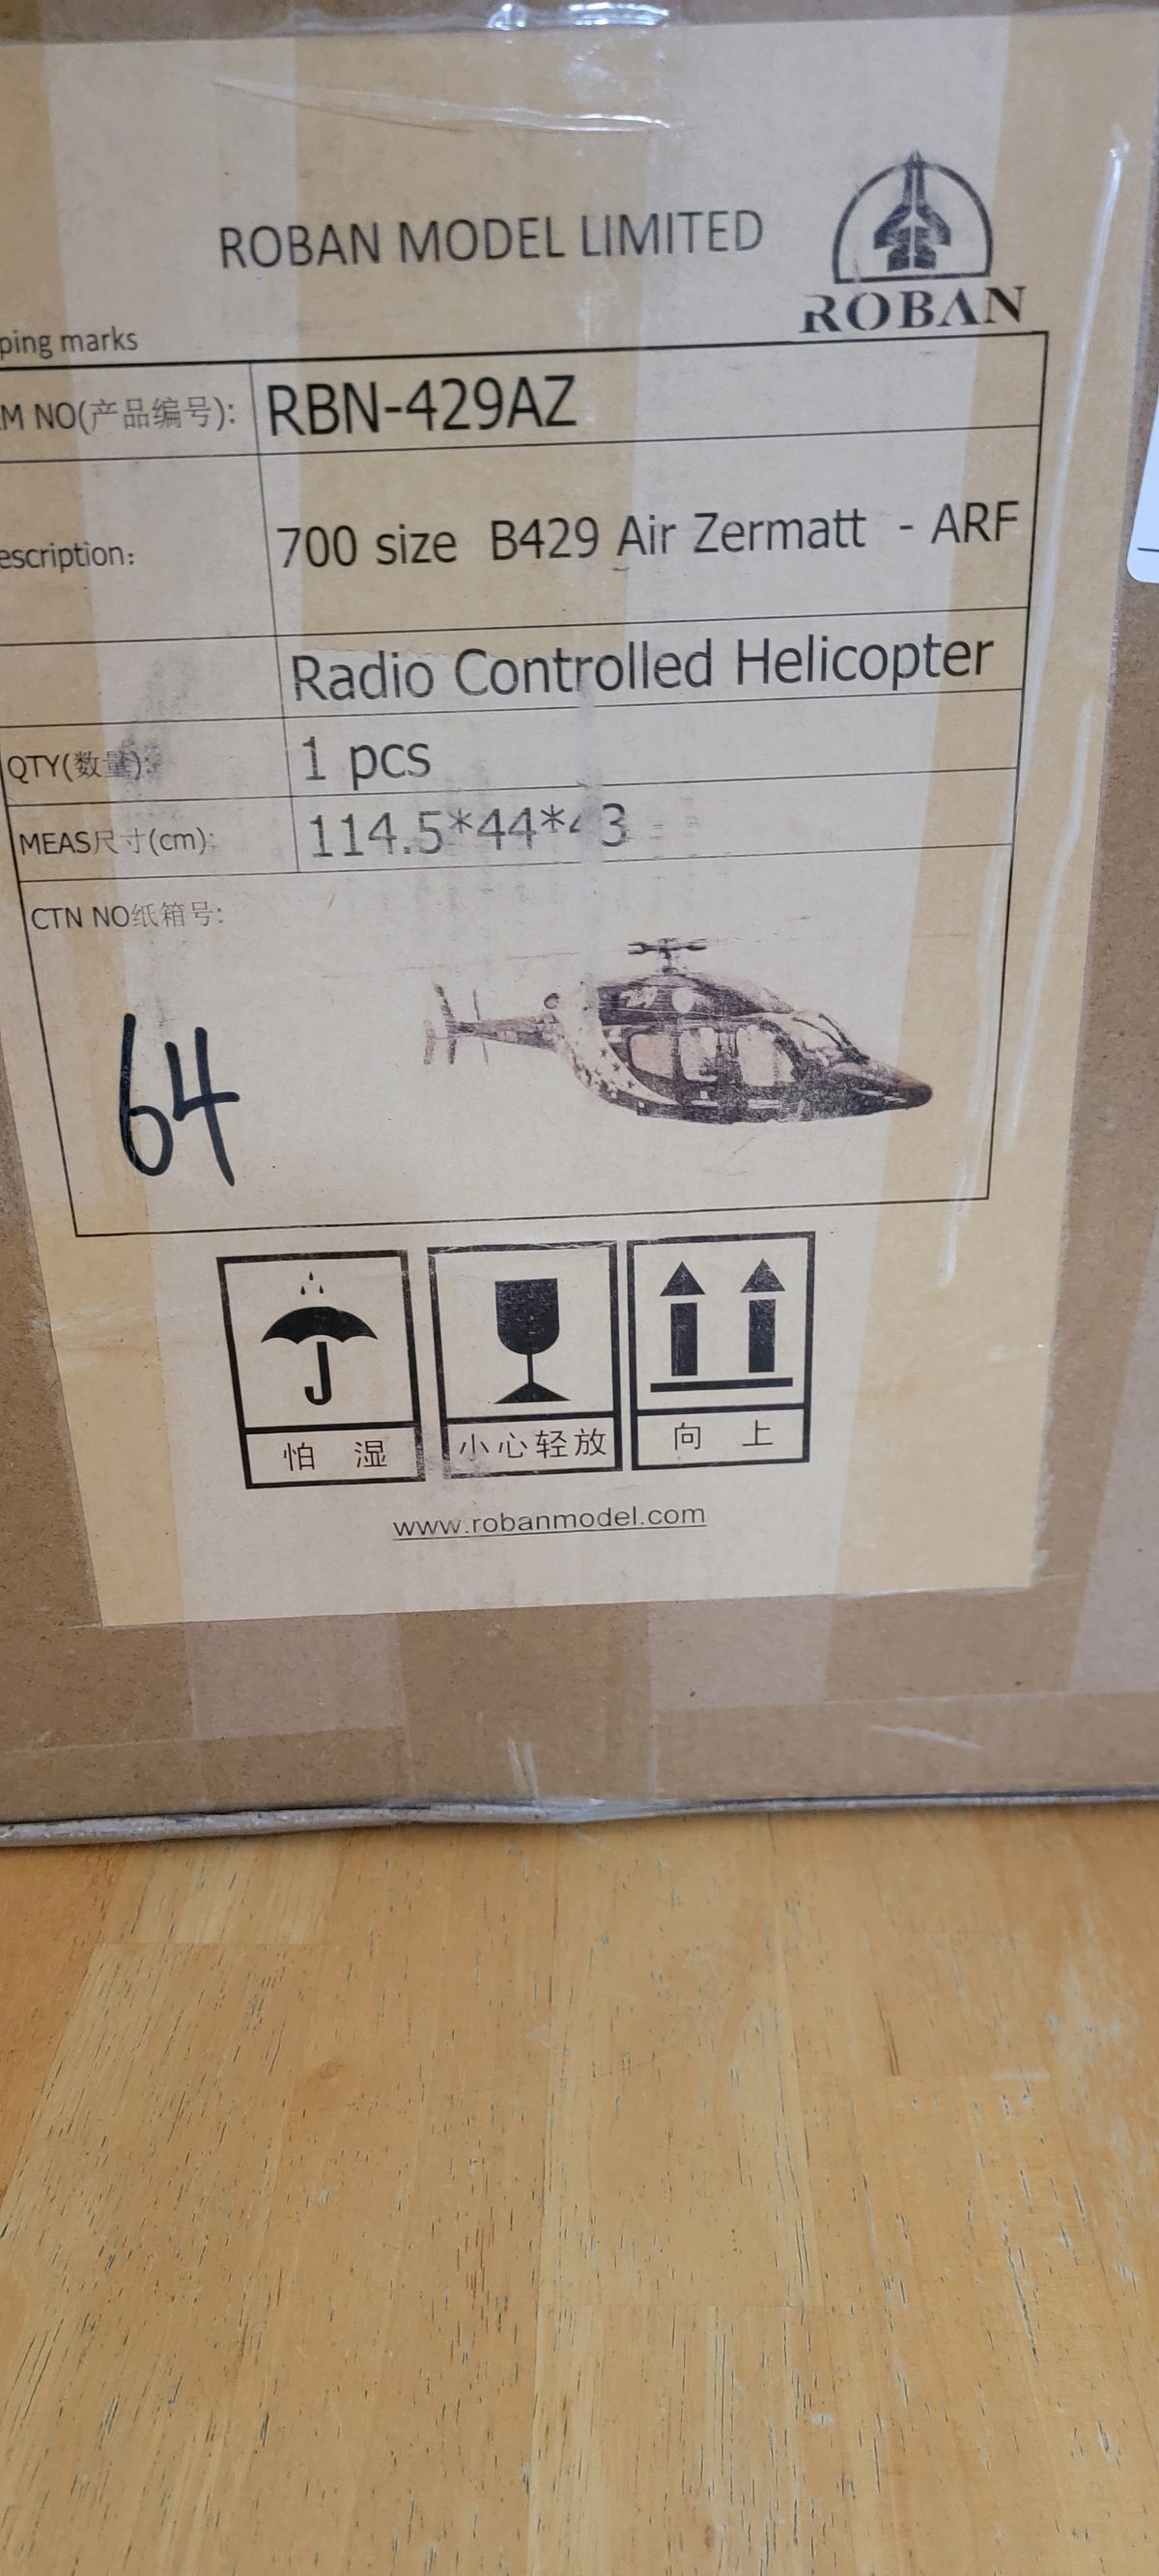
Roban Bell 429 (700)
How People Feel About This Post12 pilots reacted



Master Builders,
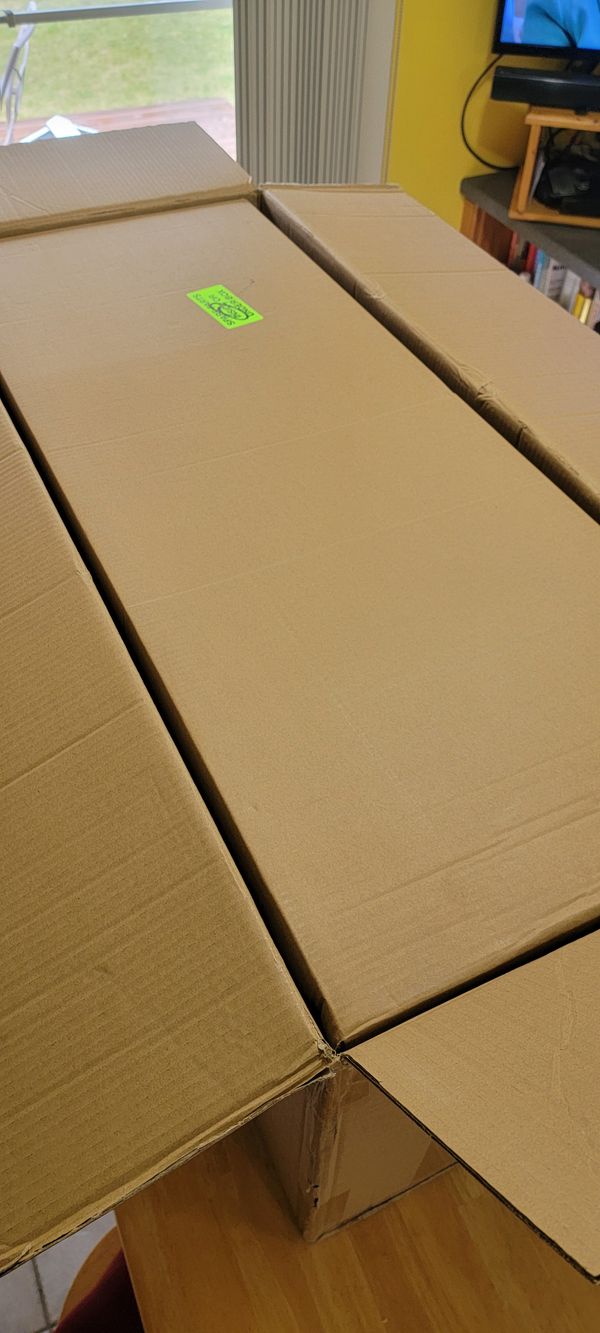
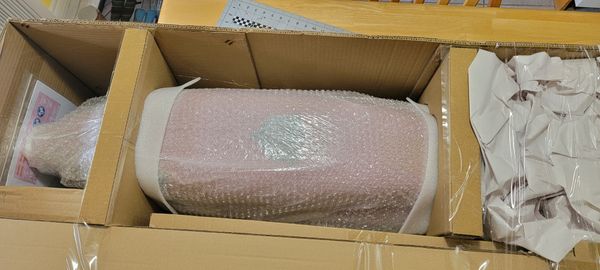
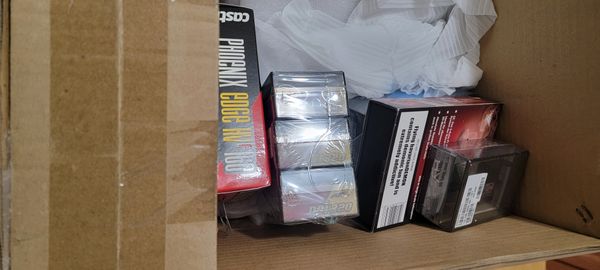
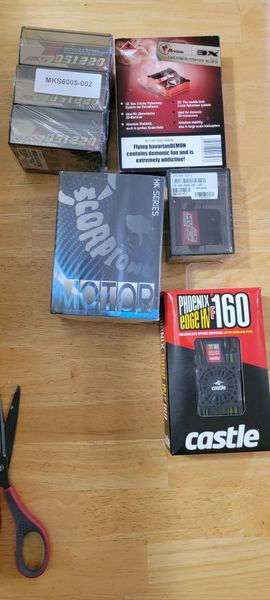
I’m starting a new project Roban 429 (700, Air Zermatt) and I’m seeking for advice, tricks and tips from you that have many builds experience.
Thanks in advance for your help.
First of all I'd like to thank Mike for inviting me here to post my detailing on my Roban Bell 429.
As most of you know the Roban models do not have too many scale details for the interior so I scratch built some in 3D. First off I made seat backs for all the seats. That was pretty much all I wanted to do but me being a modeller and with time on my hands I went a bit overboard.
The seat belts...
First of all I'd like to thank Mike for inviting me here to post my detailing on my Roban Bell 429.
As most of you know the Roban models do not have too many scale details for the interior so I scratch built some in 3D. First off I made seat backs for all the seats. That was pretty much all I wanted to do but me being a modeller and with time on my hands I went a bit overboard.
The seat belts were made from duct tape cut into small straps. In retrospect that wasn't a good medium for the paint didn't stick very well and would flake off if handled too much. The seat belt buckles were 3D printed from a file from Thingverse of a full scale seat belt shrunk dow from 100% to 10% giving me the ideal size. The front cockpit side vent window frames were from a Bell 206 profile shrunk down from another file printed in flexible TPU to conform with the outside curvature of the window and affixed with very thin clear double back tape because who hates glue blobs on windows!
Small grab handles were also printed and were modeled from full size grab handles for cars and.matched as closely to the 429. Callie Graphics provided the seat graphics. Head sets were 3D printed from full scale head sets reduced down for scale fitment.
I could go on and on but nice weather is calling me so I'm off to the field! I'll be posting videos on my YouTube channel Perry F.@ret737 as my full maiden with the 429 with interior so stay tuned.
Please enjoy the pics I have provided and if you have any questions feel free to ask.


This all happened last weekend: Sunday, April 23, 2023. After immediately inspecting the wreckage and the mechanics to determine what happened, I saw that the spline on the front of the tail's drive shaft was completely missing... it backed out while in flight. No drive shaft spline = no power going to the tail rotor.
I was attempting to autorotate the 429 down, despite what it may or may not...
This all happened last weekend: Sunday, April 23, 2023. After immediately inspecting the wreckage and the mechanics to determine what happened, I saw that the spline on the front of the tail's drive shaft was completely missing... it backed out while in flight. No drive shaft spline = no power going to the tail rotor.
I was attempting to autorotate the 429 down, despite what it may or may not look like in the video. I was trying to first get it stabilized, and then get it lower to a decent and more manageable altitude to start an autorotation. My mindset is to get a higher elevation at first to give myself time to think and make a plan for action. I had NO idea it was going to break apart in the air like it did. None of the other helis I have that had a tail issue and spun ever tore itself apart like this 429 did.
Fast foward to today: Sunday, April 30, 2023. Today makes a full week since I lost my Bell 429 and I figured I'd bring the wreckage into the house today to sift through it to see what's salvageable and to also document and share my findings.
Firstly, I found the front drive shaft spline - it's stuck inside of the front tail gear box which is what the first photo illustrates. Secondly, look at how the front of the torque tube boom sheared! The front portion is still inside of the clamp with the top locationing screw still going through it. I find it interesting that the front of the torque tube sheared so cleanly. I'm assuming it twisted? I dunno... weird. The bearings on the tail drive shaft are fine.
Amazingly, the vertical tail stabilizer and the right-side horizontal stabilizer didn't get damaged at all. The tail rotor hub assembly and blades are fine. Aside from two bent screws for the ball links, the main rotor head is fine. The main mechanics are fine. I may fire it up in a few days to see how the one-way bearing sounds.
Except for the pilot and the seat harnesses, EVERYTHING in the interior cabin was demolished, including the seat the pilot is still strapped to. The seat is broken in half just like the rest... the harness is holding all the parts together.
Back to the torque tube boom, though... that's crazy! It kinda sheared like it was made out of plastic! At any rate, I would HIGHLY advise you inspect the spline on your torque tube and then drill and pin it like I just recently learned a few other RC heli pilots have done.
Man, I love this time of the year! The weather has been perfect the past few days with not so bad winds, so I definitely had to get out and take advantage of that and went out flying. Here's a video from one of yesterday evening's flights.

I had been tossing around the idea of getting pilots for my helis for the longest time. On one hand, I've always felt it wasn't necessary to have a pilot since I'm not looking inside the heli while I'm flying. On the other hand, it's a nice scale touch.
I ended-up purchasing one from Warbird Pilots with a high voltage servo driven dome and have it tied-in with the collective. I removed the...
I had been tossing around the idea of getting pilots for my helis for the longest time. On one hand, I've always felt it wasn't necessary to have a pilot since I'm not looking inside the heli while I'm flying. On the other hand, it's a nice scale touch.
I ended-up purchasing one from Warbird Pilots with a high voltage servo driven dome and have it tied-in with the collective. I removed the utility harness that came with it since the real Mercy Flight pilots don't use them. The flight suit is the same color the Mercy Flight crew wears, btw. I'm kinda toying with the idea of painting the helmet orange for more accuracy, but I'm not in a big rush to do that, though.

Sooooo I took my Bell 429 out yesterday to get some flights in. I should have just stayed home because it was WAAAAAY too windy to do any ACTUAL flying and enjoy myself. The 31 MPH wind blowing down from the north had that poor heli bouncing and being blown all over the place every time I turned it east or west. I ended-up just doing a bunch of hovering to drain the batteries so I could head back...
Sooooo I took my Bell 429 out yesterday to get some flights in. I should have just stayed home because it was WAAAAAY too windy to do any ACTUAL flying and enjoy myself. The 31 MPH wind blowing down from the north had that poor heli bouncing and being blown all over the place every time I turned it east or west. I ended-up just doing a bunch of hovering to drain the batteries so I could head back home. Luckily, I live only 3 miles away from the field I fly at, so it's not like it's a huge waste of driving time to get to and from.
I was bored so I decided to do some cutting and drilling into my Bell 429 GlobalRanger. A few months ago, I noticed the full-size 429s have lights built into the front section of the fuselage on both sides and one on the bottom. I wanted to replicate that on my model but wasn't exactly sure if it would be possible to do since the fuselage is sealed pretty good in the front section.
I first...
I was bored so I decided to do some cutting and drilling into my Bell 429 GlobalRanger. A few months ago, I noticed the full-size 429s have lights built into the front section of the fuselage on both sides and one on the bottom. I wanted to replicate that on my model but wasn't exactly sure if it would be possible to do since the fuselage is sealed pretty good in the front section.
I first started off by searching for some small rectangular lights that would replicate the ones on the full-size 429. After I found some off-road lights that were designed for a 1/7 scale RC SUV 4 wheeler, I had to figure out how or if I could mount the lights in the body and run the wires to power them. That was a challenge because the front section of the fuselage is completely sealed off from the middle part of the body with a wall for the battery compartment under the floor.
I knew there was a small oval hole in the cockpit area under the center console and instrument cluster. Luckily I didn't use a lot of glue to install those pieces and was able to remove the center console and instrument cluster with a little persuasion and time without damaging anything. After I got those pieces out of the cockpit, I was able to get a better idea on if this project was doable.
I still had to come up with a way to run the power wires to the rear of the fuselage which was a problem, because again, the front section of the fuse under the floor is totally sealed off. I came up with an idea of possibly being able to drill a small hole through the wall that separates the battery compartment under the floor to the front section of the fuse. No way a power drill was gonna be able to do the drilling though because there isn't a lot of room to work with inside the fuse.
I then thought that perhaps my Dremel with a drill bit MIGHT fit inside the battery compartment. I tried it and it worked! Next, I had to build up the nerve to start cutting 3 rectangular holes into the fuselage. After I got the 3 holes in the fuse cut, I cut off the single servo connector for the lights so I could thread the power wires through the hole that I drilled in the battery compartment wall. After I was able to thread the power wires through the small hole, I then soldered the servo connector back onto the power wires from the cabin side of the battery compartment wall.
From that point, I taped a strong magnet onto the servo connector, used another magnet that's attached to a telescoping rod to connect to the servo connector and the other magnet and snaked the power wires under the floor of the fuselage and up to where I have the receiver mounted on the mechanics. Pretty much all of the hard stuff is done at that point which resulted in an extremely clean layout with the power wires being TOTALLY hidden under the floor of the fuse's body.
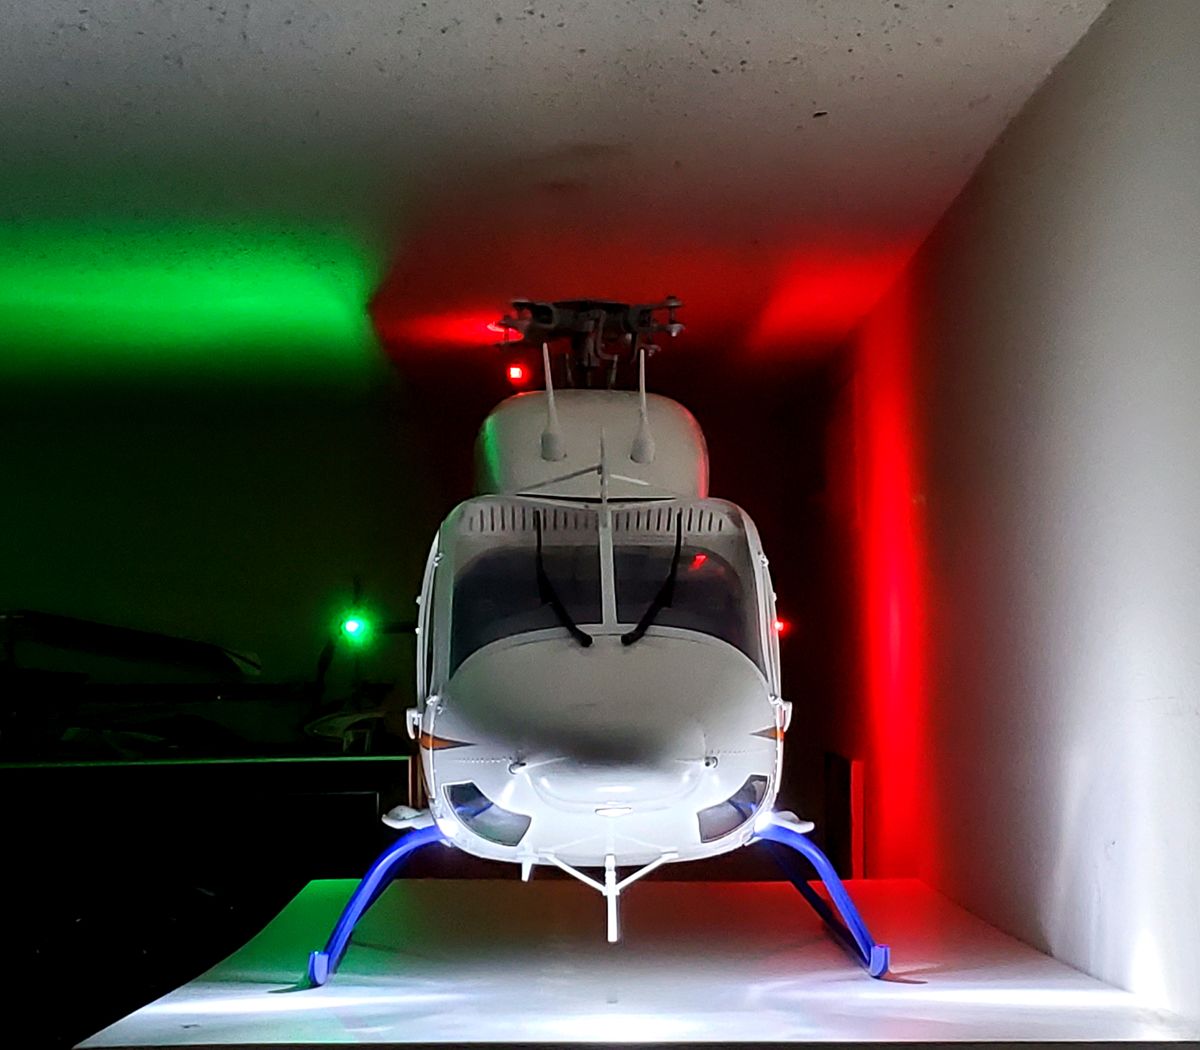
I think everything turned out pretty well and the lights are plenty bright. These photos were taken in a totally dark room. As you can see, the lights light up the room pretty well! The lights are running on 6 volts of power. For reference, the last photo is of one of the real Mercy Flight helis from which the livery on my heli is modeled after.

Testing, testing 1 - 2 - 3. Checking out this site's new video uploading feature. Here's a short video of me flying my 1/7 scale size Bell 429 GlobalRanger made by Roban.
Hello,
up to now I found no pictures on the Roban Bell 429.
So I will start with pictures of mine.
Enjoy
Video:


 CARLOS C.


 Uwe F.


