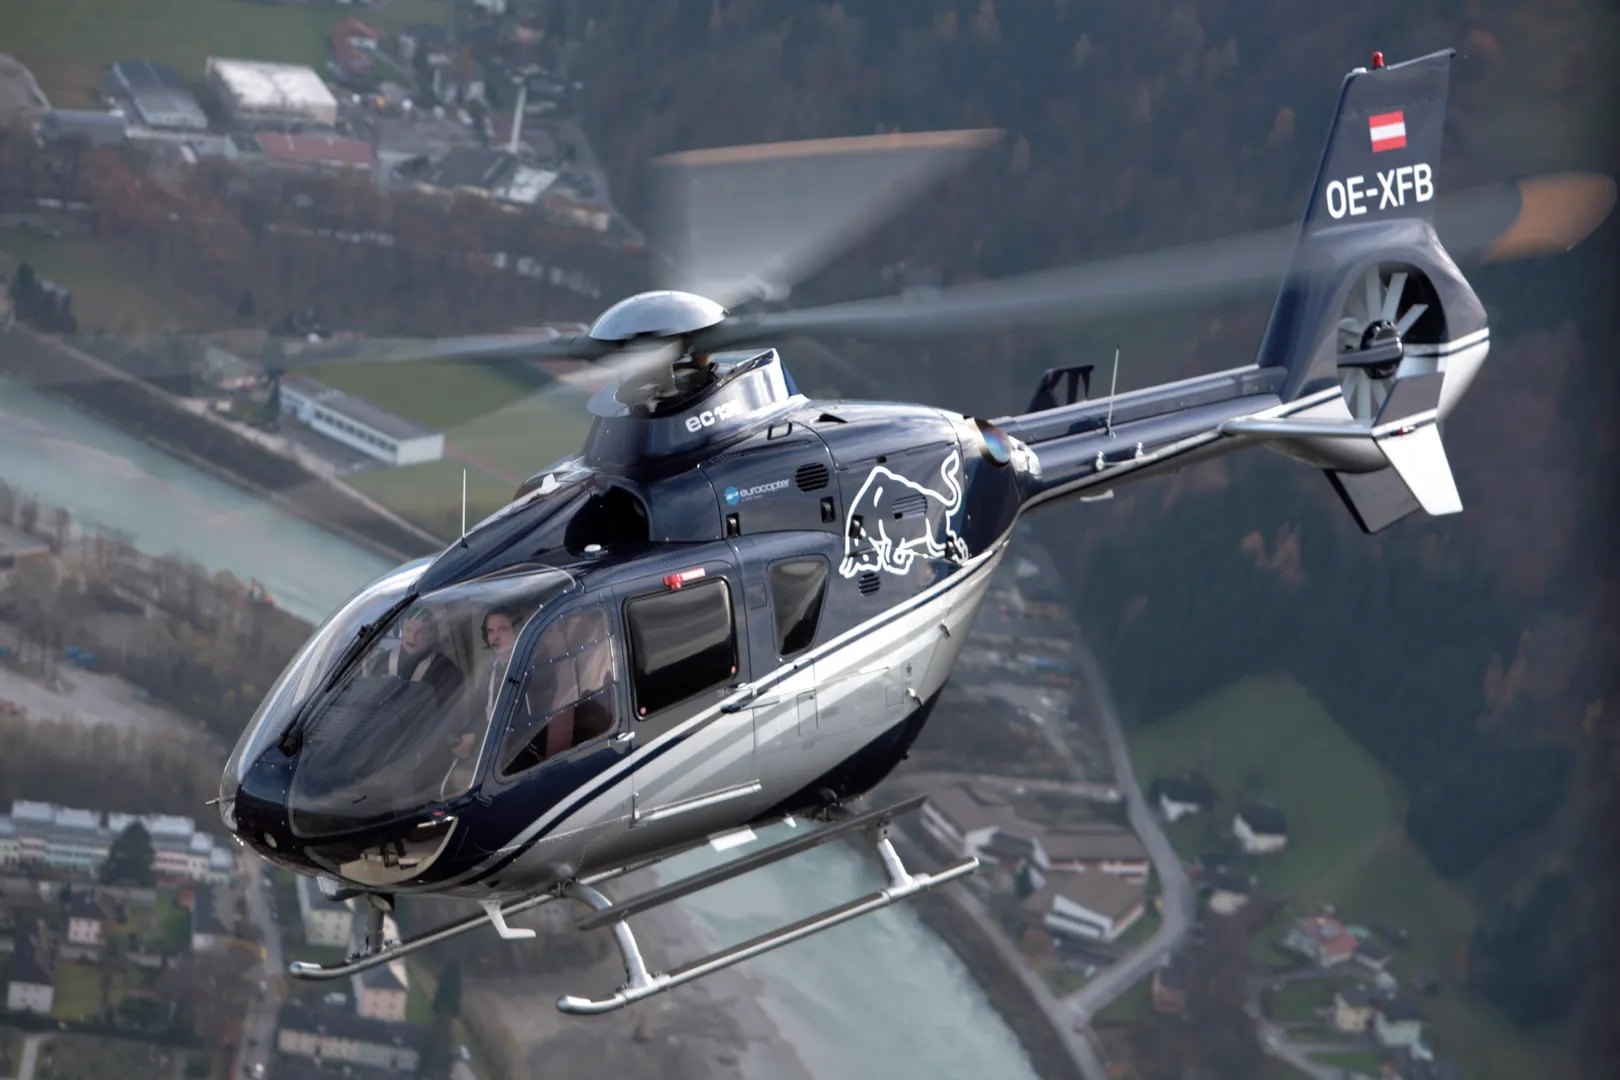
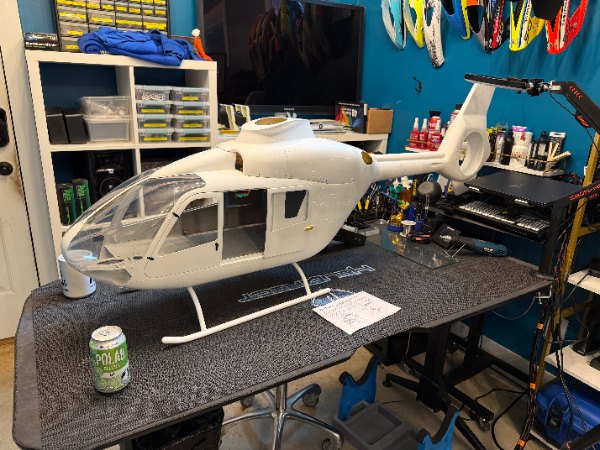
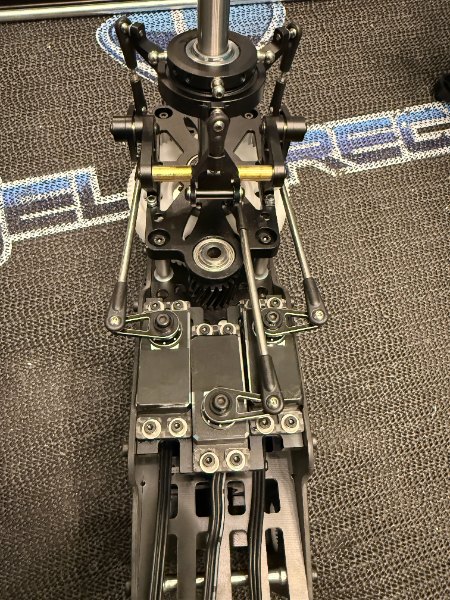
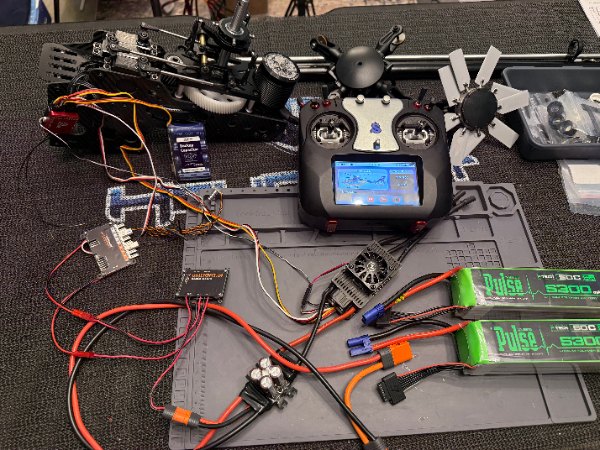
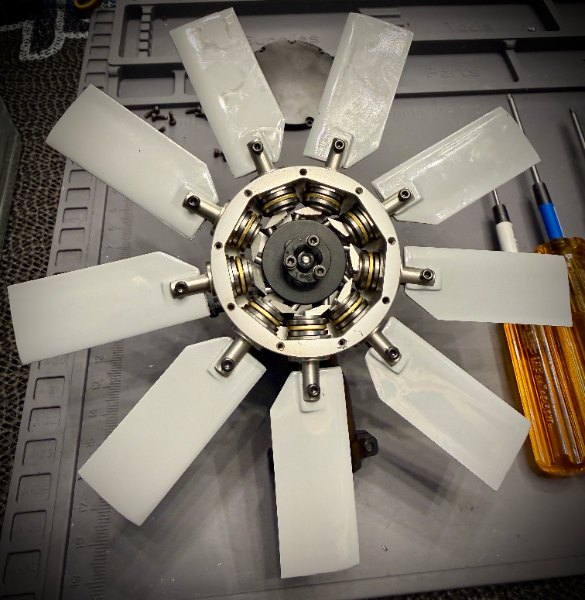
Roban 800 EC135 Red Bull Flying Bulls 1st Forray Into Scale Build Thread


Hey Nick, this is great content! You spaced these chapters out nicely and it's easy to follow your progress!
Hey Nick, this is great content! You spaced these chapters out nicely and it's easy to follow your progress!
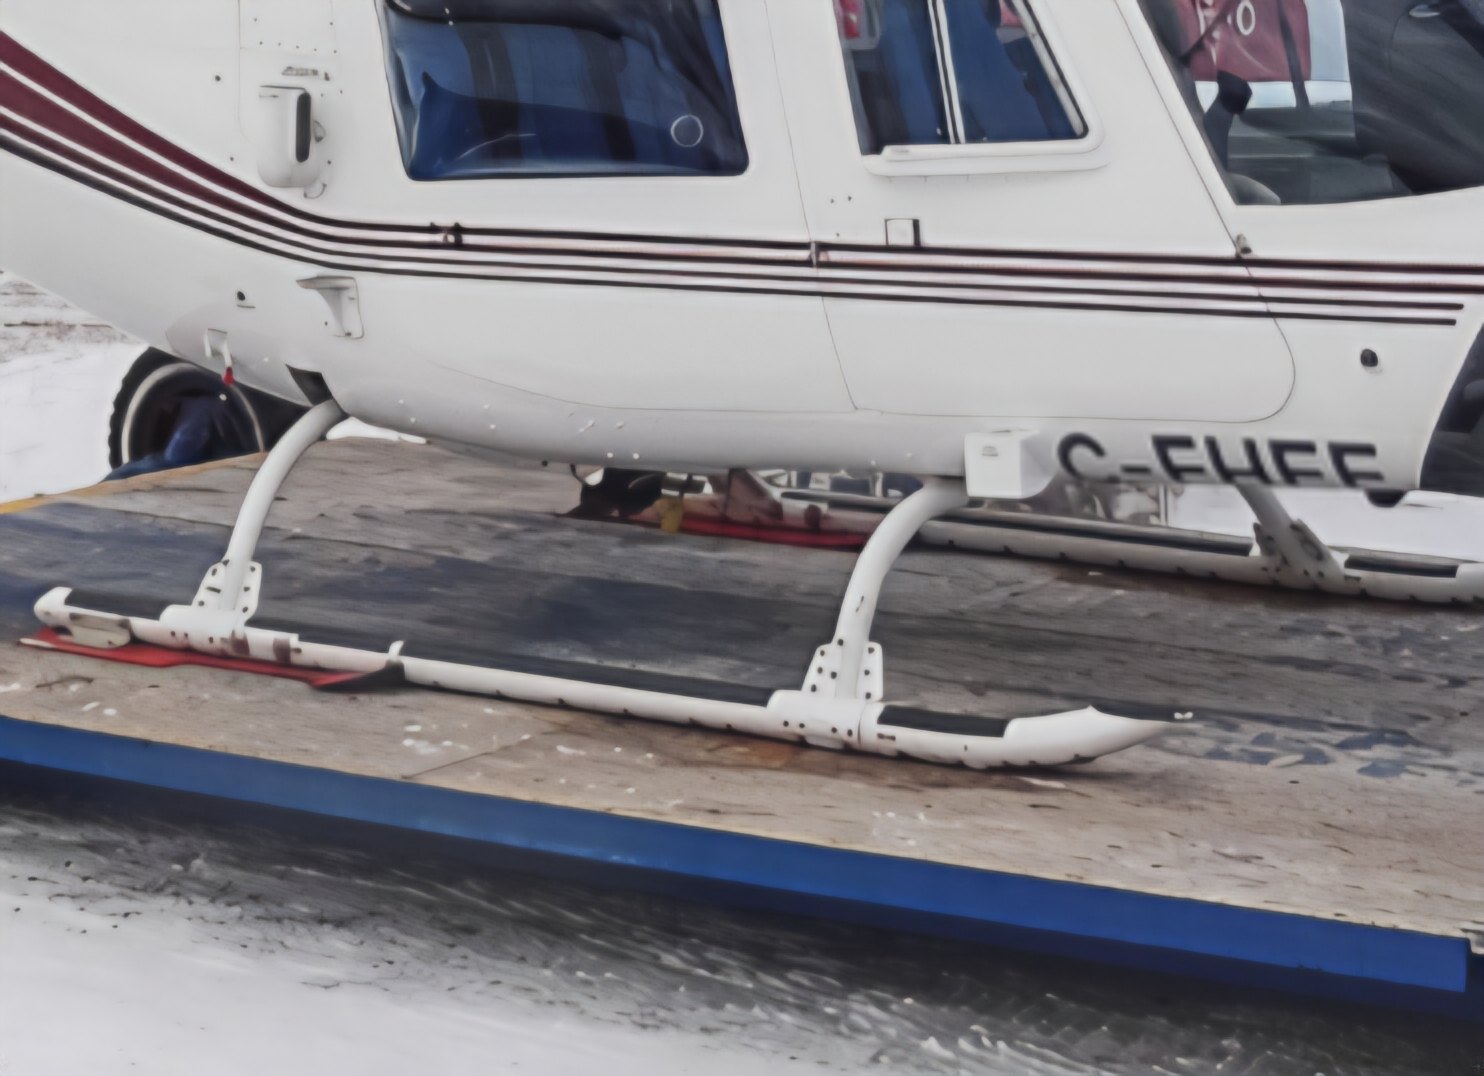 RCPilotBuilding Scale Landing GearThis little bit of detailing will be important to those of you who are like me and don't have the equipment to weld metal and aluminum or do not want the expense of having it custom made (professional welders ARE NOT che
Check out Jon Ellis' latest article on scaling up your skids!
This little bit of detailing will be important to those of you that are like me and don't have the equipment to weld metal and aluminum or do not want the expense of having it custom made (professional... more
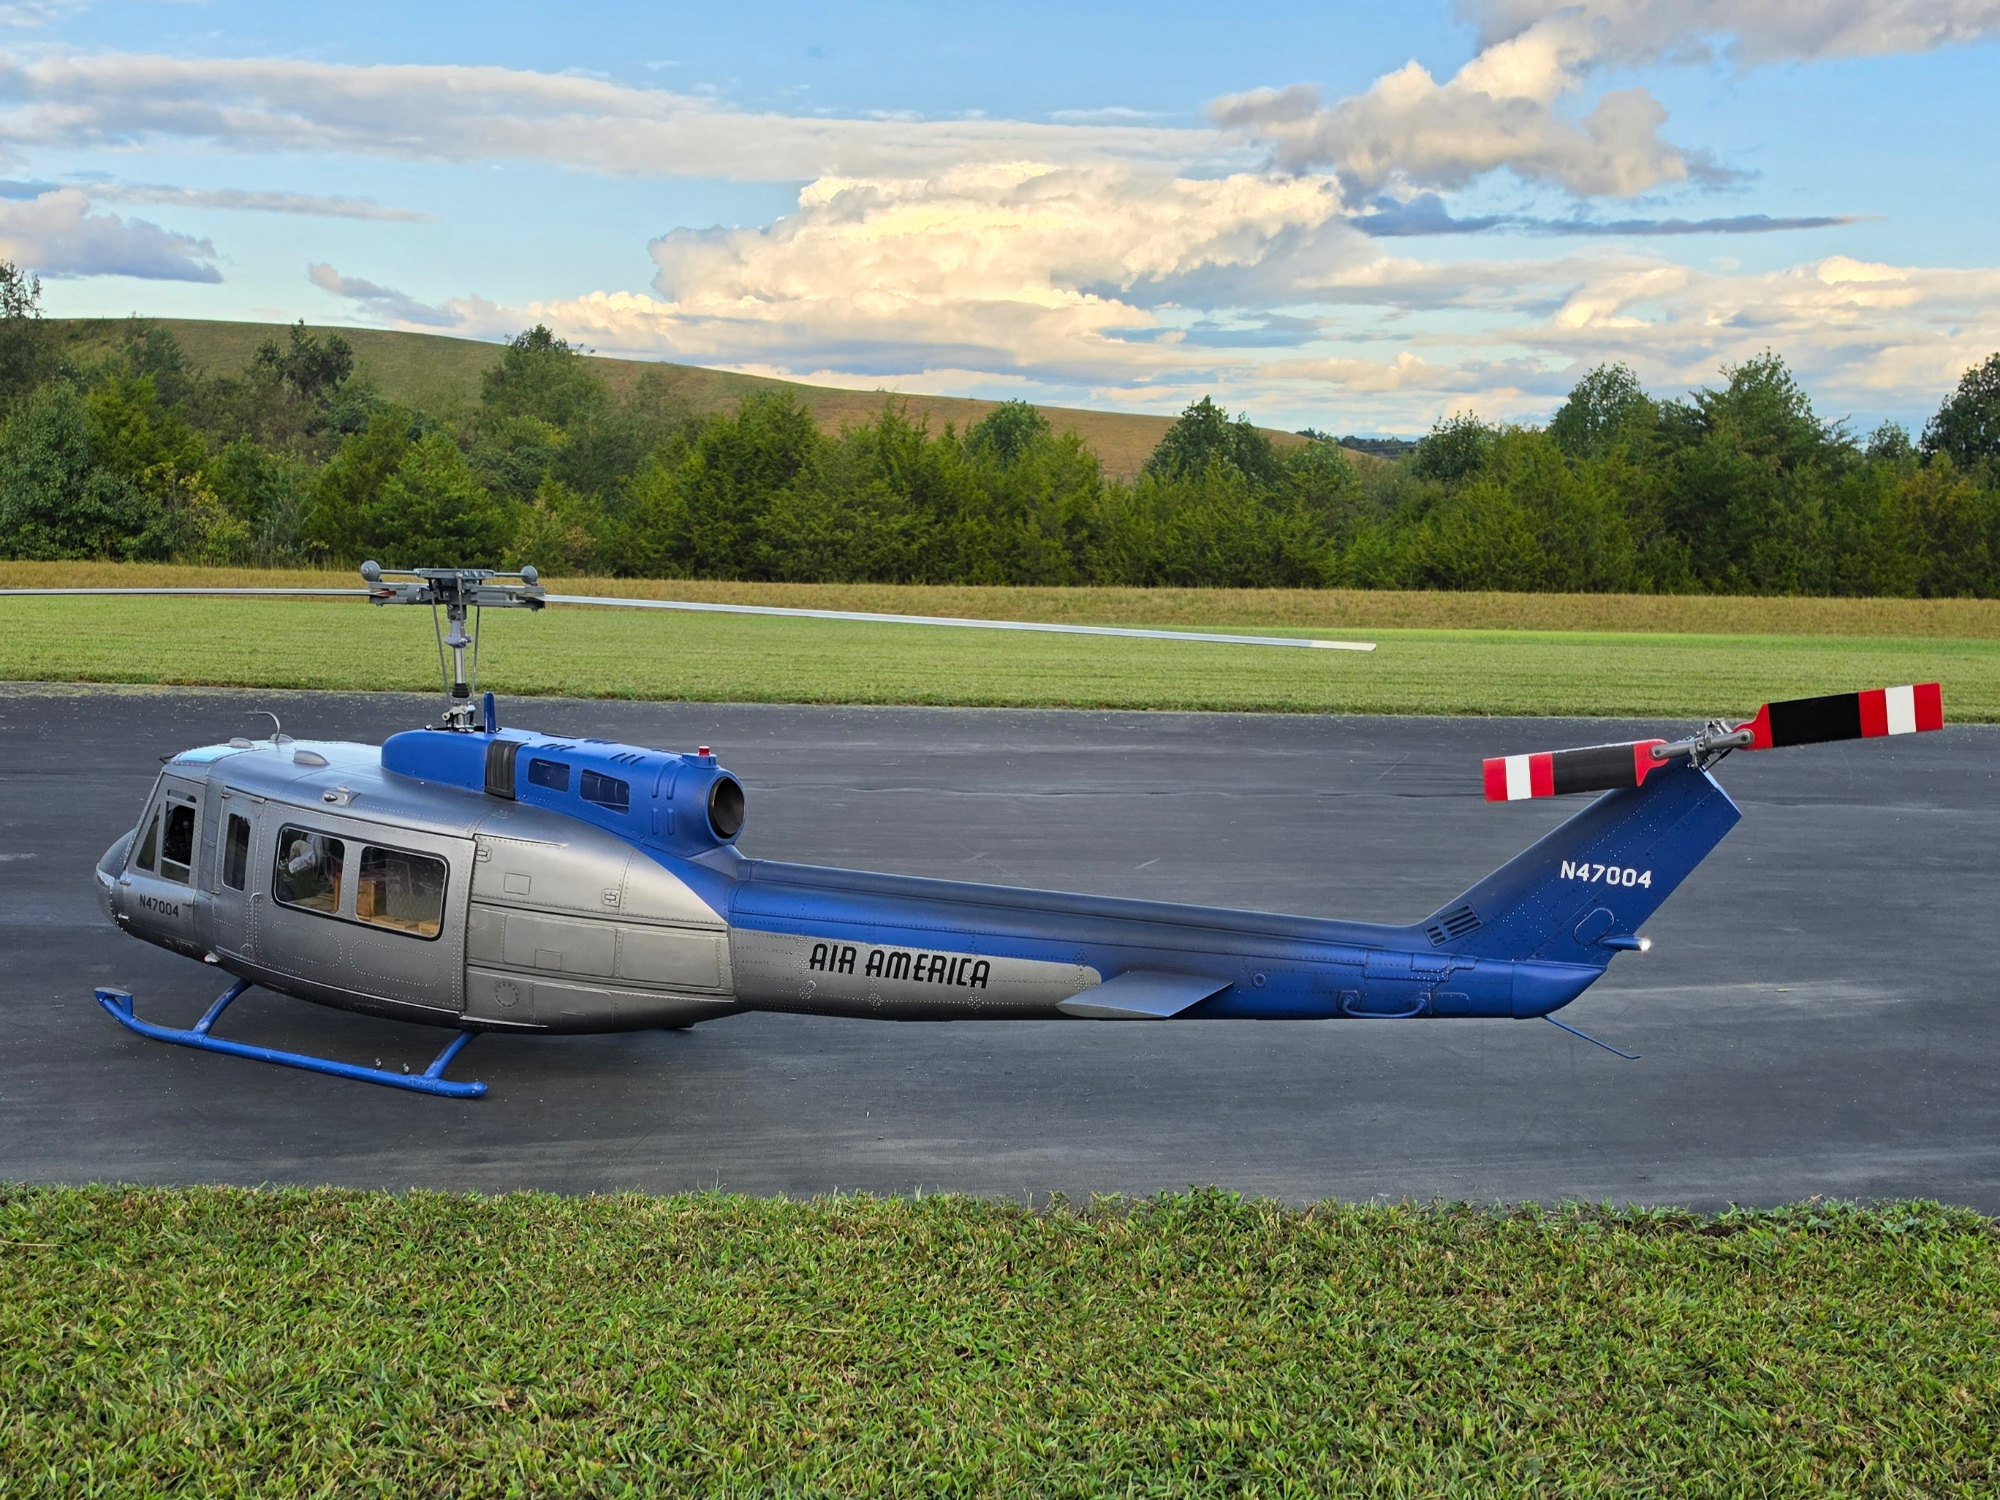
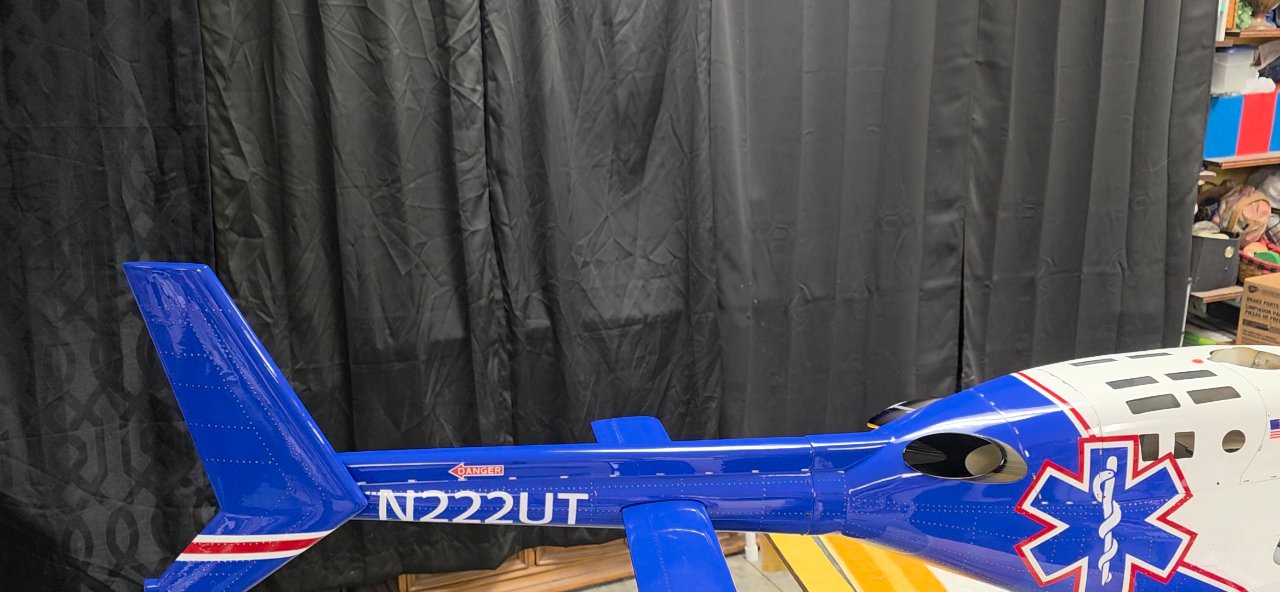
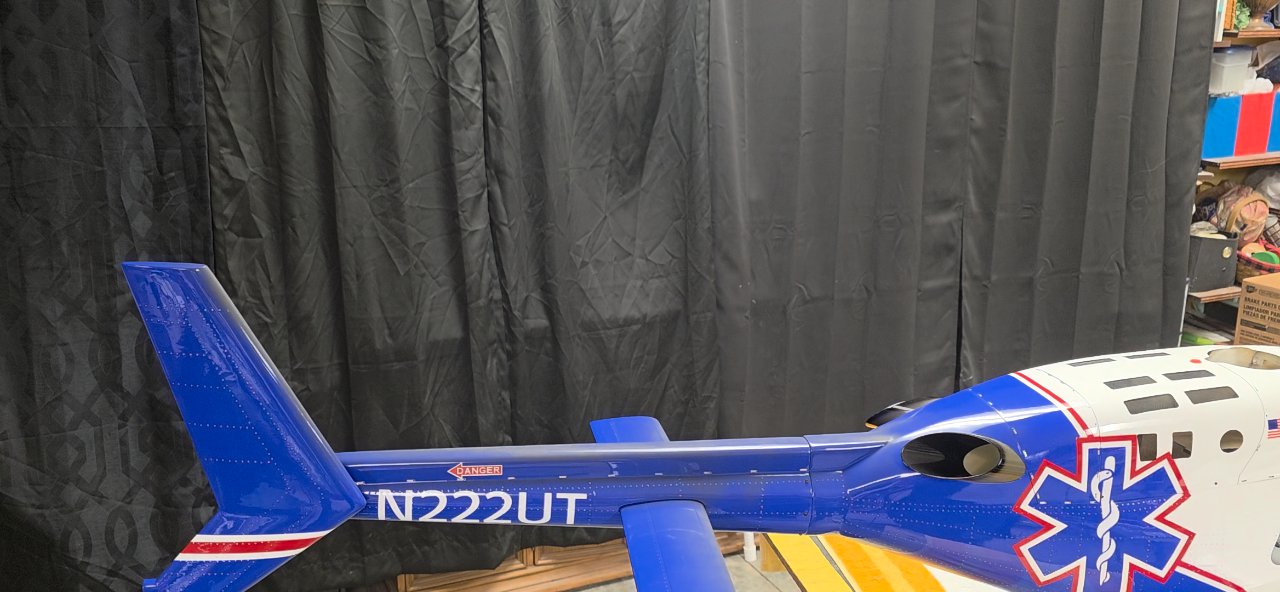
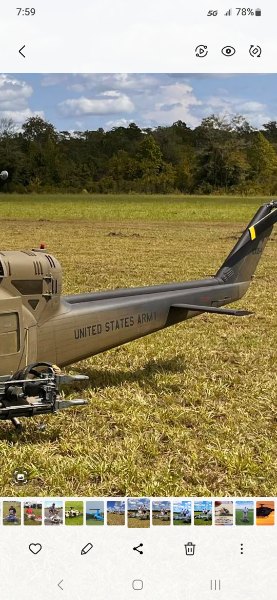
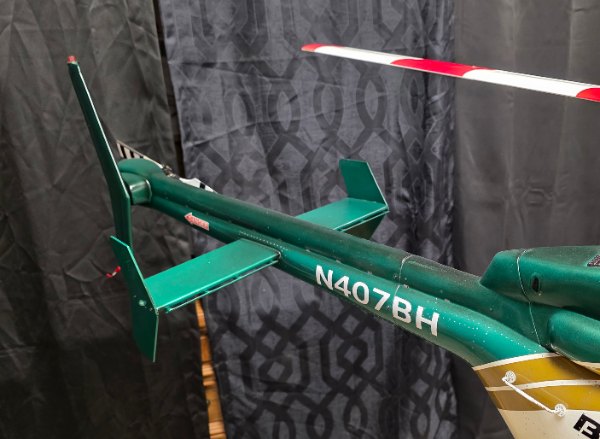
This my friends is one of the most noticeable things you will do to add a realistic and authentic touch to your beautiful model. Nothing else will make the "impact" more than a little exhaust soot. Keep in mind you only want to add this to your scale models with a "top mounted" turbine where you will see the accumulation of soot on top of the tail boom and stabilizers. Don't forget to add little...
This my friends is one of the most noticeable things you will do to add a realistic and authentic touch to your beautiful model. Nothing else will make the "impact" more than a little exhaust soot. Keep in mind you only want to add this to your scale models with a "top mounted" turbine where you will see the accumulation of soot on top of the tail boom and stabilizers. Don't forget to add little soot to the leading edge of the tail rotor blades. The models such as the Hughes 500 series with a bottom mounted turbine will not leave but a slight amount of soot. The reason being: the exhaust from a top mounted turbine will accumulate more on top and in the middle of the tail boom due to air flow and rotor wash. The soot from a 500 series with a bottom mounted turbine will be mostly dissipated before reaching the verticle stabilizer and only a slight amount will accumulate near the bottom from the tail boom down. I like the results from using the Rust-oleum "High Heat 2000 Degree Ceramic Coating" for the best results that suit my goal. I spray the Rust-oleum into a cup and transfer it to my airbrush because the airbrush "atomizes" the paint into a very fine spray. I have used "flat black" paint and it works well but to me is a little "too black" when shot heavy, your choice. Apply the soot compared to your full size pictures. Most Military models accumulate a lot of soot because in a combat environment they are washed only "when water is avalible", lol. When I was flying full size on a long day of flying as you see in the picture of the ENG 206 it would get quite dirty. Just a little soot will enhance the realistic look of your model. If you have a model with a "black" tail boom you need only to add a little dusting of Testors DullCoat right from the can to simulate the soot and deglossing the tail boom. You can see my use of DullCoat in the video. The use of DullCoat is because after many washings the gloss coat will loose it's high shine. The decision to make is "do you want a big beautiful model" or do you want a "big beautiful model that looks REAL".
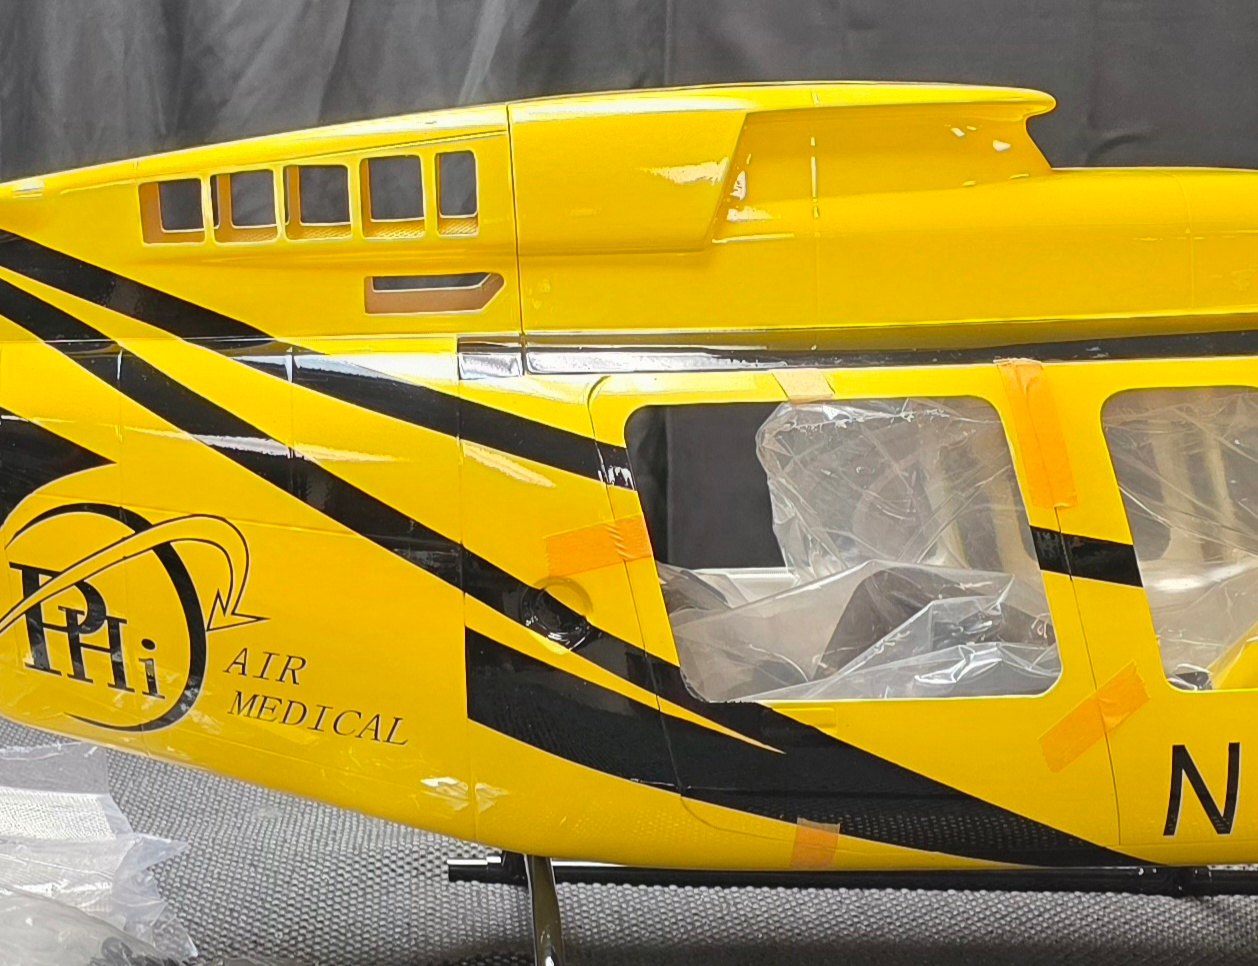
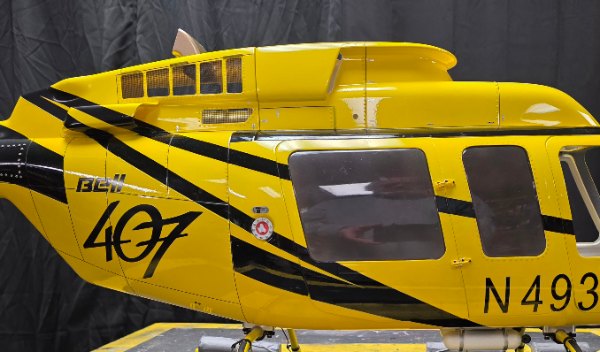
Most prepainted models from Roban, Funkey, Marvelcraft and others come with very nice paint but not a lot of detail. It is VERY easy to increase the realistic appearance of a prepainted fuselage by adding highlights to the rivets, adding panel lines, hinges and latches with nothing more than a little paint, brushs, 1/64th Graphic Tape and different colors of fine point permanent markers. I...
Most prepainted models from Roban, Funkey, Marvelcraft and others come with very nice paint but not a lot of detail. It is VERY easy to increase the realistic appearance of a prepainted fuselage by adding highlights to the rivets, adding panel lines, hinges and latches with nothing more than a little paint, brushs, 1/64th Graphic Tape and different colors of fine point permanent markers. I highlights the rivets with silver or aluminum permanent markers and "dry brushing", add or highlight panel lines with 1/64 Graphic Tape, simulate latches with small pieces of Monokote trim. I add exhaust soot with a cheap airbrush, if you have a black tail boom as on my yellow and black 407 I simply sprayed a light coat of Testors DullCoat on top of the tail boom and the leading edges of the horizontal and vertical stabilizers along with the leading edge of the tail rotor blades. You can judge by the "before and after" photos to see what a difference this little bit of detailing can accomplish to add a more realistic appearance to your prepainted model.
My goal for many years has been to make my models look as realistic as possible. I am in a small group and there is "absolutely" nothing wrong with having a beautiful "pristine" model but that is not my goal. I spent over thirty years in helicopter aviation and I seldom got the opportunity to fly a "pristine" helicopter. Most all my experience was in well worn and heavily used helicopters and I...
My goal for many years has been to make my models look as realistic as possible. I am in a small group and there is "absolutely" nothing wrong with having a beautiful "pristine" model but that is not my goal. I spent over thirty years in helicopter aviation and I seldom got the opportunity to fly a "pristine" helicopter. Most all my experience was in well worn and heavily used helicopters and I guess it left an impression, lol. Unless you are modeling a Medical helicopter, Executive transport or factory new or Air Force One lol, then there is going to be some wear. Even in ENG ( Electronic News Gathering ) and the Offshore industry ( where I retired ) we had to wash our helicopters daily and even then after hundreds of washings they began to show wear and loose their shine. I can certainly relate to you guys that want a "beautiful" and "brand new" looking helicopter but my goal is a "used" helicopter. I truly know the hesitation in "scuffing up" a new glossy paint job with "0000 steel wool" and "DullCoat" paint but to me it is just adding "realism" to give that authentic look. I "weather and wear" even my pre-painted models. Just adding a little "exhaust soot" can give your model a more realistic look. We love them all, weathered or not, BUT if you want to join the "next level" in modeling look at the pictures and determine if that might be your next goal. Just to show you how dedicated I am to this goal I am giving away an authentic SPH4 helicopter flight helmet as an award to the "most realistic and weathered" model at my Fun-Fly next year.
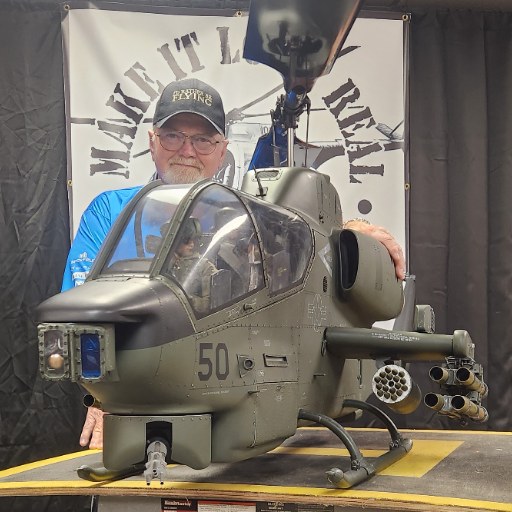
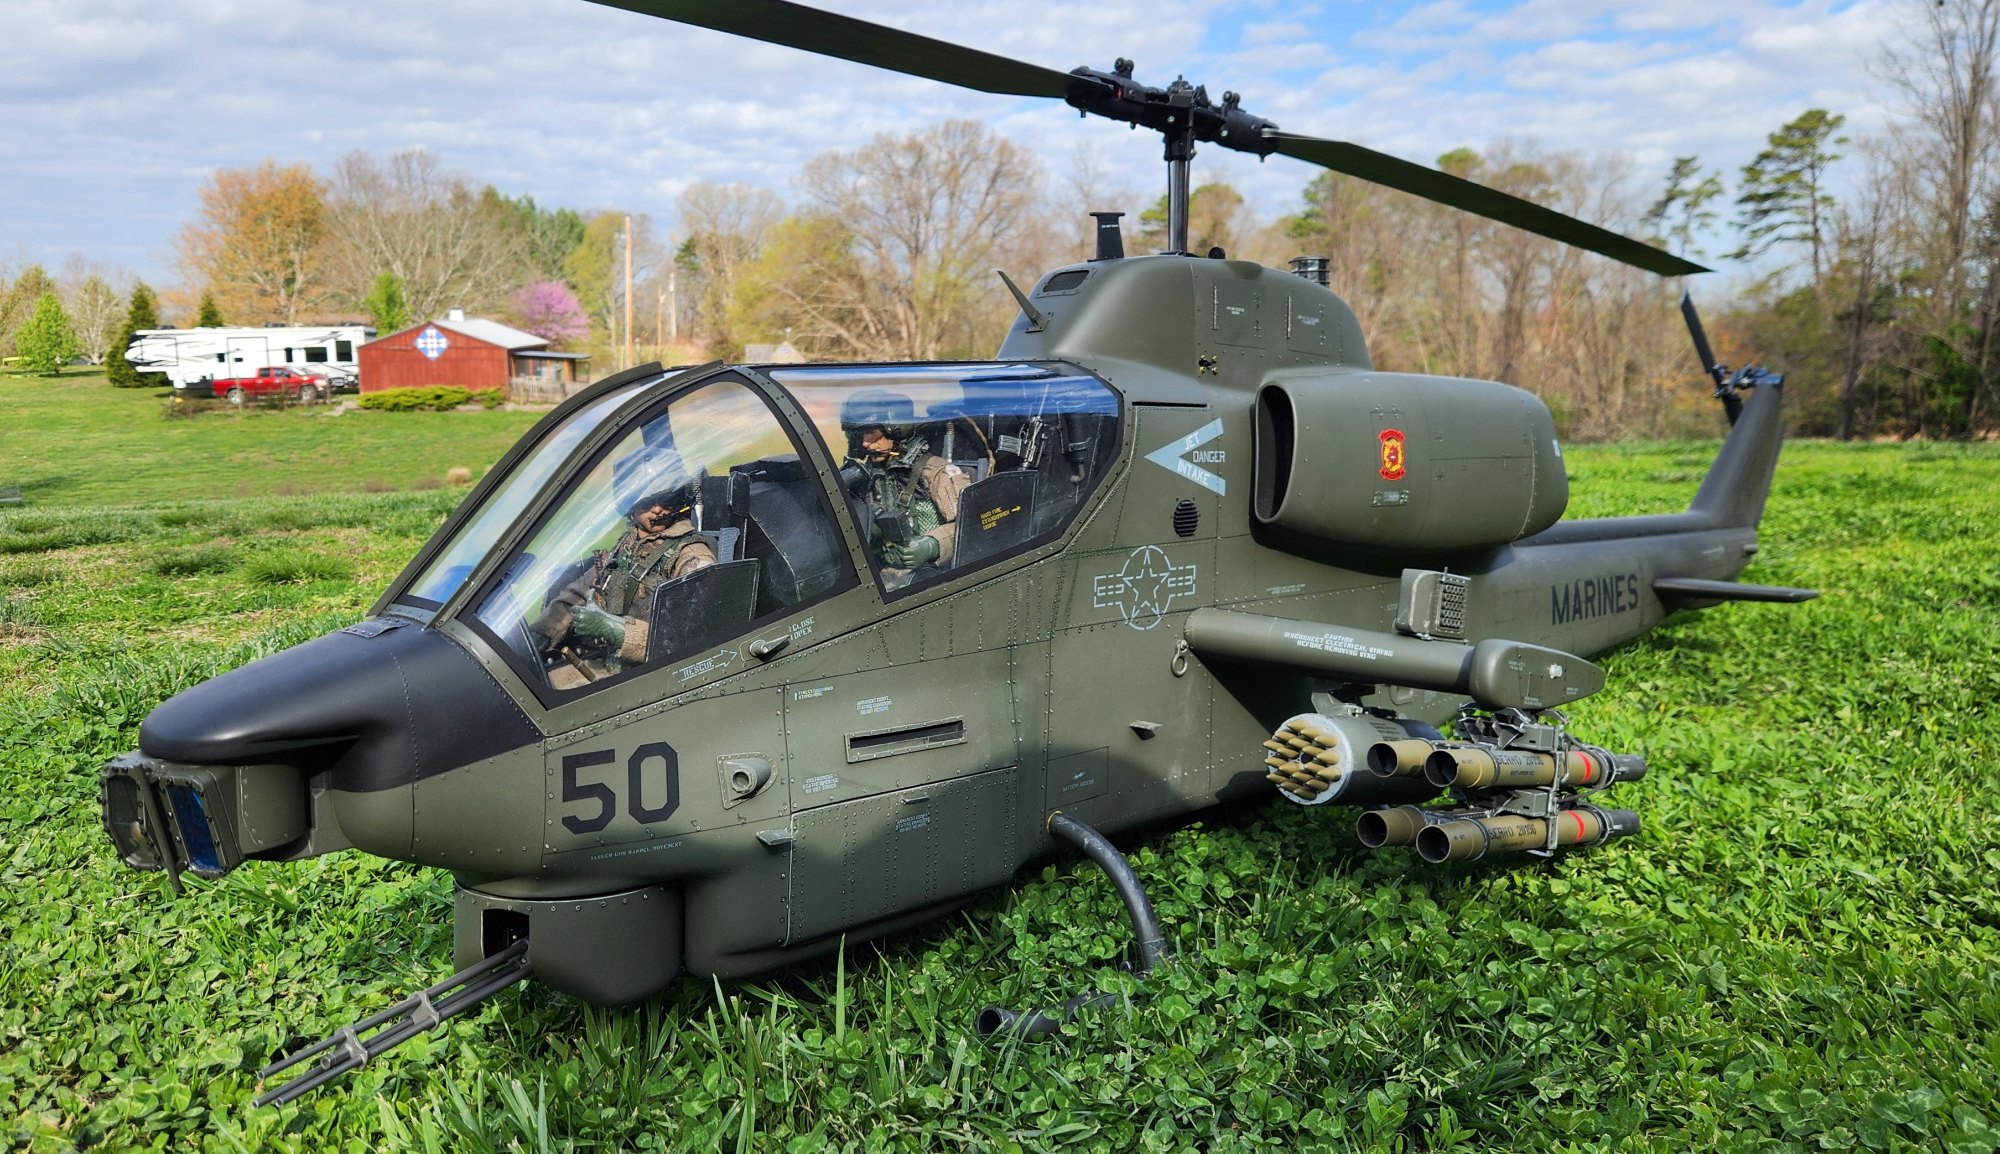
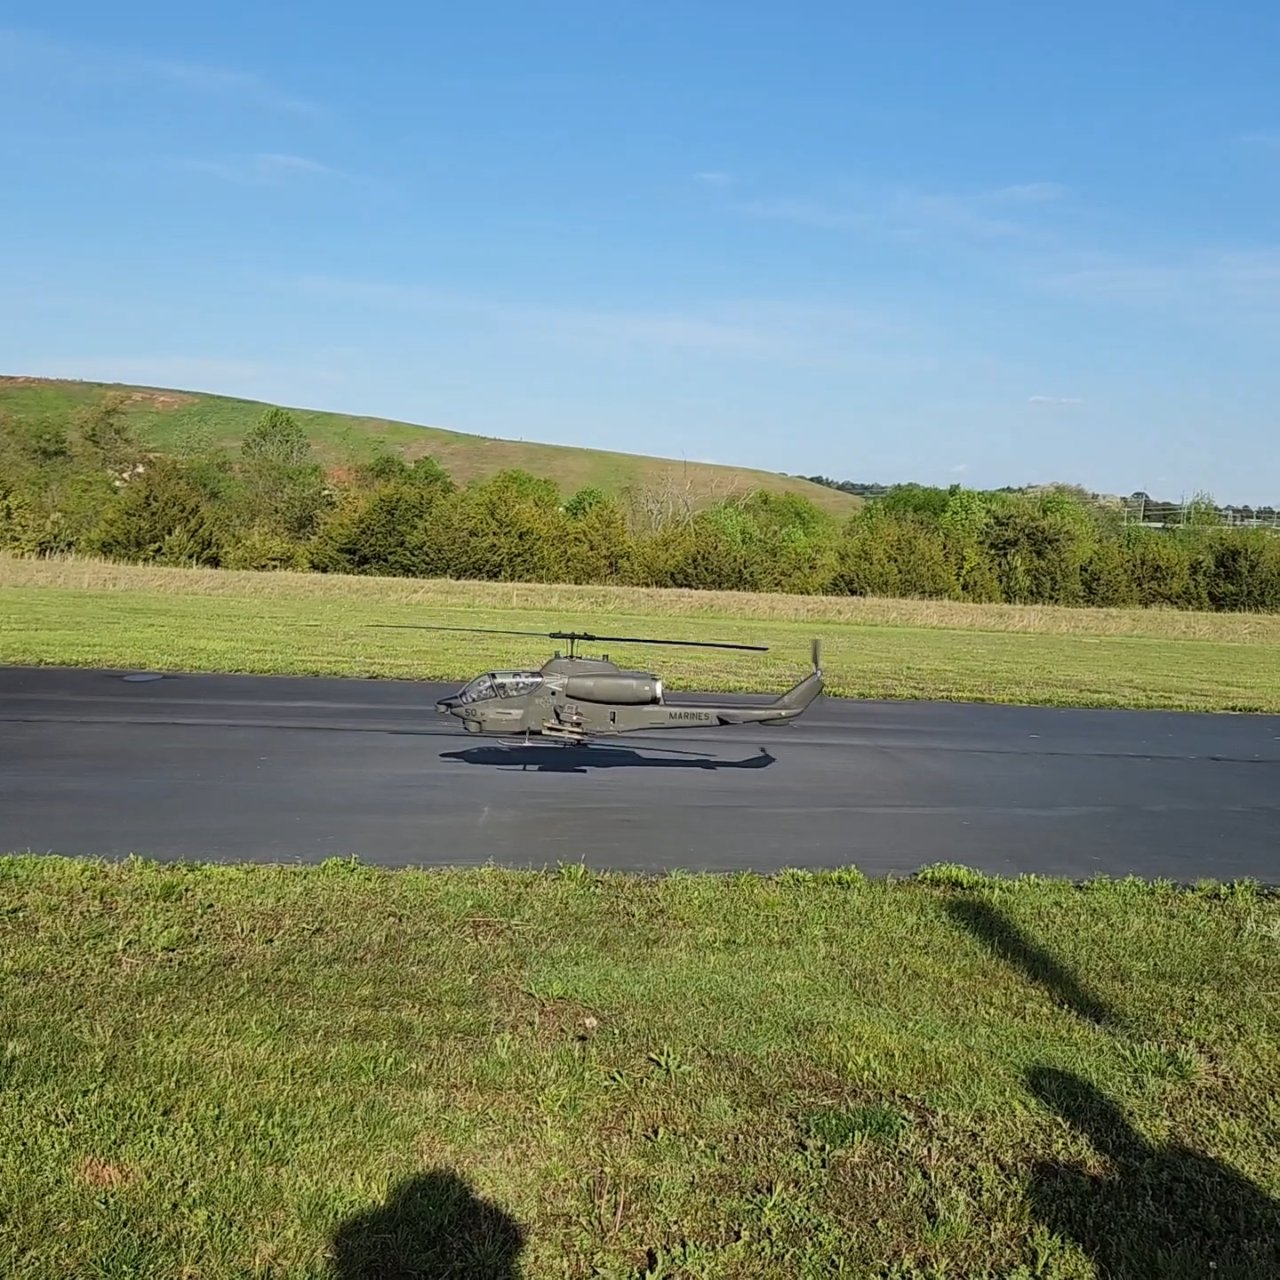
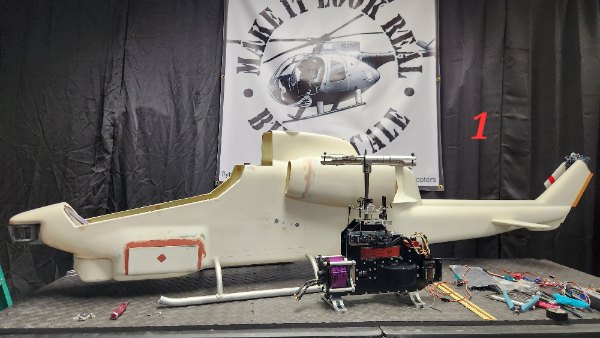
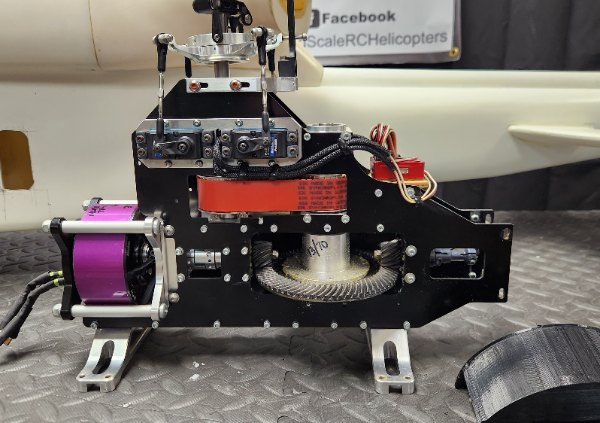
I purchased this model in 2023 in the"white" and only test flown. It has HELI-FACTORY mechanics with Hacker Q80 for power, Kontronik 200 on 12S, Bavarian 3X, ModelSoundsInc sound system ans Unilight lighting.
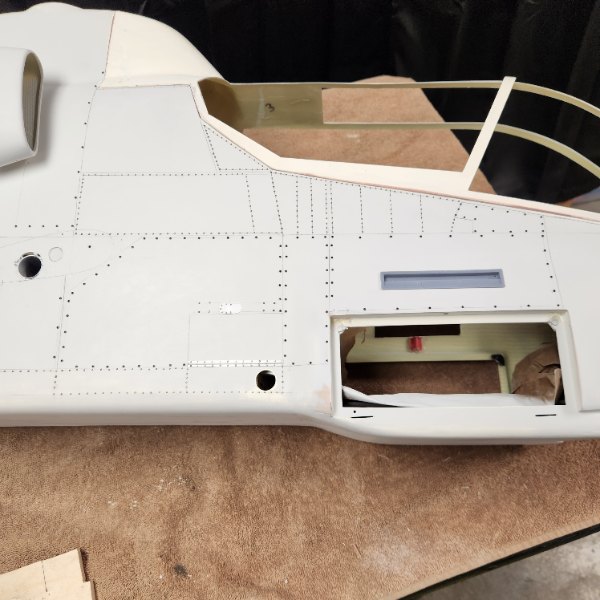
It was a "slick" fuselage with no exterior detailing. I added the rivets, panel lines and all exterior detailing. The cockpit was scratch-built, pilots were purchased from BlackOpsToys...
I purchased this model in 2023 in the"white" and only test flown. It has HELI-FACTORY mechanics with Hacker Q80 for power, Kontronik 200 on 12S, Bavarian 3X, ModelSoundsInc sound system ans Unilight lighting.
It was a "slick" fuselage with no exterior detailing. I added the rivets, panel lines and all exterior detailing. The cockpit was scratch-built, pilots were purchased from BlackOpsToys and pieced together with different heads and bodies ( the Frankenstein method ) along with assorted pilot accessories.
The armament is a combination of 3D printed parts from SCALE-PRINT and 9MINIMATRONIX.
Most Super Cobras are painted some form of Navy gray or camouflage. I did a lot of research and found that the USMC used the Sea Cobra in Opperation Urgent Fury and most of their helicopters were Deep Forest Green and even with this being a different version of the Cobra I chose this color, not building for competition but for personal preference. I did modify the skid gear for the proper angles and stance.
As with all my HELI-FACTORY models everything fit perfectly and flys GREAT
This model is now owned by Owen Battle and I am begging him to bring it down to Tennessee for me to once again fly.

When it's too windy to fly 🤦♂️
Enjoy

 RCPilotRCPilotTogether, we fly. The community for everyone who flies RC.
Check out the new article on the most recent build from Mark Smith!


A Roban head with some more details "Make it look real"
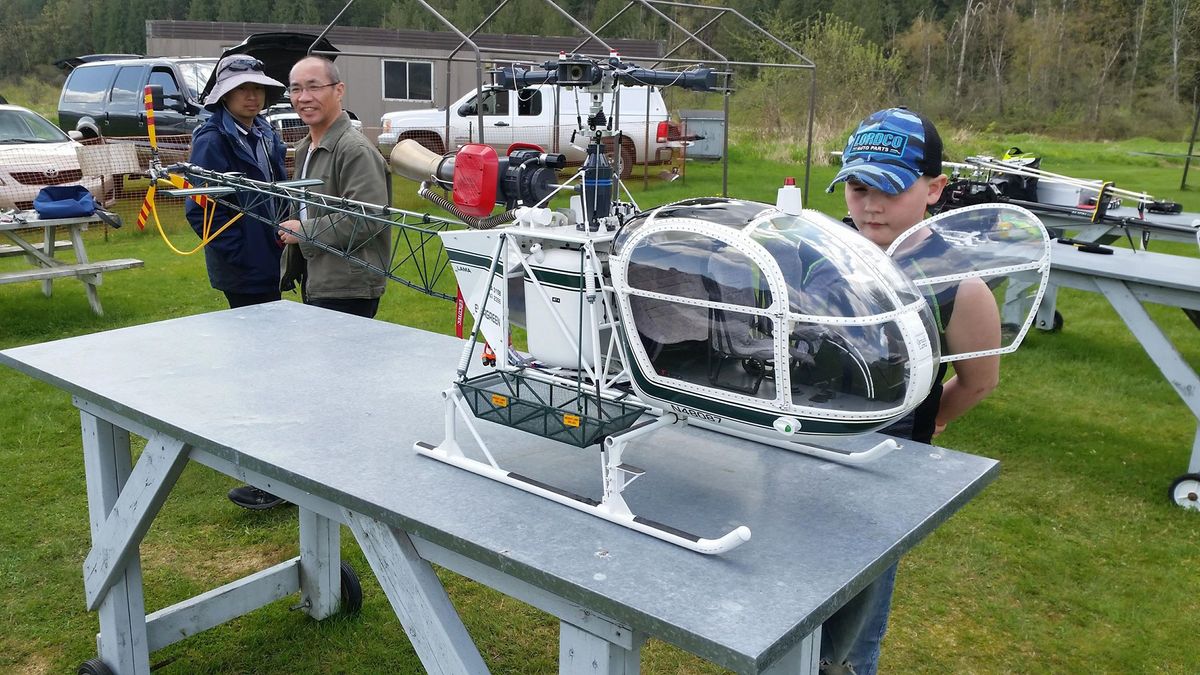
Here are 40 full scale photos I took today of the remainder of the last Canadian Lama in operation. Sadly it had a mishap a couple of wees ago so now Canada no longer has any. These are now just skeletons. These are real working Lama's so nothing fancy here. These were used for fertilizing British Columbia forests.
These will be used by me to assist in achieving the best possible detail in the...
Here are 40 full scale photos I took today of the remainder of the last Canadian Lama in operation. Sadly it had a mishap a couple of wees ago so now Canada no longer has any. These are now just skeletons. These are real working Lama's so nothing fancy here. These were used for fertilizing British Columbia forests.
These will be used by me to assist in achieving the best possible detail in the Vario Lama 1.8 that I am presently building.
I ran into an issue with the tail gears binding up and could not figure it out so I kept having to take the mechanics out. Wasn’t hard though.
Ended up finding the torque tube was pushing on the 45 degree gears too hard so I needed to extend the tube from the transmission about 1mm that gave it the right clearance.


Lama 1:6 Tail Frame Pulley
Silver Welding of Stainless Steel
I have just completed a dummy turbine for the Lama in 1:6 scale. This can of course be supplied in any scale.
www.scale-print.de
Hi Michael. You can order the assembly set in my shop ( https://www.scale-print.de/de/startseite/602-1426-turbinenattrappe-... ). In case you would like to have it ready lacquered please send me an email (info@scale-print.de) and I will make you an offer. best regards Stefan


Here I constructed a bubble window for the Vario AS350 for a nice customer and then deep-drawn it myself. I converted a domestic waterworks (cut out the membrane and screwed on a vacuum meter) and connected a small vacuum pump. I quickly cut the thermoforming box out of multiplex and screwed it together. I then warm the clamped thermoforming material in the oven and then quickly place it over the...
Here I constructed a bubble window for the Vario AS350 for a nice customer and then deep-drawn it myself. I converted a domestic waterworks (cut out the membrane and screwed on a vacuum meter) and connected a small vacuum pump. I quickly cut the thermoforming box out of multiplex and screwed it together. I then warm the clamped thermoforming material in the oven and then quickly place it over the thermoforming model. Open the ball valve and after a few attempts, it works :-). If someone needs such a bubble window for his model, he only has to send me the door for scanning and of course dig a little deeper into his pocket as the construction including scanning is a considerable amount of time.
www.scale-print.de
3D printers: Asking the group for their current recommendations on 3D printers. I’m inching forward on getting one. I use Fusion360 on my mill. Can I assume Fusion360 will push out programming for most of them?
I can tell you about my experience and what I learn in few year of use of these printers. I started several years ago with a Robo 3D R1 printer then I got another one A10 Geeetech. Both machine work fine for PLA but ABS is a big pain, for me. The material warping while is cooling, so you need to have an enclosure to maintain the temperature of the print. I normally use PLA material for most of my projects, however PLA doesn't like hot temperature. I printed parts for the car that with the hot temperature, during the summer day, got deformed. So, it all depends what you'll print, durable parts (ABS) or not extreme durable (PLA). One important thing for me is the hotplate size of the printer, larger plate will give you more flexibility obviously, then you can thing about how many colours you'll use in your printing and you can look into how may extrudes (hot end) you want on your printer 1-3, I use 1 and then i paint the parts later.
If you just starting with 3D printing there are many videos and tutorials on YouTube, I can recommend Maker's Muse https://www.youtube.com/watch?v=a2NEk5f6icg&list=PLTCCNNvHC8PDR... .
Creality or Prusa are for me at the top hobby type printers but it's all about the money and you can get even a more expensive tool.
The SW is also important, I used Cura that works with many different printers and it keeps getting better with additional fine tune options that can help with the final result for your prints. I use SketchUP and Blender for the design and after creating an STL file format, Cura take care of the rest and Slice the design into the G-code that the printer understand.
If you're looking to make some very fine details printing, you may want to consider Resin 3D printing that seems getting more popular for small parts, but I'm not in that area, yet, so I can't be too much help for that.
Interesting full scale reference video for the Kamov KA-32. Applies to both HeliClassics and Vario KA-32 models! For those who don't understand the language, the pictures speak volumes!
Oddly enough, I found myself understanding quite a bit! 😂

Quick start guide. May work with V-2


Installing new Fake-Tank and Tail Servo support.
Now the mechanic is well hidden
 Fine Scale Modela - RC Helicopter and Accessories1/5 Lama Working Hook, in kit form - AvailableScale rc model helicopter and accessories
I’m looking for options for a working cargo hook in 1/5 scale. Thus far, I know of the following that are printed, however I am looking for ones that are more robust, perhaps made of aluminum.
https://www.scale-print.de/en/startseite/1064-3735-hook-support-lam...
Tyler Gray Models (TGM) may have what you need. He will certainly know where to get what you need if he doesn’t have it. TylerGrayModels.com. Let Tyler know you were referred by ScaleHeliPilot! 😊 (we don’t get anything but a nice thank you and that’s all we need)
I'm looking for a pair of inflatable floats for 450 to 500 size helicopters. I wanted them for this winter for flying on packed snow. Any help would be appreciative.


I am Ken Luo from Guangzhou China, I built ch46 scale helicopter, it is successful, I am happy to share it with you here.
This is the vedio below:
1)
2)https://www.youtube.com/watch?v=ZMseFrgge5U&t=94s
That is quite cool!
First of all I'd like to thank Mike for inviting me here to post my detailing on my Roban Bell 429.
As most of you know the Roban models do not have too many scale details for the interior so I scratch built some in 3D. First off I made seat backs for all the seats. That was pretty much all I wanted to do but me being a modeller and with time on my hands I went a bit overboard.
The seat belts...
First of all I'd like to thank Mike for inviting me here to post my detailing on my Roban Bell 429.
As most of you know the Roban models do not have too many scale details for the interior so I scratch built some in 3D. First off I made seat backs for all the seats. That was pretty much all I wanted to do but me being a modeller and with time on my hands I went a bit overboard.
The seat belts were made from duct tape cut into small straps. In retrospect that wasn't a good medium for the paint didn't stick very well and would flake off if handled too much. The seat belt buckles were 3D printed from a file from Thingverse of a full scale seat belt shrunk dow from 100% to 10% giving me the ideal size. The front cockpit side vent window frames were from a Bell 206 profile shrunk down from another file printed in flexible TPU to conform with the outside curvature of the window and affixed with very thin clear double back tape because who hates glue blobs on windows!
Small grab handles were also printed and were modeled from full size grab handles for cars and.matched as closely to the 429. Callie Graphics provided the seat graphics. Head sets were 3D printed from full scale head sets reduced down for scale fitment.
I could go on and on but nice weather is calling me so I'm off to the field! I'll be posting videos on my YouTube channel Perry F.@ret737 as my full maiden with the 429 with interior so stay tuned.
Please enjoy the pics I have provided and if you have any questions feel free to ask.


The cockpit for Volker Jung's K-Max 1200 is now also almost finished. Only the ceiling panel is missing.
www.scale-print.de
 Jon E.
 Uwe B.

 Butch W.






 Loren F.