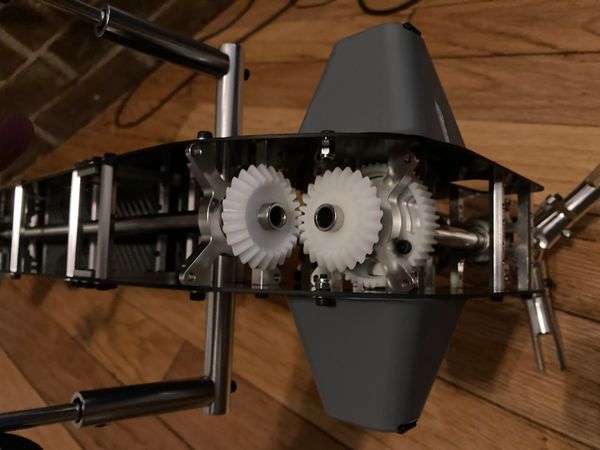
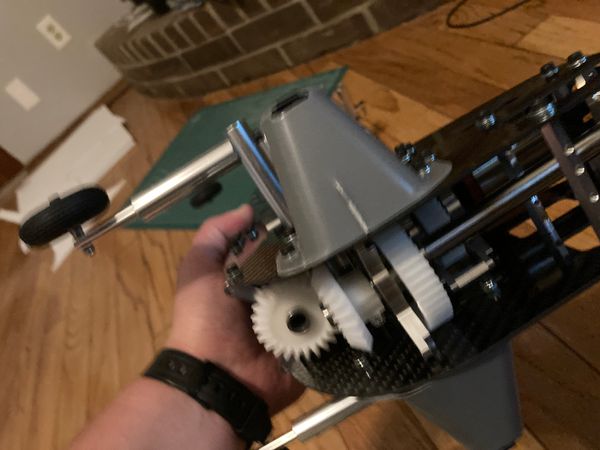
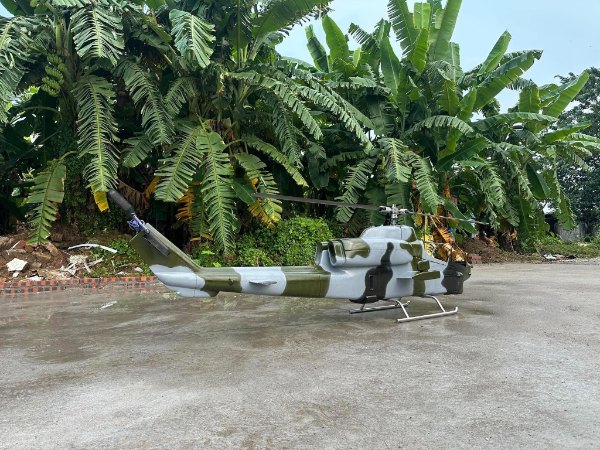
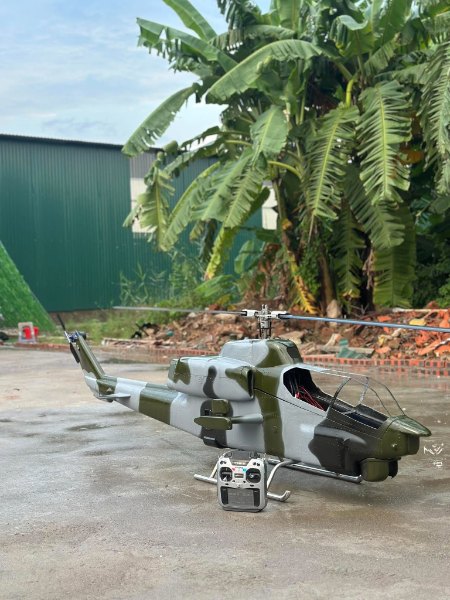
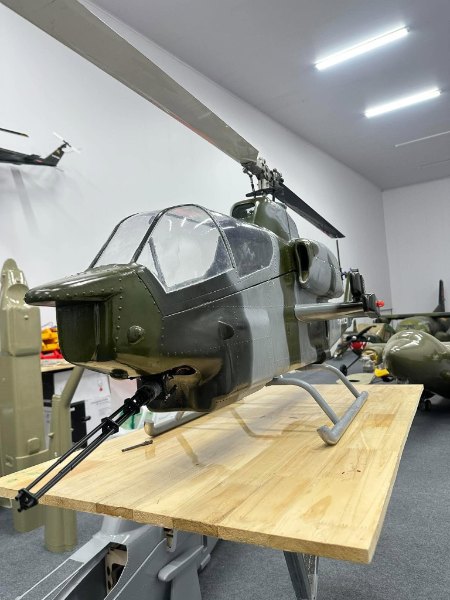
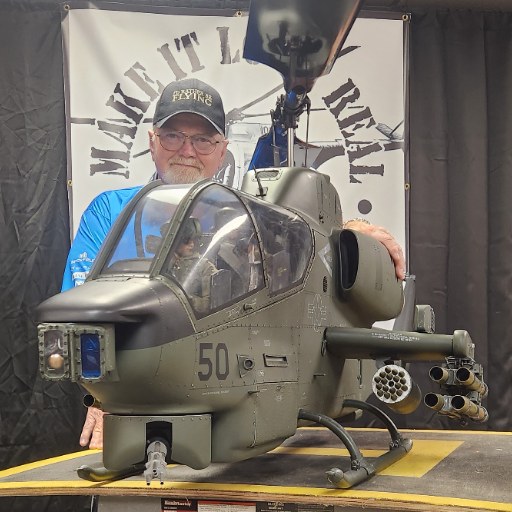
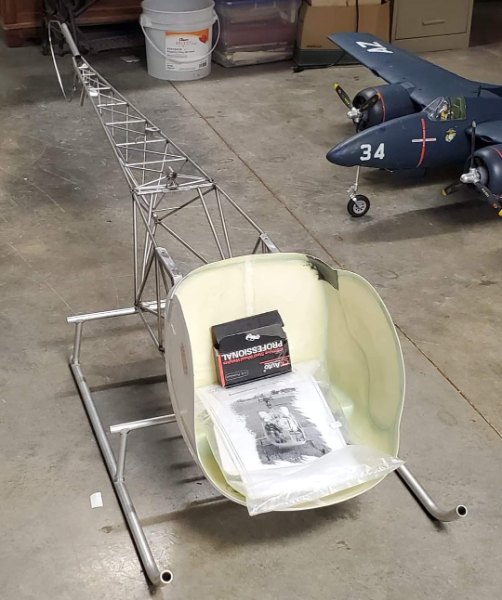
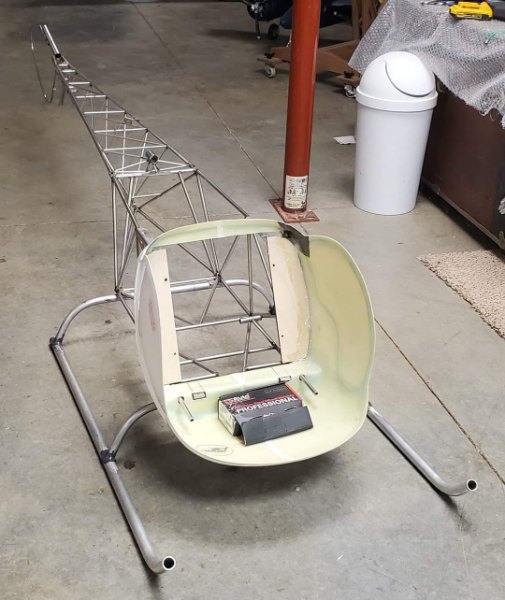
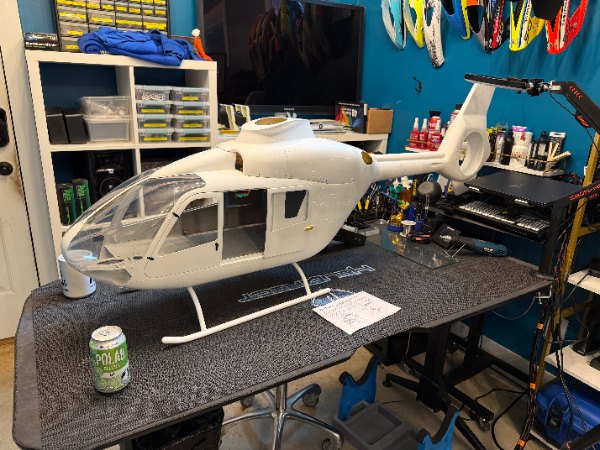
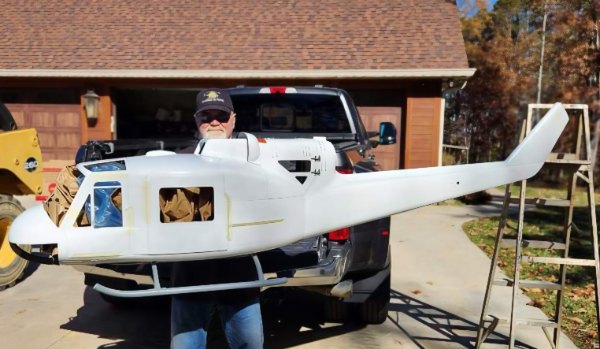
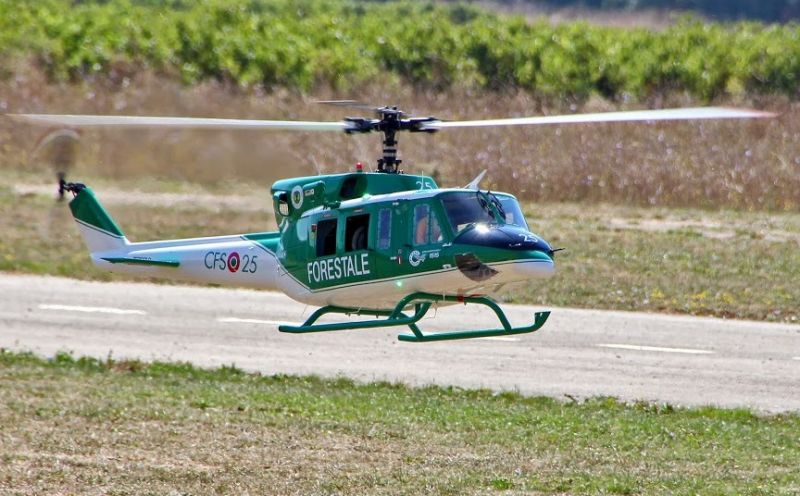
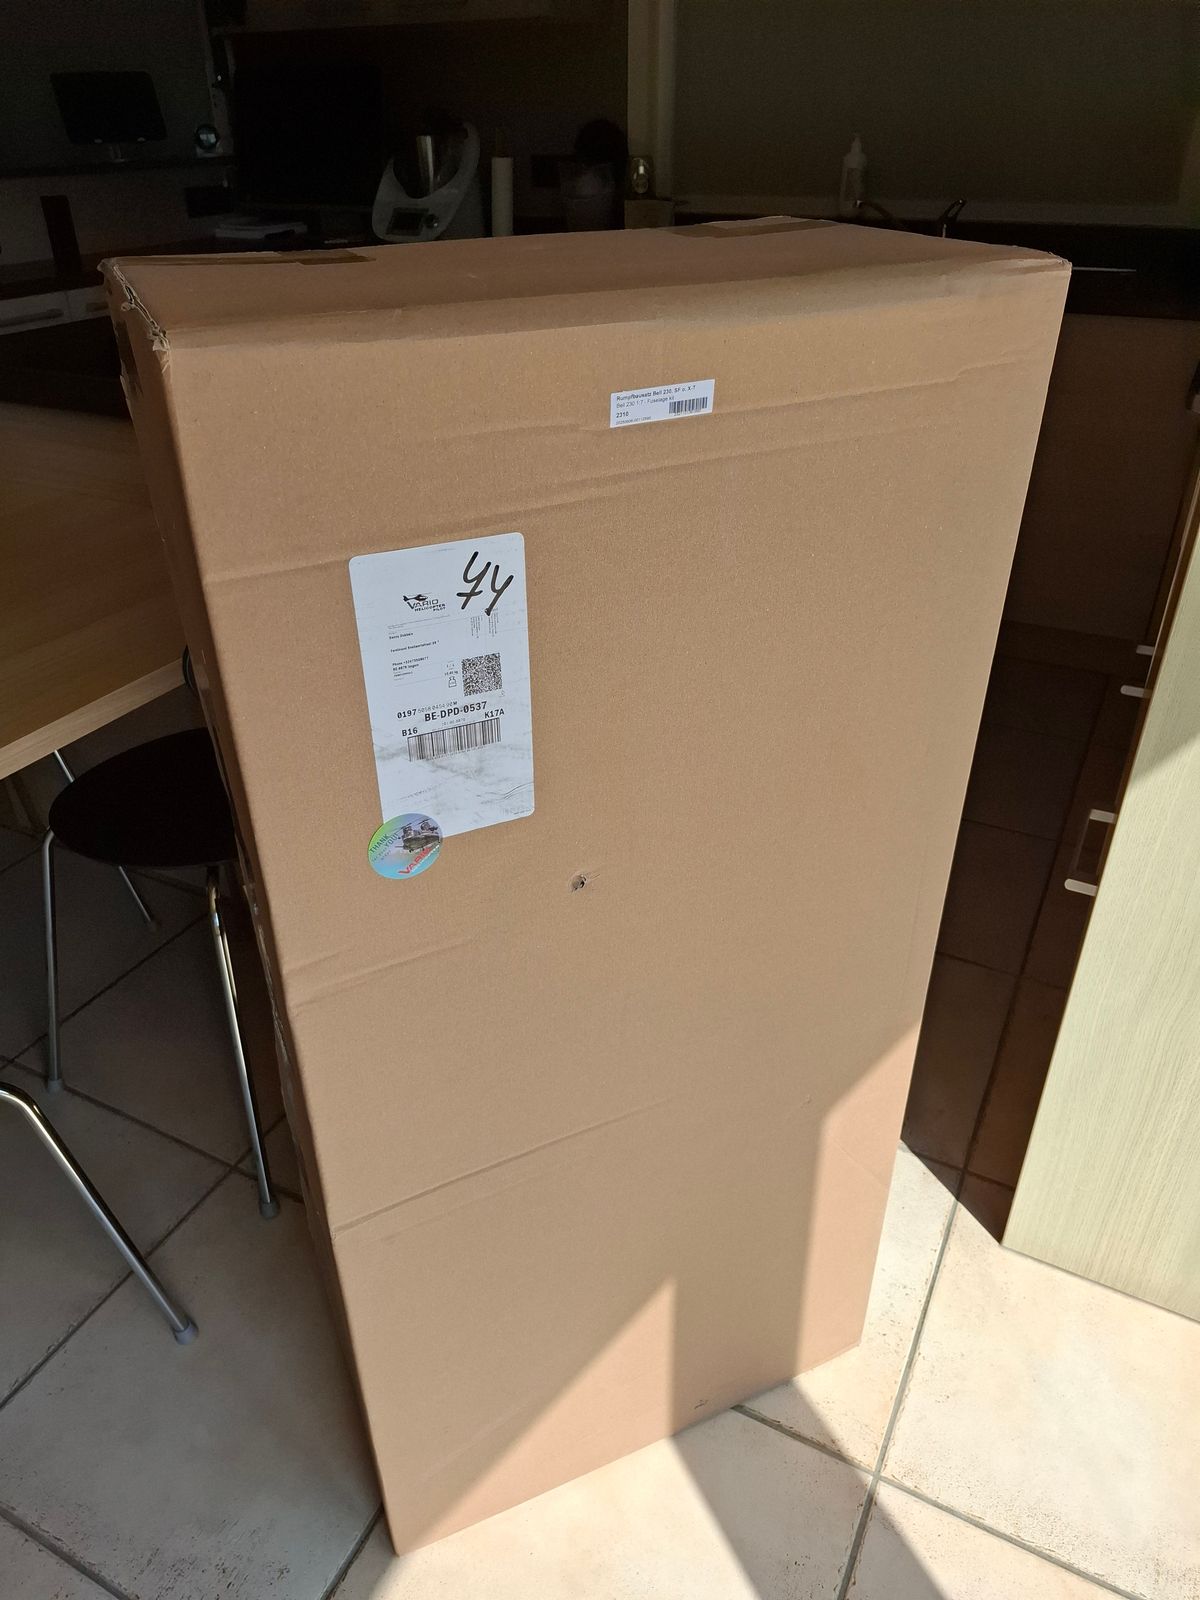
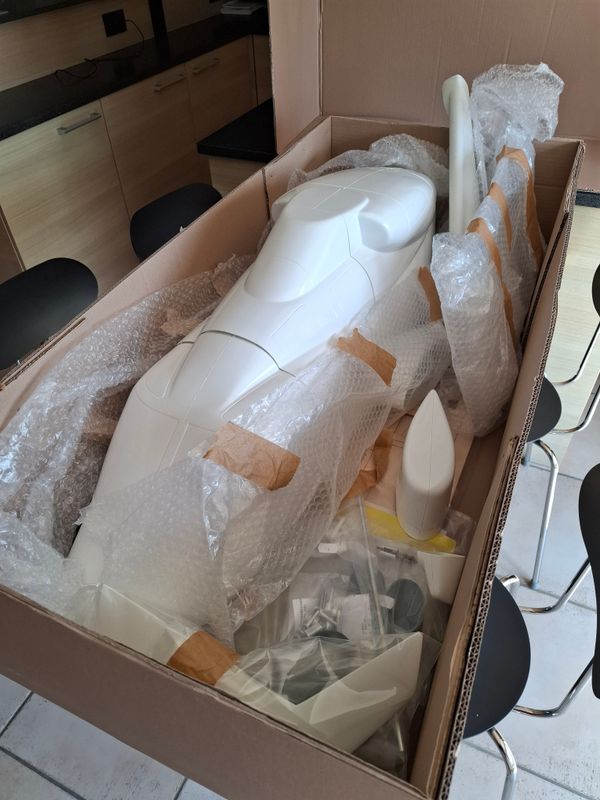
The aircraft fuselage is cast from composite material using custom-made molds, then reinforced with a balsa wood framework and a system of structural ribs. Each component undergoes a center-of-gravity calibration process before moving on to the finishing stage. The product is delivered unpainted, allowing the project owner to select their own color scheme and level of detail; alternatively...
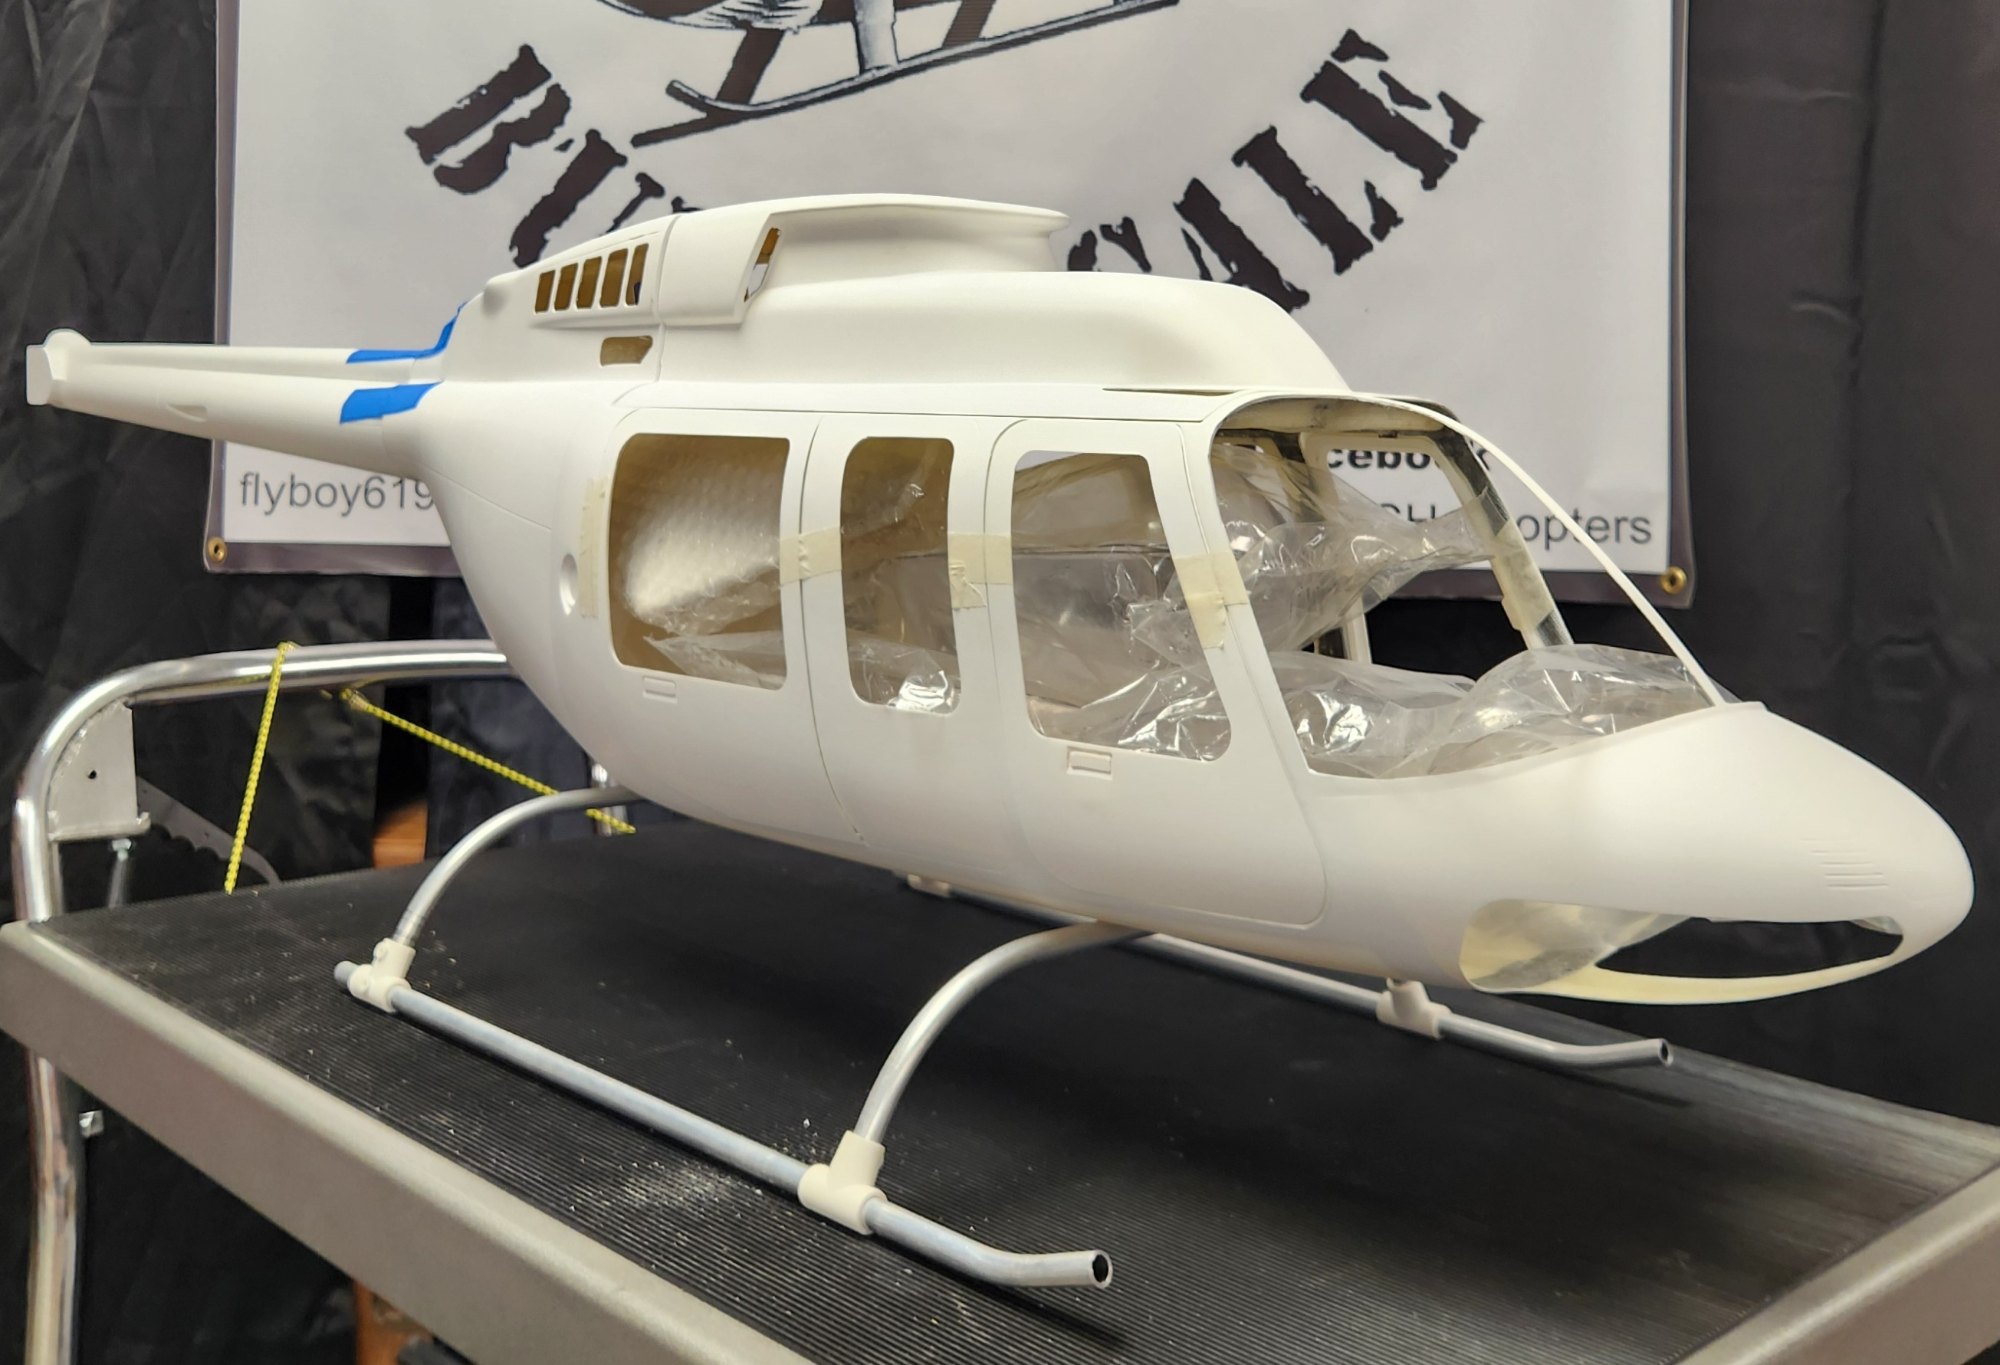
The aircraft fuselage is cast from composite material using custom-made molds, then reinforced with a balsa wood framework and a system of structural ribs. Each component undergoes a center-of-gravity calibration process before moving on to the finishing stage. The product is delivered unpainted, allowing the project owner to select their own color scheme and level of detail; alternatively, clients may request that the workshop complete the finishing process according to agreed-upon specifications.
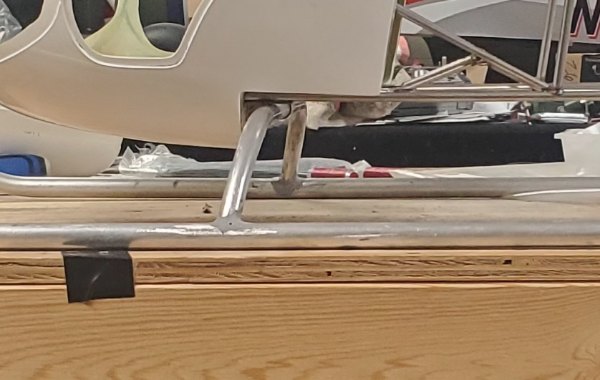
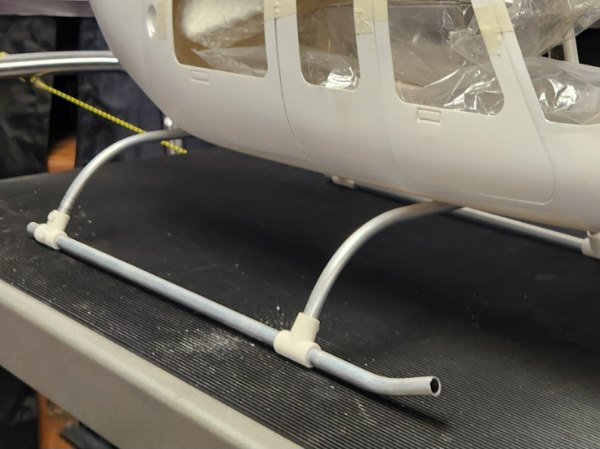
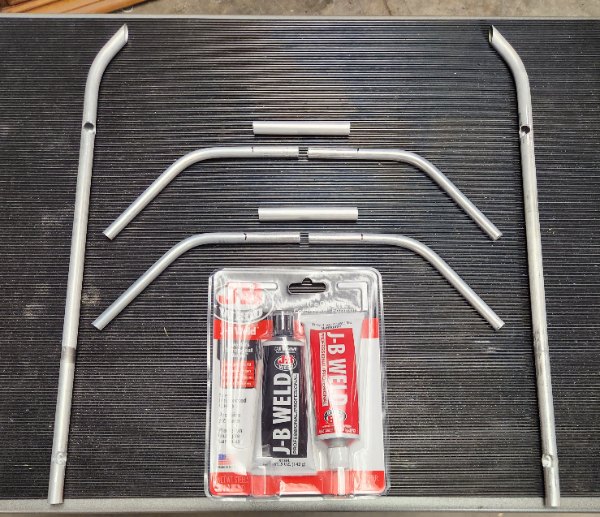
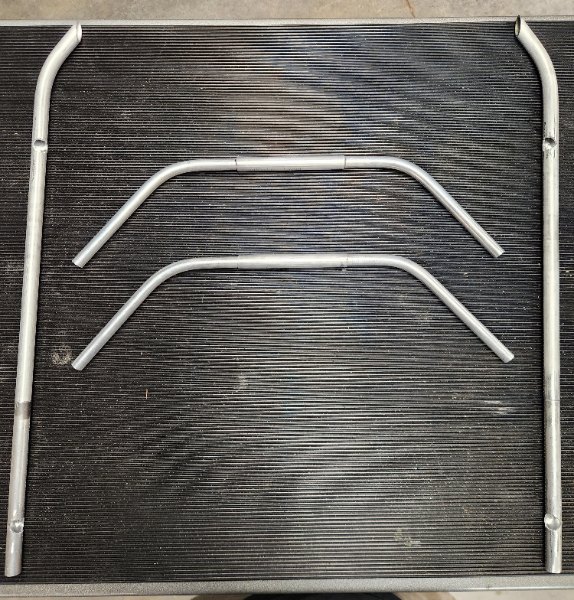
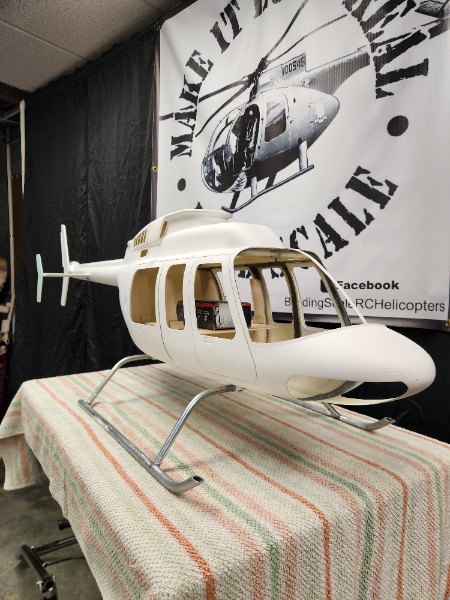
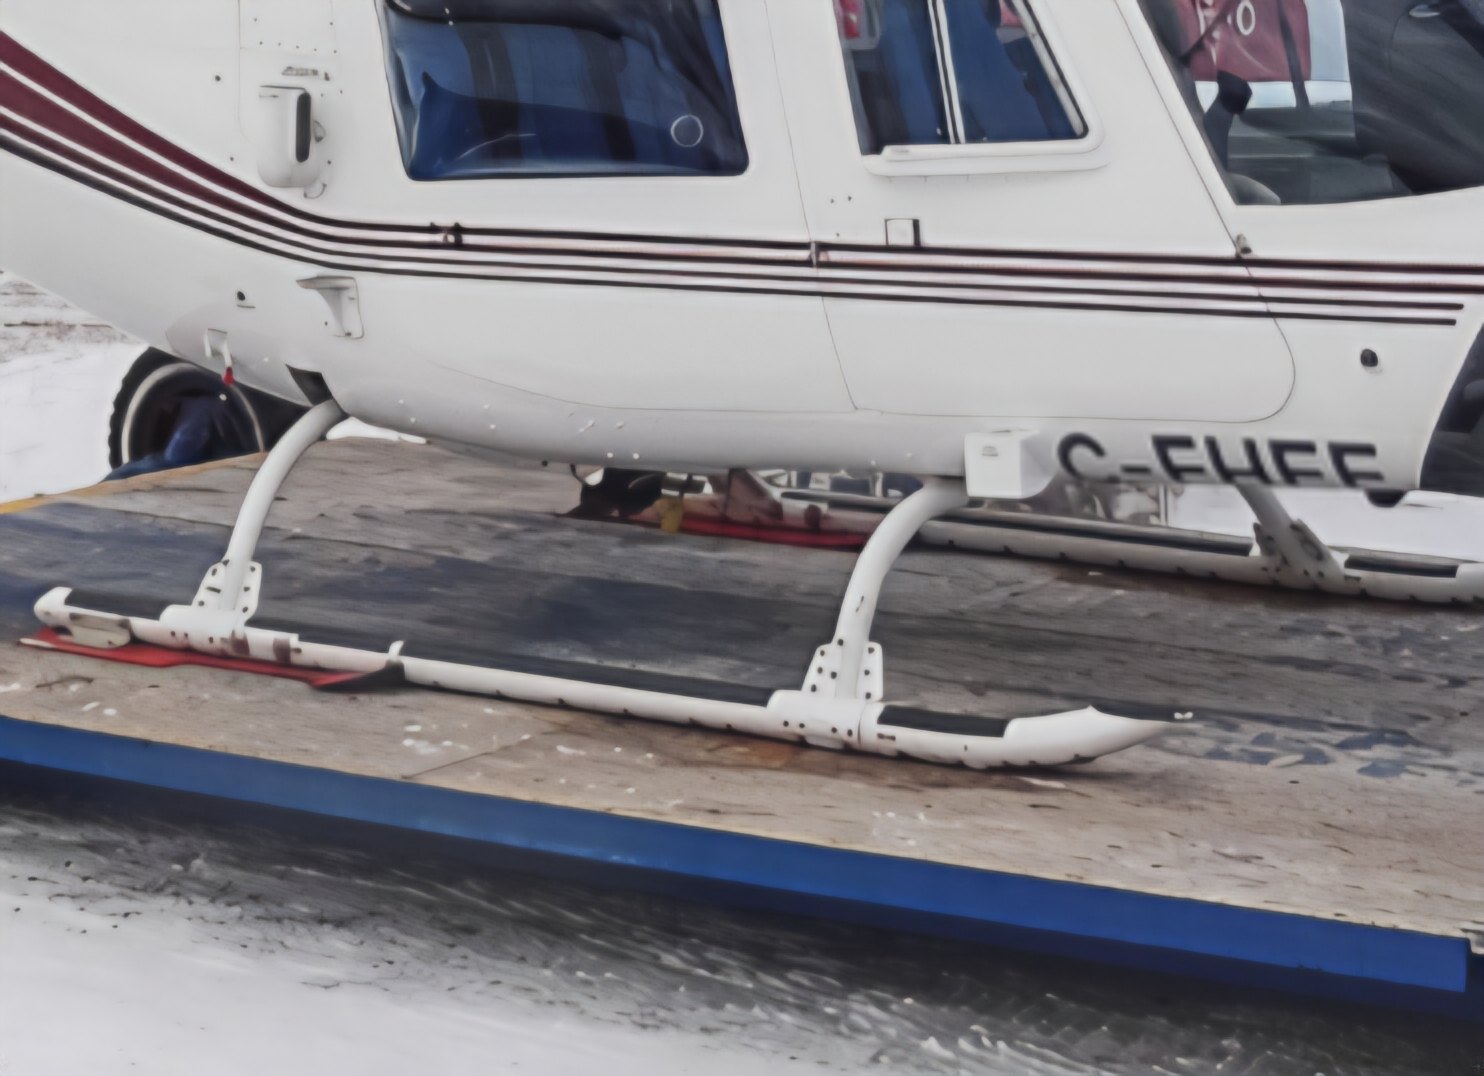
Check out Jon Ellis' latest article on scaling up your skids!
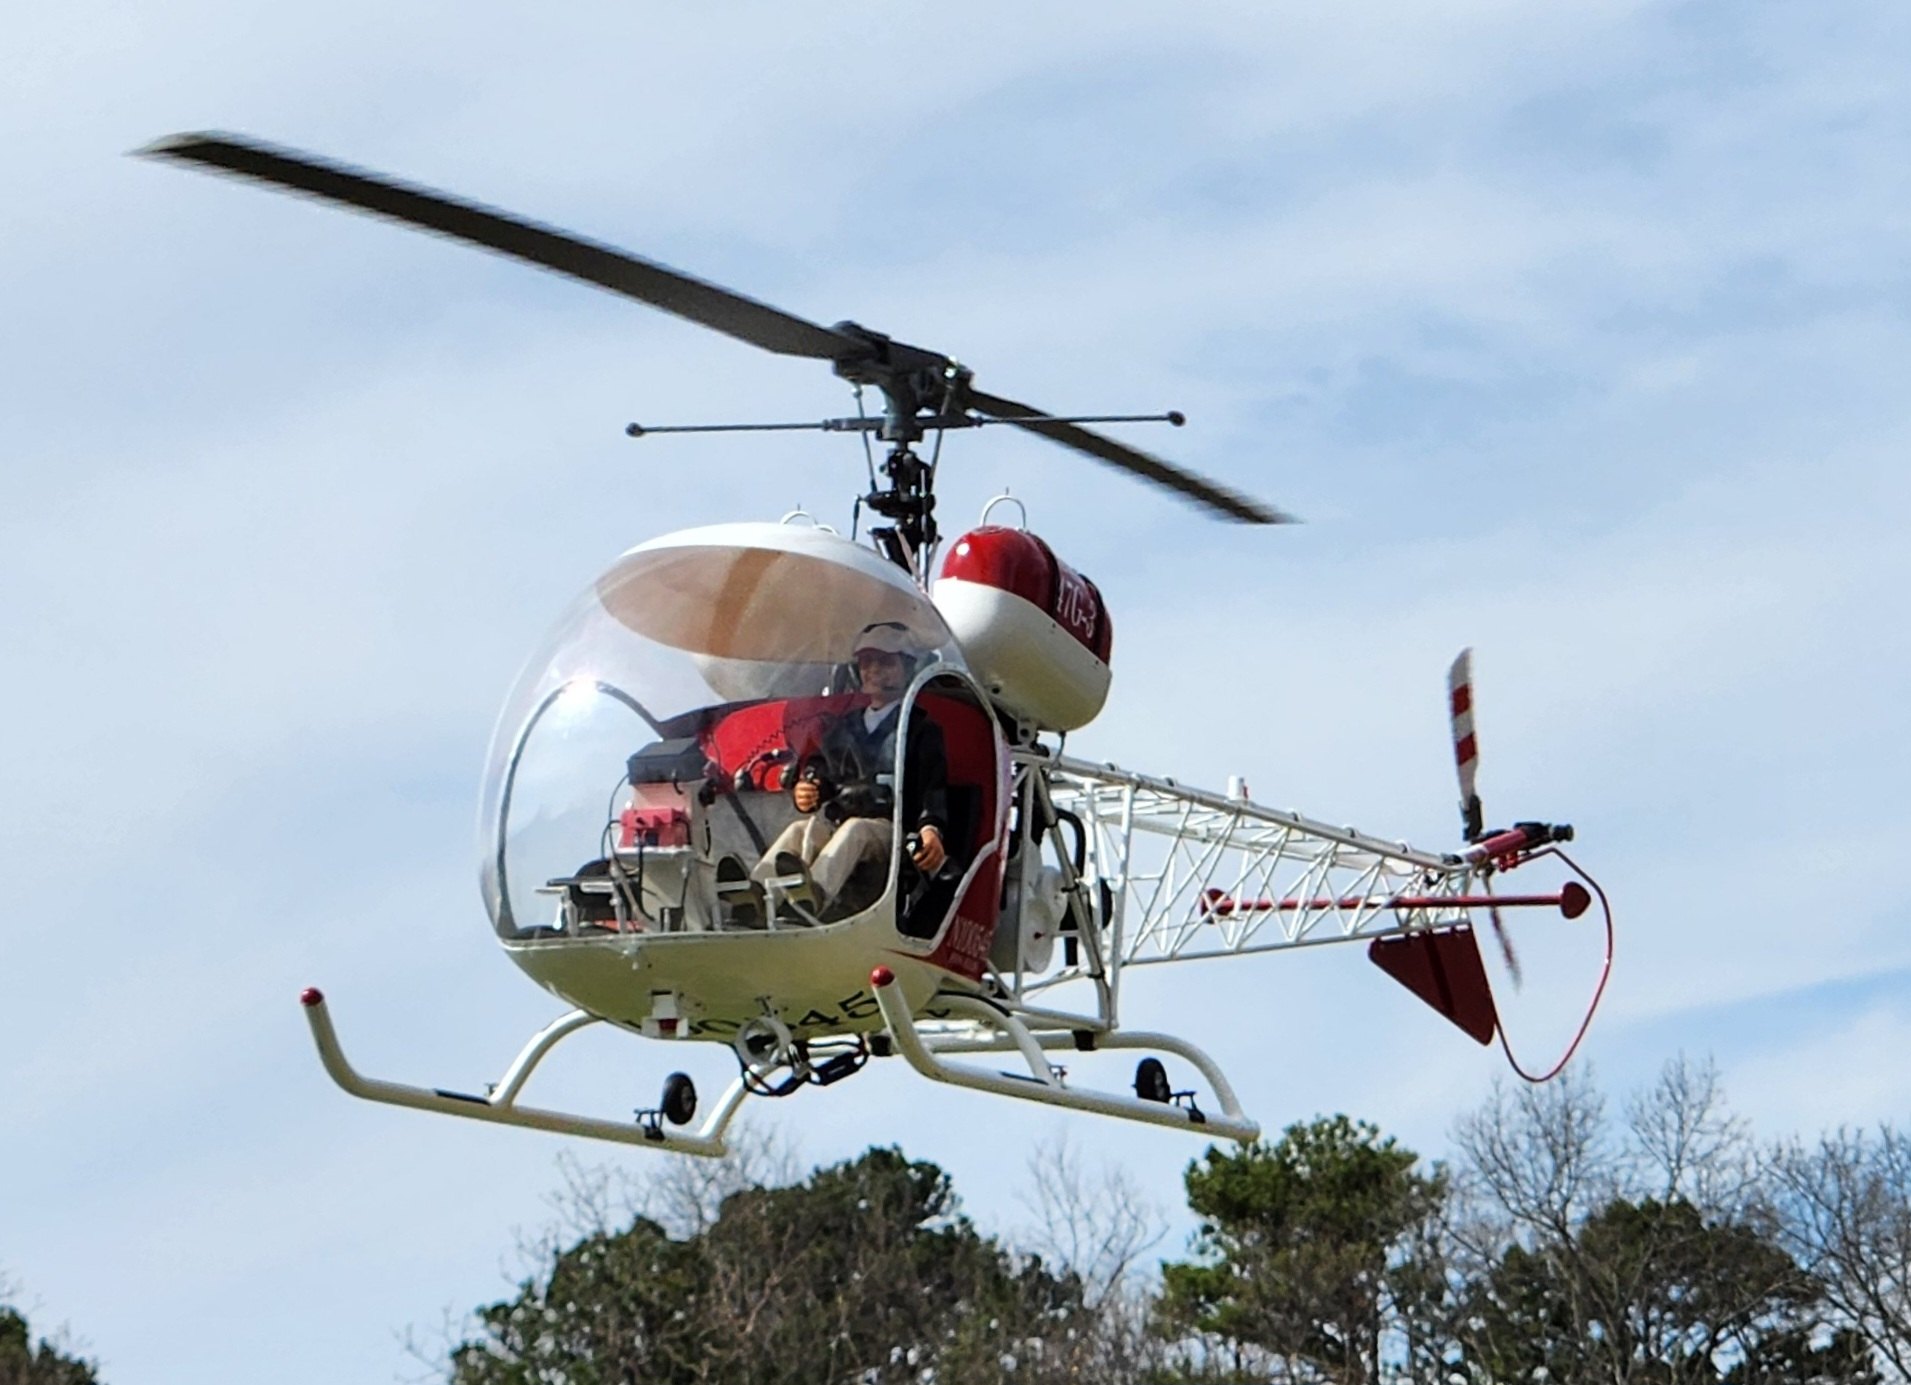
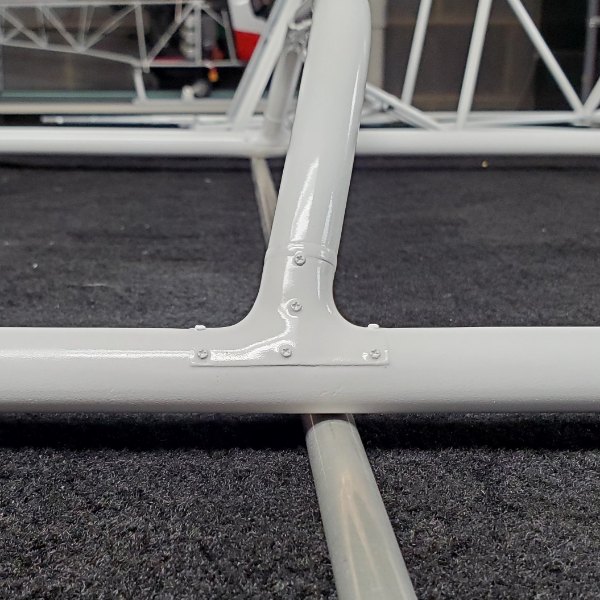
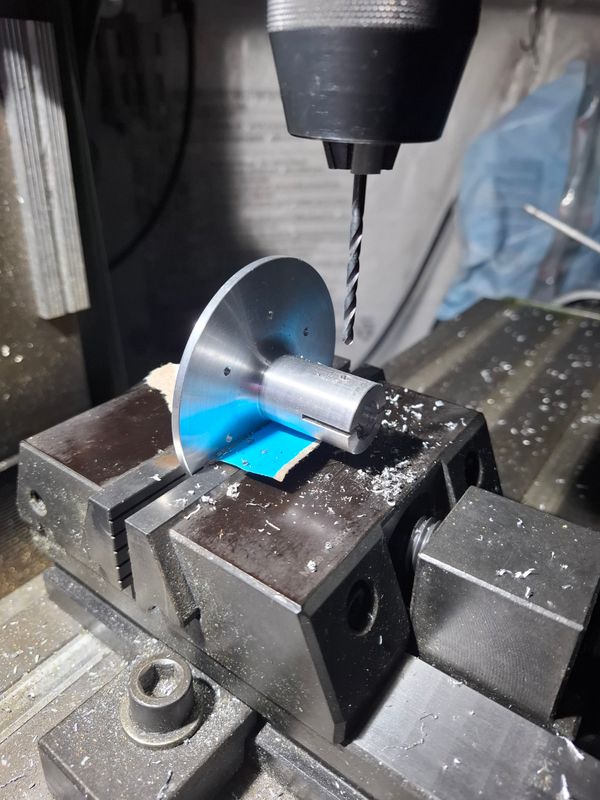
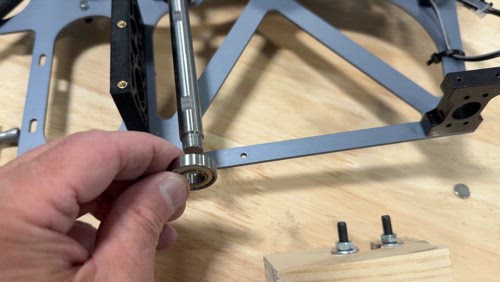
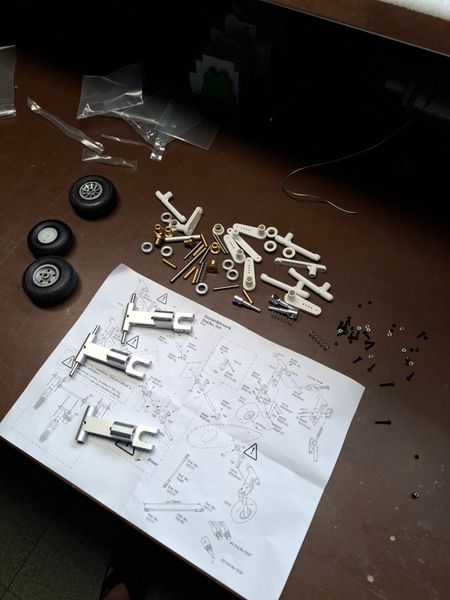
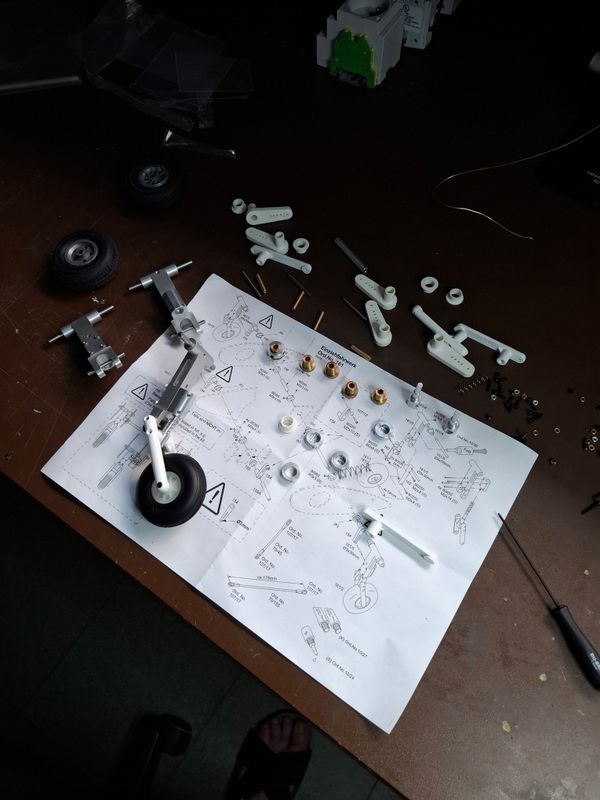
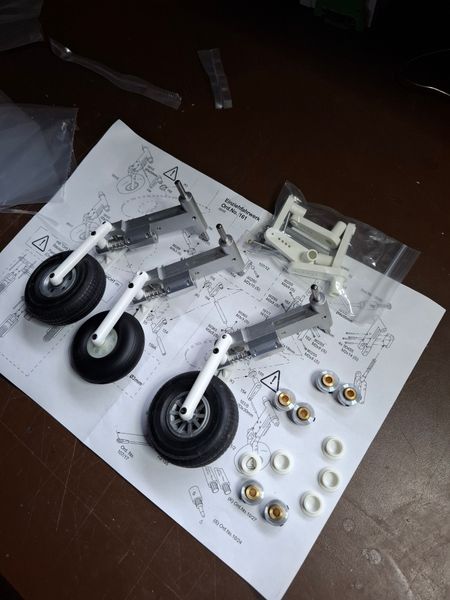
This little bit of detailing will be important to those of you that are like me and don't have the equipment to weld metal and aluminum or do not want the expense of having it custom made (professional... more
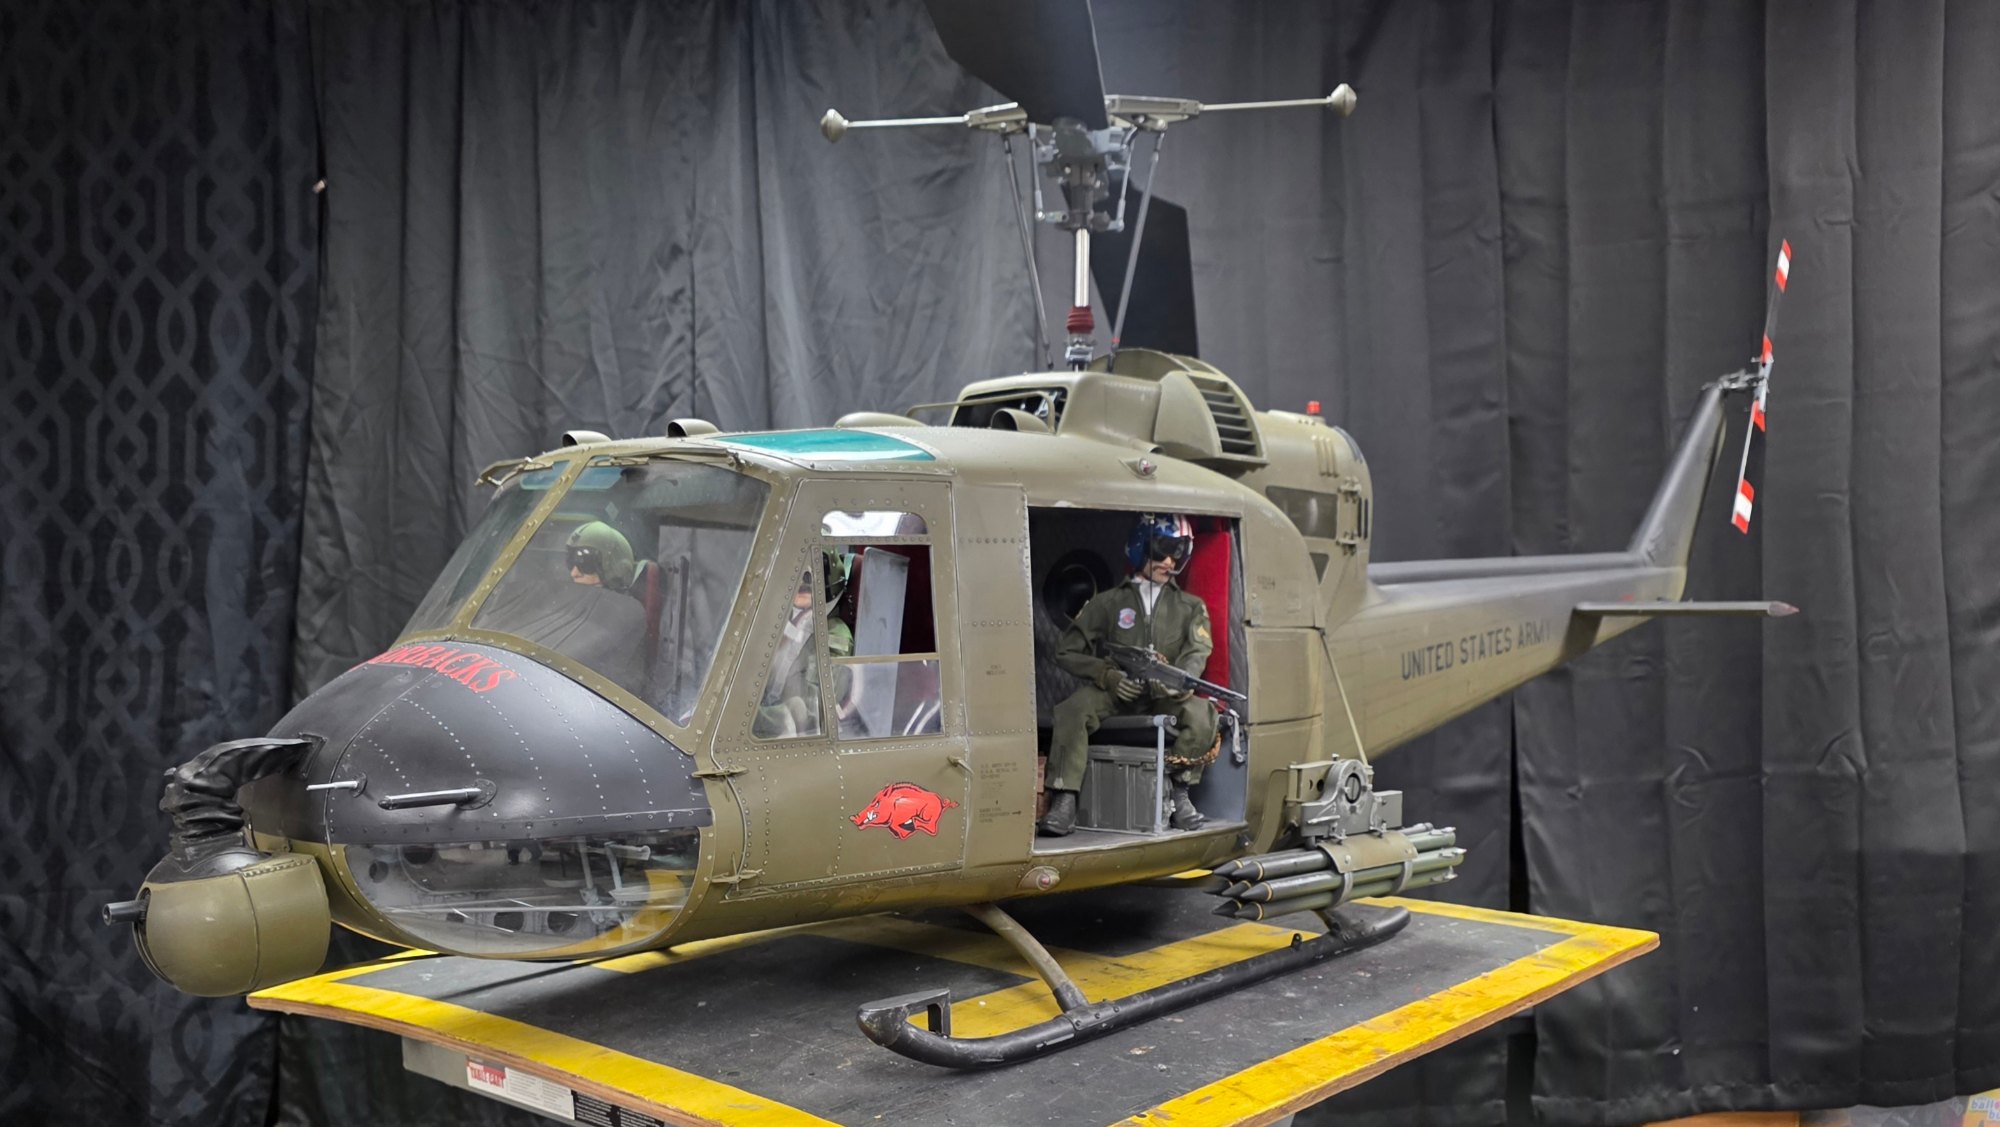
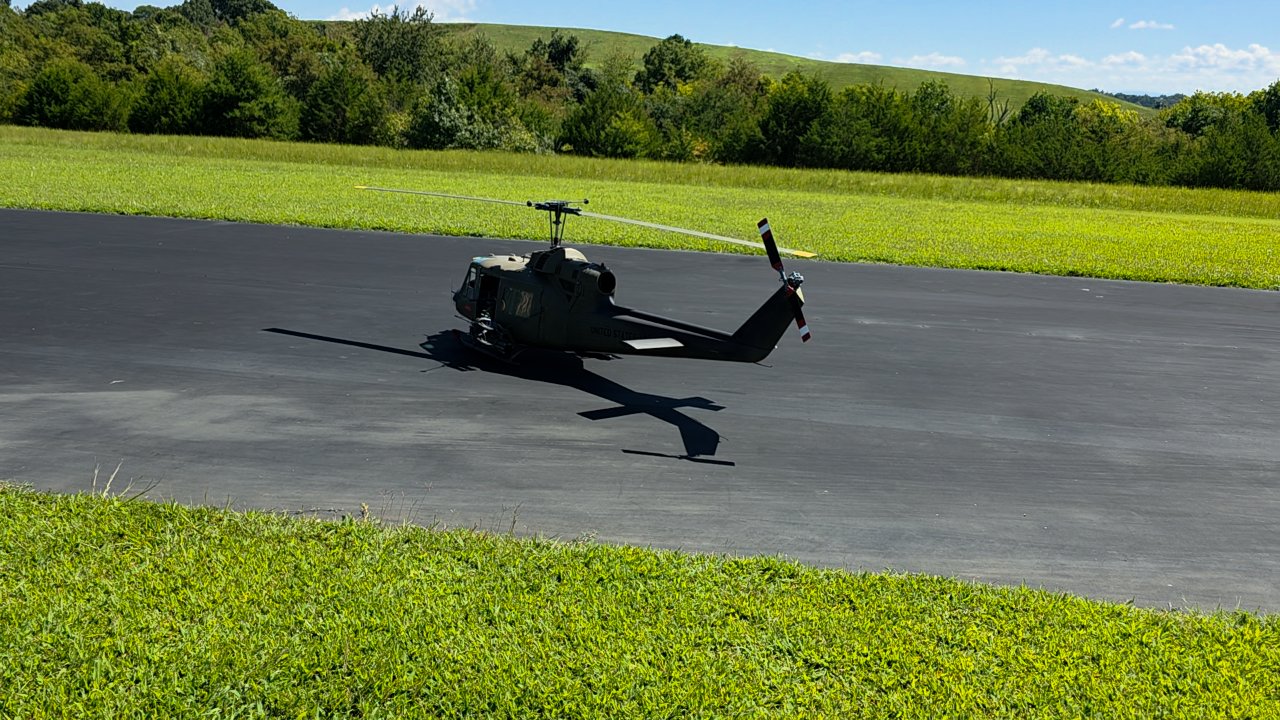
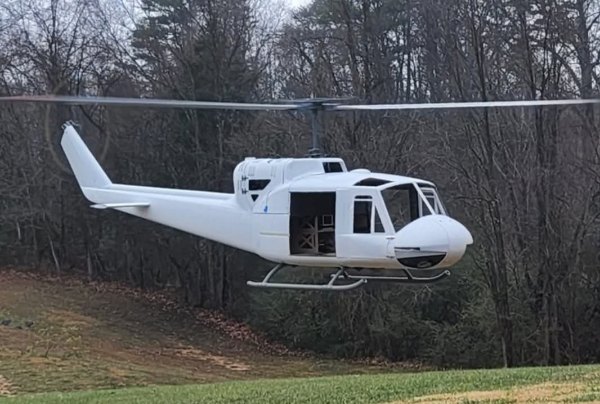
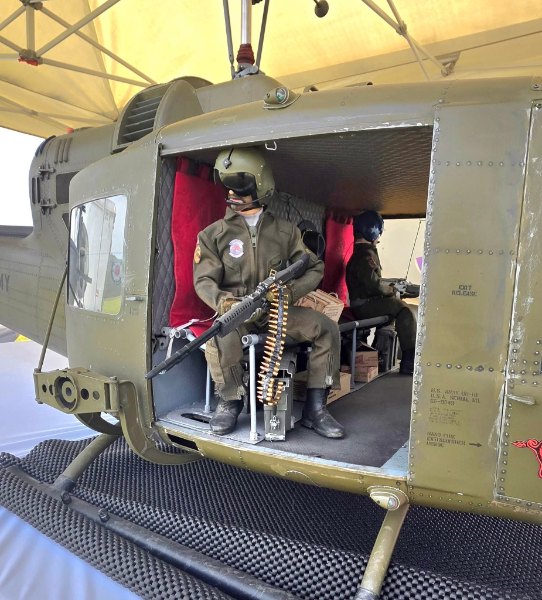
I have built many Hueys, from the Hirobo 30 size to the big gas powered Hirobo but this 1/4.8 scale Huey is the largest at around 98 inches. The first picture is how it came out of the box. I had read many things about the HELI-FACTORY models and the detail and quality was much more than expected. This is one of their "Super Scale" models with rivets and raised panels, panel lines and many other...
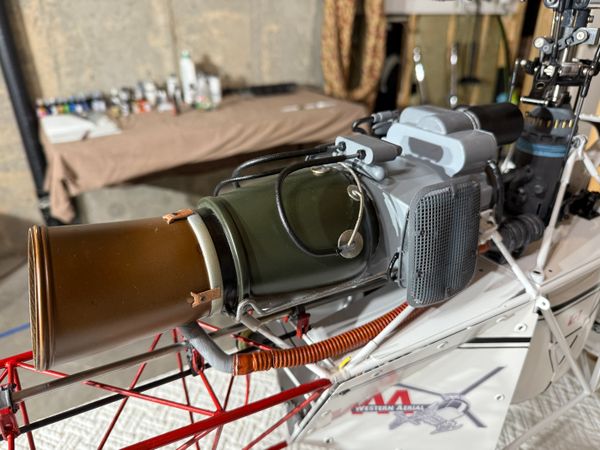
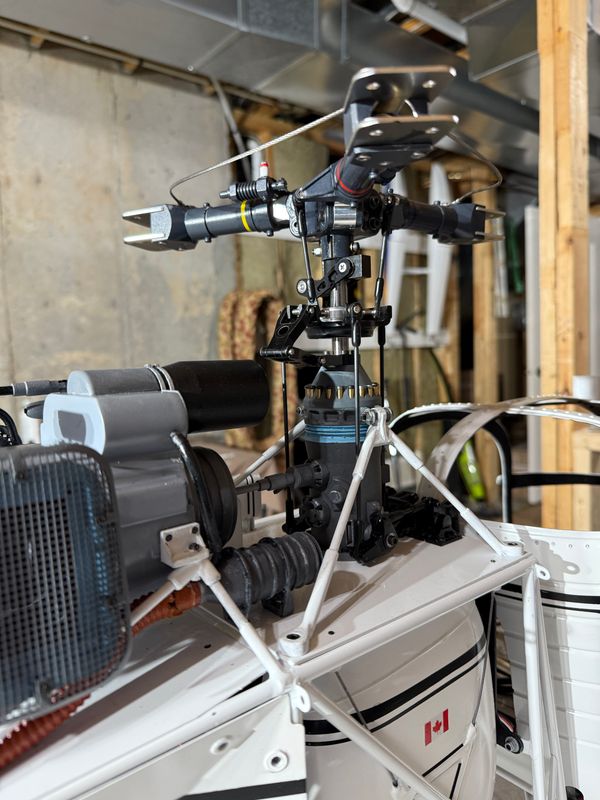
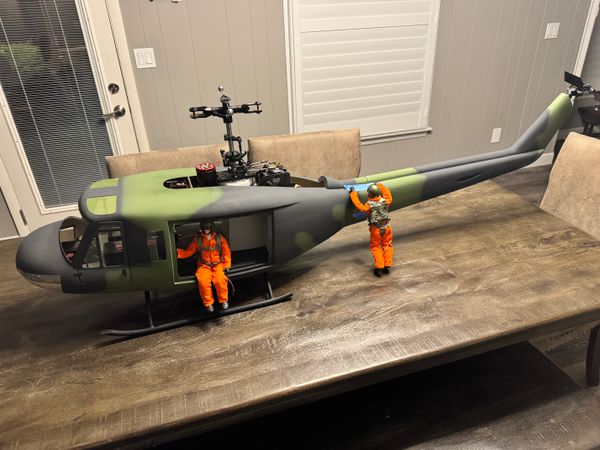
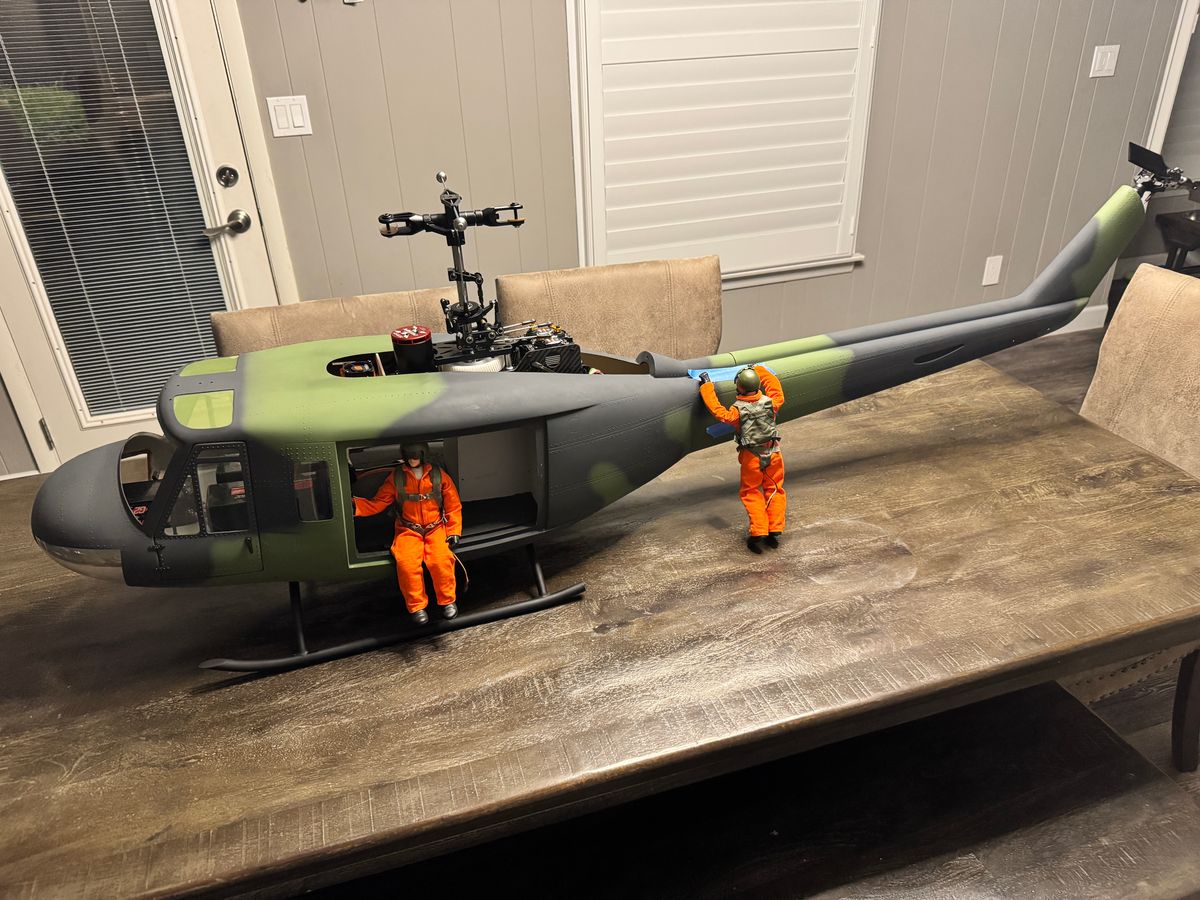
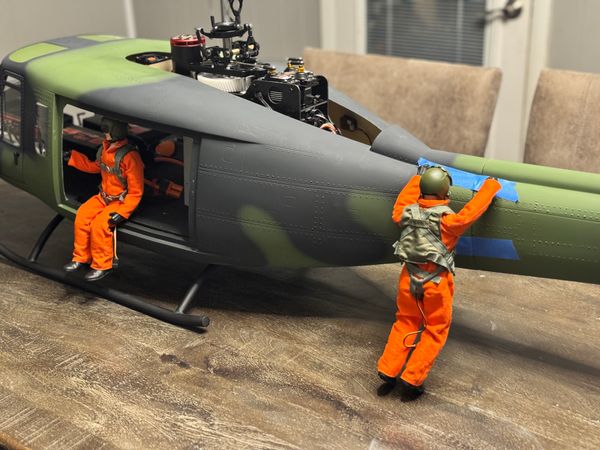
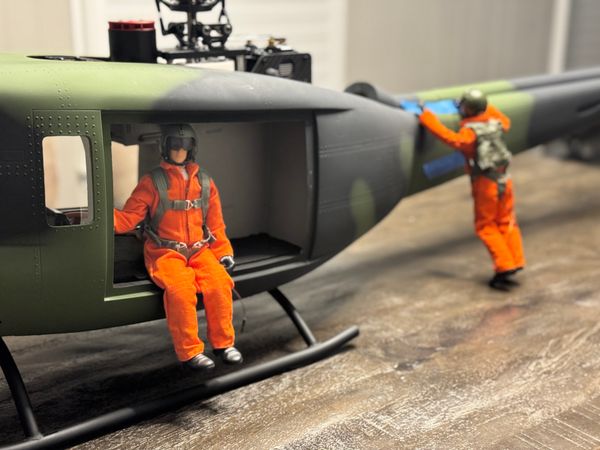
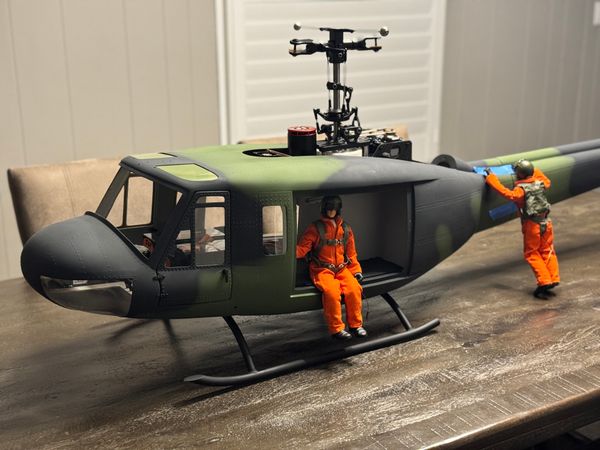
I have built many Hueys, from the Hirobo 30 size to the big gas powered Hirobo but this 1/4.8 scale Huey is the largest at around 98 inches. The first picture is how it came out of the box. I had read many things about the HELI-FACTORY models and the detail and quality was much more than expected. This is one of their "Super Scale" models with rivets and raised panels, panel lines and many other exterior details created during the manufacturing of the fuselage. HELI-FACTORY cuts out all opening panels and doors/windows and pre-installed all the woodword ready for the mechanics to be installed. The mechanics were assembled and ready for the installation of my Spektrum electronics, Kontronik 1000 and Kontronik 200 ESC. I installed a sound system for a very realistic start-up and shutdown. The rotor head is the most realistic Huey head I have seen in a model. The cockpit and armament are a product of SCALE-PRINT. The pilots and gunners are from TailoredPilots. I had the model flying within a couple of weeks "in the white" to get it airworty before disassembly for paint, personal detailing and weathering. I chose to build this Huey to represent a "C" model flown by the "Razorbacks" gunship platoon in Vietnam. The dummy turbine engine and M40 nose mounted granade launcher were 3D printed by Russell Rohan. I prefer my models to look well used and this one is highly weathered. Everything fit perfectly and flys GREAT !!!
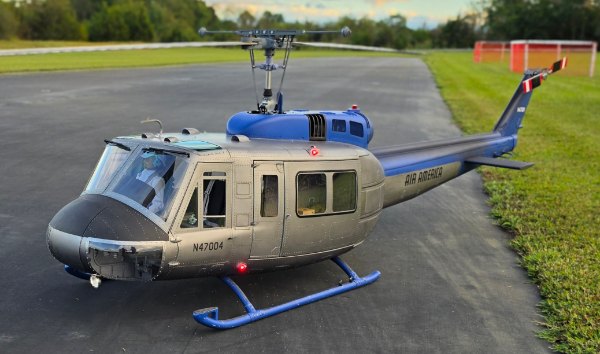
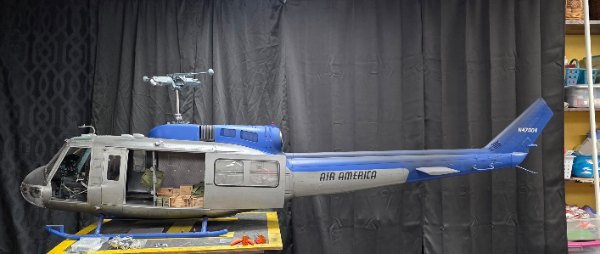
I have been an avid admirer of Heli-Factory models for several years as well as a very big fan of the Bell HUEY. I have several thousand hours in helicopter aviation and had the opportunity to fly the Huey and have been "hooked" ever since. With Heli-Factory introducing the 1/5th scale Bell 205 last year I had to have one and it is one of my most prized models. I have an acquaintance who flew...
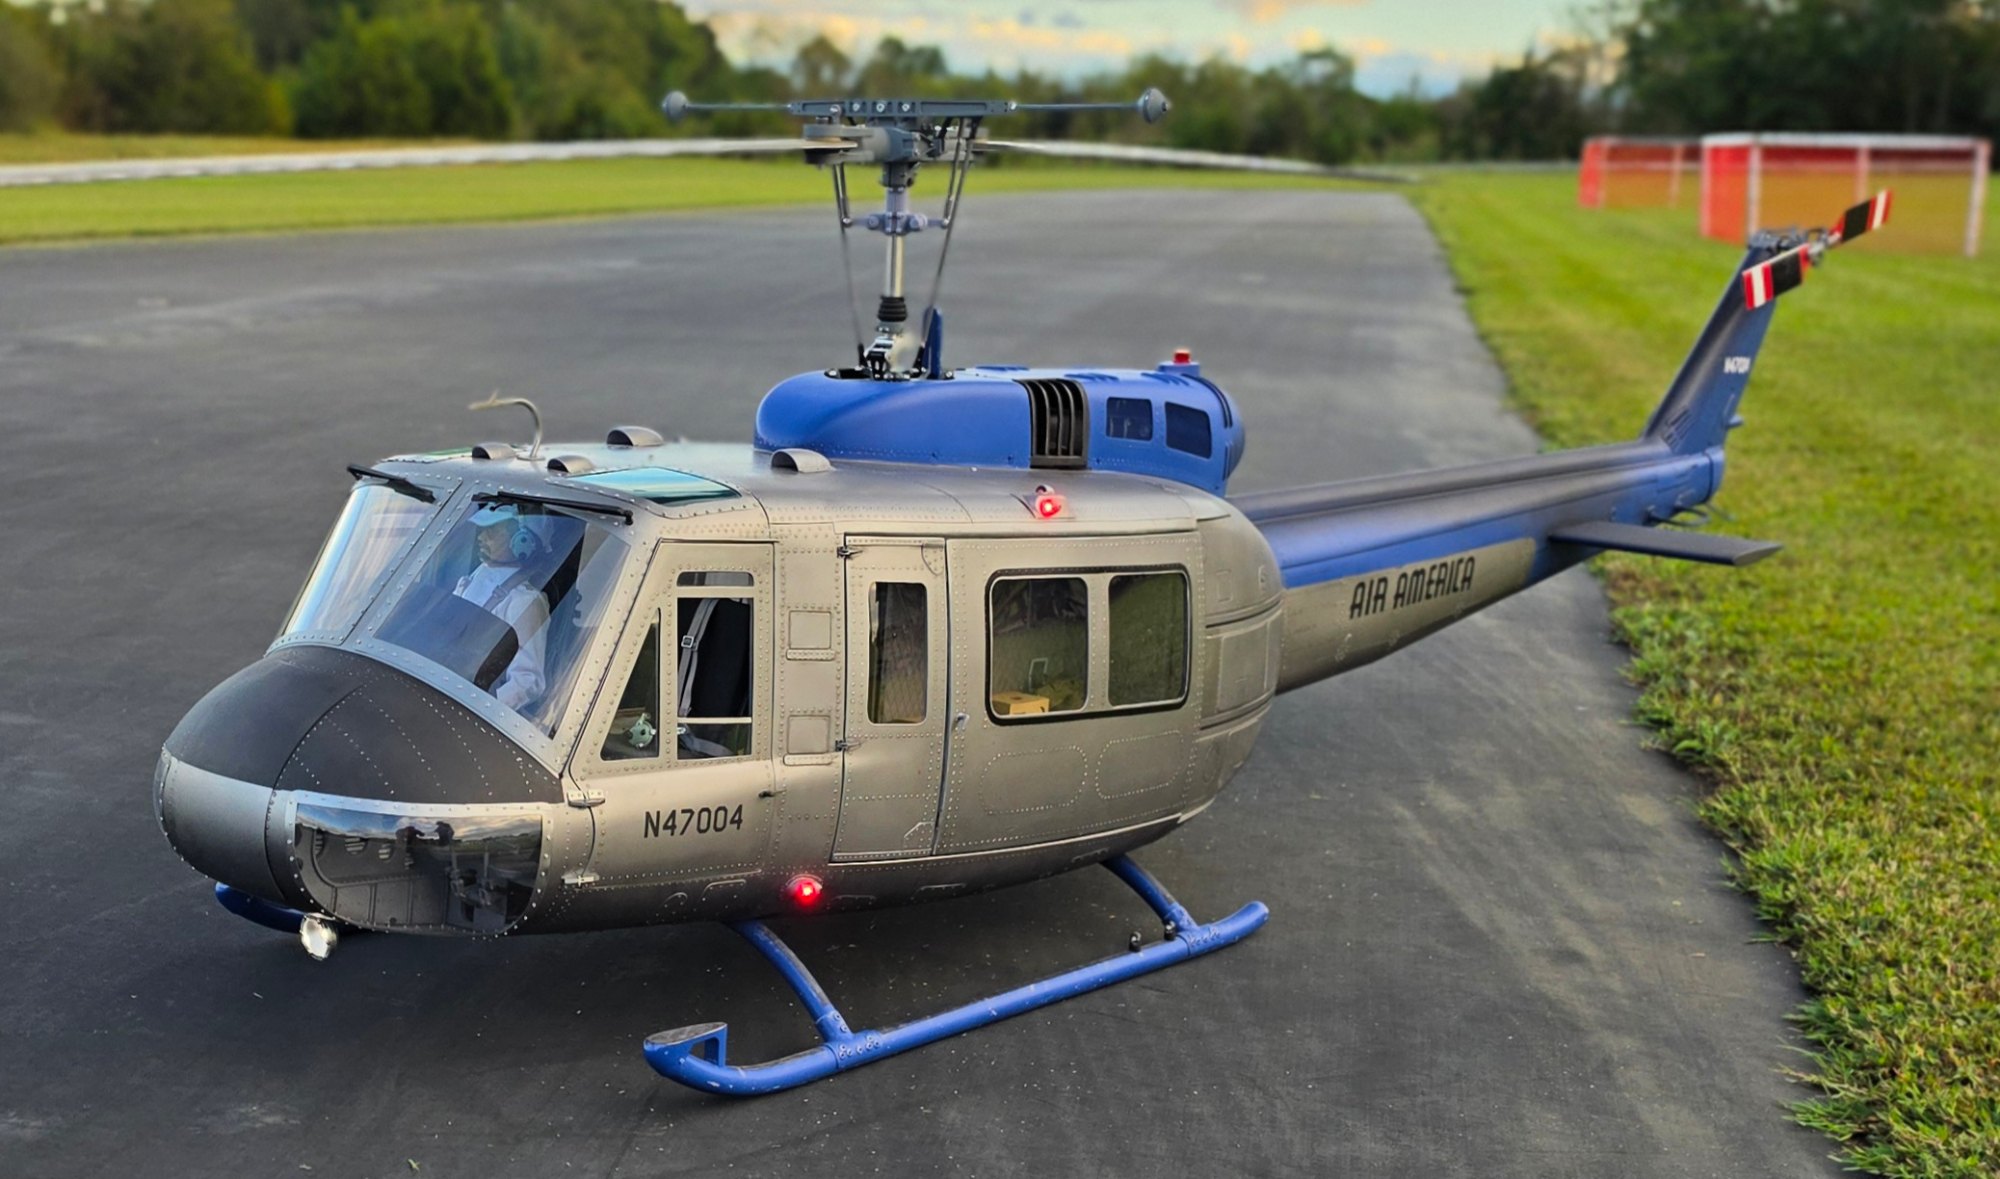
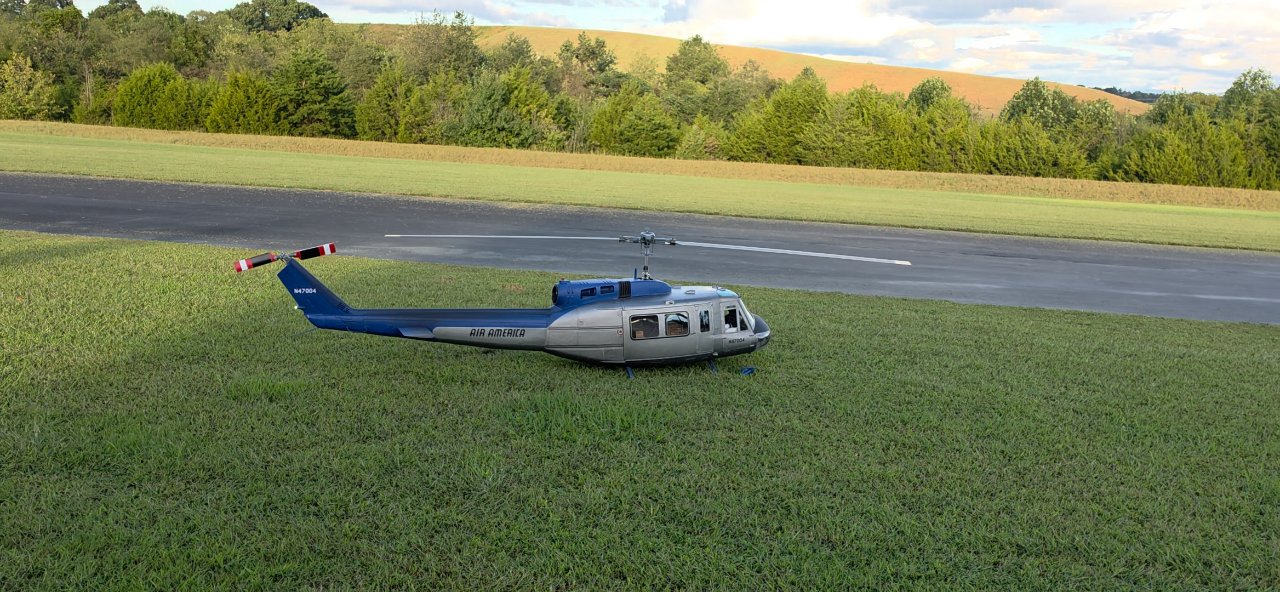
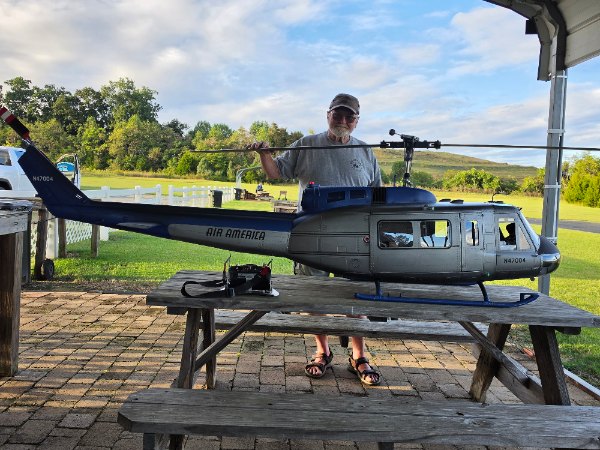
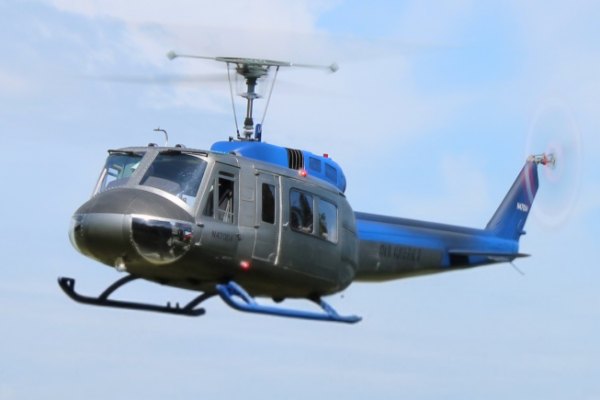
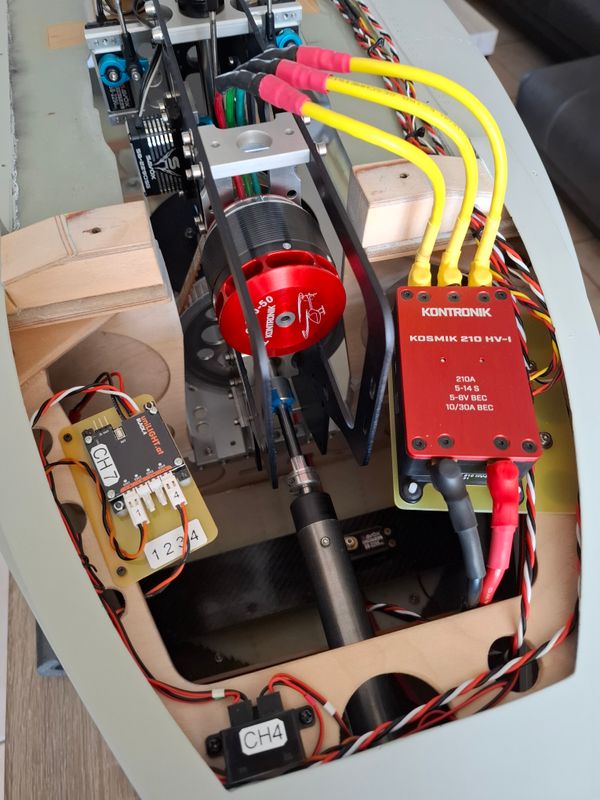
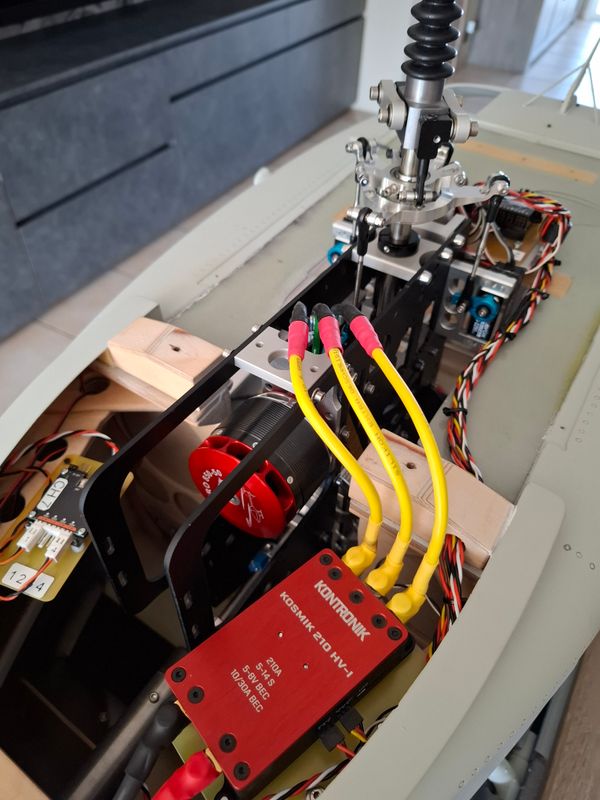
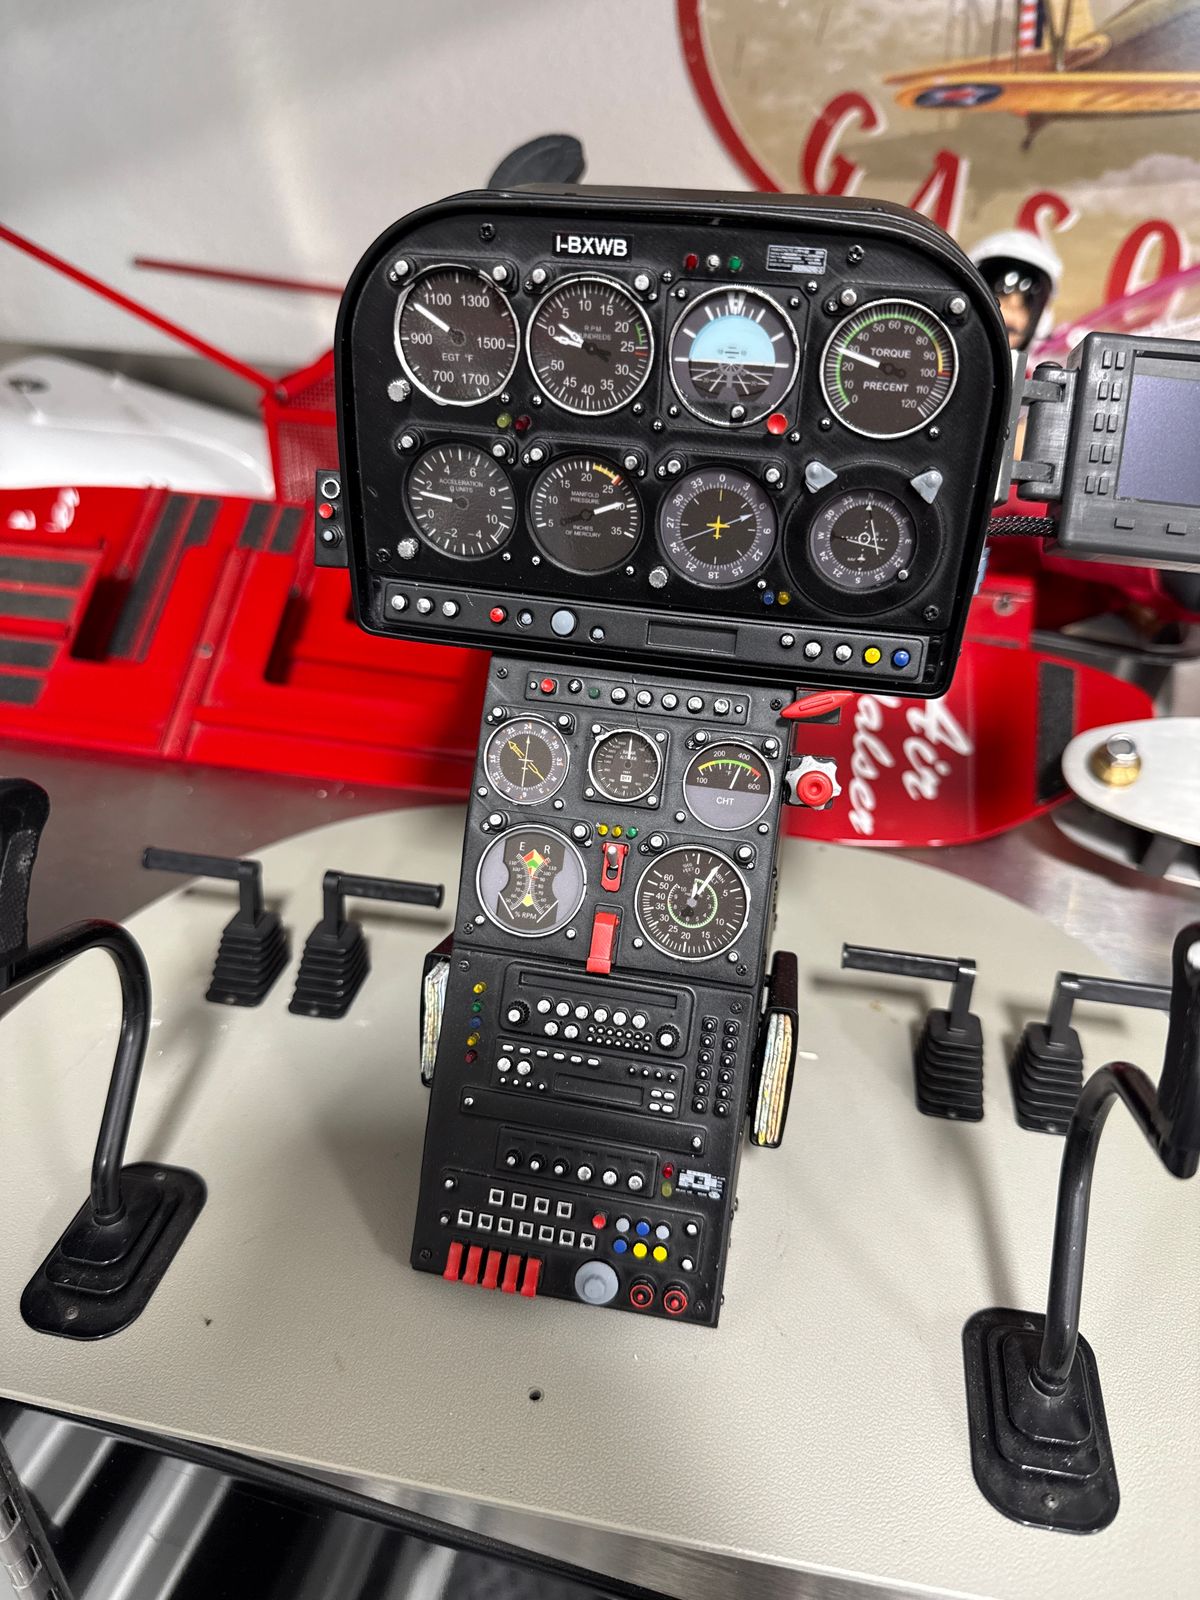
I have been an avid admirer of Heli-Factory models for several years as well as a very big fan of the Bell HUEY. I have several thousand hours in helicopter aviation and had the opportunity to fly the Huey and have been "hooked" ever since. With Heli-Factory introducing the 1/5th scale Bell 205 last year I had to have one and it is one of my most prized models. I have an acquaintance who flew for Air America in the sixties and I wanted to build this 205 to represent a 205 flown by the "CIA" covert airline. This model is about 96 inches in length. This is the first Heli-Factory Bell 205 using electric for power. The mechanics are designed and geared for turbine use so I reached out to Vincent Offenbeck at Egodrift with the necessary information and he recommended the 5040HS-385 using a Kontronik 210ESC and running on 14S. All Spektrum electronics, Bavarian 3X. I have added a BEIER-ELECTRONIC.DE sound system. The cockpit and exterior detailing are a product of Scale-Print, the pilot is from PremierPilots and detailed with the necessary Air America clothing and patches. With the mechanics hidden I had lots of room for scale accessories. Air America was famous for "across the border" operations that were not allowed by the U.S. Military in Vietnam. They flew a lot of cargo resupply ( among other things, lol ) and that is what I wanted to represent. The model is painted in Air America colors of silver and blue and this one is highly weathered to represent a well used helicopter. The 205 has a RTF gross weight of 54 pounds and flys GREAT.
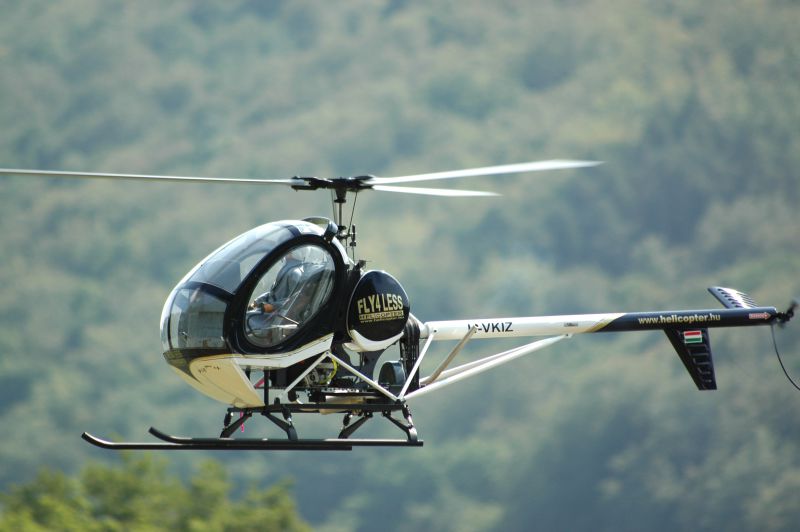
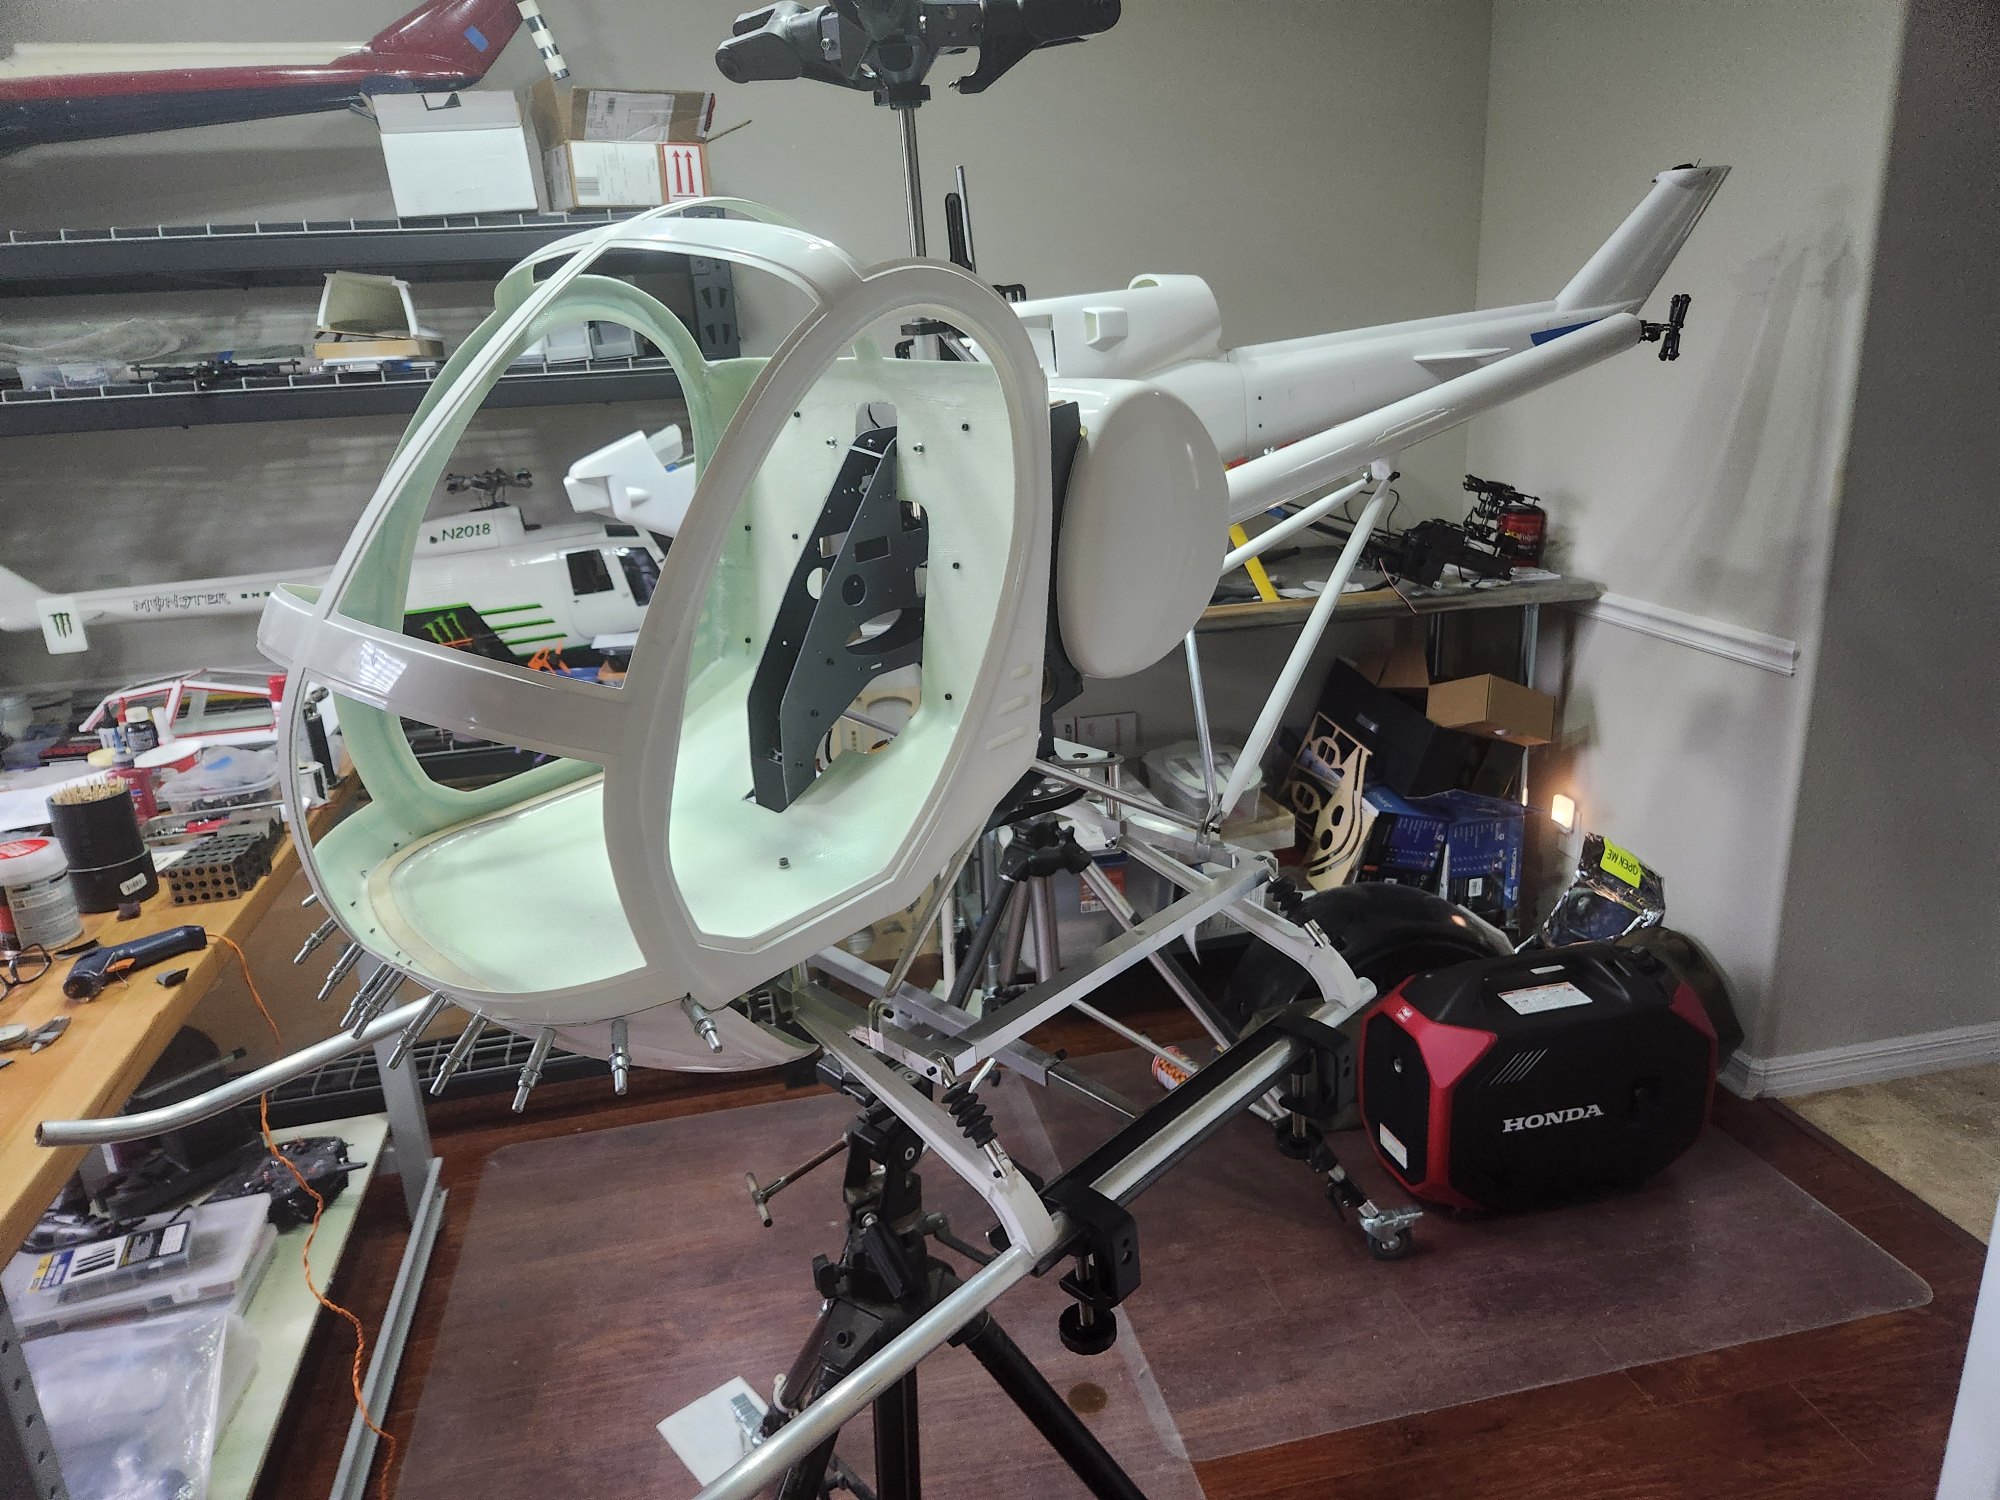
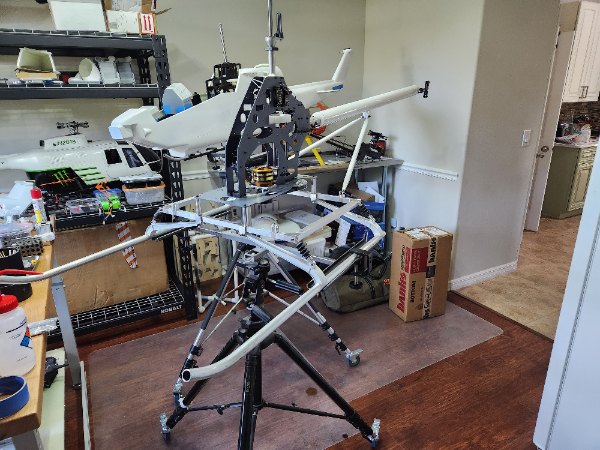
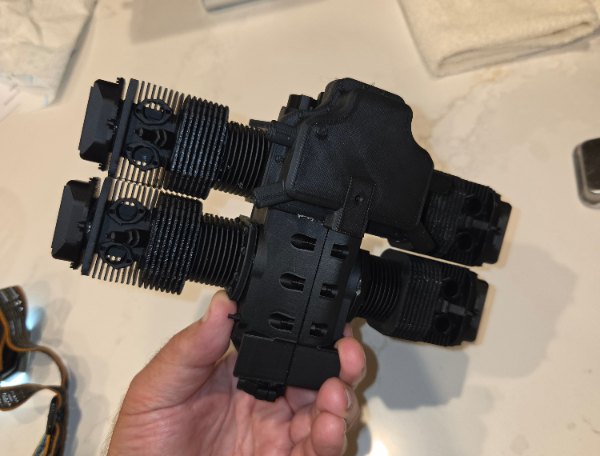
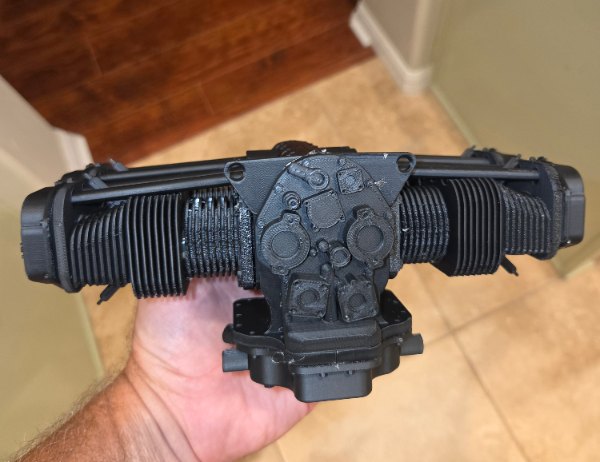
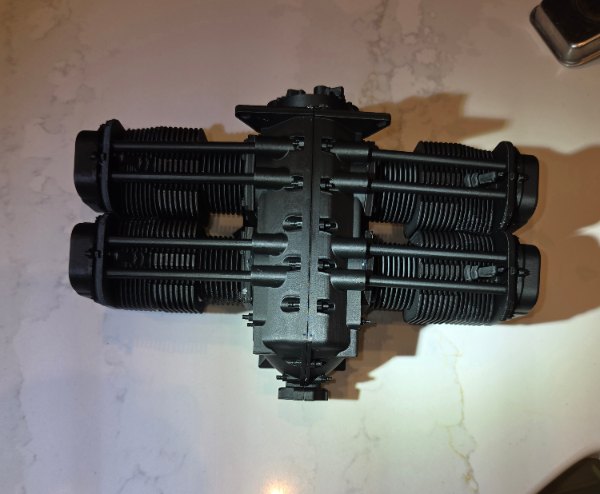
Here's my progress on the Big Schweizer 300 from Vario. I just moved to Idaho, so waiting to get moved into our new home, but I'll post up more as the project progresses. I've modified the mechanics frames and installed a back FG panel in the cabin to allow the installation of a full cockpit from Patrick Leong. He and I collaborated on the first of it's kind fully detailed cockpit for this kit...
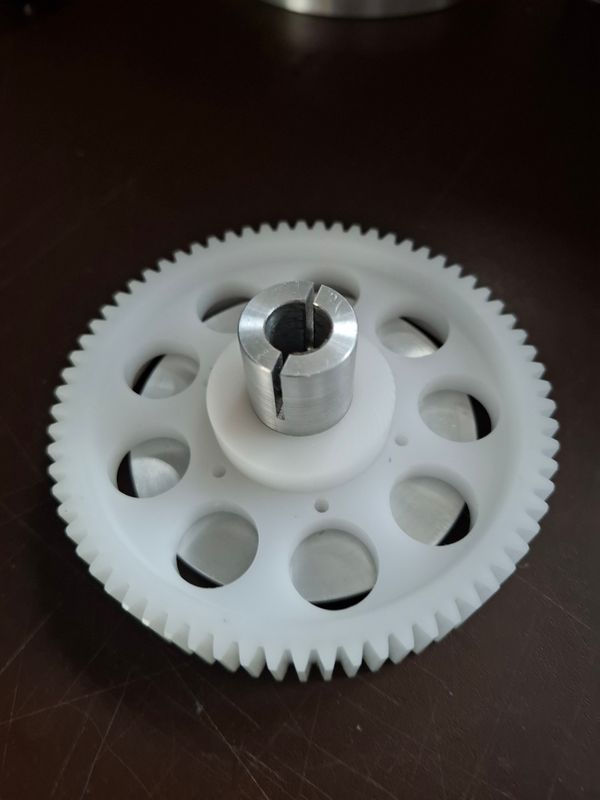
Here's my progress on the Big Schweizer 300 from Vario. I just moved to Idaho, so waiting to get moved into our new home, but I'll post up more as the project progresses. I've modified the mechanics frames and installed a back FG panel in the cabin to allow the installation of a full cockpit from Patrick Leong. He and I collaborated on the first of it's kind fully detailed cockpit for this kit and it is a work of art. More on the cockpit later. My colleague Patrick printed an incredibly detailed Lycoming engine for it as well. It's converted to electric on 12S with one on my custom clutch adapters for the motor. I'll post pics of the mechanics frame mods when I pull the heli from storage. Stay tuned...
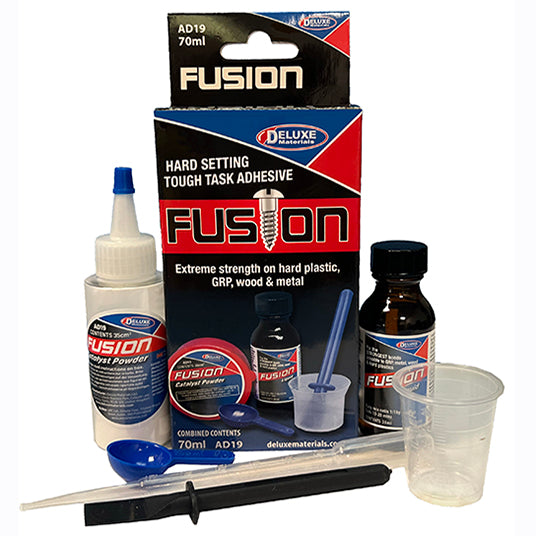
Gang, I am sensitive to epoxy and can no longer be around it.. Having said this what IS the BEST adhesive for WOOD to GRP construction. (cost not a concern). Lets have some opinions. DELUXE makes an adhesive that looks good but not sure what it might be made of.
I understand. My concern is my eyes in my case as product is corrosive..
Protection is recommended anyway. I'm wearing nitrile gloves, hermetic googles (to vent time to time once fog starts to develop) and working in ventilated room.
I also avoid watching closely the parts without protection when applying epoxy or checking while curing.
In your case you could use a 3M mask with ad hoc filter if you don't find an alternative. Hope you find a solution that works for you!
After all the rain over the weekend it cleared up enough yesterday afternoon for its maiden.
The stick frictions on the TX are a little different that I am use to and I have never flown or set up the FC 6250 controller but things went great. Looked to have one blade out of track which I will check later today. Heli was weighted to roughly the finished weight and set up a touch forward...
UIH,
After all the rain over the weekend it cleared up enough yesterday afternoon for its maiden.
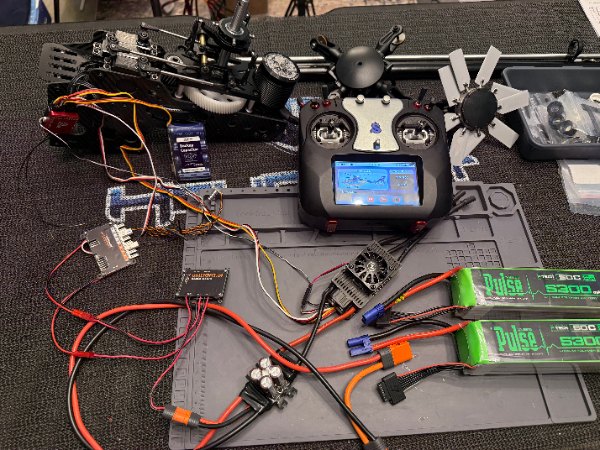
The stick frictions on the TX are a little different that I am use to and I have never flown or set up the FC 6250 controller but things went great. Looked to have one blade out of track which I will check later today. Heli was weighted to roughly the finished weight and set up a touch forward CG. Power felt great with the data from the ESC looking very good. Some adjustments and she will be ready to go.
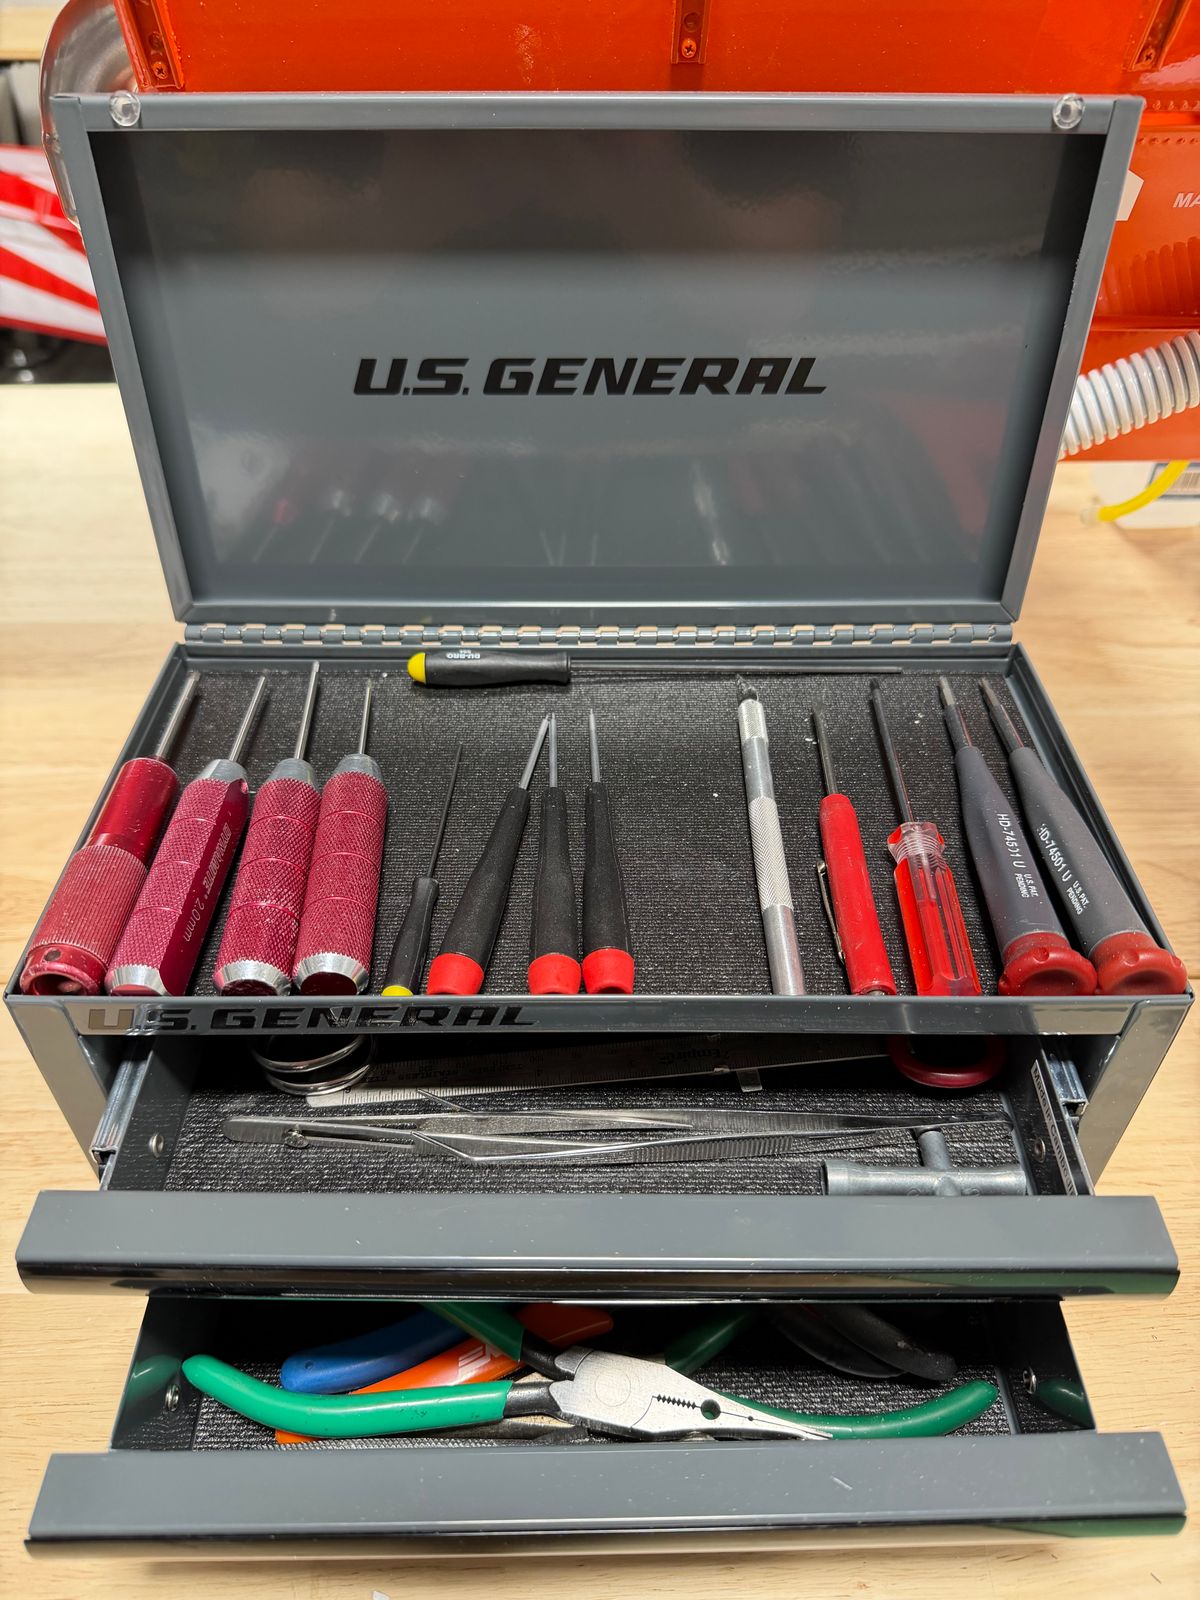
I often find myself porting small tools from one work table to another or simply scattering my tools on the sole table I’m using.
The other day, while grabbing supplies from Harbor Freight, I noticed an end cap display of mini toolboxes in a variety of colors. I had to grab a few thinking I would anchor two in my heli van and have one for my main workbench. I’ve now discovered just how useful...
I often find myself porting small tools from one work table to another or simply scattering my tools on the sole table I’m using.
The other day, while grabbing supplies from Harbor Freight, I noticed an end cap display of mini toolboxes in a variety of colors. I had to grab a few thinking I would anchor two in my heli van and have one for my main workbench. I’ve now discovered just how useful these cute little boxes really are. I’m working on an assembly table (not my sit-down bench. I just grabbed the box and put it right in my work area. Every time I’m finished with a tool, I pop it back into the box and it’s never lost.
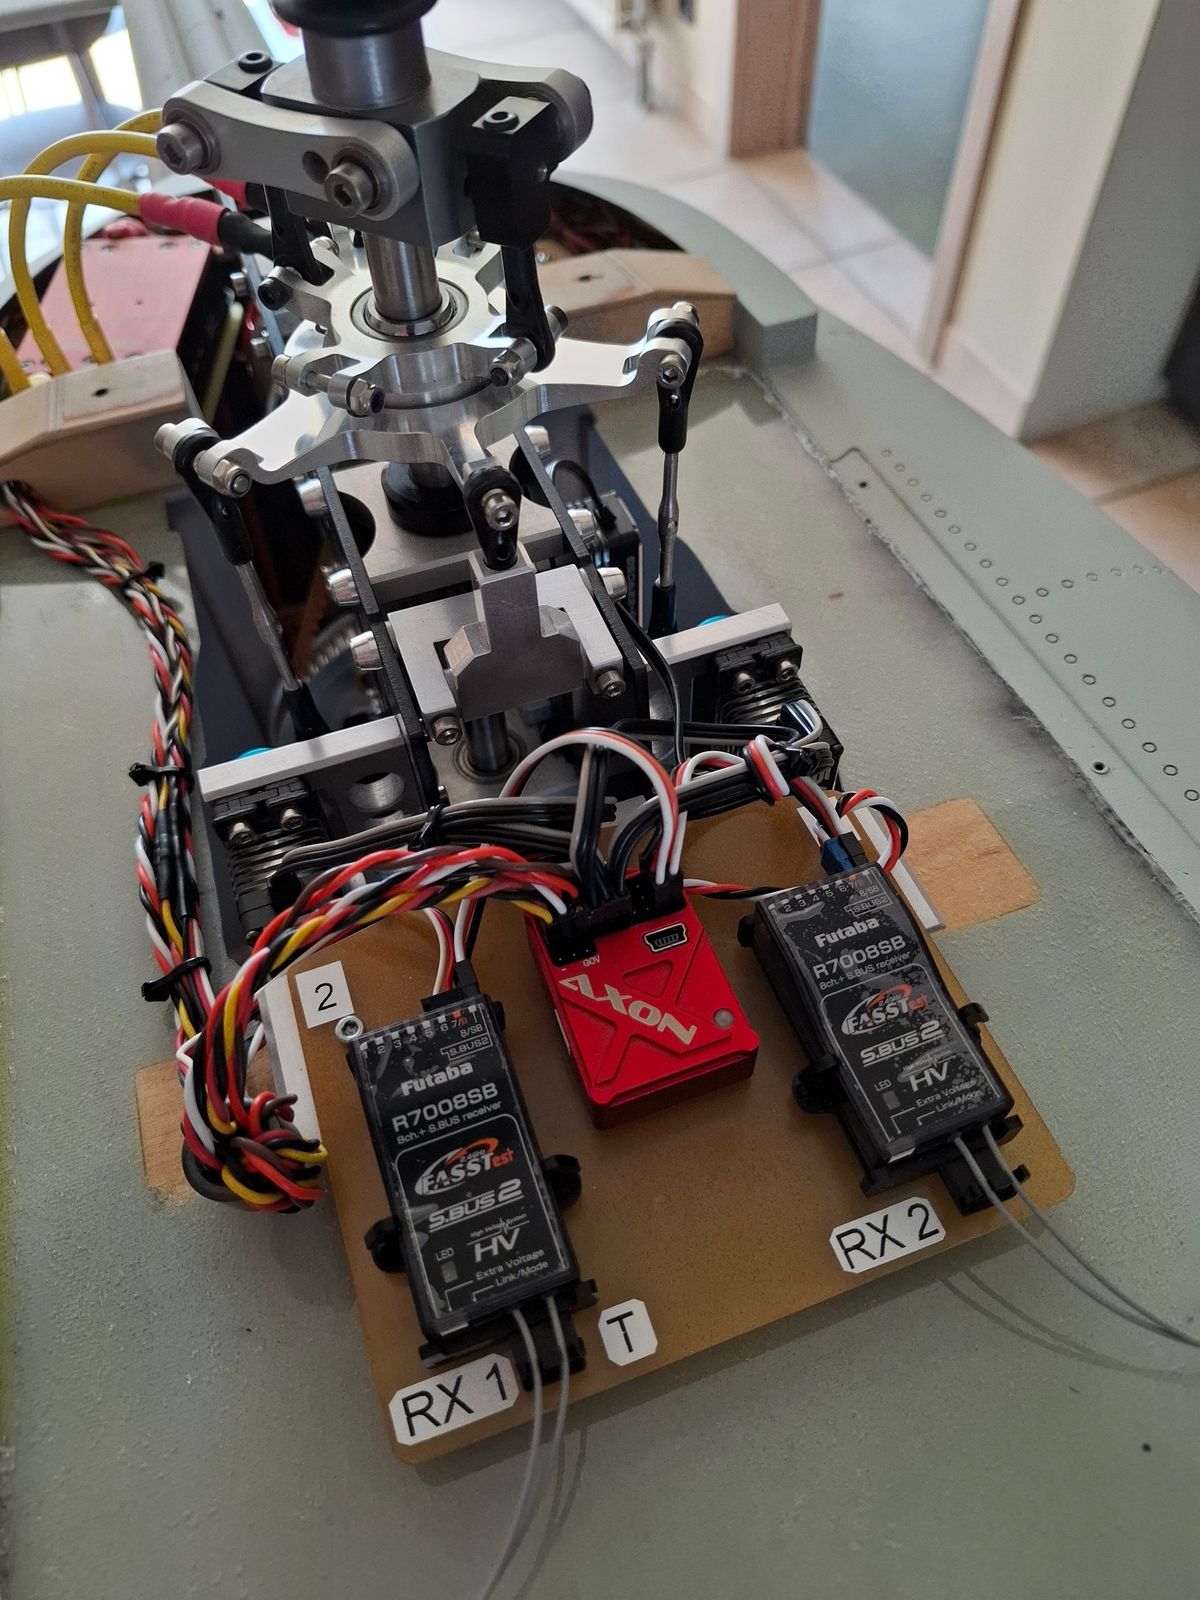
Hey everyone, hope all is good… I’m working on VARIO CH-53. I’m stumped on where to put electronics ( ECU, batteries etc. there is only the cargo door, no other door access. I could use some ideas. Or pics of your setup? Thanks for any help! 🚁🤪
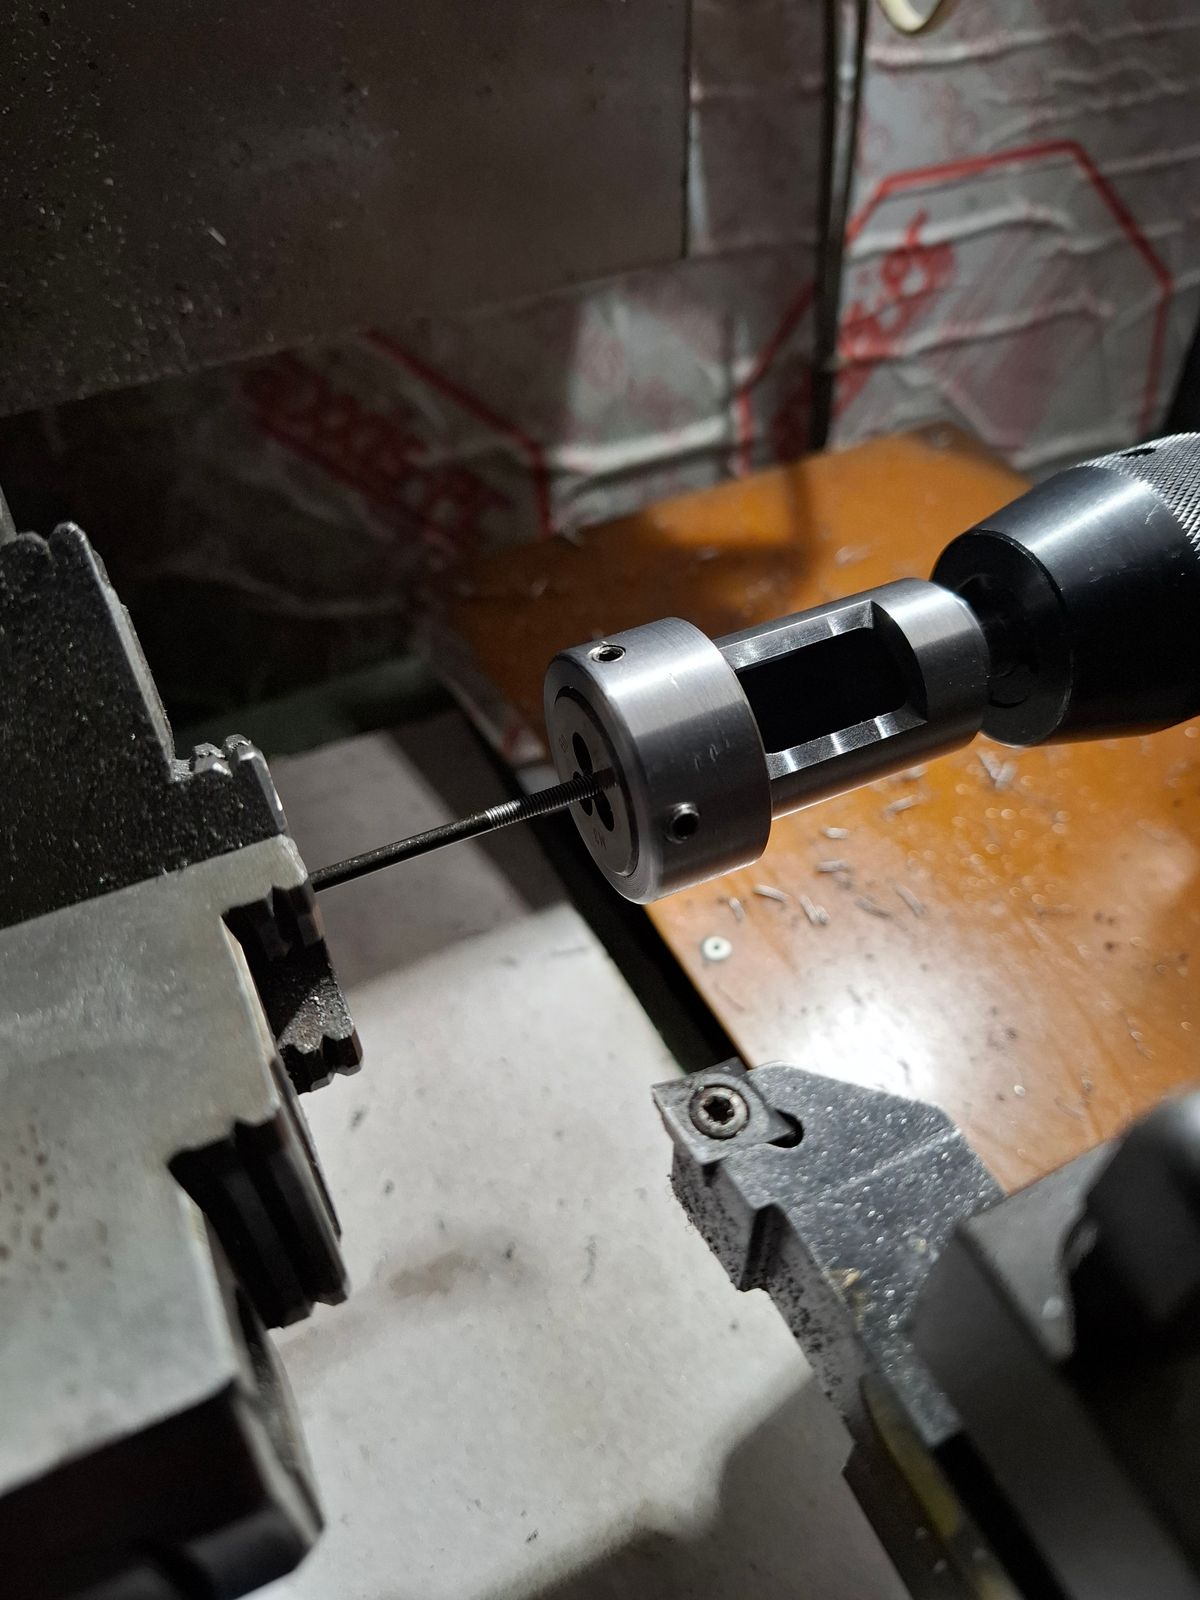
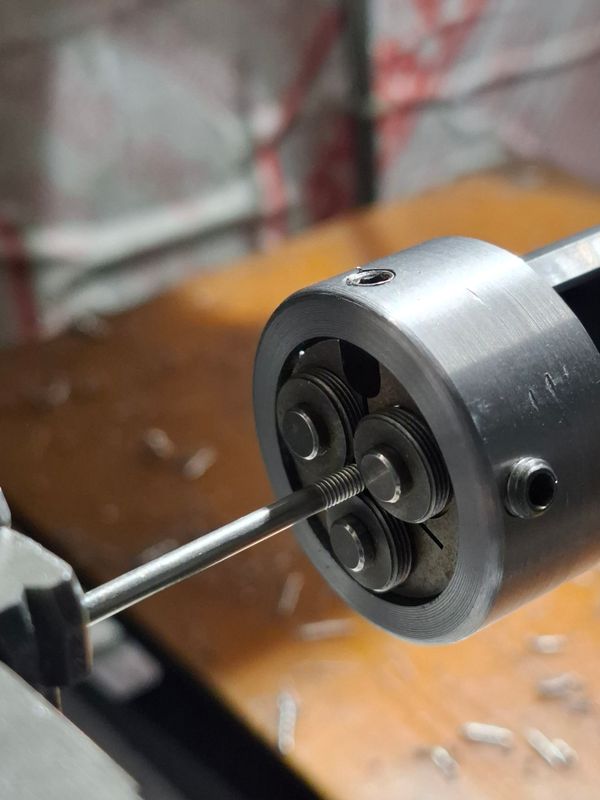
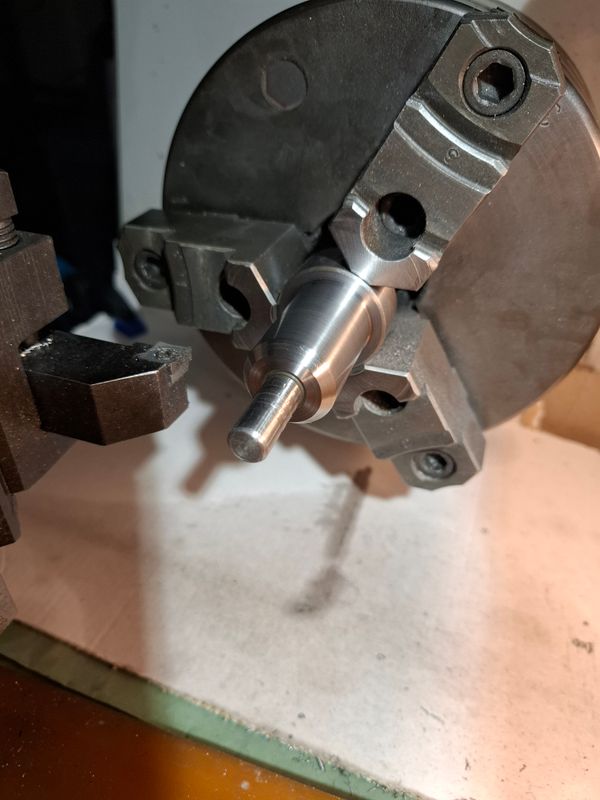
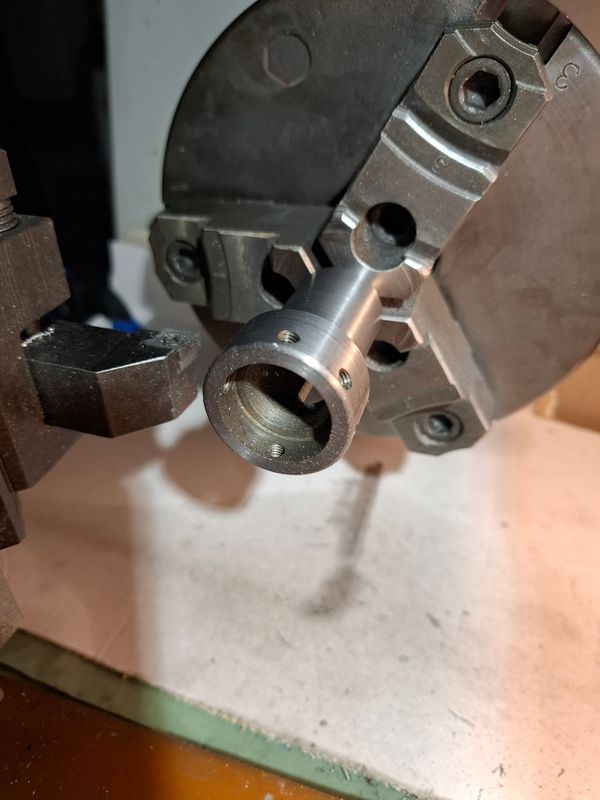
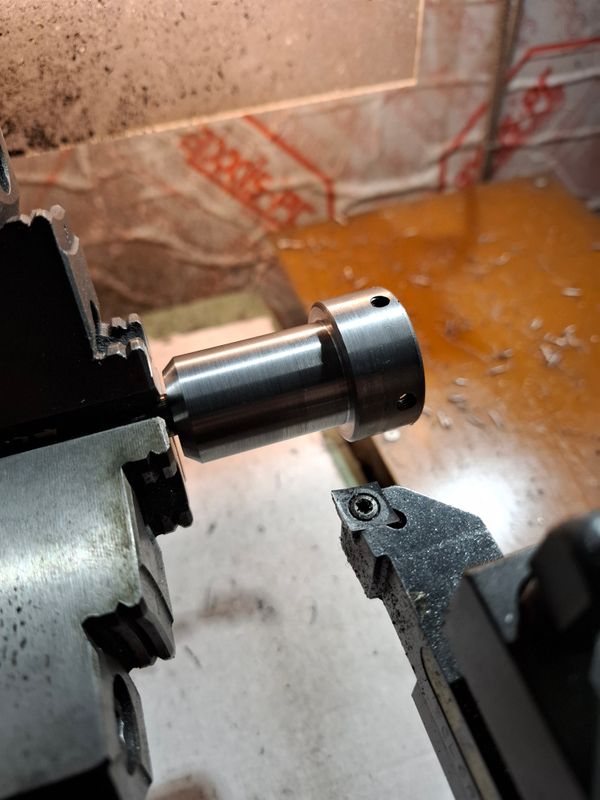
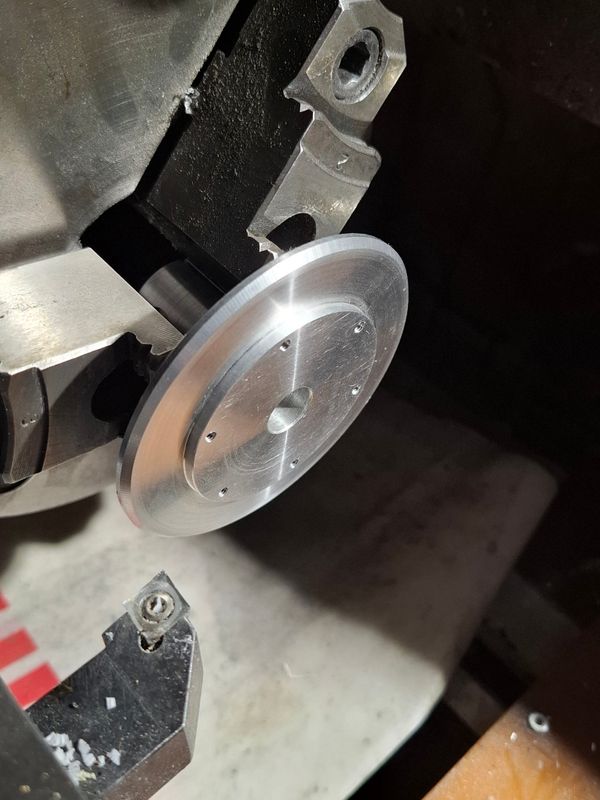
Control rod thread cutting/rolling device holder for lathe. Compatible from M2 to M6 cutting disks. Easy making of control rods thread ends Thread rolling results in stronger thread ends.
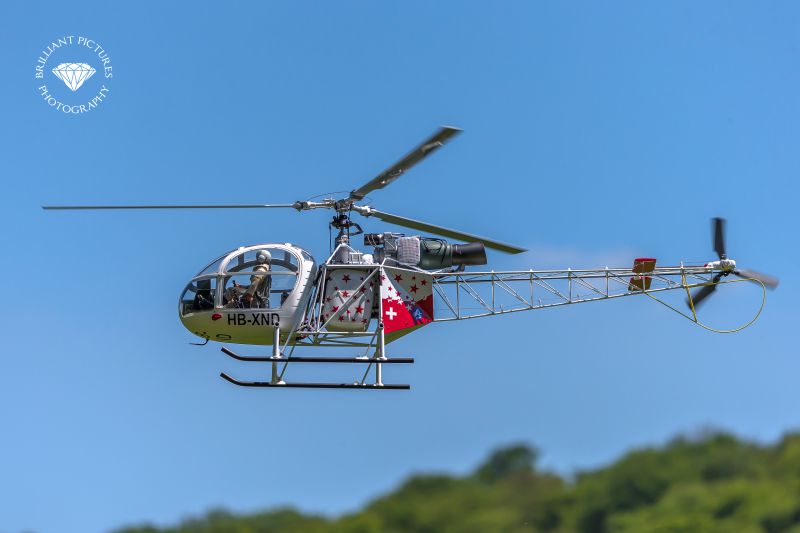
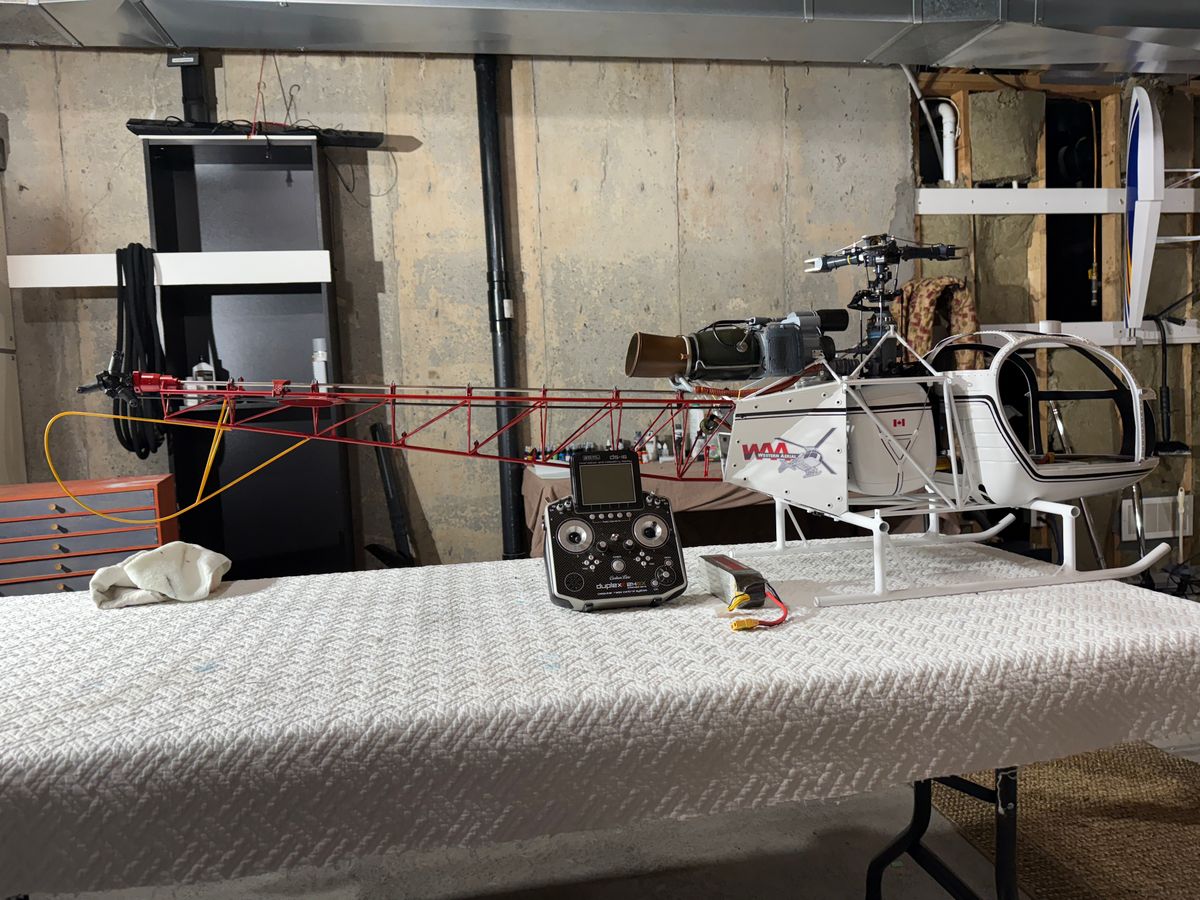
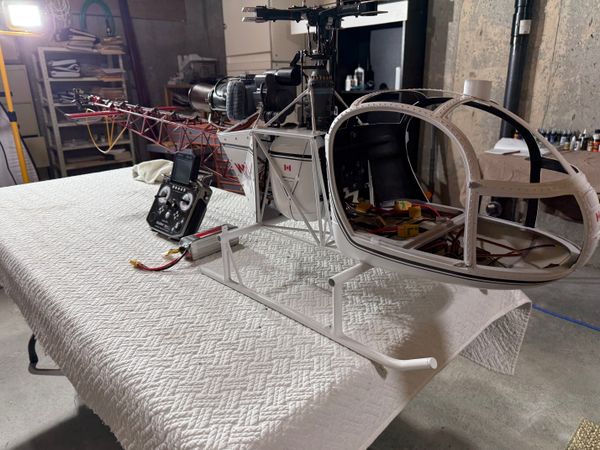
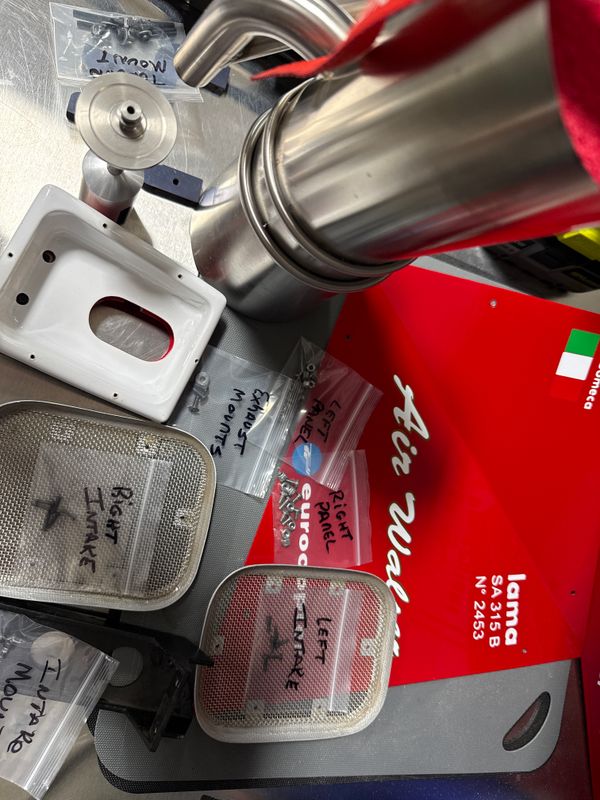
Making progress with my 1.8m Vario Lama build. It's ready for maiden with the remainder of detail and finishing to follow. This is my first Vario Build from scratch. If there is anything you see that I have goofed up on, please let me know.
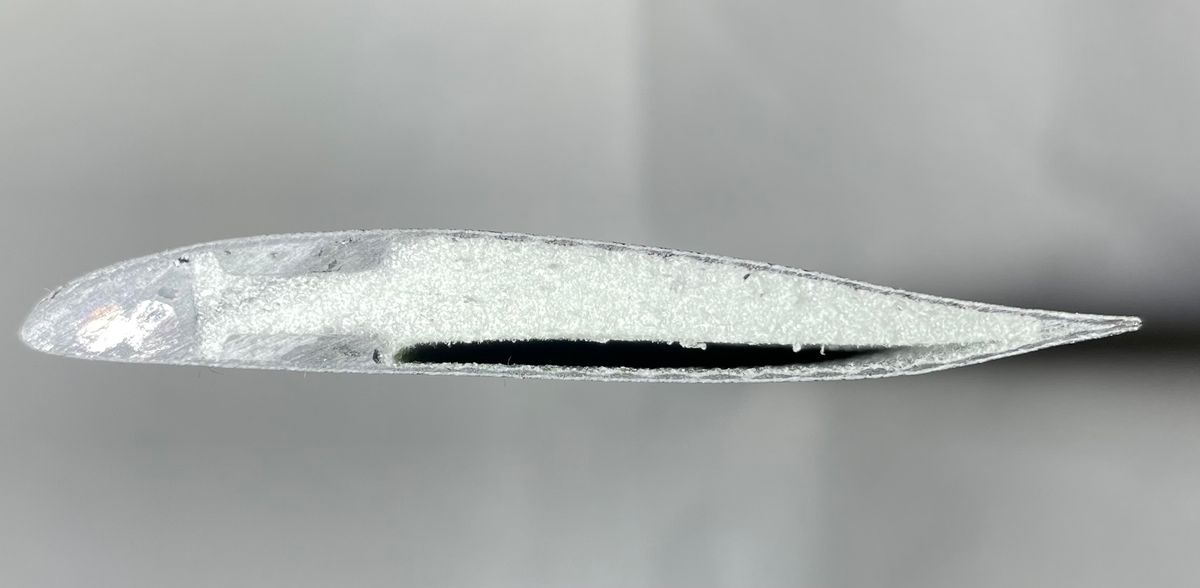
See inside shrinked foam (used for rigidity while keeping light) after exposure to turbine gas exhaust. Pilot forgot to position the blade away from it..
Problem is that such damage isn't necessarily noticeable from outside, or underestimated. To be replaced without hesitation!
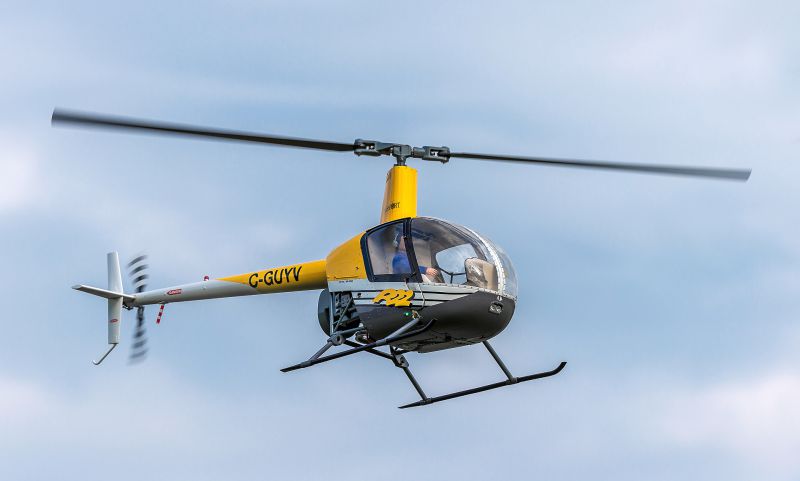
I am planning to build this model during winter here in Denmark. But not that much information. Has anybody build this model in this scale, I can ask questions. I am flying helicopter for many years, and flew a "baby" Robinson R22 from Vario and now a Funkey AS350
Getting the mechanics into the Roban 800 fuse has been an enjoyable process, but now I have to think about wiring the lighting which DOES NOT seem like a small job! Need to get my pilots to work for me while I'm not home (LOL).
Anyone have any tips for Changing out the pre-painted roof glass that appears to be incorrectly tinted? Just replace it or should I try and remove the paint somehow?
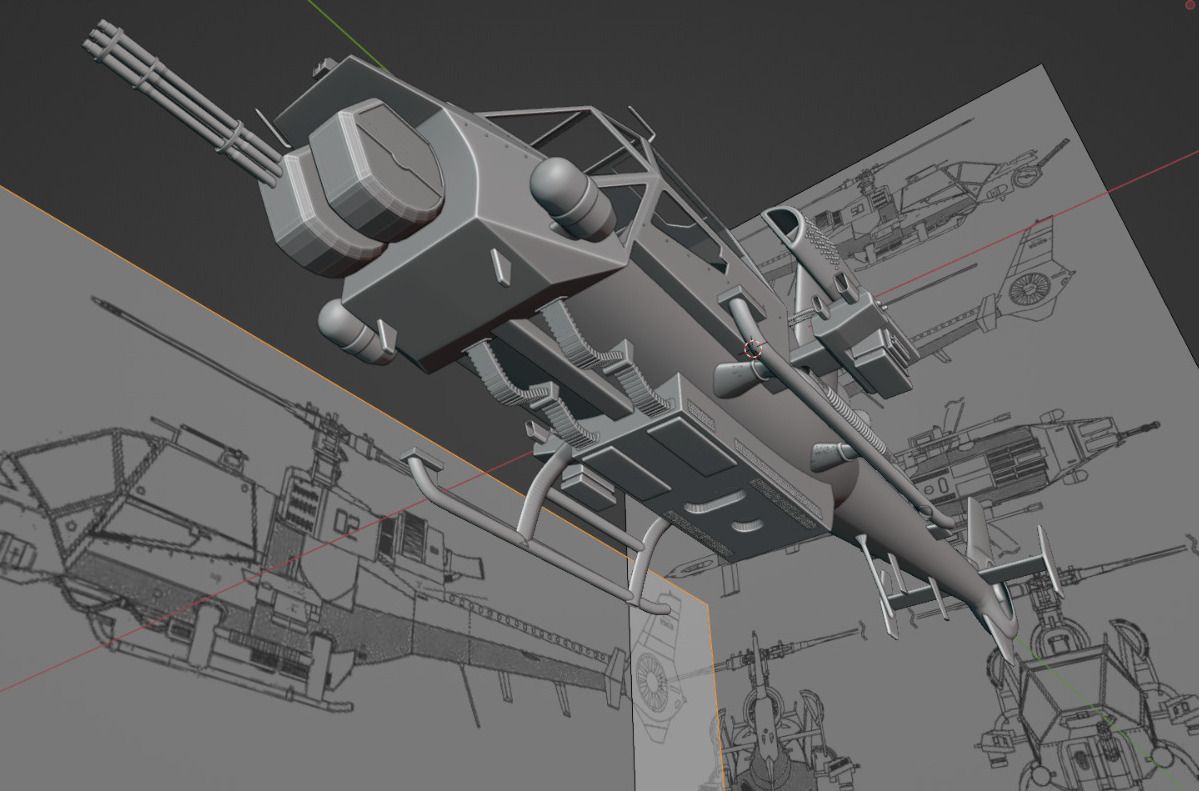
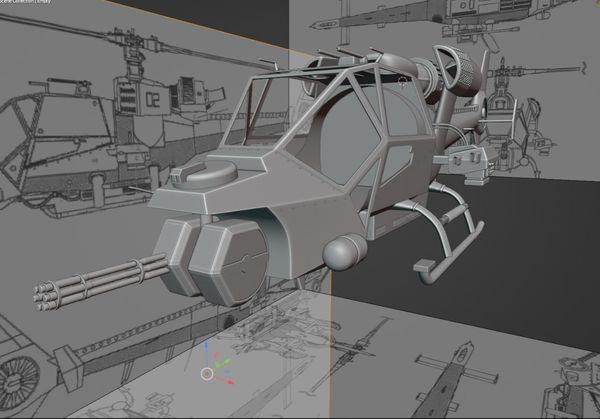
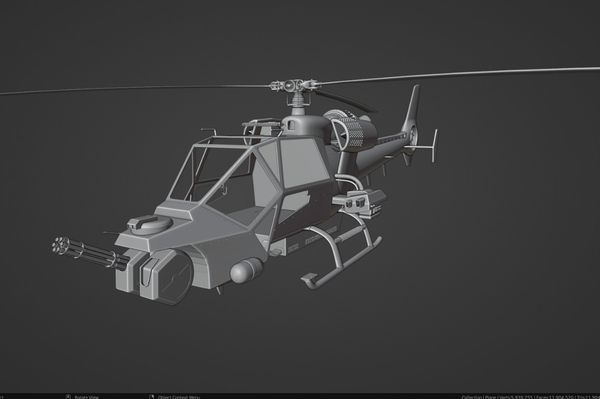
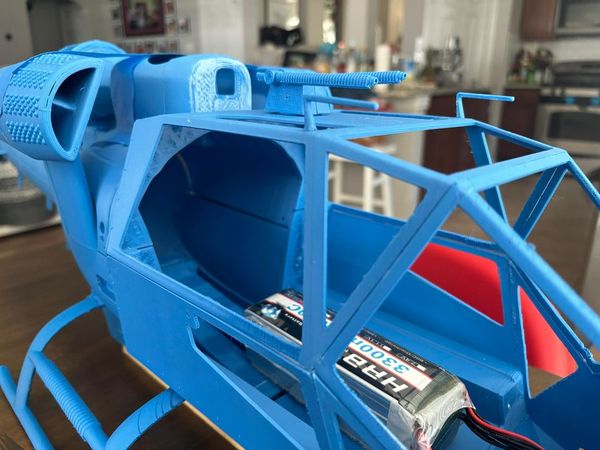
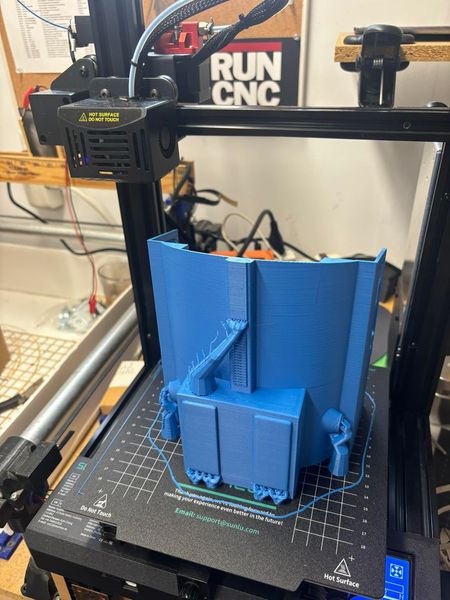
I'm sharing the Blue Thunder project for a 500 engine with a brushless tail rotor. The modeling process took me approximately two months. A friend did the 3D printing and assembly.



 Jon E.
 Barry S.
 Michael Z.


 Butch W.


 Loren F.







 Master C.
 Michael R.