Welcome HeliStorm members!! The new RCPilot.com has everything you had at HeliStorm but it's better! Now, AI figures out how to catalog your posts; you just sign off on it. Plus, you can shotgun share your posts to FB if you want!
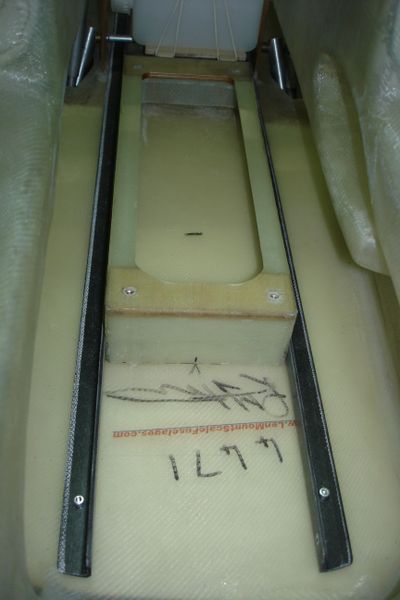
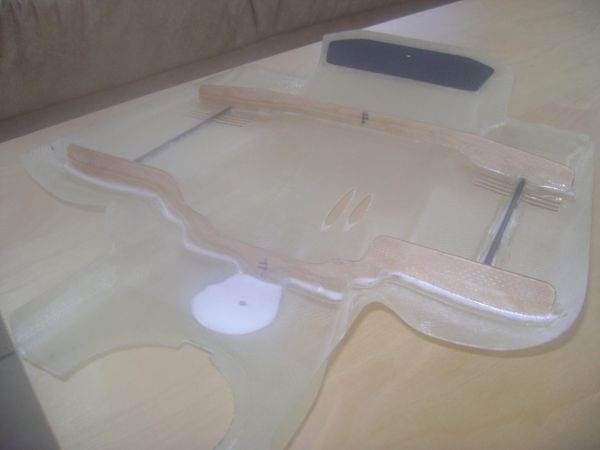
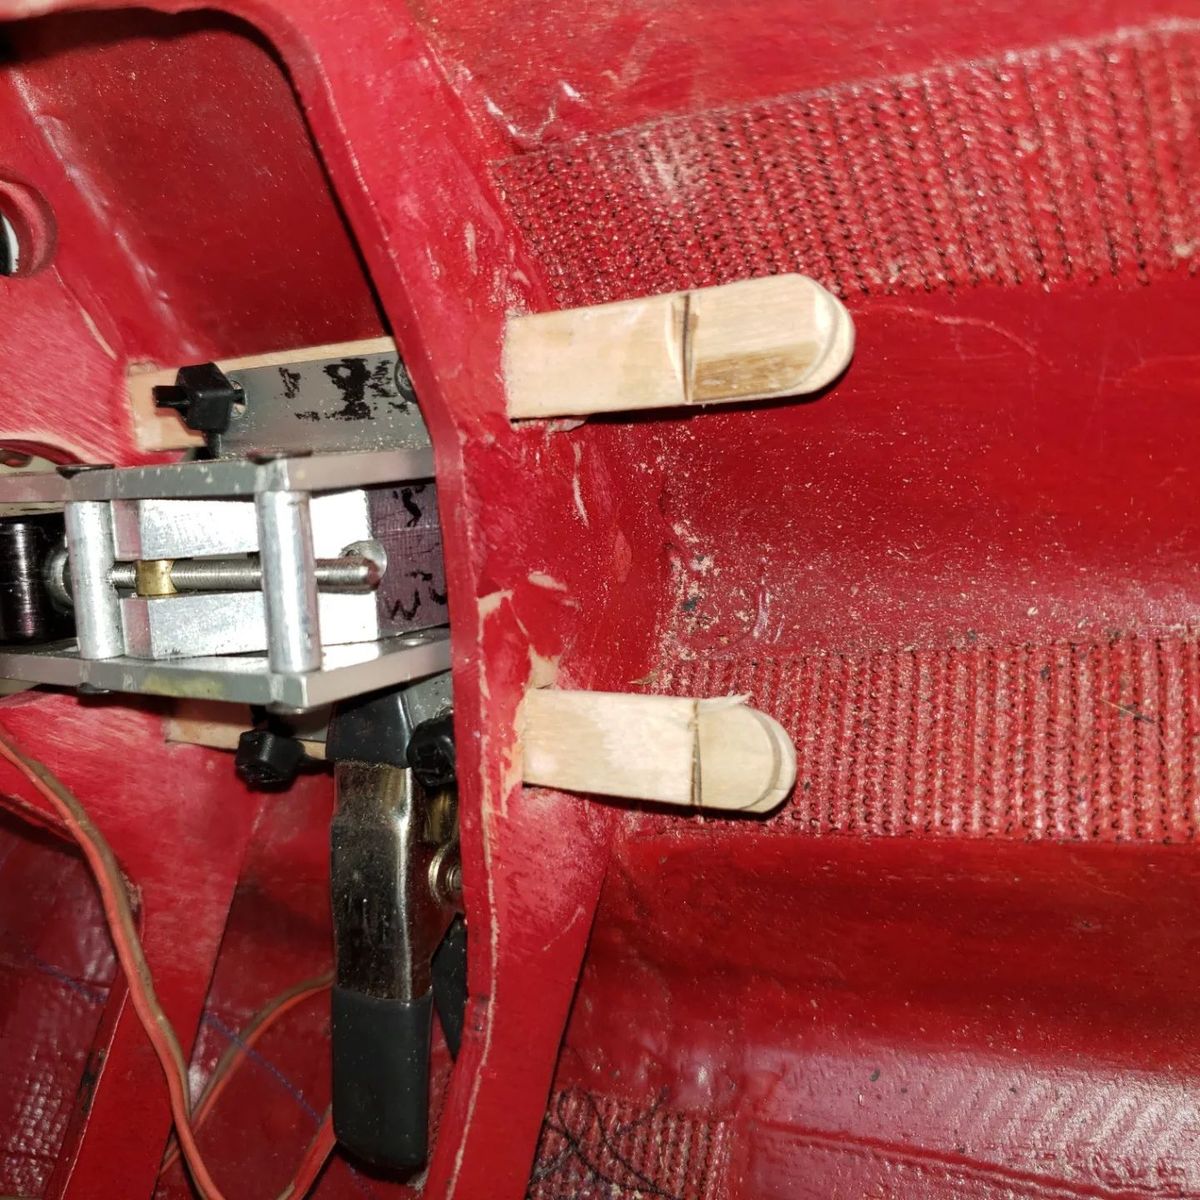
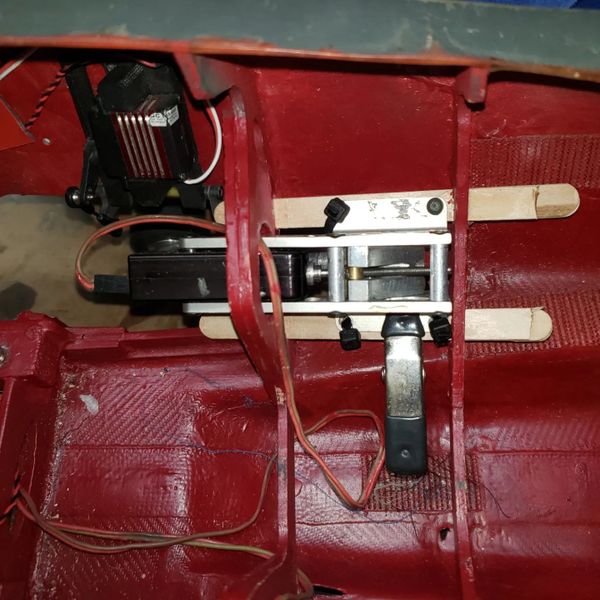
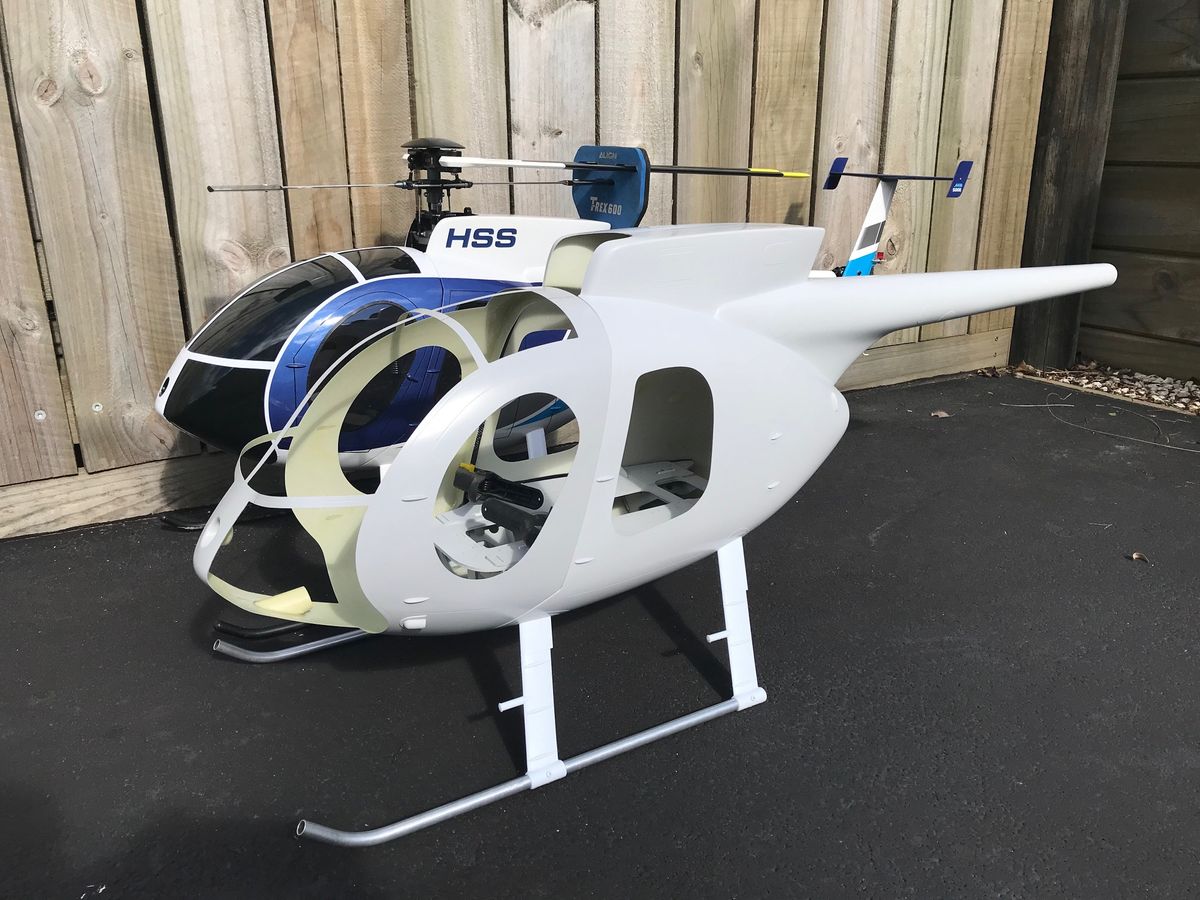
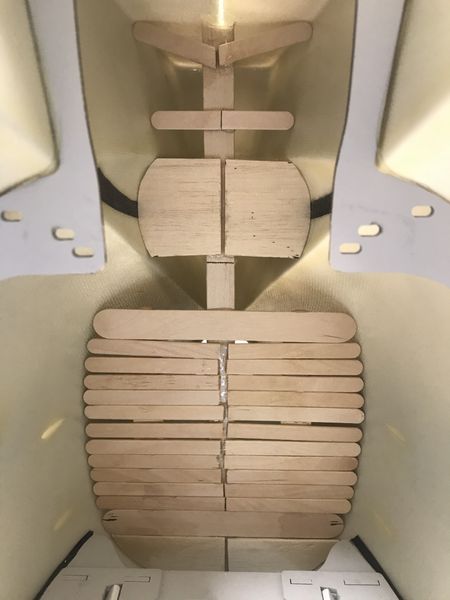
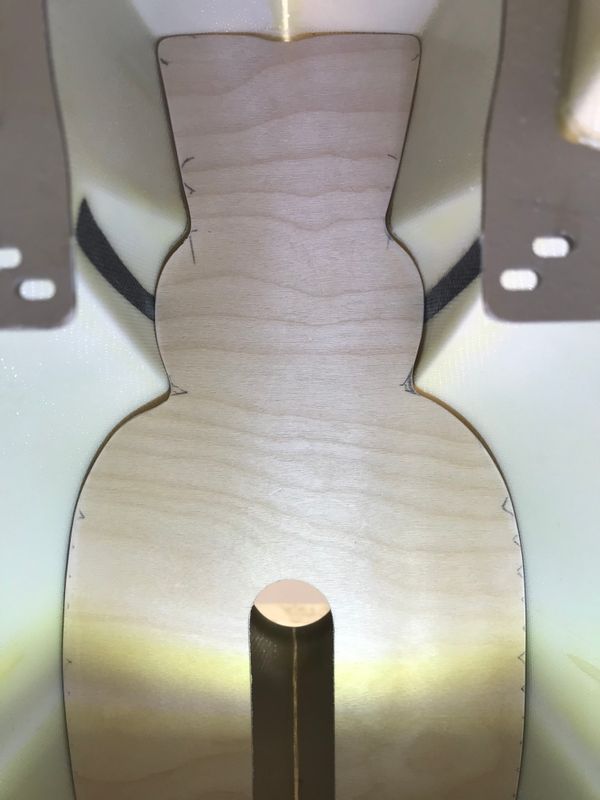
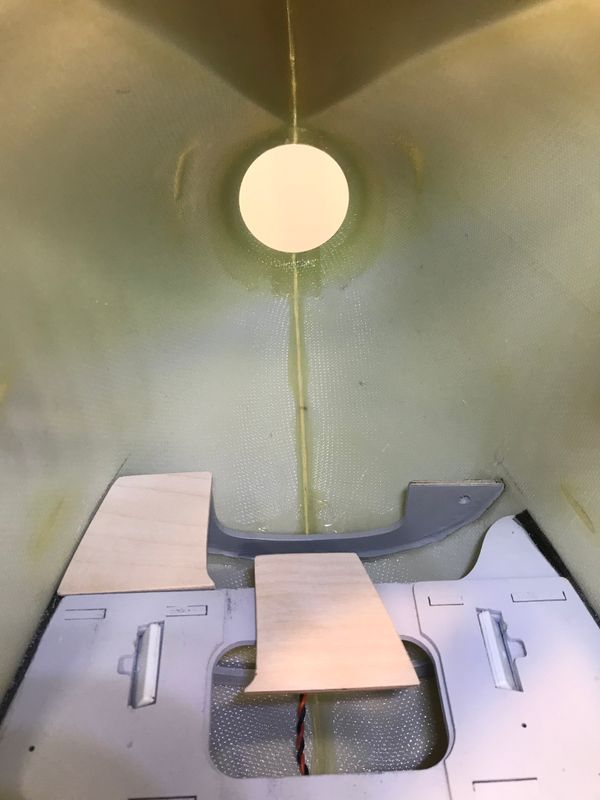
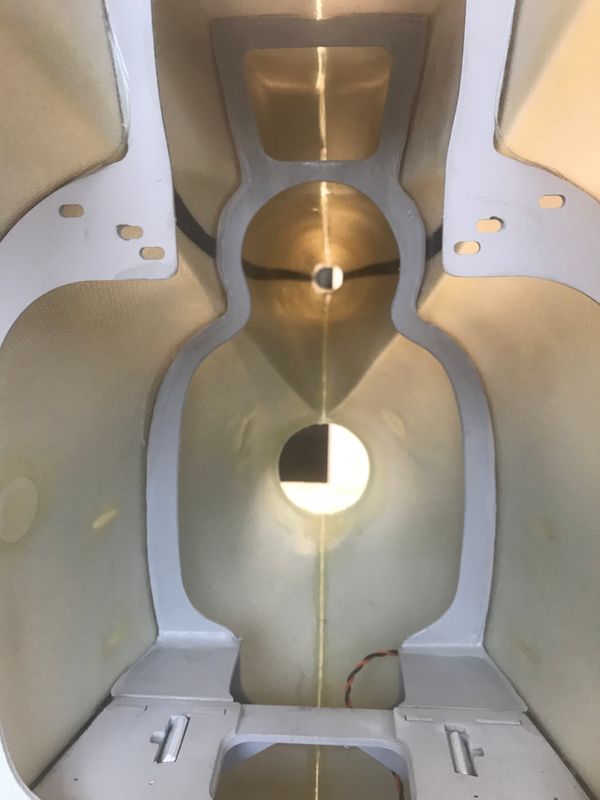
Gang, I am sensitive to epoxy and can no longer be around it.. Having said this what IS the BEST adhesive for WOOD to GRP construction. (cost not a concern). Lets have some opinions. DELUXE makes an adhesive that looks good but not sure what it might be made of.
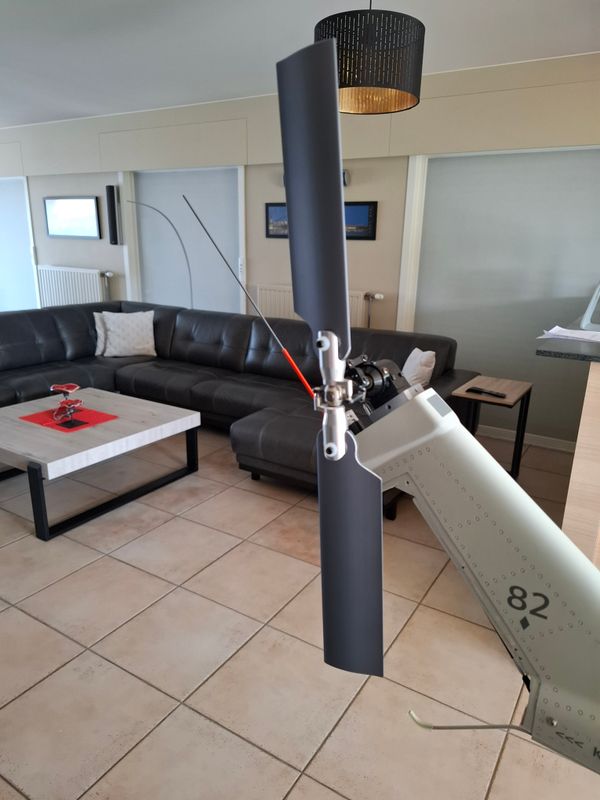
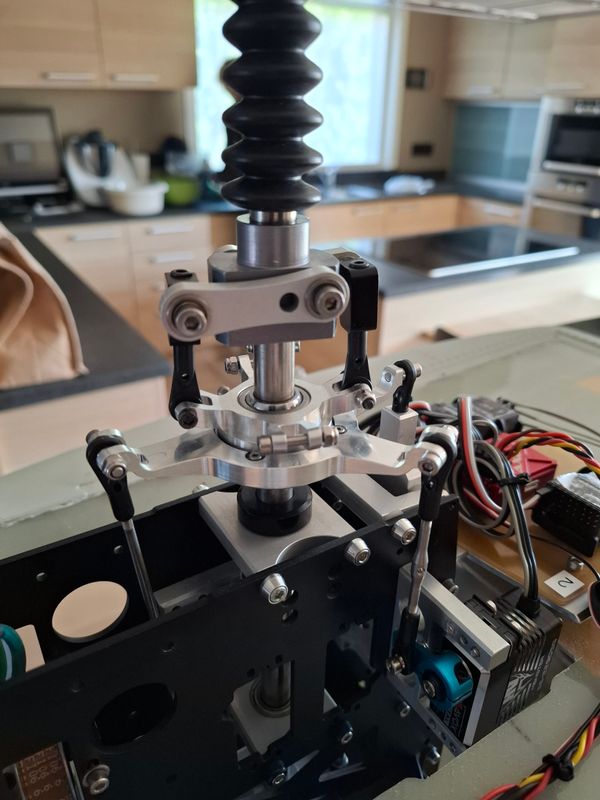
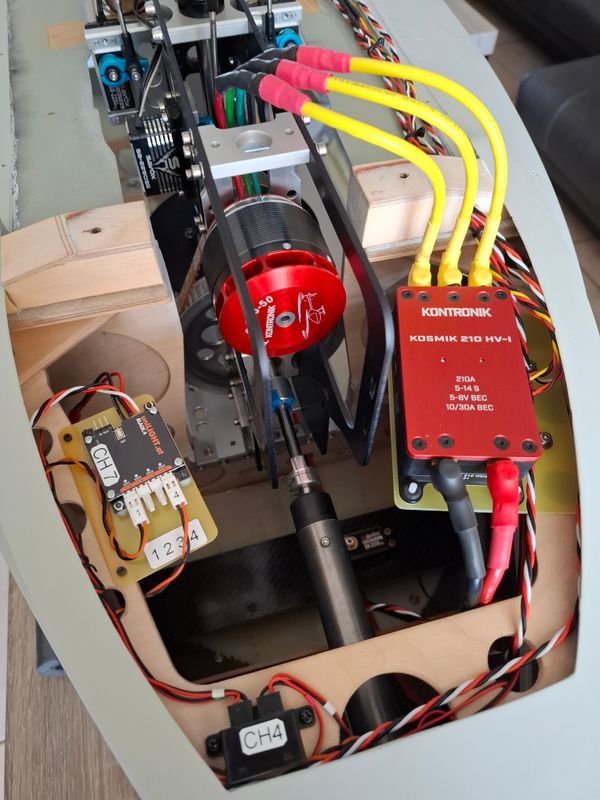
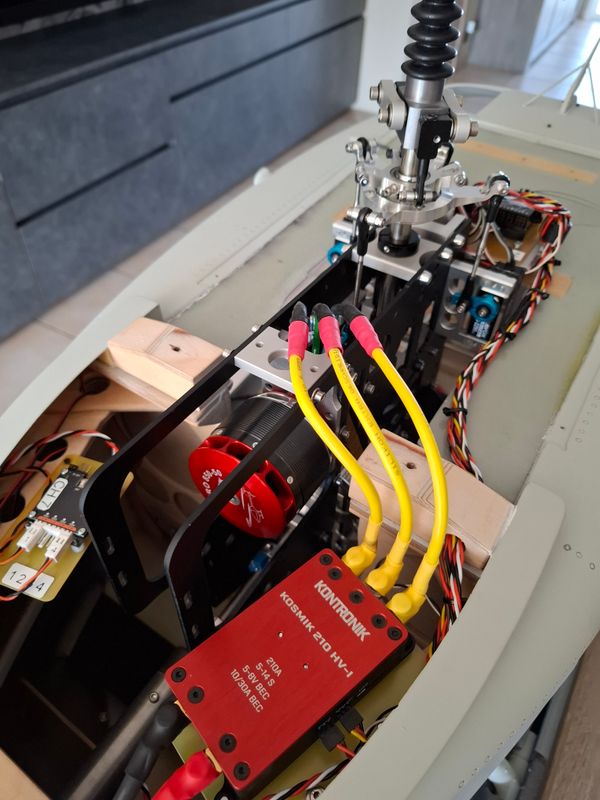
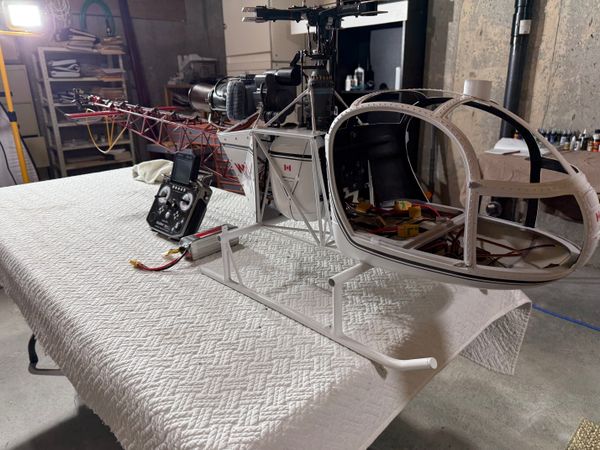
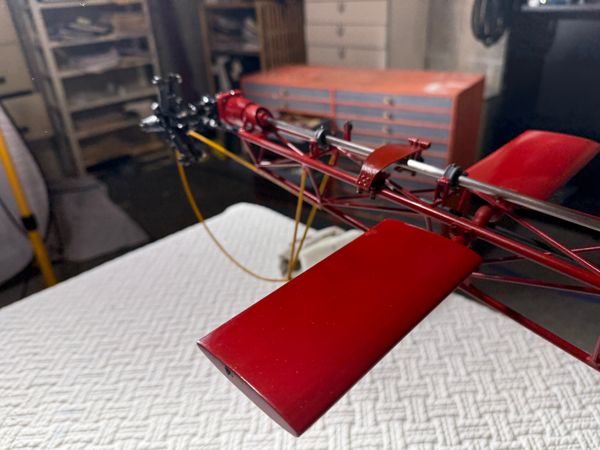
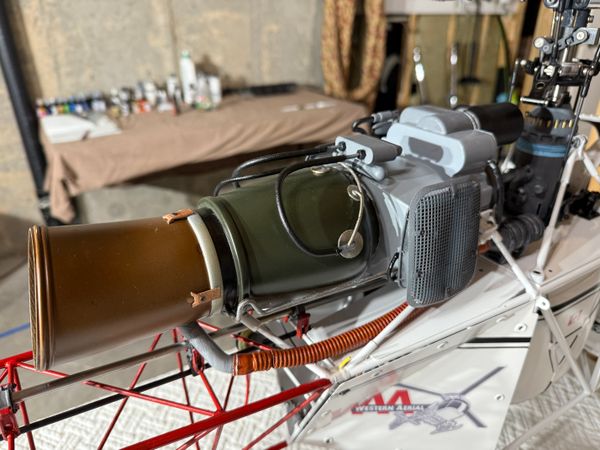
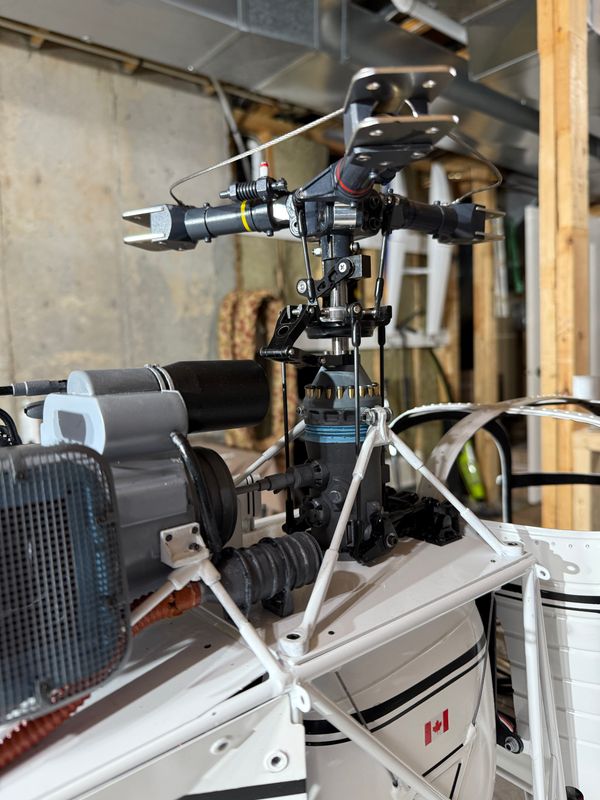
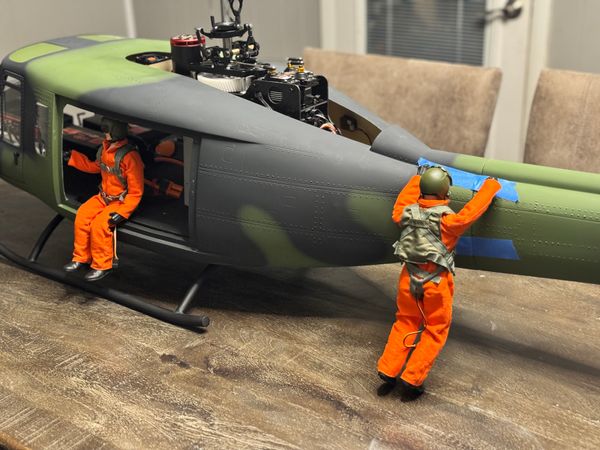
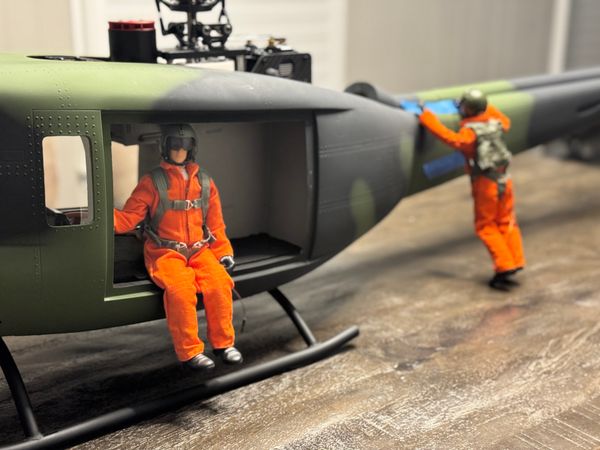
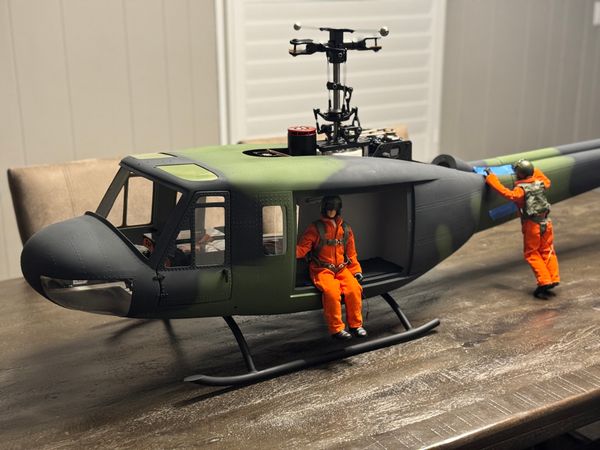
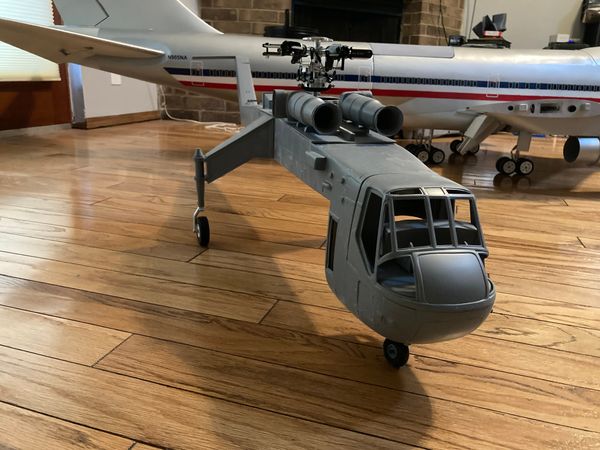
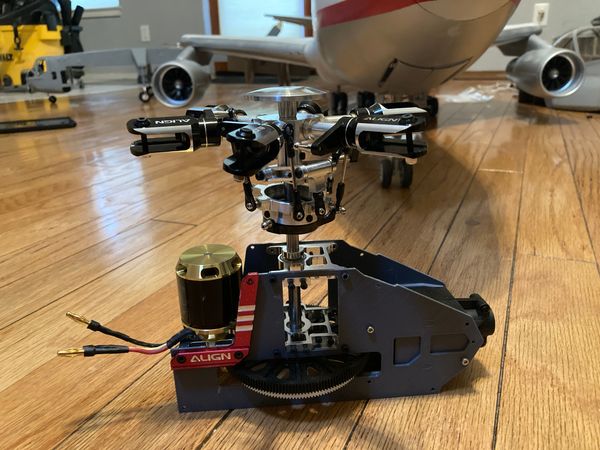
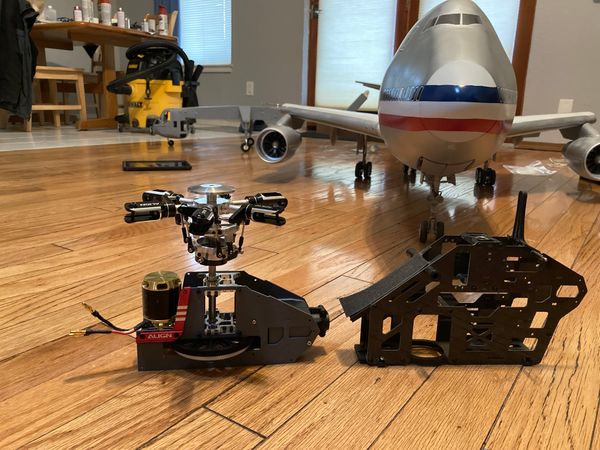
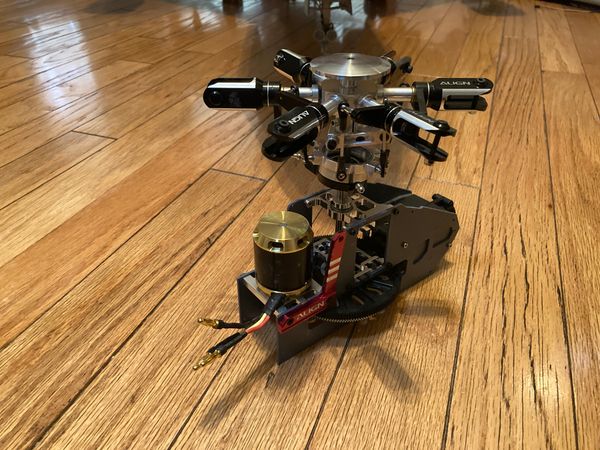
After all the rain over the weekend it cleared up enough yesterday afternoon for its maiden.
The stick frictions on the TX are a little different that I am use to and I have never flown or set up the FC 6250 controller but things went great. Looked to have one blade out of track which I will check later today. Heli was weighted to roughly the finished weight and set up a touch forward...
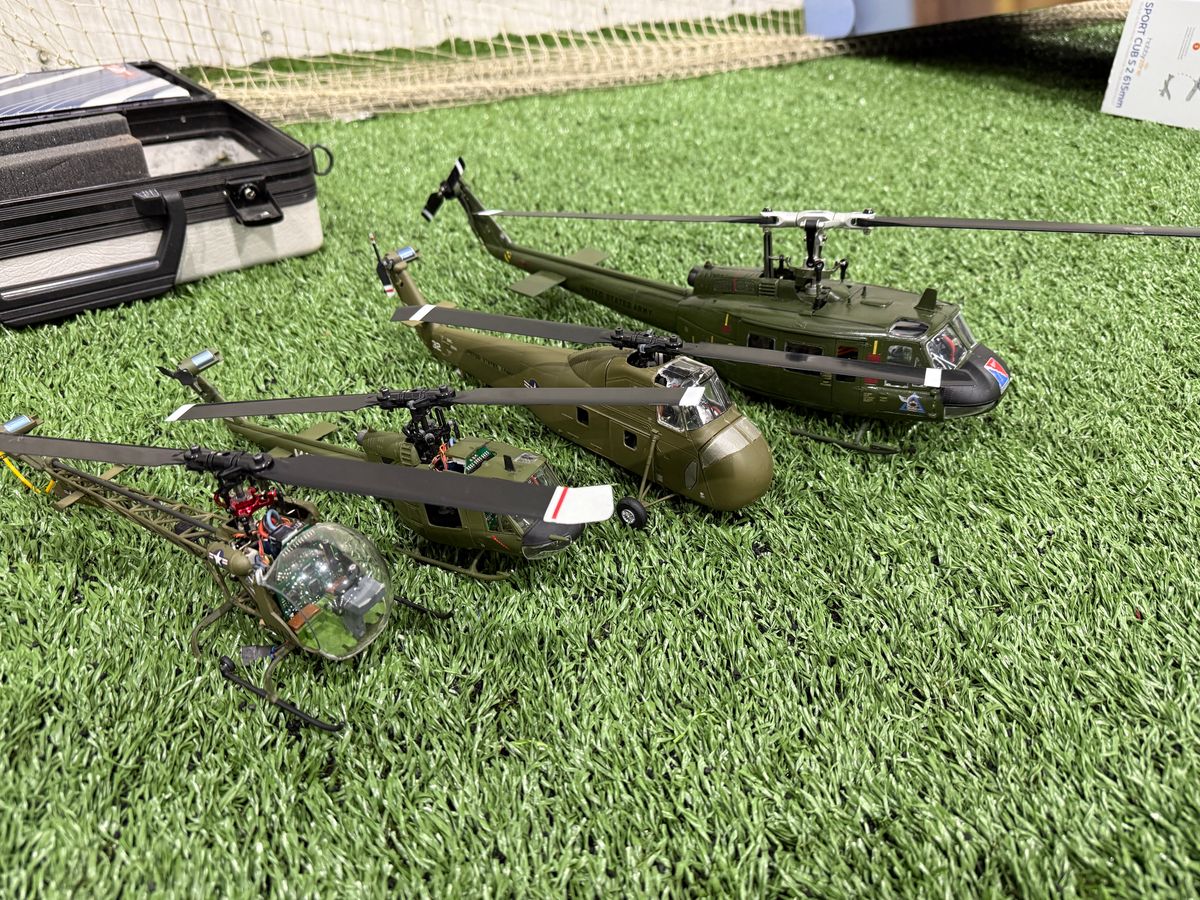
UIH,
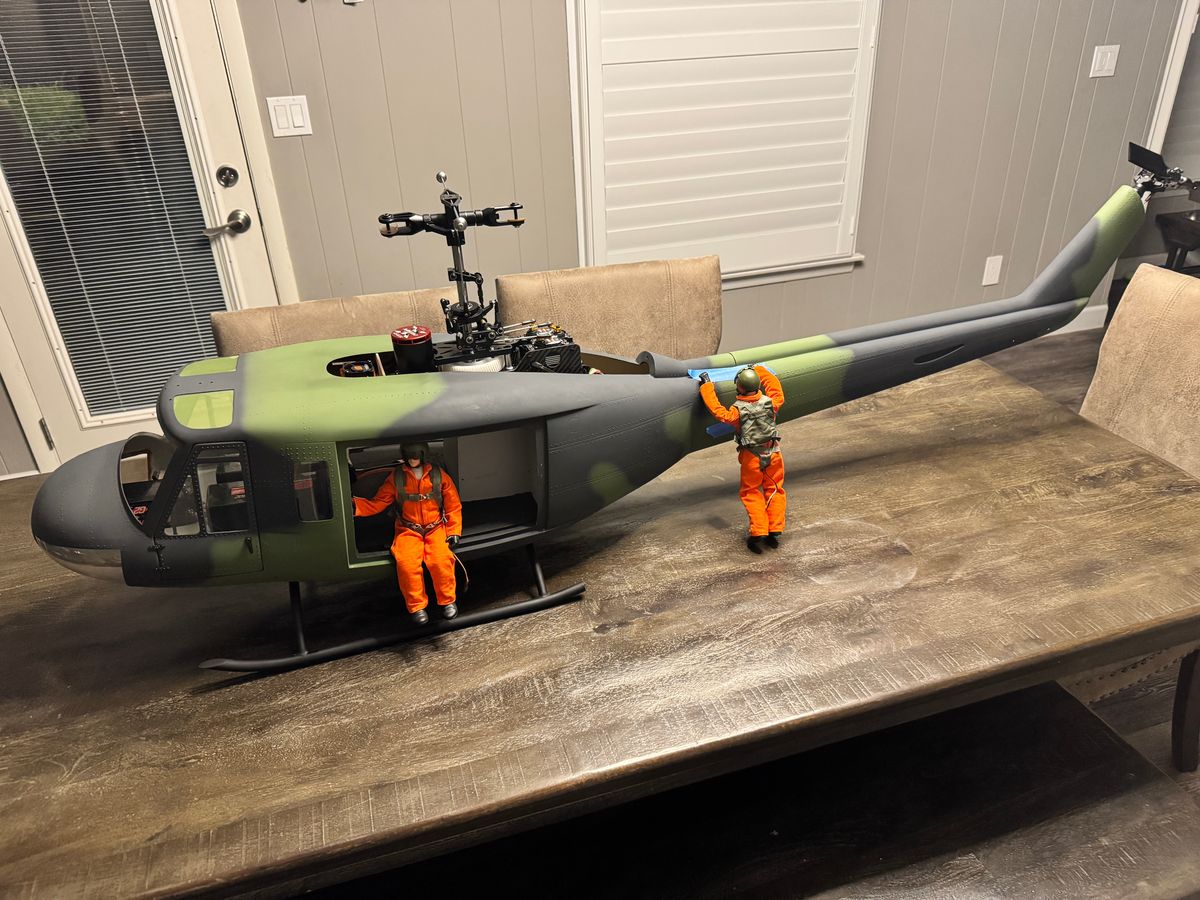
After all the rain over the weekend it cleared up enough yesterday afternoon for its maiden.
The stick frictions on the TX are a little different that I am use to and I have never flown or set up the FC 6250 controller but things went great. Looked to have one blade out of track which I will check later today. Heli was weighted to roughly the finished weight and set up a touch forward CG. Power felt great with the data from the ESC looking very good. Some adjustments and she will be ready to go.
I often find myself porting small tools from one work table to another or simply scattering my tools on the sole table I’m using.
The other day, while grabbing supplies from Harbor Freight, I noticed an end cap display of mini toolboxes in a variety of colors. I had to grab a few thinking I would anchor two in my heli van and have one for my main workbench. I’ve now discovered just how useful...
I often find myself porting small tools from one work table to another or simply scattering my tools on the sole table I’m using.
The other day, while grabbing supplies from Harbor Freight, I noticed an end cap display of mini toolboxes in a variety of colors. I had to grab a few thinking I would anchor two in my heli van and have one for my main workbench. I’ve now discovered just how useful these cute little boxes really are. I’m working on an assembly table (not my sit-down bench. I just grabbed the box and put it right in my work area. Every time I’m finished with a tool, I pop it back into the box and it’s never lost.
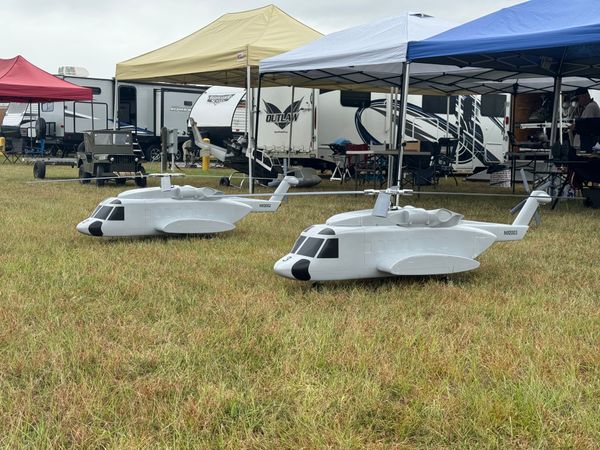
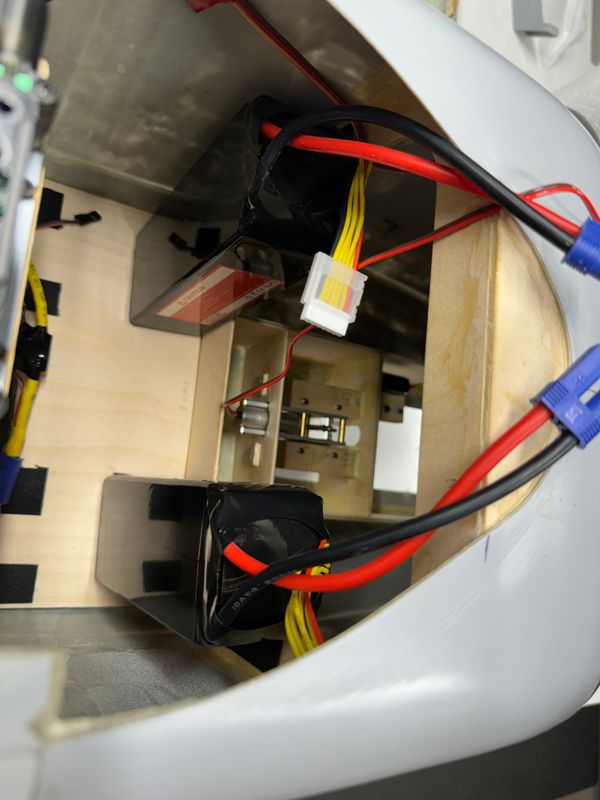
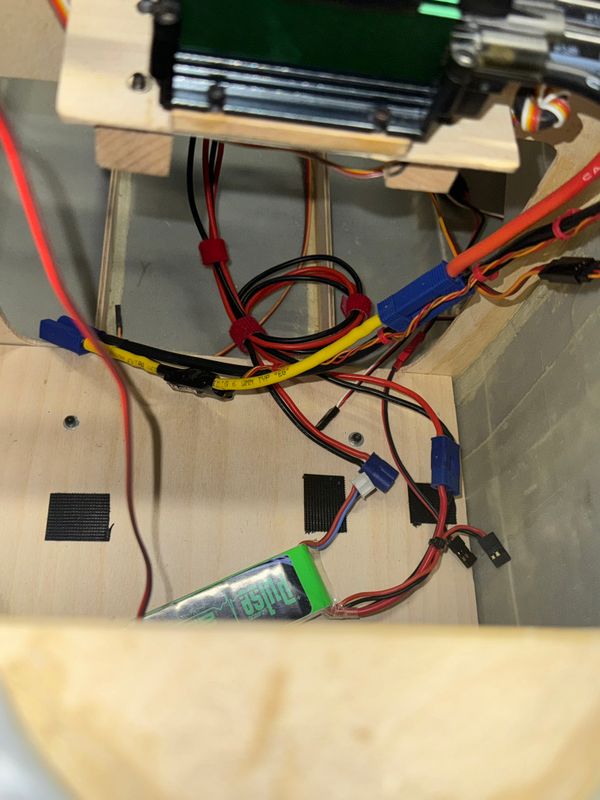
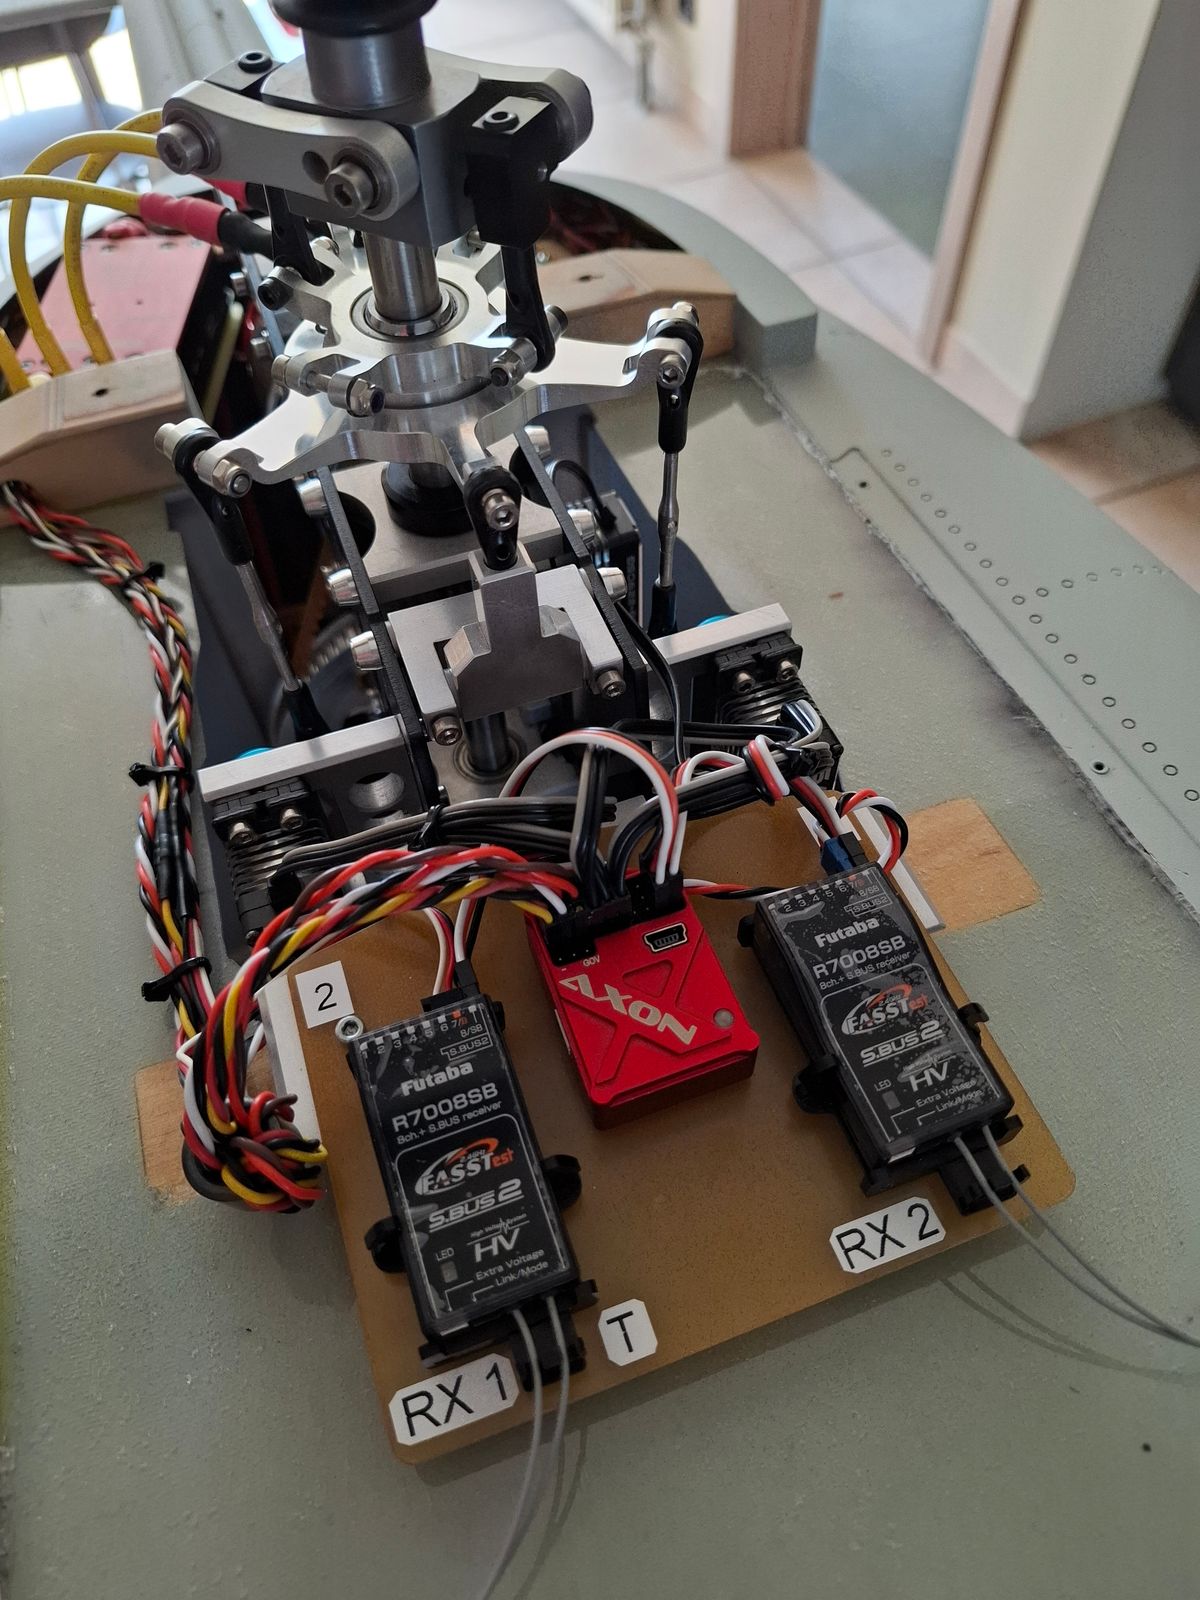
Hey everyone, hope all is good… I’m working on VARIO CH-53. I’m stumped on where to put electronics ( ECU, batteries etc. there is only the cargo door, no other door access. I could use some ideas. Or pics of your setup? Thanks for any help! 🚁🤪
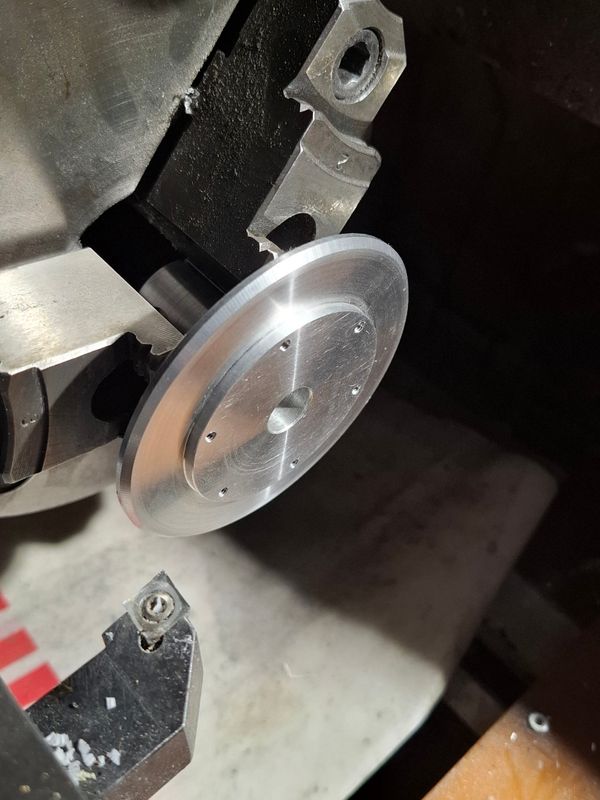
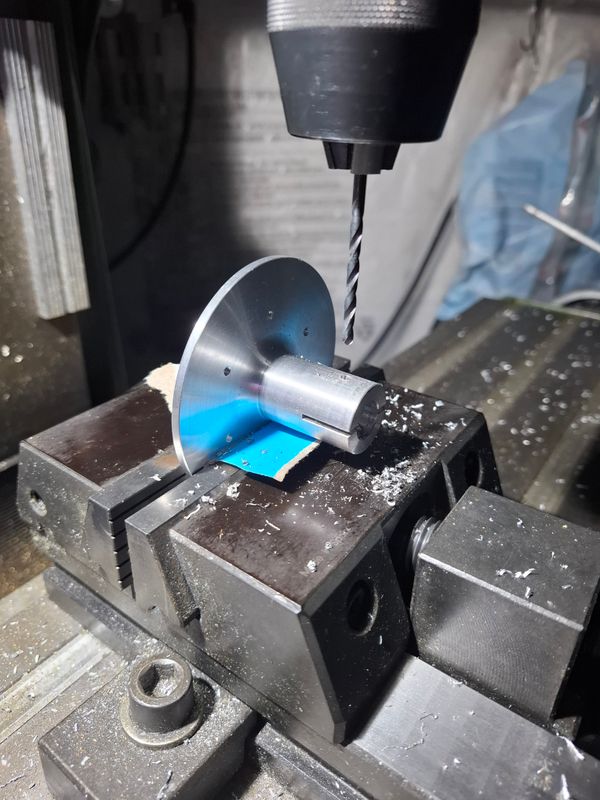
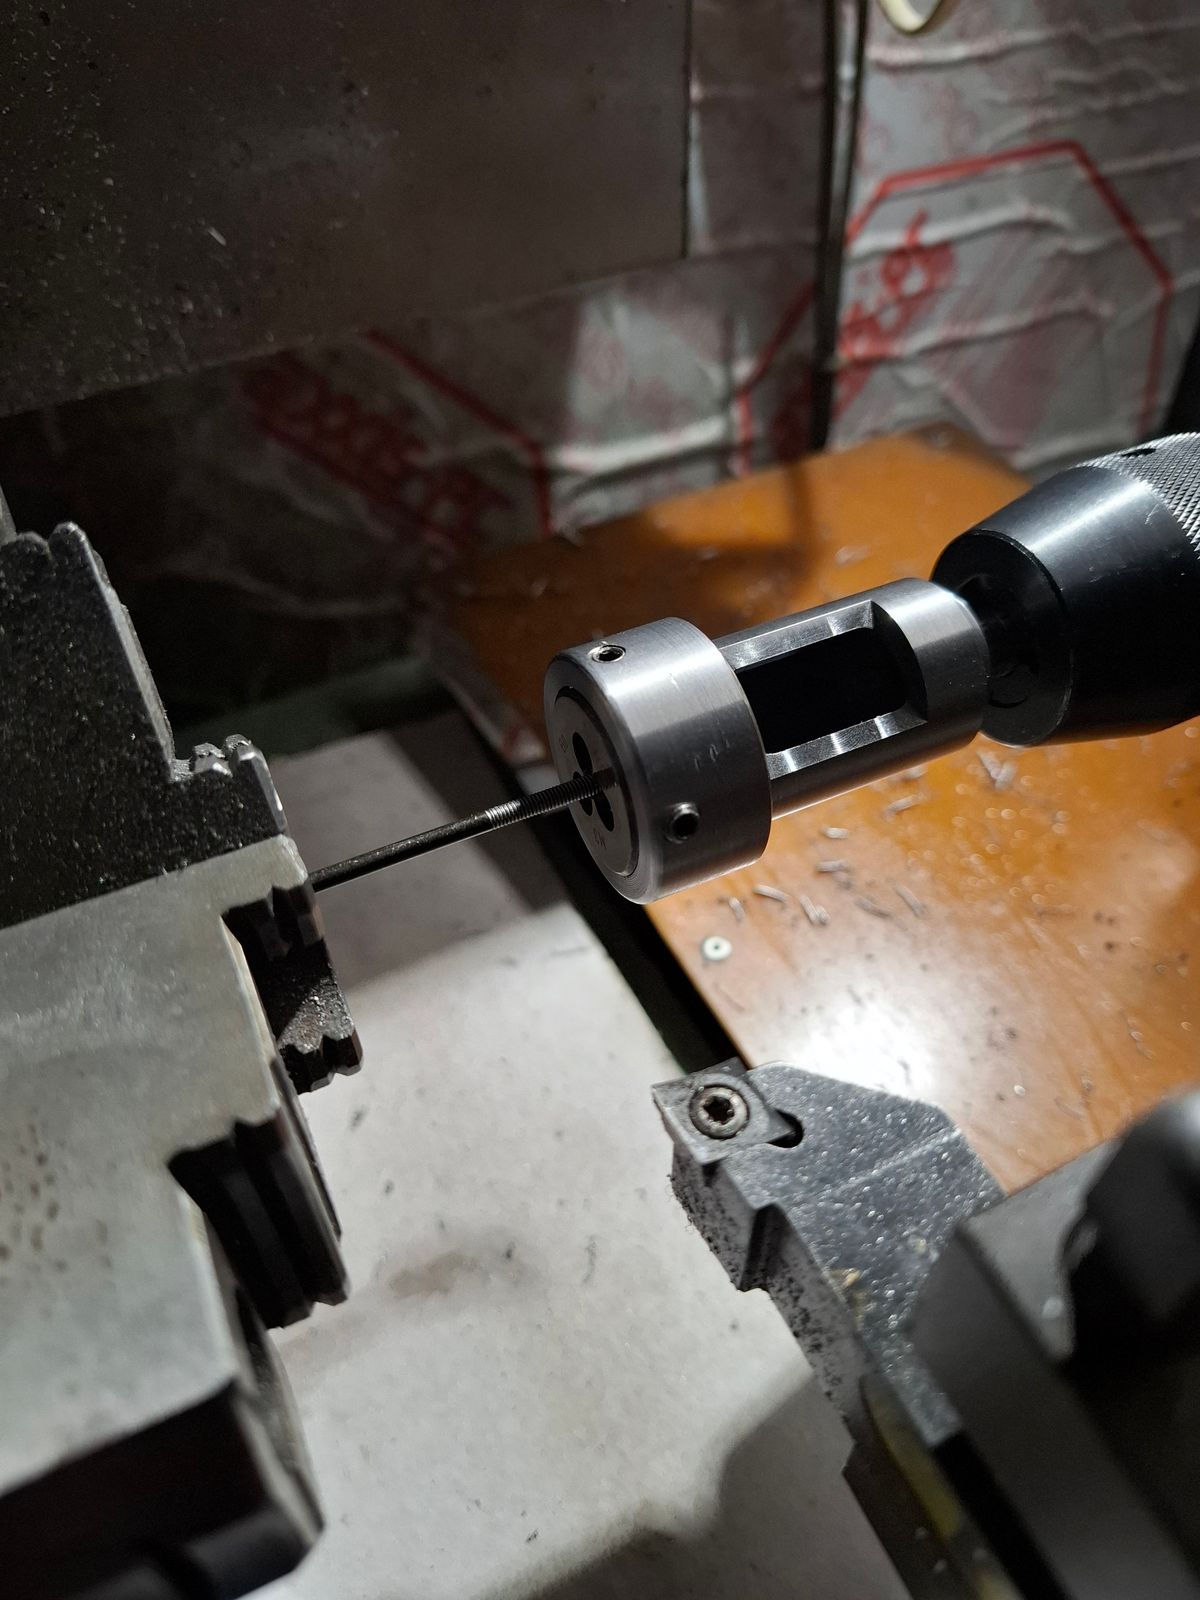
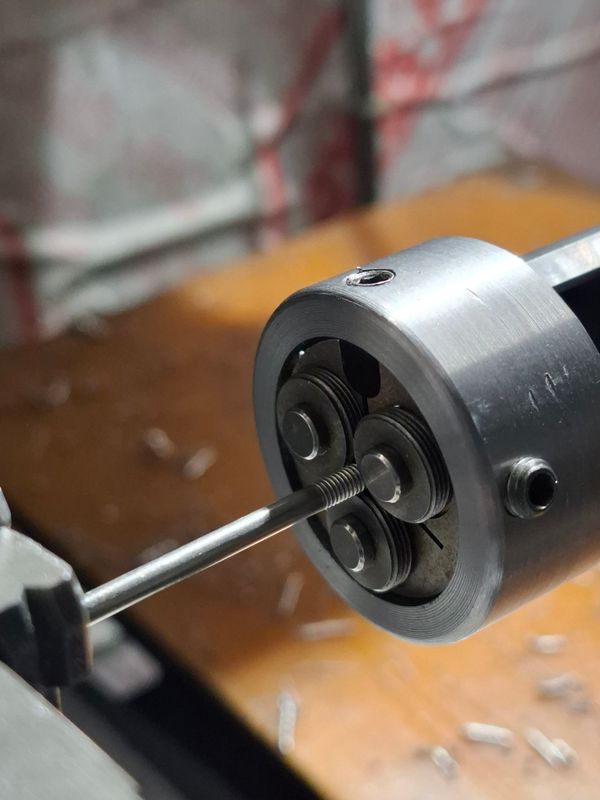
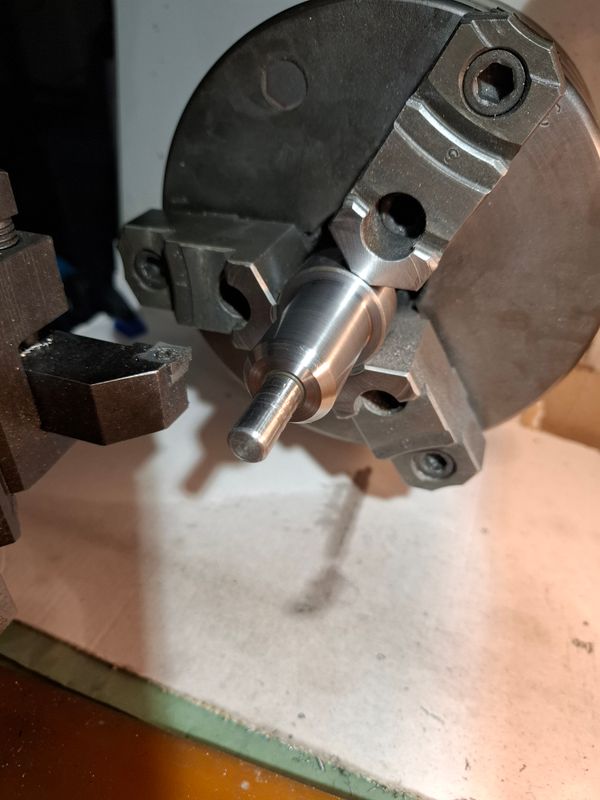
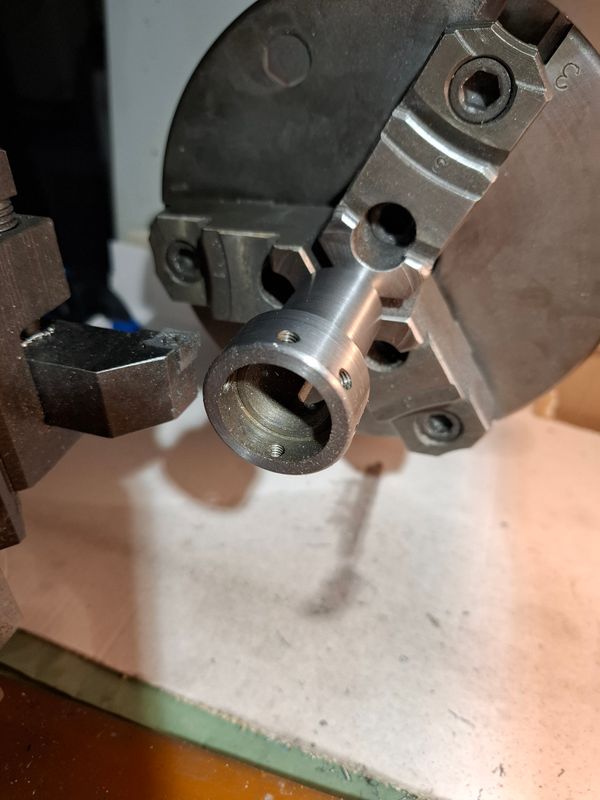
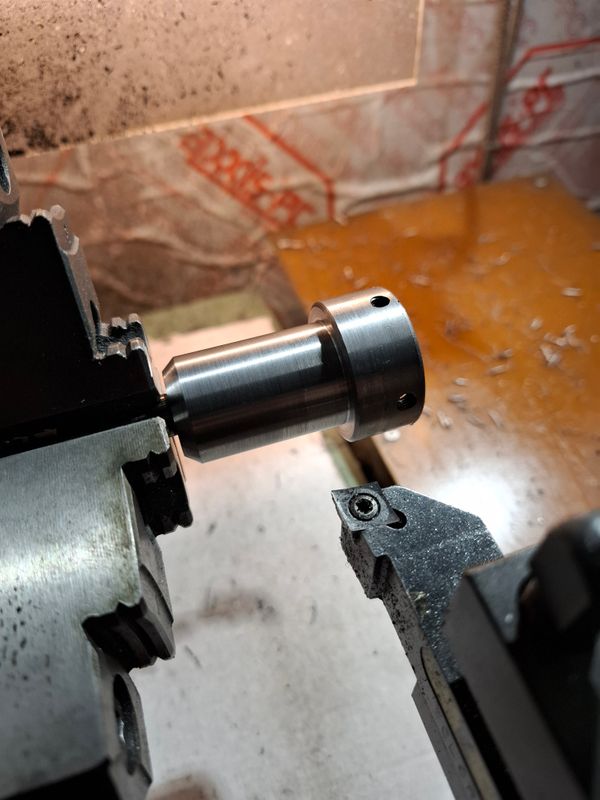
Control rod thread cutting/rolling device holder for lathe. Compatible from M2 to M6 cutting disks. Easy making of control rods thread ends Thread rolling results in stronger thread ends.
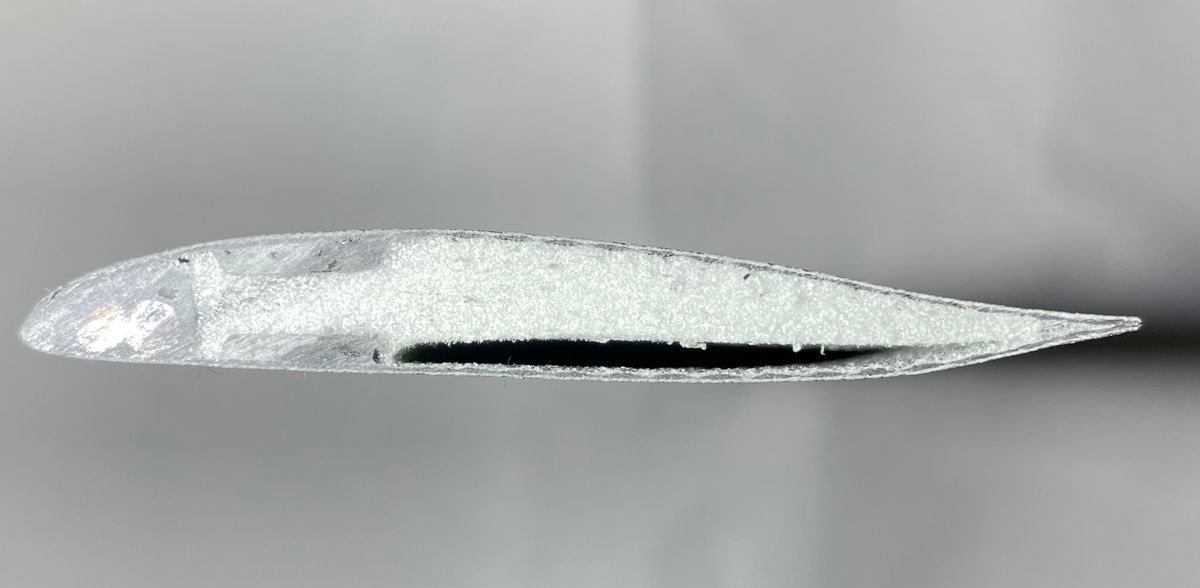
See inside shrinked foam (used for rigidity while keeping light) after exposure to turbine gas exhaust. Pilot forgot to position the blade away from it..
Problem is that such damage isn't necessarily noticeable from outside, or underestimated. To be replaced without hesitation!
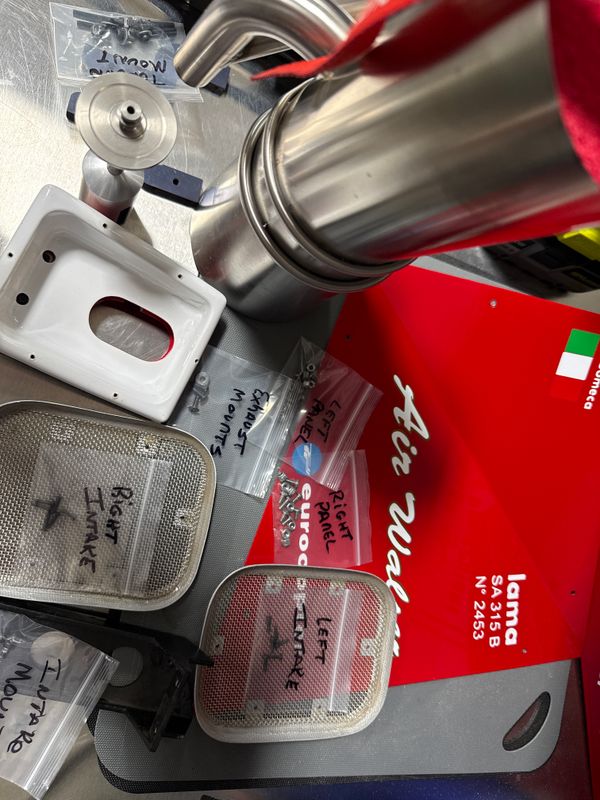
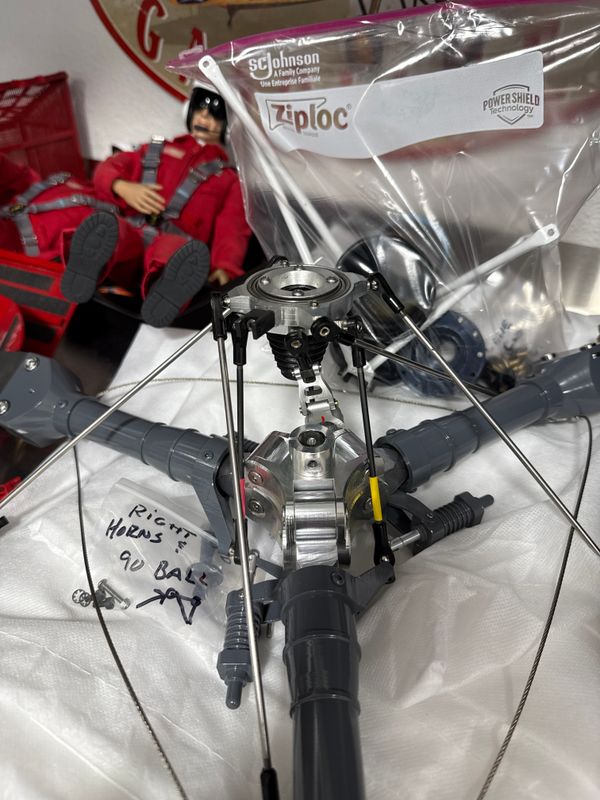
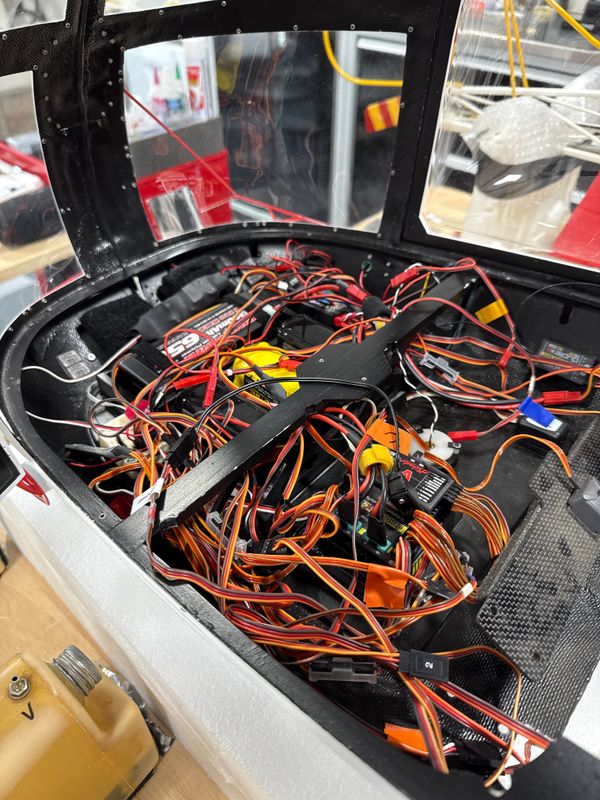
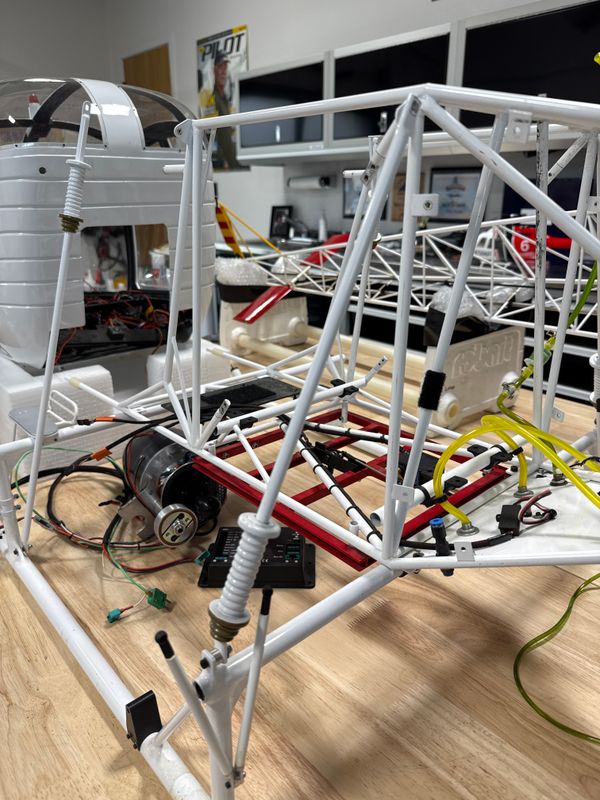
Making progress with my 1.8m Vario Lama build. It's ready for maiden with the remainder of detail and finishing to follow. This is my first Vario Build from scratch. If there is anything you see that I have goofed up on, please let me know.
I am planning to build this model during winter here in Denmark. But not that much information. Has anybody build this model in this scale, I can ask questions. I am flying helicopter for many years, and flew a "baby" Robinson R22 from Vario and now a Funkey AS350
Getting the mechanics into the Roban 800 fuse has been an enjoyable process, but now I have to think about wiring the lighting which DOES NOT seem like a small job! Need to get my pilots to work for me while I'm not home (LOL).
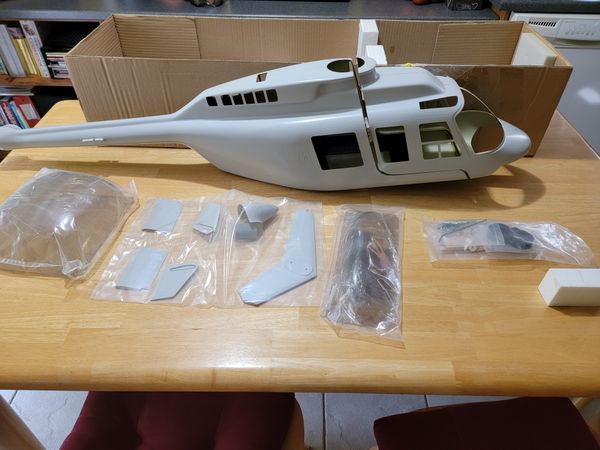
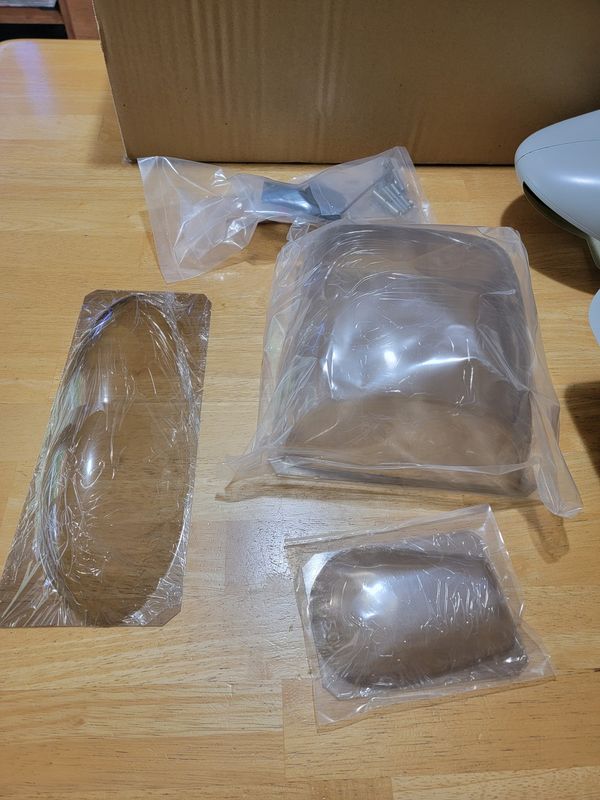
Anyone have any tips for Changing out the pre-painted roof glass that appears to be incorrectly tinted? Just replace it or should I try and remove the paint somehow?
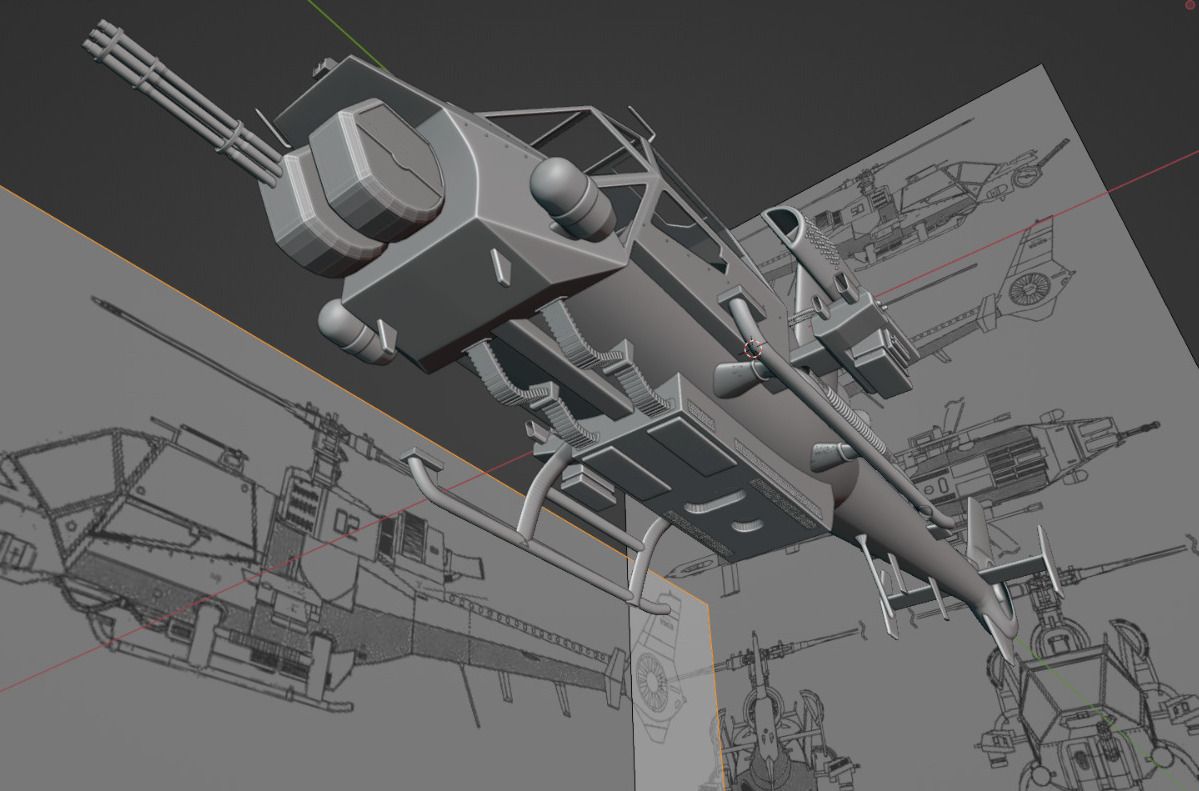
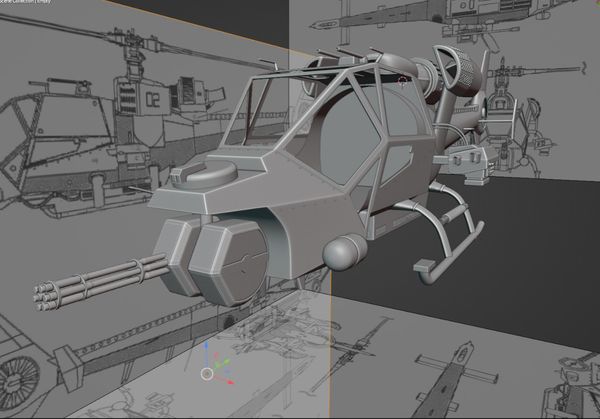
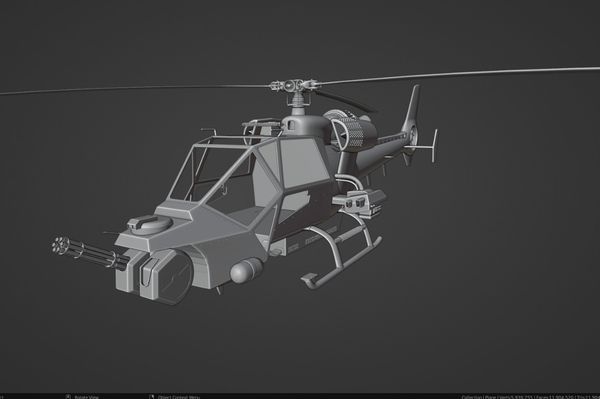
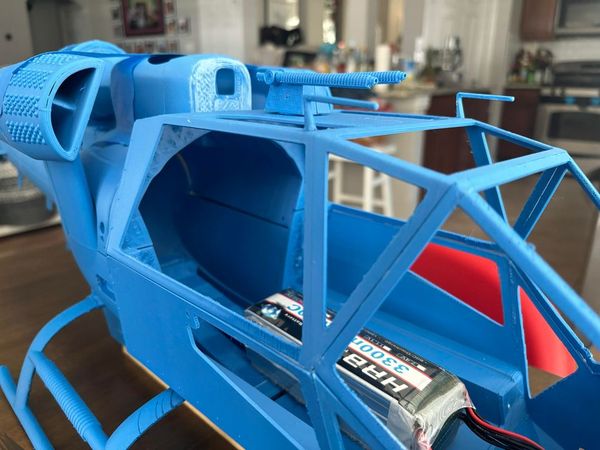
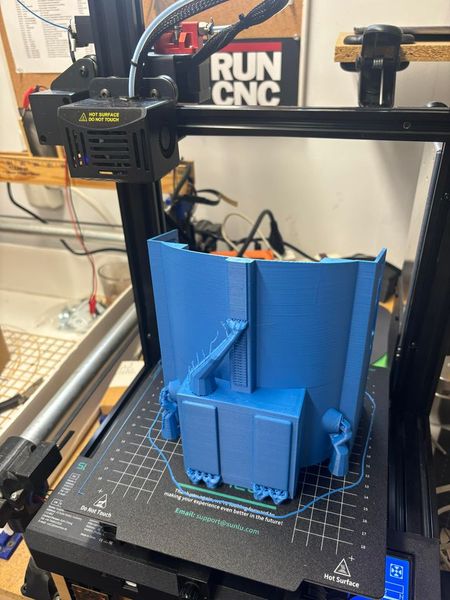
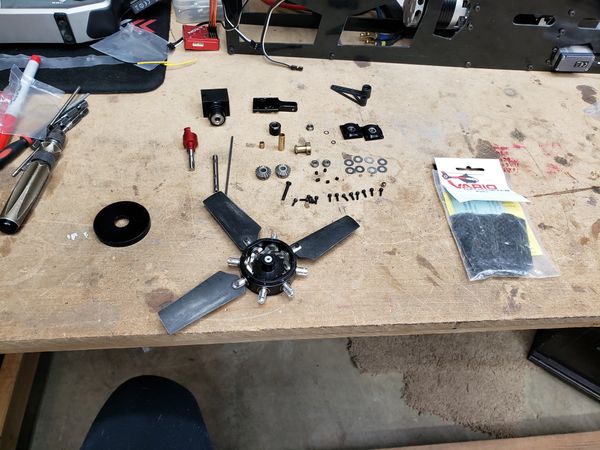
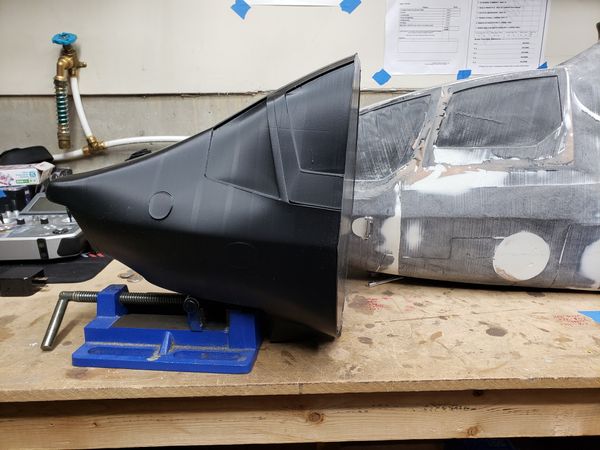
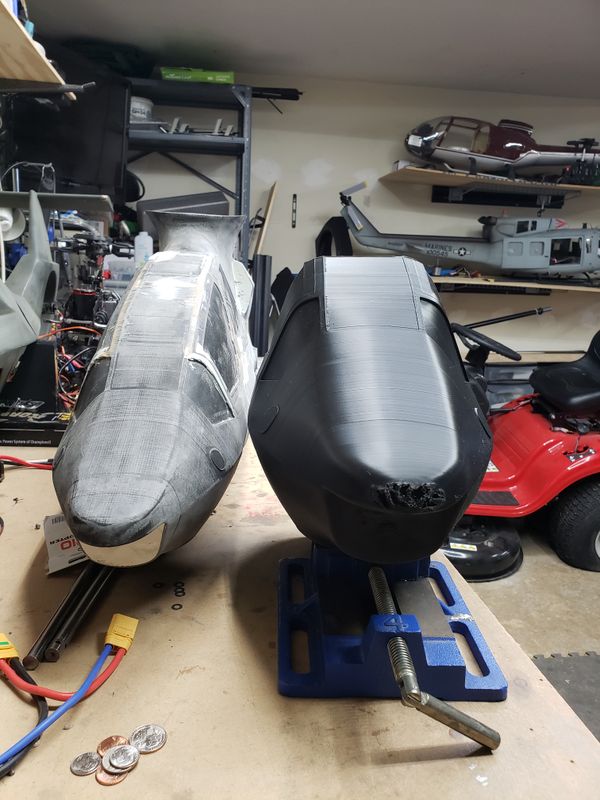
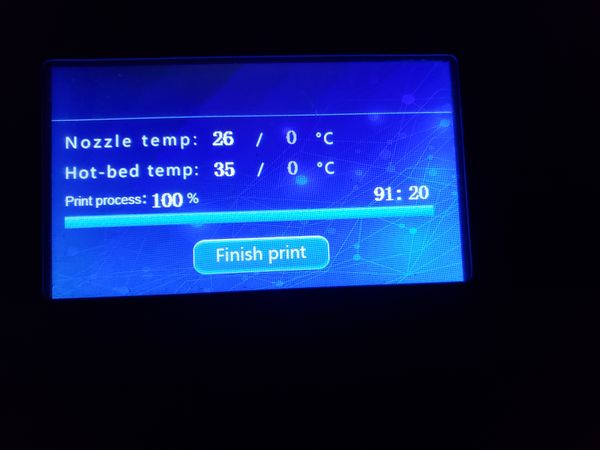
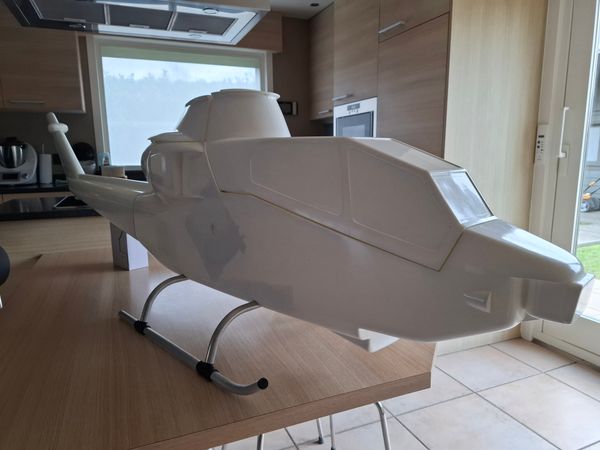
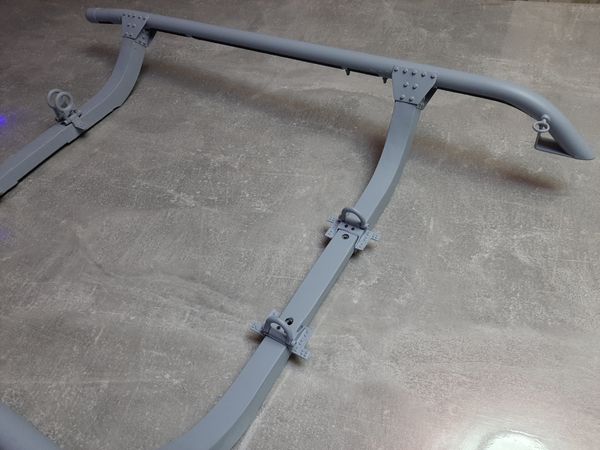
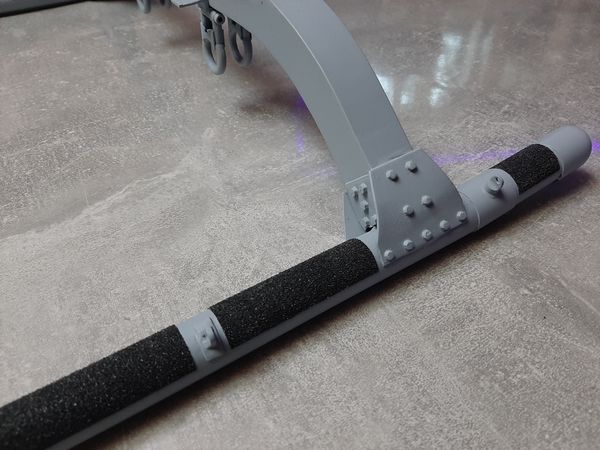
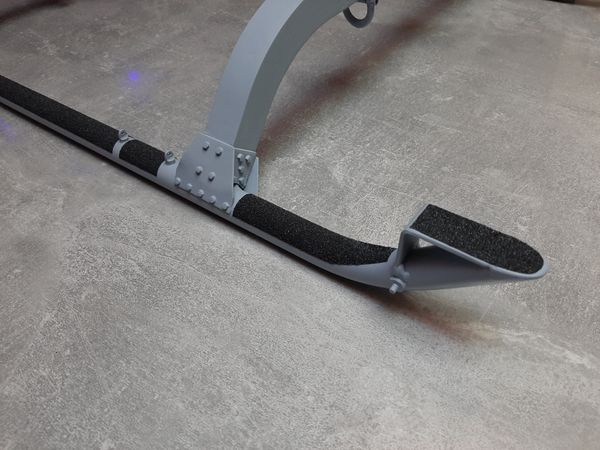
I'm sharing the Blue Thunder project for a 500 engine with a brushless tail rotor. The modeling process took me approximately two months. A friend did the 3D printing and assembly.


 Michael Z.
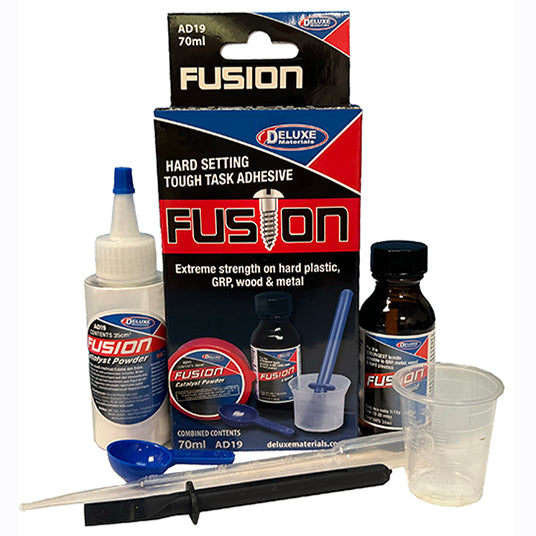 deluxematerials.comFusion75ml pack. Strongest acrylic adhesive for combinations of GRP, metal and wood and nearly all plastics such as PVC, styrene, acetate, acrylic. Extremely useful for bonding in high stress parts such as engine mounts, bulkheads, metal fasteners onto polyester, epoxy or carbon fibre GRP. Please note! Ca
 Massimo C.
 Danny D.
 Butch W.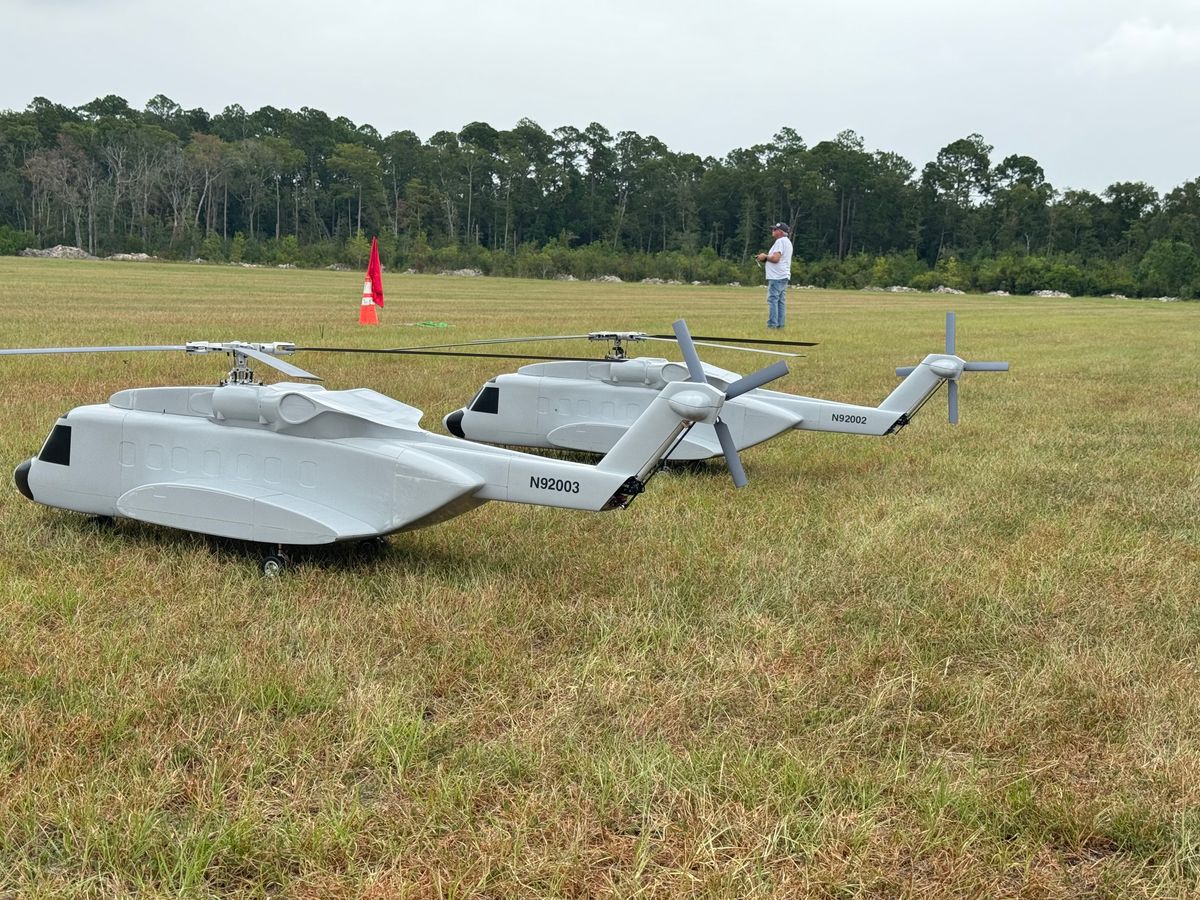
 Michael K.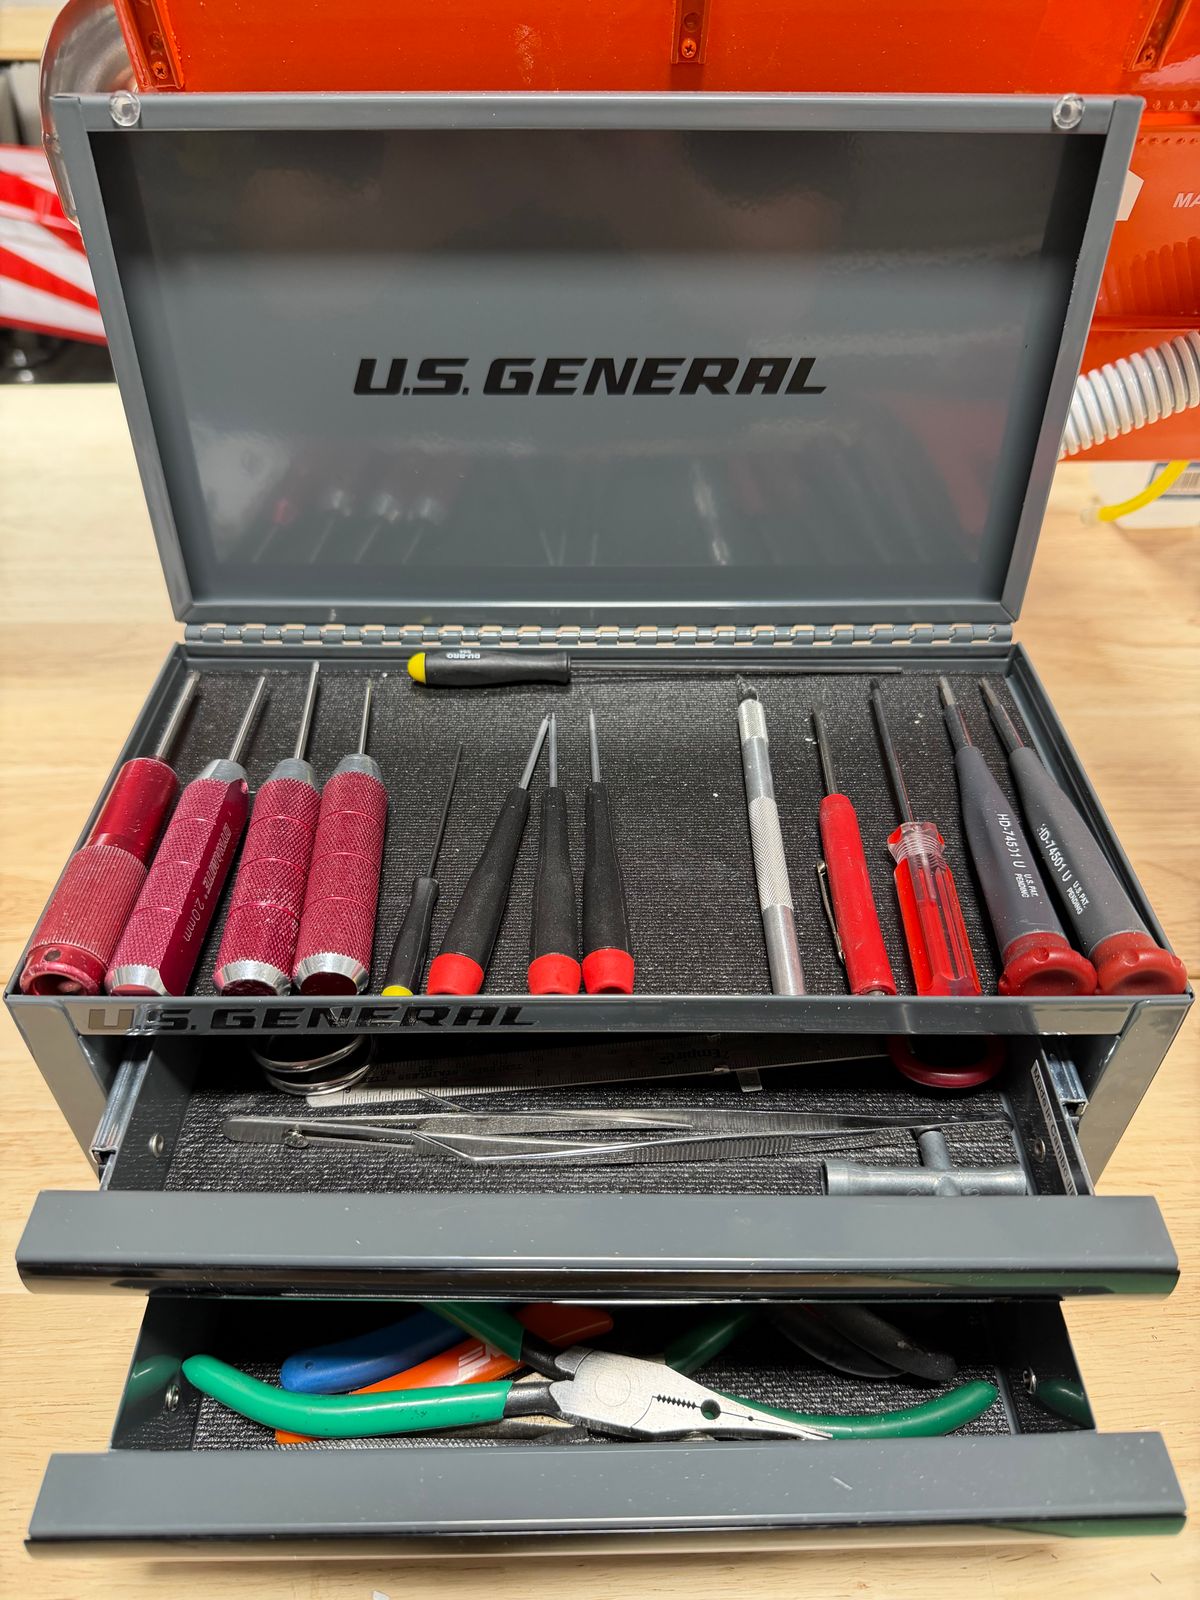
 Evan S.
 Uwe B.
 Rémy F.
 Loren F.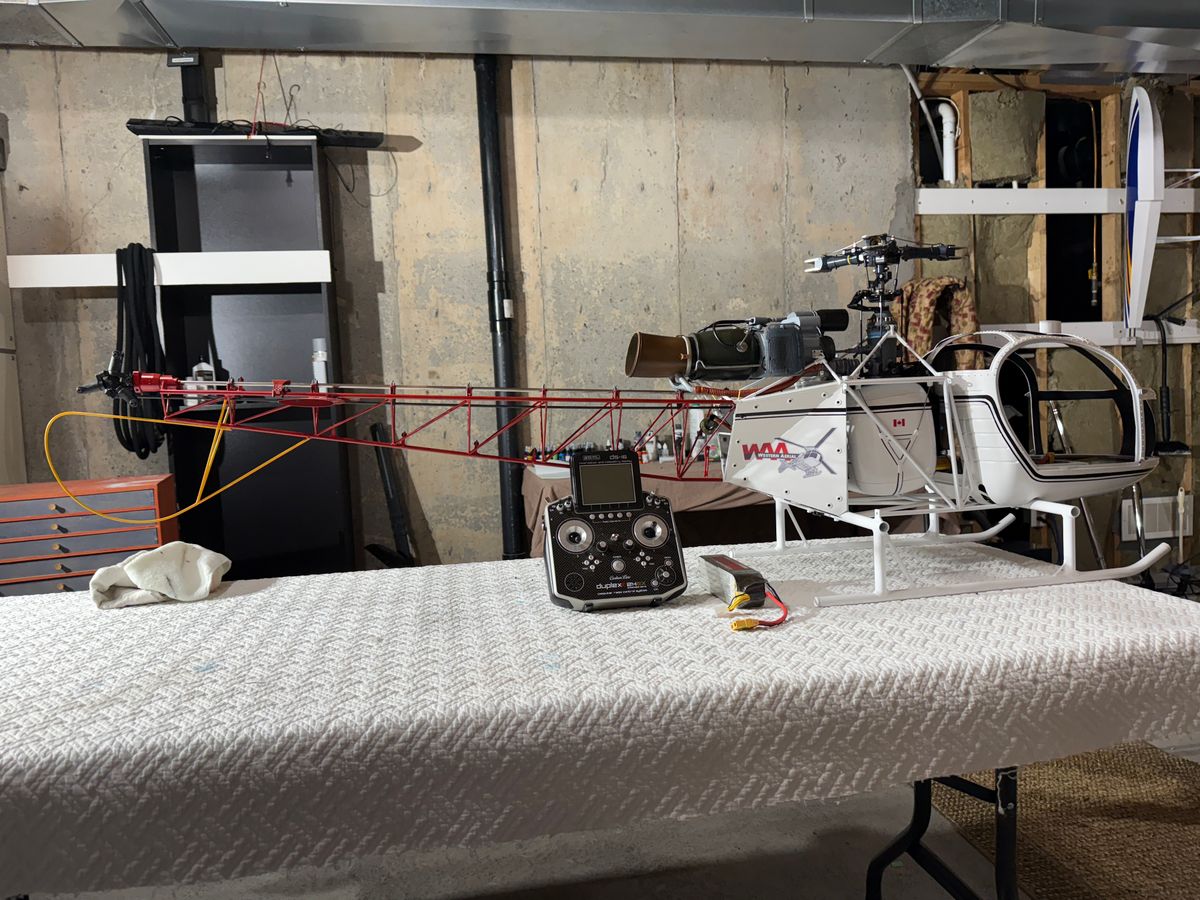
 Thomas D.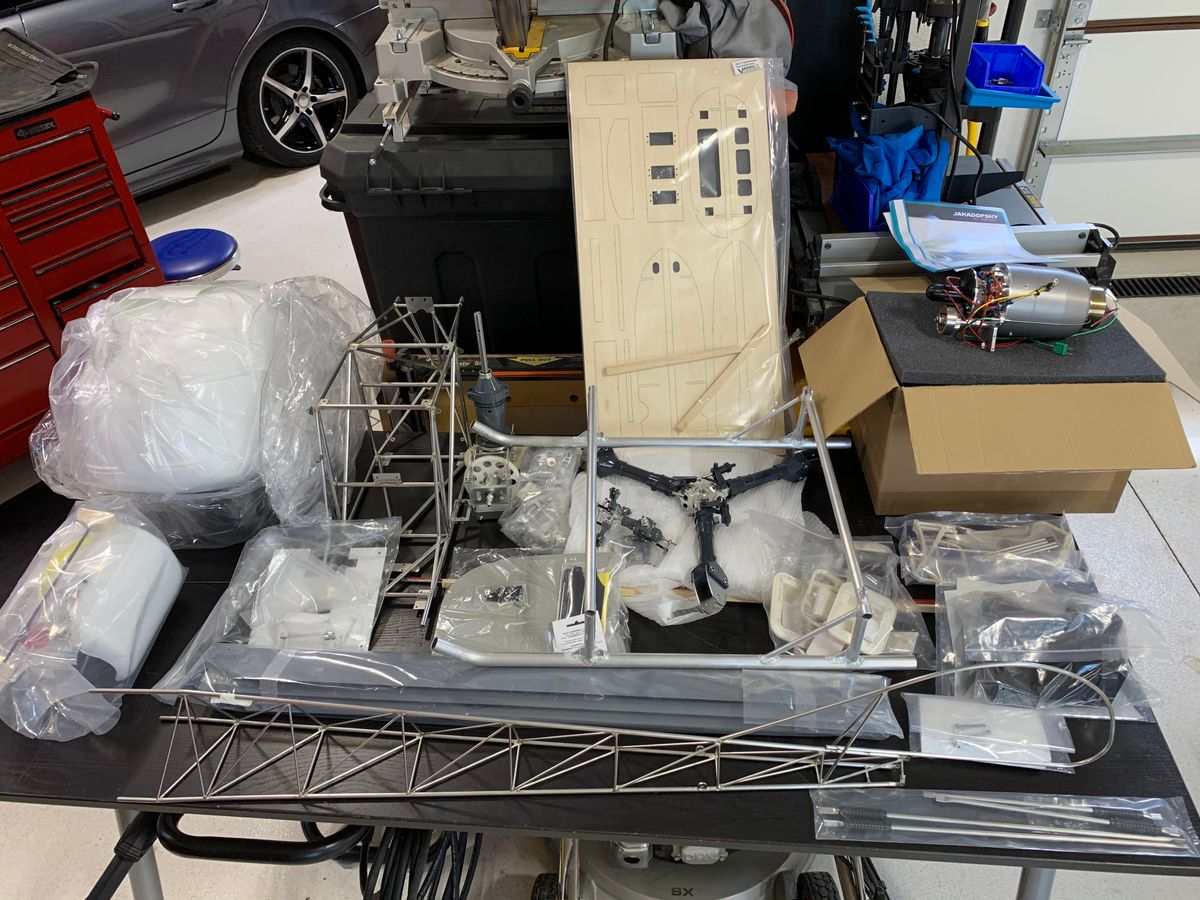
 Michael R.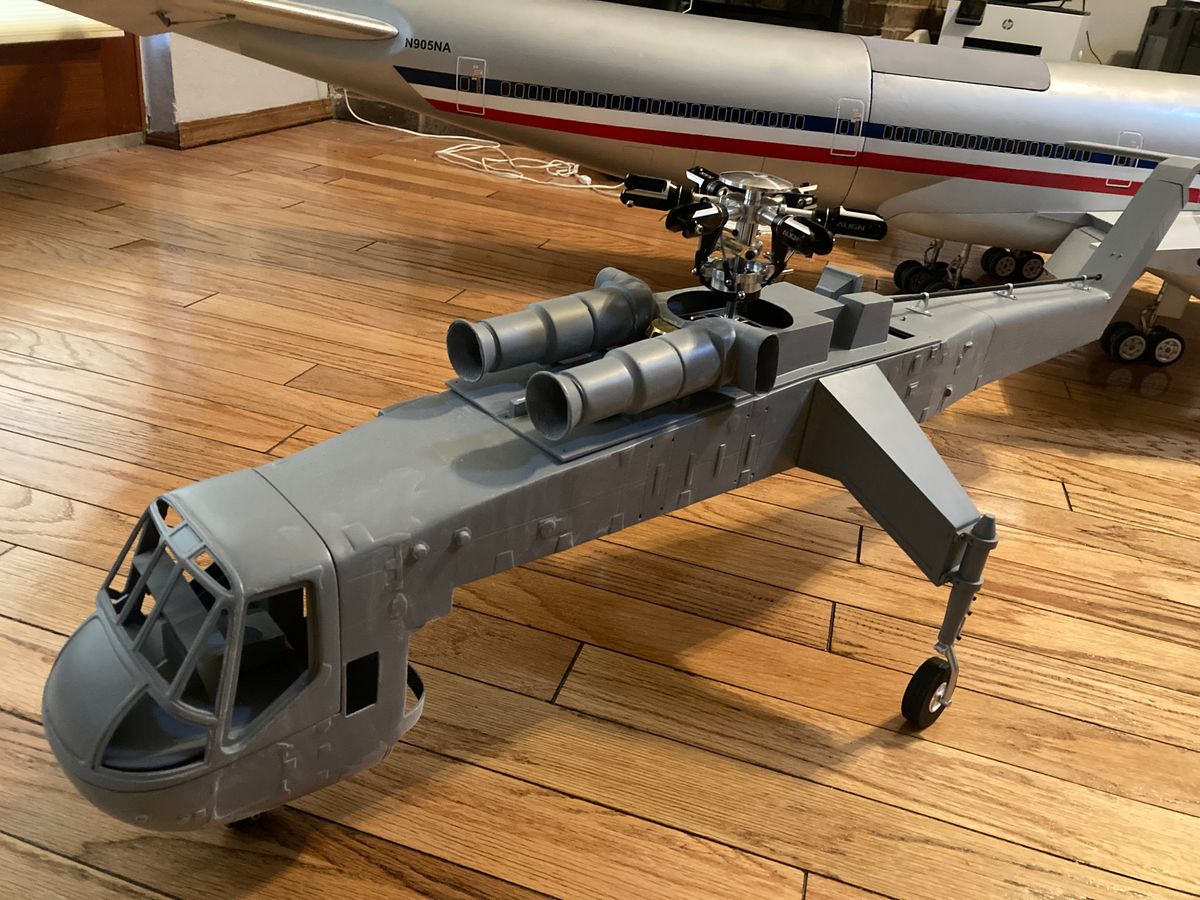

 Scott S.
 Master C.